
Uncredited photos on this page taken by: Caleb Barker. Unless stated in a caption, all photos are Copyright with All Rights Reserved. Learn about reuse of our photos.
![]()
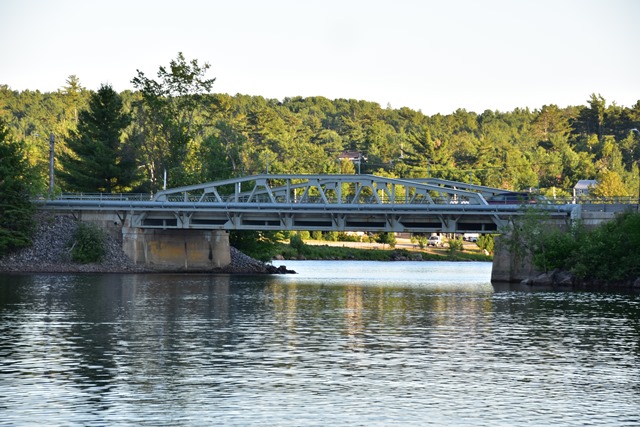
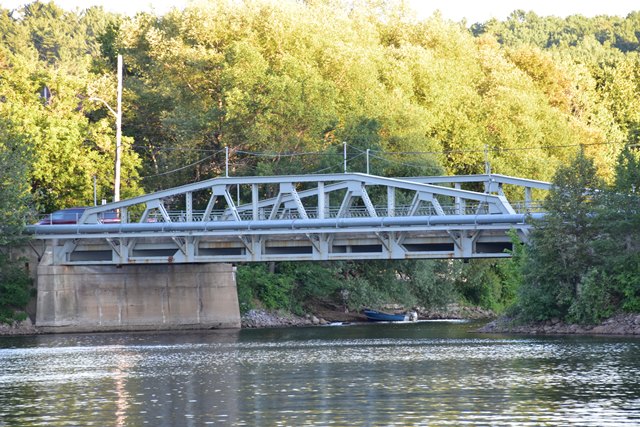
Photo Credit: Ian Graham
Elevation of individual spans.
![]()
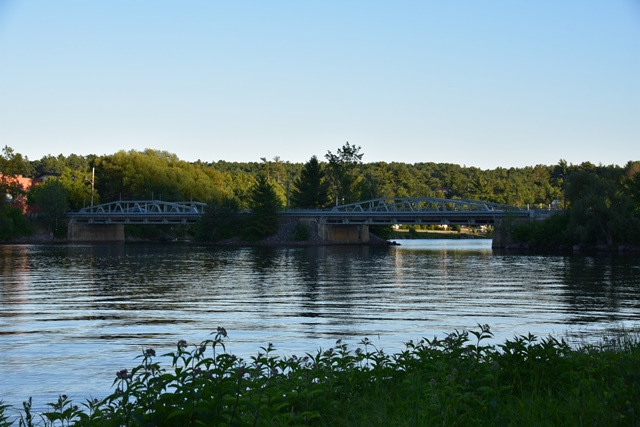
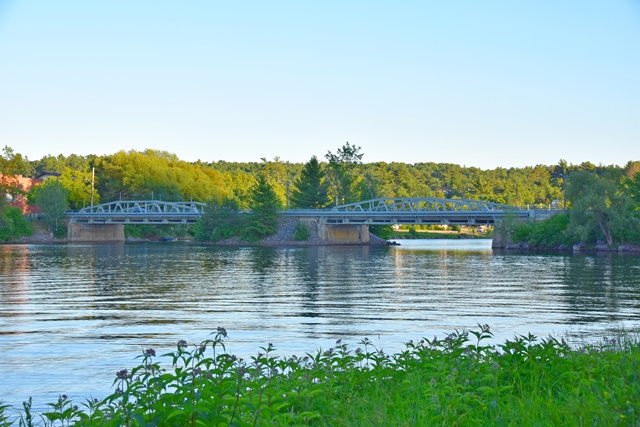
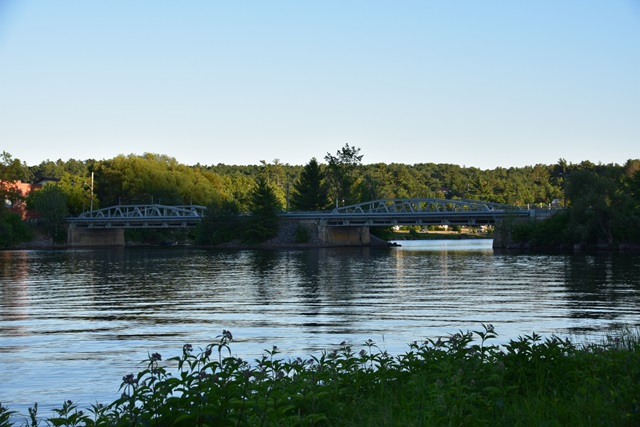
Photo Credit: Ian Graham
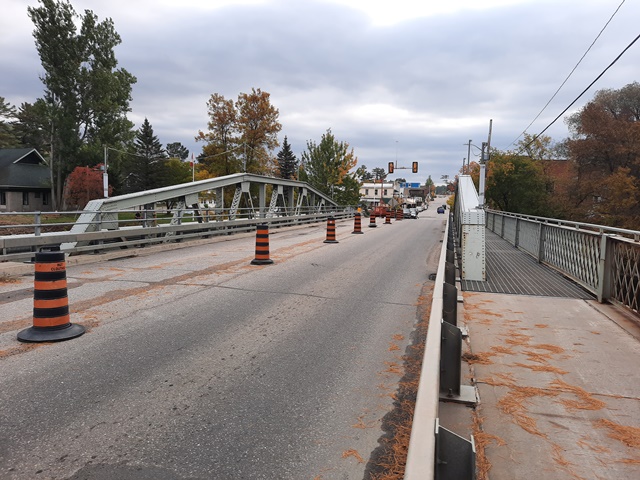
Elevation.
![]()
Elevation.
![]()
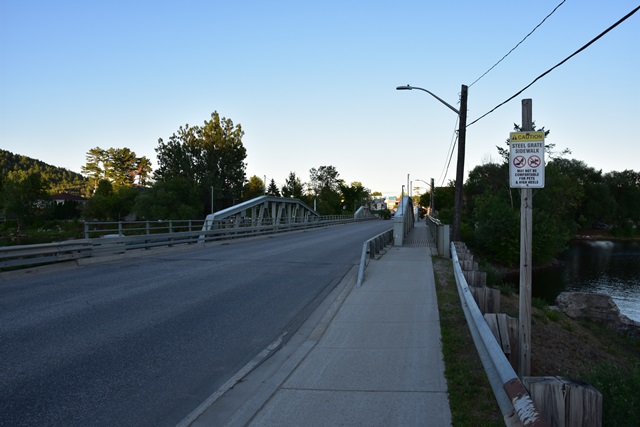
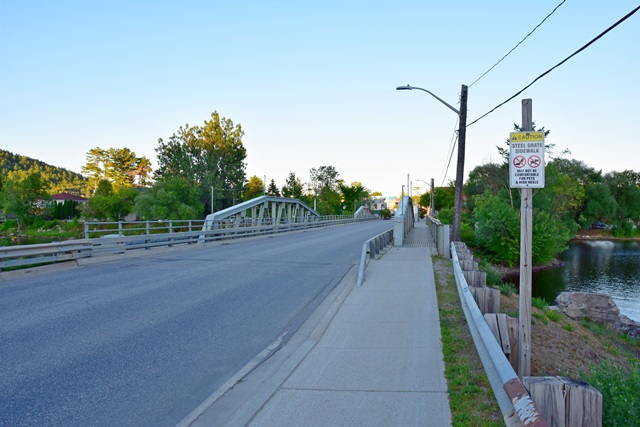
Photo Credit: Ian Graham
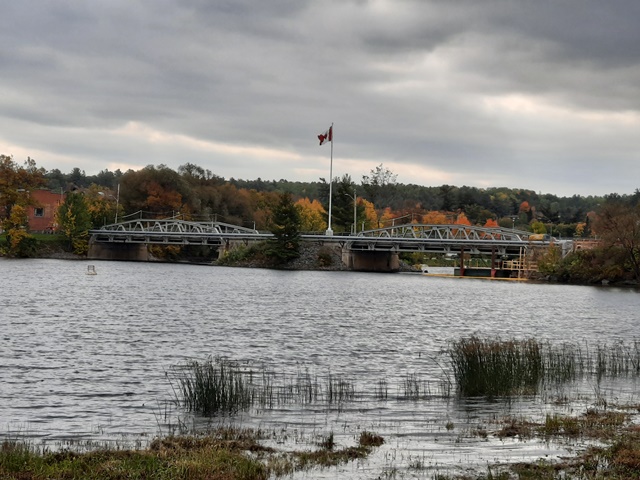
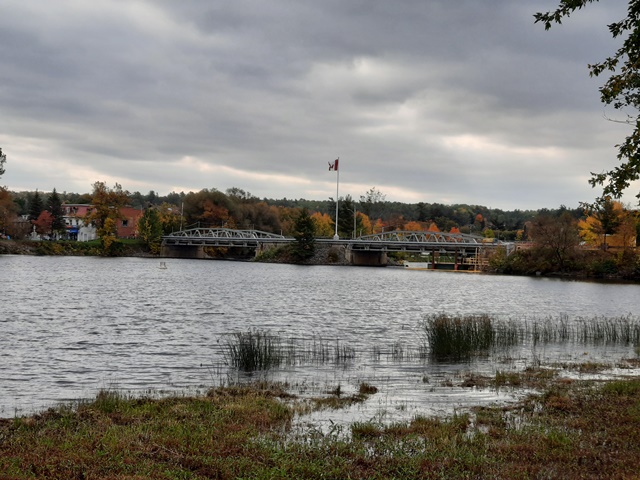
Portal views.
![]()
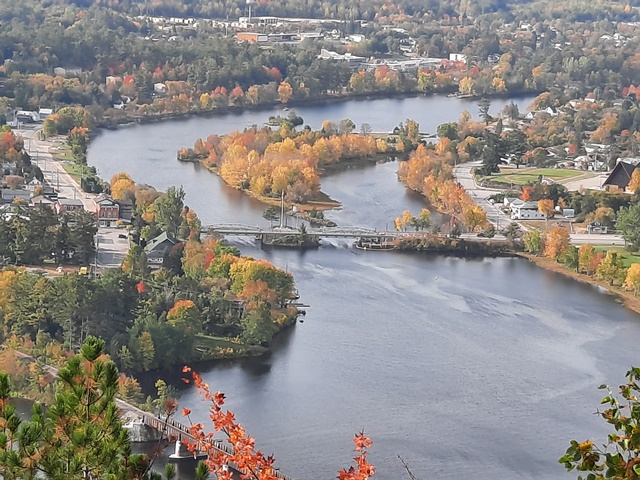
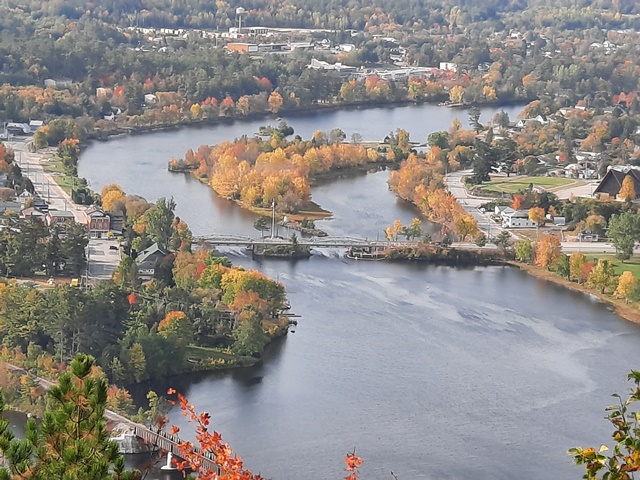
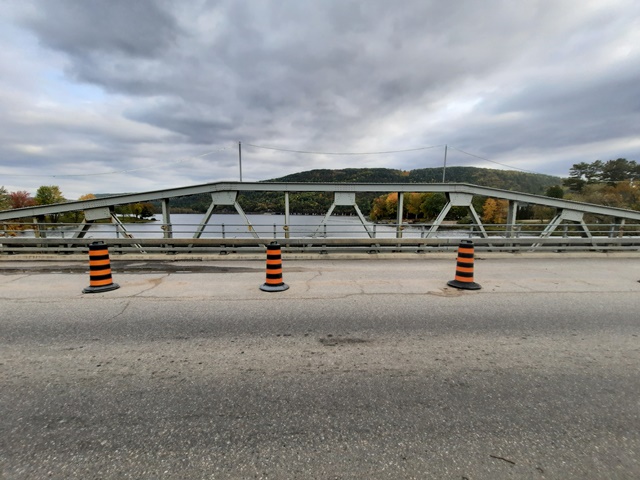
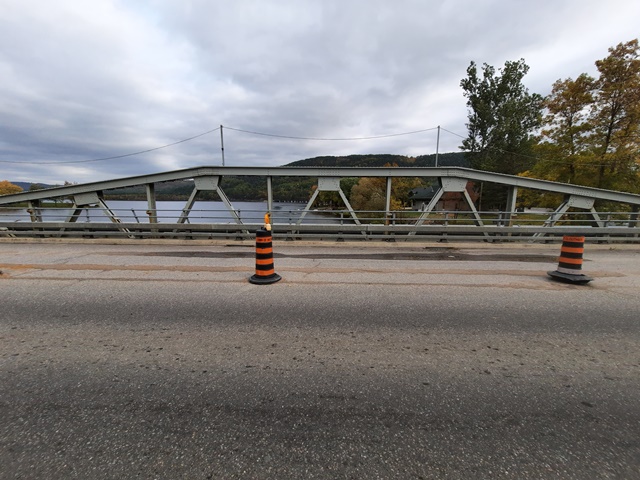
Distant view of bridge.
![]()
Portal views.
![]()


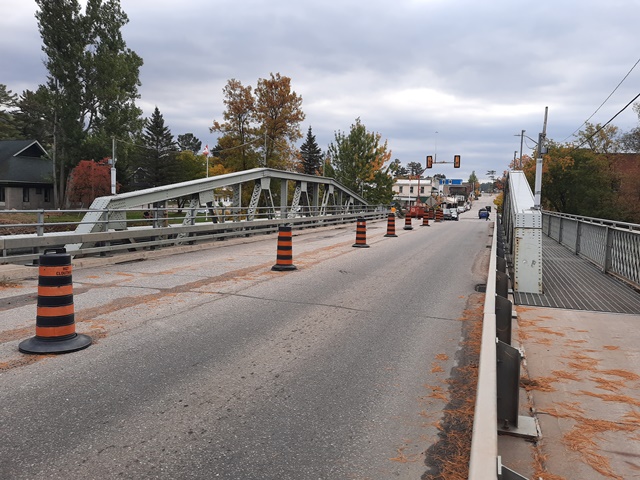
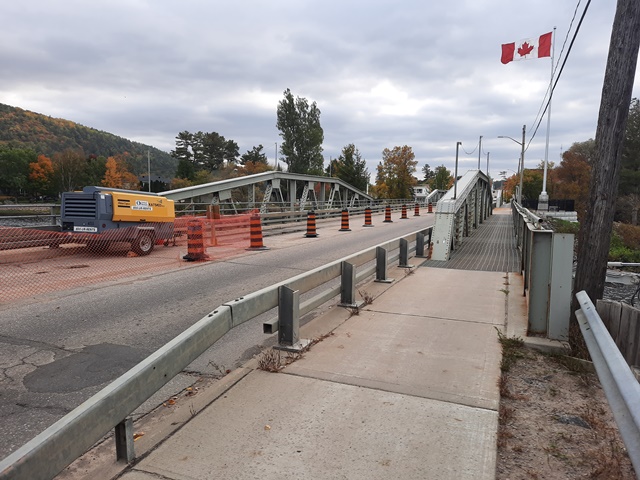
Views beside bridge.
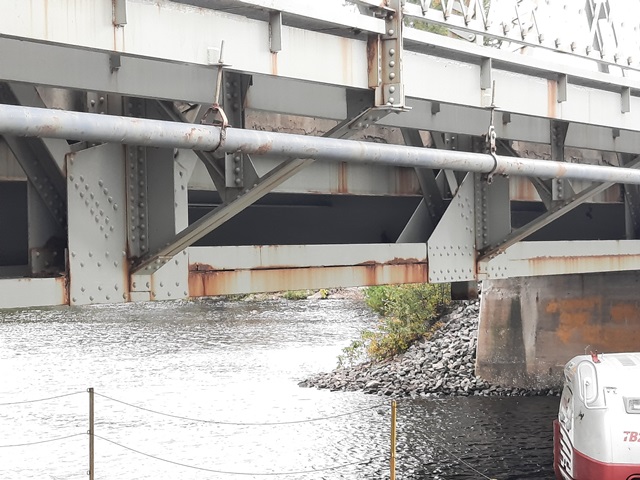
![]()
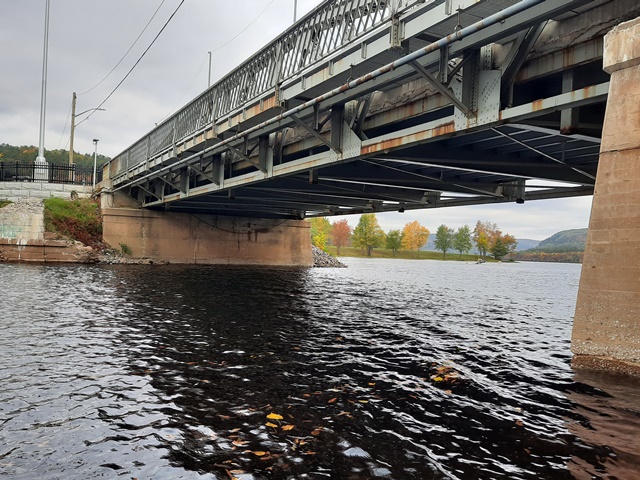
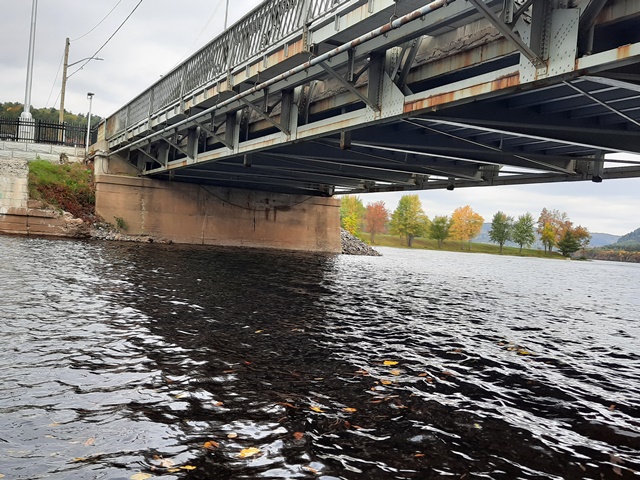
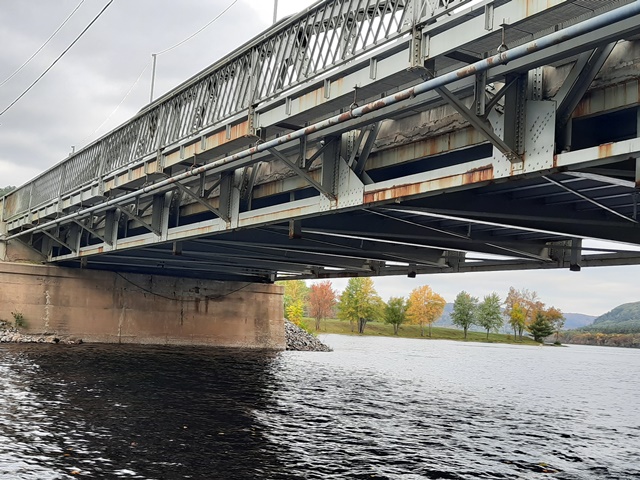
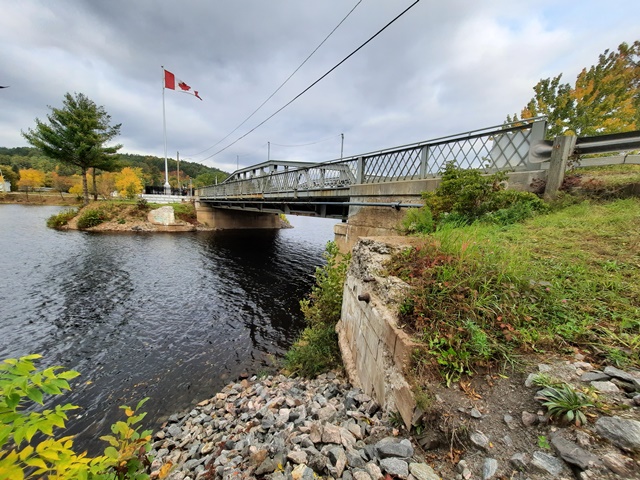
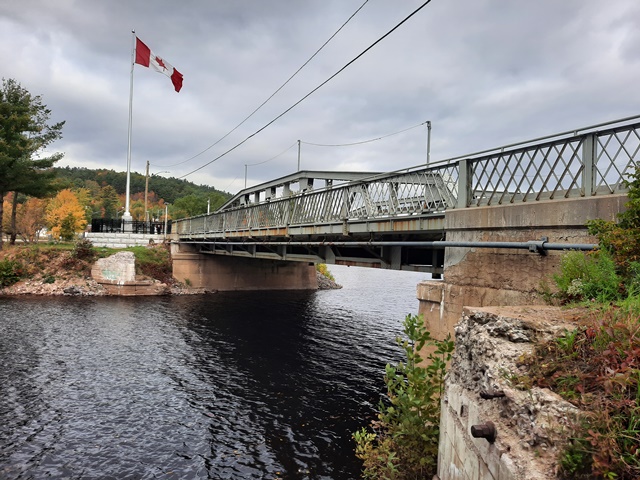
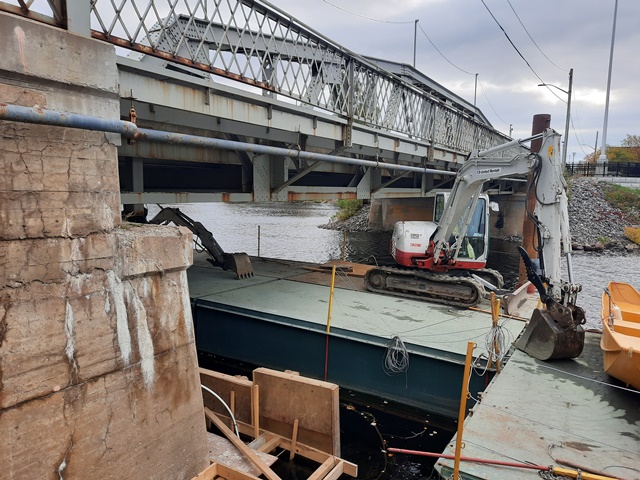
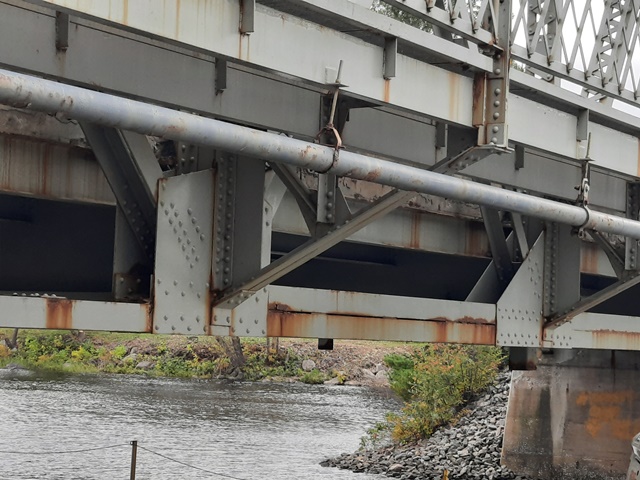
Views under bridge.
![]()
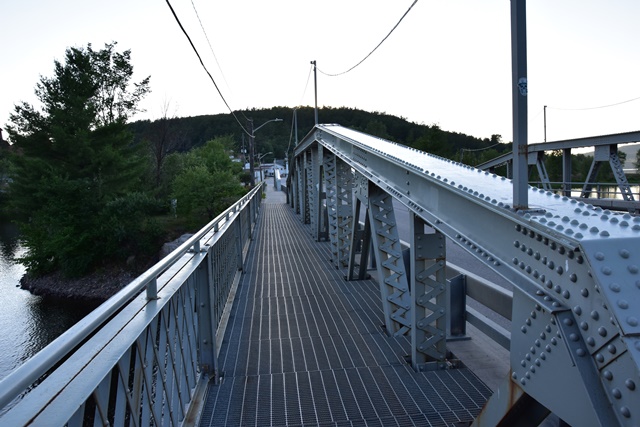
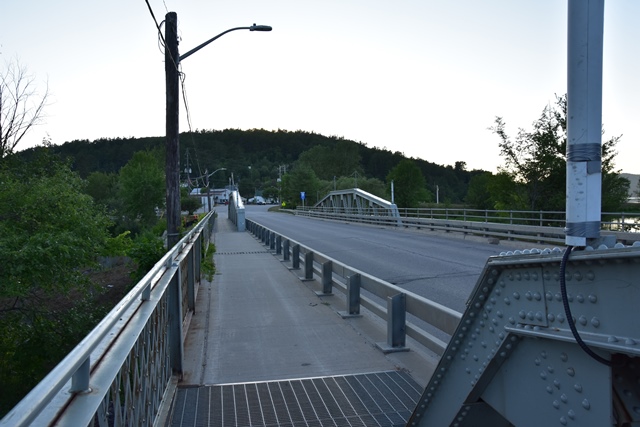
Photo Credit: Ian Graham
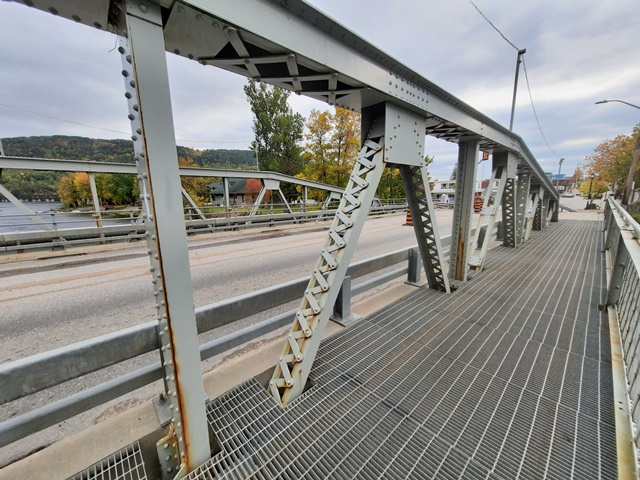
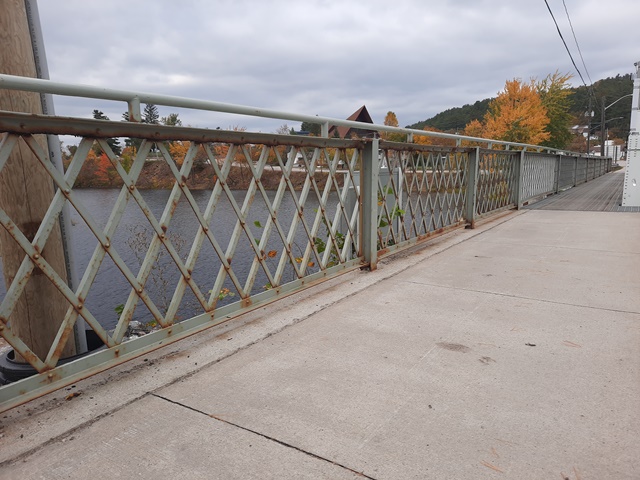
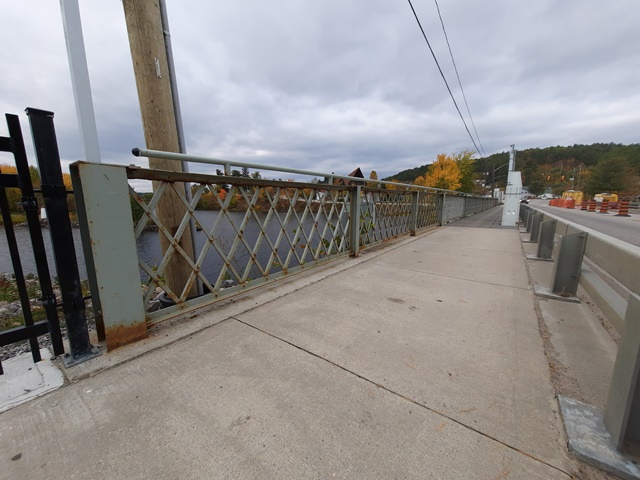
Views on sidewalk.
![]()
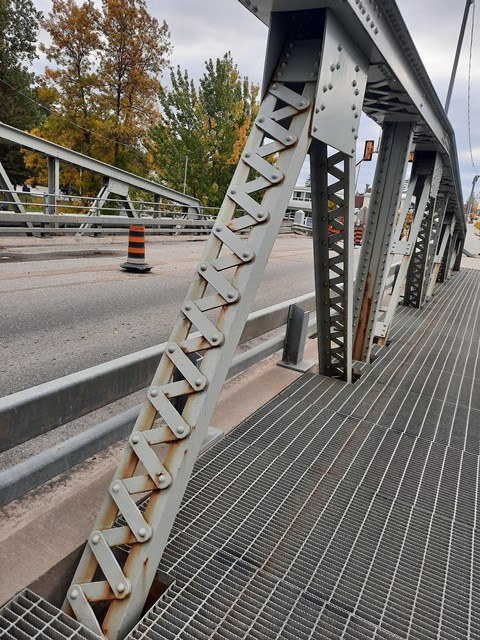
Views of truss web.
![]()
Missing plaque.
![]()
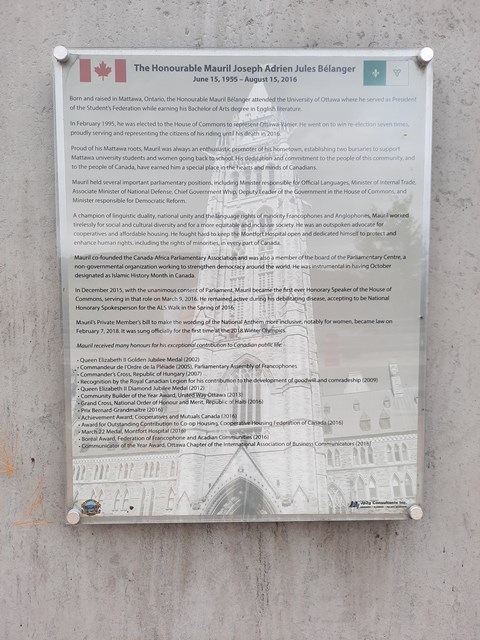
Interpretive sign.
![]()
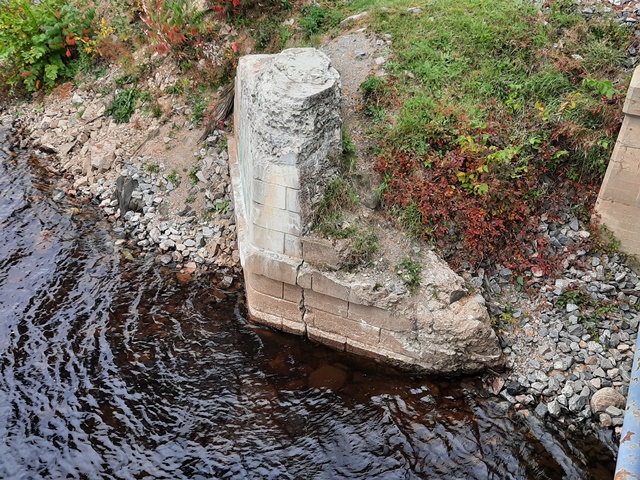
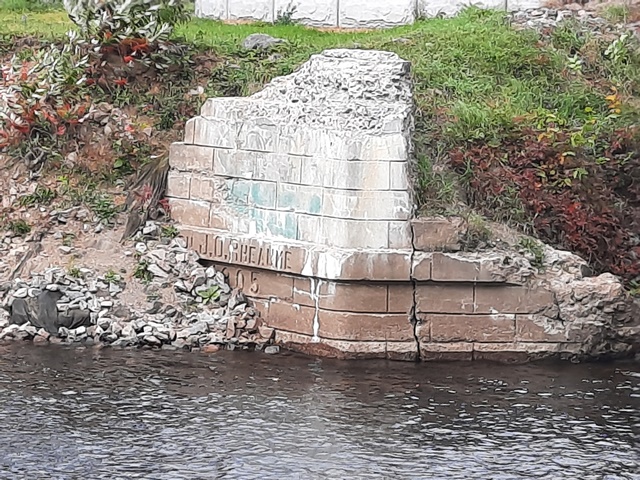
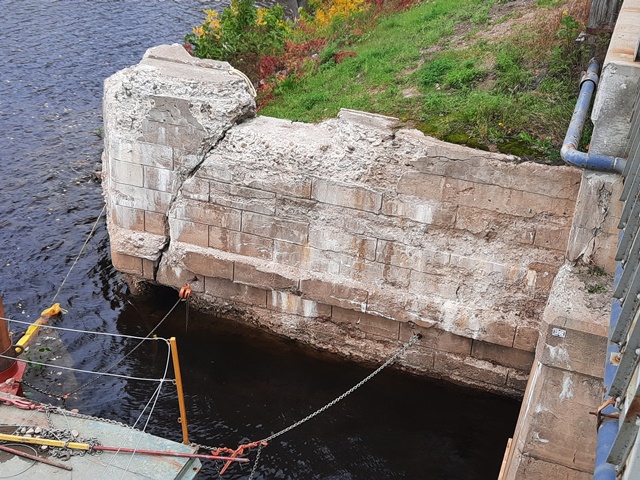
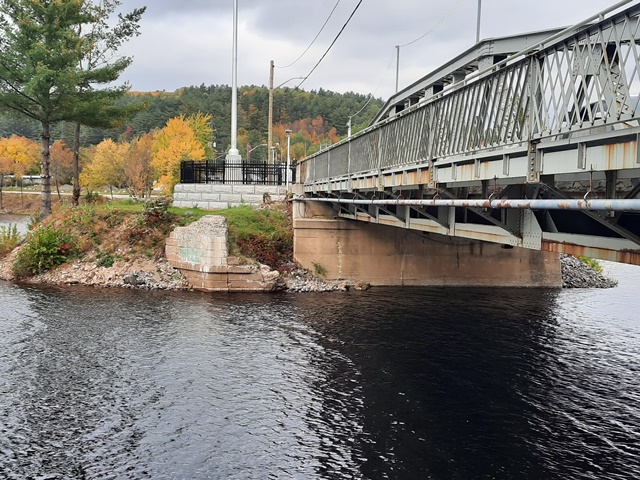
Former bridge abutment with 1905 date on it.
![]()

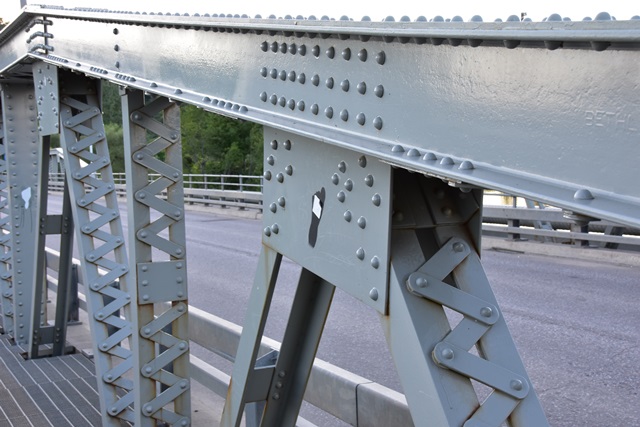
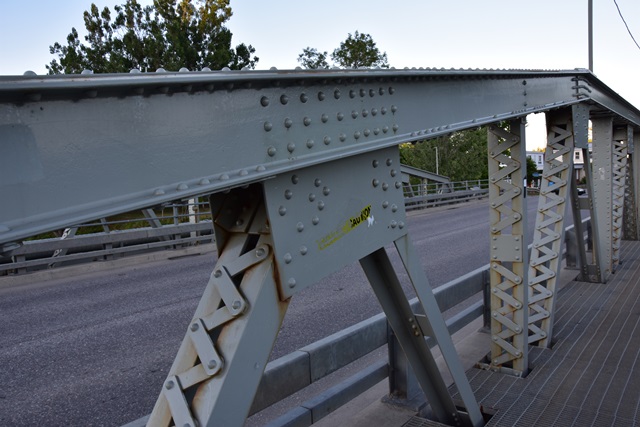
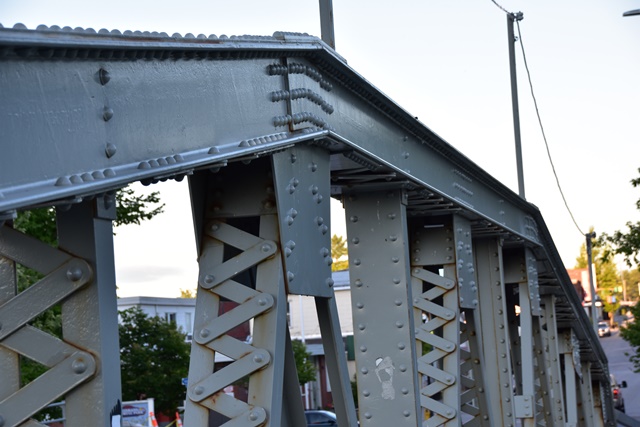

Photo Credit: Ian Graham
Top chord connections.
![]()

Top chord connections.
![]()
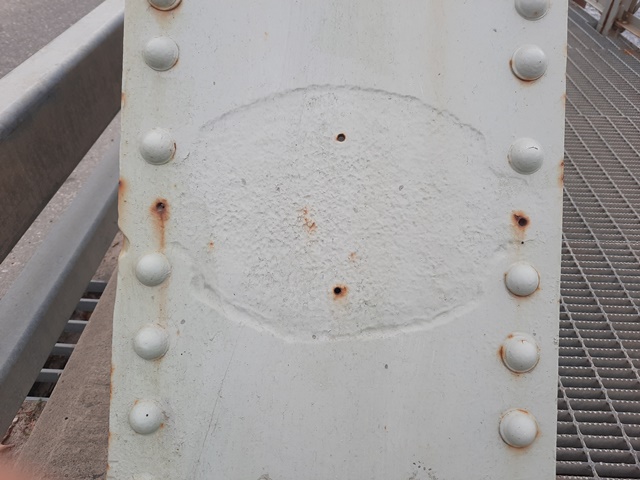
Bottom chord connections.
![]()
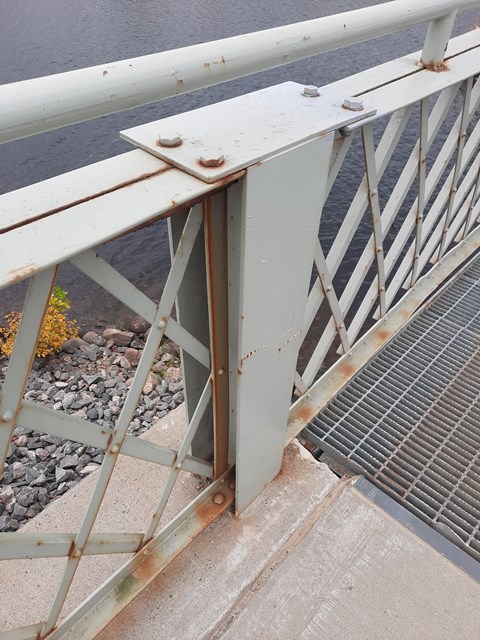
Railing.
![]()

Photo Credit: Ian Graham
Railing.
![]()
![]()
| Back |
| Home |
| Top |

![]()