
Uncredited photos on this page taken by: Nathan Holth and Rick McOmber. Unless stated in a caption, all photos are Copyright with All Rights Reserved. Learn about reuse of our photos.
![]()
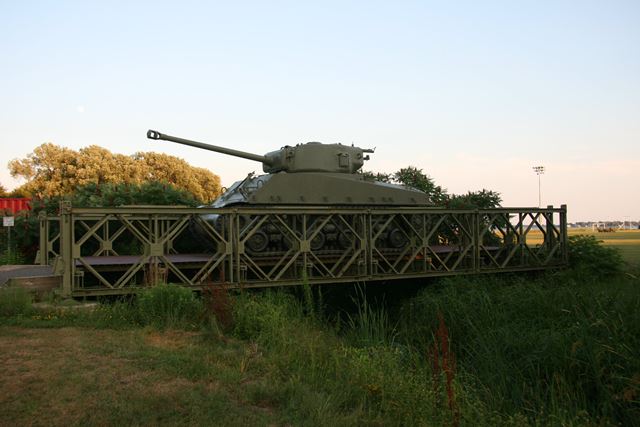
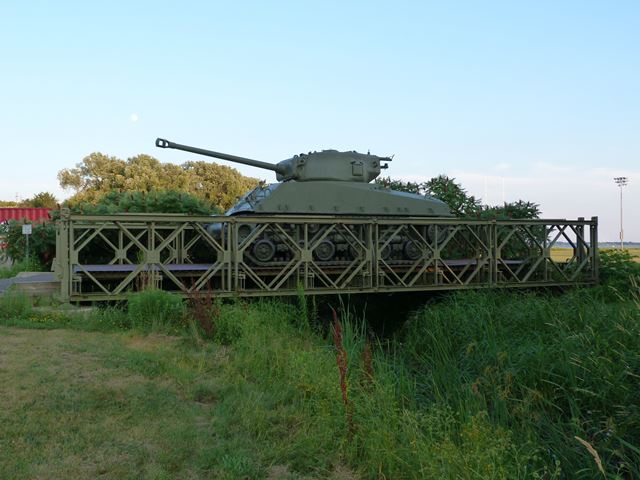
Elevation.
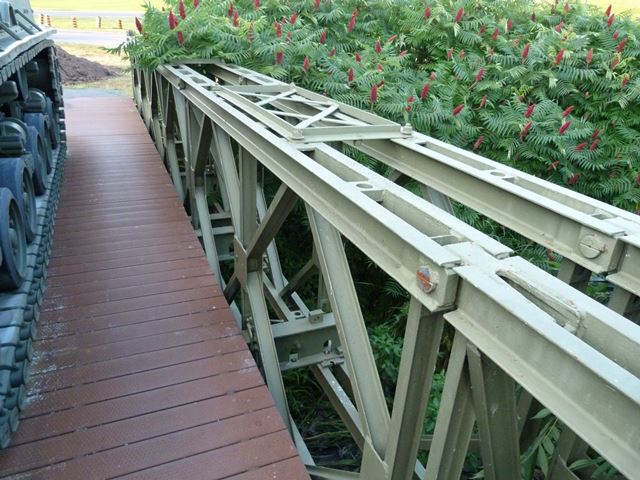
![]()


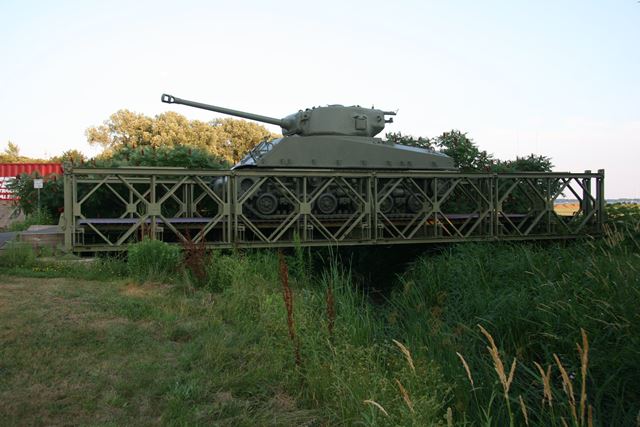
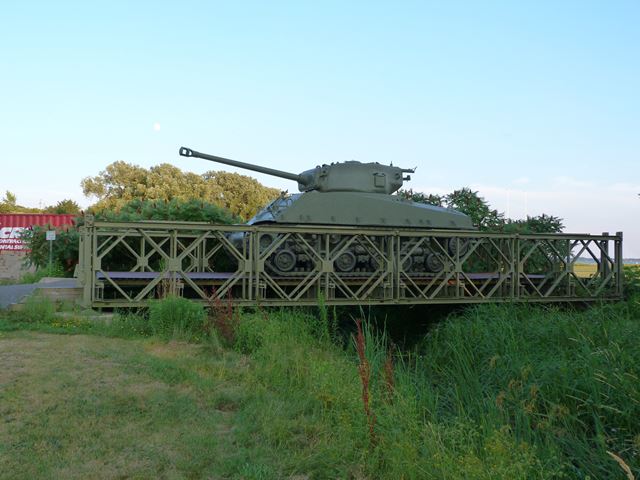
Oblique view.
![]()
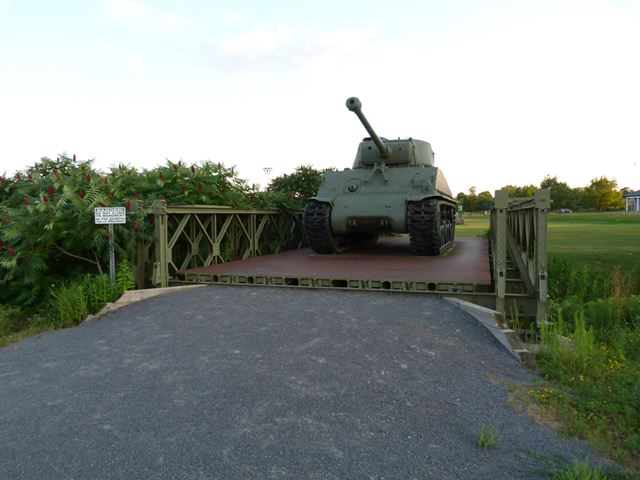
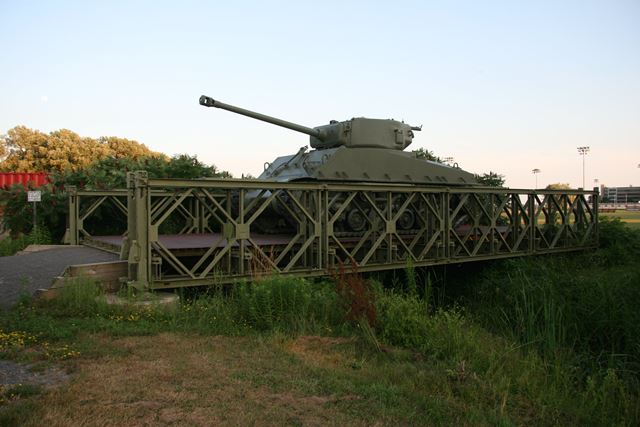
Portal view.
![]()
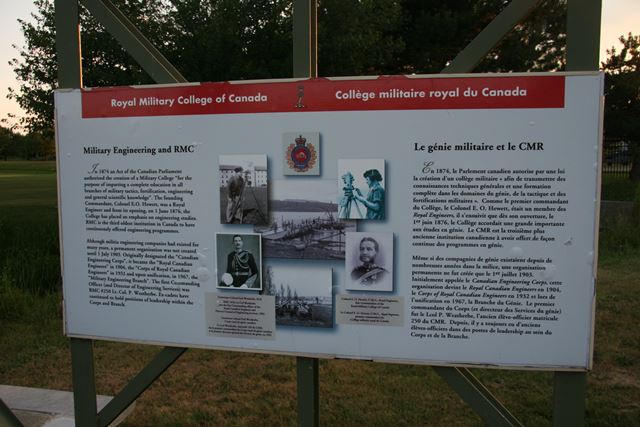

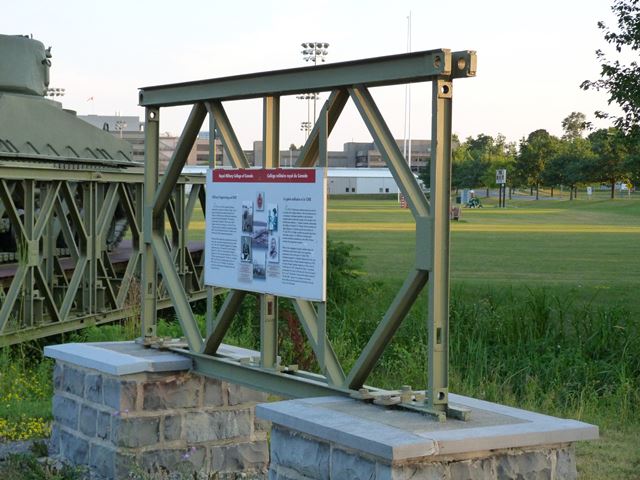
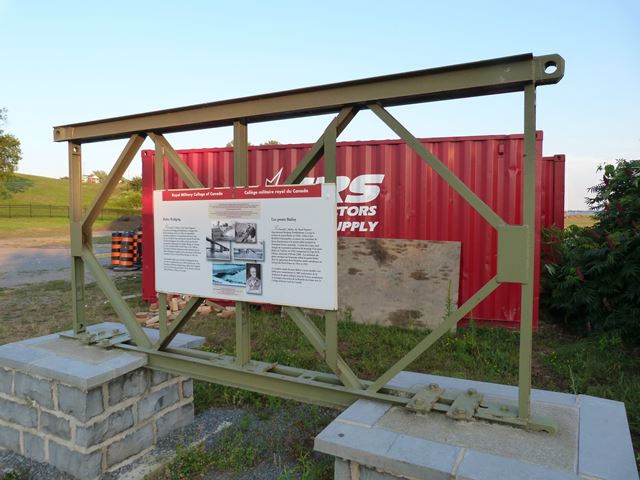
Military engineering interpretive signage.
![]()
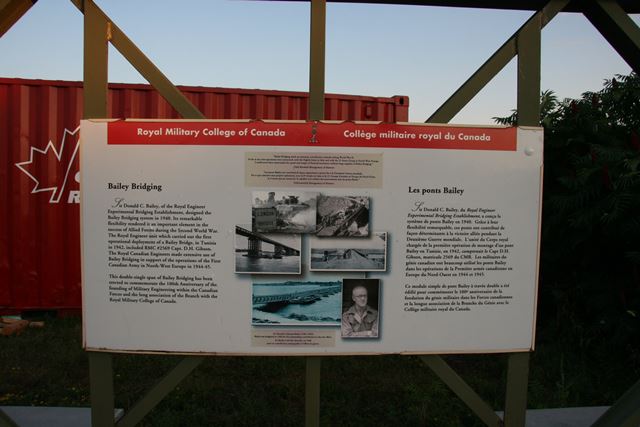
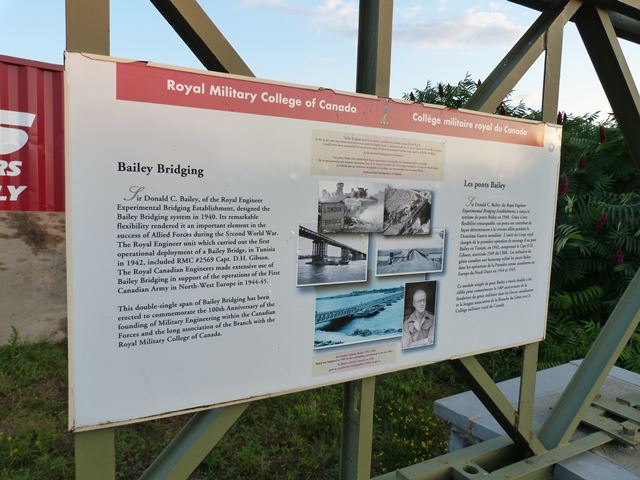
Bailey bridge interpretive signage.
![]()

Bailey panel display.
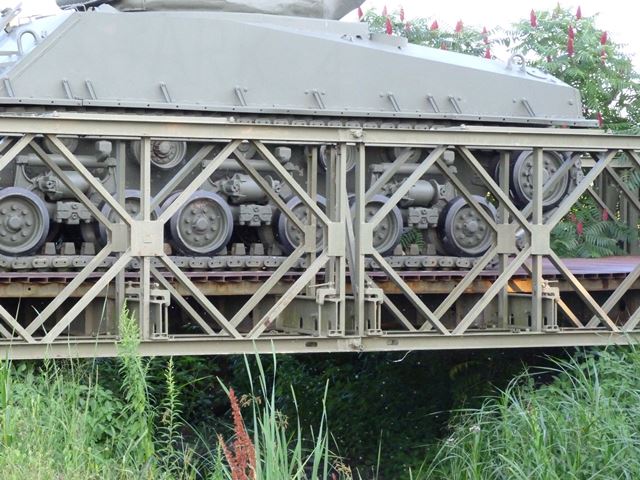
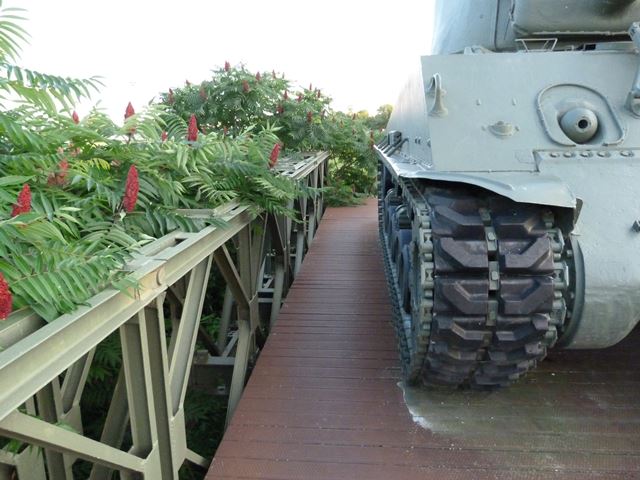
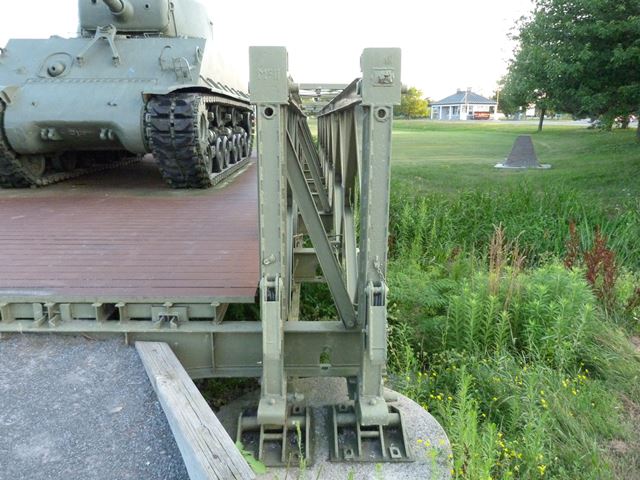
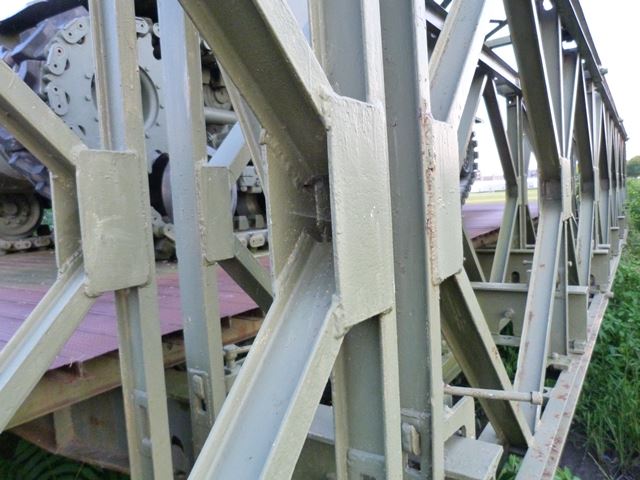
![]()


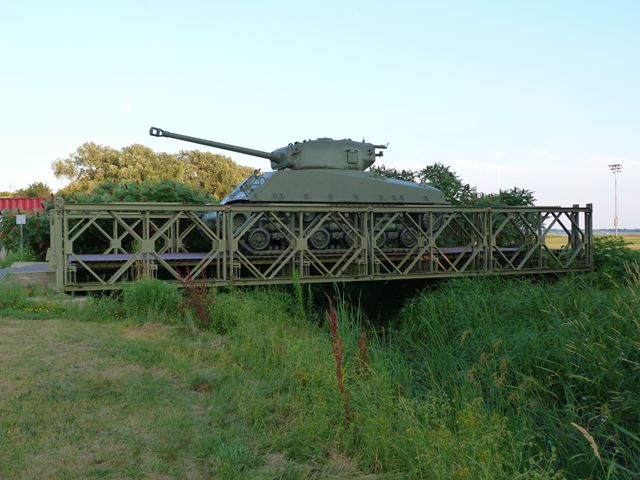
Tank on bridge.
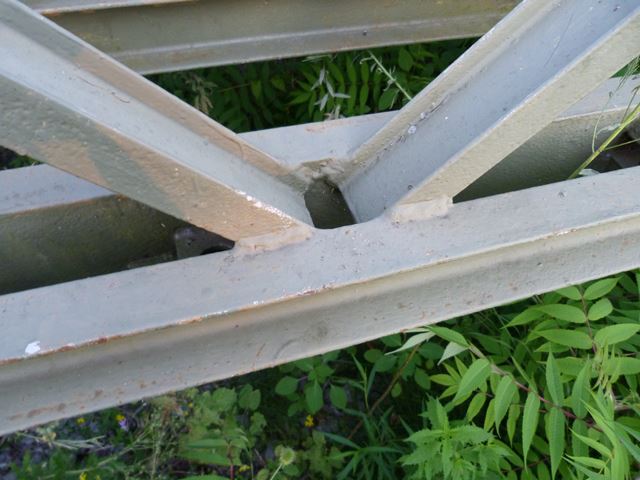
![]()


Bailey truss web.
![]()


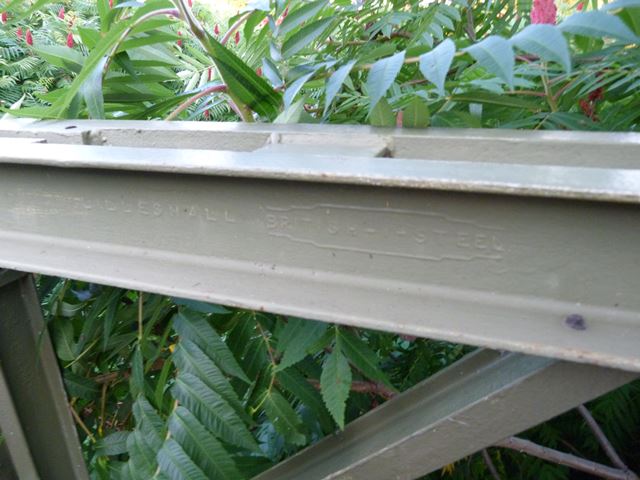


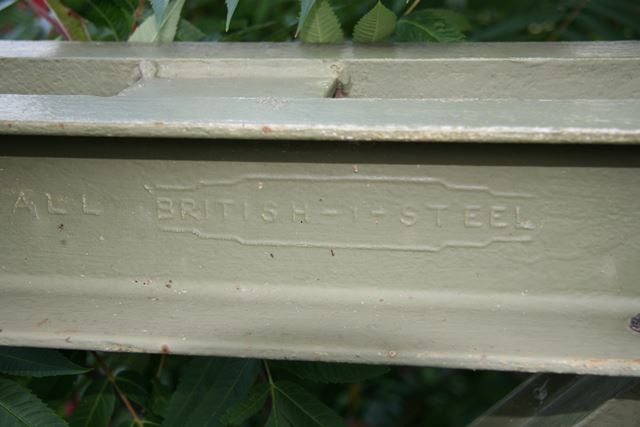
Lilleshall British I-Steel brand.
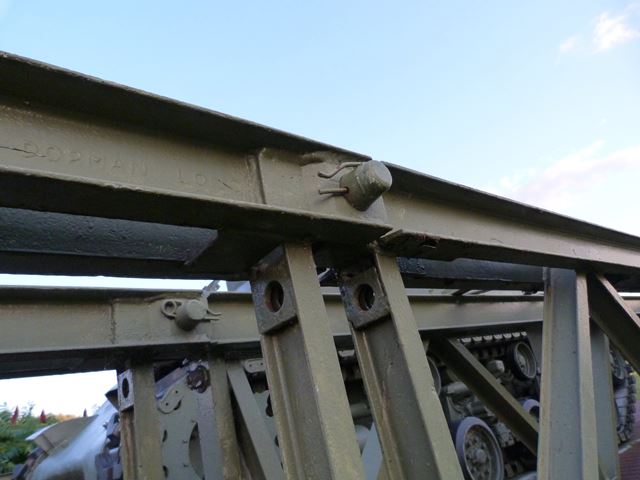
![]()


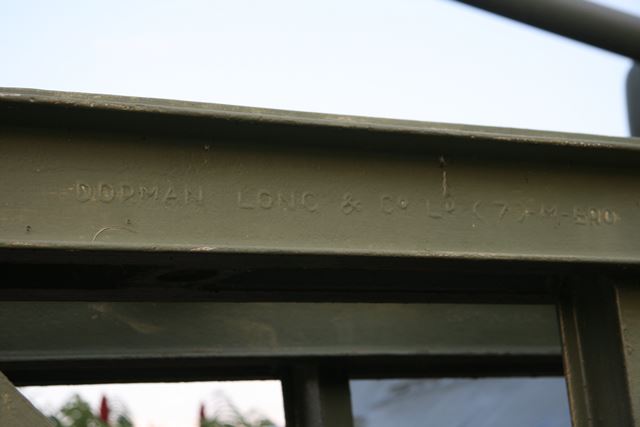
Dorman Long brand.
![]()

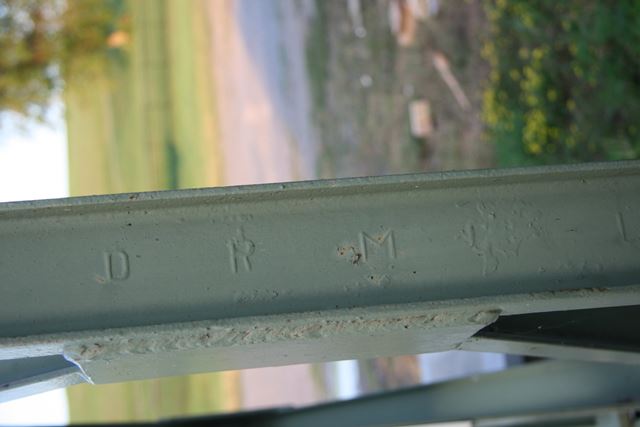
D R M Co. Brand.
![]()
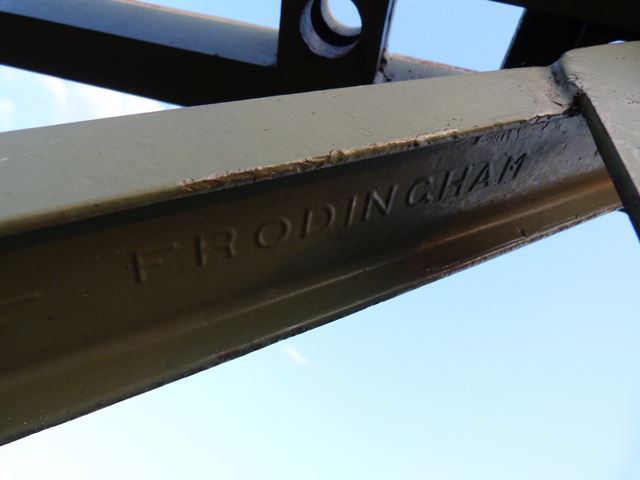
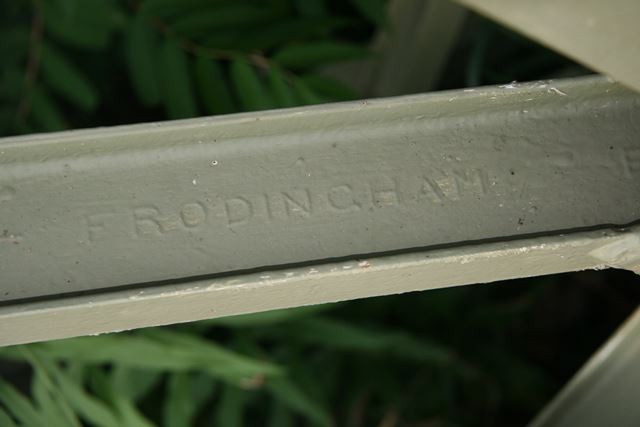

Frodingham brand.
![]()


Unknown brand.
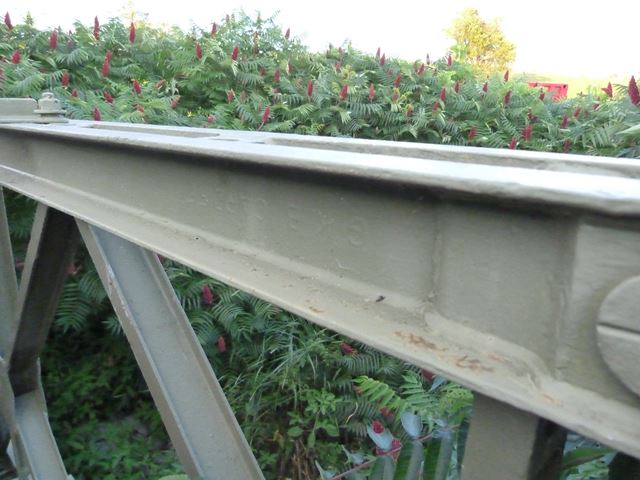
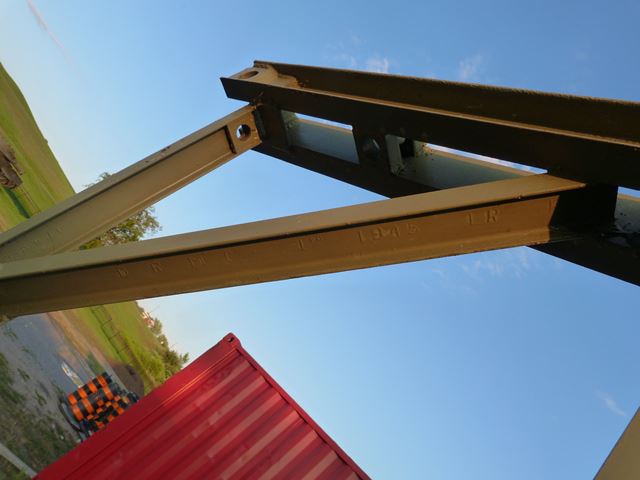
![]()

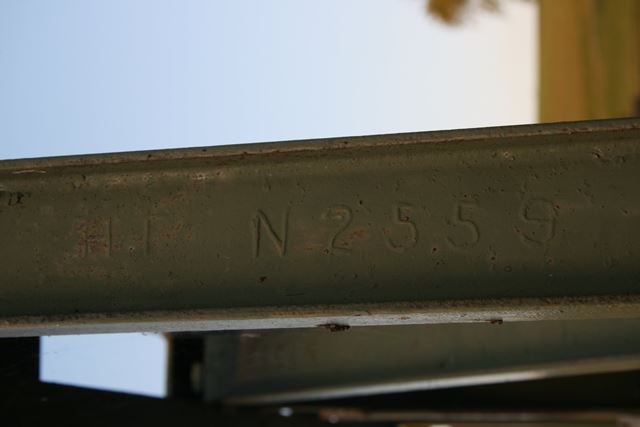
Misc. numbers on steel.
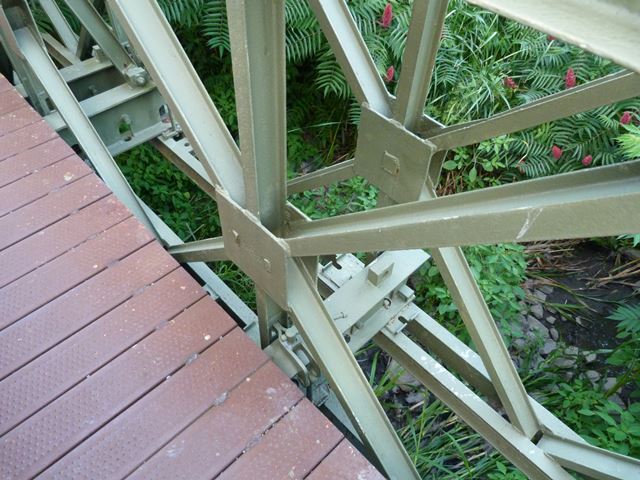
![]()

End of bridge showing stringers and chesses.
![]()

Chesses.
![]()

Transom and stringers.
![]()
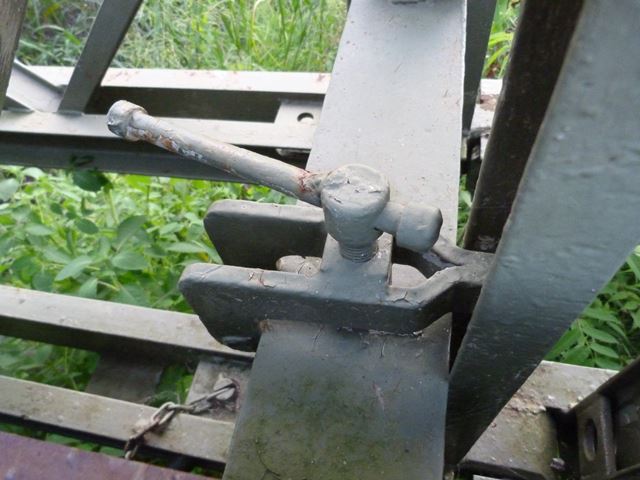

Transom clamp.
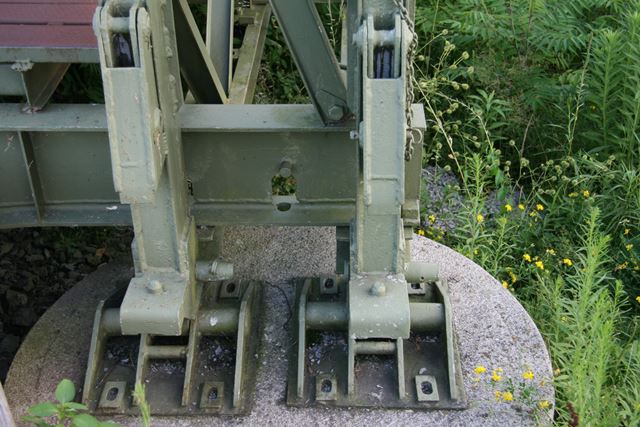
![]()


End post.
![]()
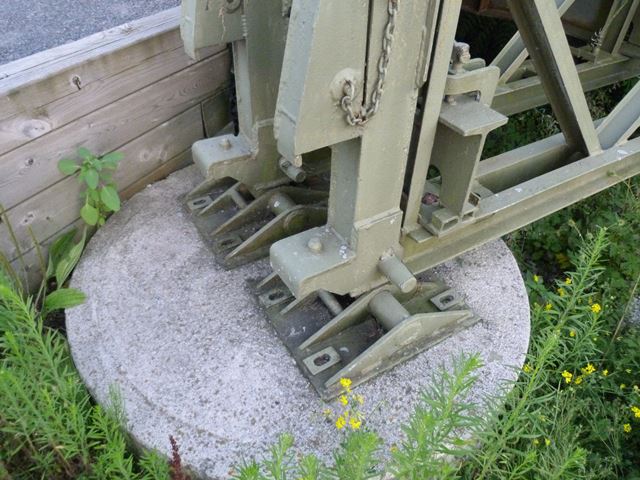

End post detail also showing bearings, and jacking step visible just above on the end post.
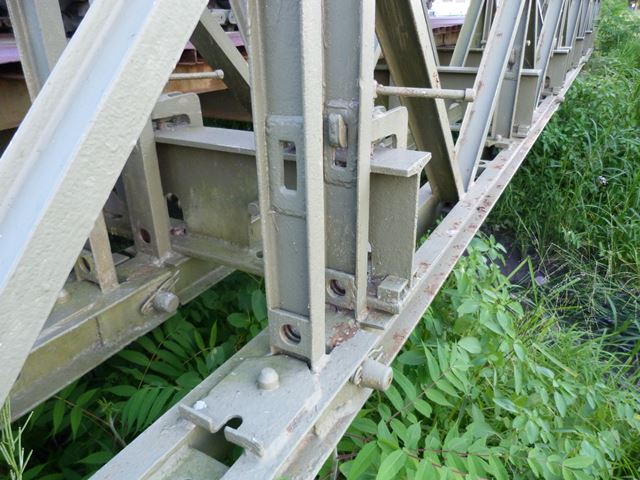
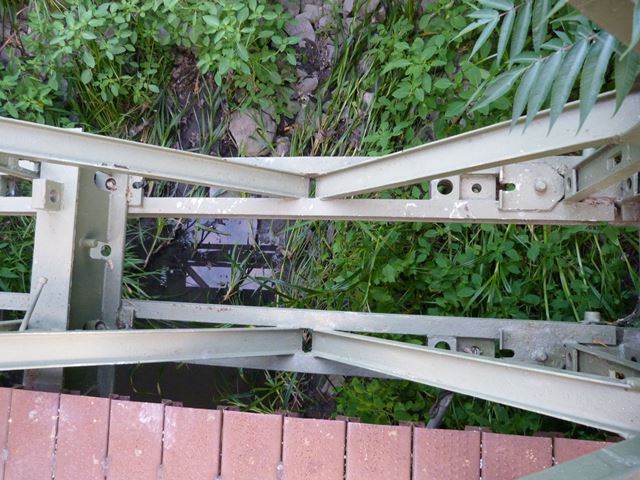
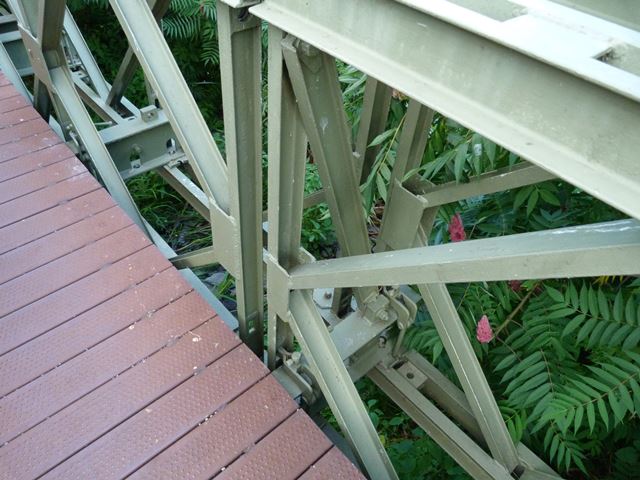
![]()

View looking under bridge with sway brace (a rod with turnbuckle) visible in the background.
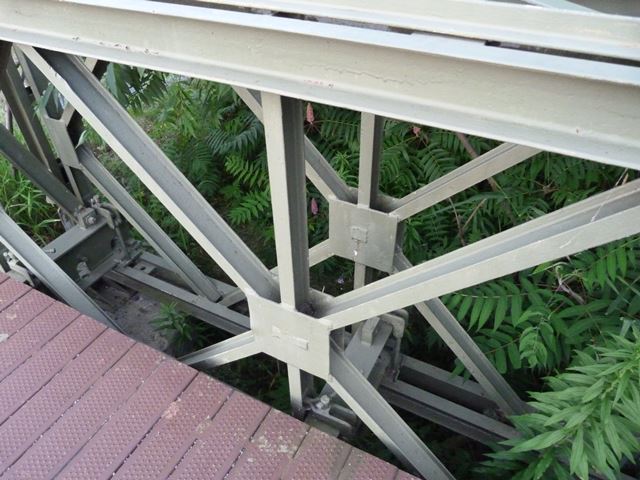
![]()

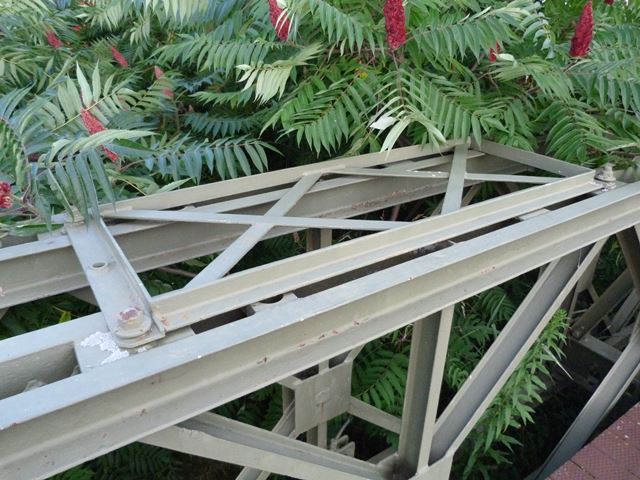

Bracing frame.
![]()


Top chord connections.
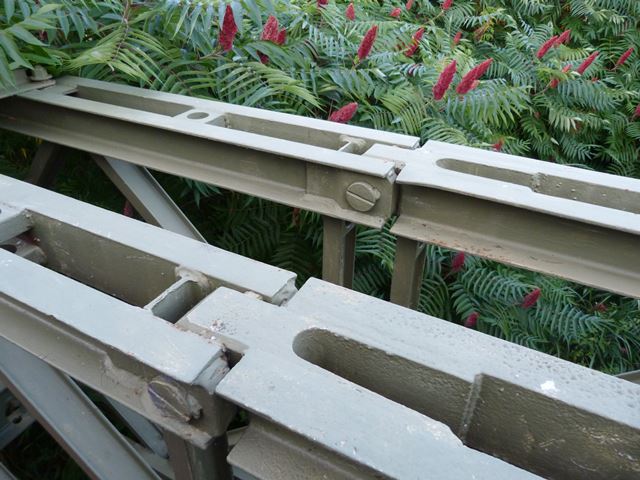
![]()


Bottom chord connections.
![]()


Bottom chord connections with raker.
![]()

Views showing the two truss lines, with rakers visible in between. The top of the left end post has MkII welded on it, which refers to Bailey Model Mark 2.
![]()


Bottom chord.
![]()


Top chord.
![]()


Bailey panel details.
![]()
![]()
| Back |
| Home |
| Top |

![]()