
Uncredited photos on this page taken by: Nathan Holth. Unless stated in a caption, all photos are Copyright with All Rights Reserved. Learn about reuse of our photos.
![]()

Photo Credit: Dave Stinchcombe
Elevation.
![]()

Photo Credit: Dave Stinchcombe
View beside bridge.
![]()
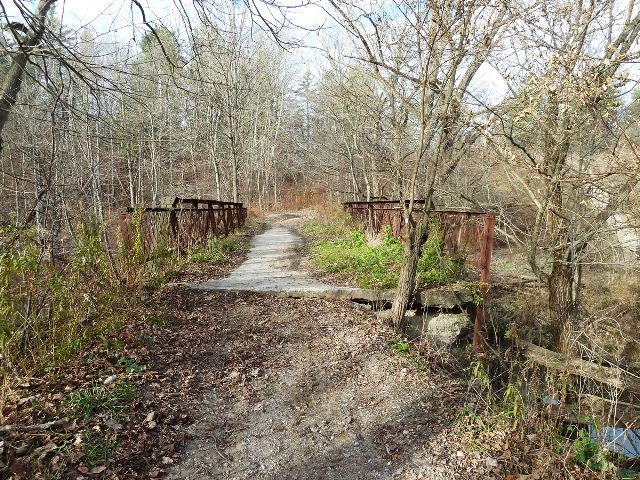
Photo Credit: Dave Stinchcombe
Portal view.
![]()

Photo Credit: Dave Stinchcombe
Top chord connection.
![]()

Photo Credit: Dave Stinchcombe
Bottom chord connection.
![]()


Photo Credit: Dave Stinchcombe
Views of the truss web. Also note abutment deterioration in the photo to the right.
![]()

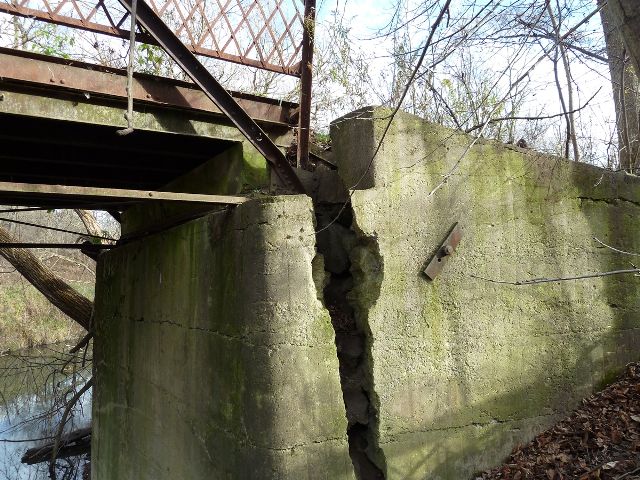

Photo Credit: Dave Stinchcombe
Views of the abutments. Note the large crack in the abutment shown in the two rightmost photos.
![]()


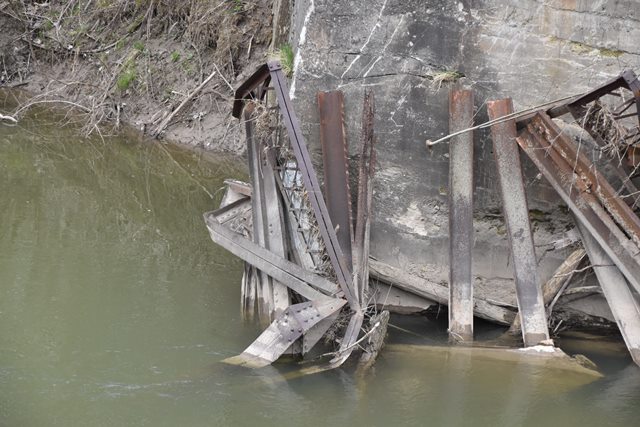

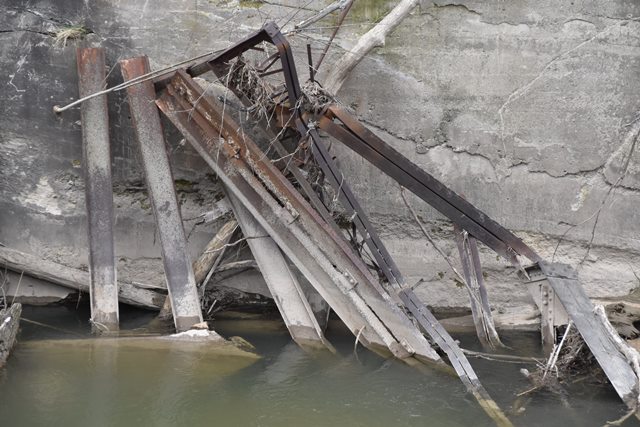


Bridge in 2022, showing that bridge was never removed.
![]()
![]()
| Back |
| Home |
| Top |

![]()