
Uncredited photos on this page taken by: Nathan Holth. Unless stated in a caption, all photos are Copyright with All Rights Reserved. Learn about reuse of our photos.
![]()


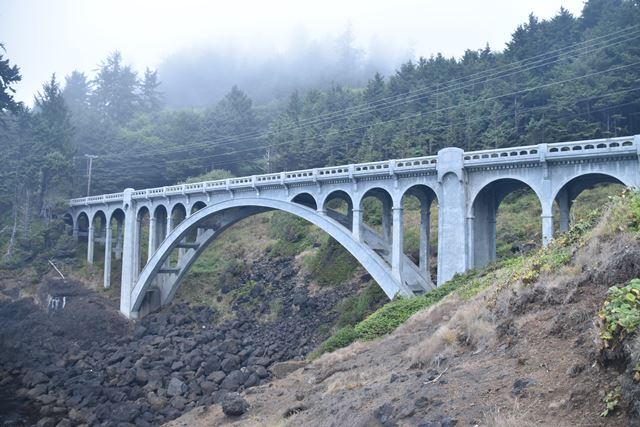


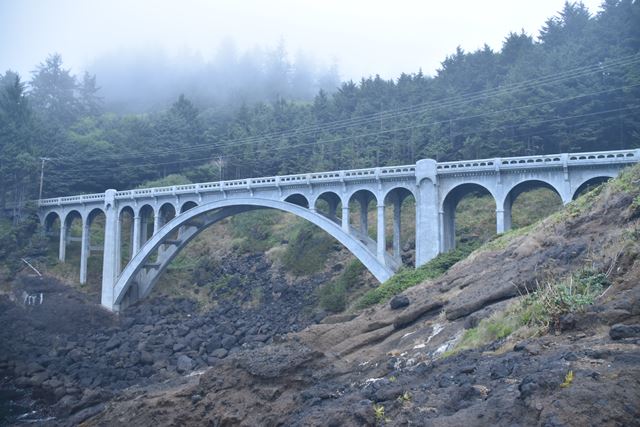

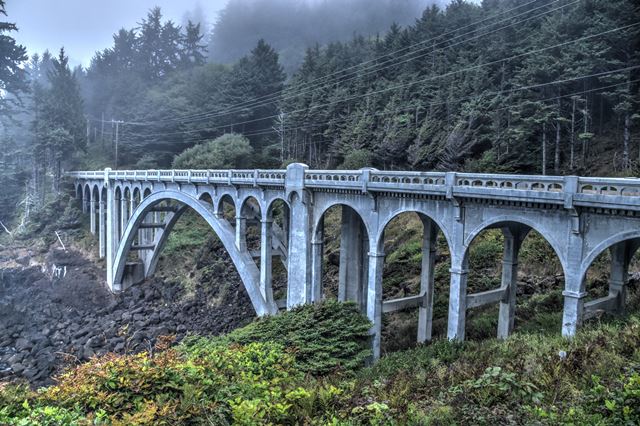
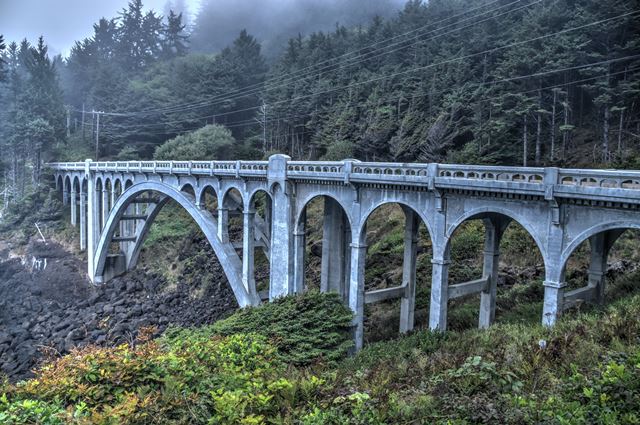
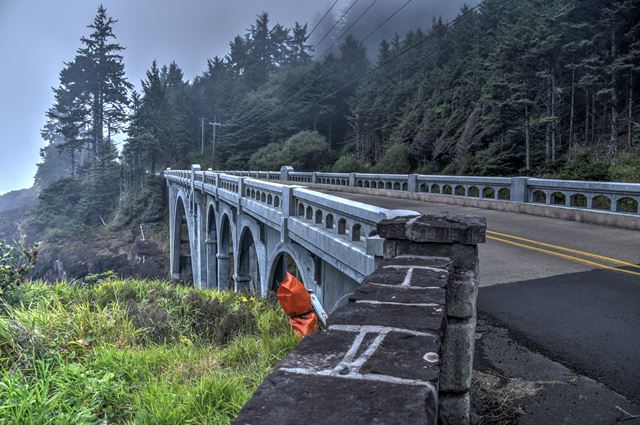
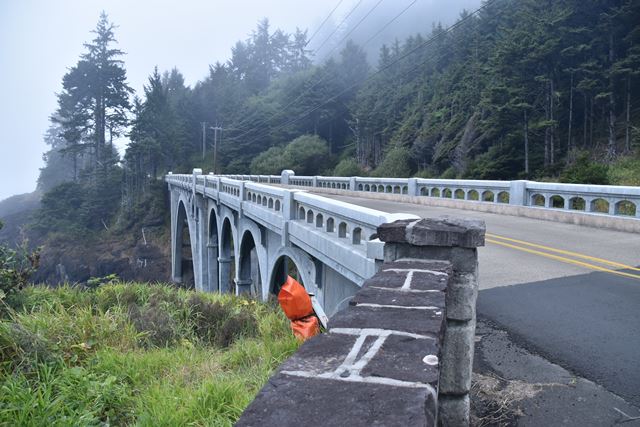
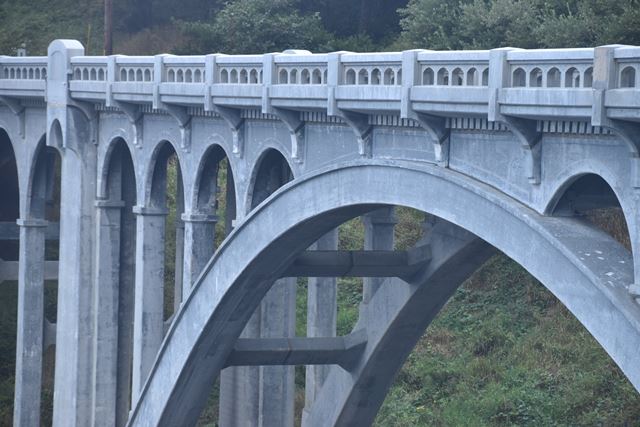
Elevation from southwest quadrant.
![]()


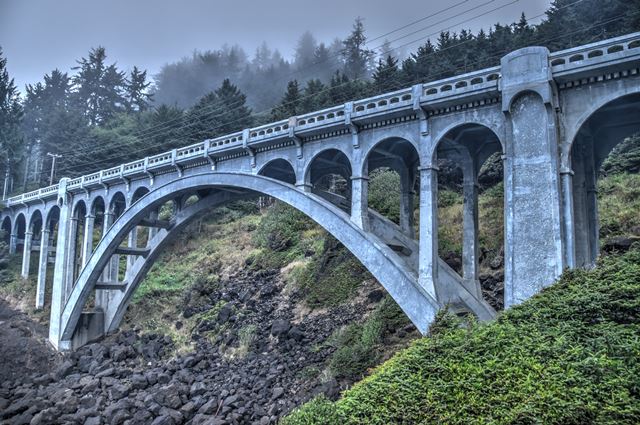


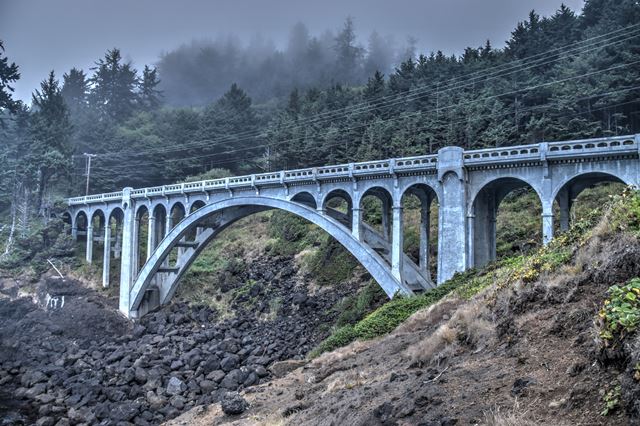
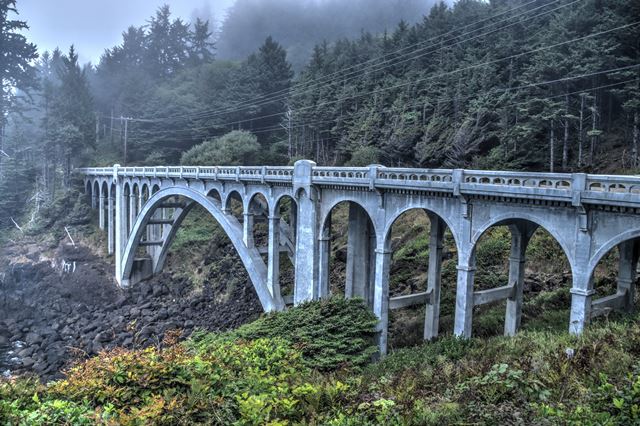
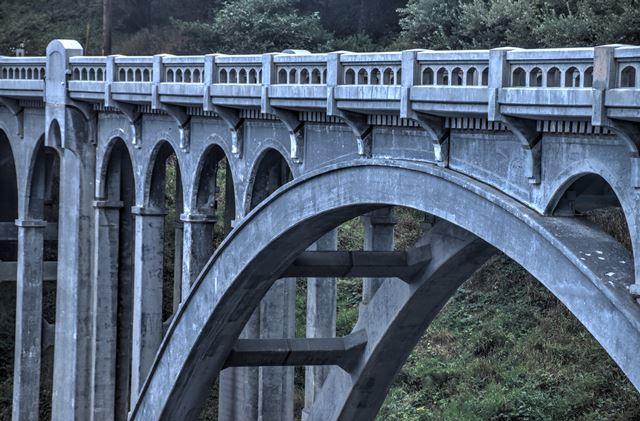
Elevation of main span from southwest quadrant.
![]()


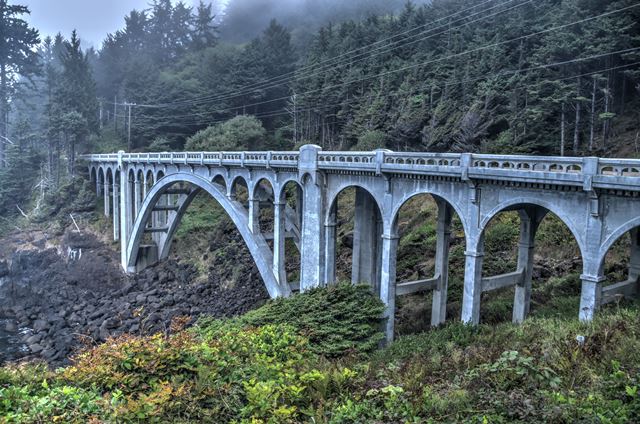


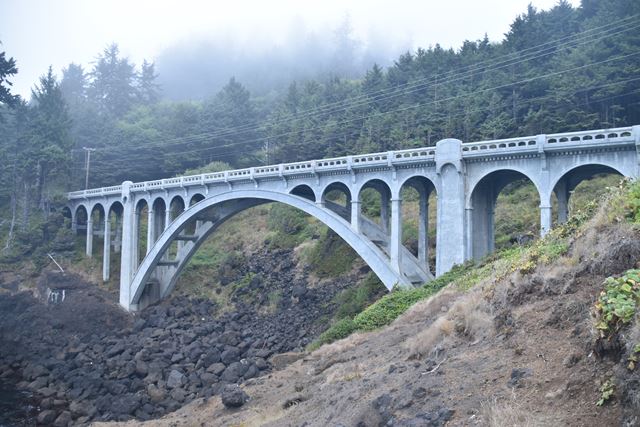
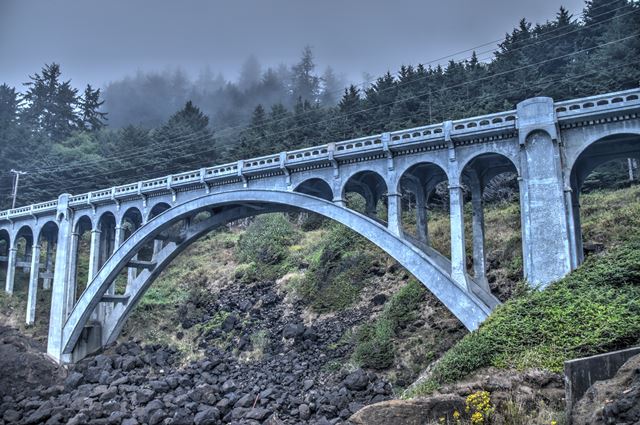
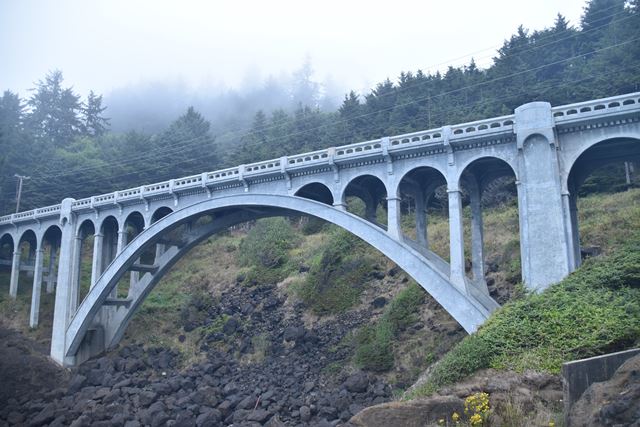
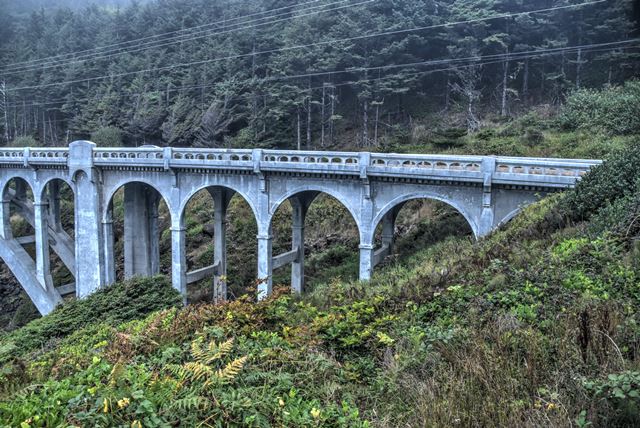
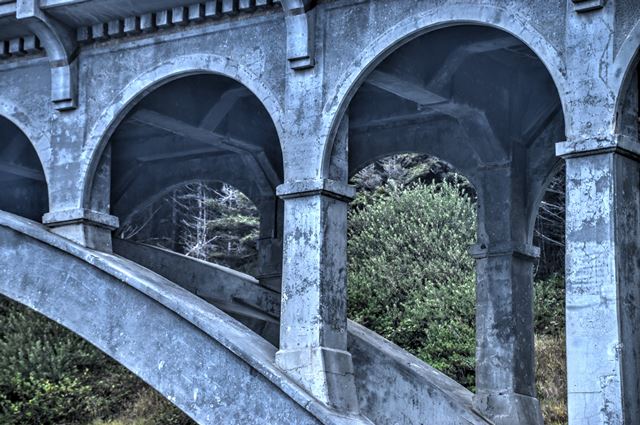
Views beside bridge from southwest quadrant.
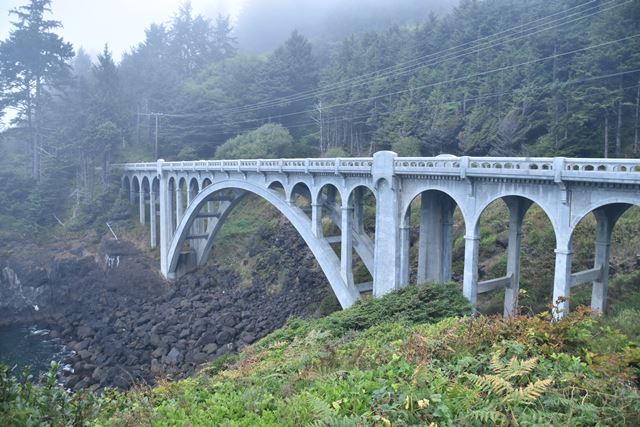
![]()
![]()
![]()
Panoramic views beside bridge from southwest quadrant.
![]()

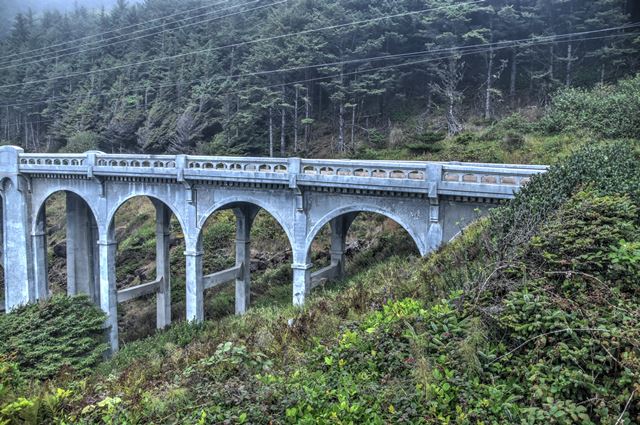


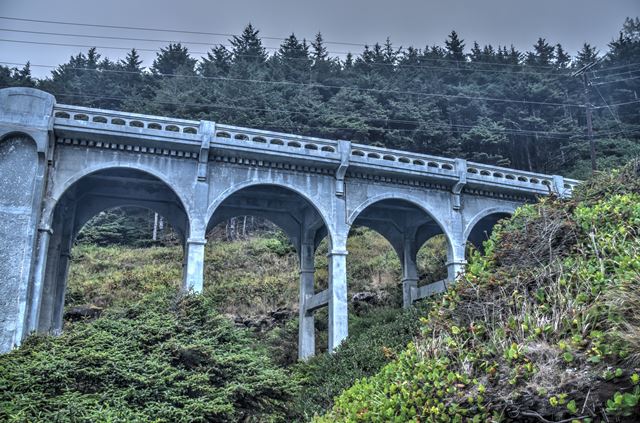
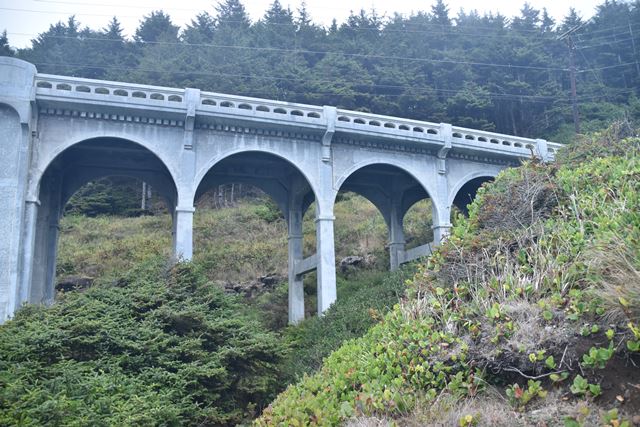

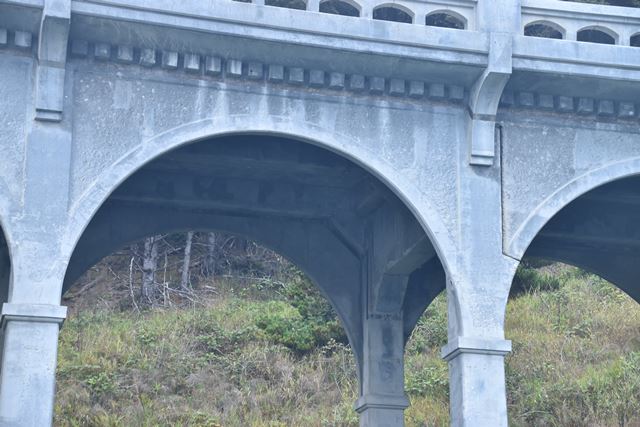
Approach spans as seen from southwest quadrant.
![]()

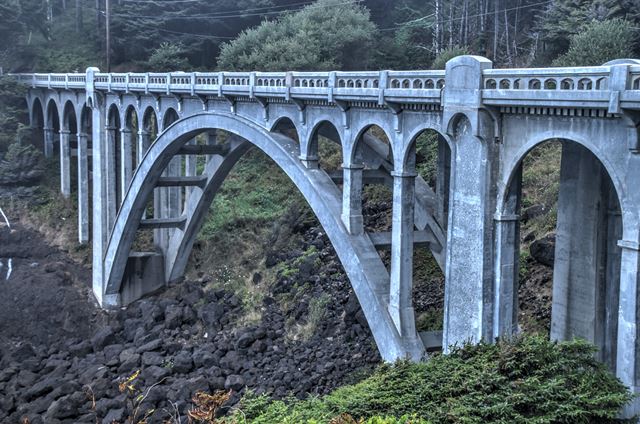
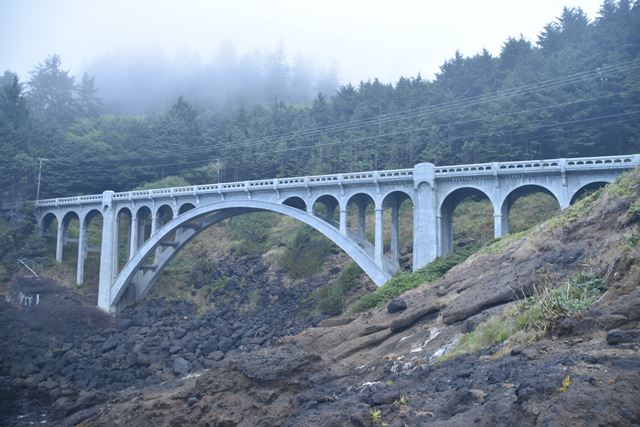
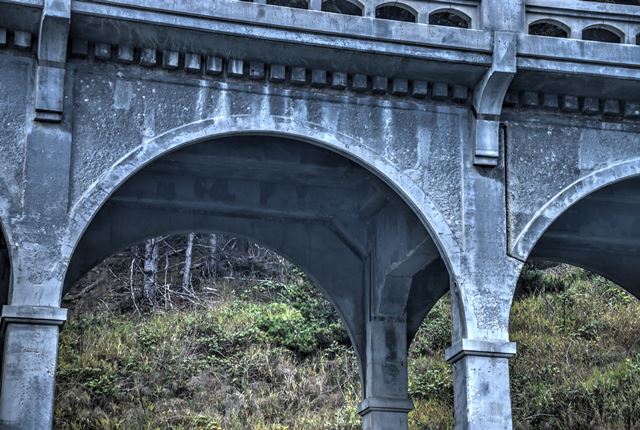
Main span as seen from southwest quadrant.
![]()

Portal view facing south.
![]()
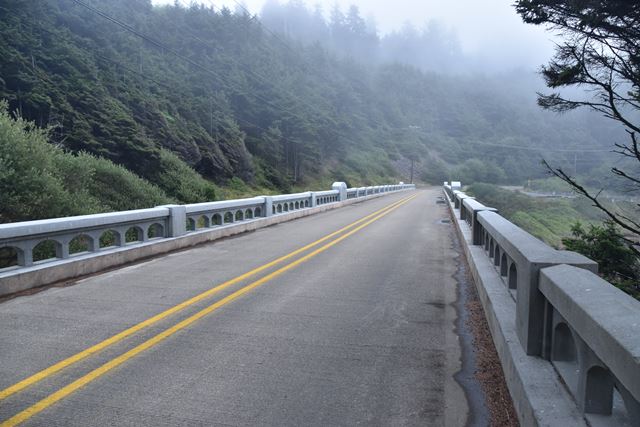

Portal view on bridge facing south.
![]()

Rehabilitation plaque.
![]()


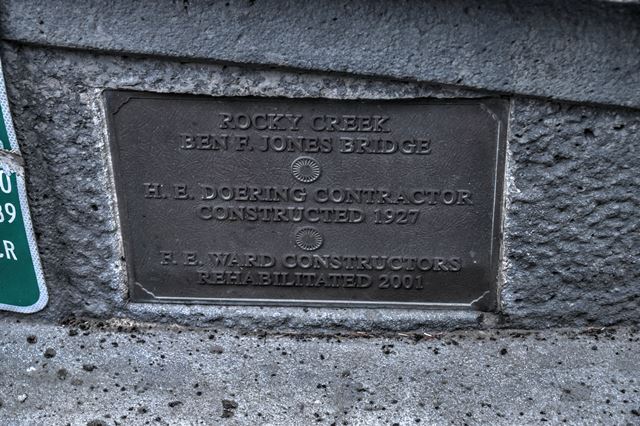
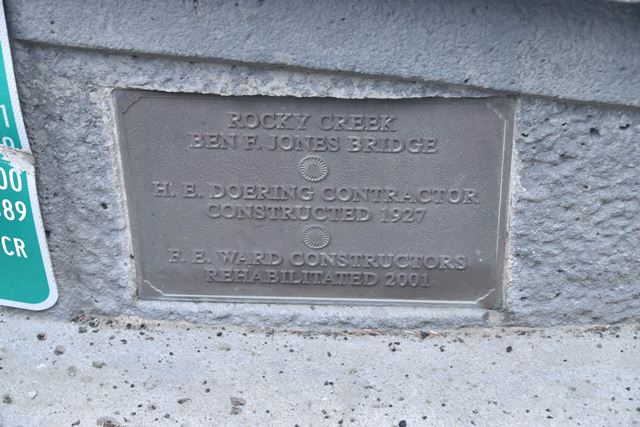
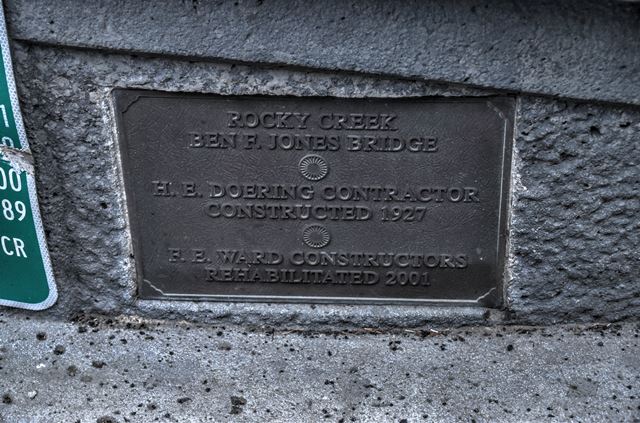
Dedication plaque.
![]()

ODOT bridge marker.
![]()


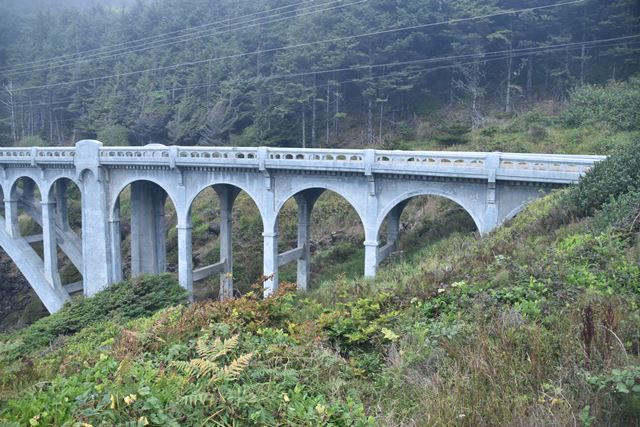
Oblique views from southwest quadrant.
![]()


Interpretive kiosk including a piece of salvaged original railing.
![]()
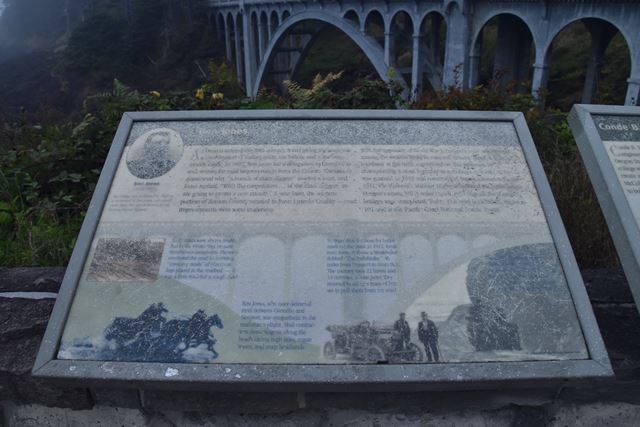


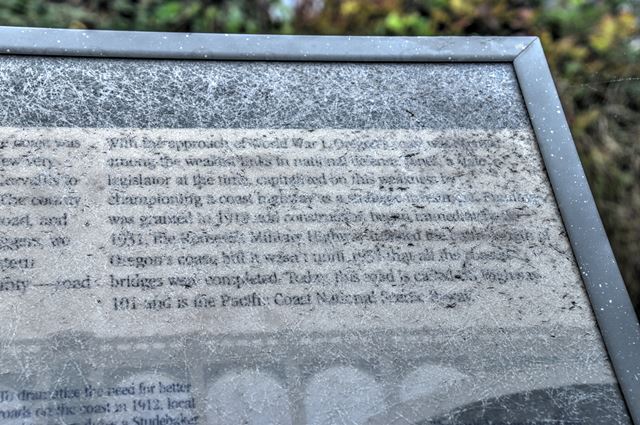
Ben Jones interpretive signage, which was unfortunately damaged and faded.
![]()
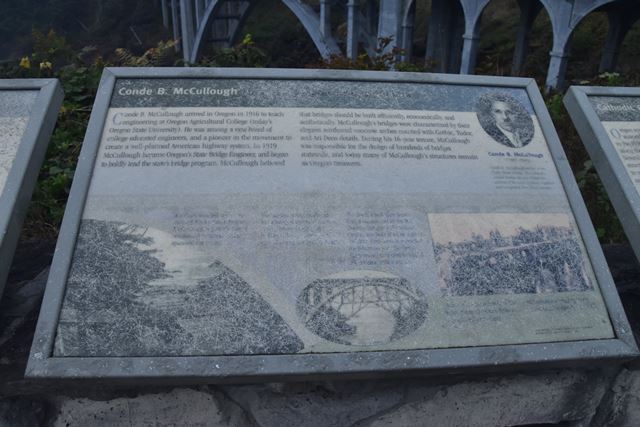


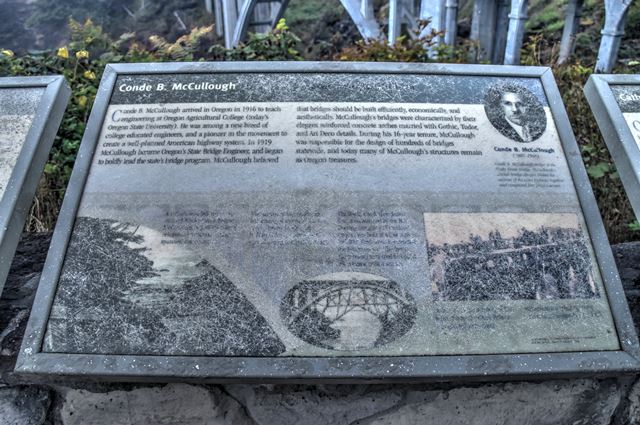
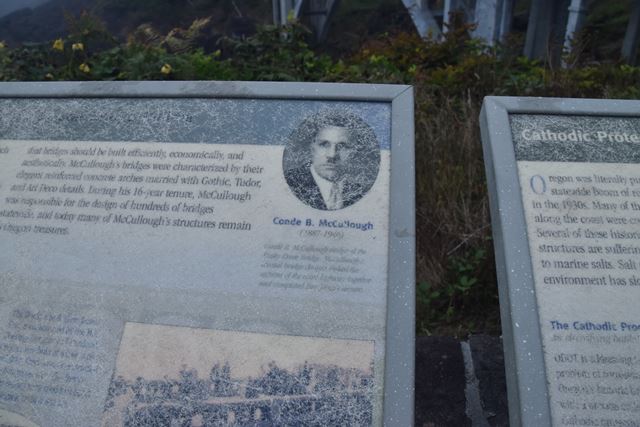
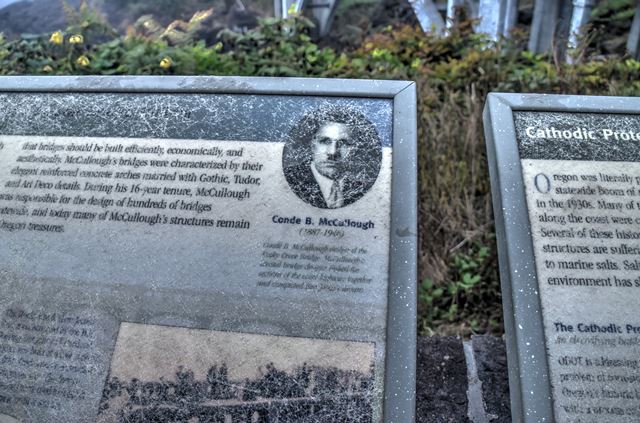
Conde McCullough interpretive signage, which was unfortunately damaged and faded.
![]()


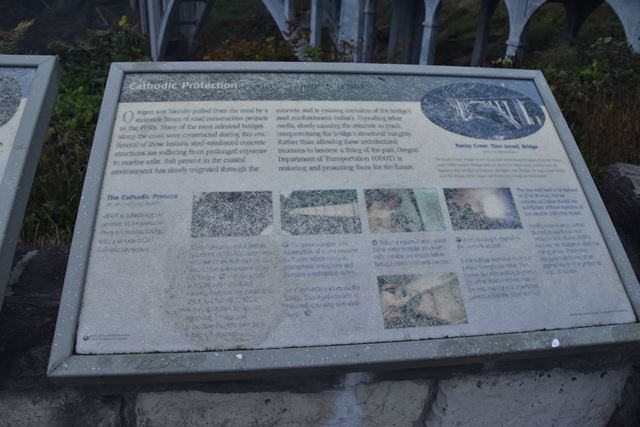

Cathodic protection interpretive signage, which was unfortunately damaged and faded.
![]()
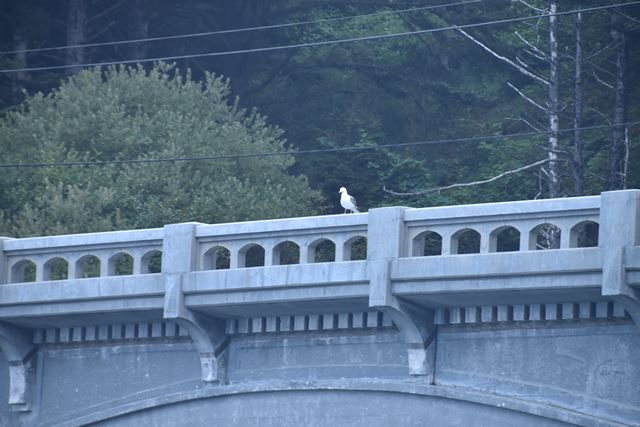


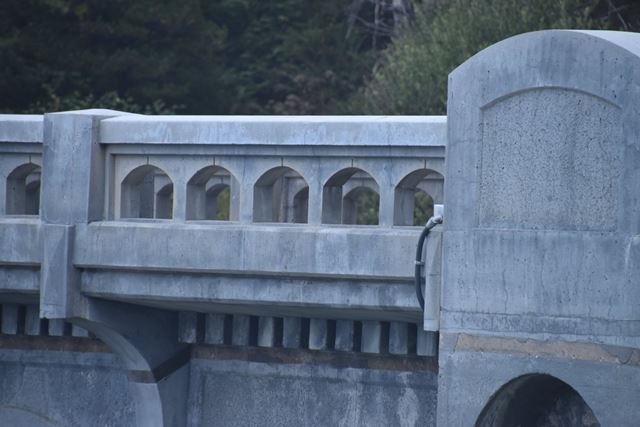

Railing as viewed from beside bridge.
![]()
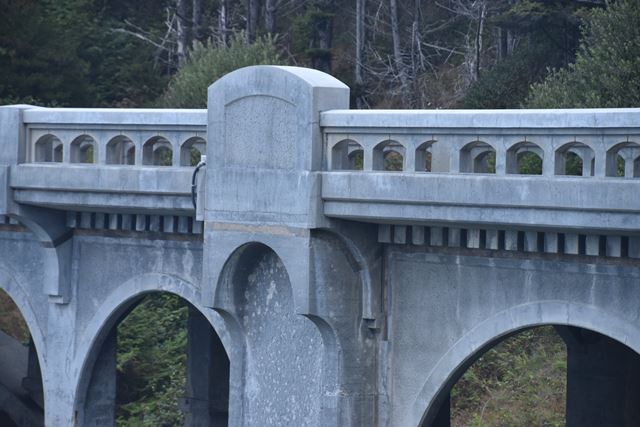


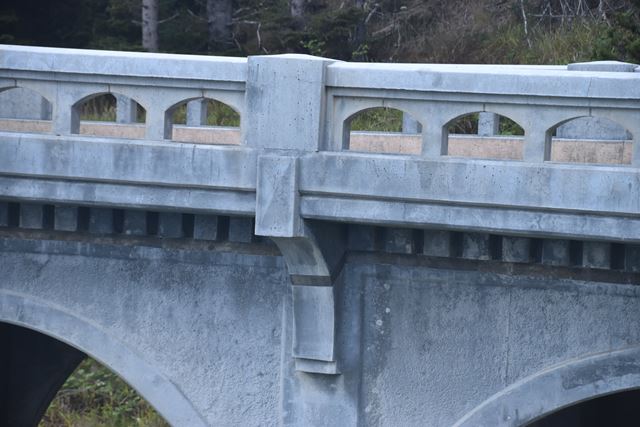
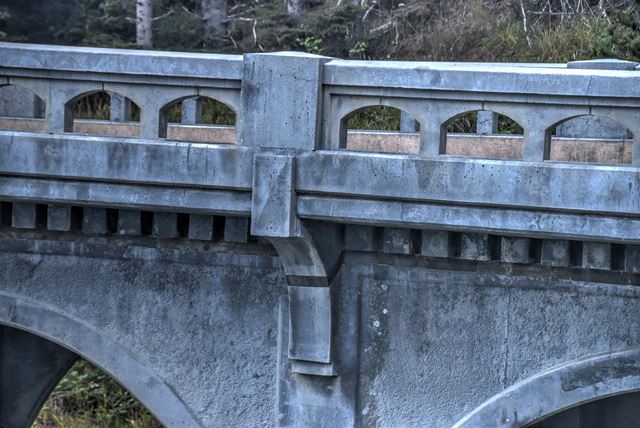
Railing at pier.
![]()

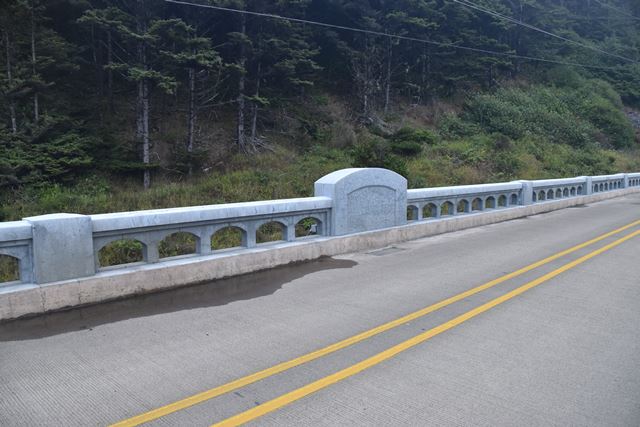
Approach railing.
![]()
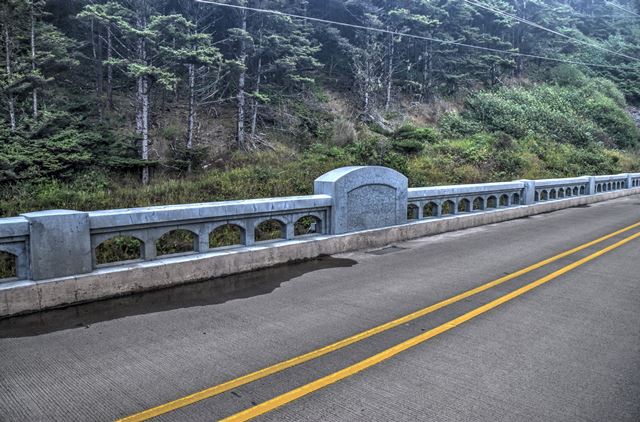
Railing as viewed from on bridge.
![]()

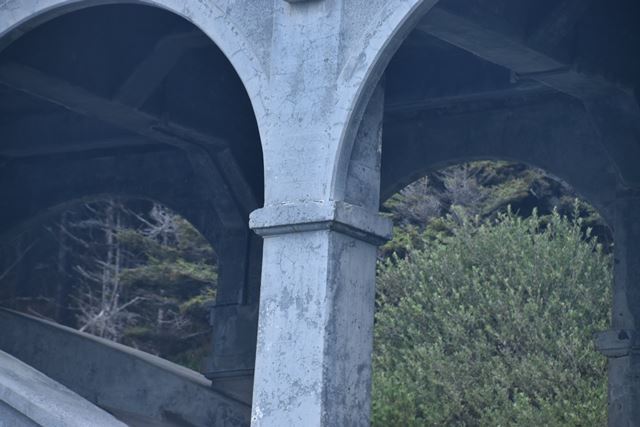
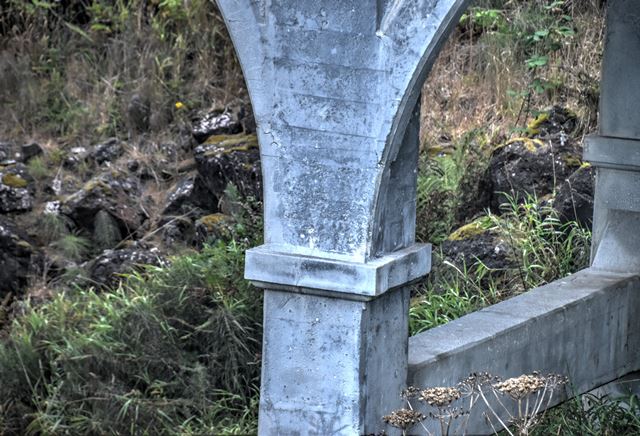
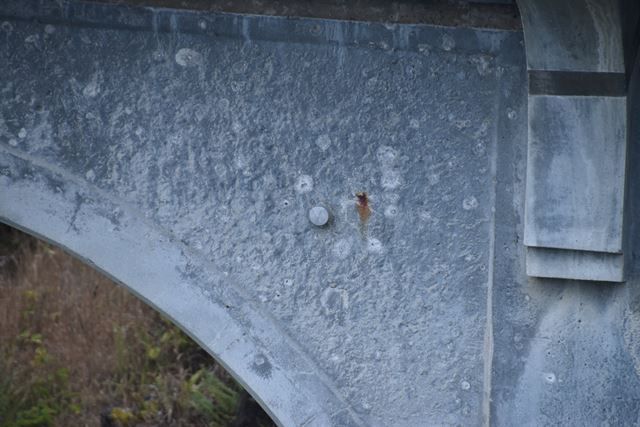
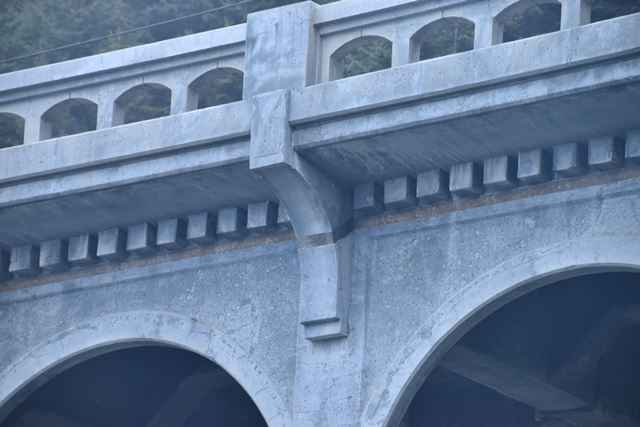
Spandrel detail.
![]()


Arch rib details.
![]()


Columns.
![]()


Bracing between arch ribs.
![]()
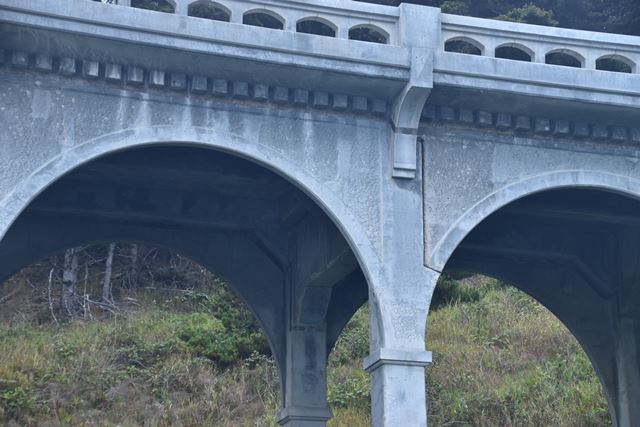


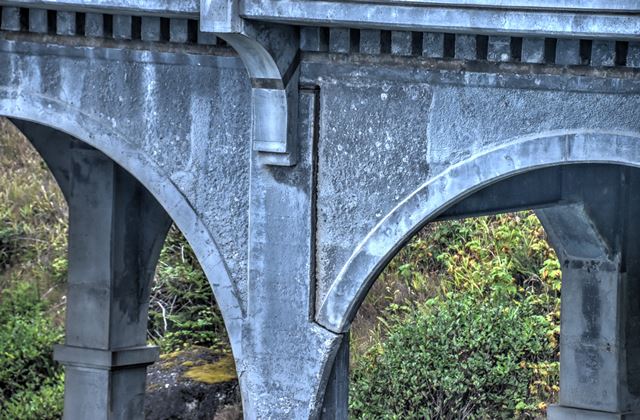


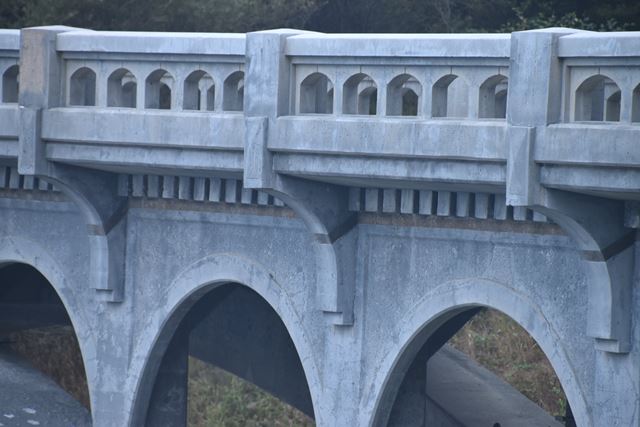
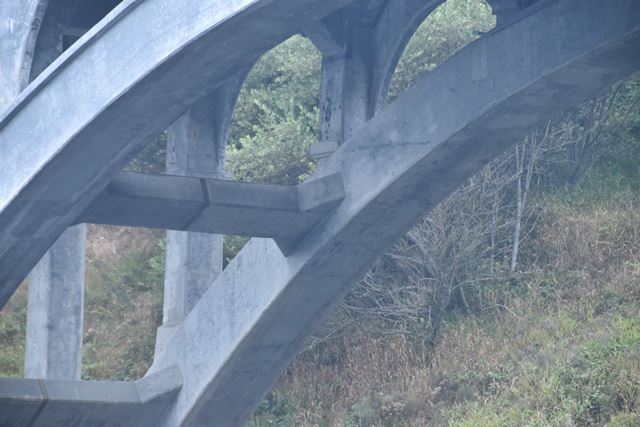
Details of the deck fascia arches.
![]()
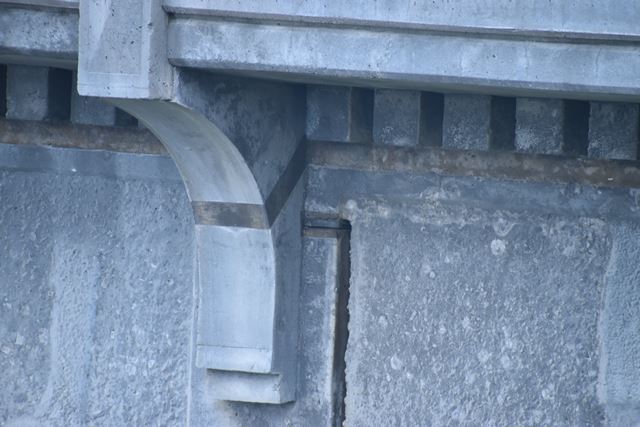


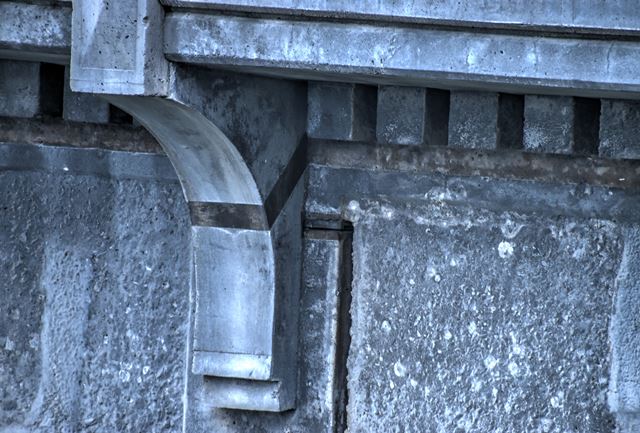
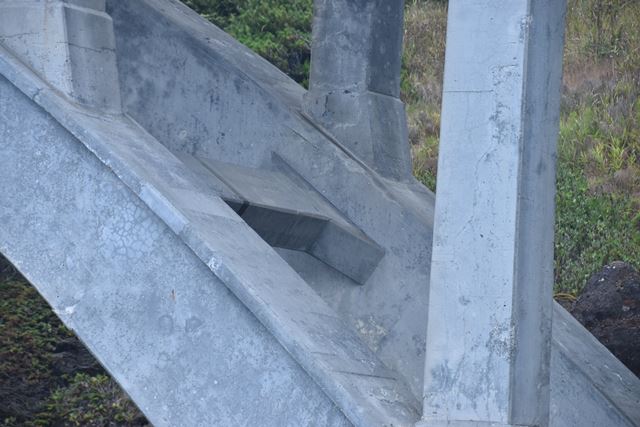
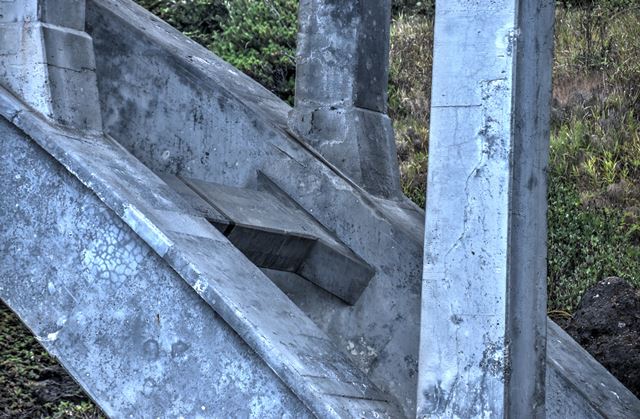
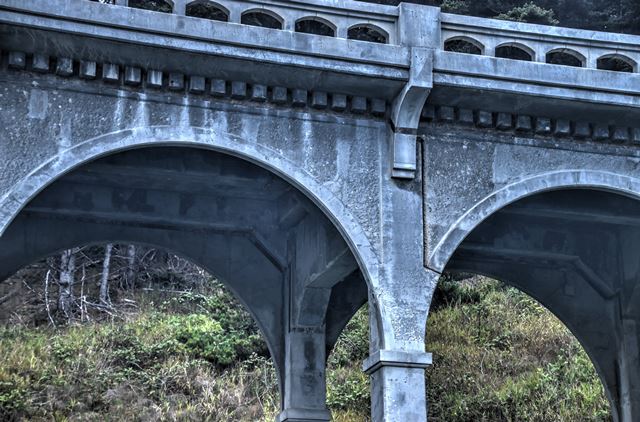
Hidden bearing/joint on deck fascia arches.
![]()

Deck cantilever.
![]()

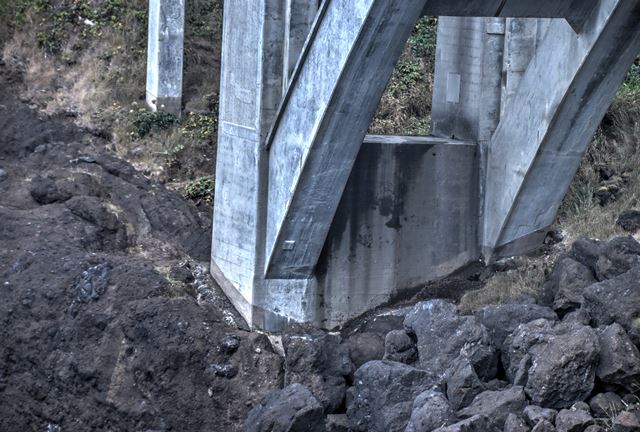
Pier.
![]()


Details showing electrical wiring for cathodic protection.
![]()


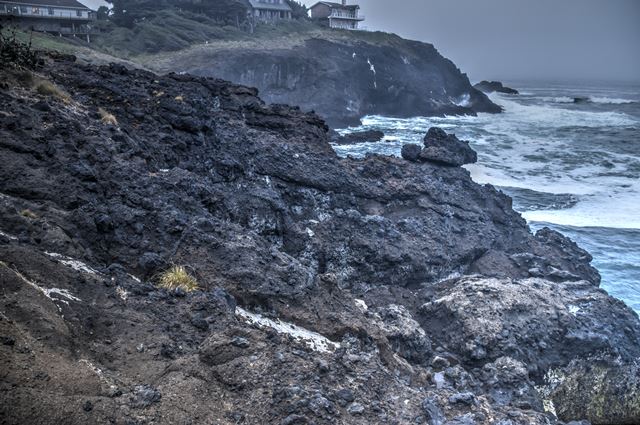
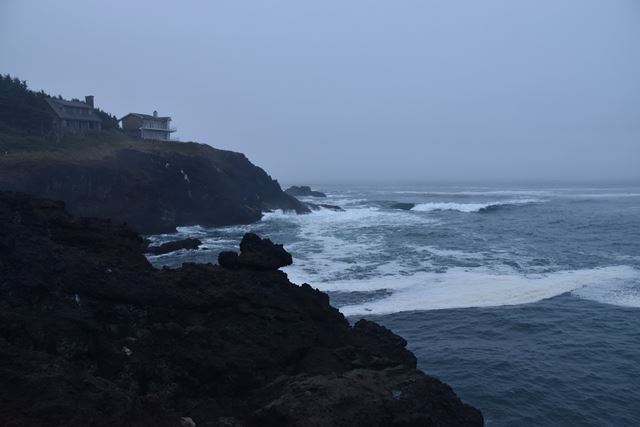


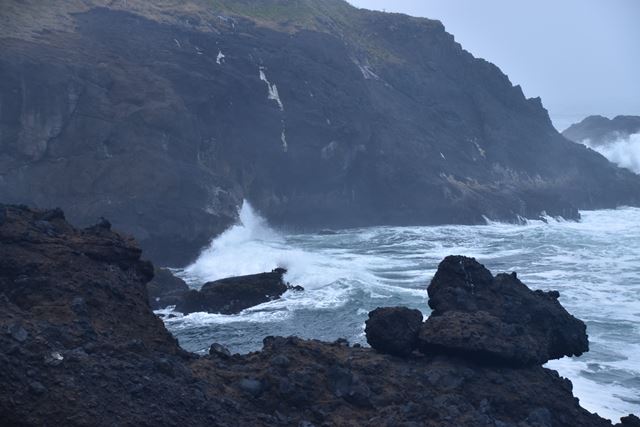
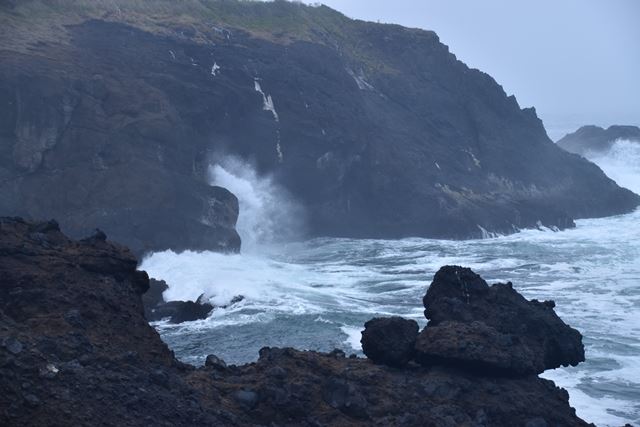
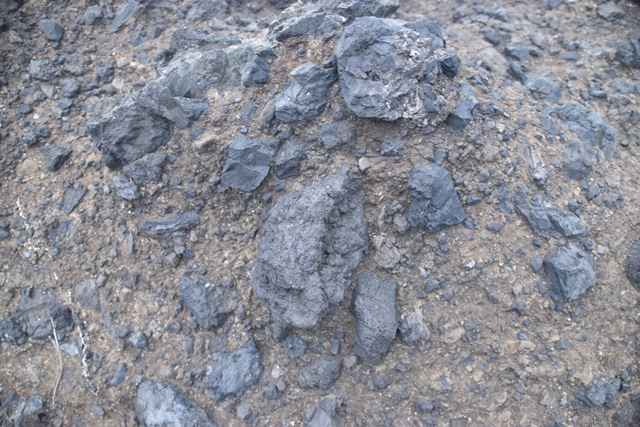


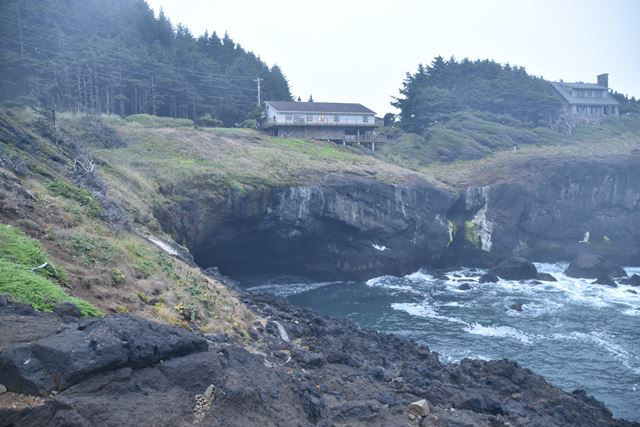


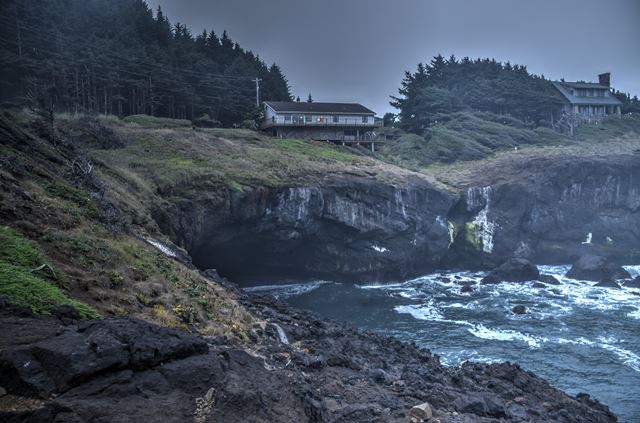


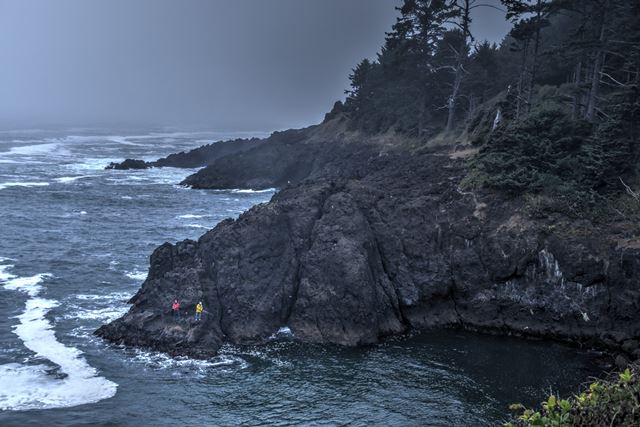
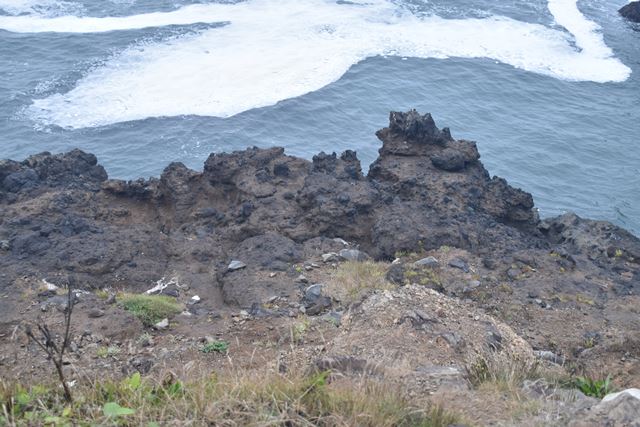
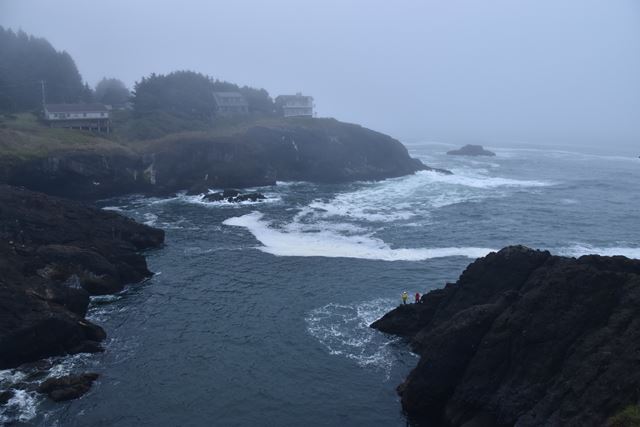
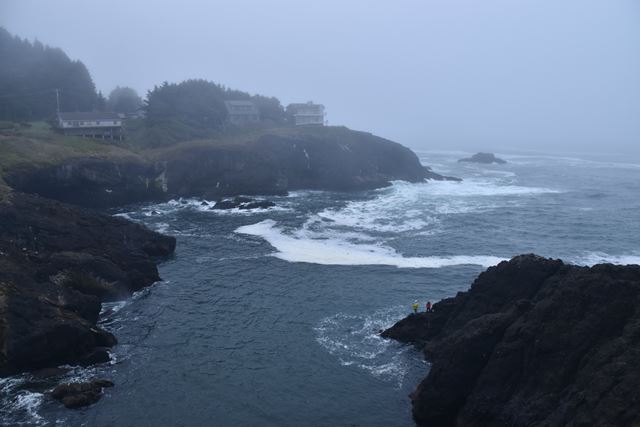

Scenery and rocks found in vicinity of bridge.
![]()
![]()
| Back |
| Home |
| Top |

![]()