Uncredited photos on this page taken by: Nathan Holth. Unless stated in a caption, all photos are Copyright with All Rights Reserved. Learn about reuse of our photos.
![]()

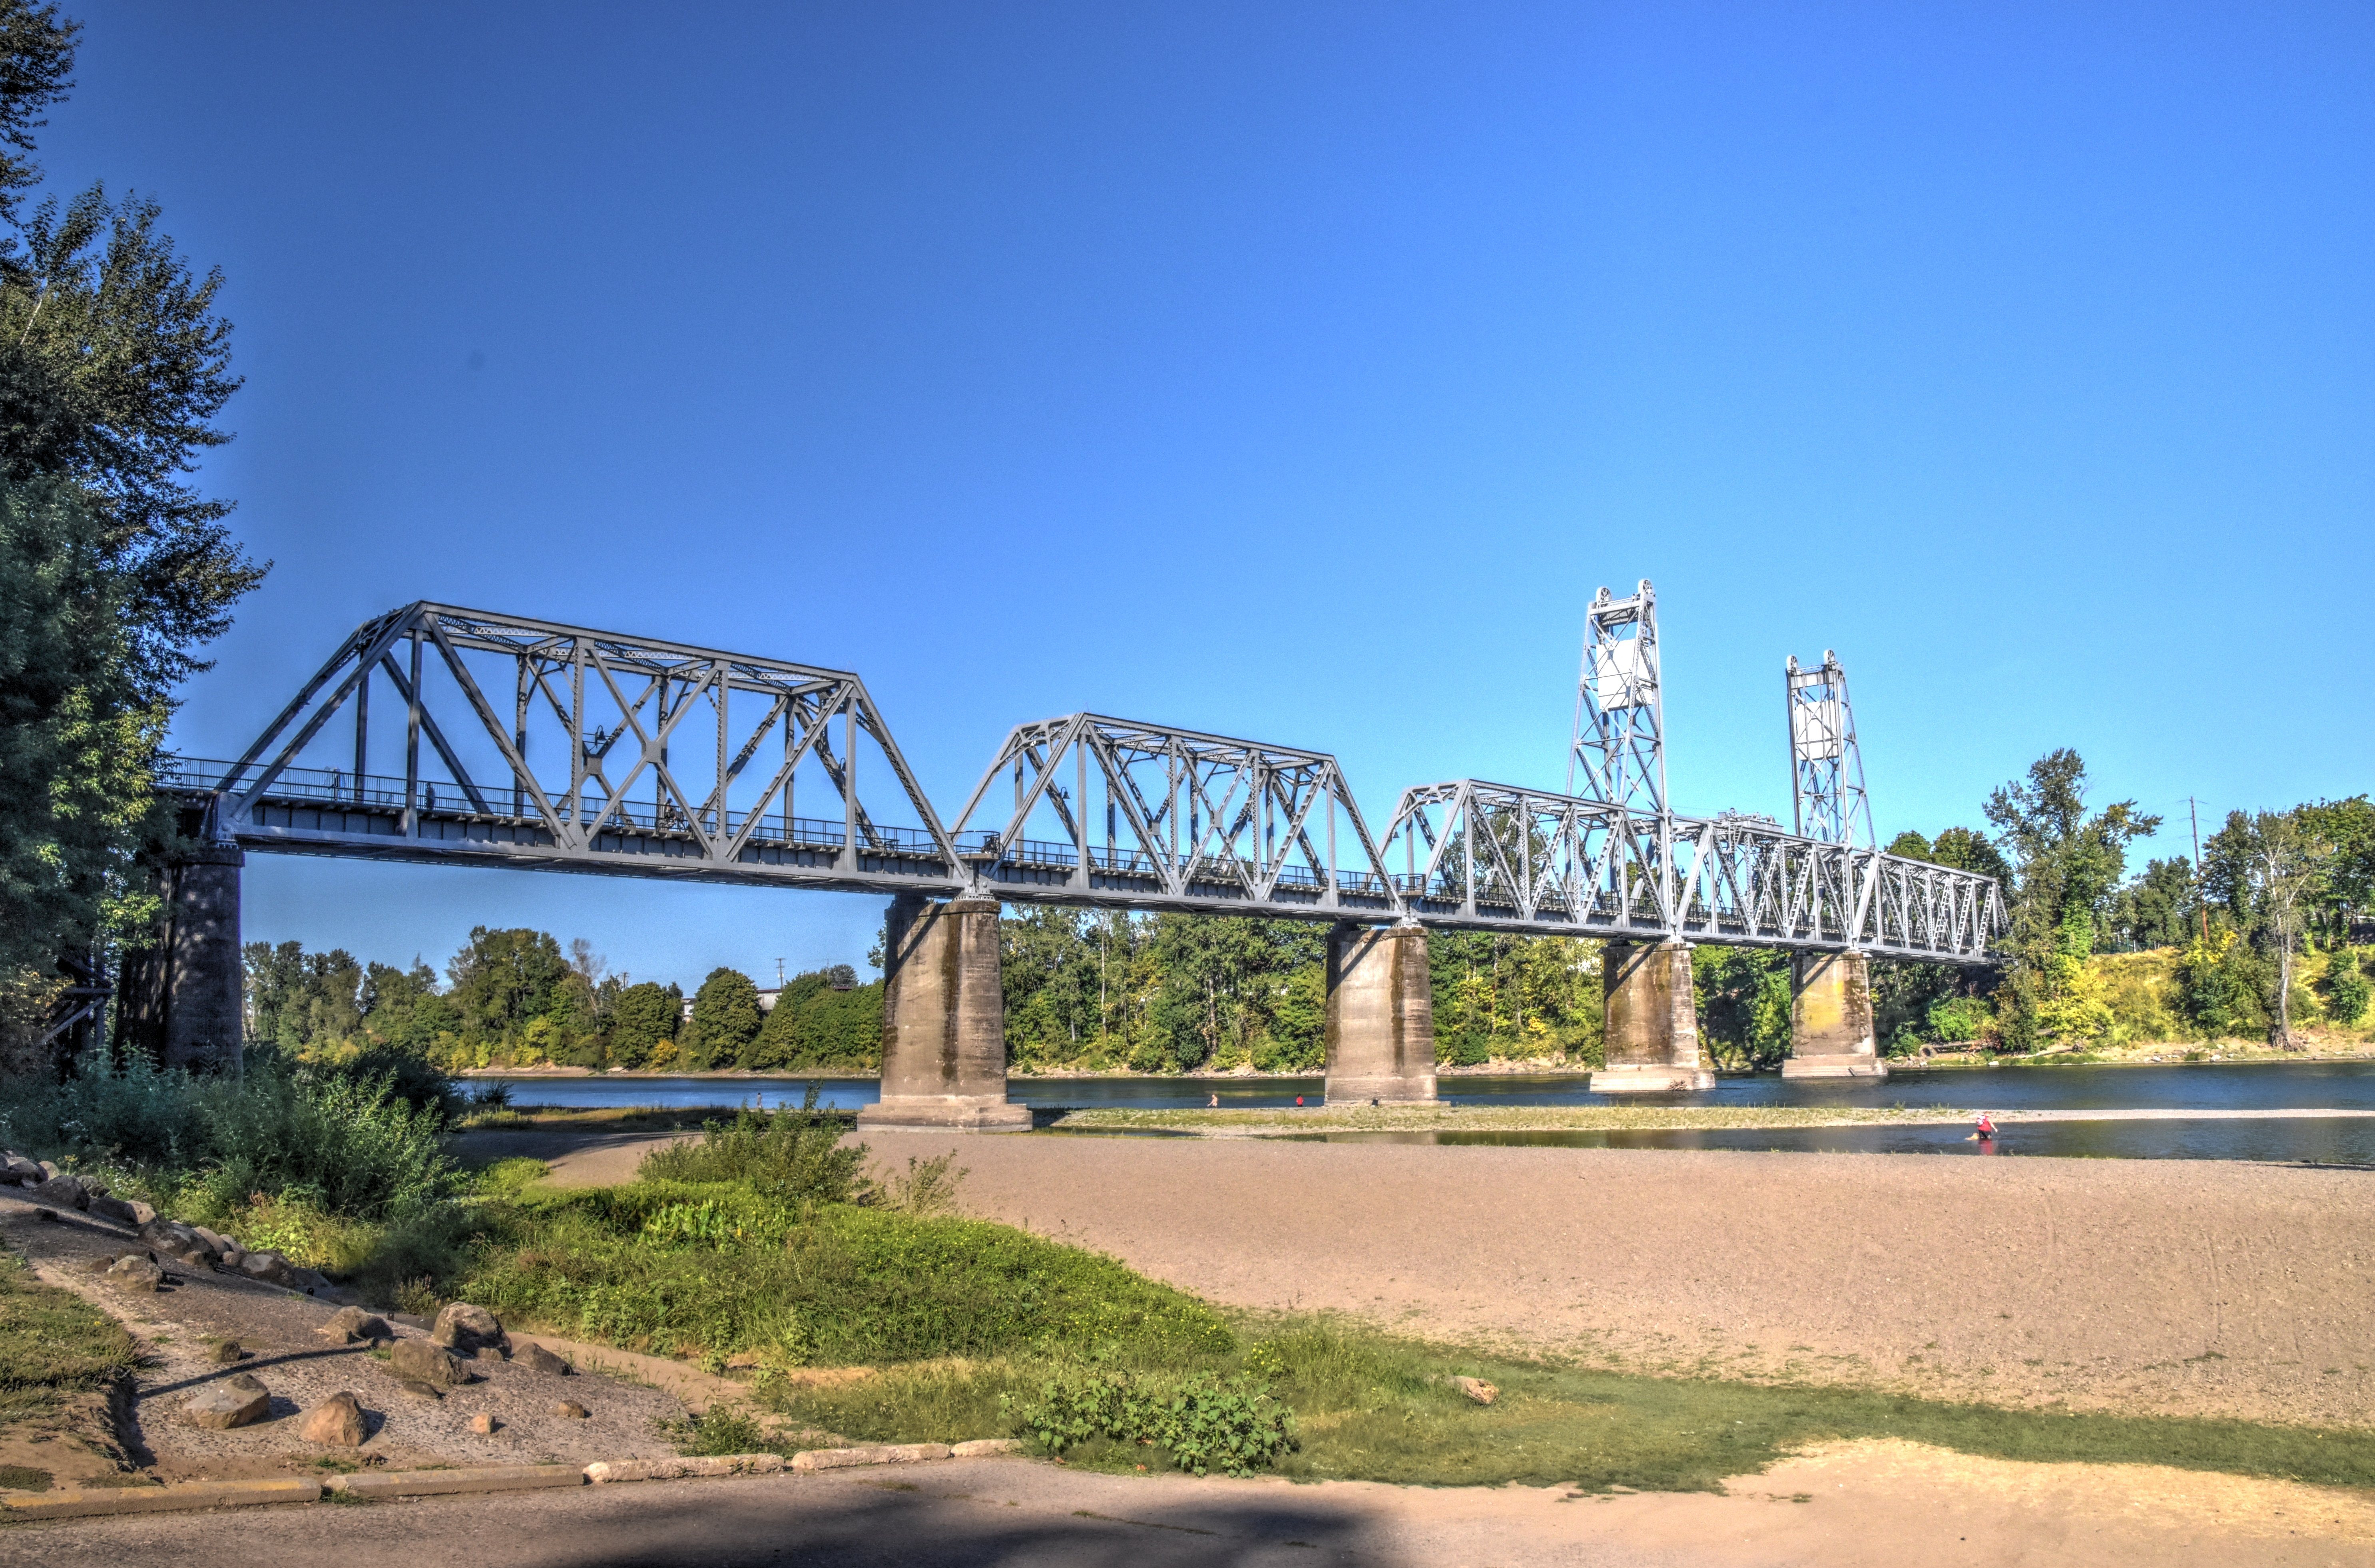
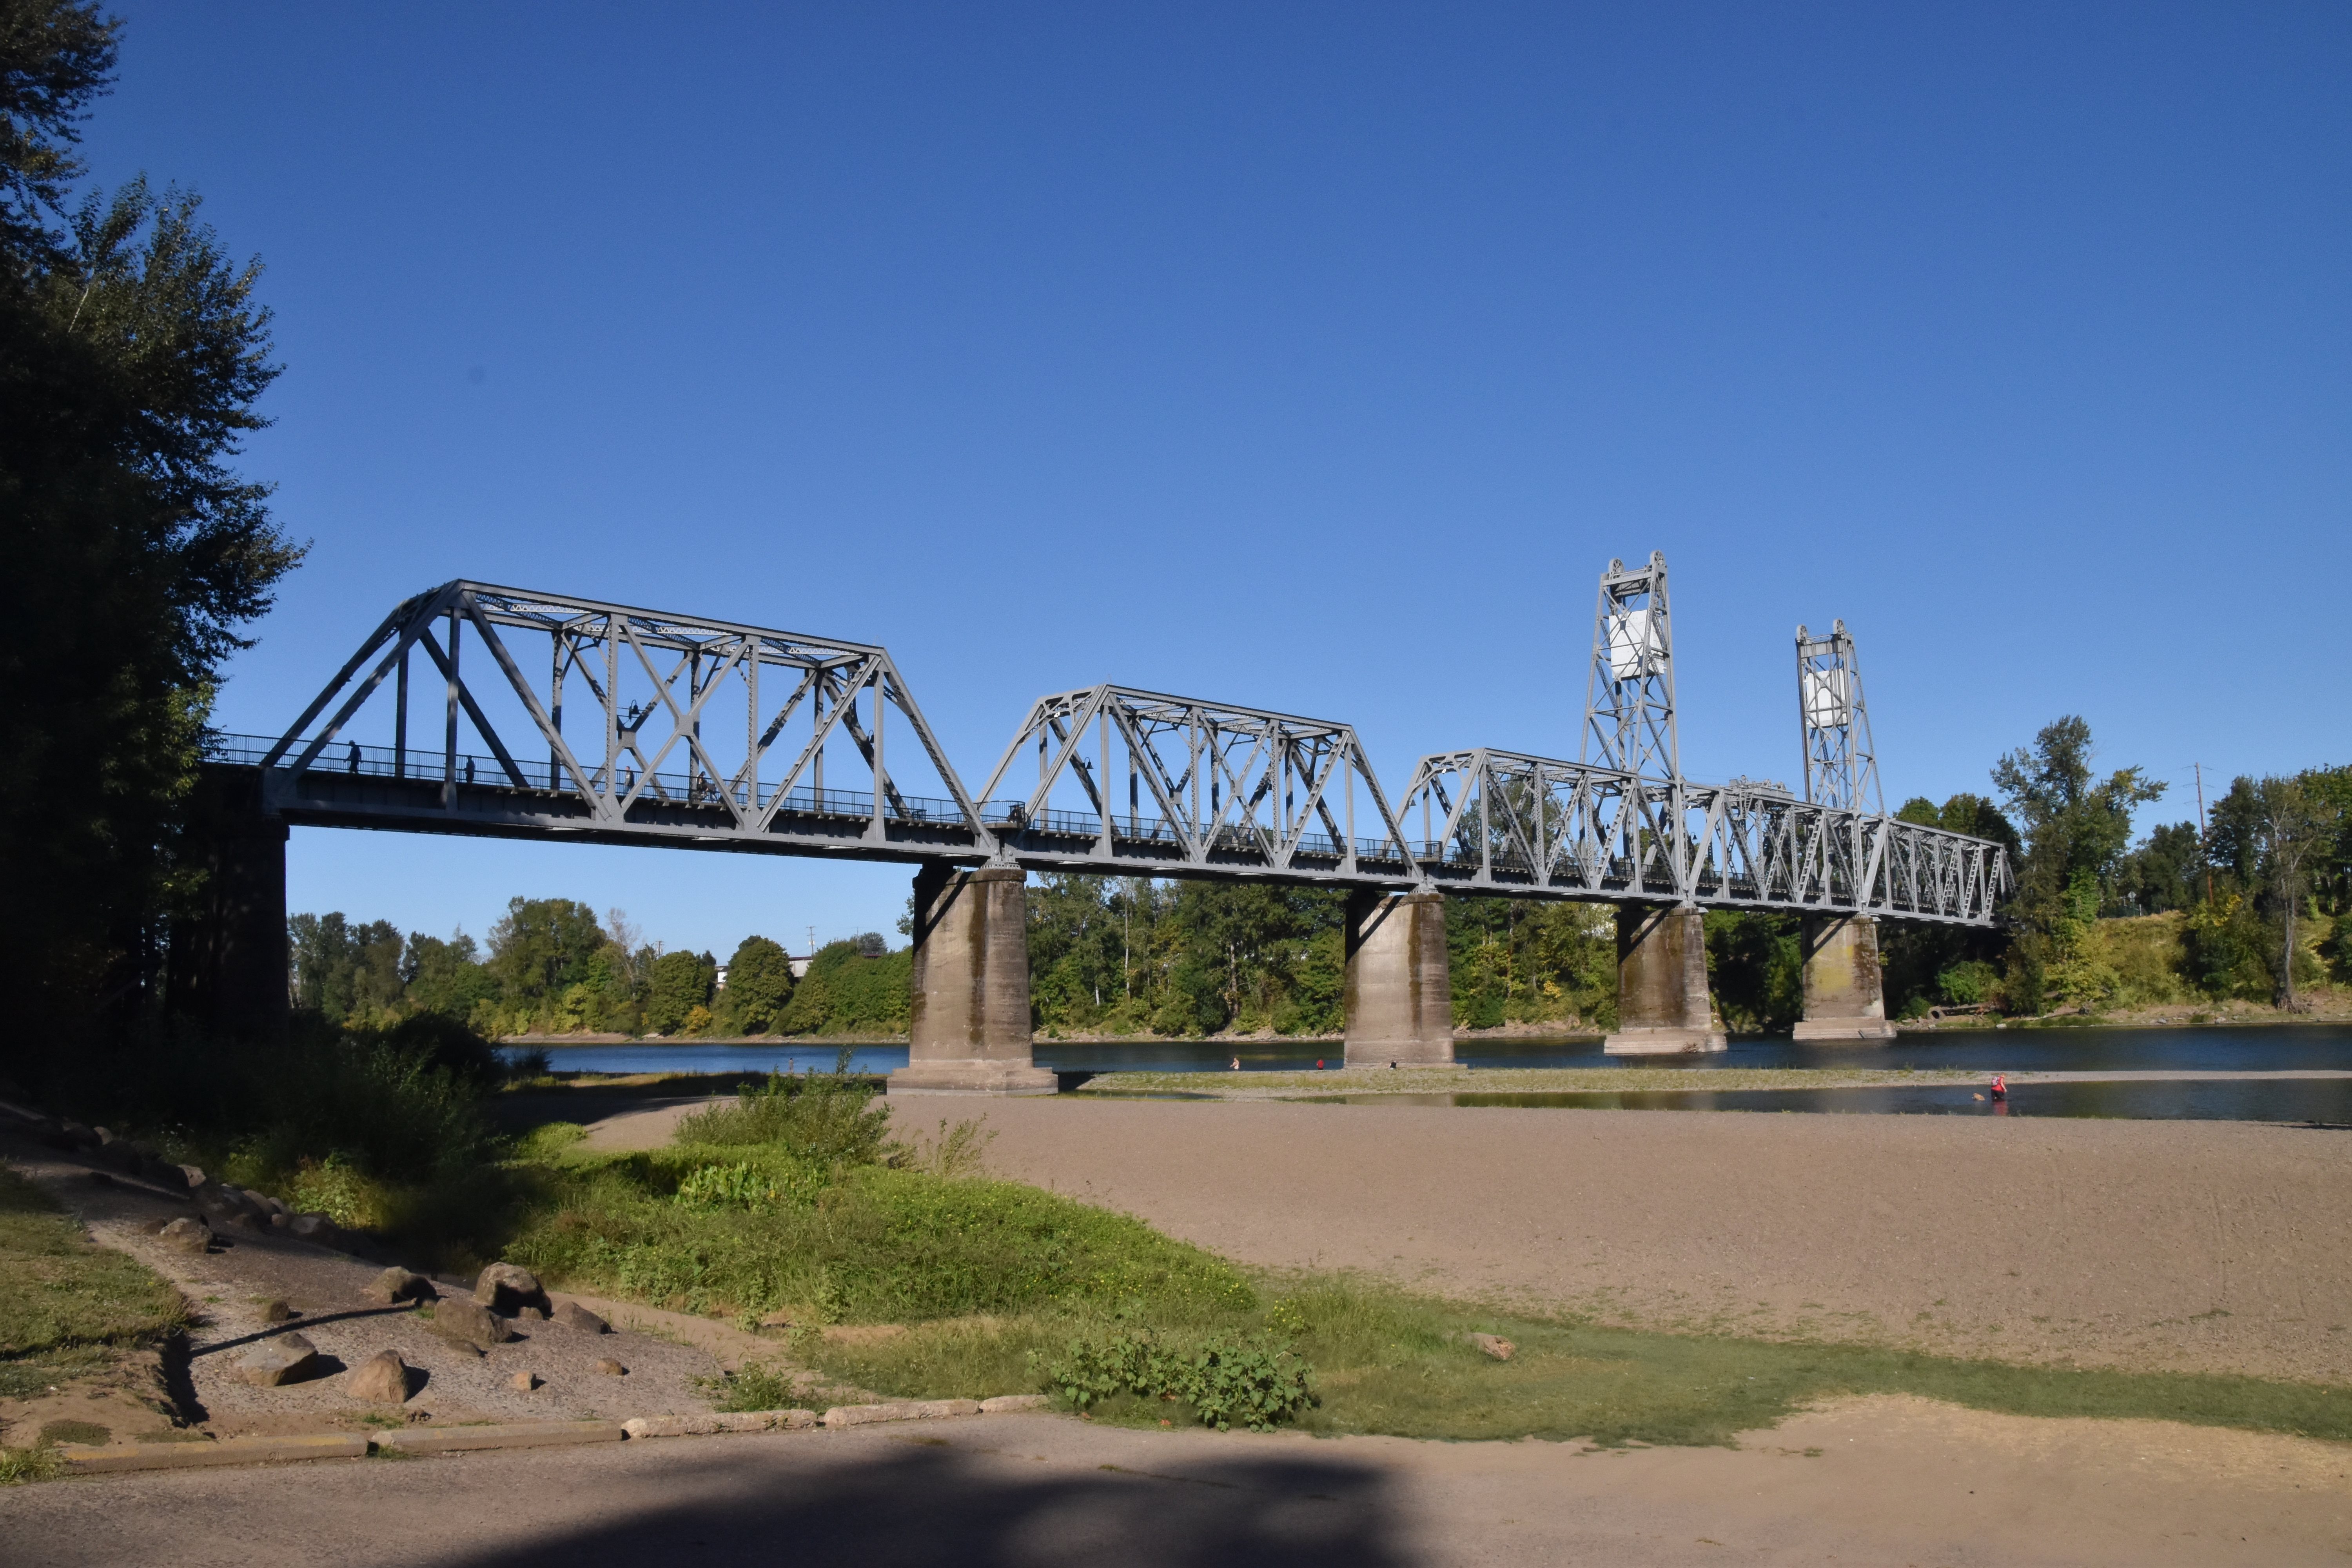

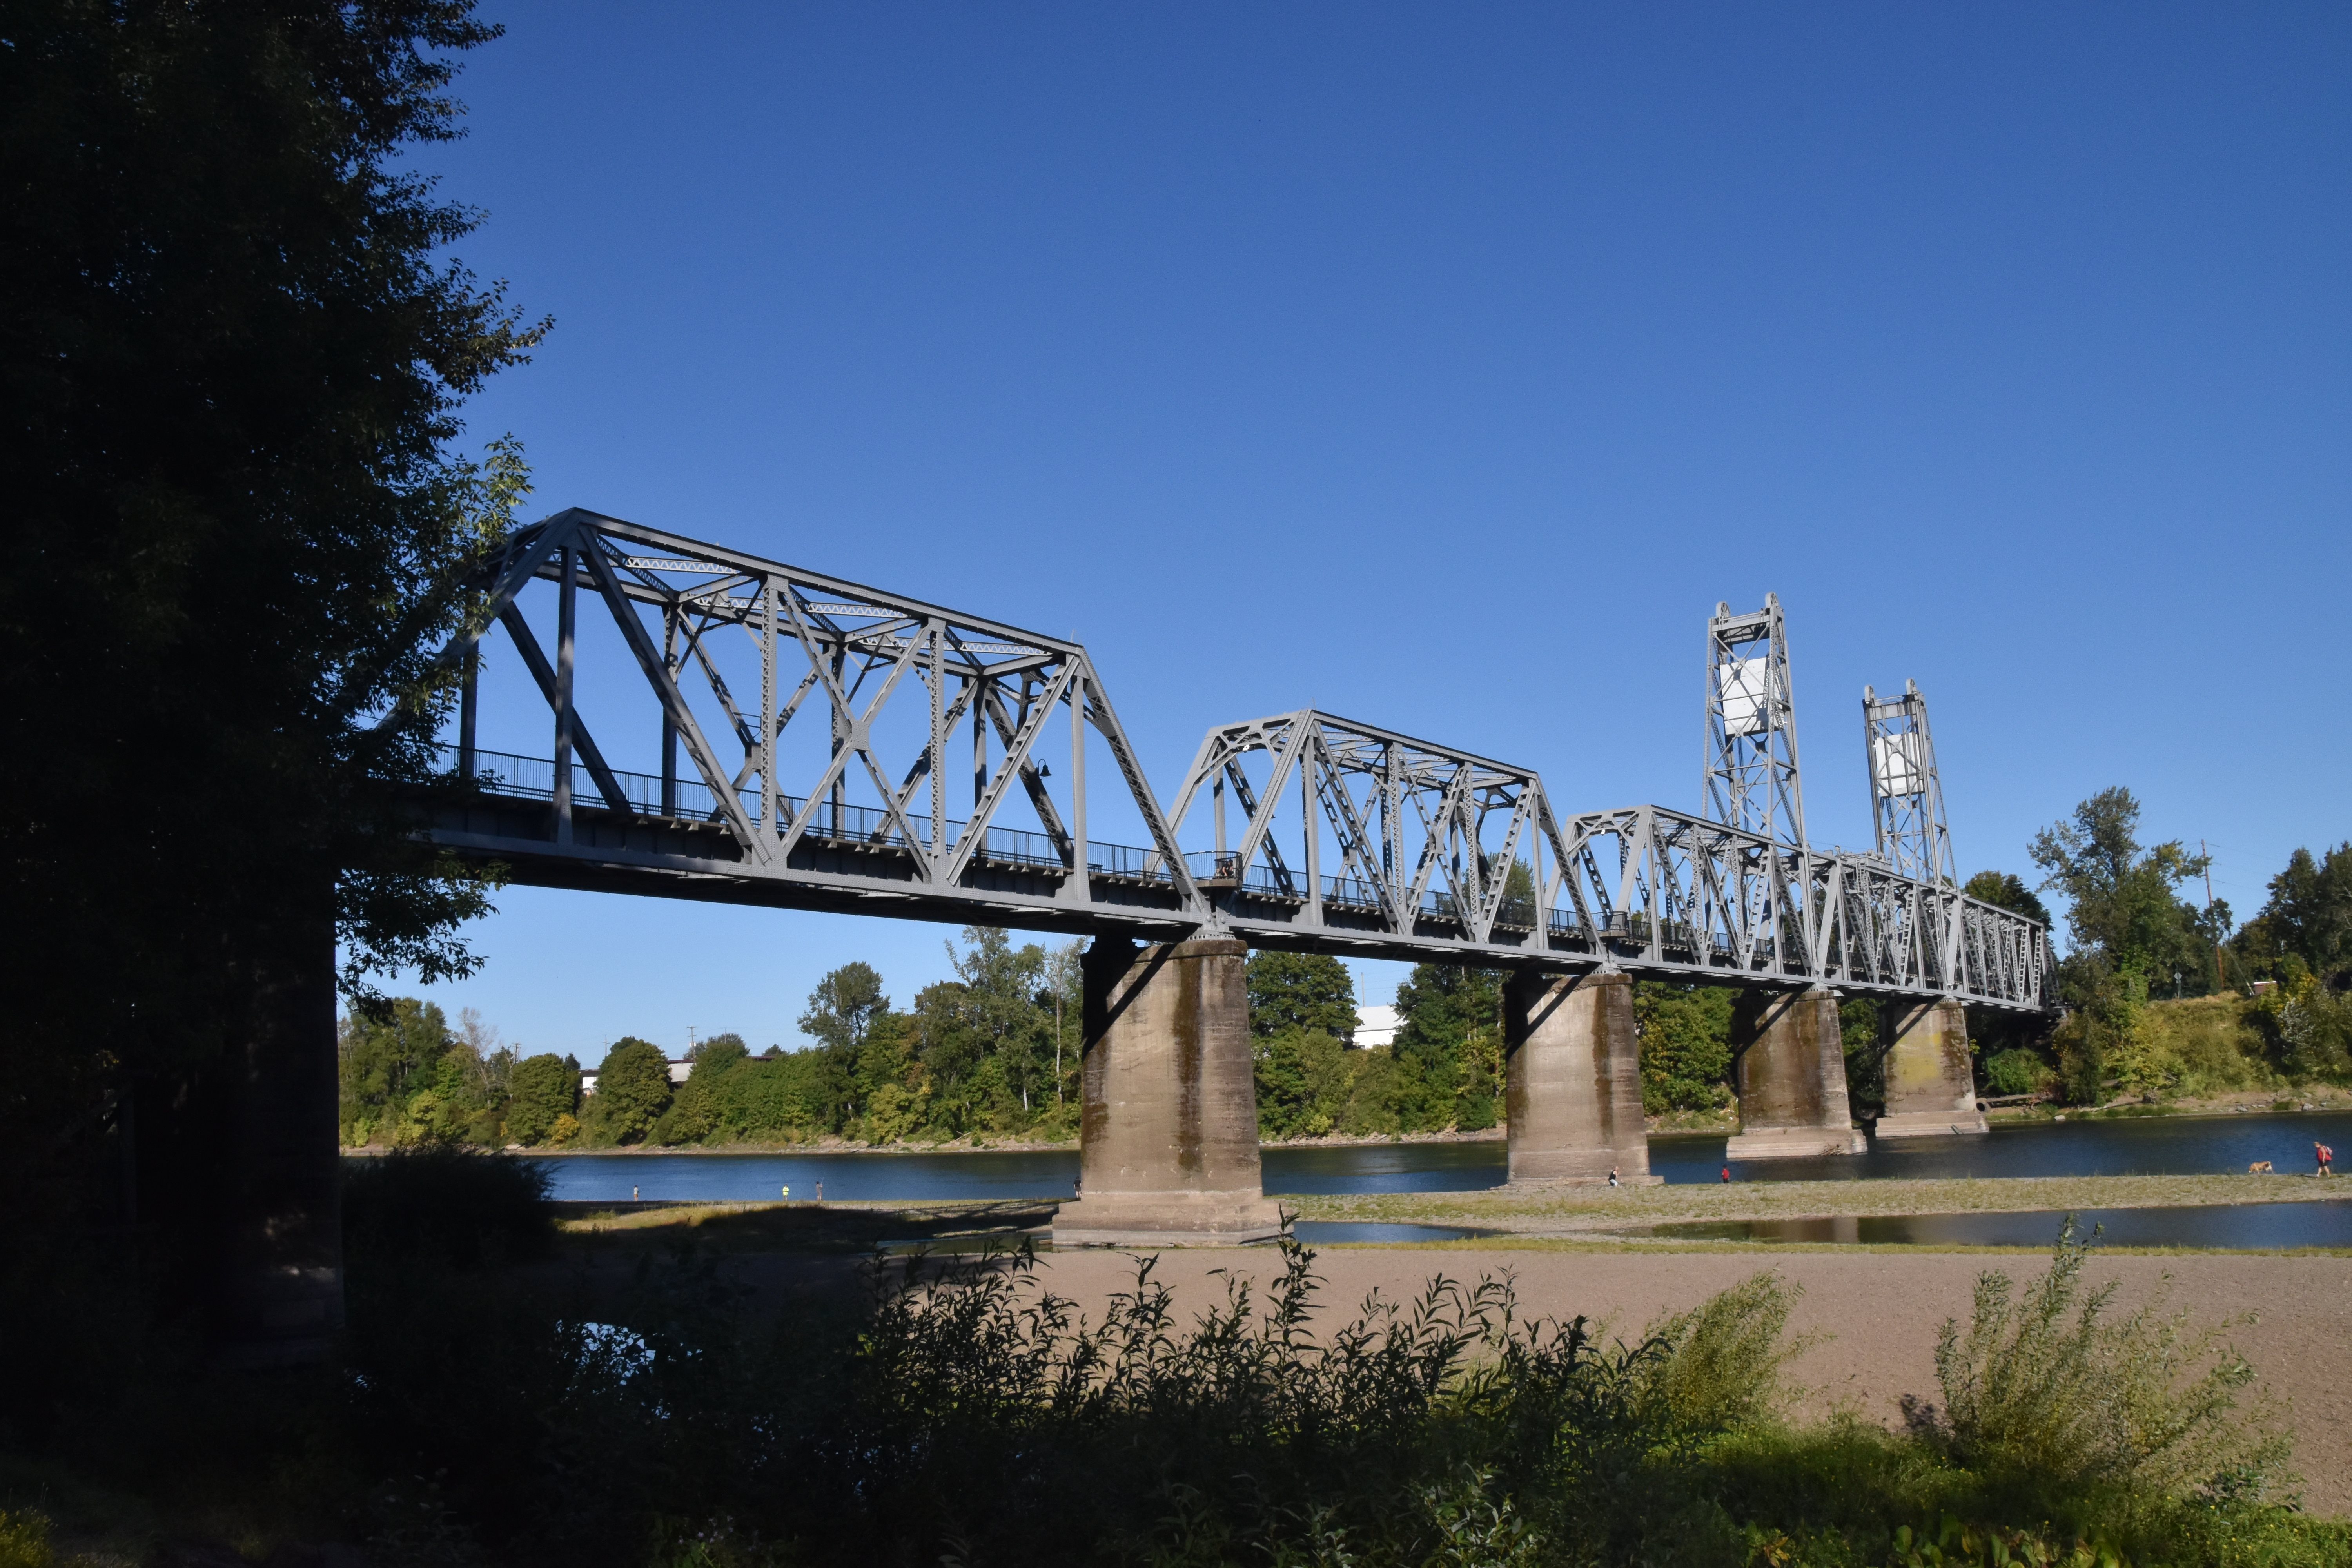
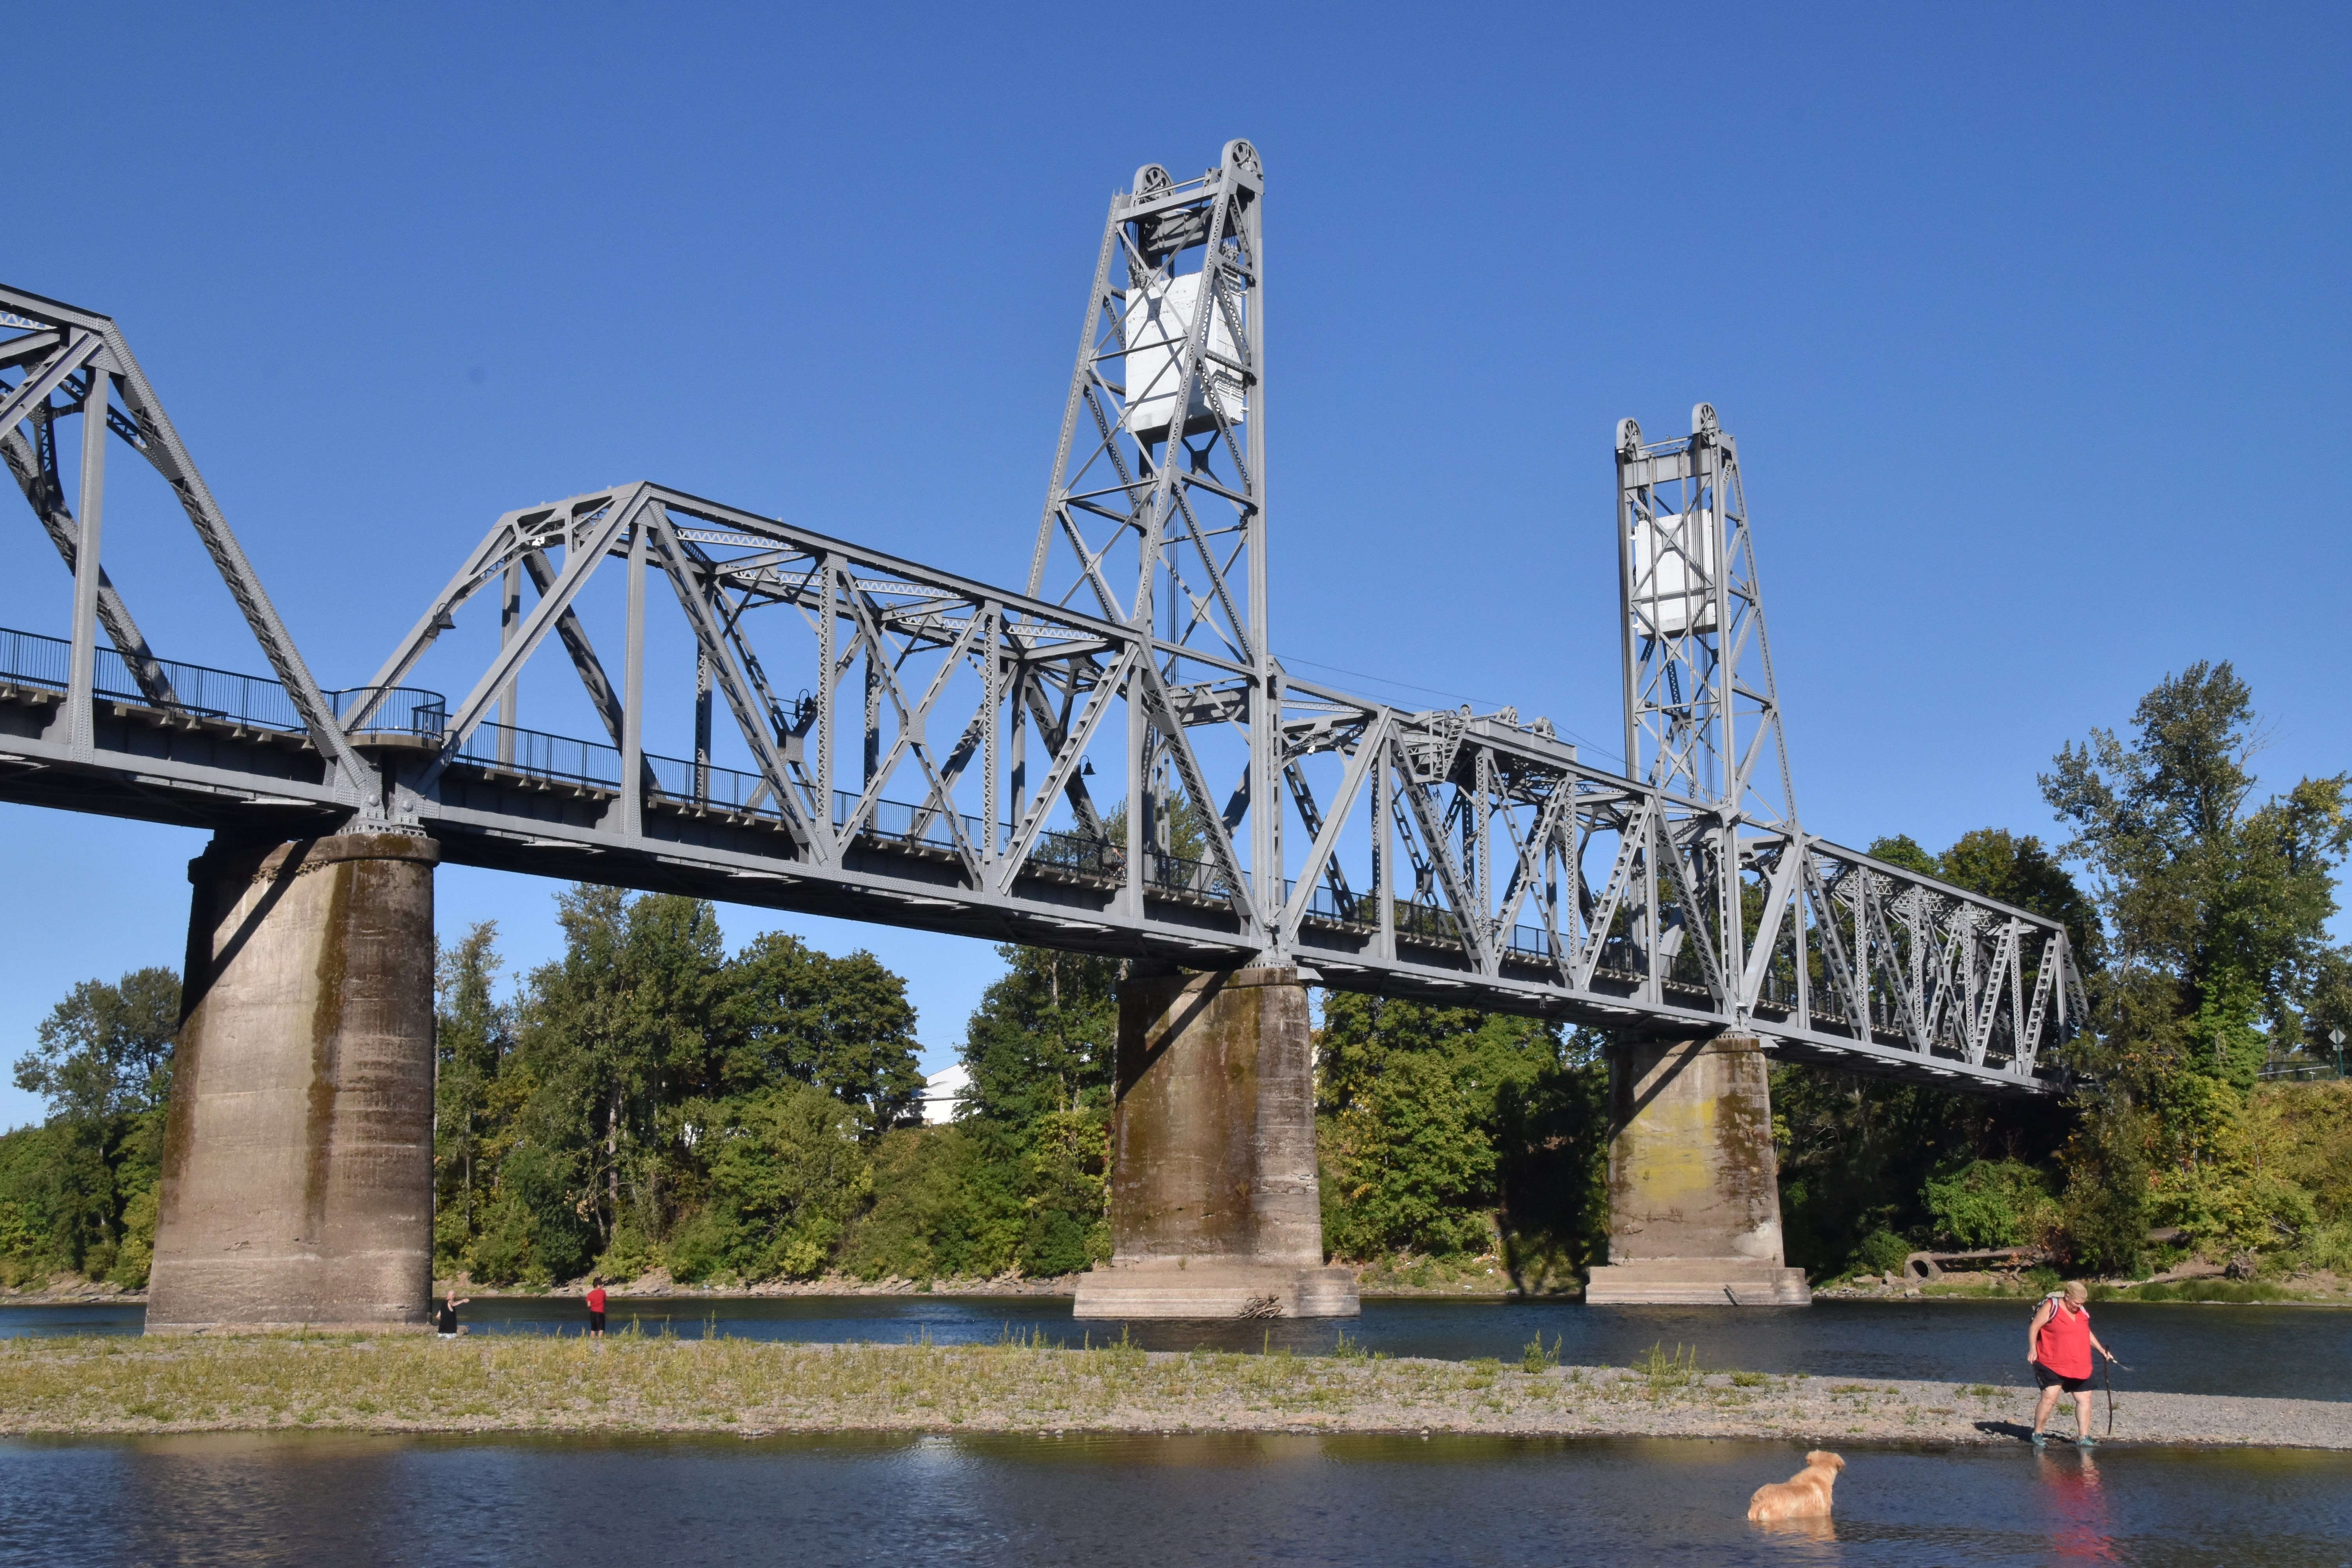
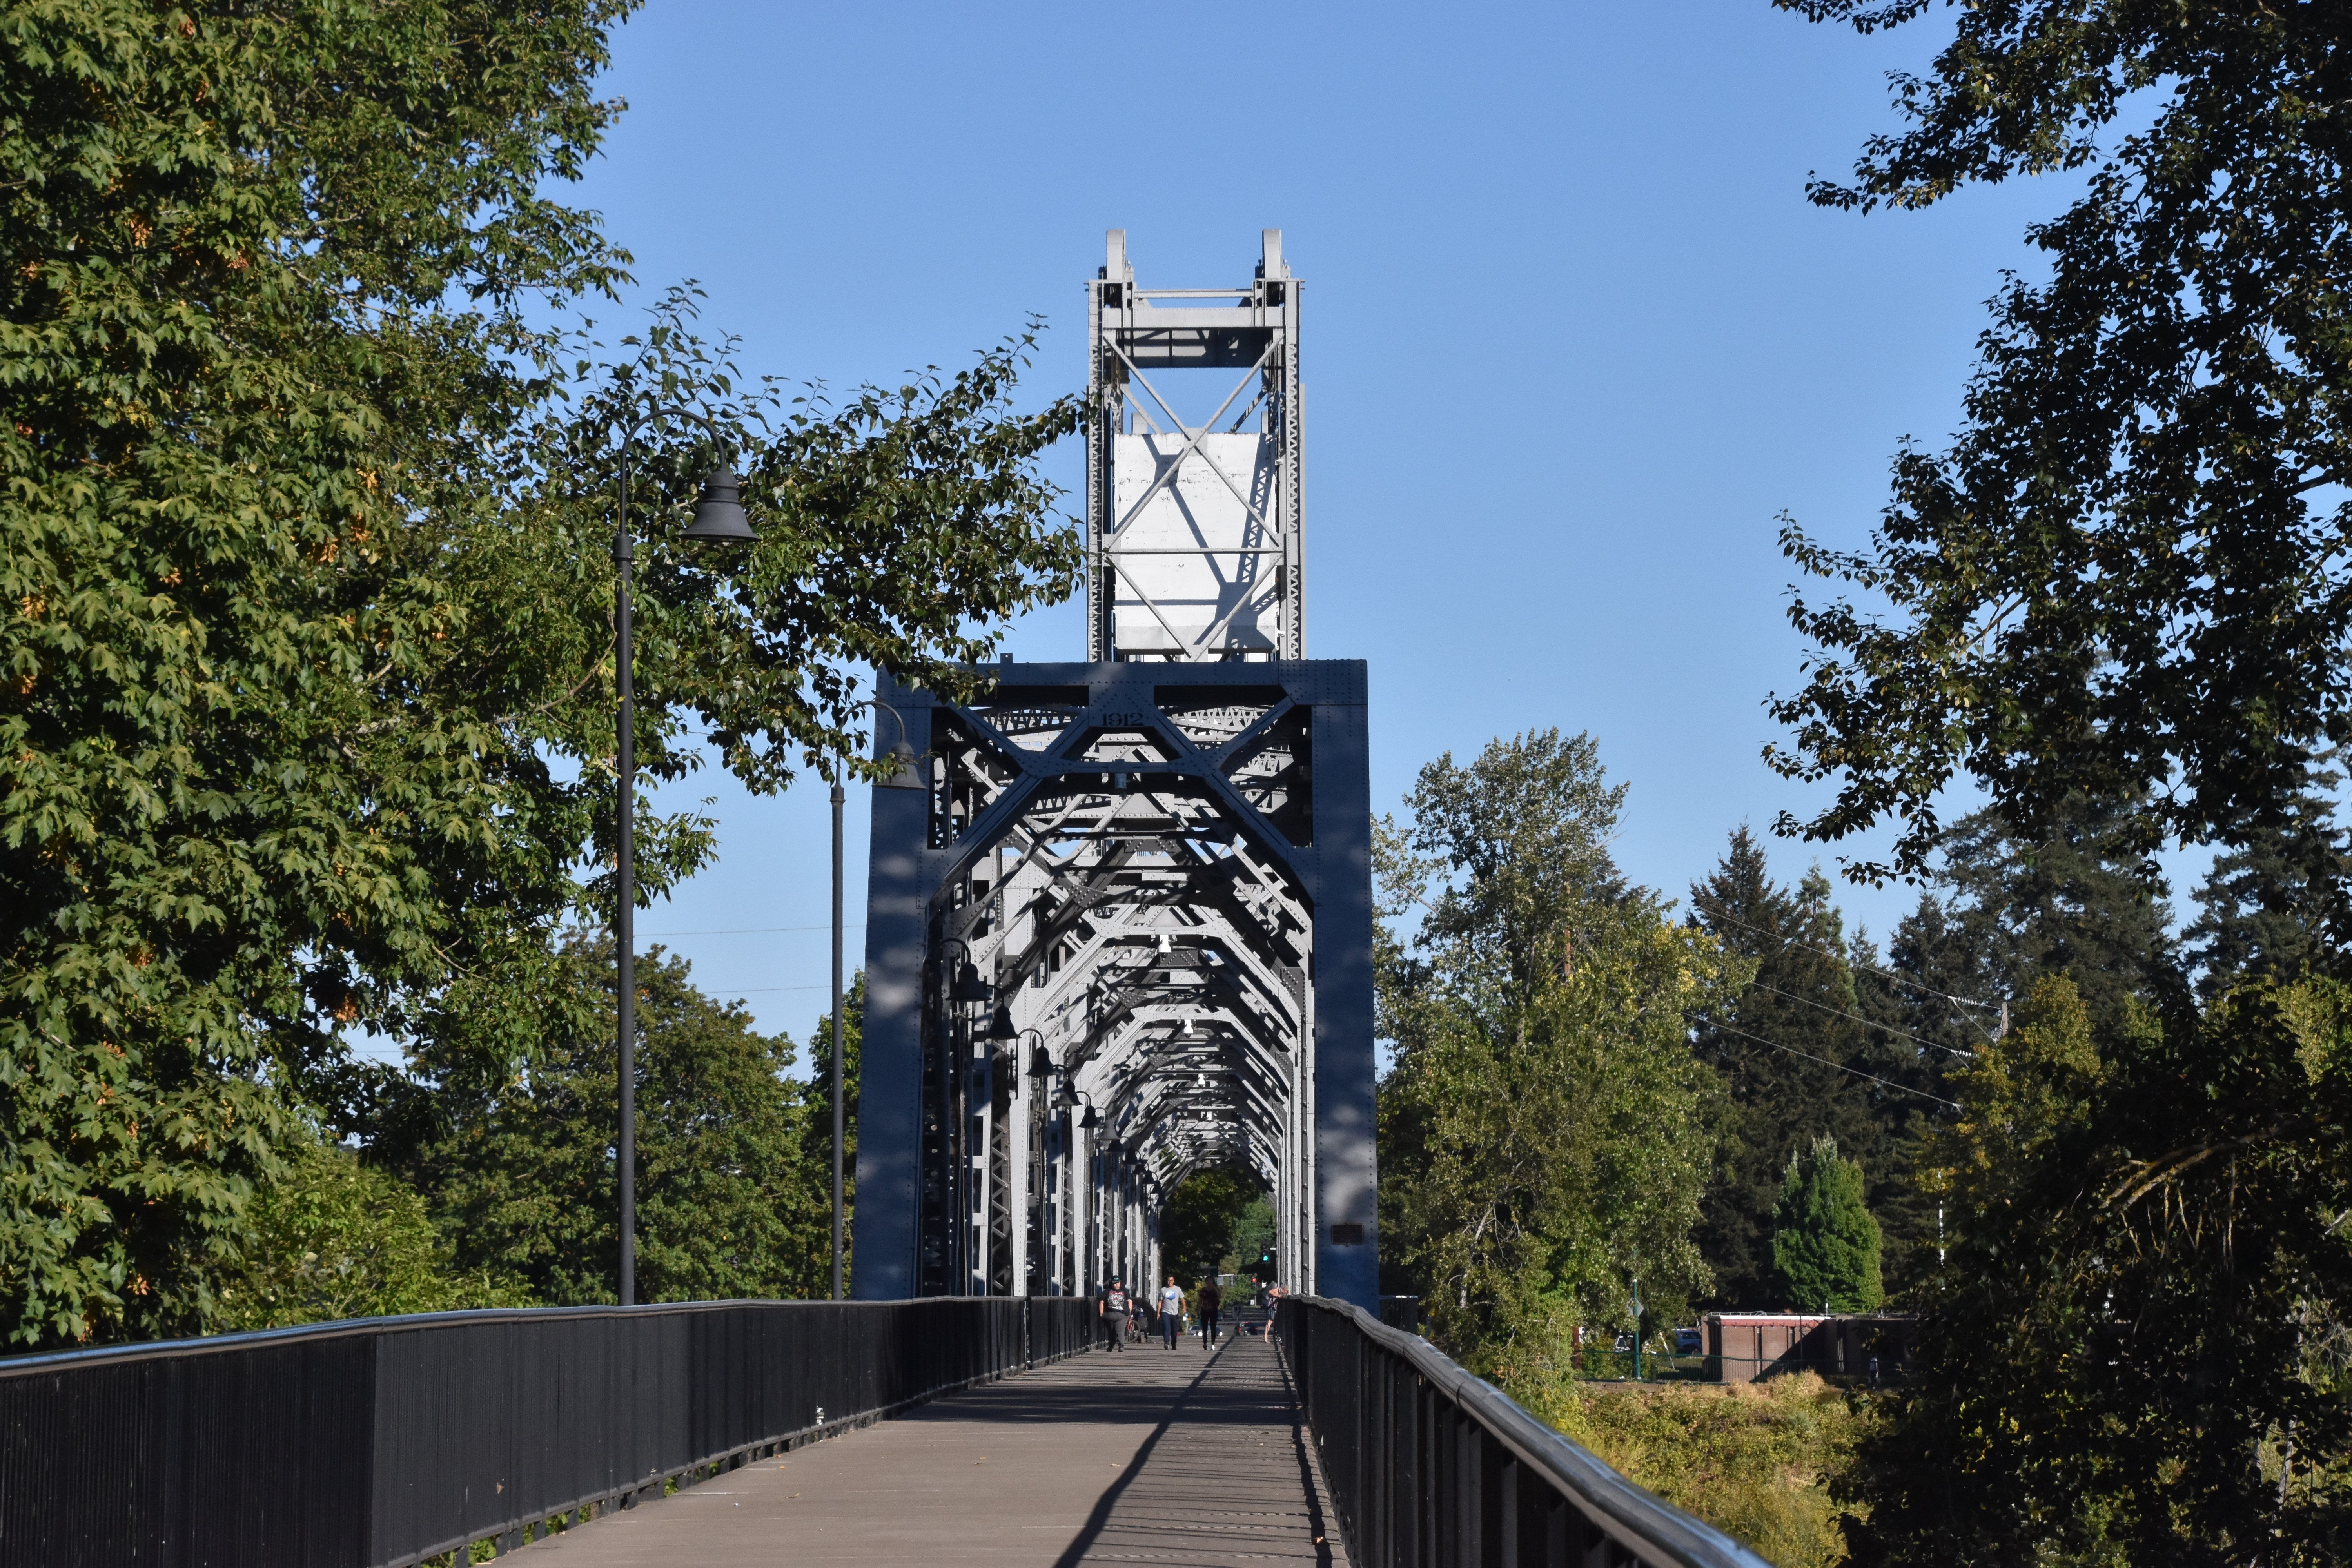
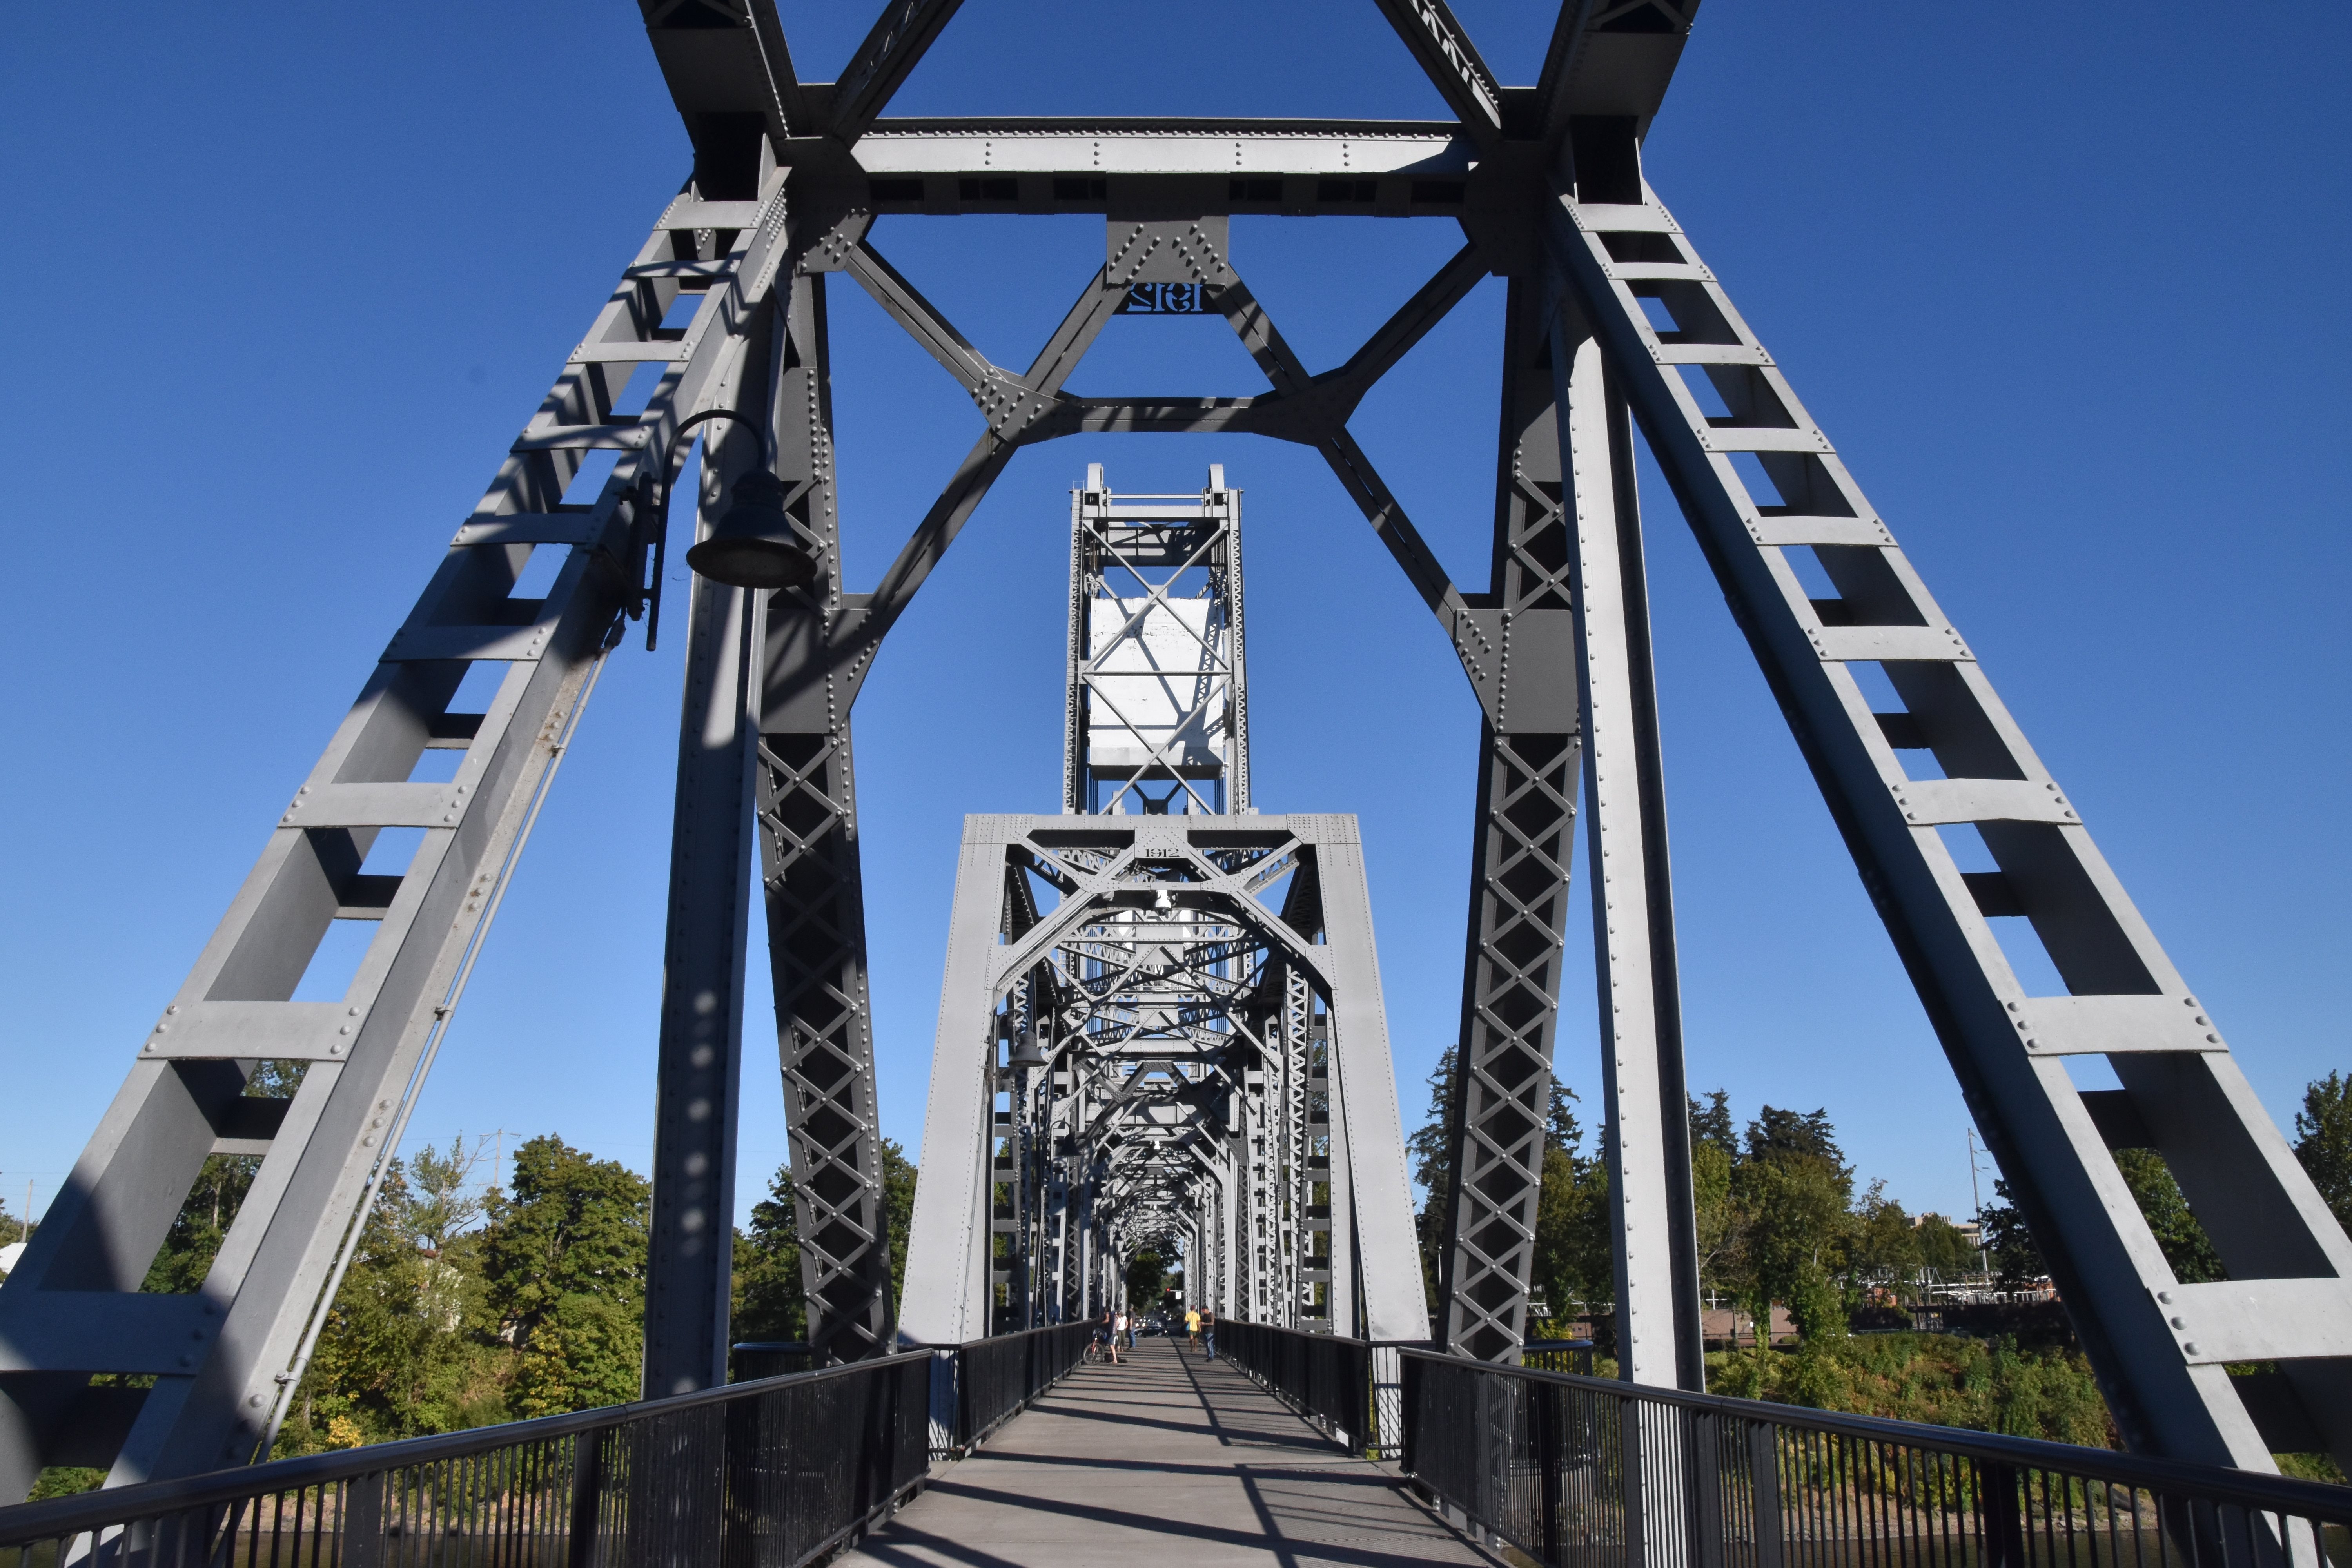
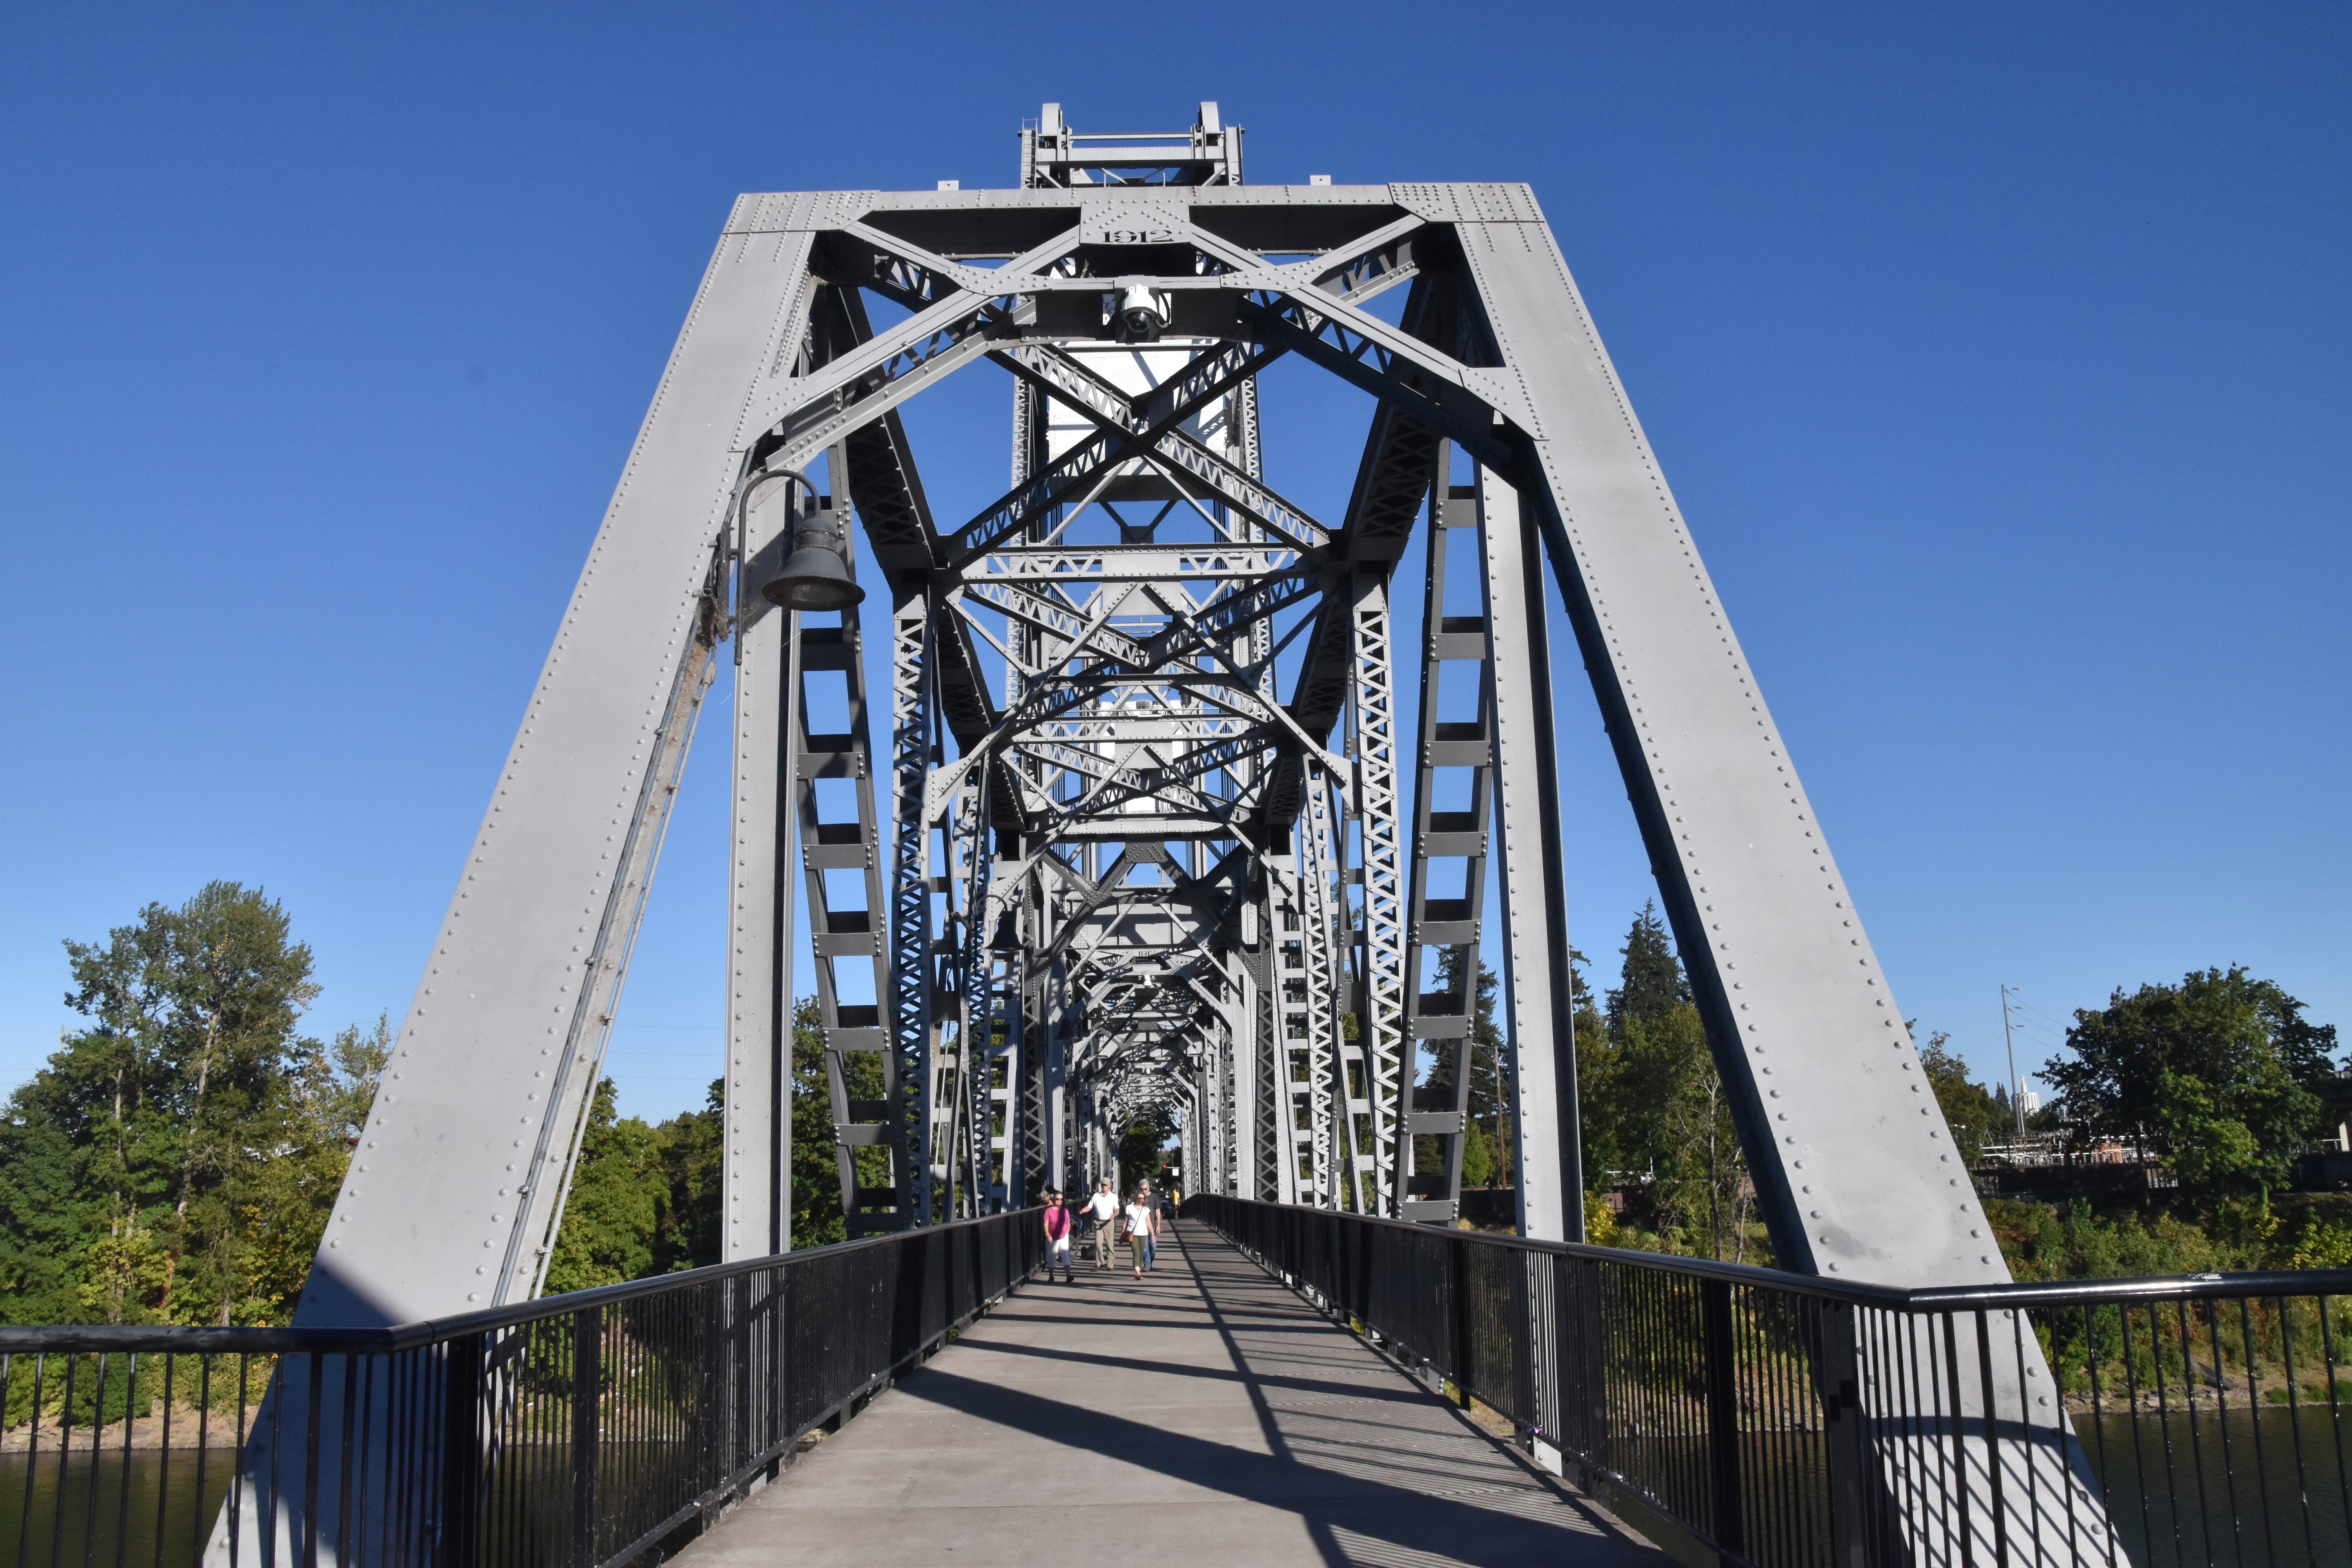
Elevation from southwest quadrant.
![]()


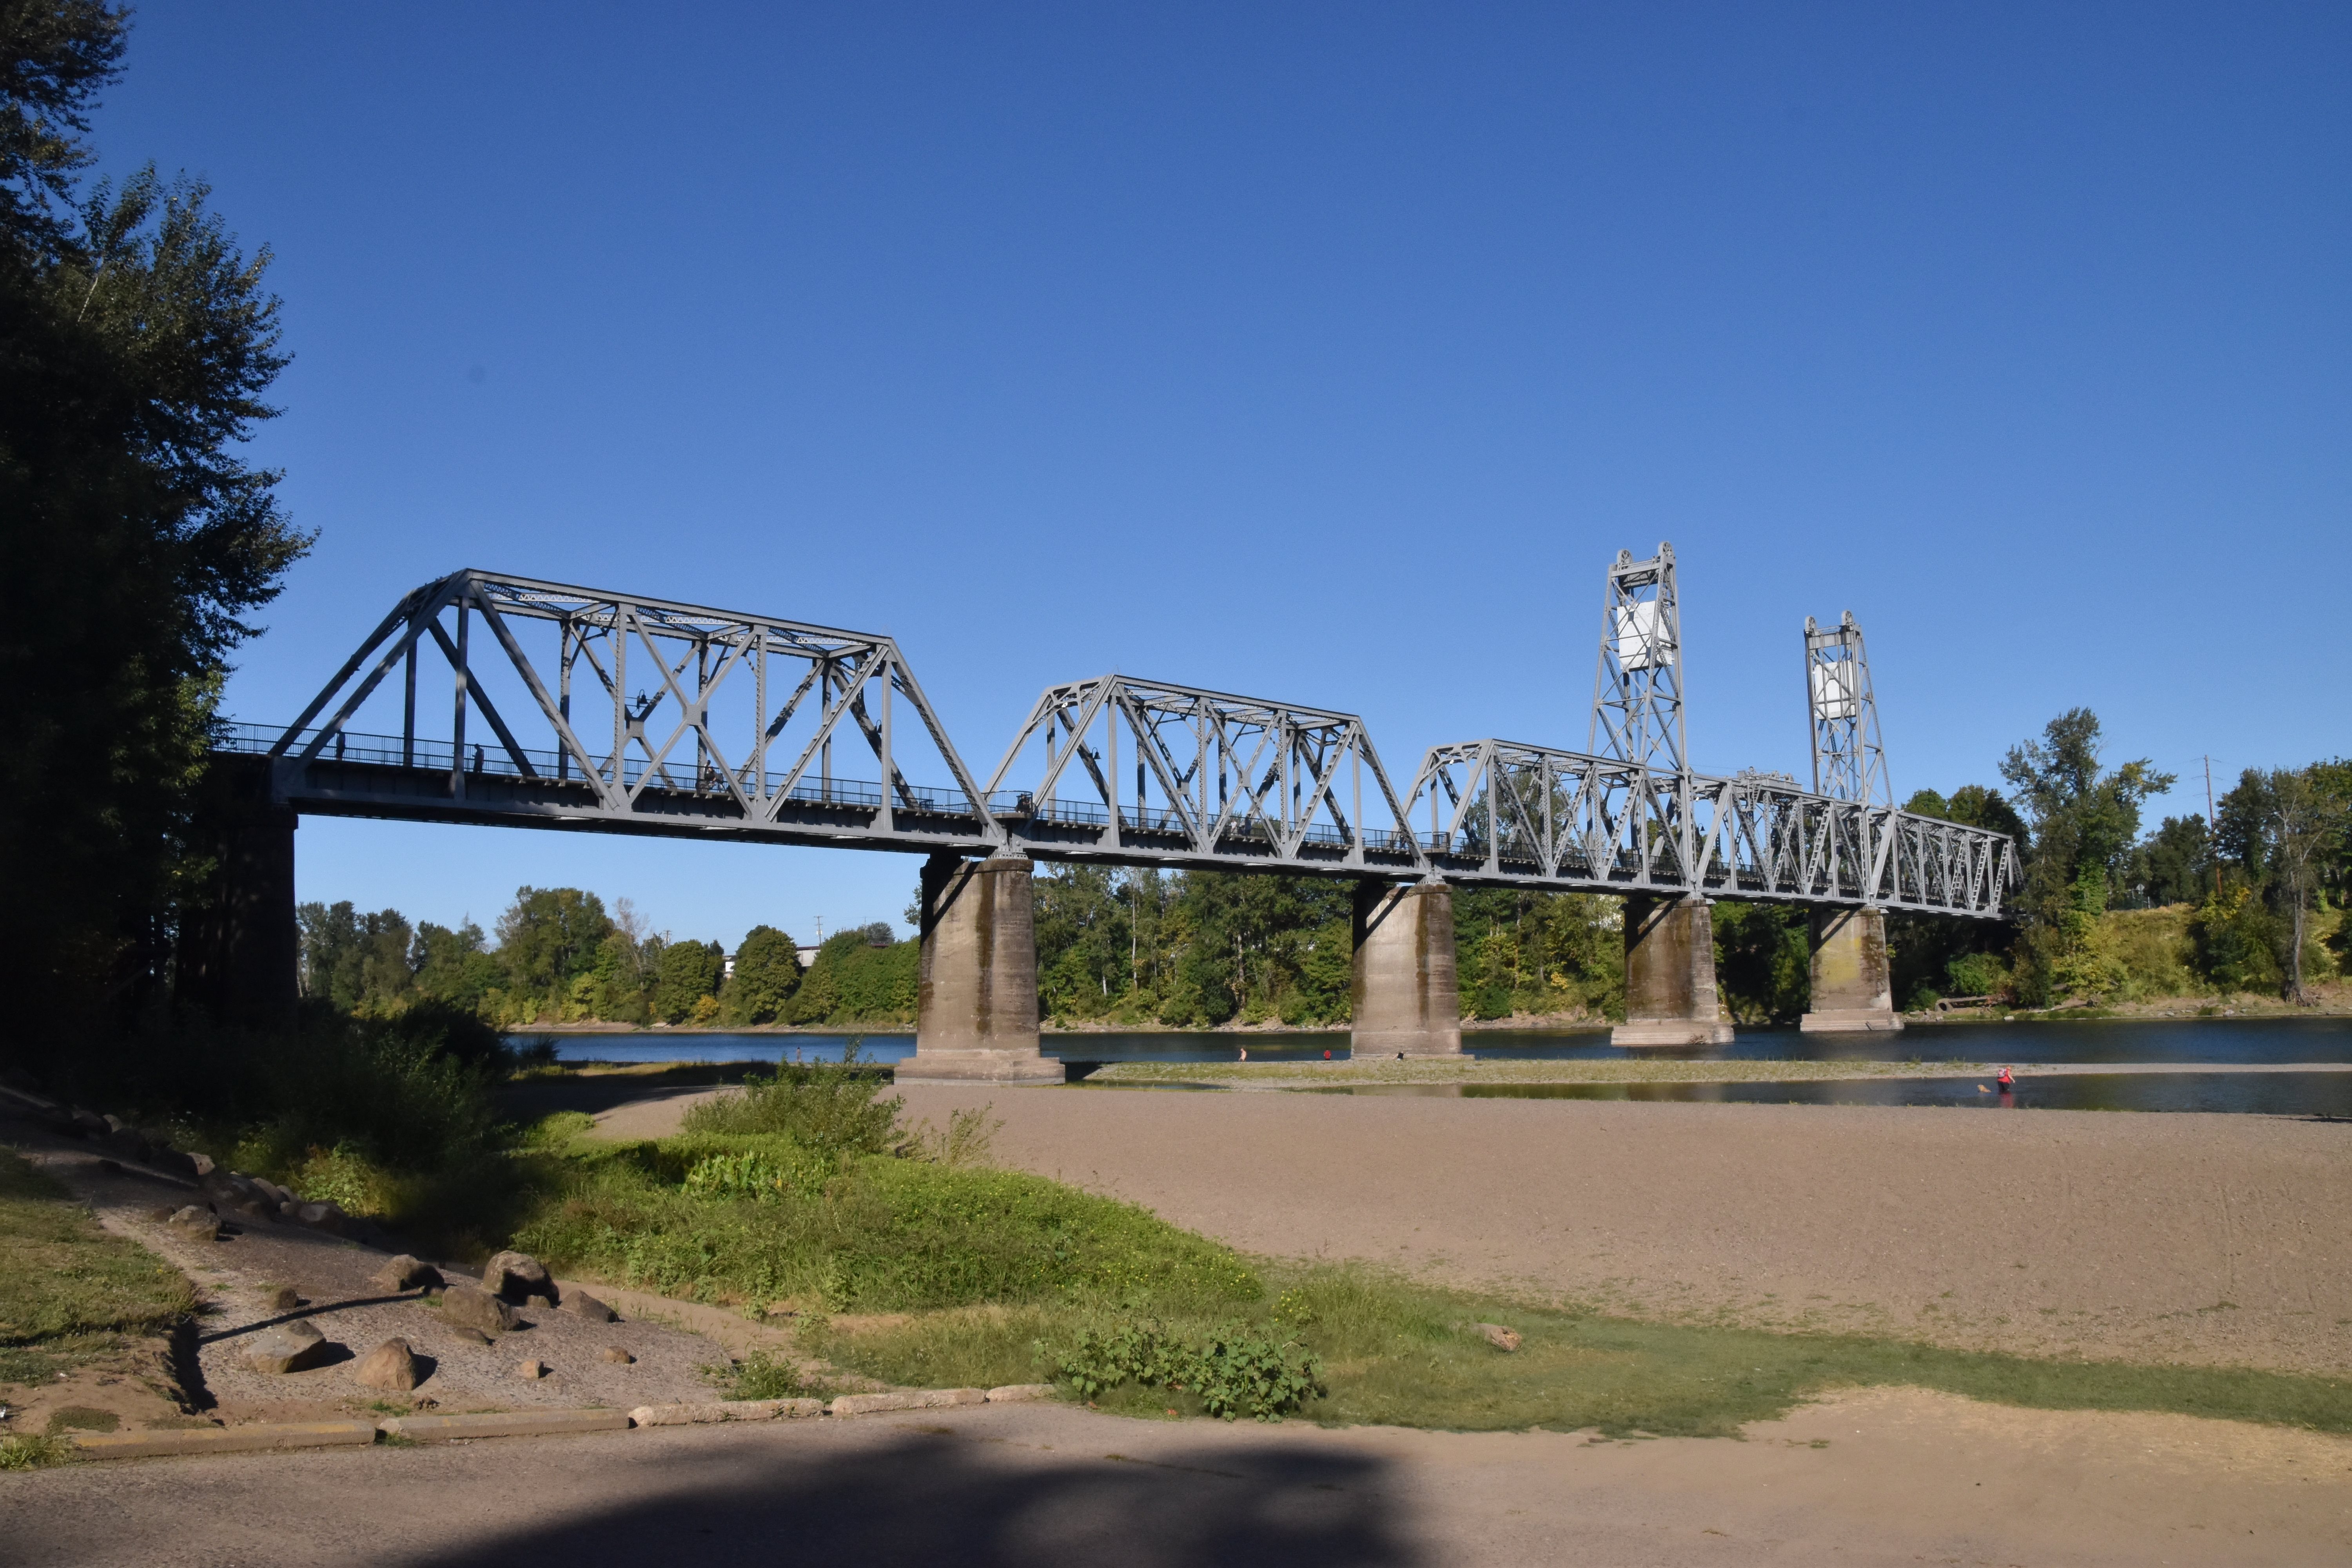
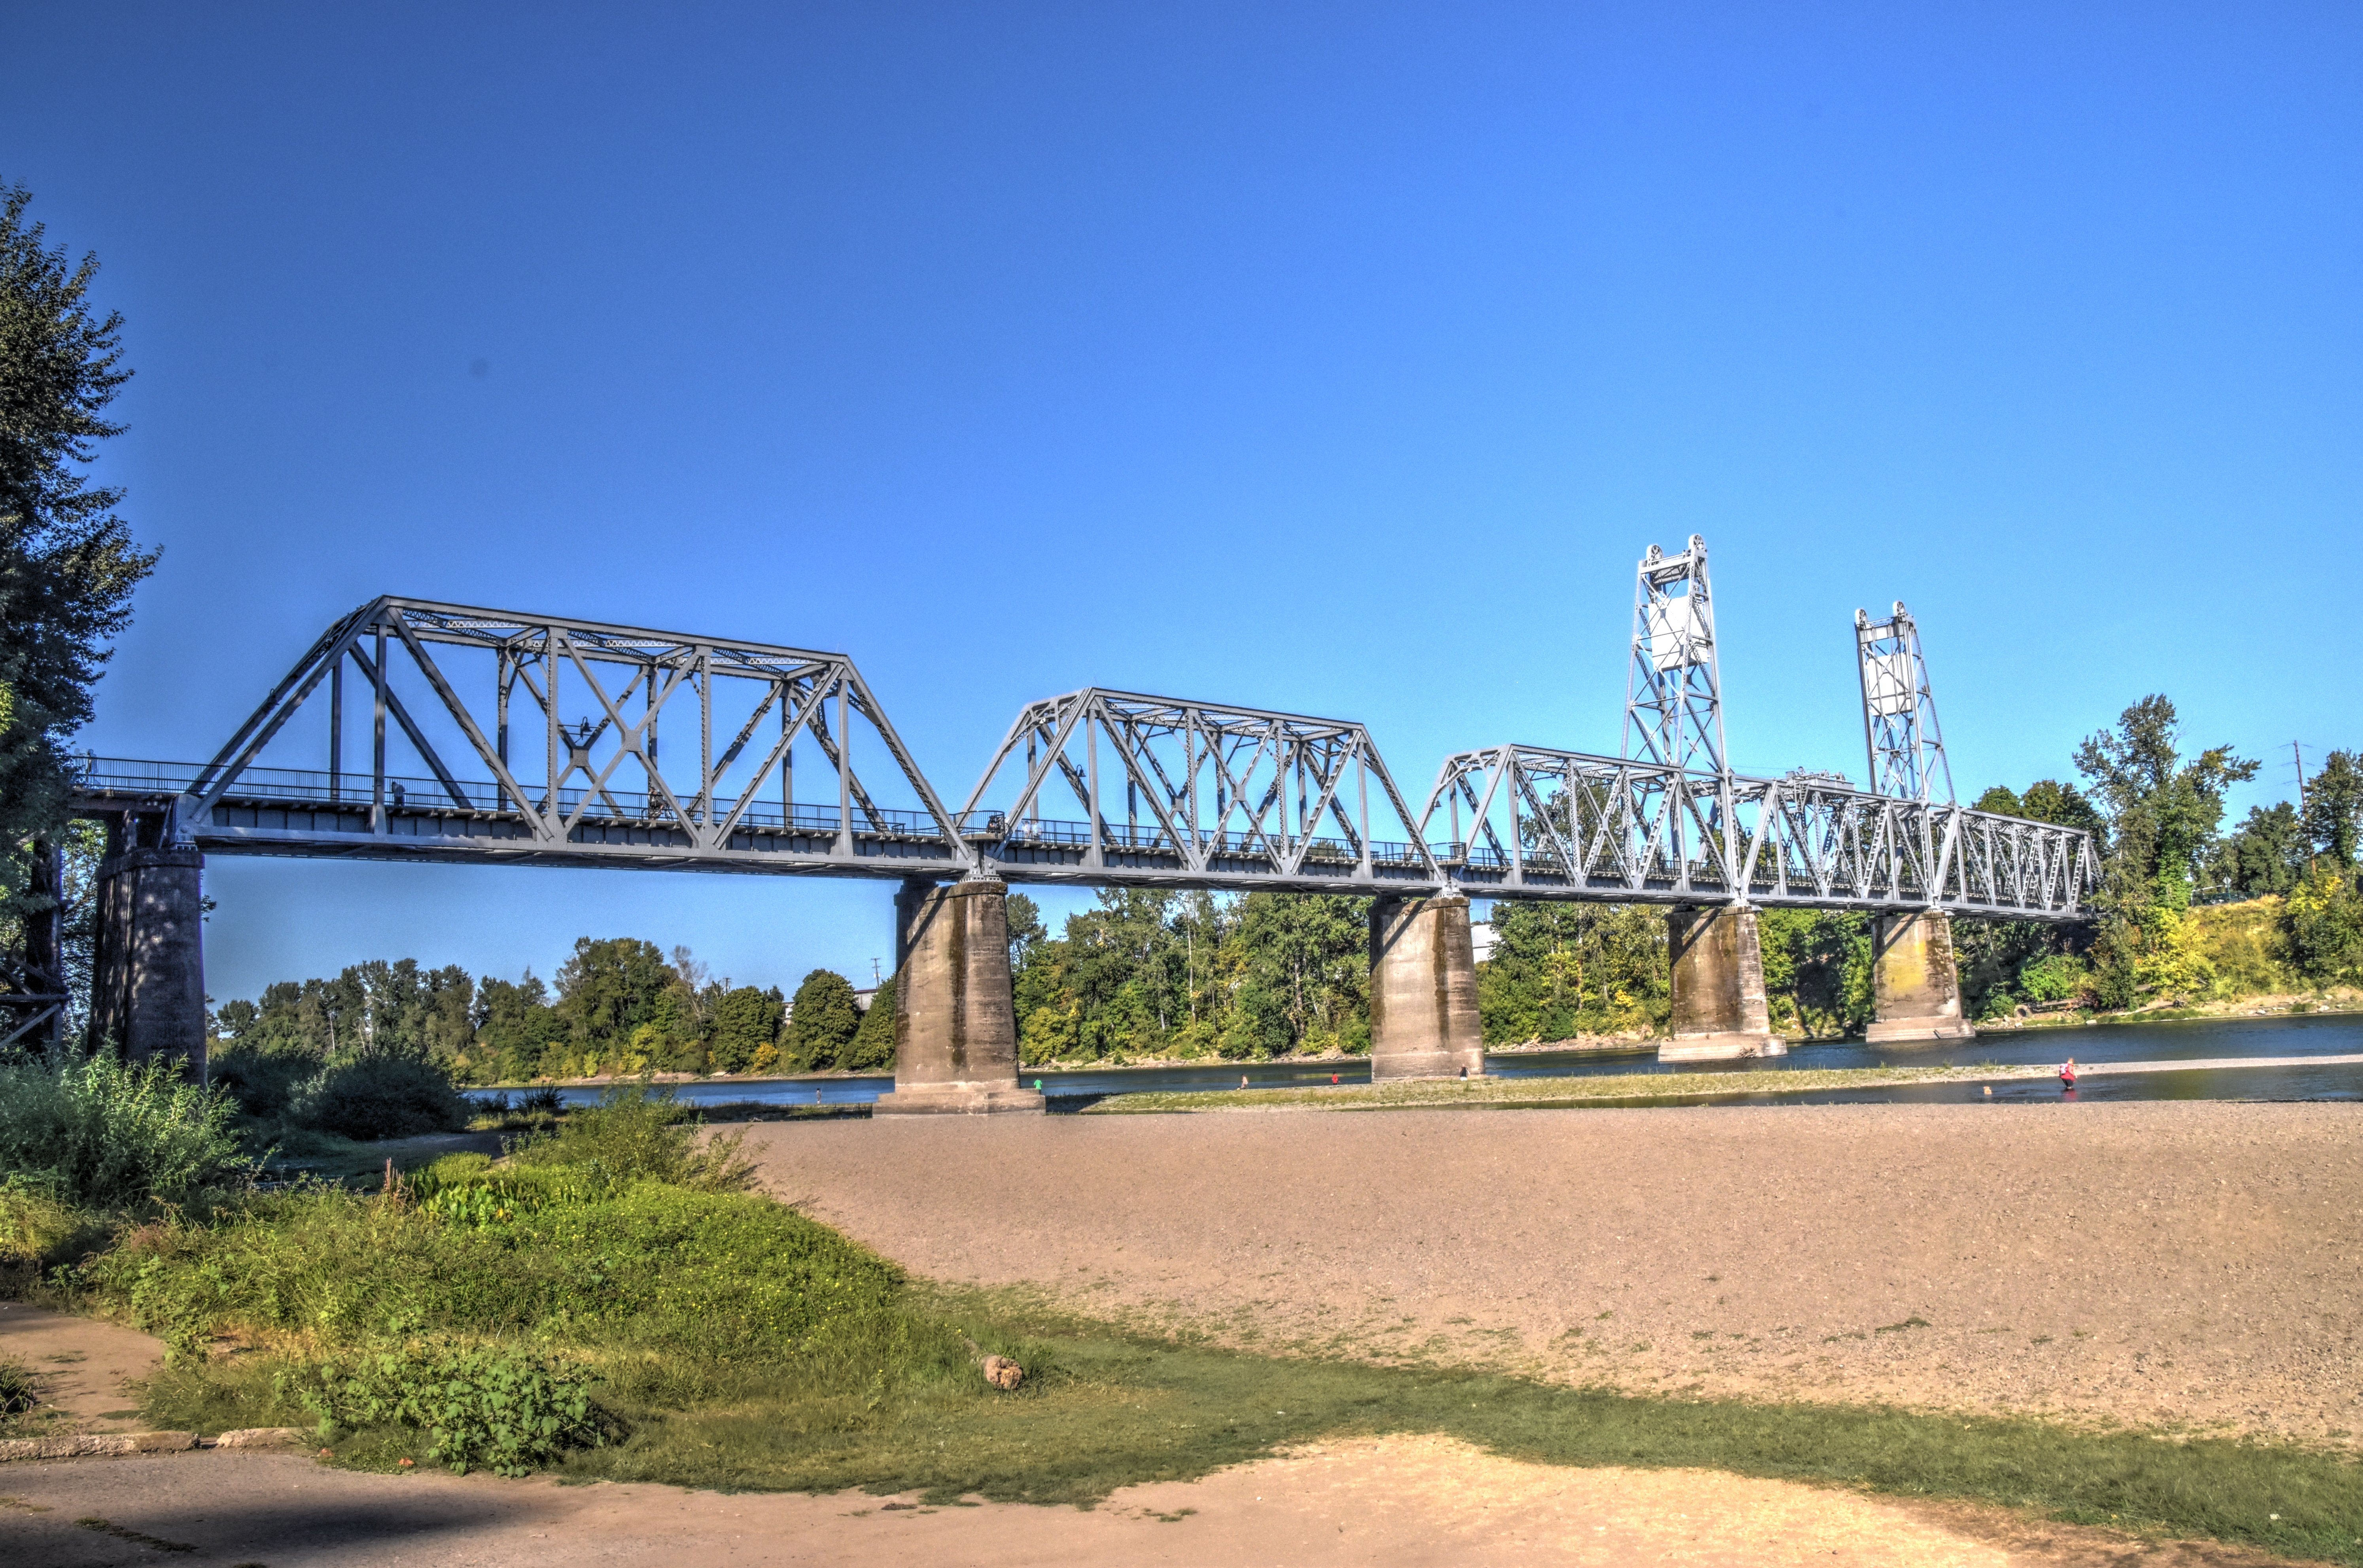
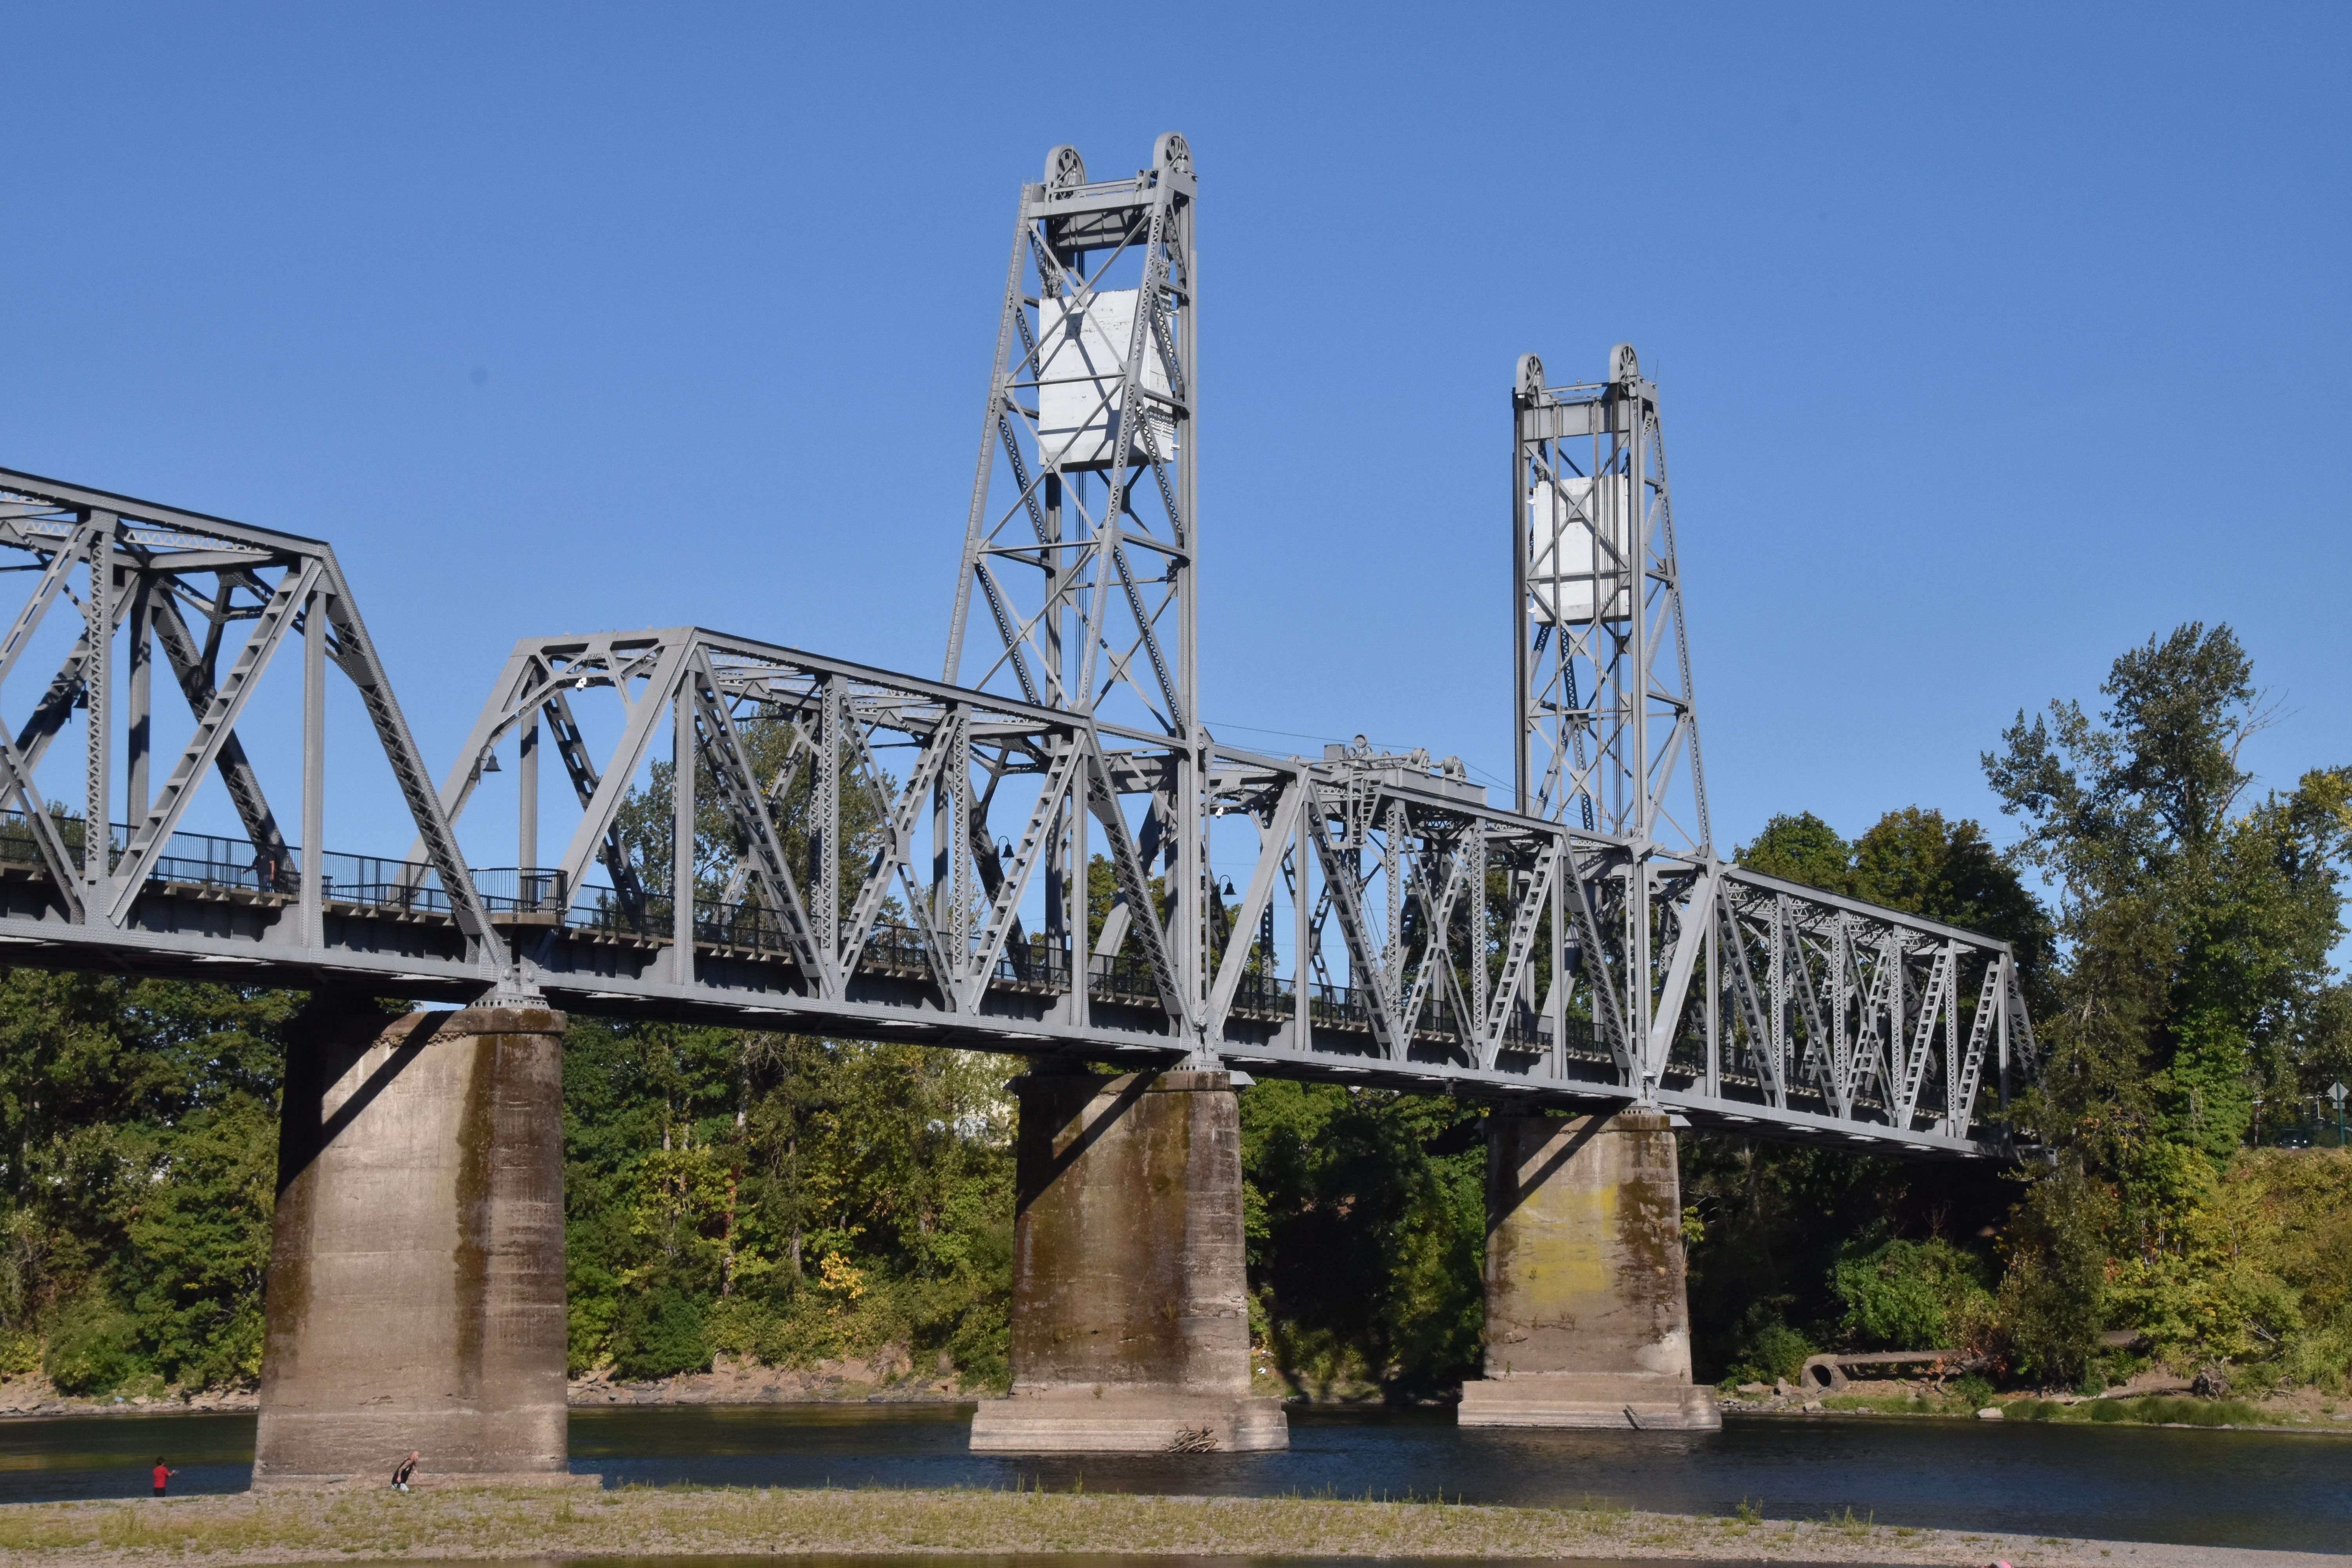
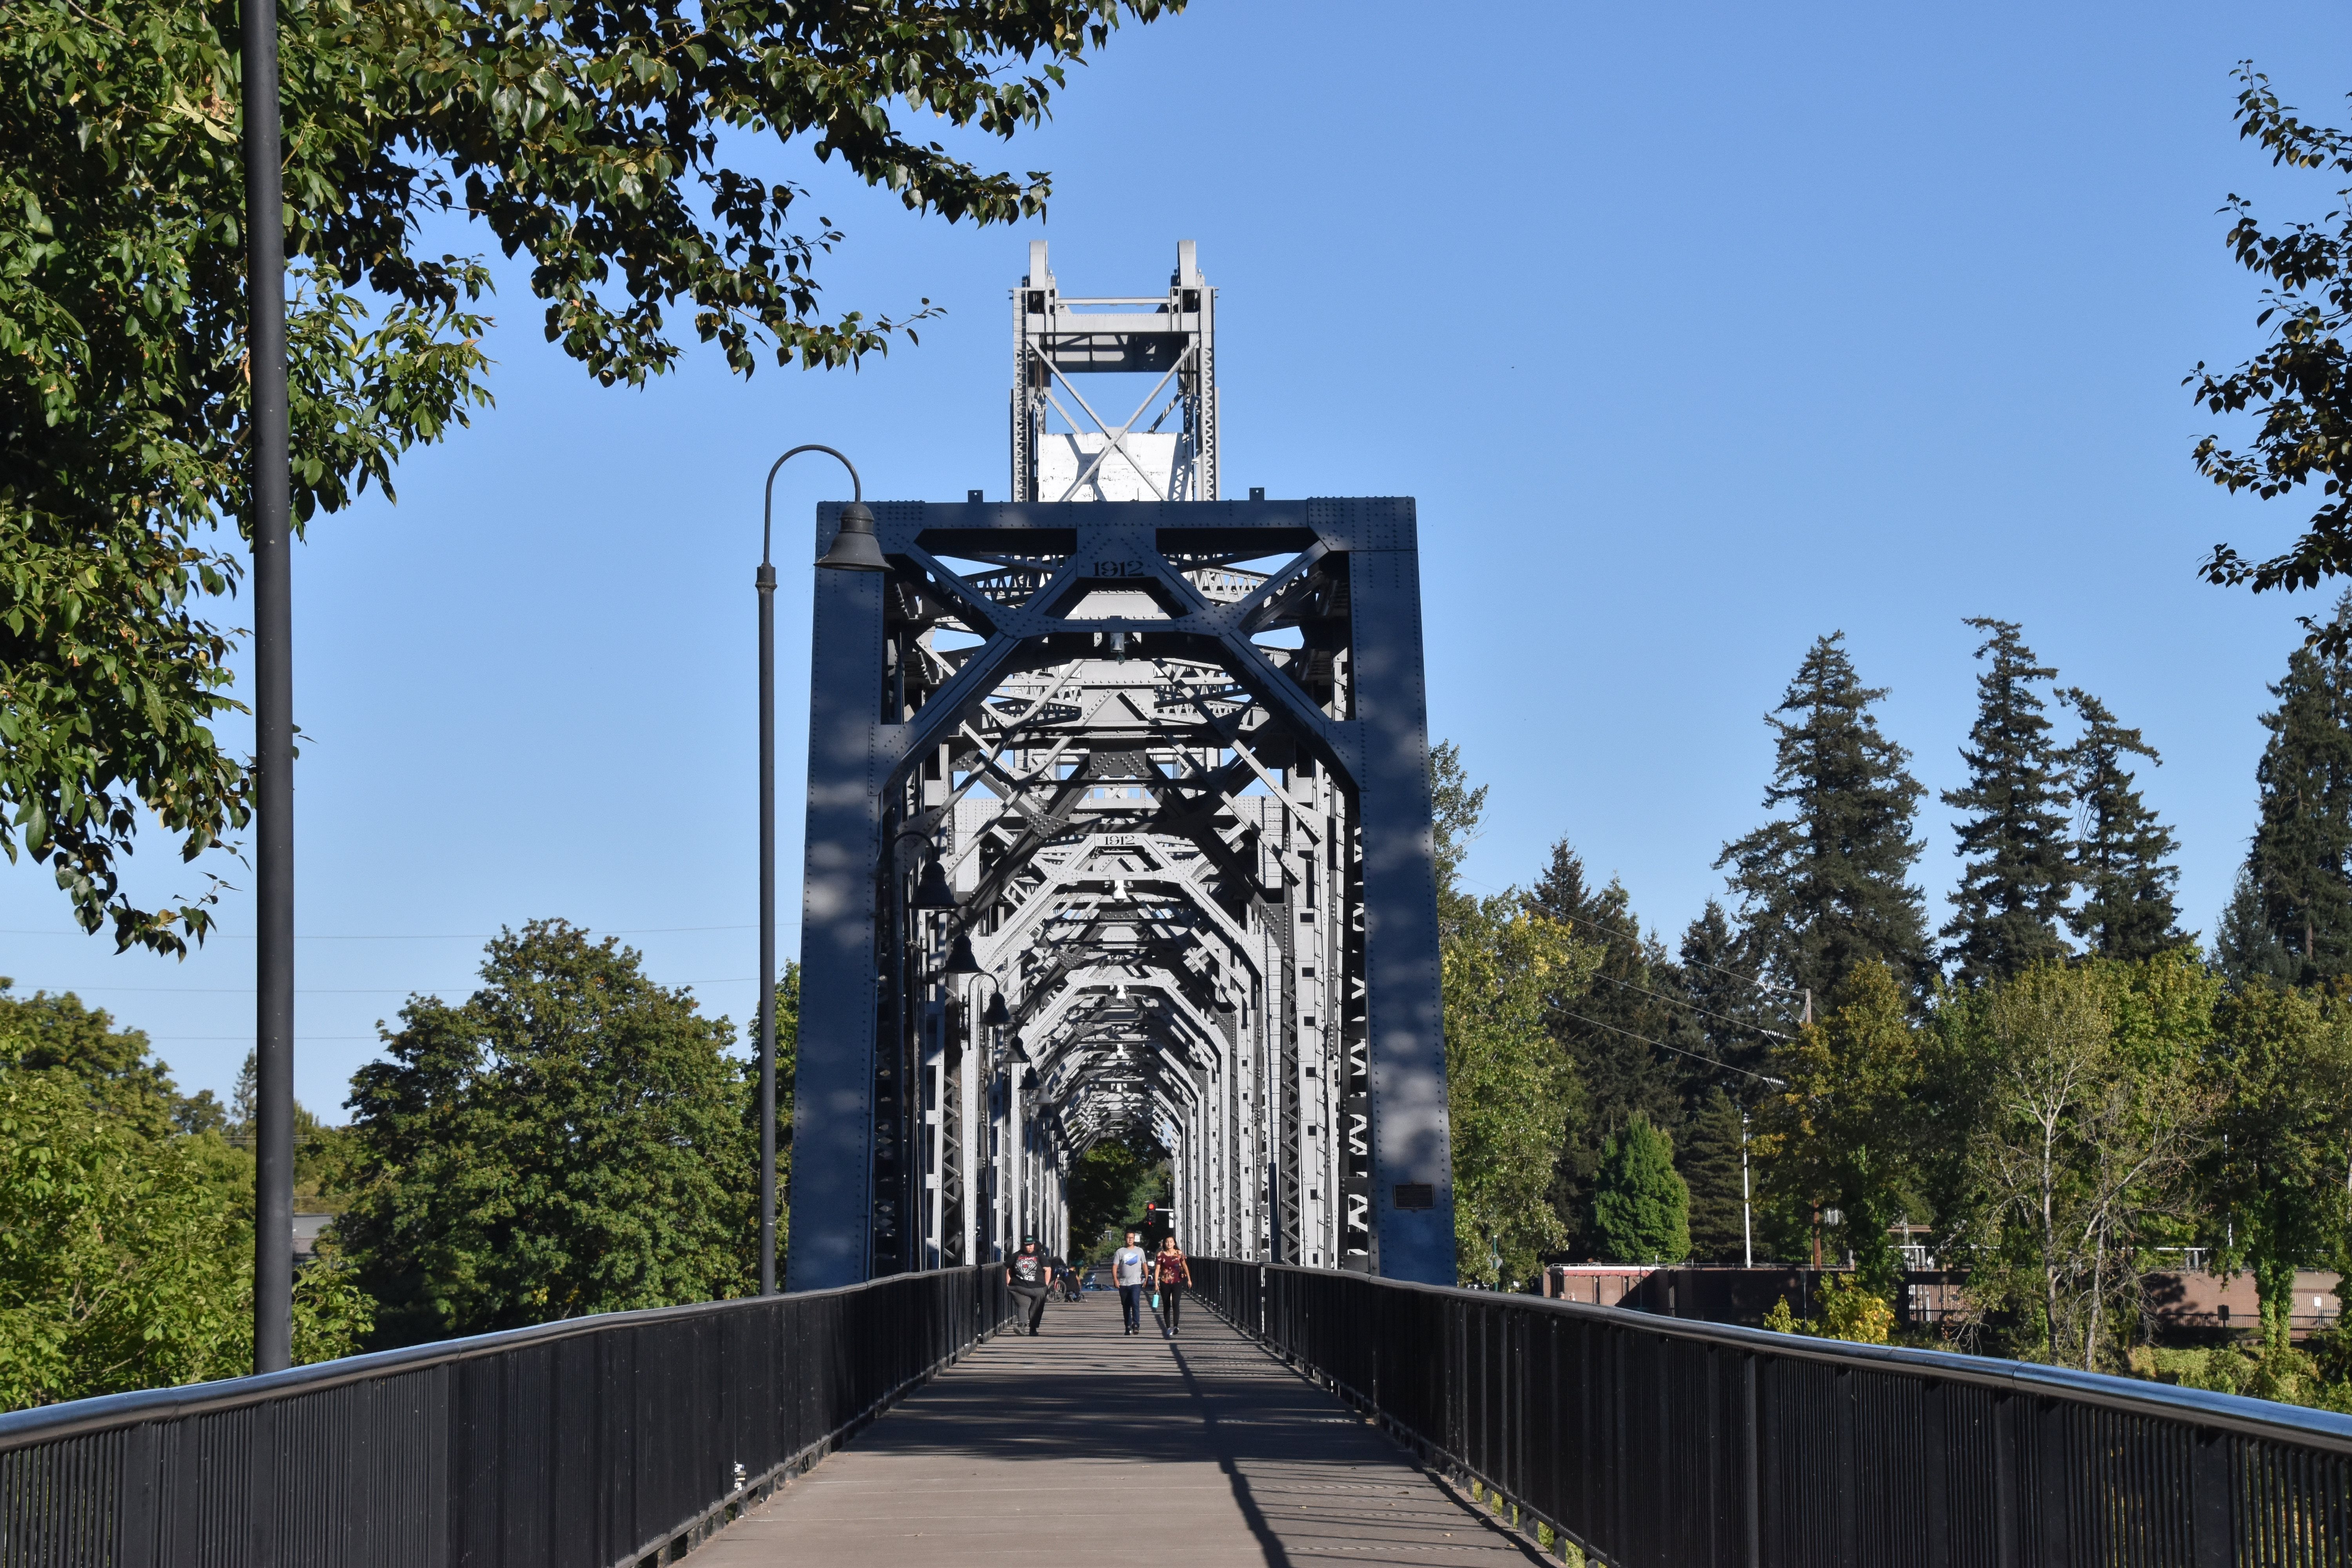
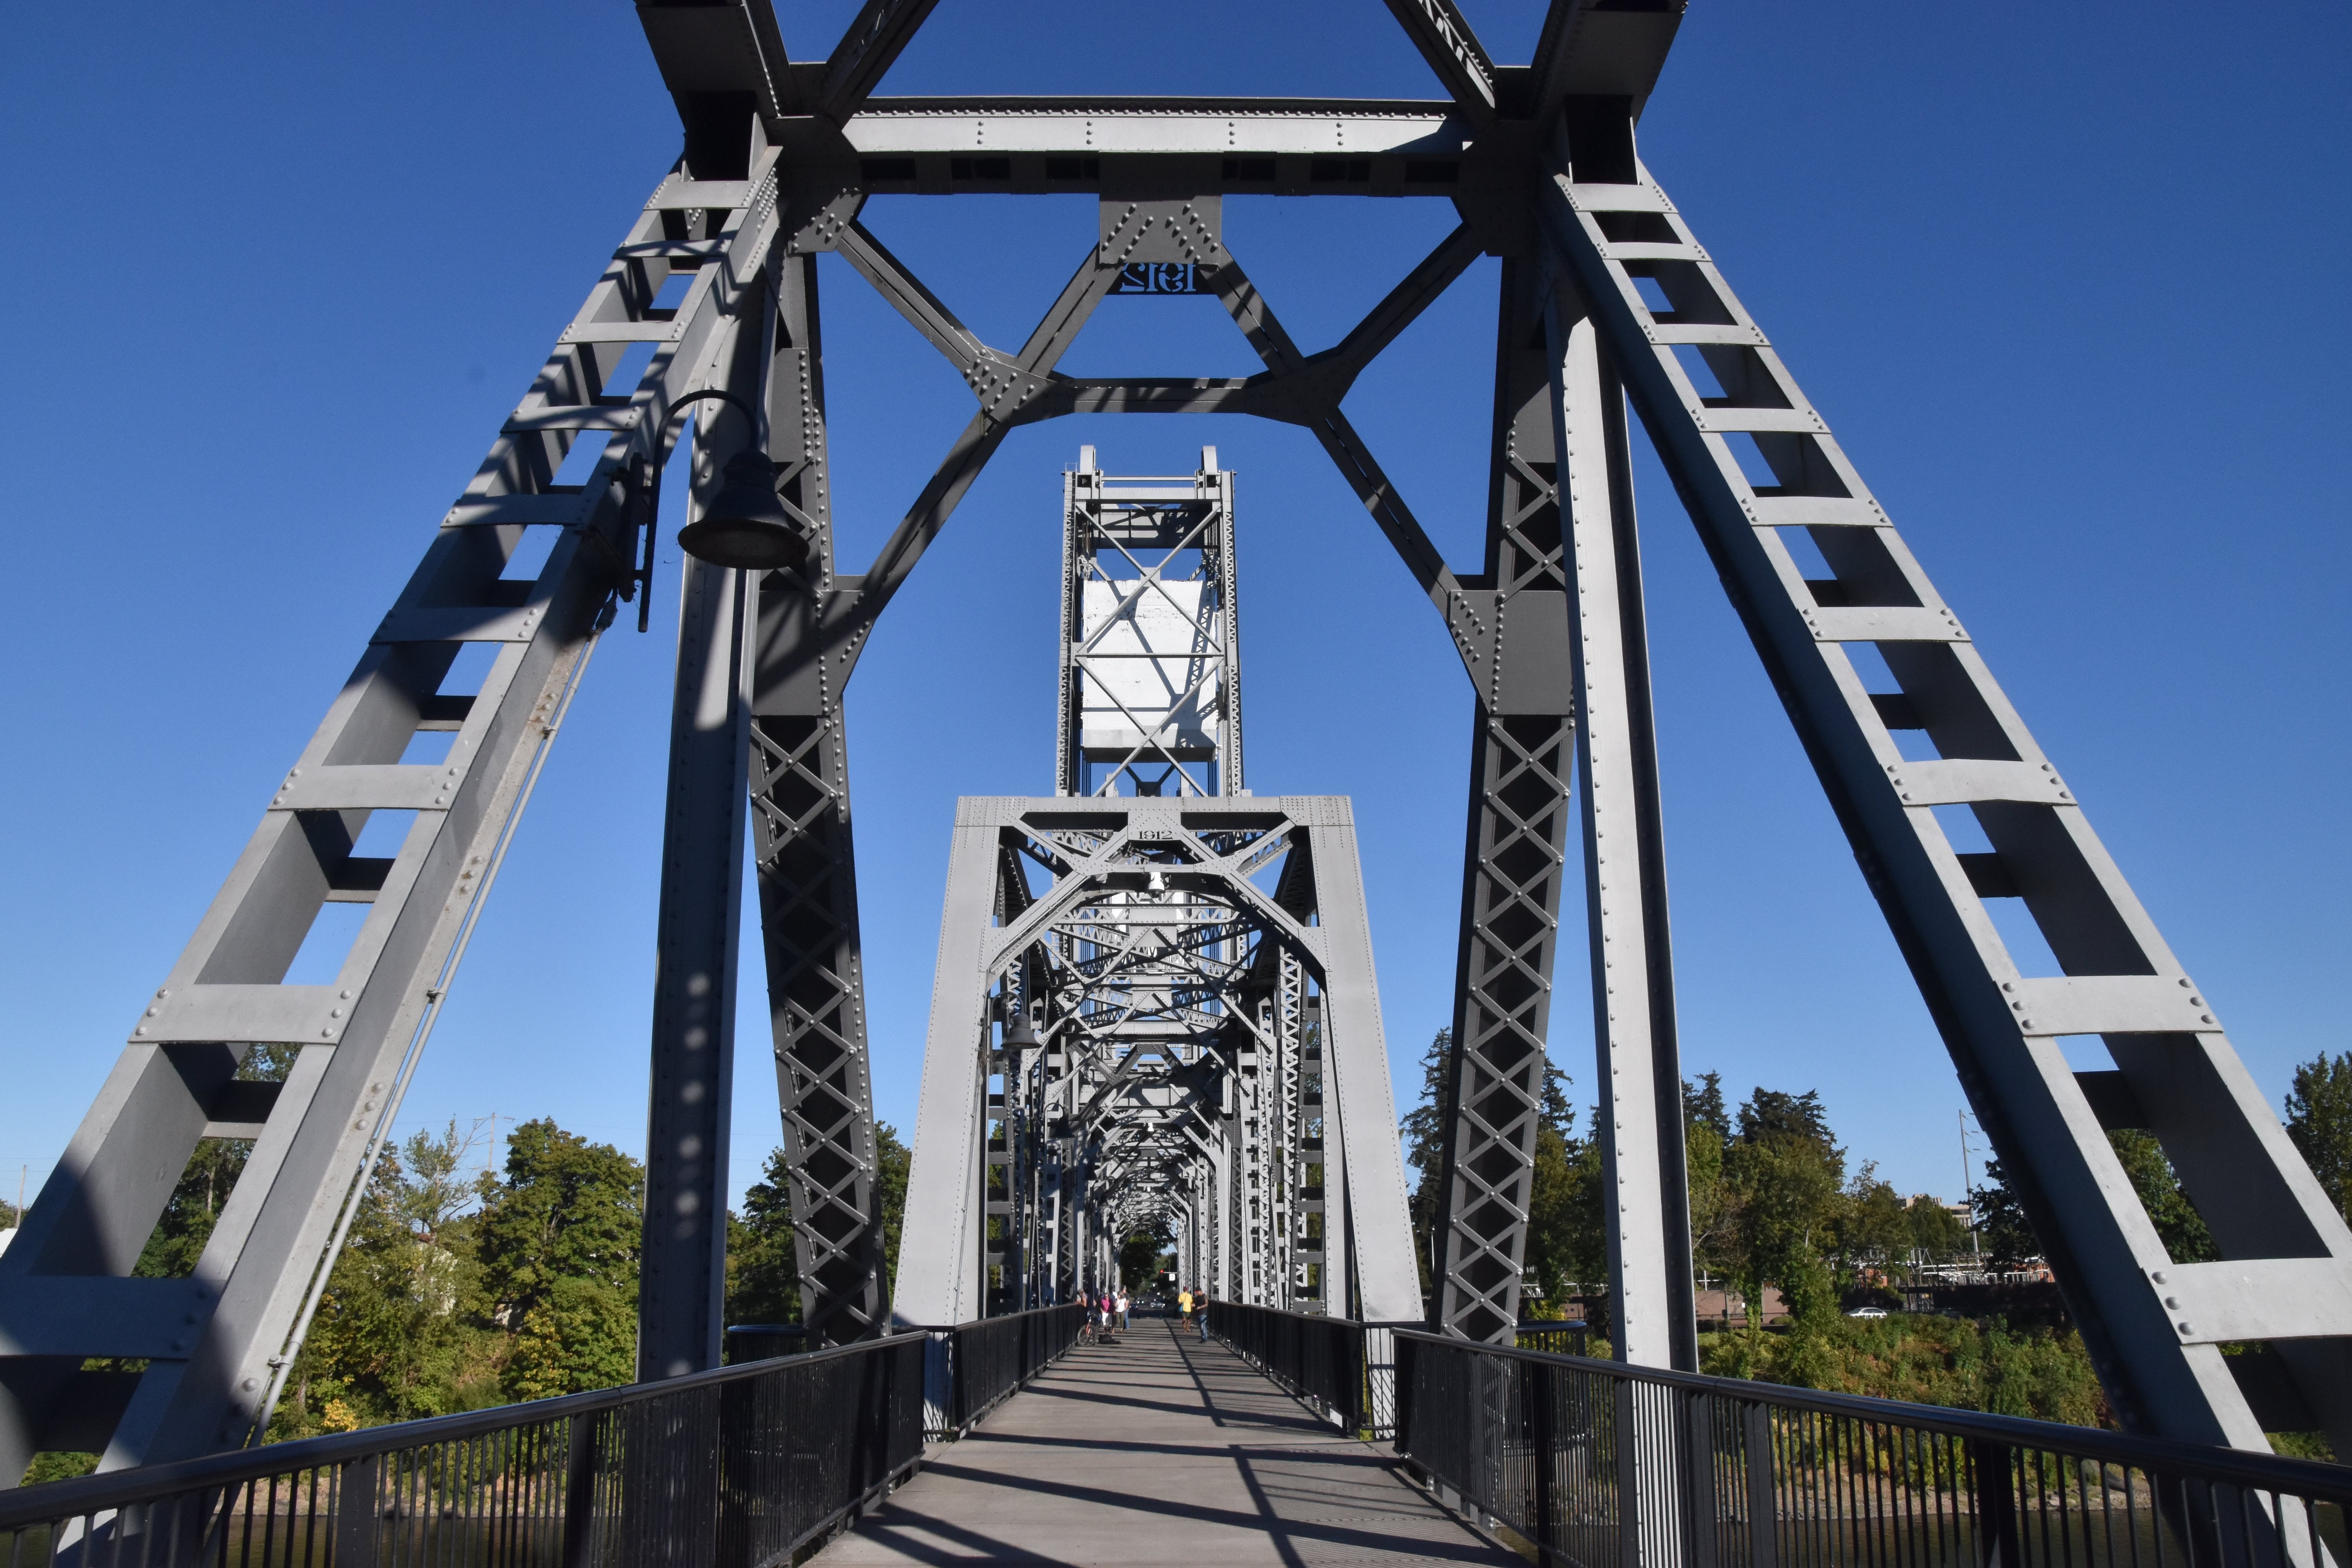
Views beside bridge from southwest quadrant.
![]()


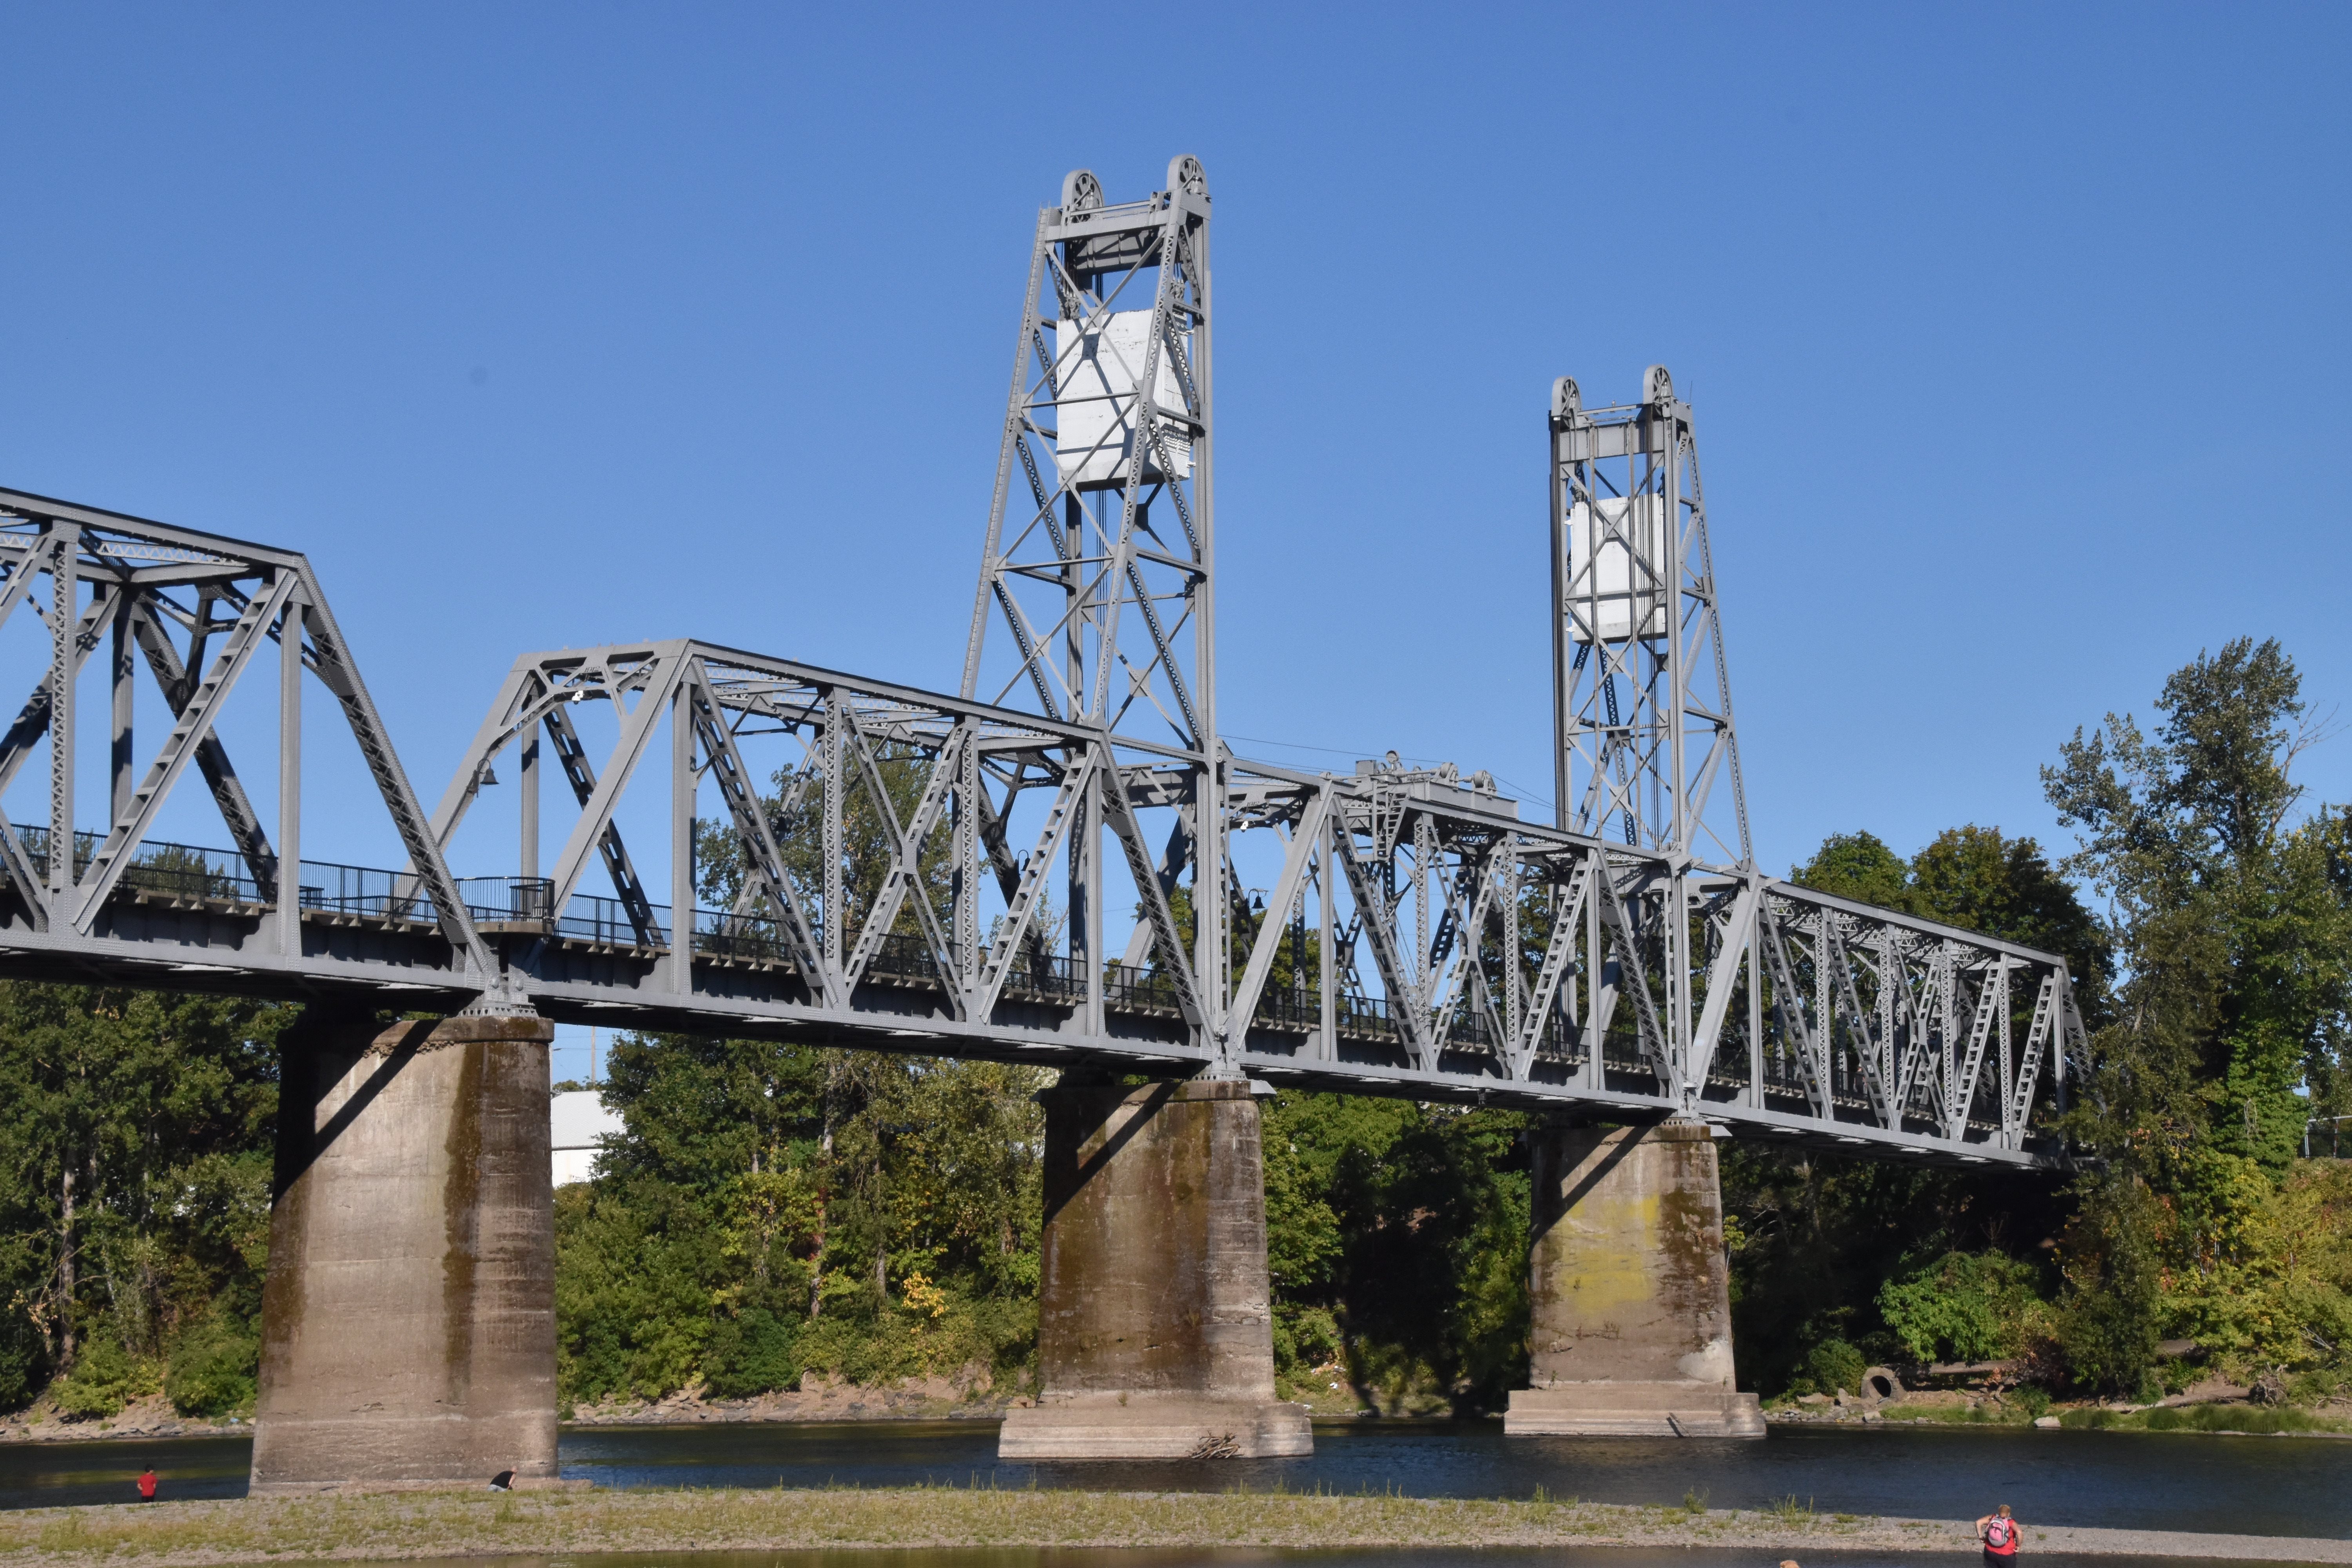
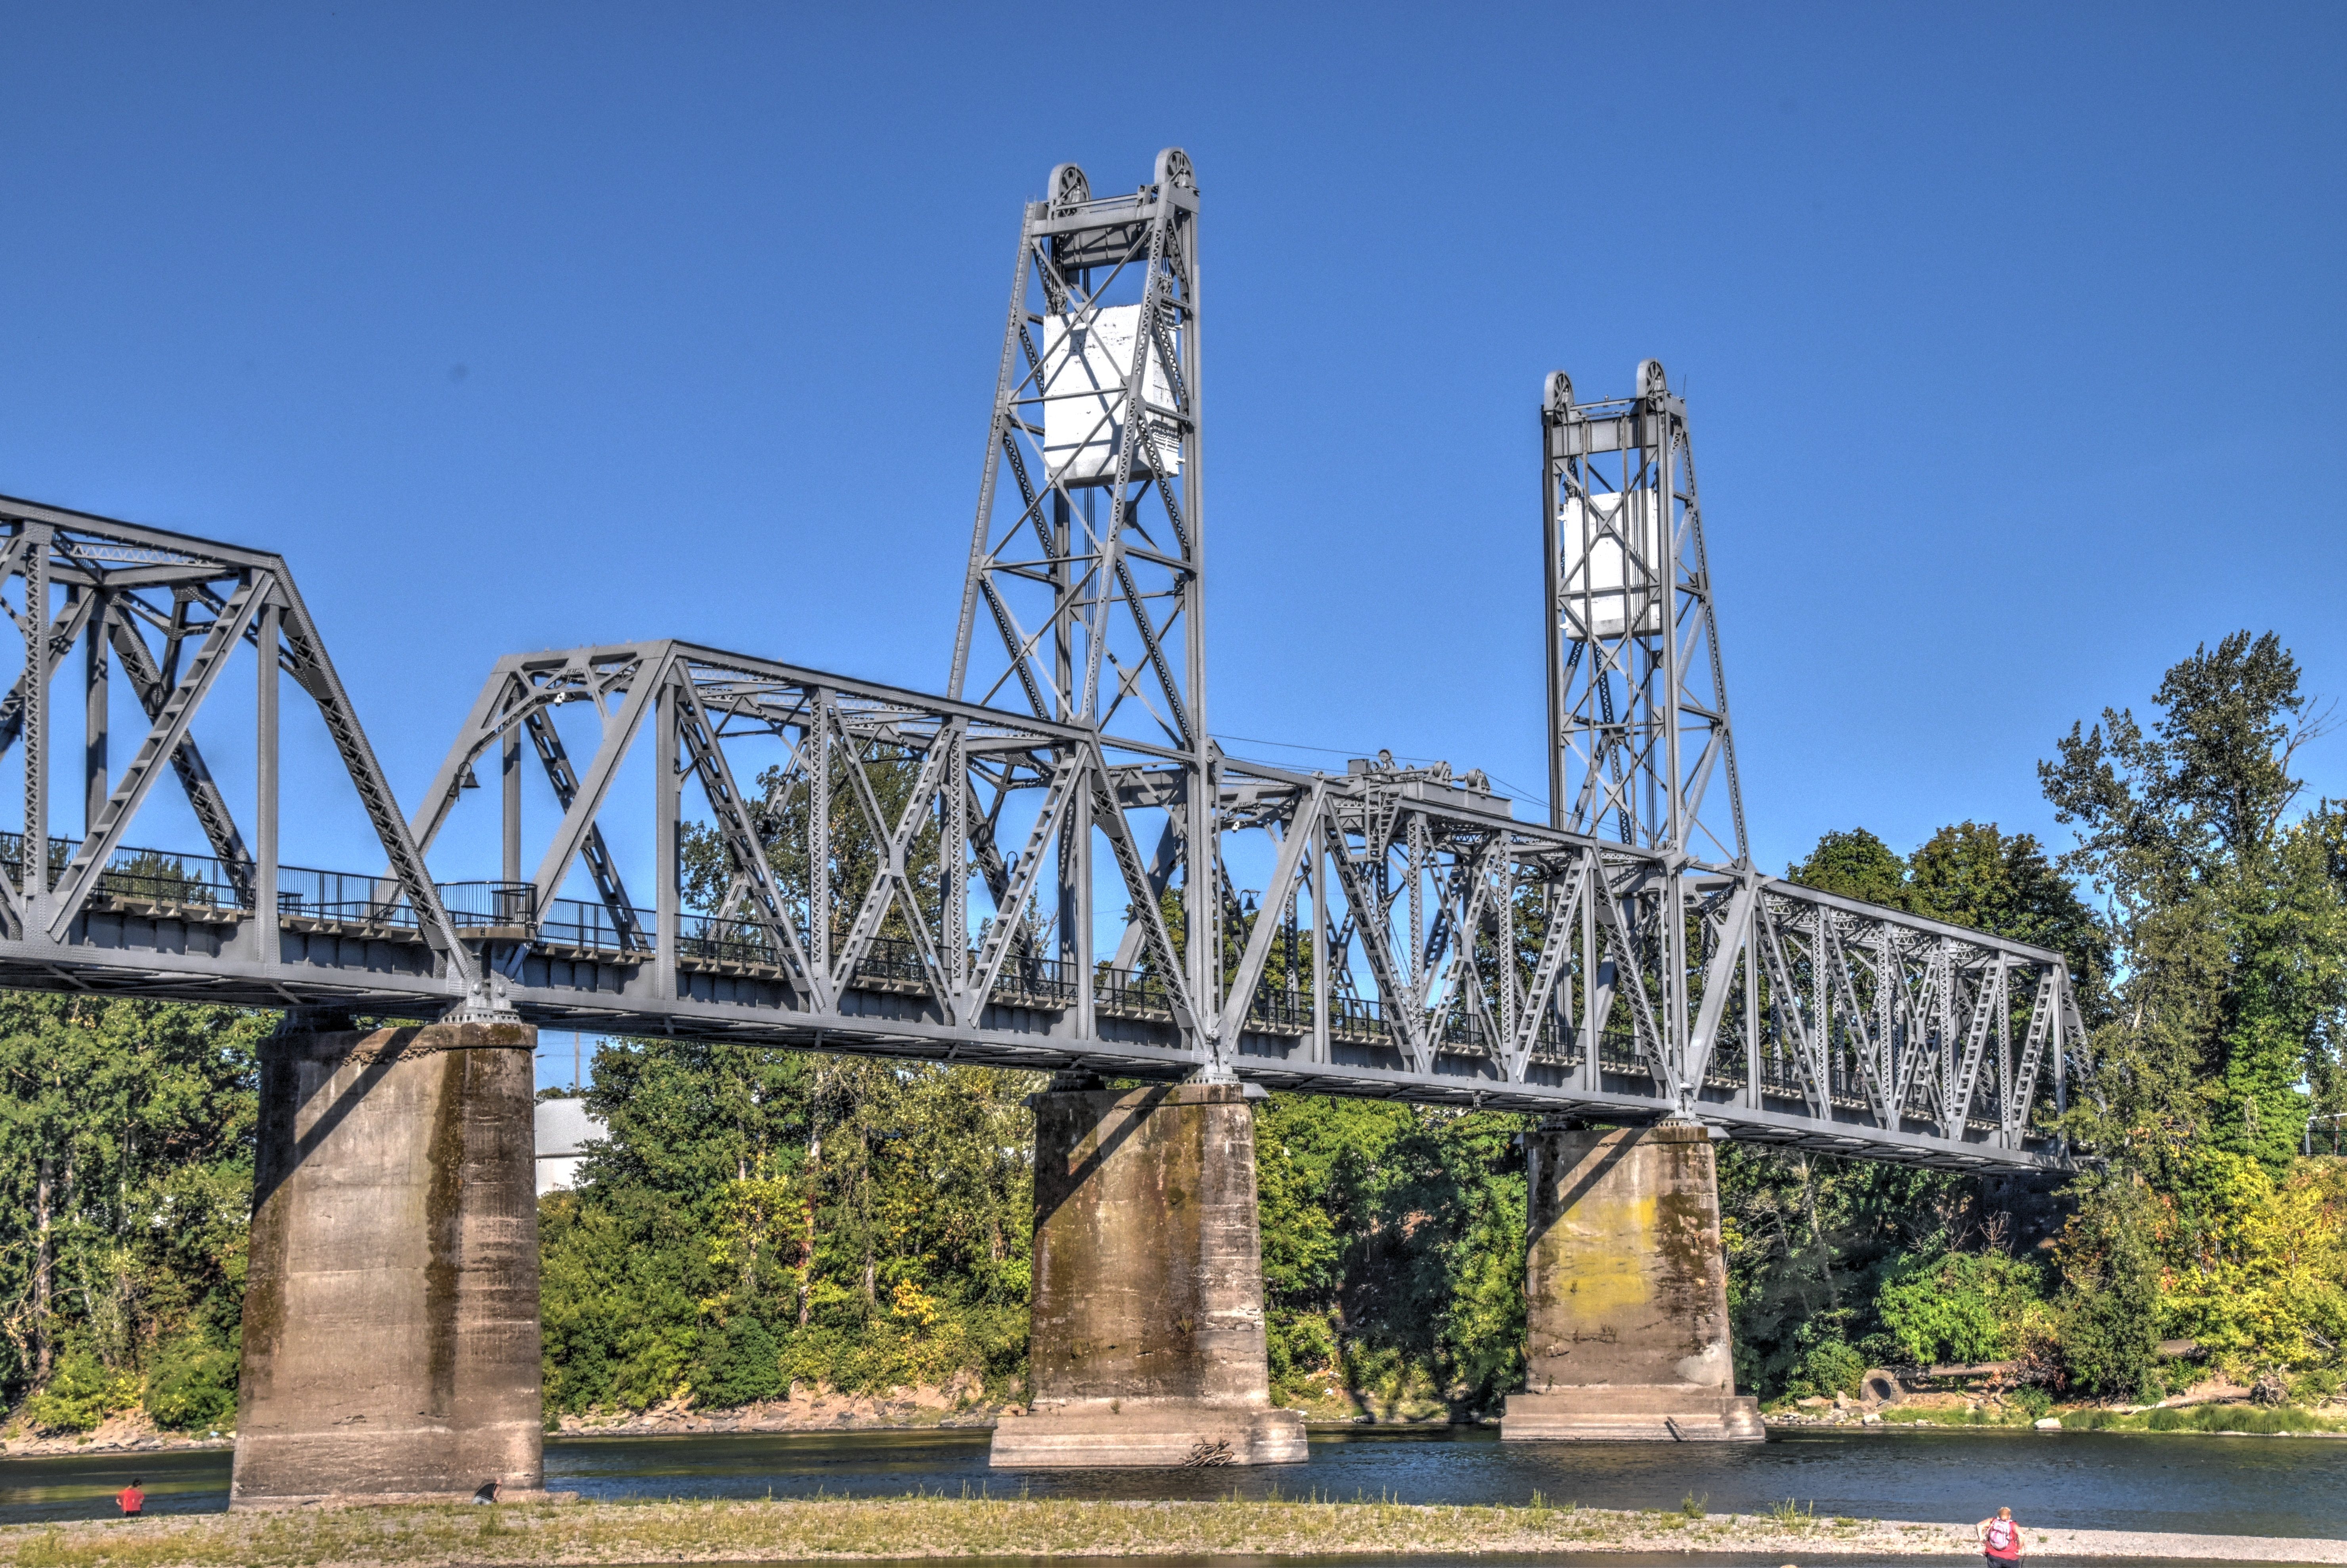
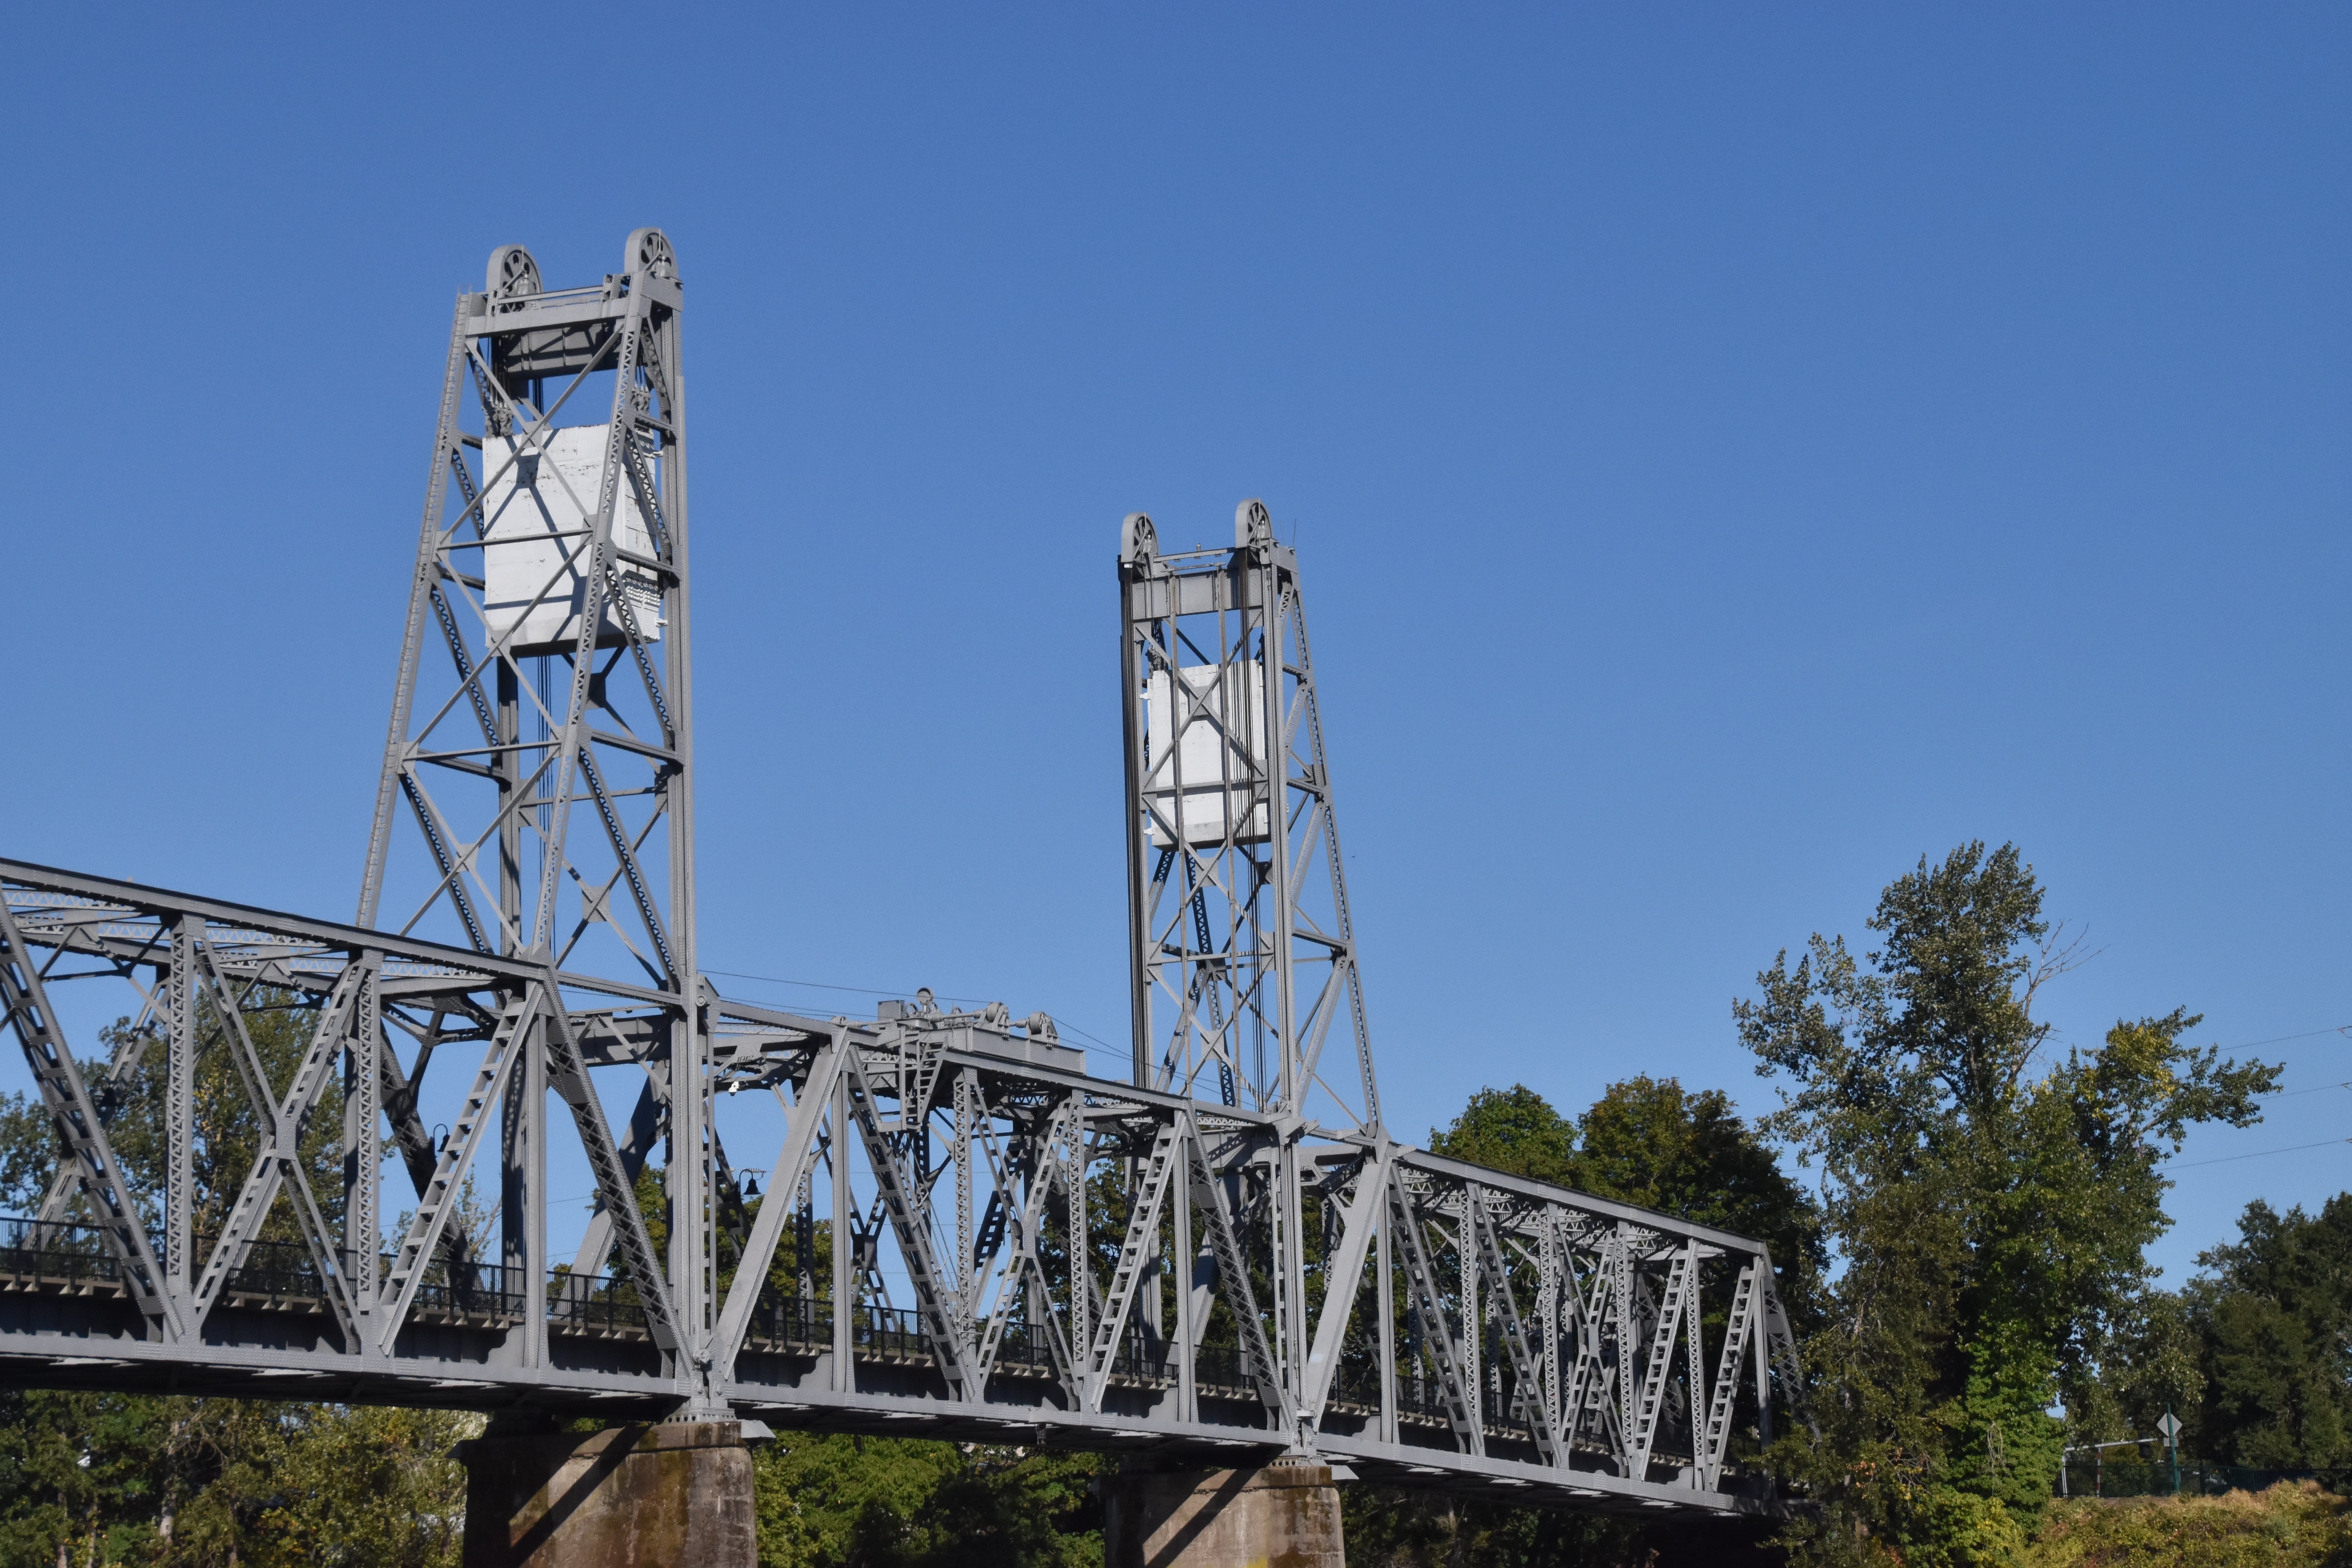


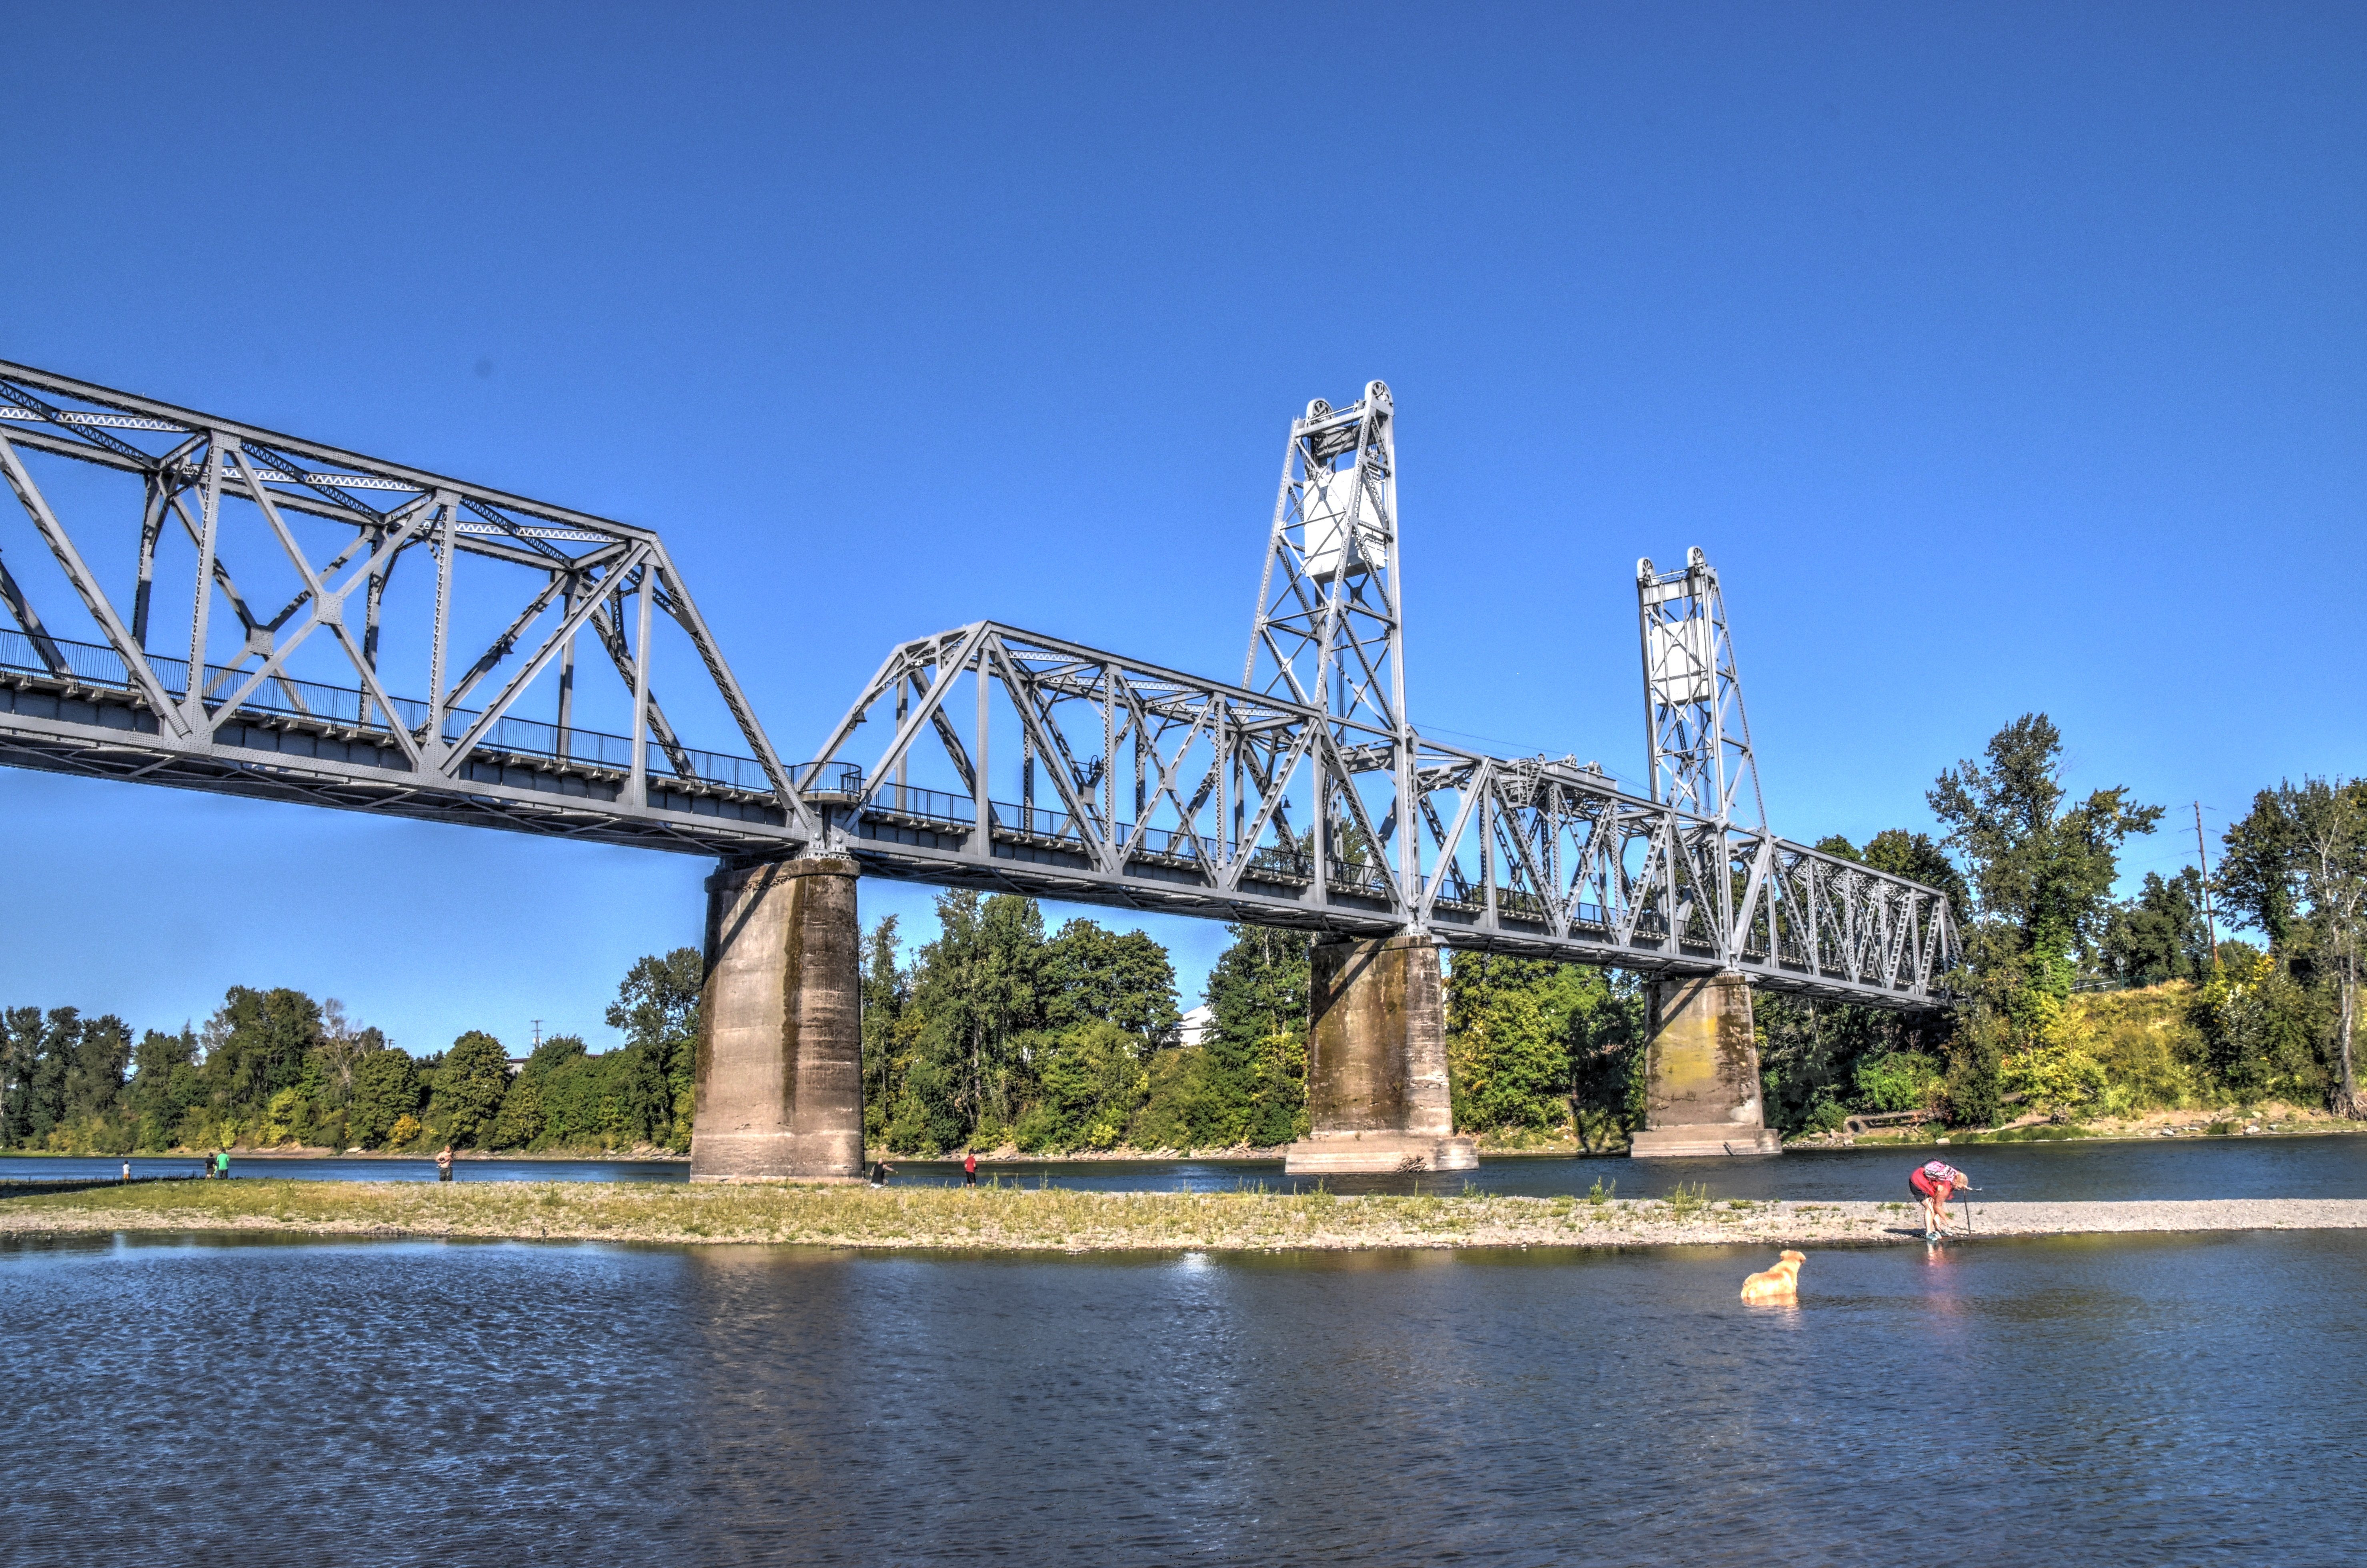
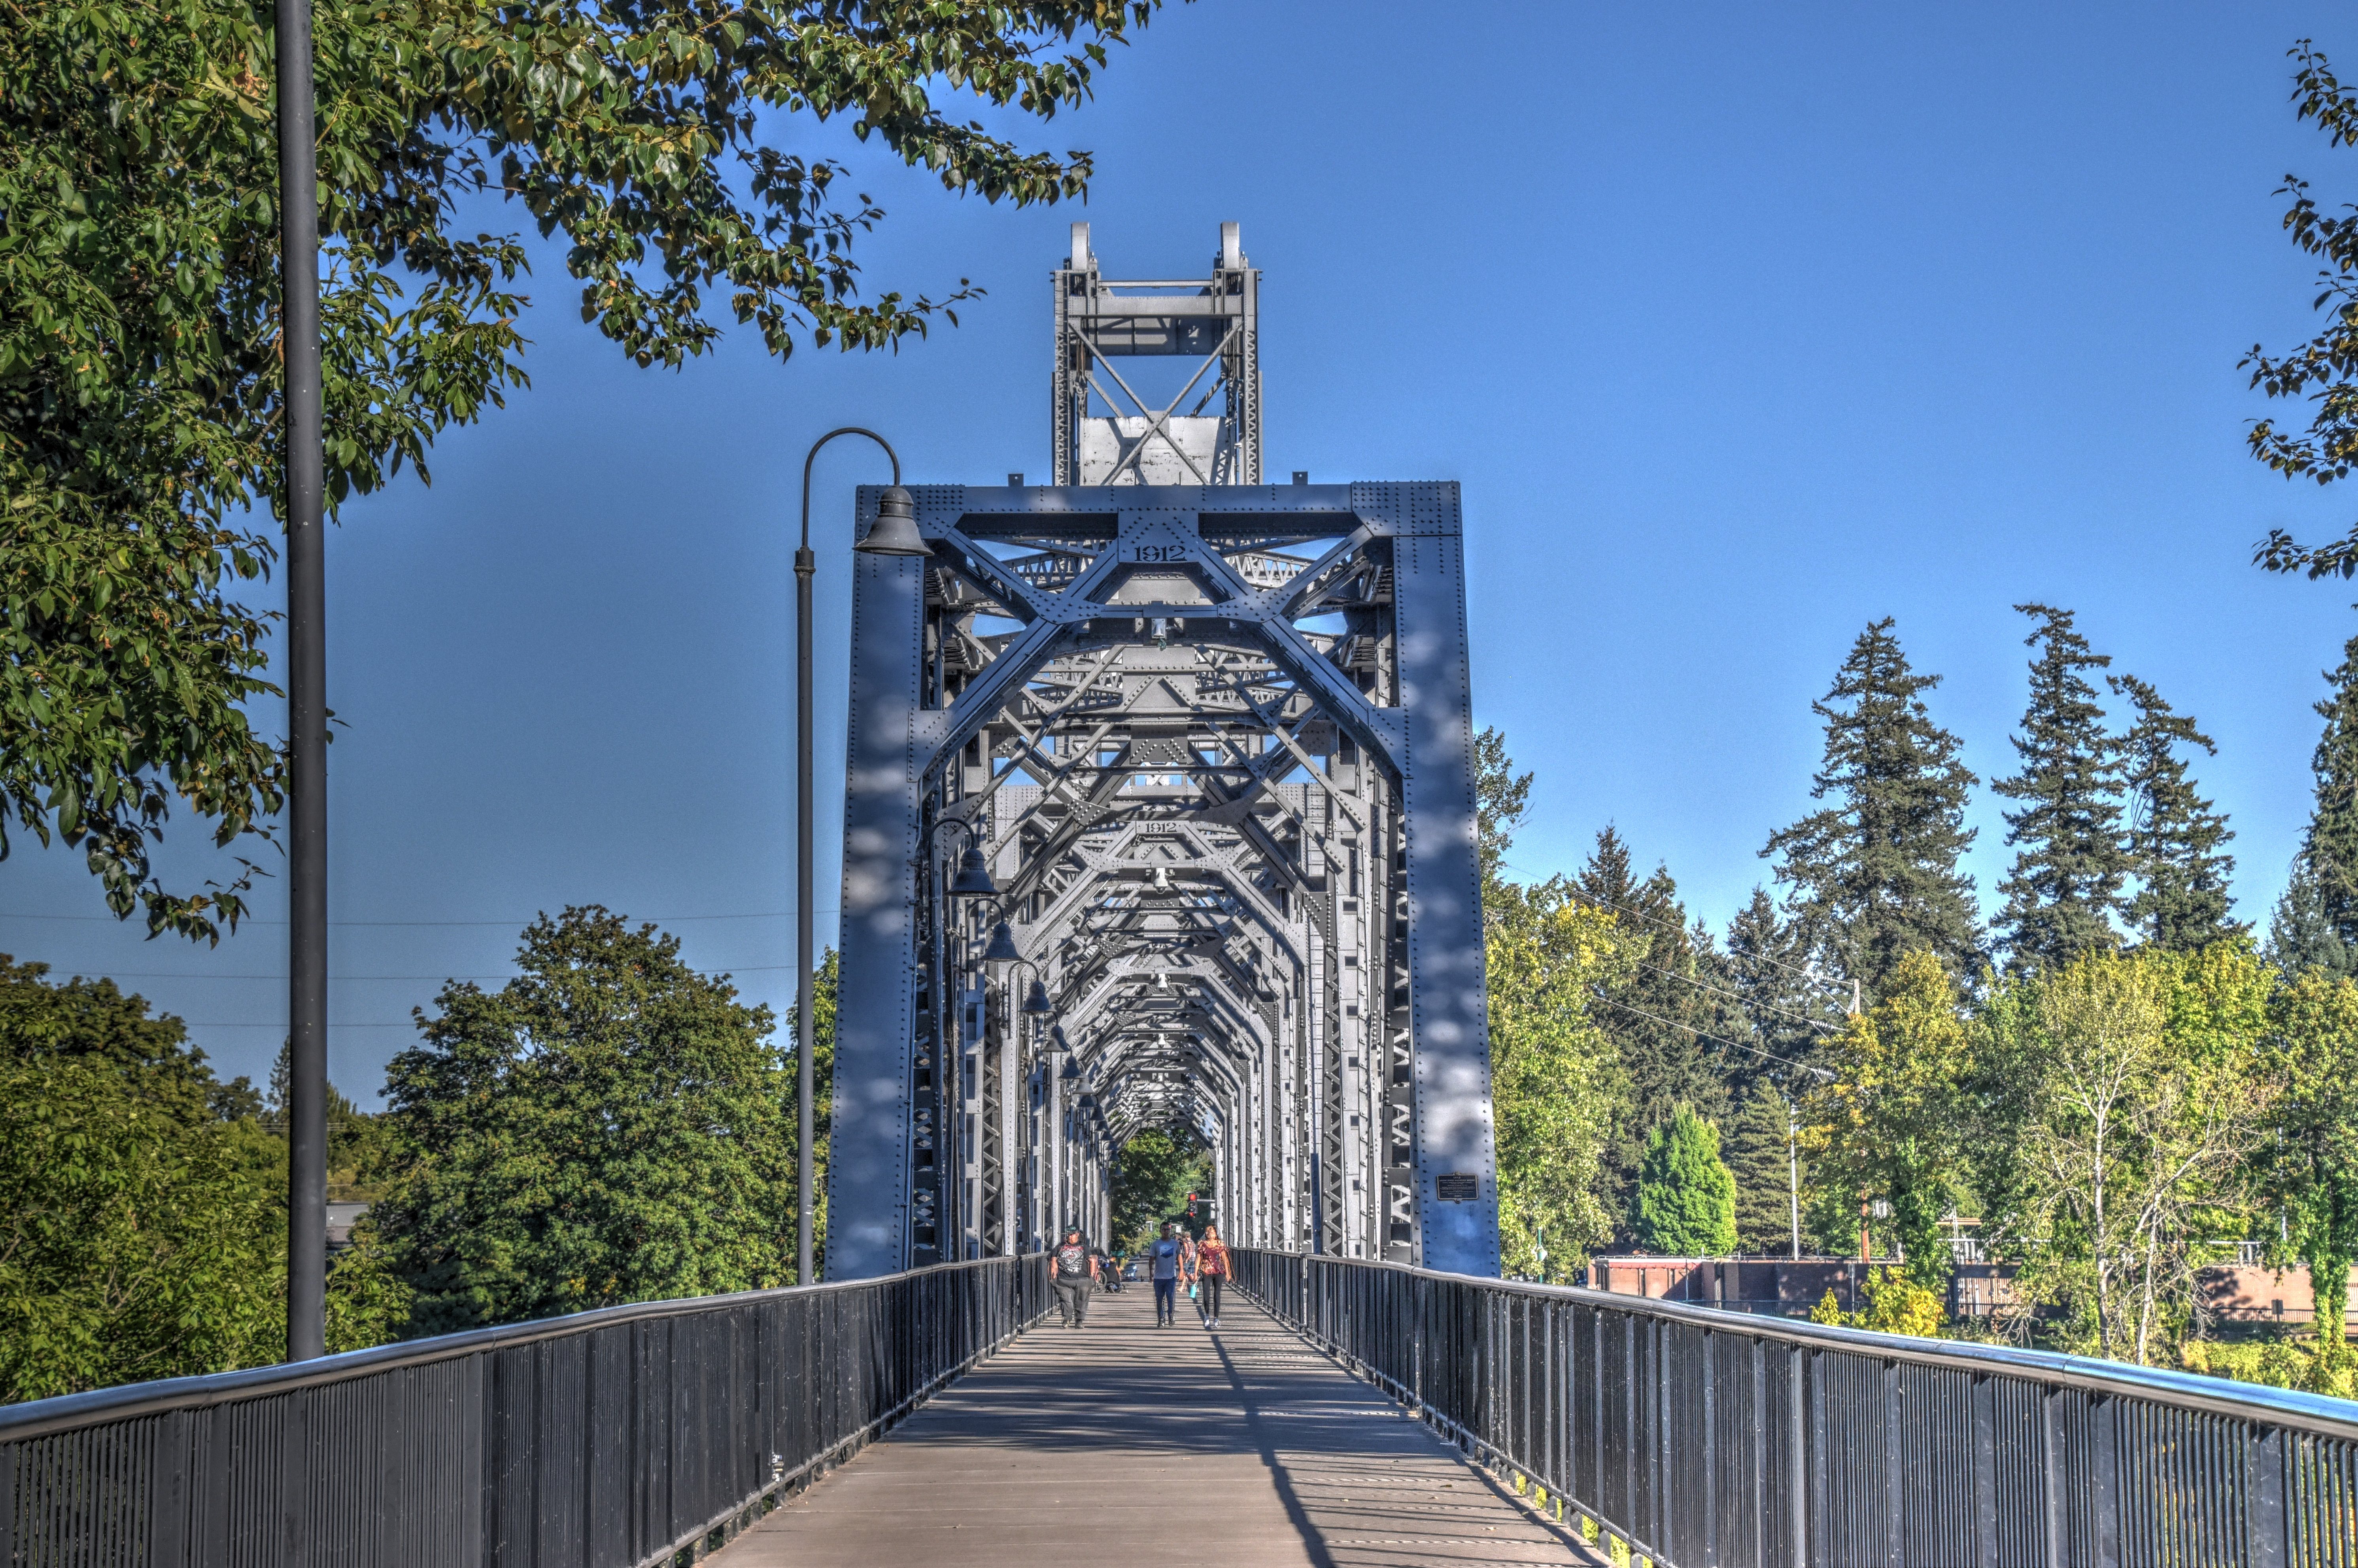
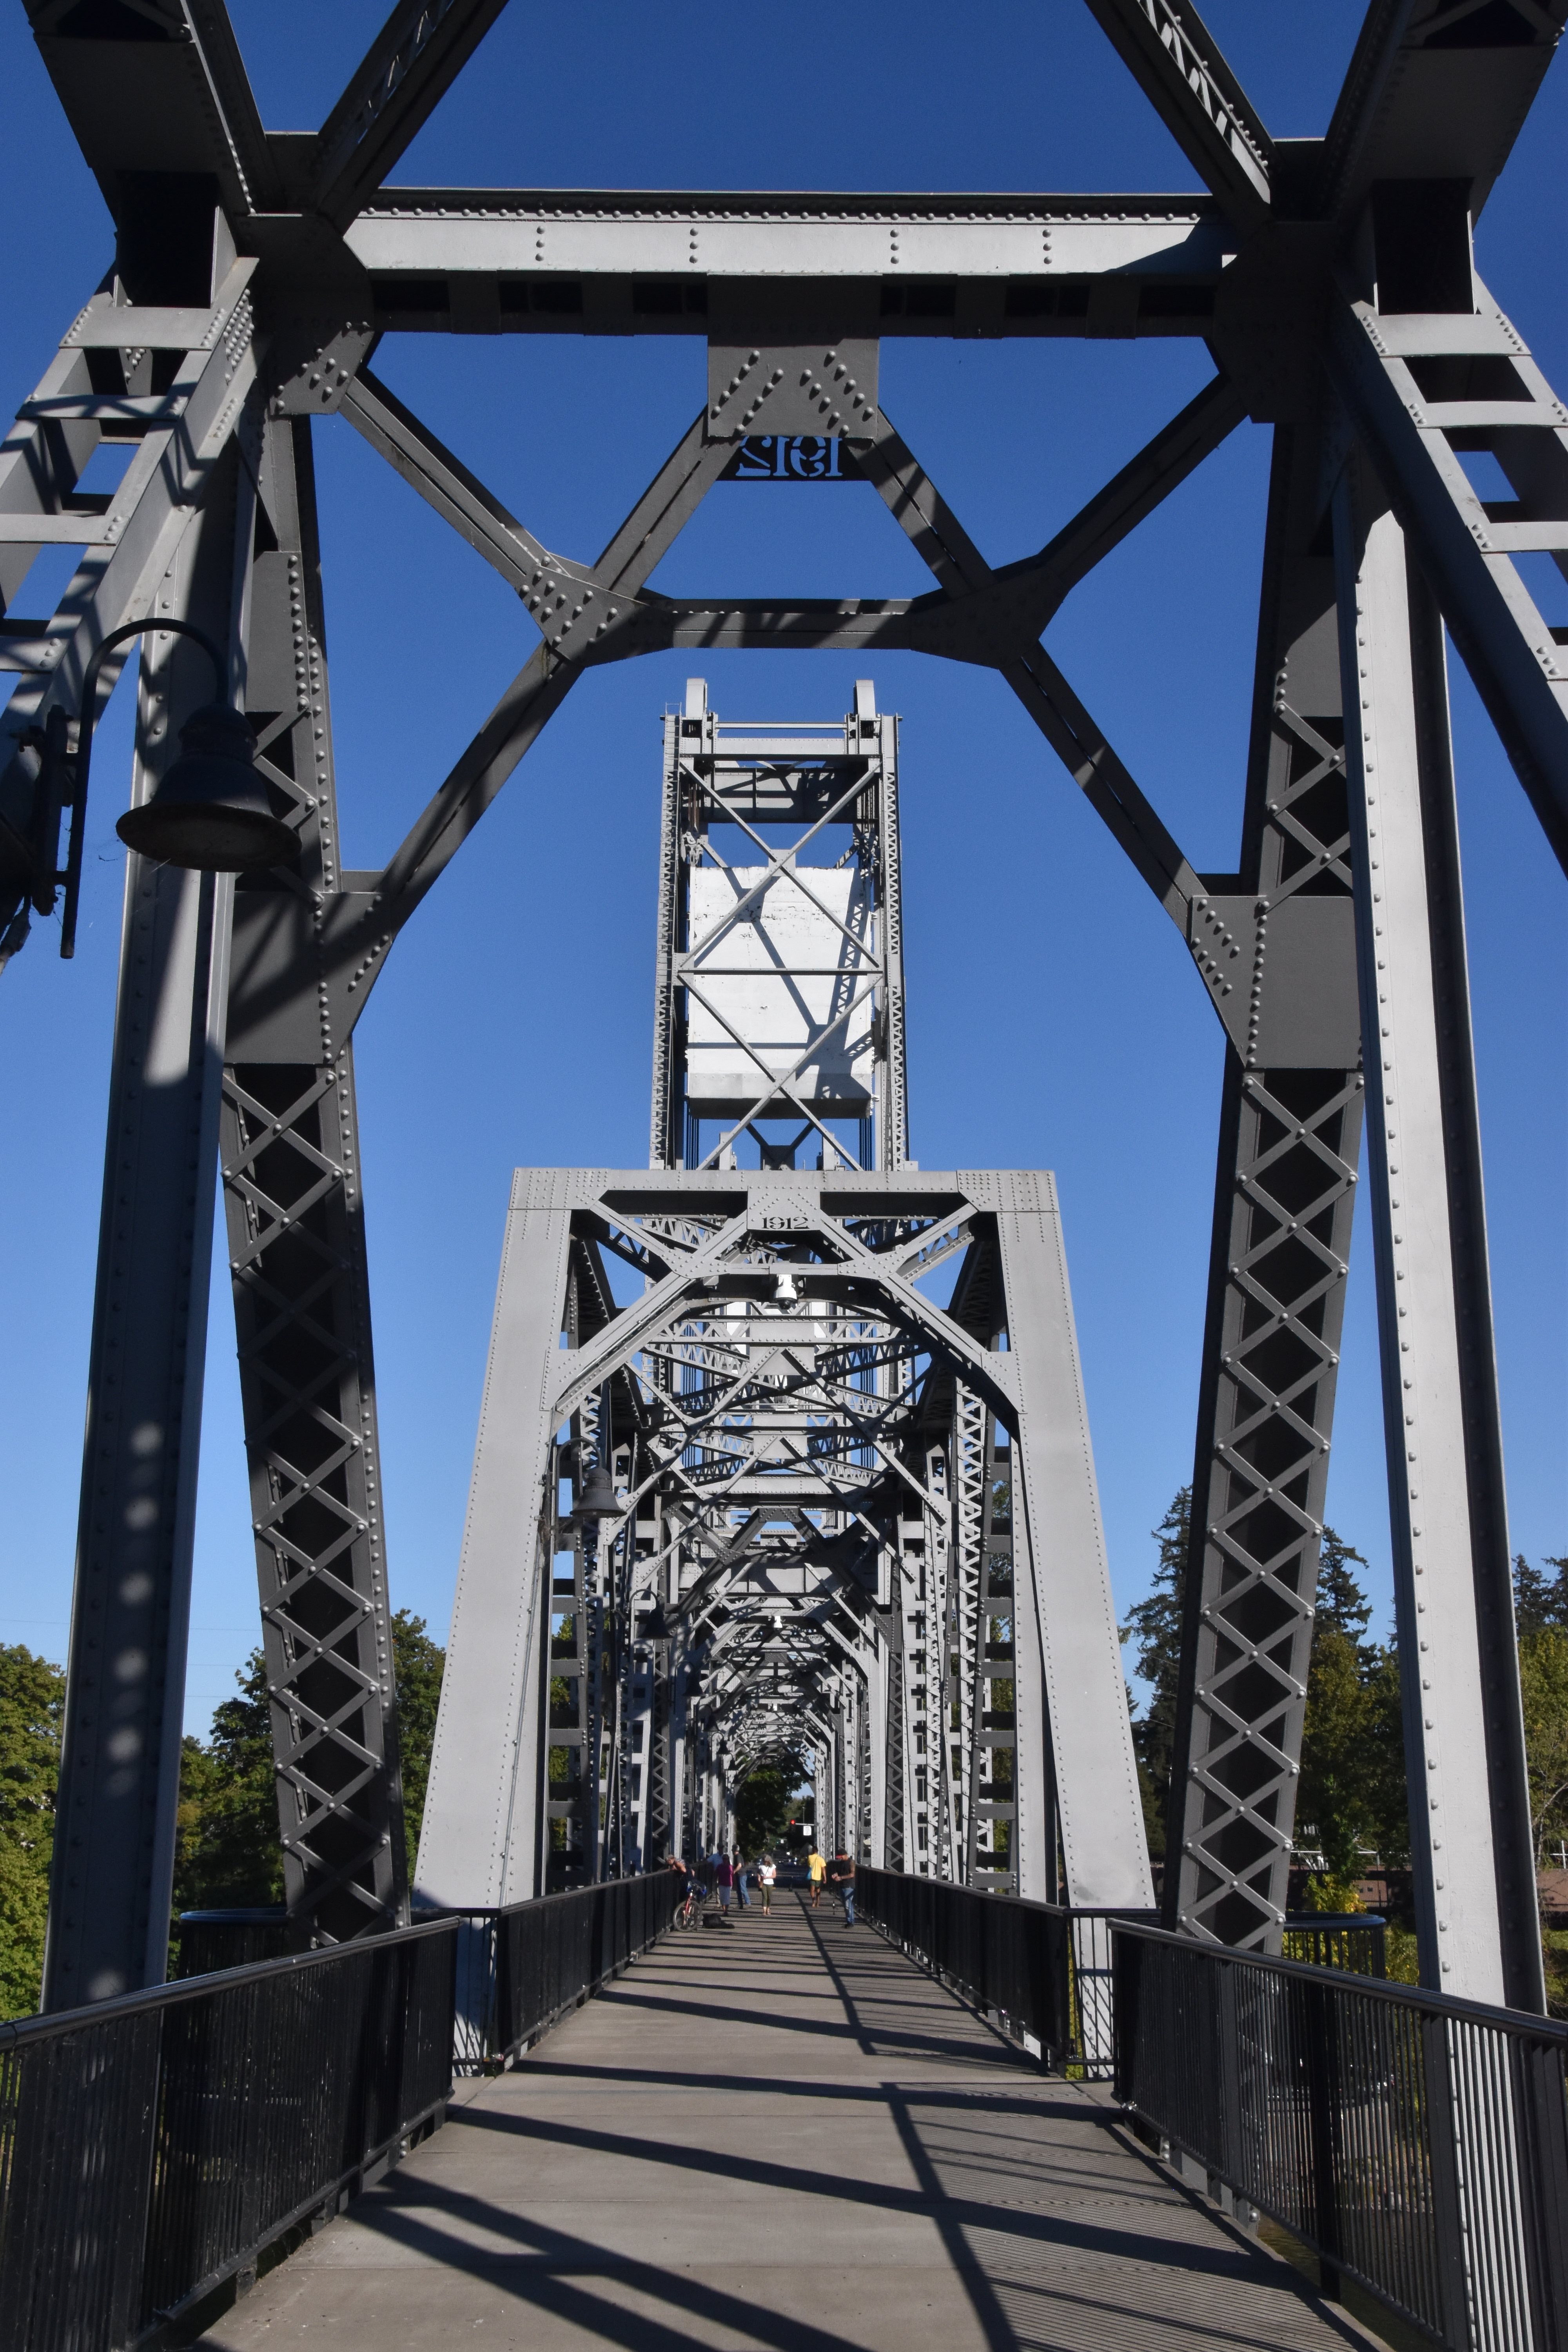
View beside bridge of lift span from southwest quadrant.
![]()
![]()
![]()
![]()
![]()
Panoramic elevation from southwest quadrant.
![]()


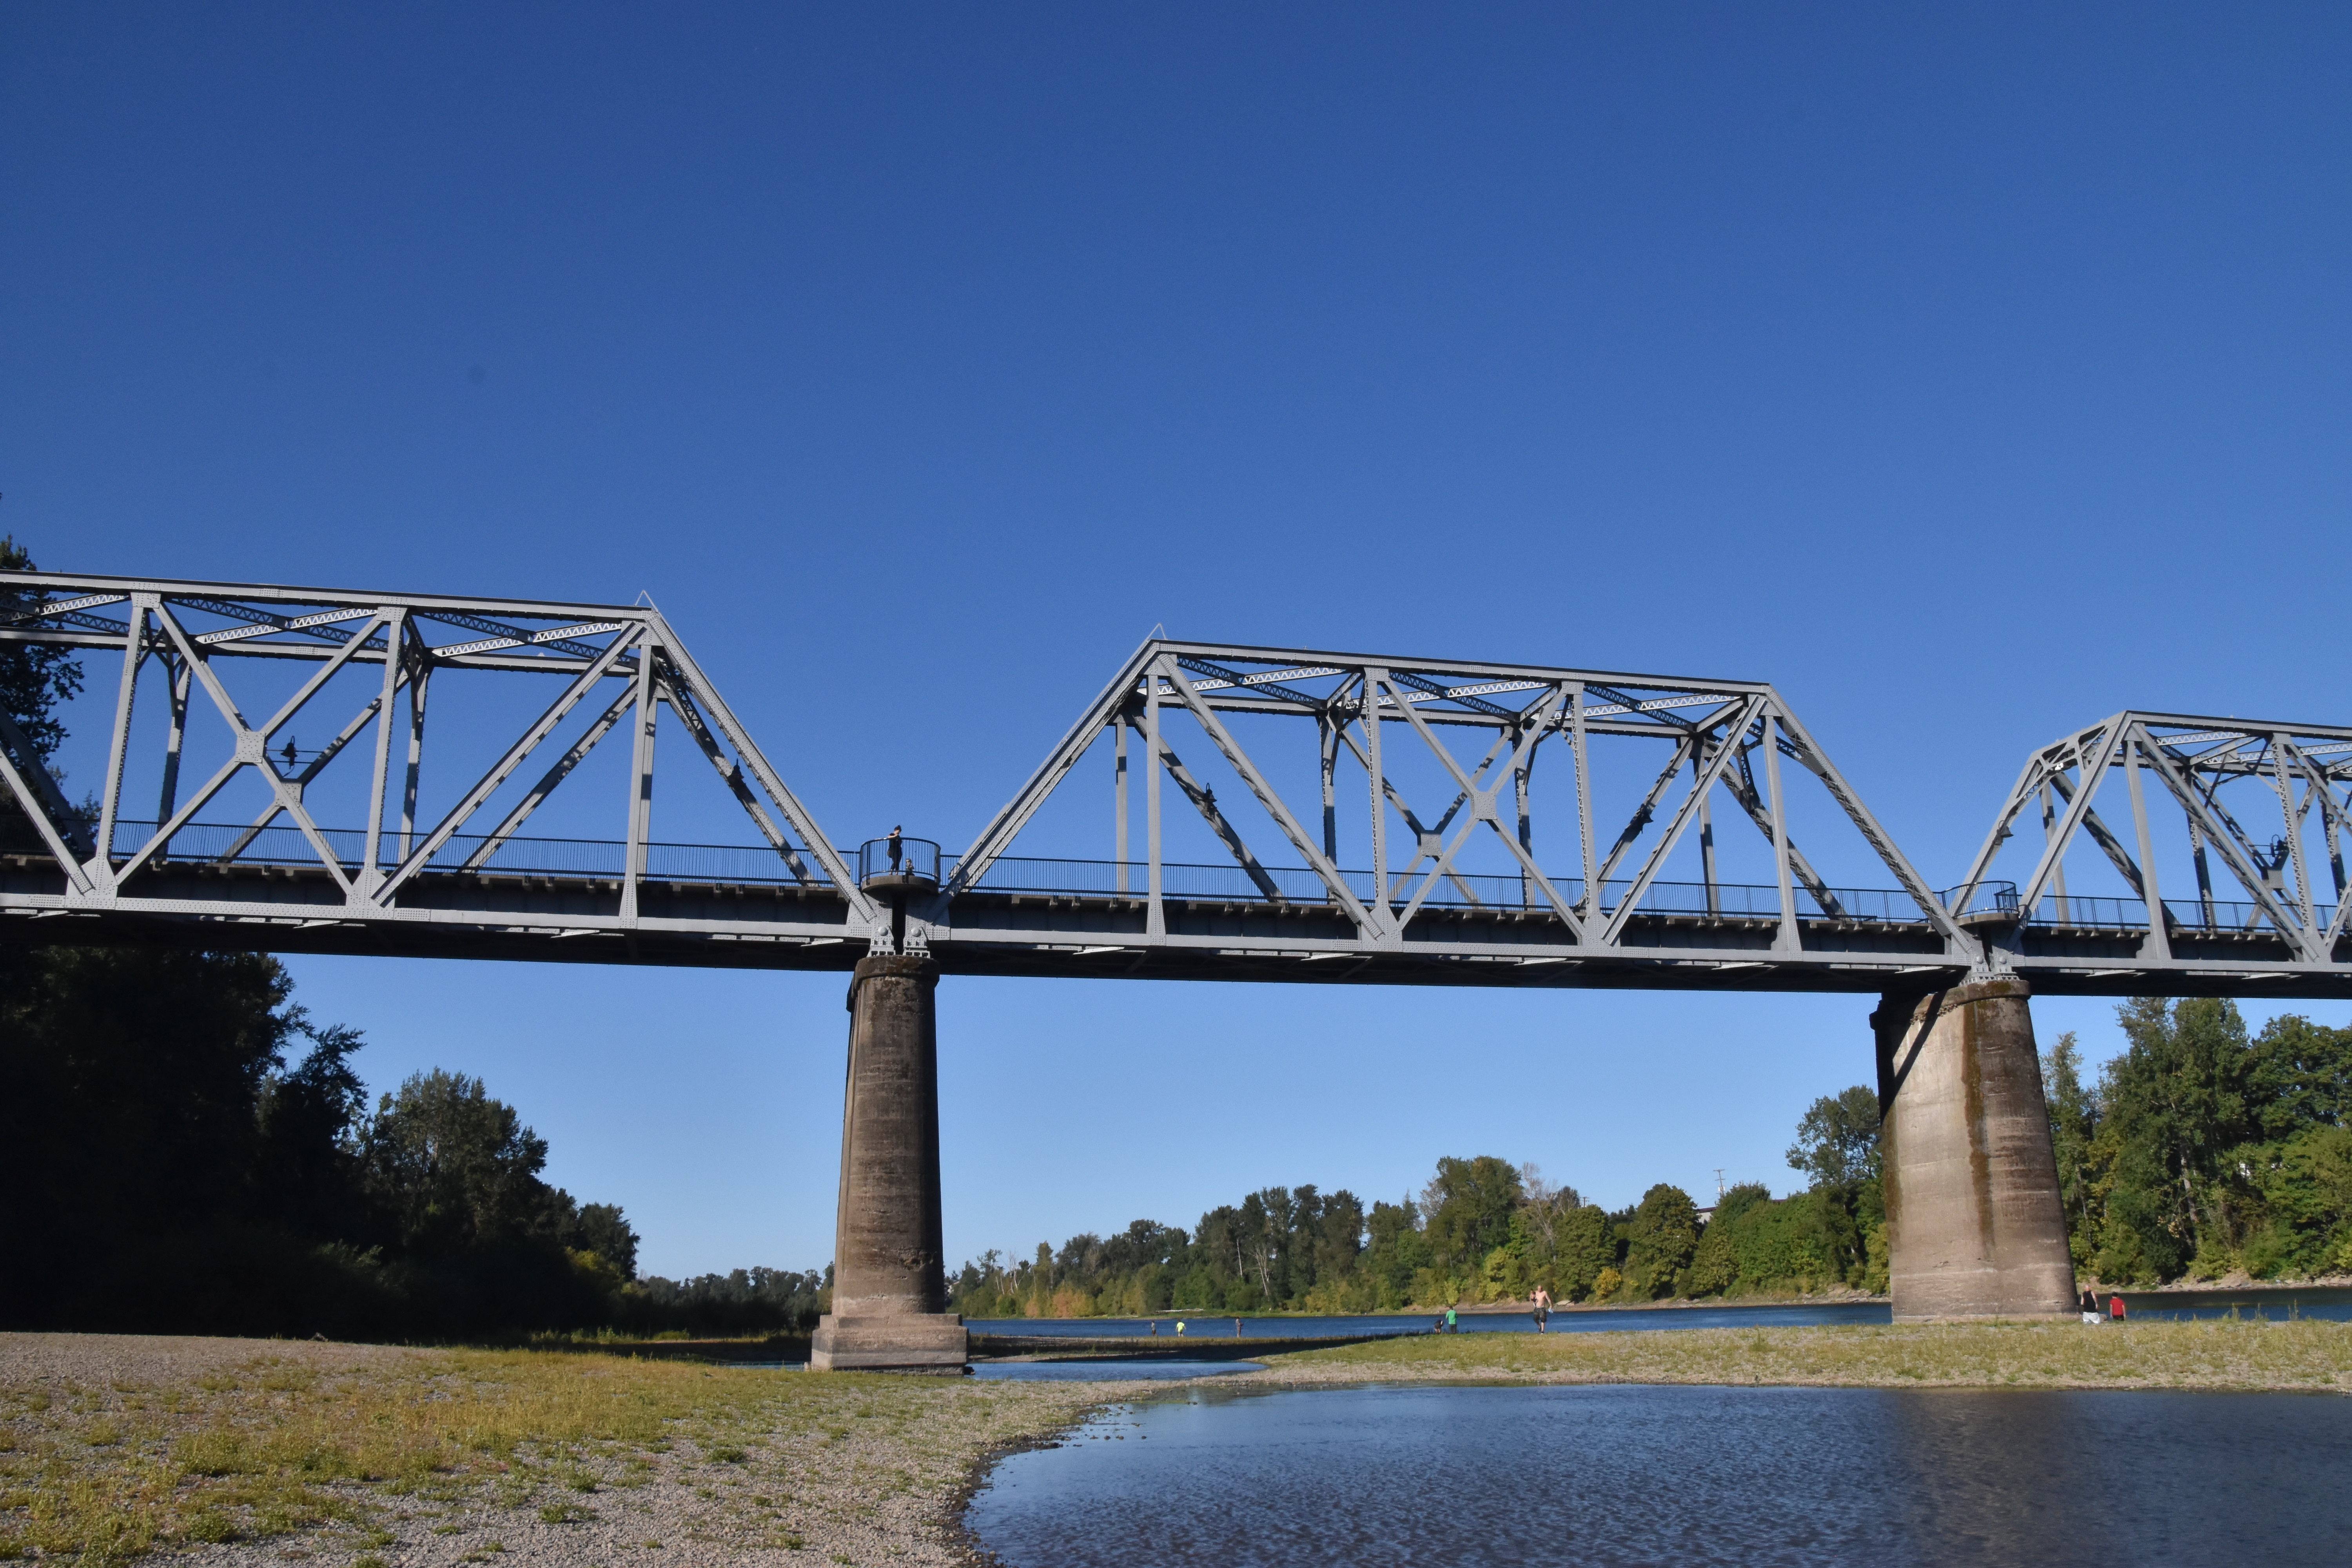


South elevation of approach truss spans.
![]()
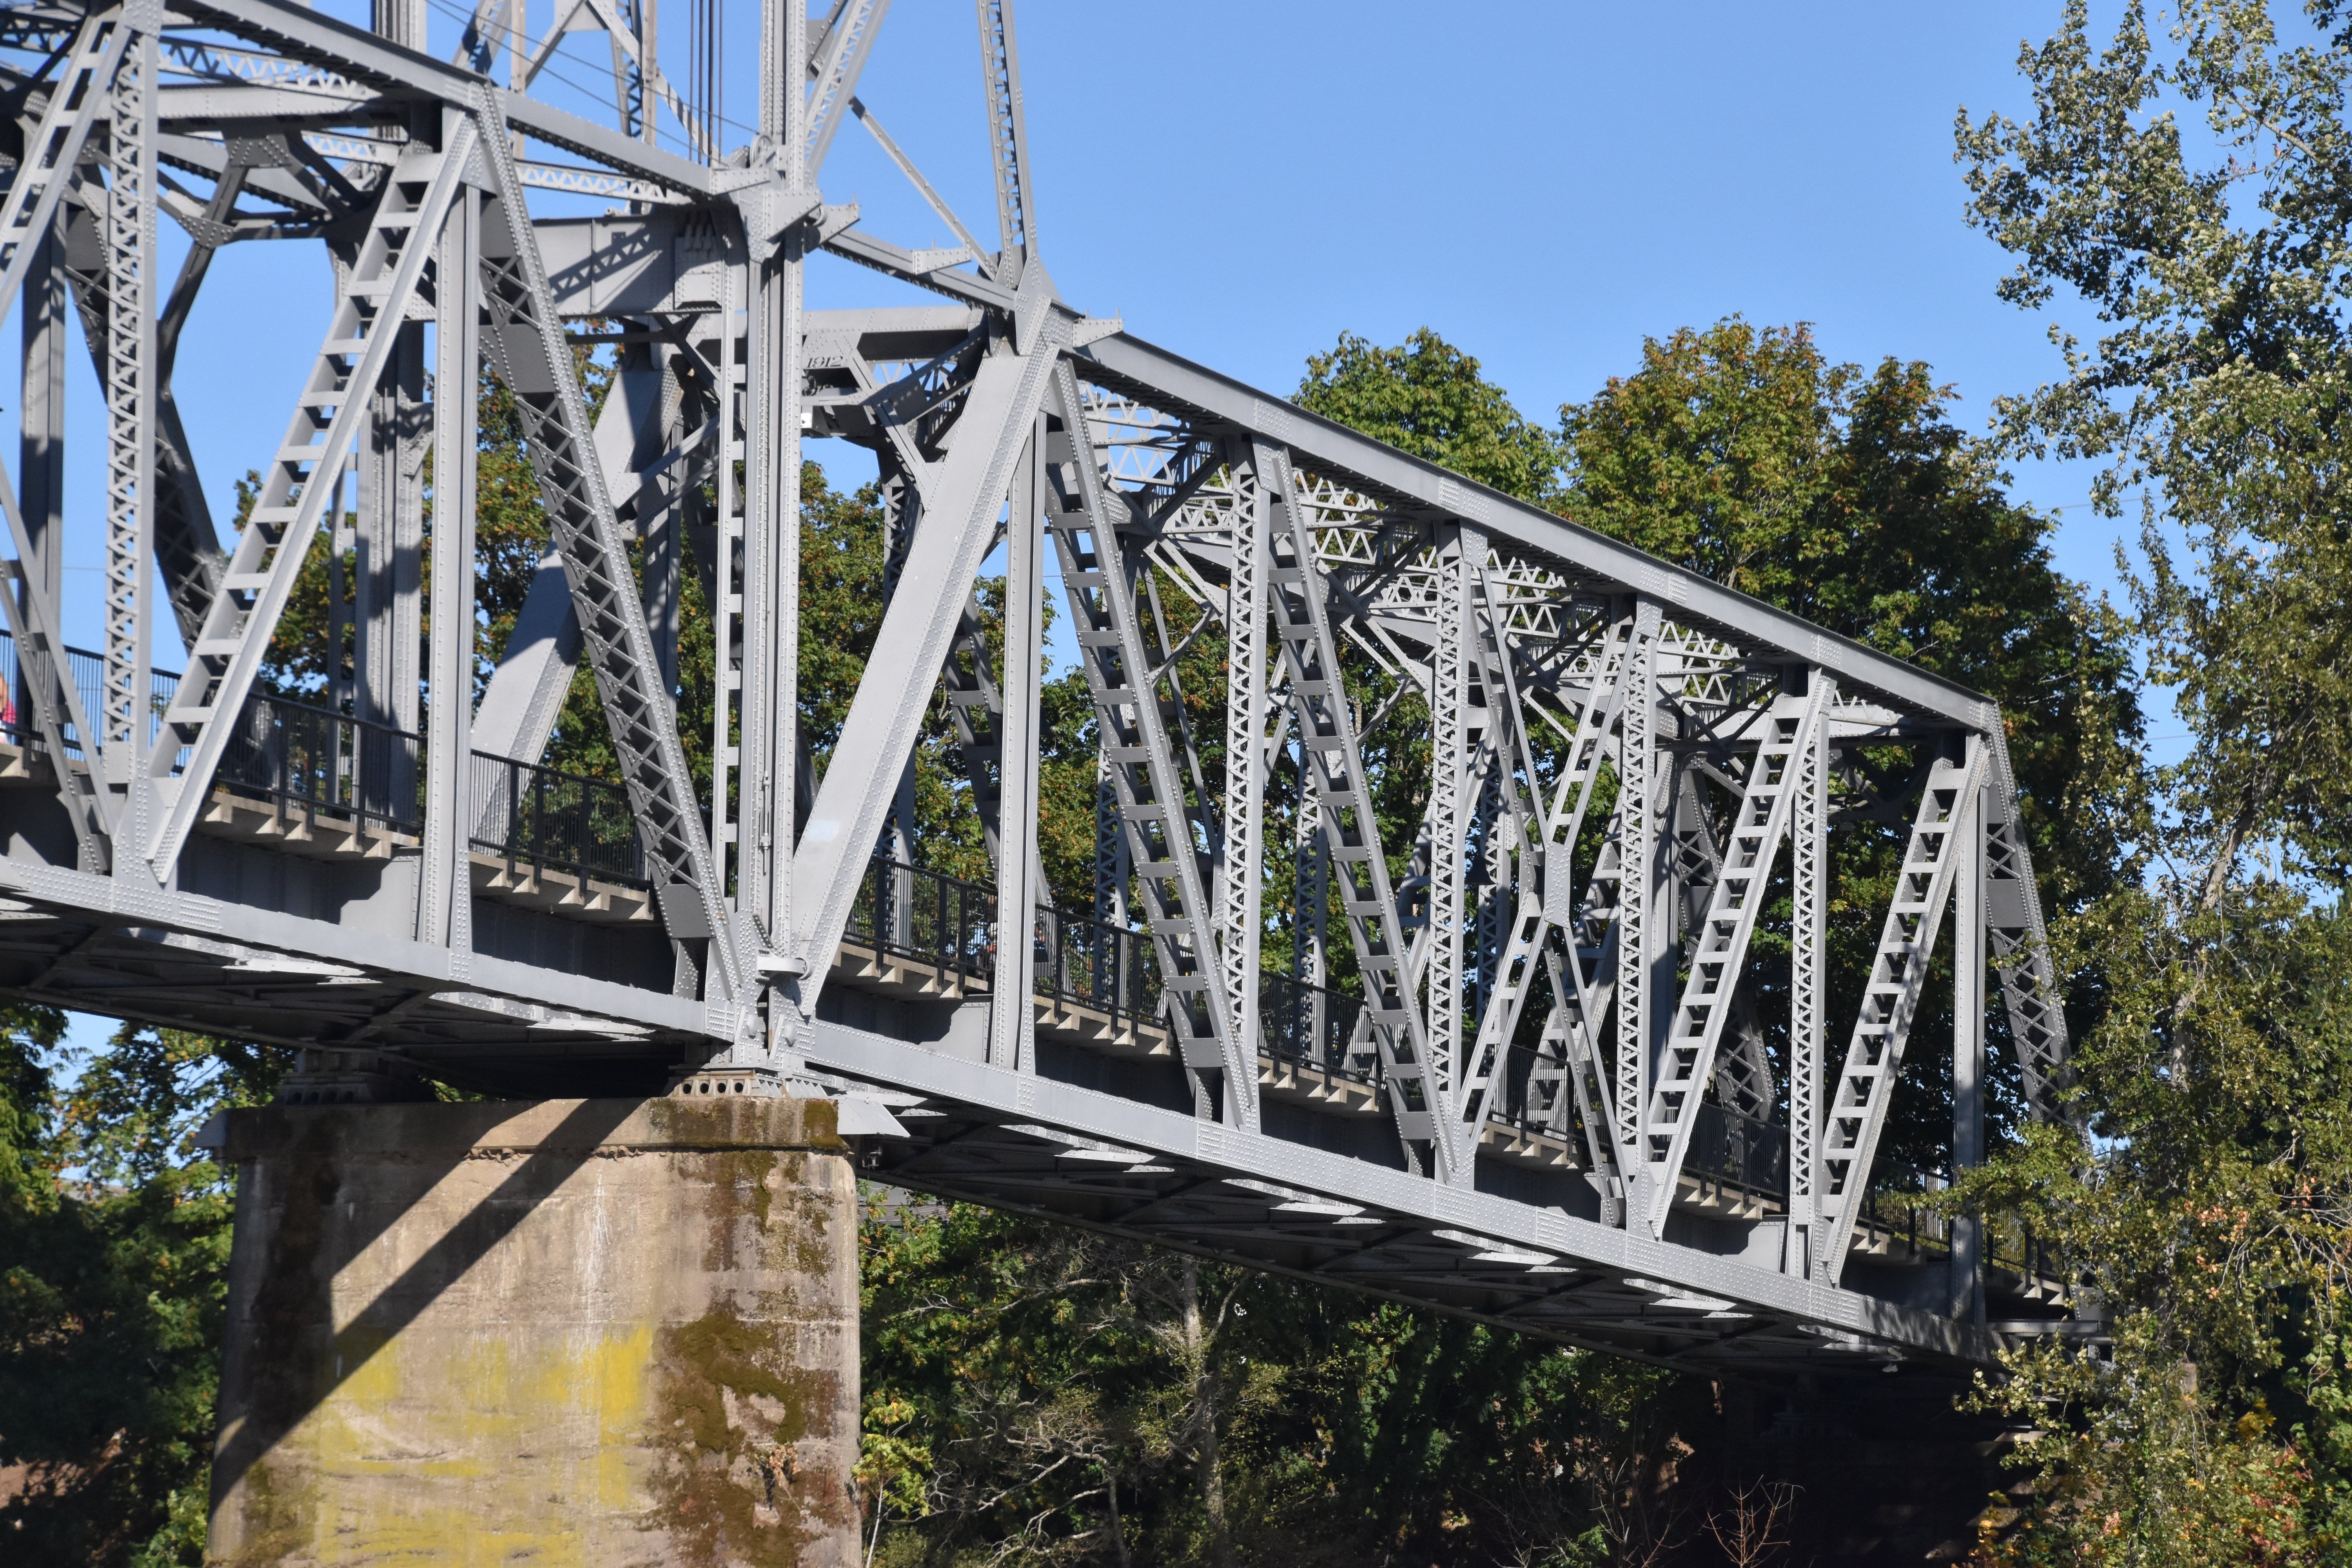
Oblique view of approach truss span.
![]()
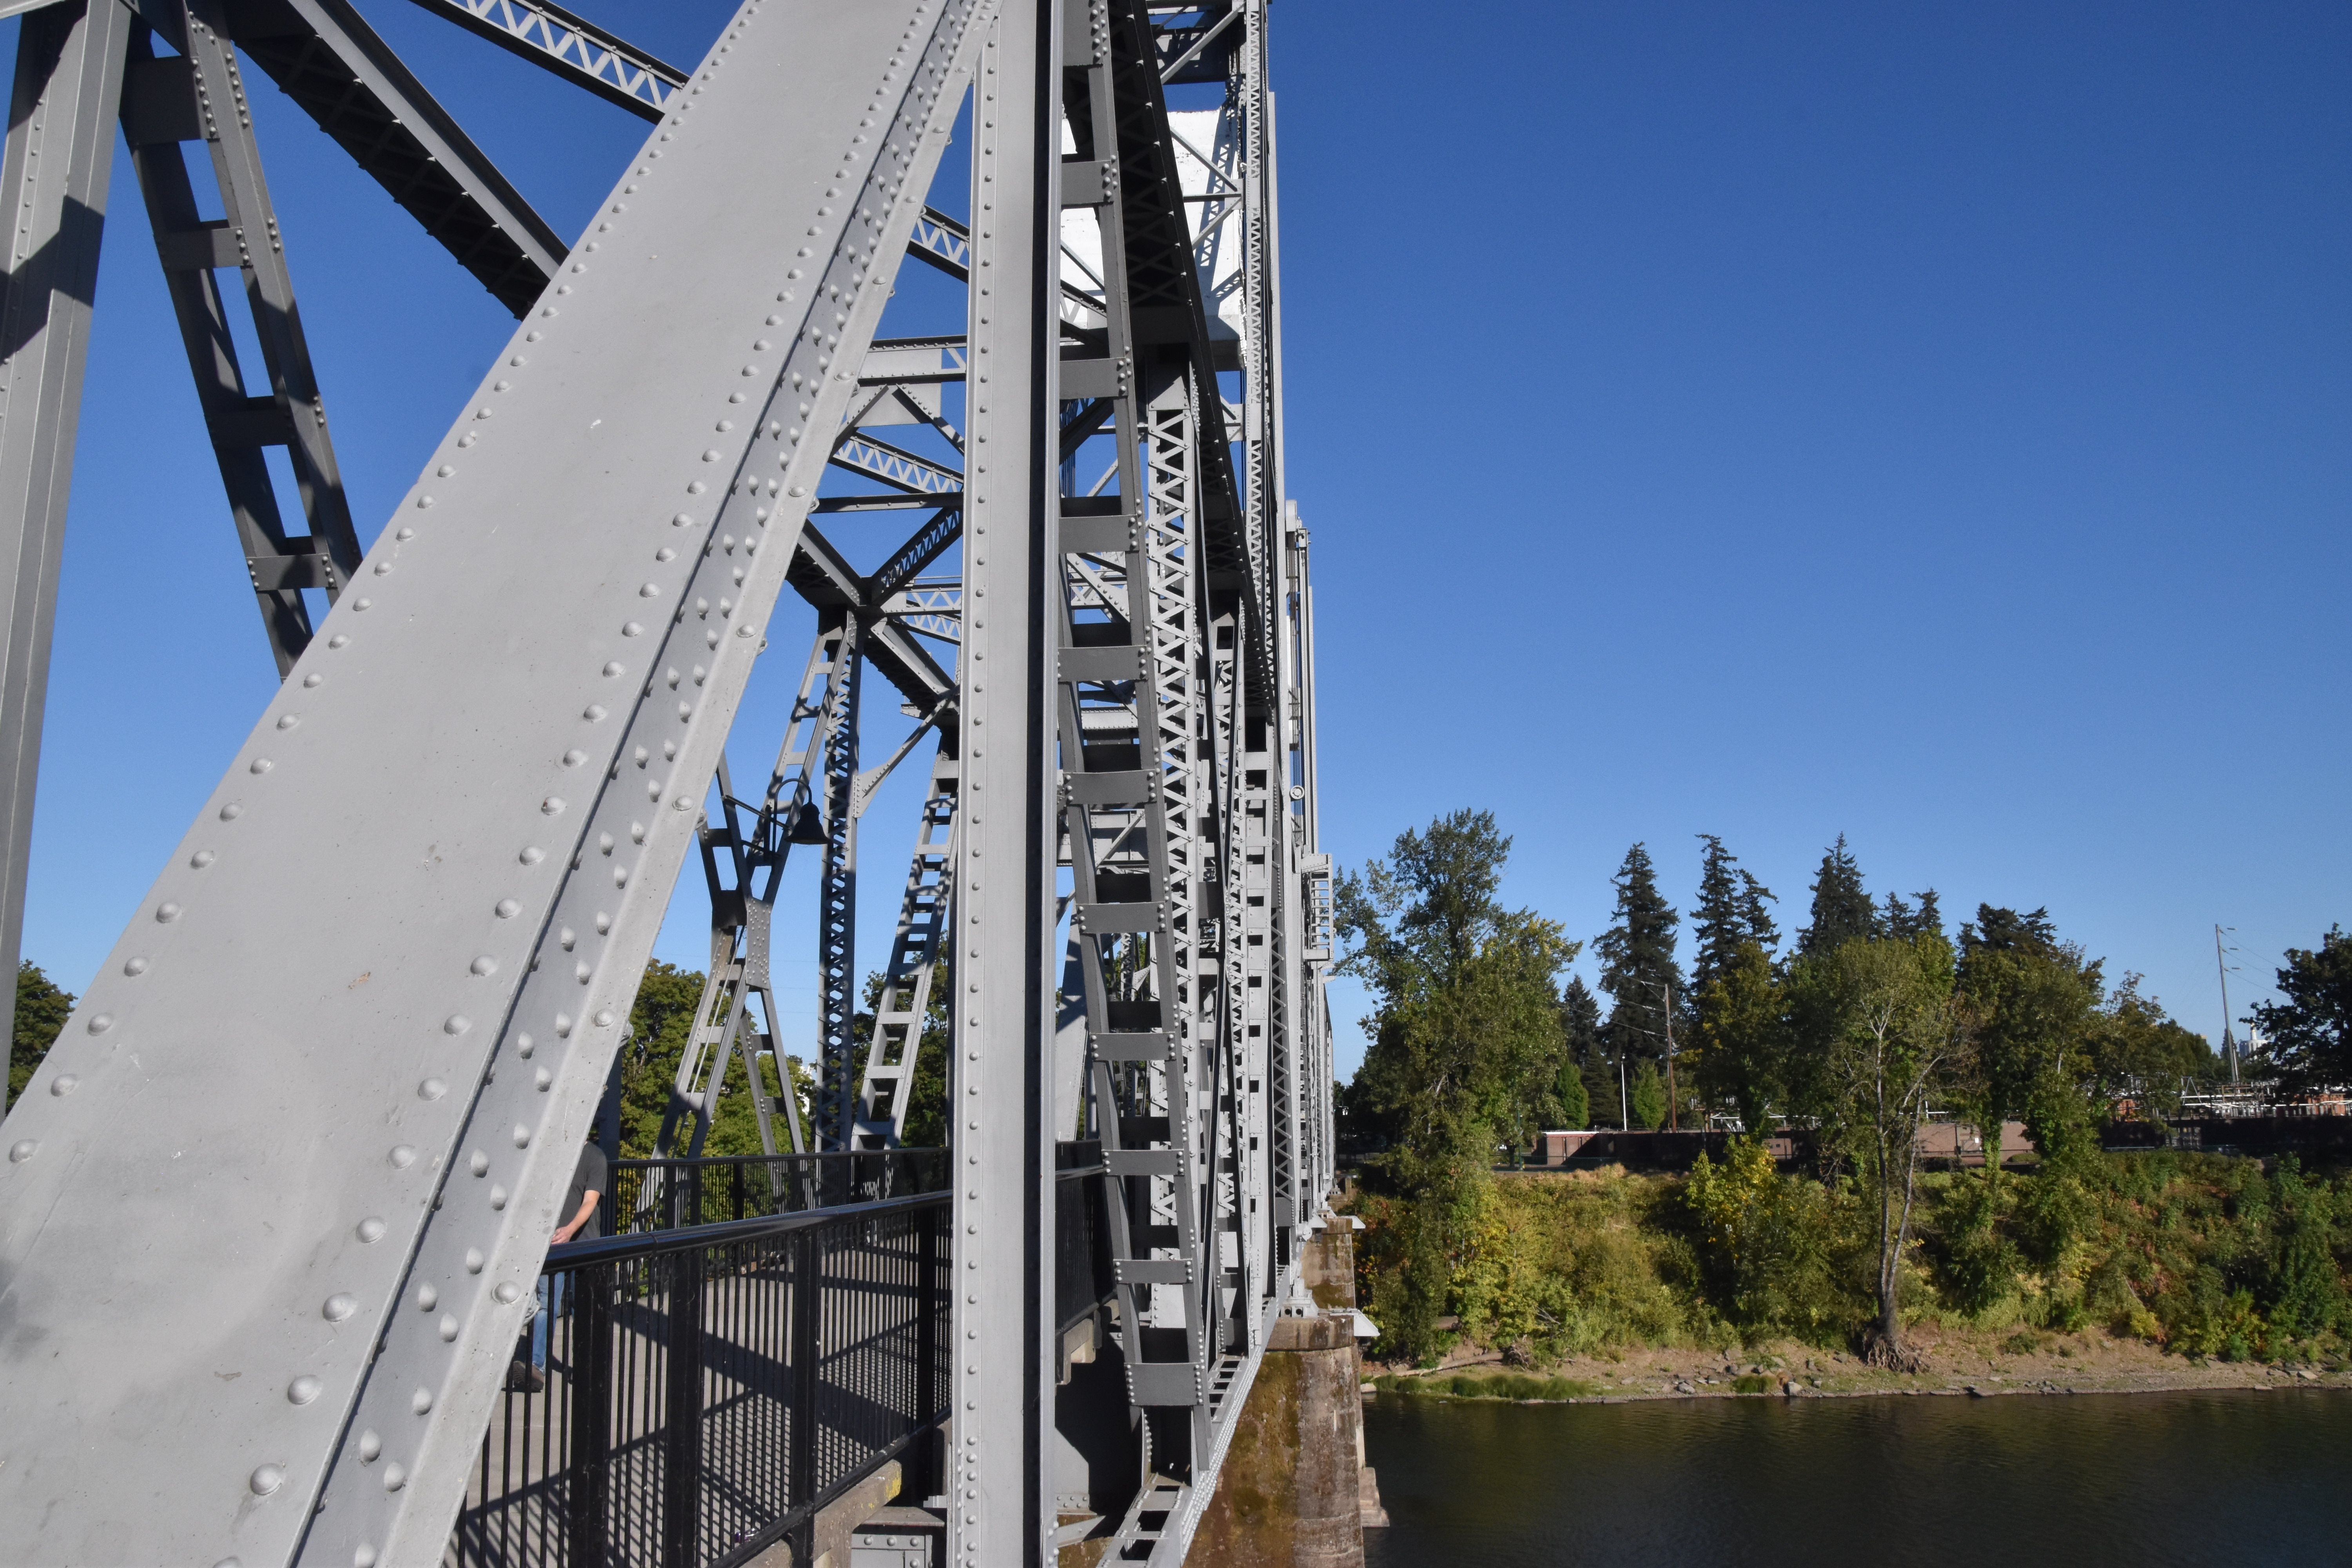

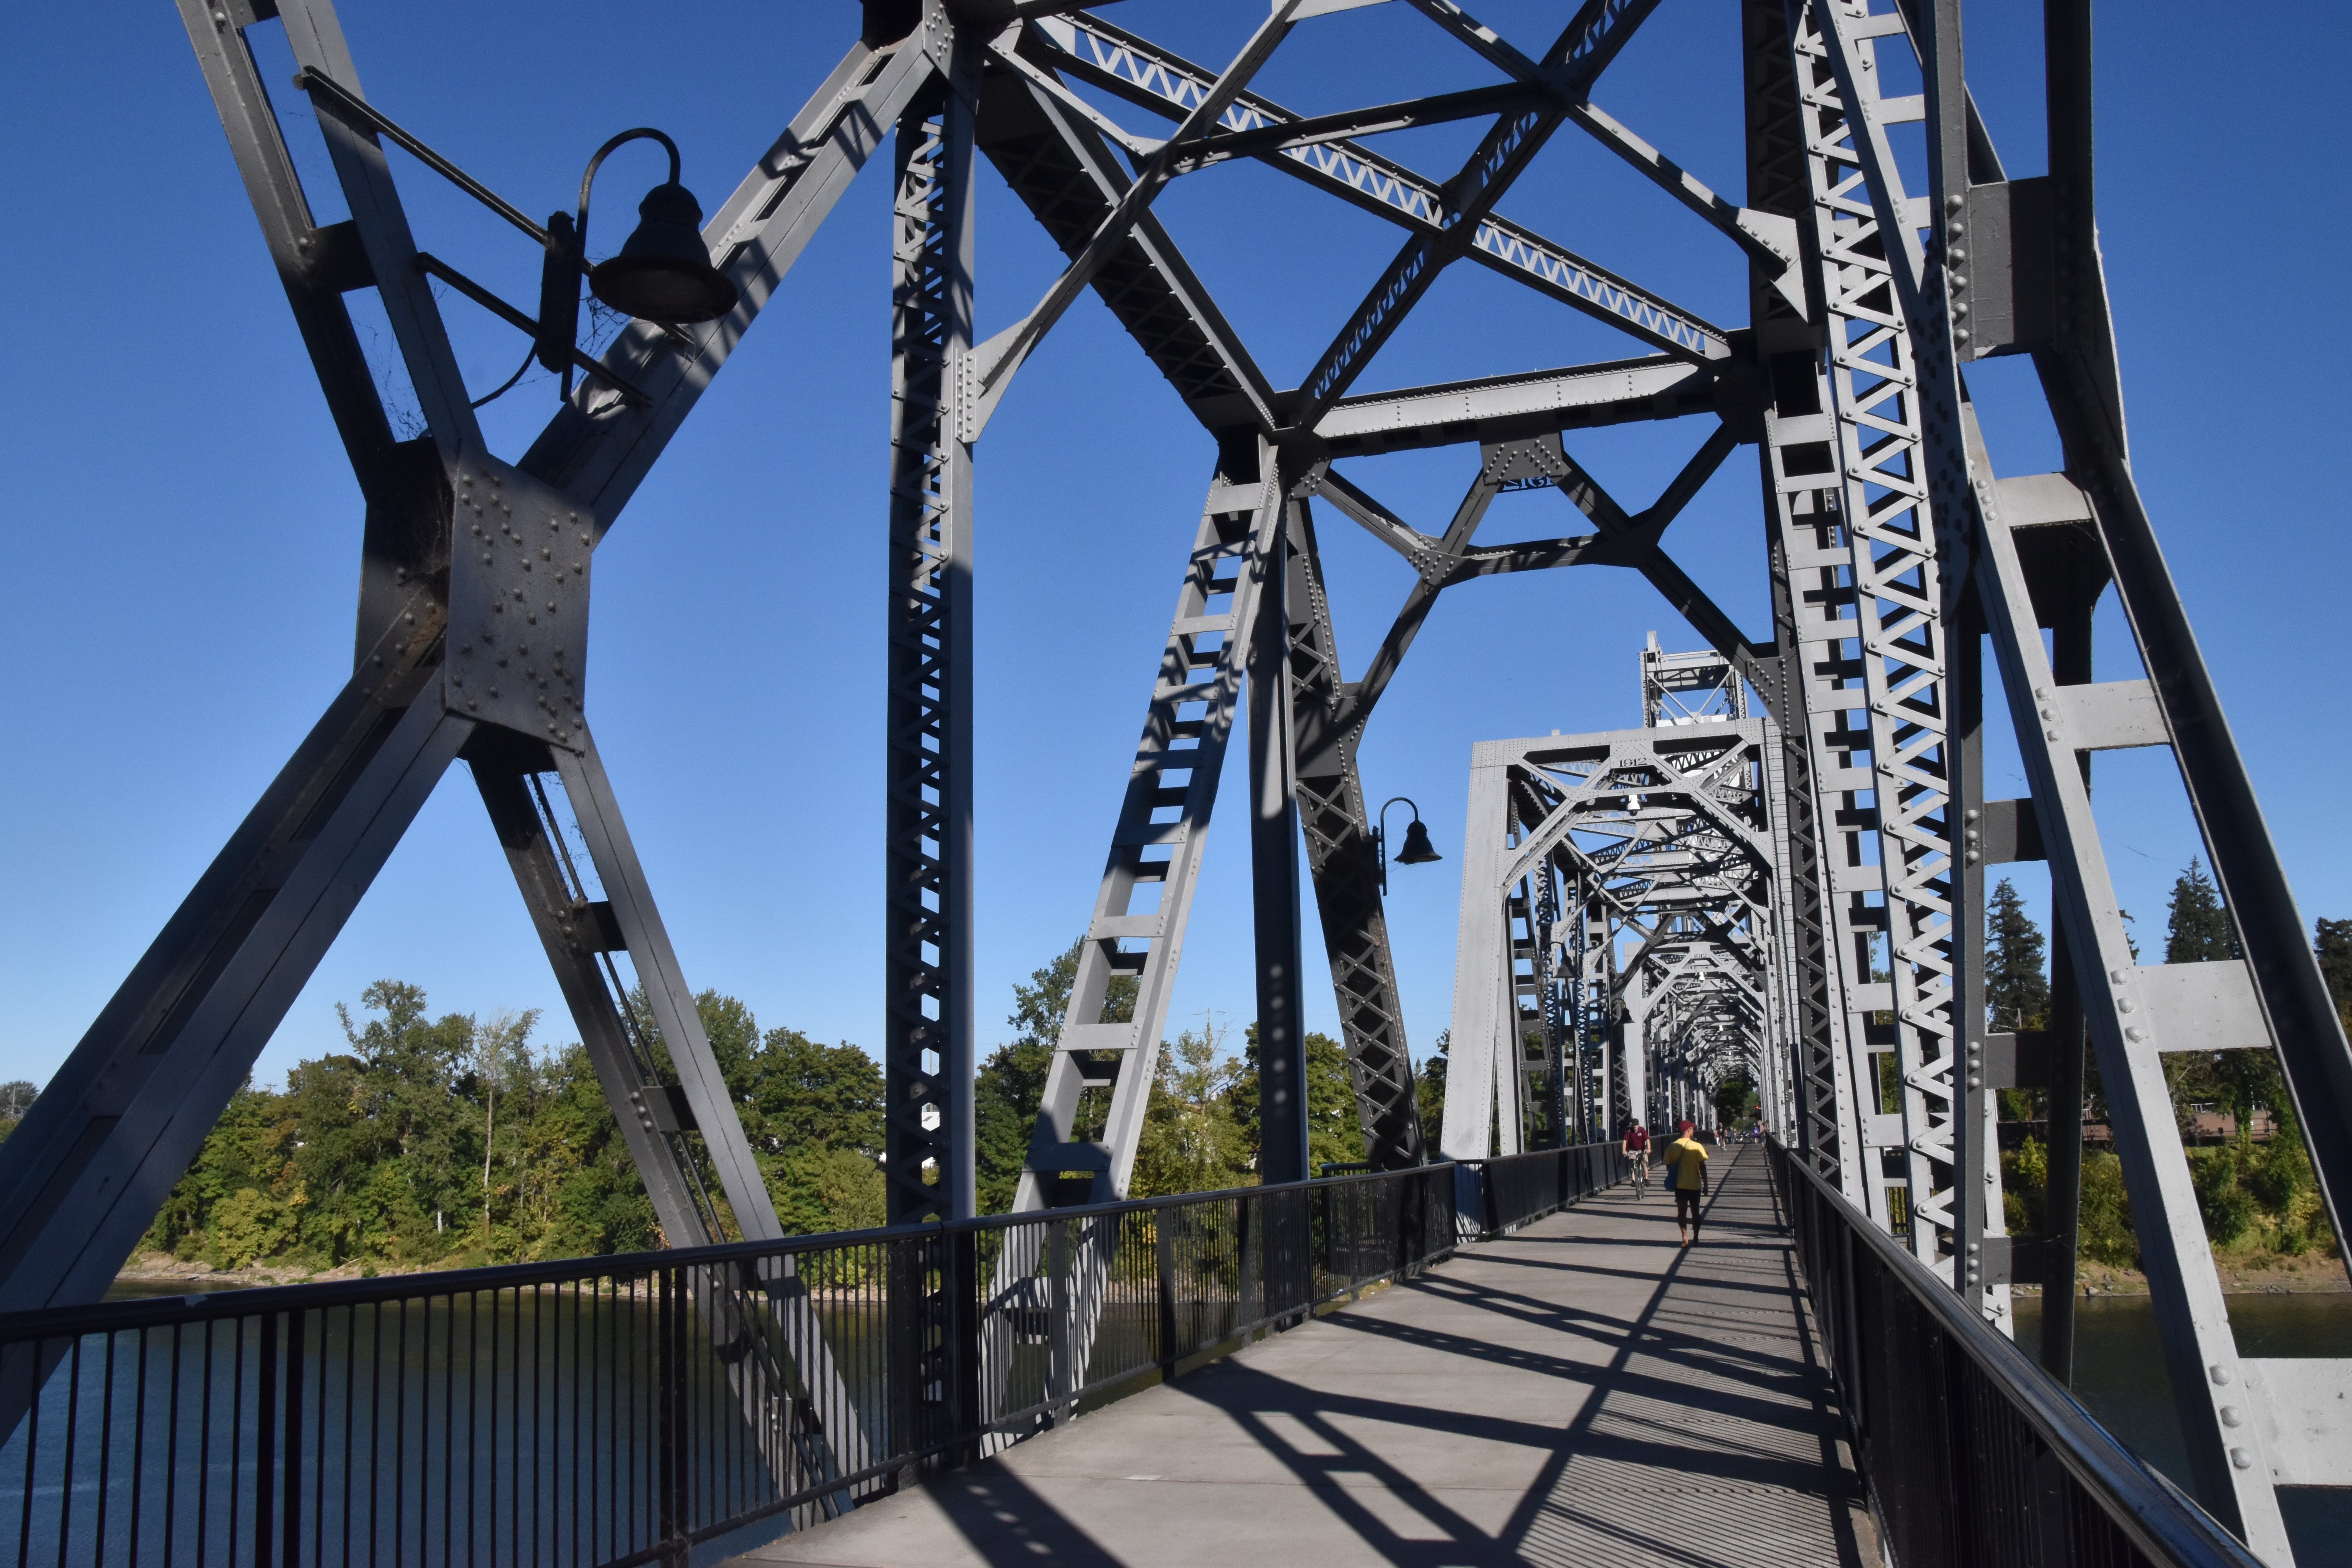
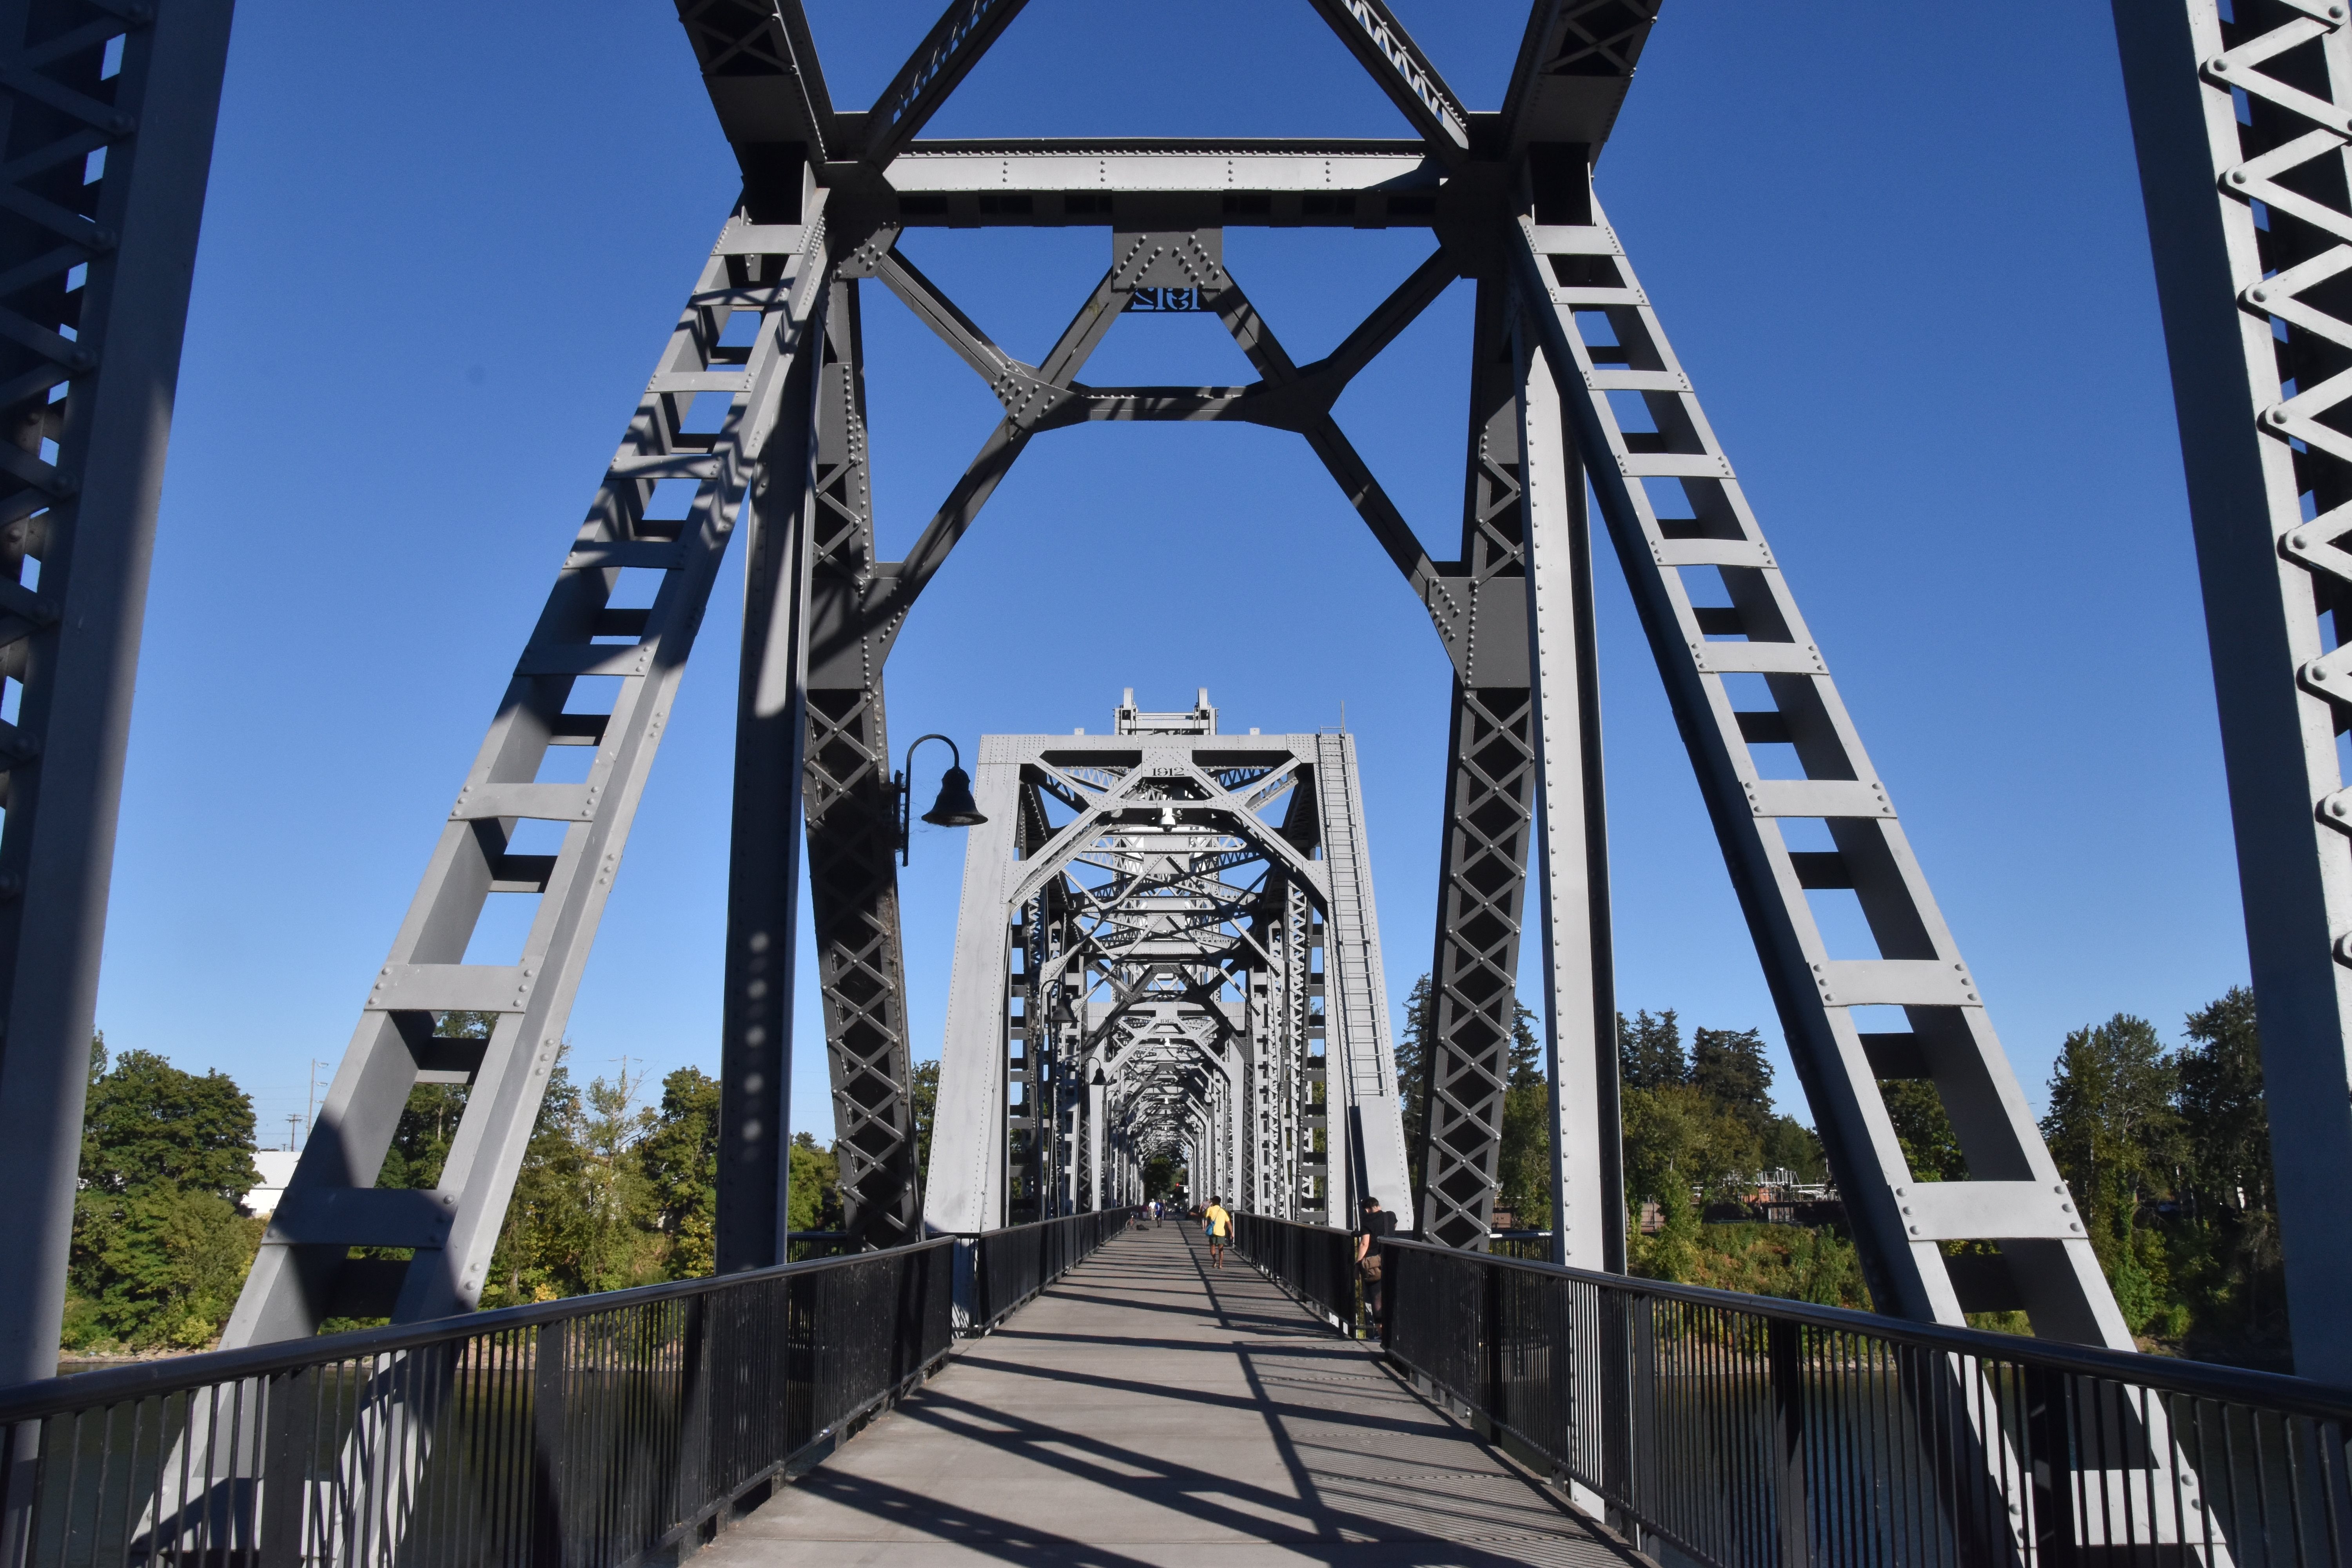
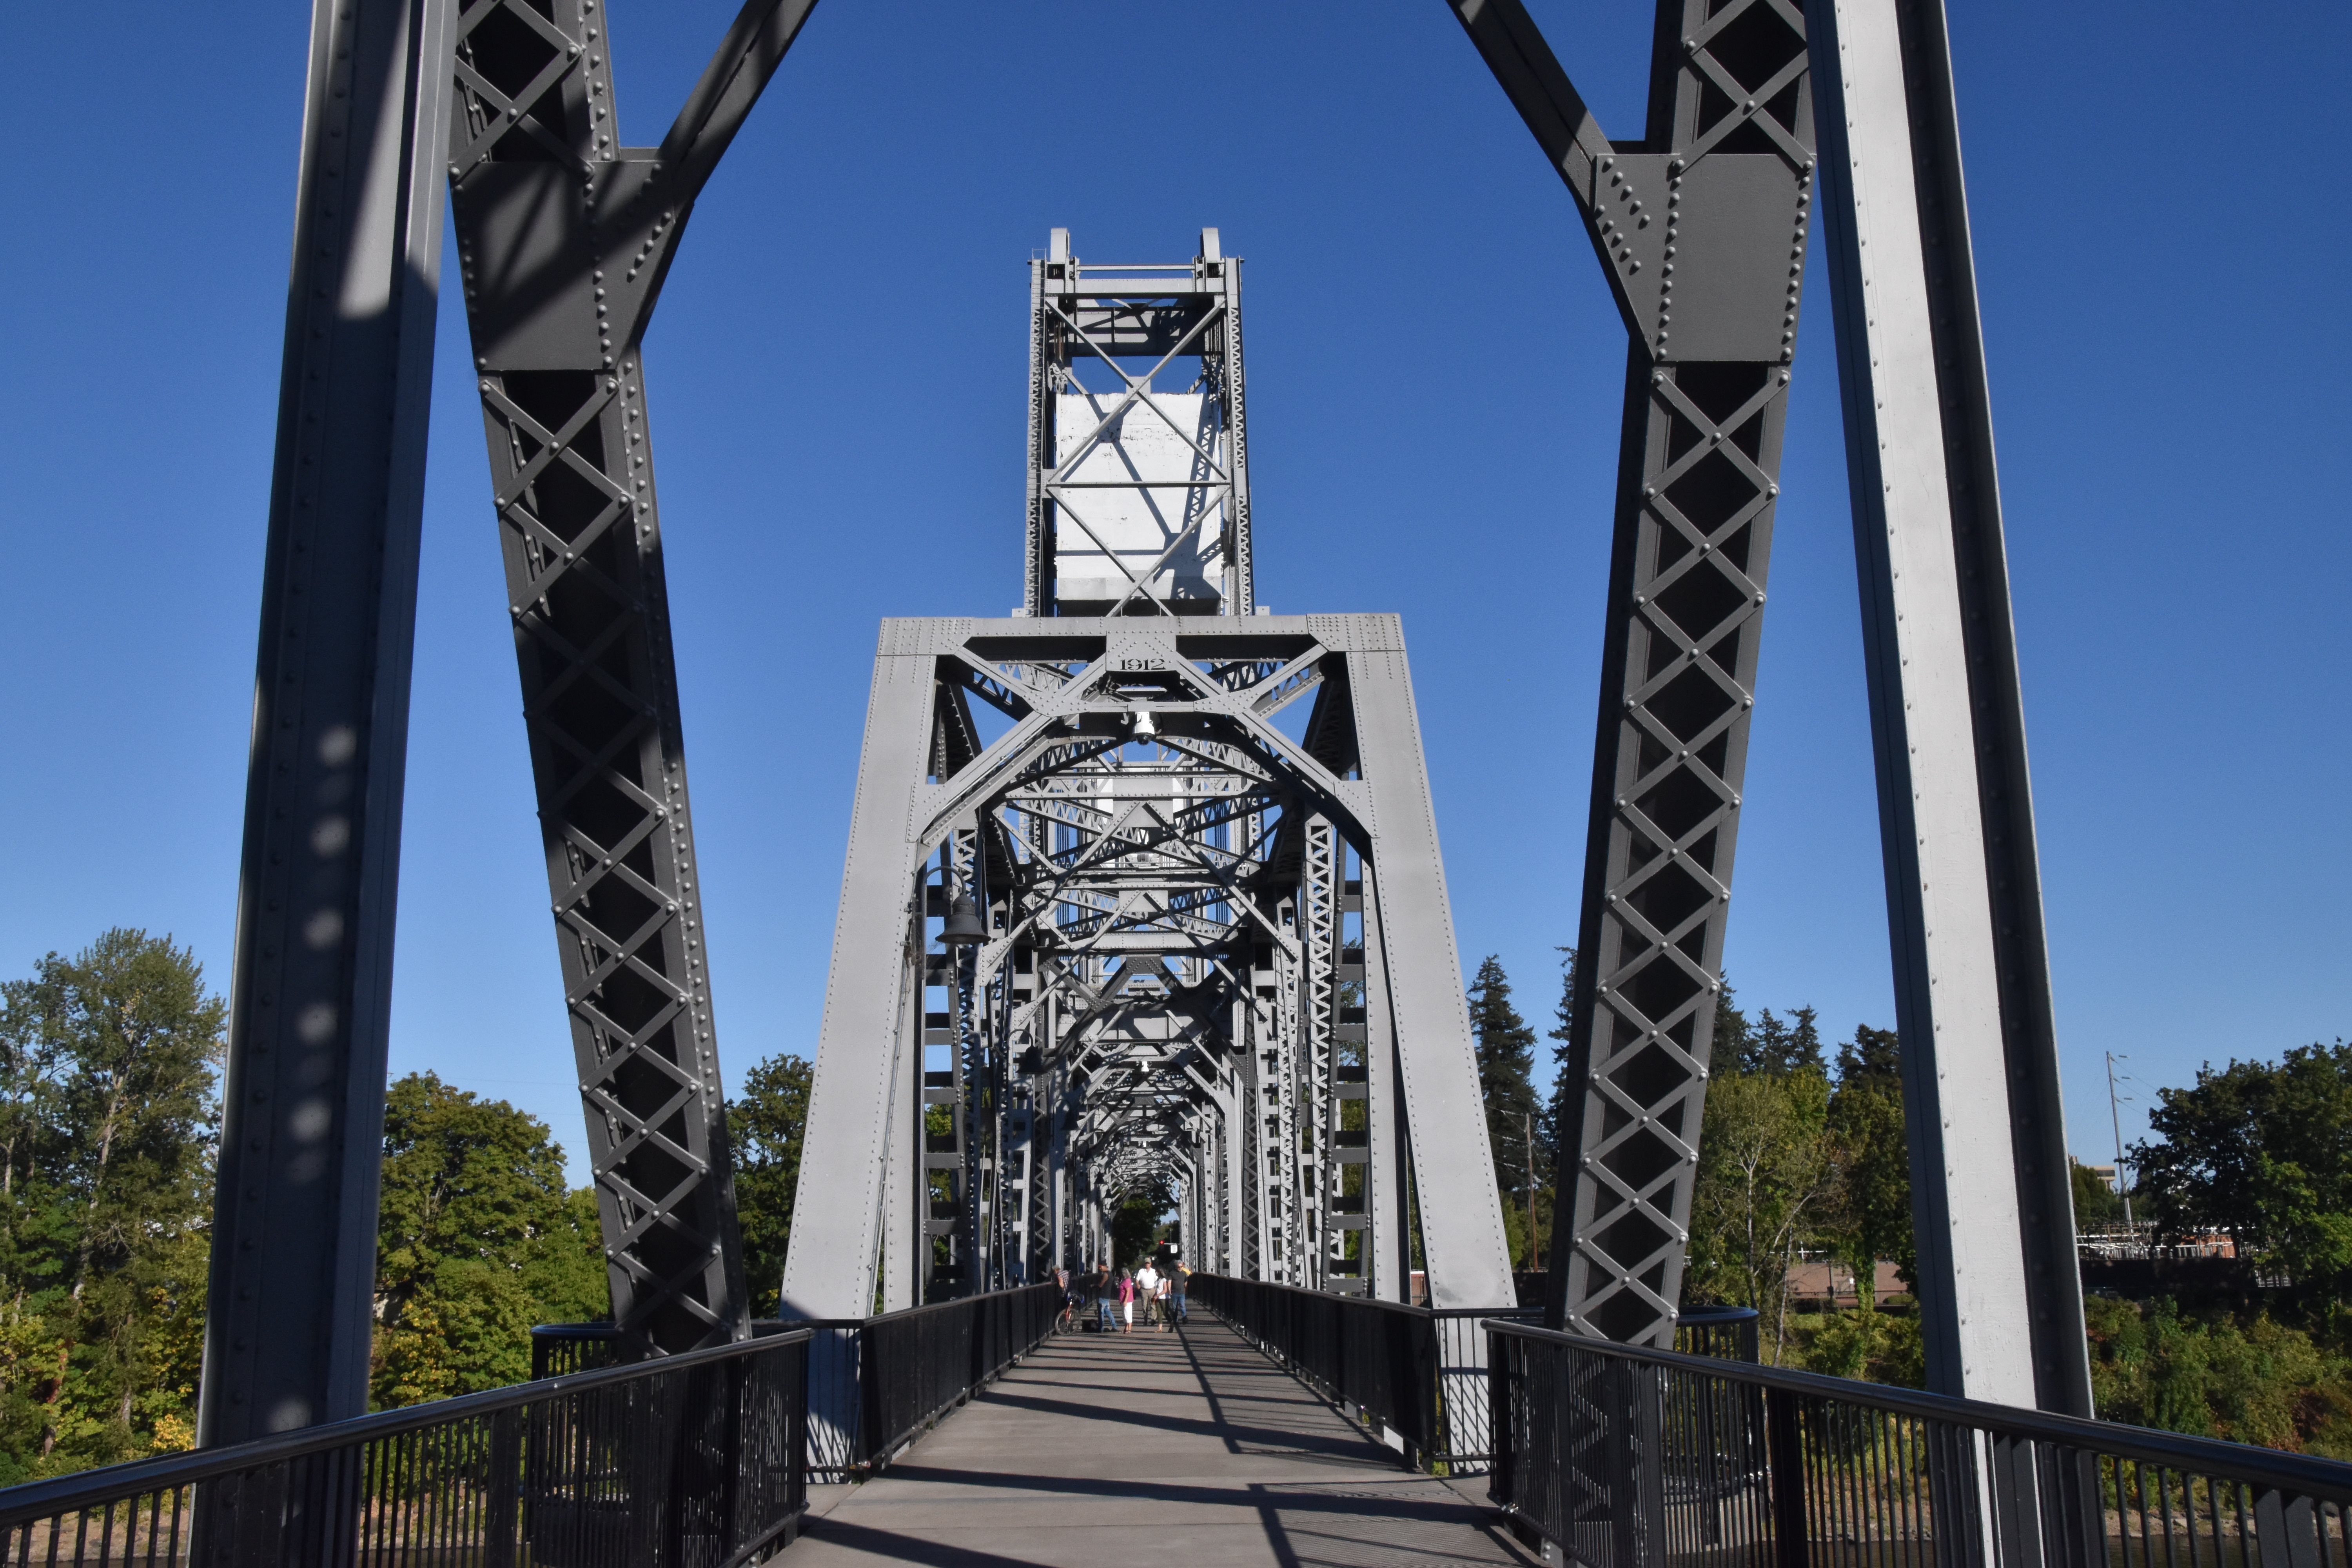
View from outlook on bridge.
![]()

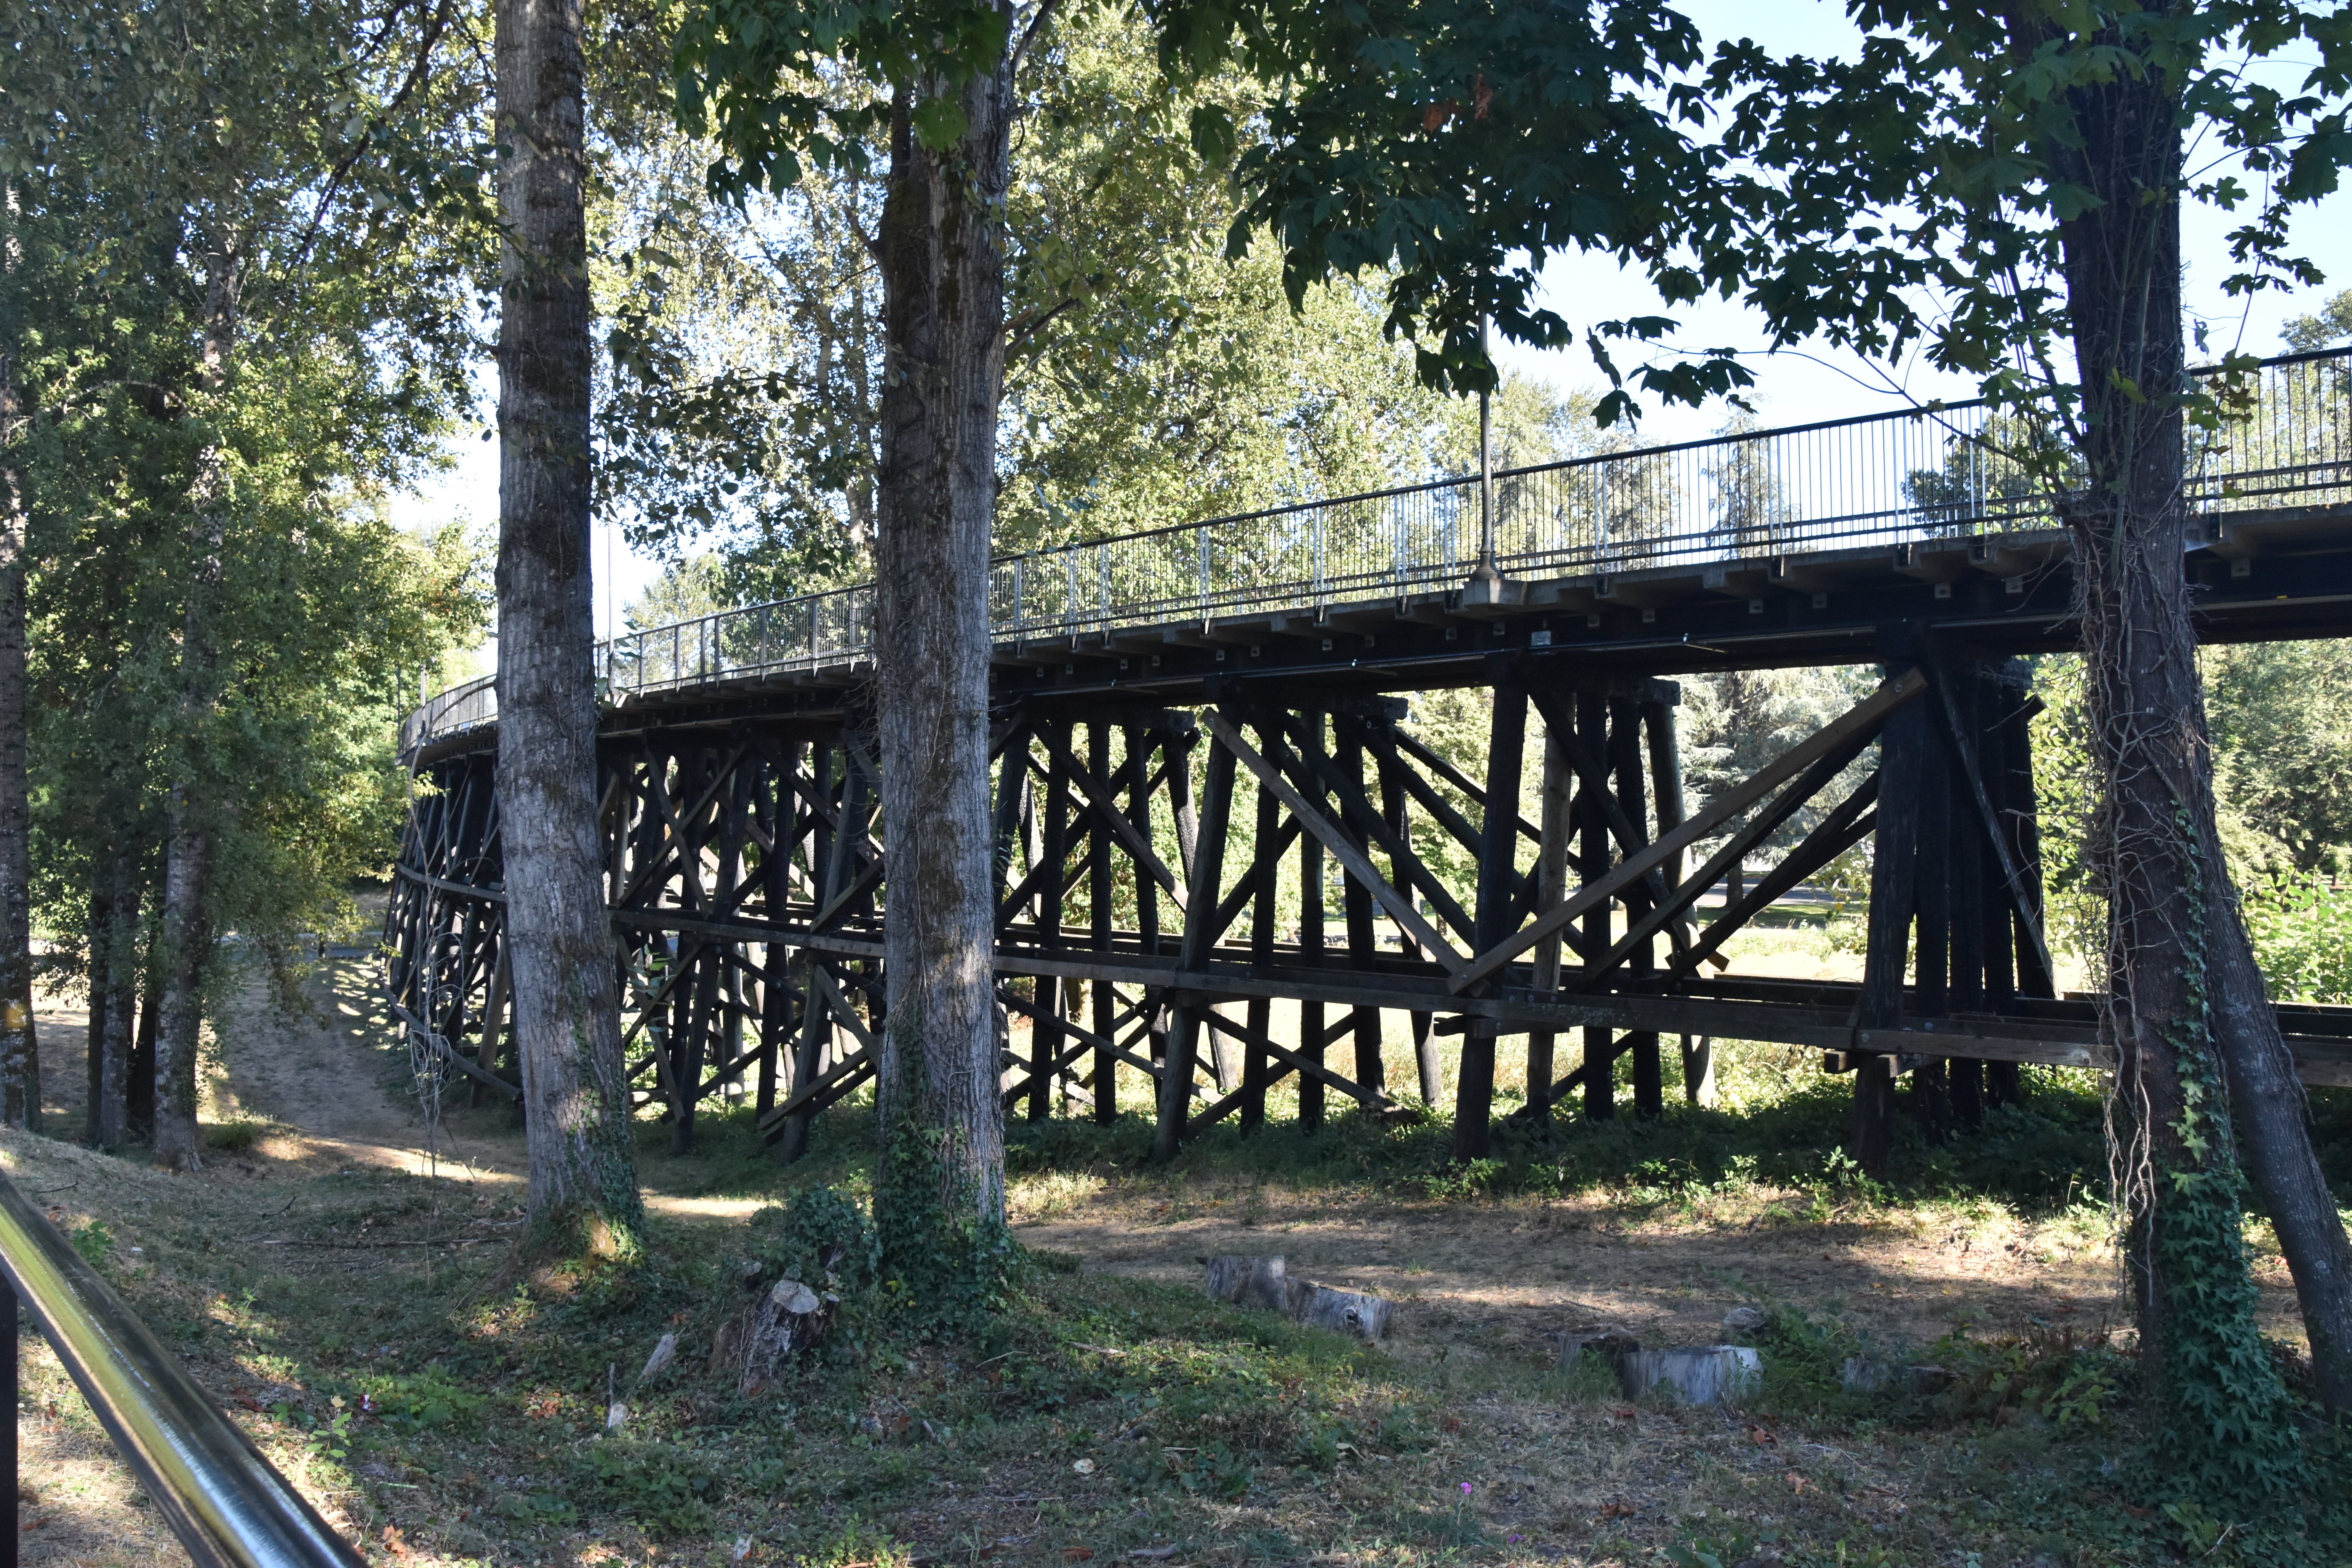


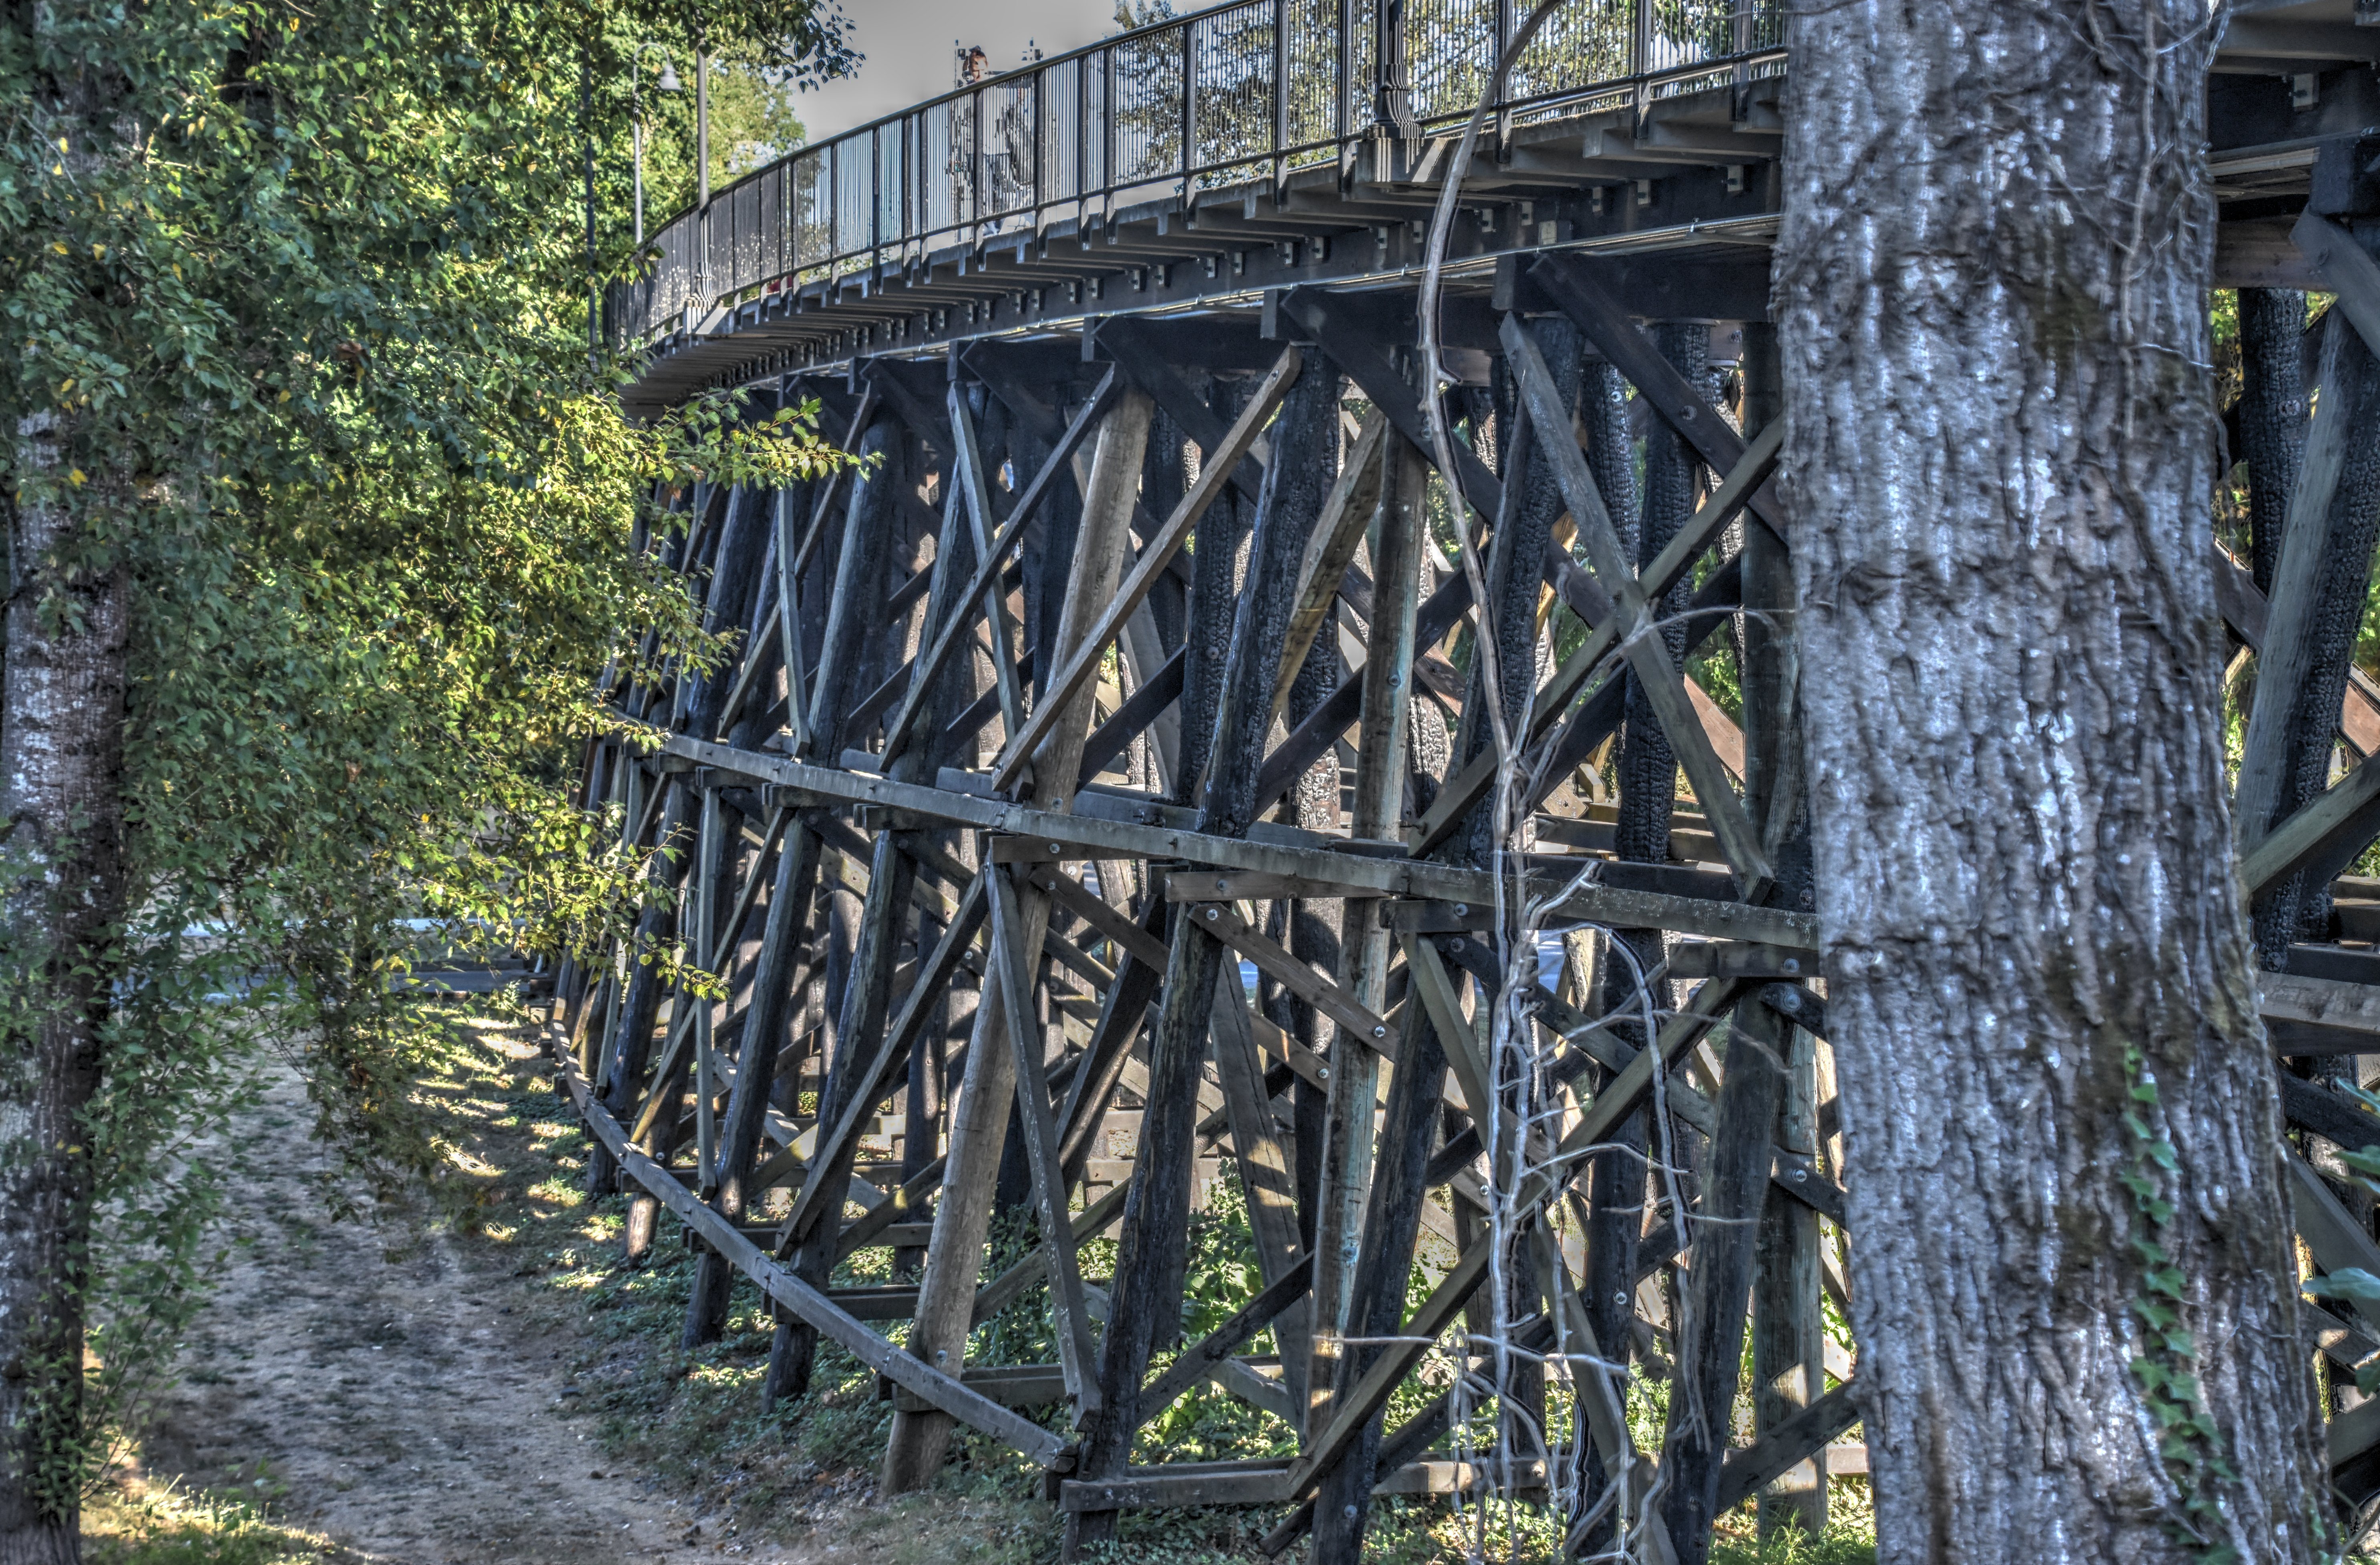

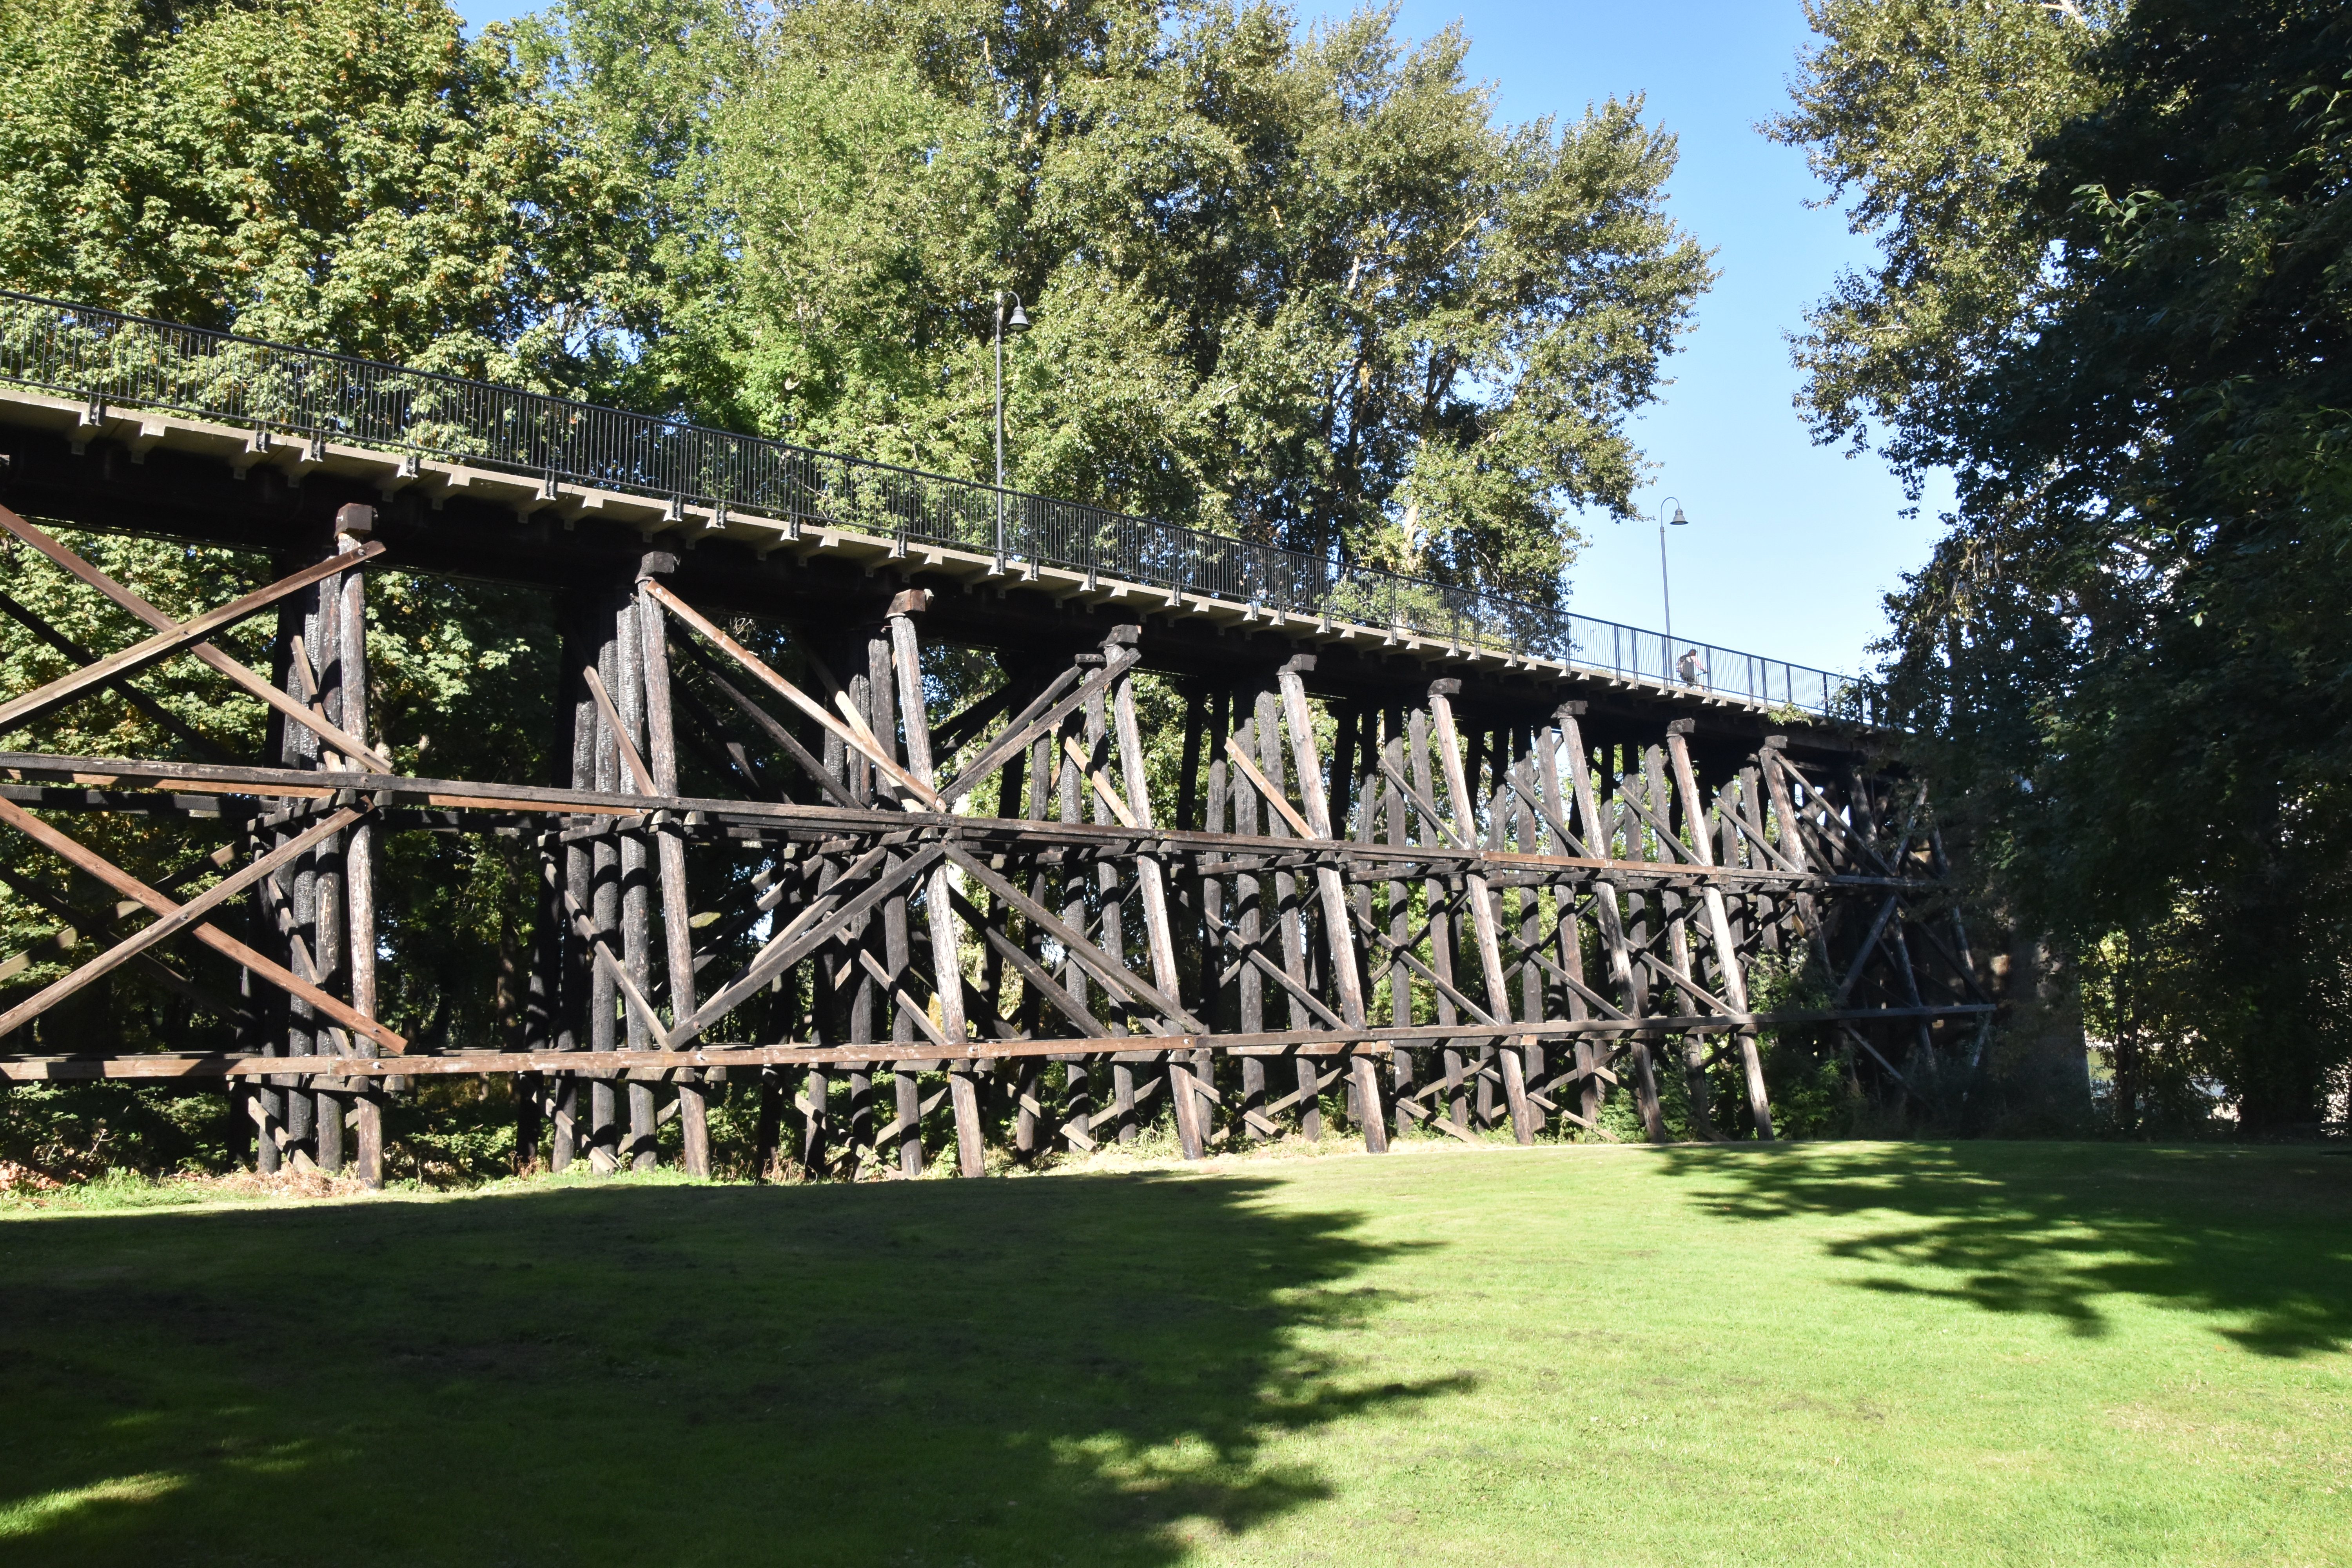

Views of western timber approach spans.
![]()


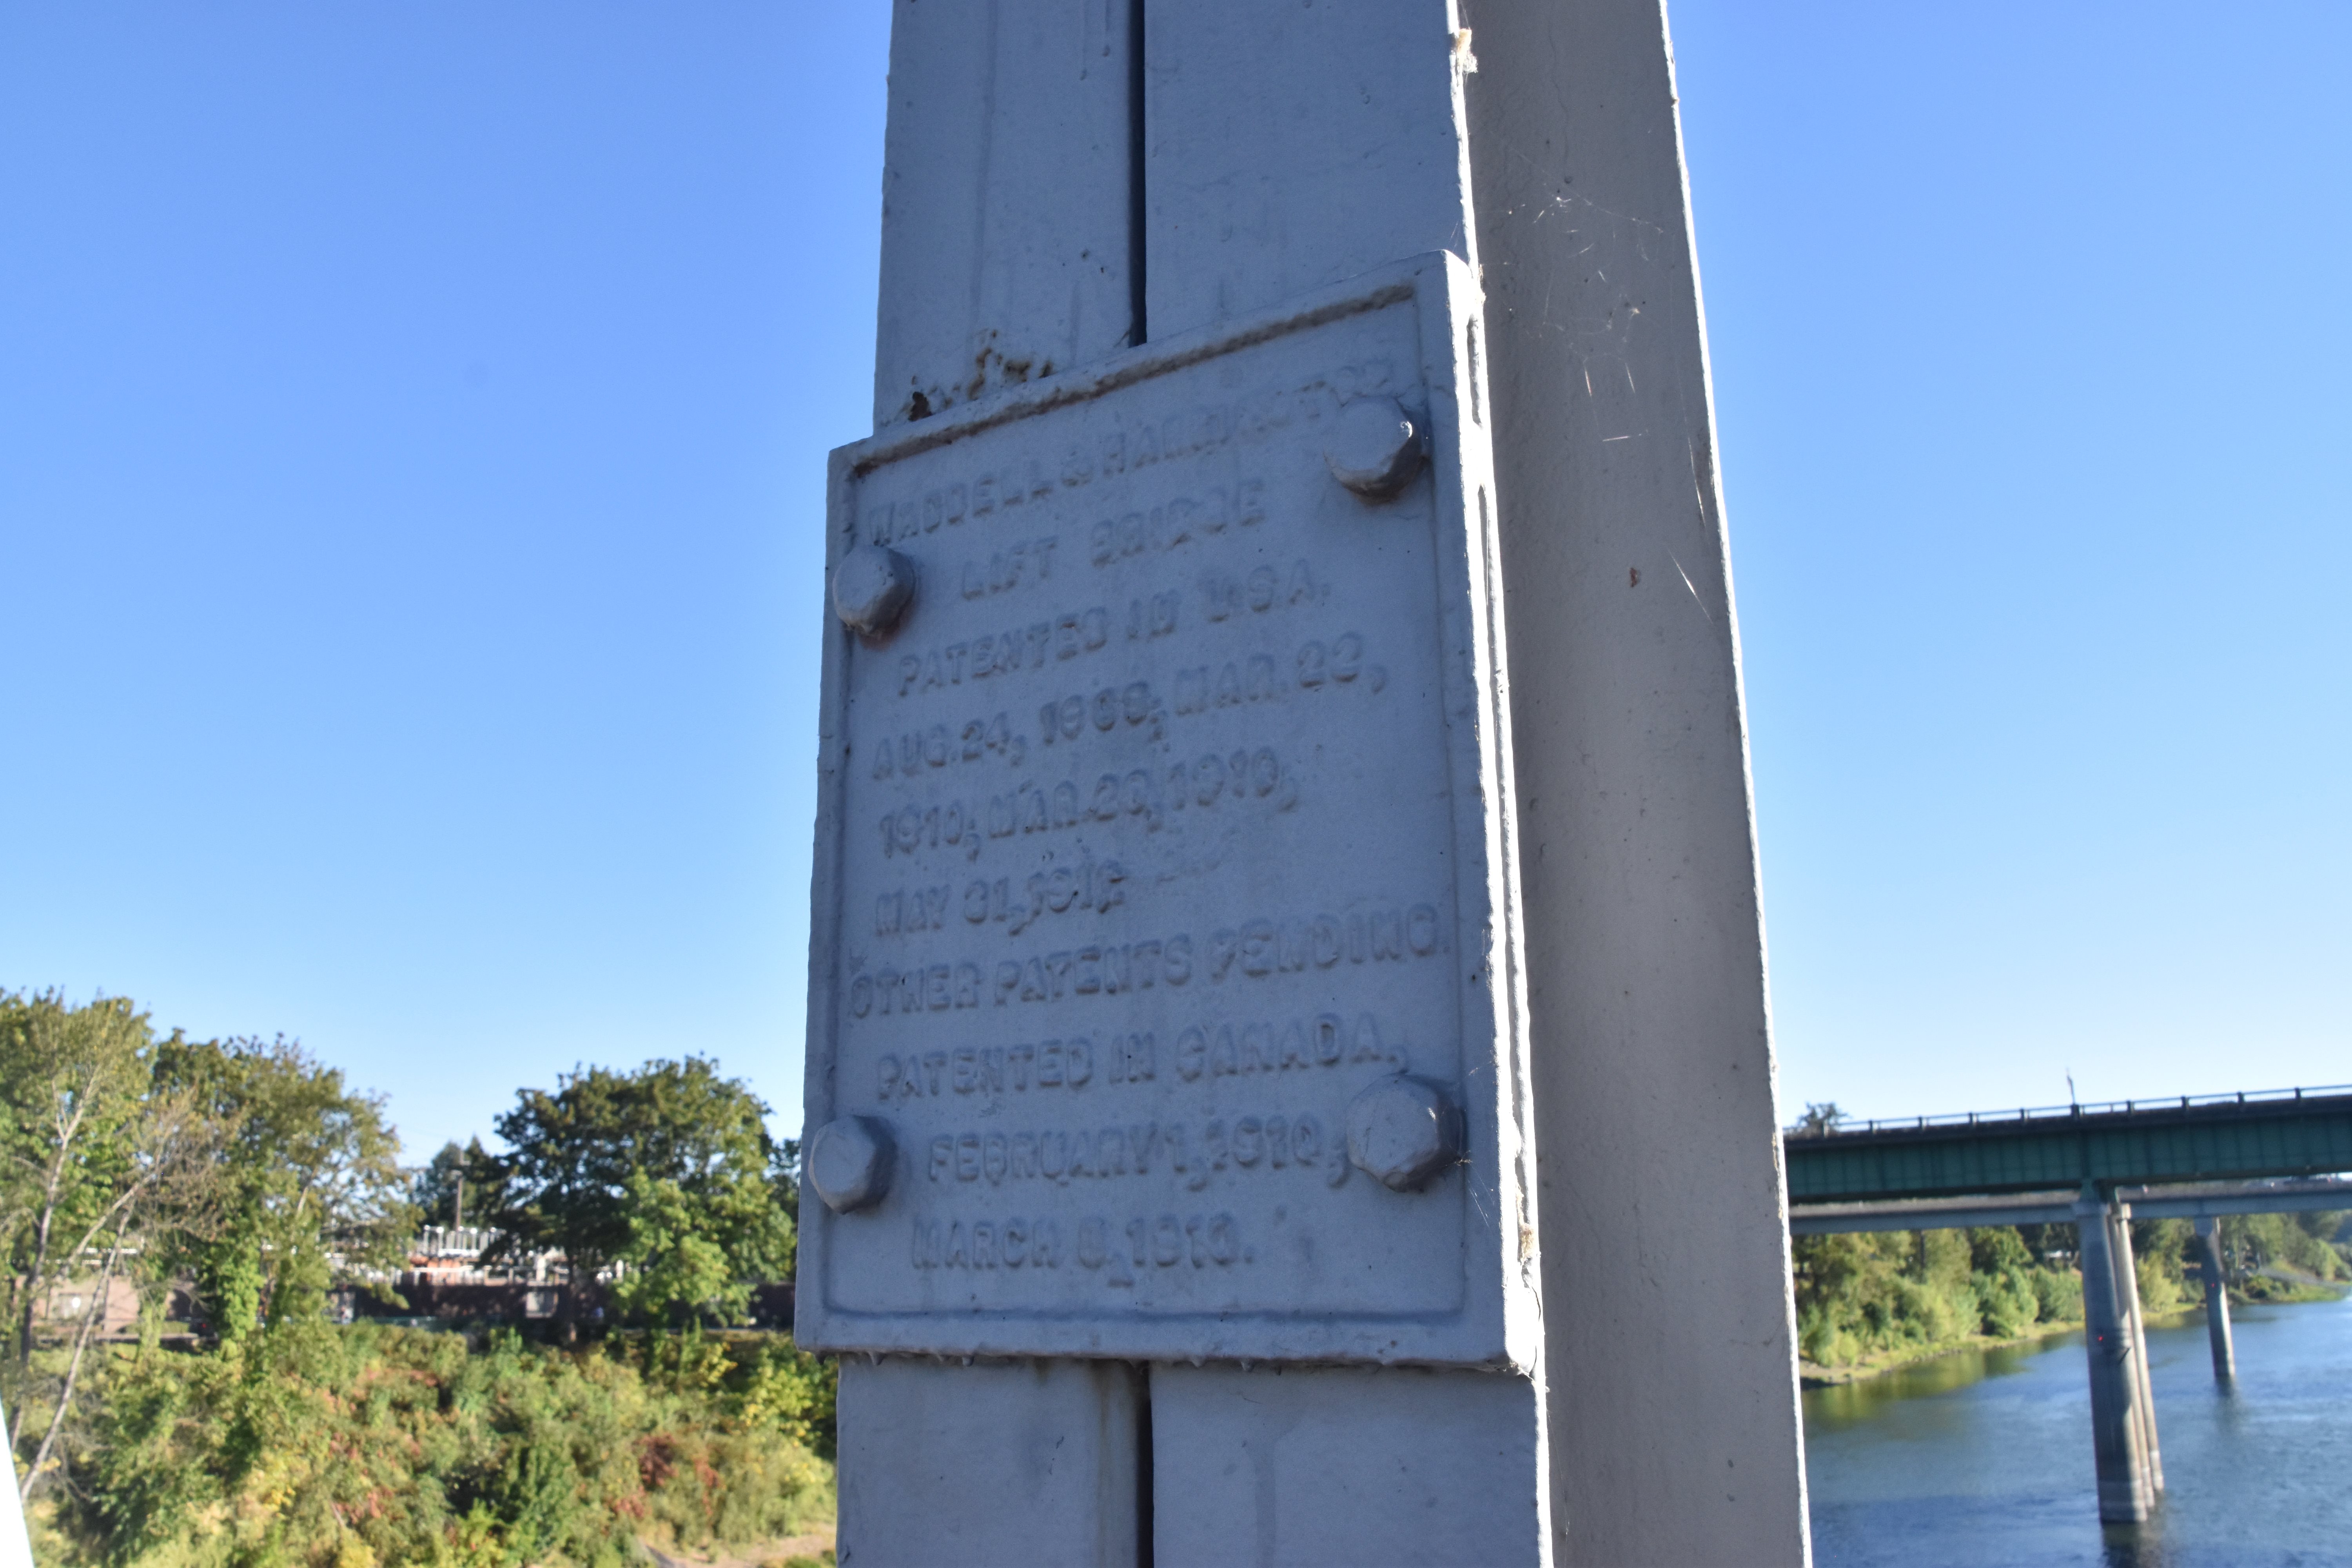
Waddell lift bridge plaque.
![]()


Rededication plaque.
![]()
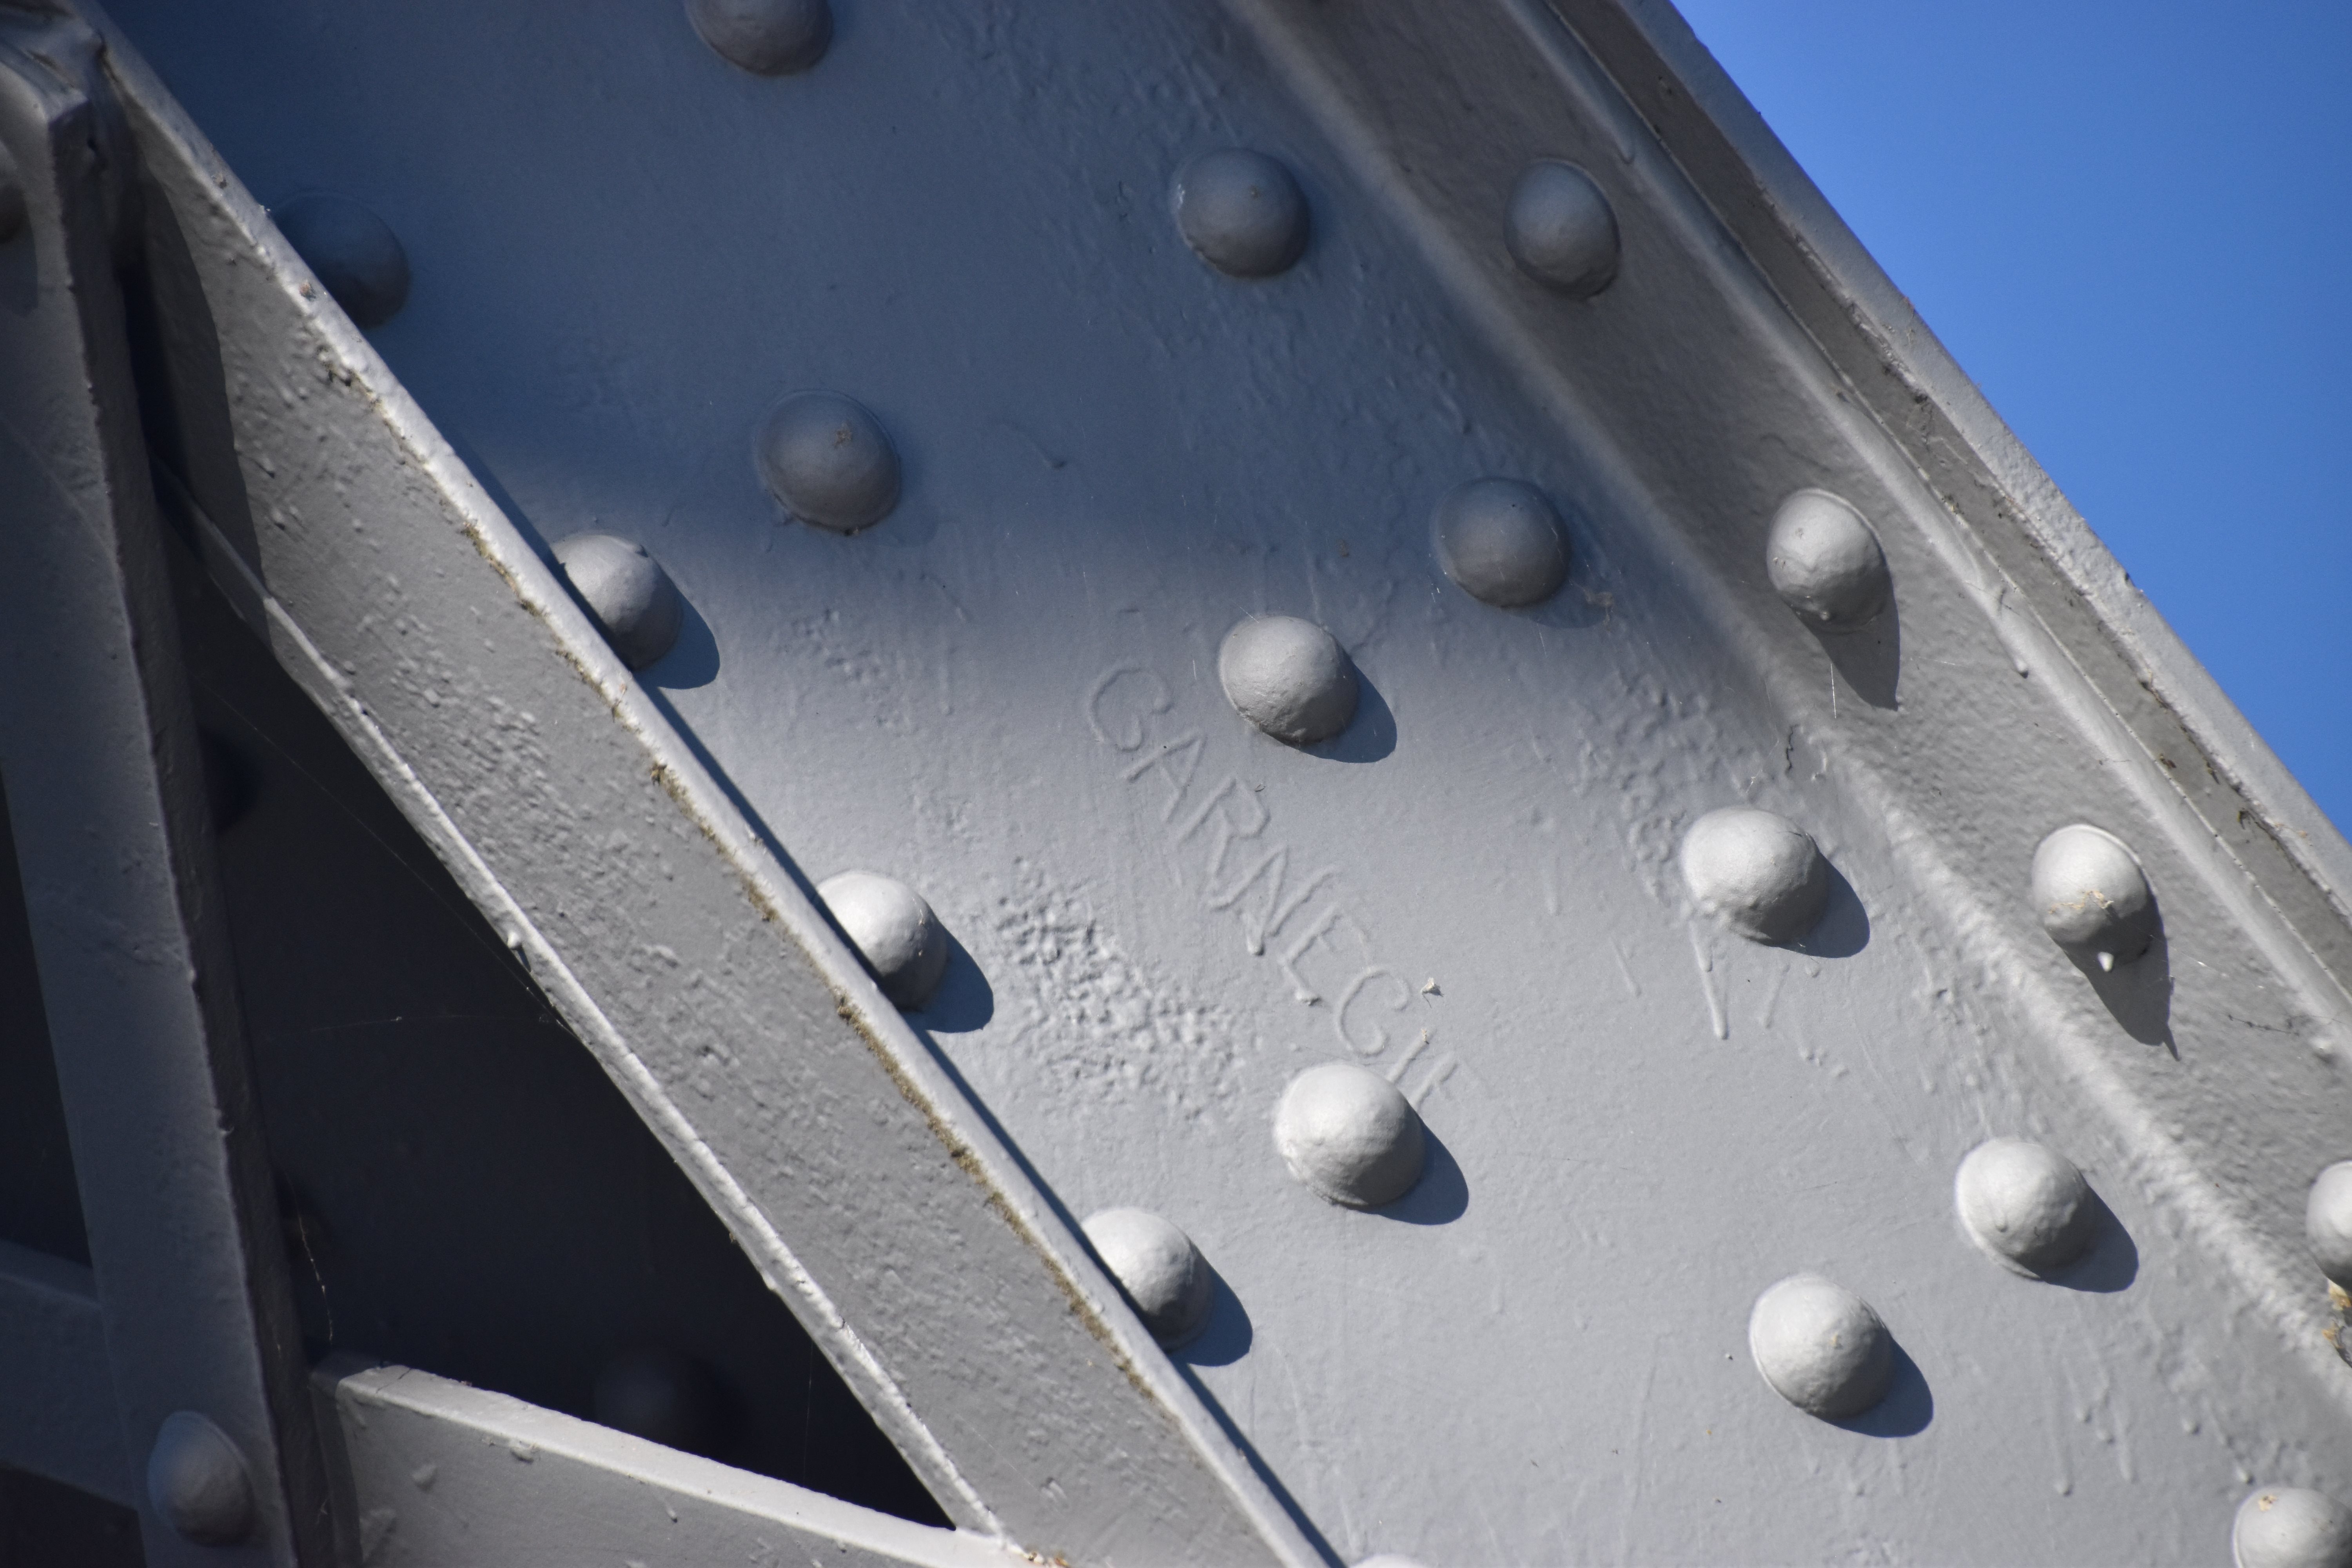


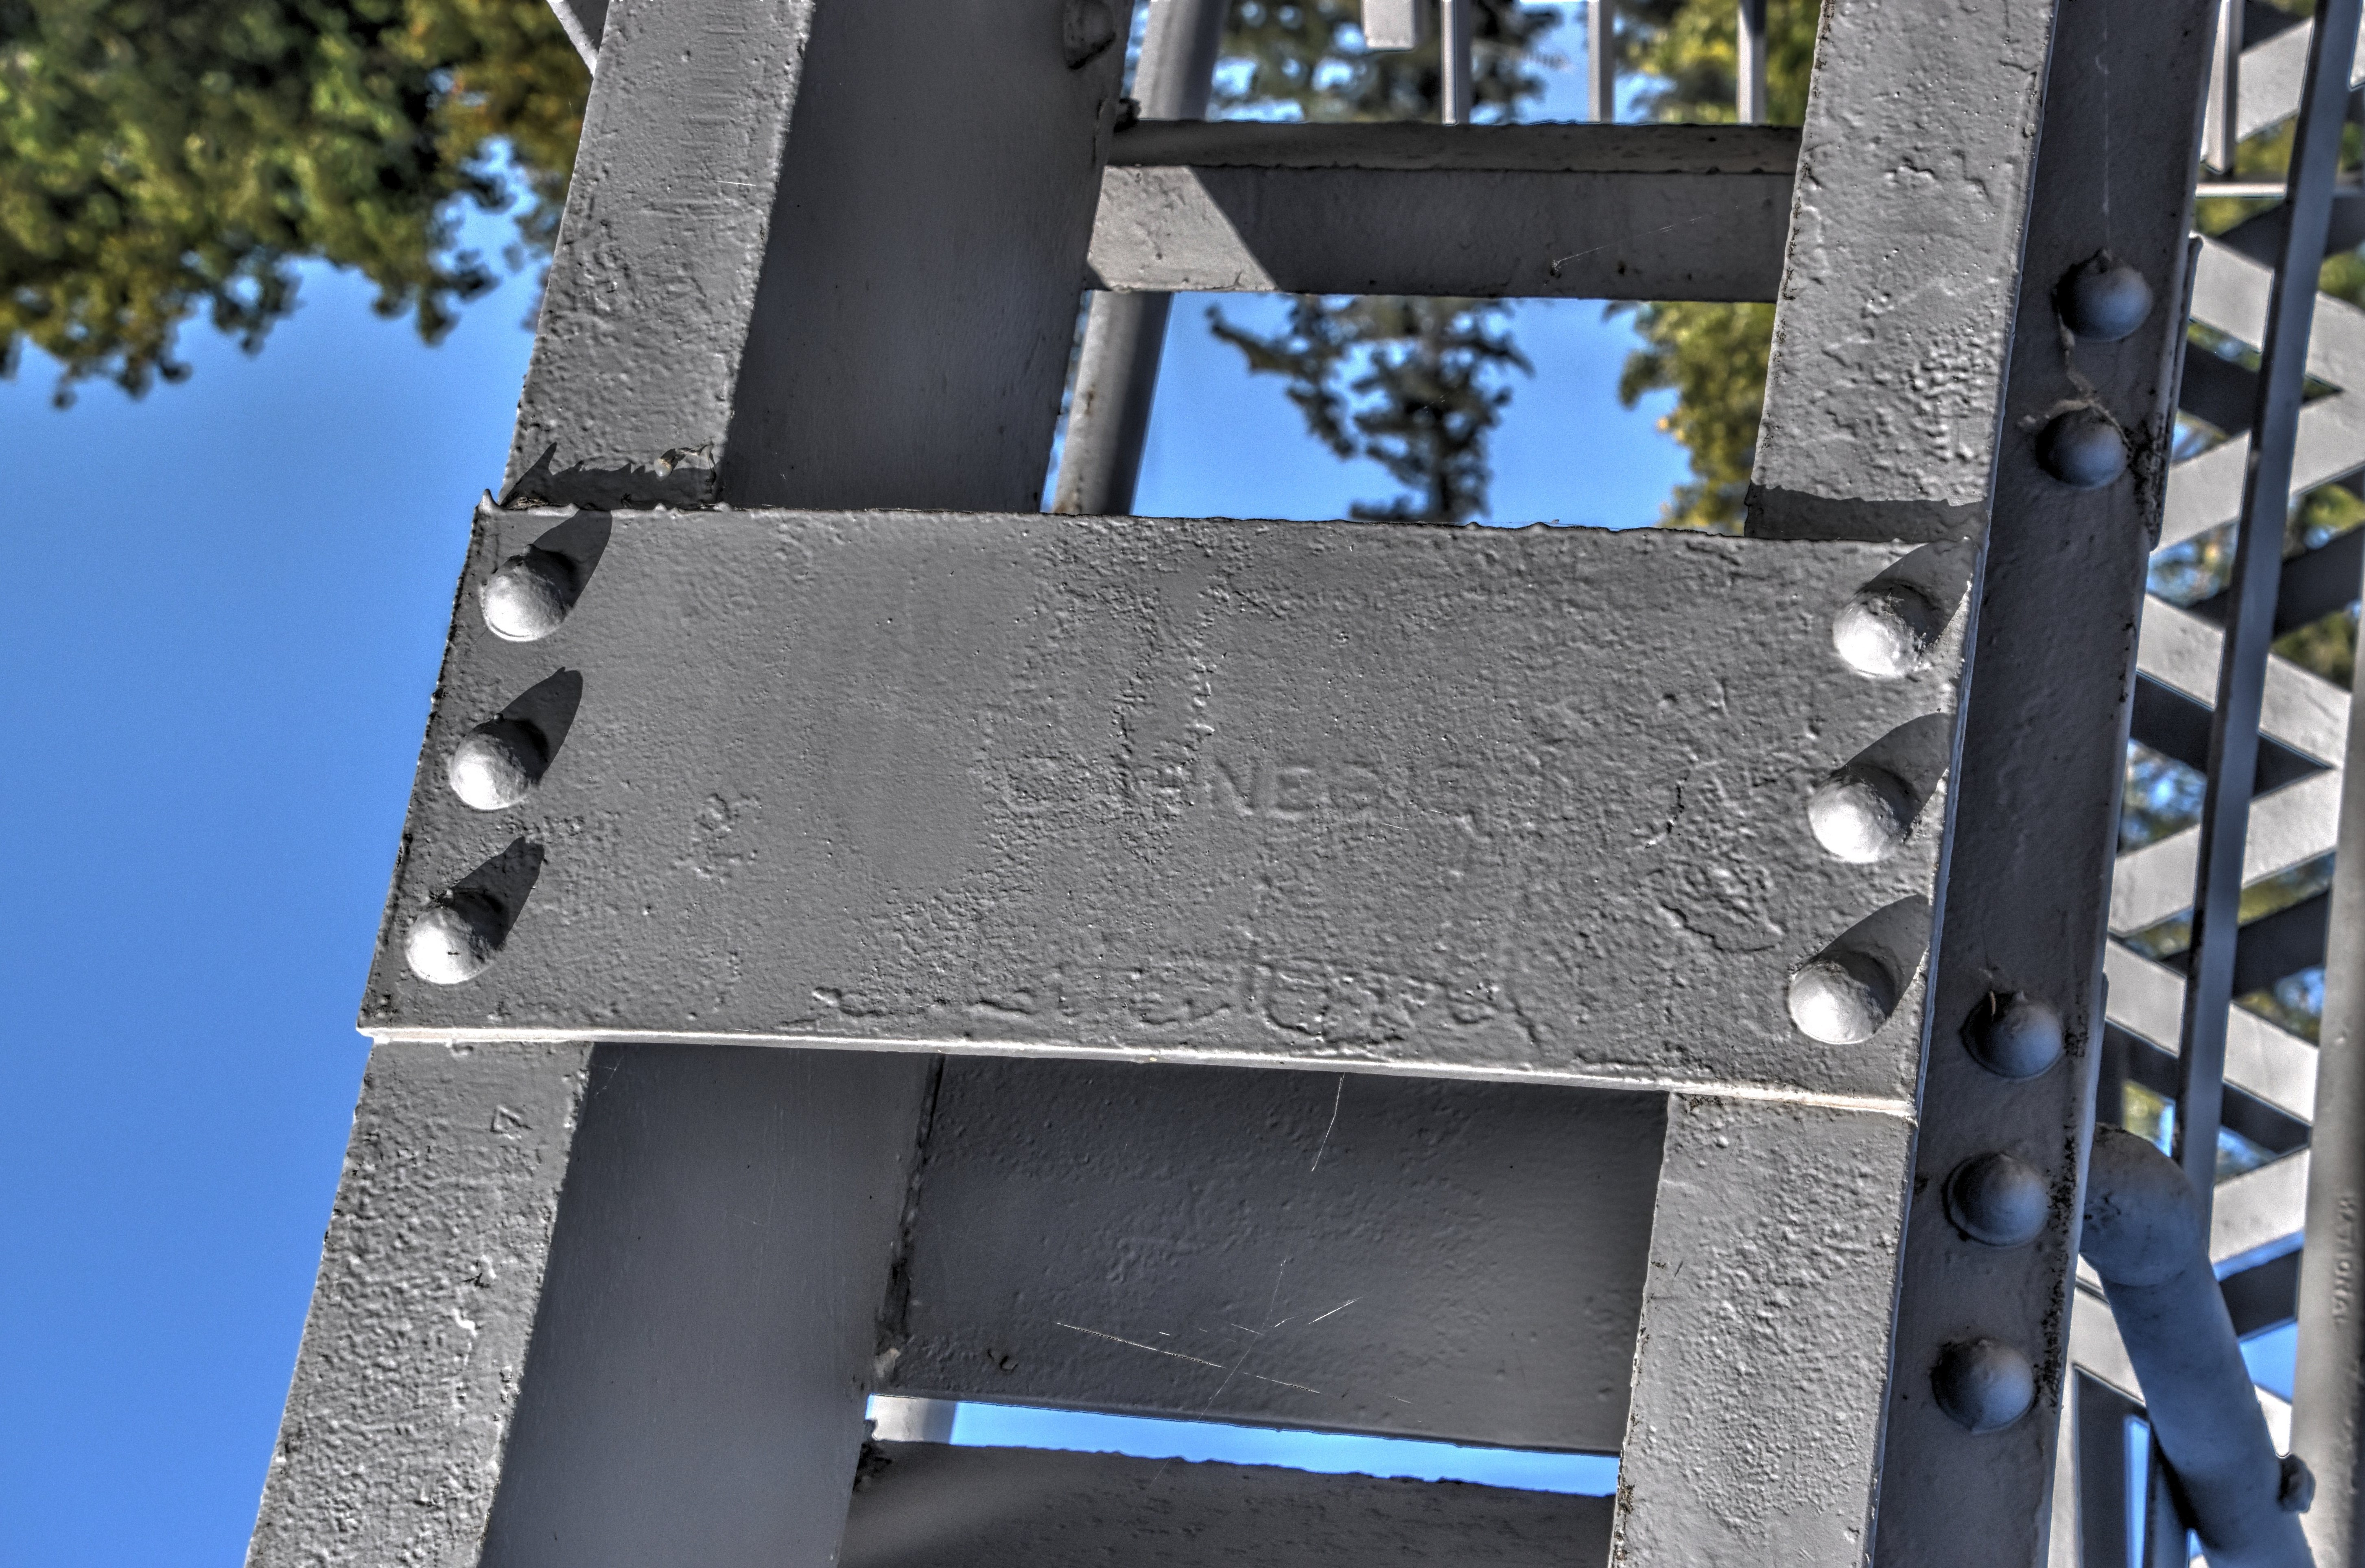


Carnegie brand.
![]()

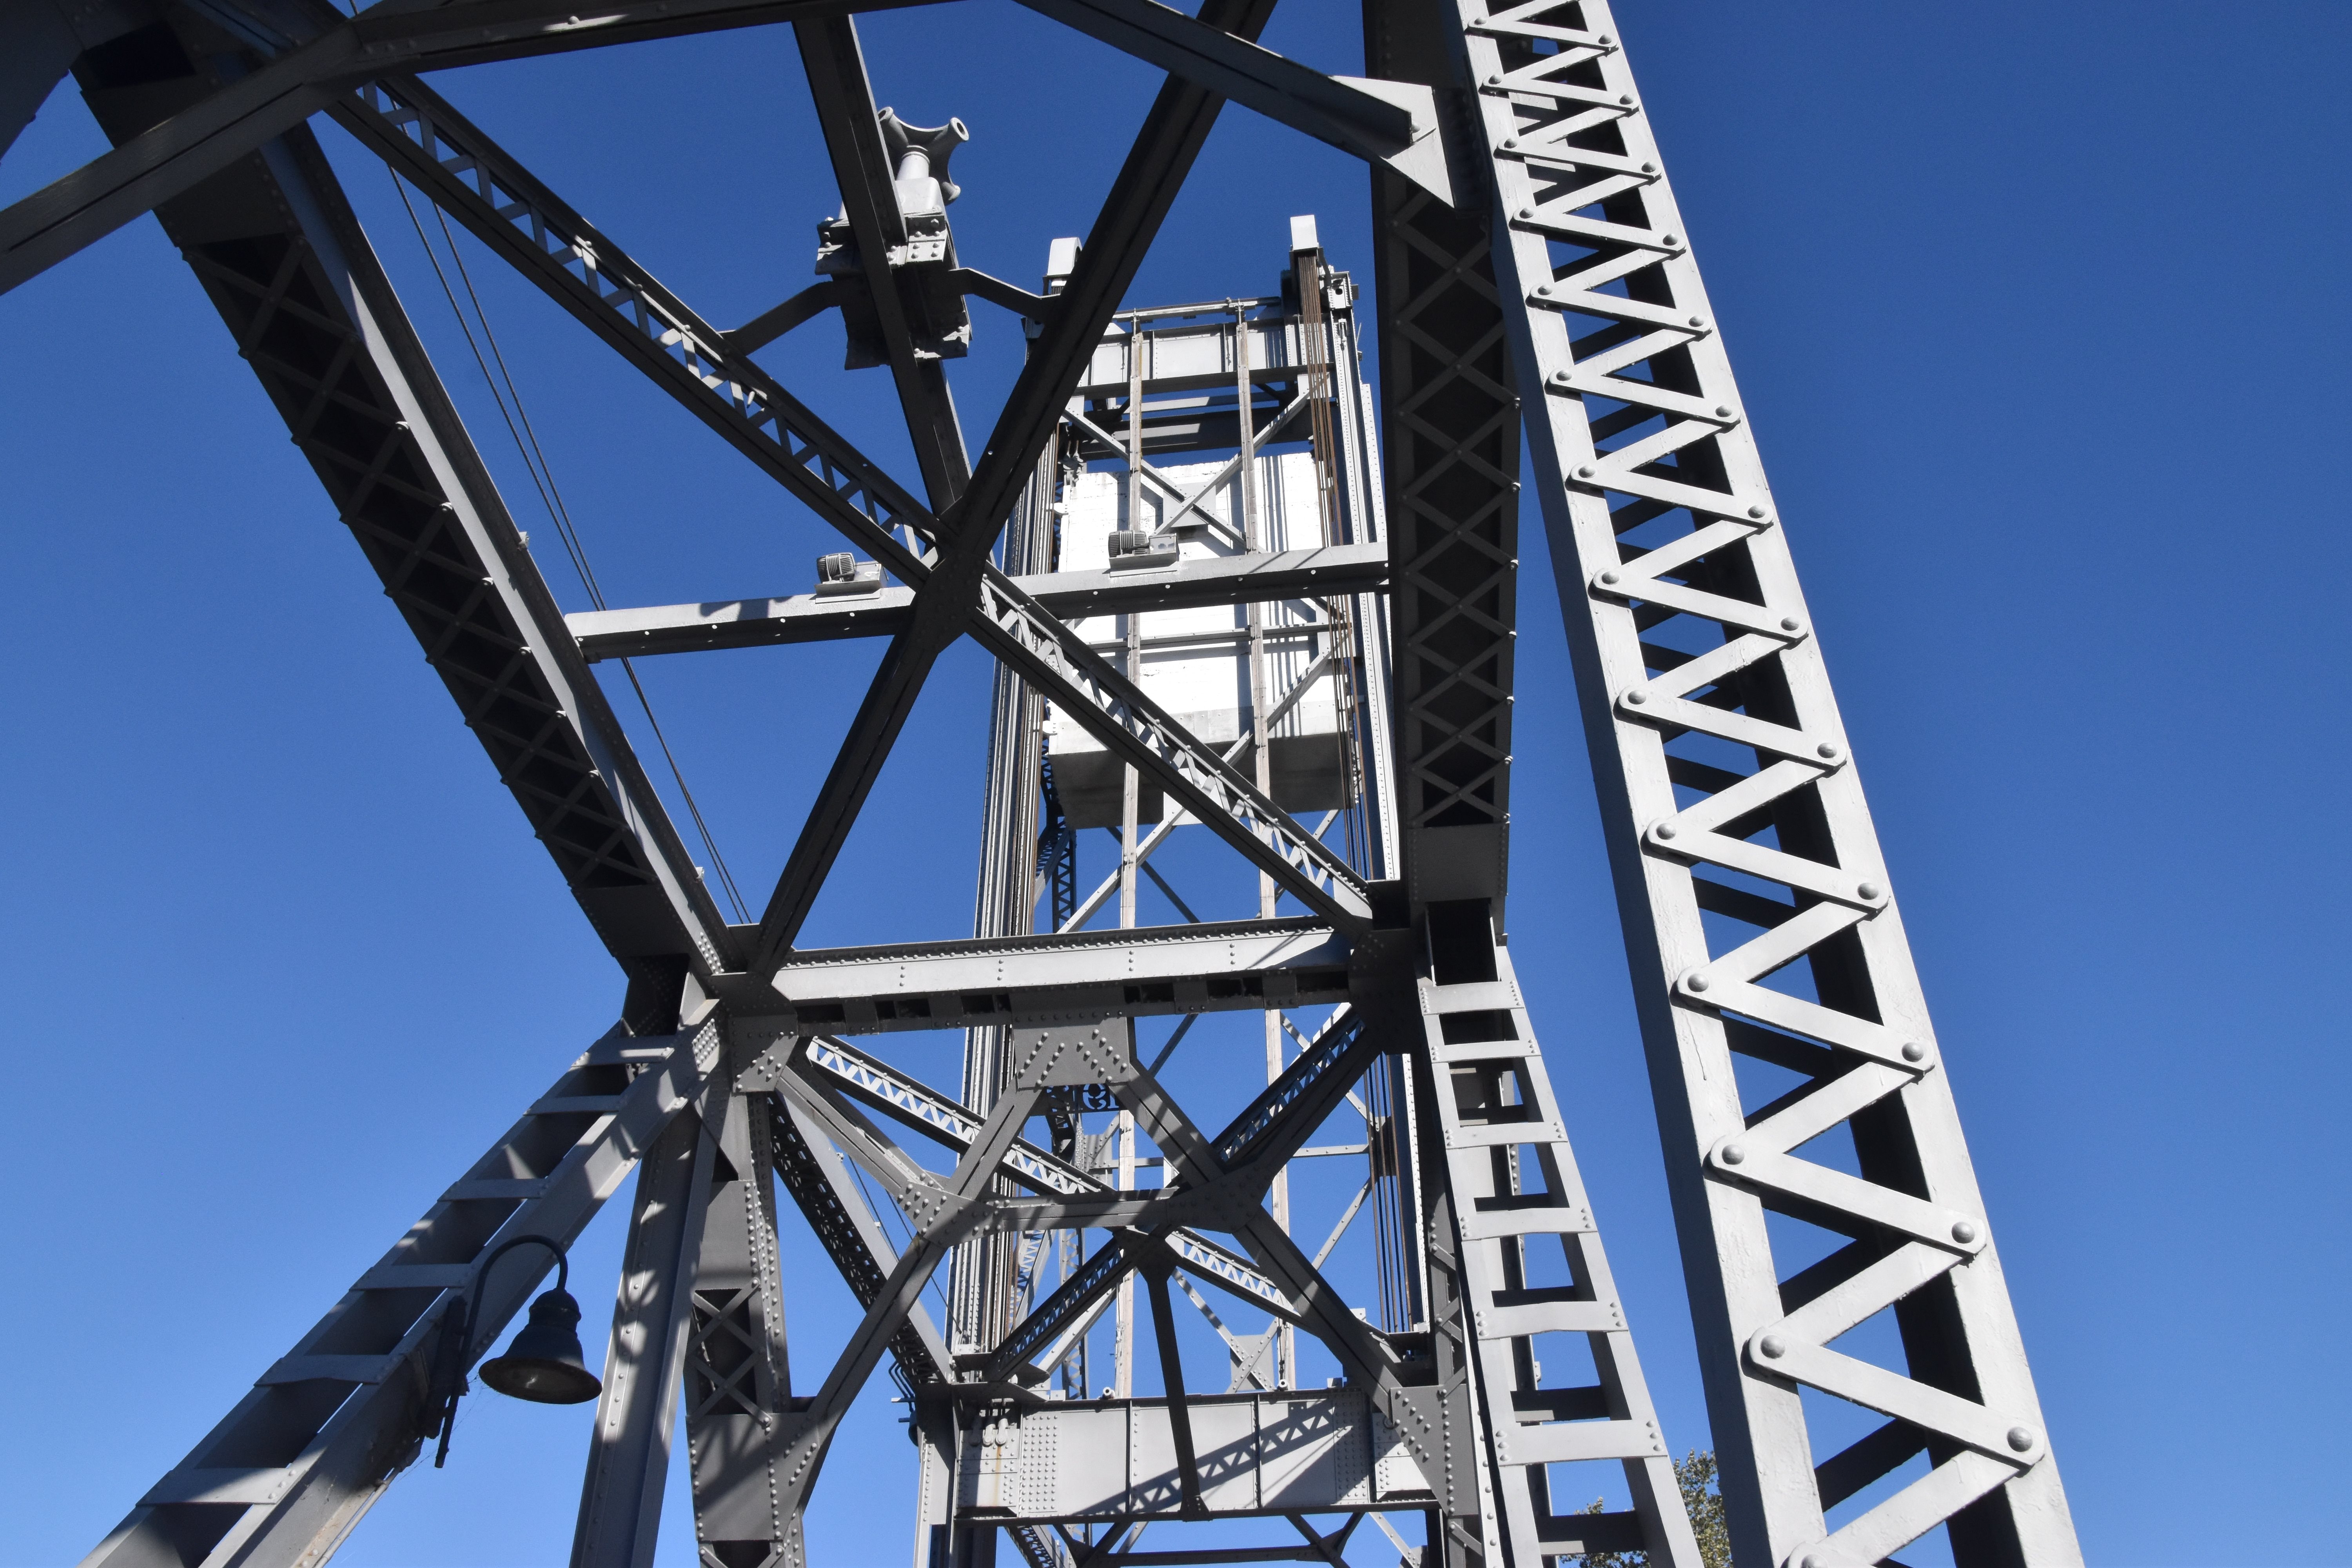
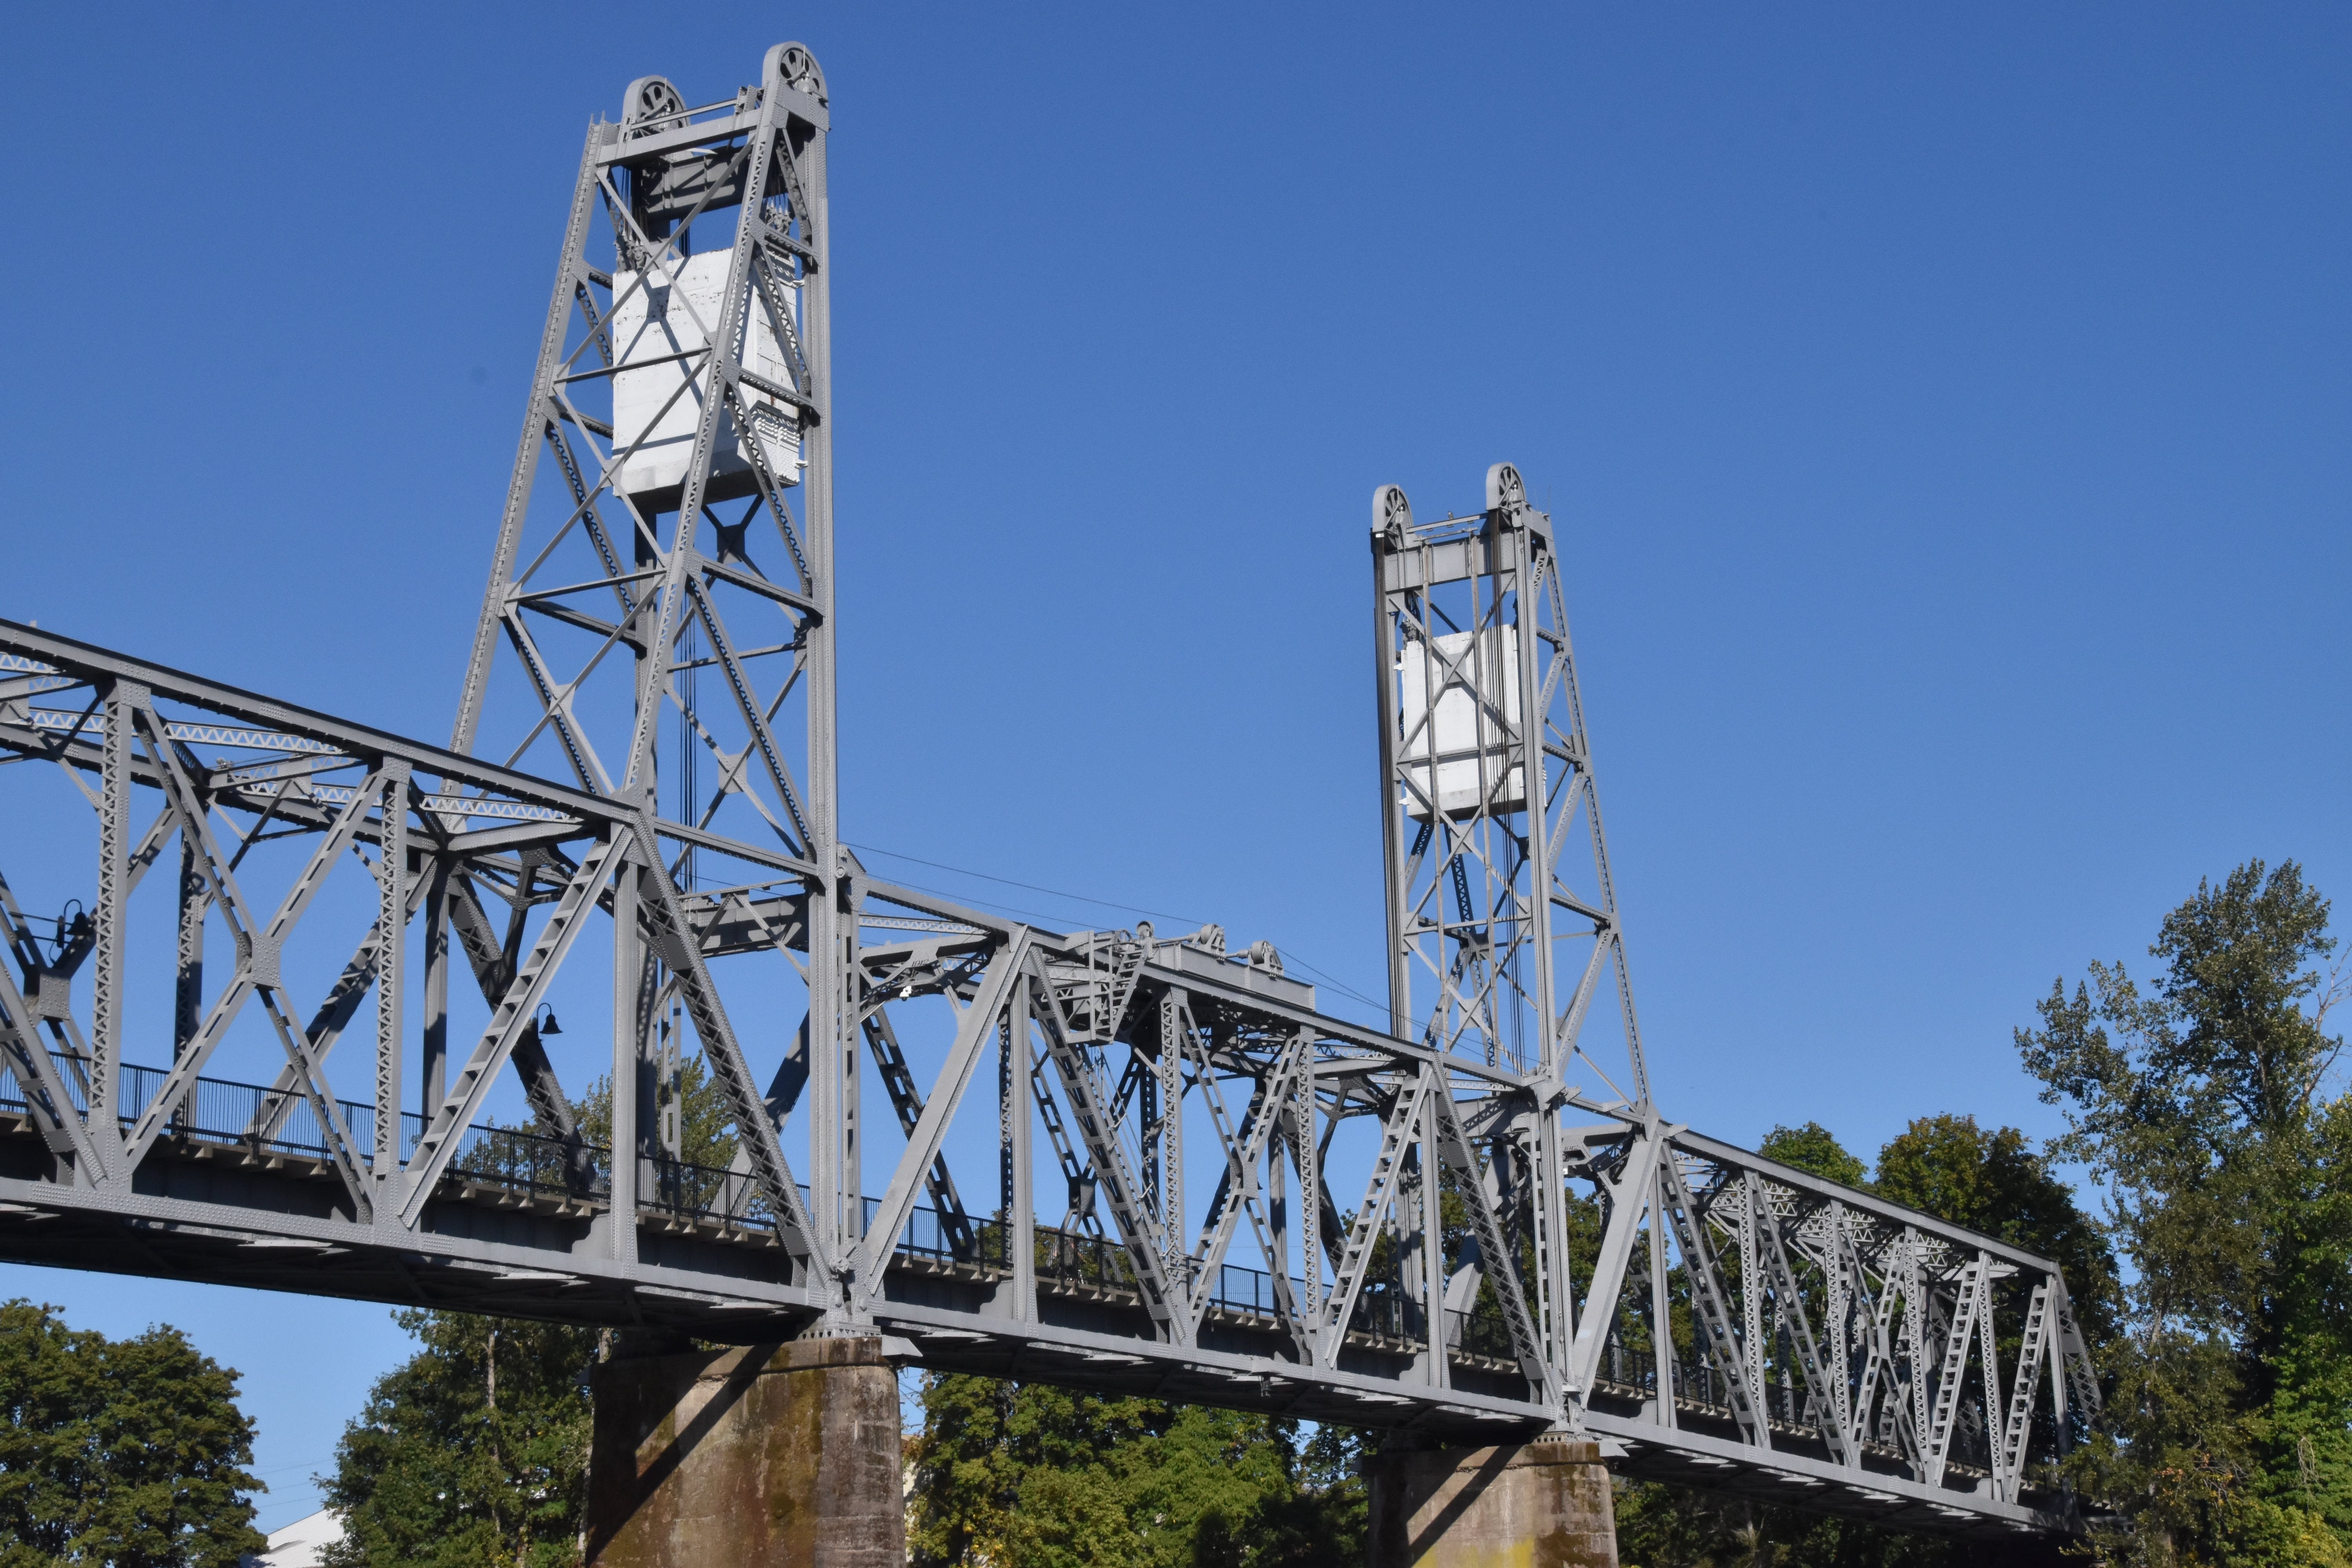
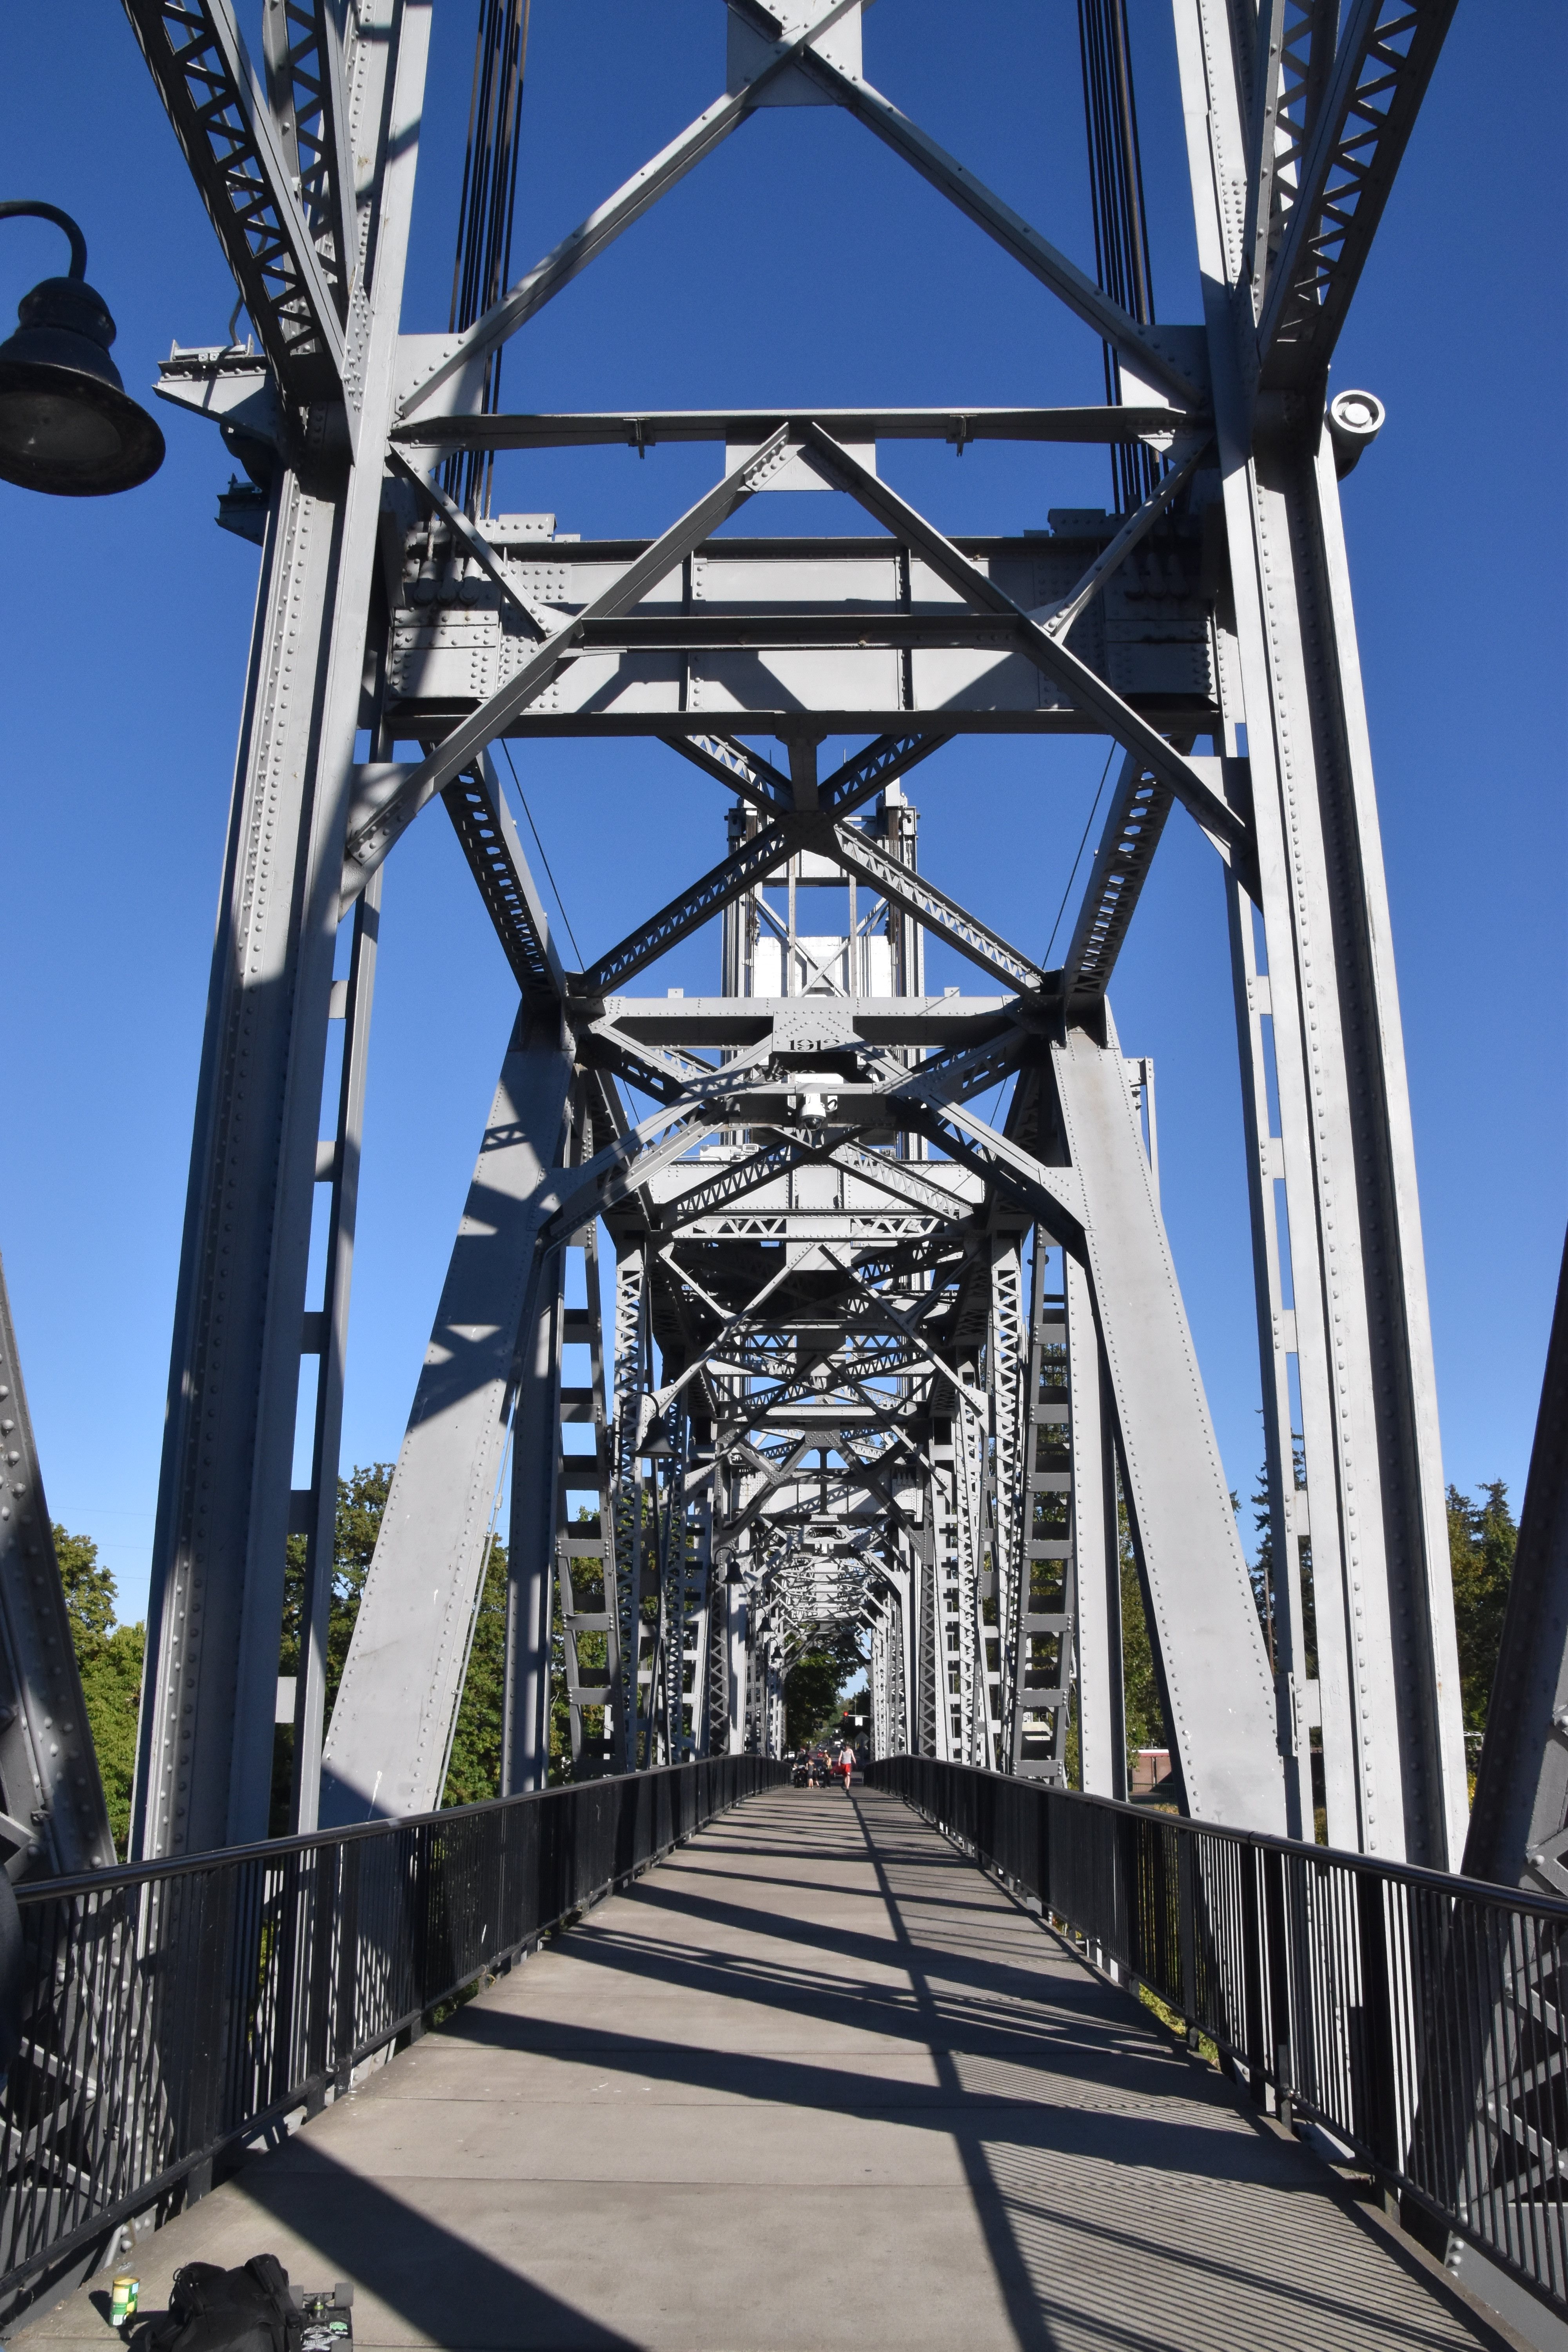
View of tower from beside bridge.
![]()


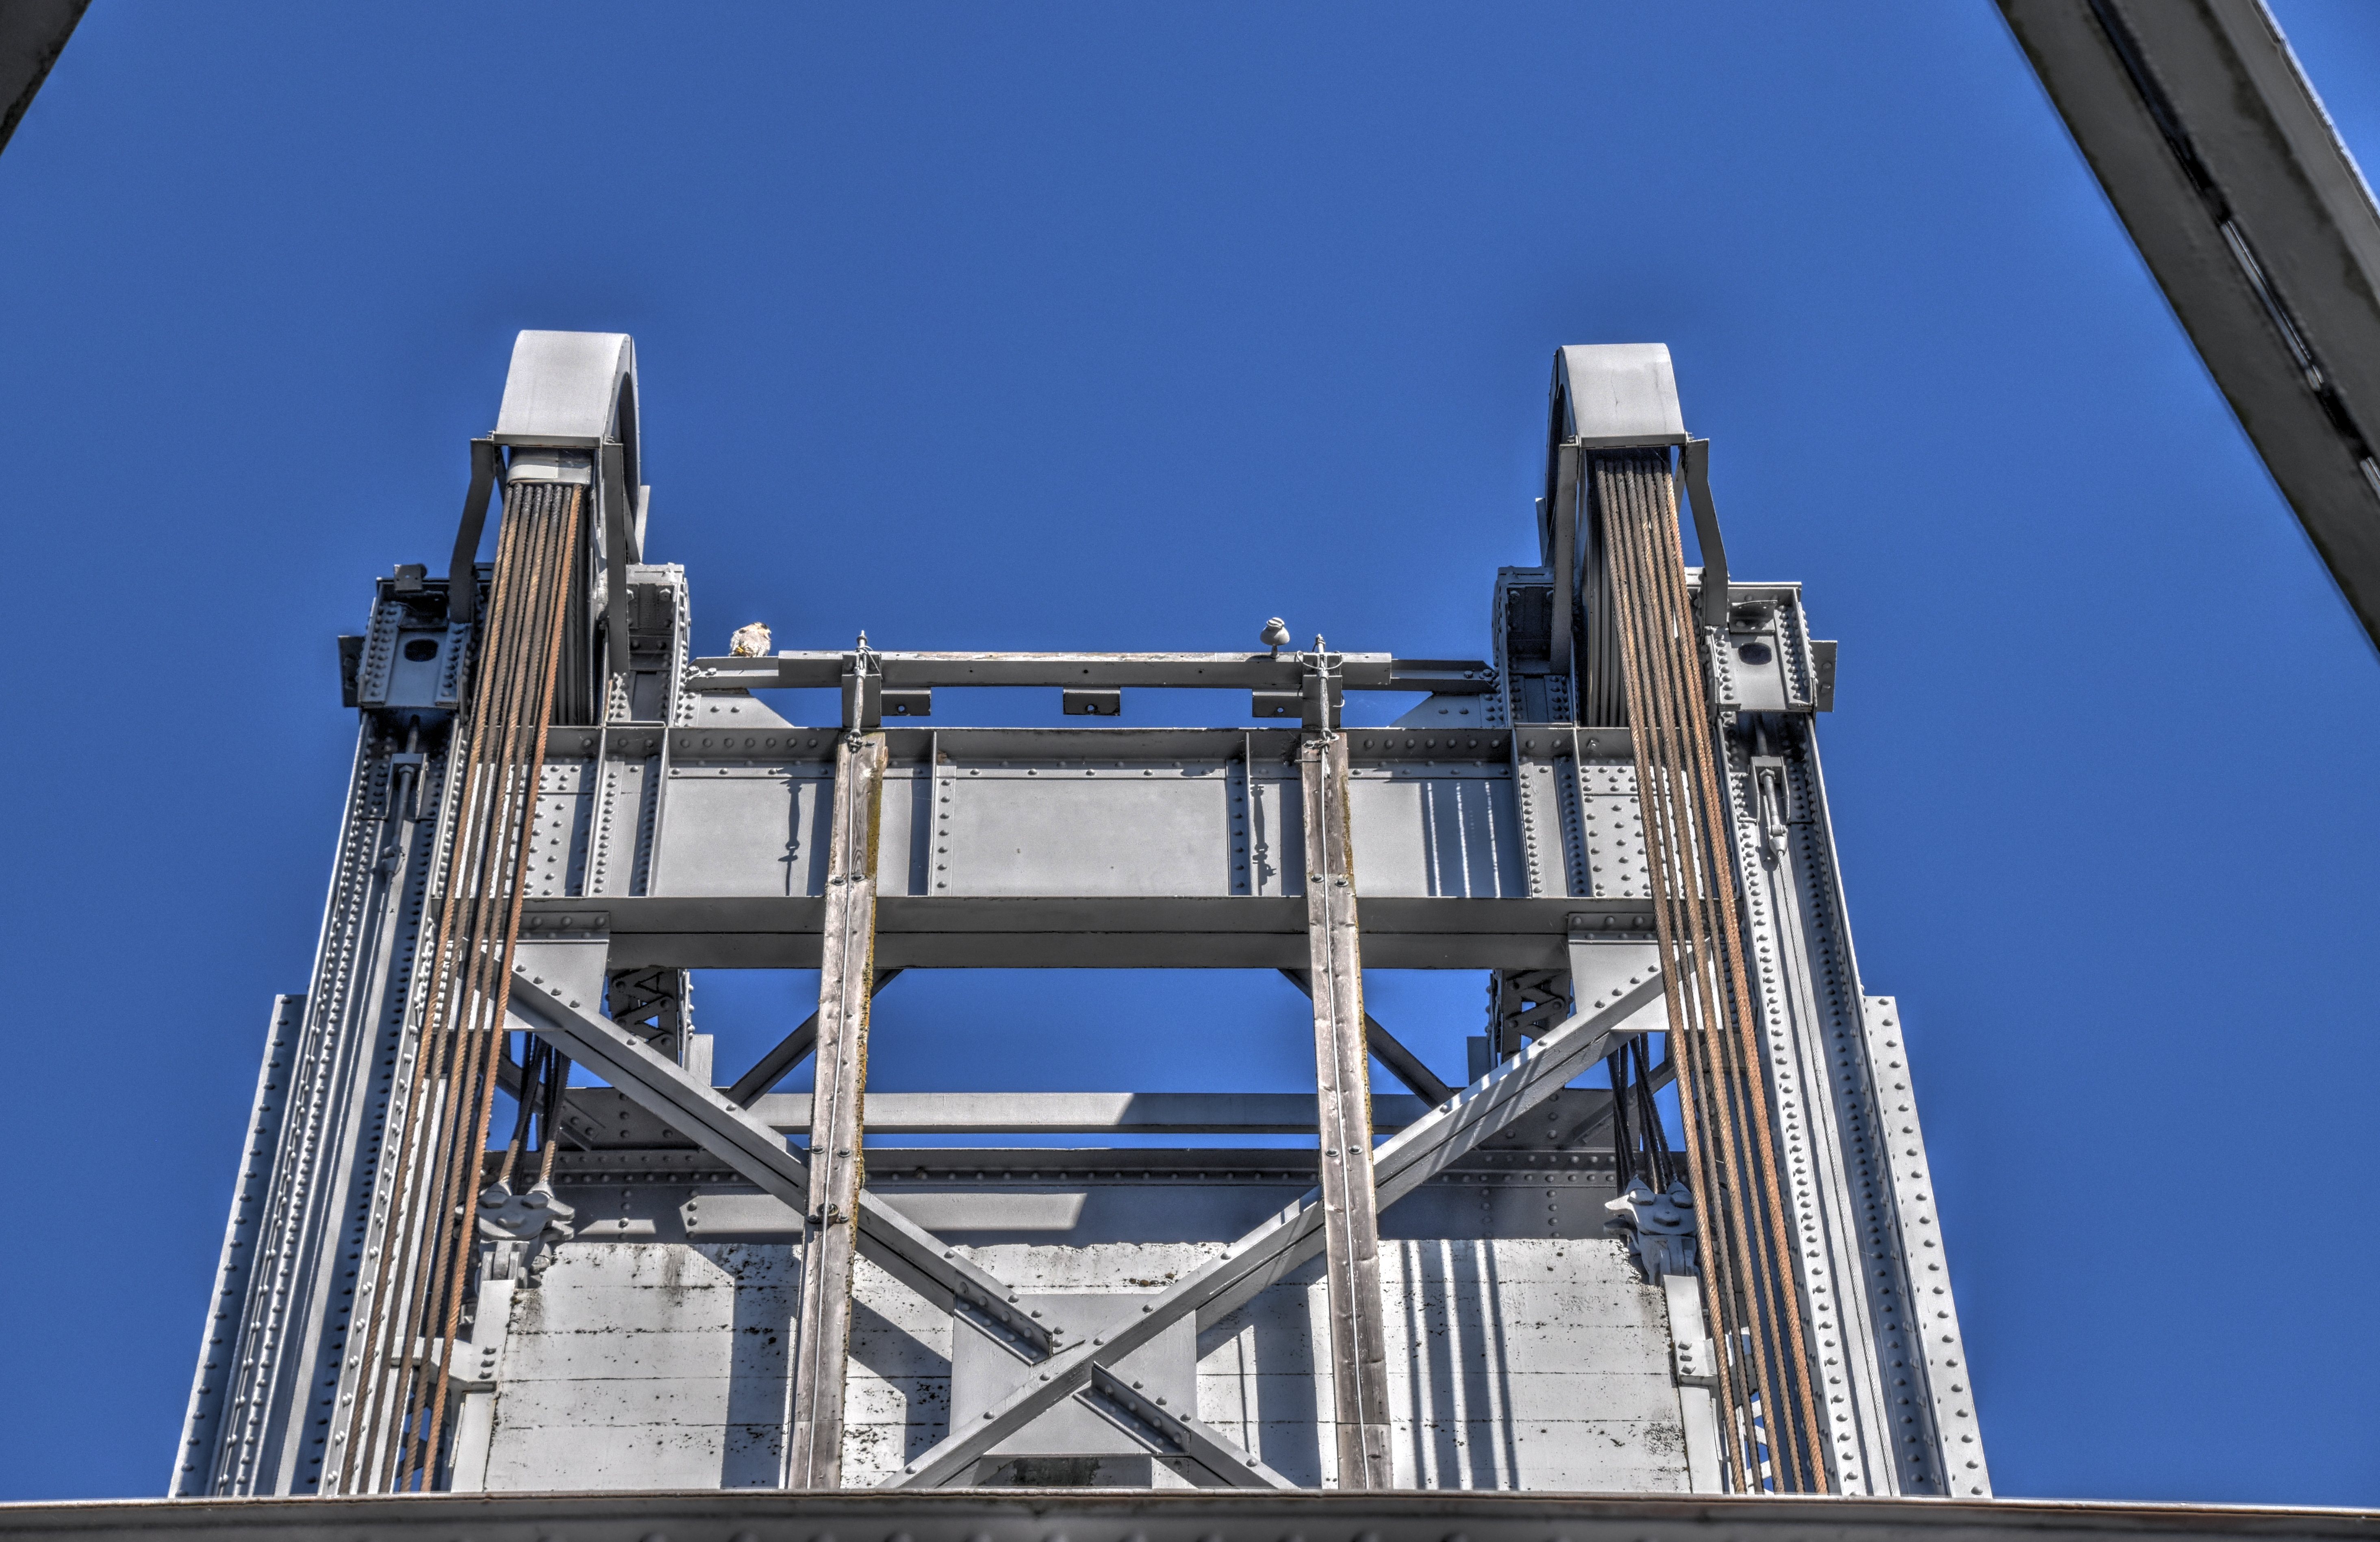
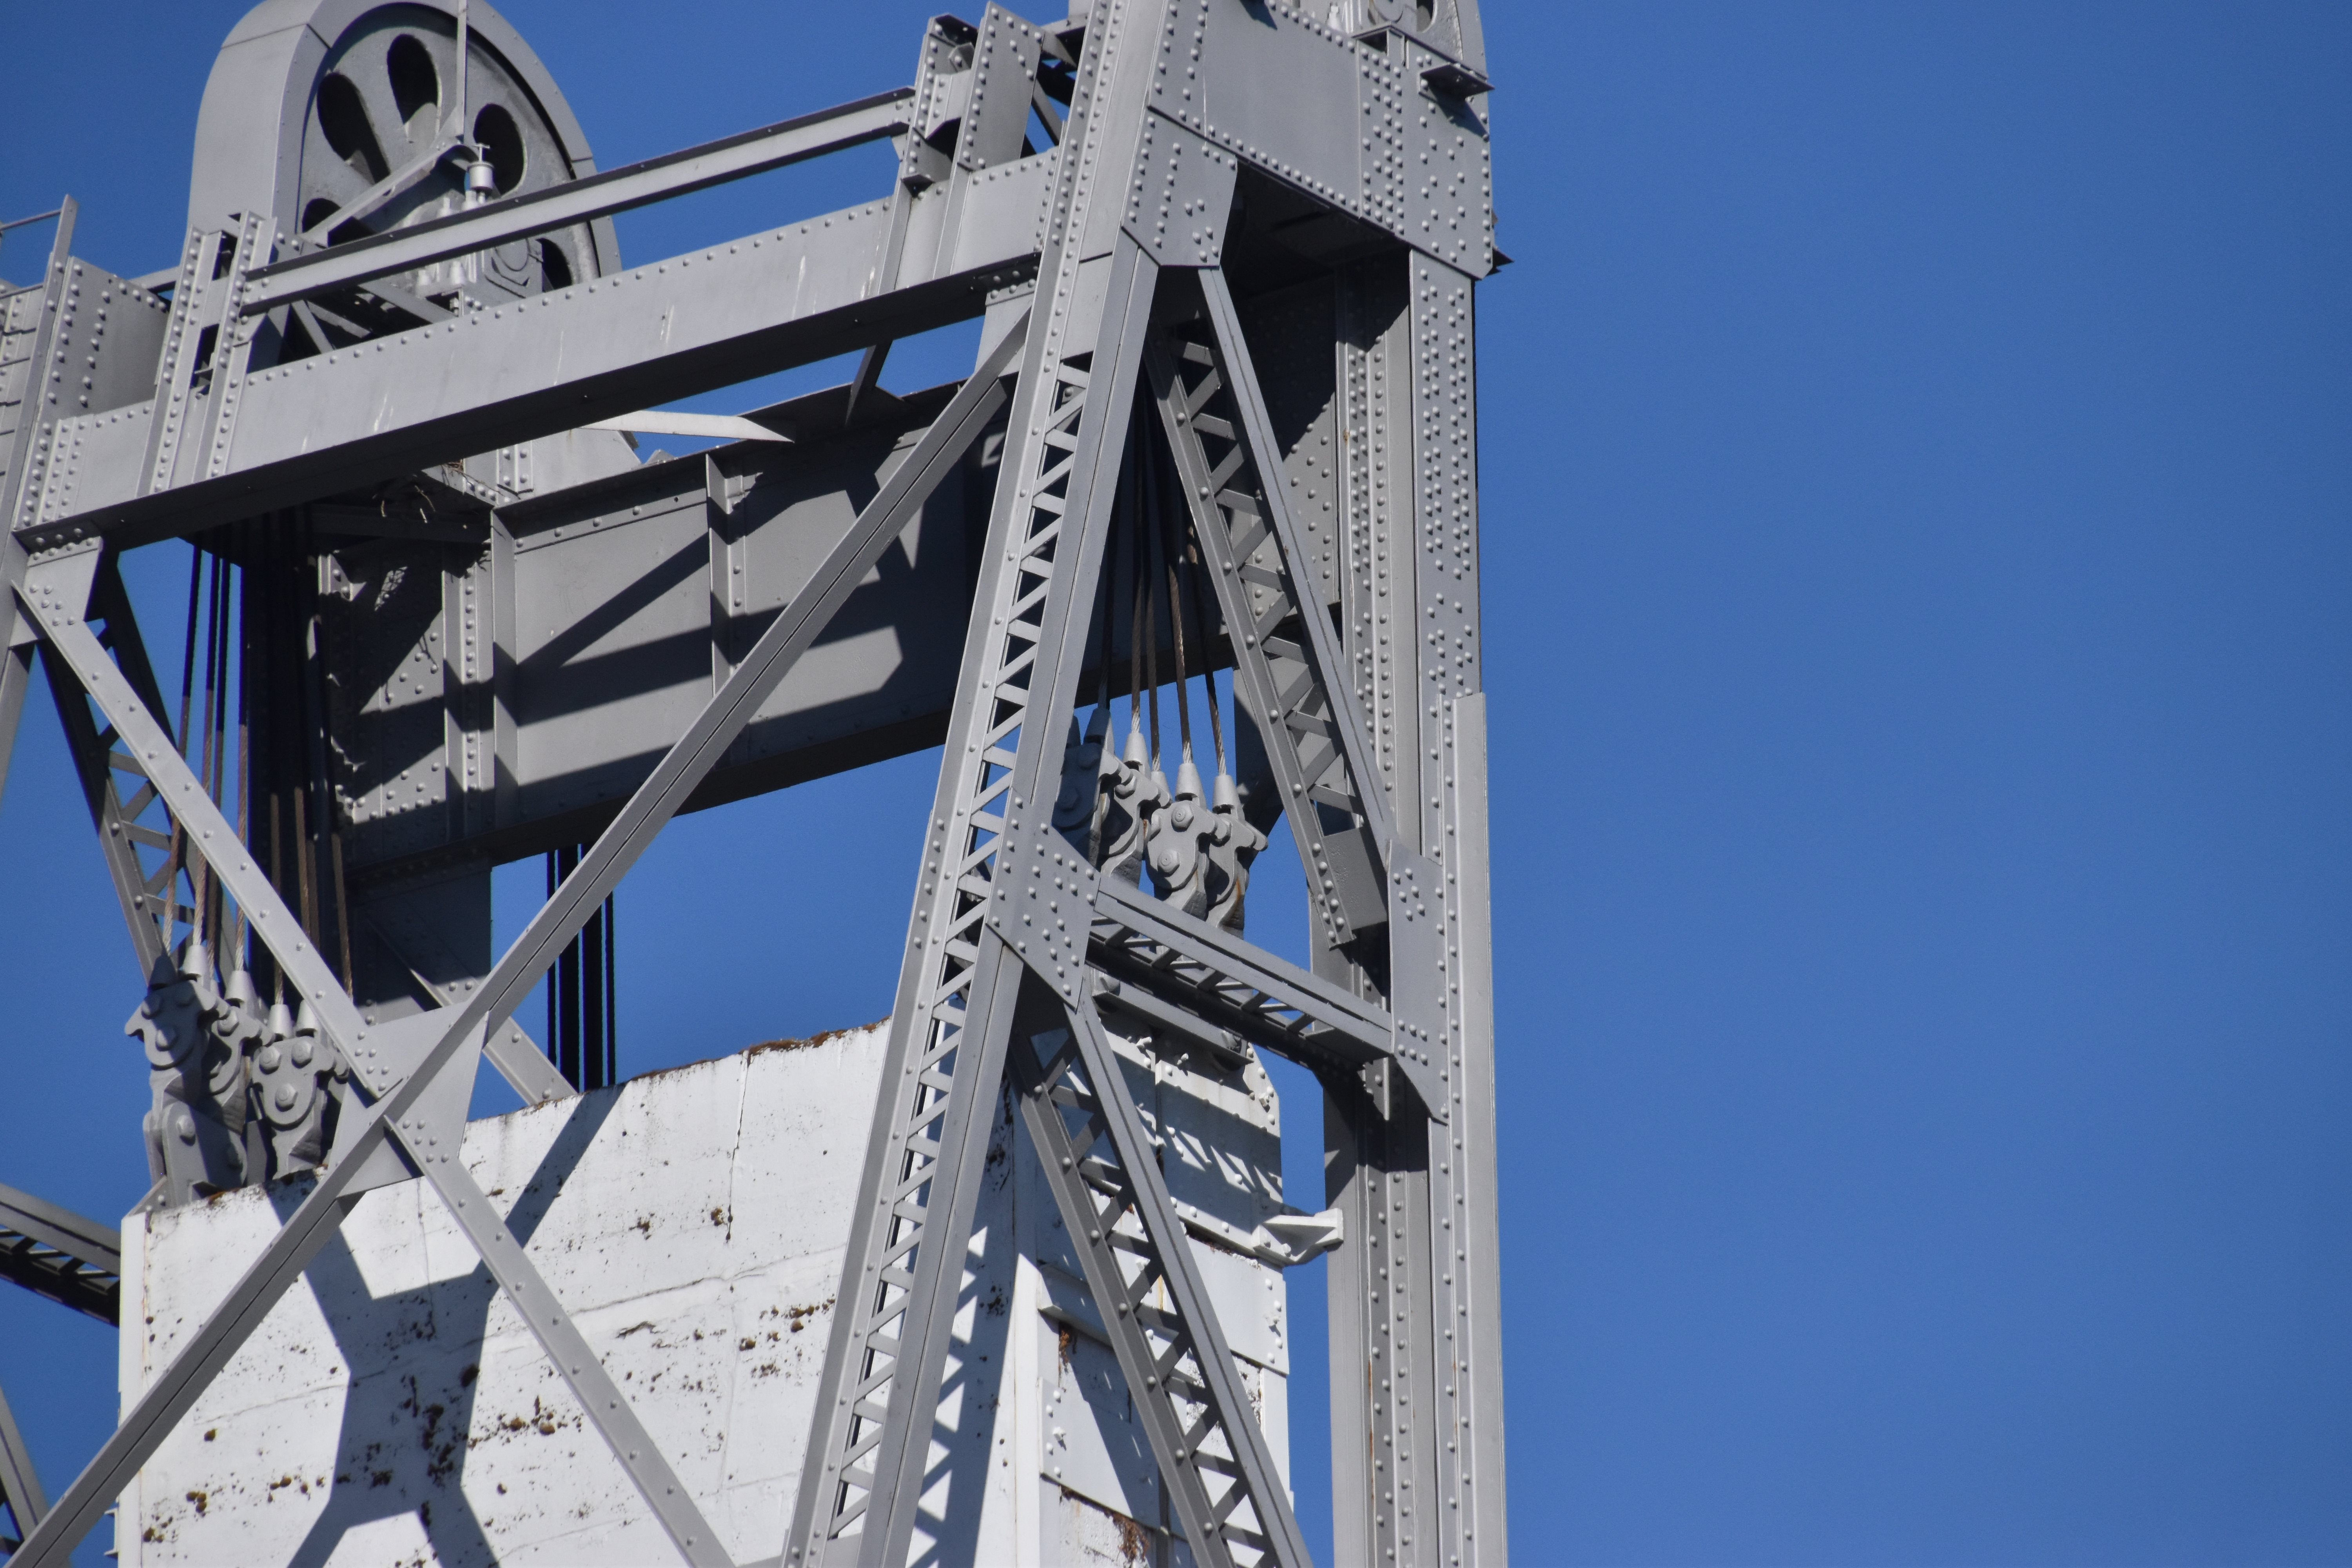
Cable sheaves as viewed from beside bridge.
![]()


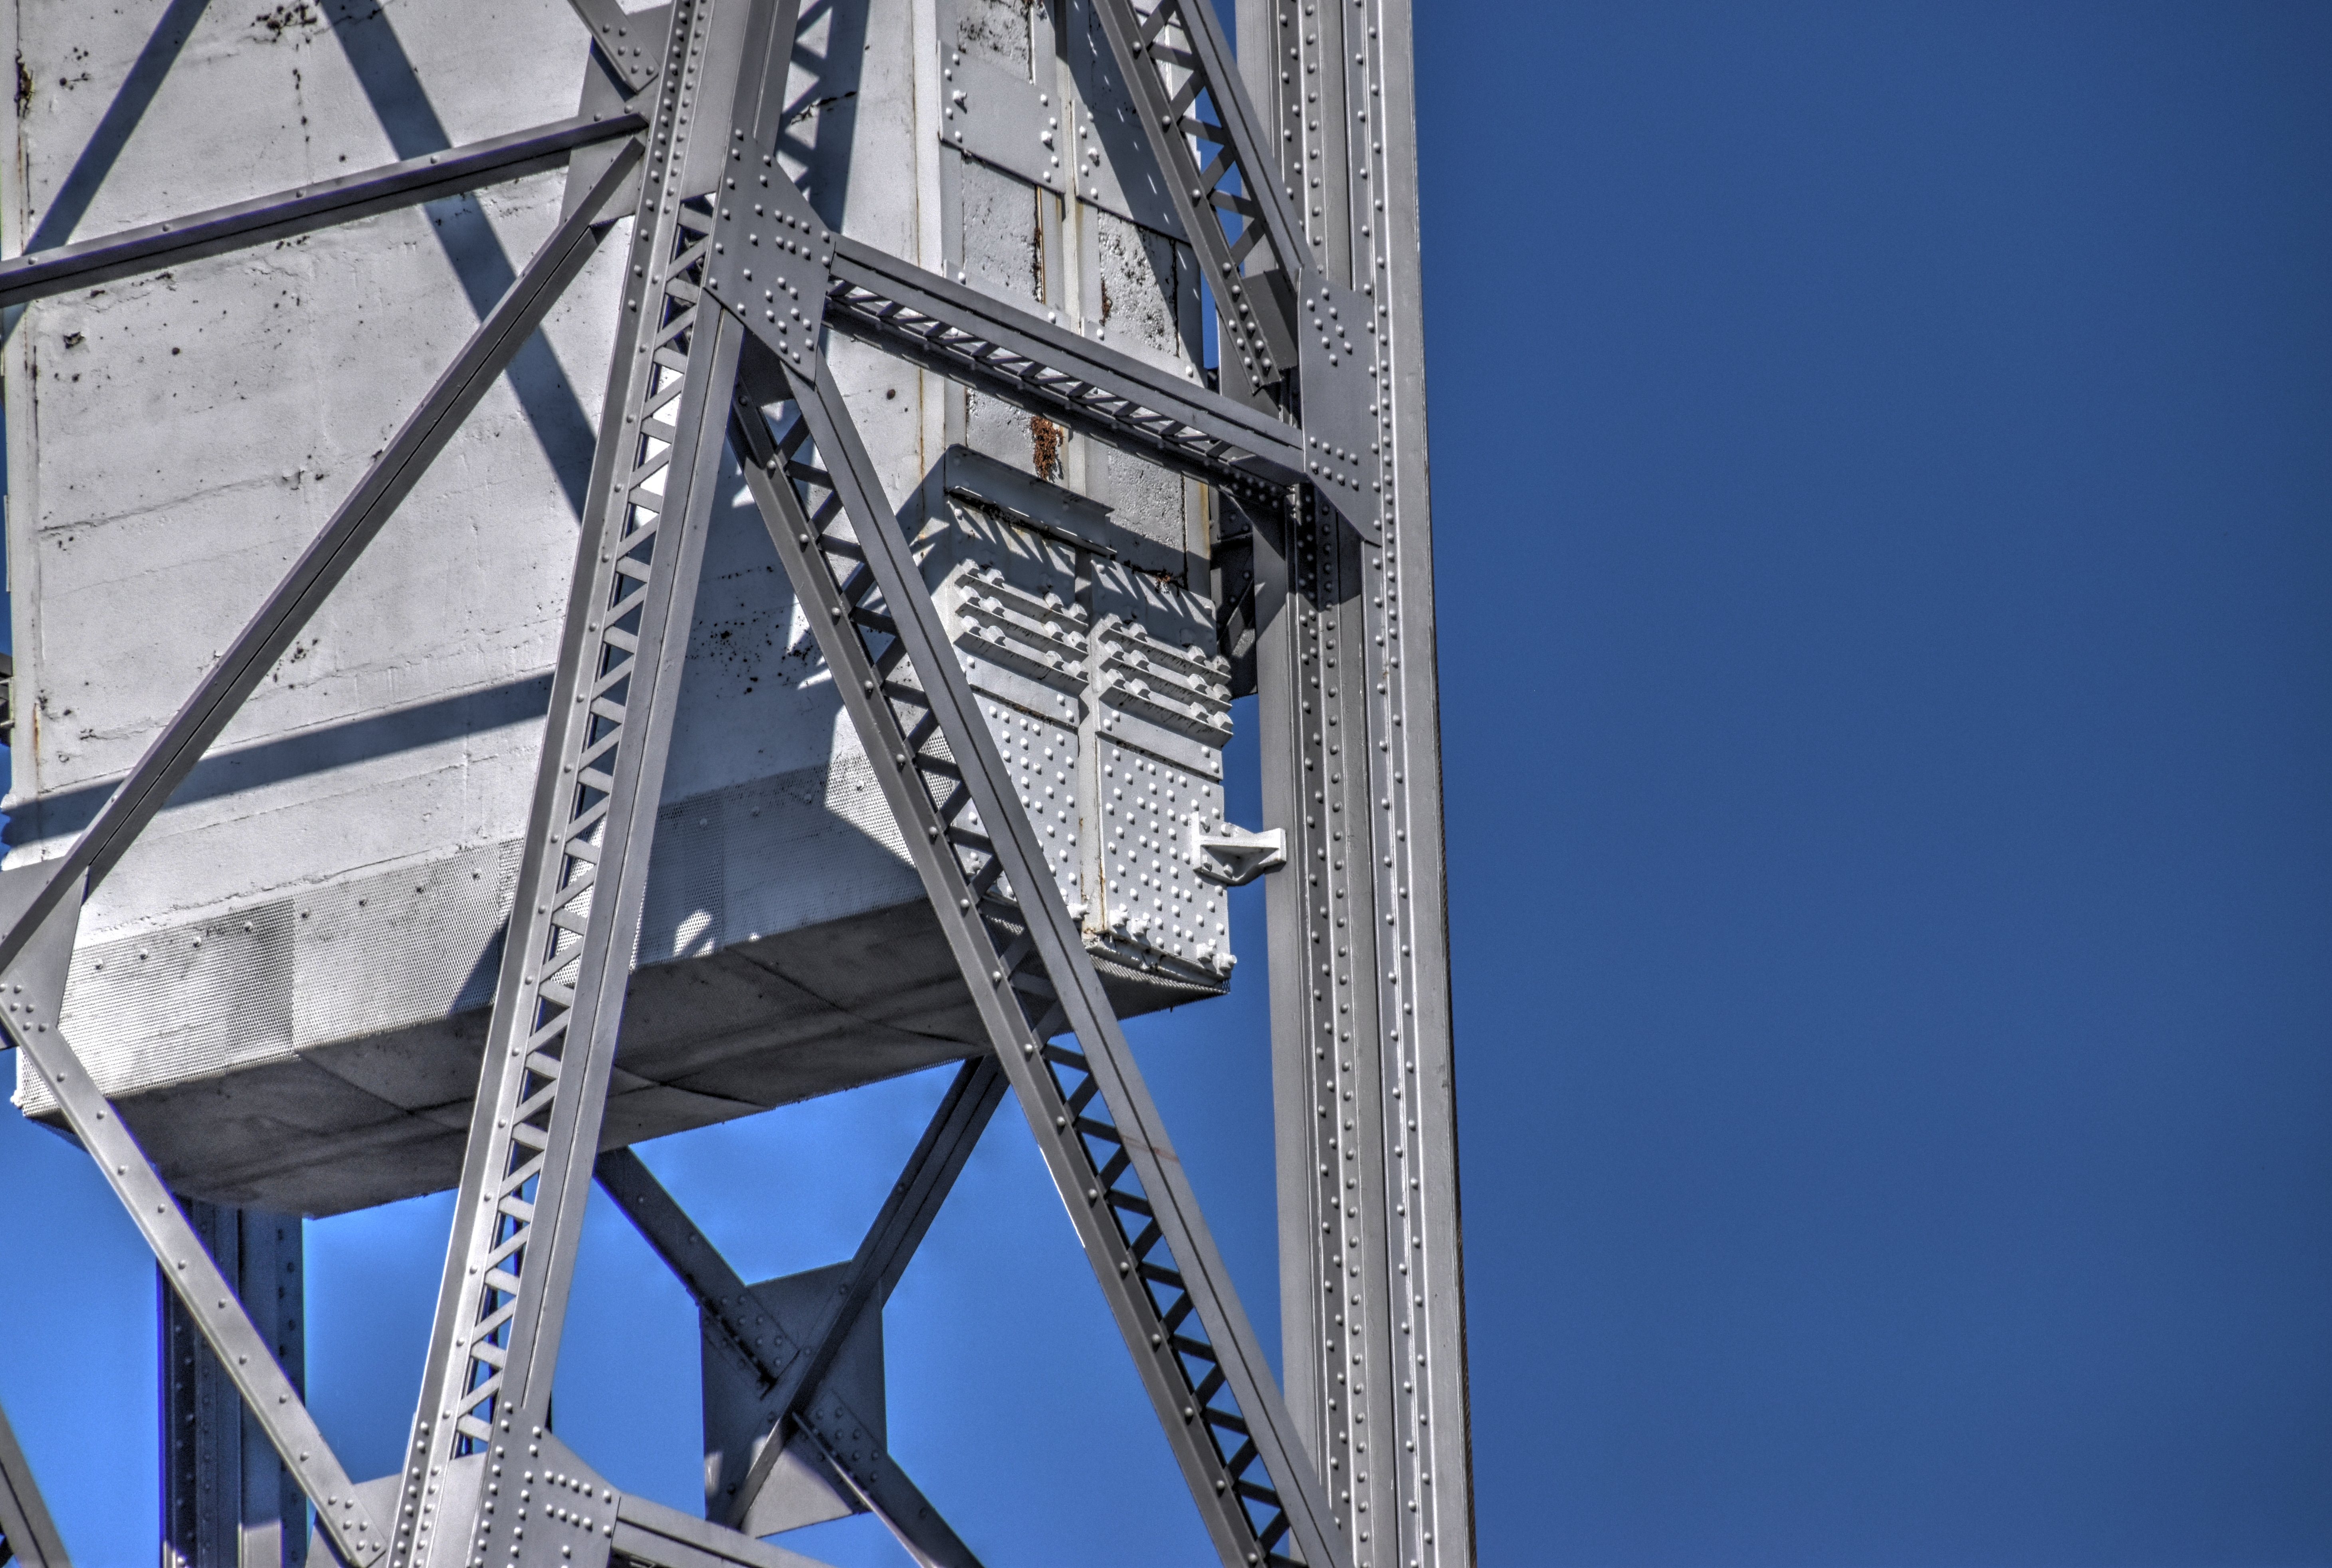
Counterweight details as viewed from beside bridge.
![]()


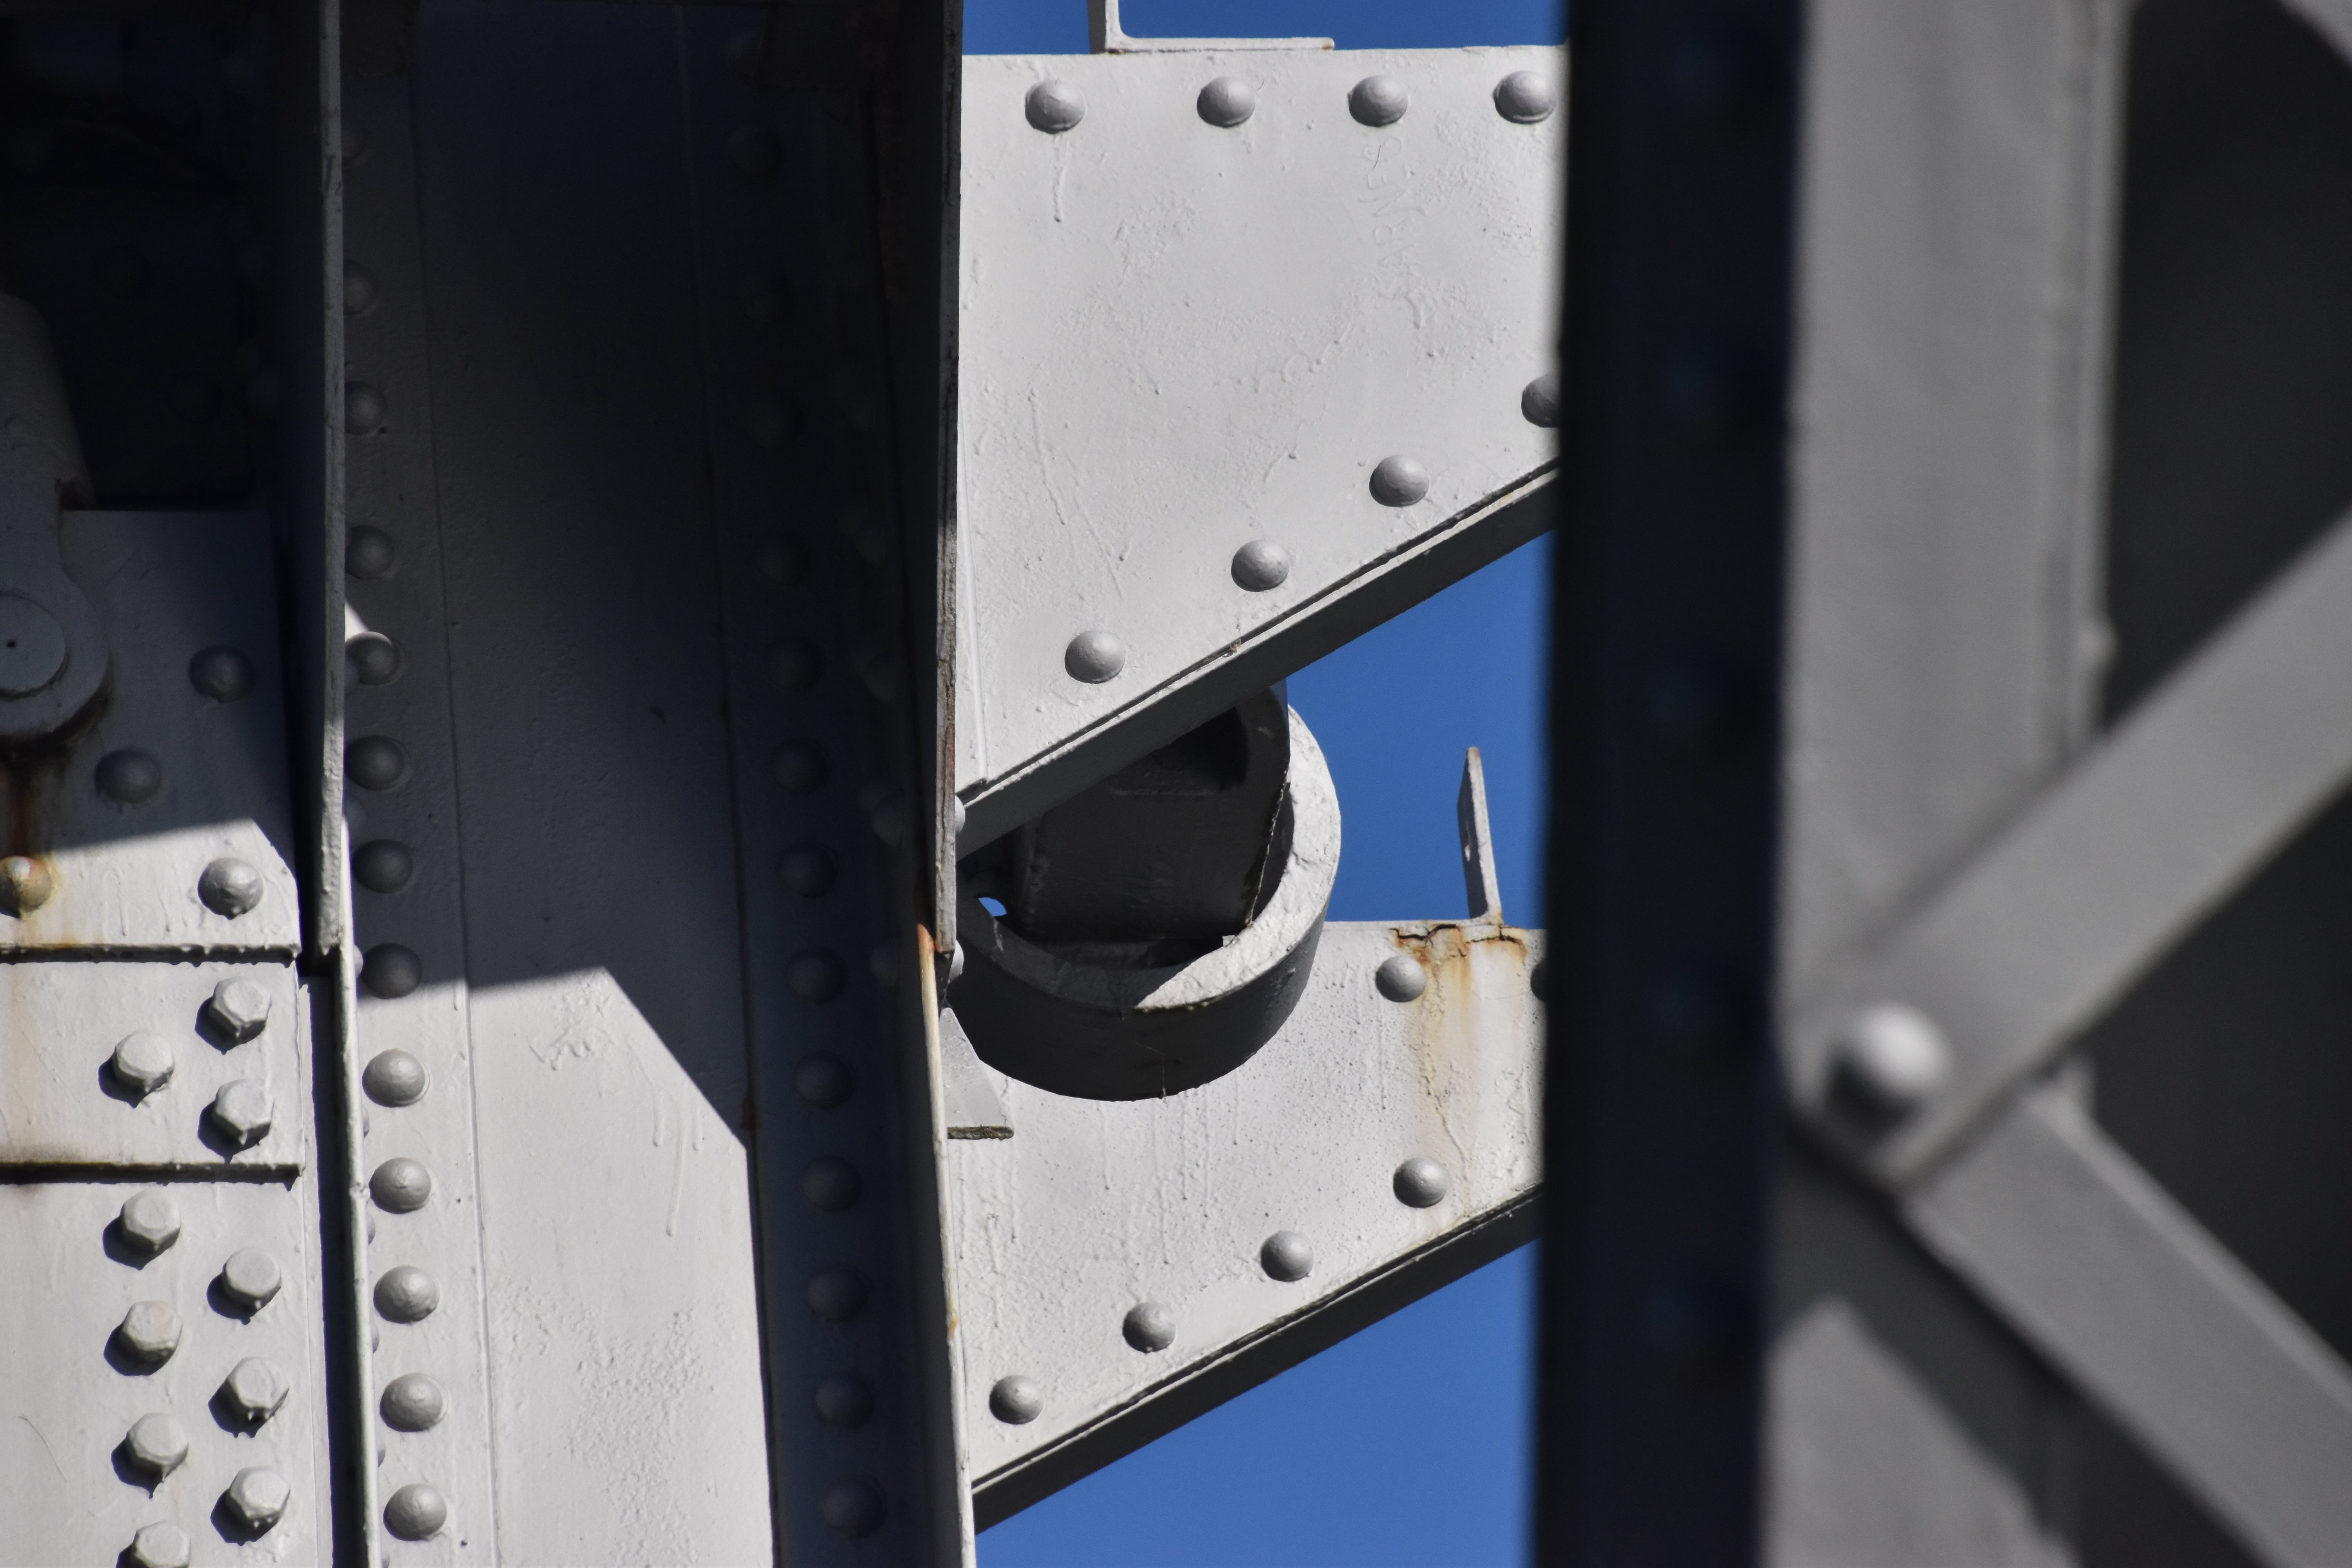
Lift span roller as viewed from beside bridge.
![]()


Fixed truss span bearings.
![]()
View toward lift span bearing as viewed from beside bridge.
![]()


Bearings.
![]()


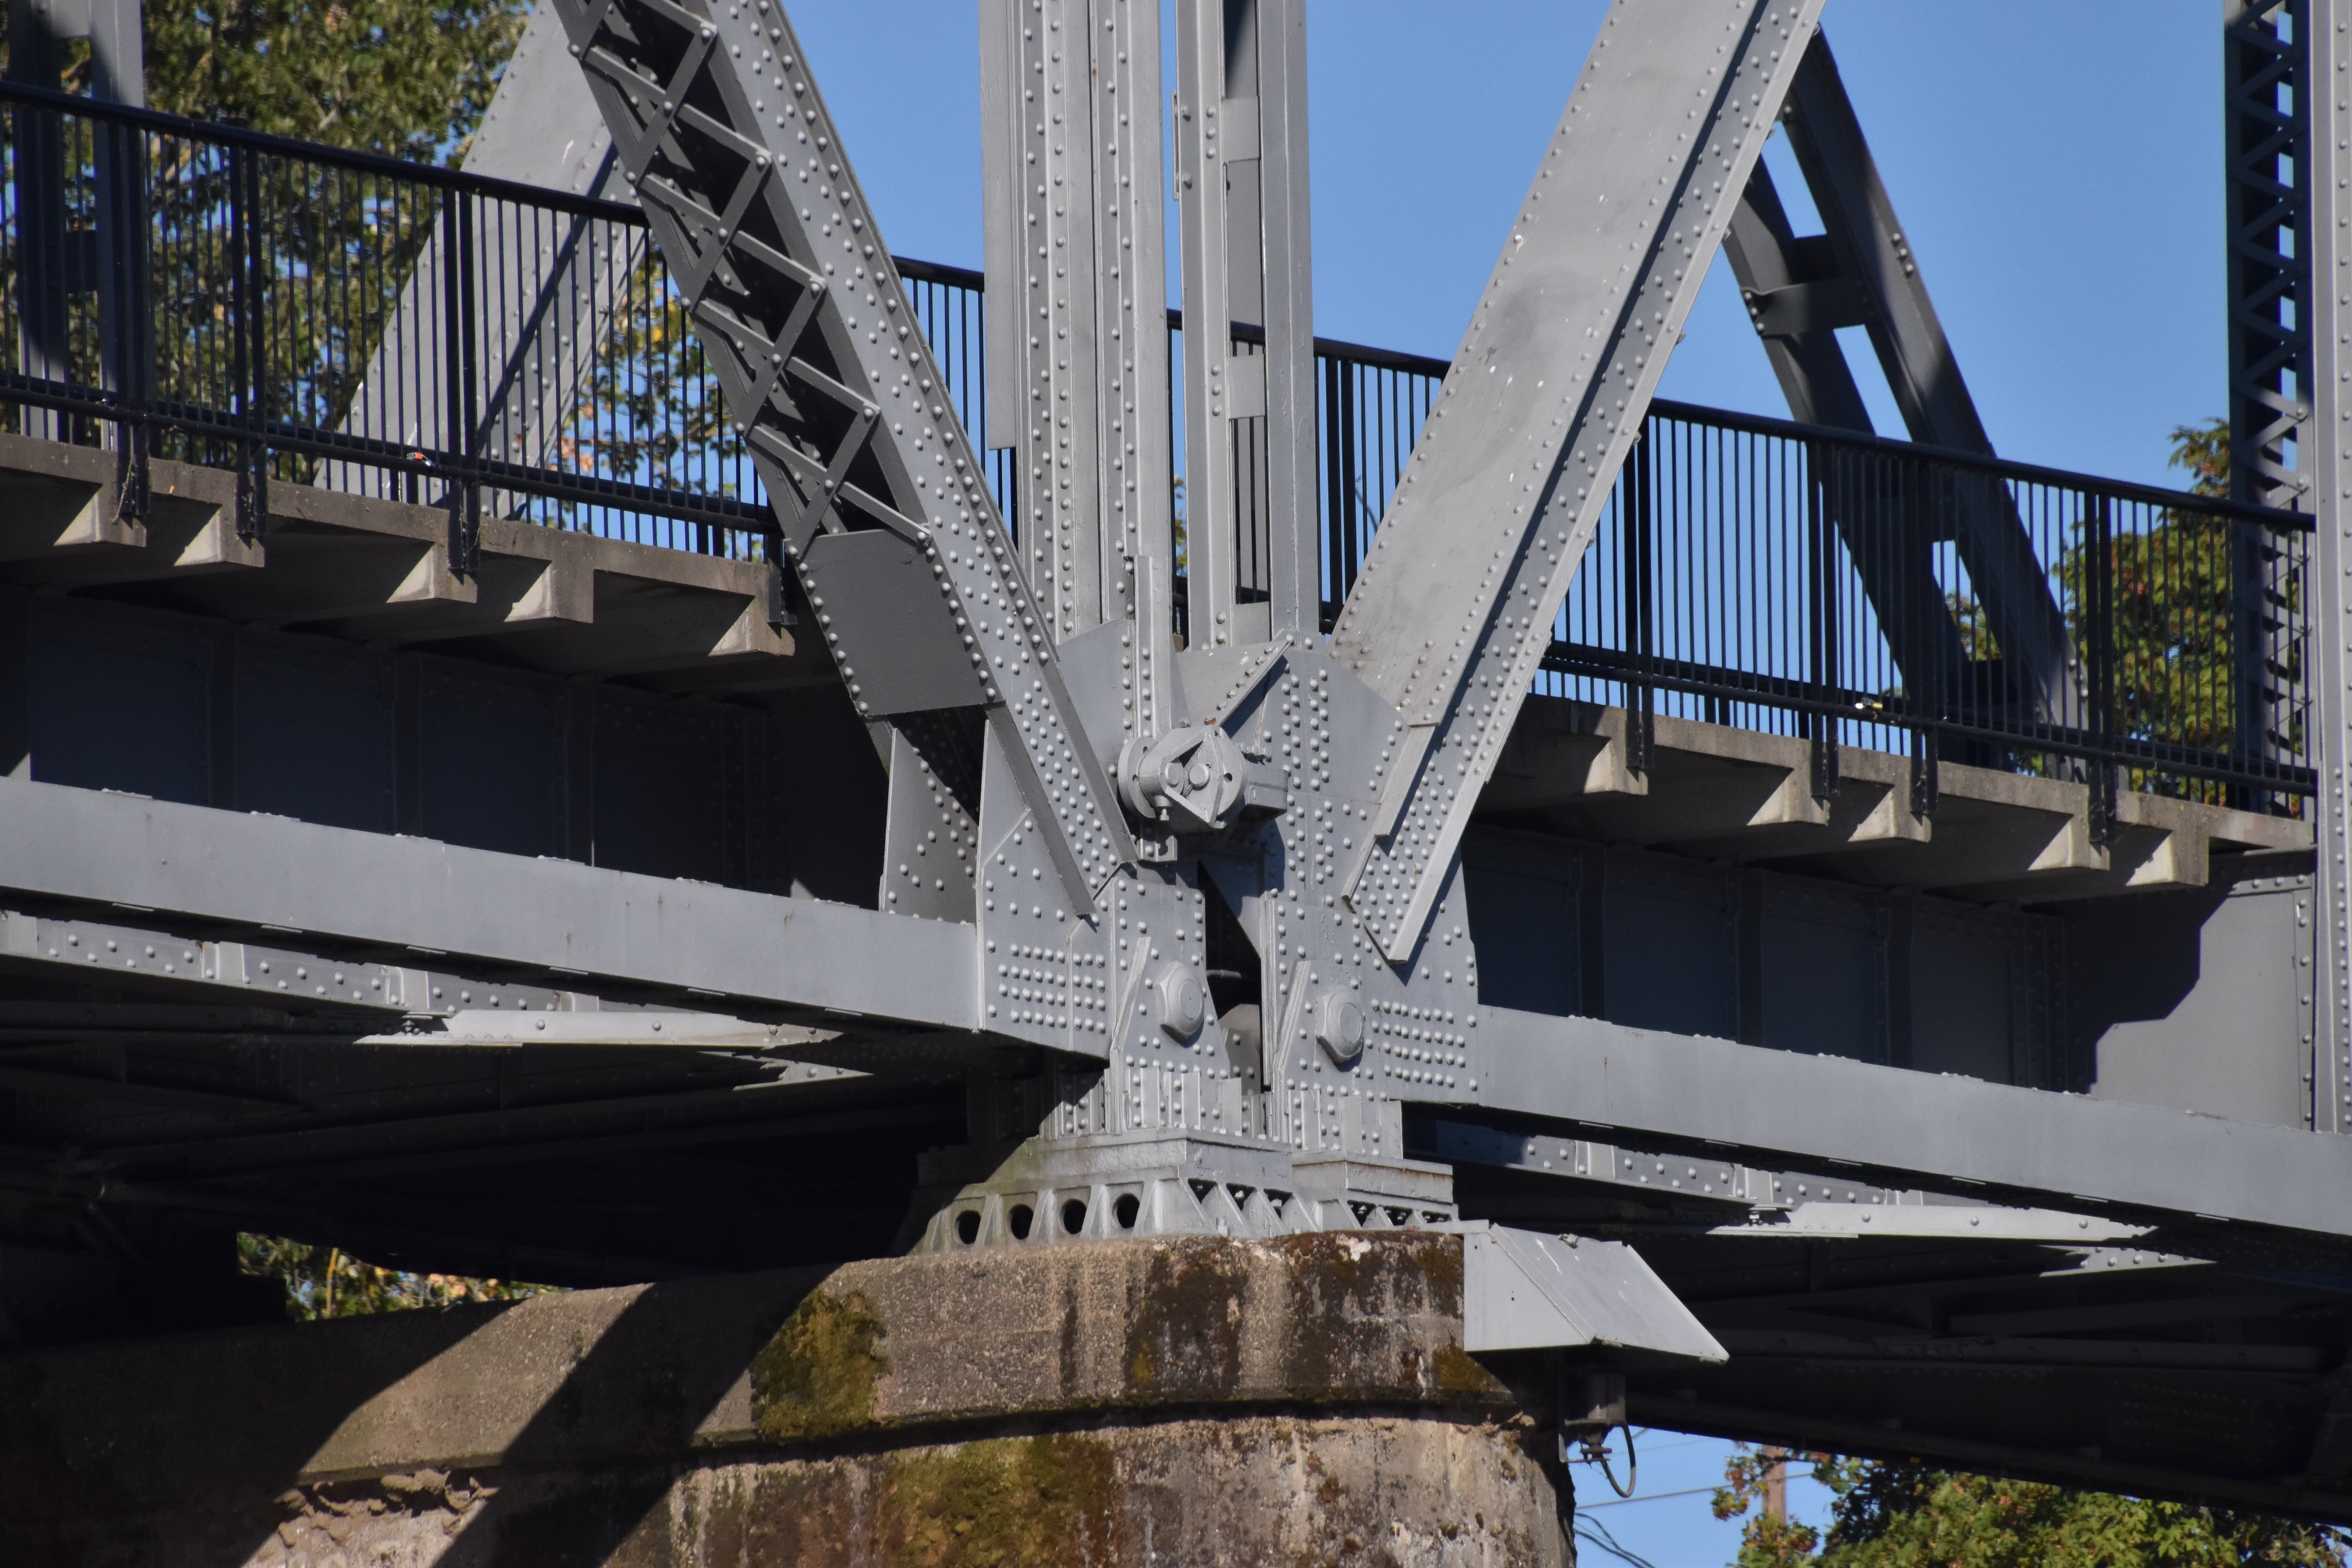
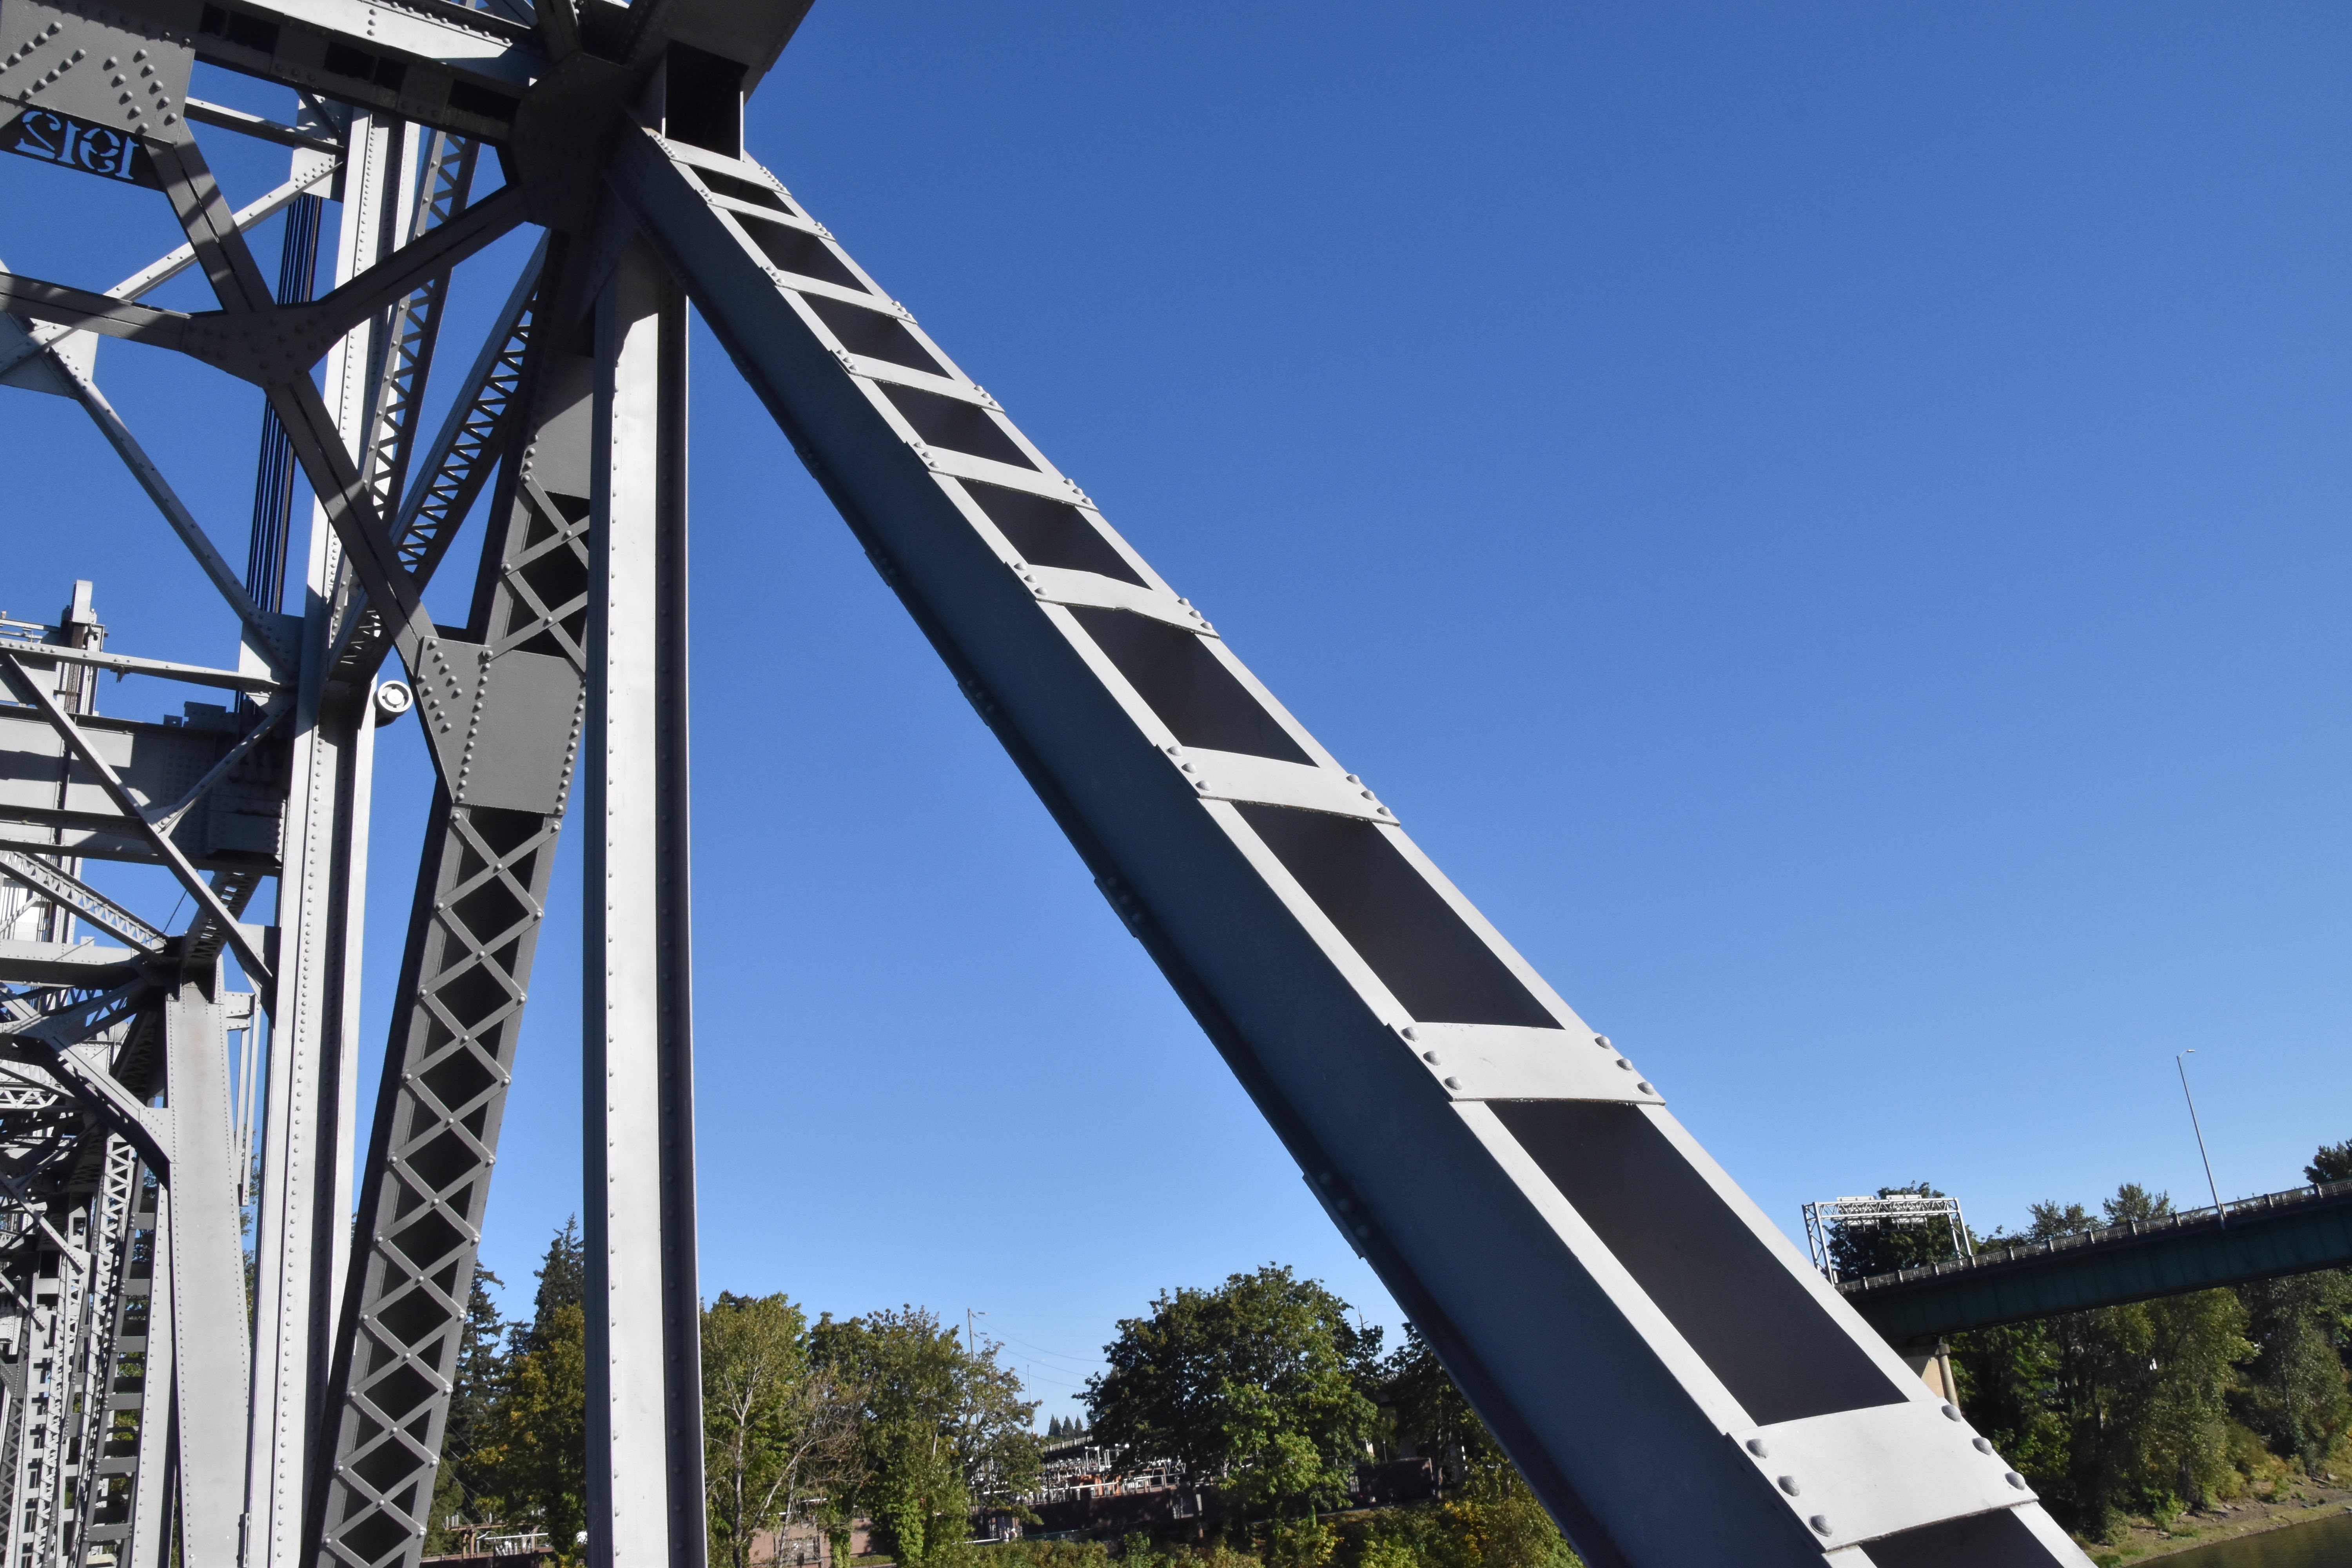
Lift span end post top chord connection as viewed from beside bridge.
![]()
Lift span end post top chord connection as viewed from on bridge.
![]()

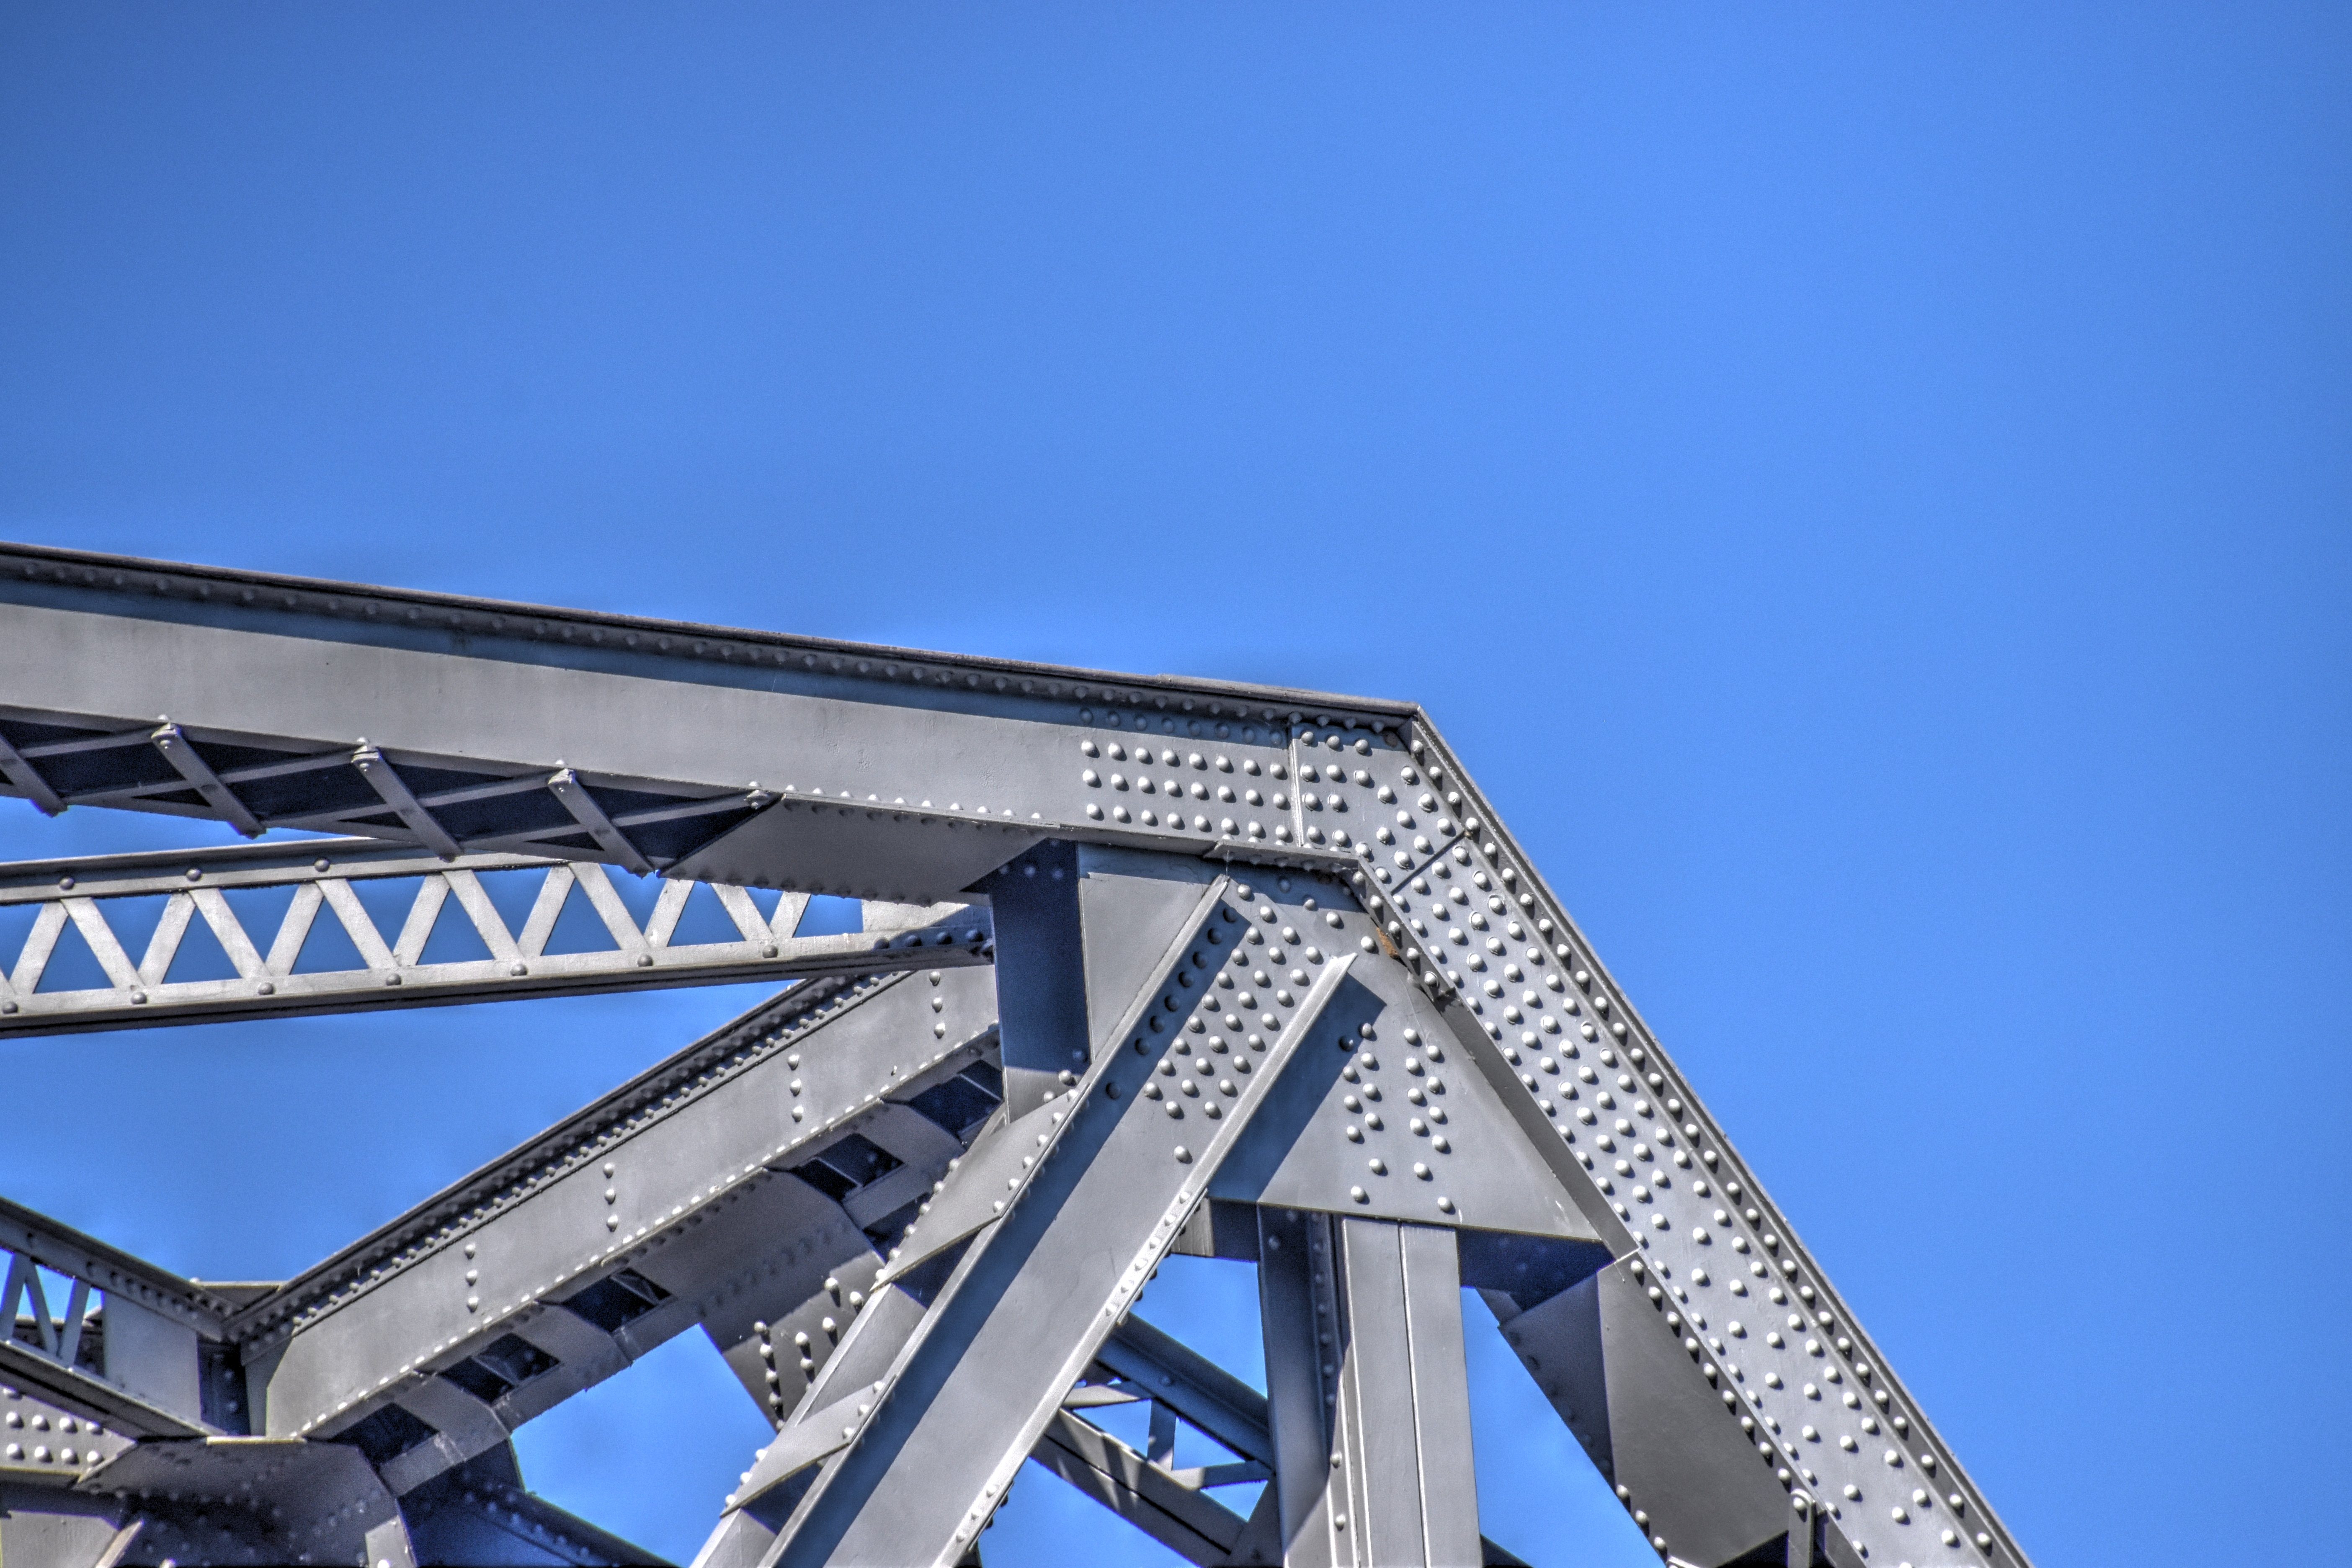


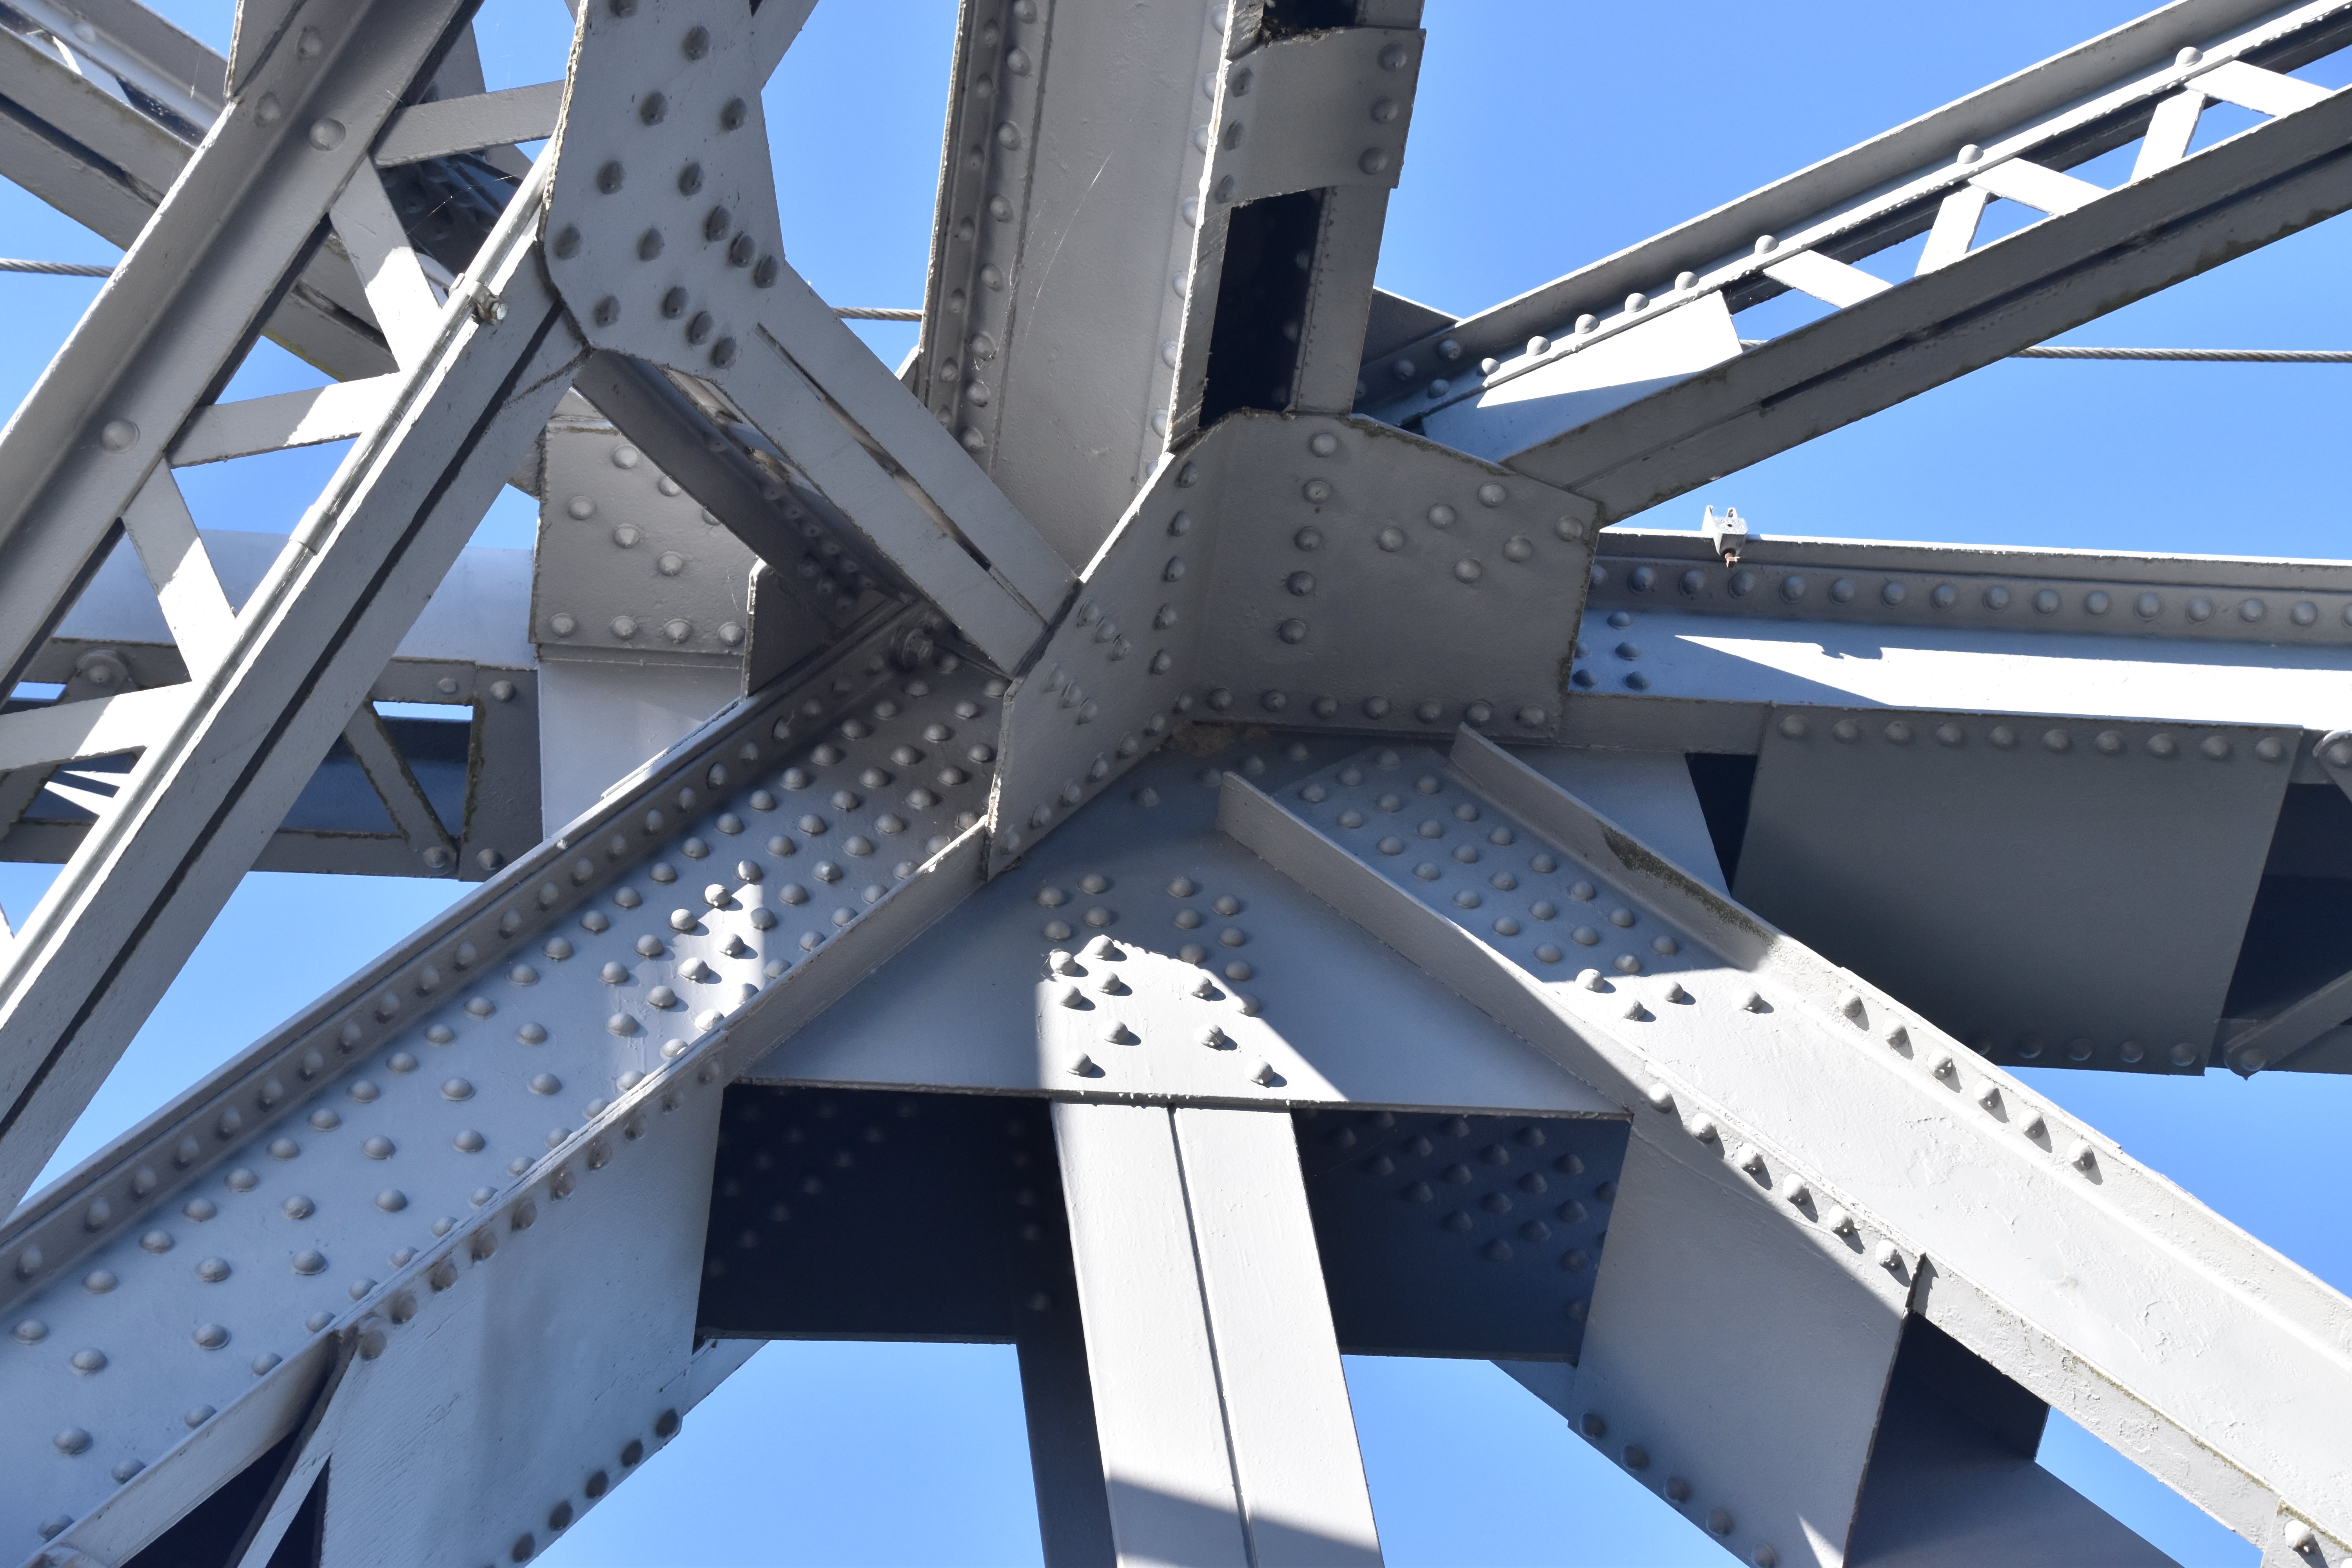
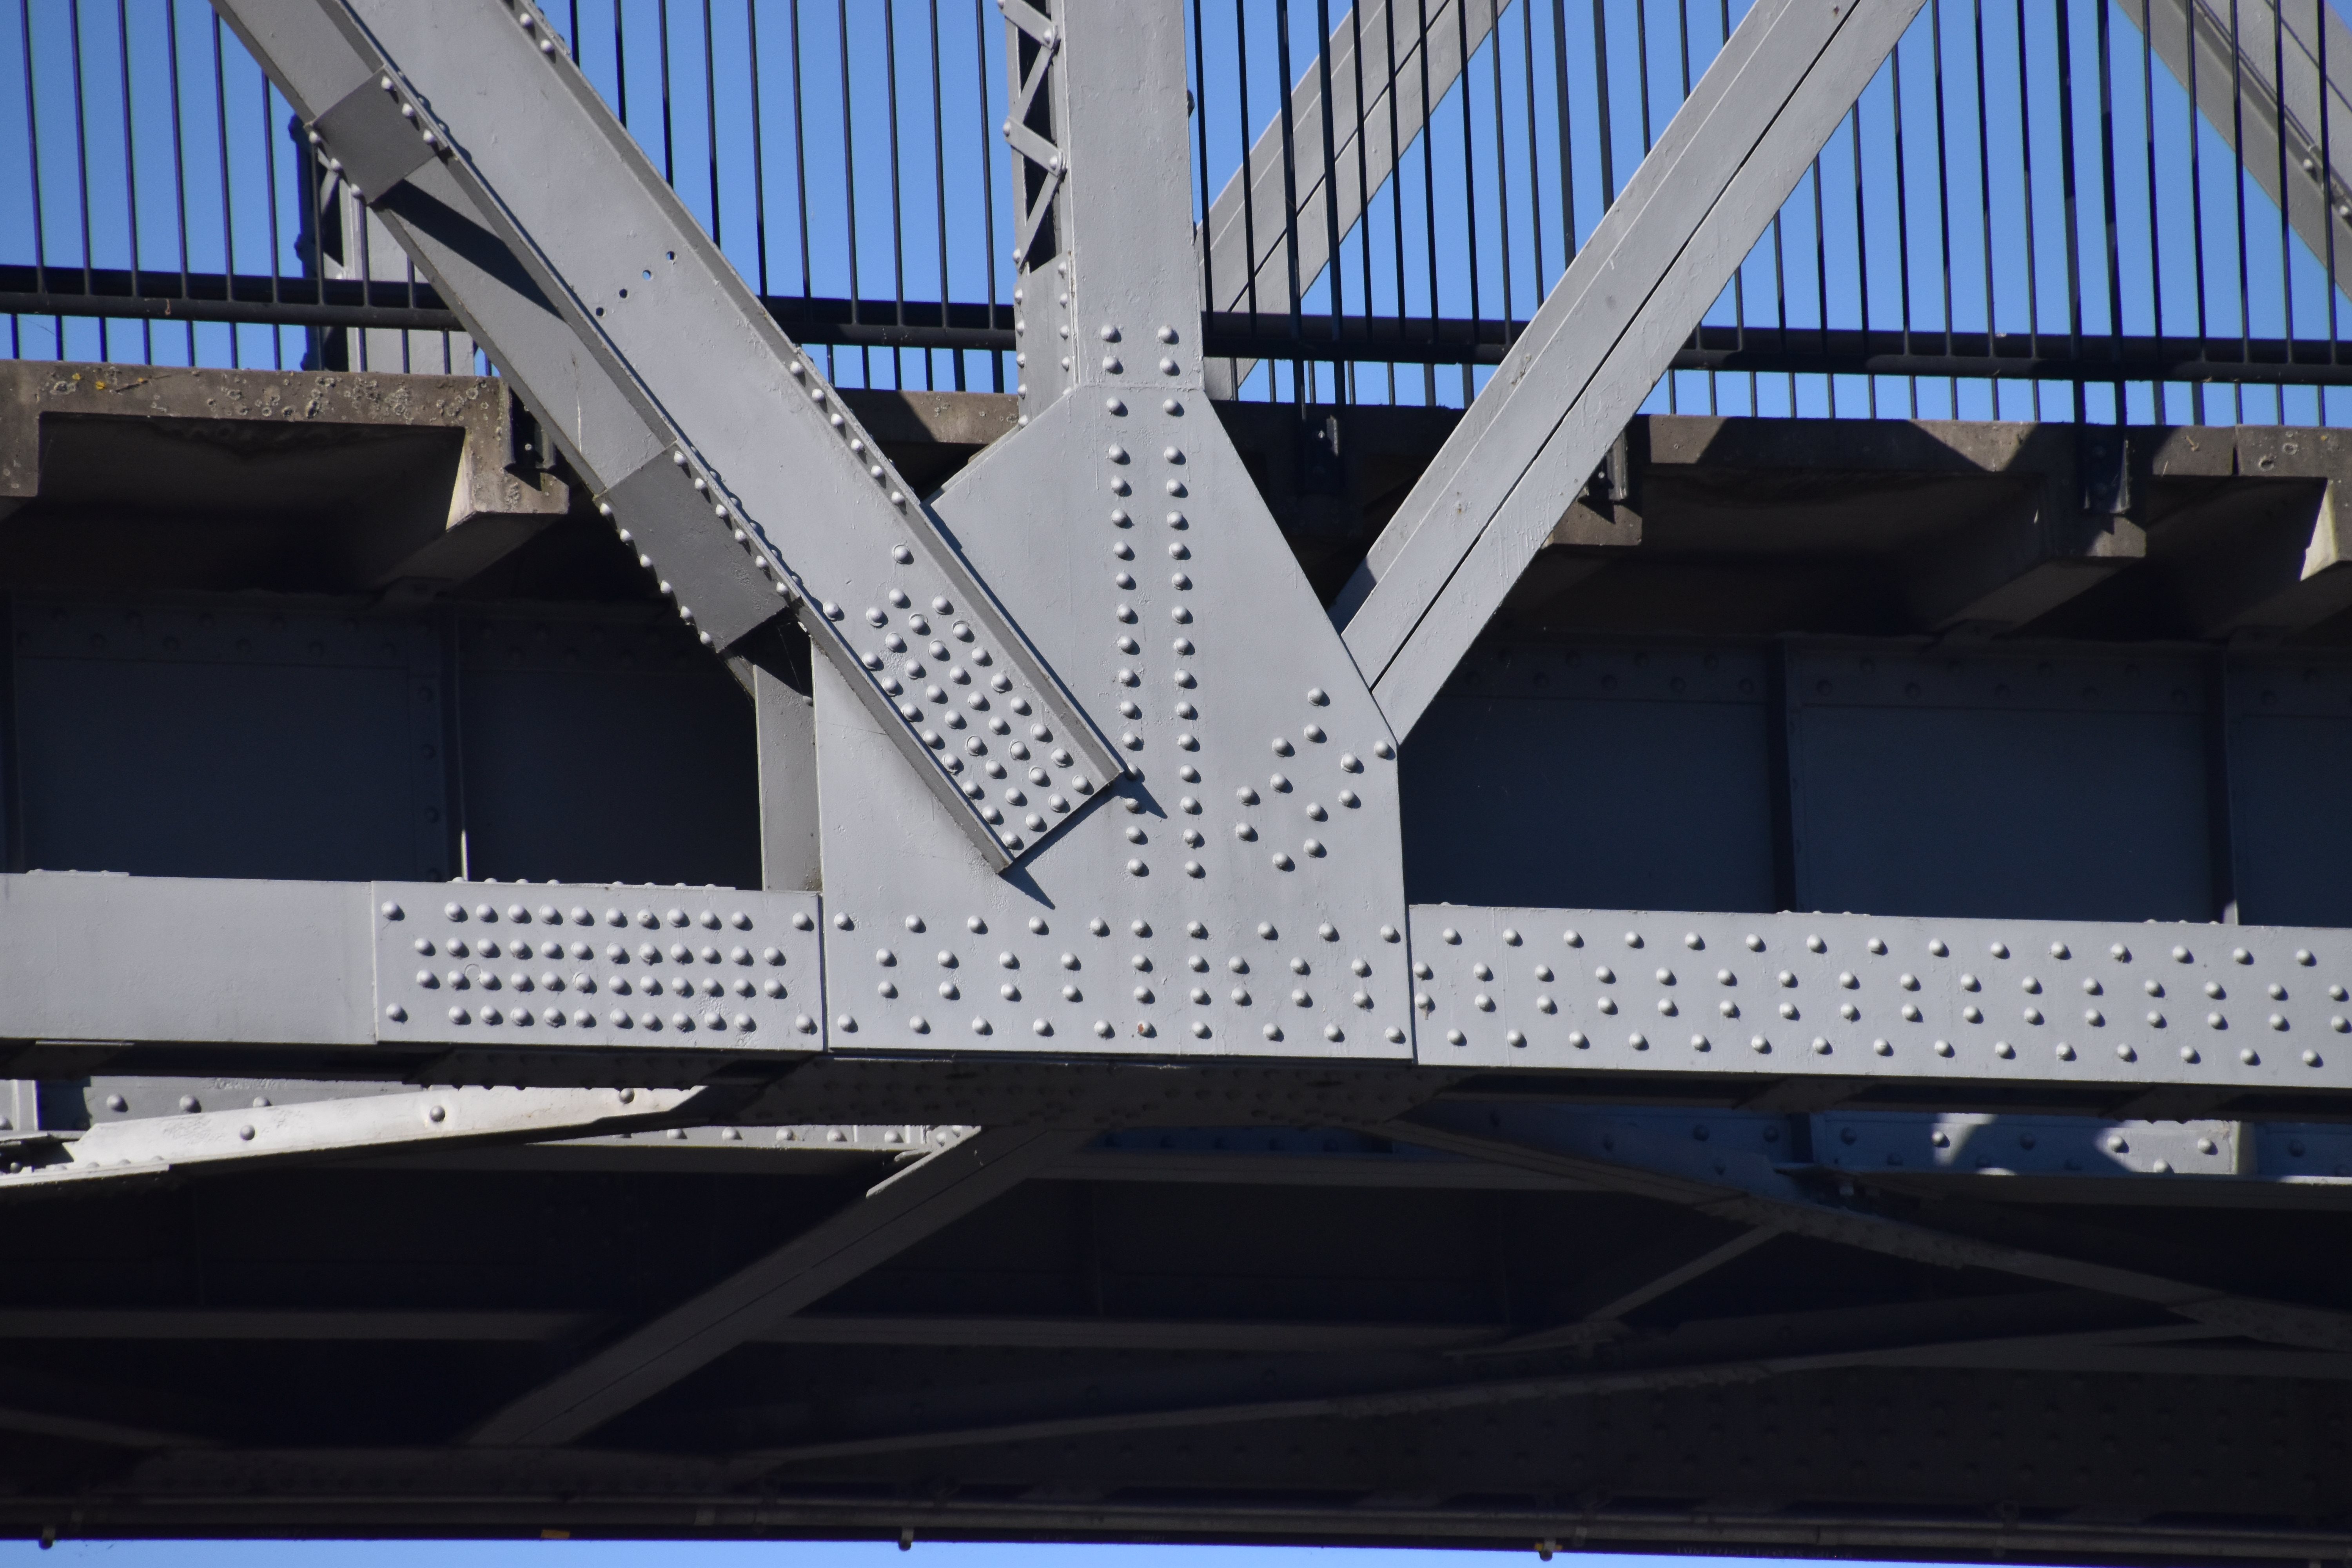
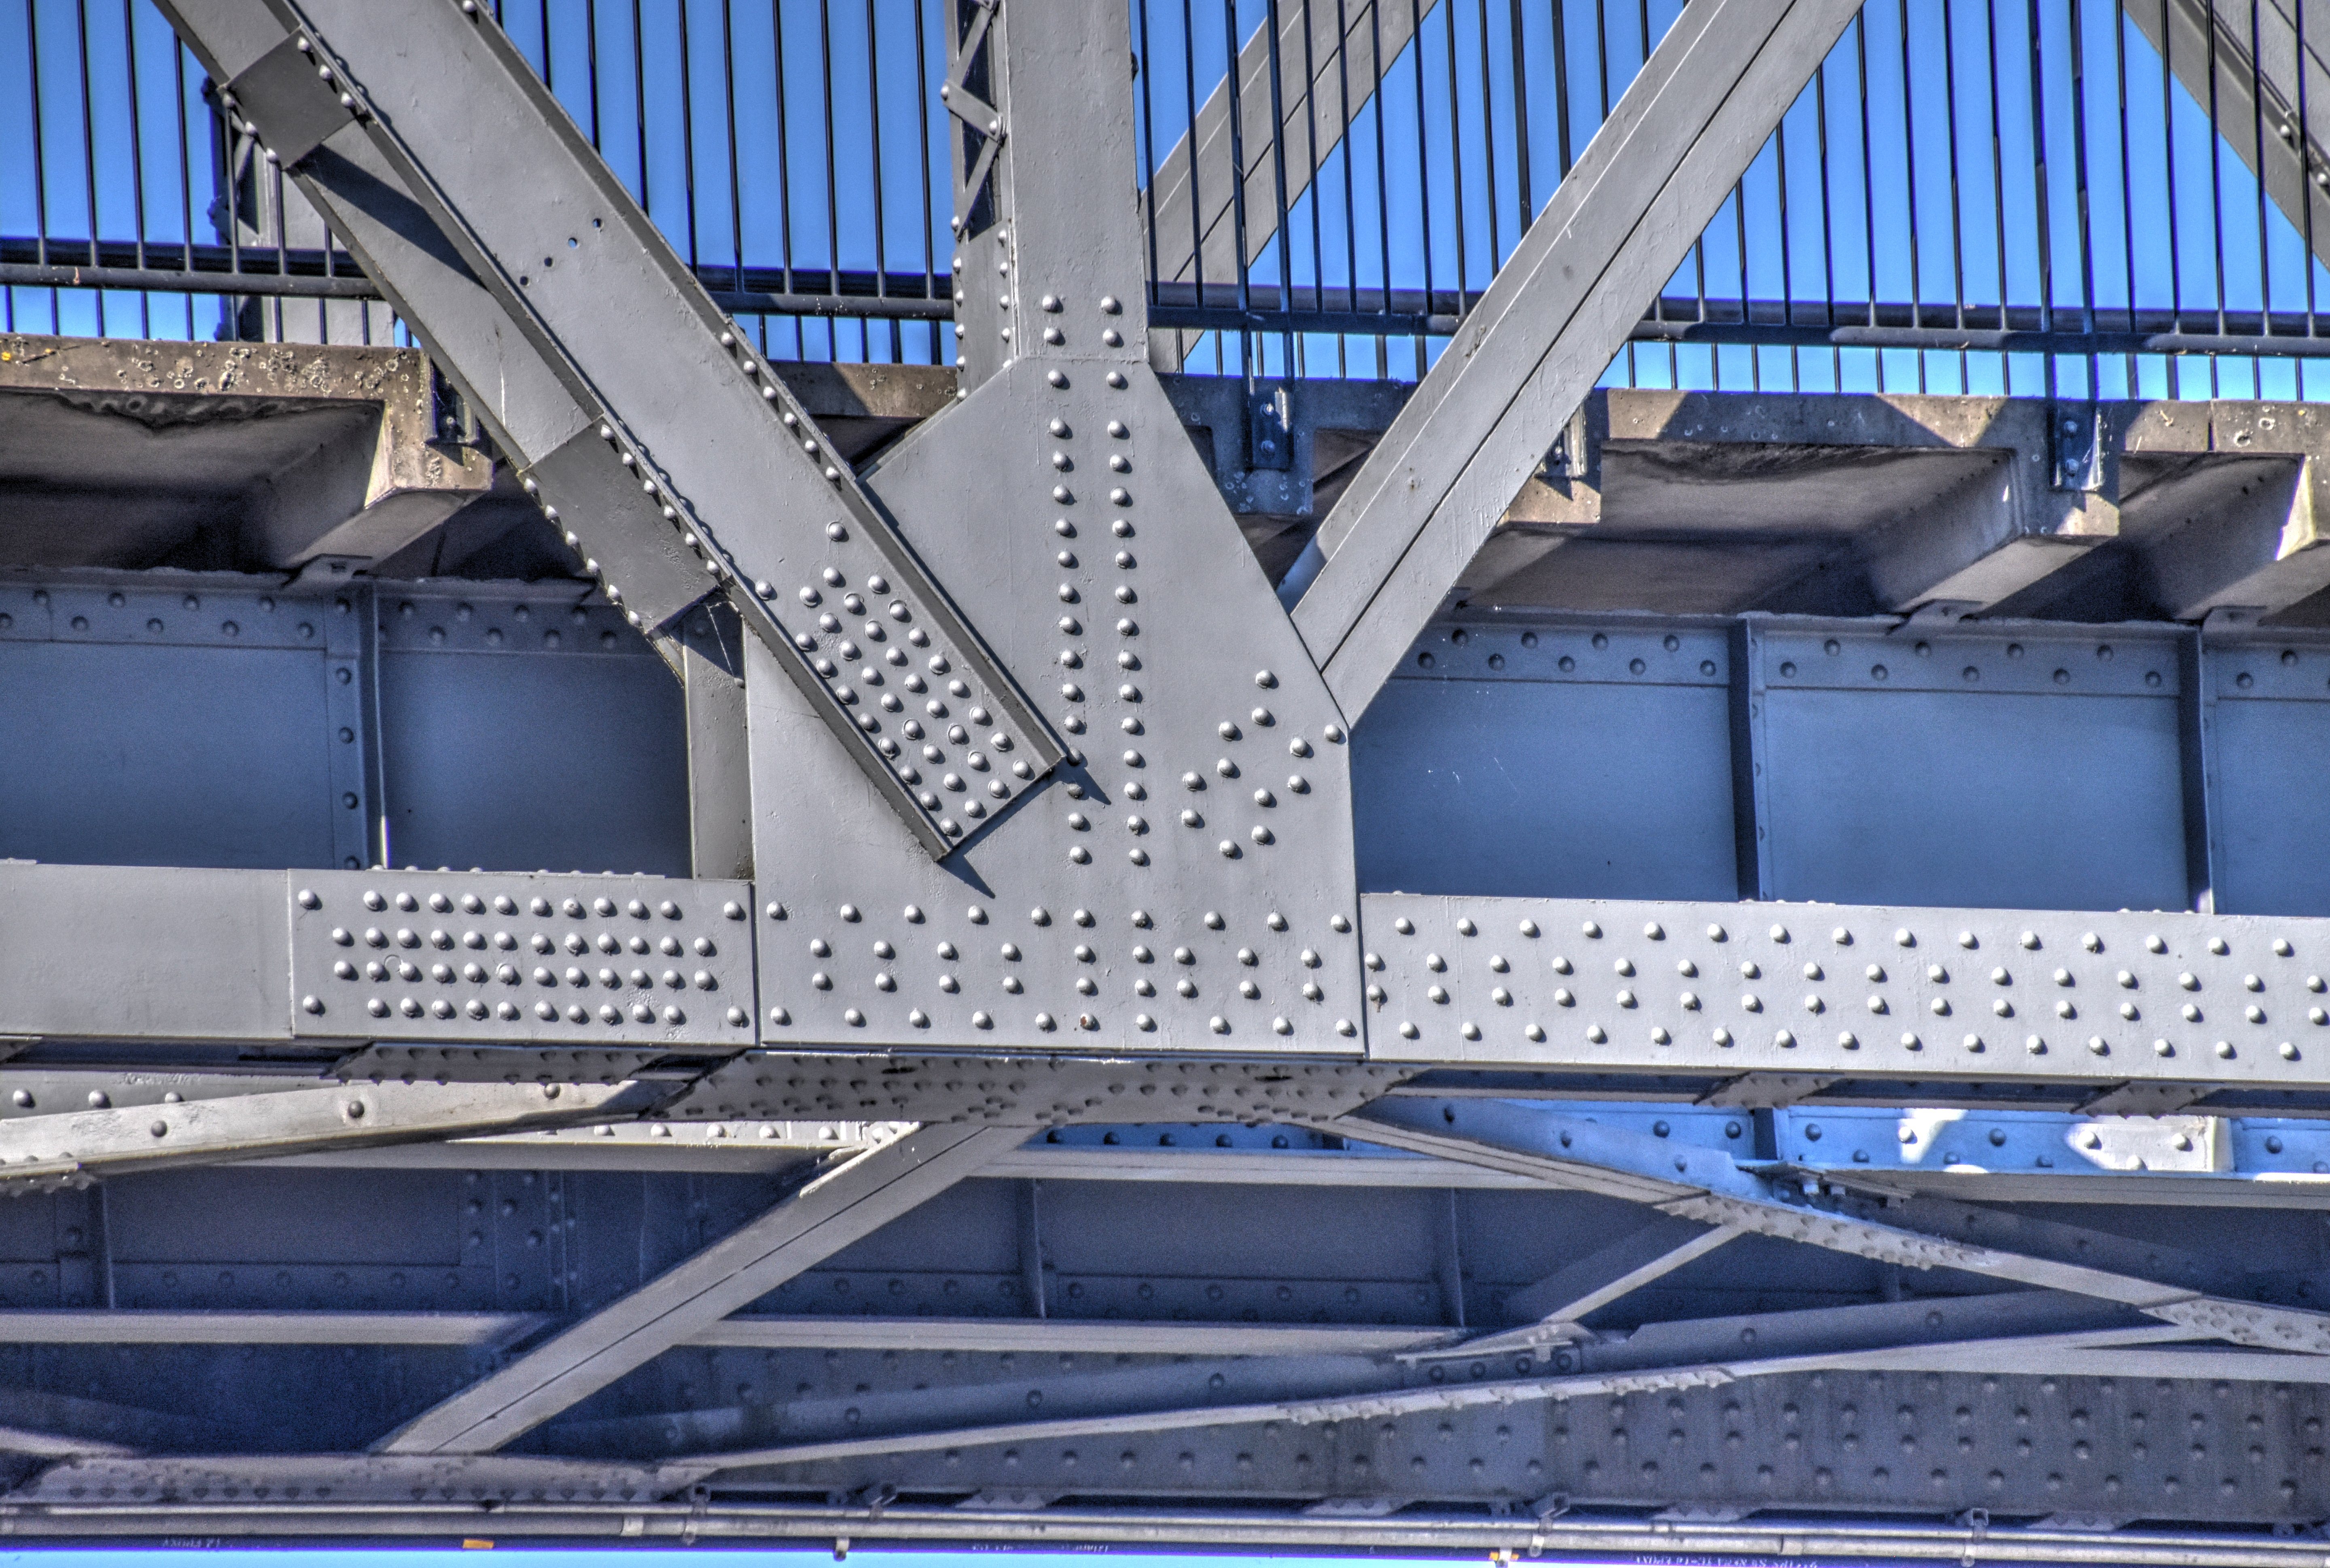
Top chord connections as viewed from beside bridge.
![]()


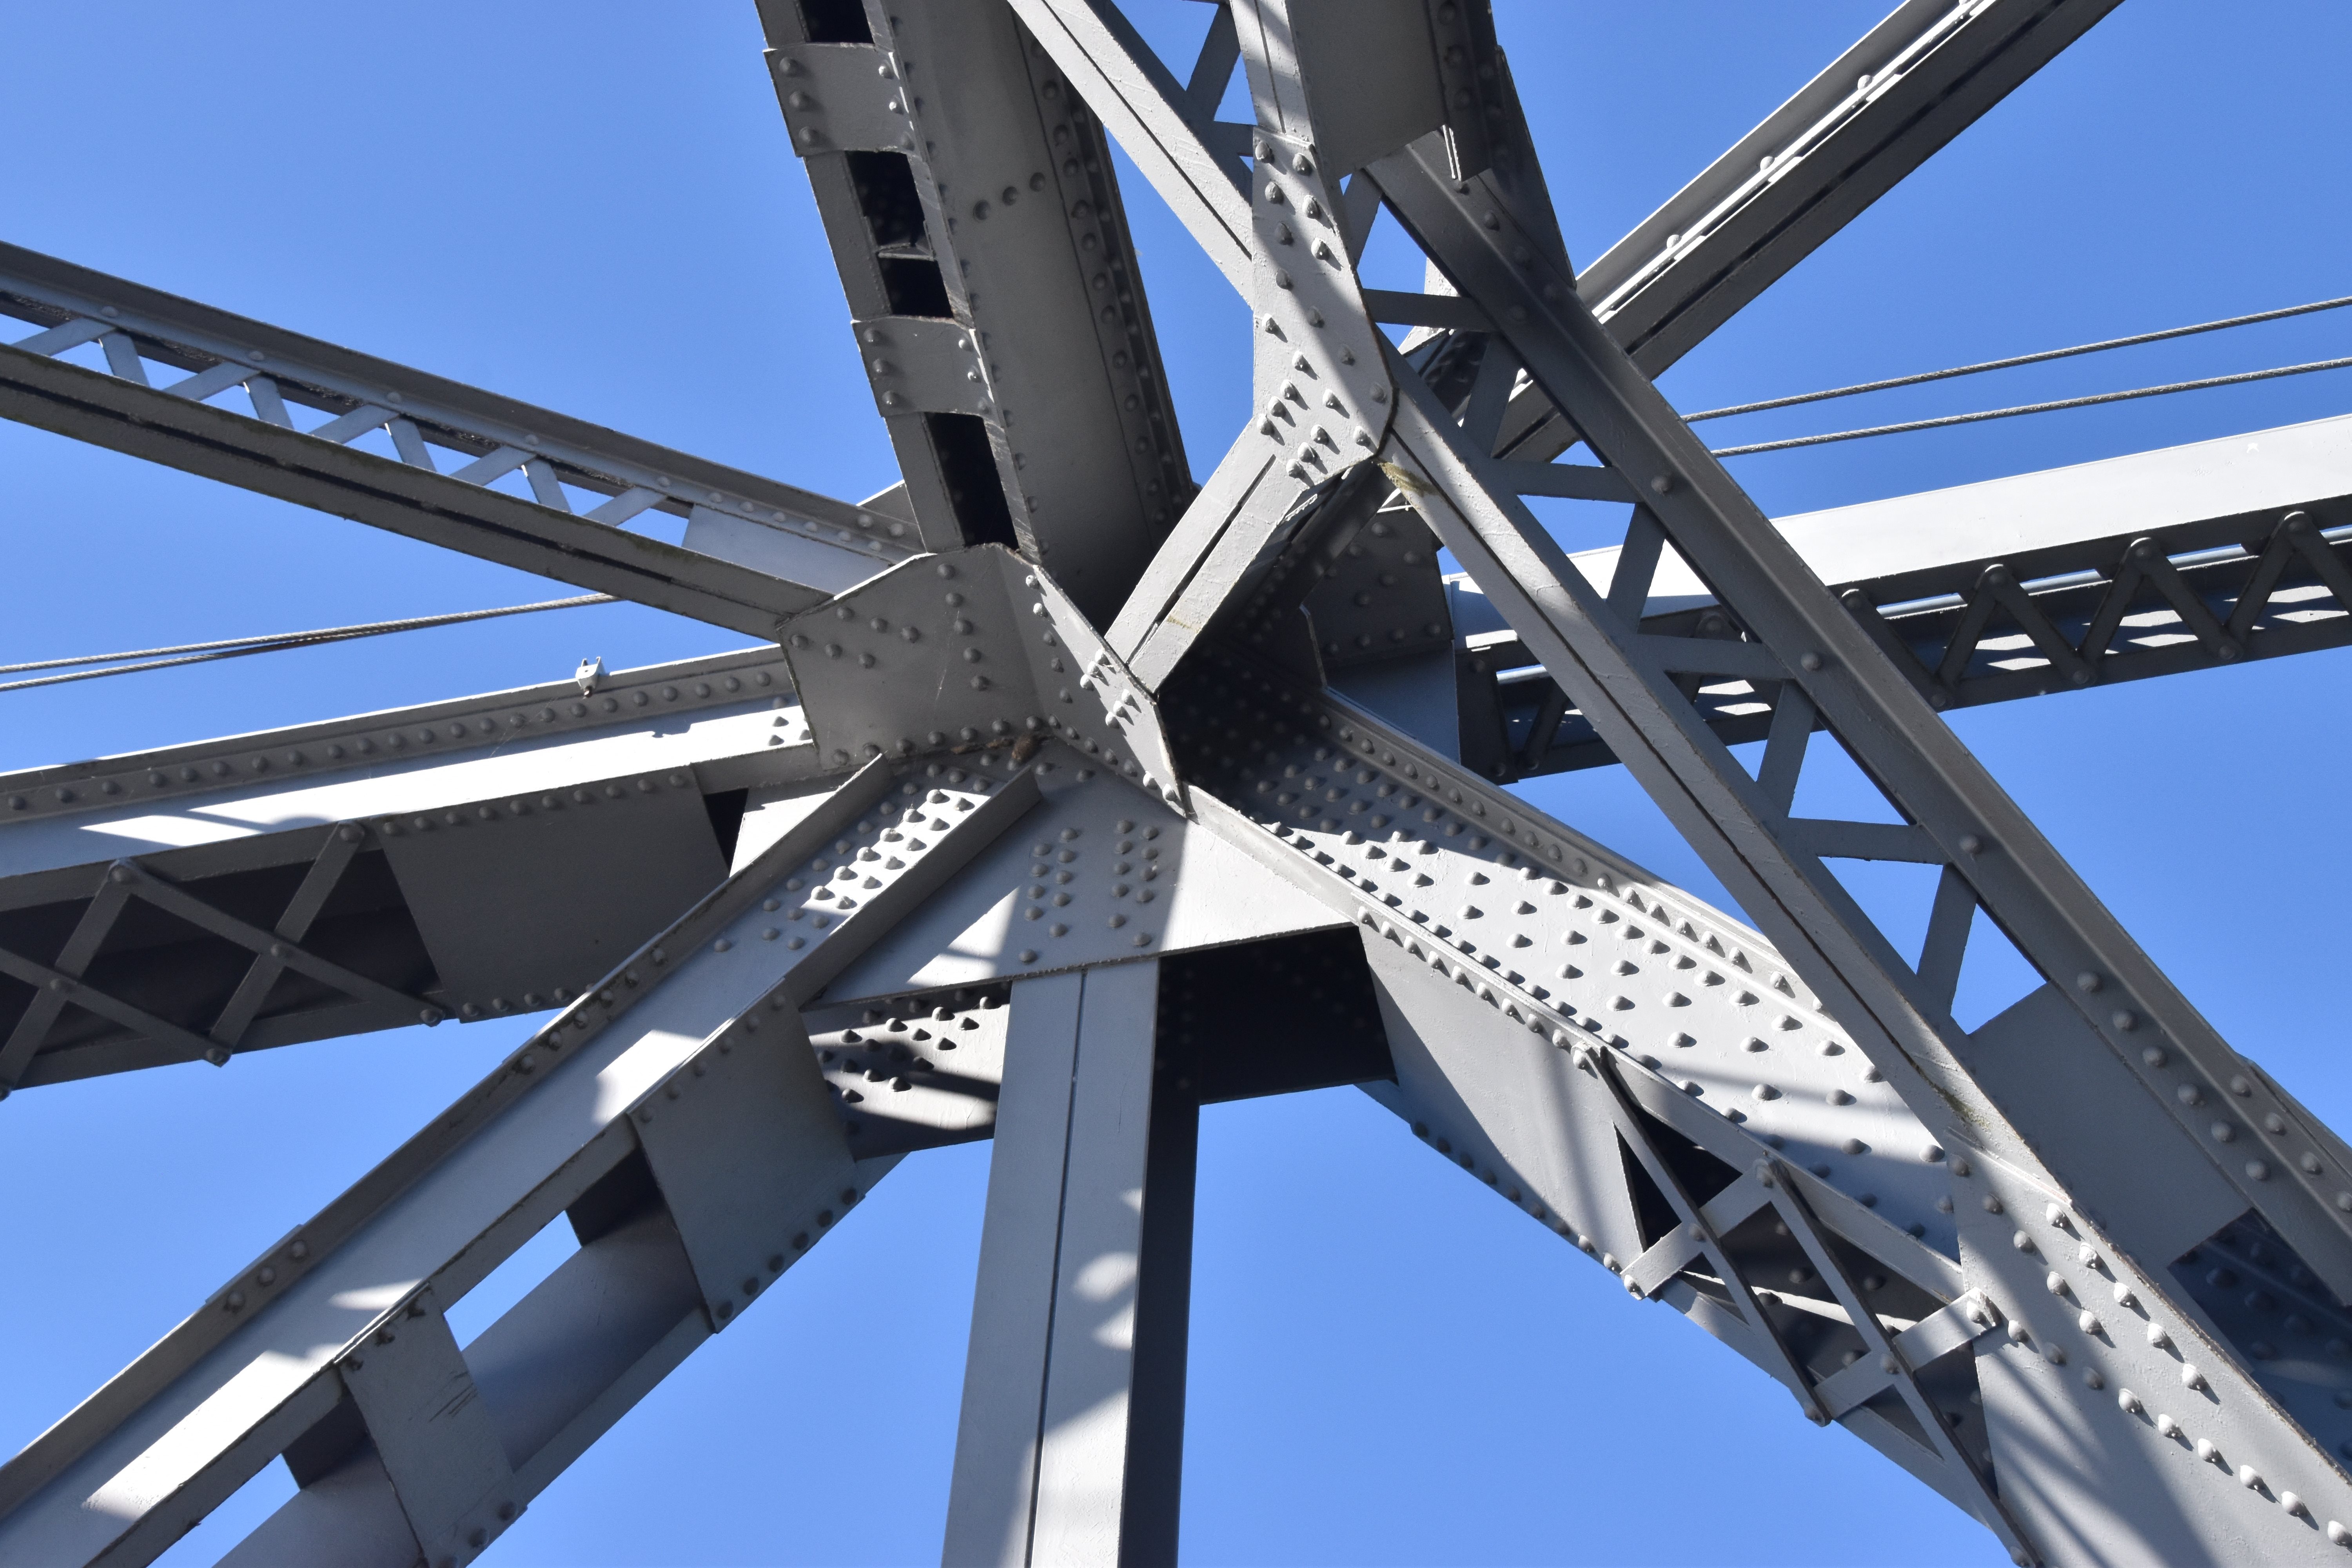
Top chord connections as viewed from on bridge.
![]()


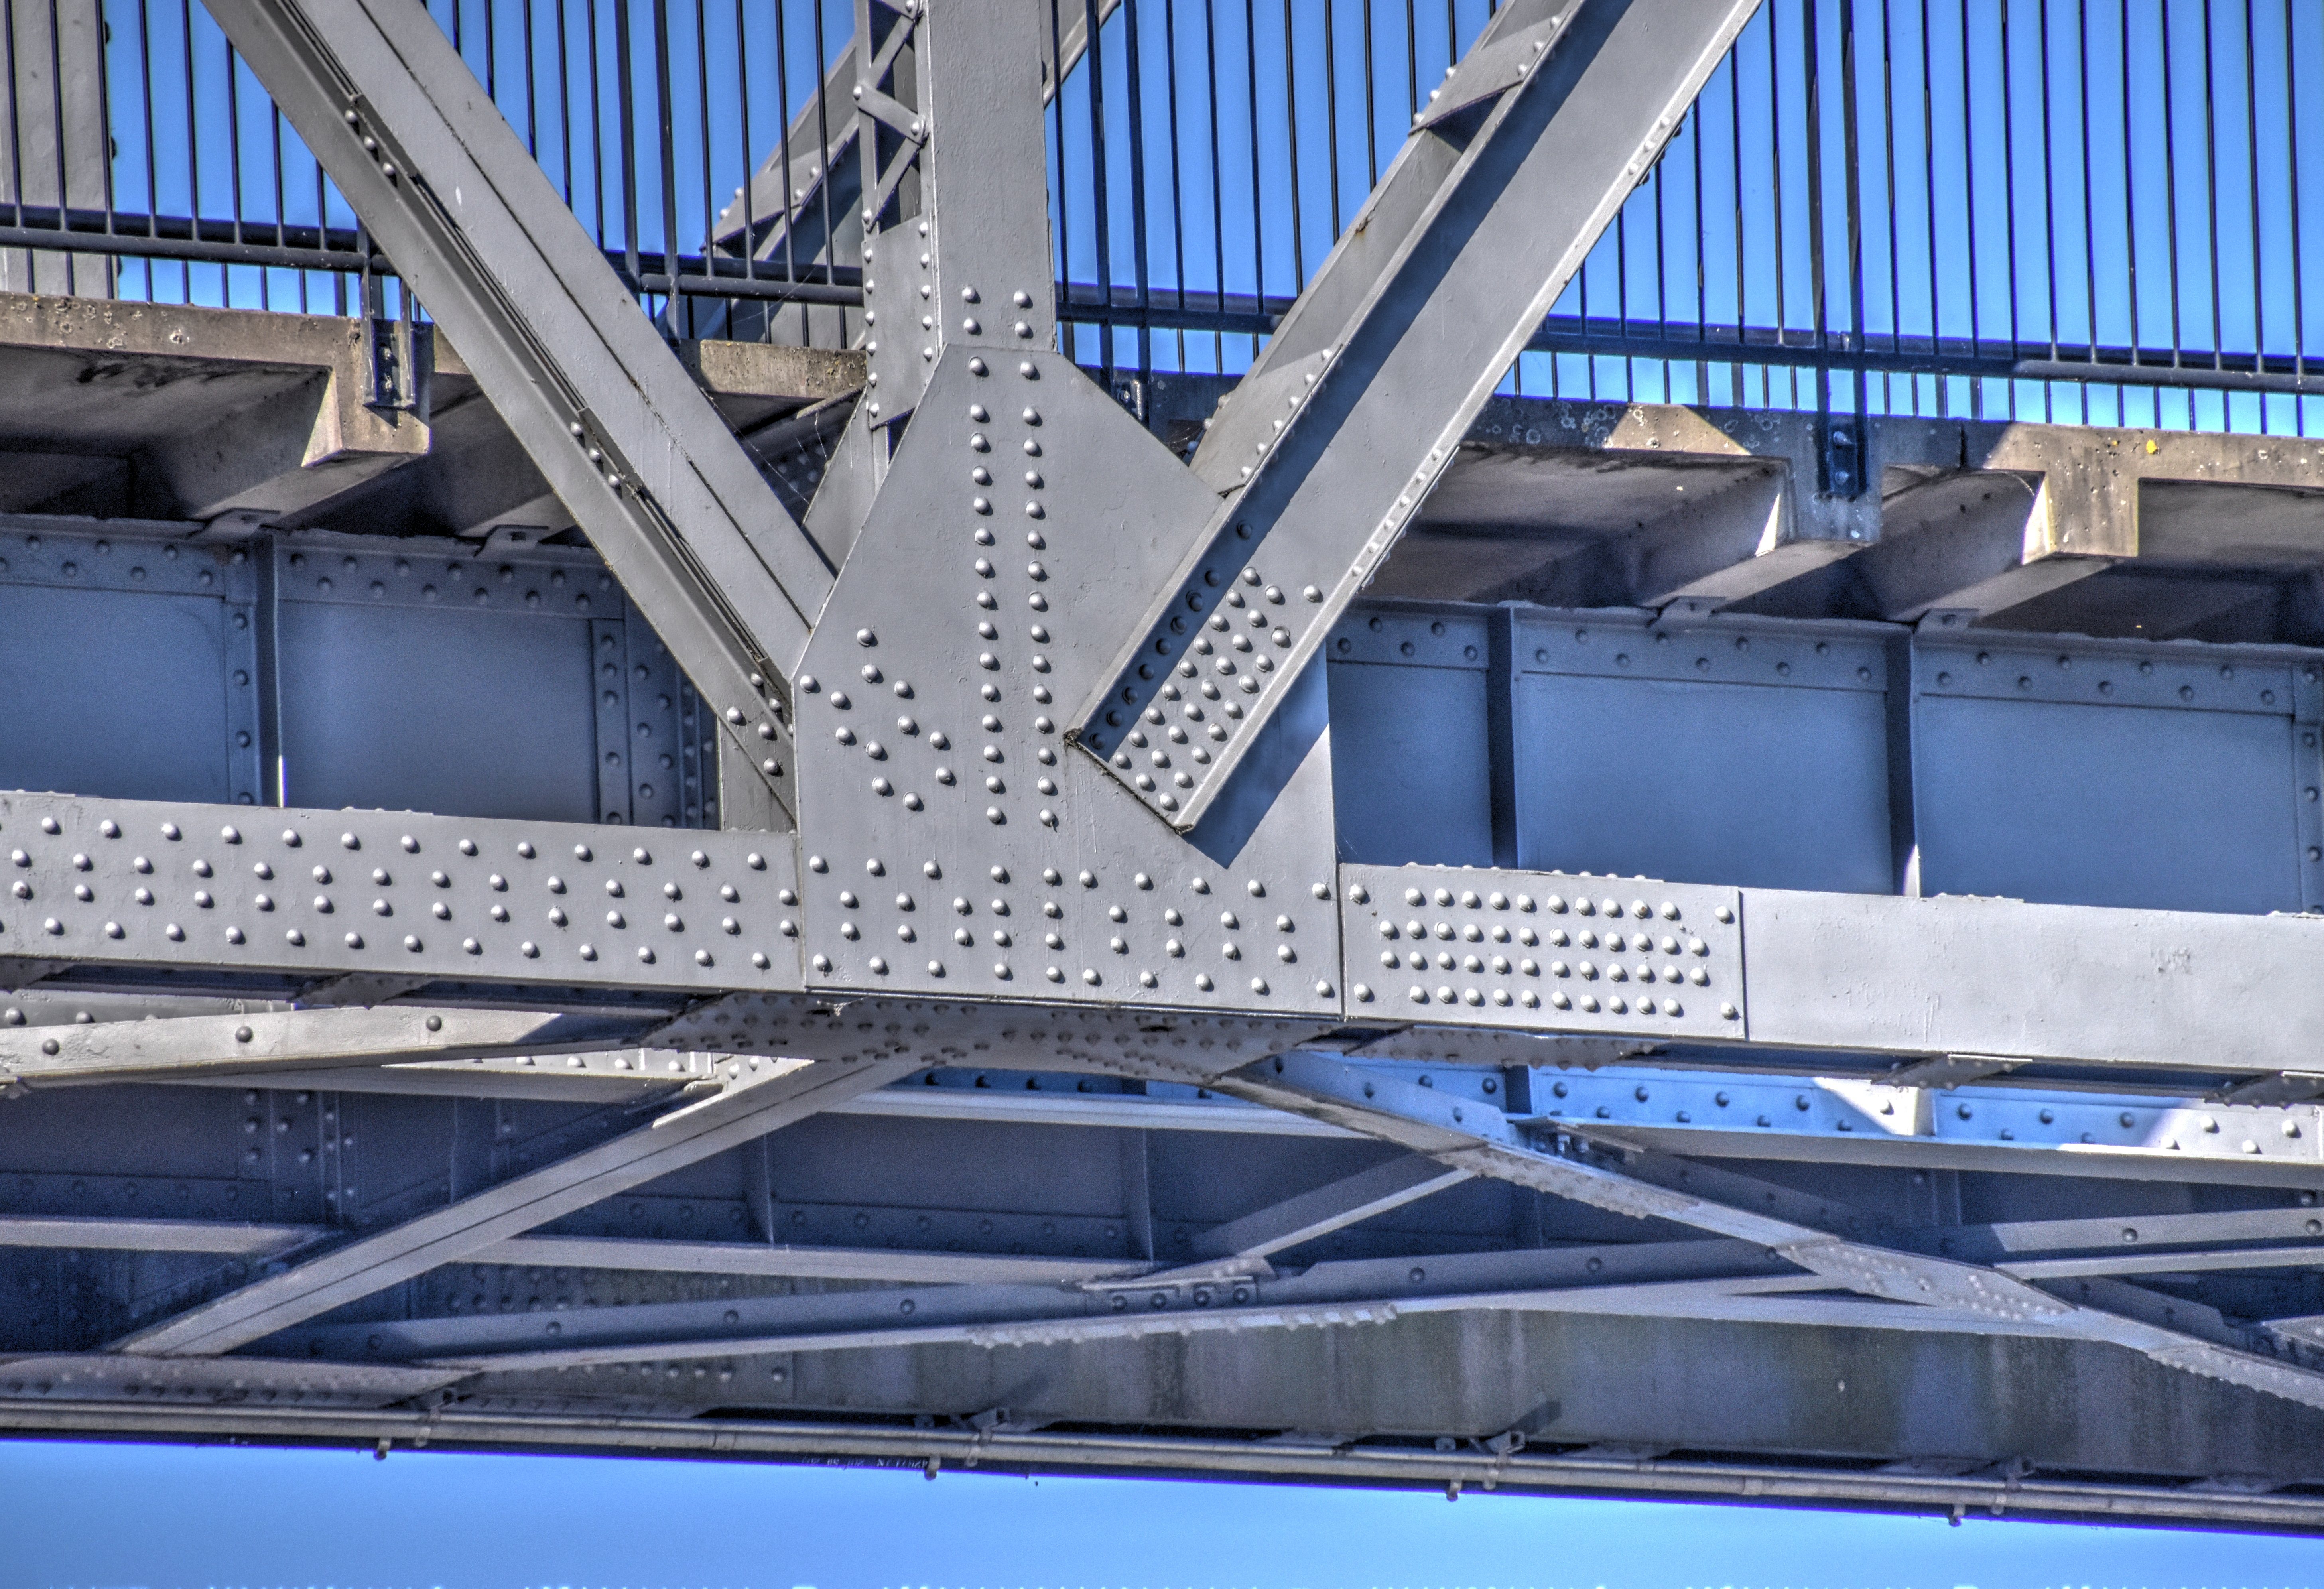


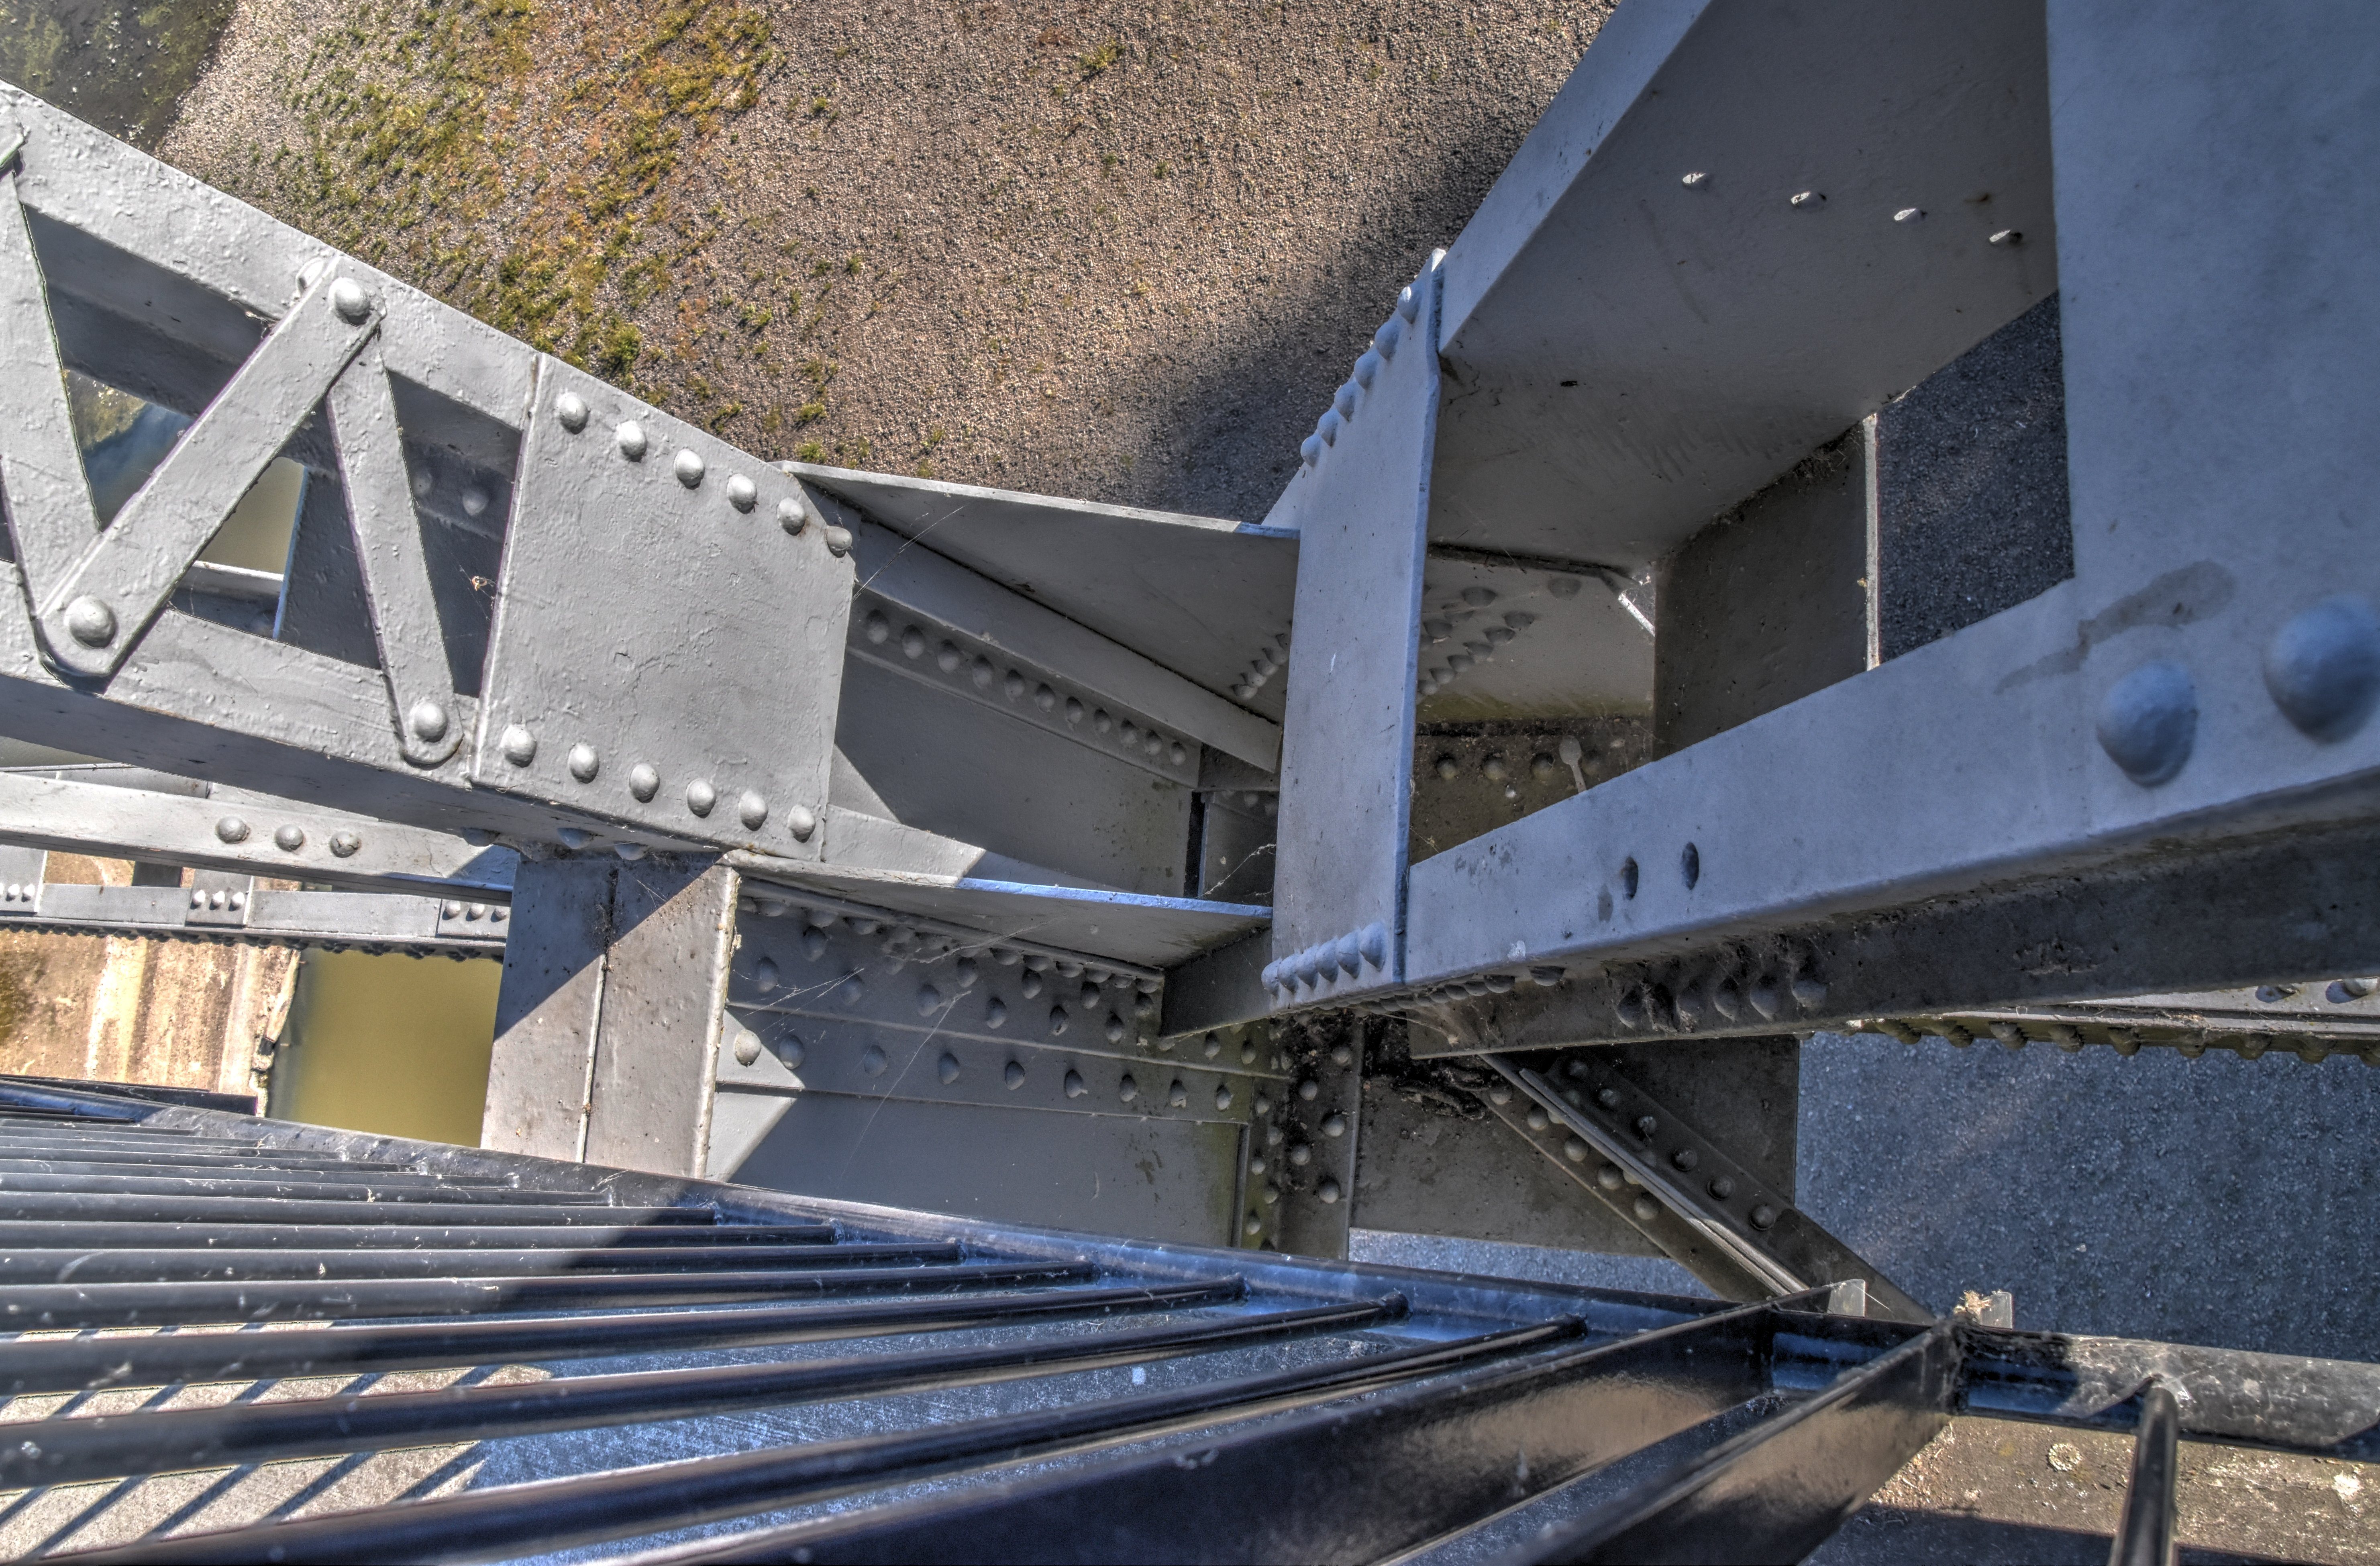
Bottom chord connections as viewed from beside bridge.
![]()
Bottom chord connections as viewed from on bridge.
![]()

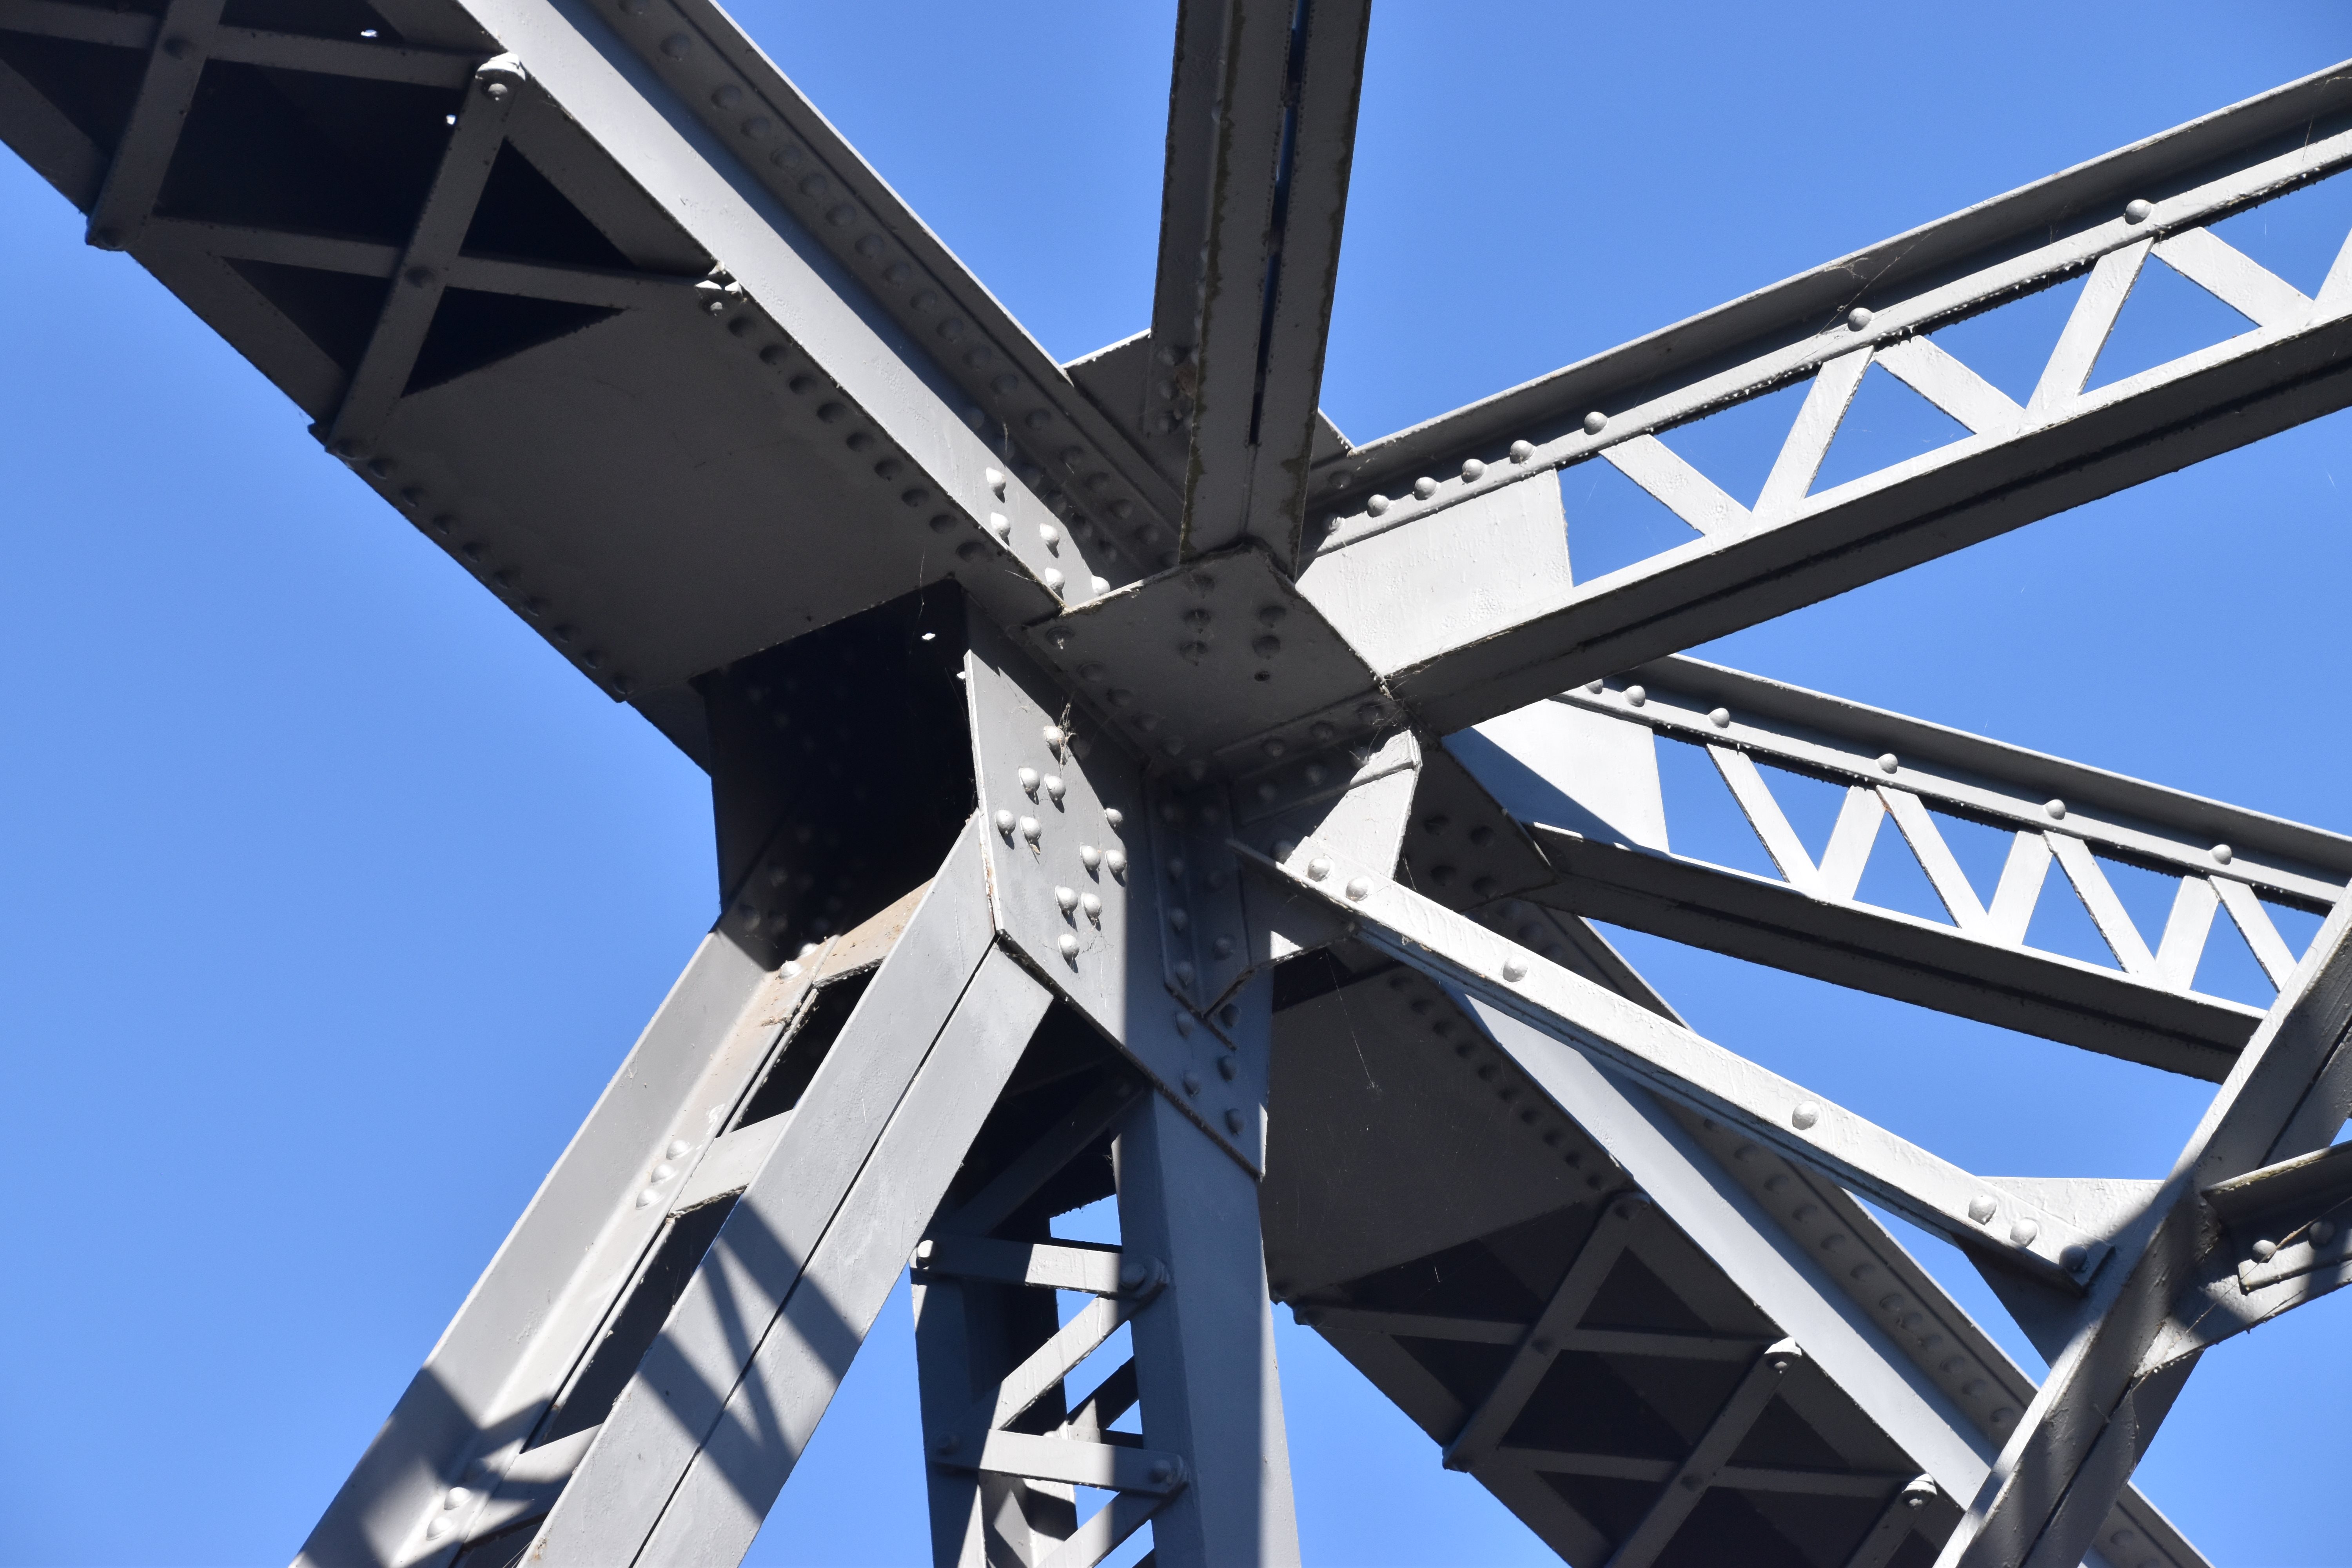
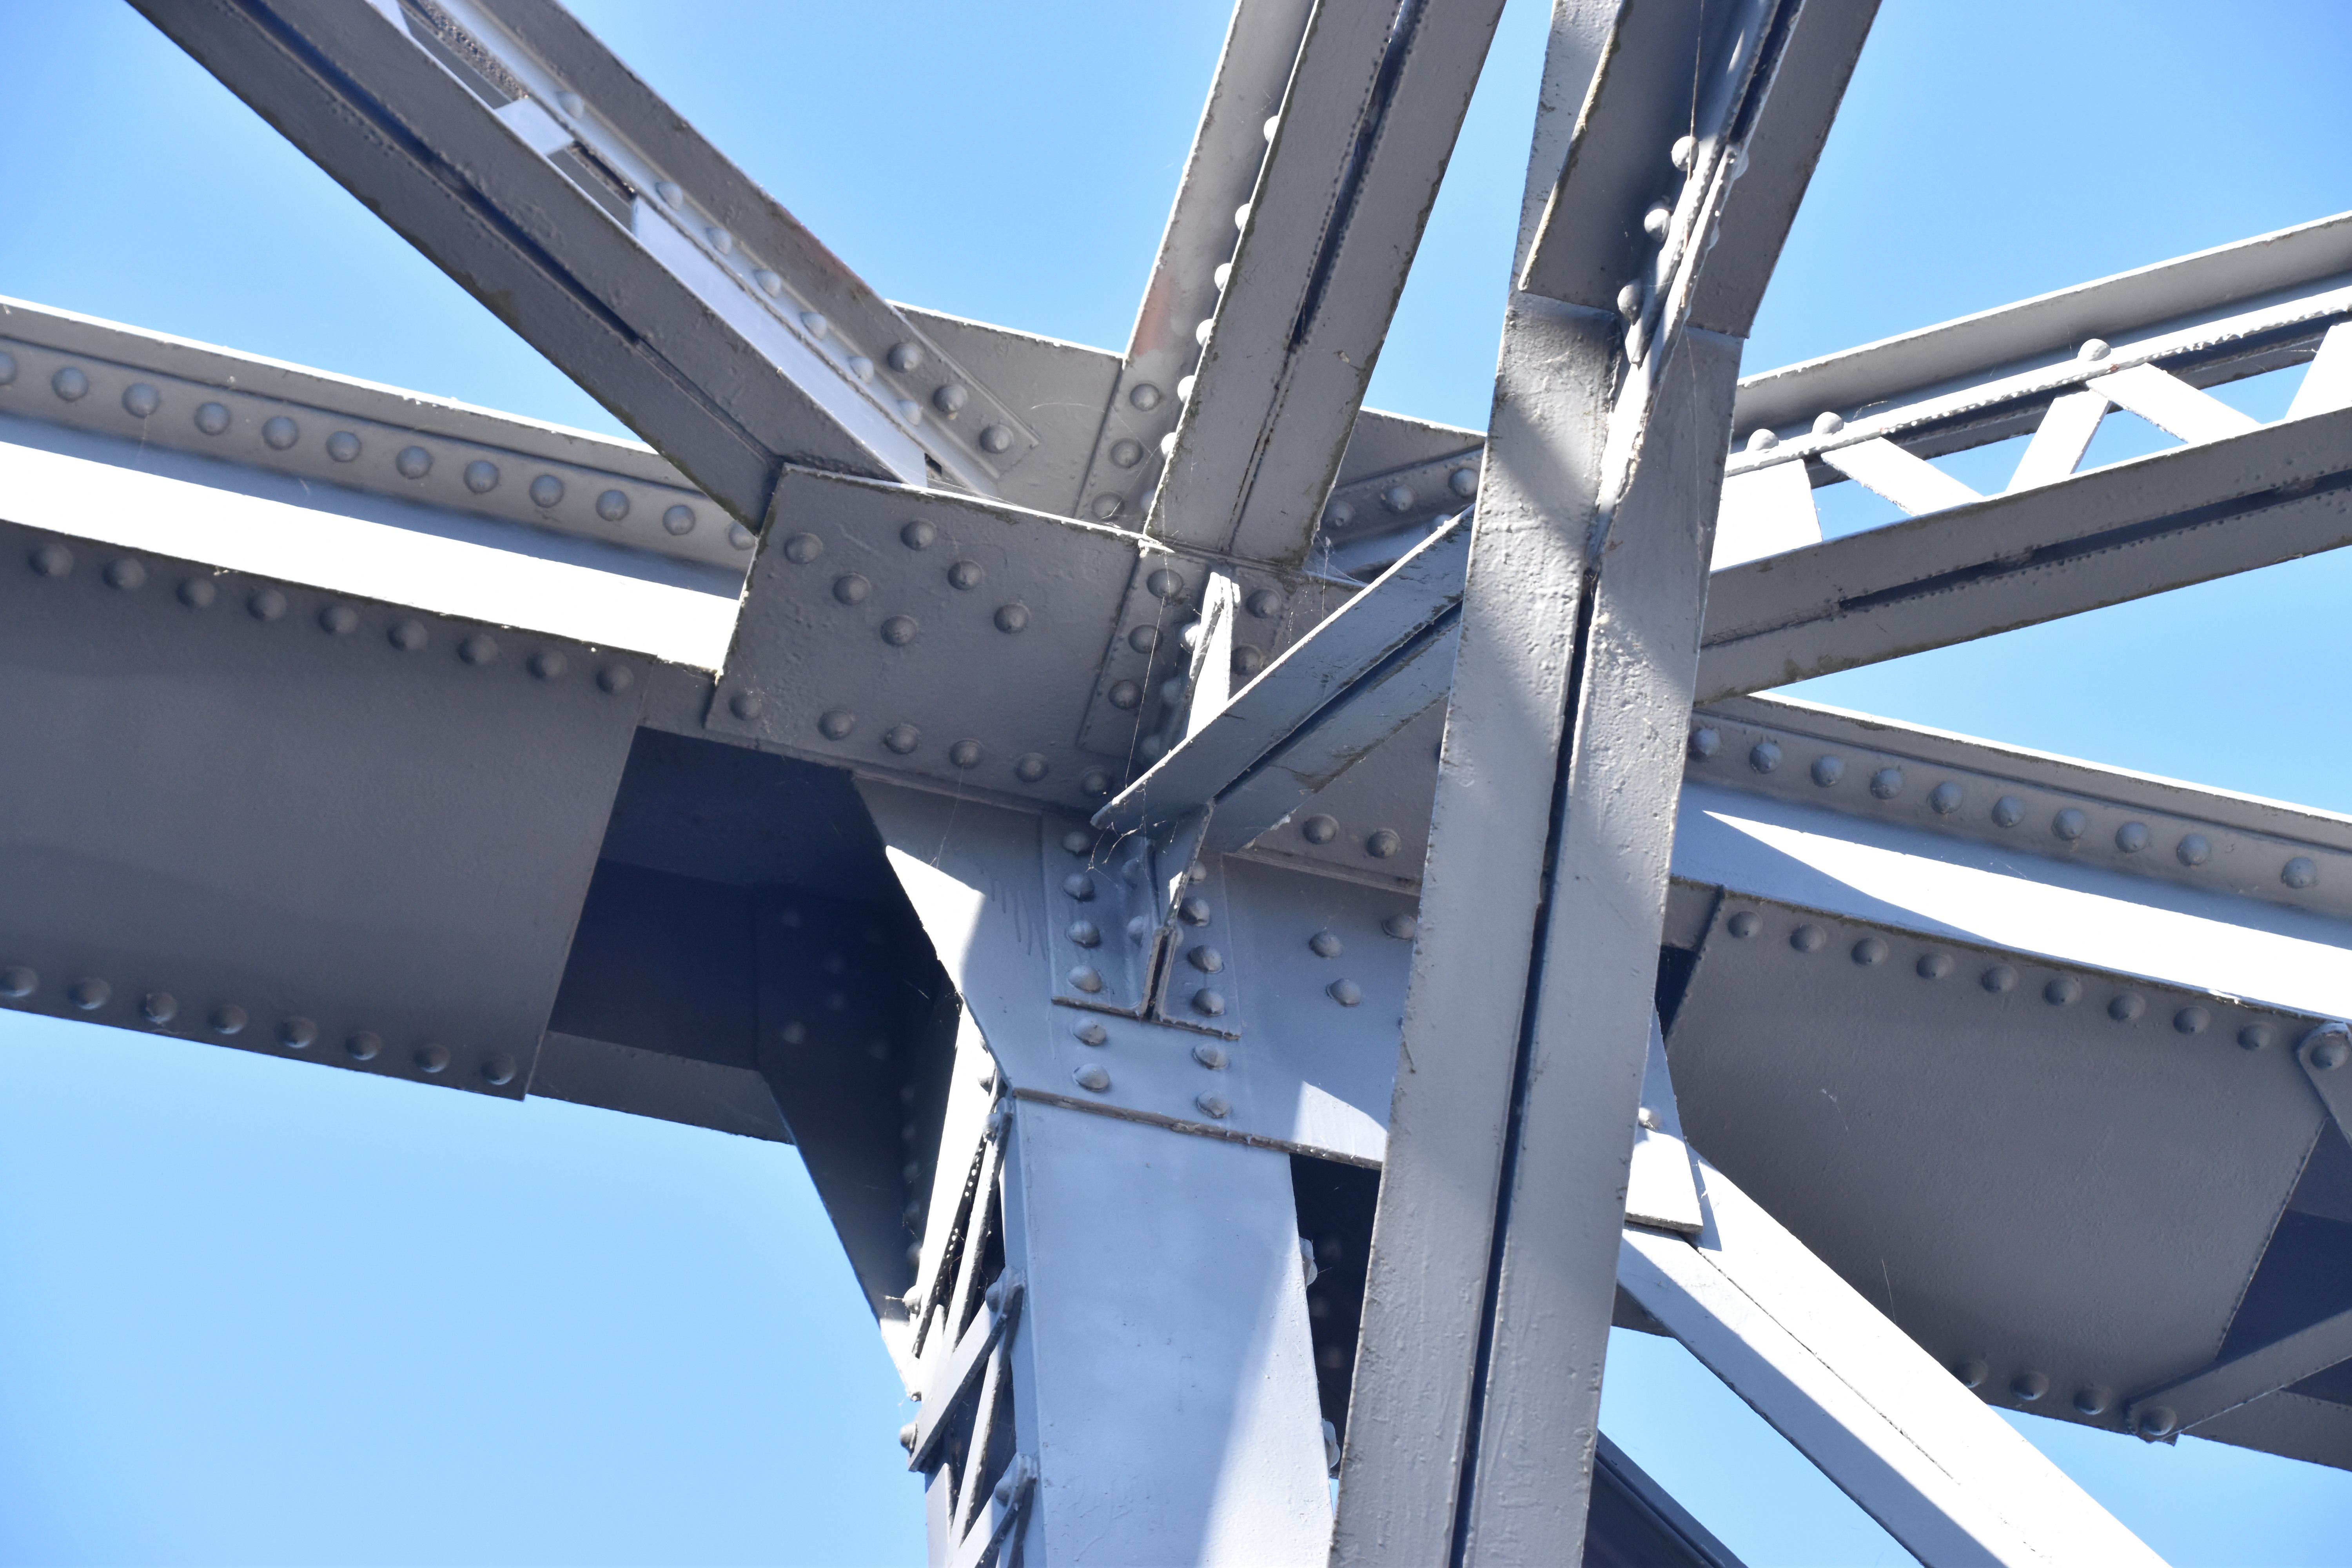
Intermediate connection as viewed from on bridge.
![]()
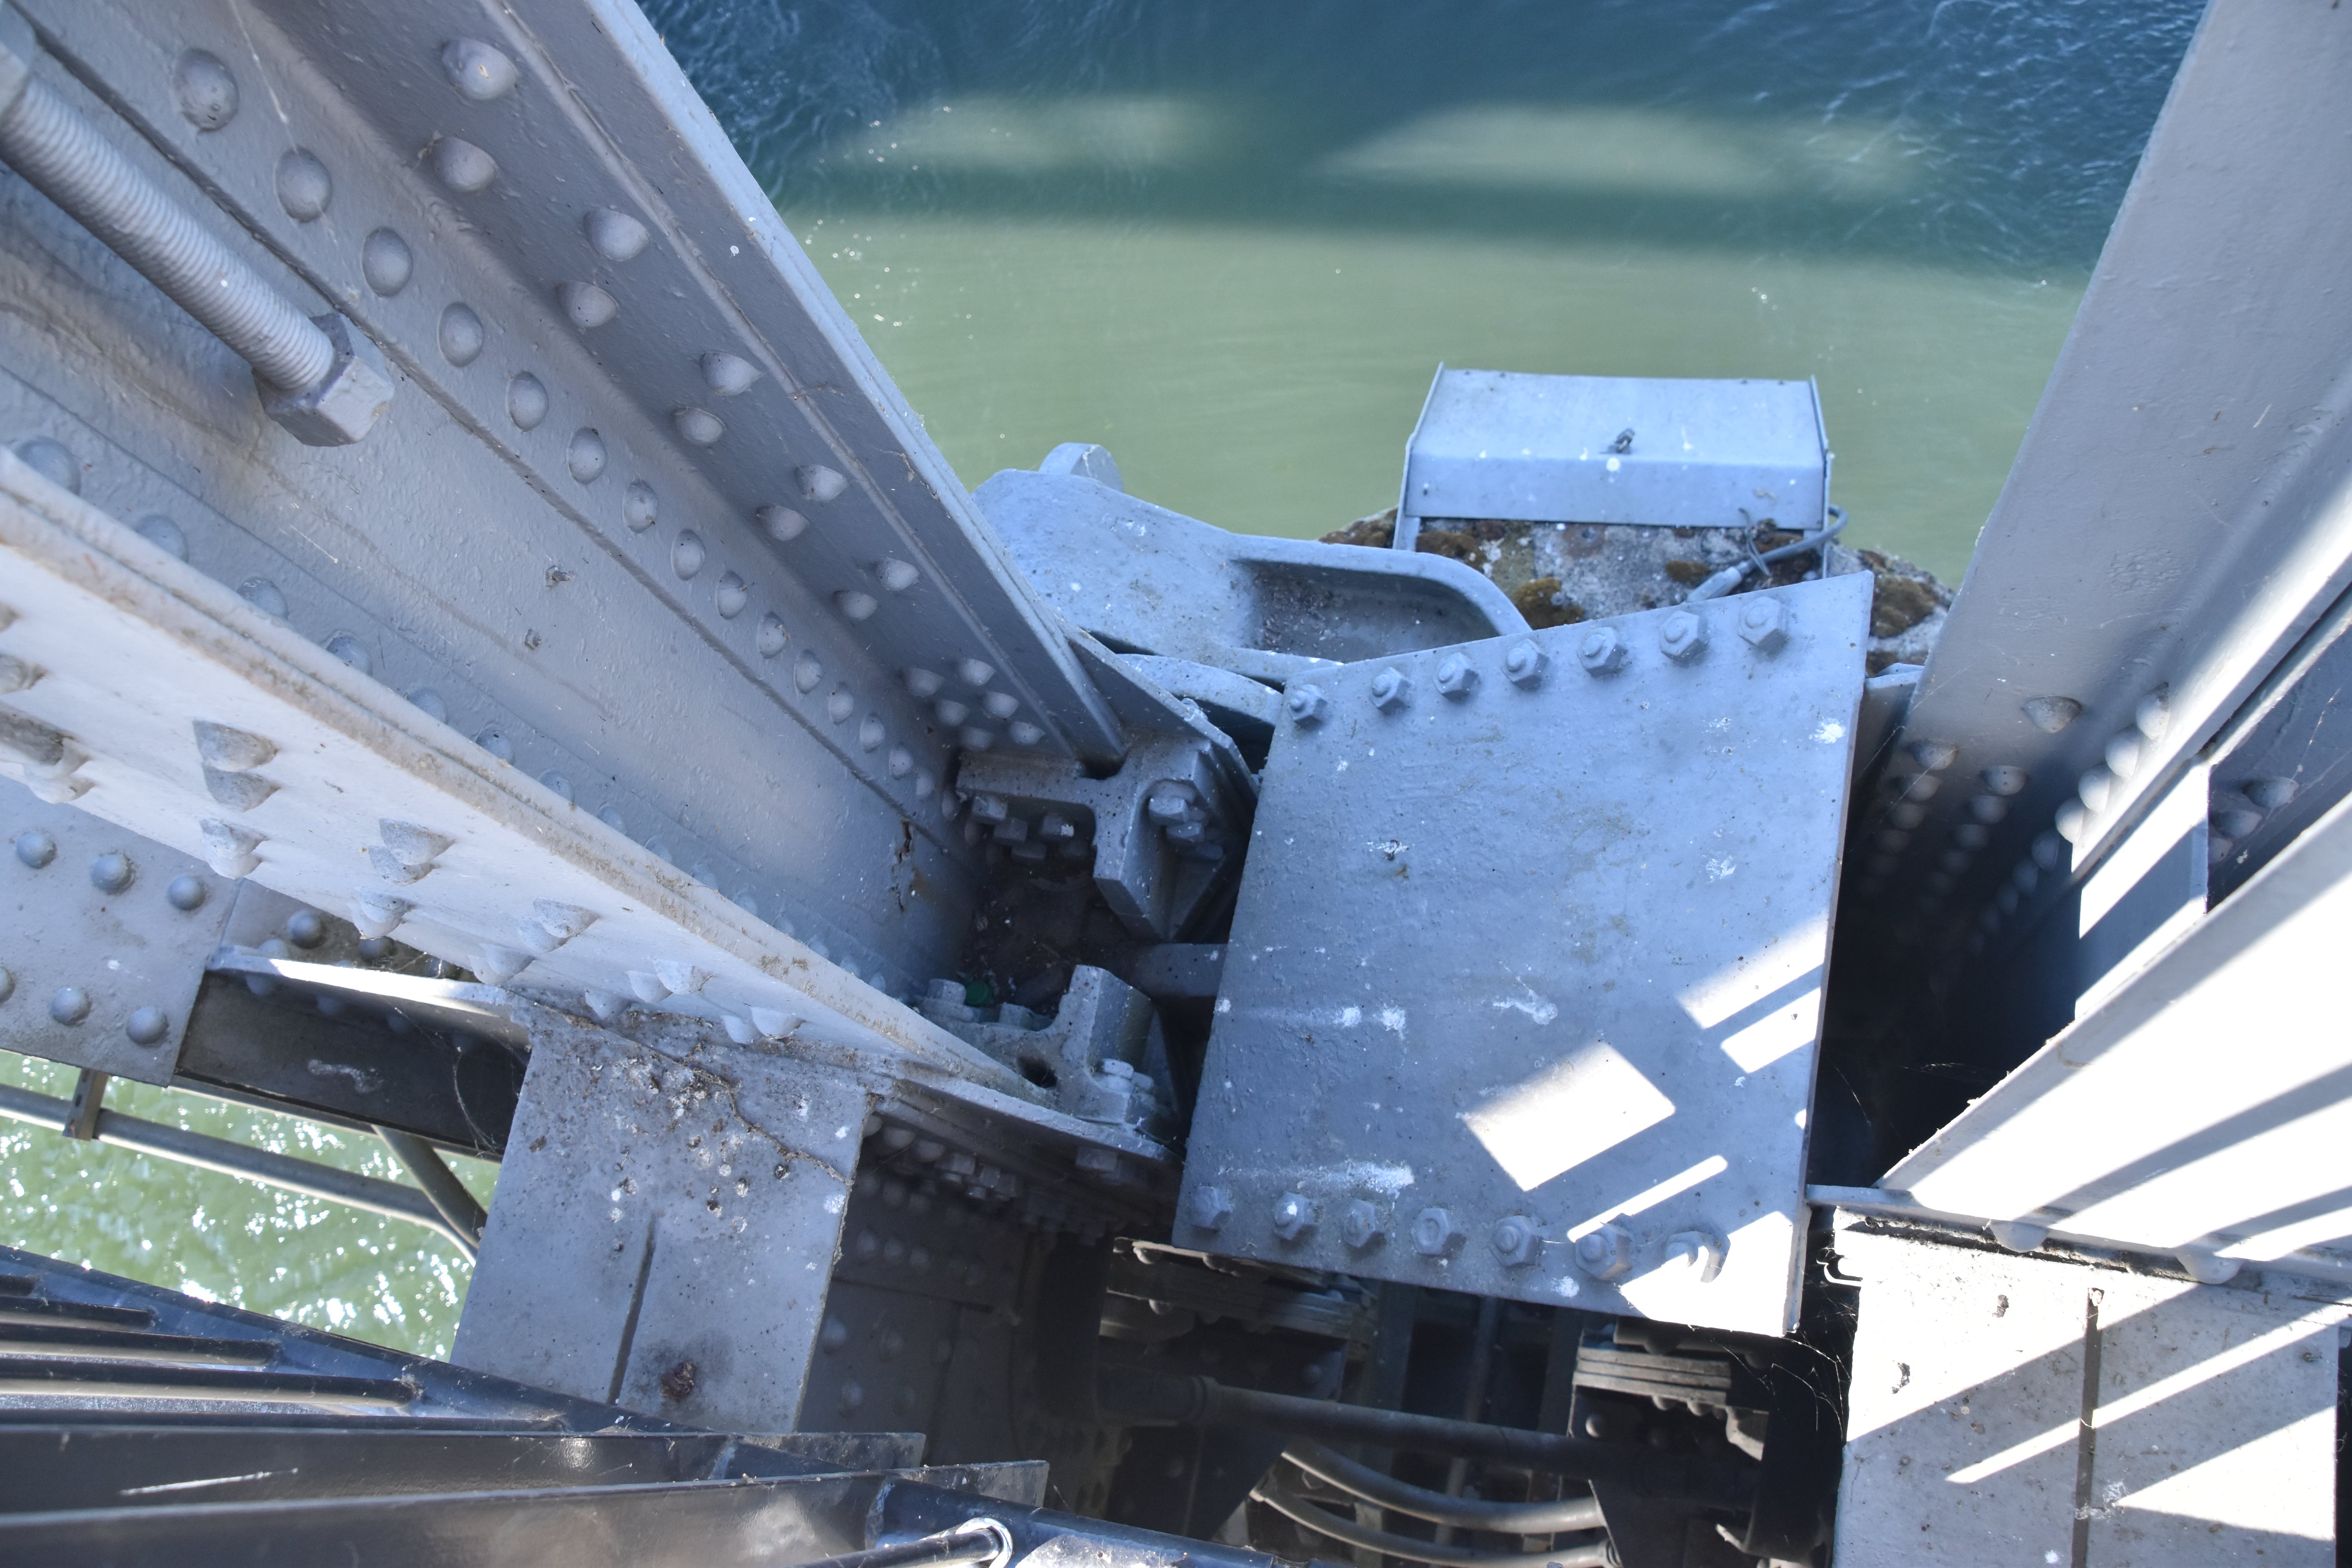


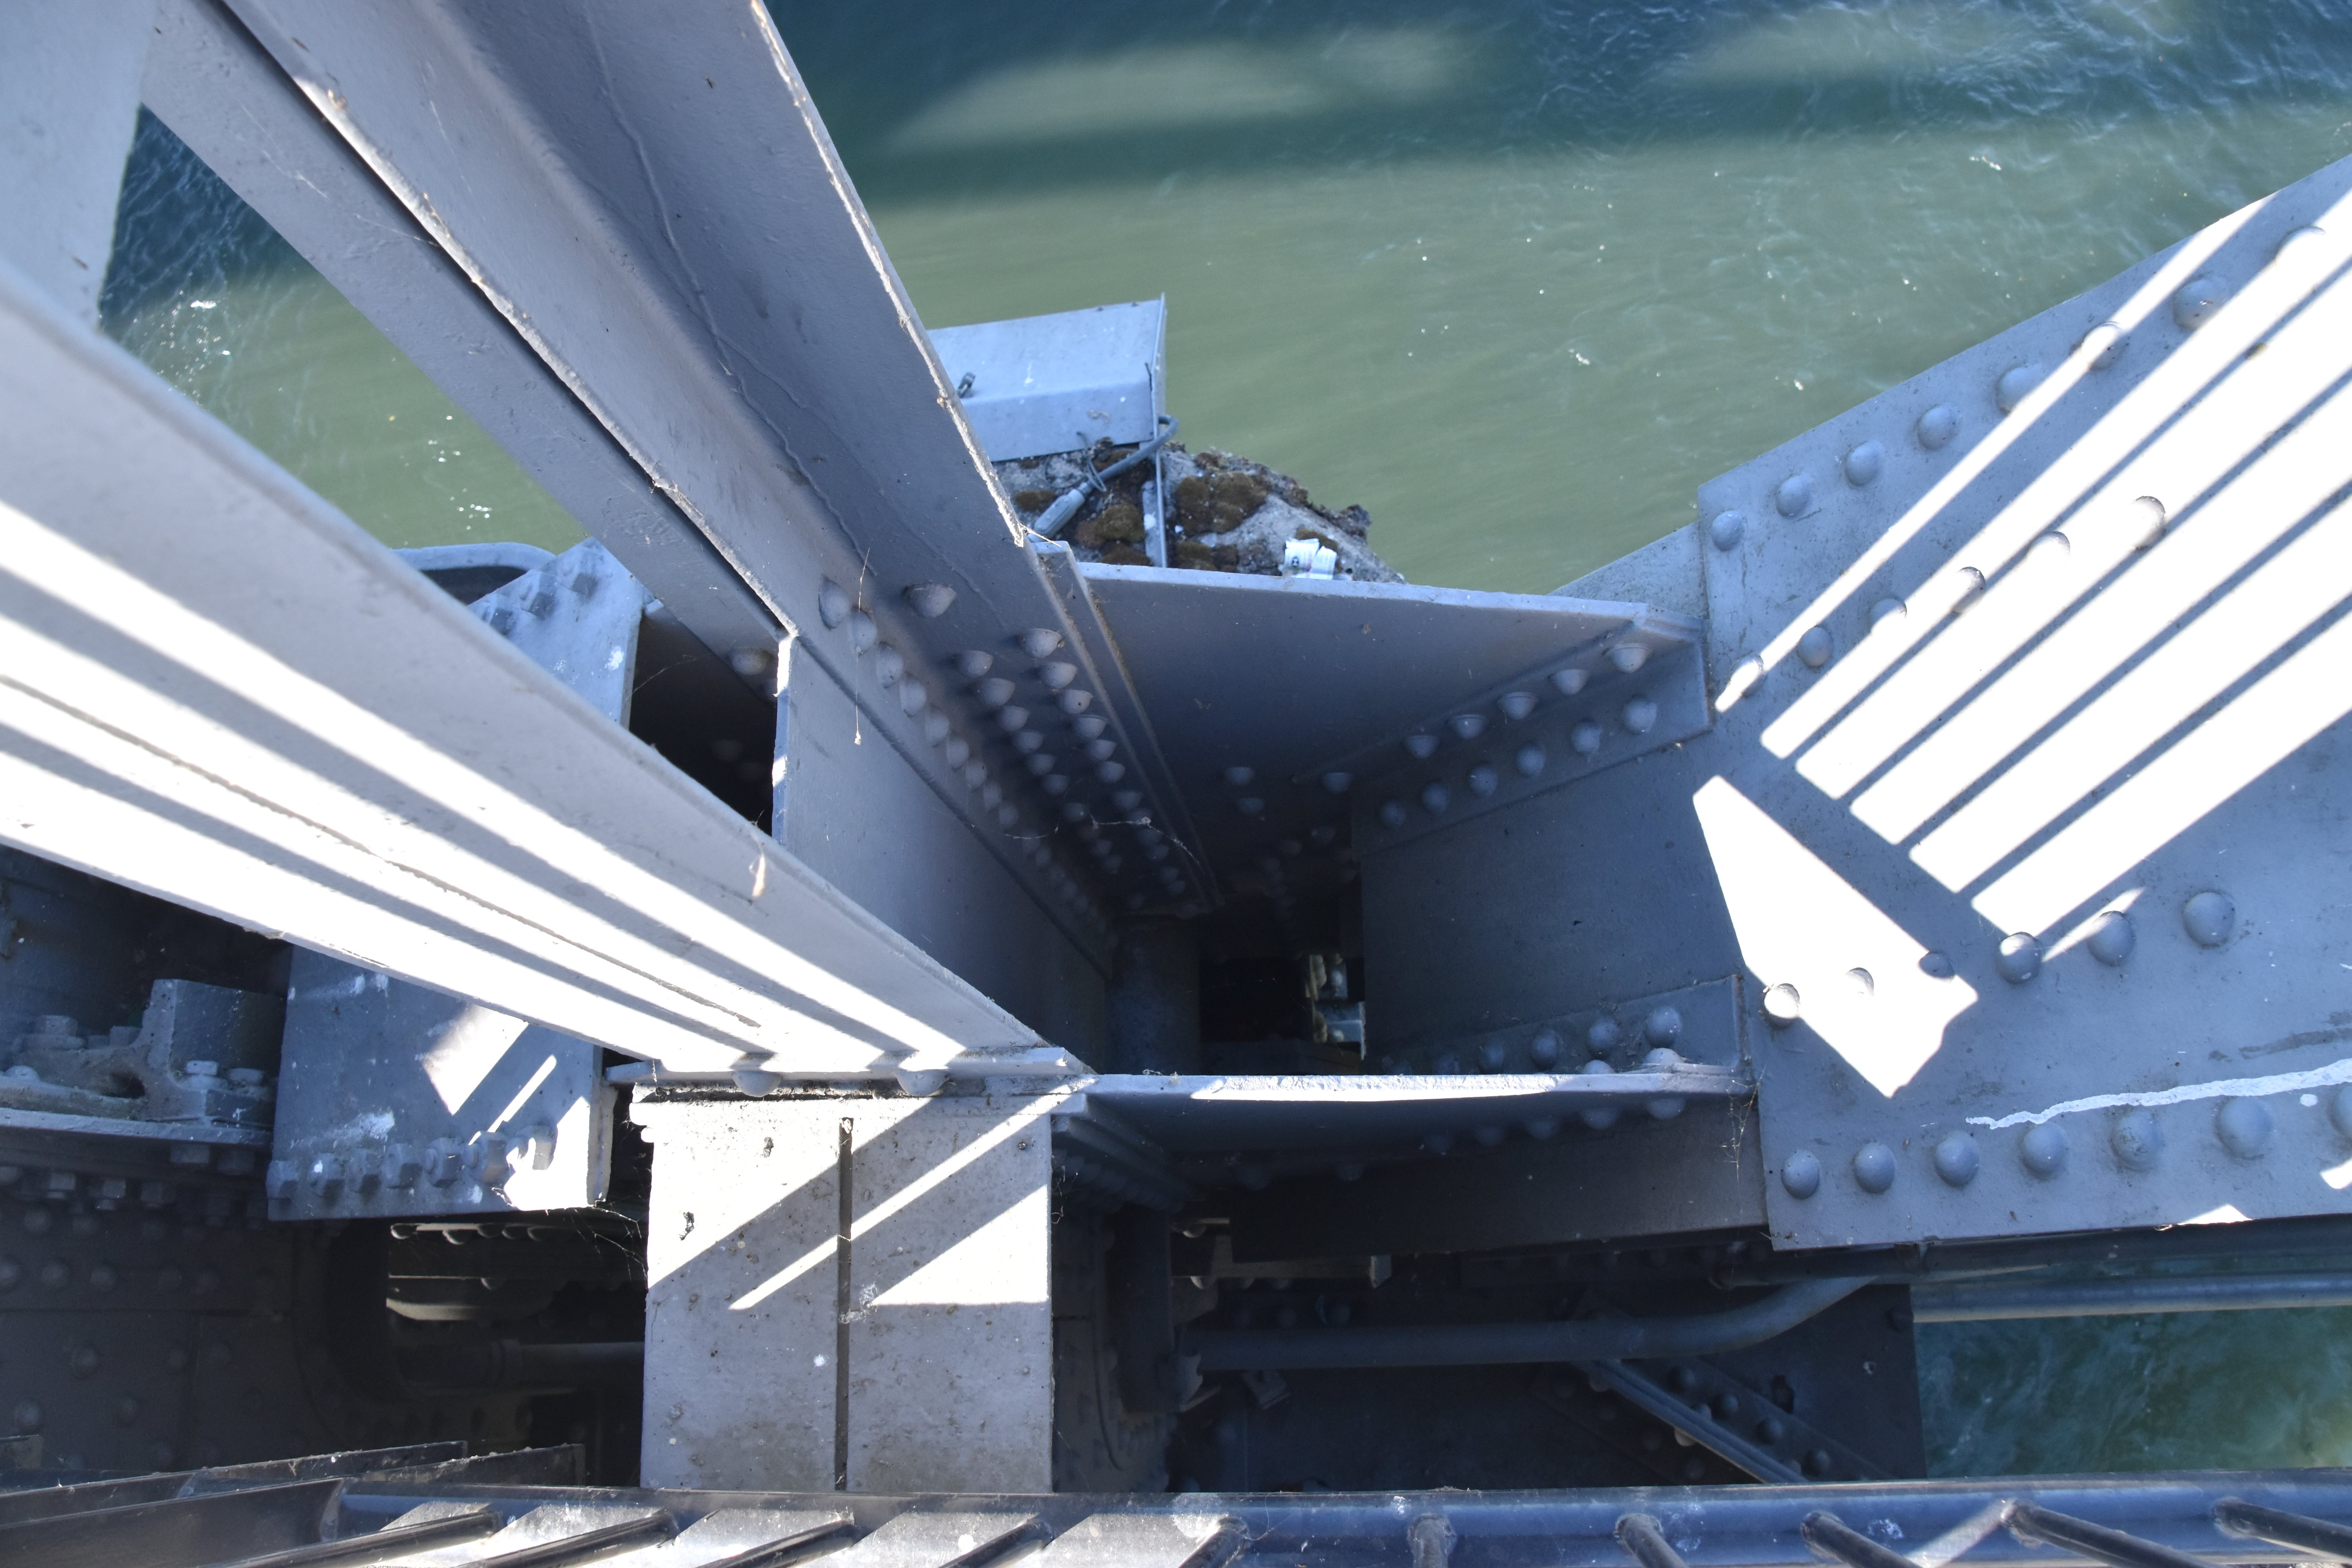


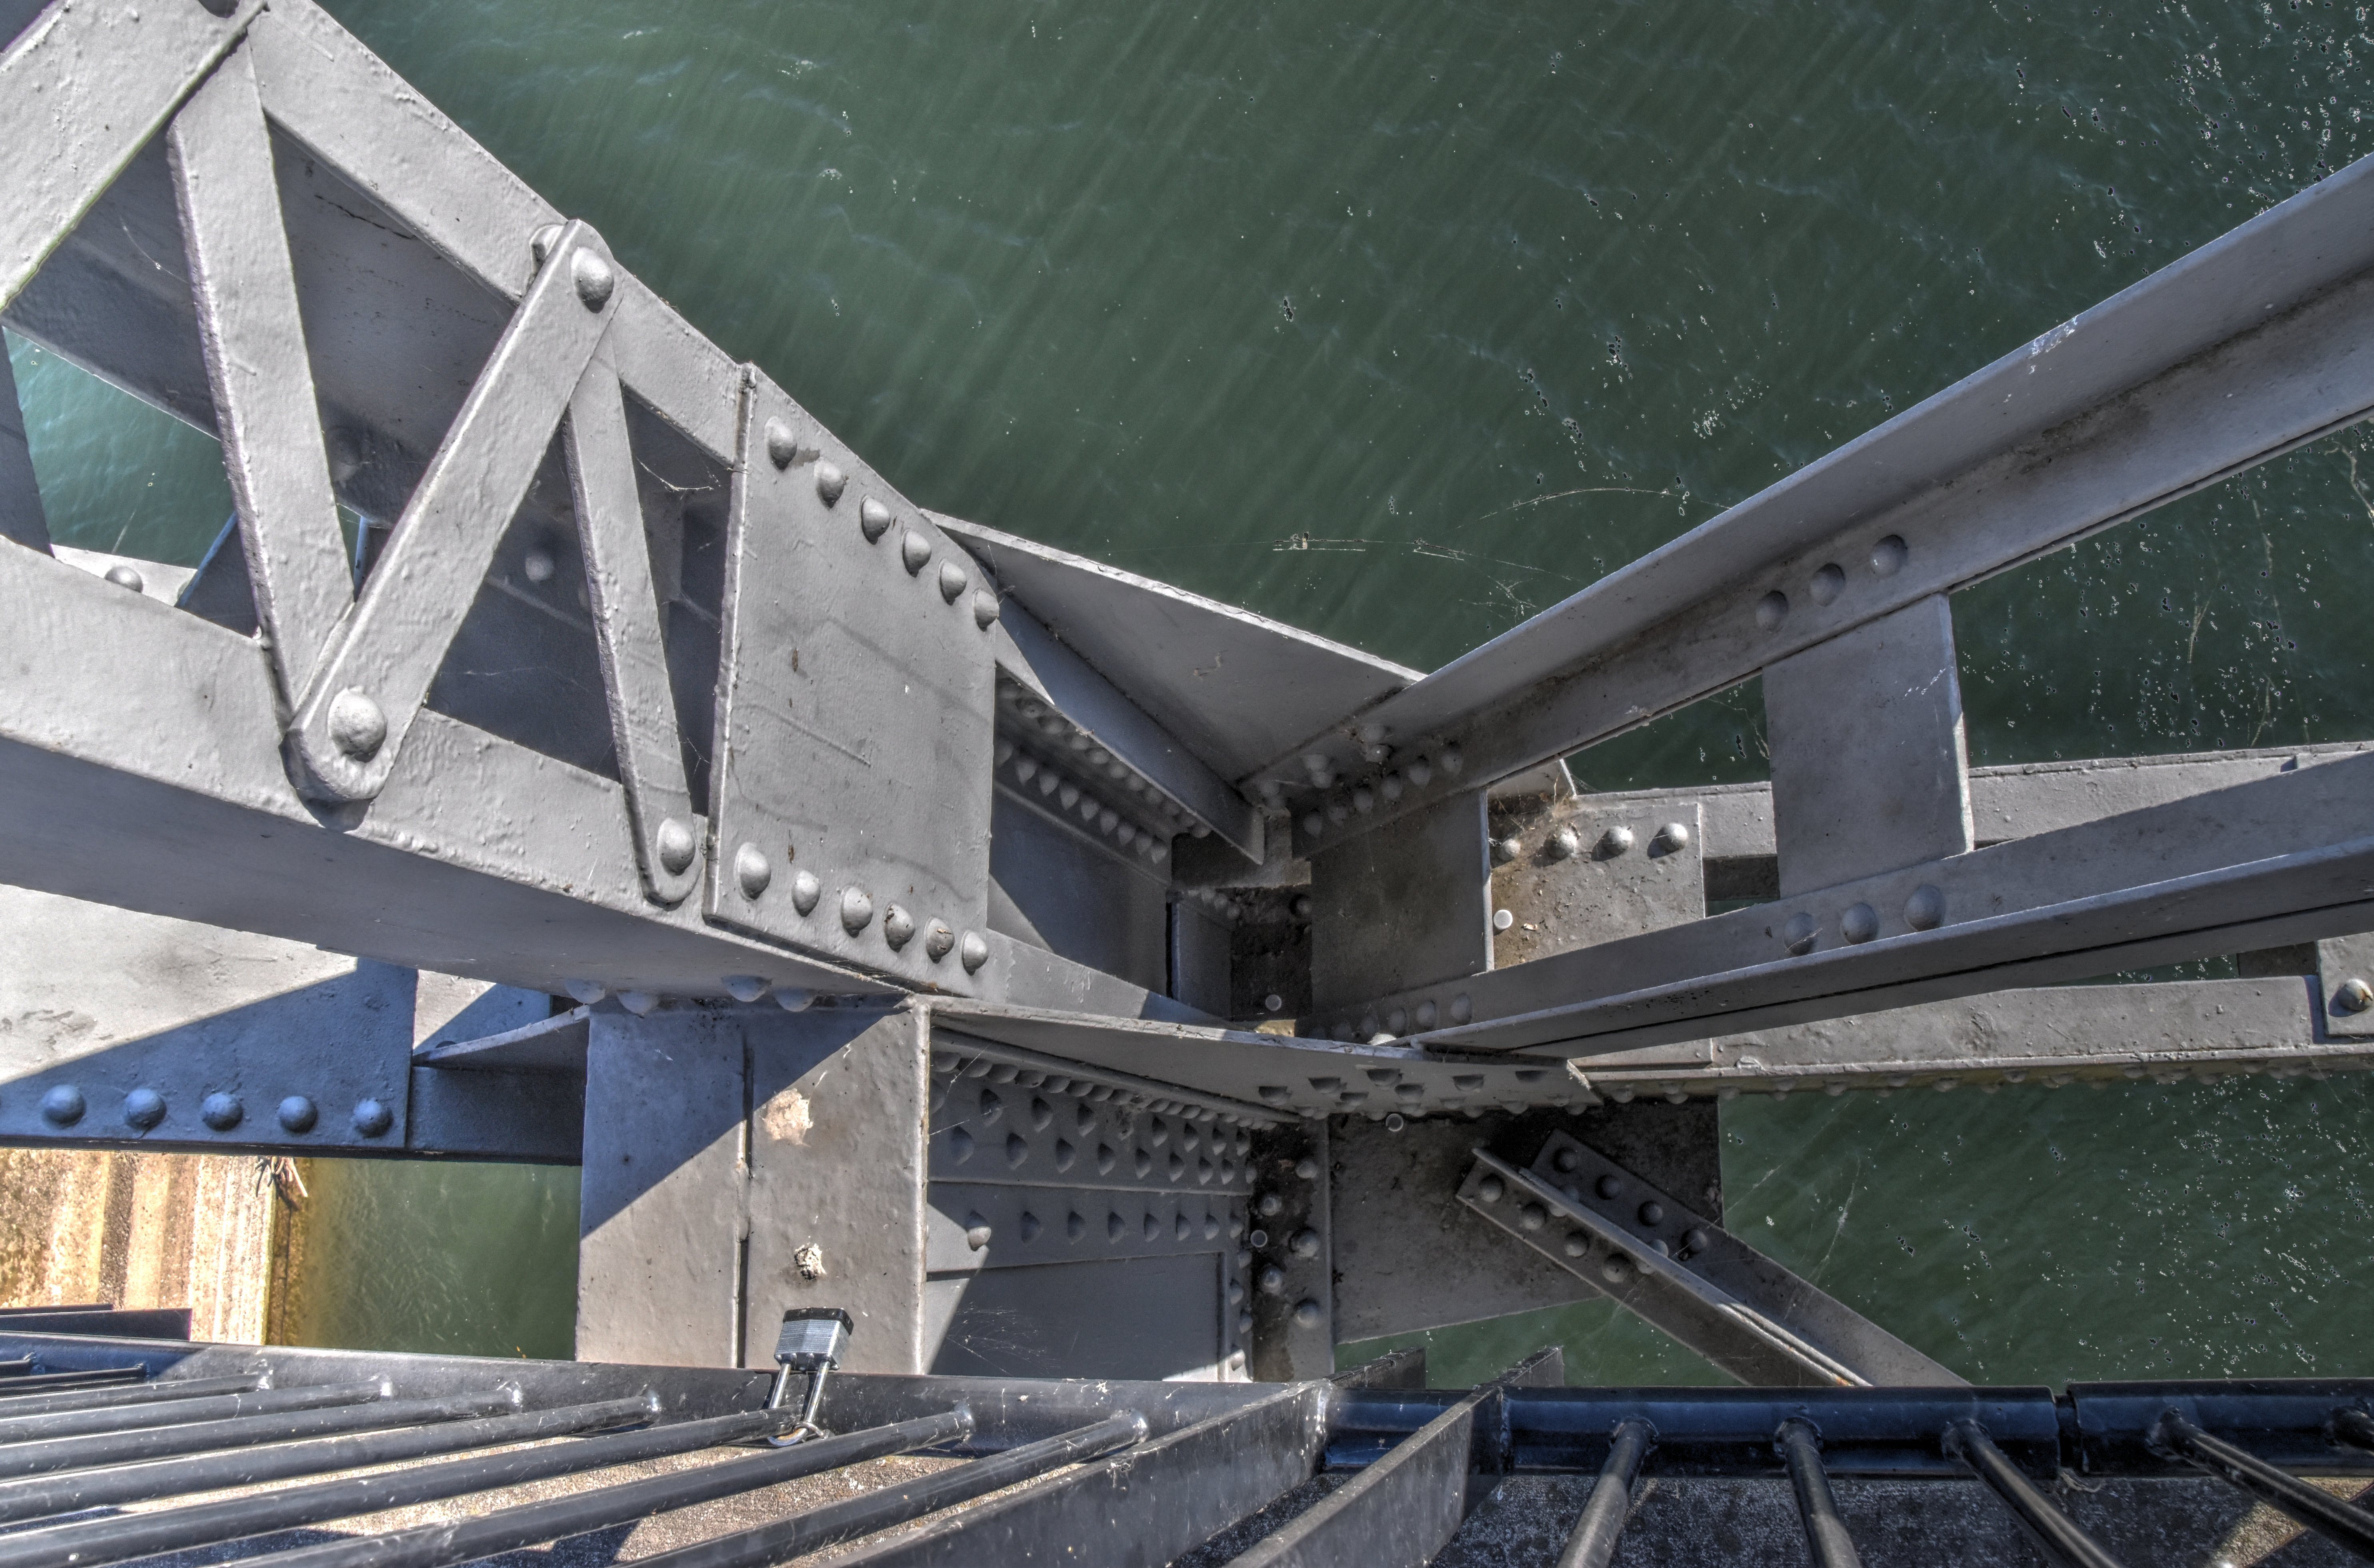
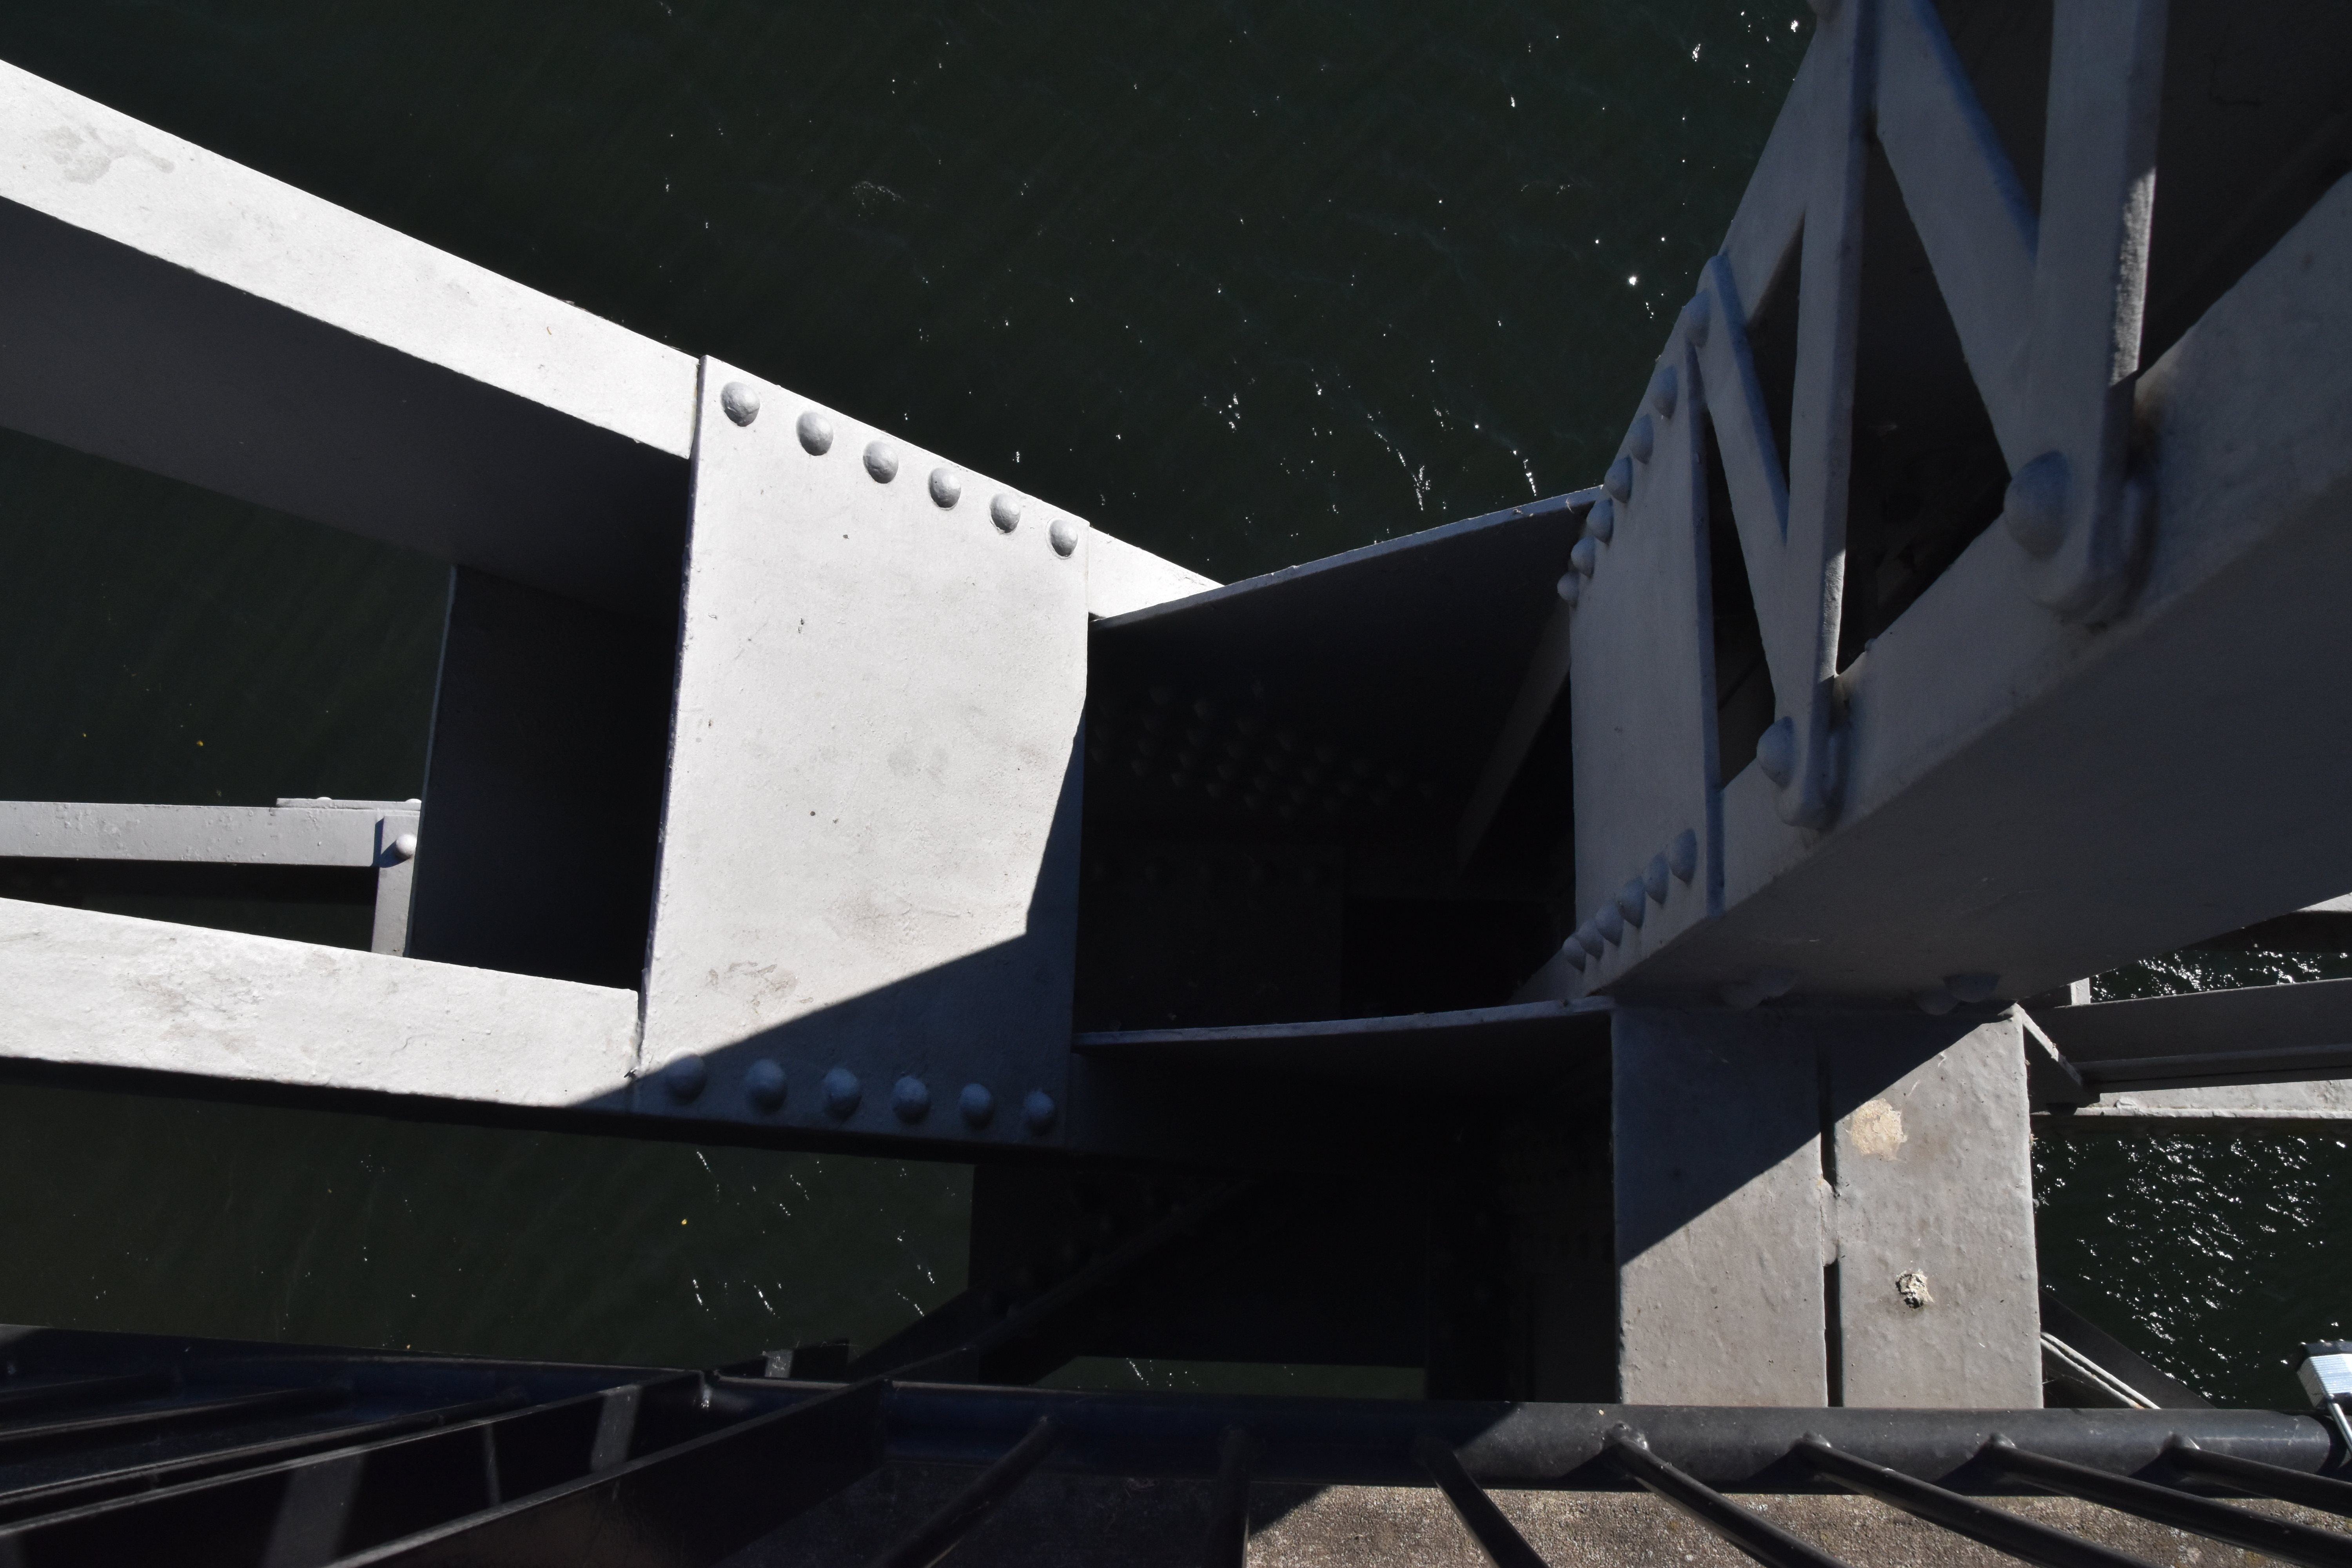
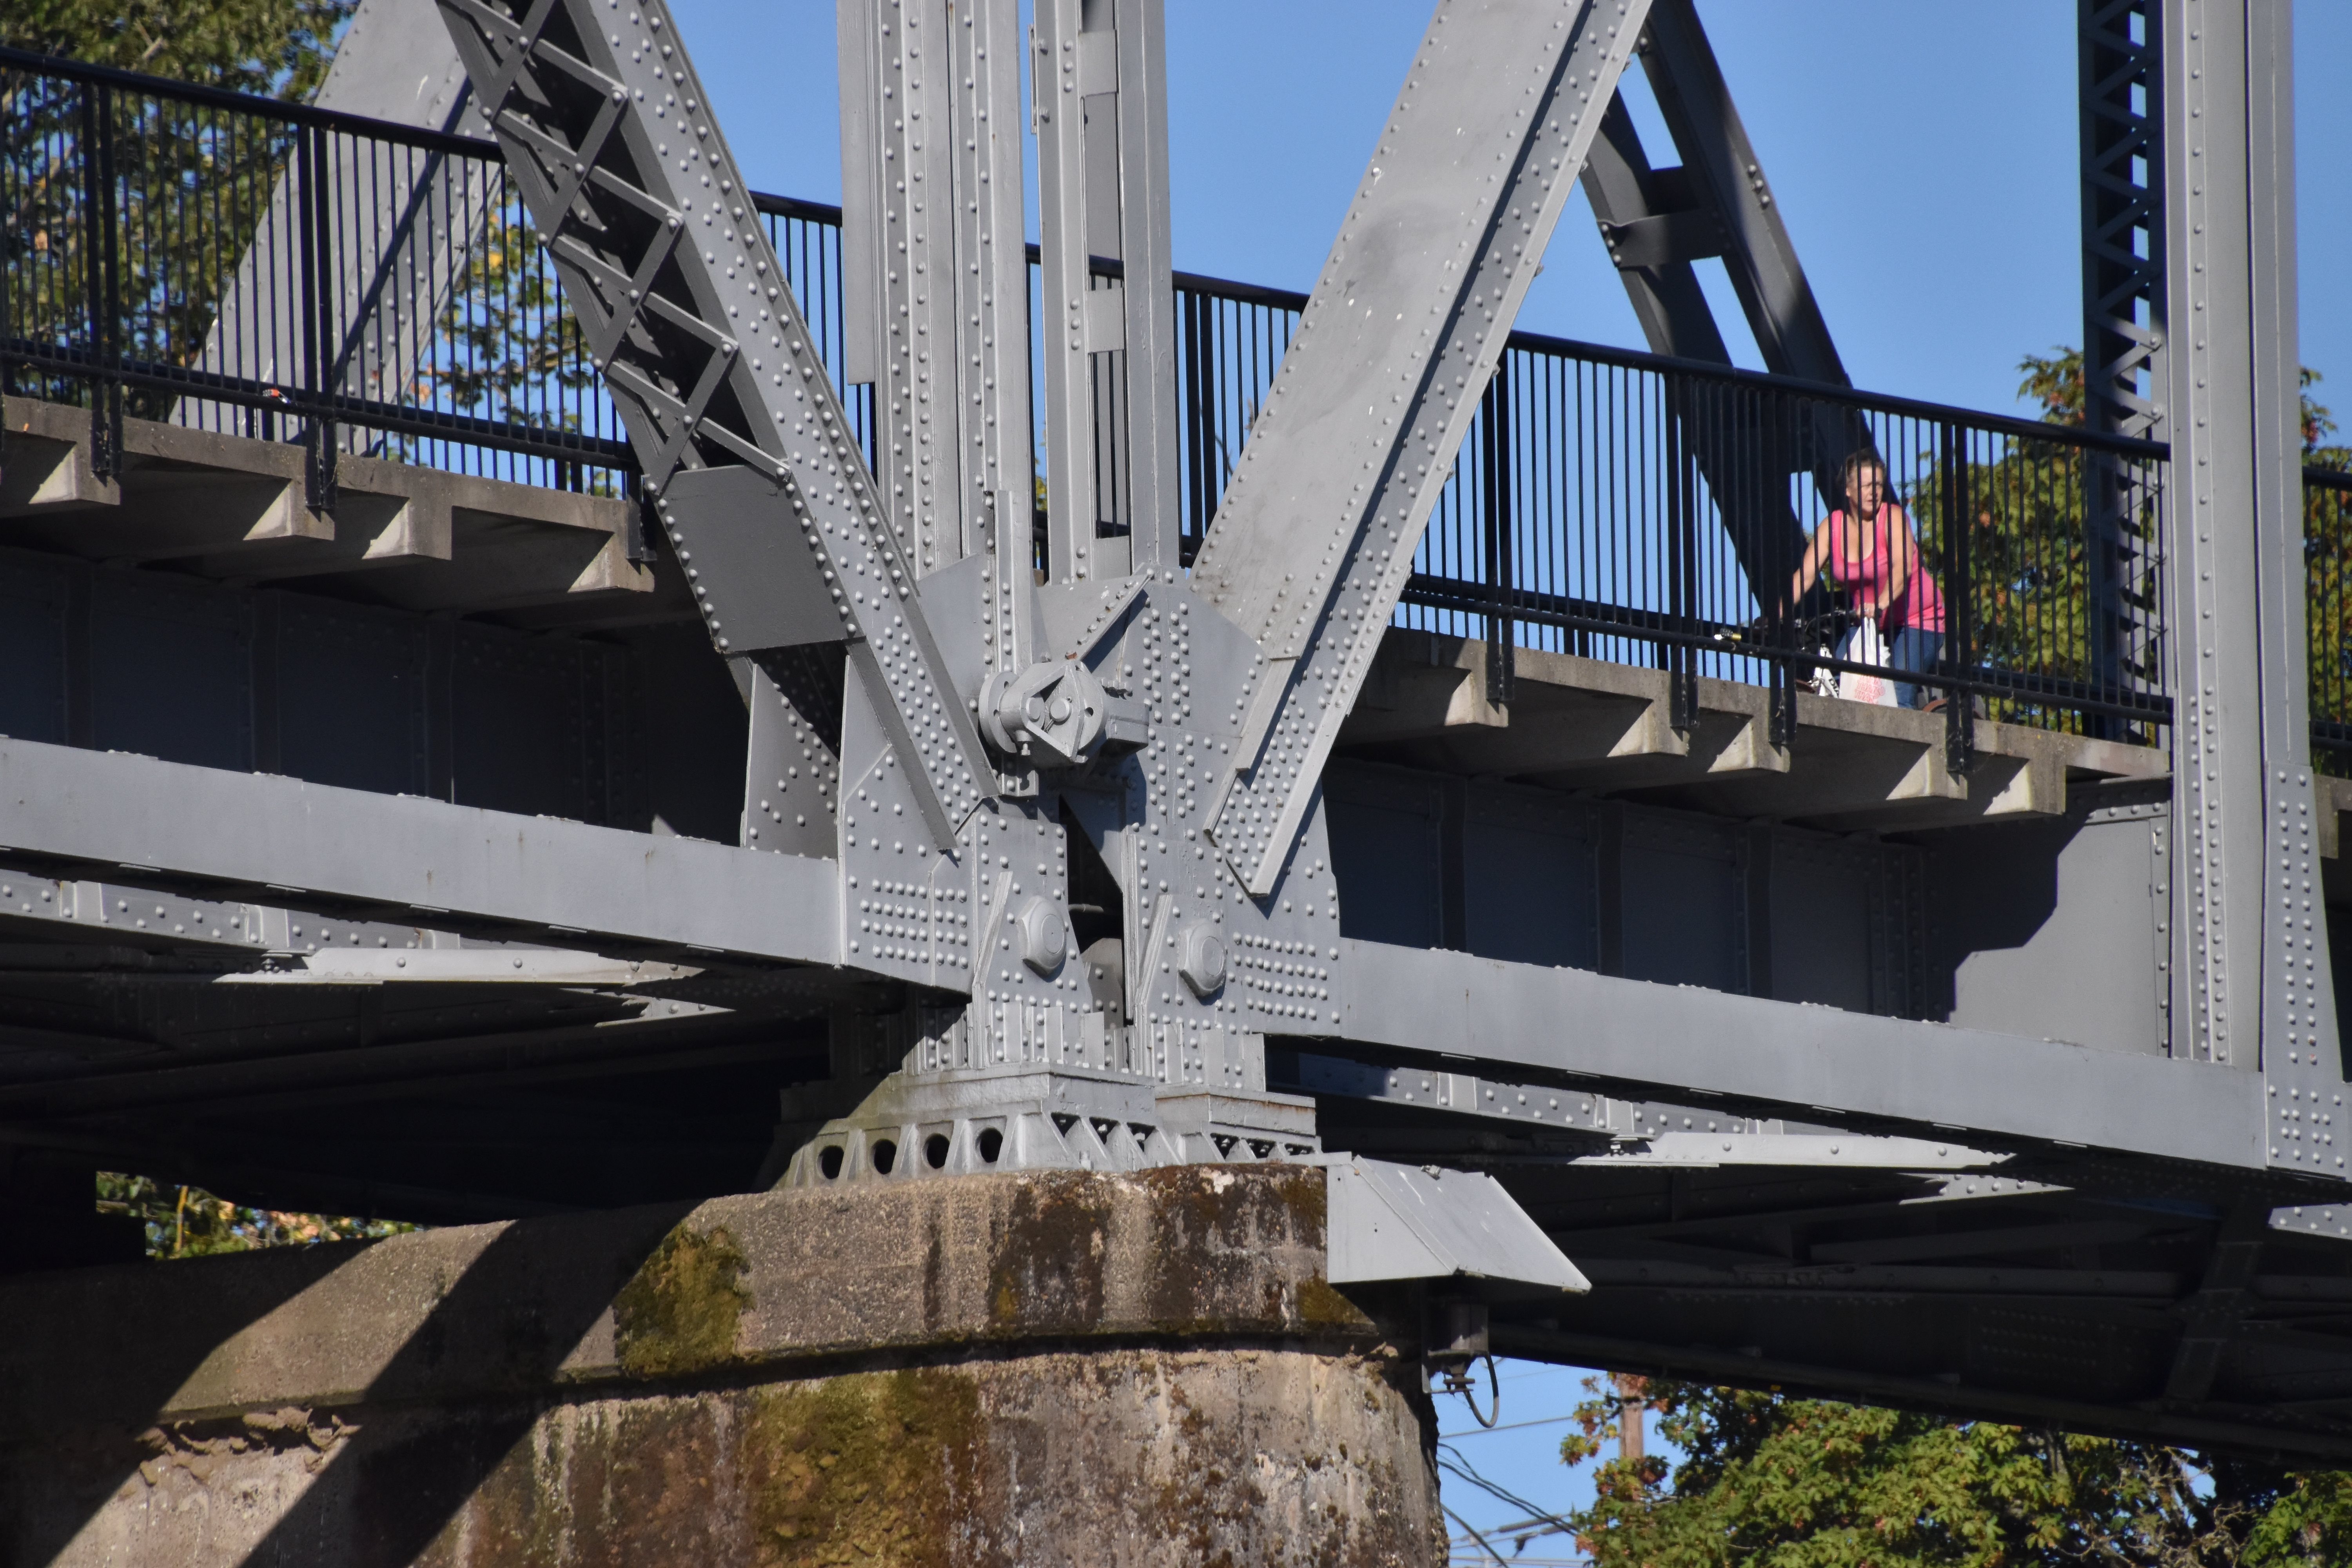
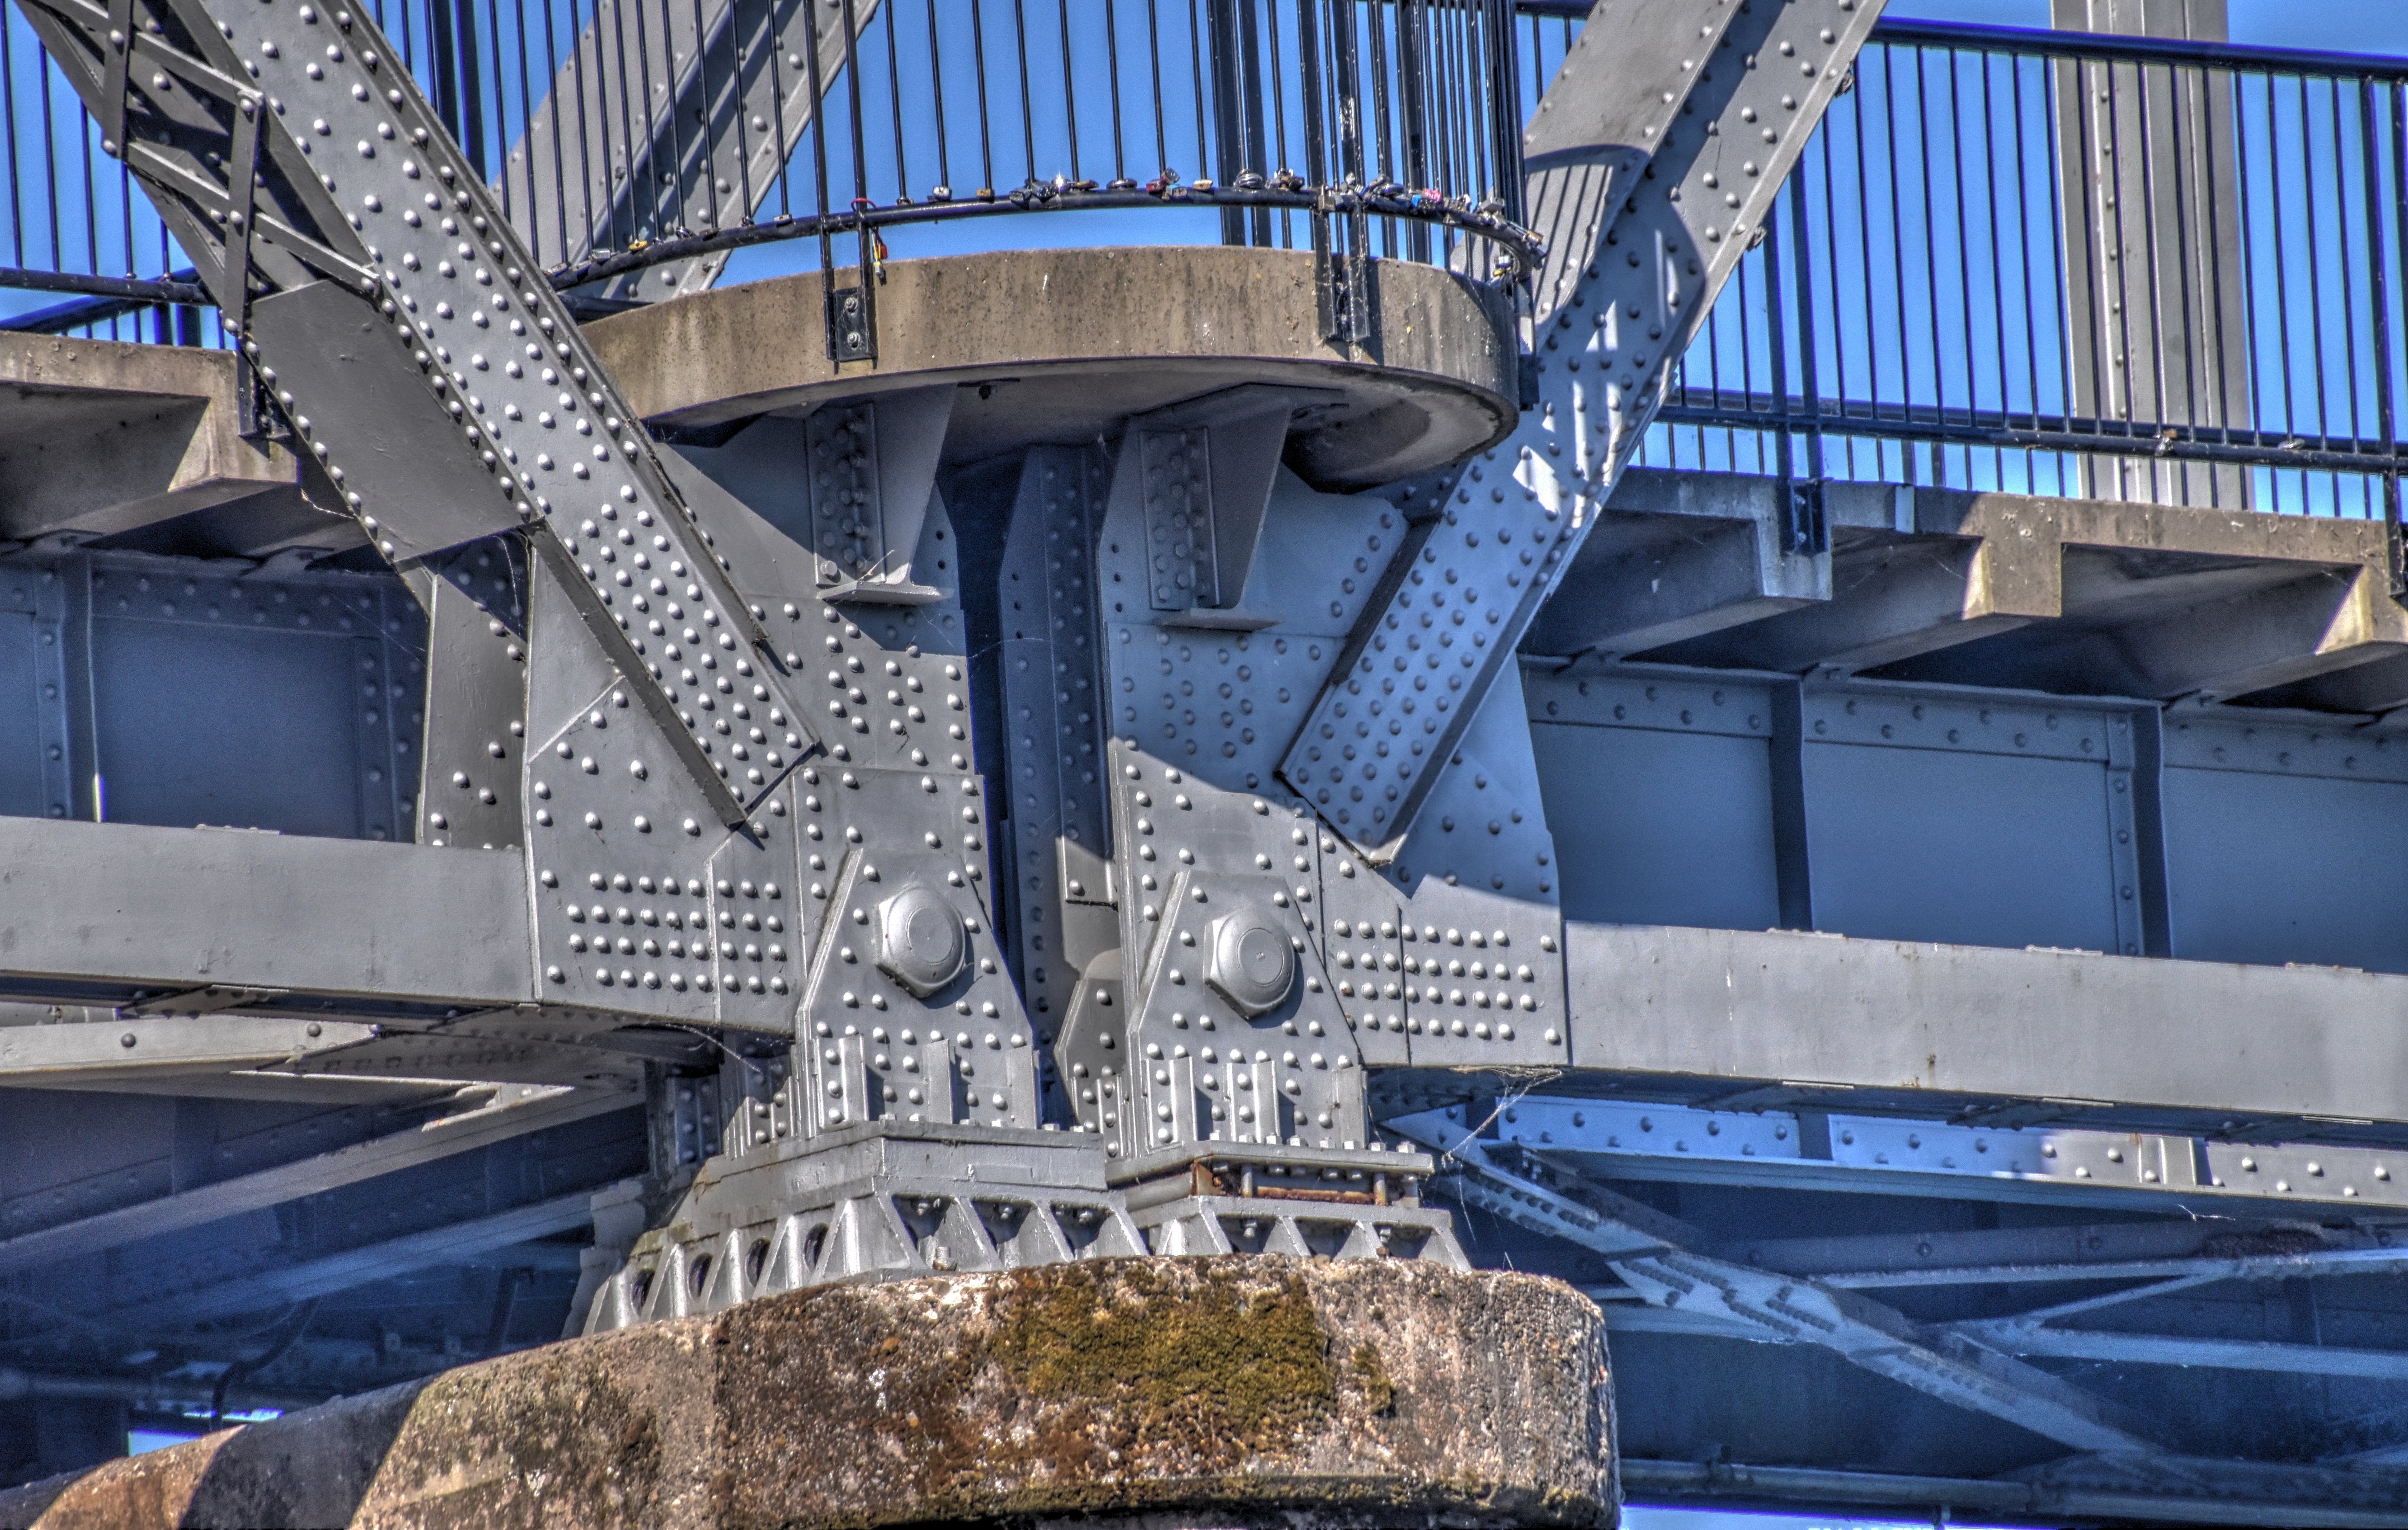
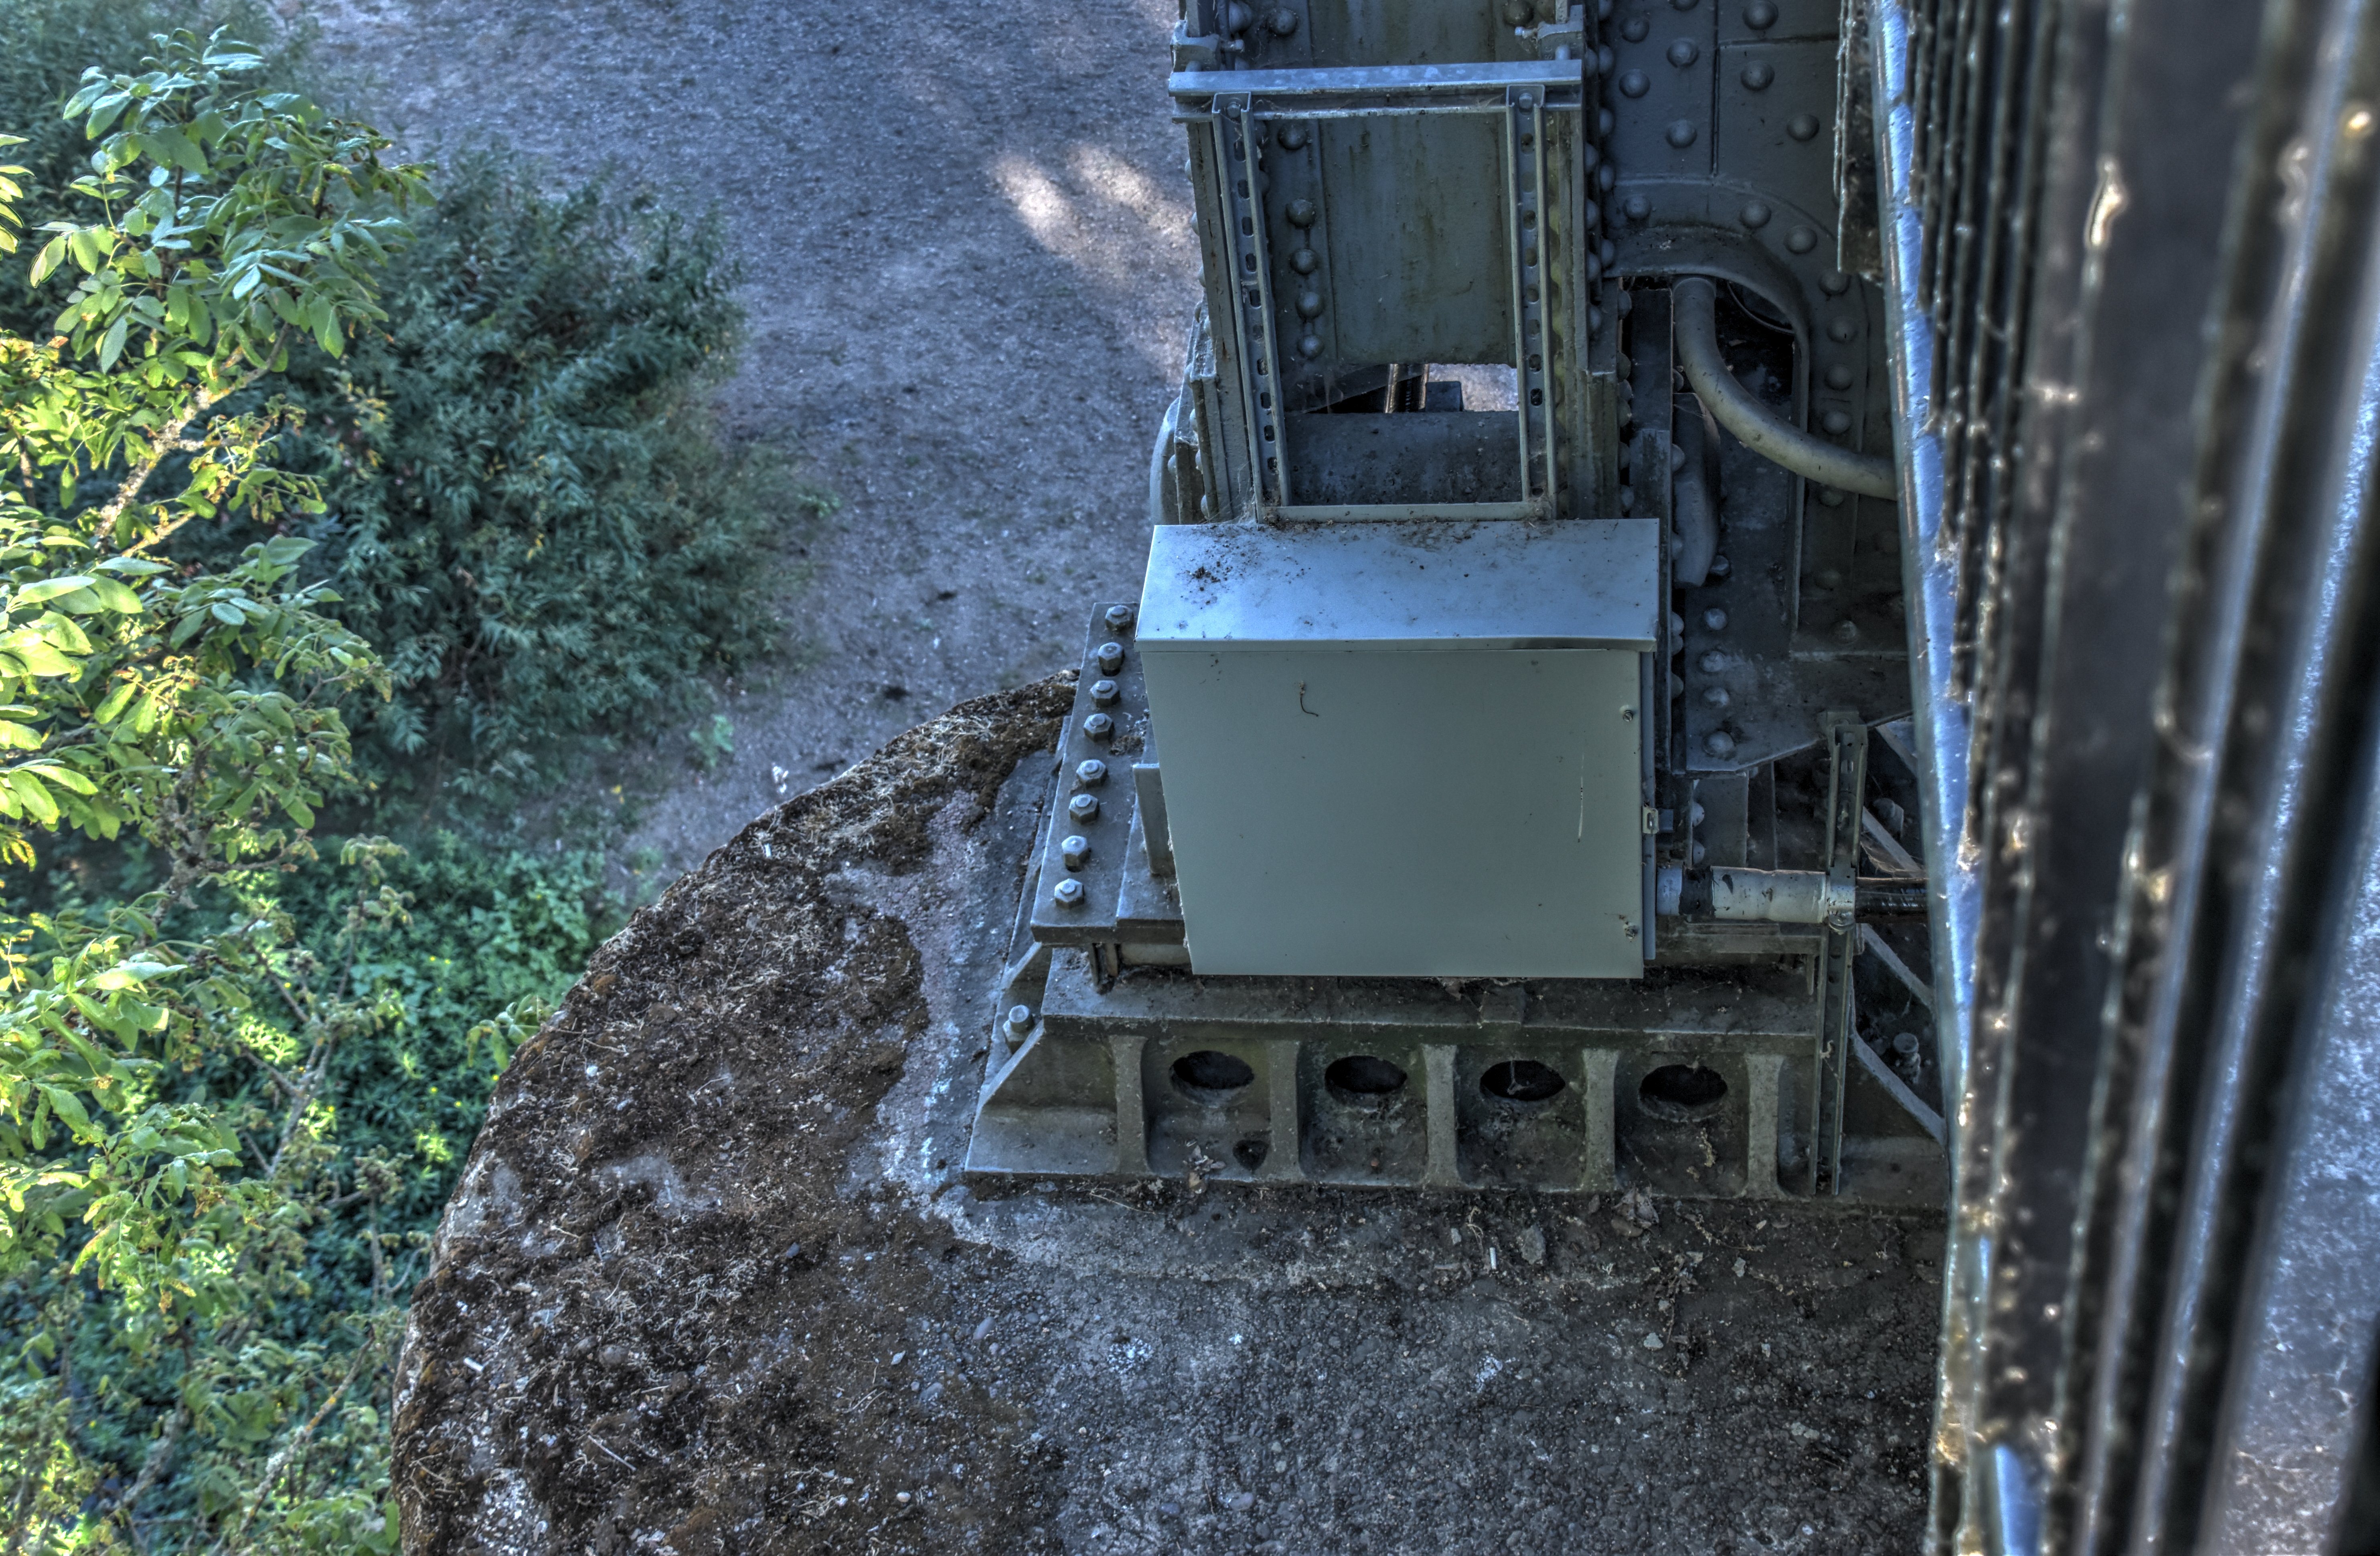
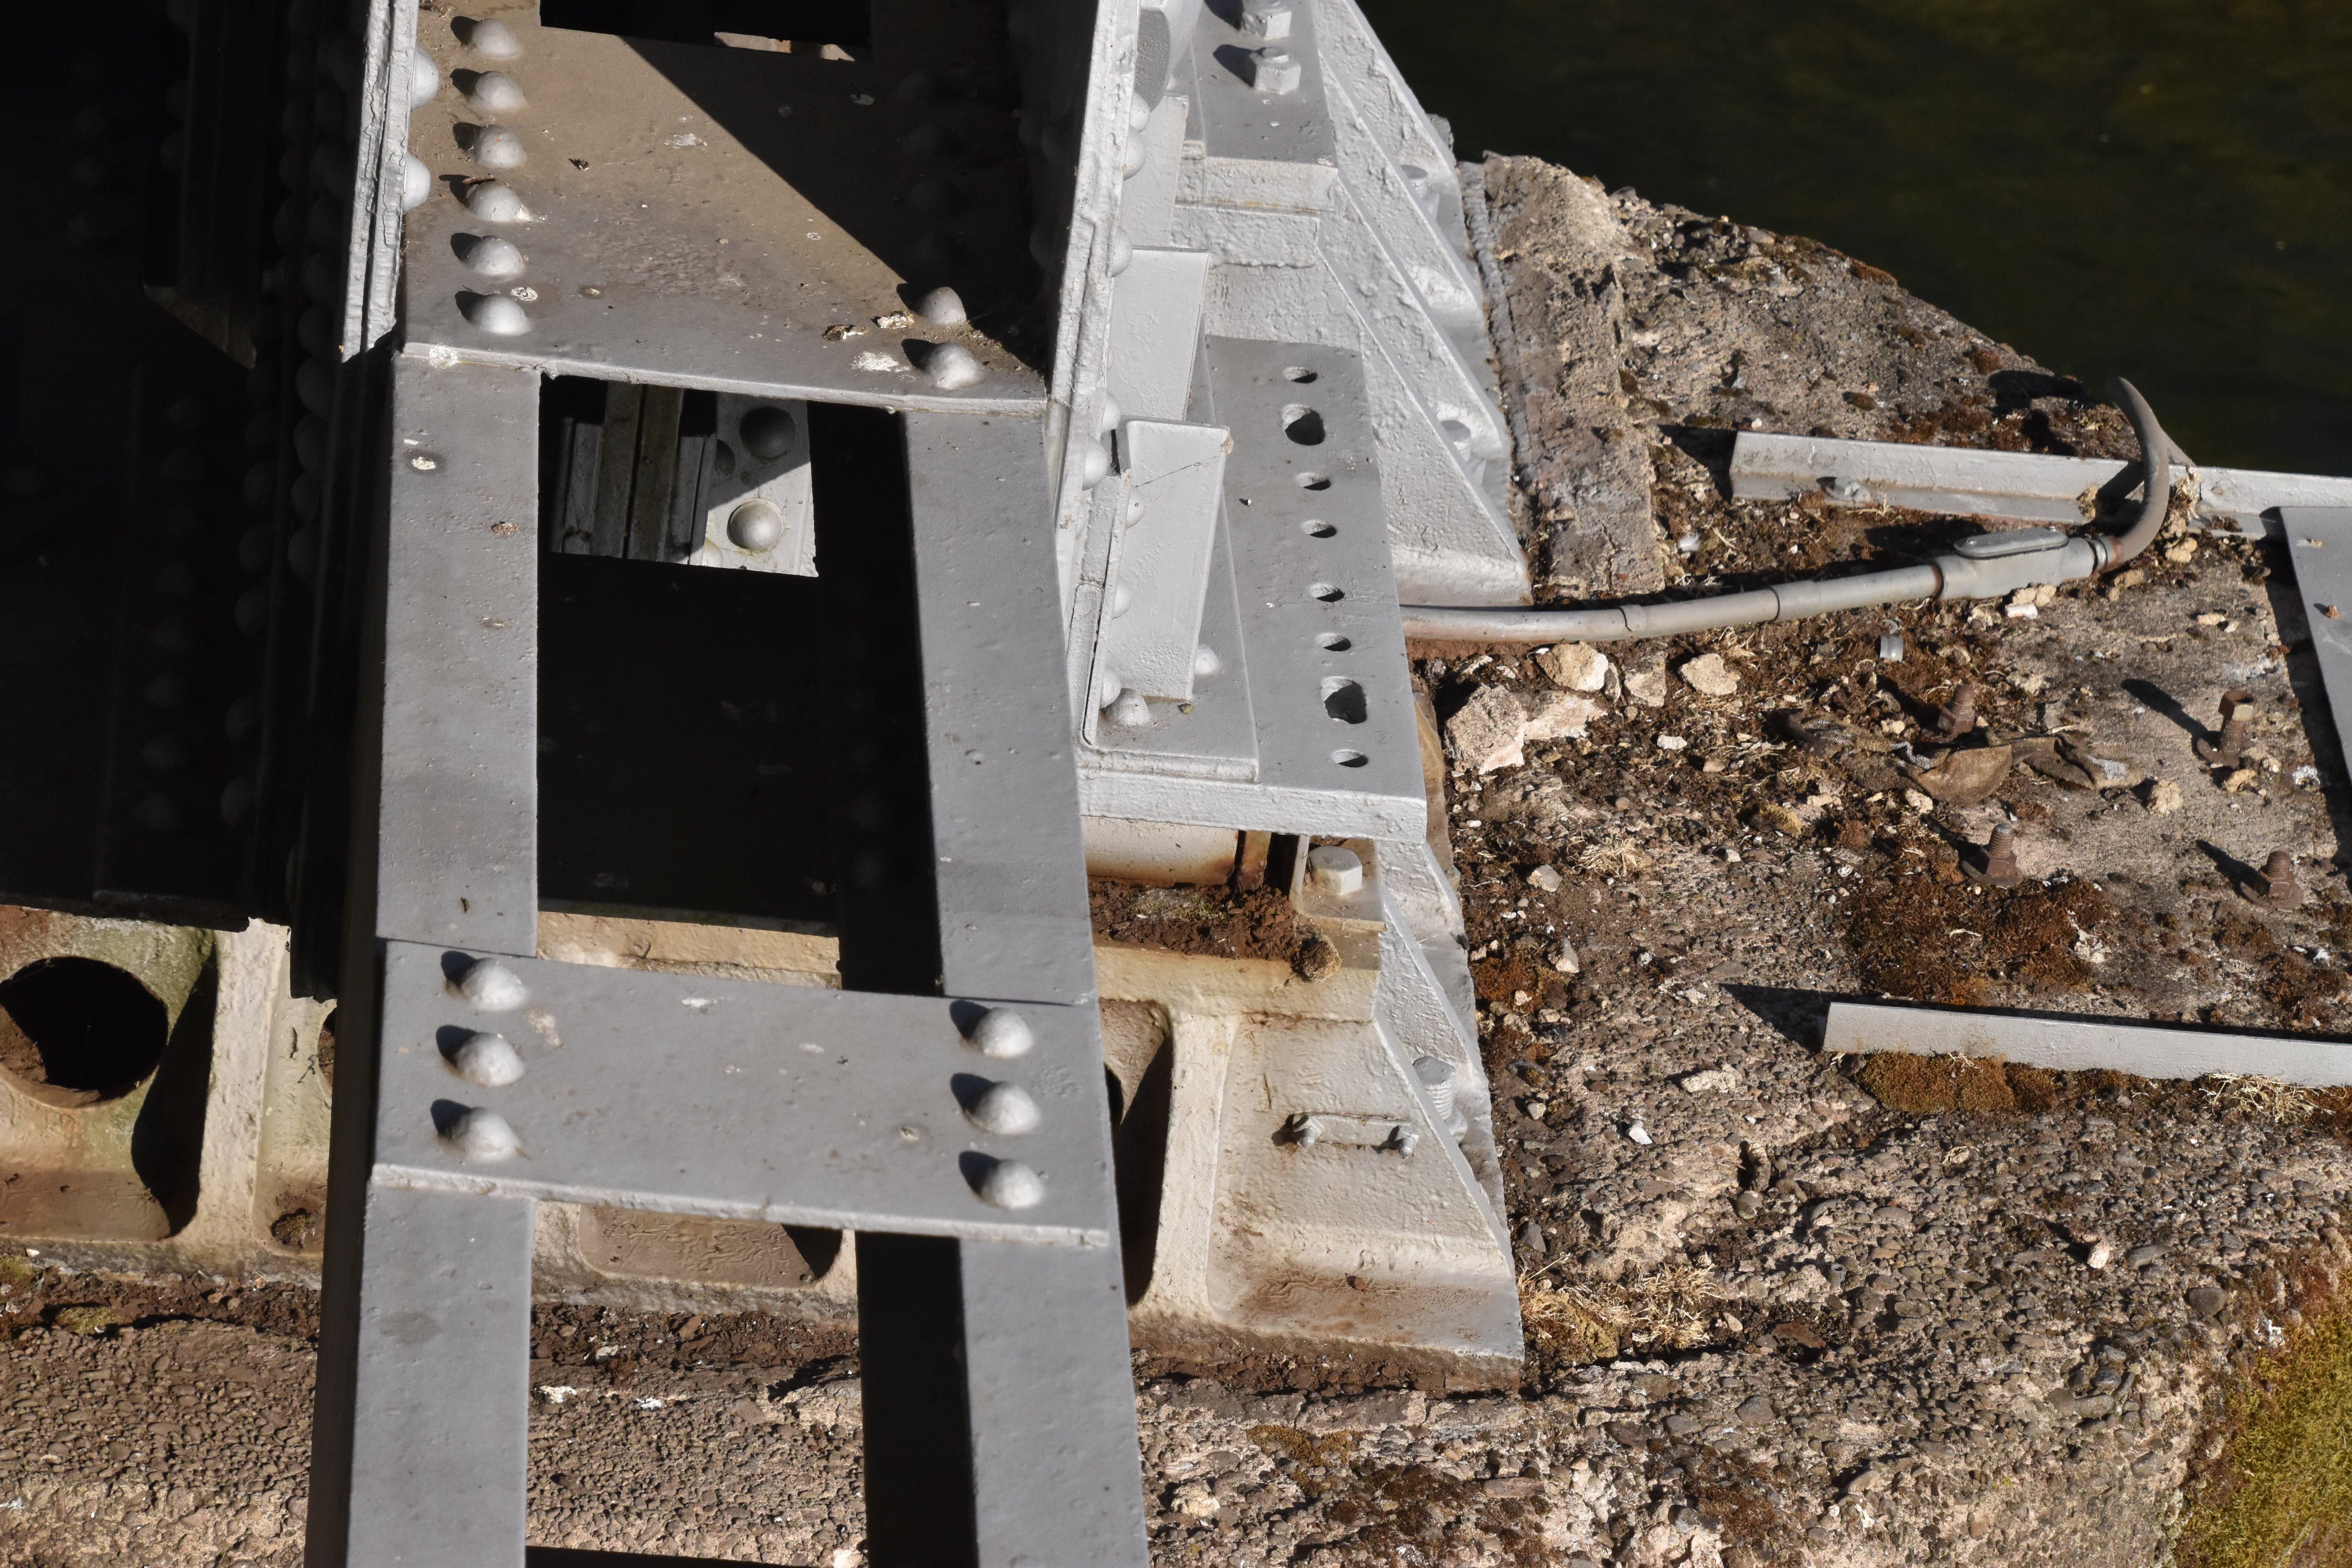
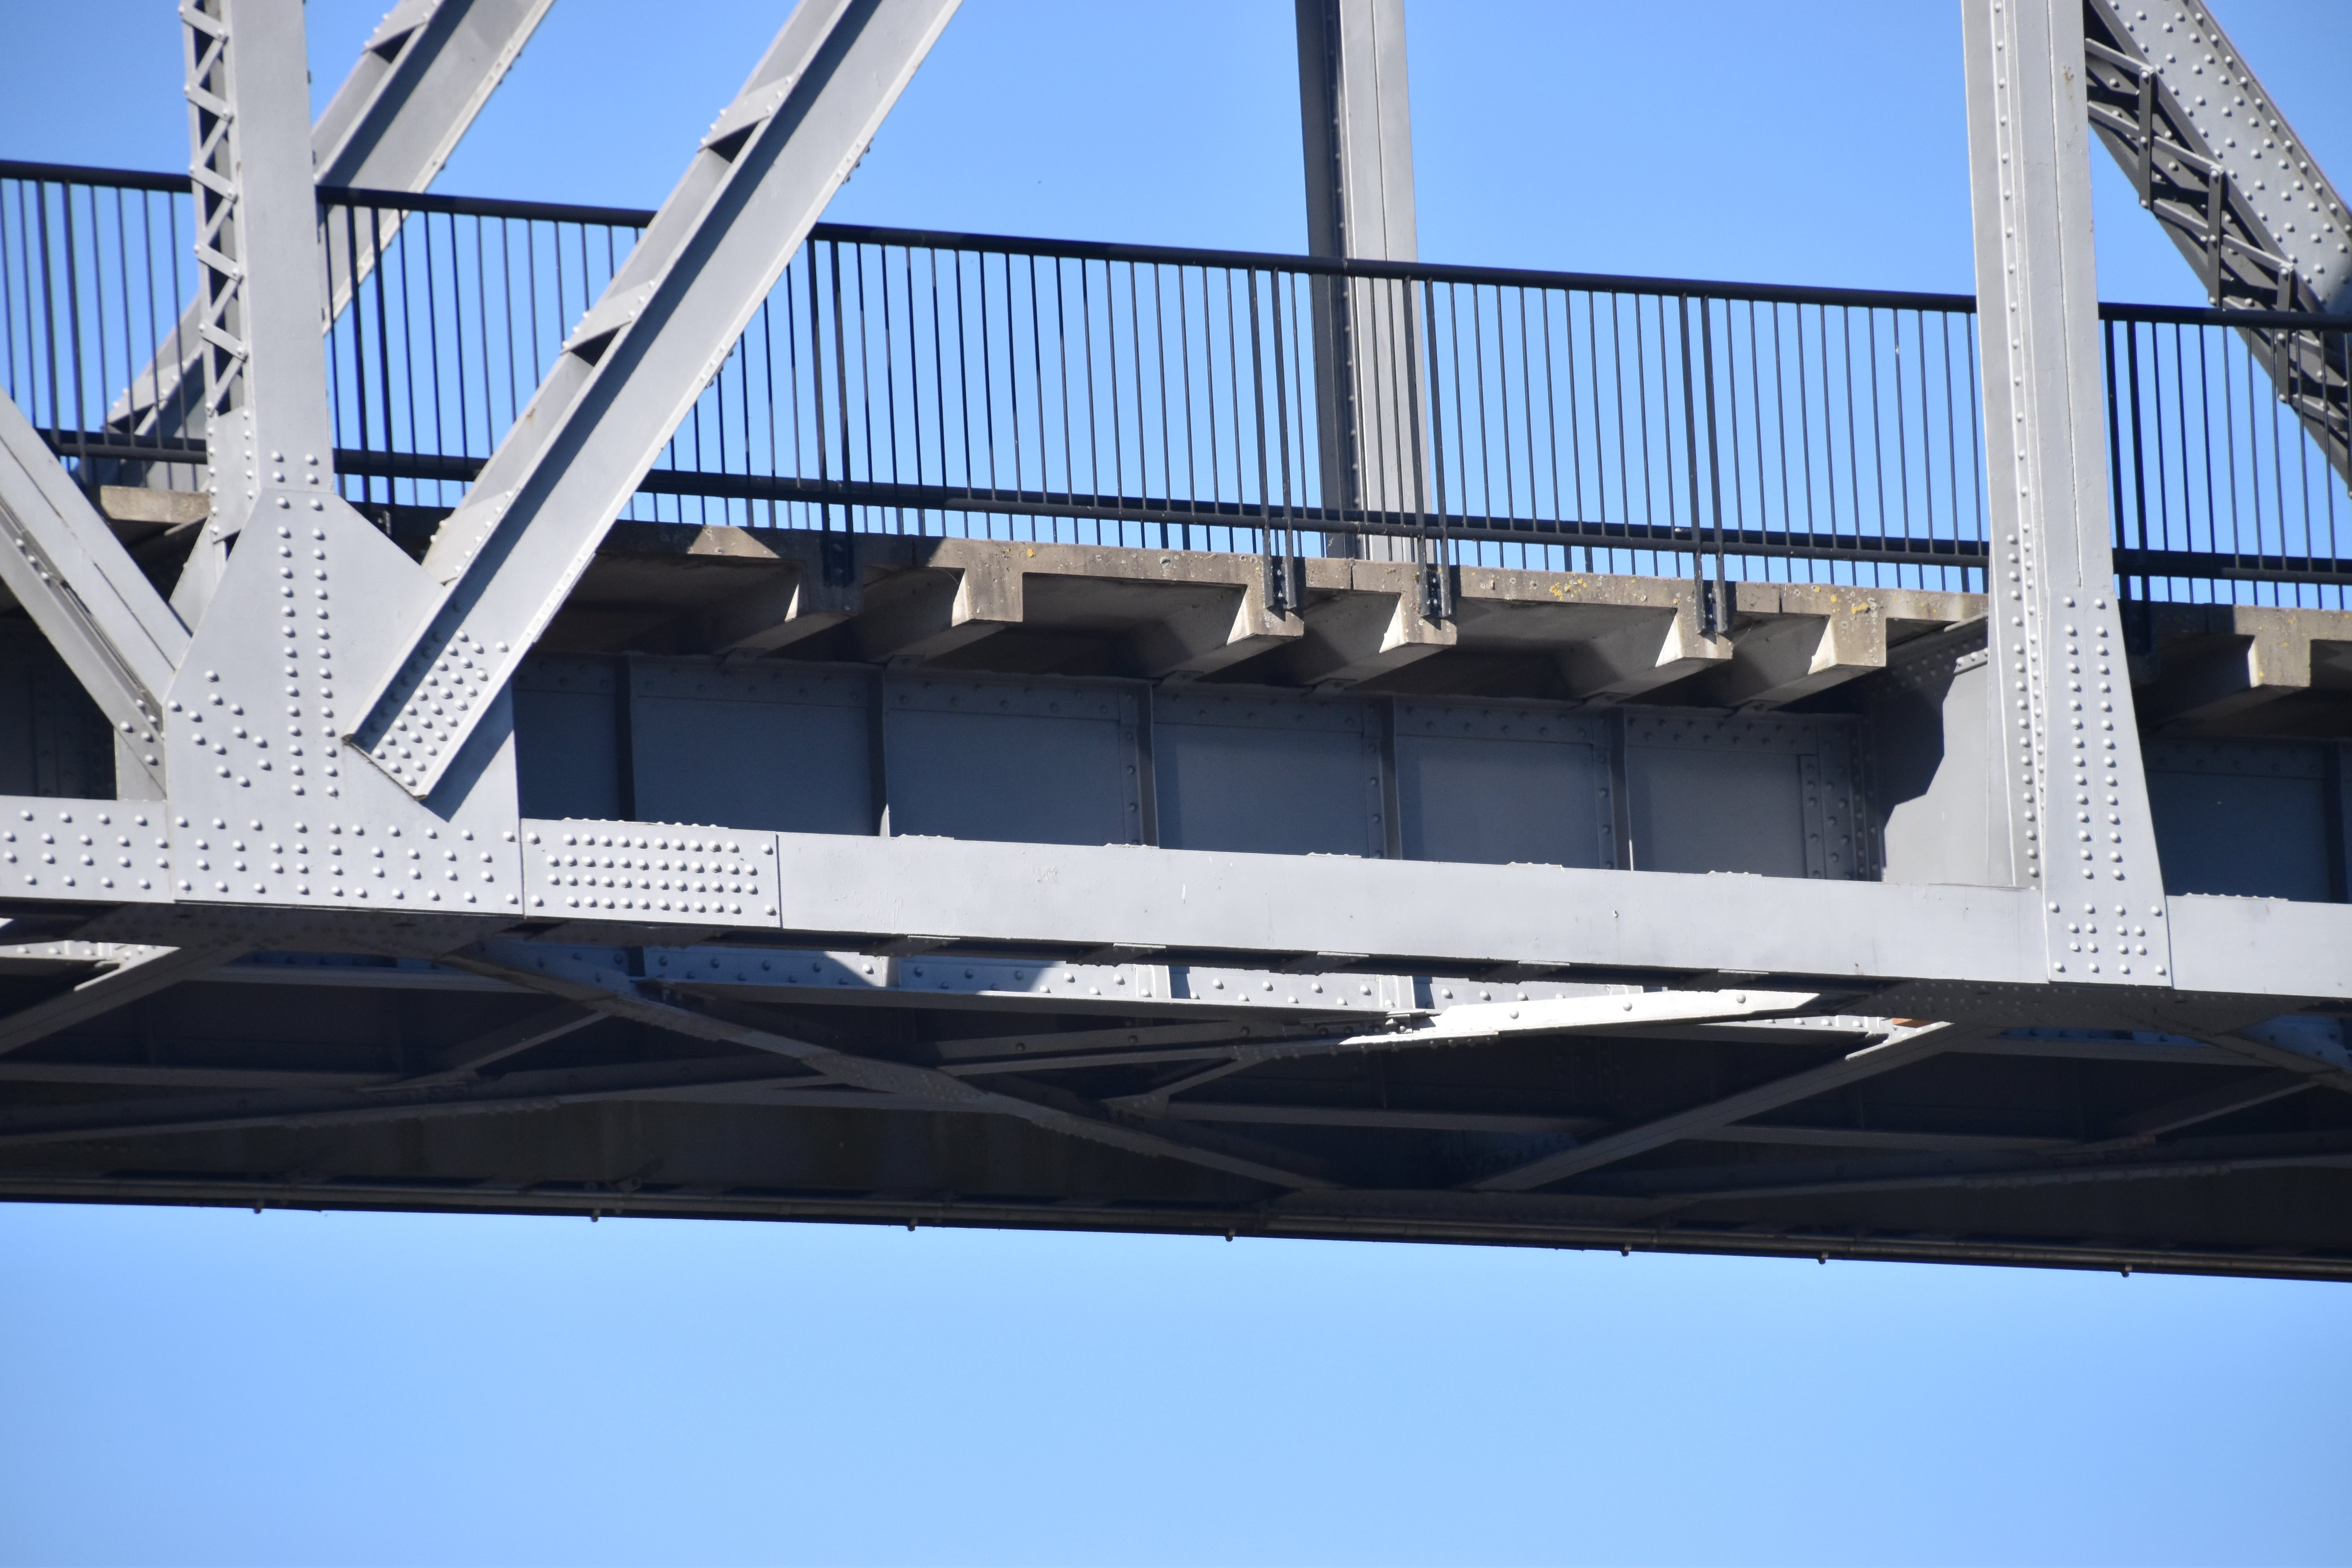
Overview of bottom chord connection, bearing, and mechanical details at the end of the lift span.
![]()


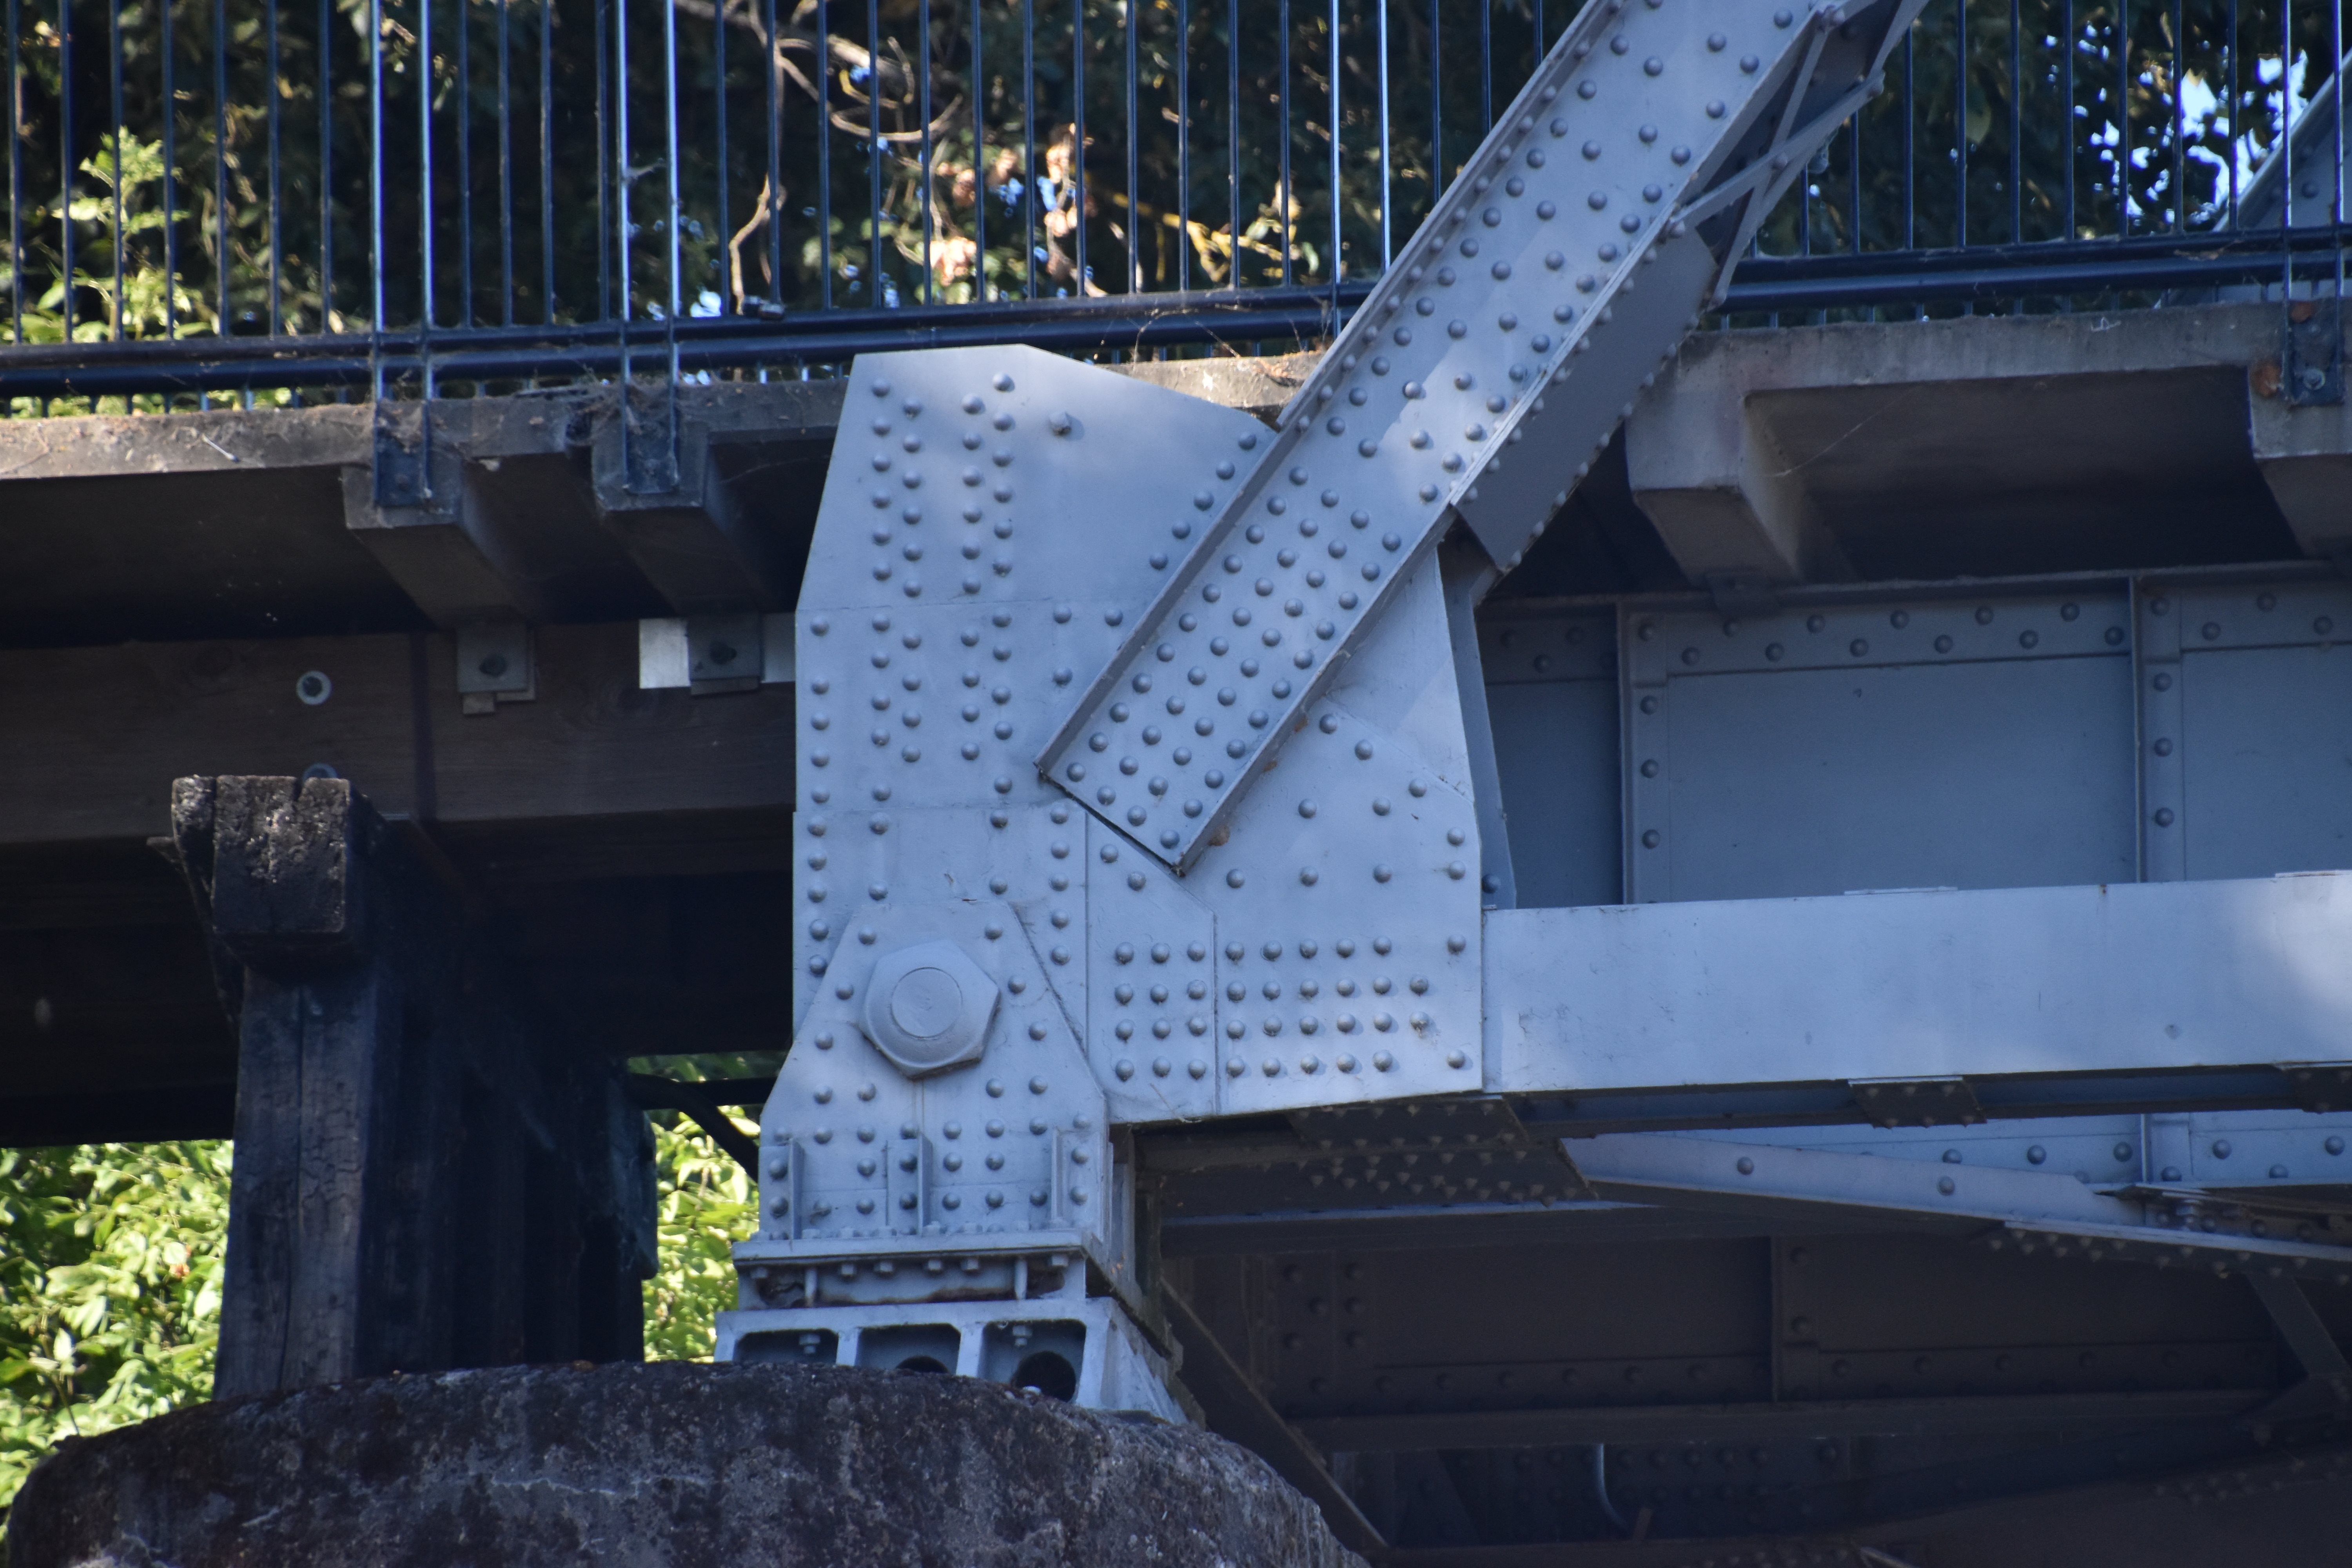
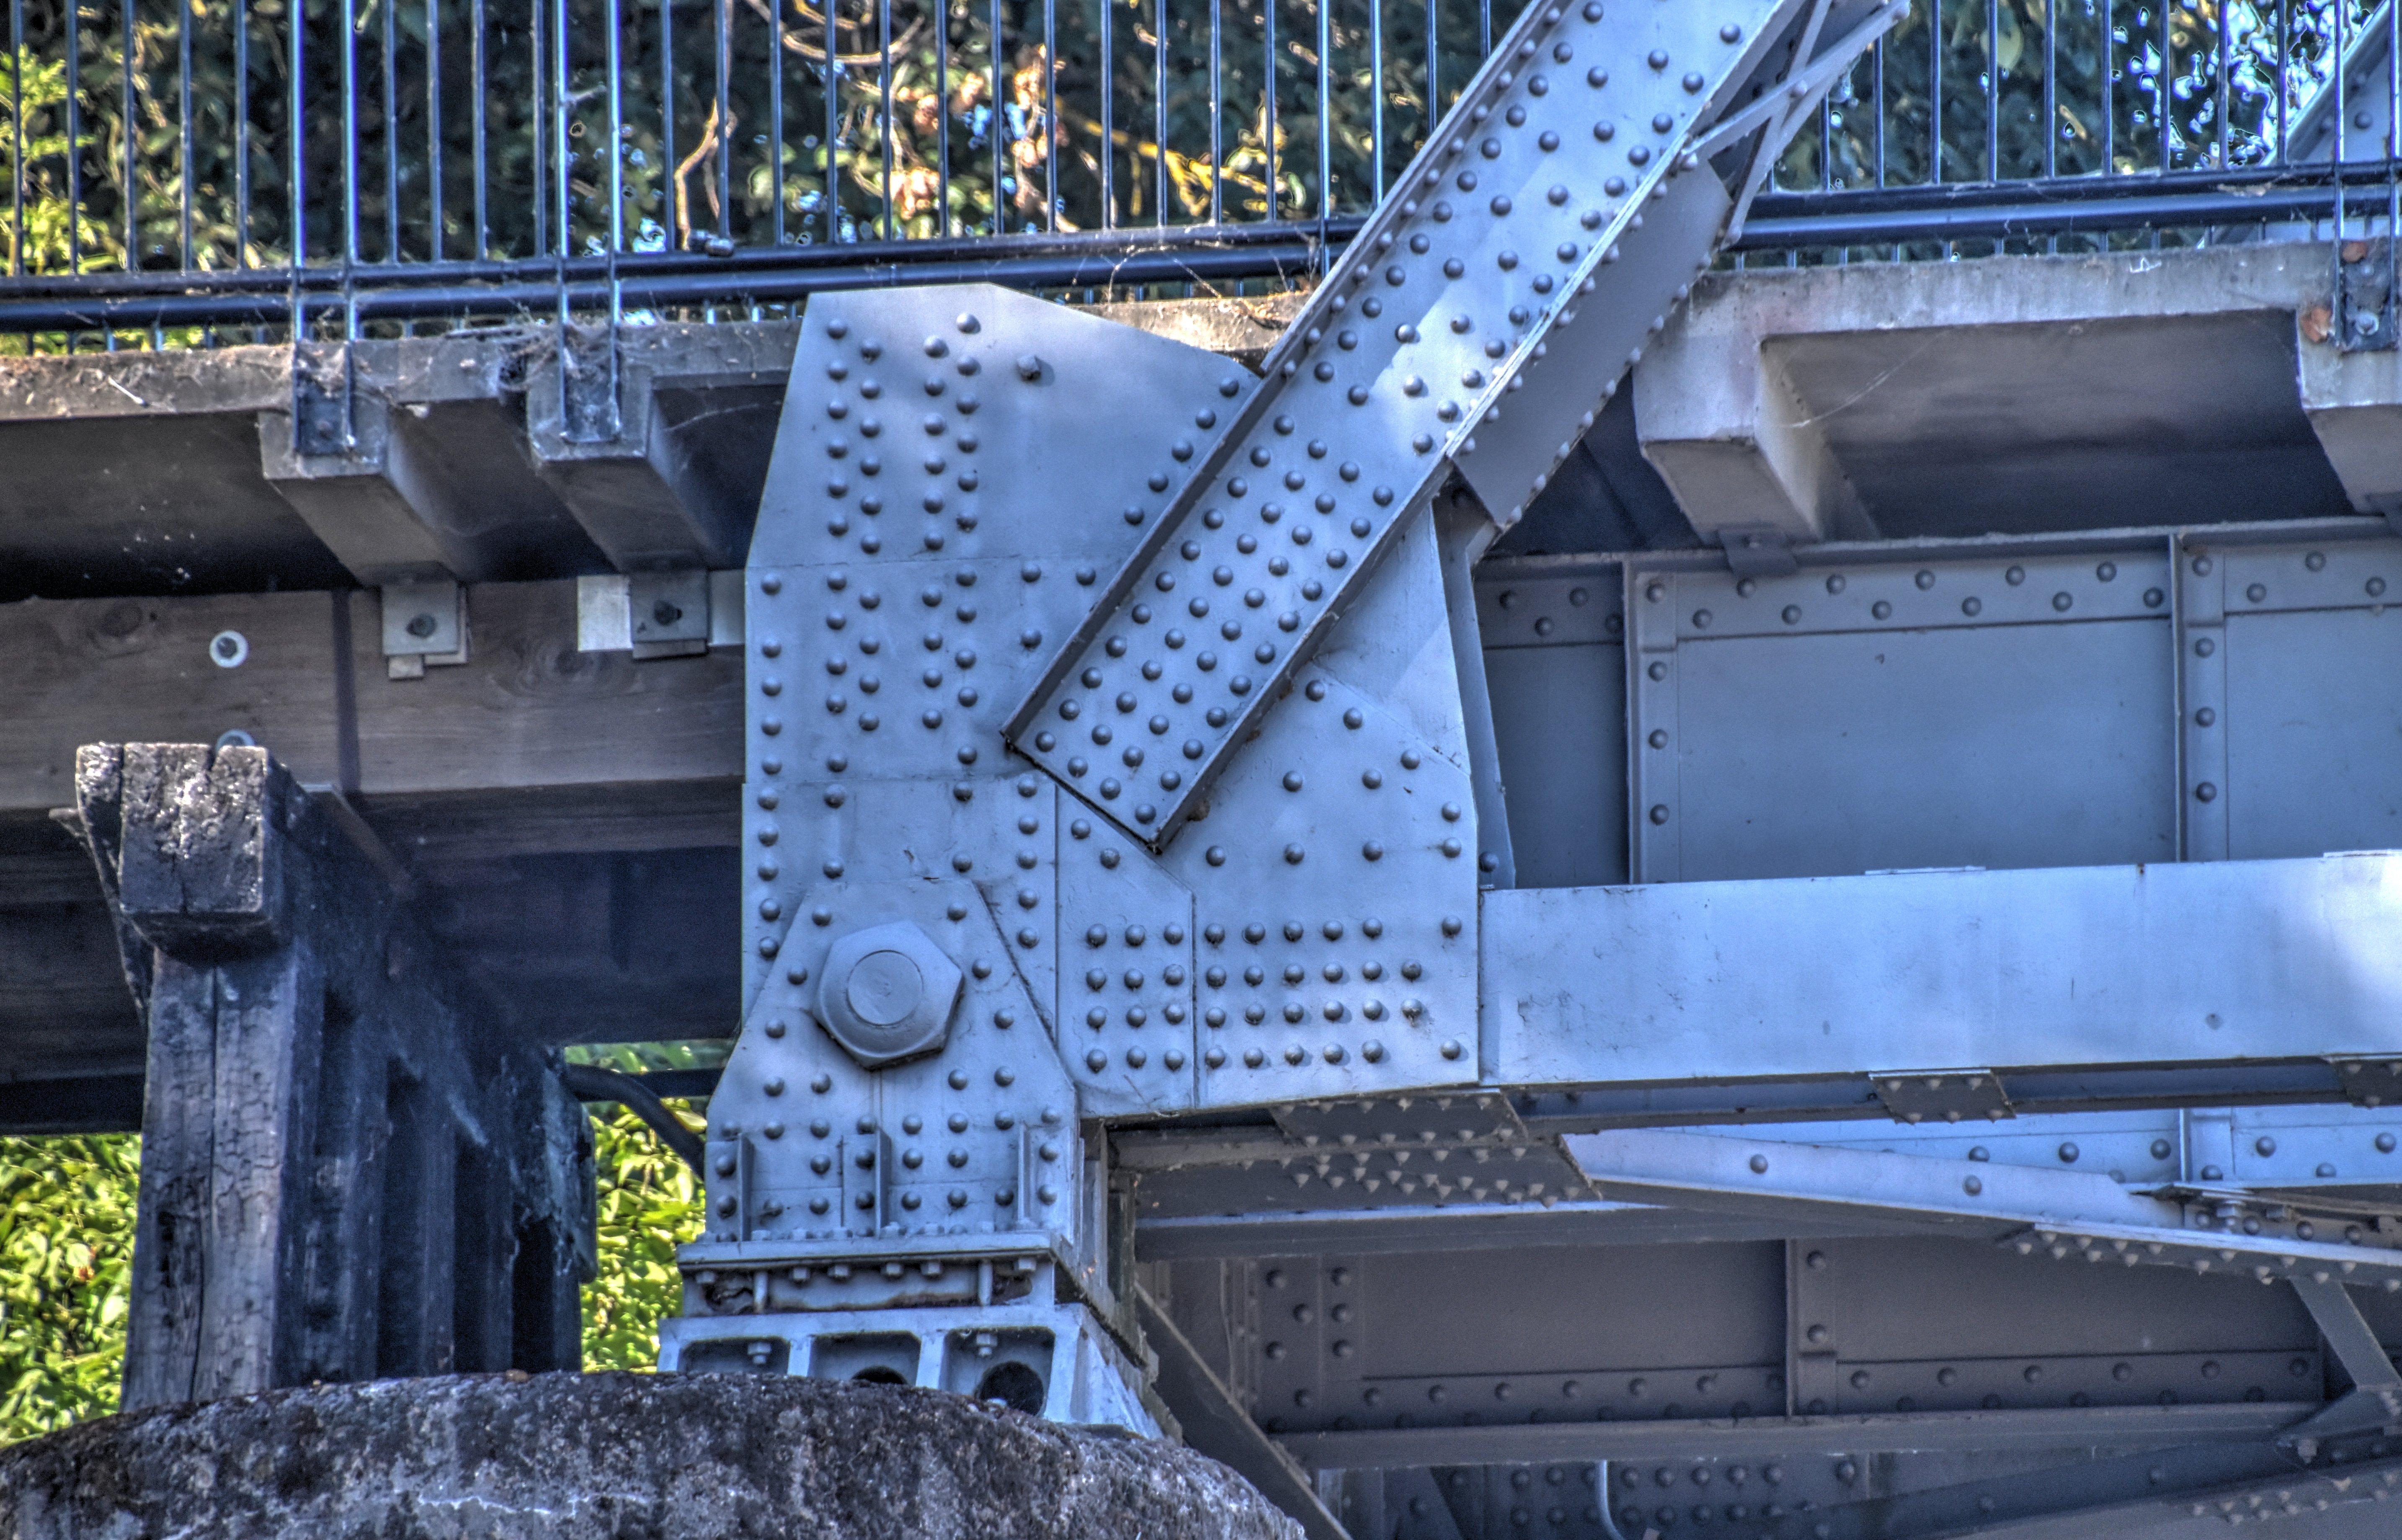
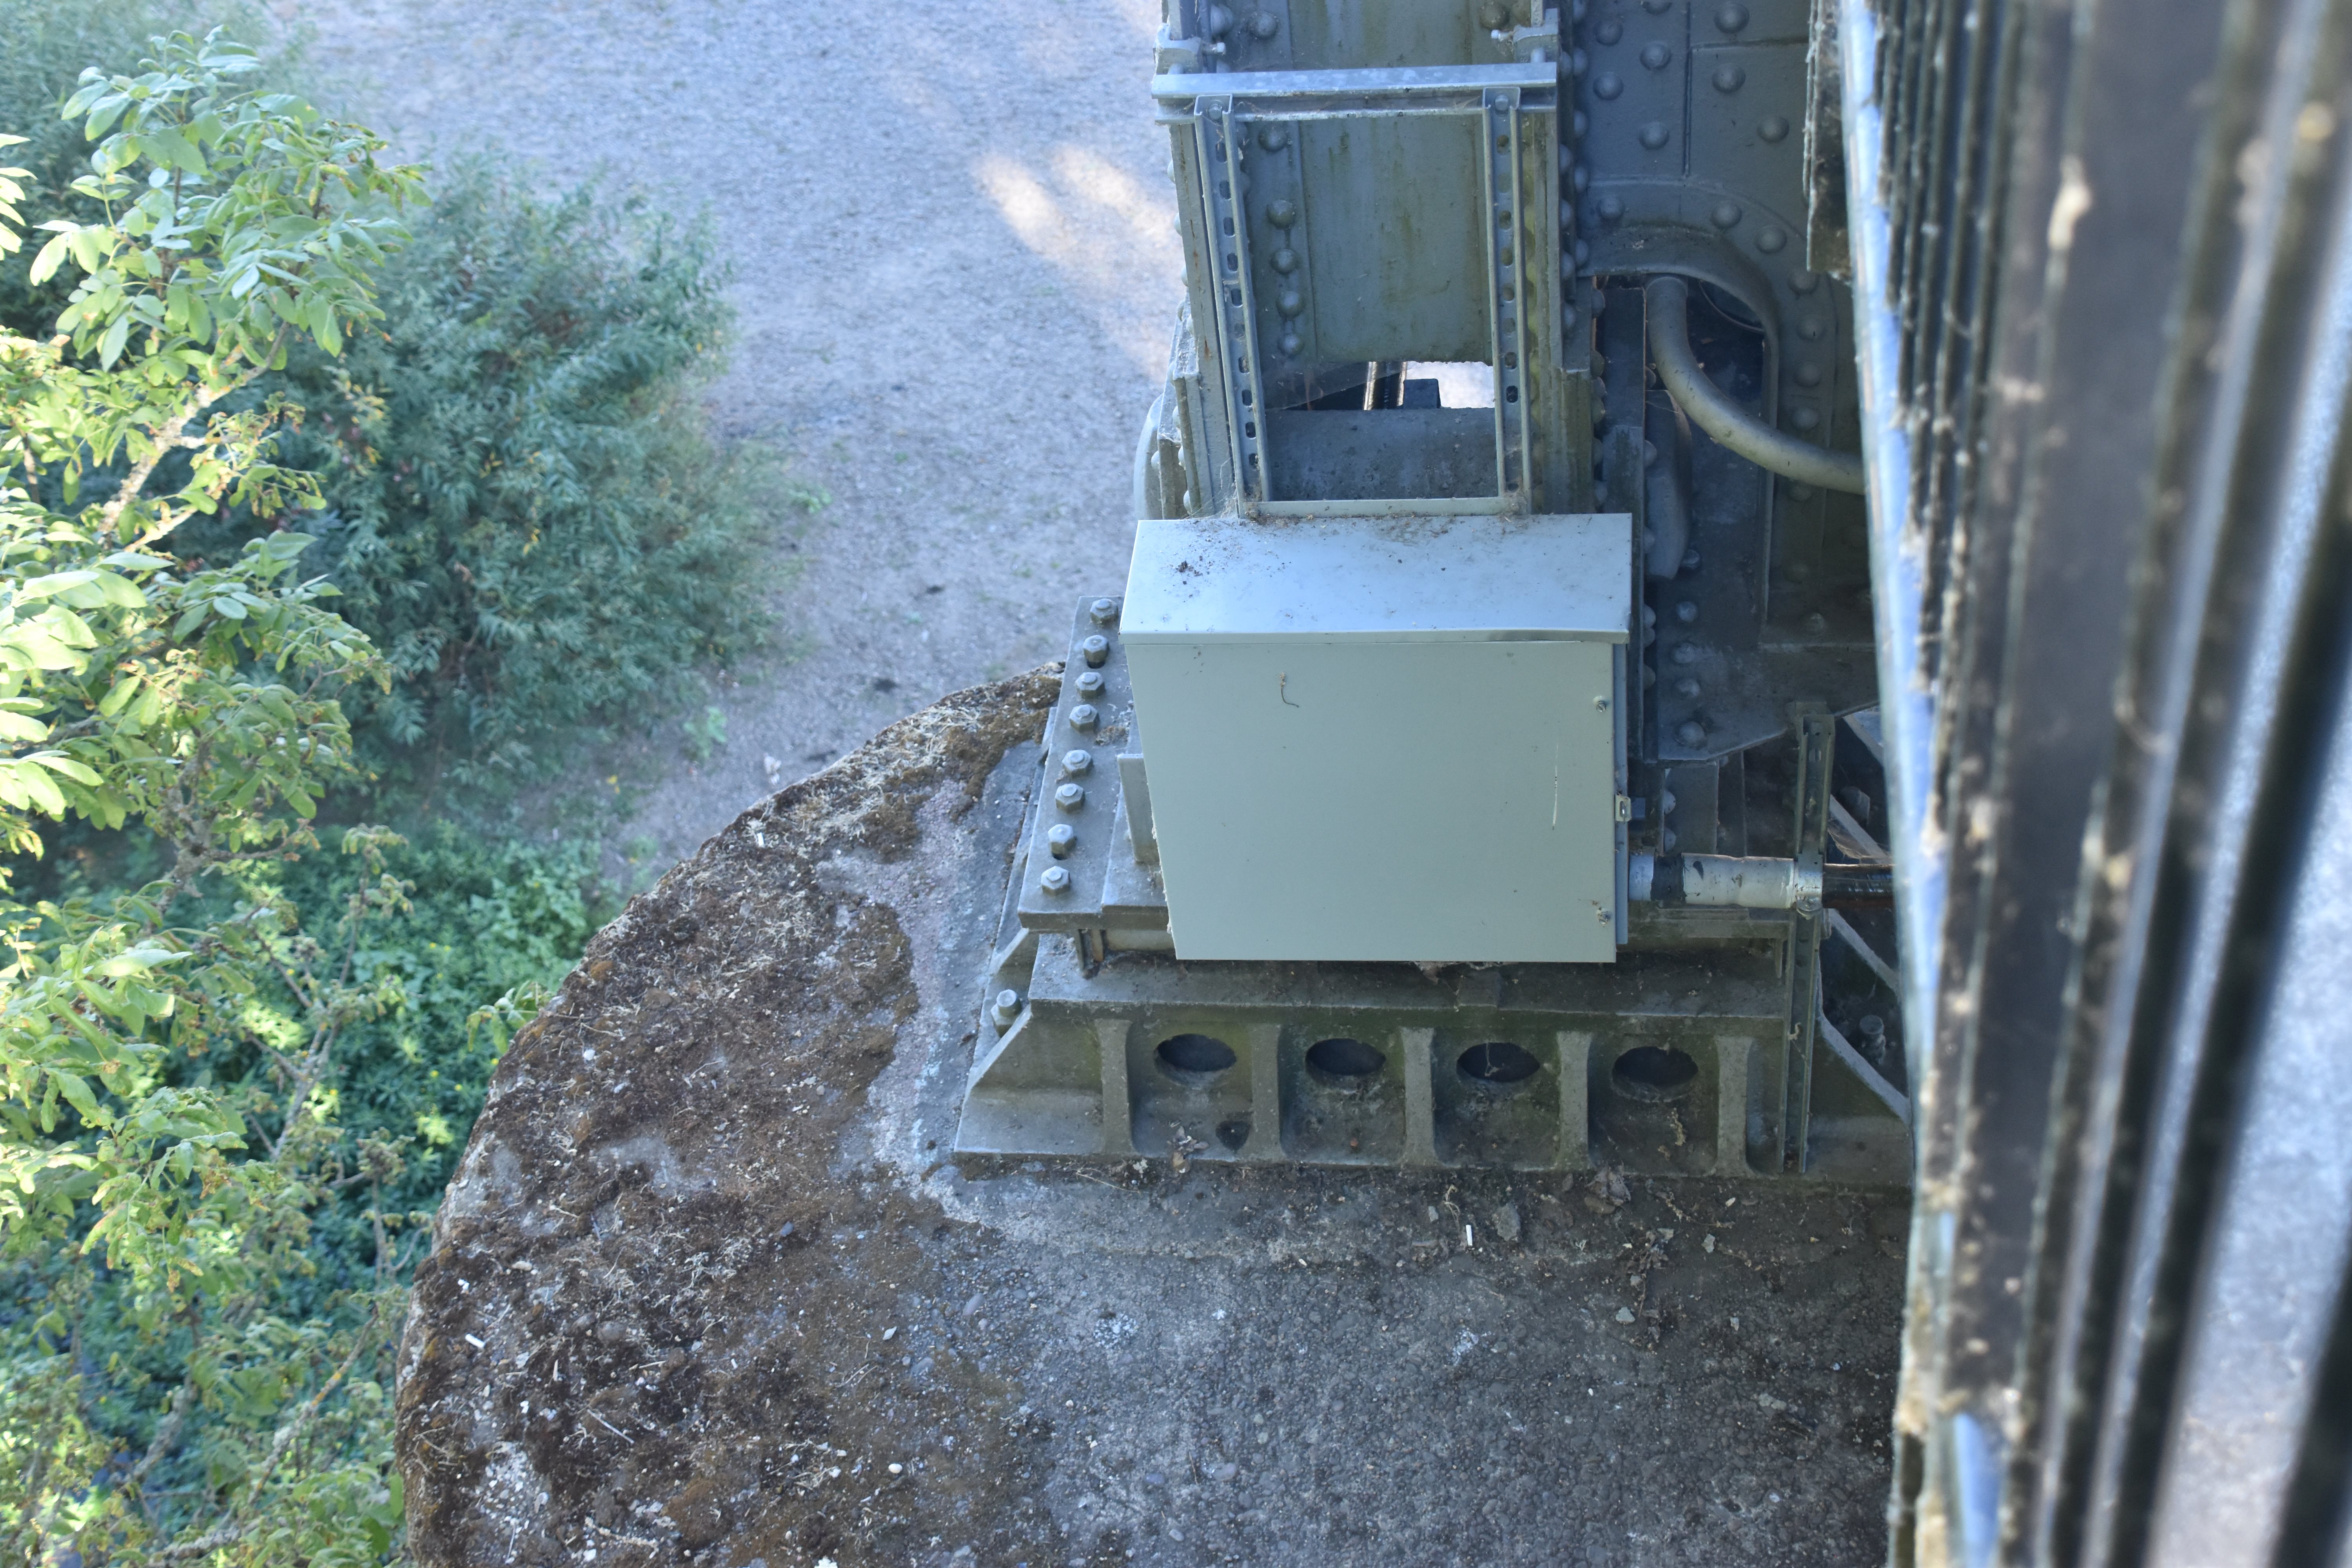
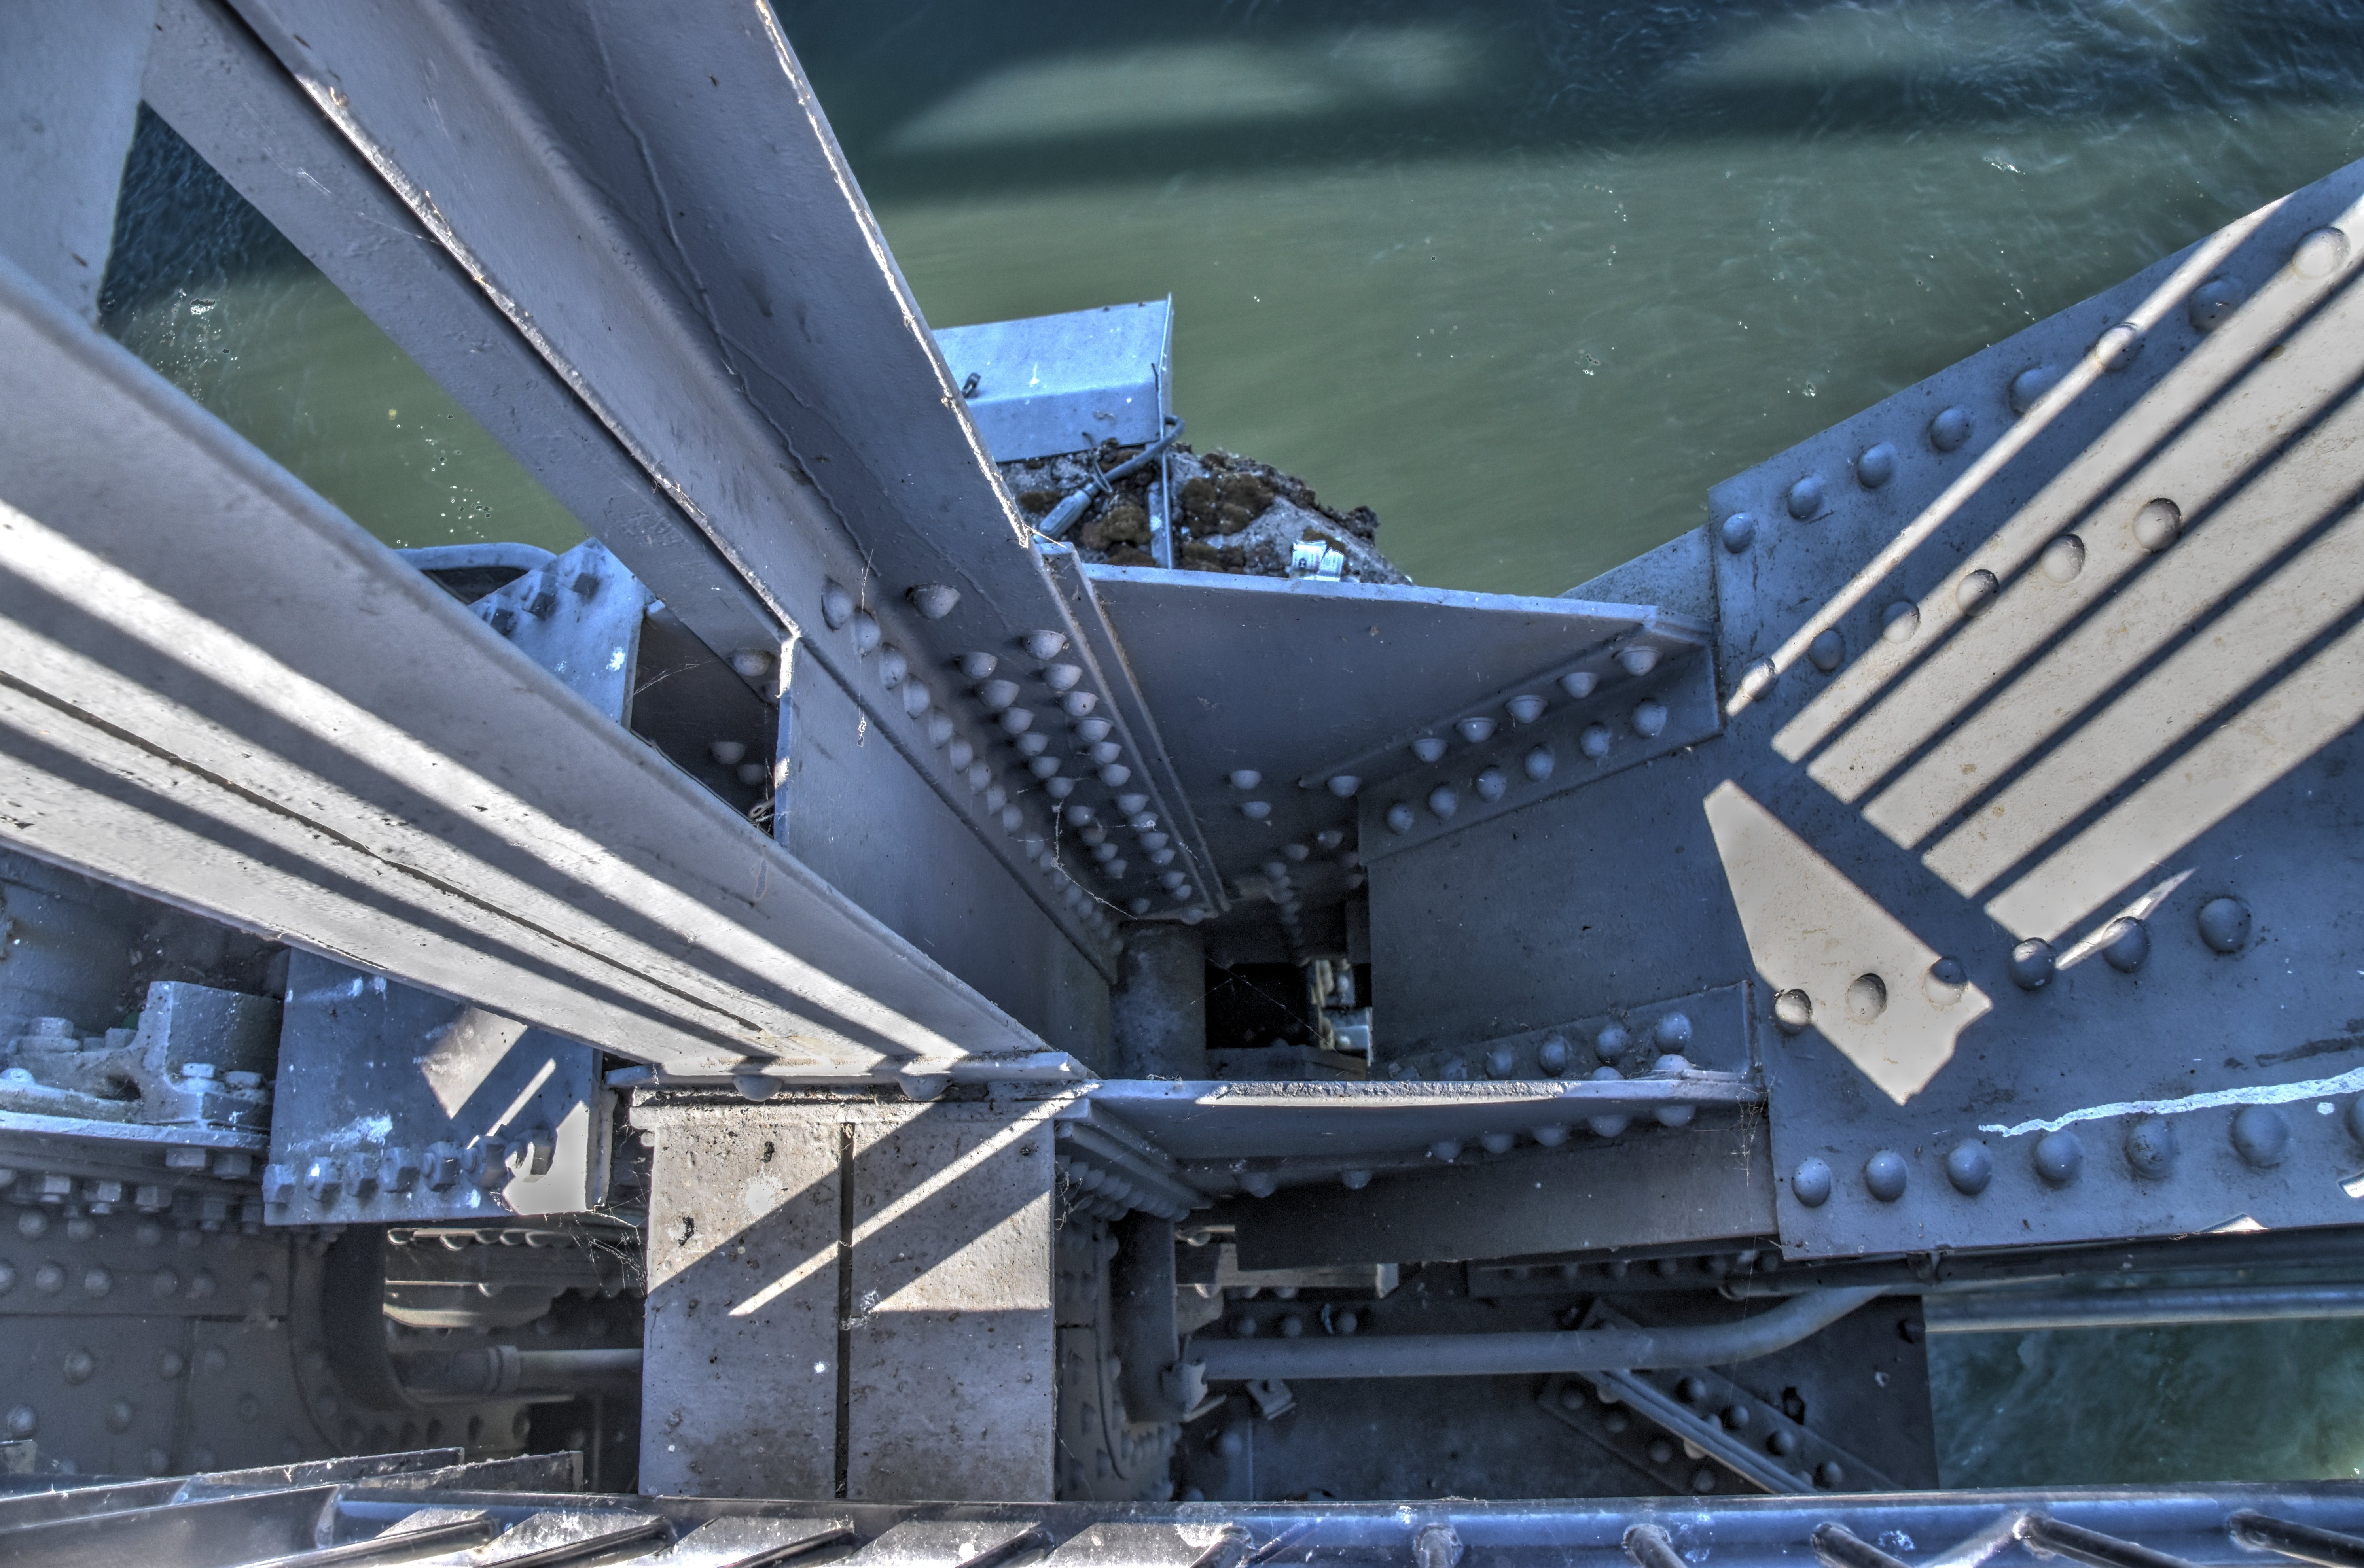
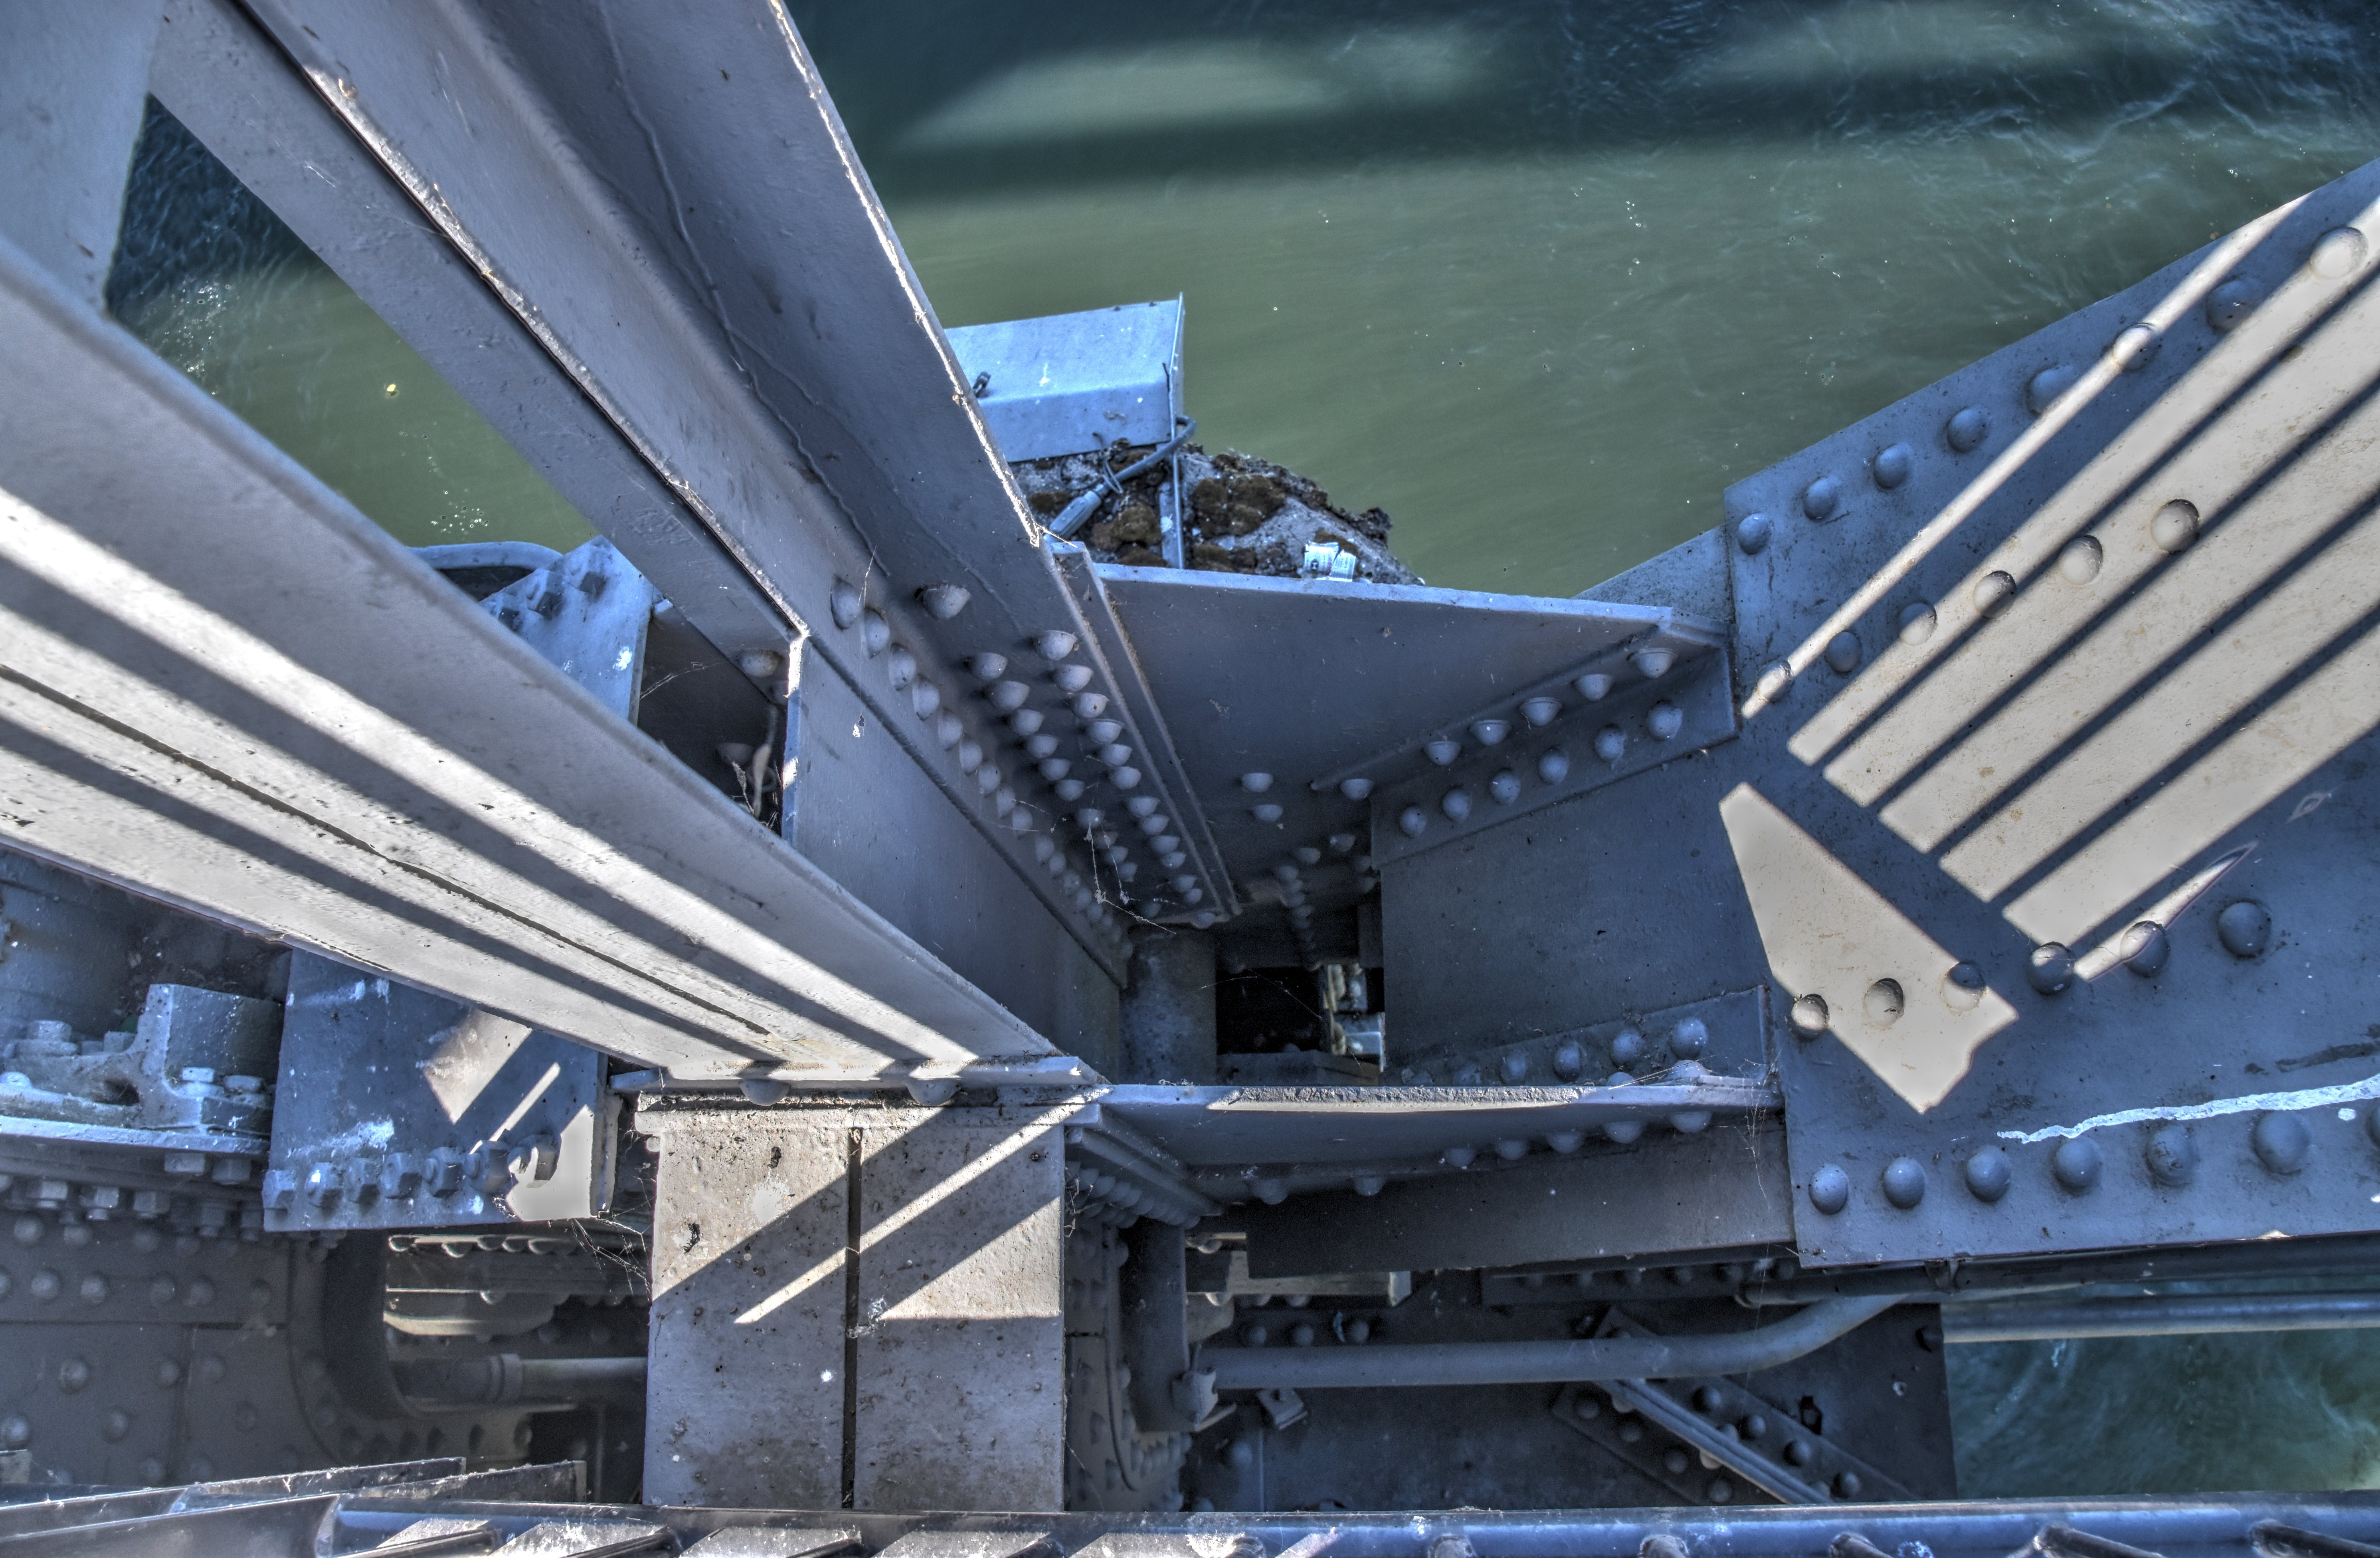
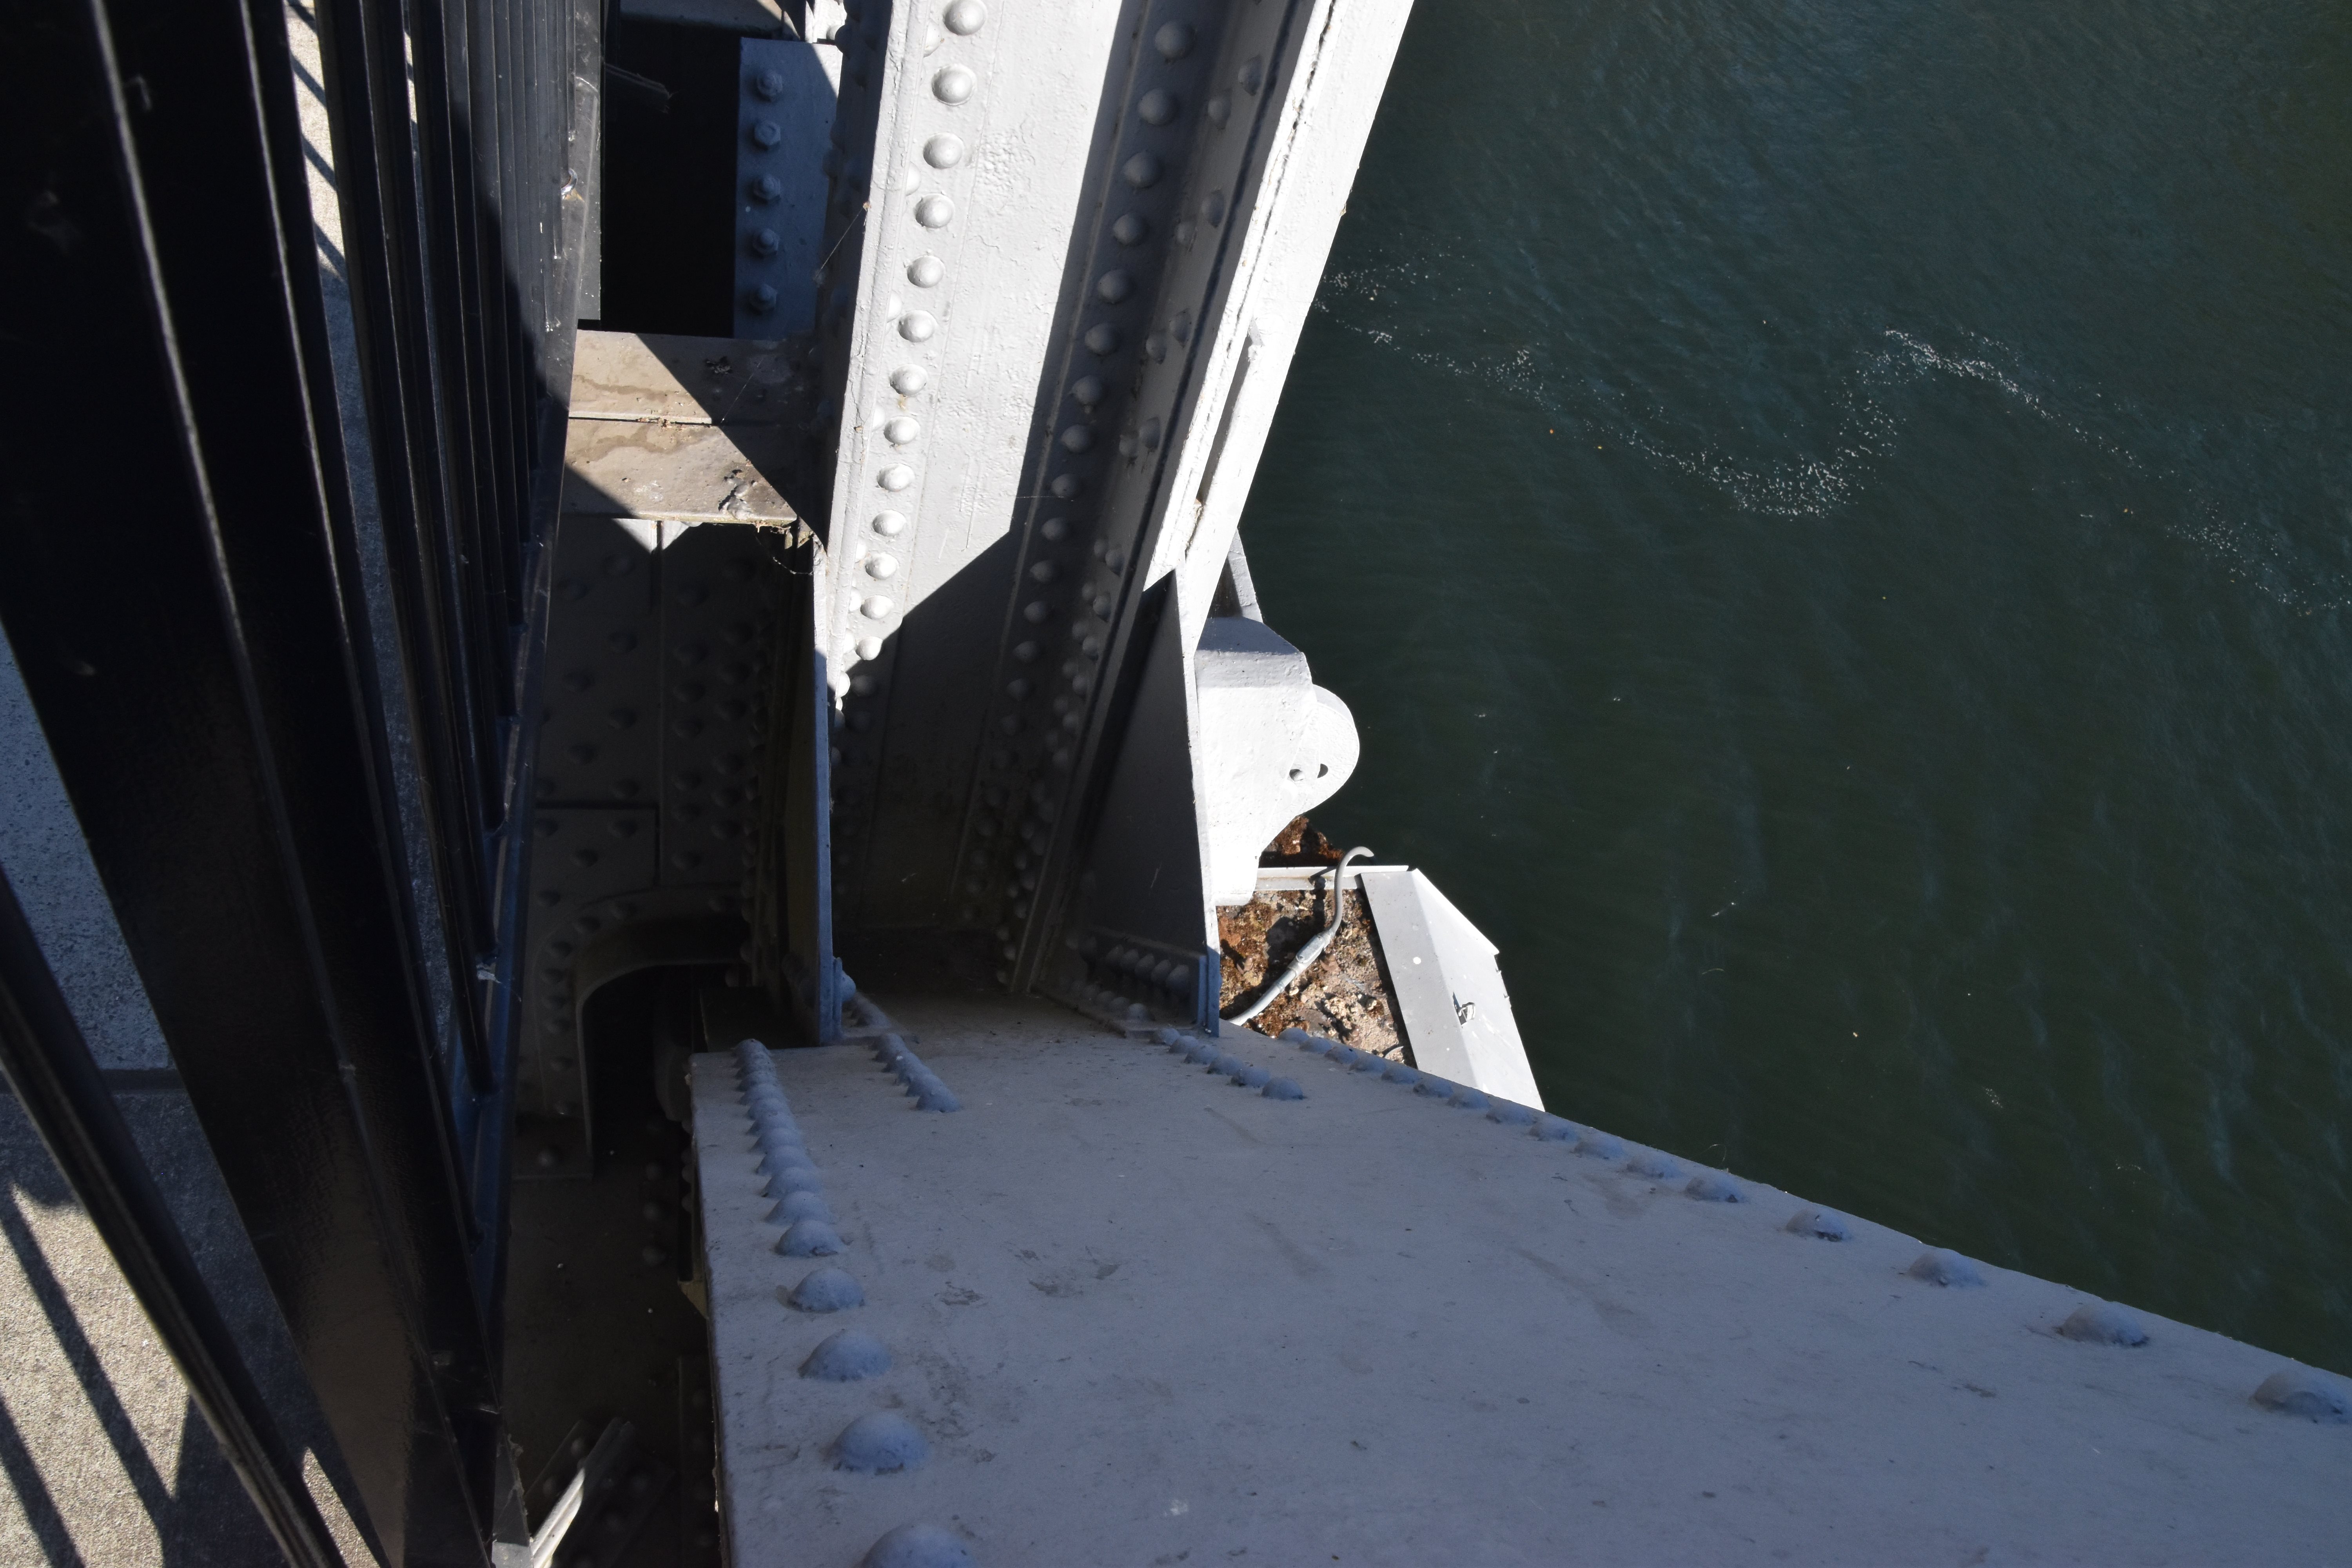
Detail views of the bottom chord connection, bearing, and mechanical details at the end of the lift span.
![]()


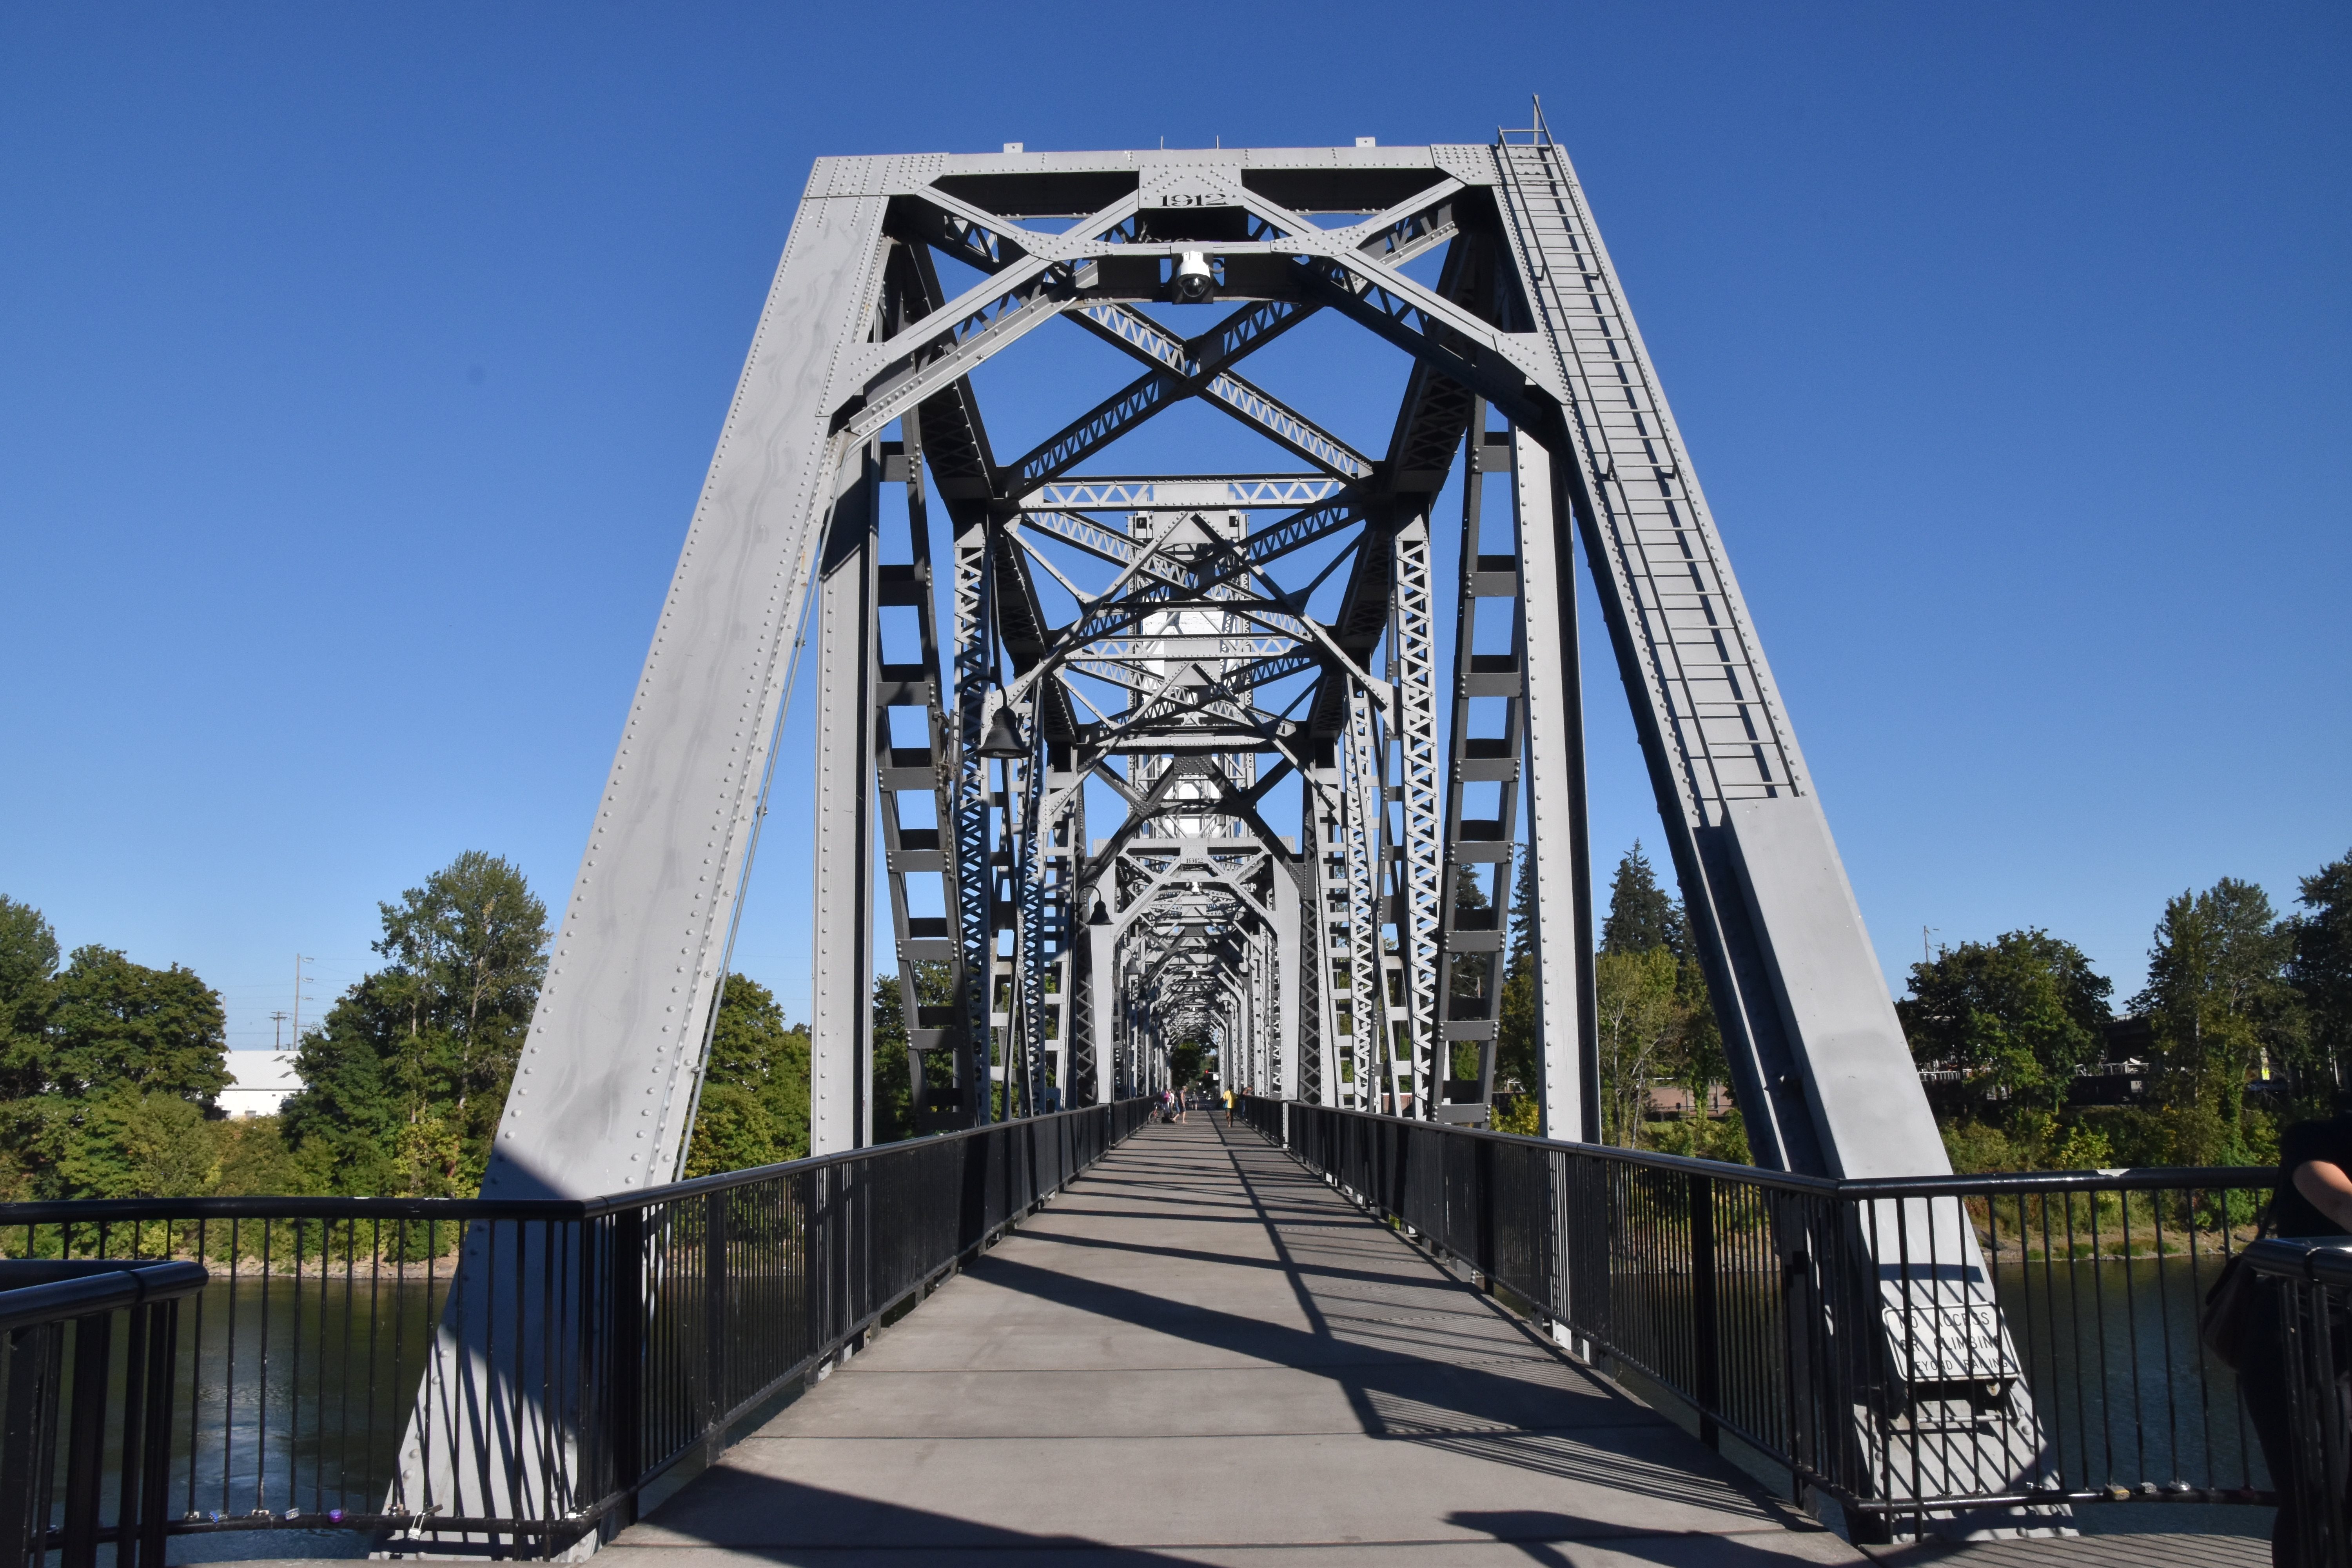
Portal views of truss spans facing east.
![]()


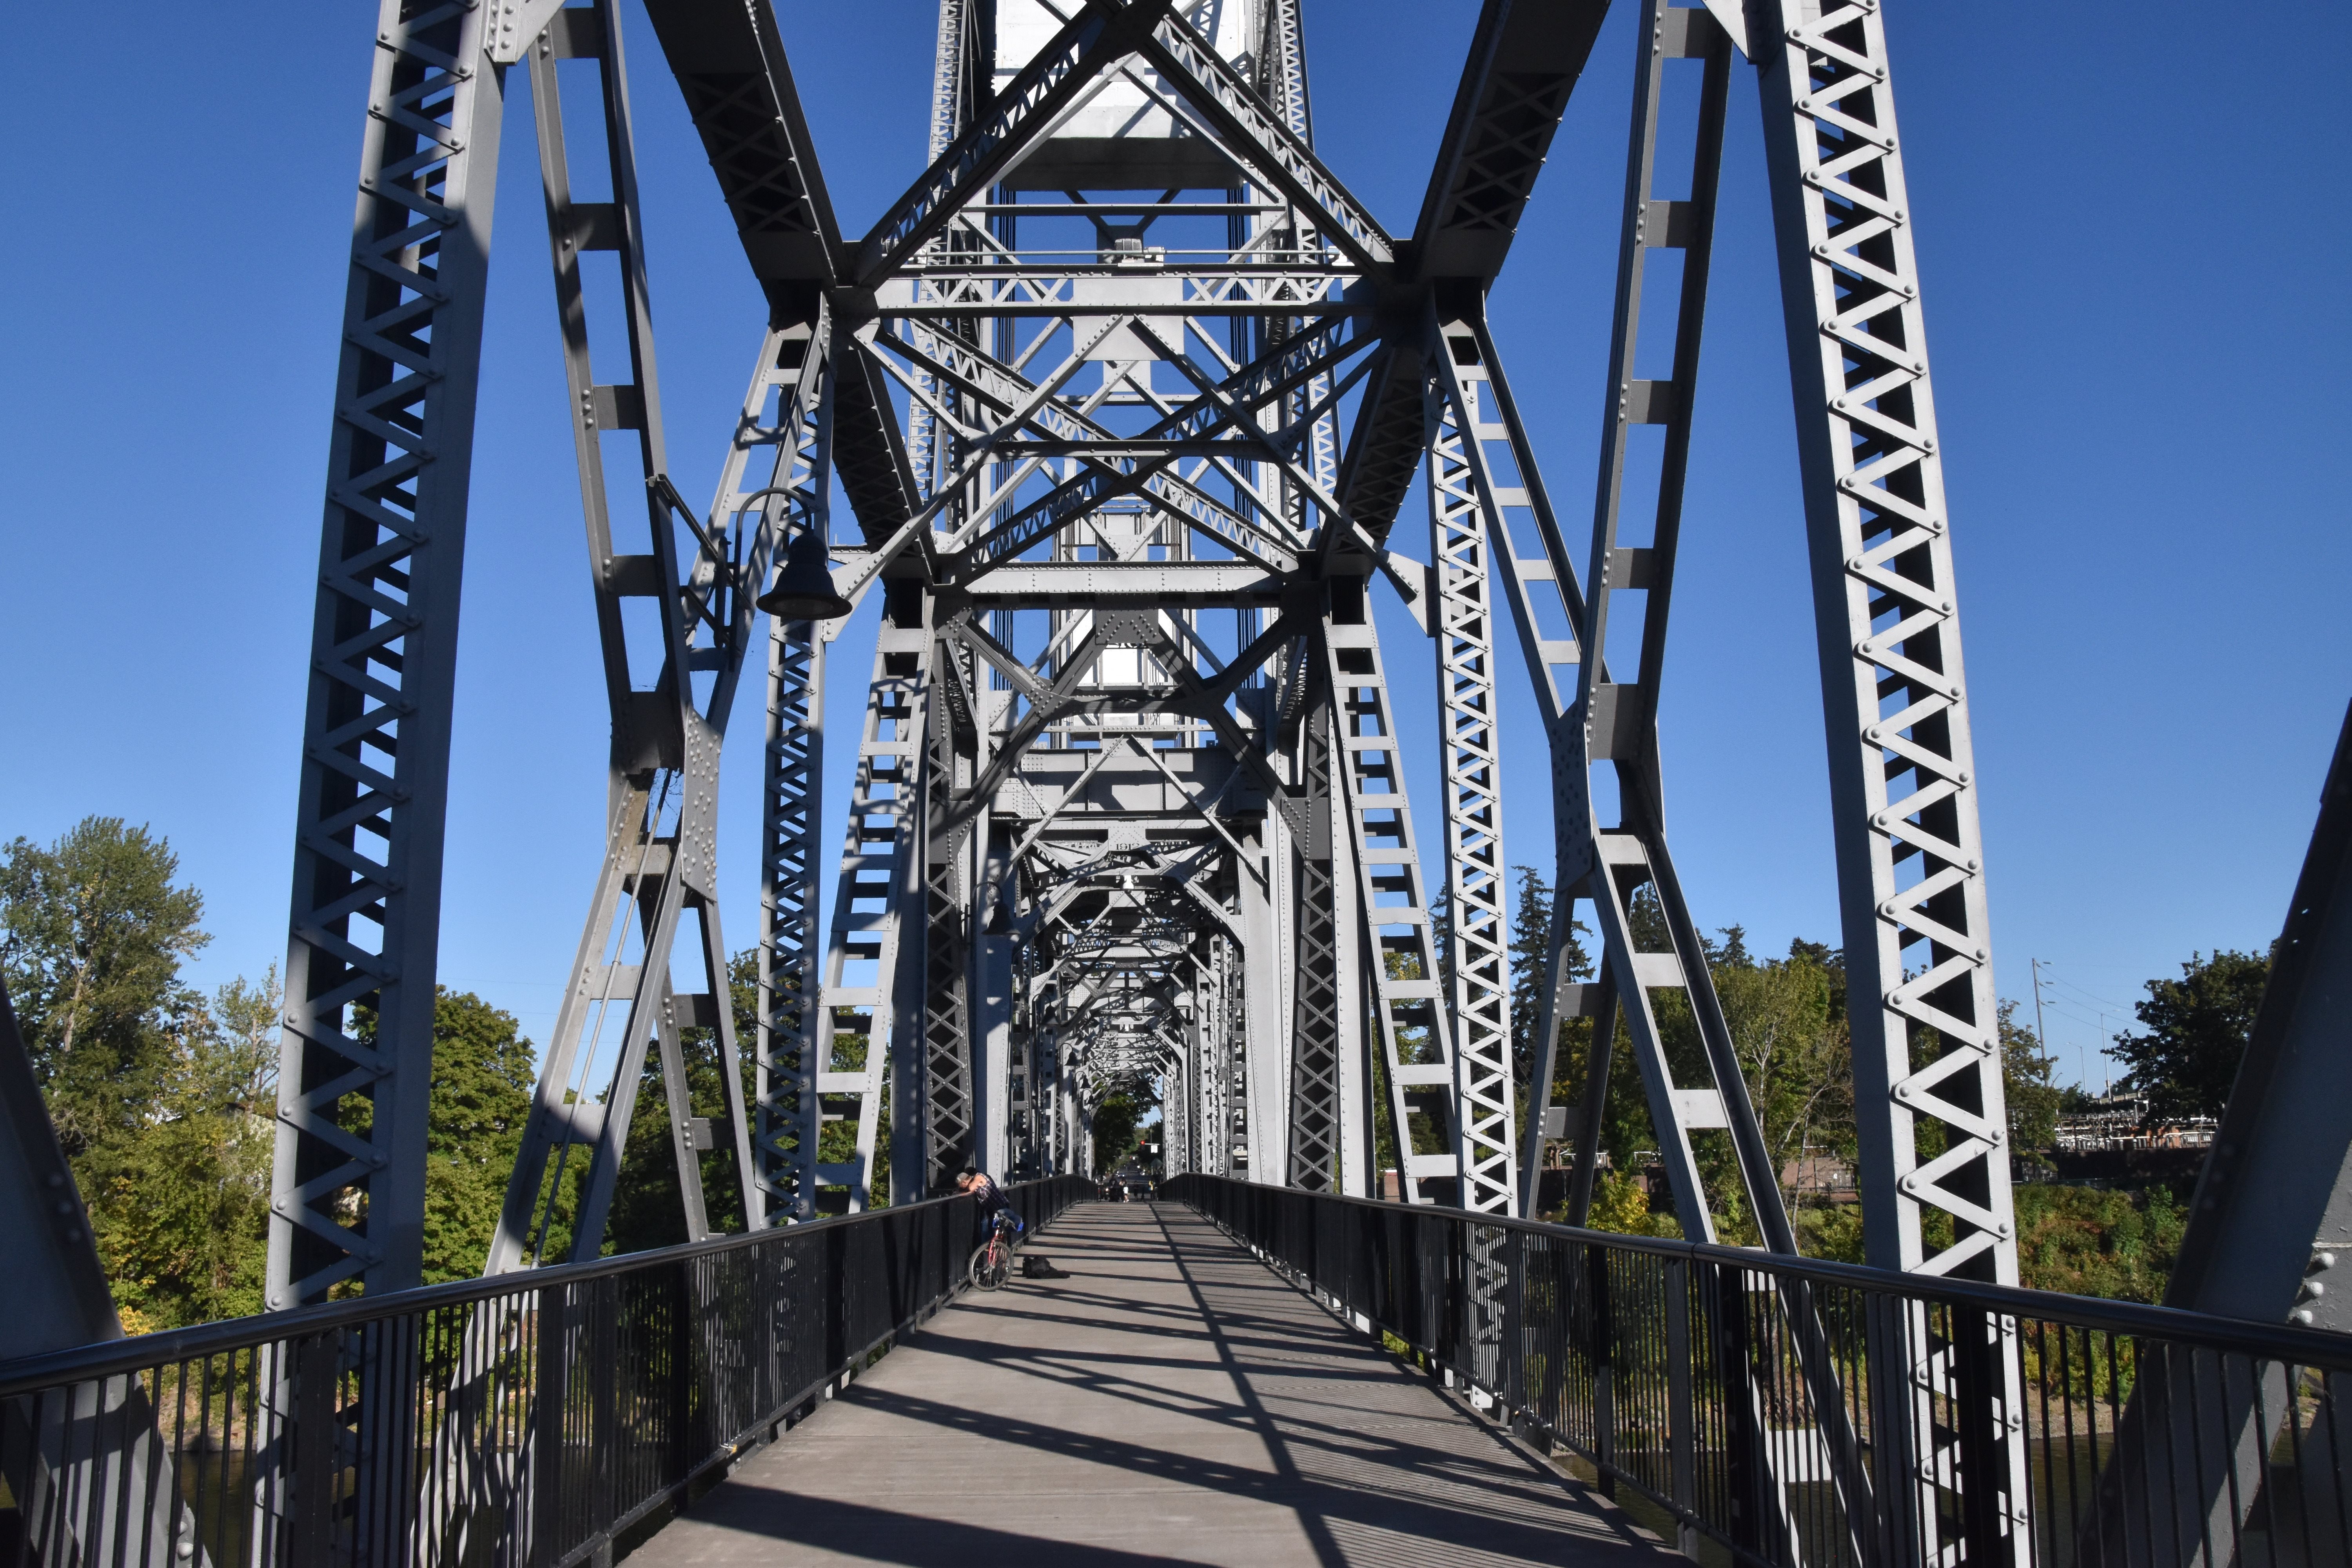

Portal views on fixed truss spans facing east.
![]()


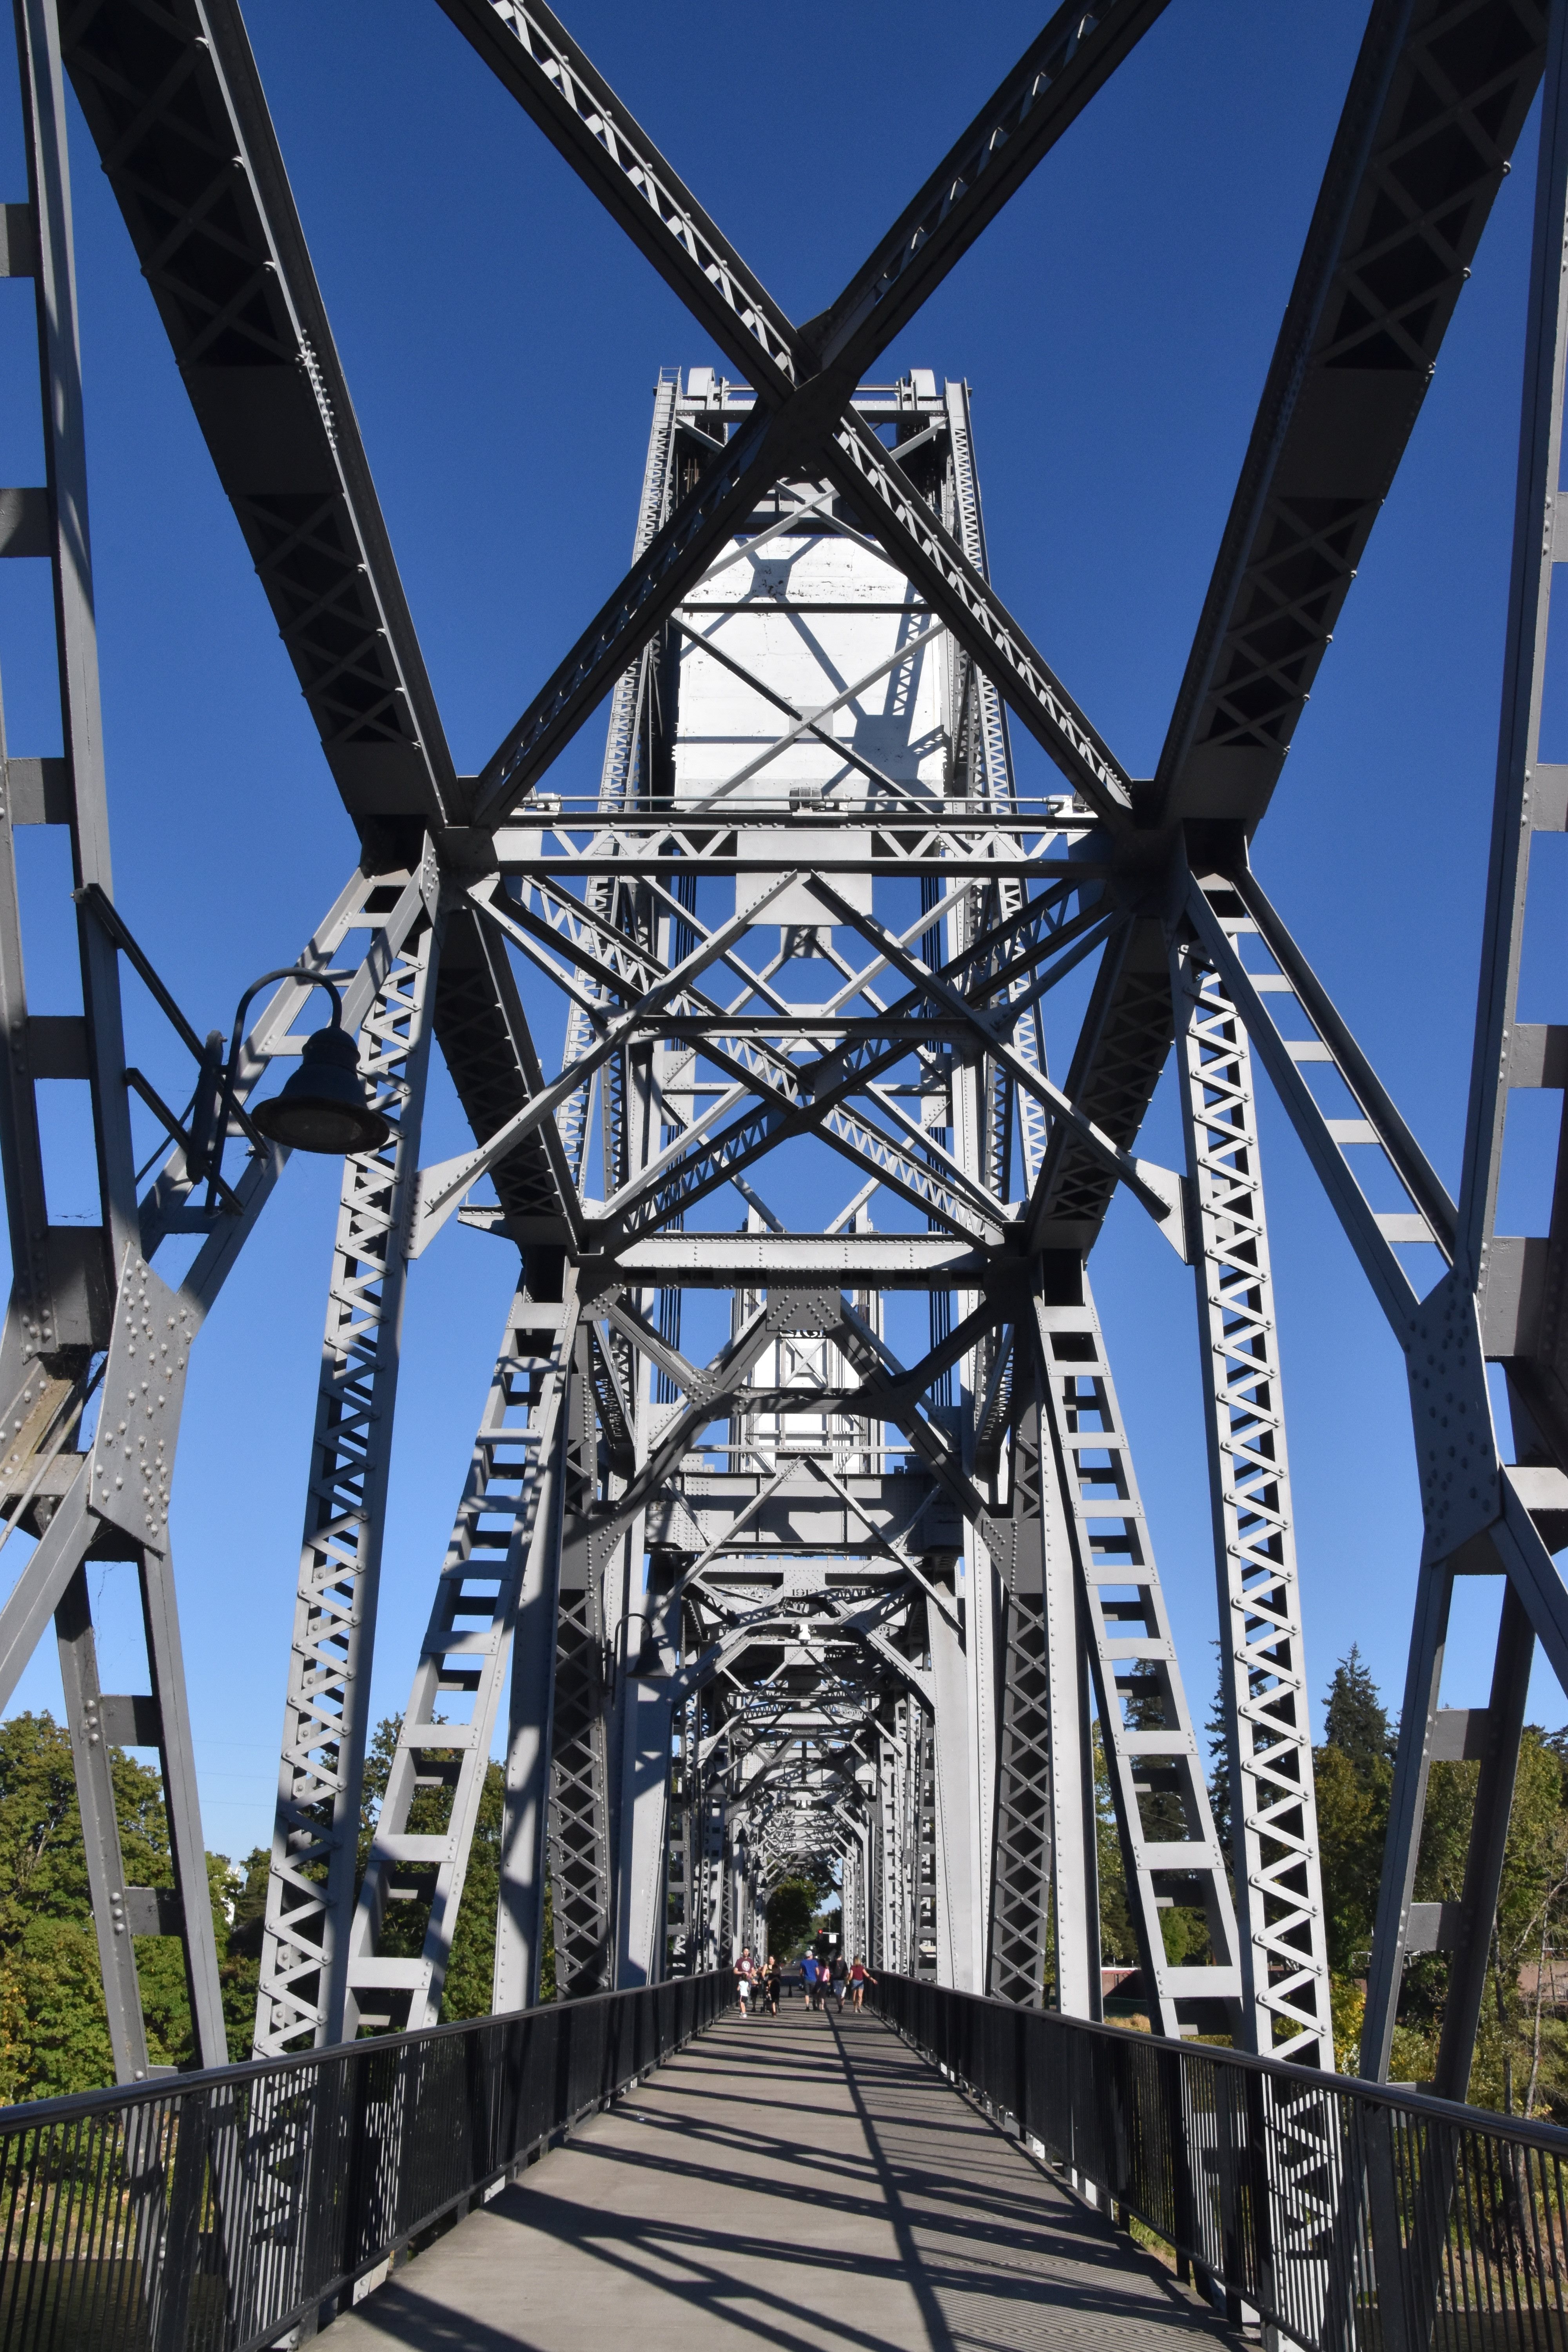
Portal views of lift span from approach span facing east.
![]()


Portal views of lift span facing east.
![]()
Views of fixed span truss web.
![]()

Views of lift span truss web.
![]()
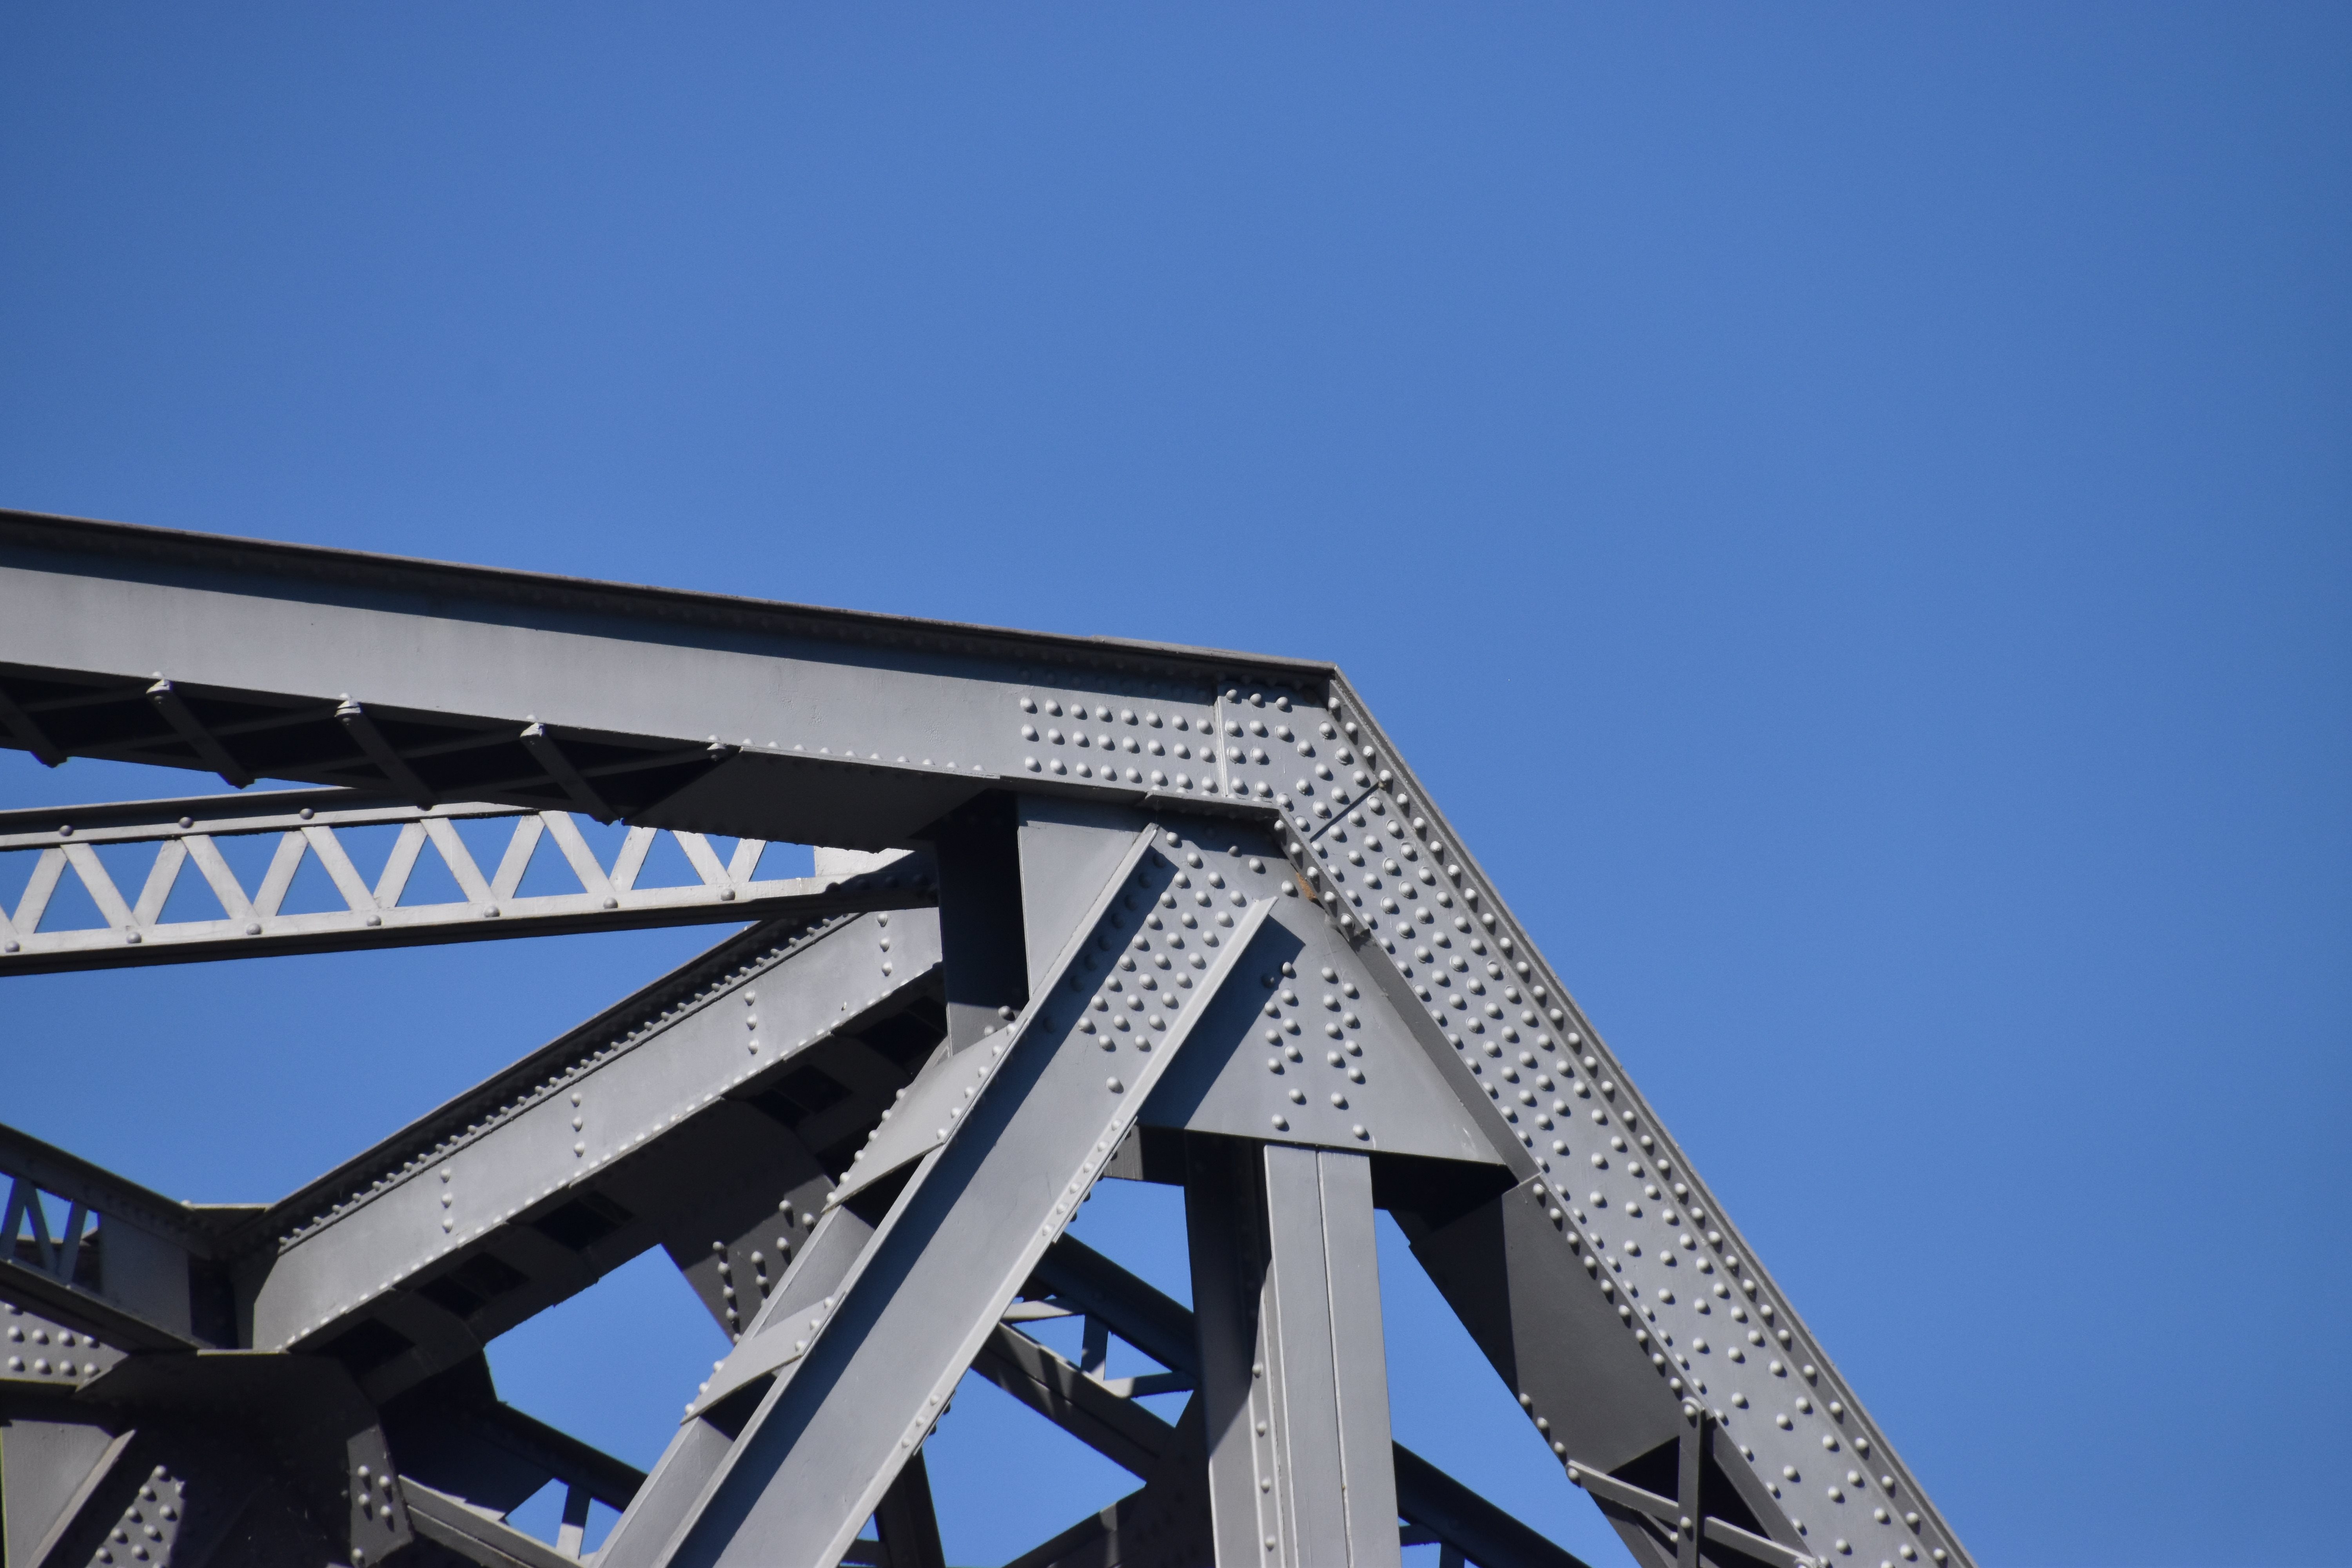
Portal bracing.
![]()

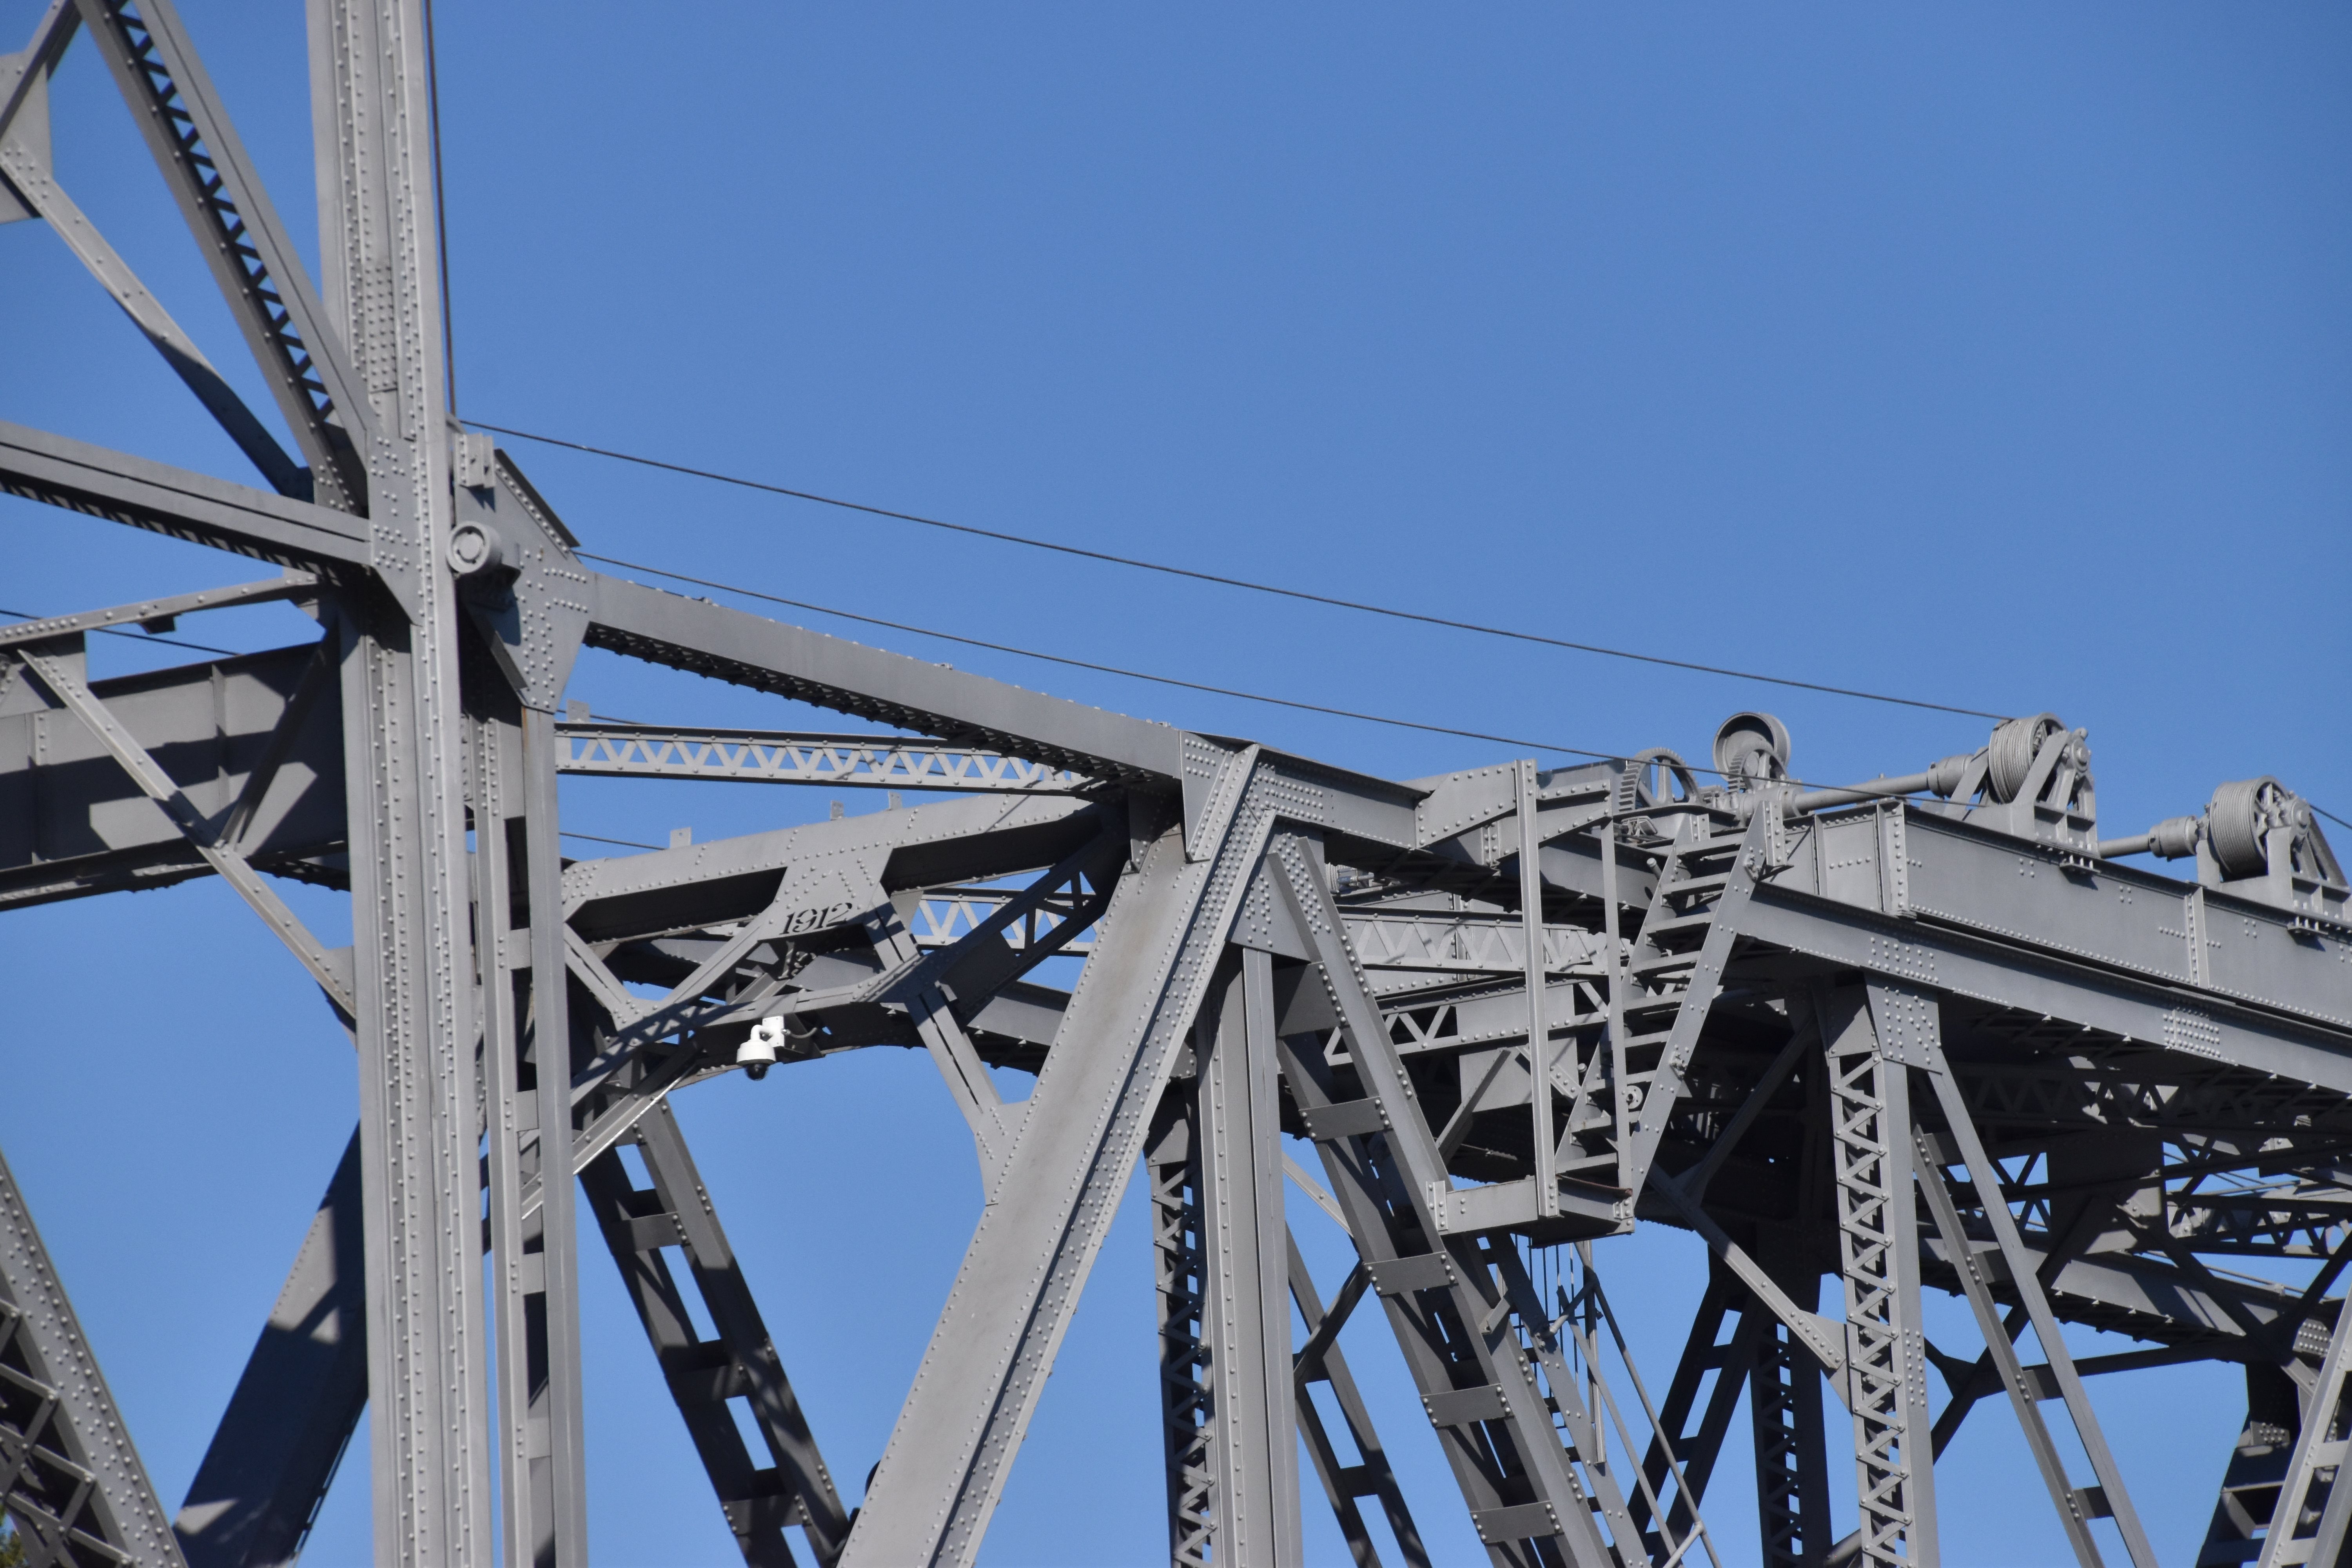
Portal bracing details.
![]()

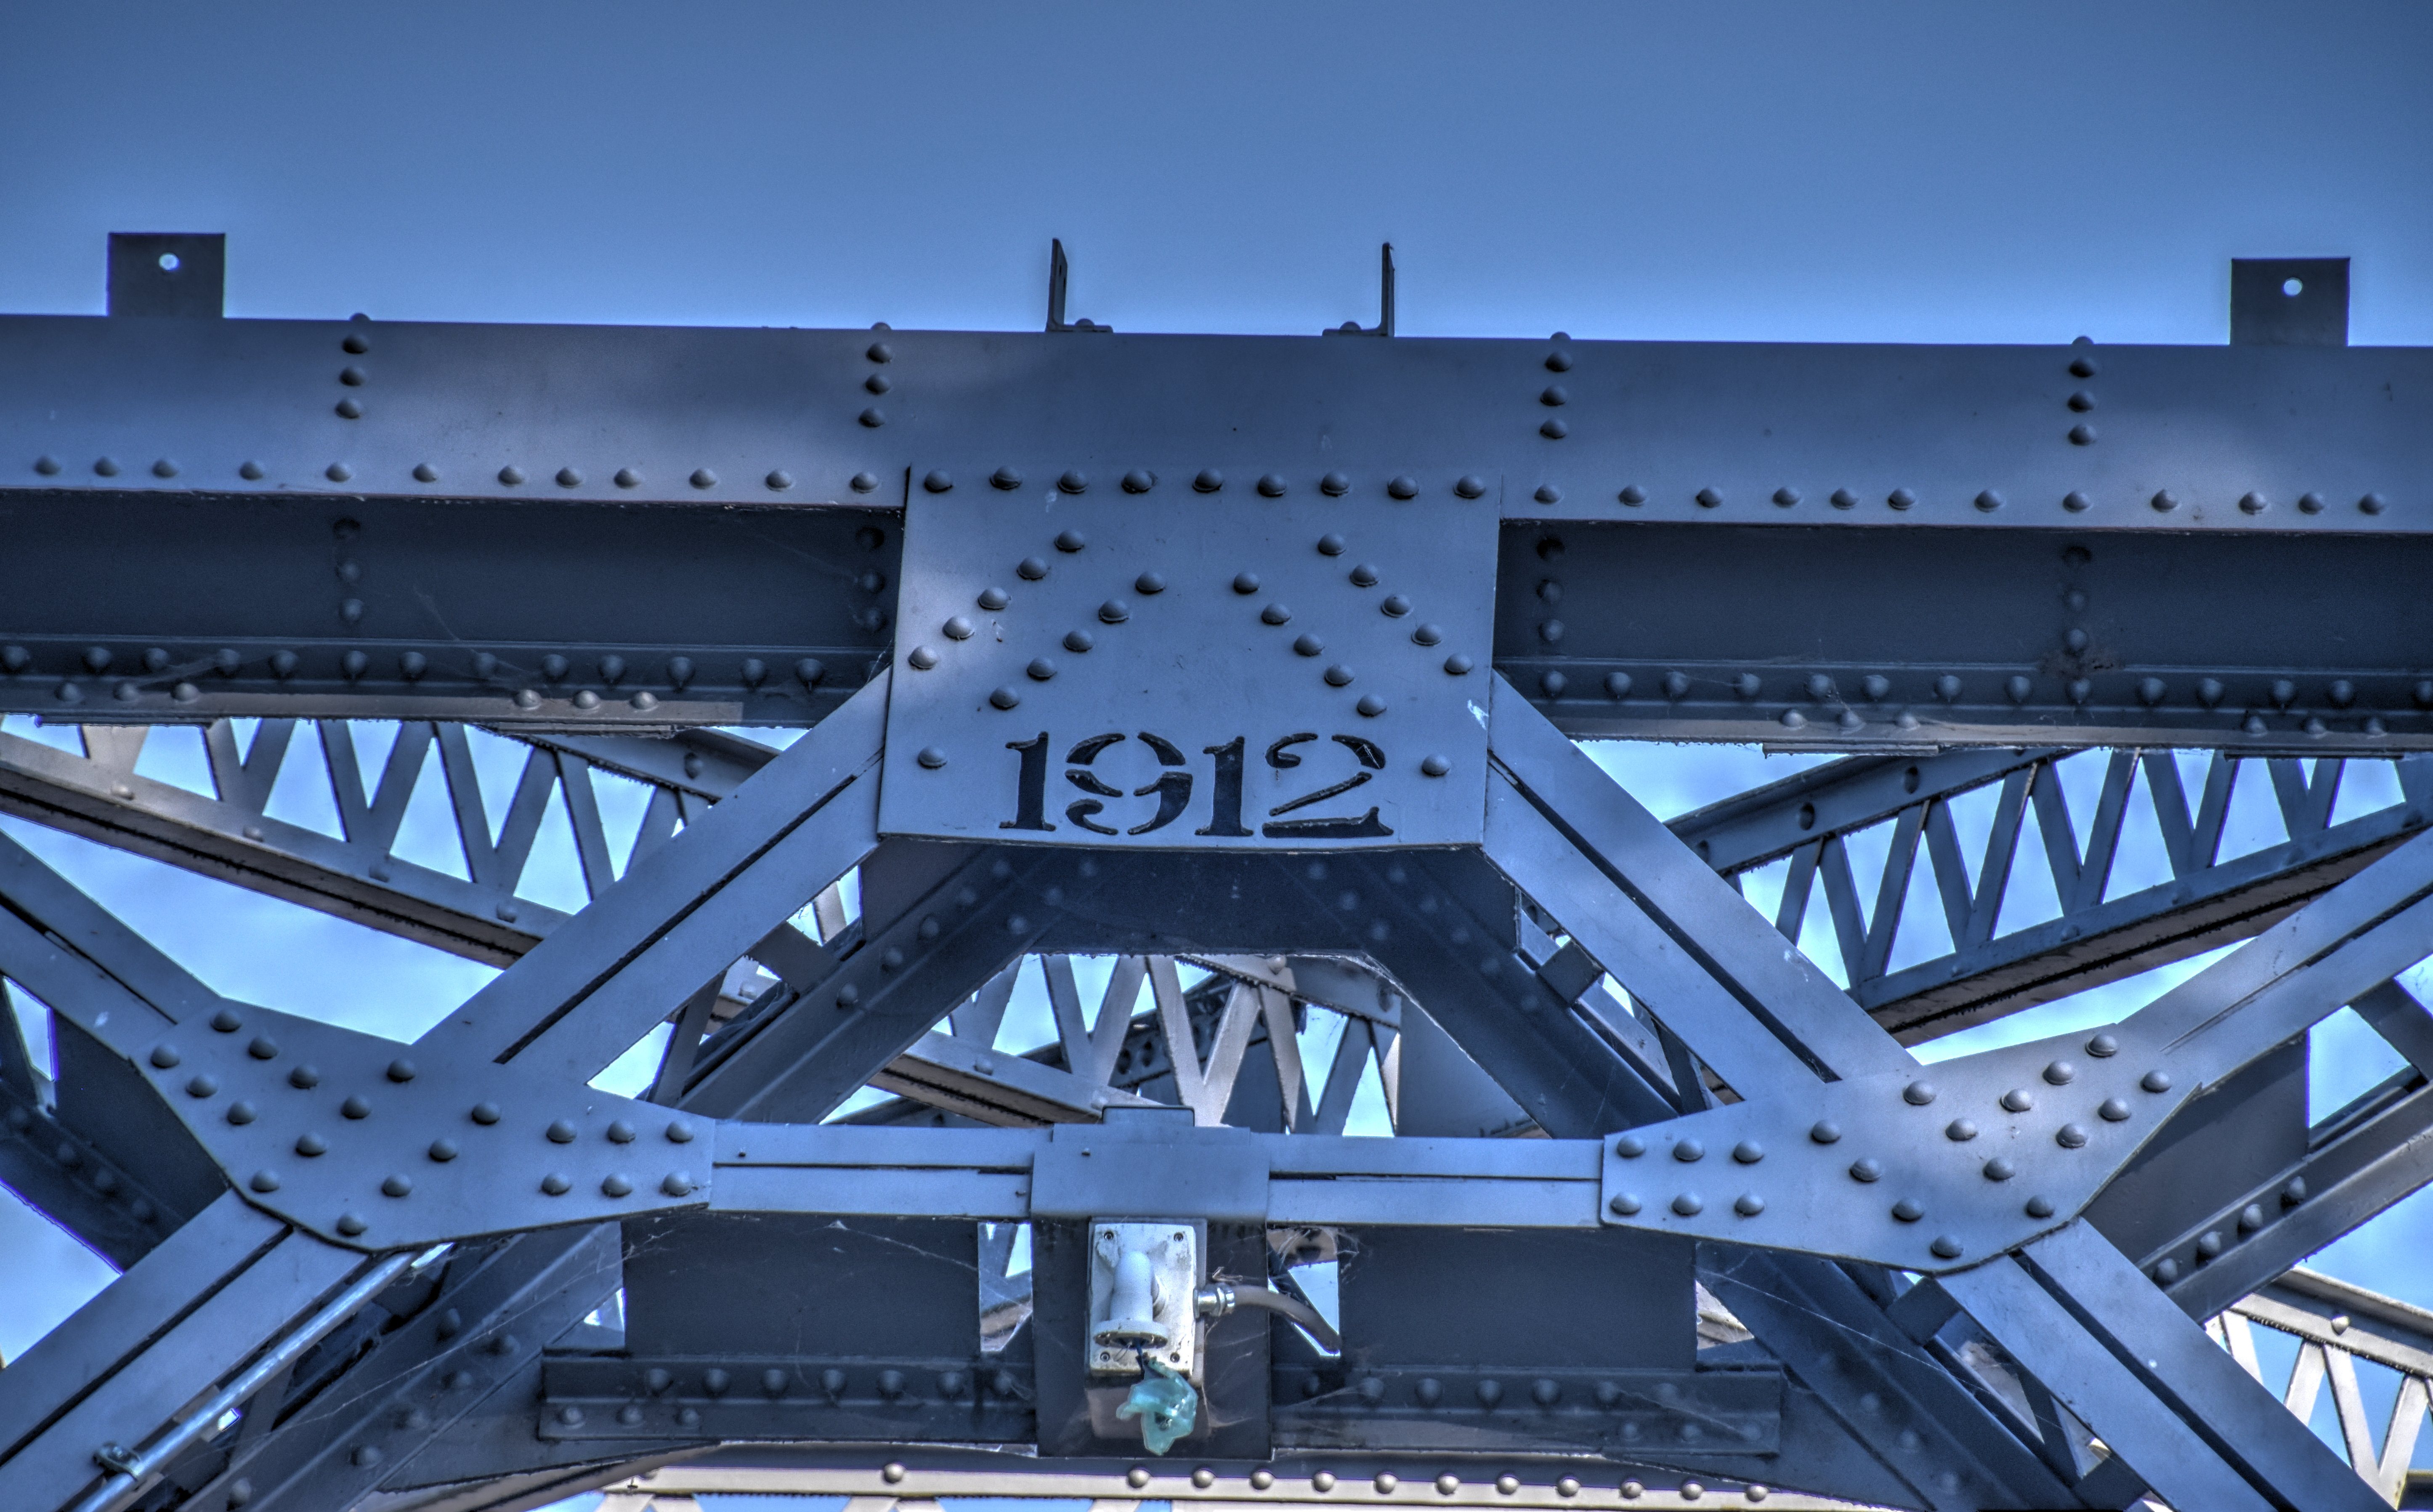


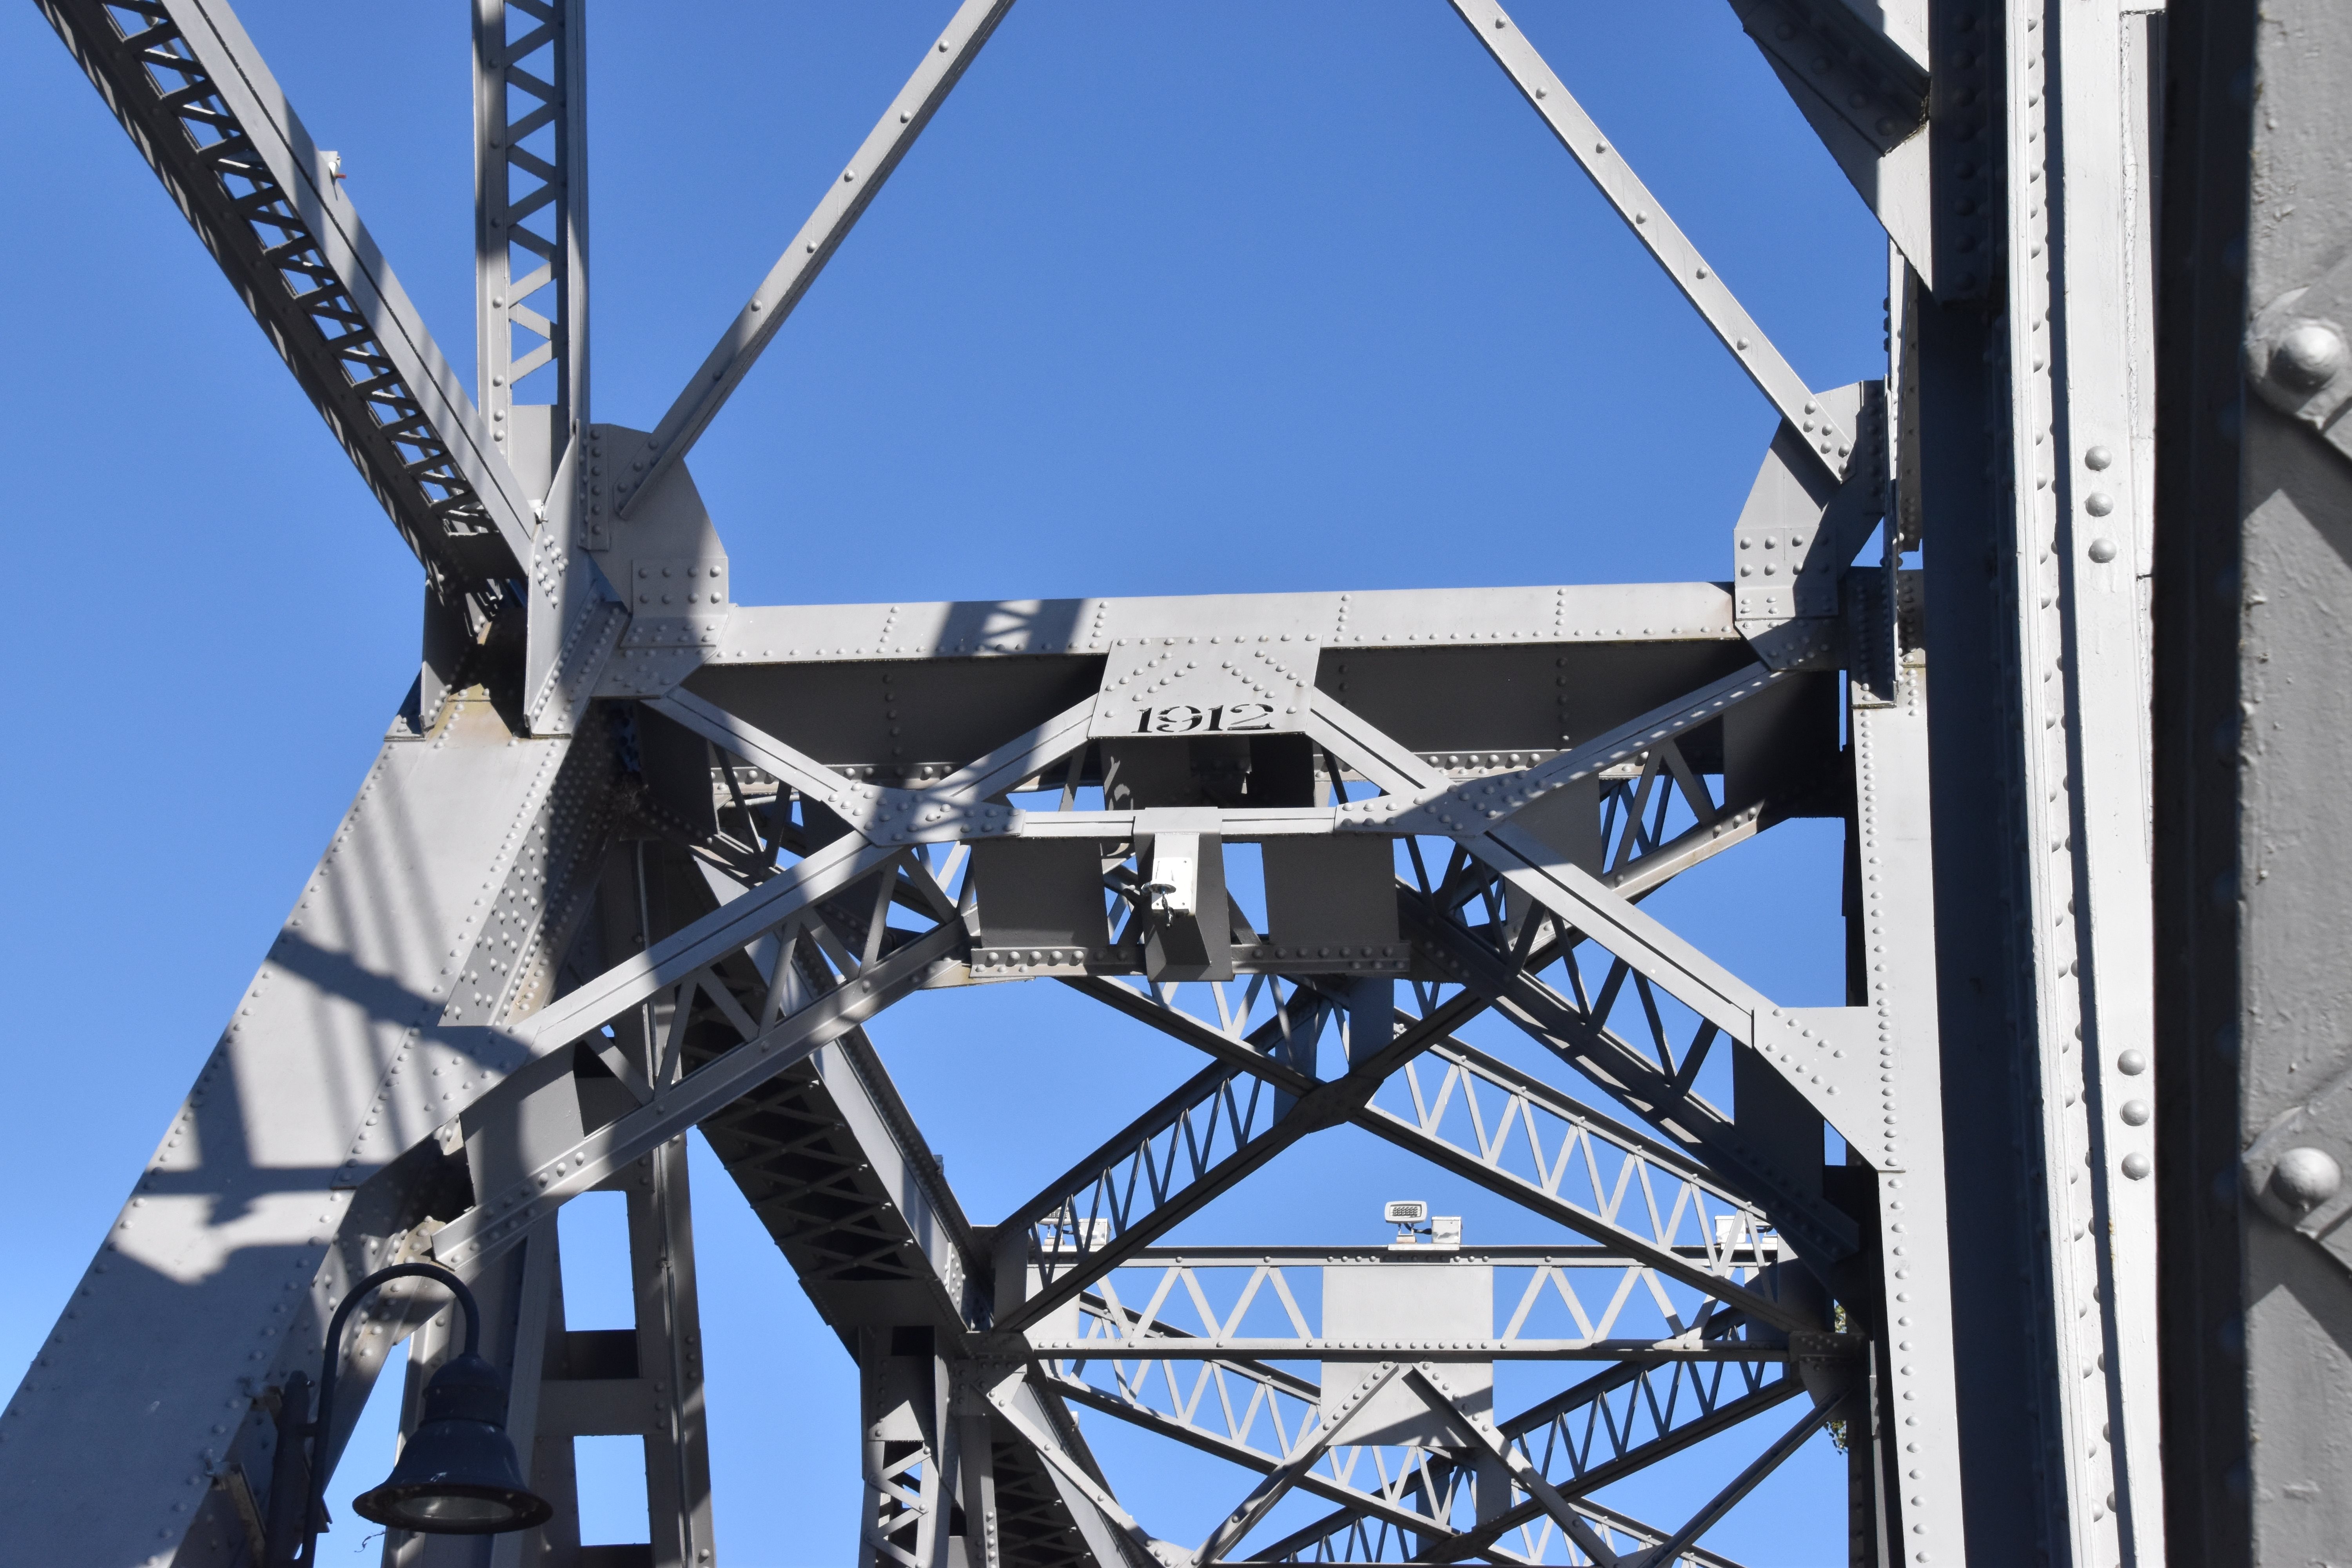
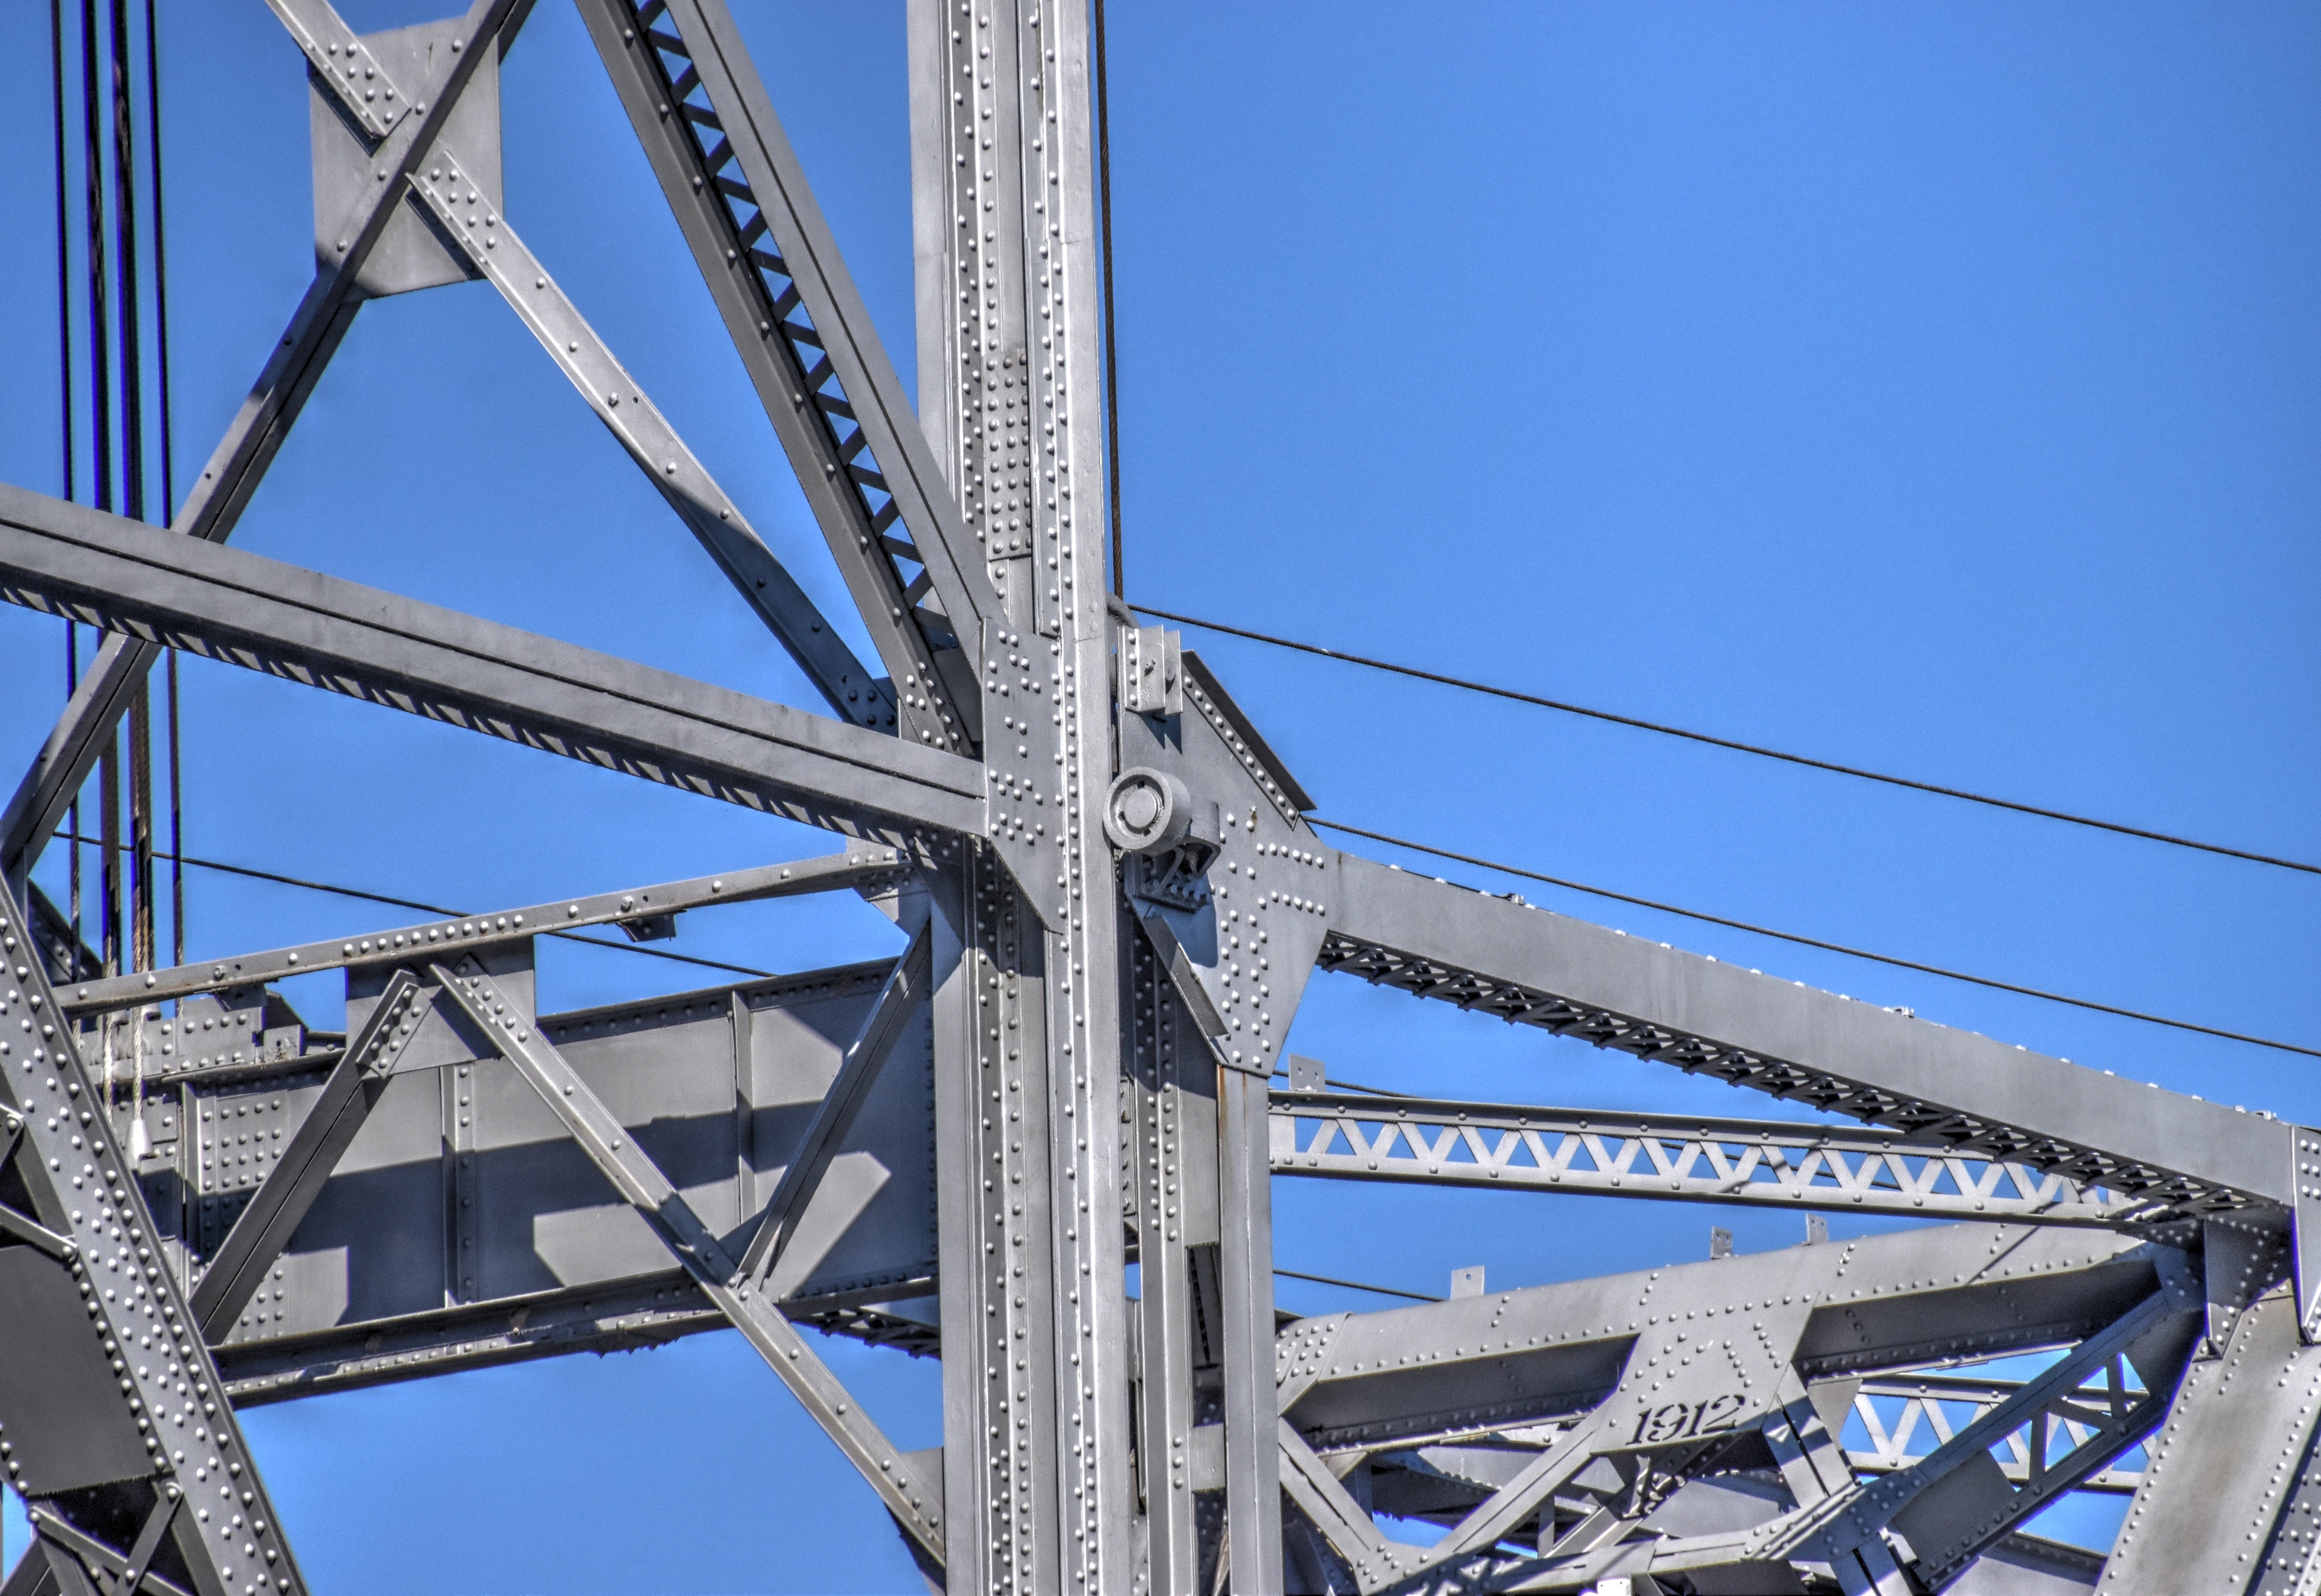
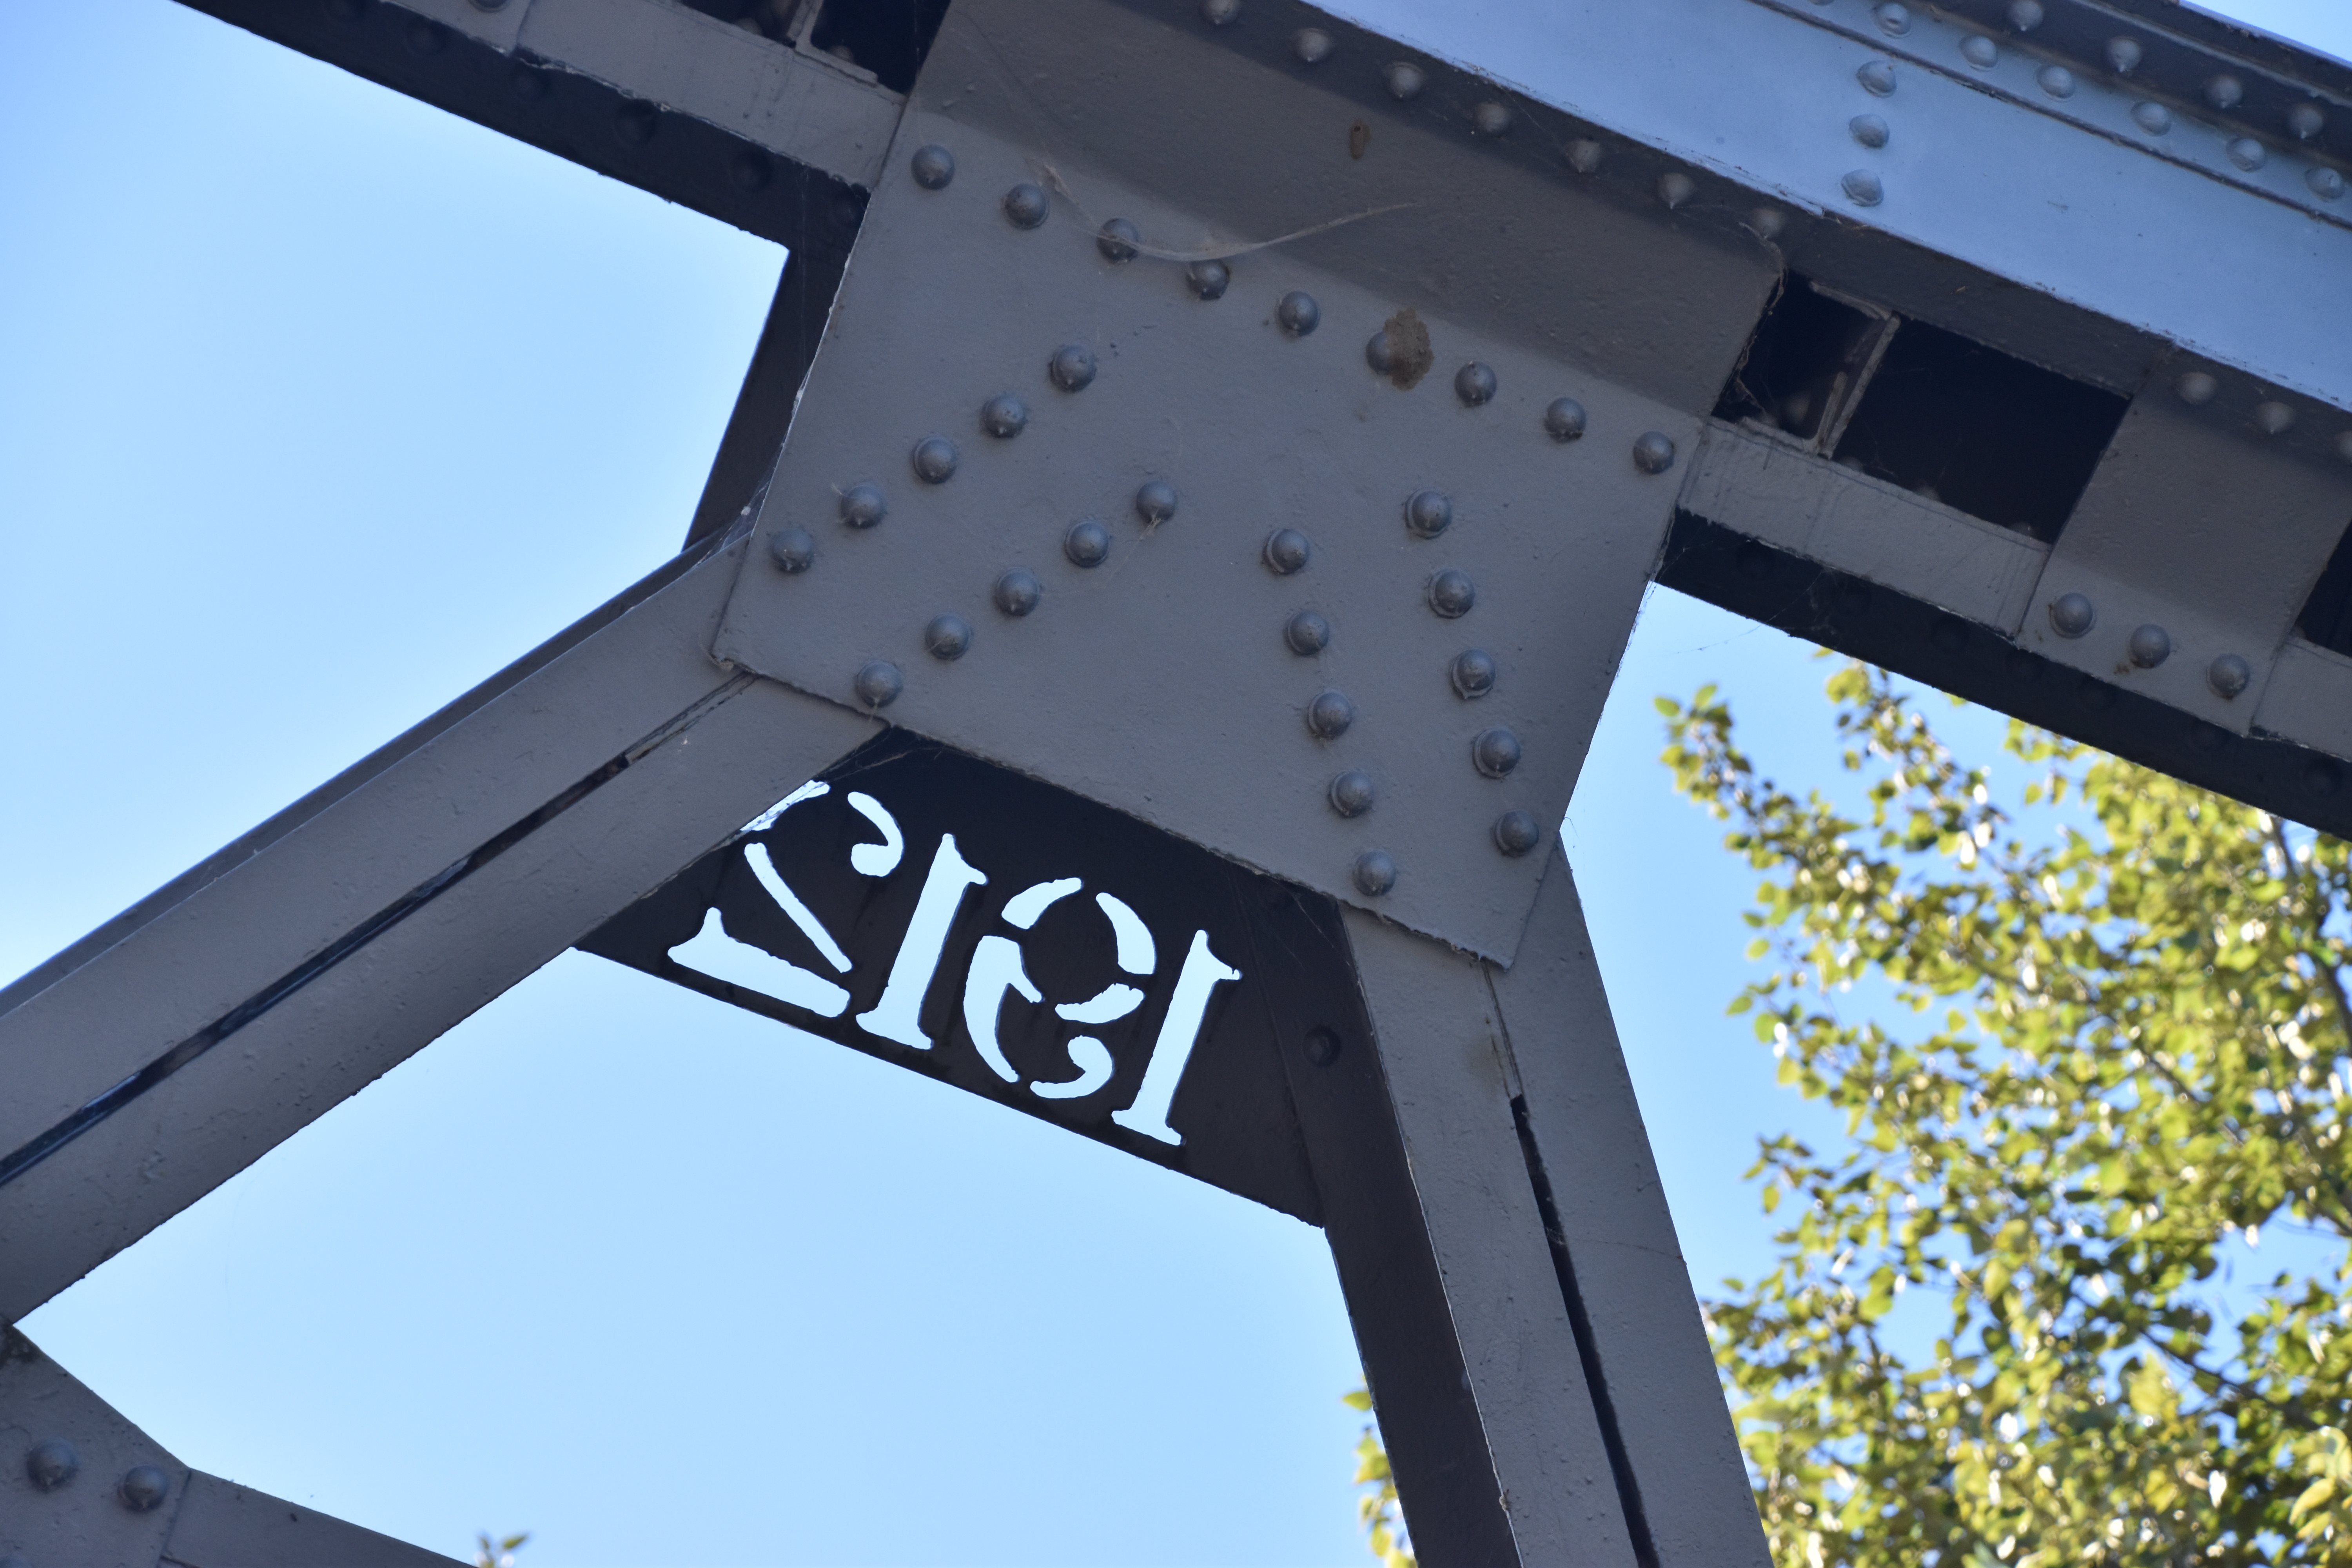
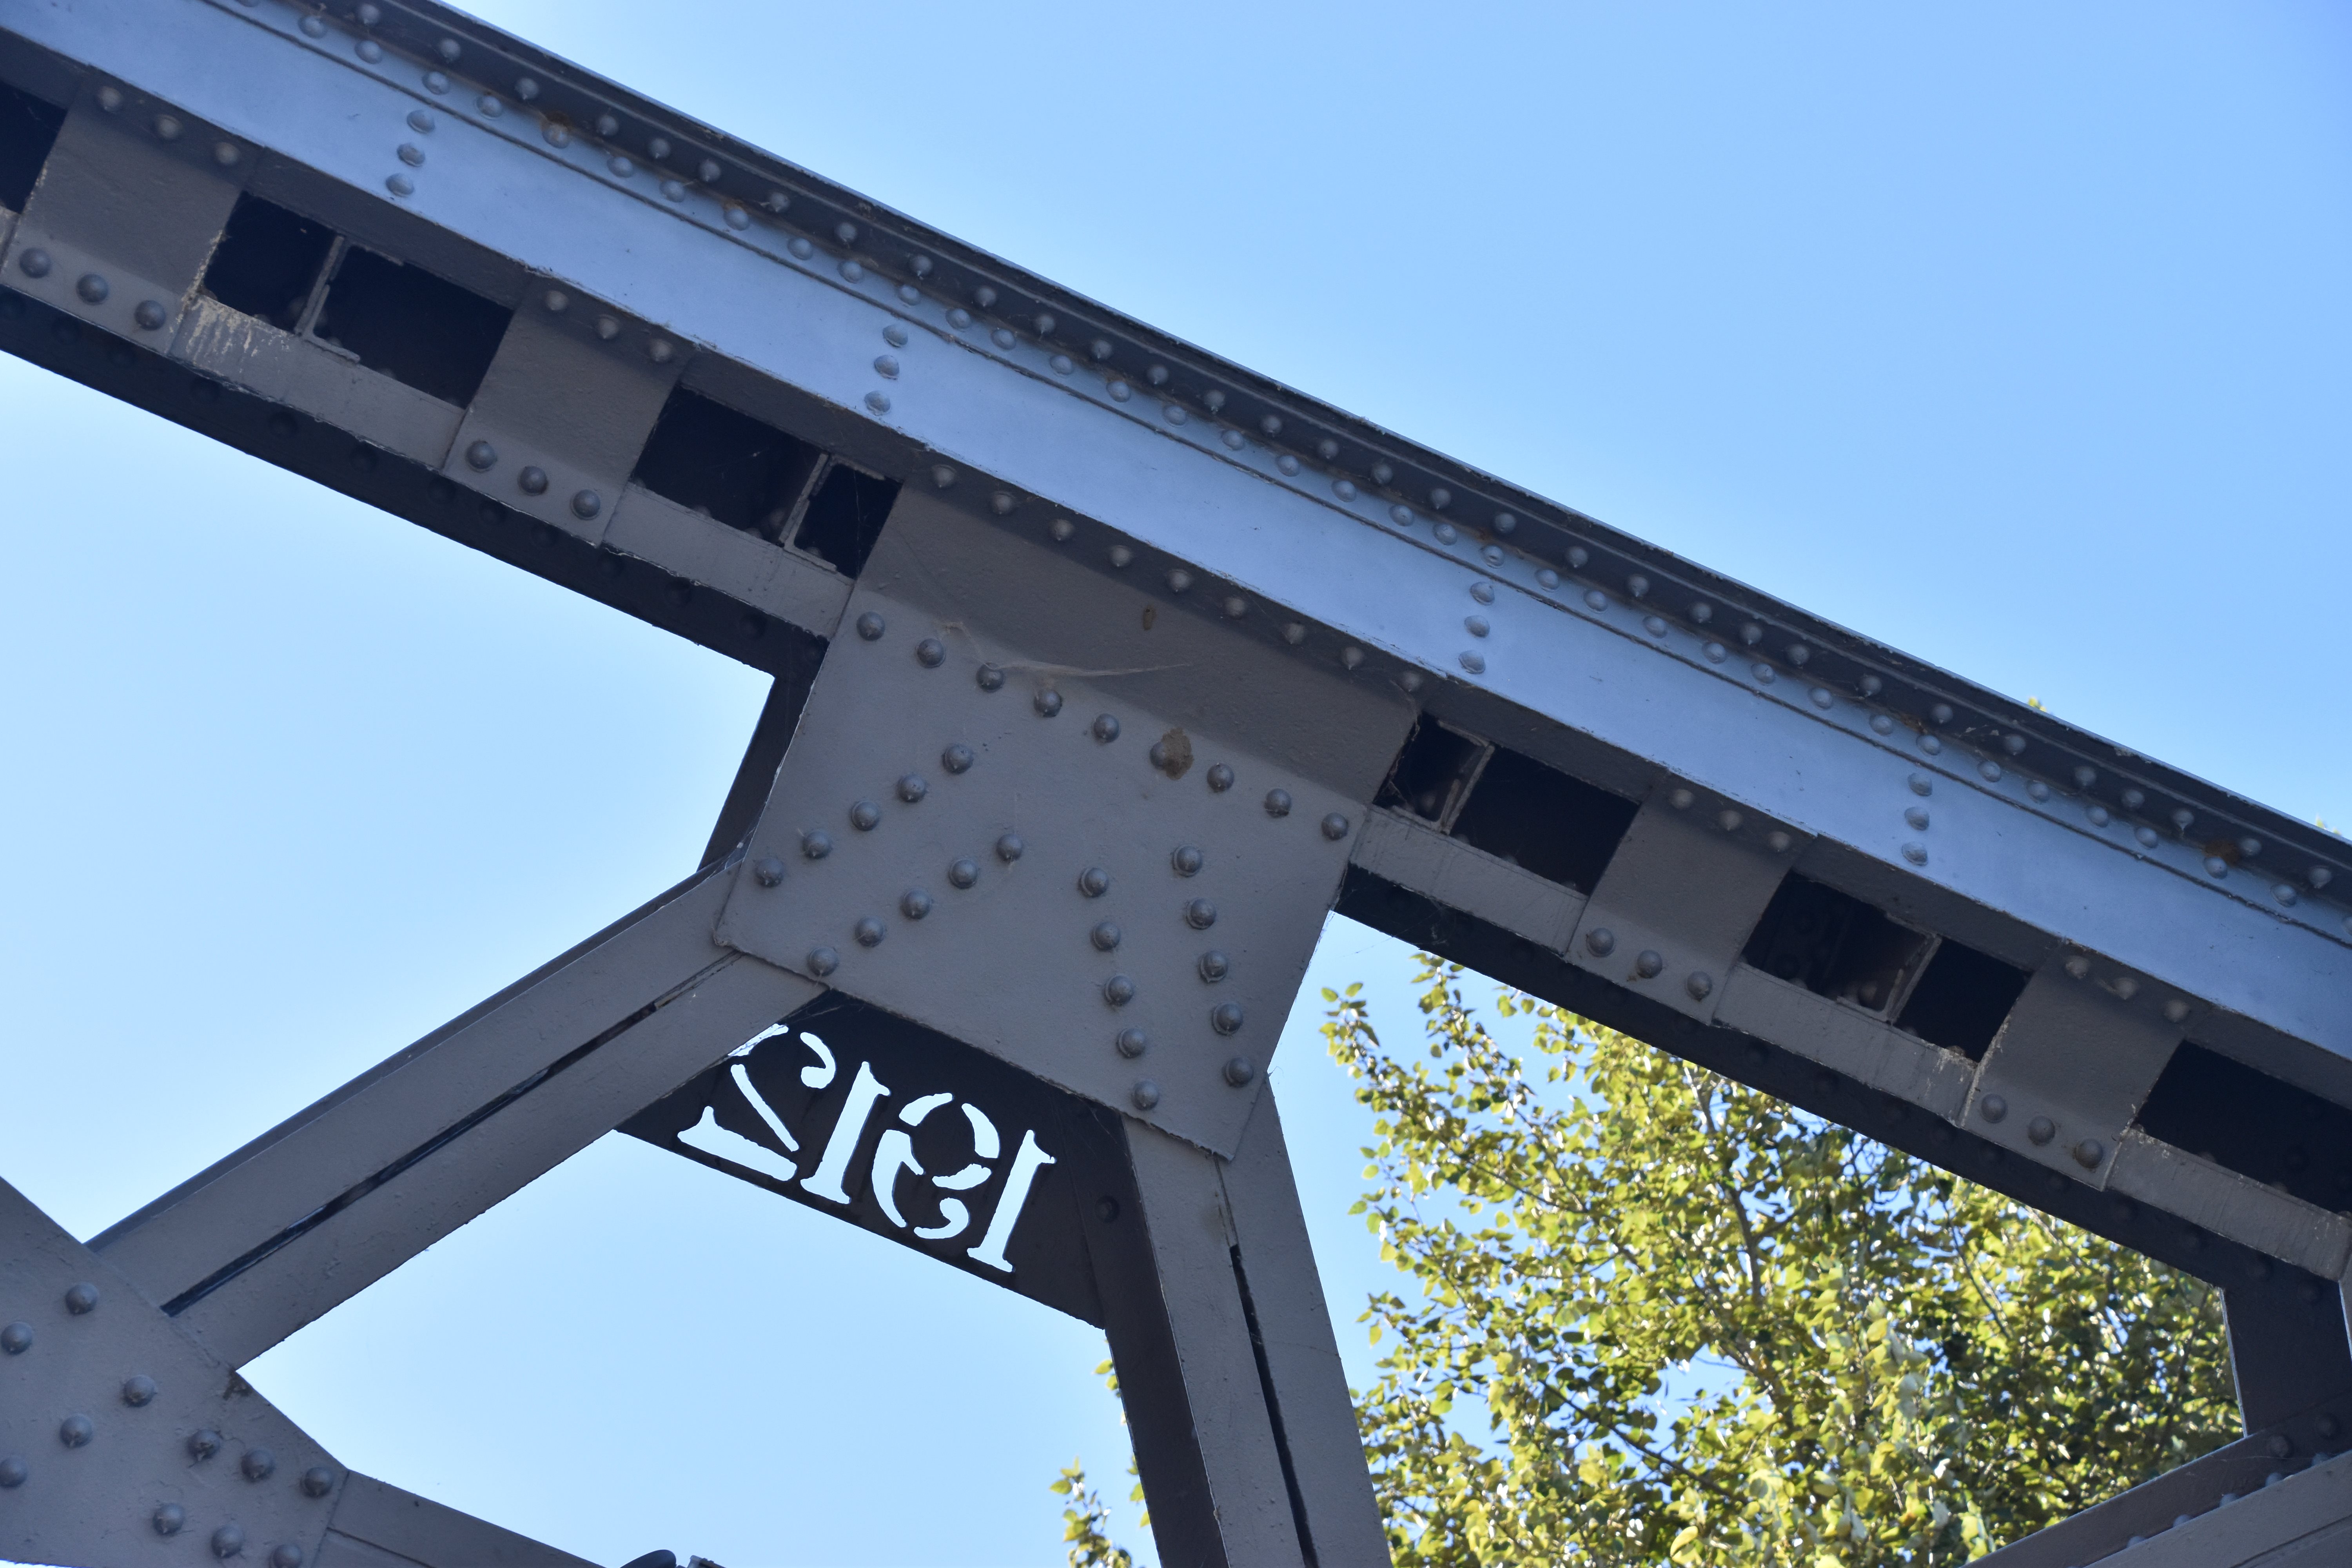
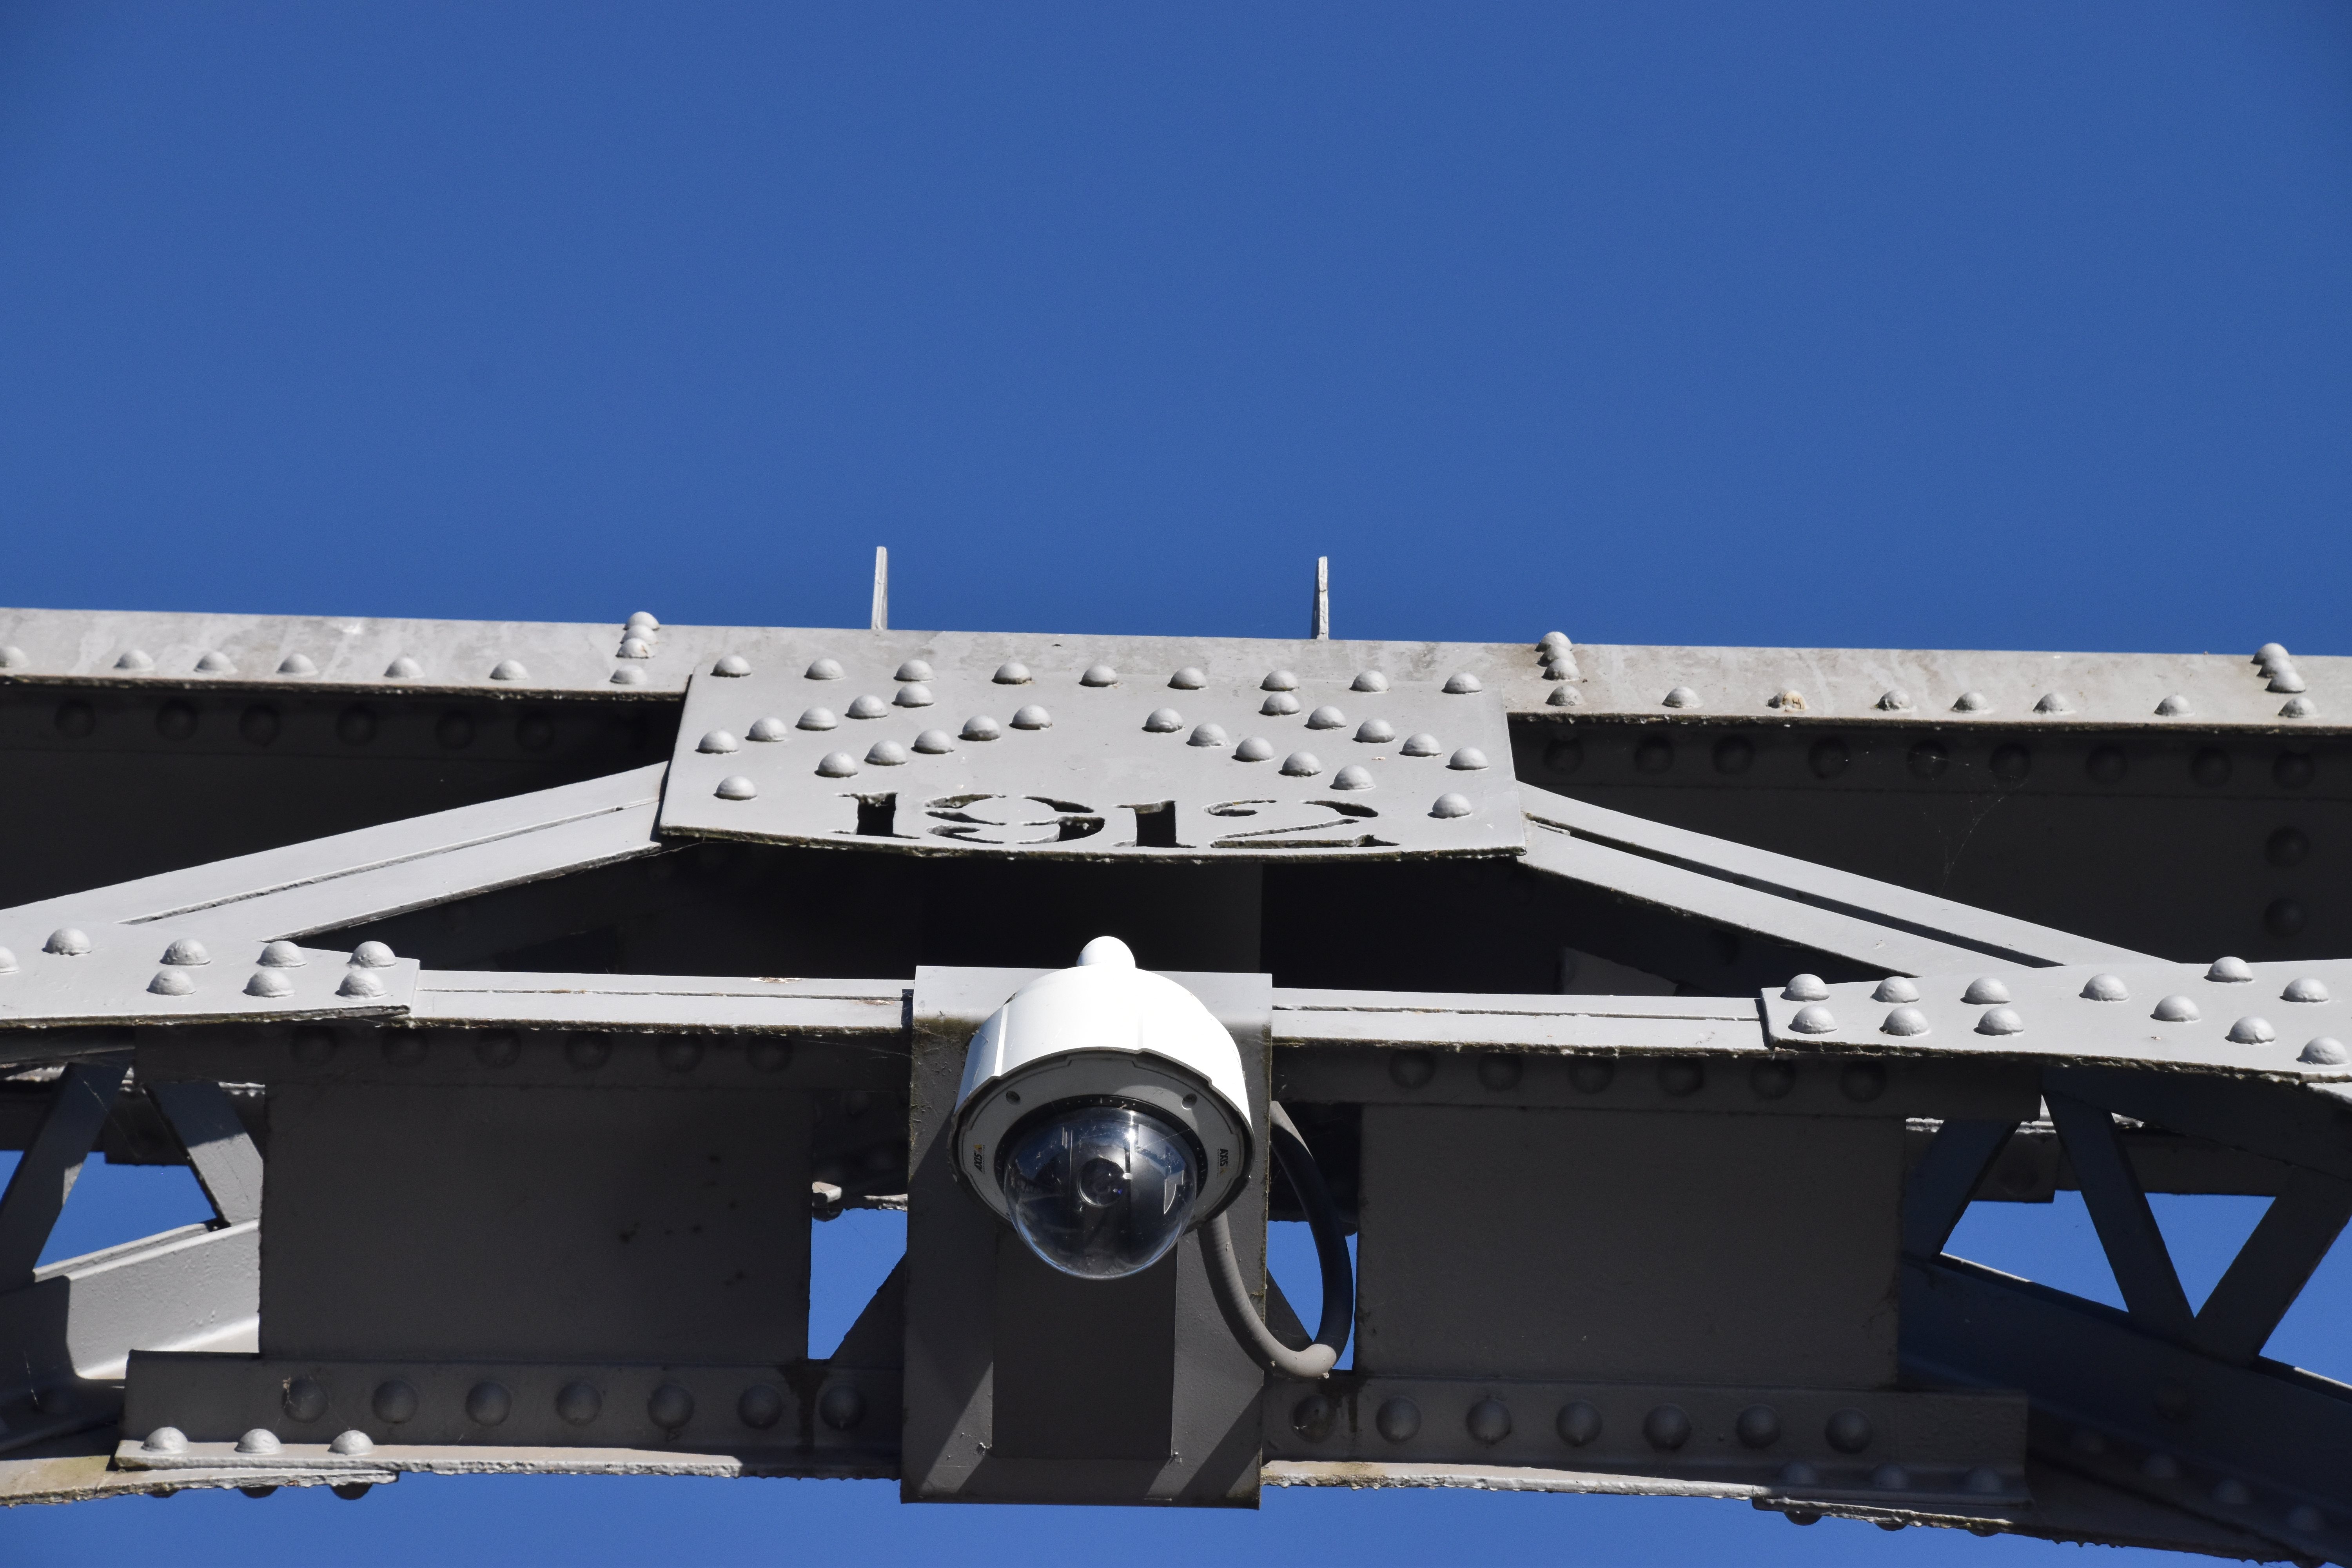
Portal bracing detail showing date.
![]()


Sway bracing.
![]()
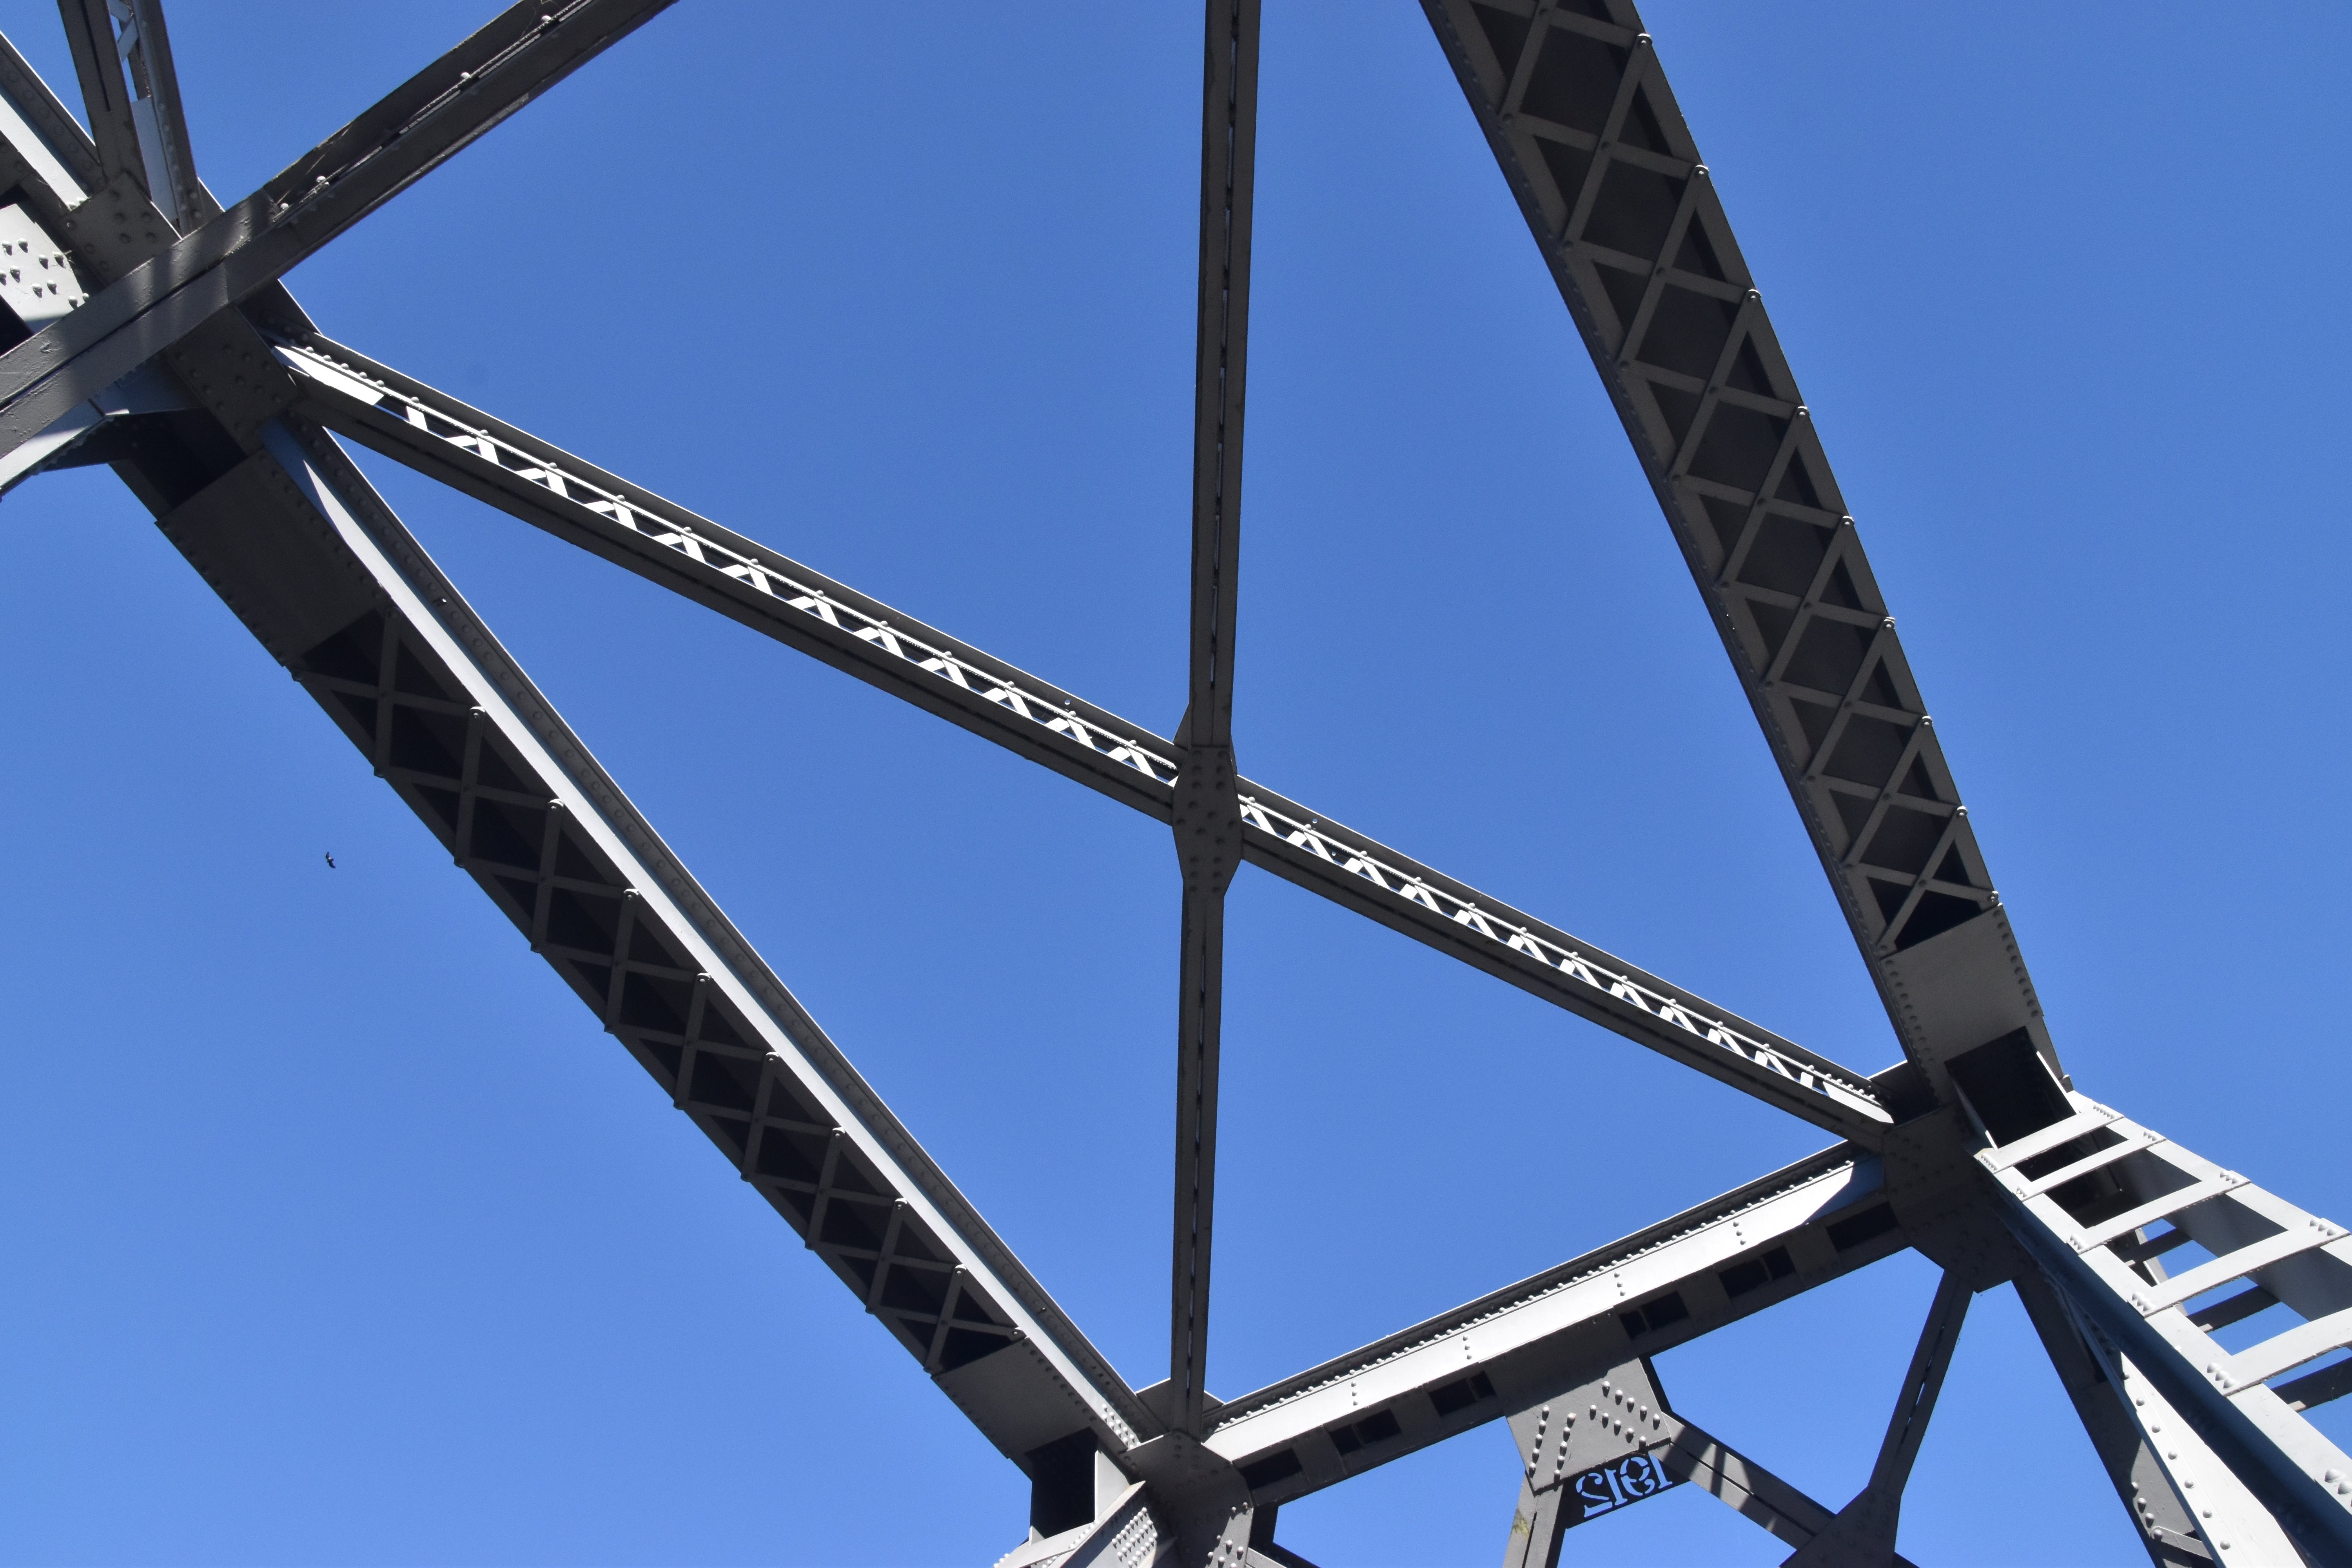


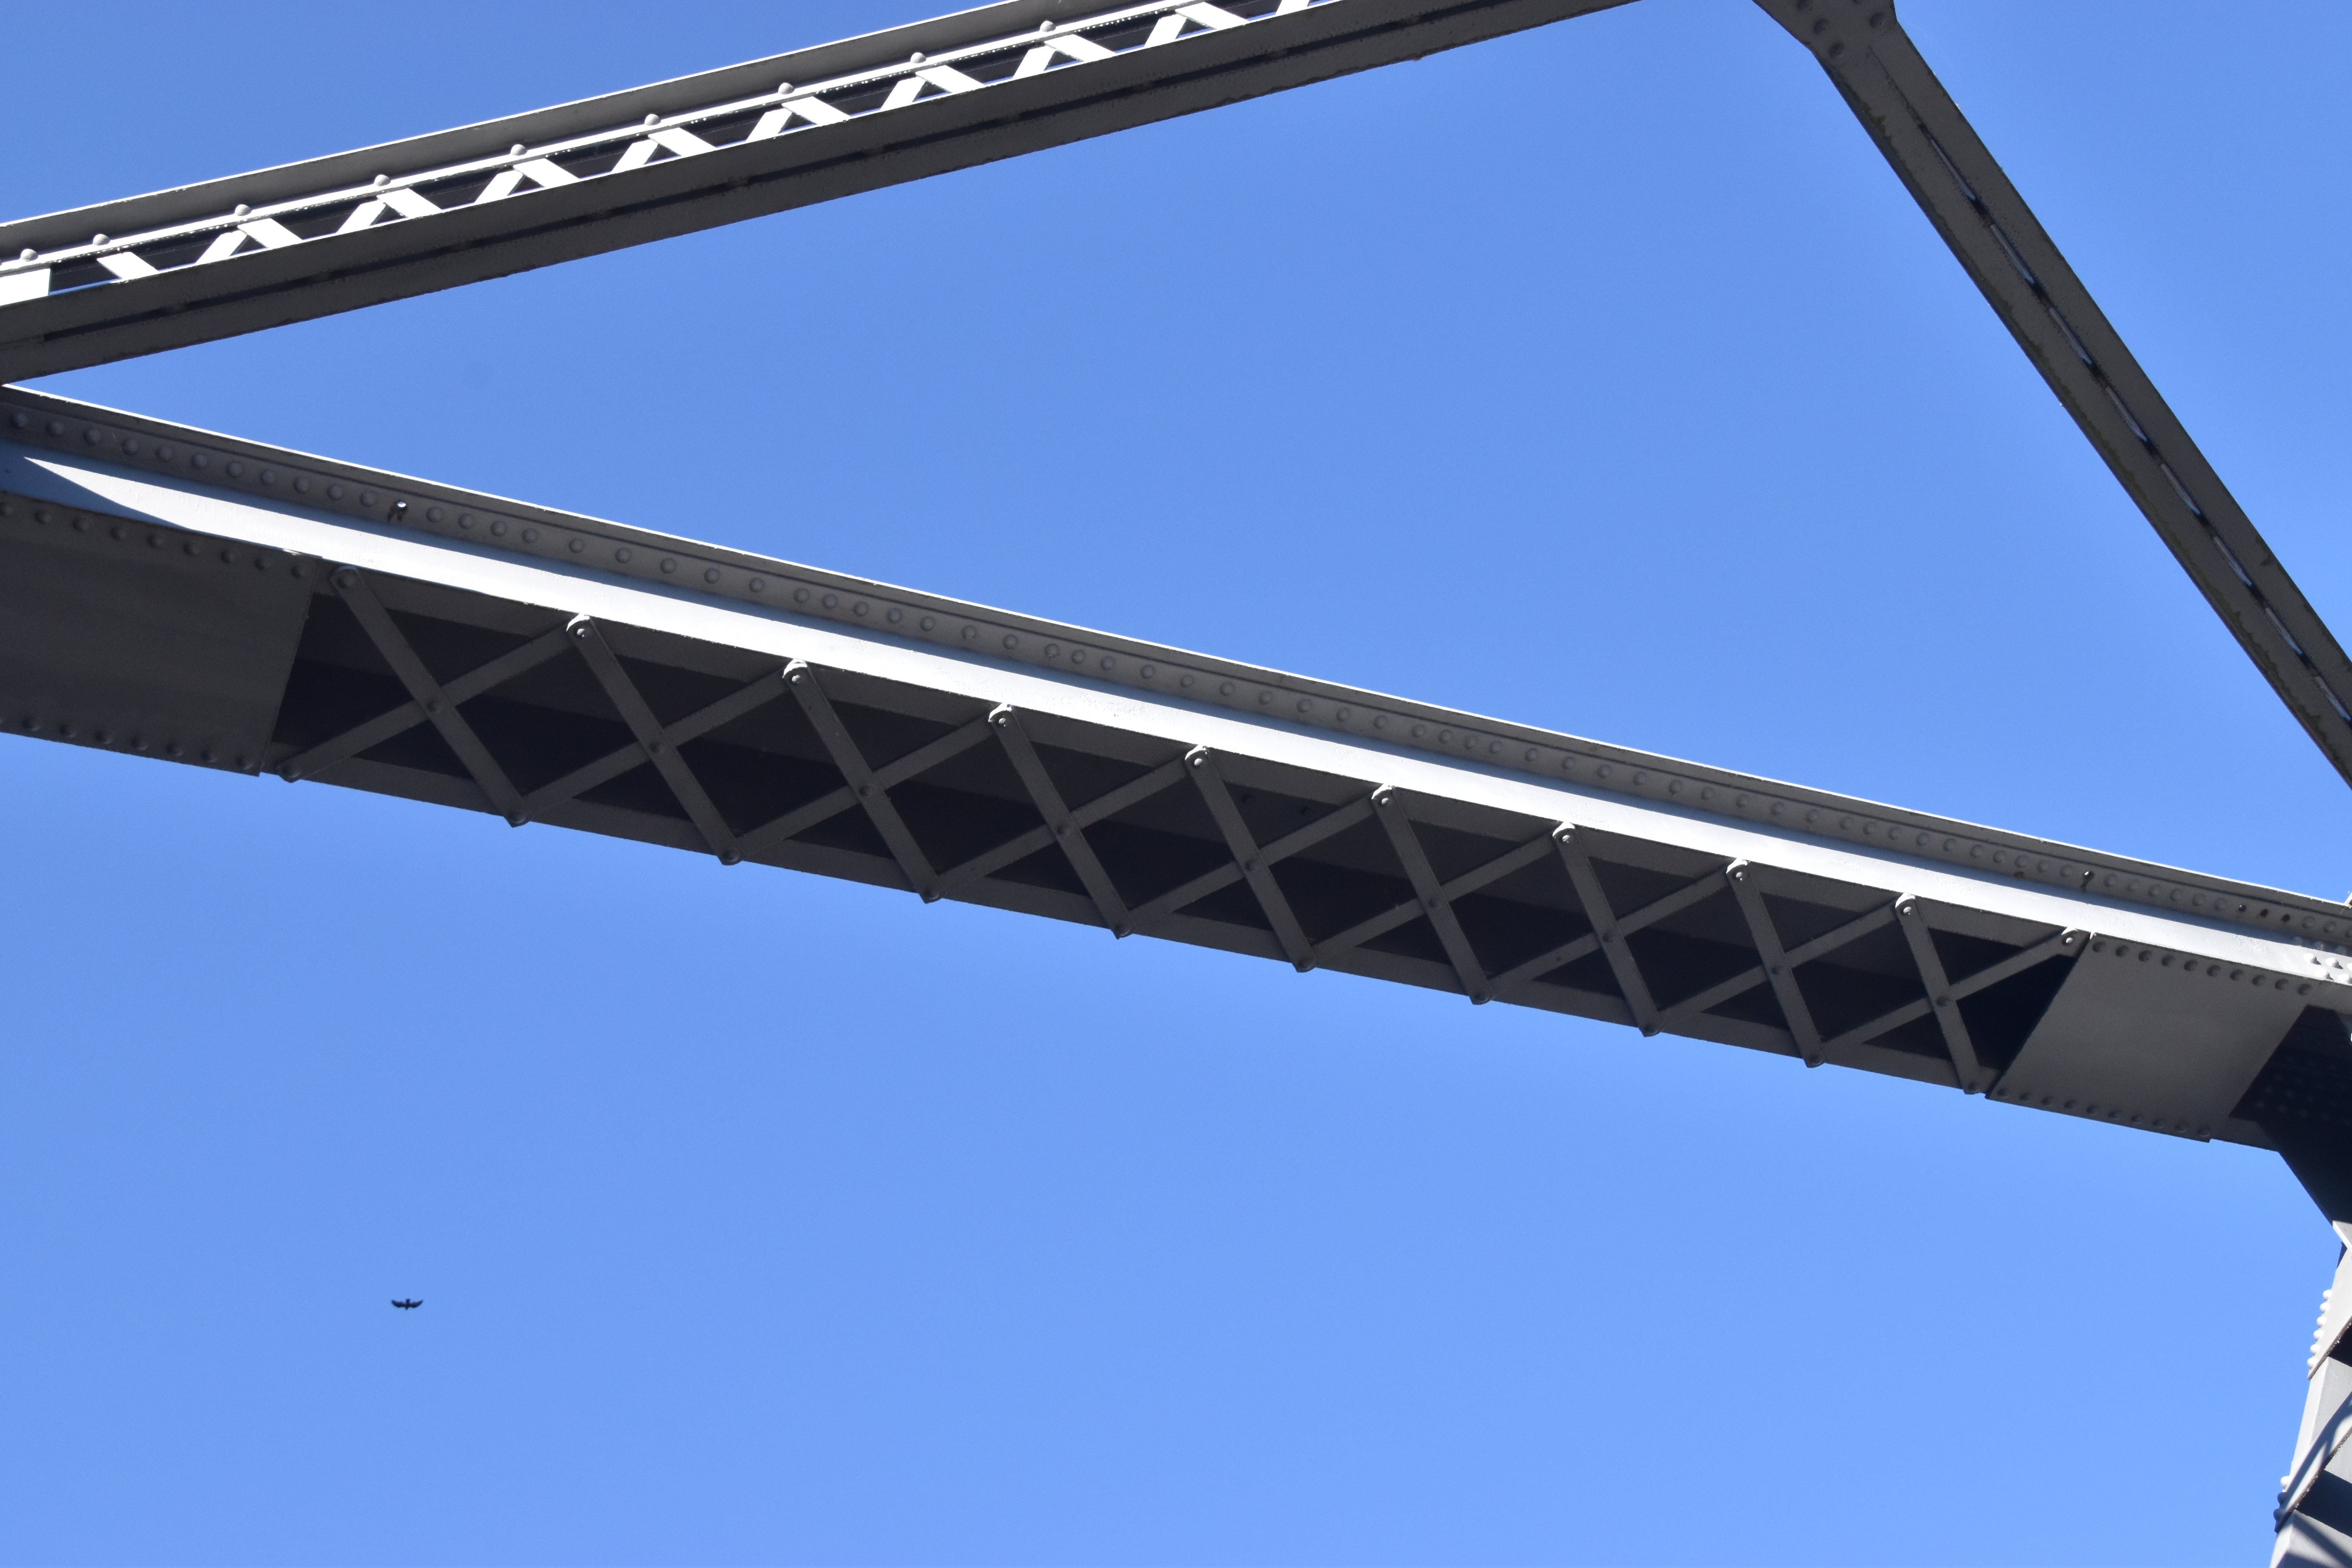
Upper lateral bracing.
![]()


View beside bridge showing top chord with splice in the middle, an unusual location for a splice.
![]()


View on bridge showing top chord with splice in the middle, an unusual location for a splice.
![]()
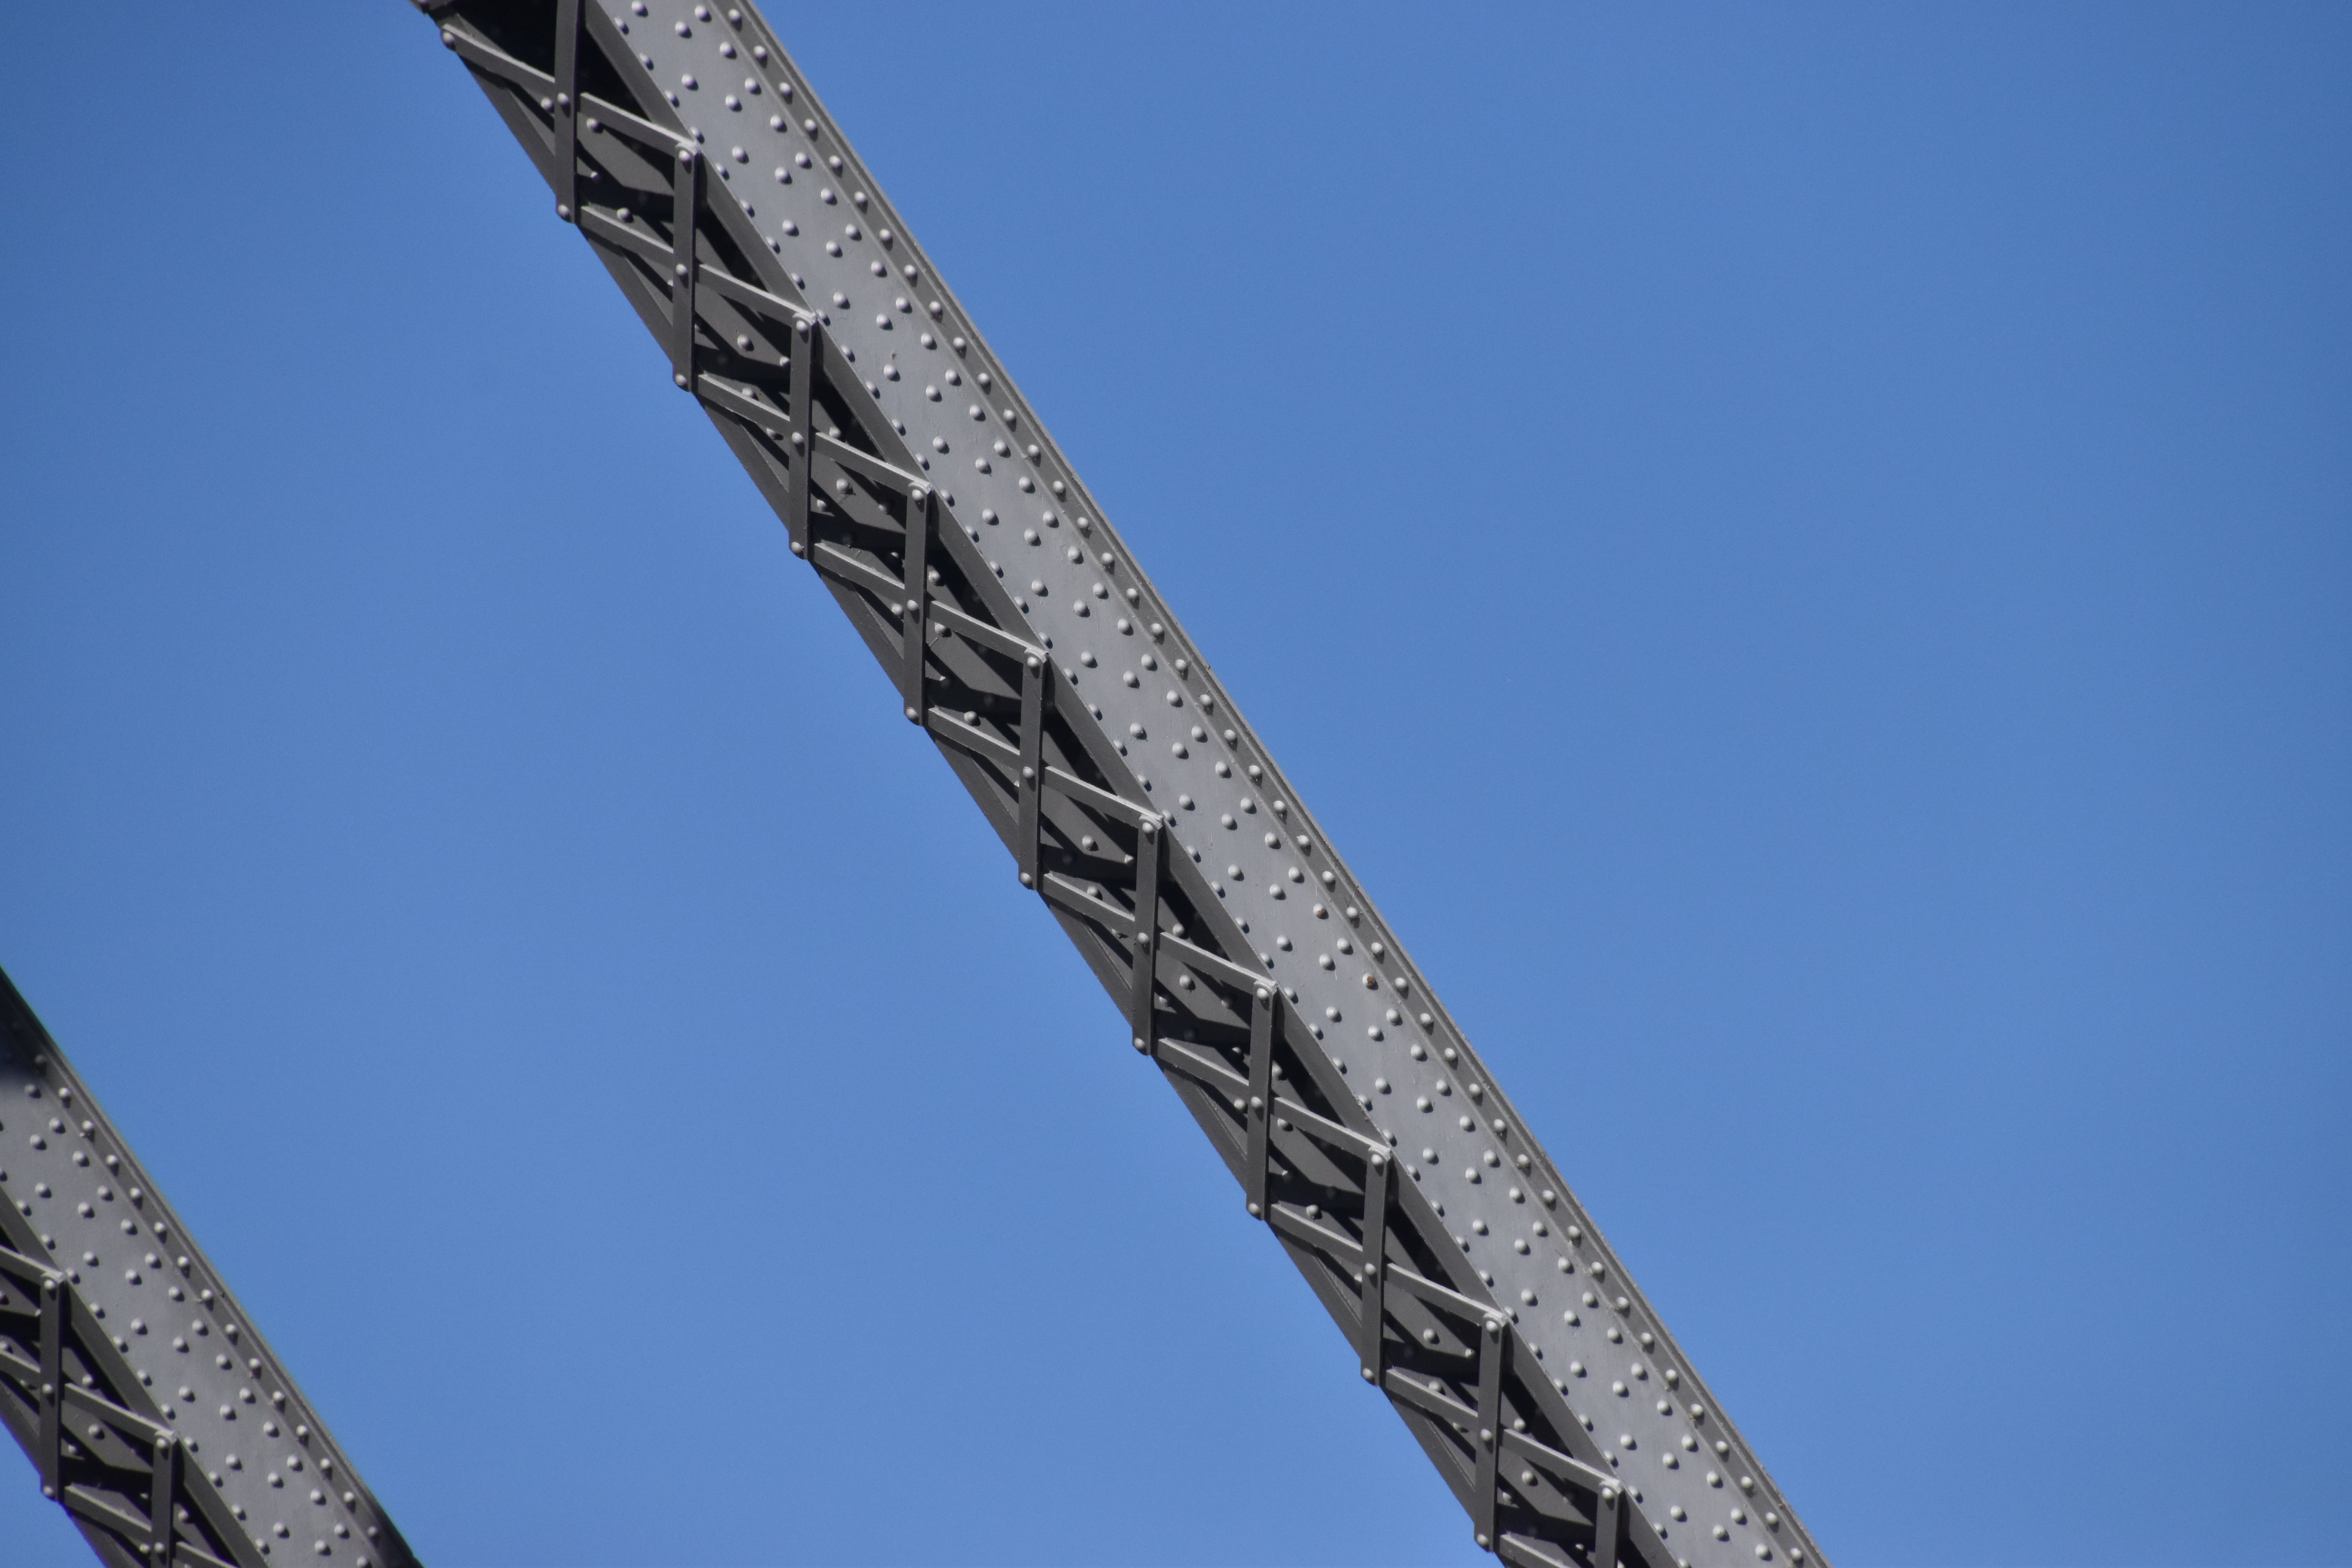
Top chord.
![]()

View beside bridge showing bottom chord.
![]()

Bottom chord.
![]()
Diagonal members.
![]()


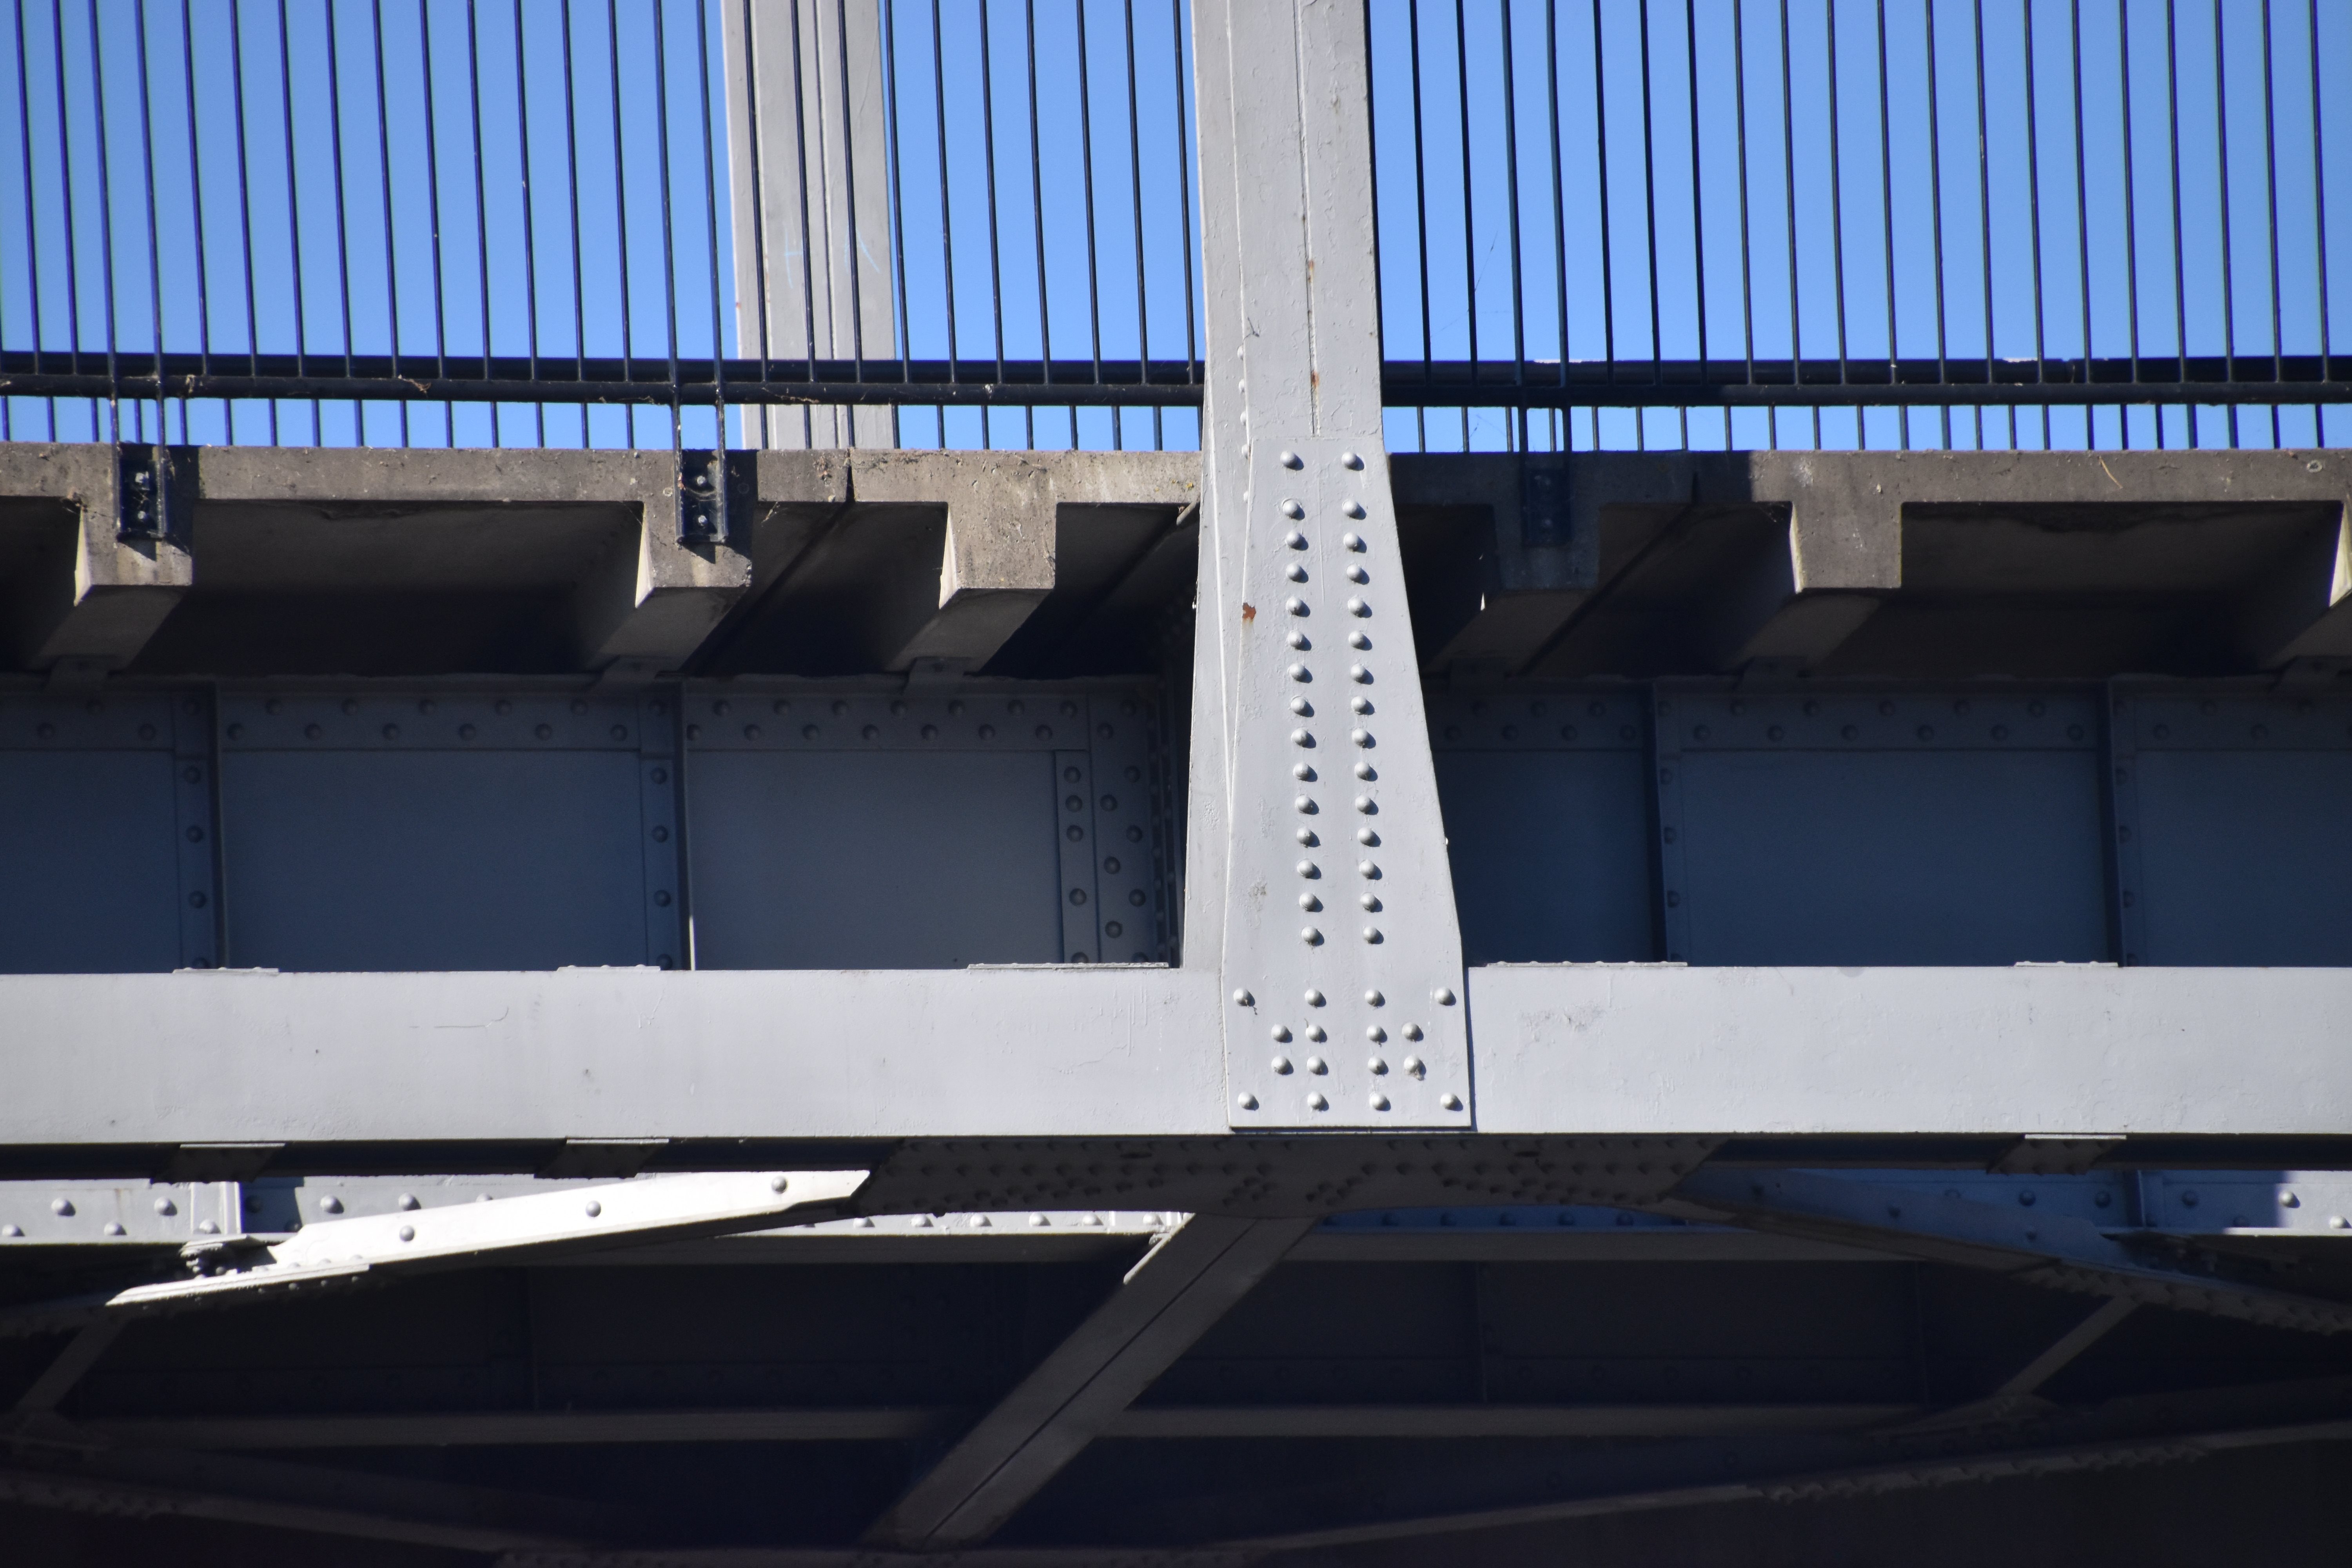
Vertical members.
![]()
End posts.
![]()


Machinery on lift span as viewed from beside bridge.
![]()
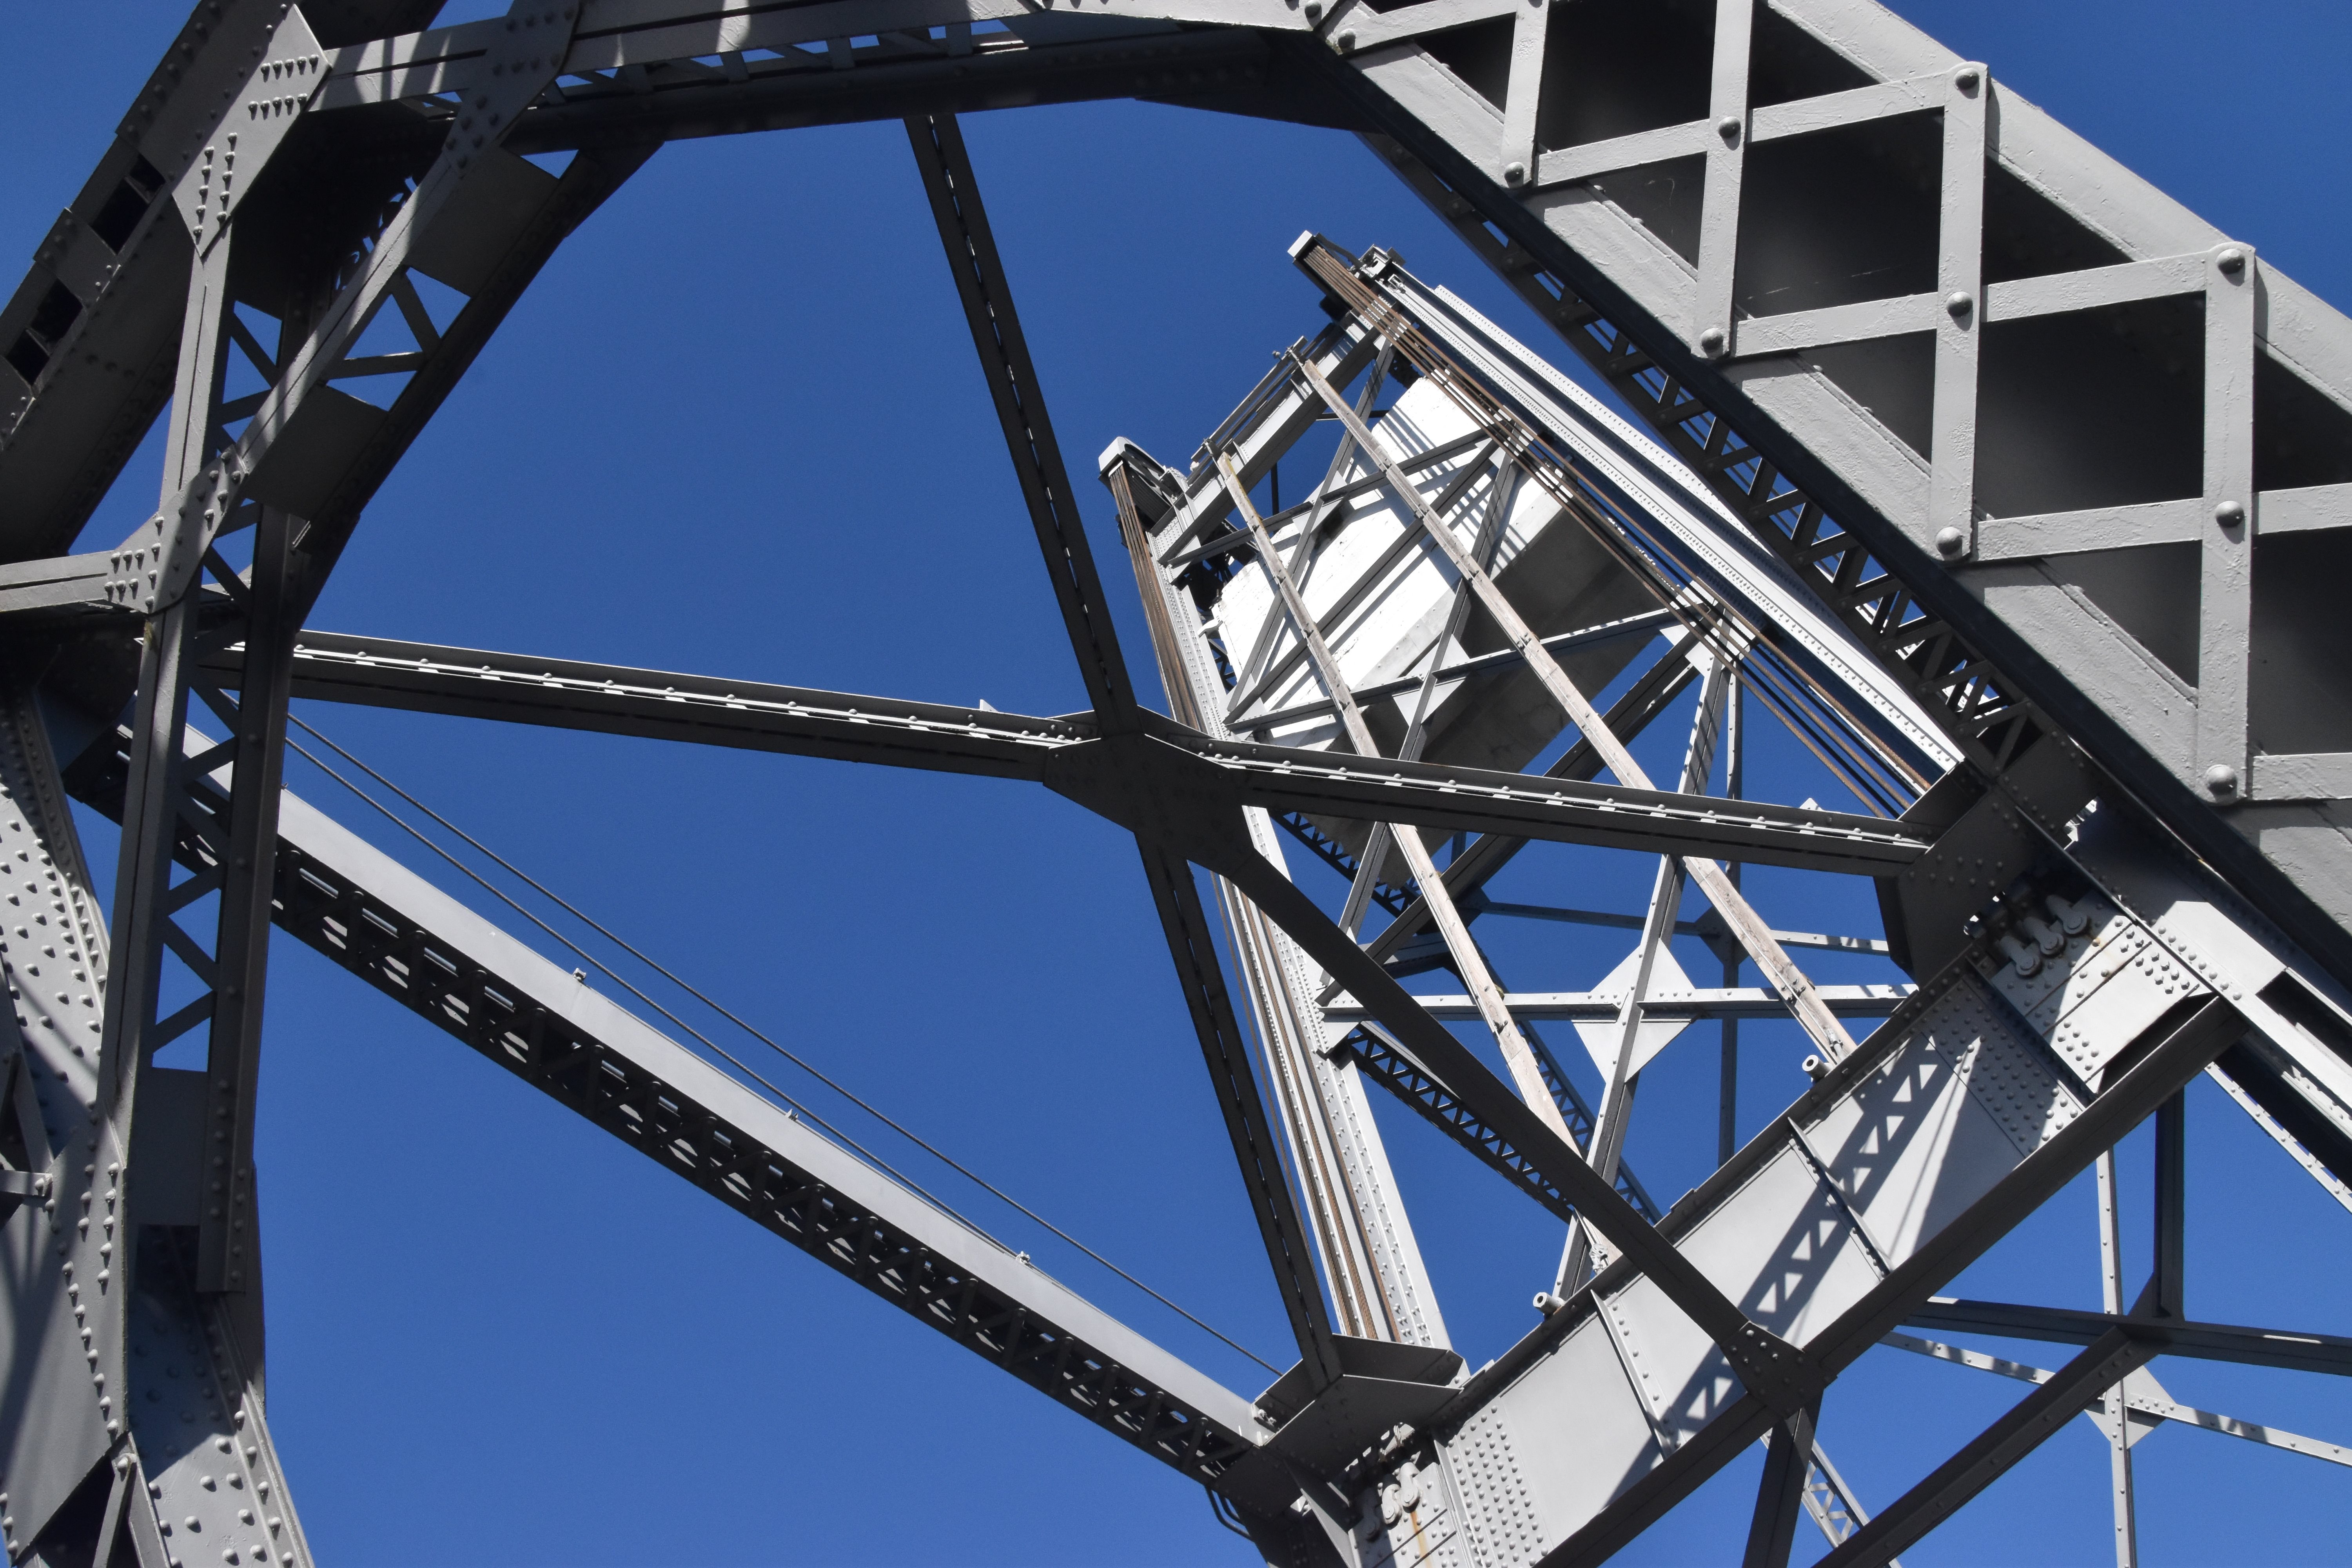
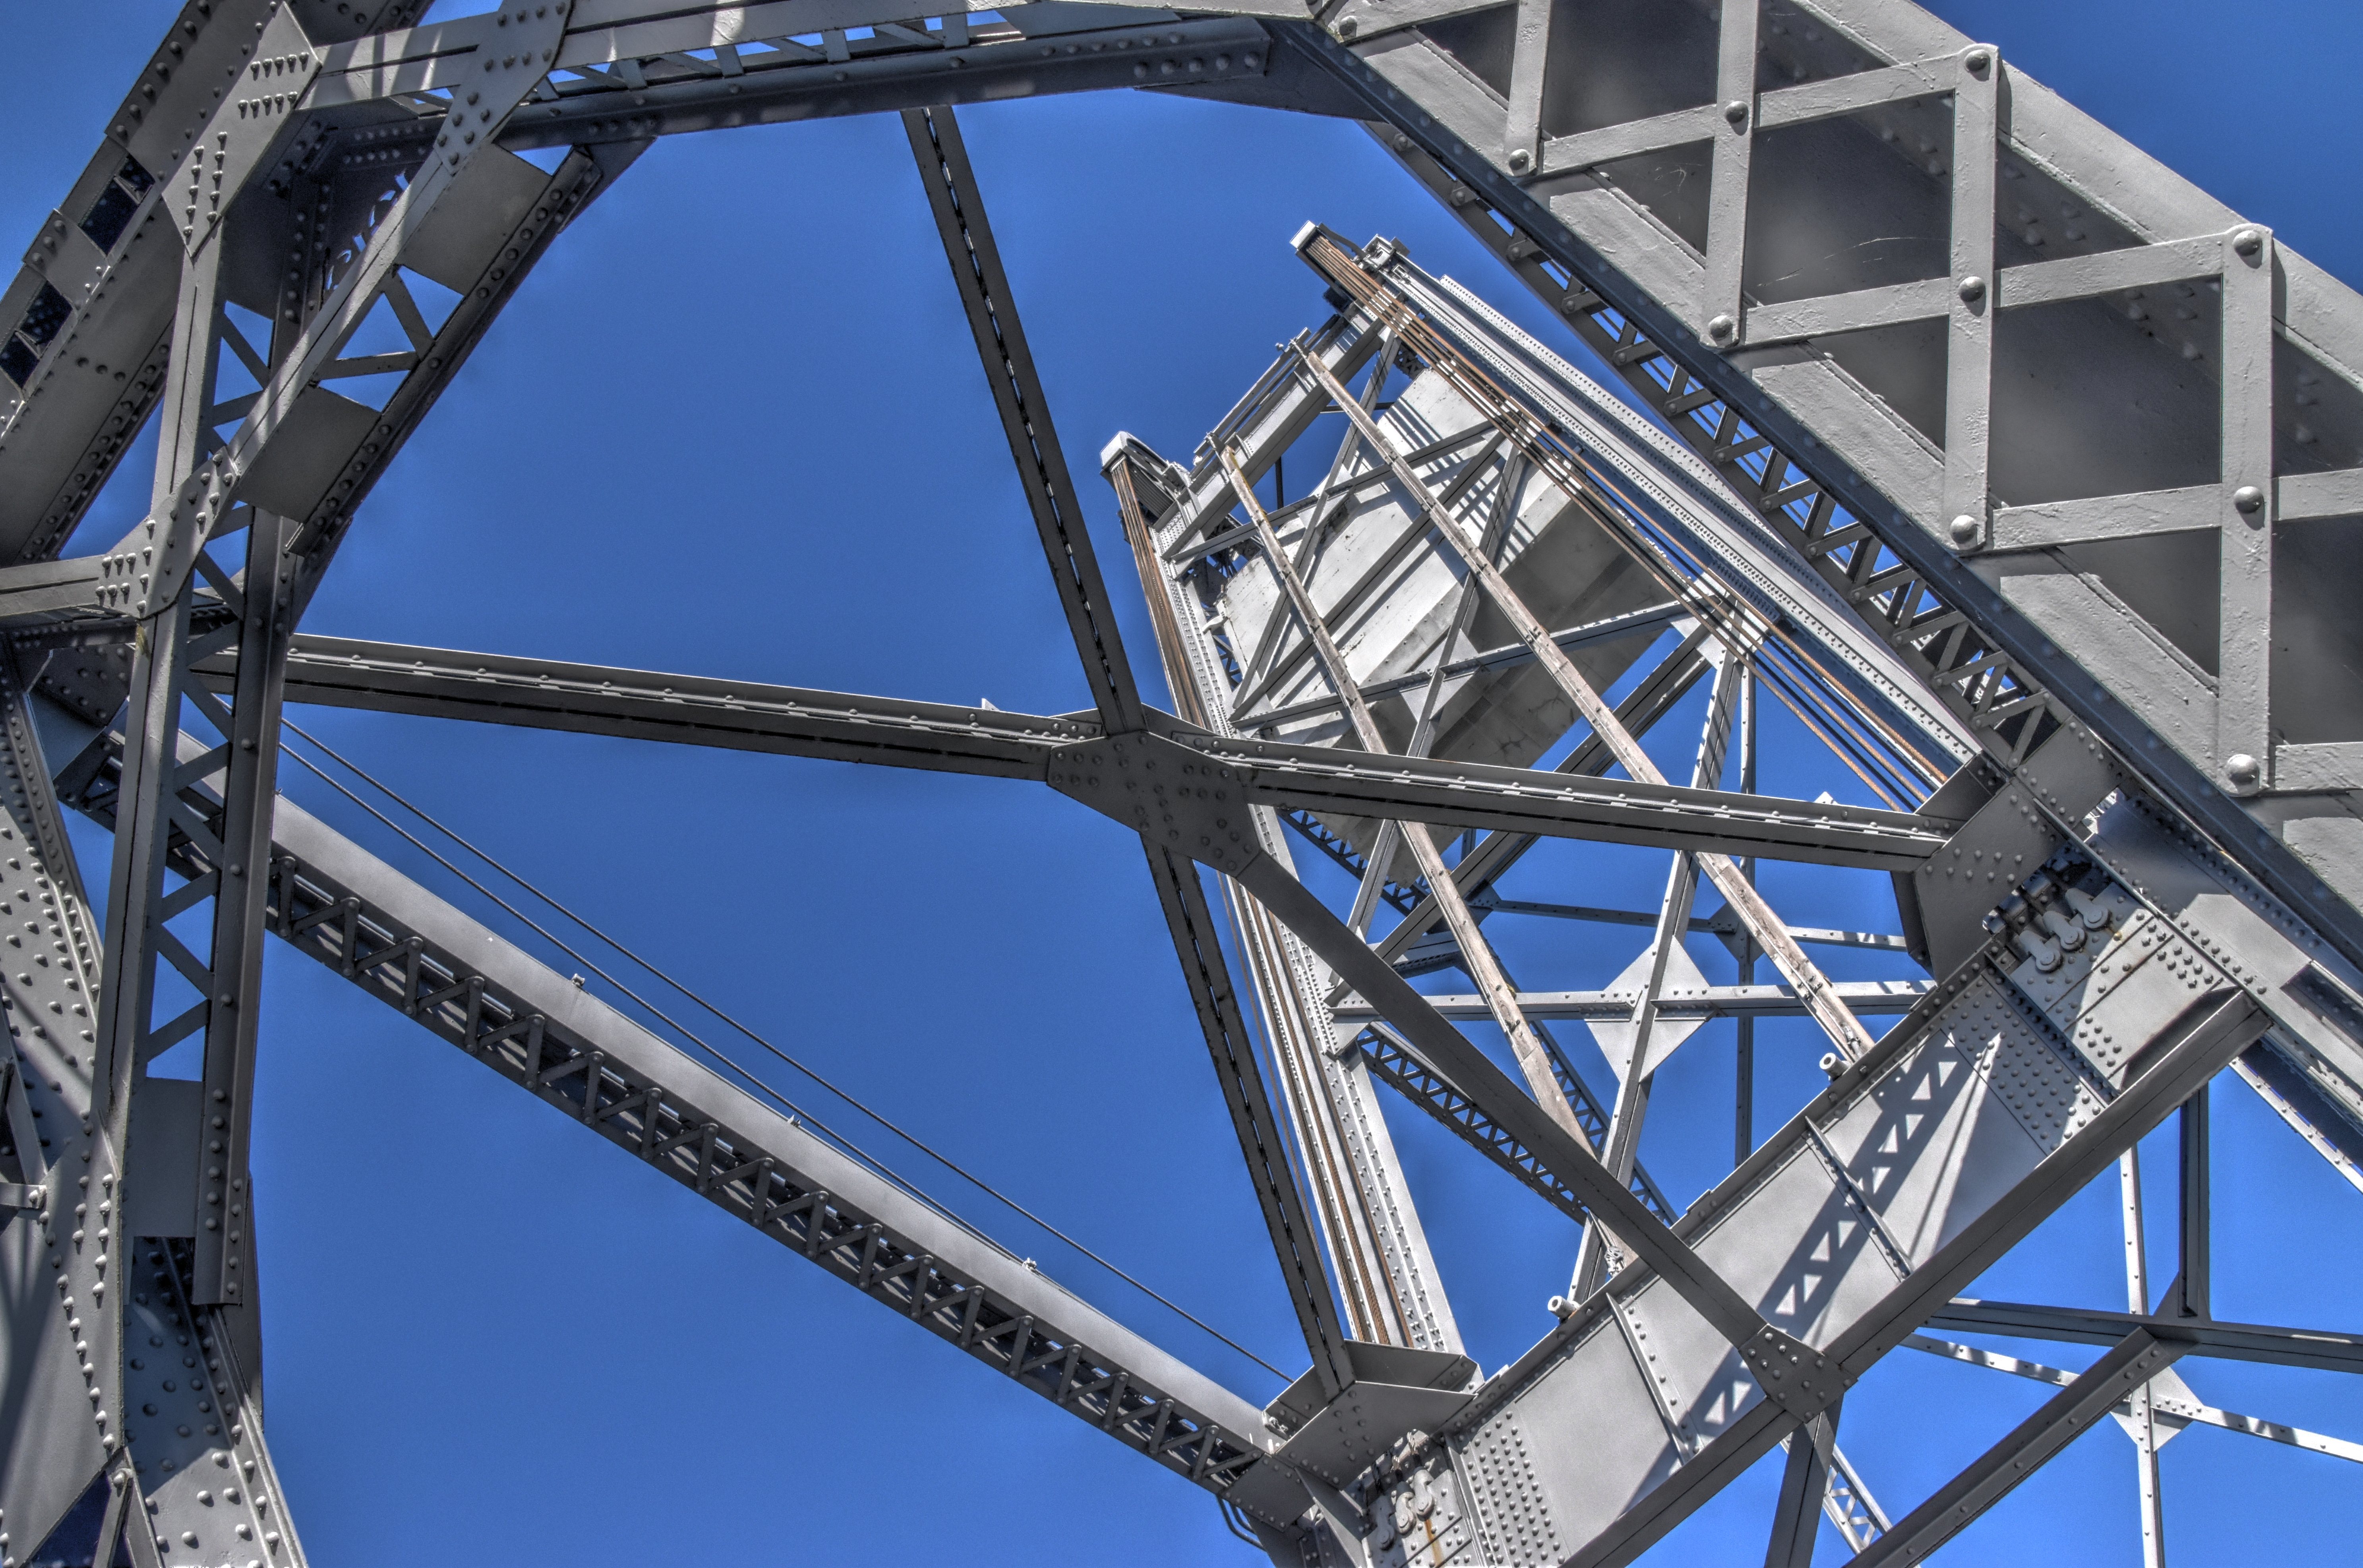
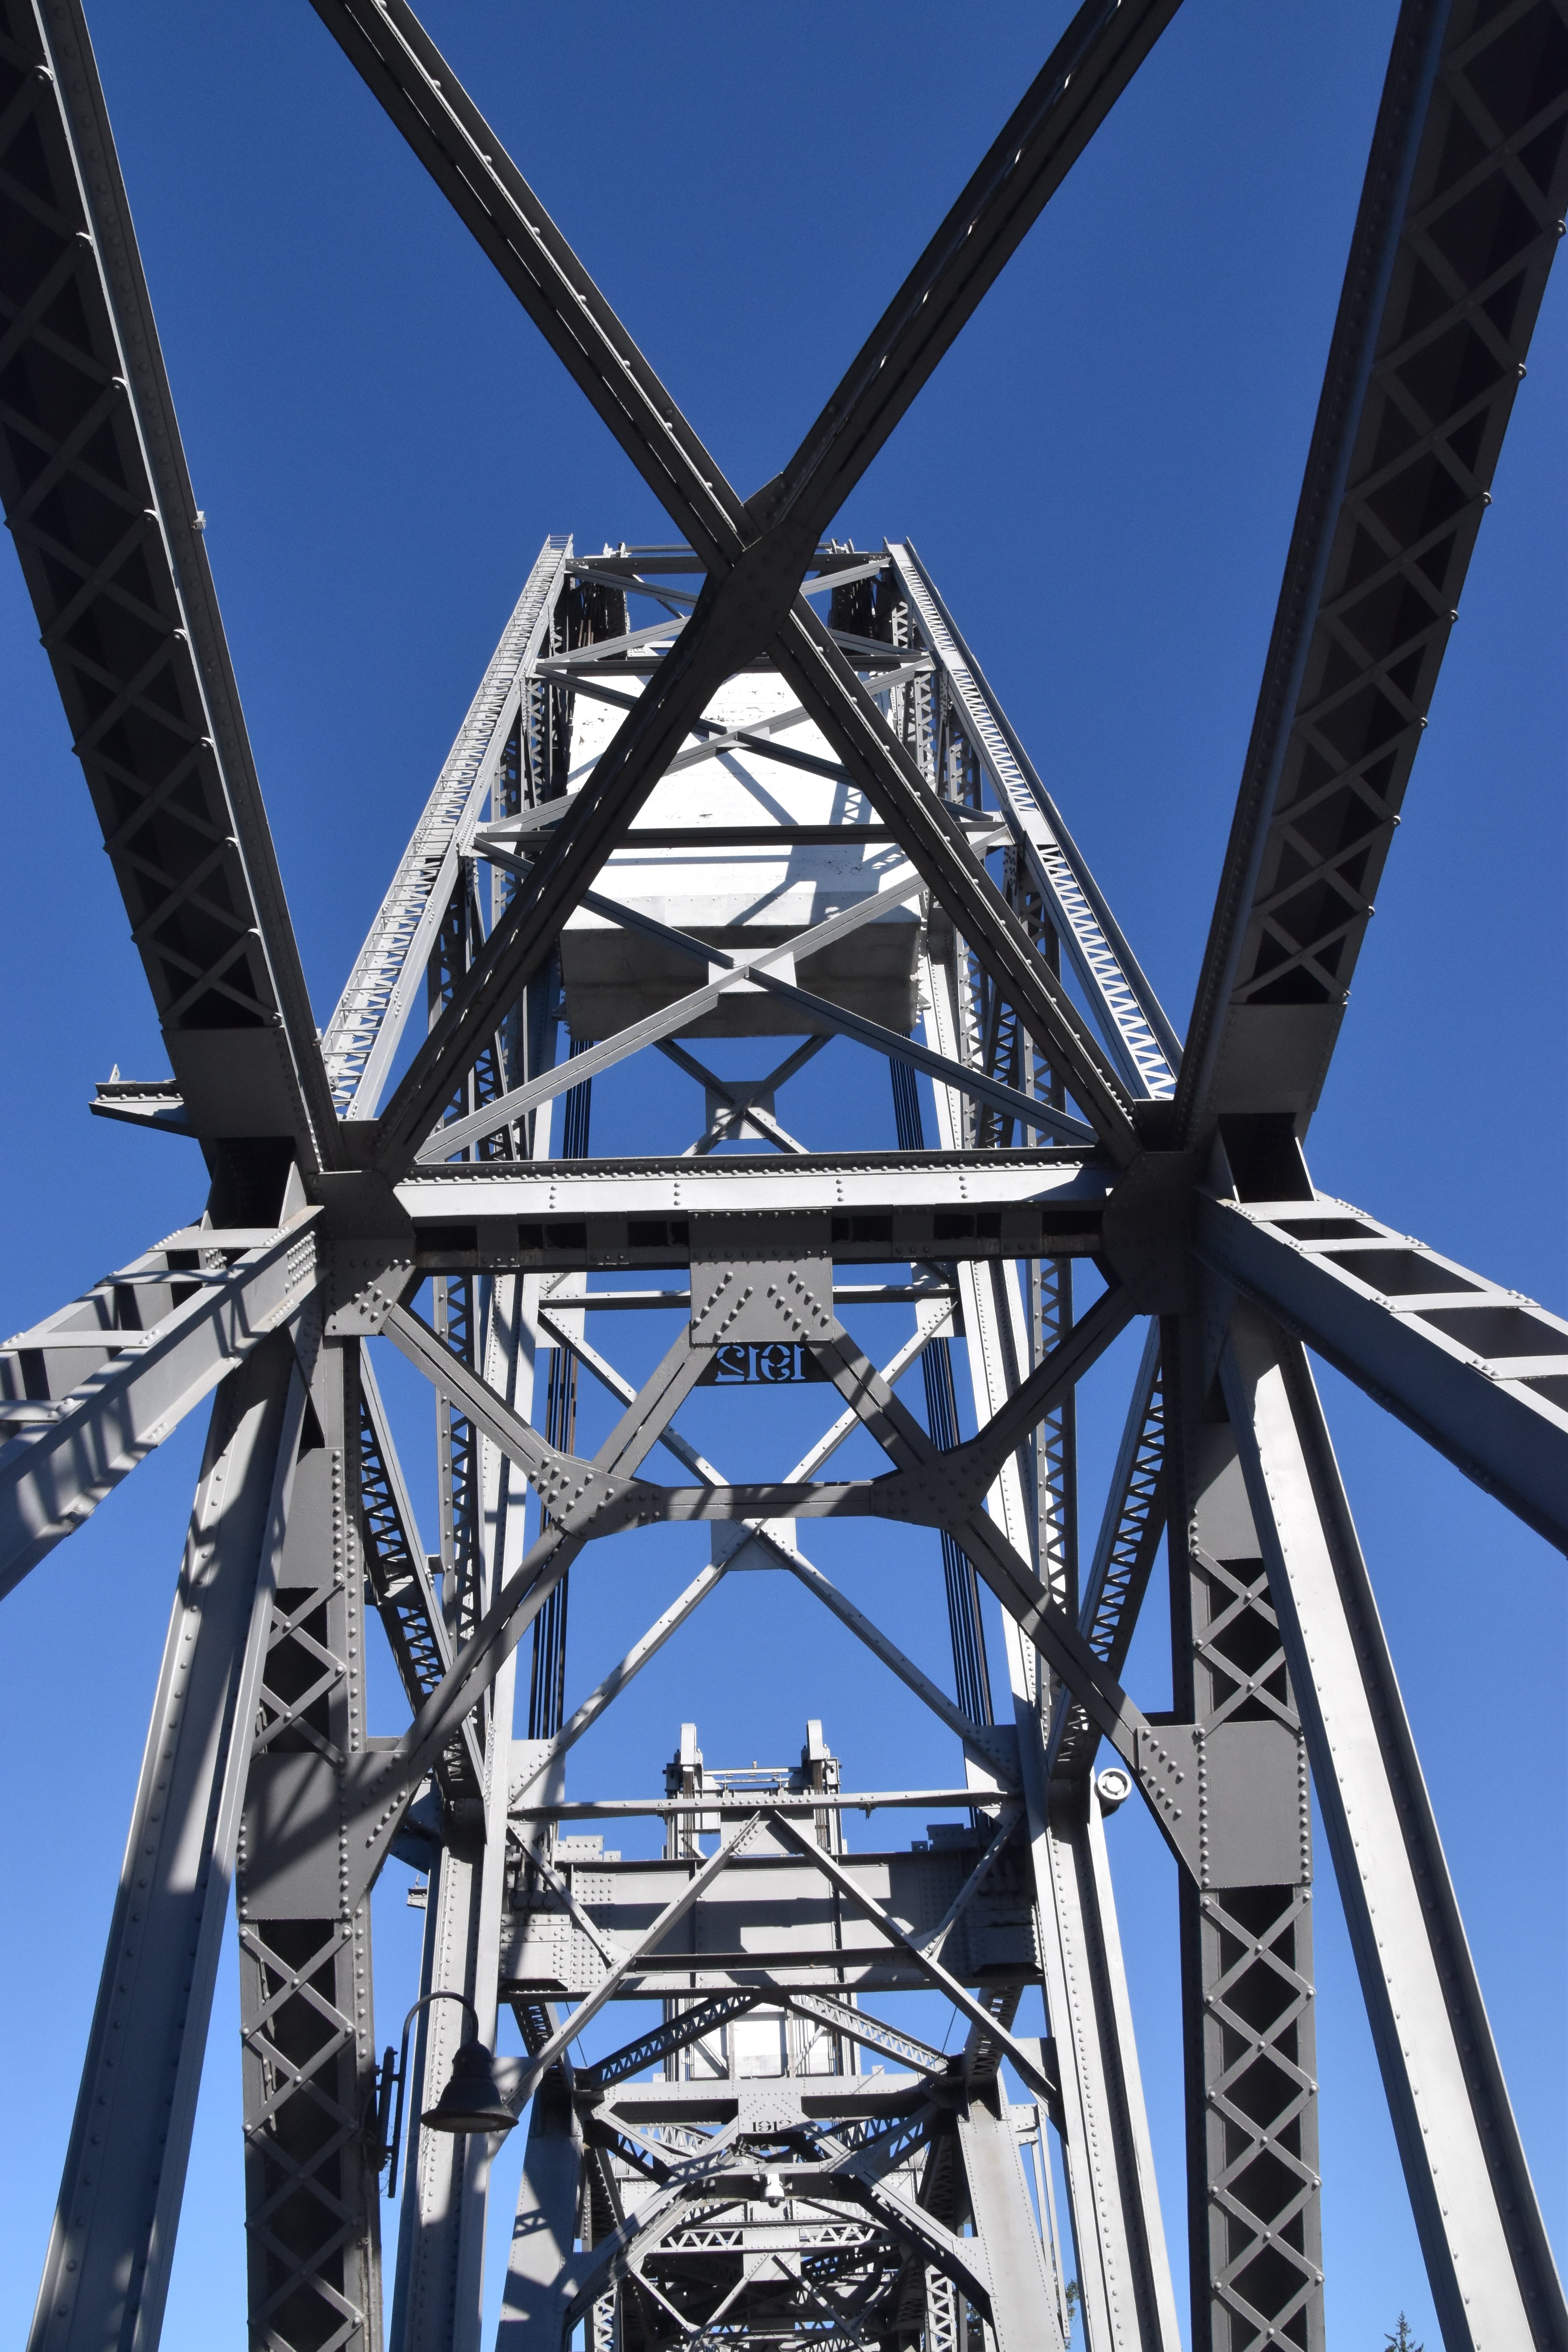
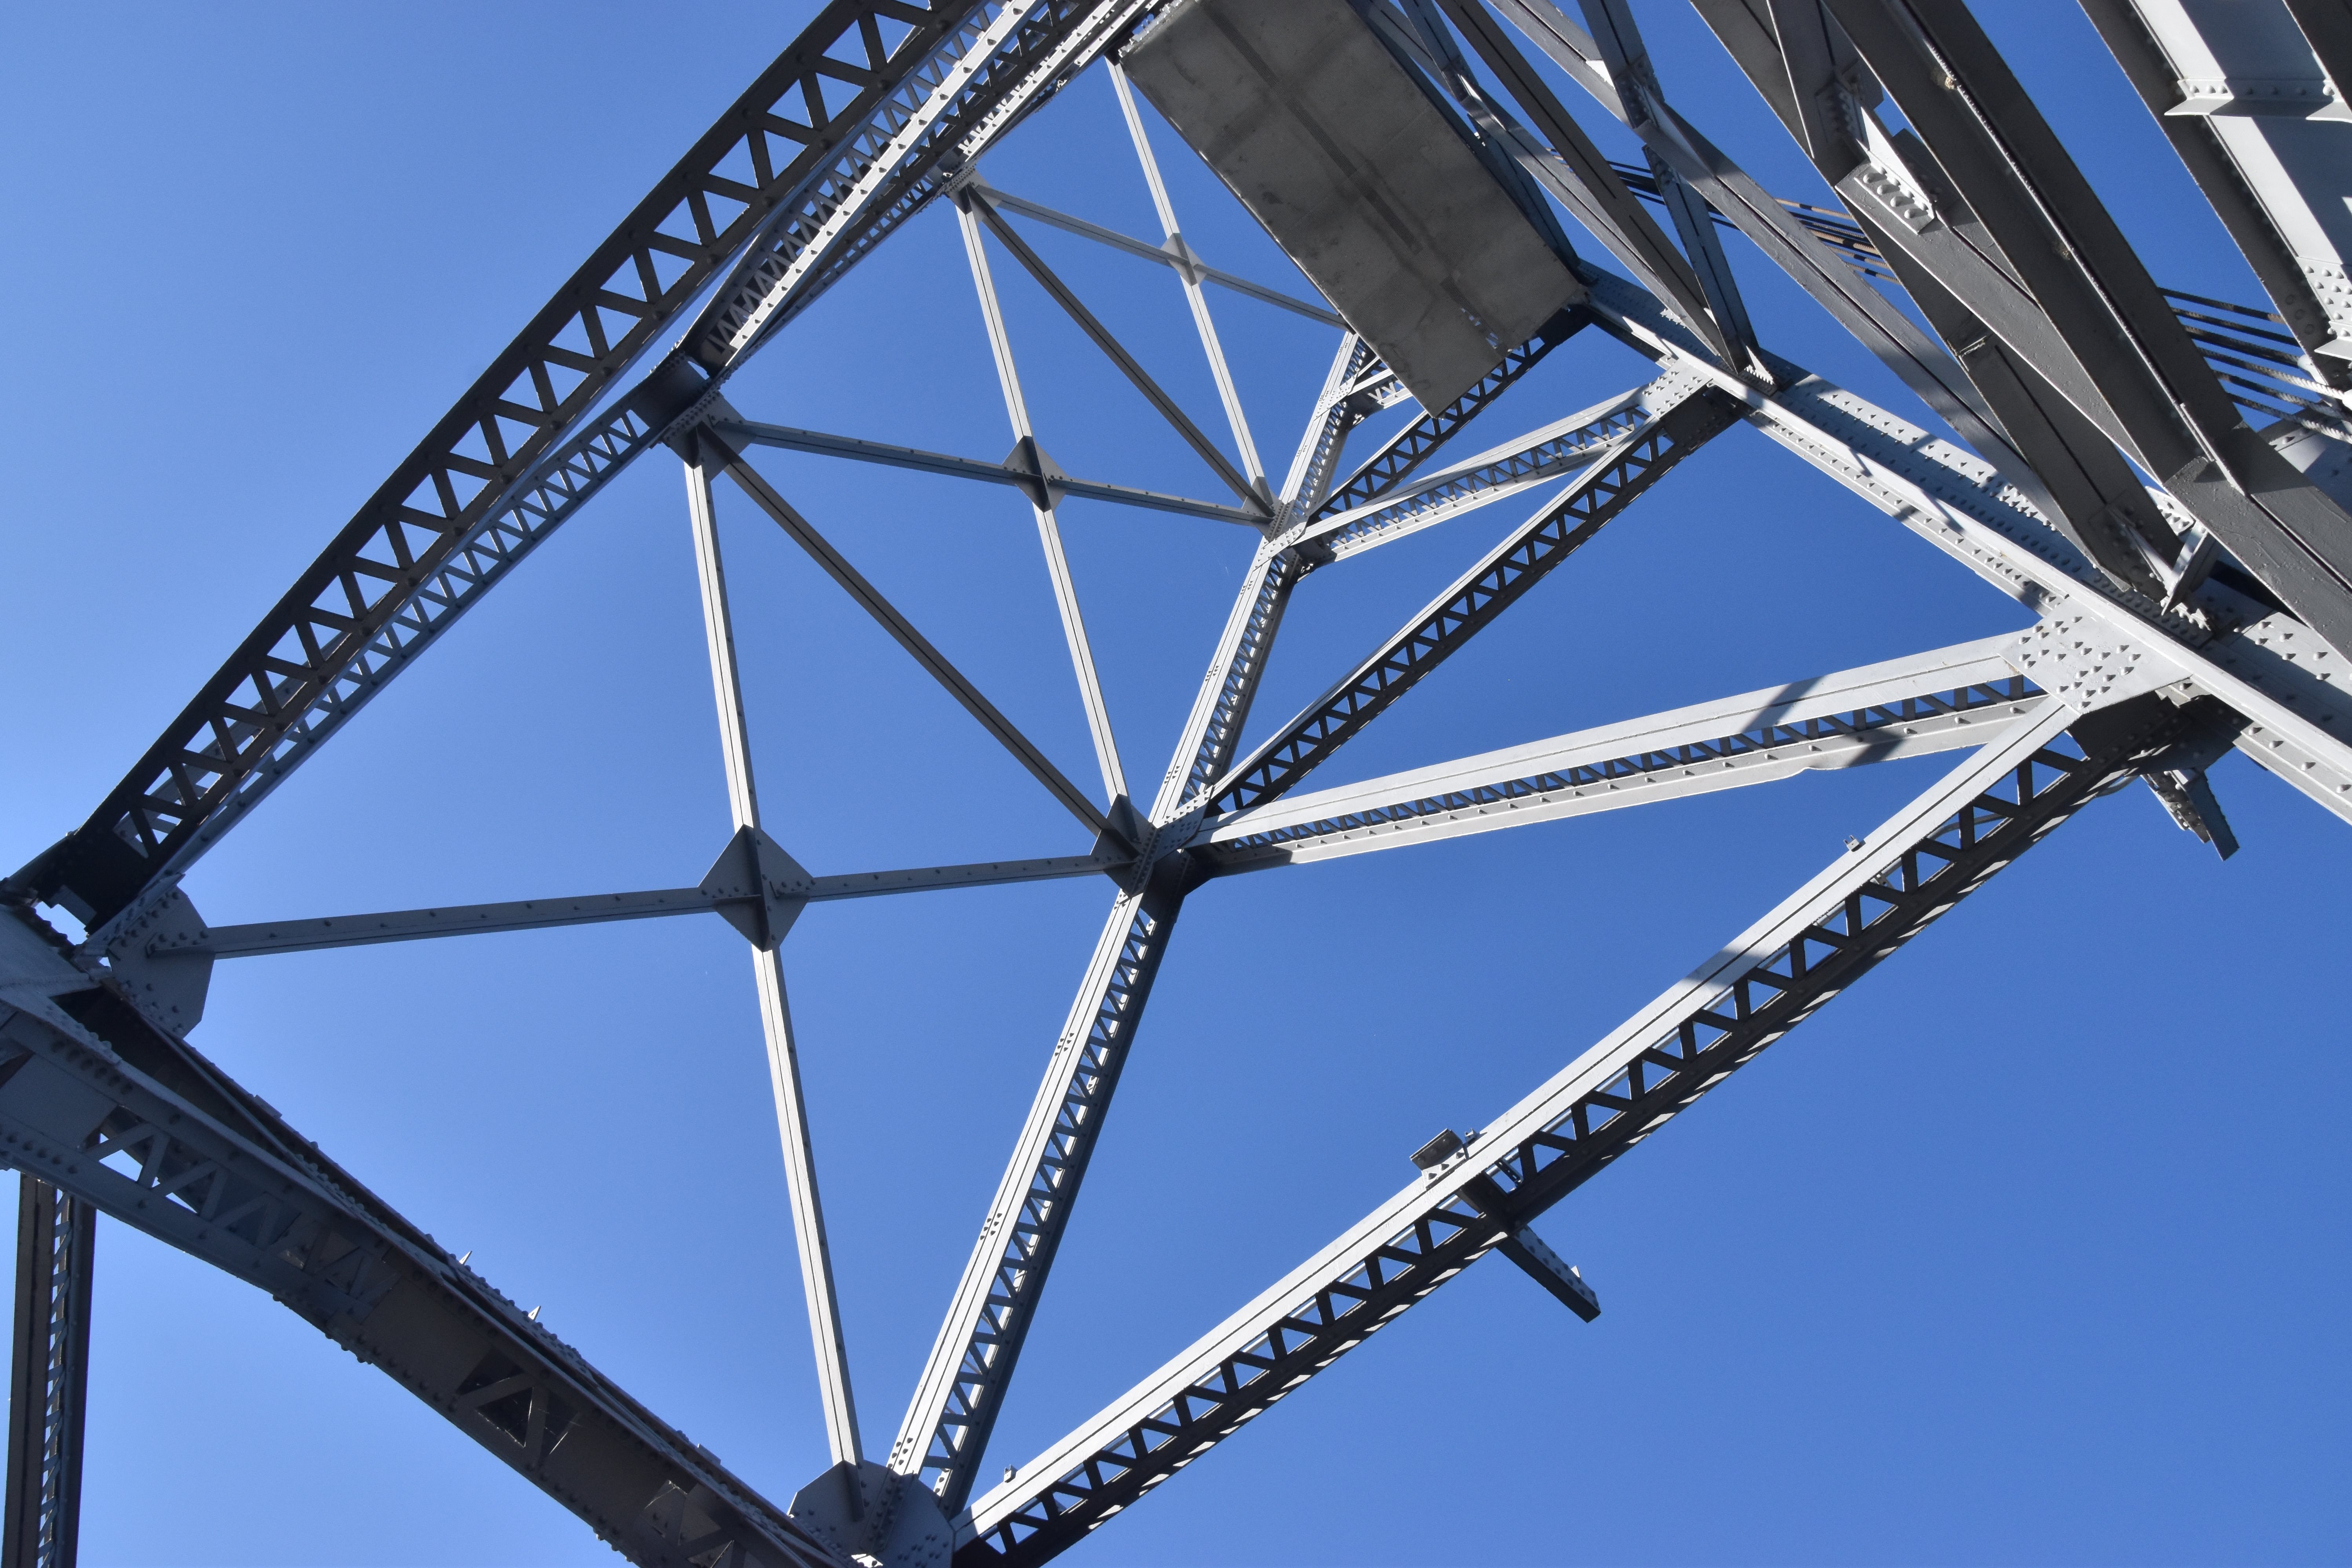
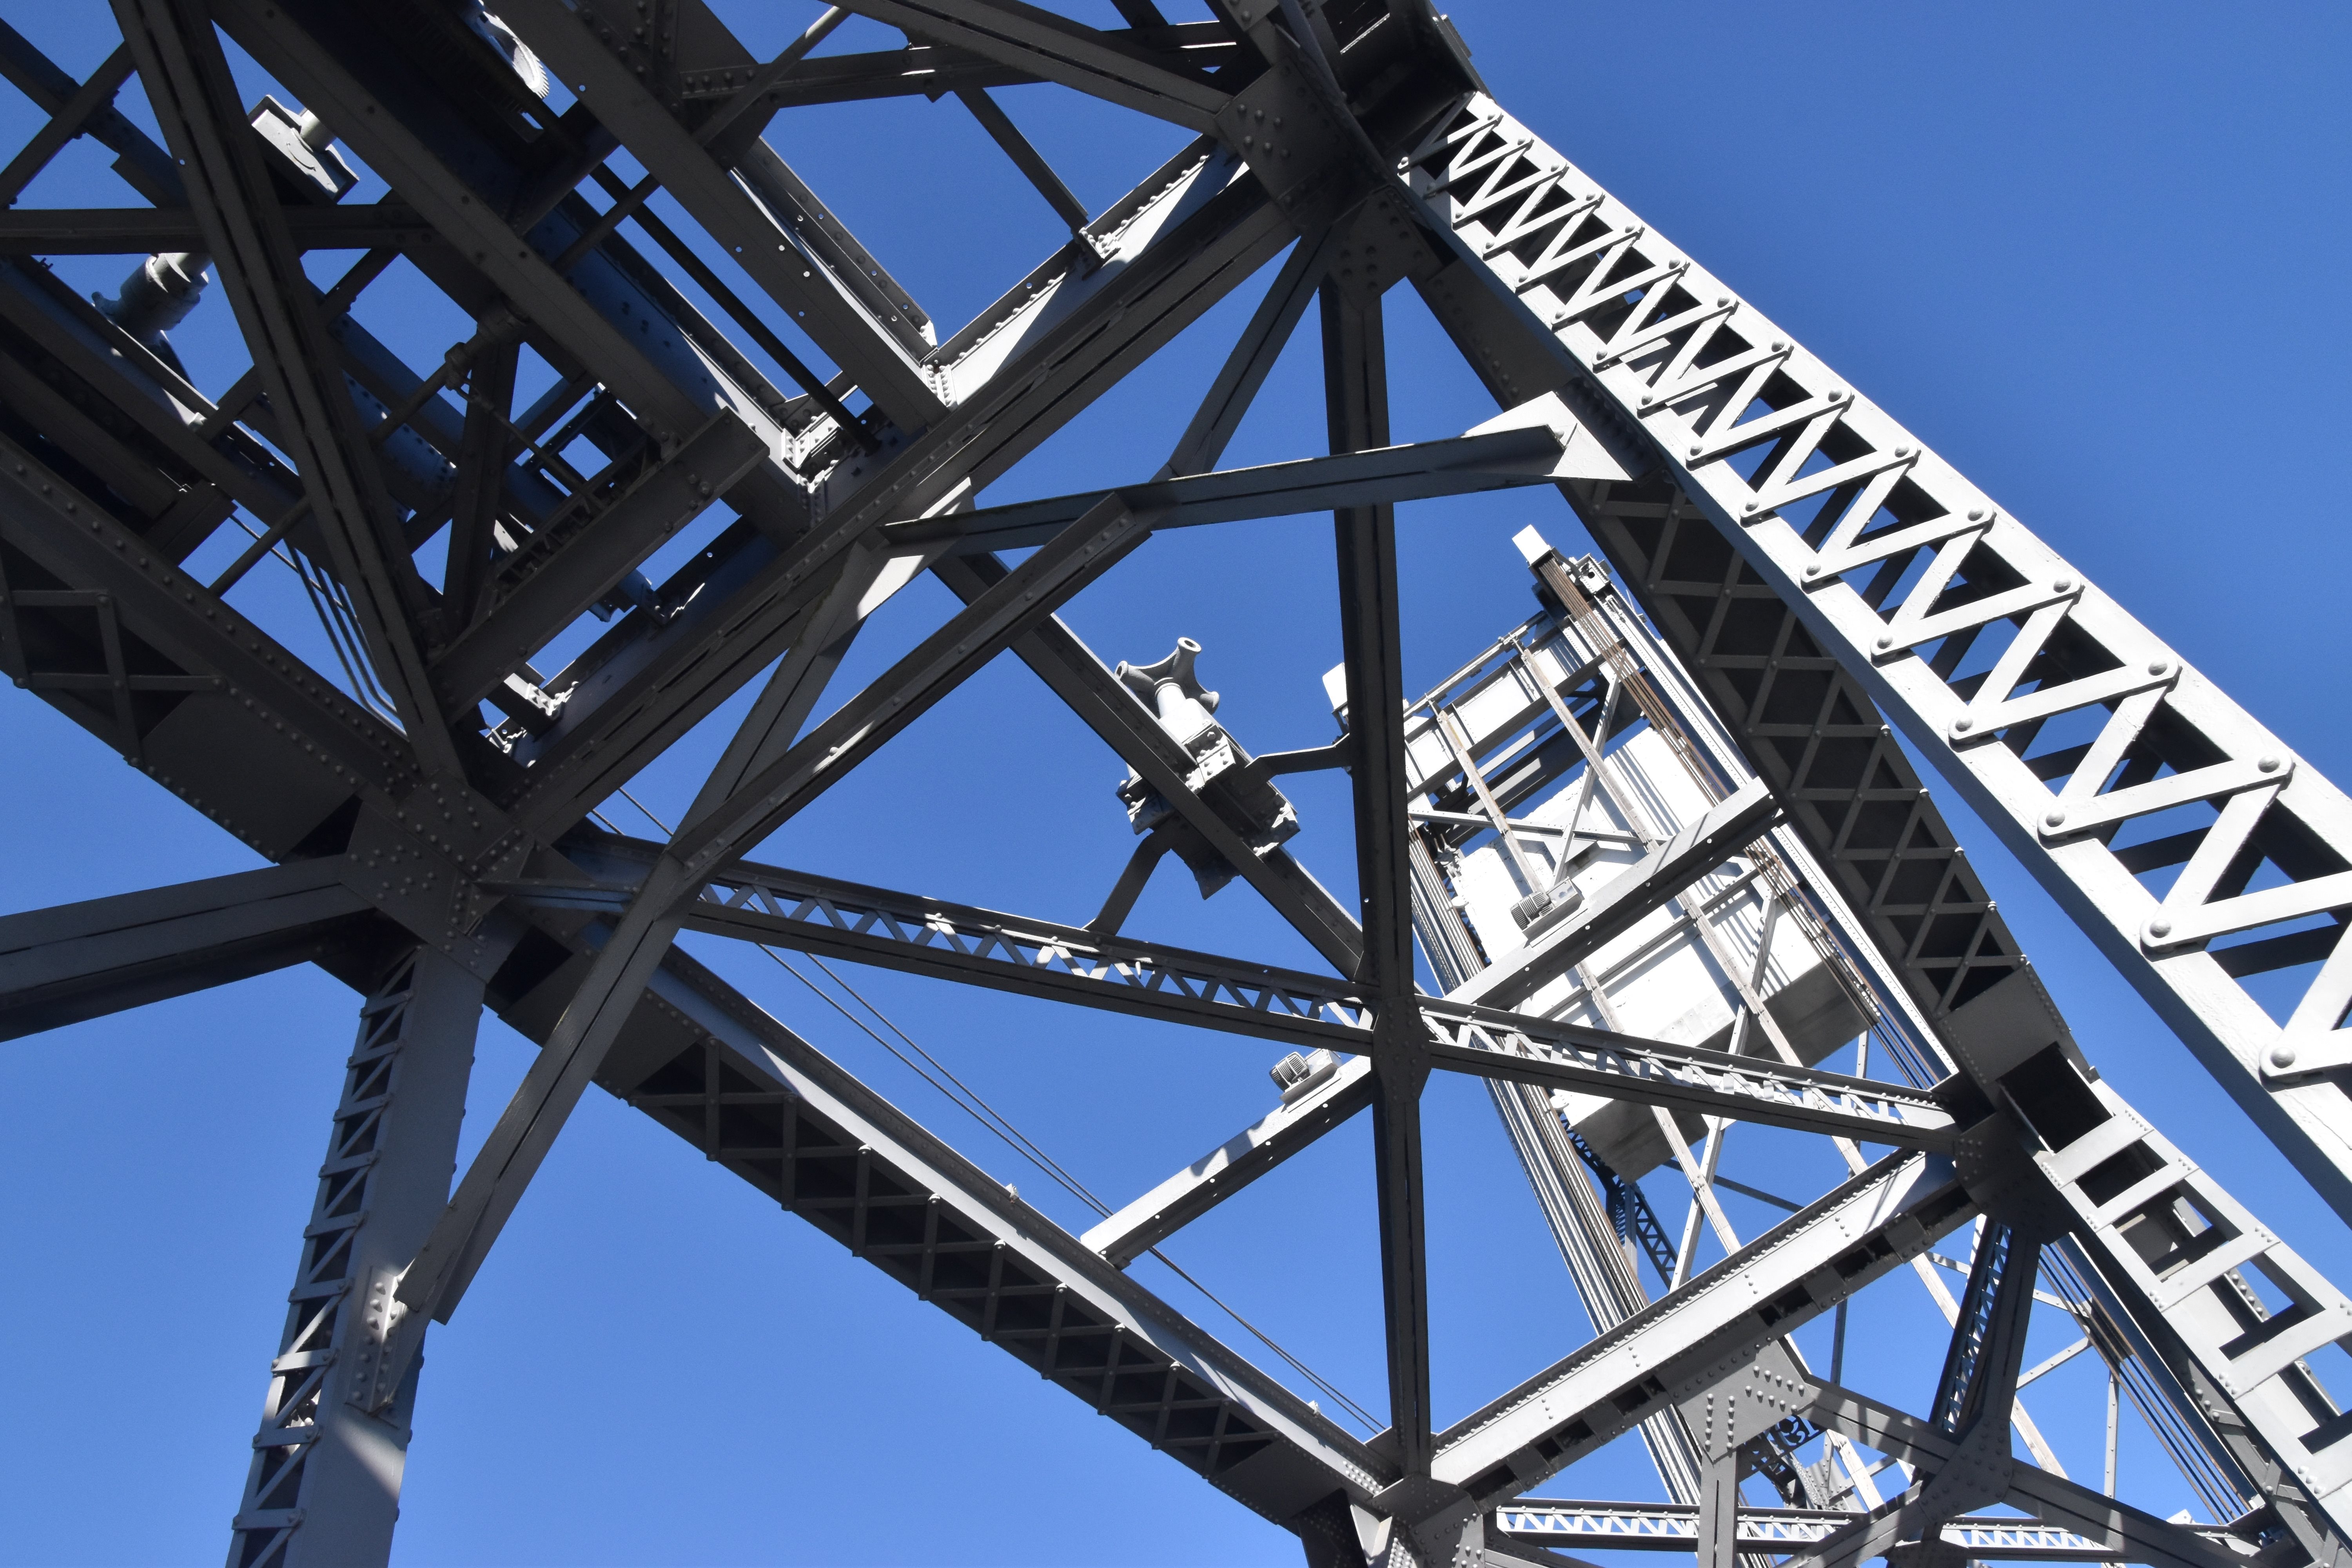
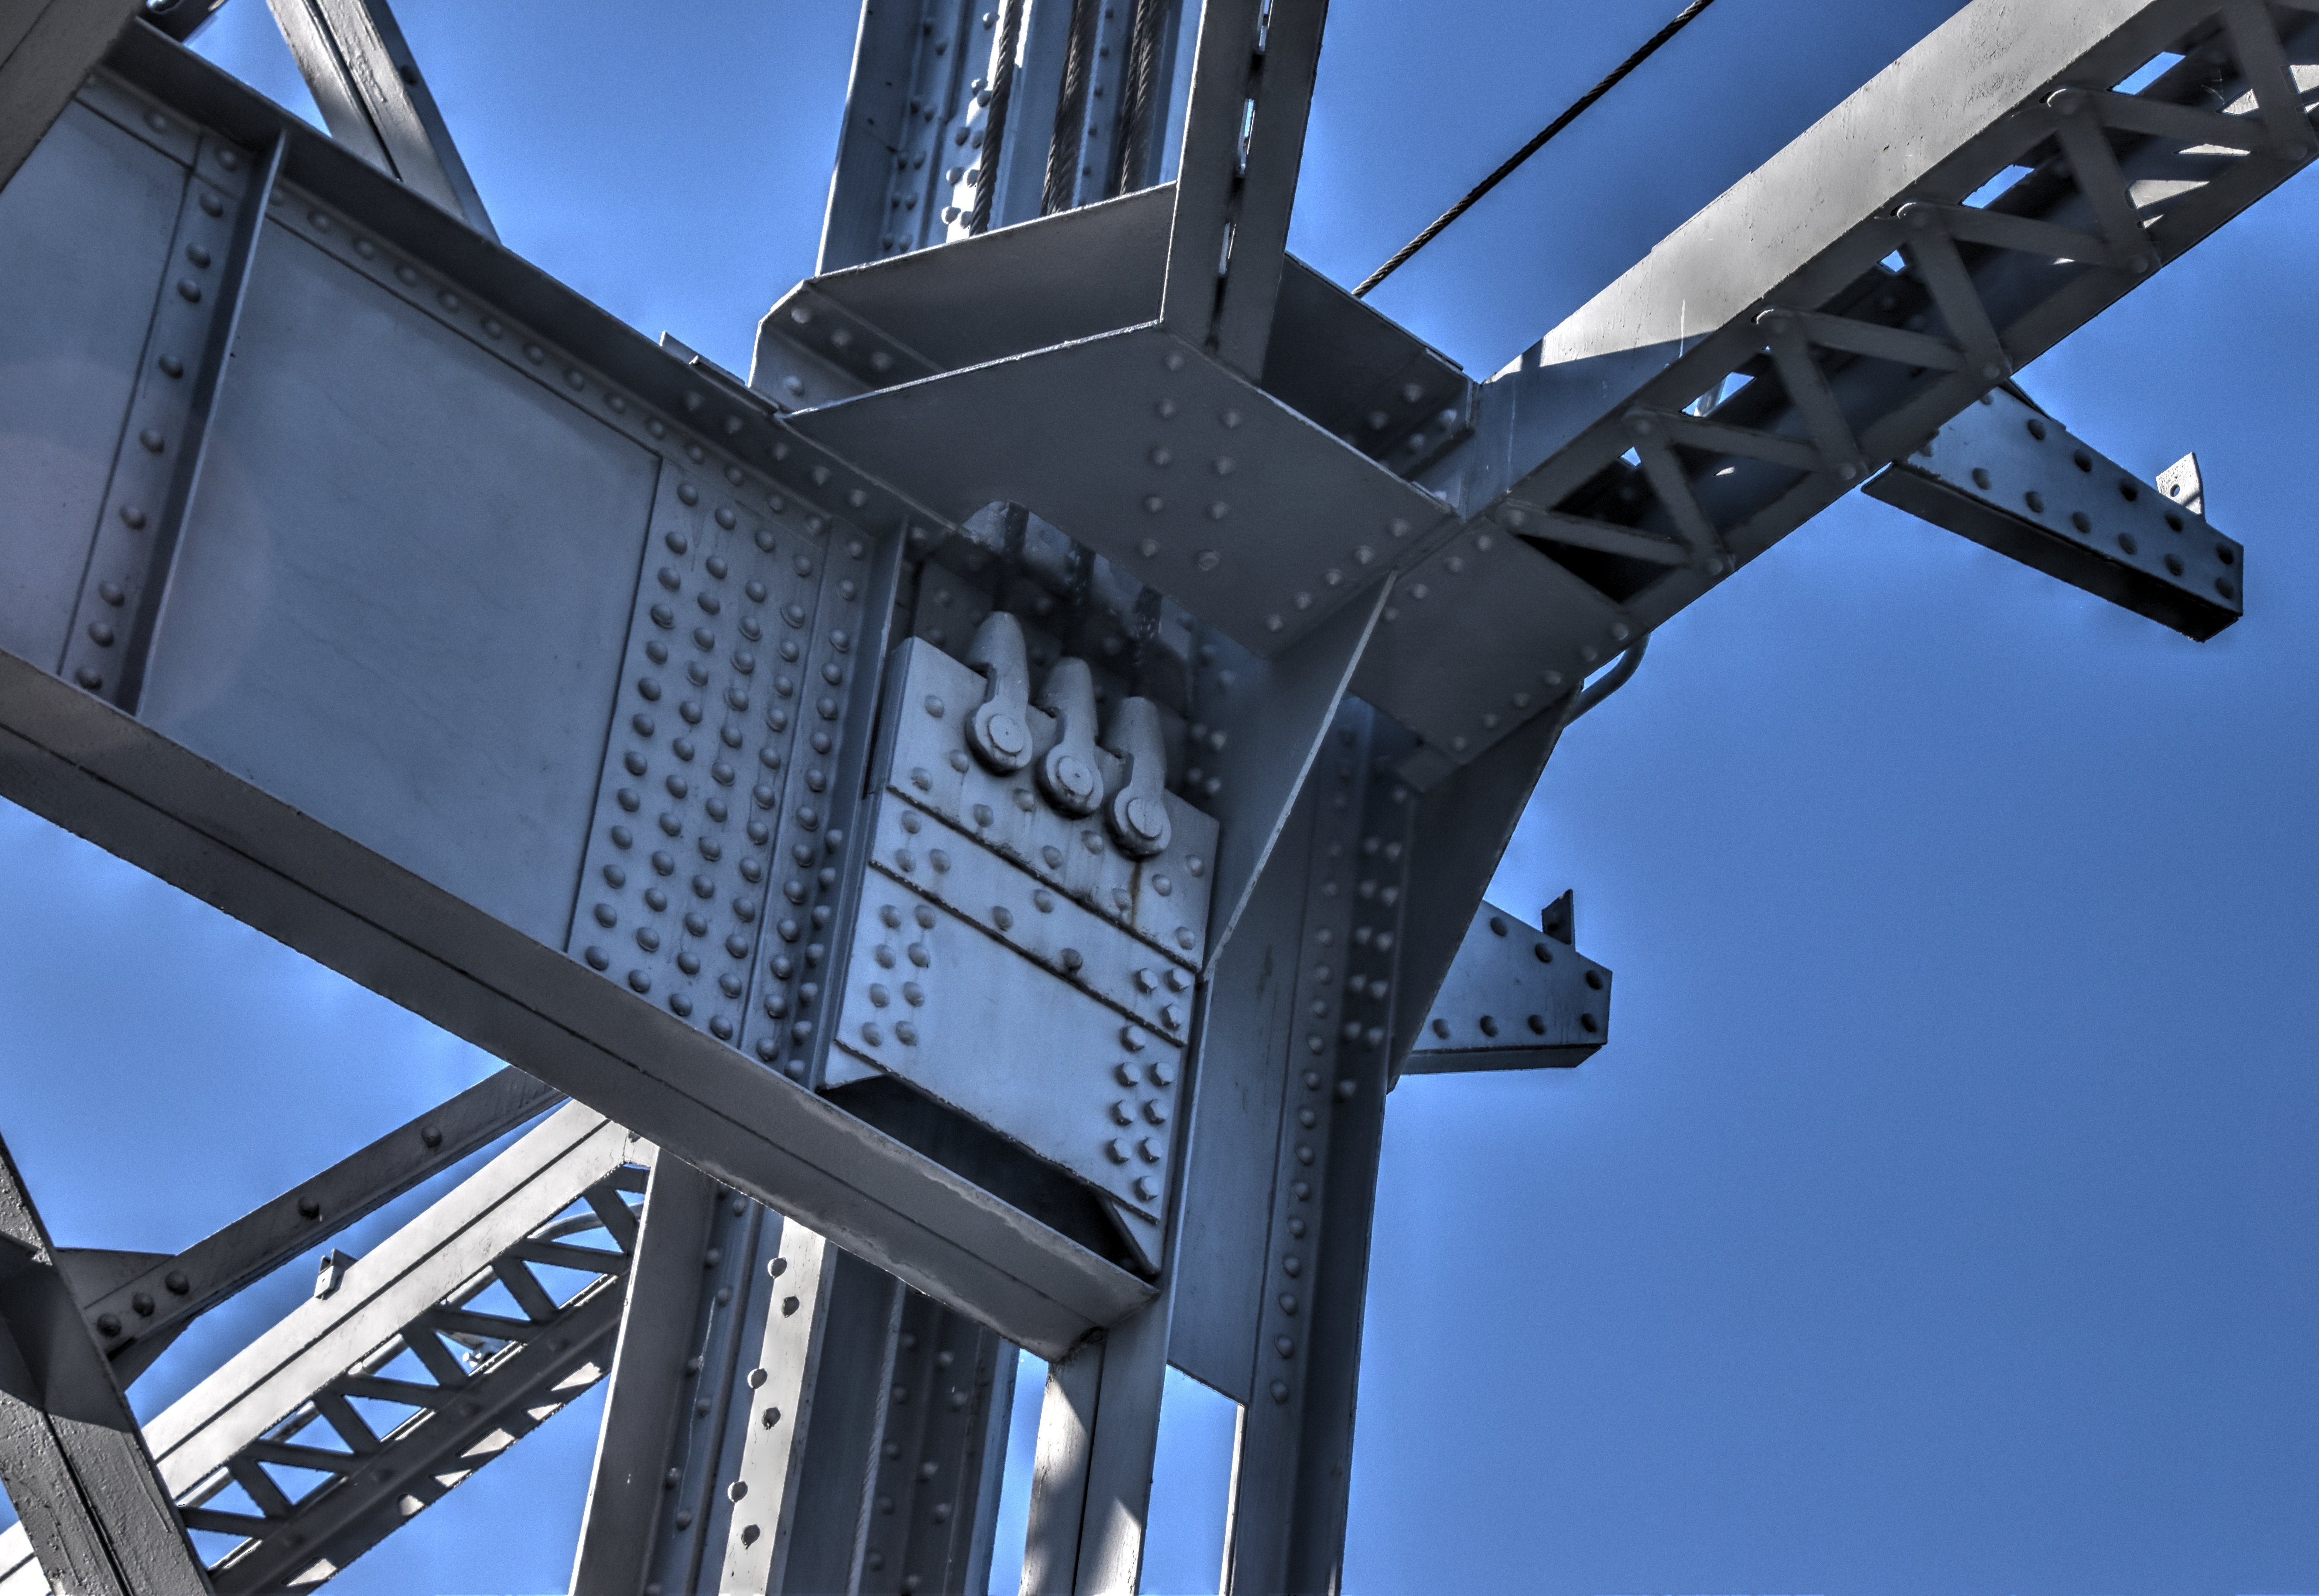
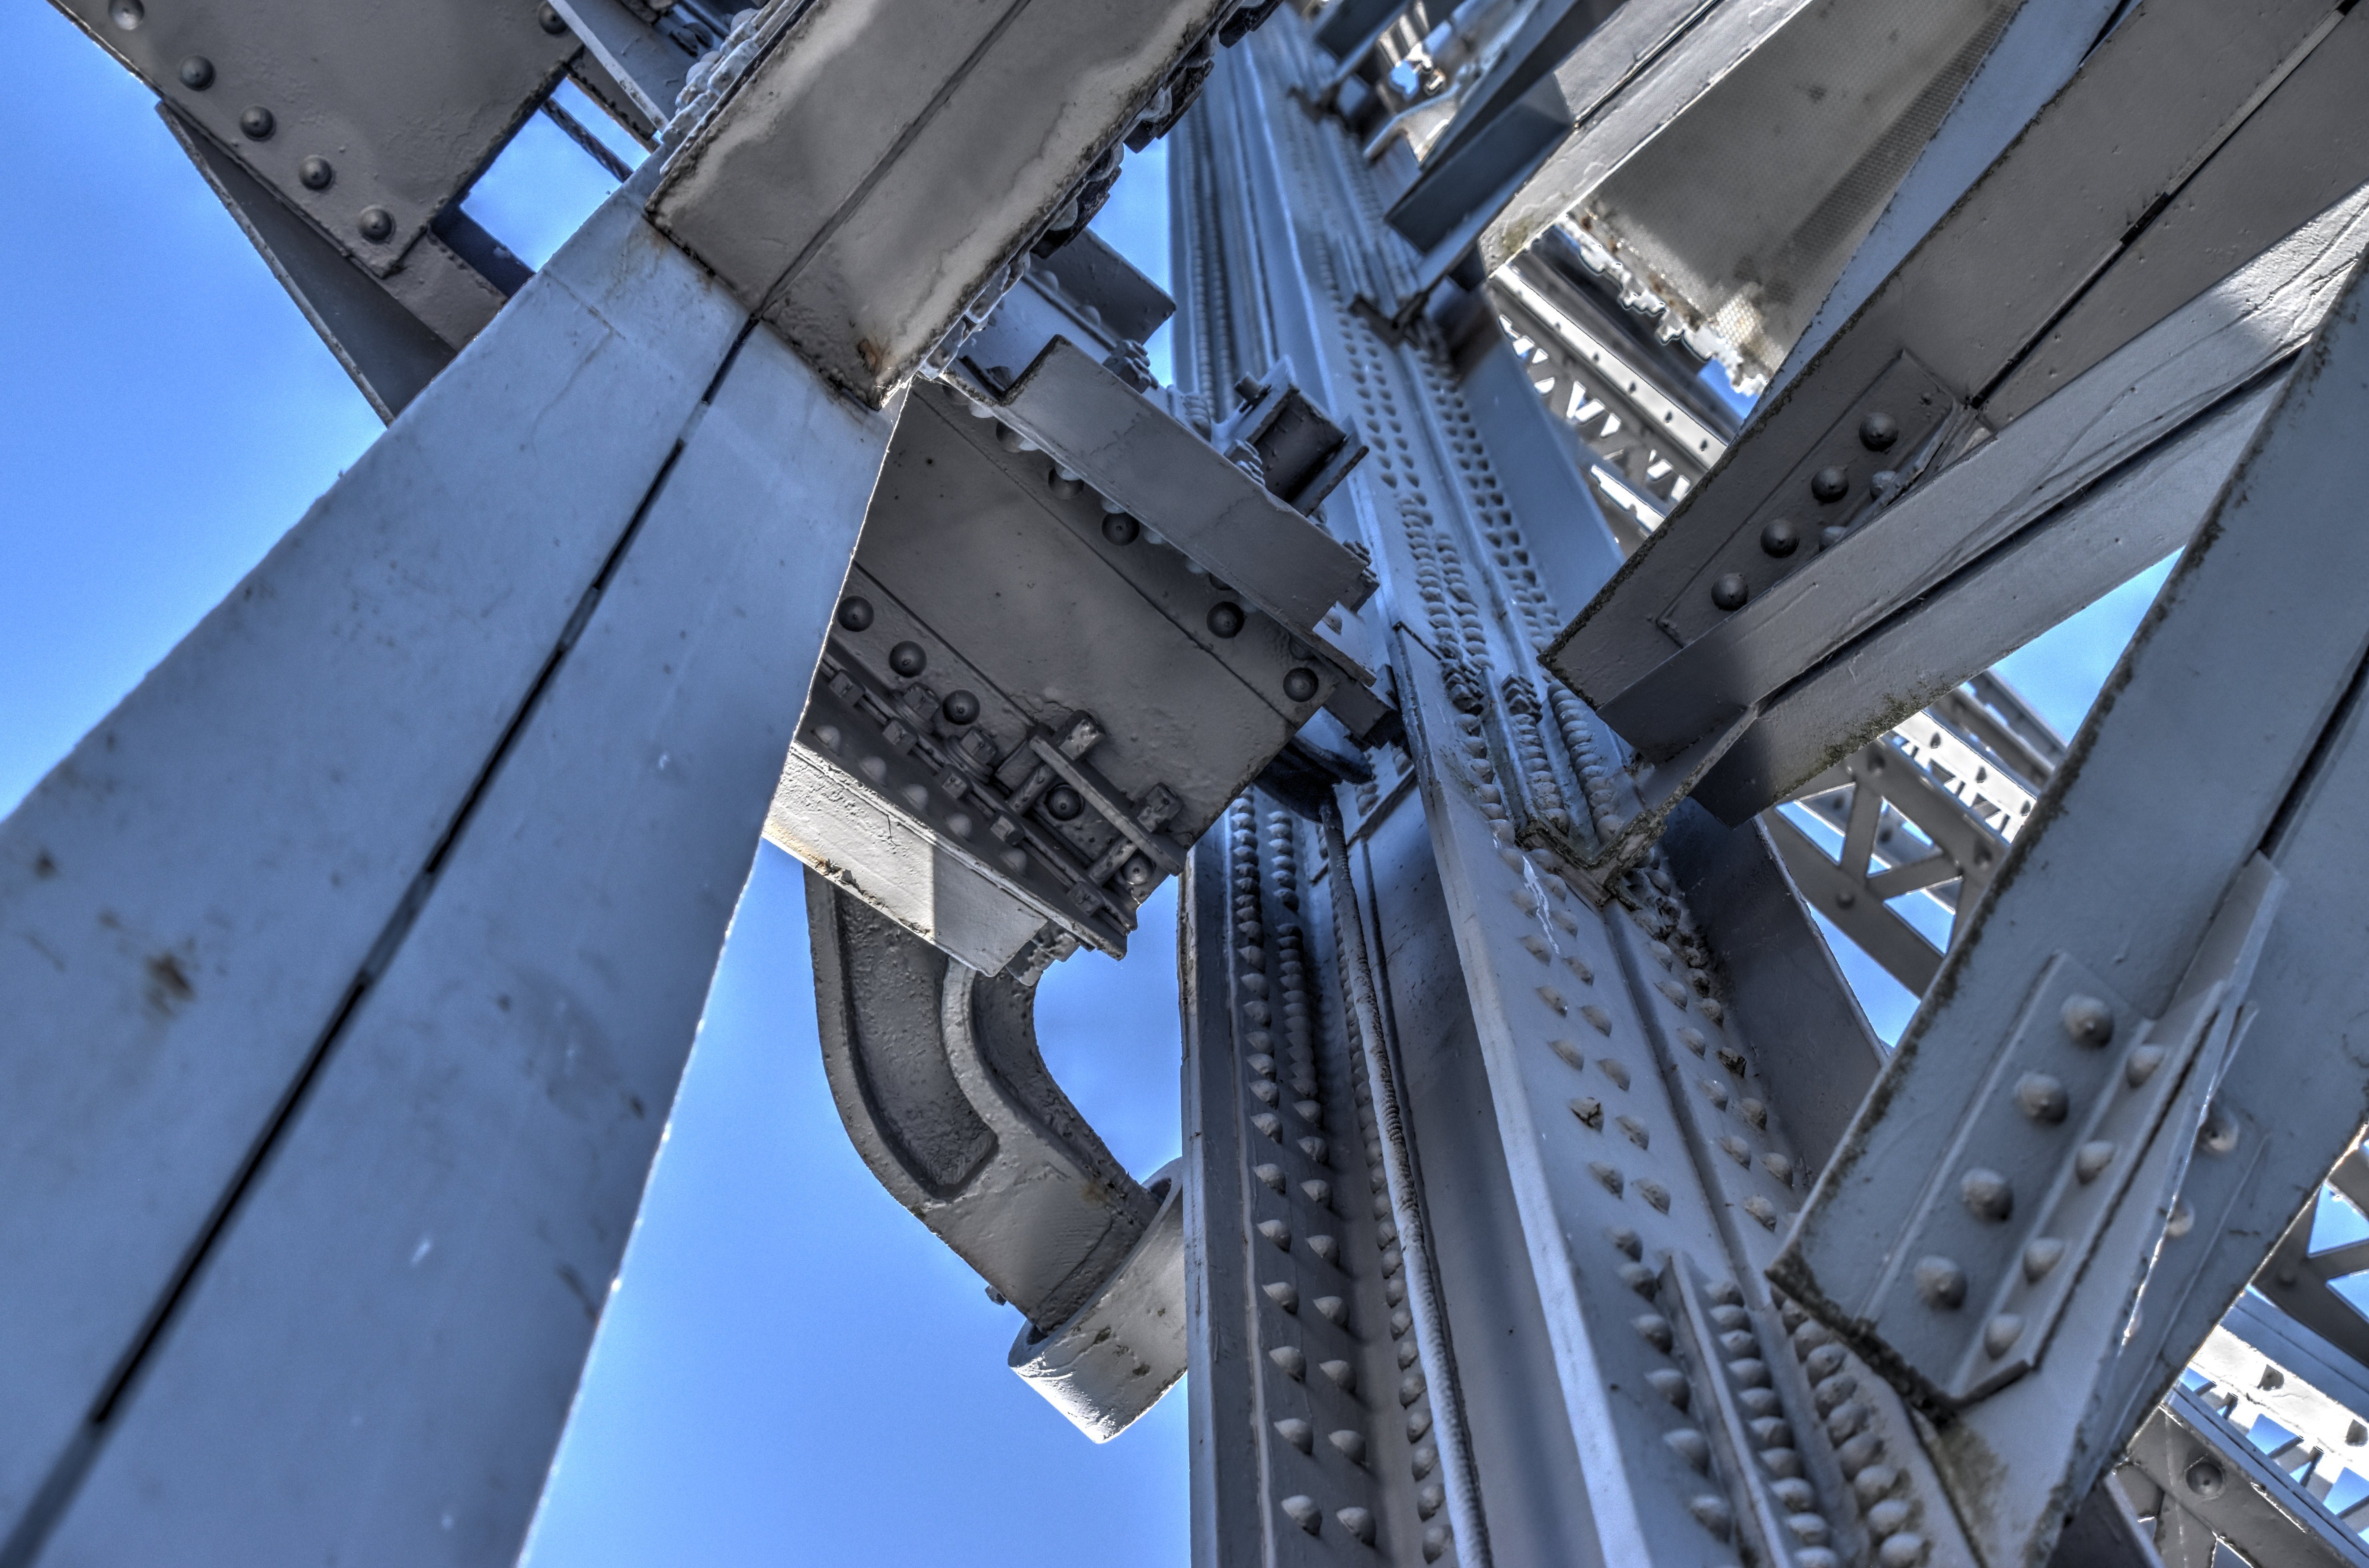
Looking up at tower from on bridge.
![]()


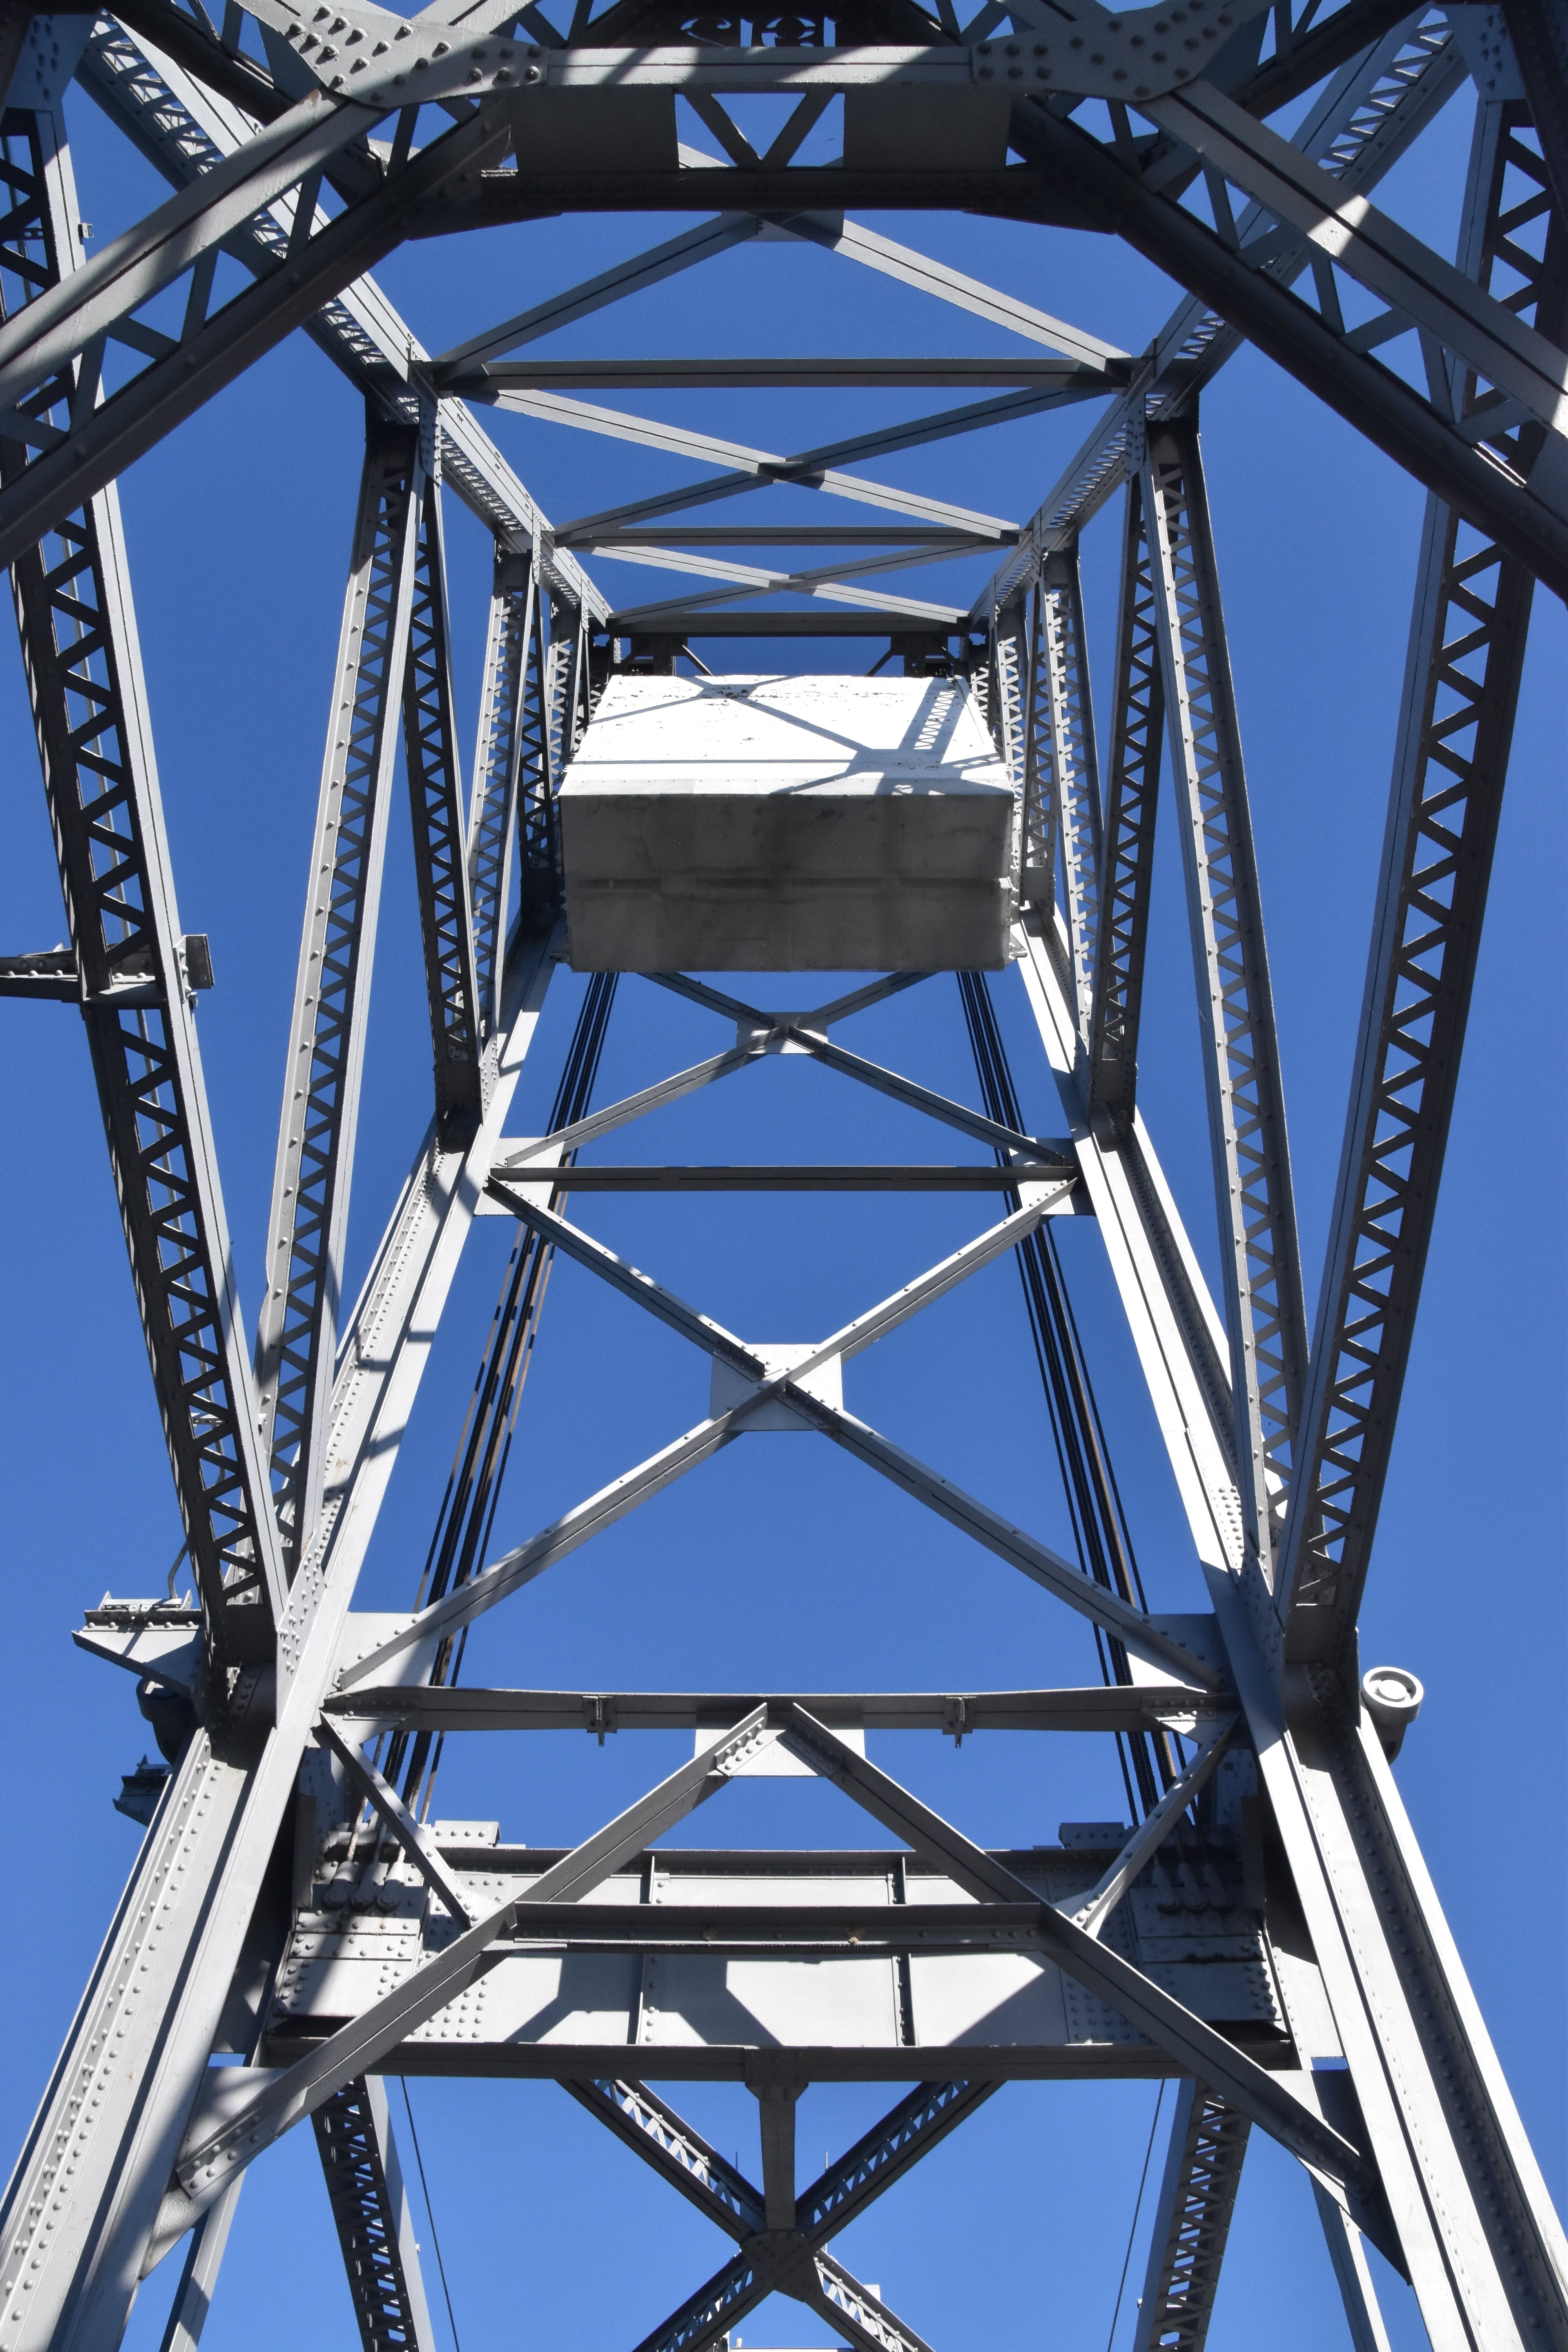


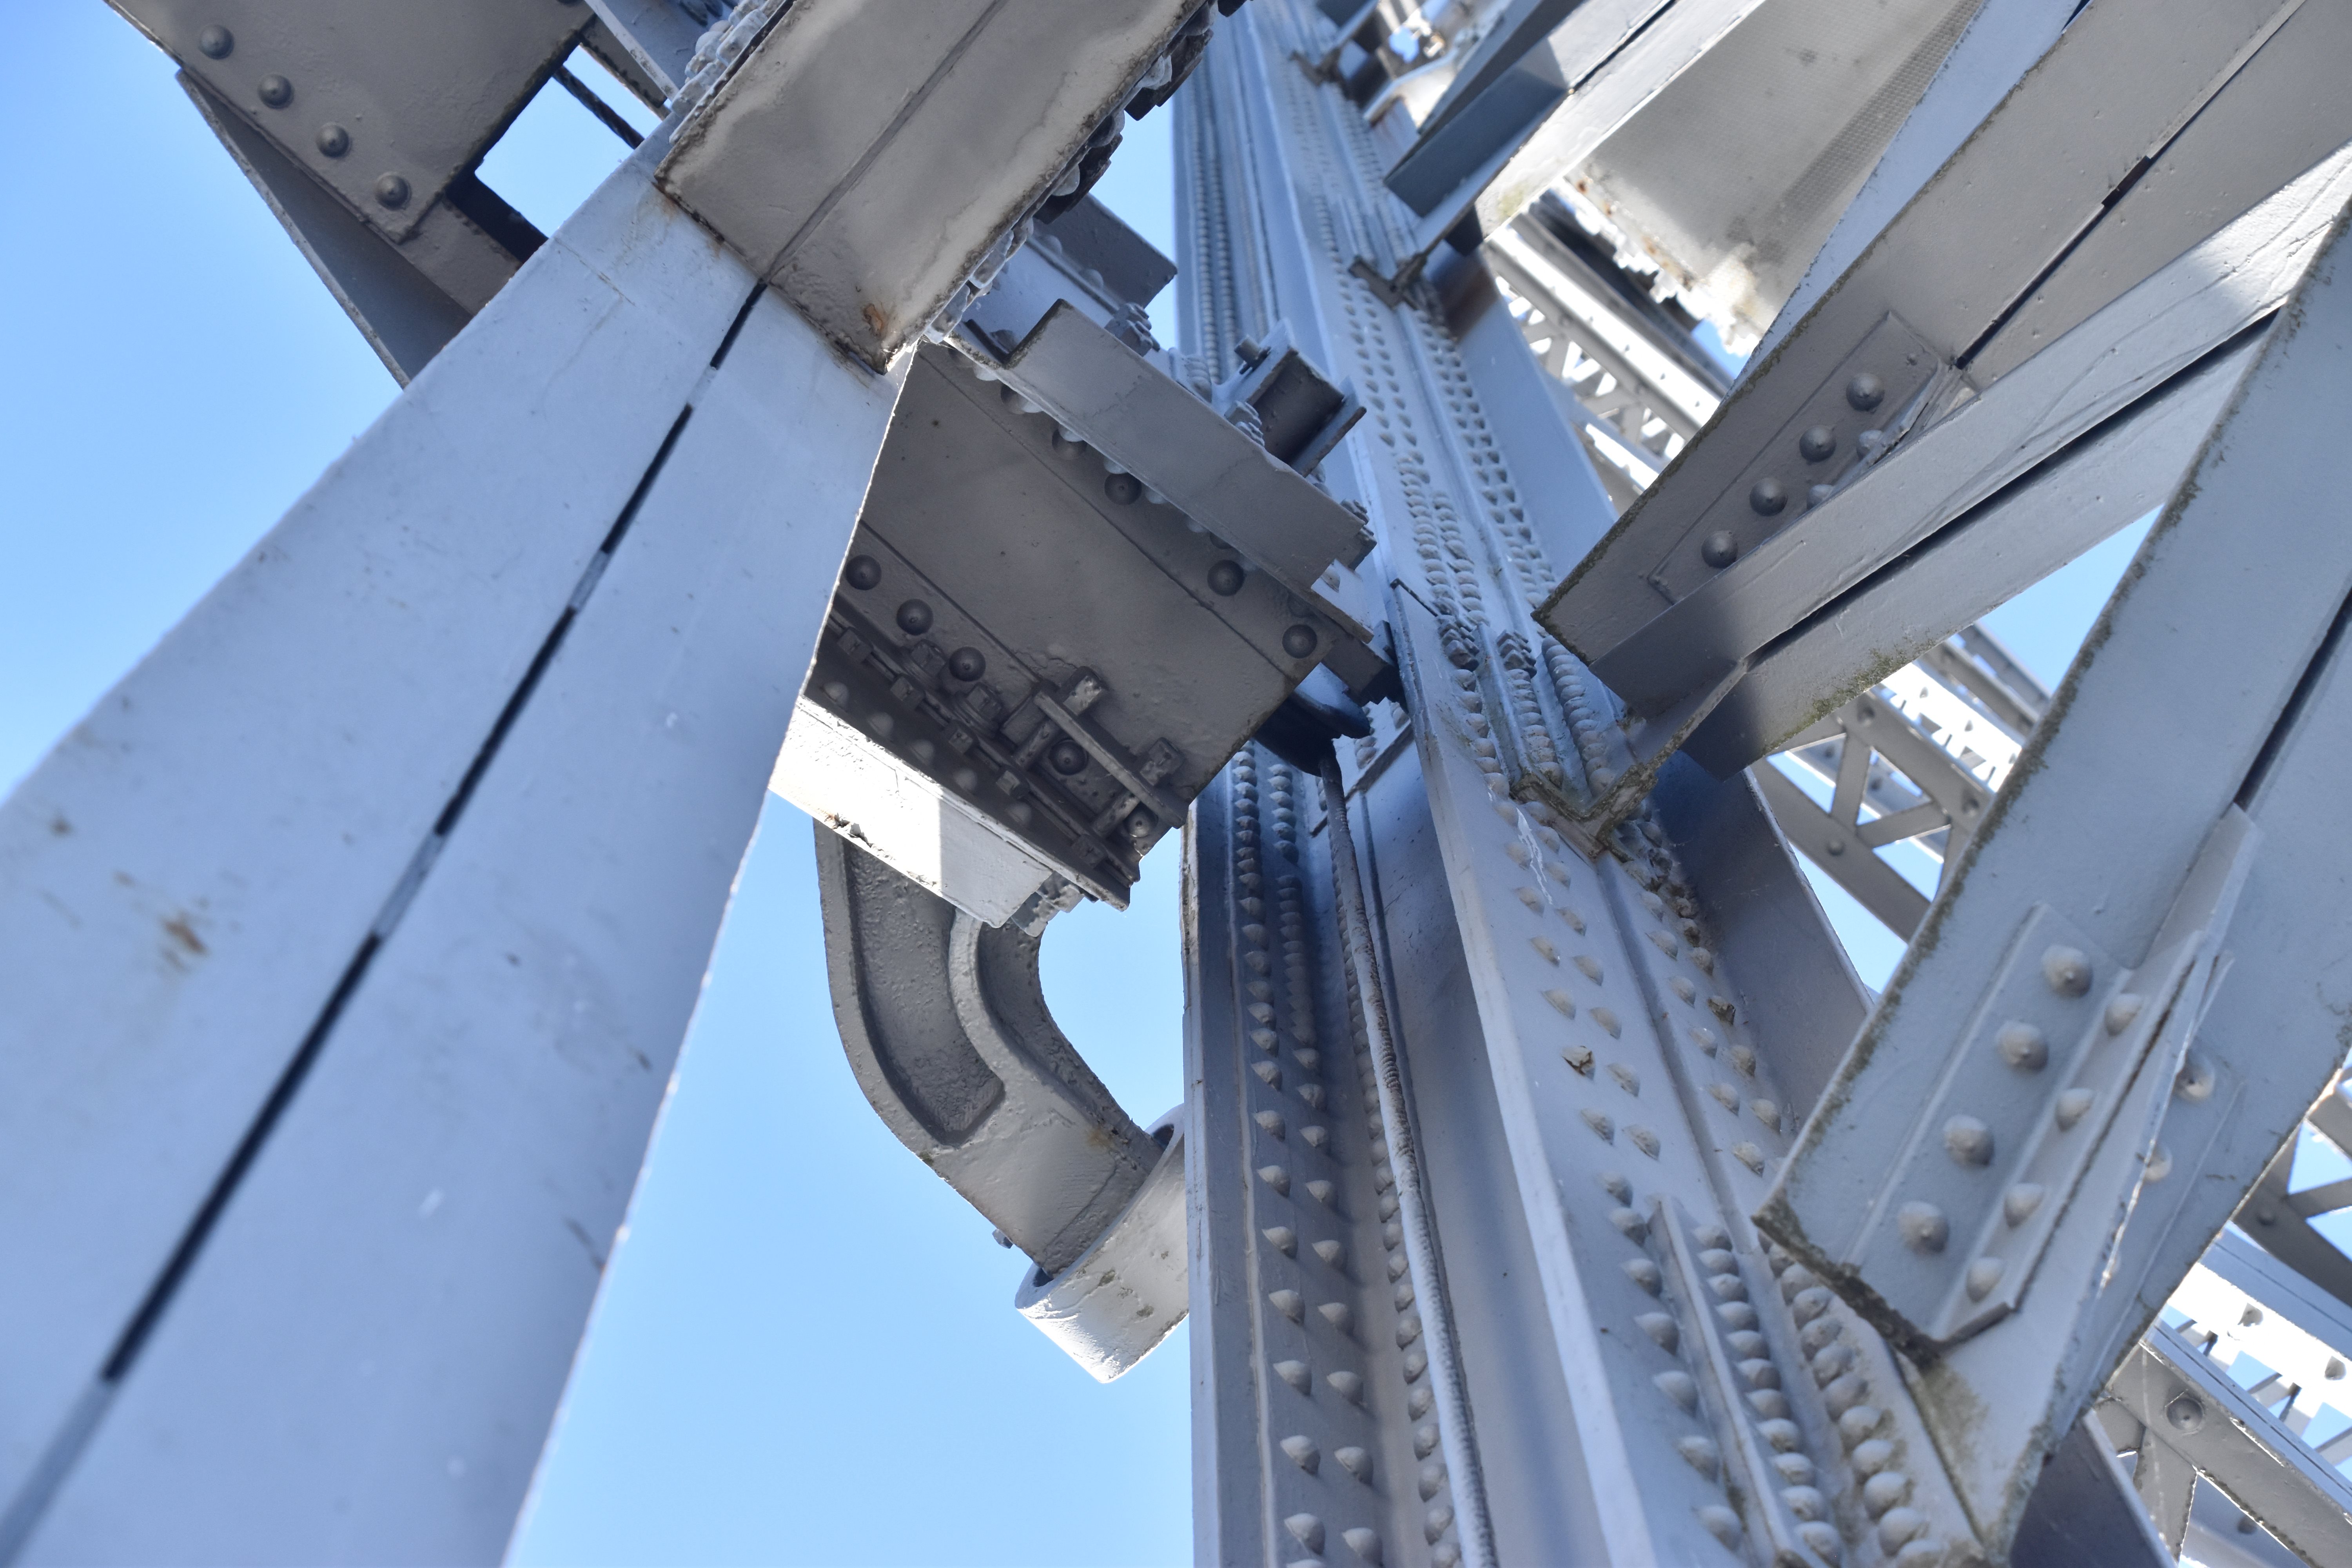
Looking up from directly inside tower under counterweight.
![]()
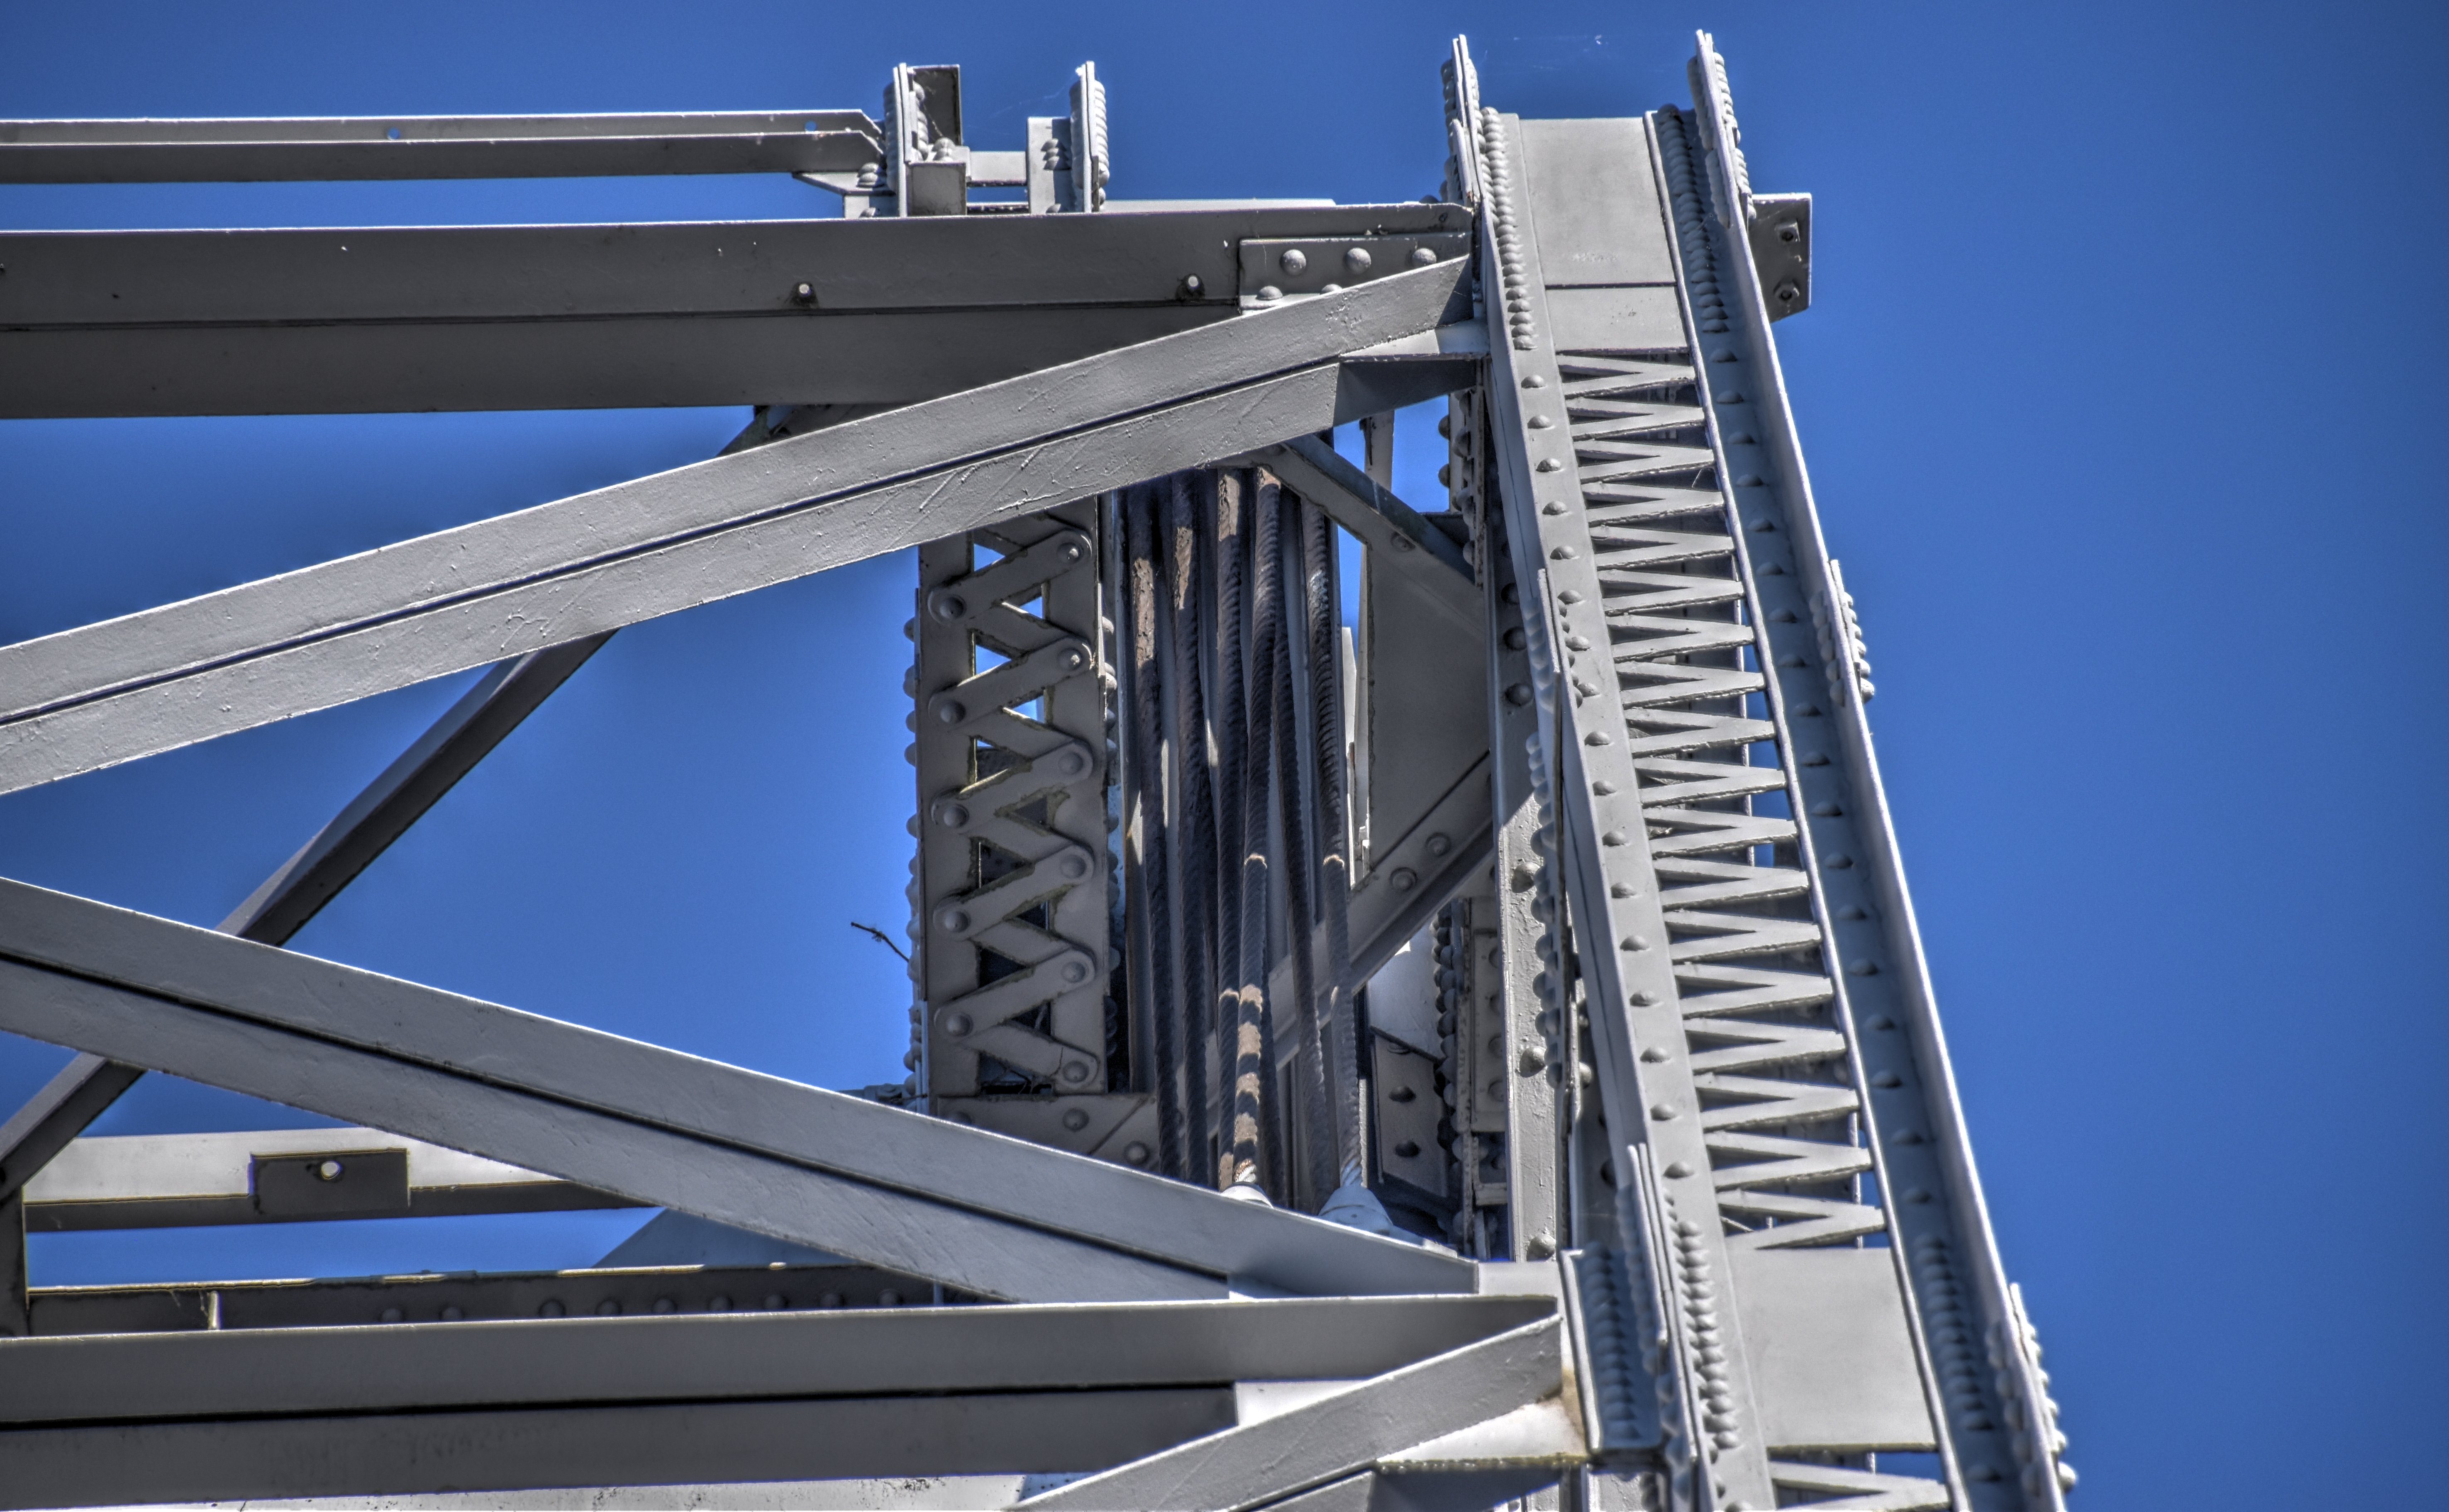


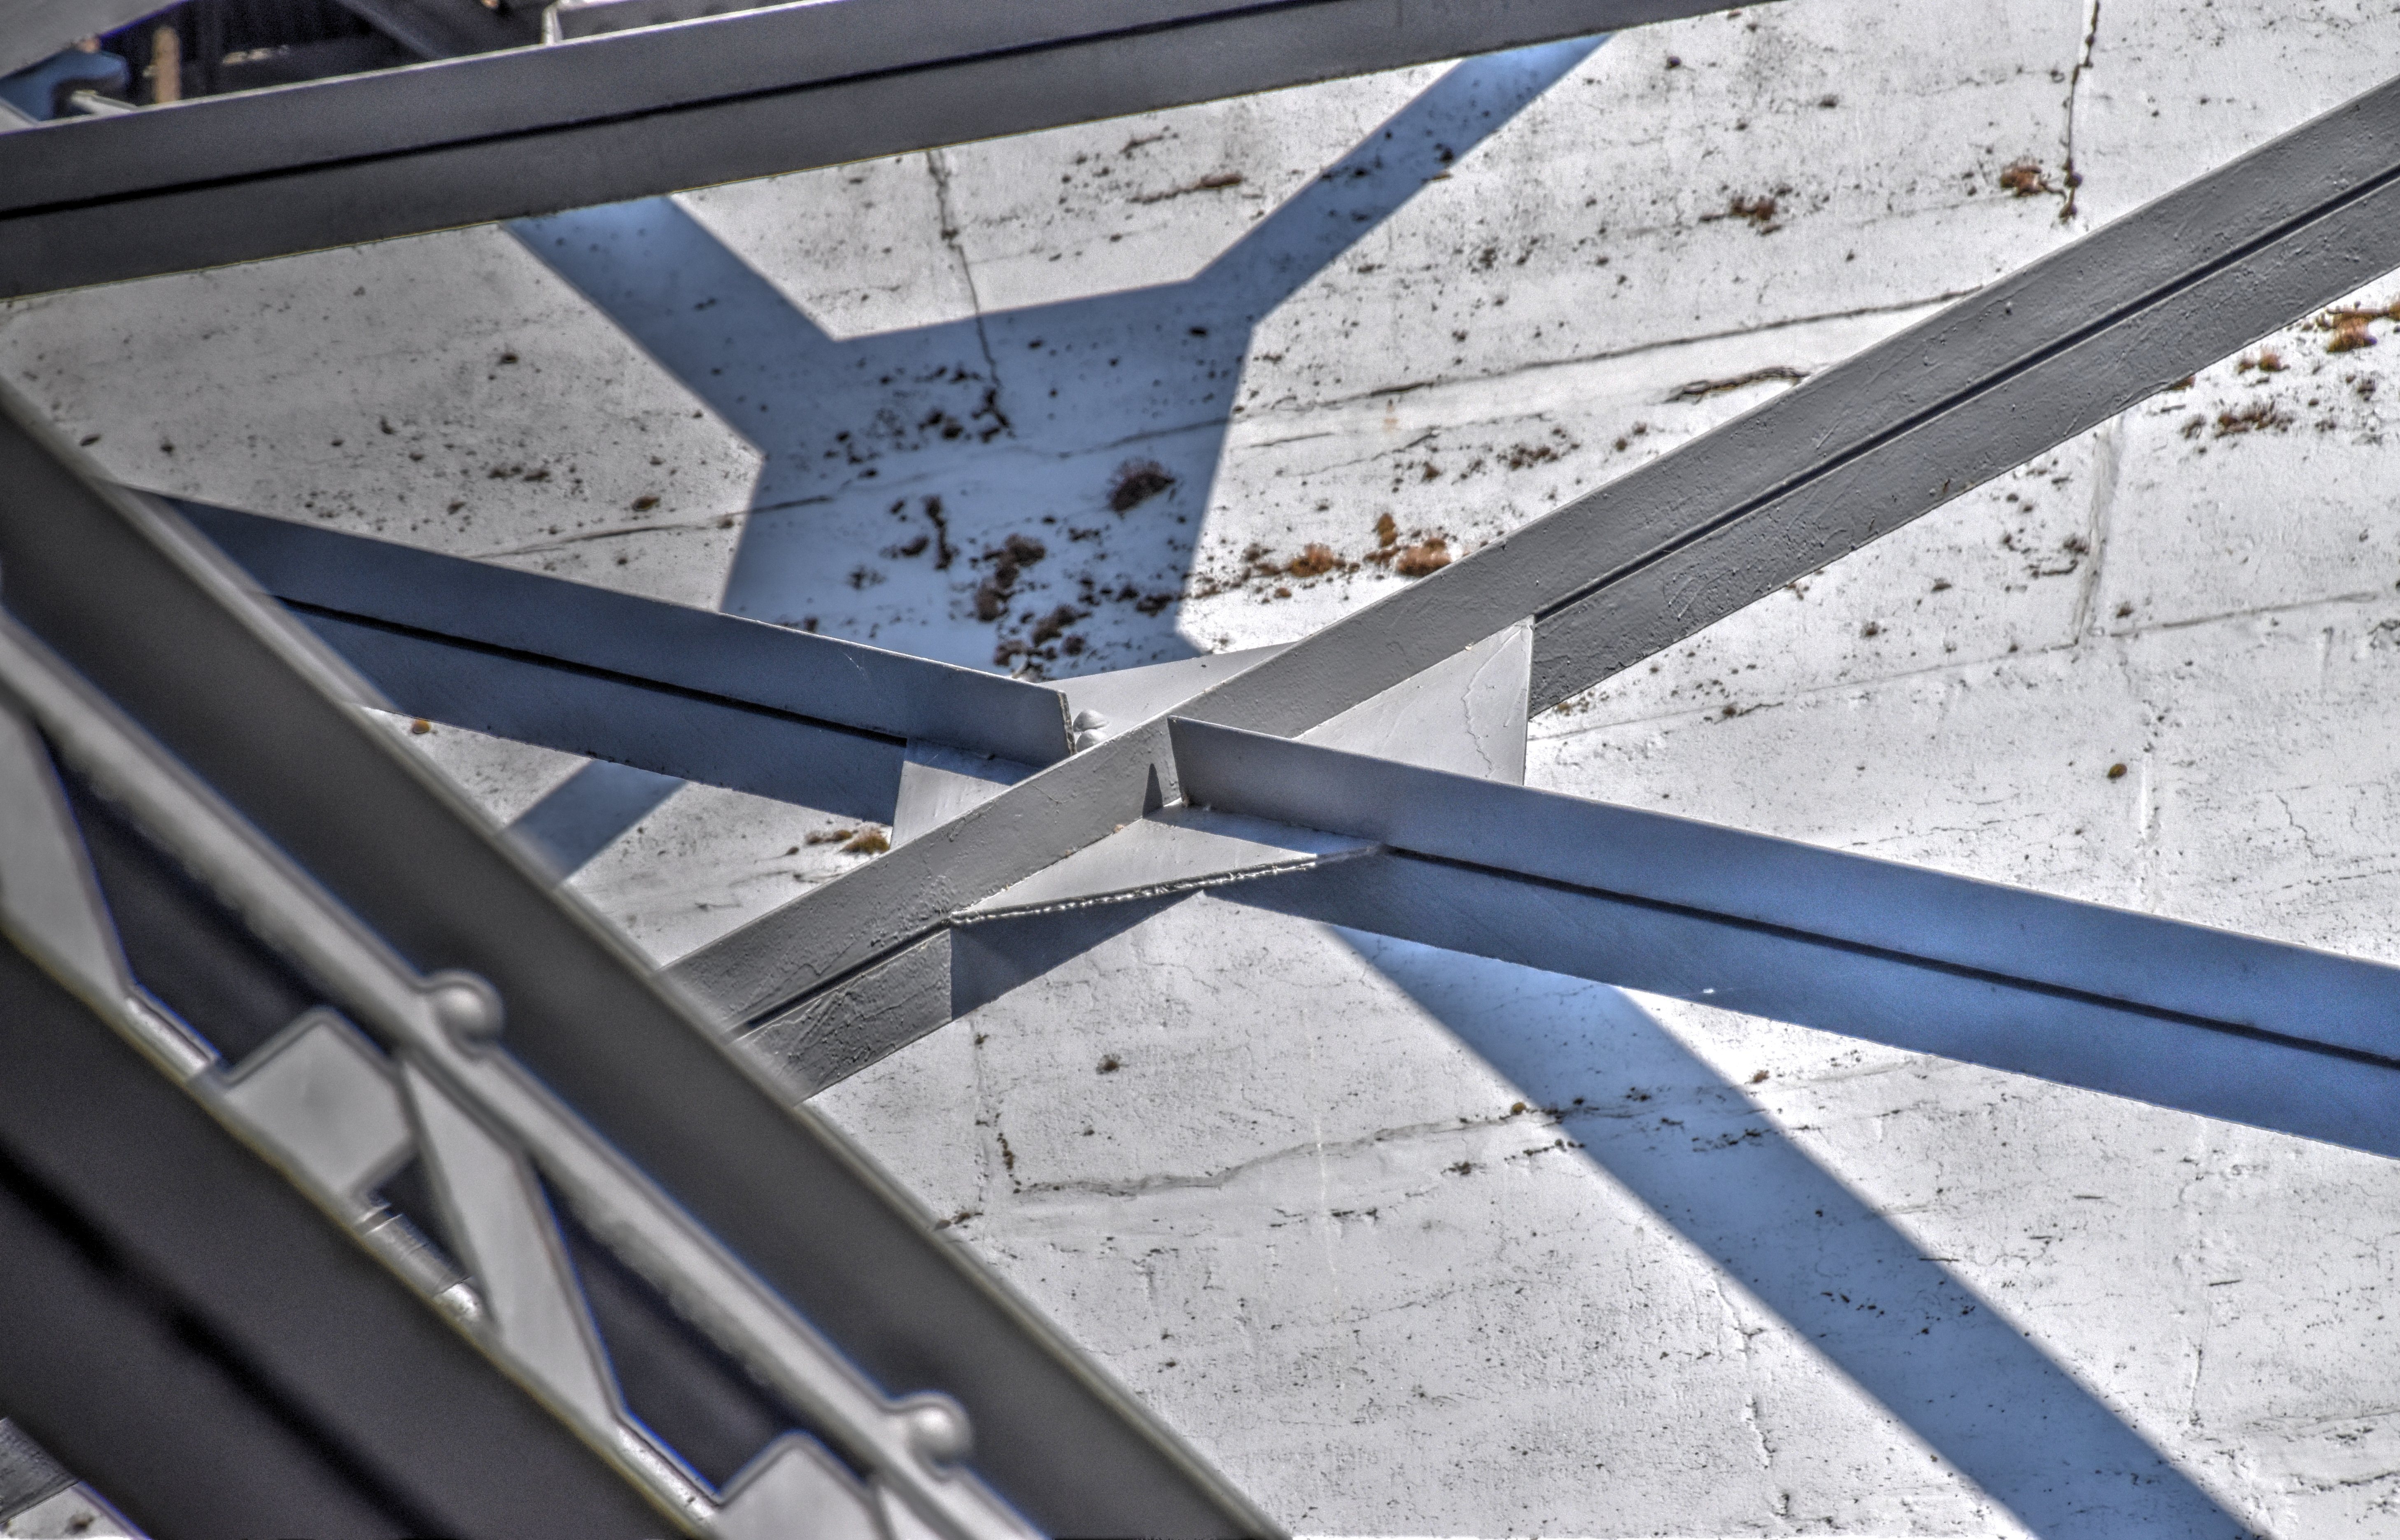


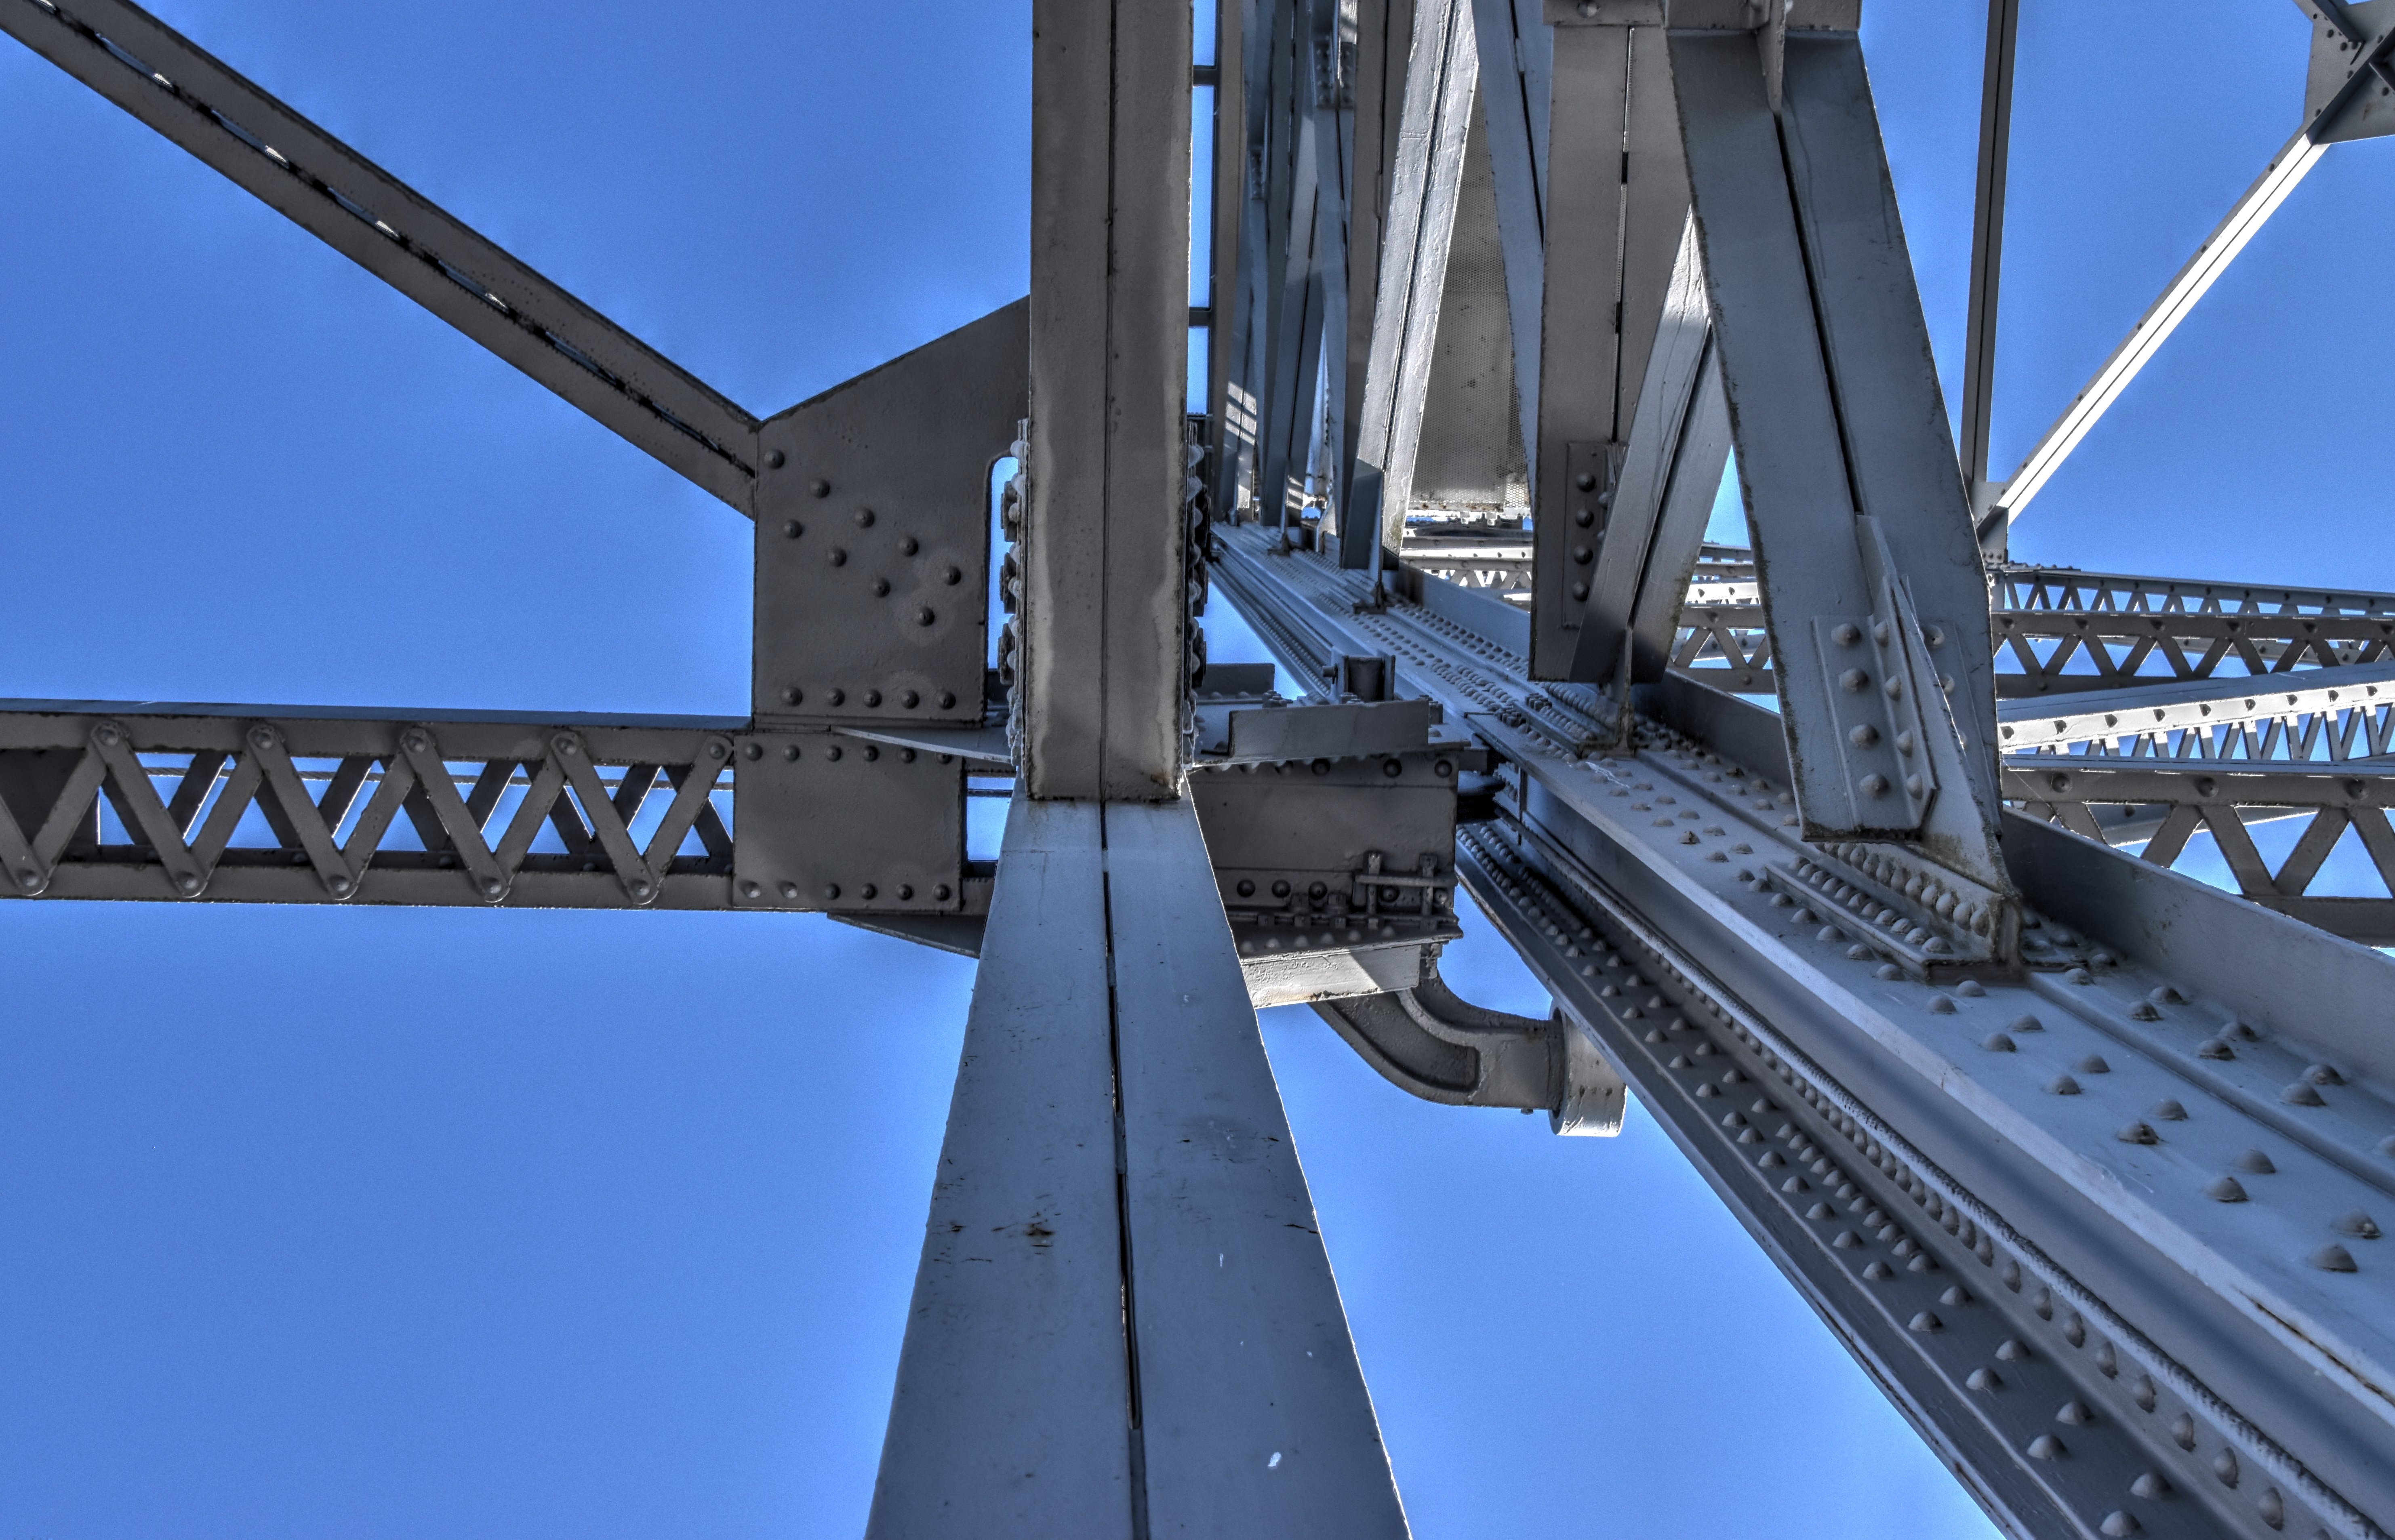
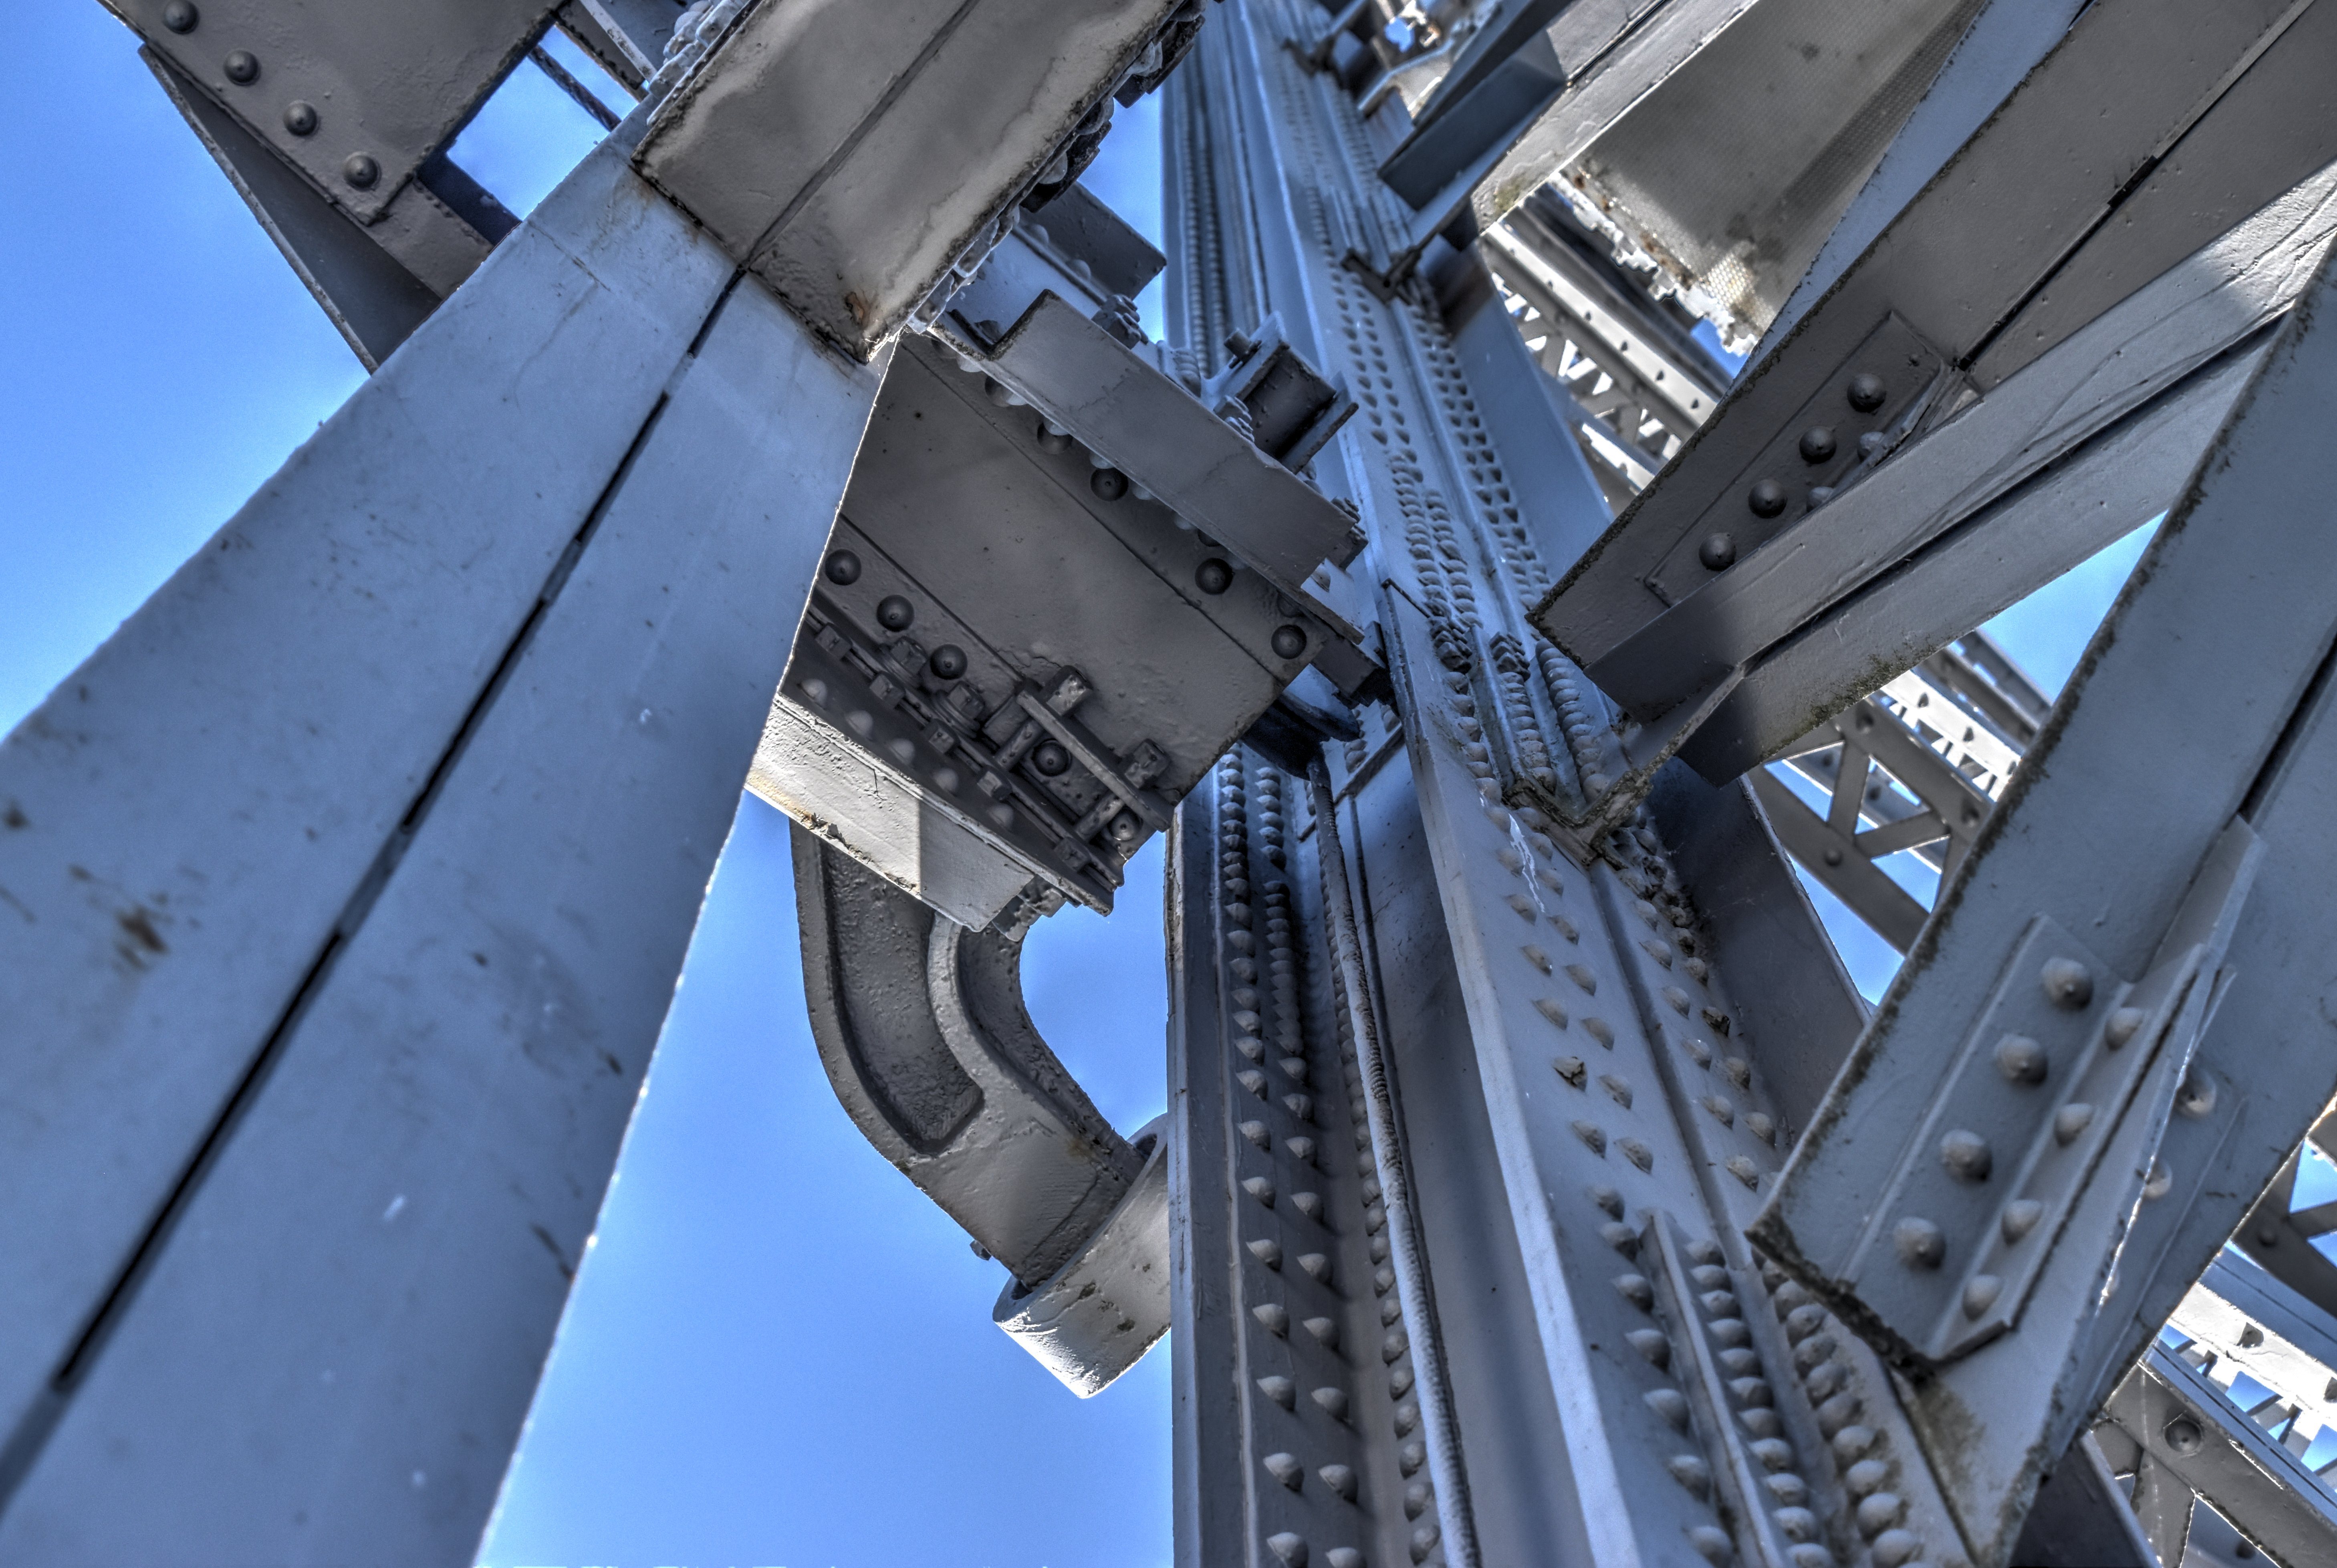
Tower bracing and post details.
![]()


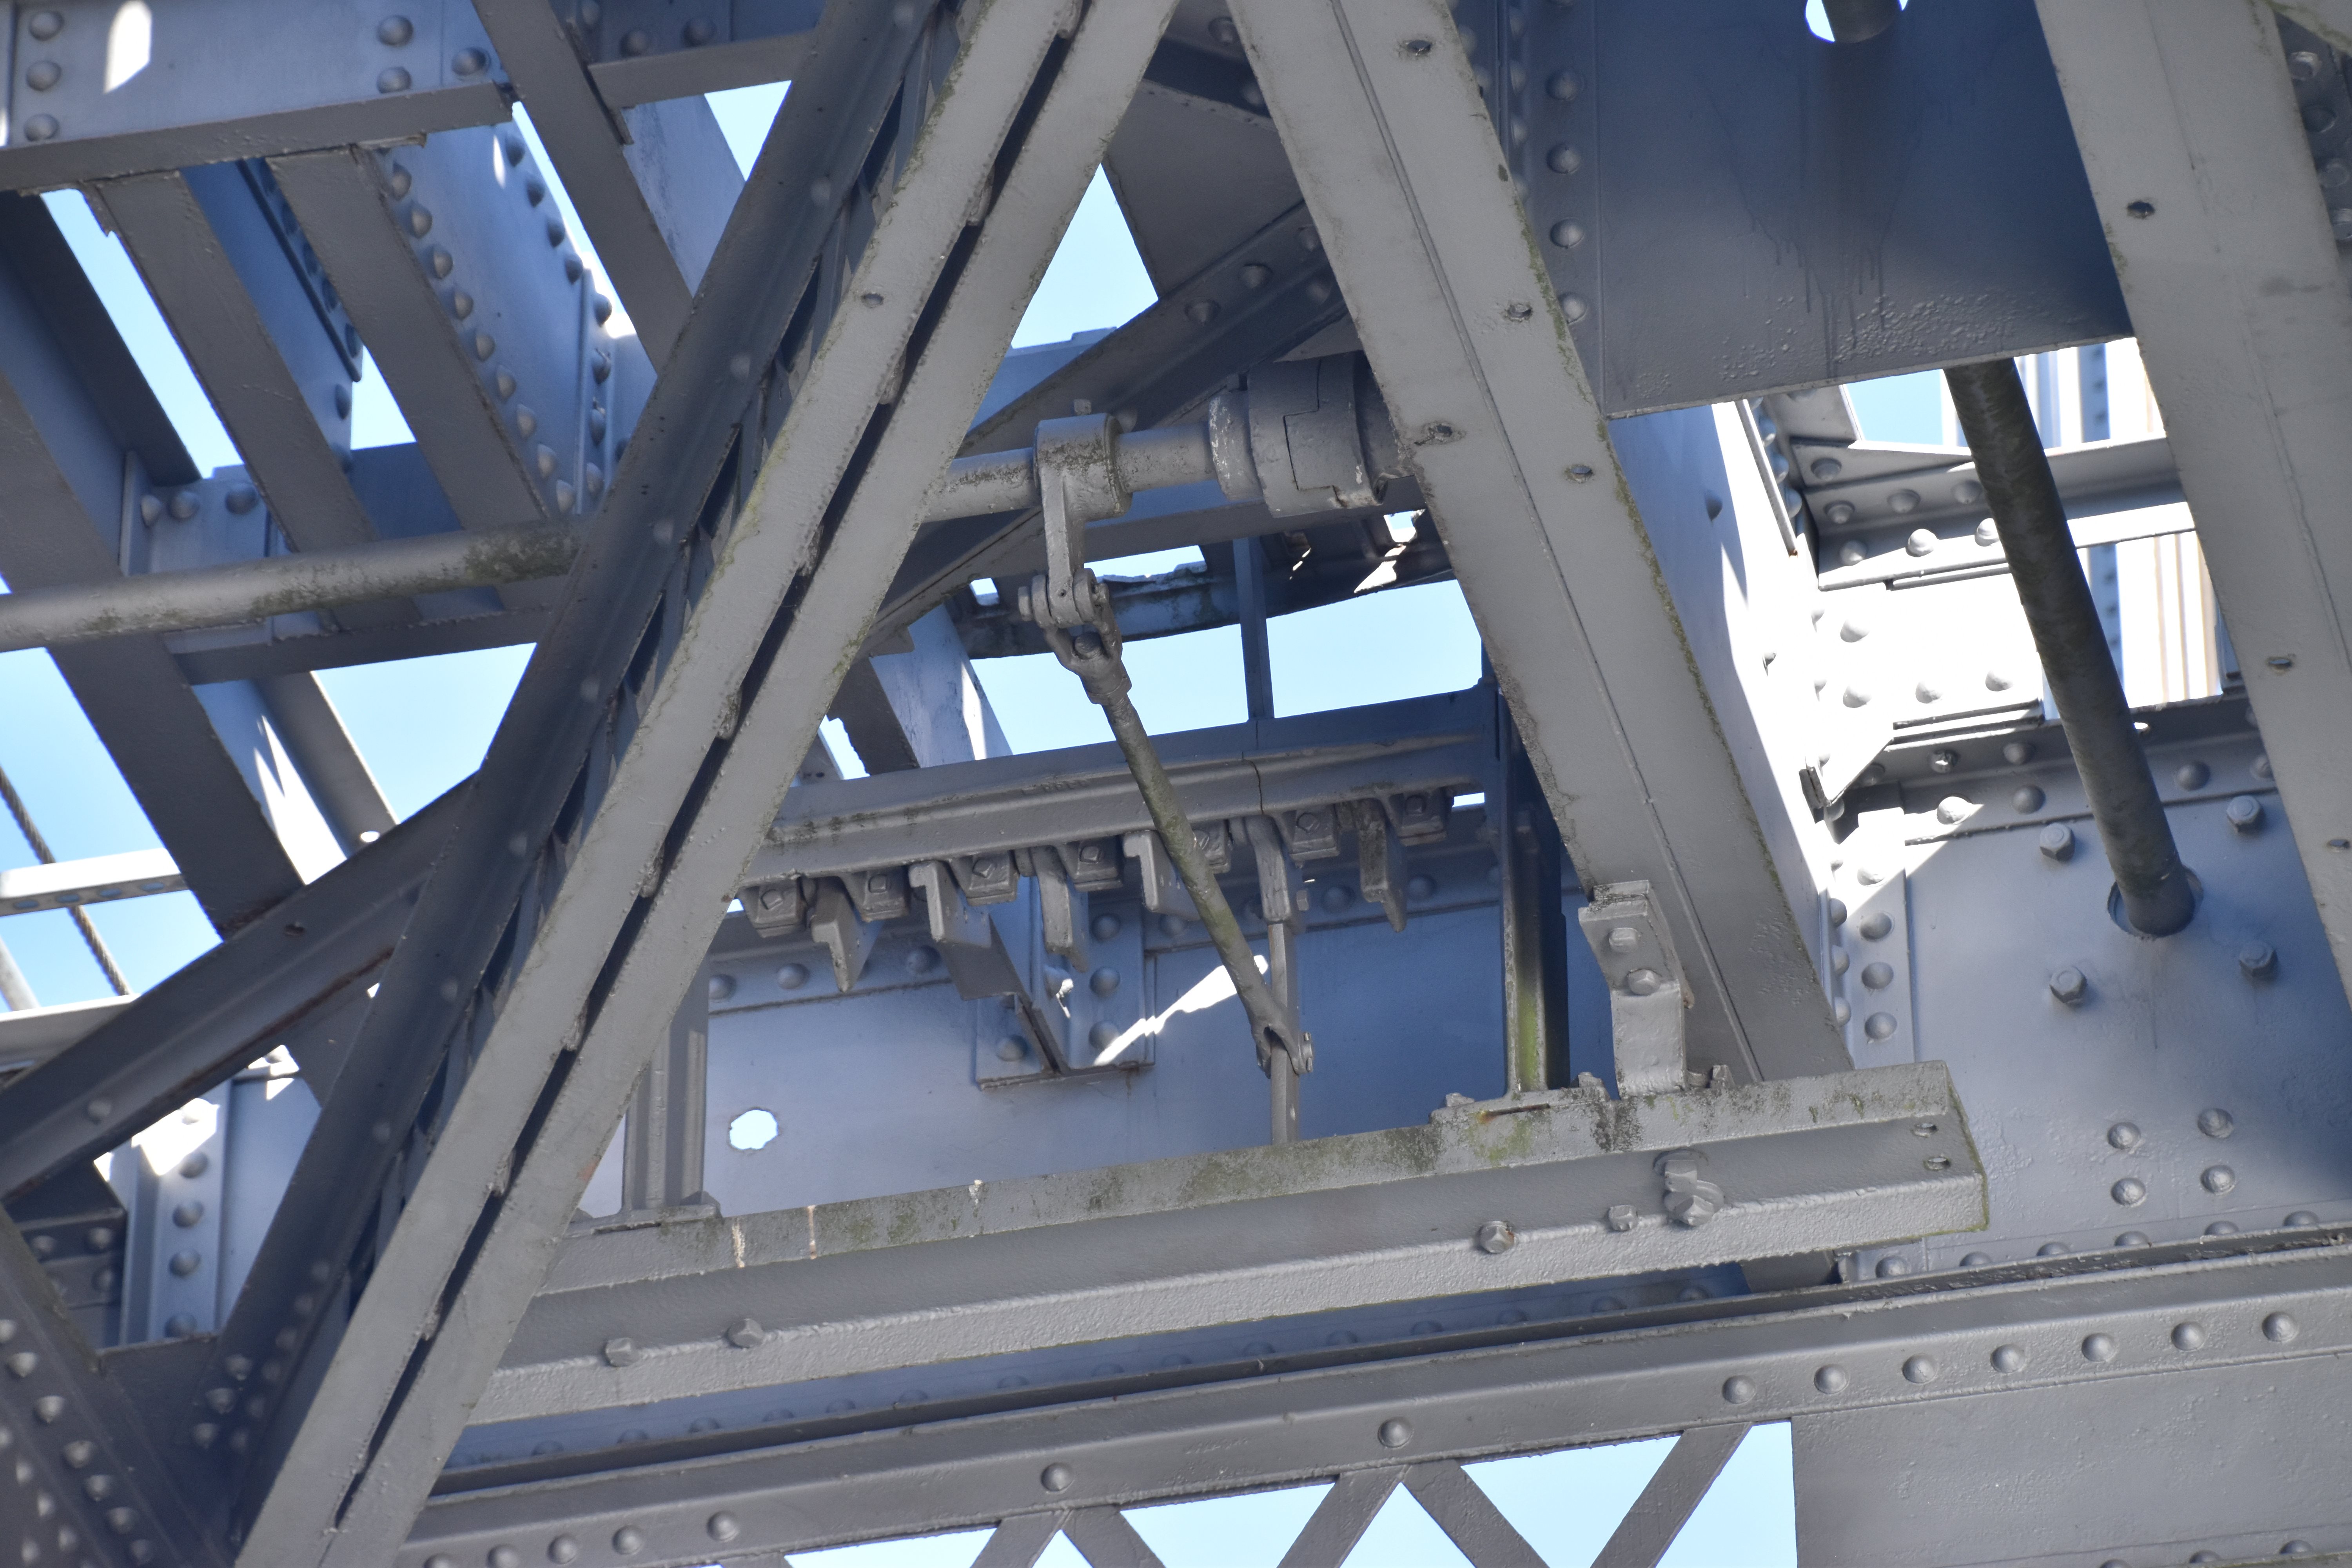
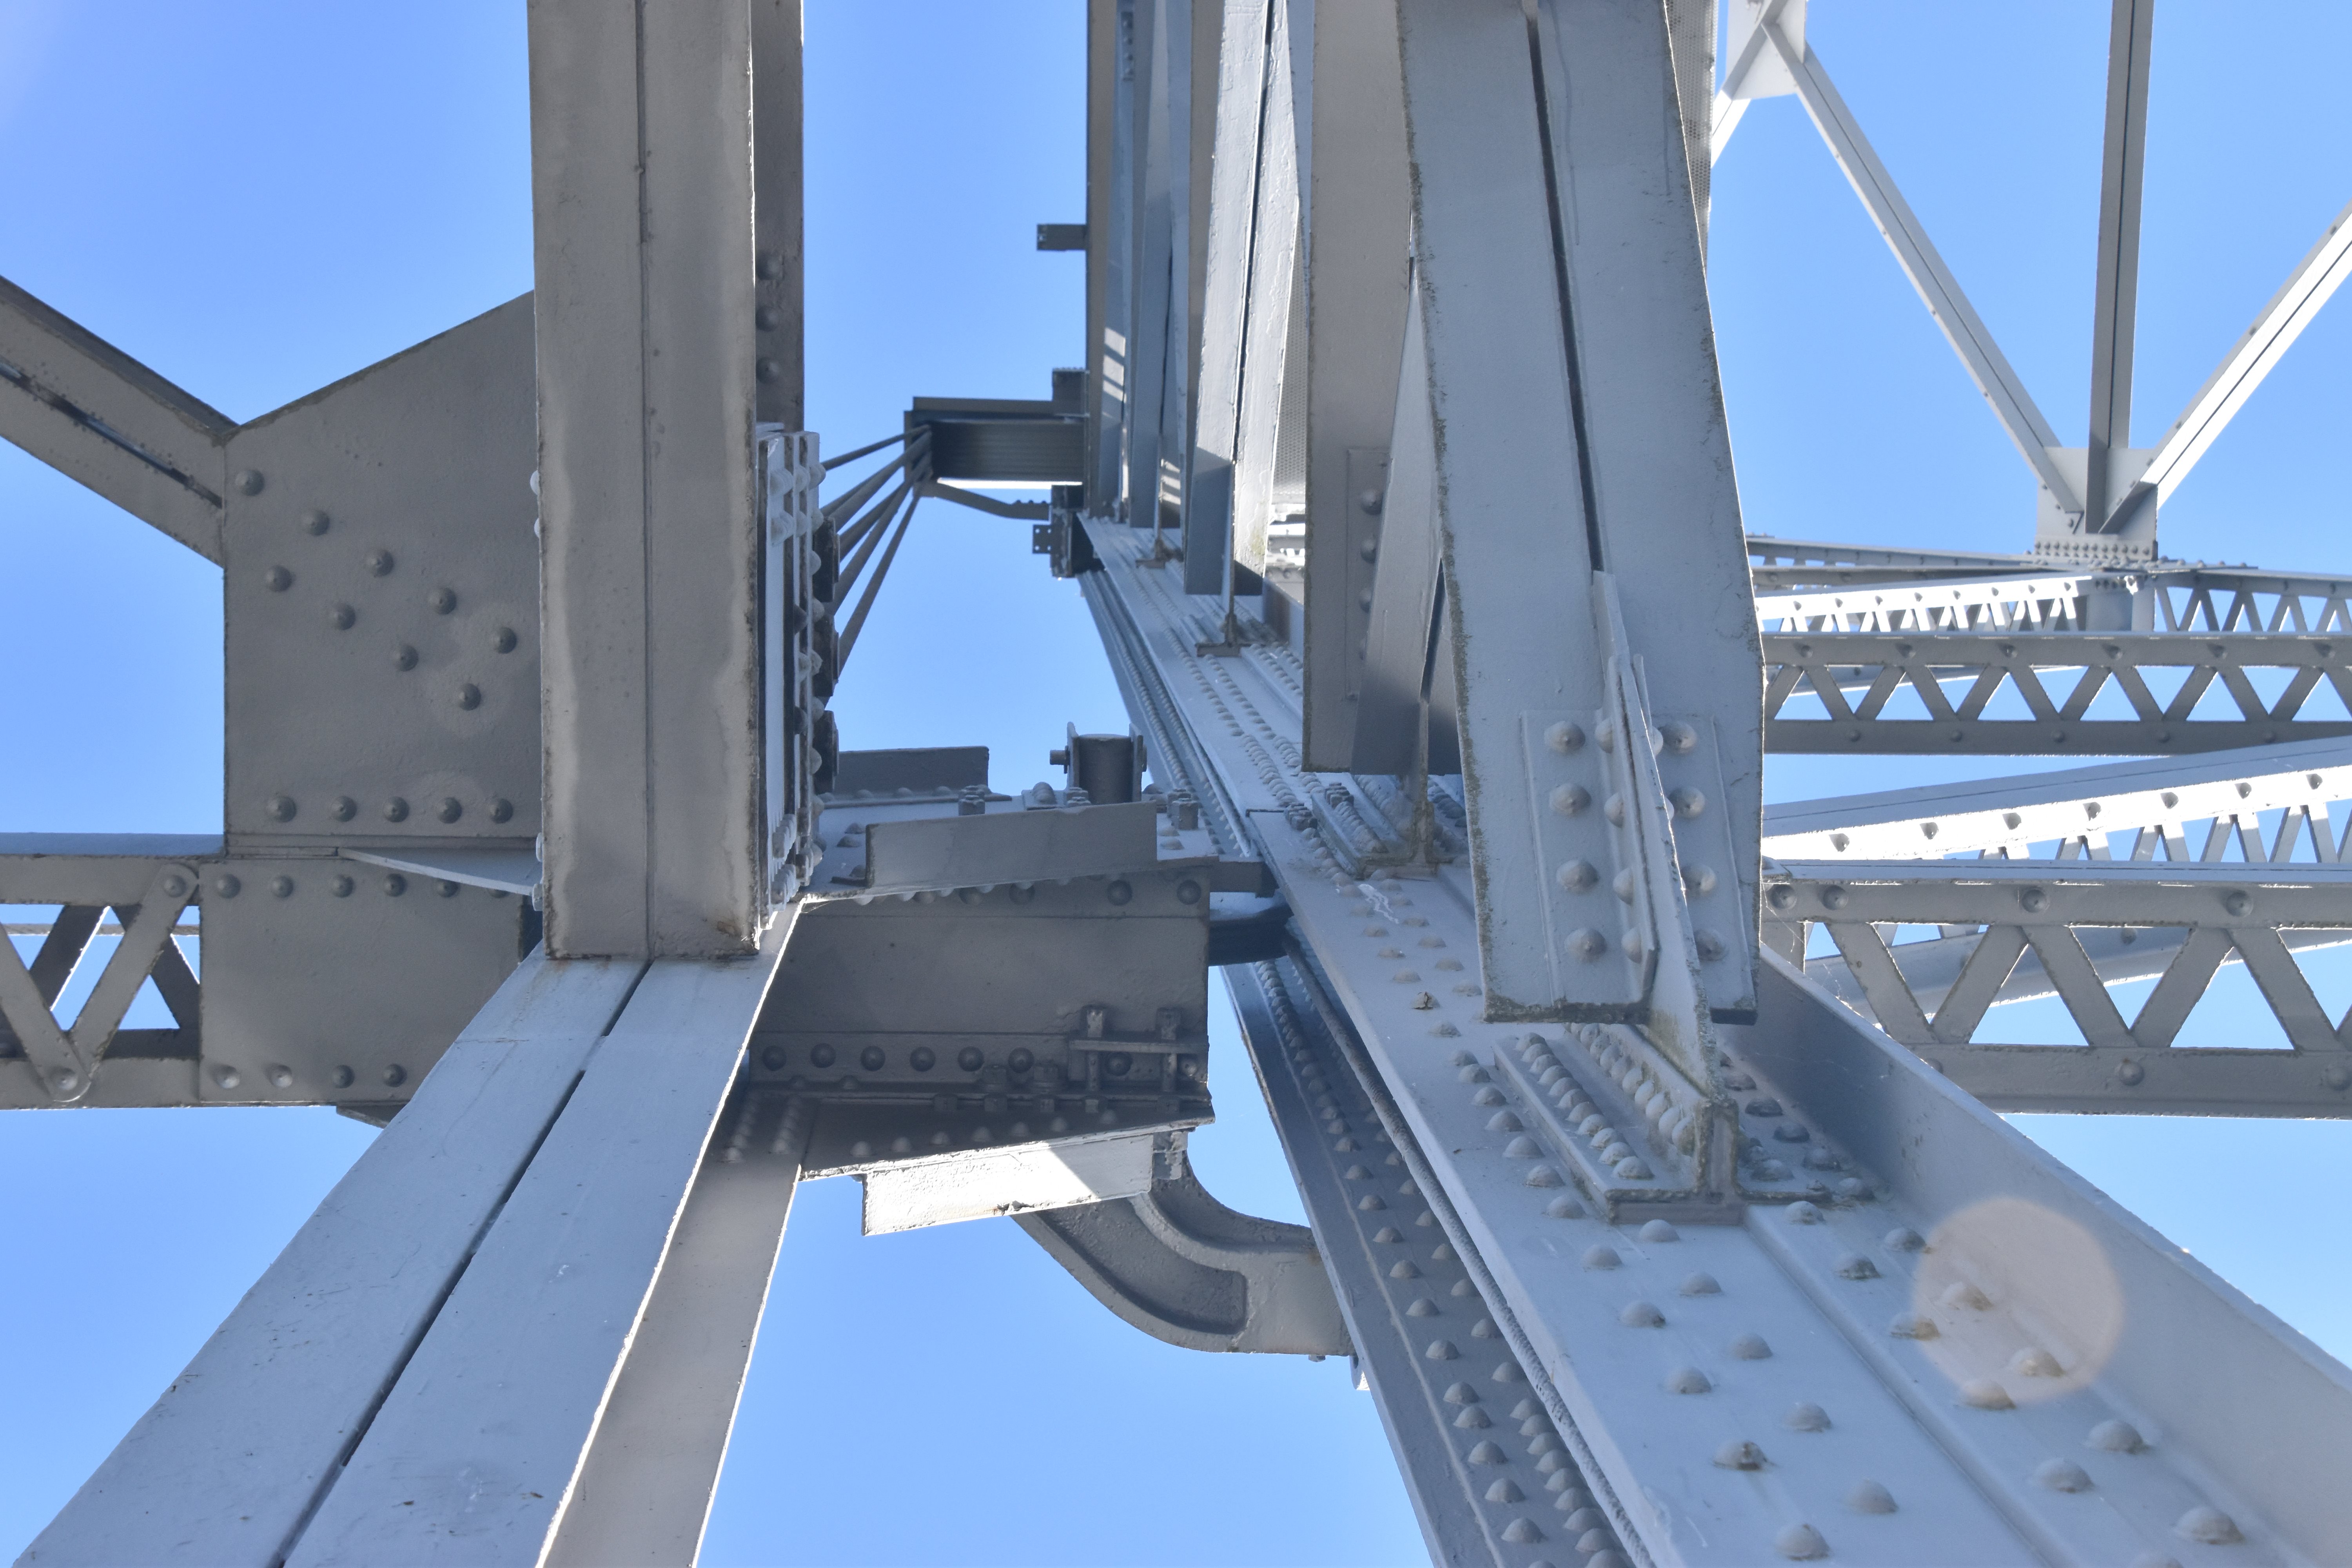
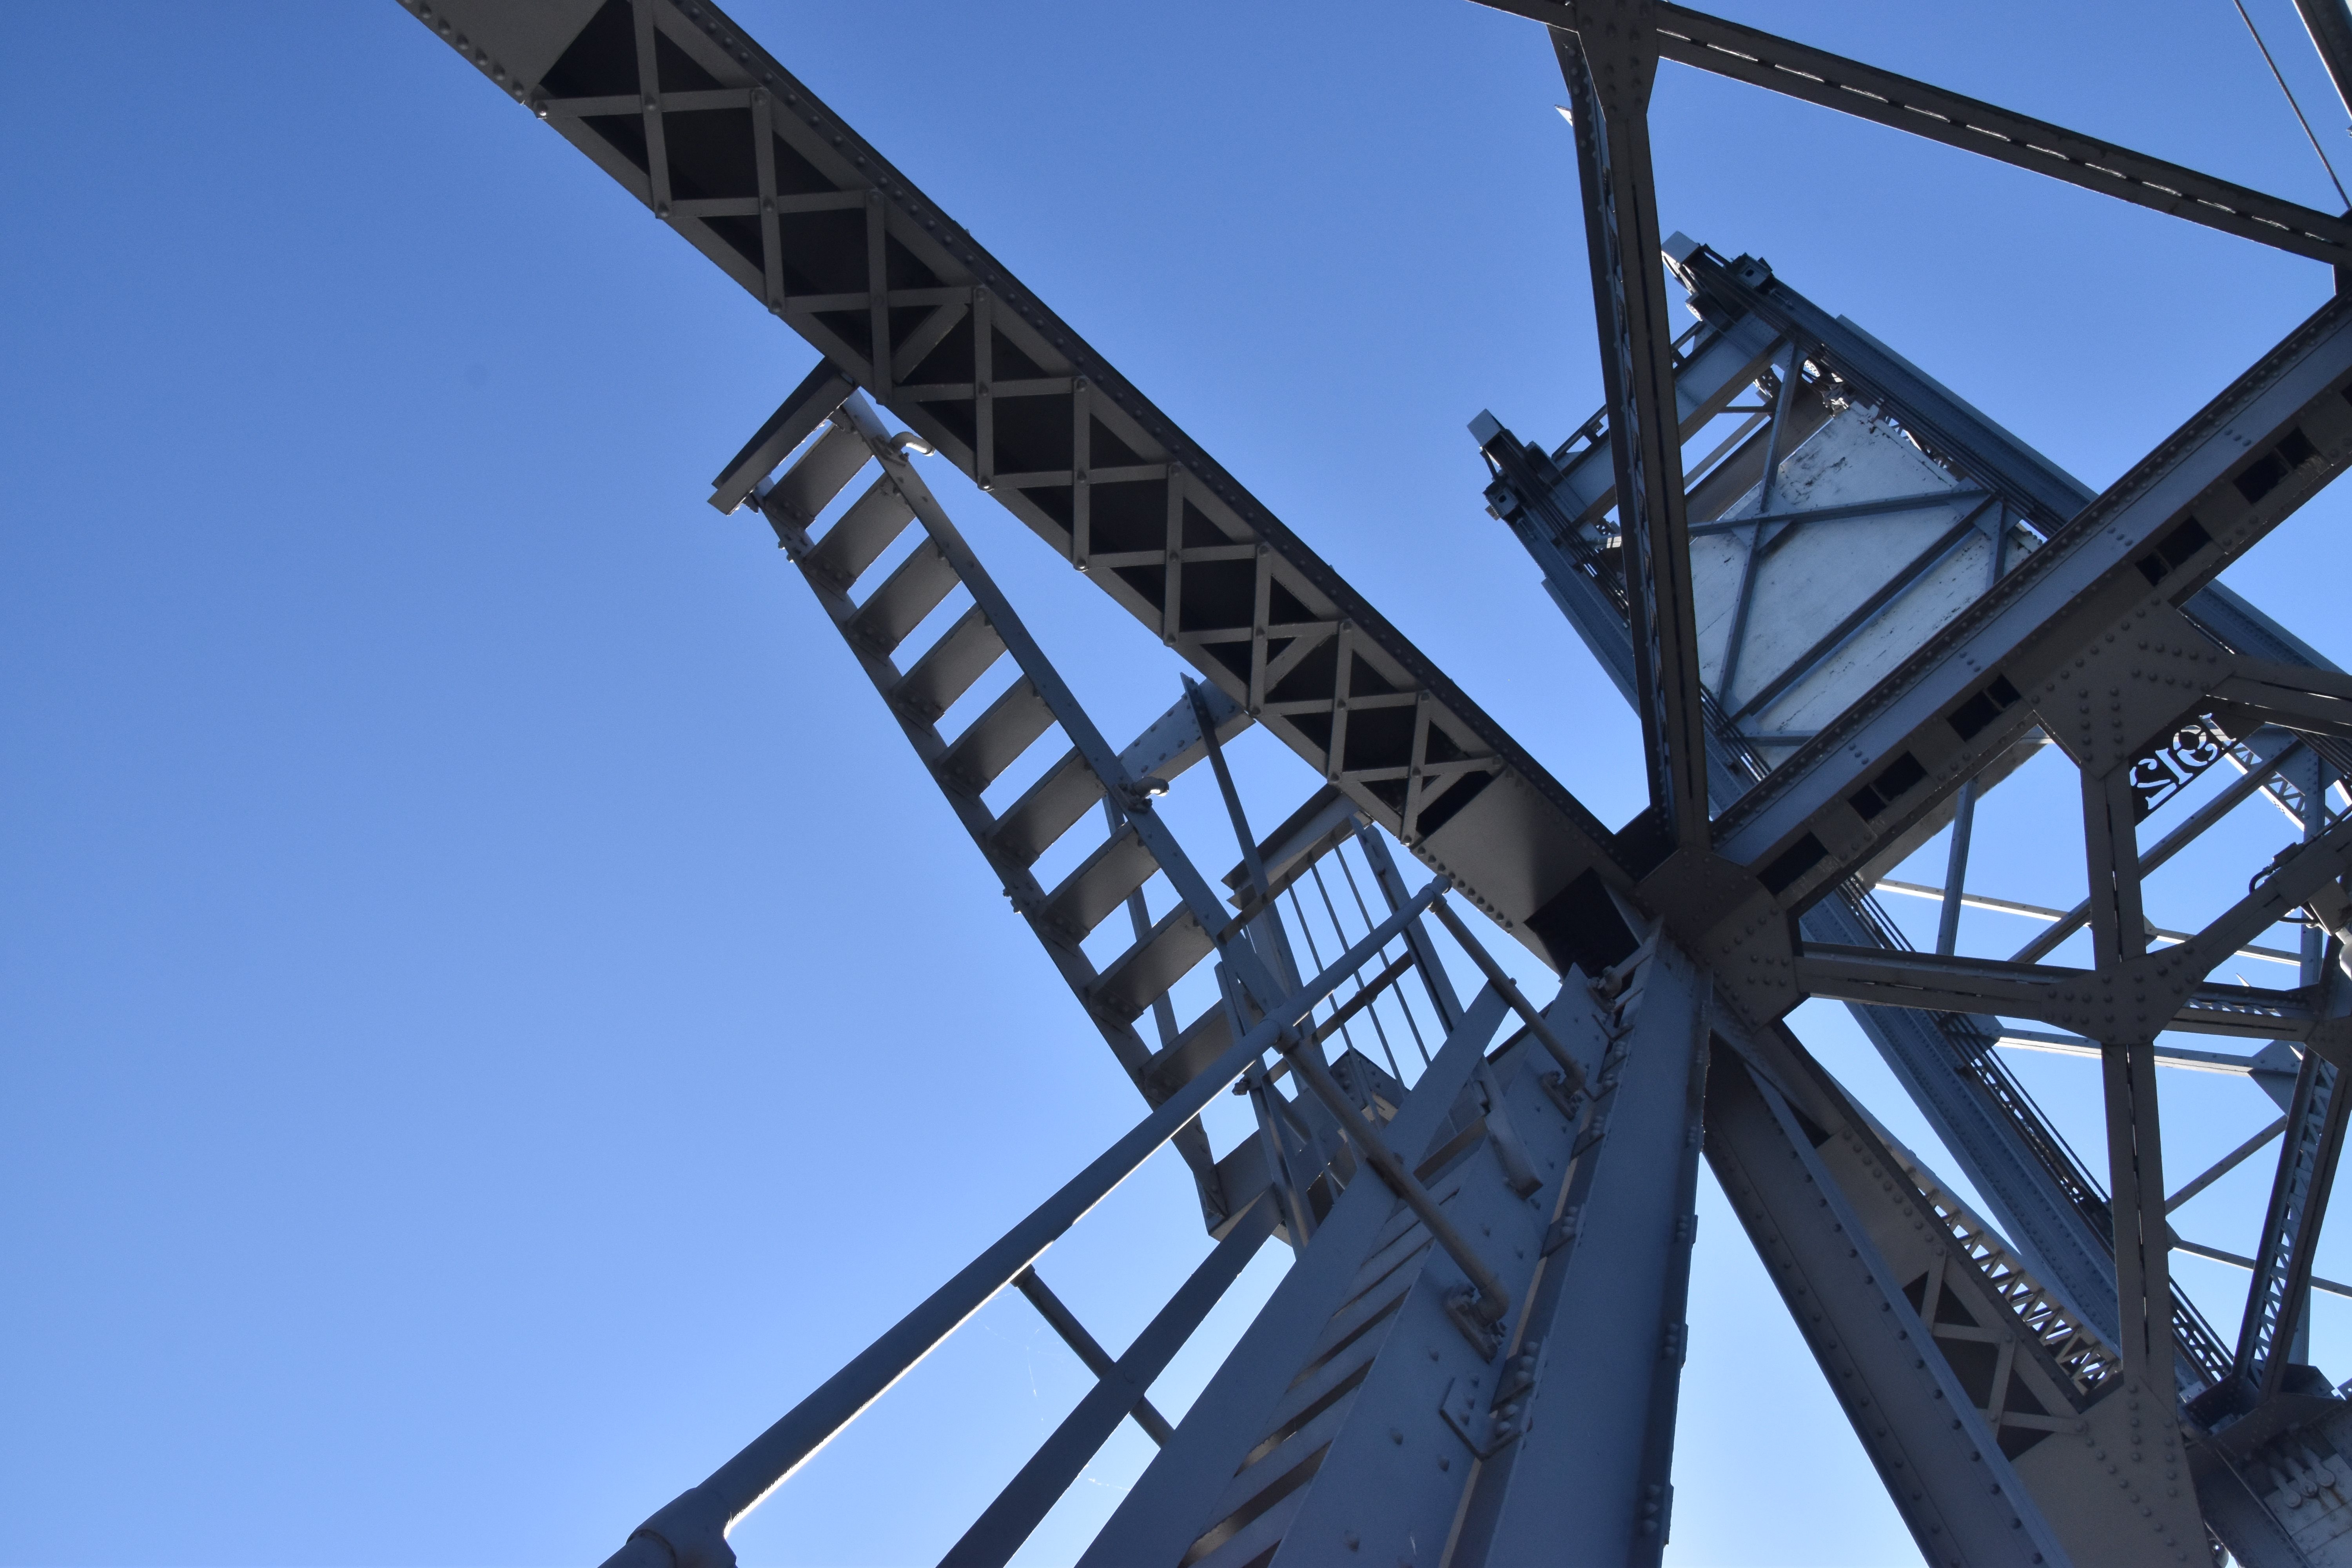
Looking up at lifting girder and link to lift truss span.
![]()


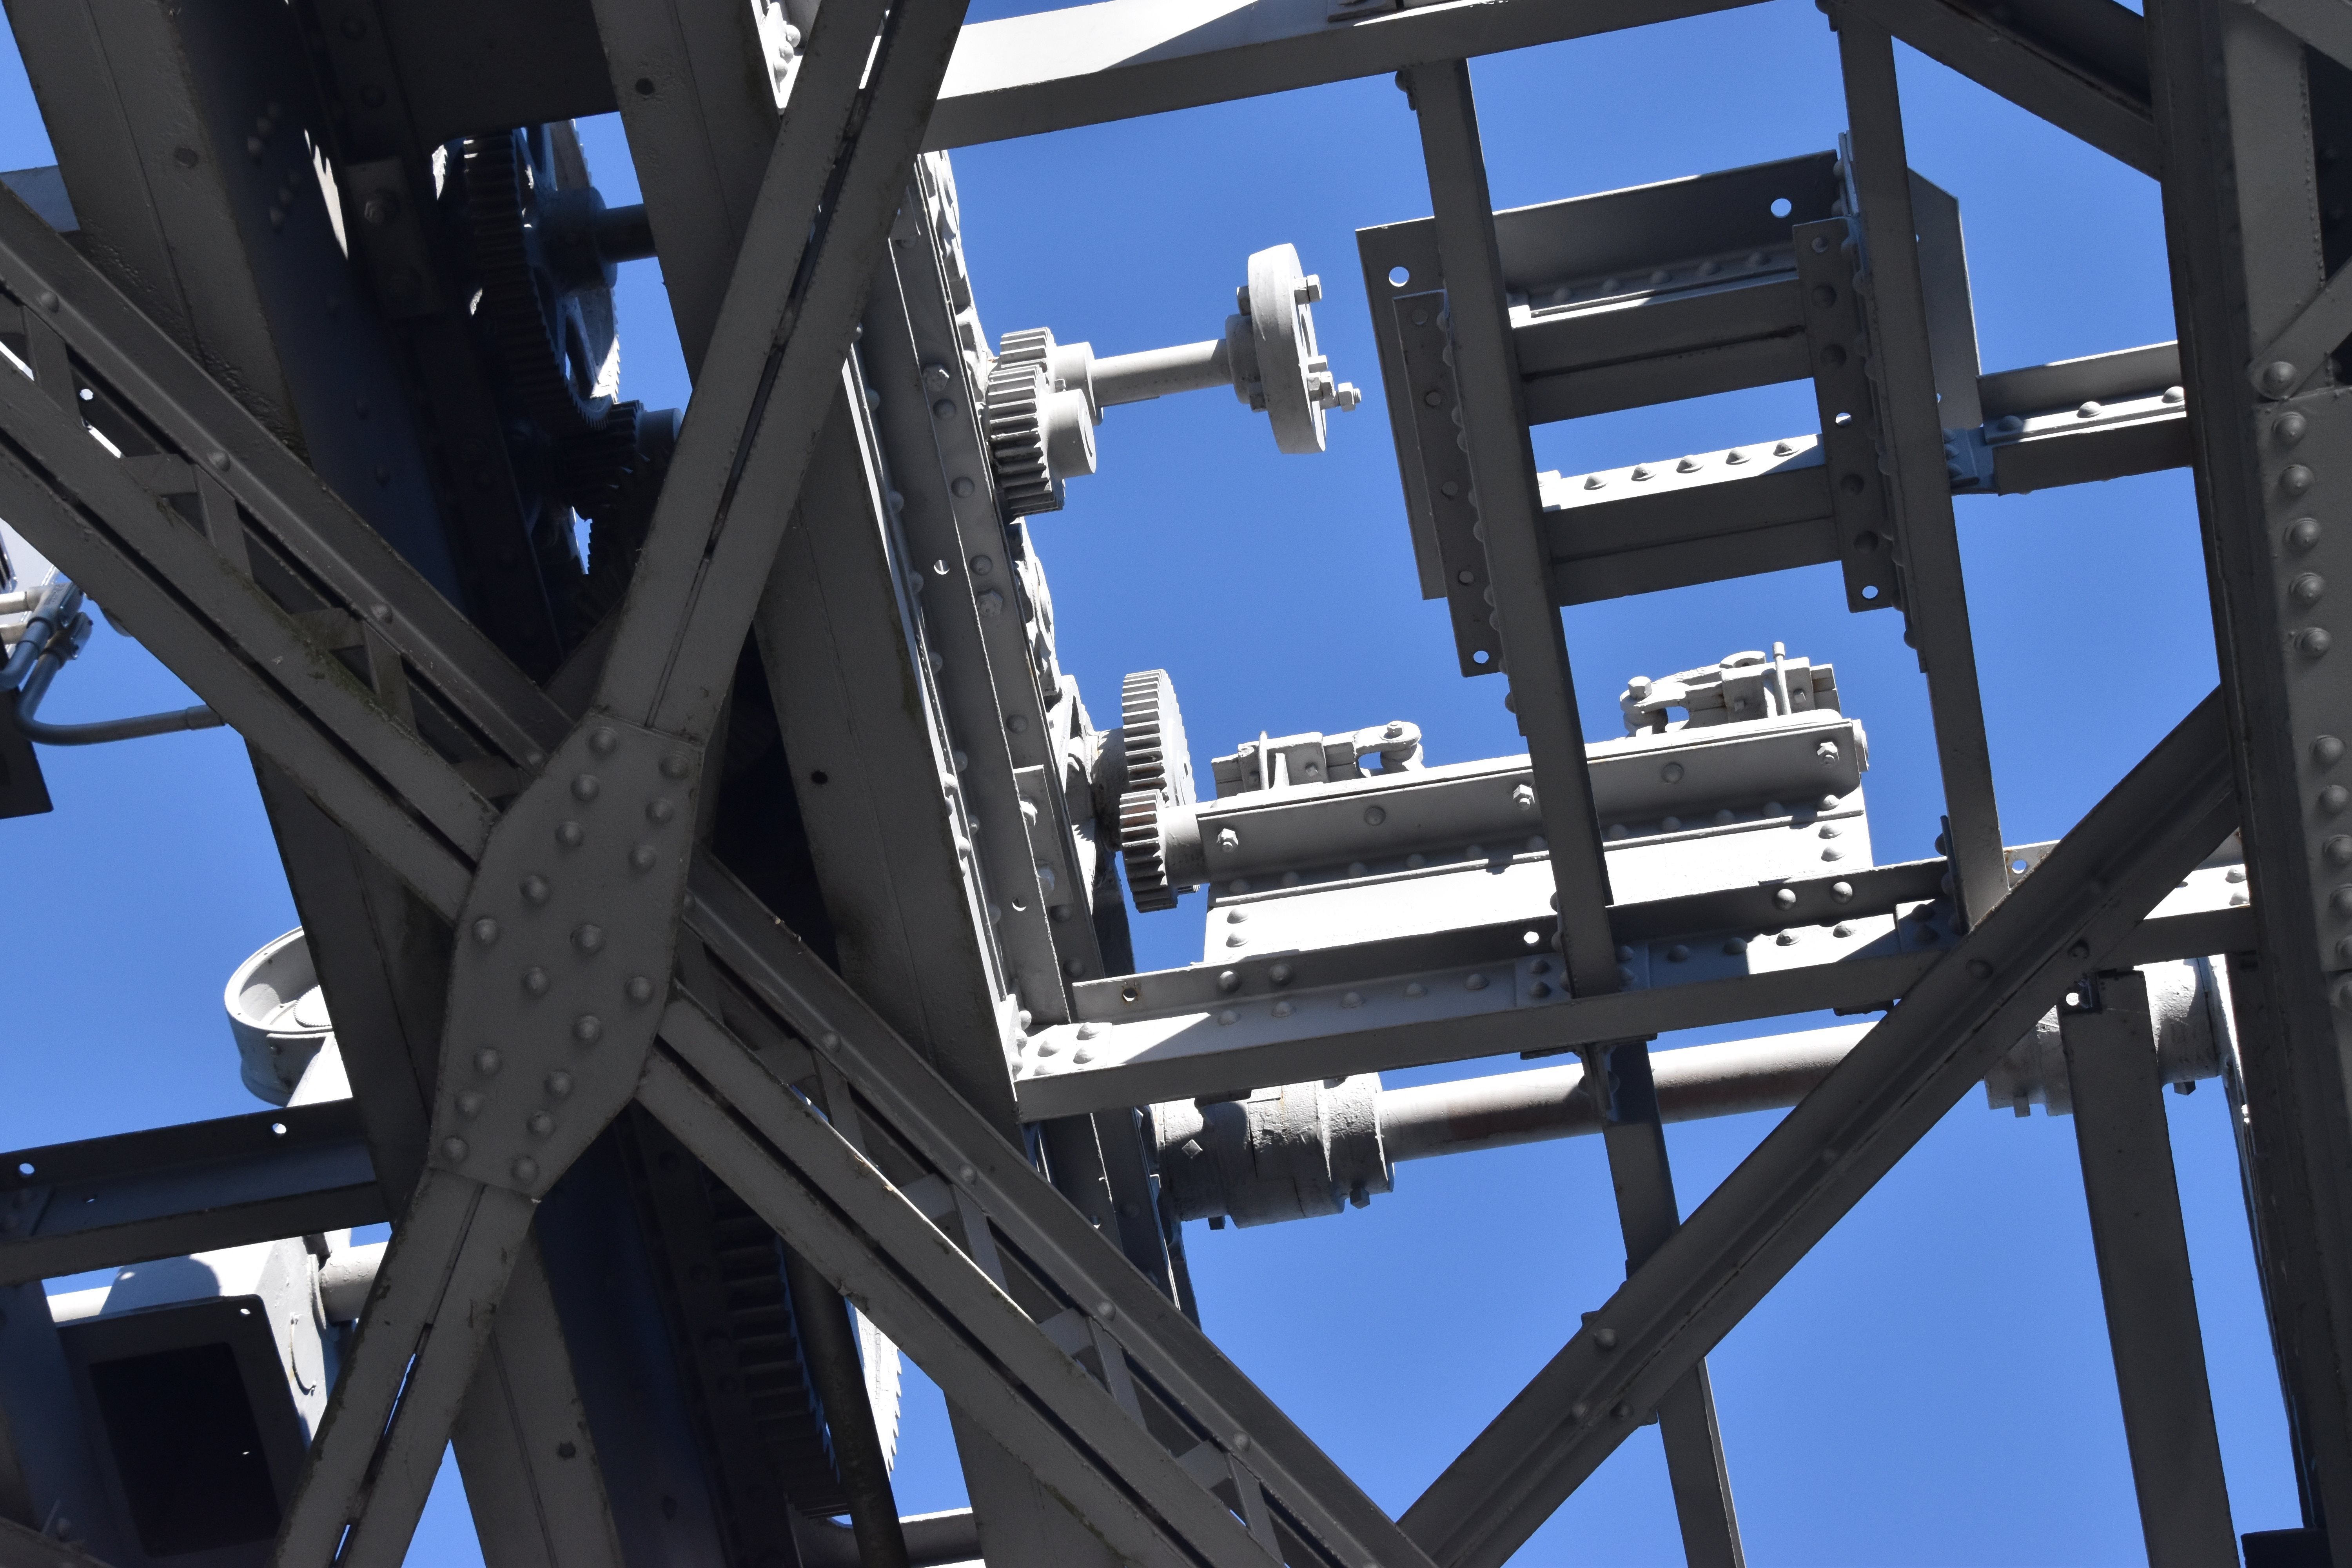
Looking up at machinery surviving on the top of the lift span.
![]()

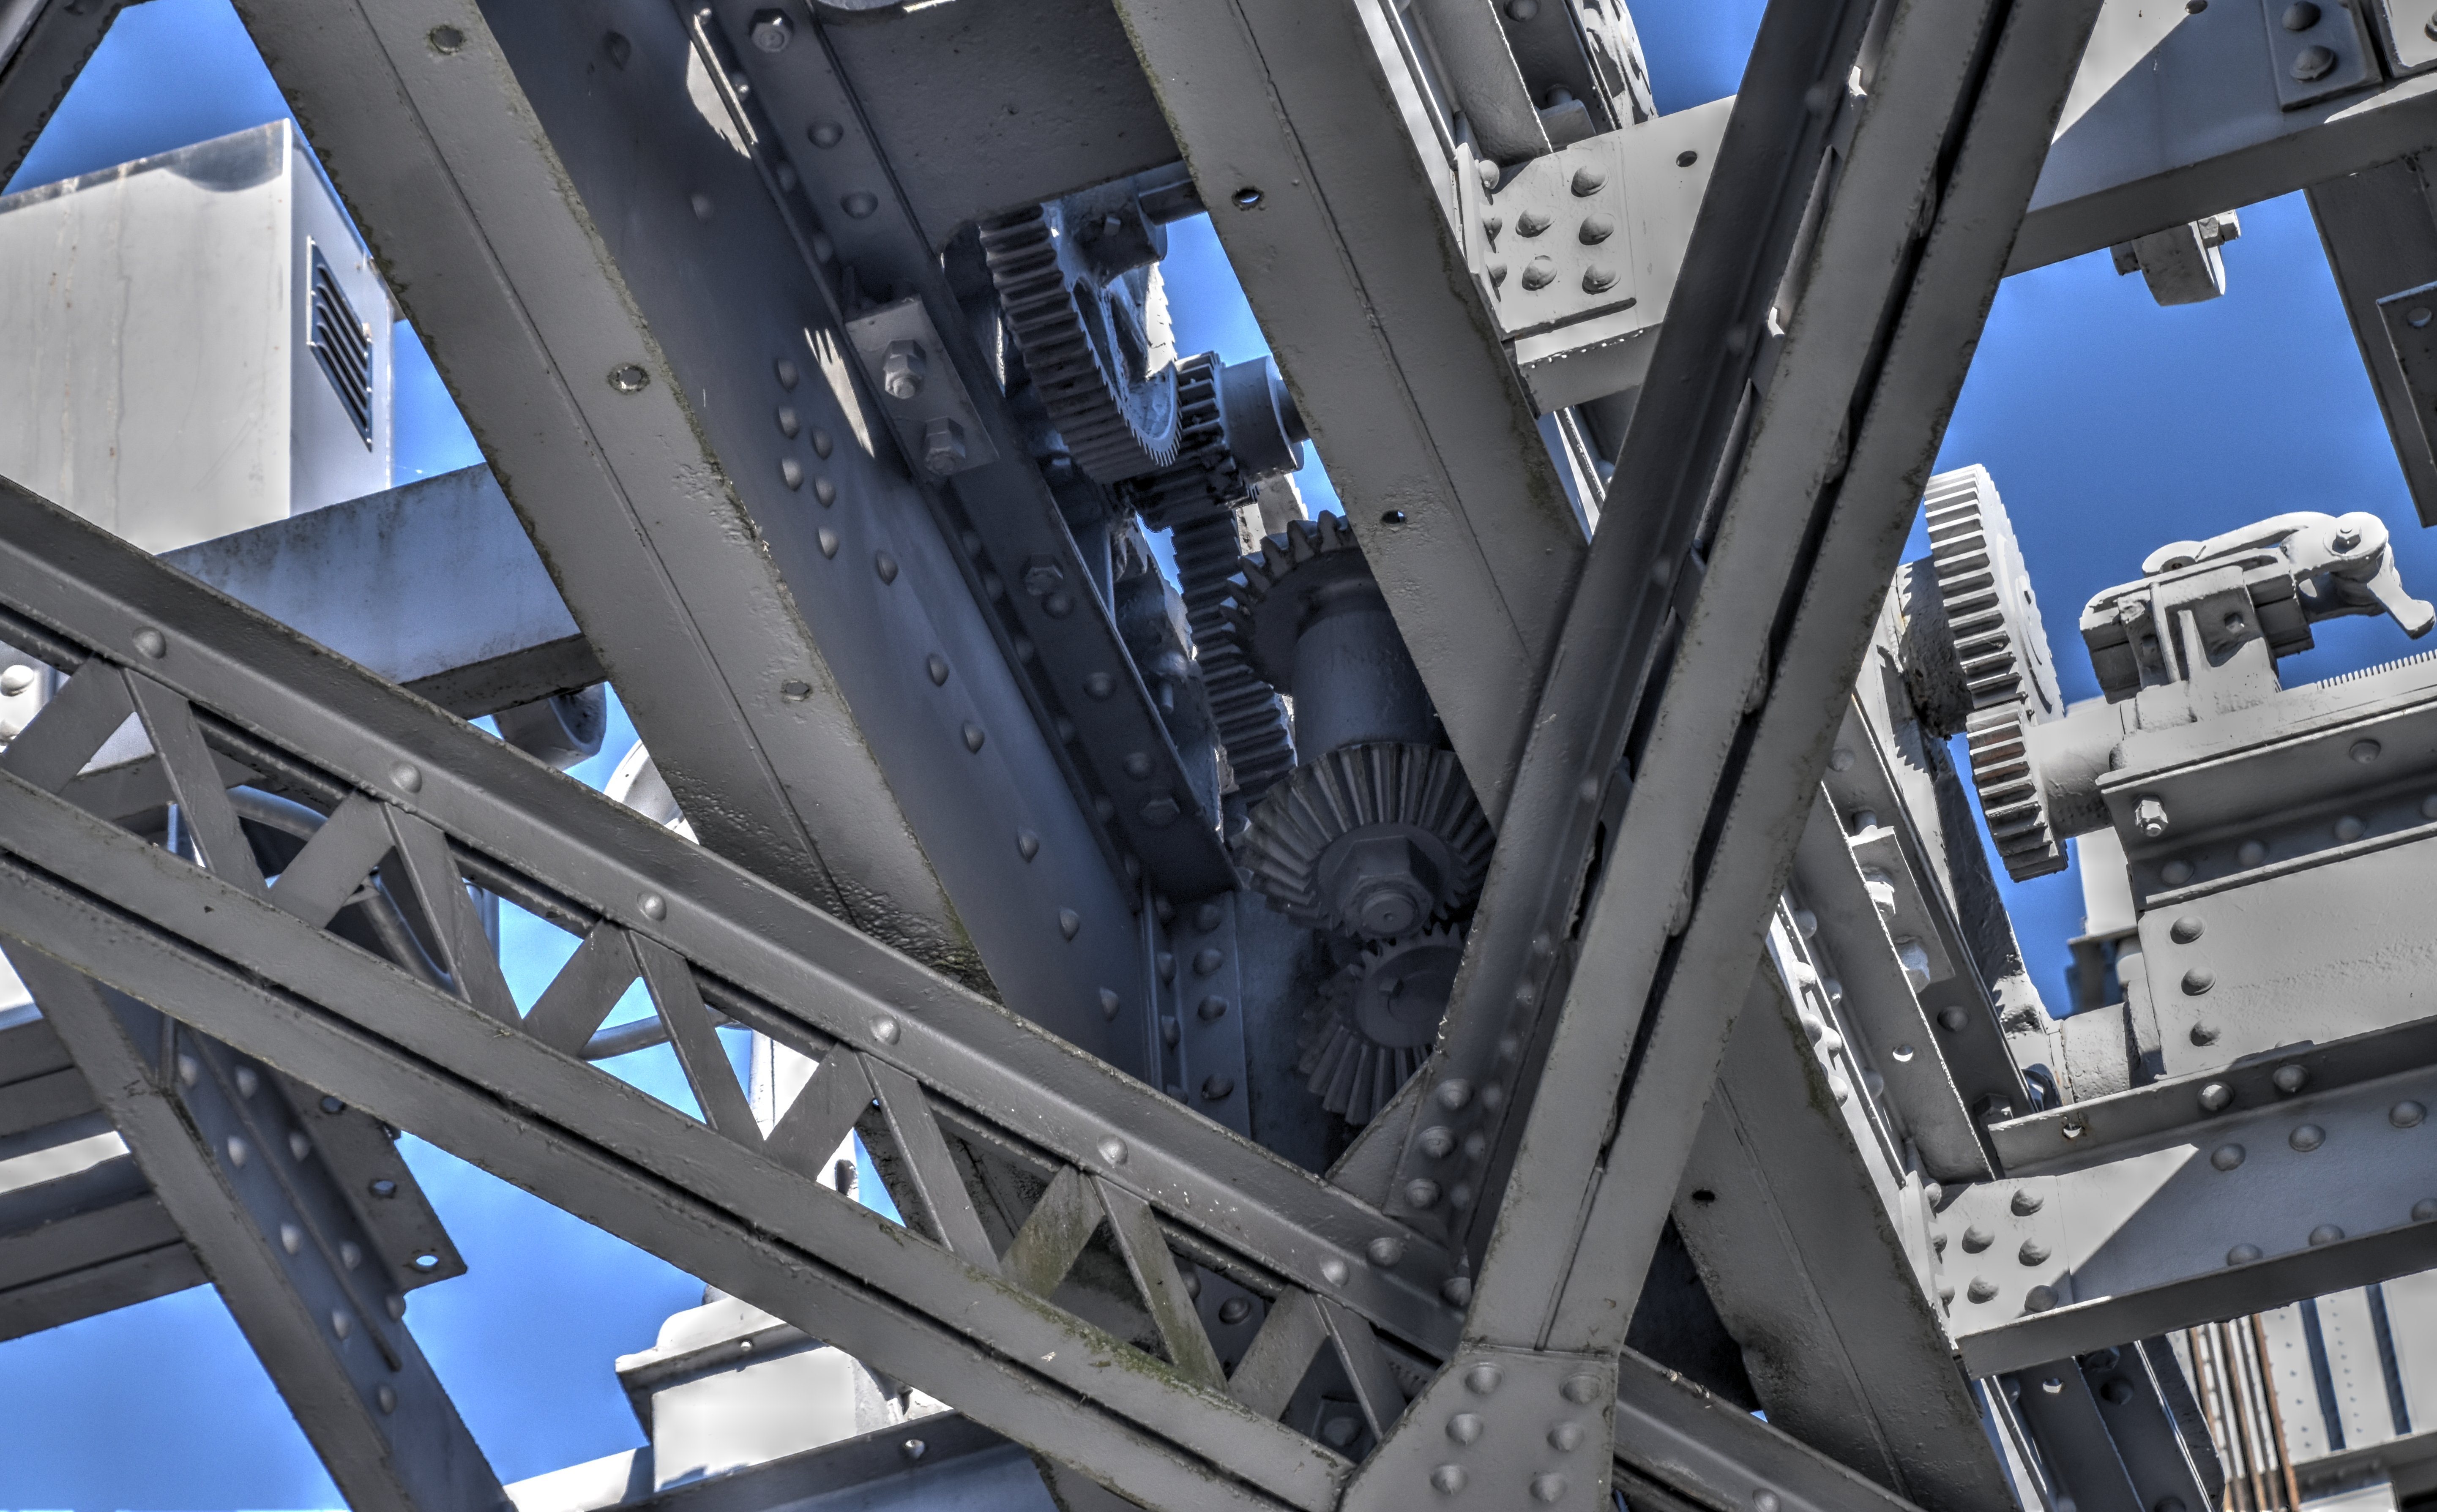


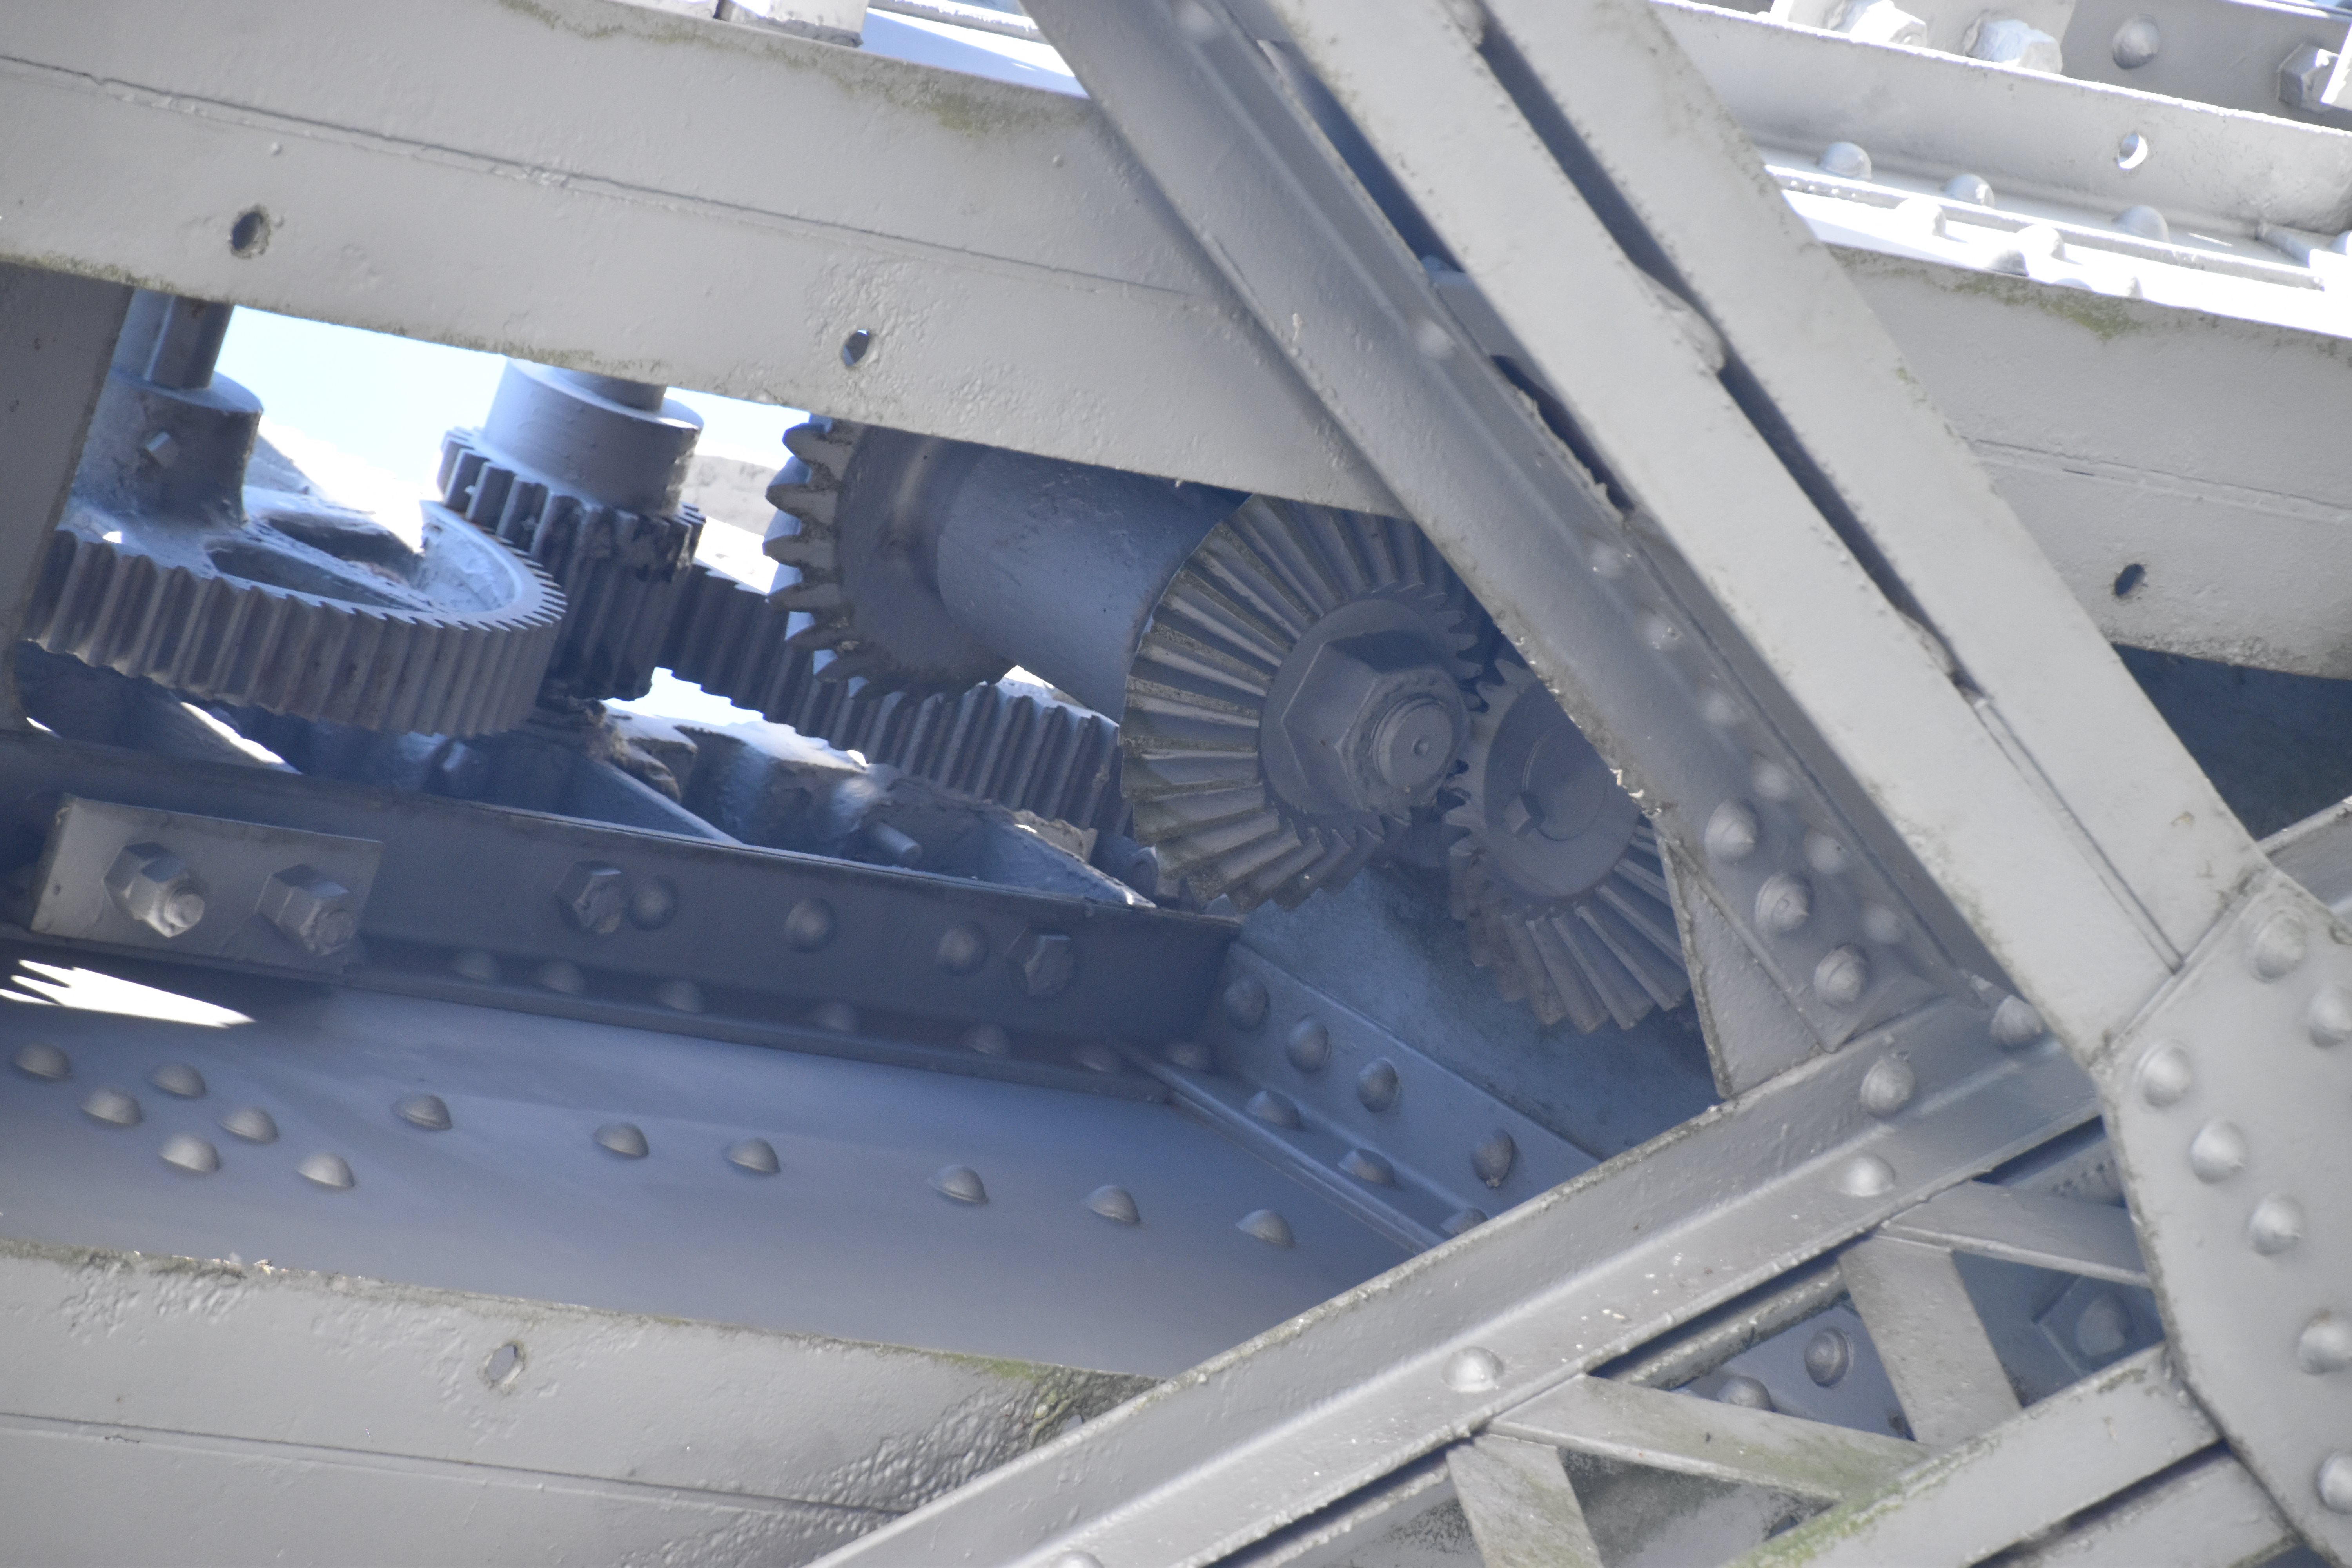

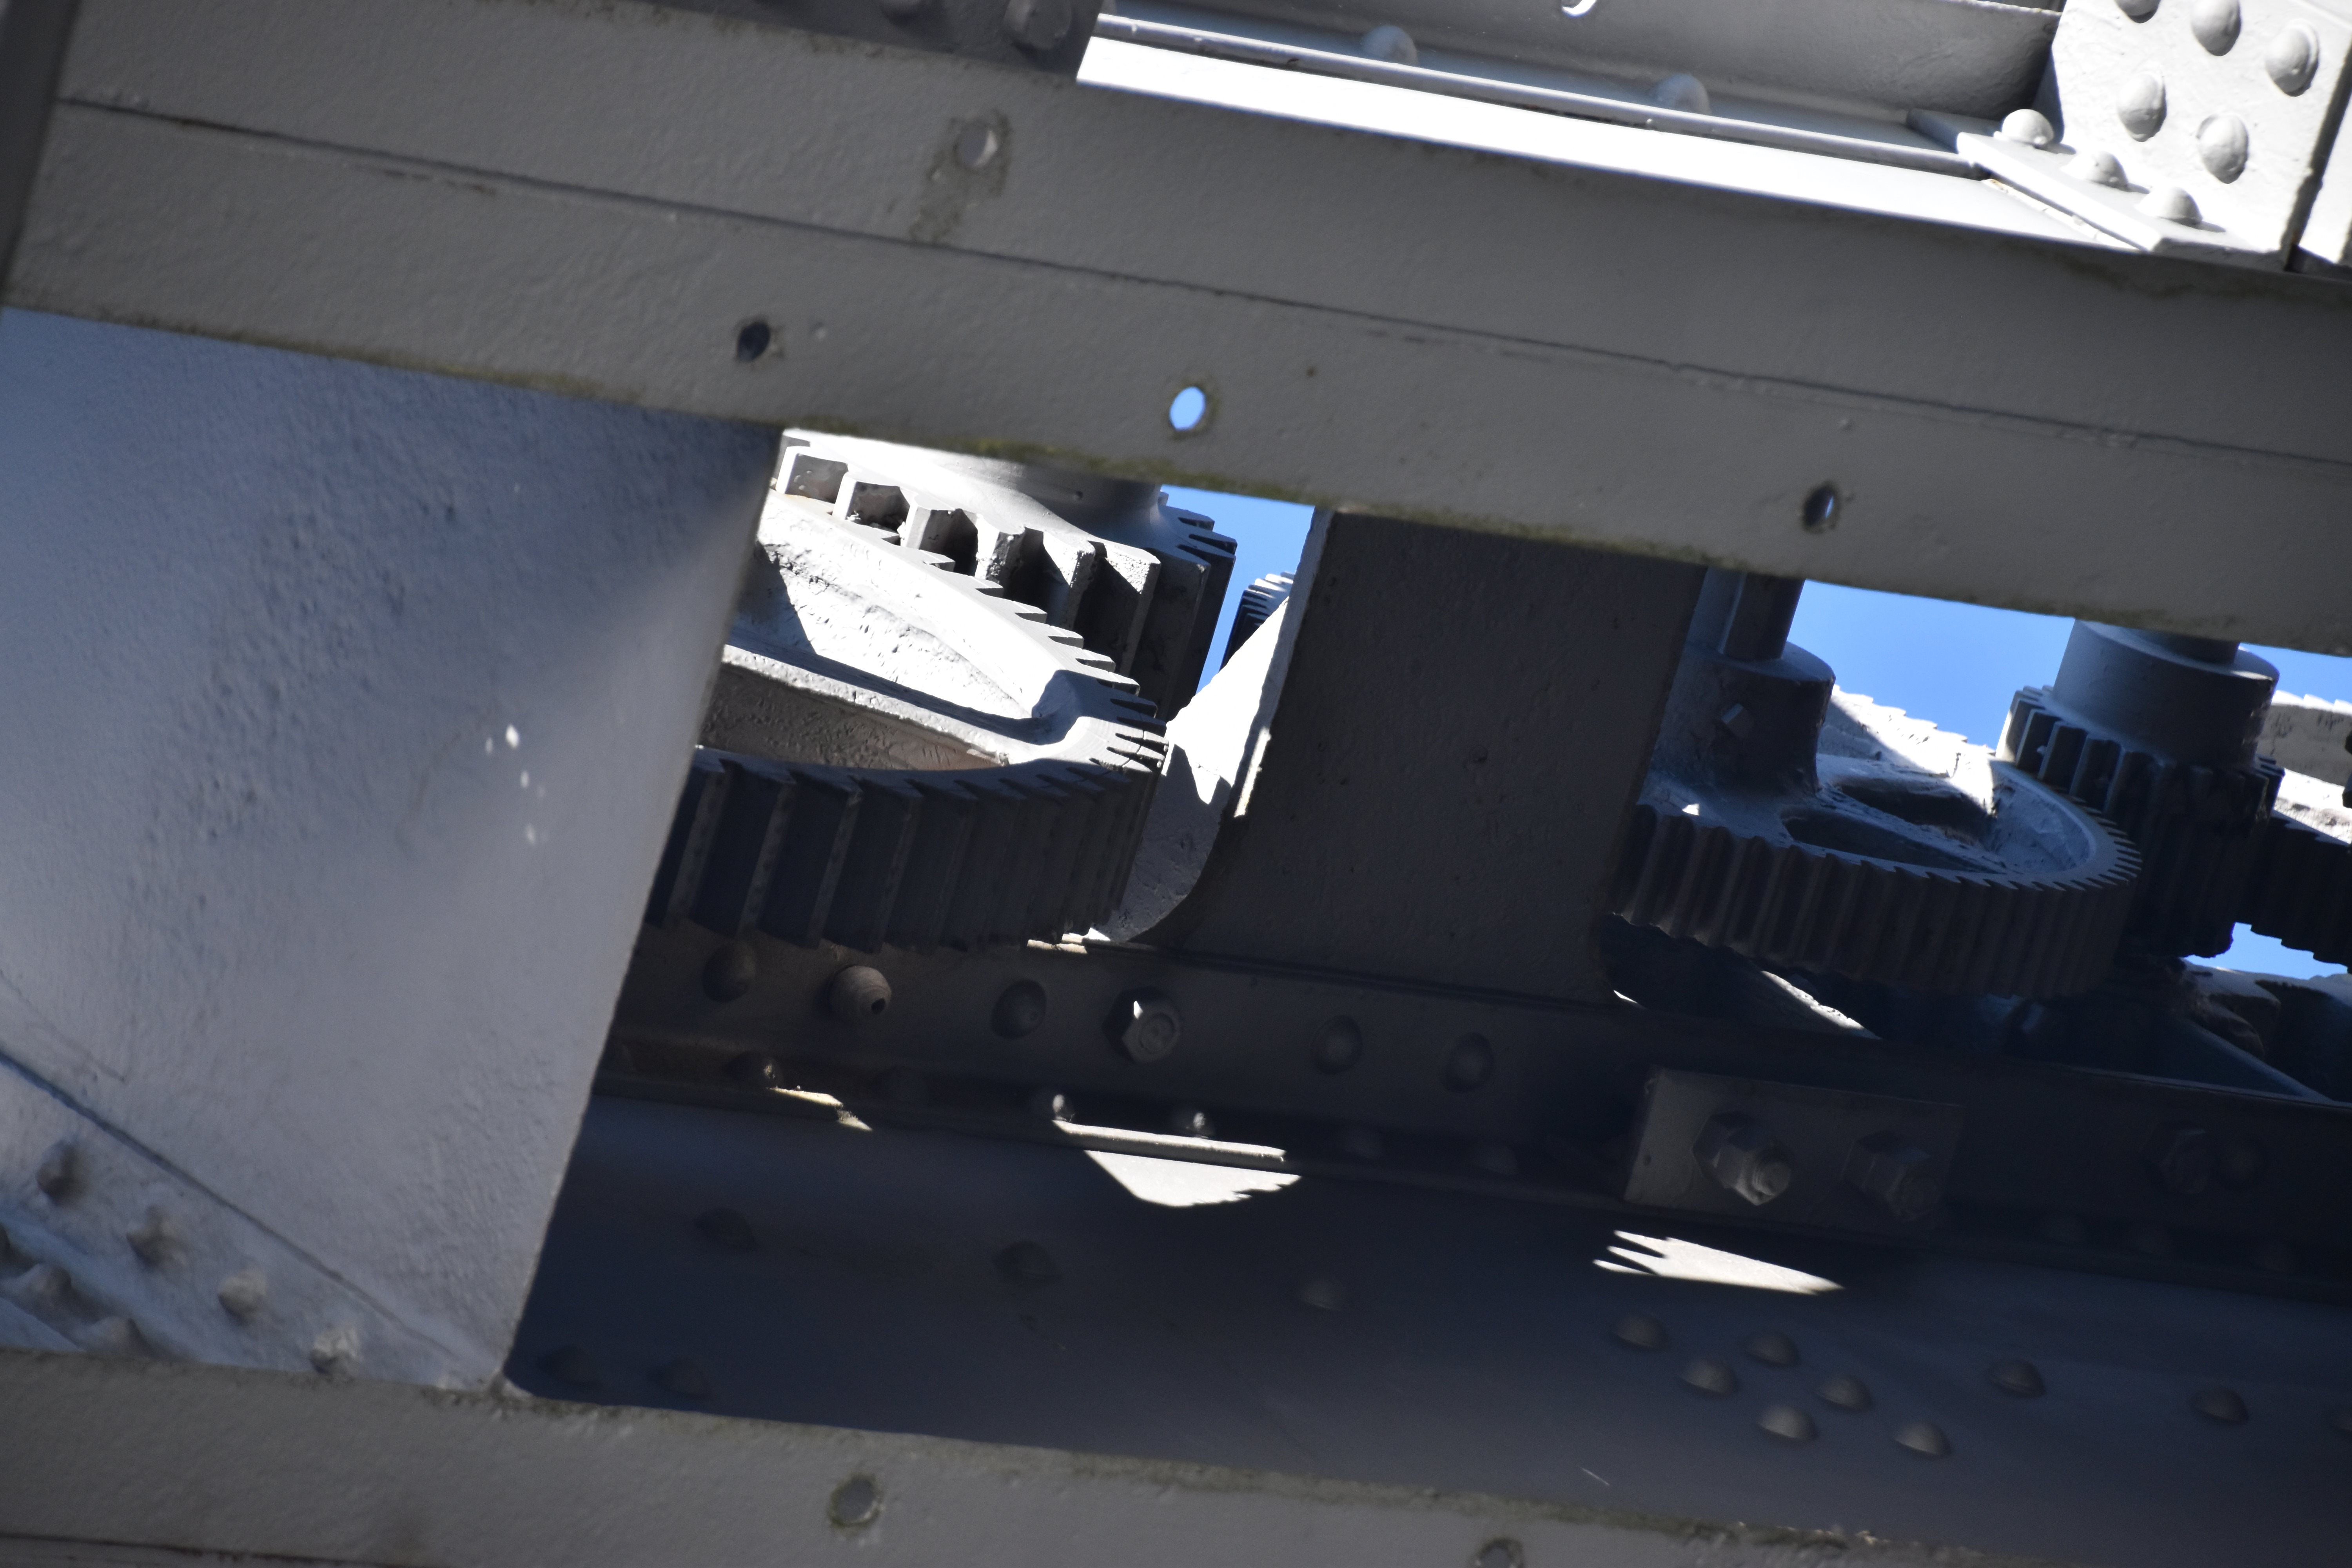


Gearing on lift span.
![]()


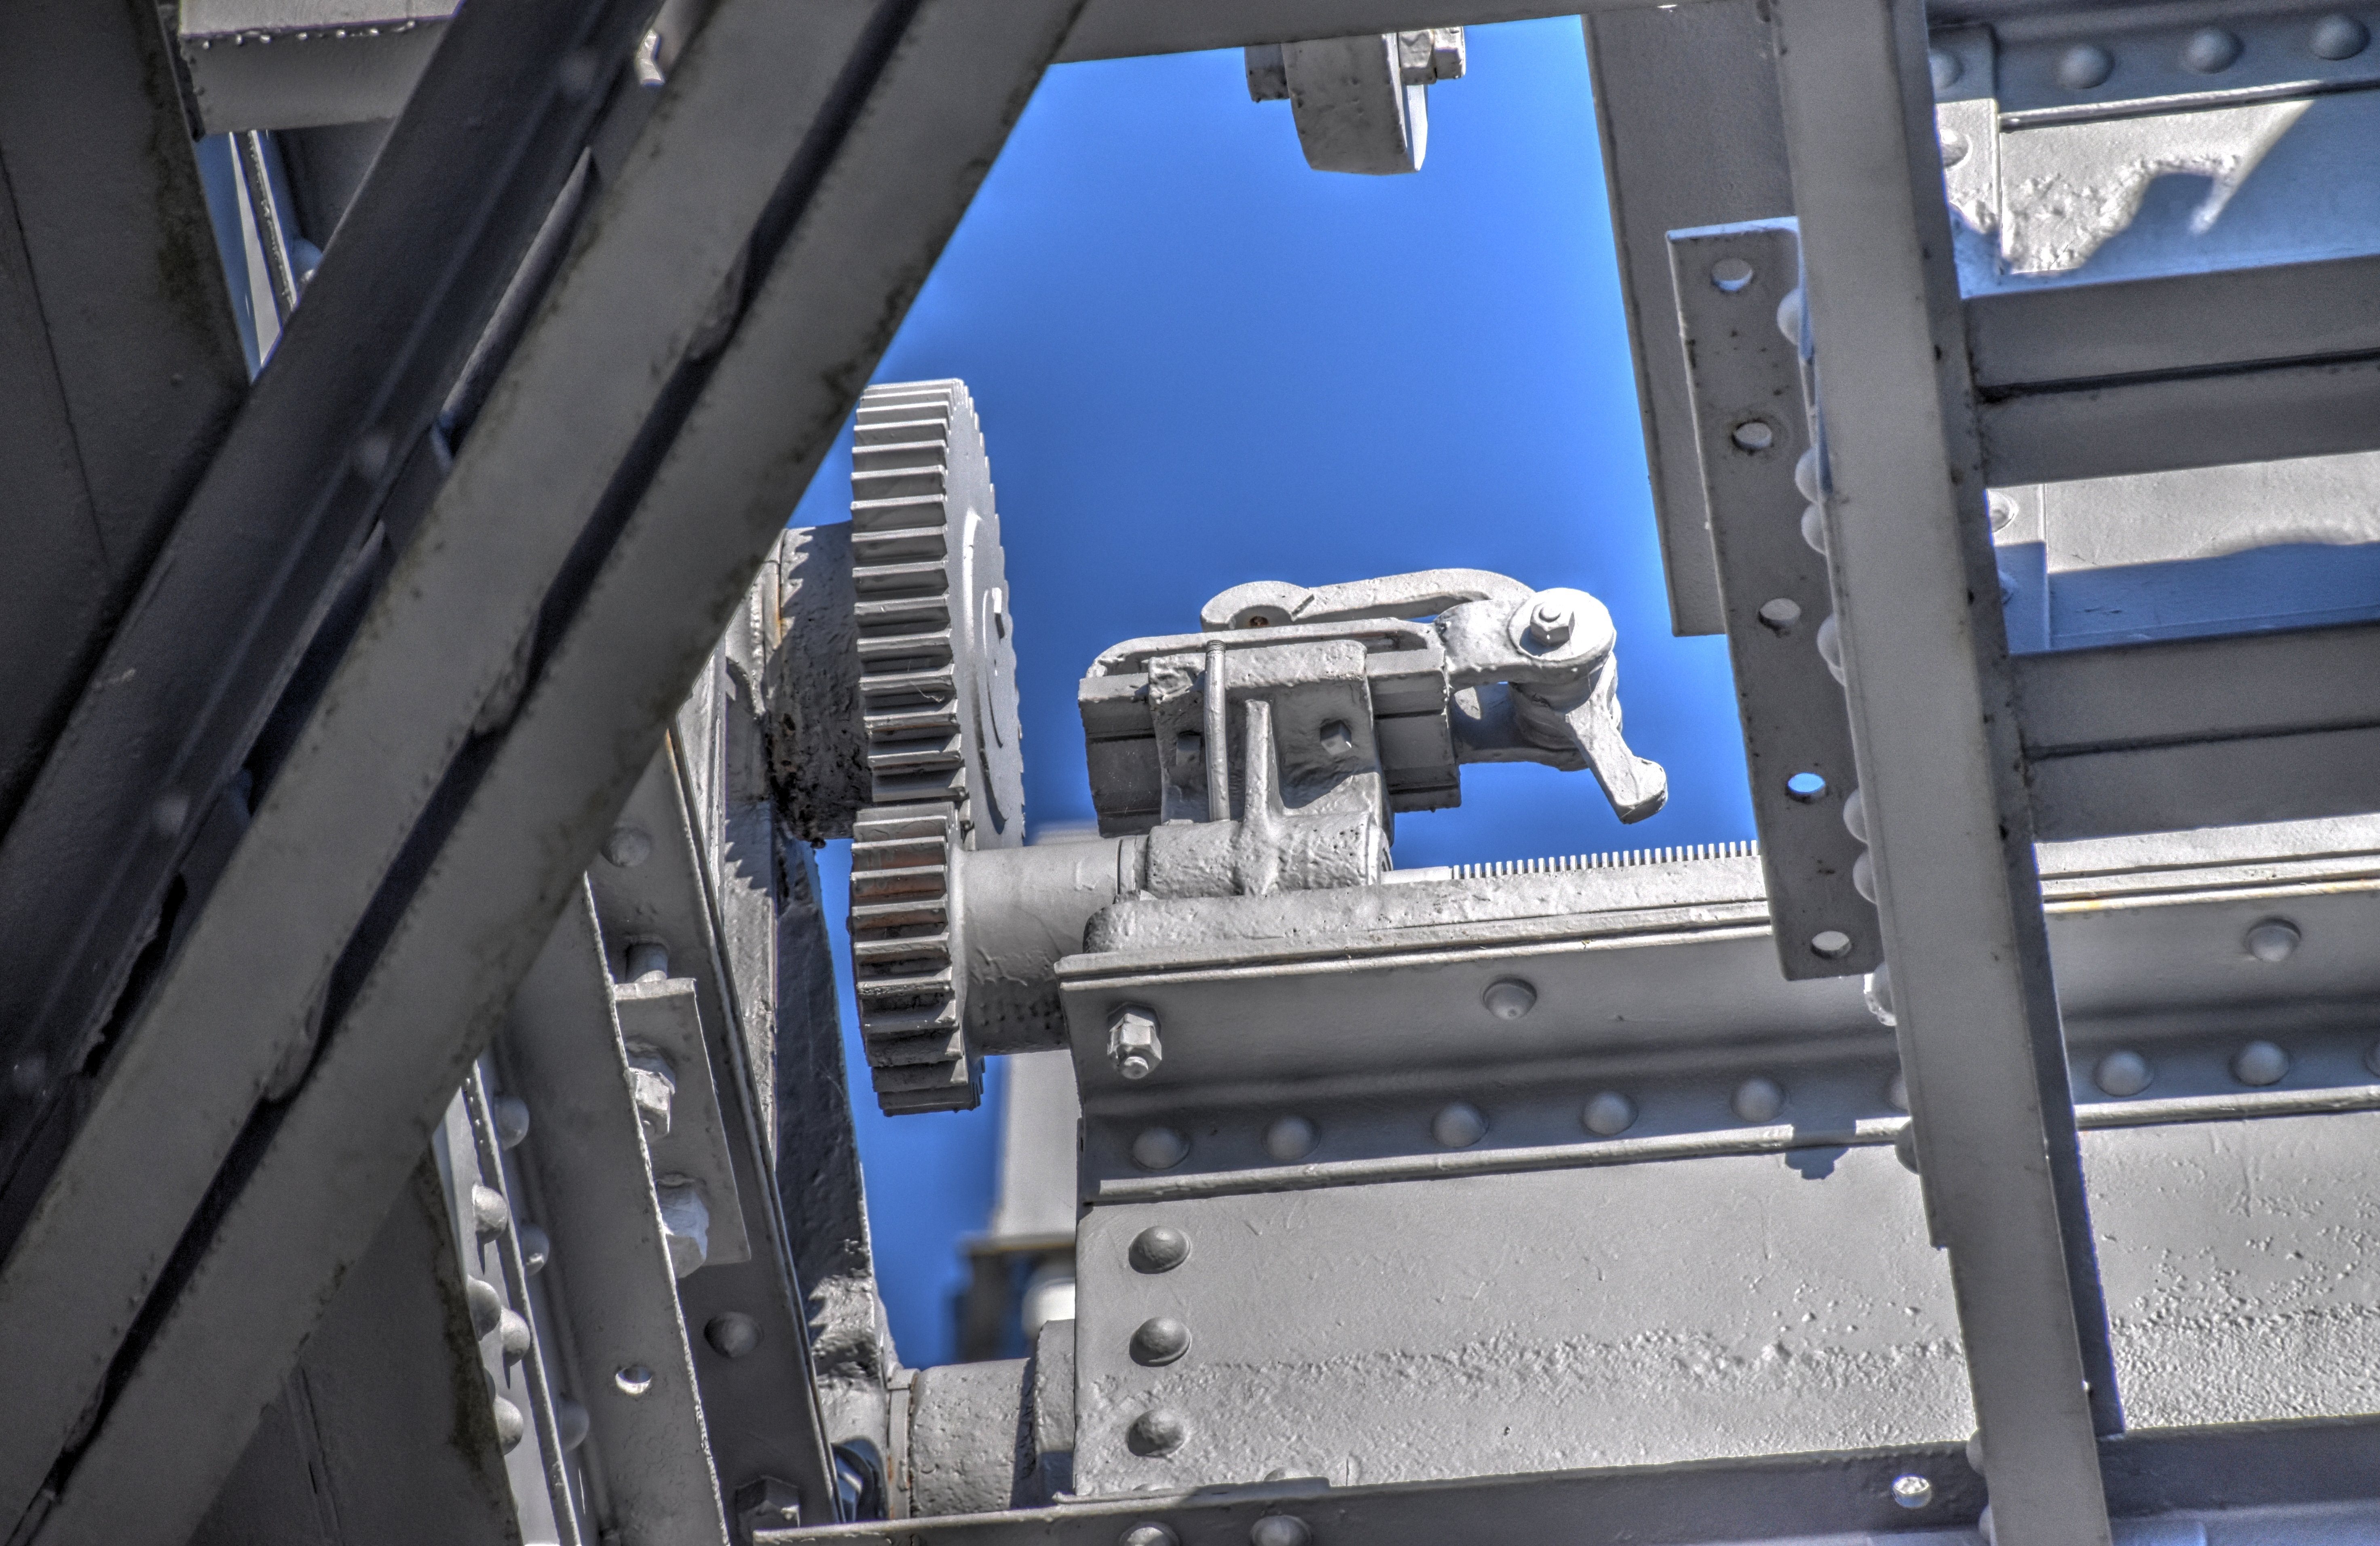
Looking up on lift span showing the attachment that could be used to raise the bridge manually.
![]()


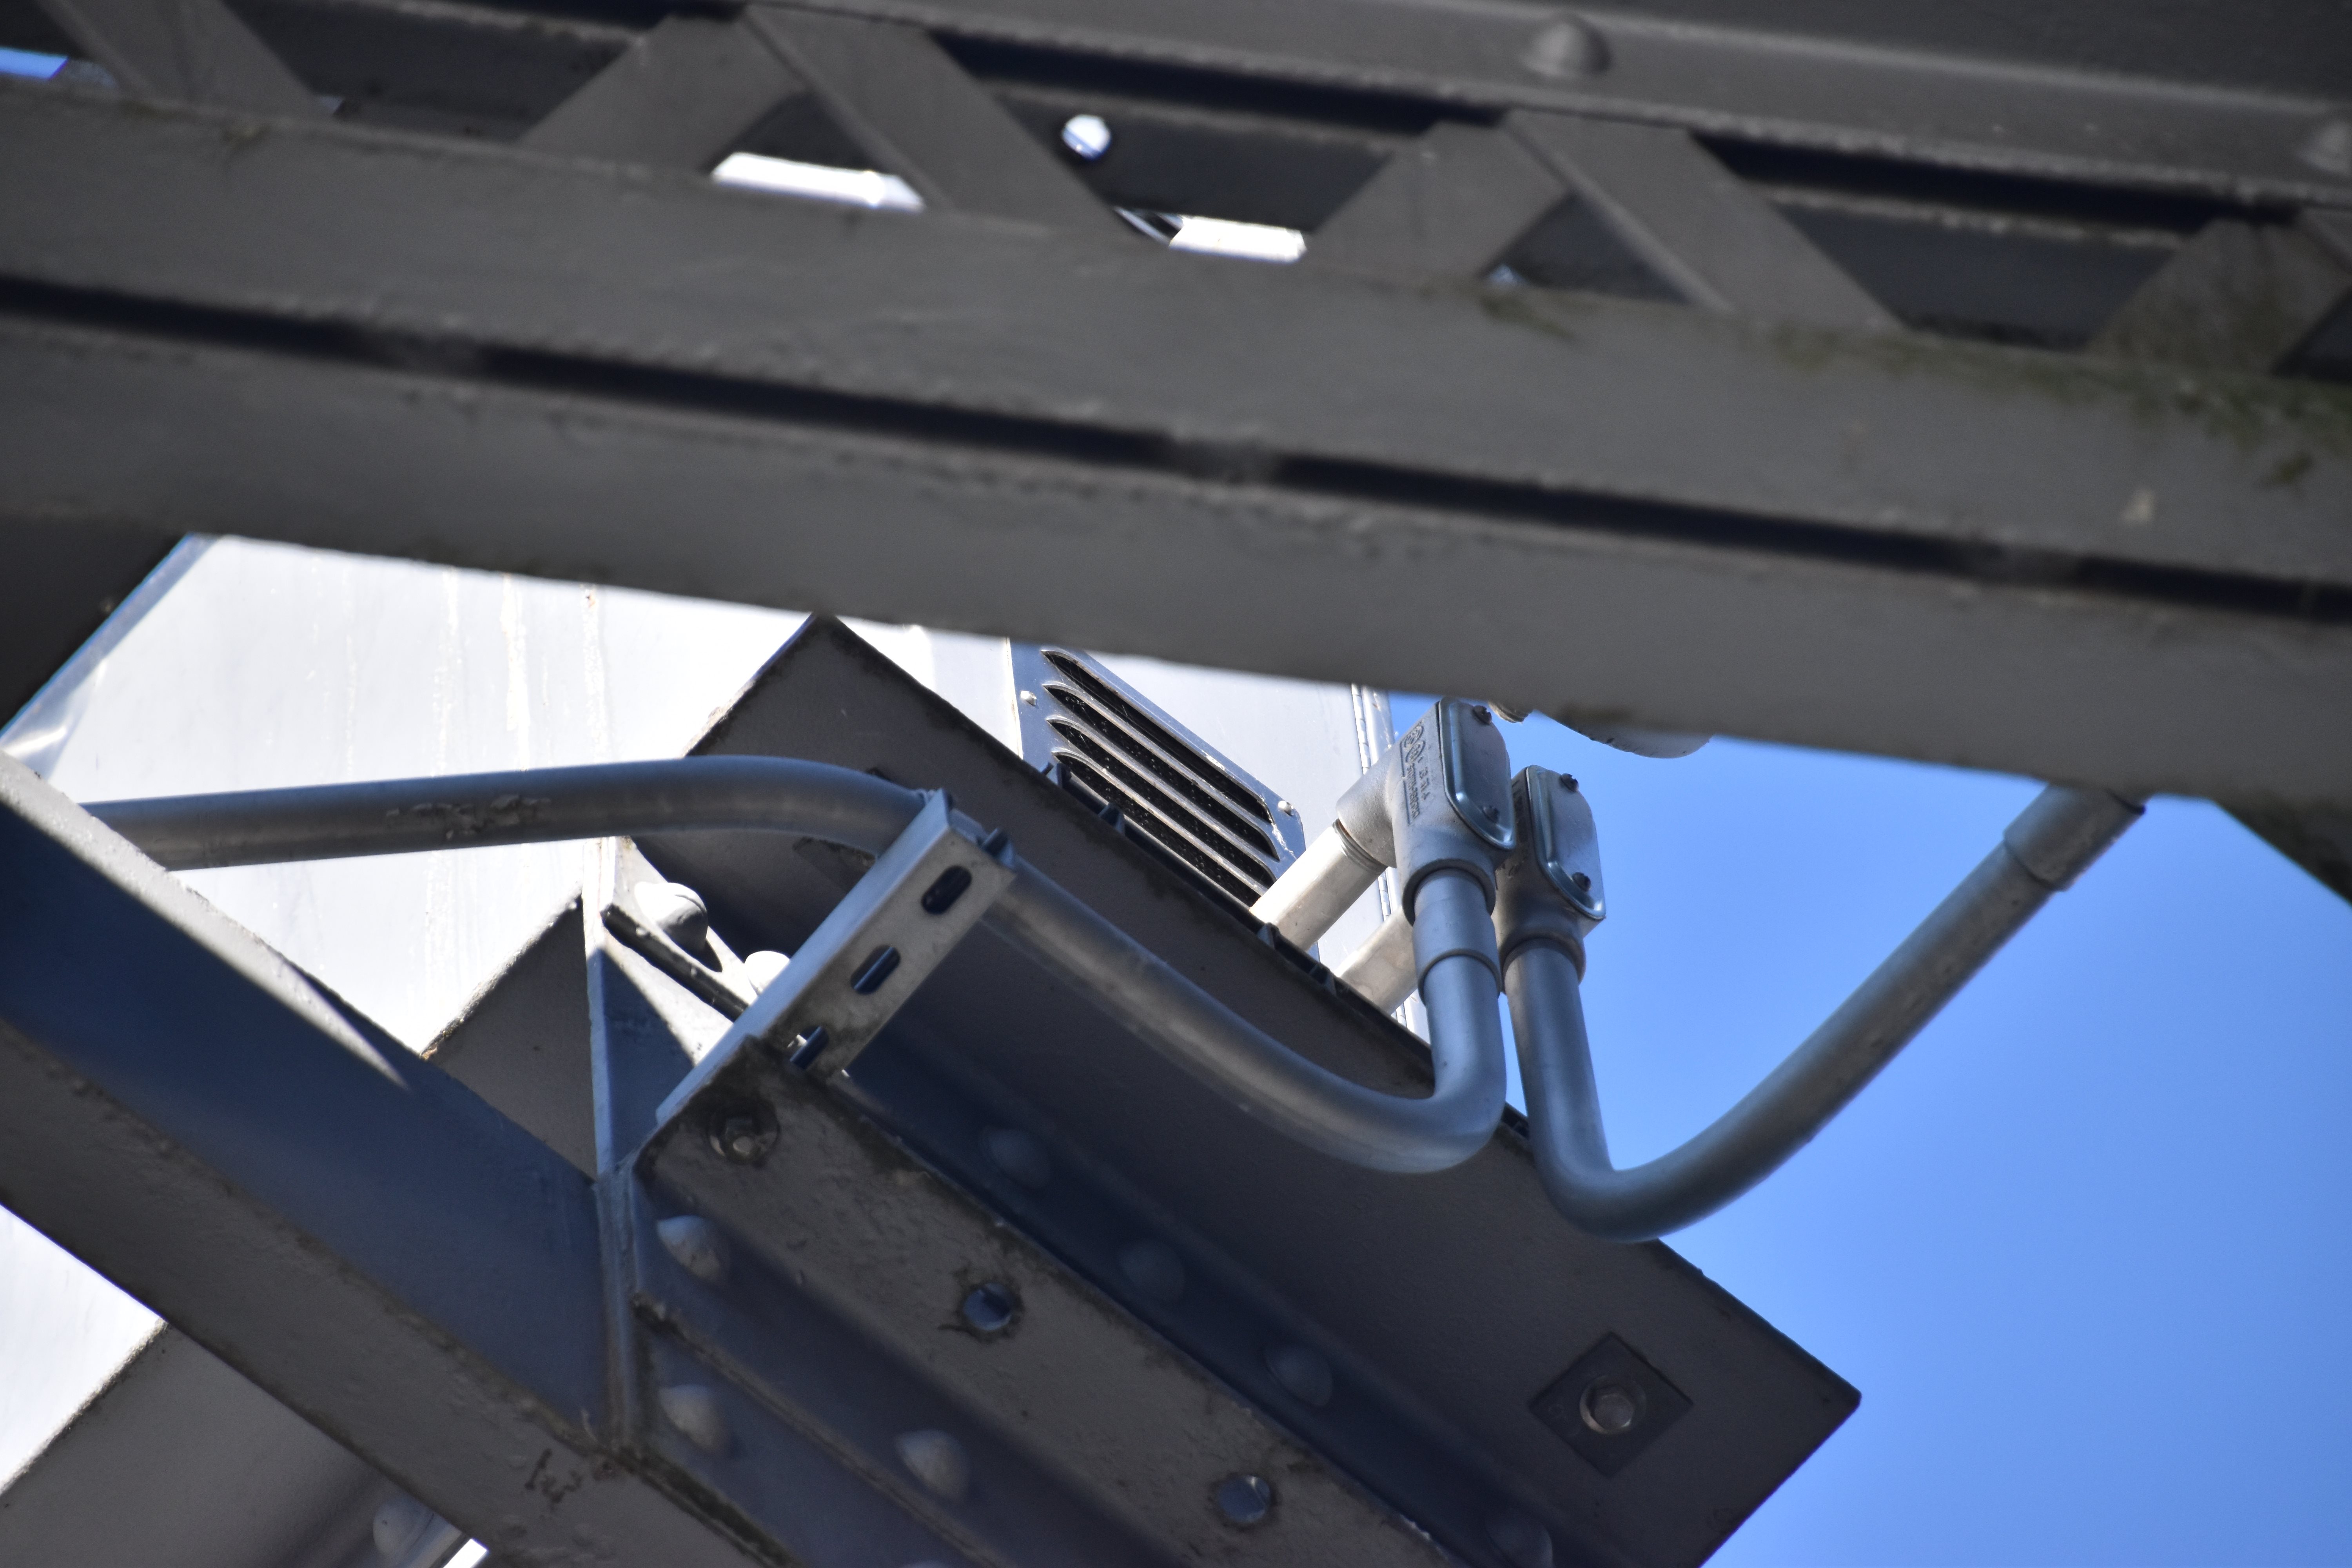


Additional machinery details on lift span.
![]()
Detail at the top of the tower.
![]()

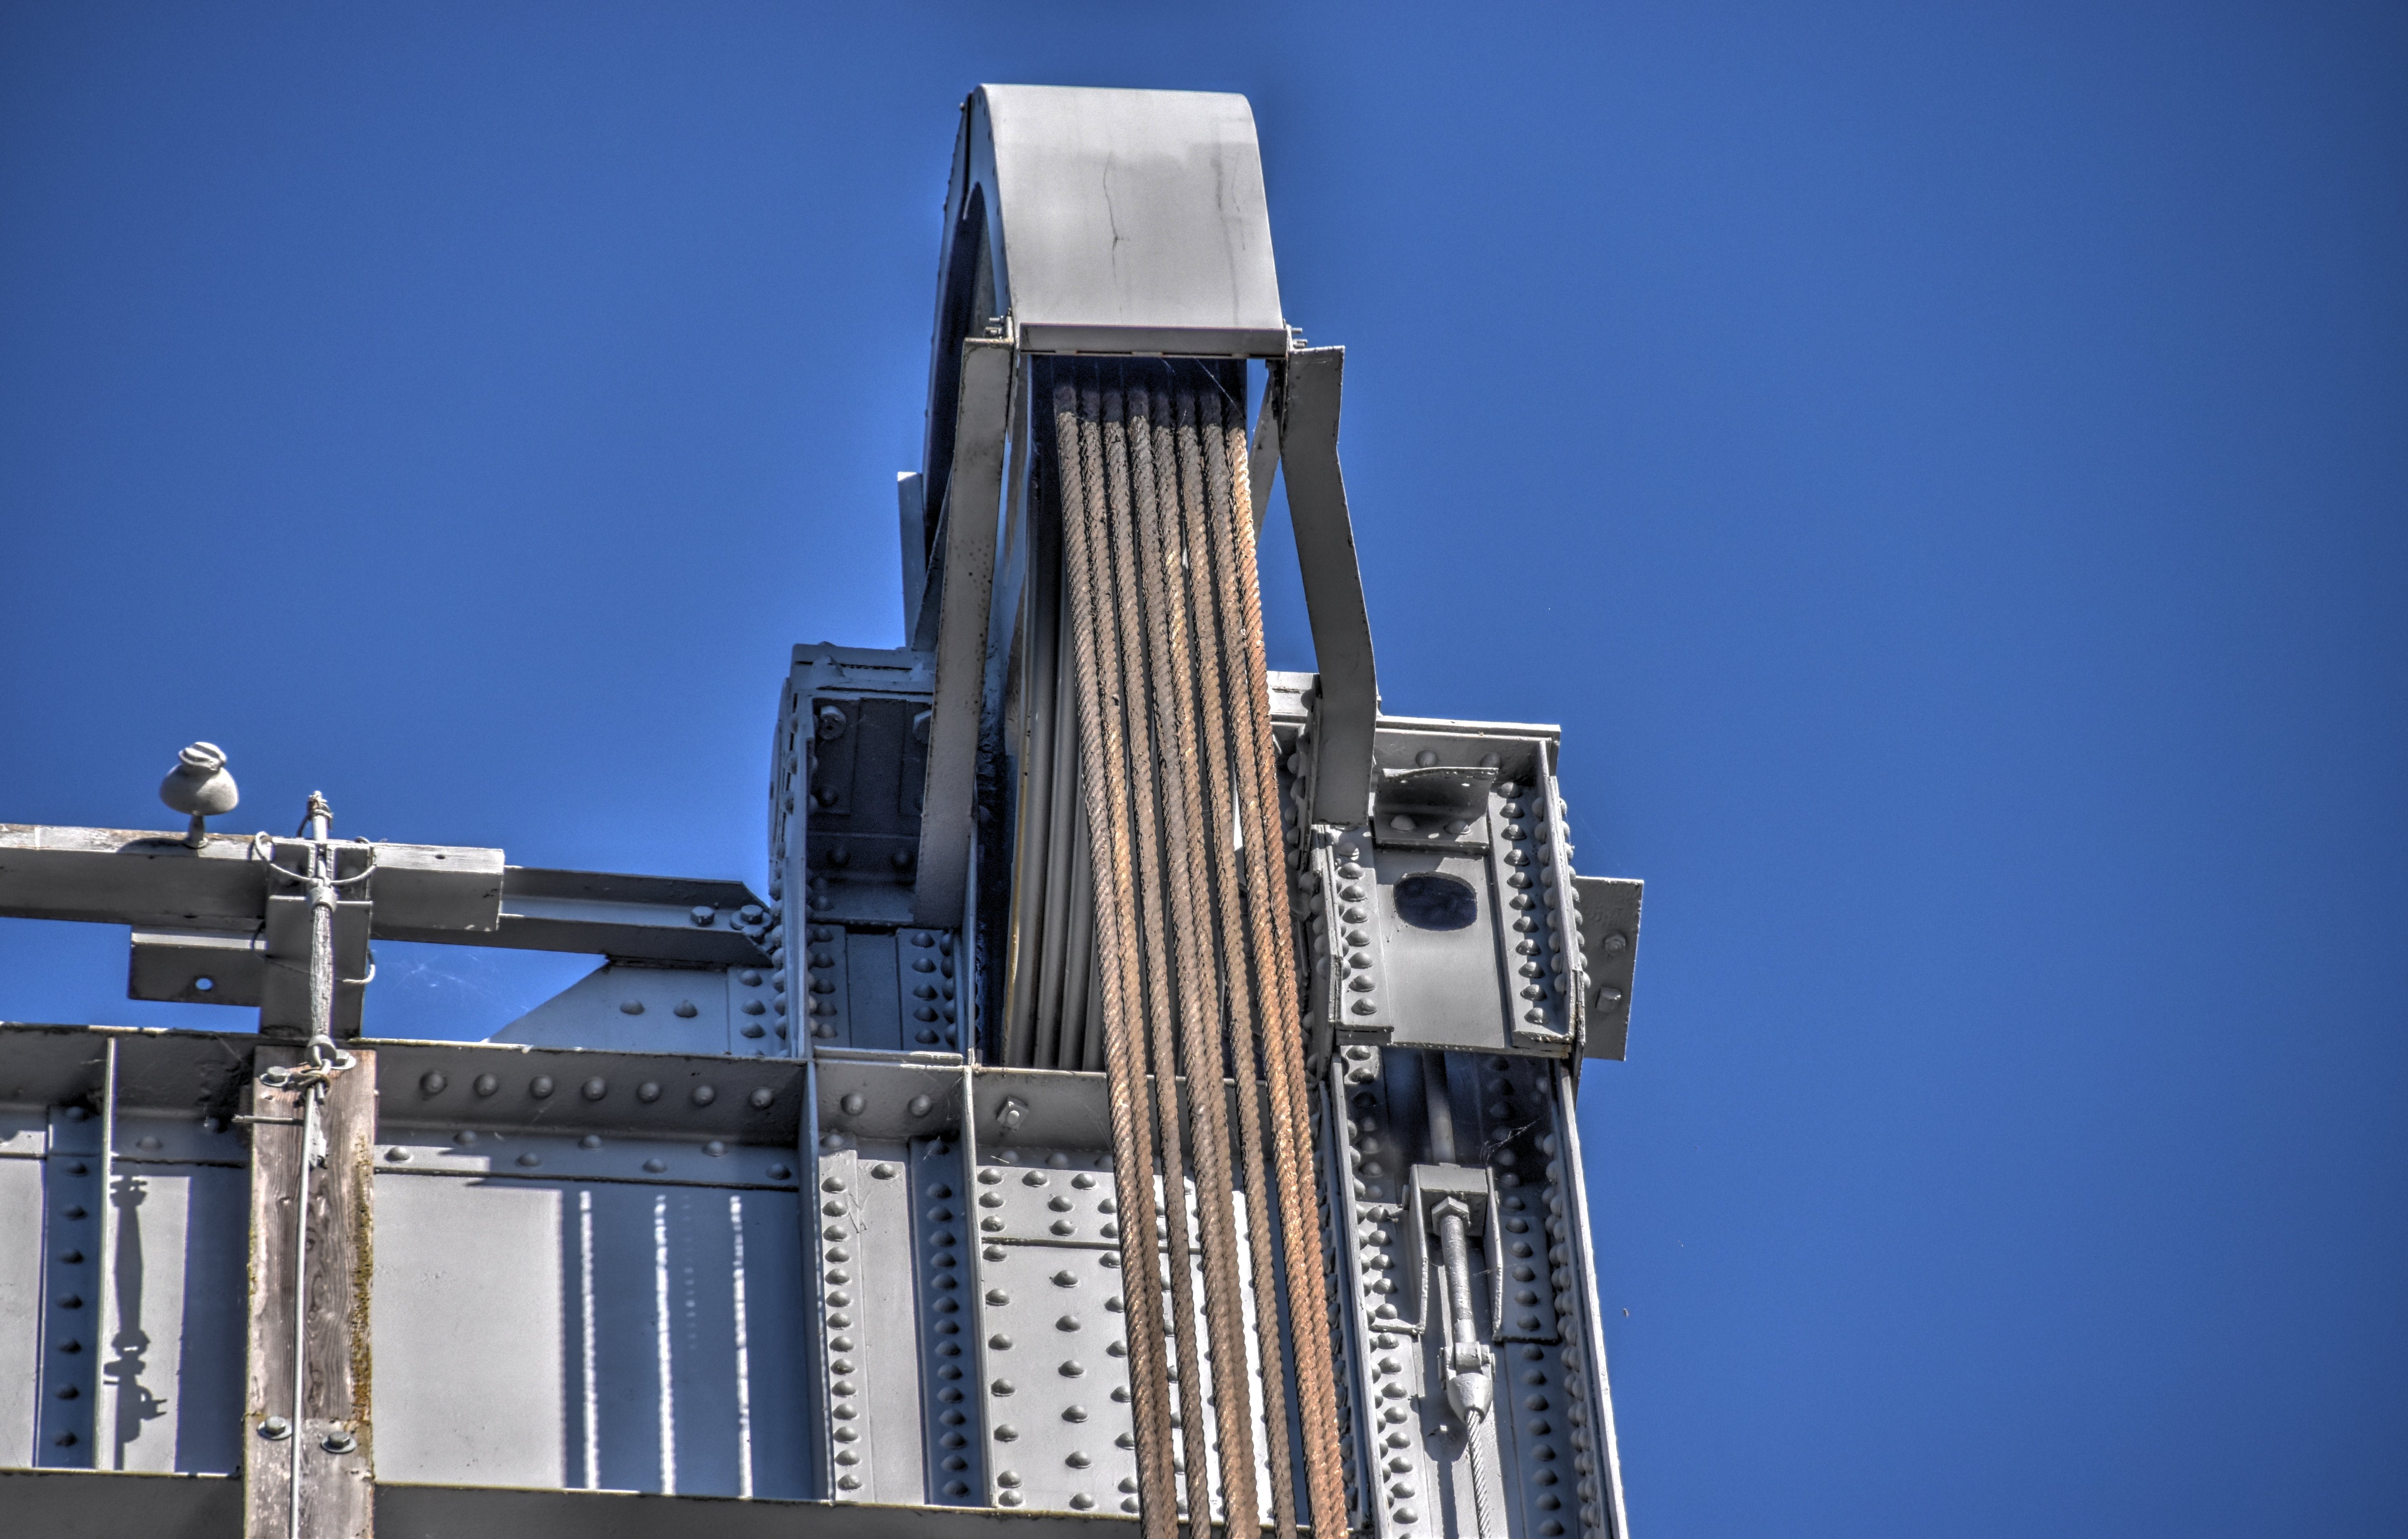


Cables and counterweight sheave details.
![]()


Cable connections to lift span.
![]()


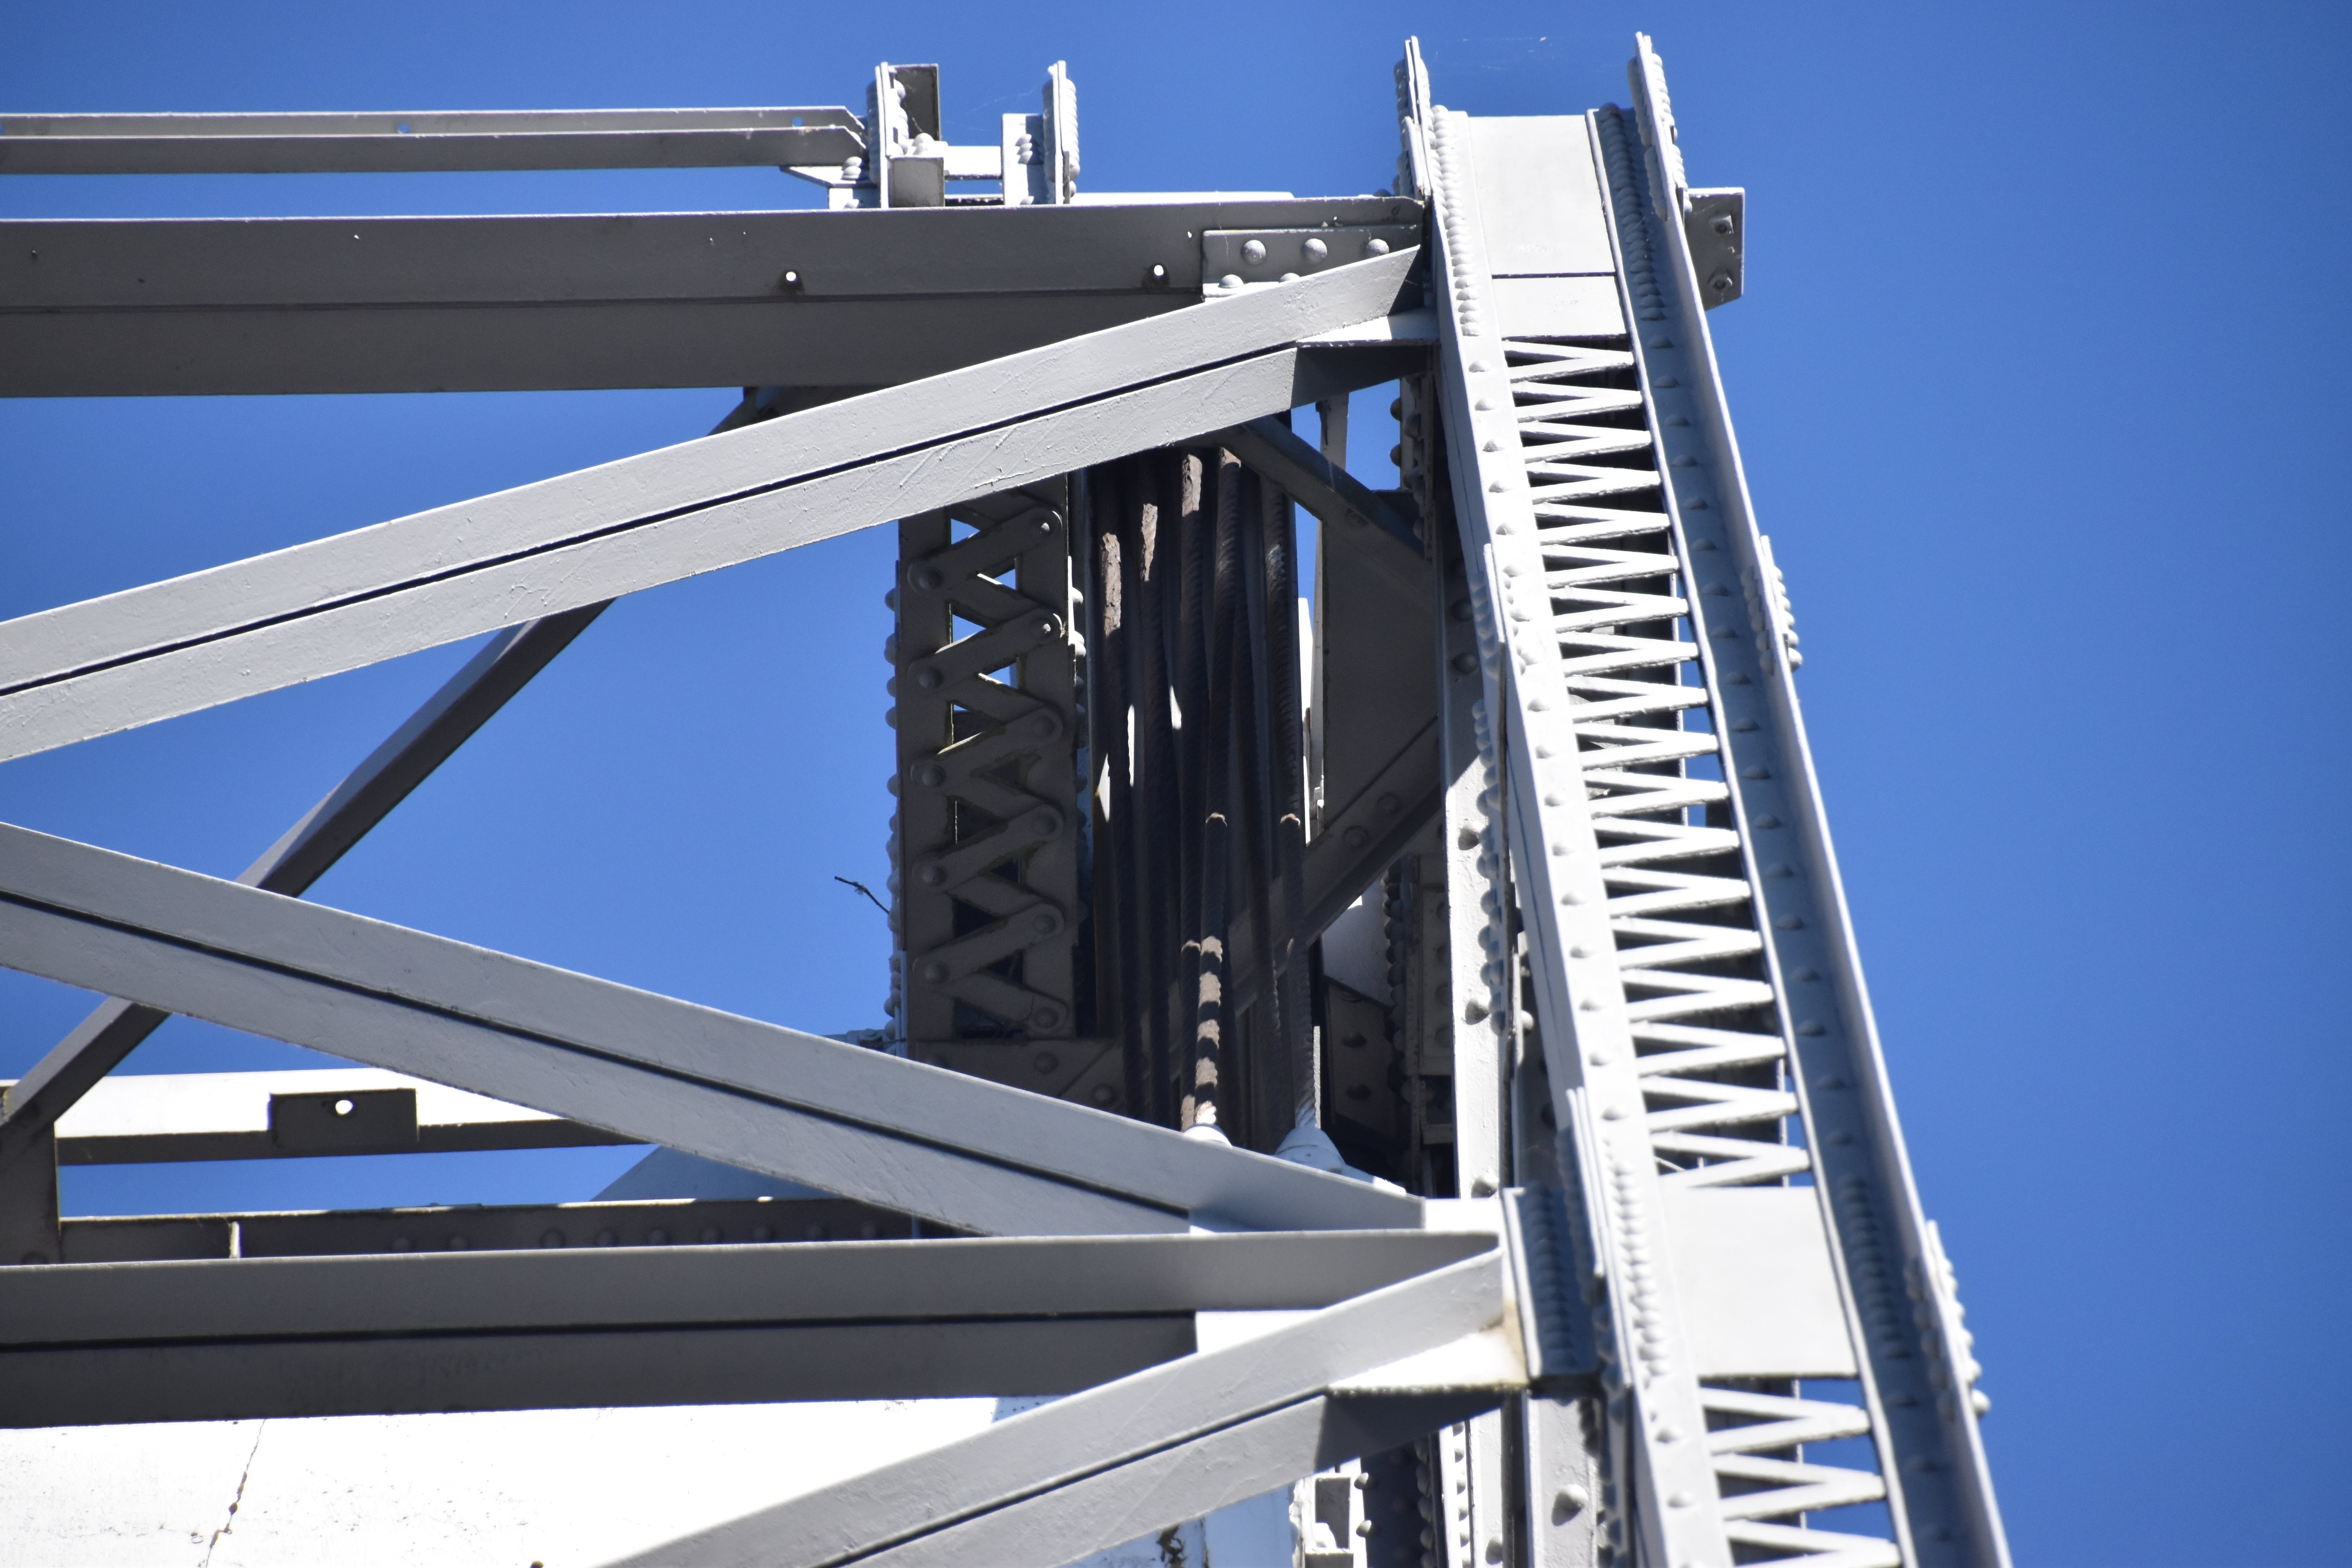
Looking up next to the tower post showing rollers and cables.
![]()


Details of lift span roller system along the tower post.
![]()


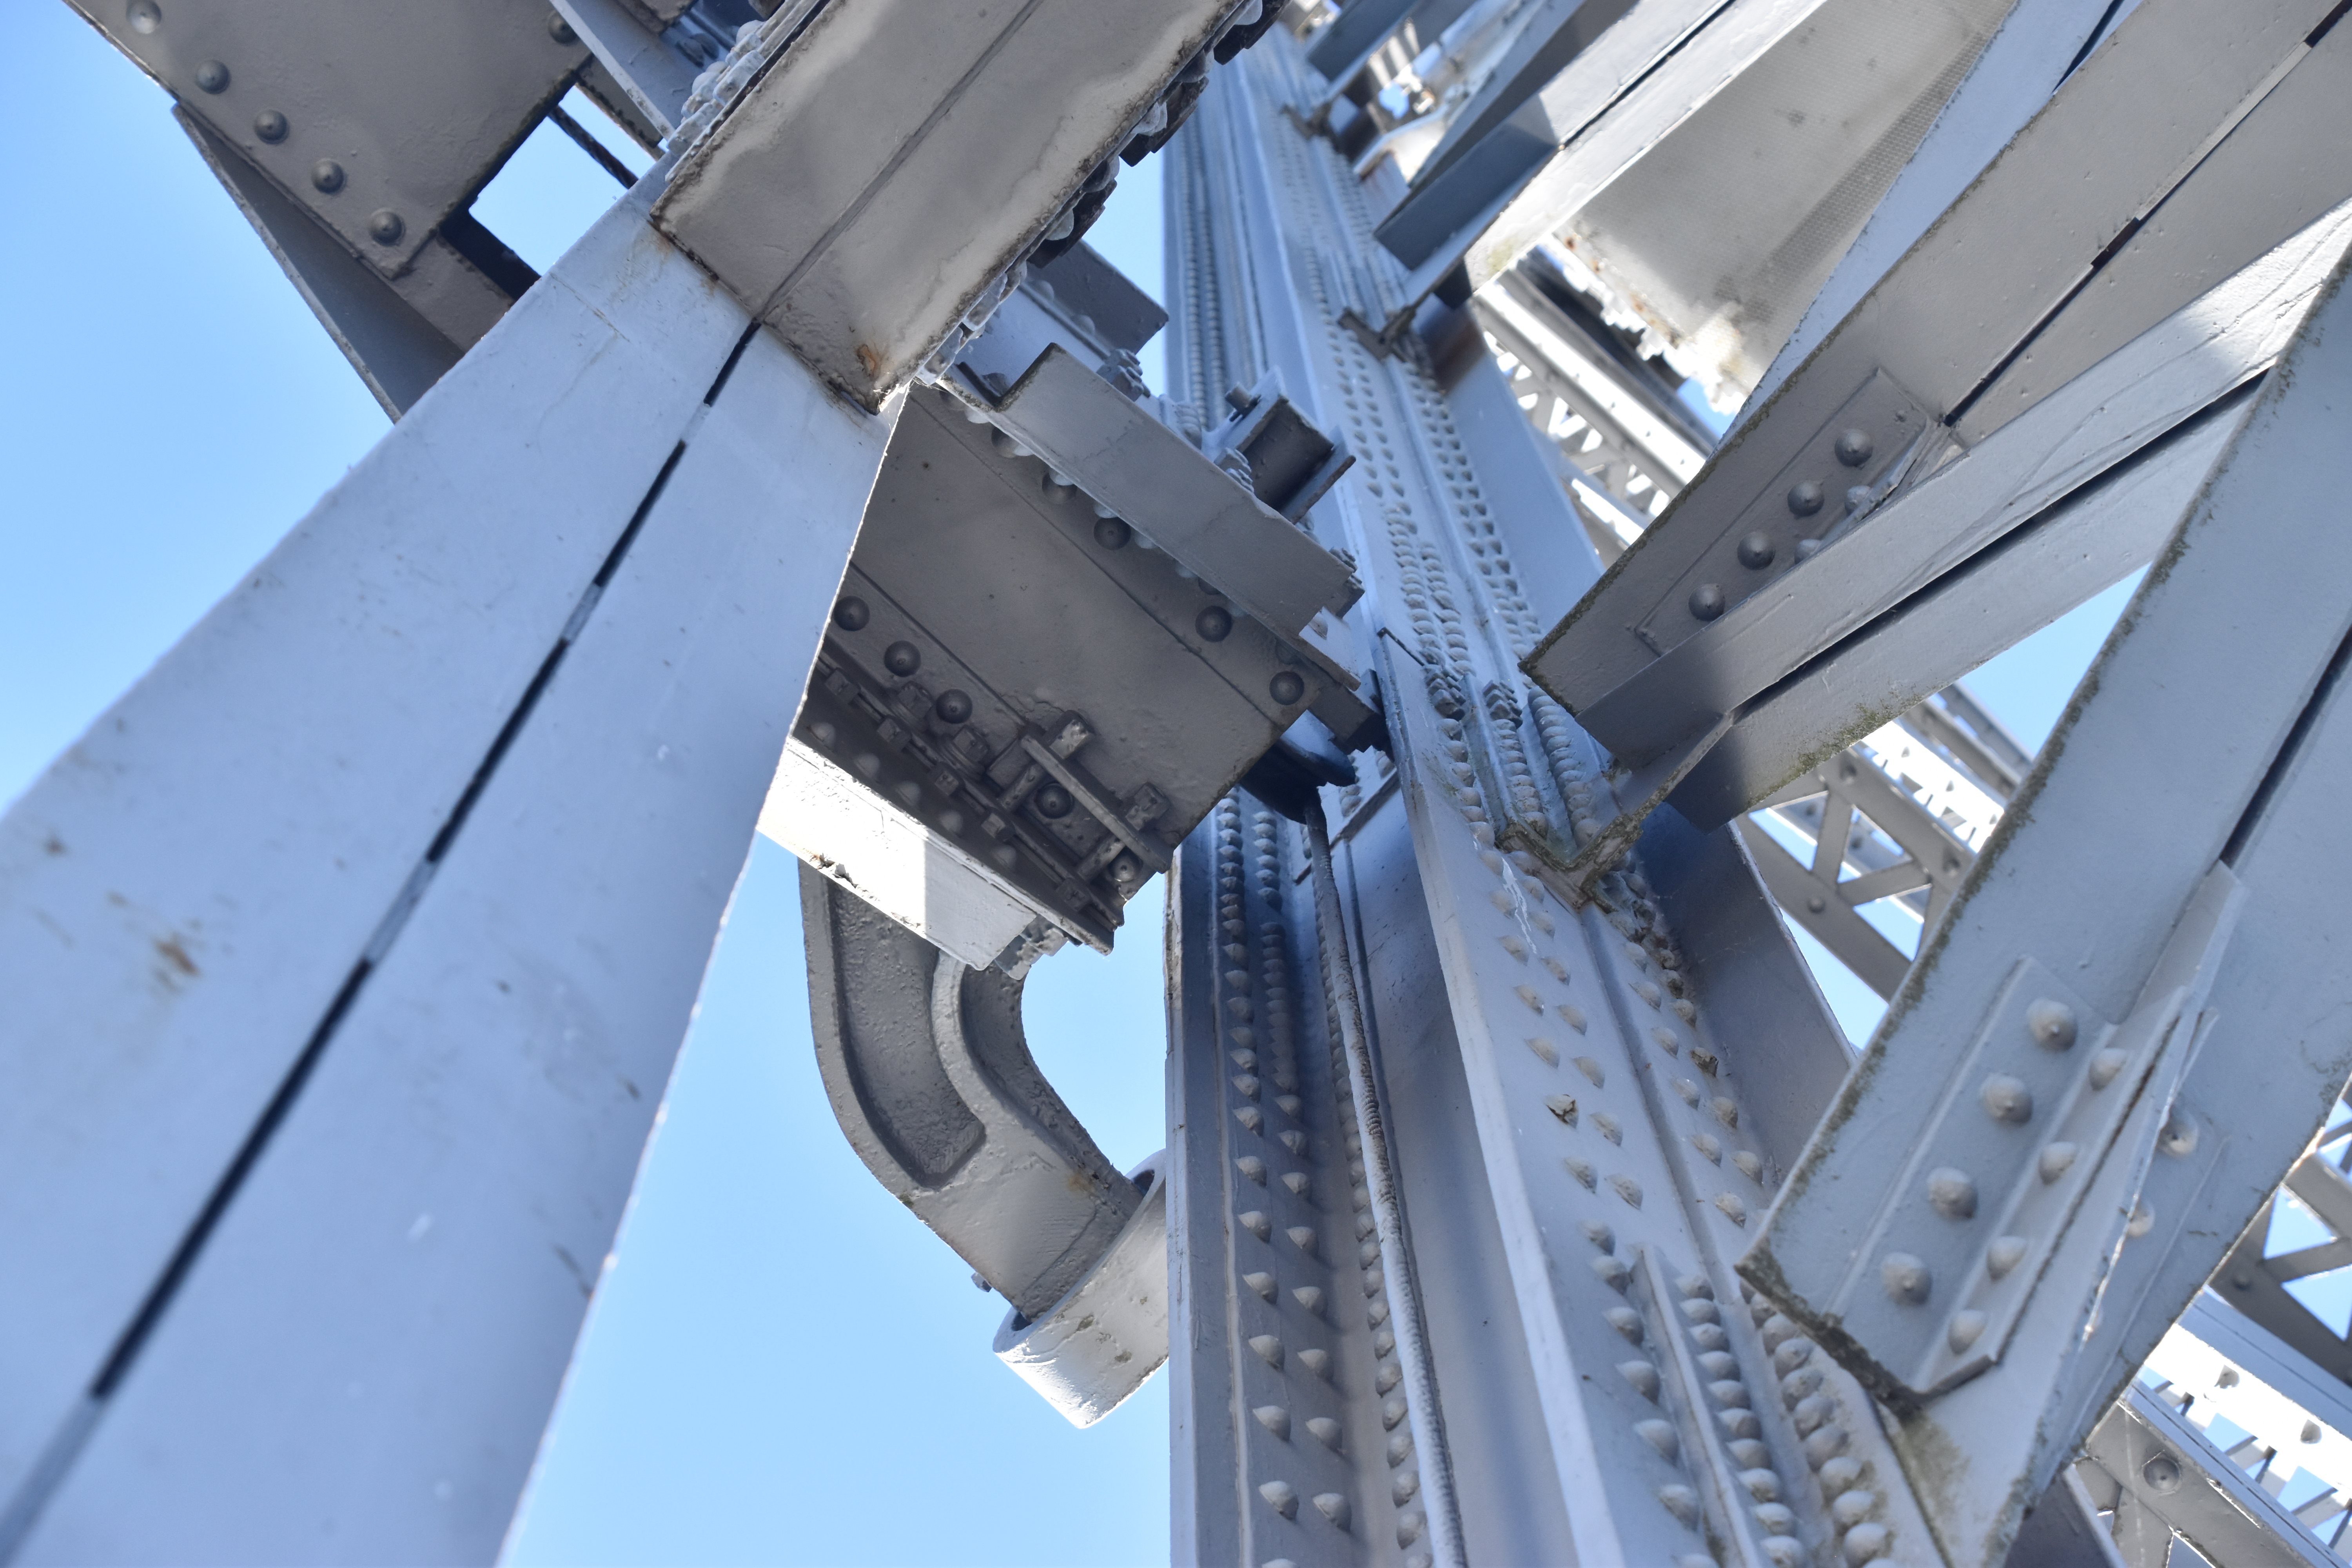
Details of tower lifting post.
![]()


Stairway on lift span.
![]()

Extension from lift span top chord to tower.
![]()

View from bridge.
![]()
![]()

![]()