Uncredited photos on this page taken by: Nathan Holth. Unless stated in a caption, all photos are Copyright with All Rights Reserved. Learn about reuse of our photos.
![]()
General and Architectural Details
![]()


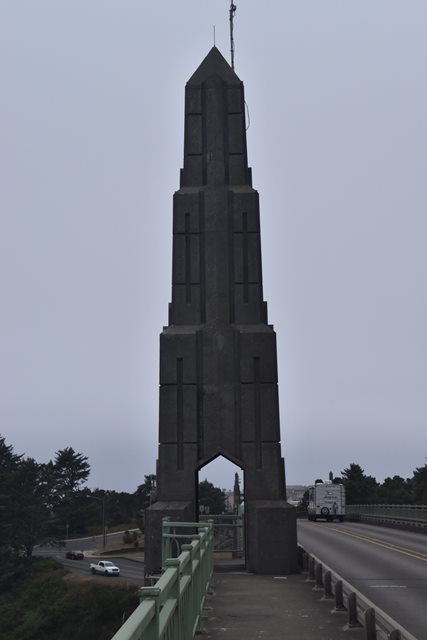


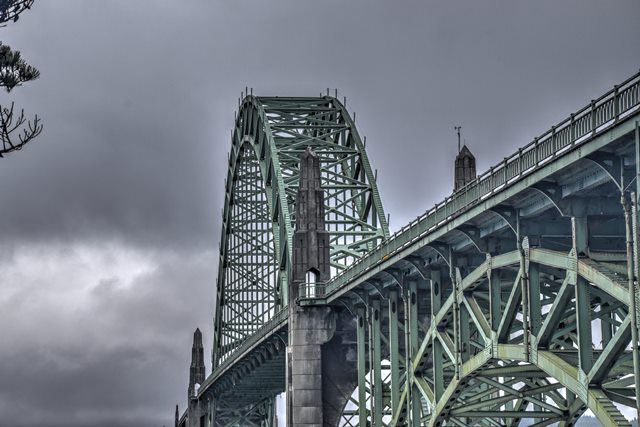
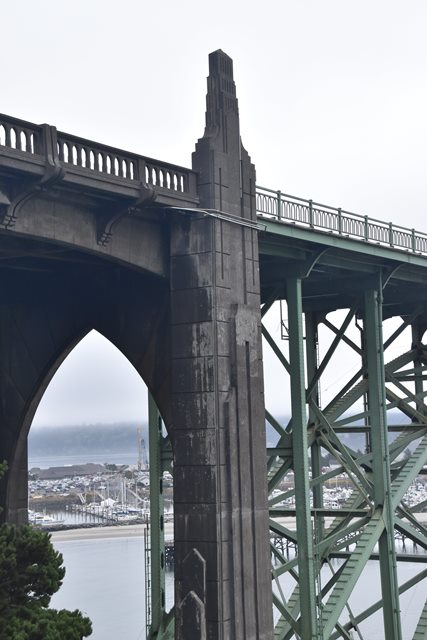
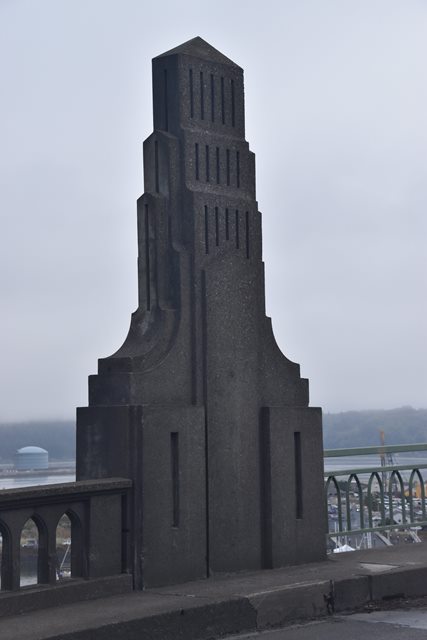
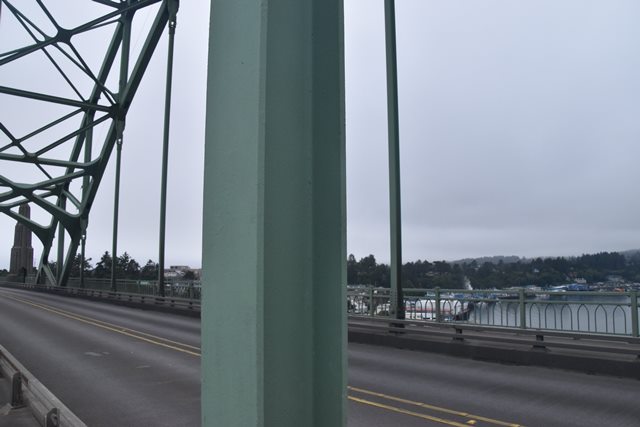
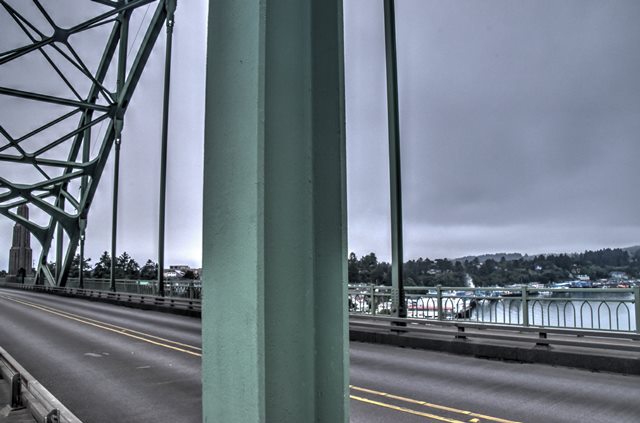
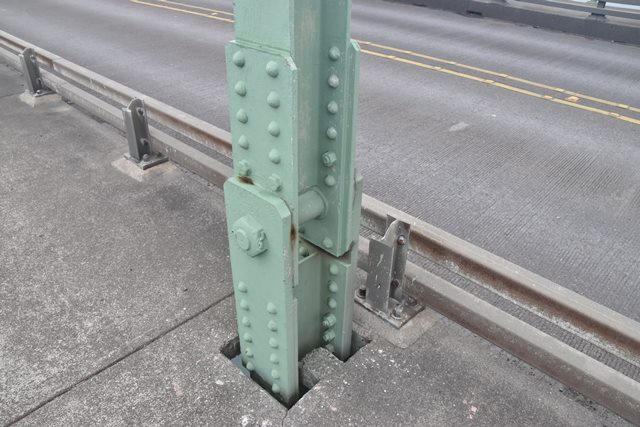
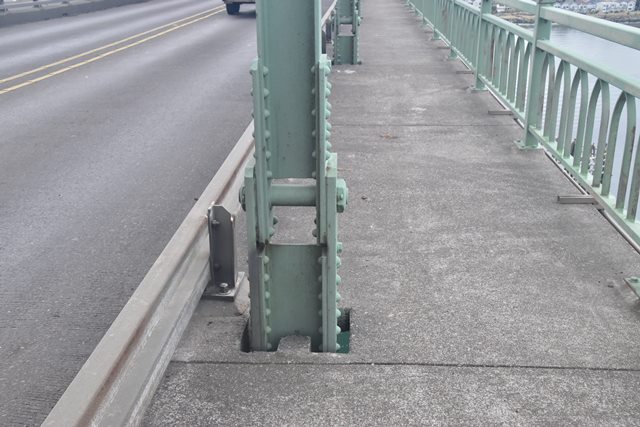
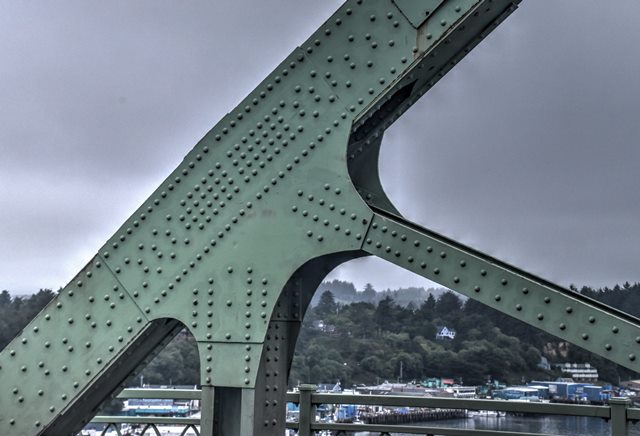
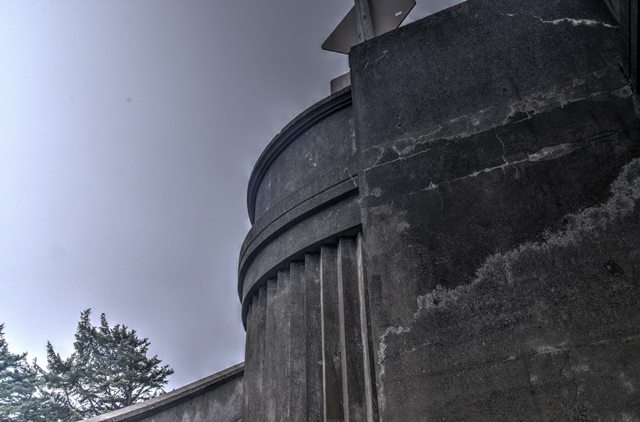
Views on bridge showing main span decorative pillars.
![]()


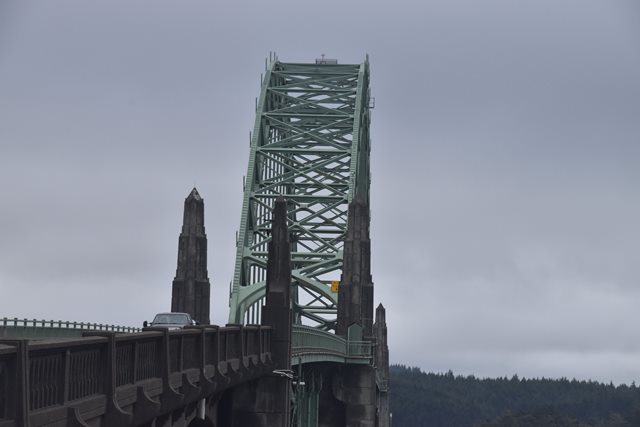
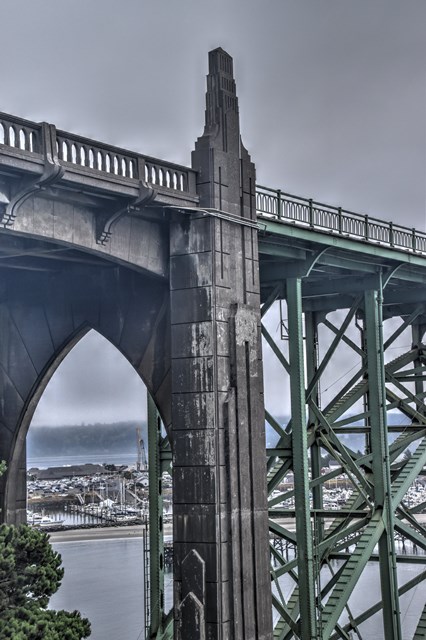
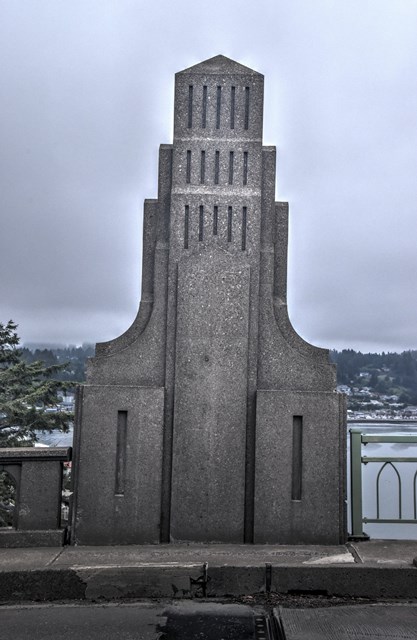
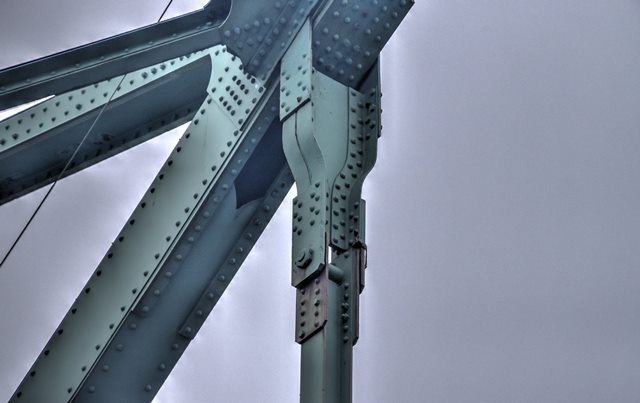
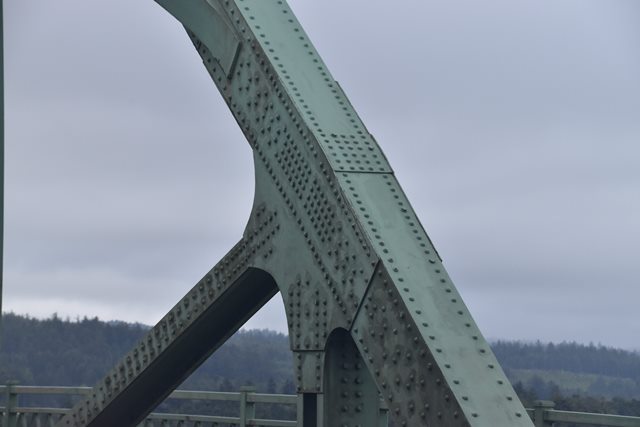
Details of main span pillars.
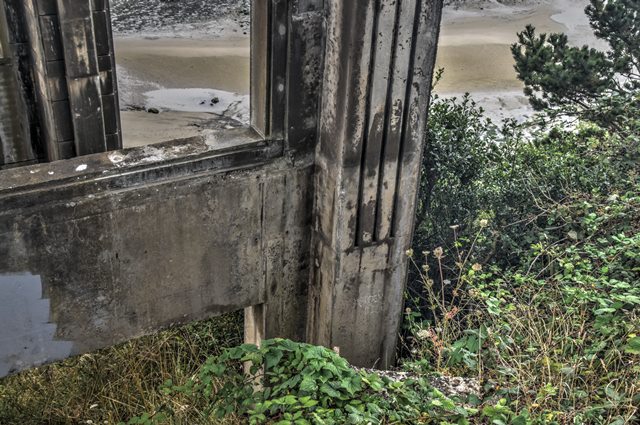
![]()


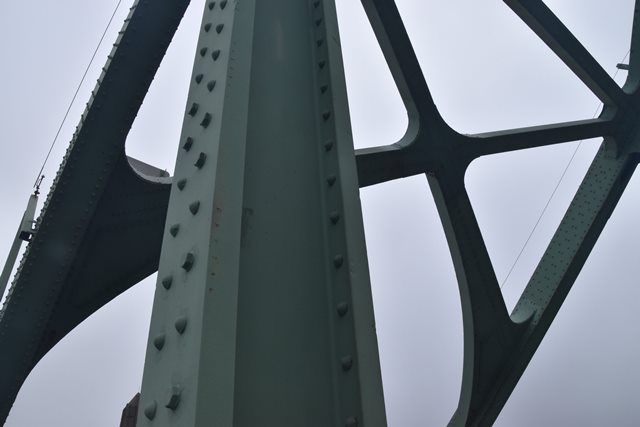
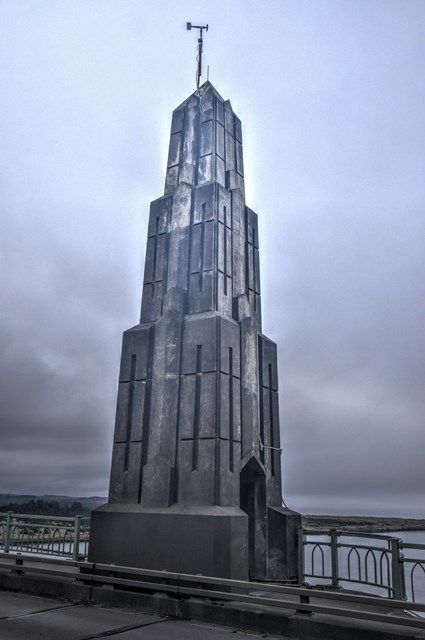
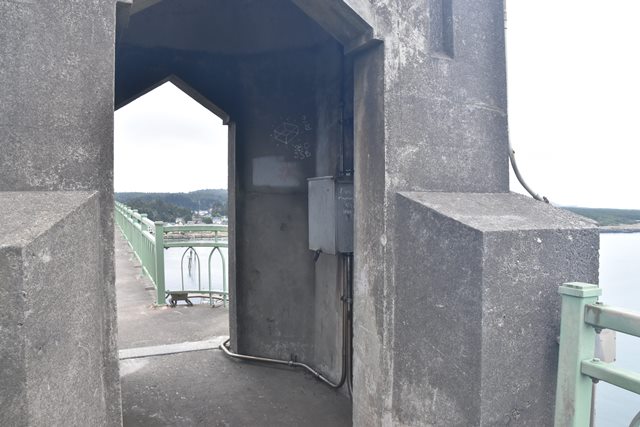
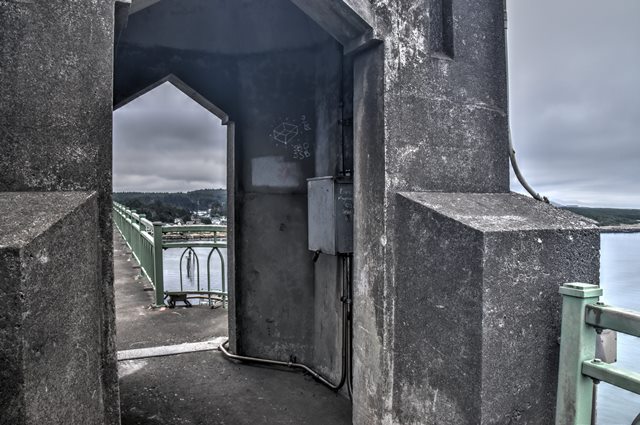
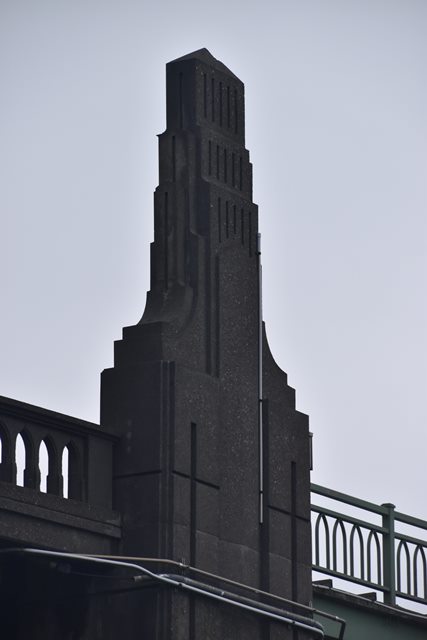
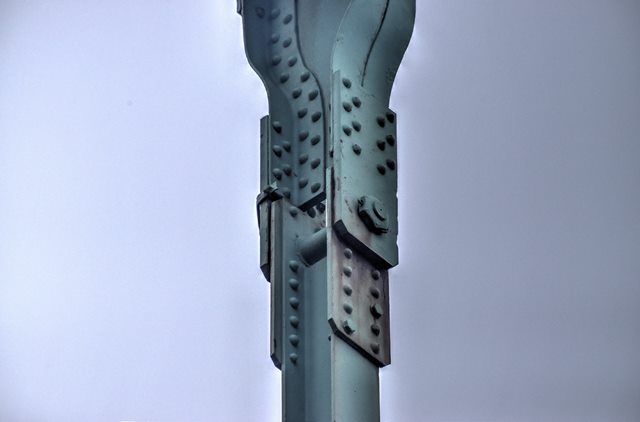
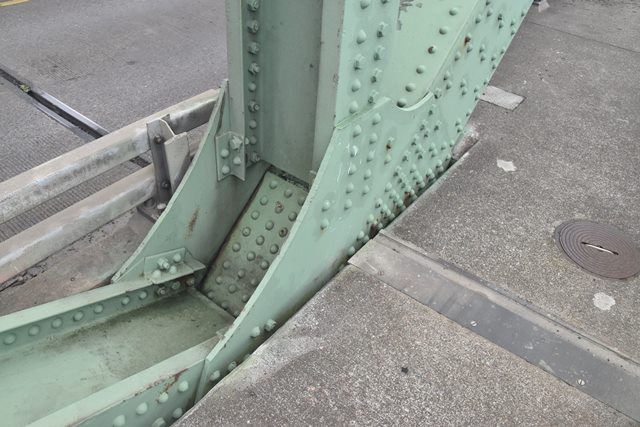
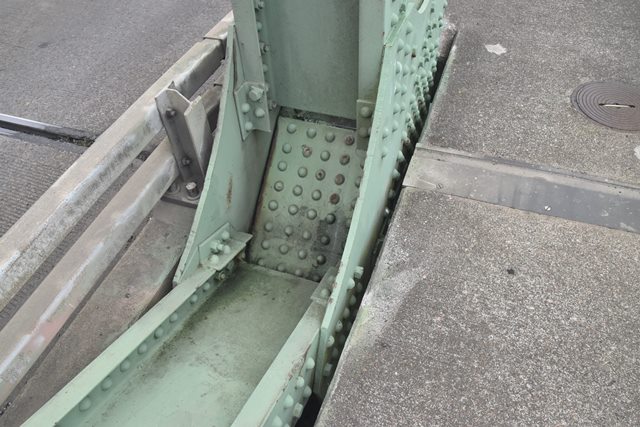
Looking up inside a main span pillar.
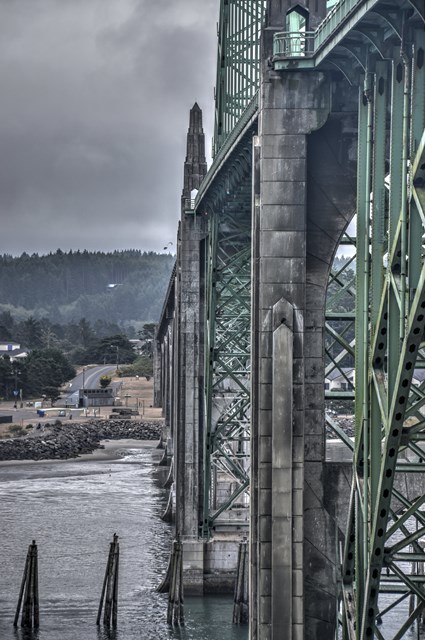
![]()


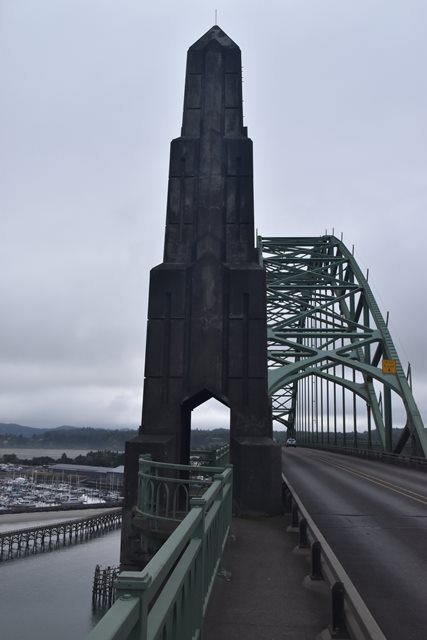
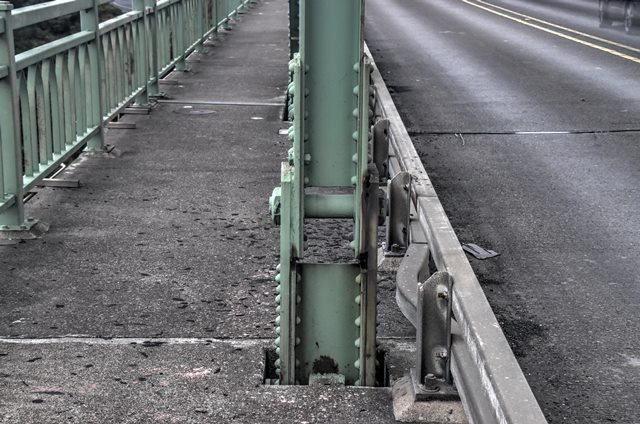
View beside bridge showing decorative pillars at transition from steel to concrete spans.
![]()

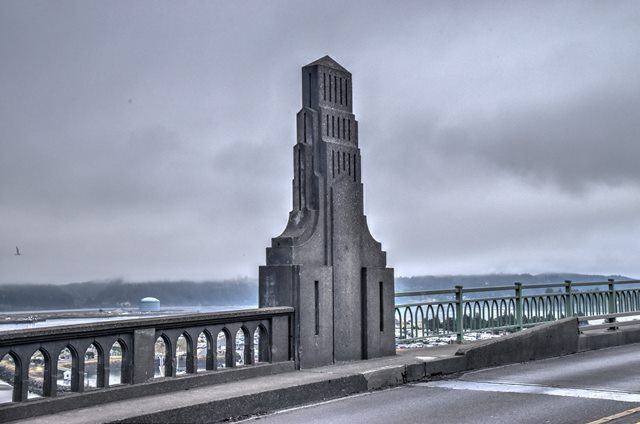


View on bridge showing decorative pillars at transition from steel to concrete spans.
![]()

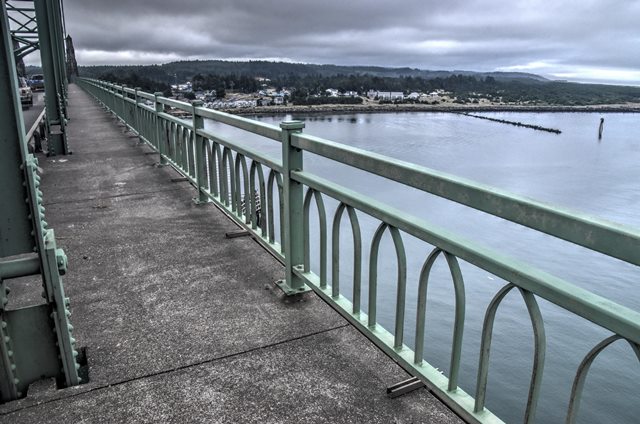
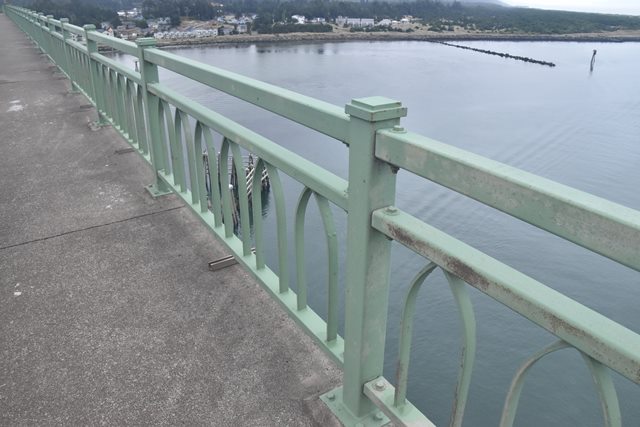

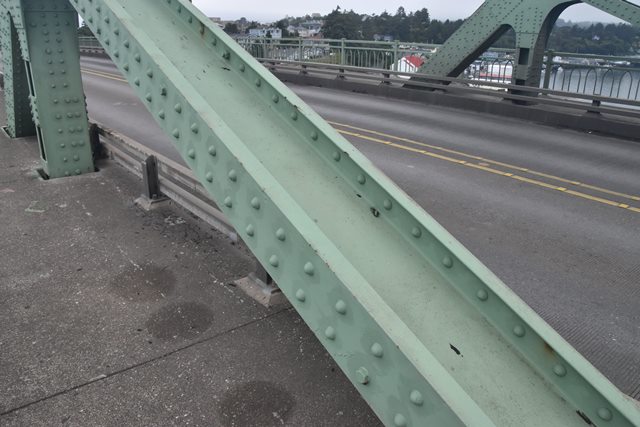
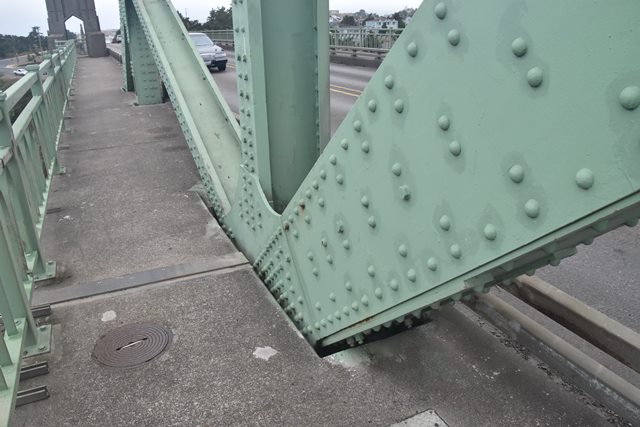
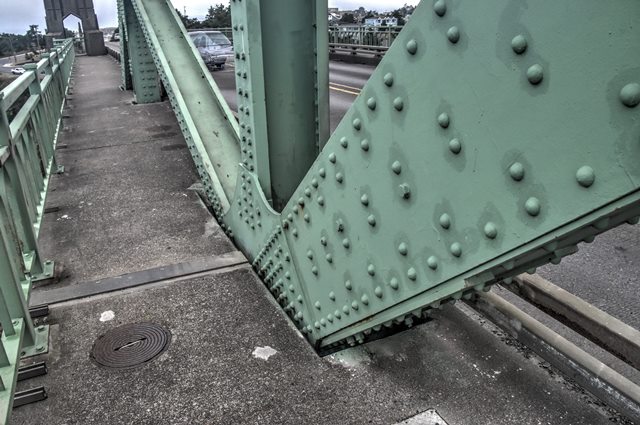
Steel span railing details. These railings are not original. Concrete railings like those on the approach used to be here prior to 1981.
![]()


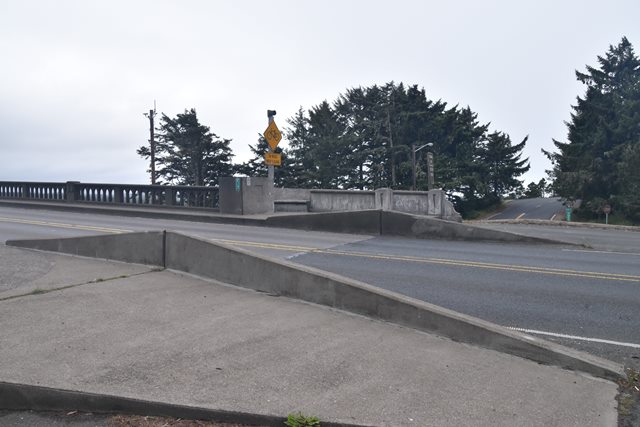
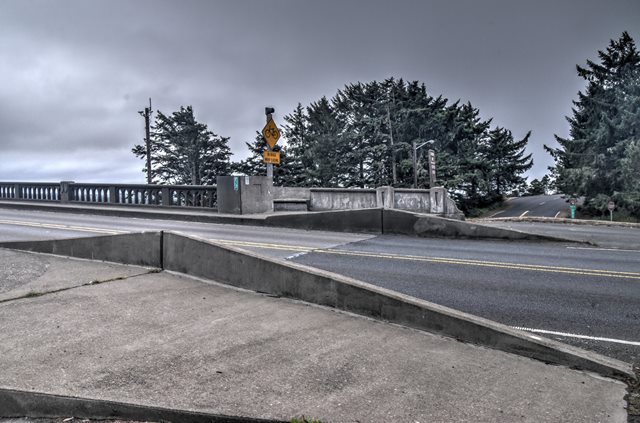
Plaza and sidewalk at end of bridge.
![]()
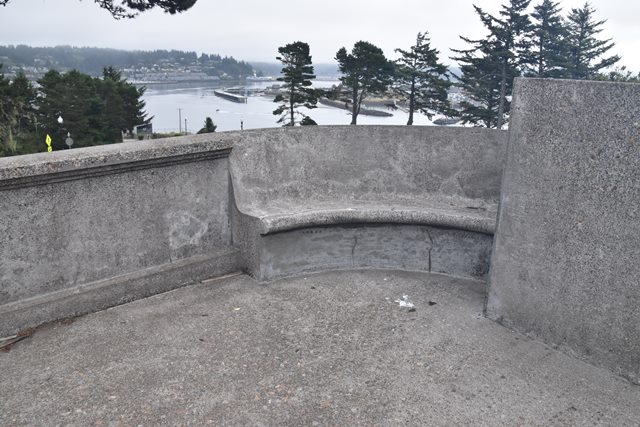
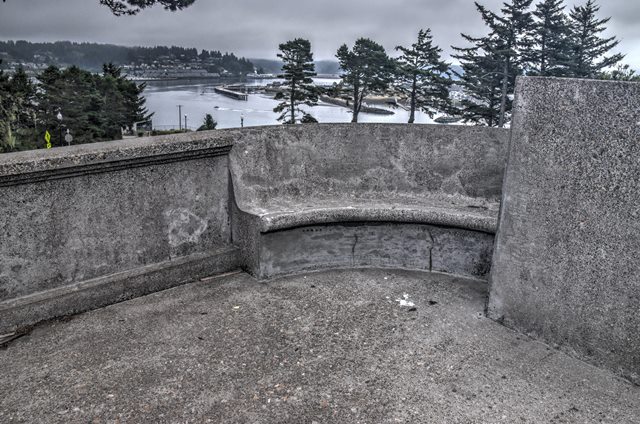
Bench at end of bridge.
![]()

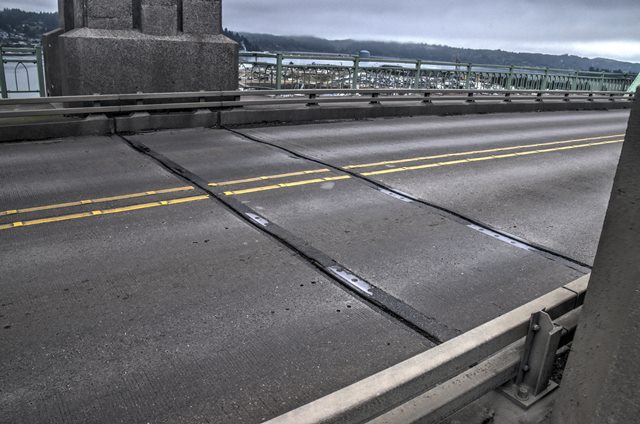
Main span expansion joint.
![]()


Approach span expansion joint.
![]()
Steel Details of Main Steel Arch Span
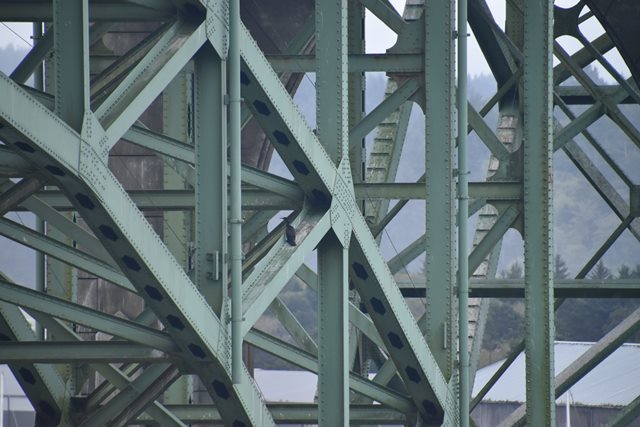
![]()
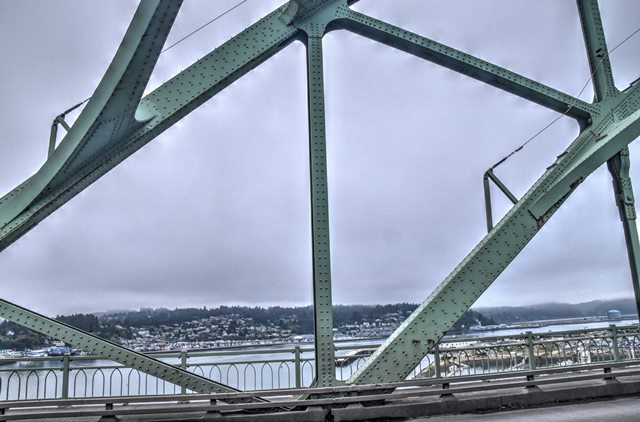
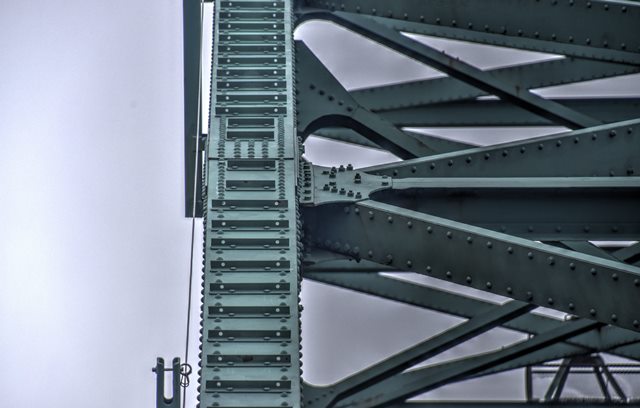
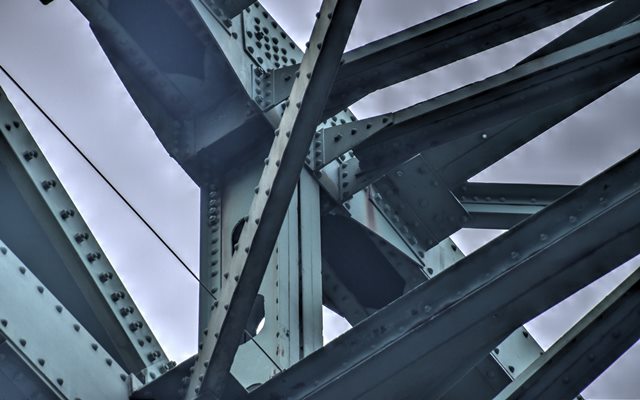
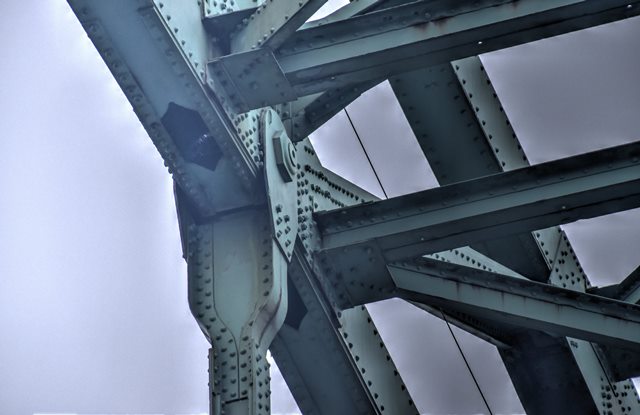
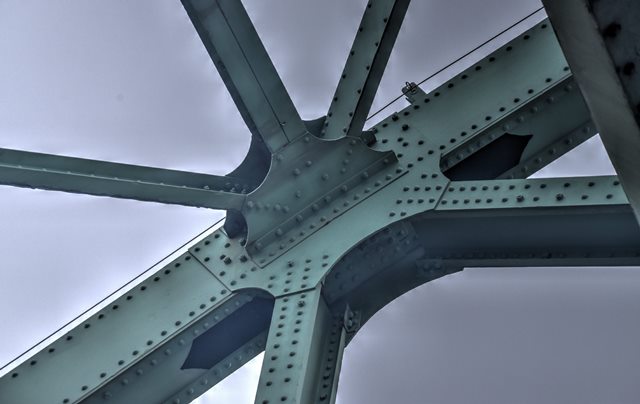
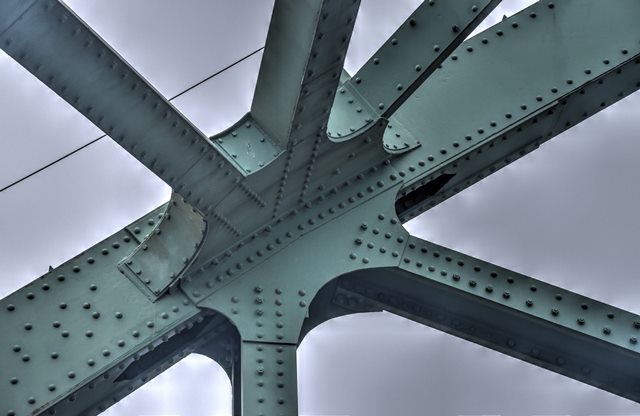
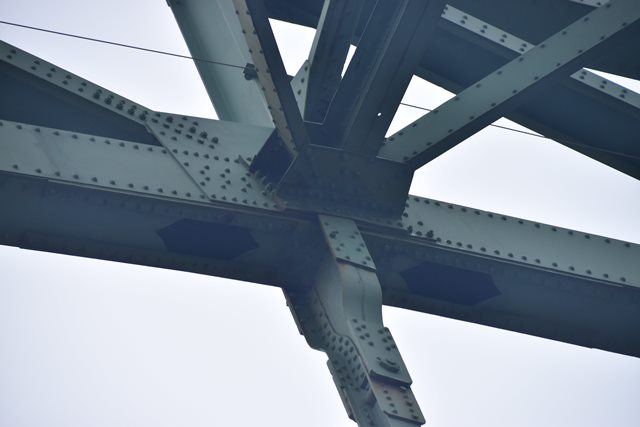
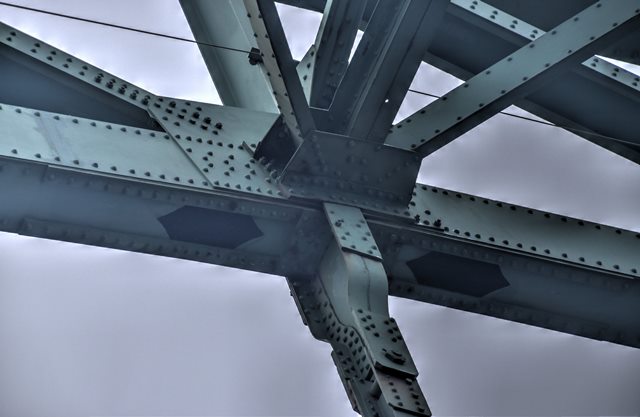
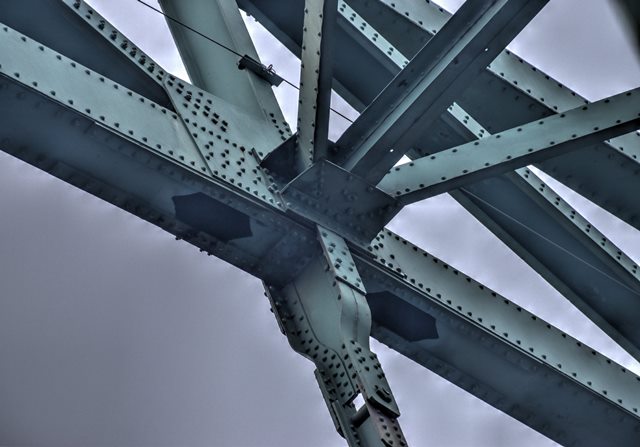
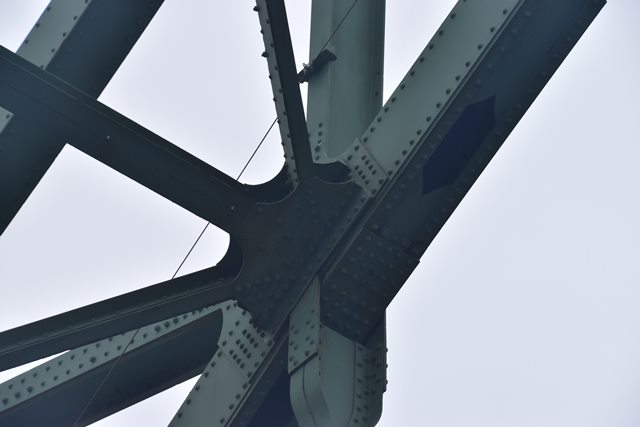
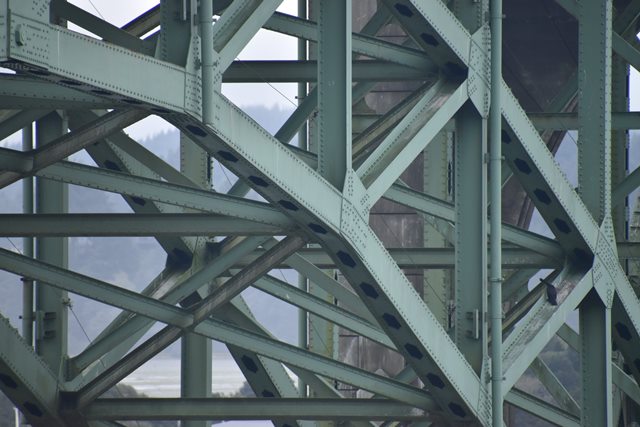
Overhead bracing overview.
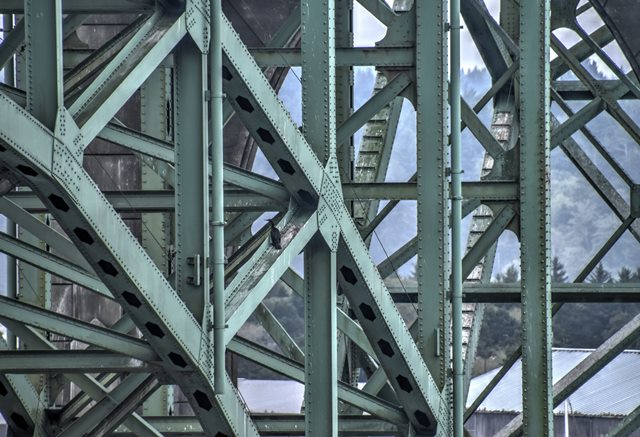
![]()


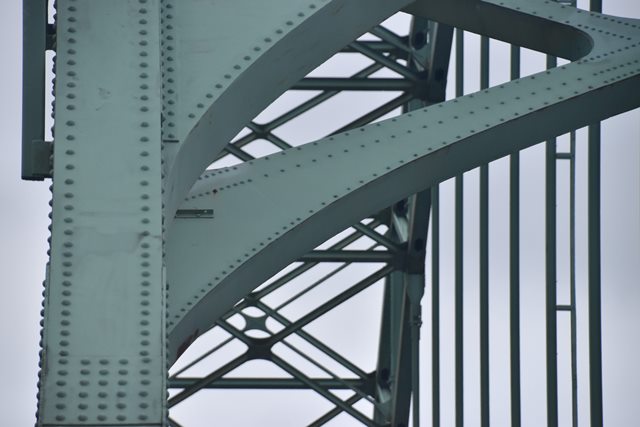


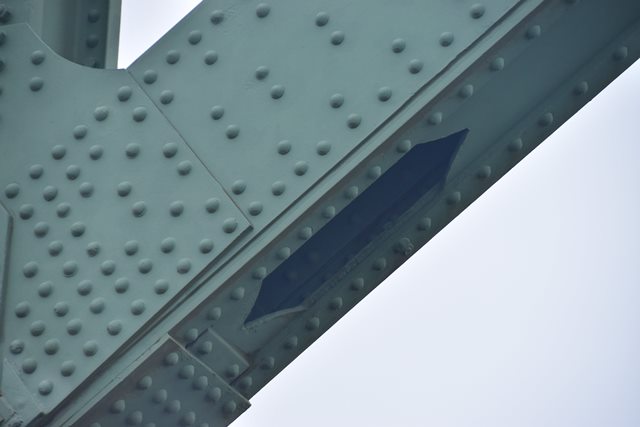
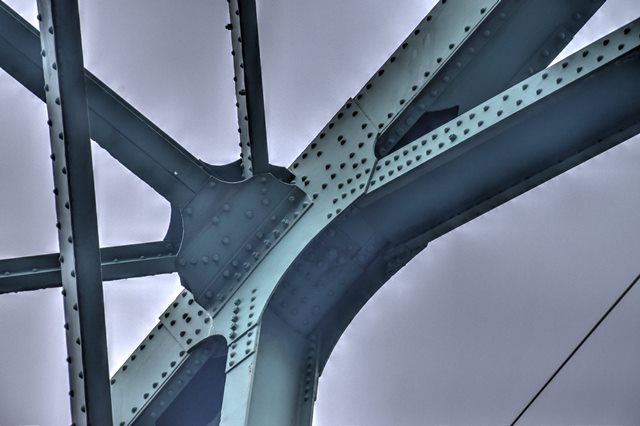
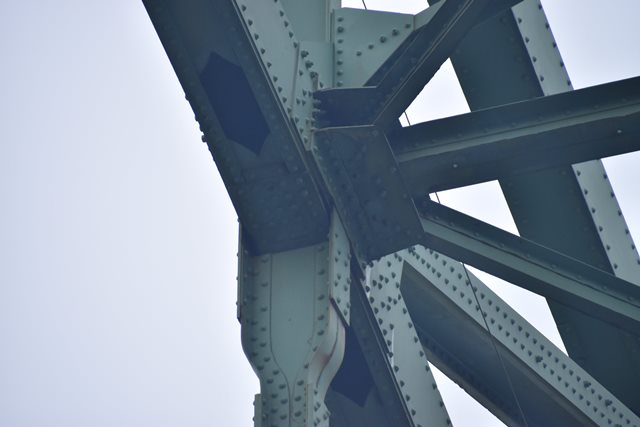
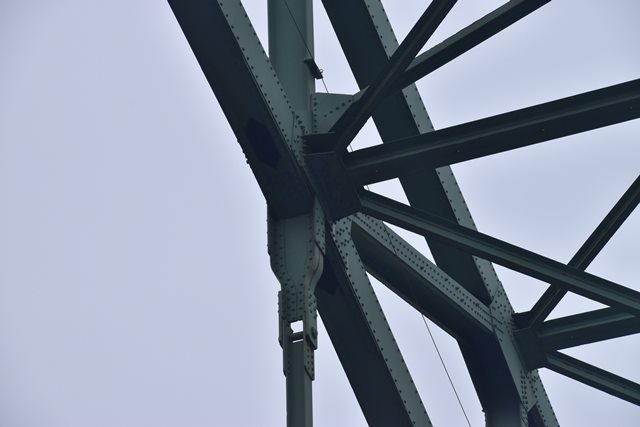
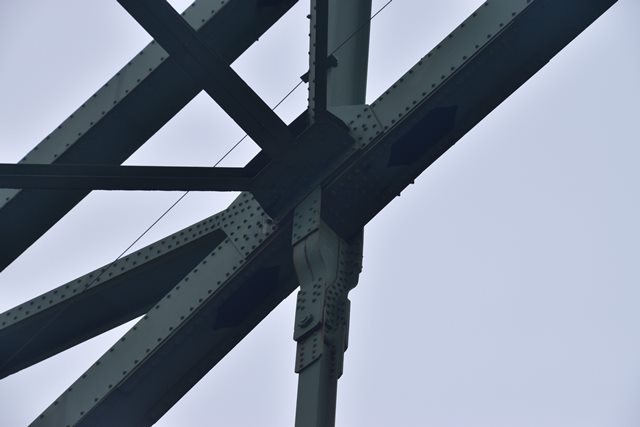
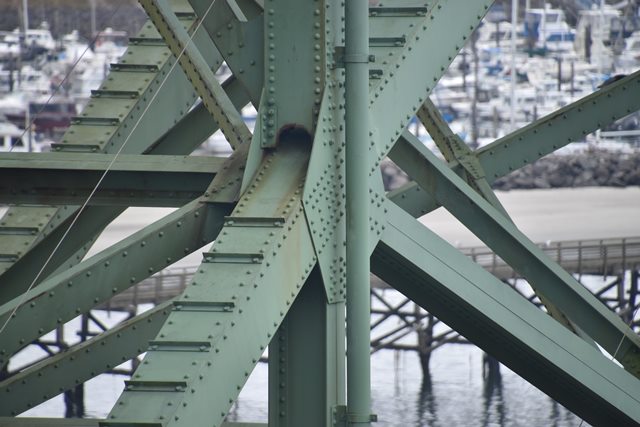
Portal bracing connection details.
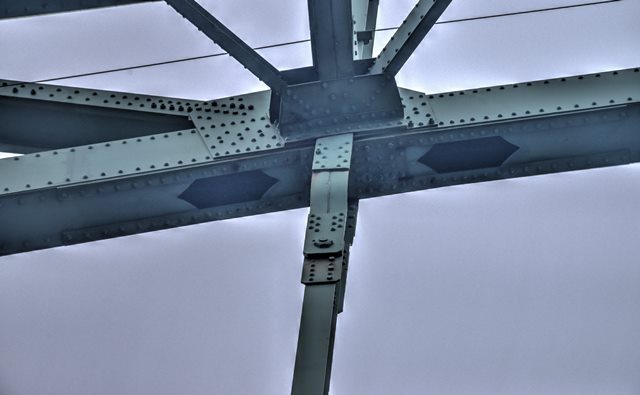
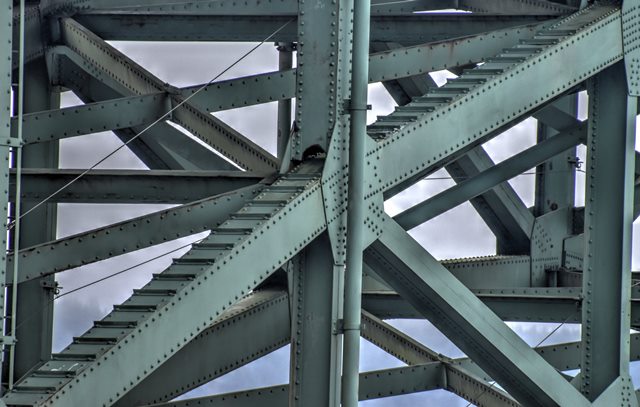
![]()


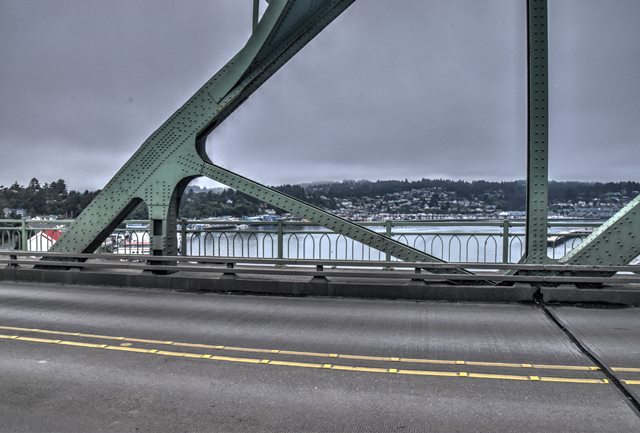
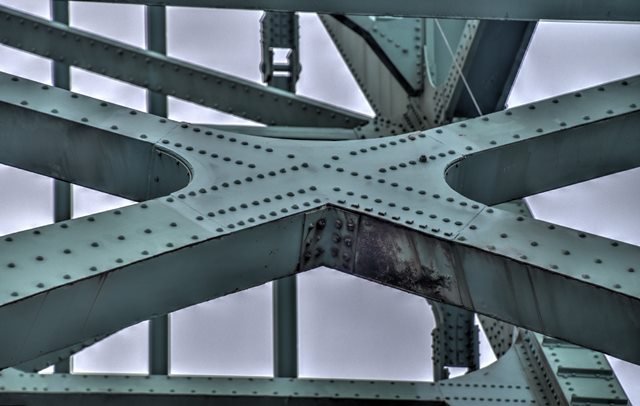
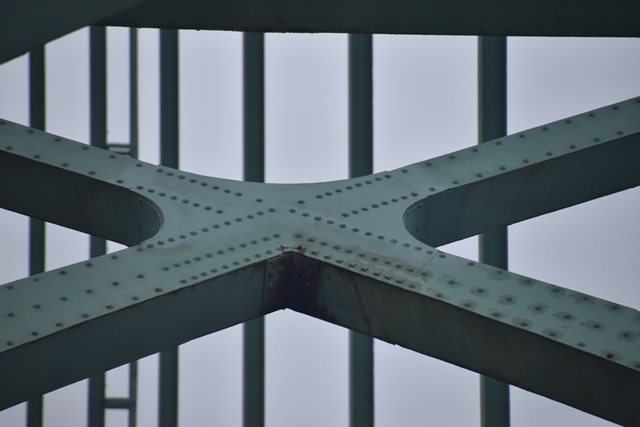
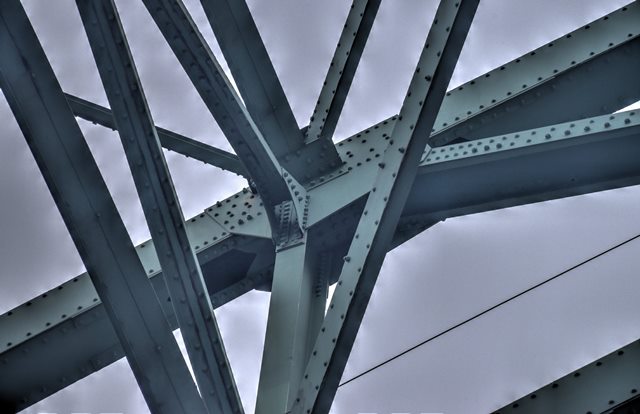
Sway bracing intersection connection details.
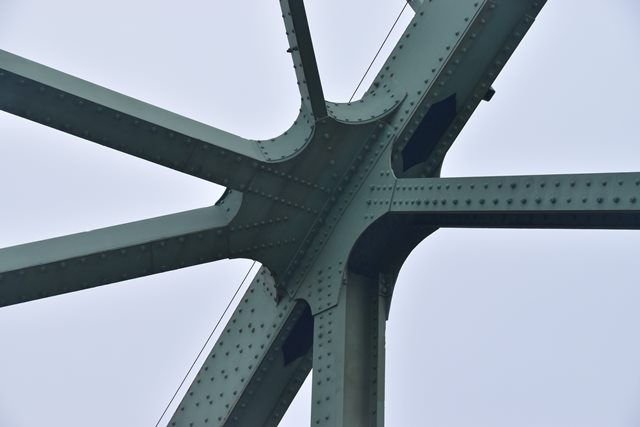
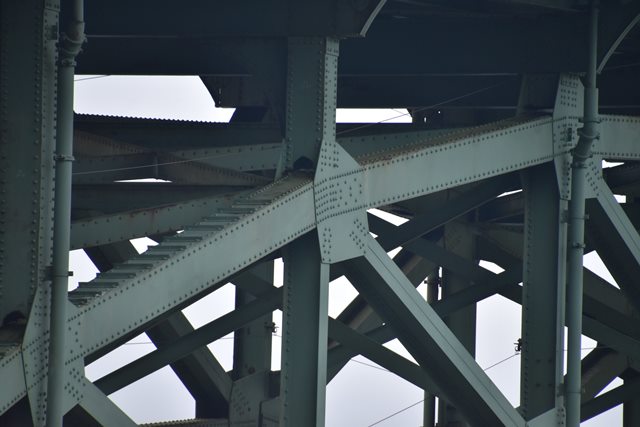
![]()


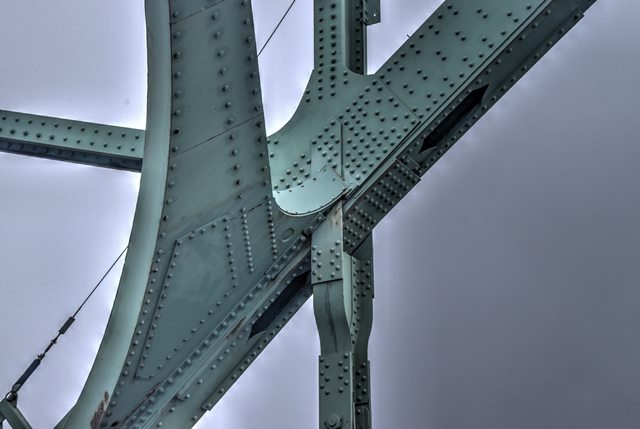
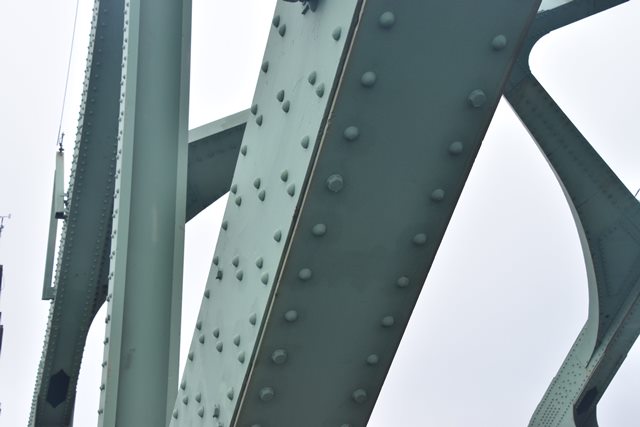
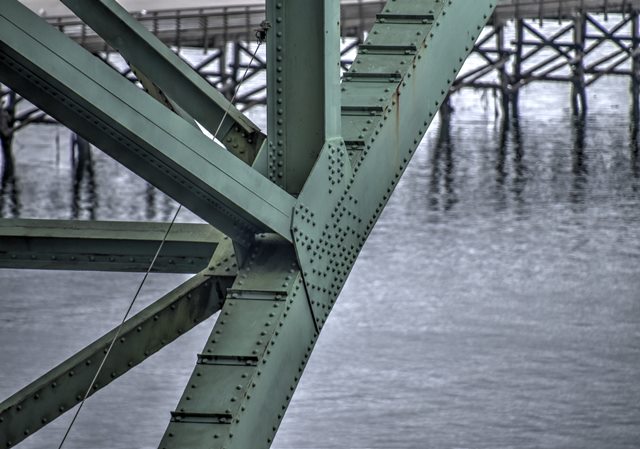
Exterior details of top chord of arch rib.
![]()


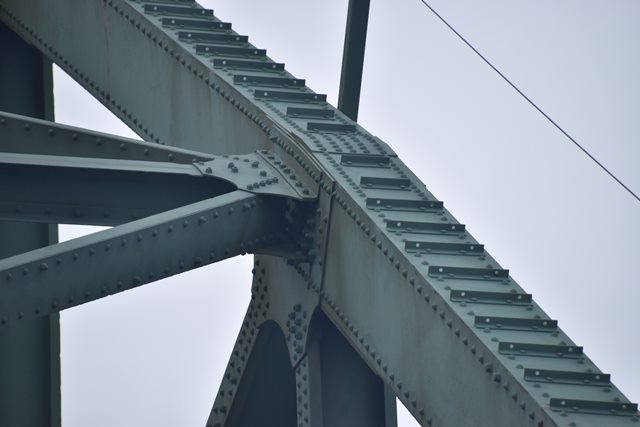


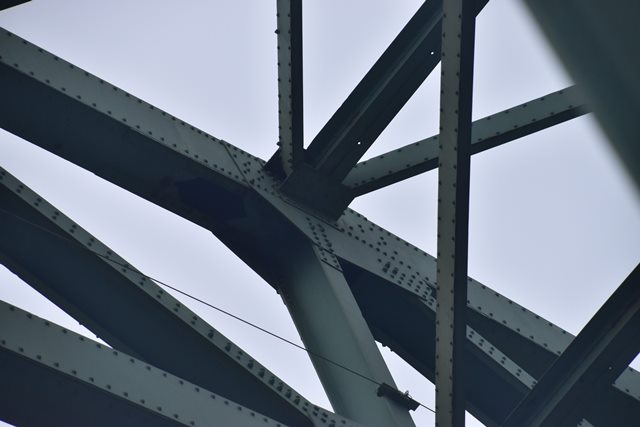
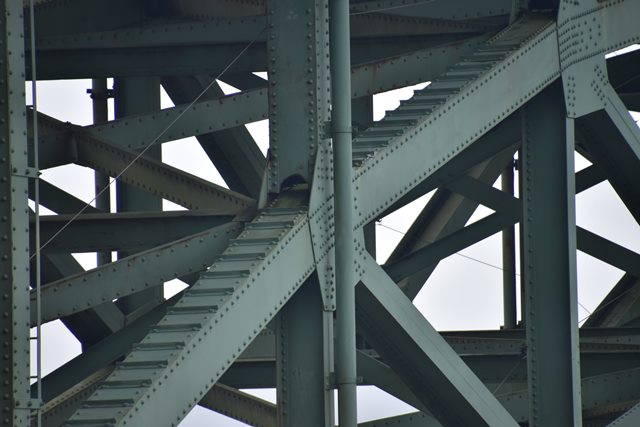
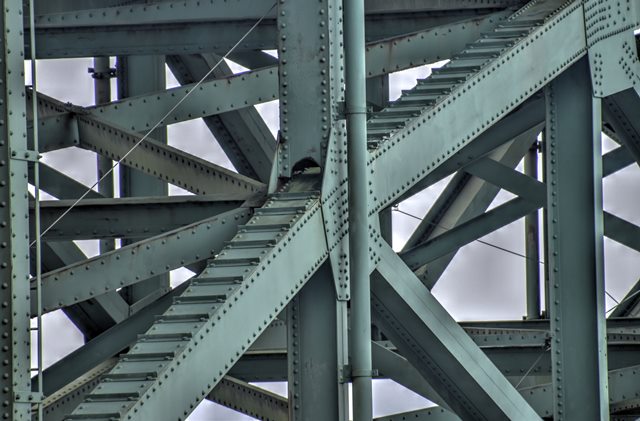
Exterior details of top chord of arch rib connections to bracing.
![]()


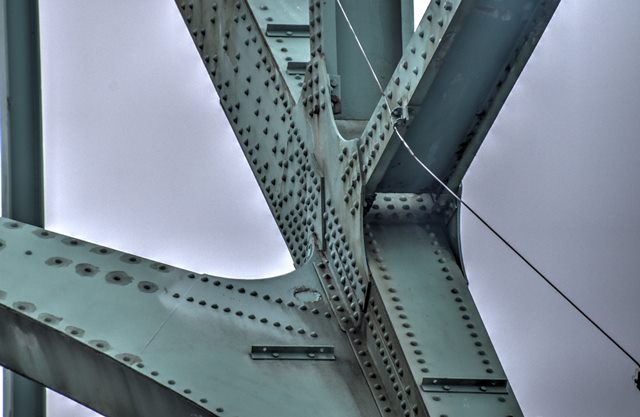
Bottom chord connection to hanger.
![]()


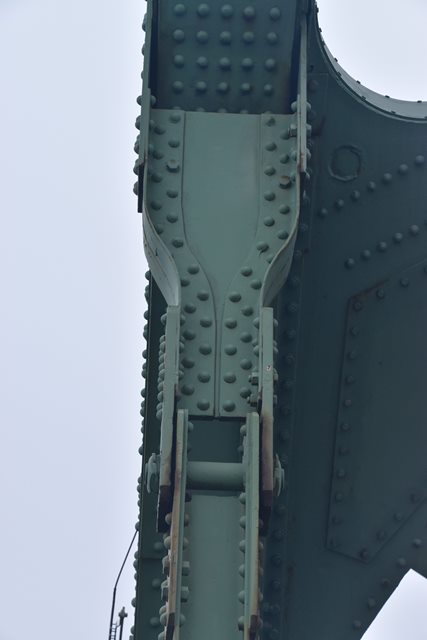
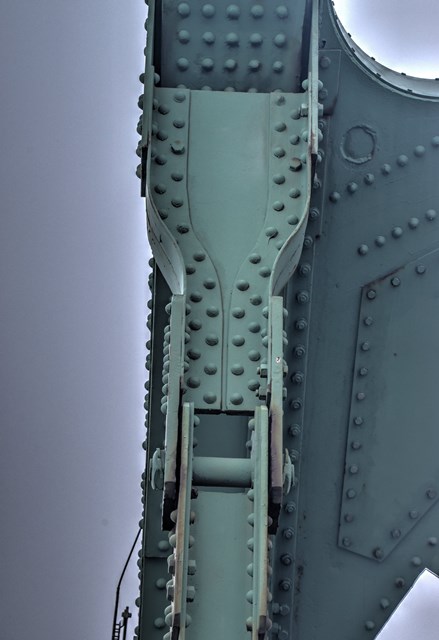

Detail of top of hangers.
![]()


Upper hanger pin details.
![]()
Arch hanger detail.
![]()


Lower hanger pin details.
![]()


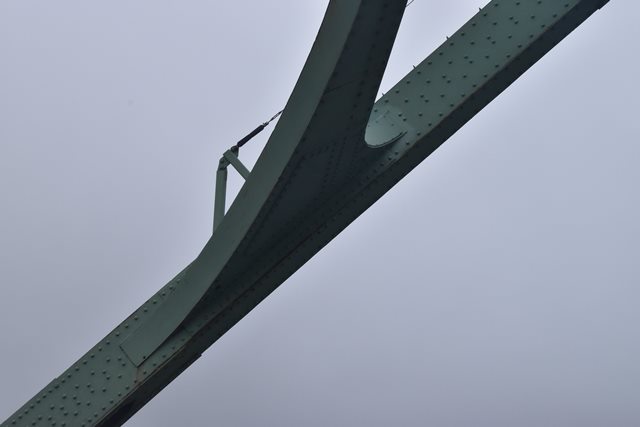
Arch chord details.
![]()
Arch vertical member.
![]()
Arch diagonal members.
![]()


Overview of connections at arch crown (center).
![]()

Top chord connection at arch crown (center).
![]()
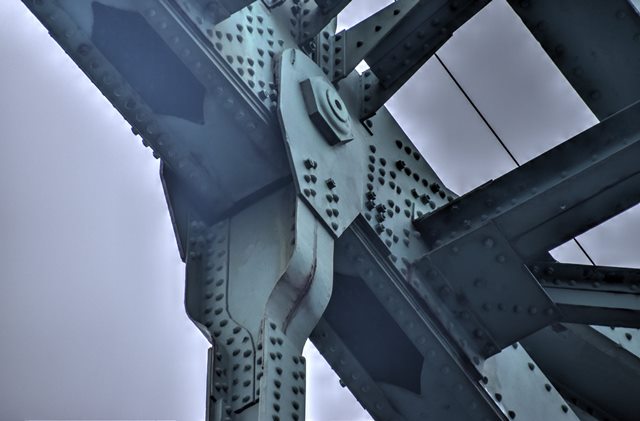


Bottom chord connection at arch crown (center). Note pin/hinge.
![]()


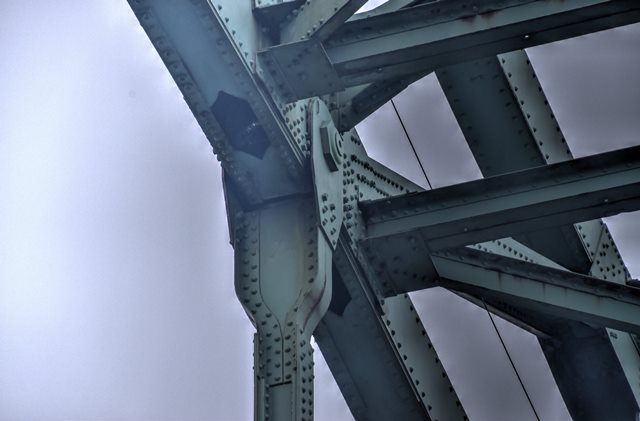
Arch rib top chord connections.
![]()


Arch rib bottom chord connections.
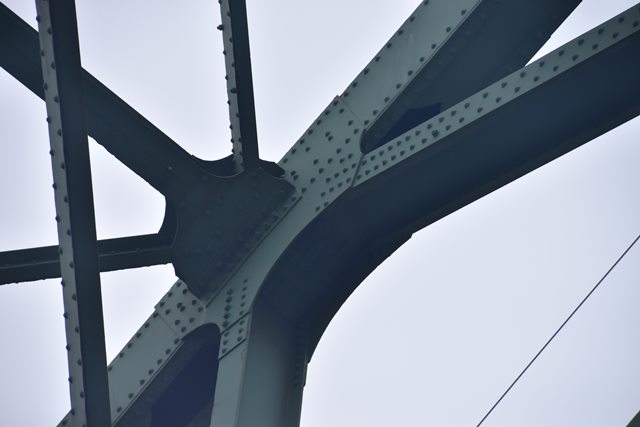
![]()


Arch top chord connections near deck level.
![]()


Arch bottom chord connections near deck level.
![]()
Steel Deck Arch Span Details
![]()
View beside bridge showing through arch.
![]()

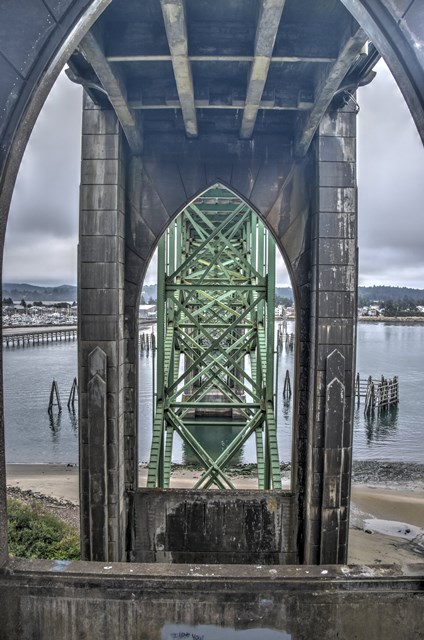

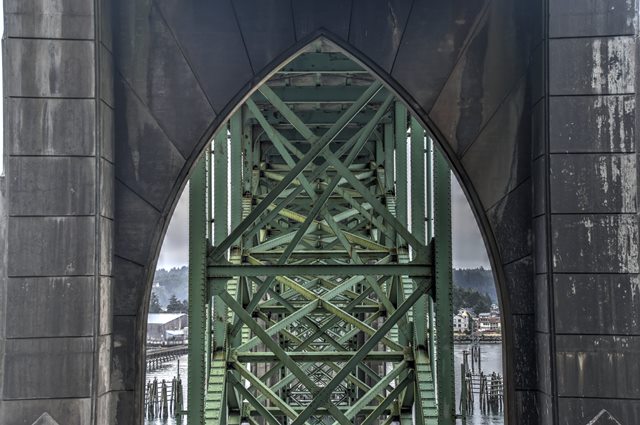
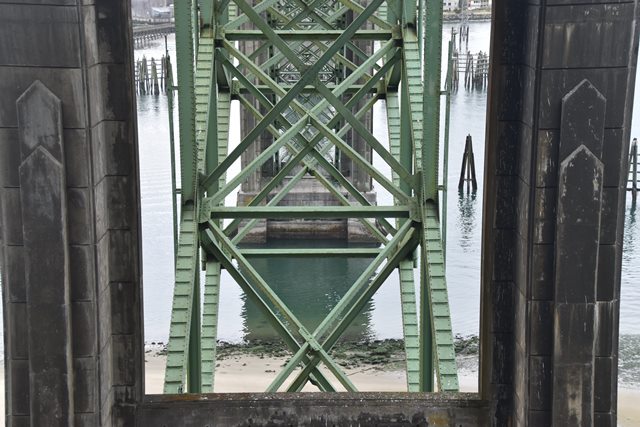

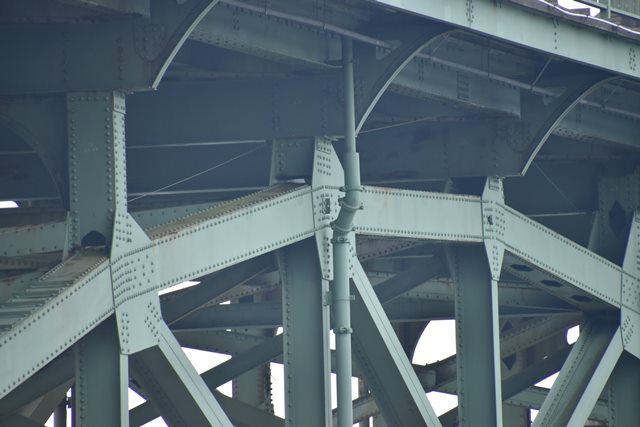
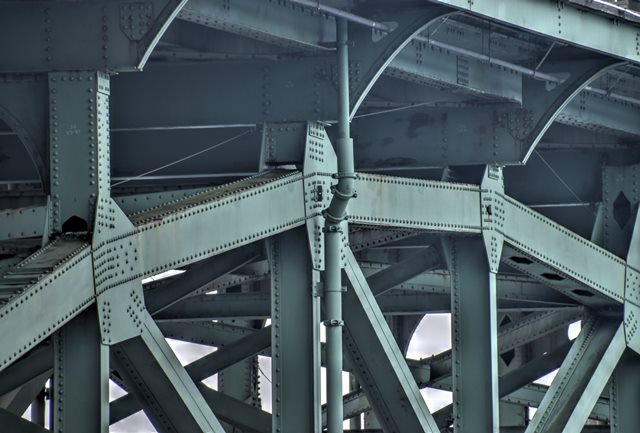
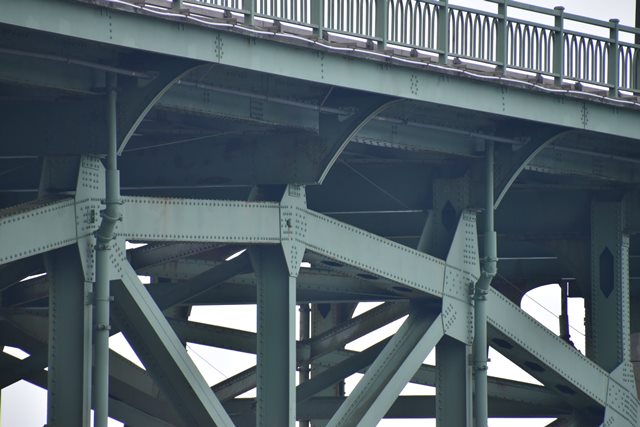
Views under concrete spans looking at steel spans.
![]()


Steel deck arch arch top chord connections.
![]()


Steel deck arch top chord connections near crown, where pin is visible. This 2 1/2 inch pin was used for the original erection only and is not functioning as a hinge now.
![]()


Steel deck arch bottom chord connections.
![]()


Steel deck arch bottom chord connections near crown, where pin is visible.
![]()
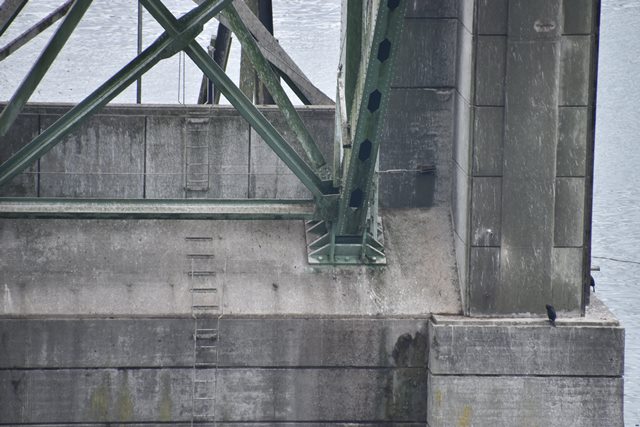


Steel deck arch skewbacks (bearings).
![]()


Steel deck arch chord (rib) details.
![]()
Concrete Arch Span Details
![]()

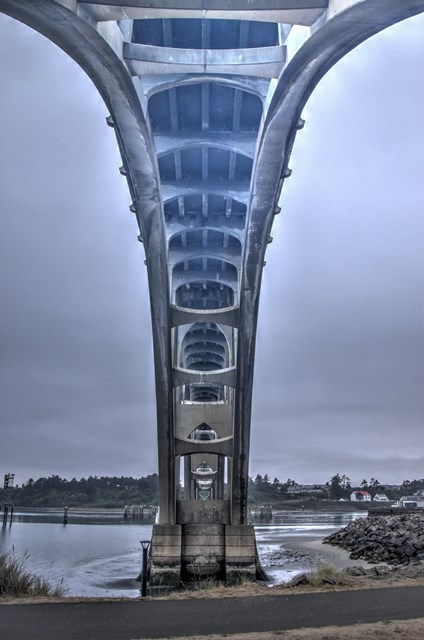


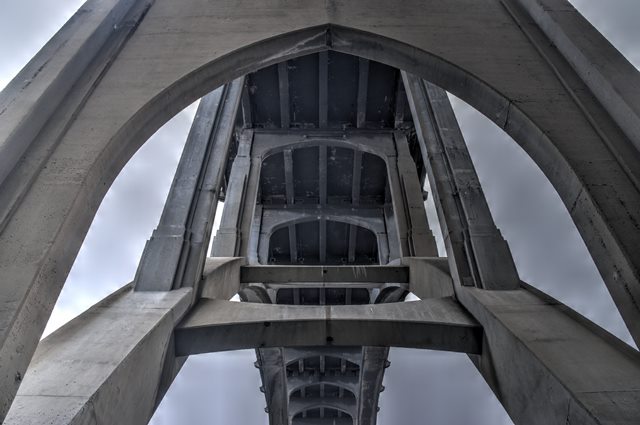
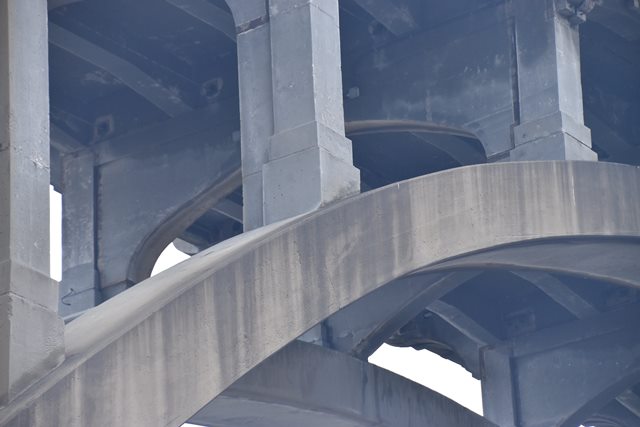
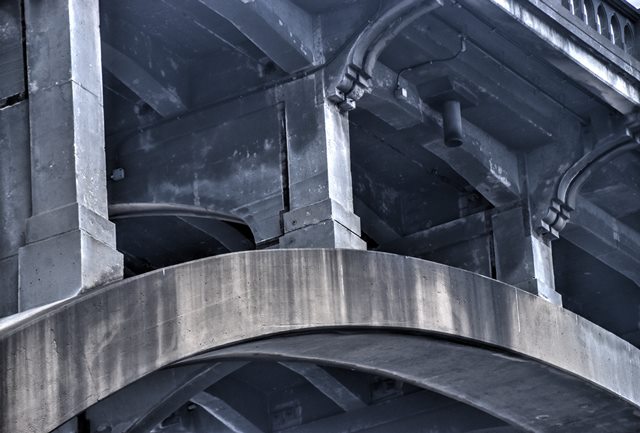
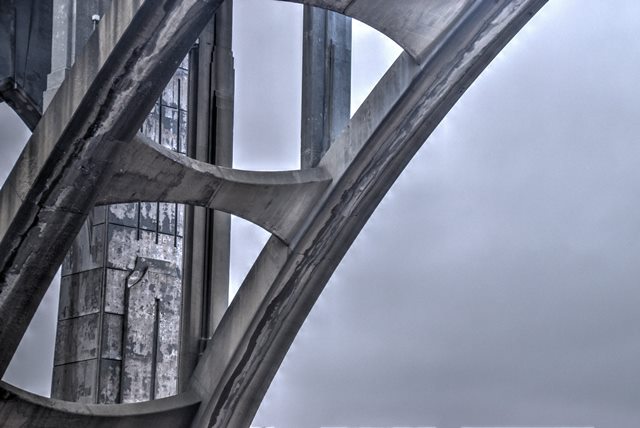
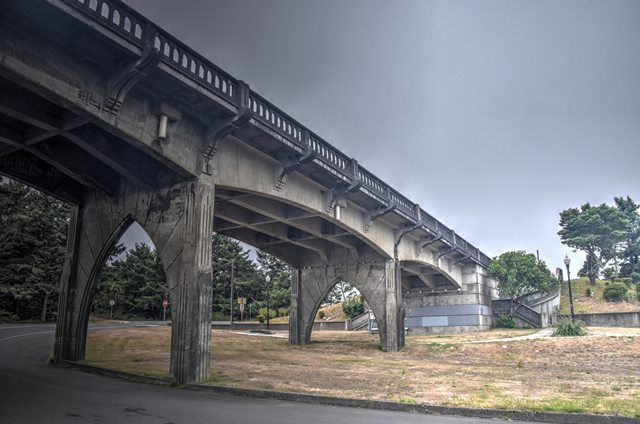
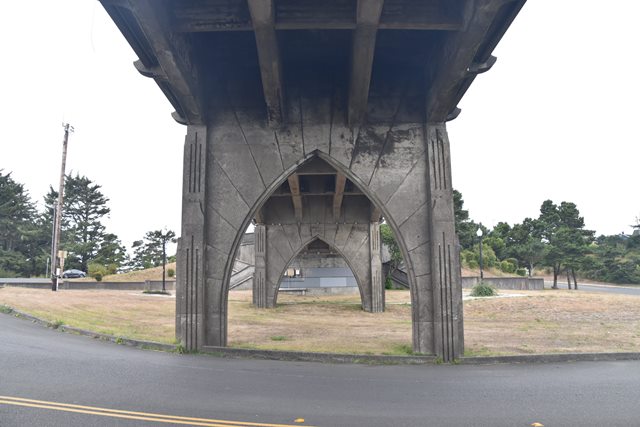
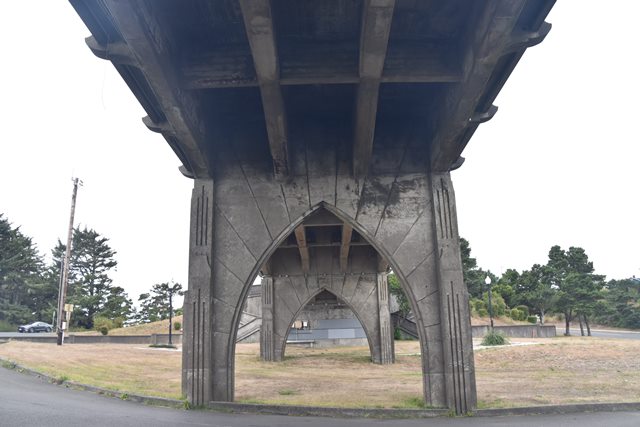
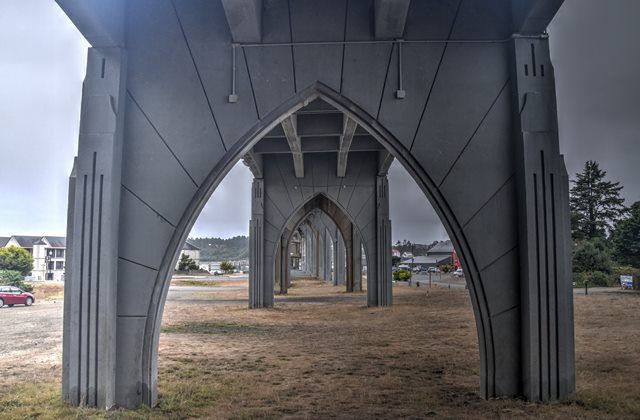
Views under concrete arch spans.
![]()


Looking up between arch ribs showing columns.
![]()
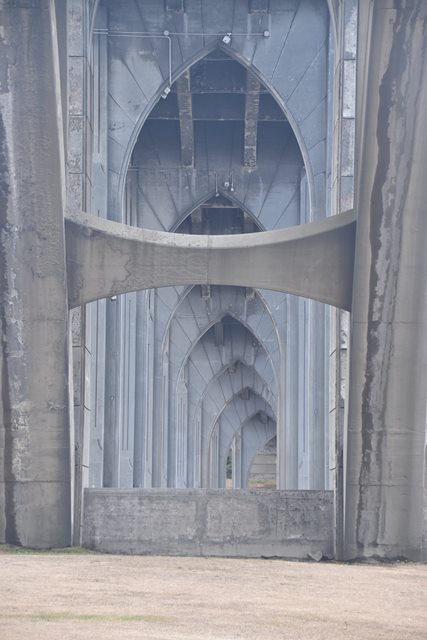
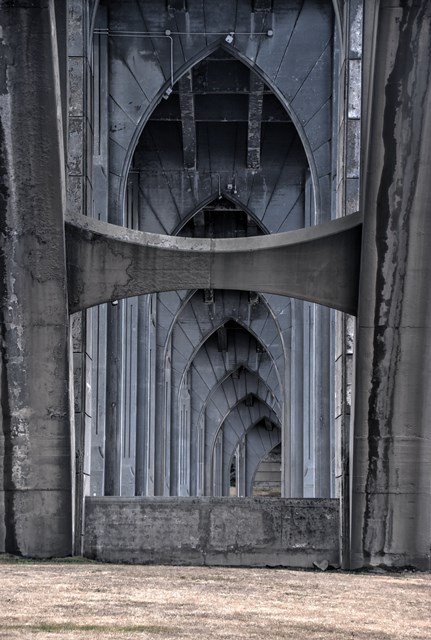

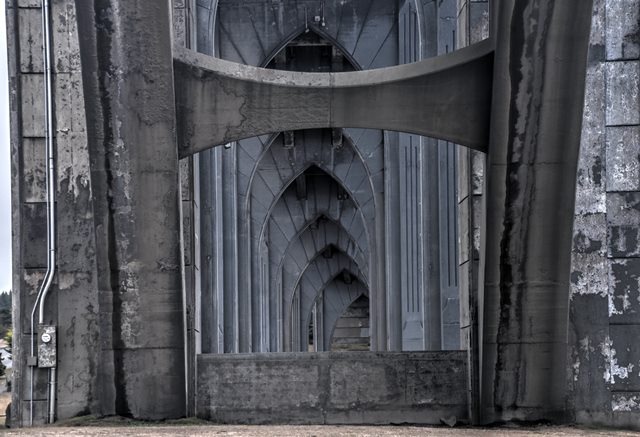
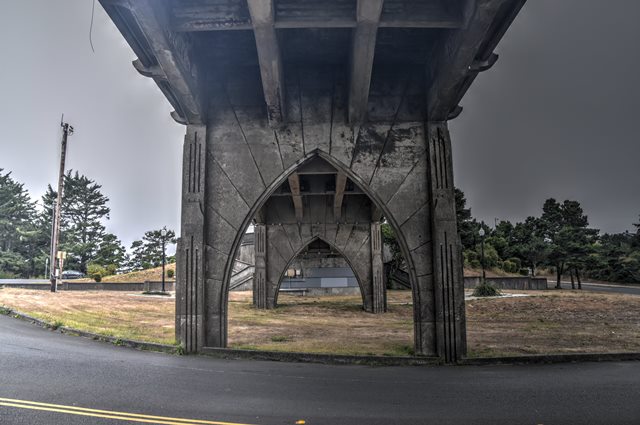
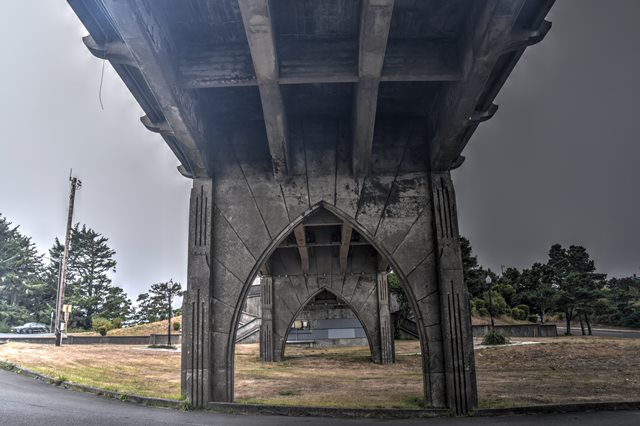
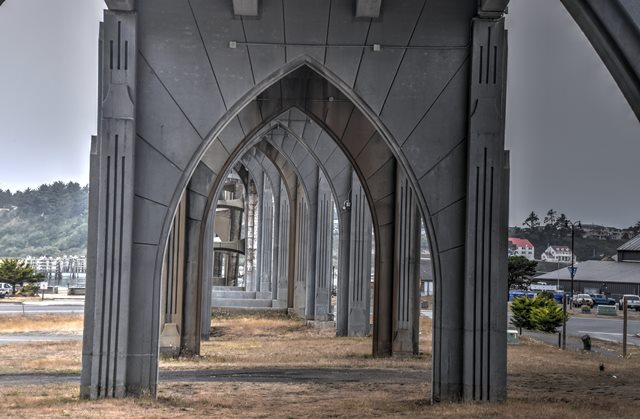
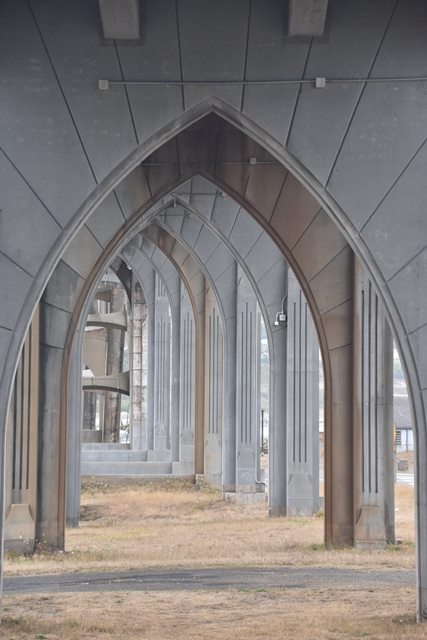
Views under arch spans looking through piers.
![]()
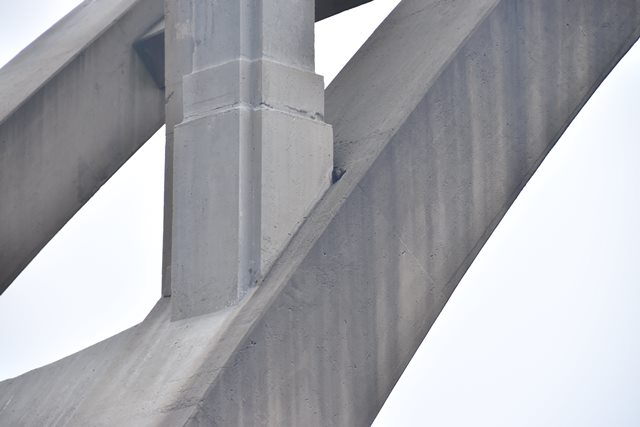
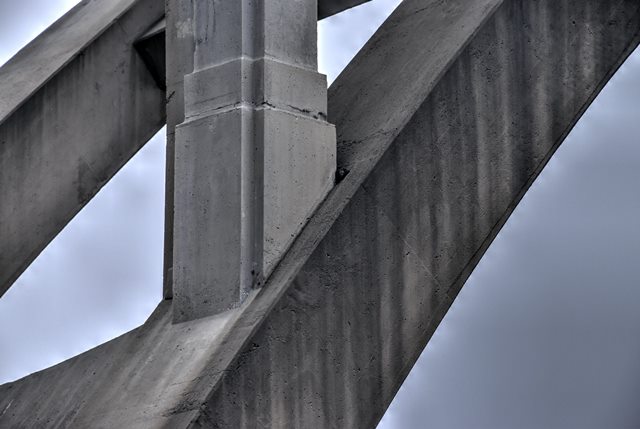


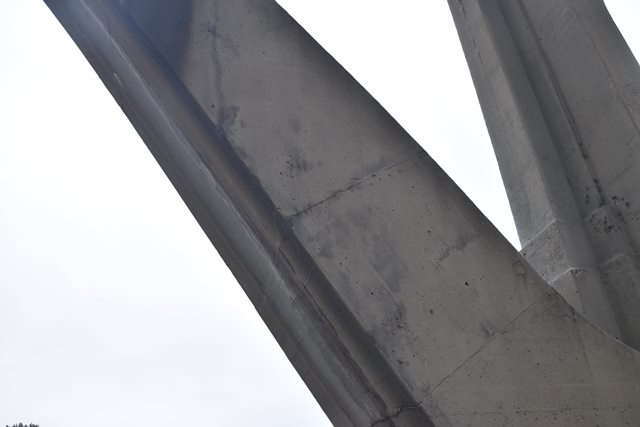
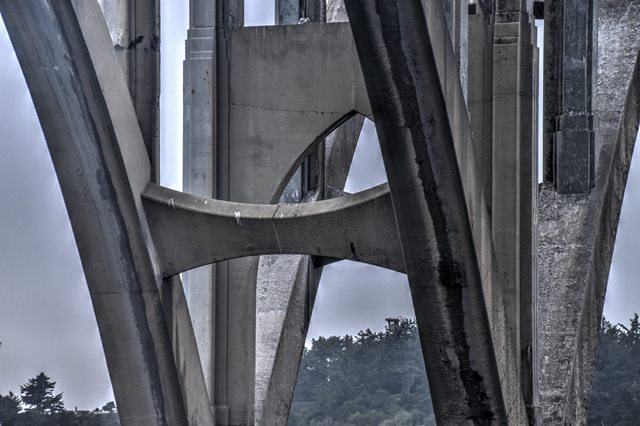
Arch rib details.
![]()


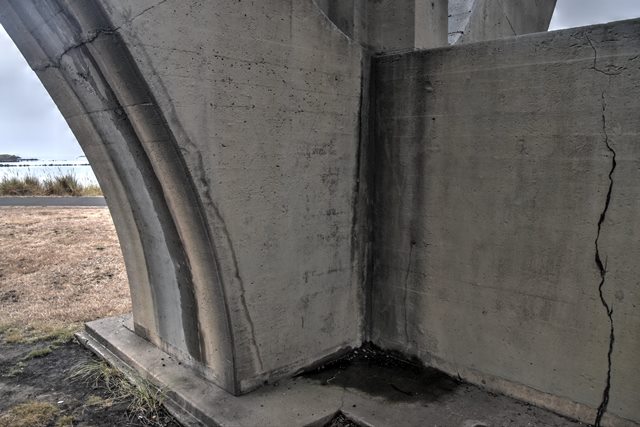


Details at base of arch rib.
![]()


Sidewalk cantilevers on arch spans.
![]()


Bracing between concrete arch ribs.
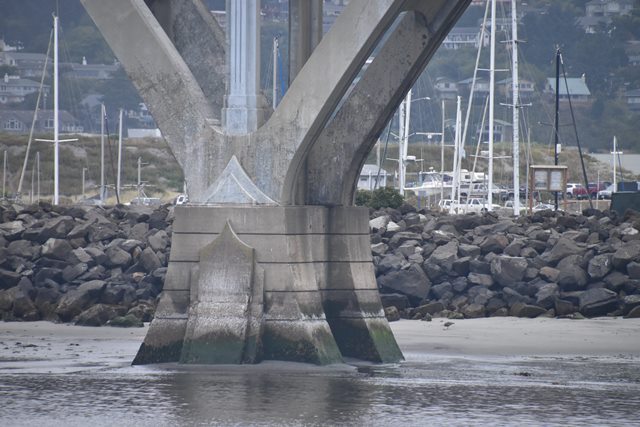
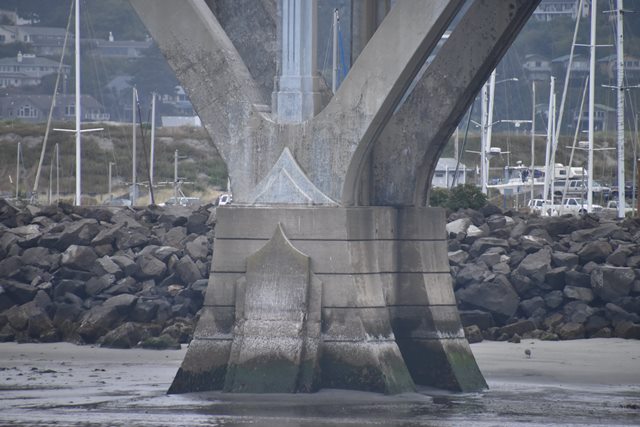
![]()


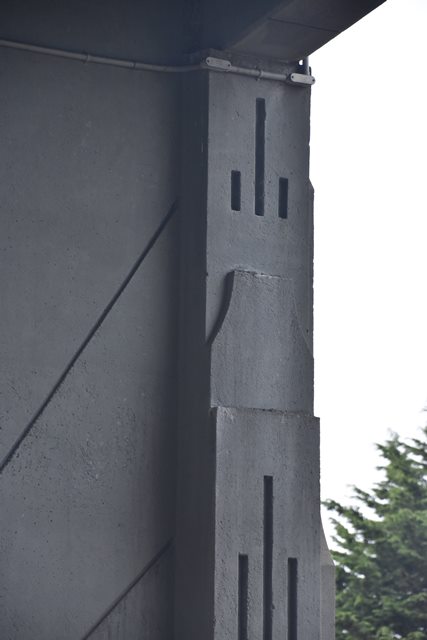
Arch detail at pier.
![]()
Concrete Approach Span and Substructure Details
![]()
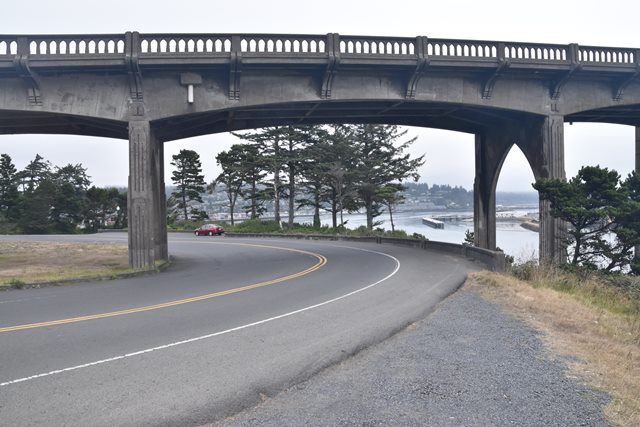


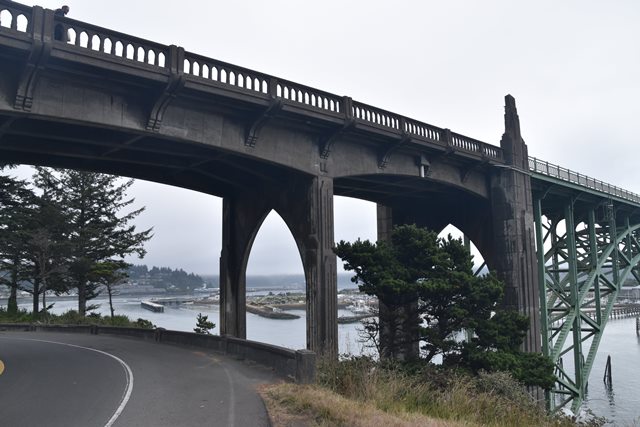

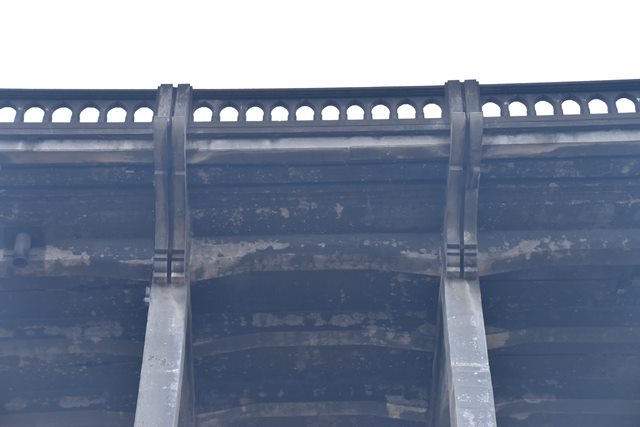
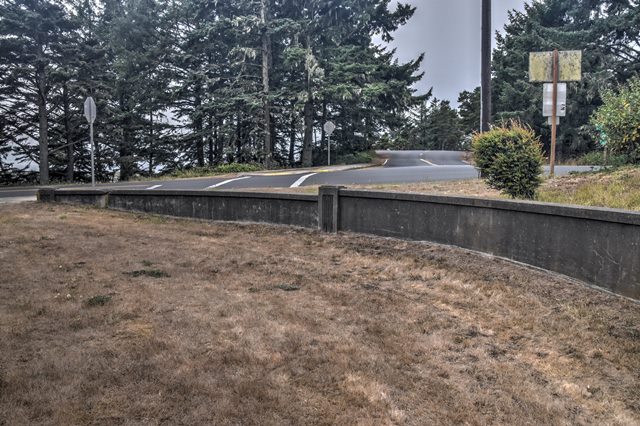
West elevation of north approach spans.
![]()

View of northern approach spans.
![]()

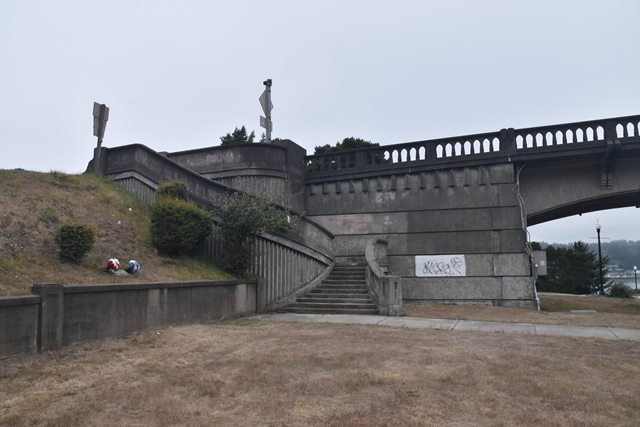


North abutment.
![]()


South abutment.
![]()


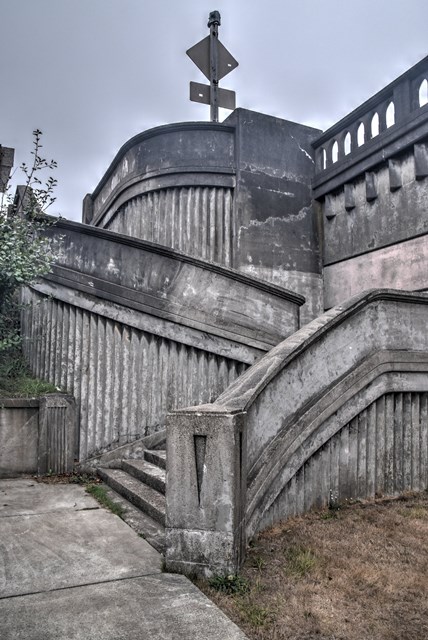


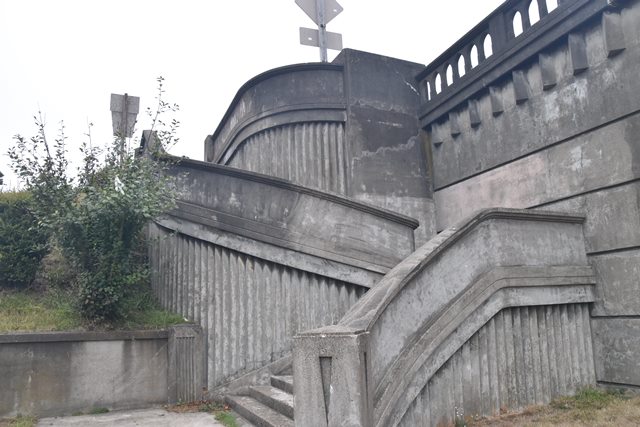


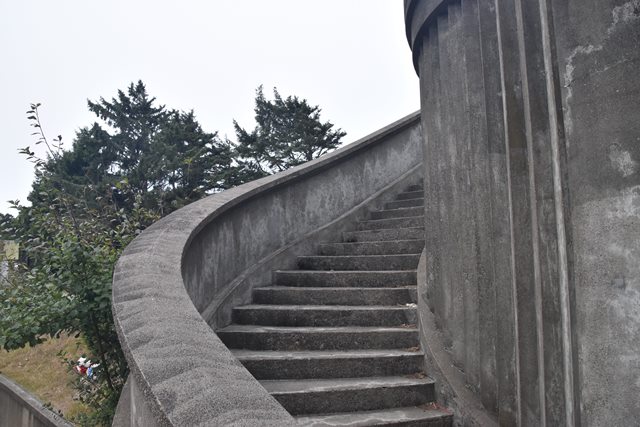
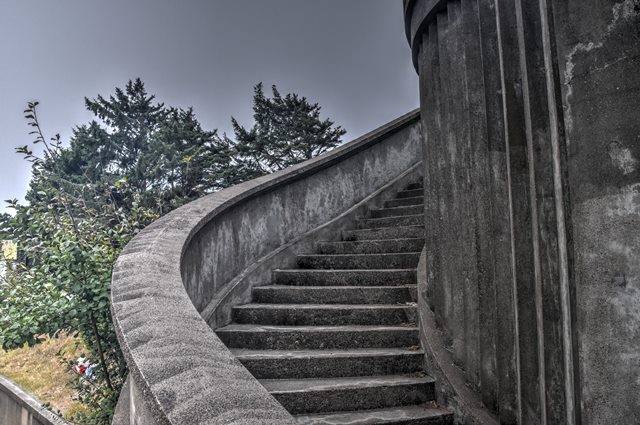
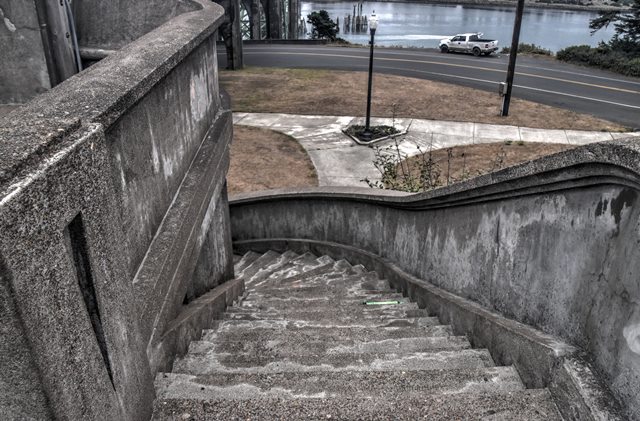

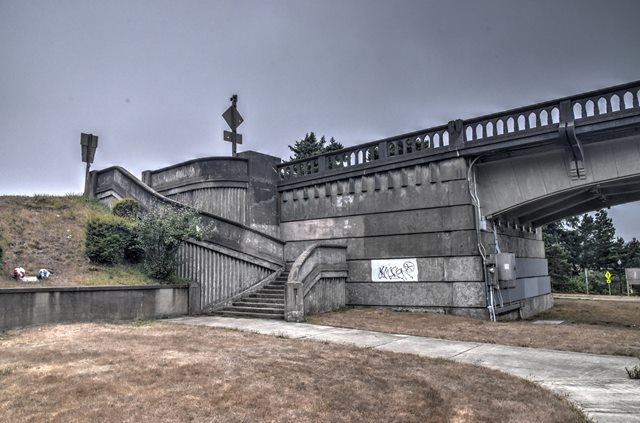
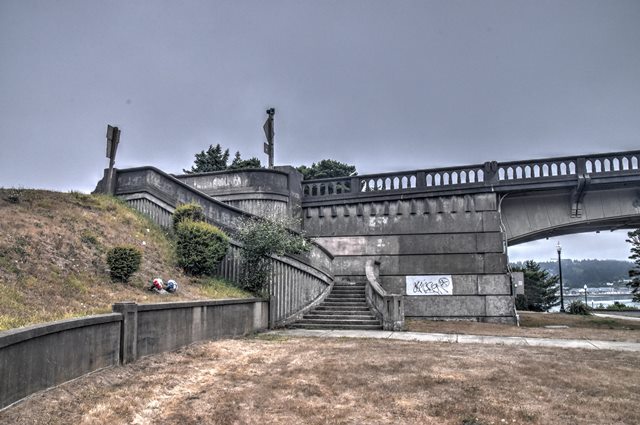
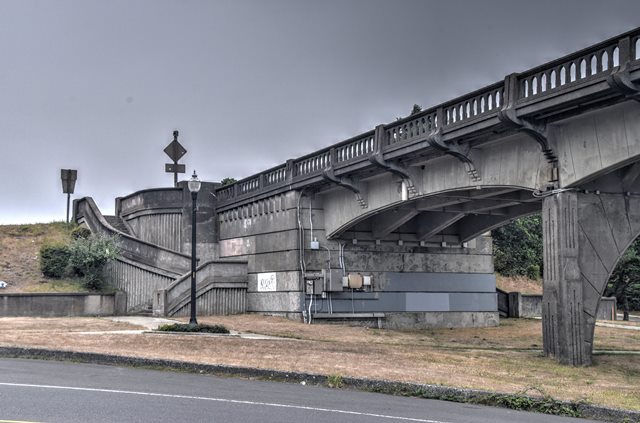
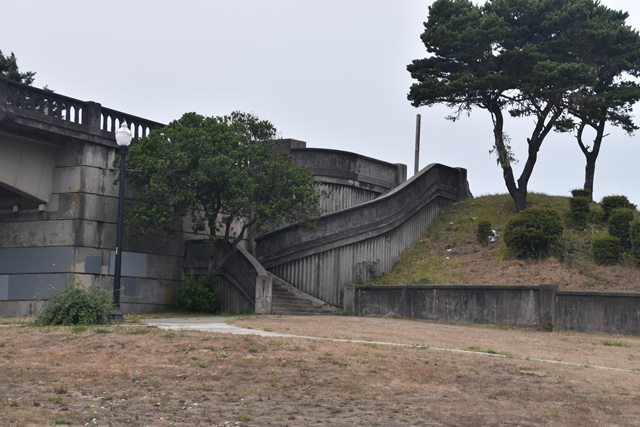
North stairway.
![]()


South stairway.
![]()

Wall next to north abutment.
![]()


Memorial sign next to north abutment.
![]()


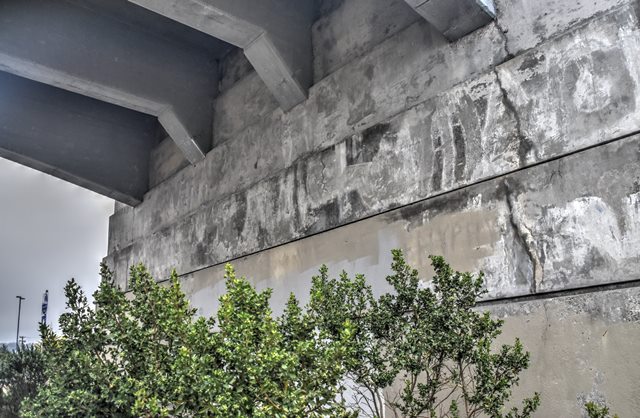
Details of approach concrete beams.
![]()
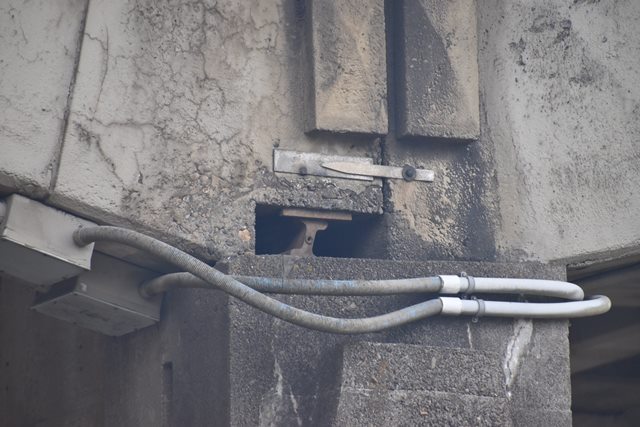


Concrete beam bearing.
![]()
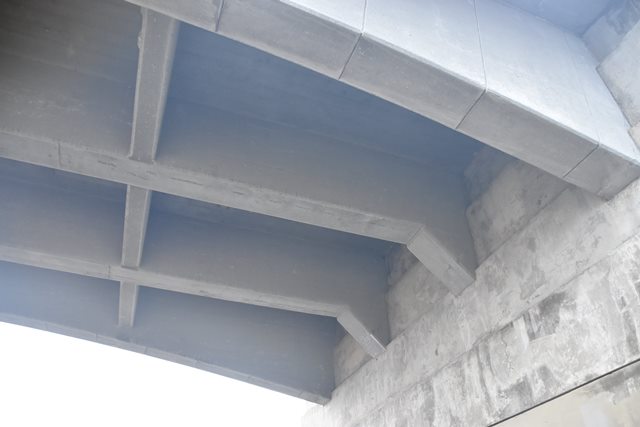


Views under approach span beams.
![]()


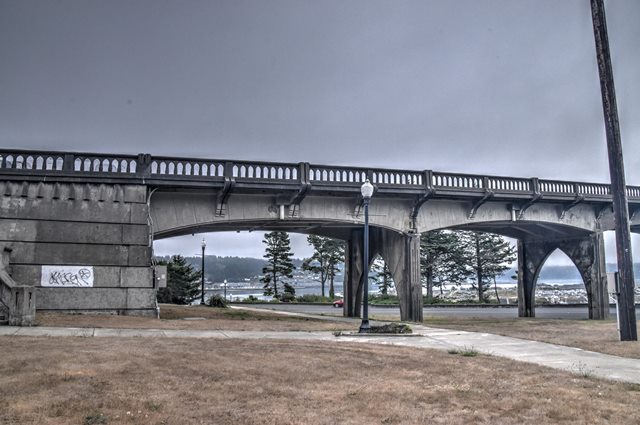
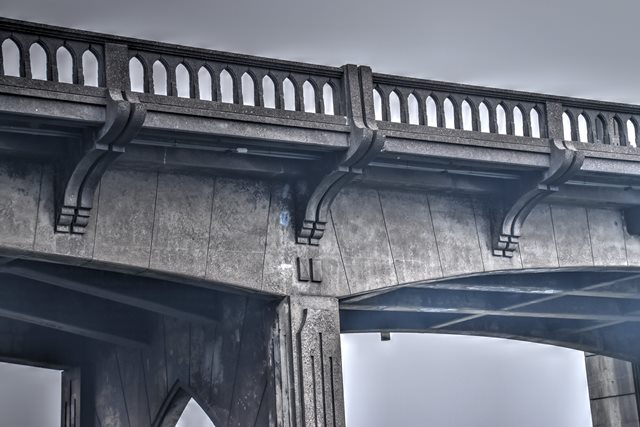
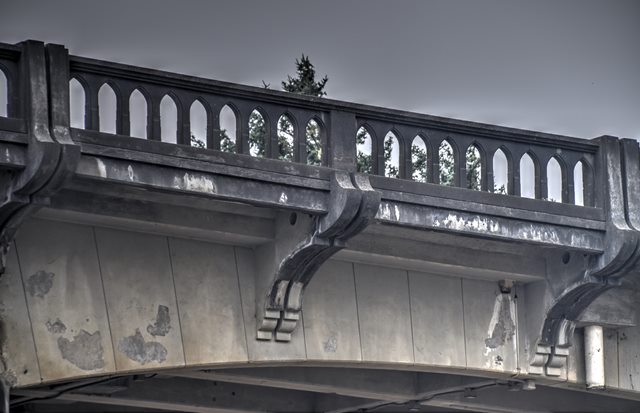
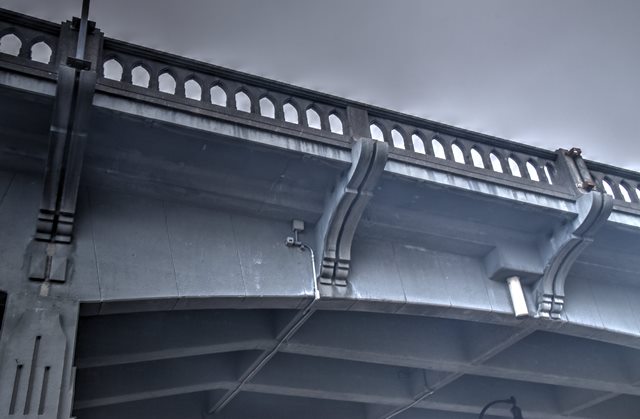
Concrete spans deck and railing overview.
![]()

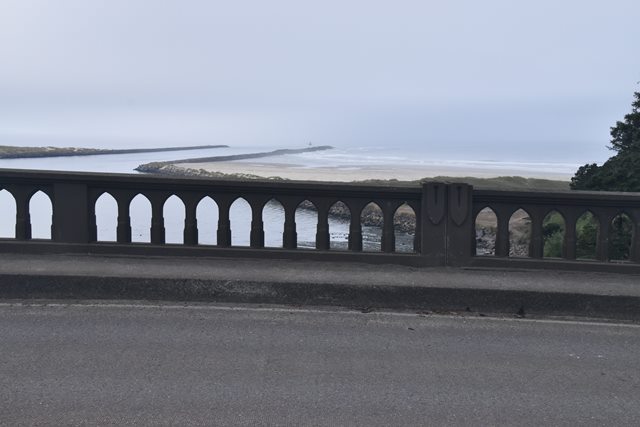


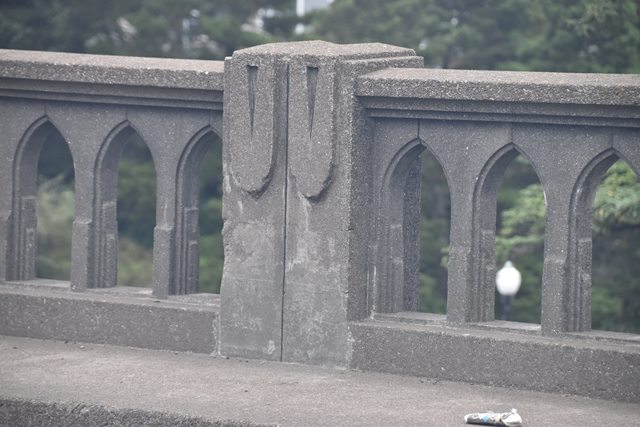
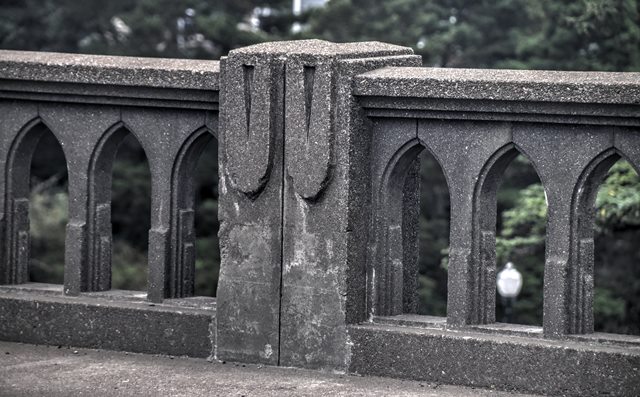
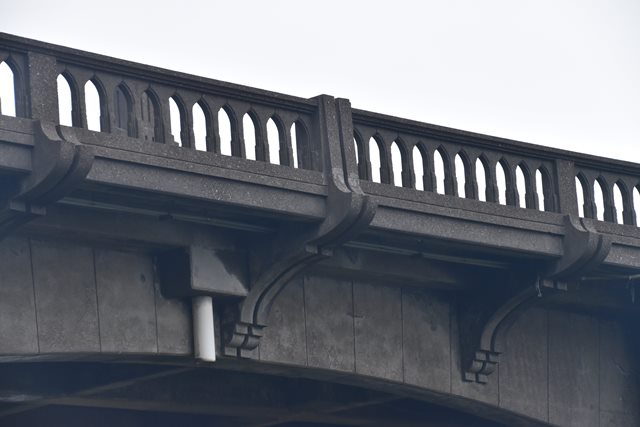

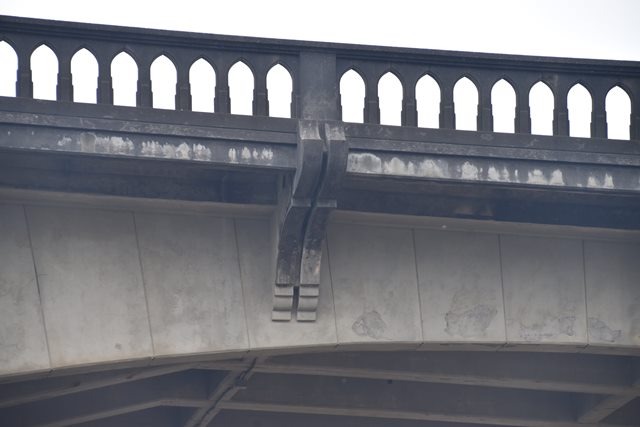
Concrete spans railing.
![]()


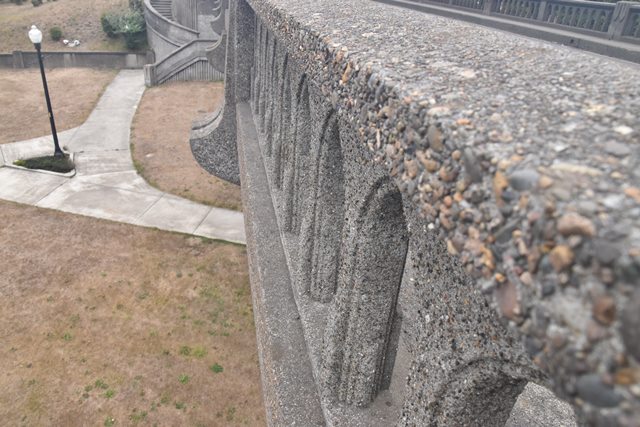


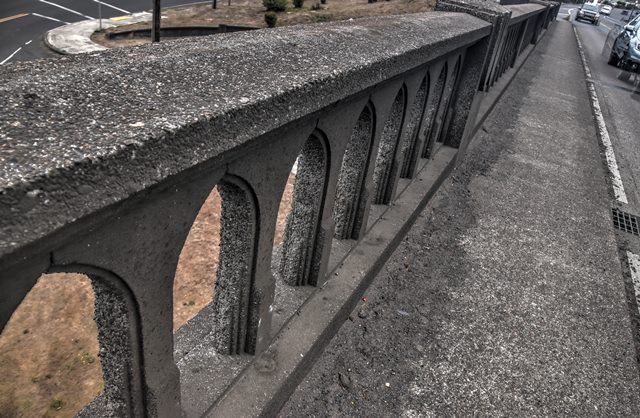
Detail of concrete railing showing greater deterioration on the side facing the ocean rather than the road, suggesting perhaps the ocean salt and wind have deteriorated the railing.
![]()

Abutment face.
![]()
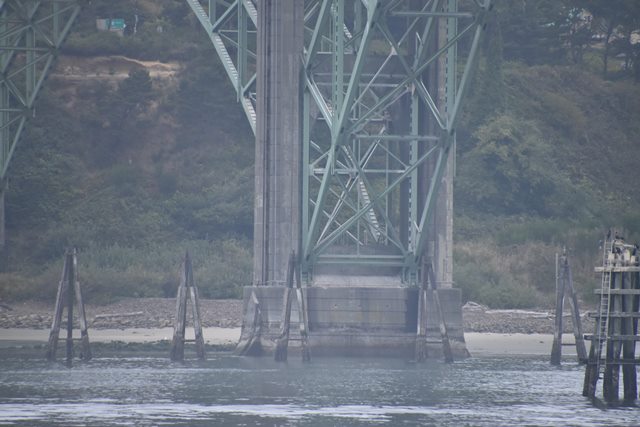
Piers as viewed from under north approach.
![]()


Views under approach spans looking through piers.
![]()


Approach piers.
![]()


Approach pier details.
![]()

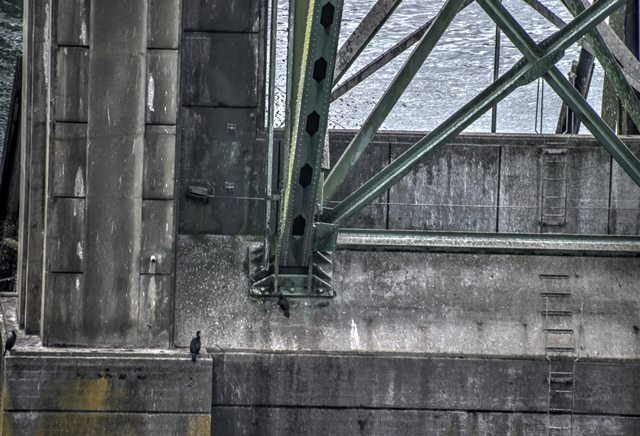
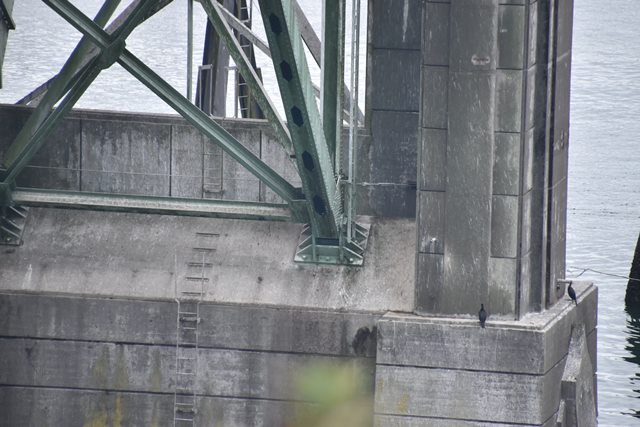
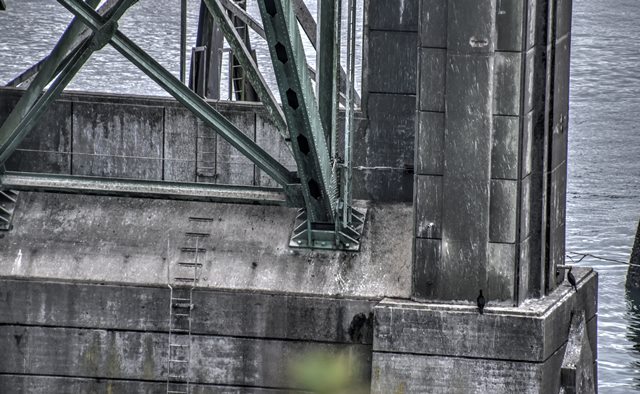
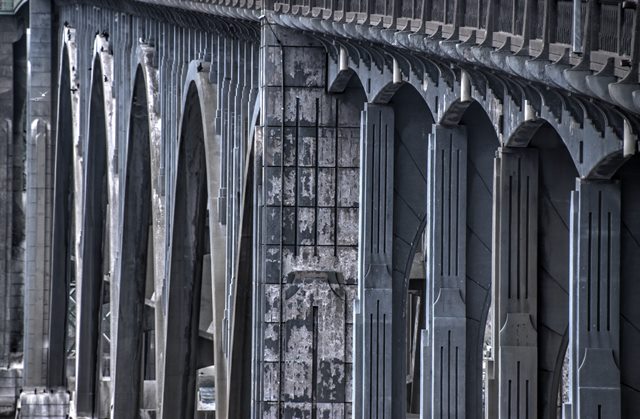
Main pier as viewed from beside bridge.
![]()

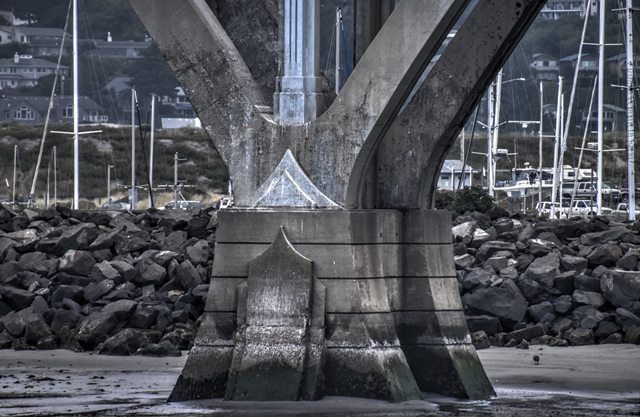


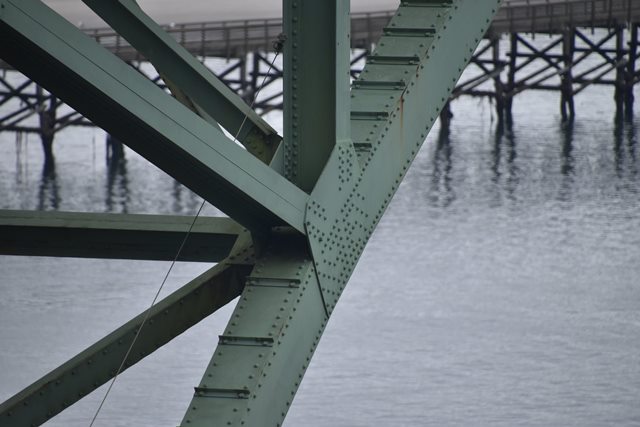
Details of piers in waterway.
![]()
![]()

![]()