Uncredited photos on this page taken by: Nathan Holth. Unless stated in a caption, all photos are Copyright with All Rights Reserved. Learn about reuse of our photos.
![]()
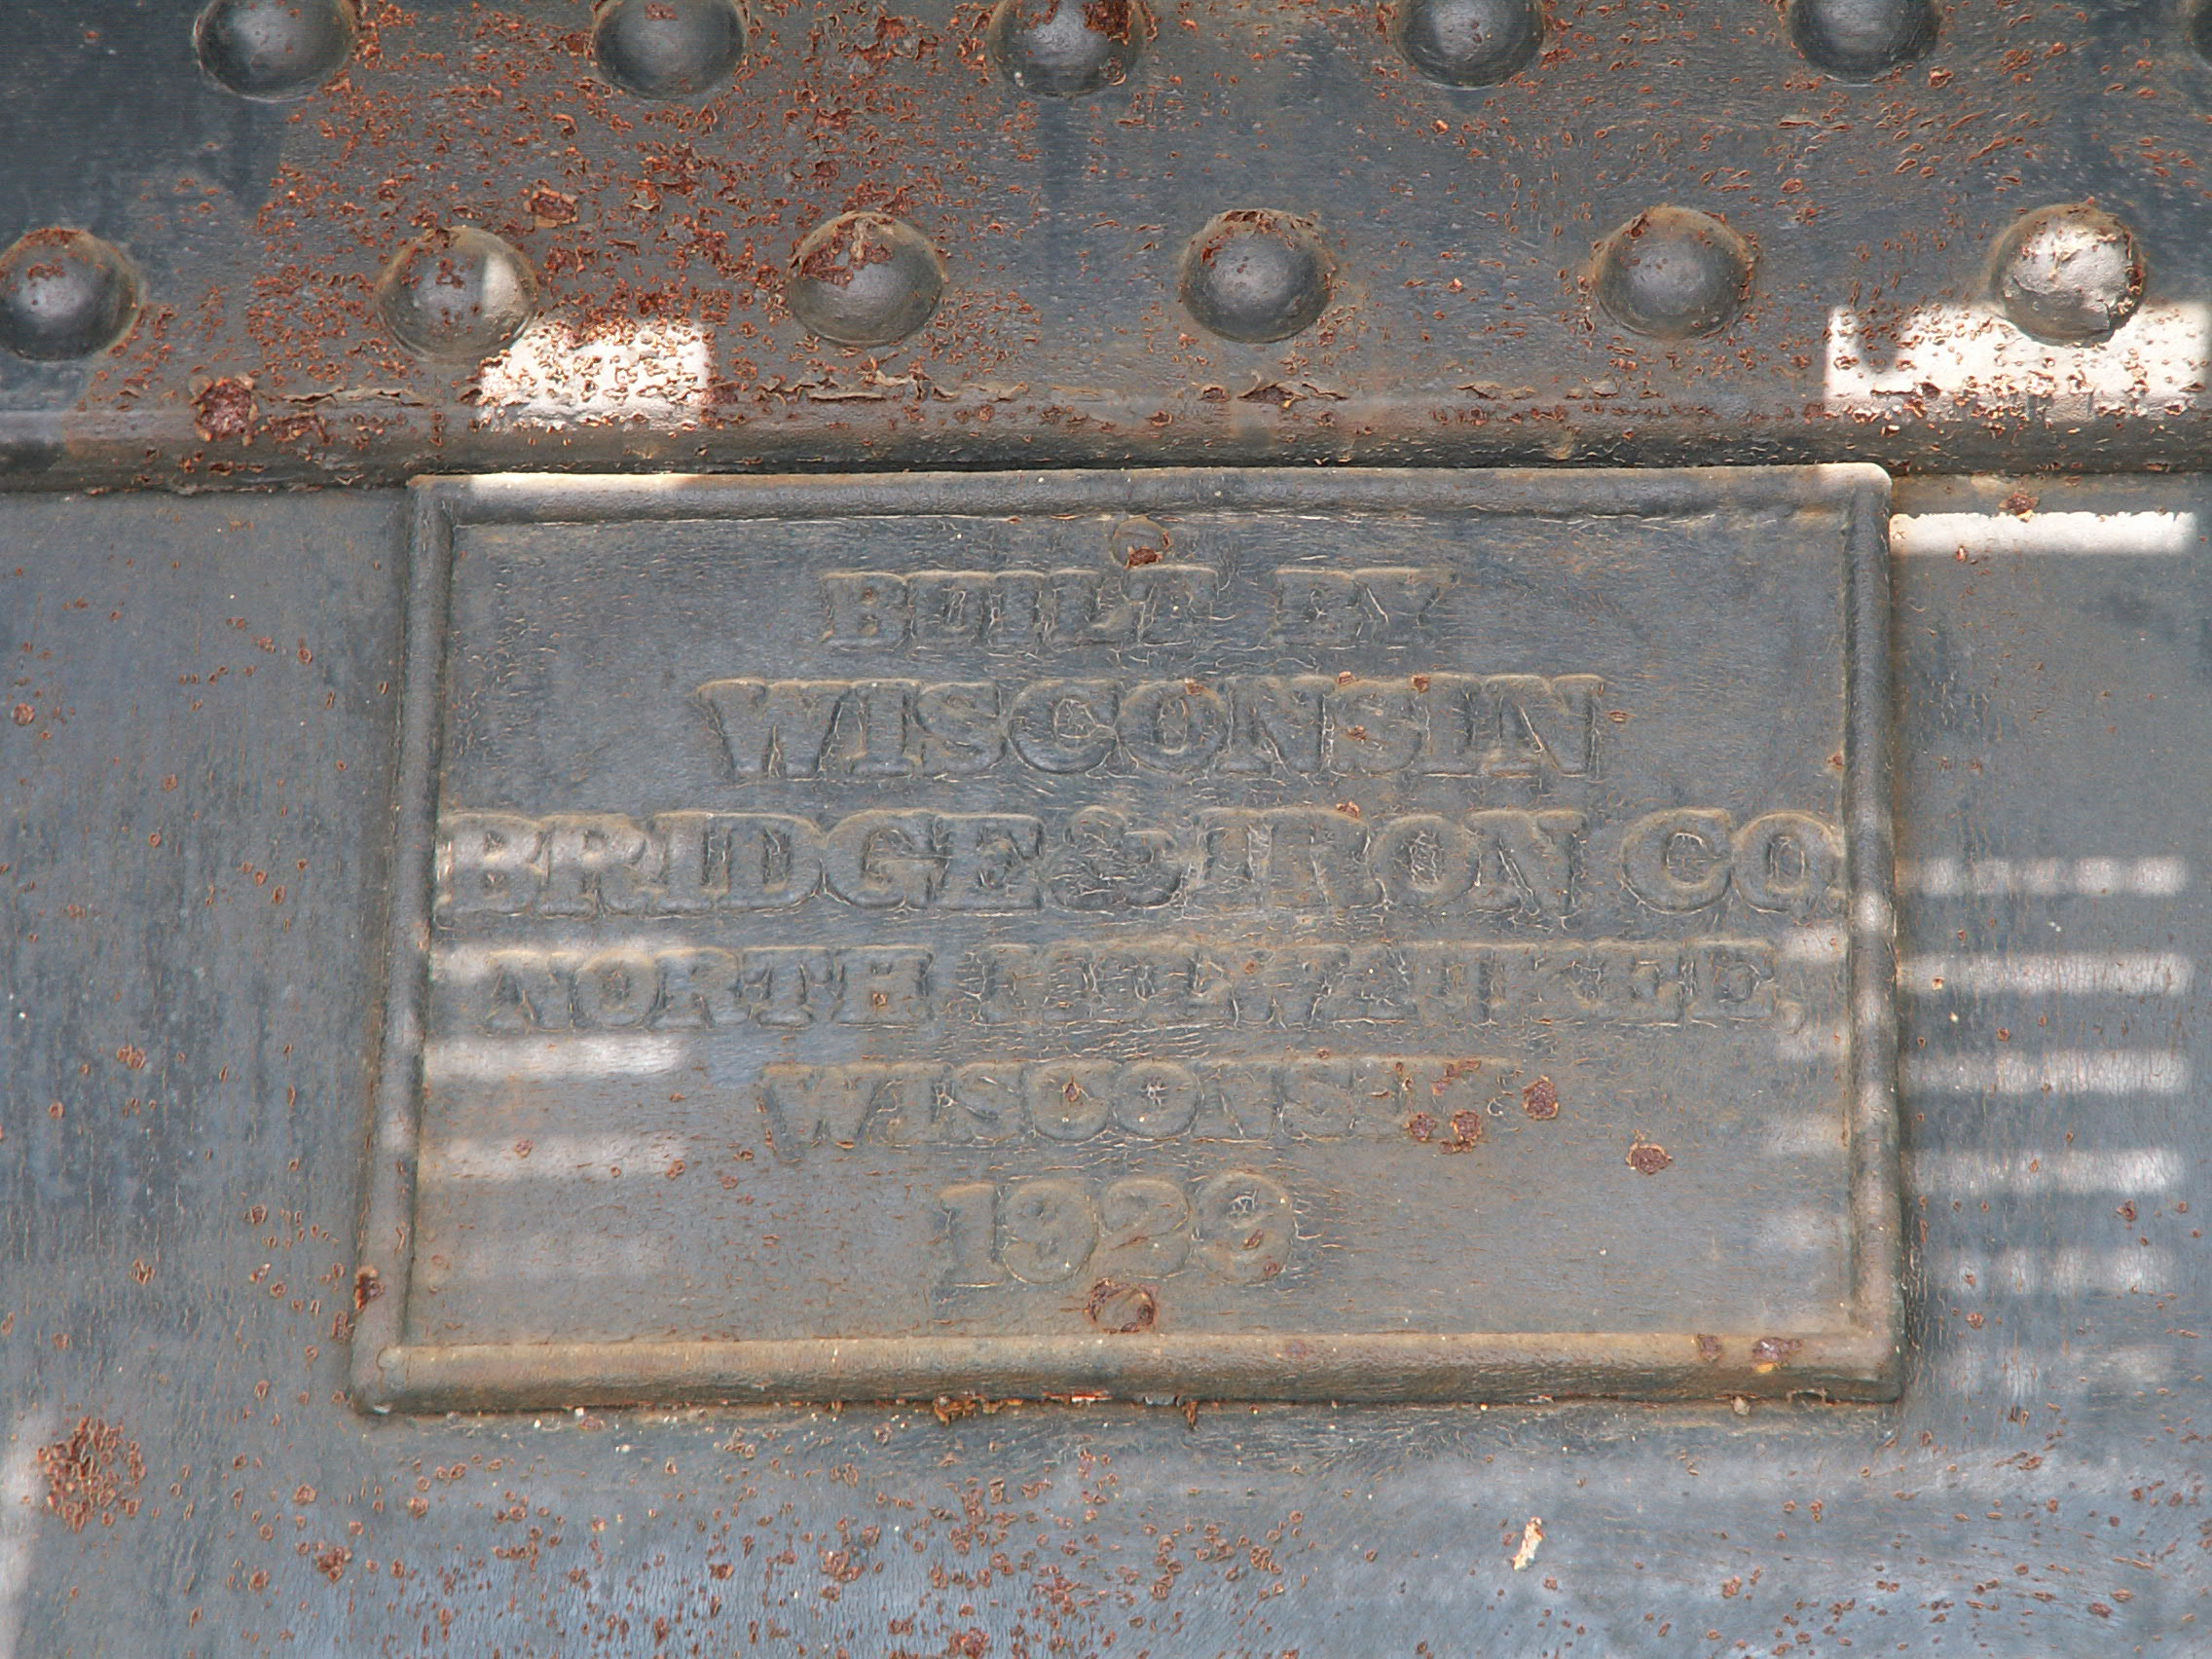

Plaque on approach. span.
![]()
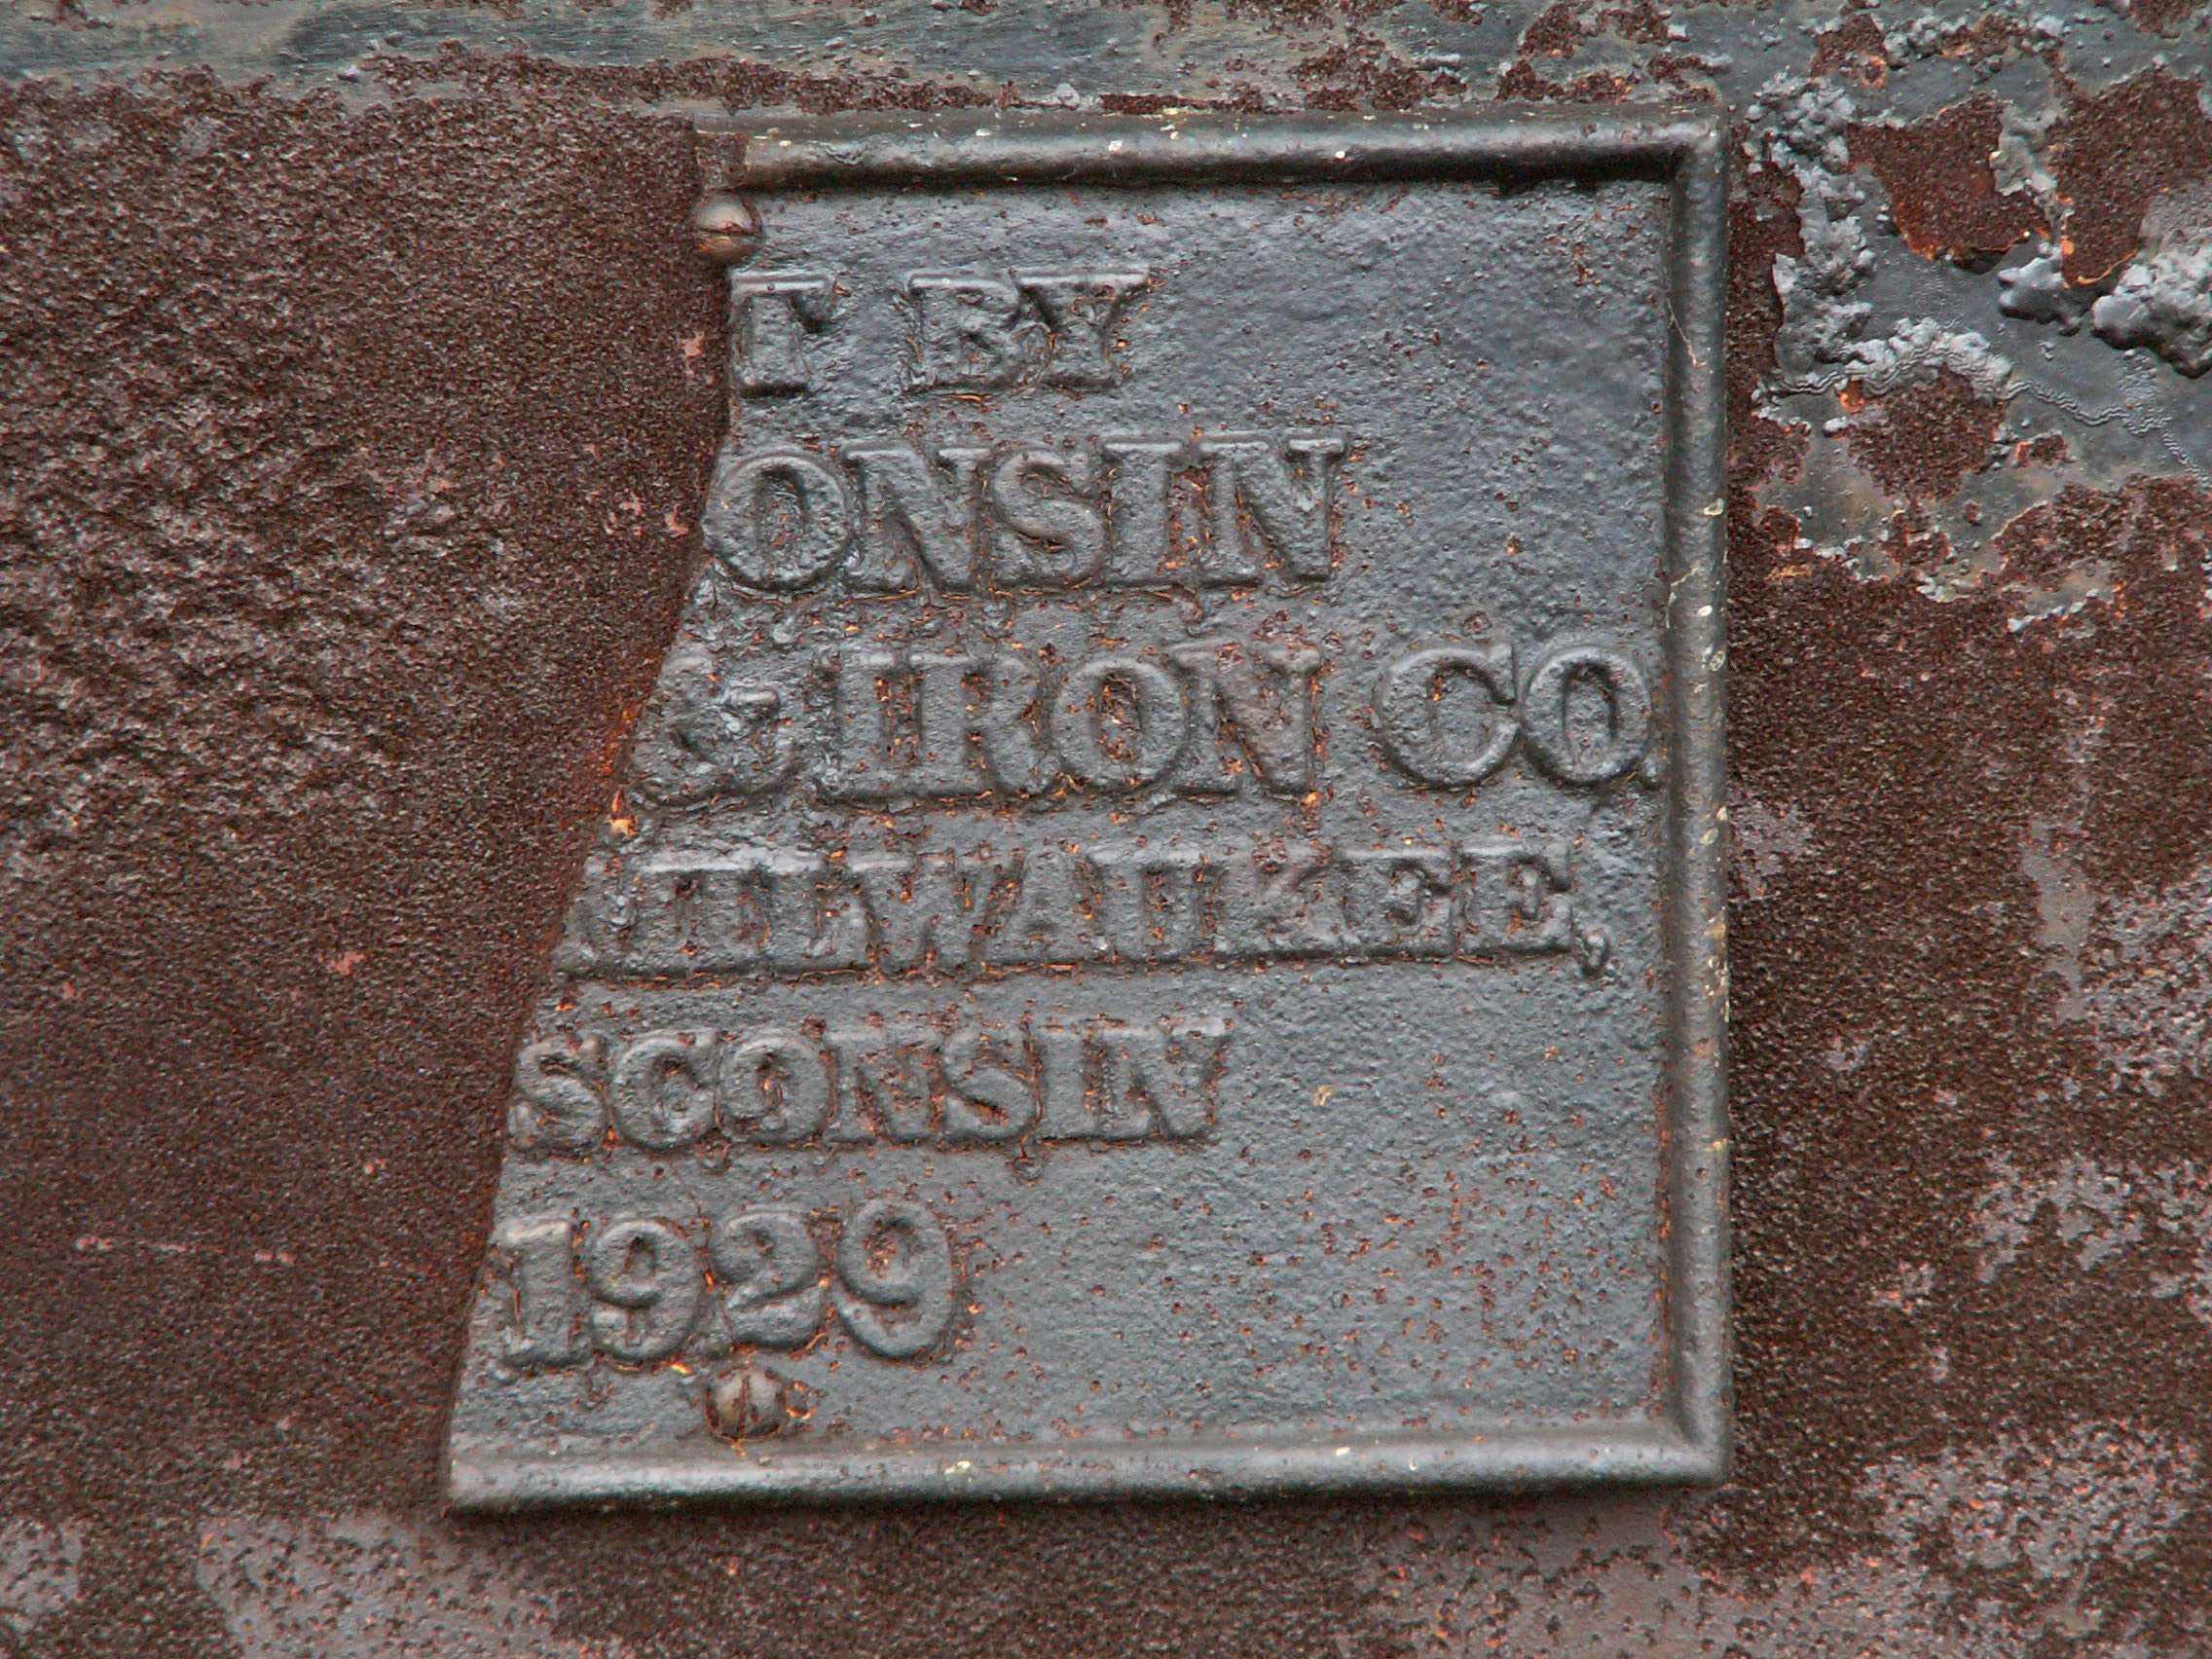
Plaque on main span.
![]()
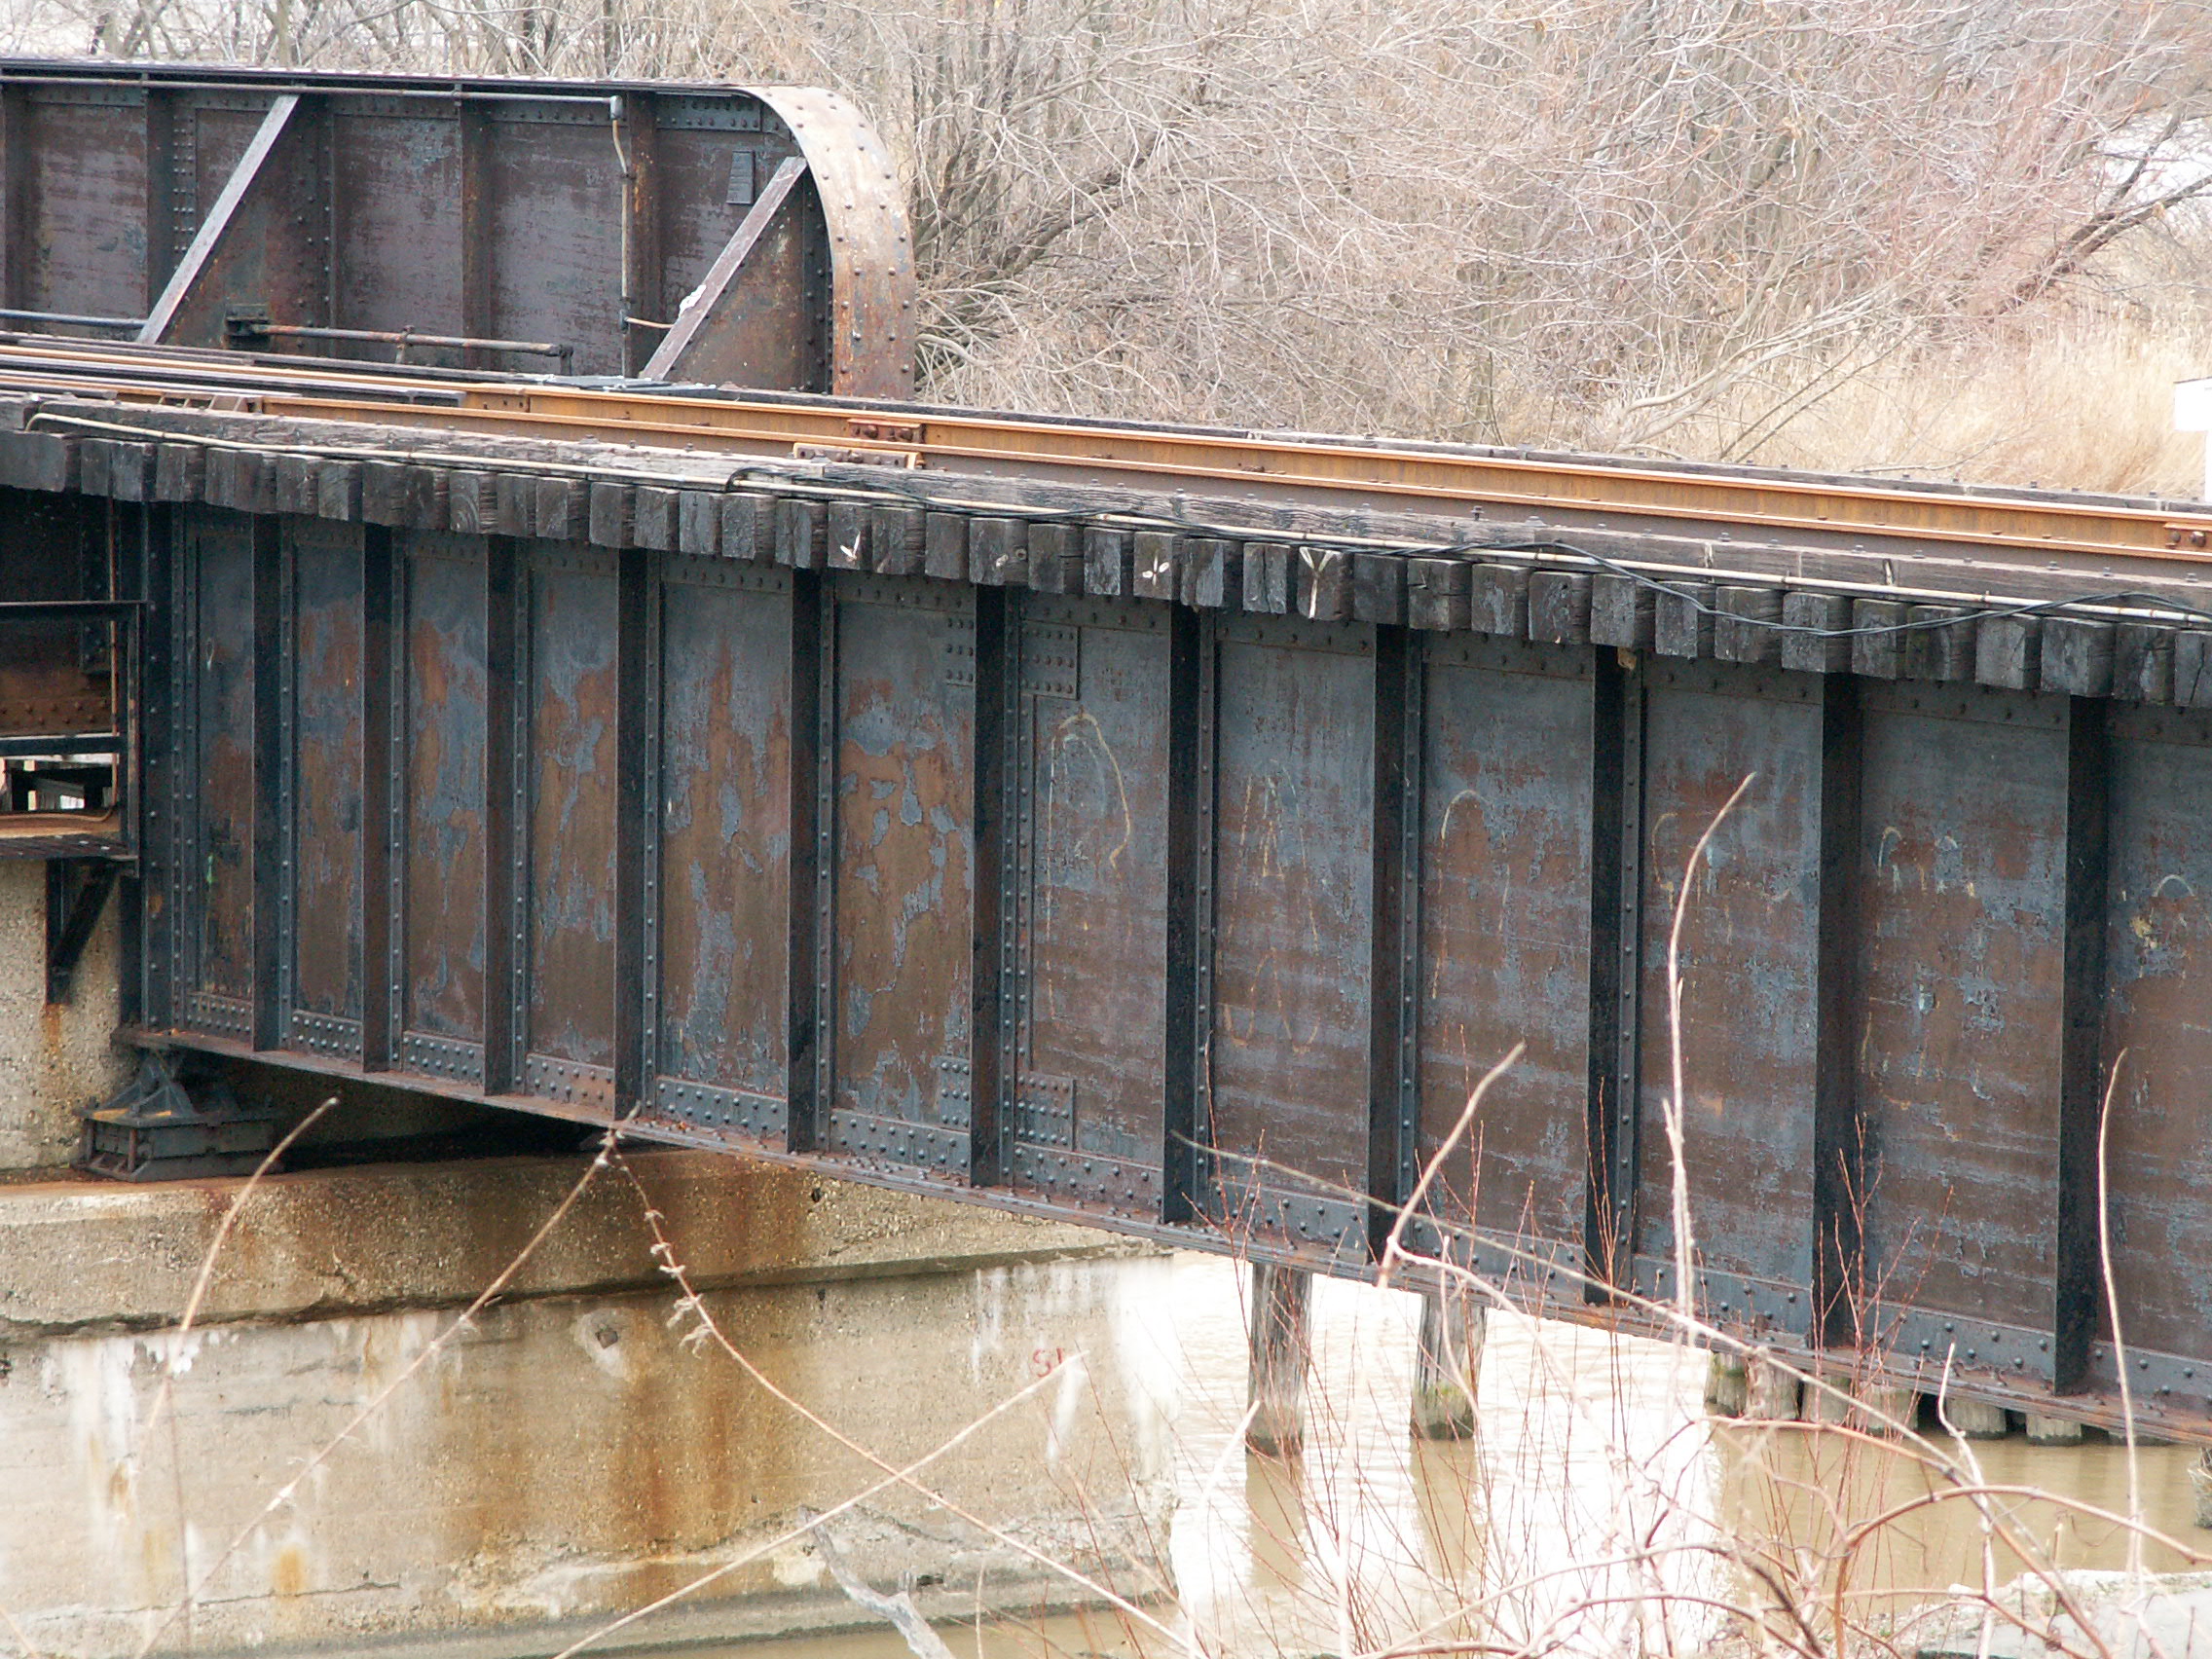

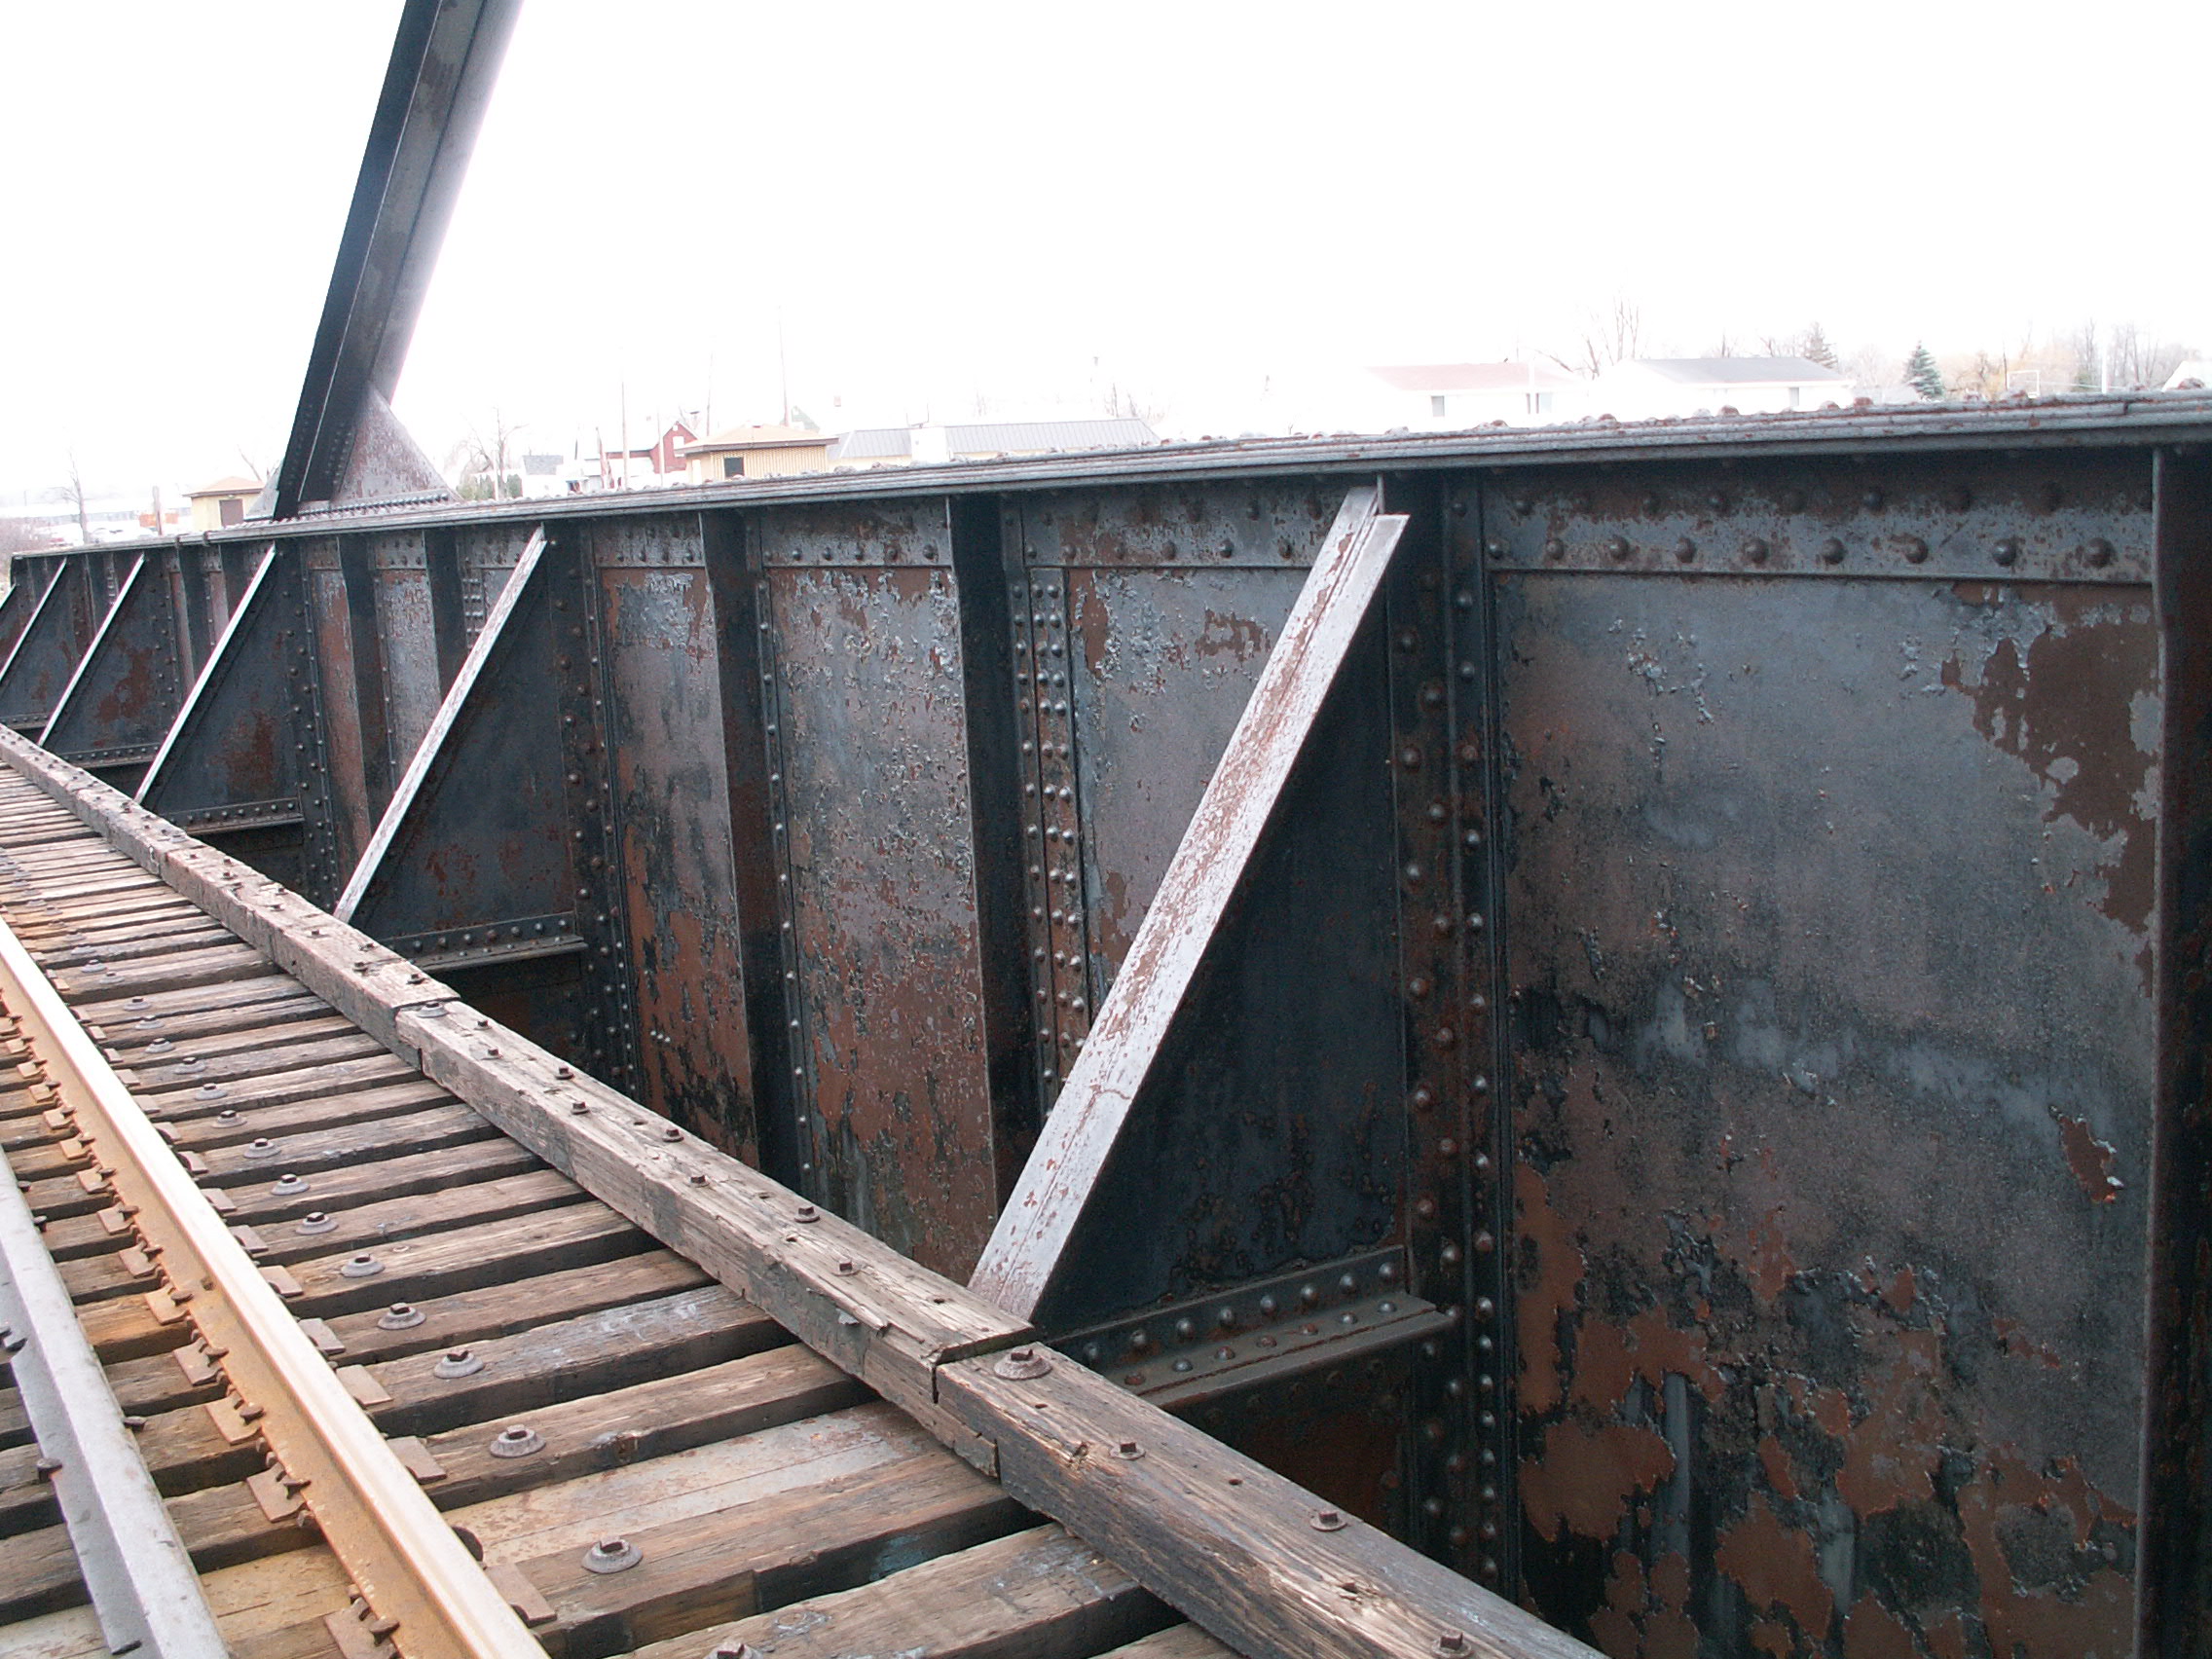
Southwest approach span.
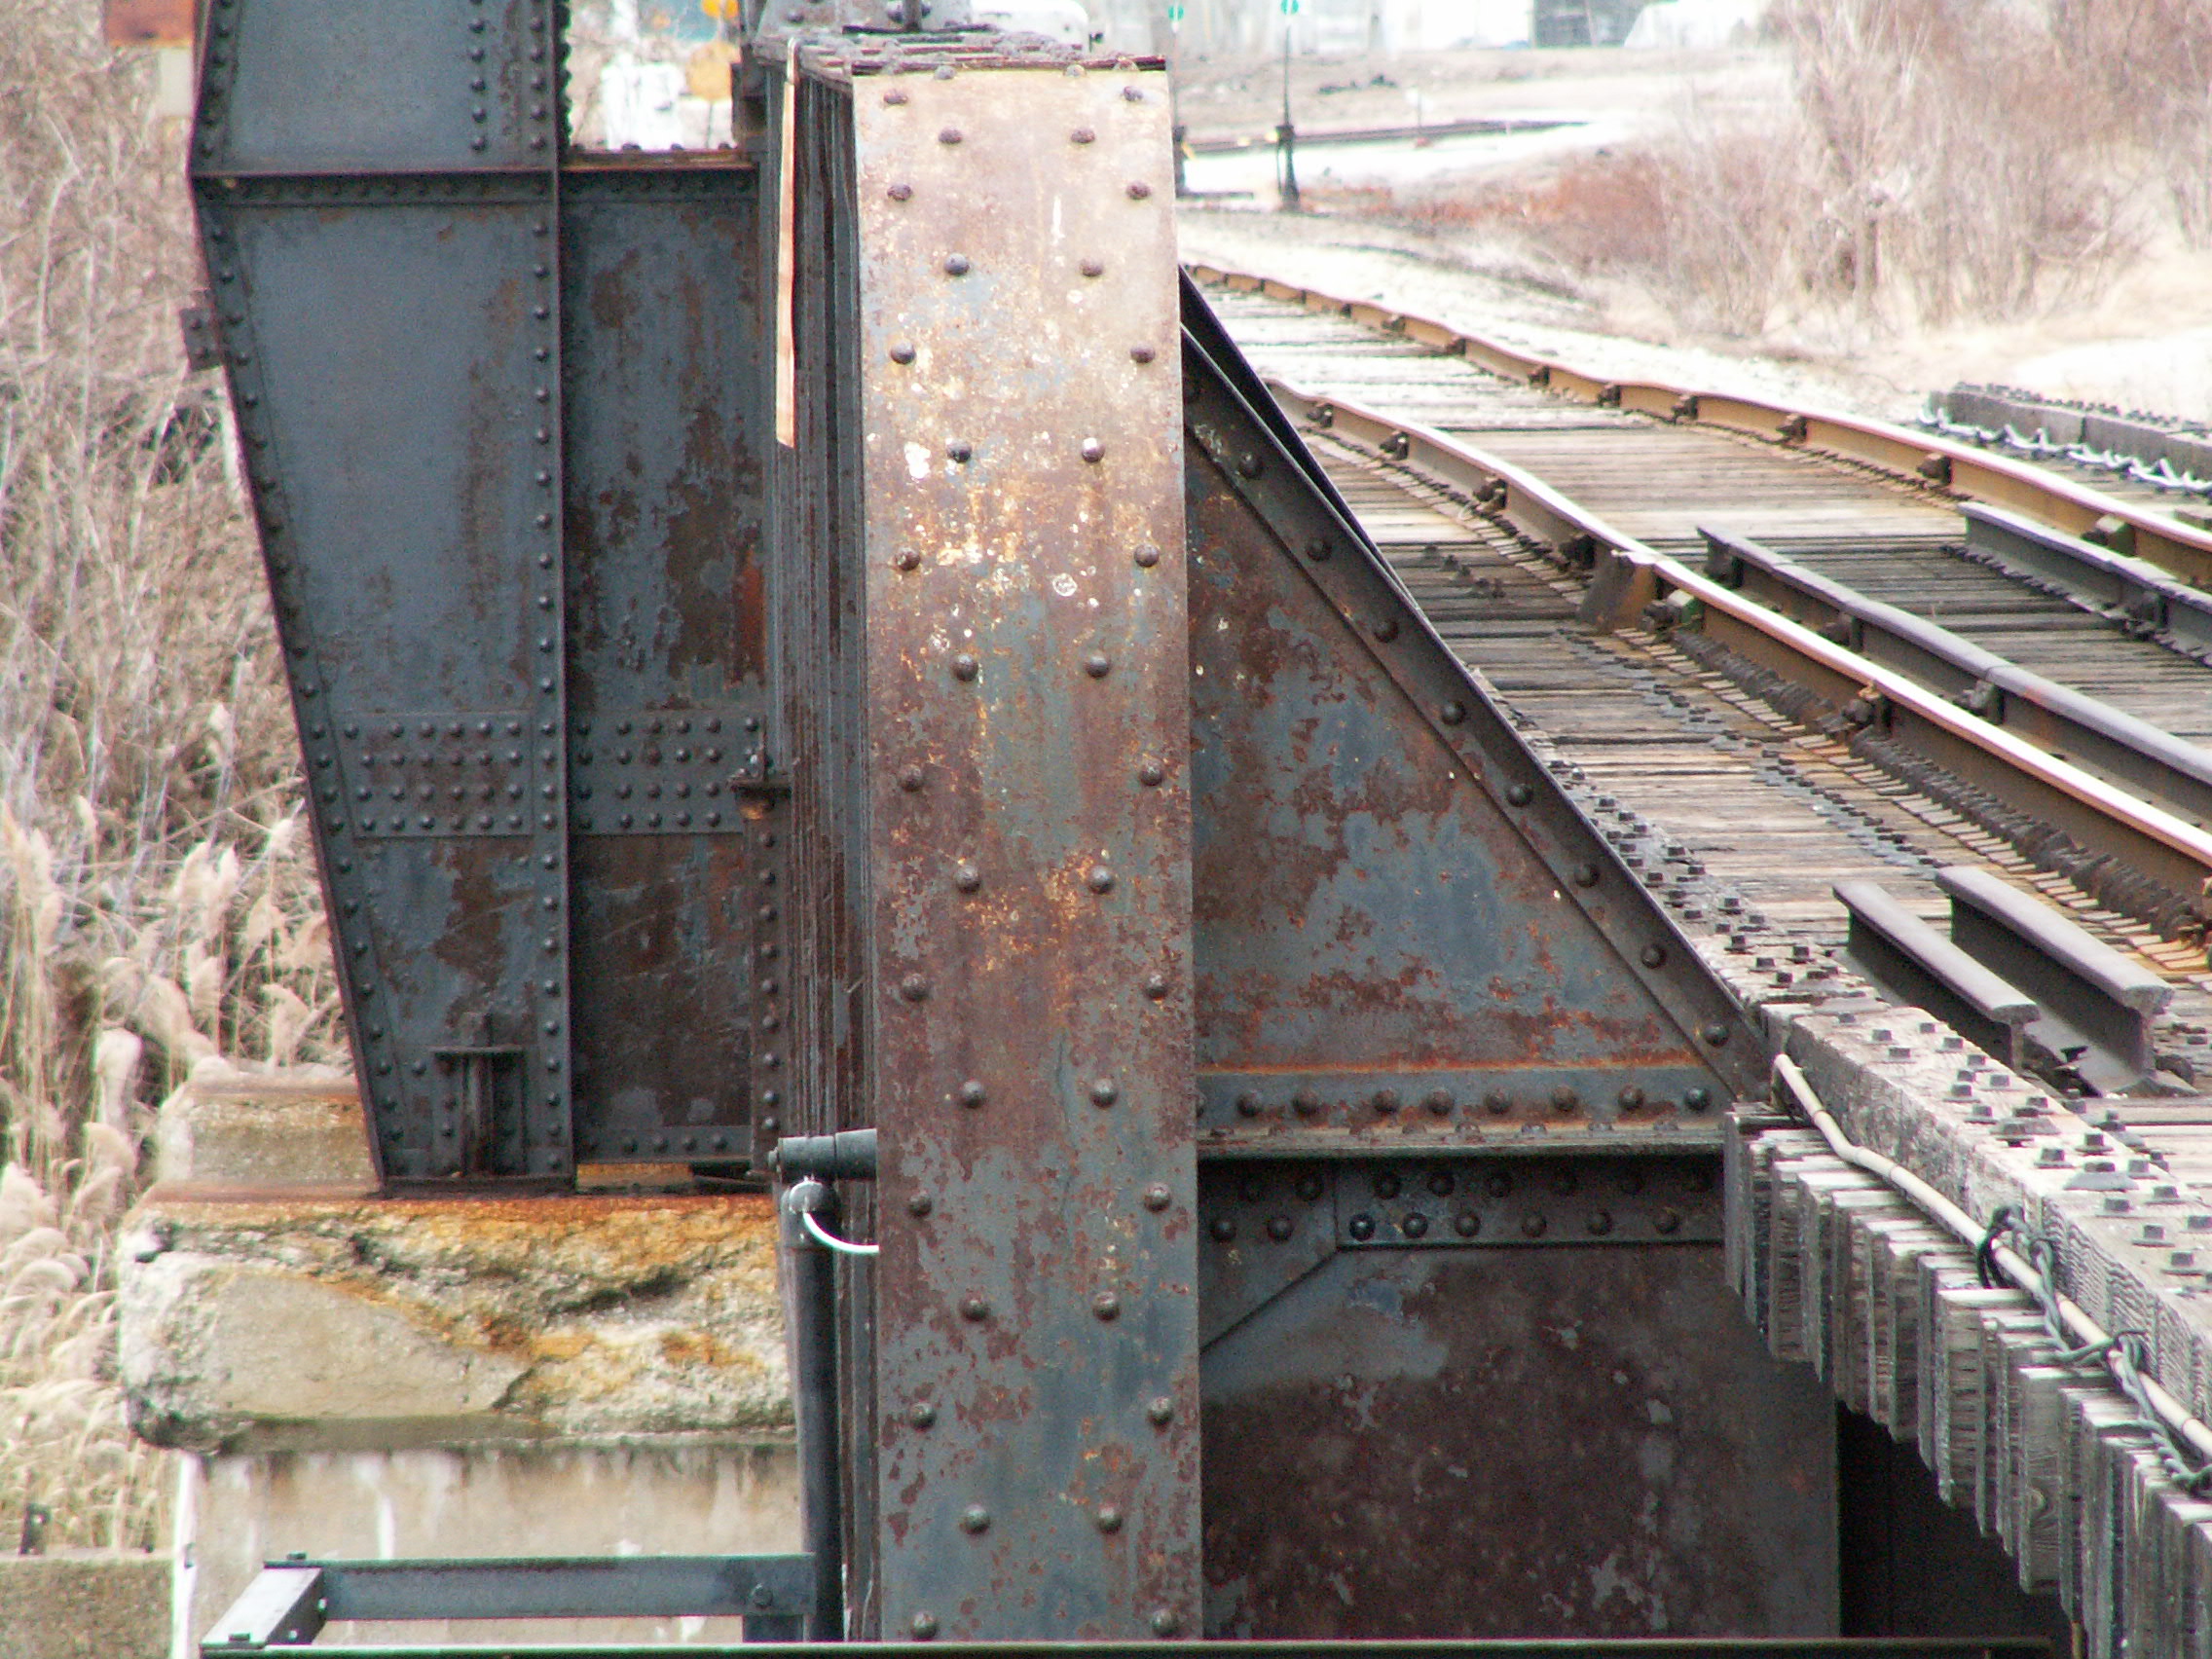
![]()

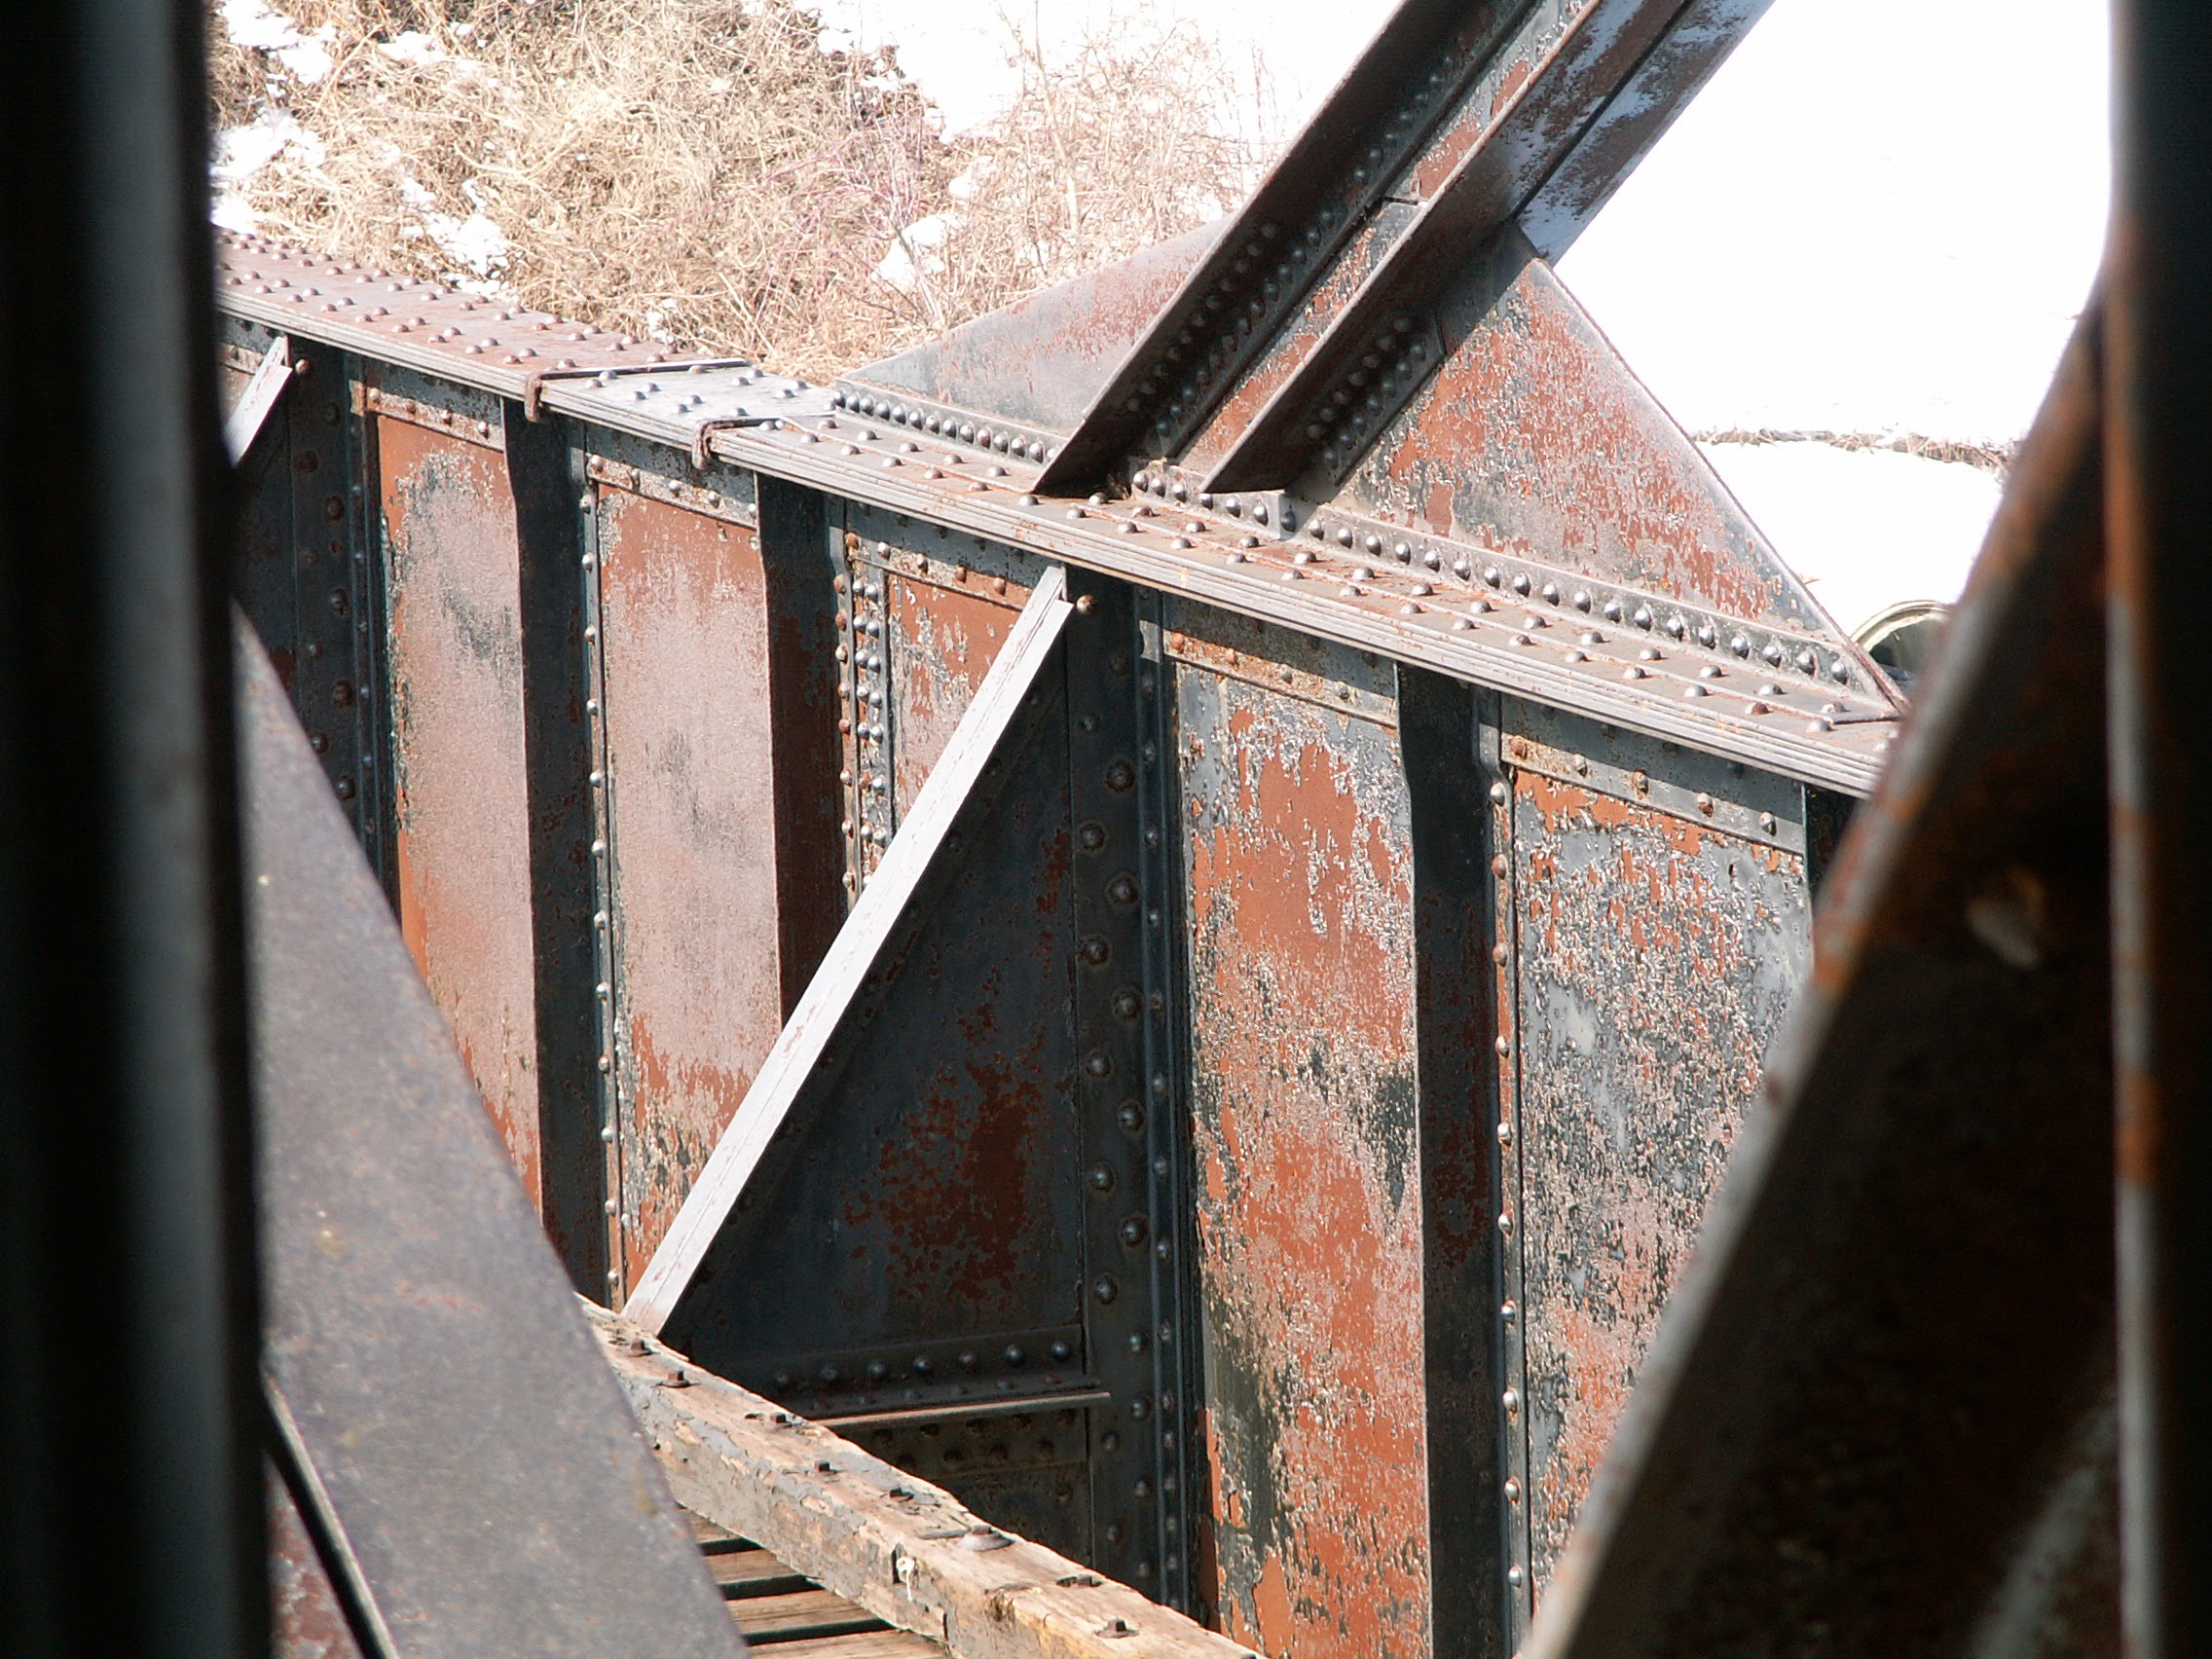
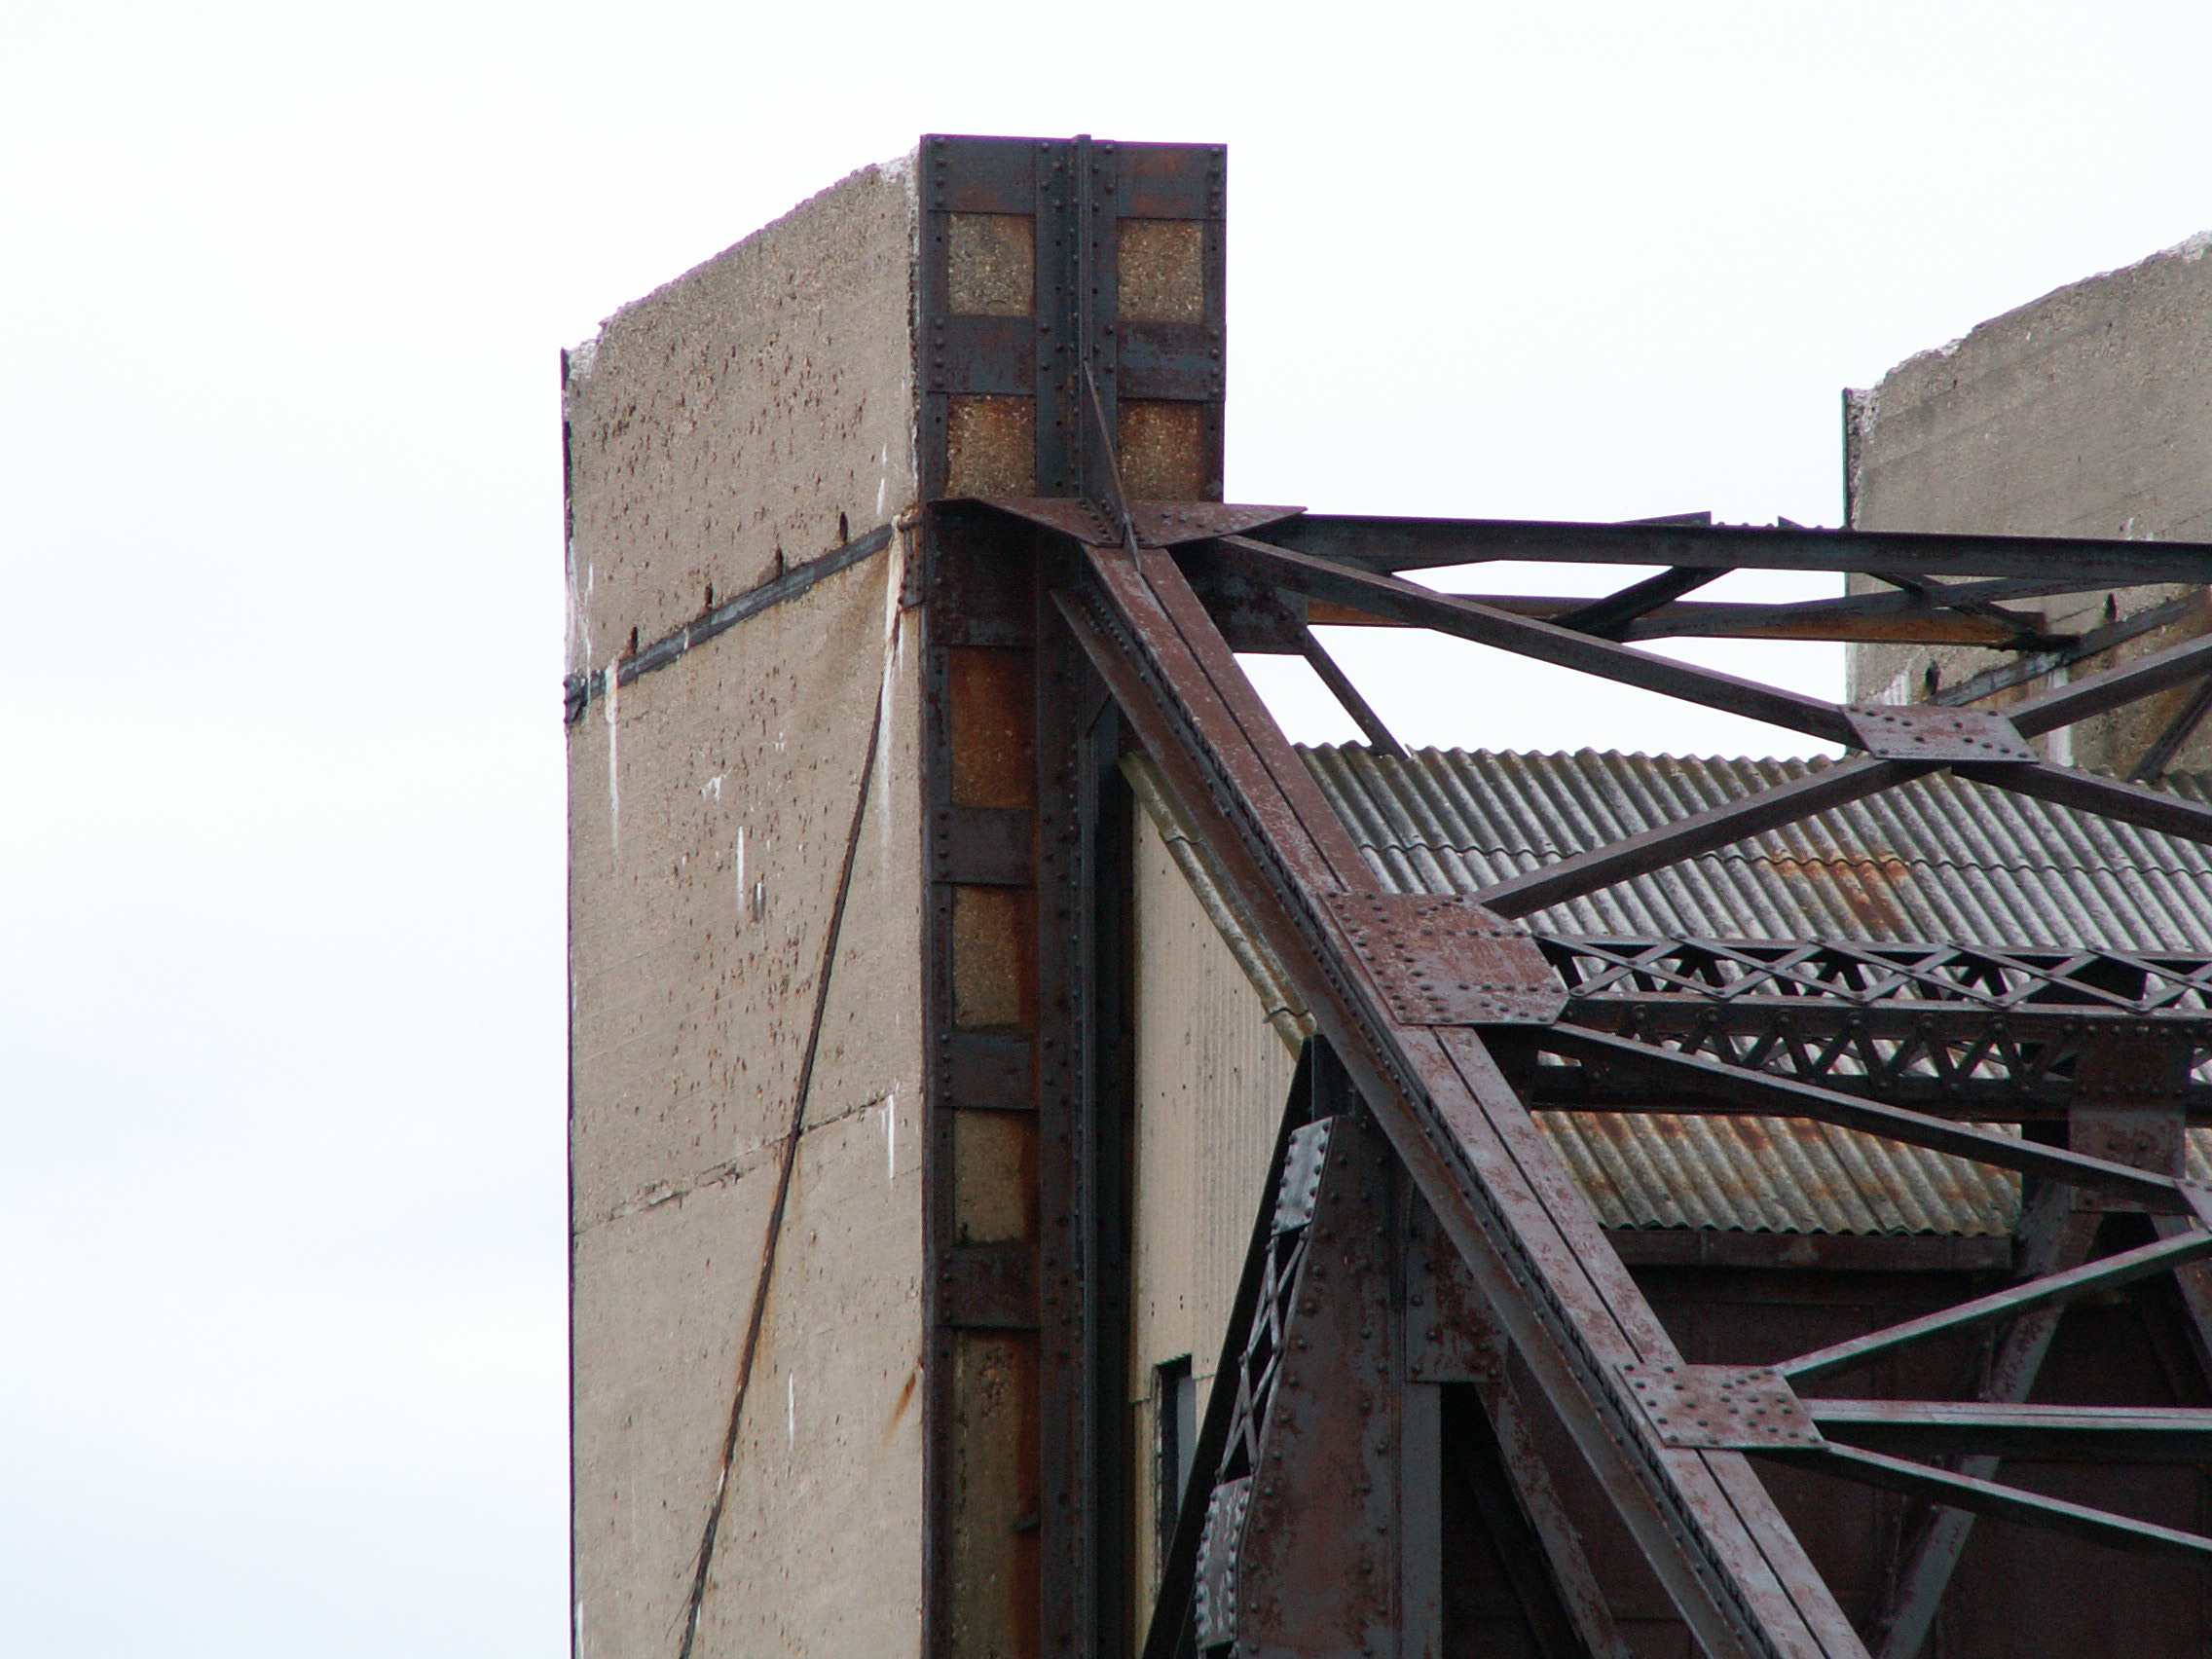
Abutment.
![]()

Counterweight link details.
![]()


Counterweight link bracing connections.
![]()


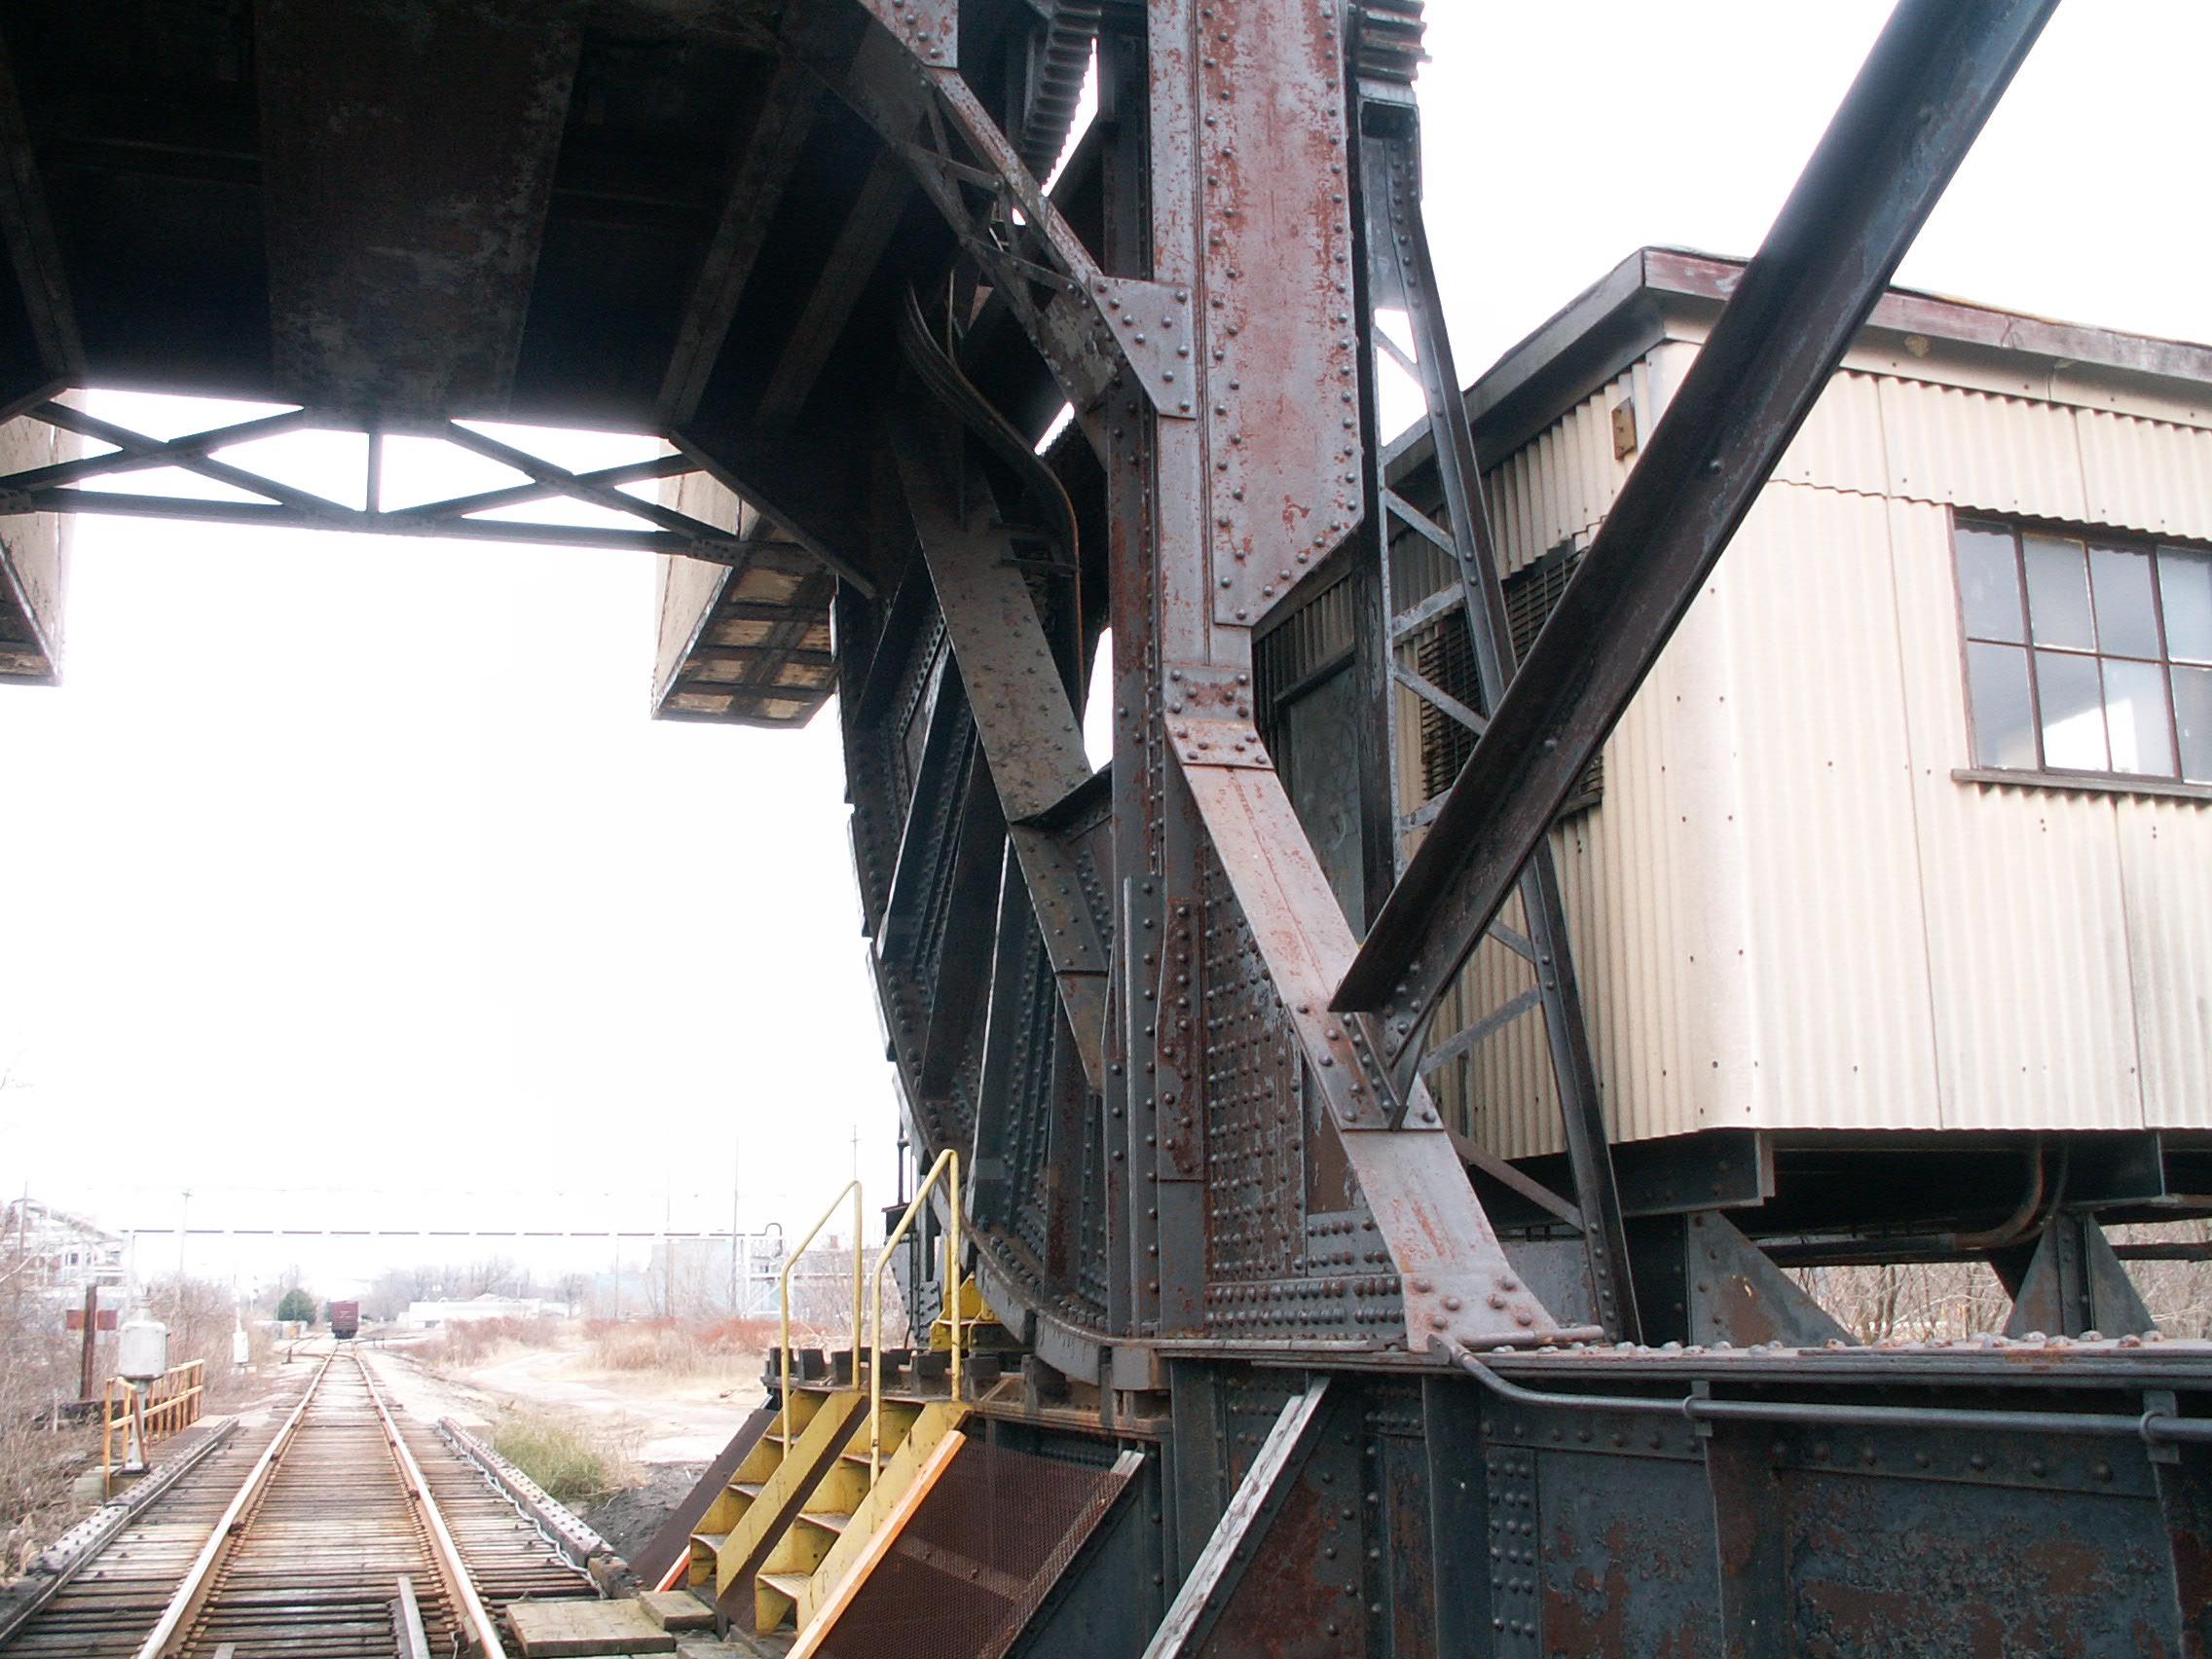
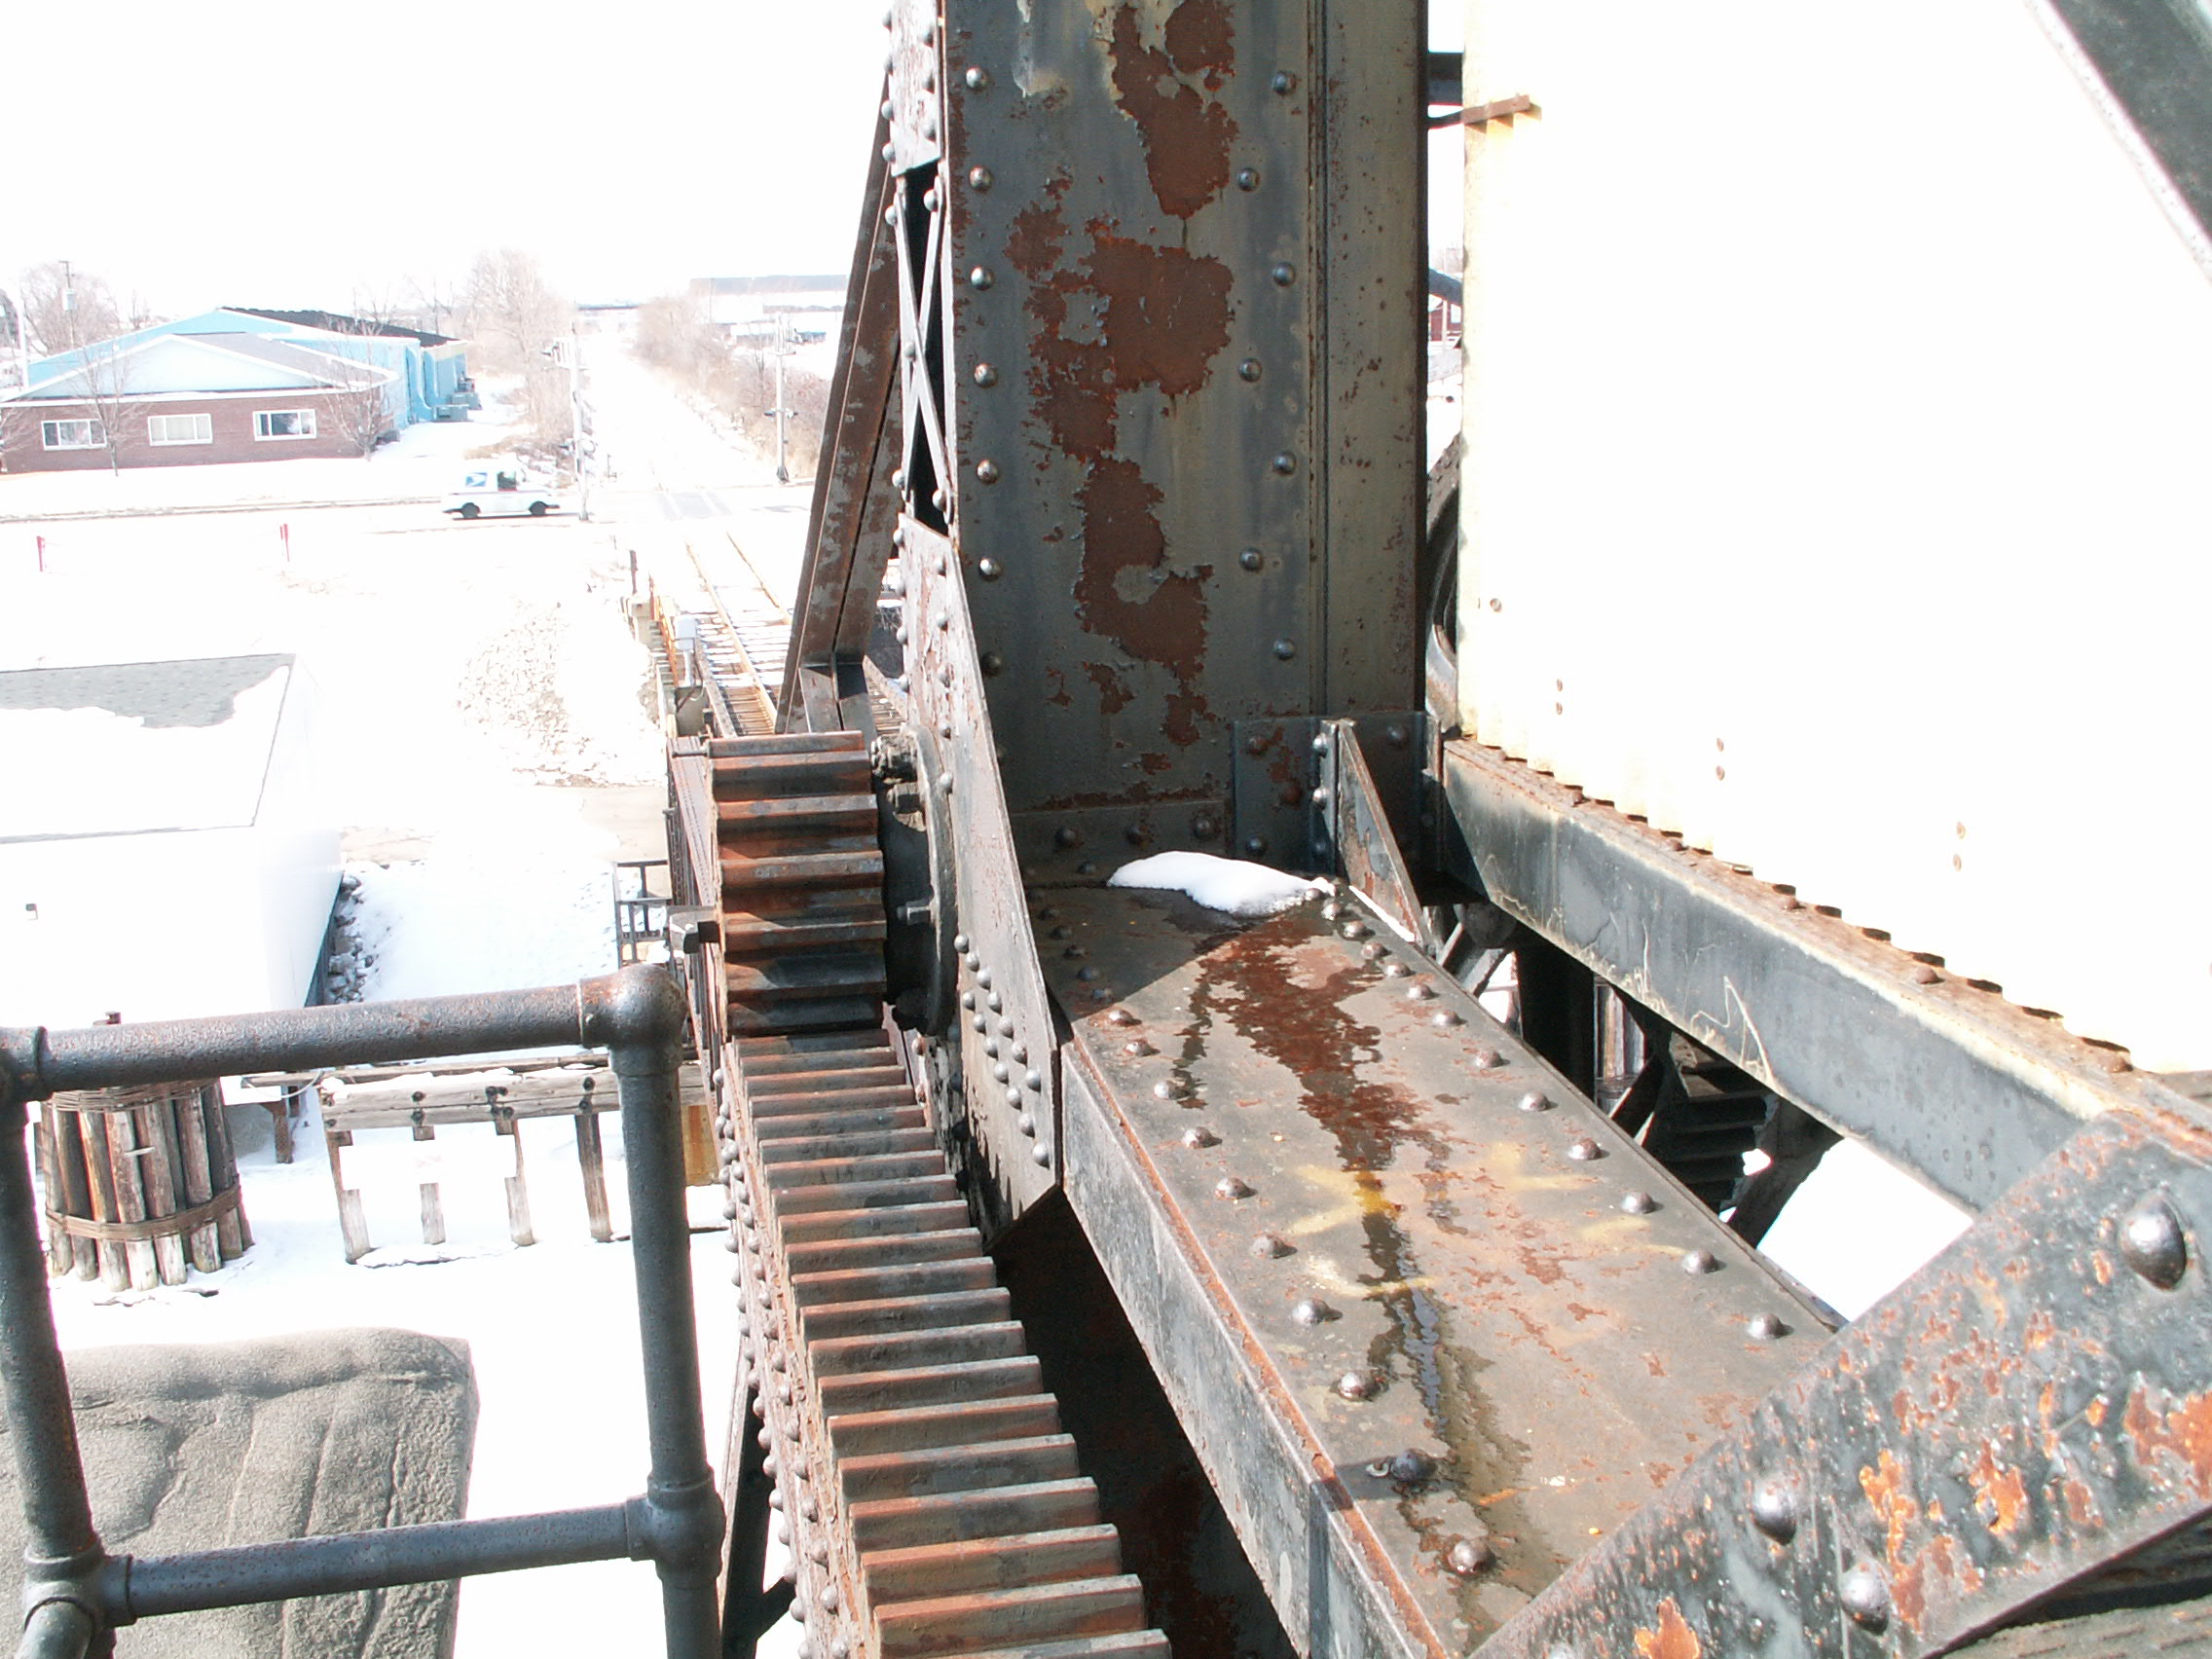
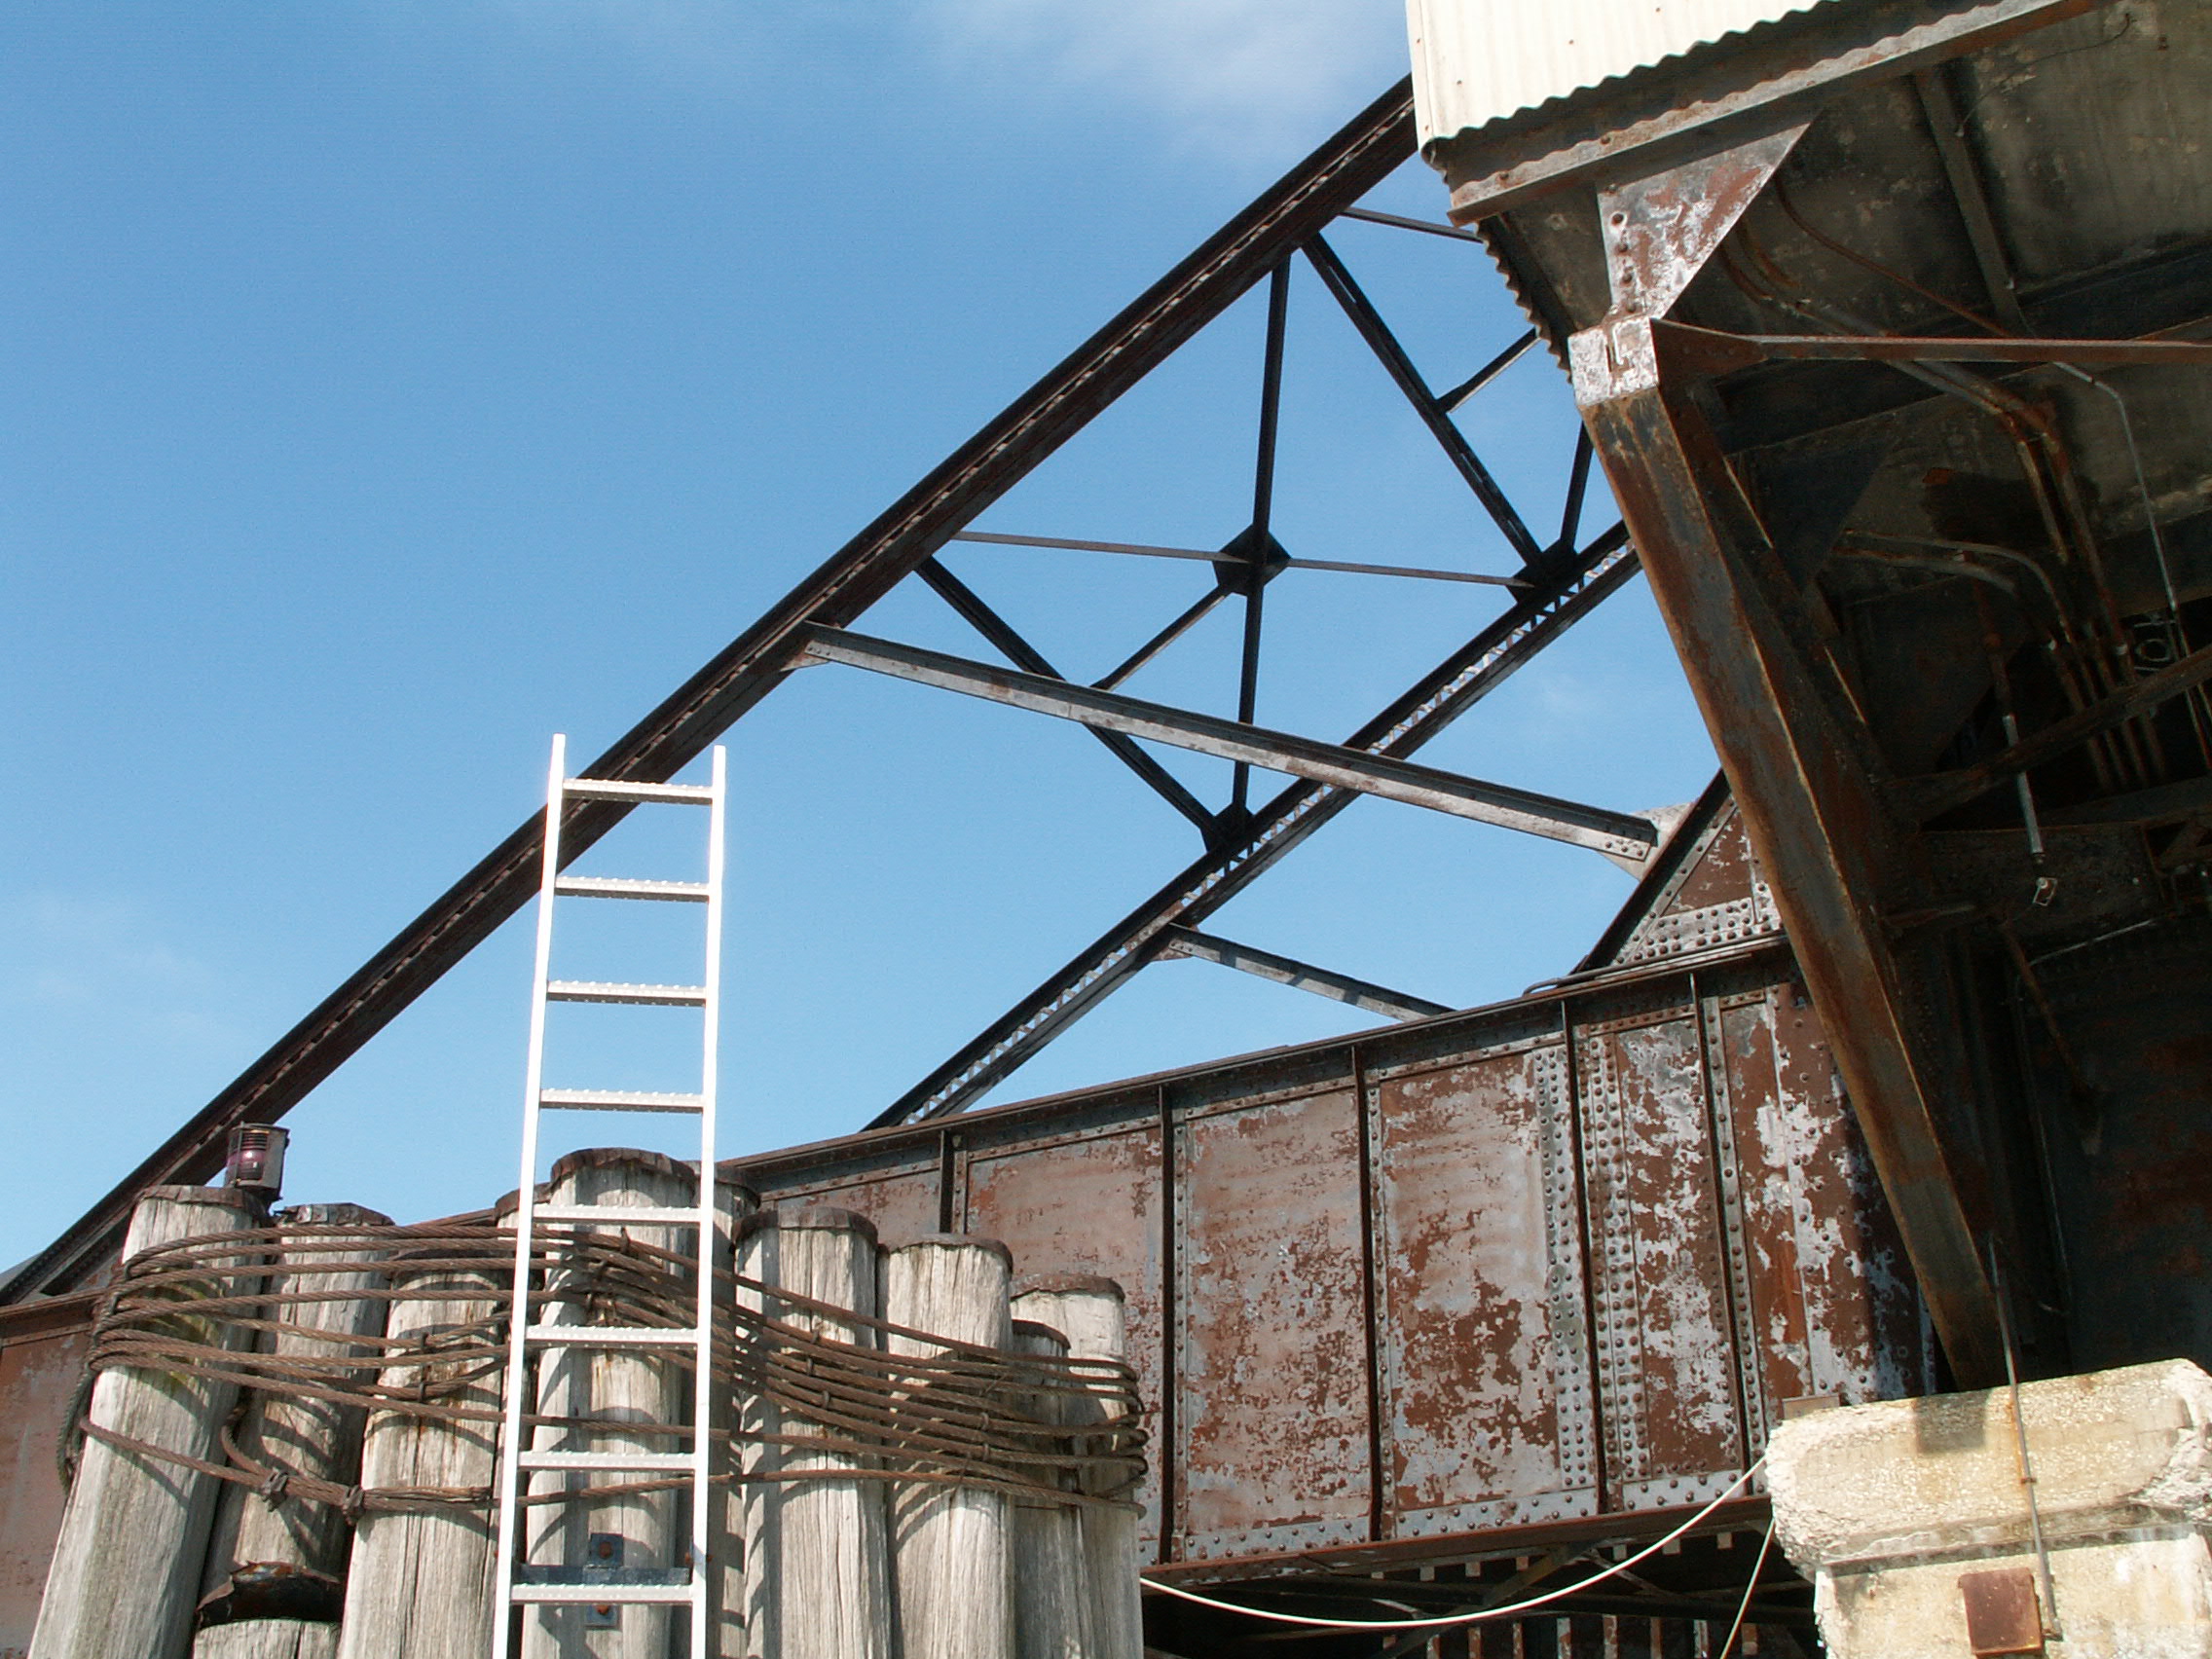
Outrigger supports for rack.
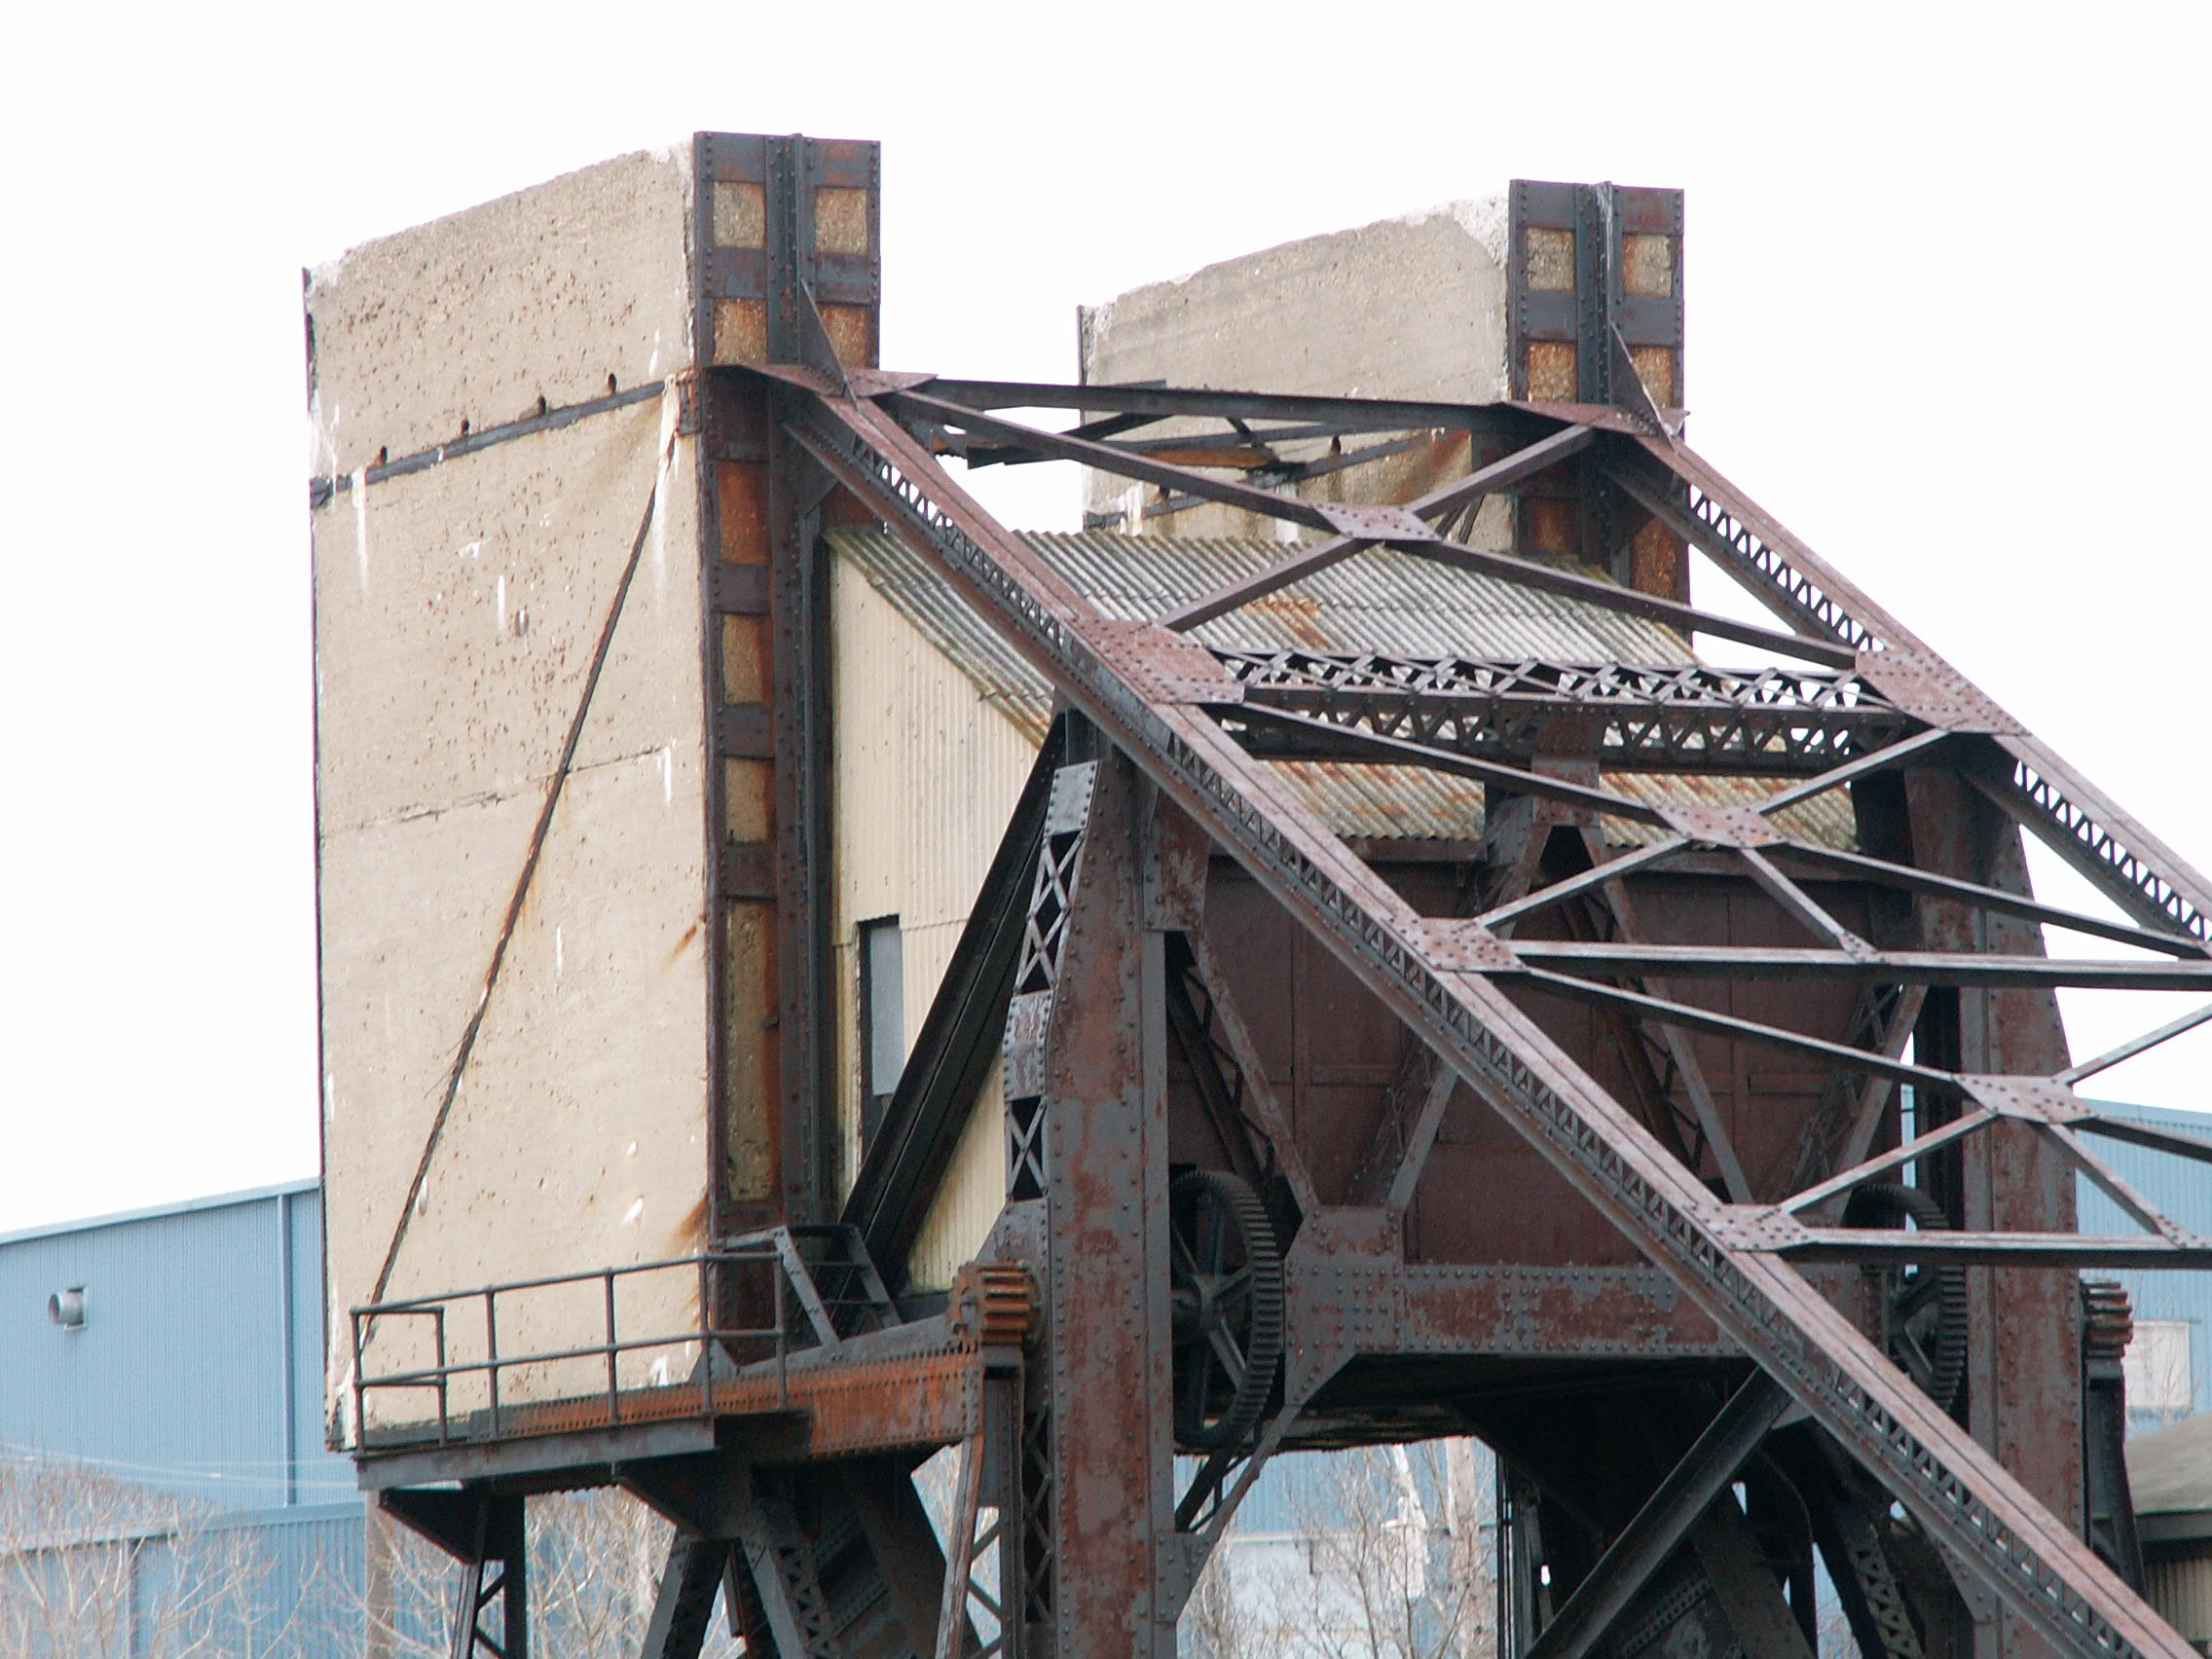
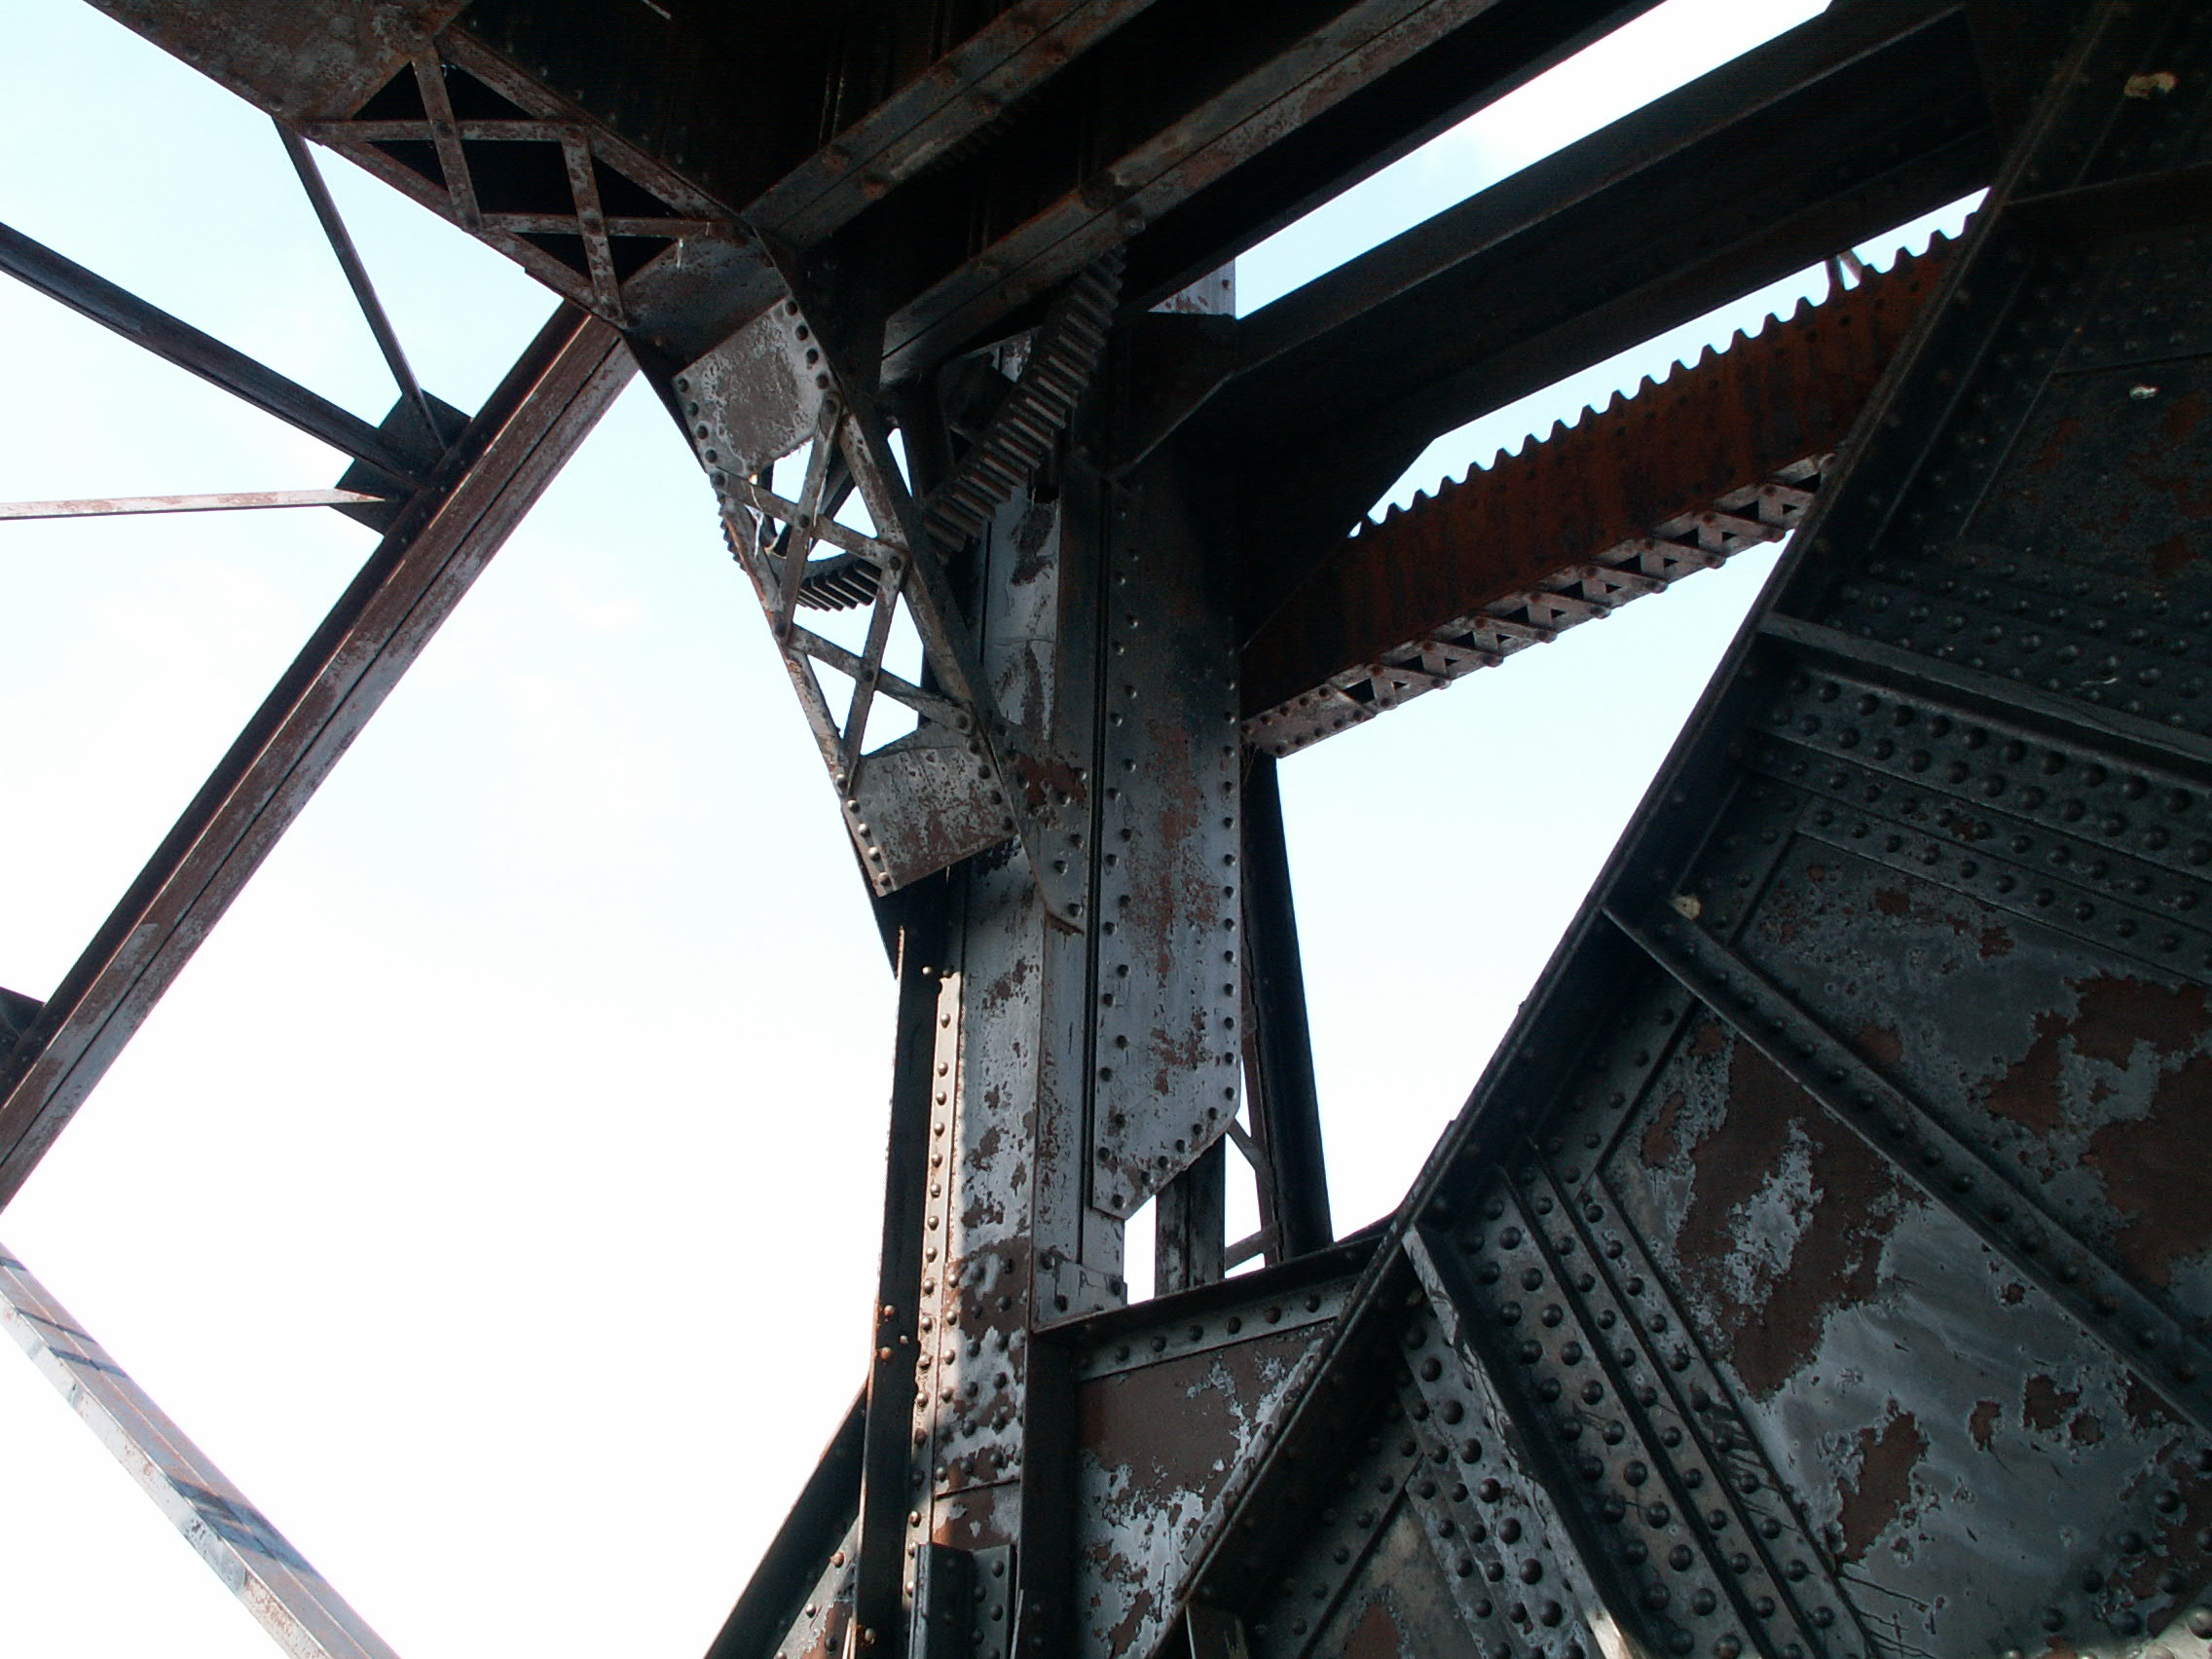
![]()
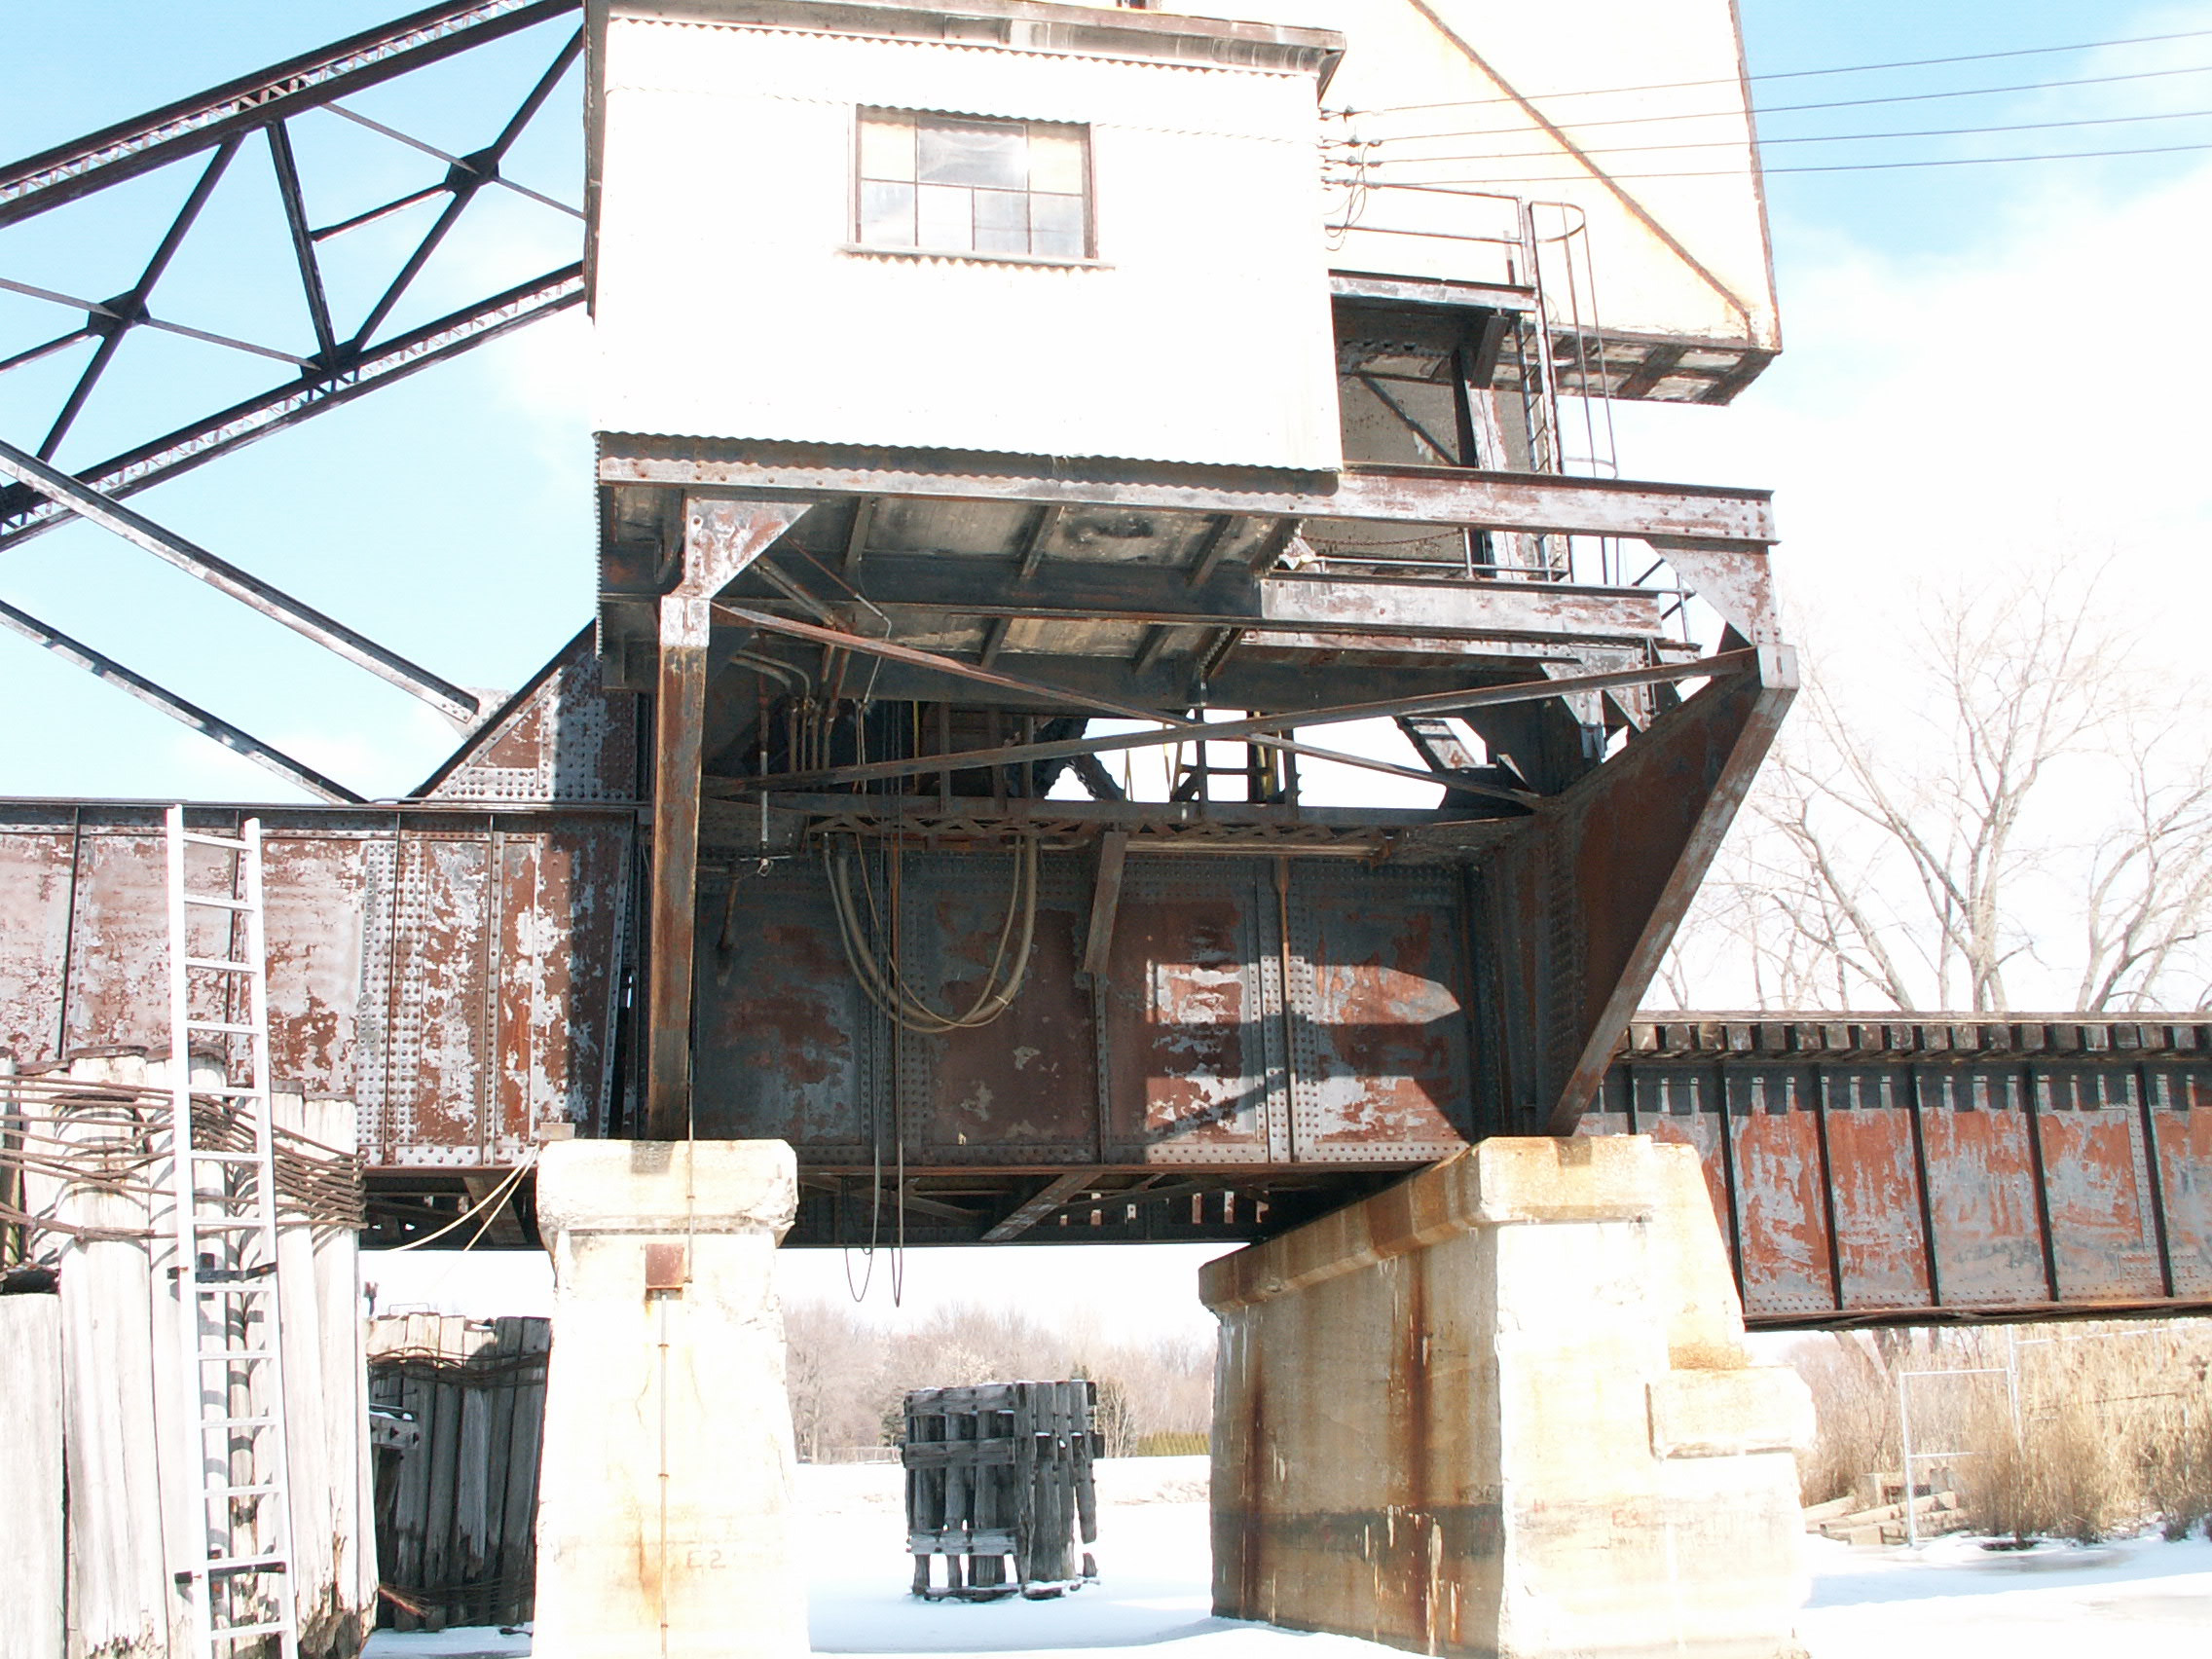


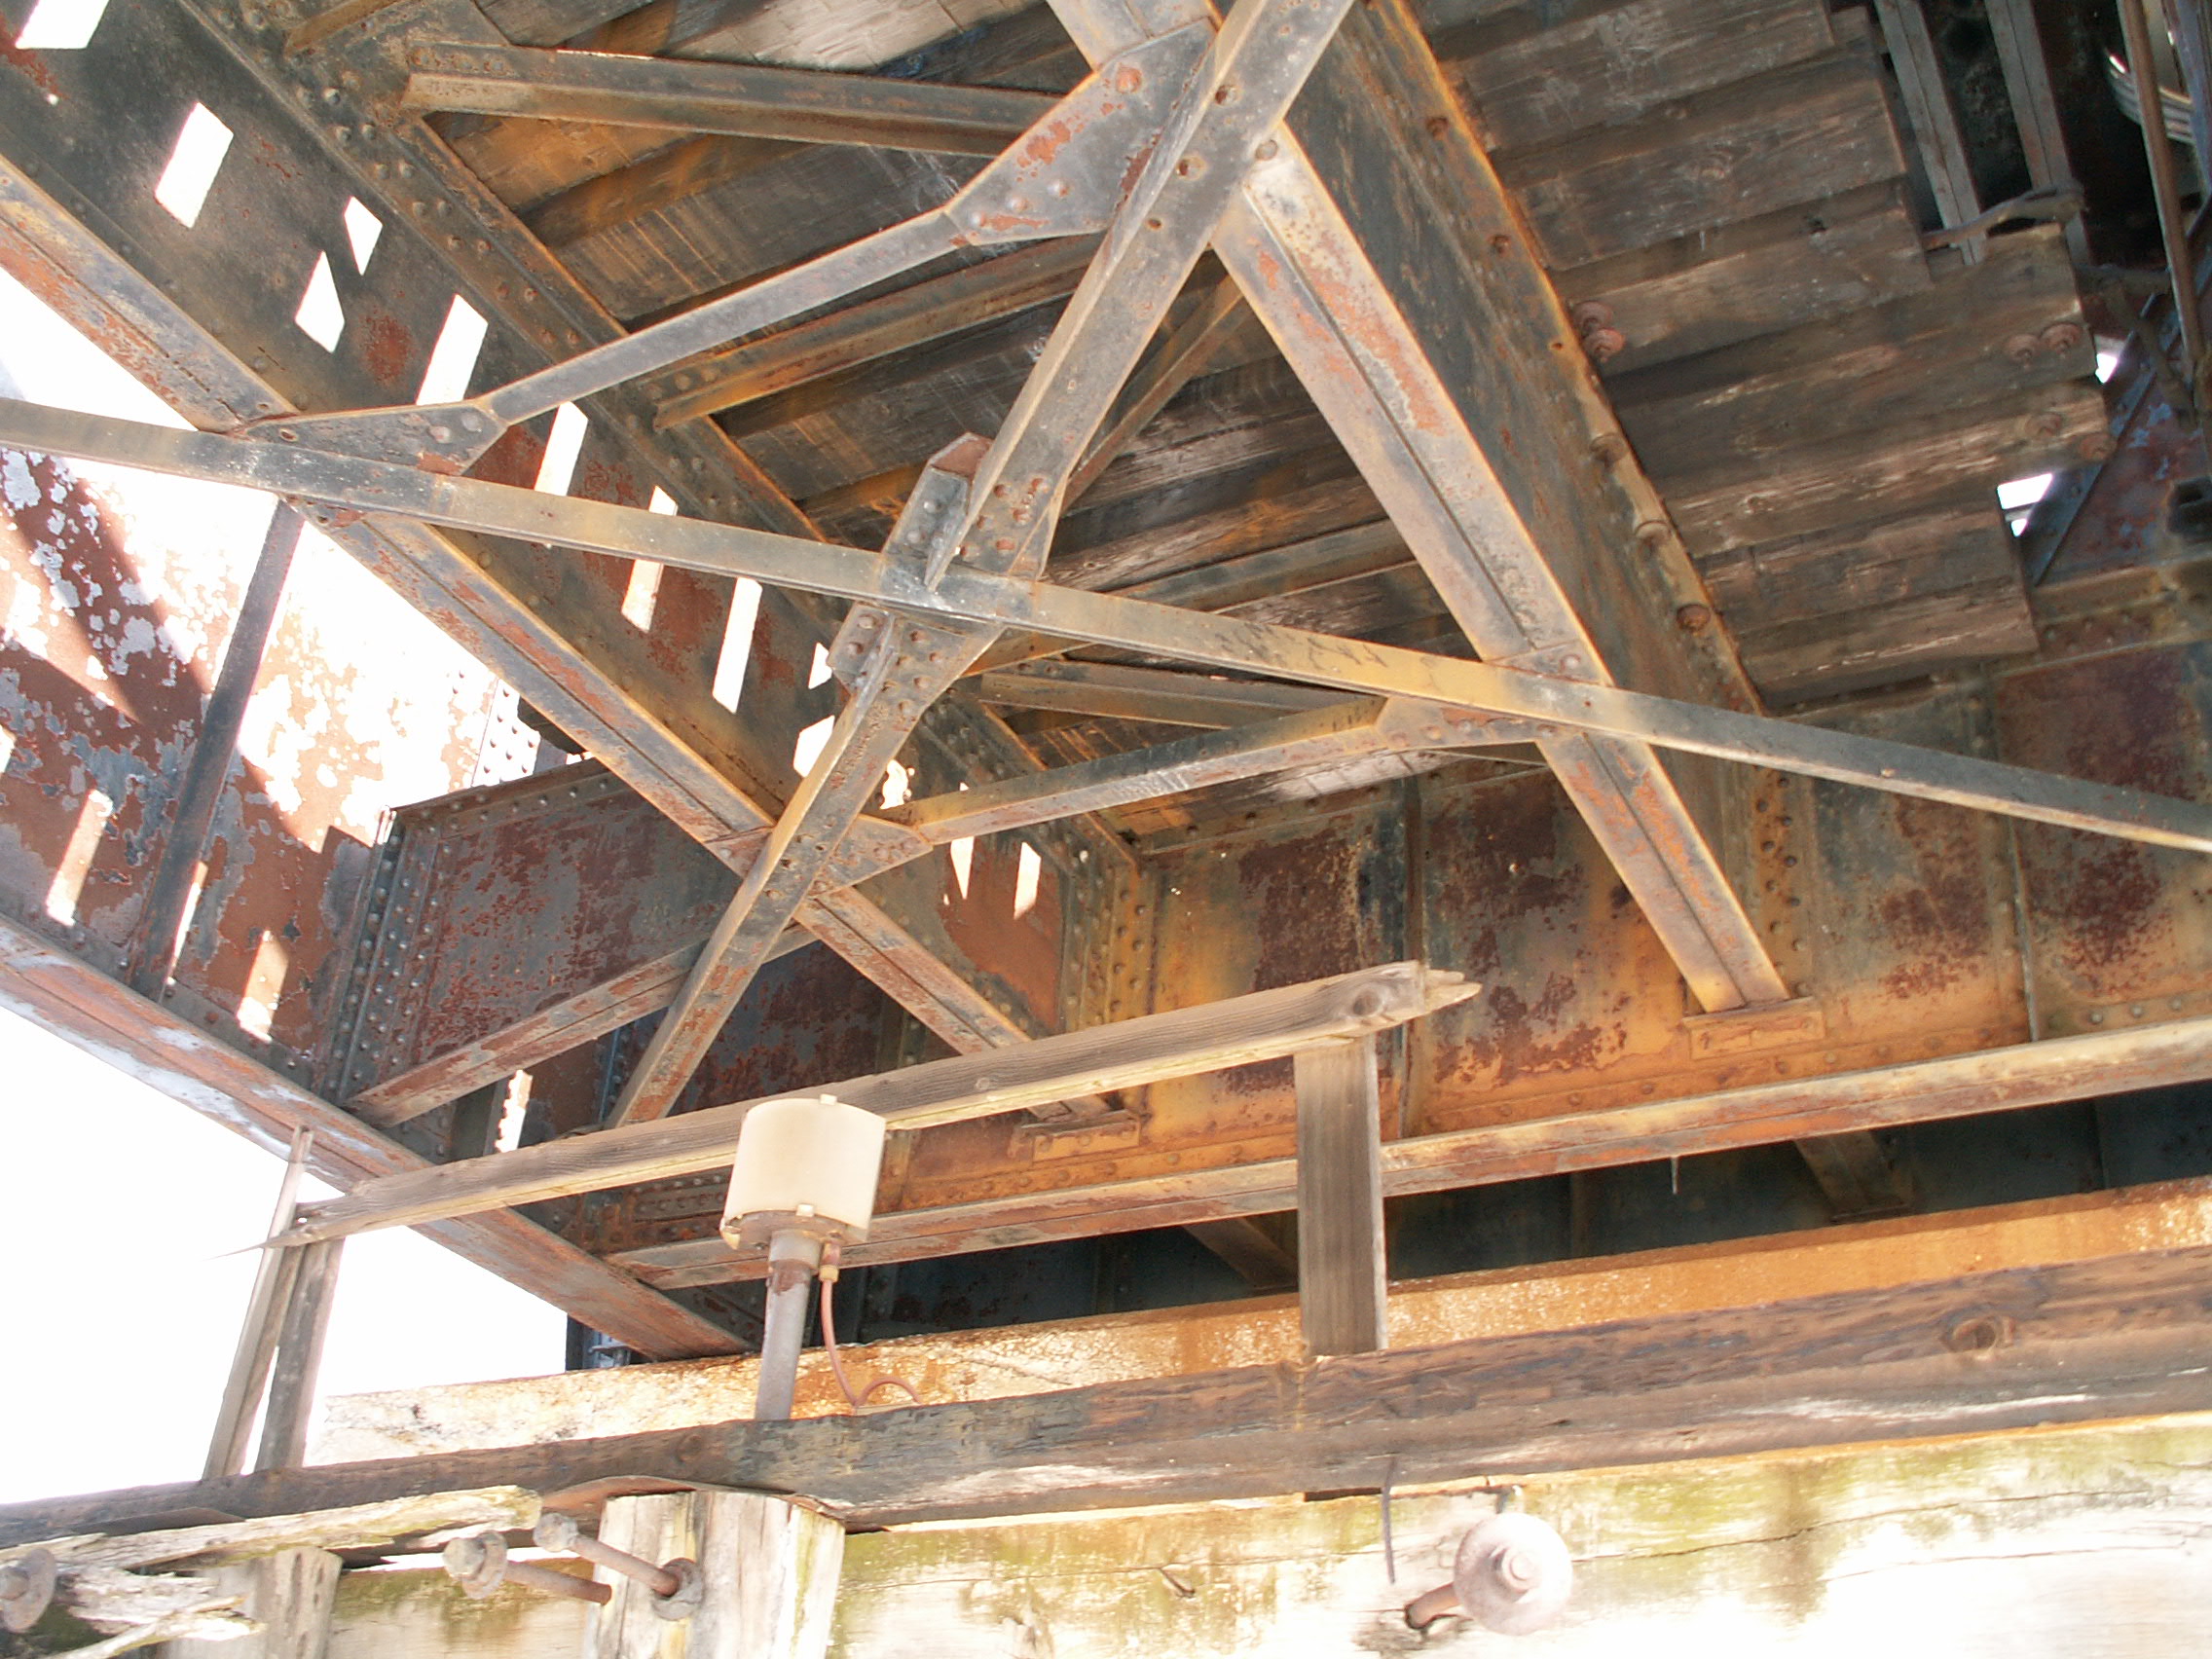
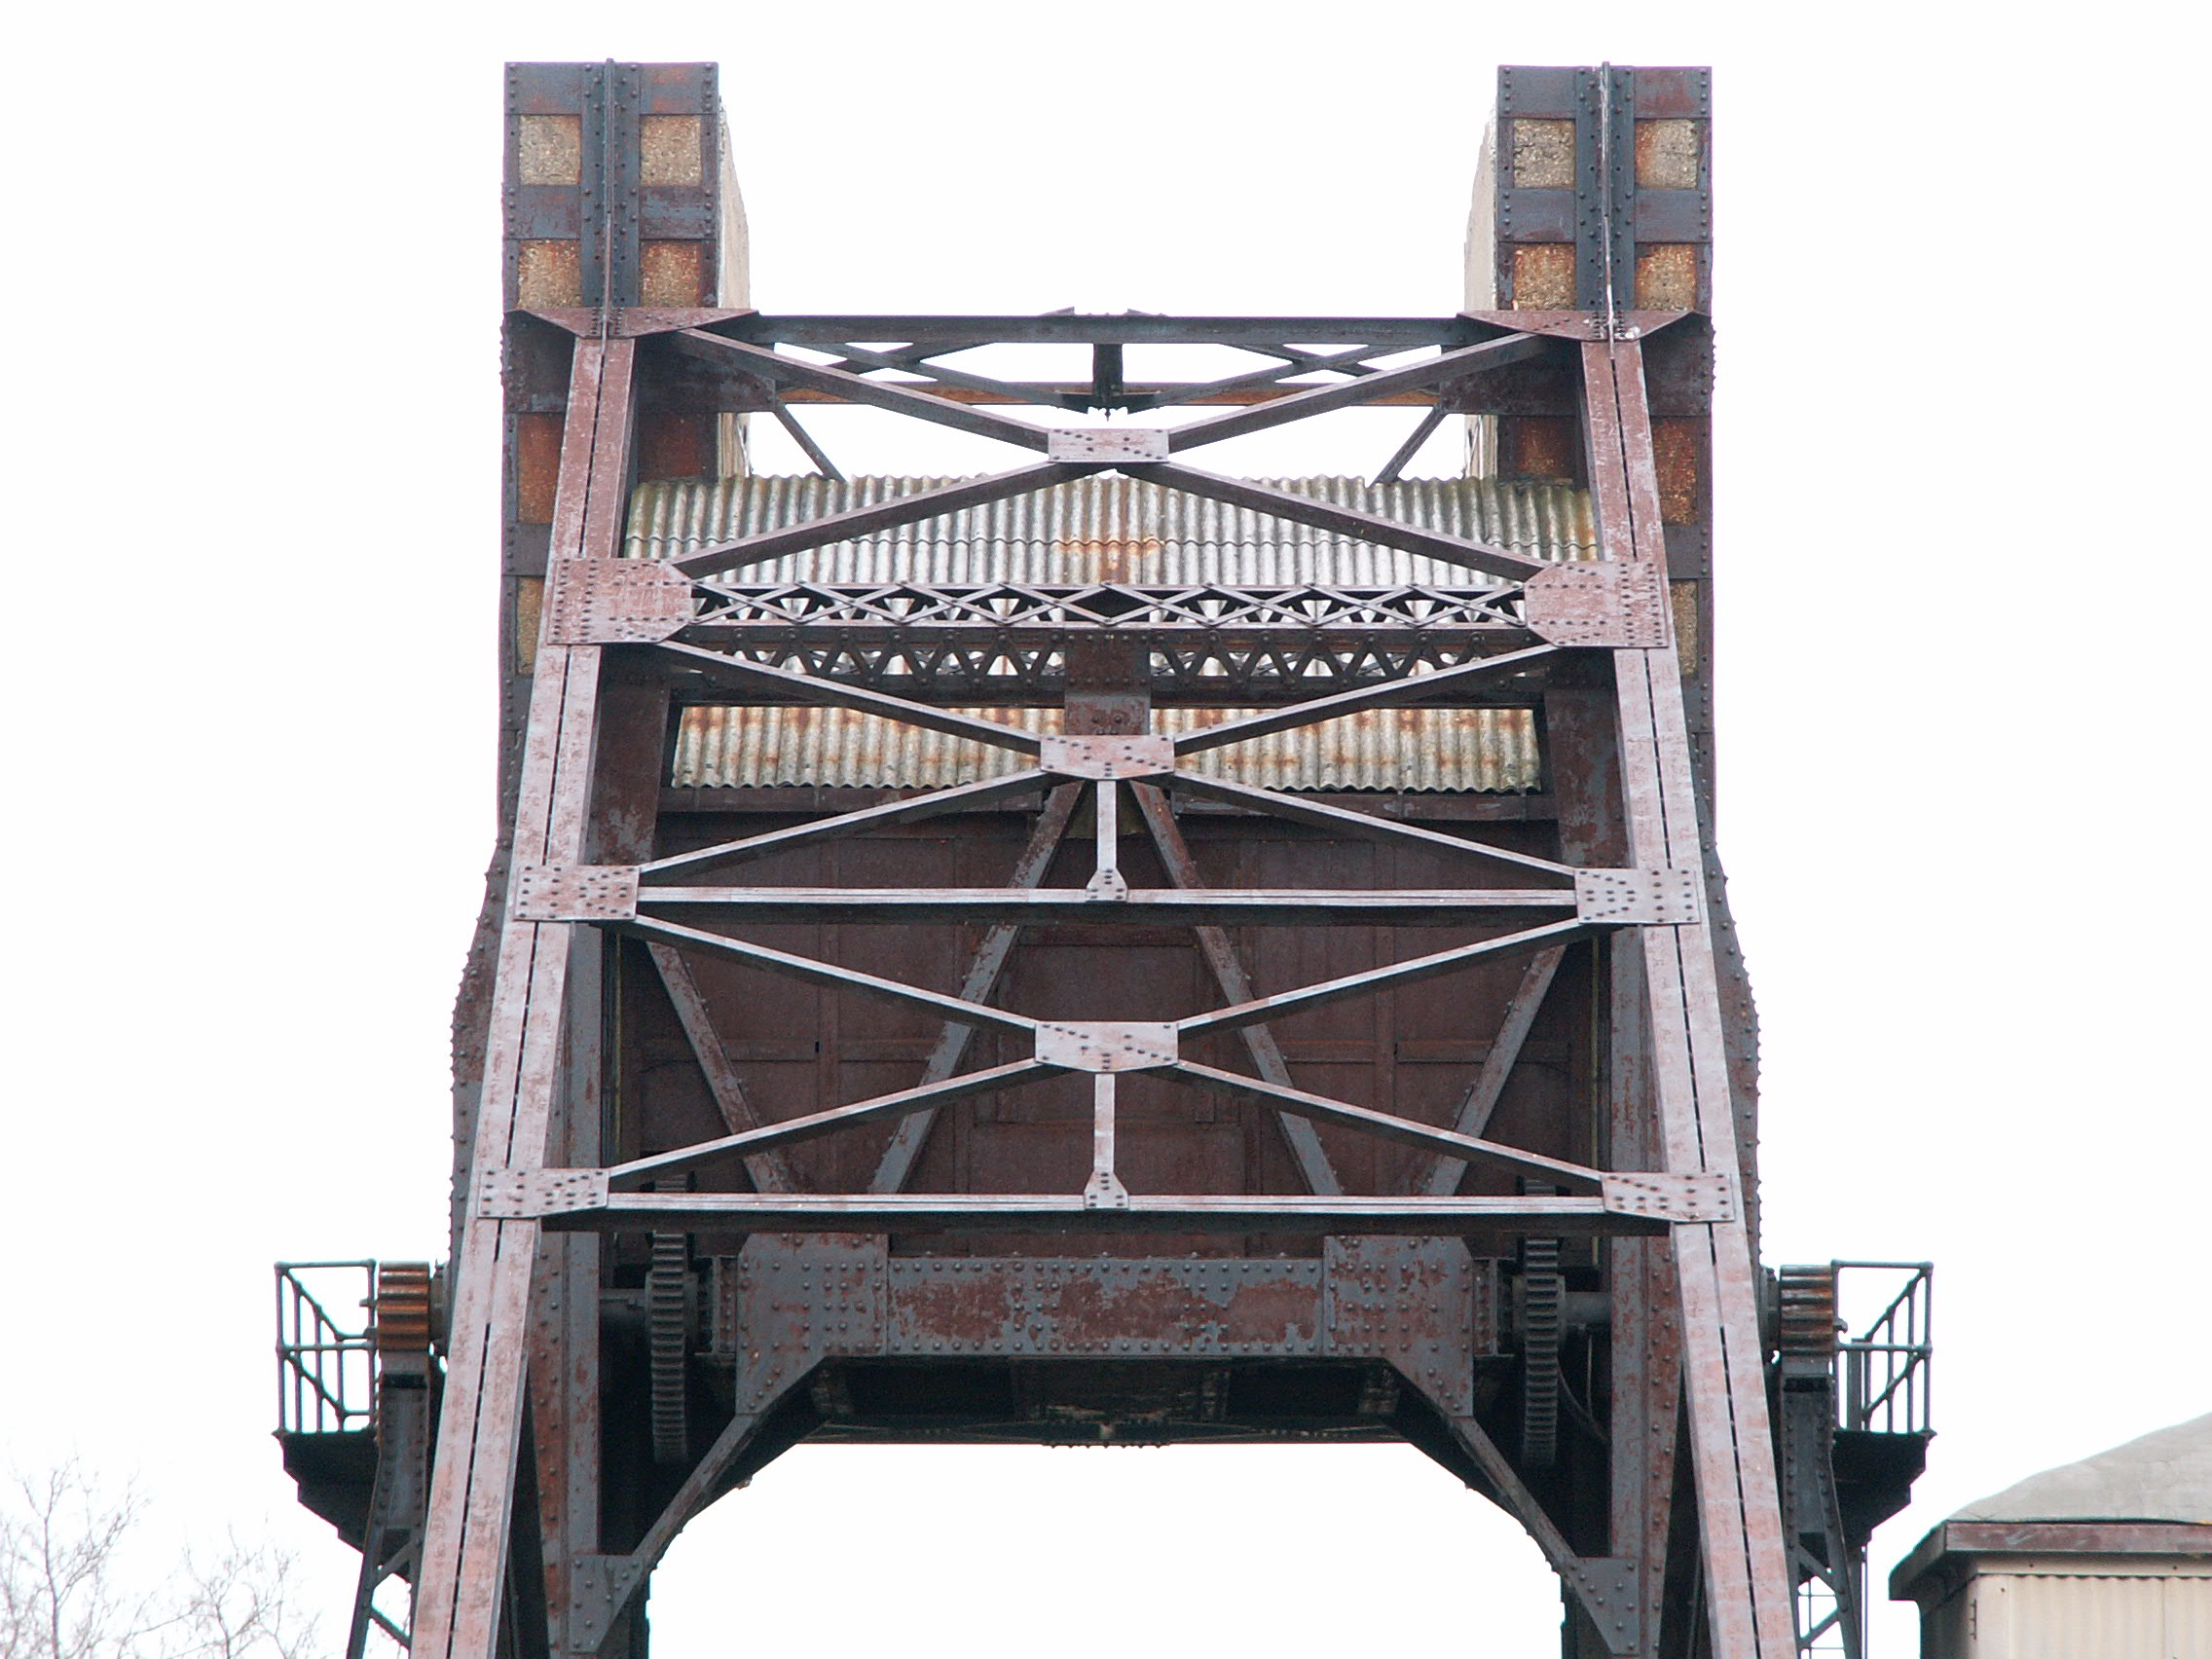
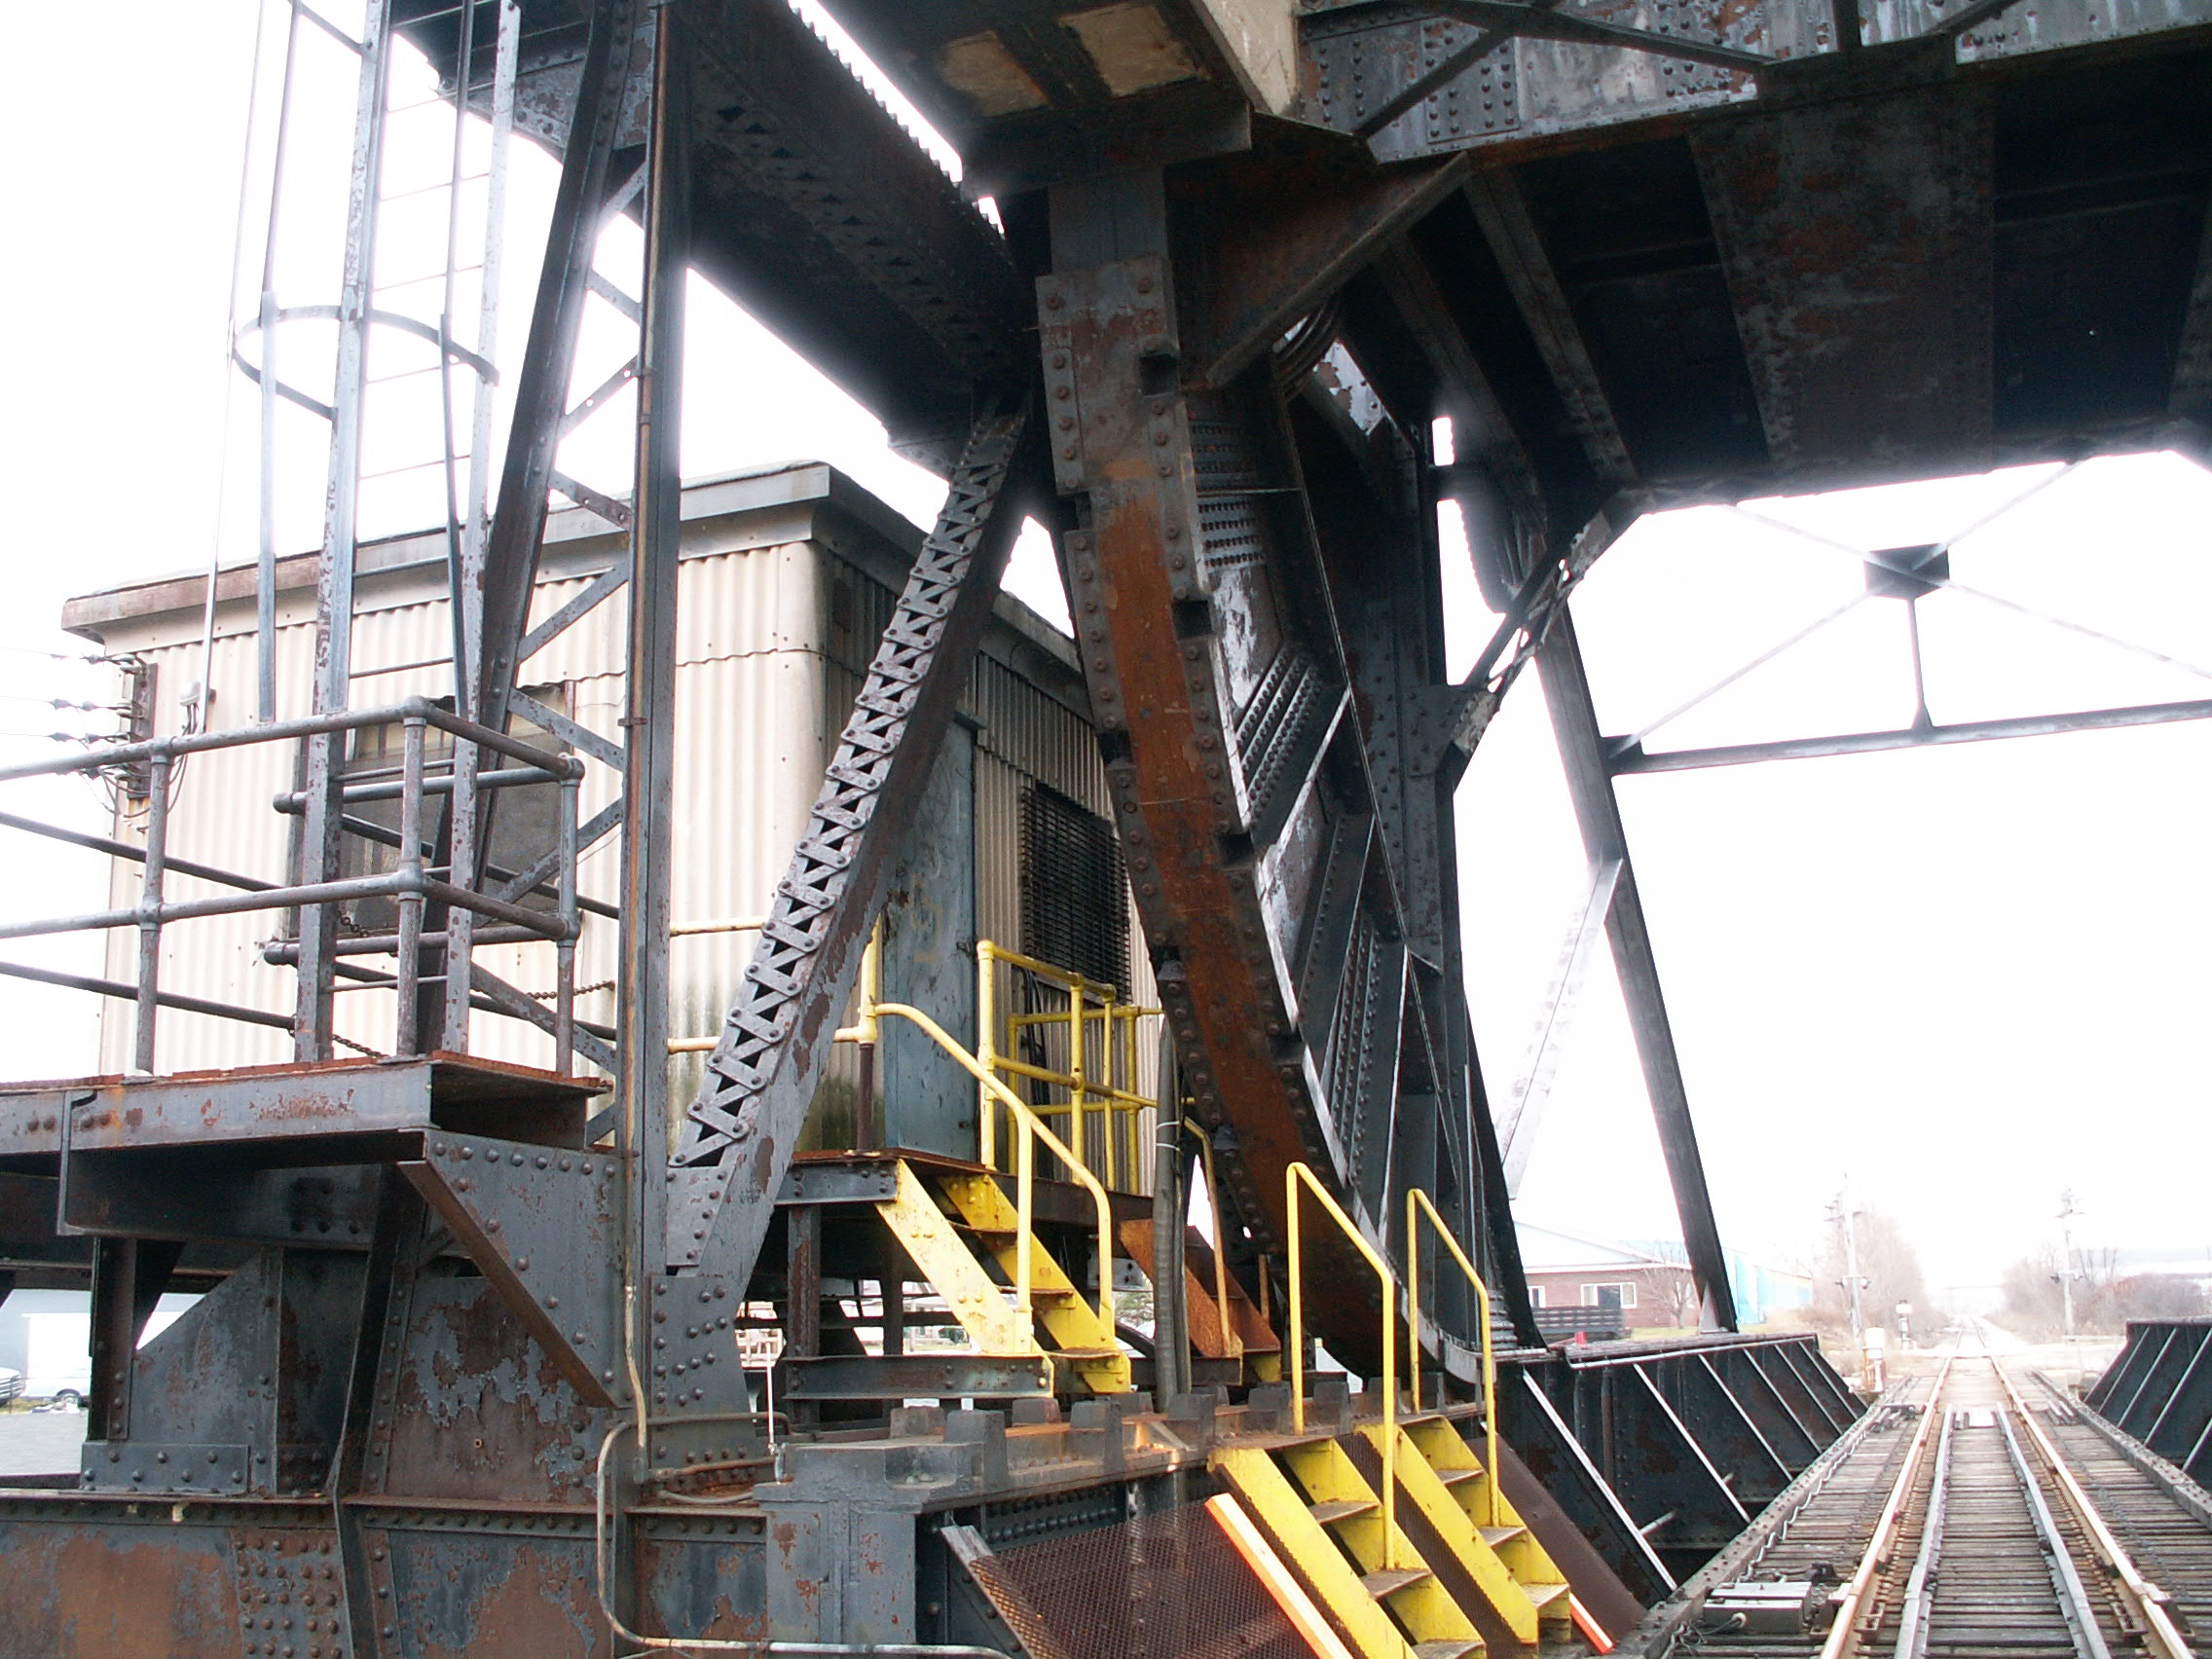
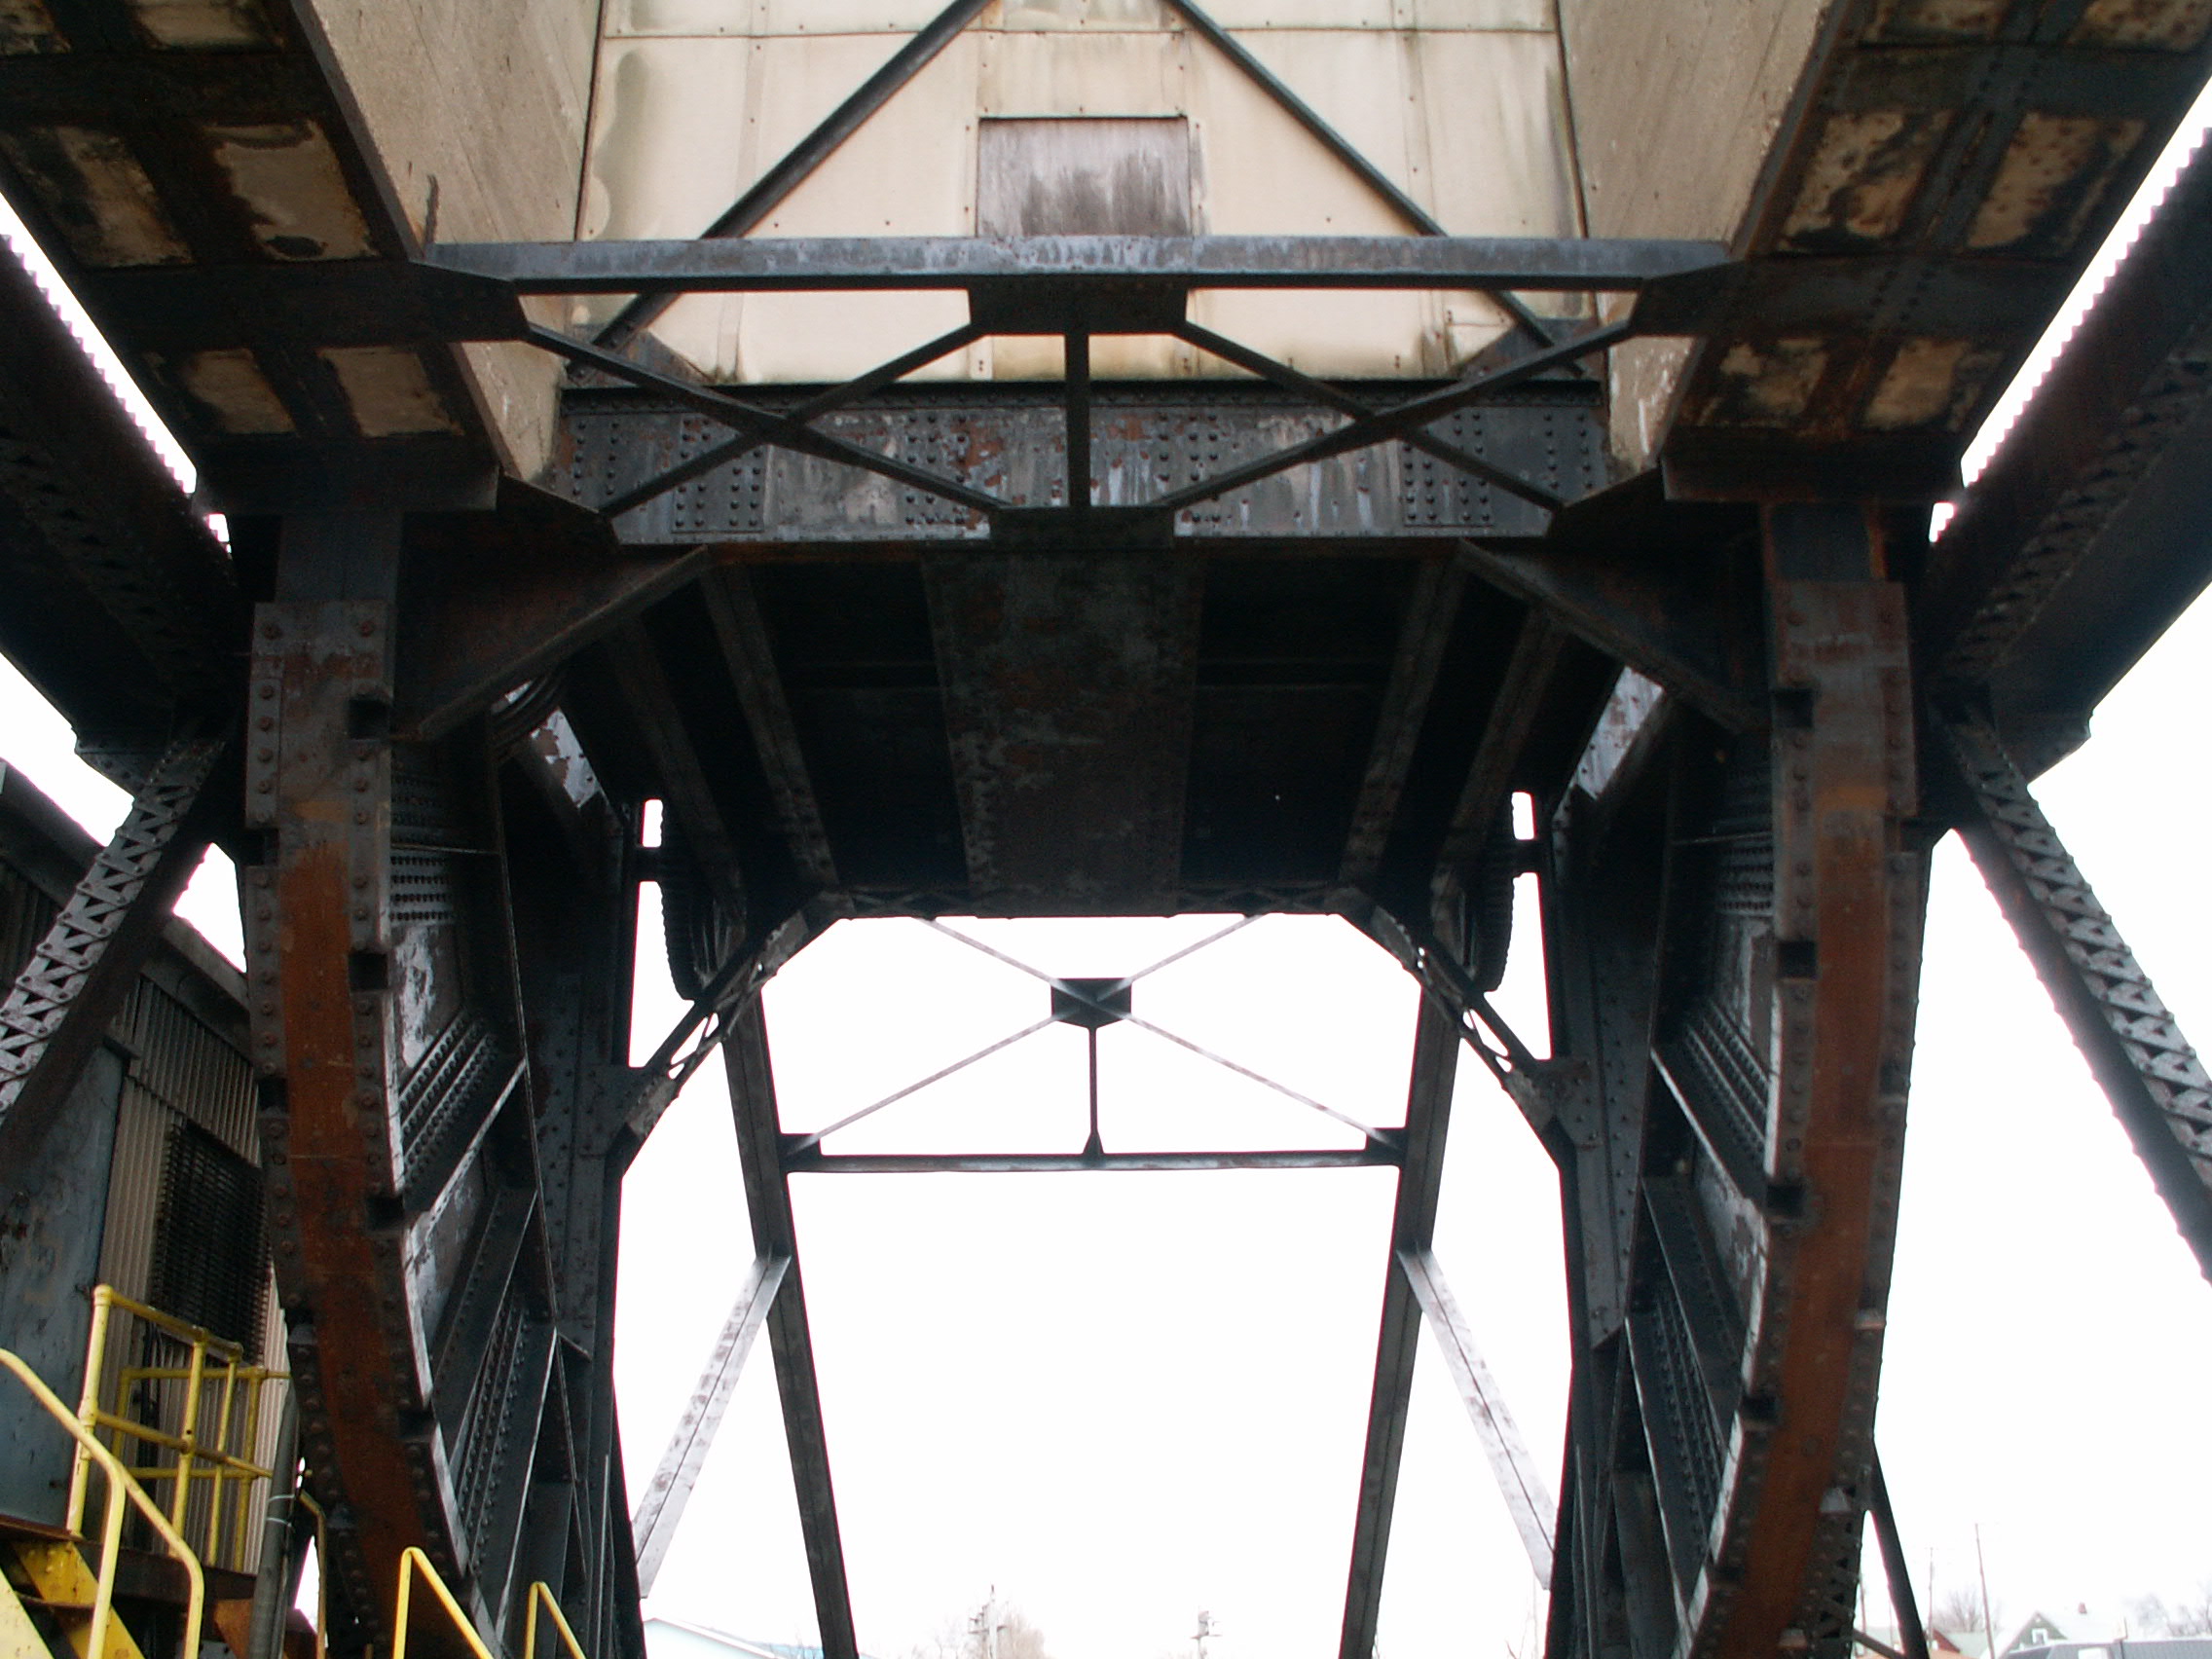
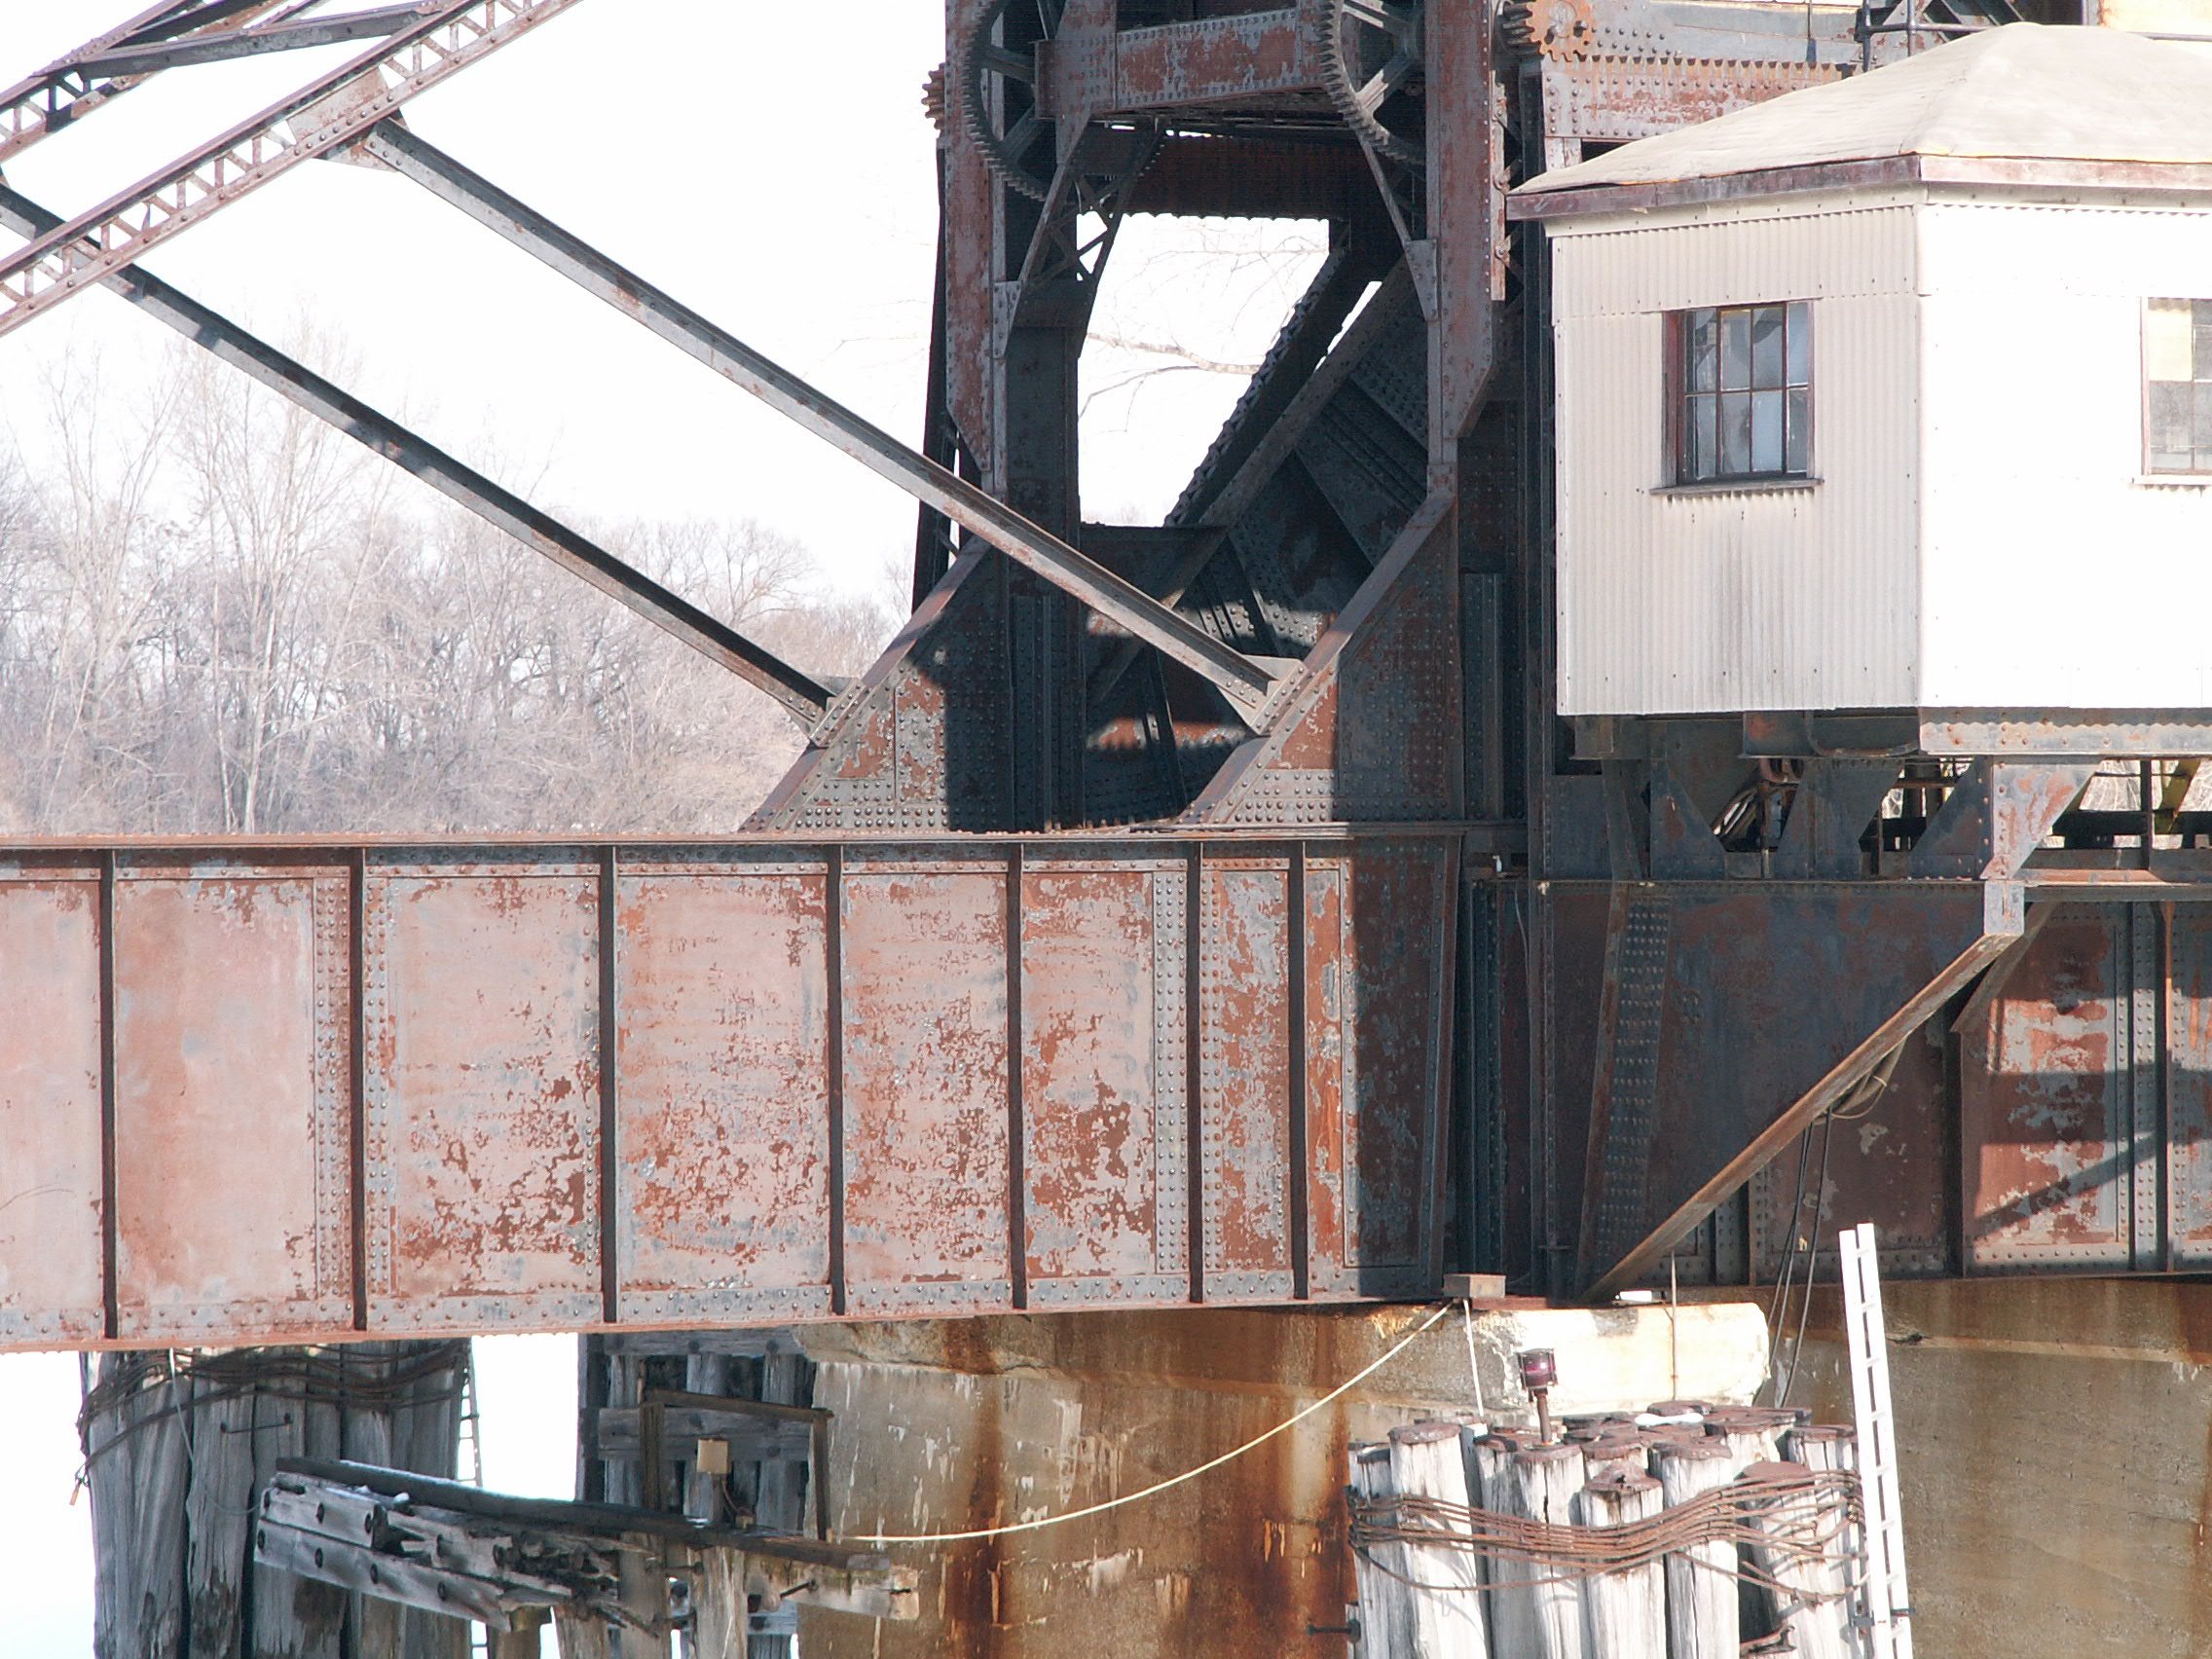
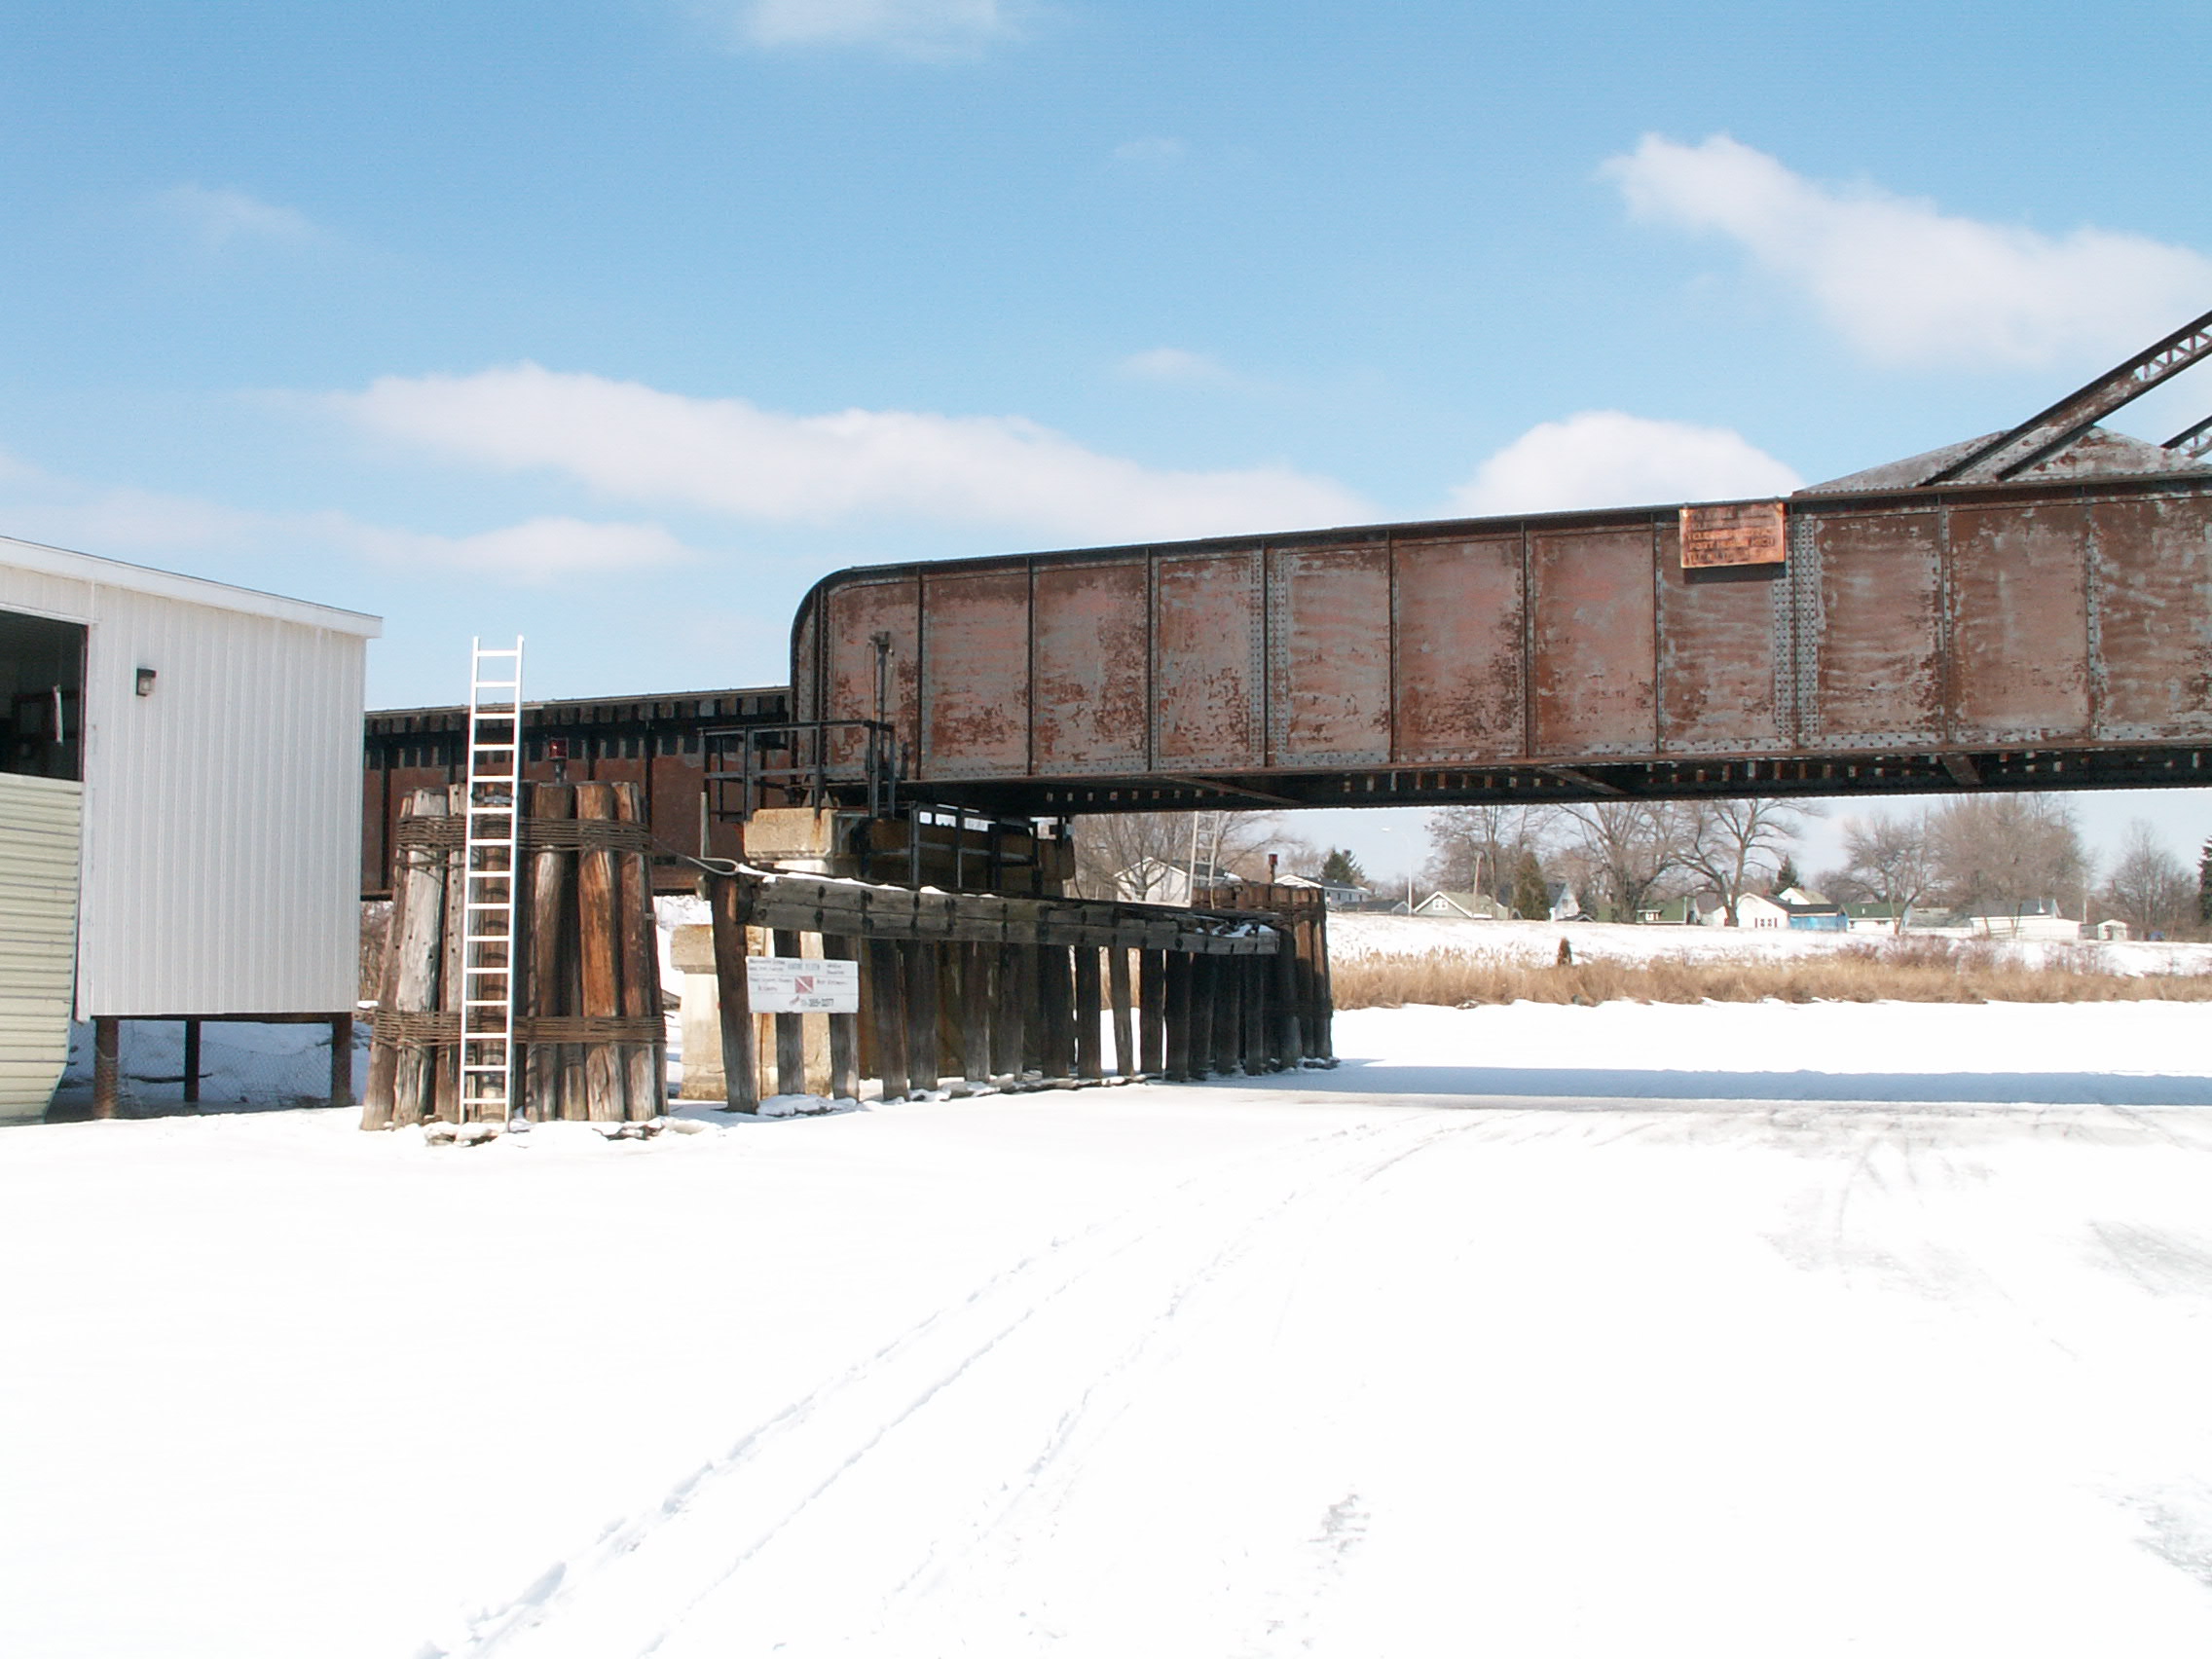
Views under bridge tender building showing supporting cantilever structure.
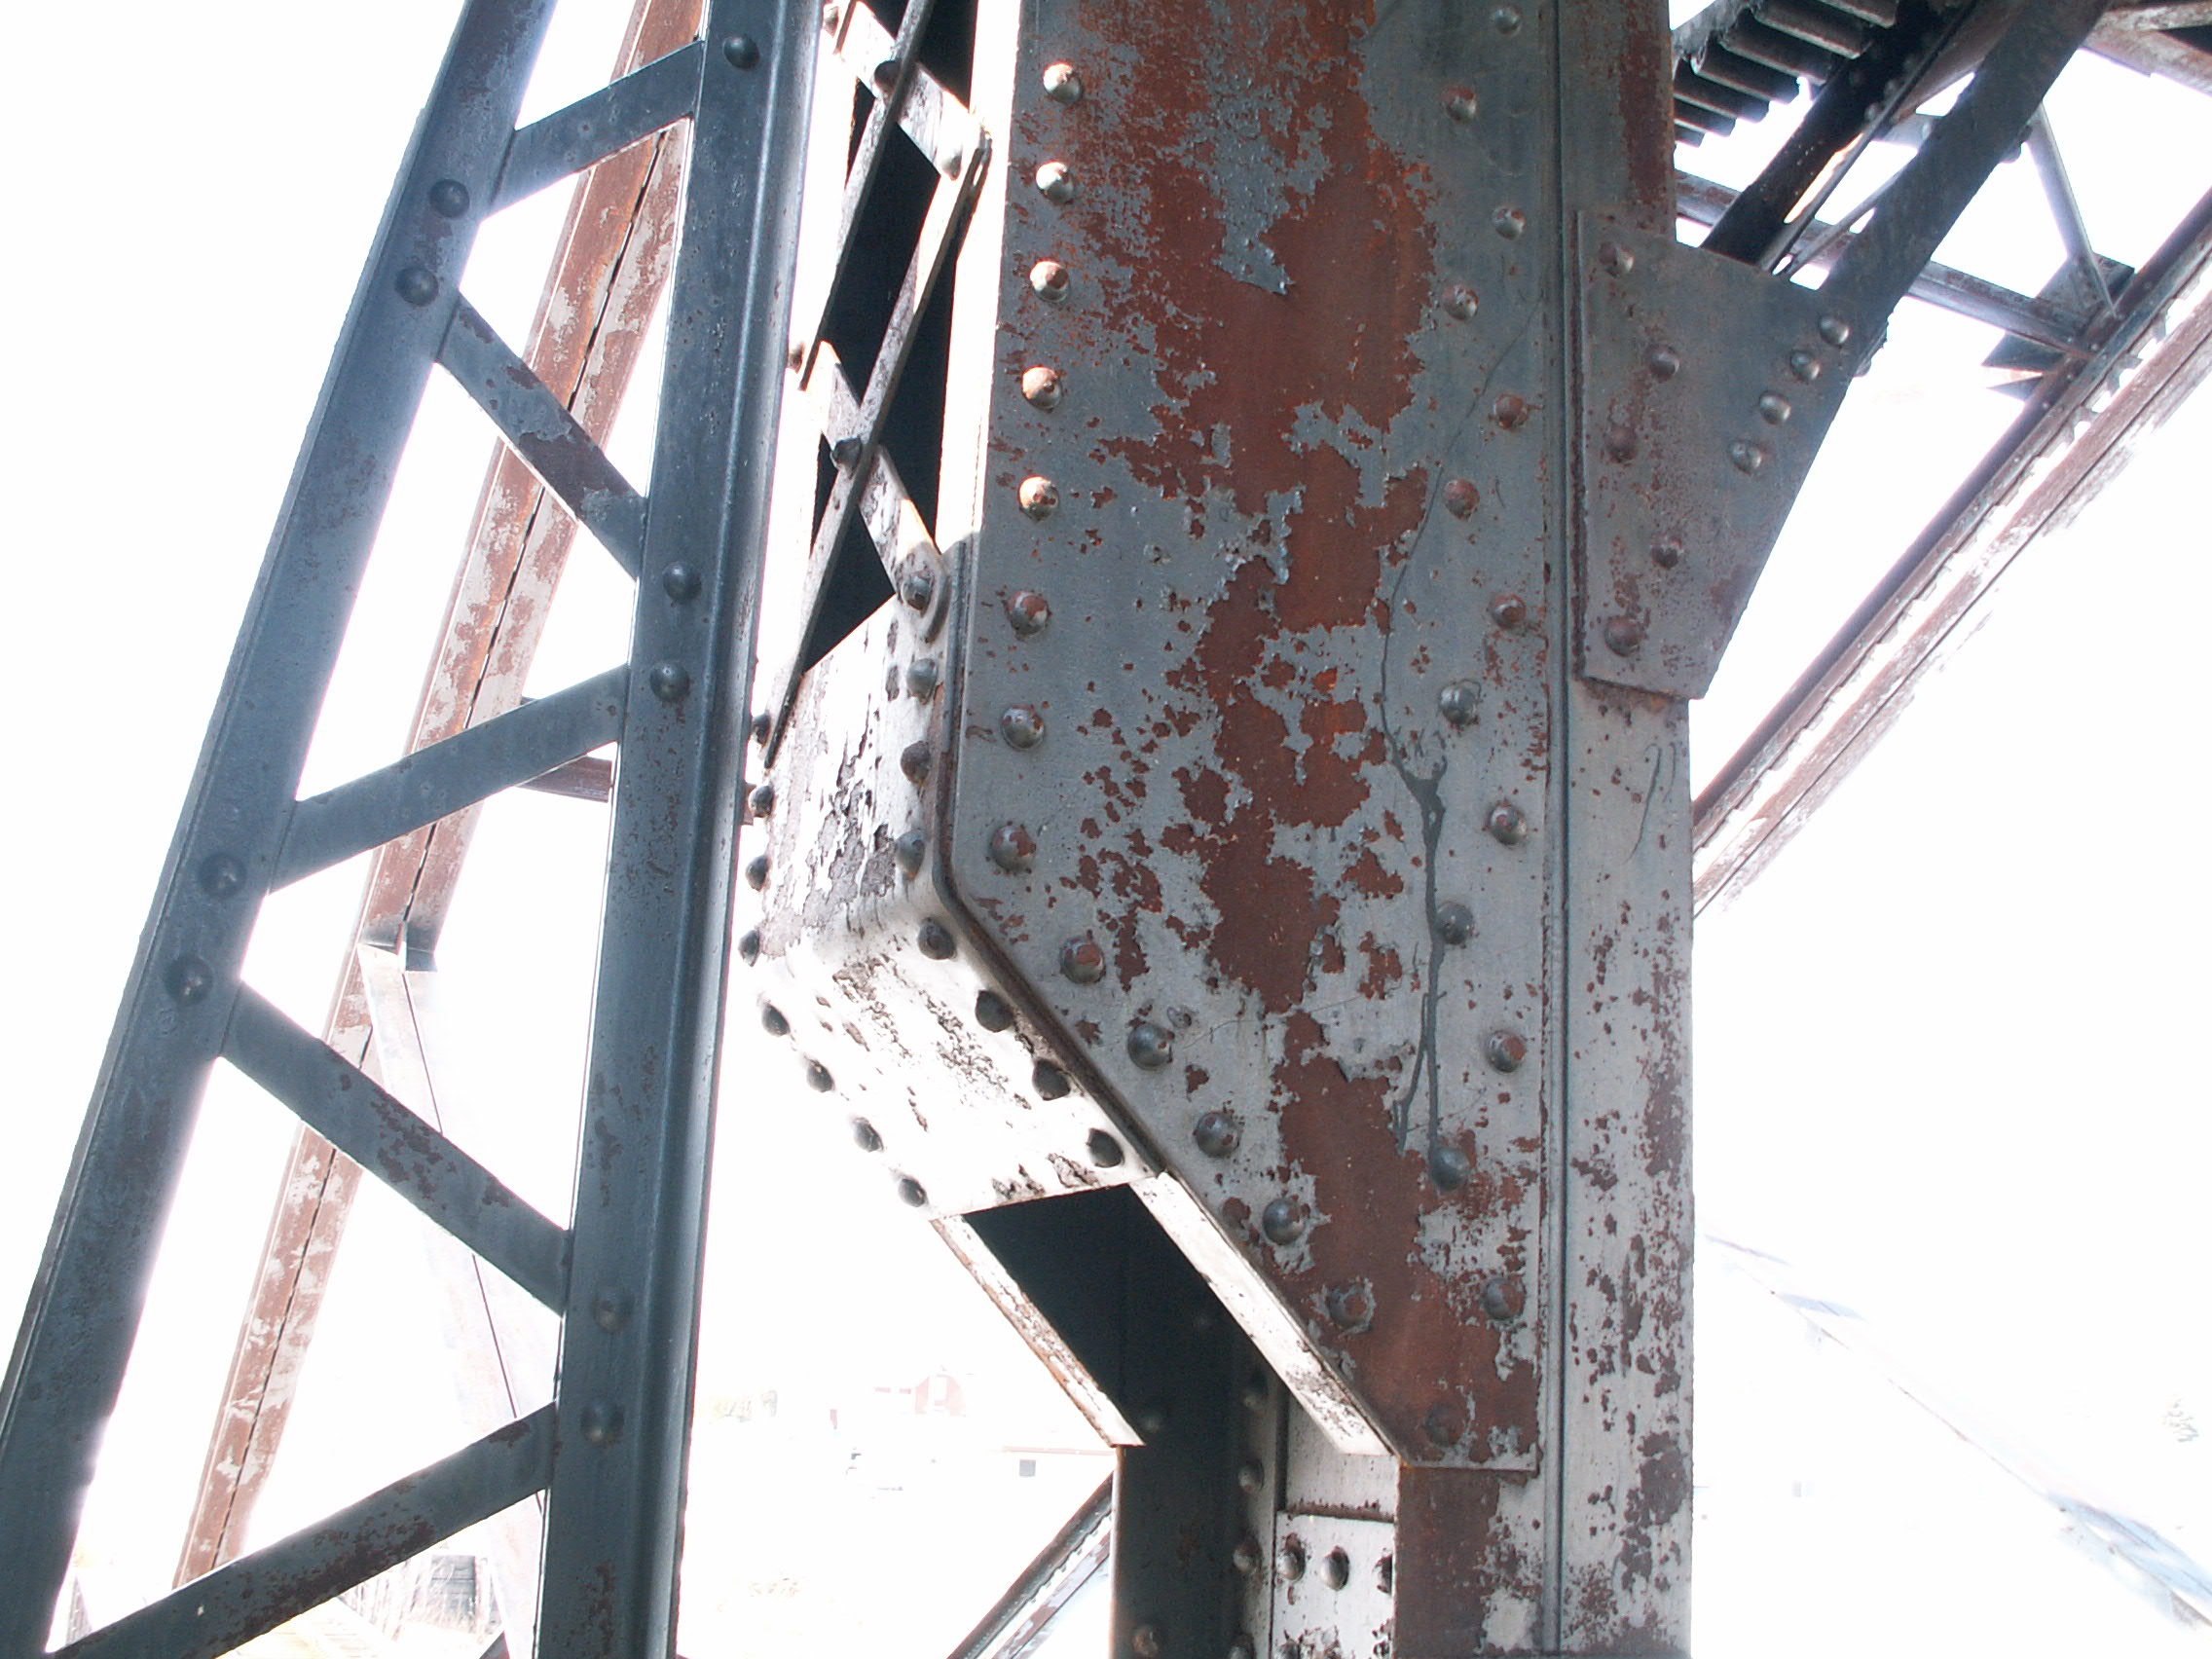
![]()


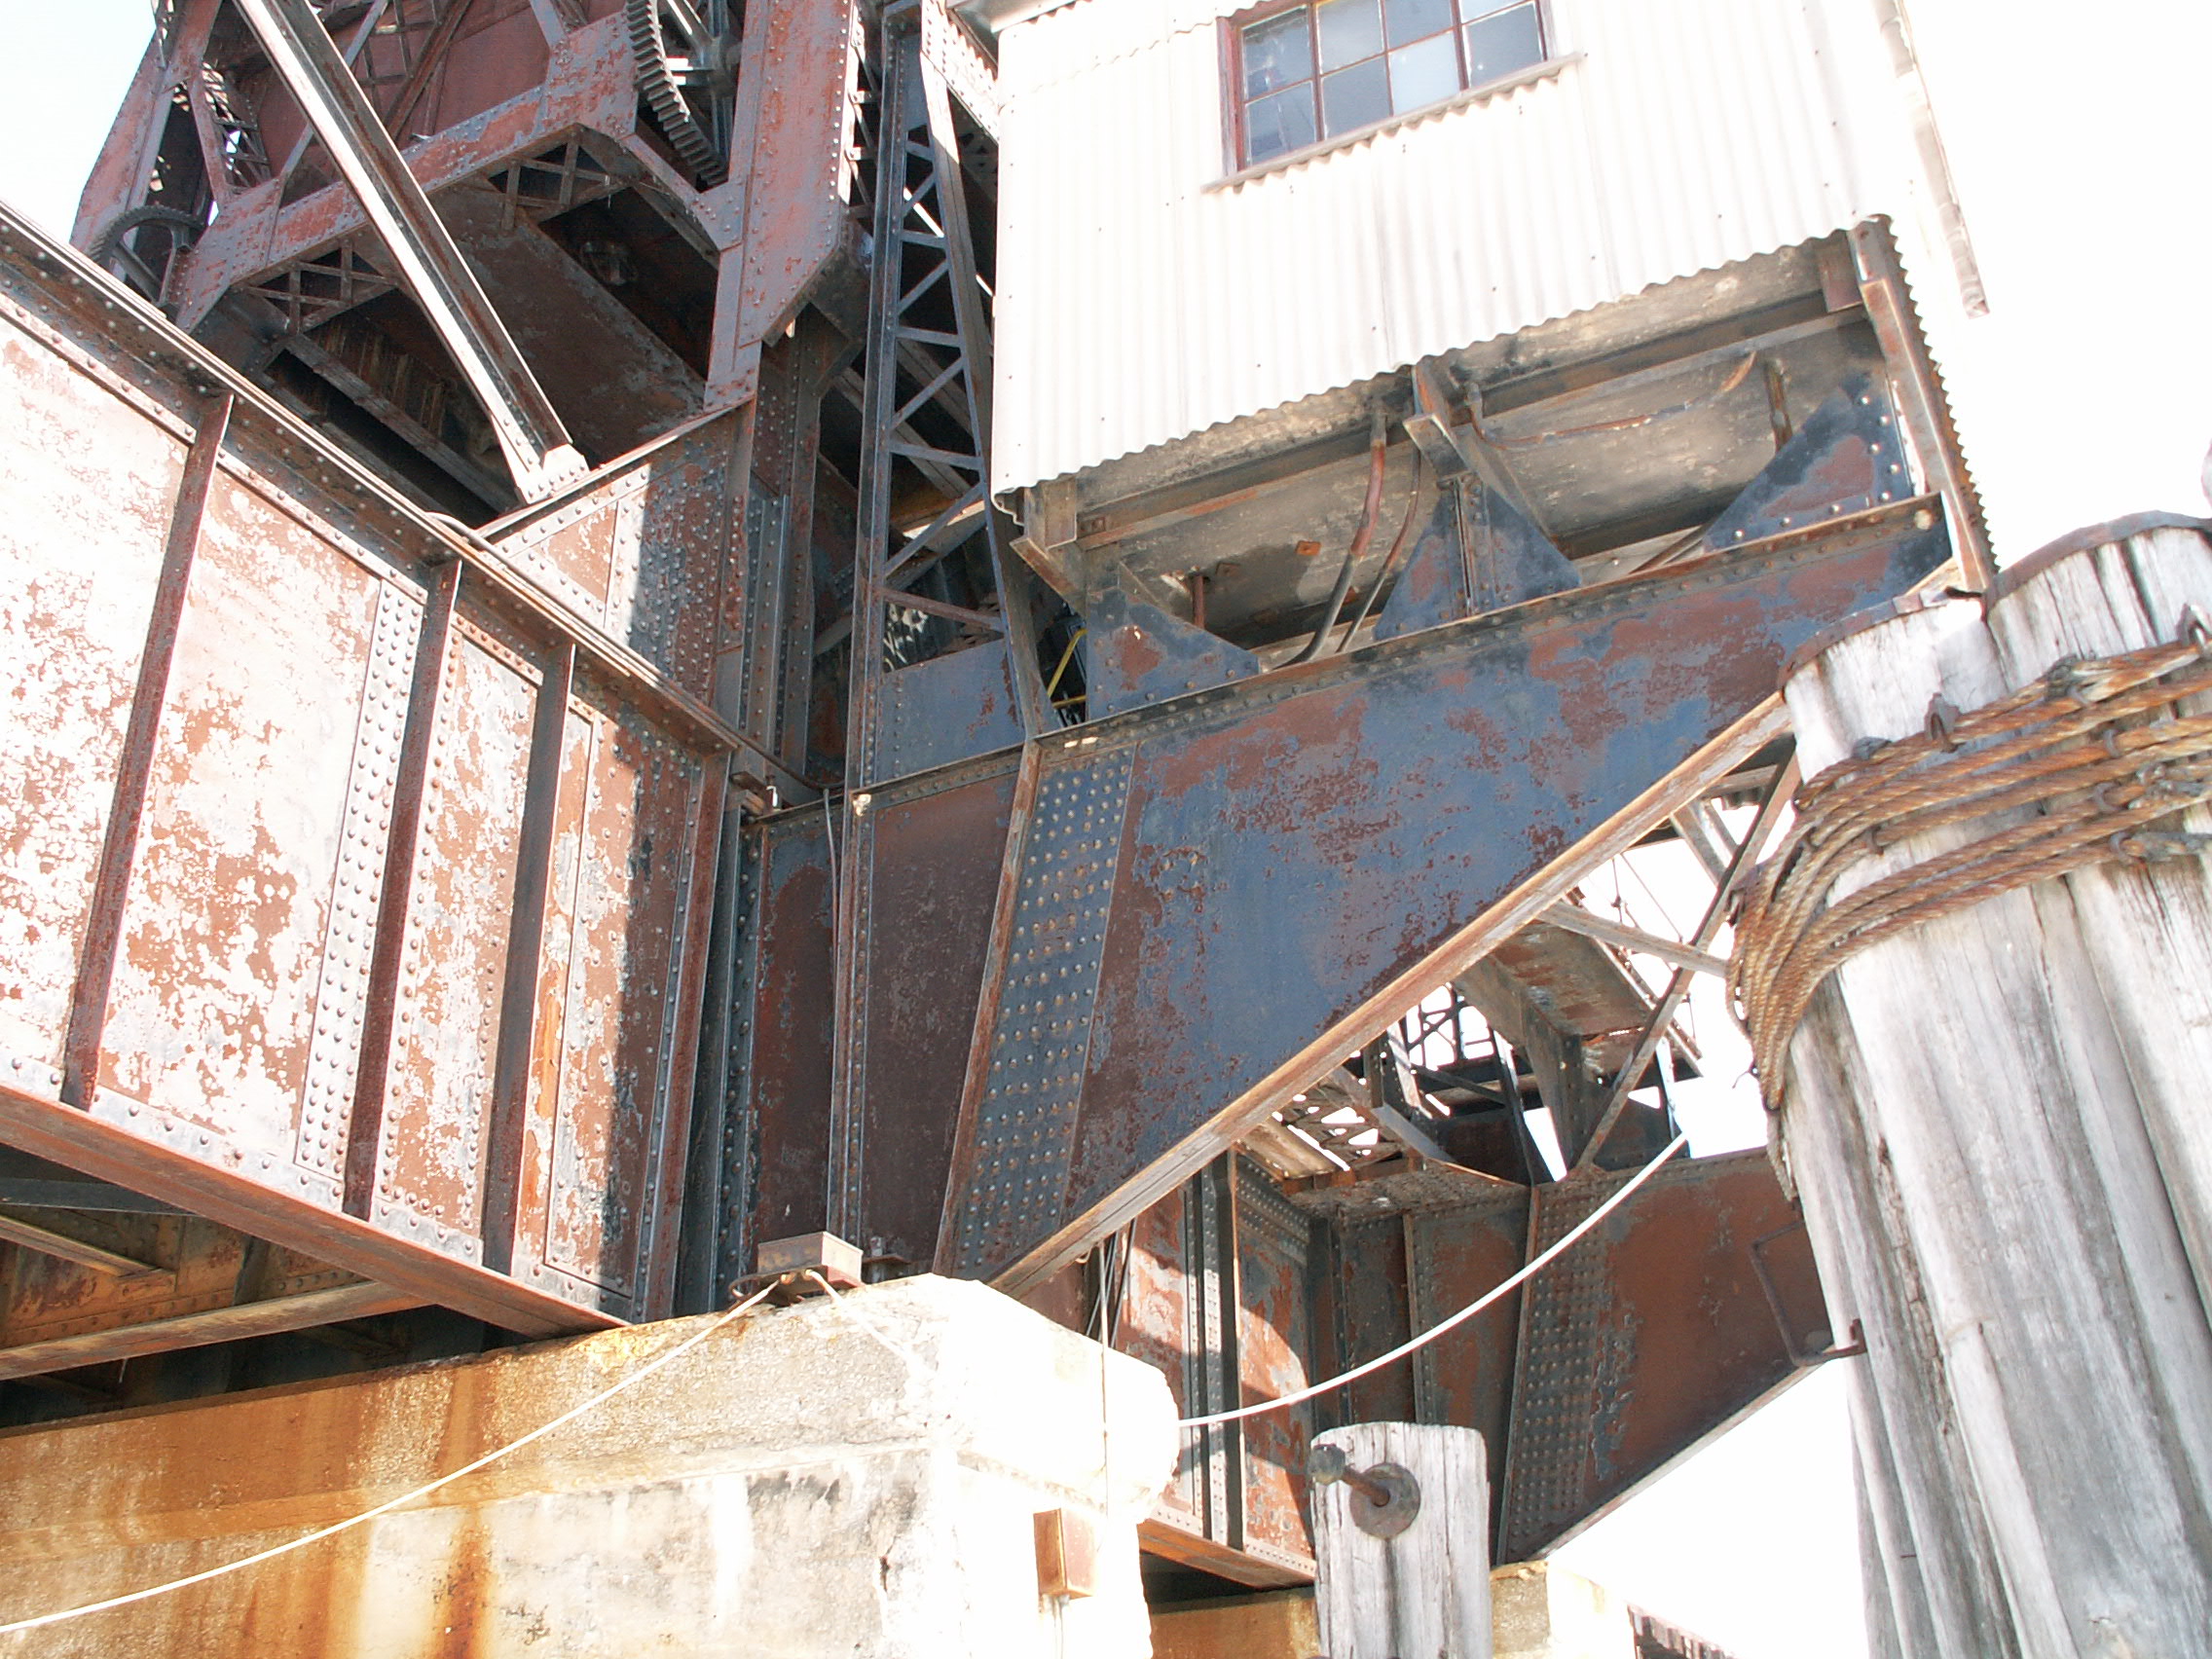
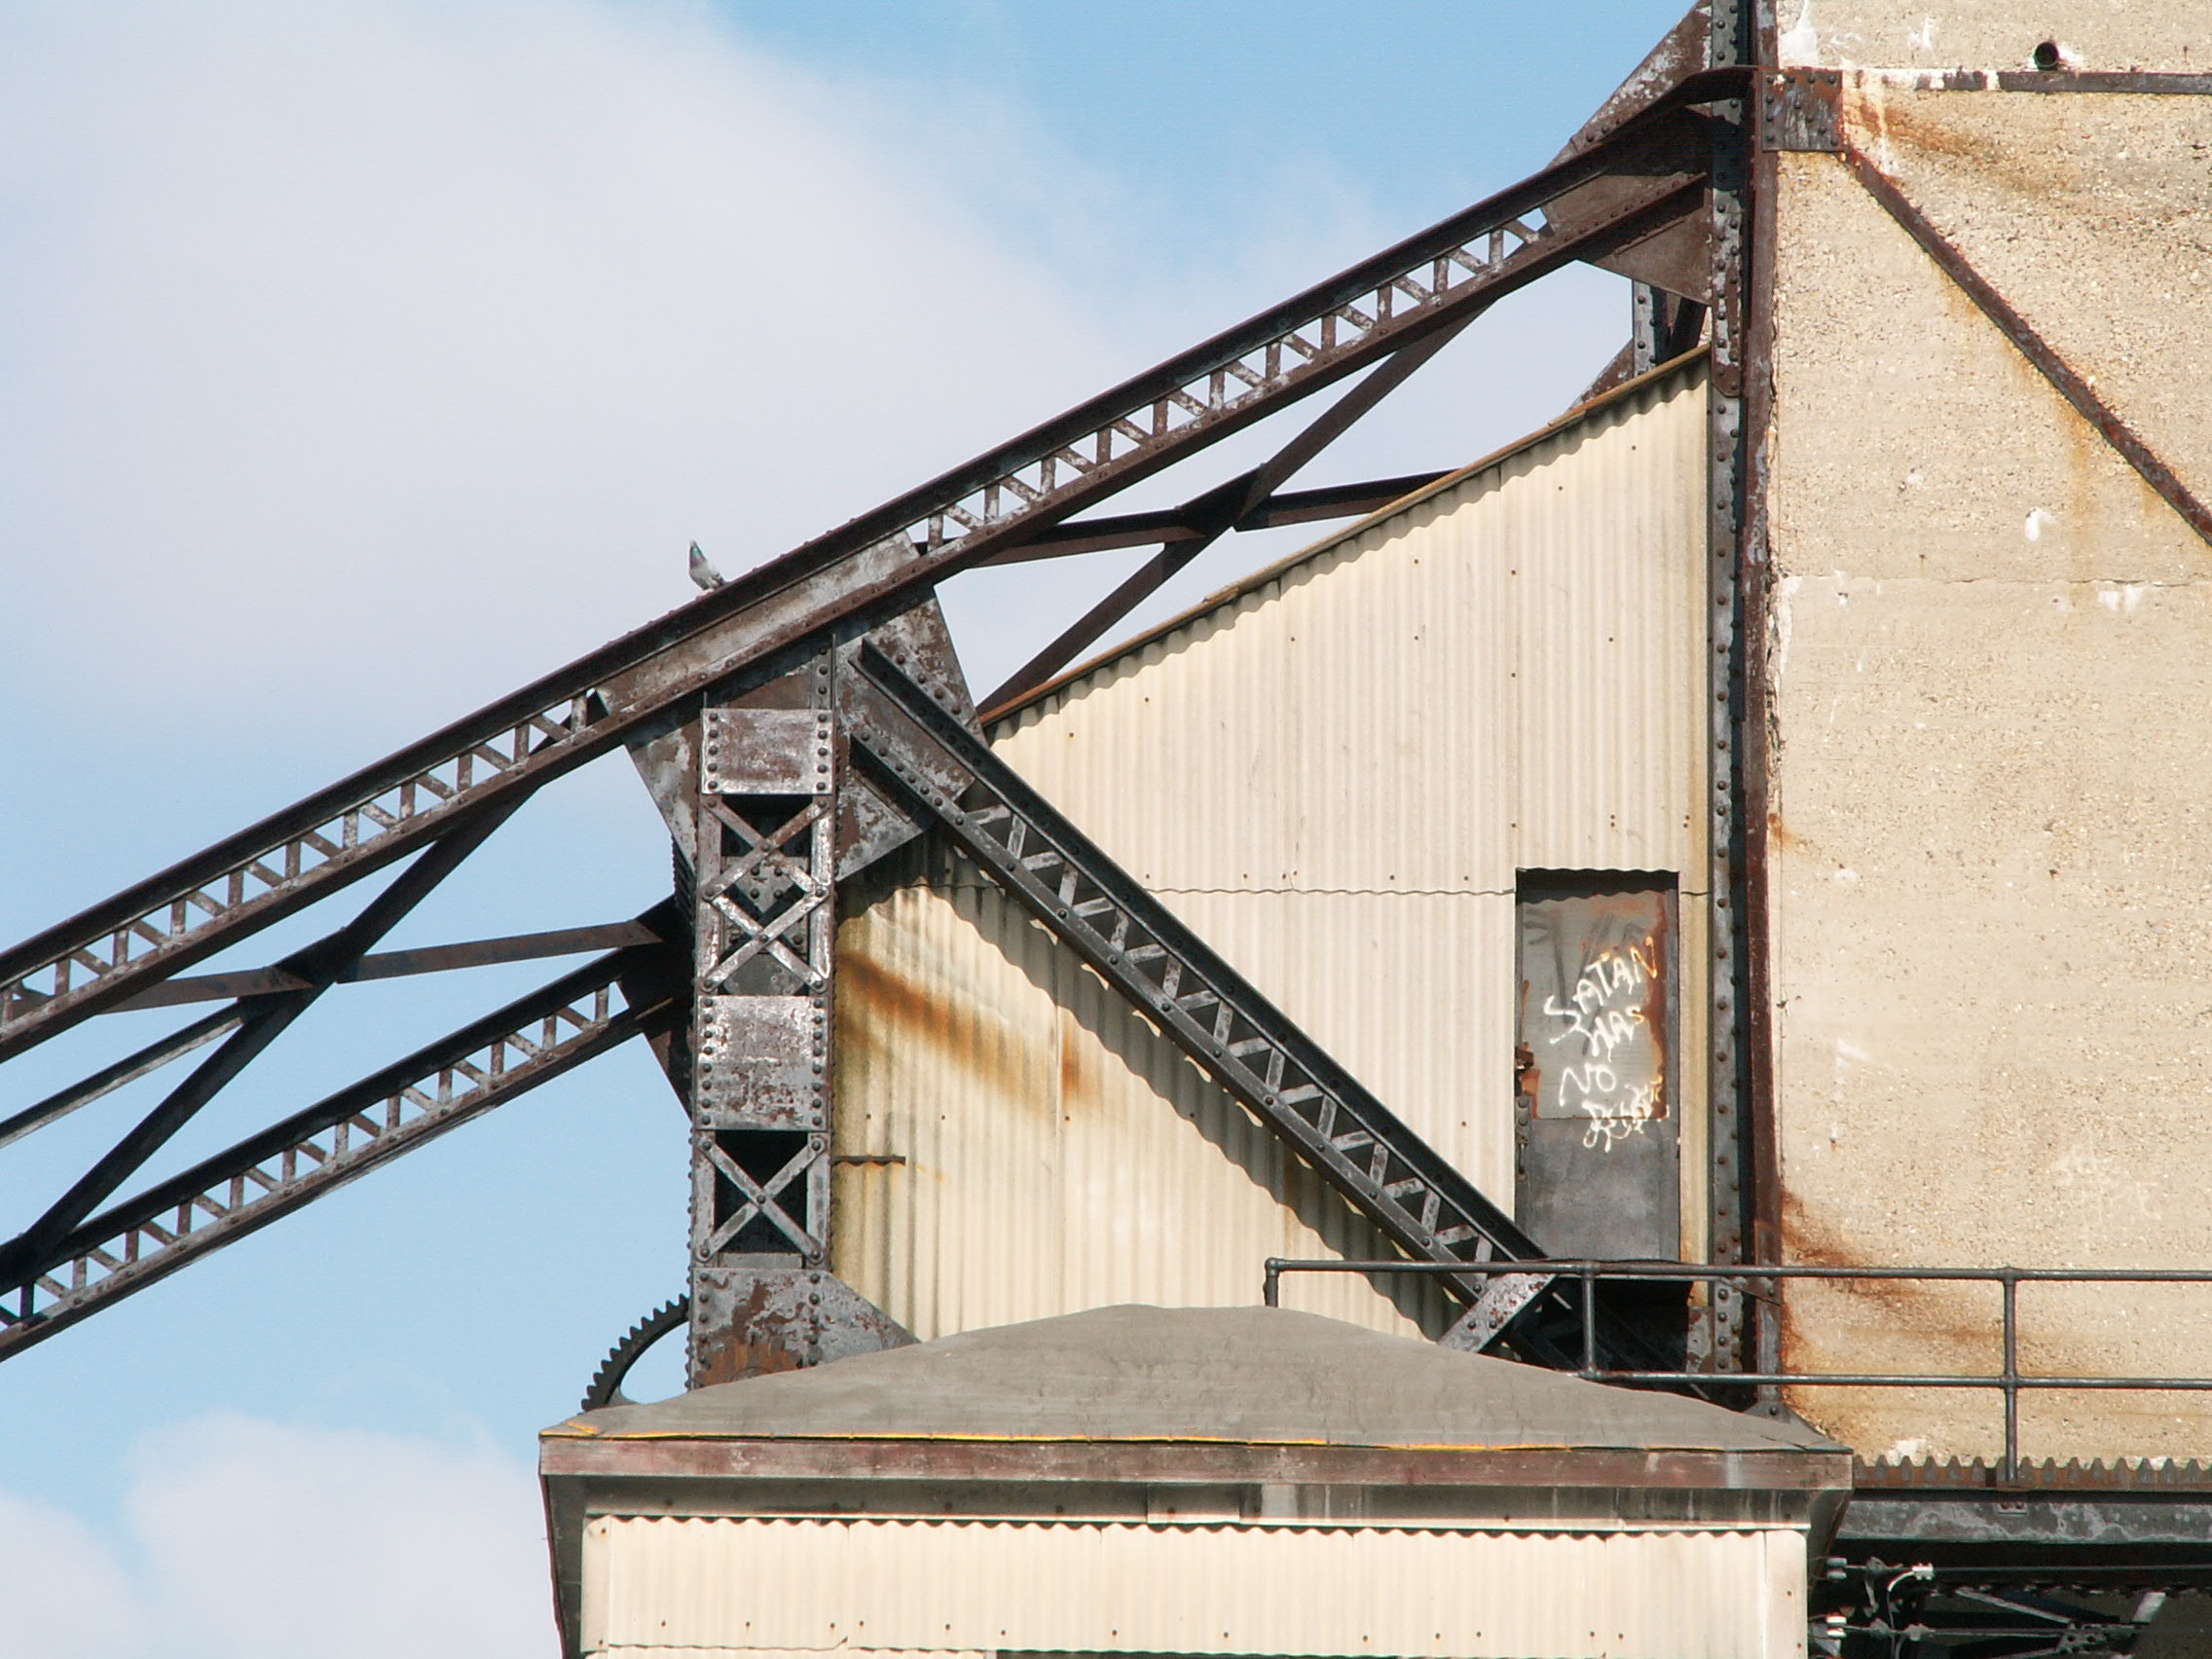
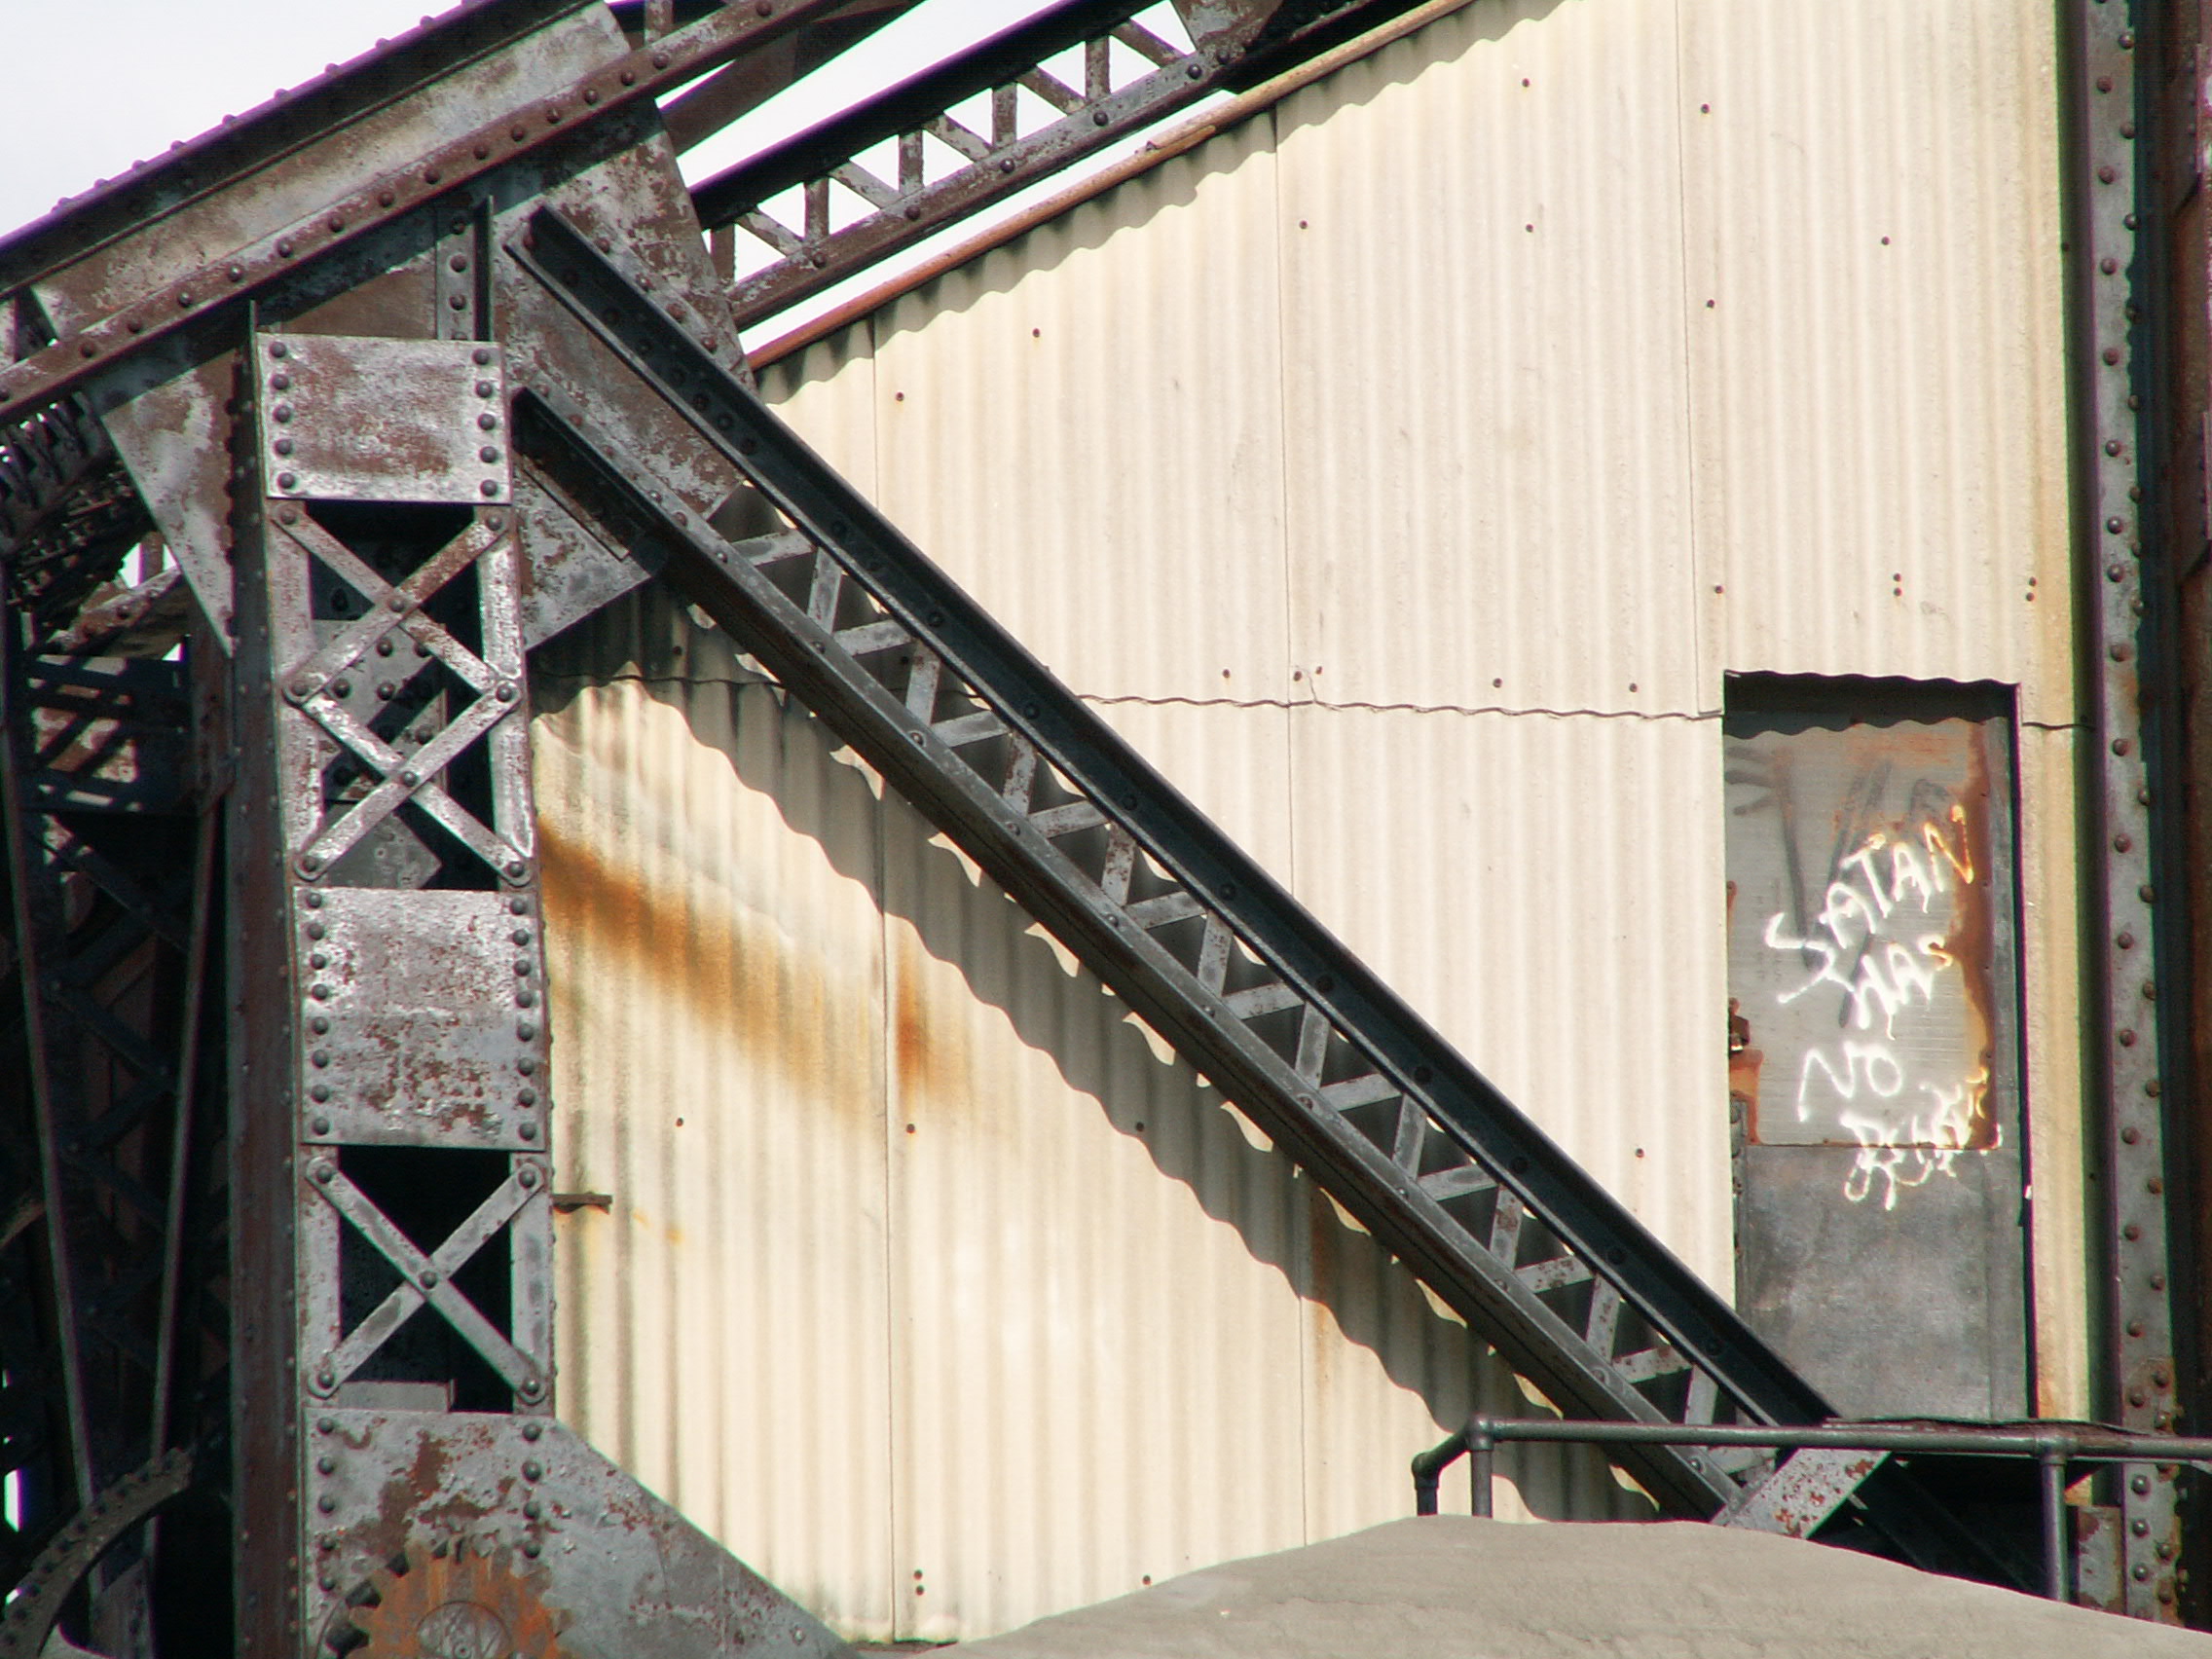
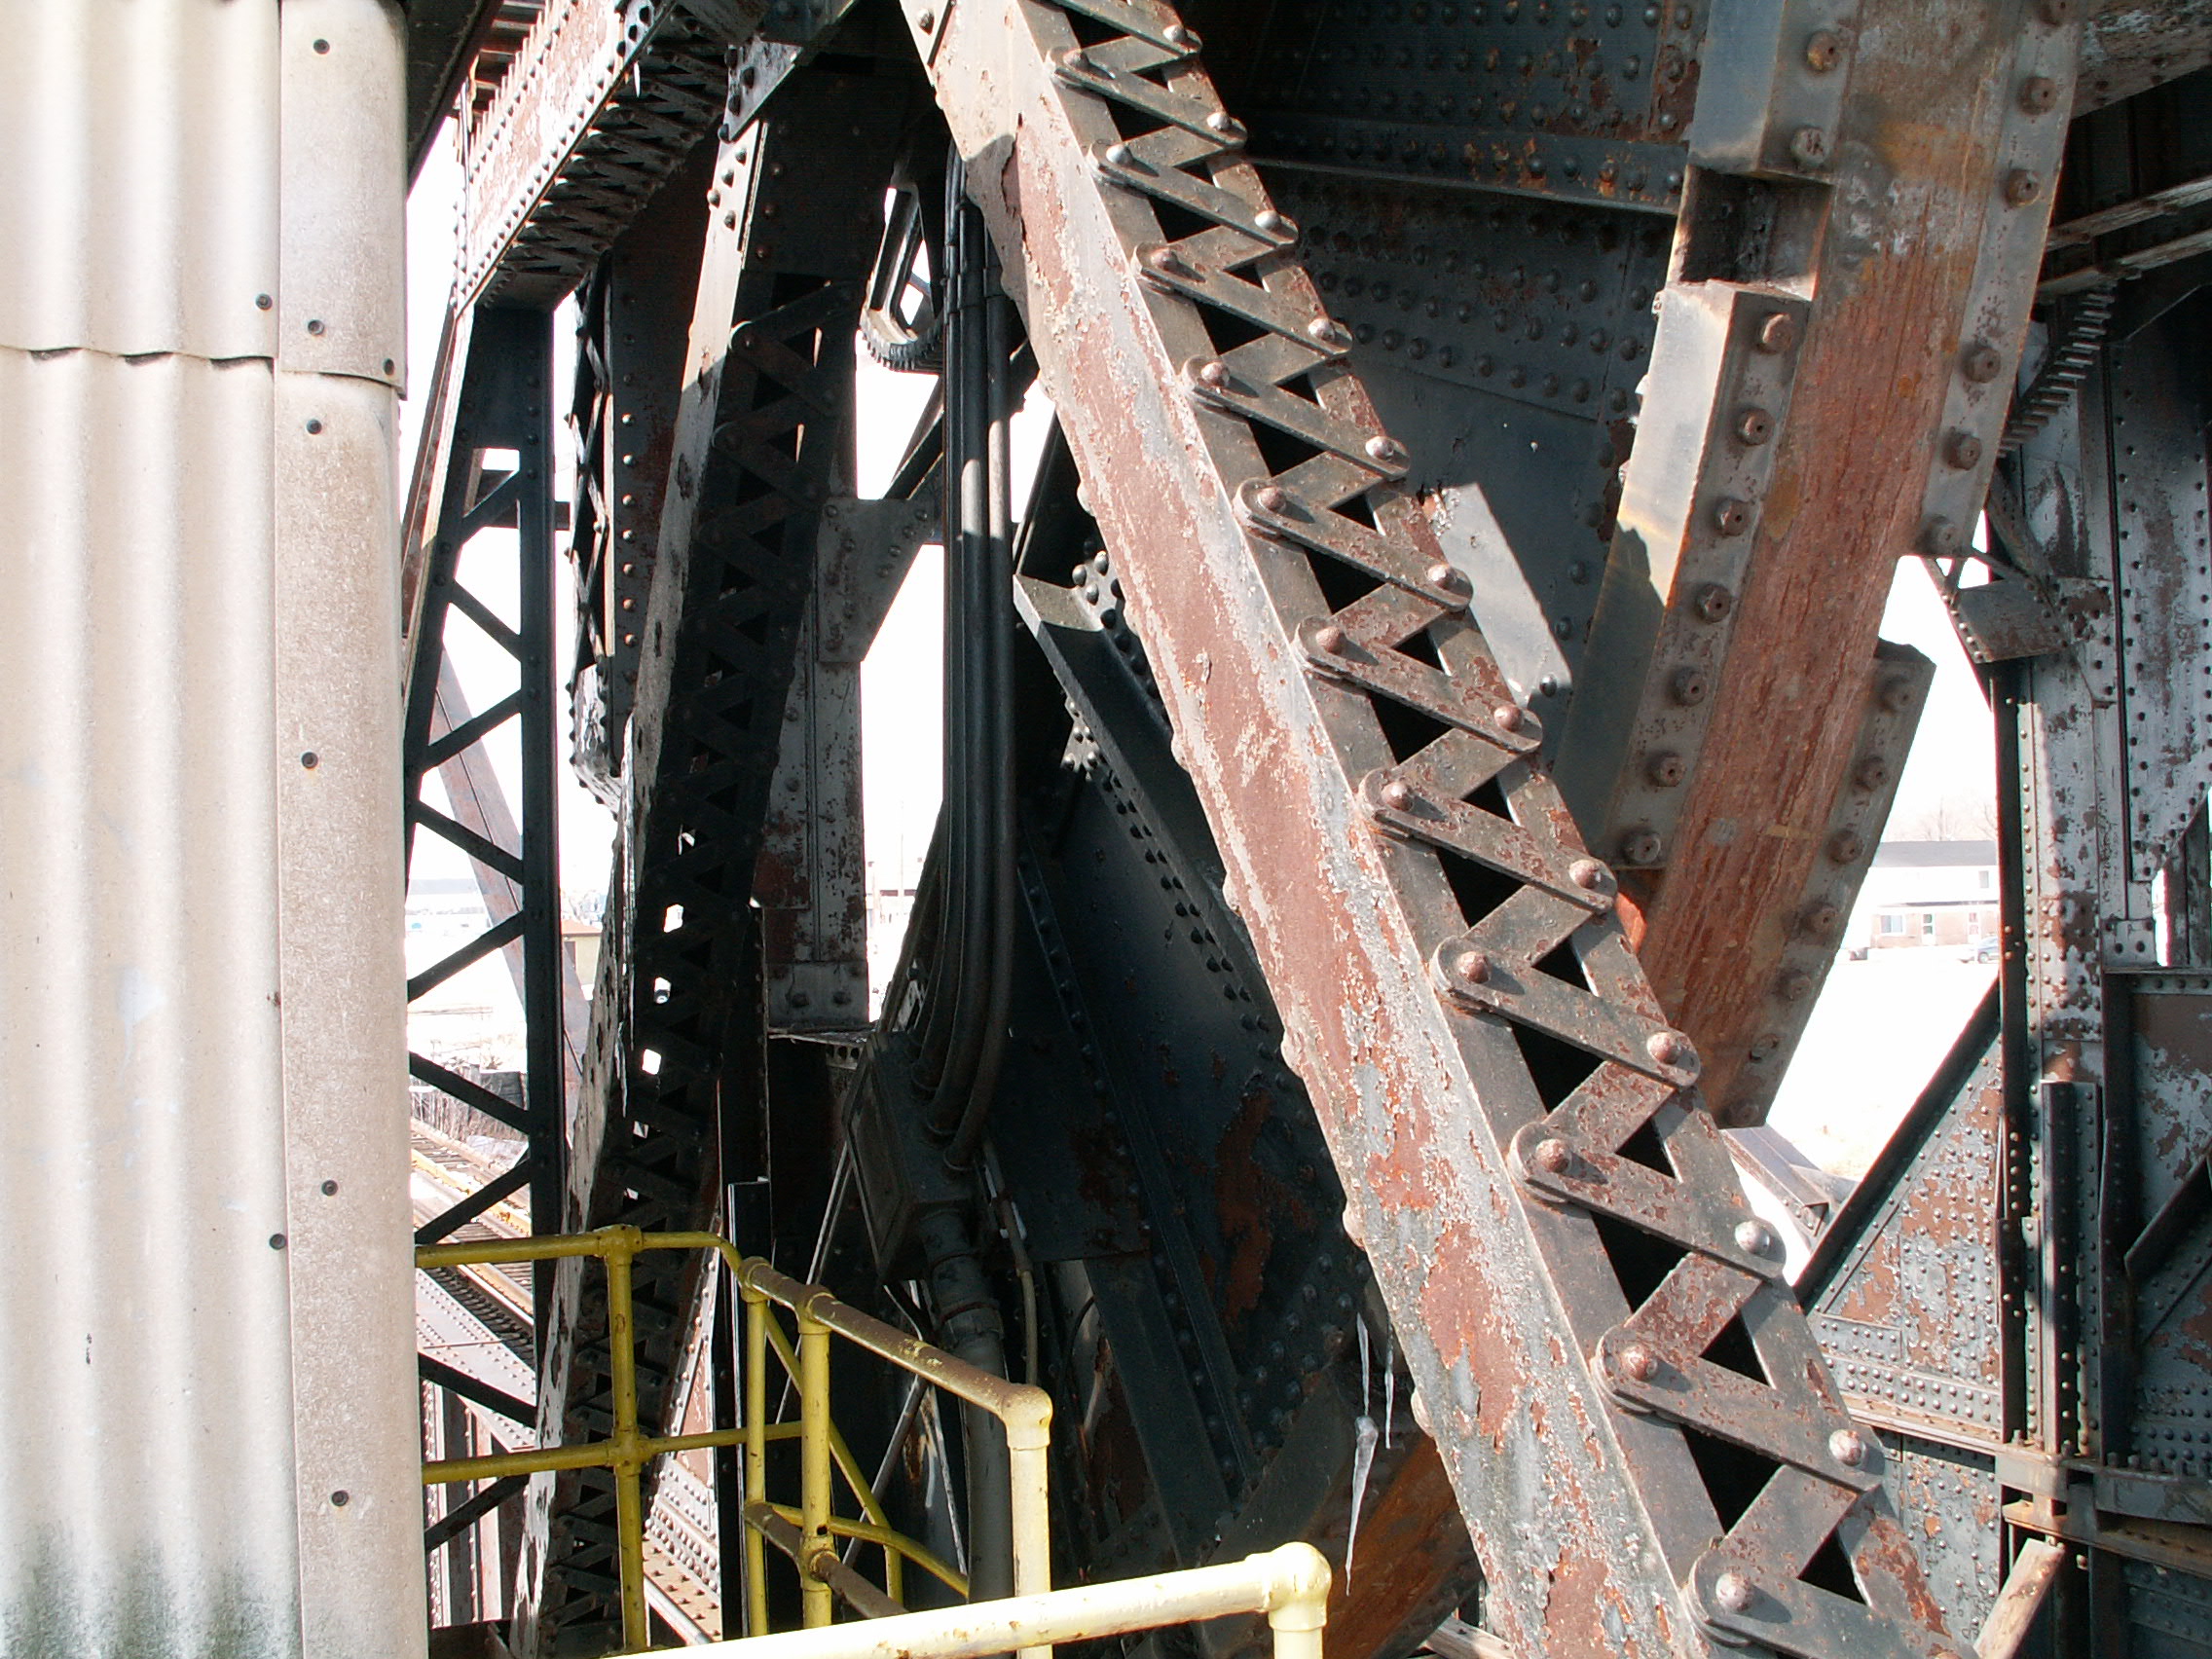
Views under bridge.
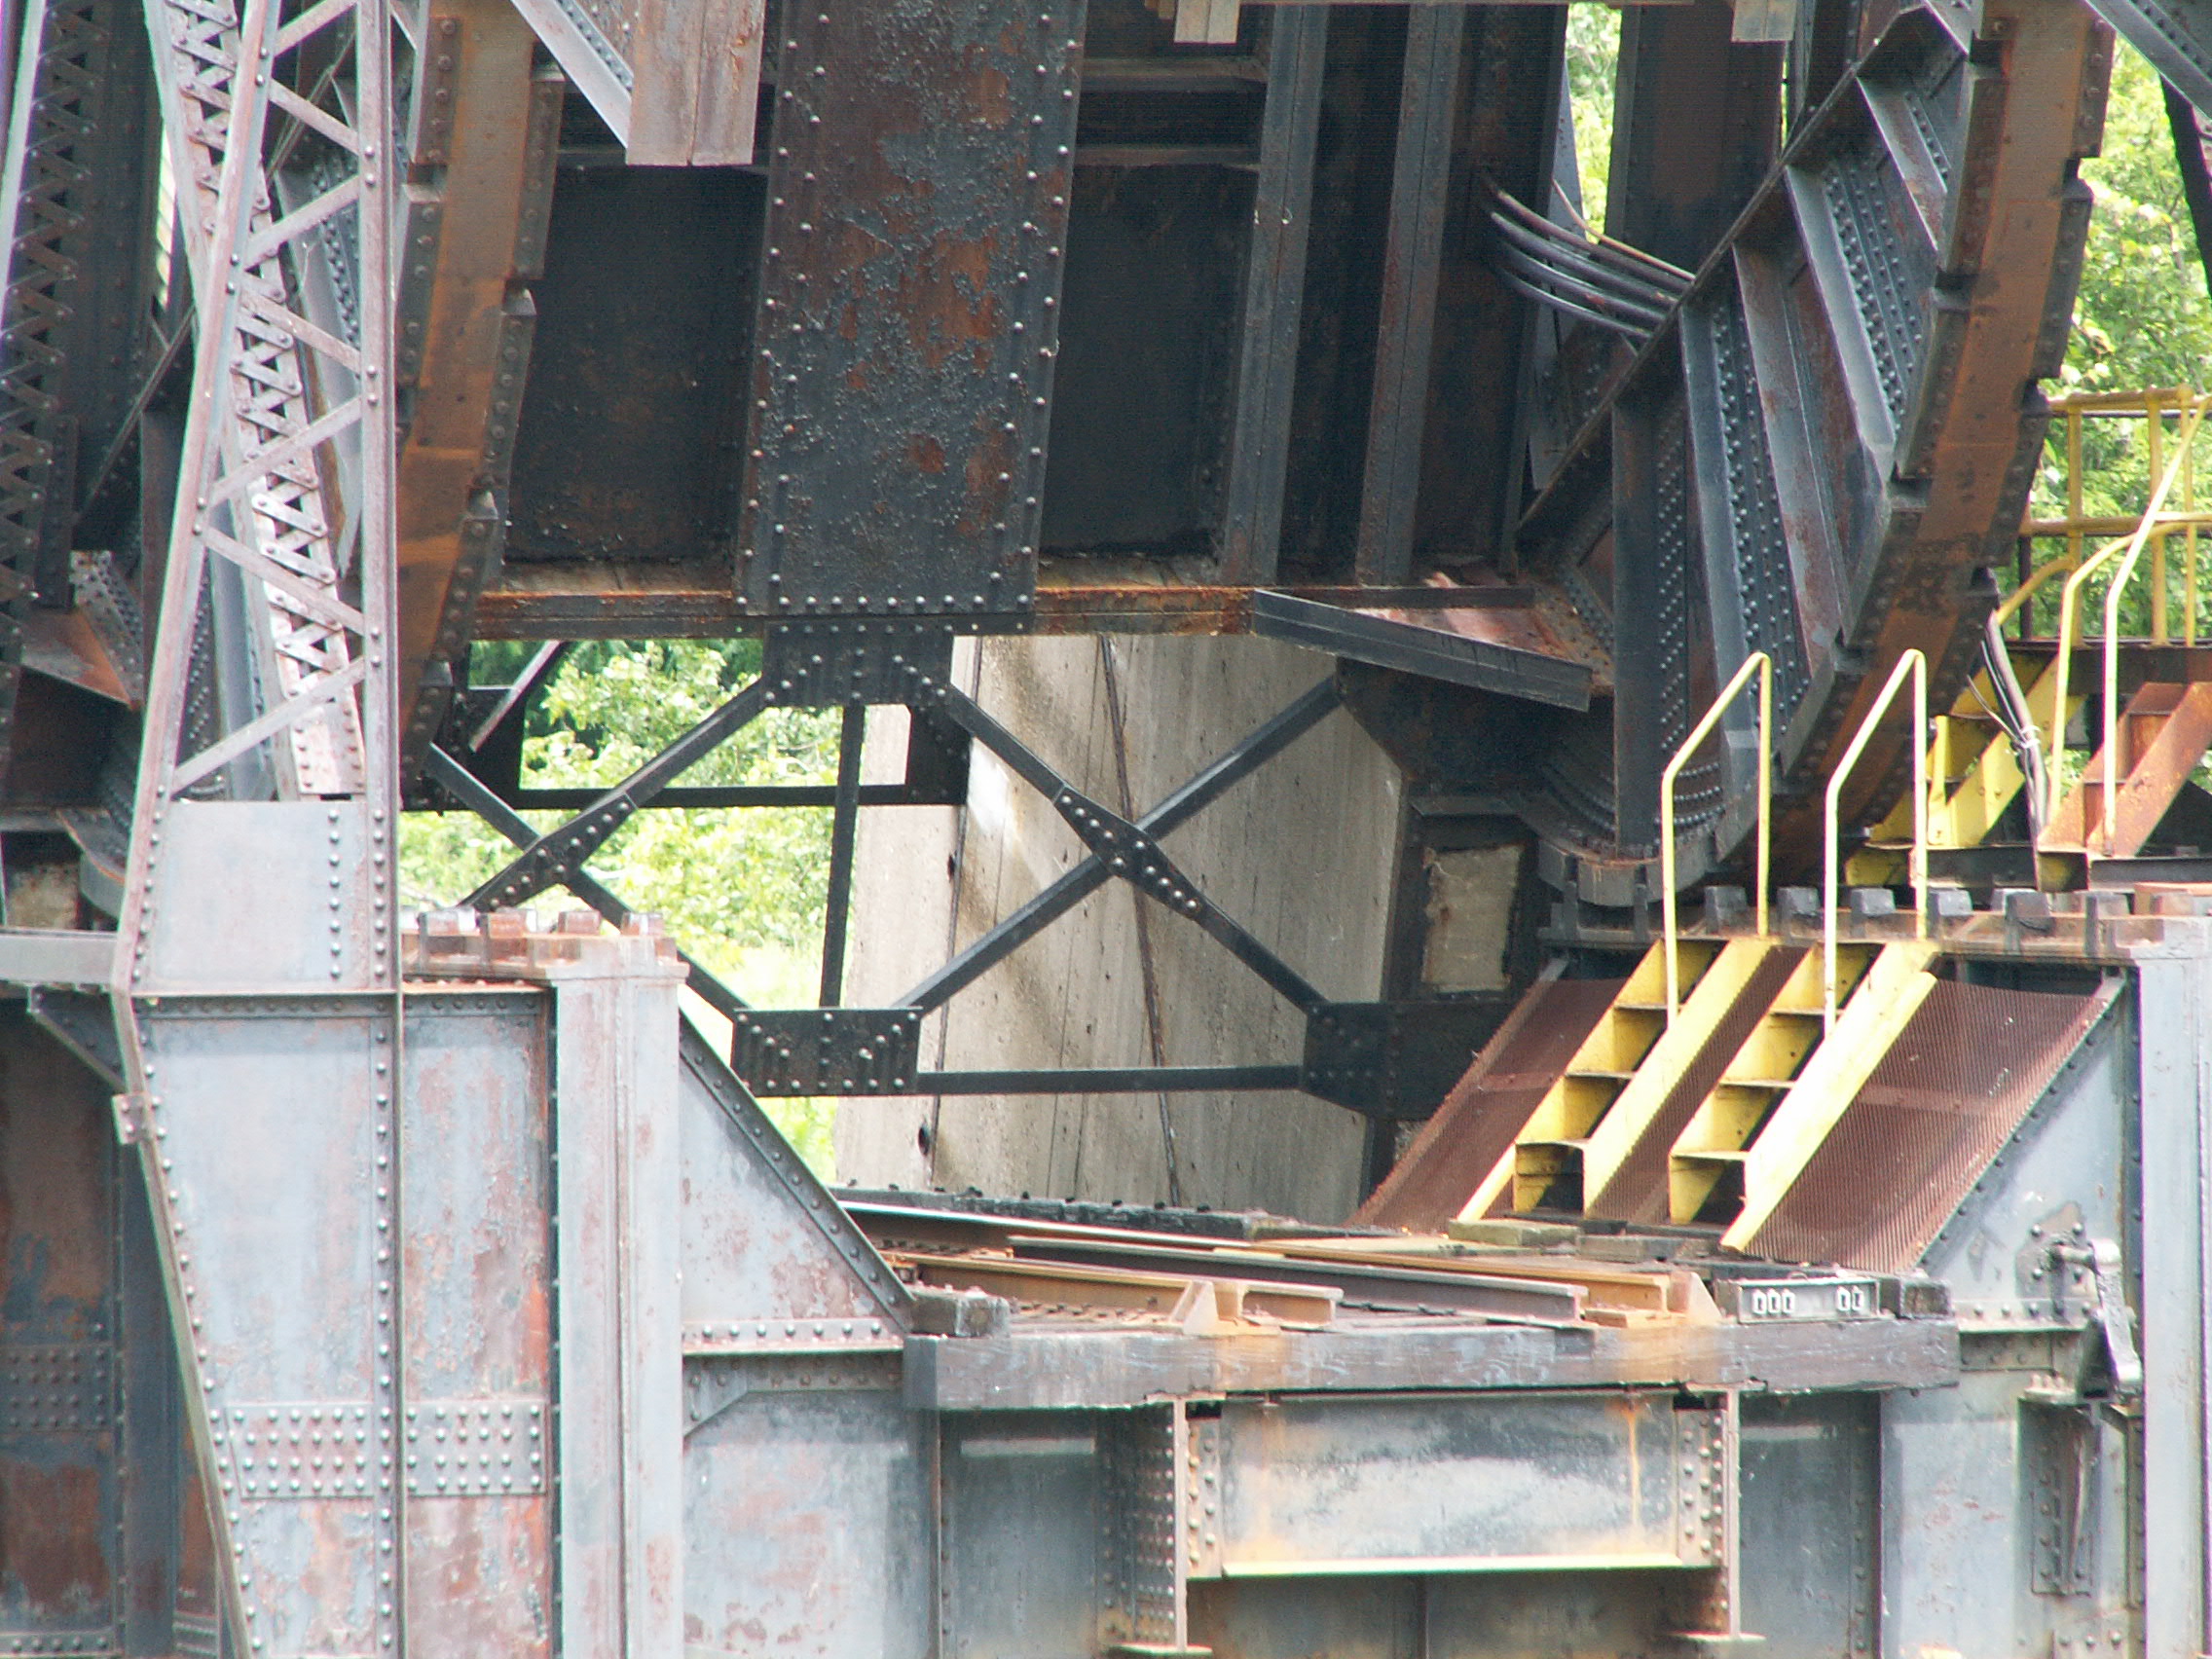
![]()
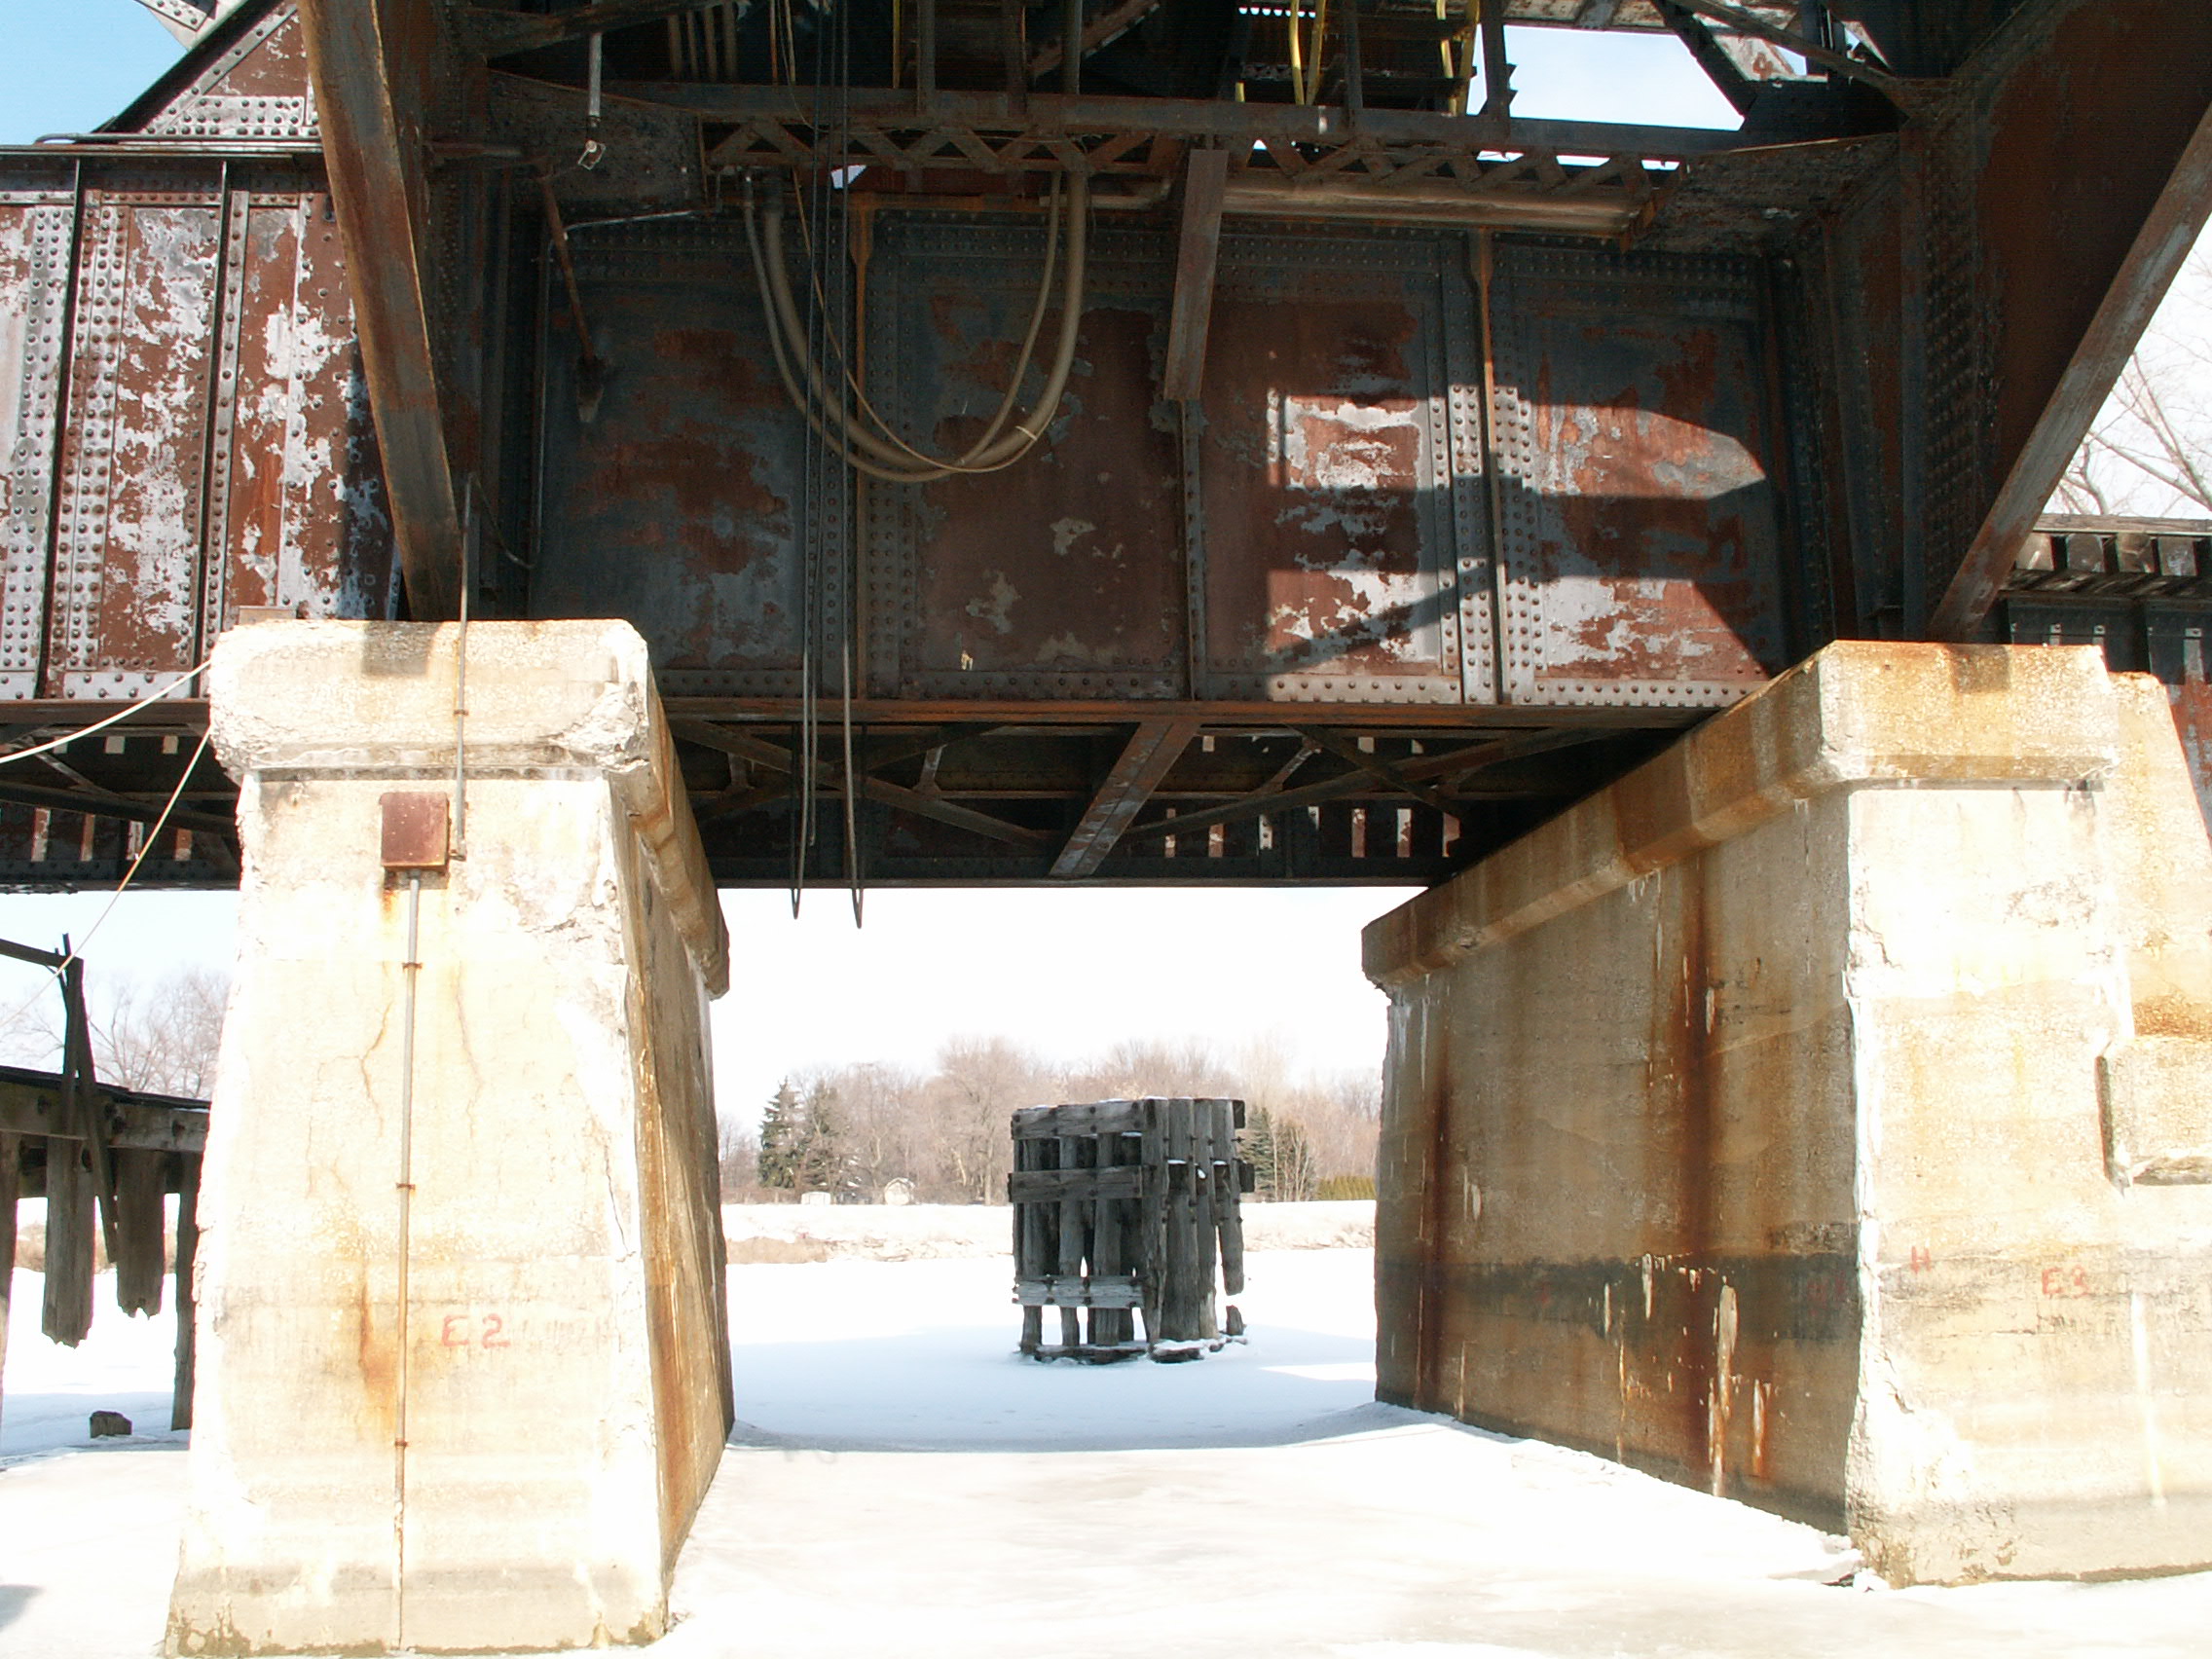
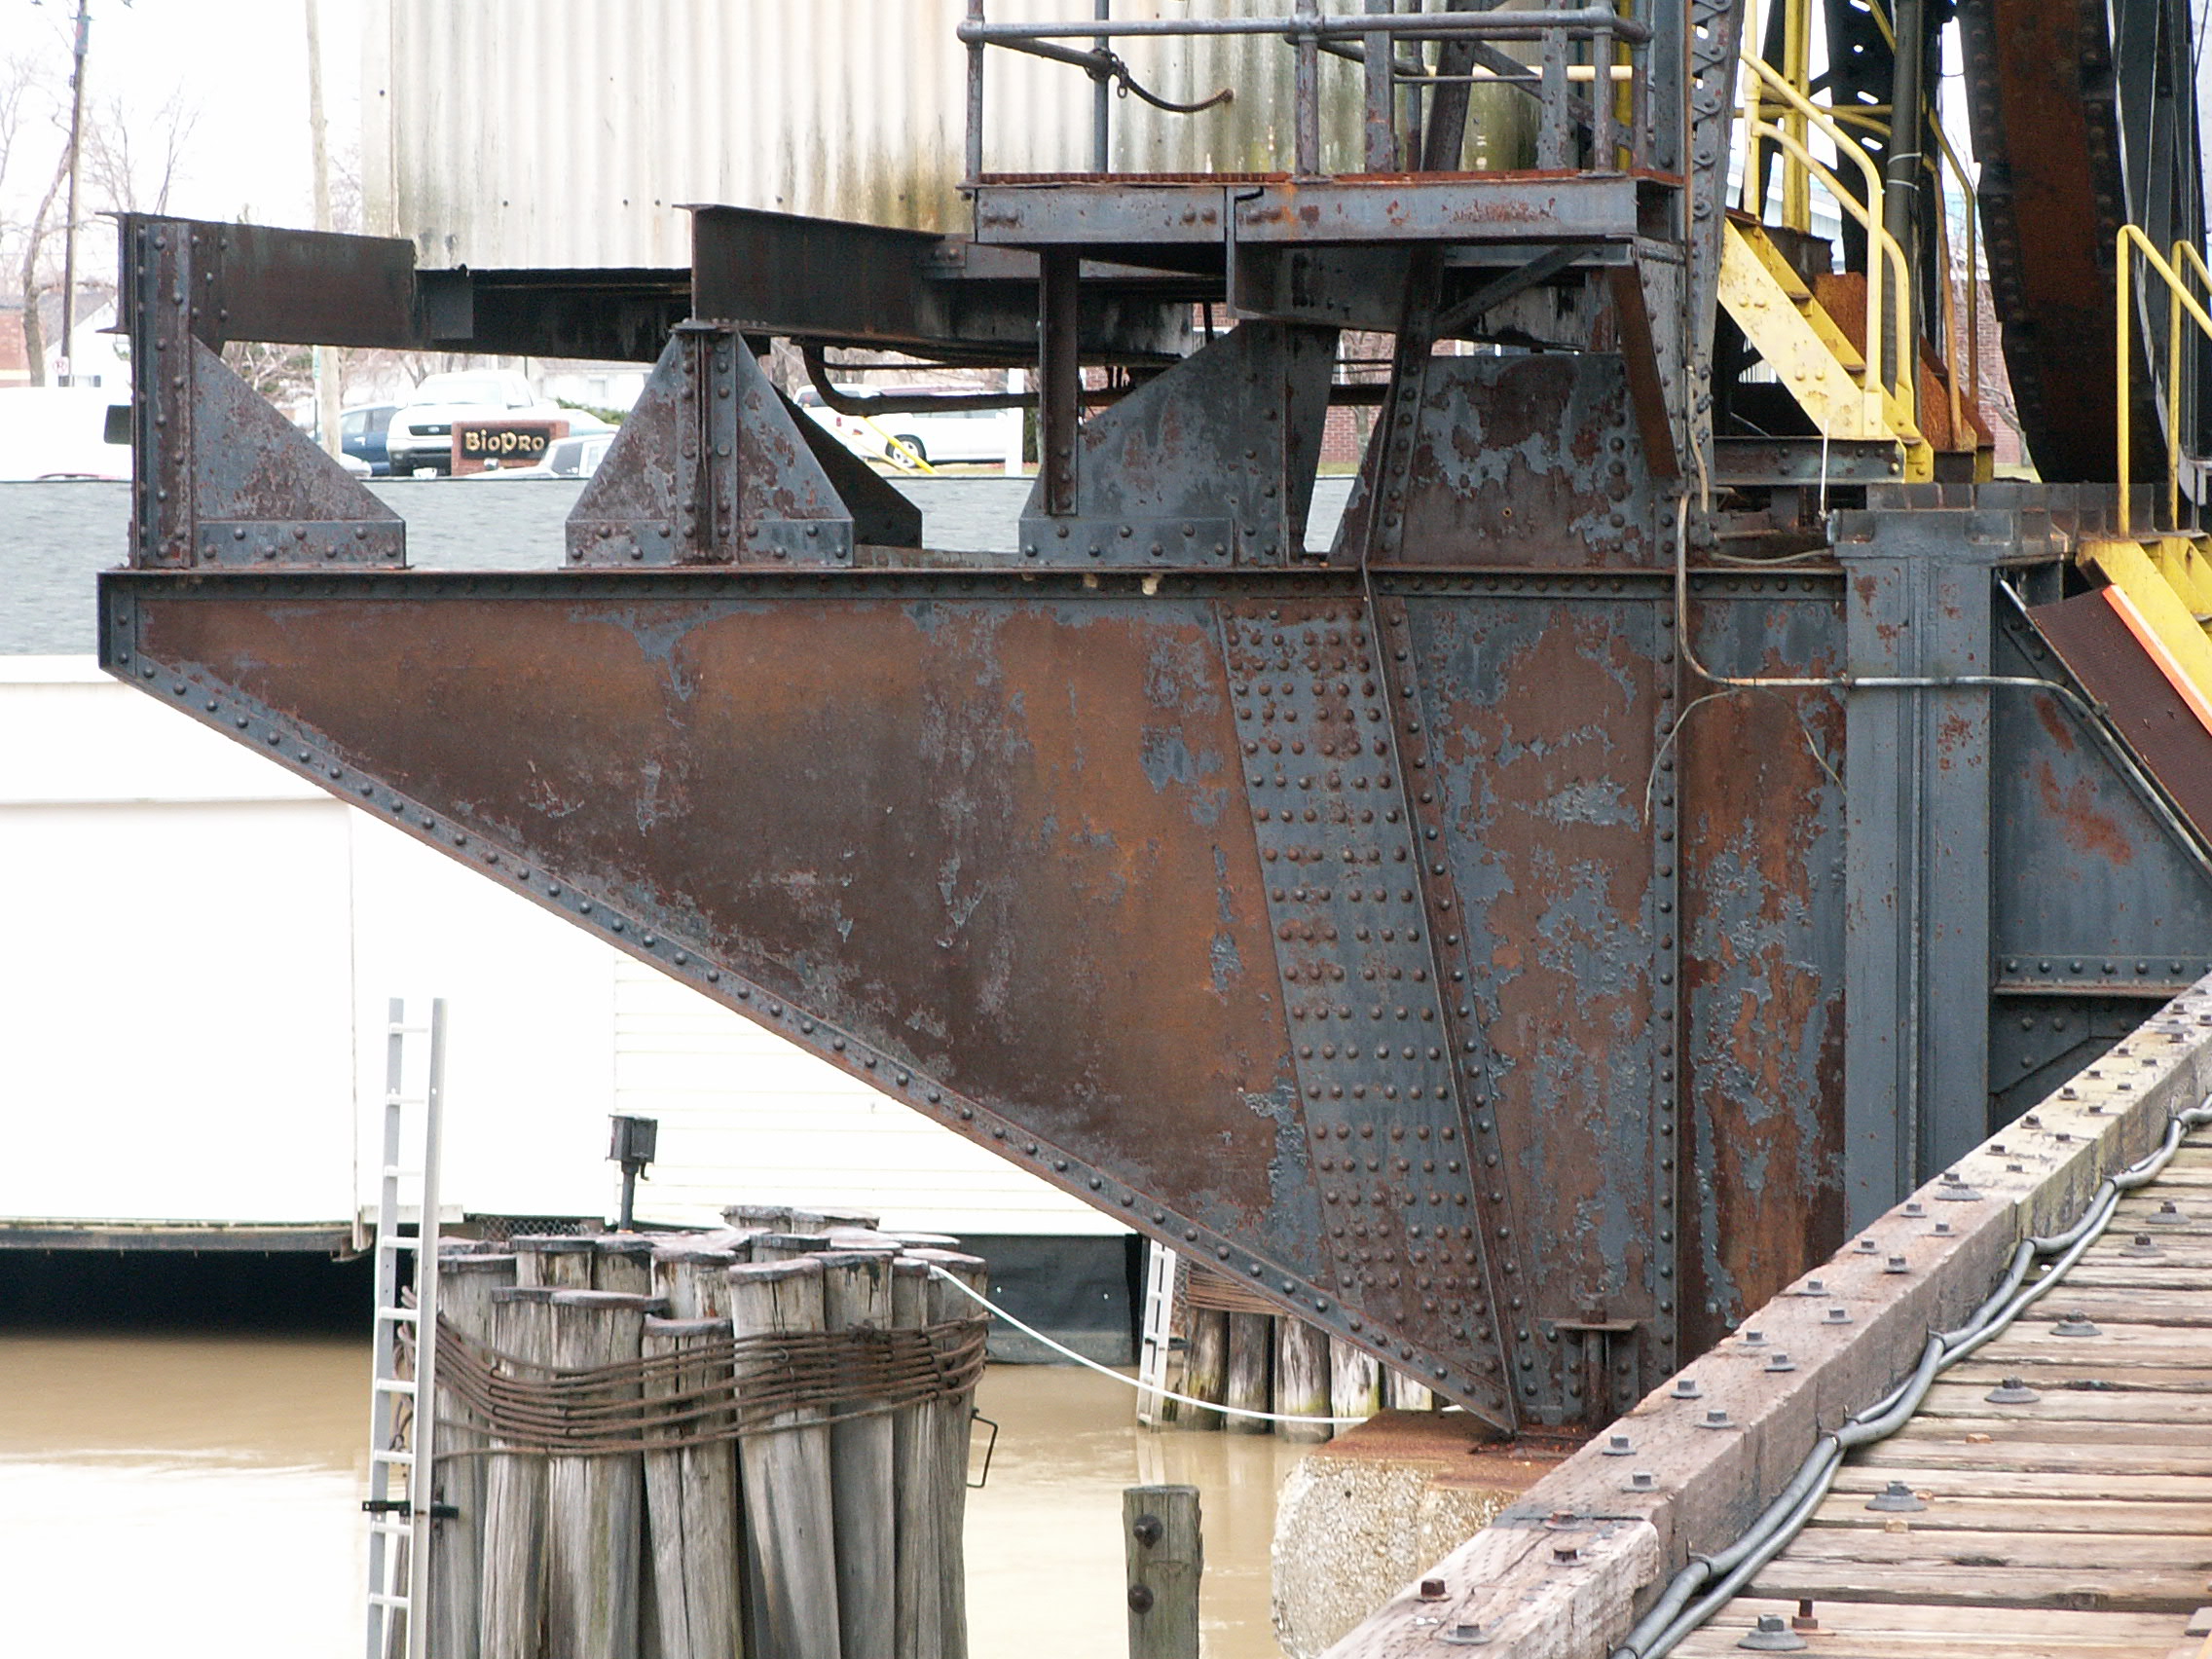
Piers under mechanical section of bridge.
![]()


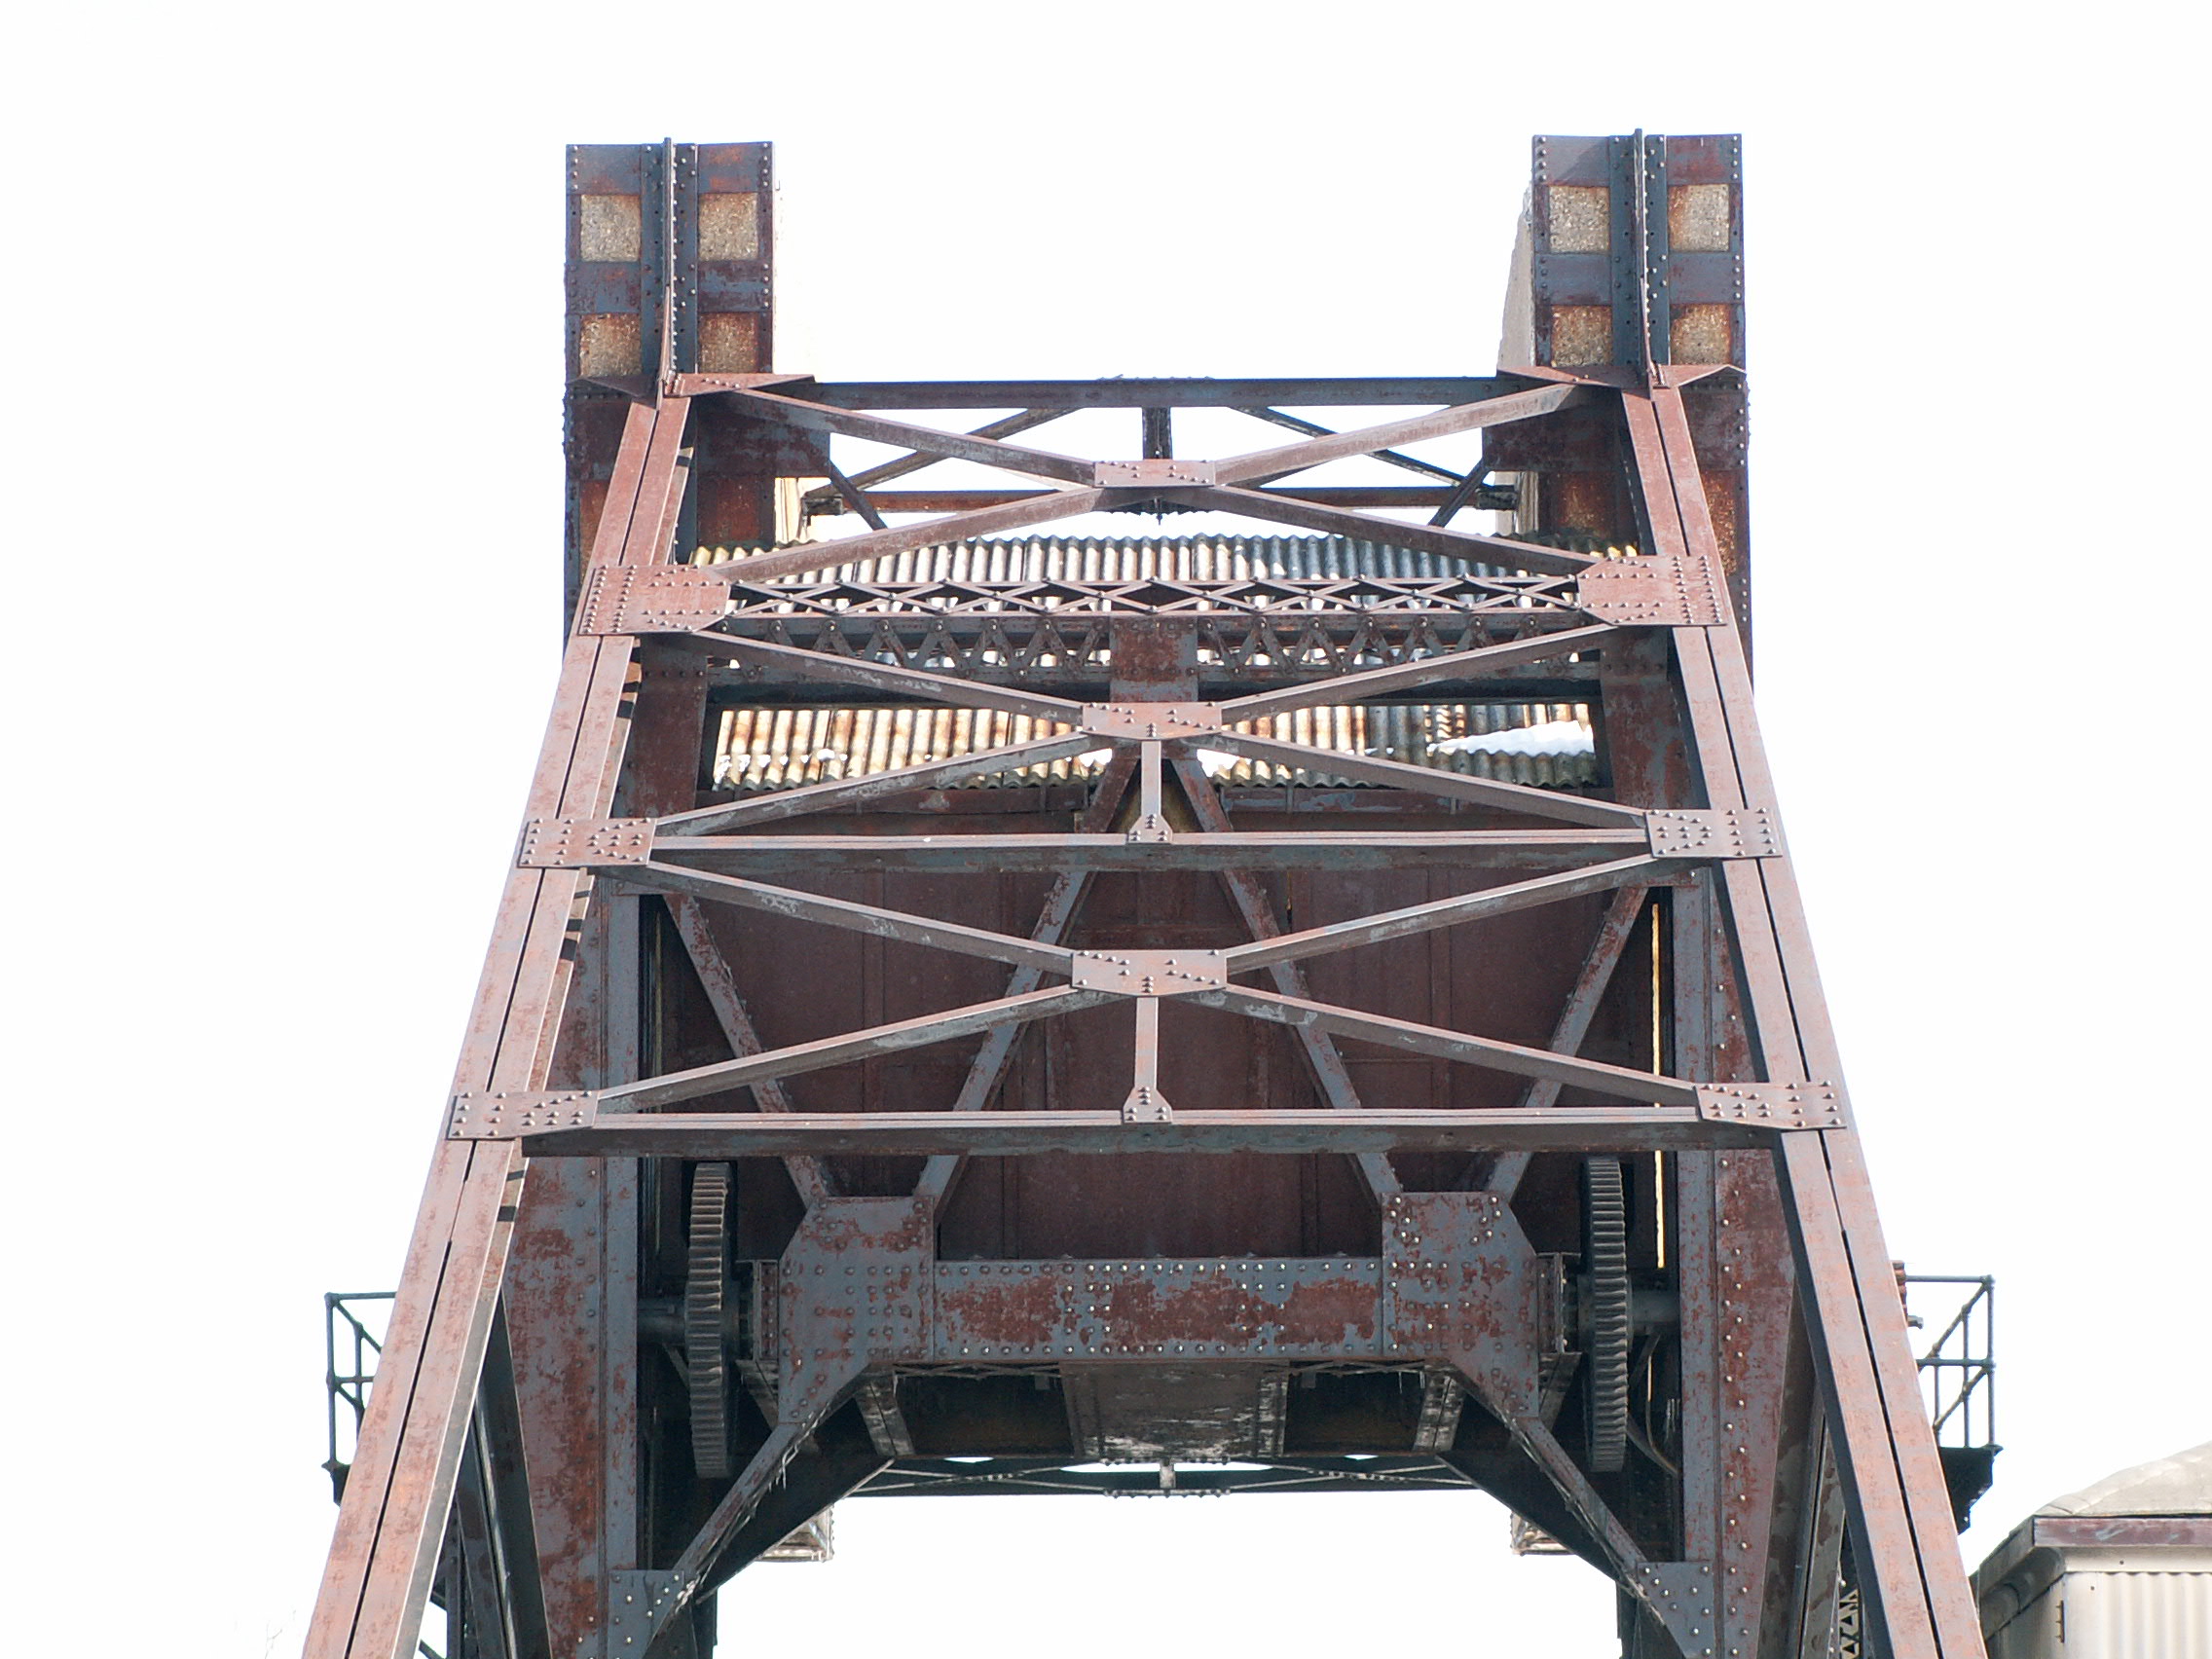


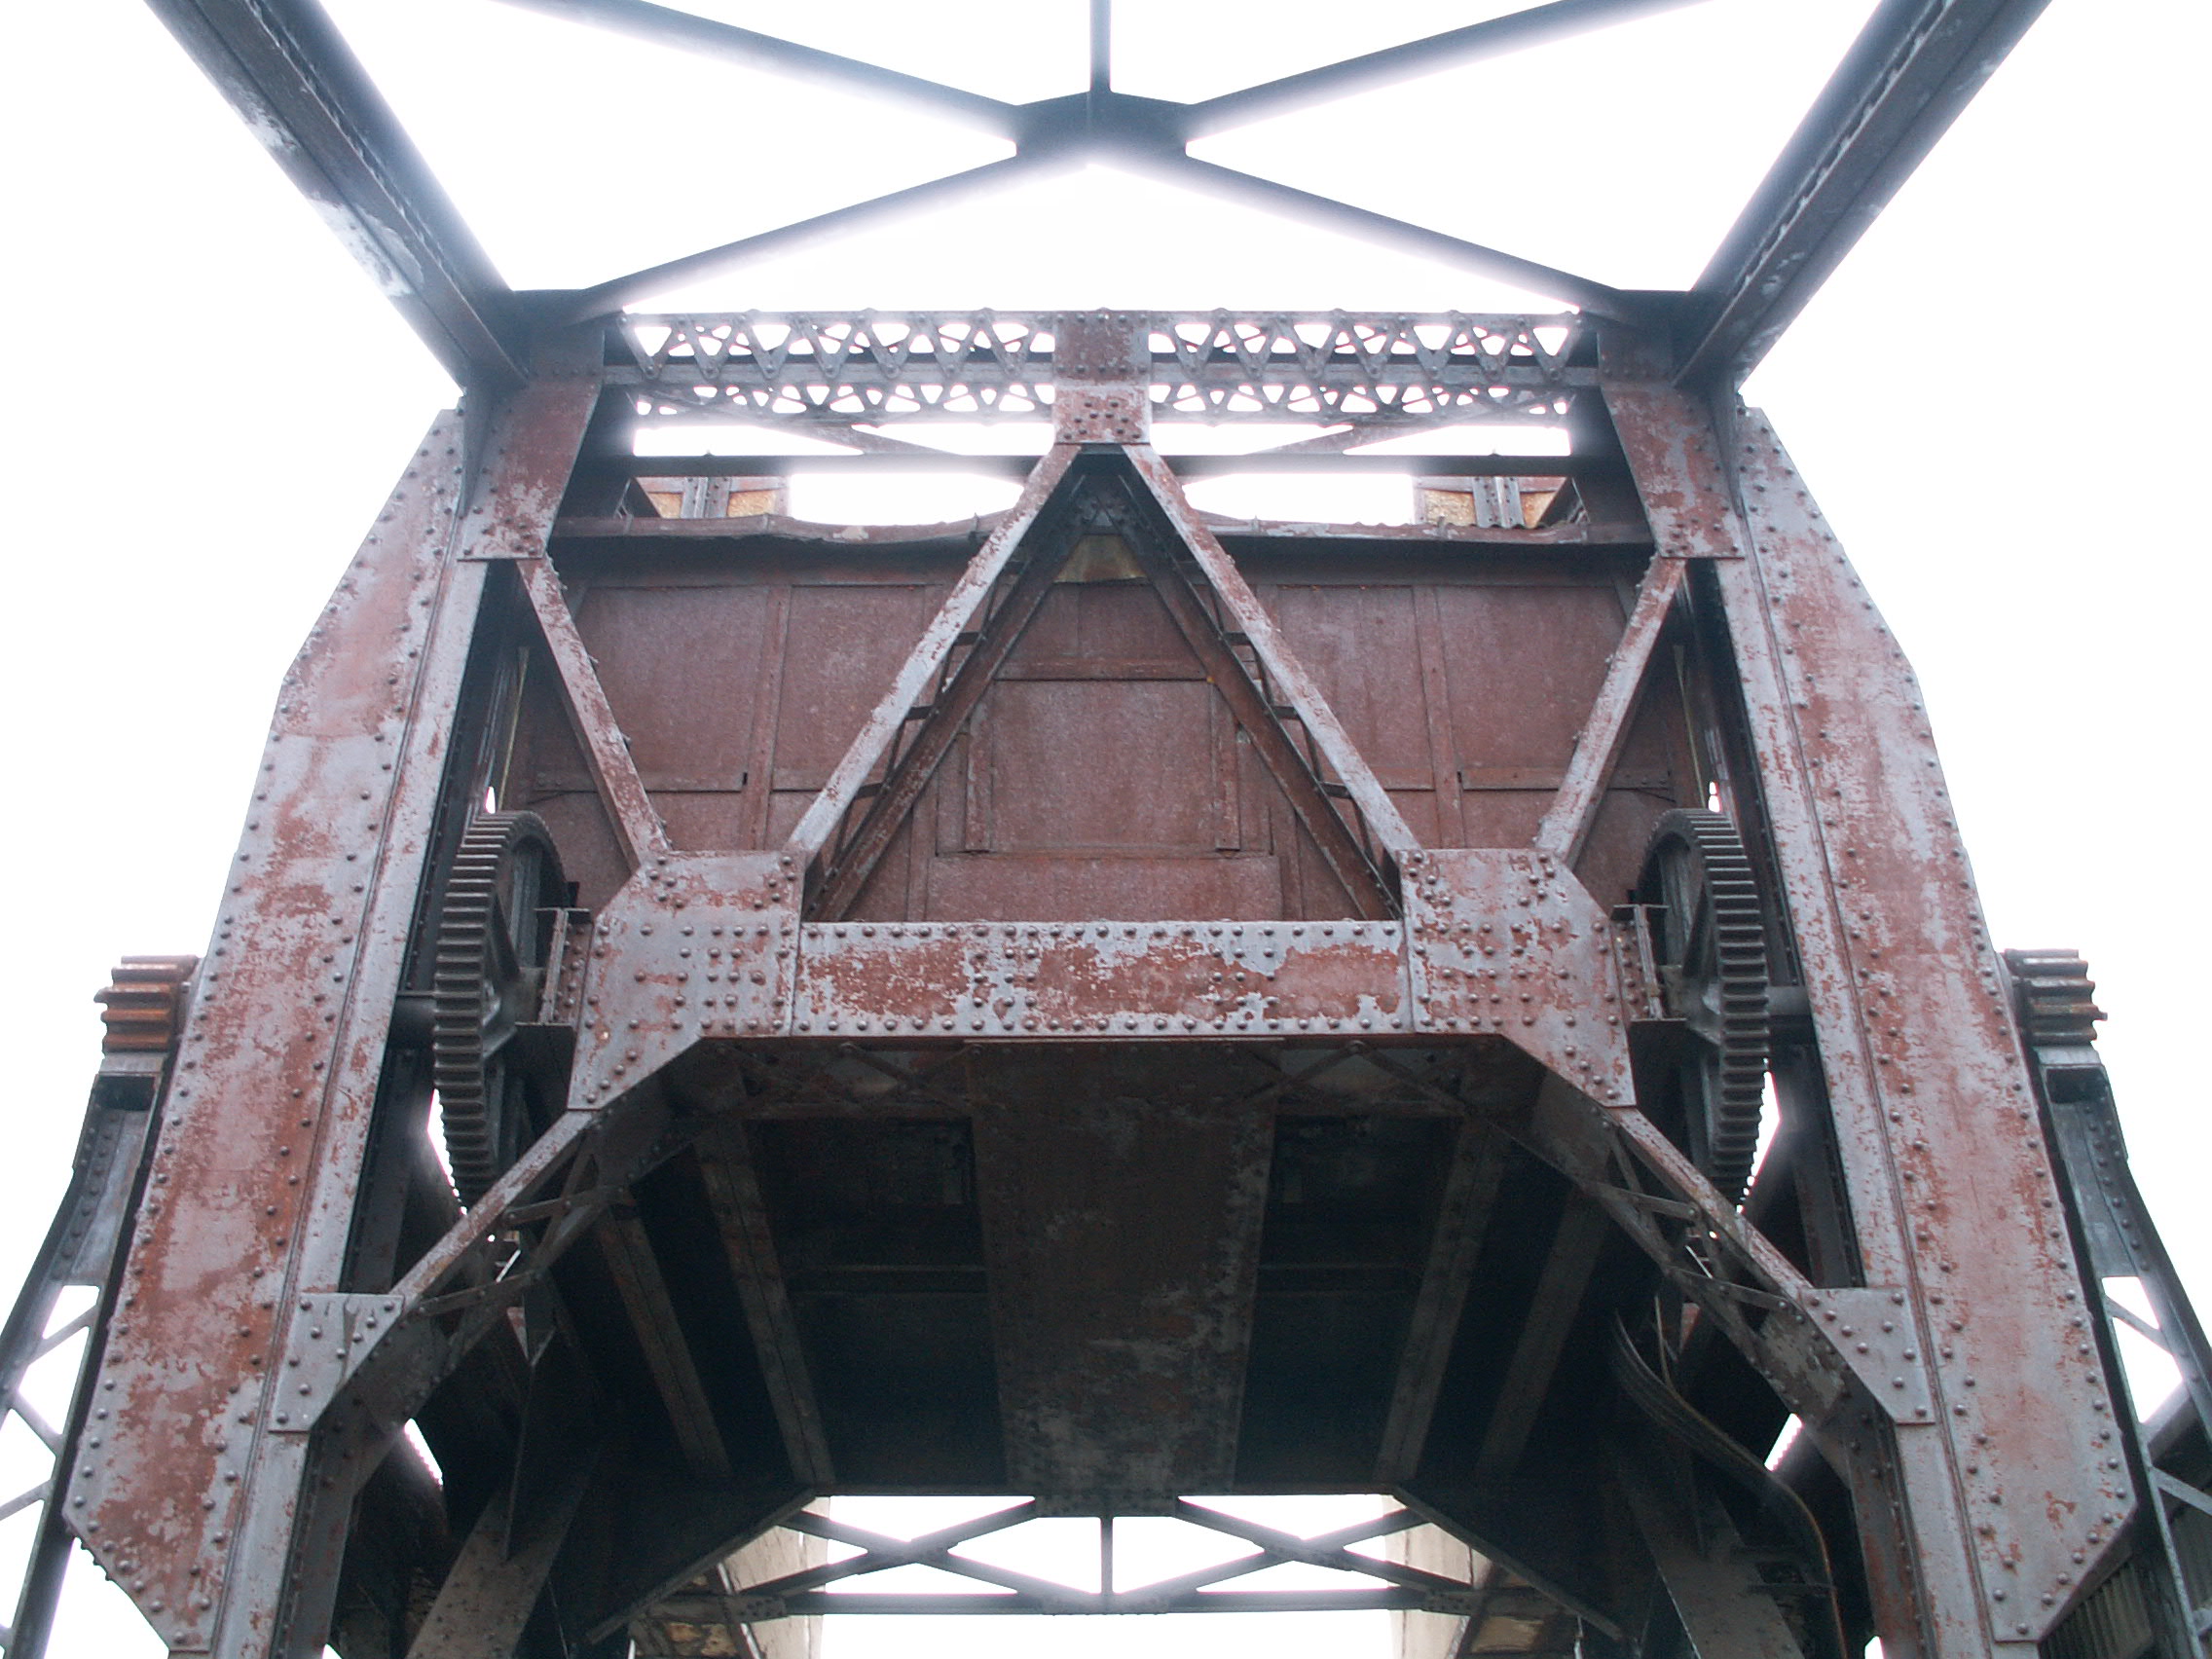
Looking at mechanical room and counterweight.
![]()
Mechanical room.
![]()


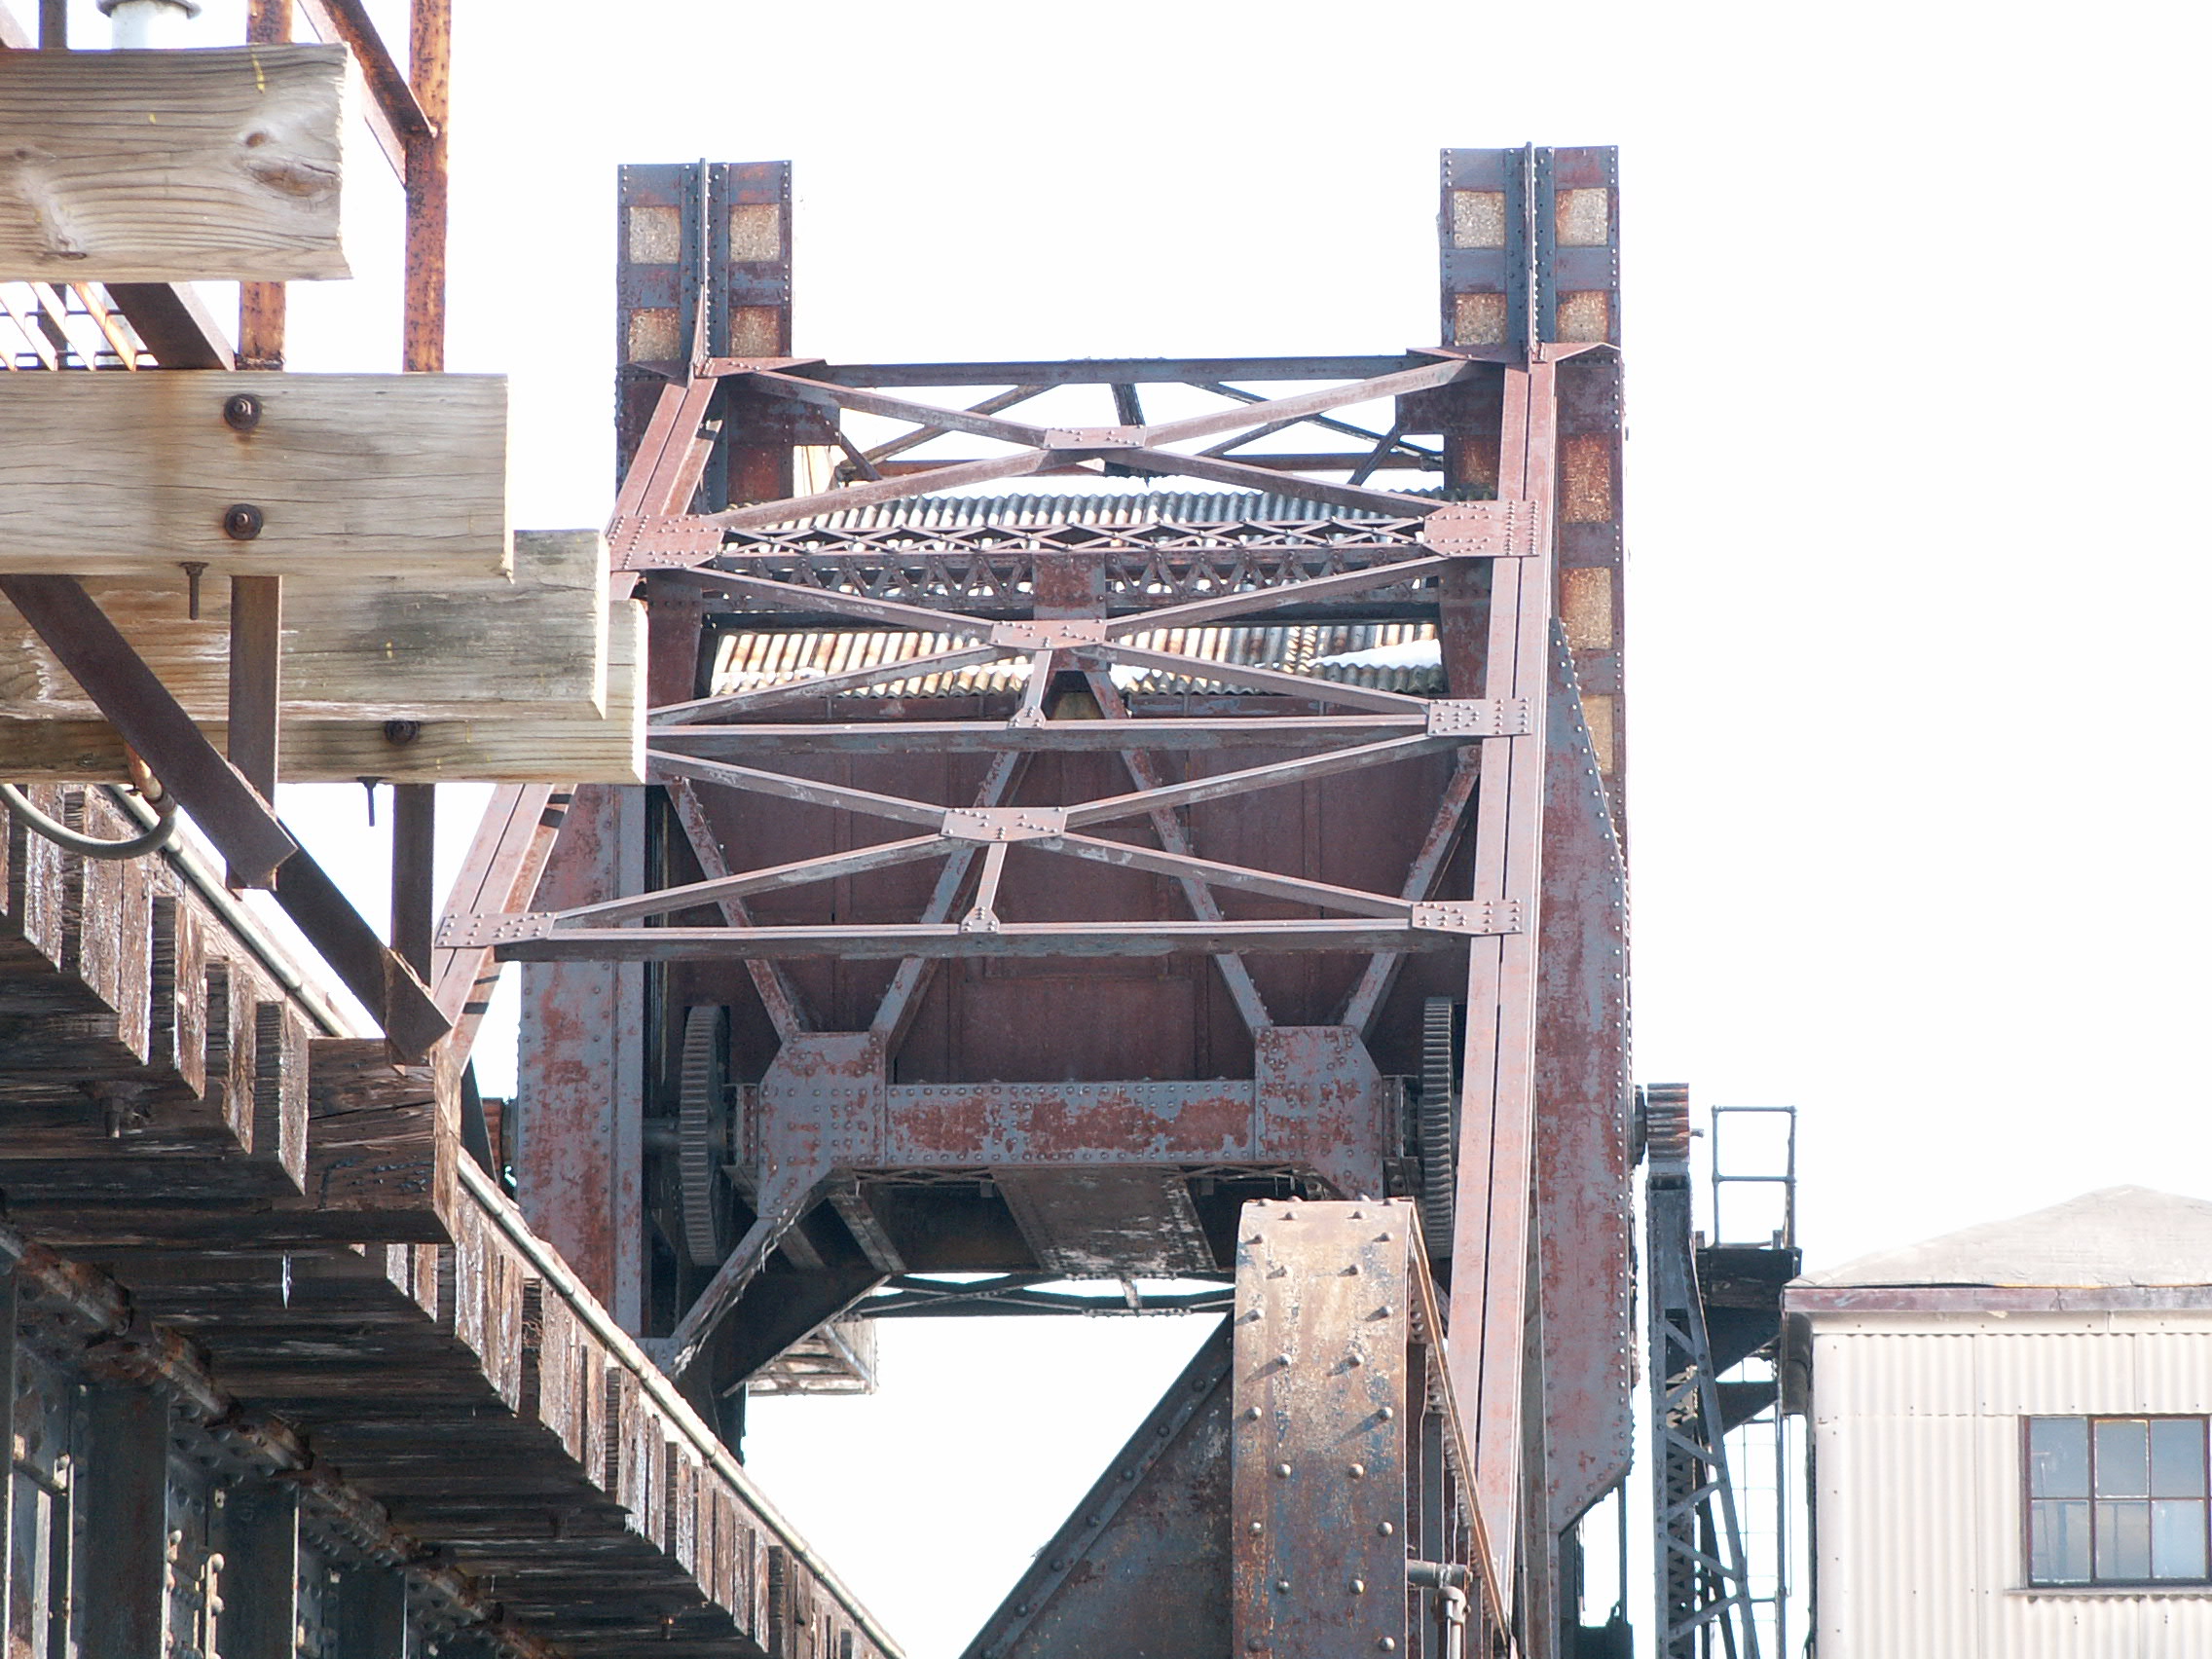
Looking up at mechanical room.
![]()
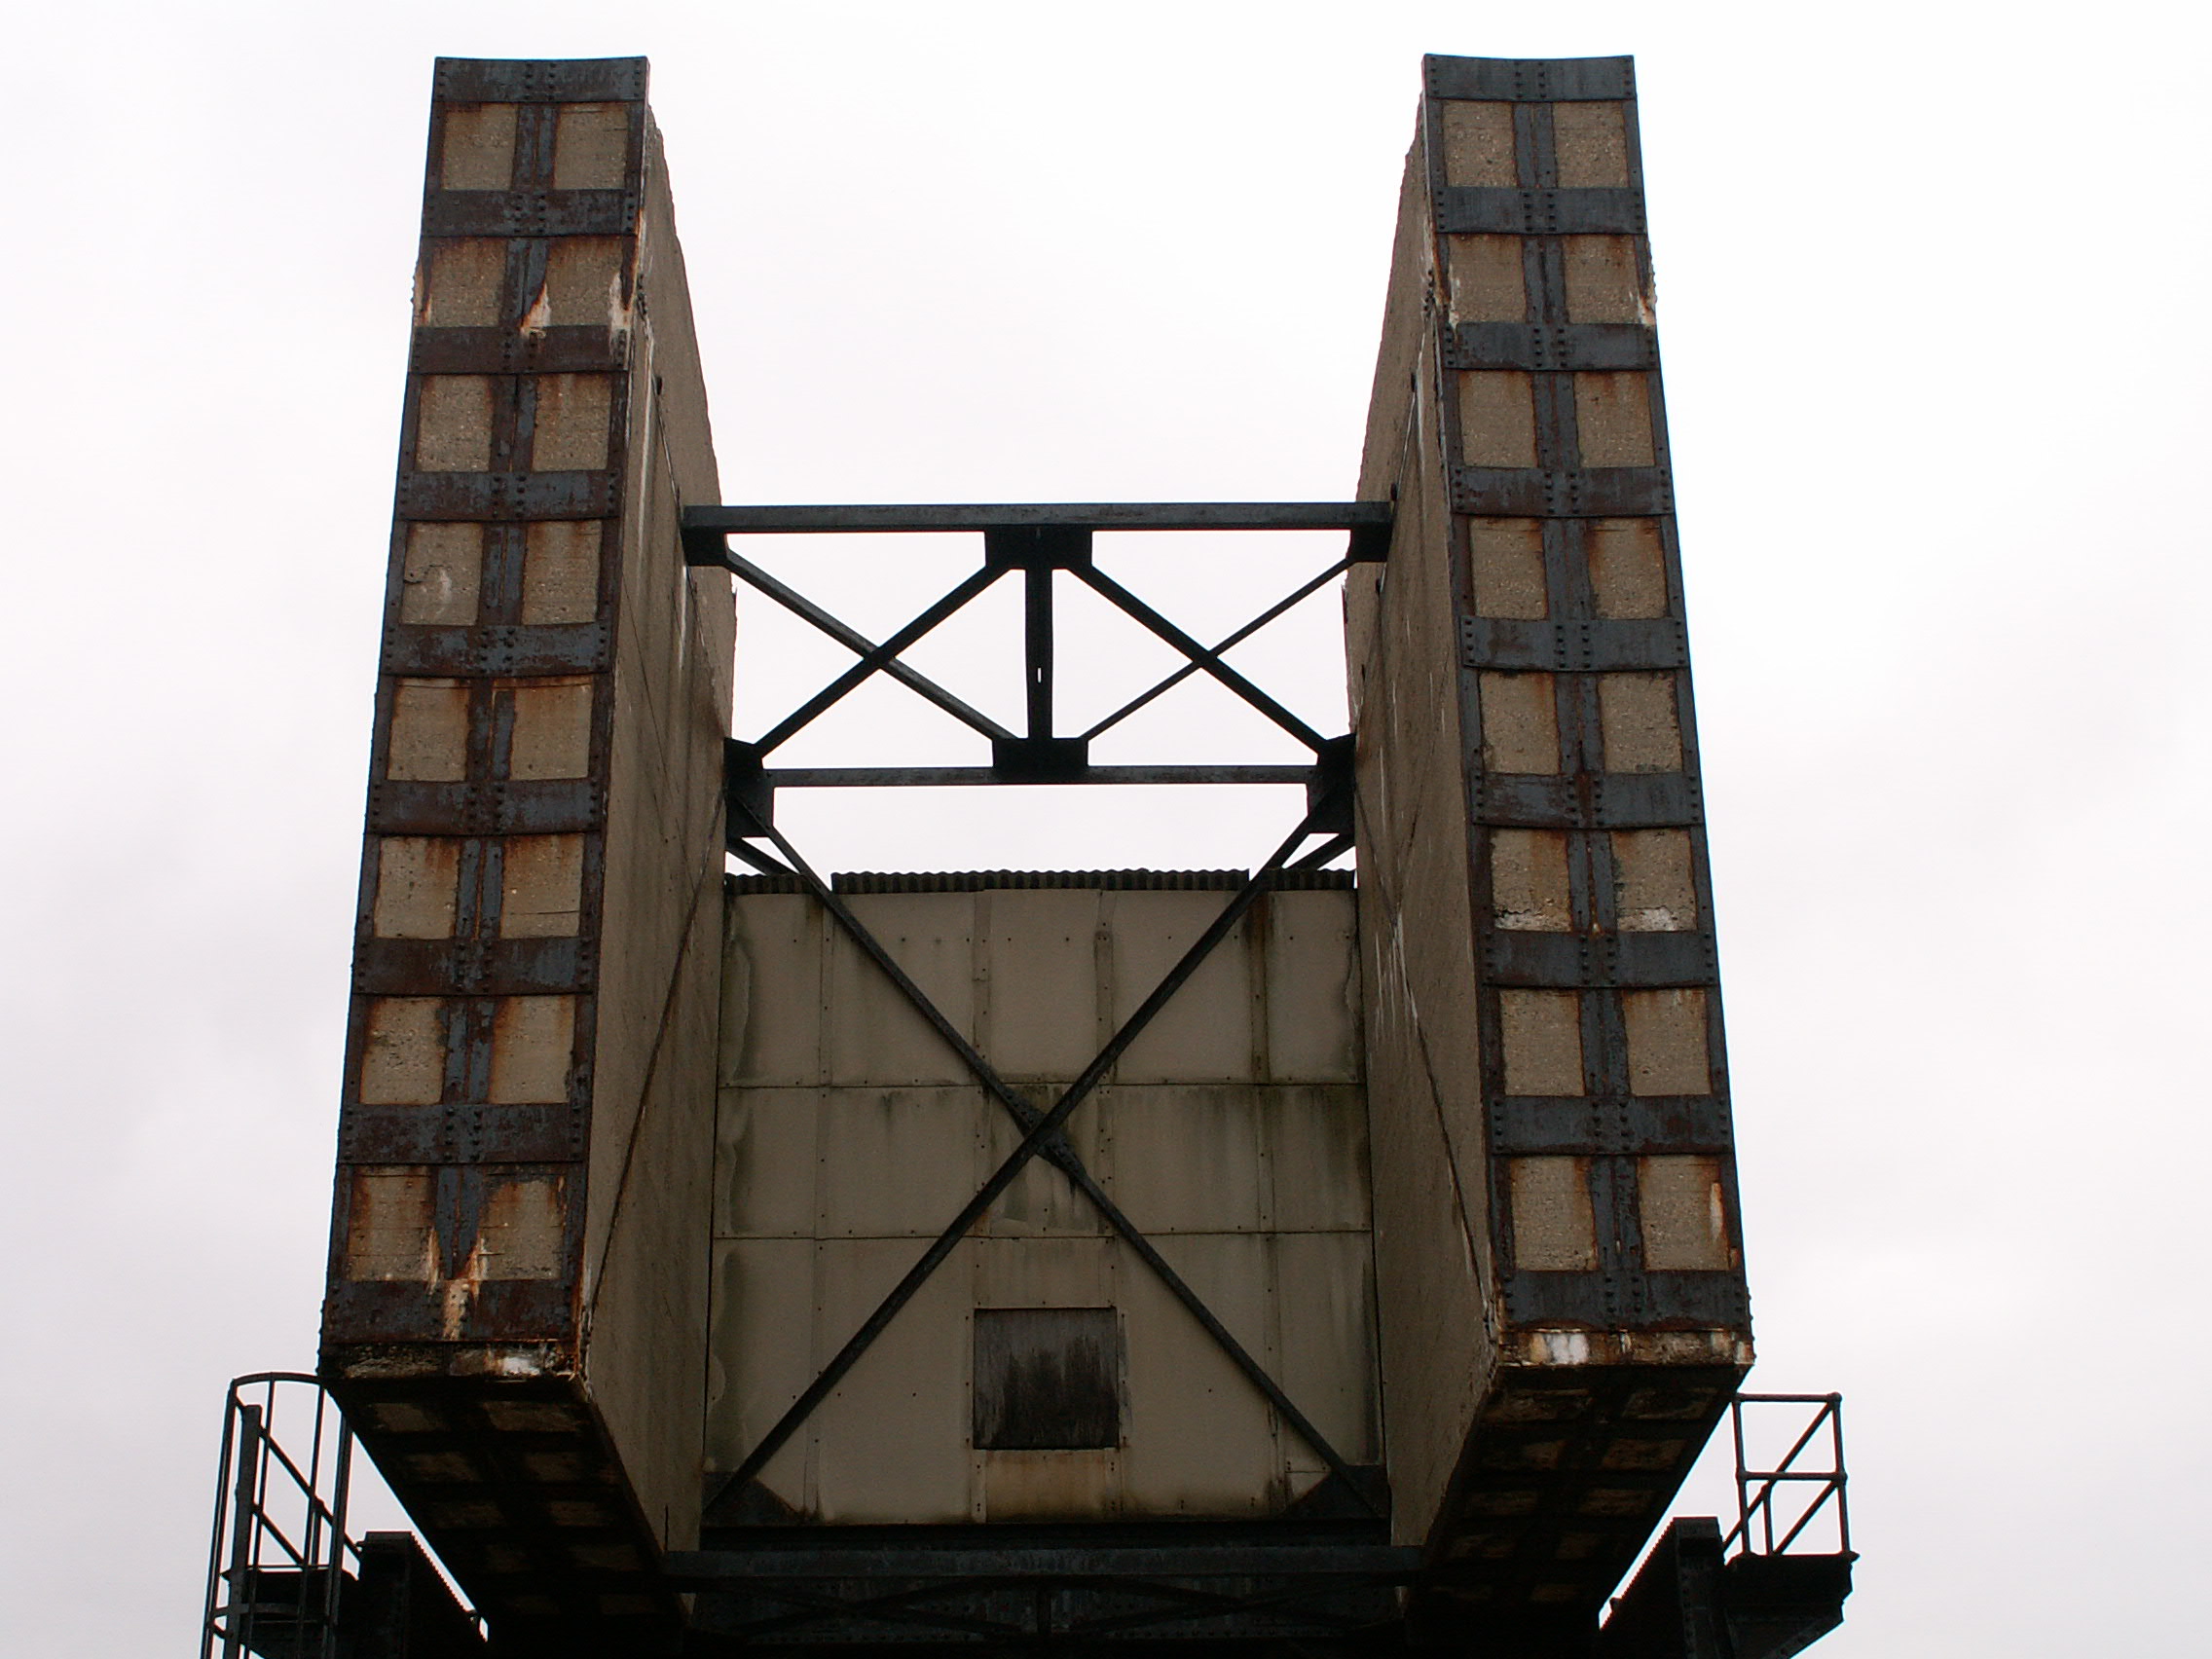


Counterweight.
![]()


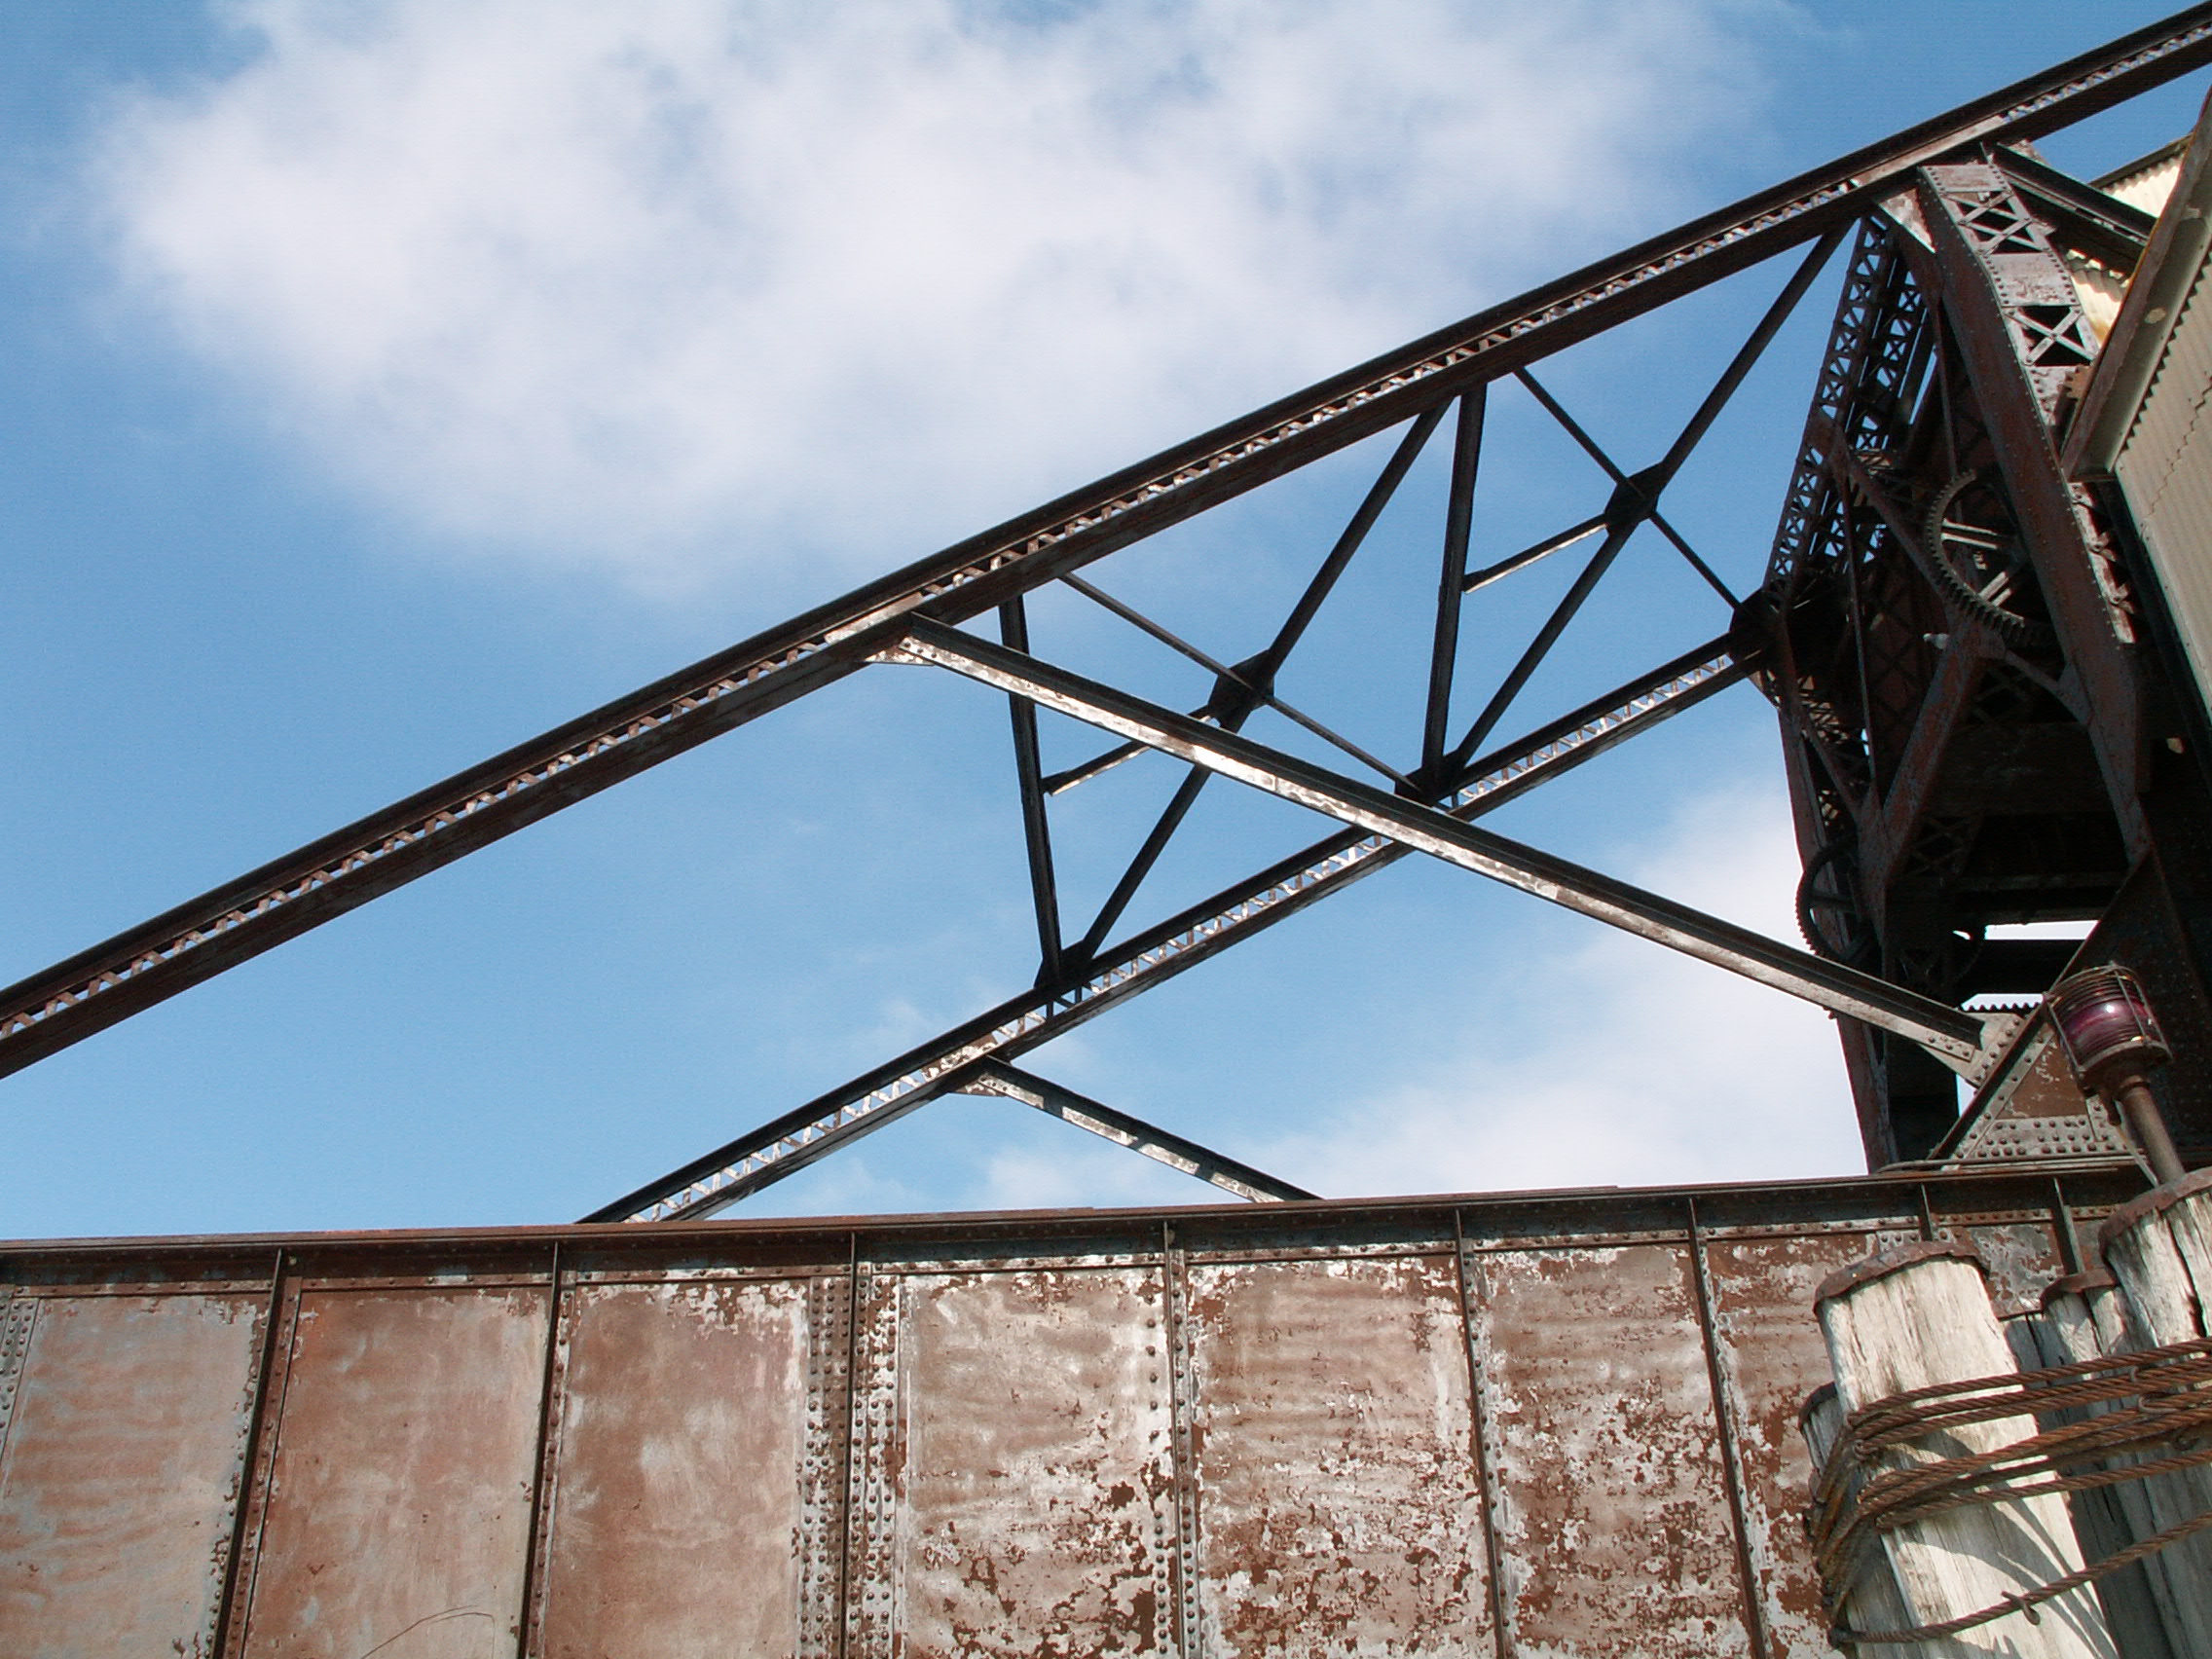
Roller and lift track overviews.
![]()


Roller details.
![]()


Roller and lift track details.
![]()


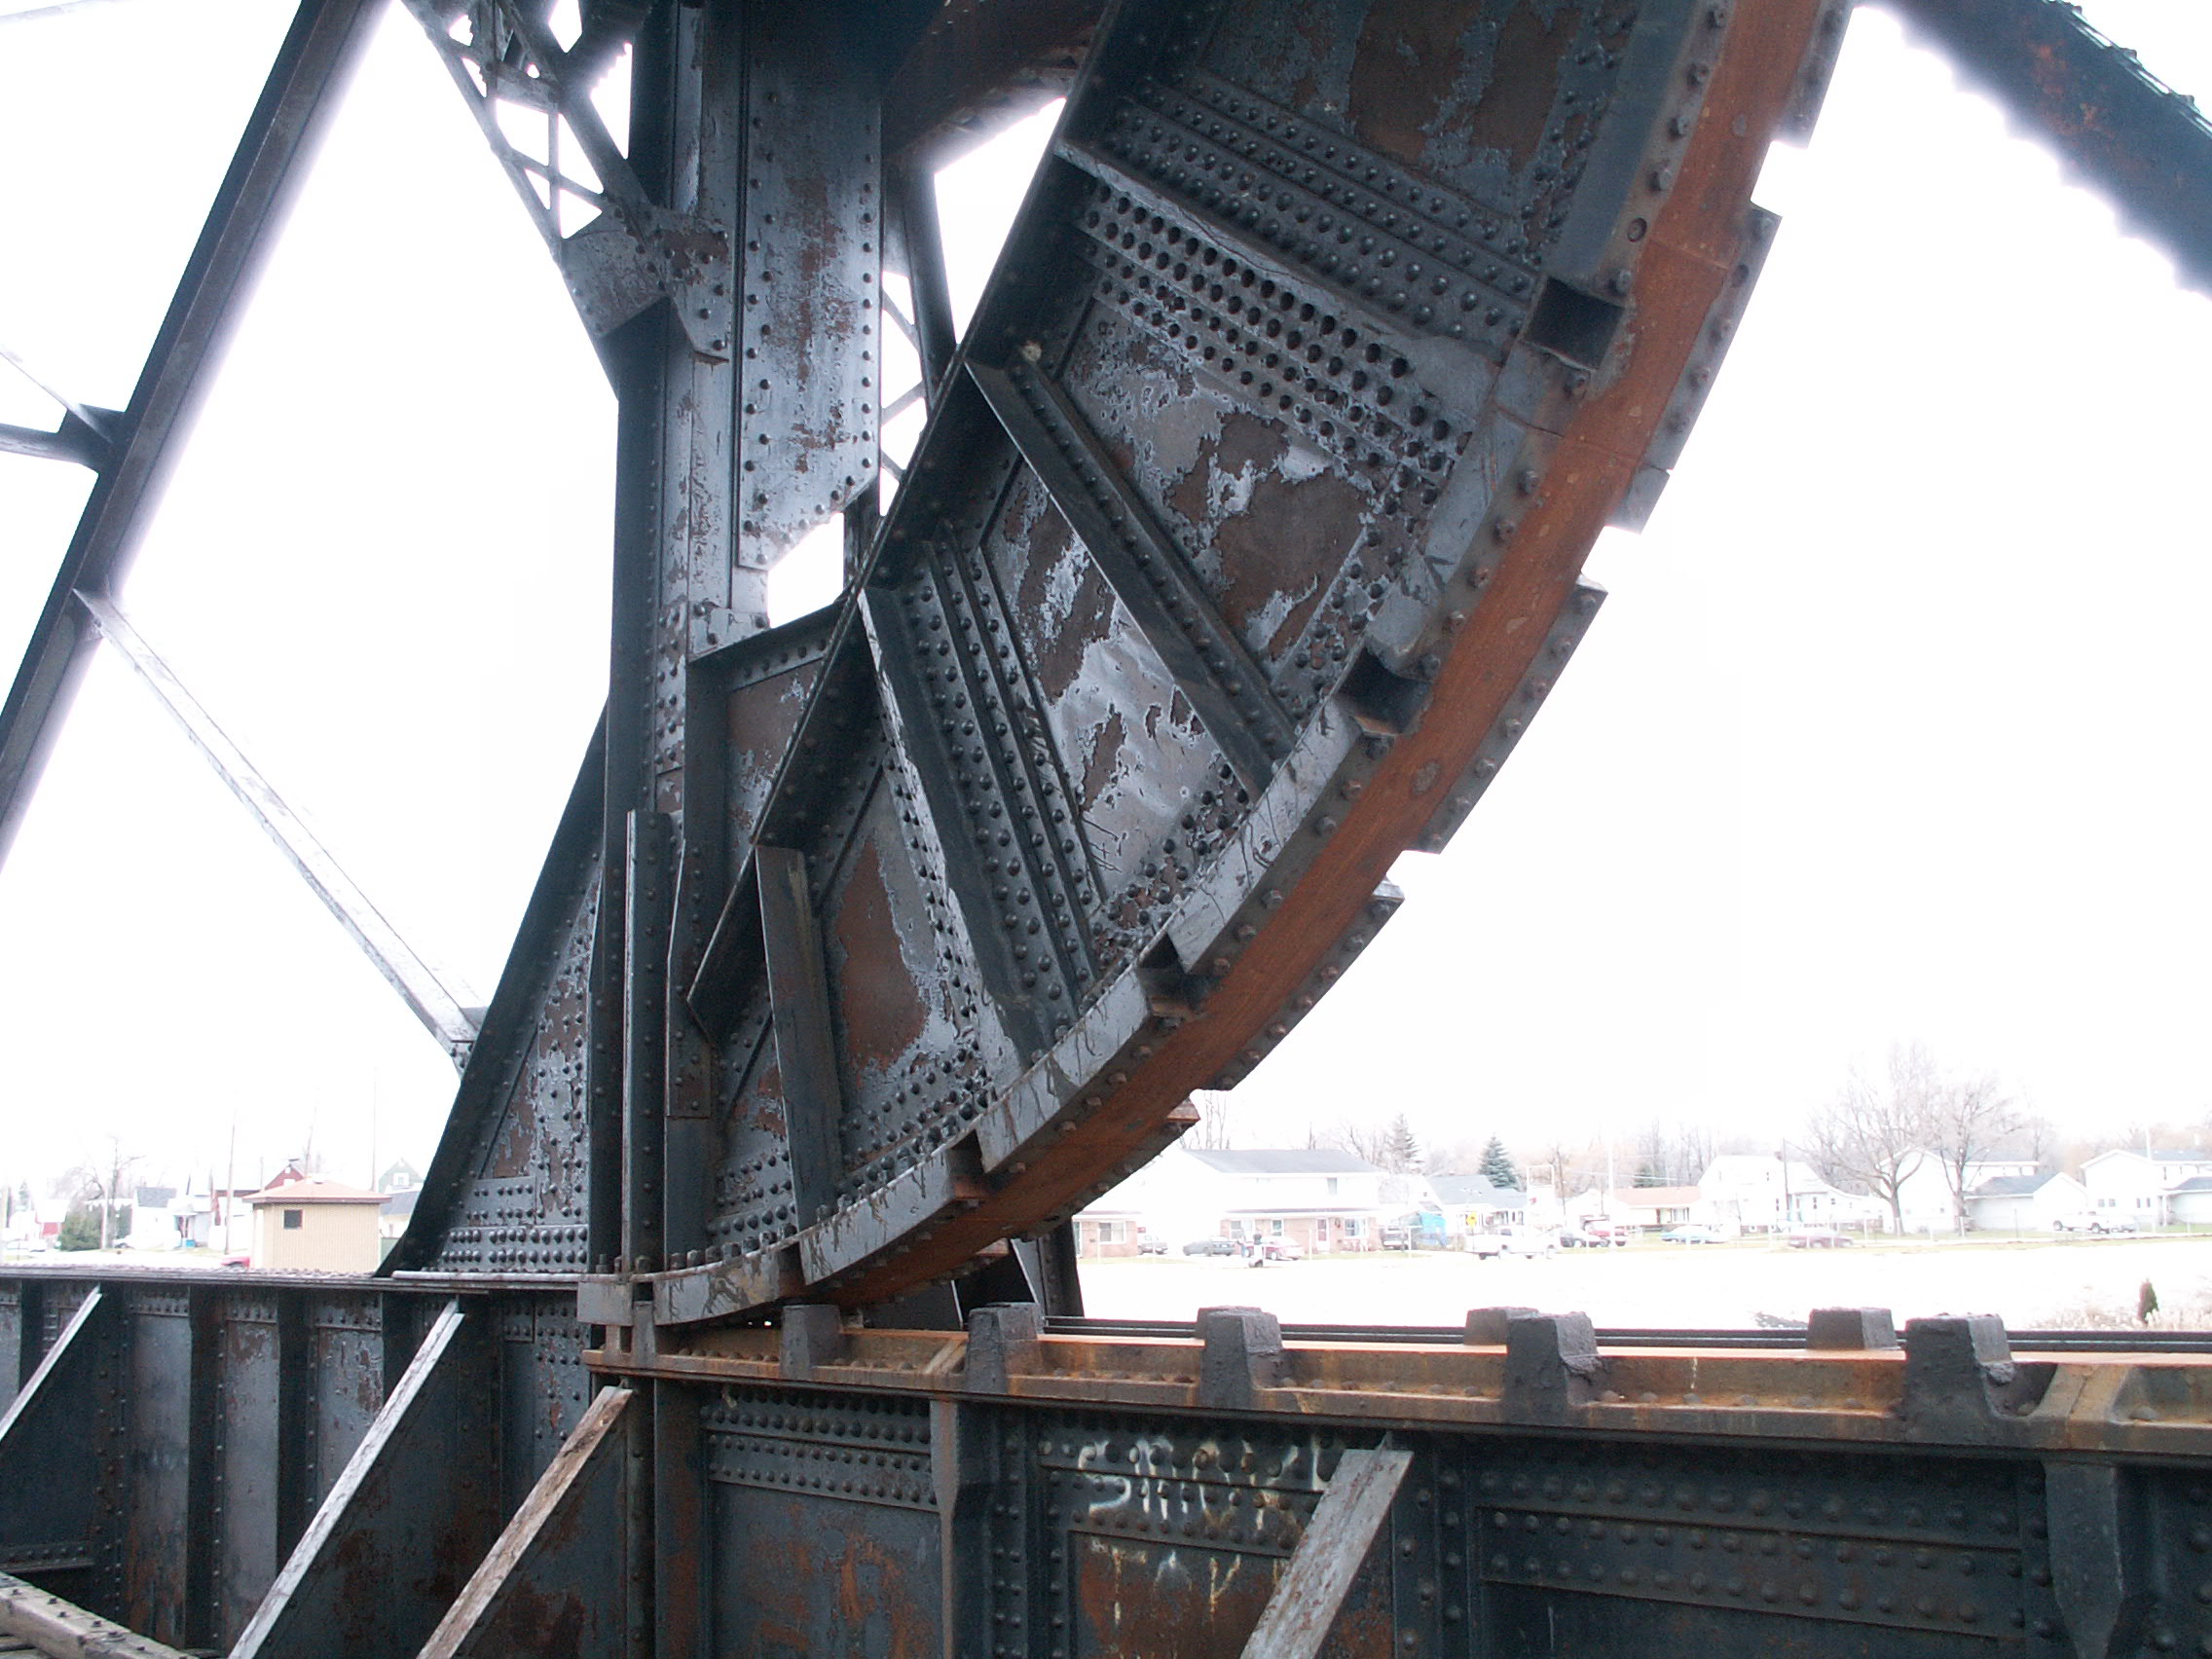
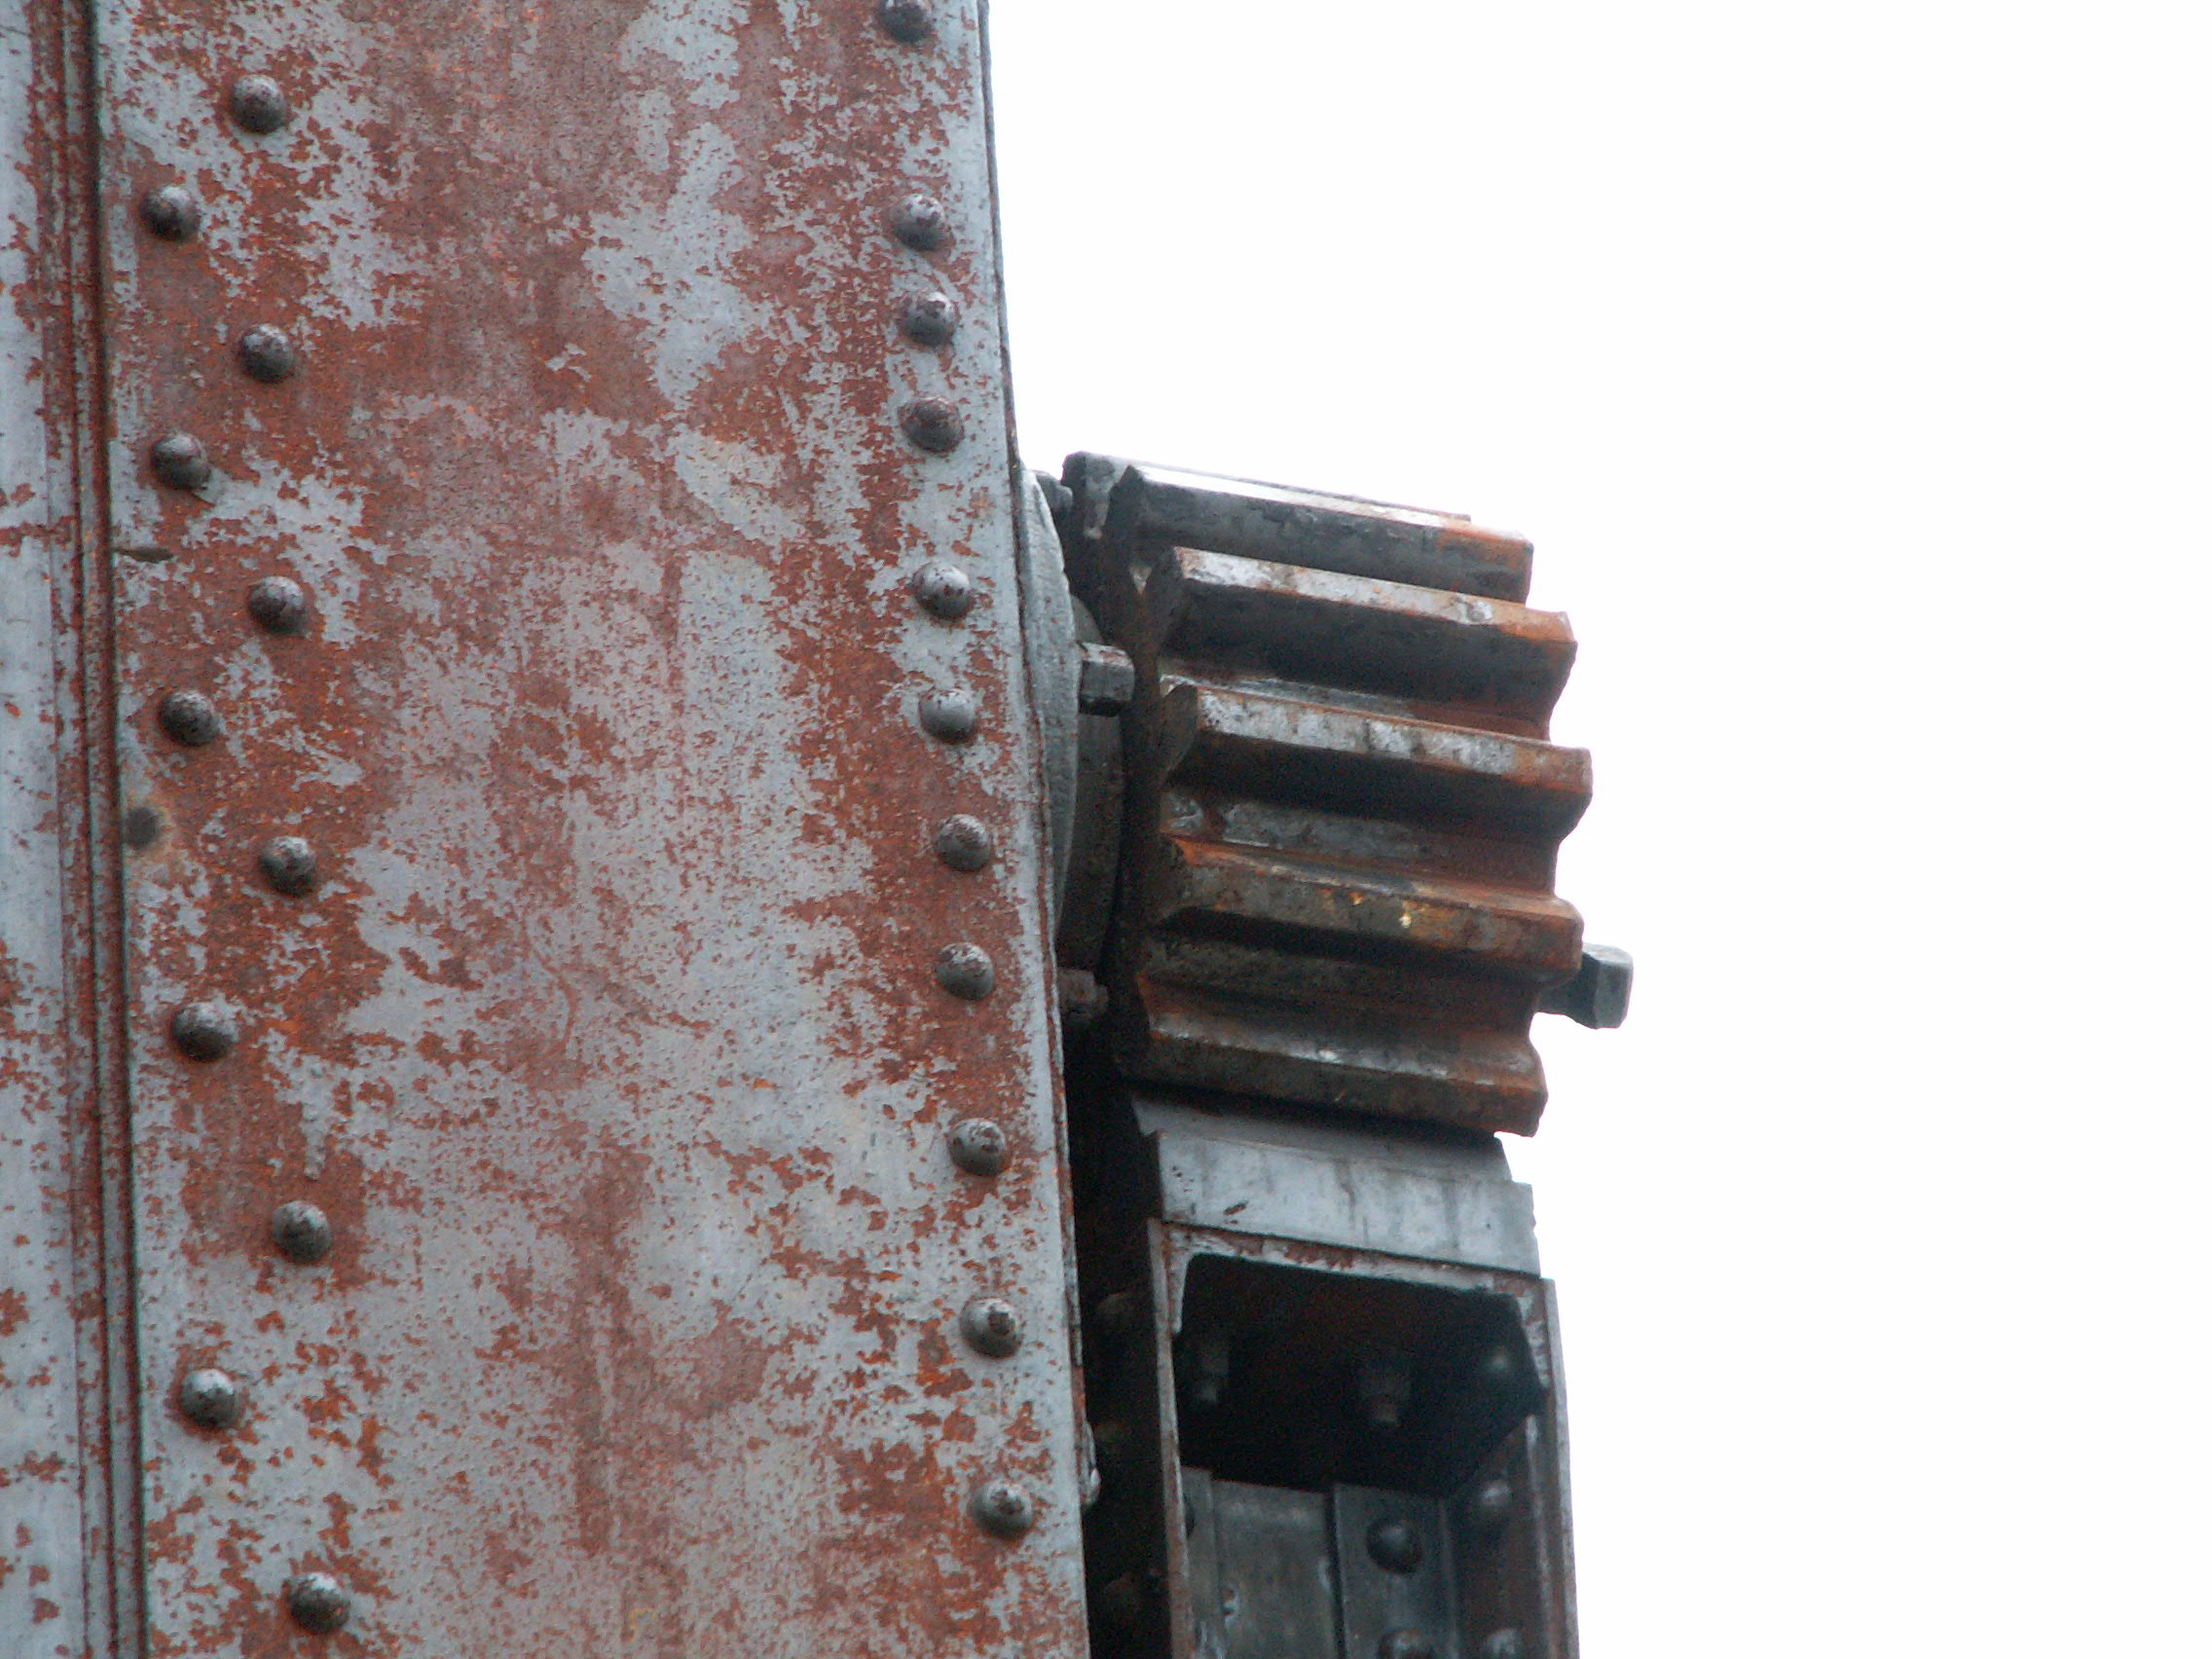
Rolling lift track detail.
![]()
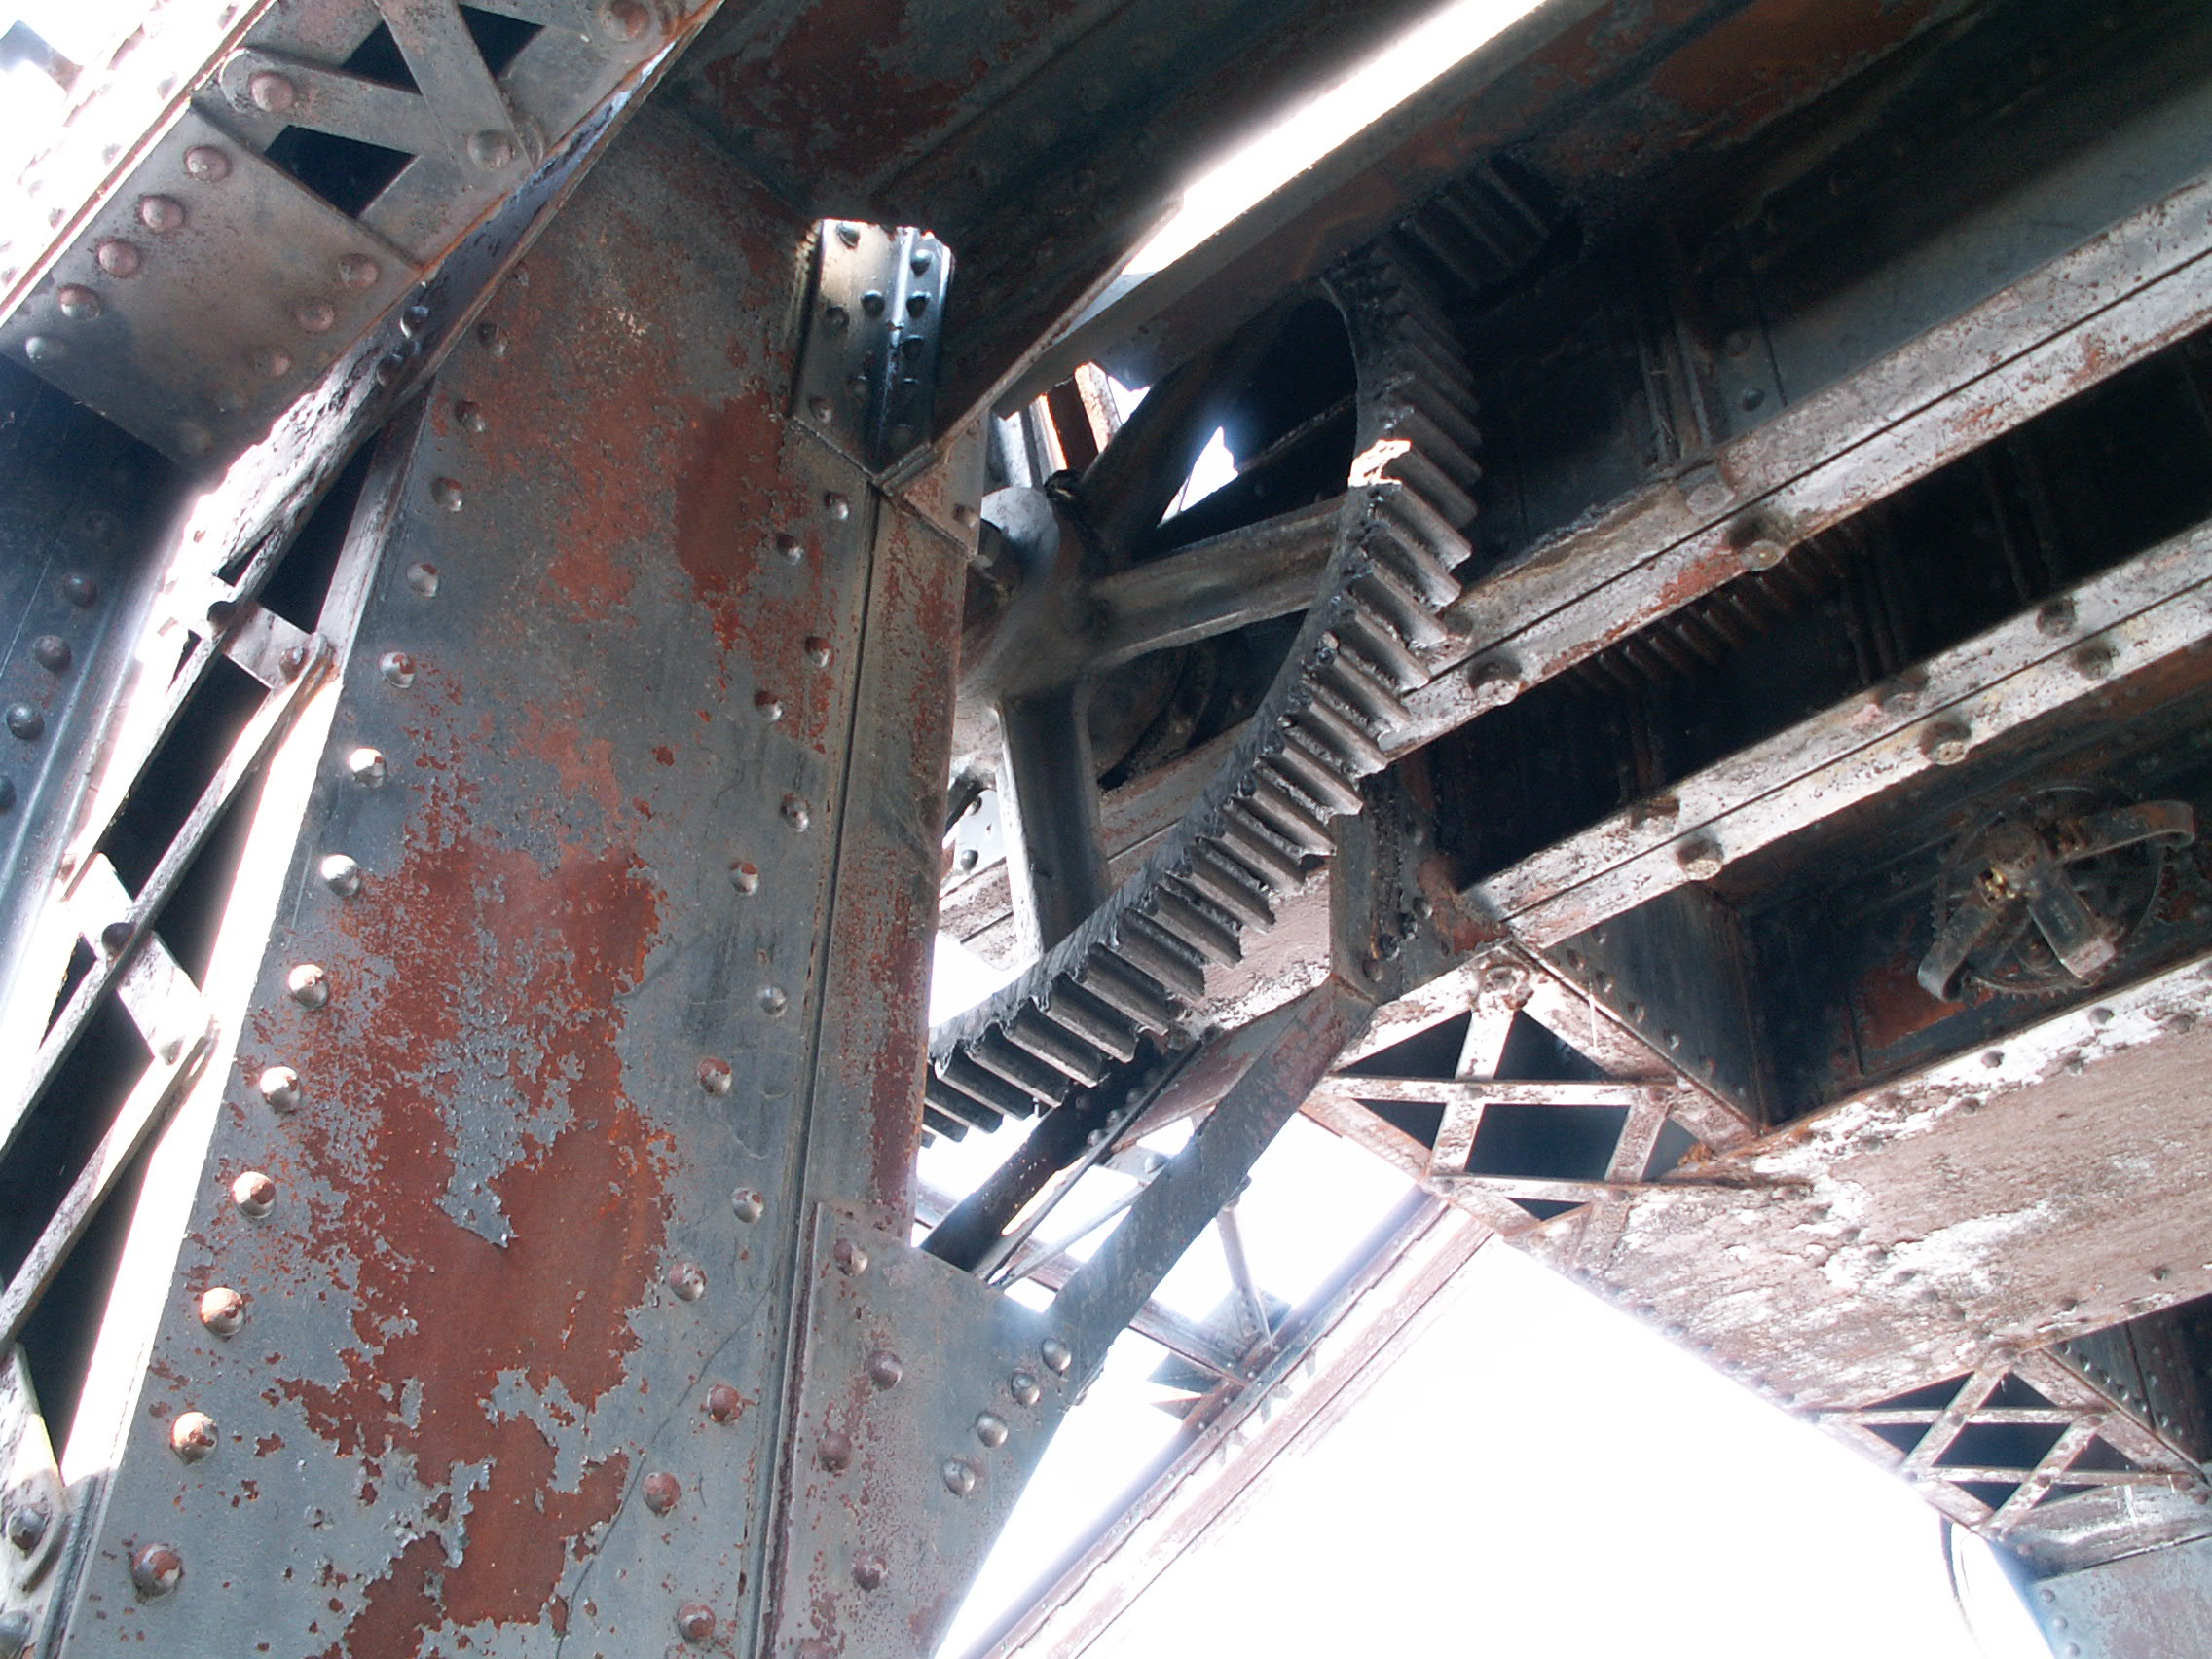
Rack and pinion.
![]()
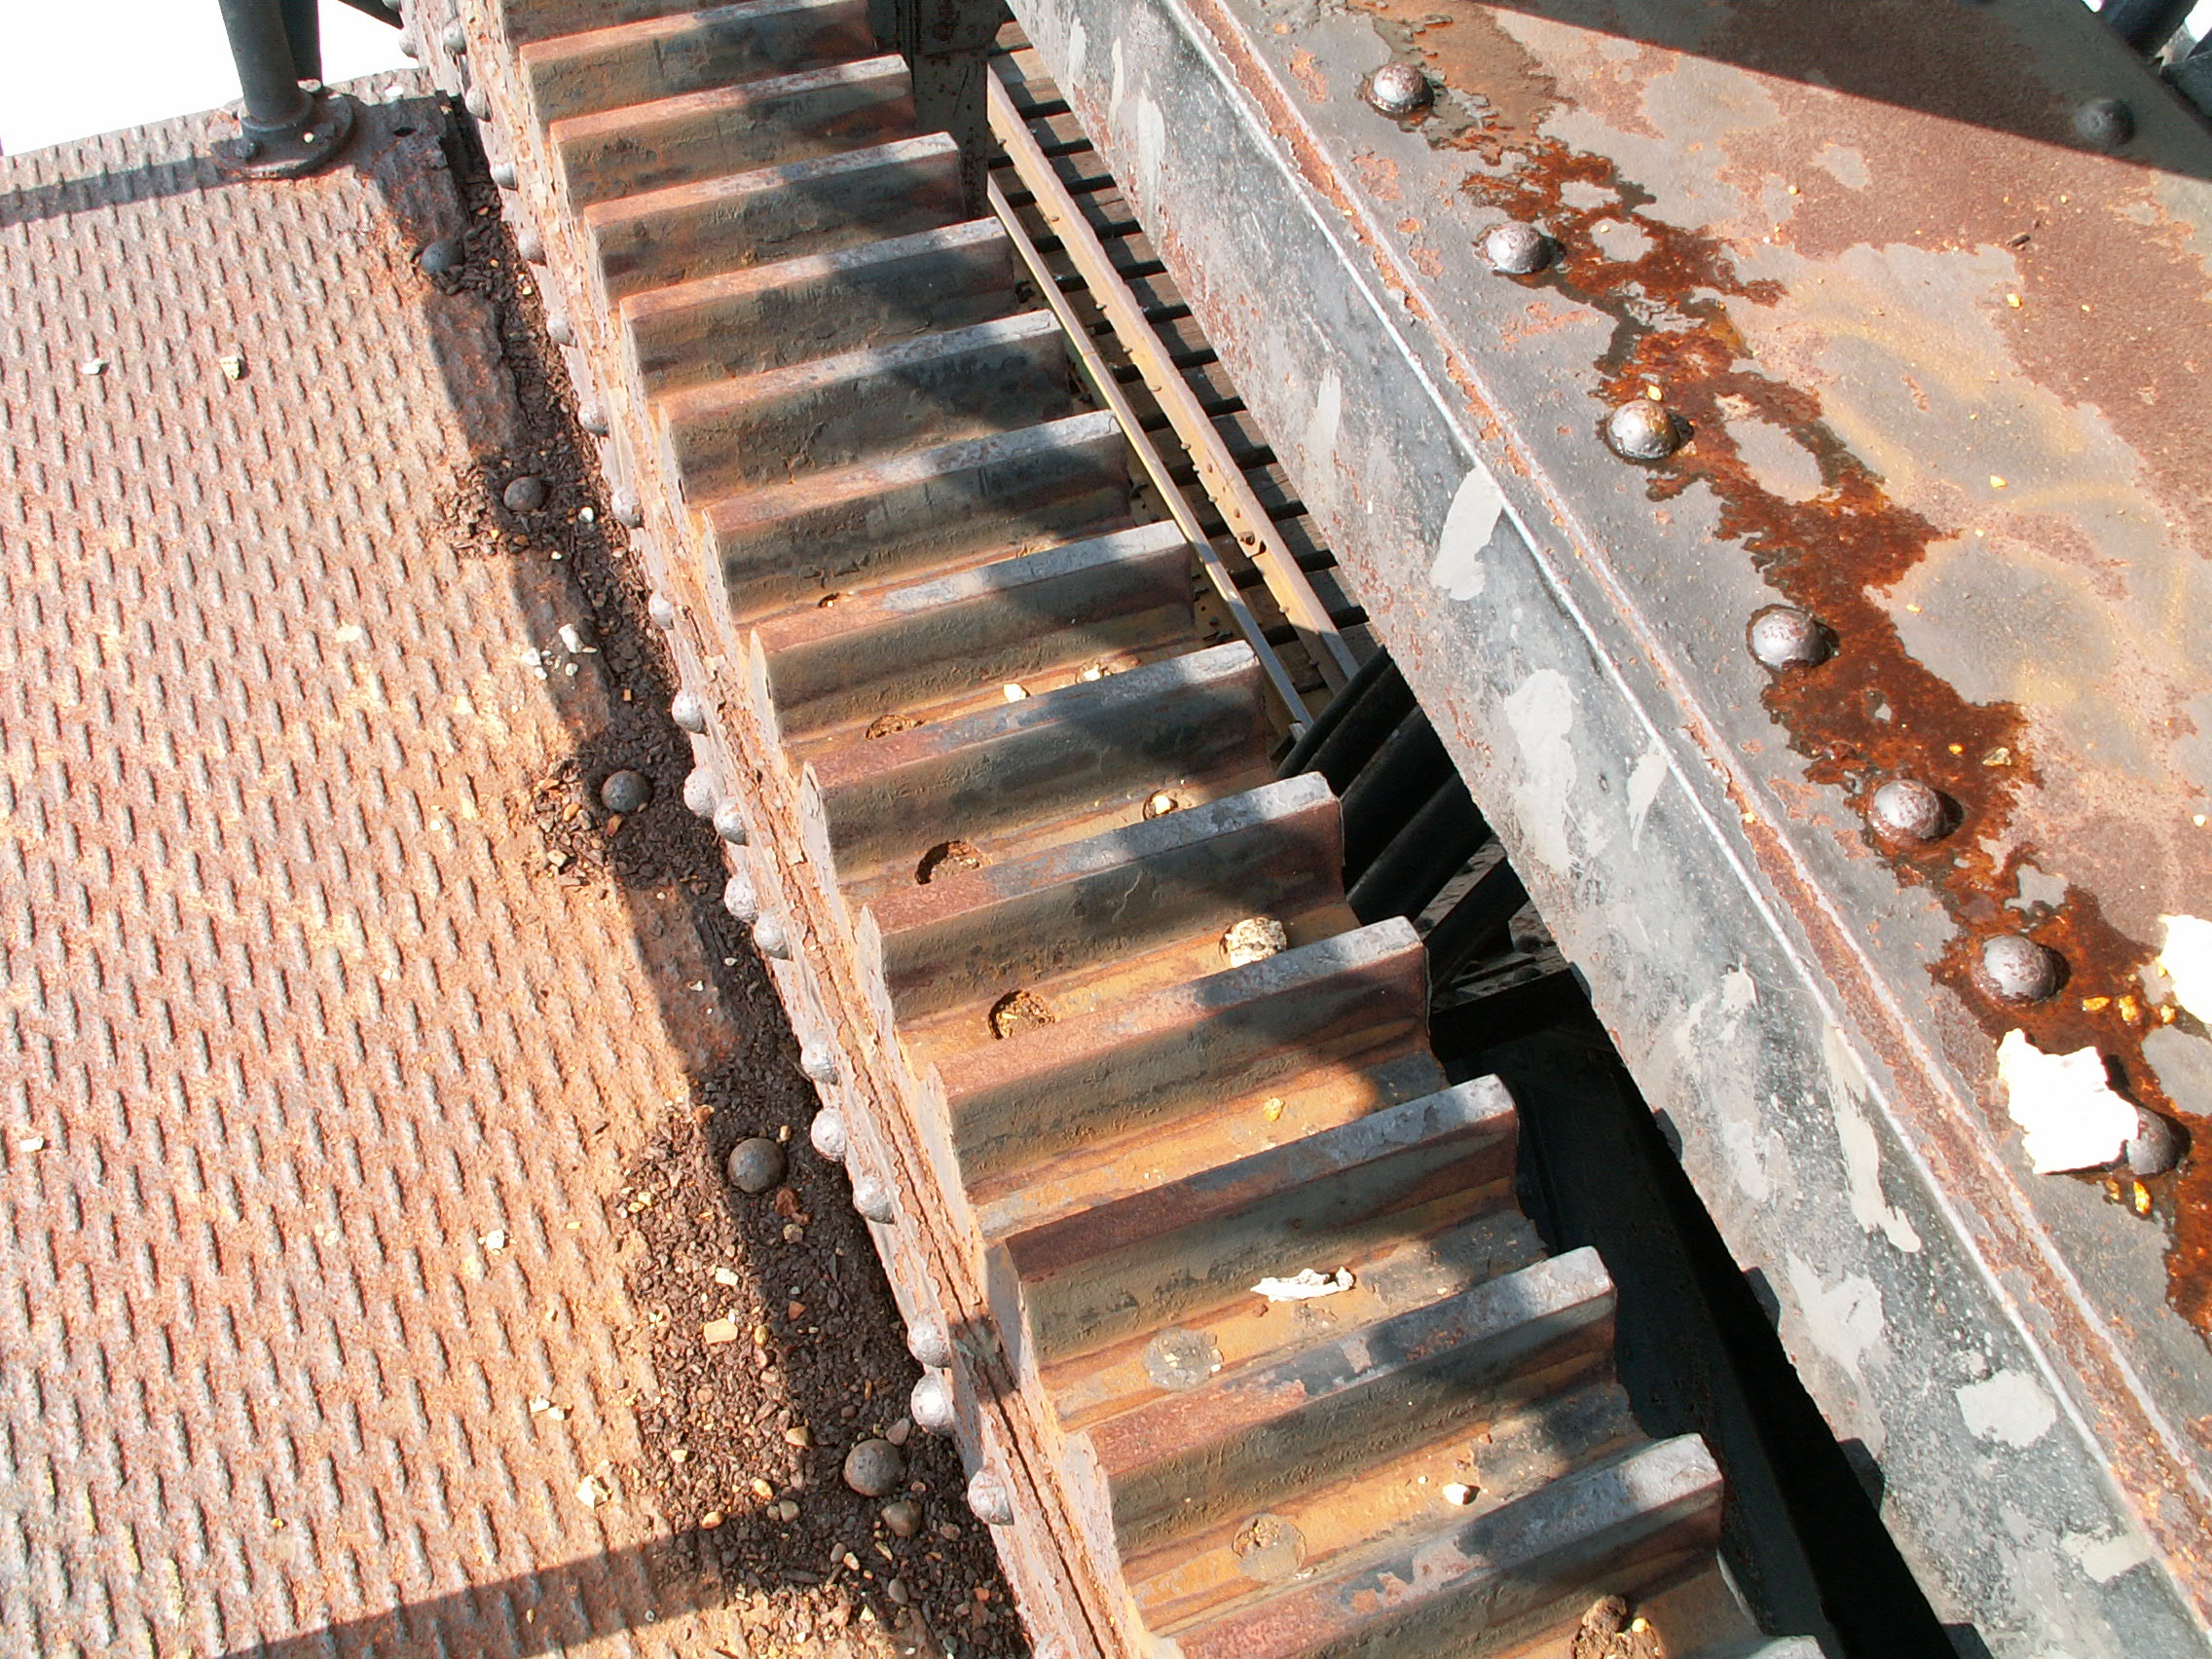


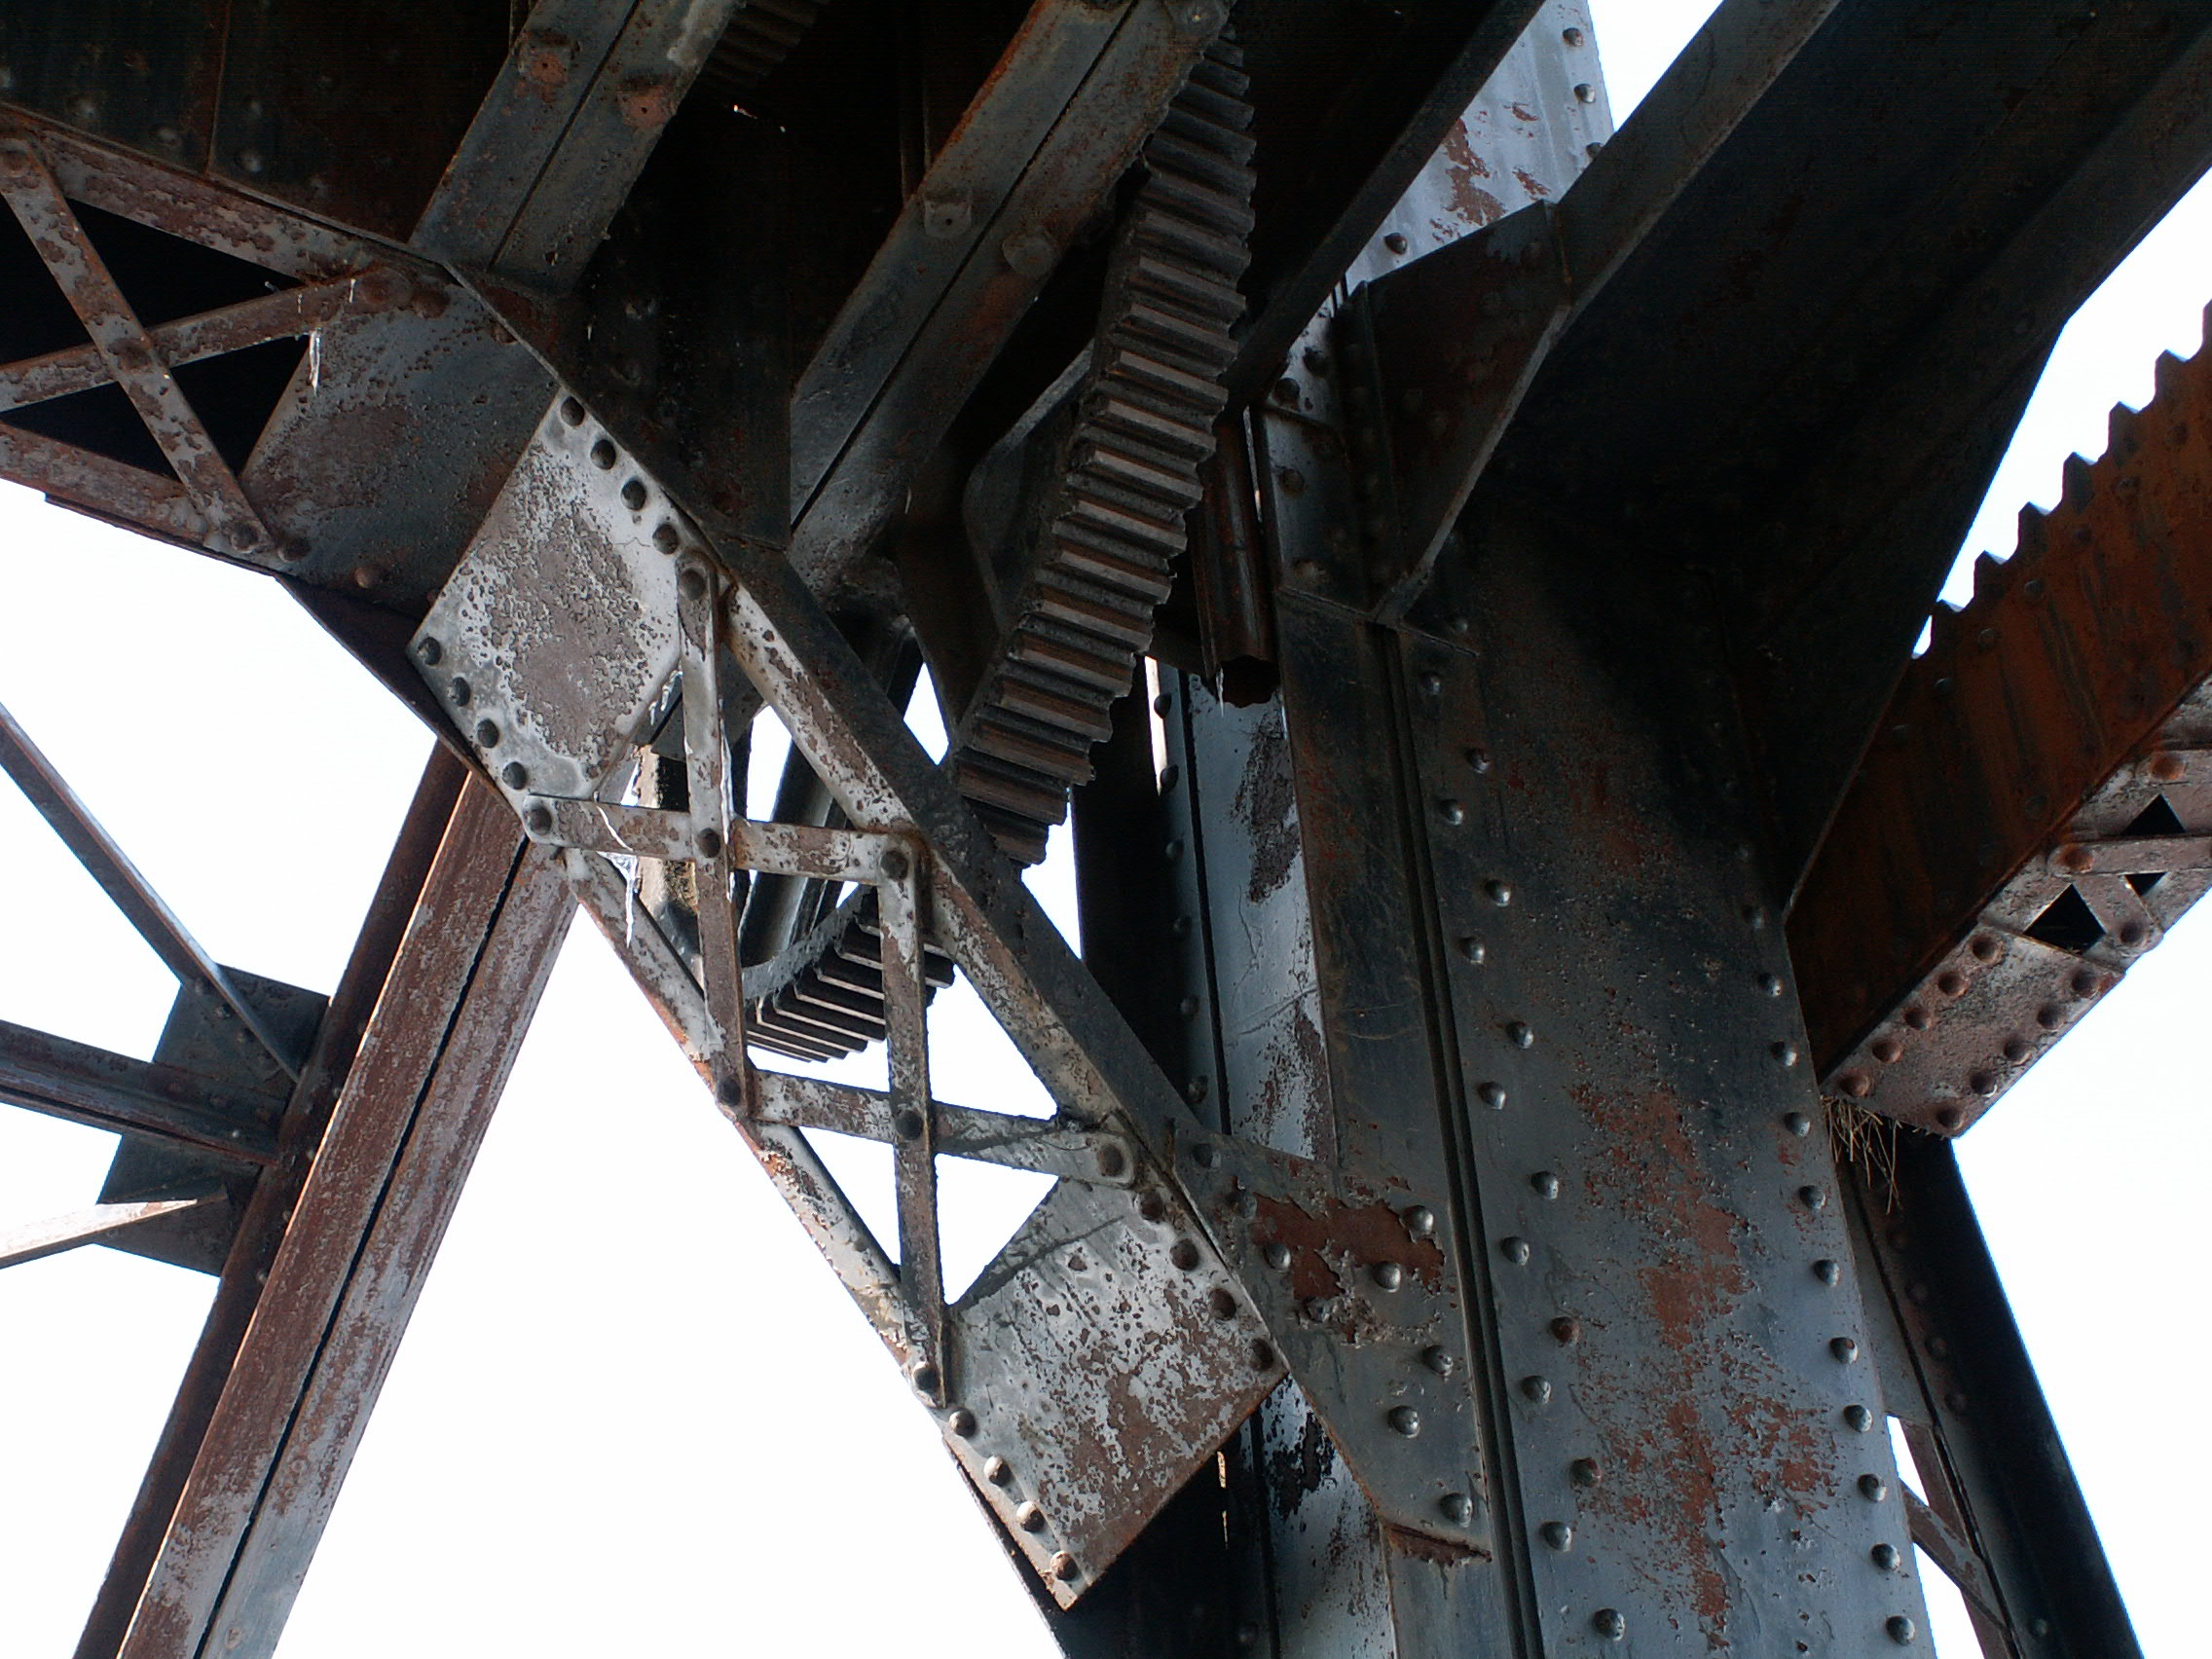
Rack detail.
![]()
Pinion detail.
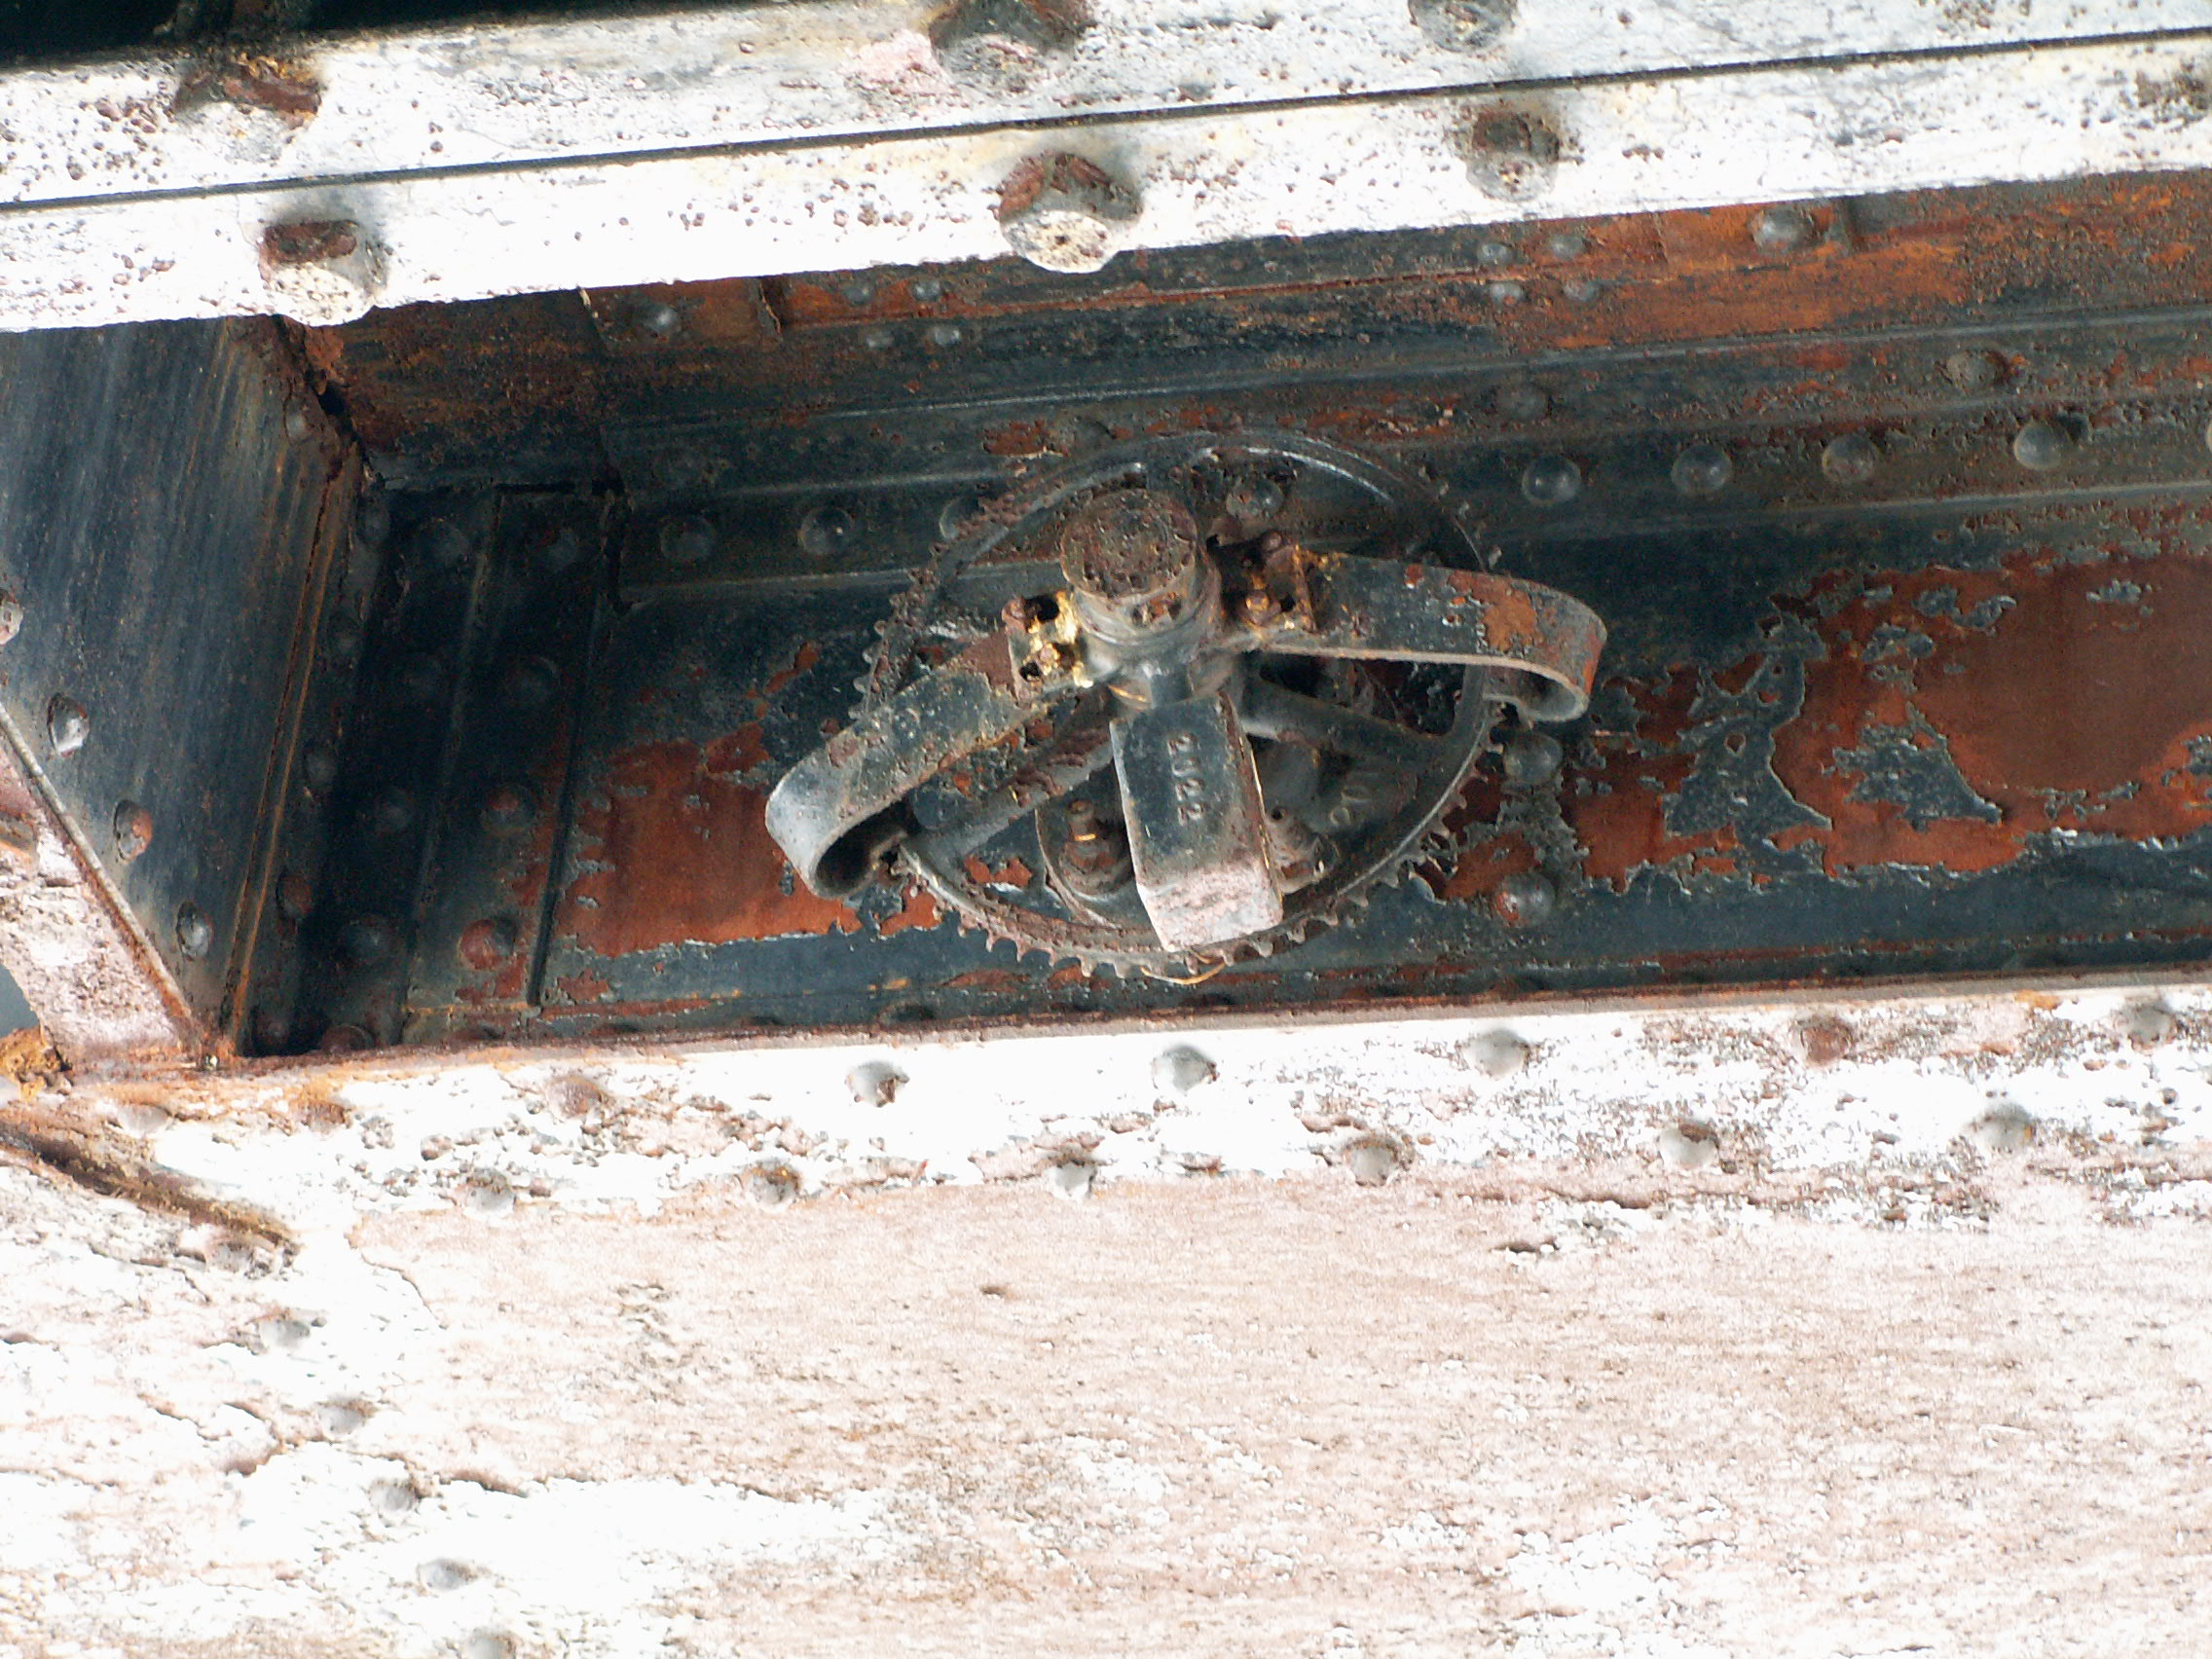
![]()


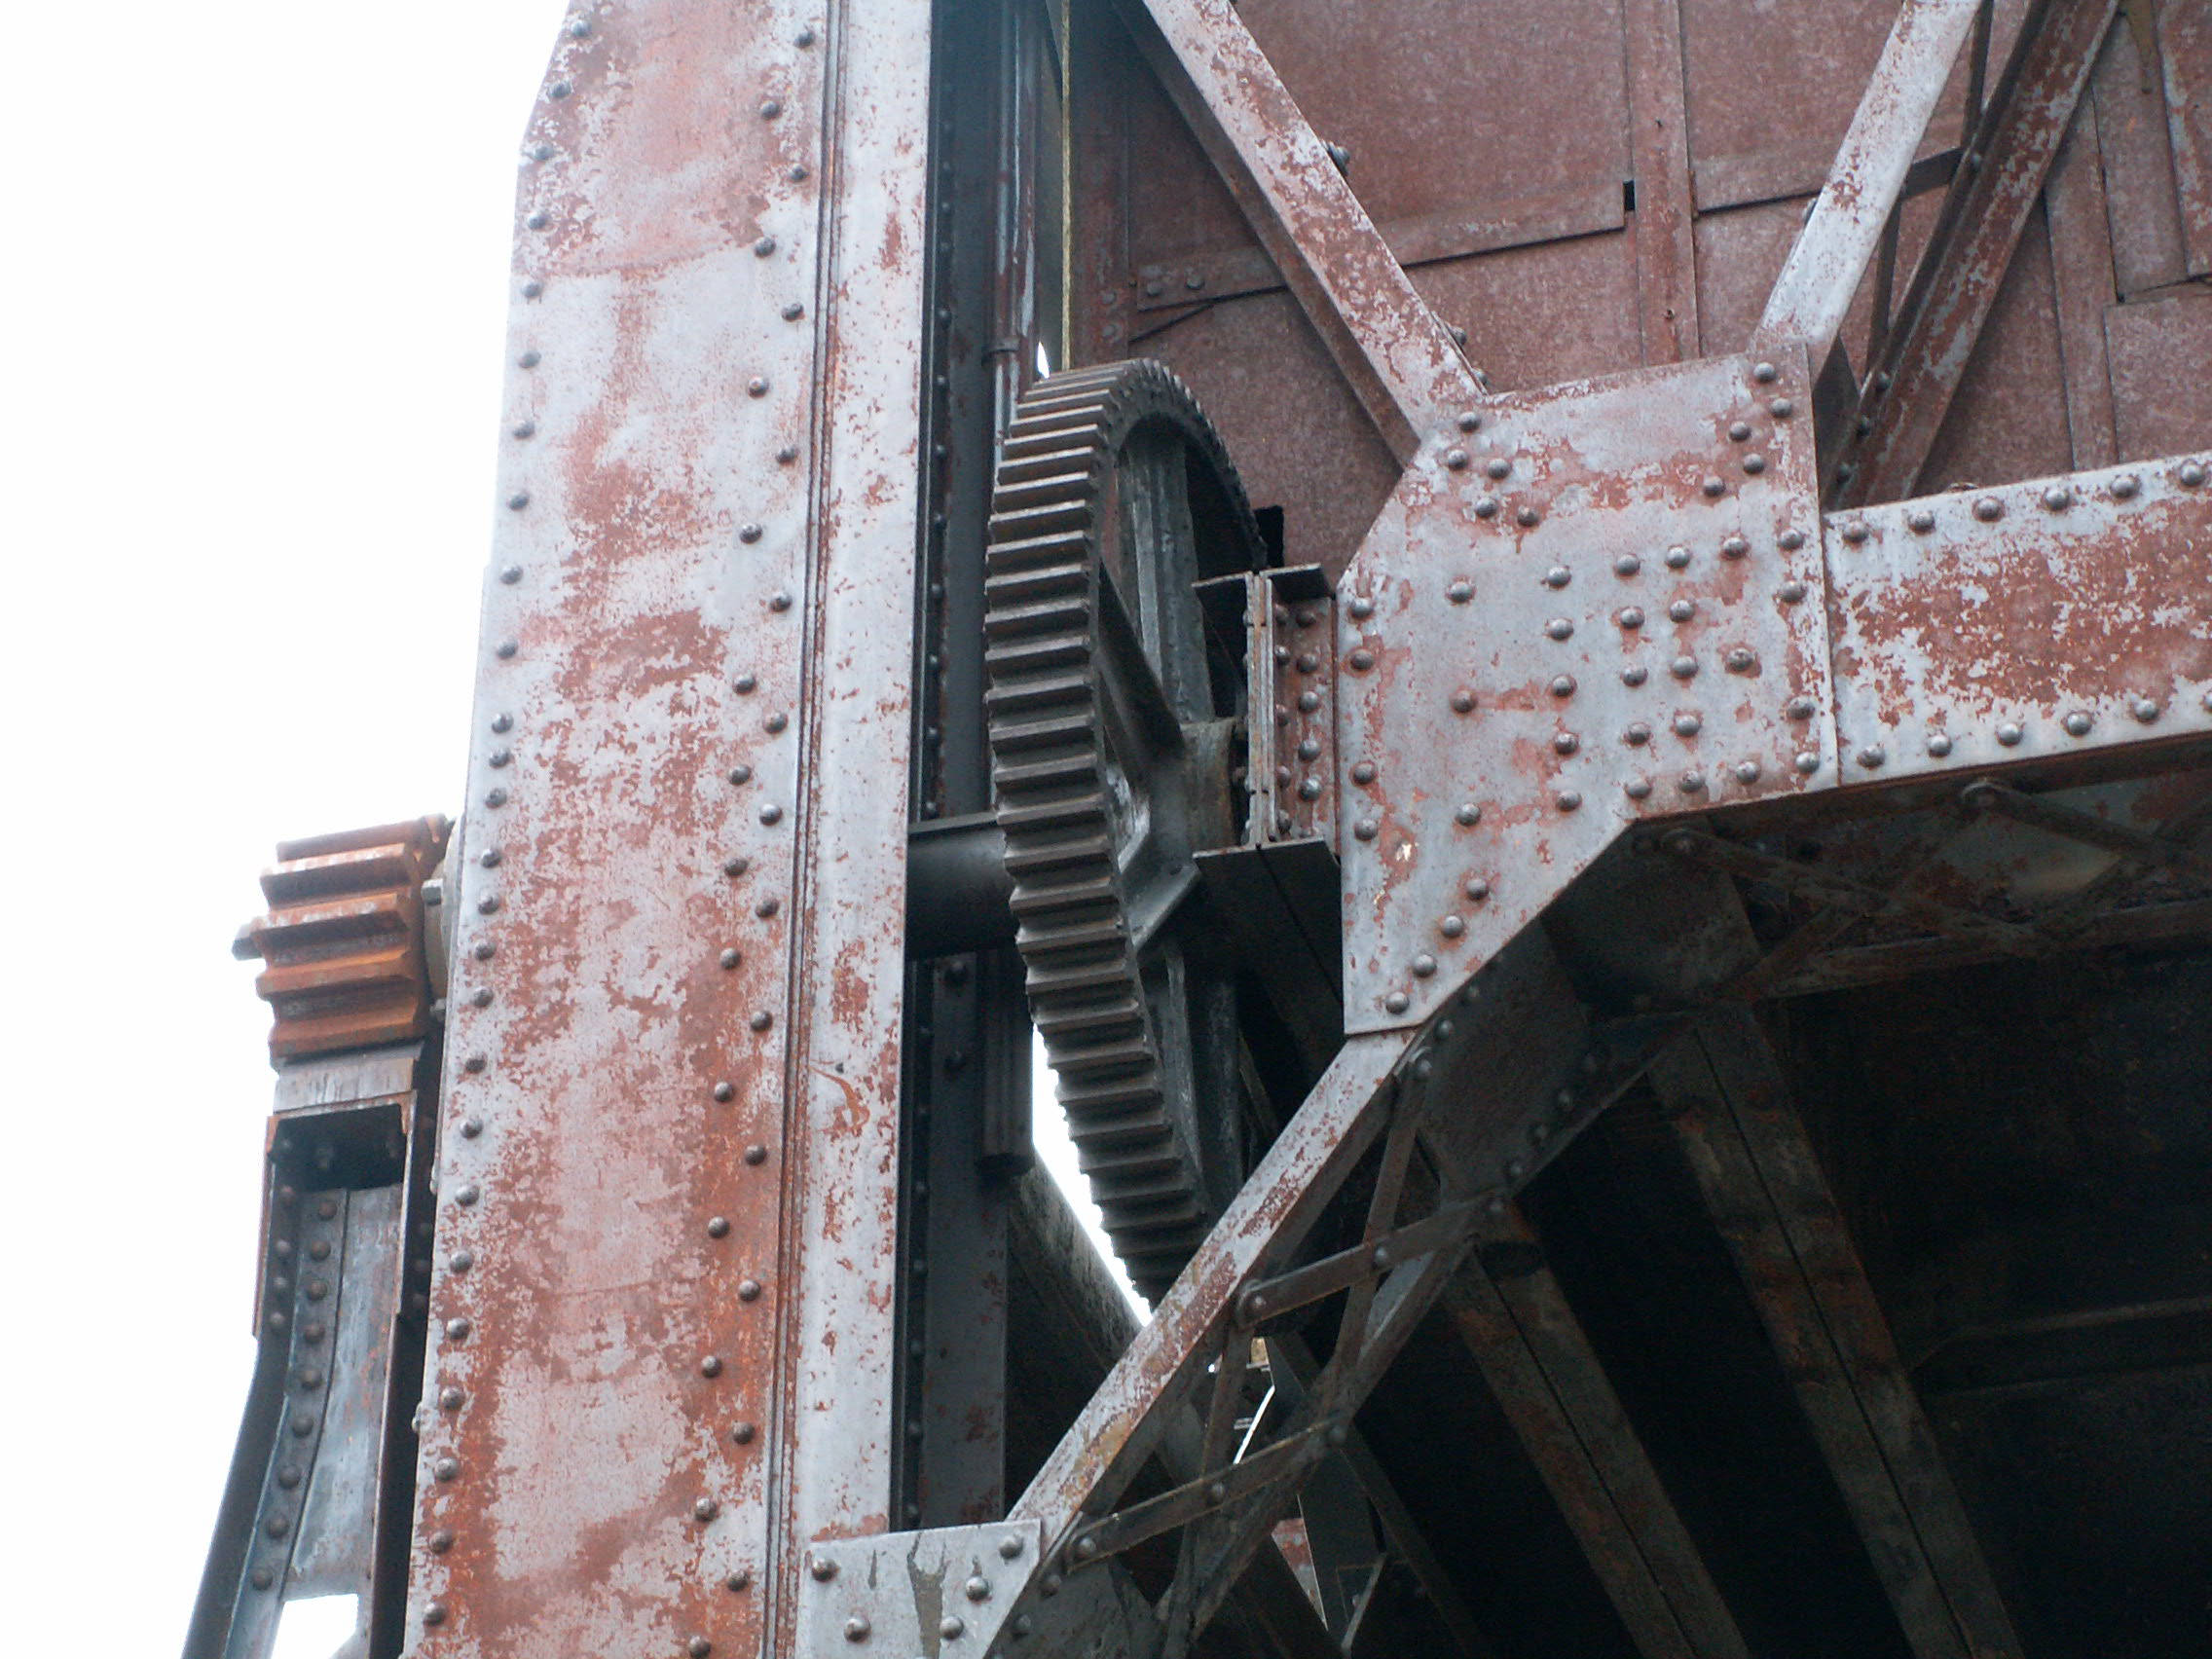
Large gear that transfers power to the pinion.
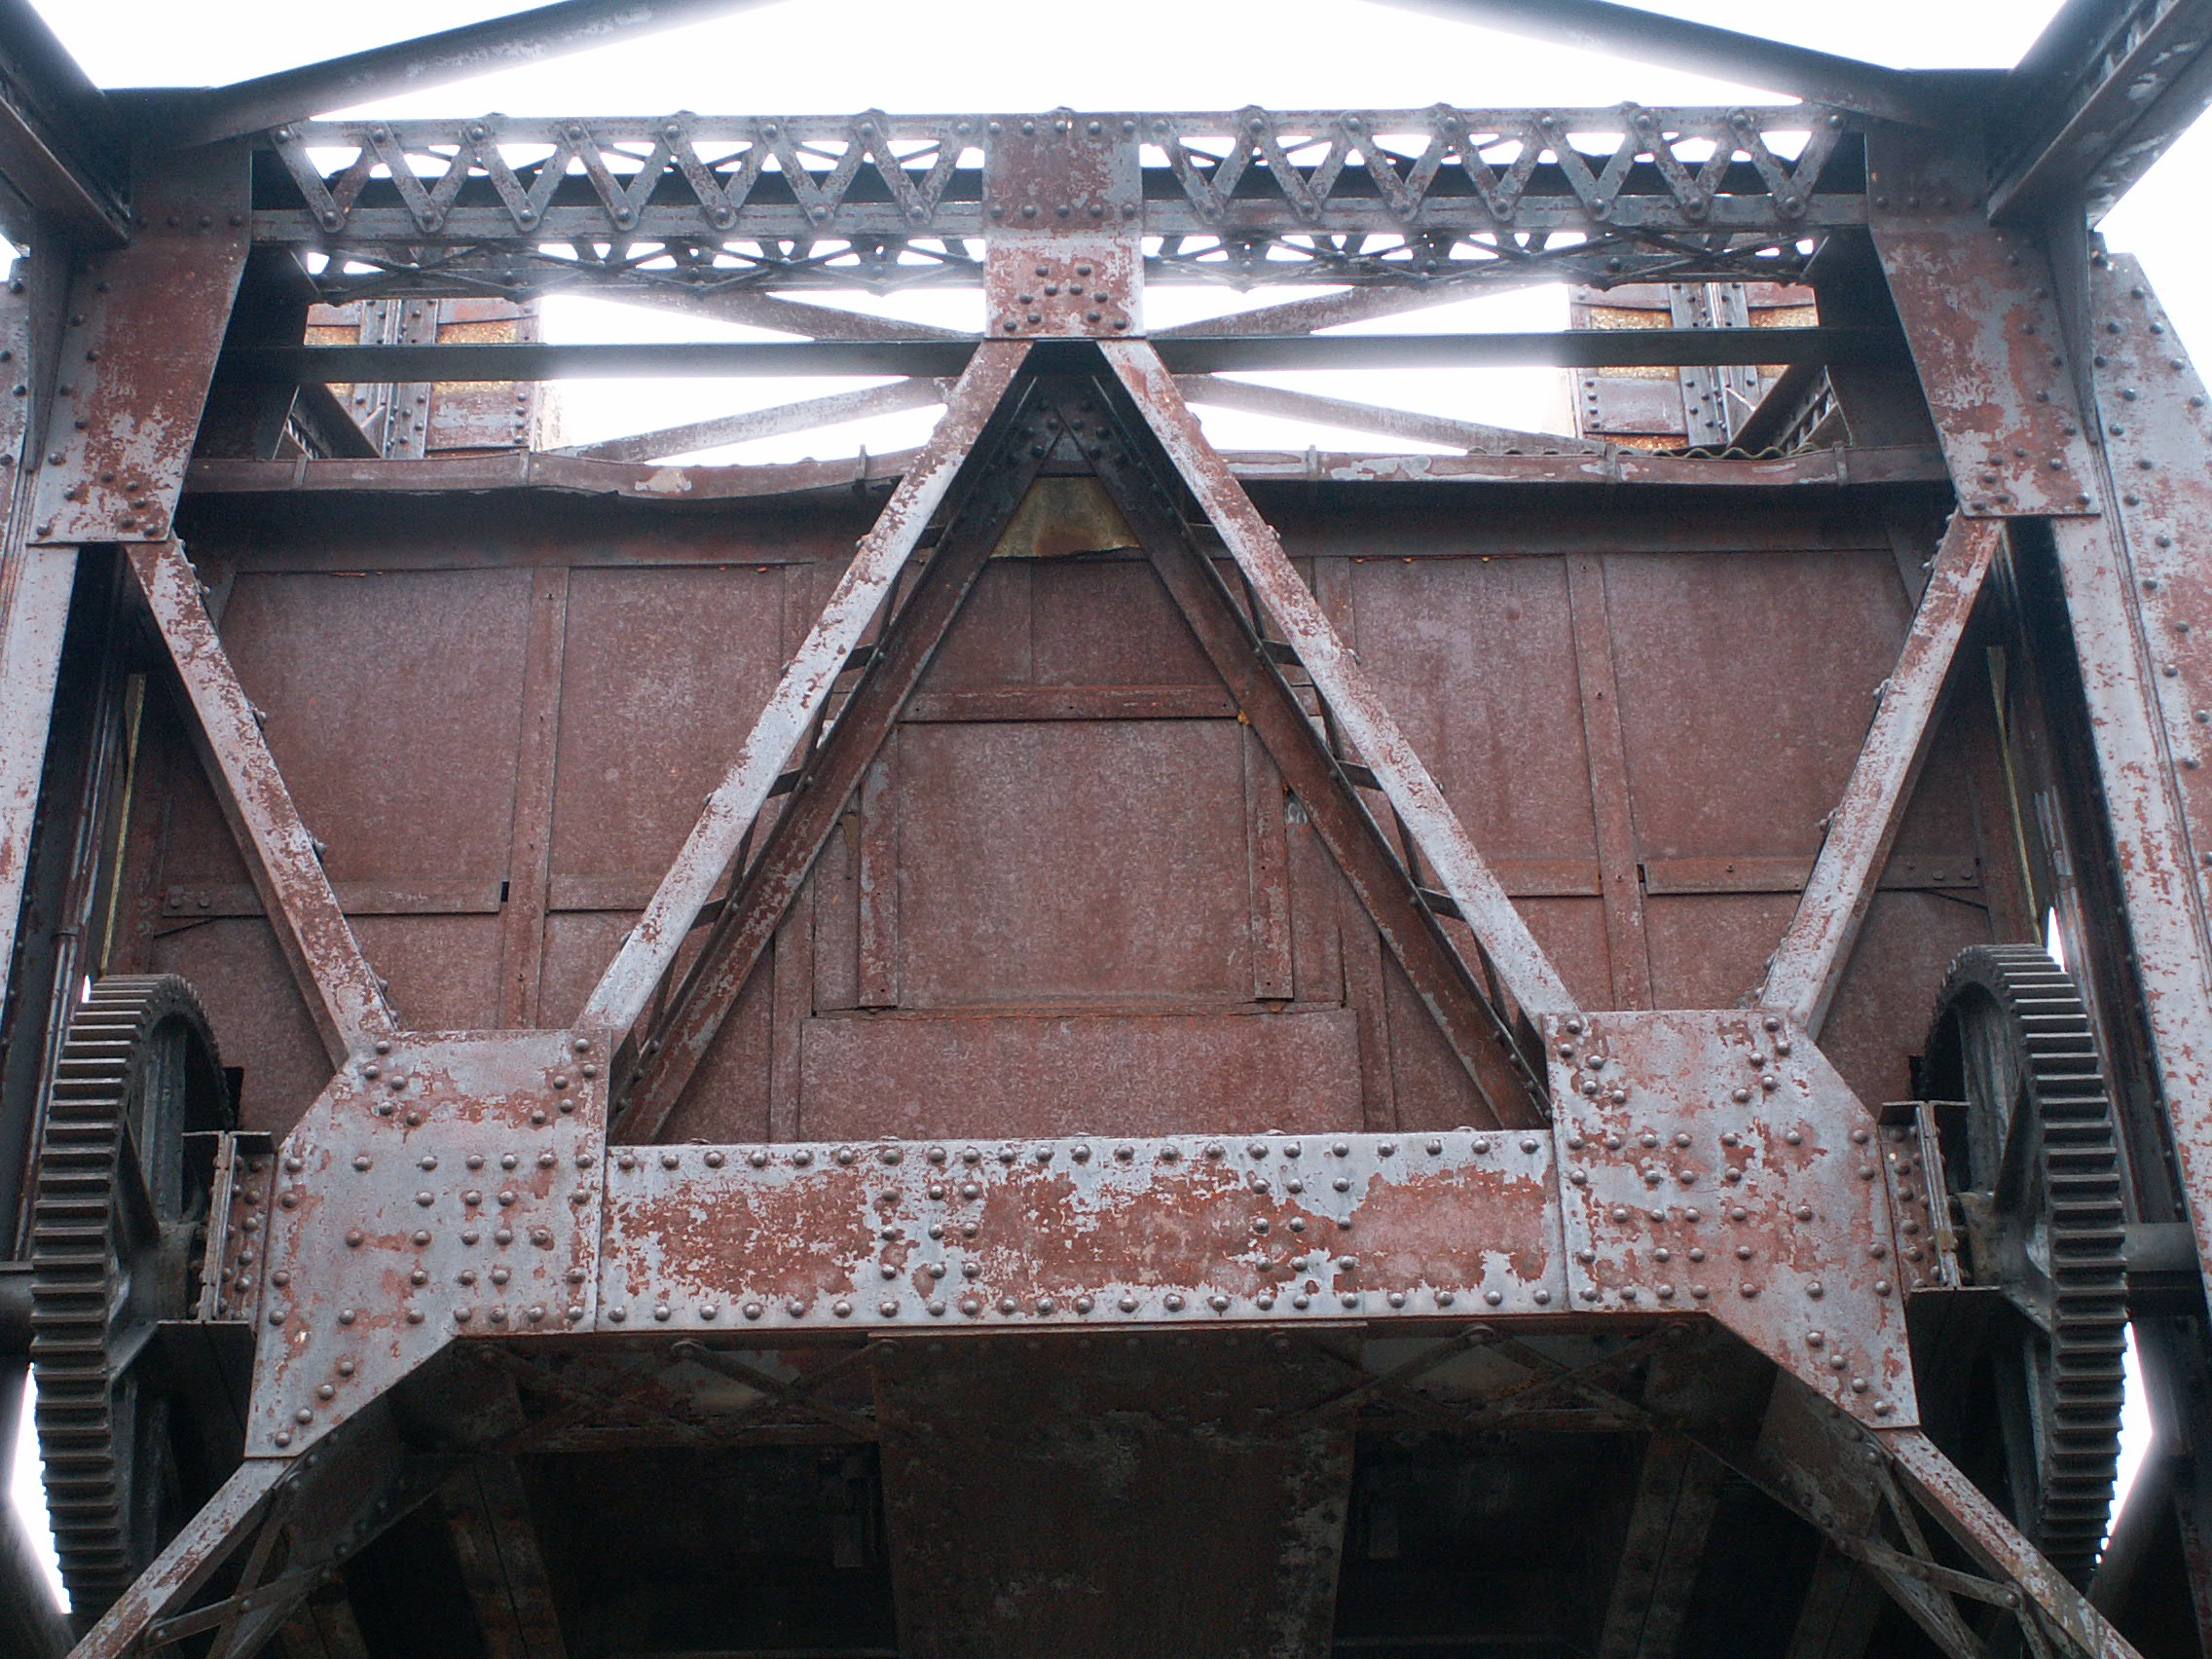
![]()


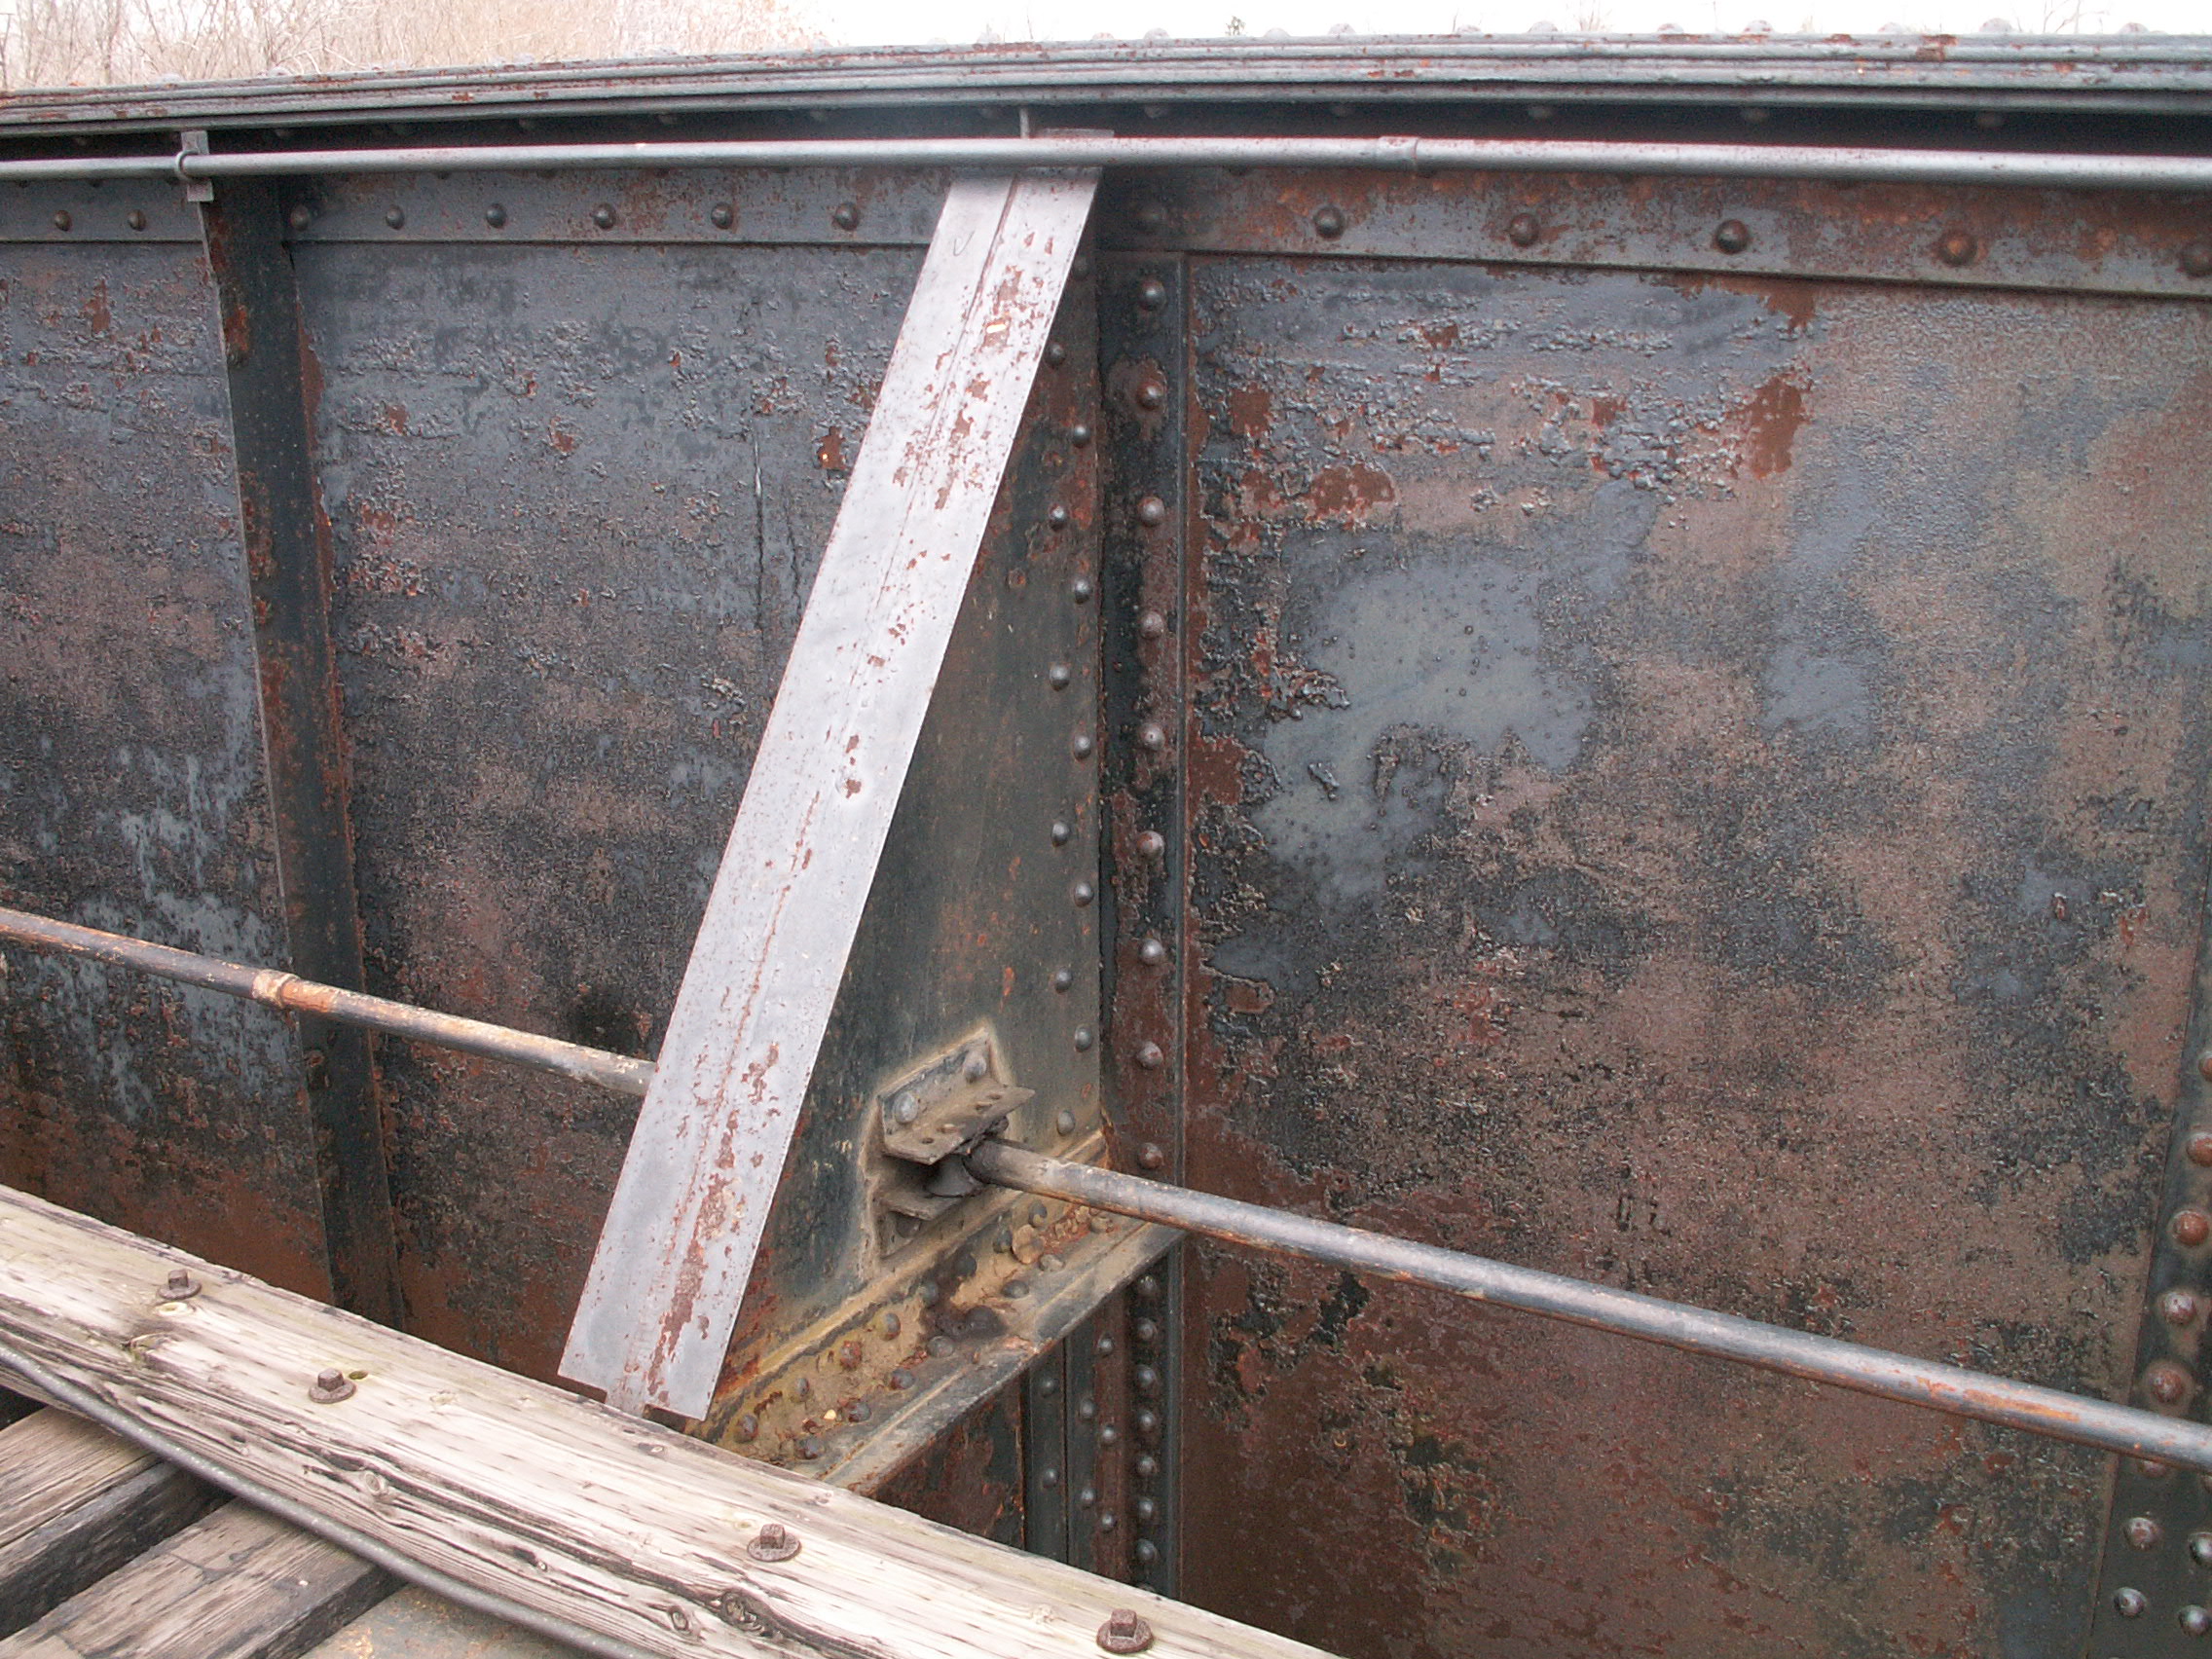
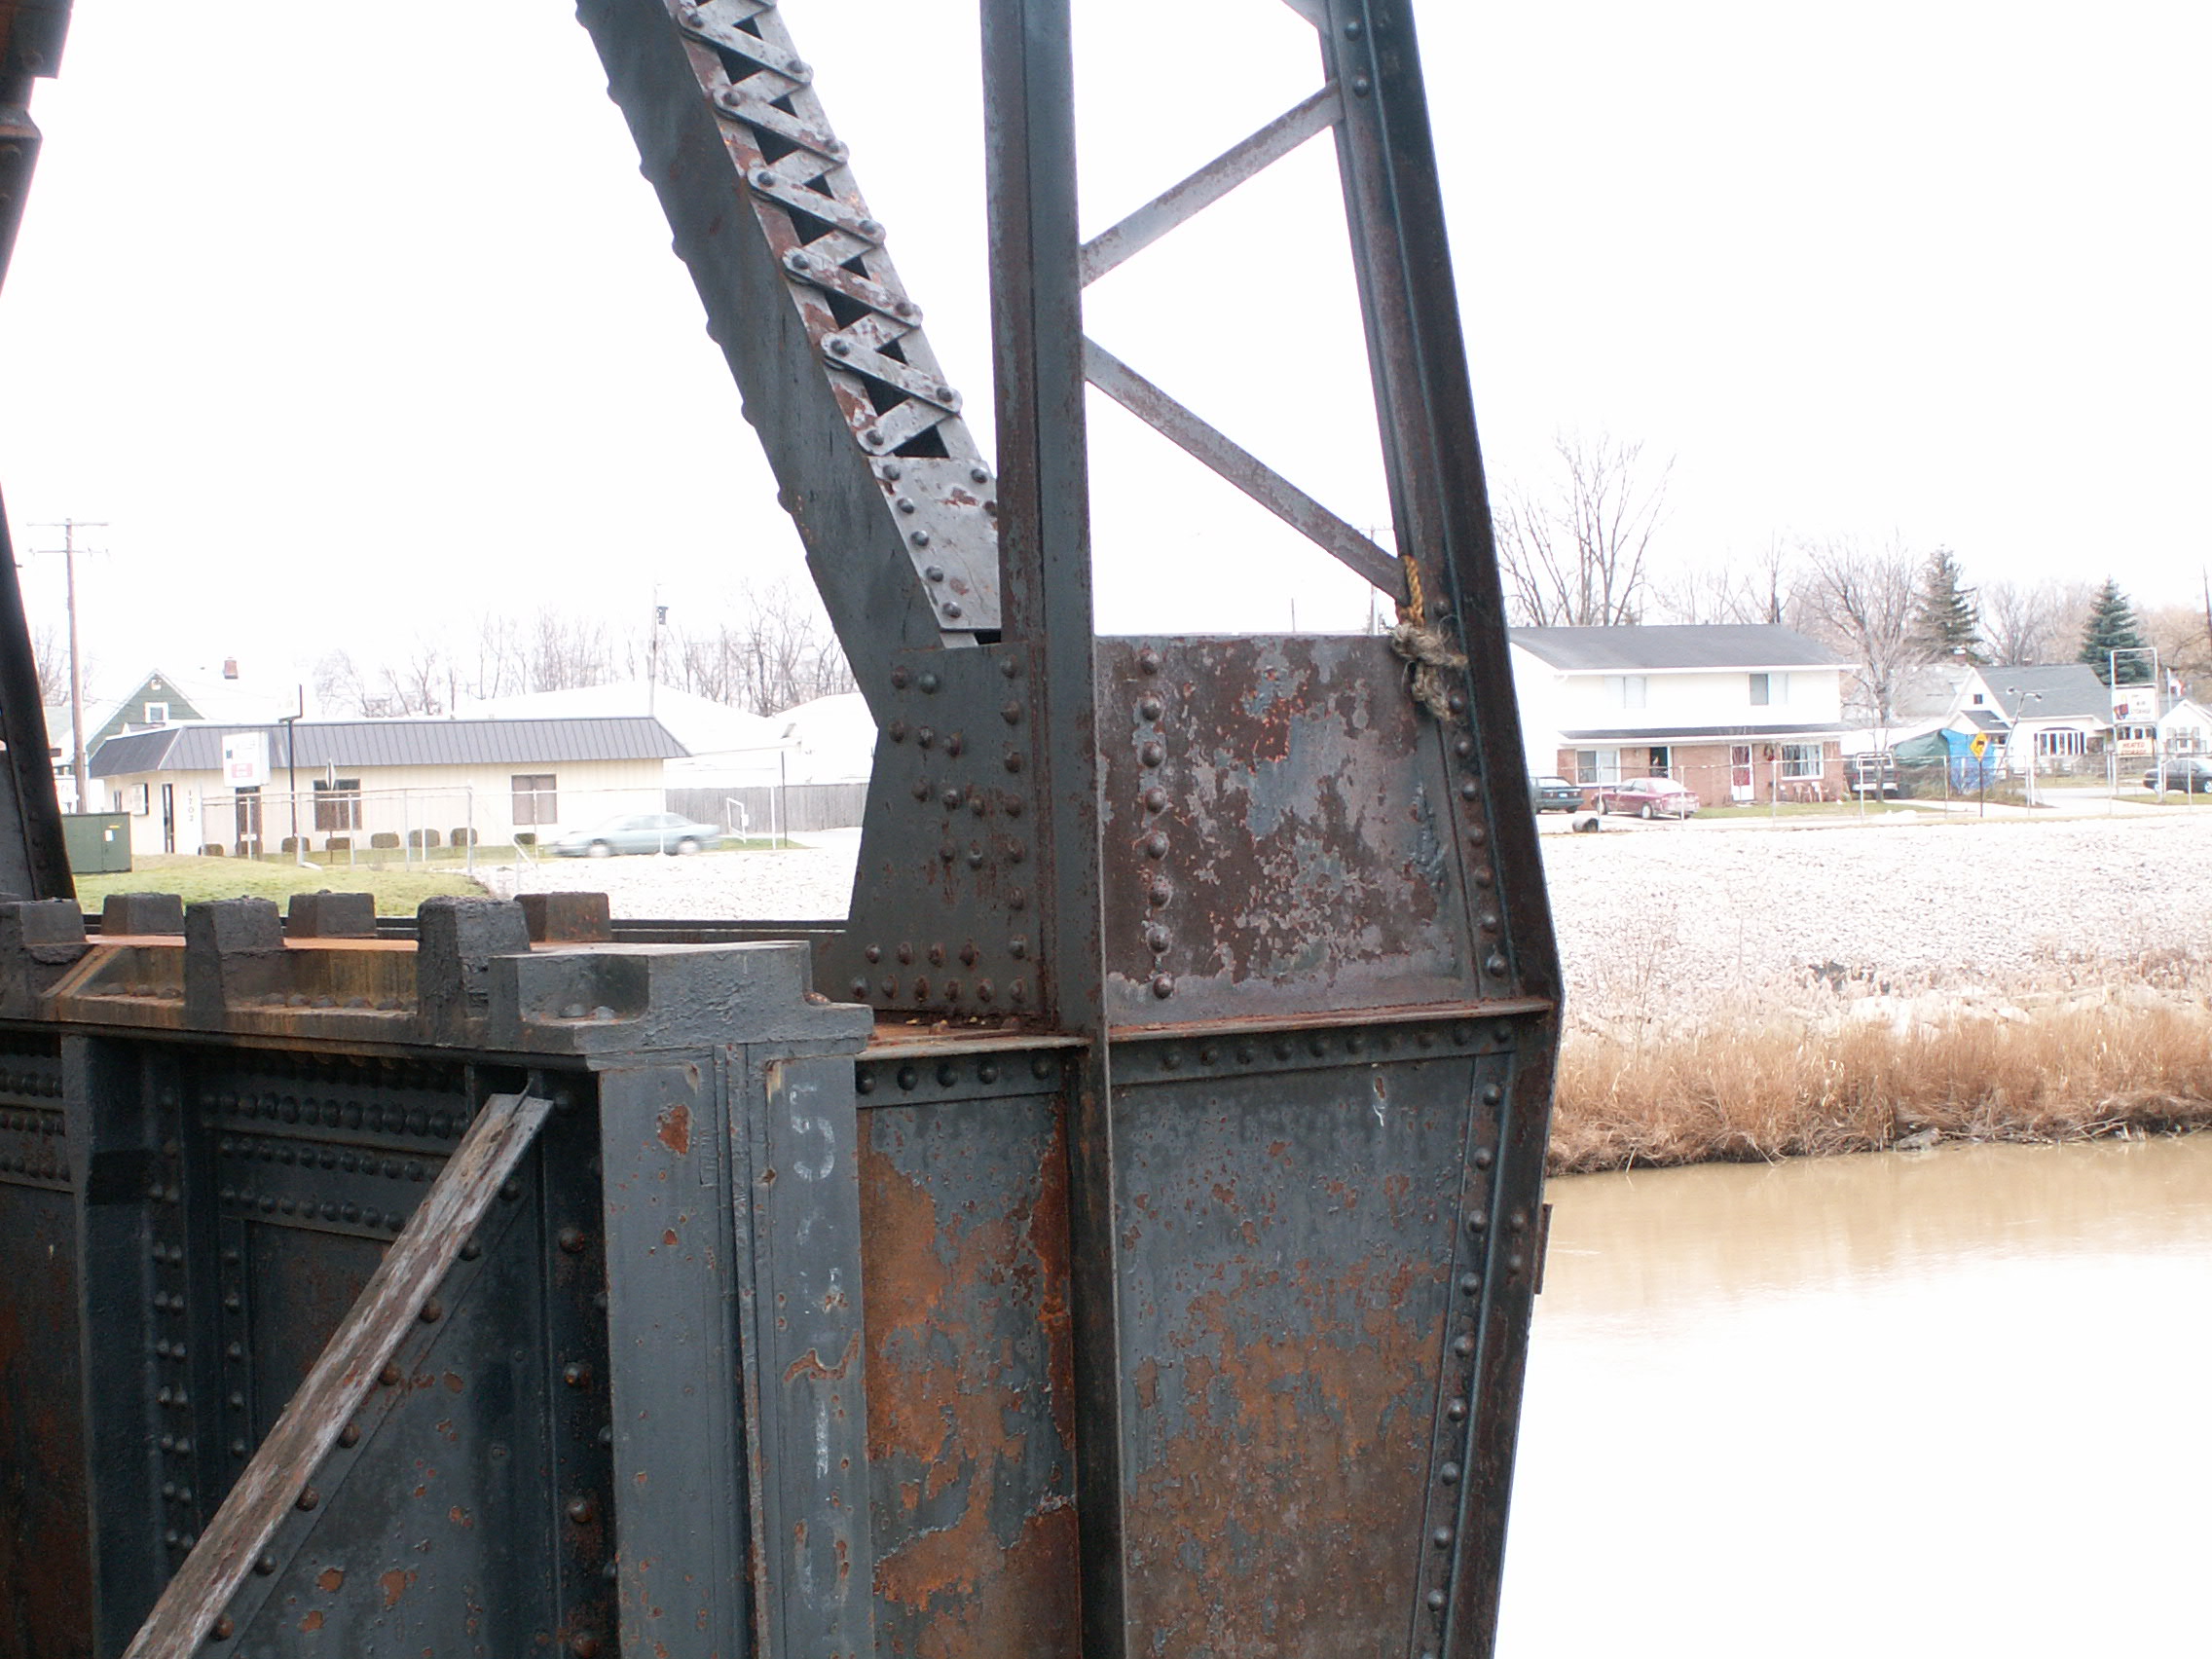
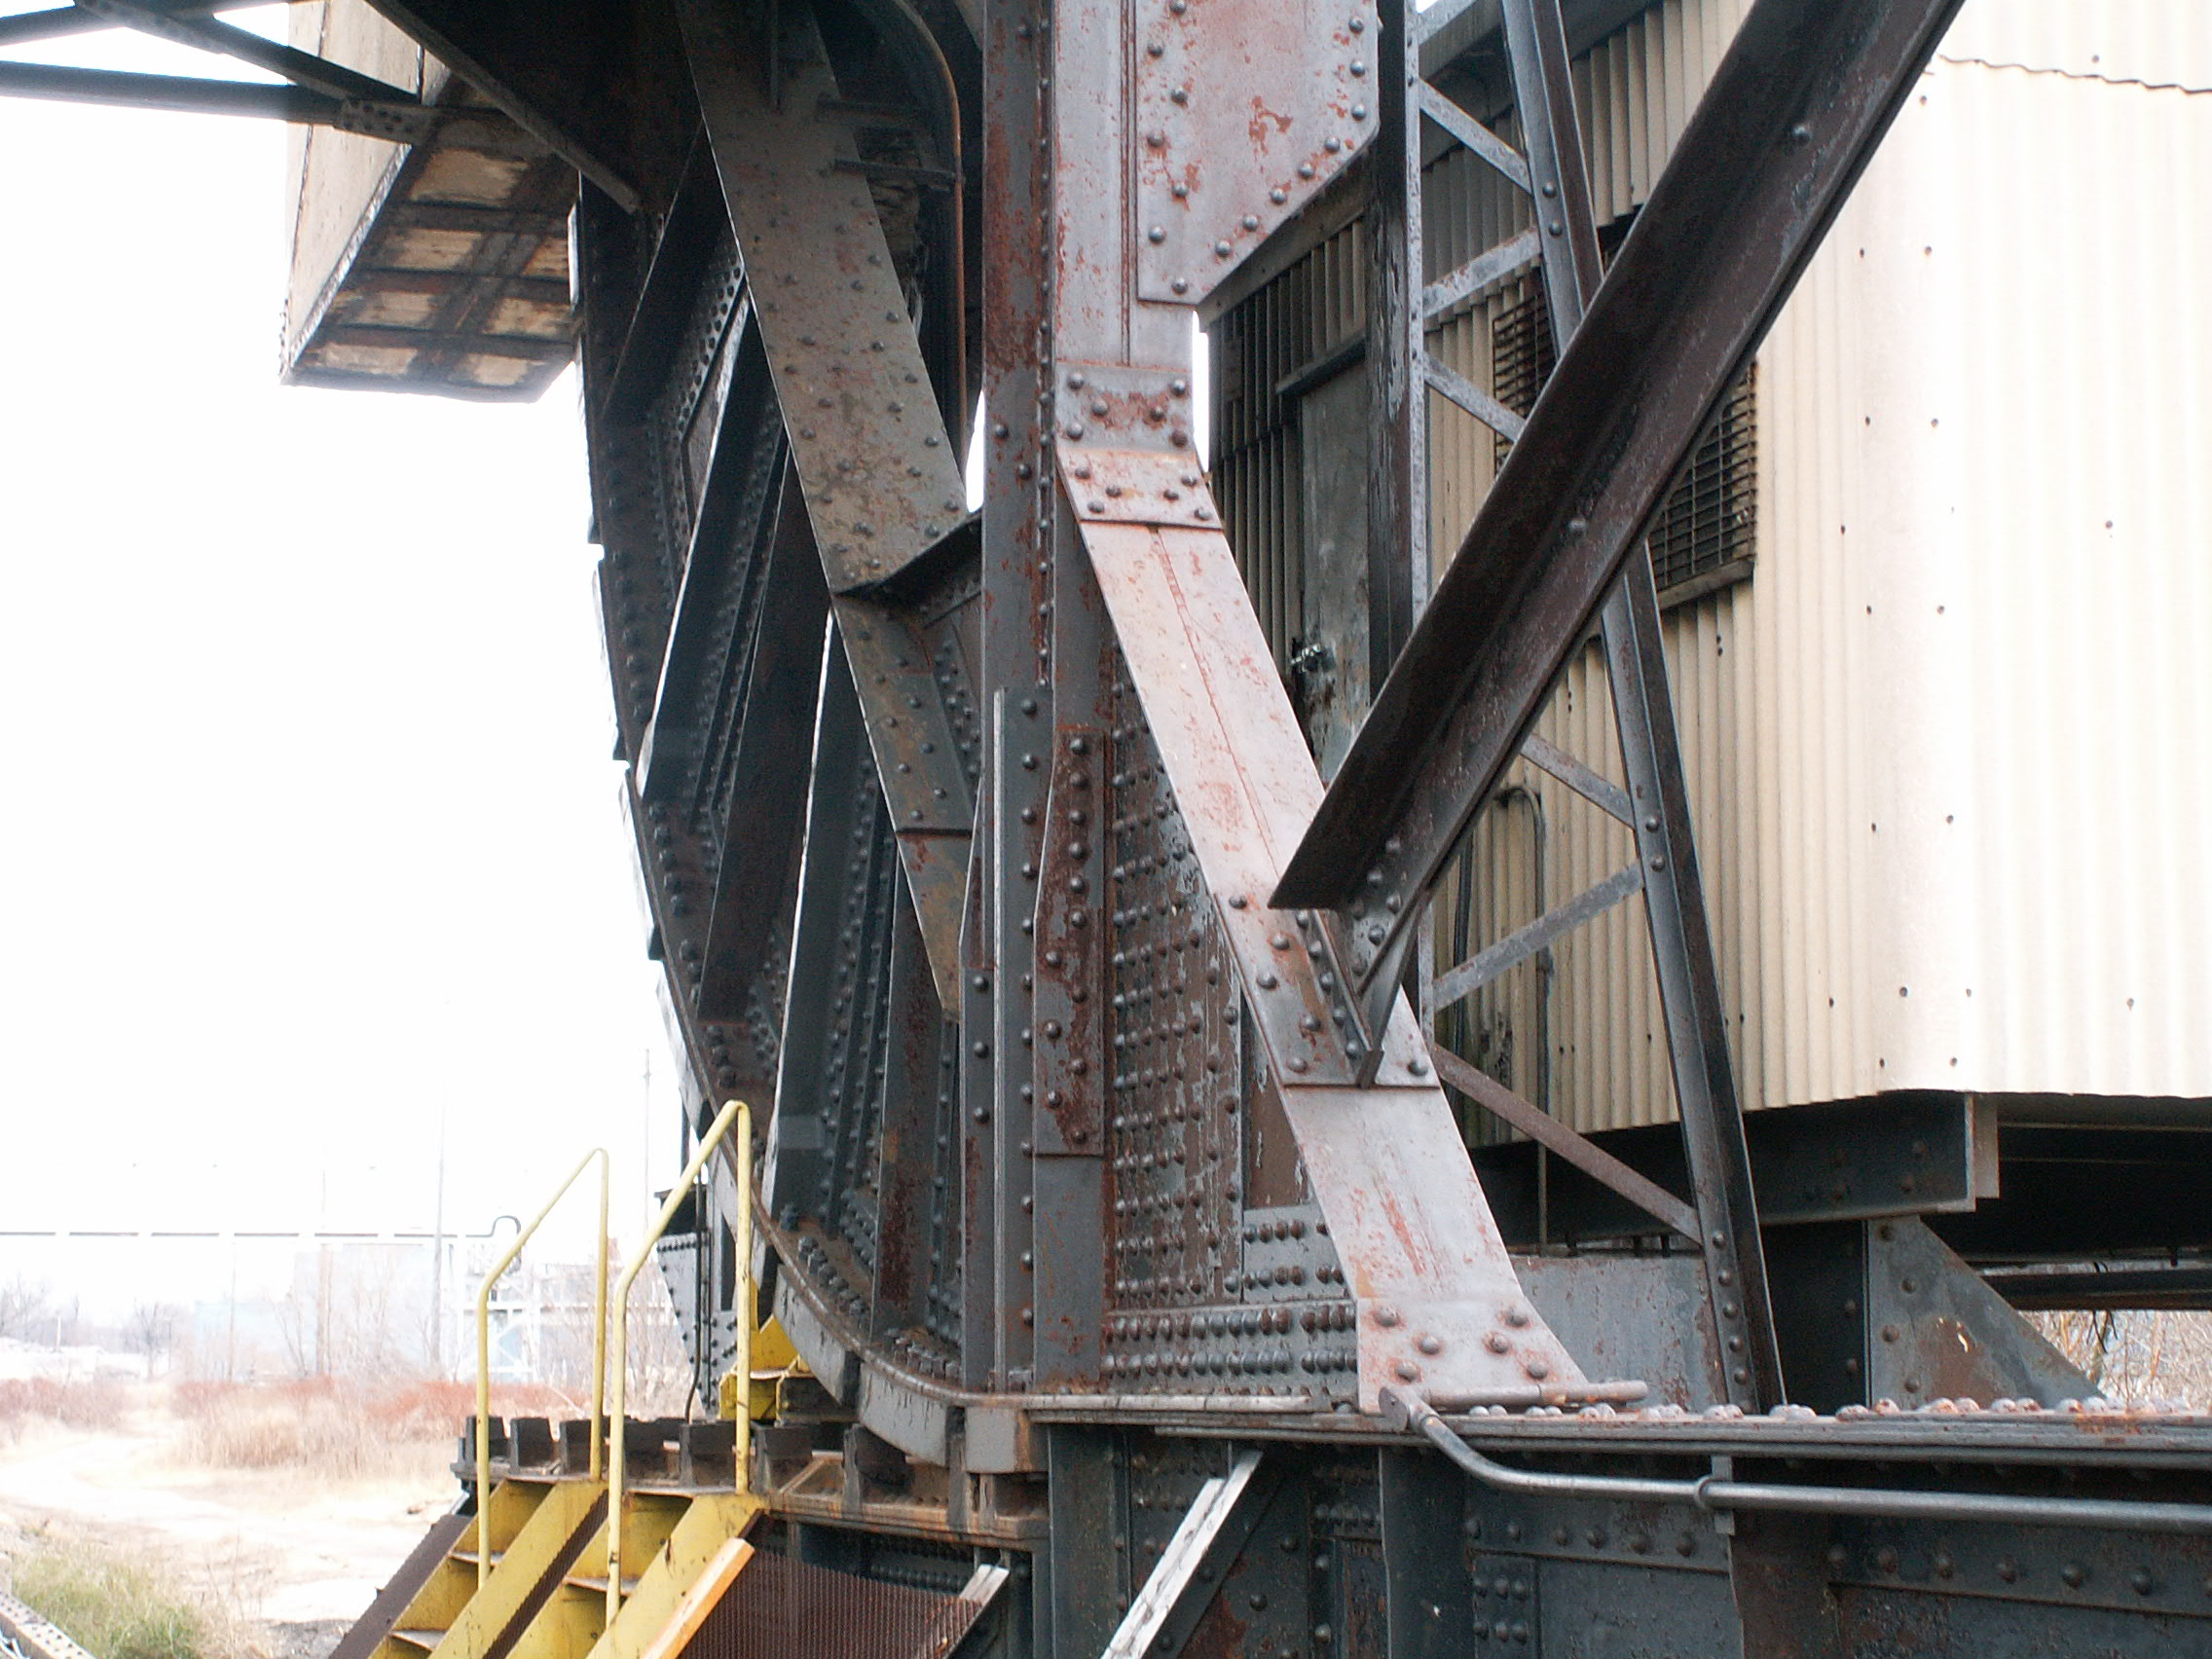
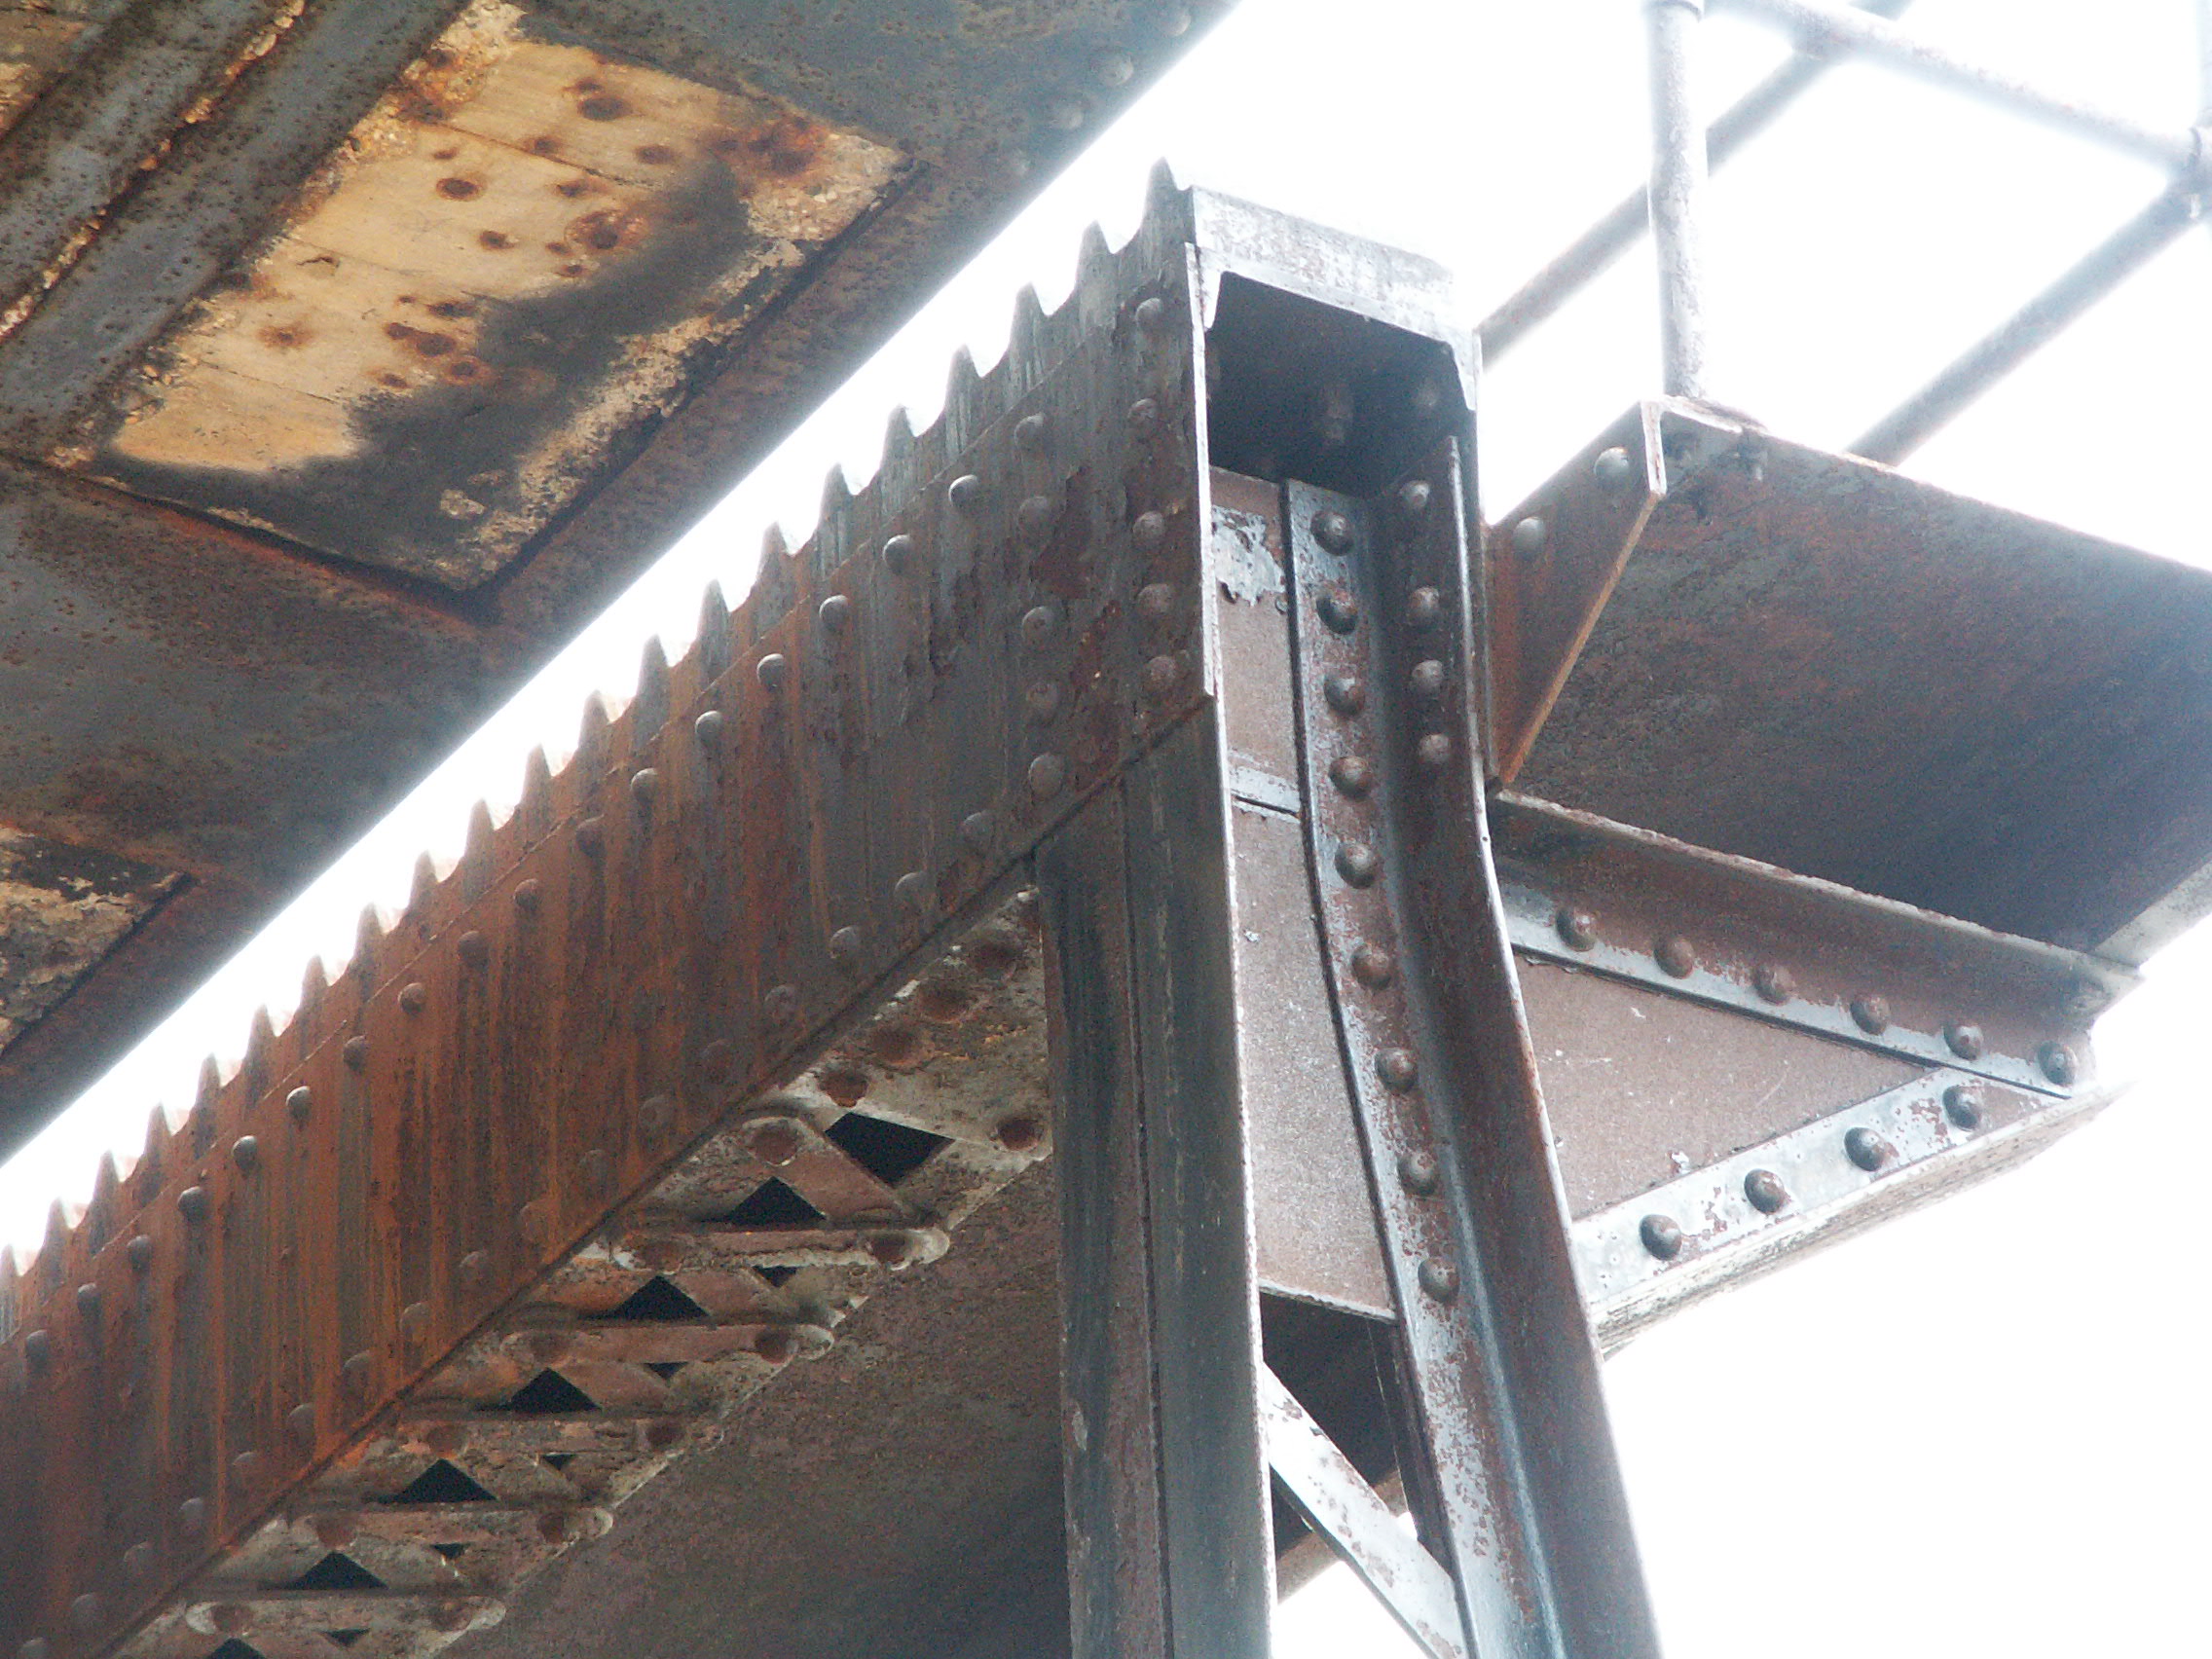
Overview of counterweight link and bracing.
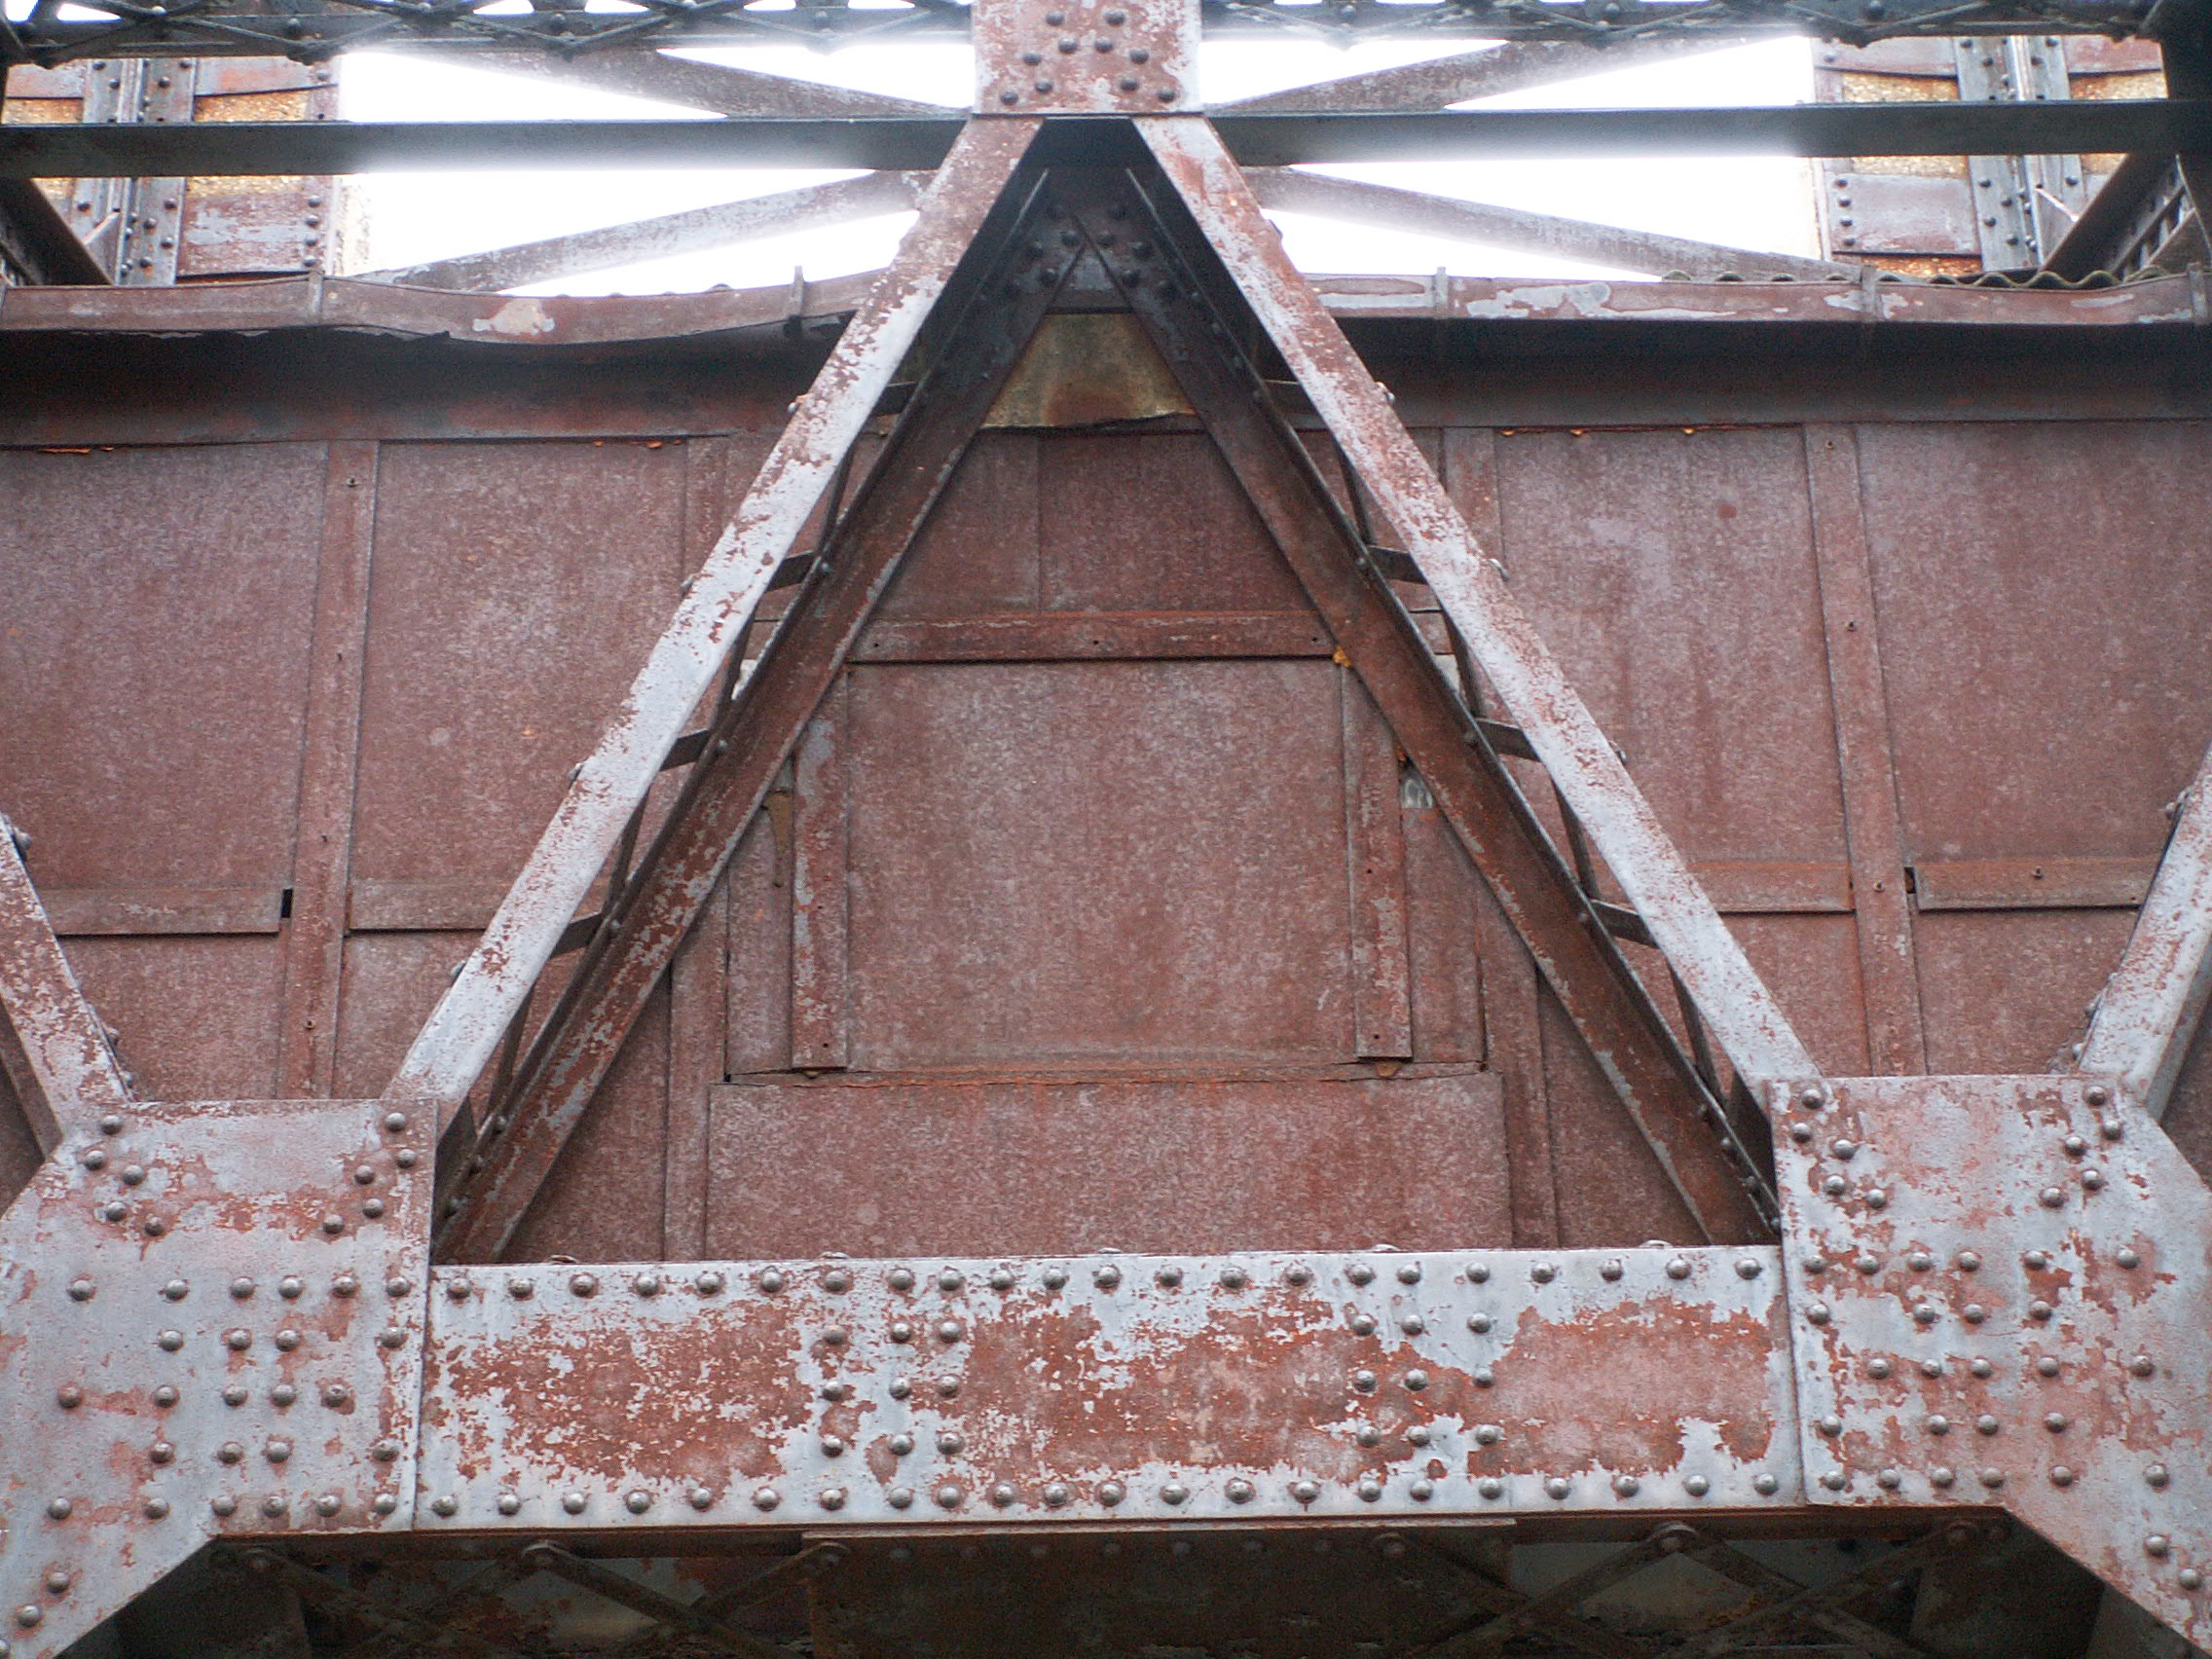
![]()


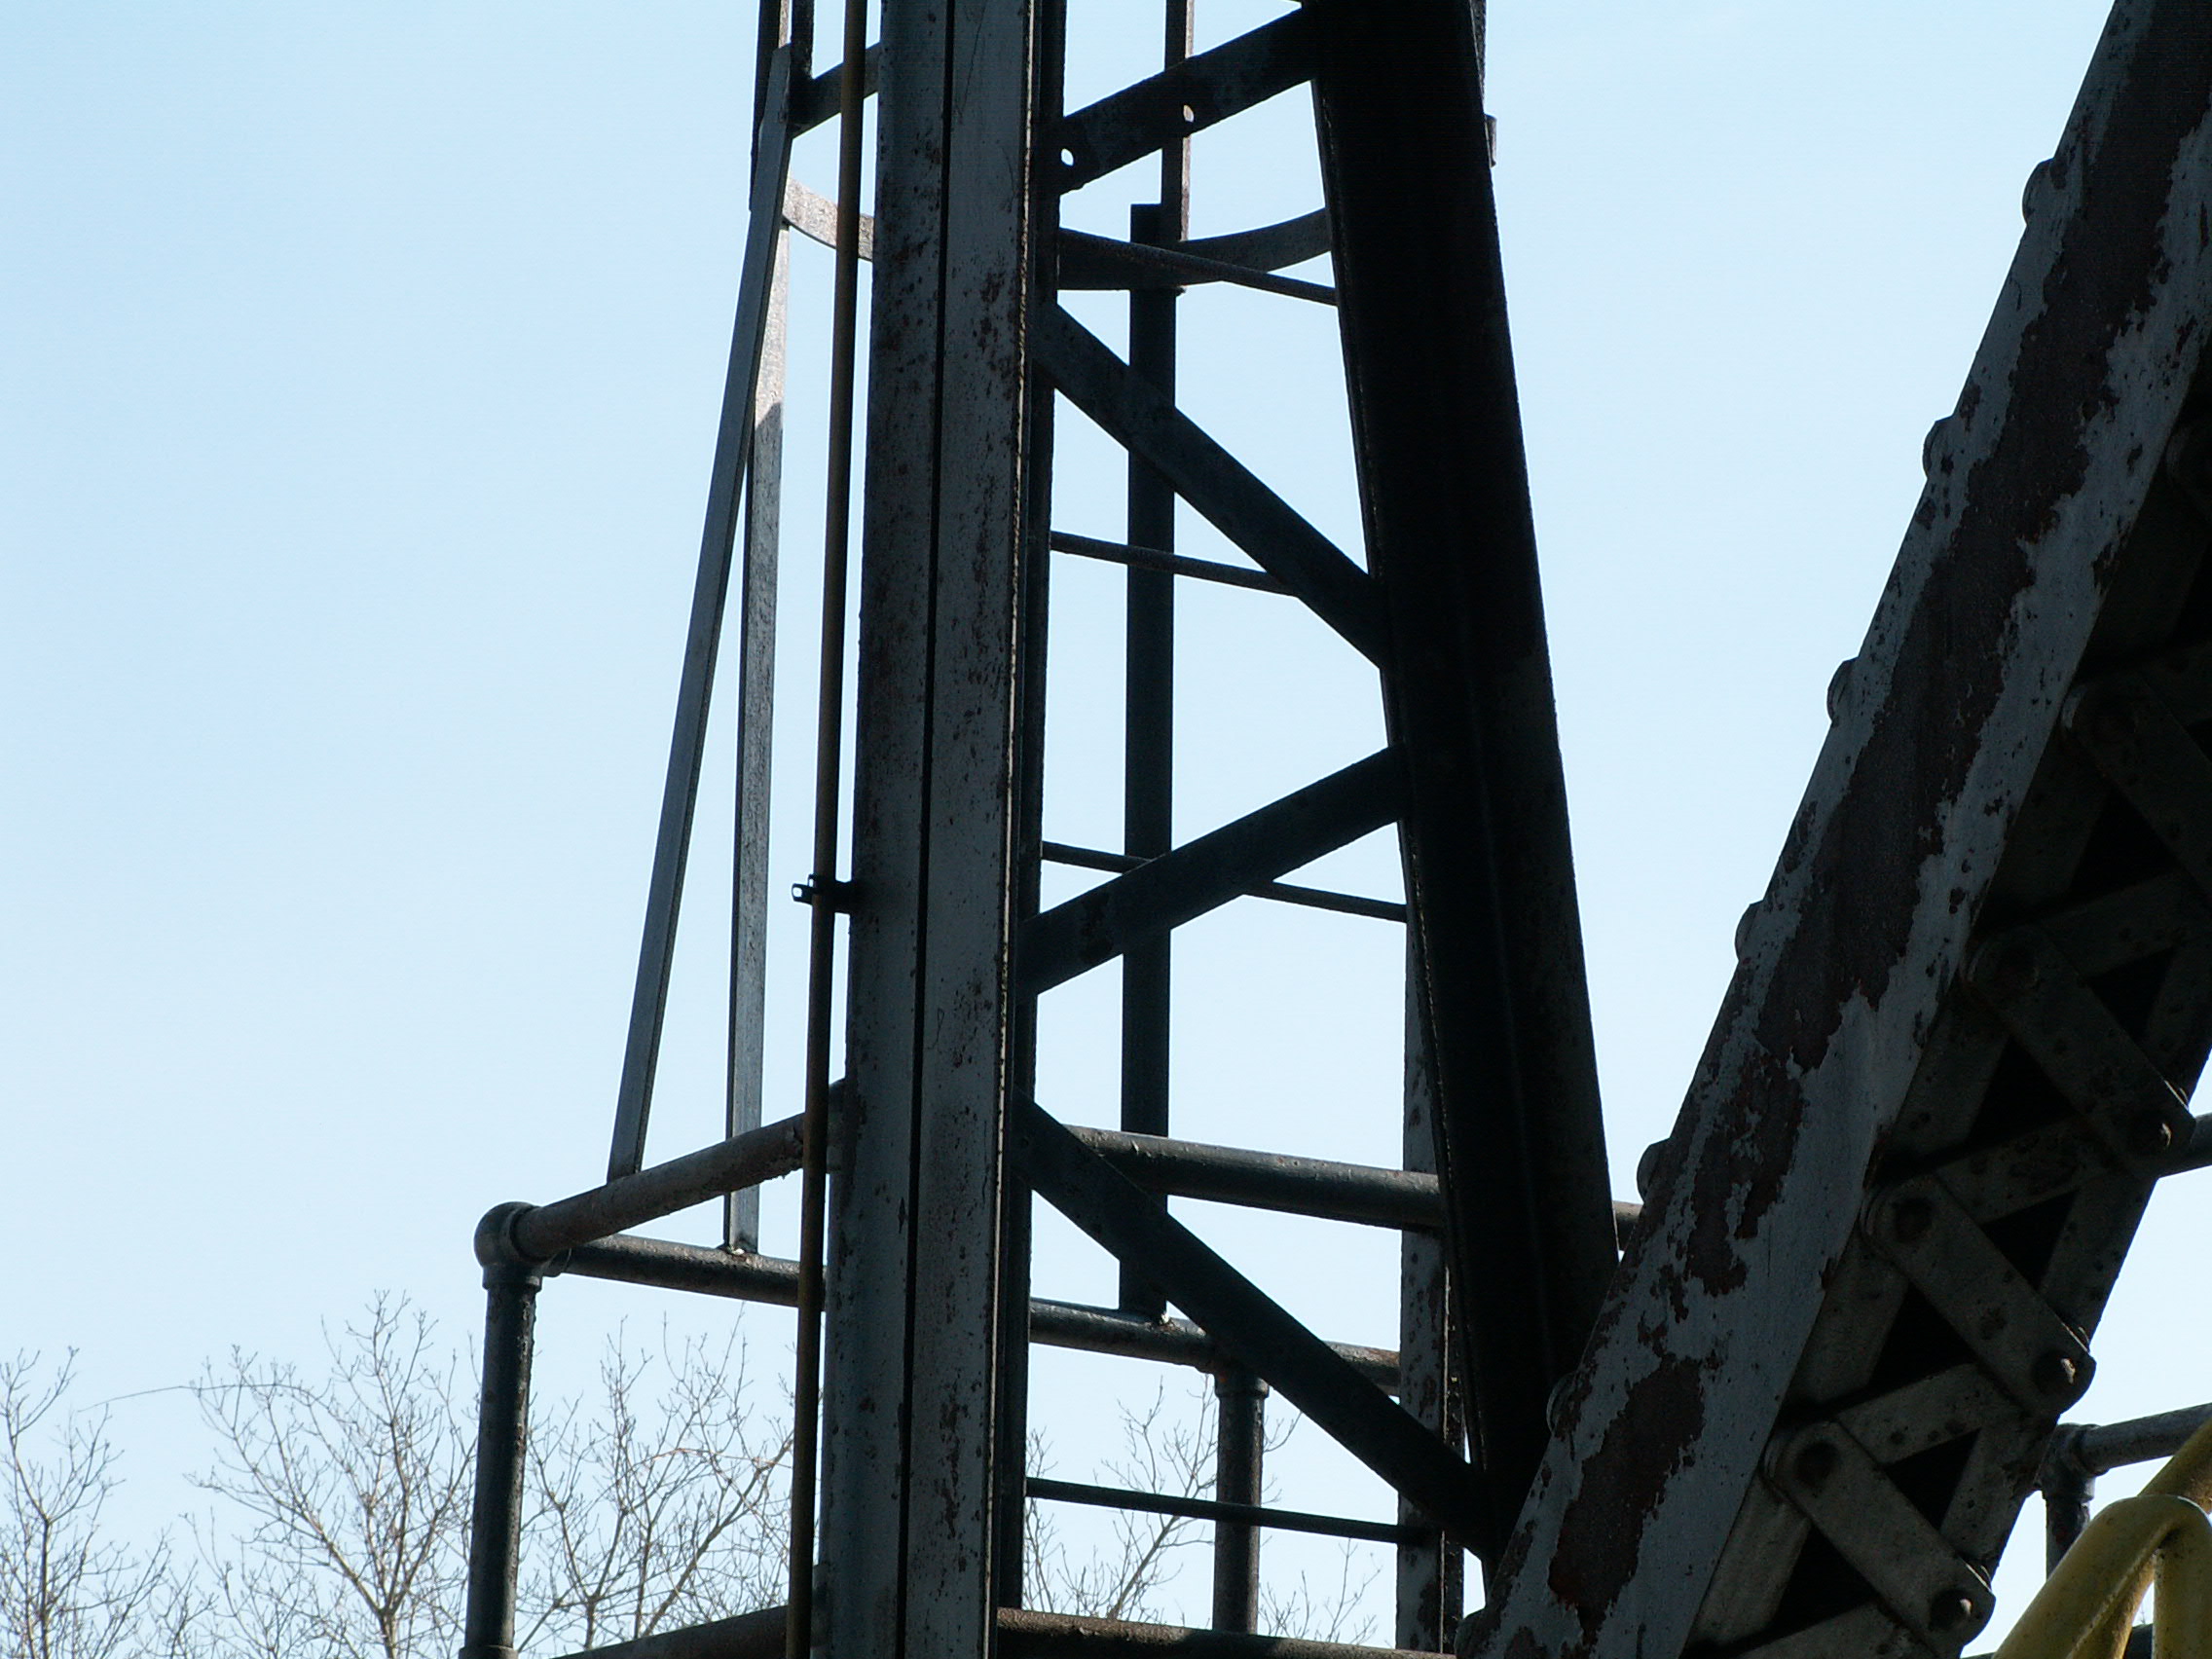
Looking up at the counterweight link and bracing.
![]()
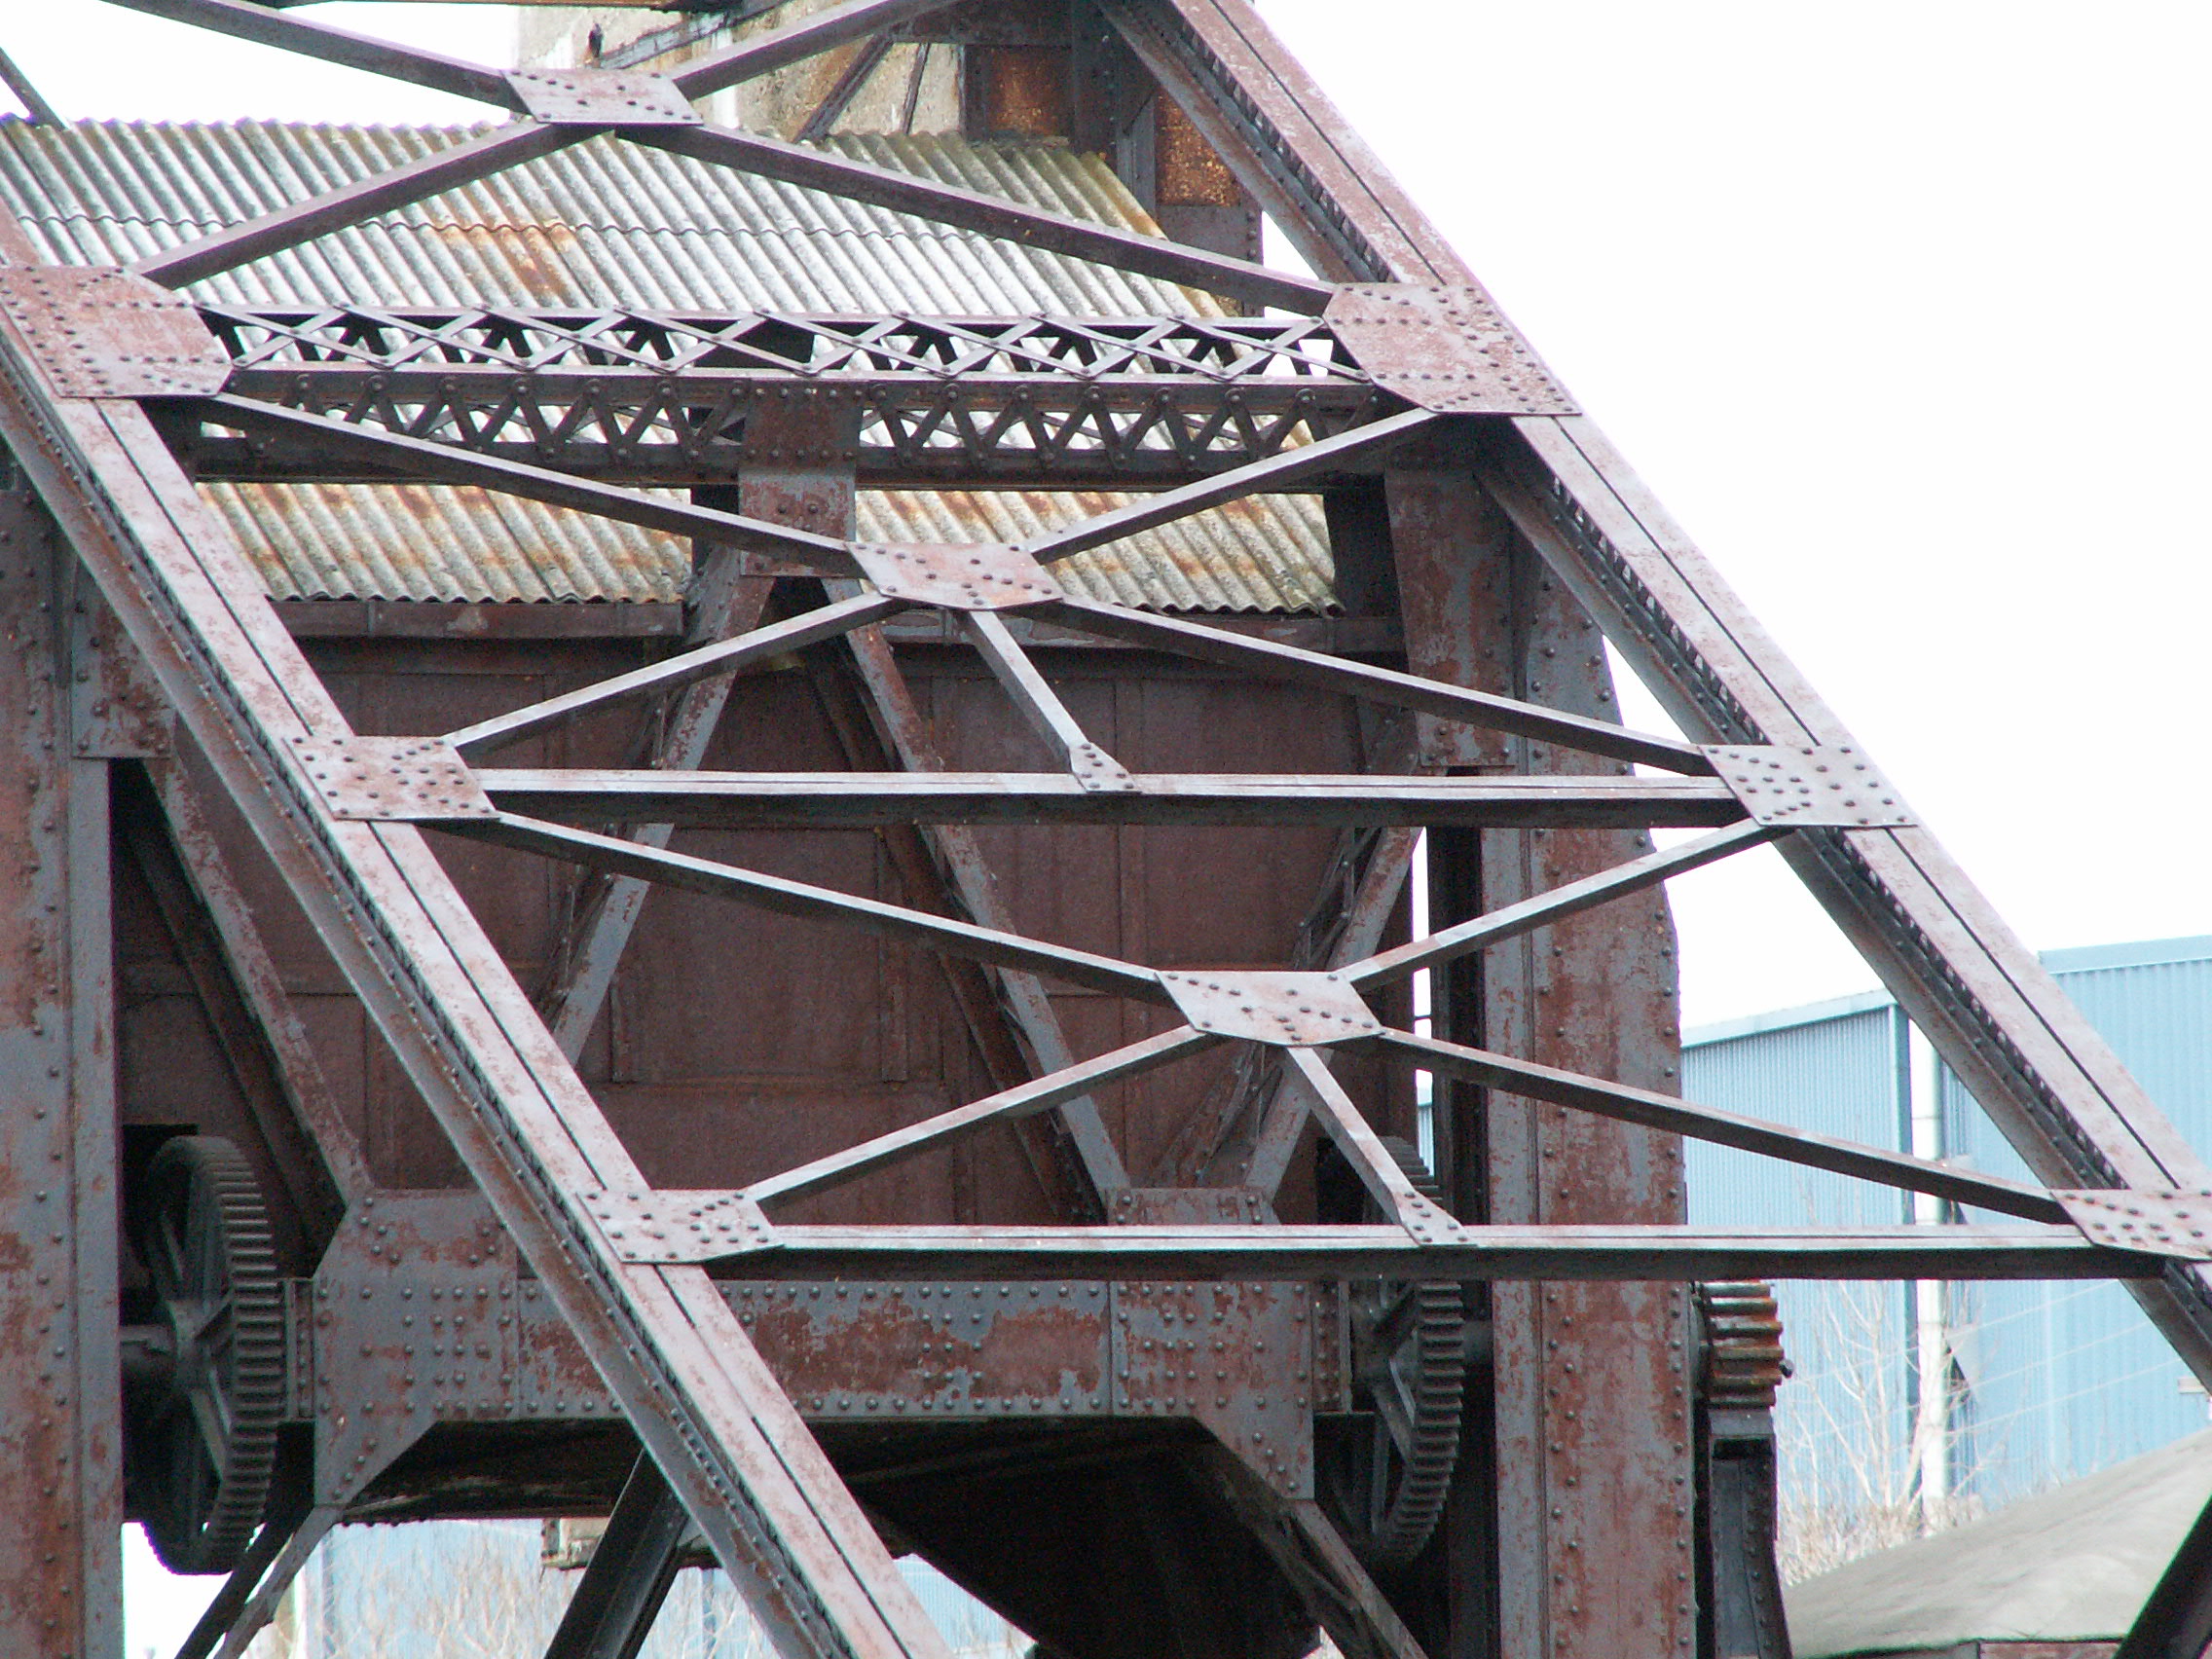


Counterweight link bracing.
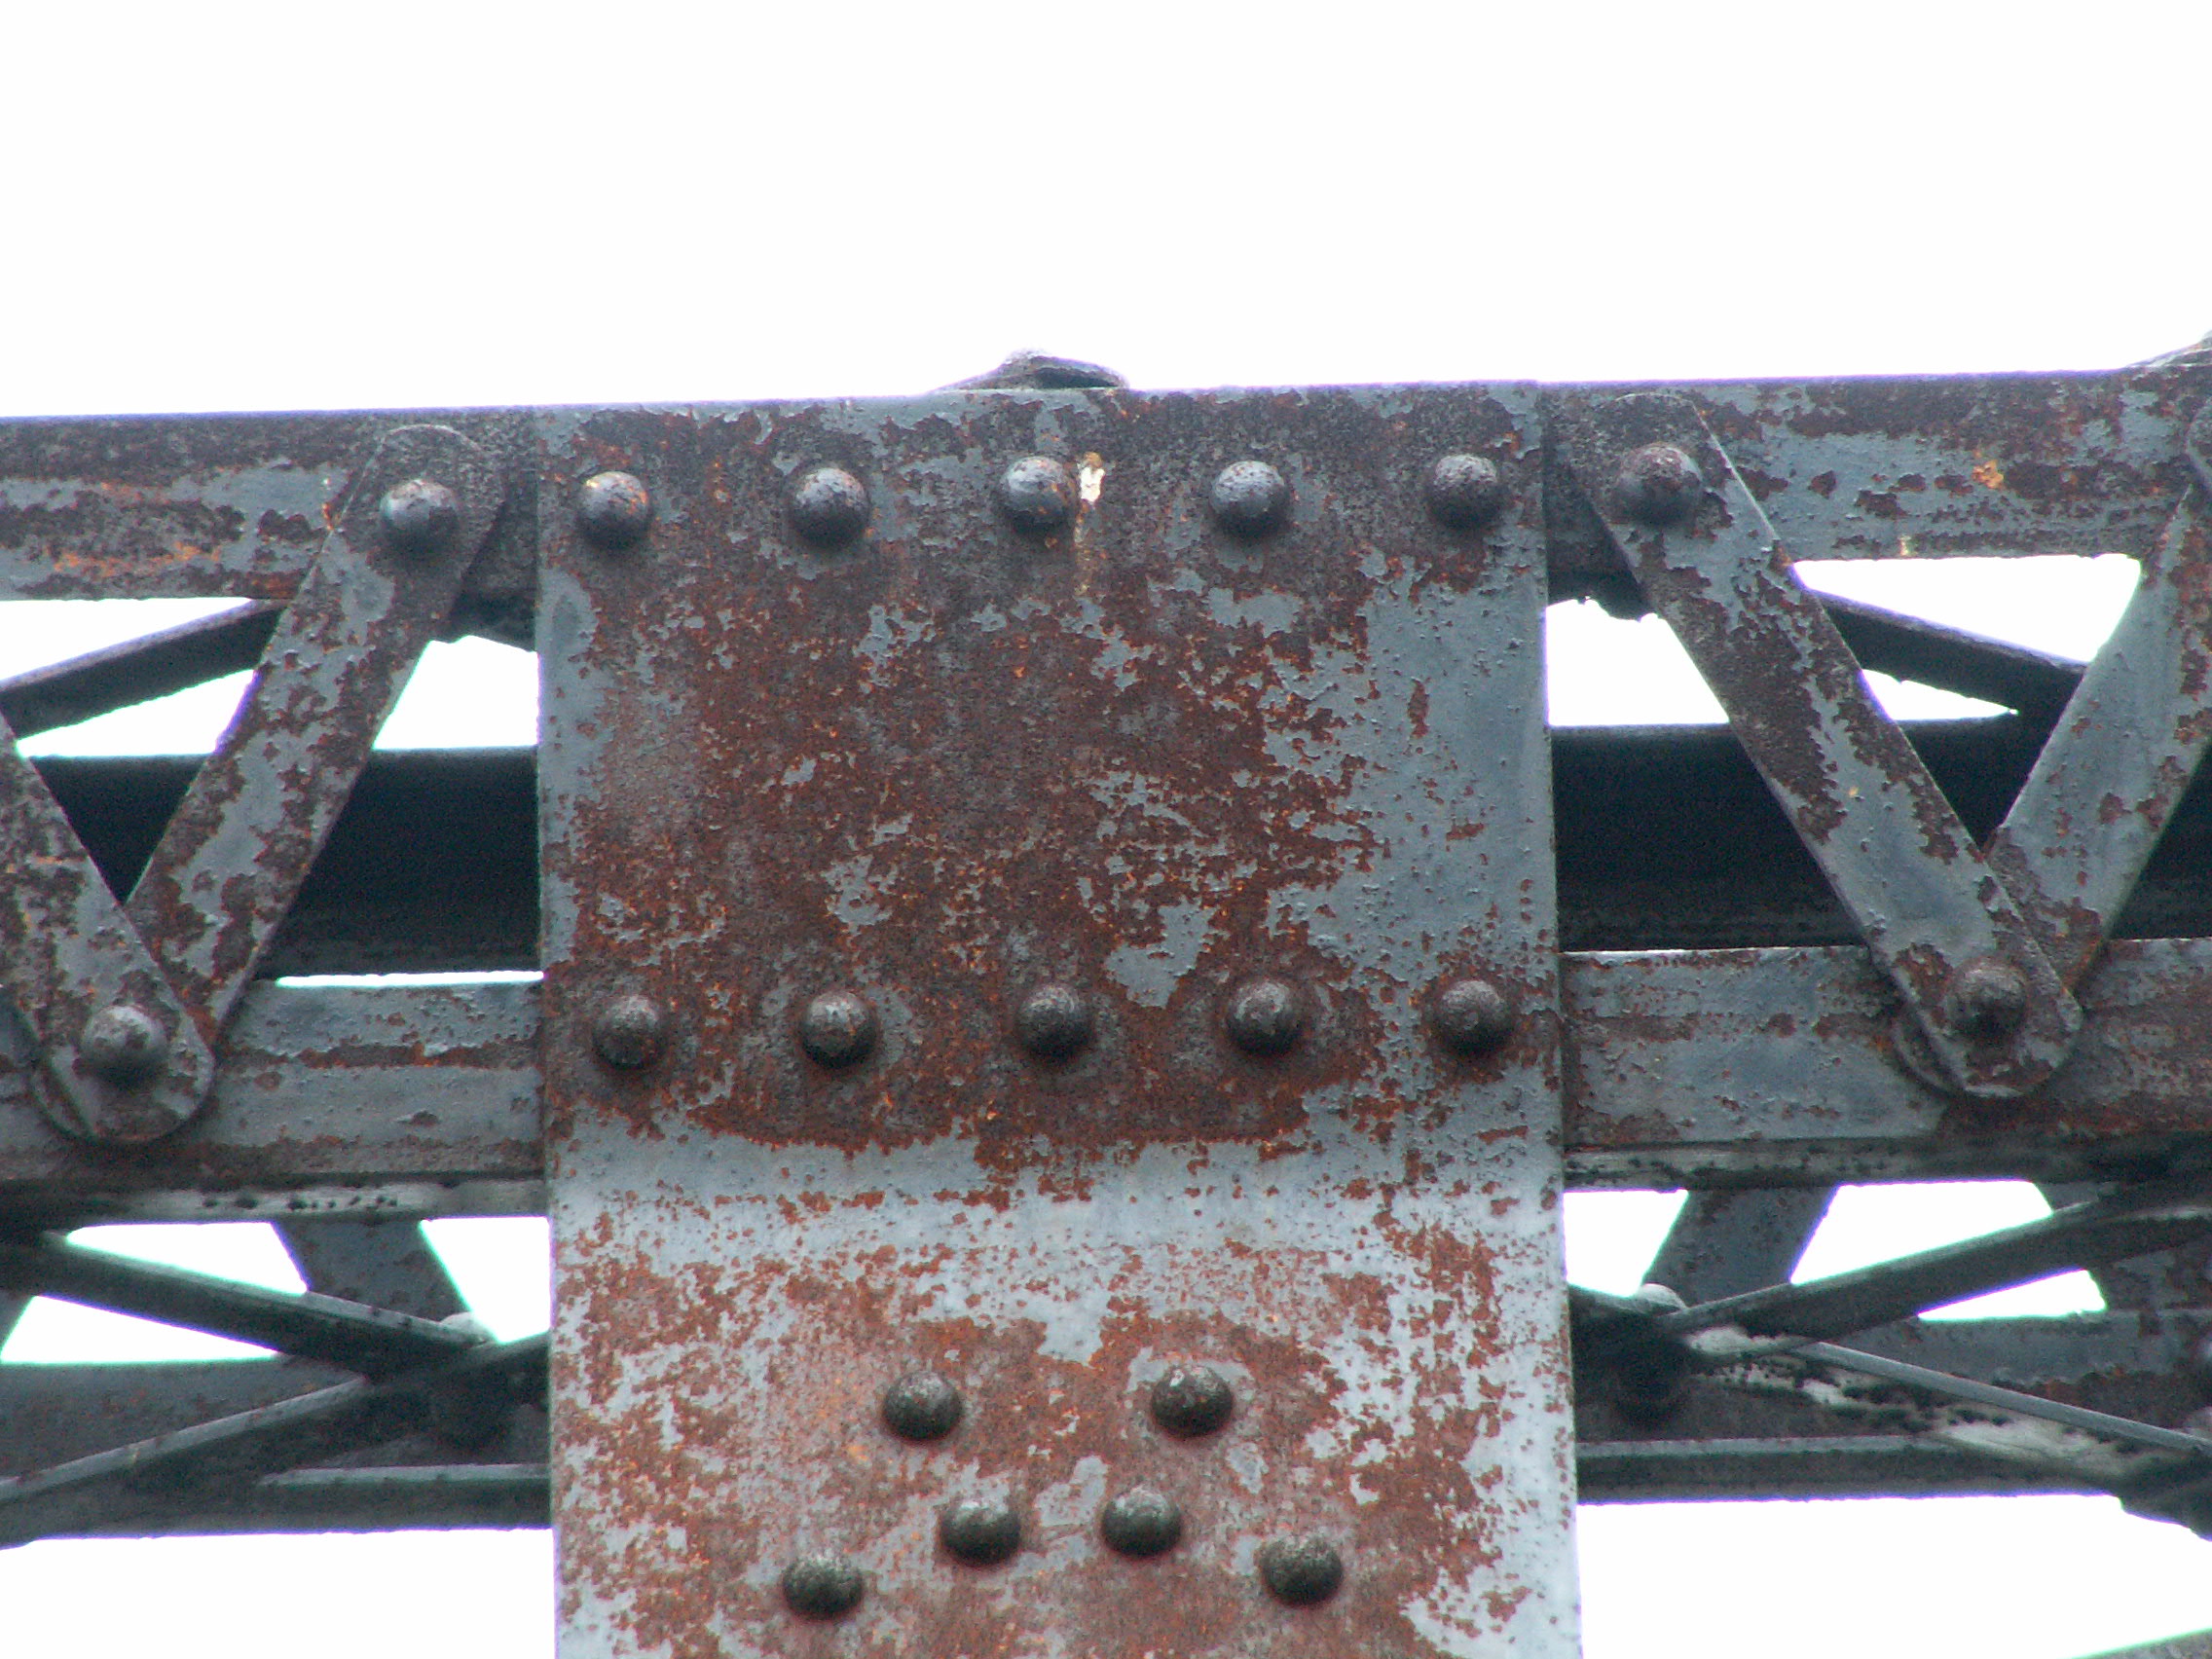
![]()


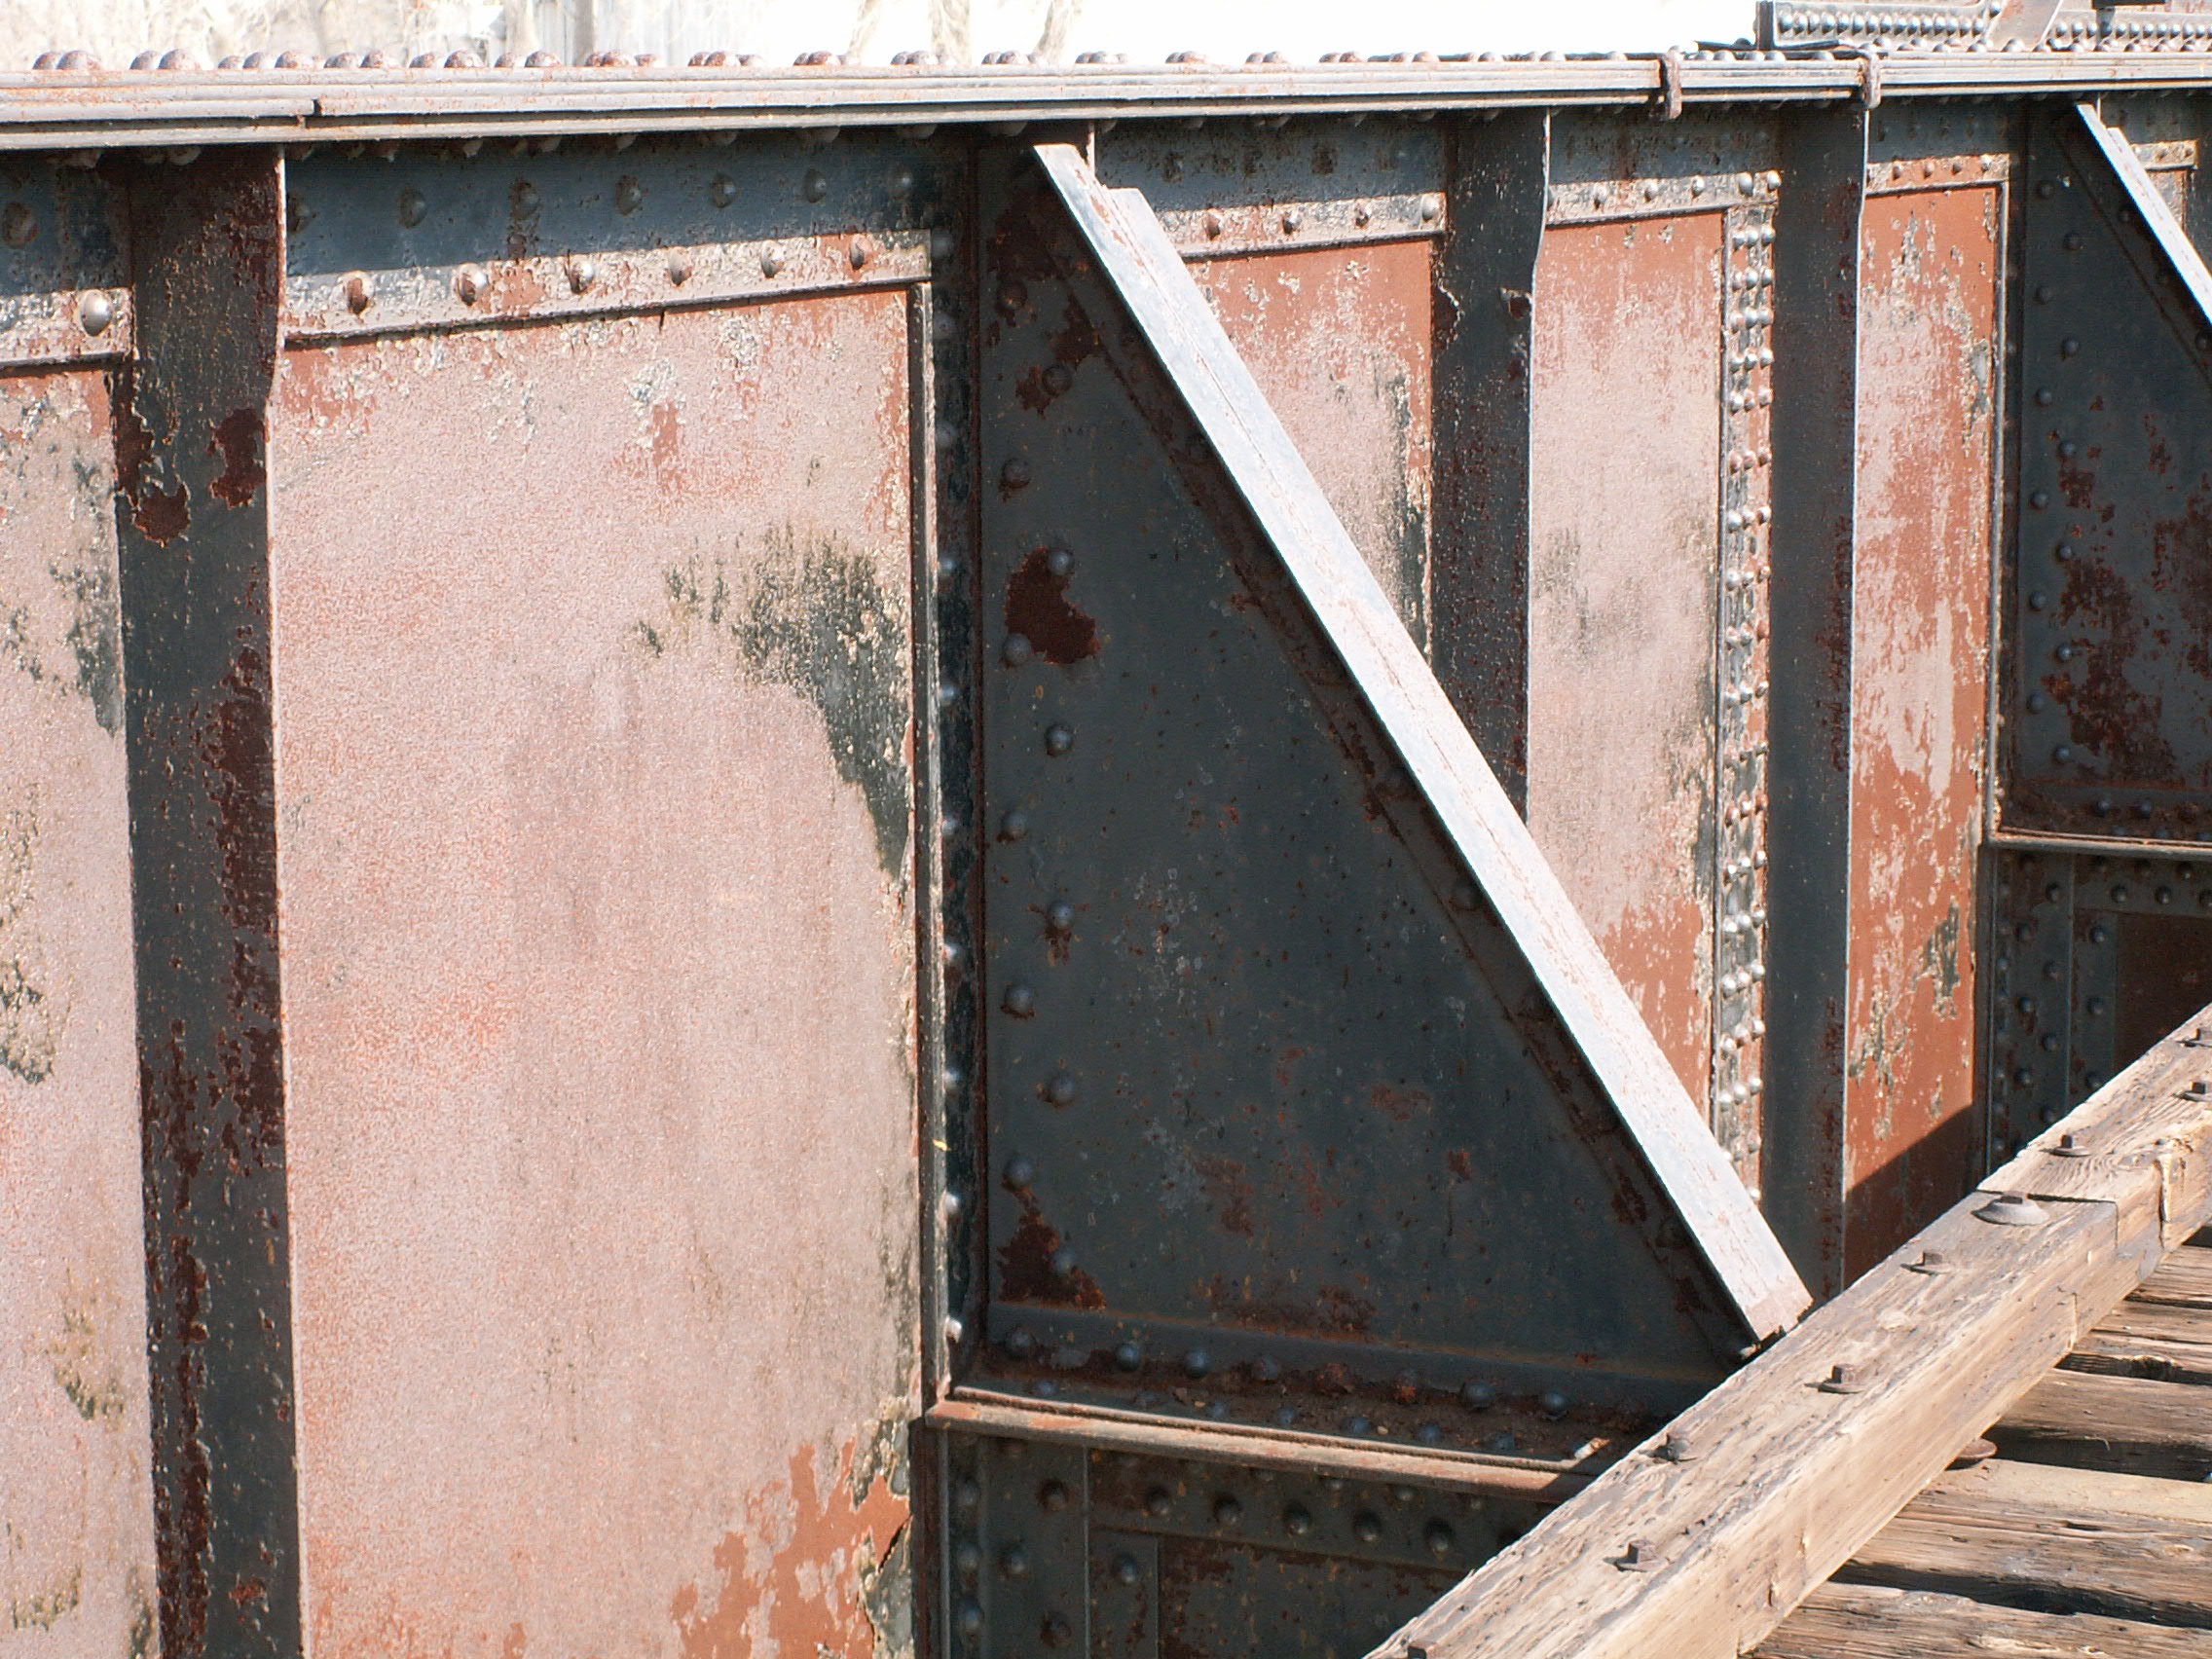
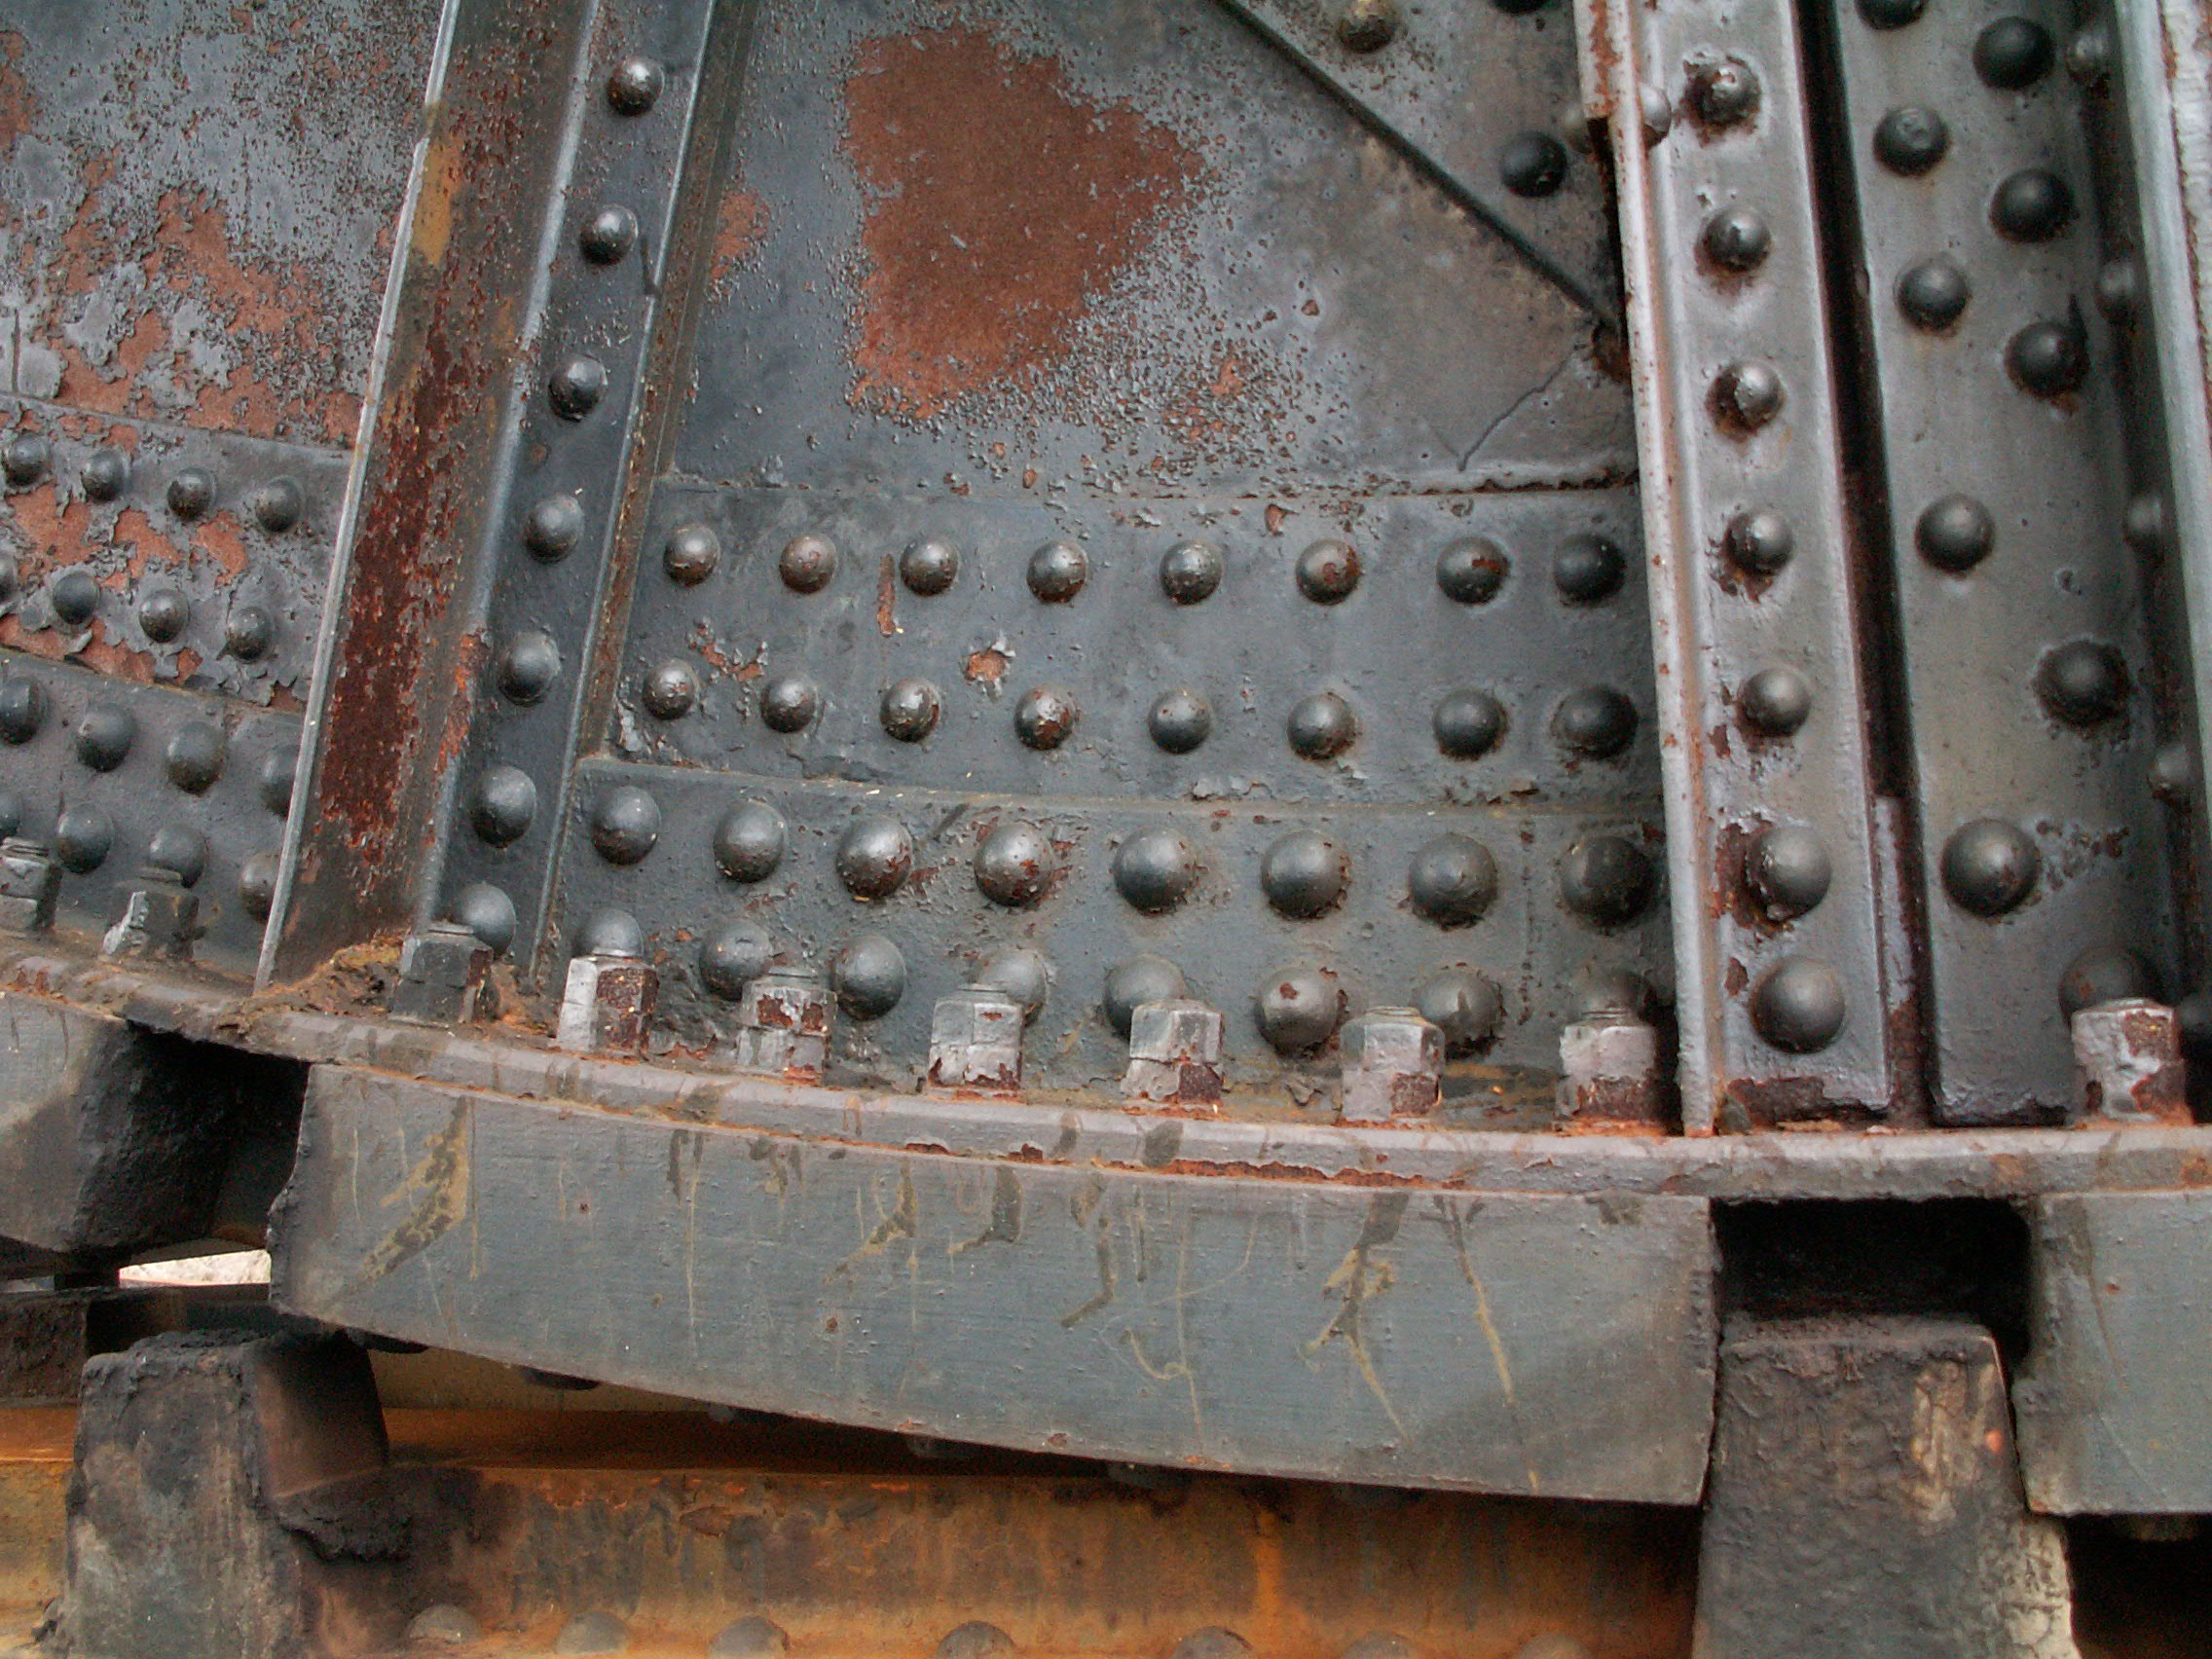
Gusset plate connecting rolling portion of bridge to the through girder.
![]()


Counterweight link connection to girder.
![]()


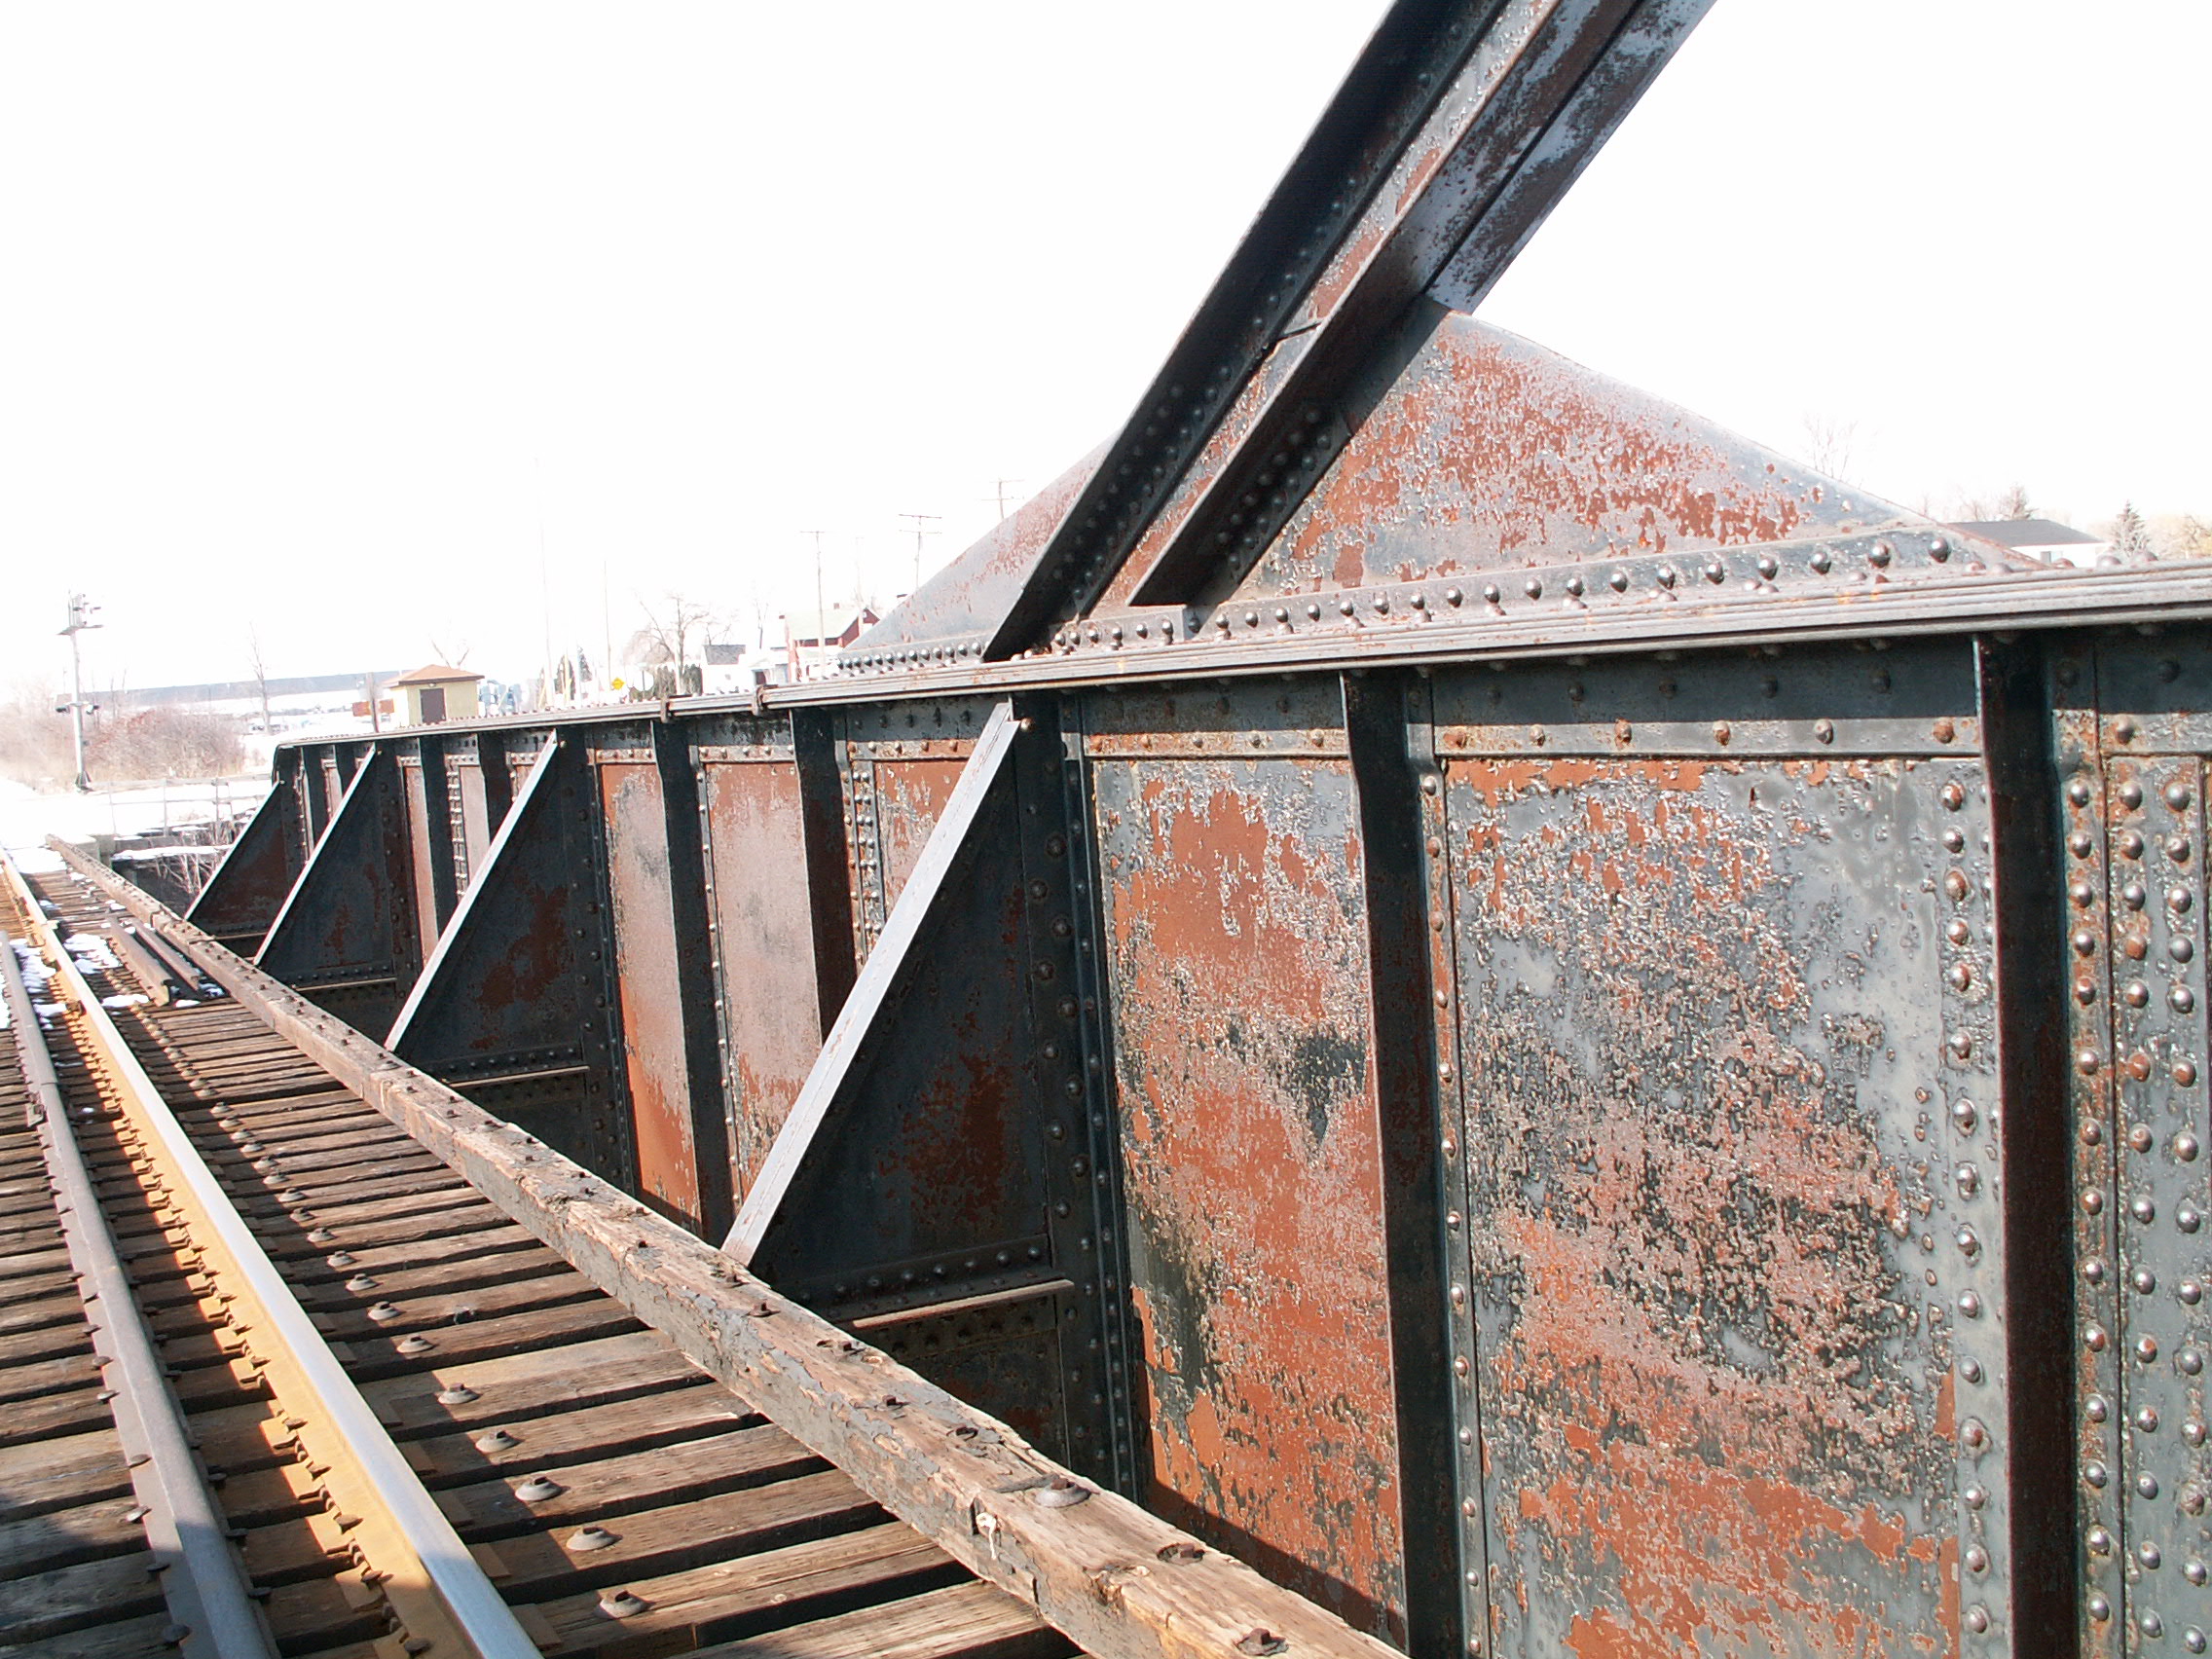
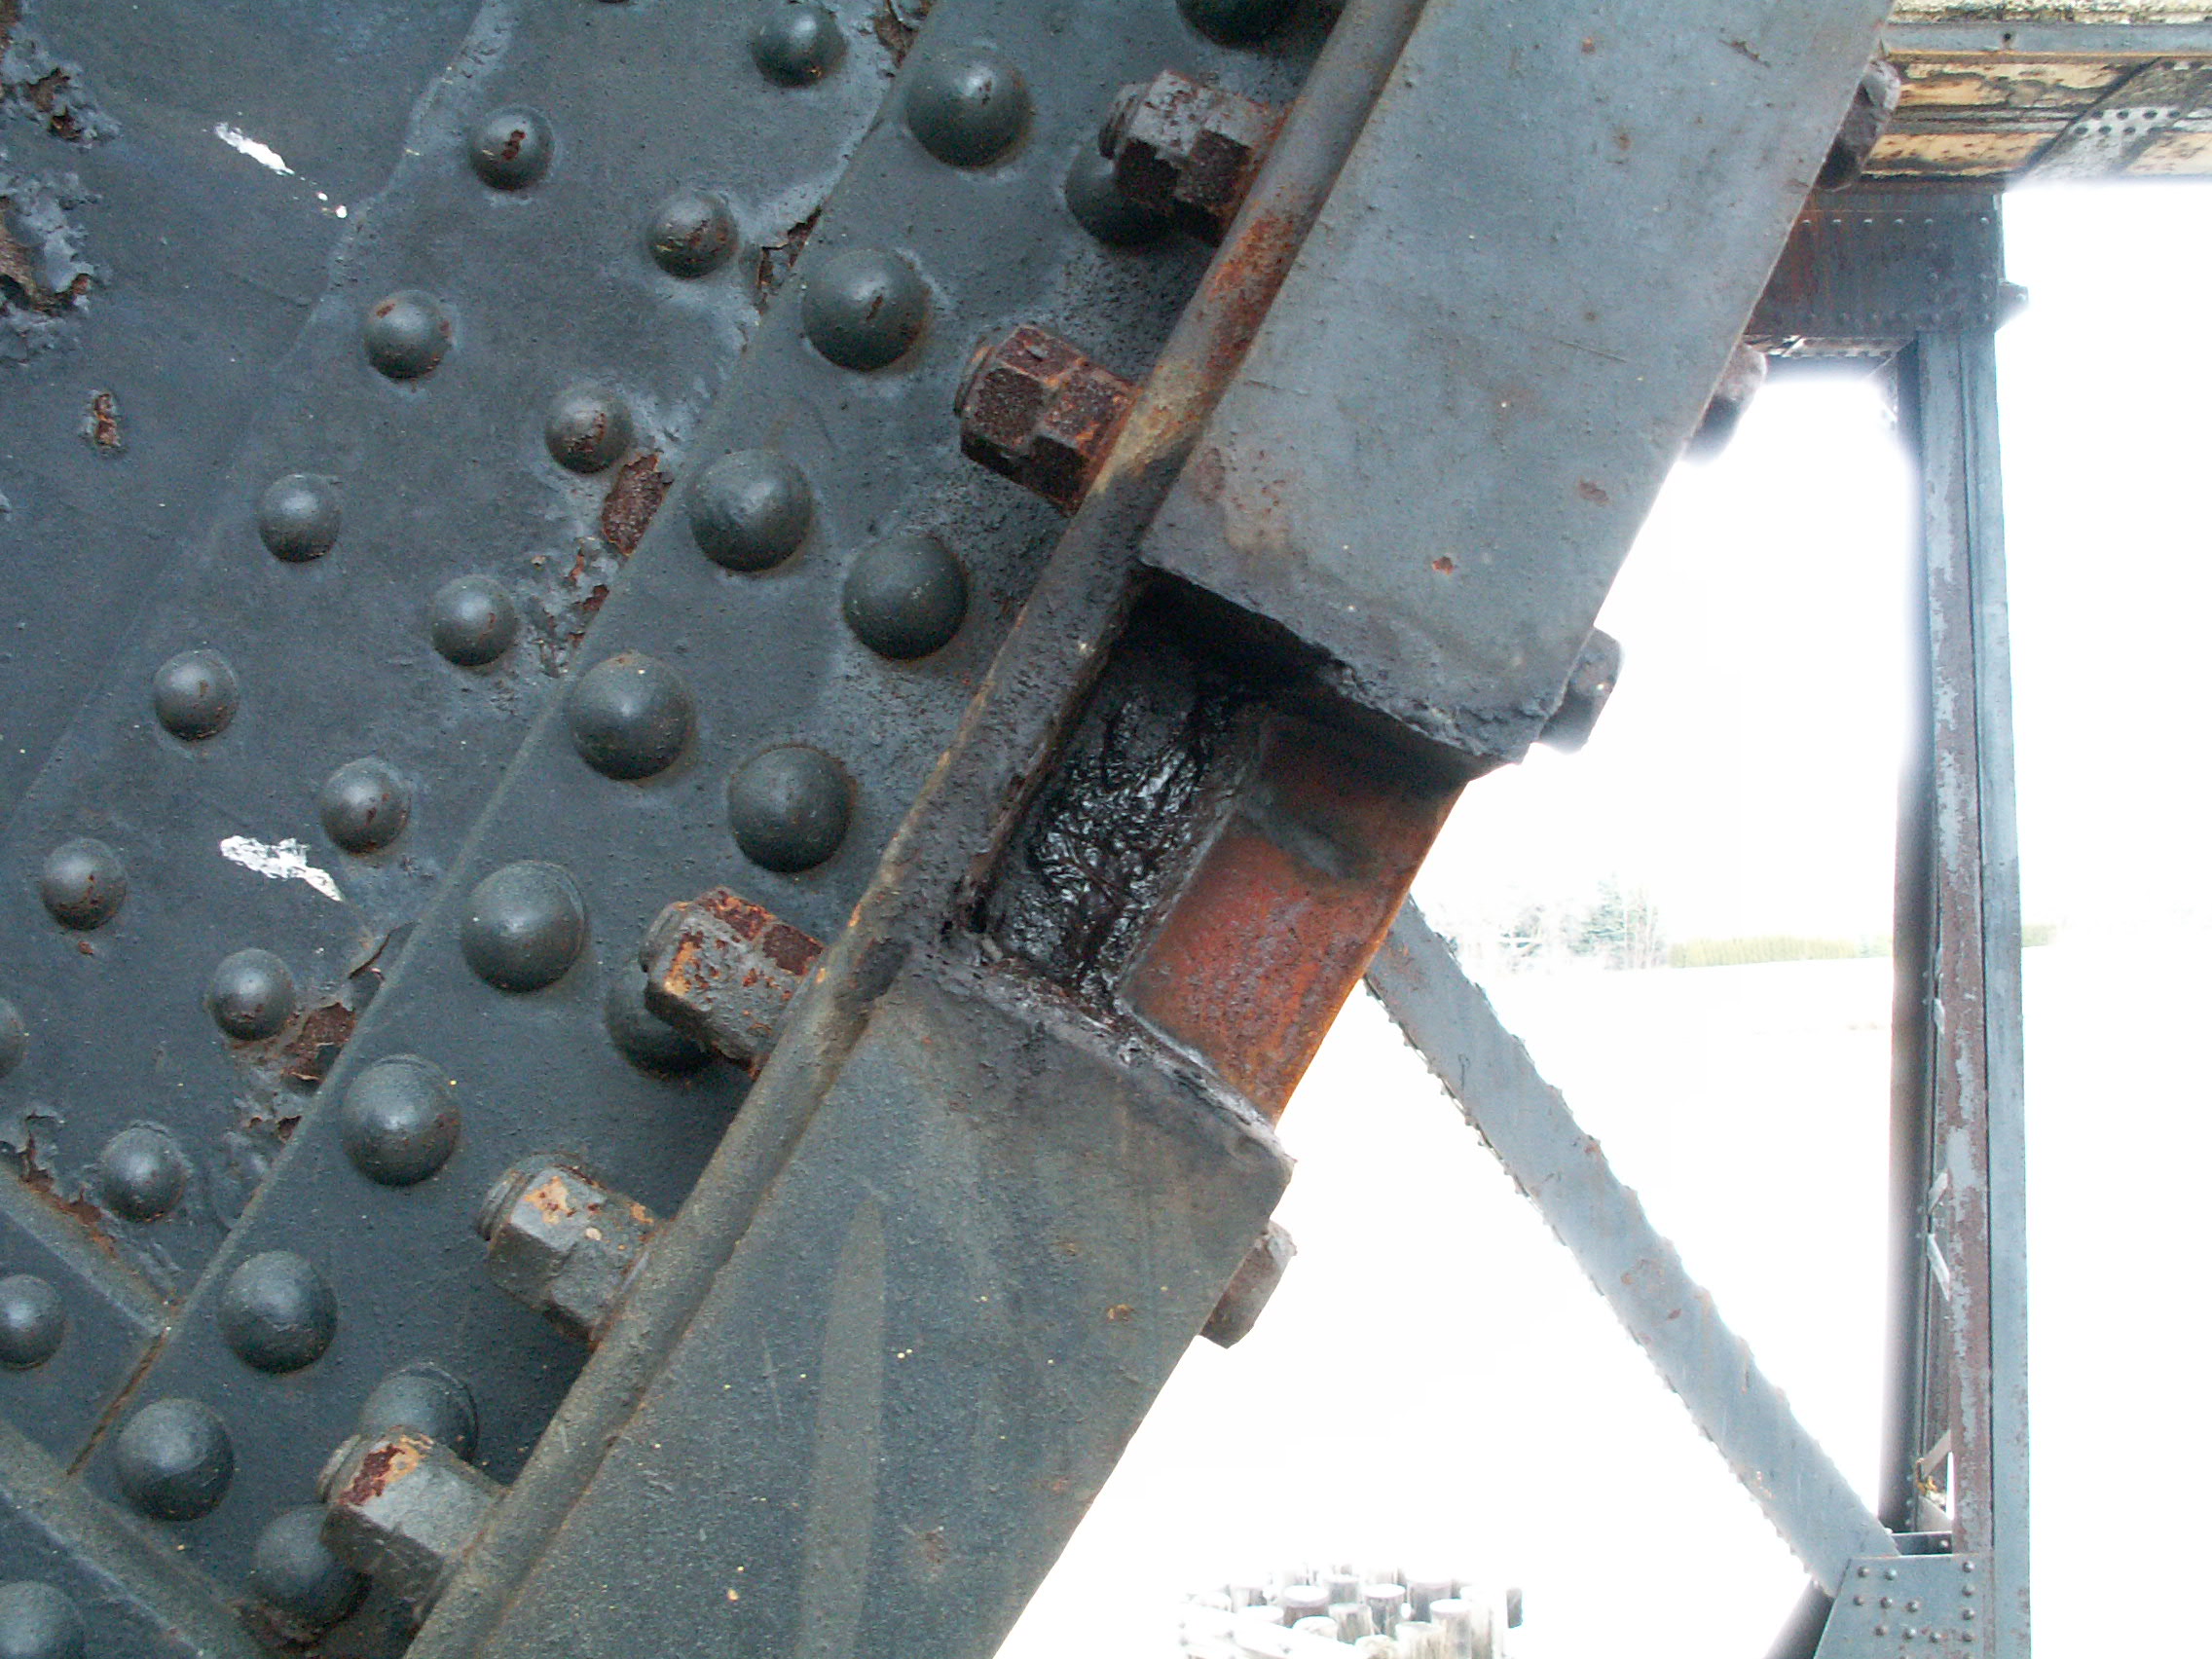
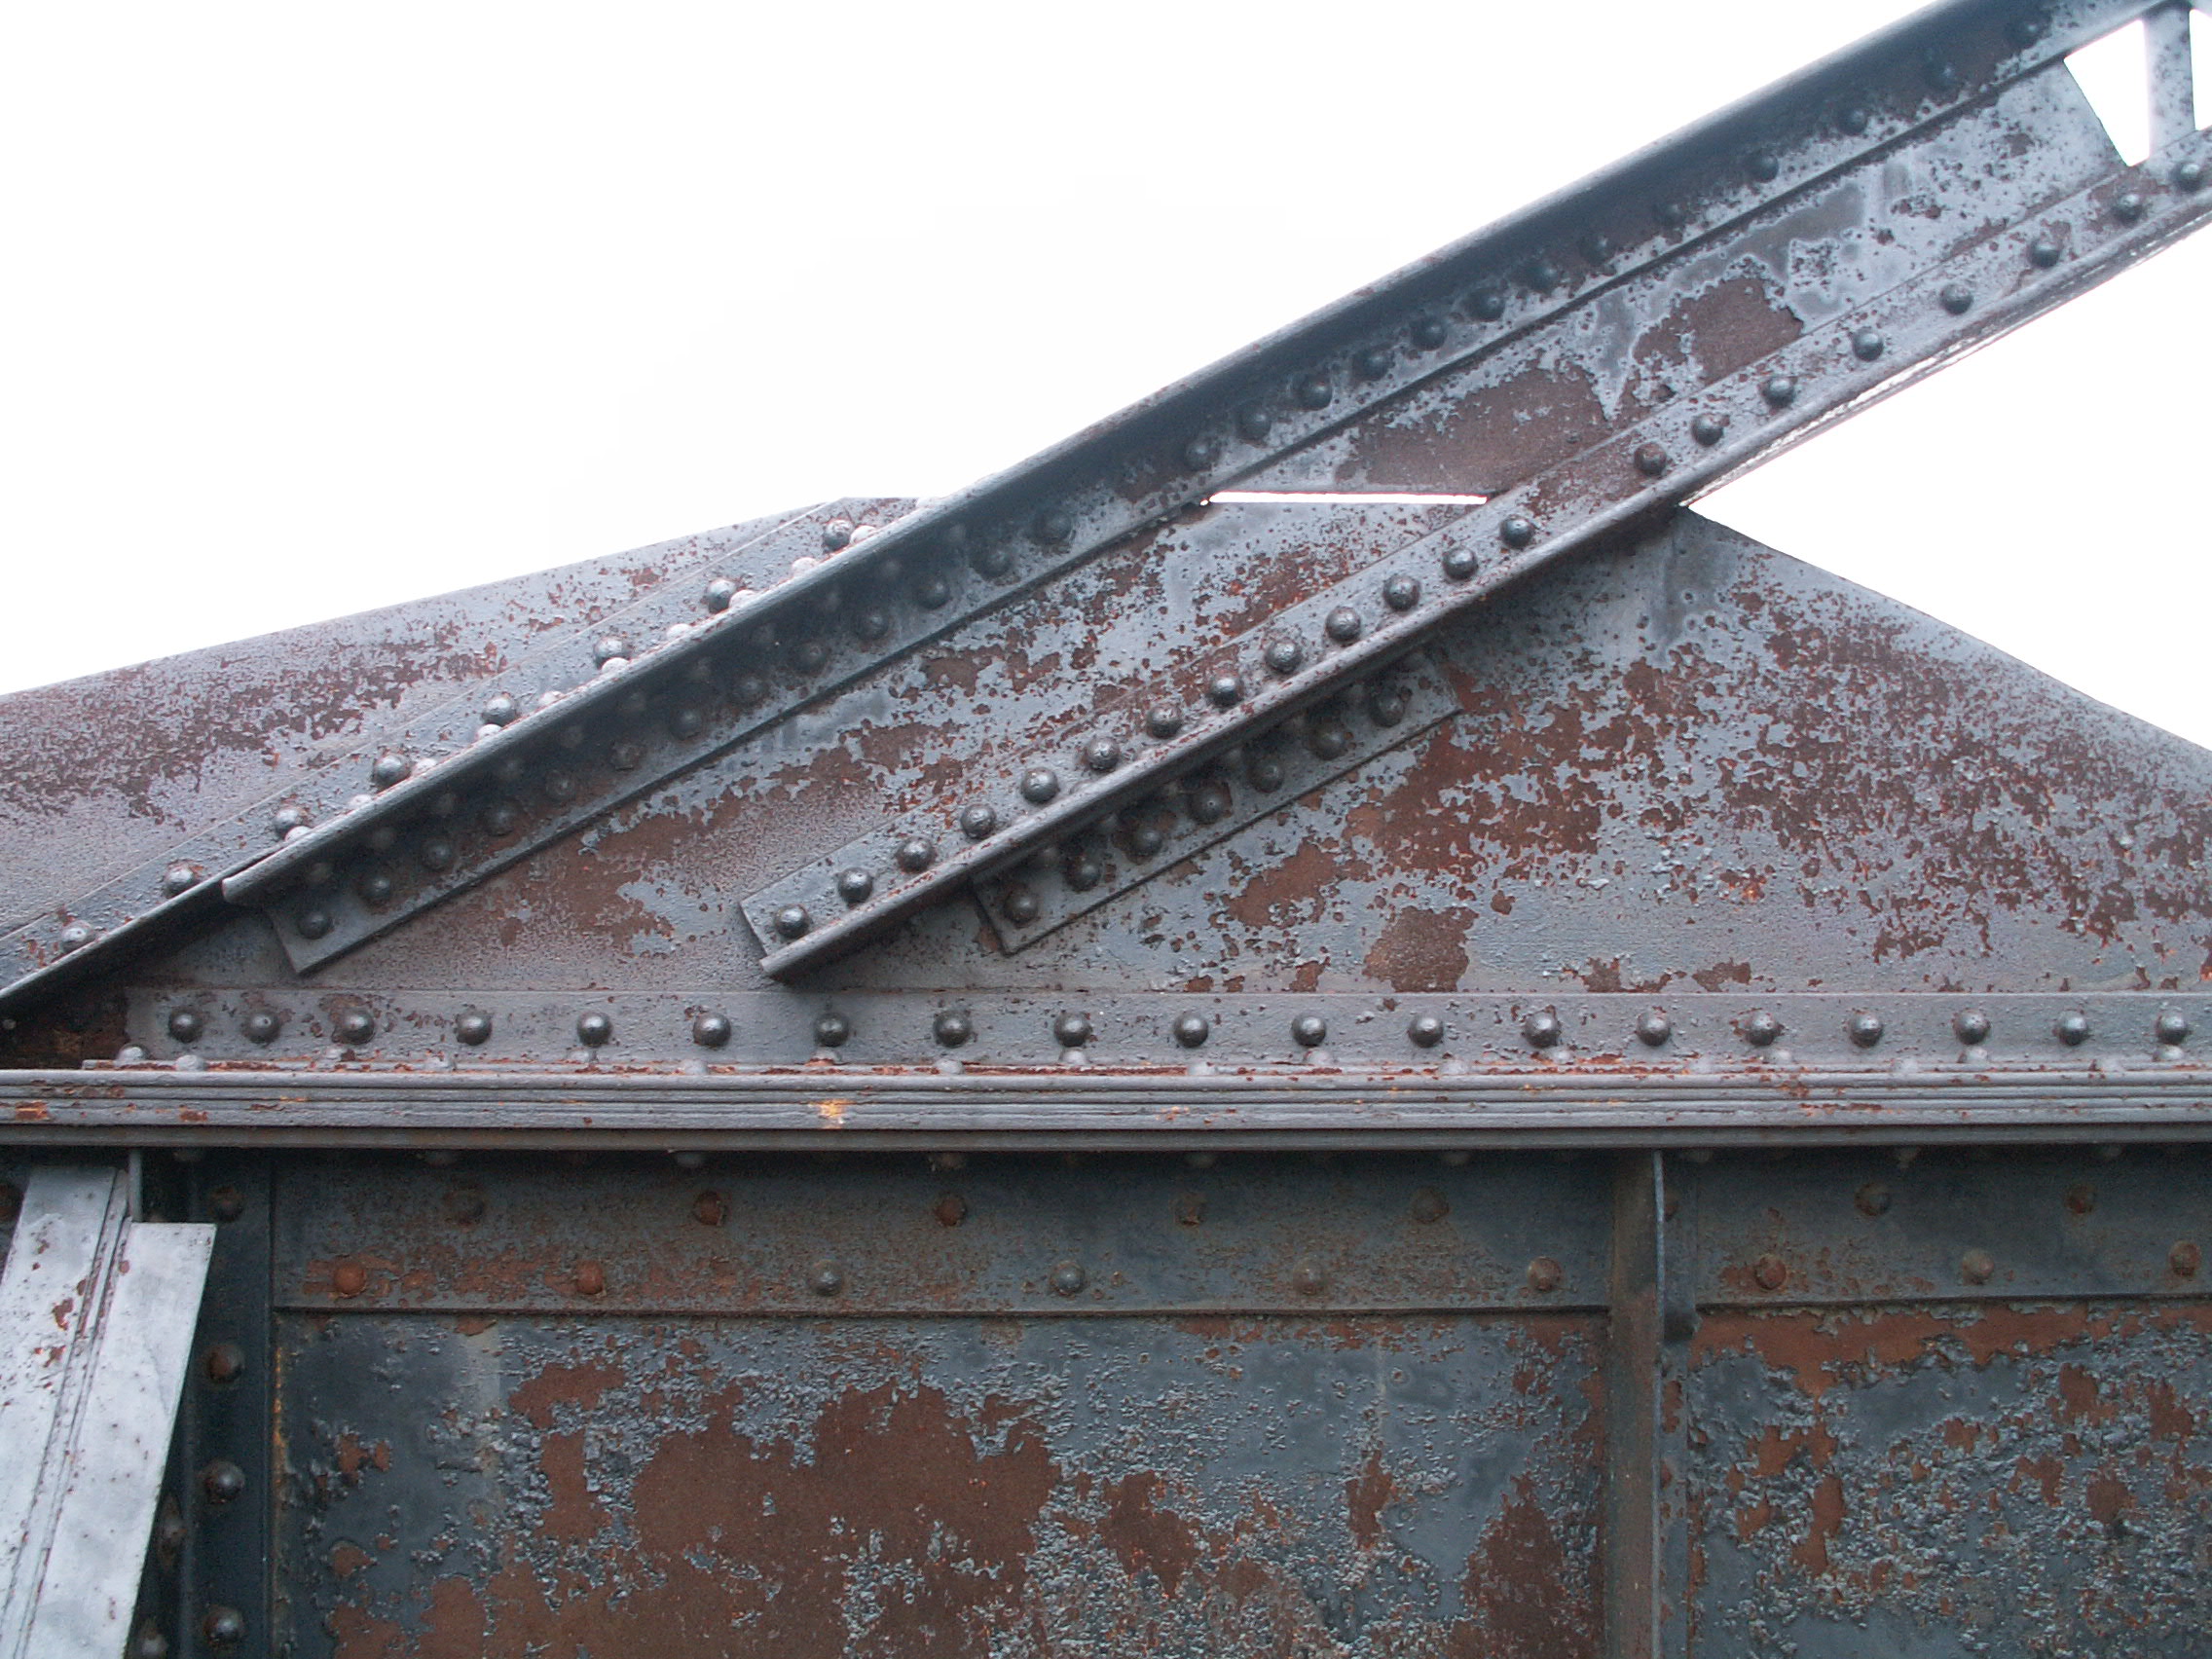
Main span girder overview.
![]()


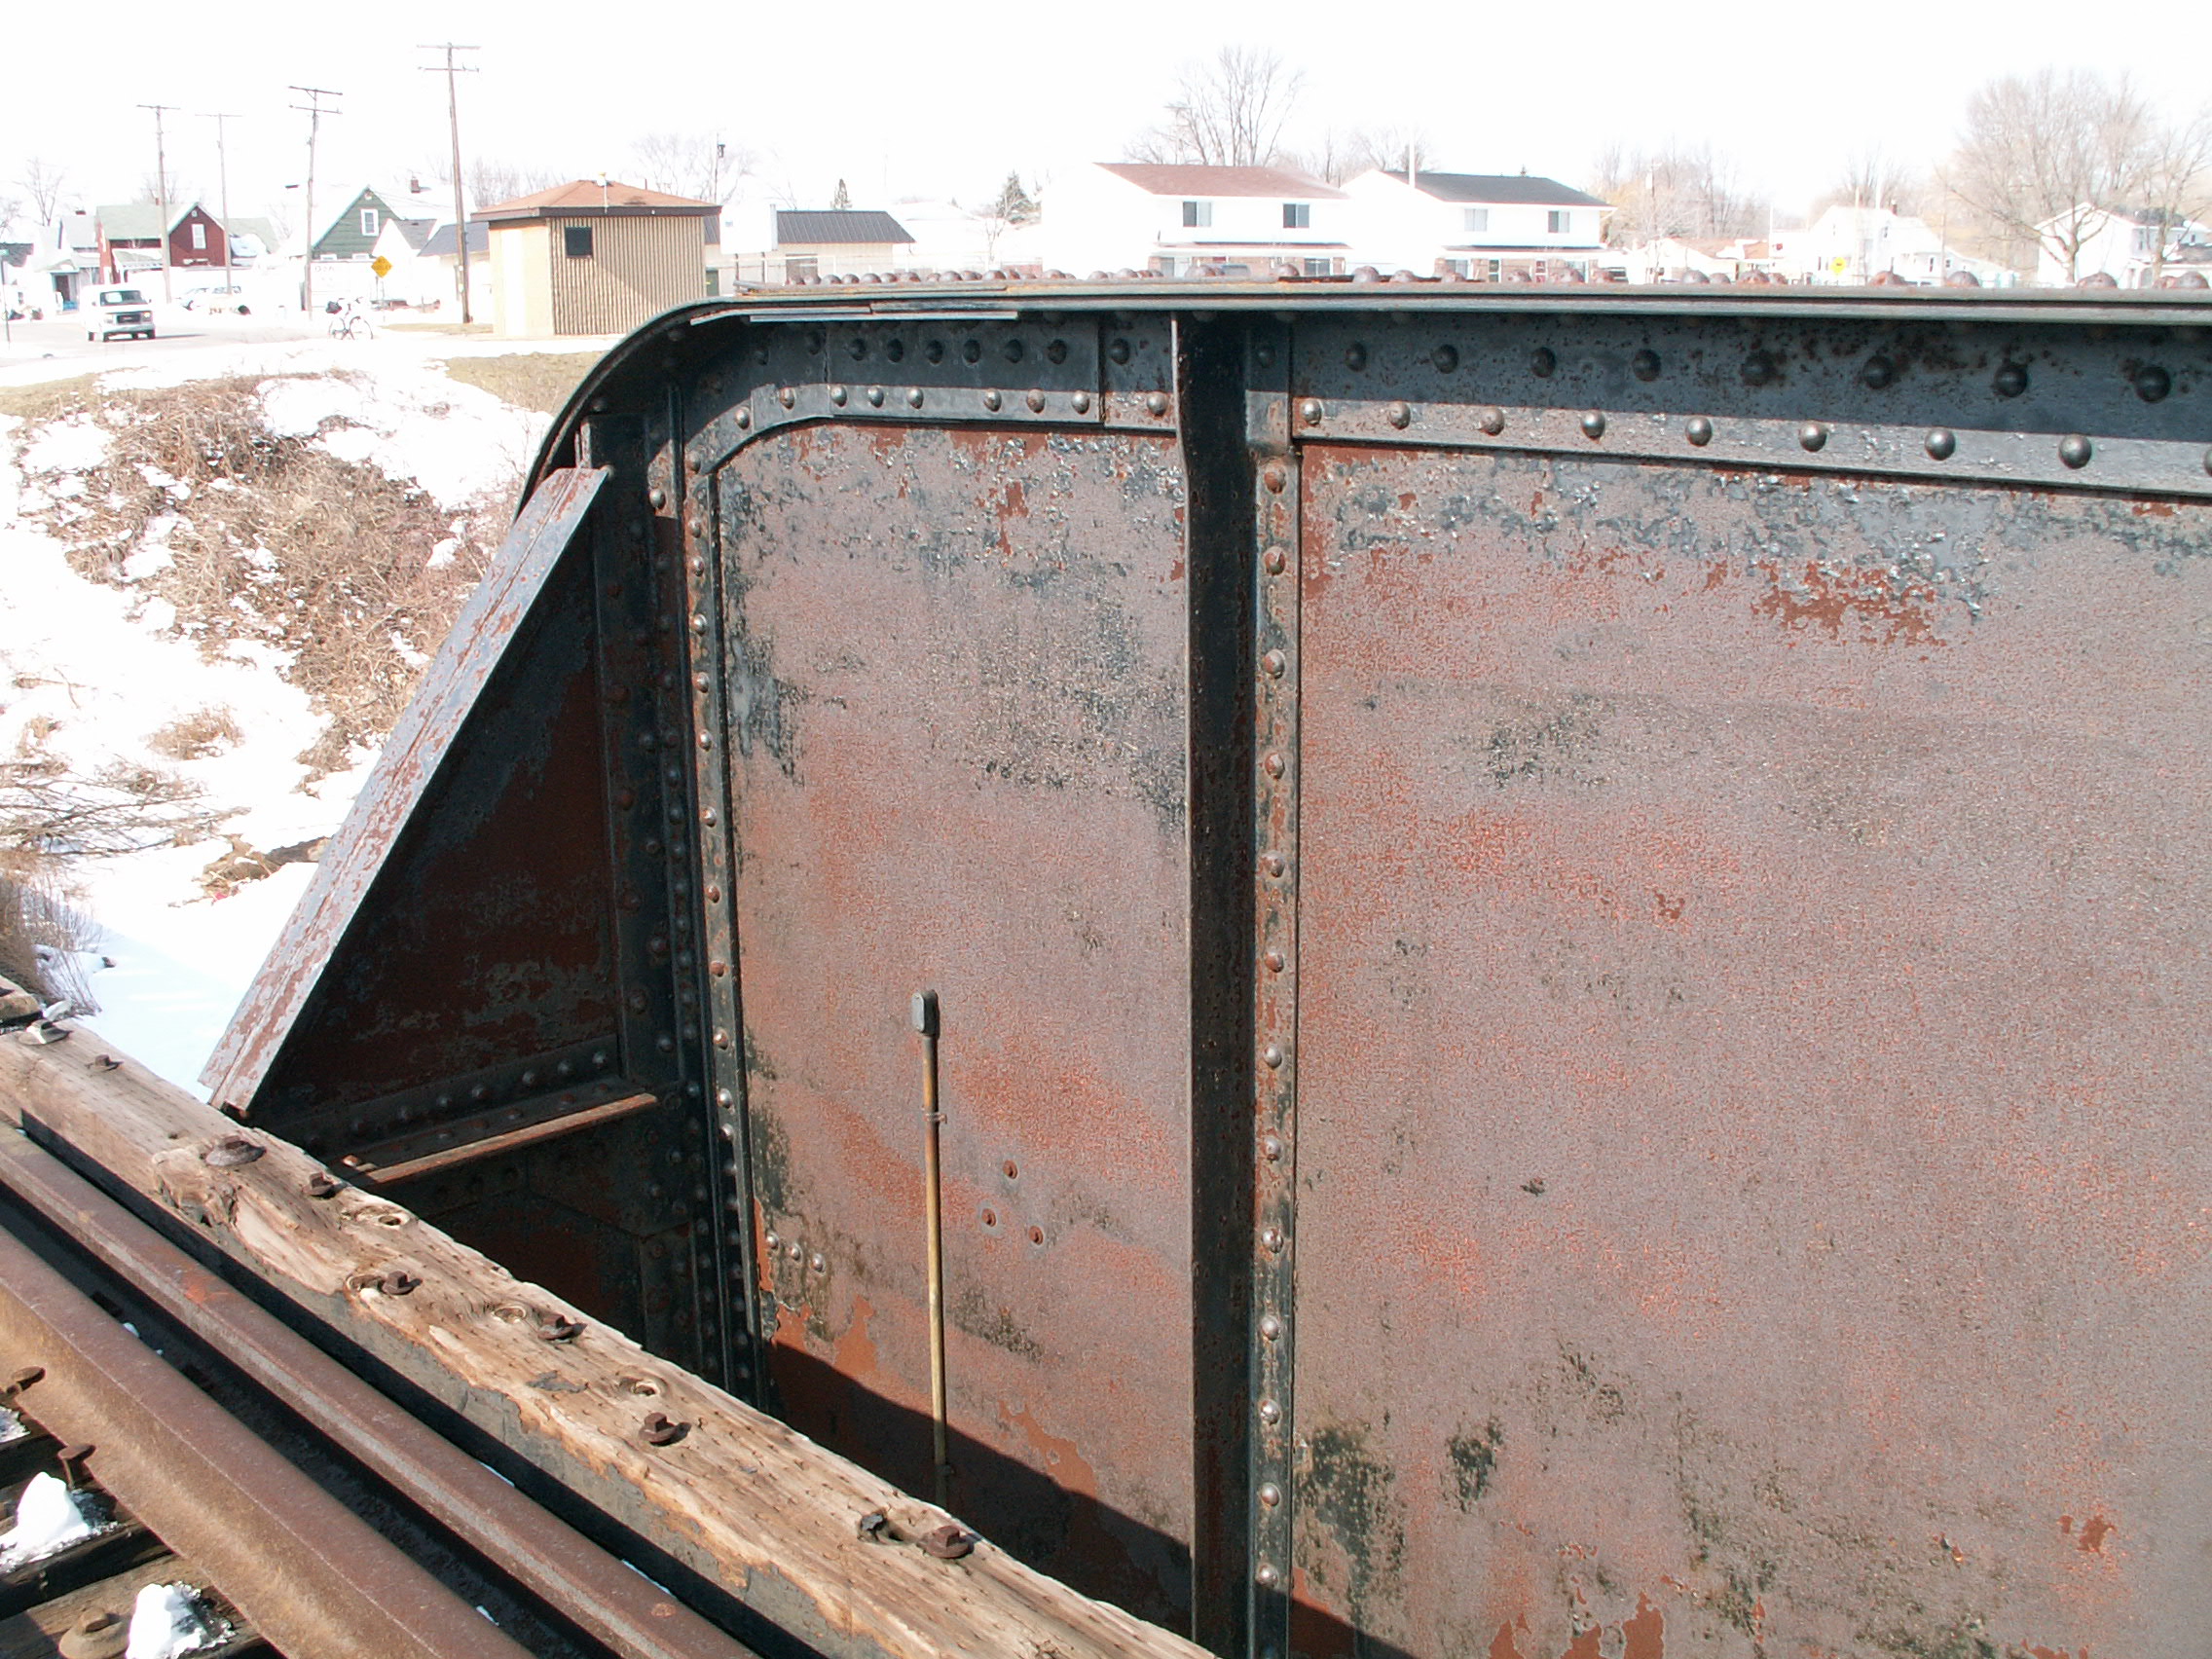
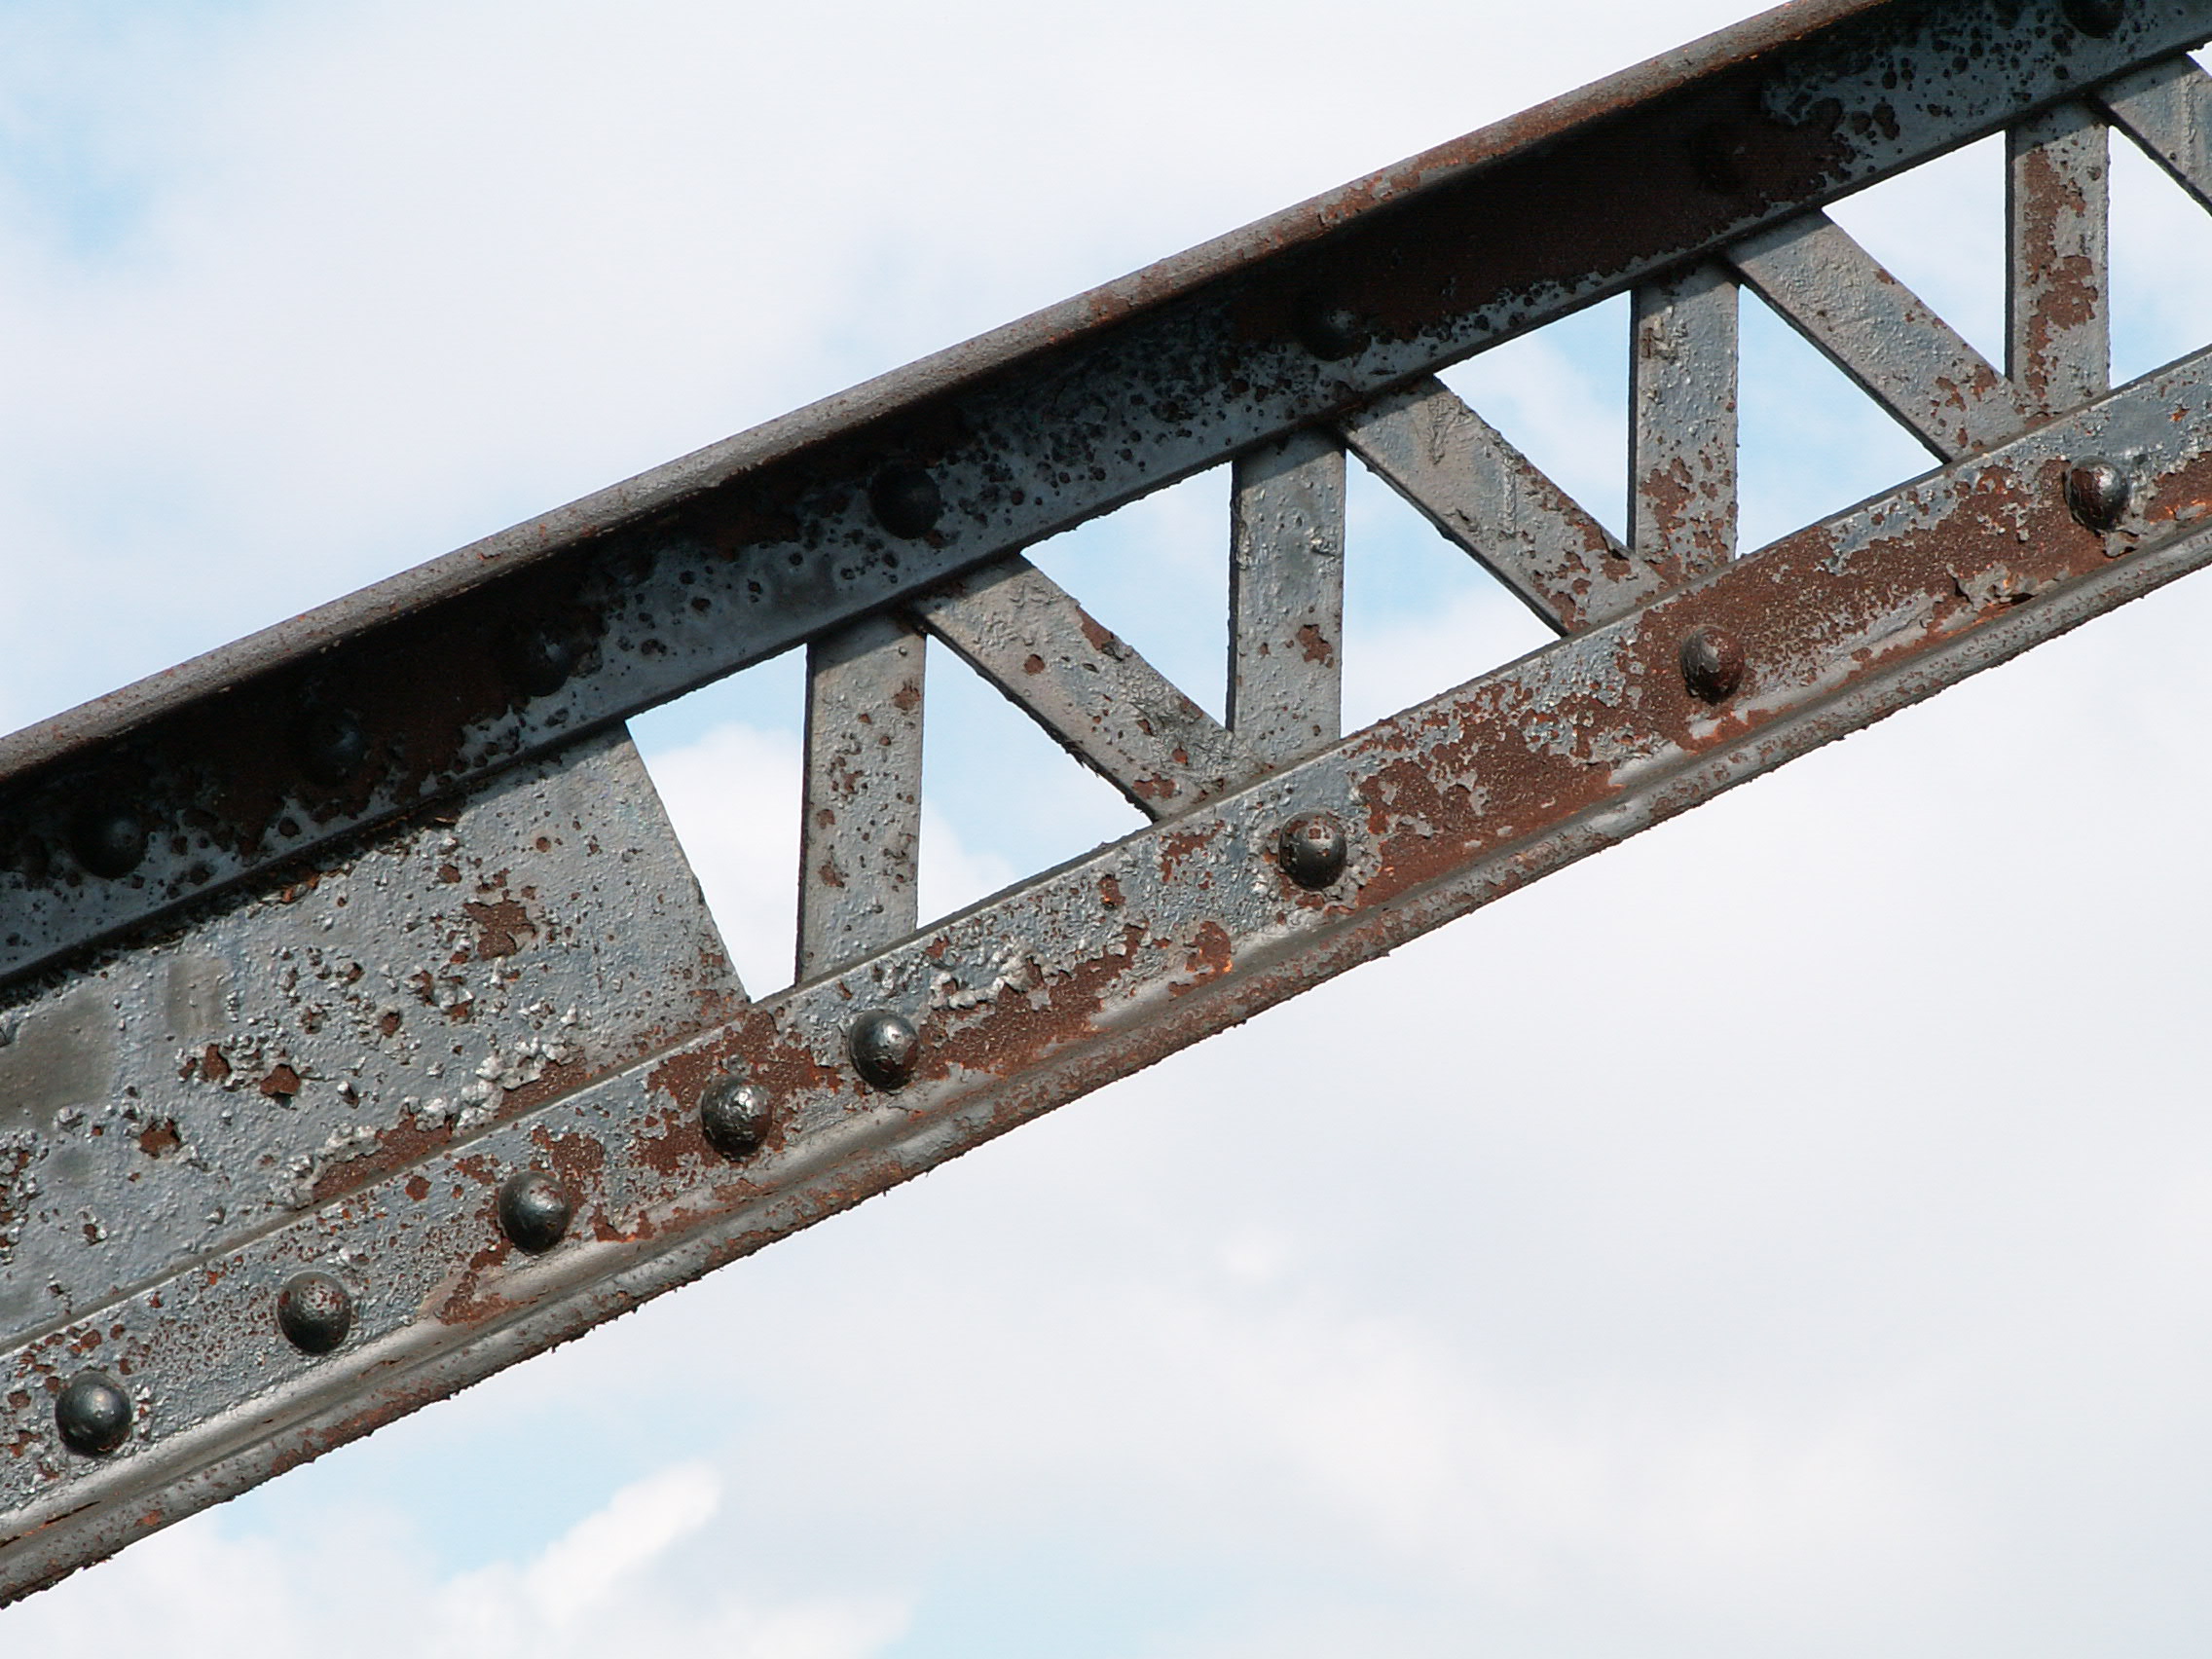
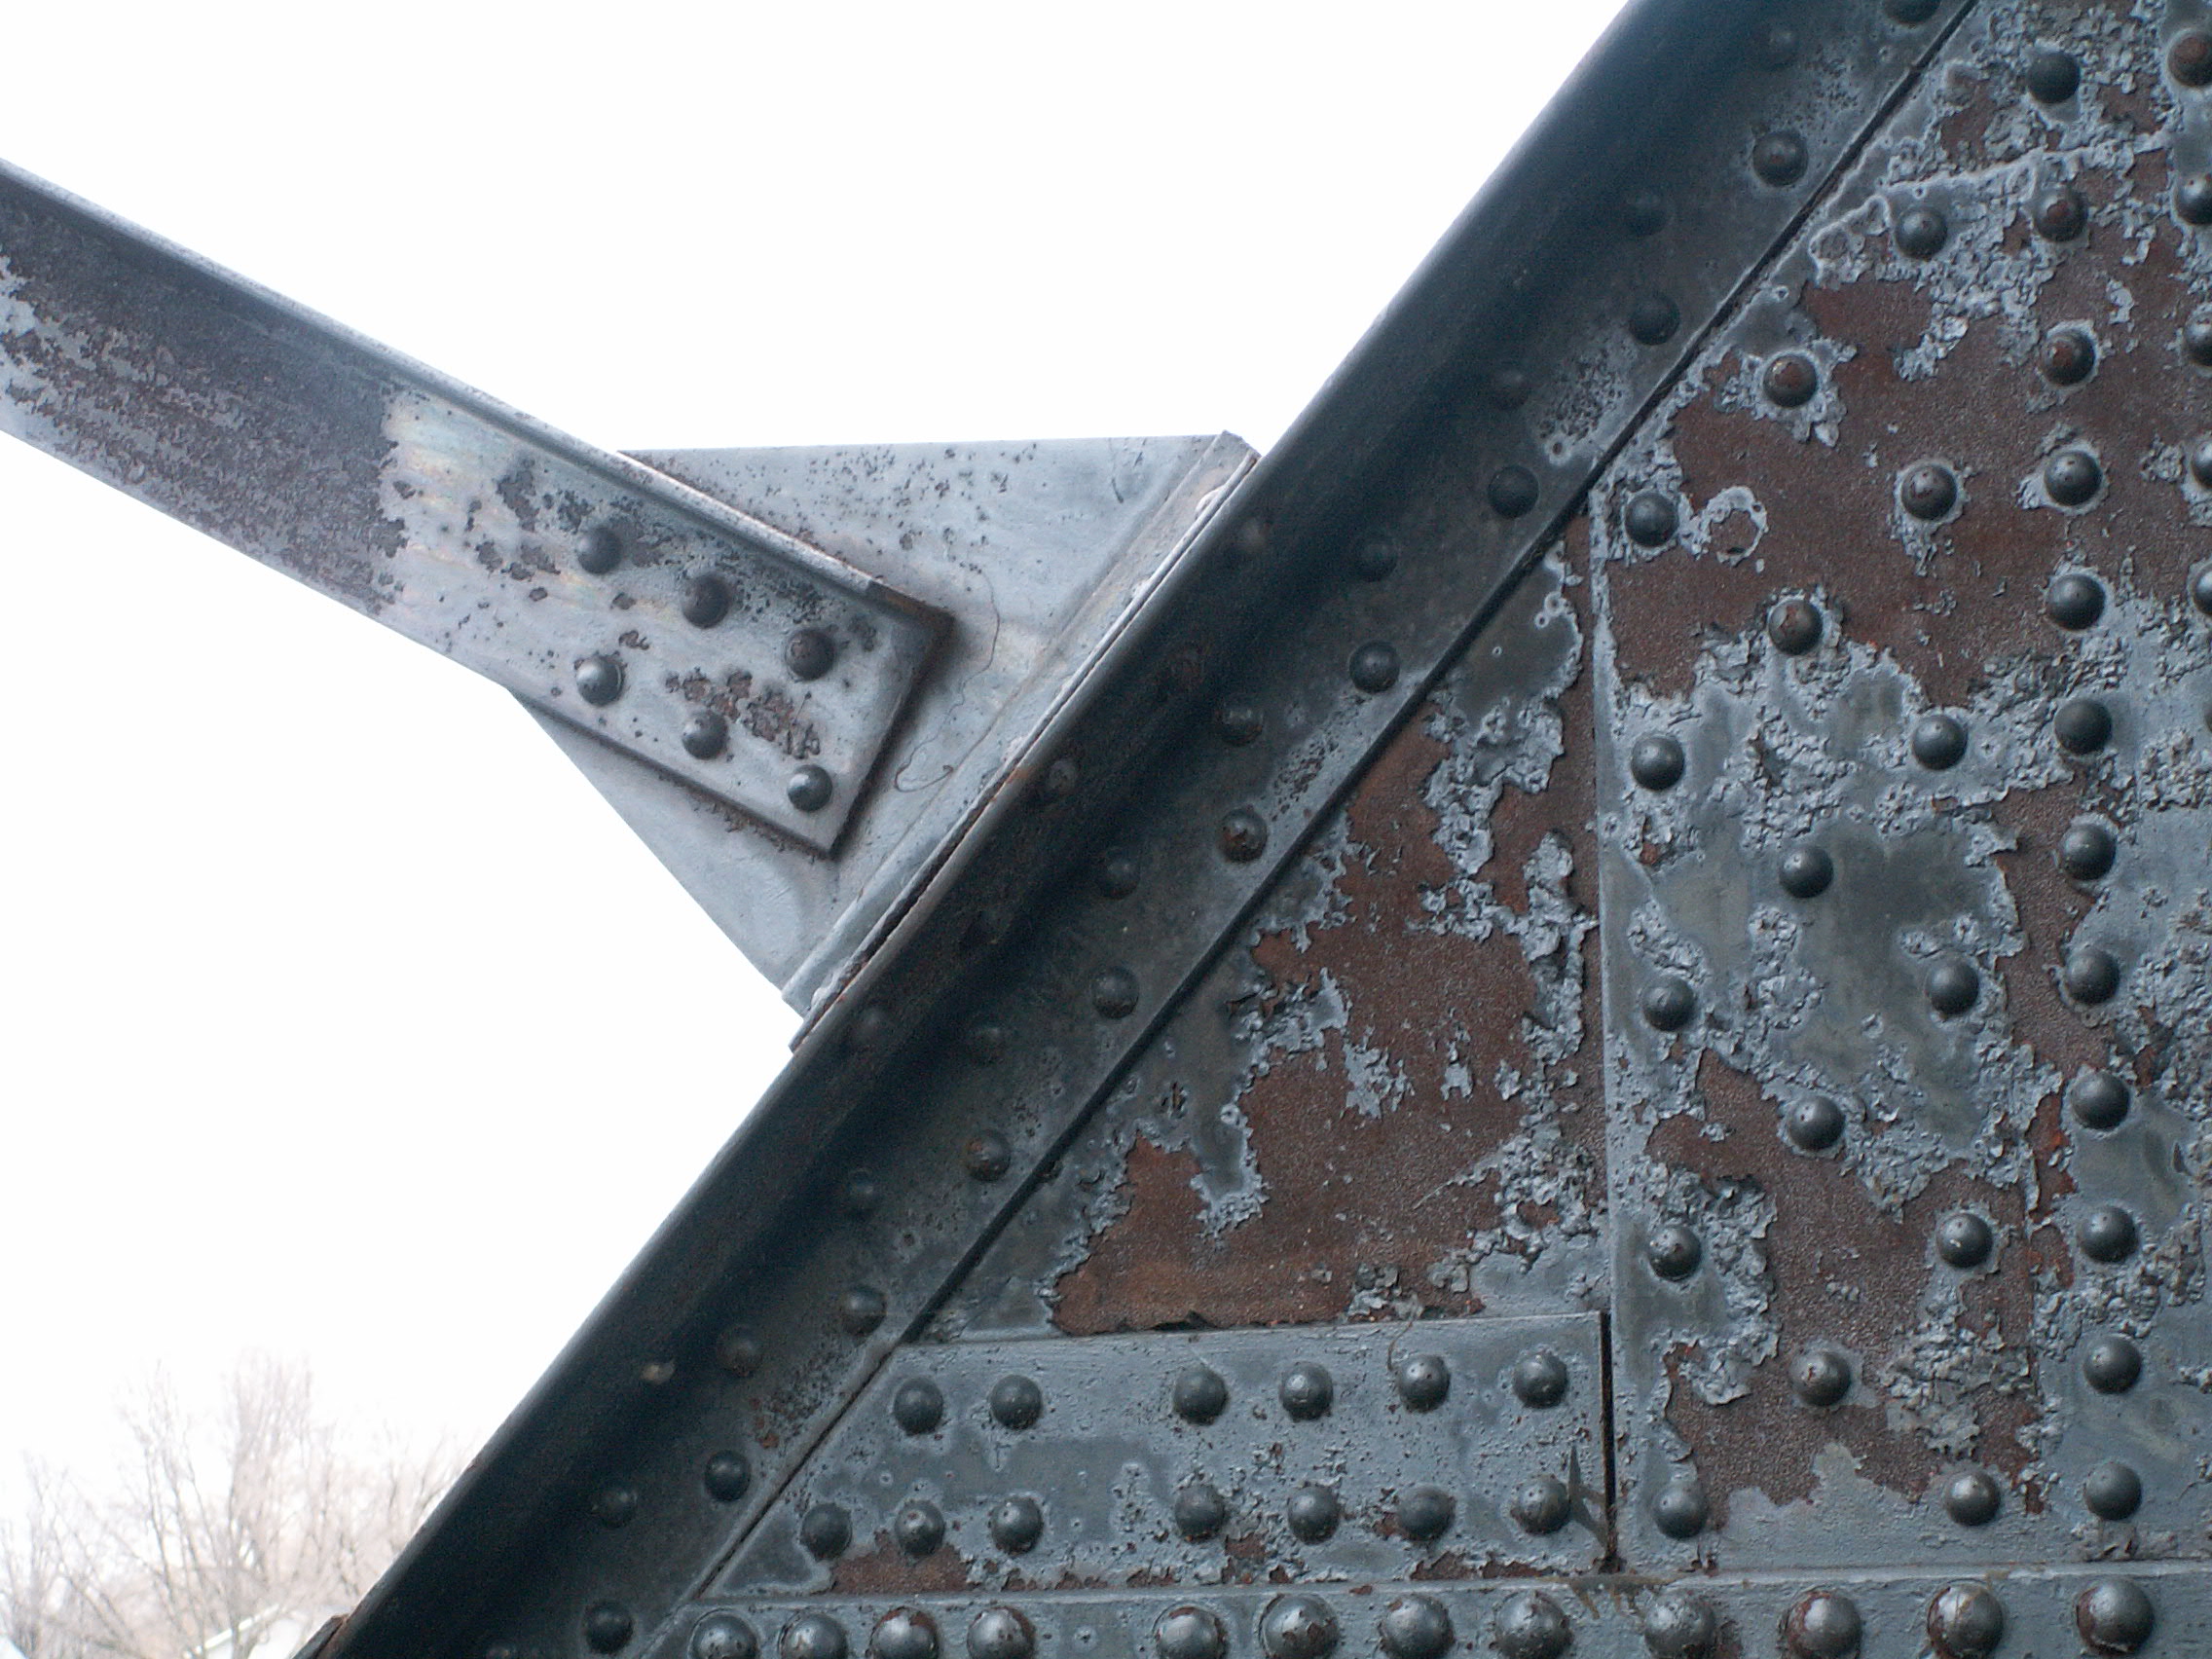
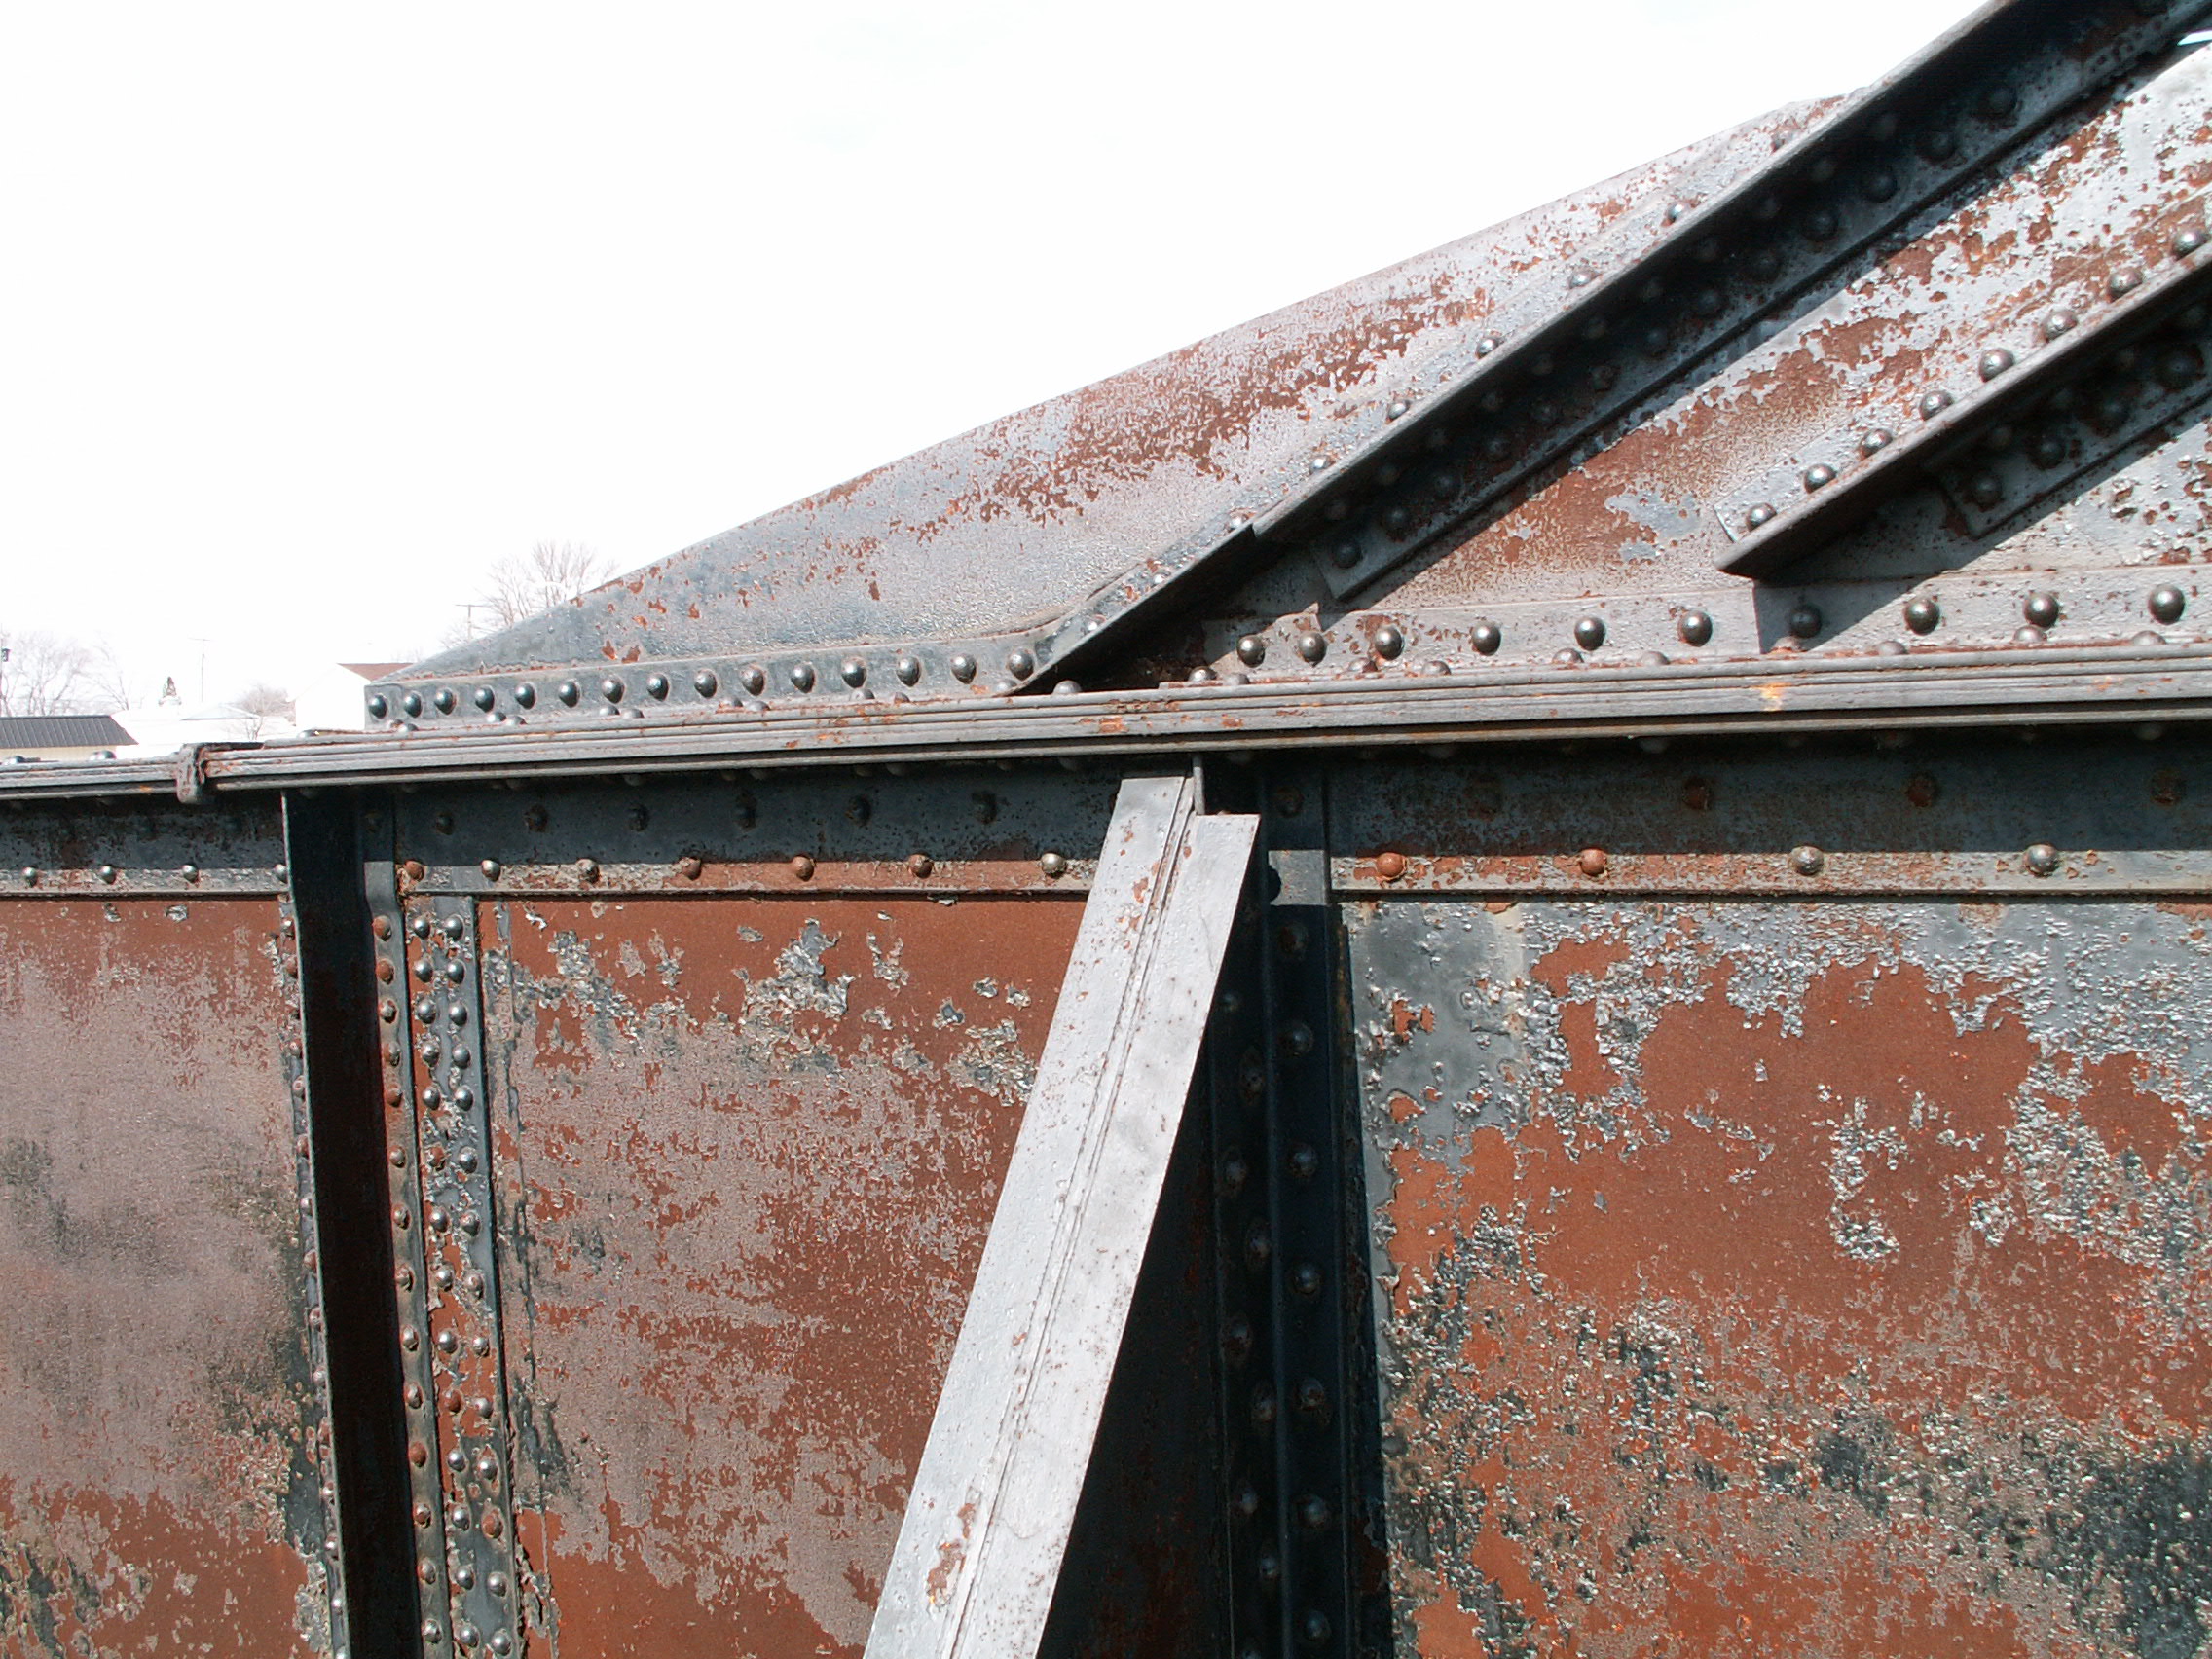
Main span girder exterior details.
![]()
Main span girder interior details.
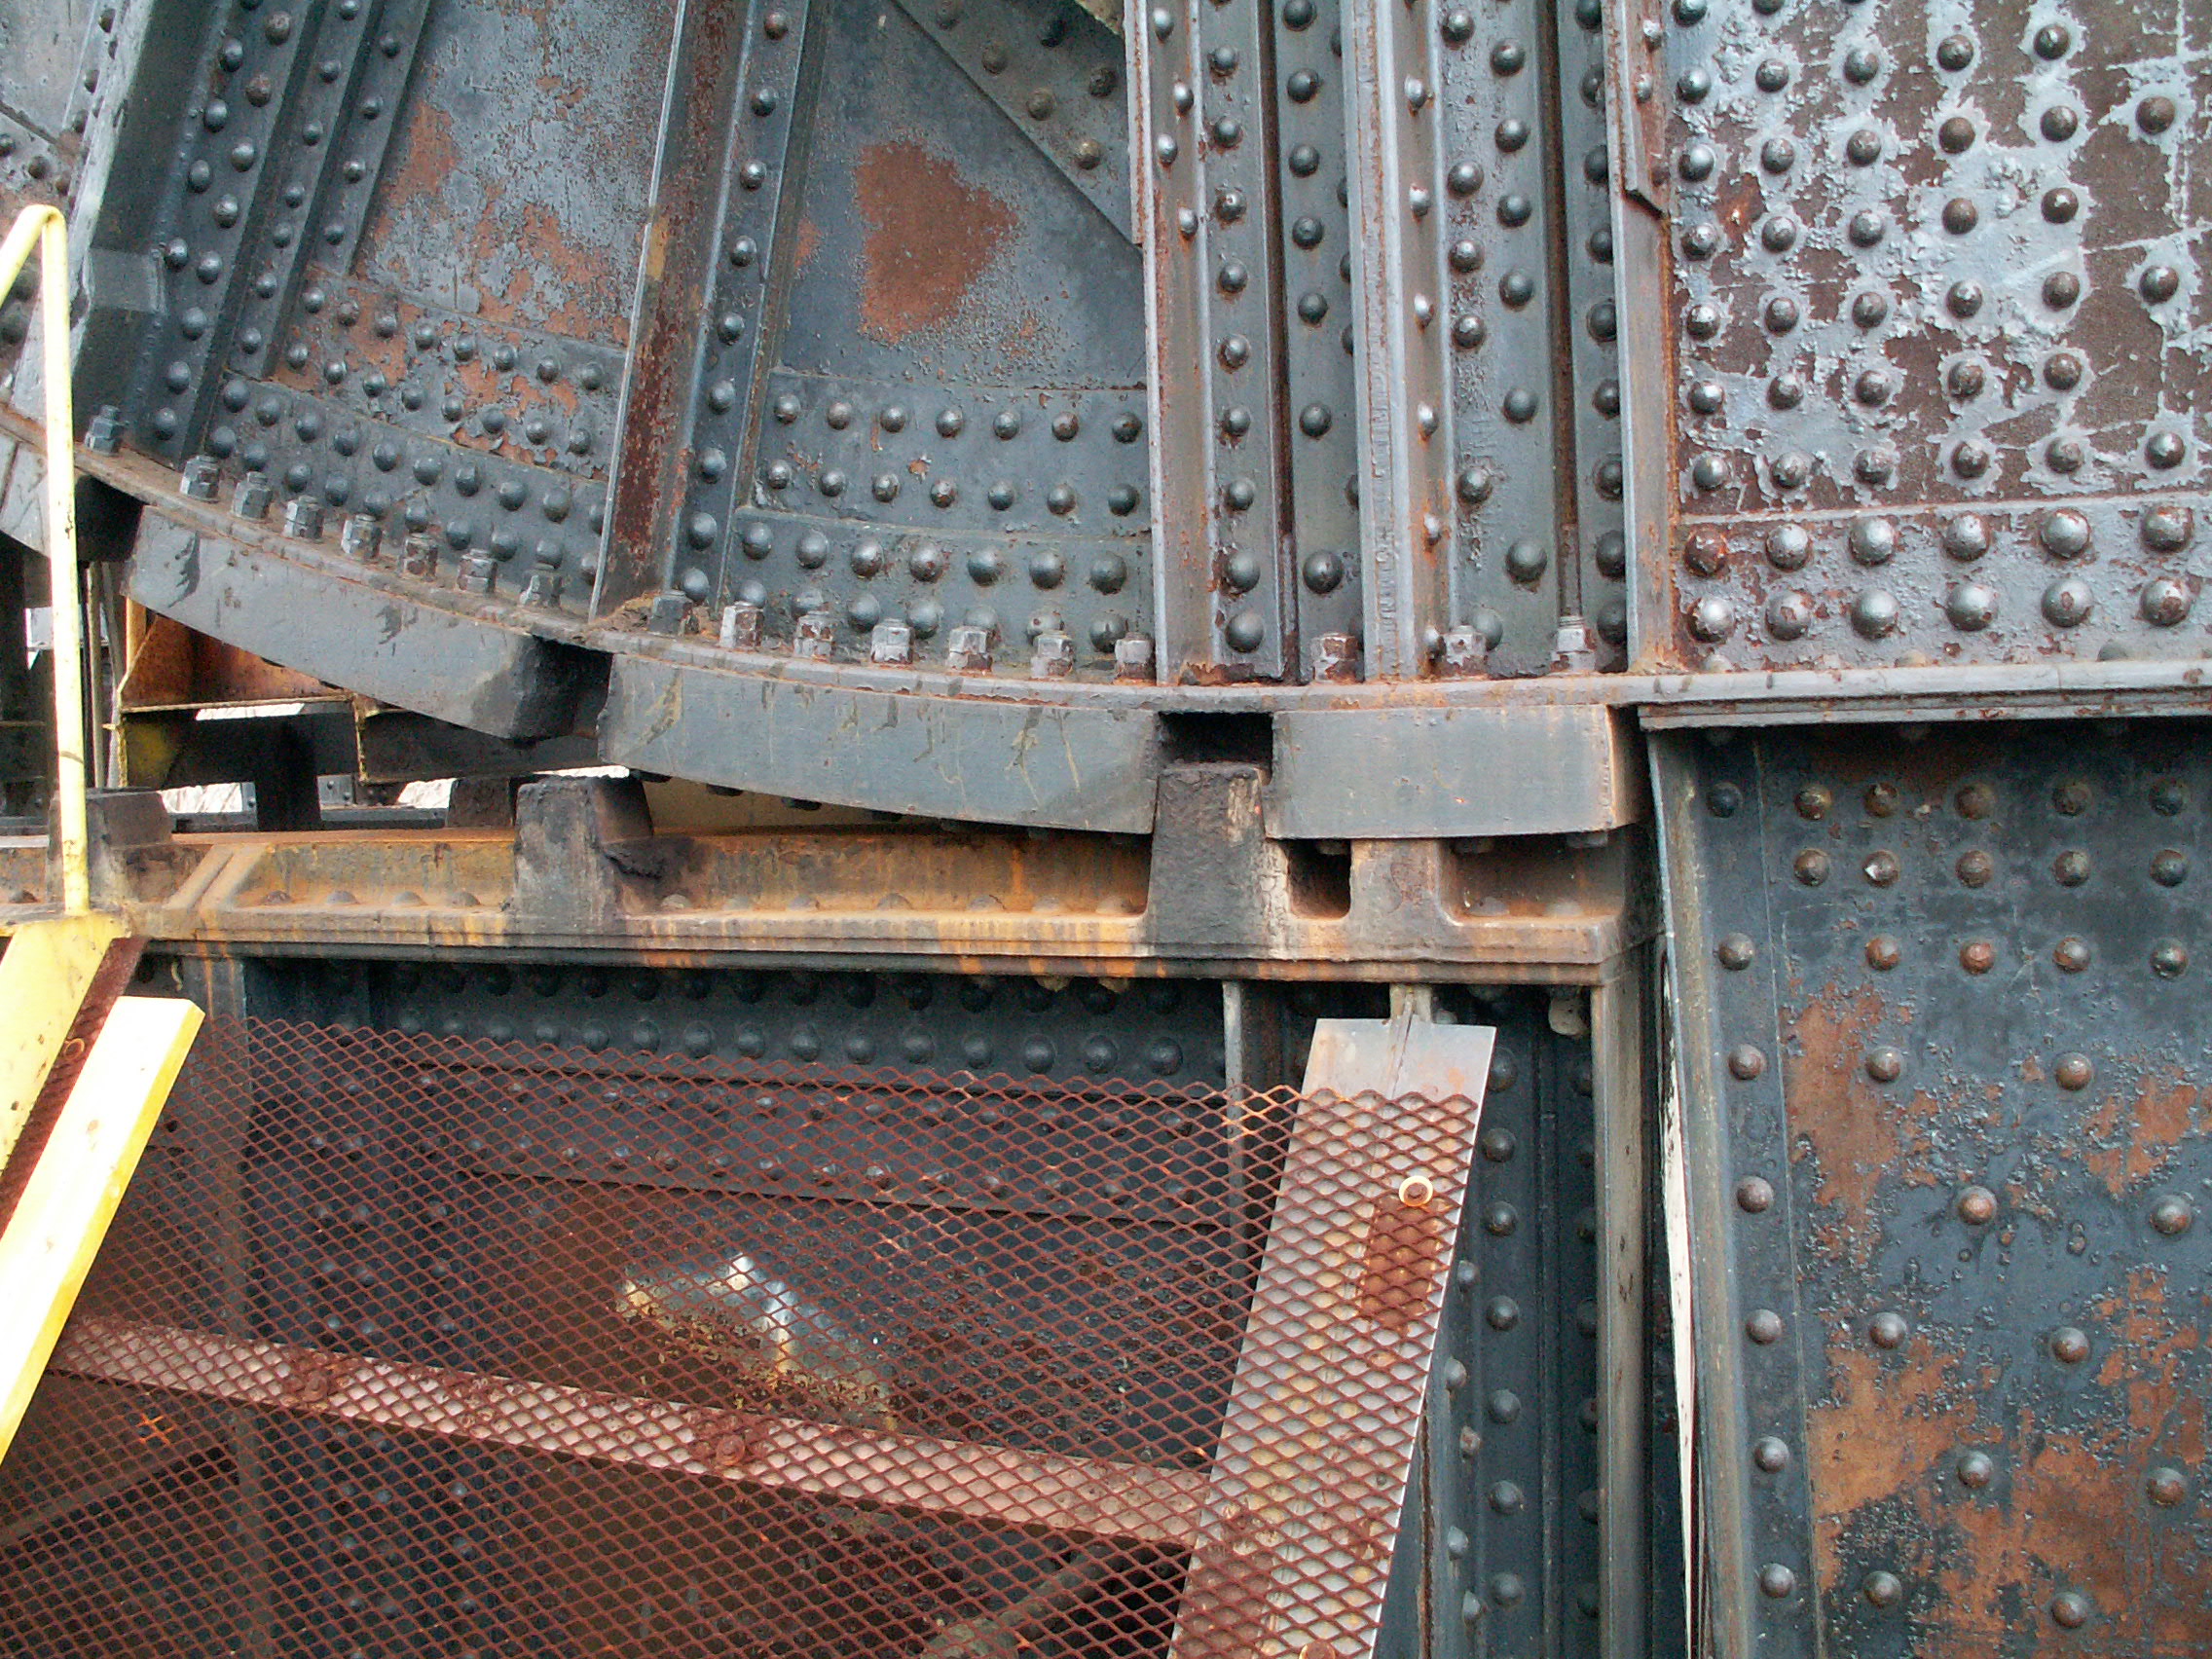
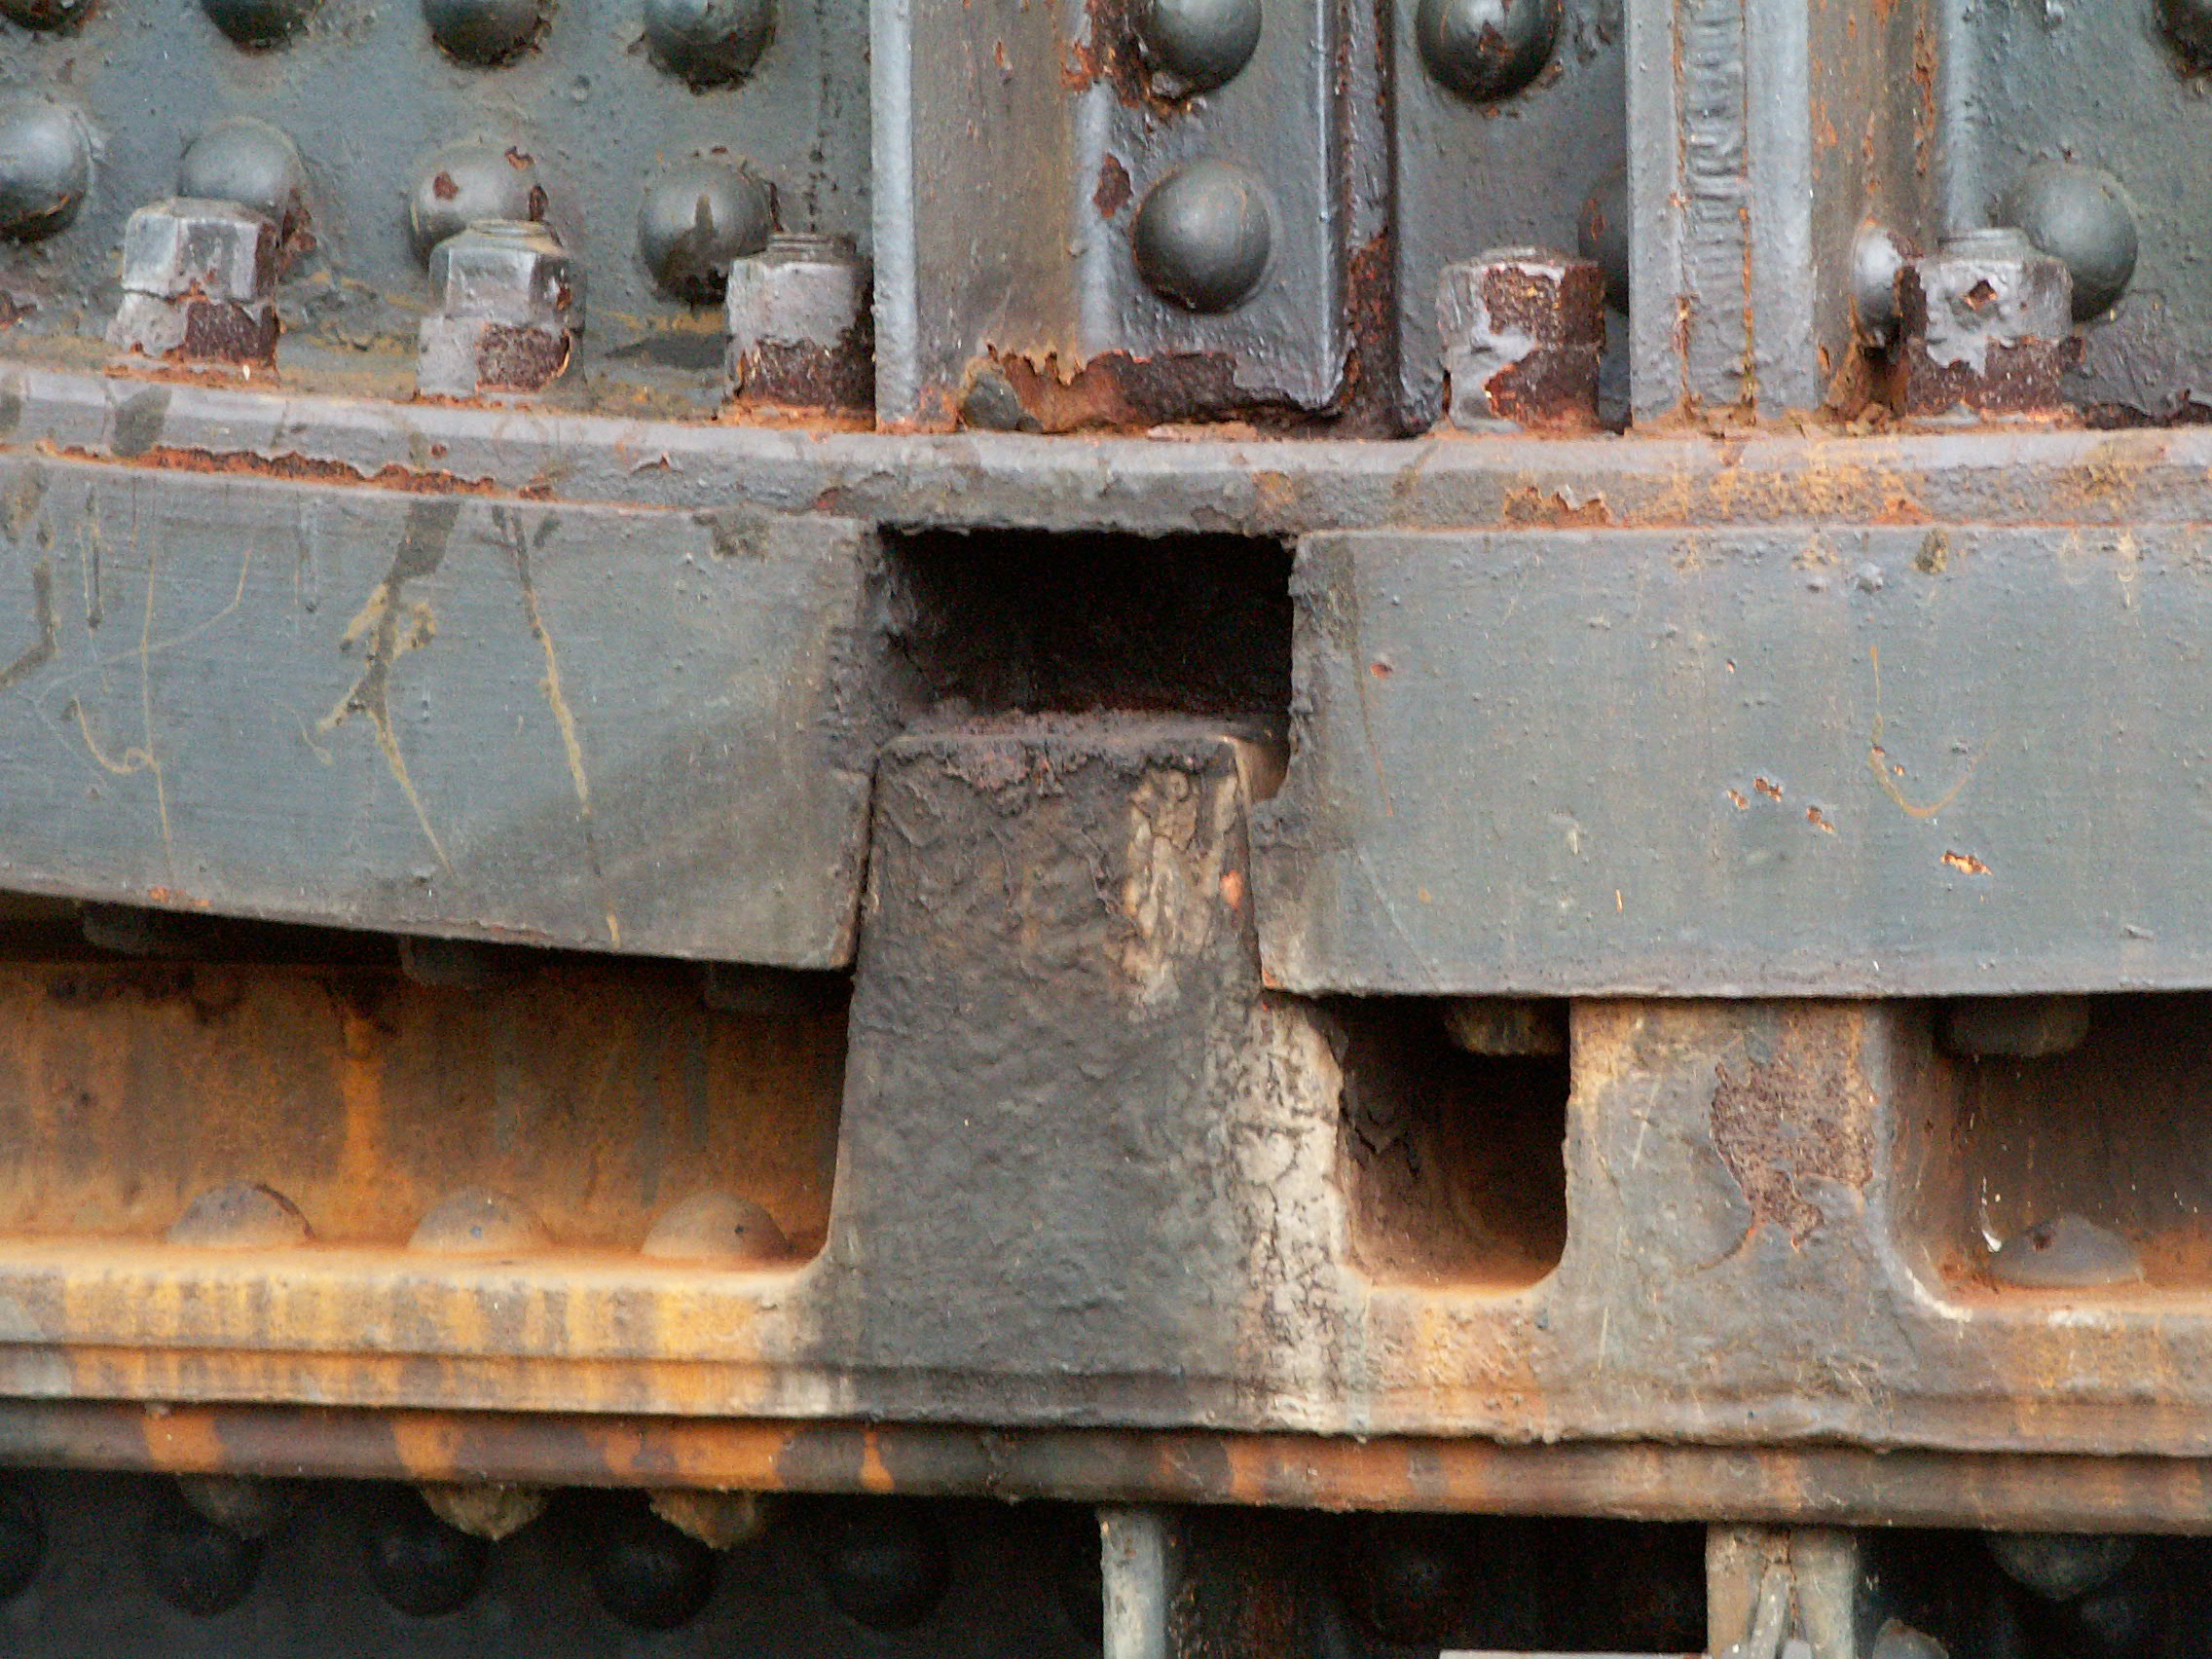
![]()

Detail at base of leaf, as seen with bridge raised.
![]()

Riveted walkway on upper level.
![]()

Approach span bearing.
![]()


Deck.
![]()


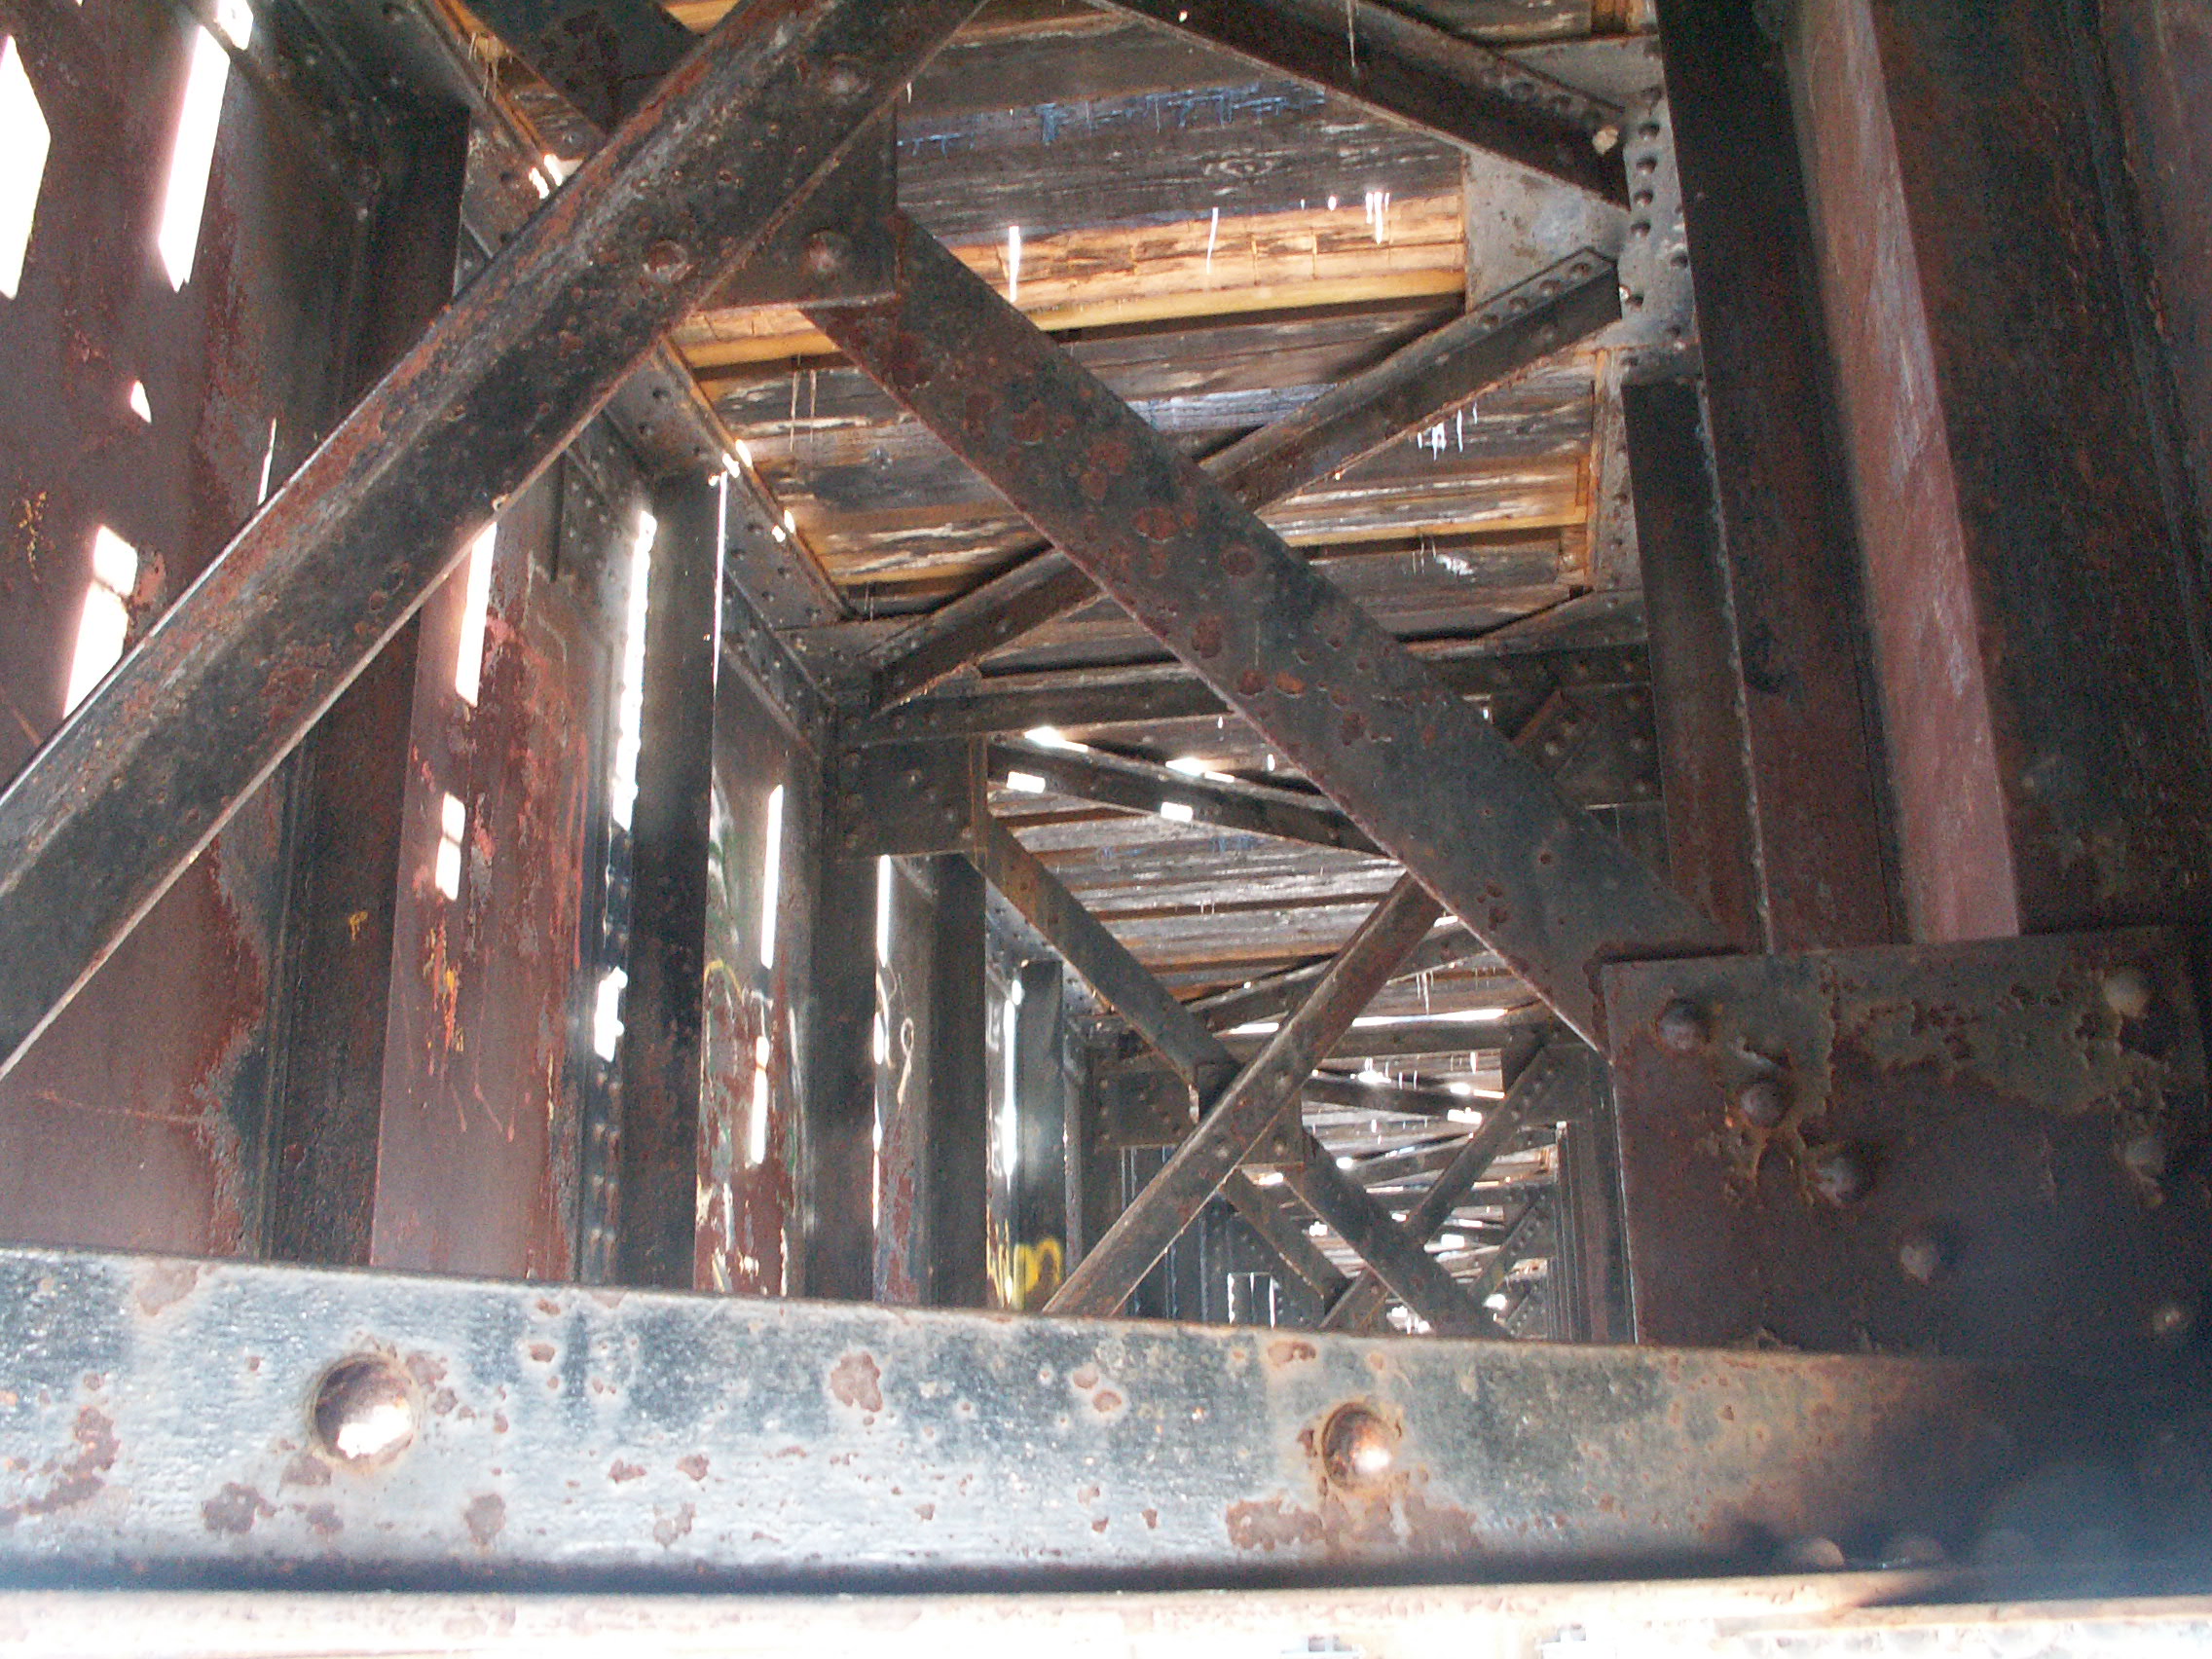
Various built-up beams on bridge.
![]()

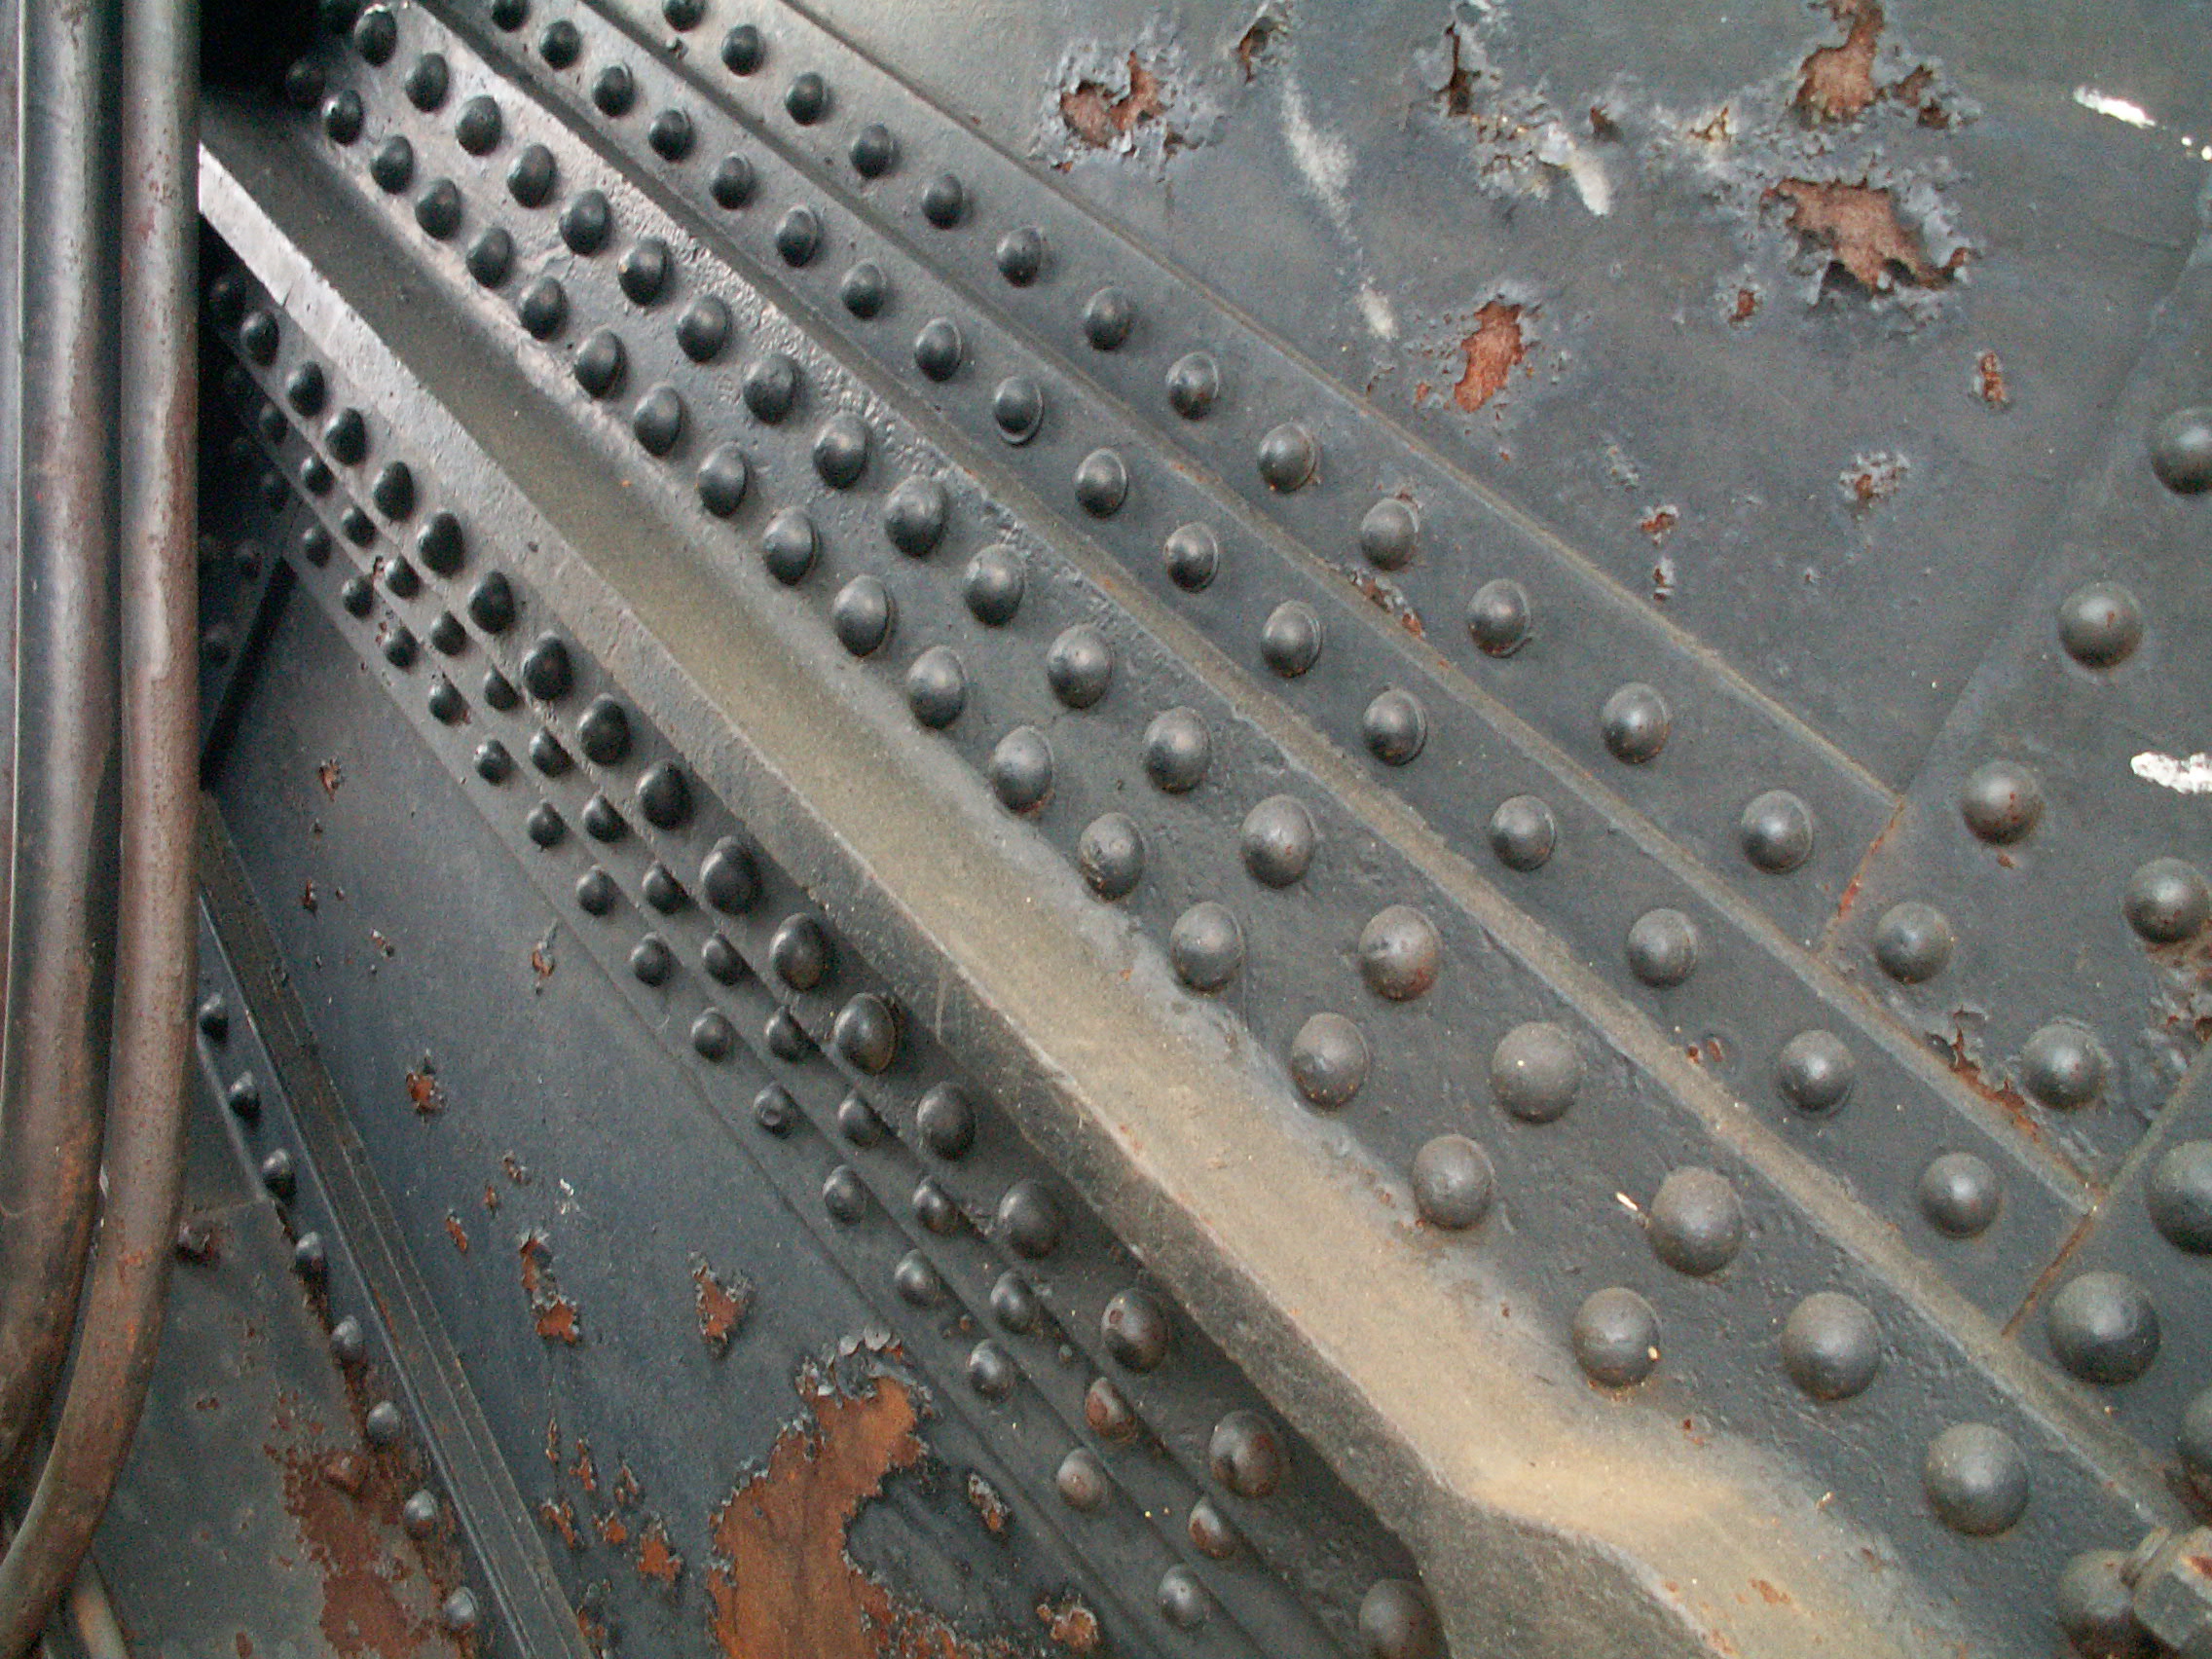
Riveted plates.
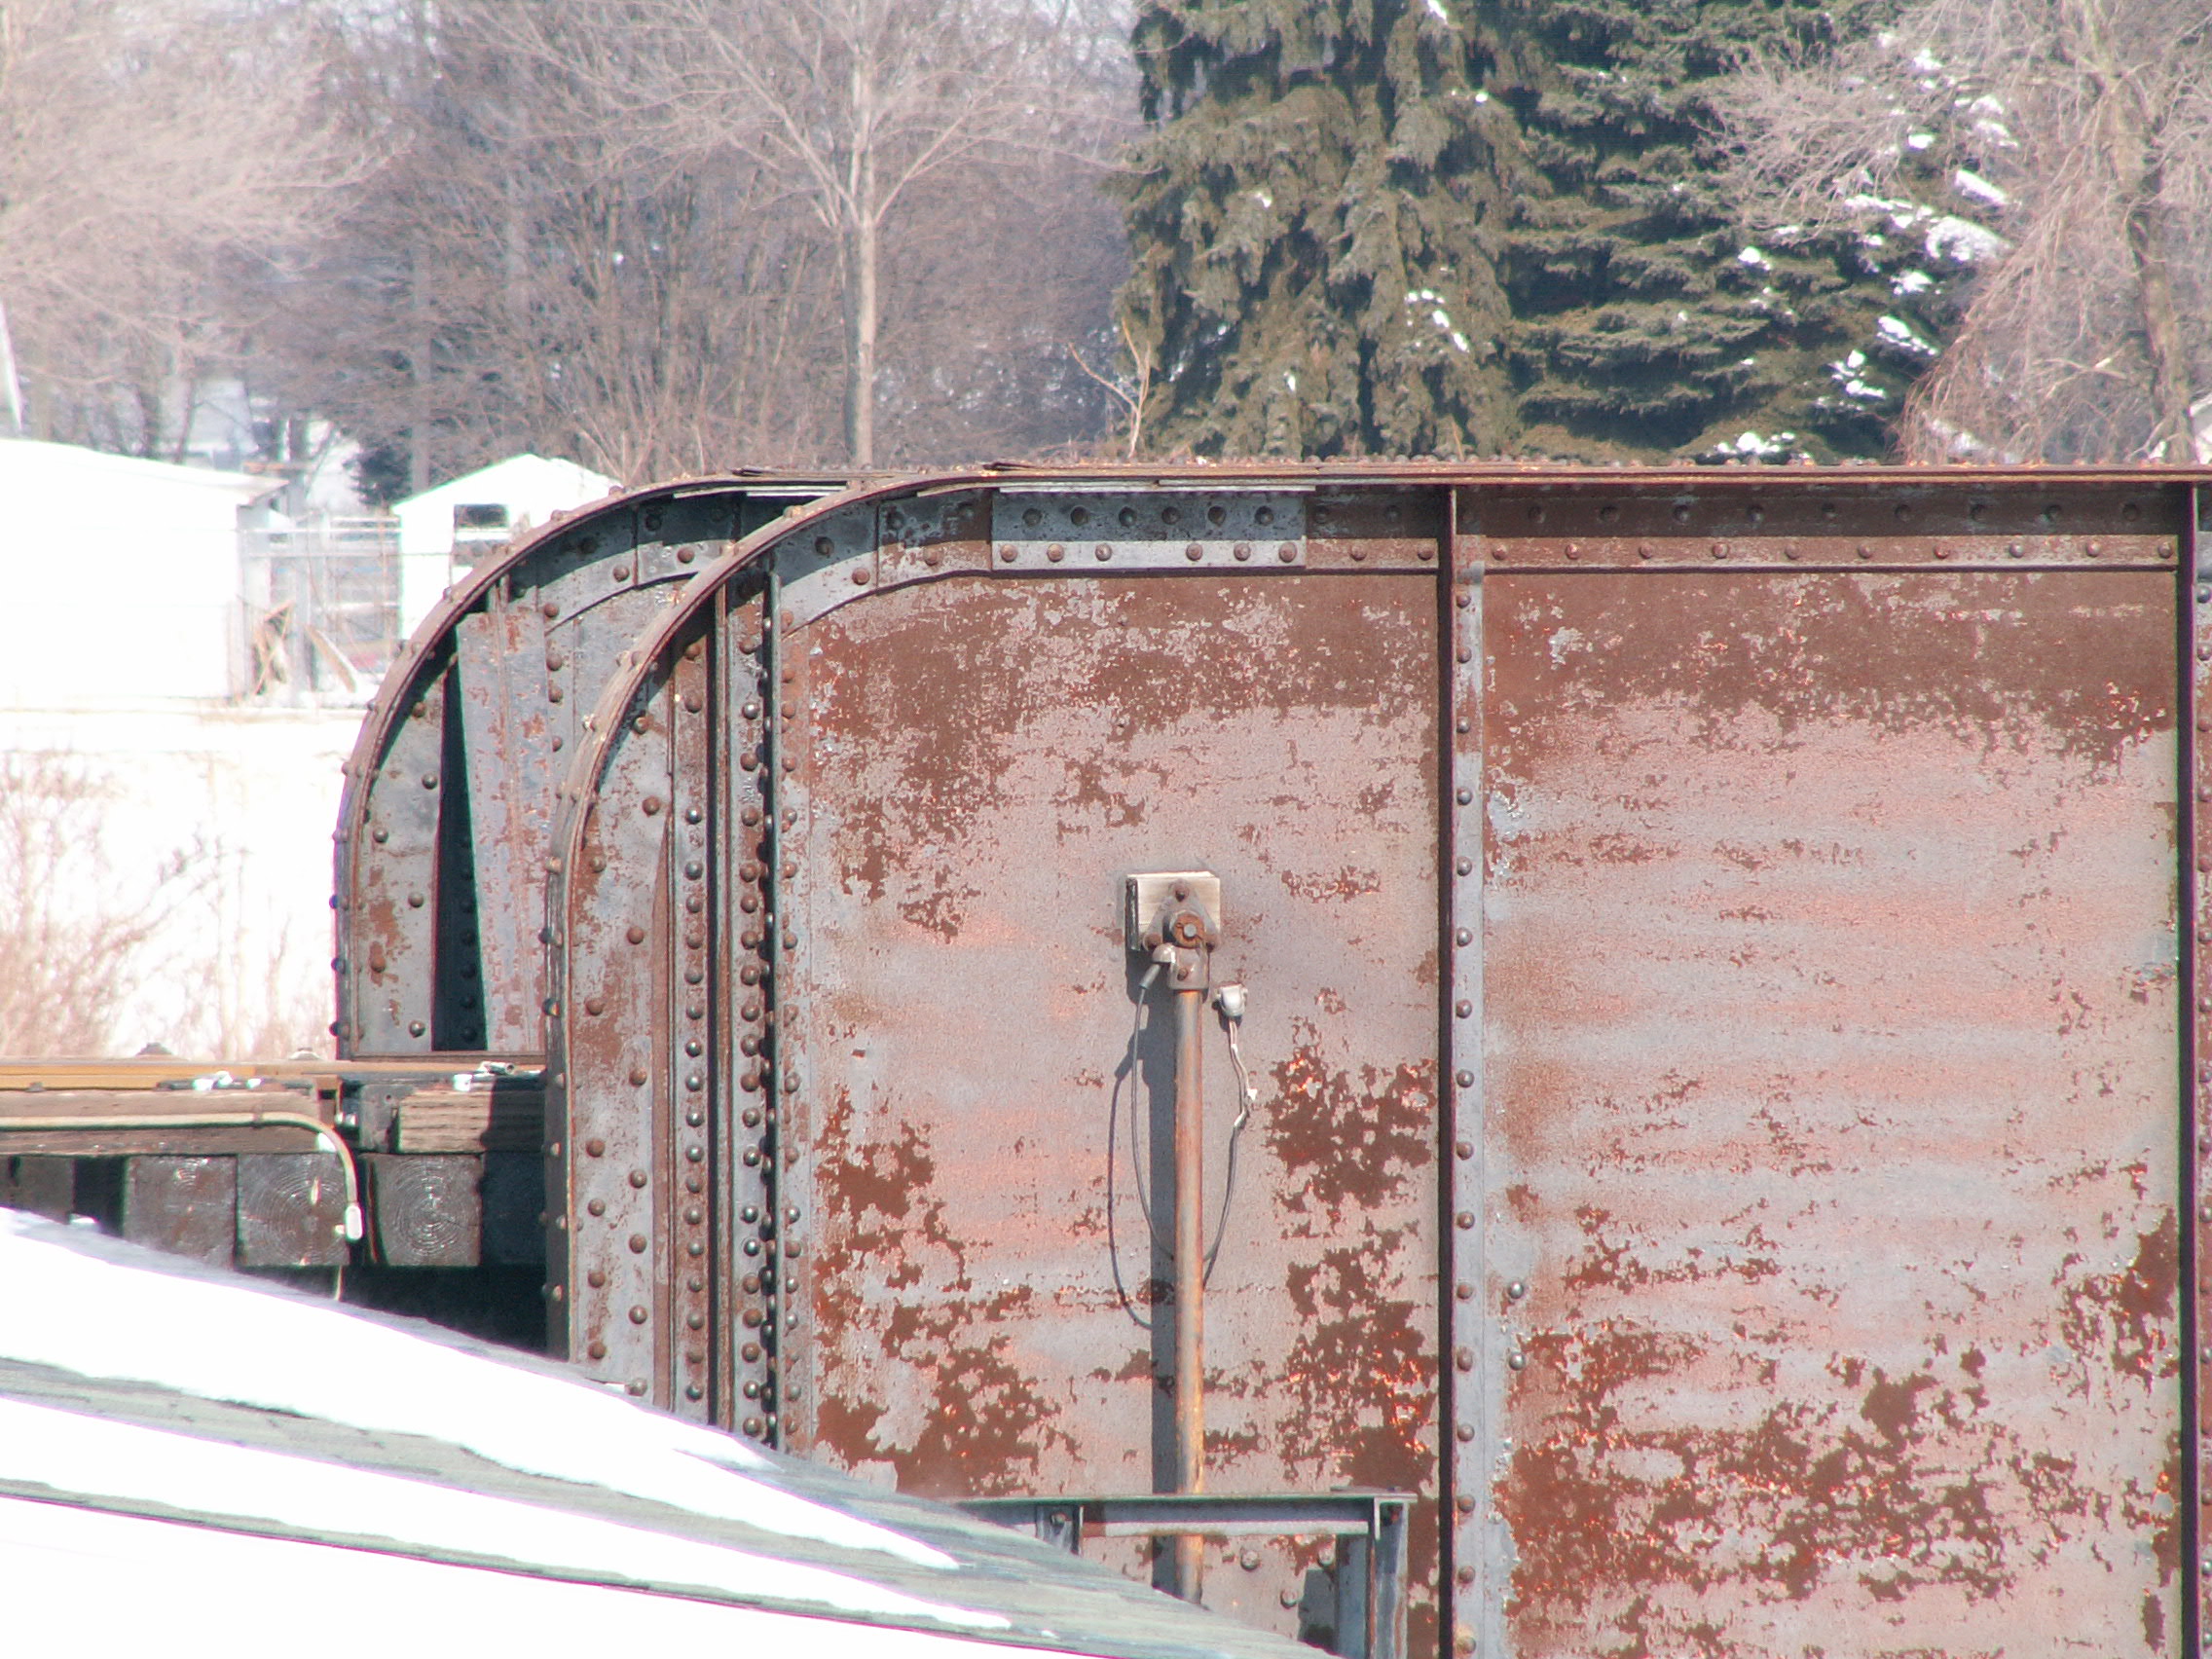
![]()


Electrical connections and boxes.
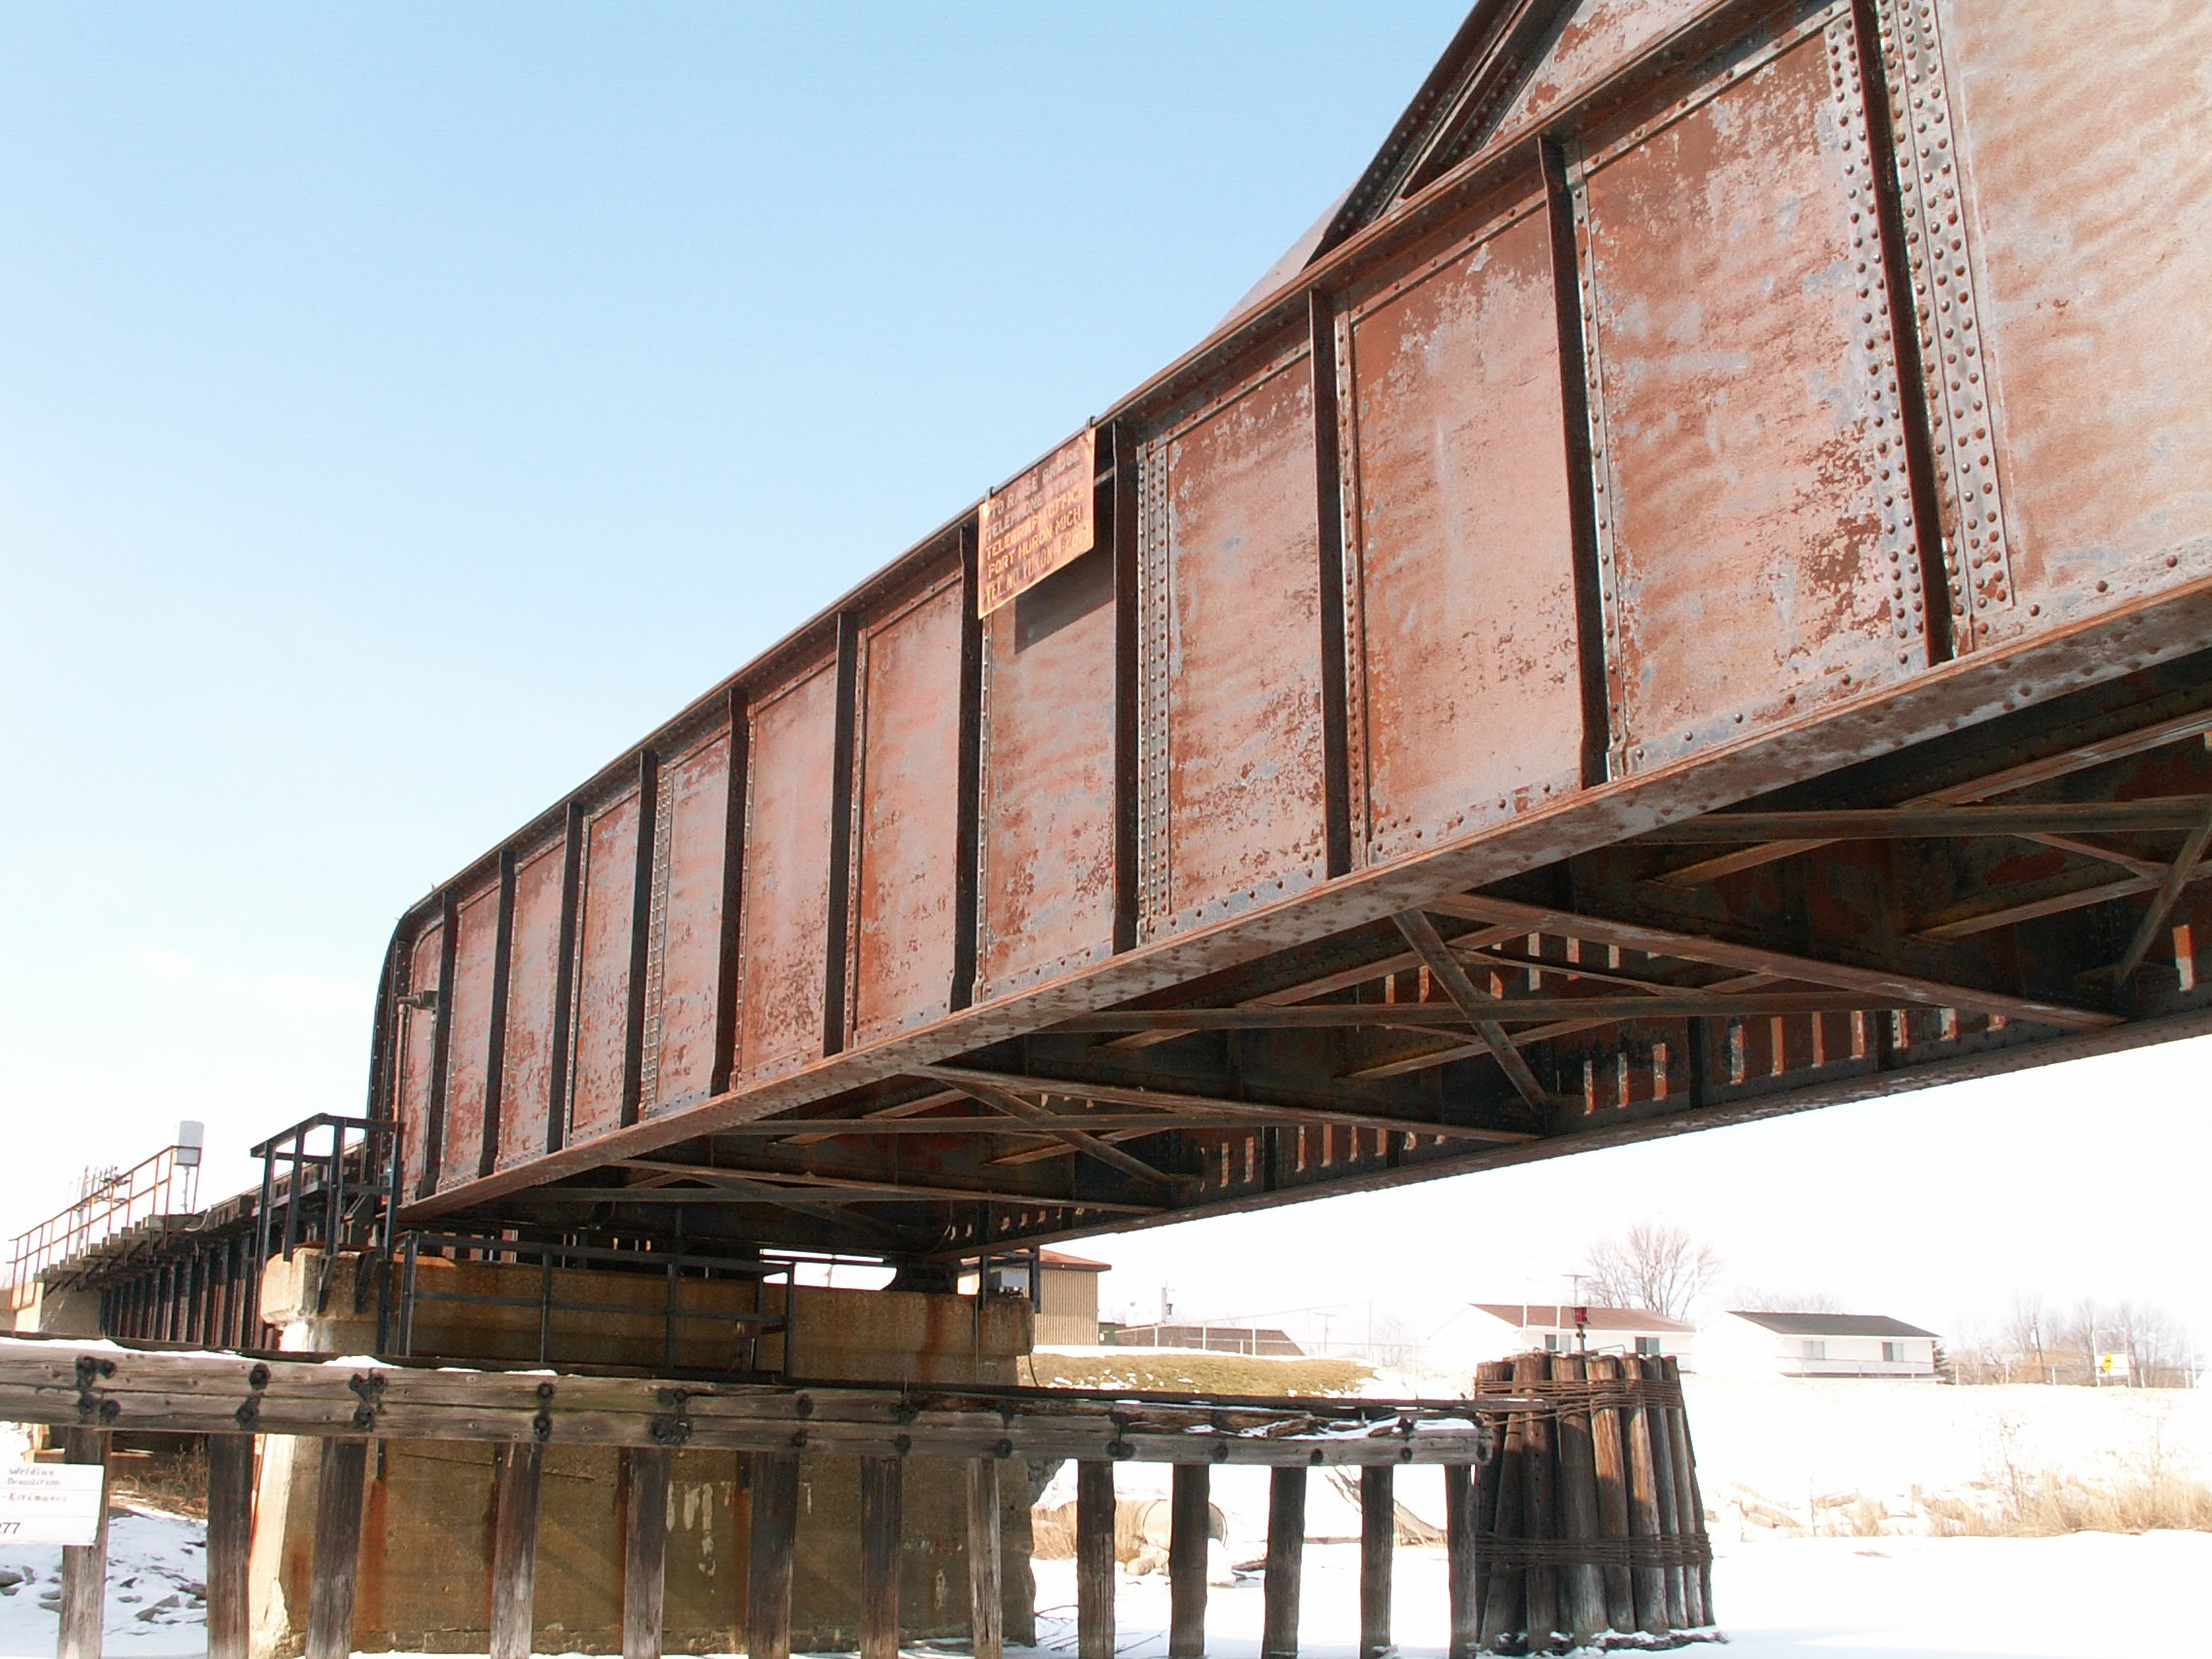
![]()

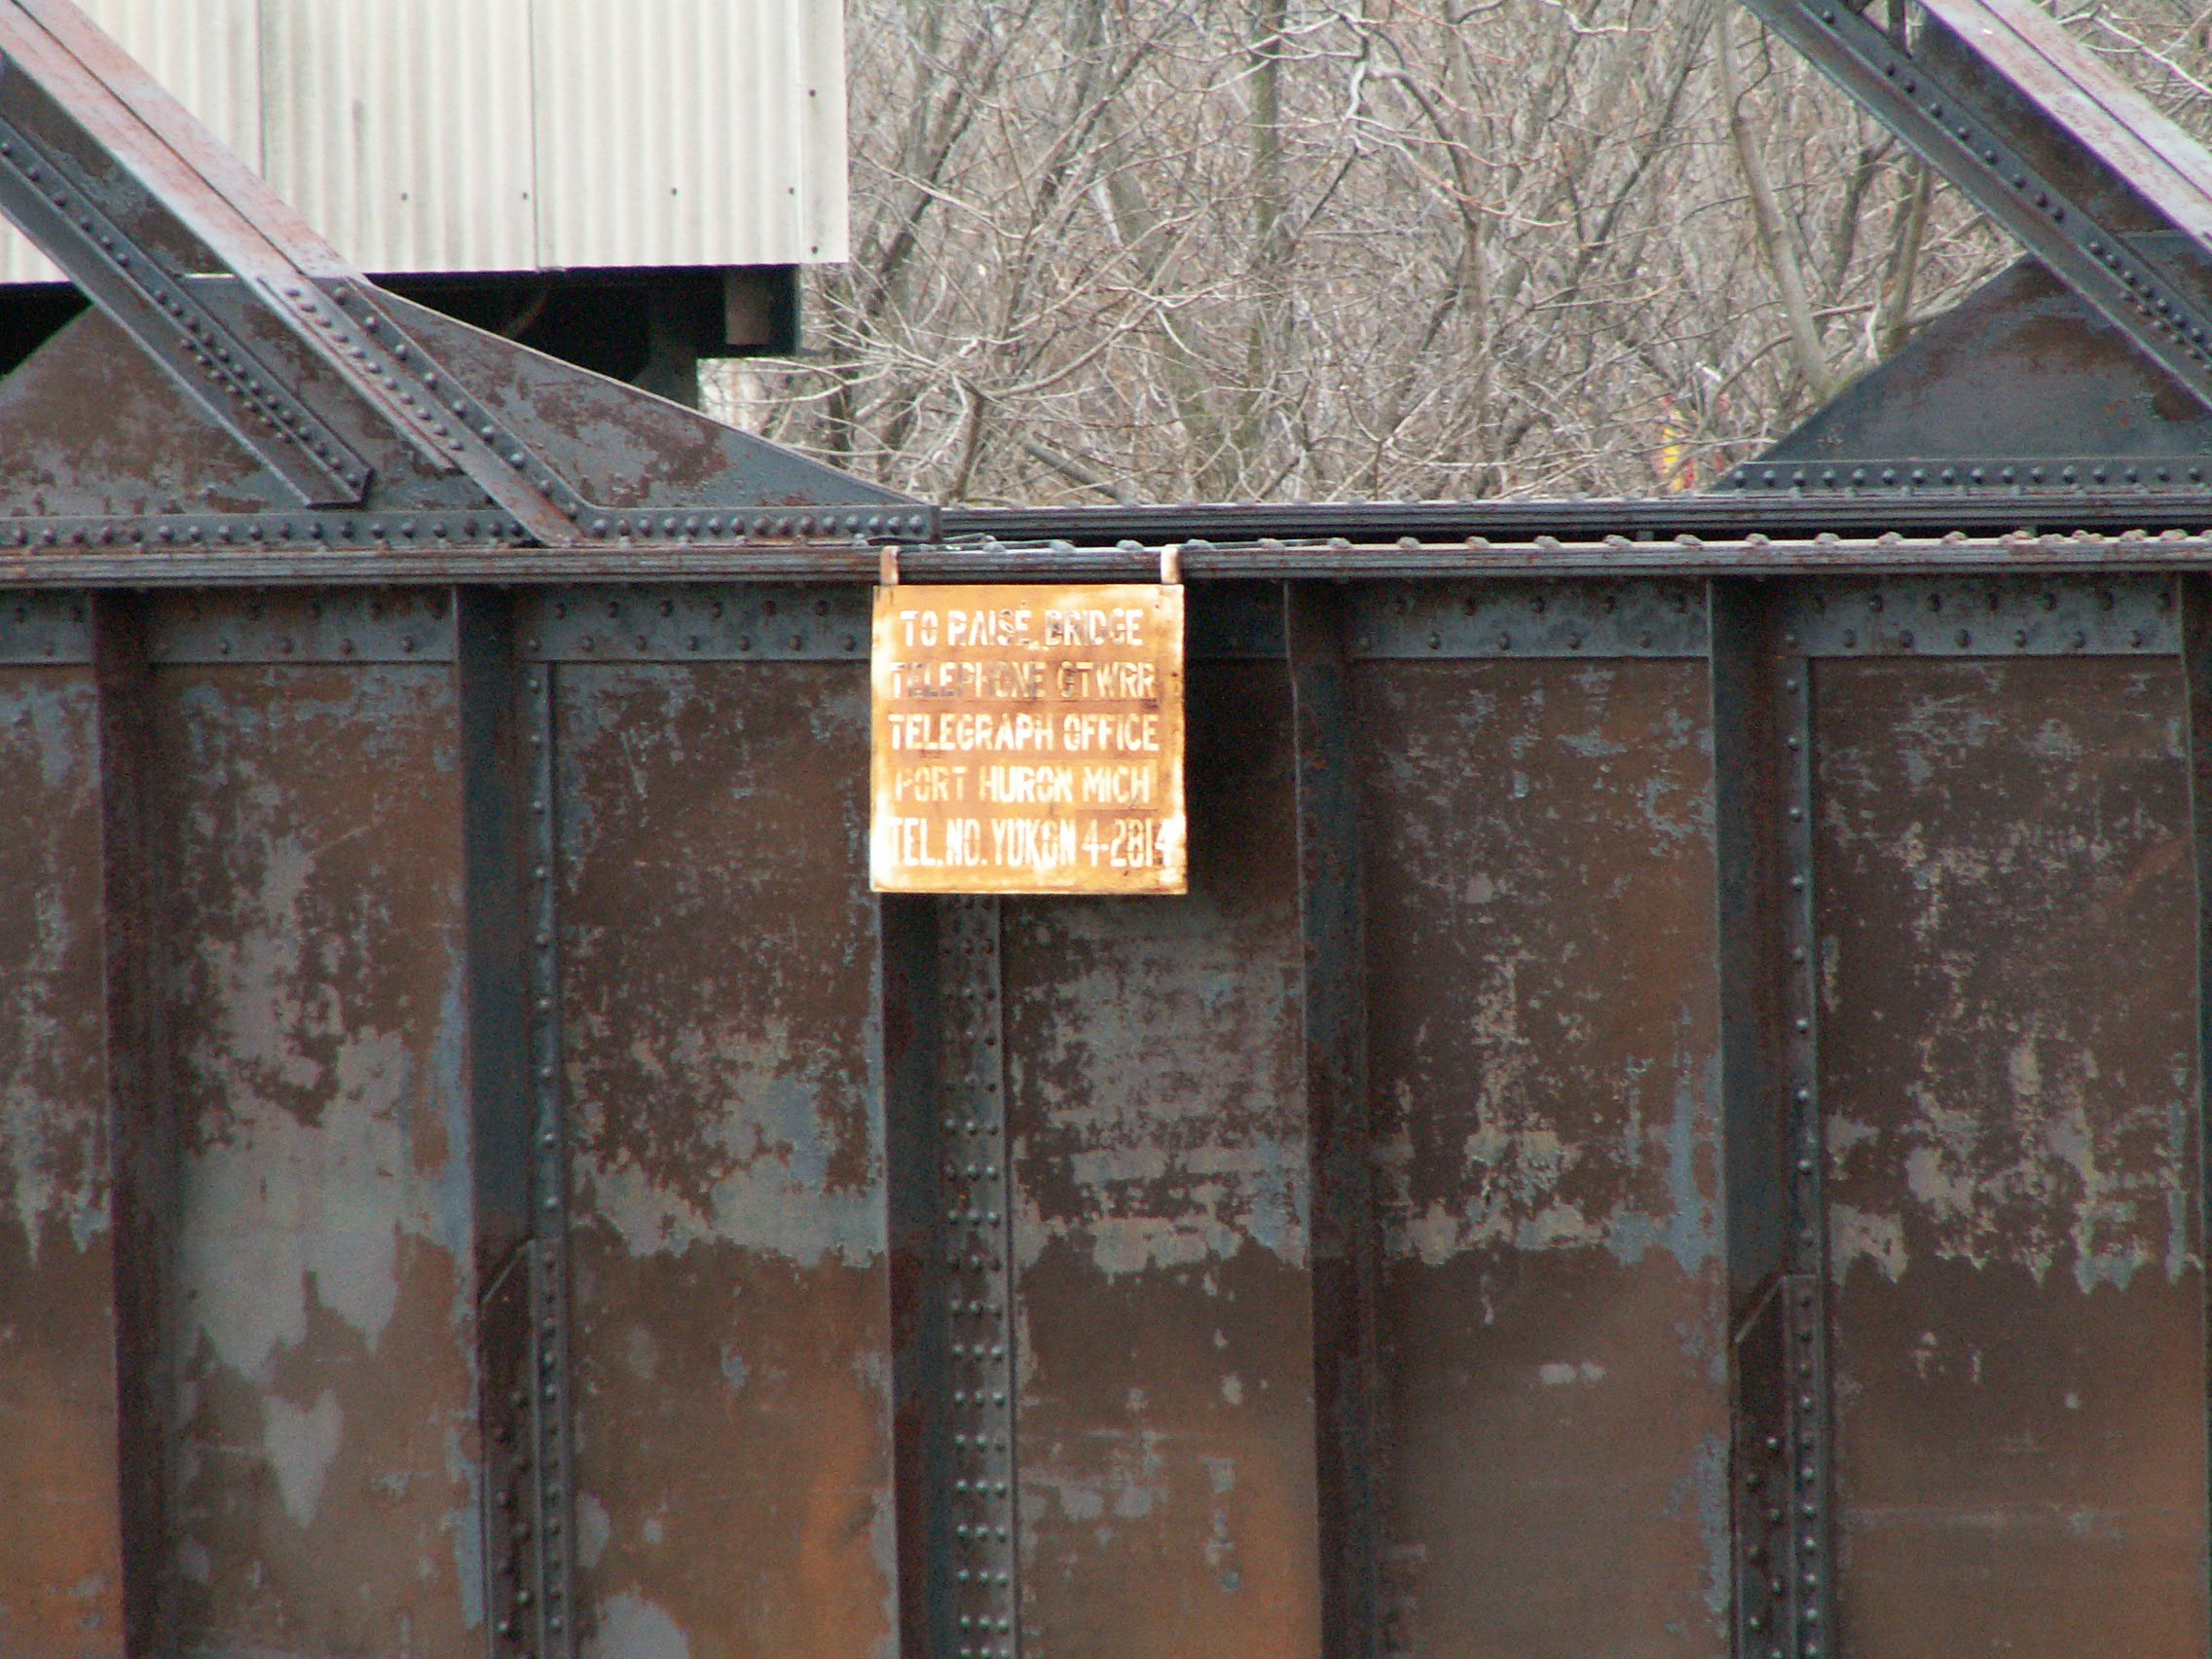
Very old sign on bridge reading "TO RAISE BRIDGE TELEPHONE GTWRR TELEGRAPH OFFICE PORT HURON MICH TEL. NO. YUKON 4-2814"
![]()


Old sign posted on bridge tender building.
![]()
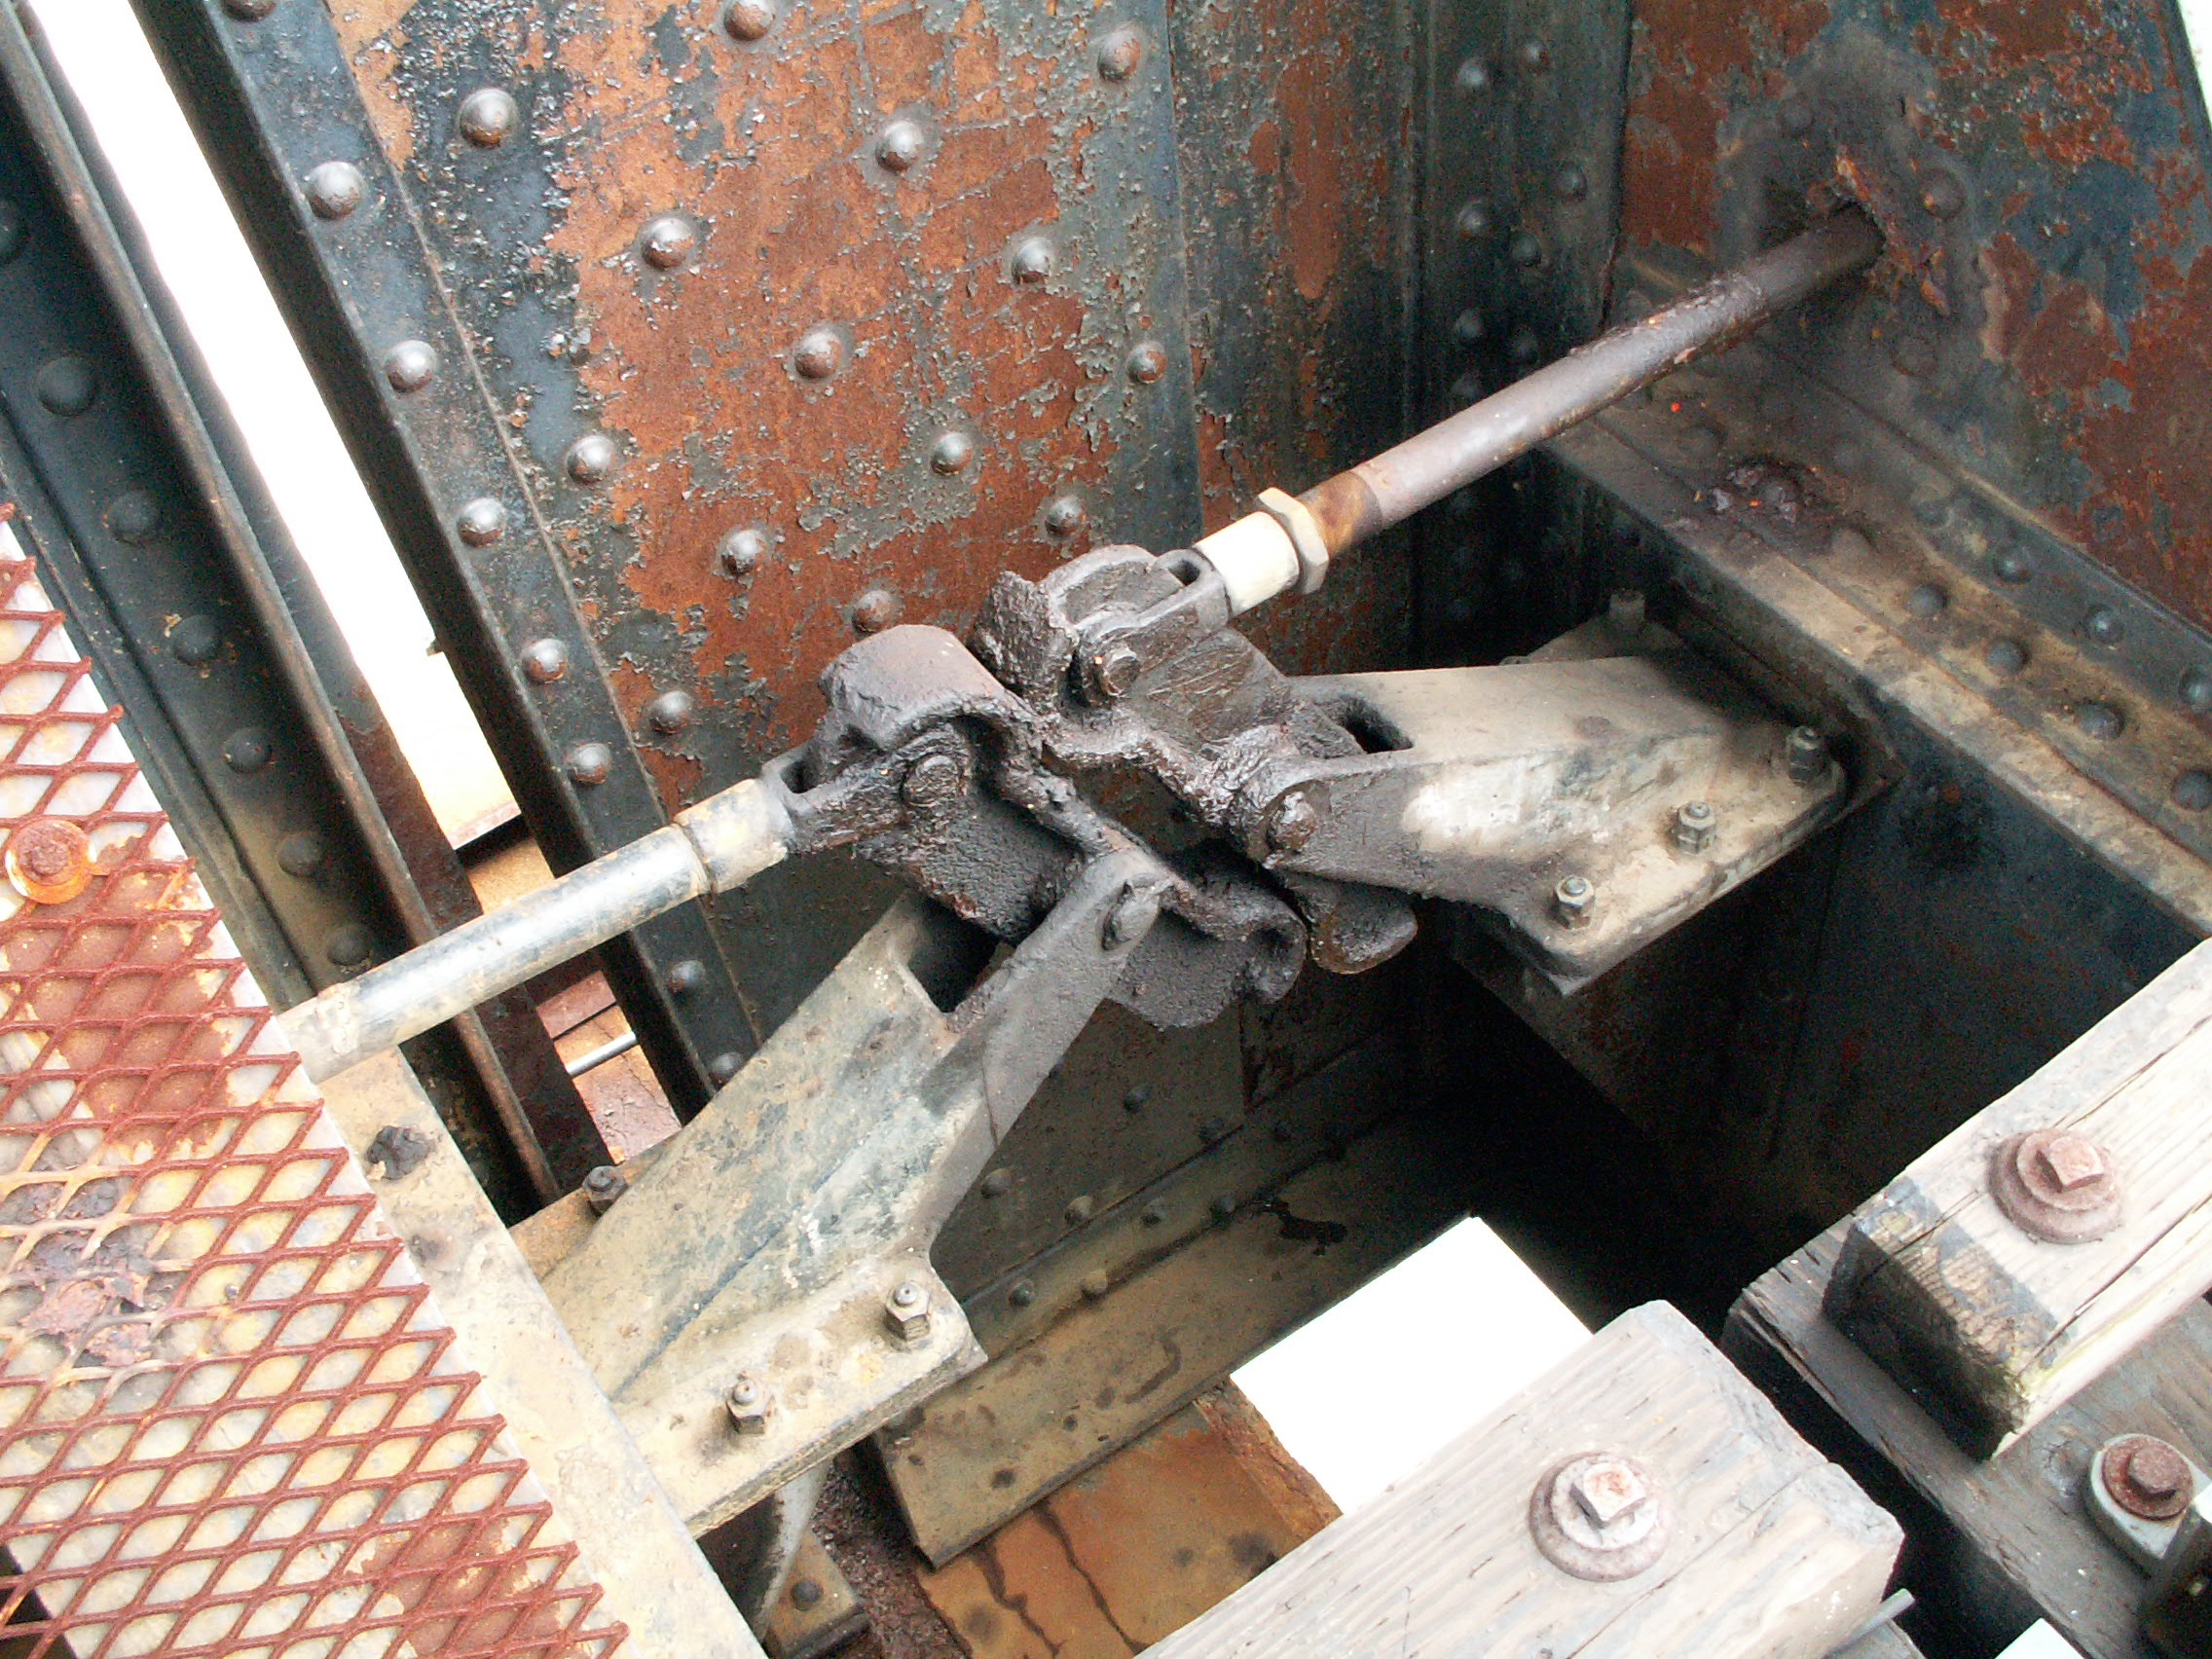
Miscellaneous mechanical details.
![]()
![]()
| Back |
| Home |
| Top |

![]()