
Uncredited photos on this page taken by: Nathan Holth. Unless stated in a caption, all photos are Copyright with All Rights Reserved. Learn about reuse of our photos.
![]()

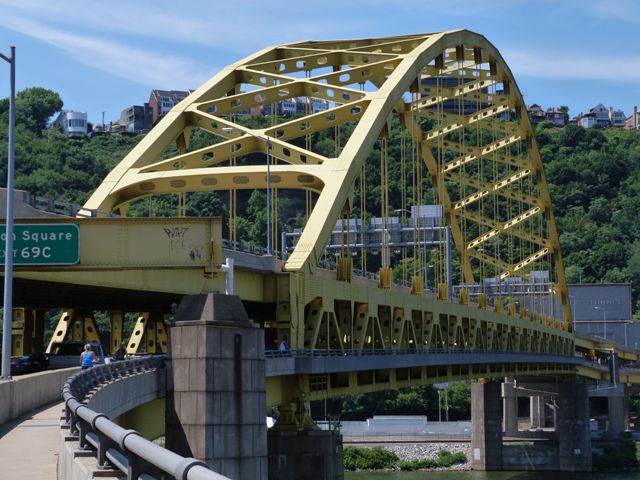
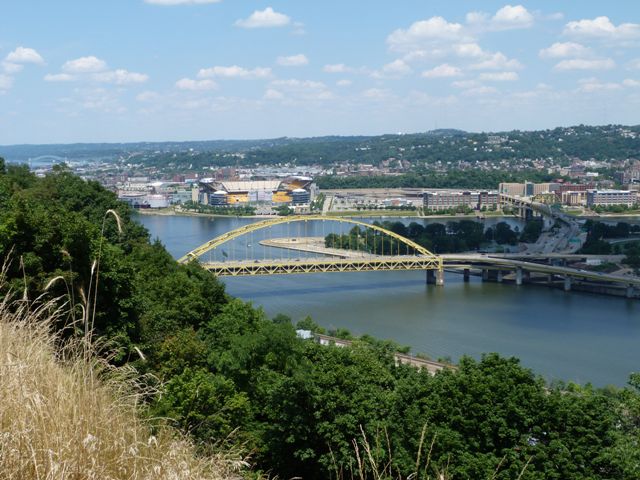
Elevation from northeast quadrant.
![]()

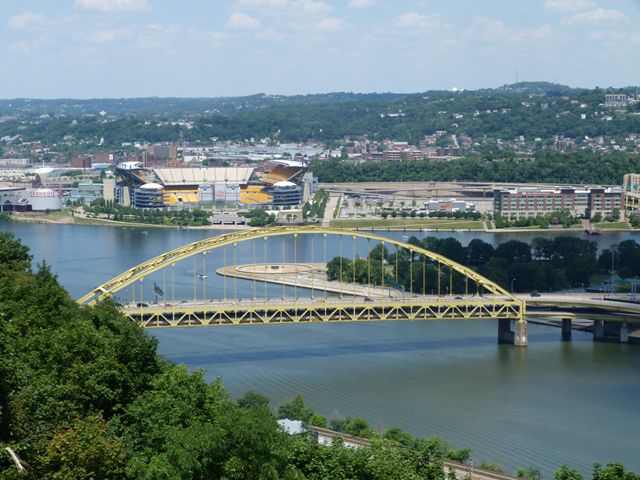
View beside bridge from northeast quadrant.
![]()

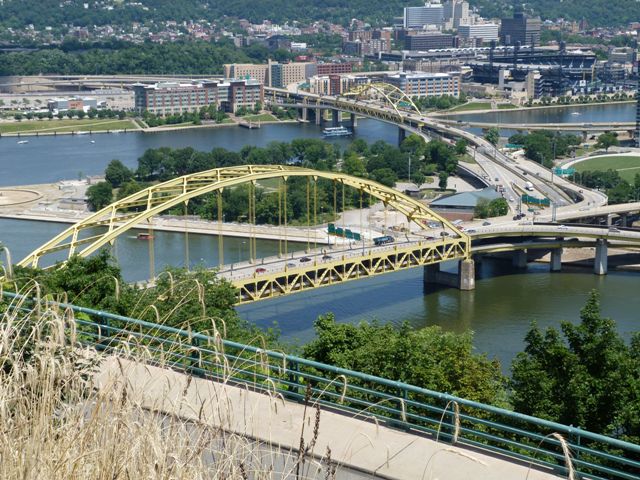
Elevation from southeast quadrant.
![]()
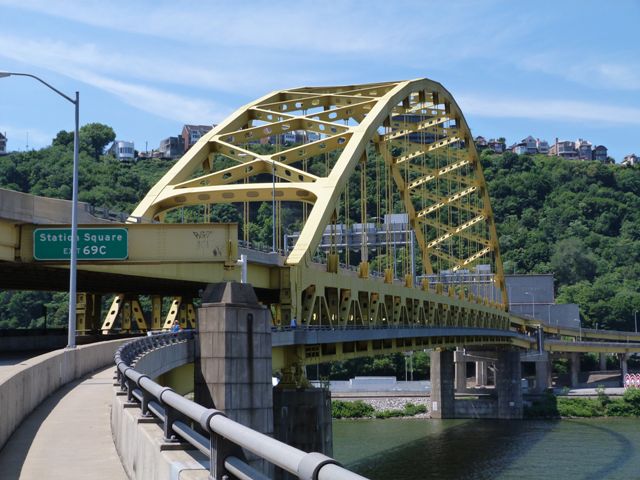


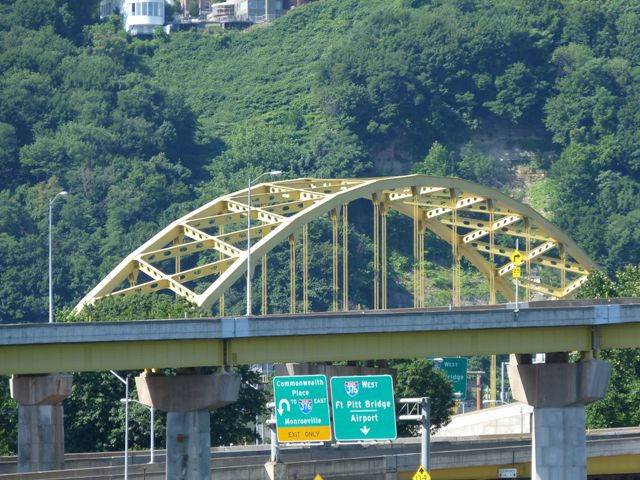
Oblique views of bridge from on approaching sidewalk from northeast quadrant.
![]()


Oblique views of bridge from on approaching sidewalk from northwest quadrant.
![]()


Views beside bridge from northeast quadrant as seen from sidewalk.
![]()
Elevated views from southwest quadrant.
![]()
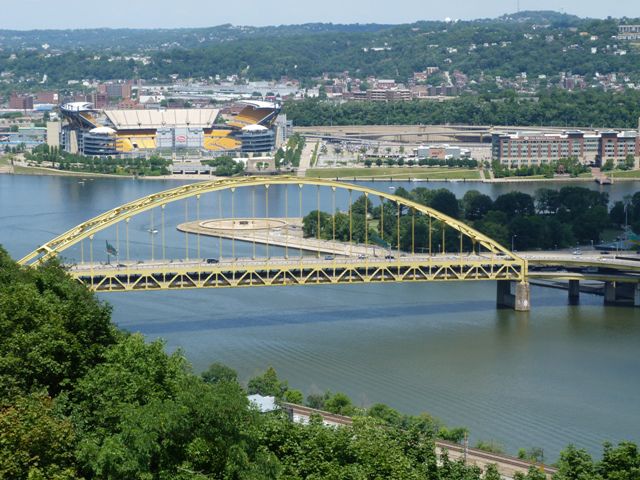
Distant view.
![]()

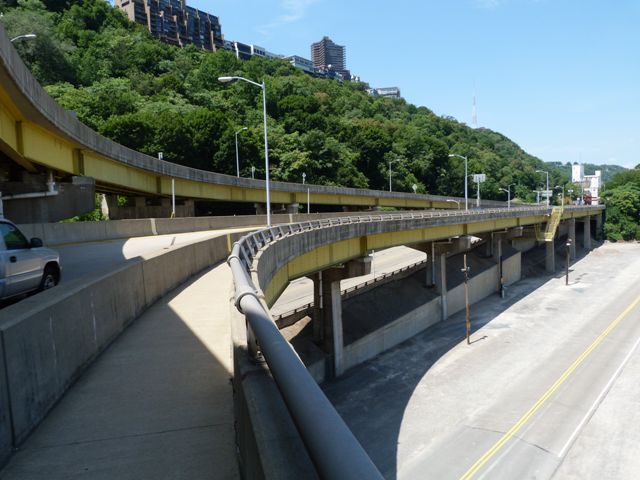


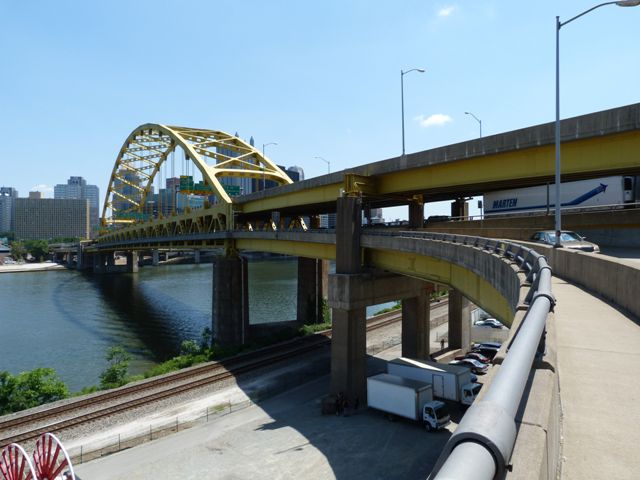
Approach ramps running along the river, northwest quadrant around the bridge.
![]()
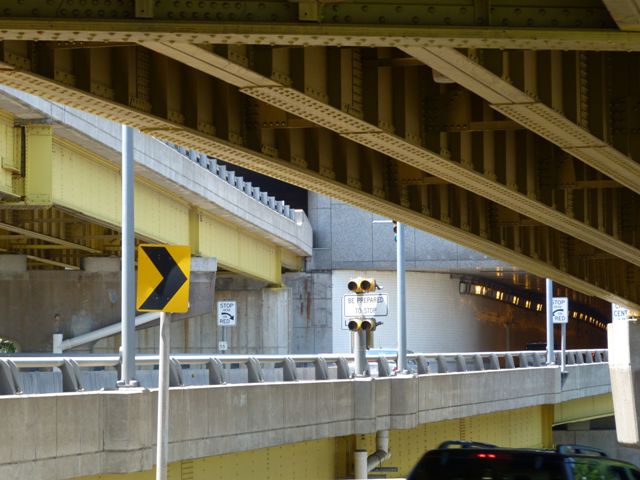
Approach spans leading to tunnel west of bridge.
![]()


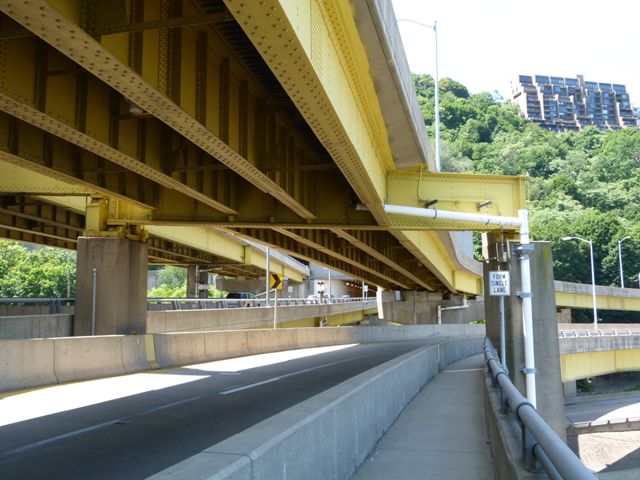
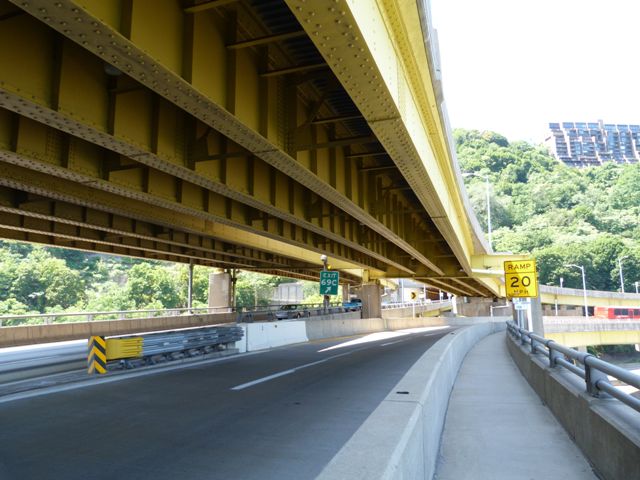
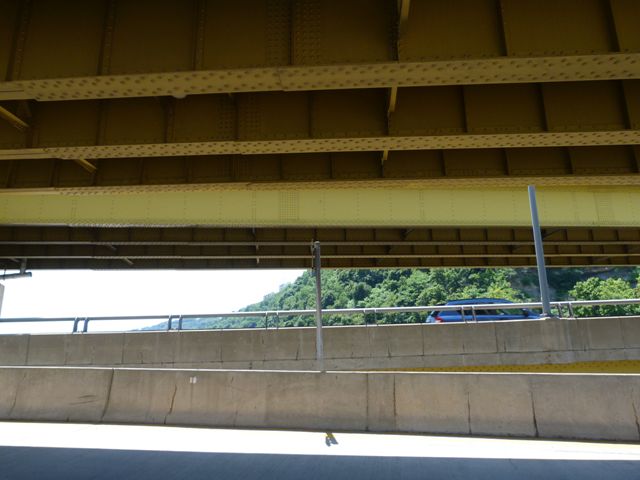

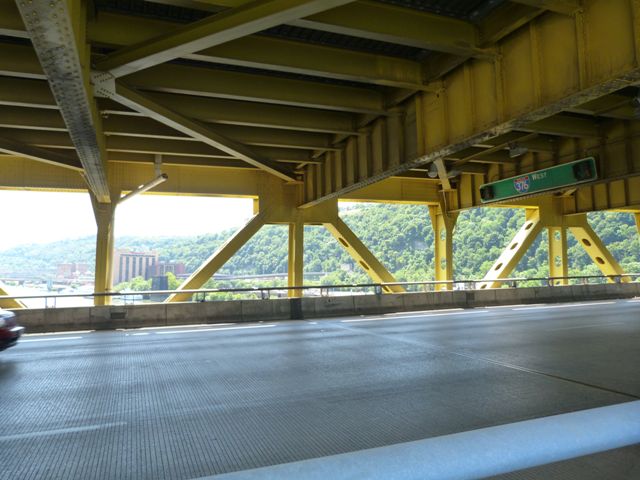
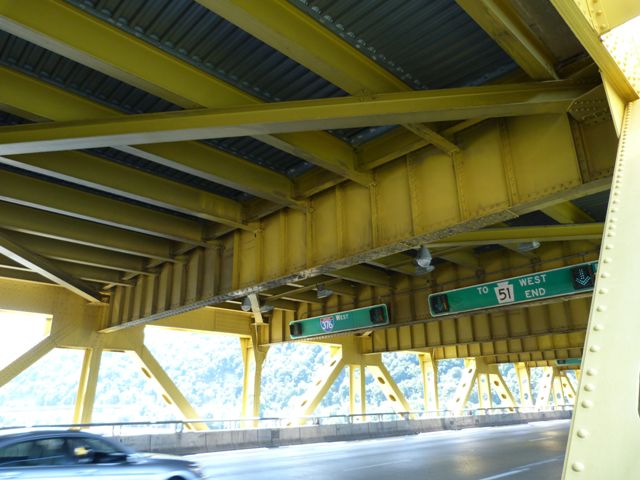
Views under approach spans west of bridge.
![]()


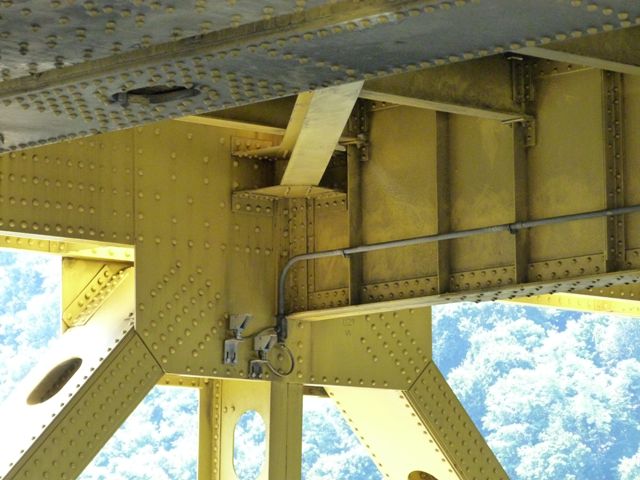
Approach span bearings.
![]()


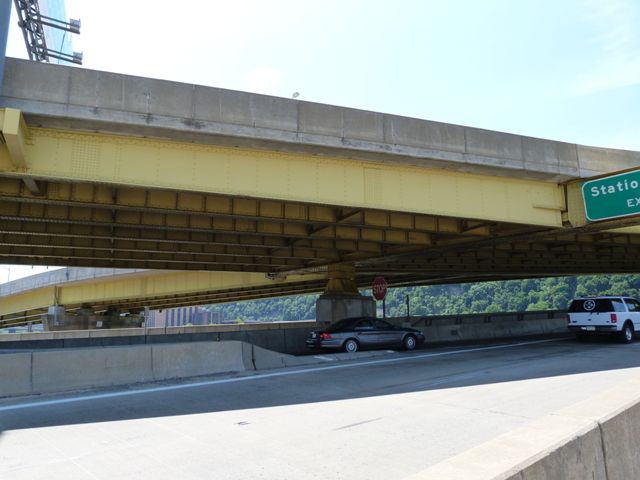

Approach spans east of bridge.
![]()
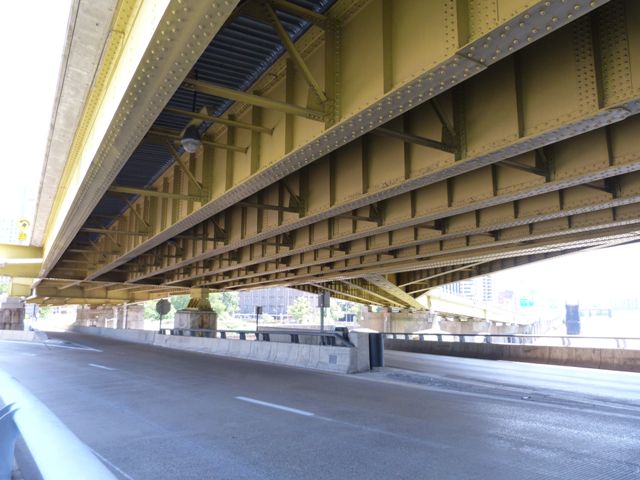
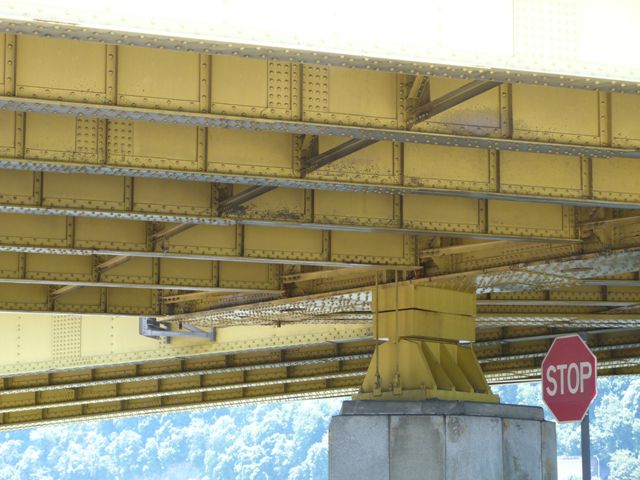
View under approach spans east of bridge.
![]()

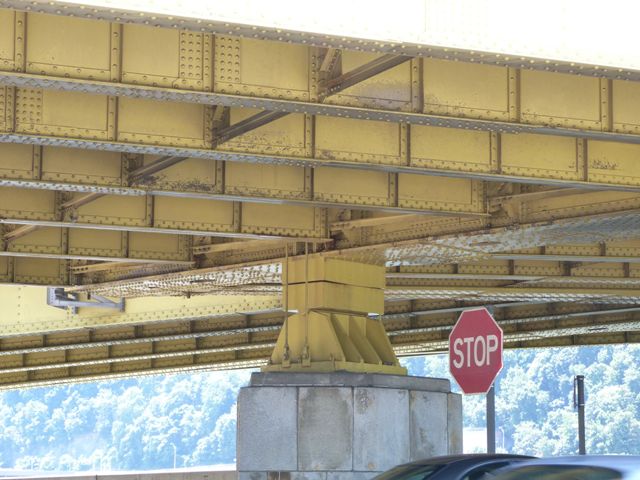
Piers and bearings for approach spans east of bridge.
![]()


Overview of lower deck level on main span.
![]()
Tie truss web.
![]()
Upper deck floor beam.
![]()


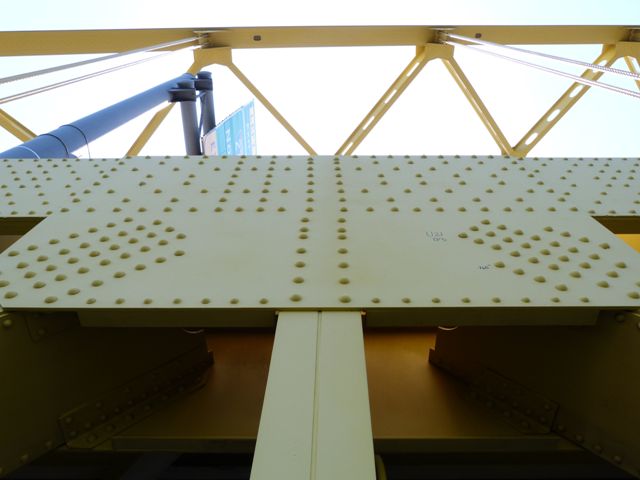
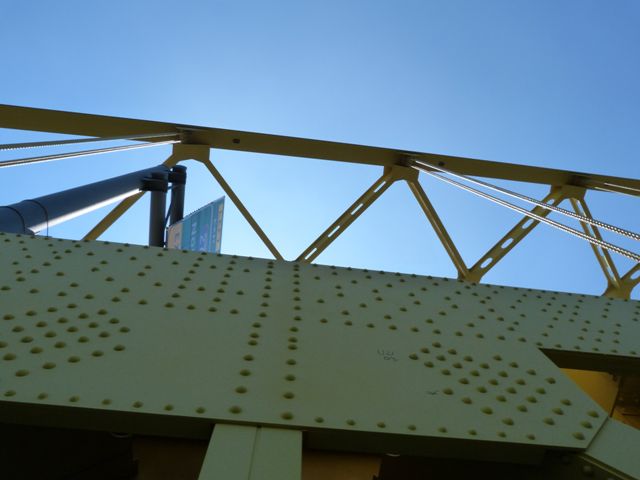
Tie truss top chord connections.
![]()


Arch rib connections to hangers.
![]()


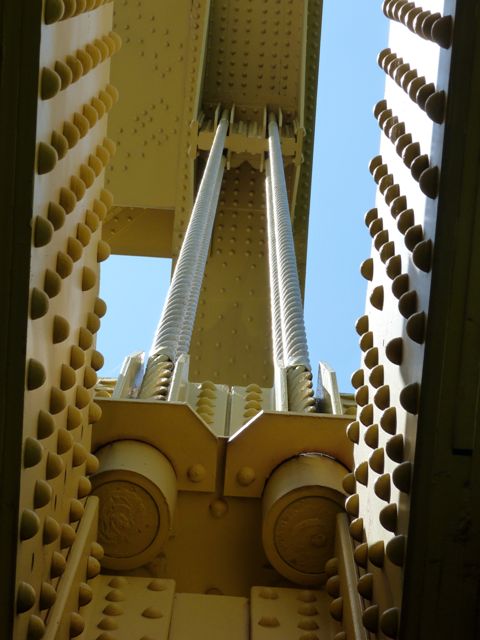
Tie truss connections to hangers.
![]()


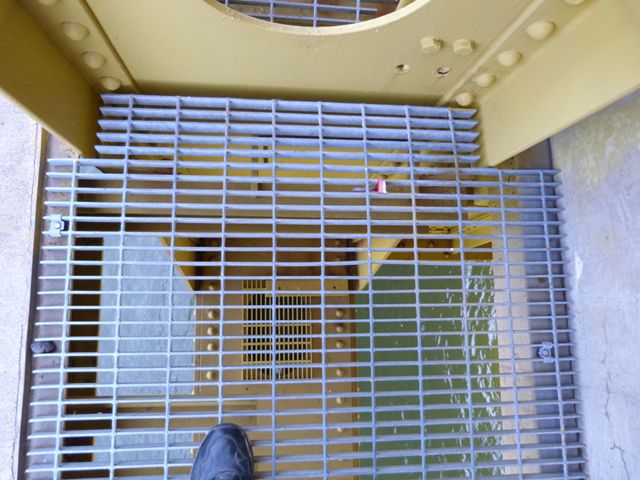
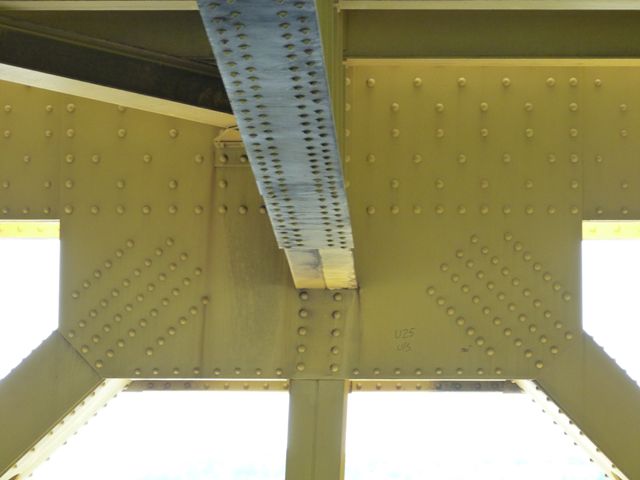
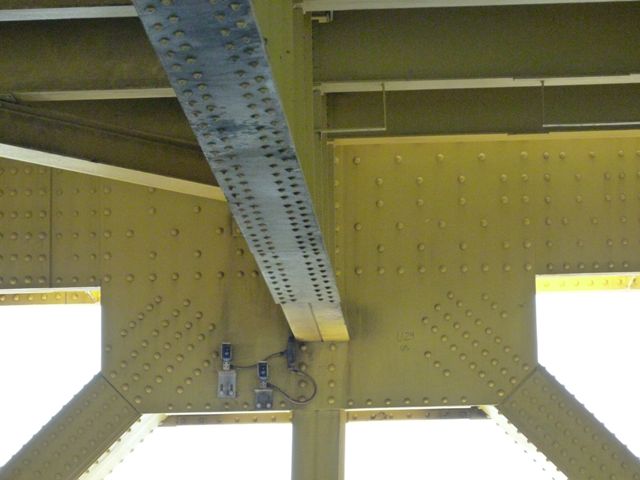
Looking down through deck at tie truss bottom chord and bottom chord connections.
![]()


Overhead bracing.
![]()


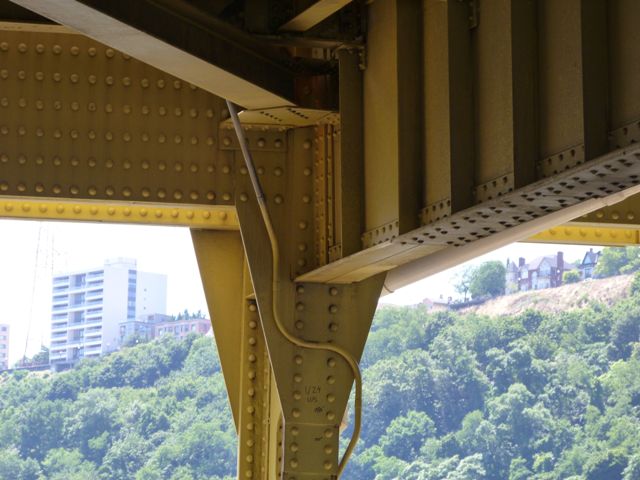
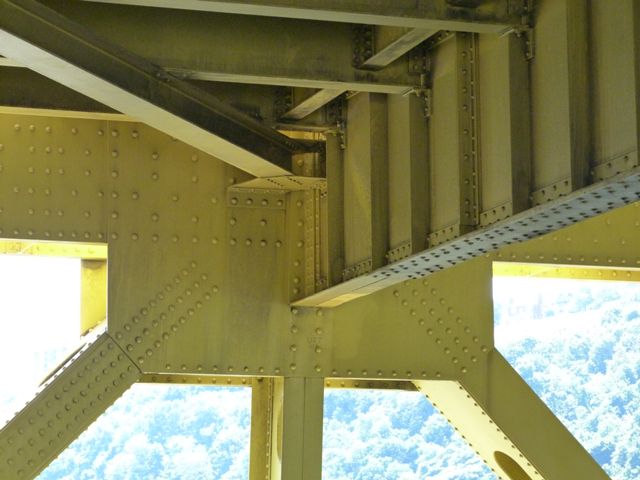
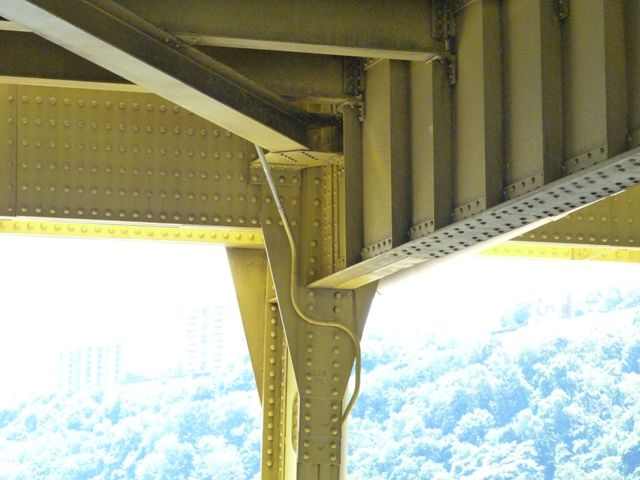
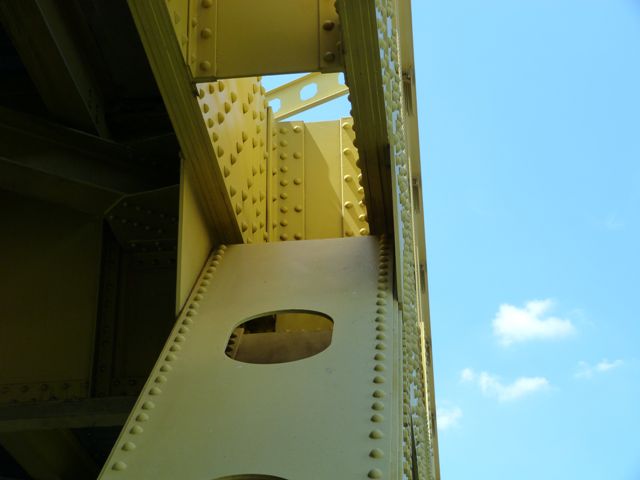
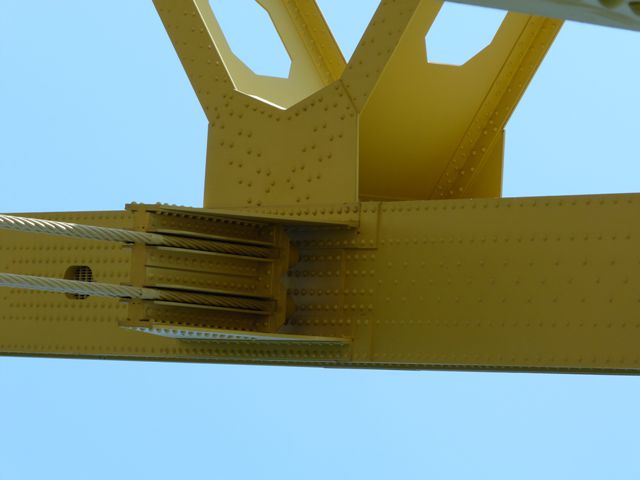
Details at end of main span.
![]()


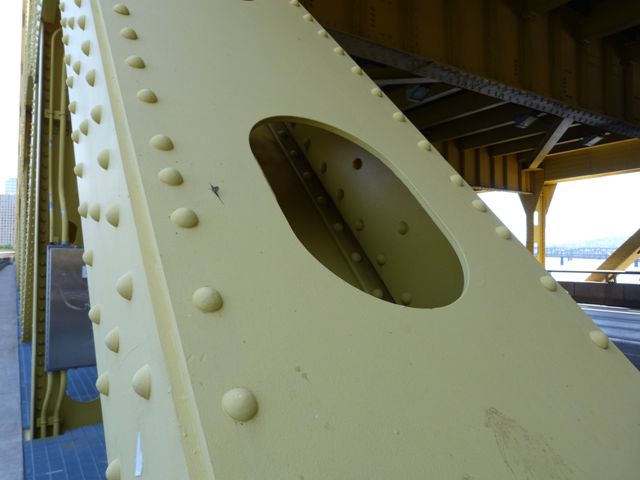

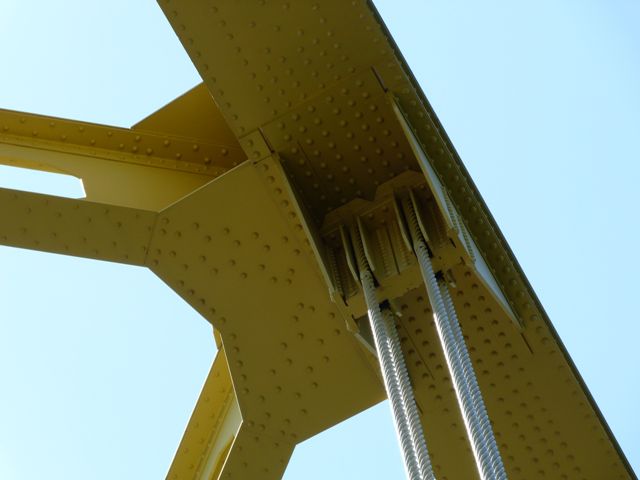
Diagonal members.
![]()
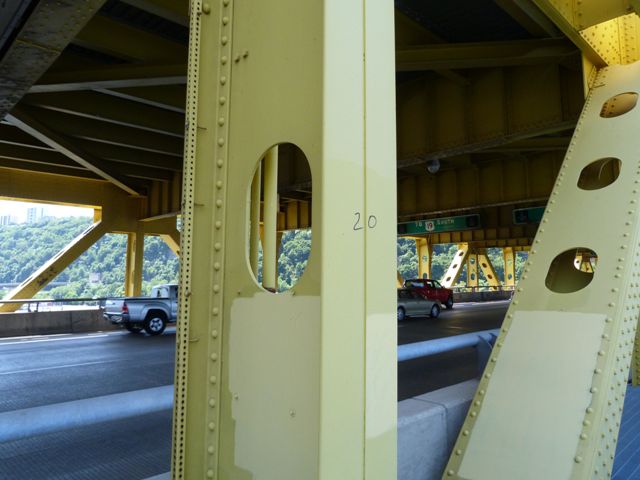
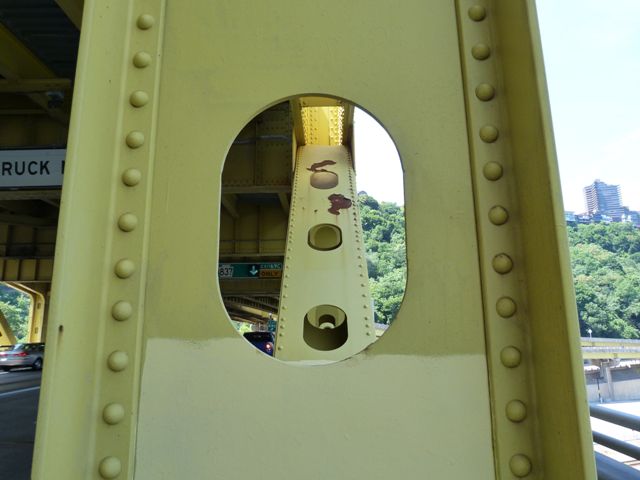

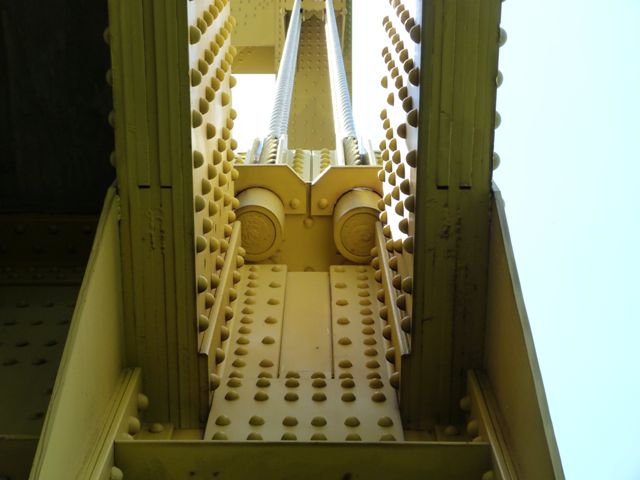
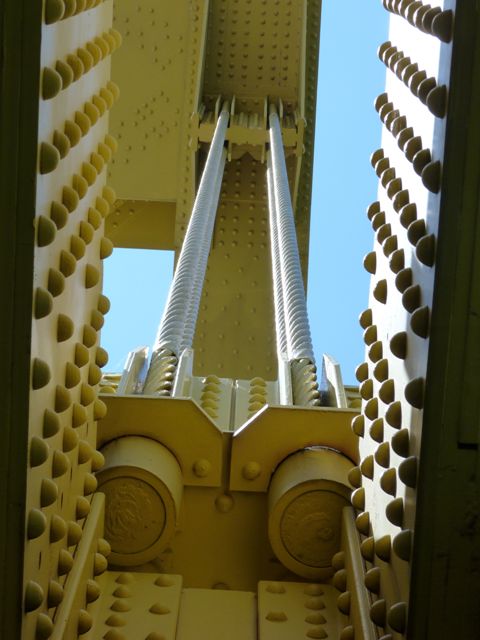
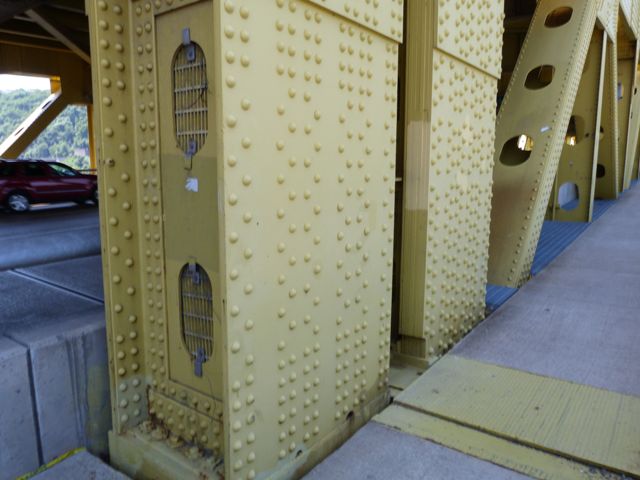
Vertical members.
![]()
![]()
| Back |
| Home |
| Top |

![]()