Uncredited photos on this page taken by: Nathan Holth and Rick McOmber. Unless stated in a caption, all photos are Copyright with All Rights Reserved. Learn about reuse of our photos.
![]()
Photos From After Rehabilitation
![]()

Photo Credit: Richard Weiss
Elevation.
![]()
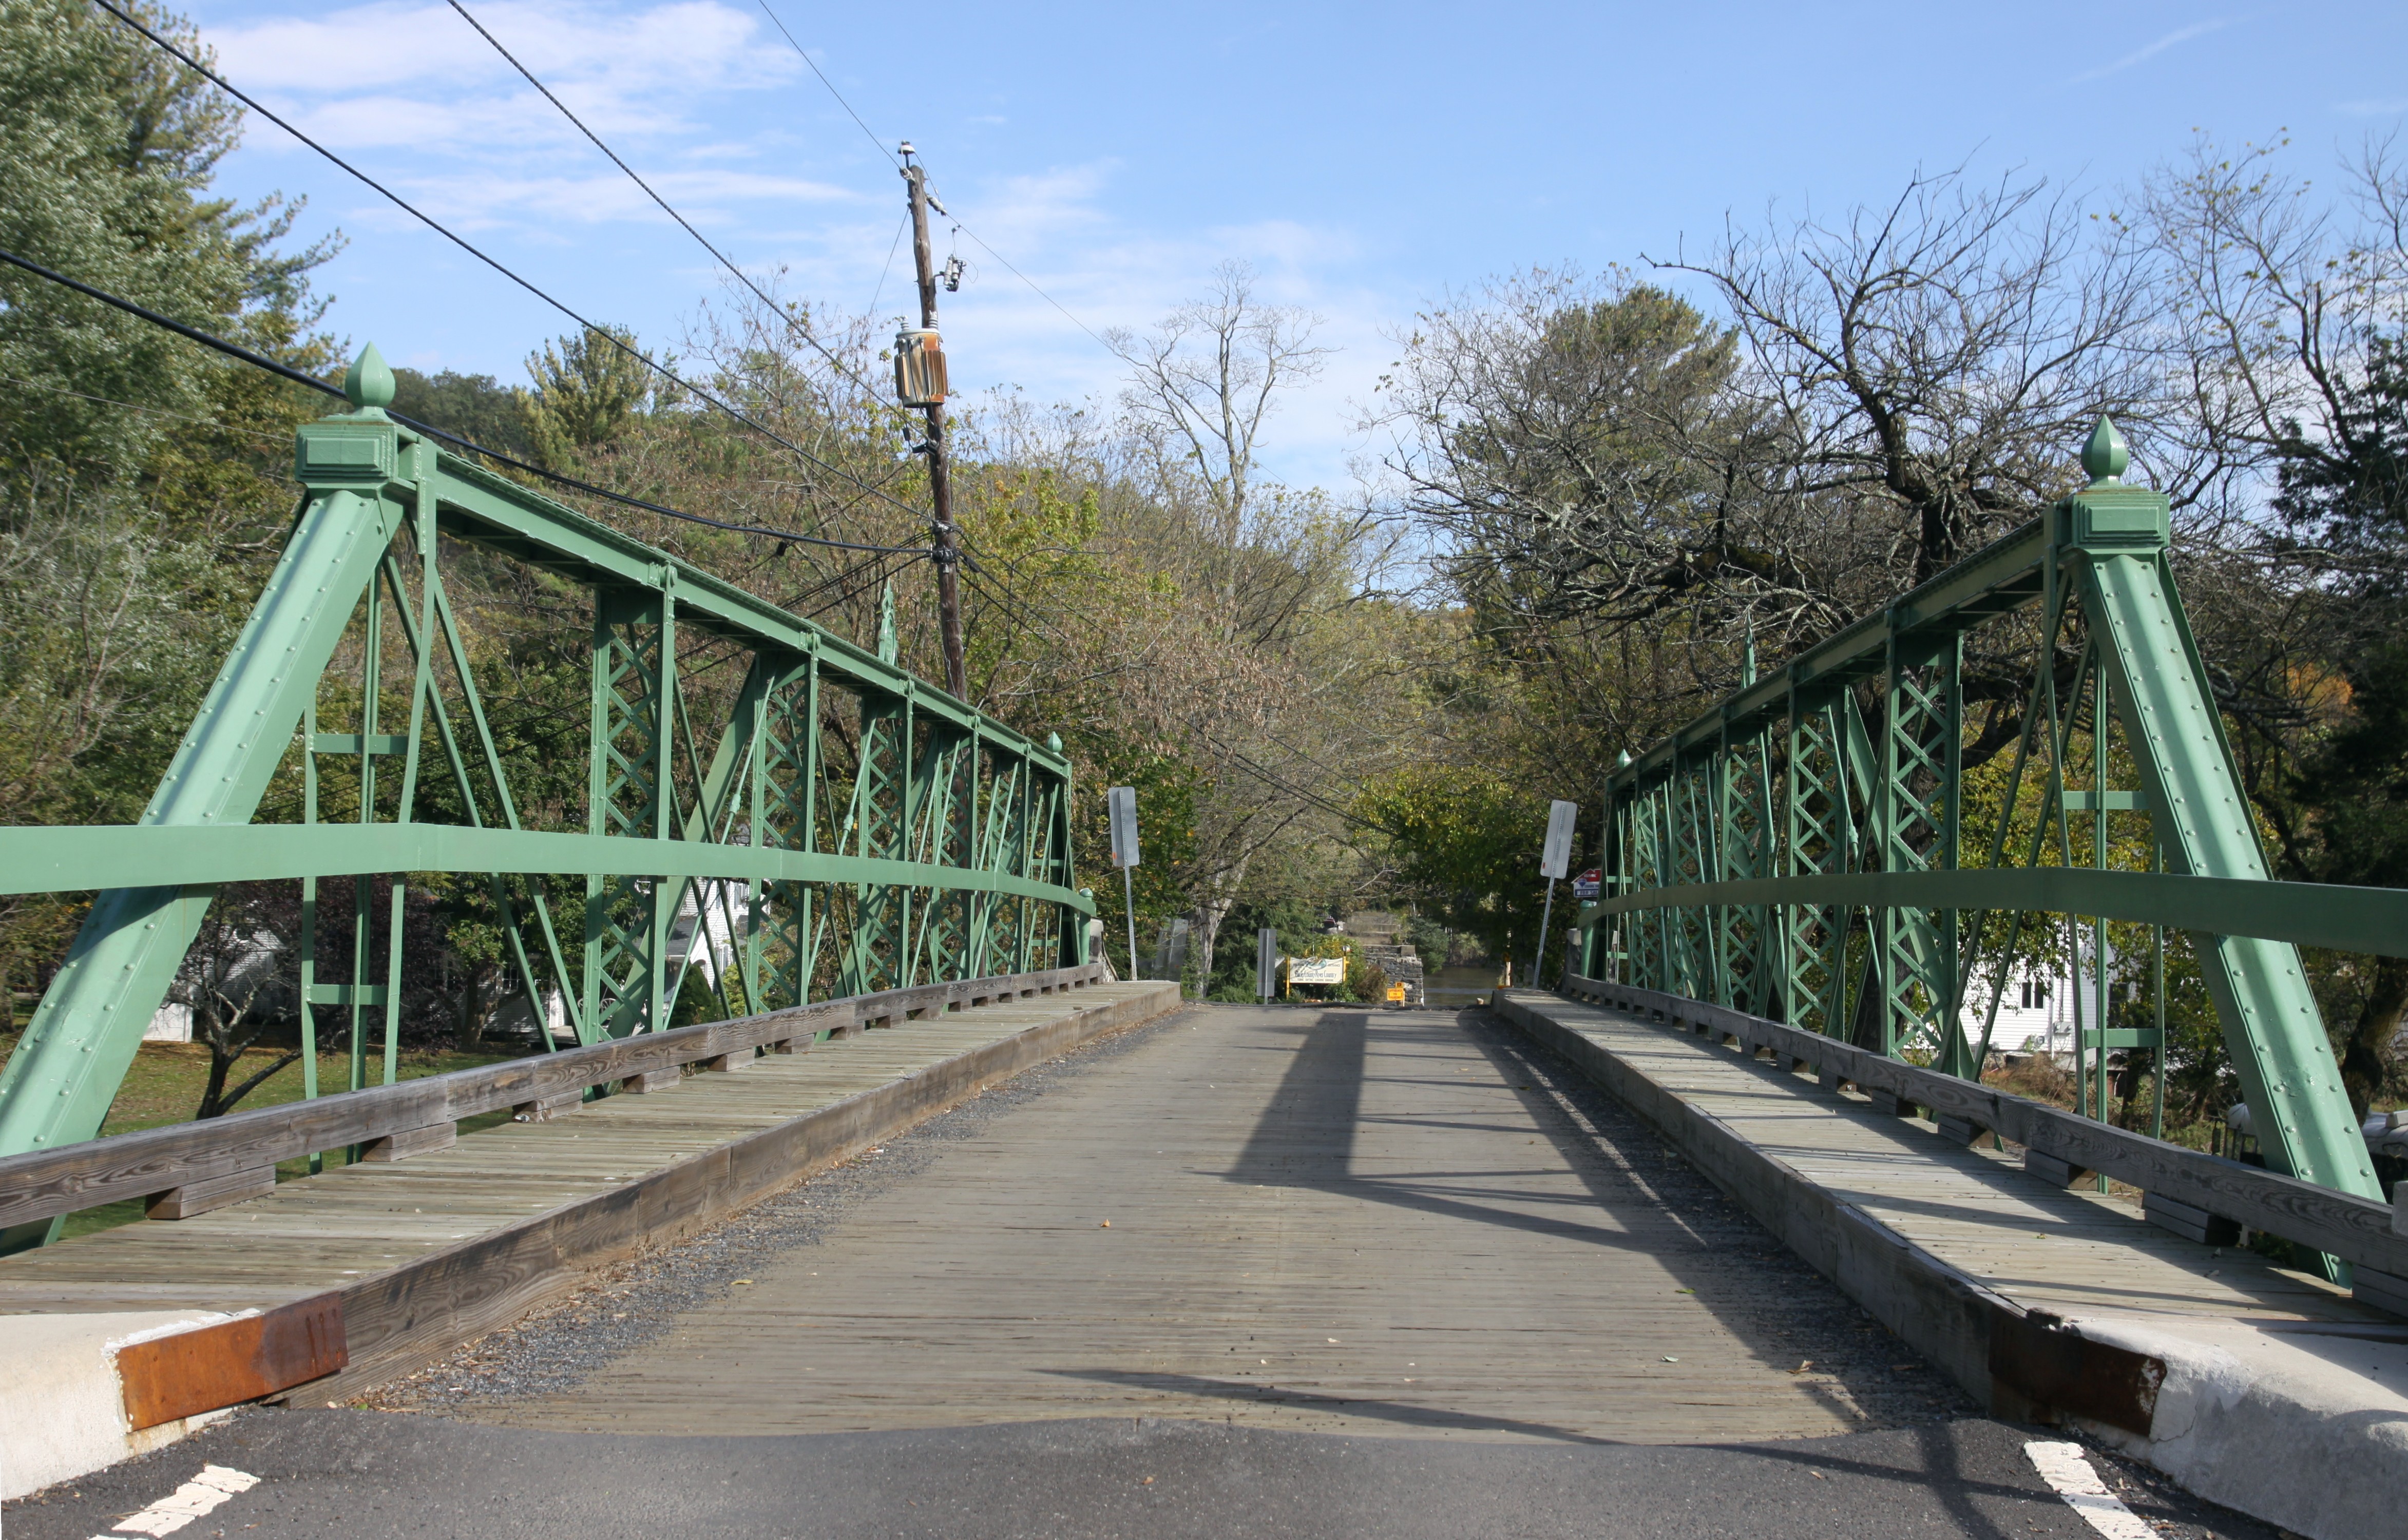
Photo Credit: Richard Weiss
Portal view.
![]()

Photo Credit: Richard Weiss
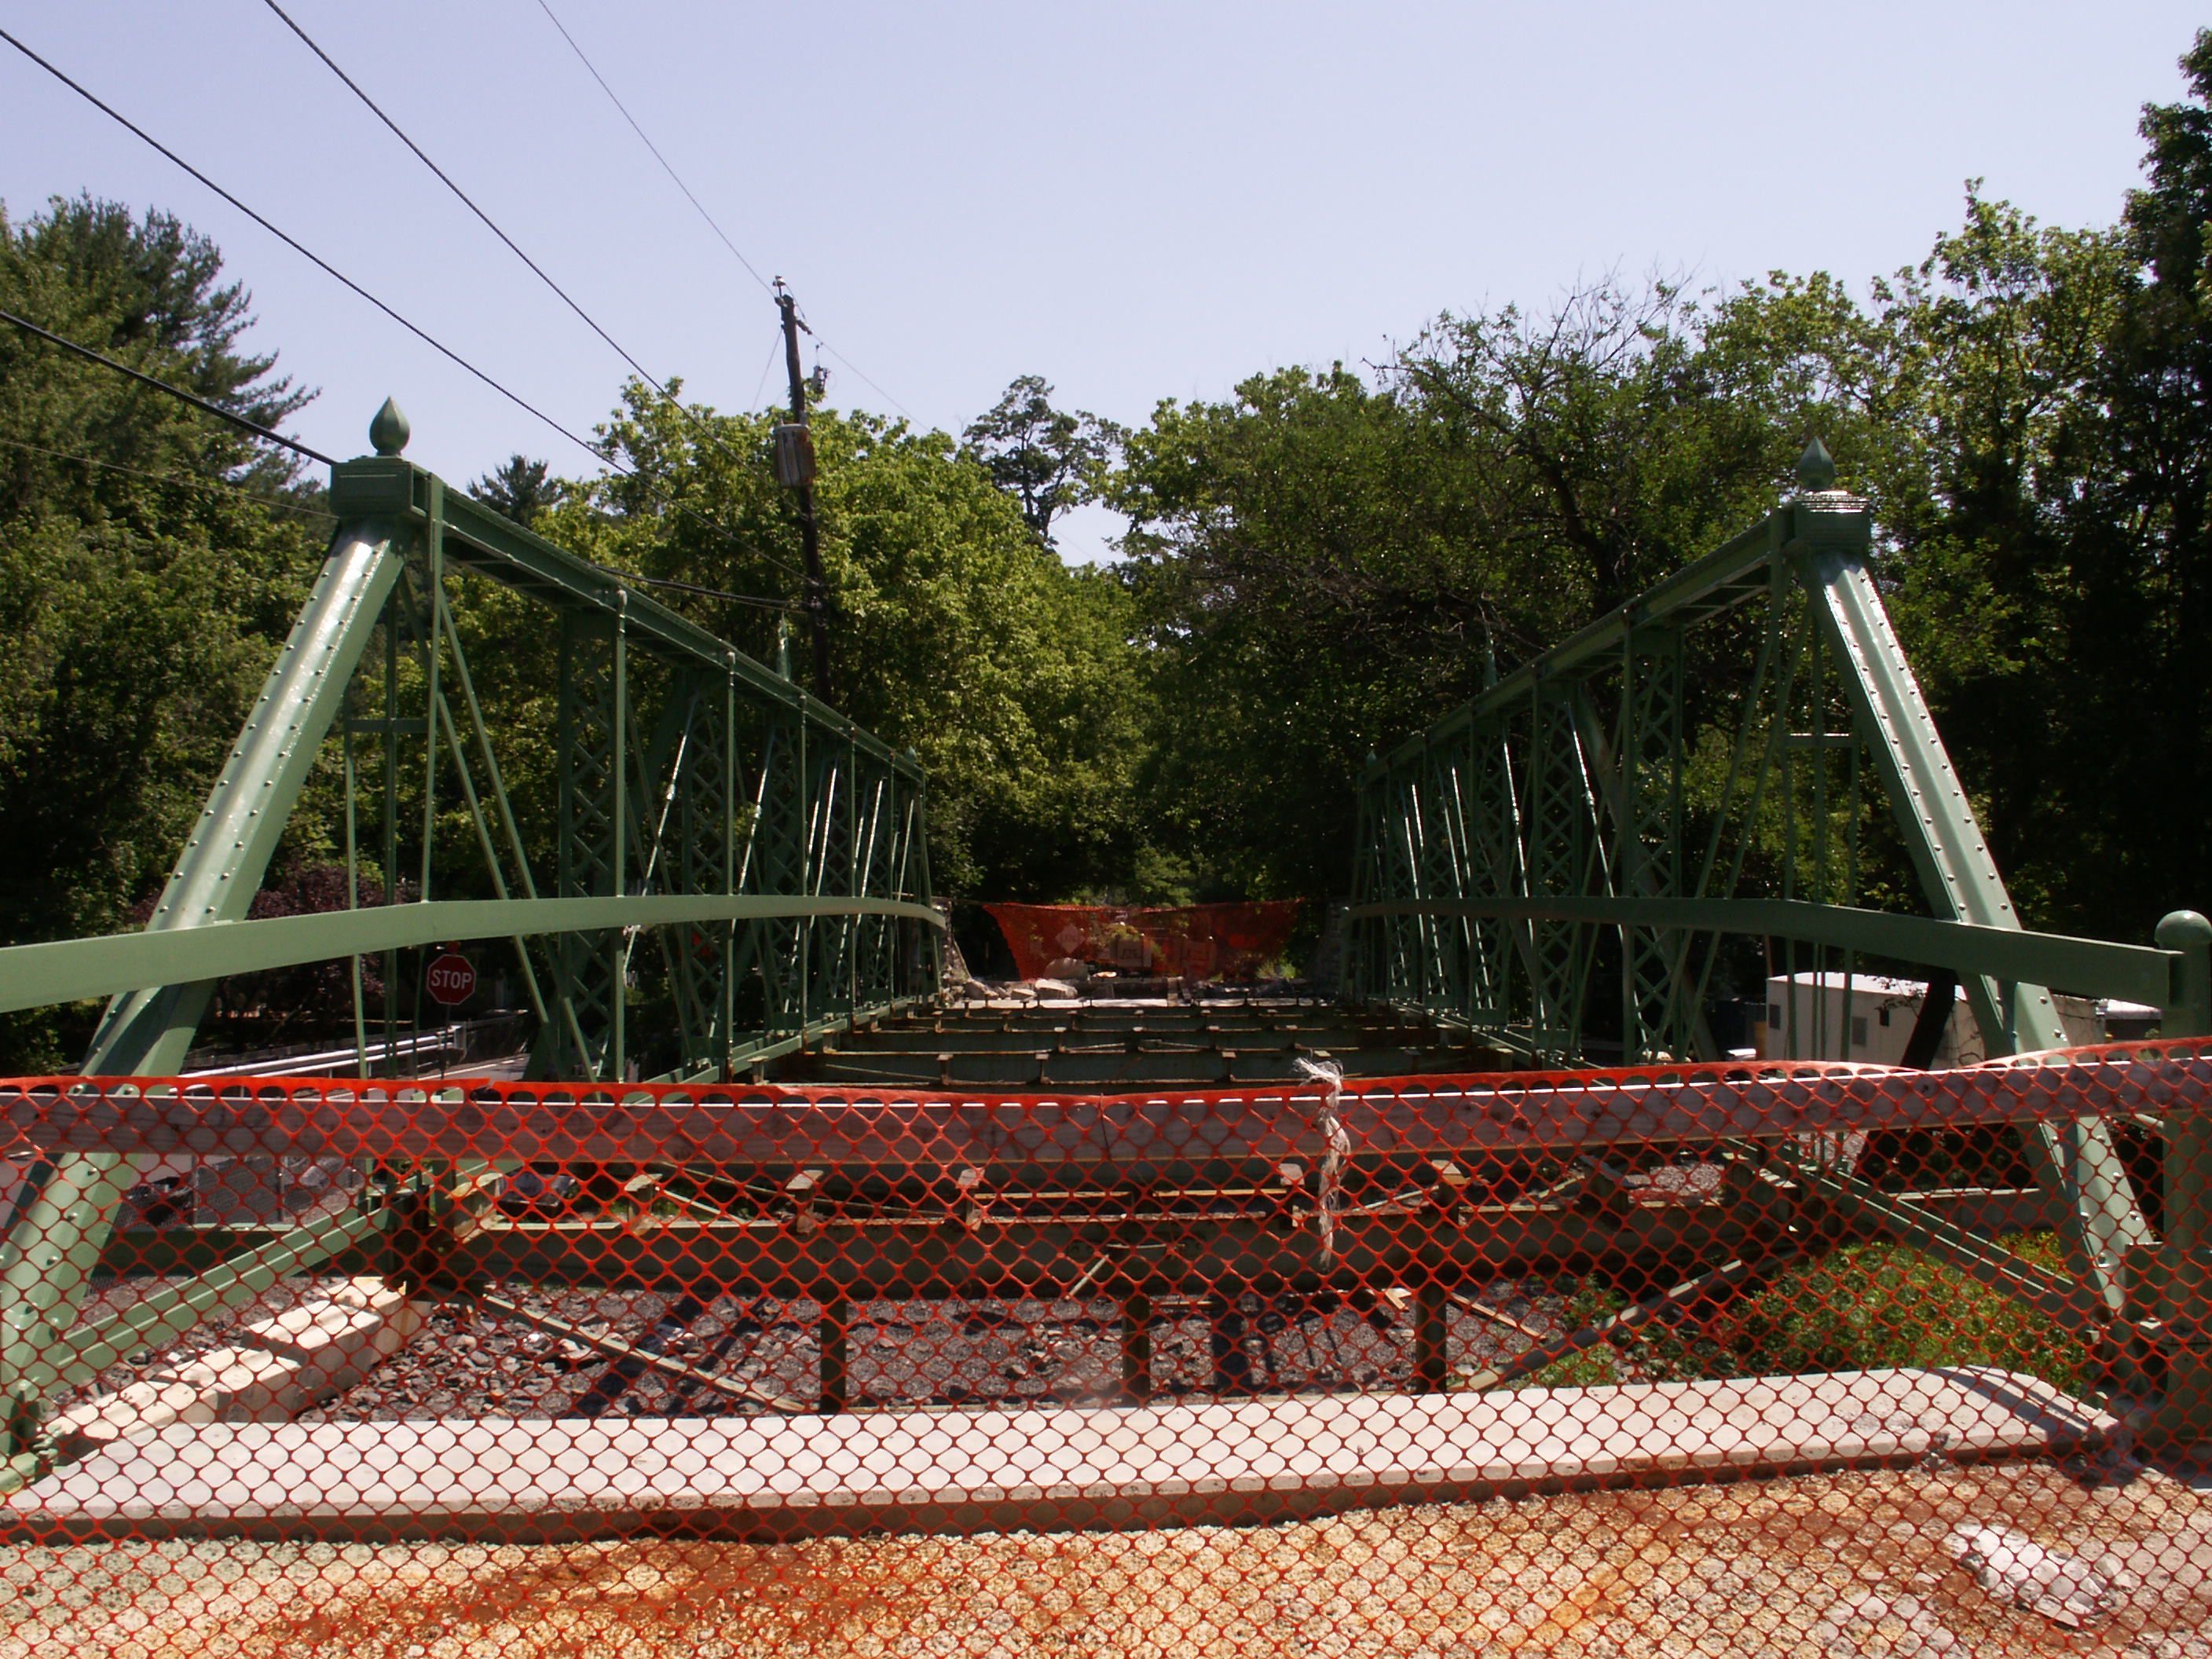
Portal view on bridge.
![]()
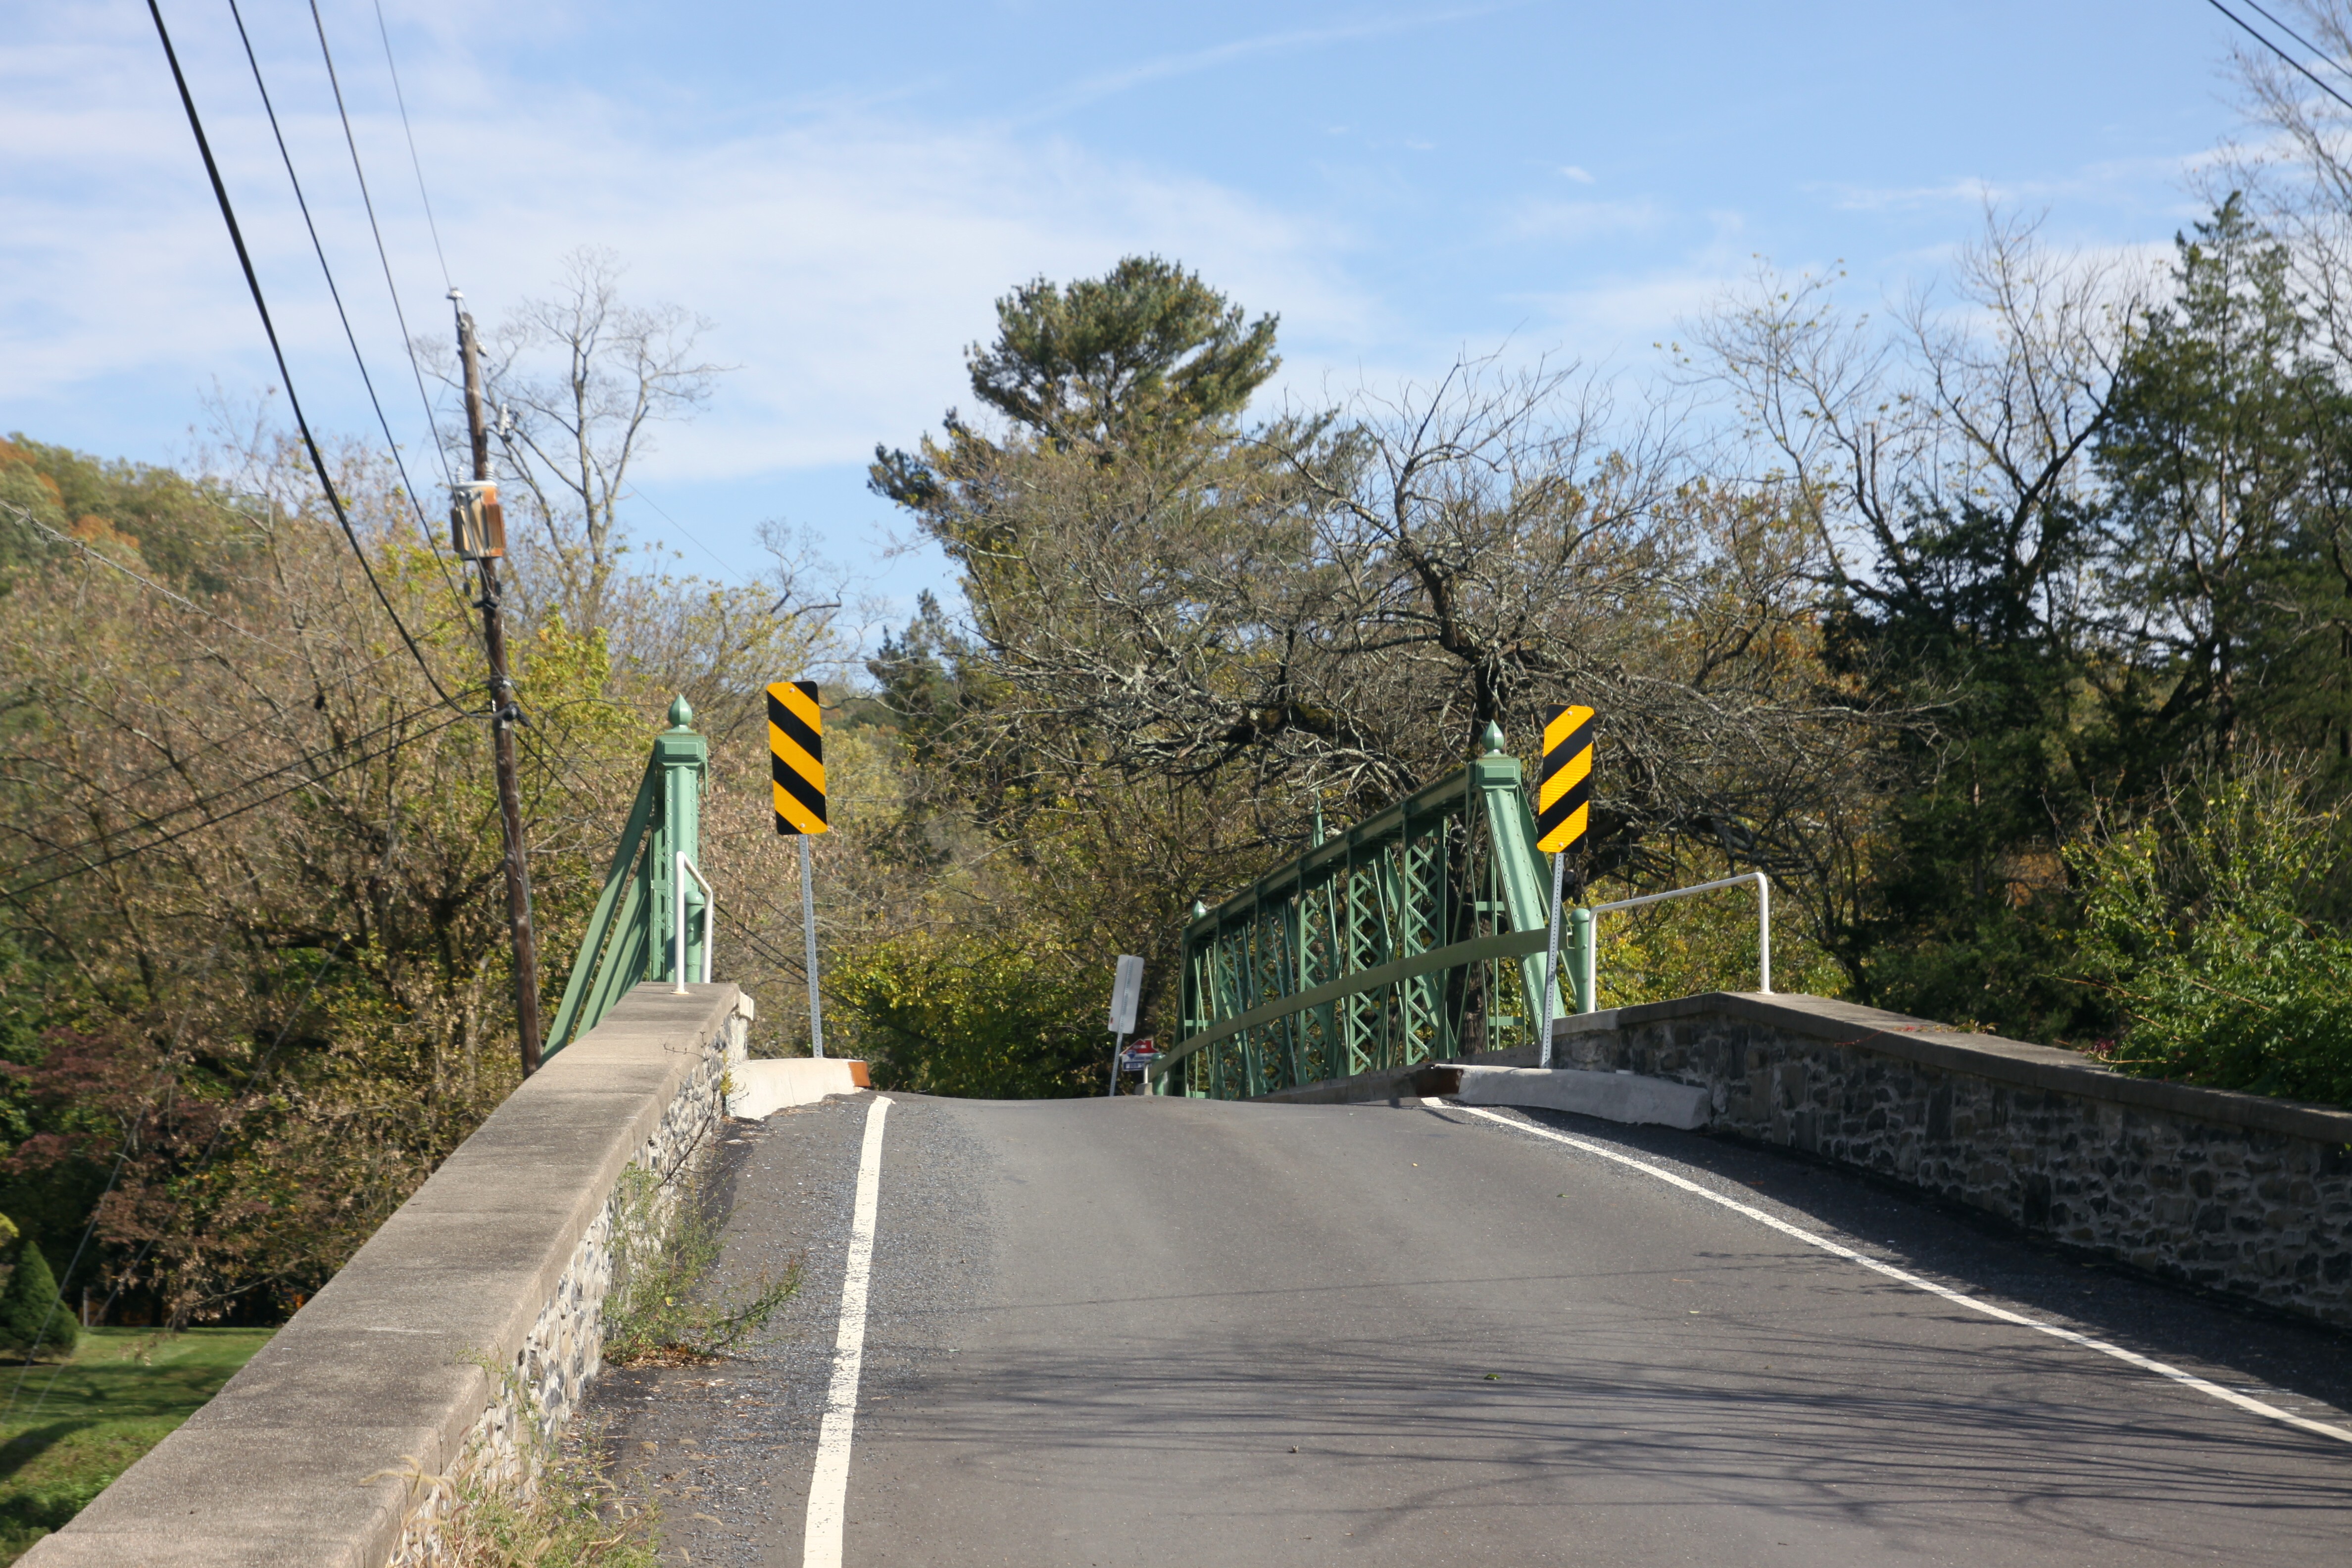
Photo Credit: Richard Weiss
View from beside approaching roadway.
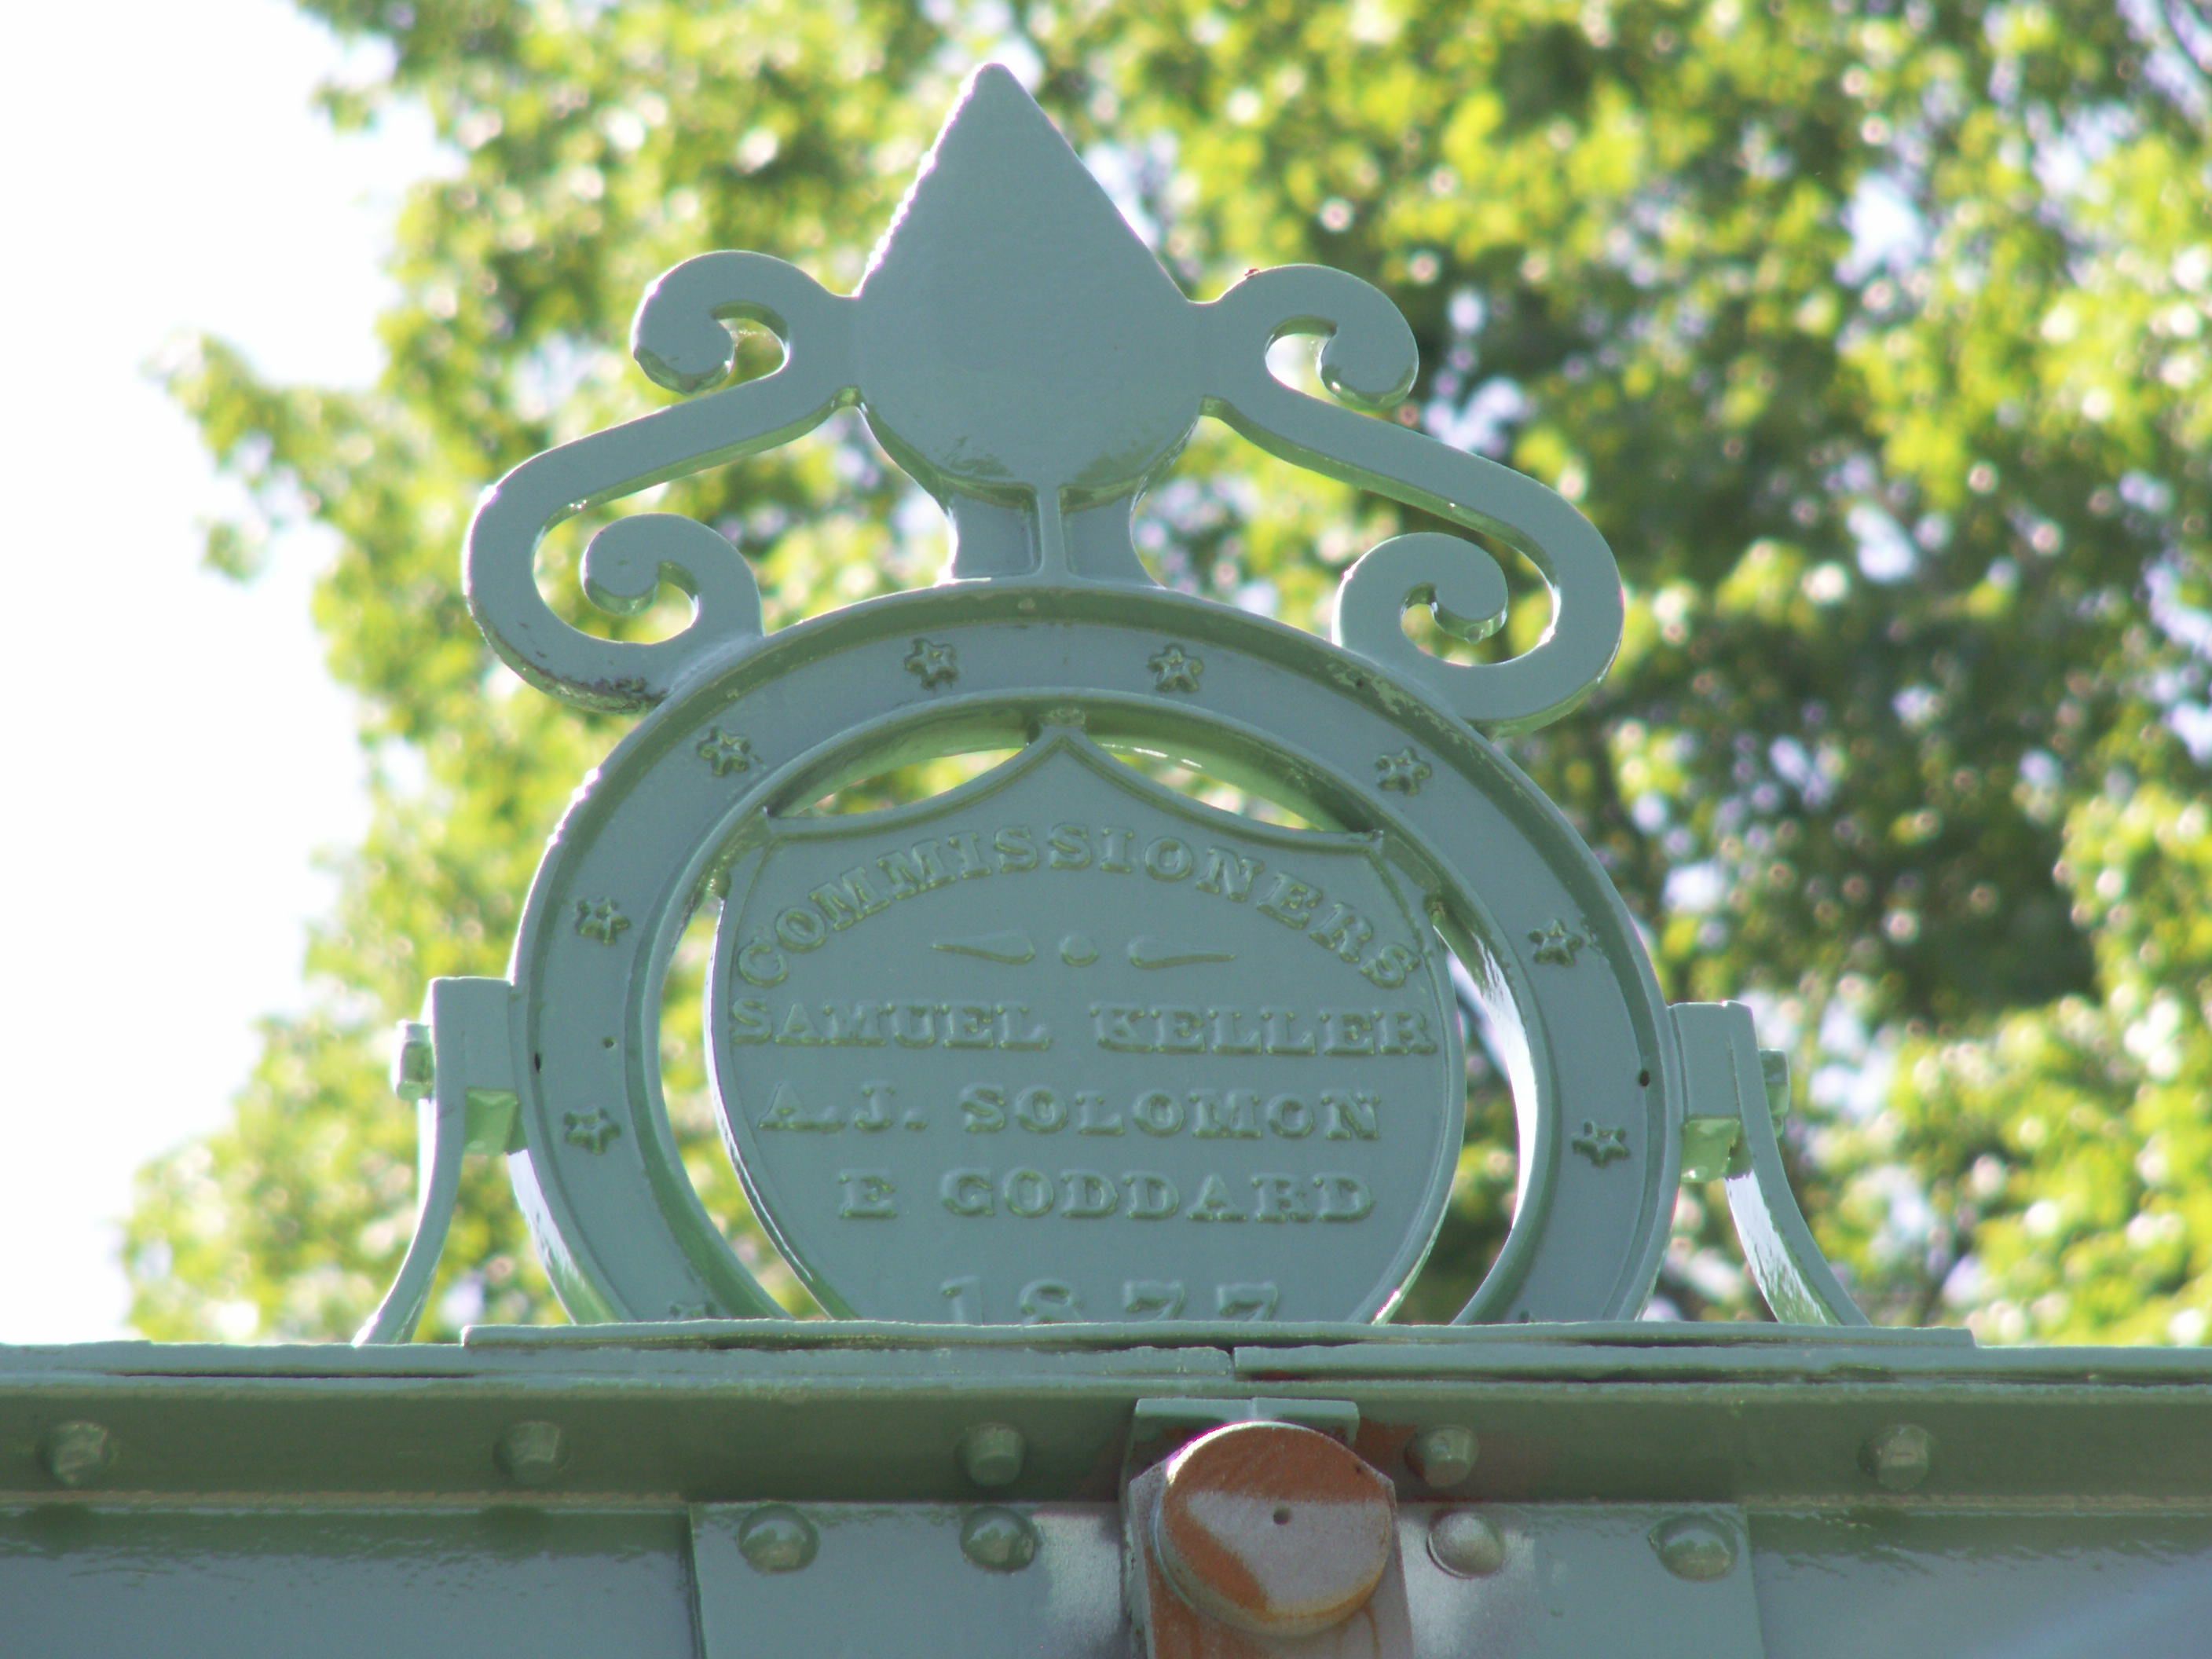
![]()

Photo Credit: Richard Weiss
Plaque.
![]()

Photo Credit: Richard Weiss
View of truss web.
![]()
Photos Taken During Rehabilitation
![]()

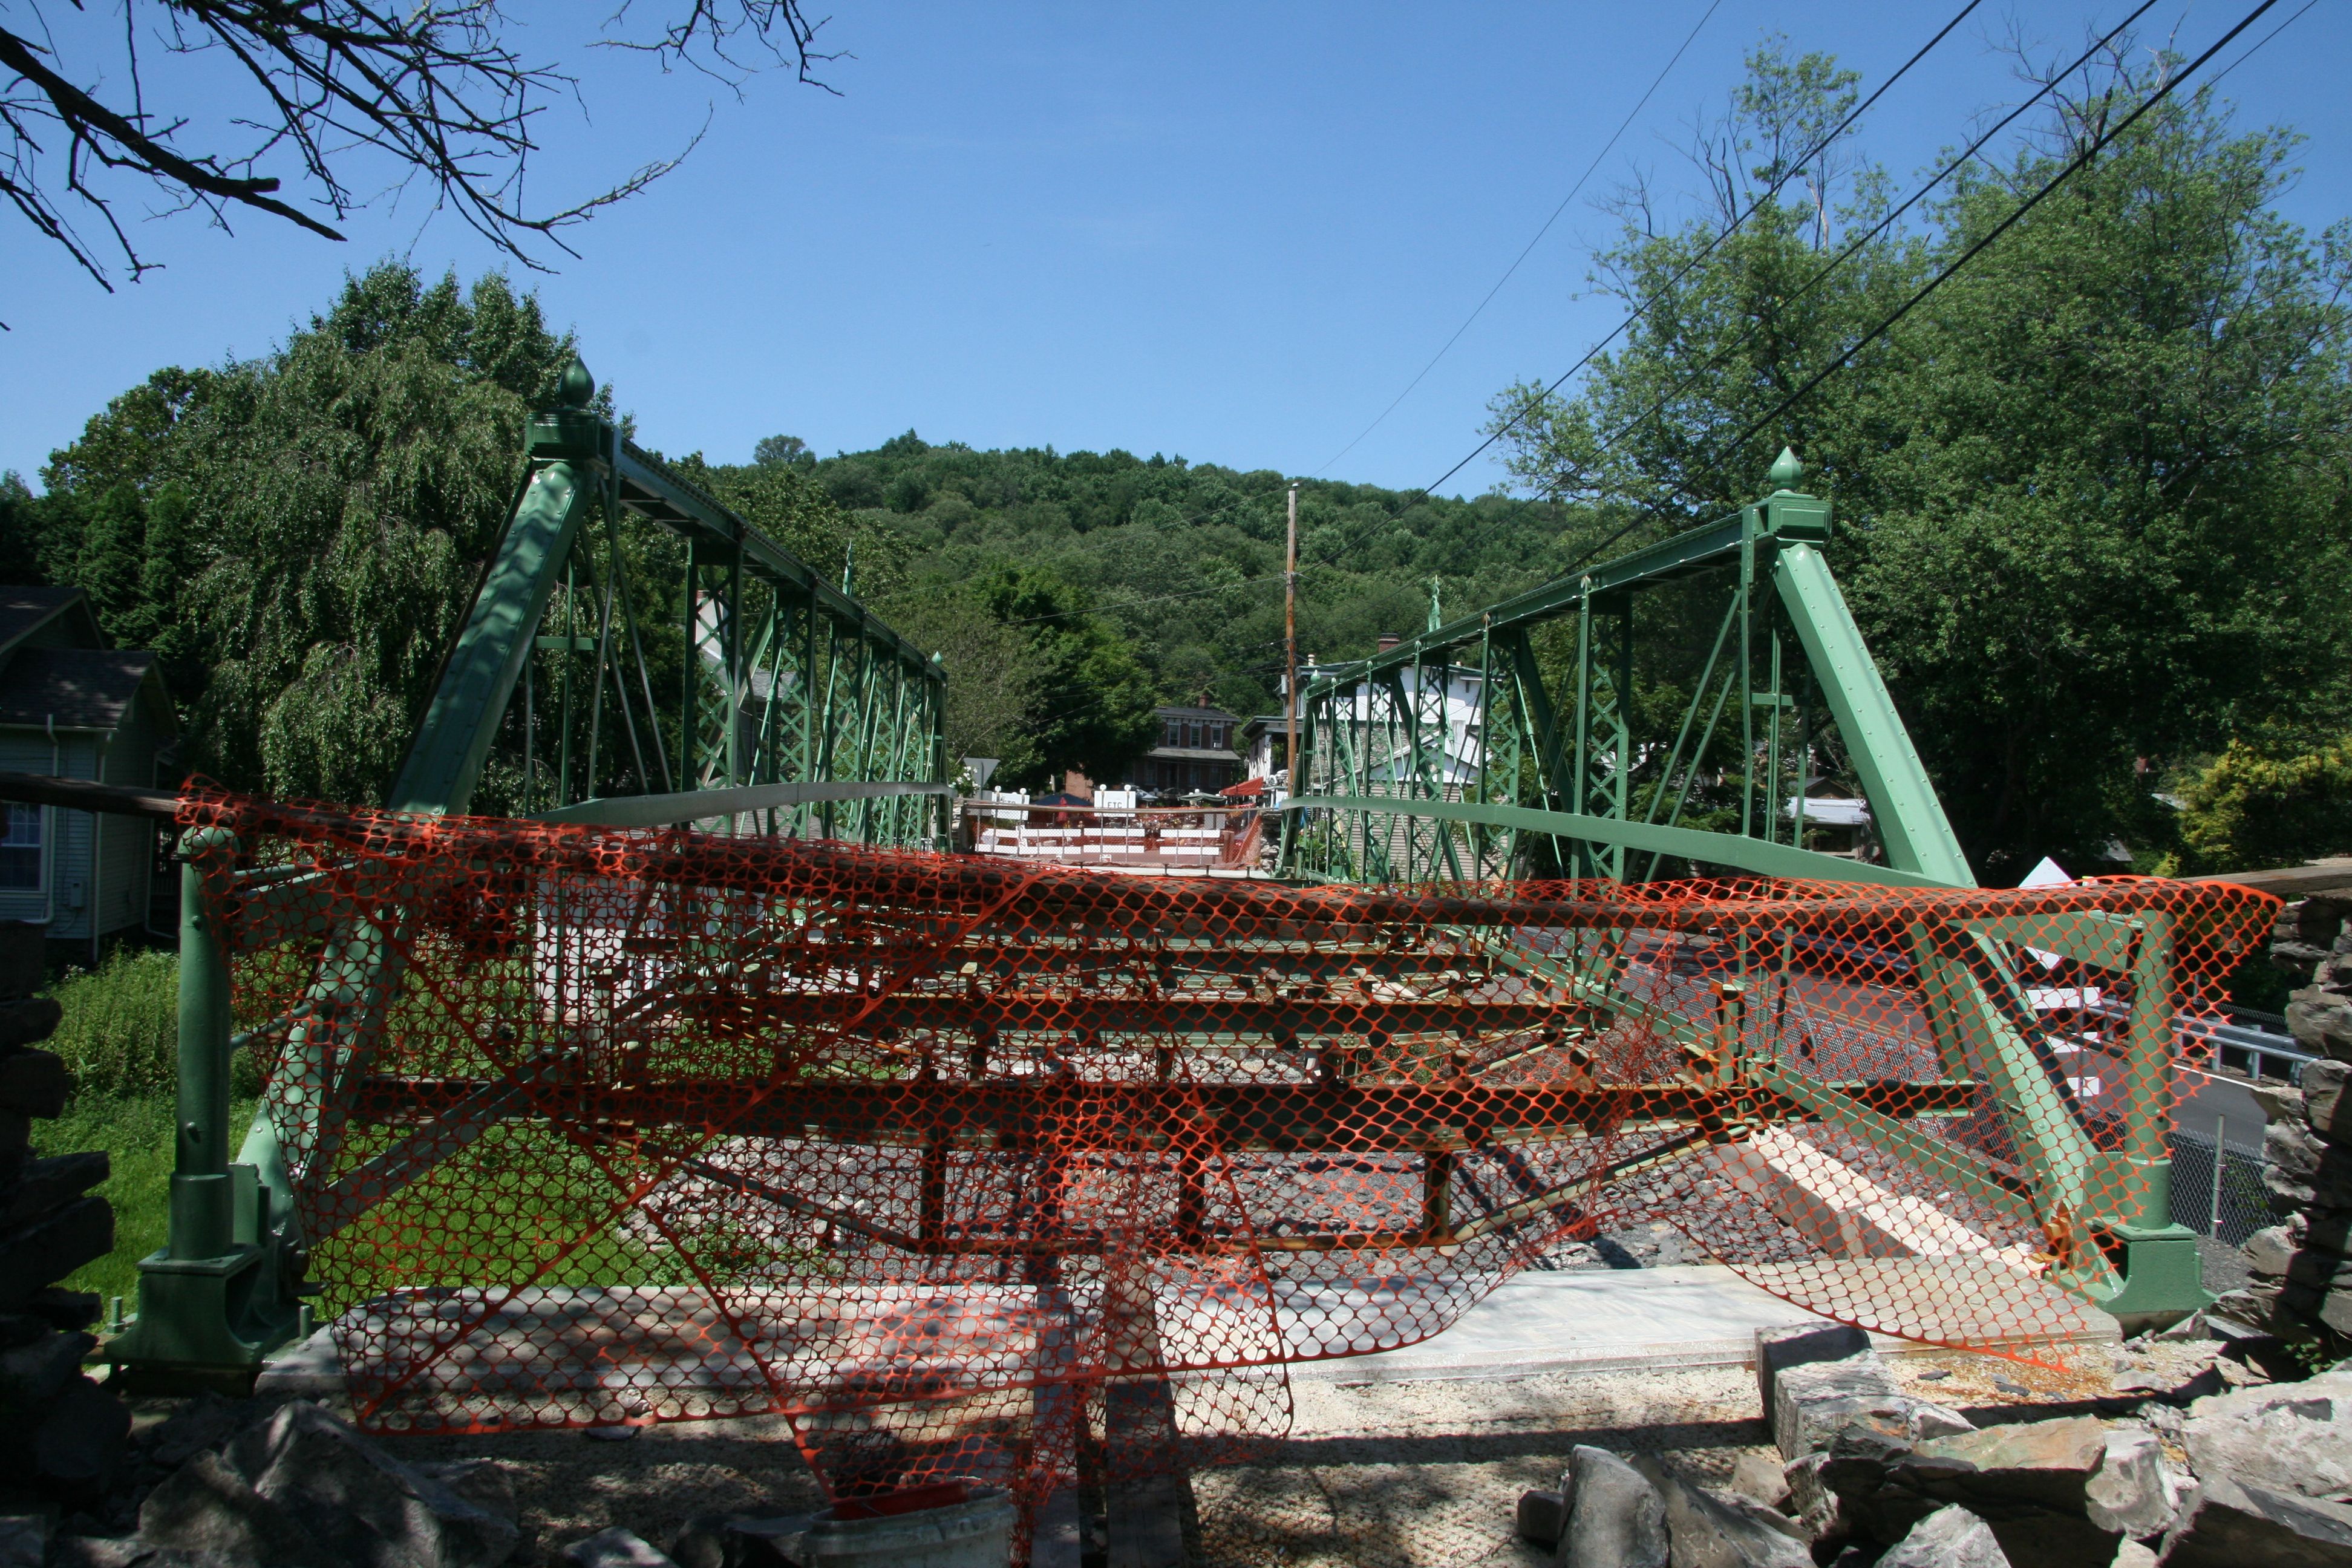


Portal views.
![]()


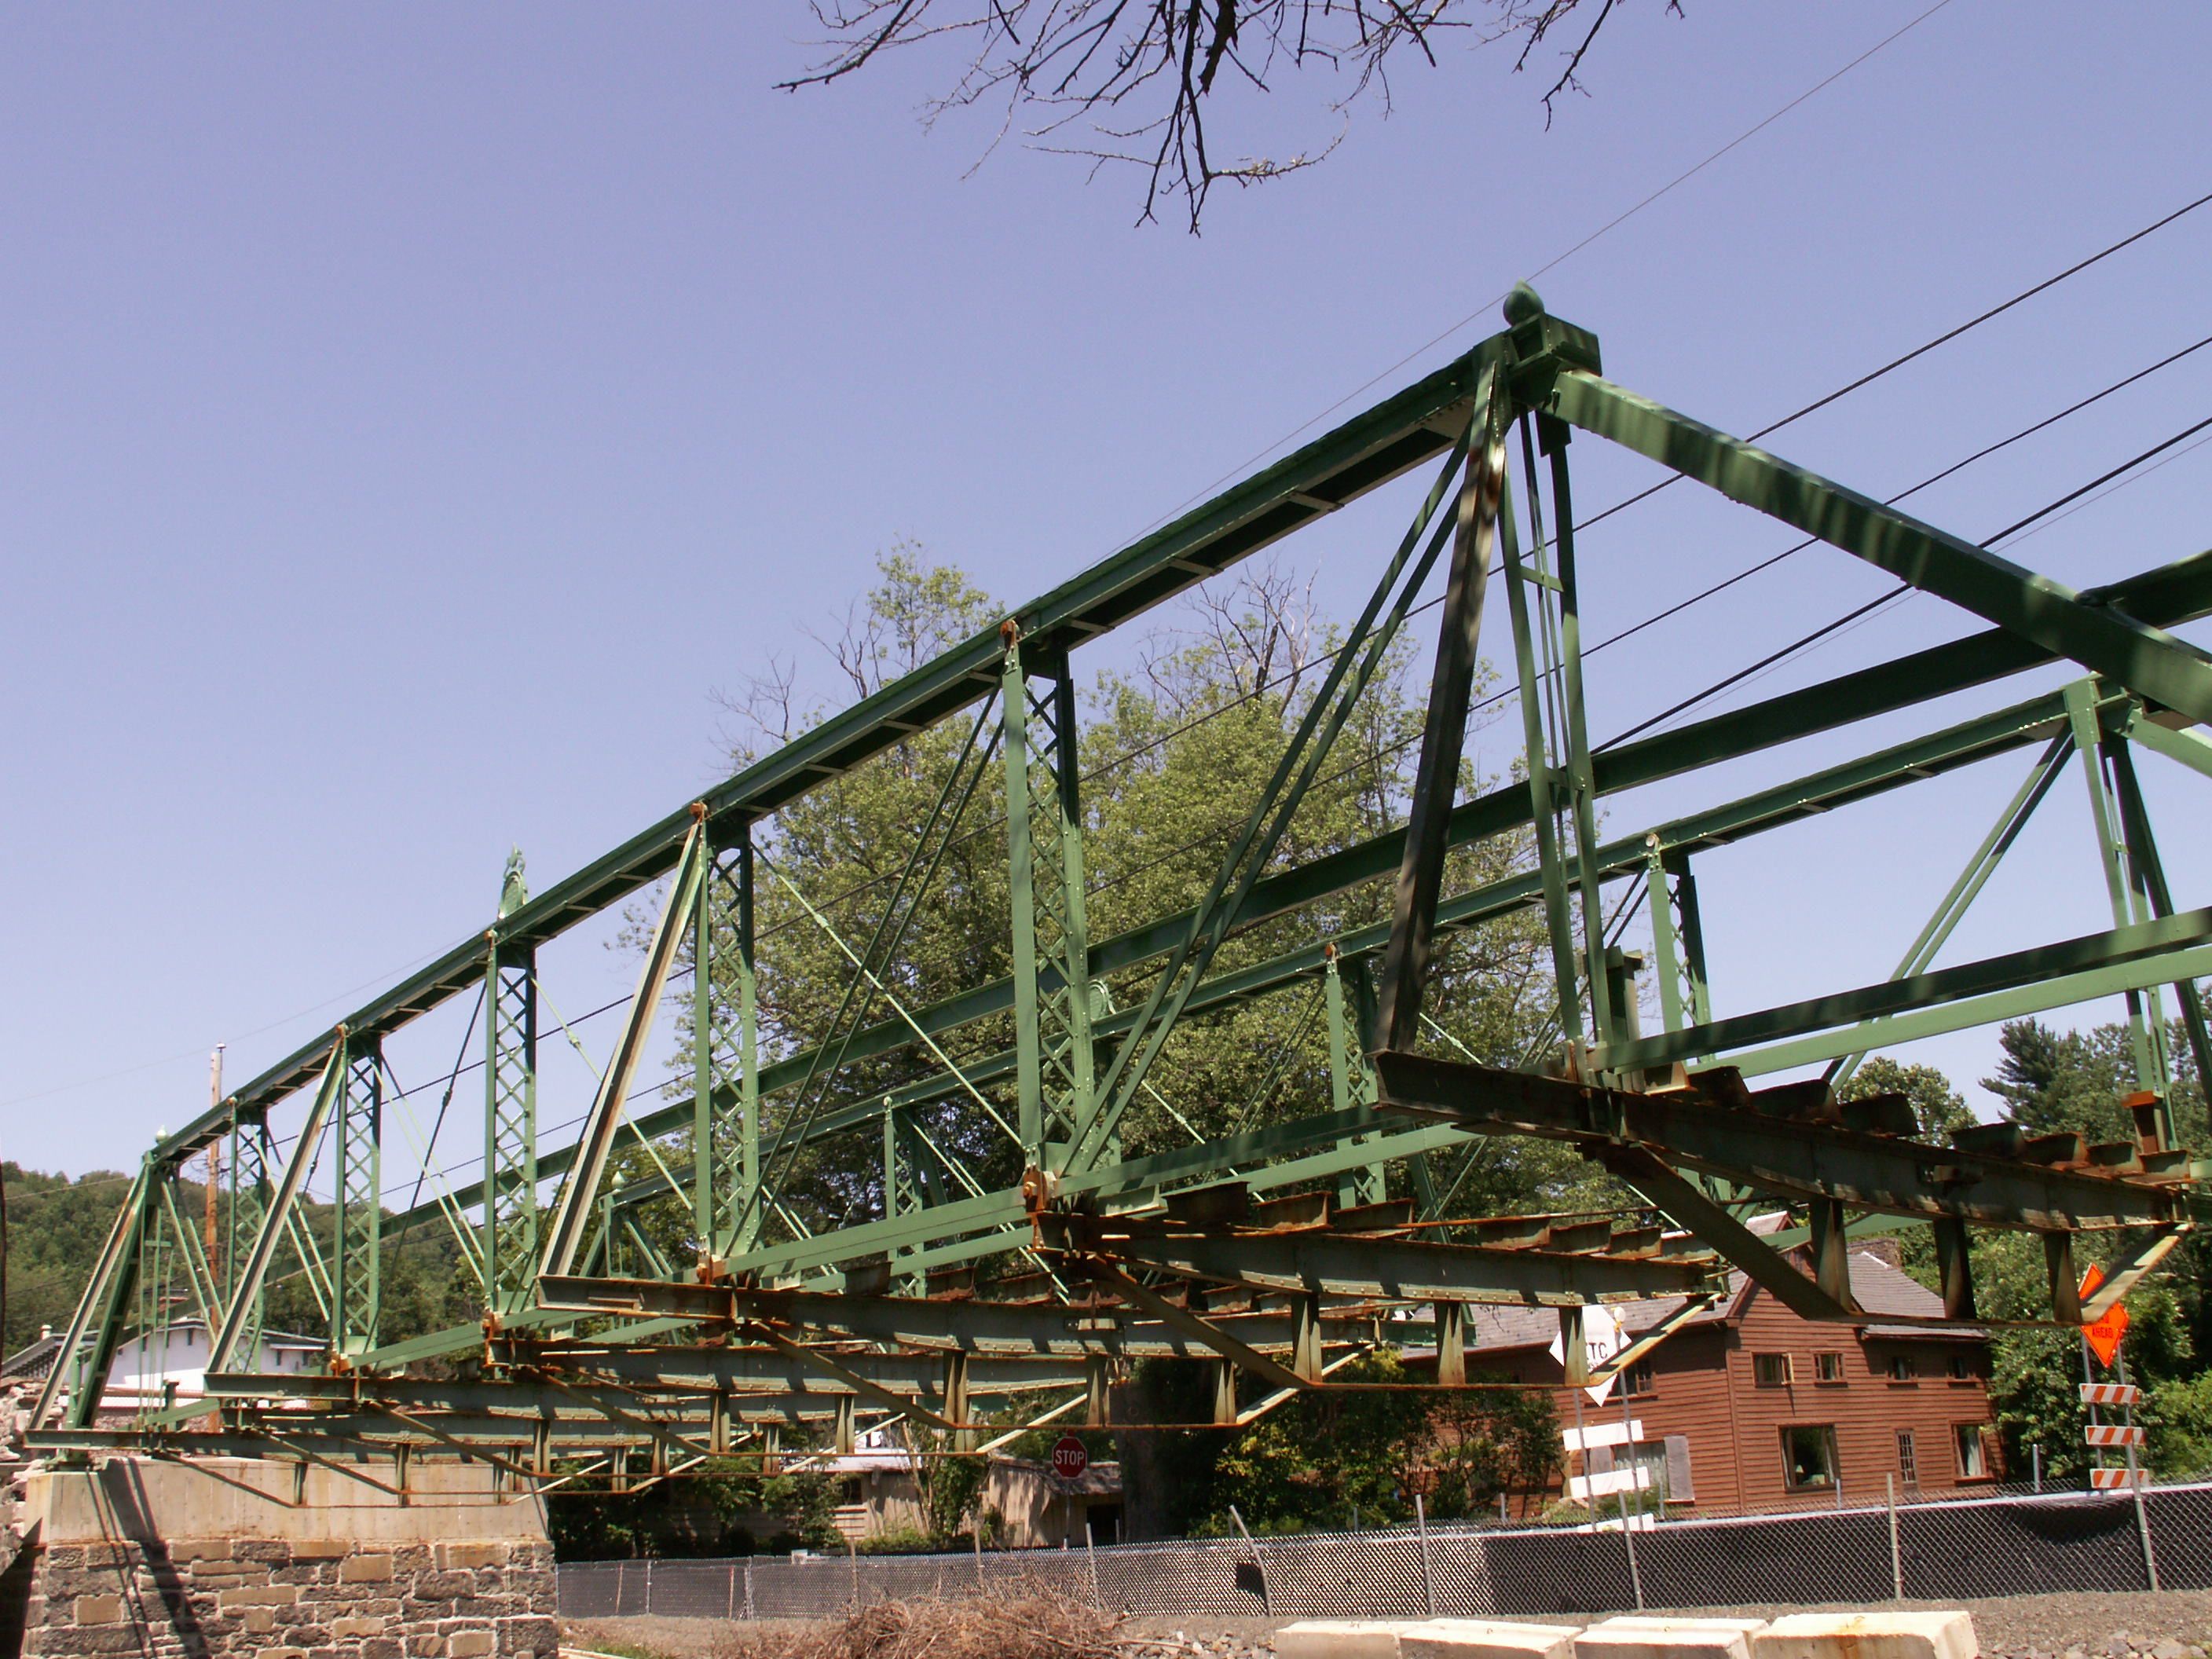

Elevation.
![]()

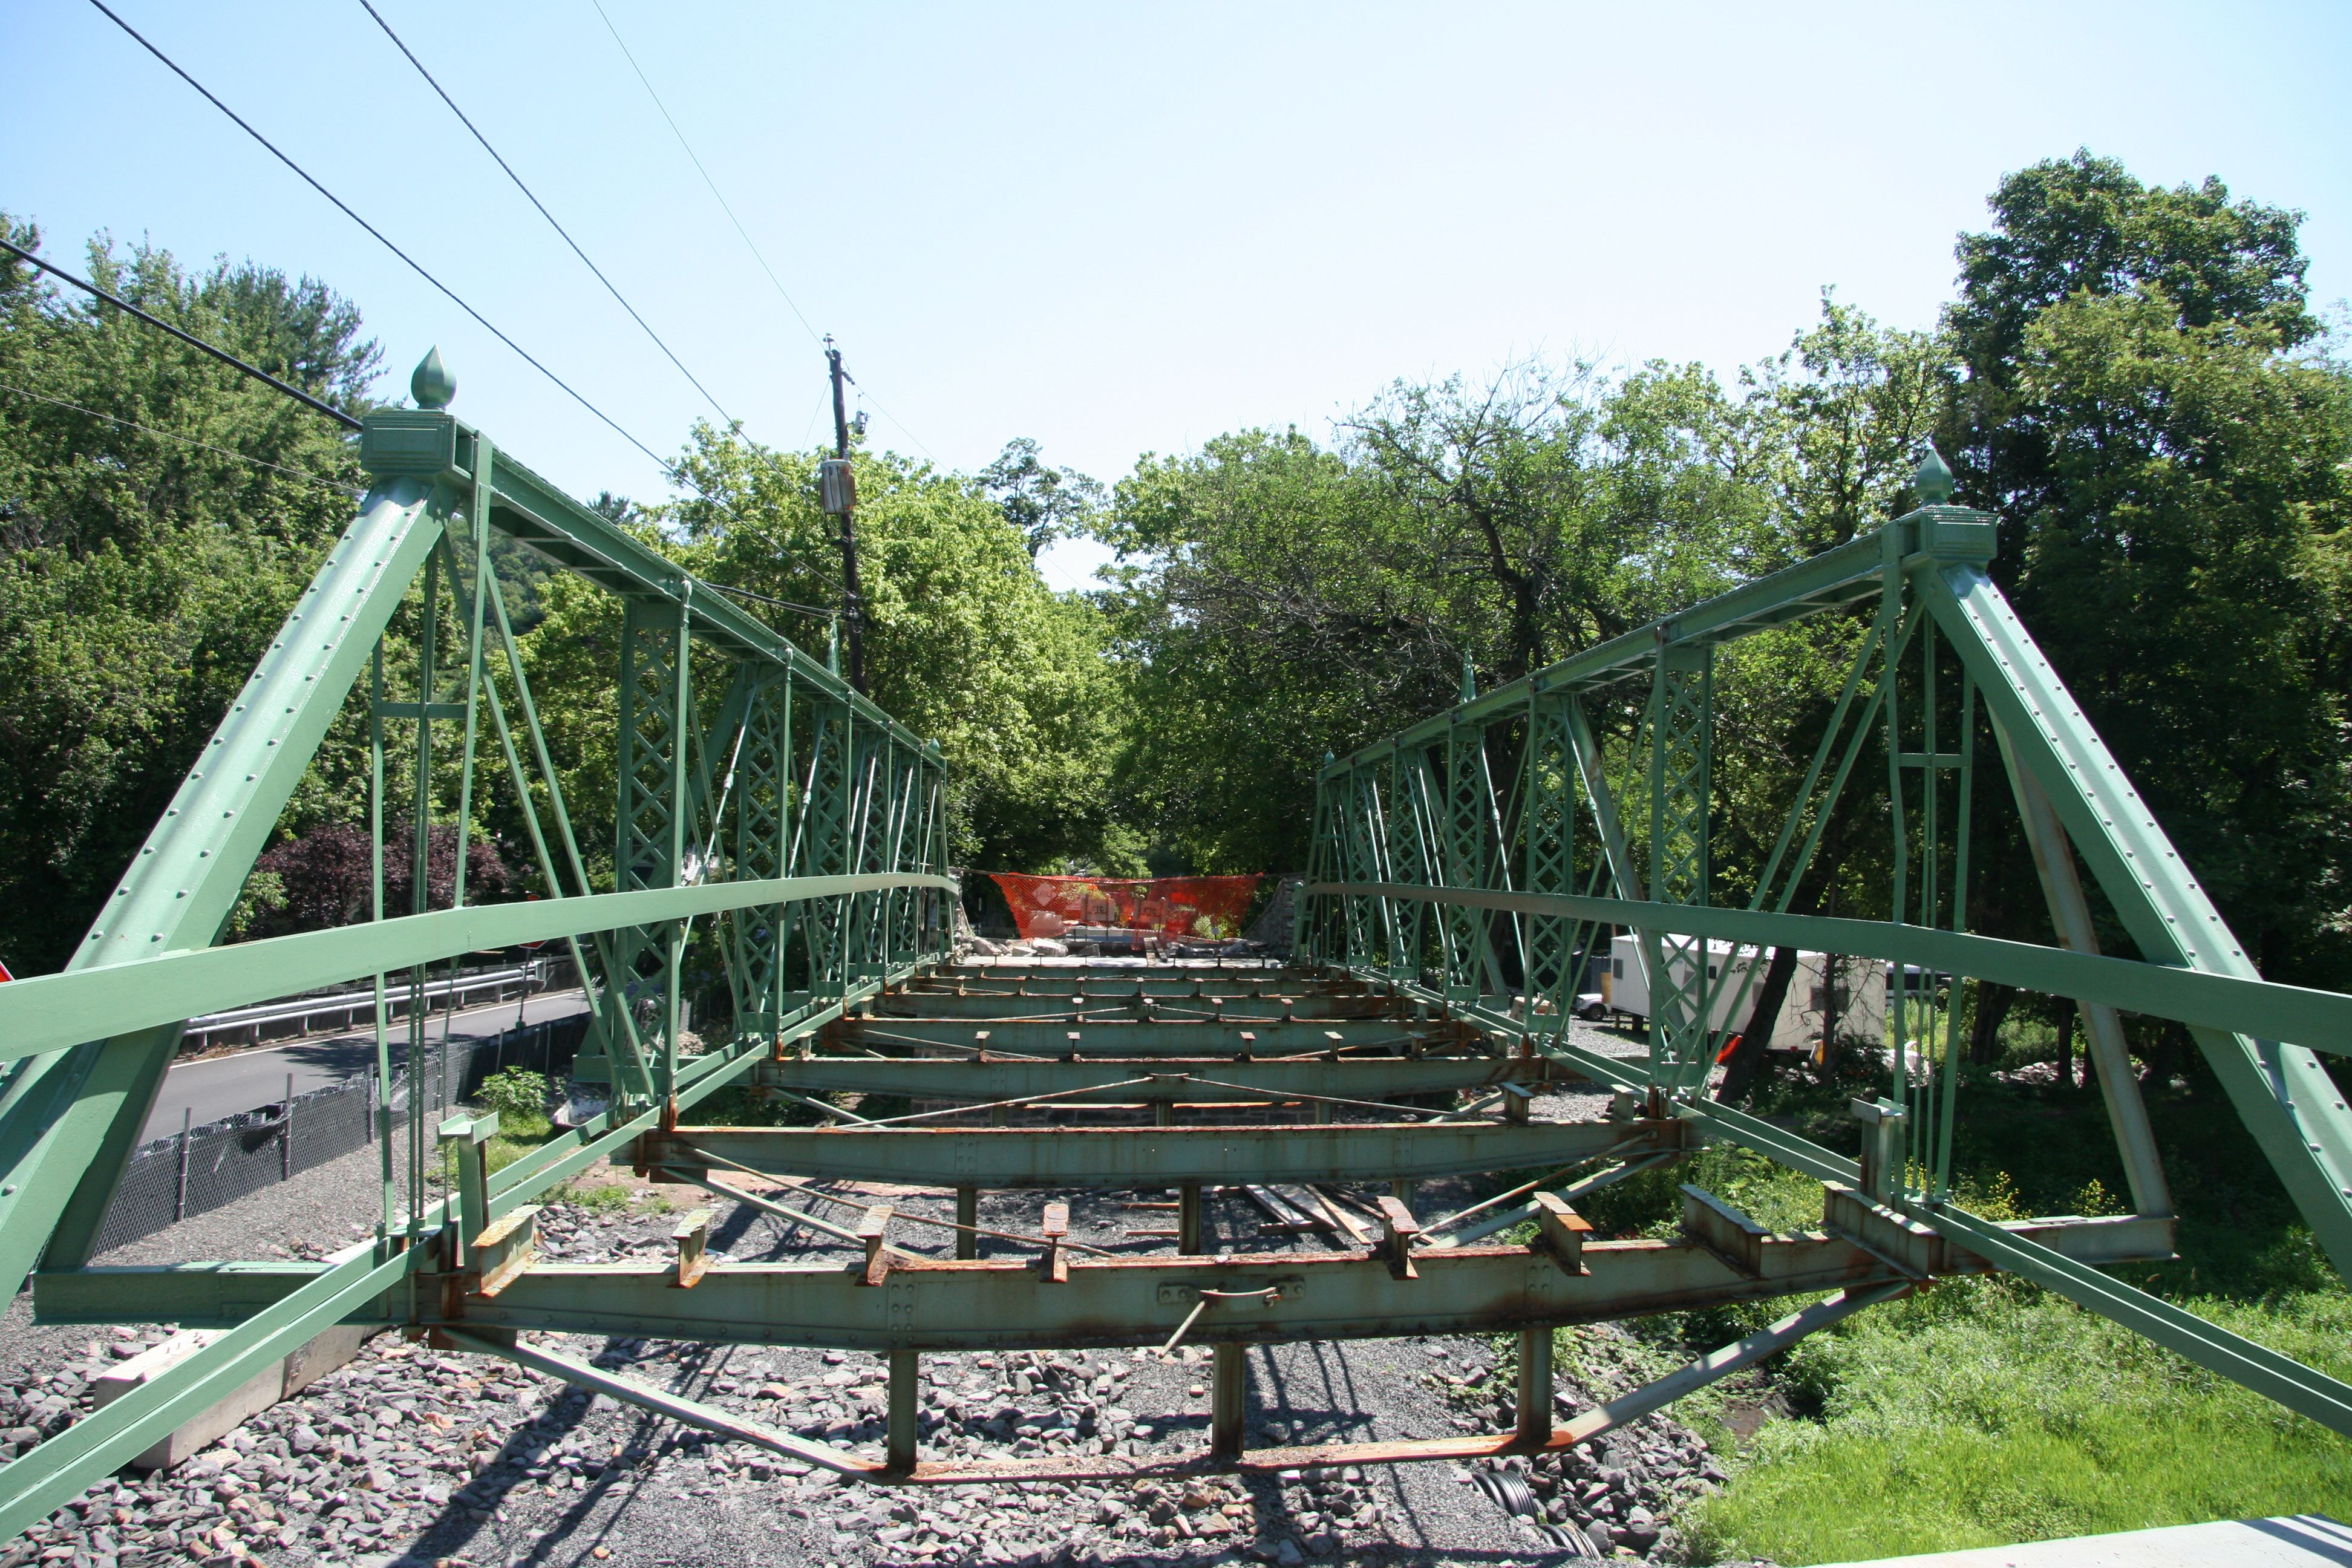
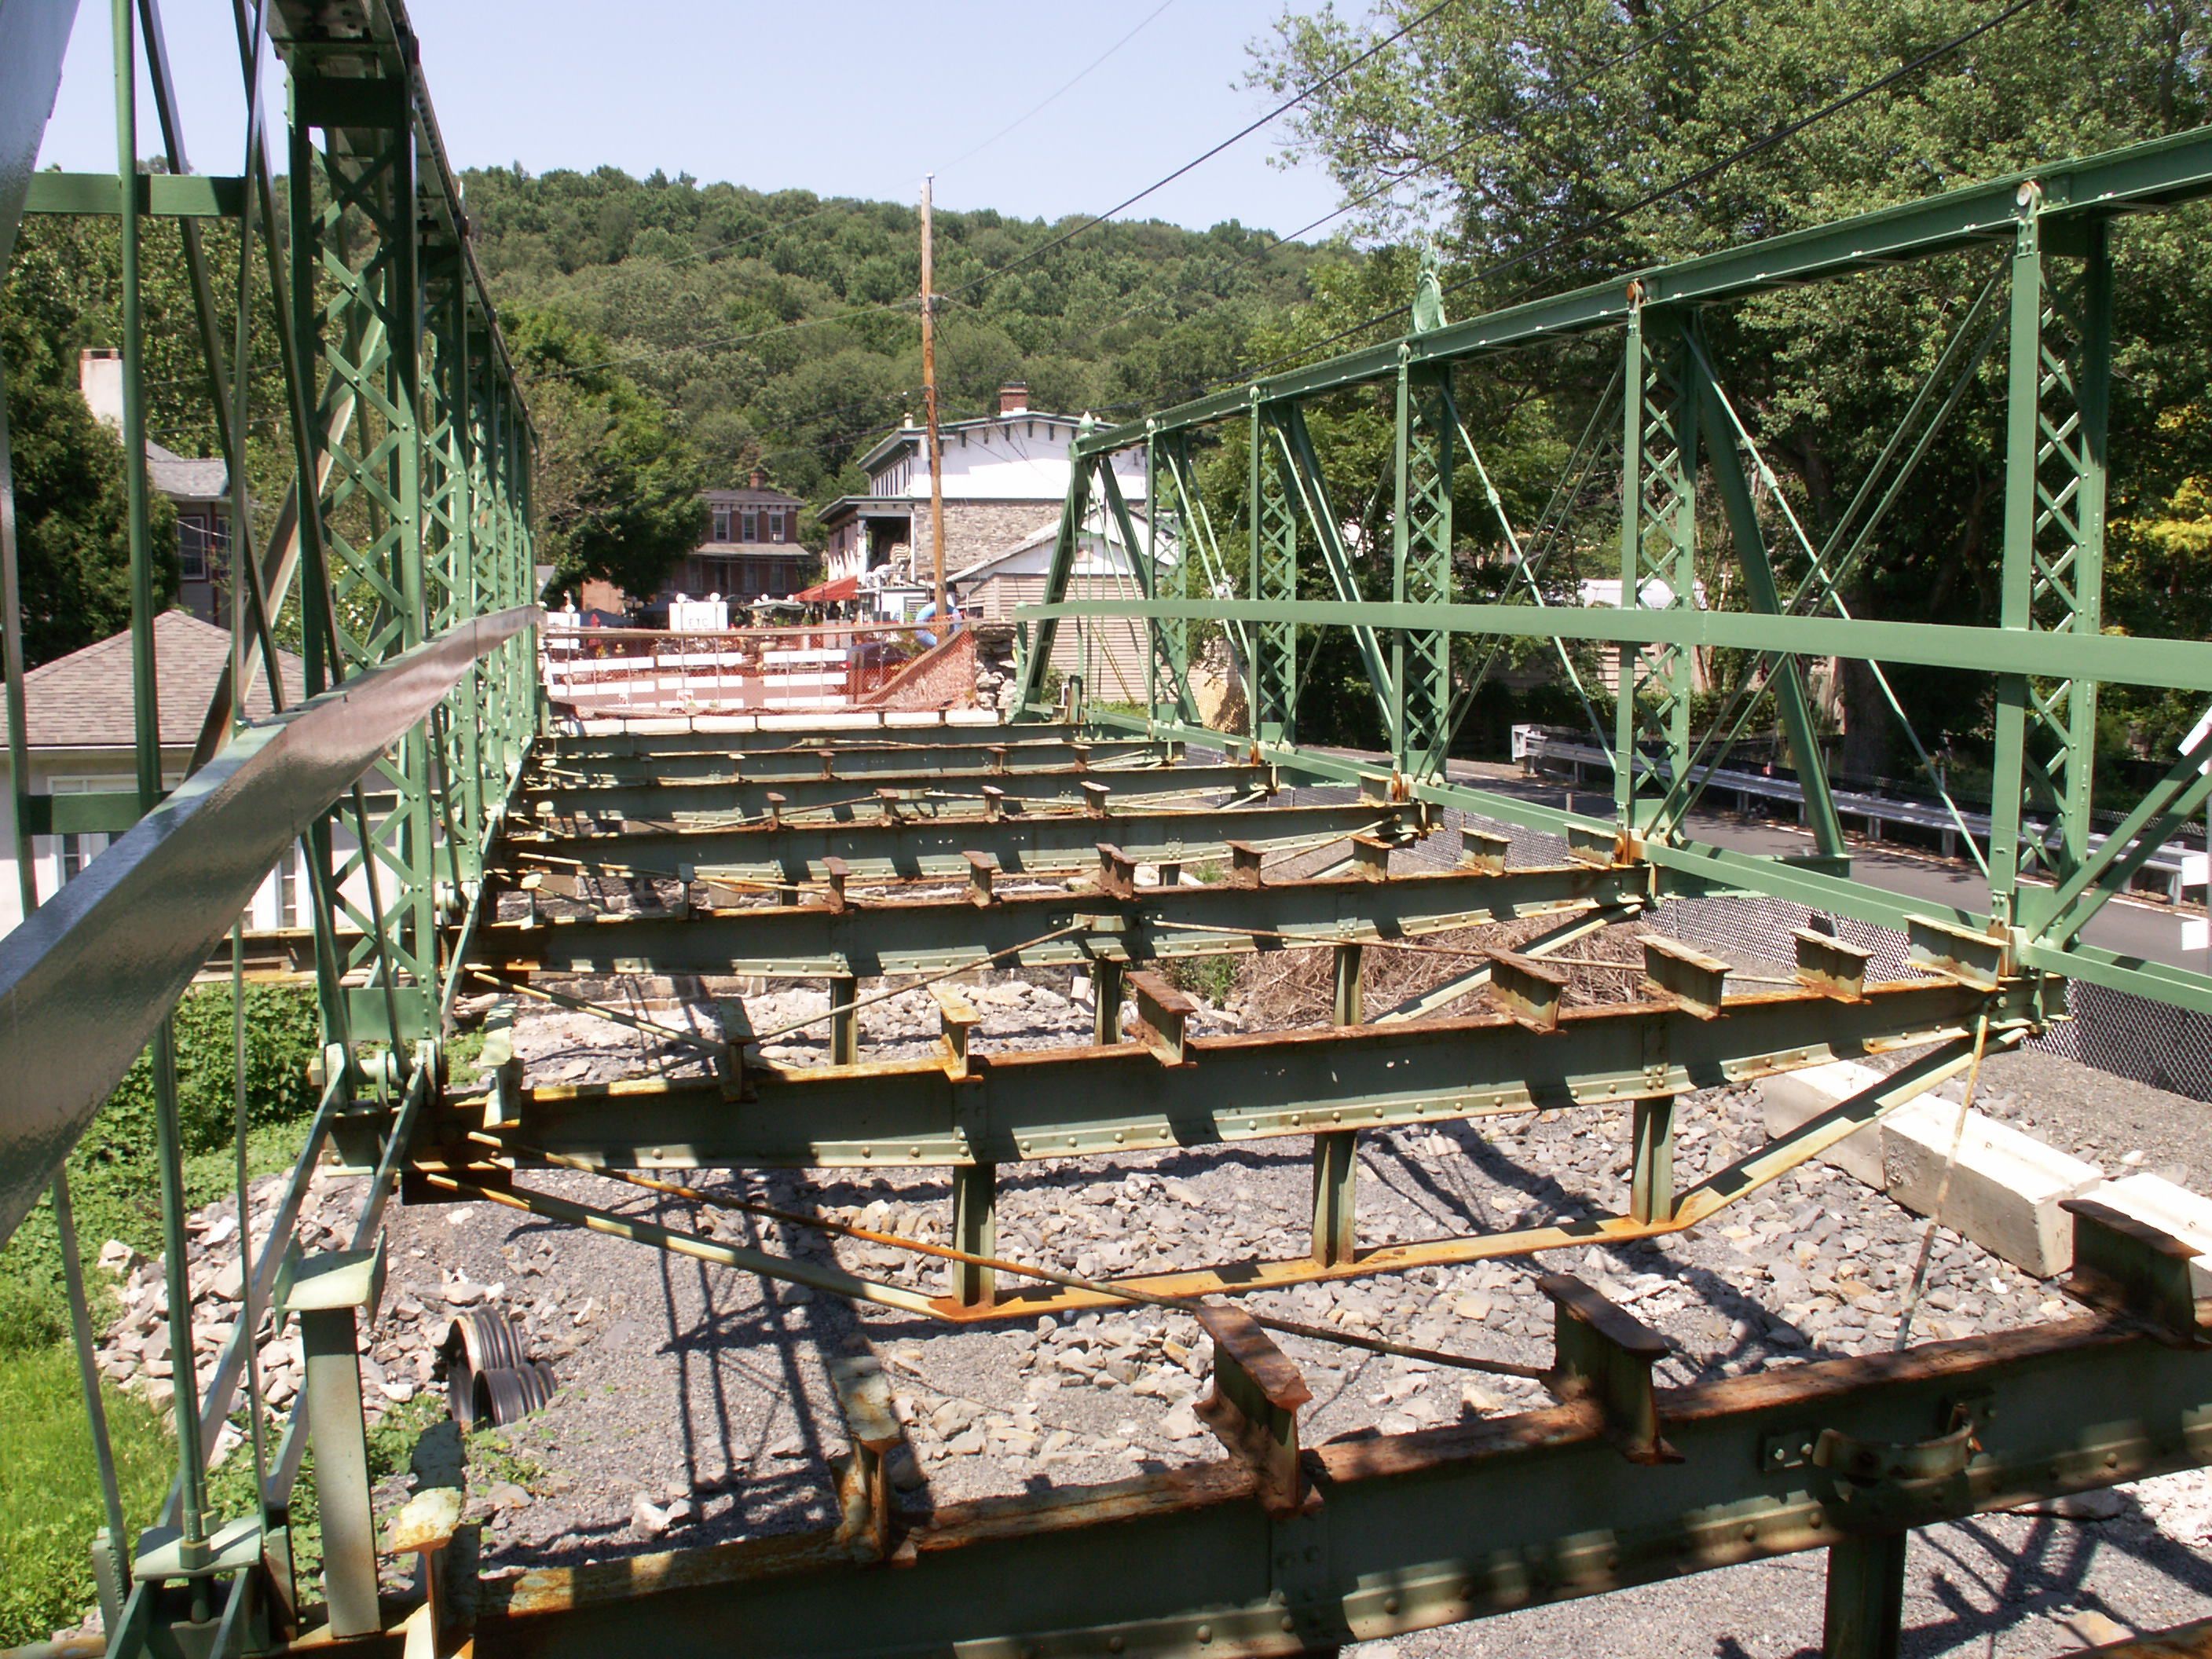
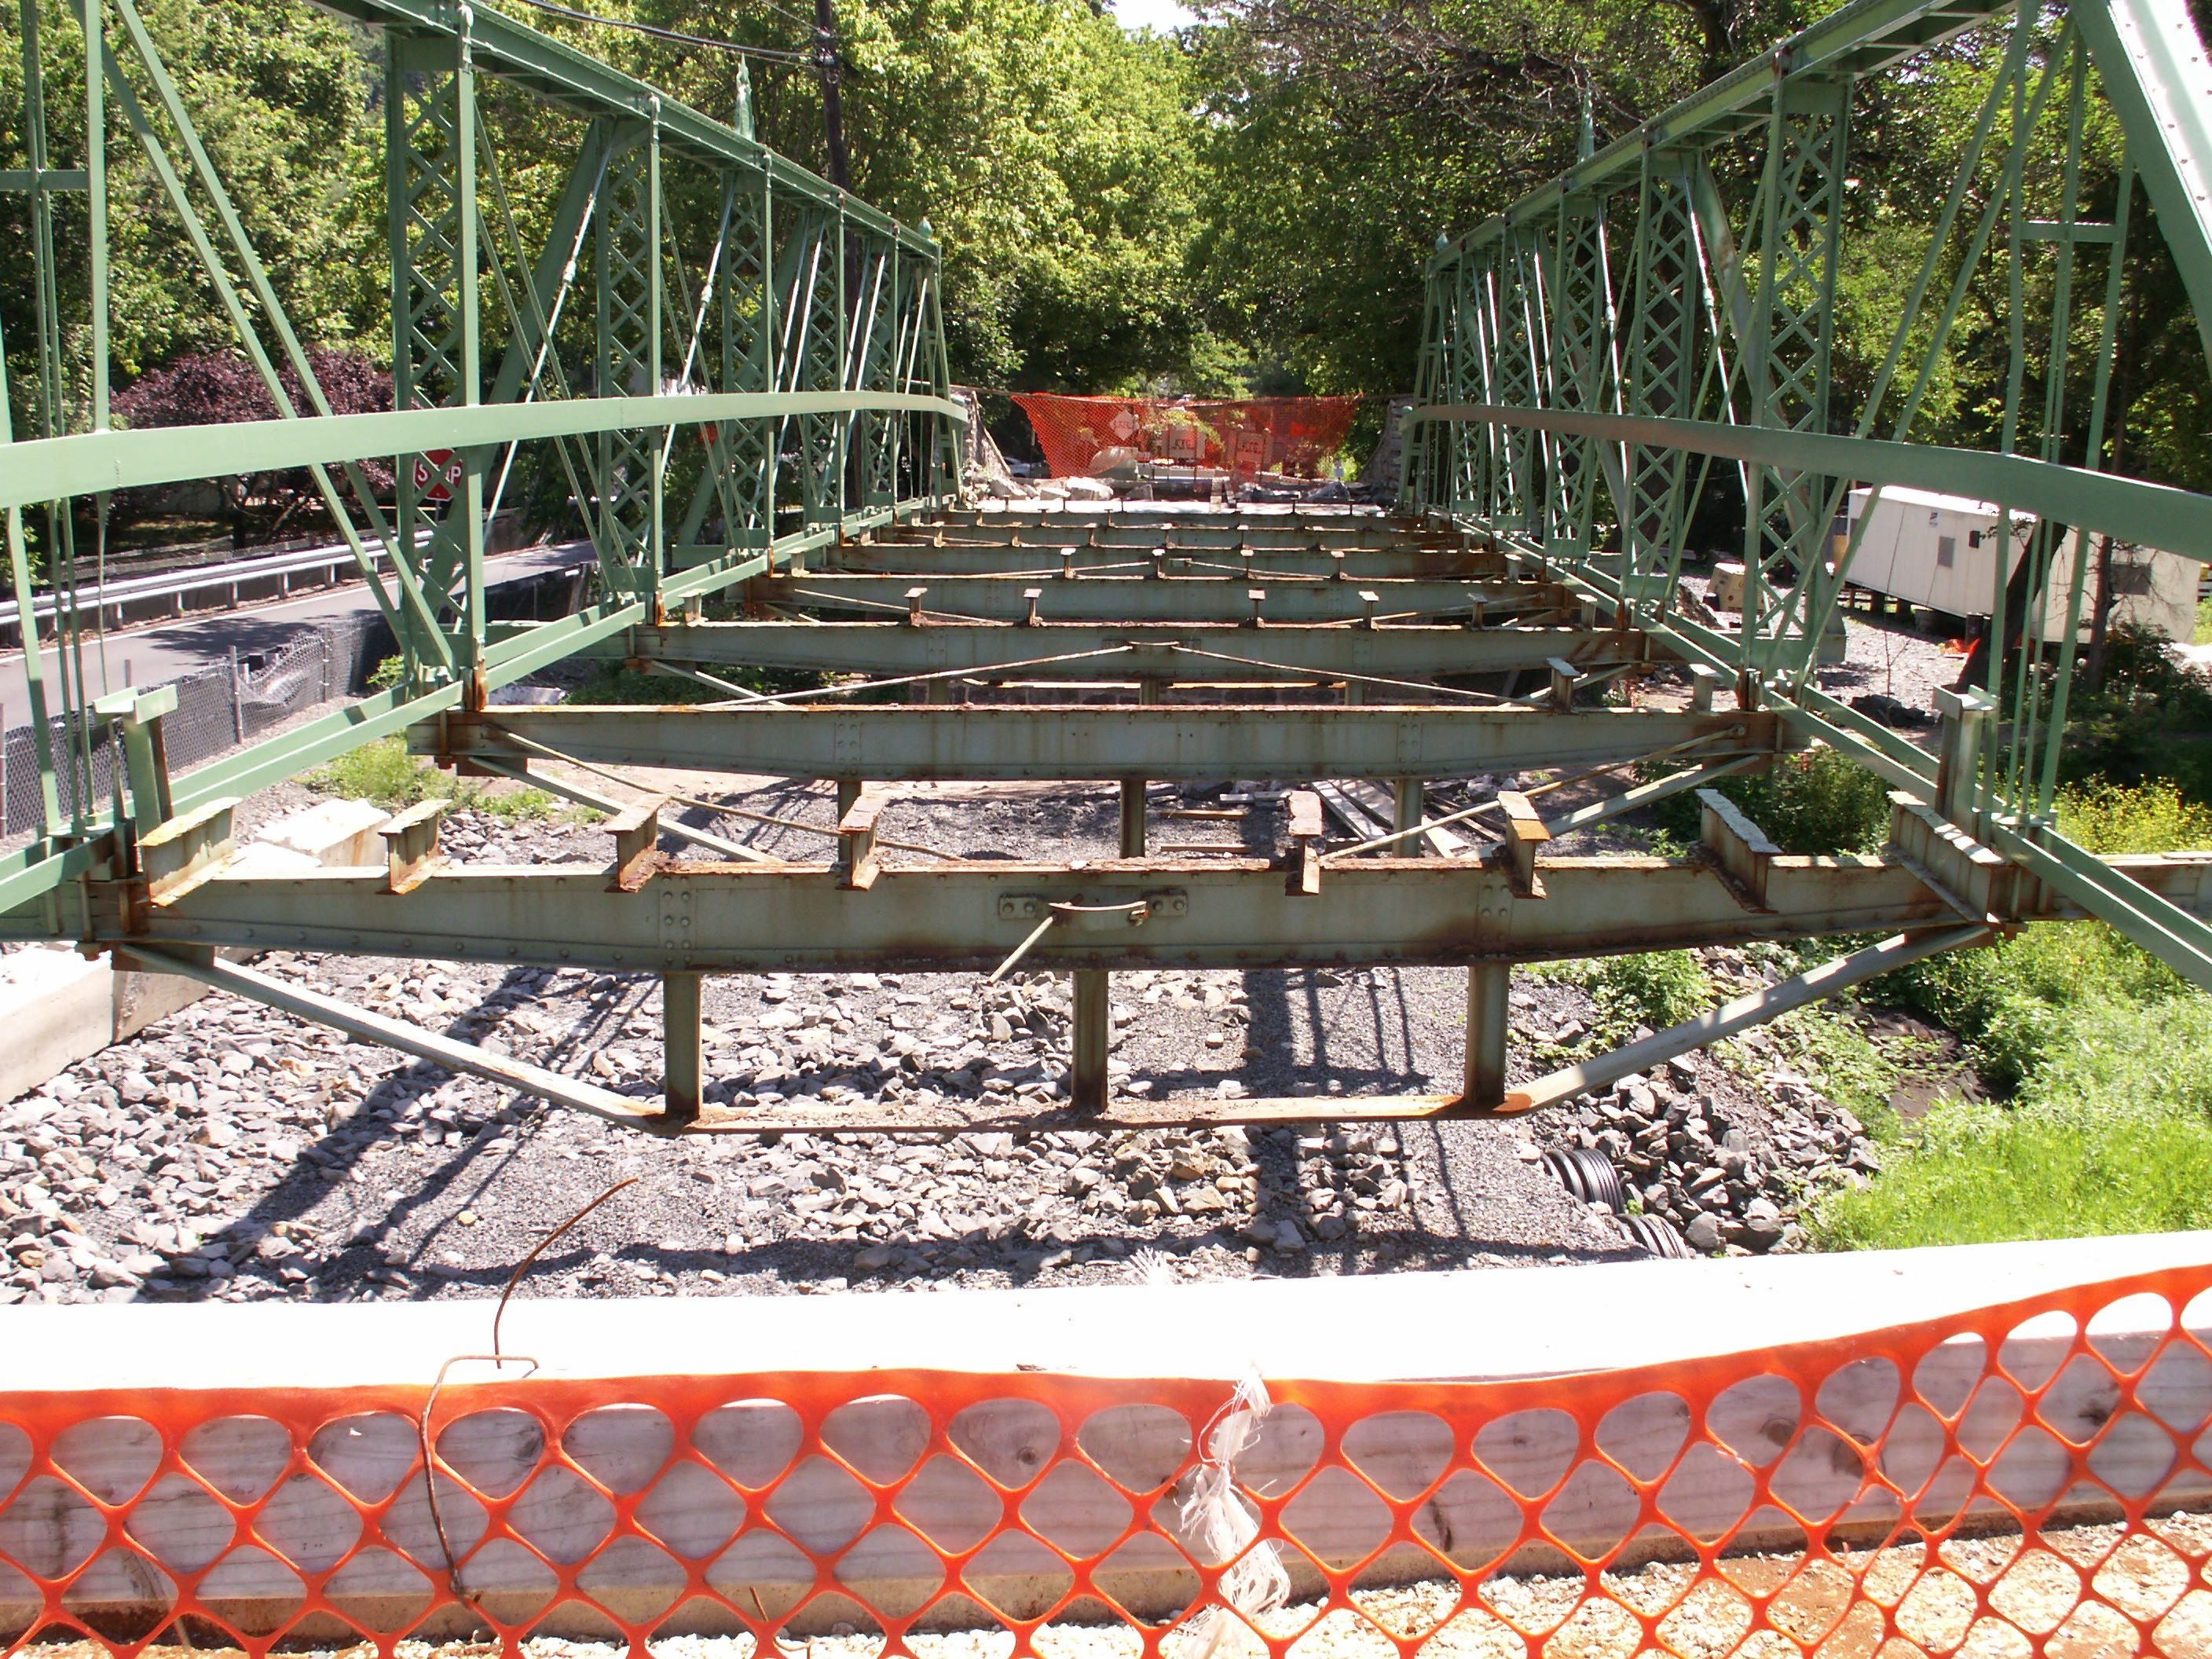
View of the truss web.
![]()
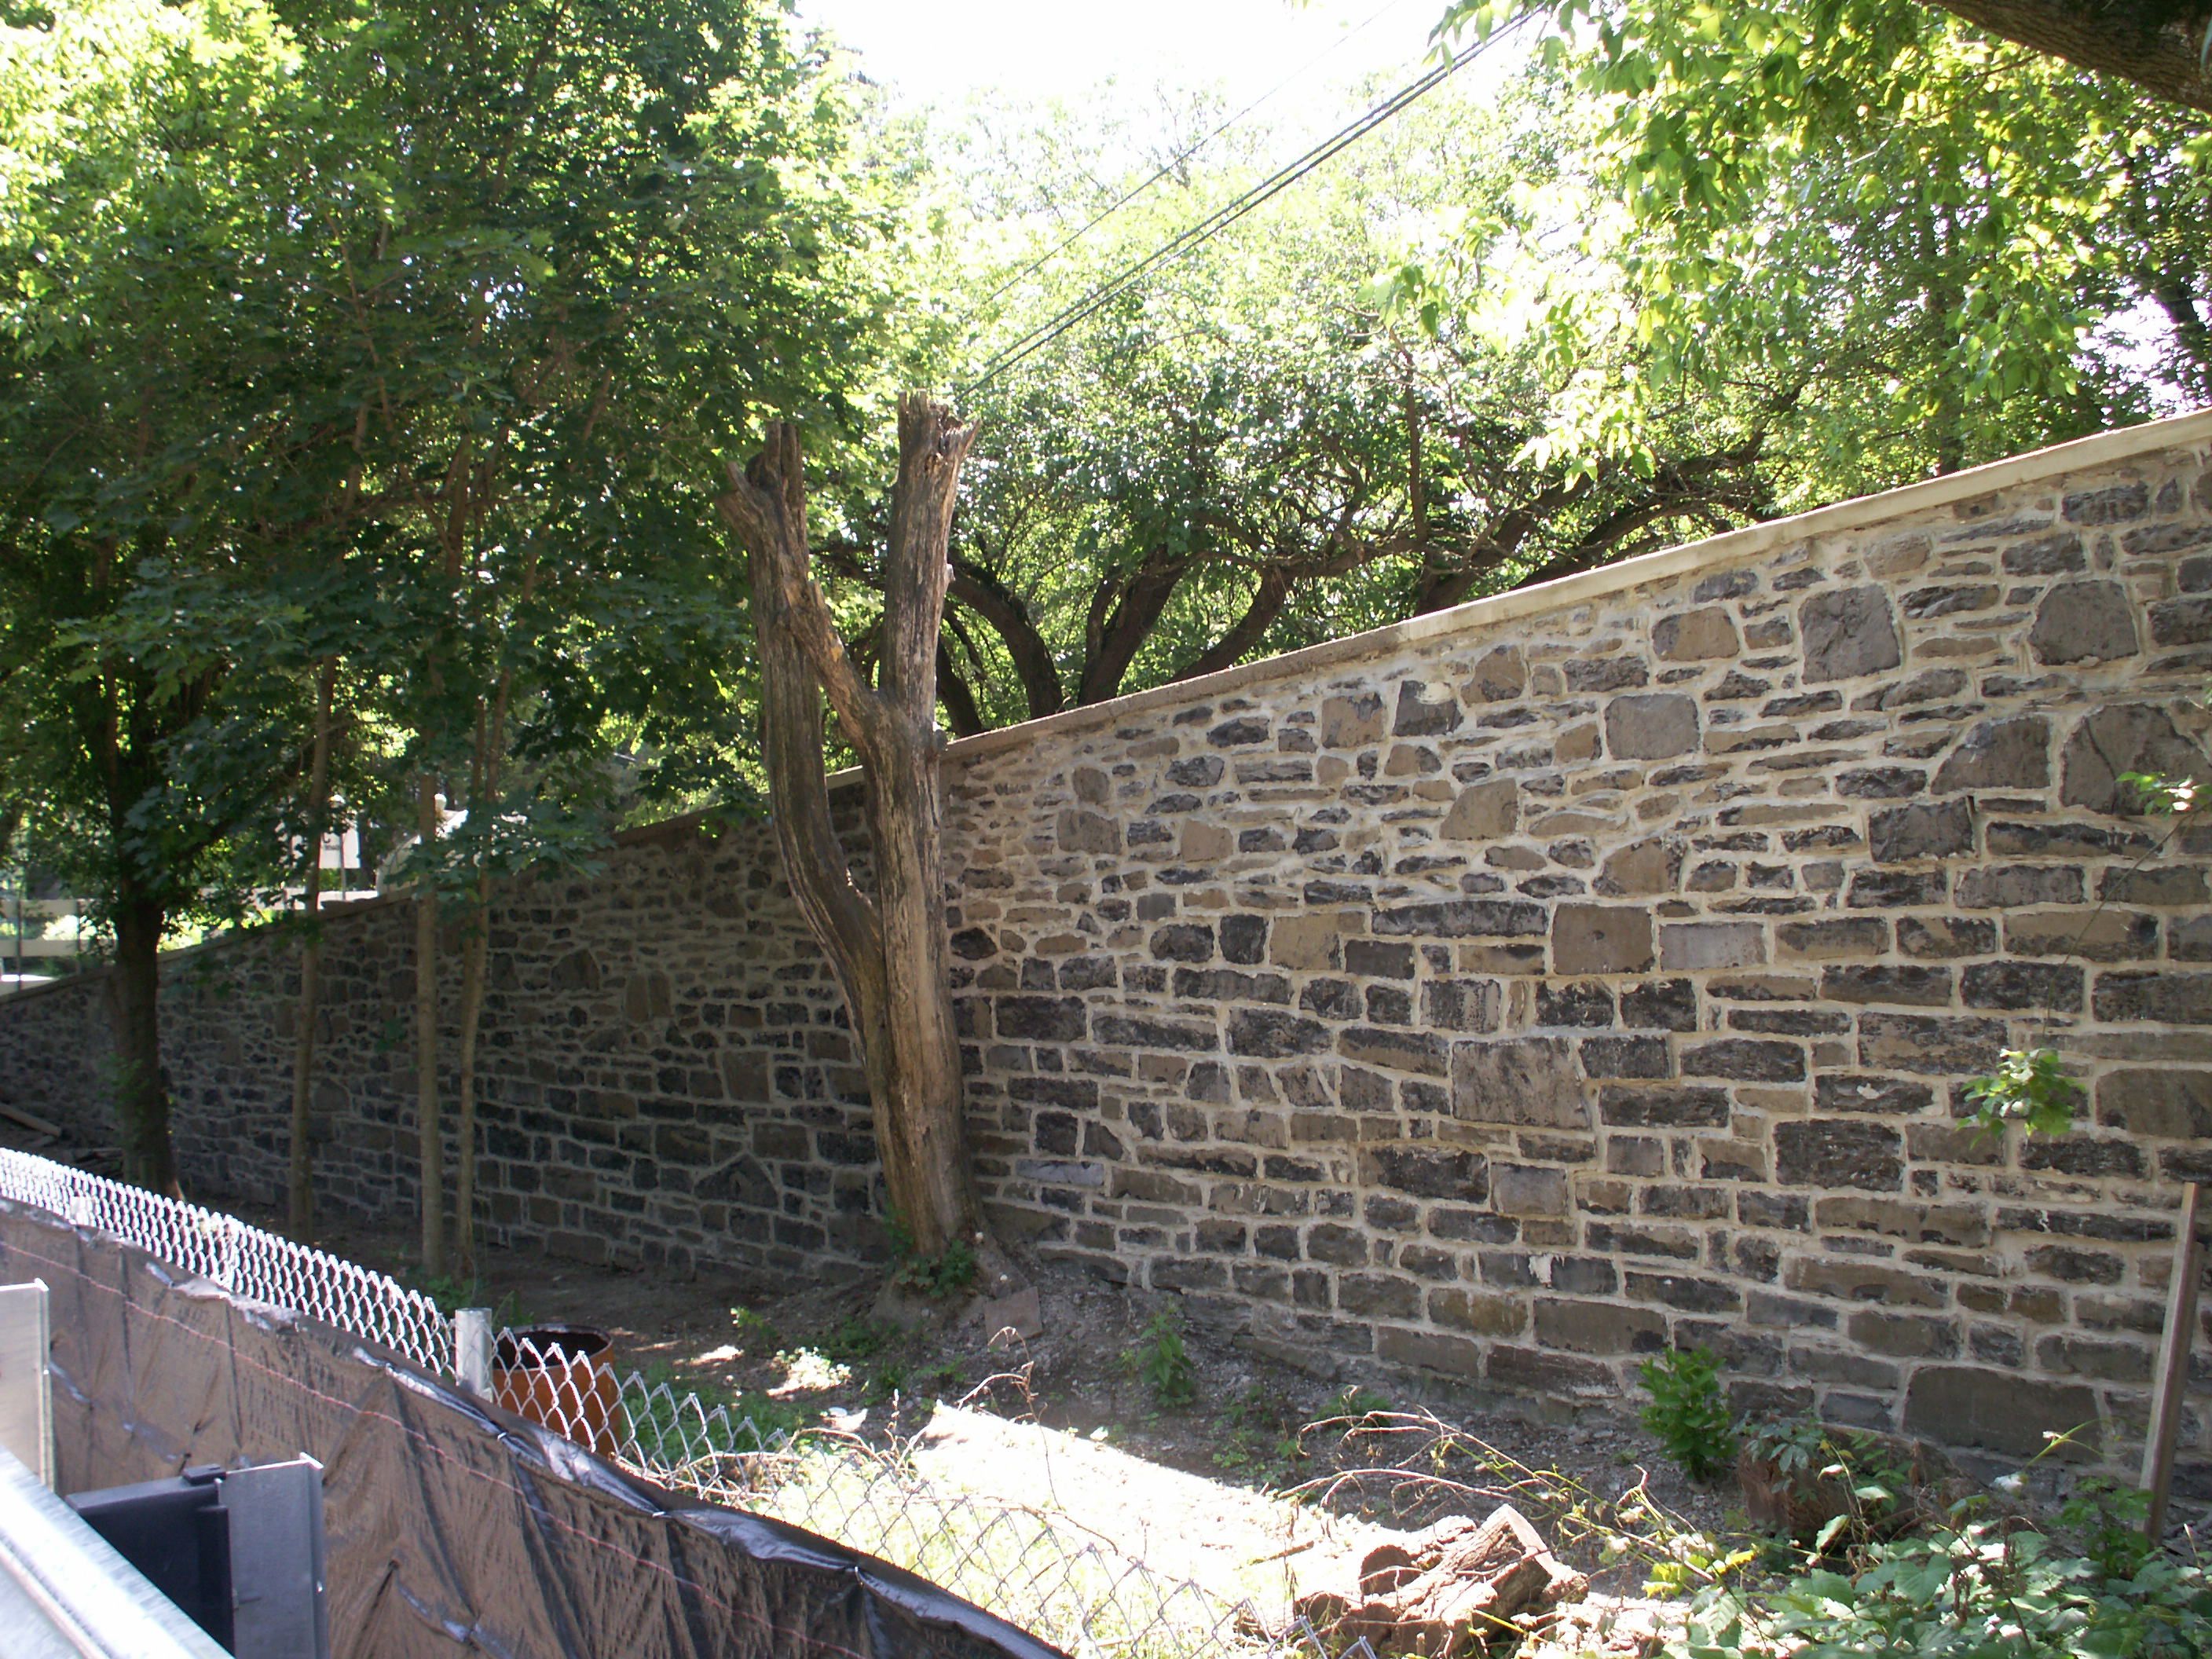
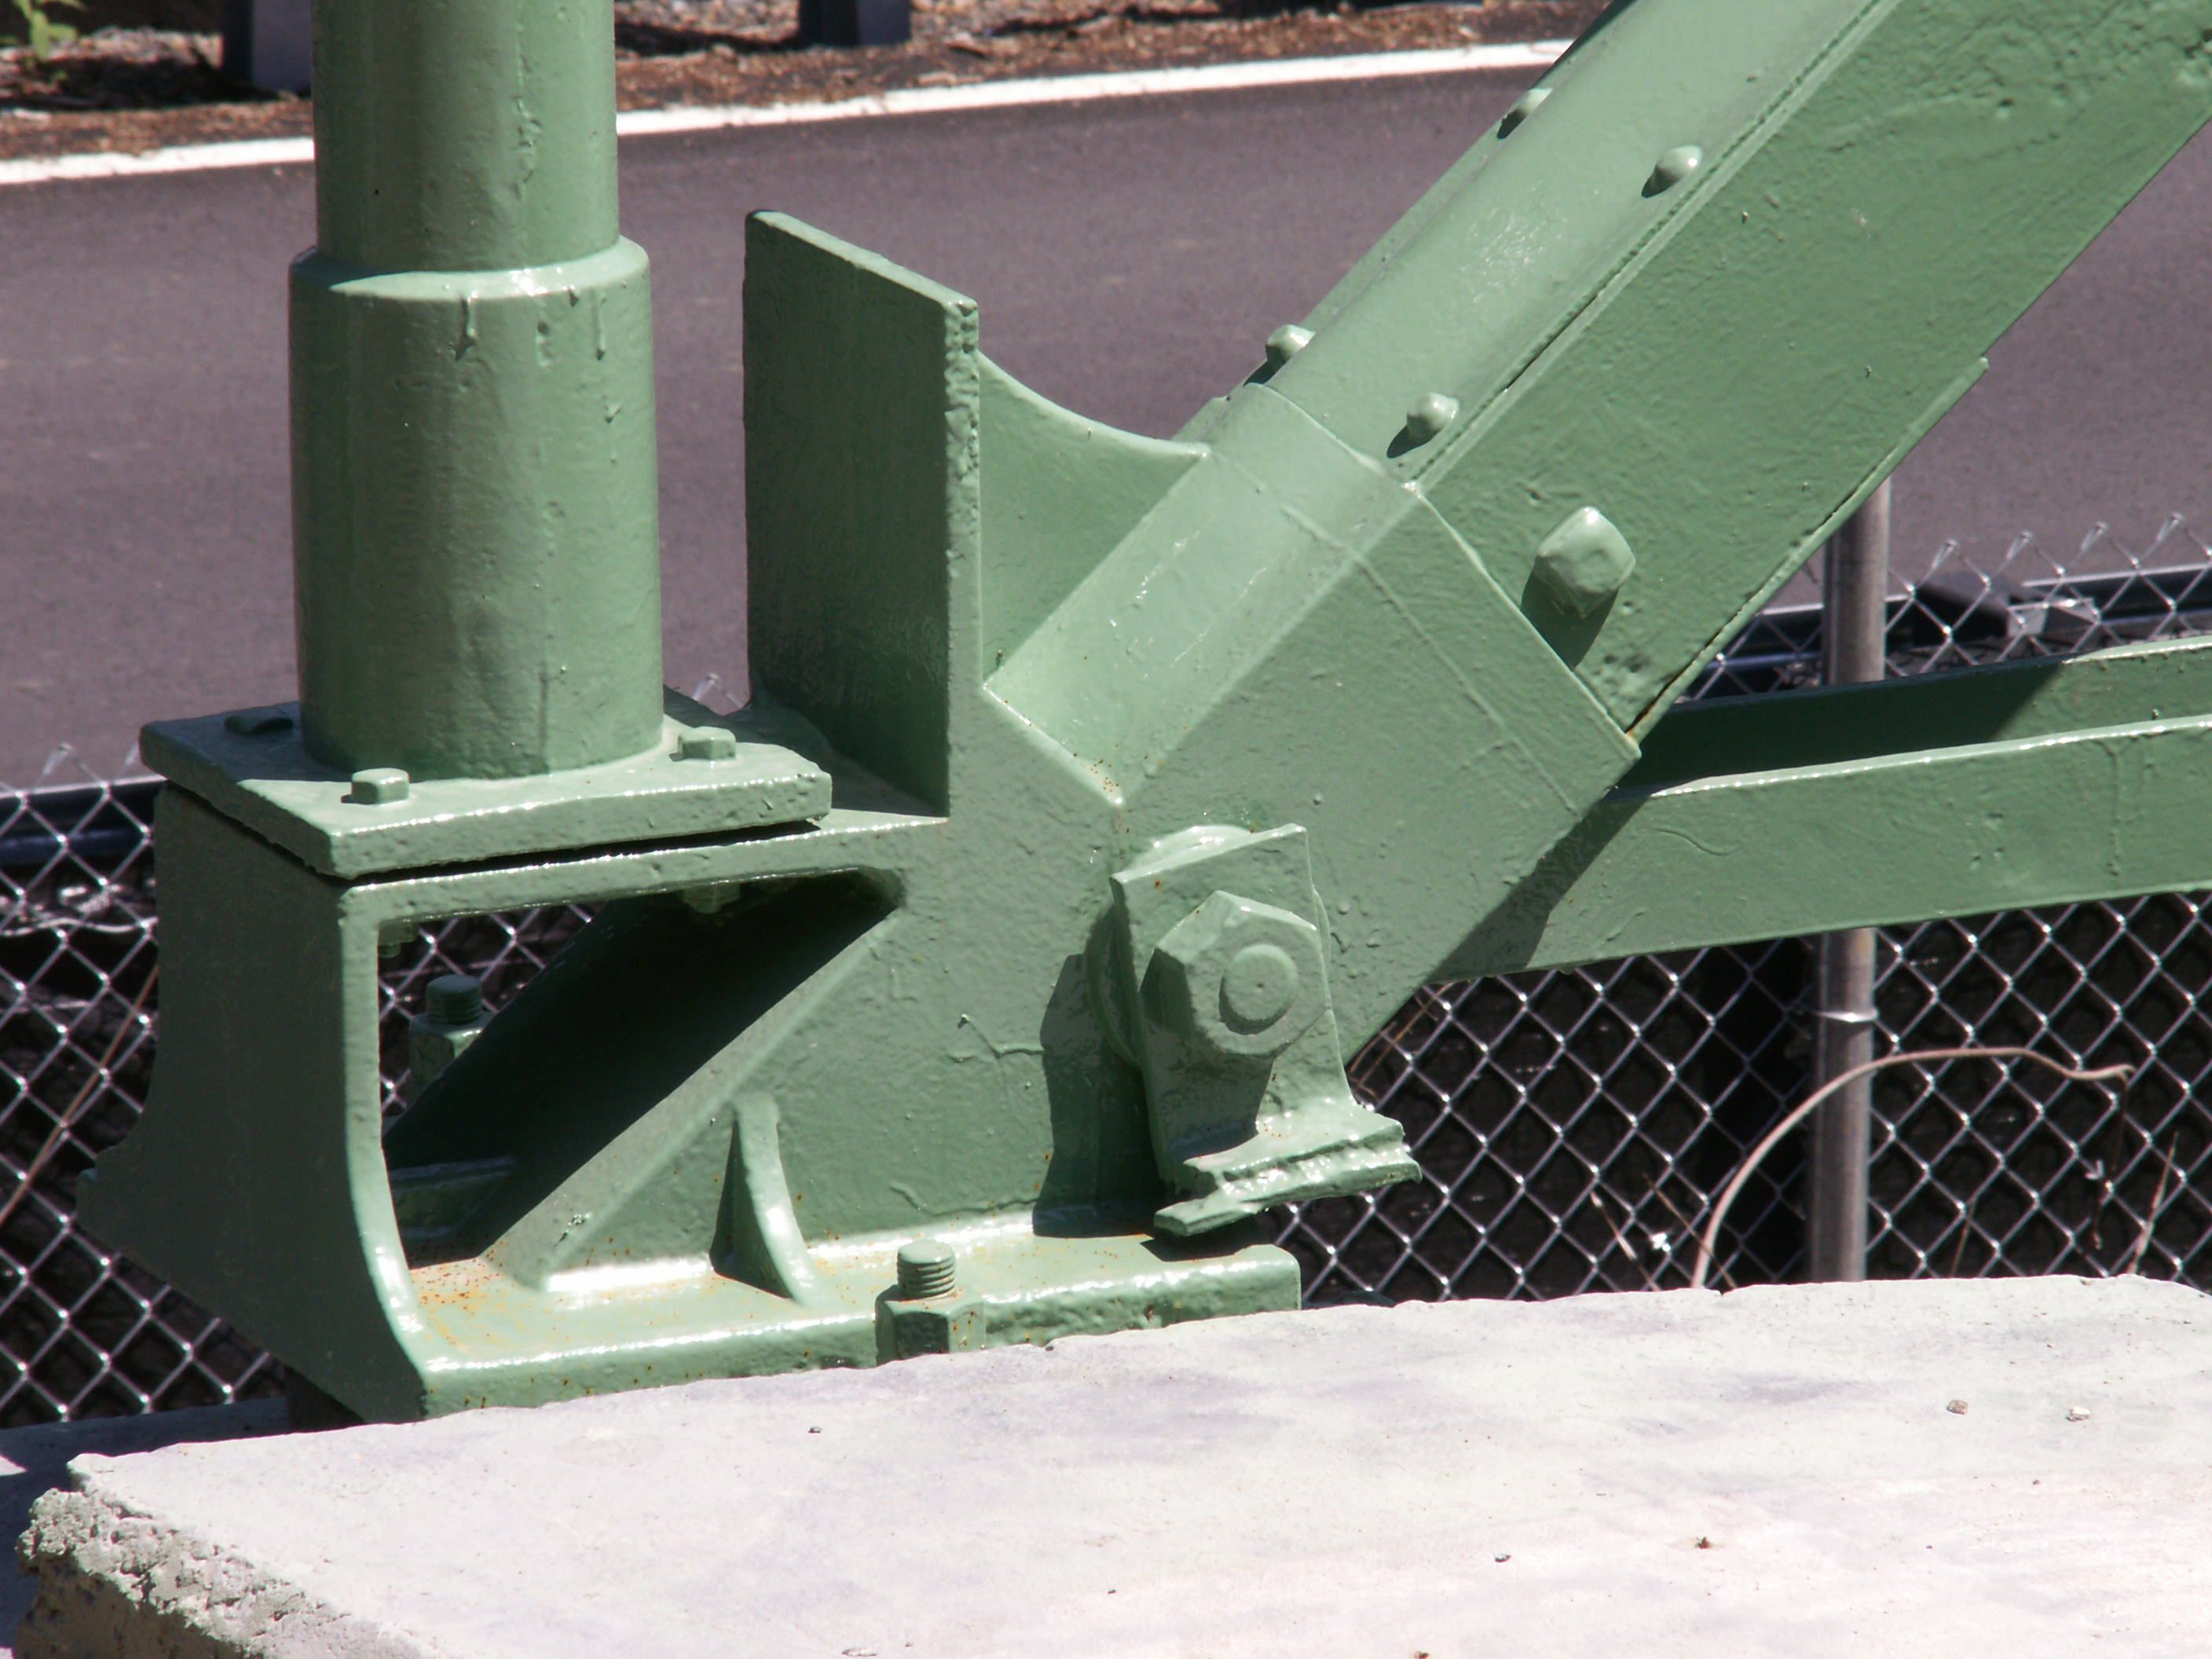
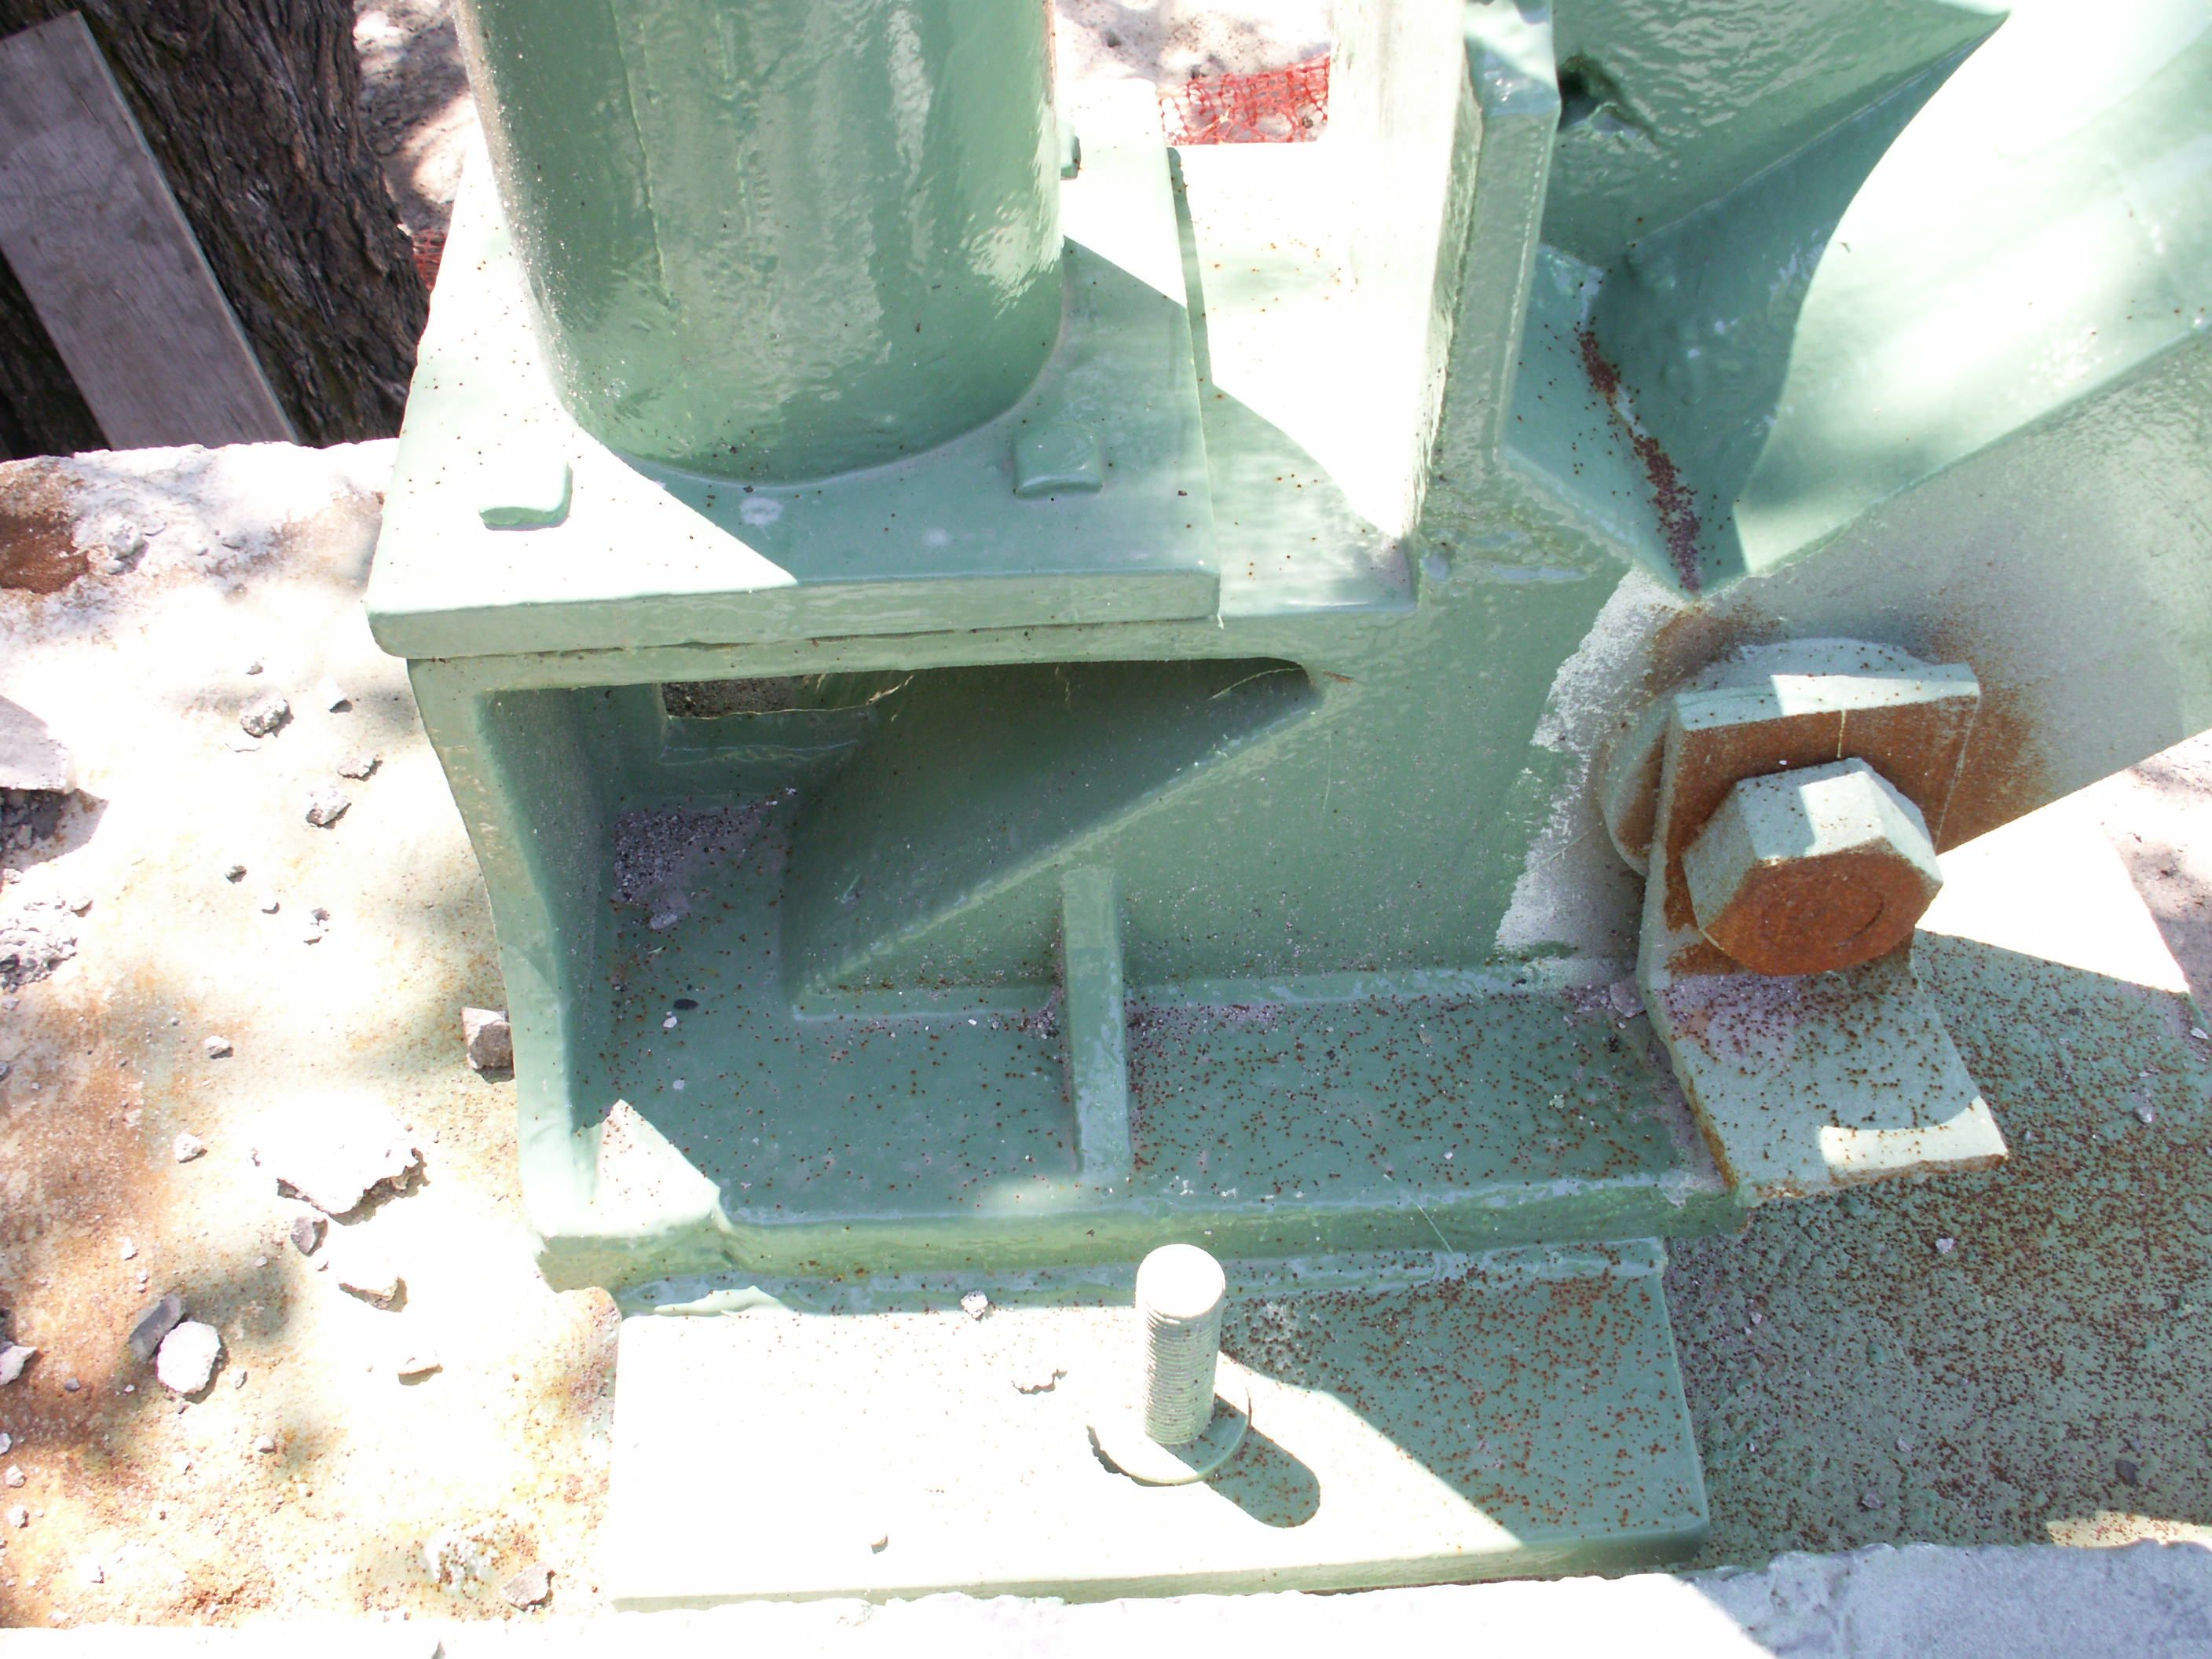
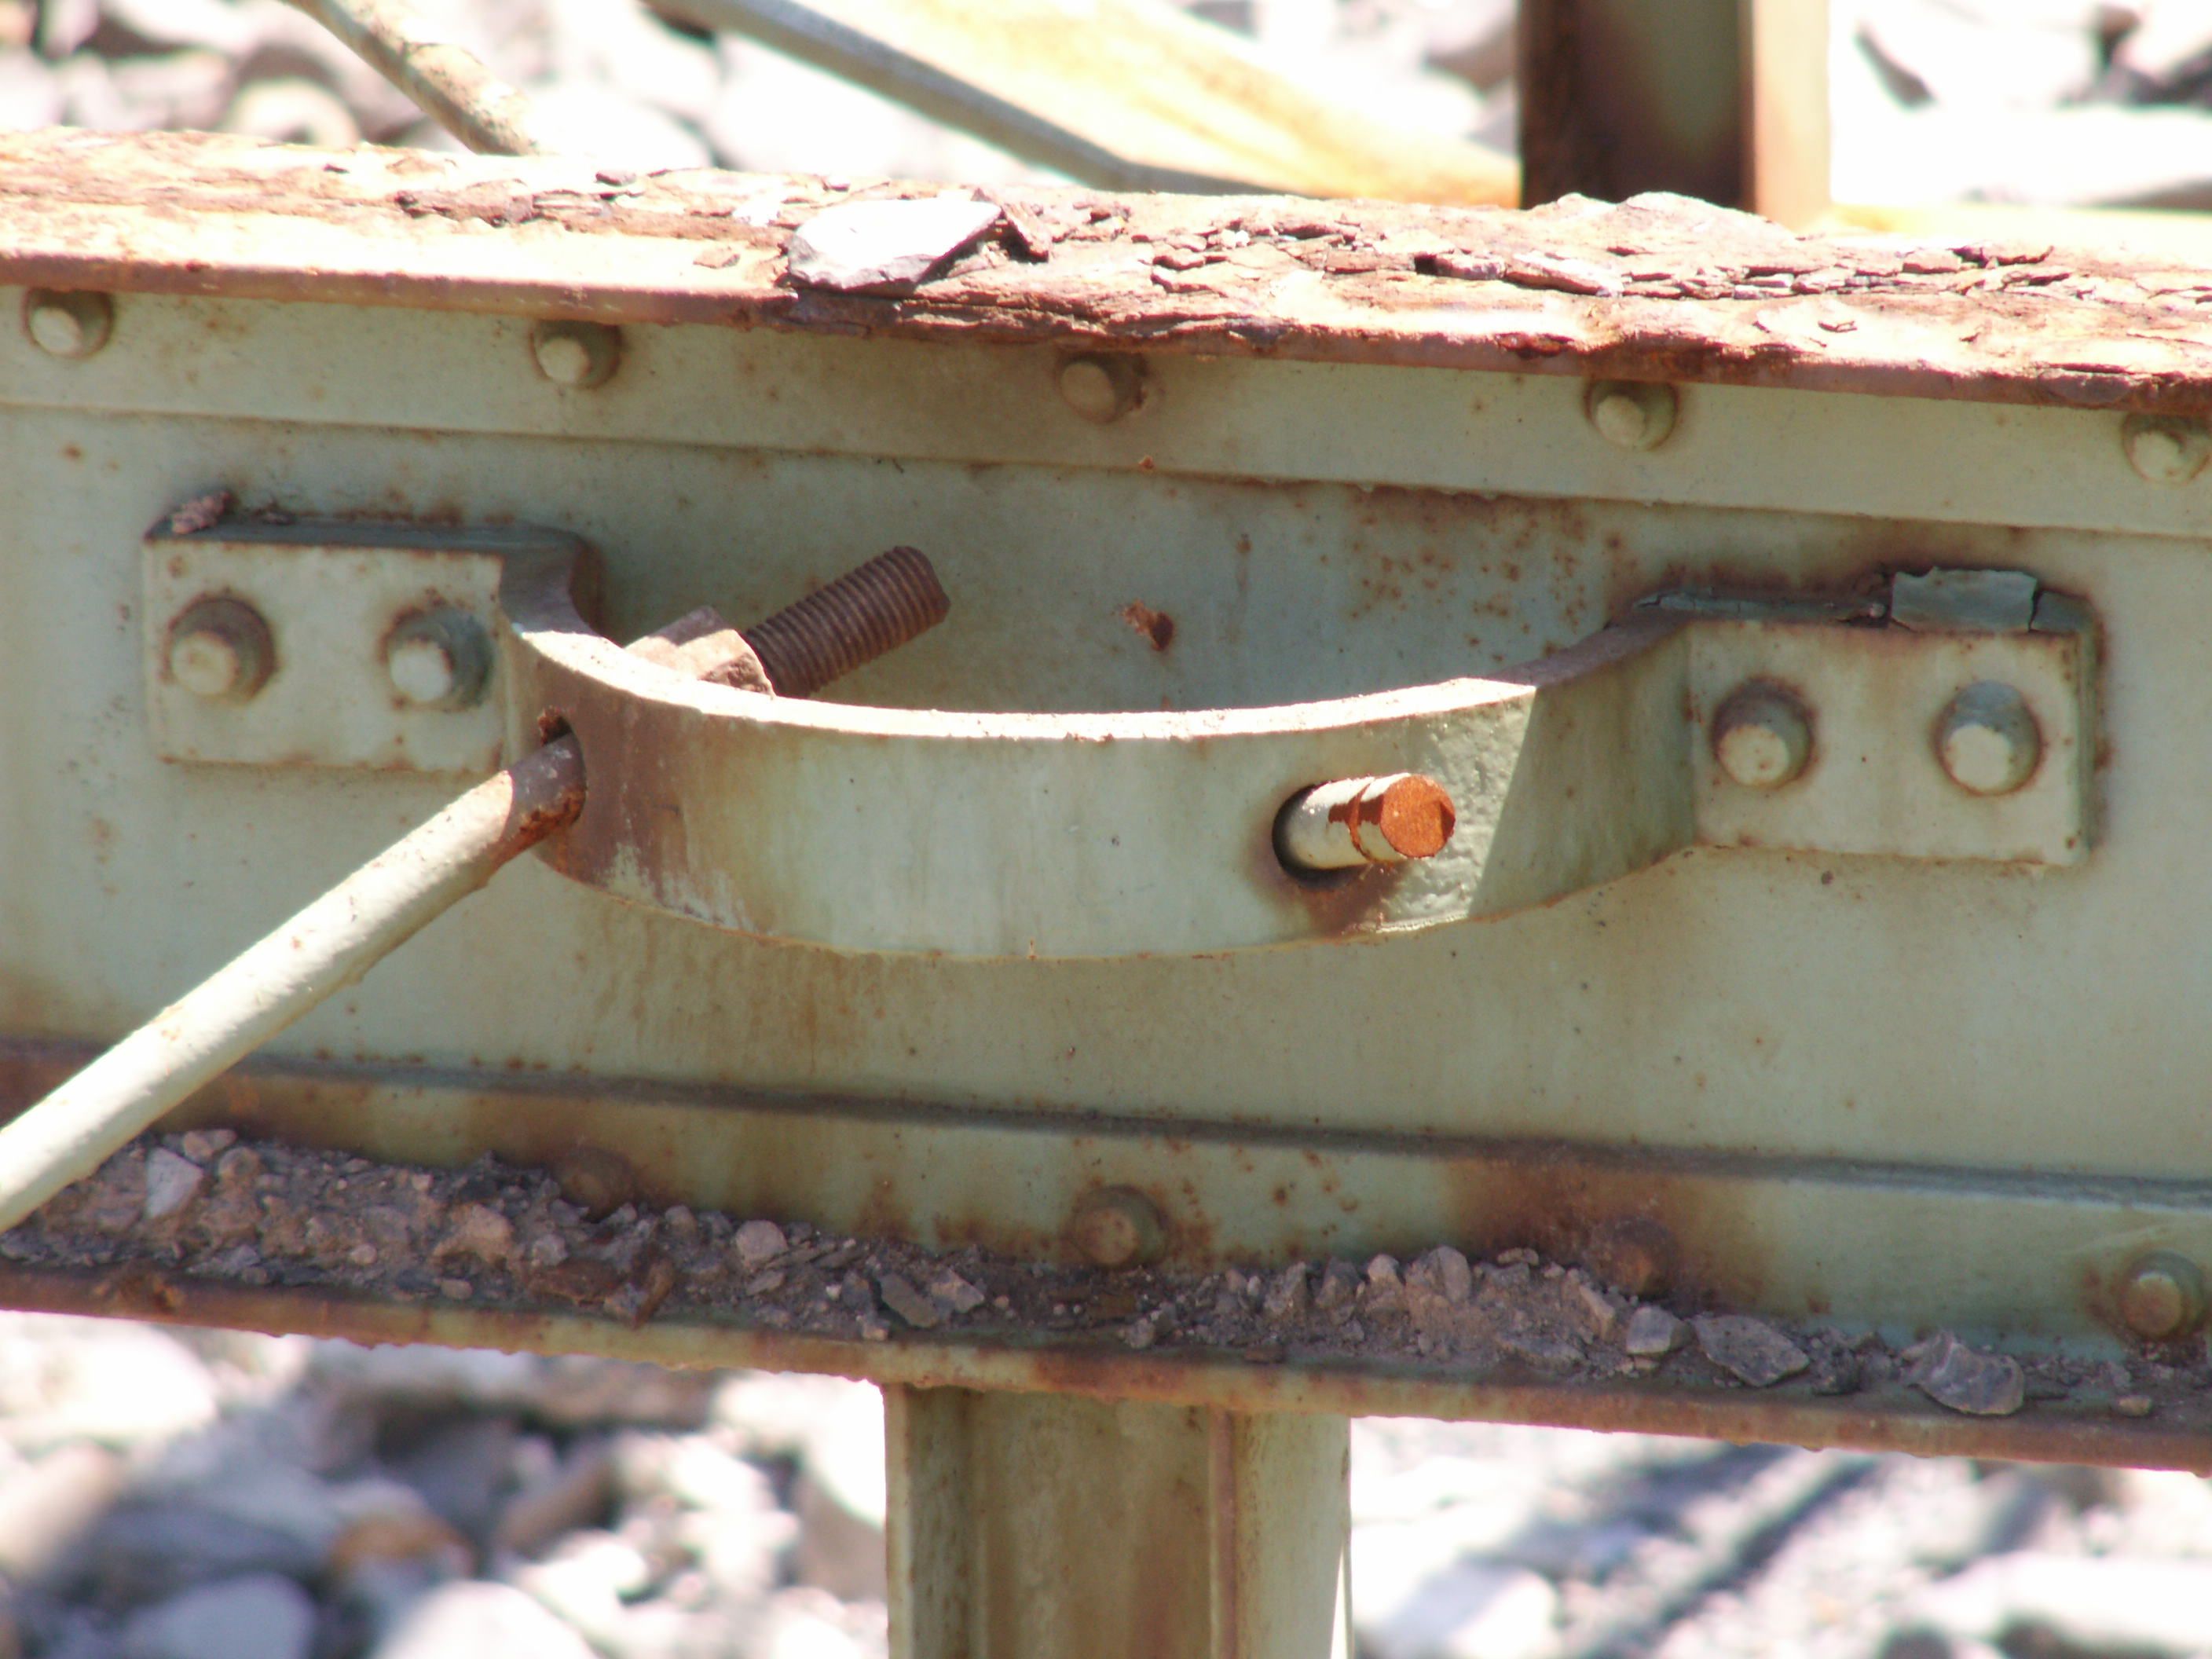
Abutment.
![]()
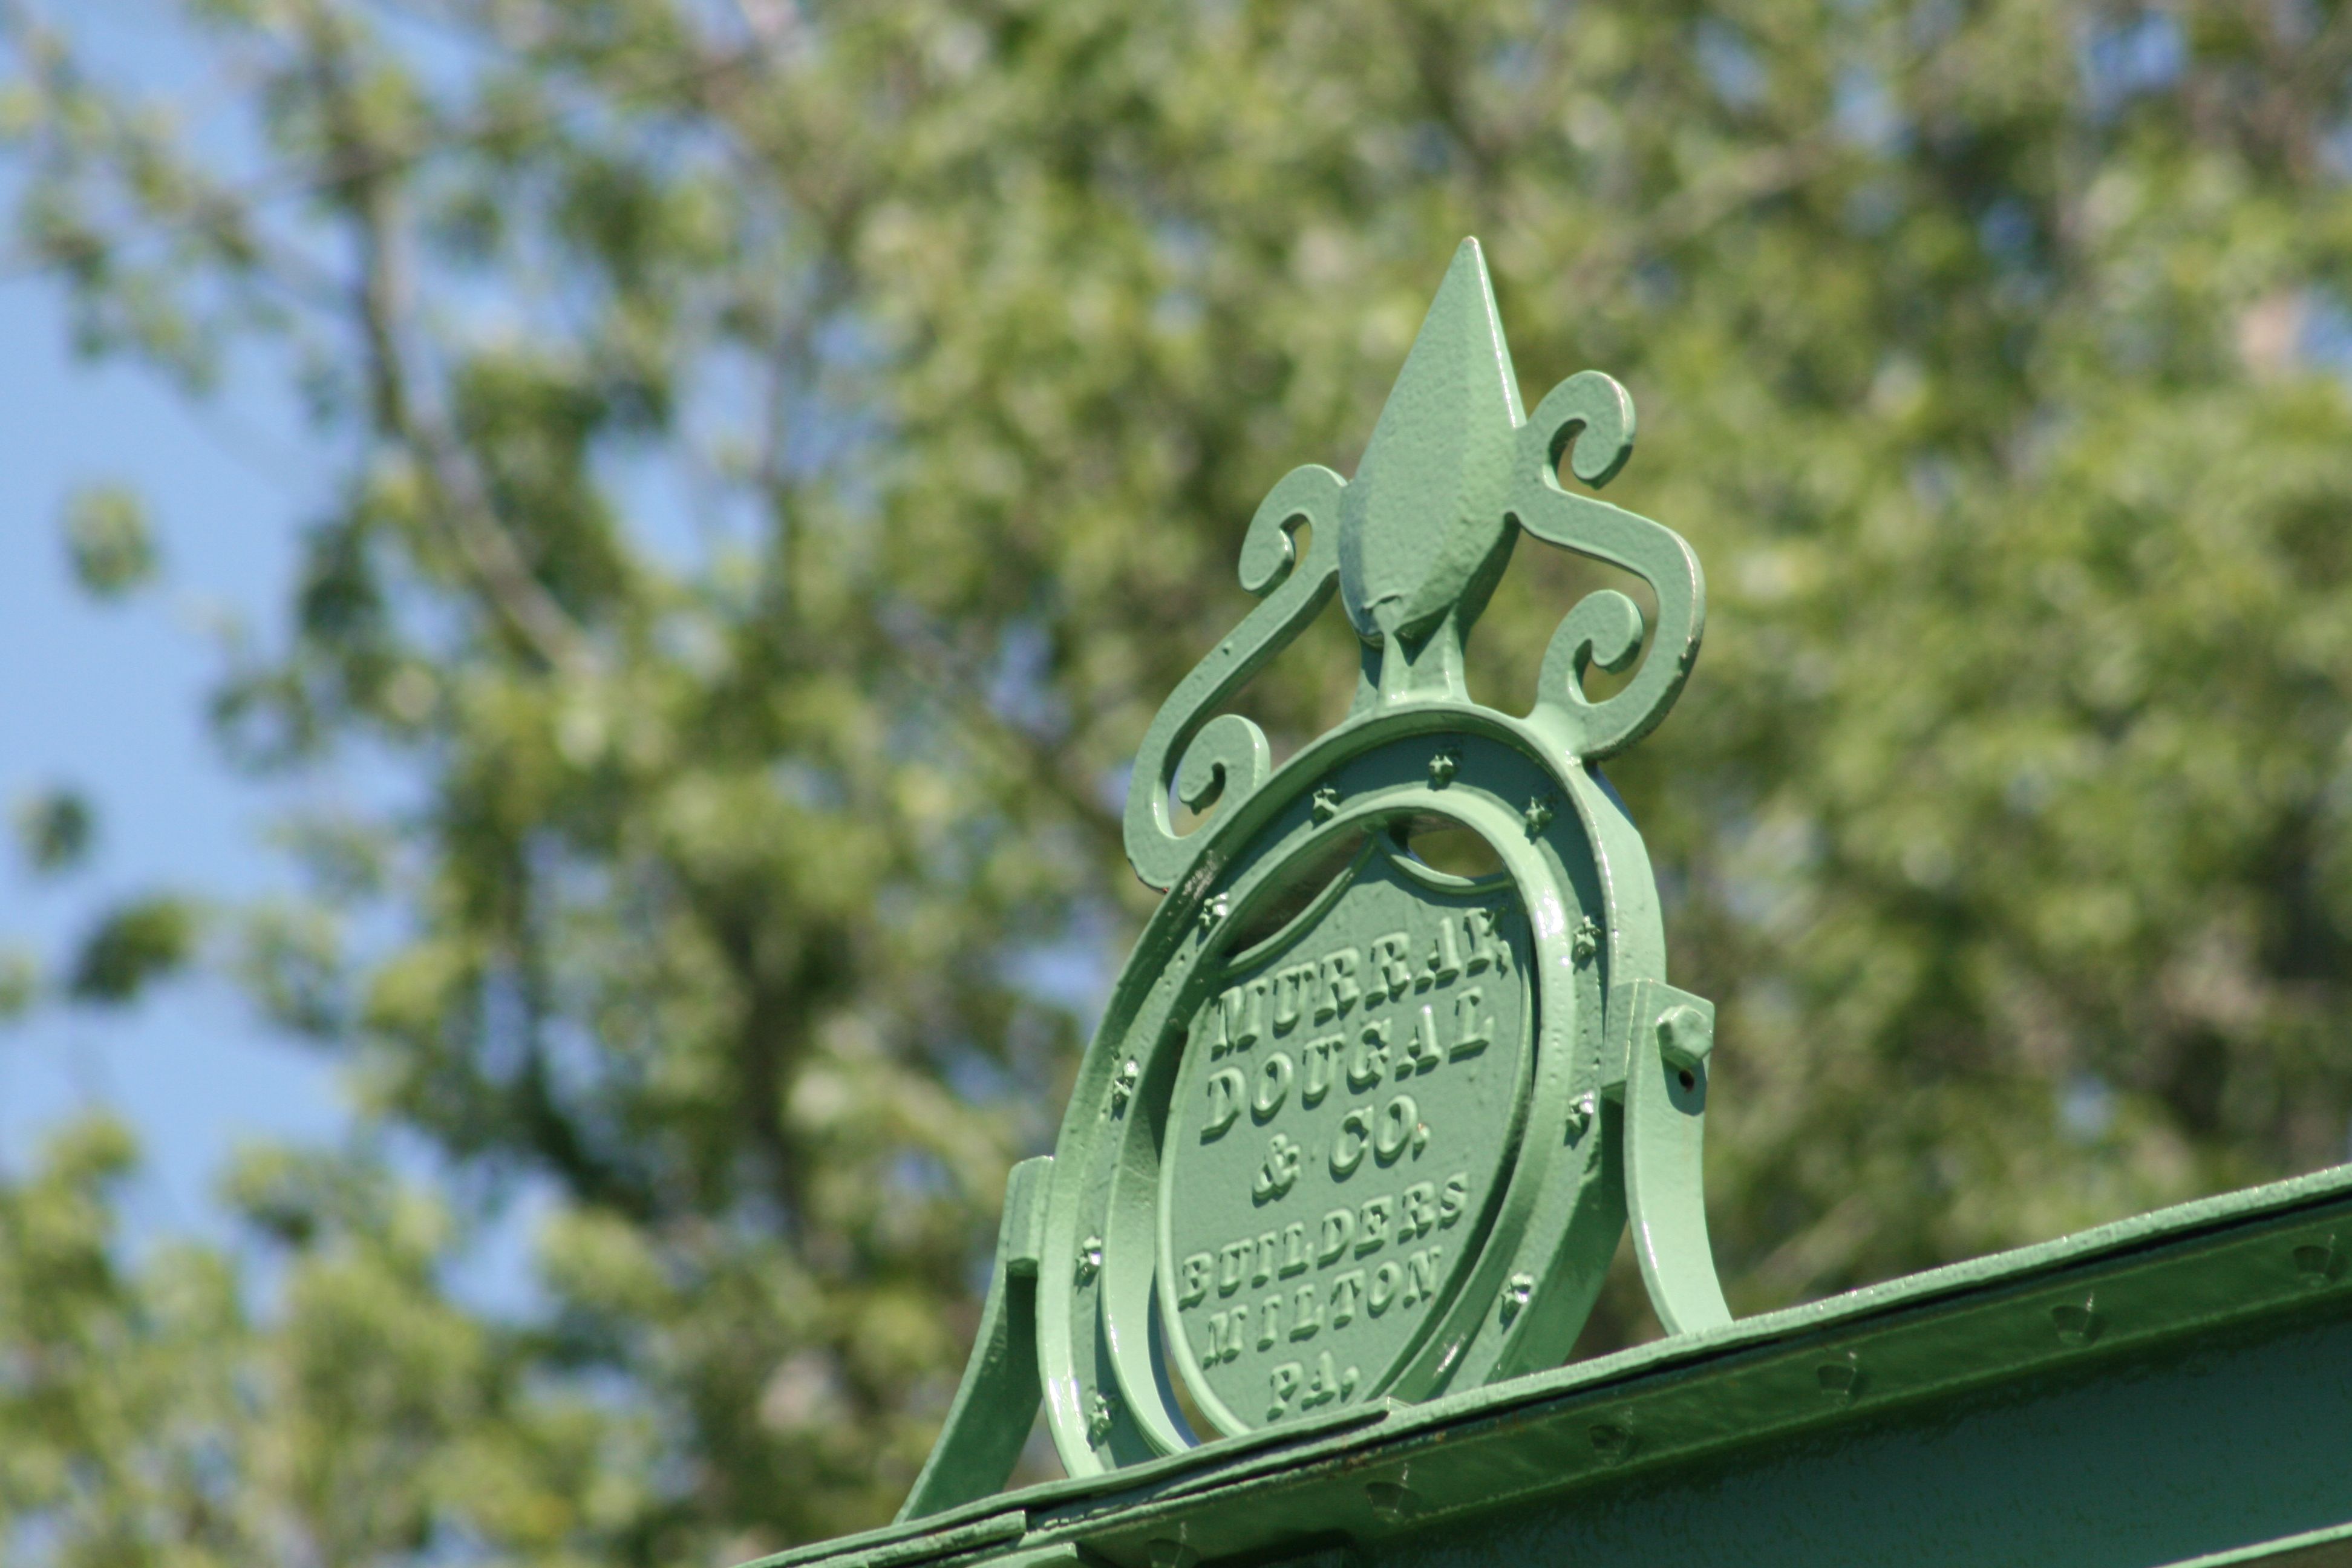
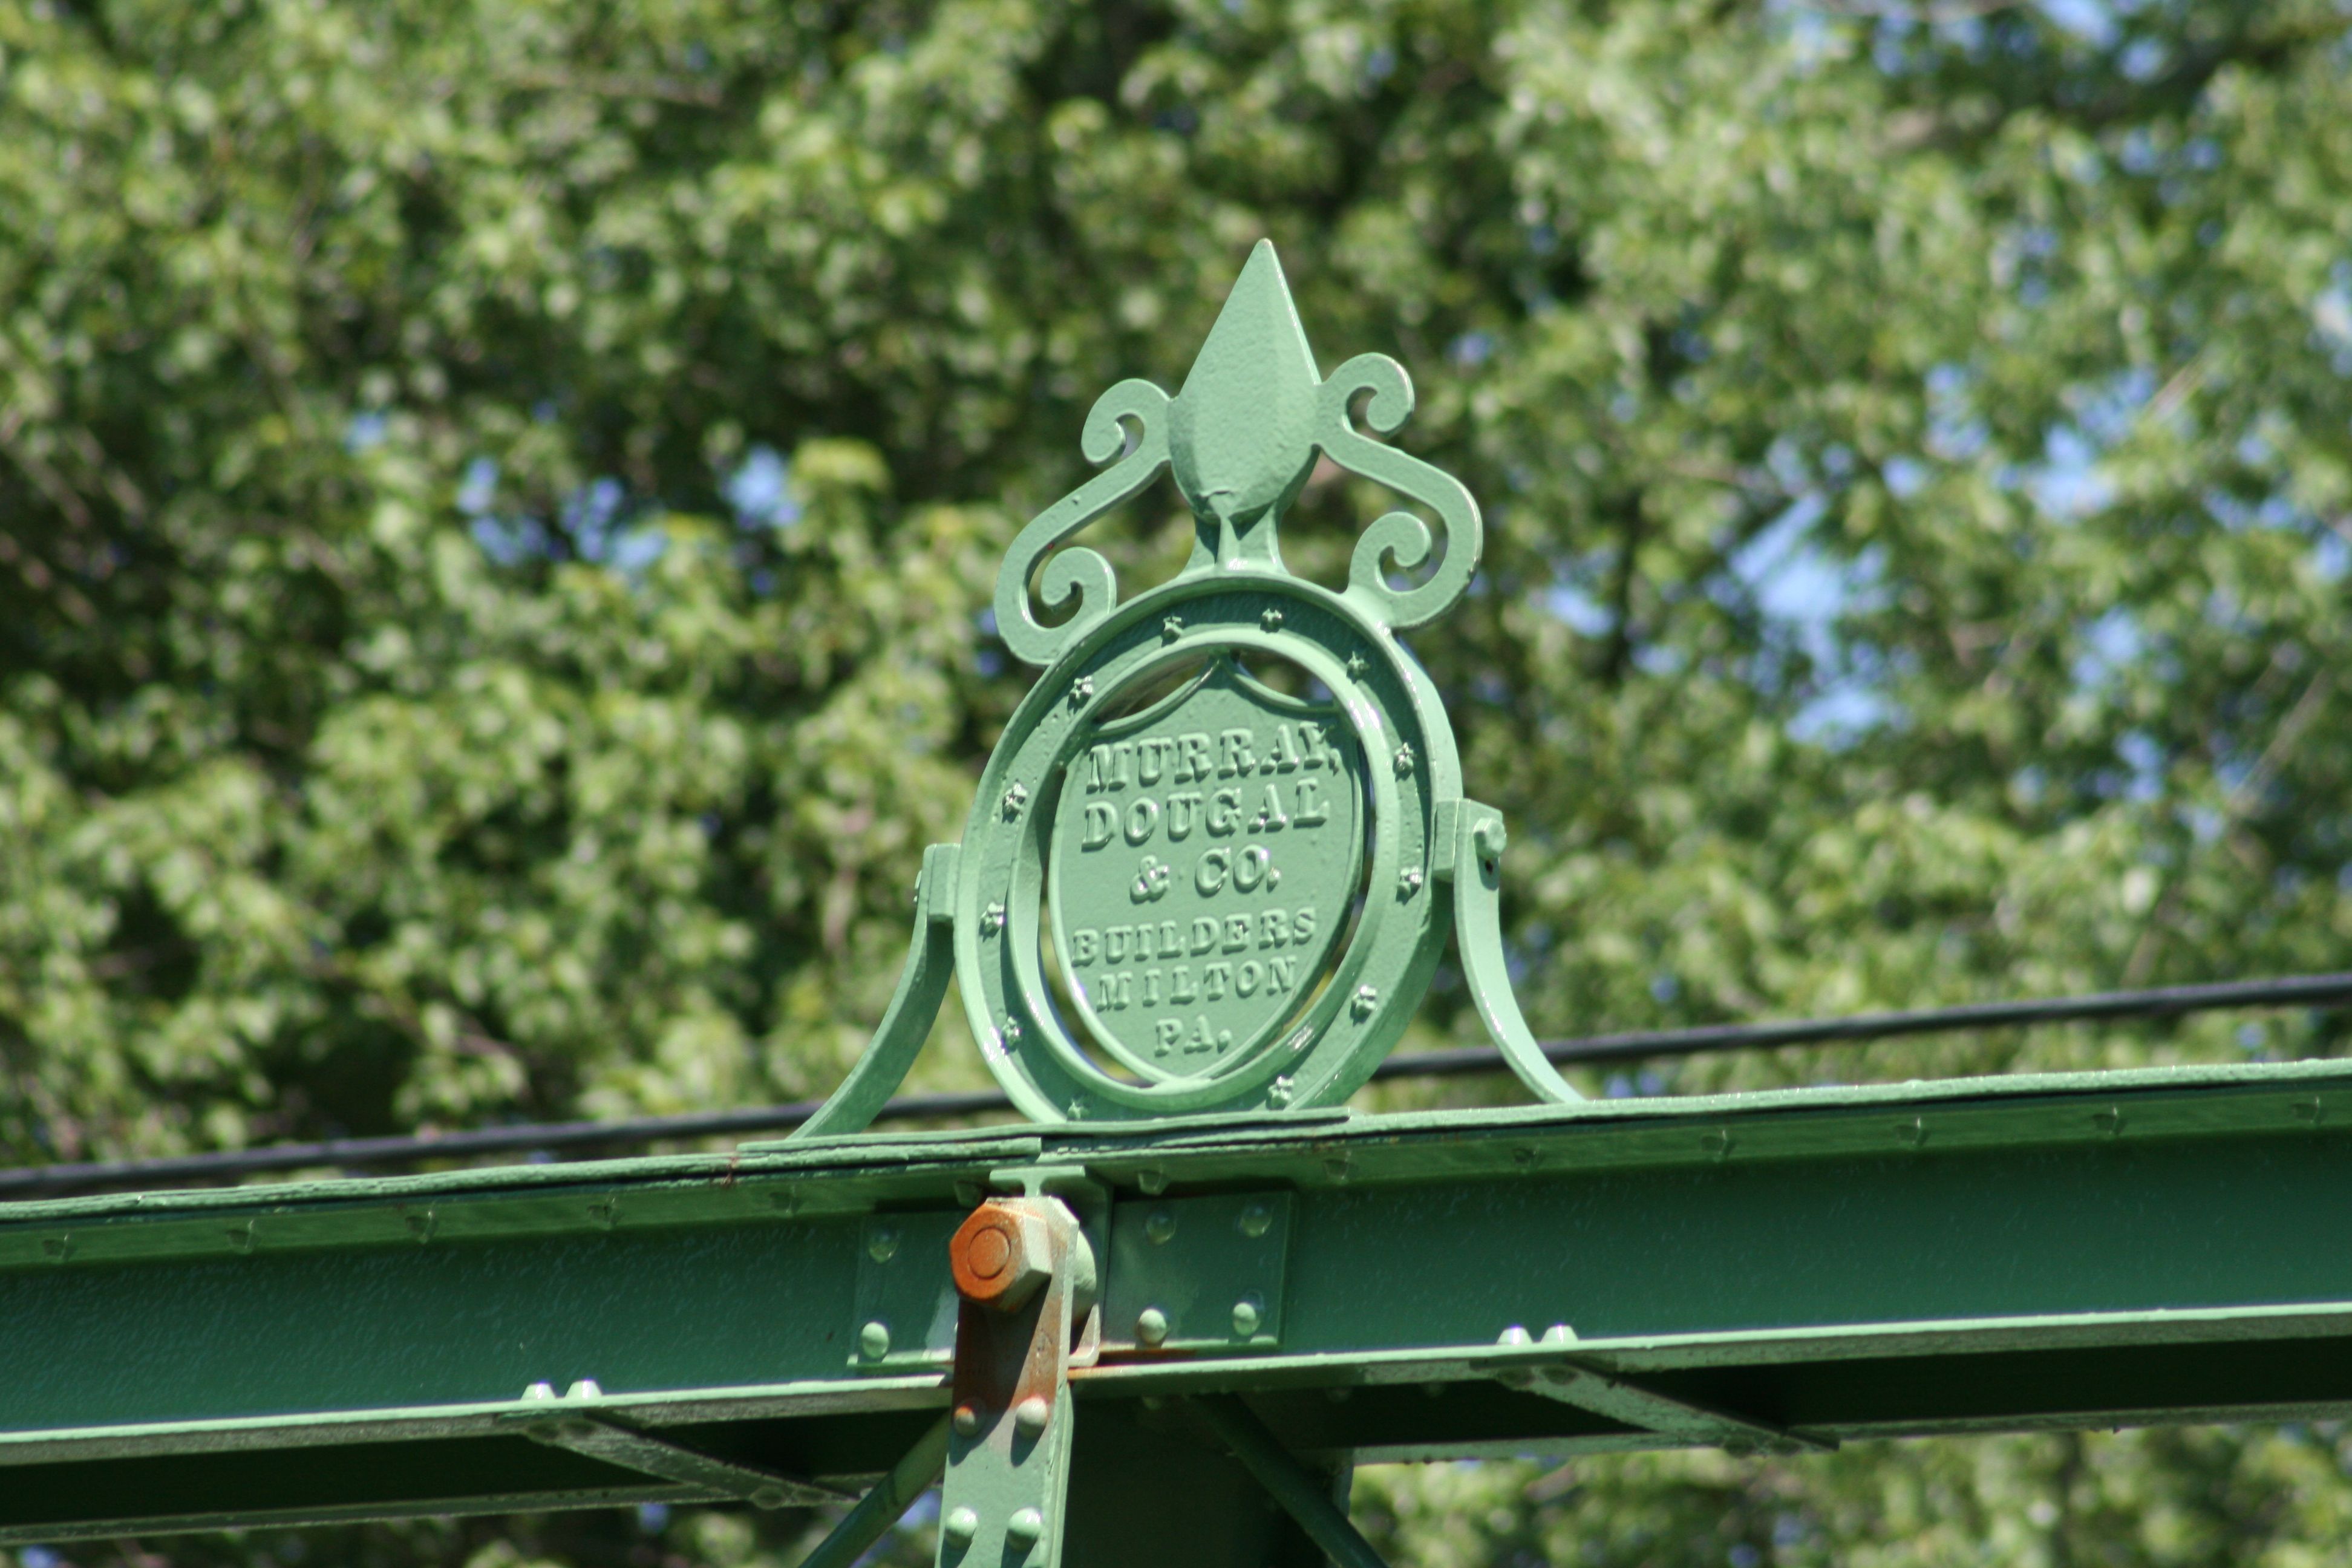

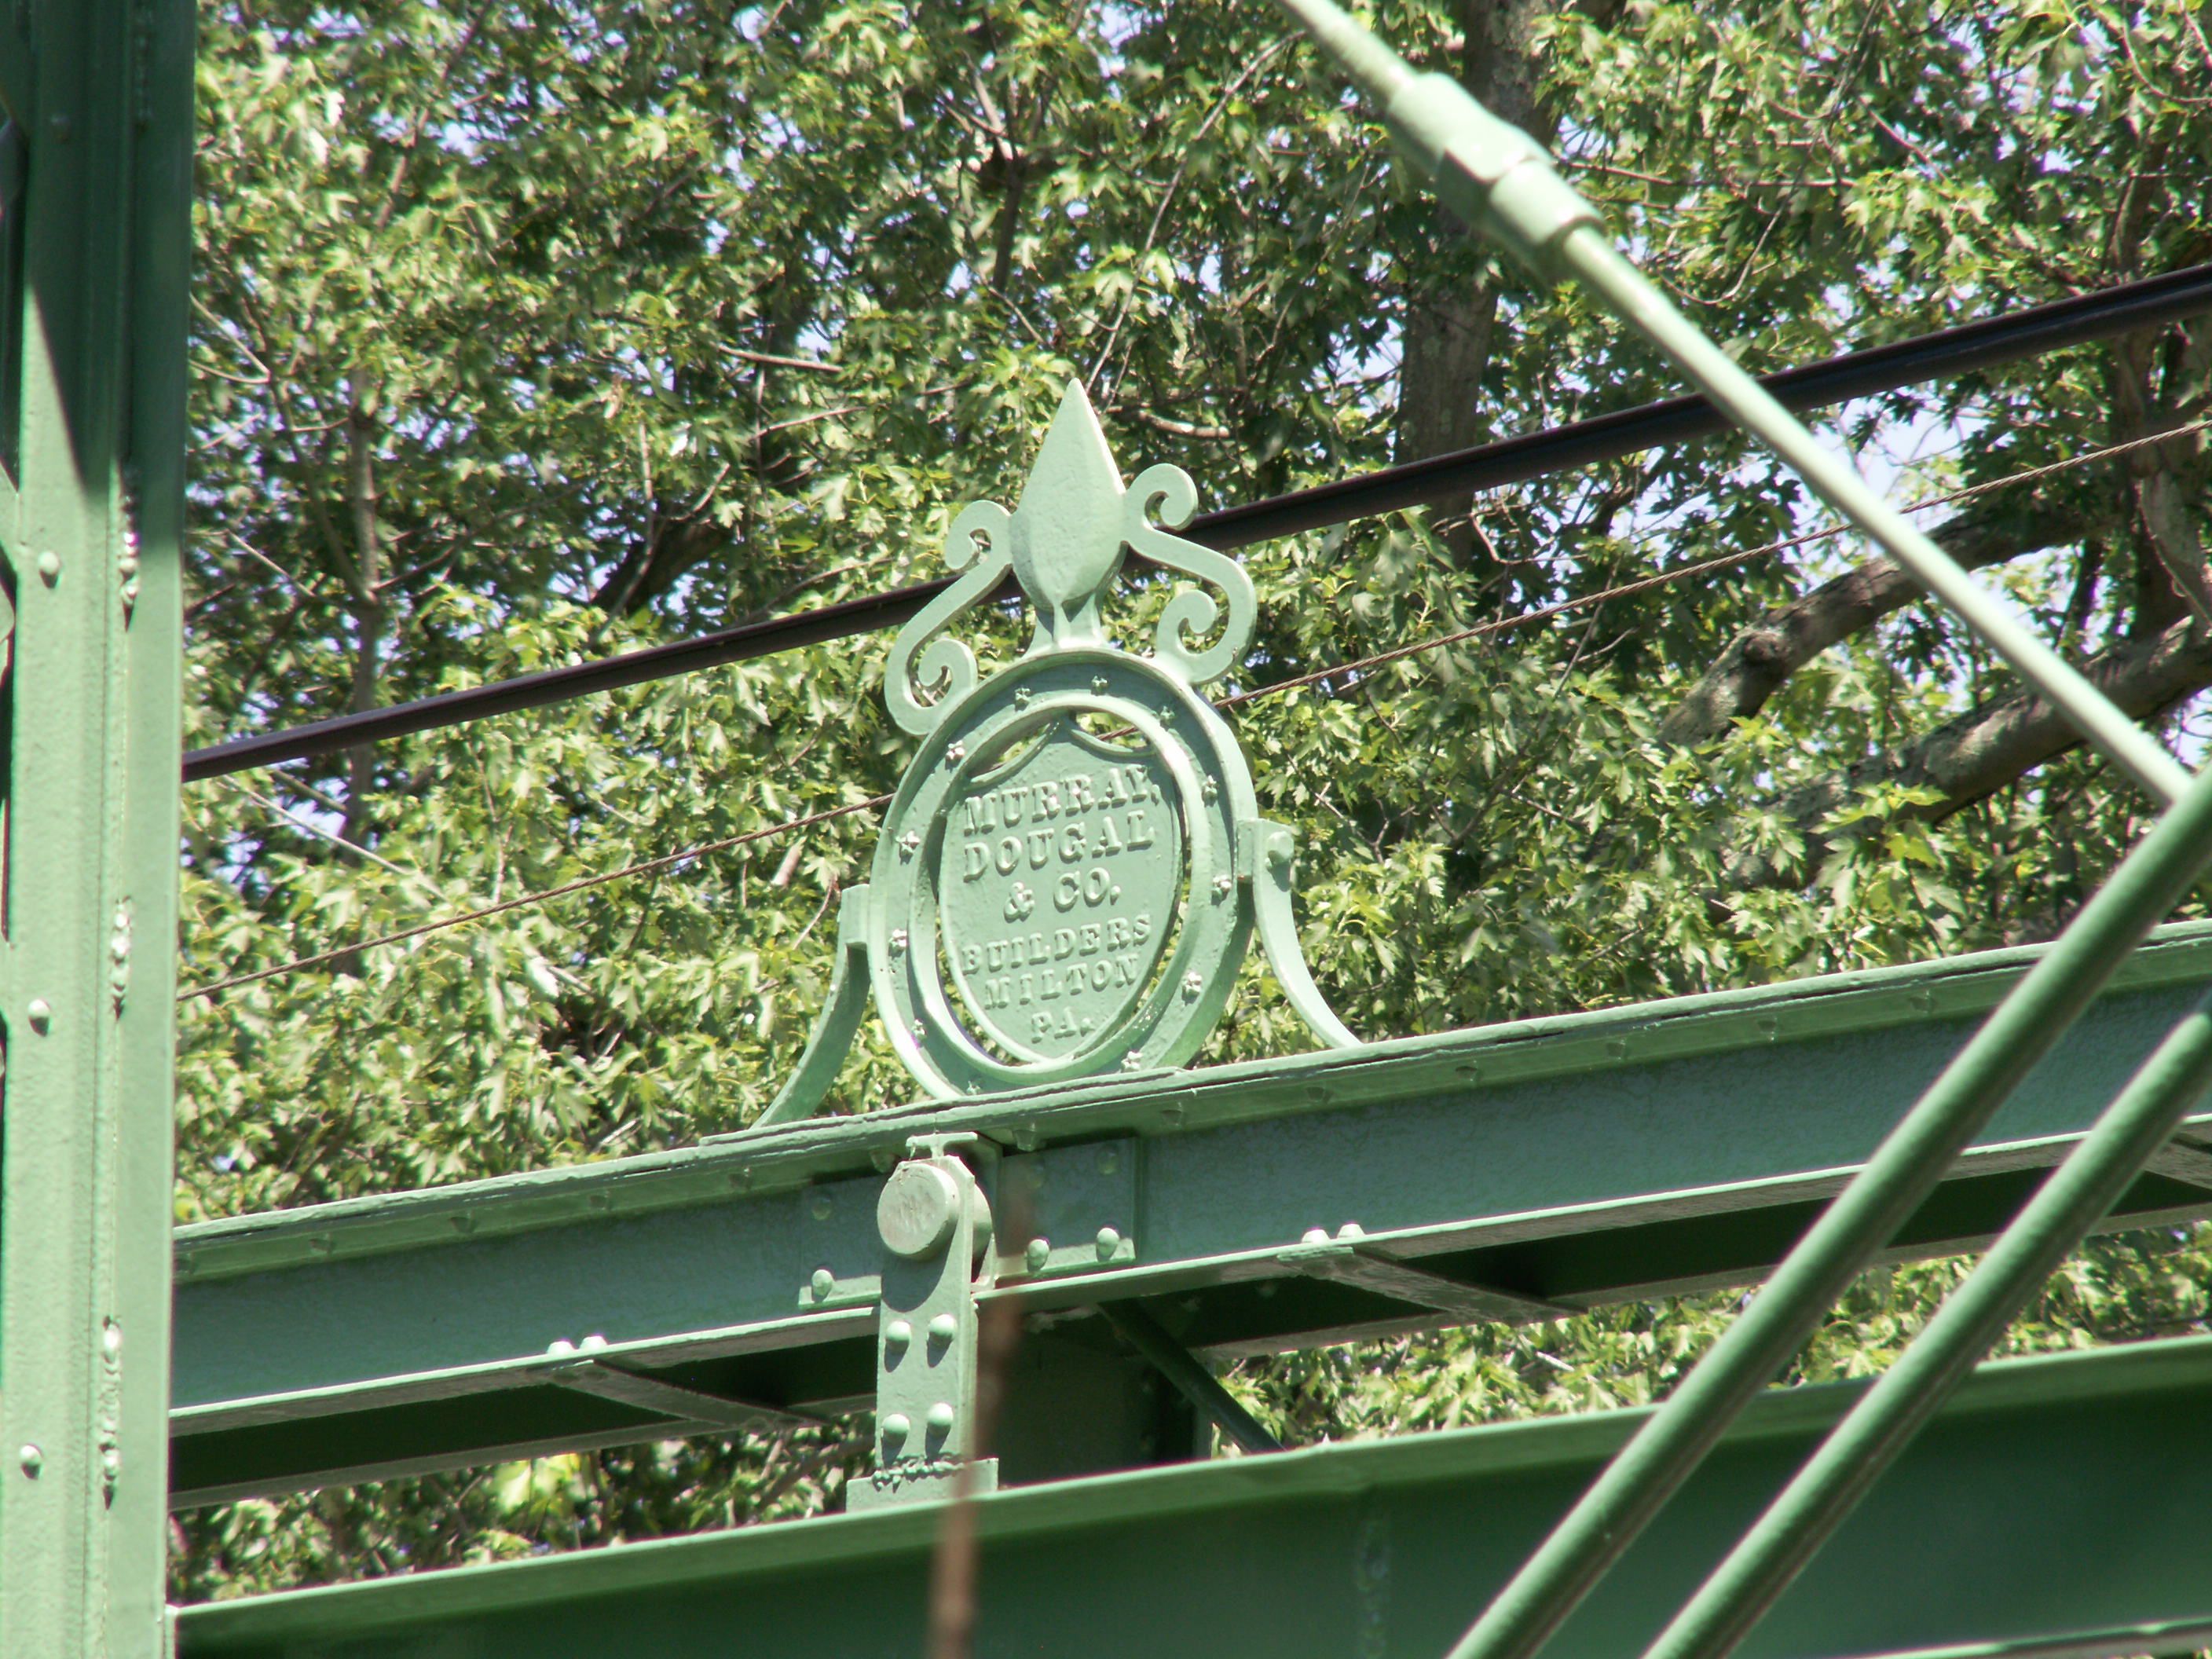

Builder plaque.
![]()


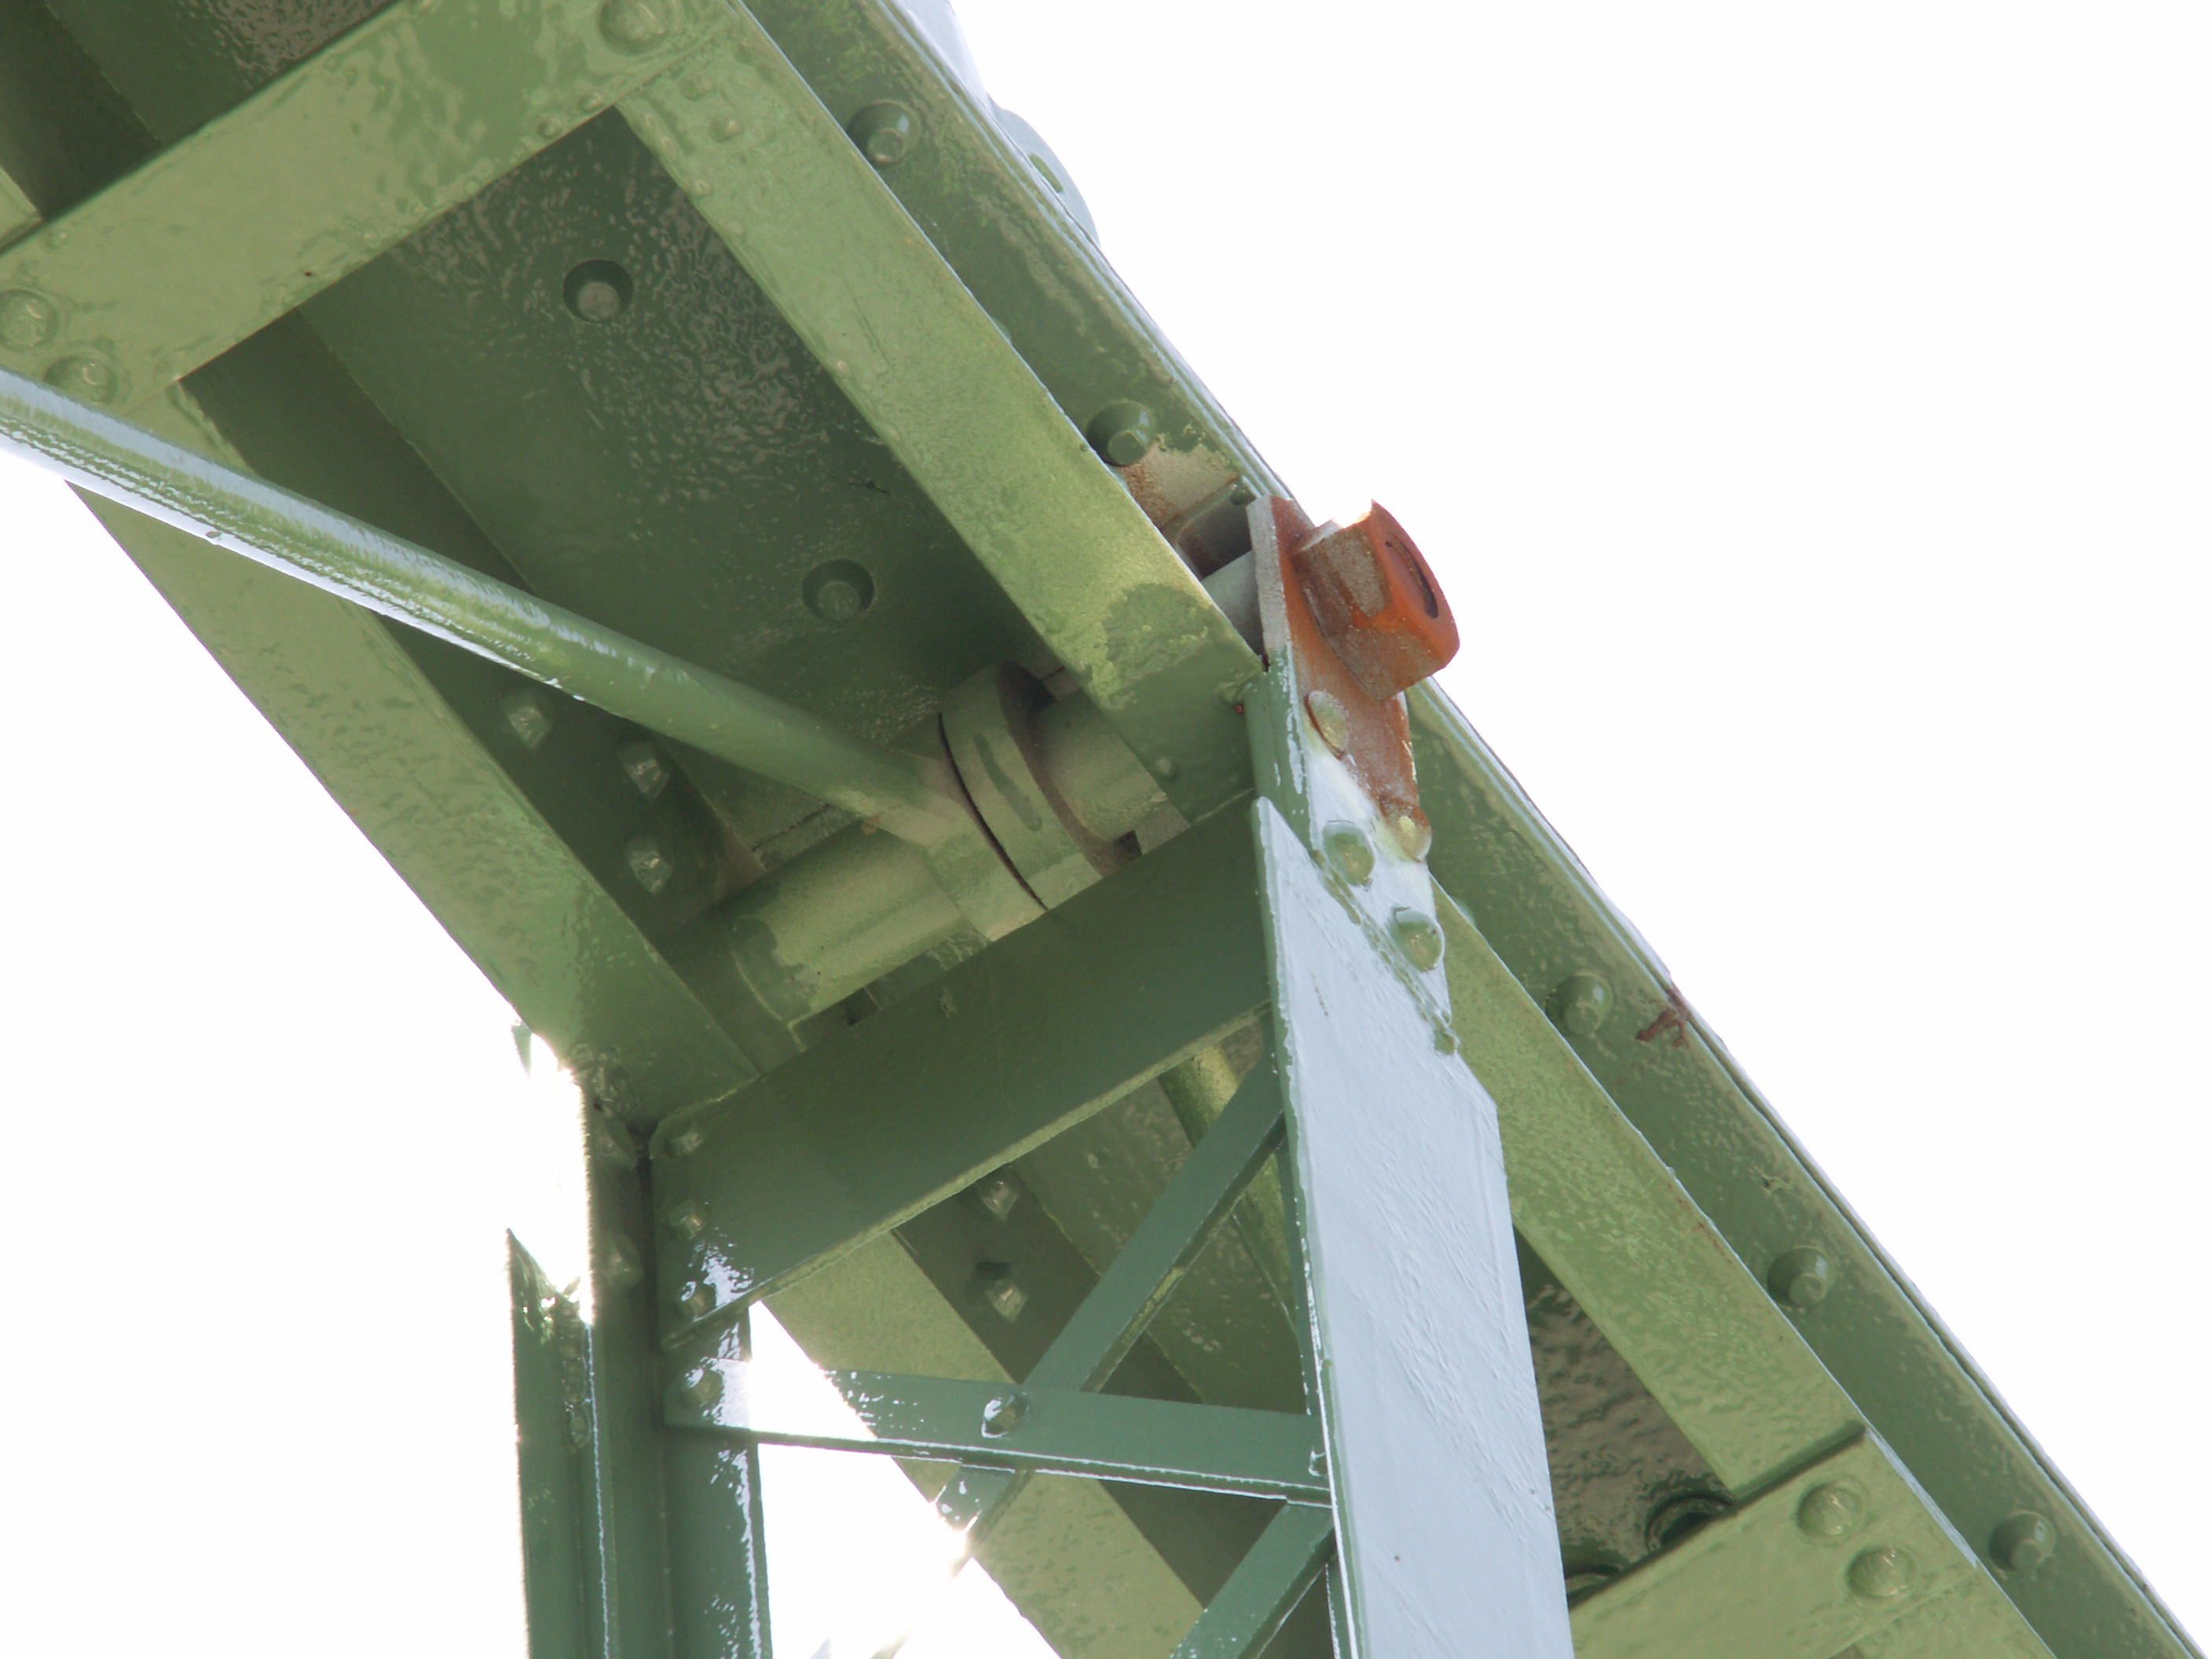

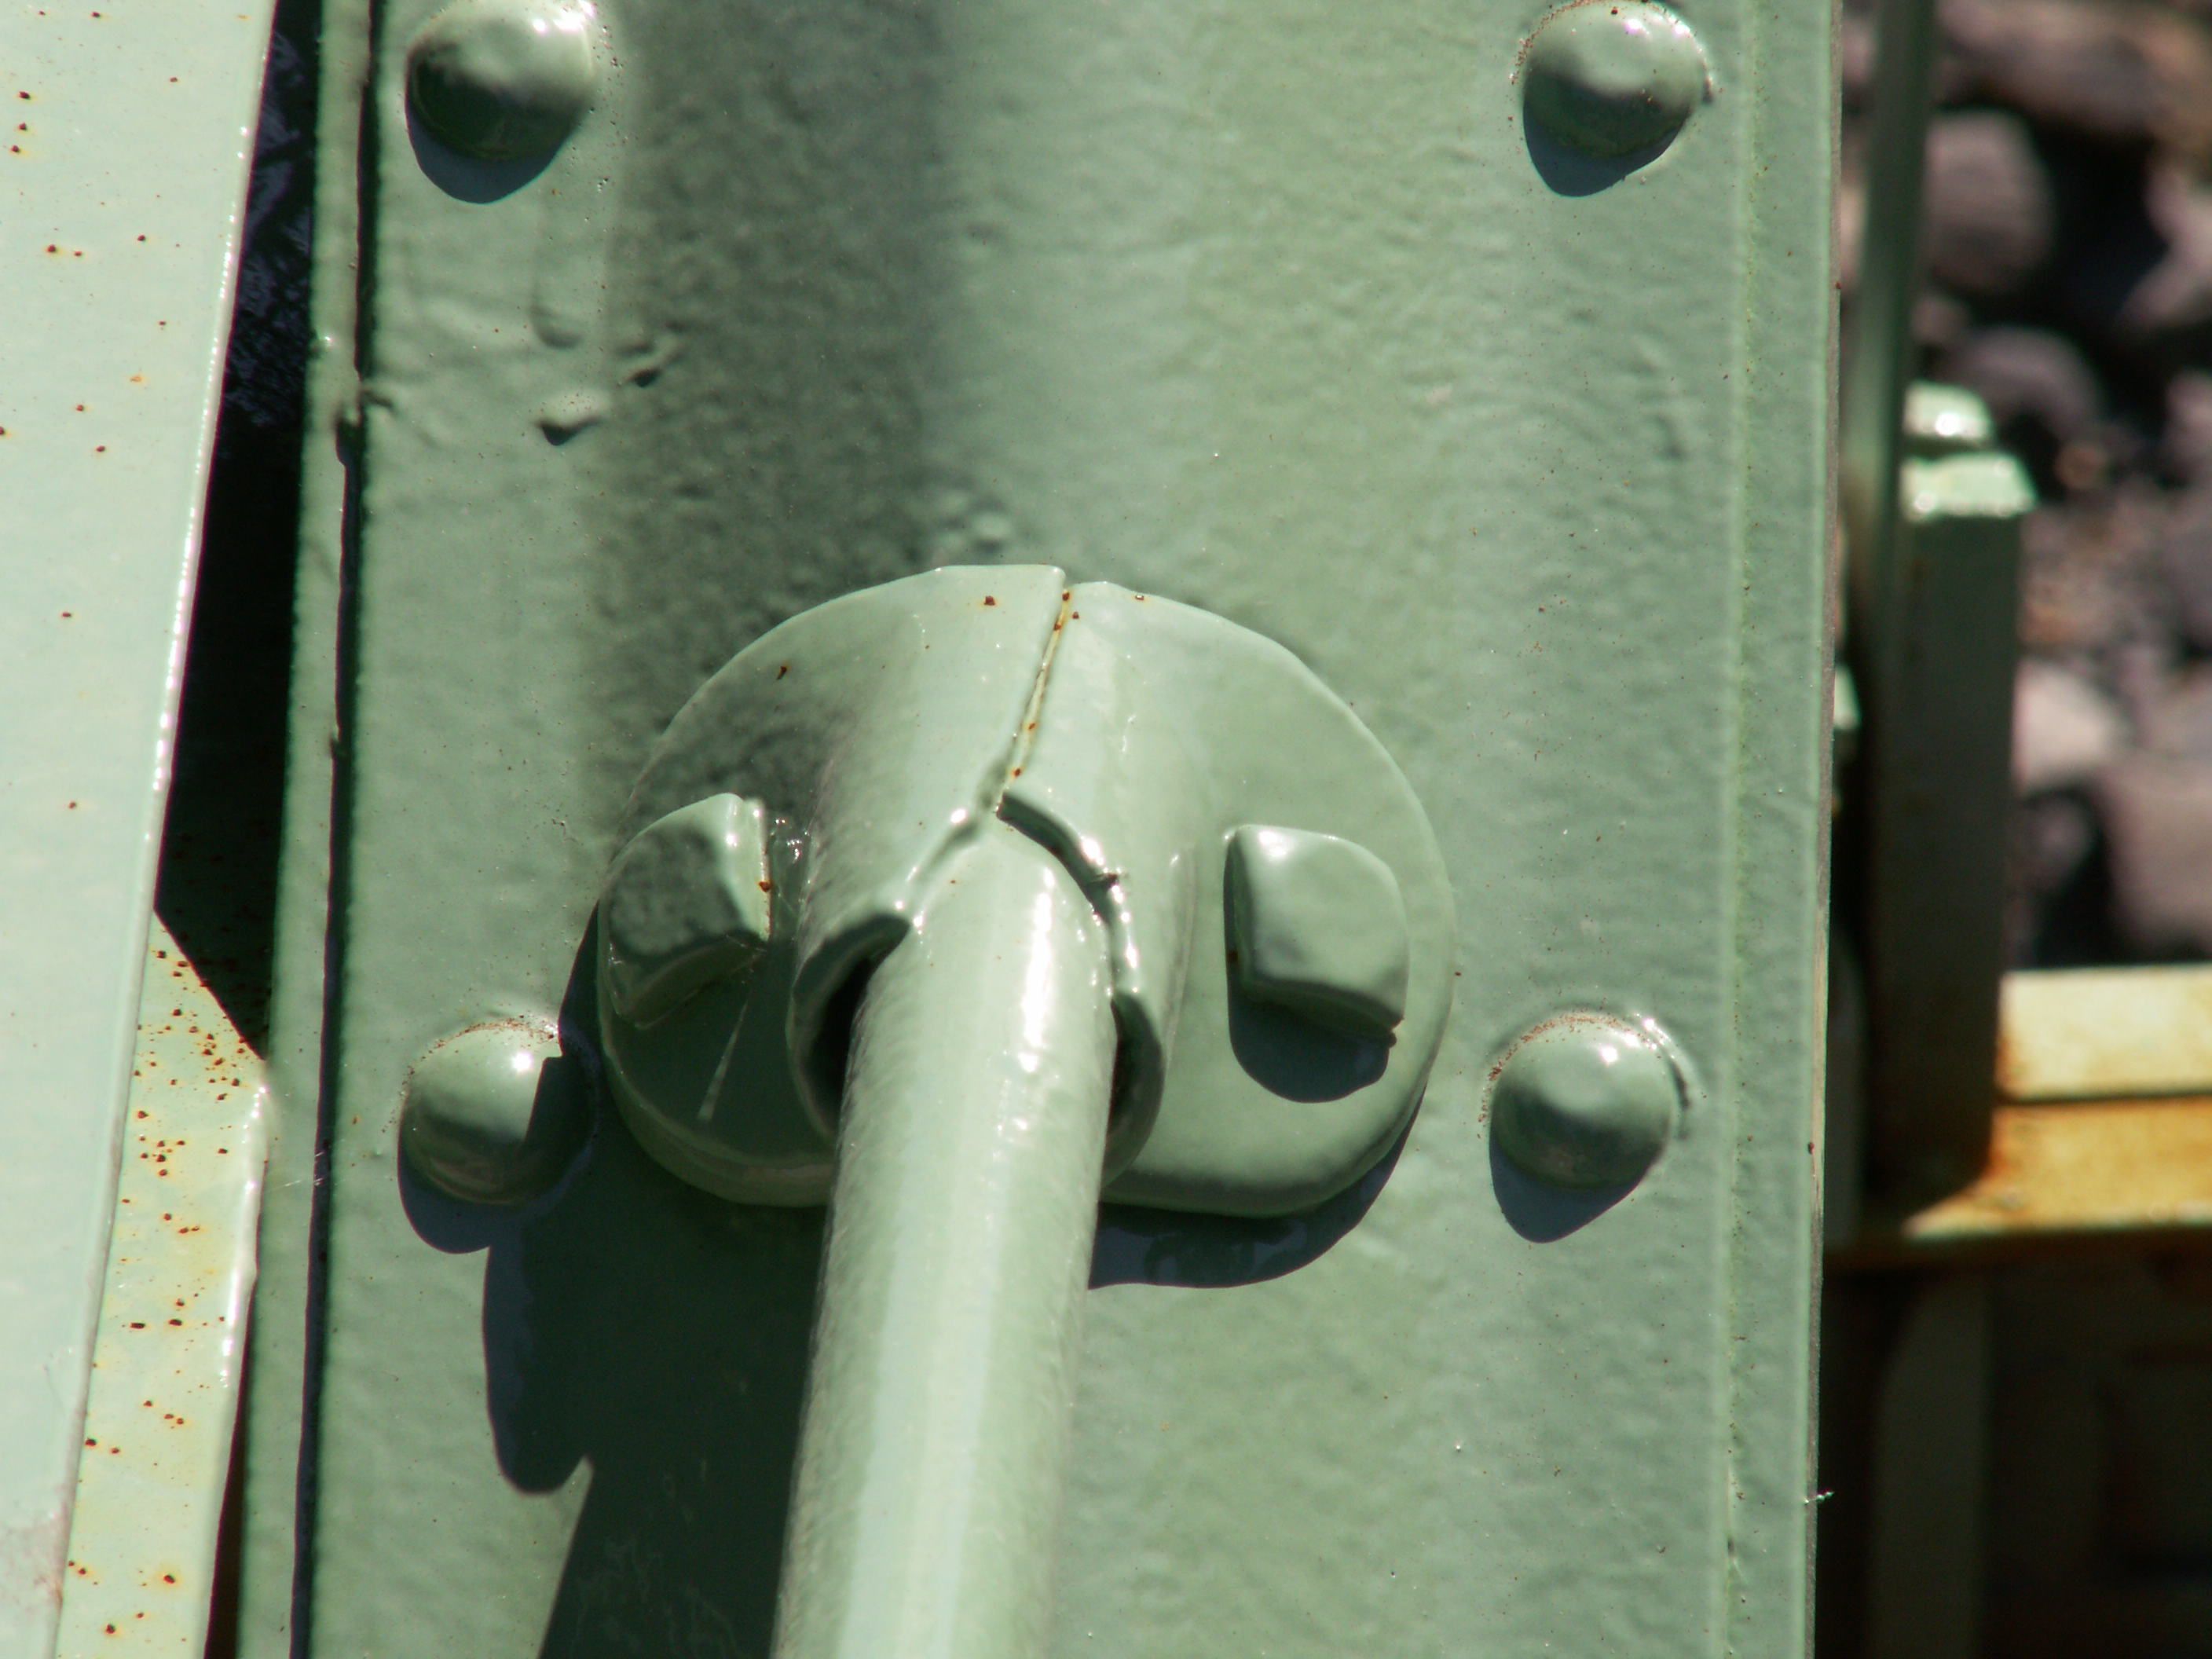
Top chord connections.
![]()
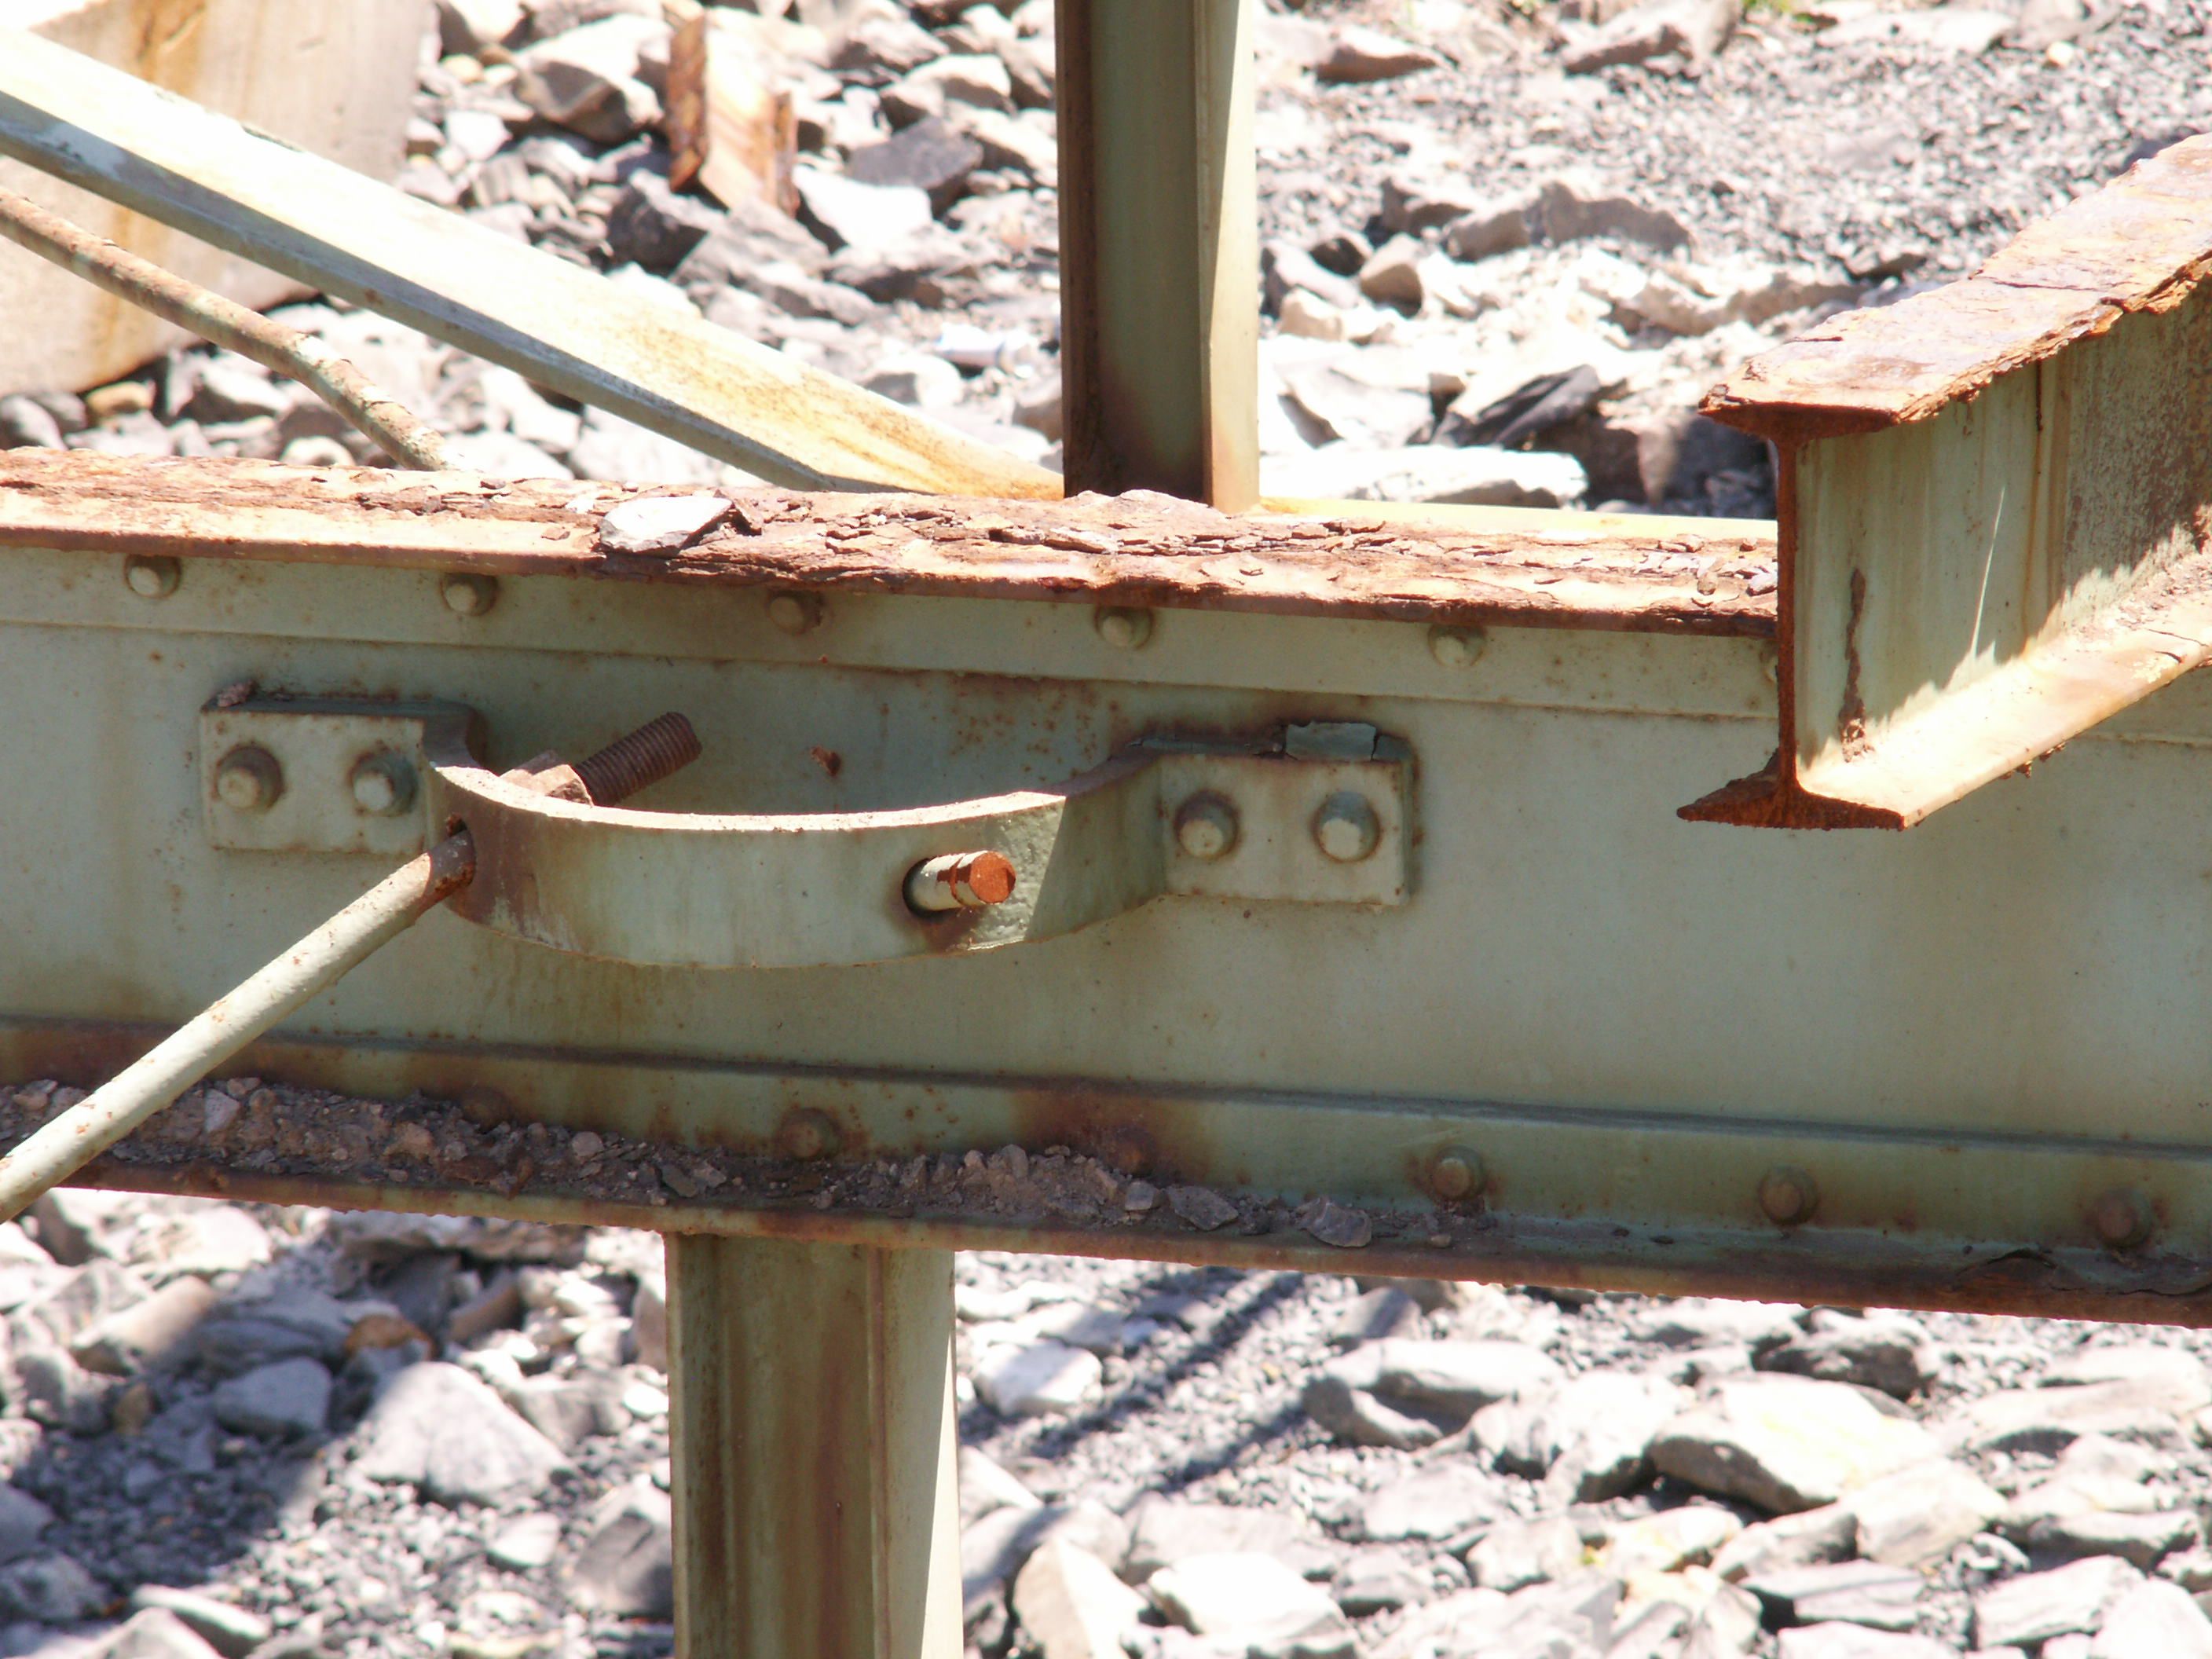
Bottom chord connections.
![]()
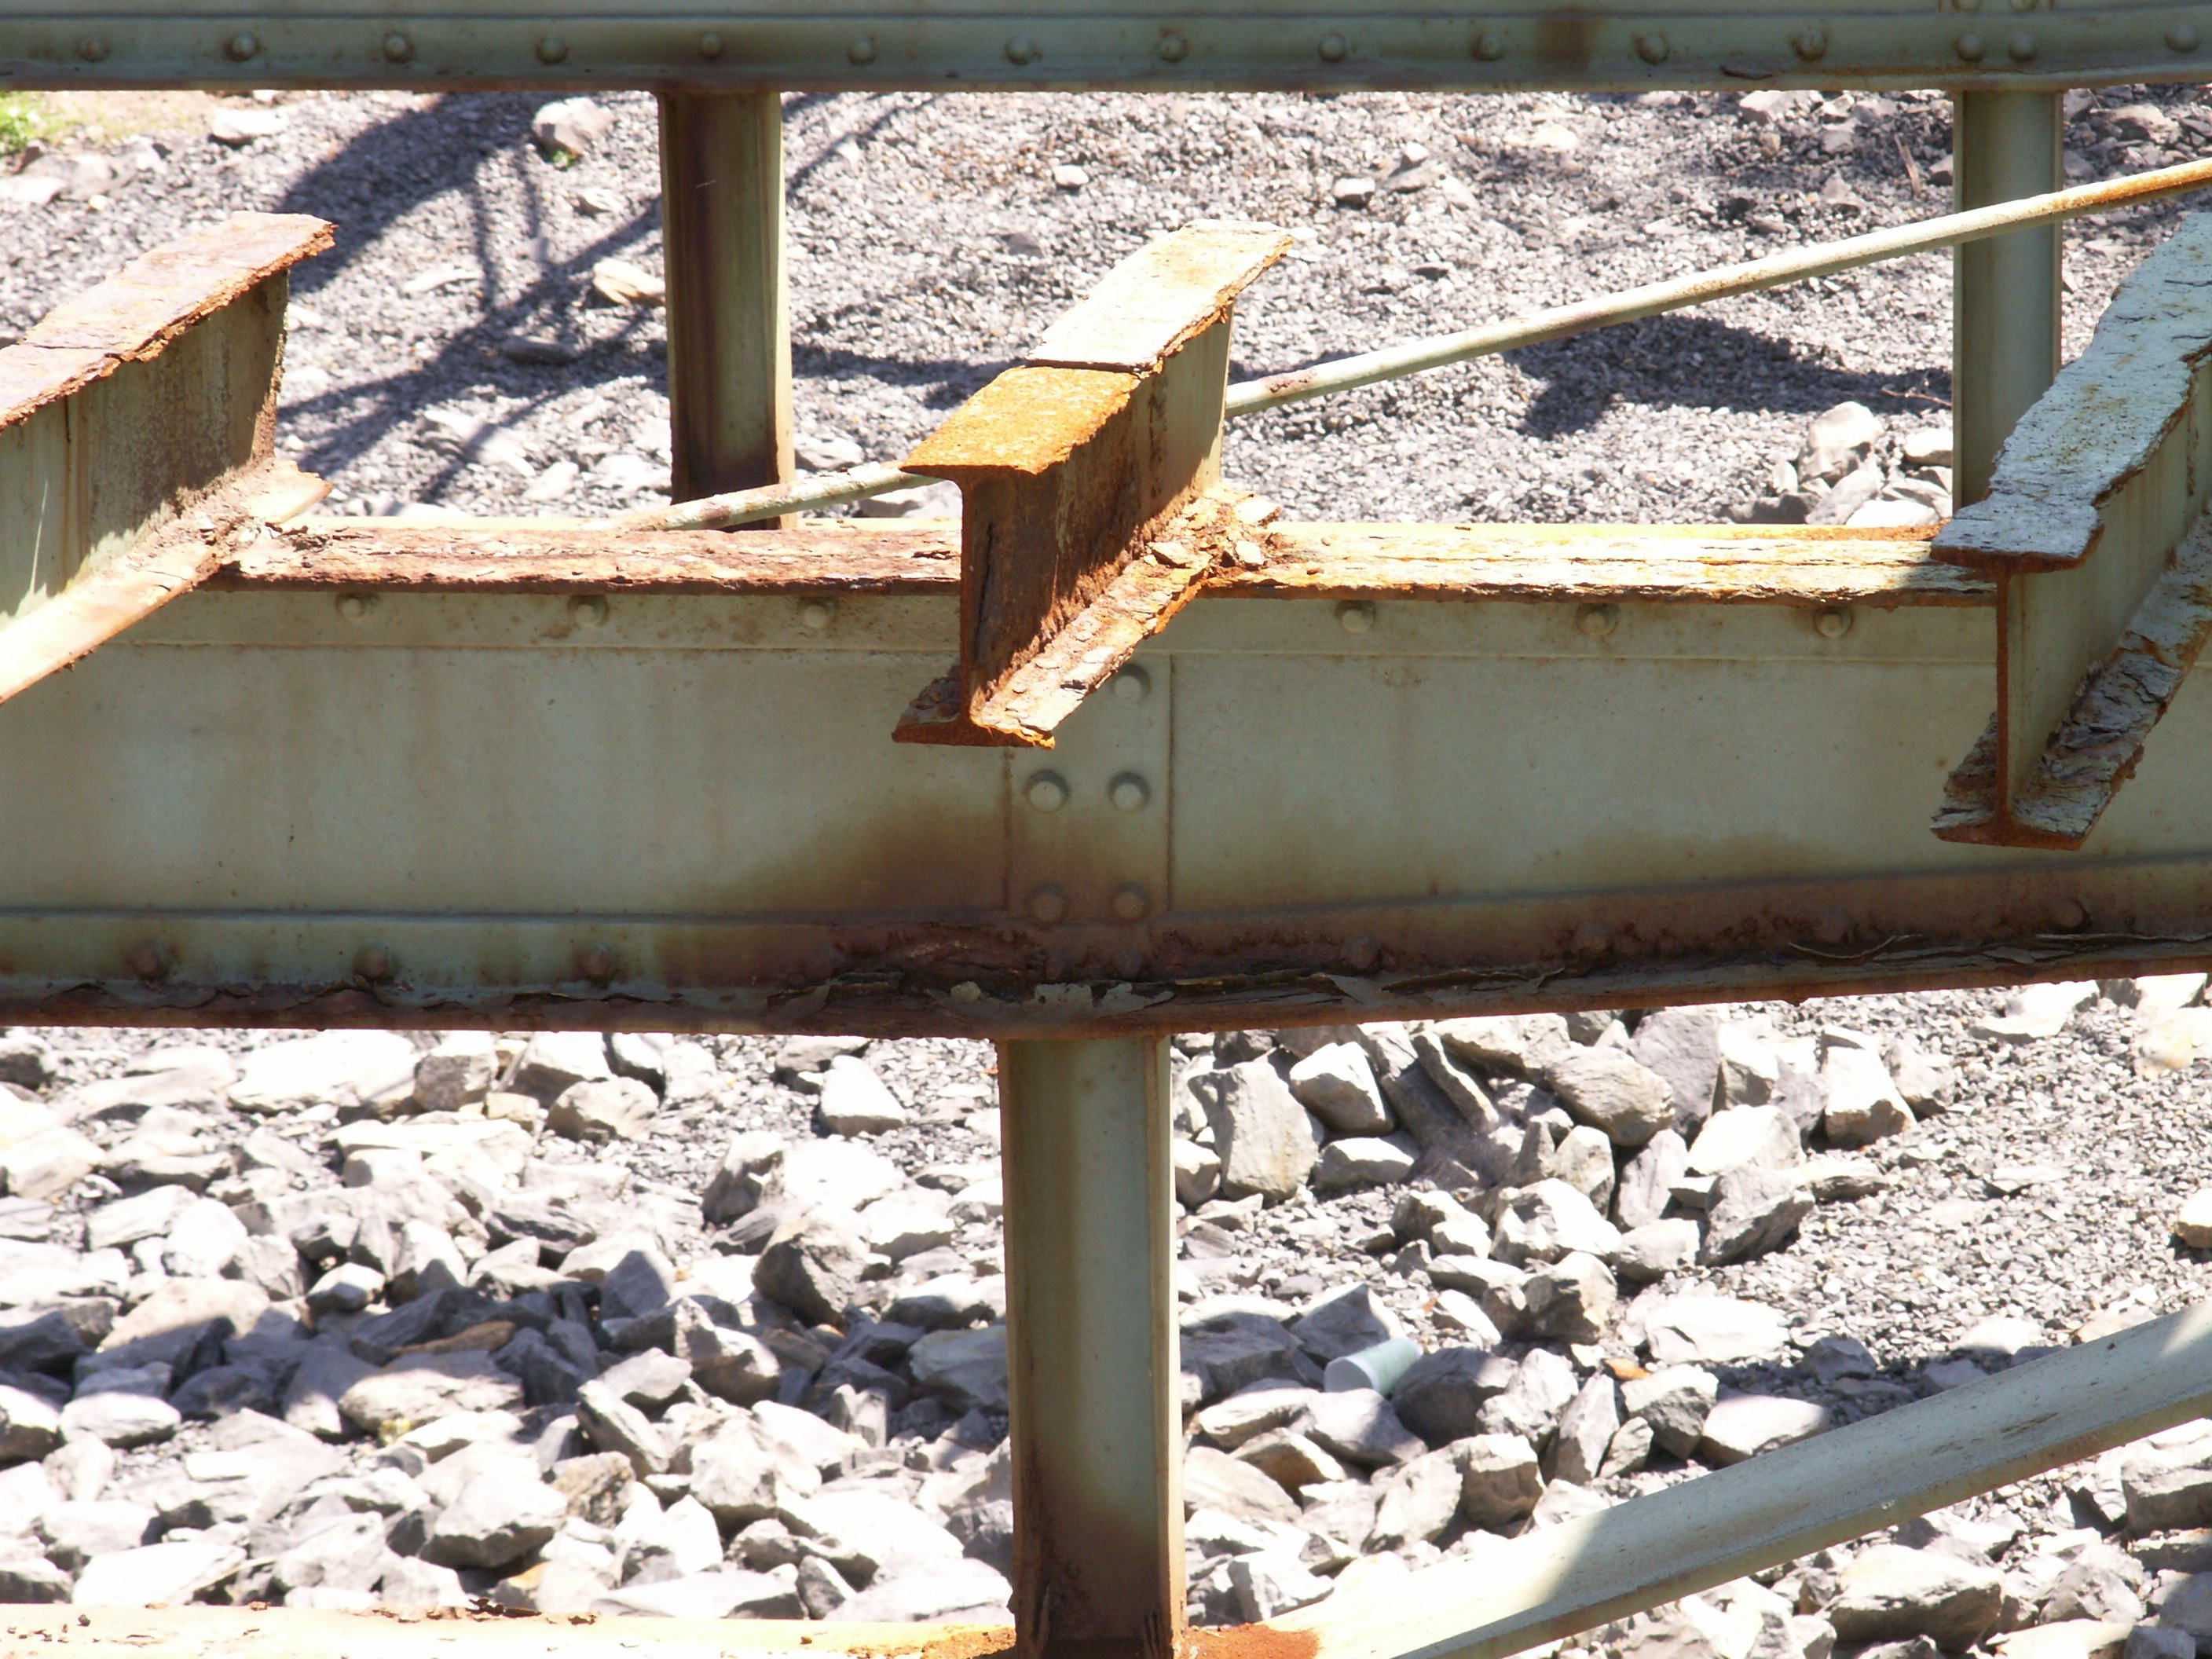

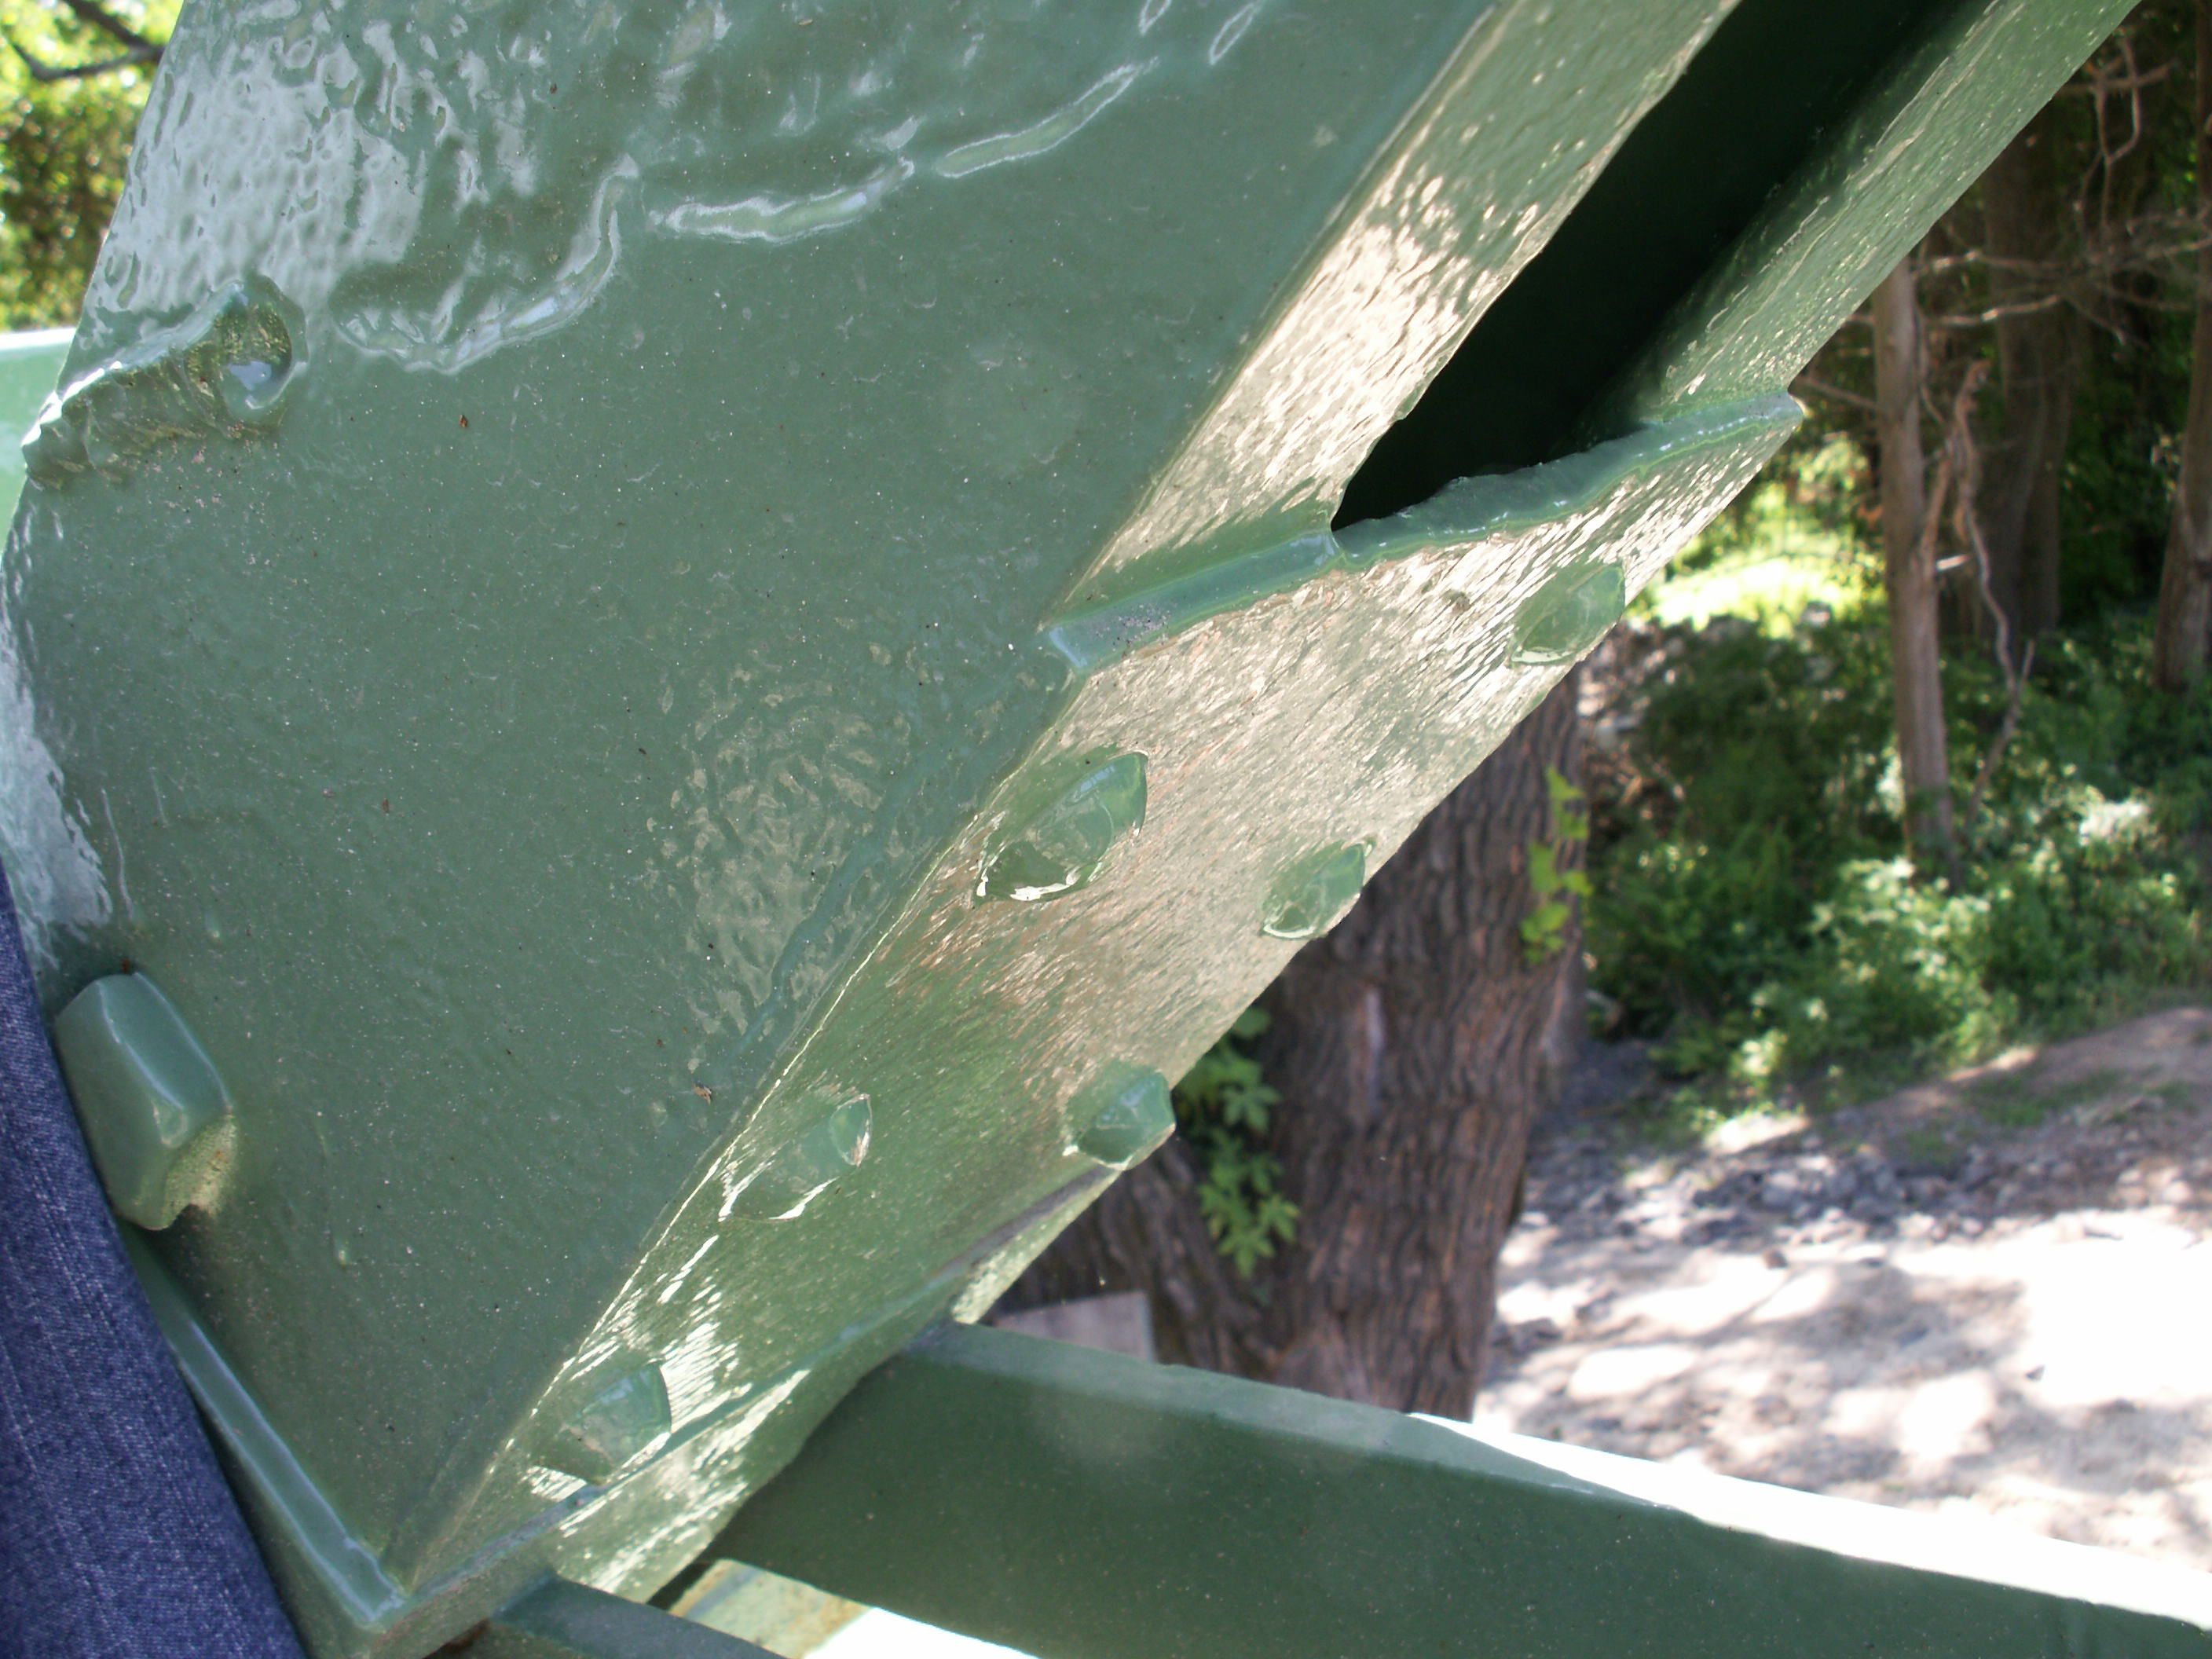
Floorbeams.
![]()
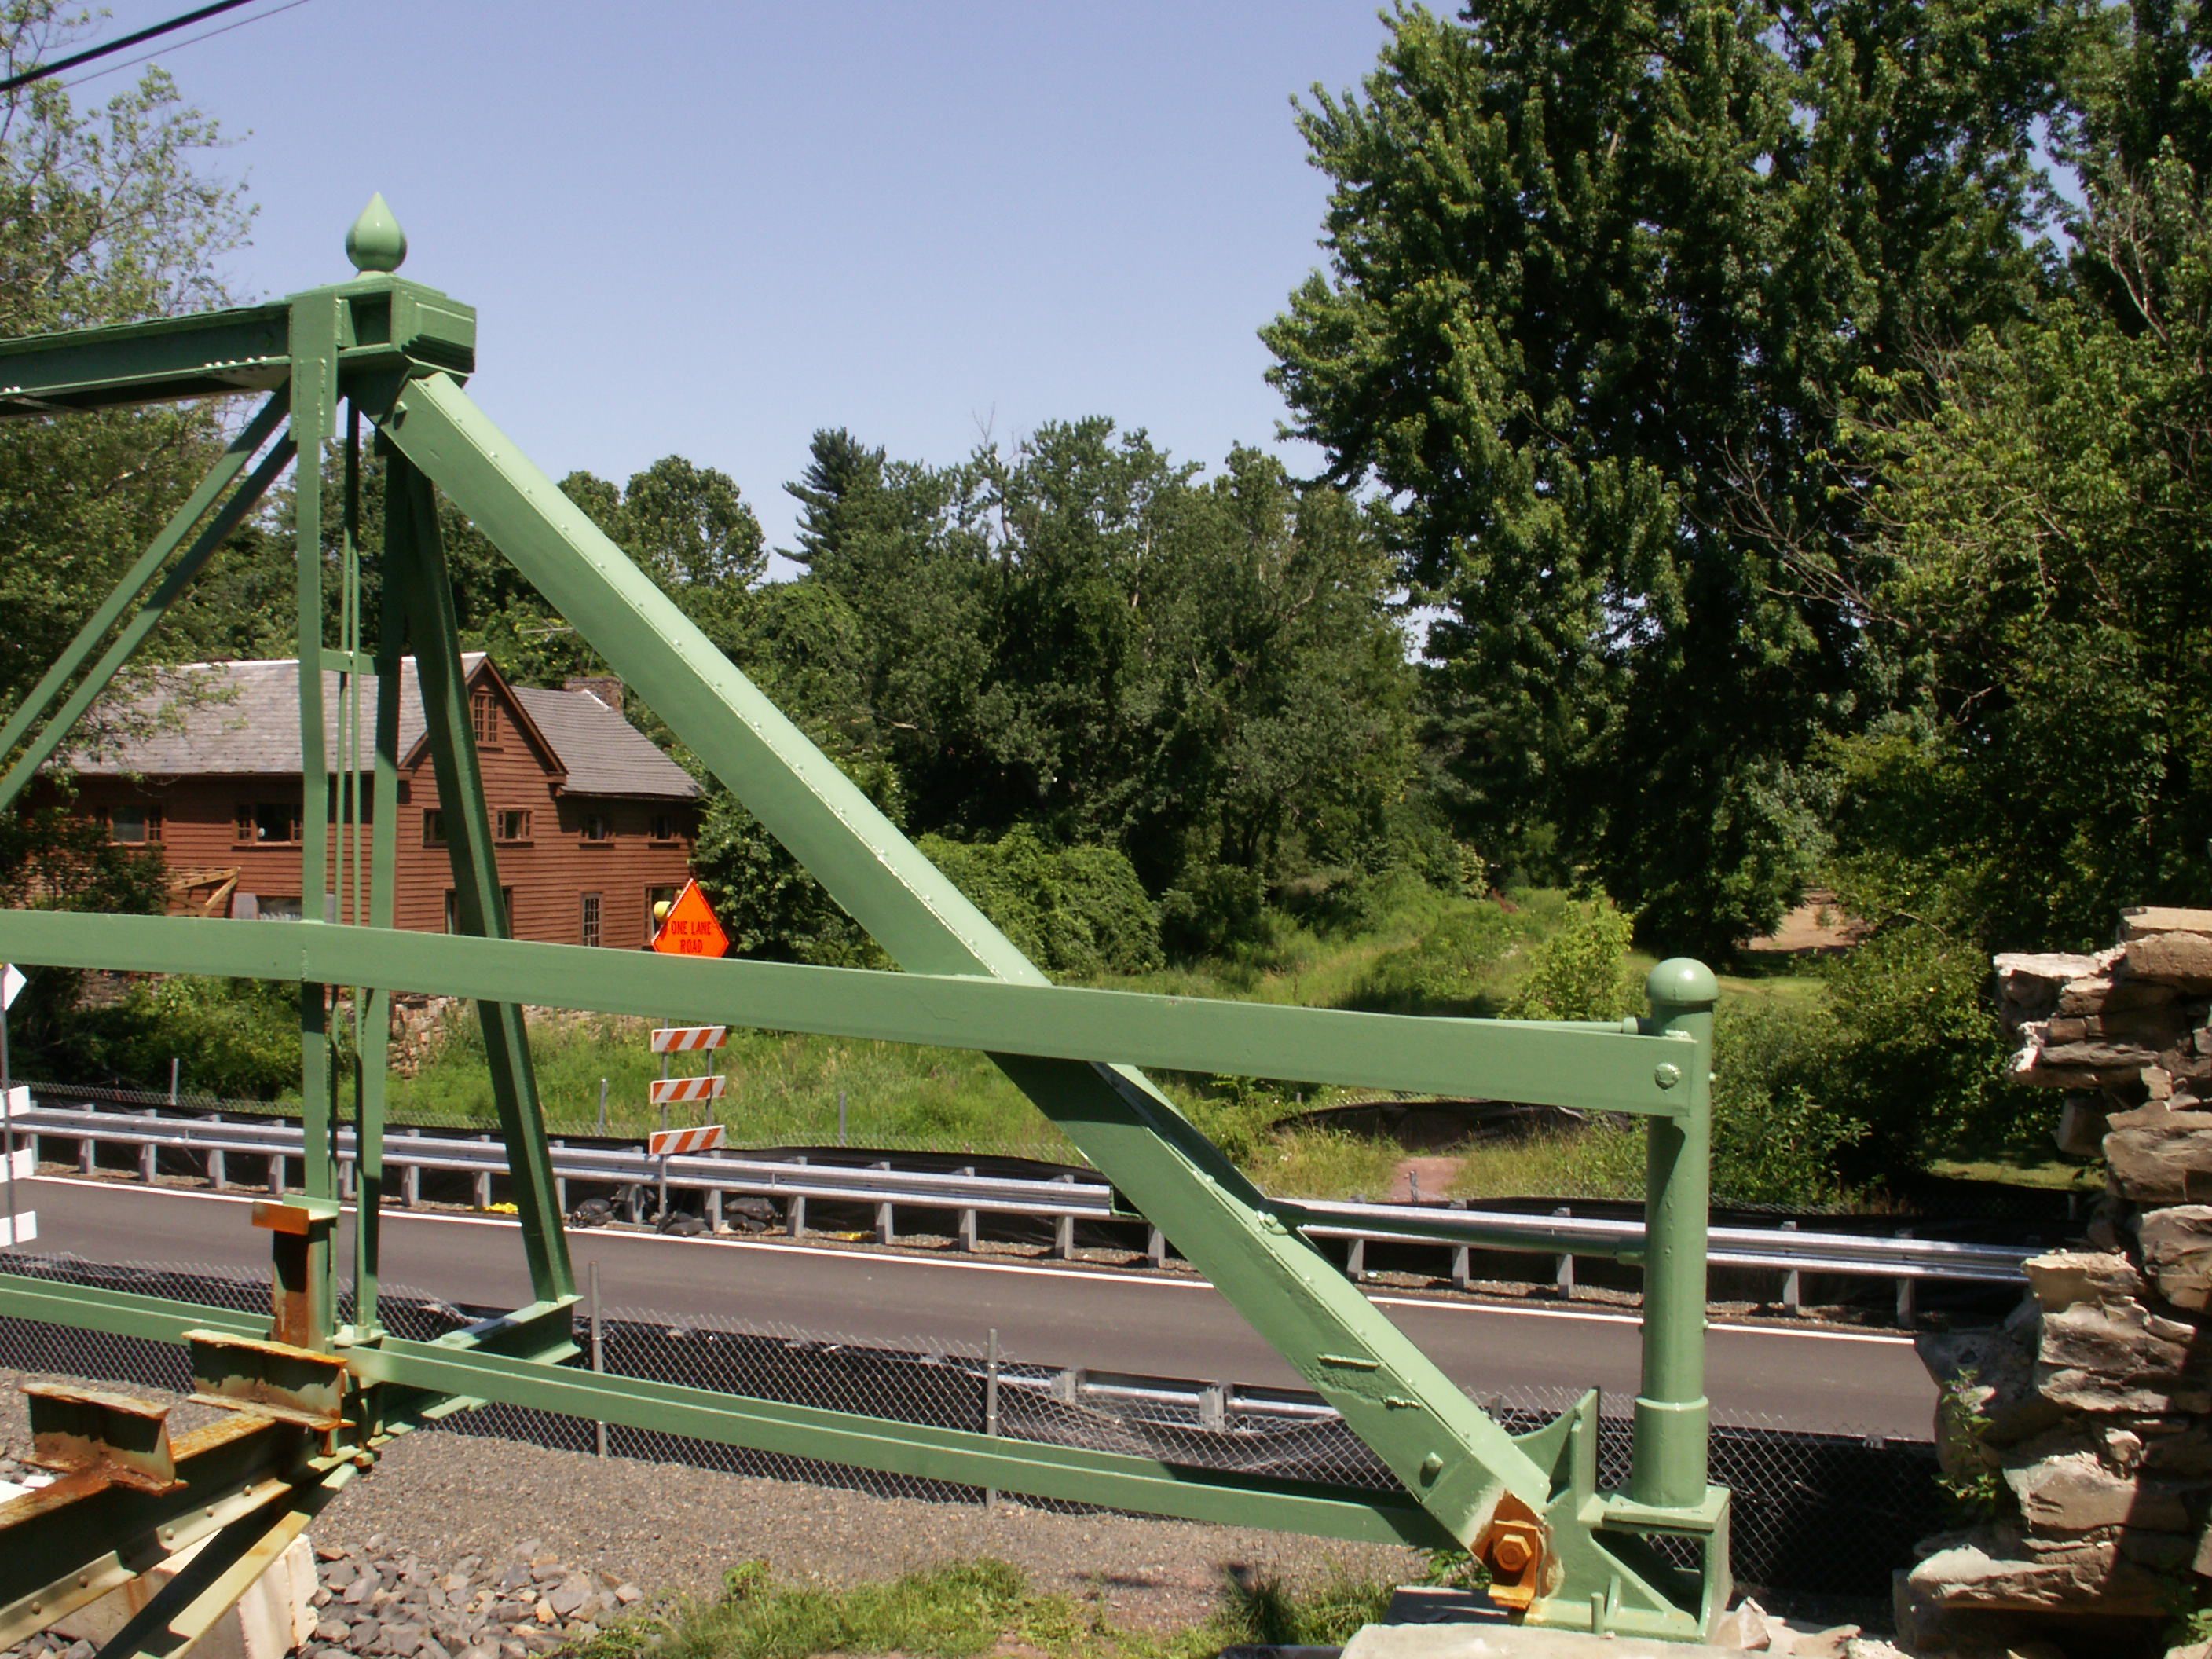
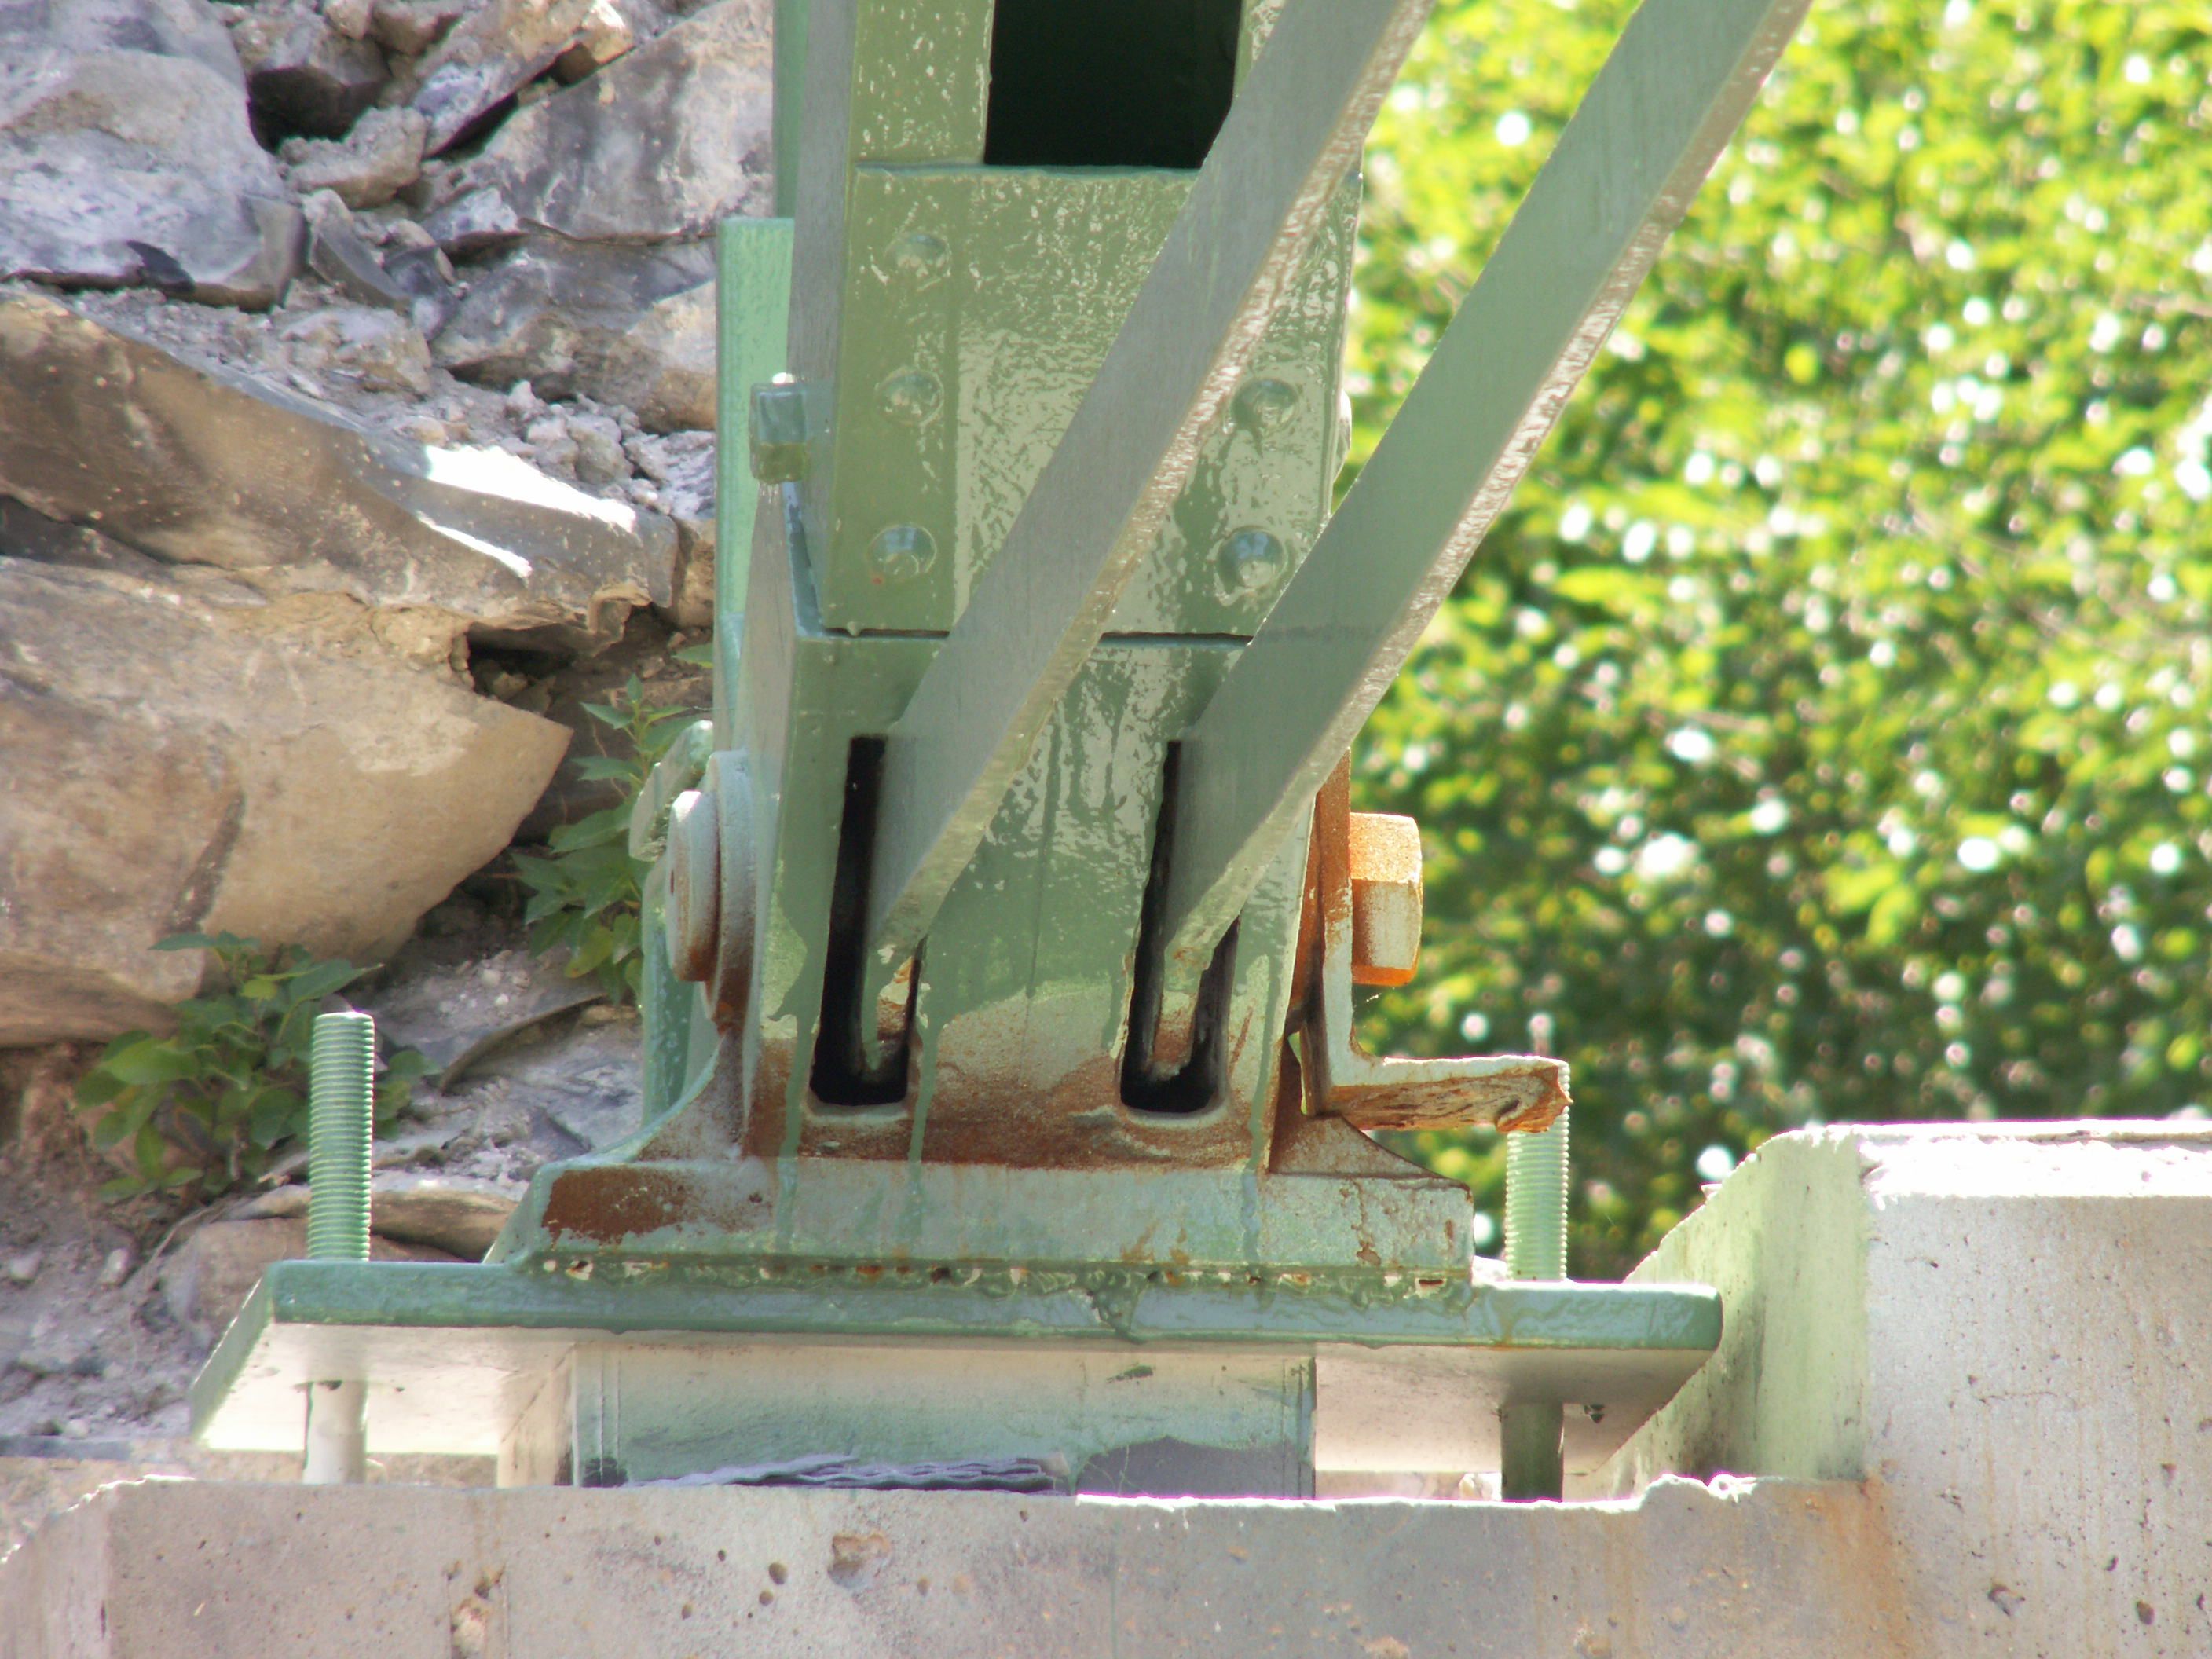
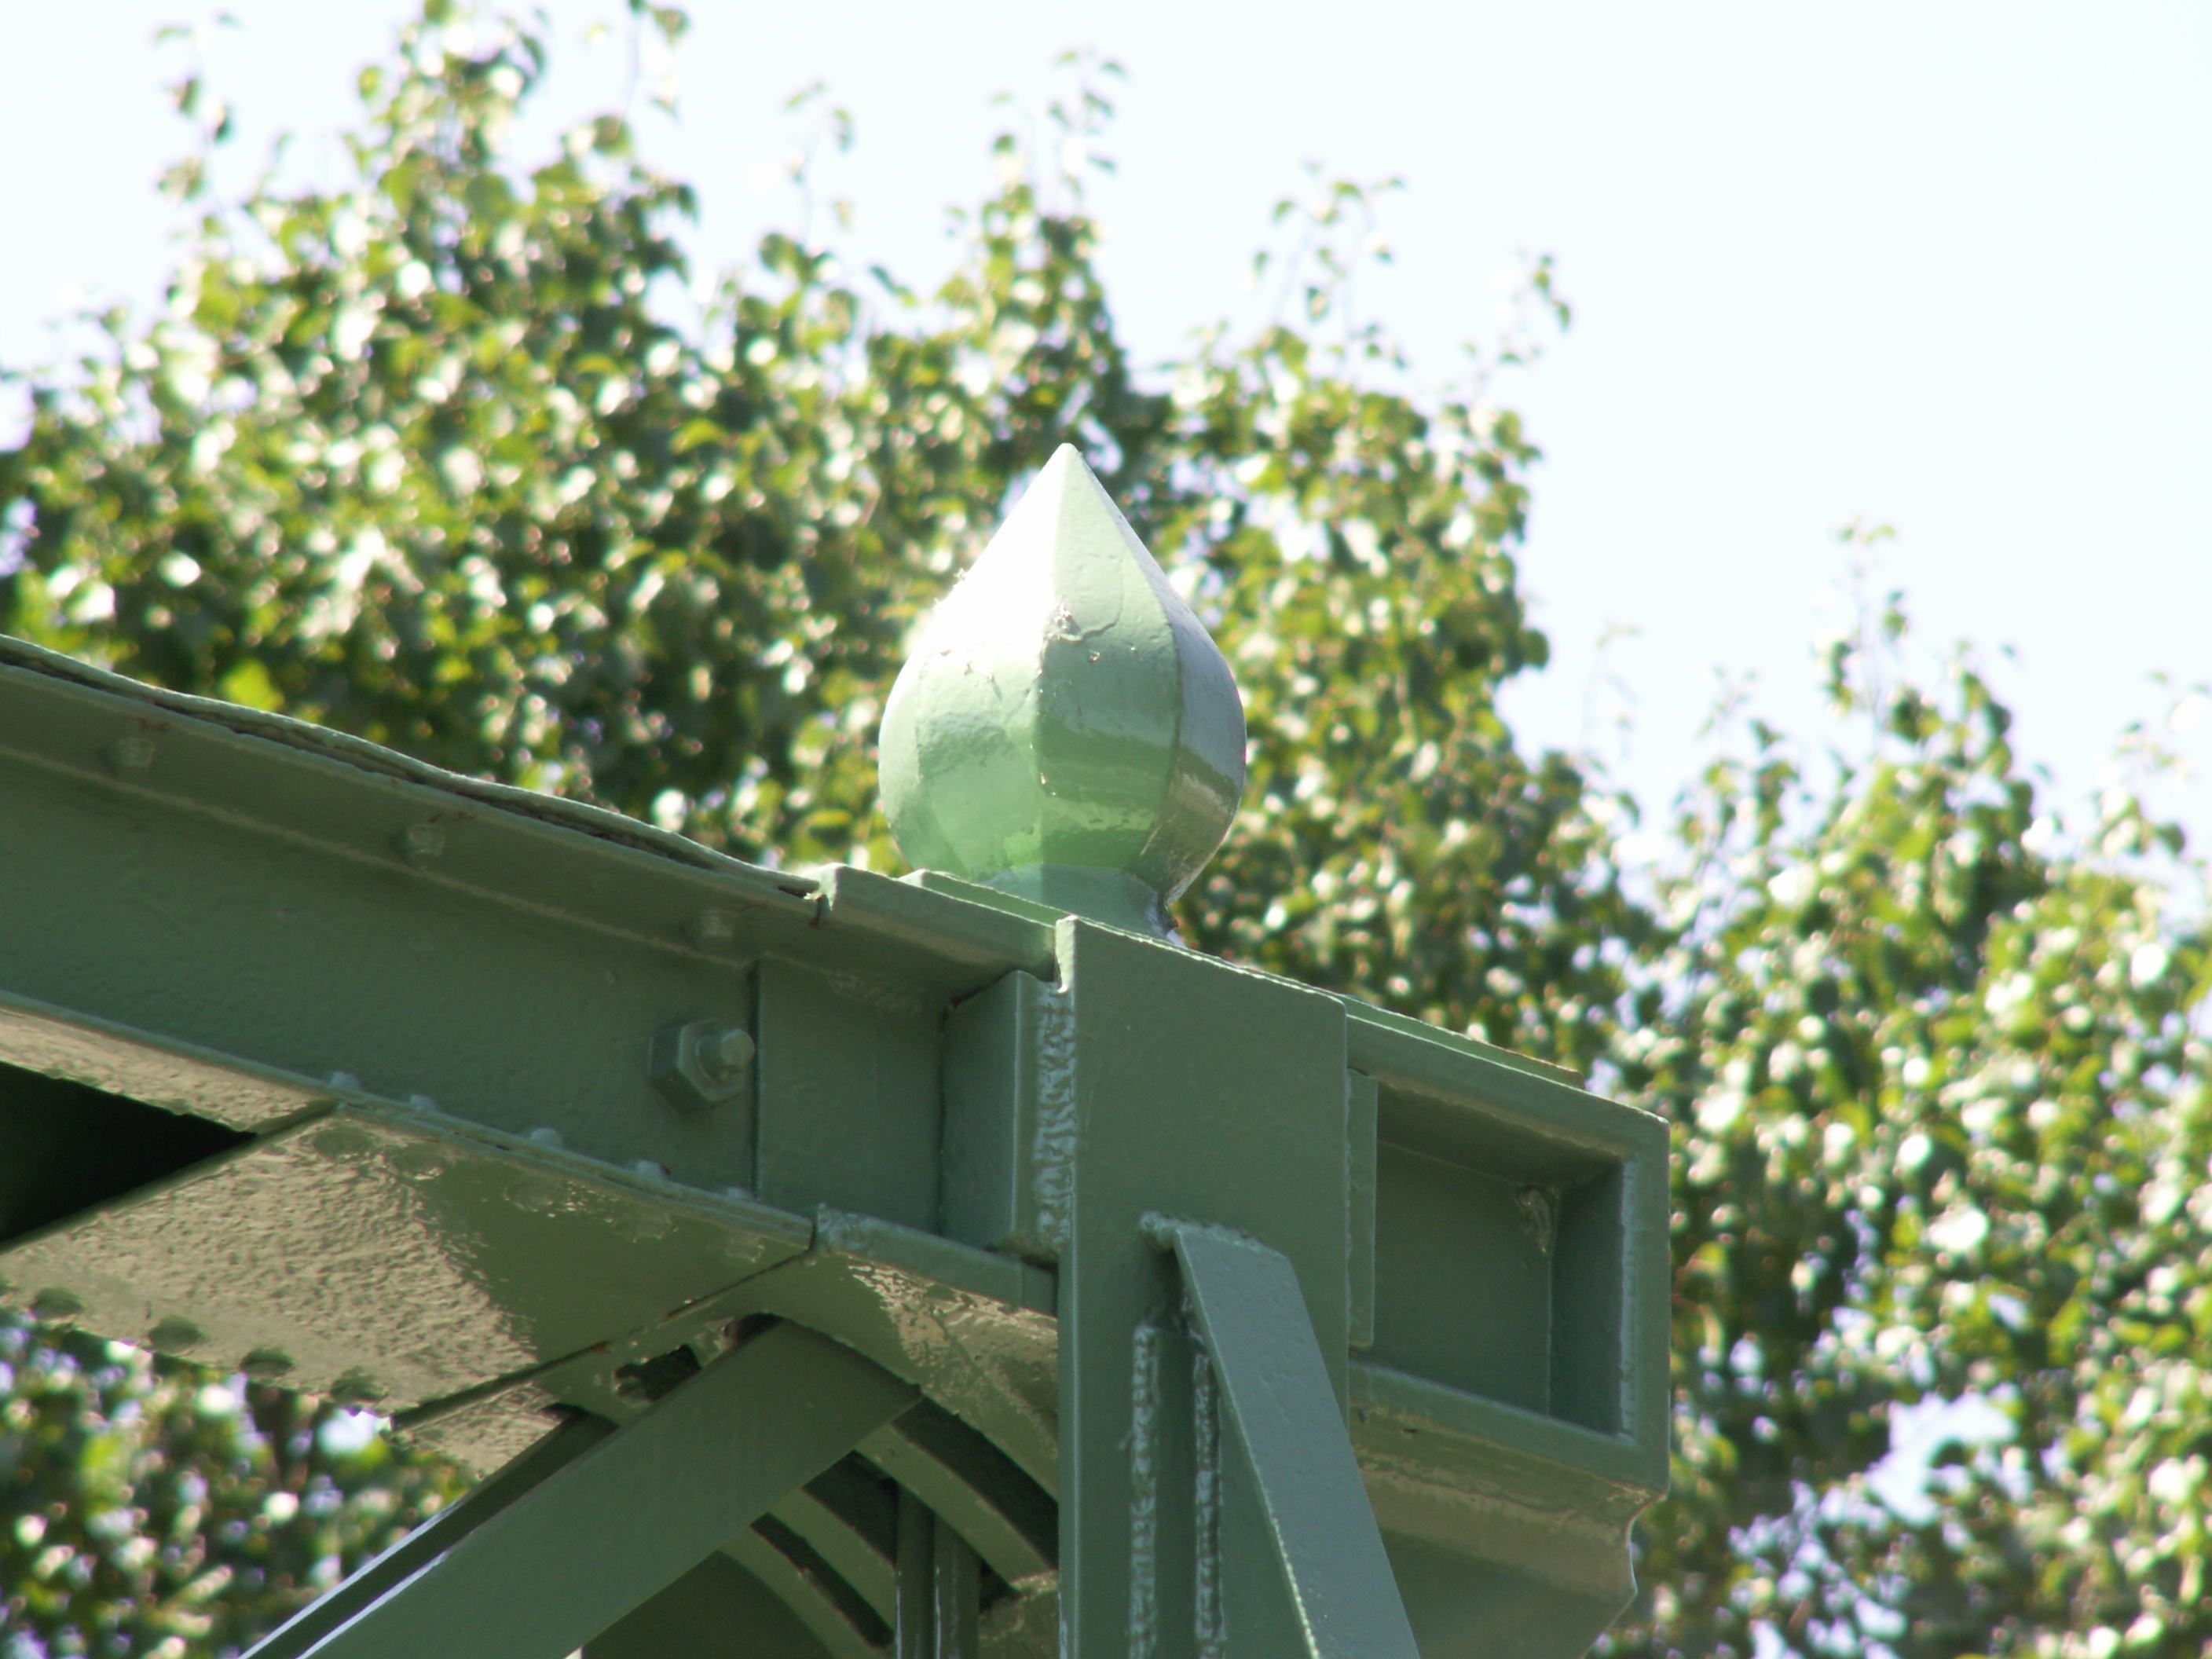
End post overview.
![]()
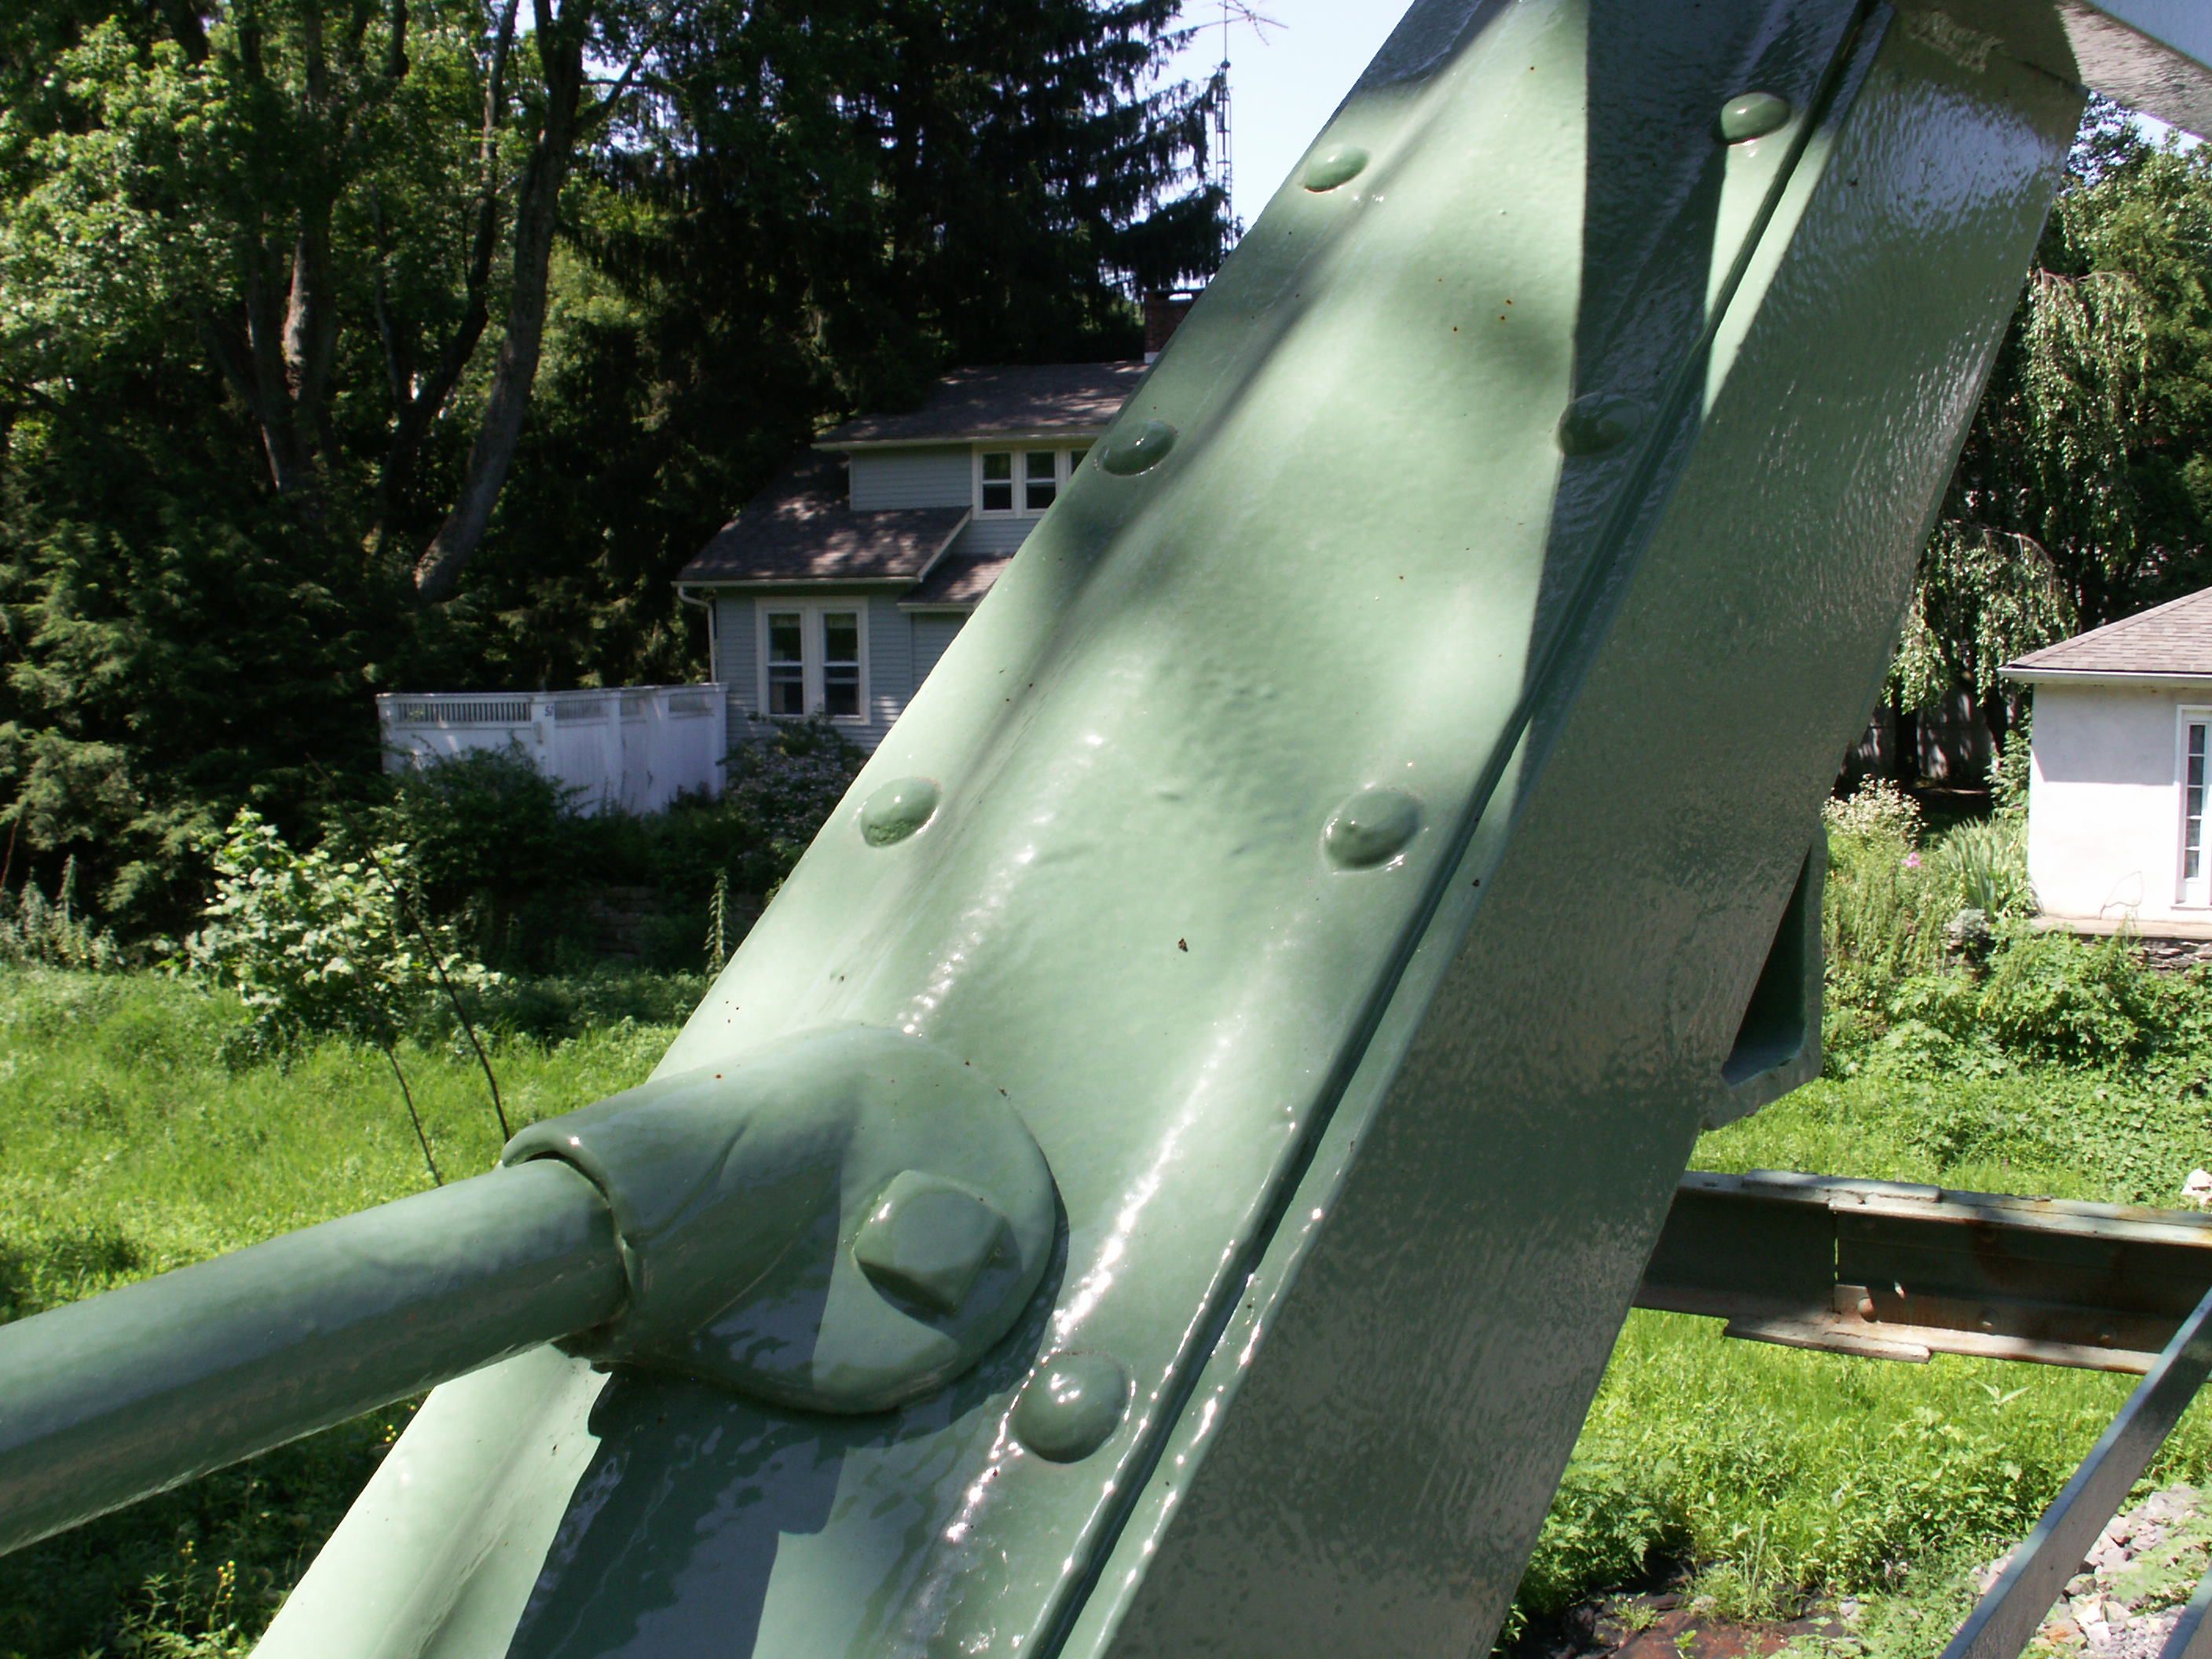


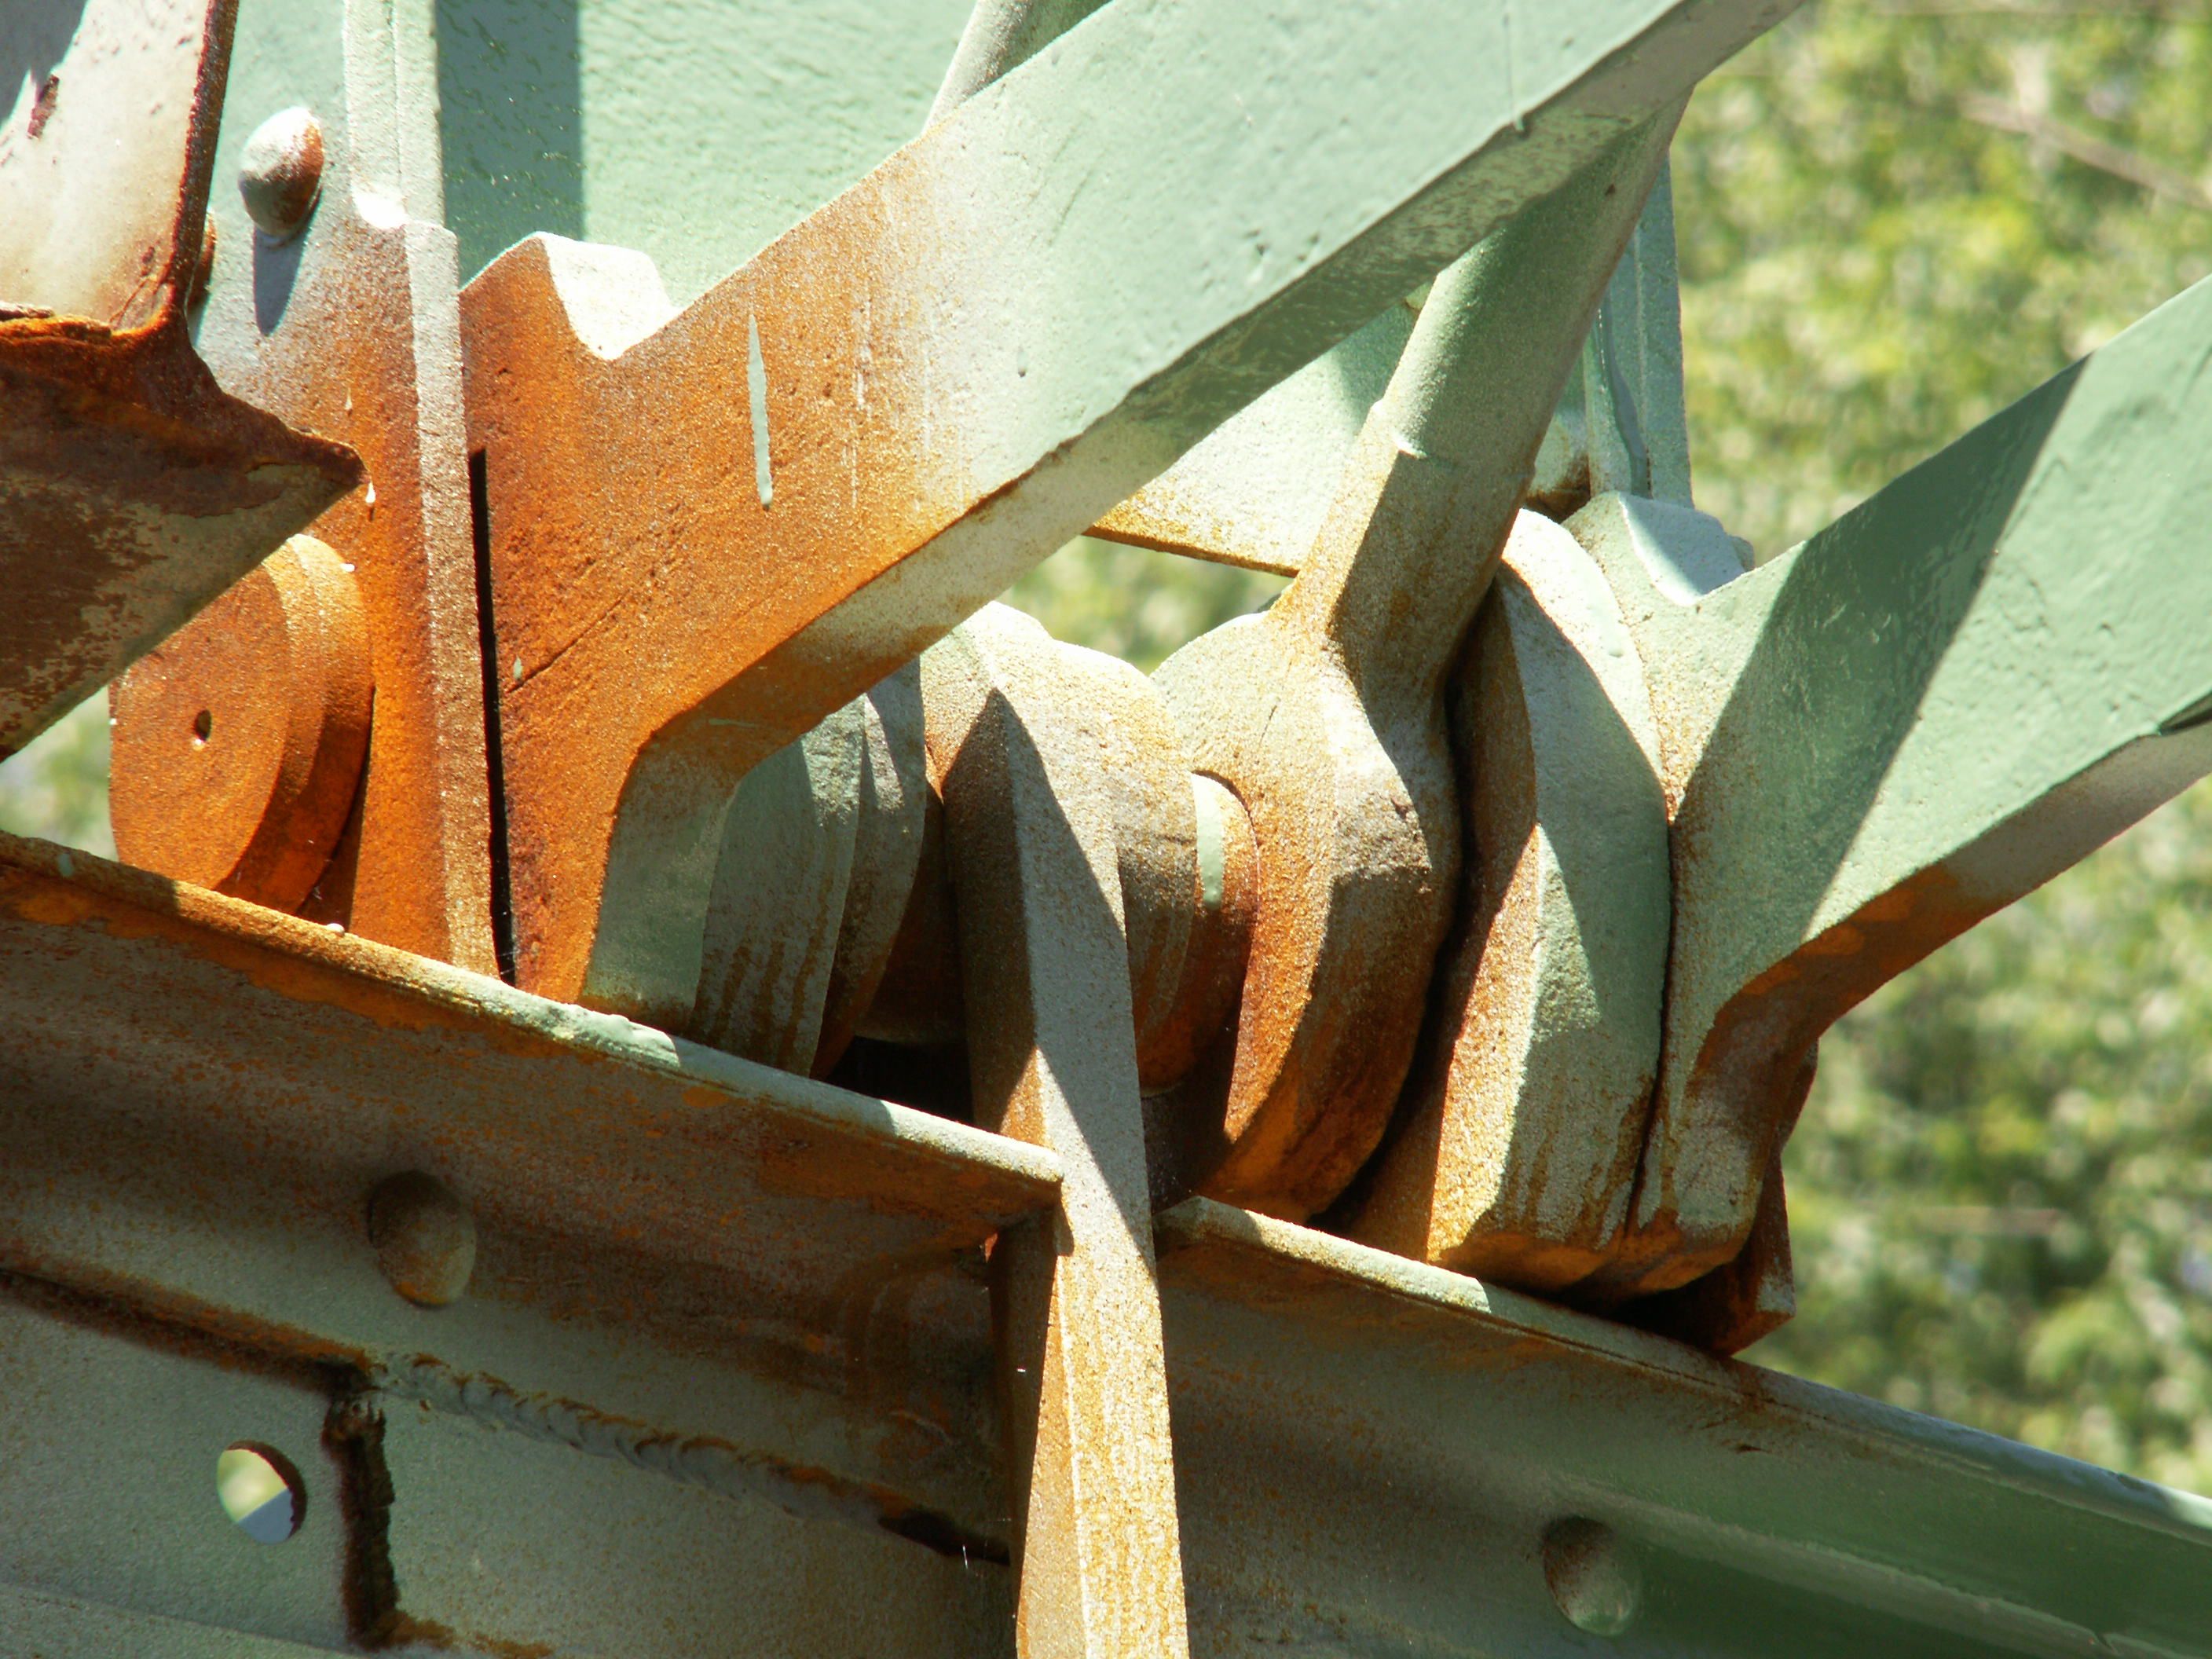
End post details.
![]()
Photos Taken Before Rehabilitation
![]()
canal(byramroad)_lookingsouthfromtoepathatbusexitingwelcomecenter.jpg)
canal(byramroad)_lookingupfromtoepathatbridge.jpg)
Photo Credit: Pennsylvania Department of Transportation.
Pre-rehabilitation elevation.
![]()
canal(byramroad)_lookingwesttowardstown.jpg)
Photo Credit: Pennsylvania Department of Transportation.
Pre-rehabilitation portal view.
![]()
canal(byramroad)_underside.jpg)
Photo Credit: Pennsylvania Department of Transportation.
Pre-rehabilitation view under bridge.
![]()
canal(byramroad)_plaque1.jpg)
canal(byramroad)_plaque2.jpg)
Photo Credit: Pennsylvania Department of Transportation.
Views of plaque.
![]()
![]()
| Back |
| Home |
| Top |

![]()