Uncredited photos on this page taken by: Nathan Holth. Unless stated in a caption, all photos are Copyright with All Rights Reserved. Learn about reuse of our photos.
![]()
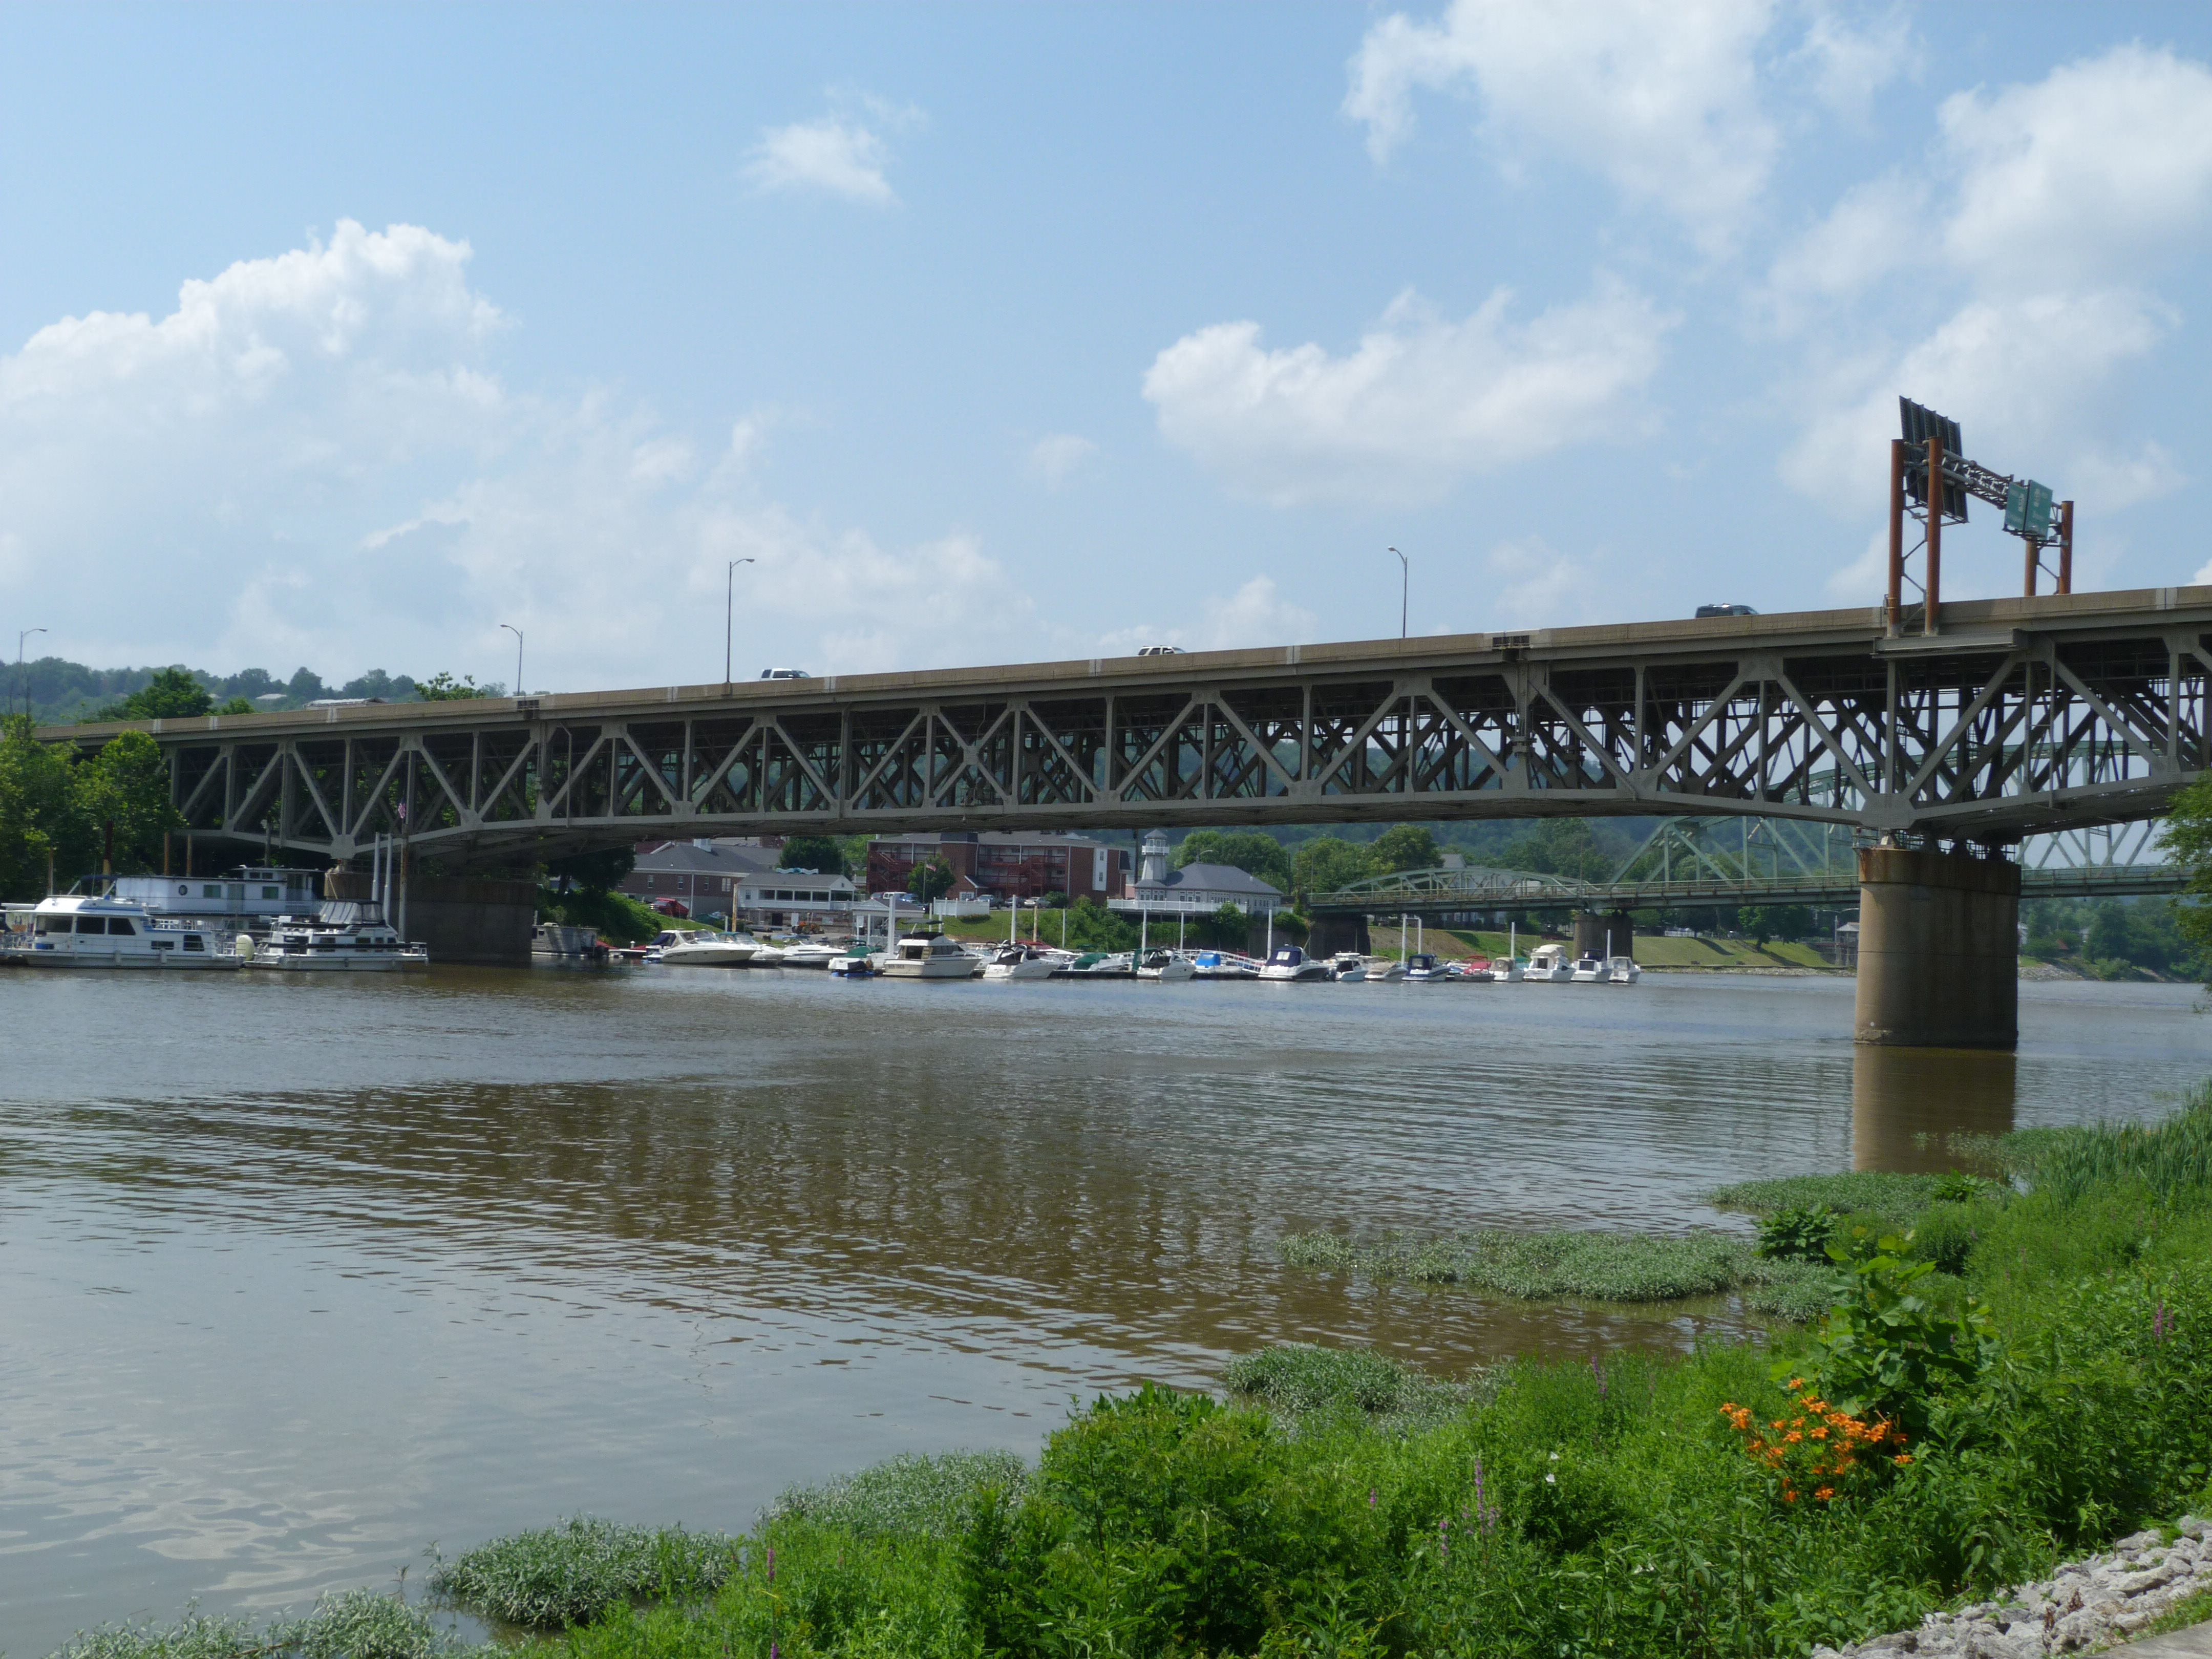

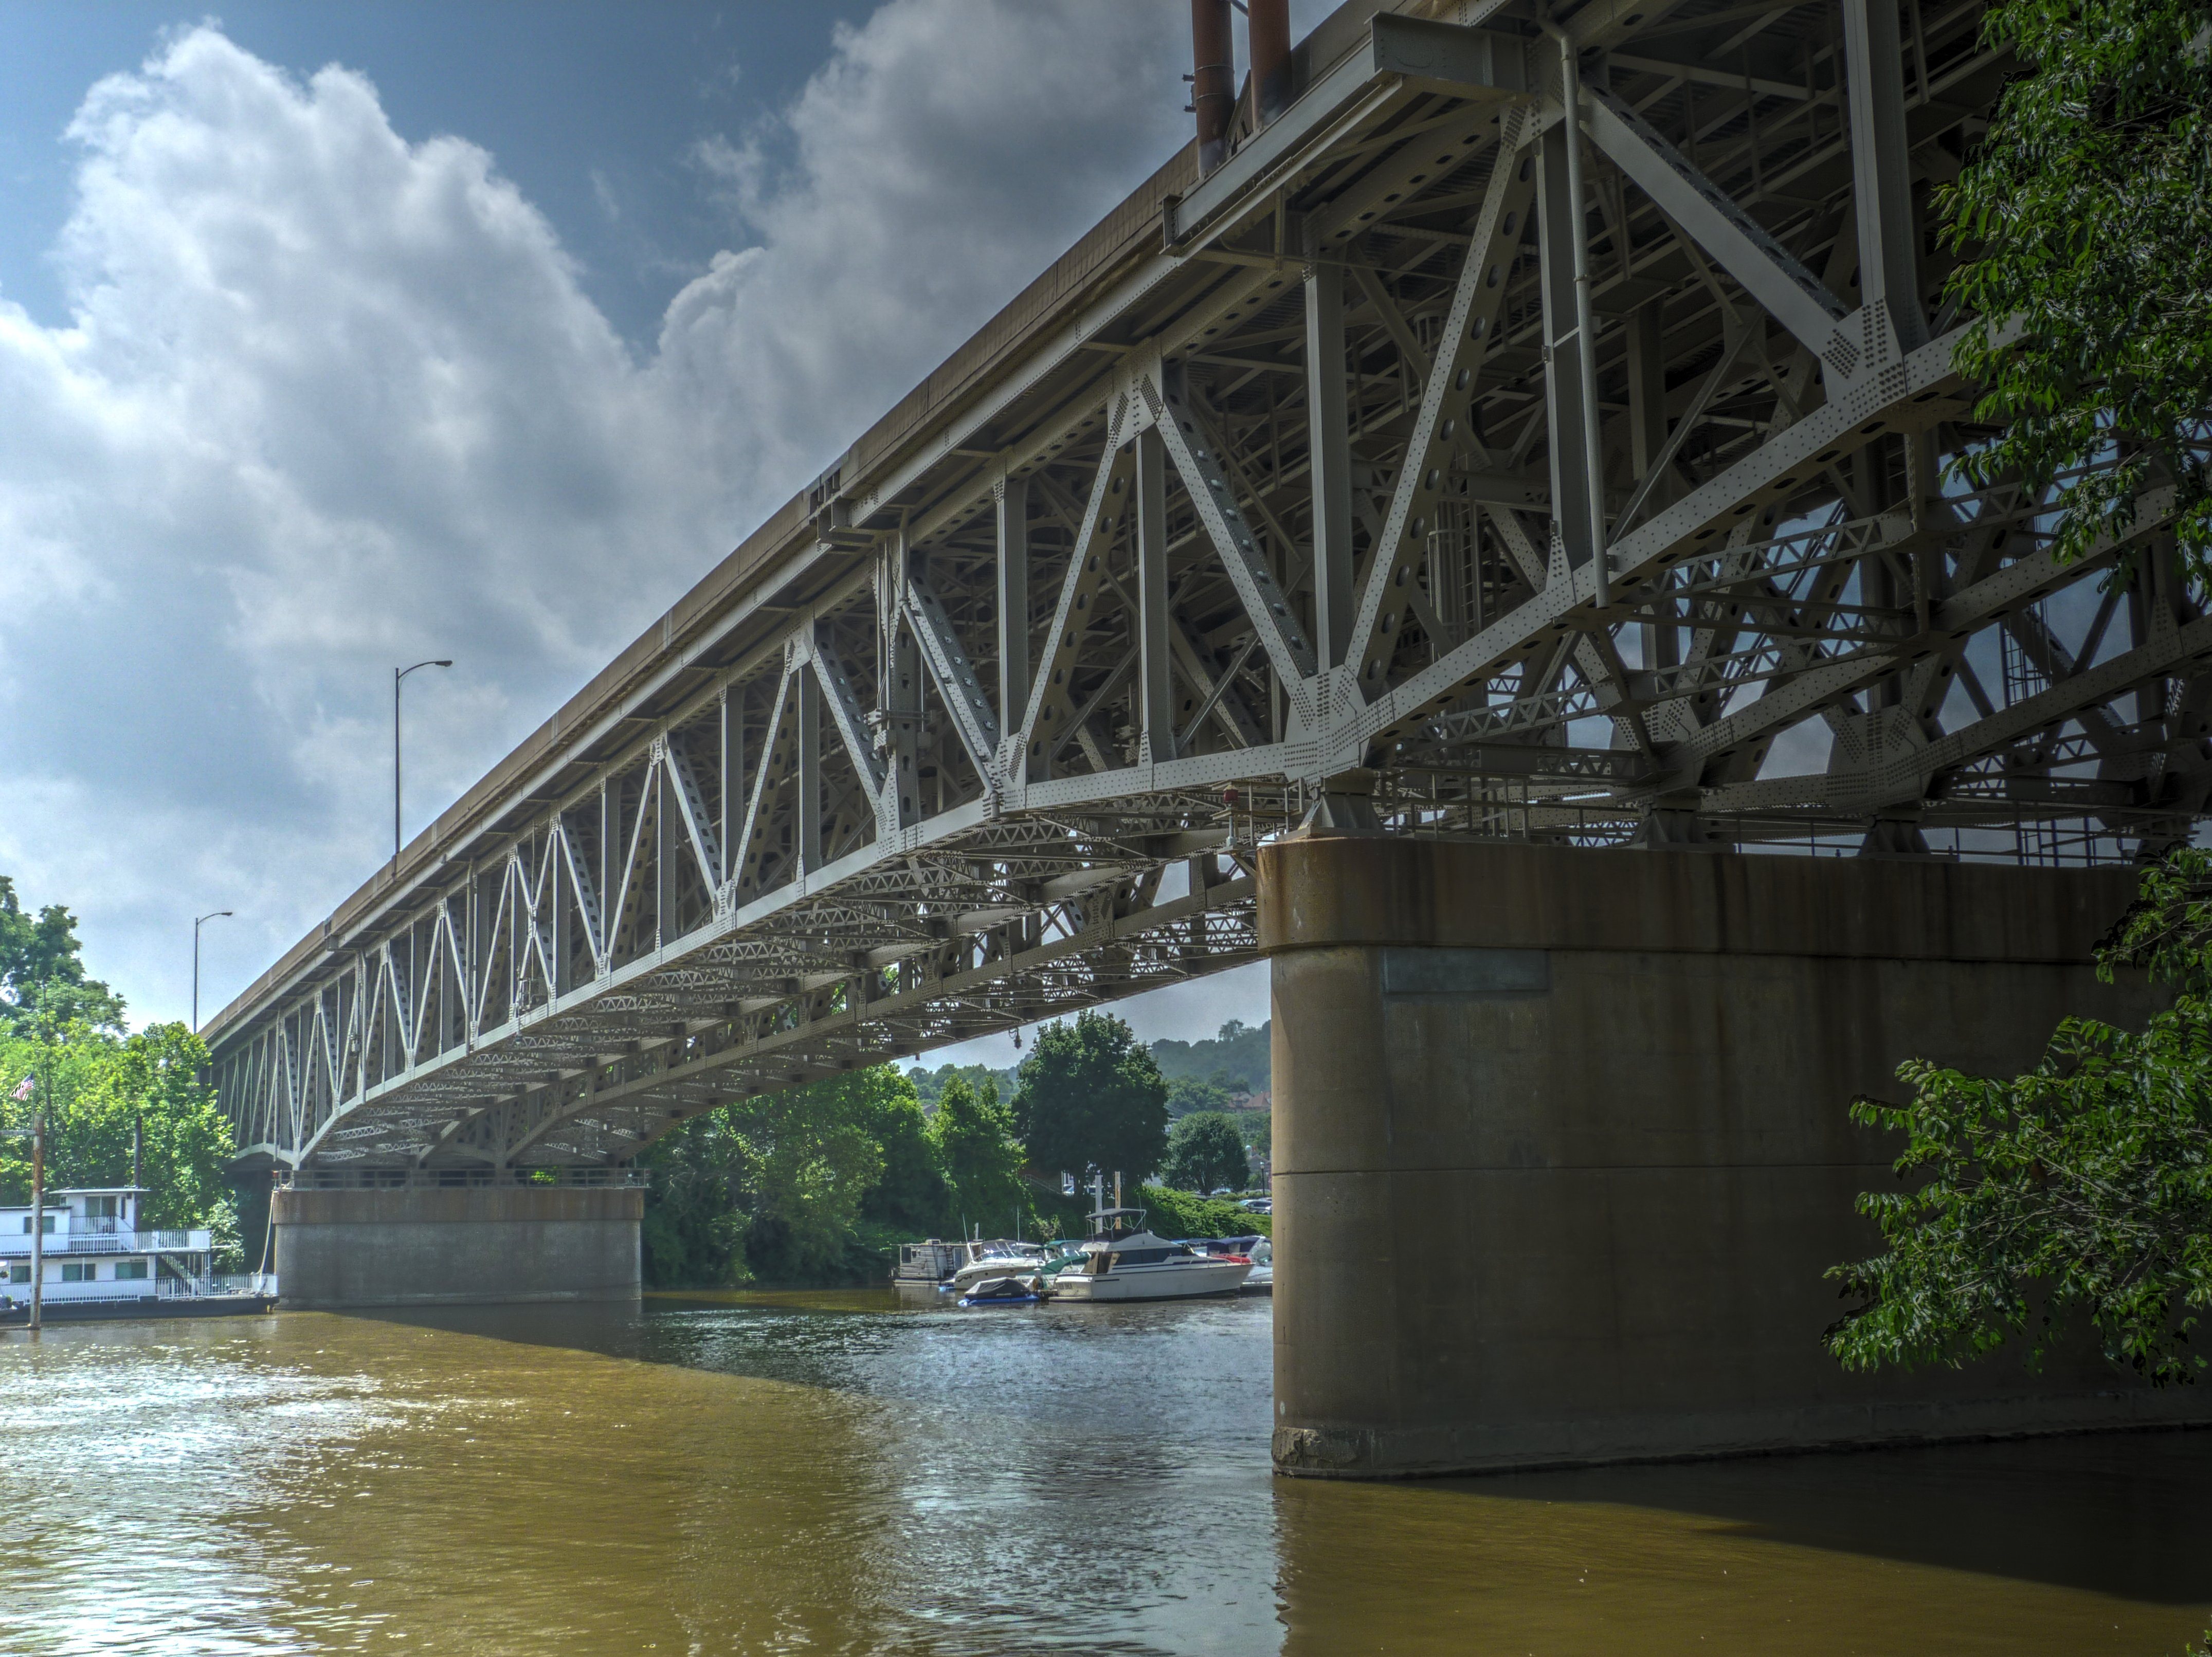
Elevation from southeast quadrant.
![]()

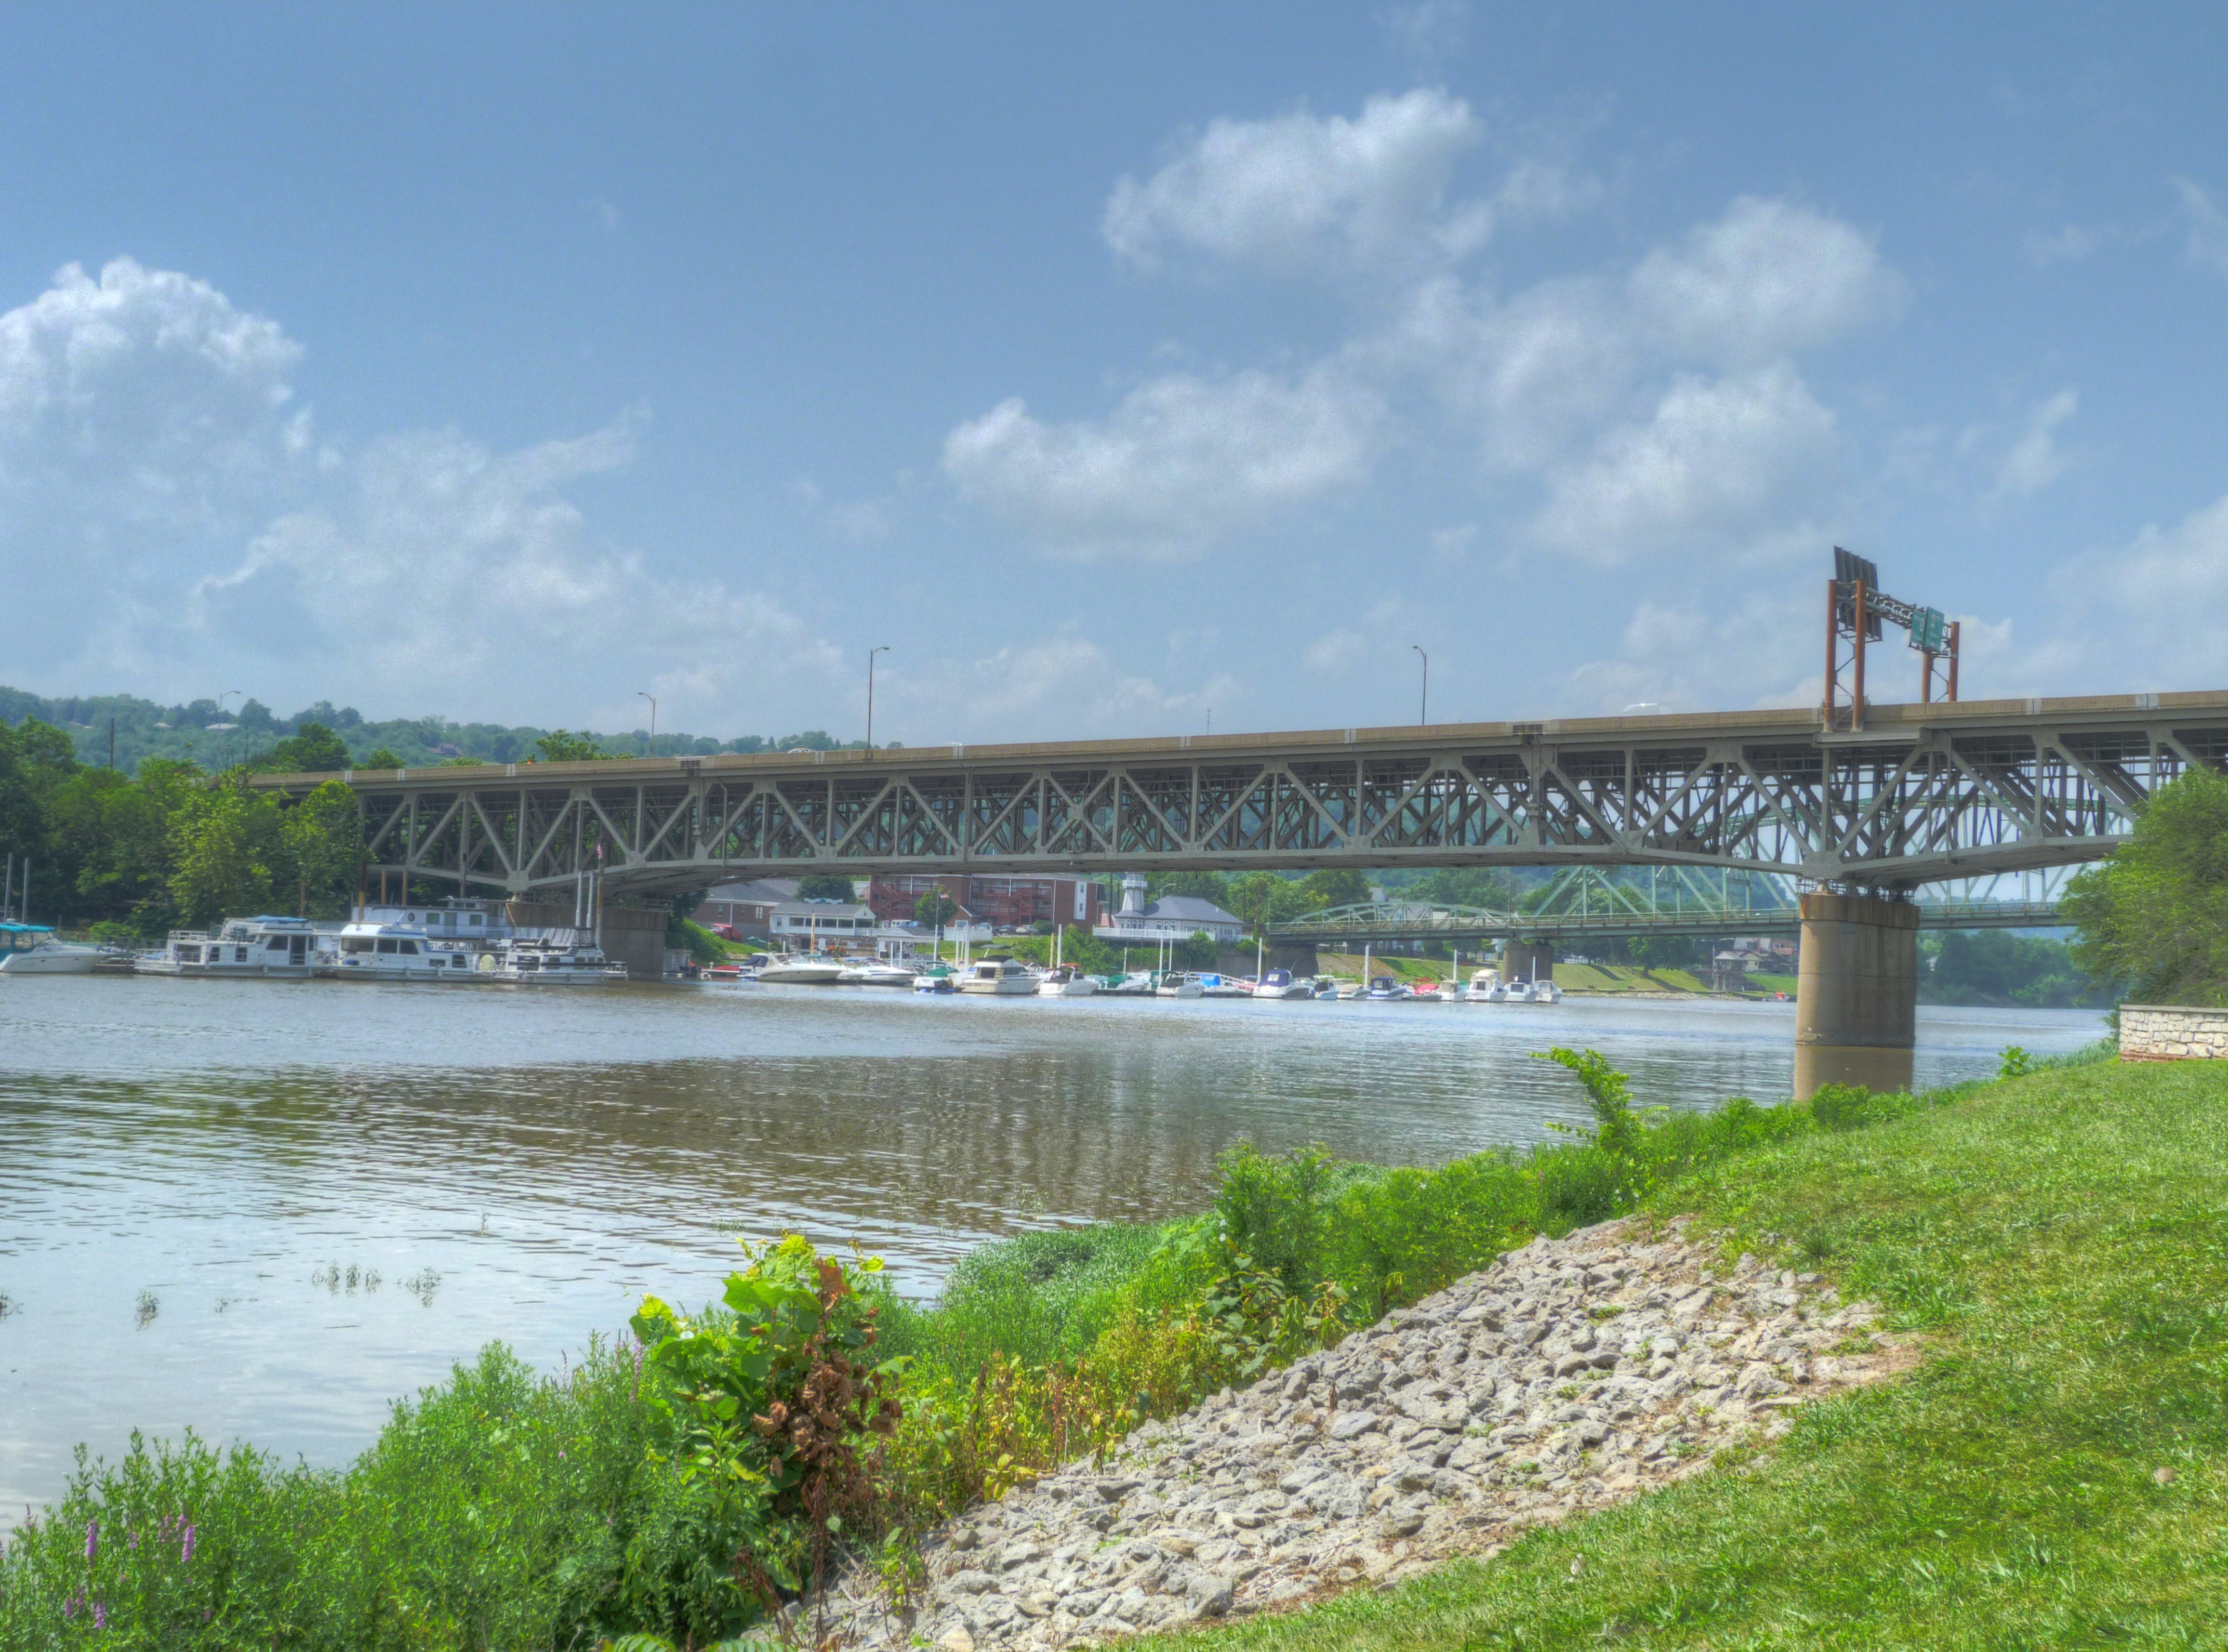
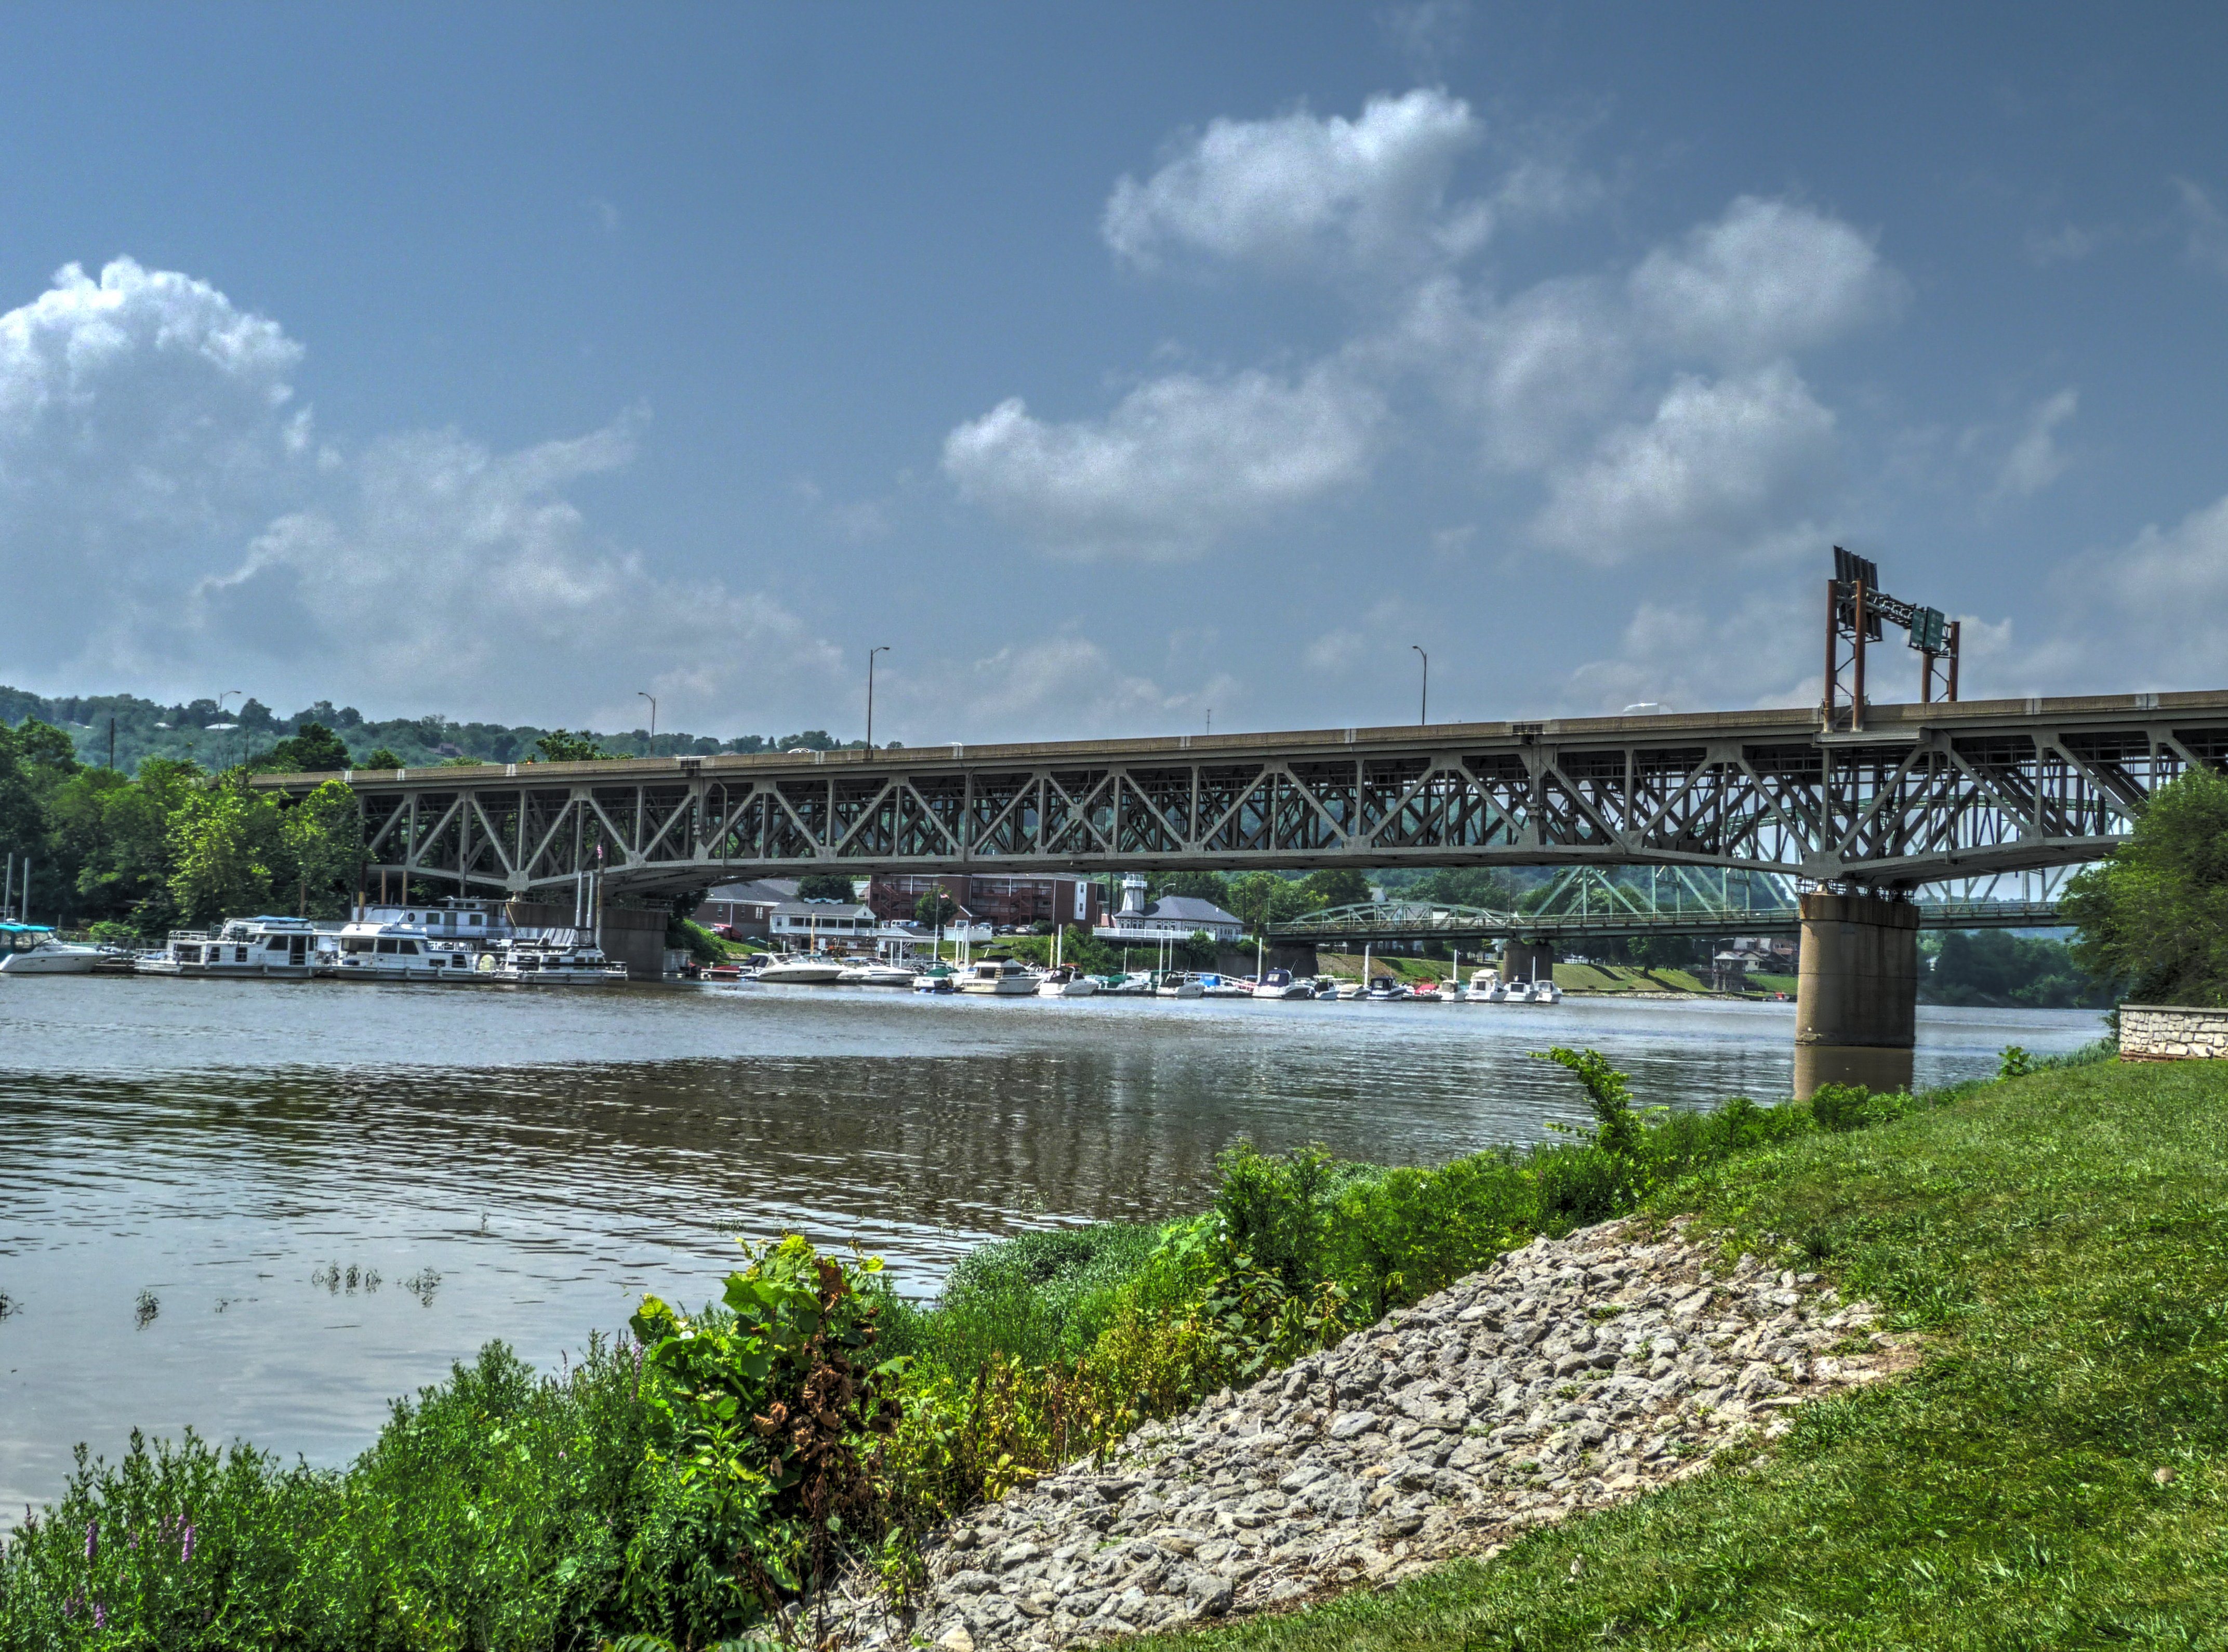
HDR Photos: Elevation from southeast quadrant.
![]()
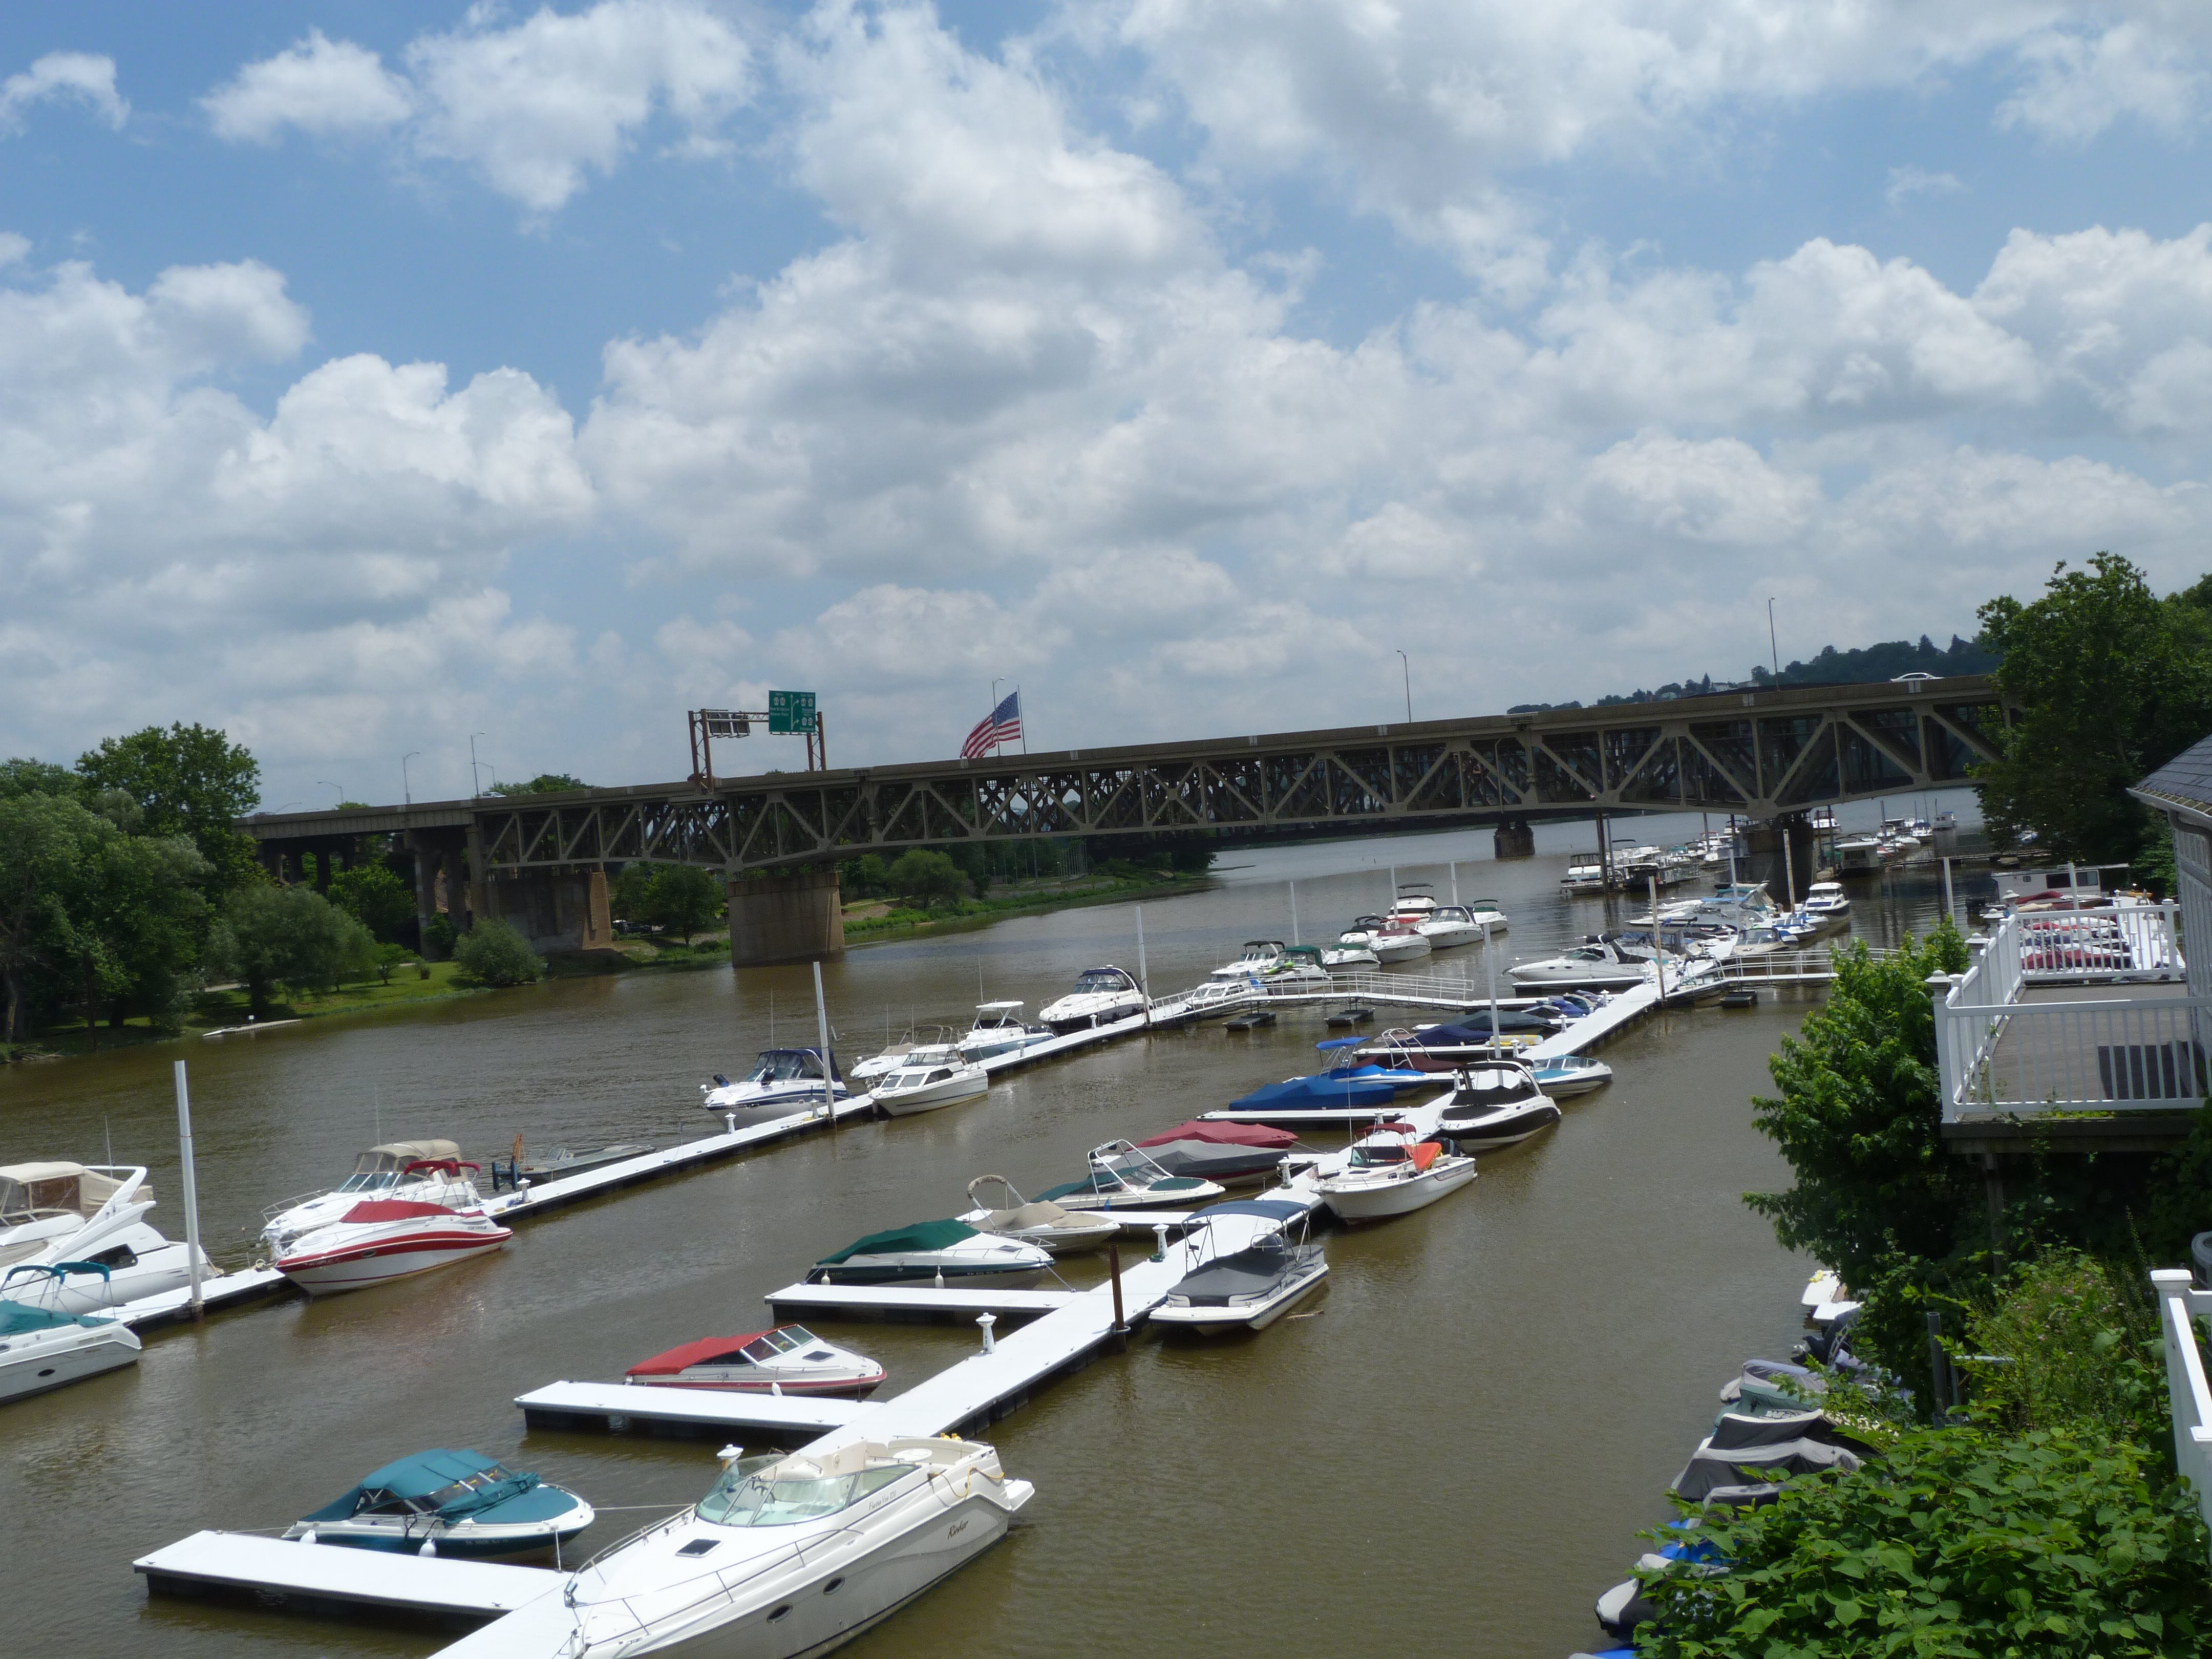
North elevation.
![]()
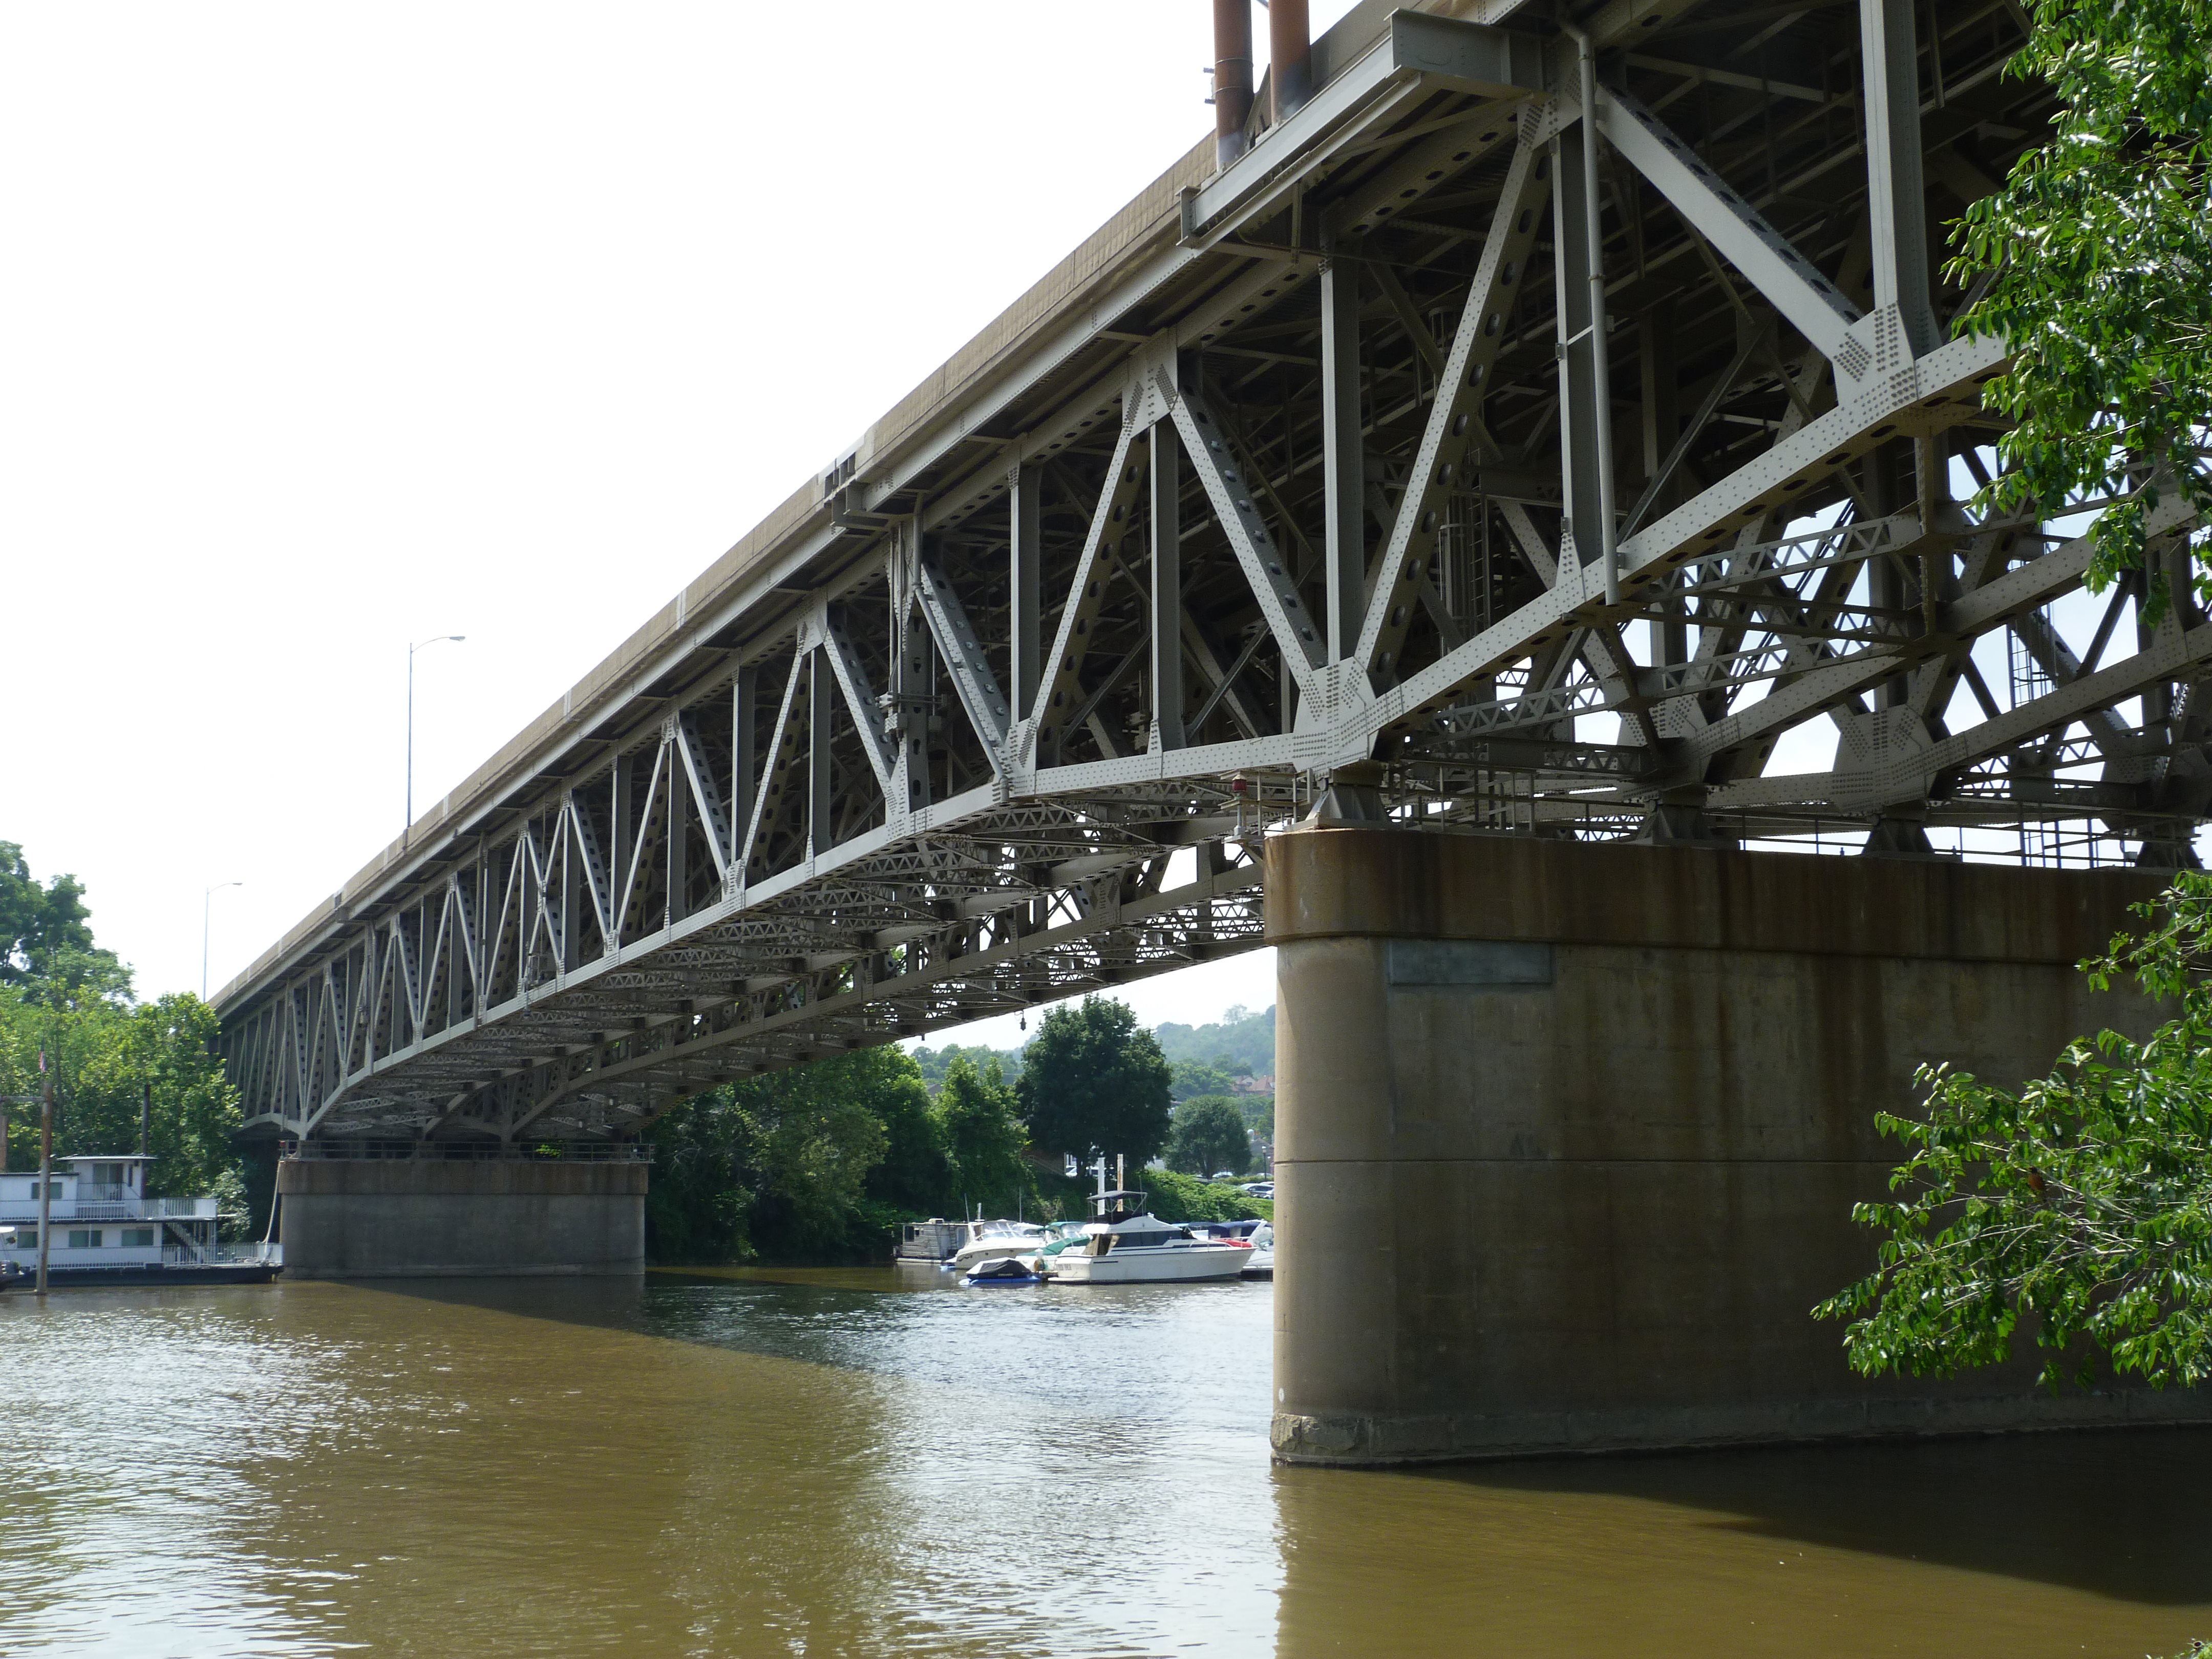
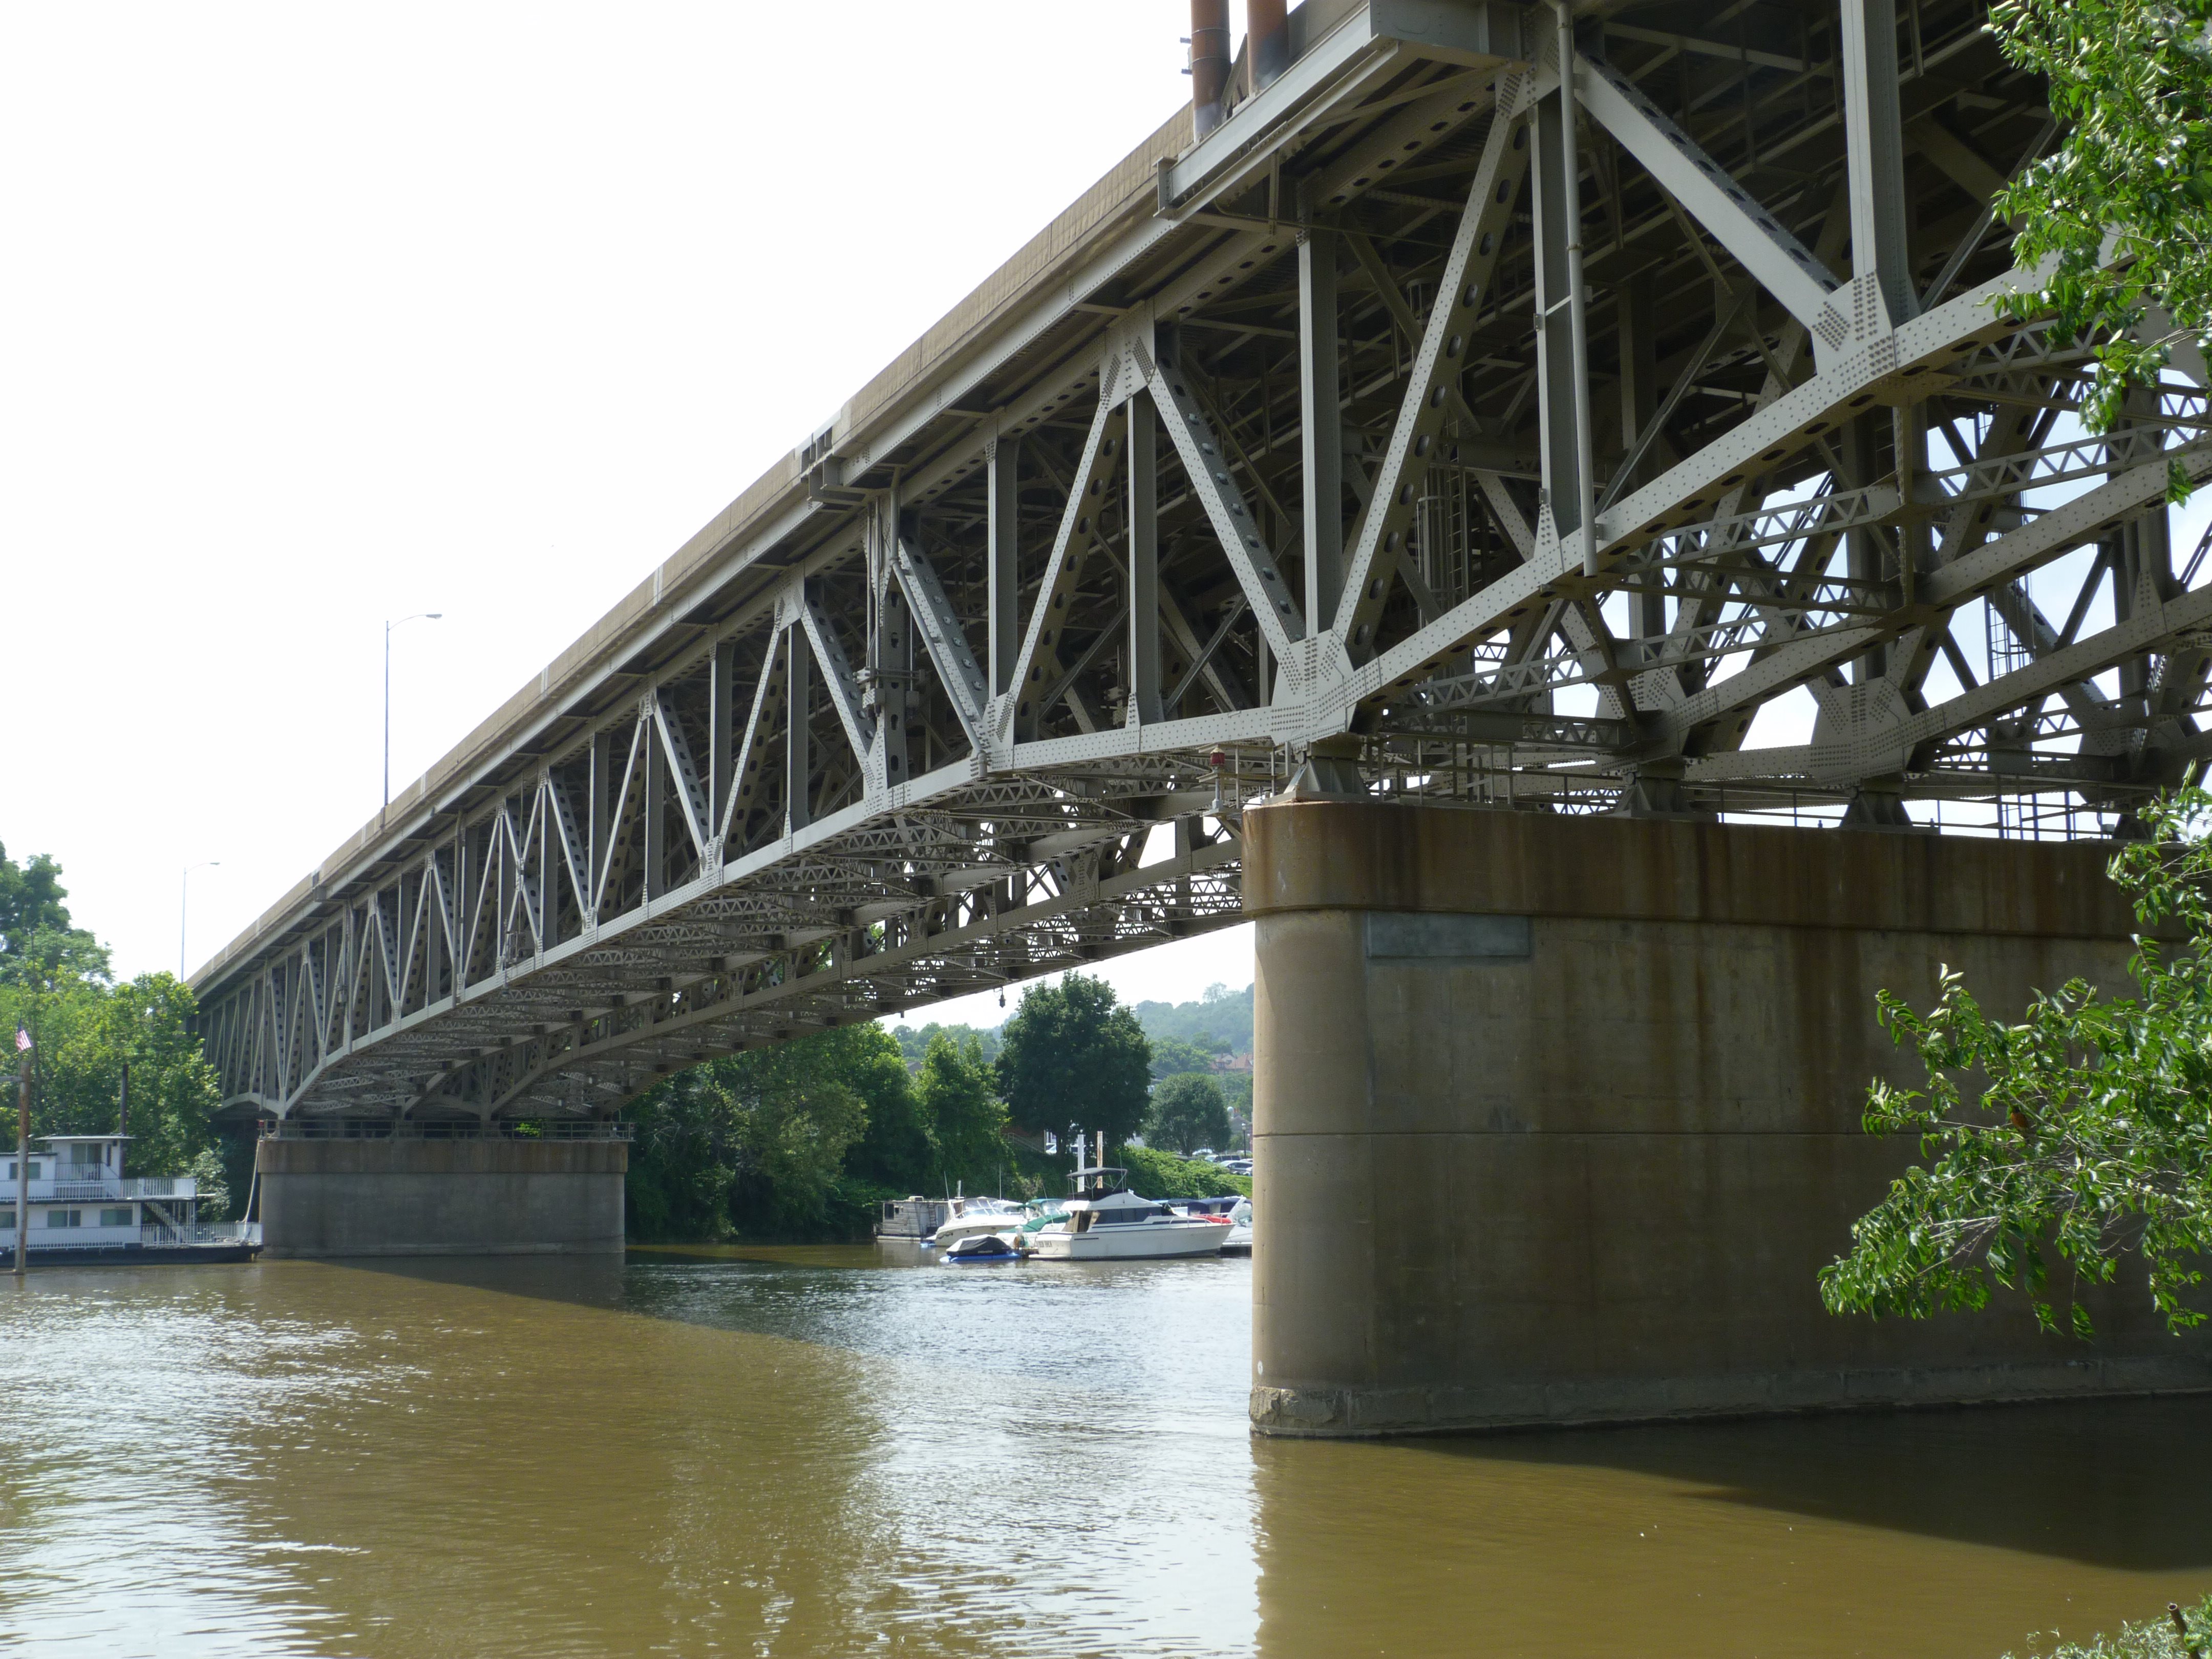
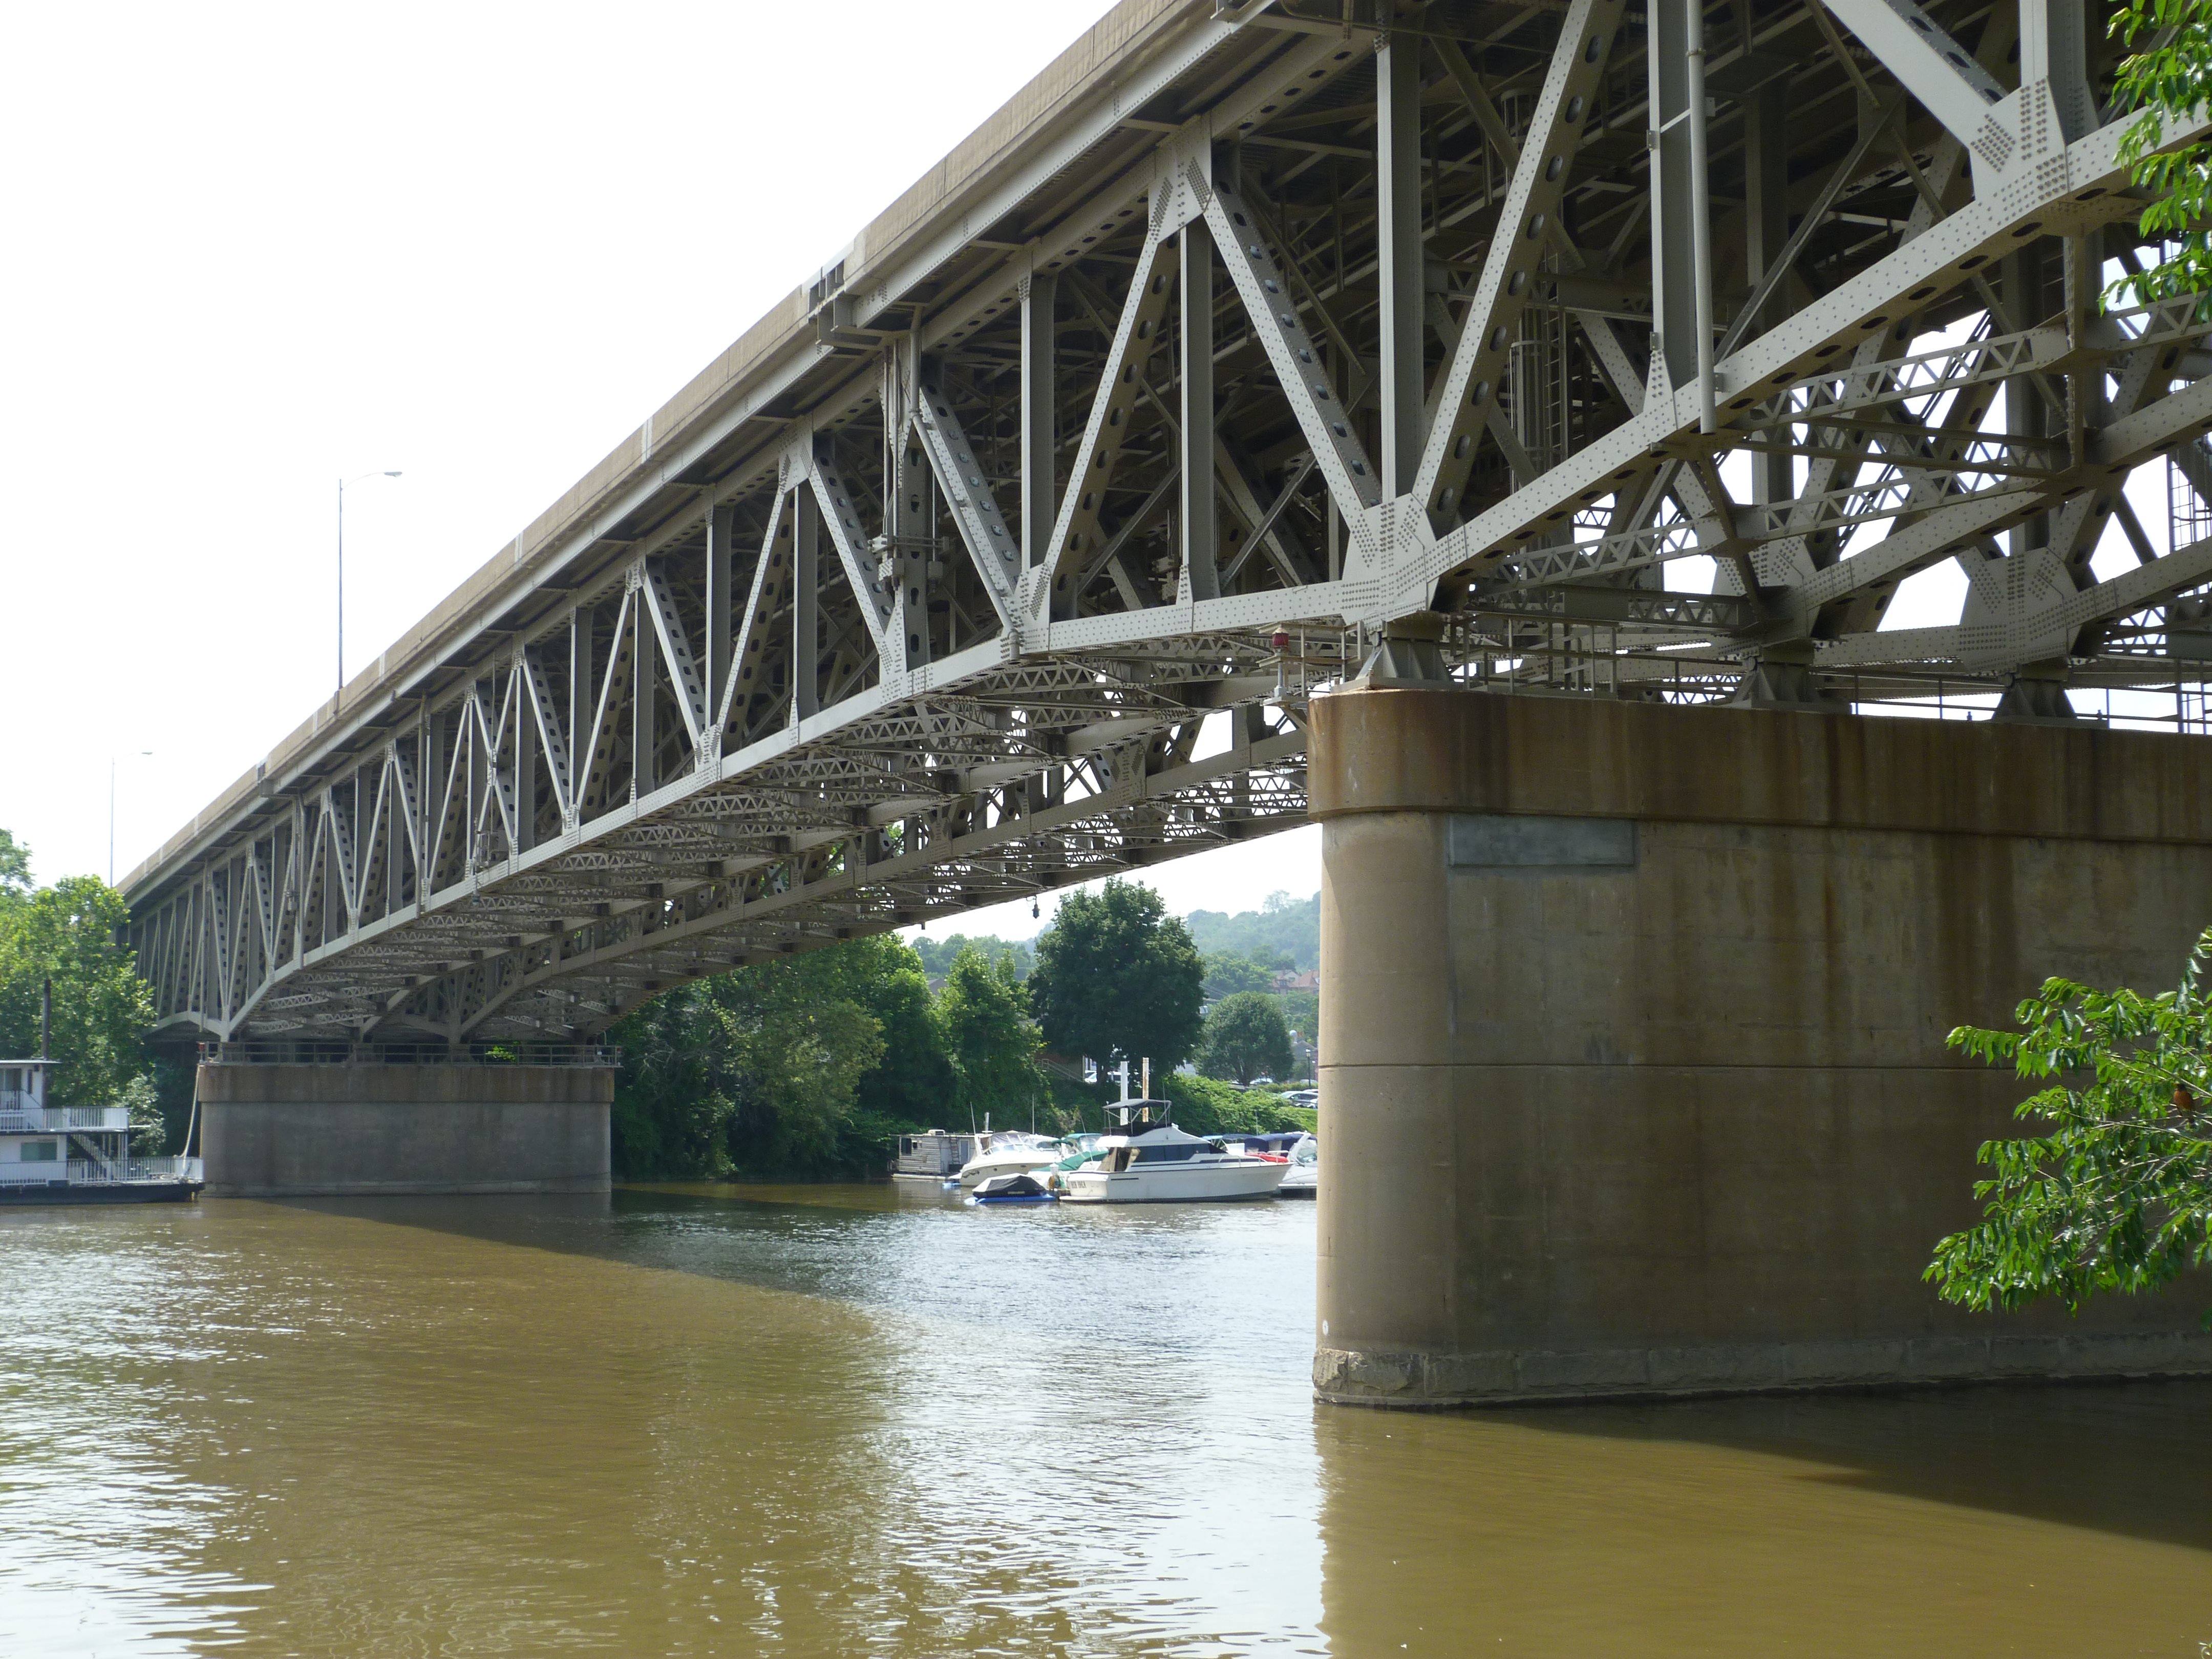
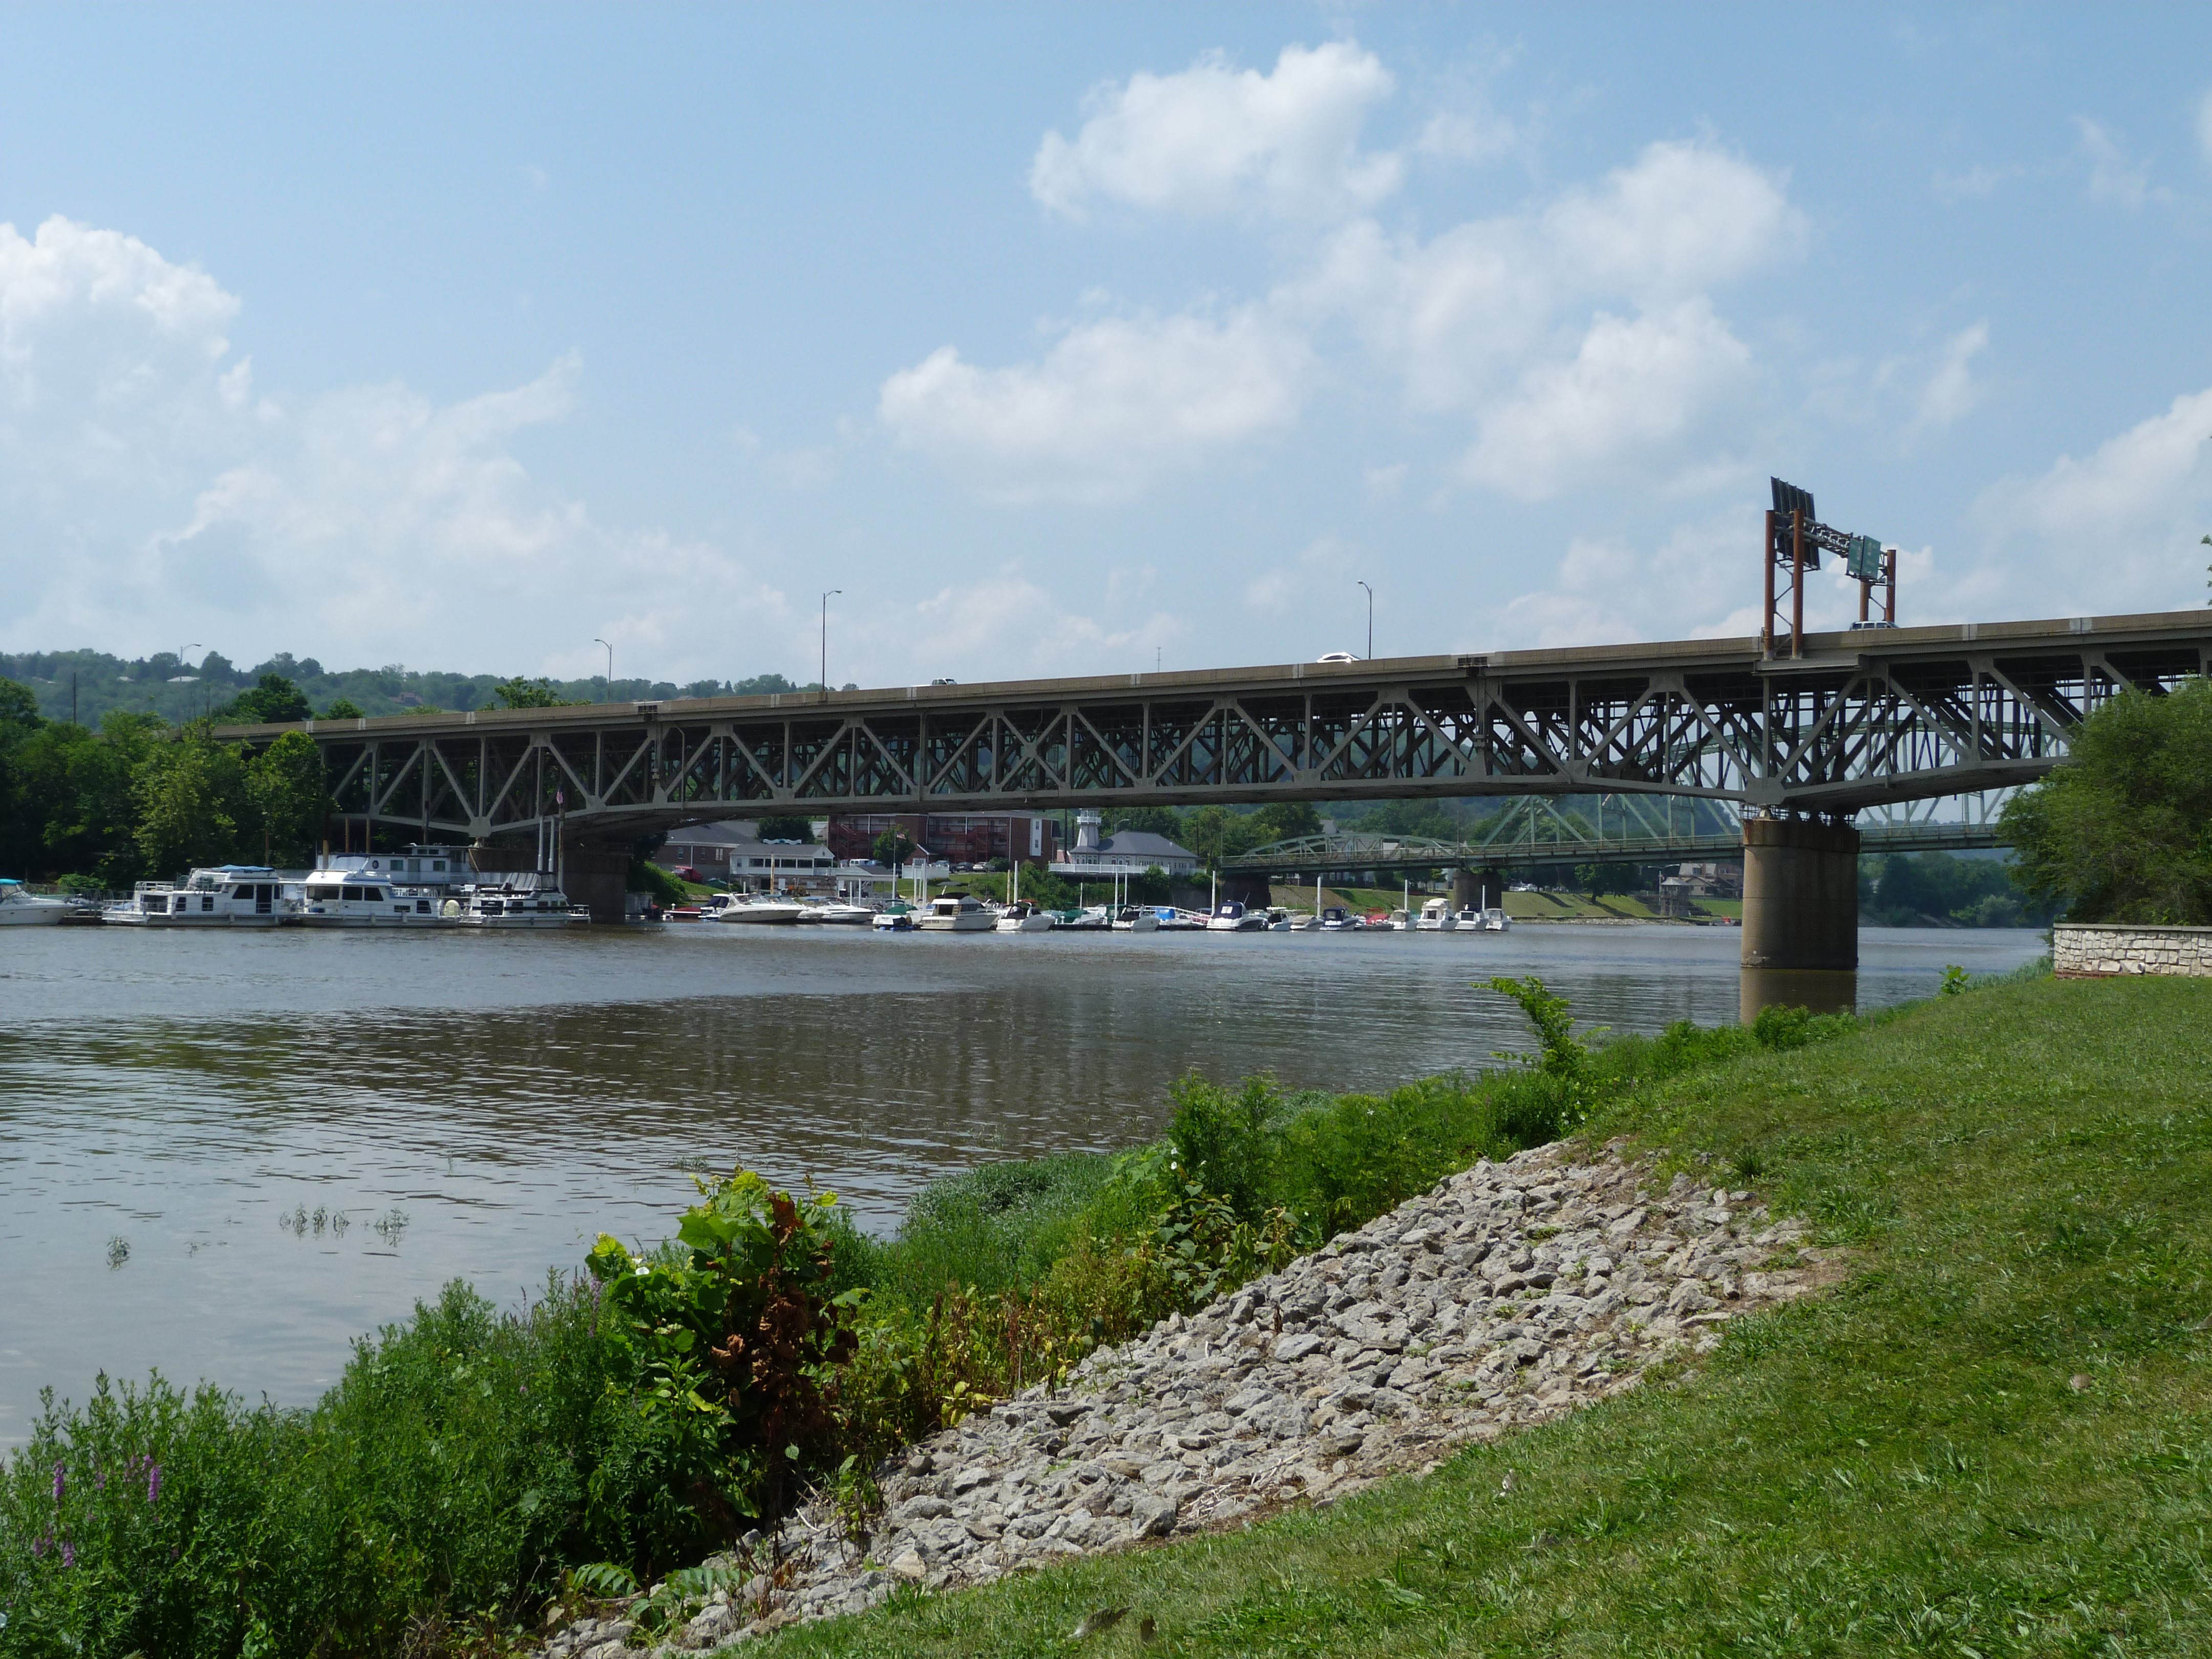
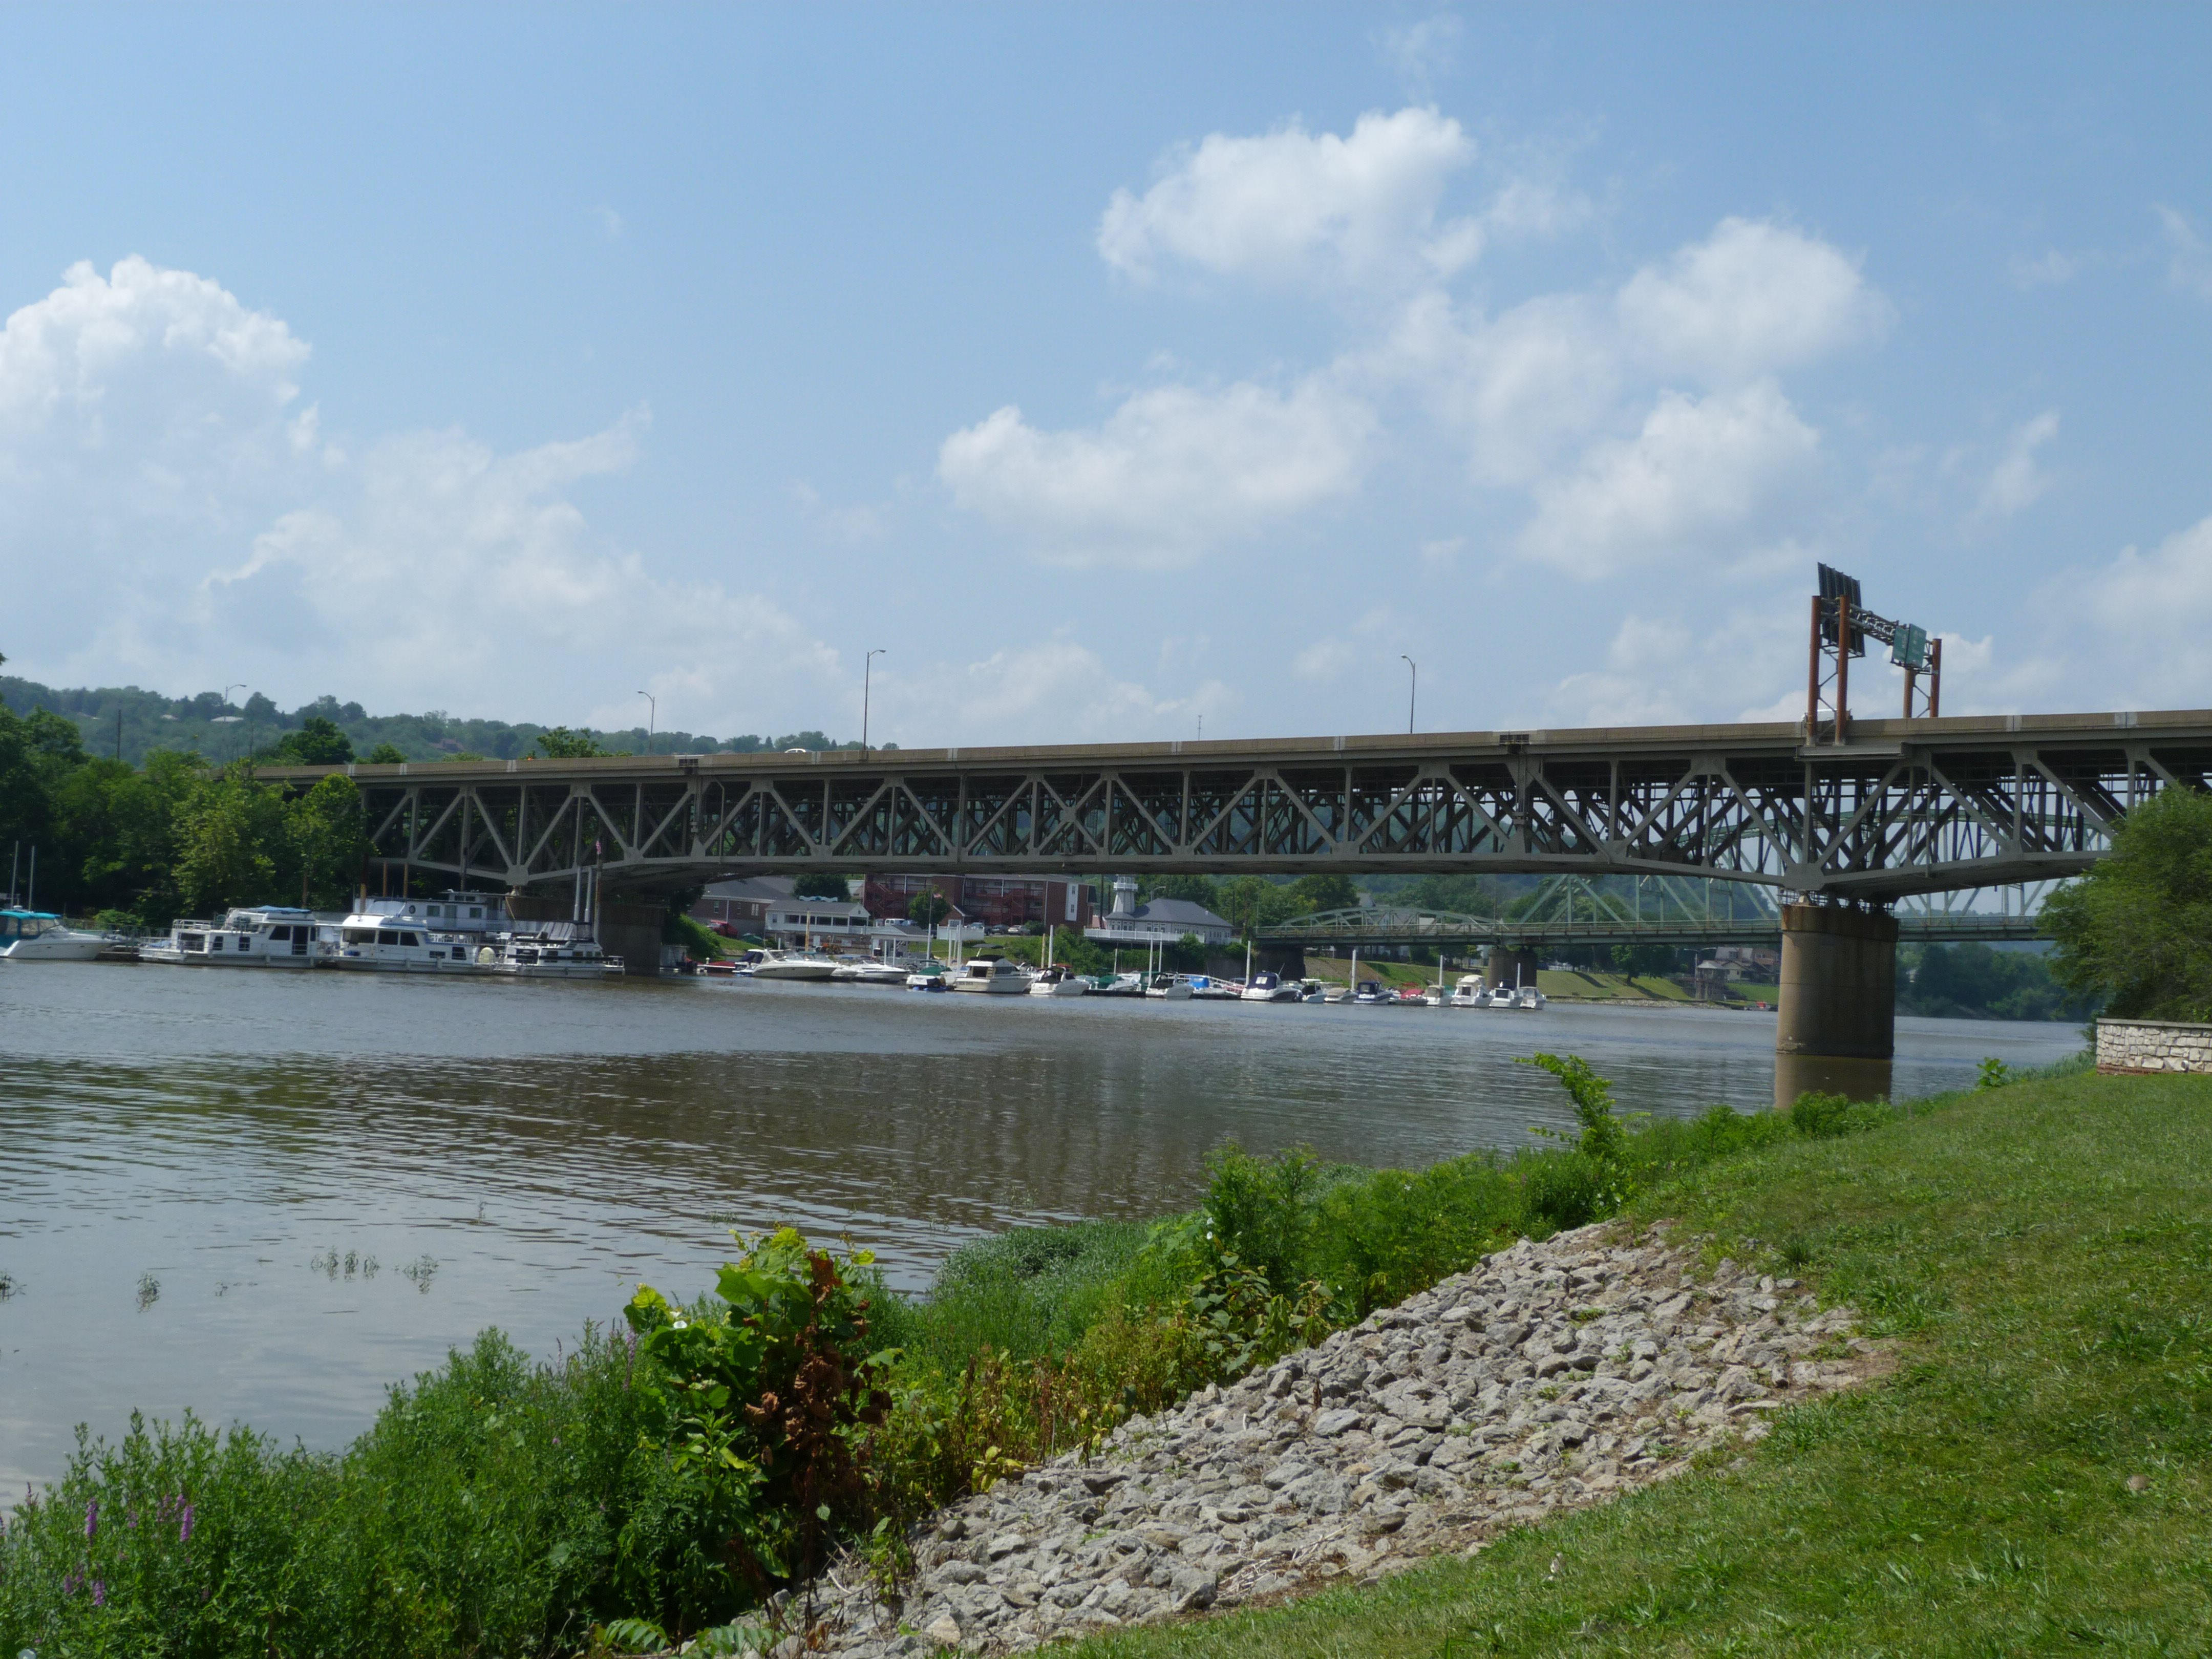
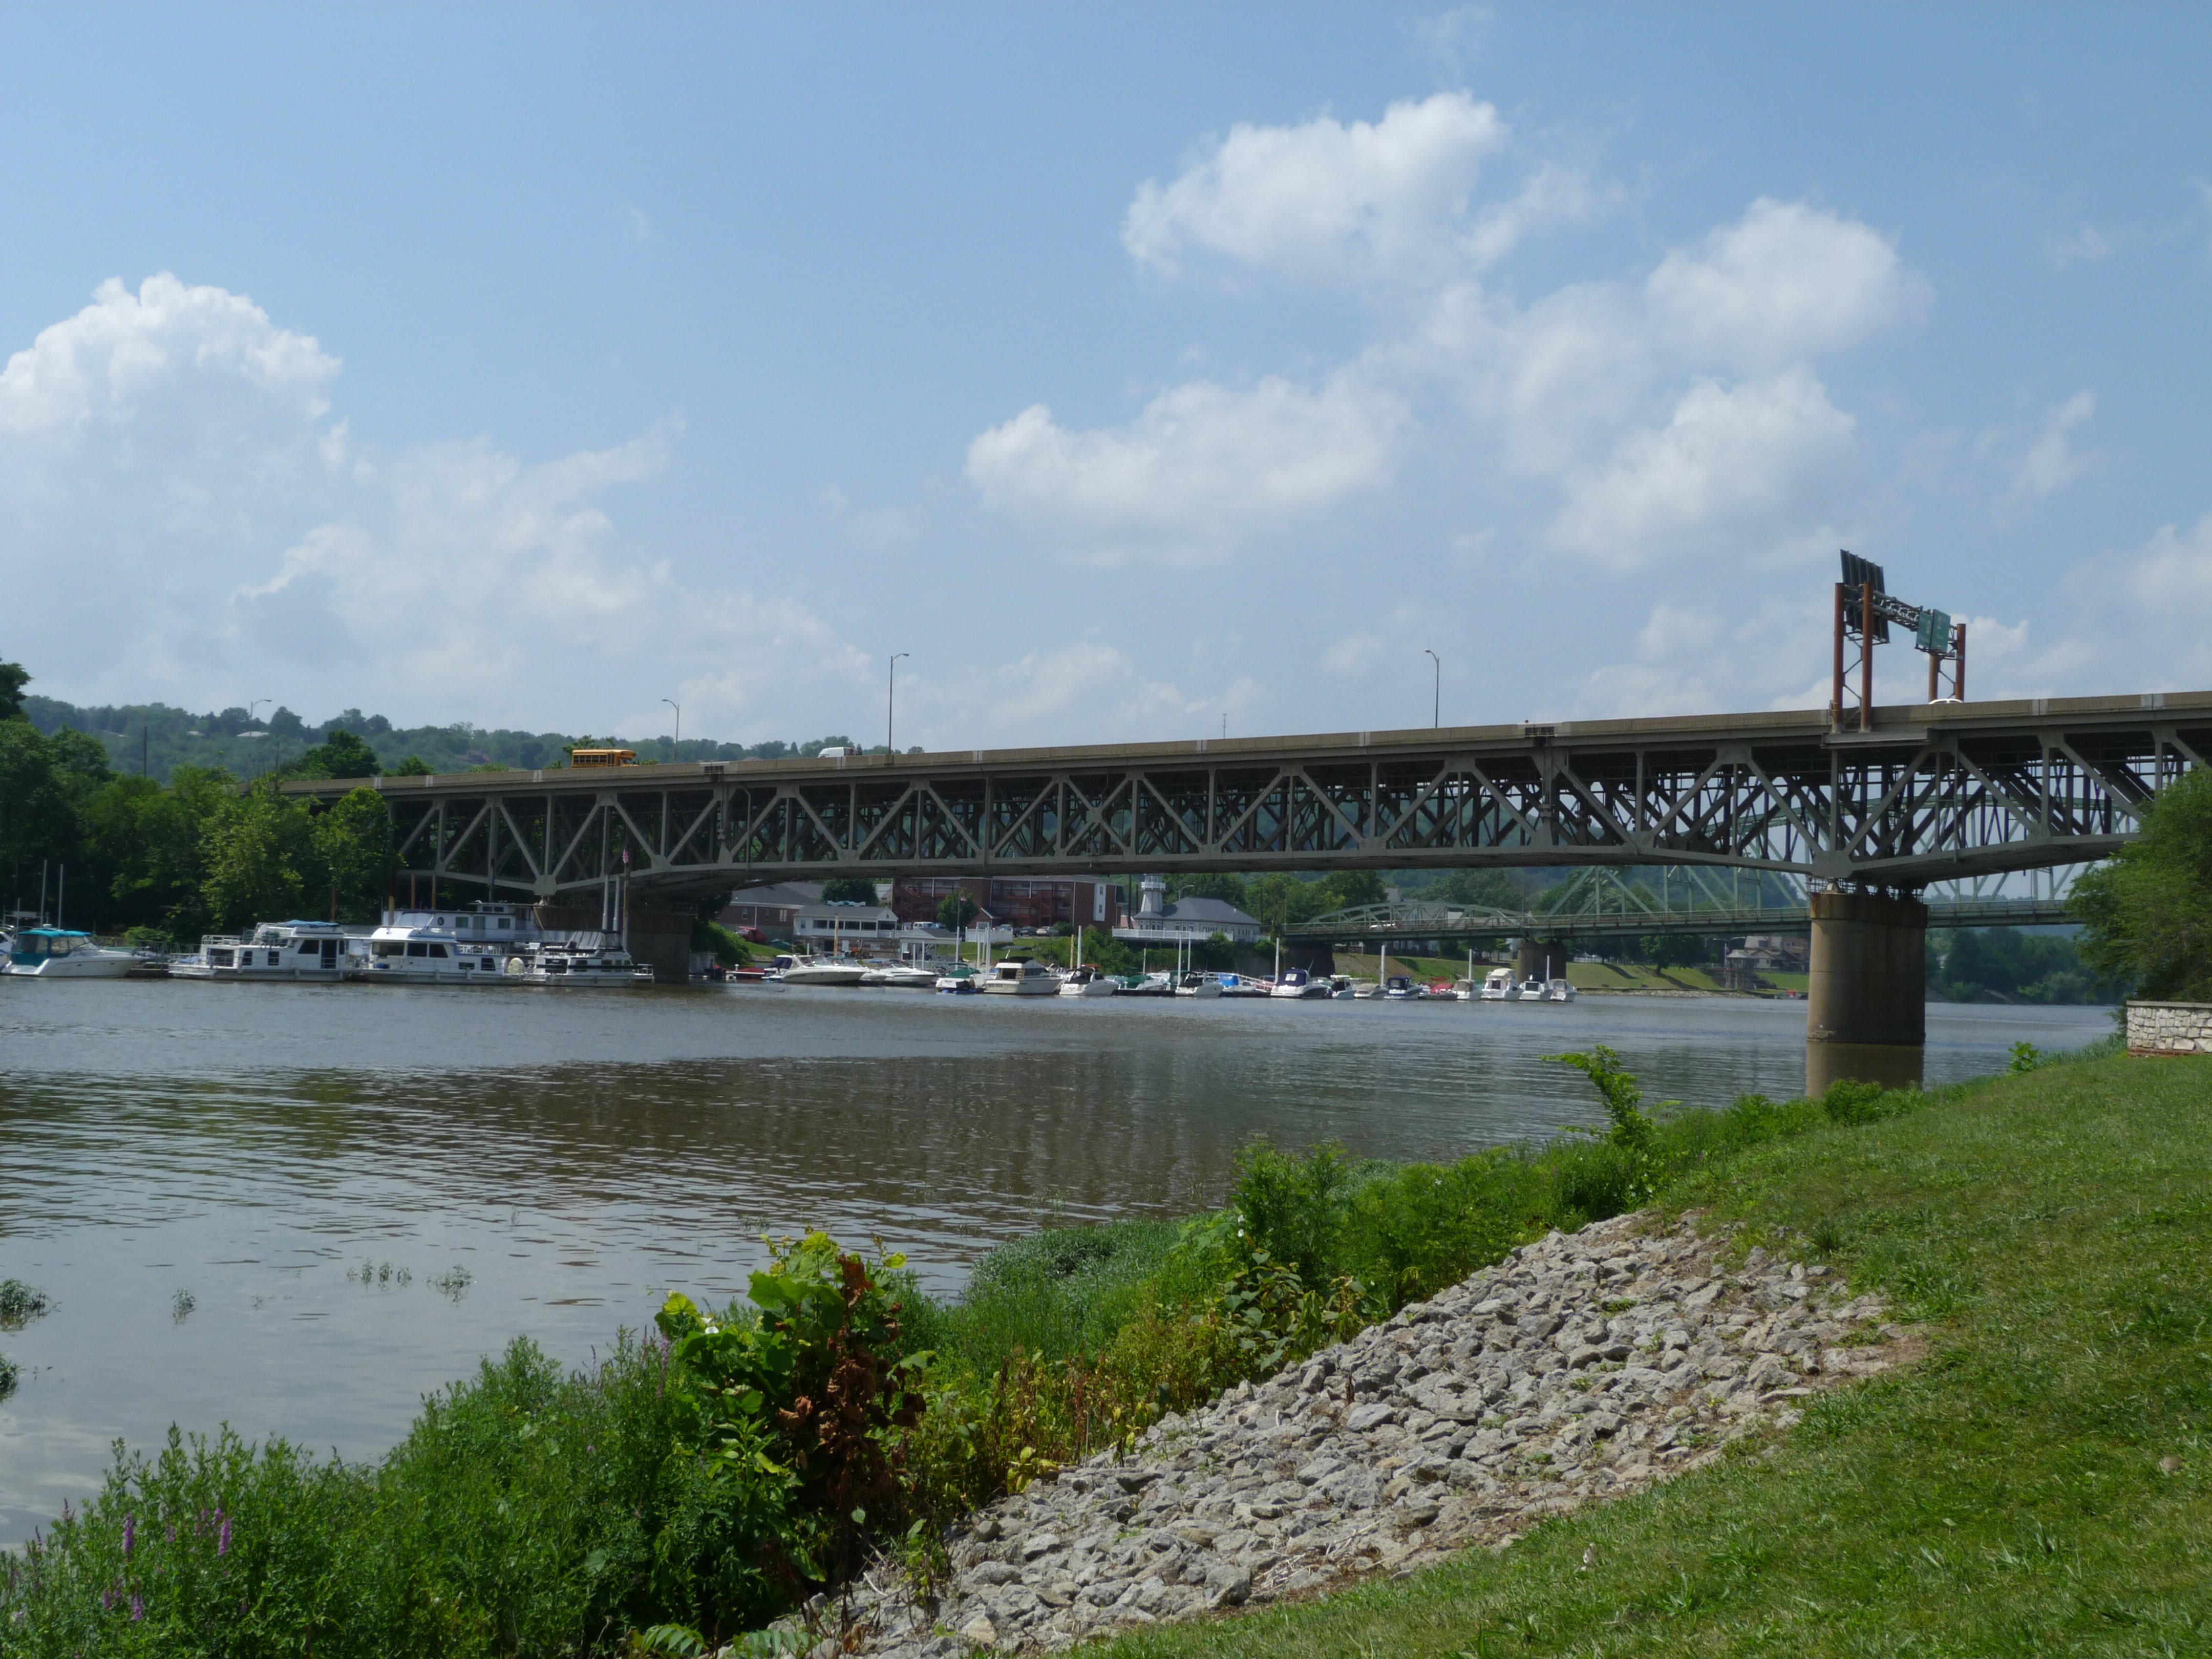
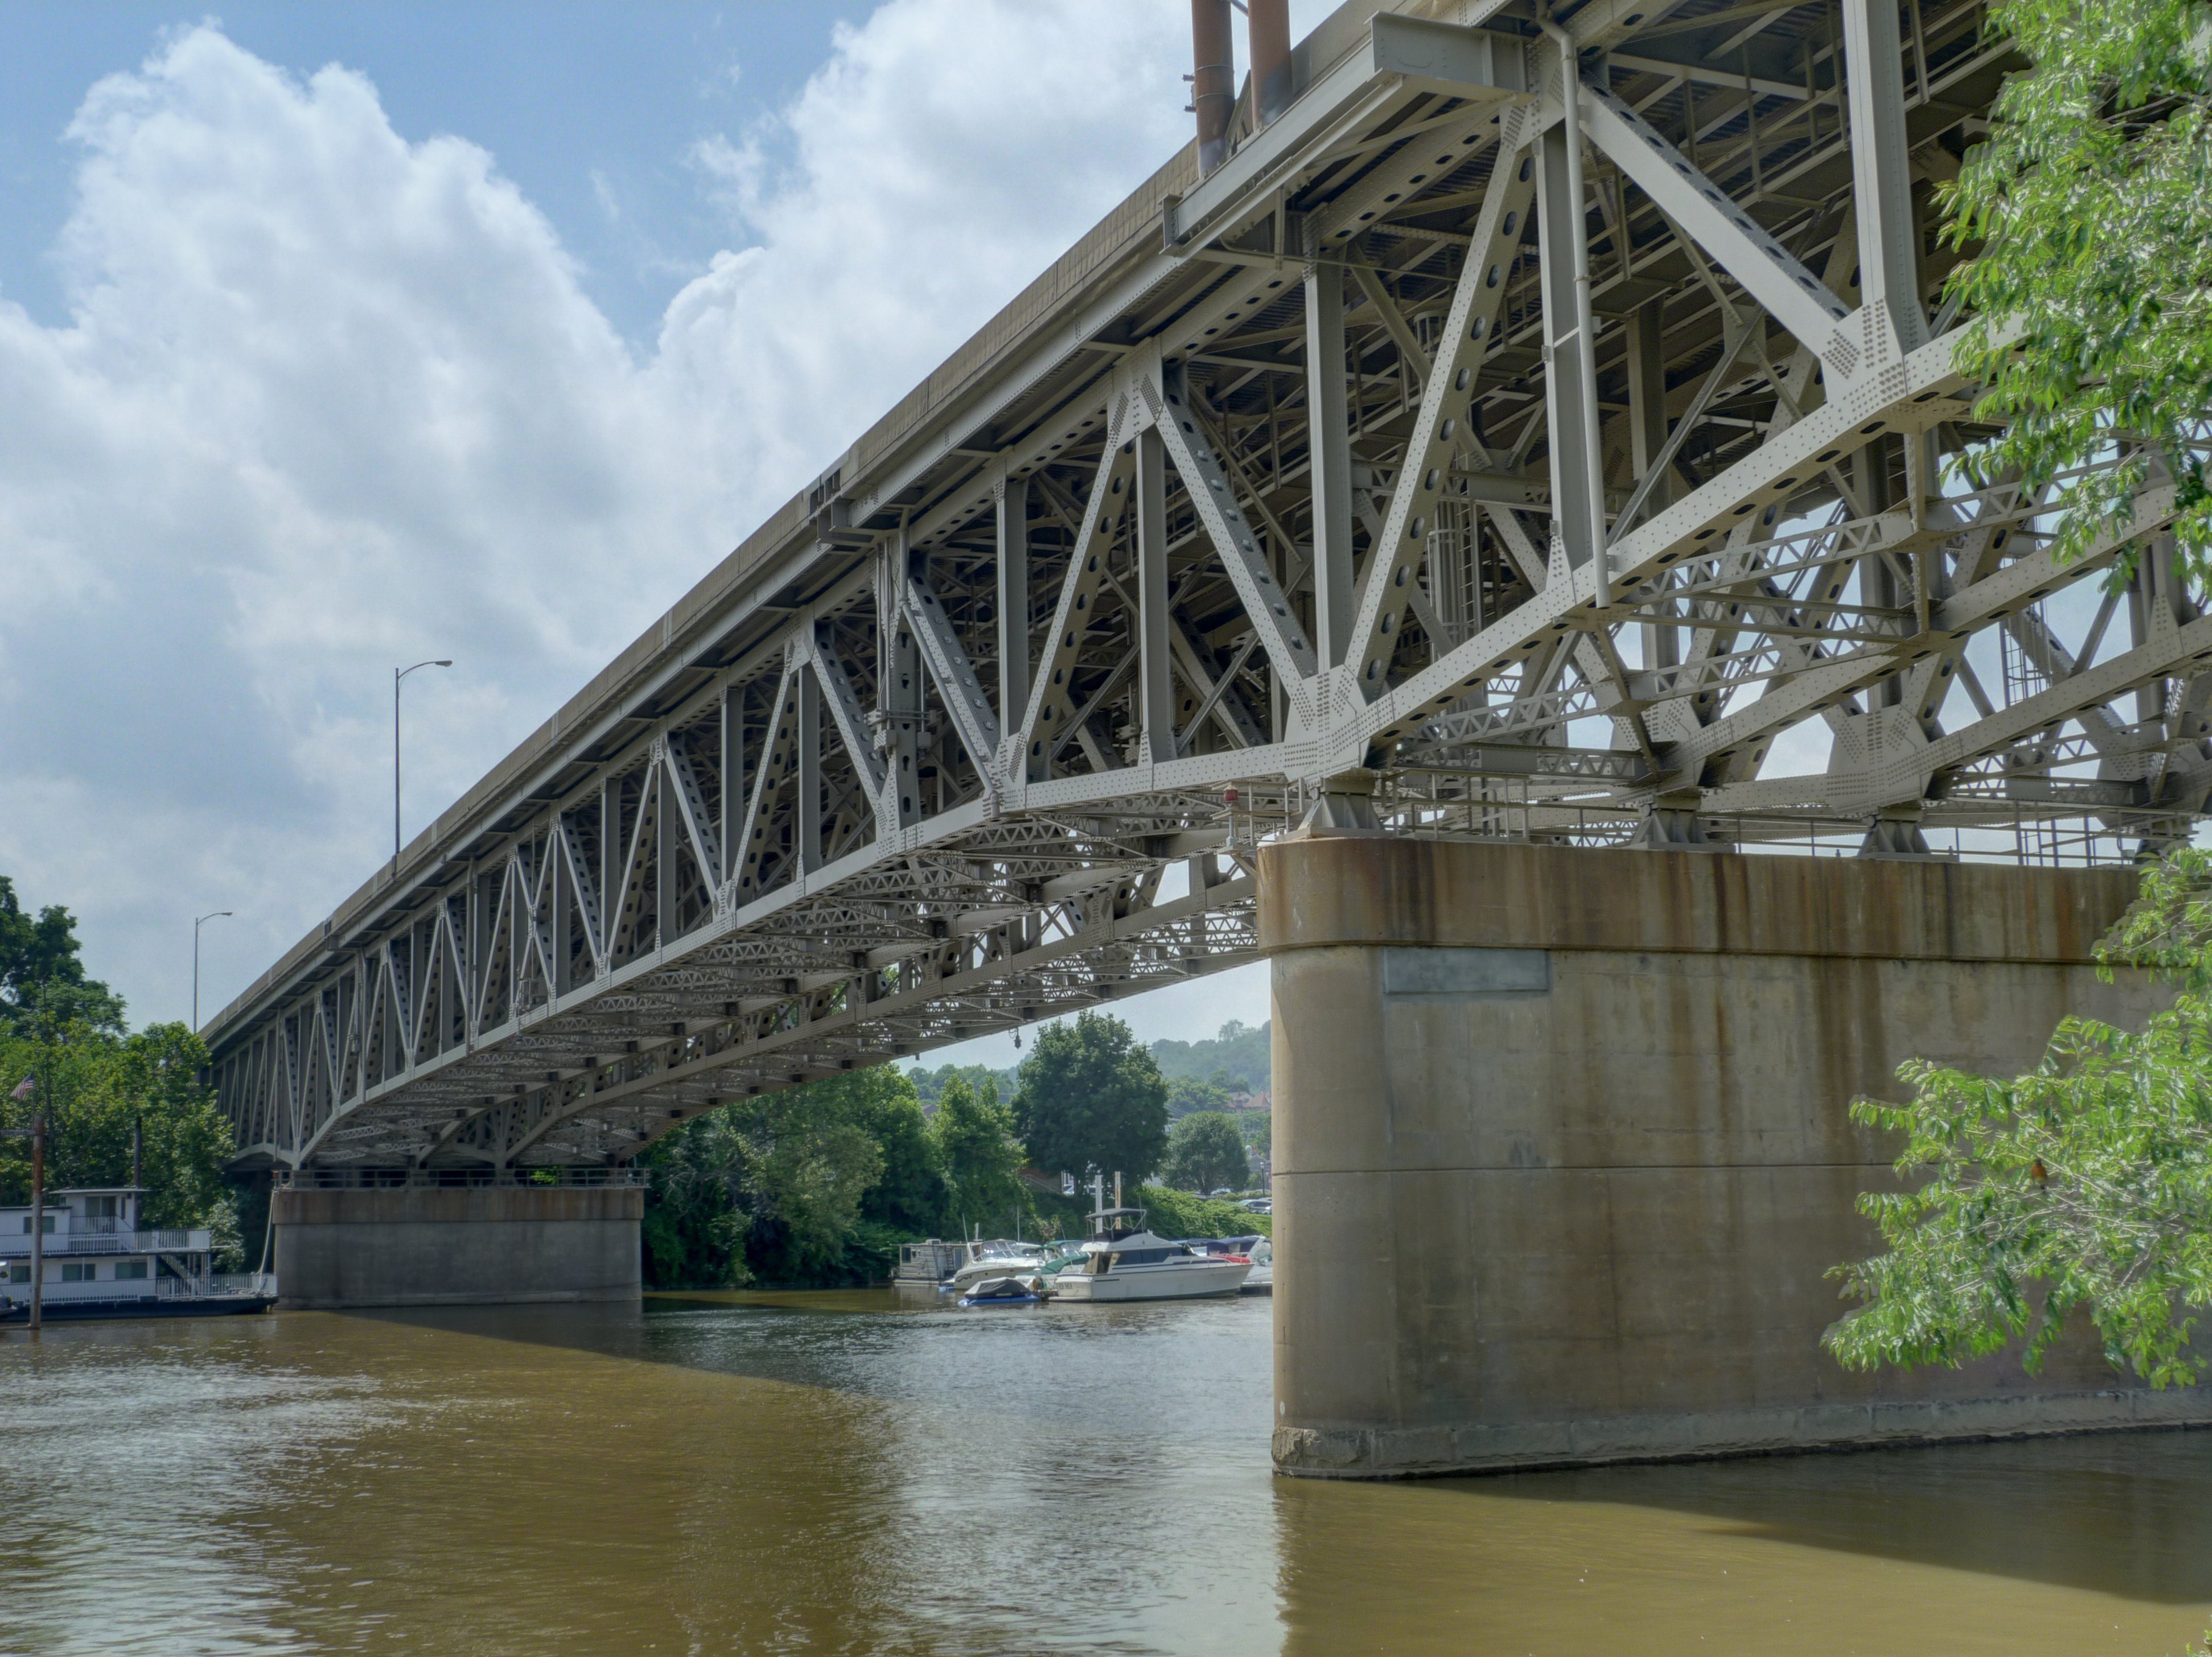
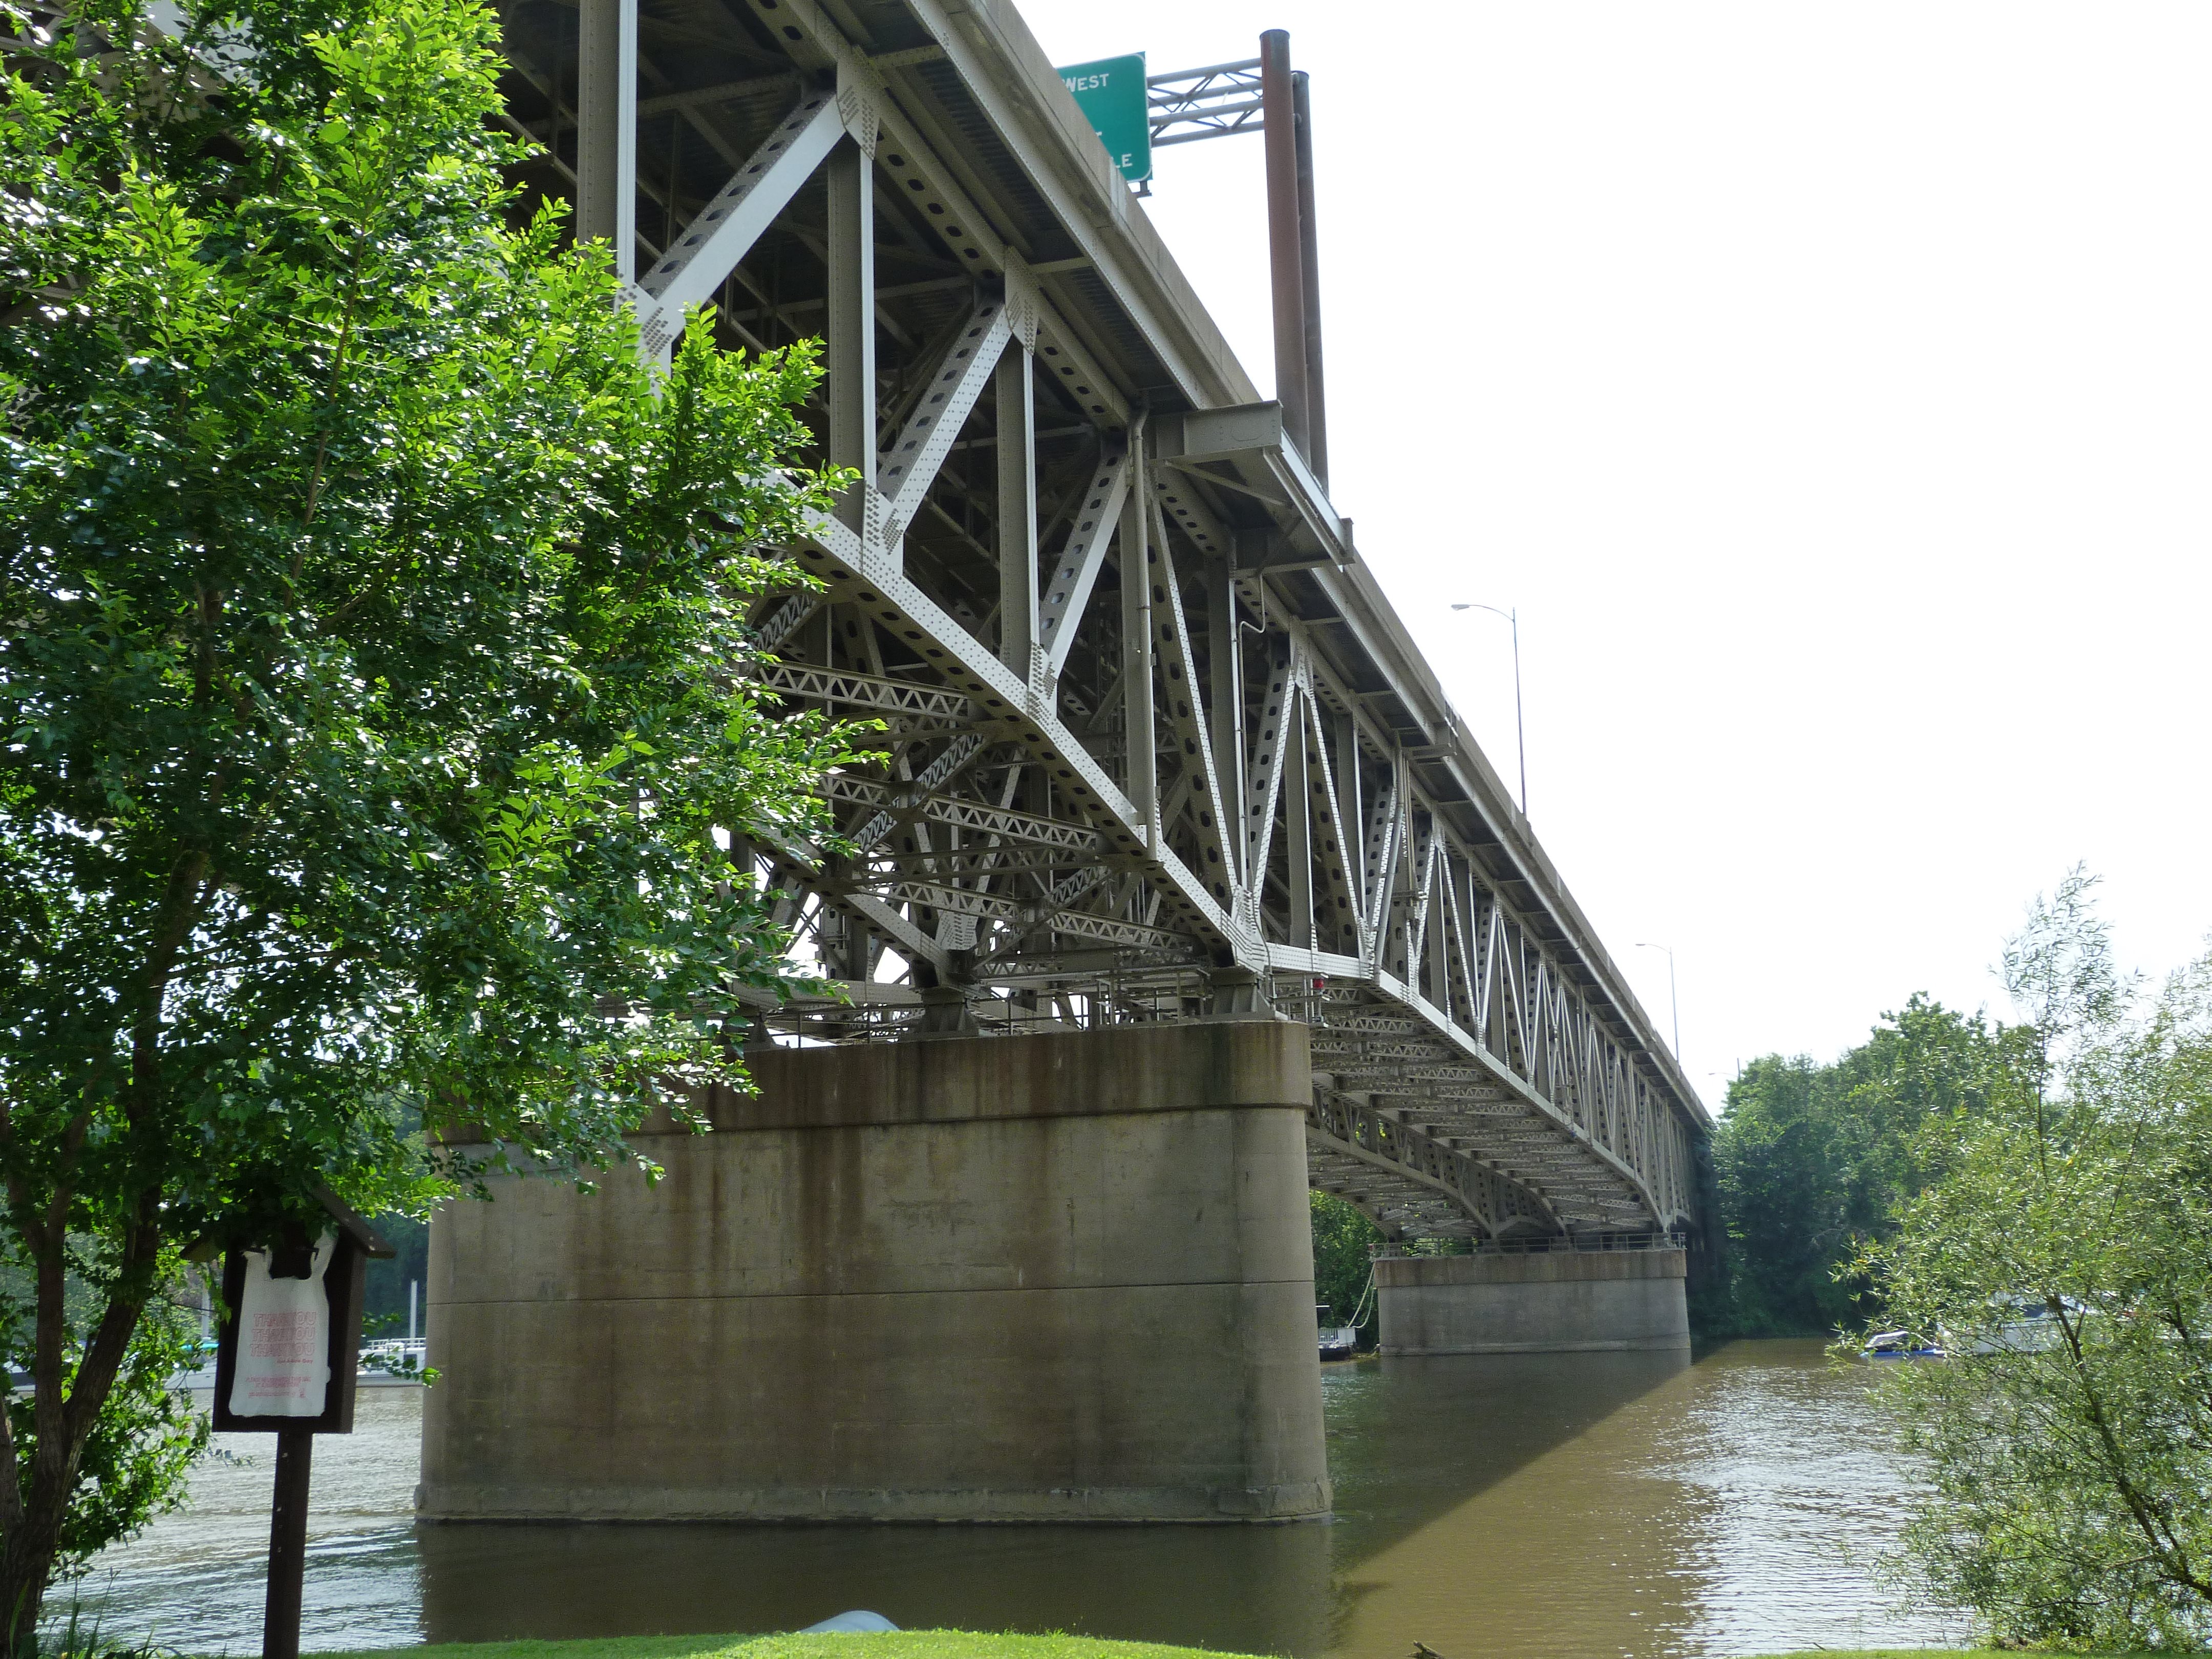
Views beside bridge from southeast quadrant.
![]()

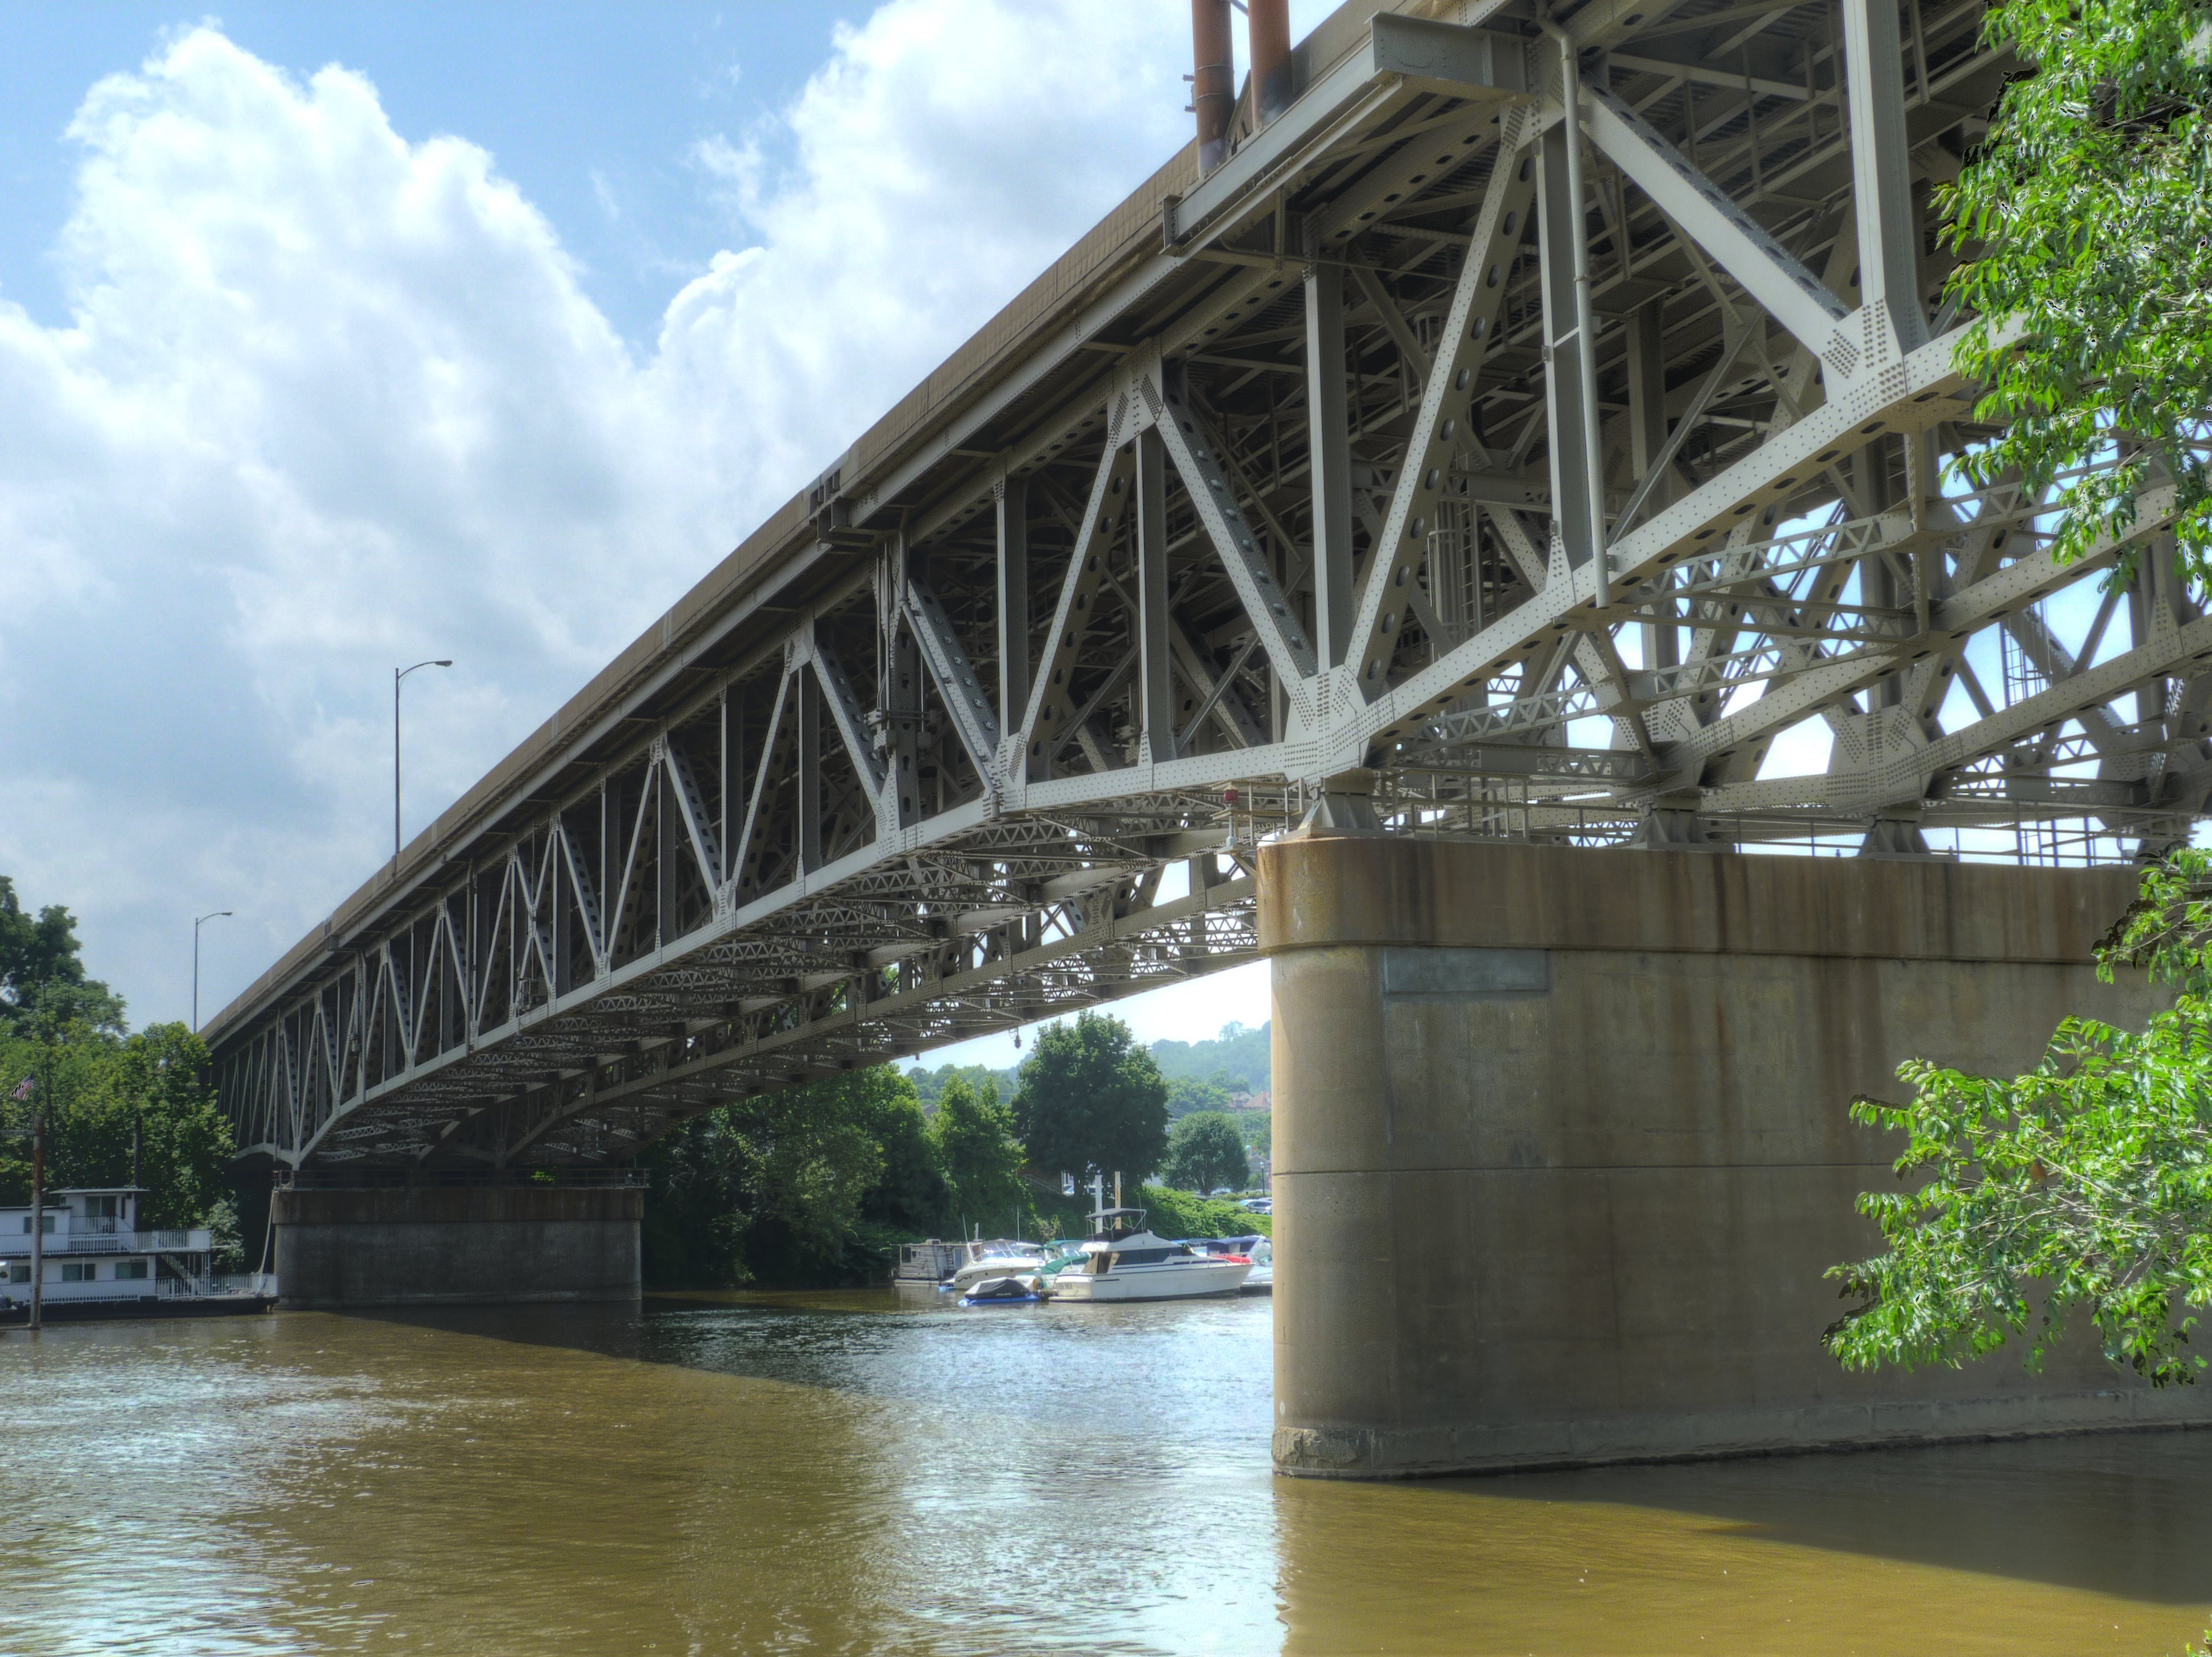
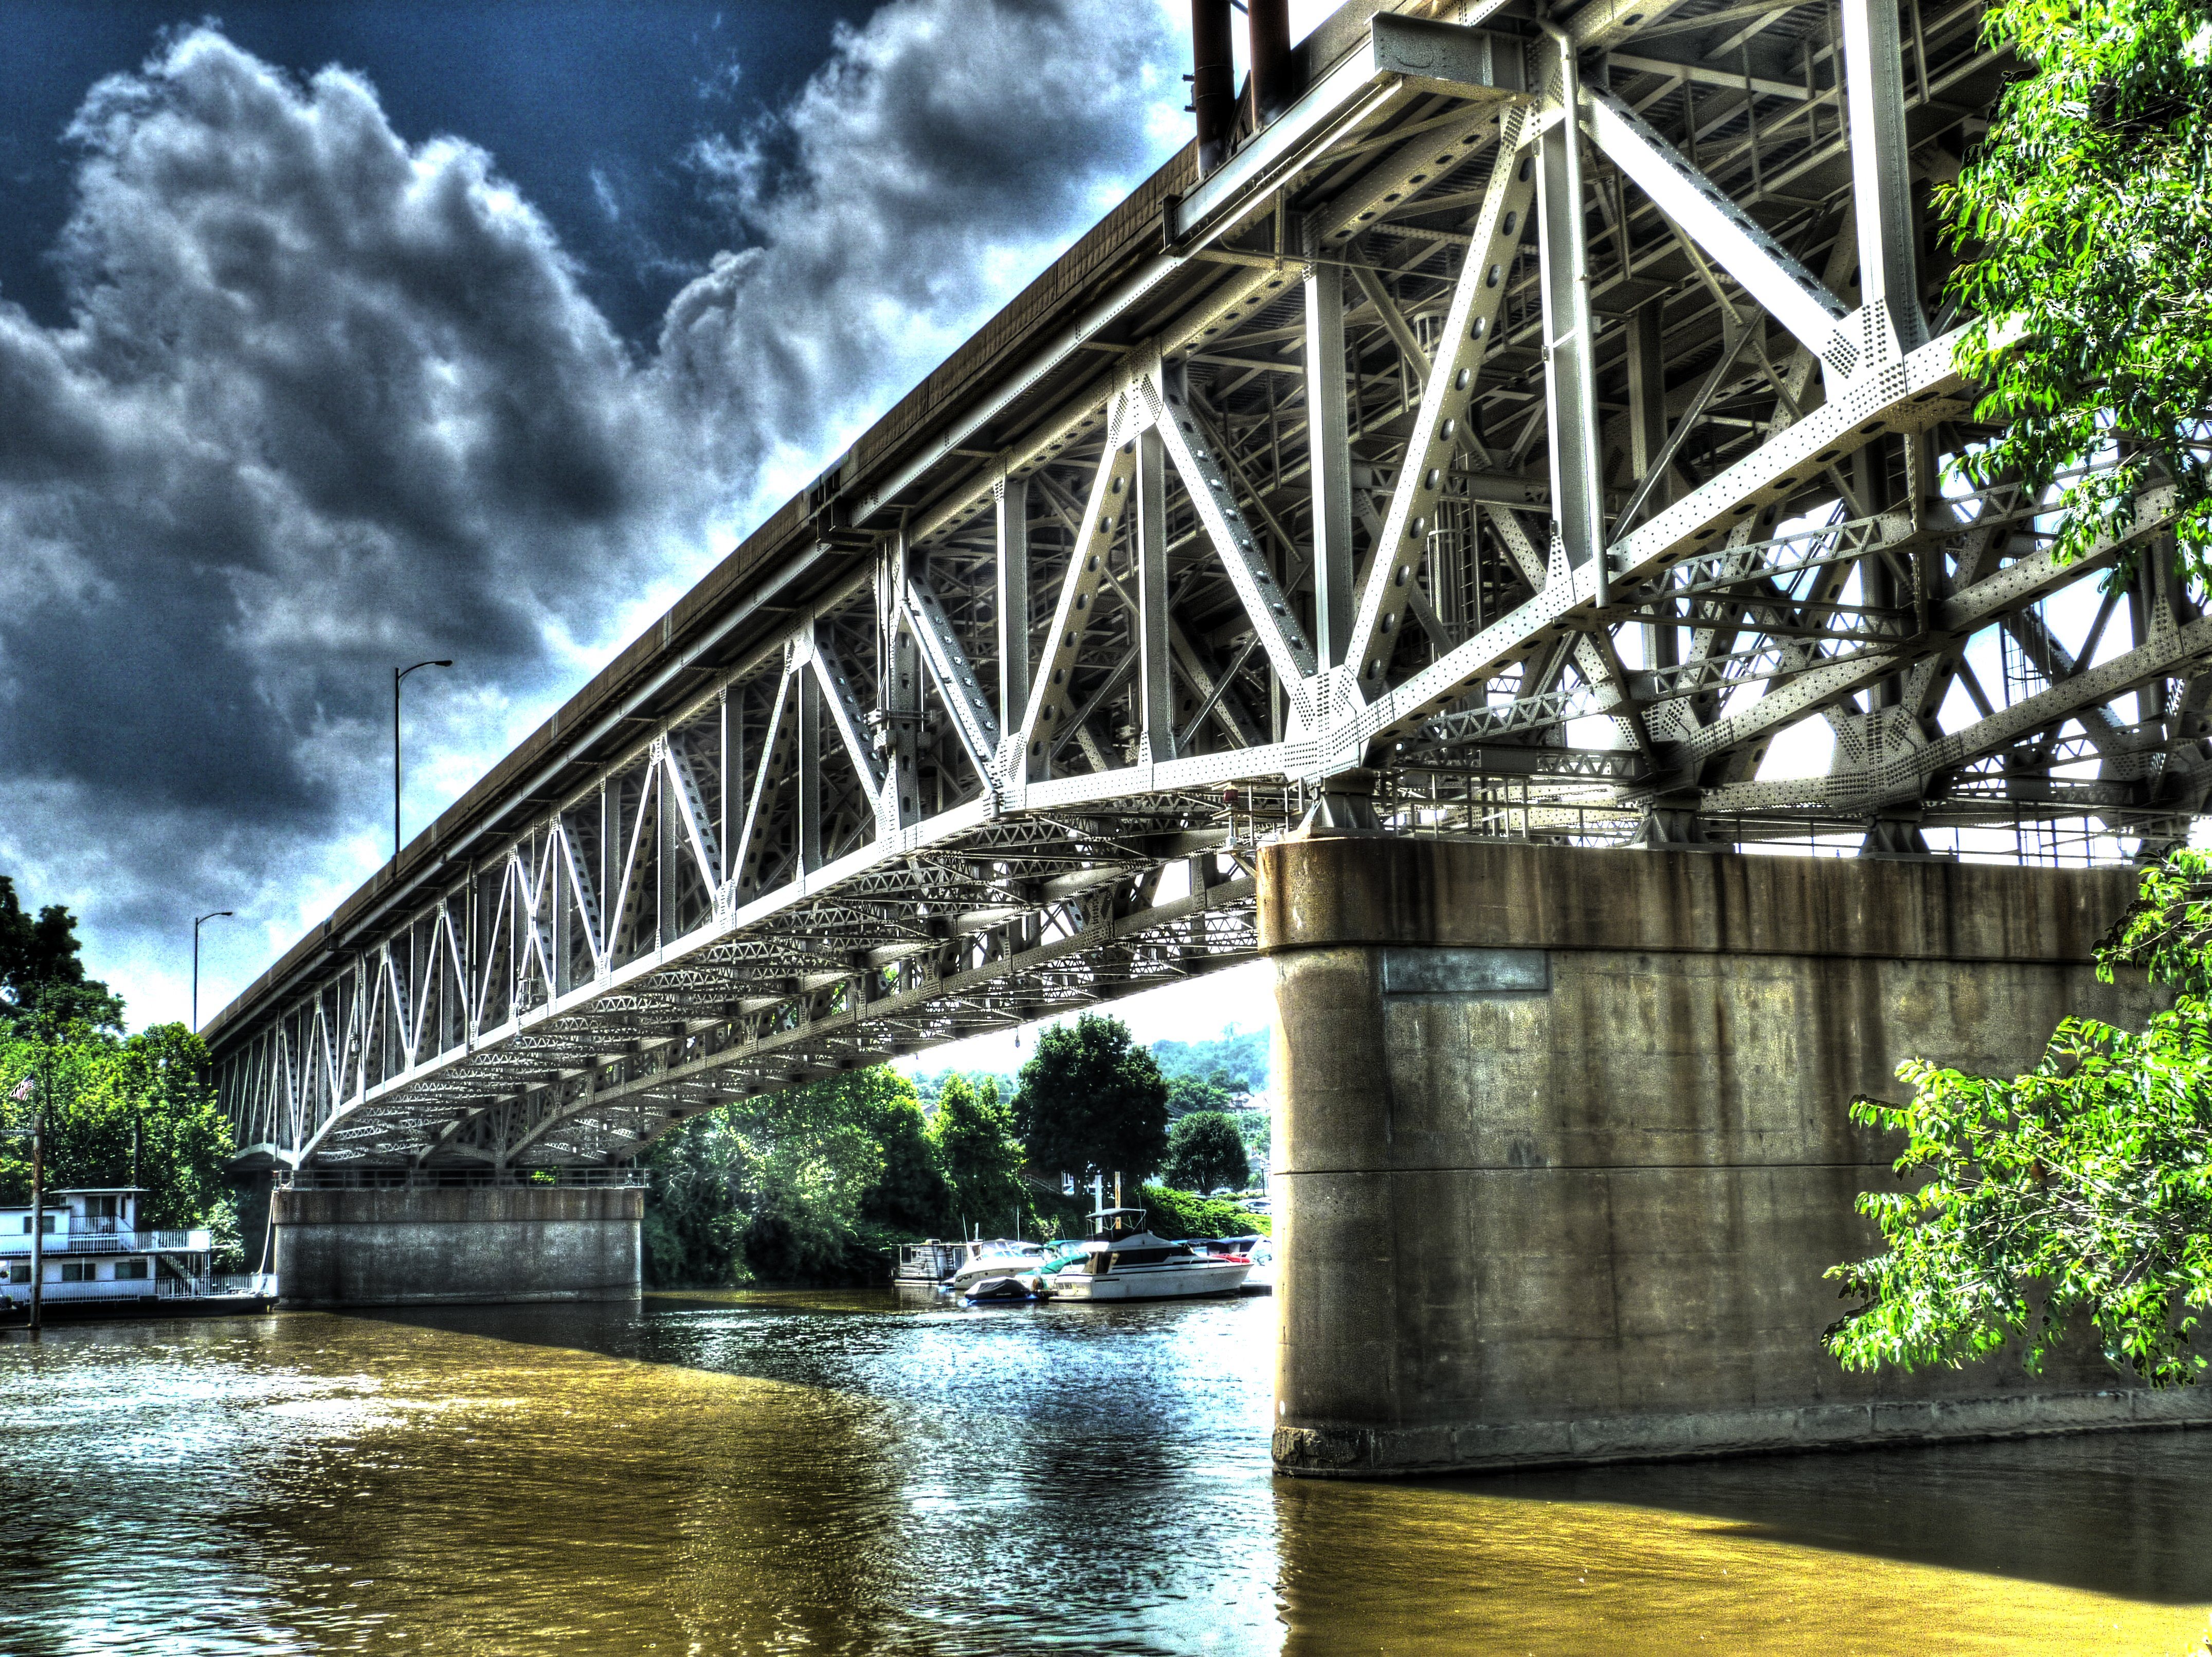
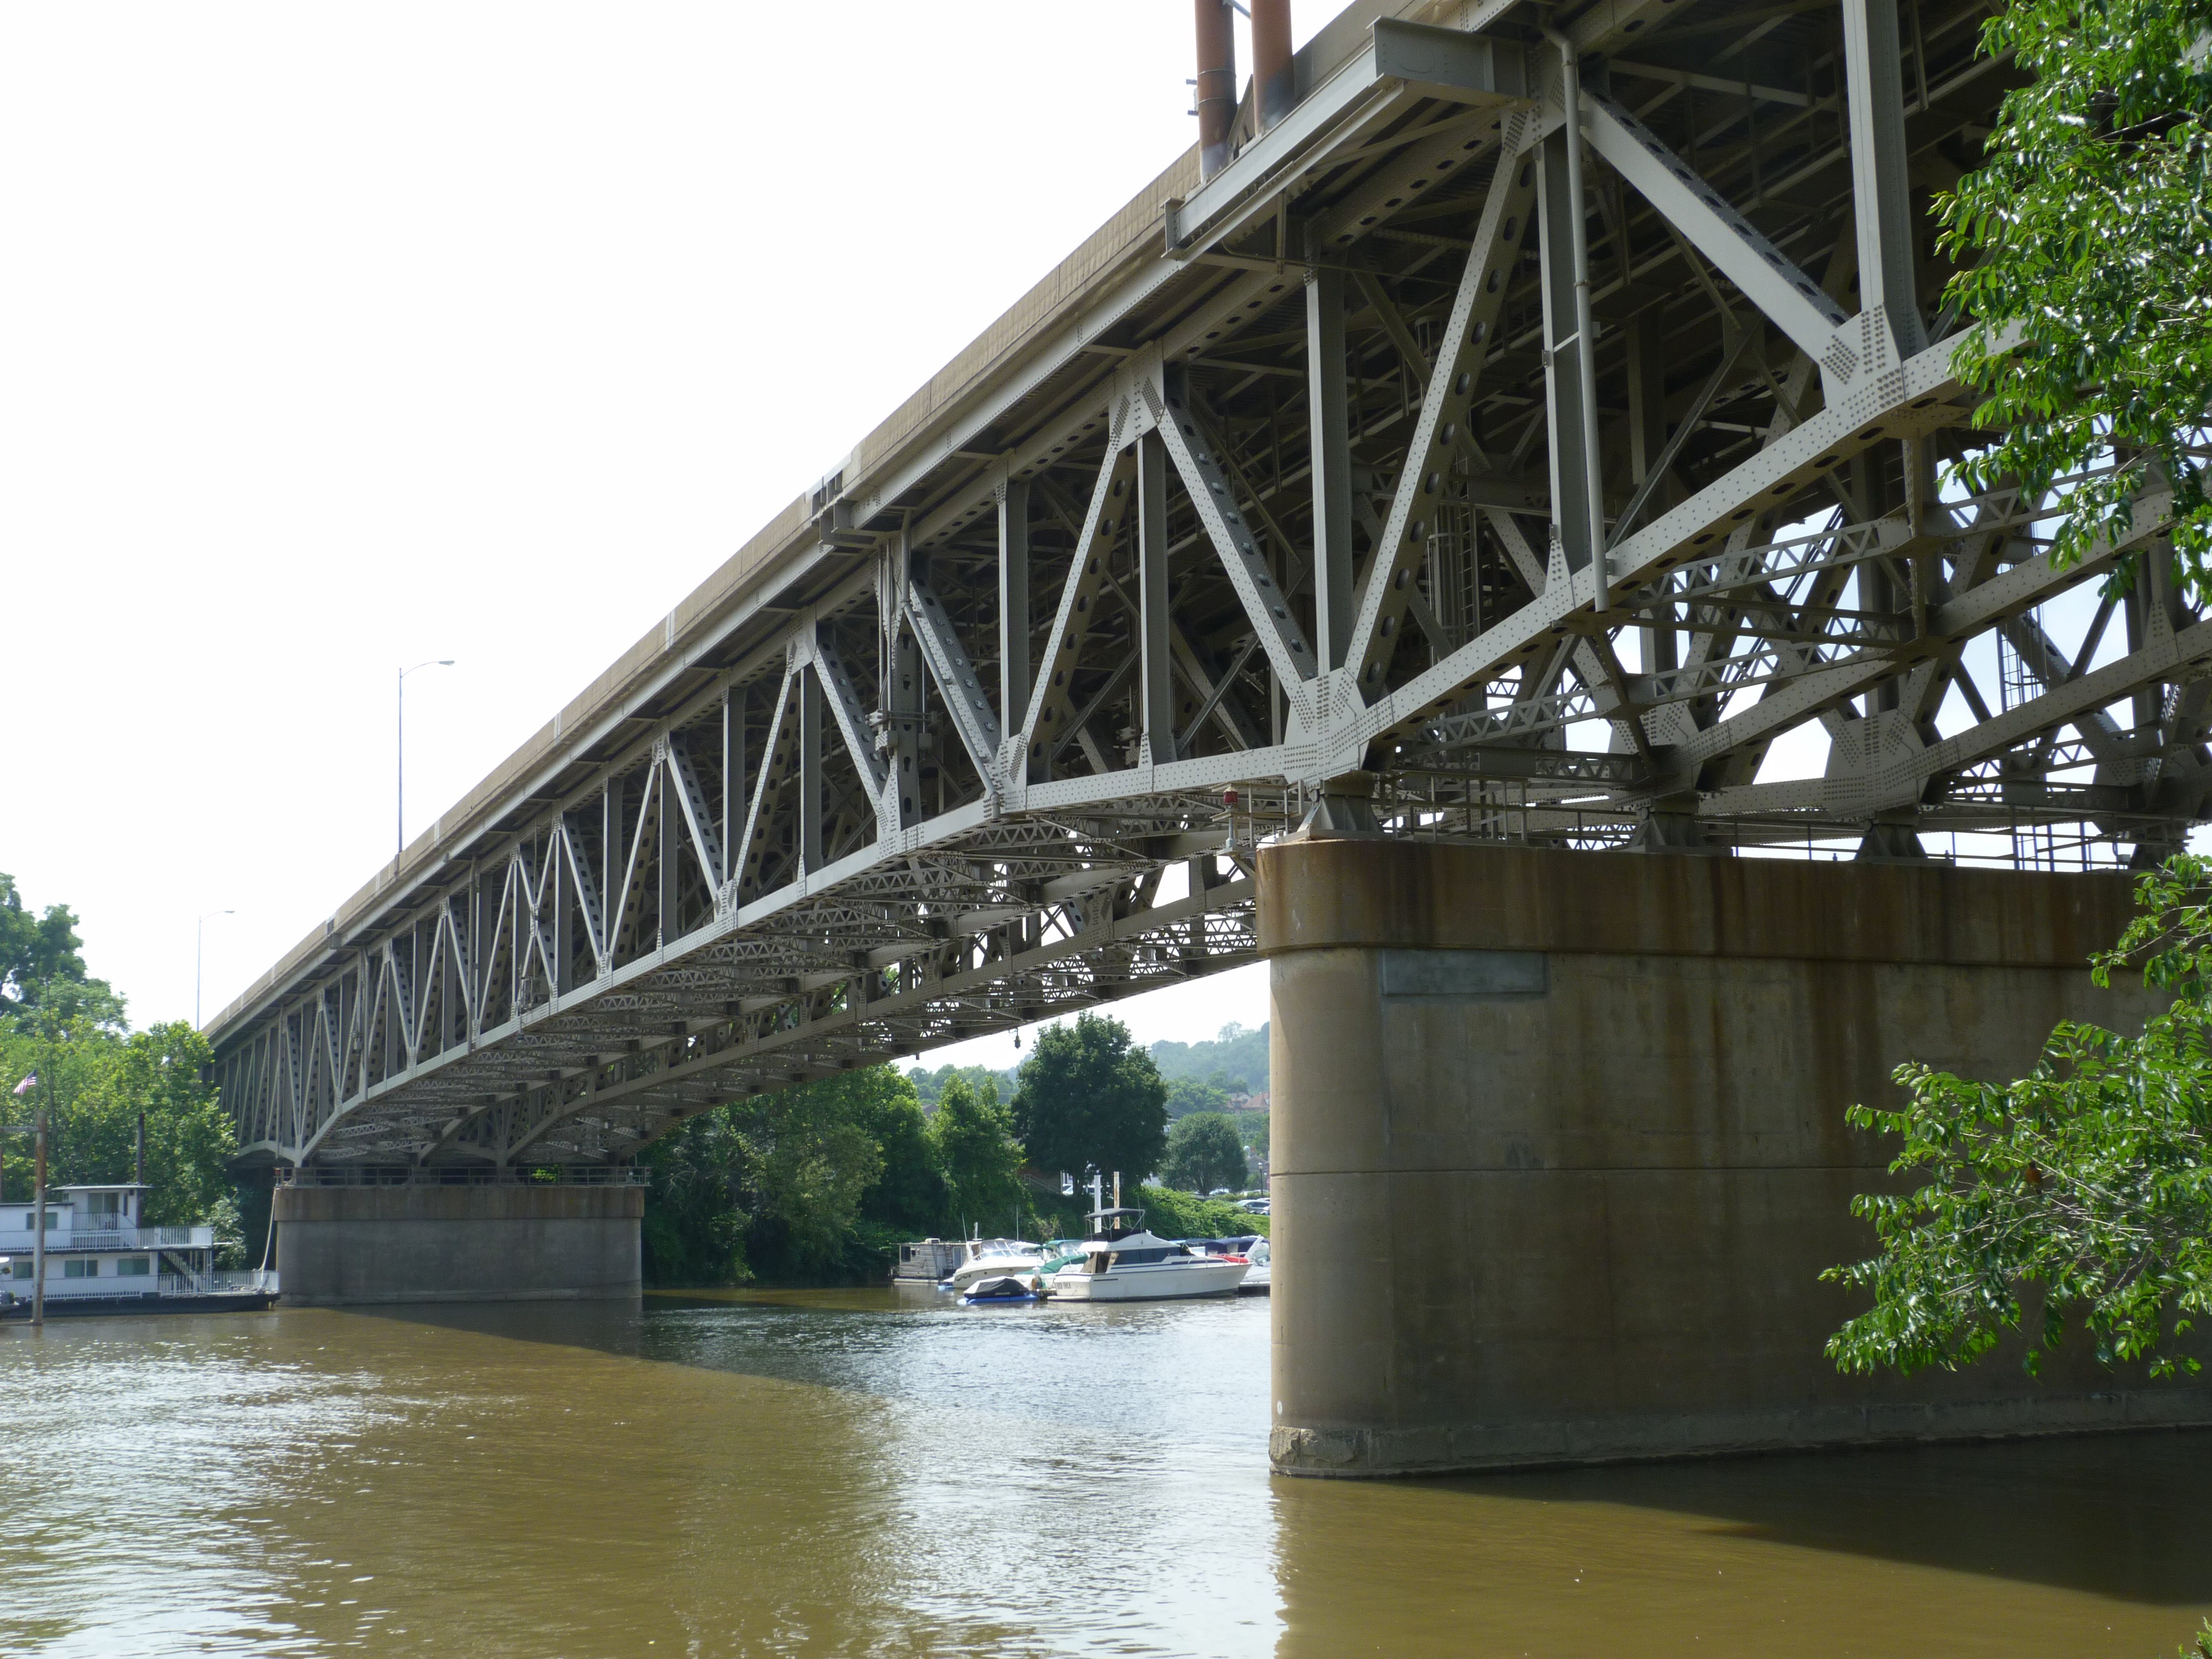
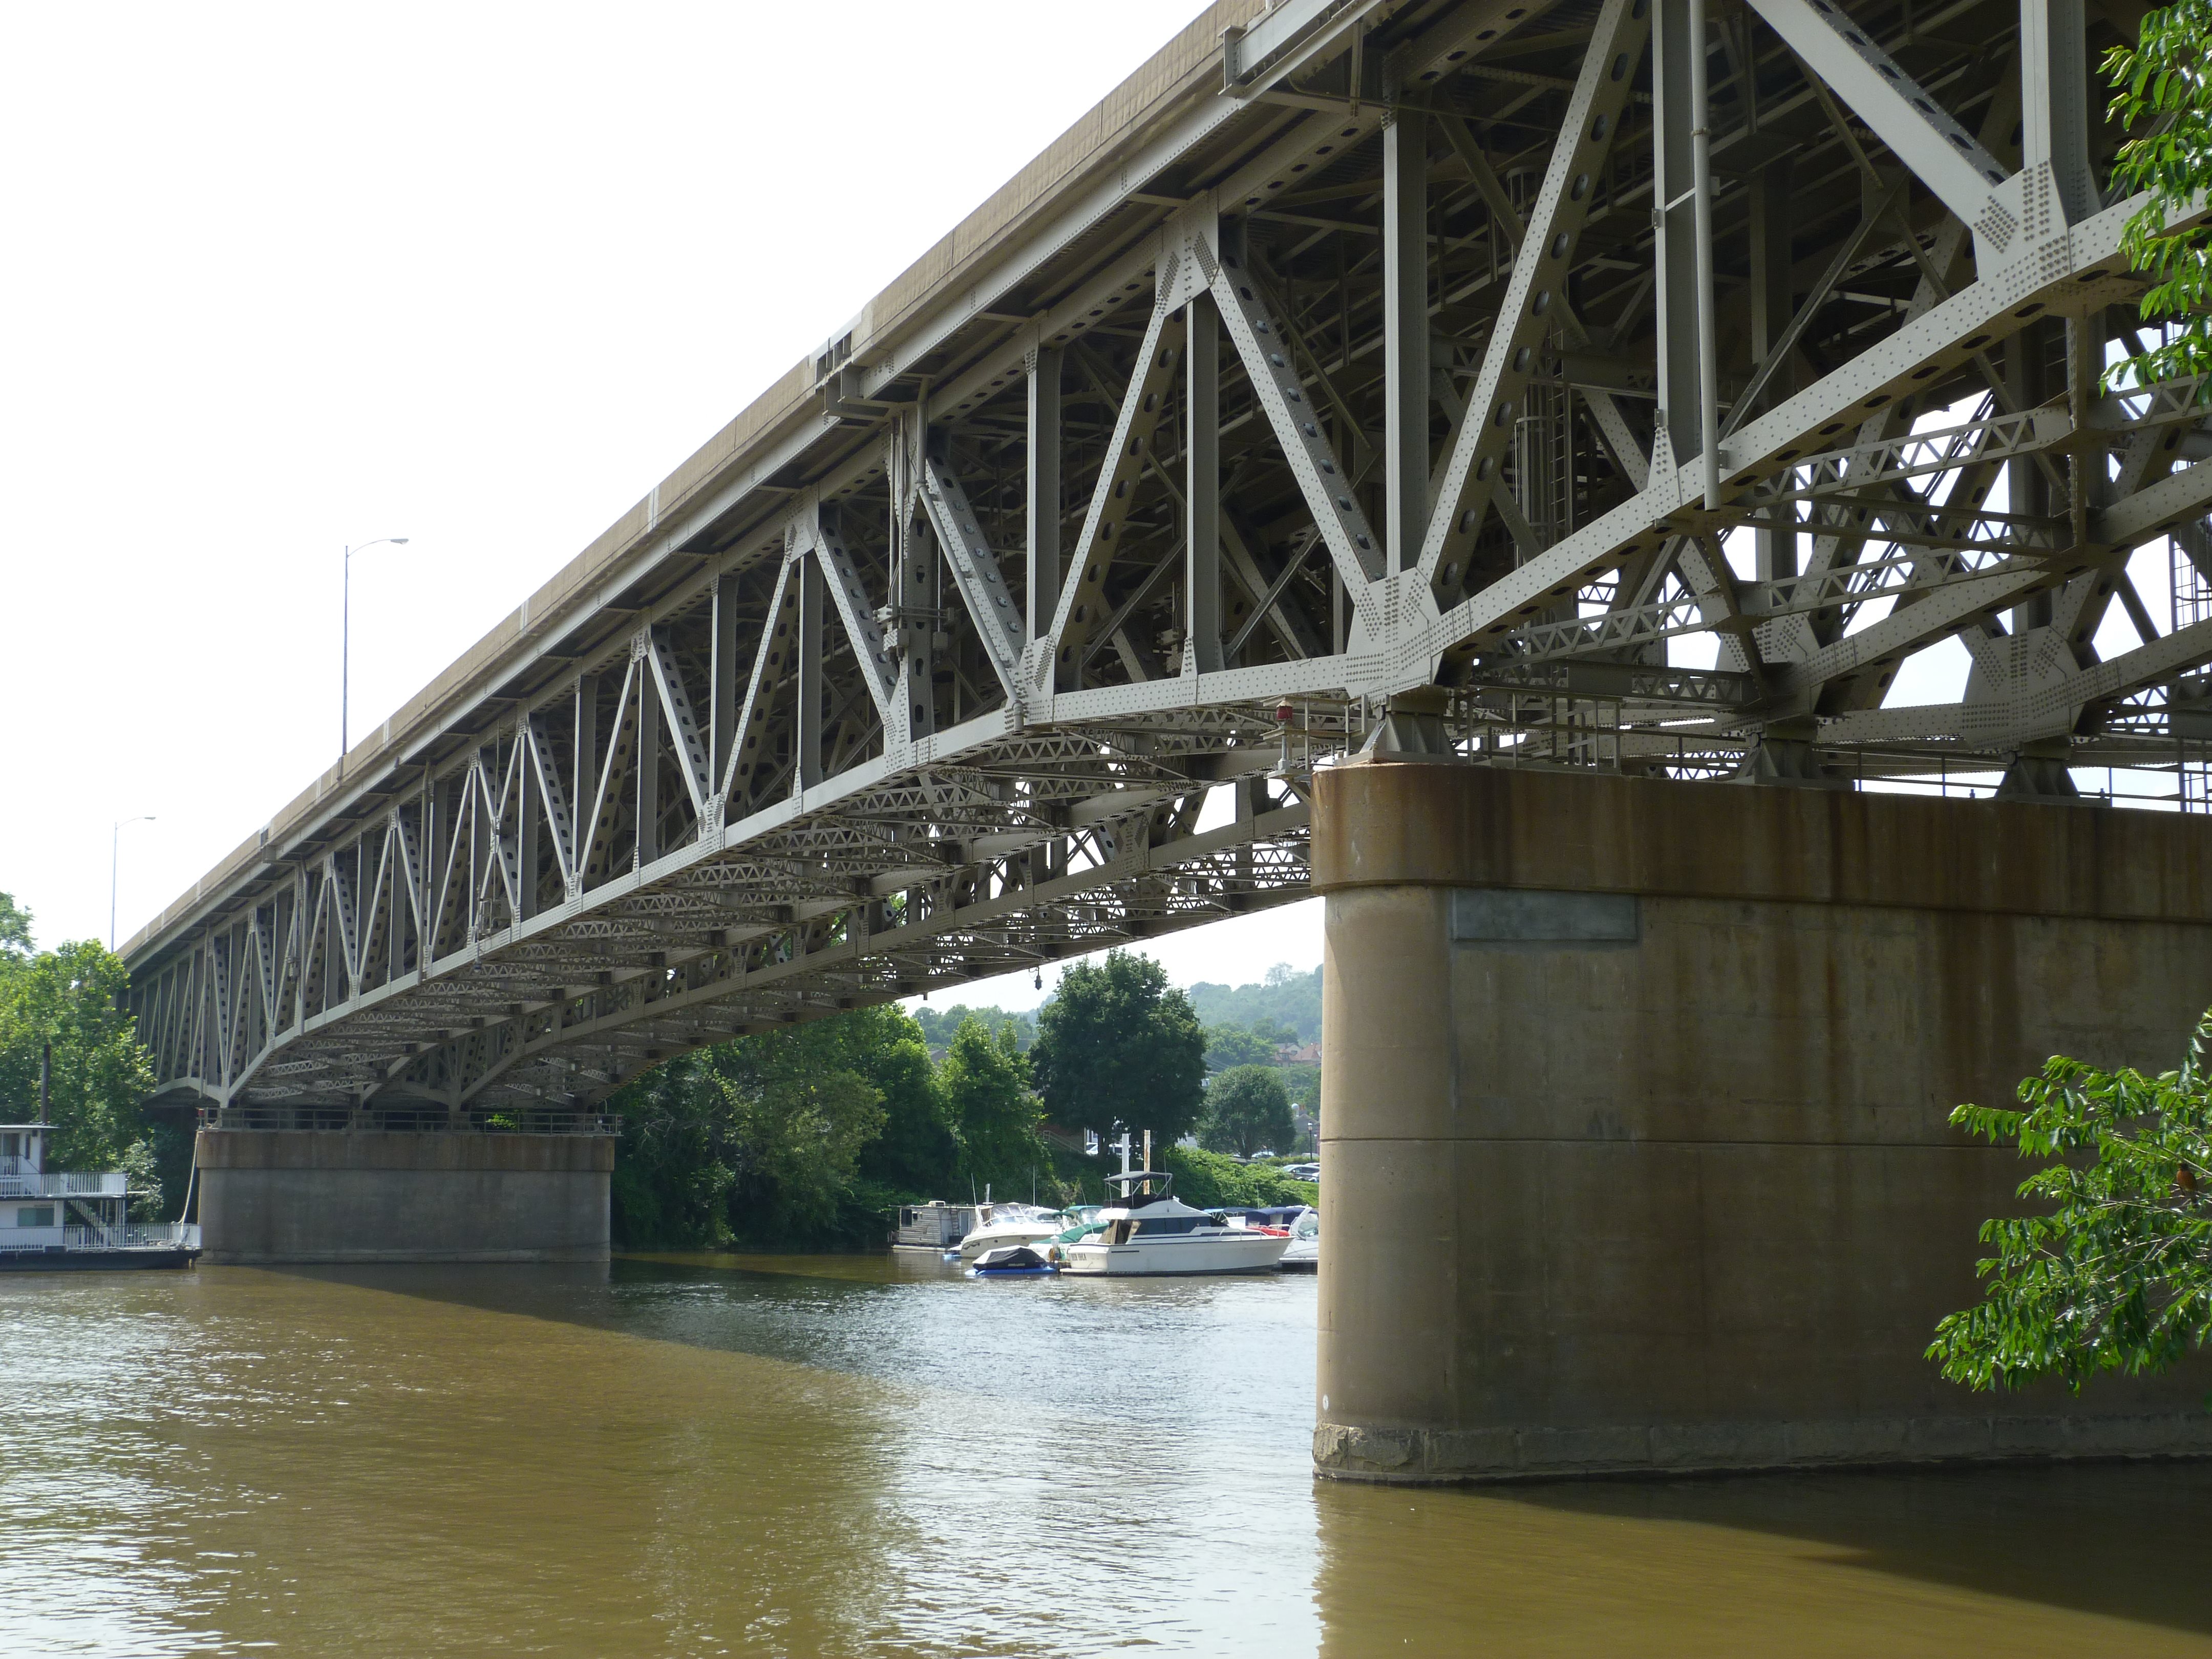
HDR Photos: Views beside bridge from southeast quadrant.
![]()
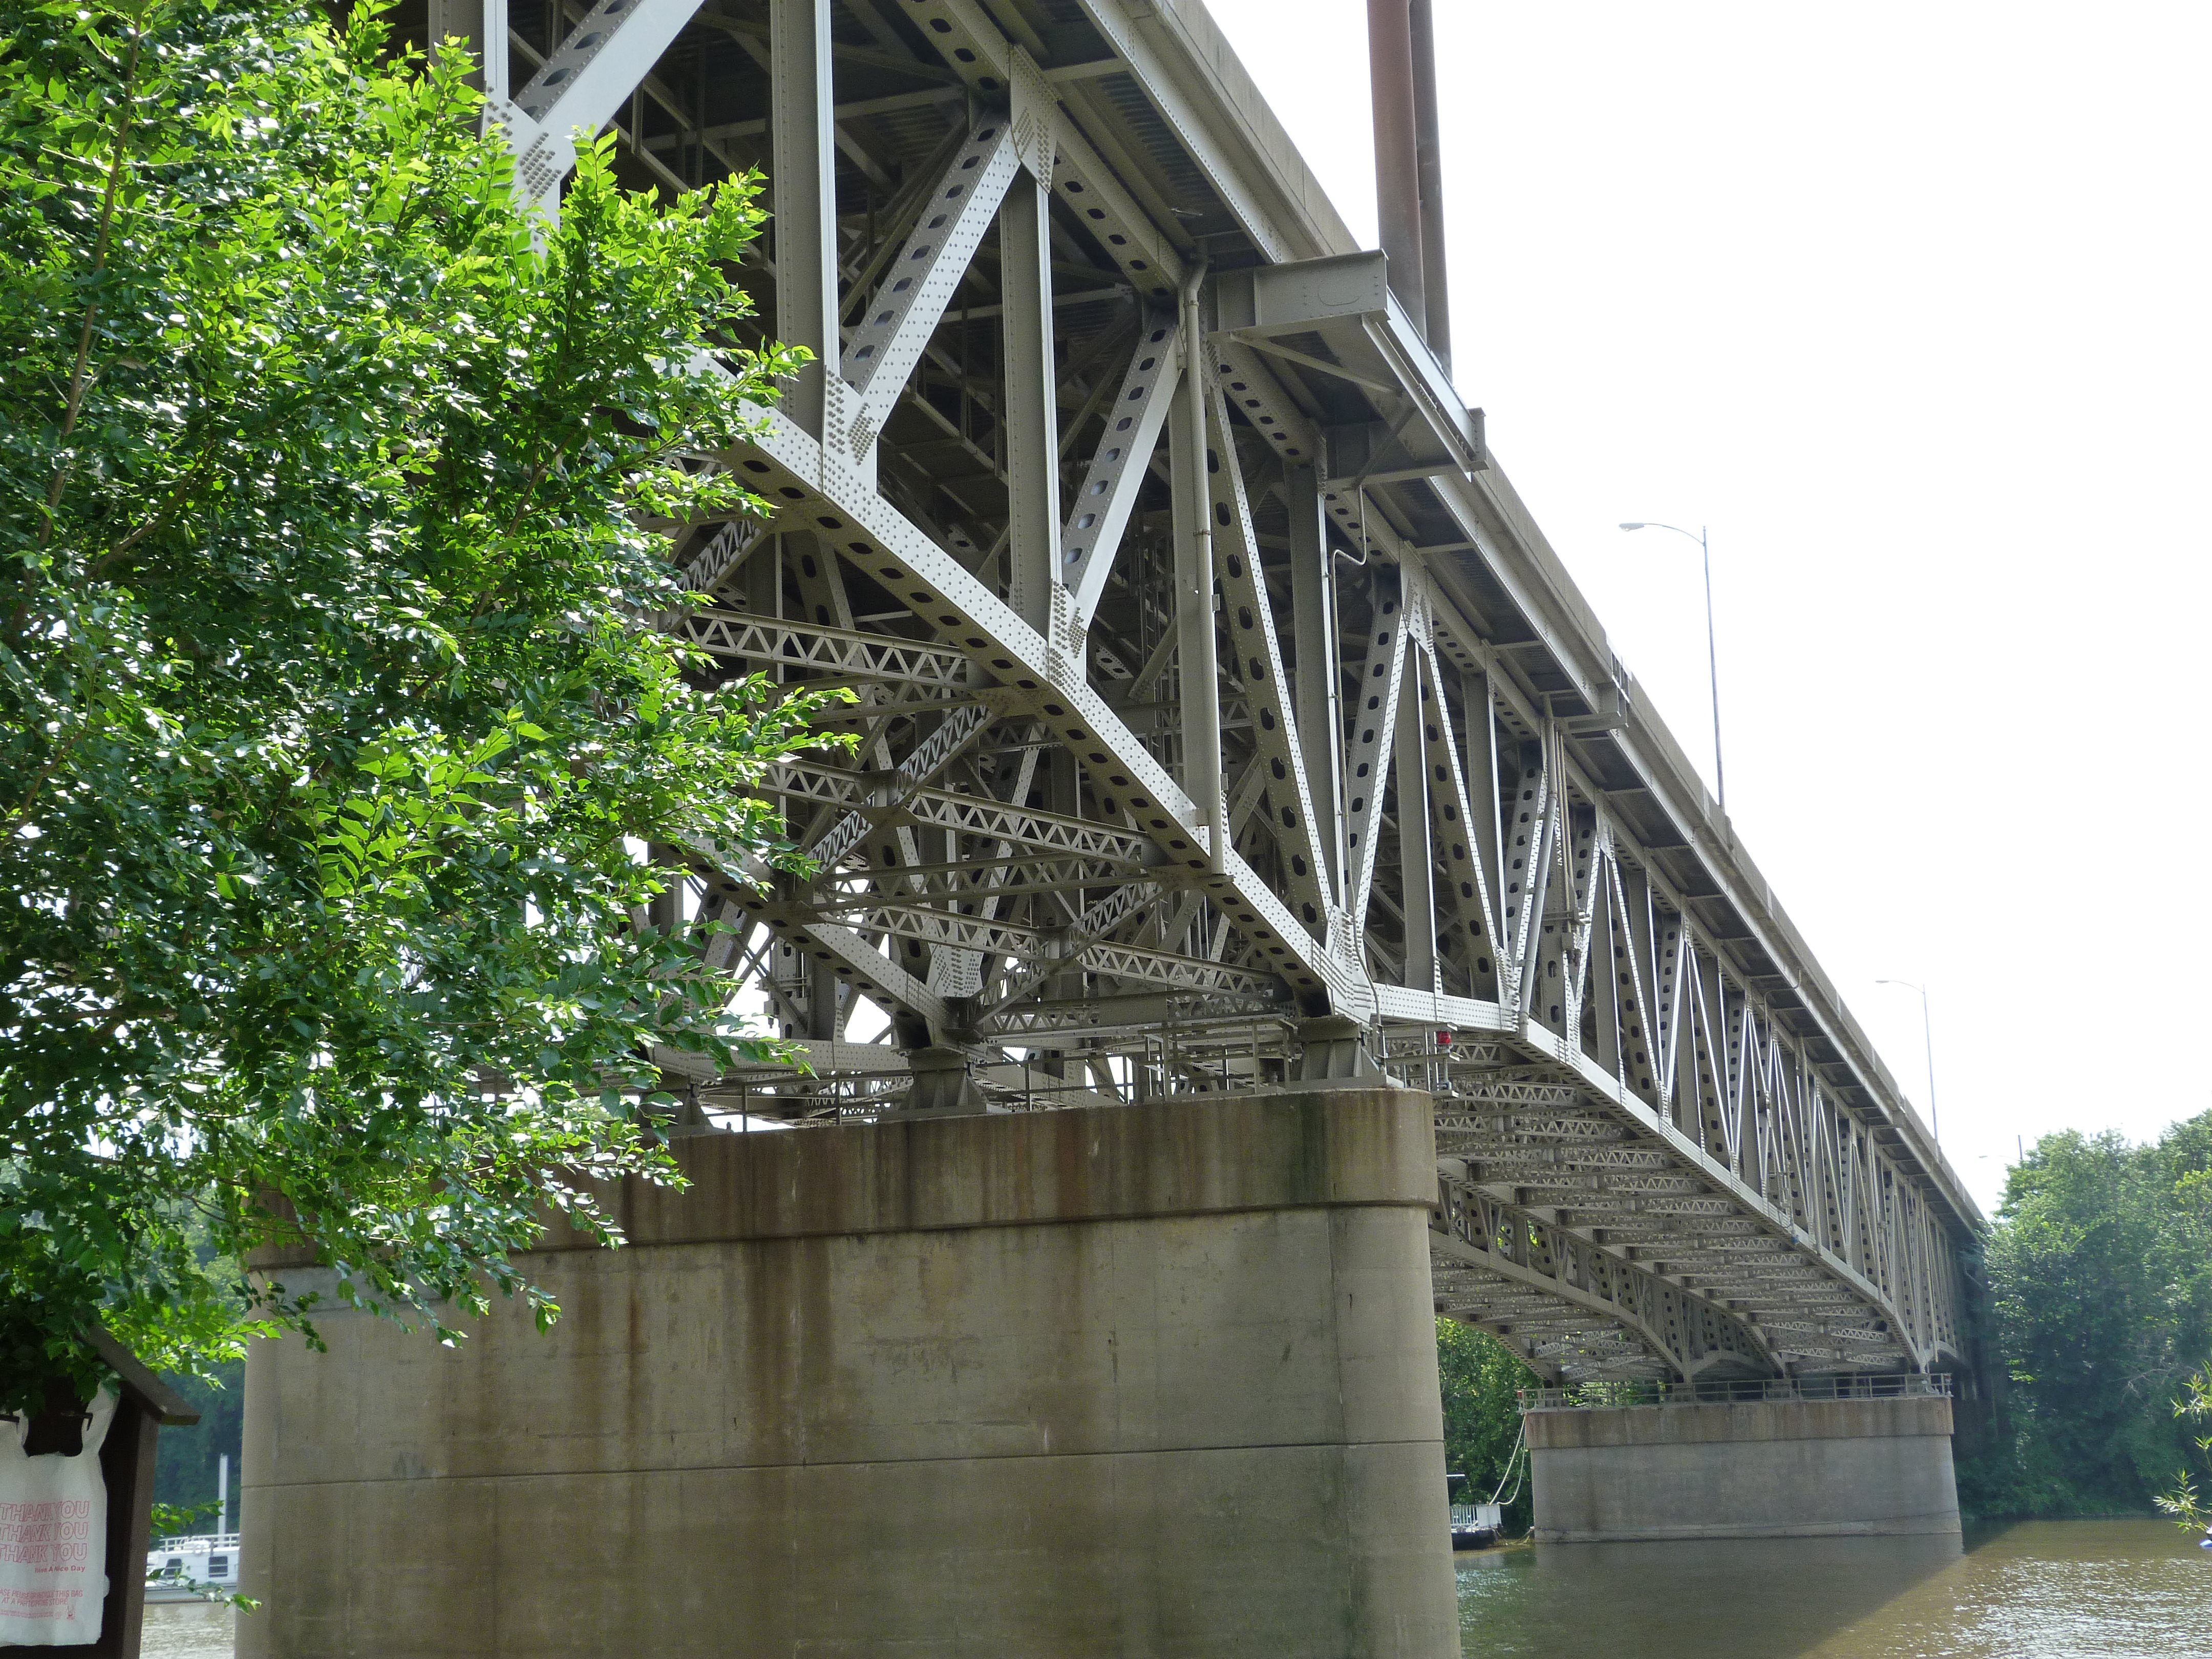
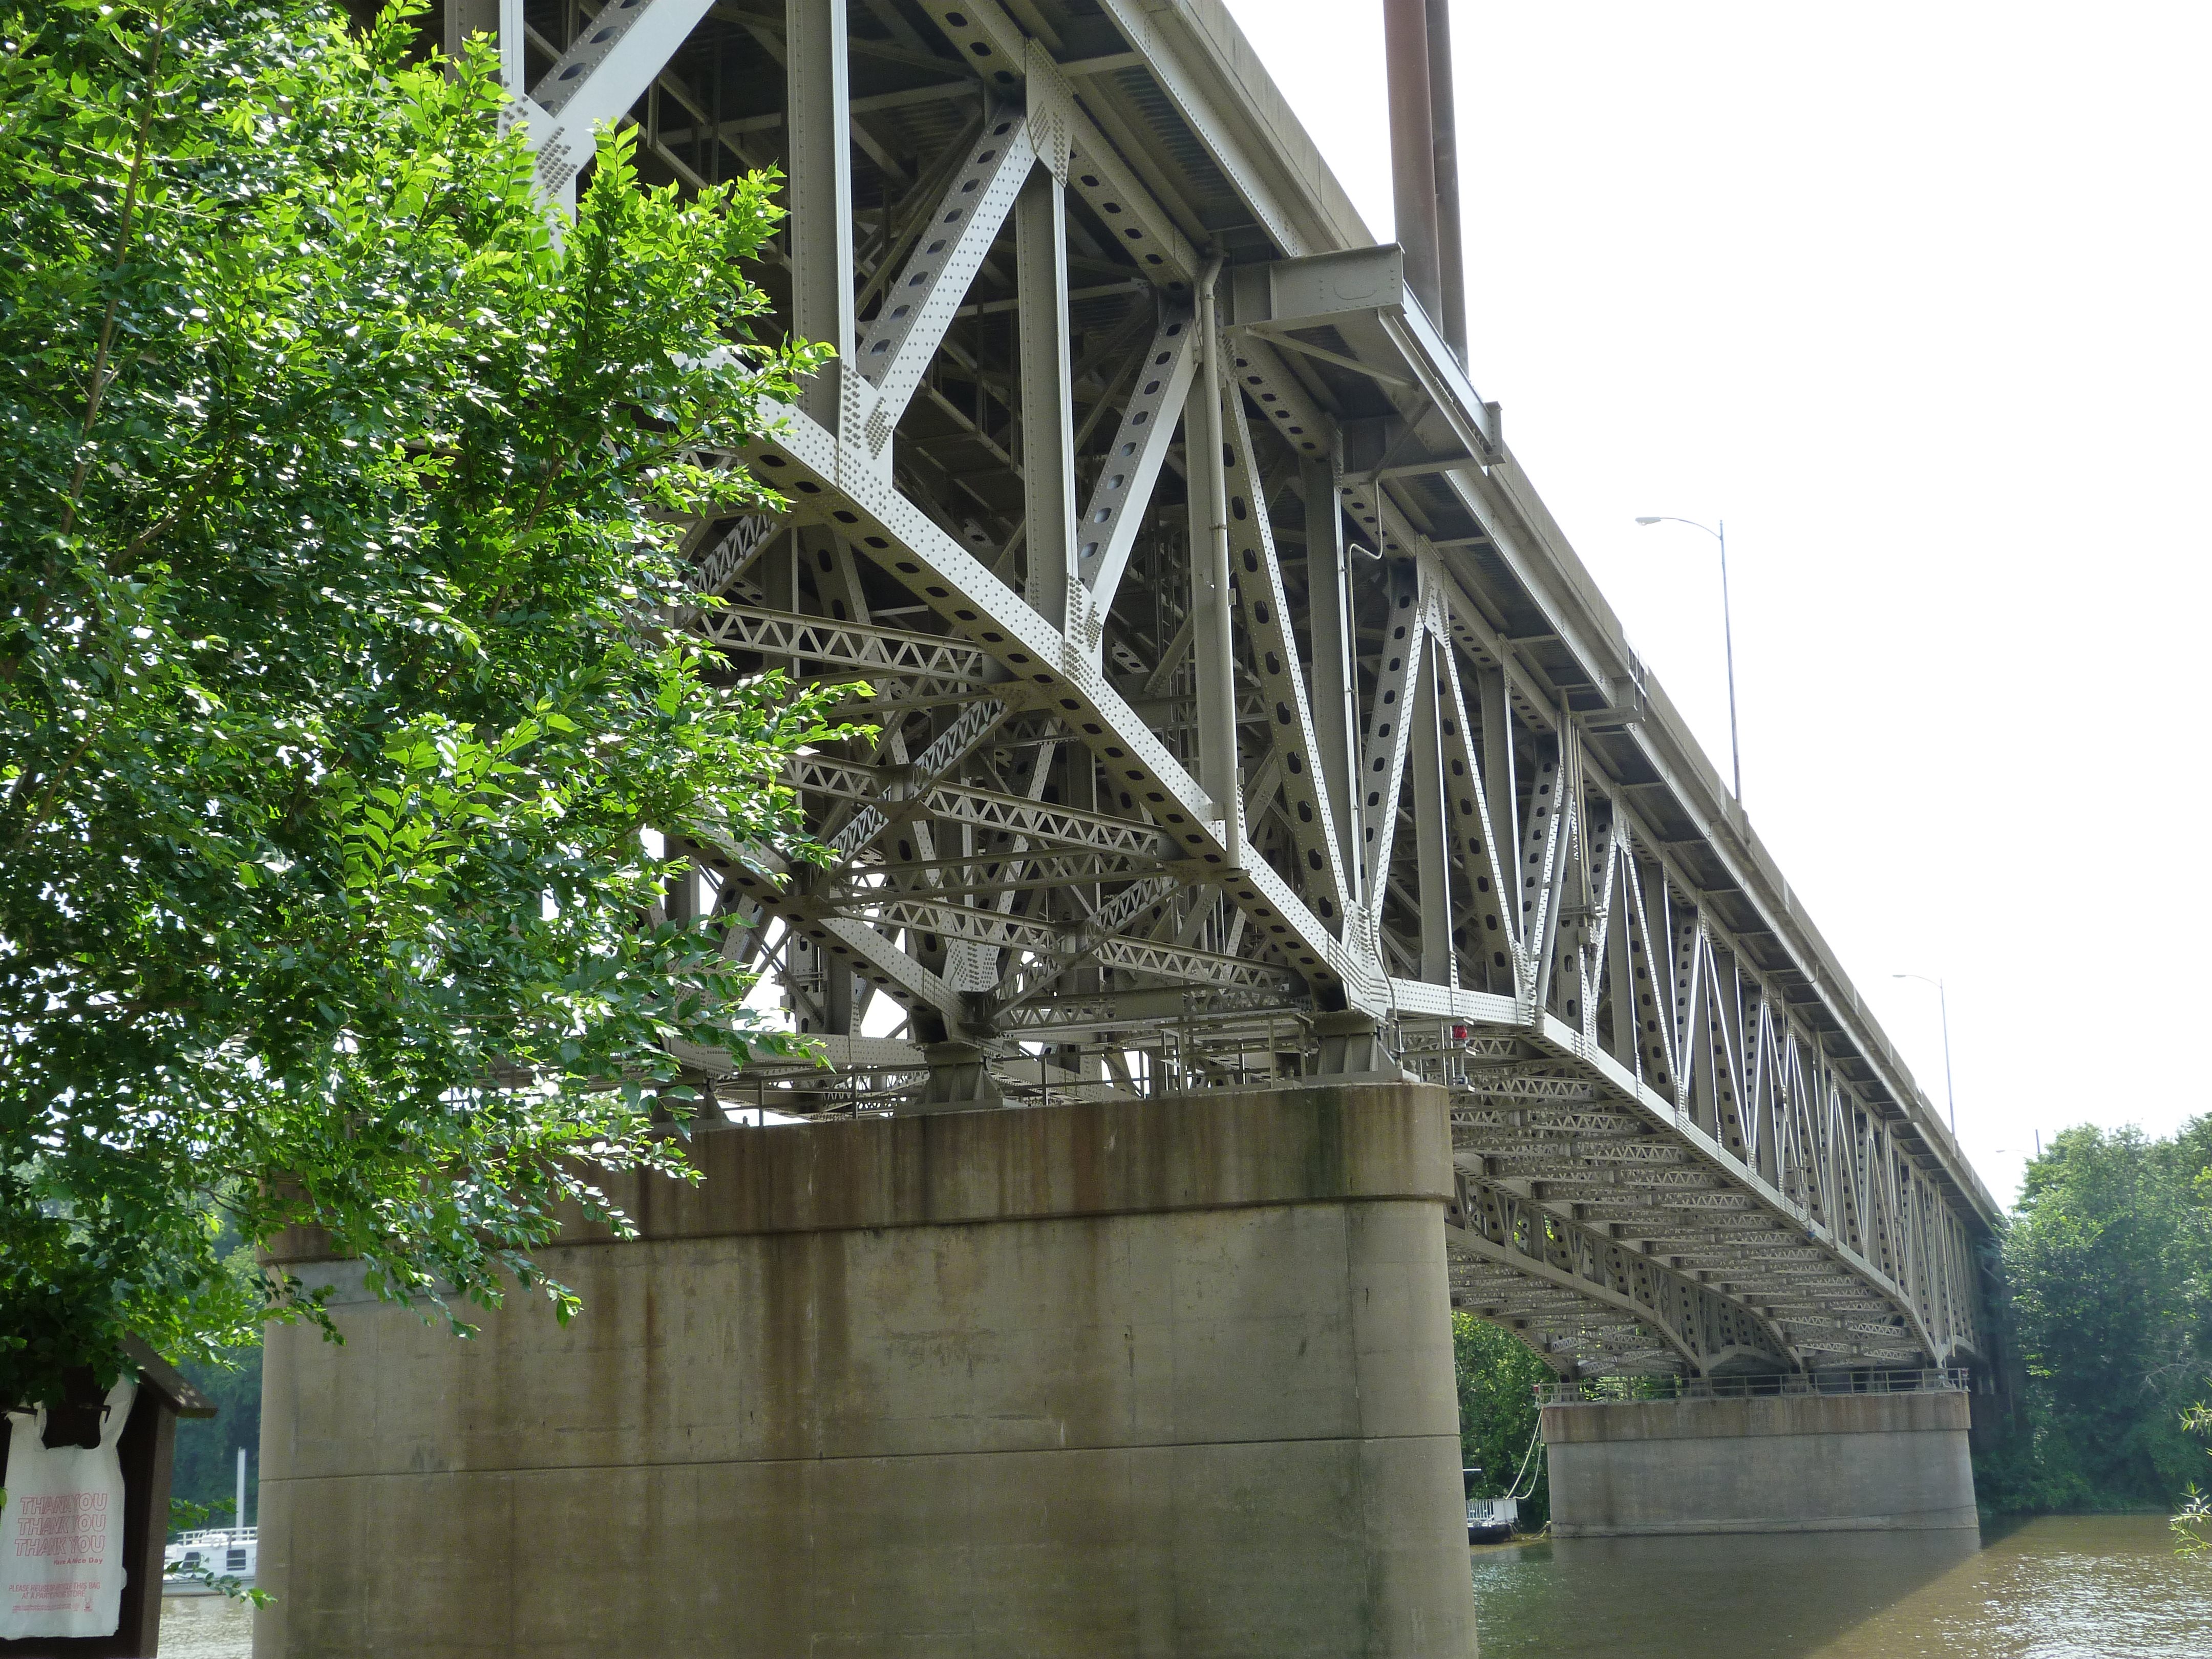
Views beside bridge from northeast quadrant.
![]()
Eastern approach.
![]()

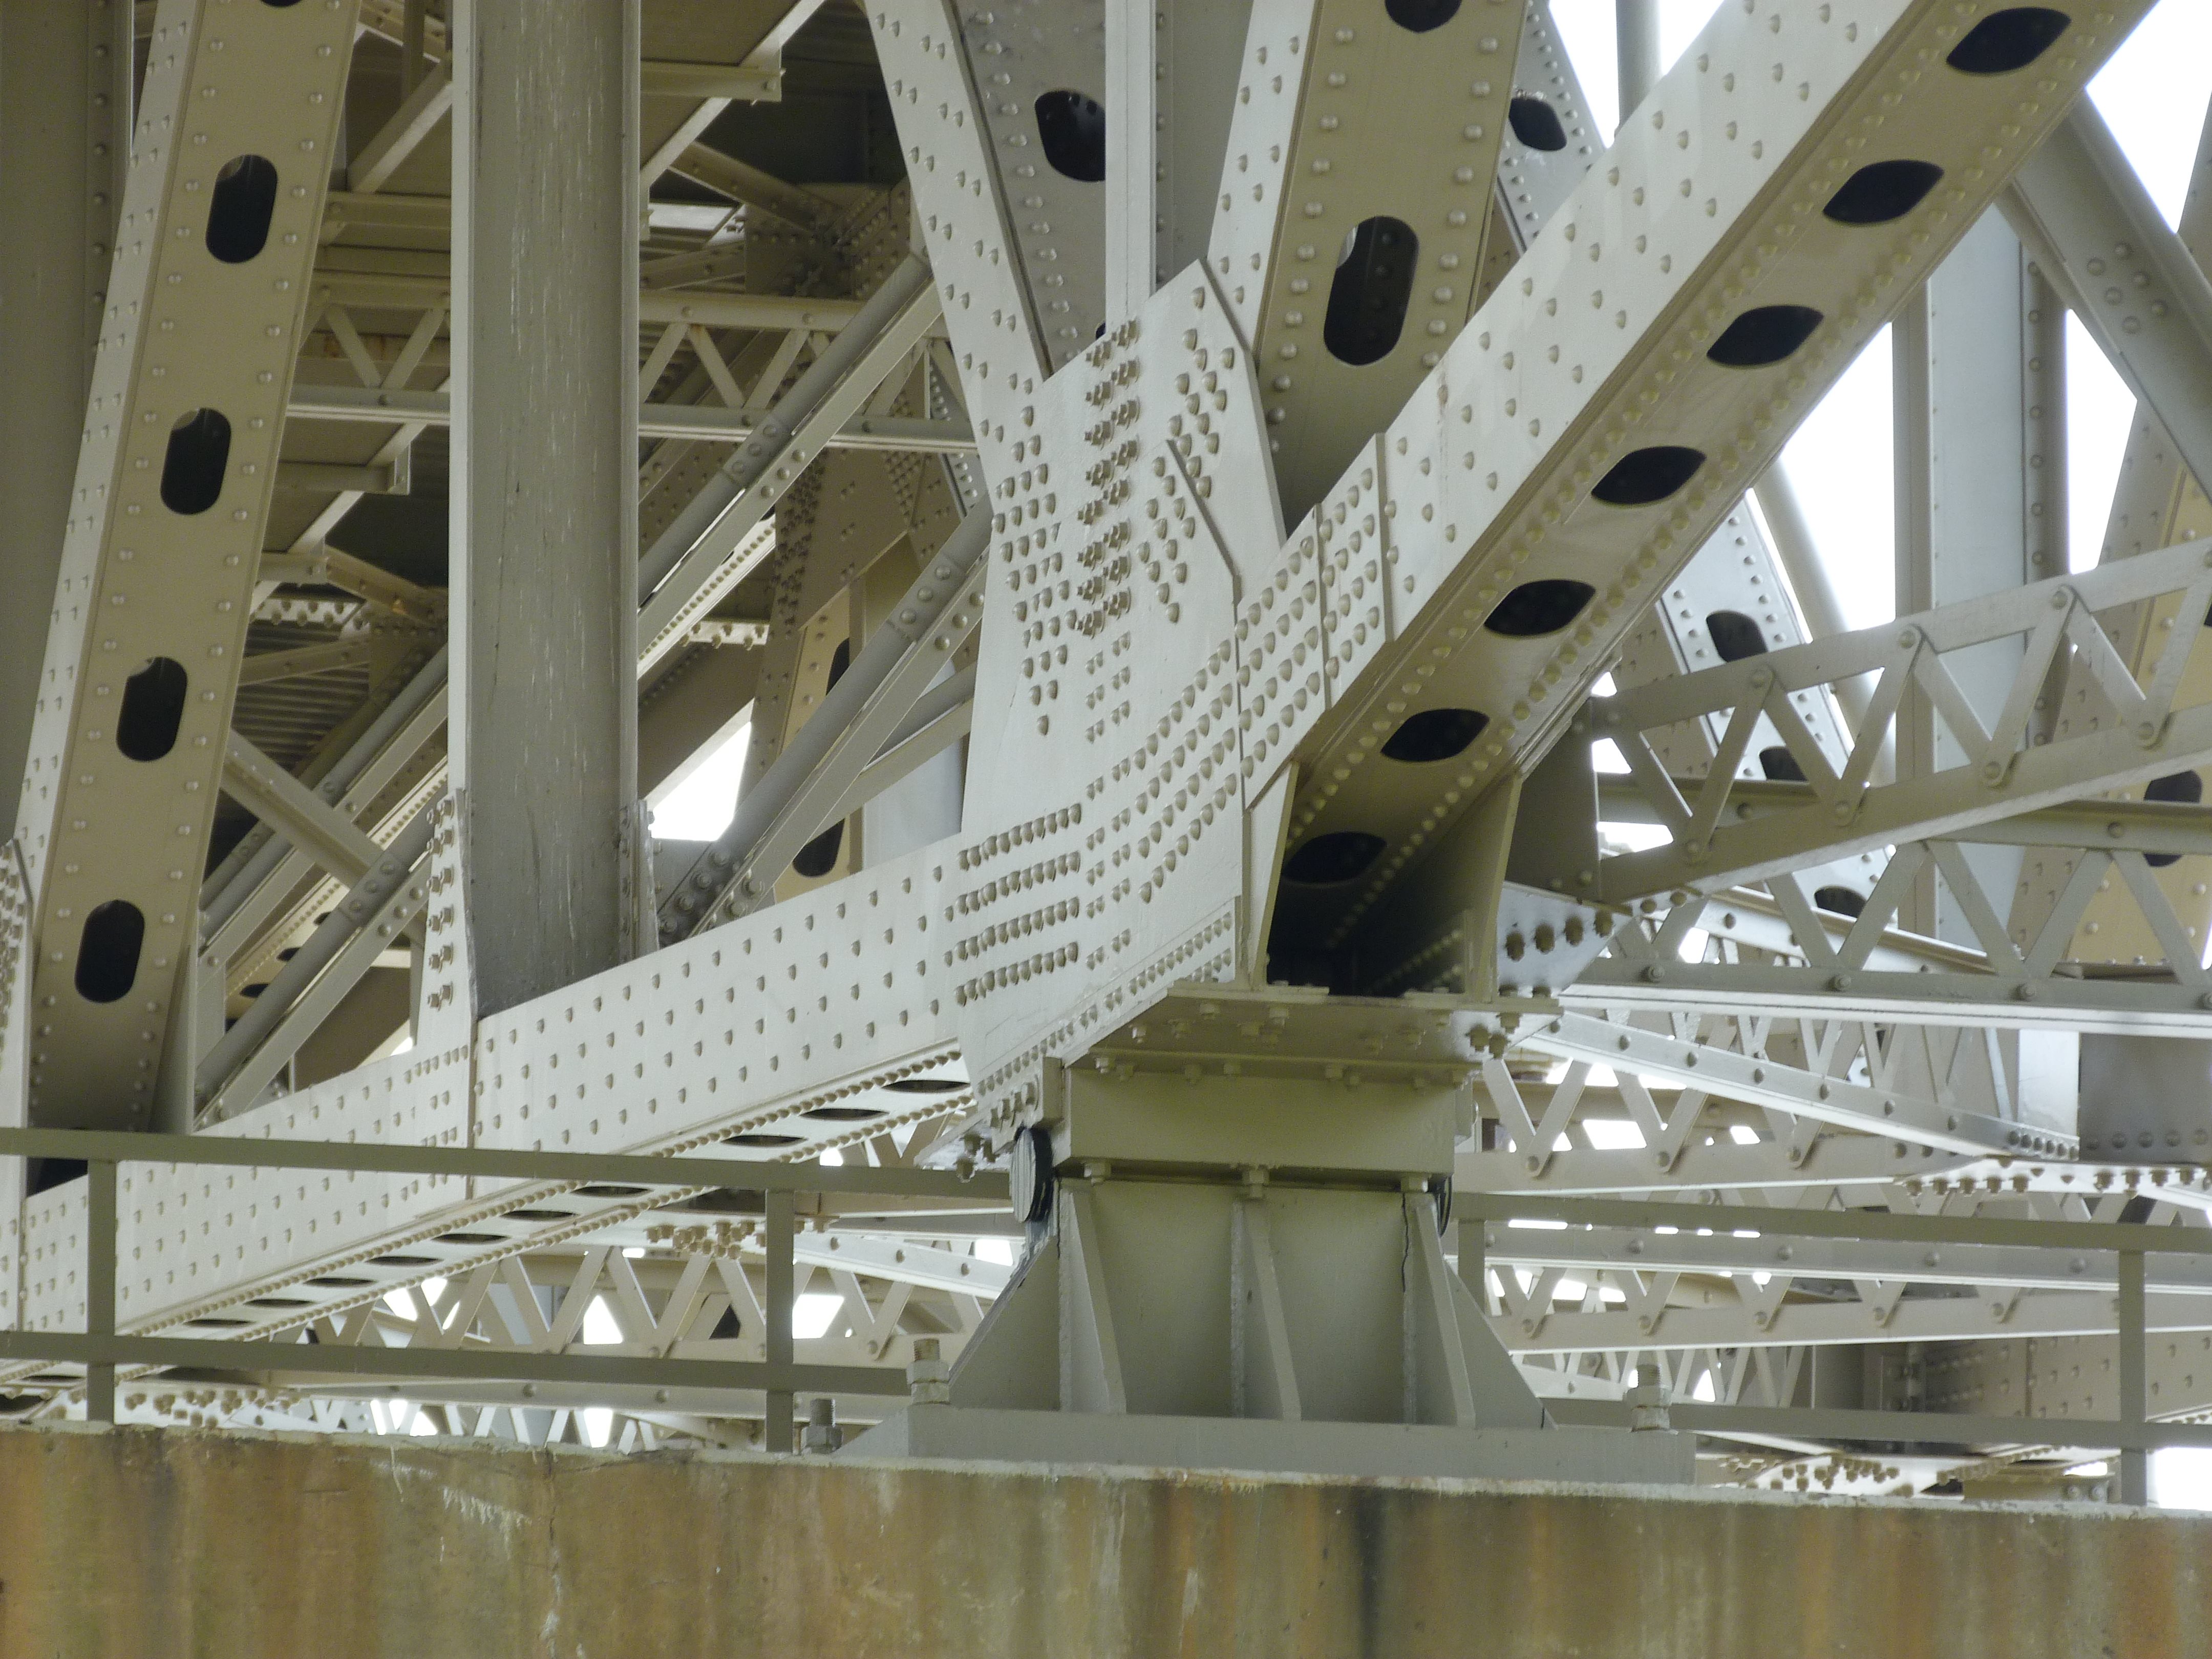
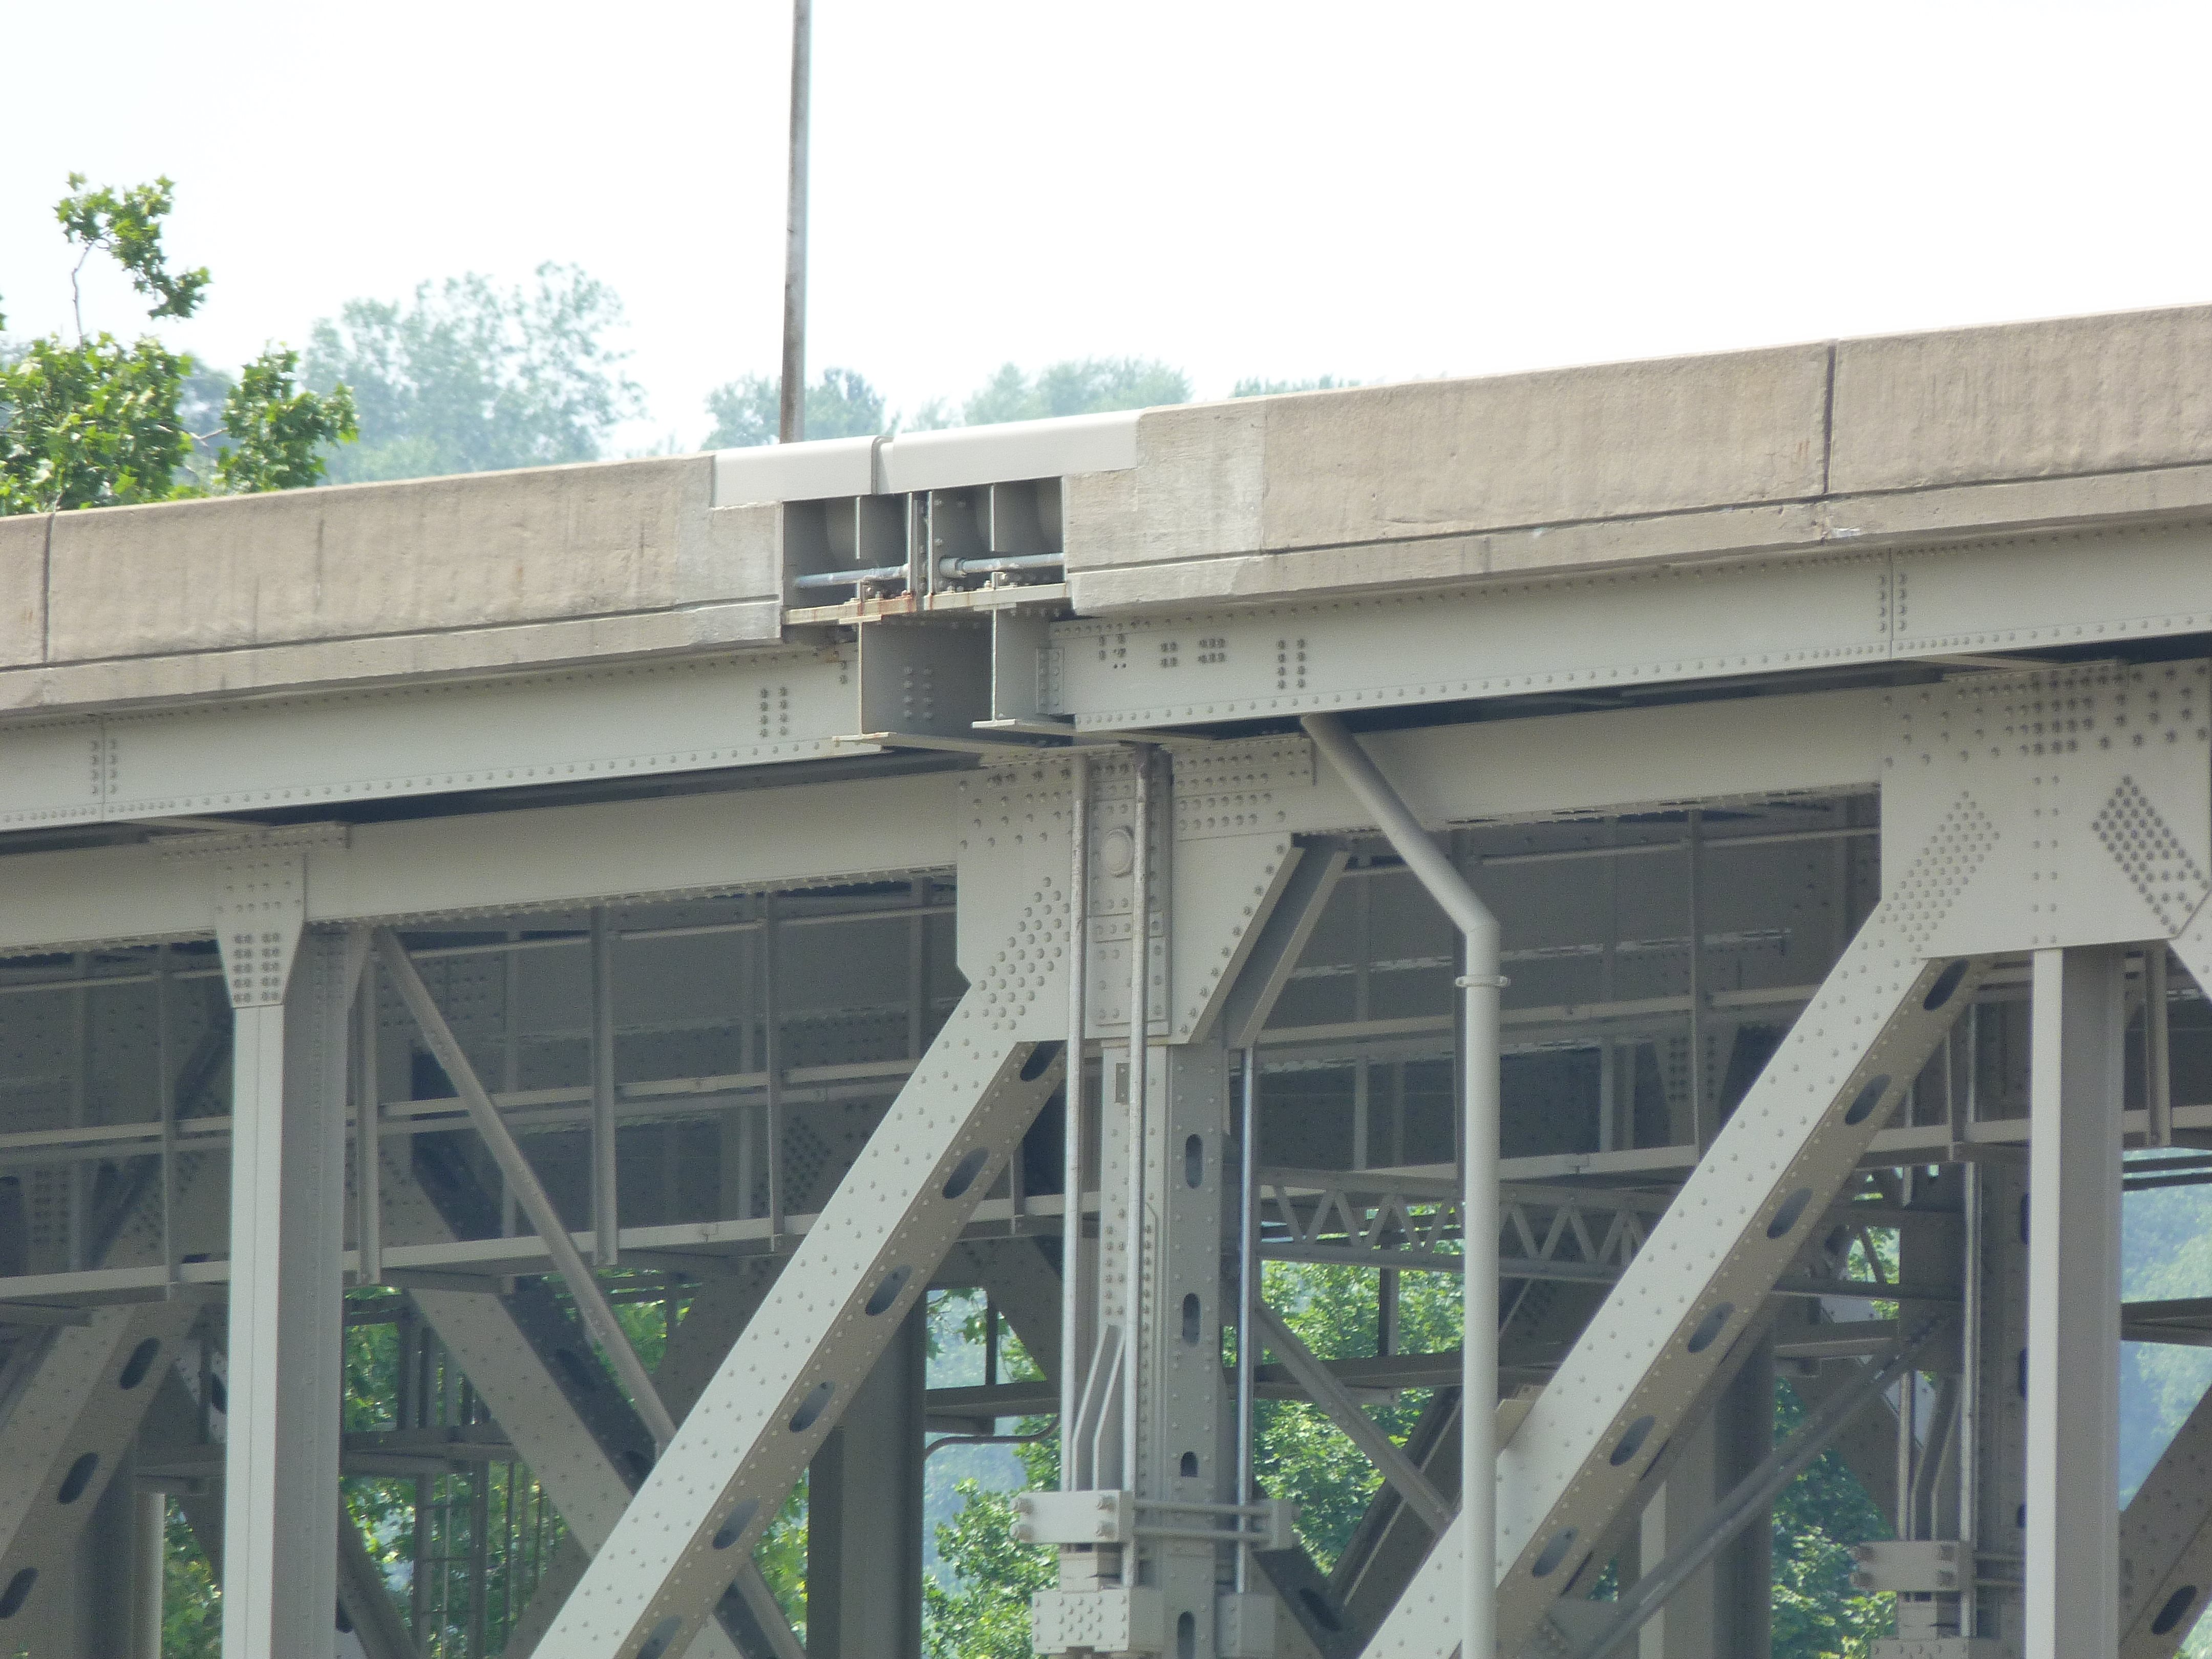
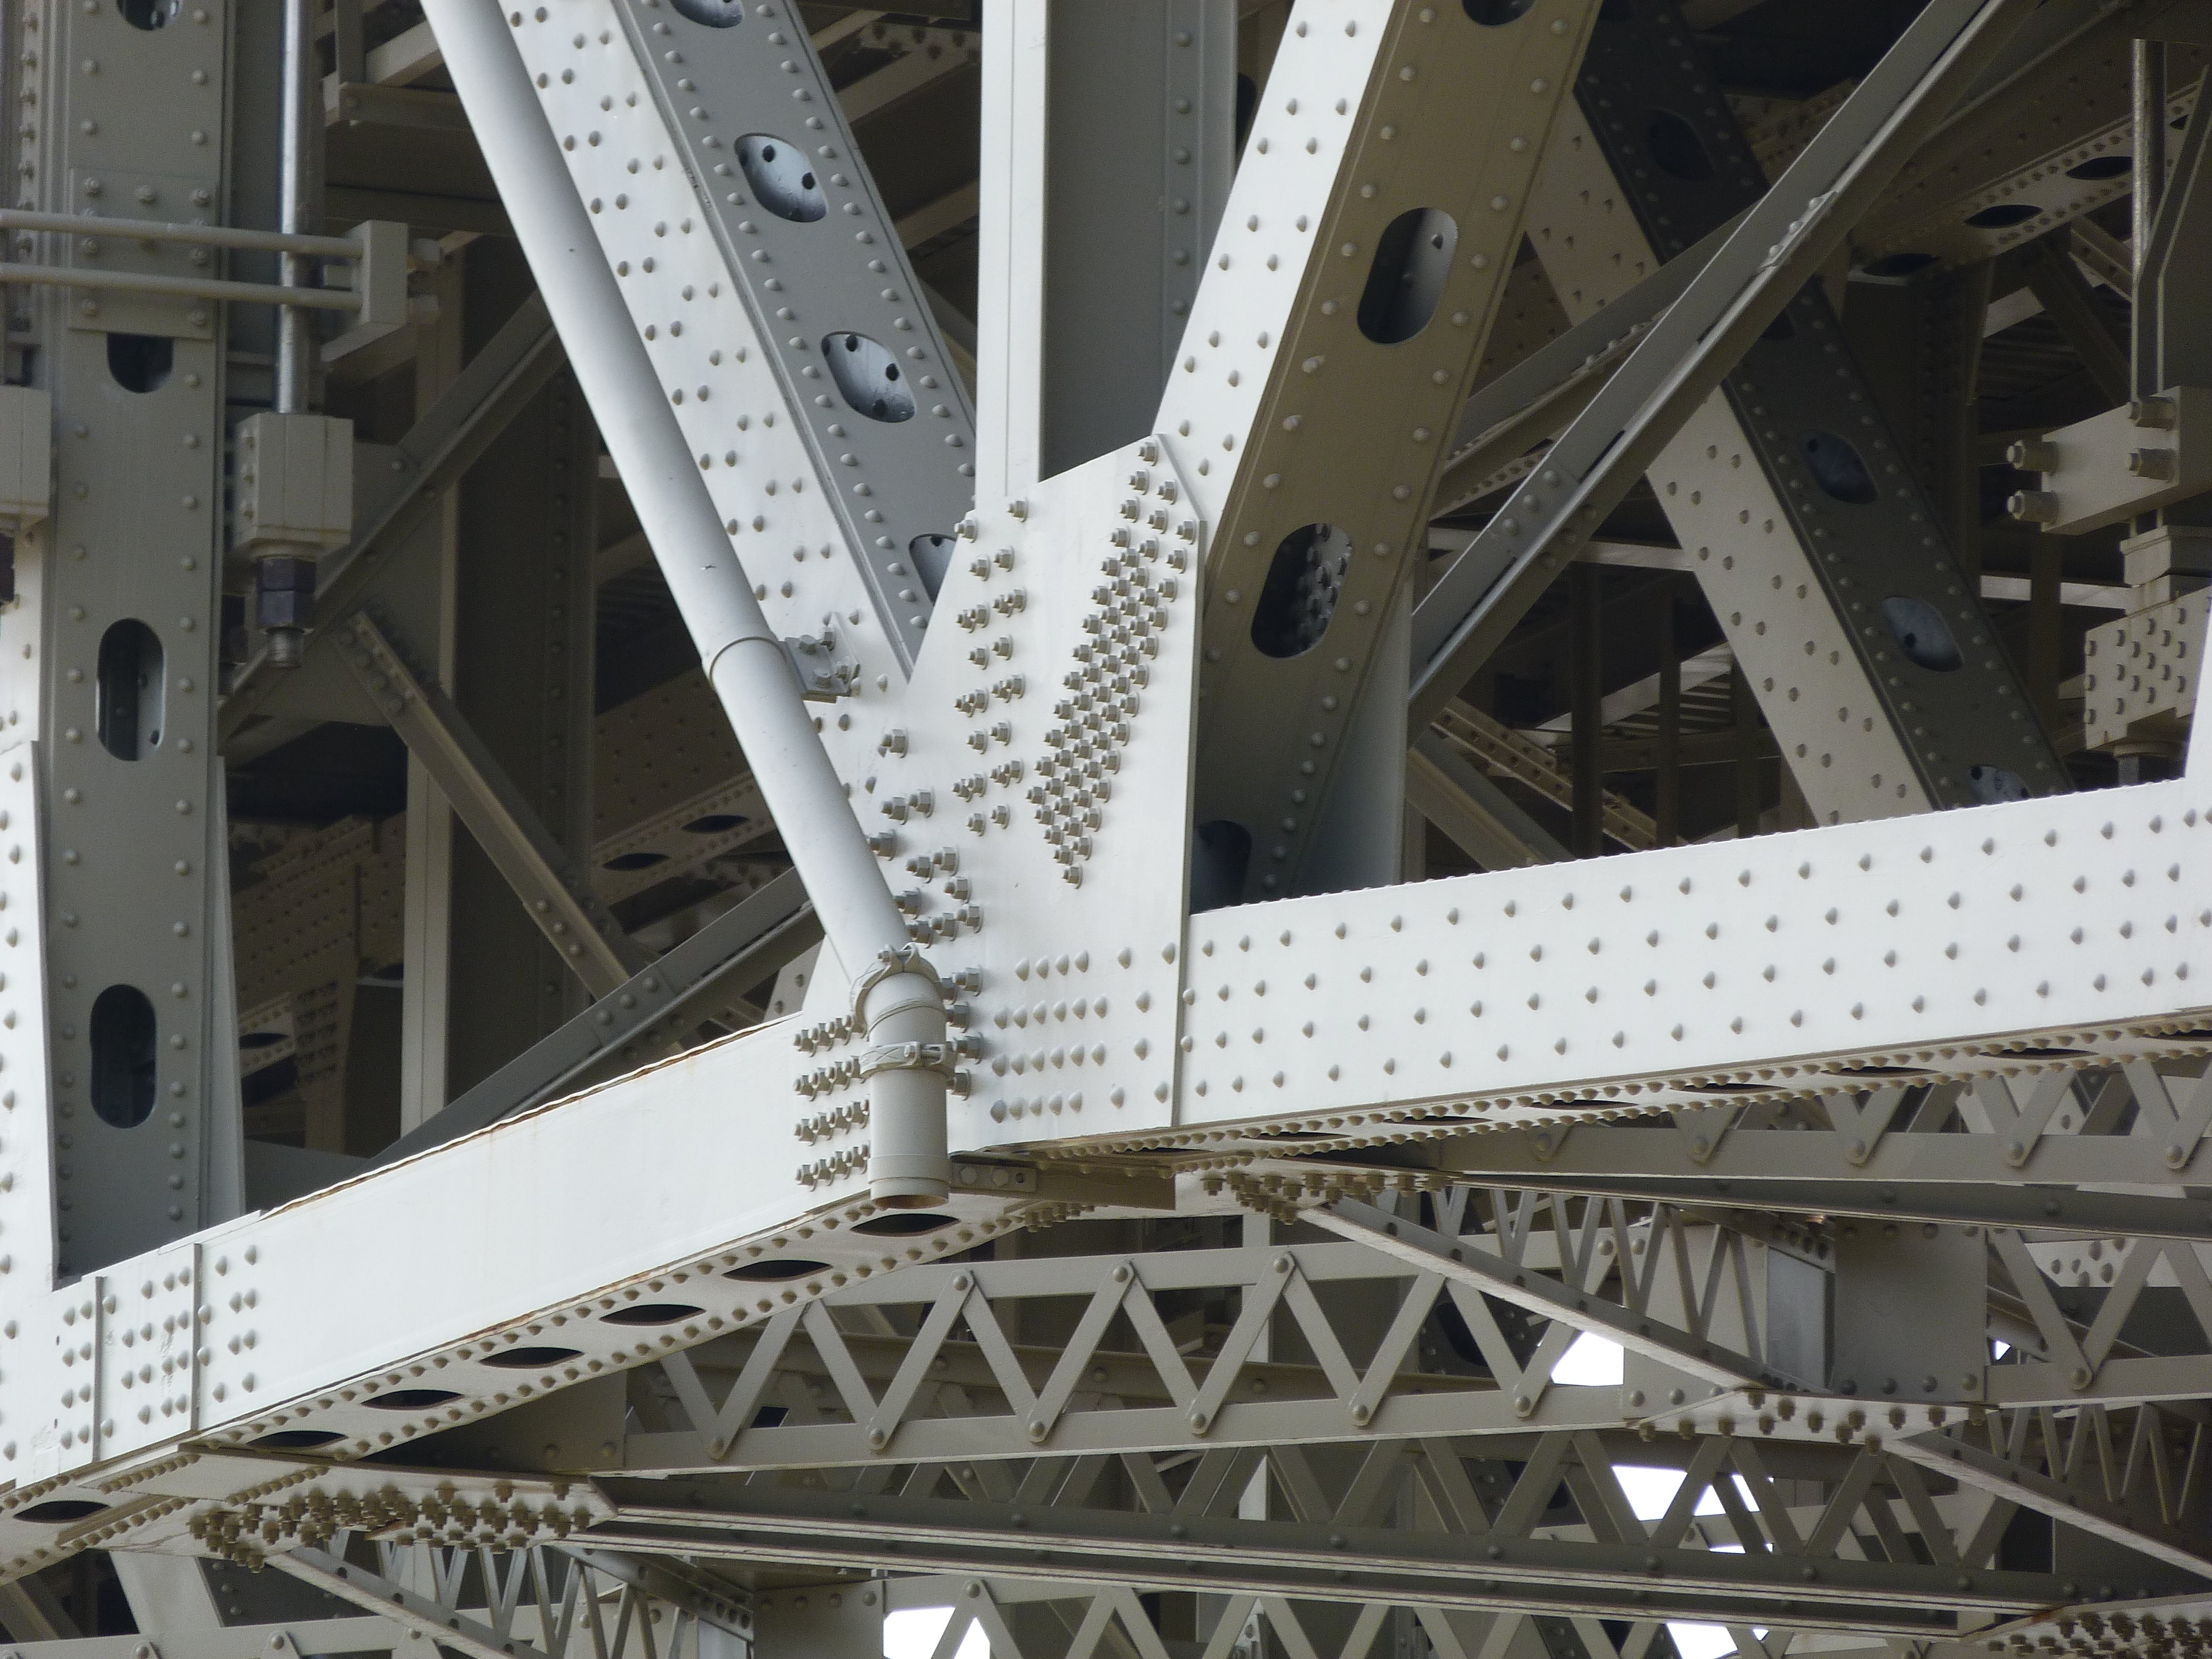
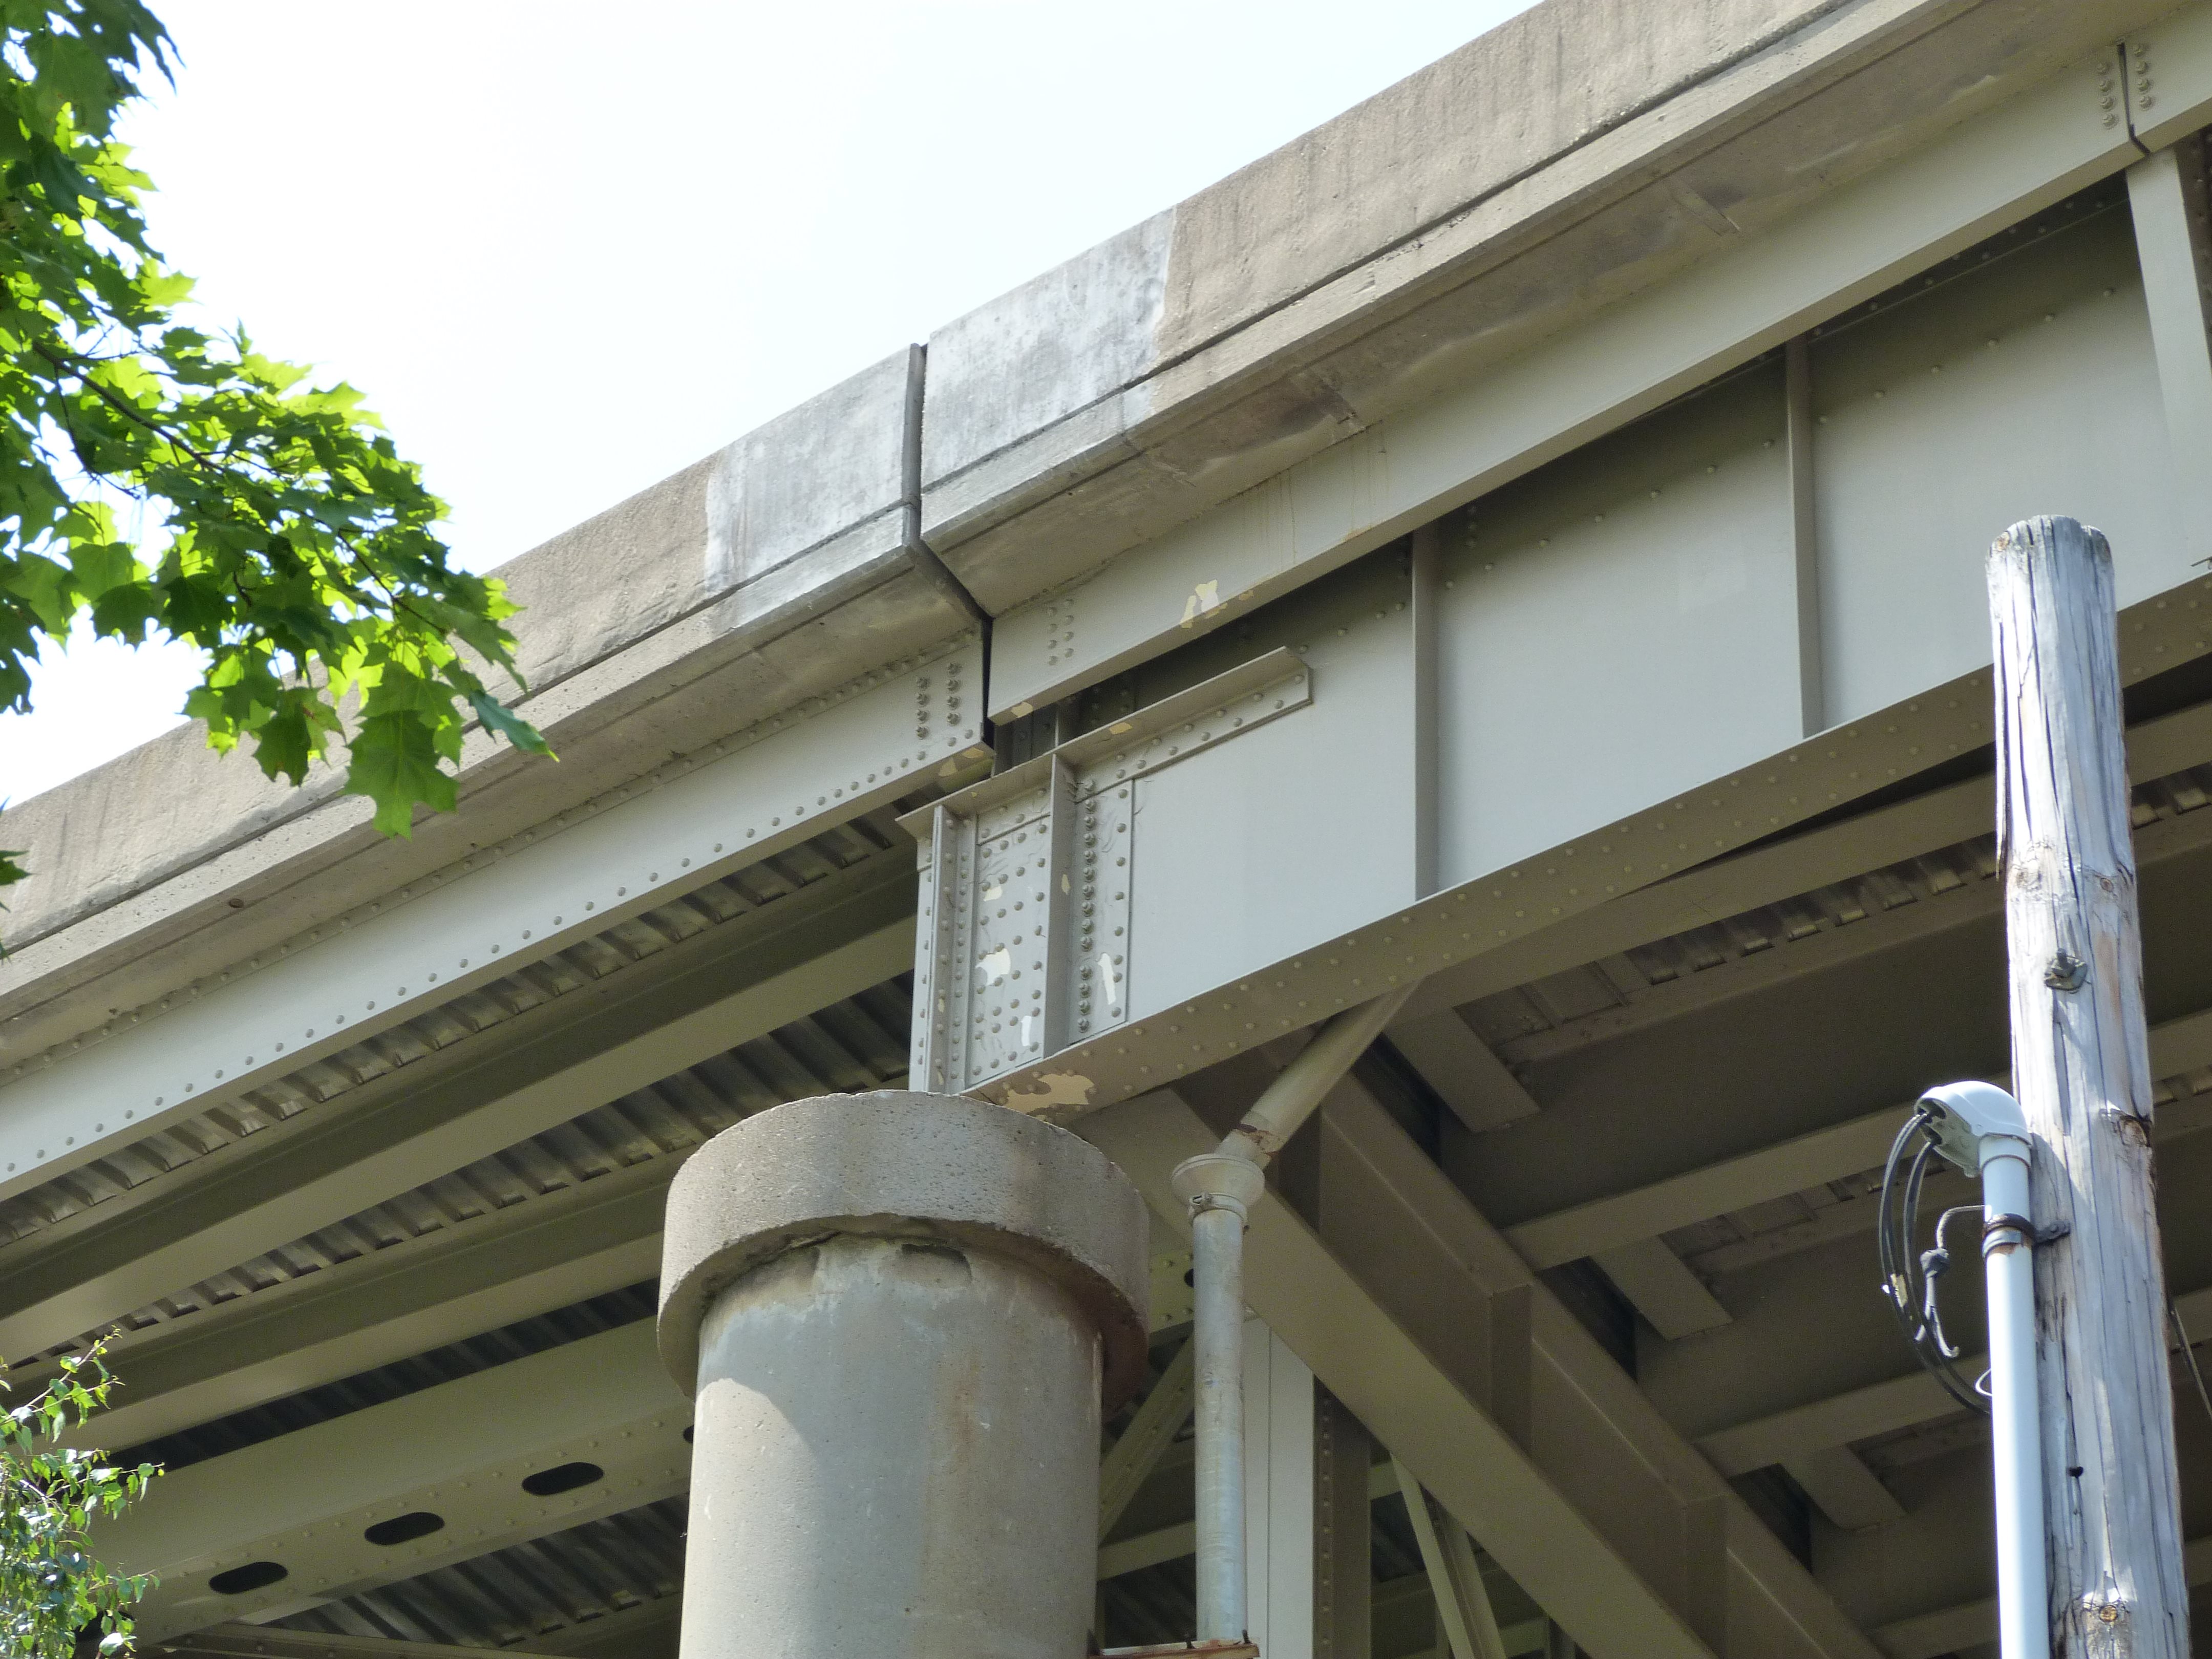
Girder detail of the "Y" detail on eastern approach.
![]()
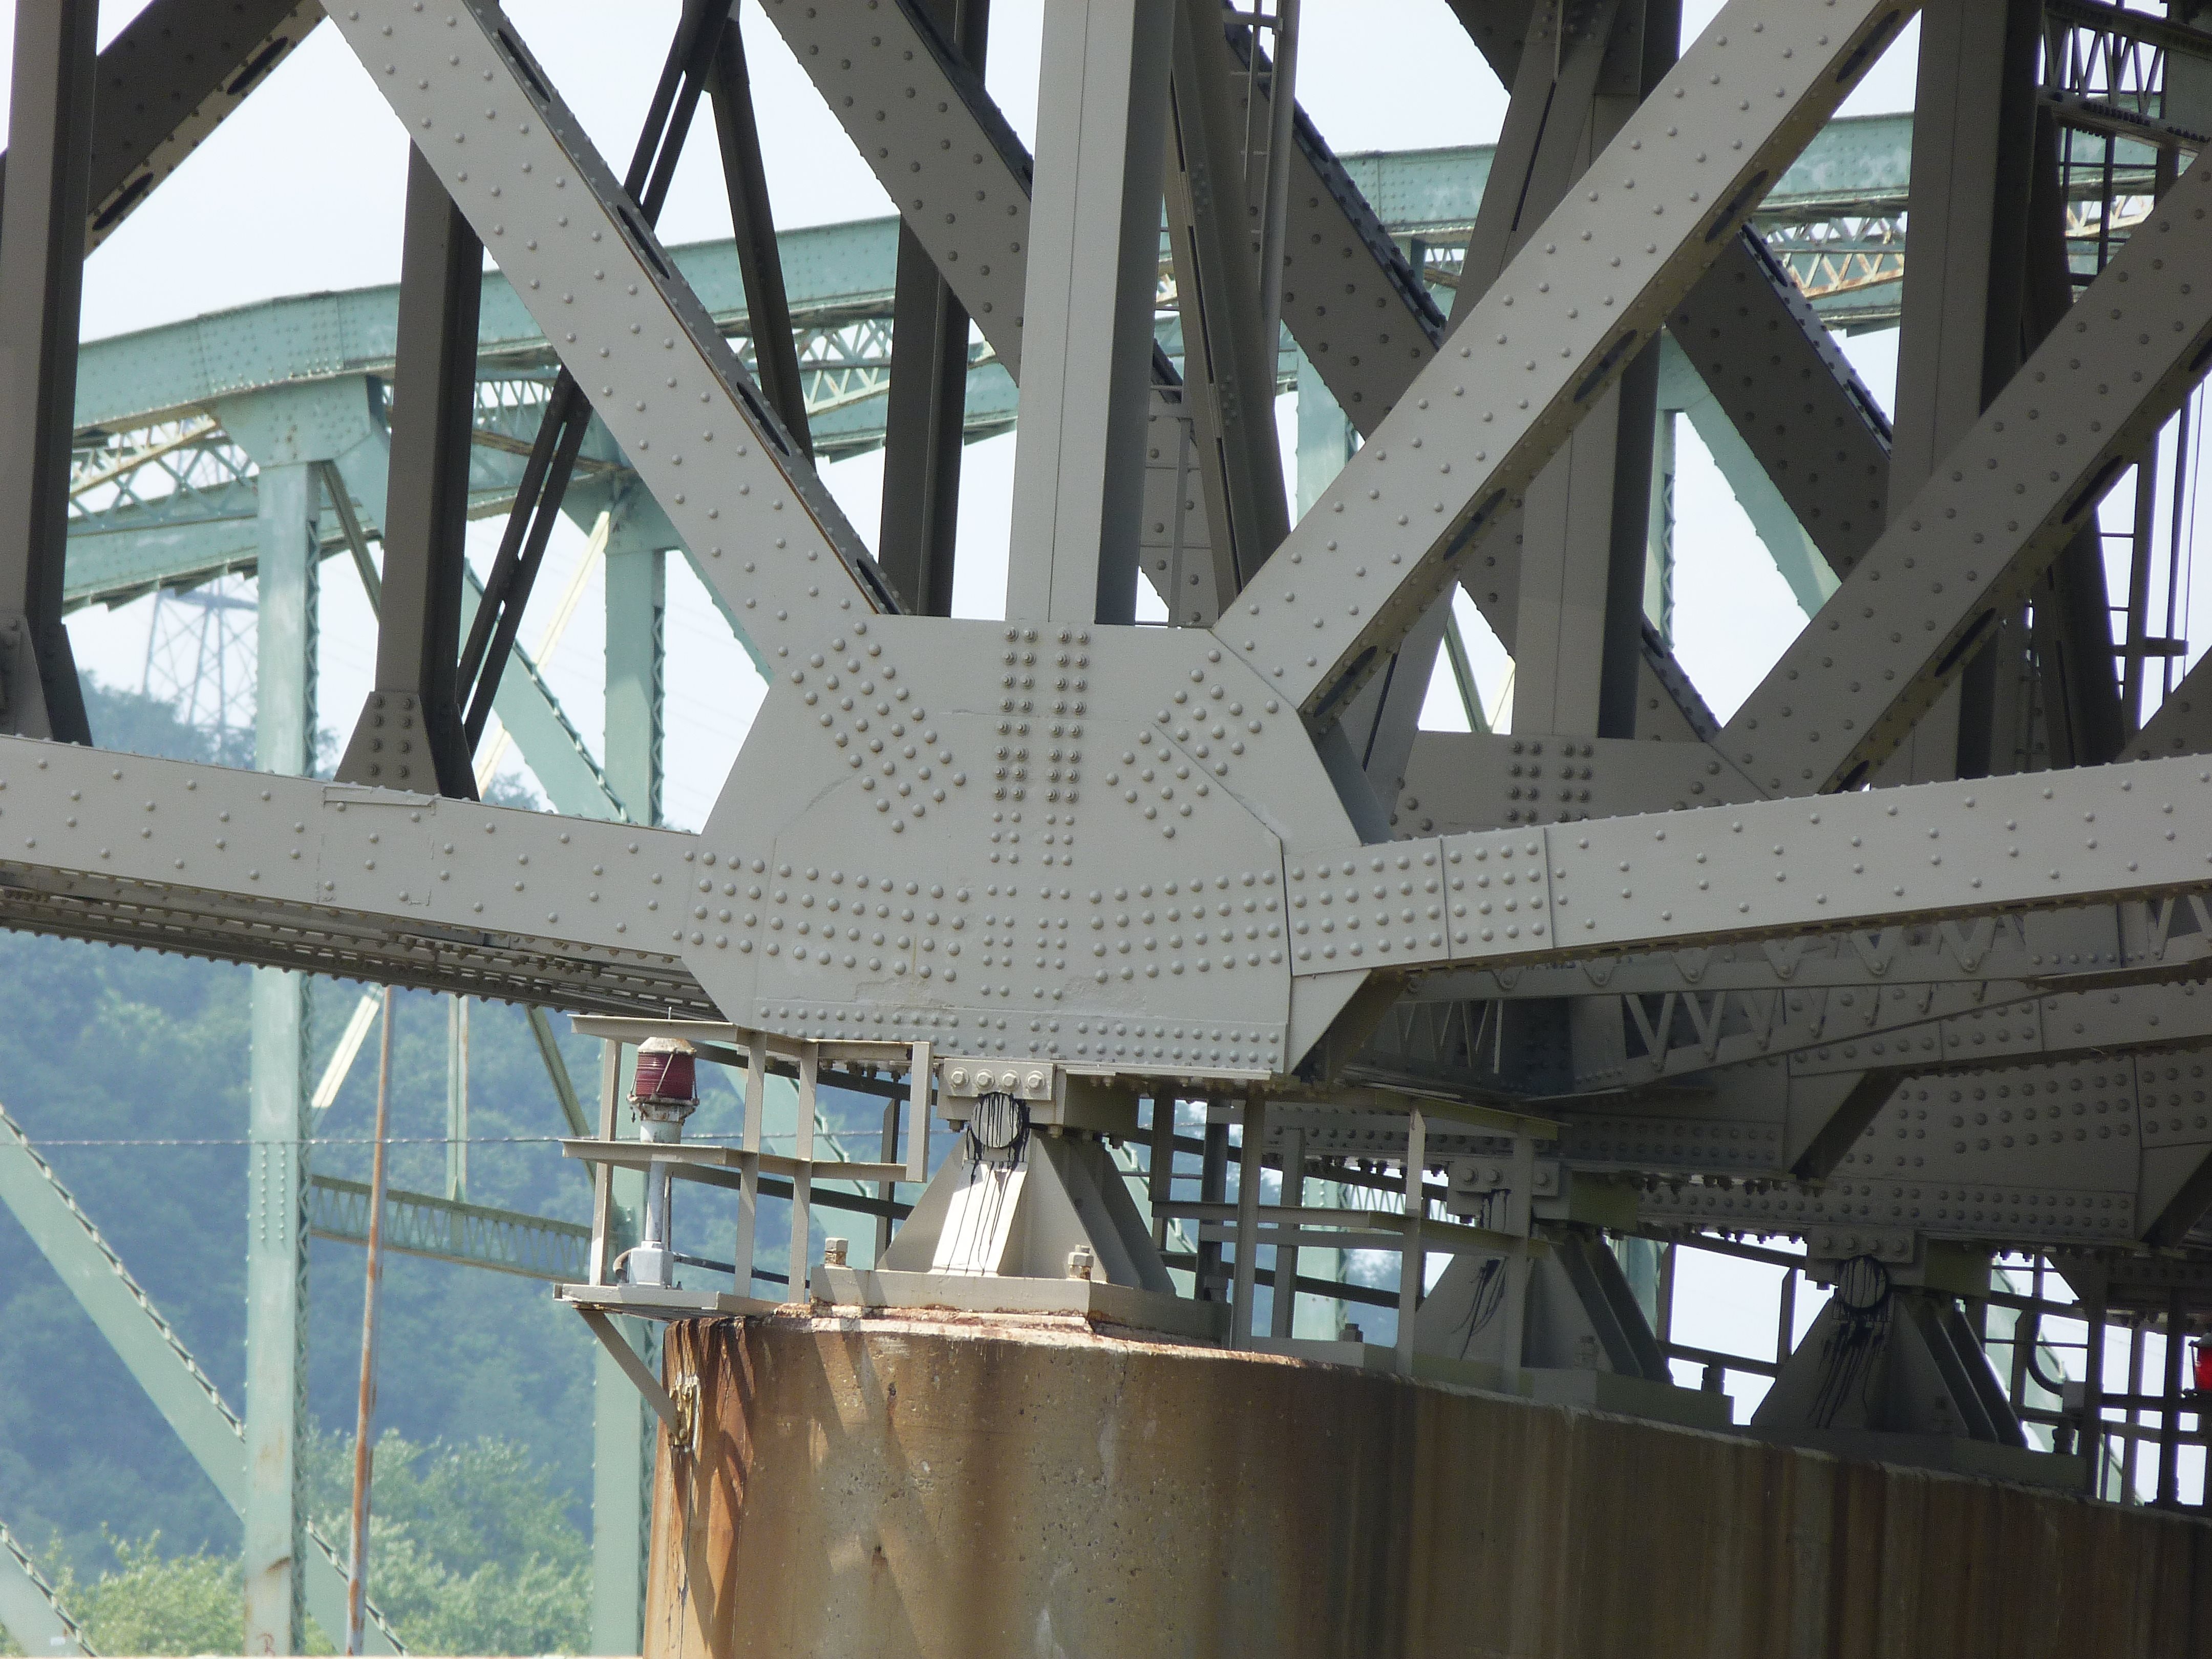
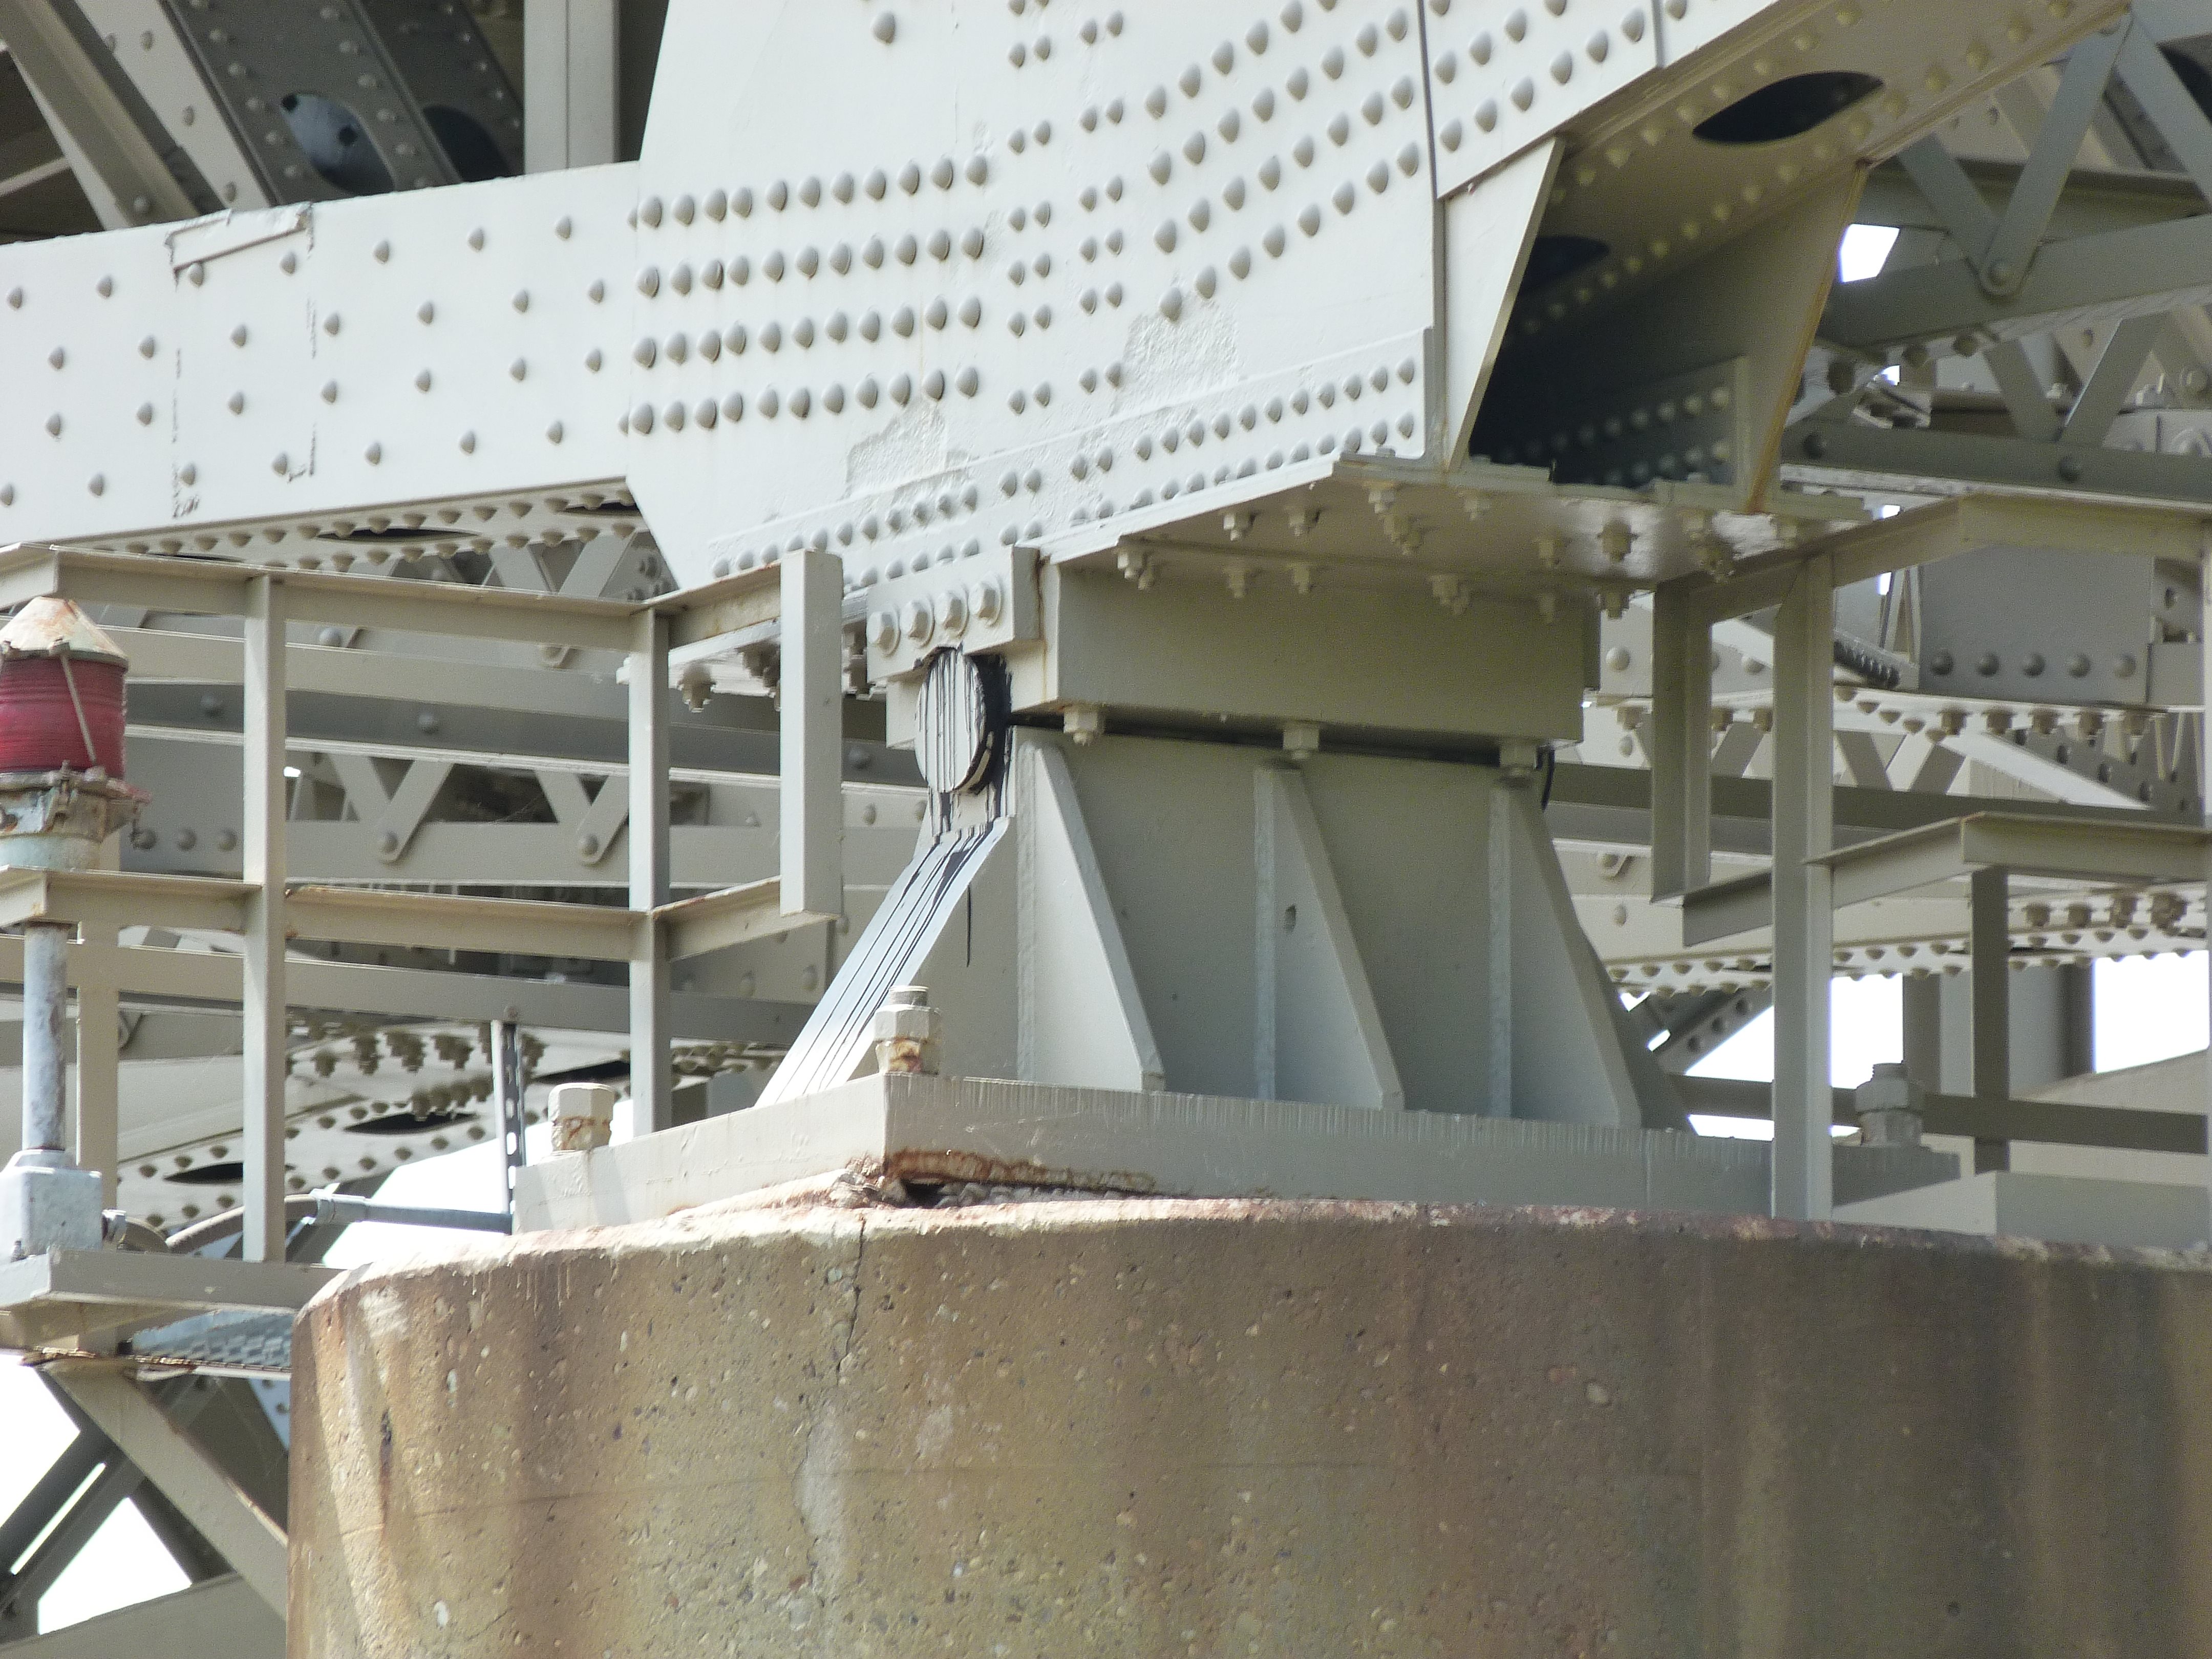
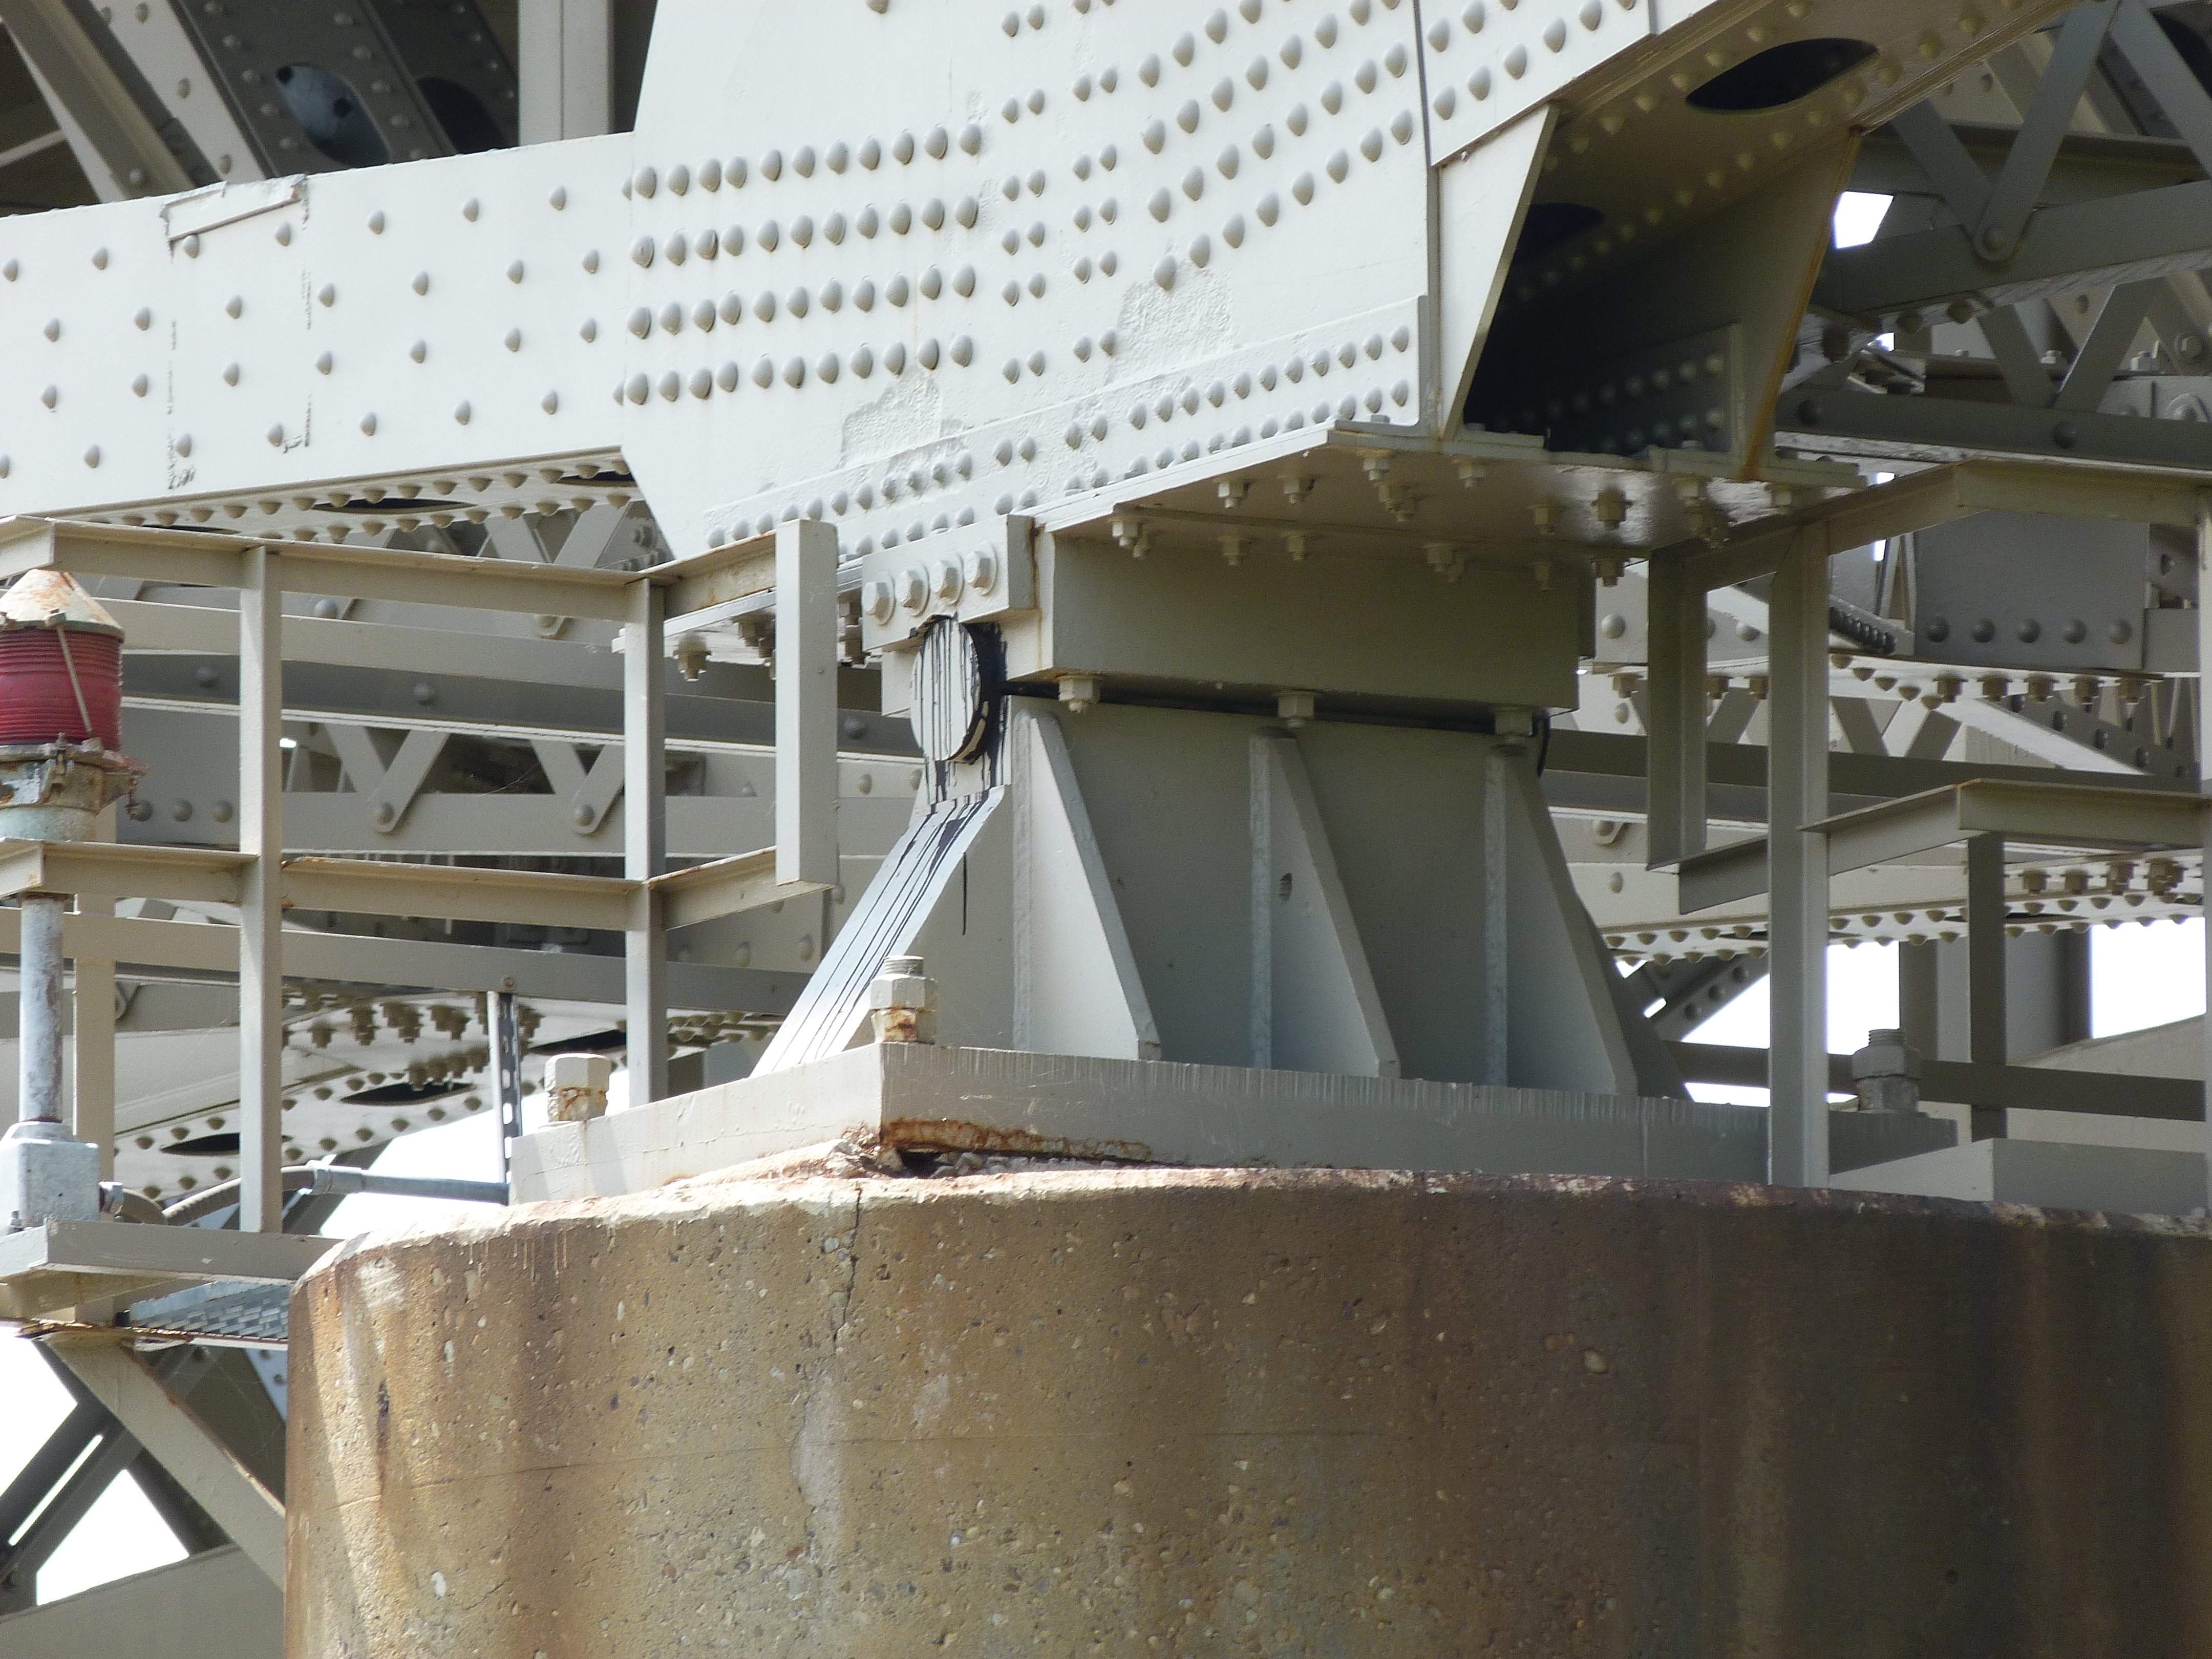
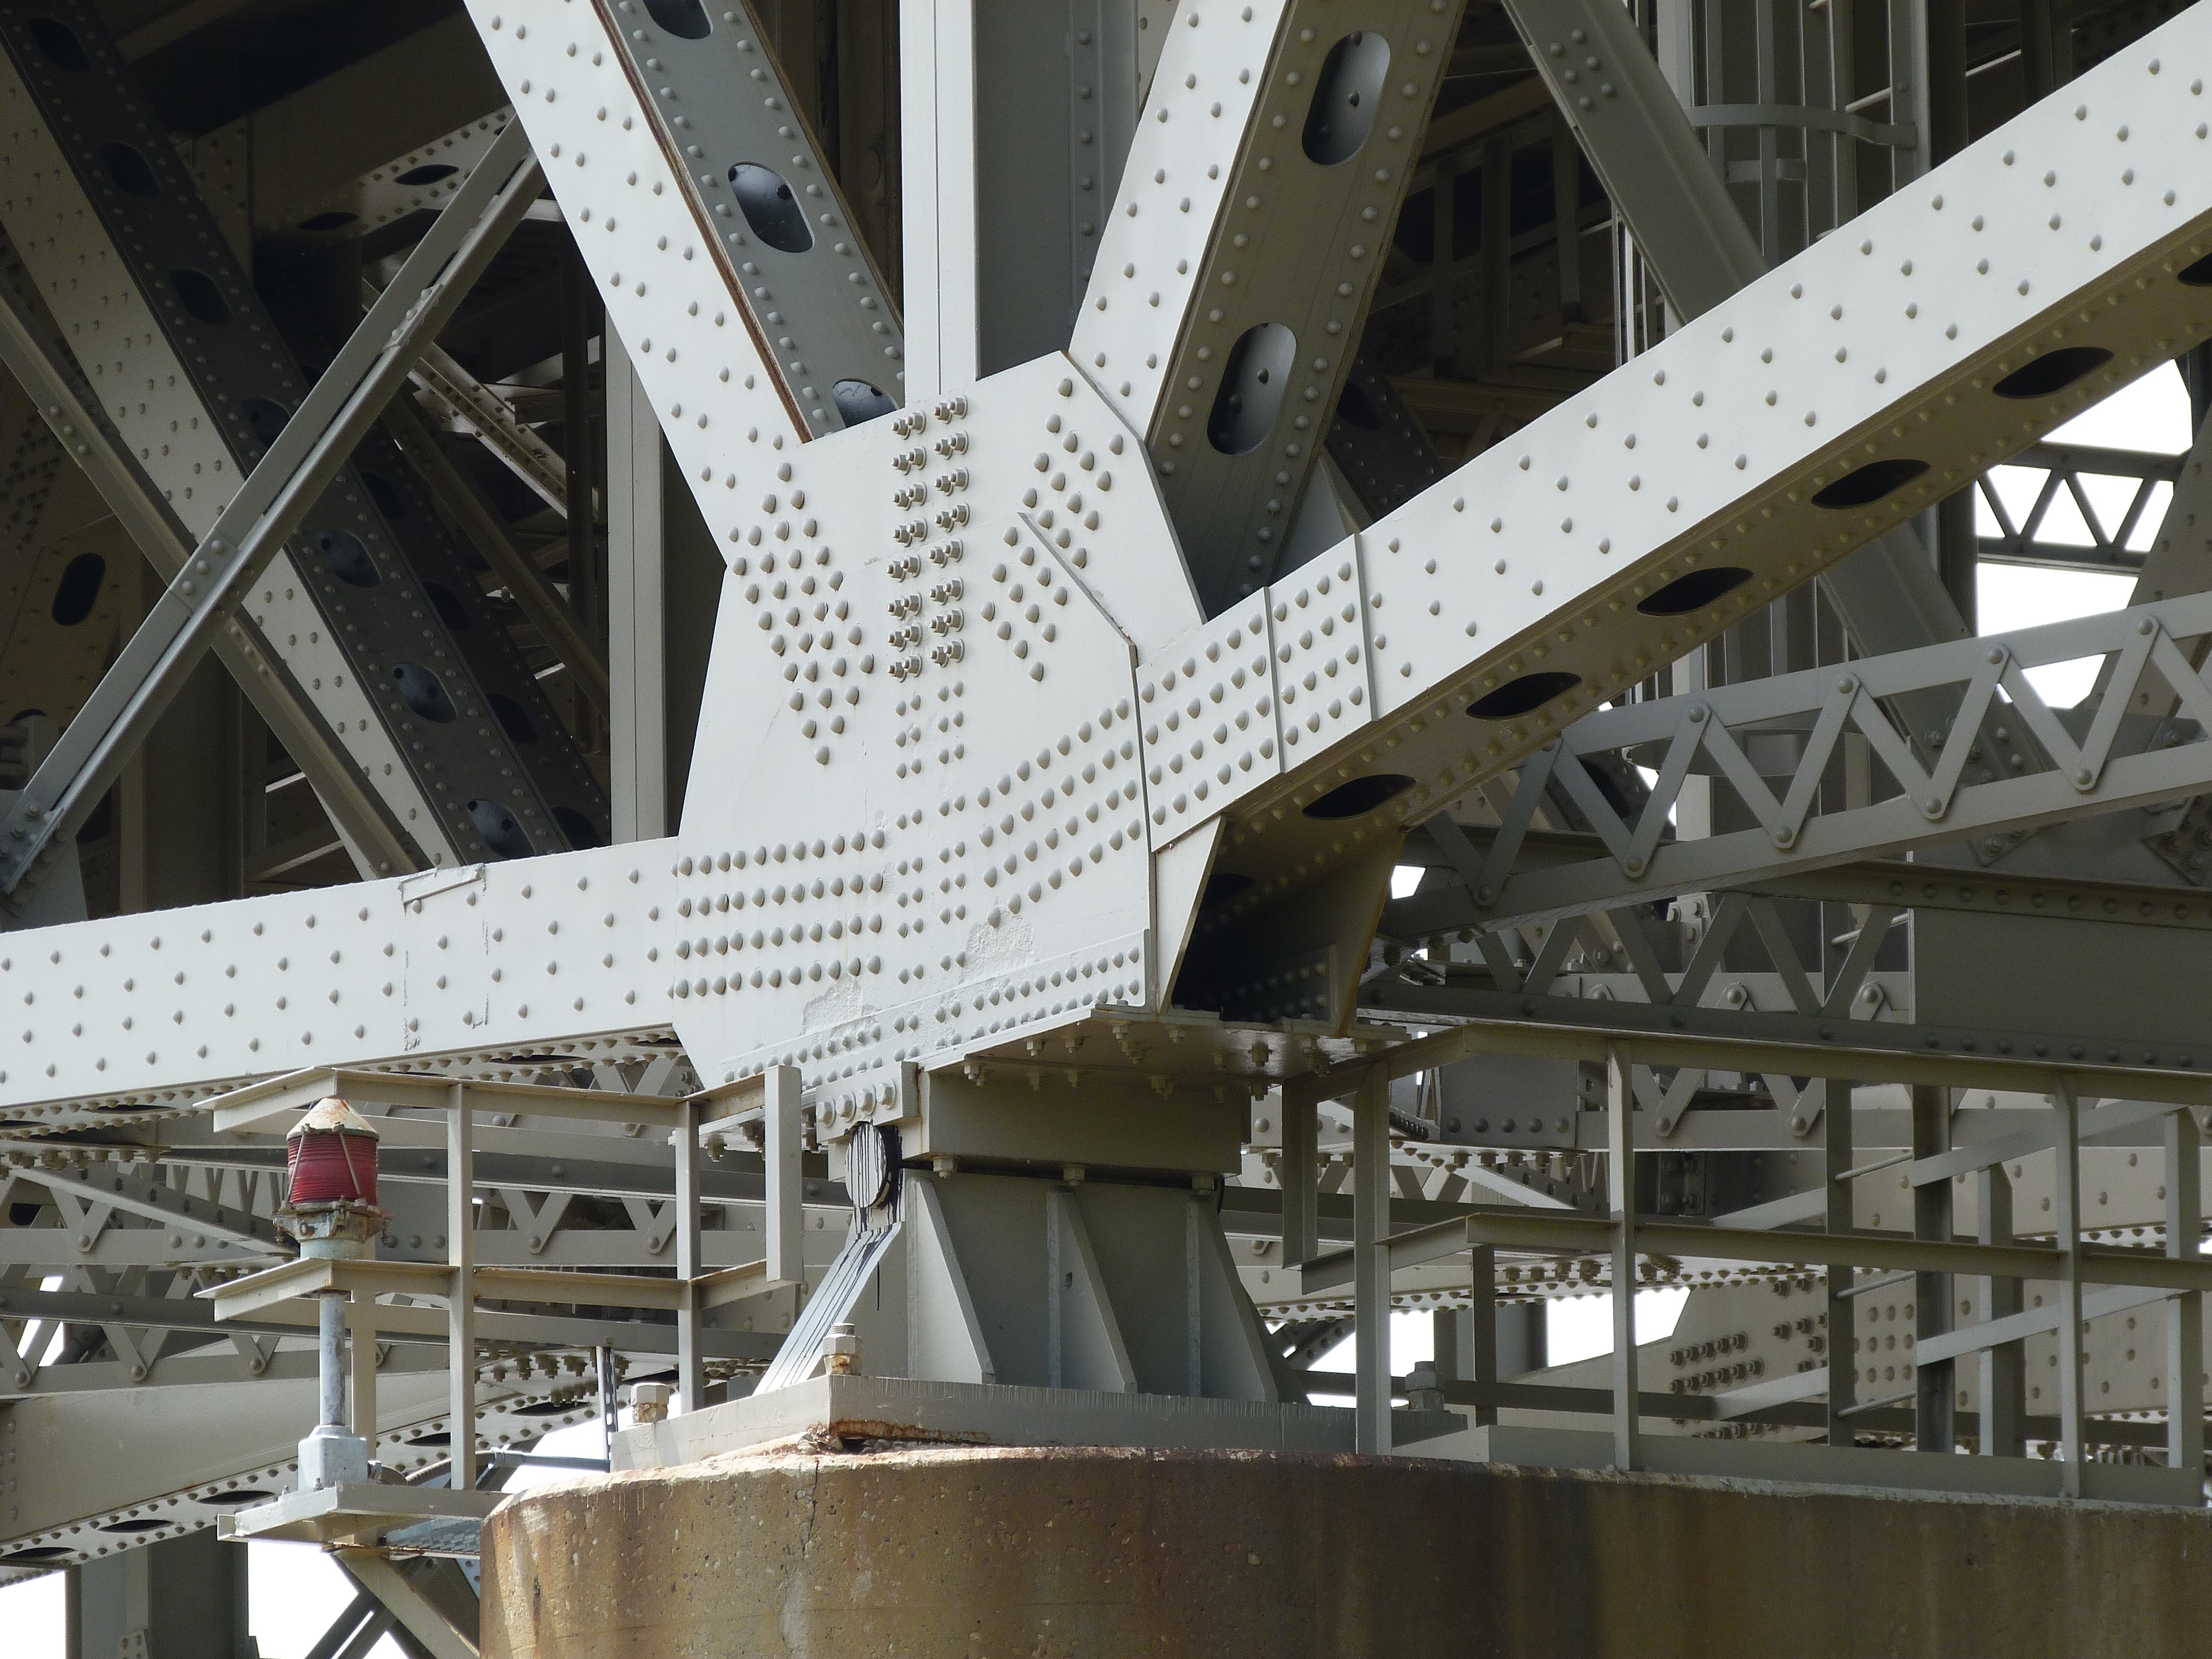
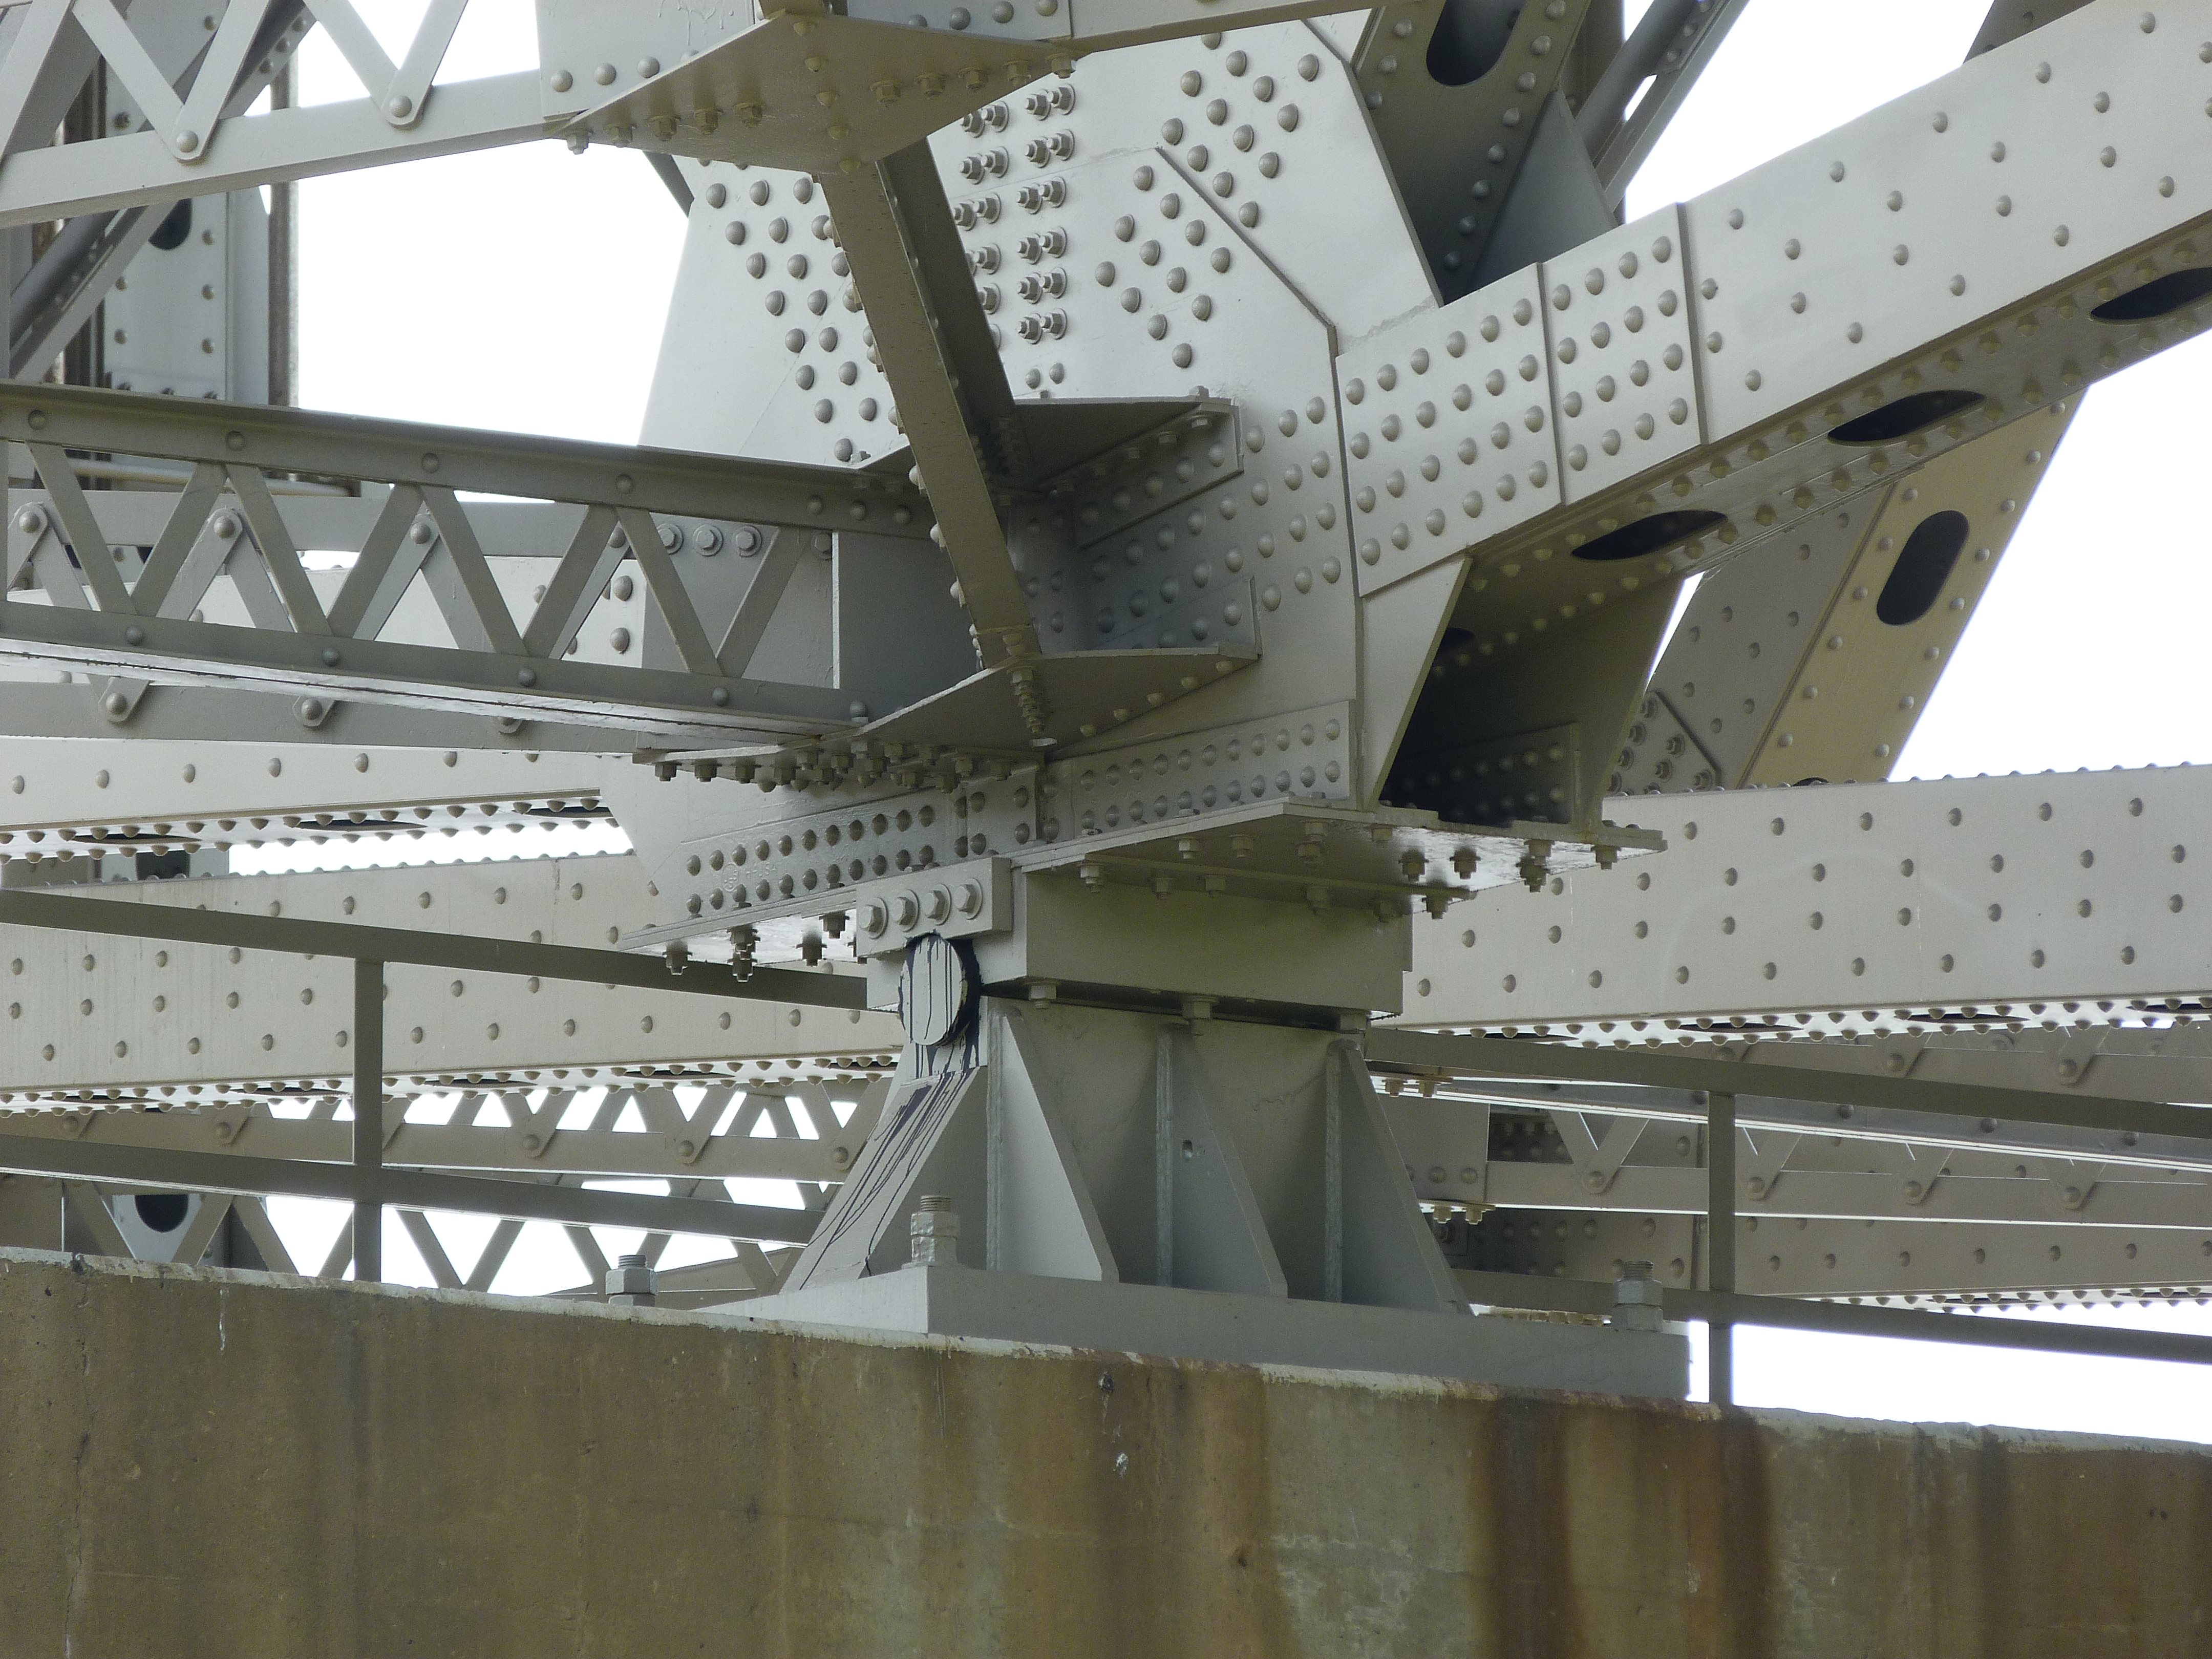
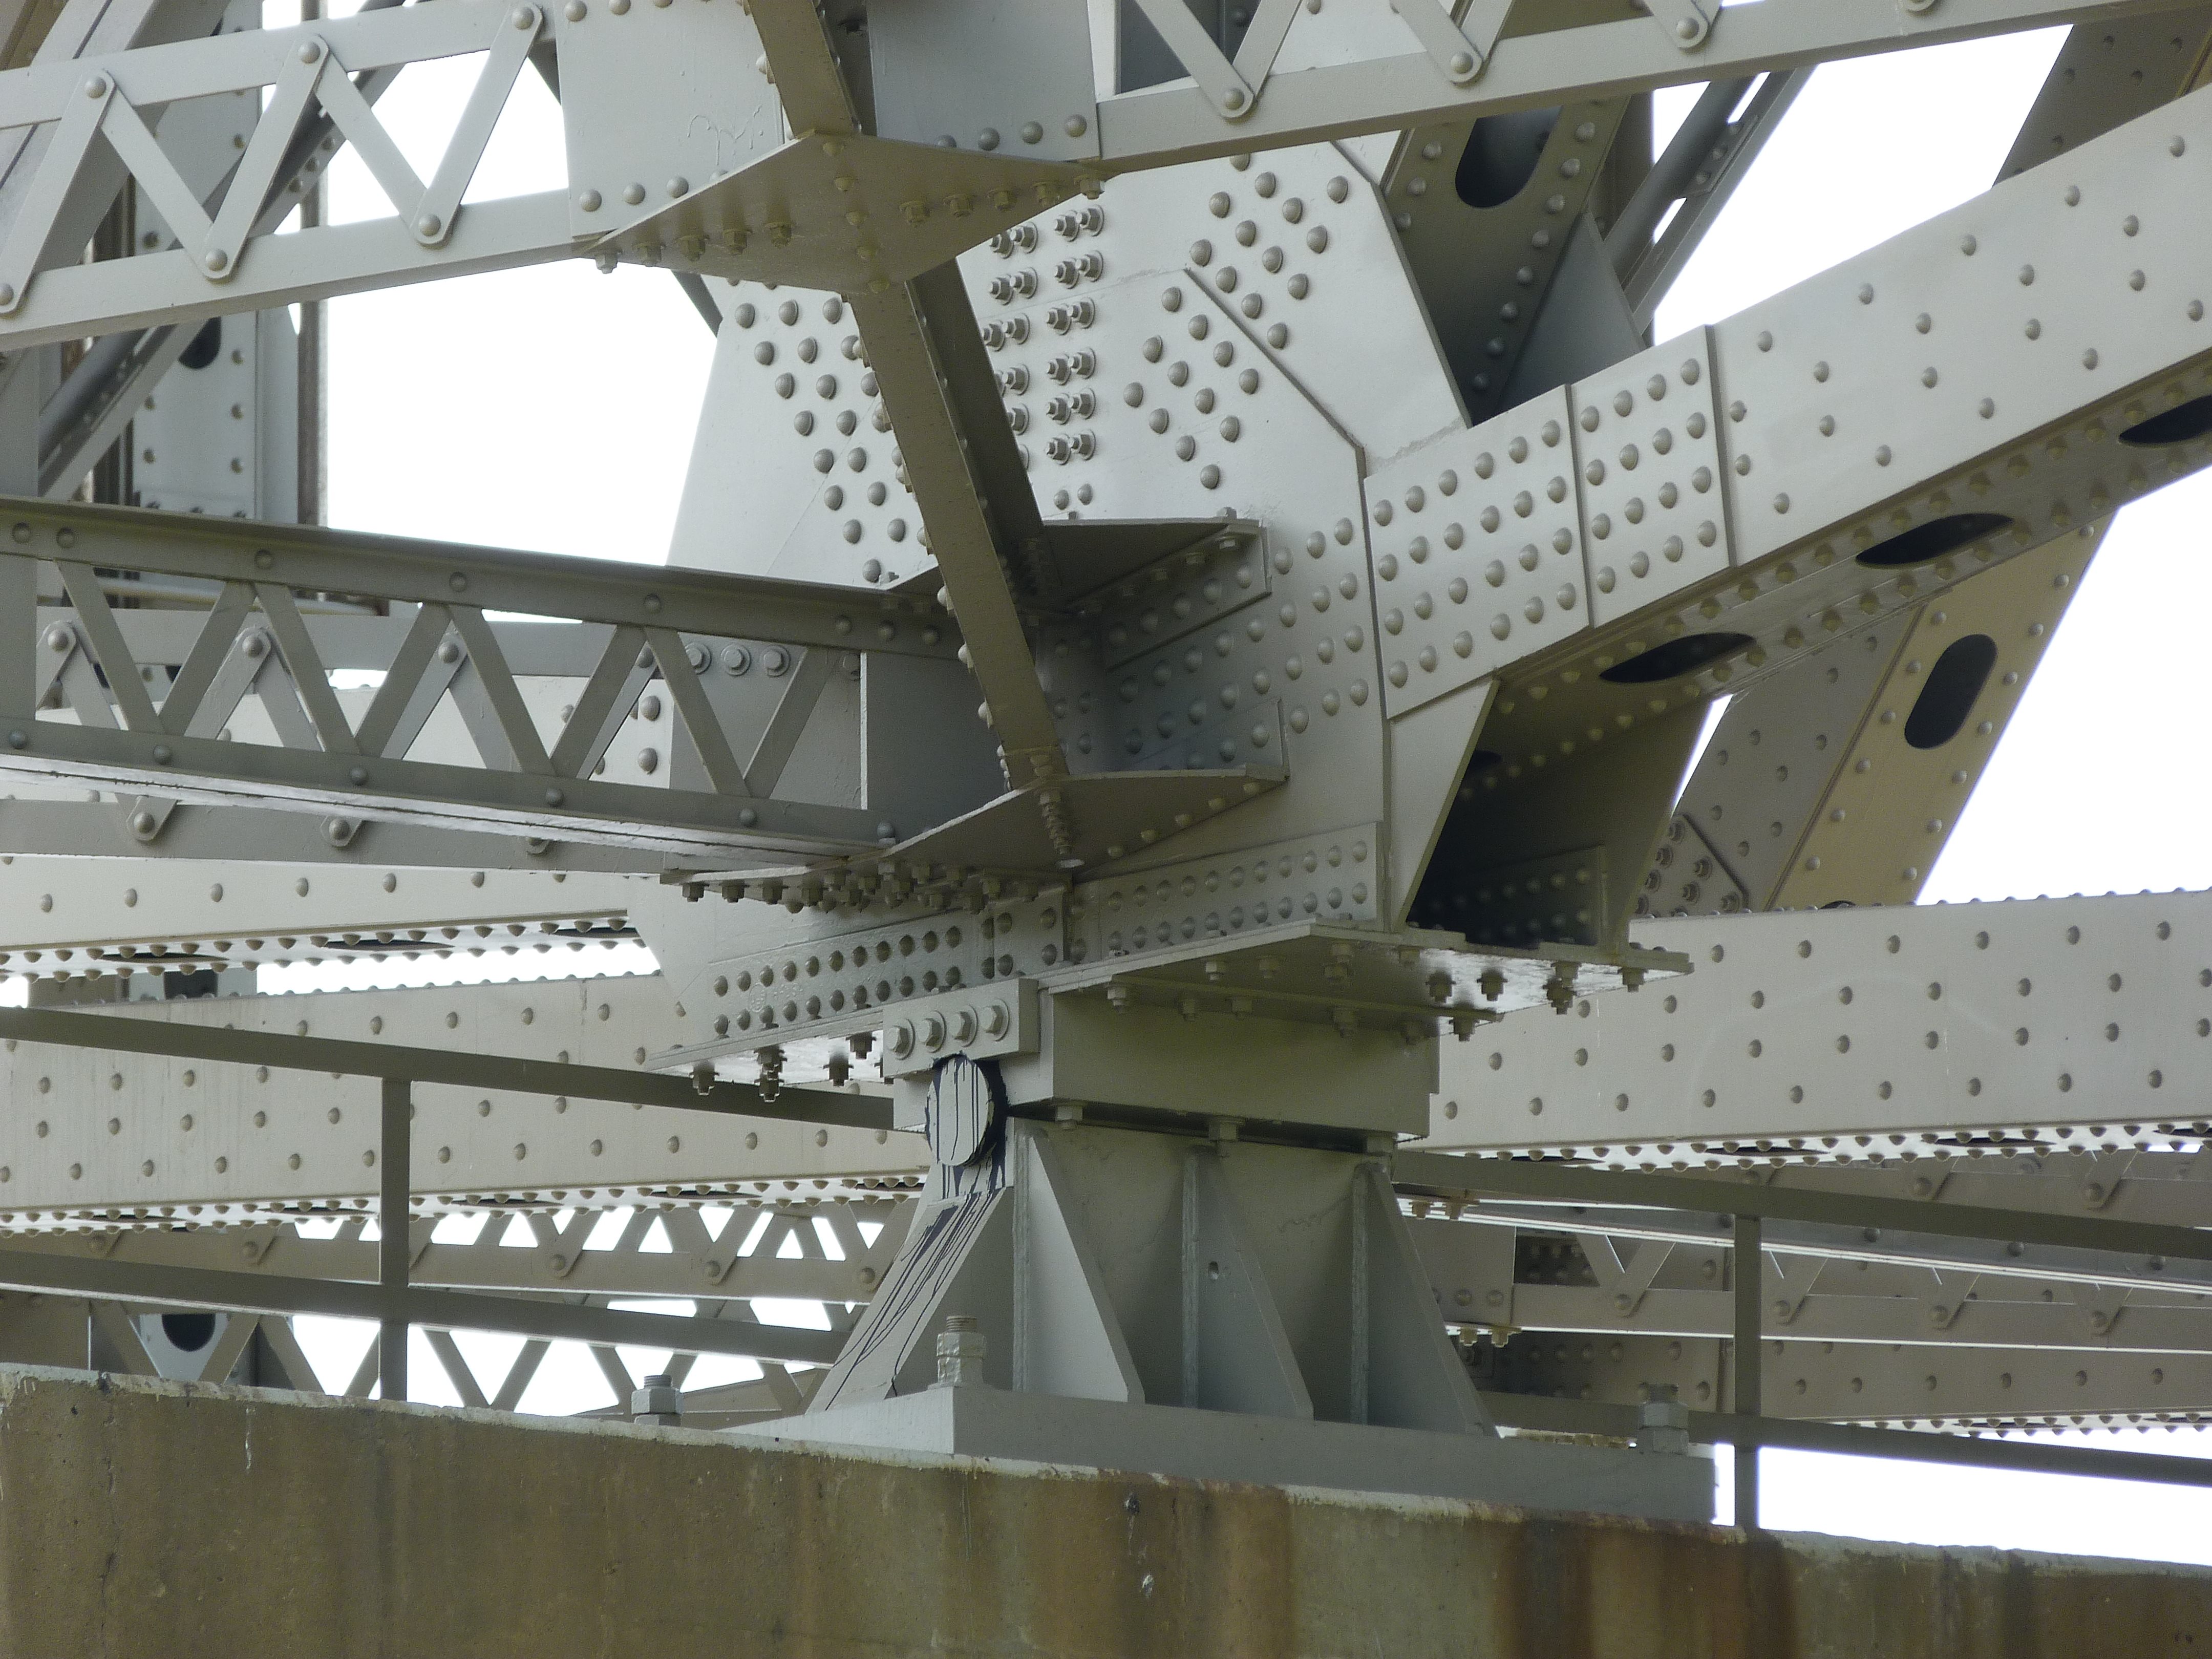
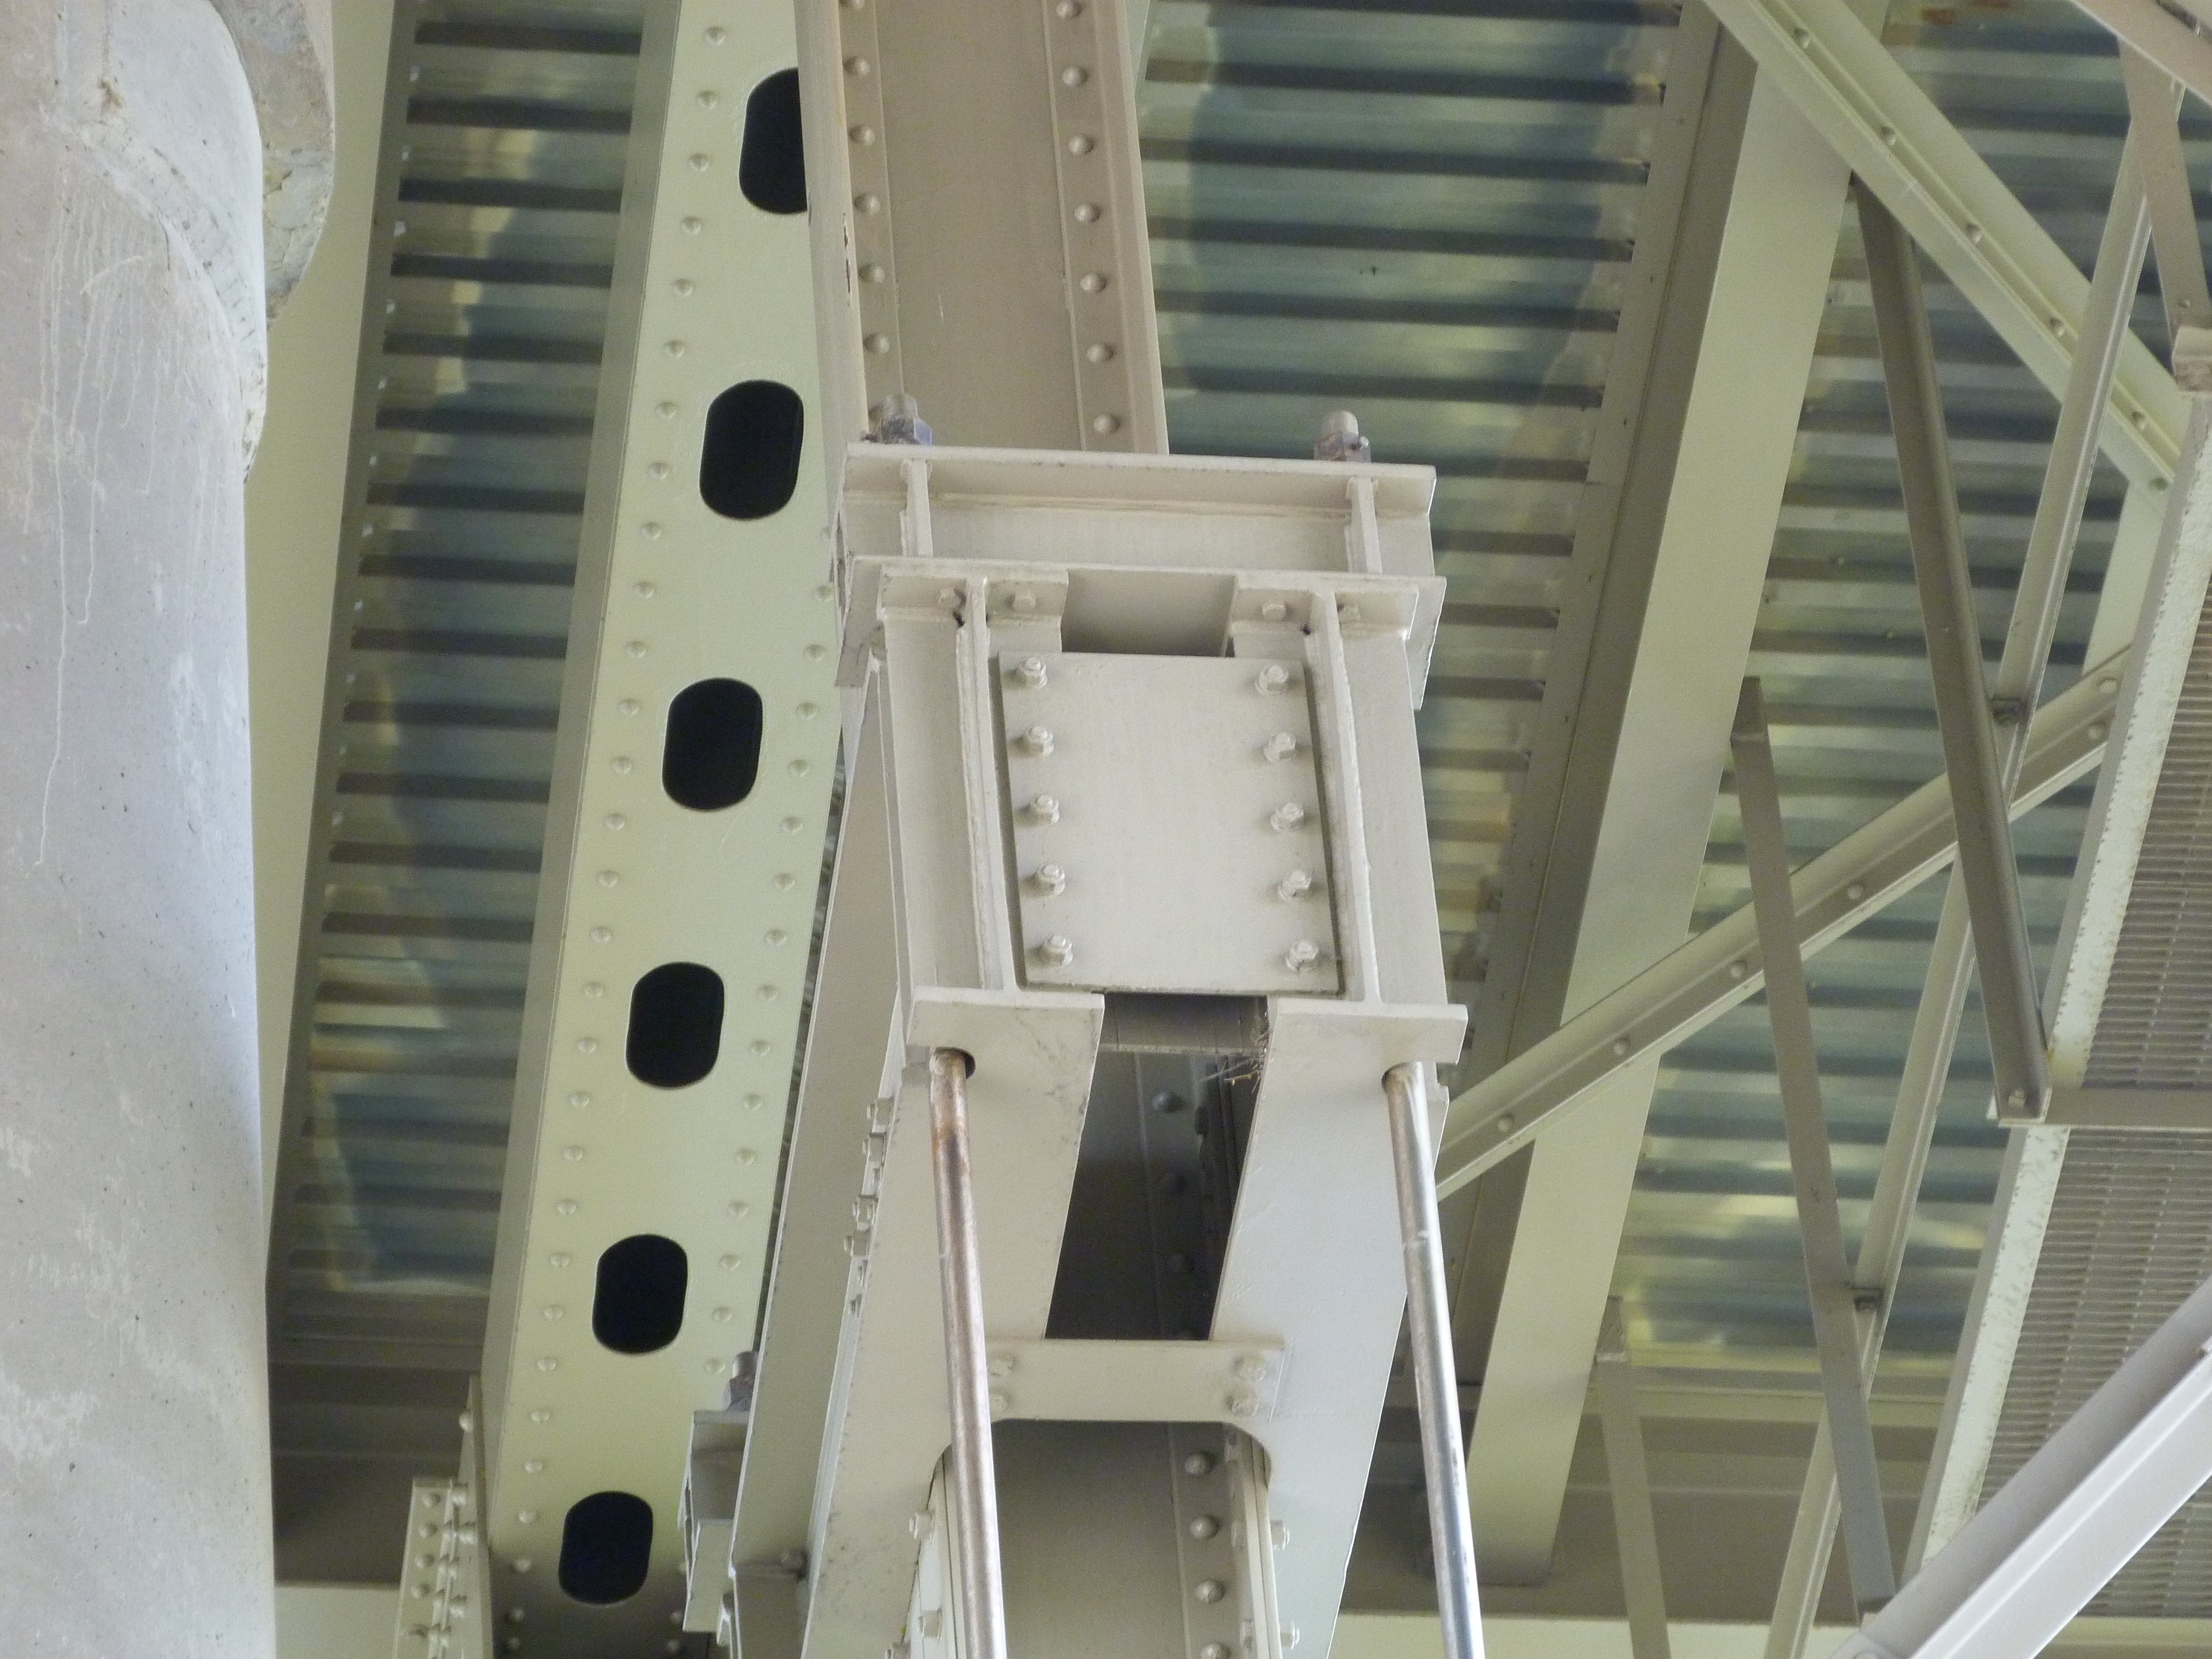
Truss interior pier bearings.
![]()
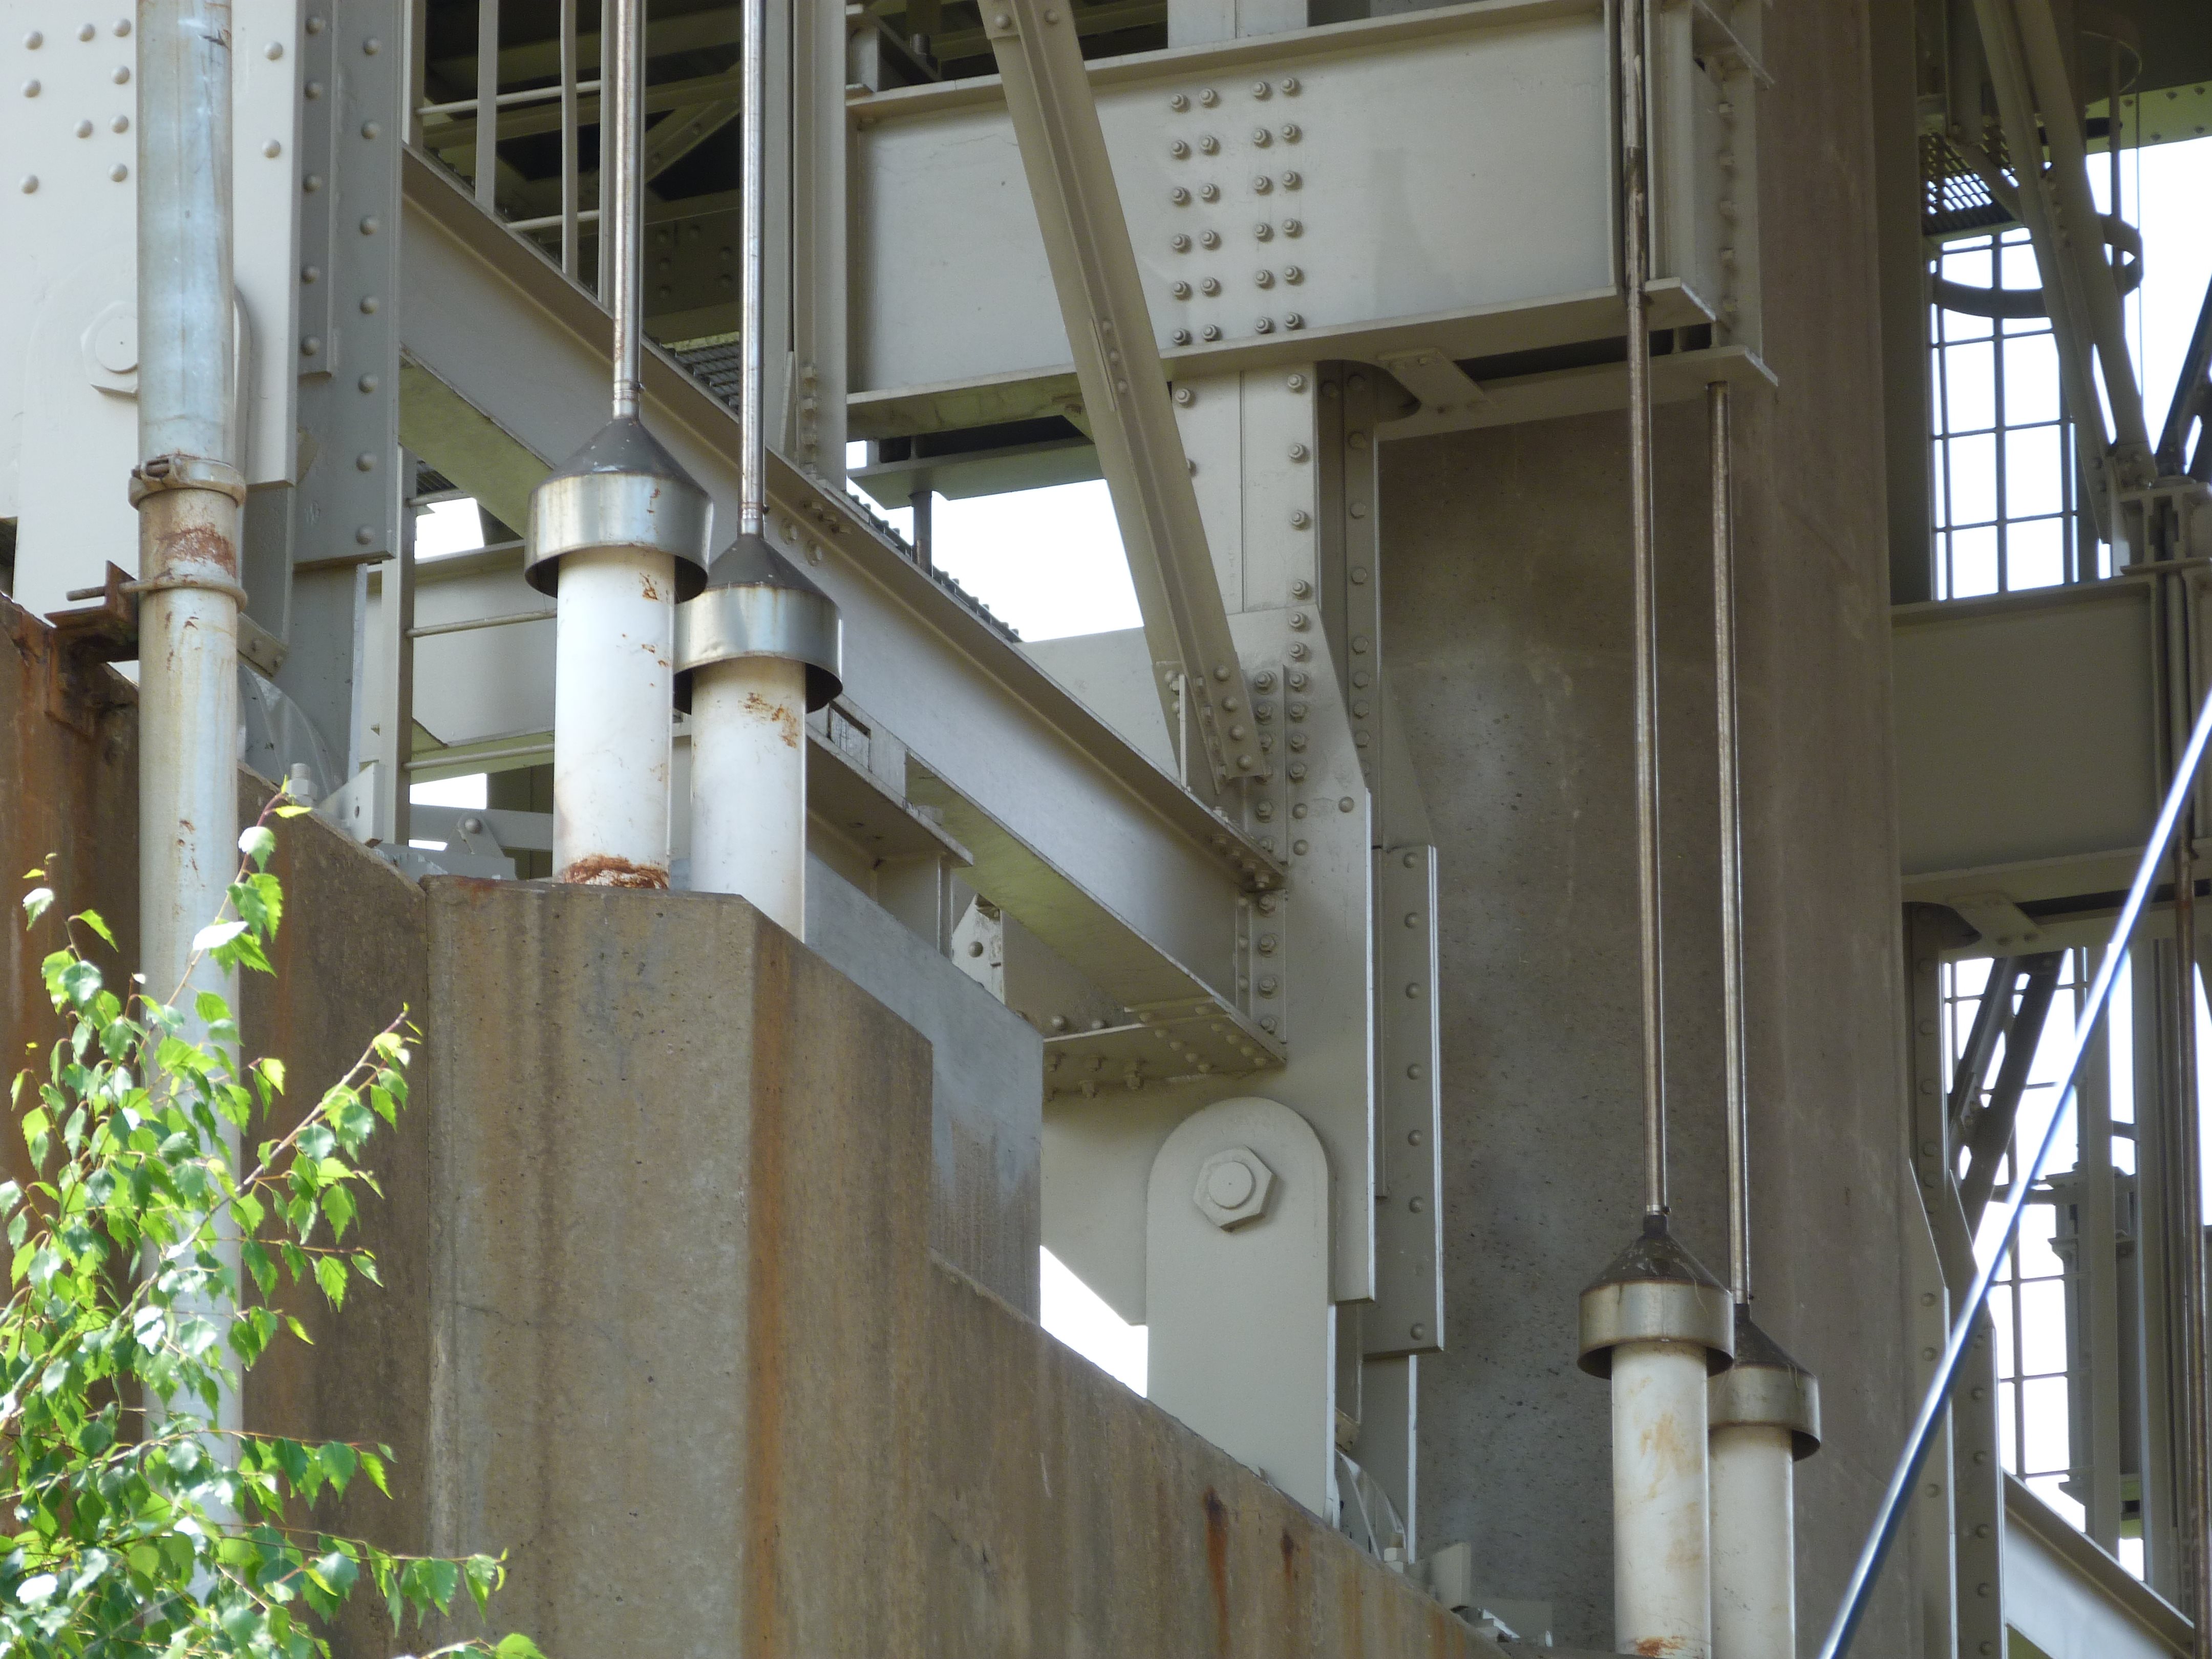
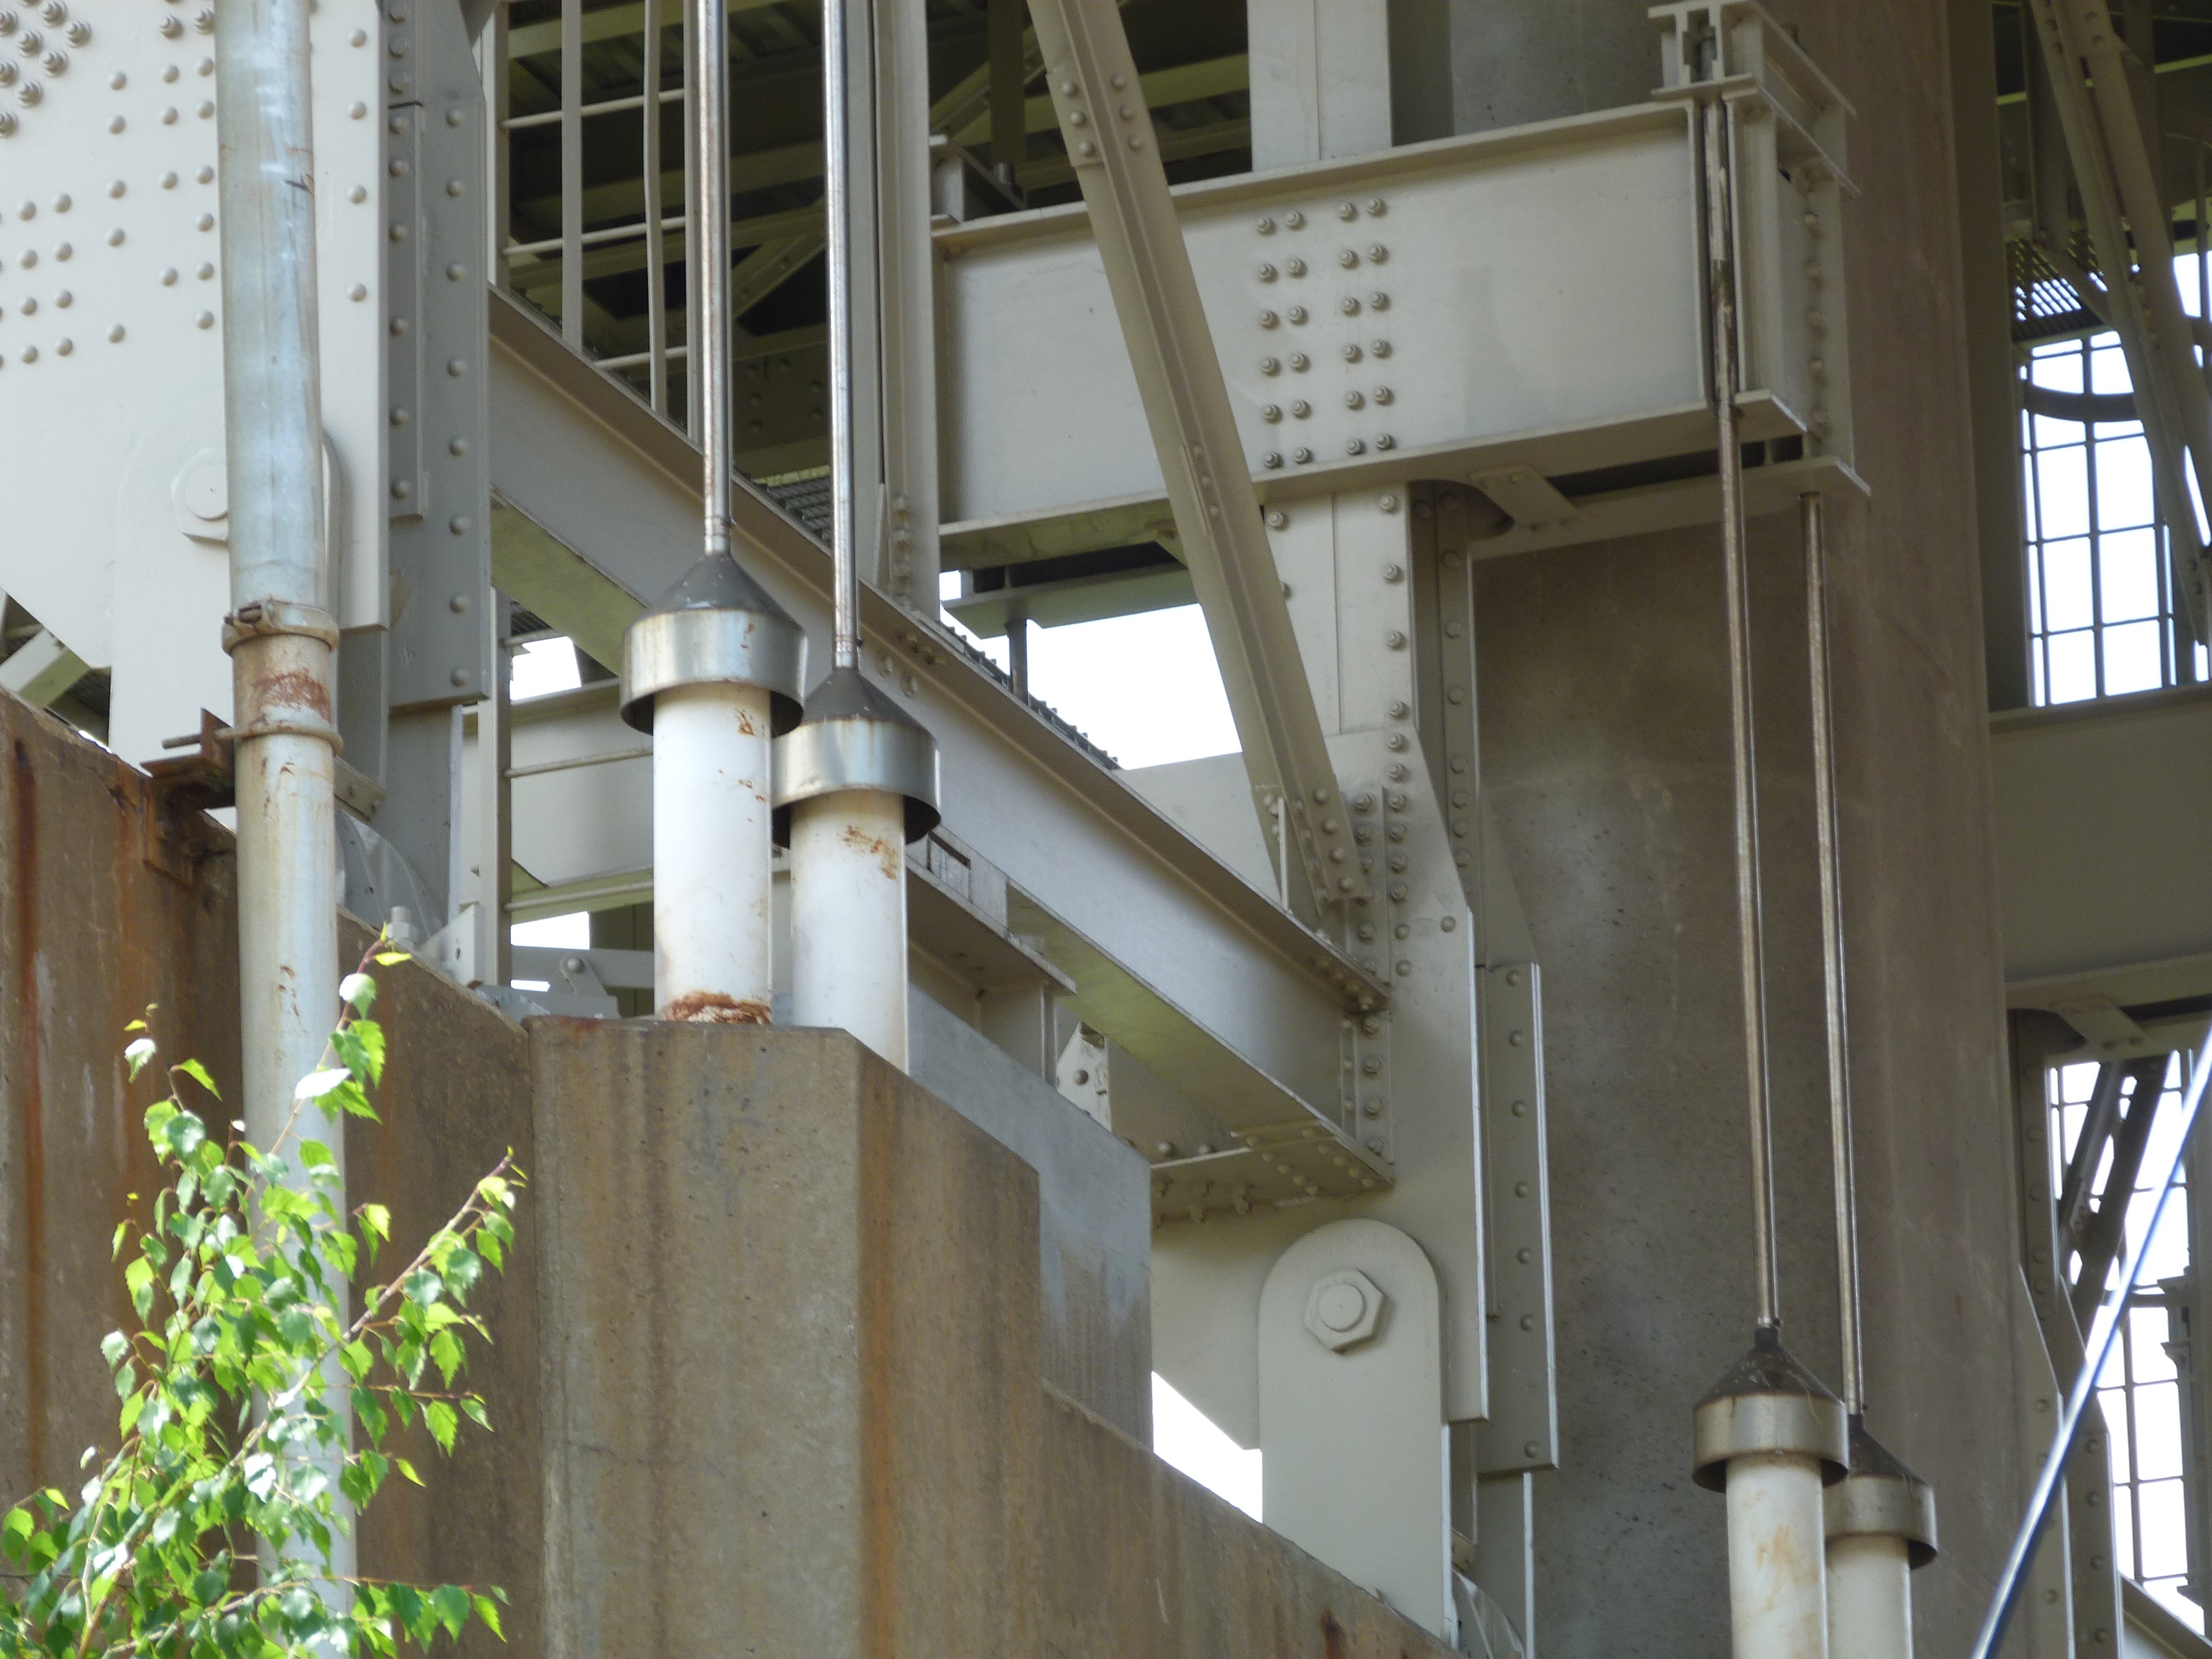


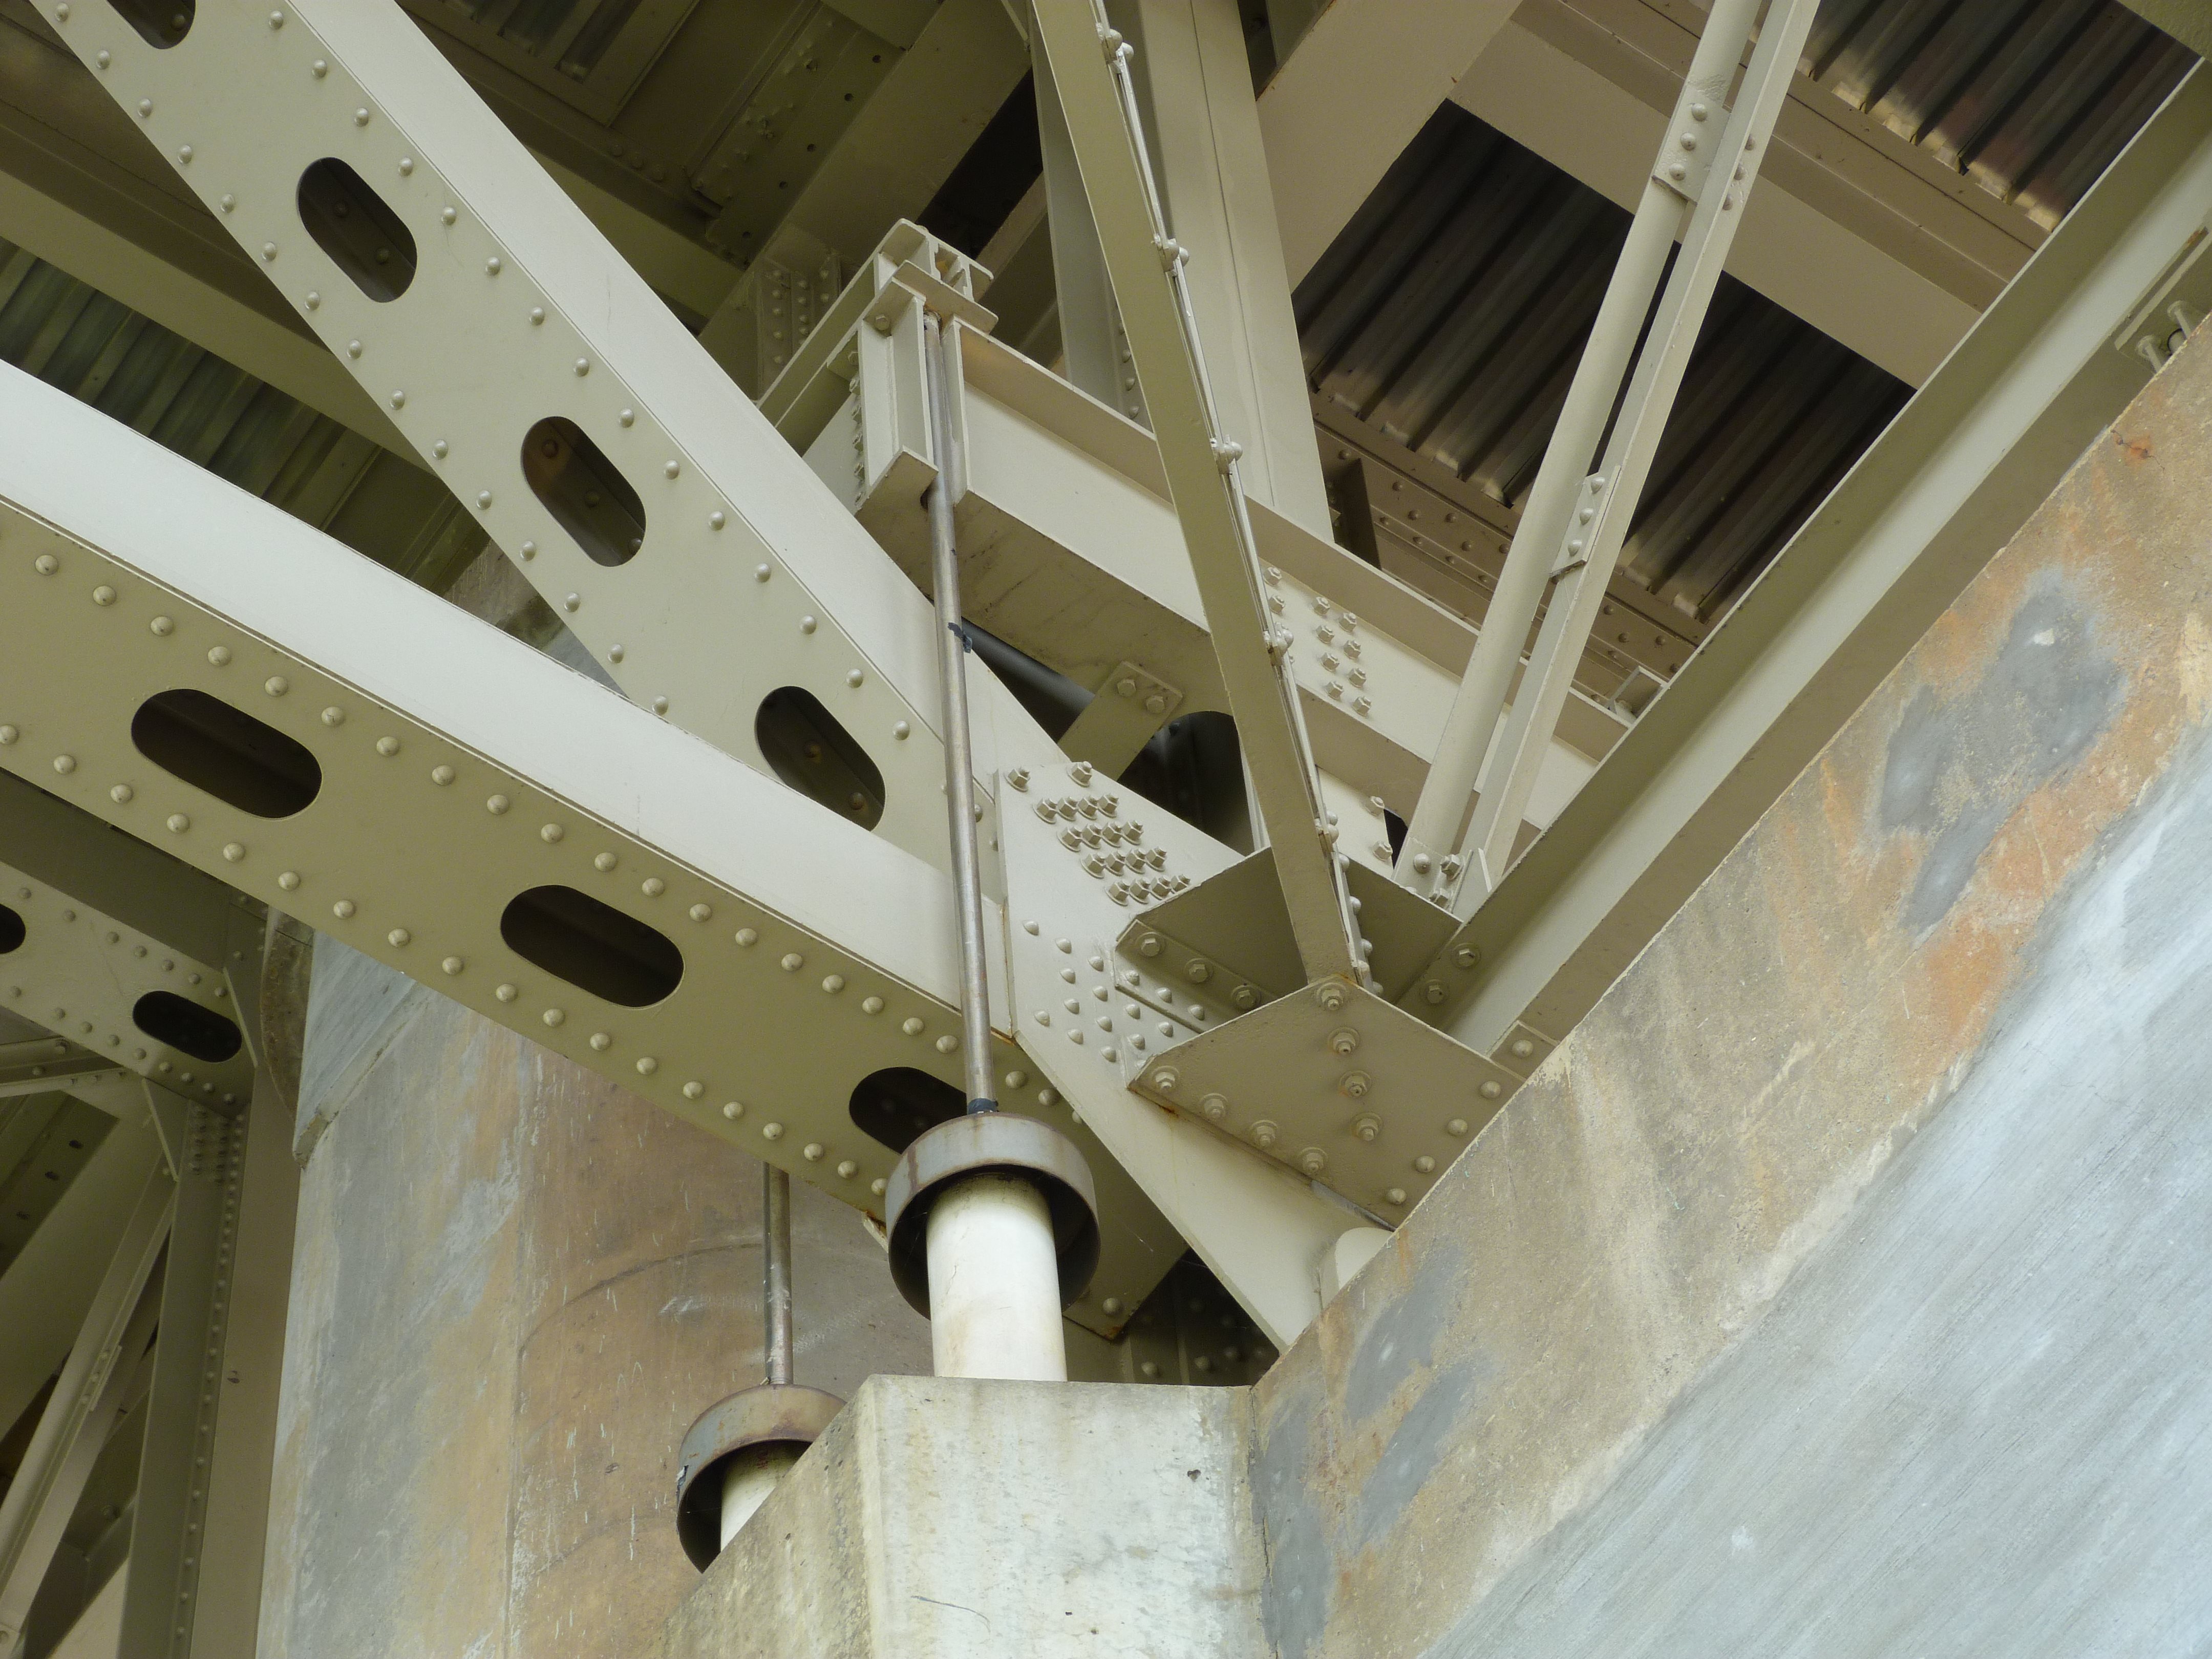
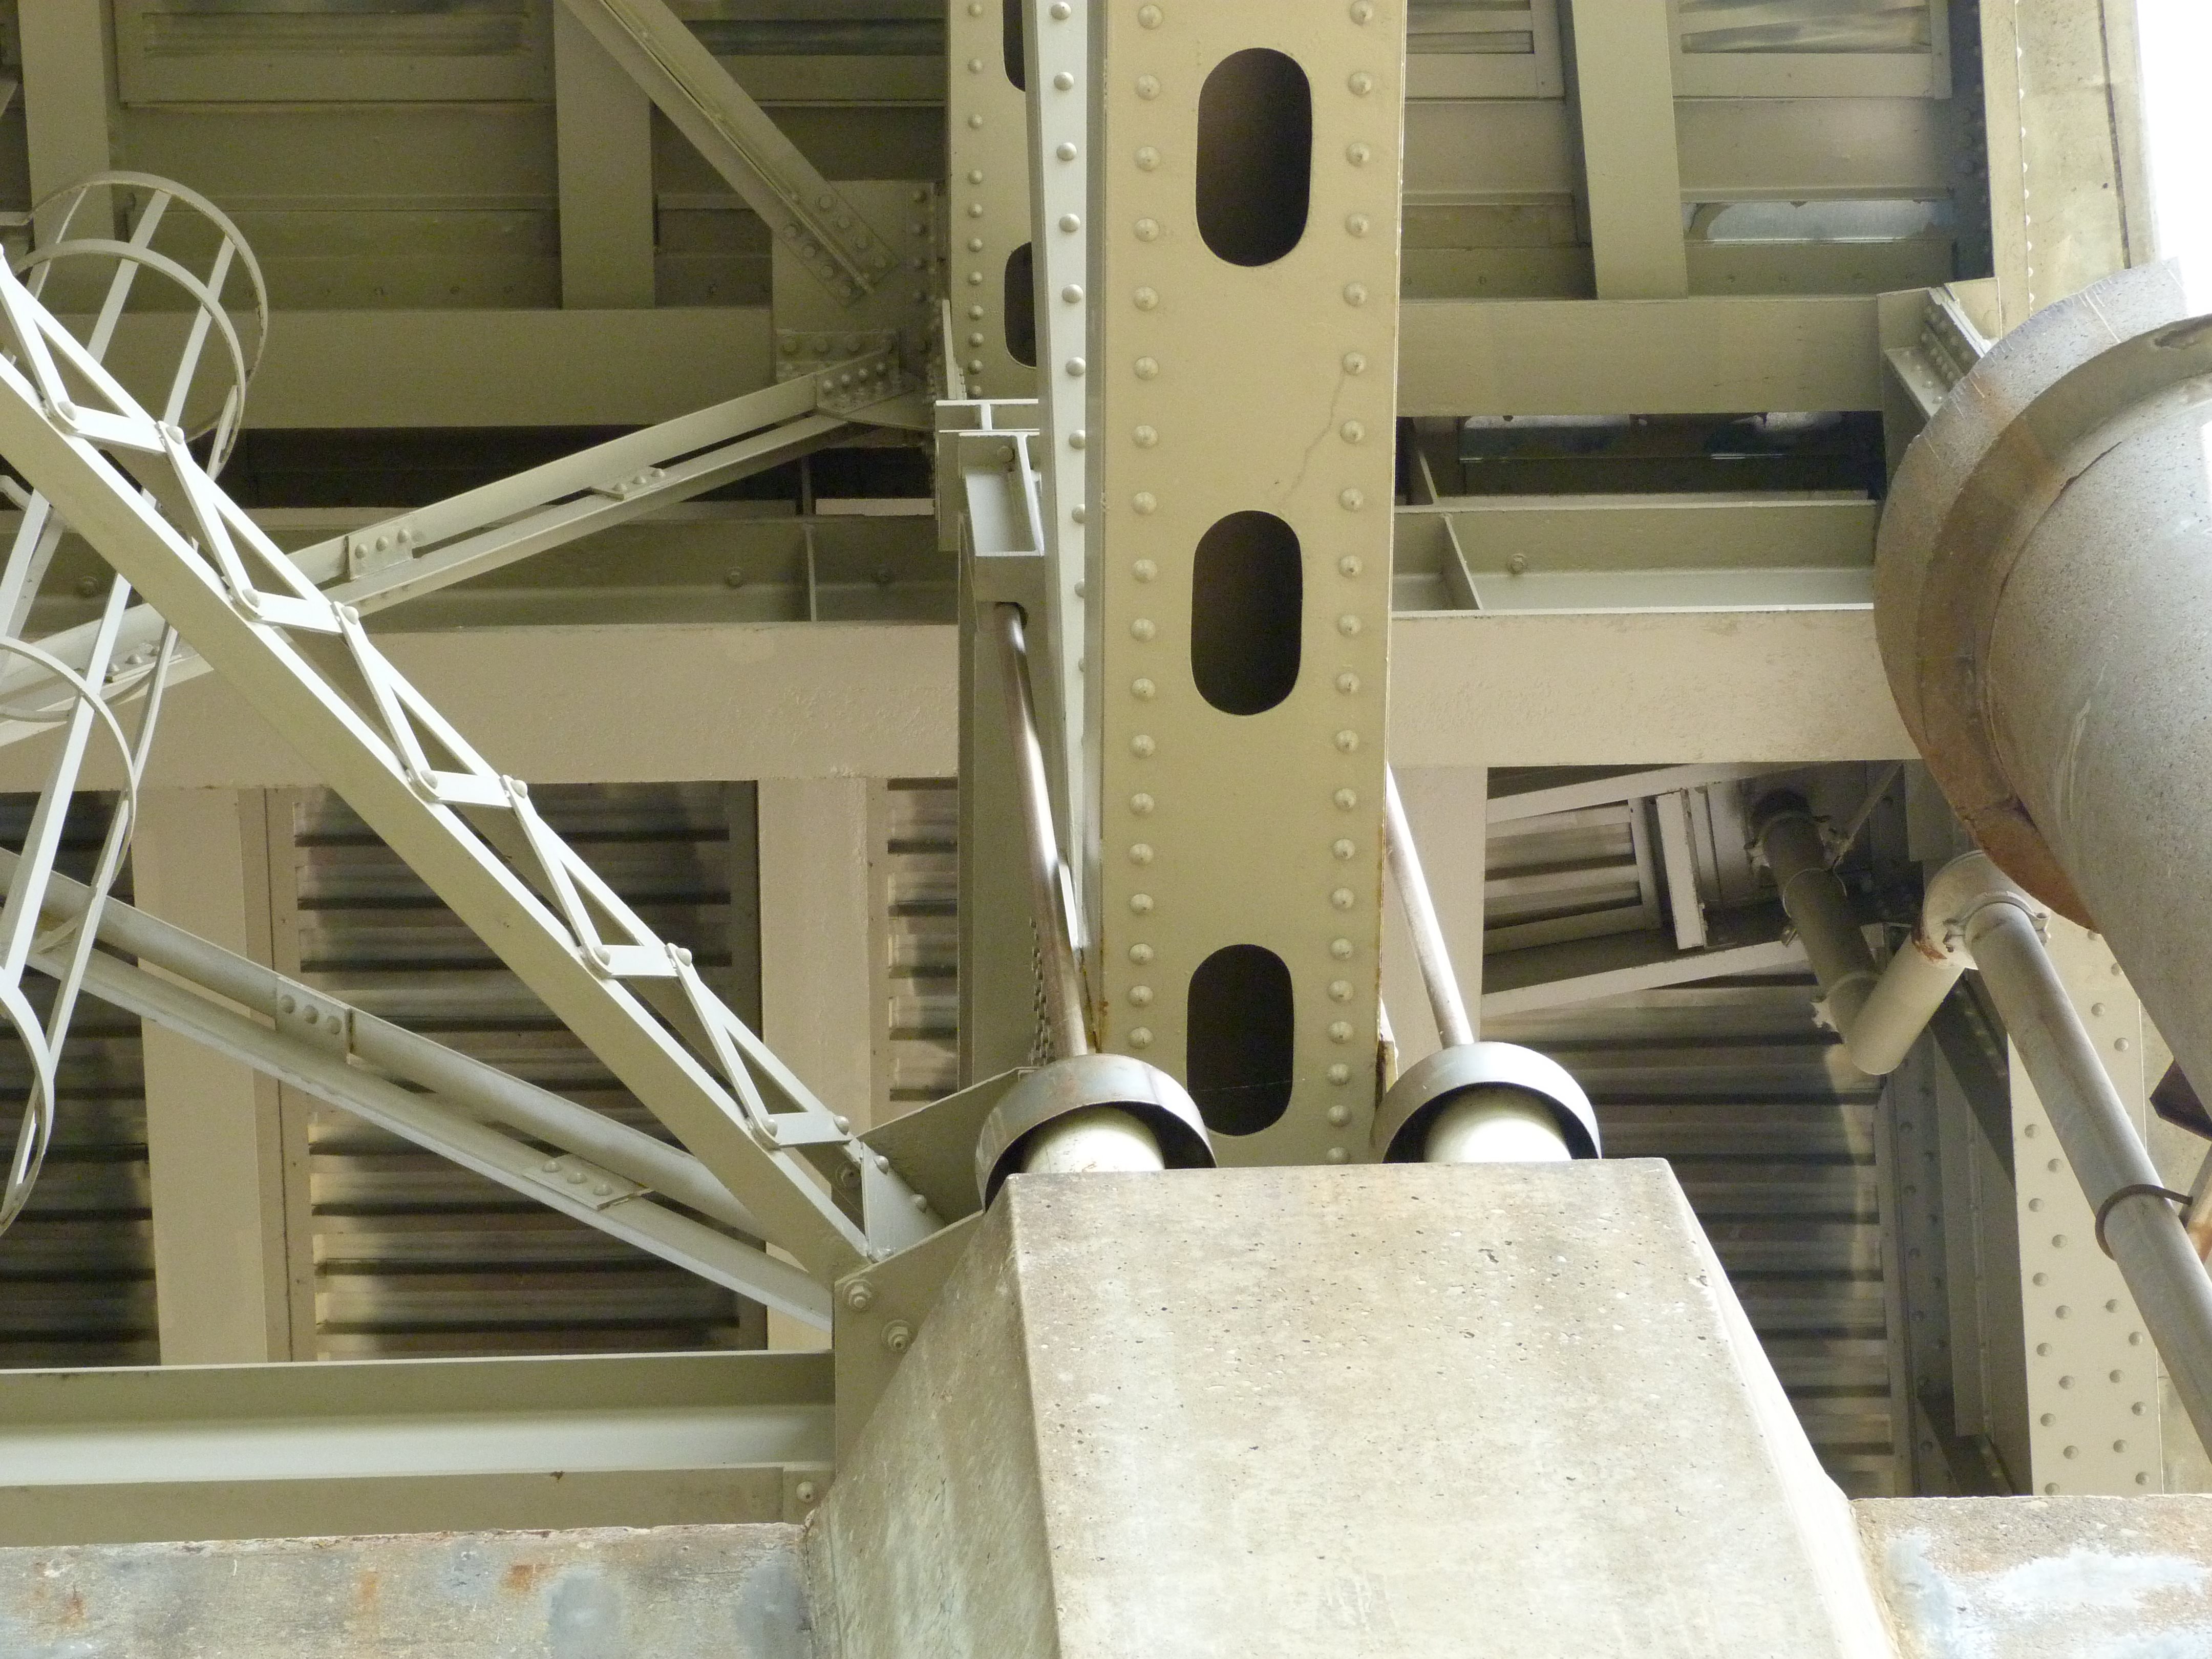
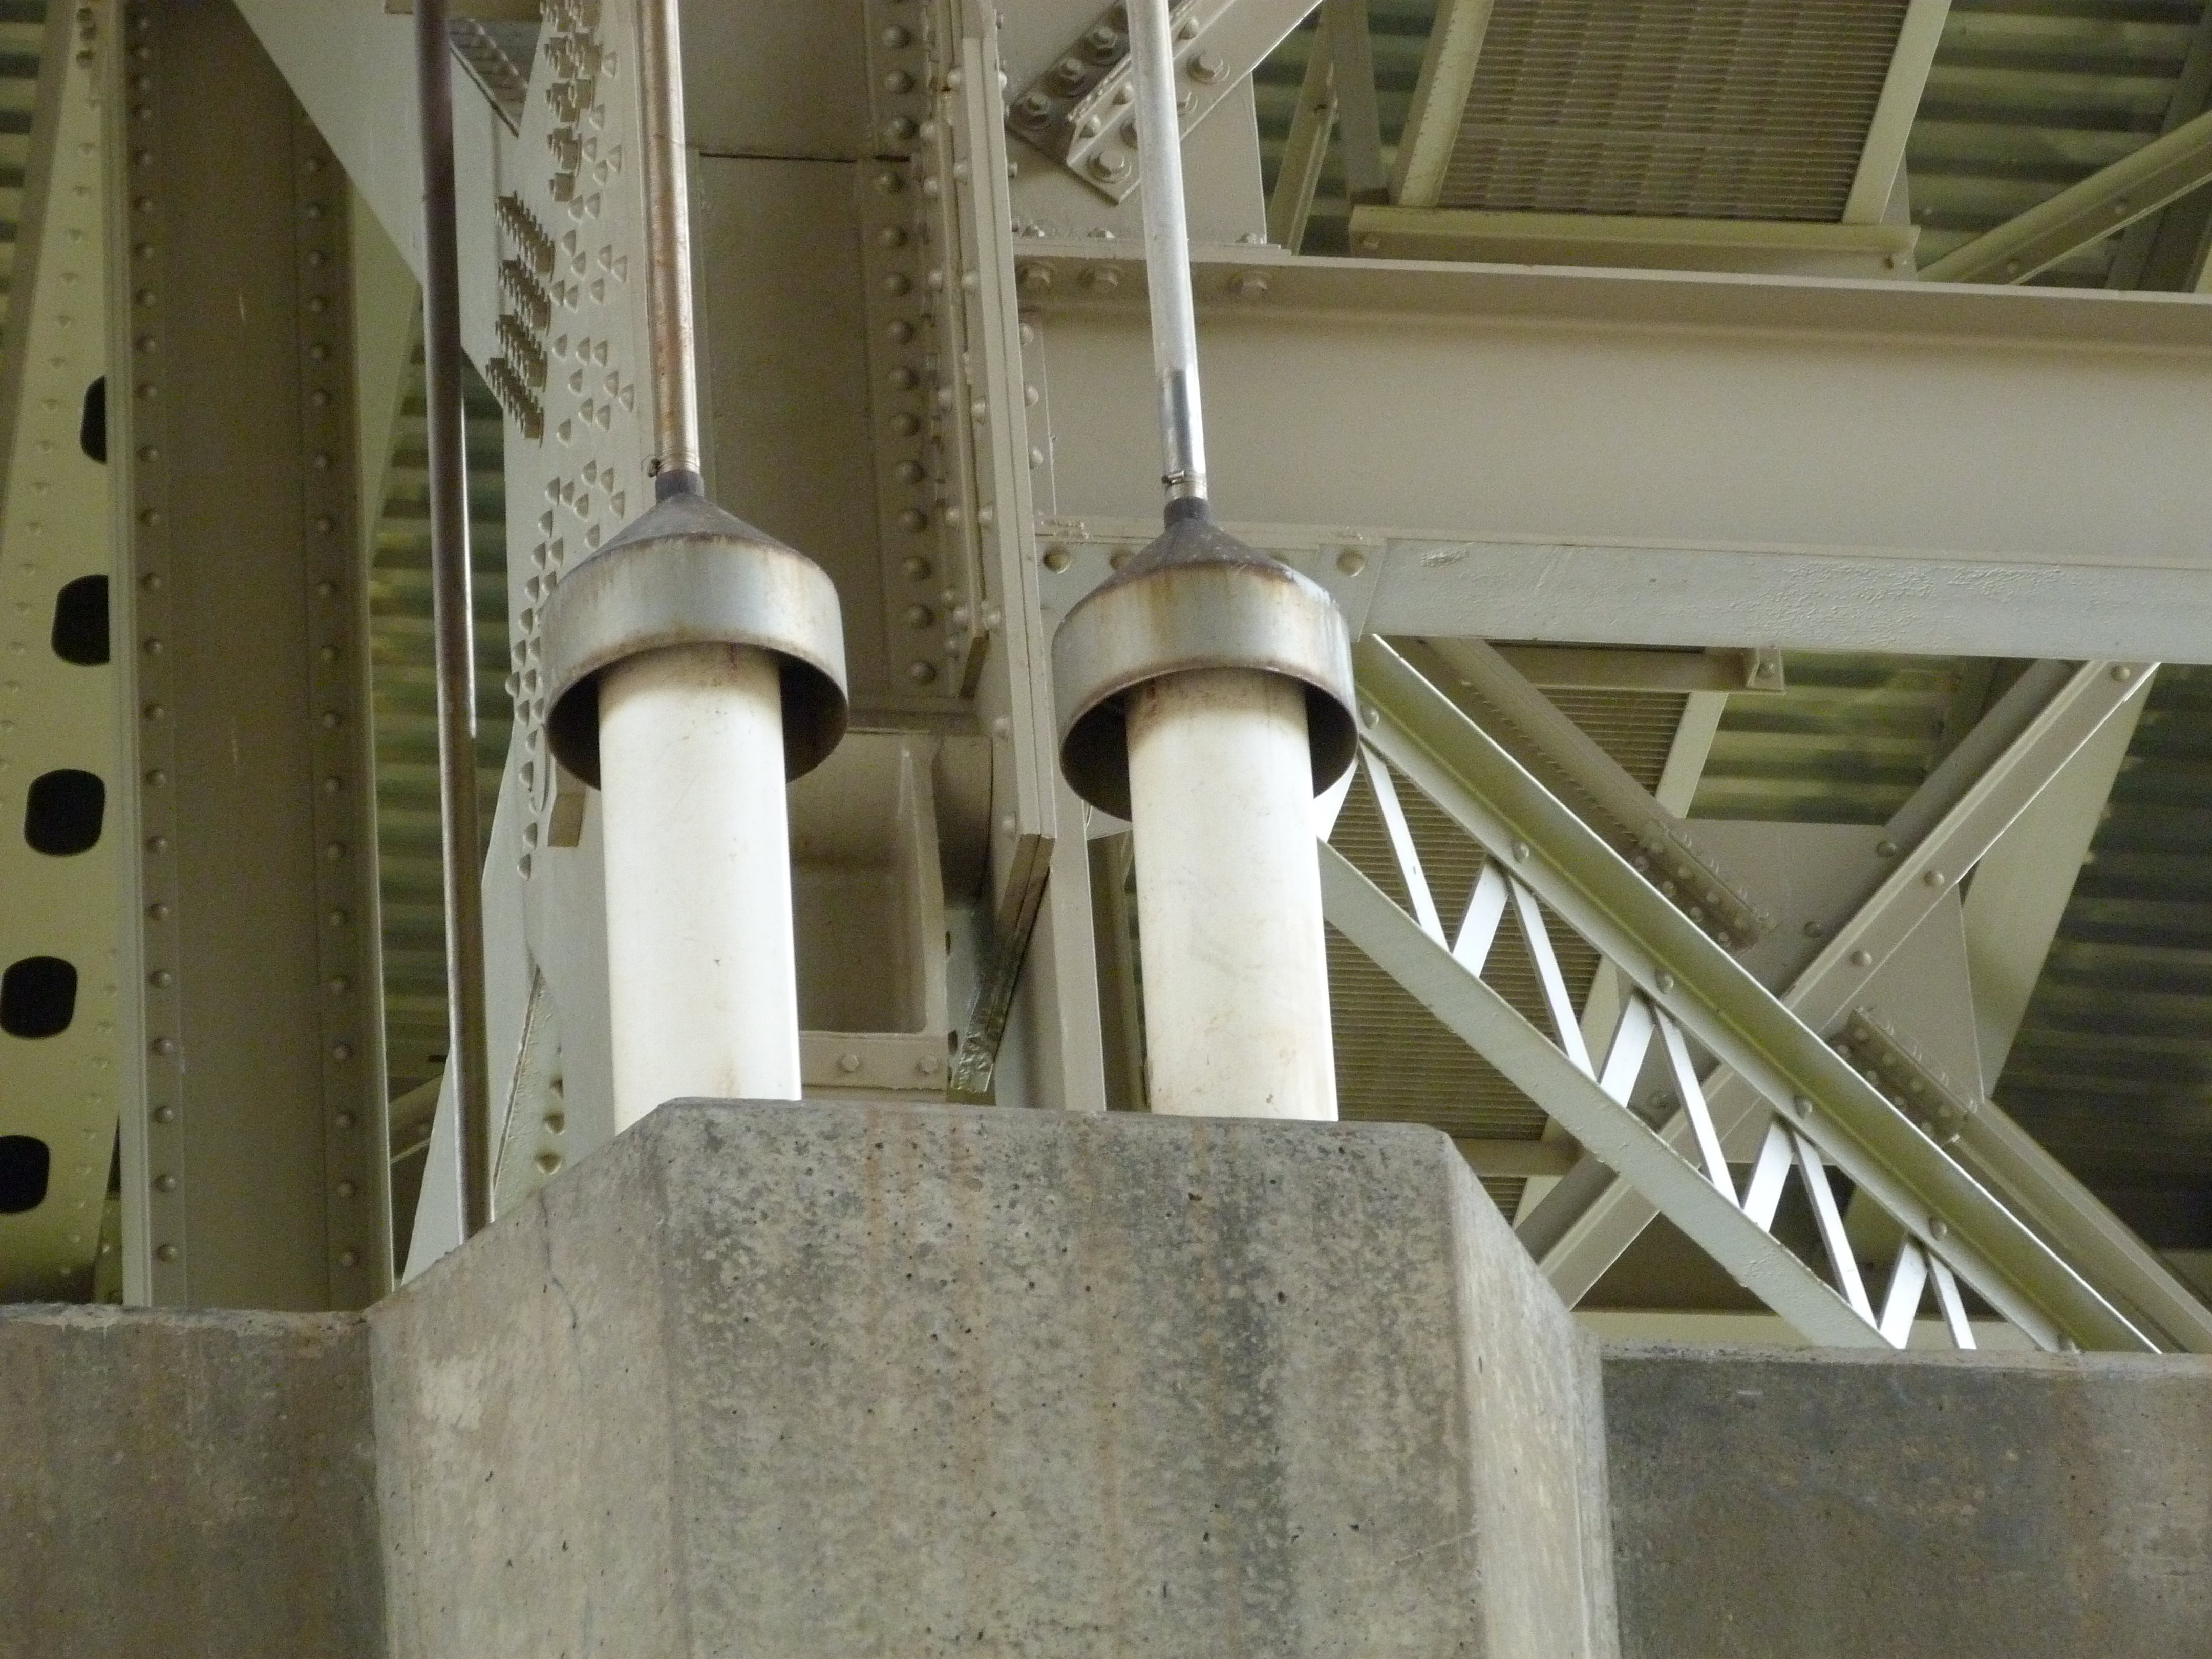
Bearing for end of truss spans. These bearings are in tension, and therefore linked to eyebars anchored in the piers. Note alteration which supplements the original bearing/anchor system.
![]()
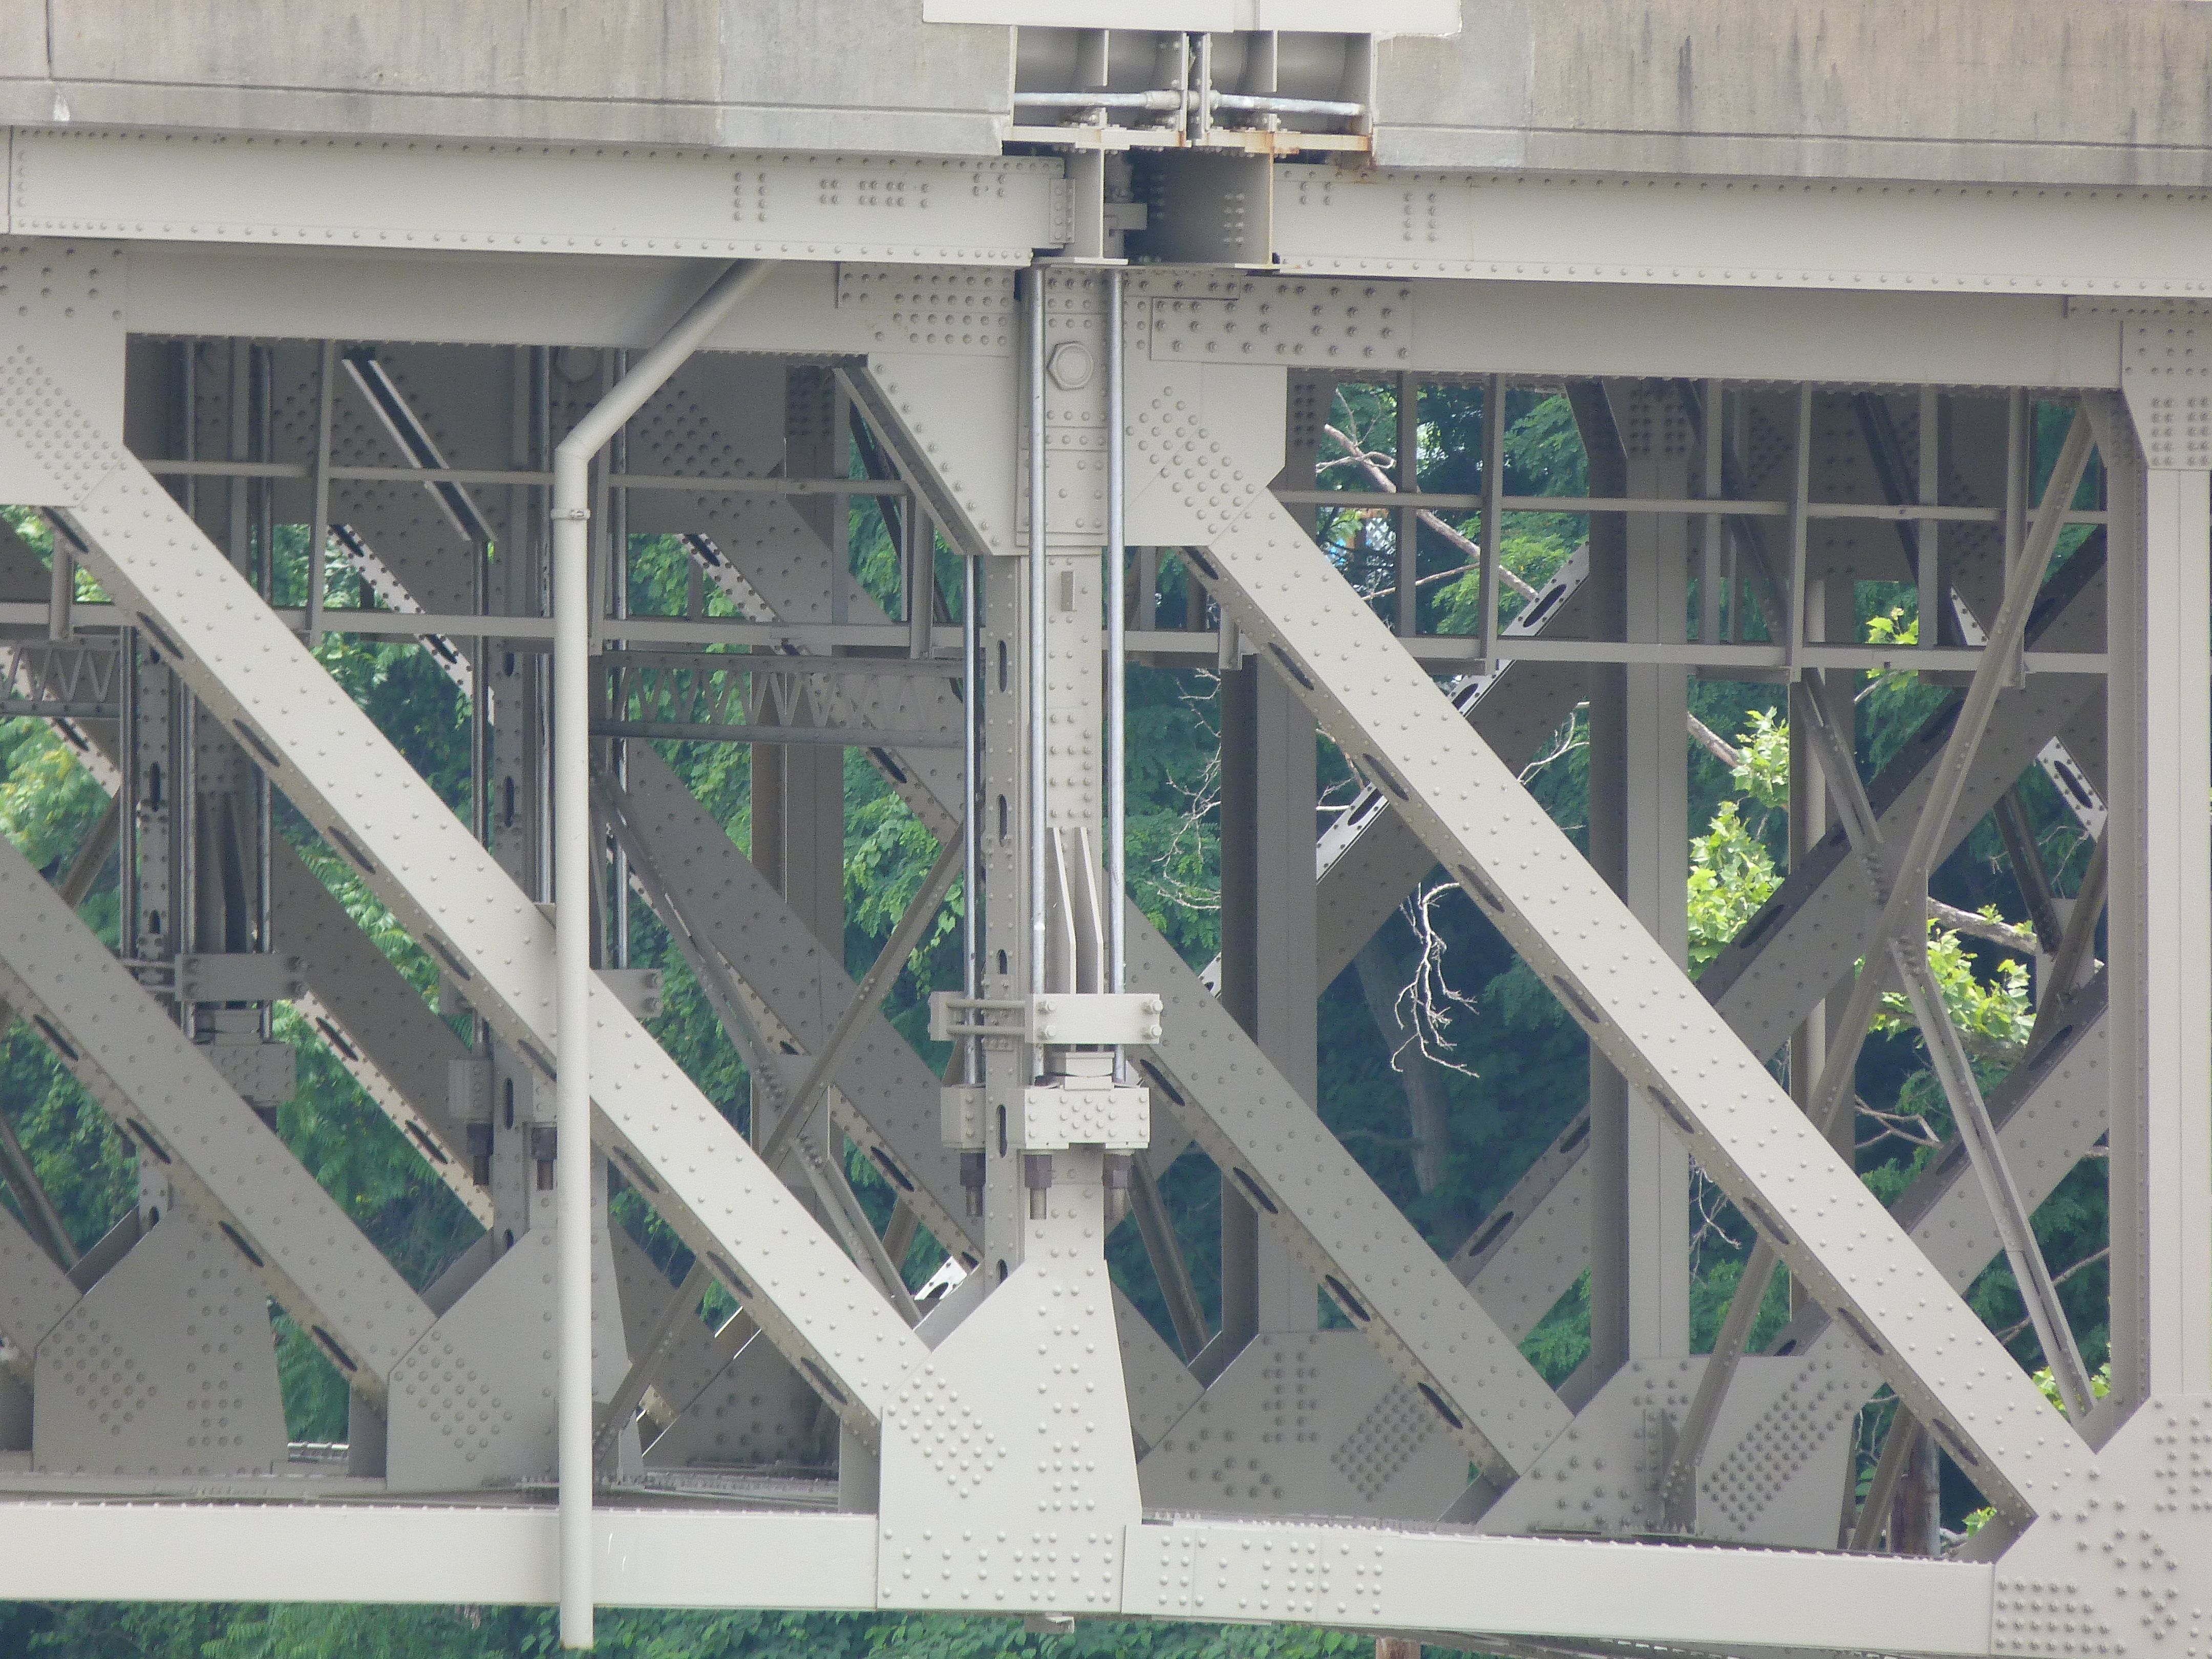
Overview of hanger for suspended span.
![]()
Top chord connection at hanger for suspended span.
![]()
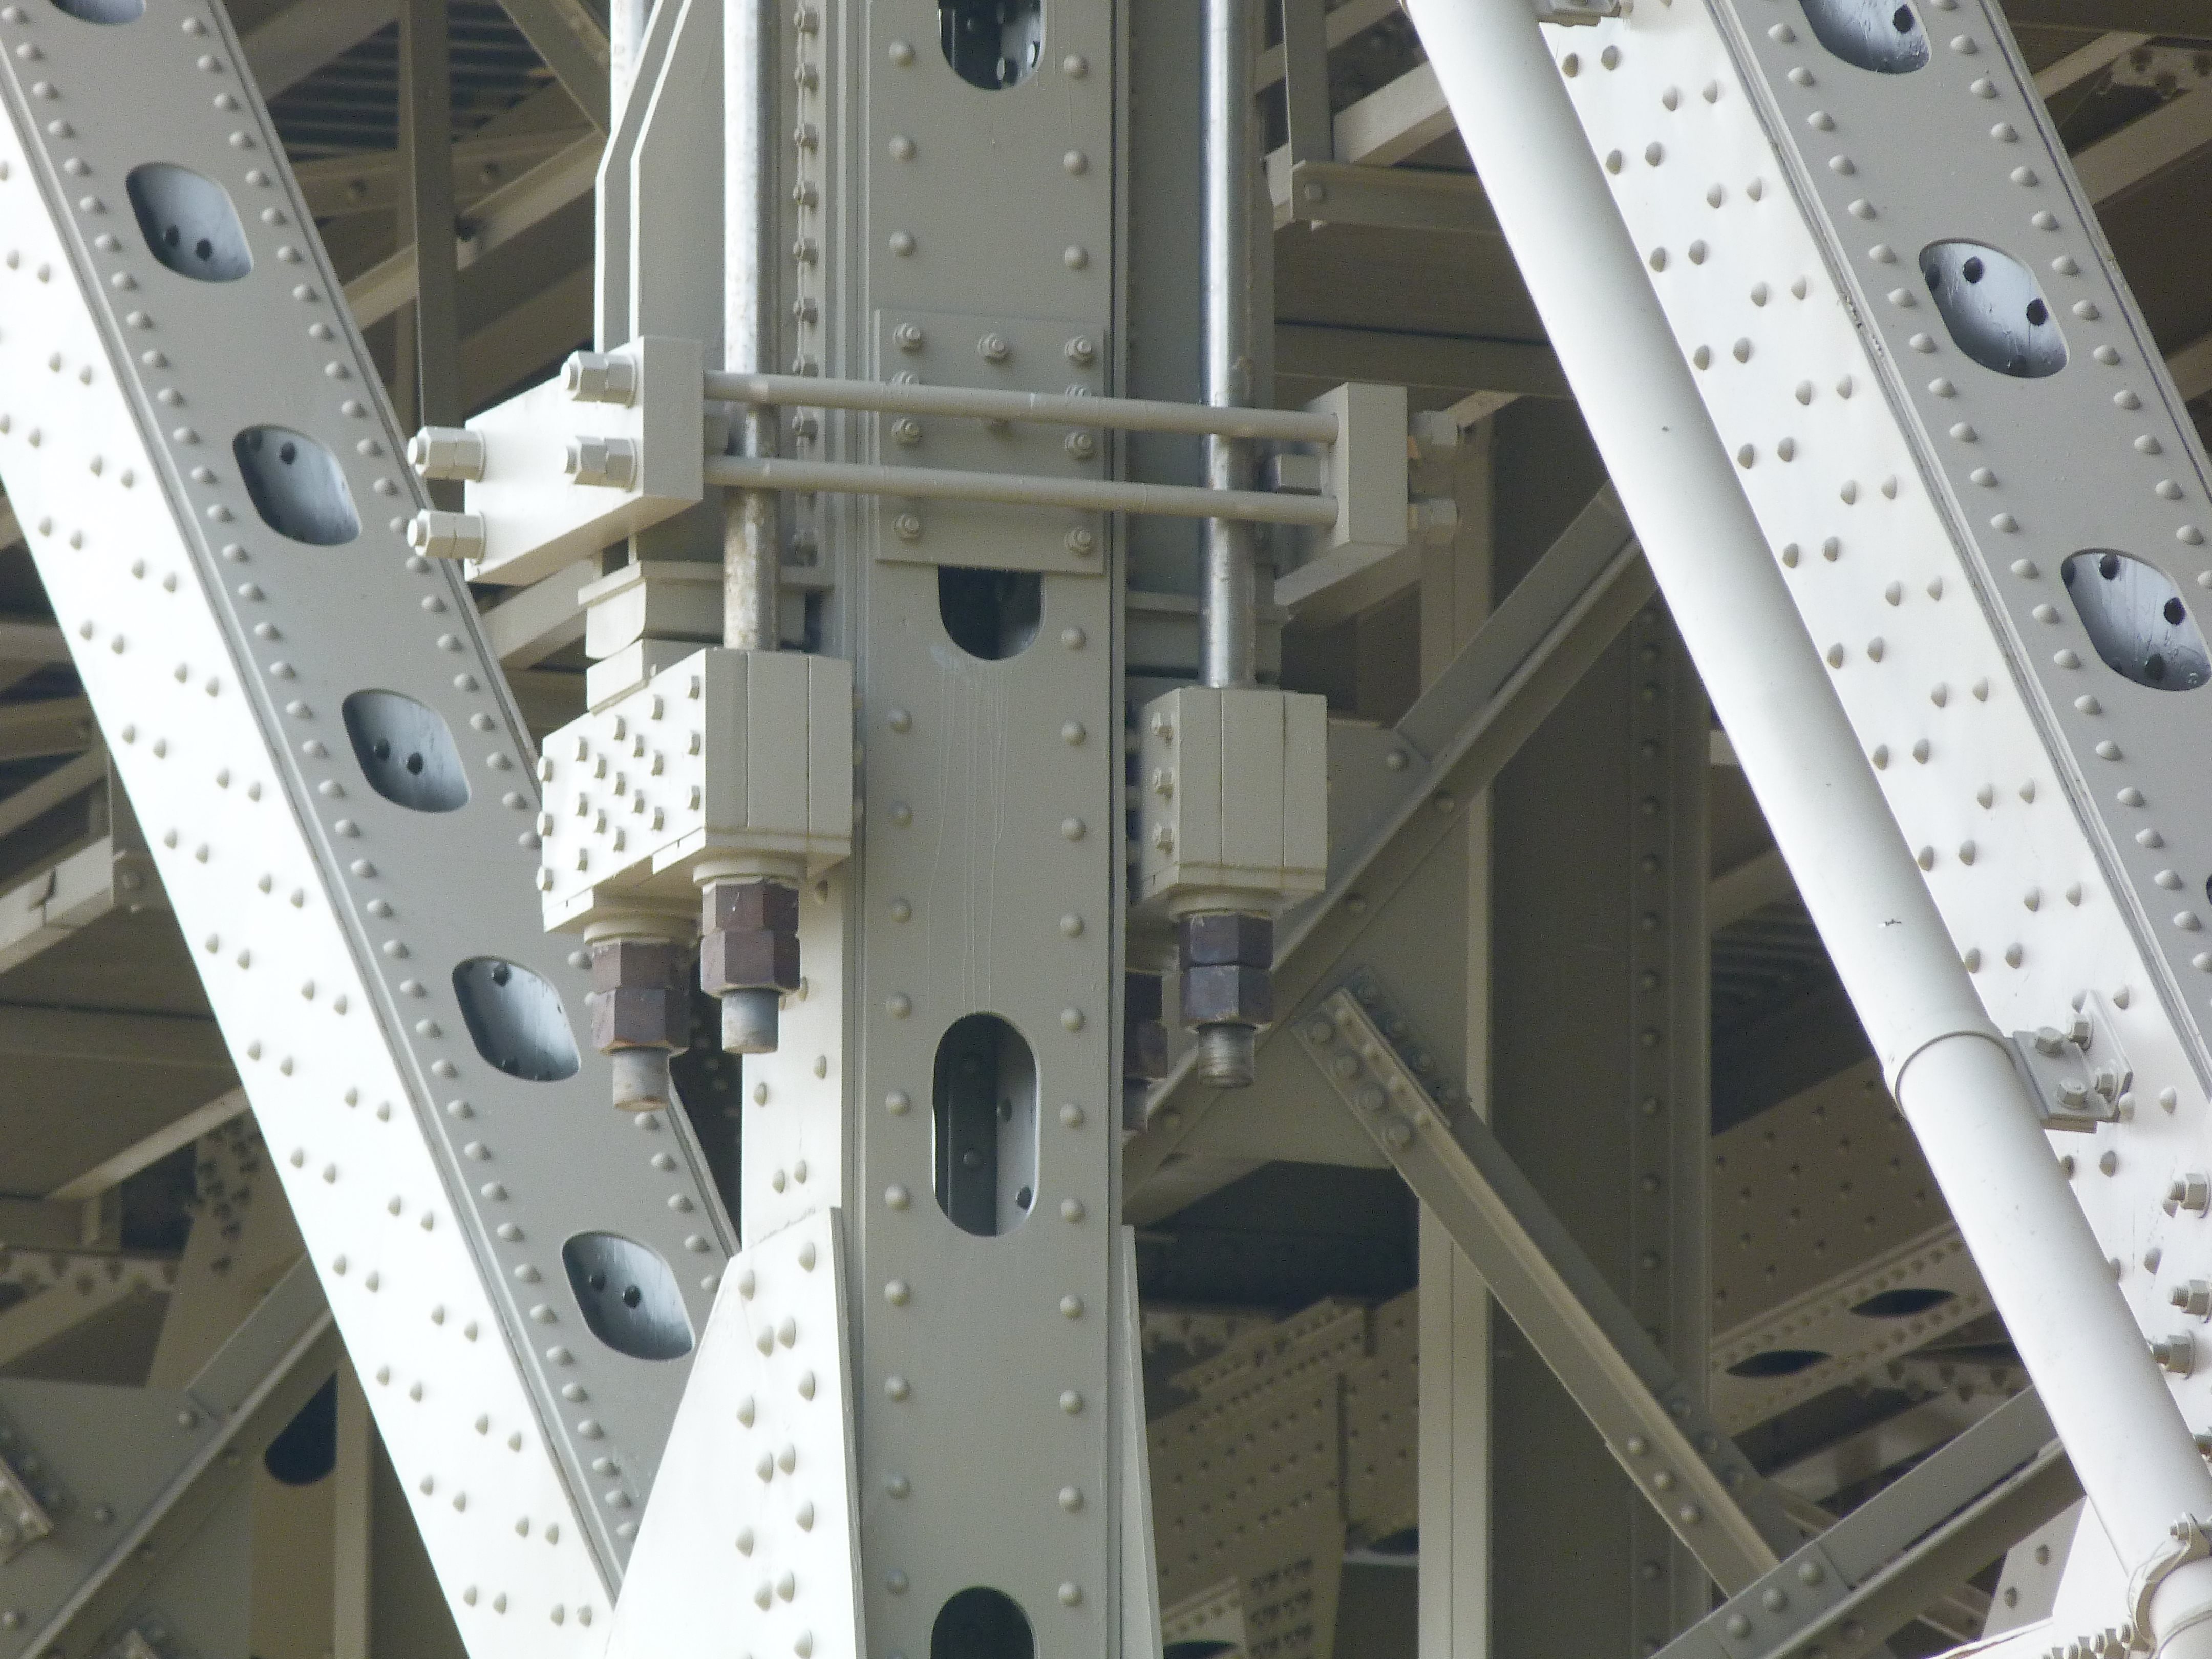
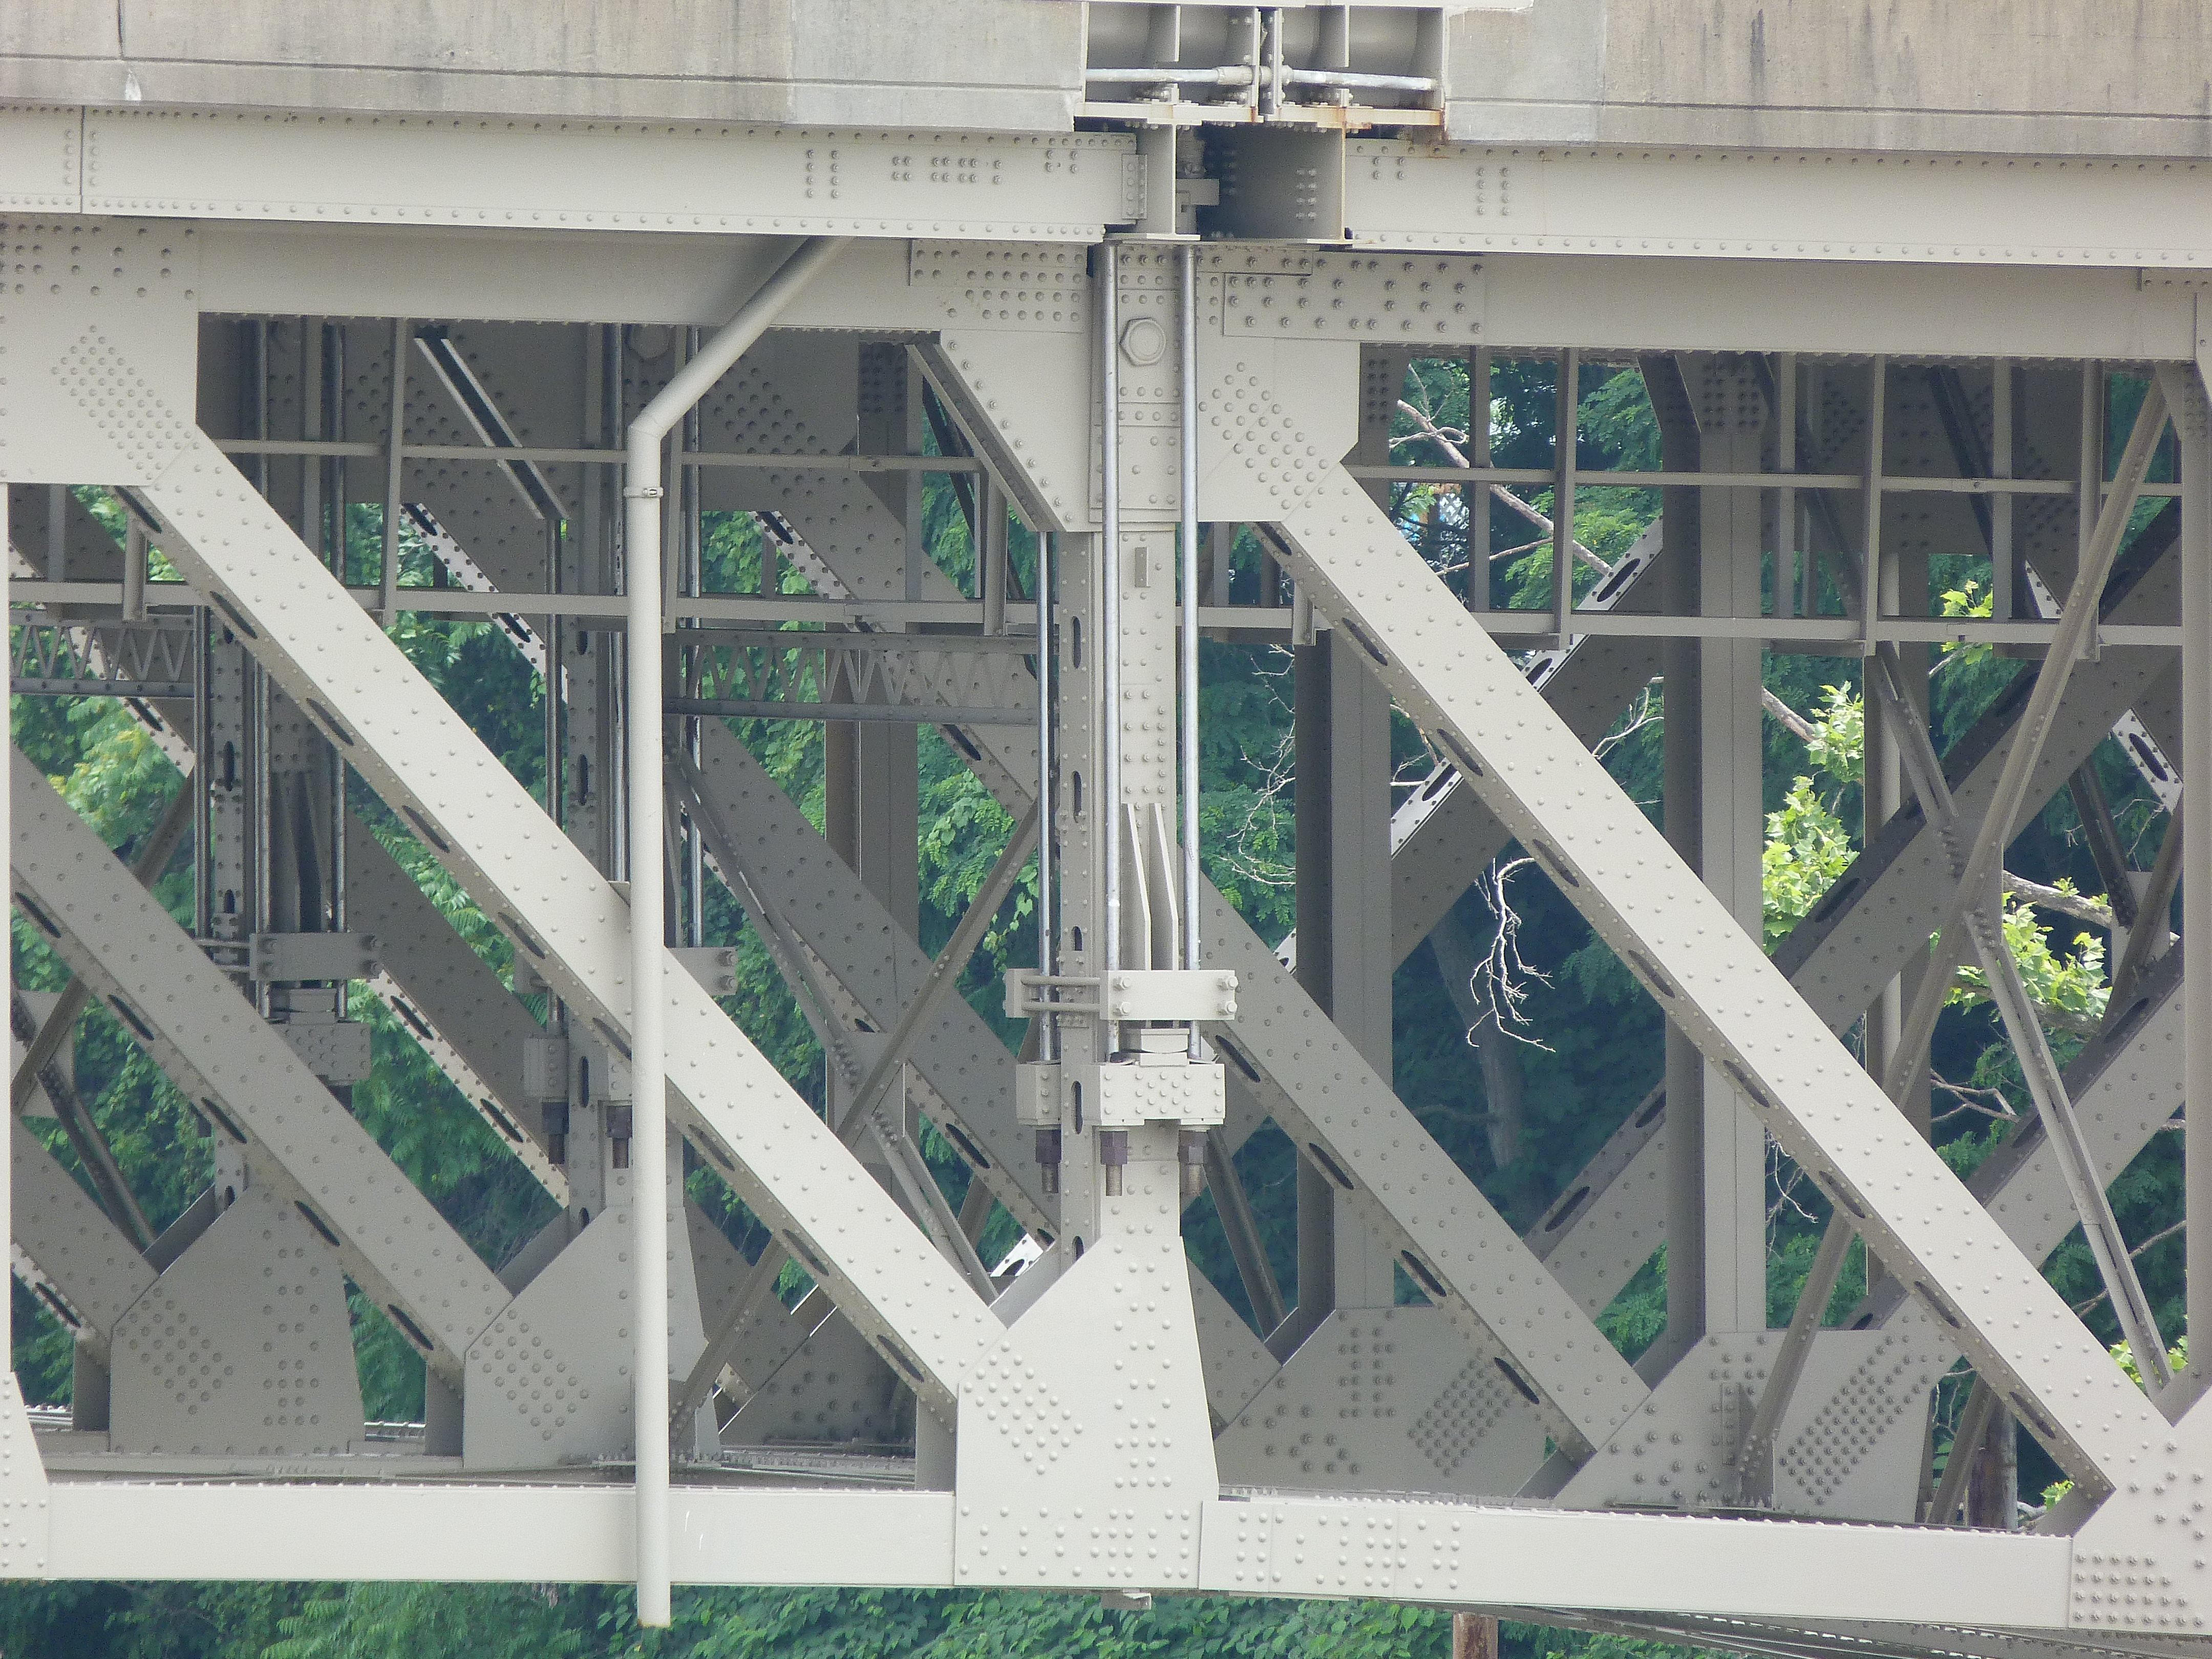
Alteration detail for suspended span hanger.
![]()
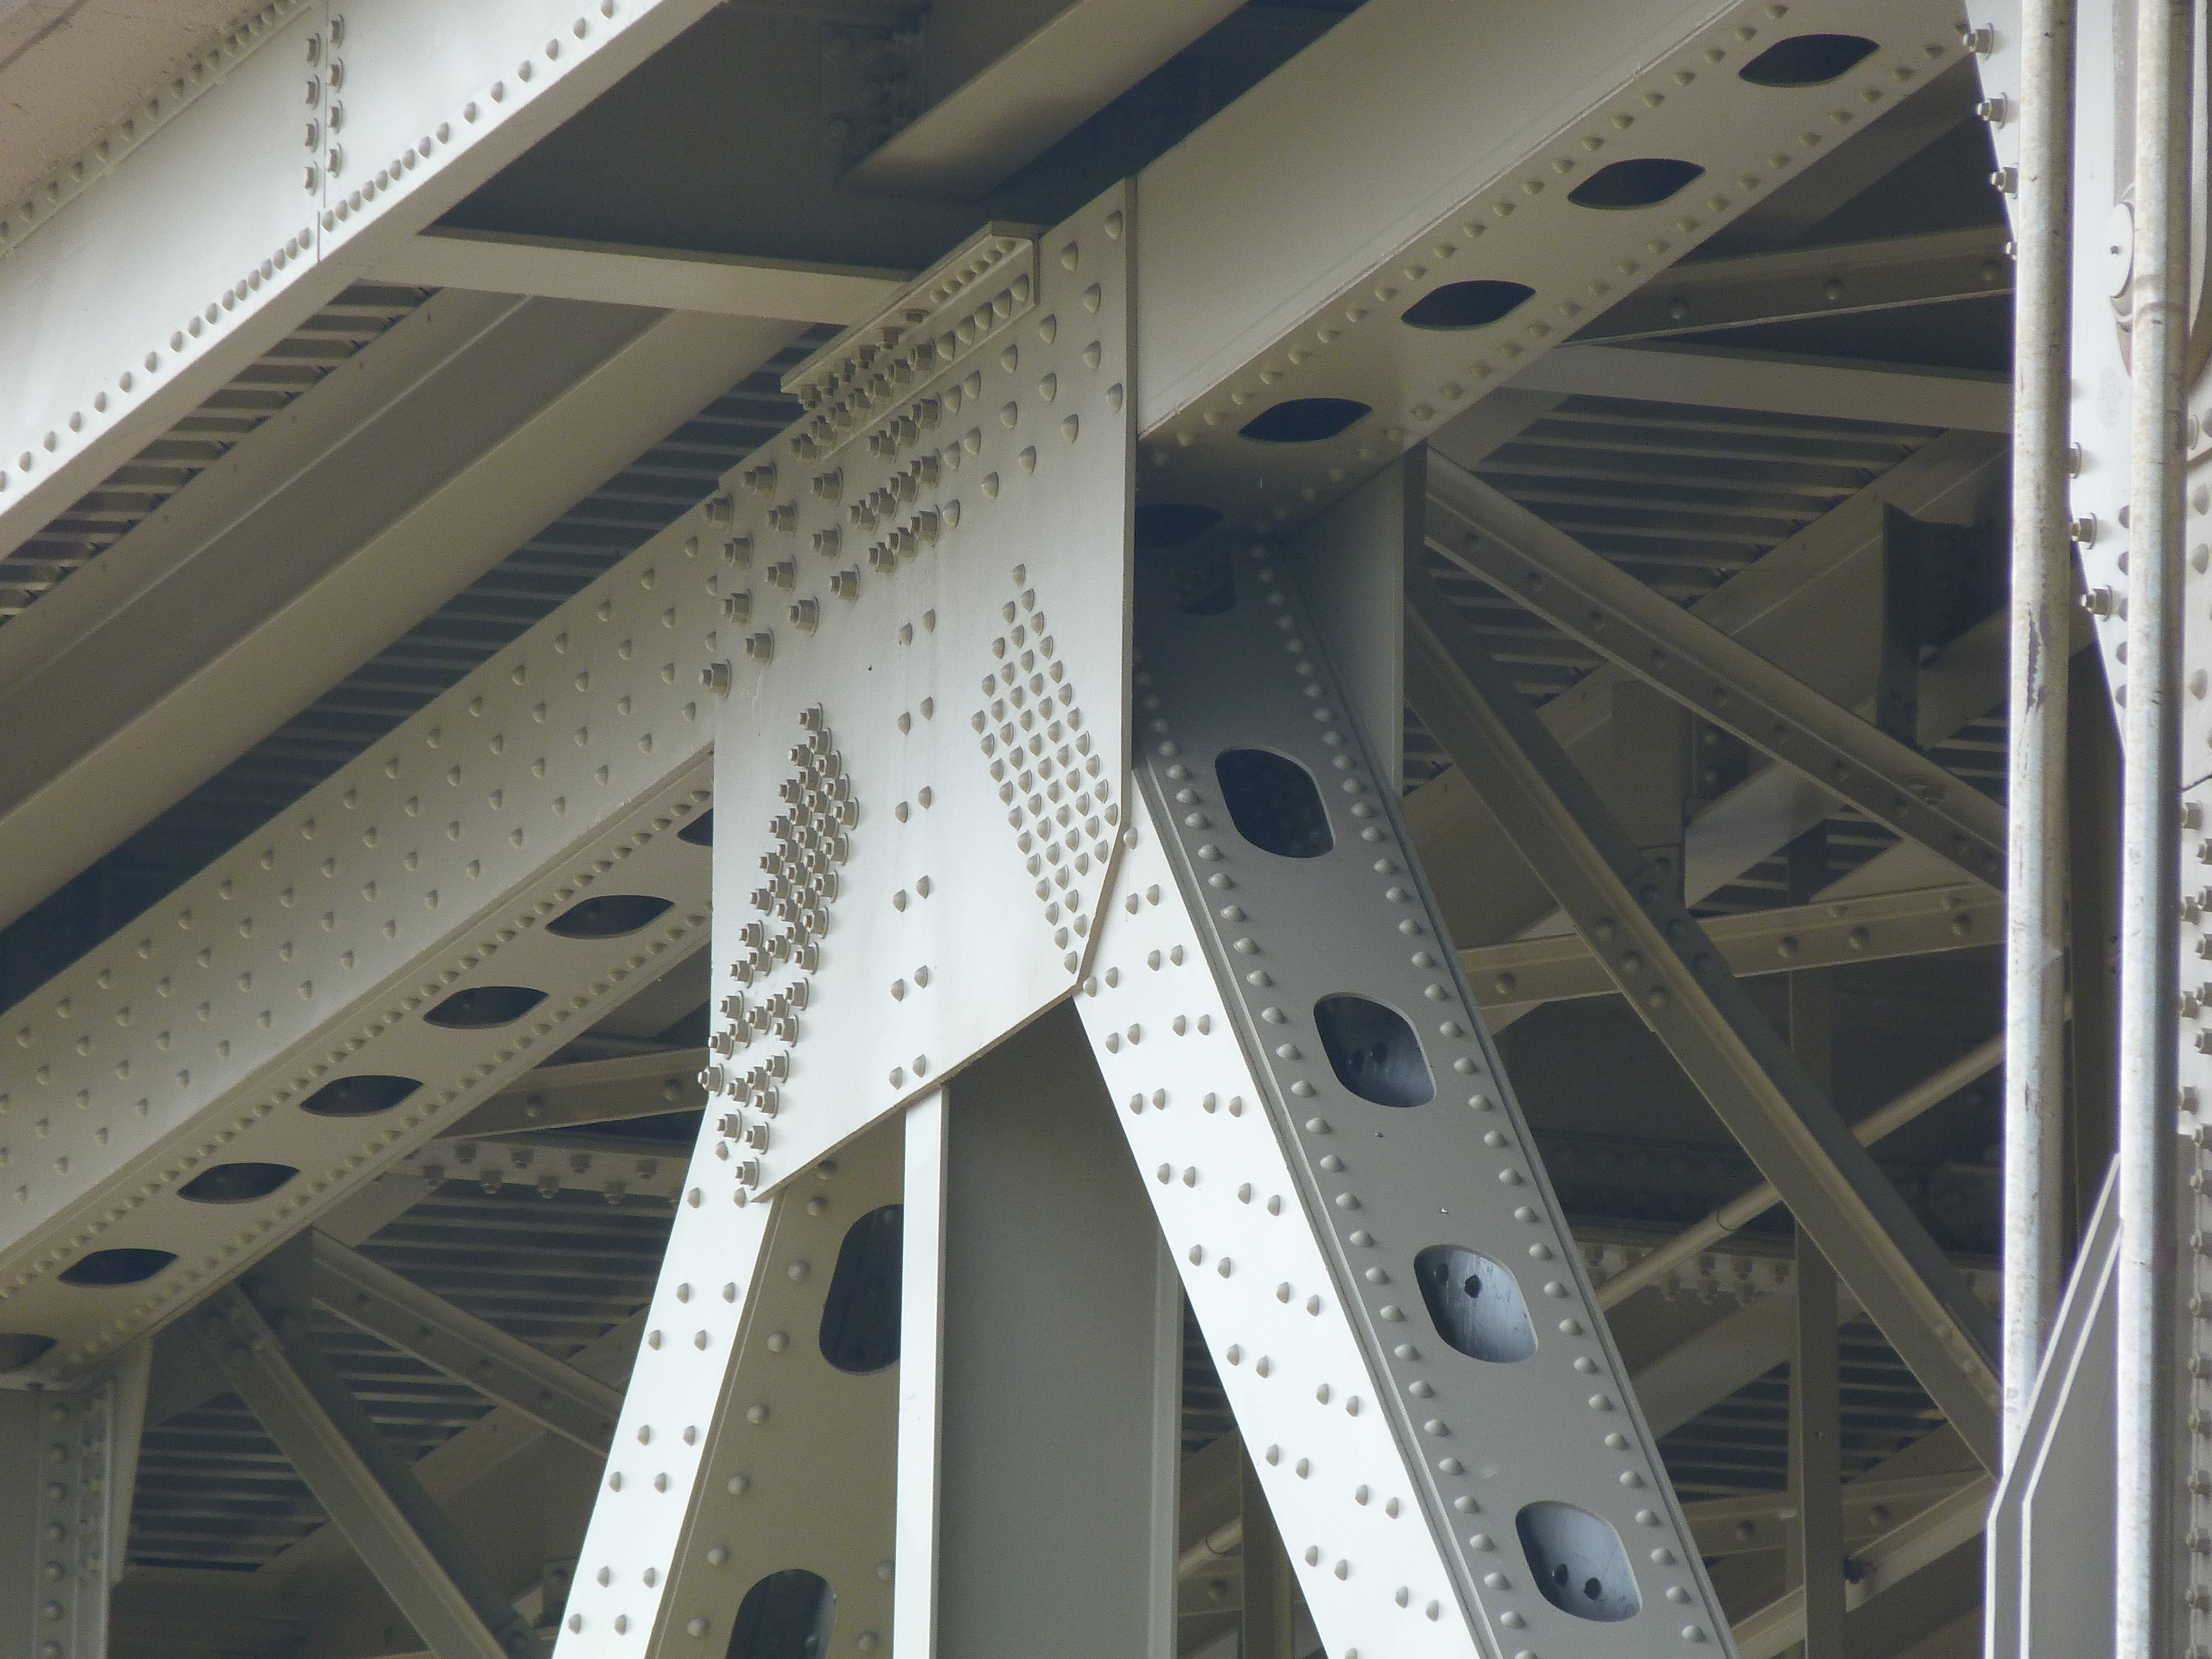
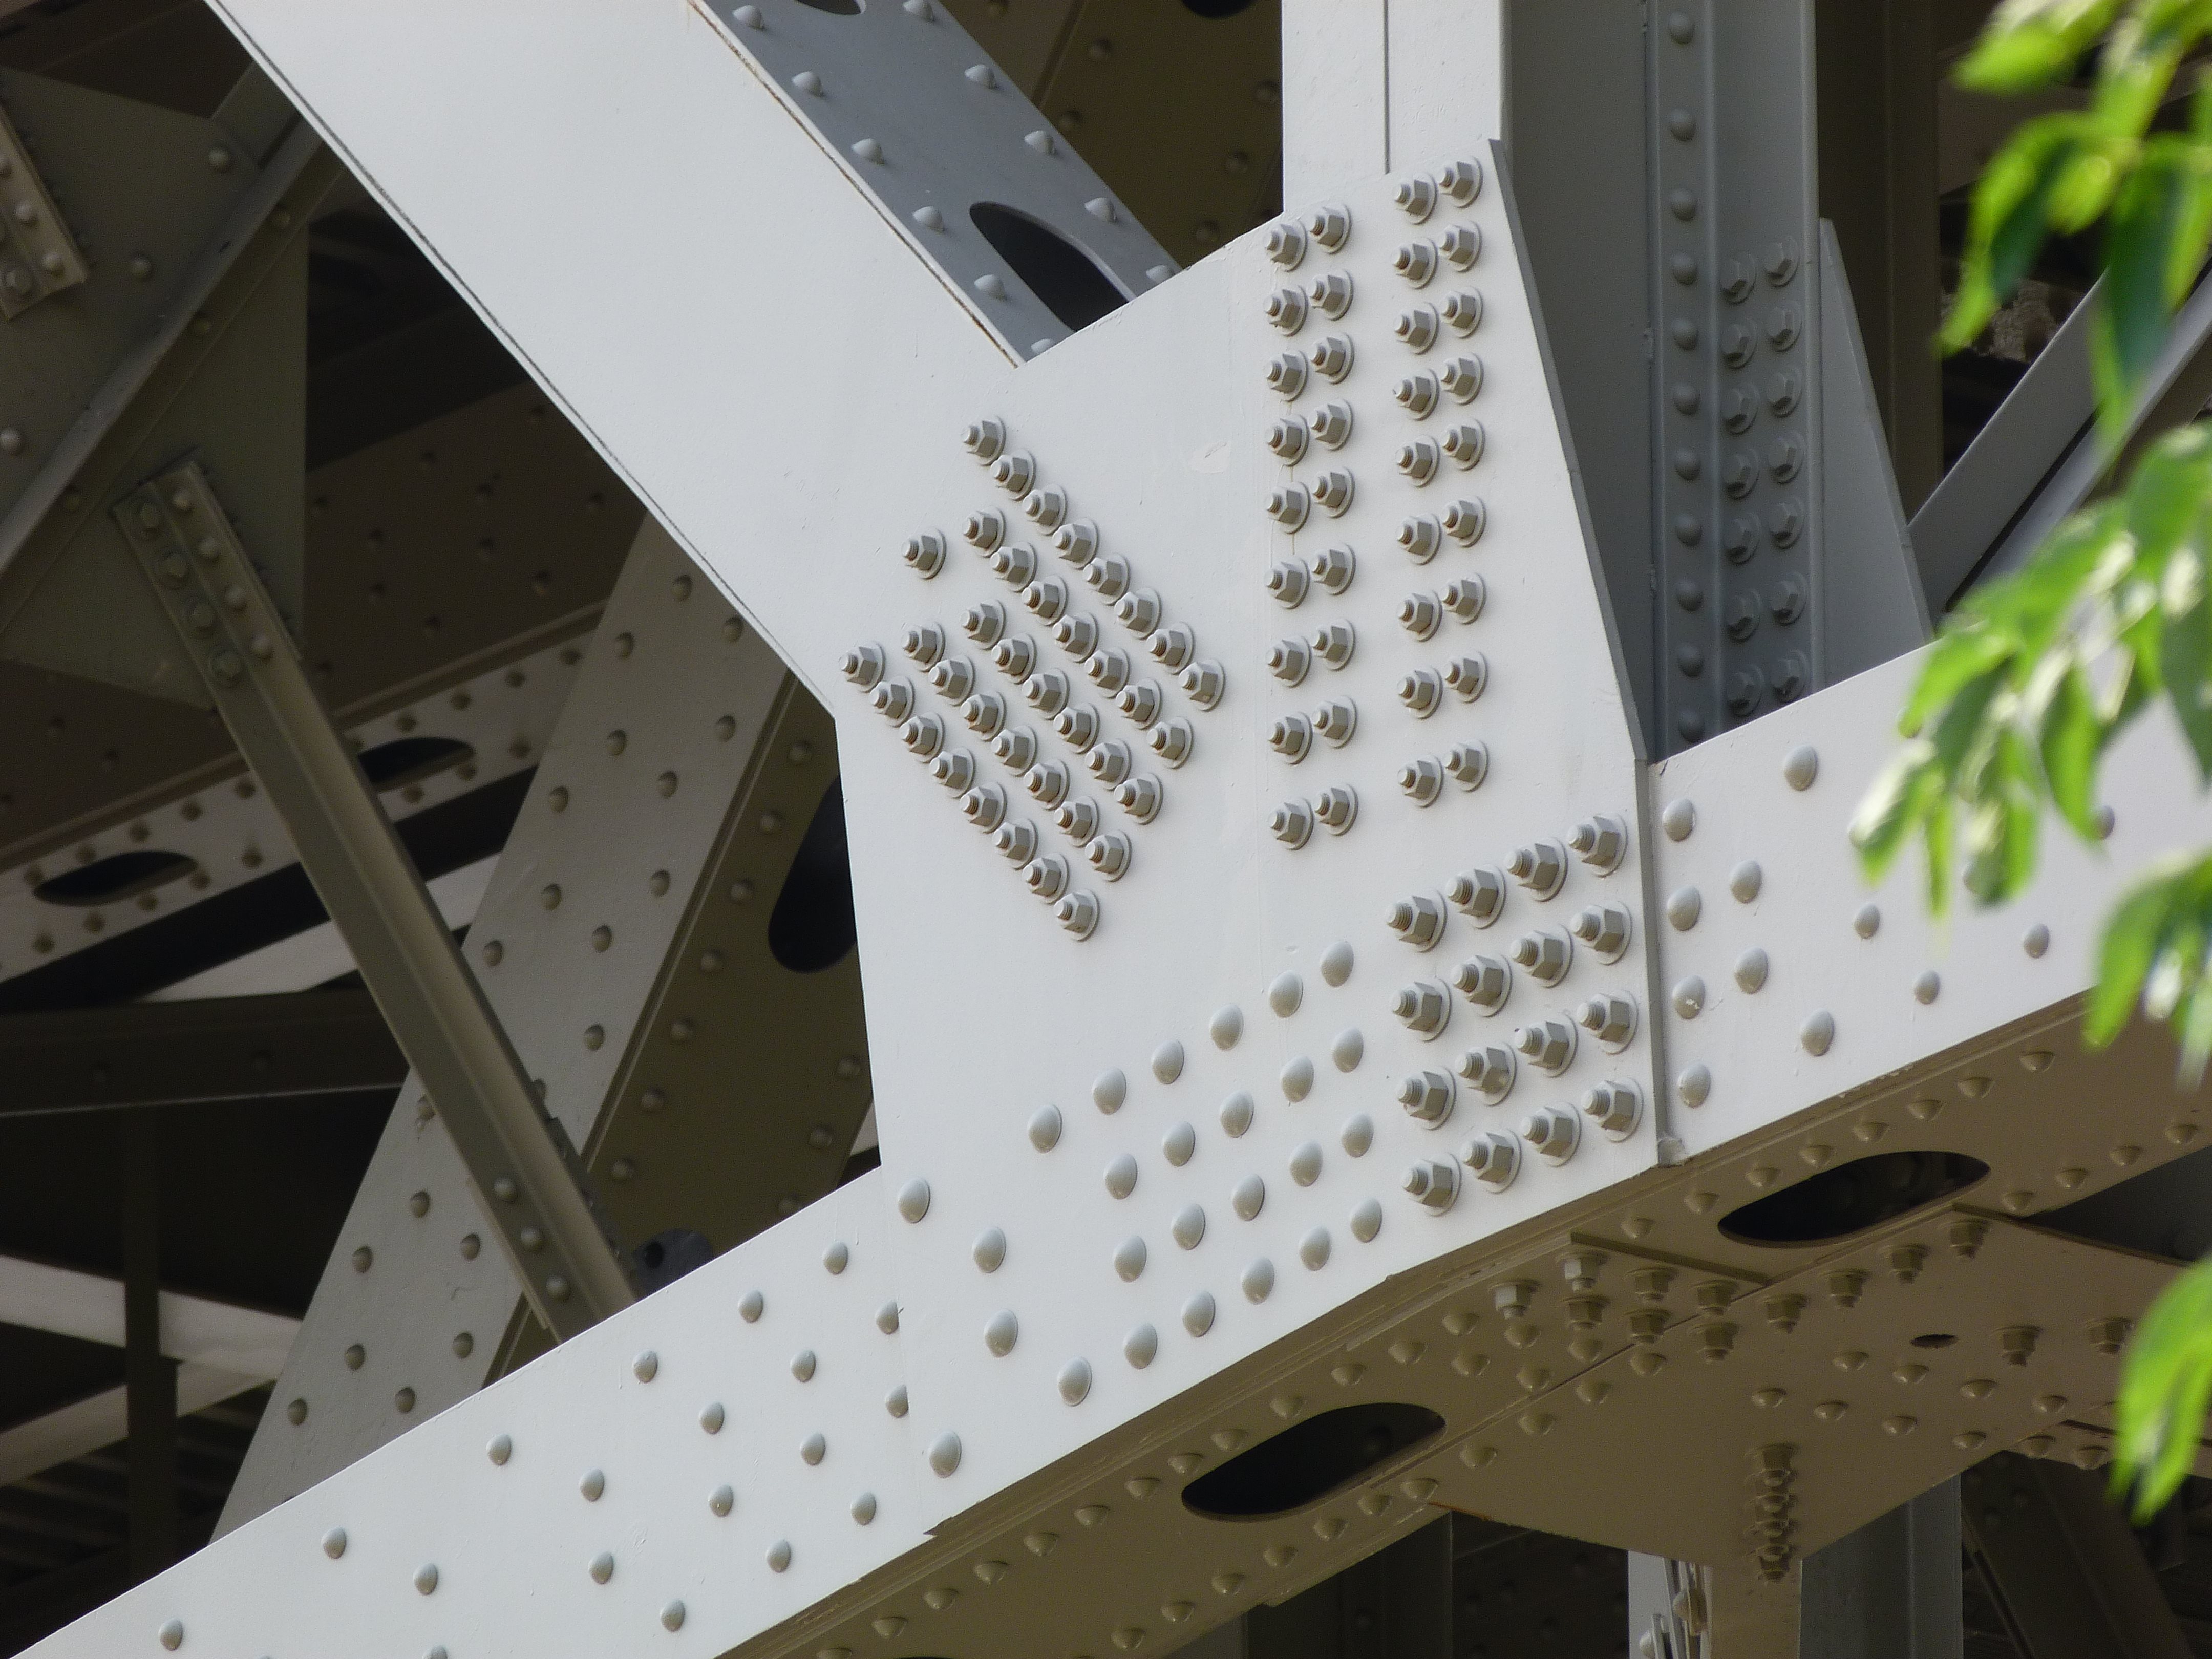
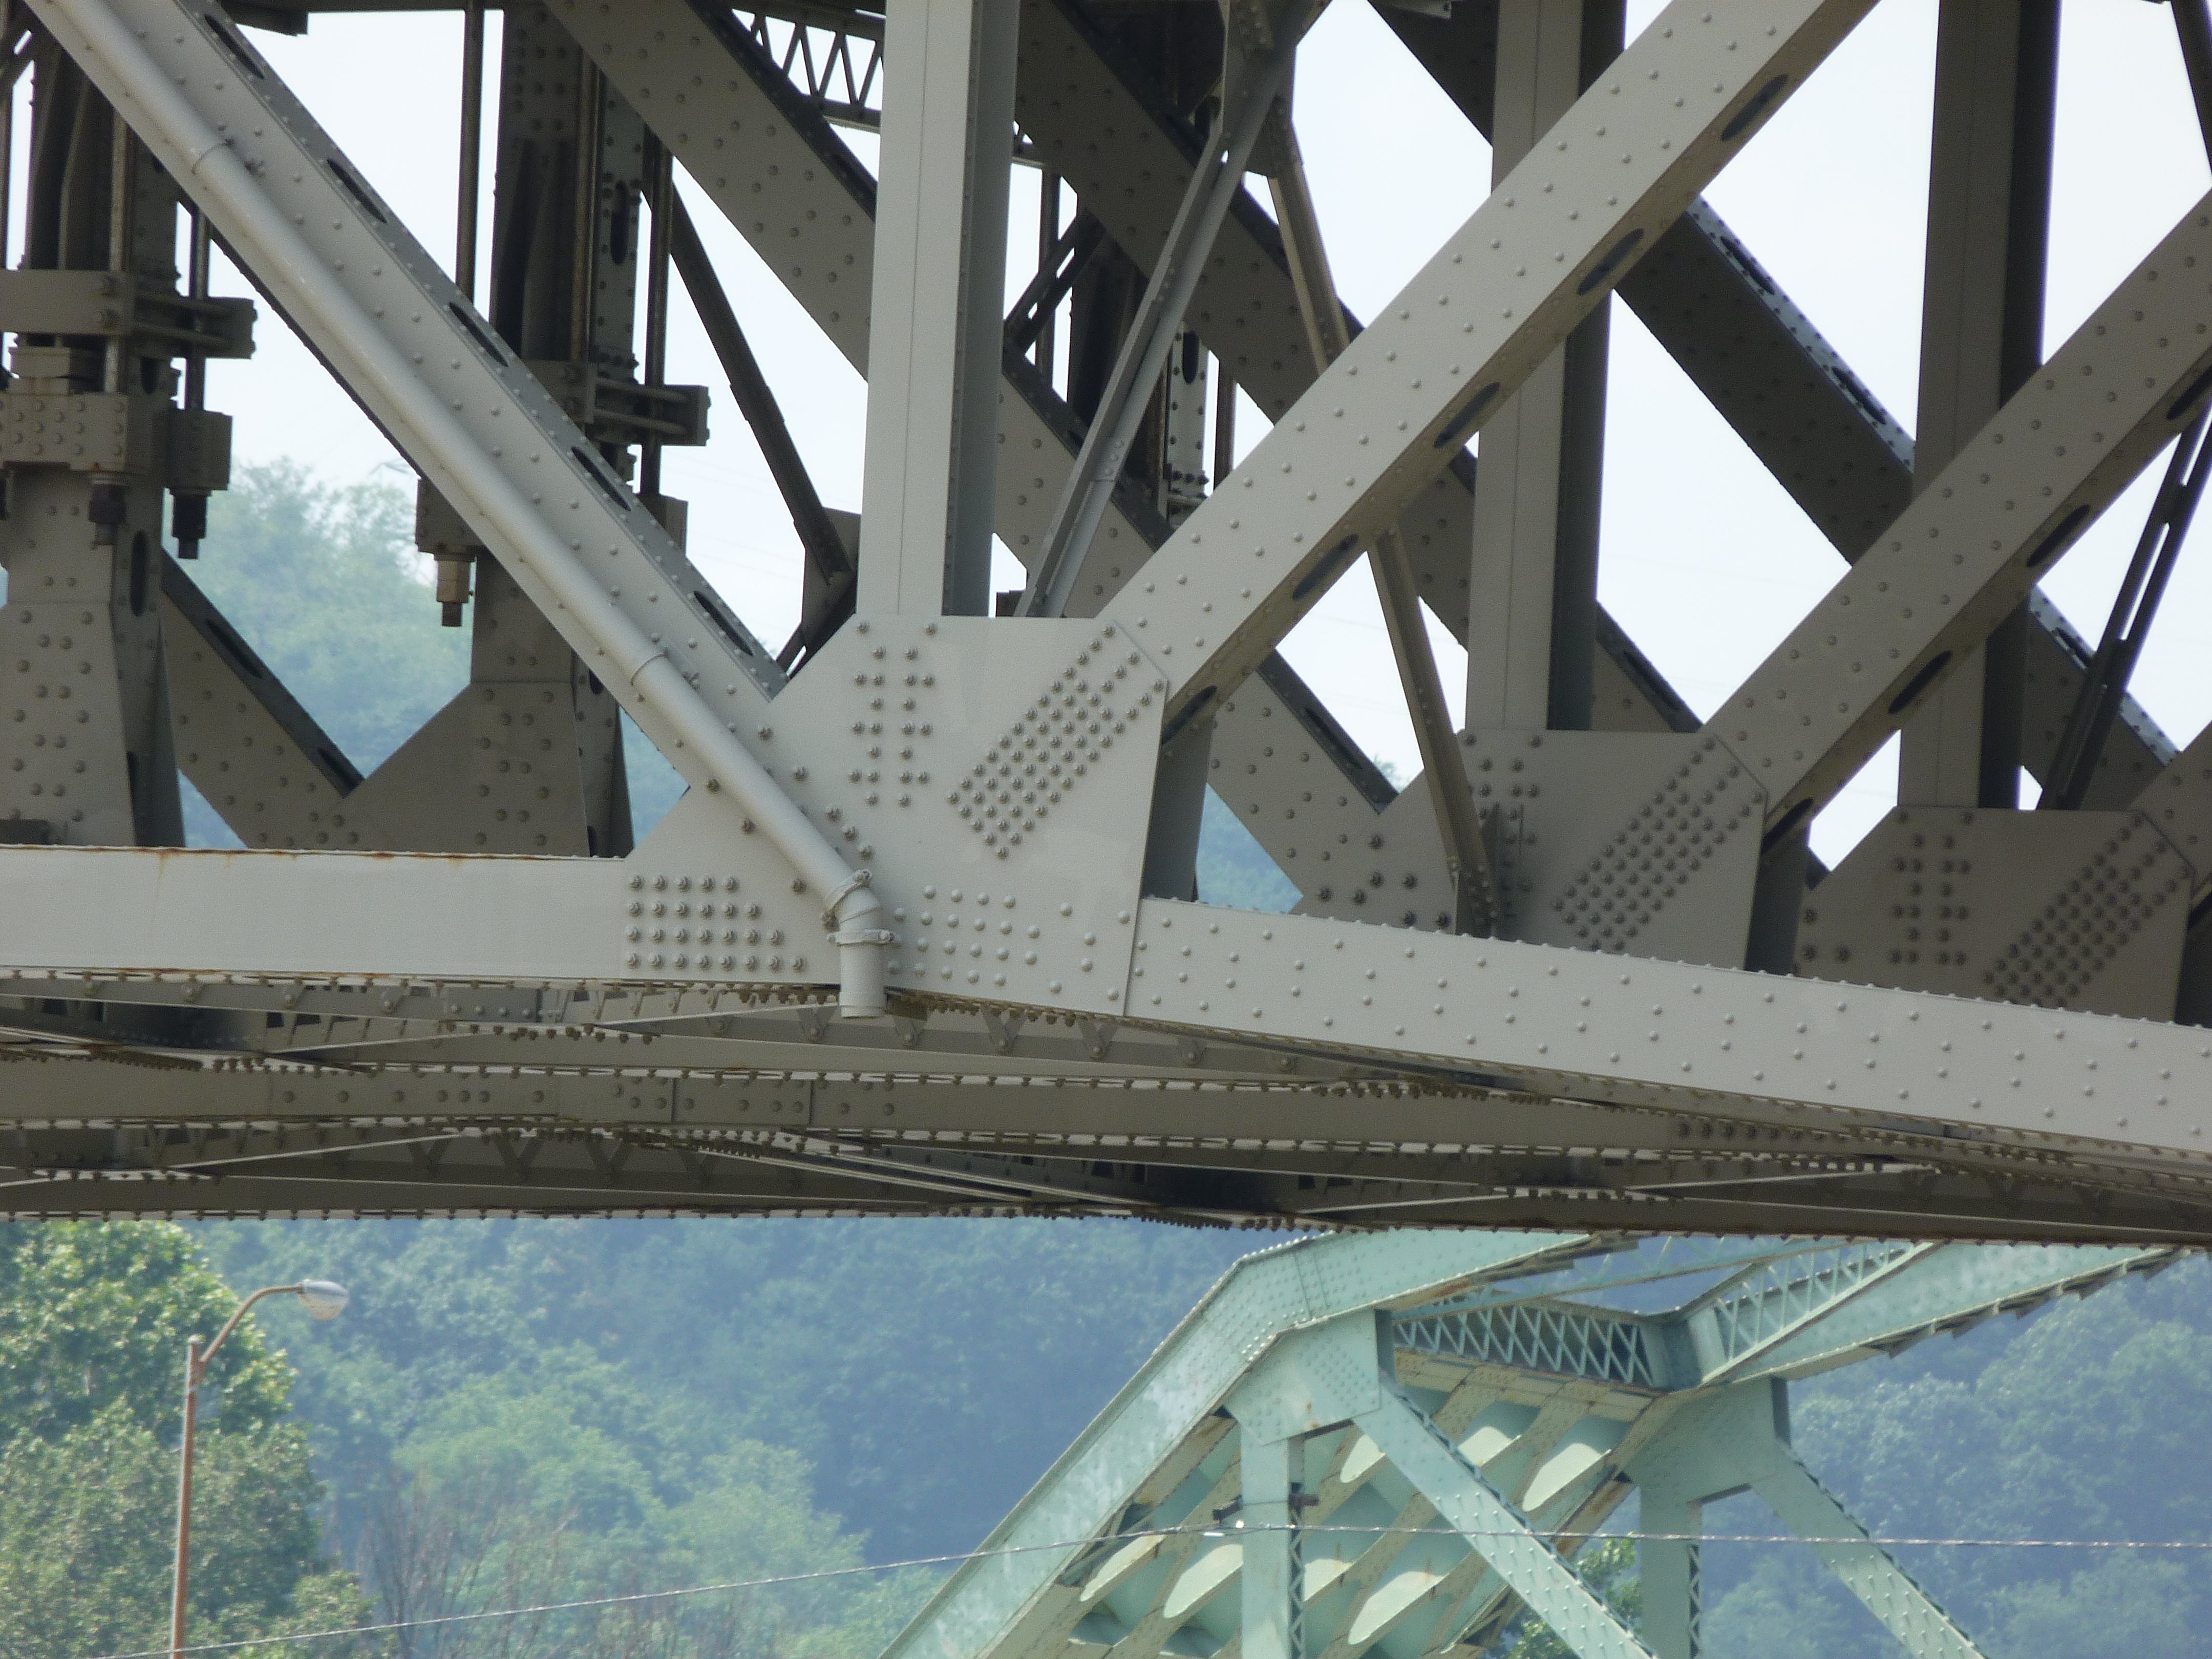
Top chord connections.
![]()
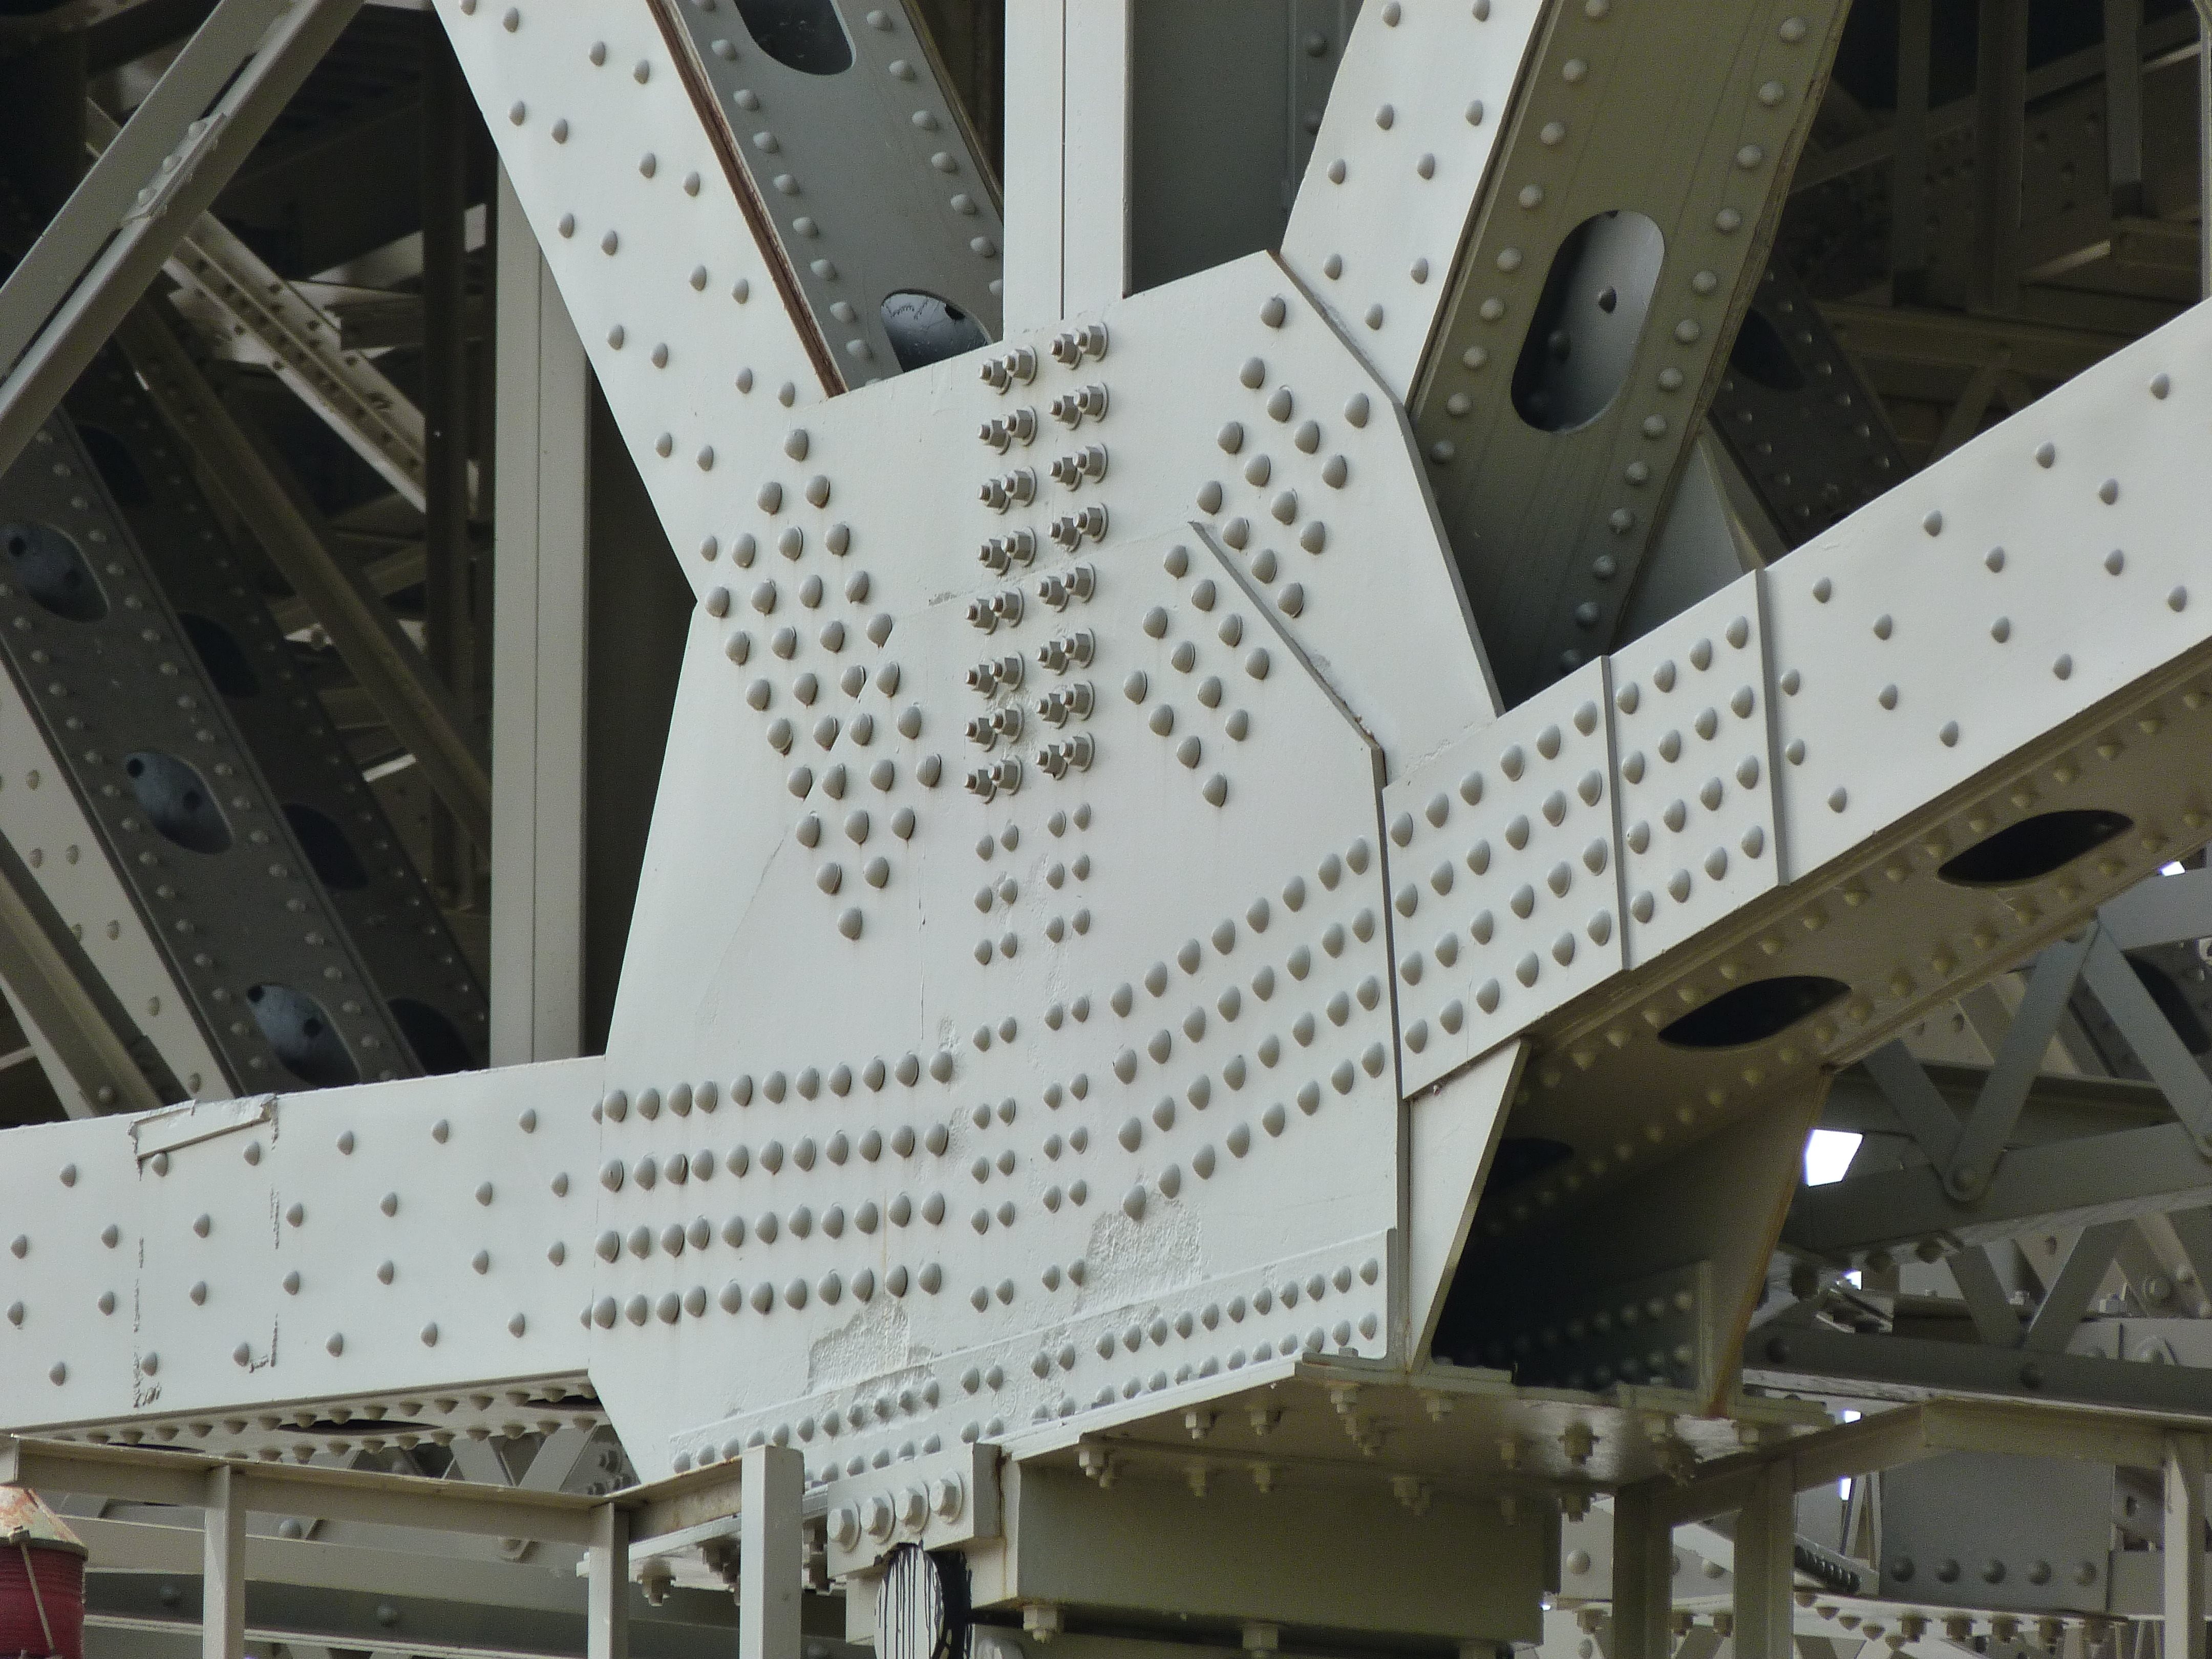
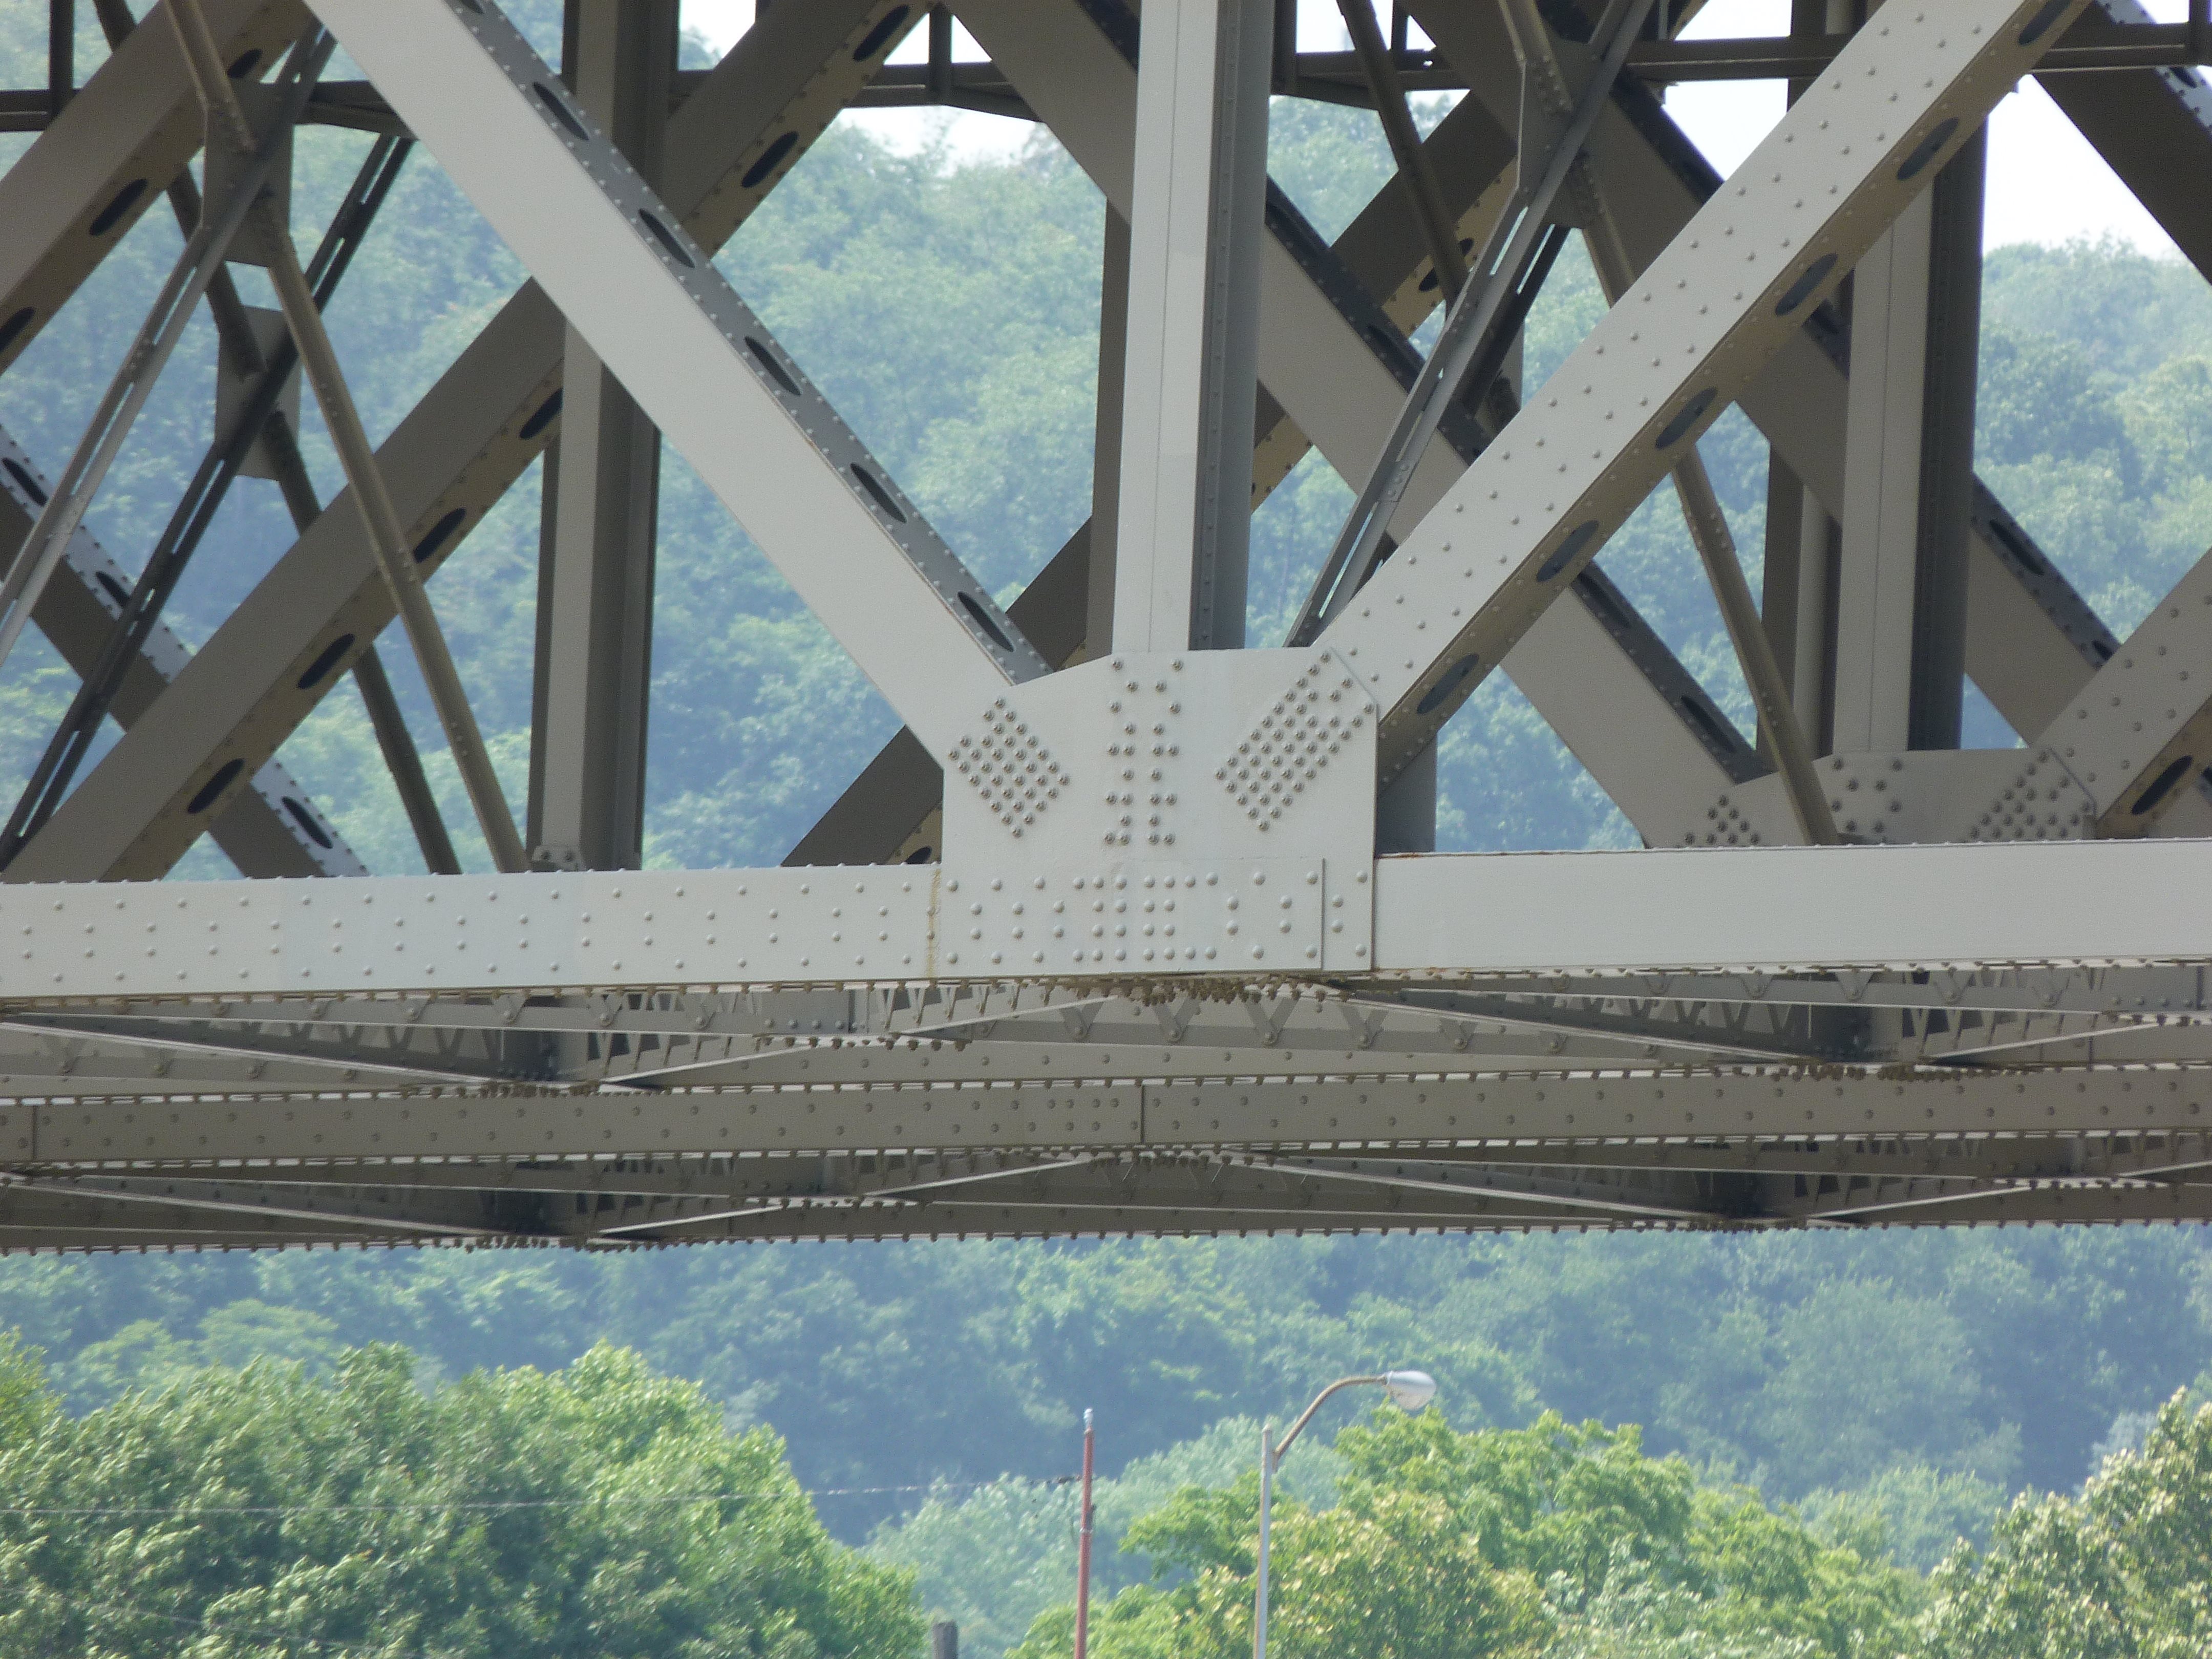
Bottom chord connections.
![]()
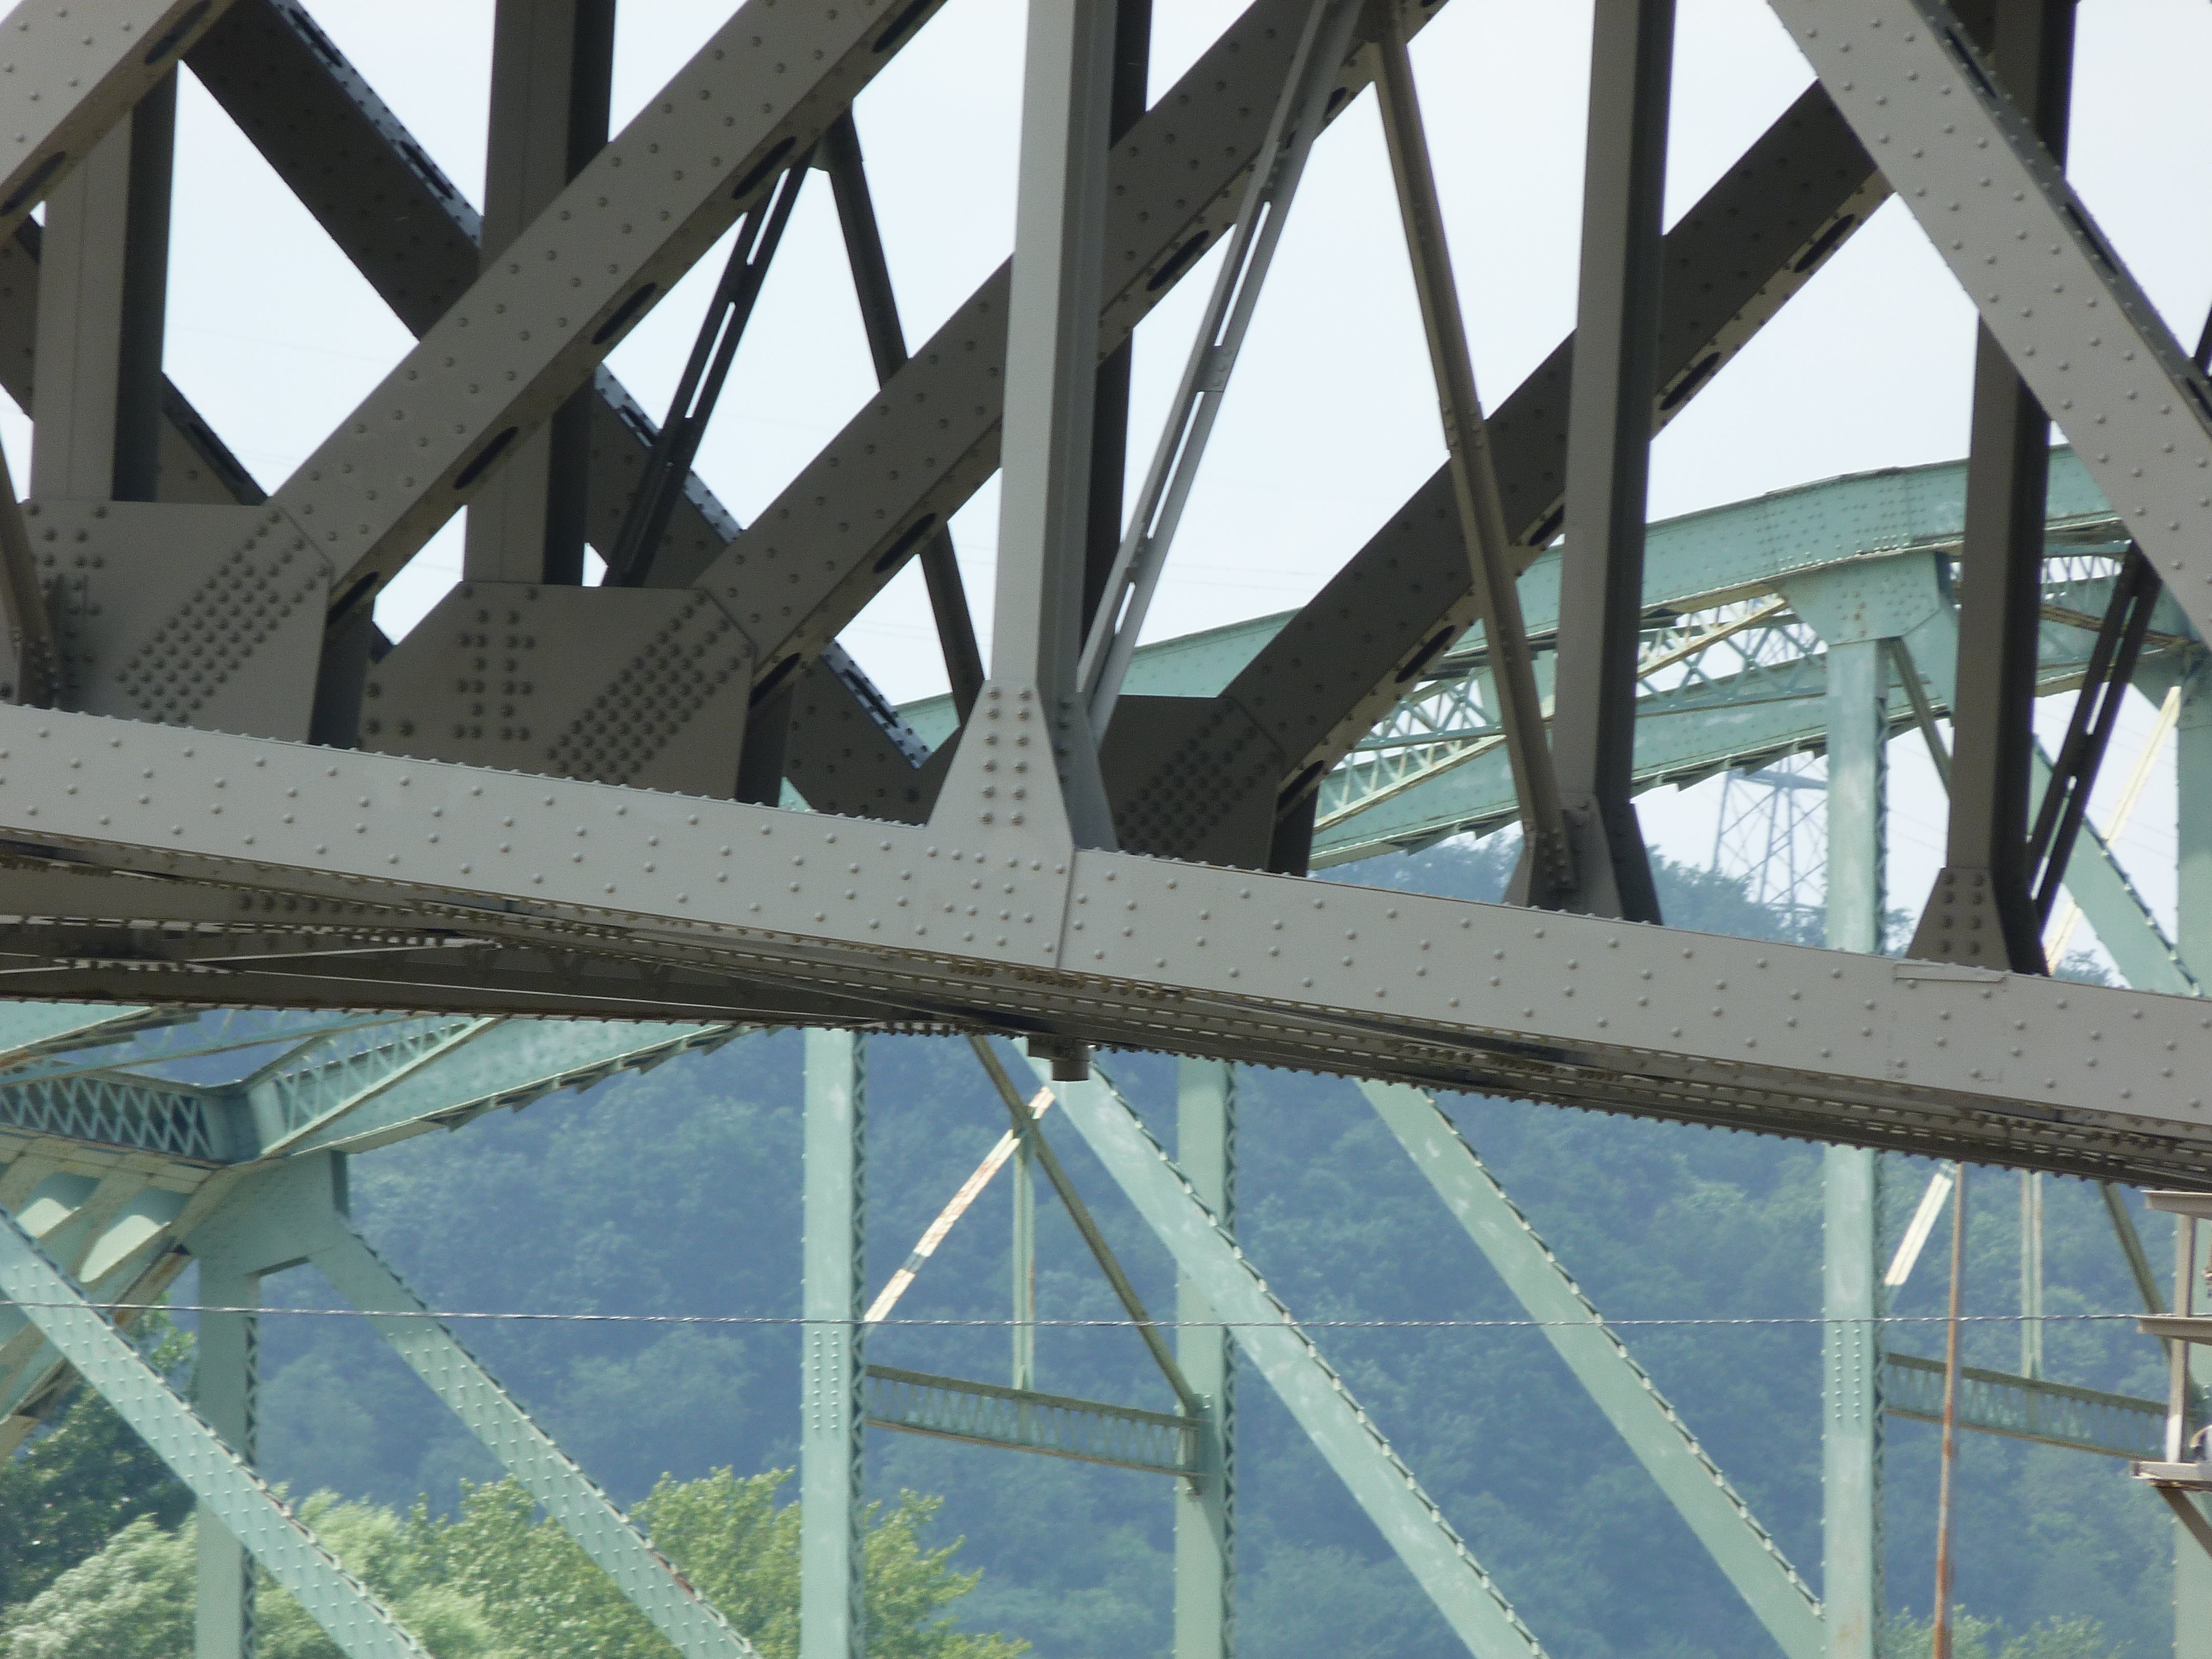
Top chord.
![]()
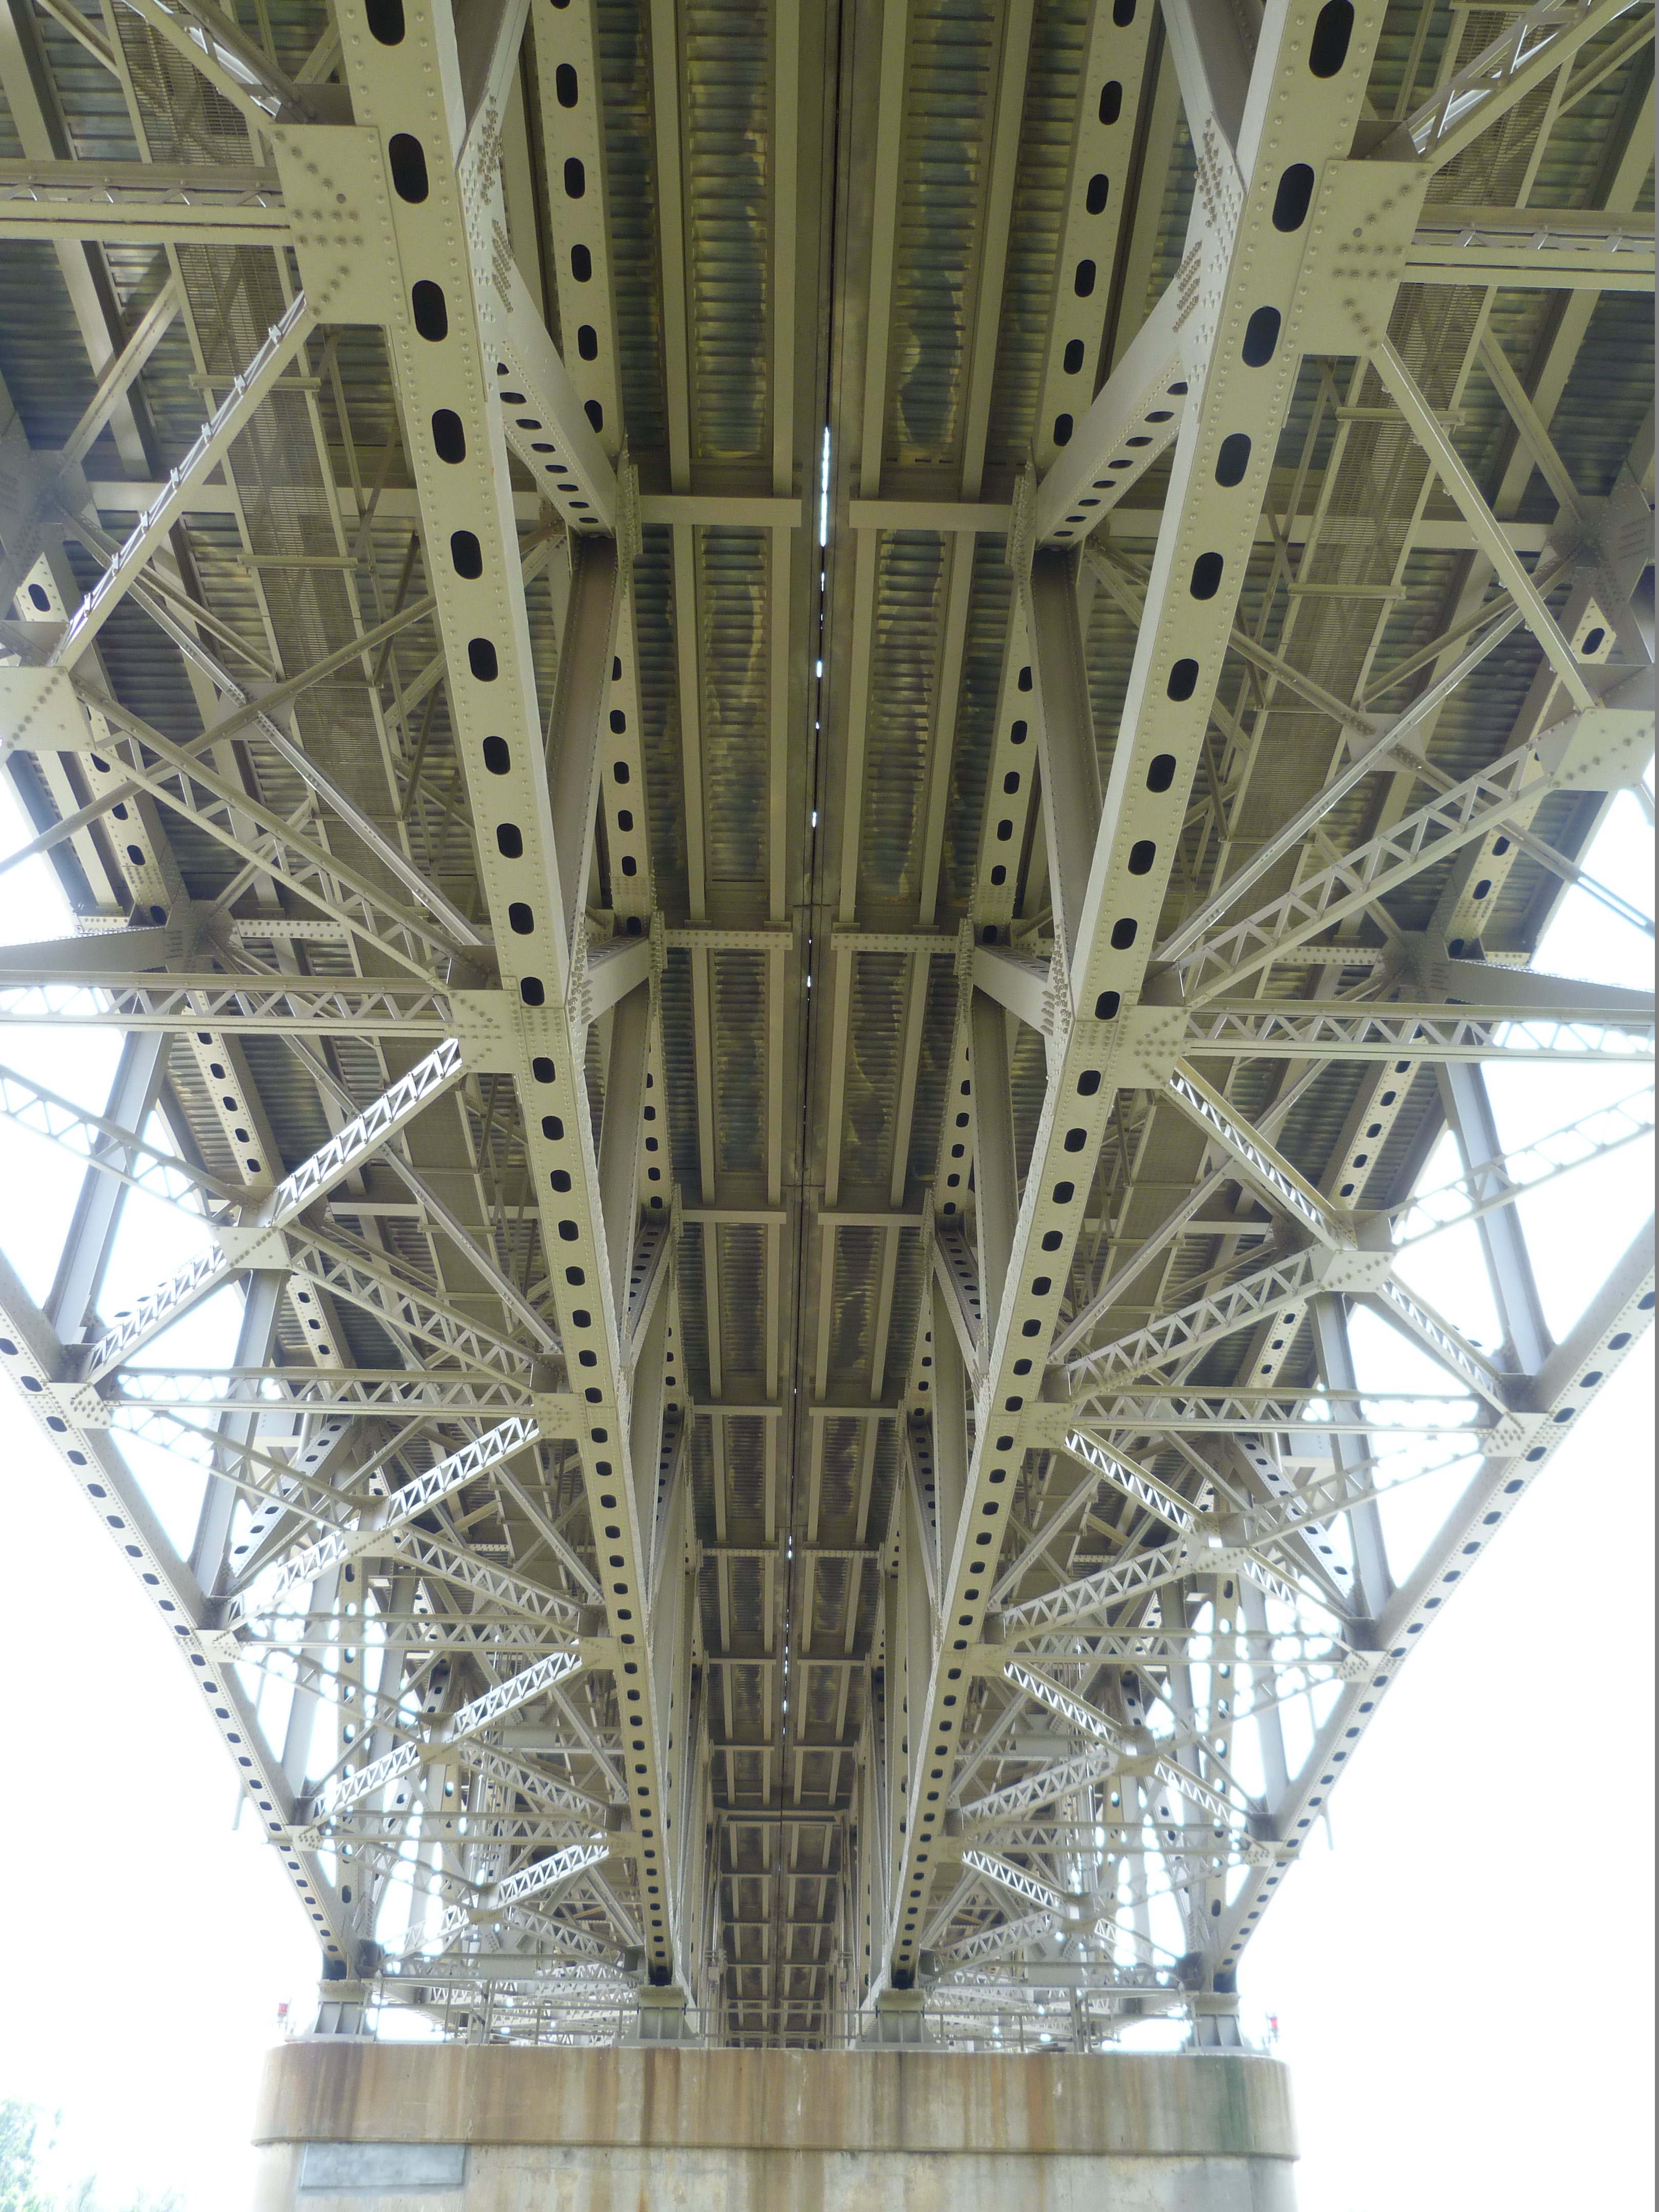
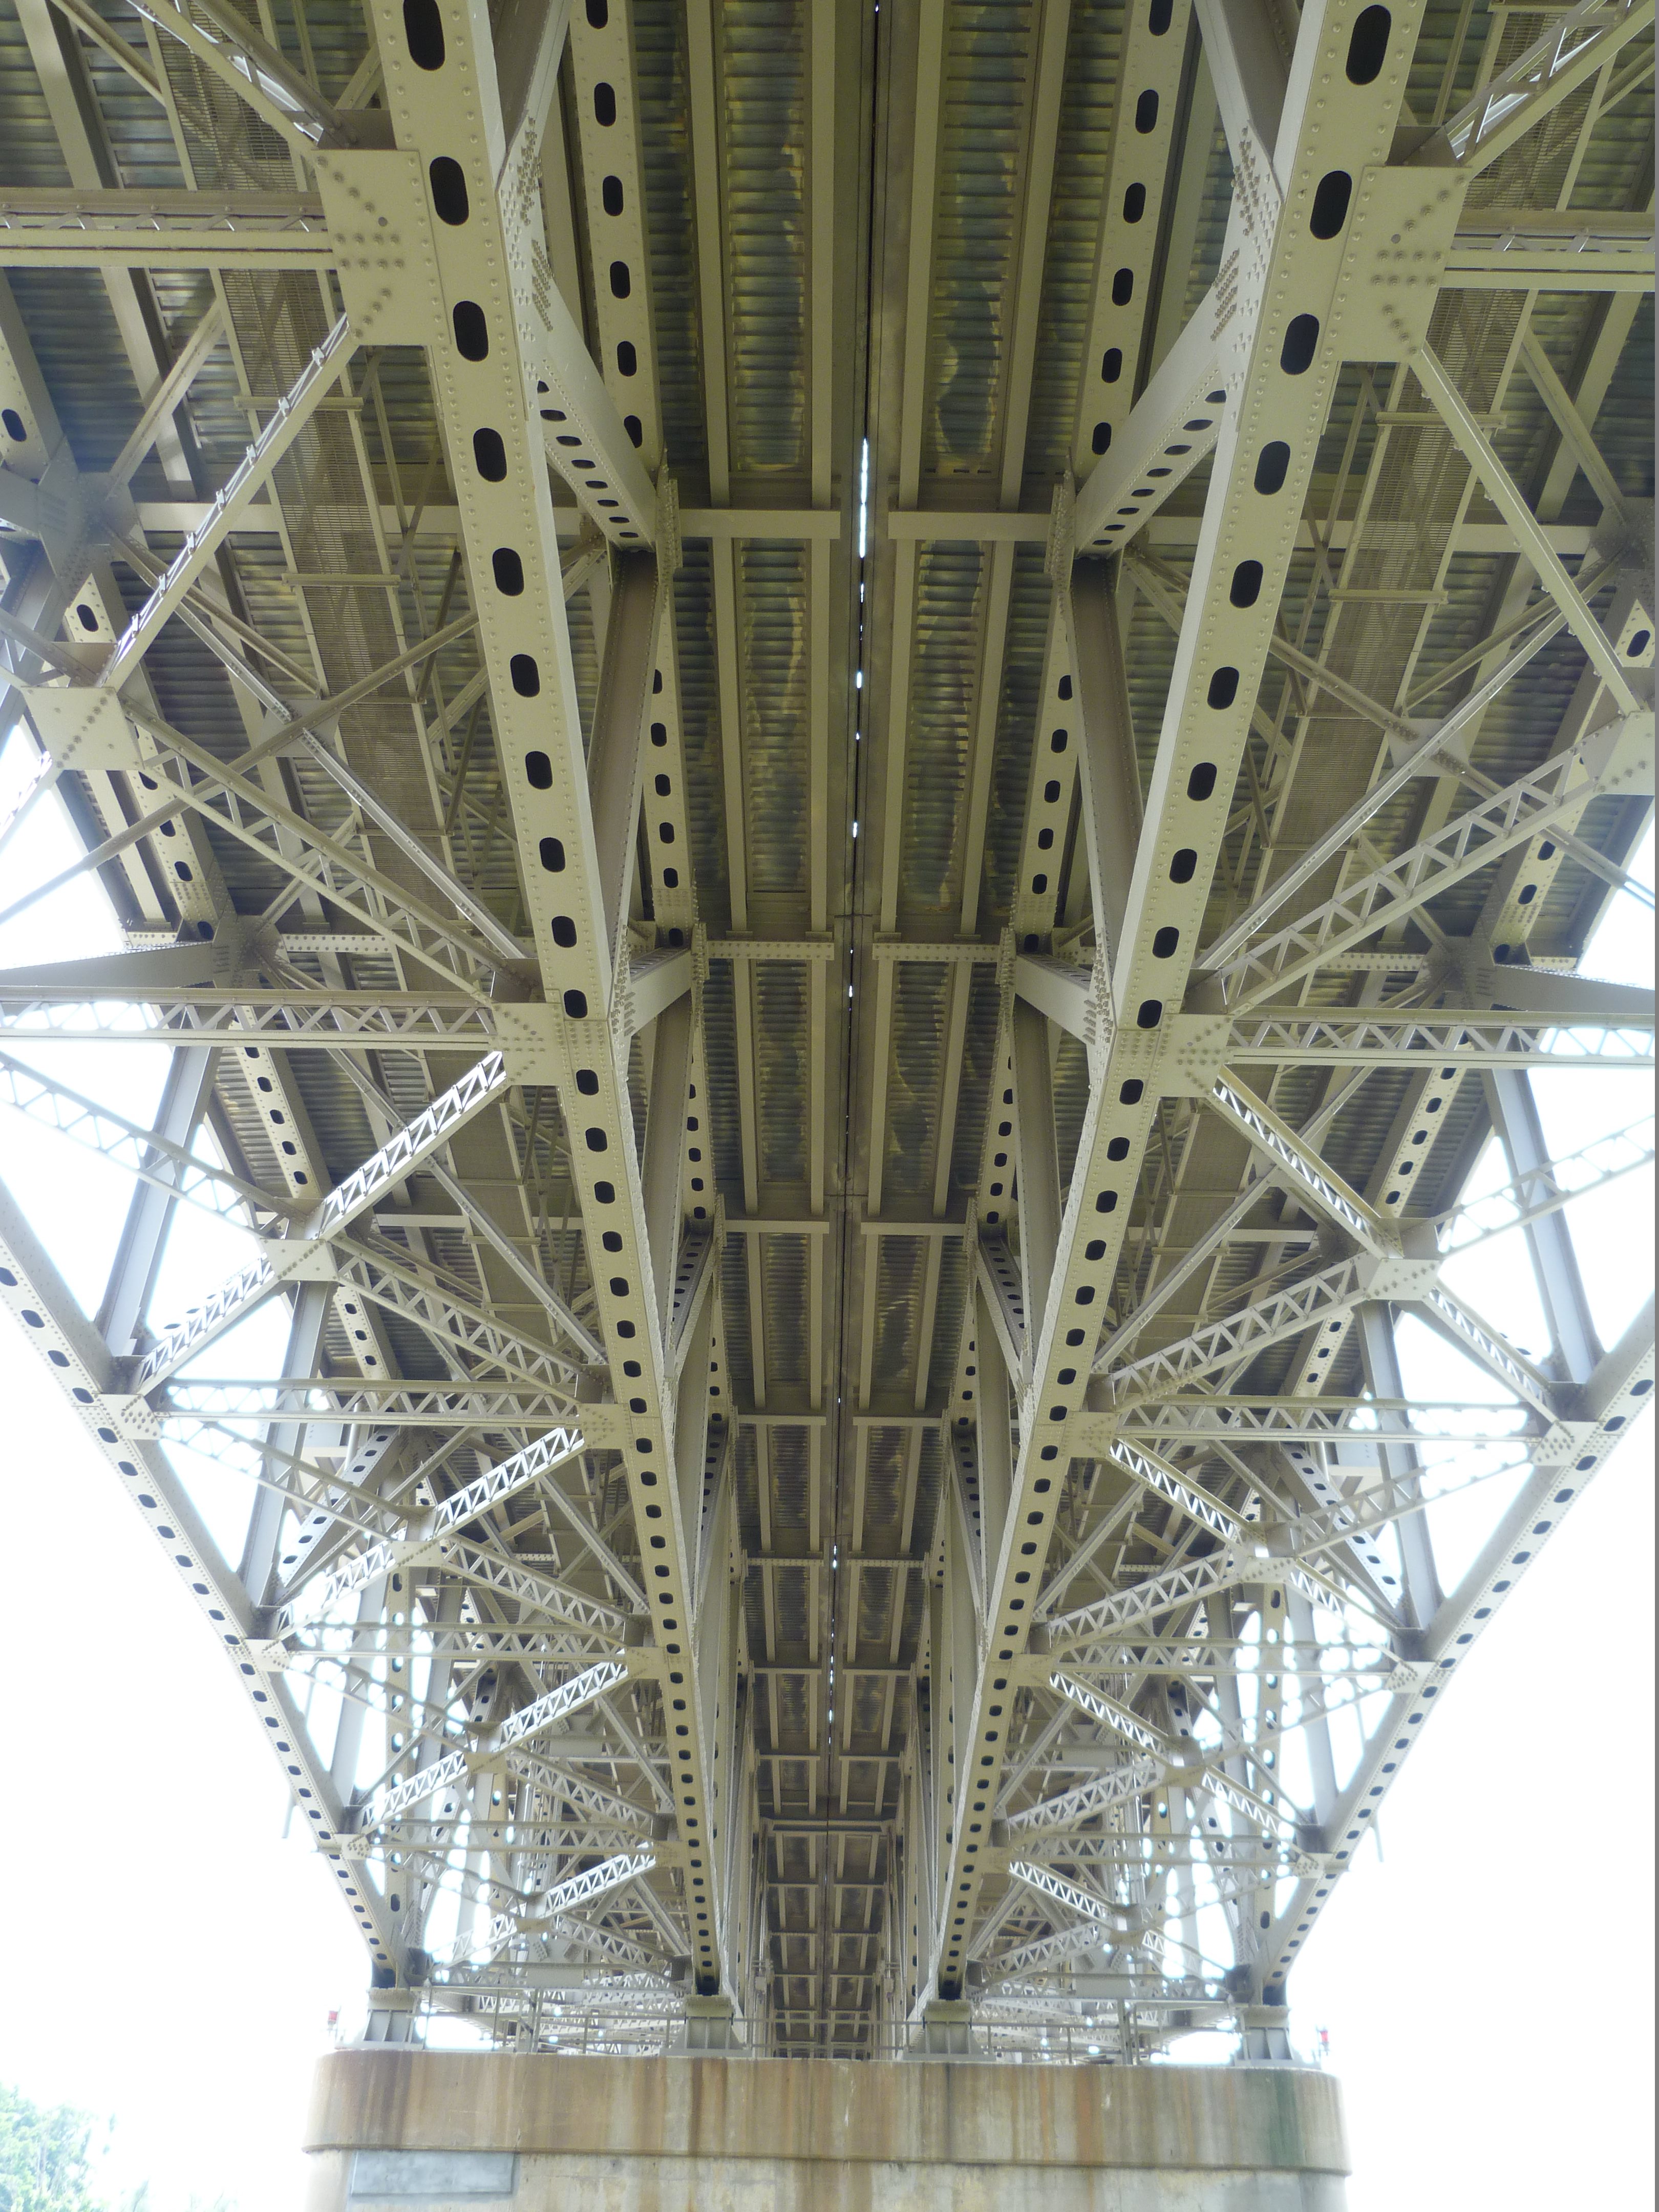
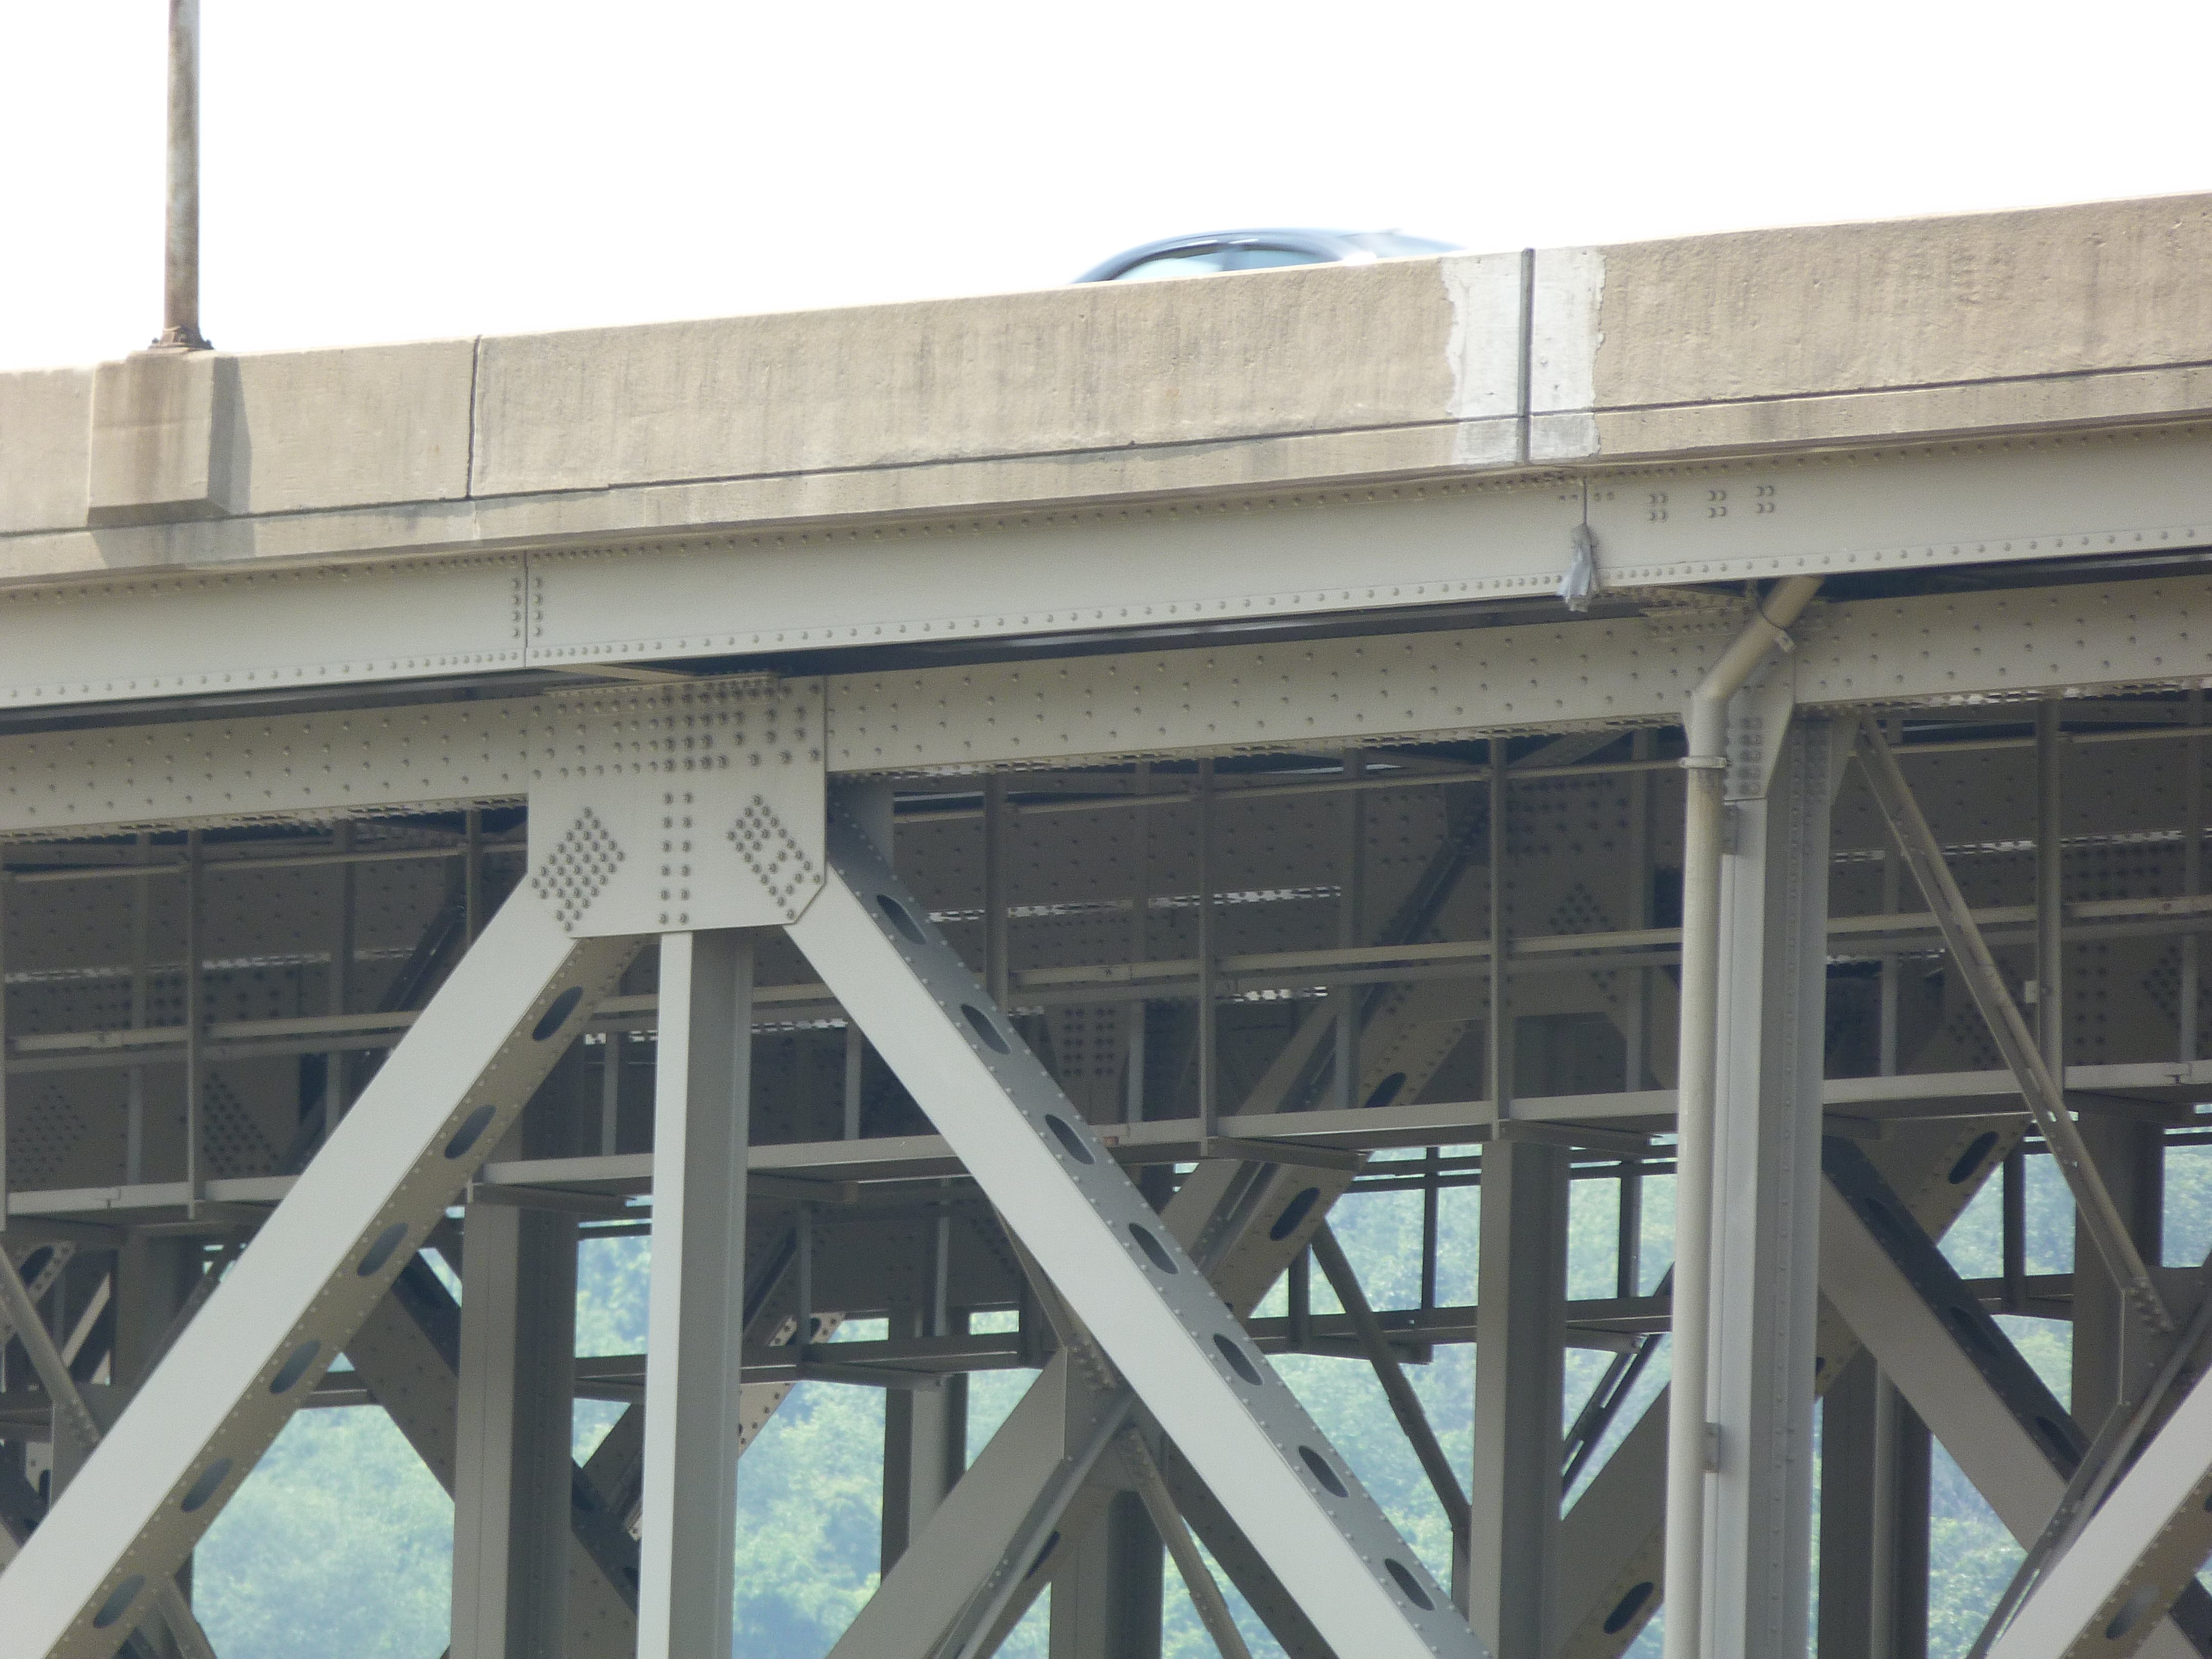
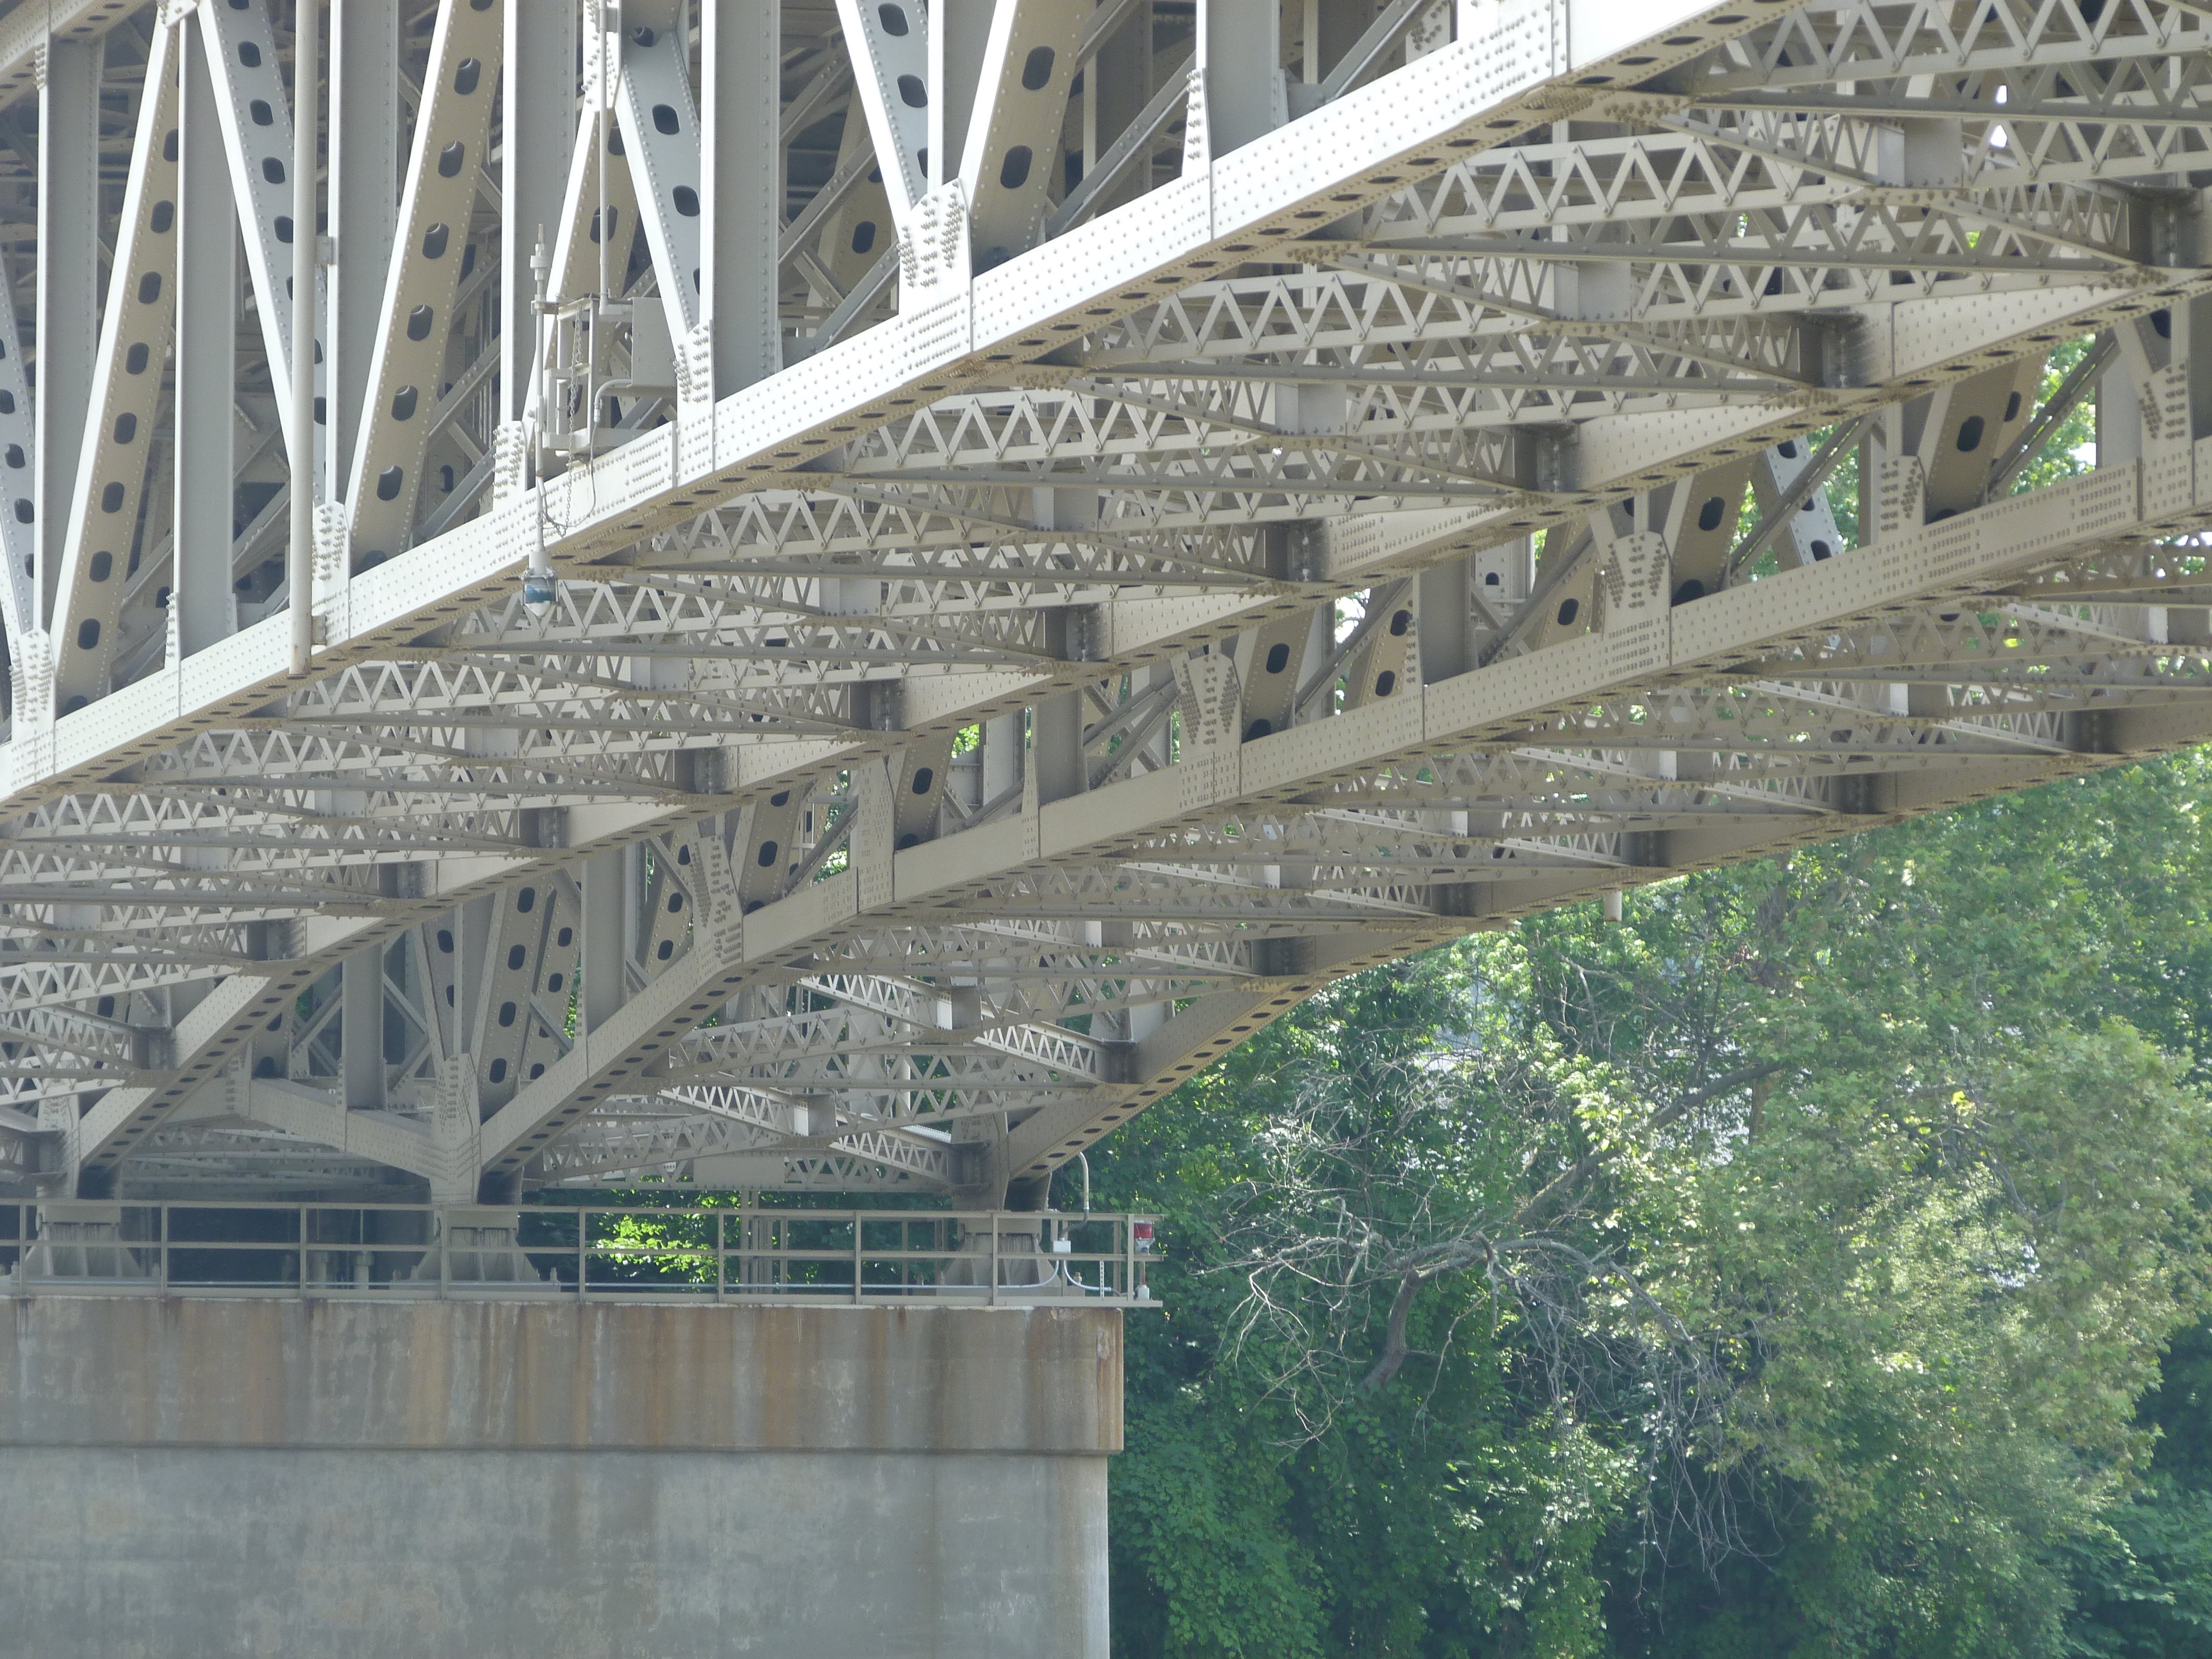
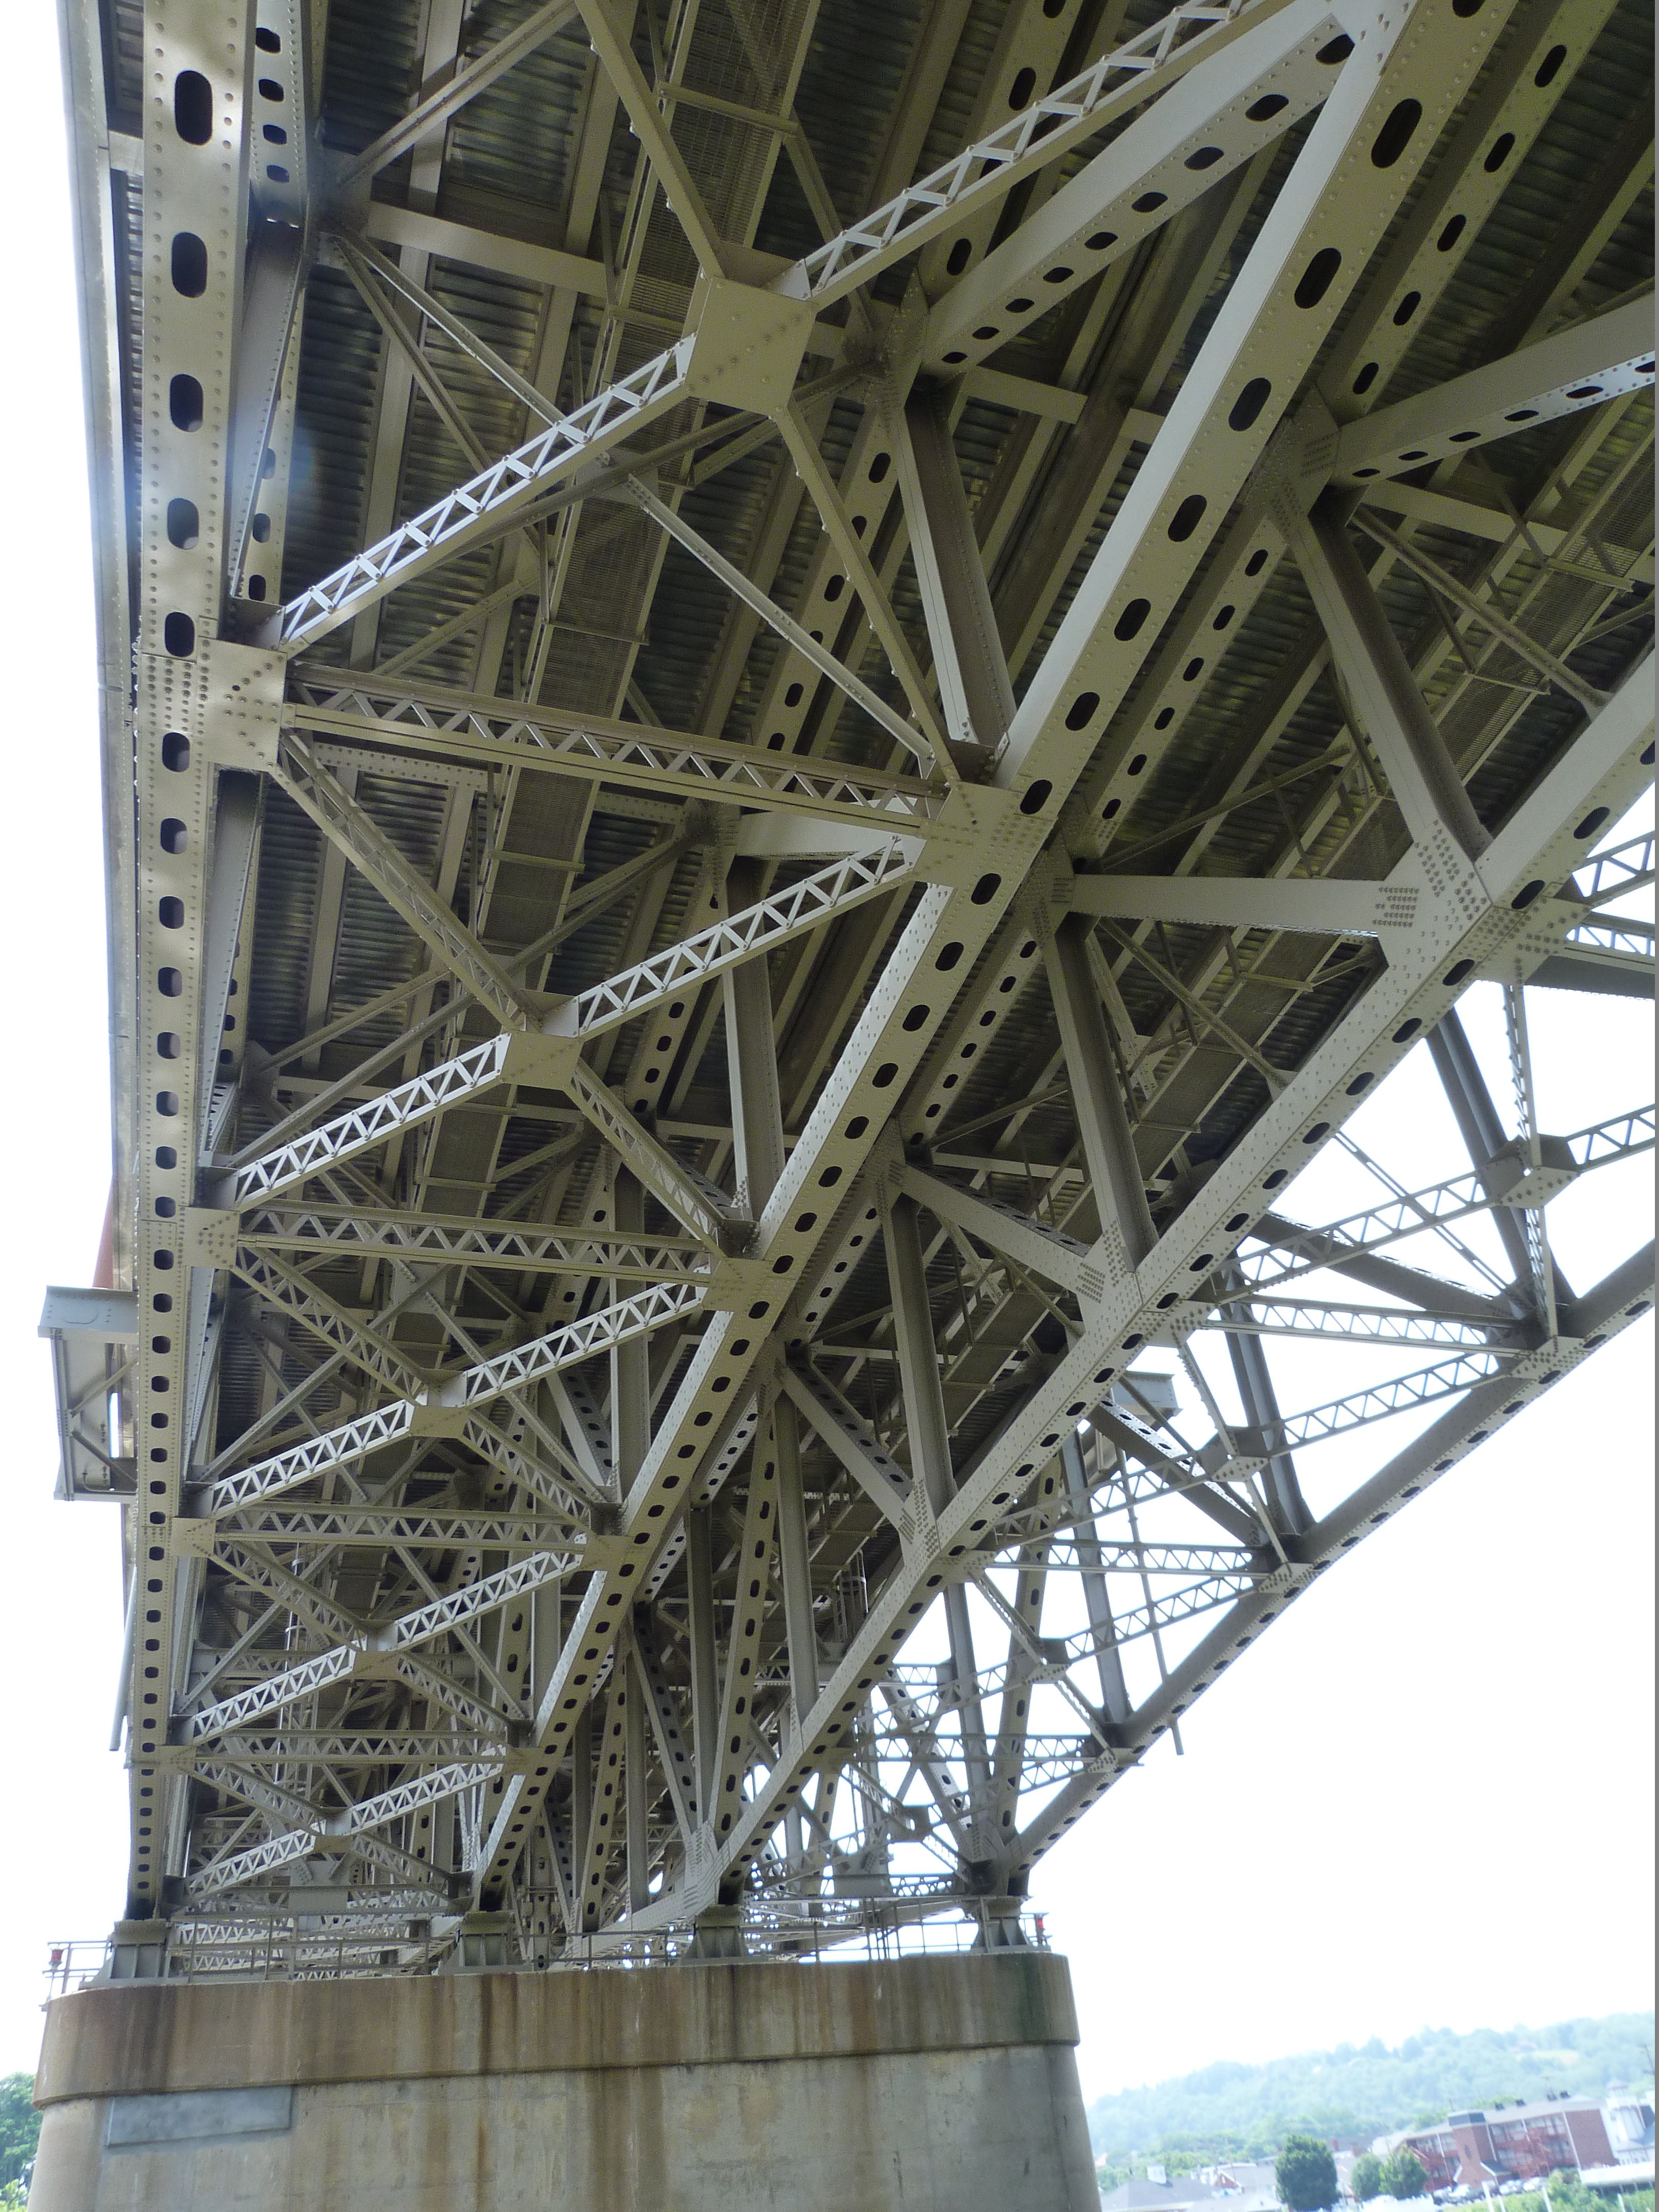
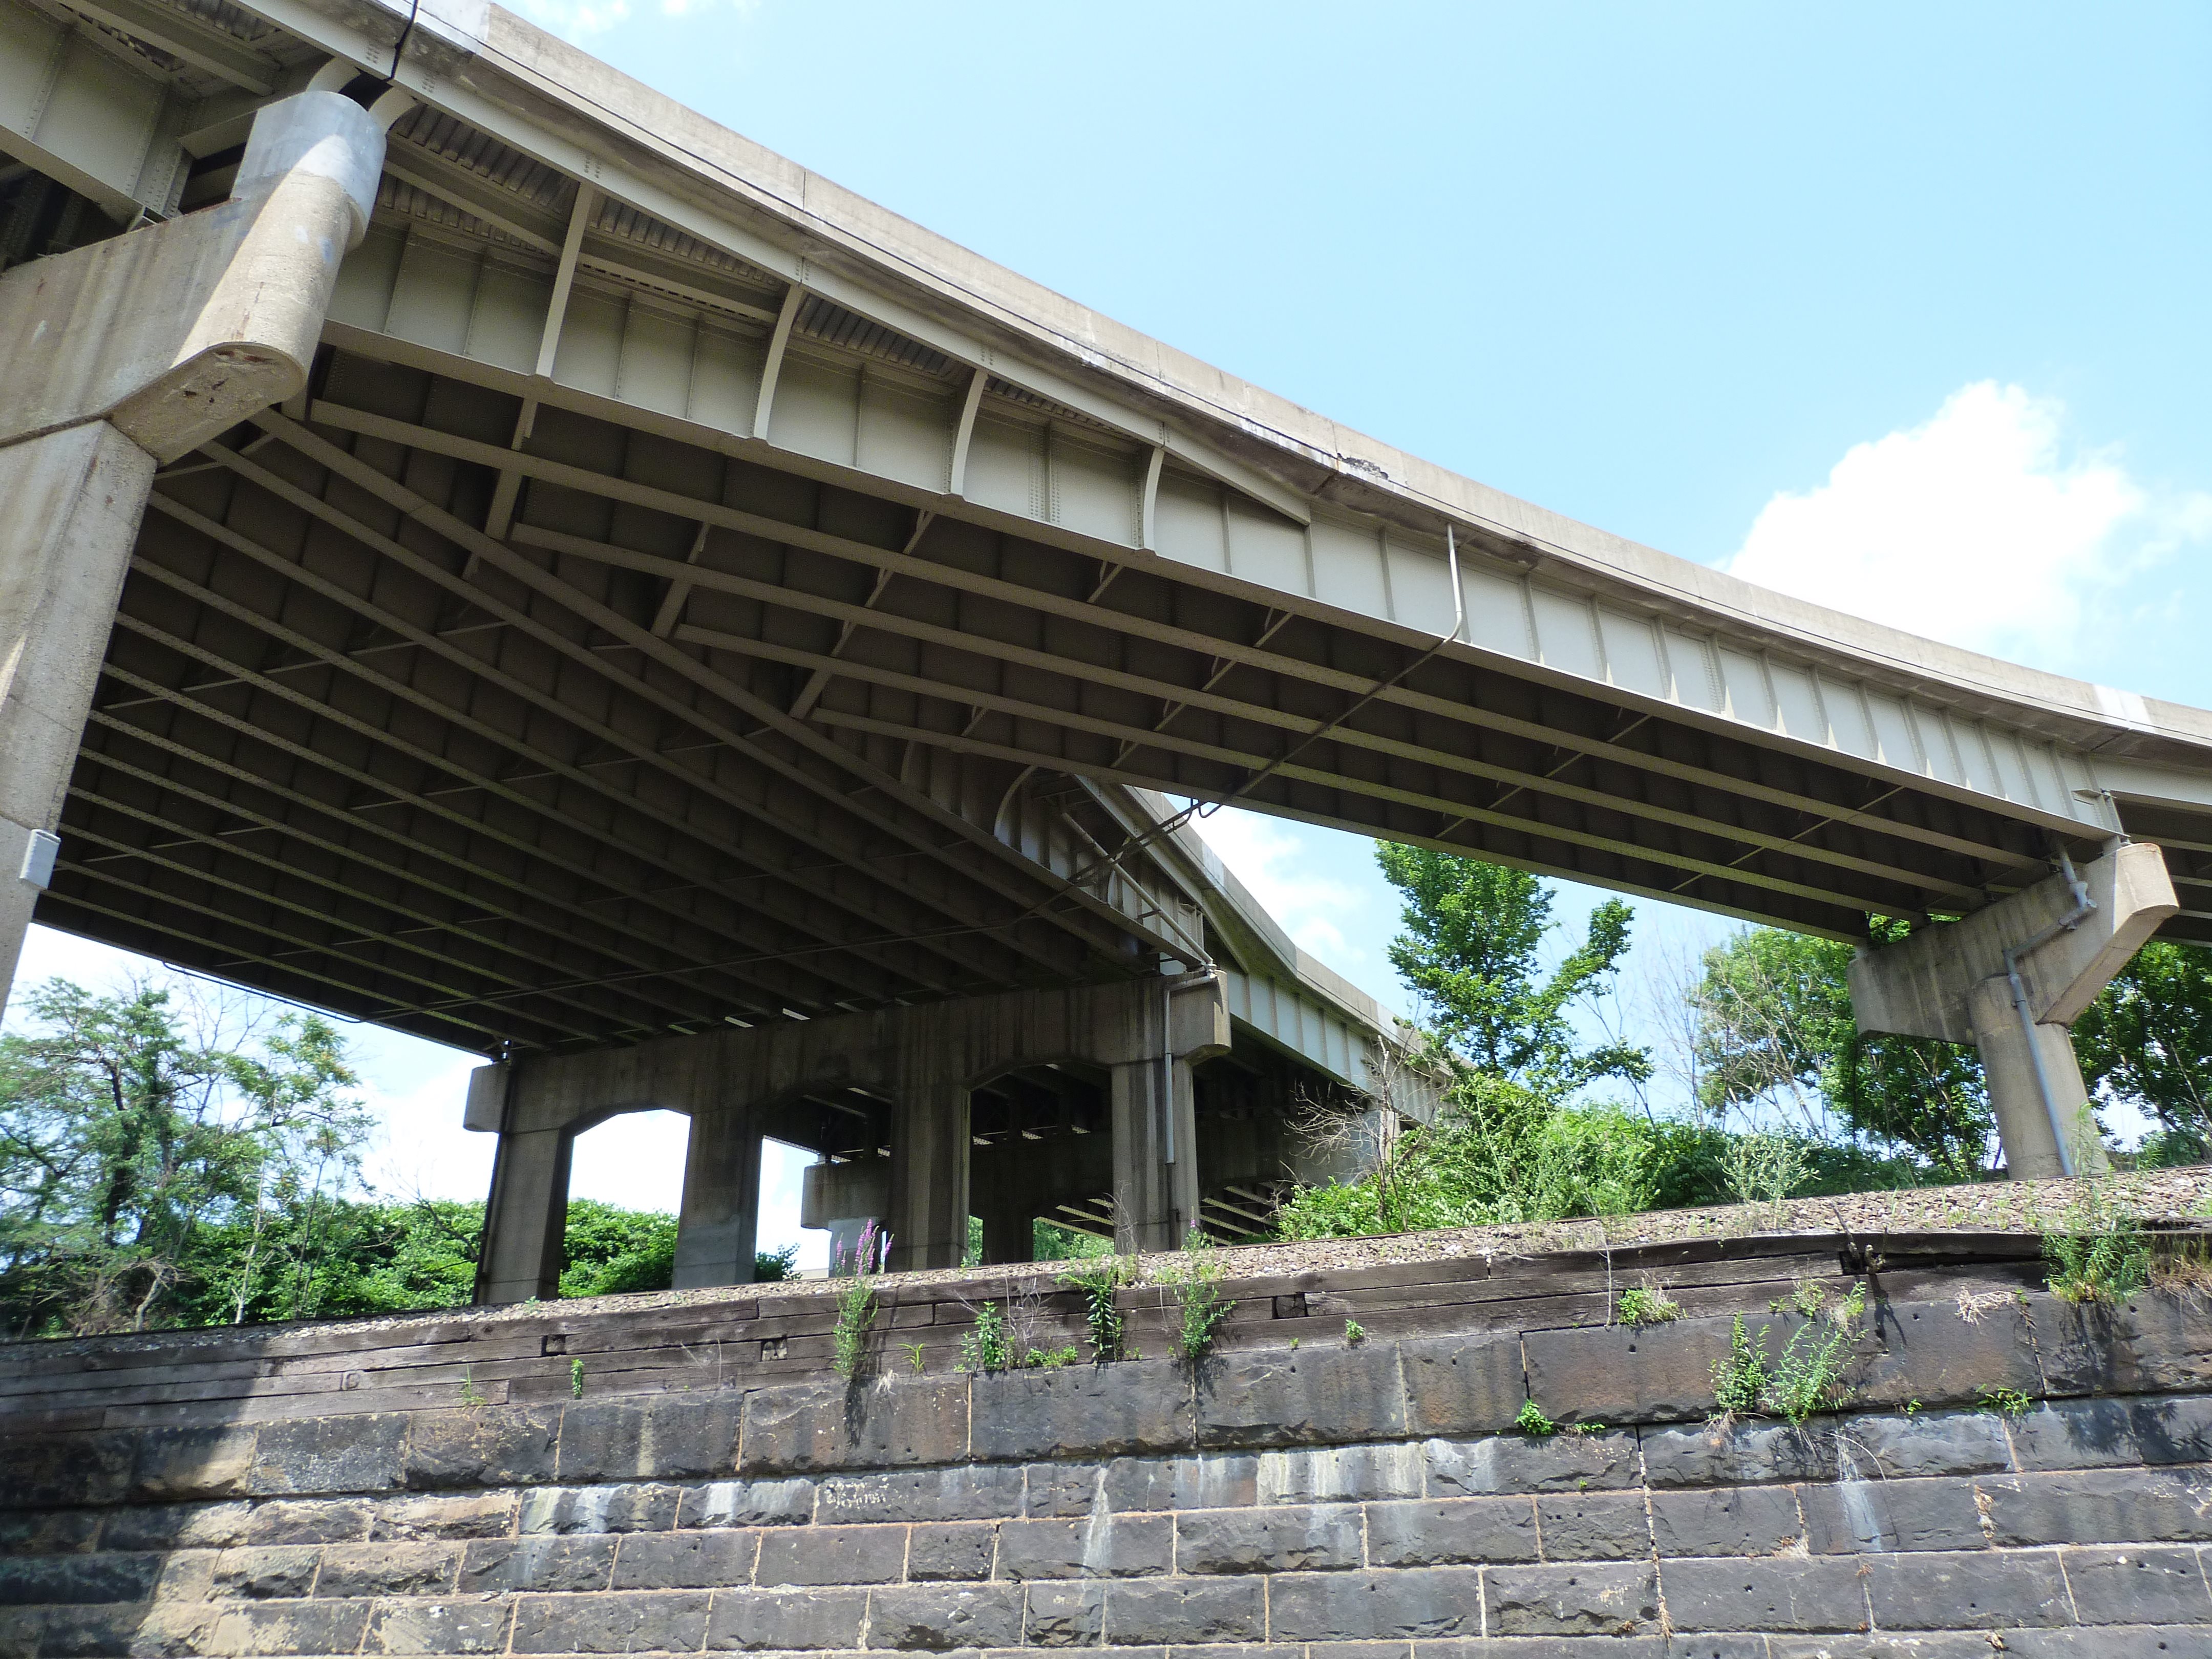
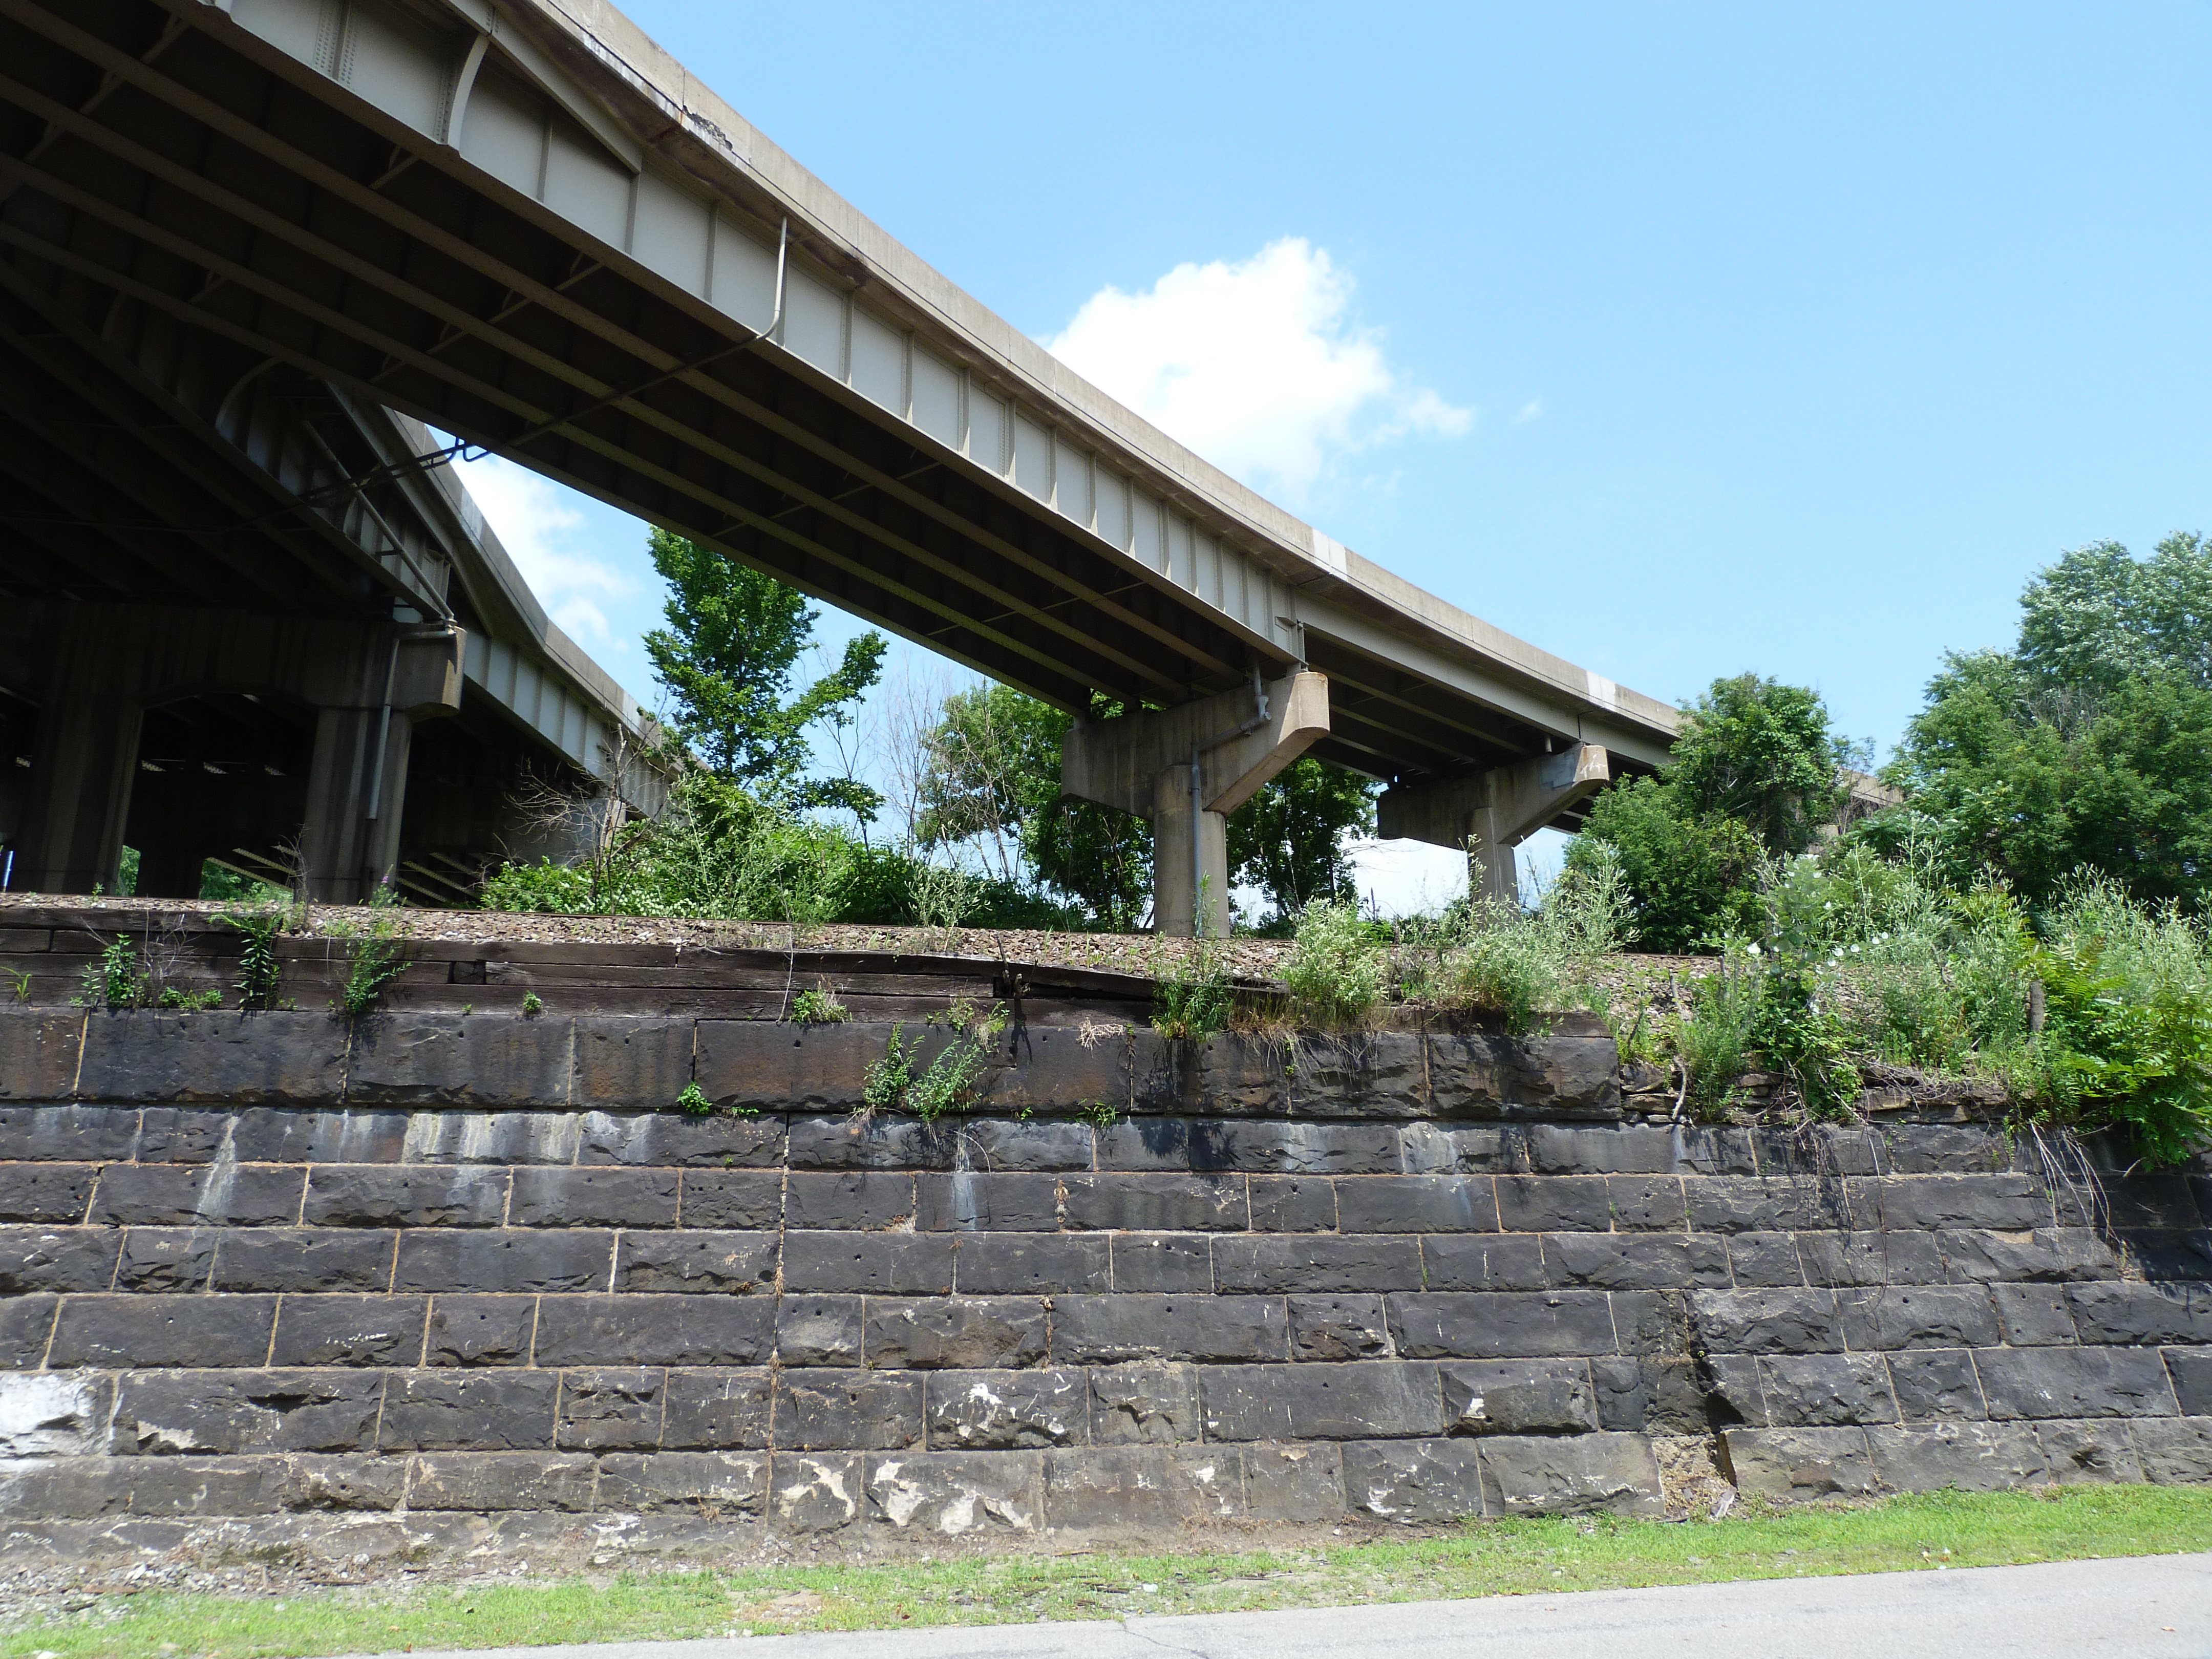
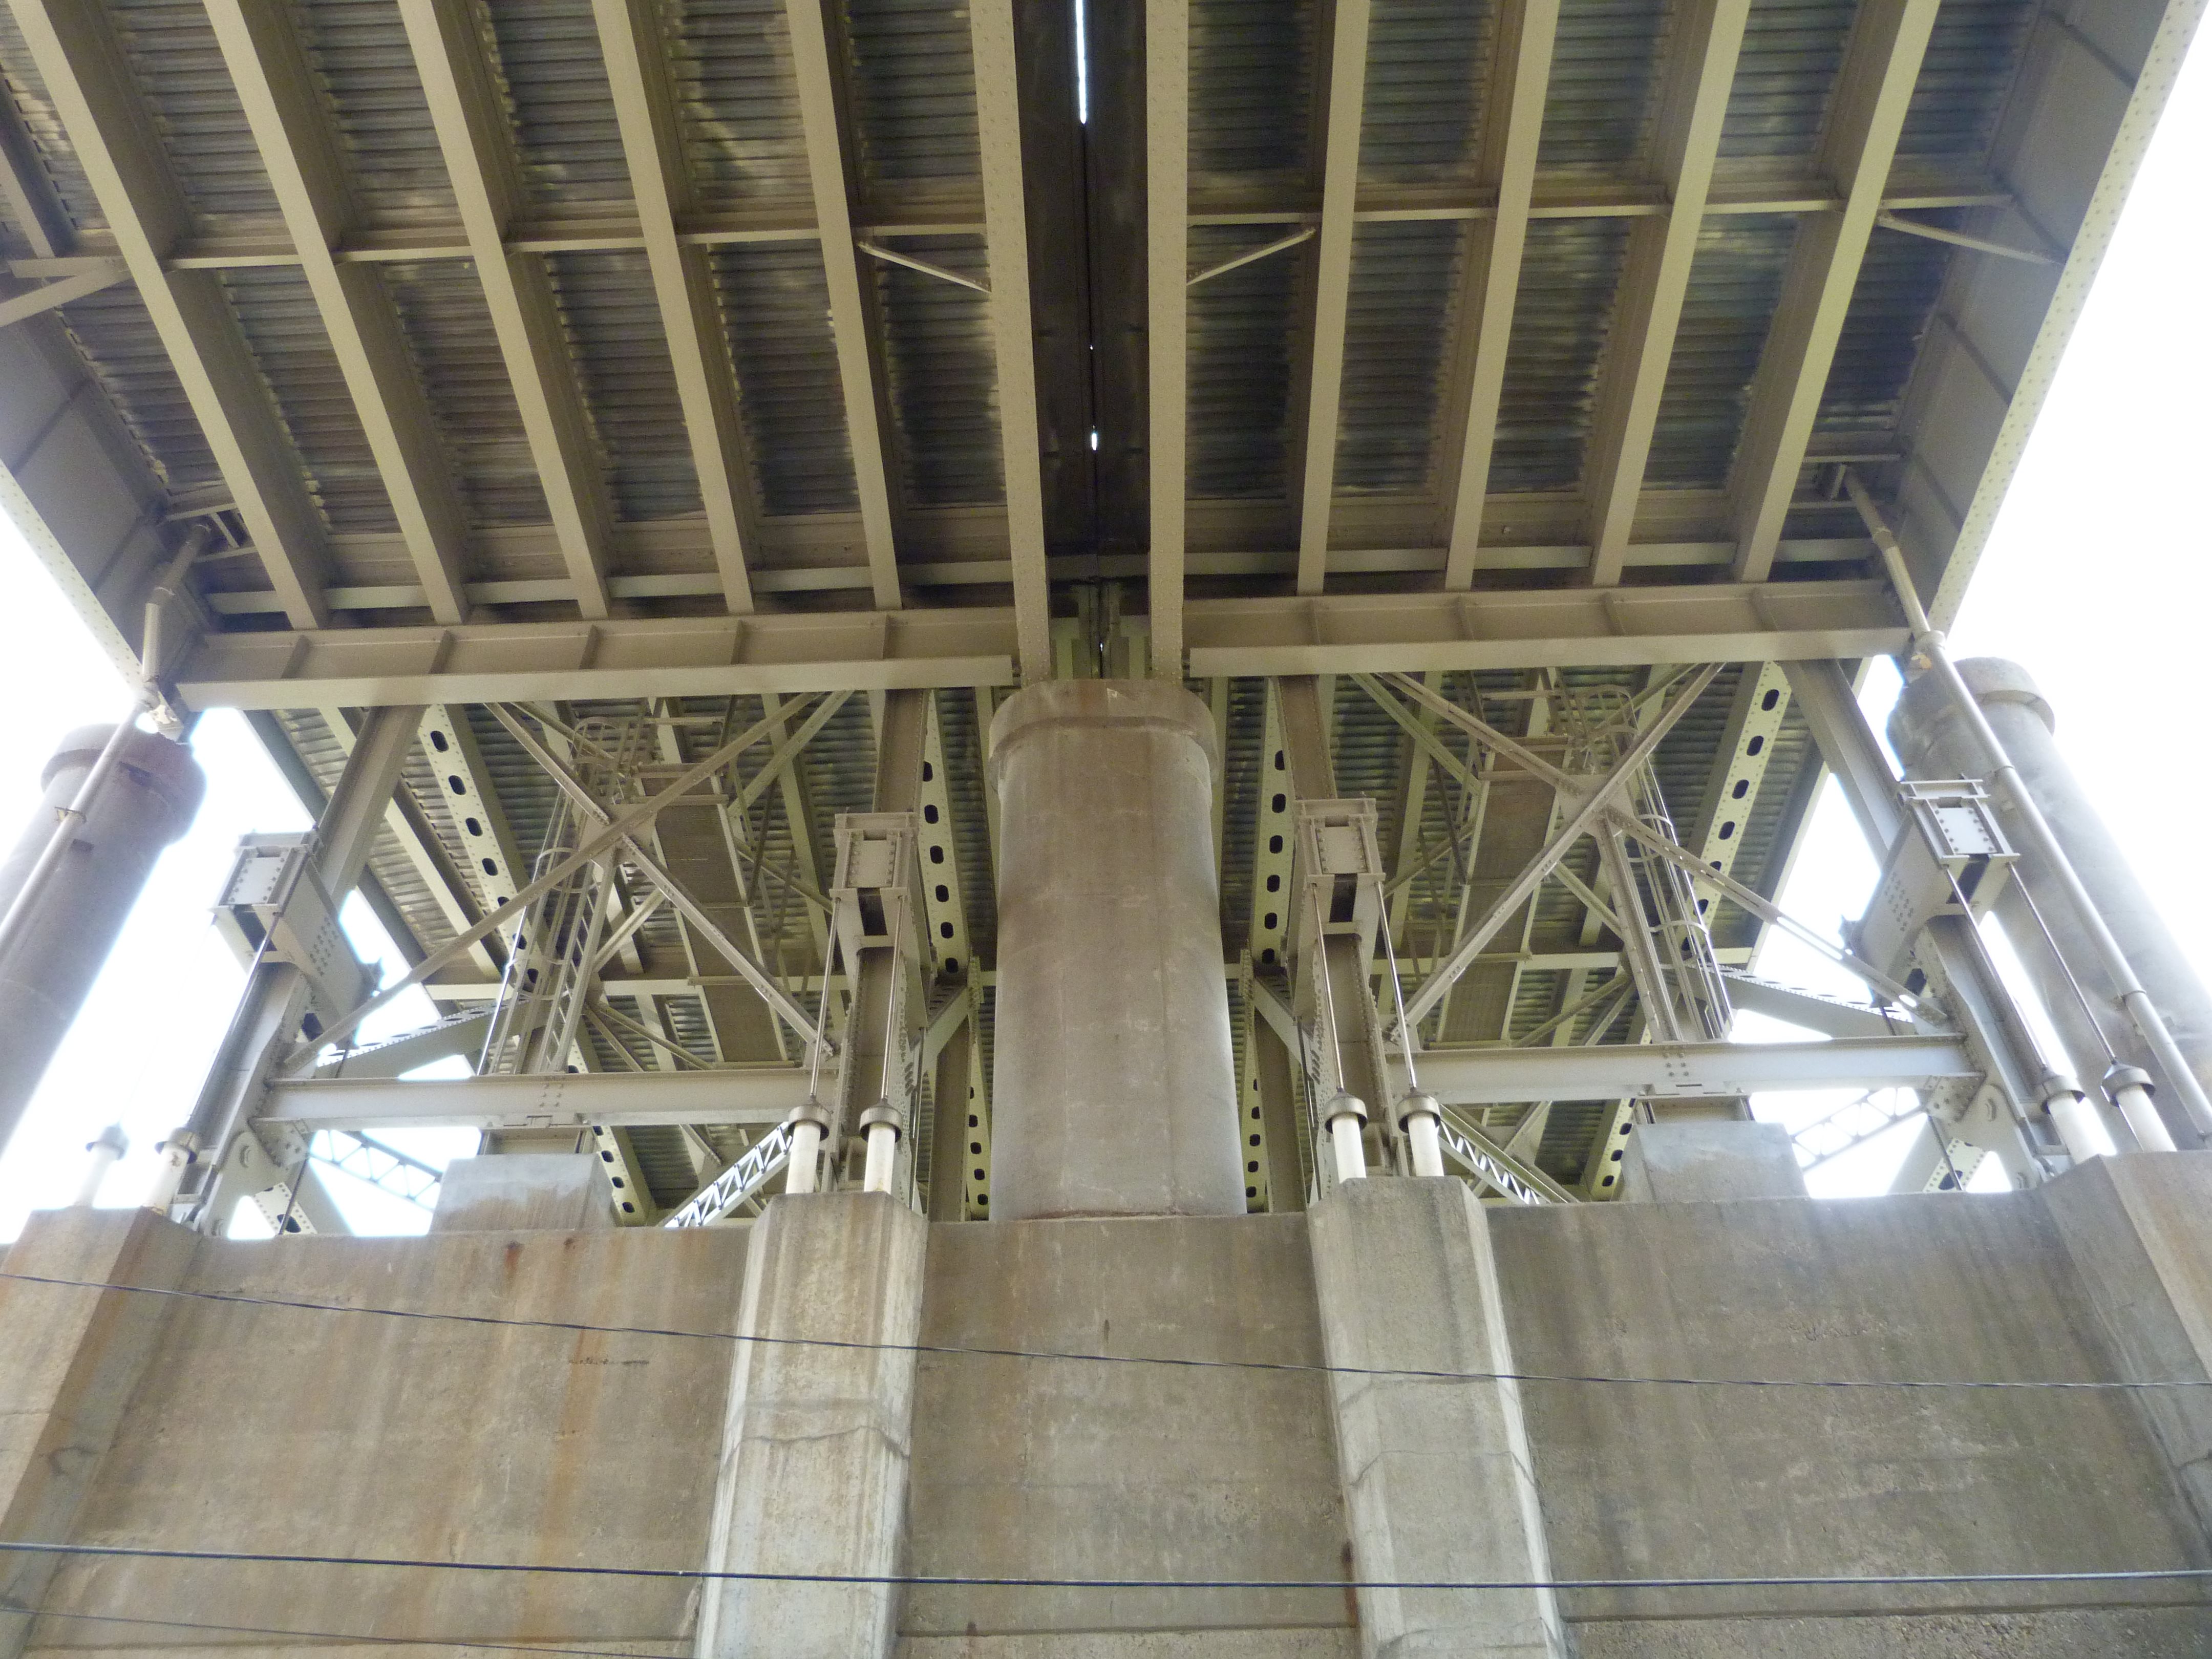
Views under bridge showing how bridge is composed of two parallel superstructures. If you look close, you will even see a gap in the deck, with light coming through.
![]()
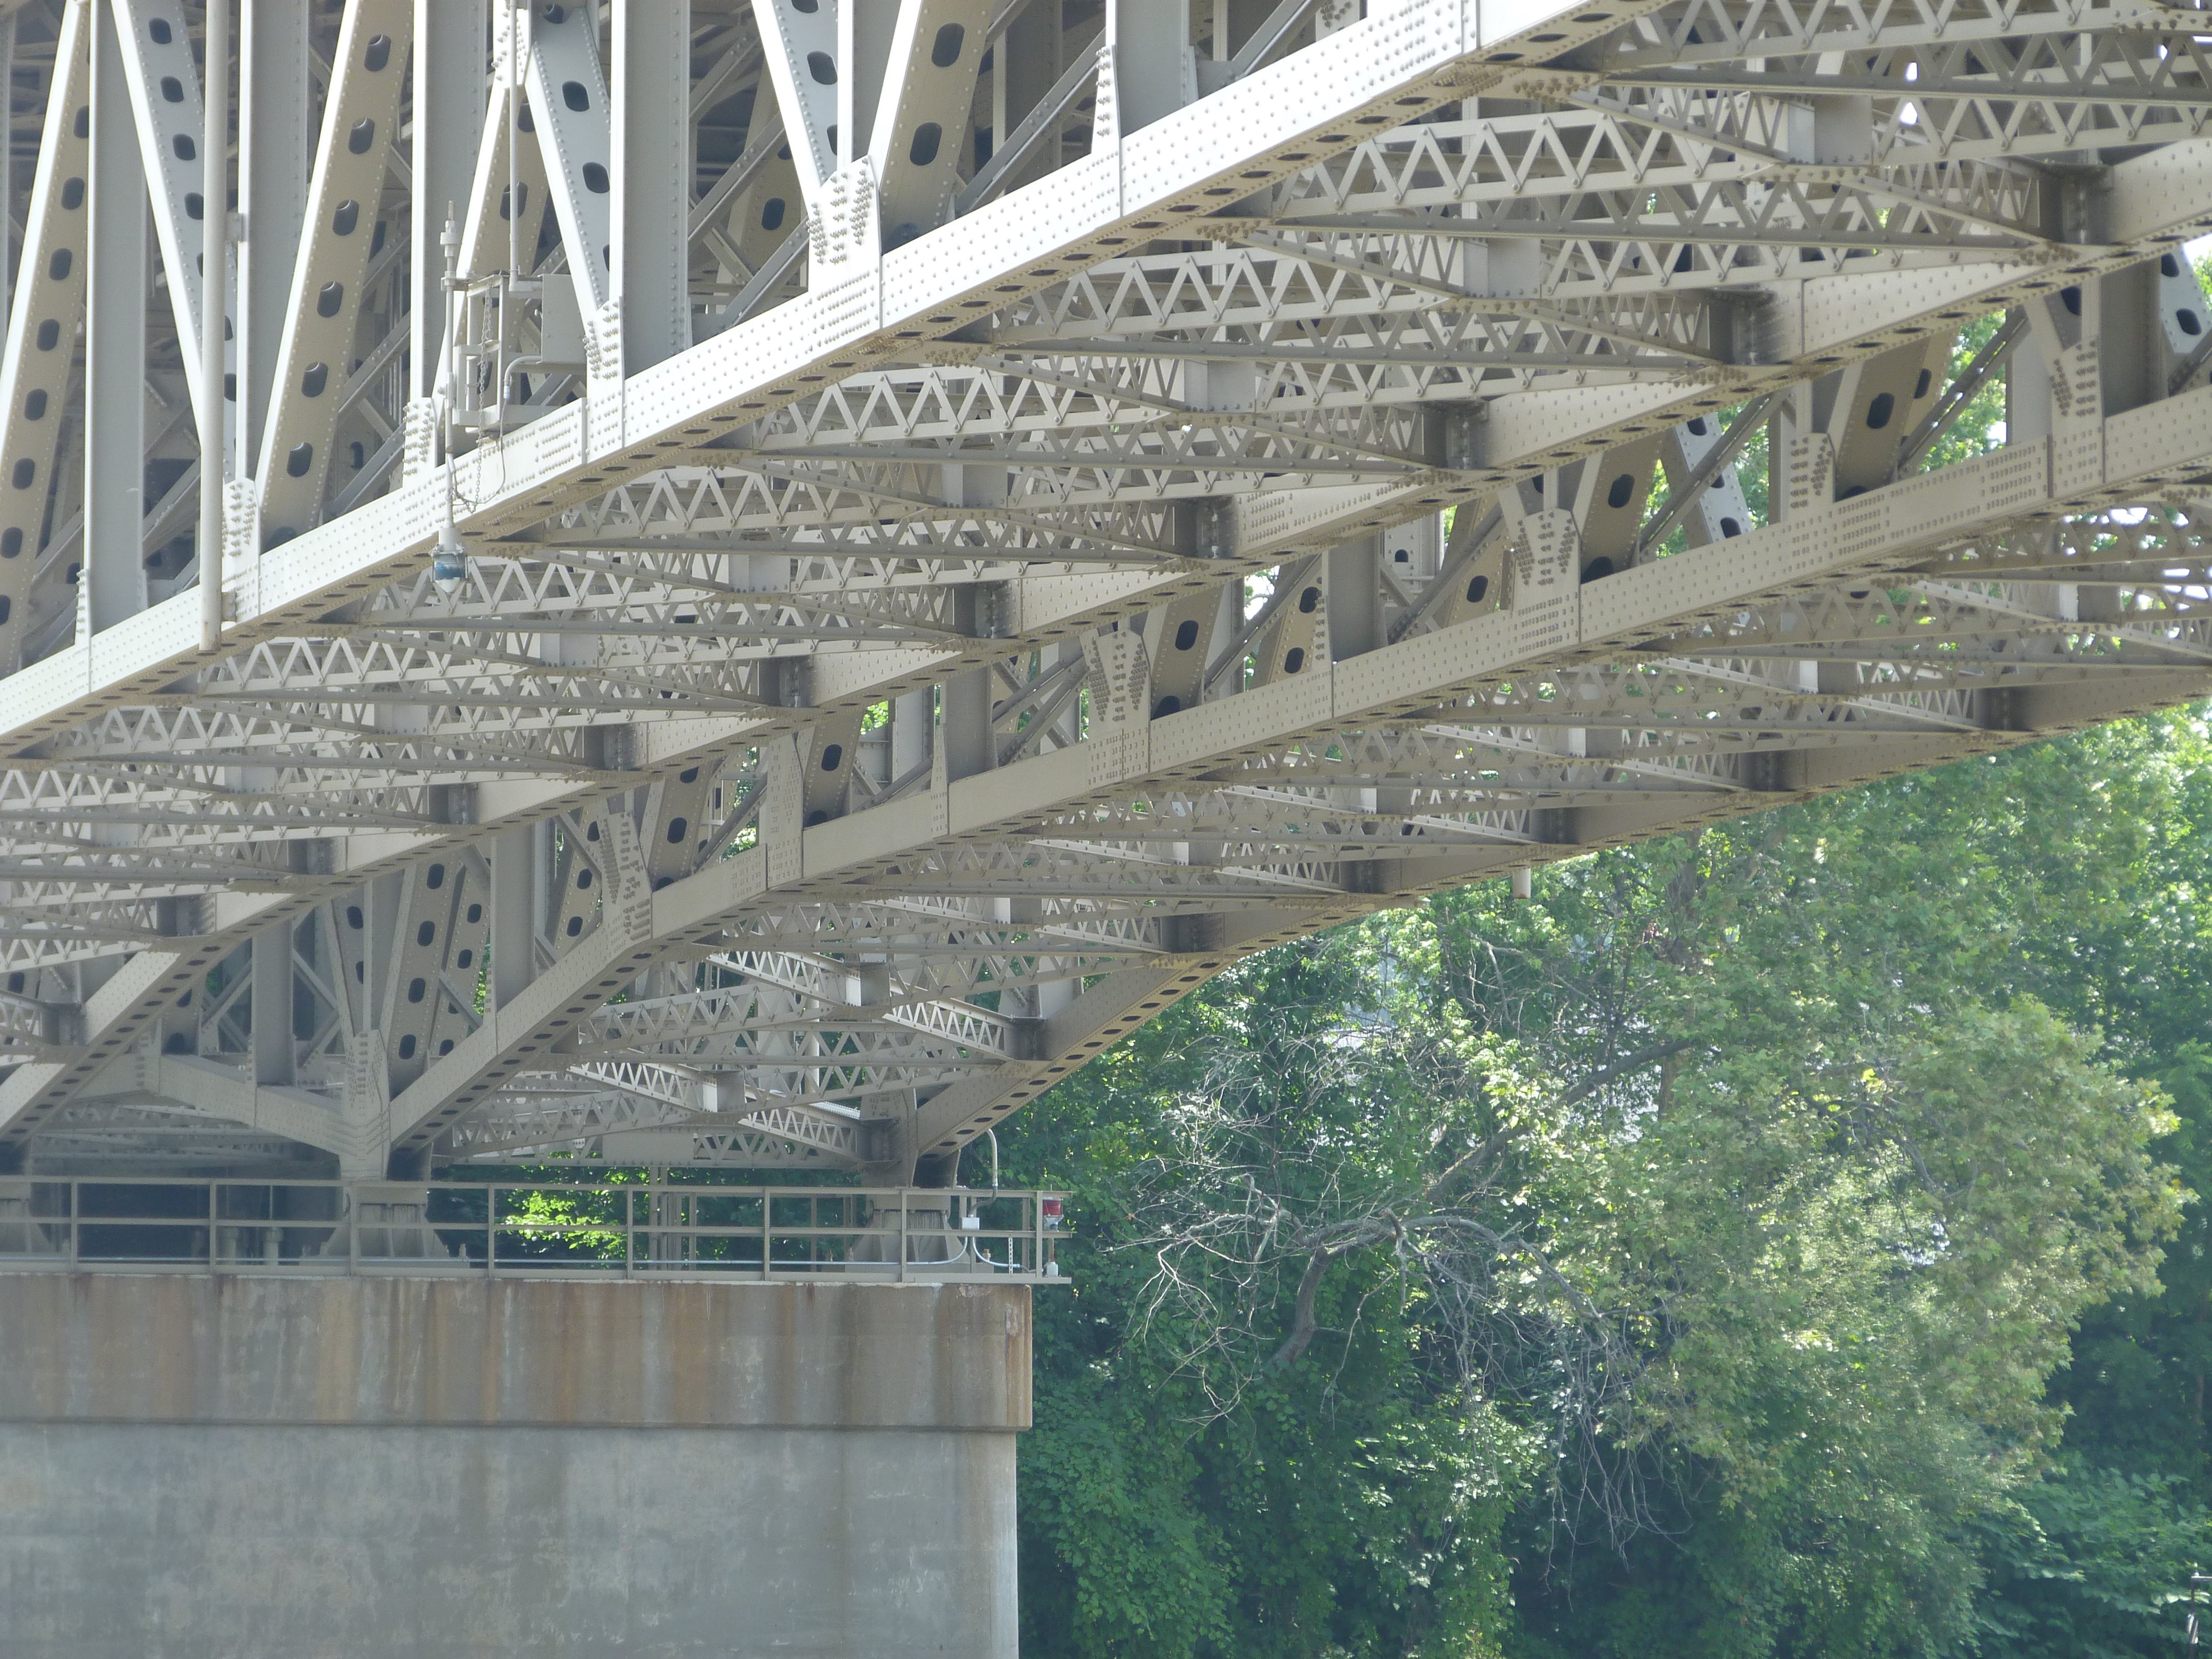
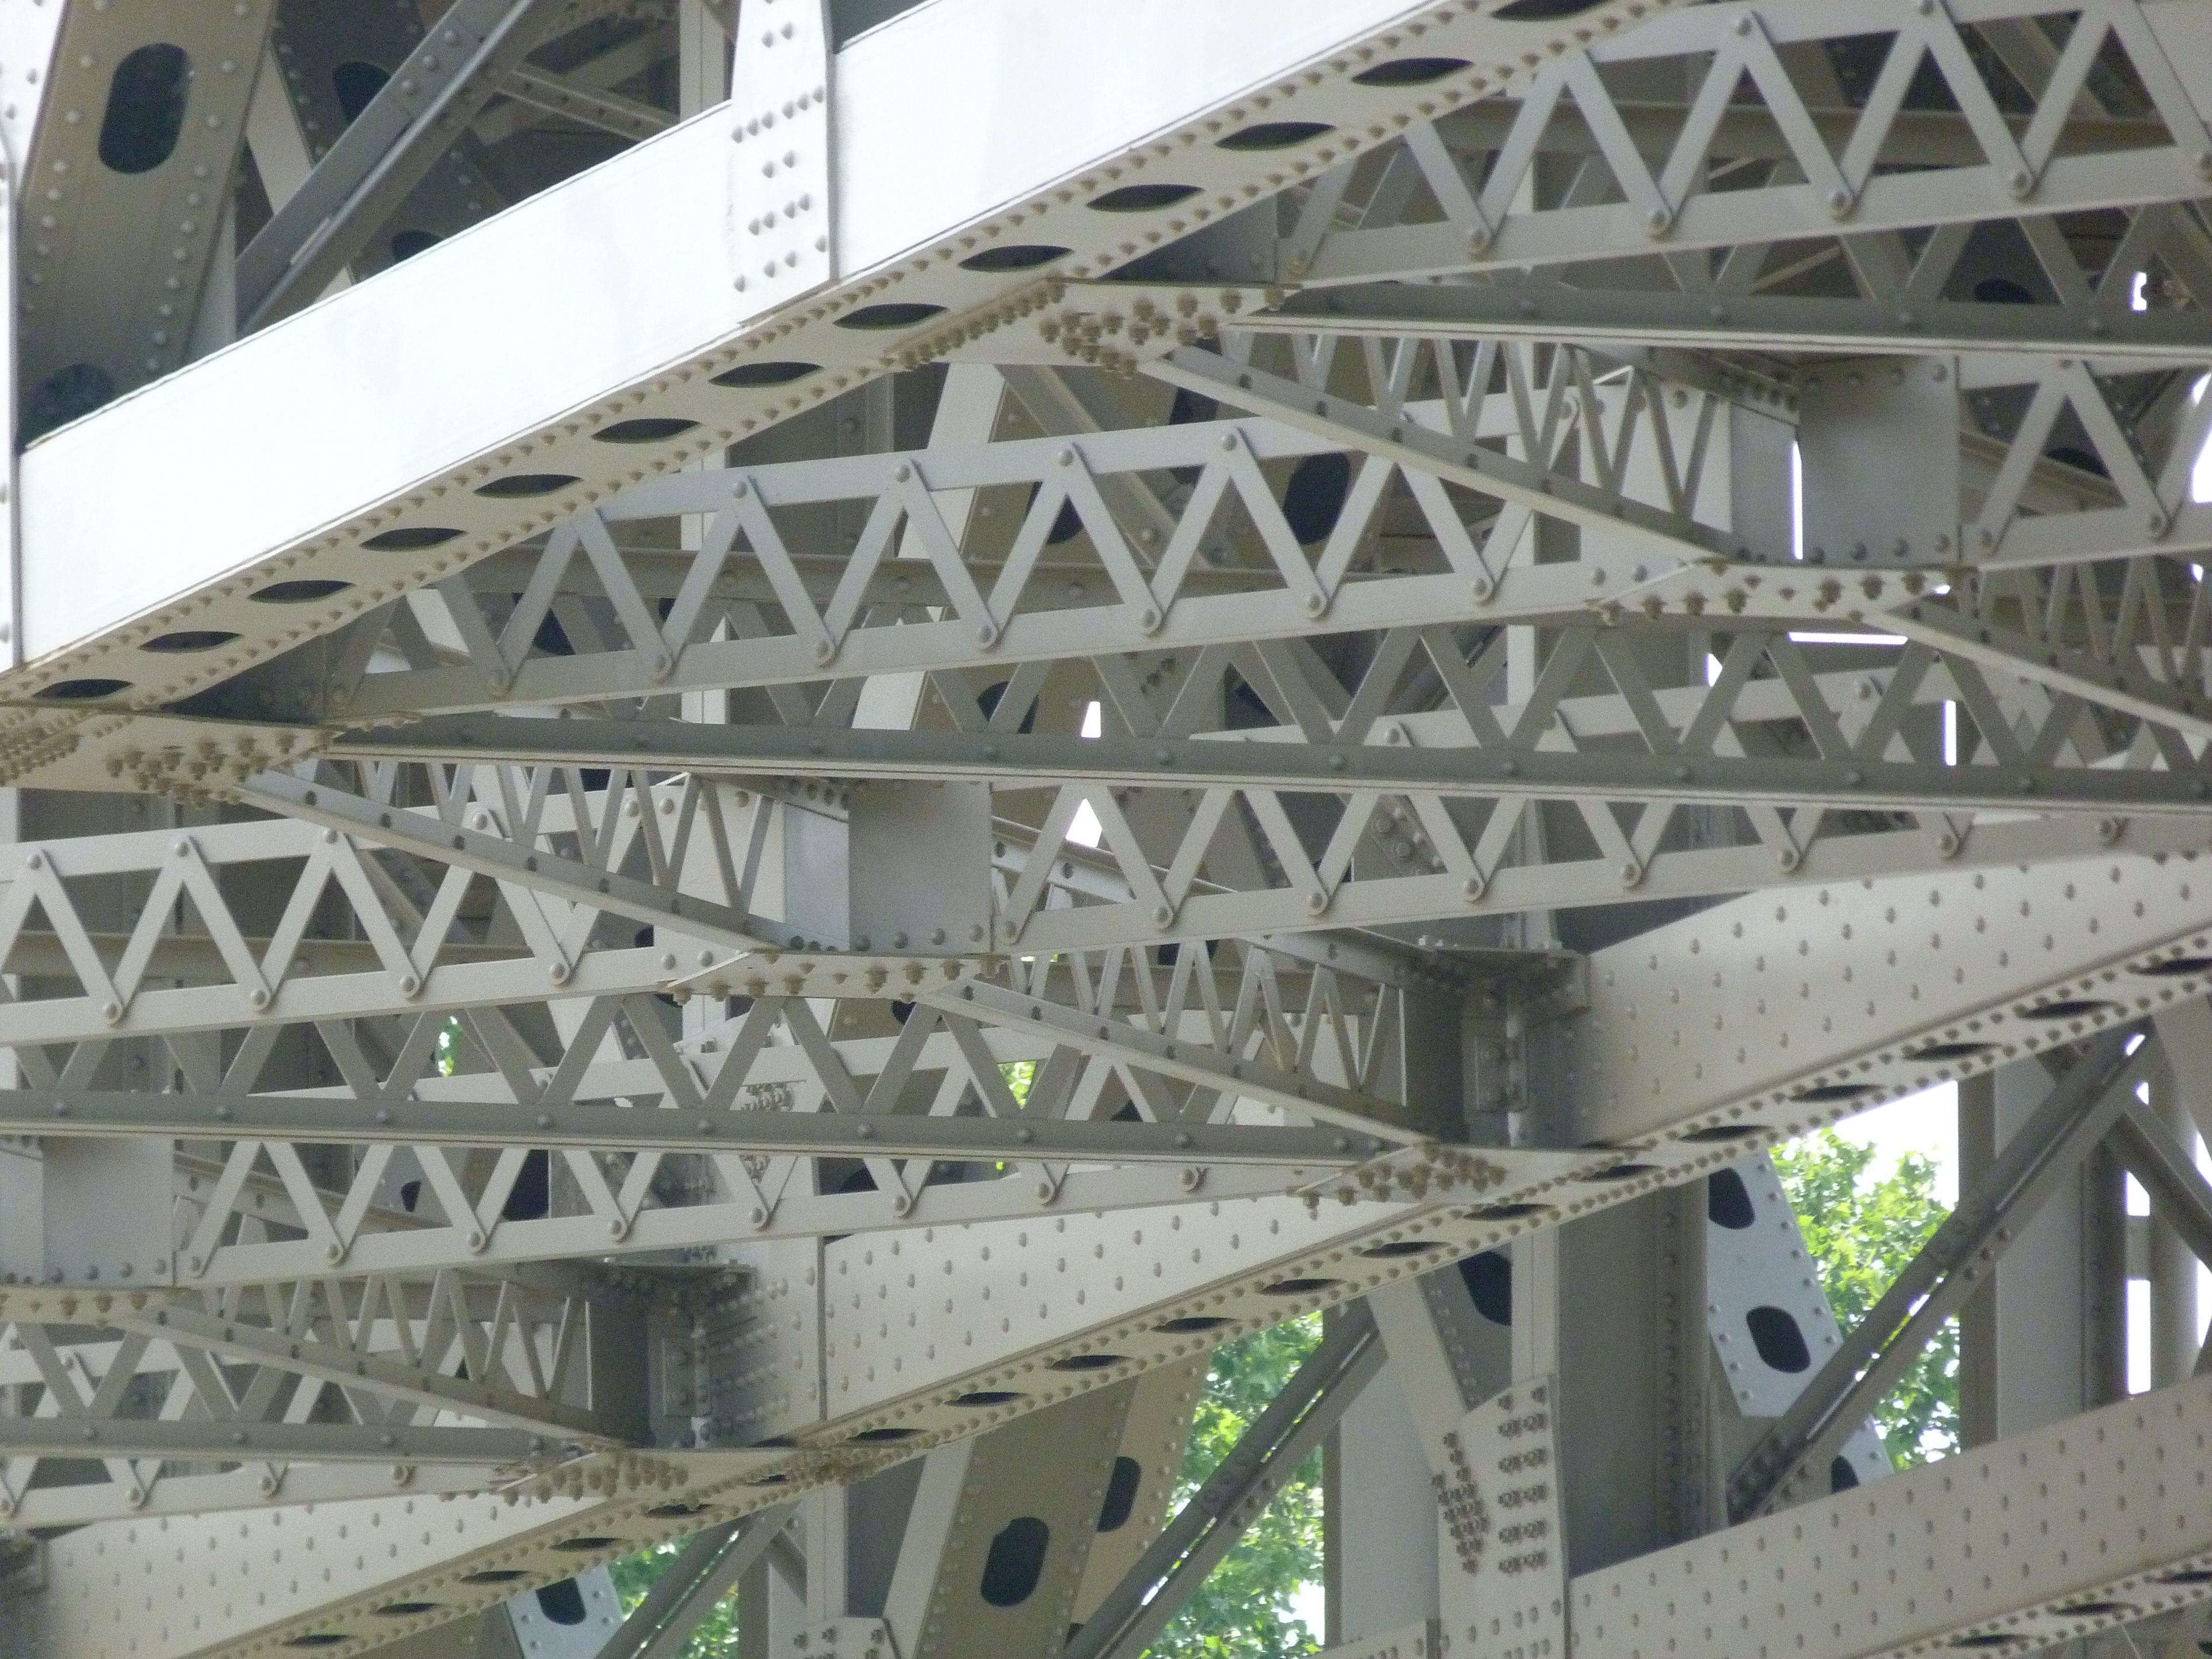
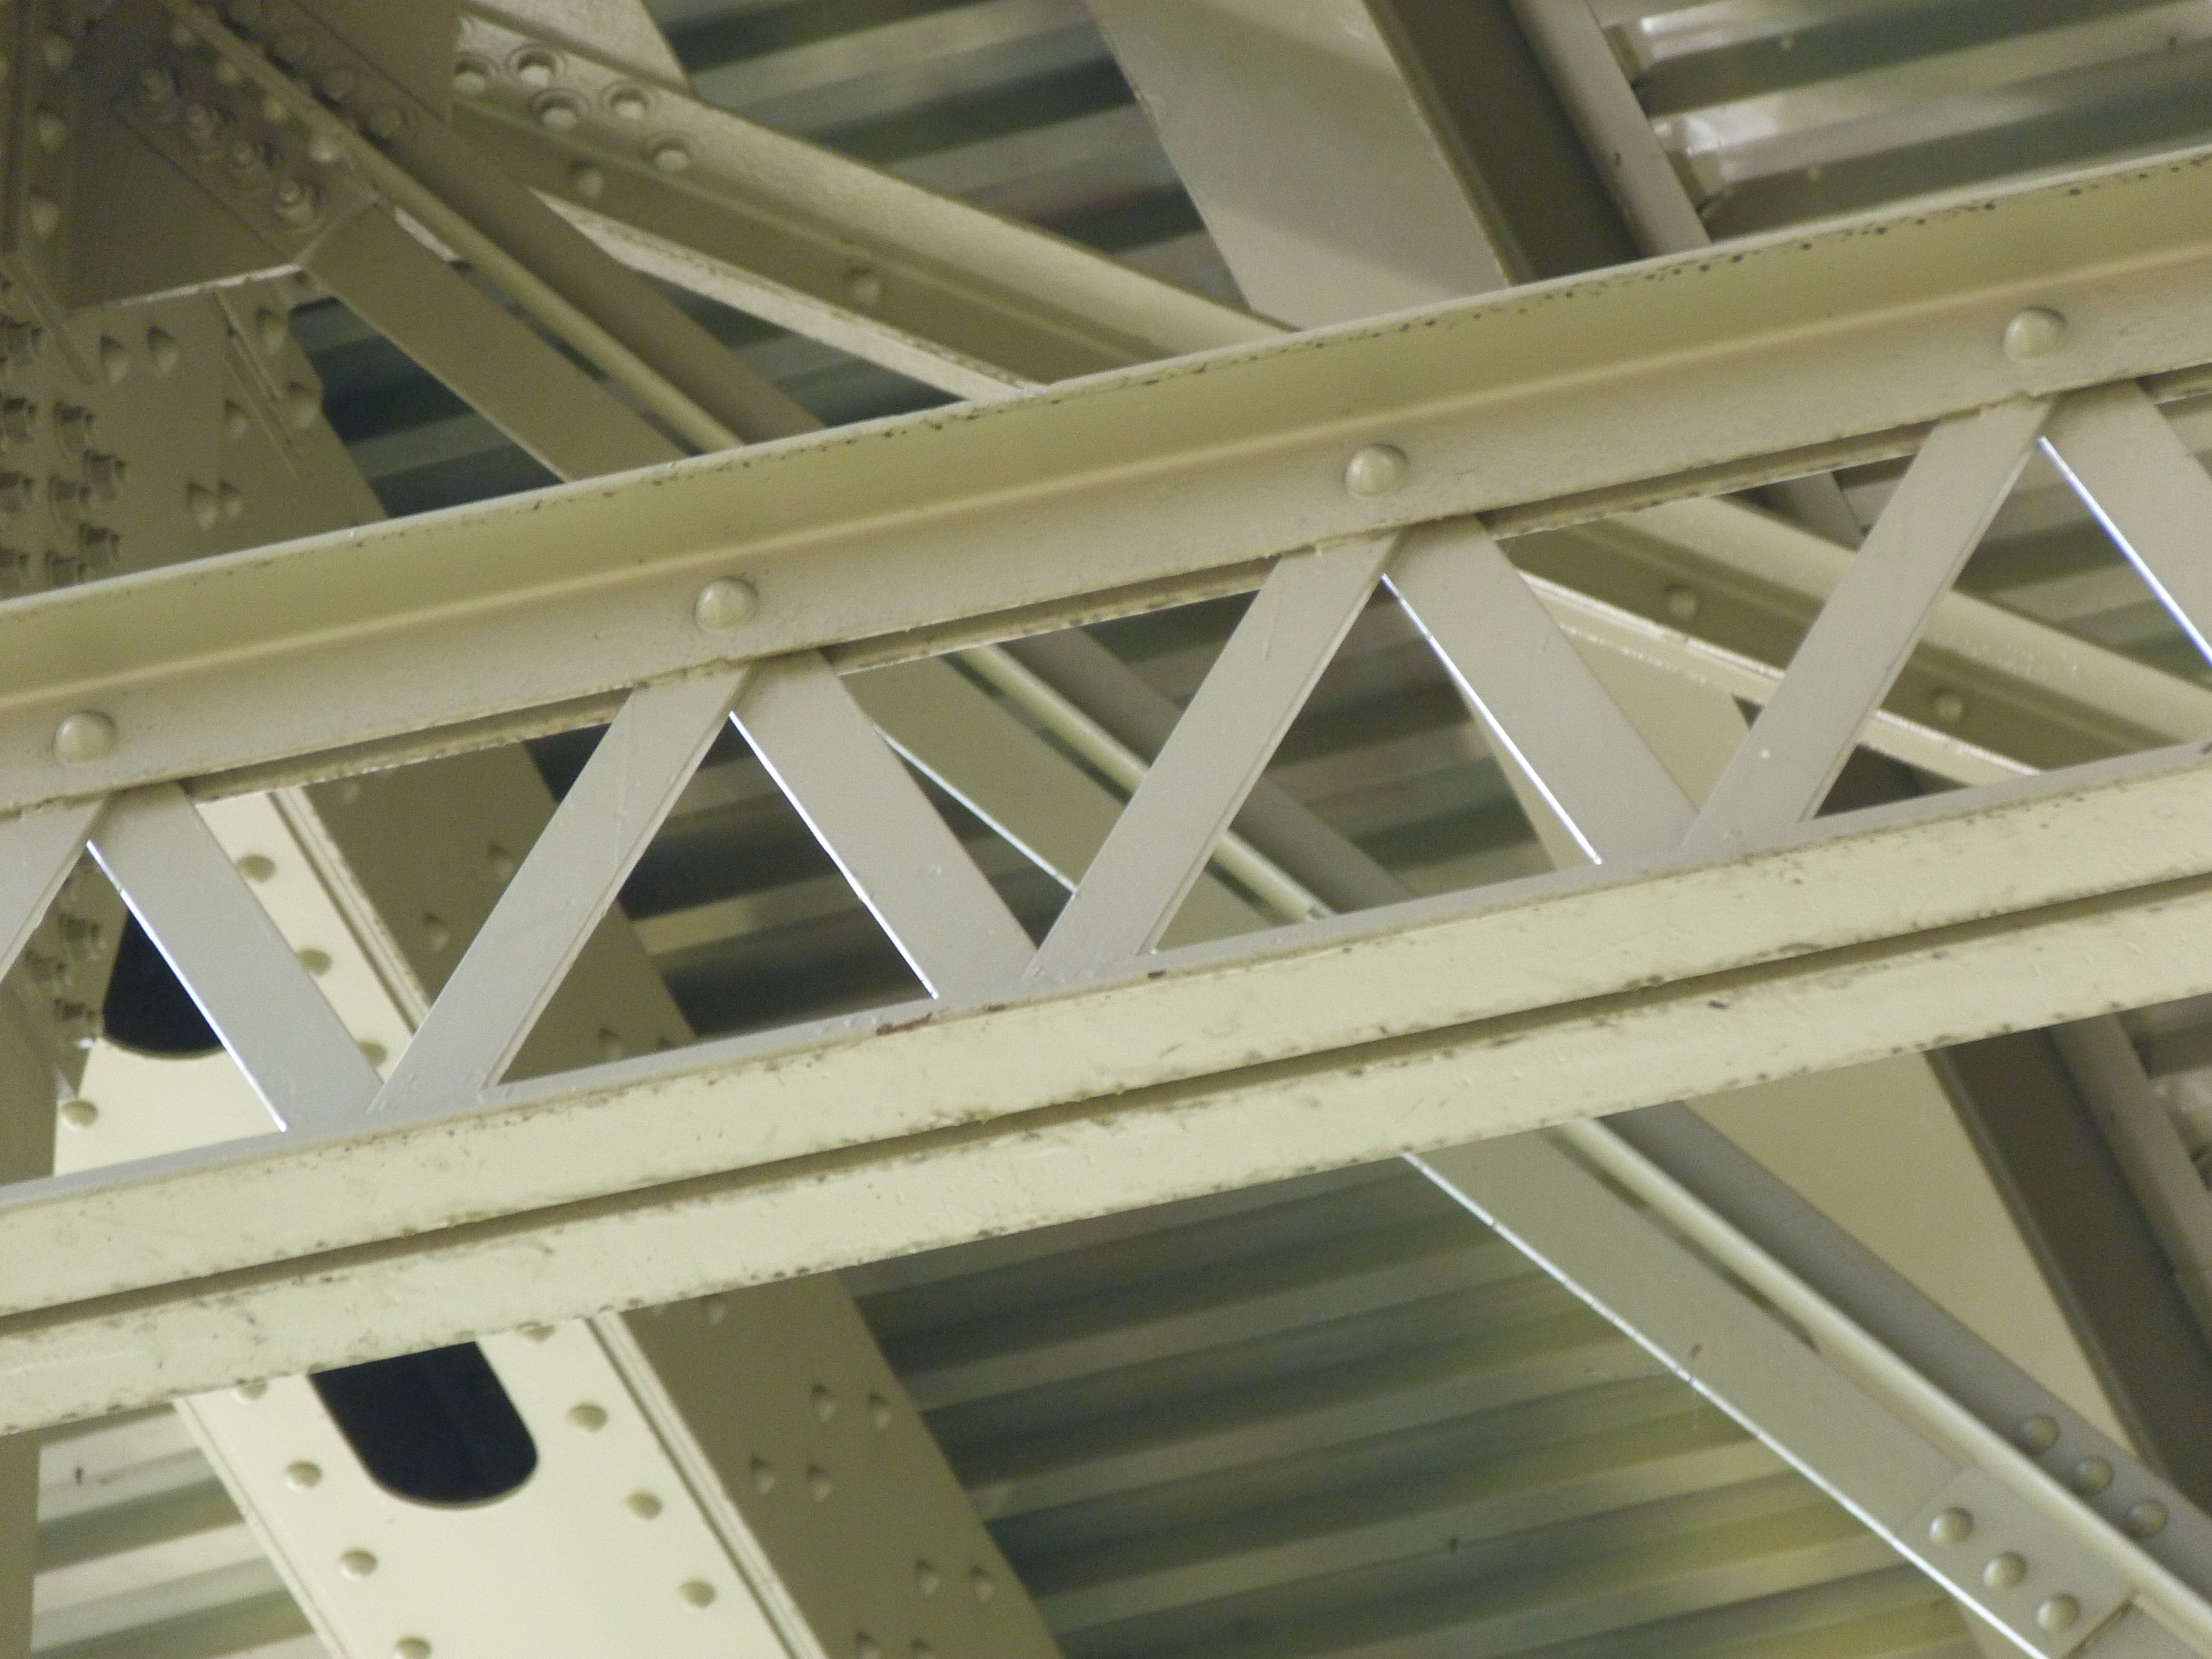
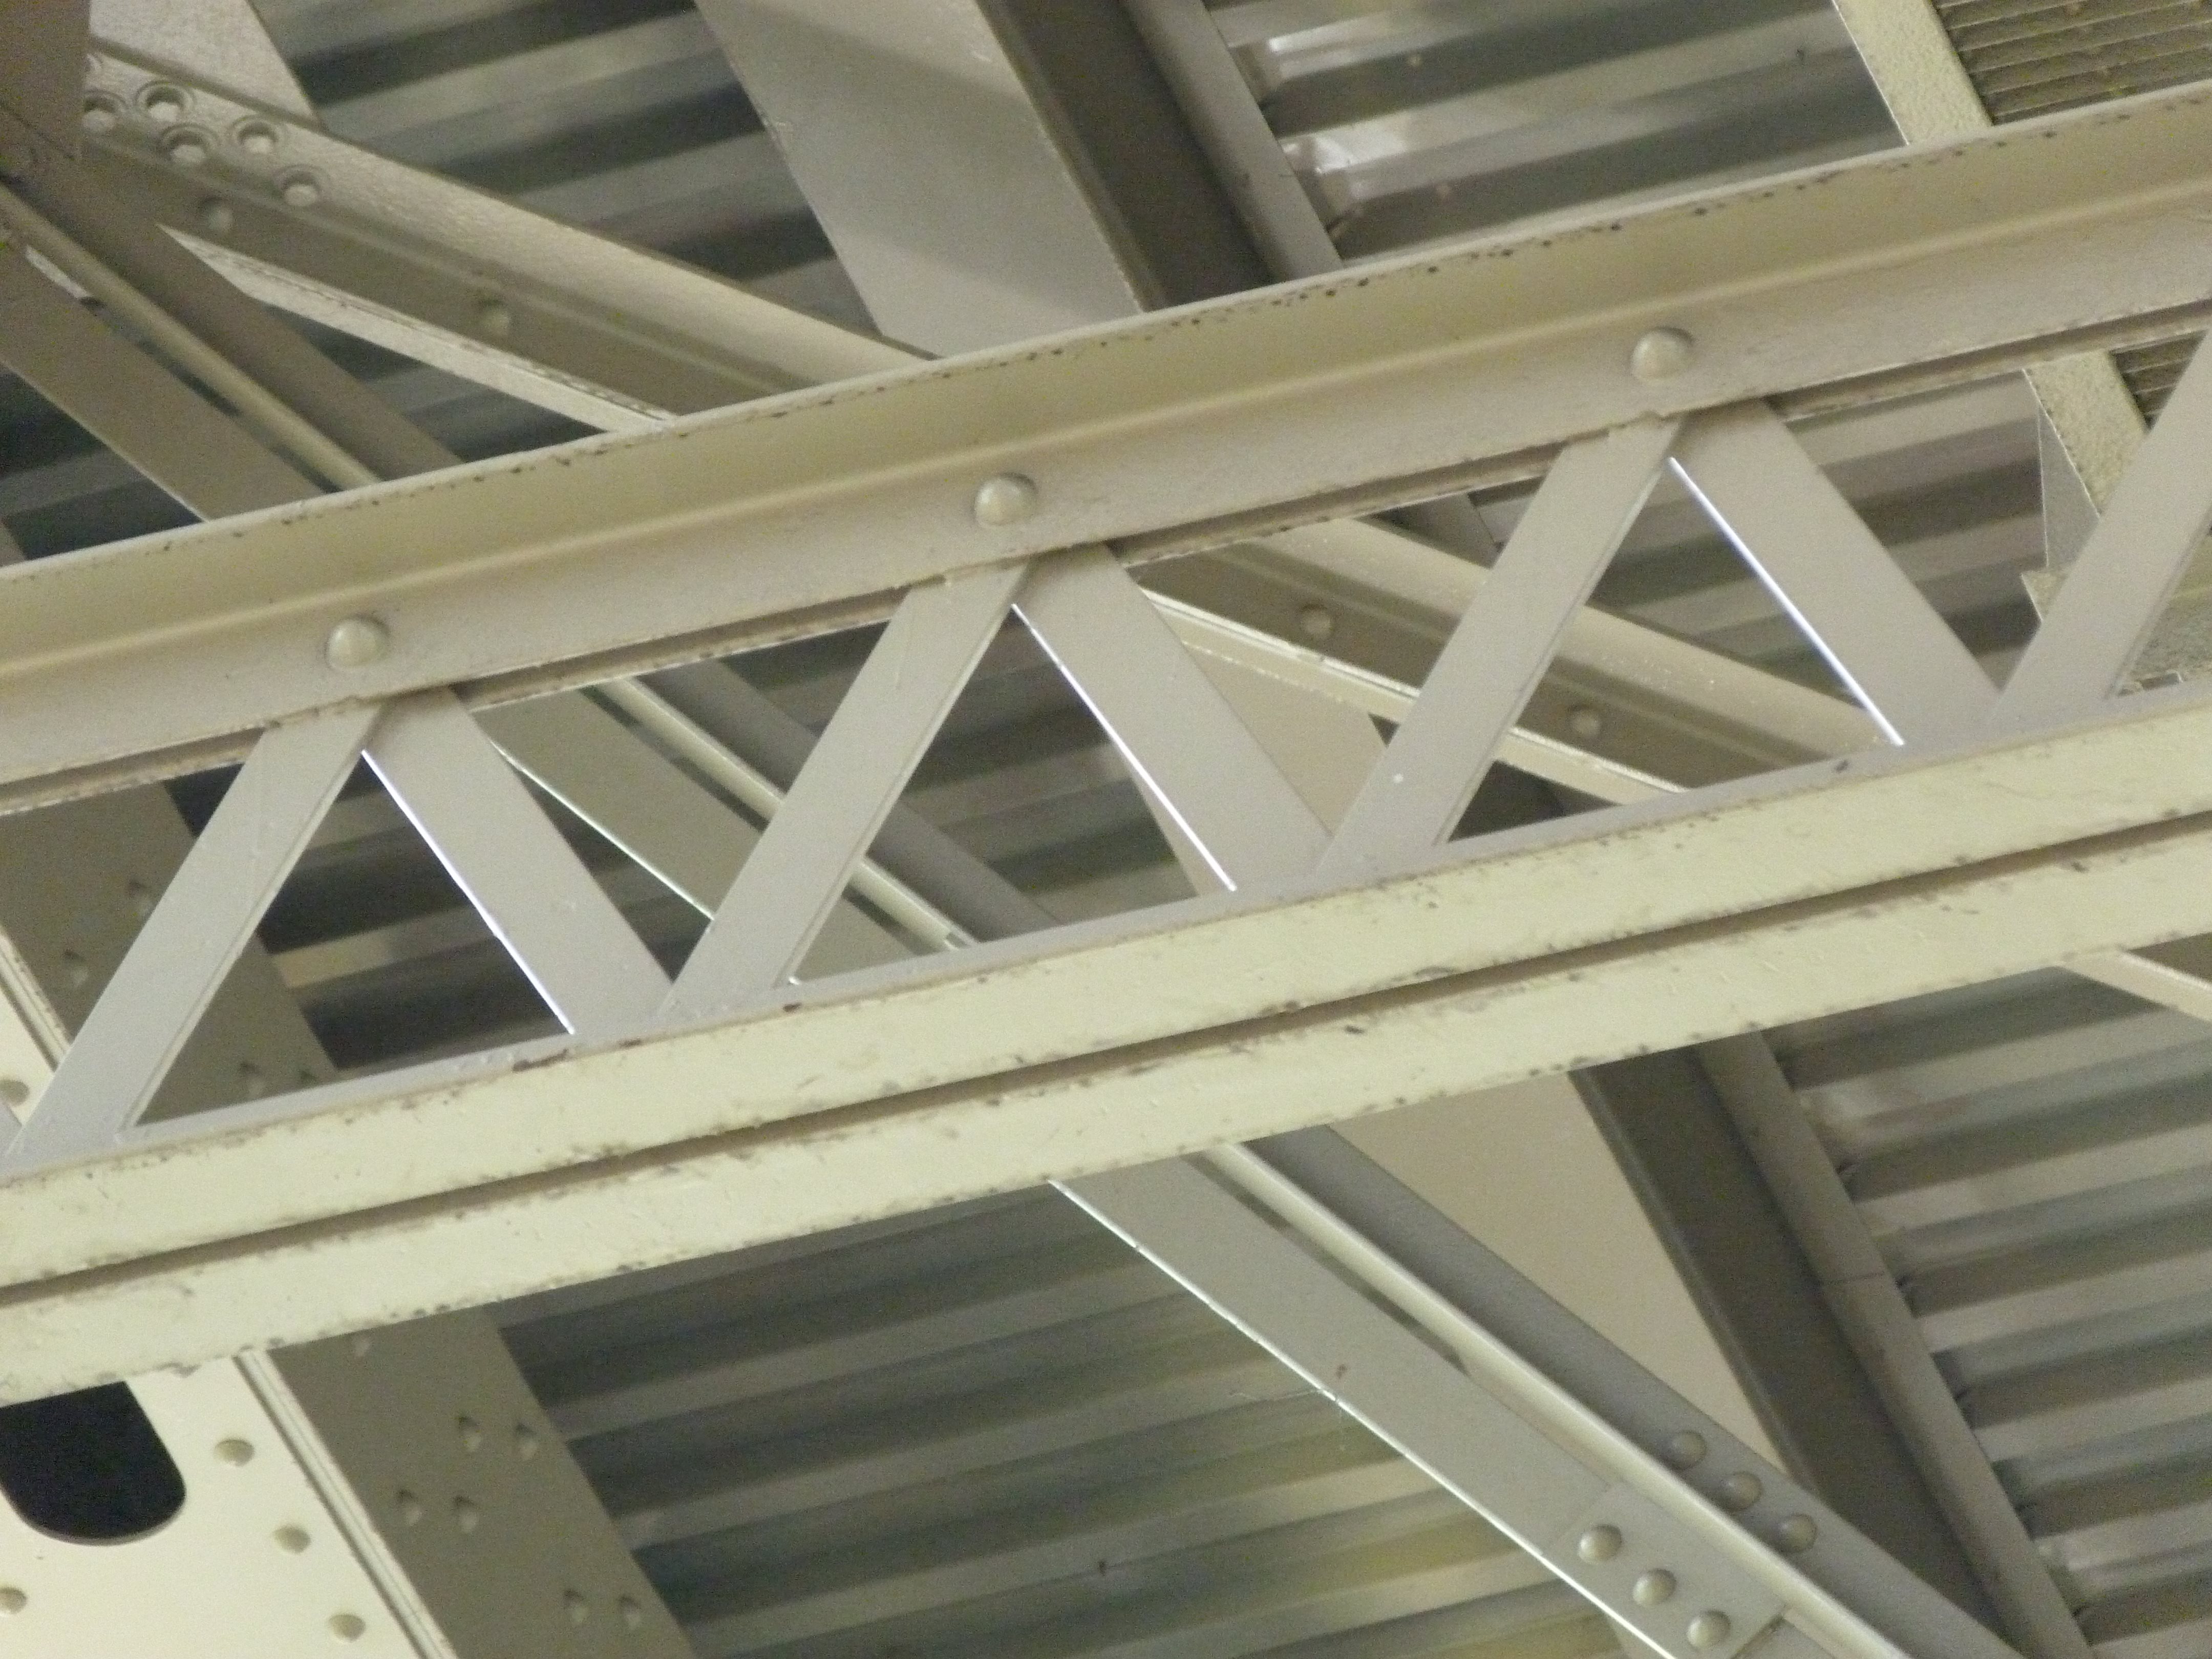
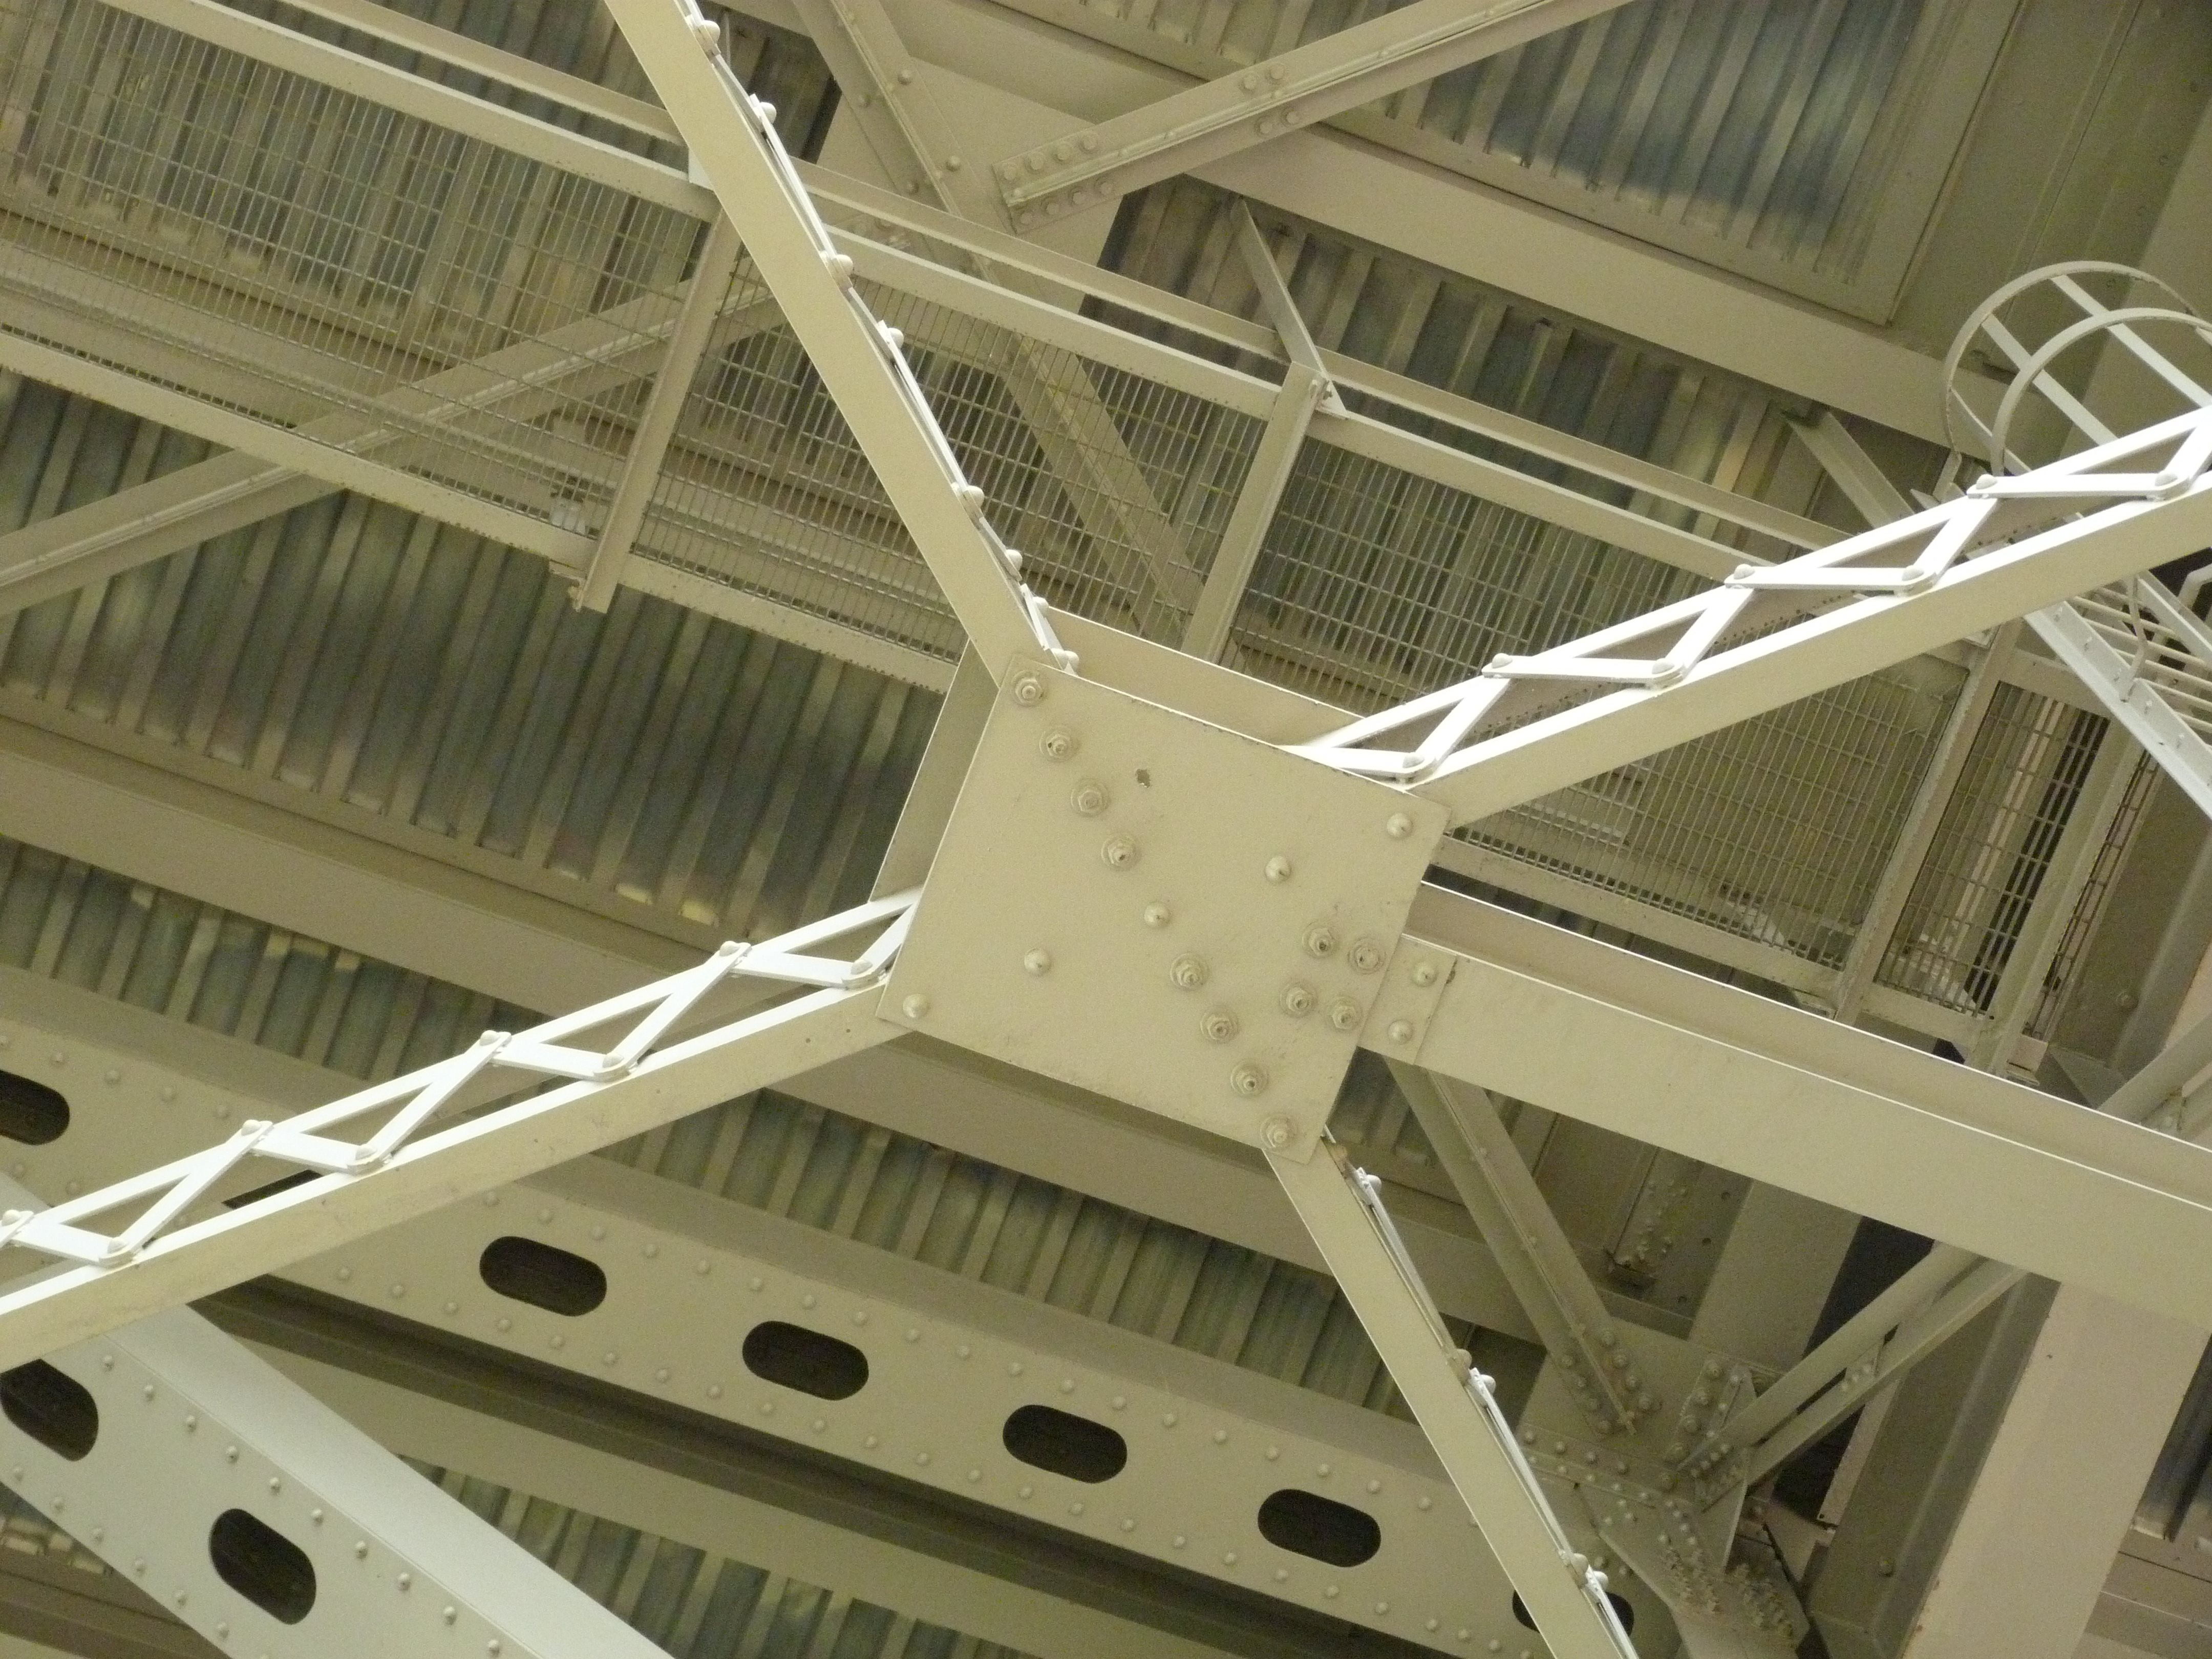
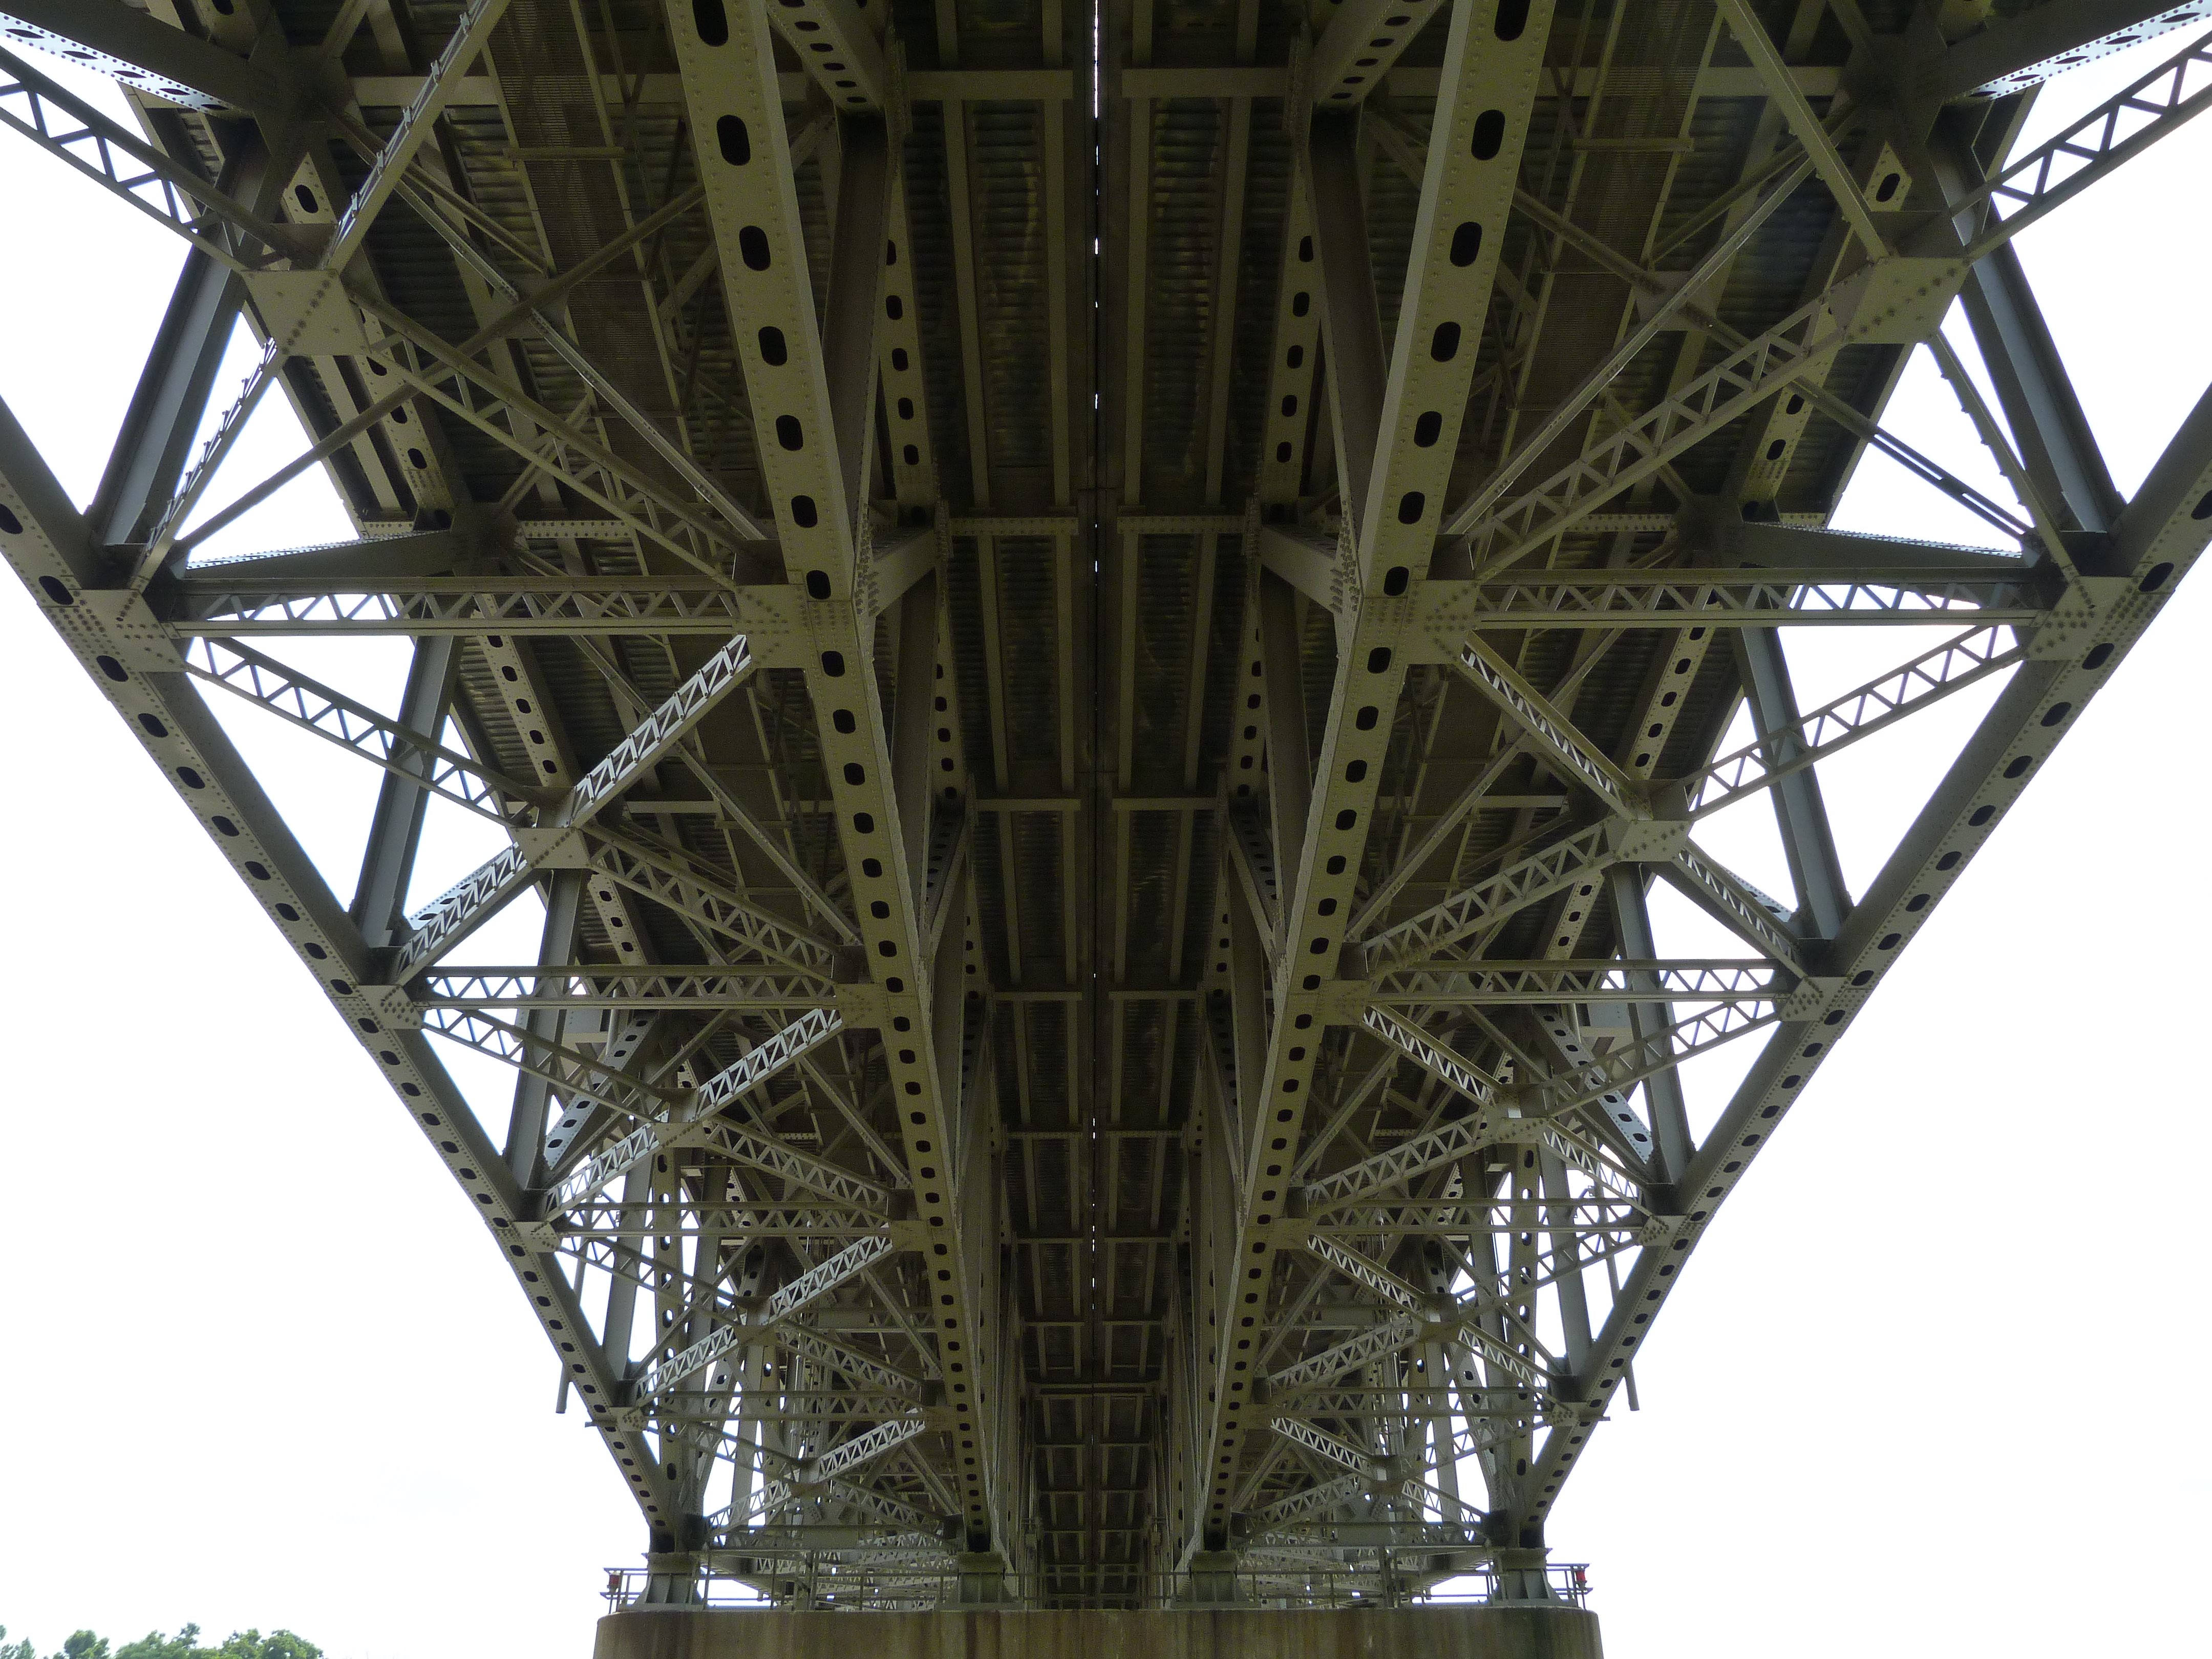
Views under bridge showing bracing.
![]()
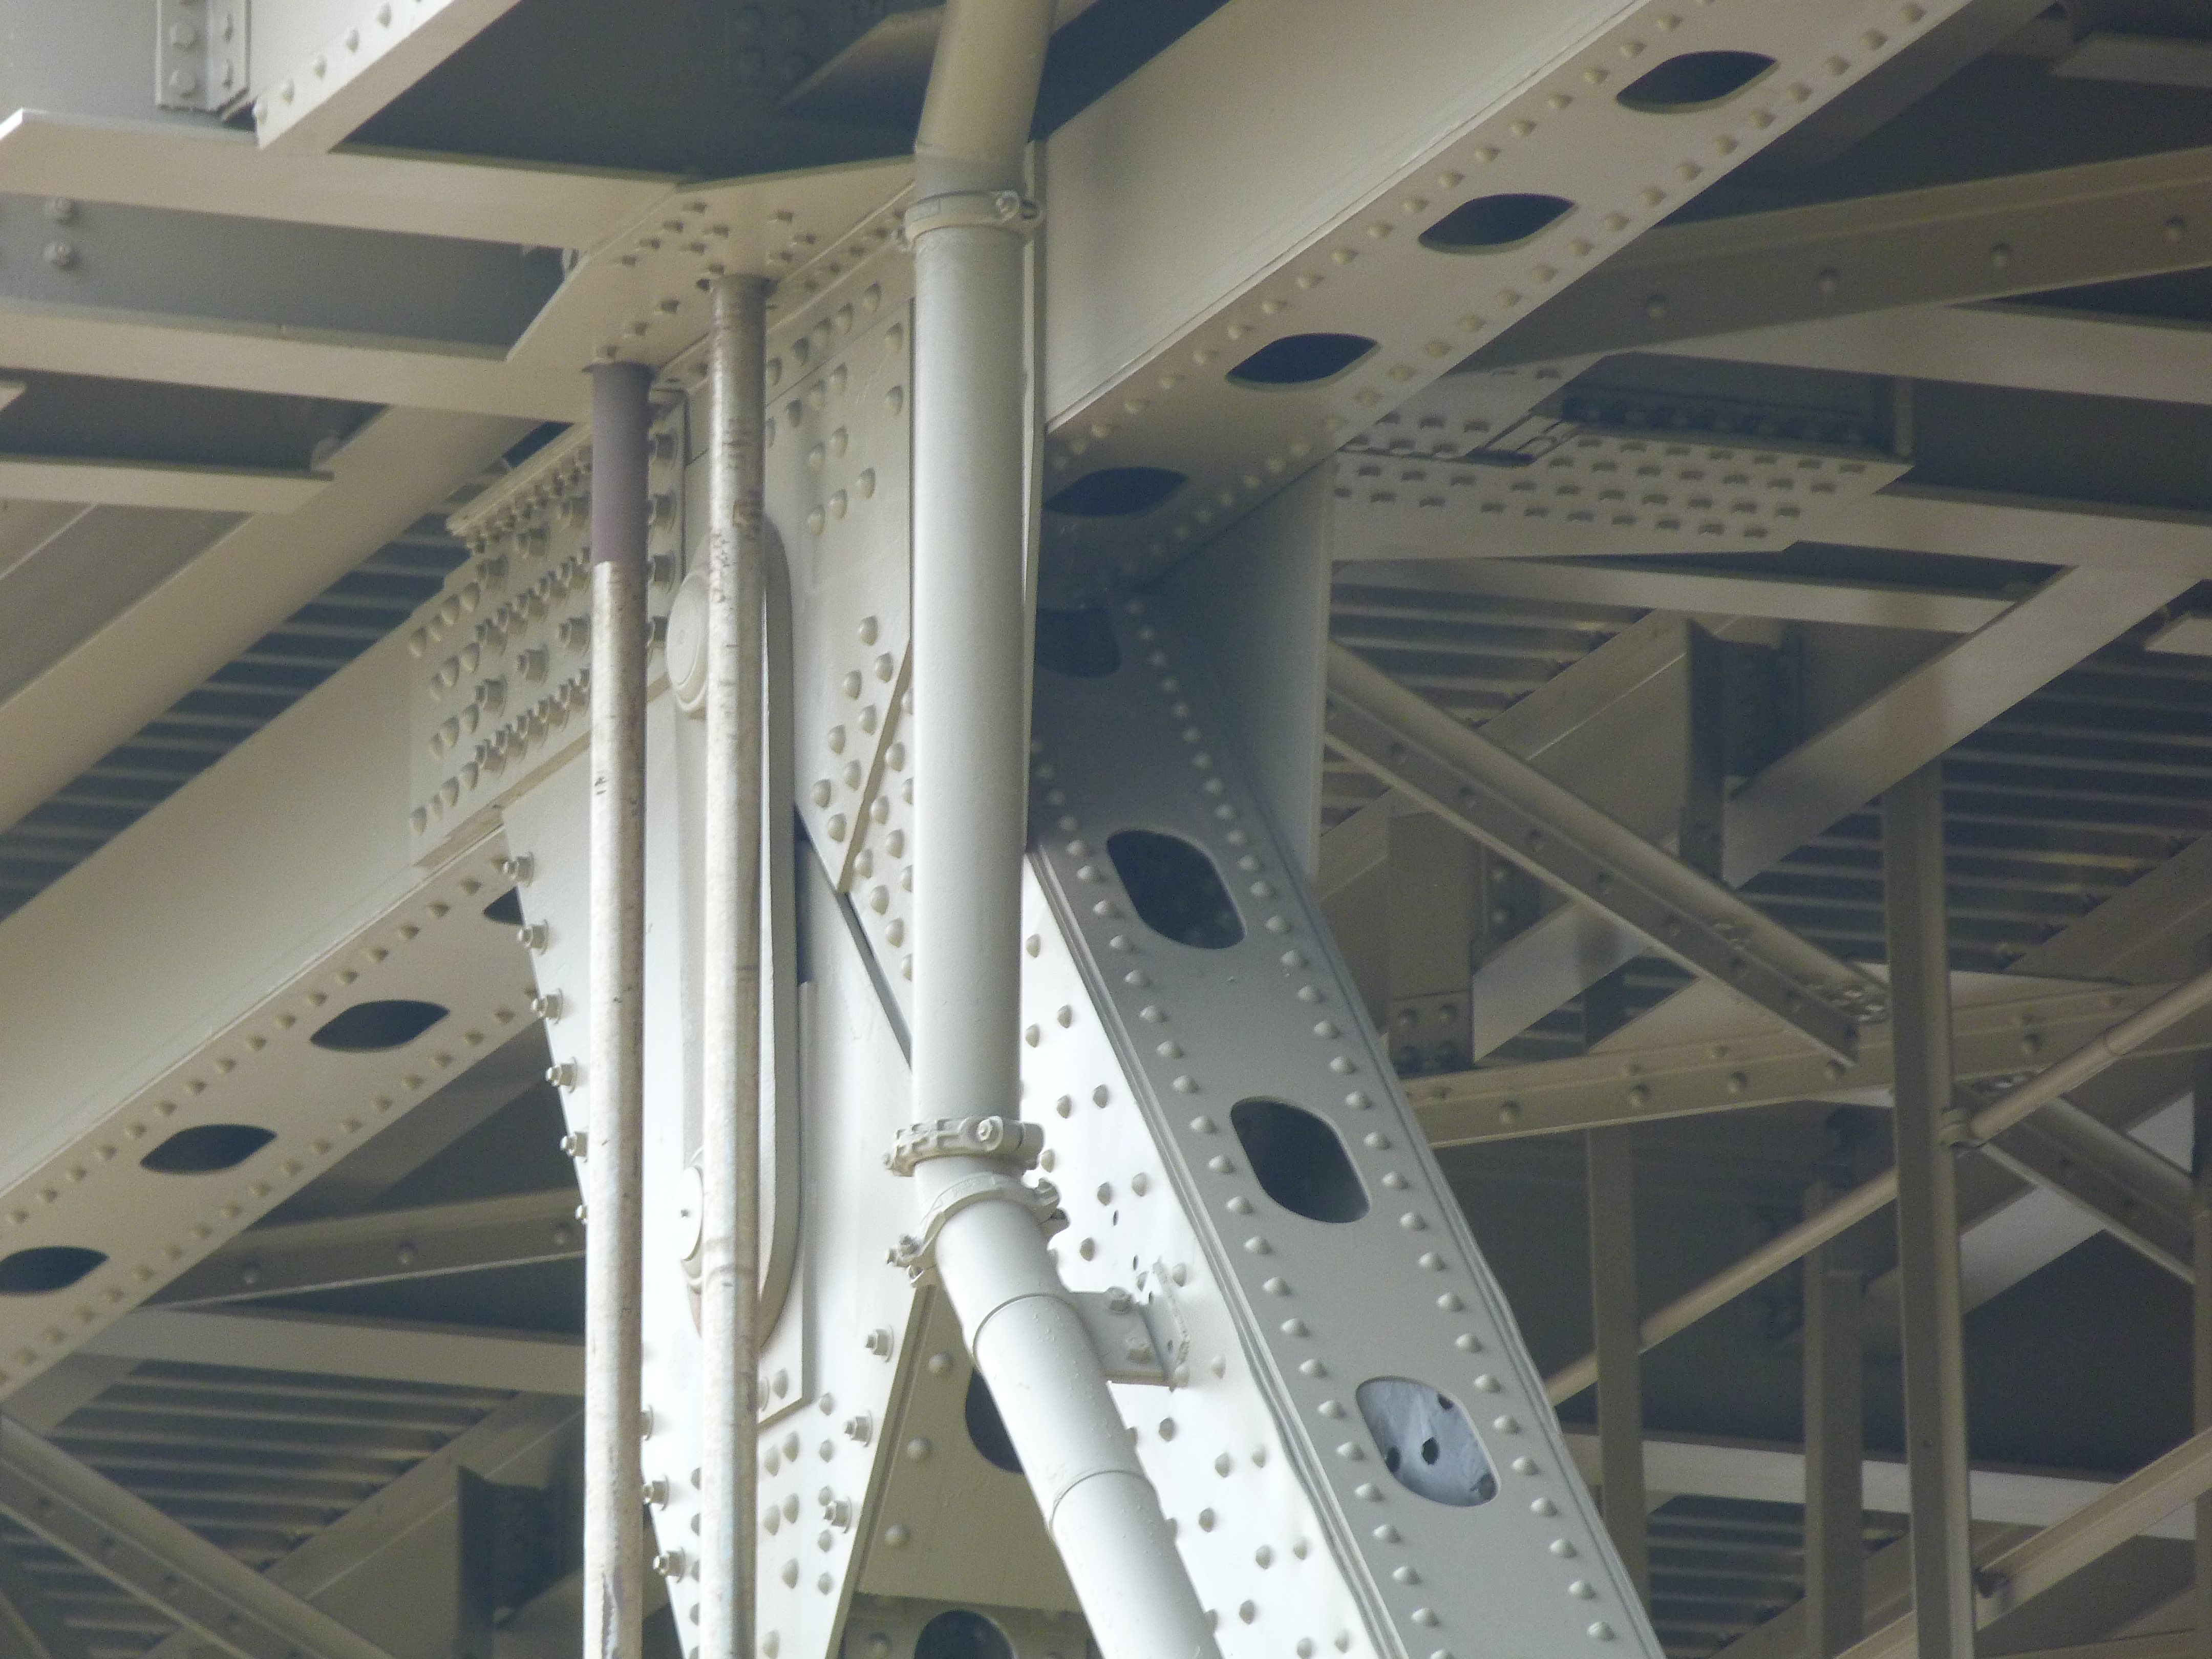
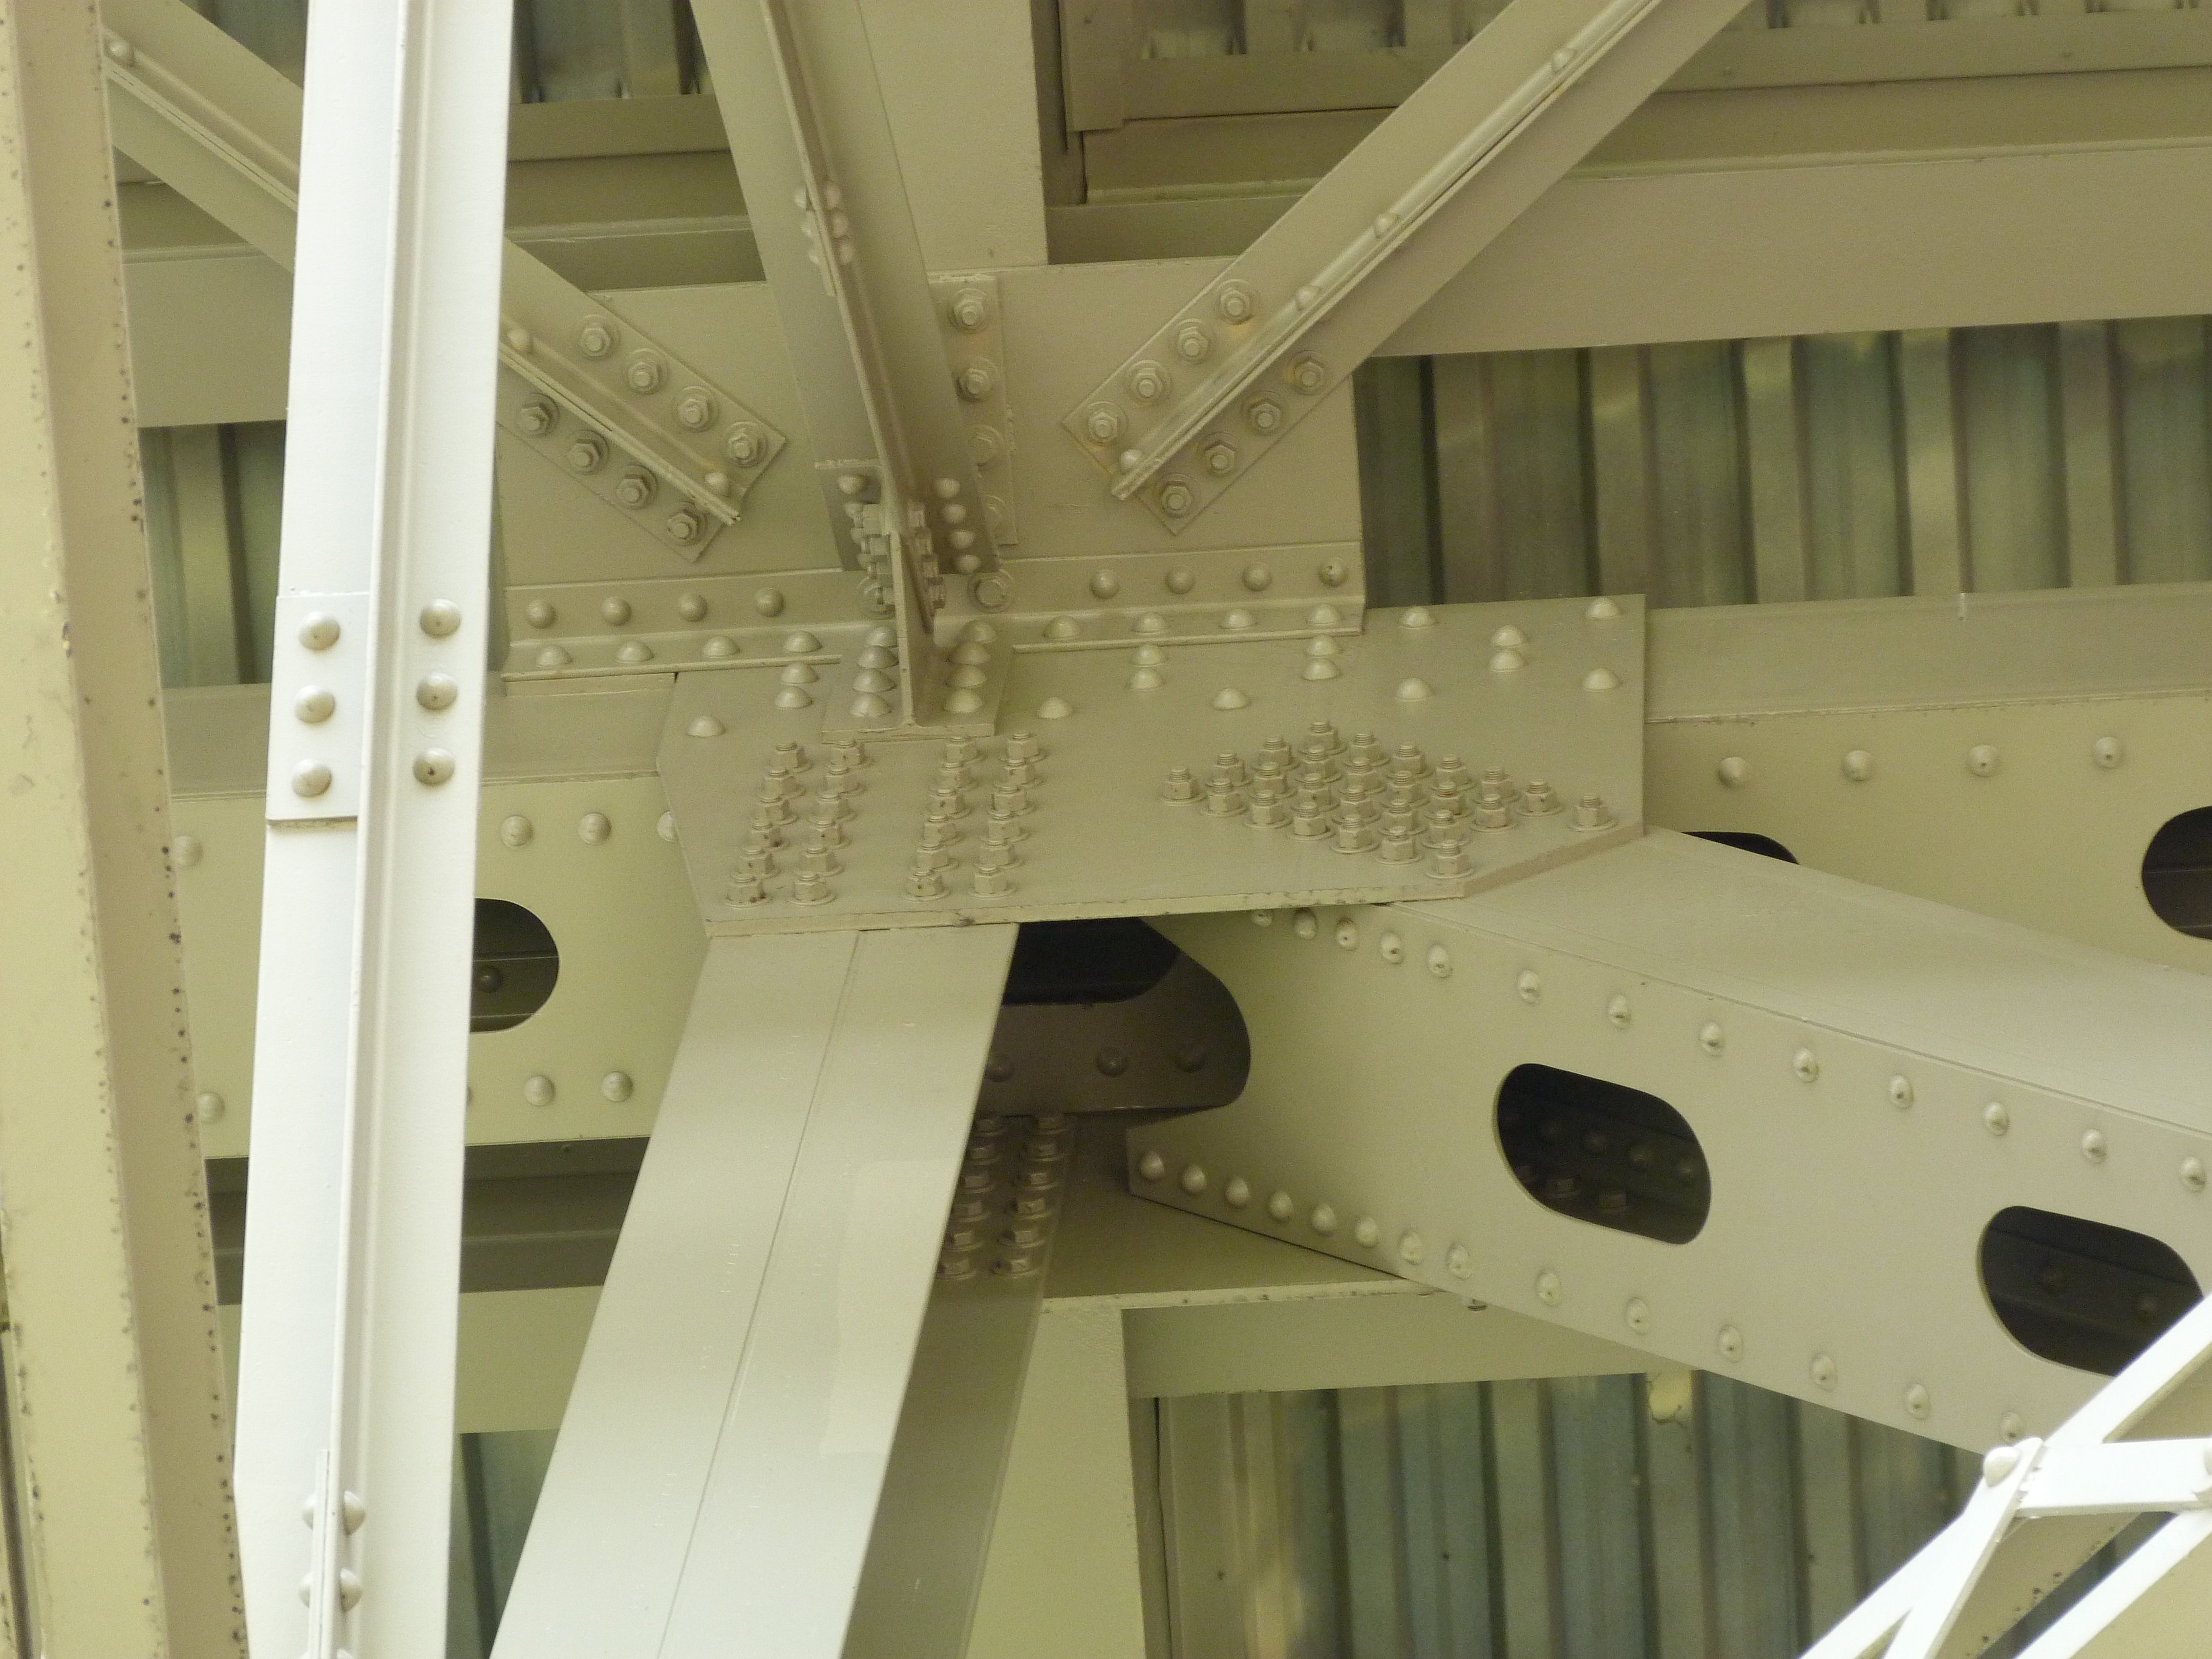
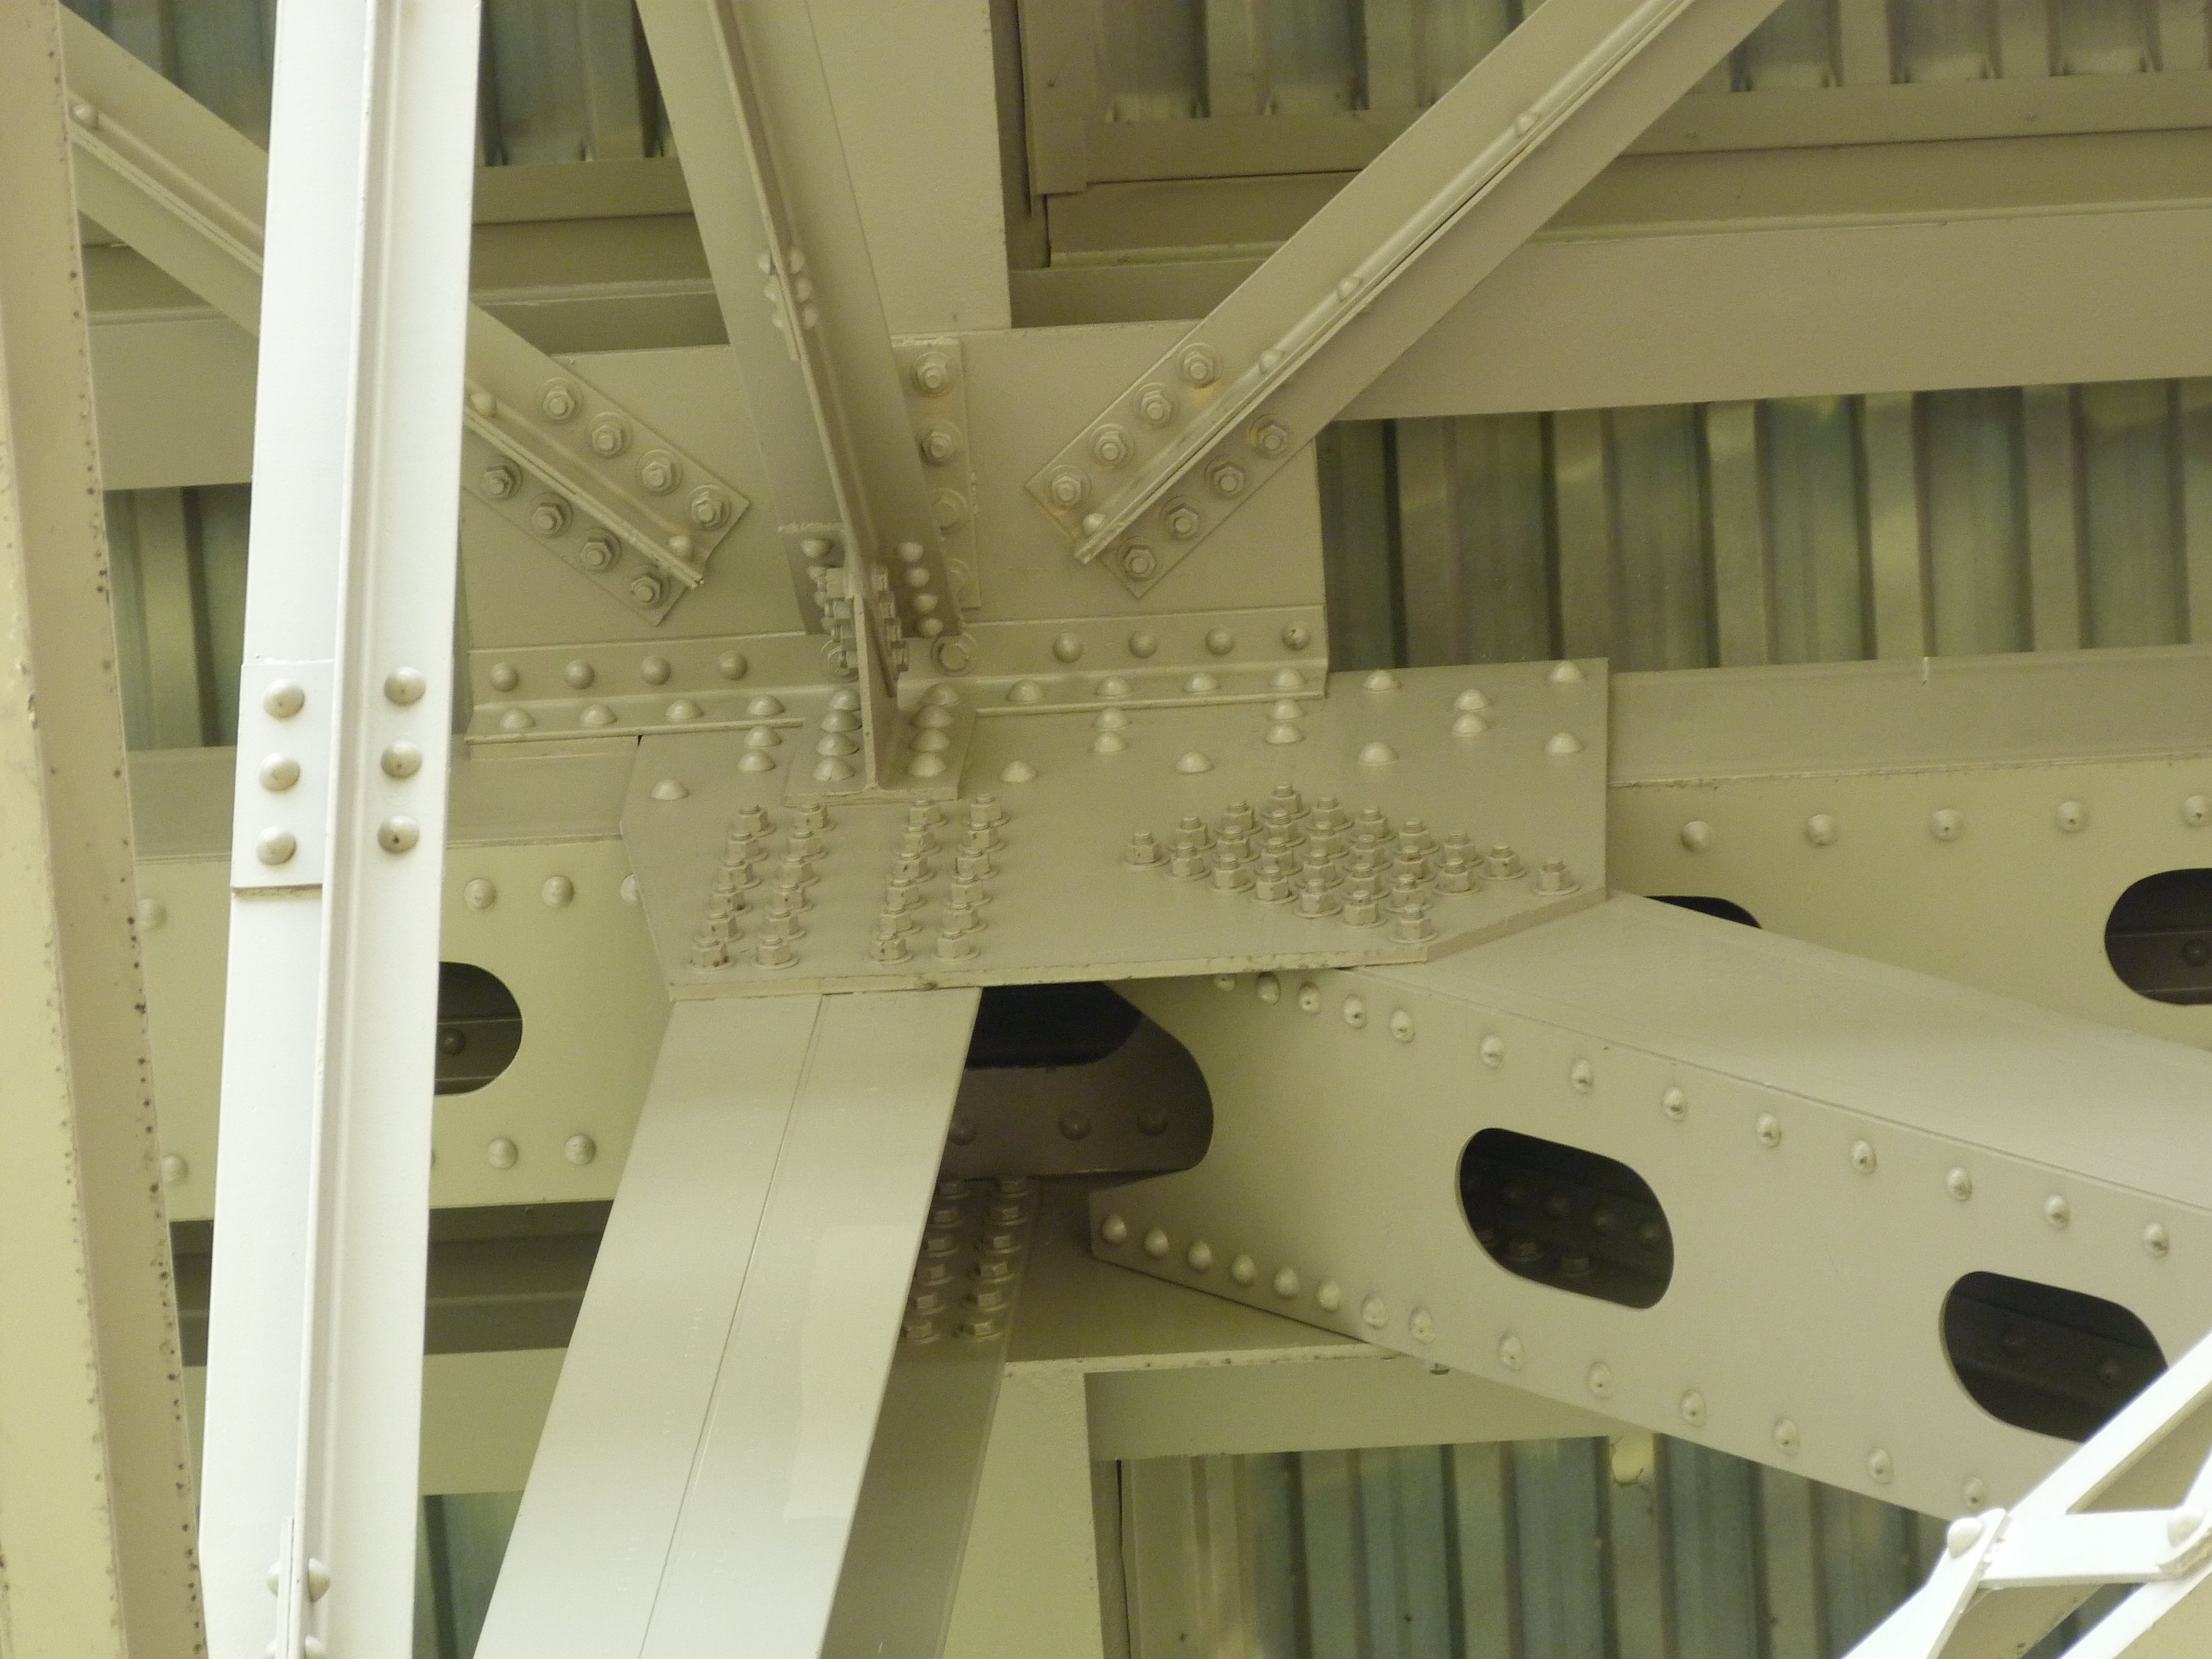
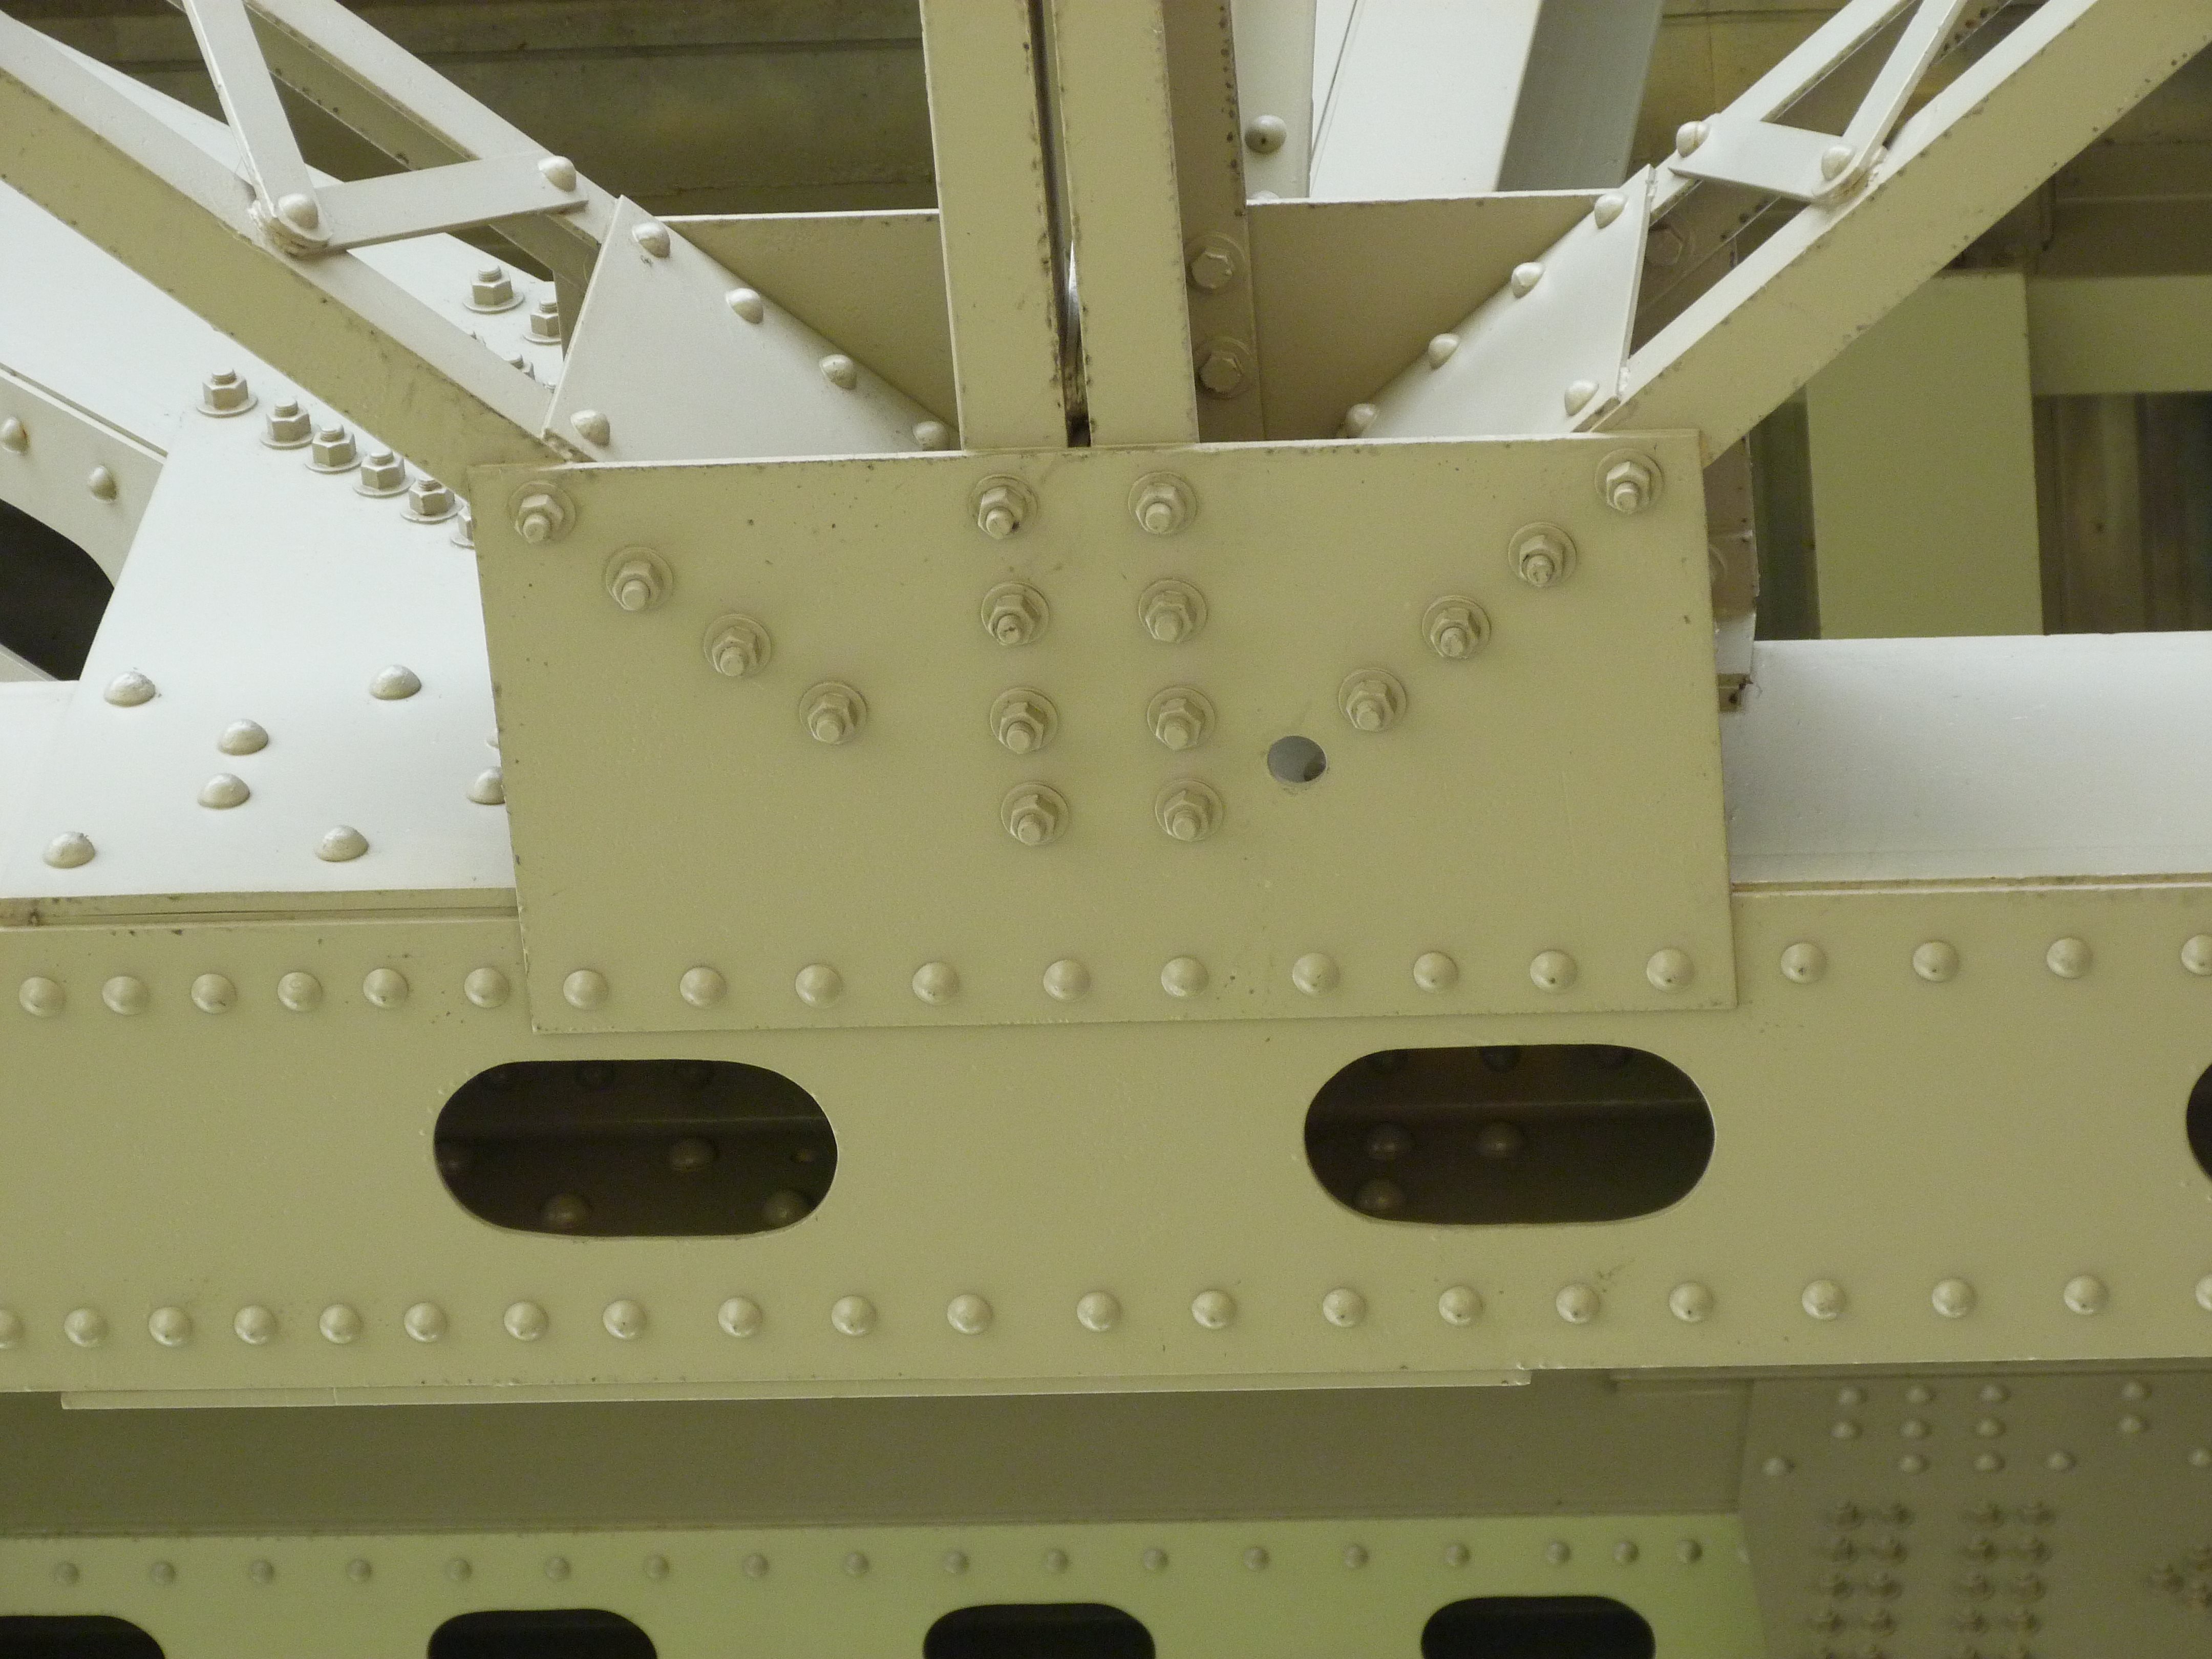
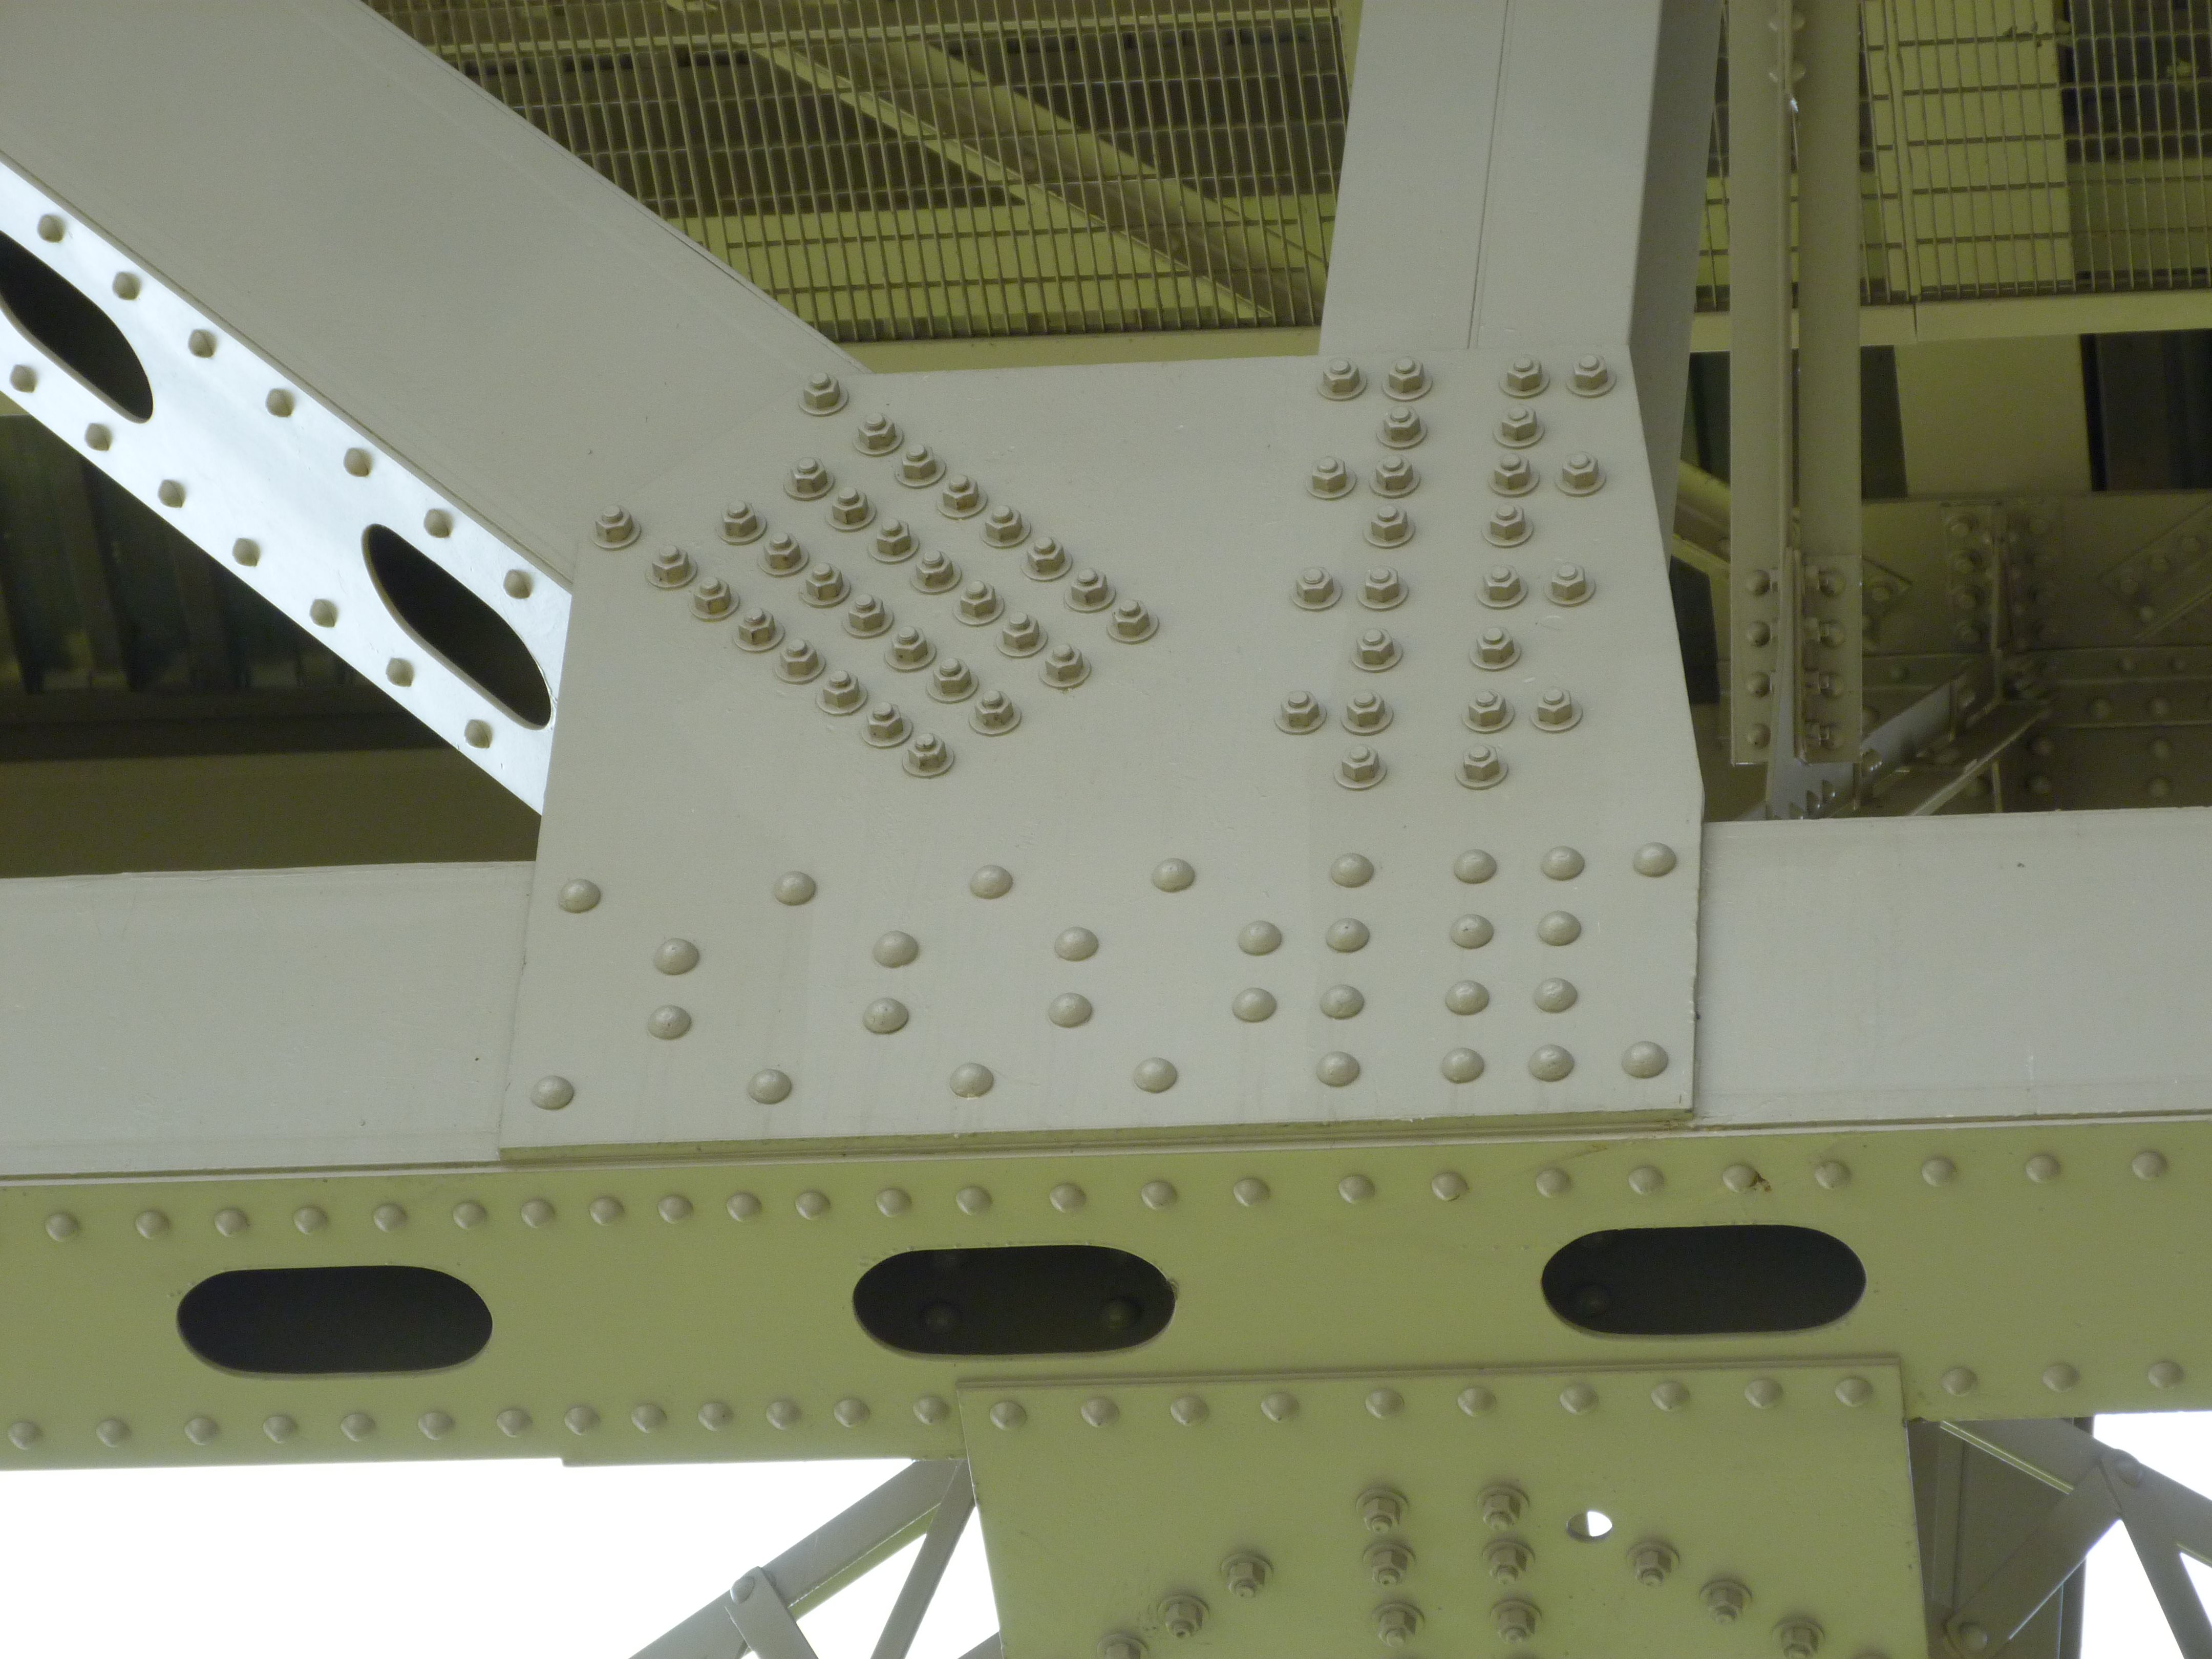
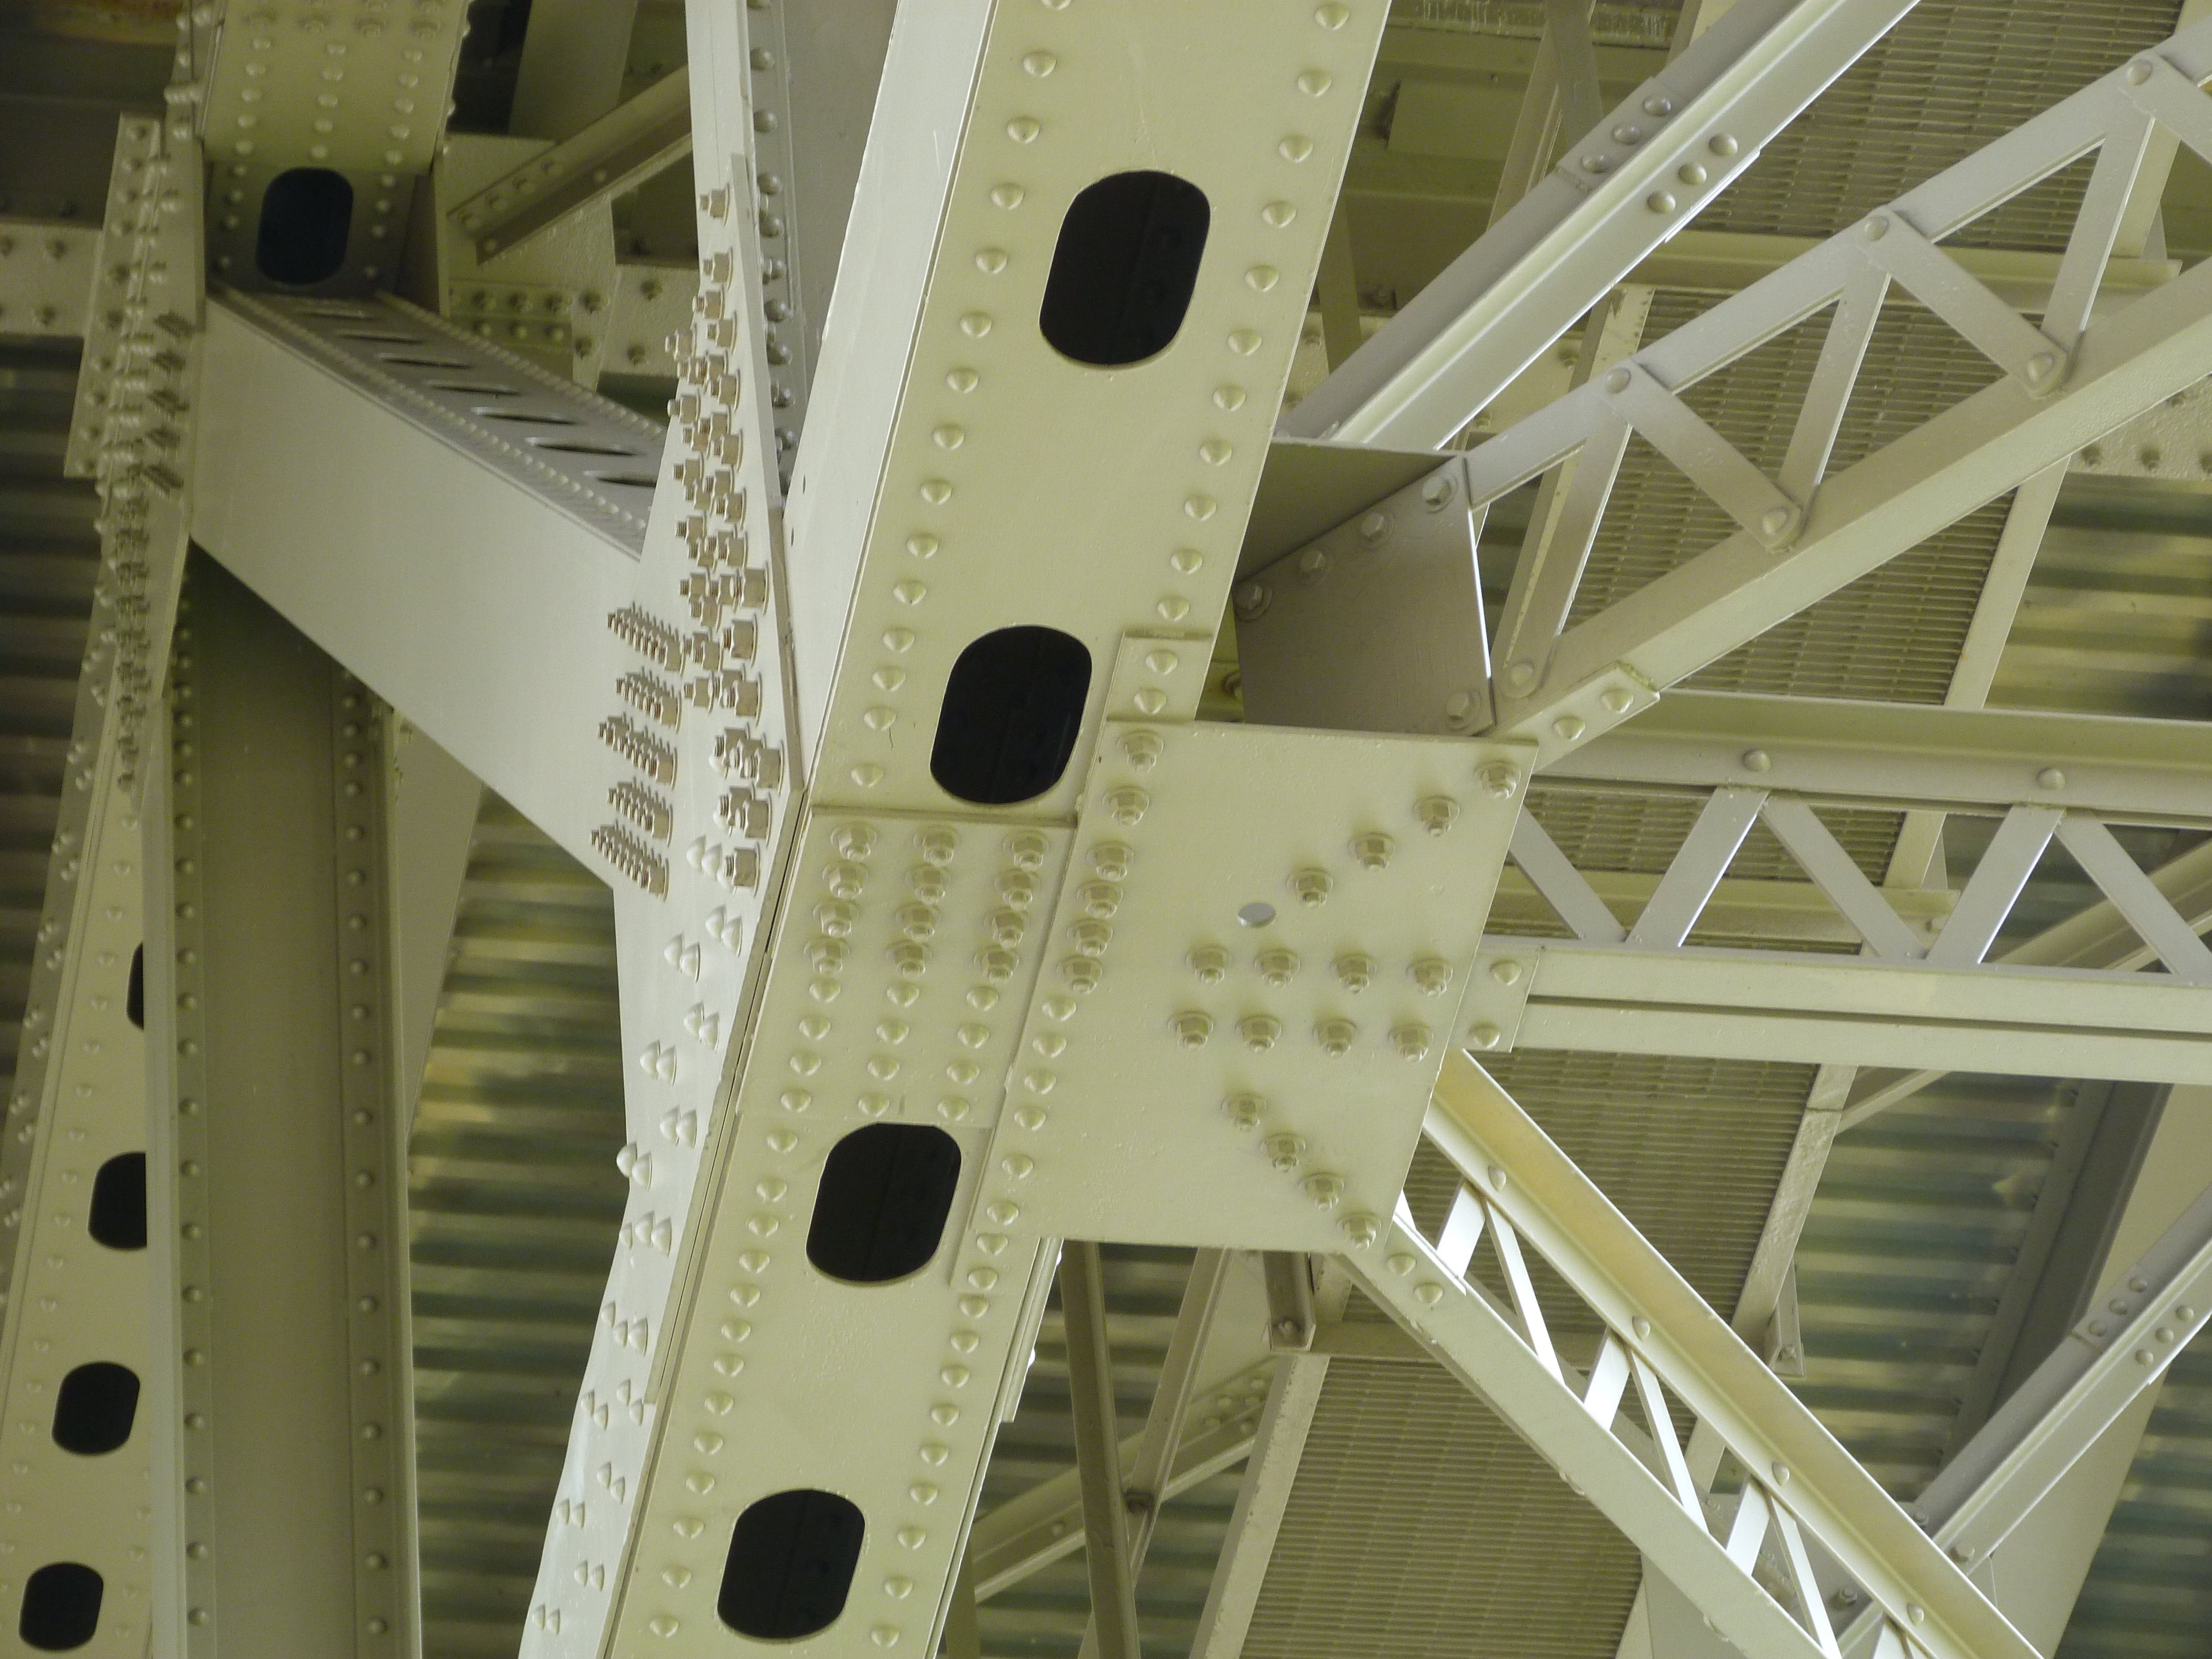
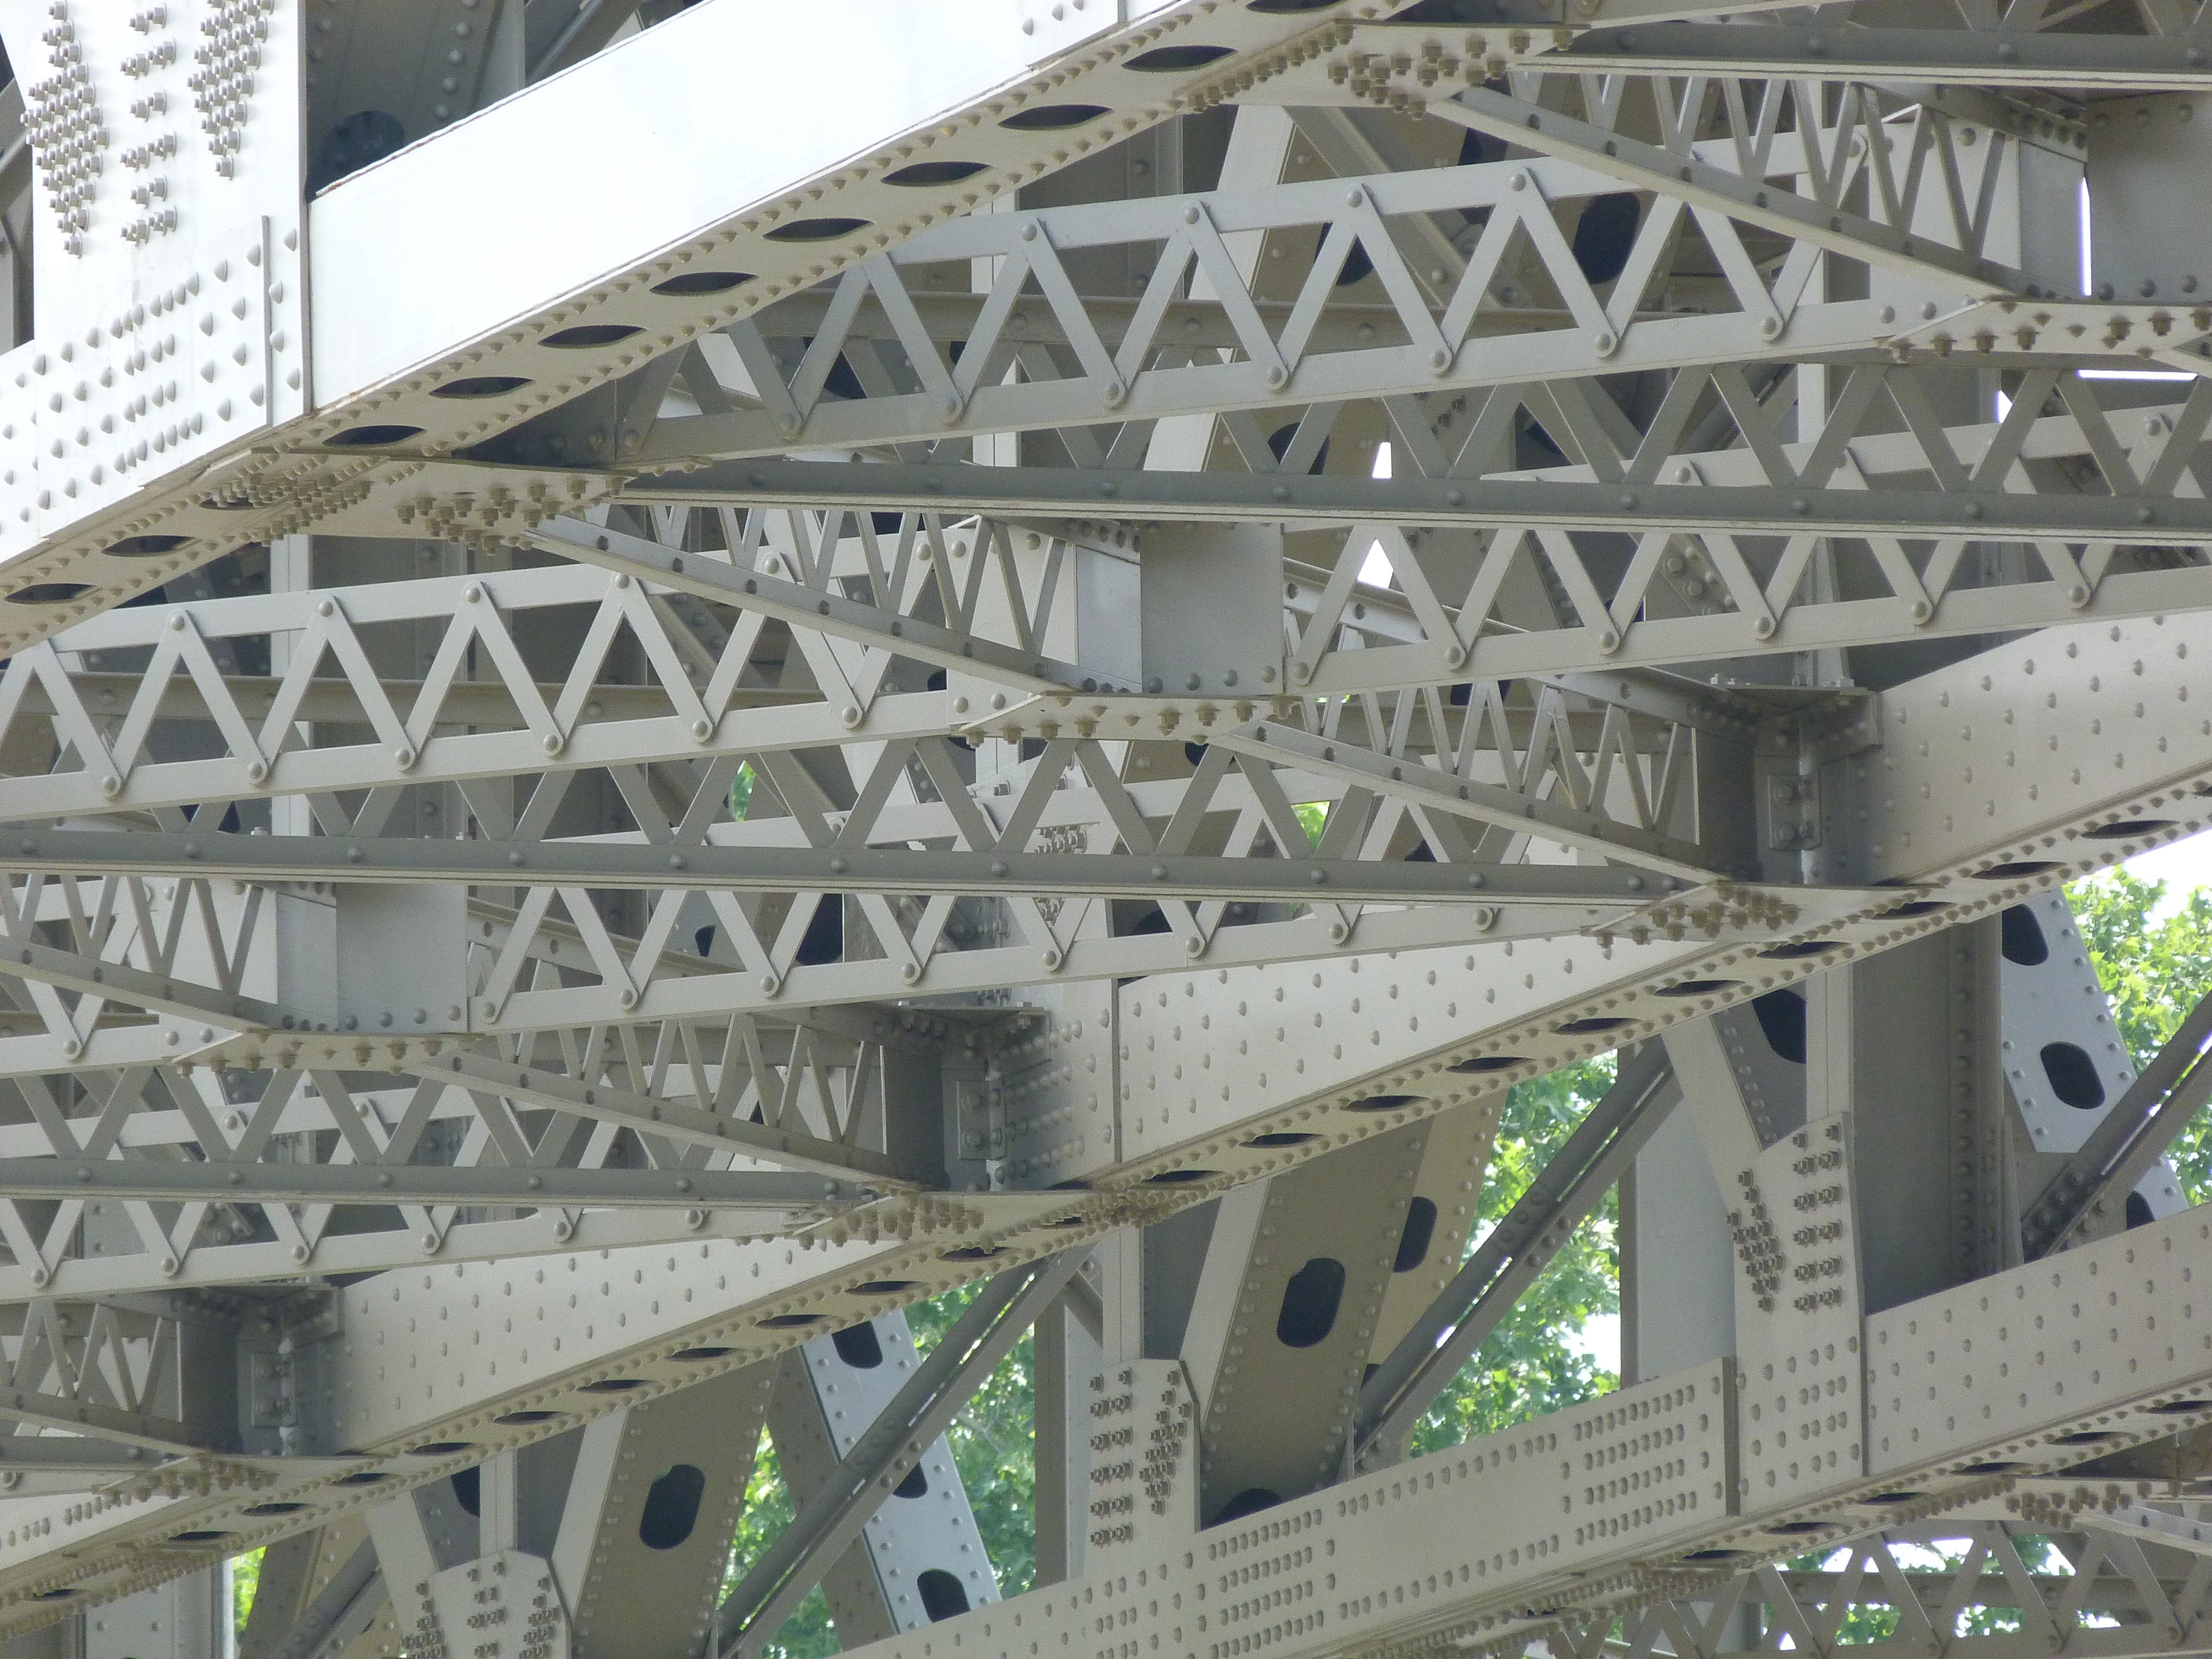
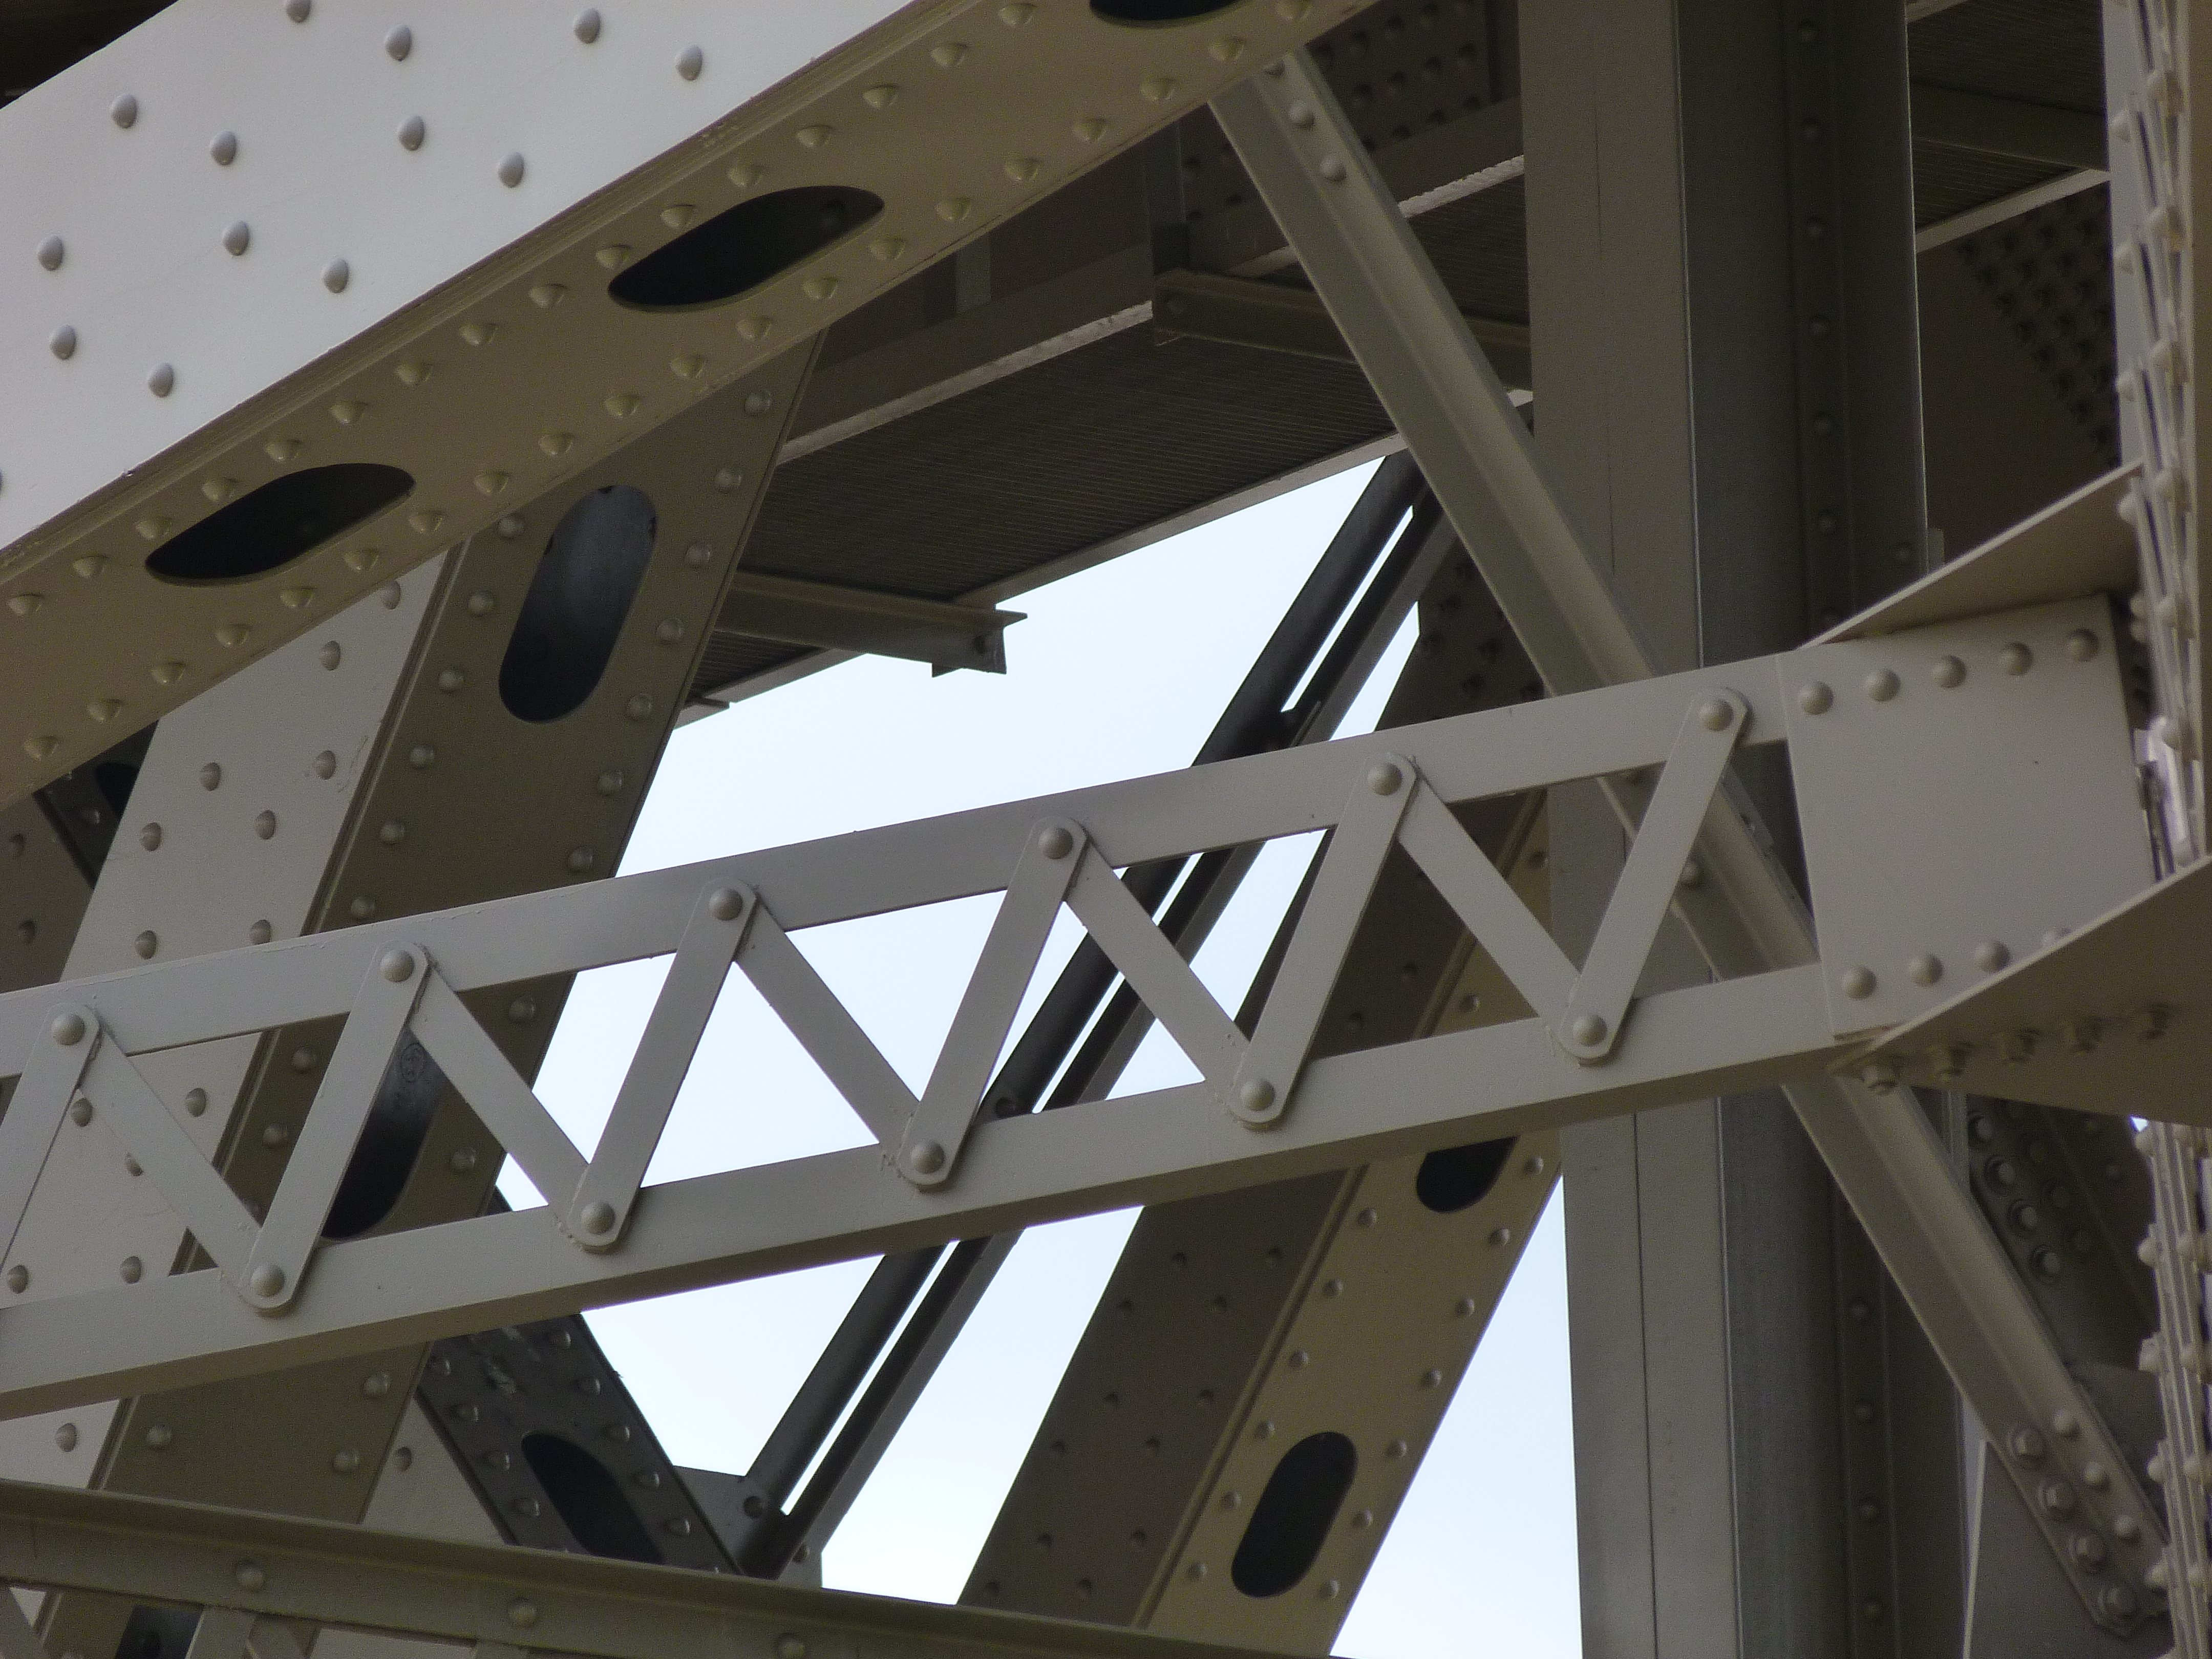
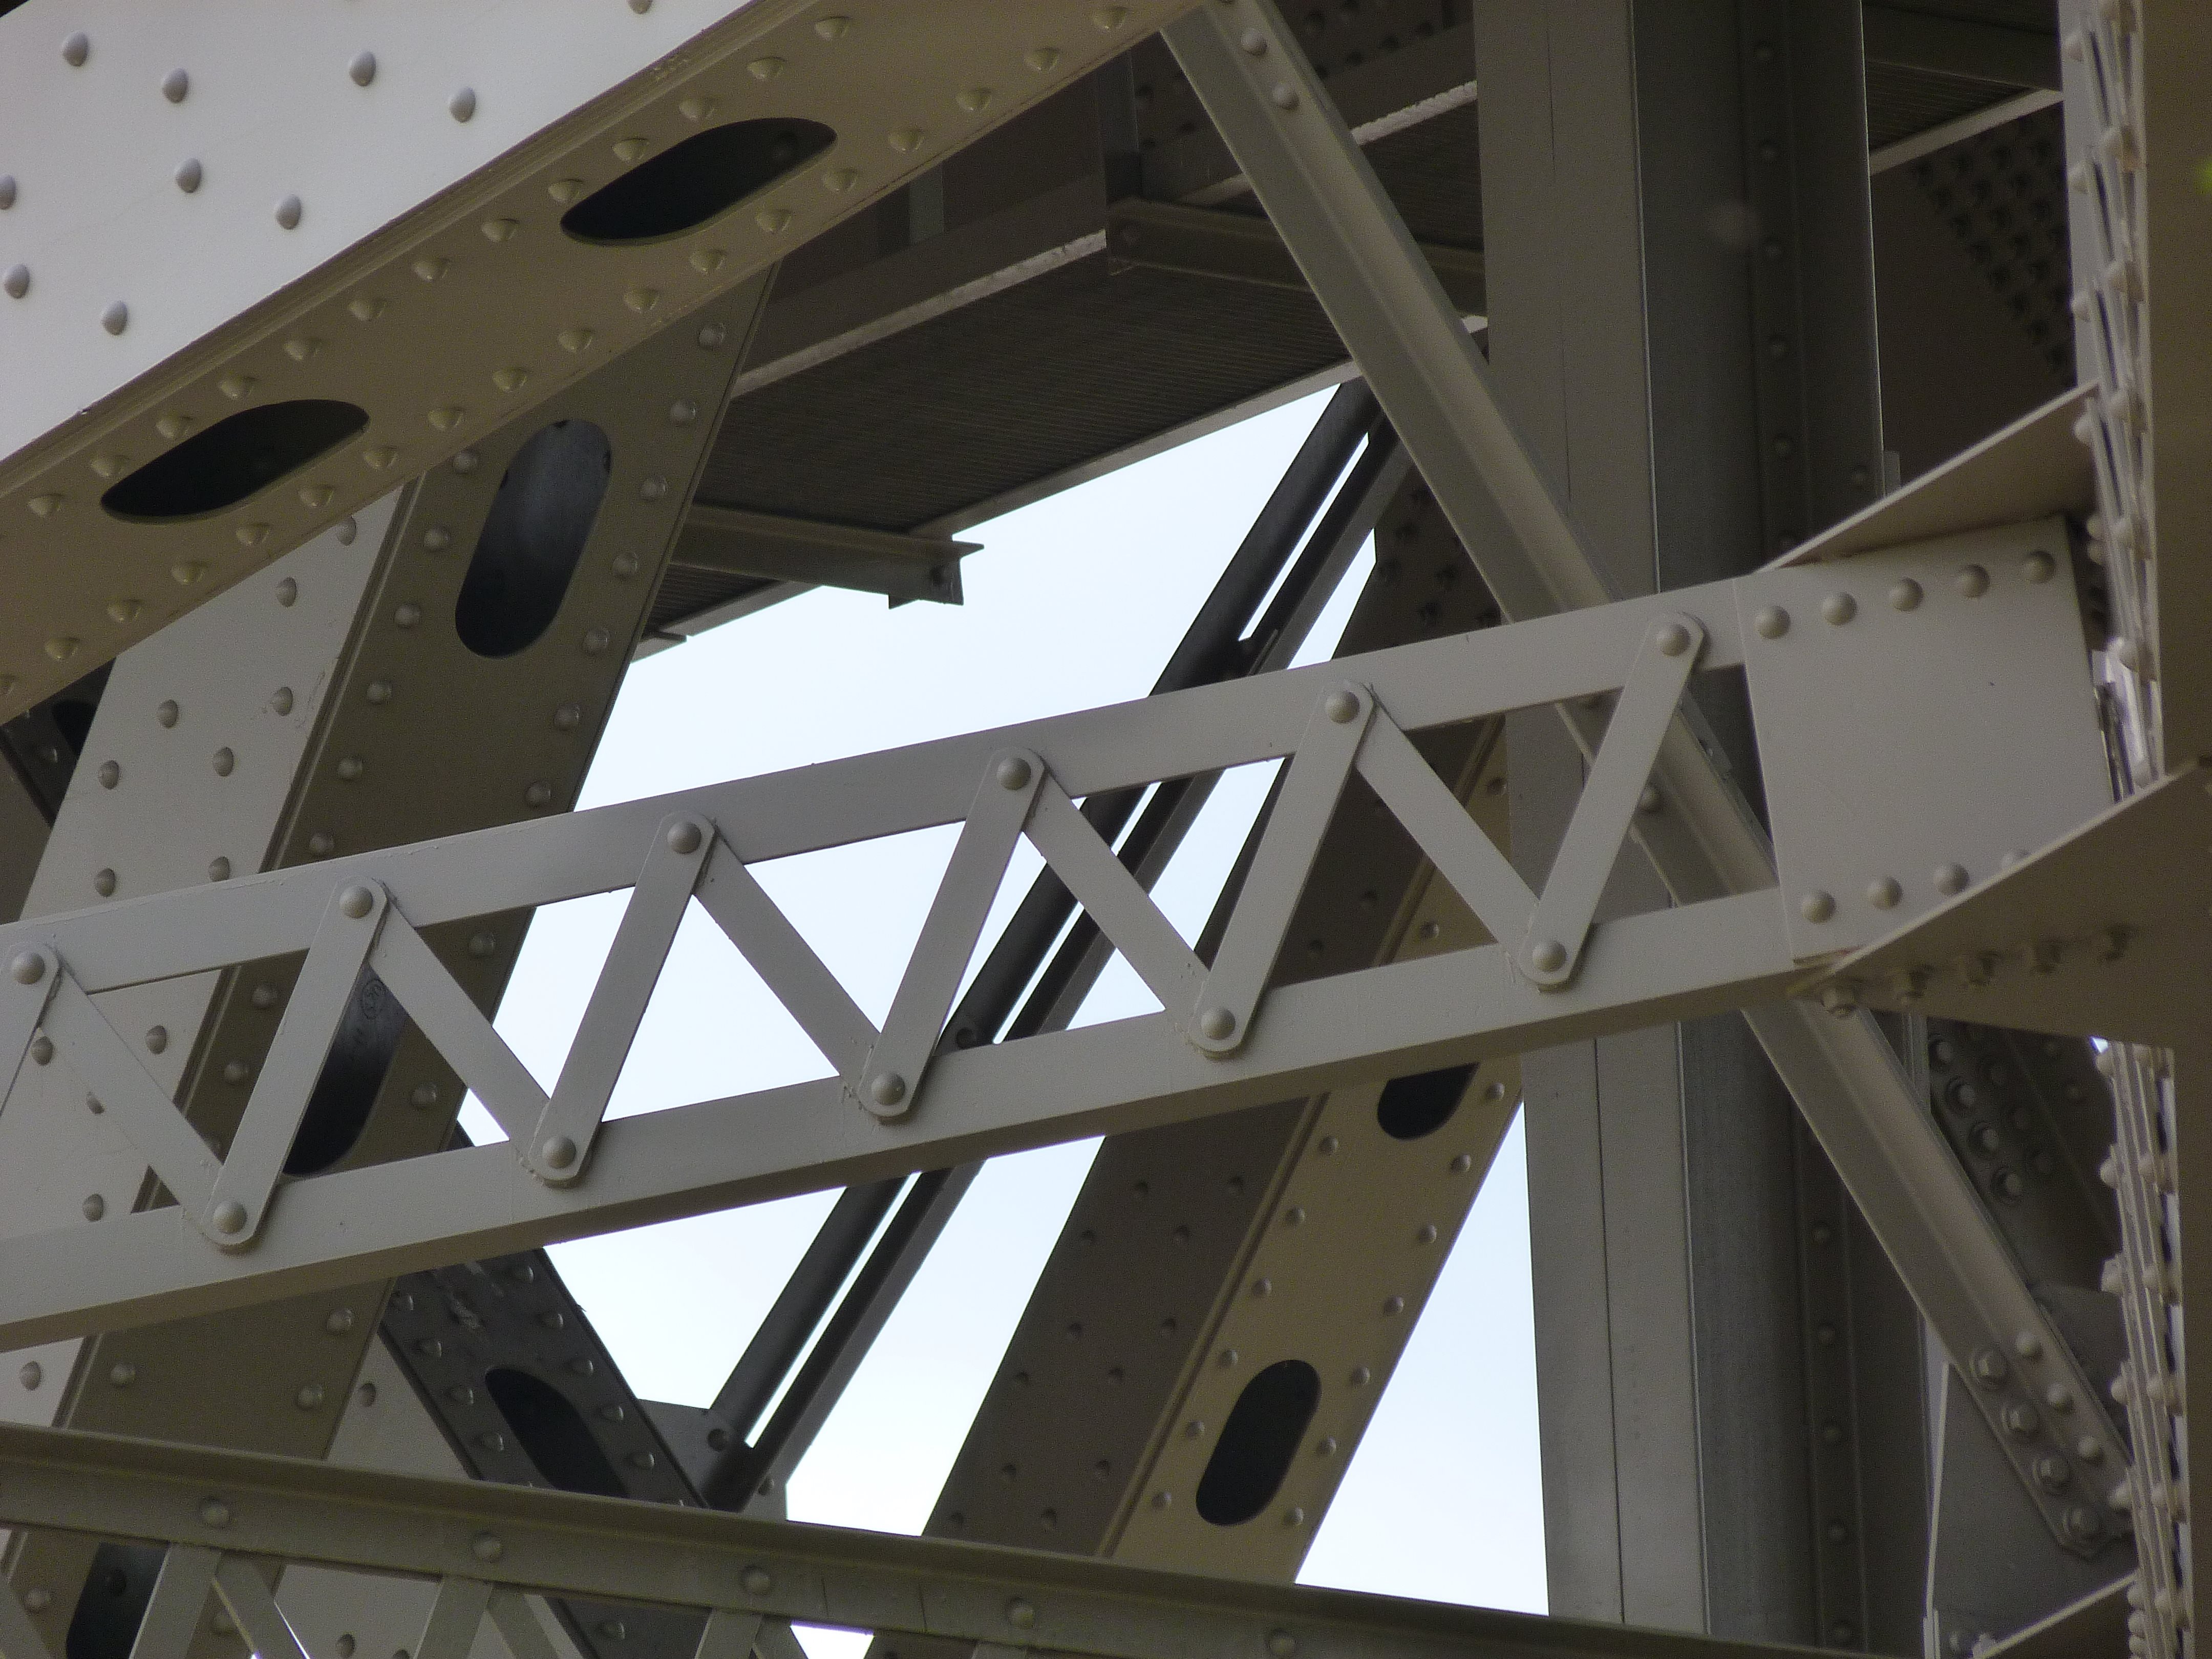
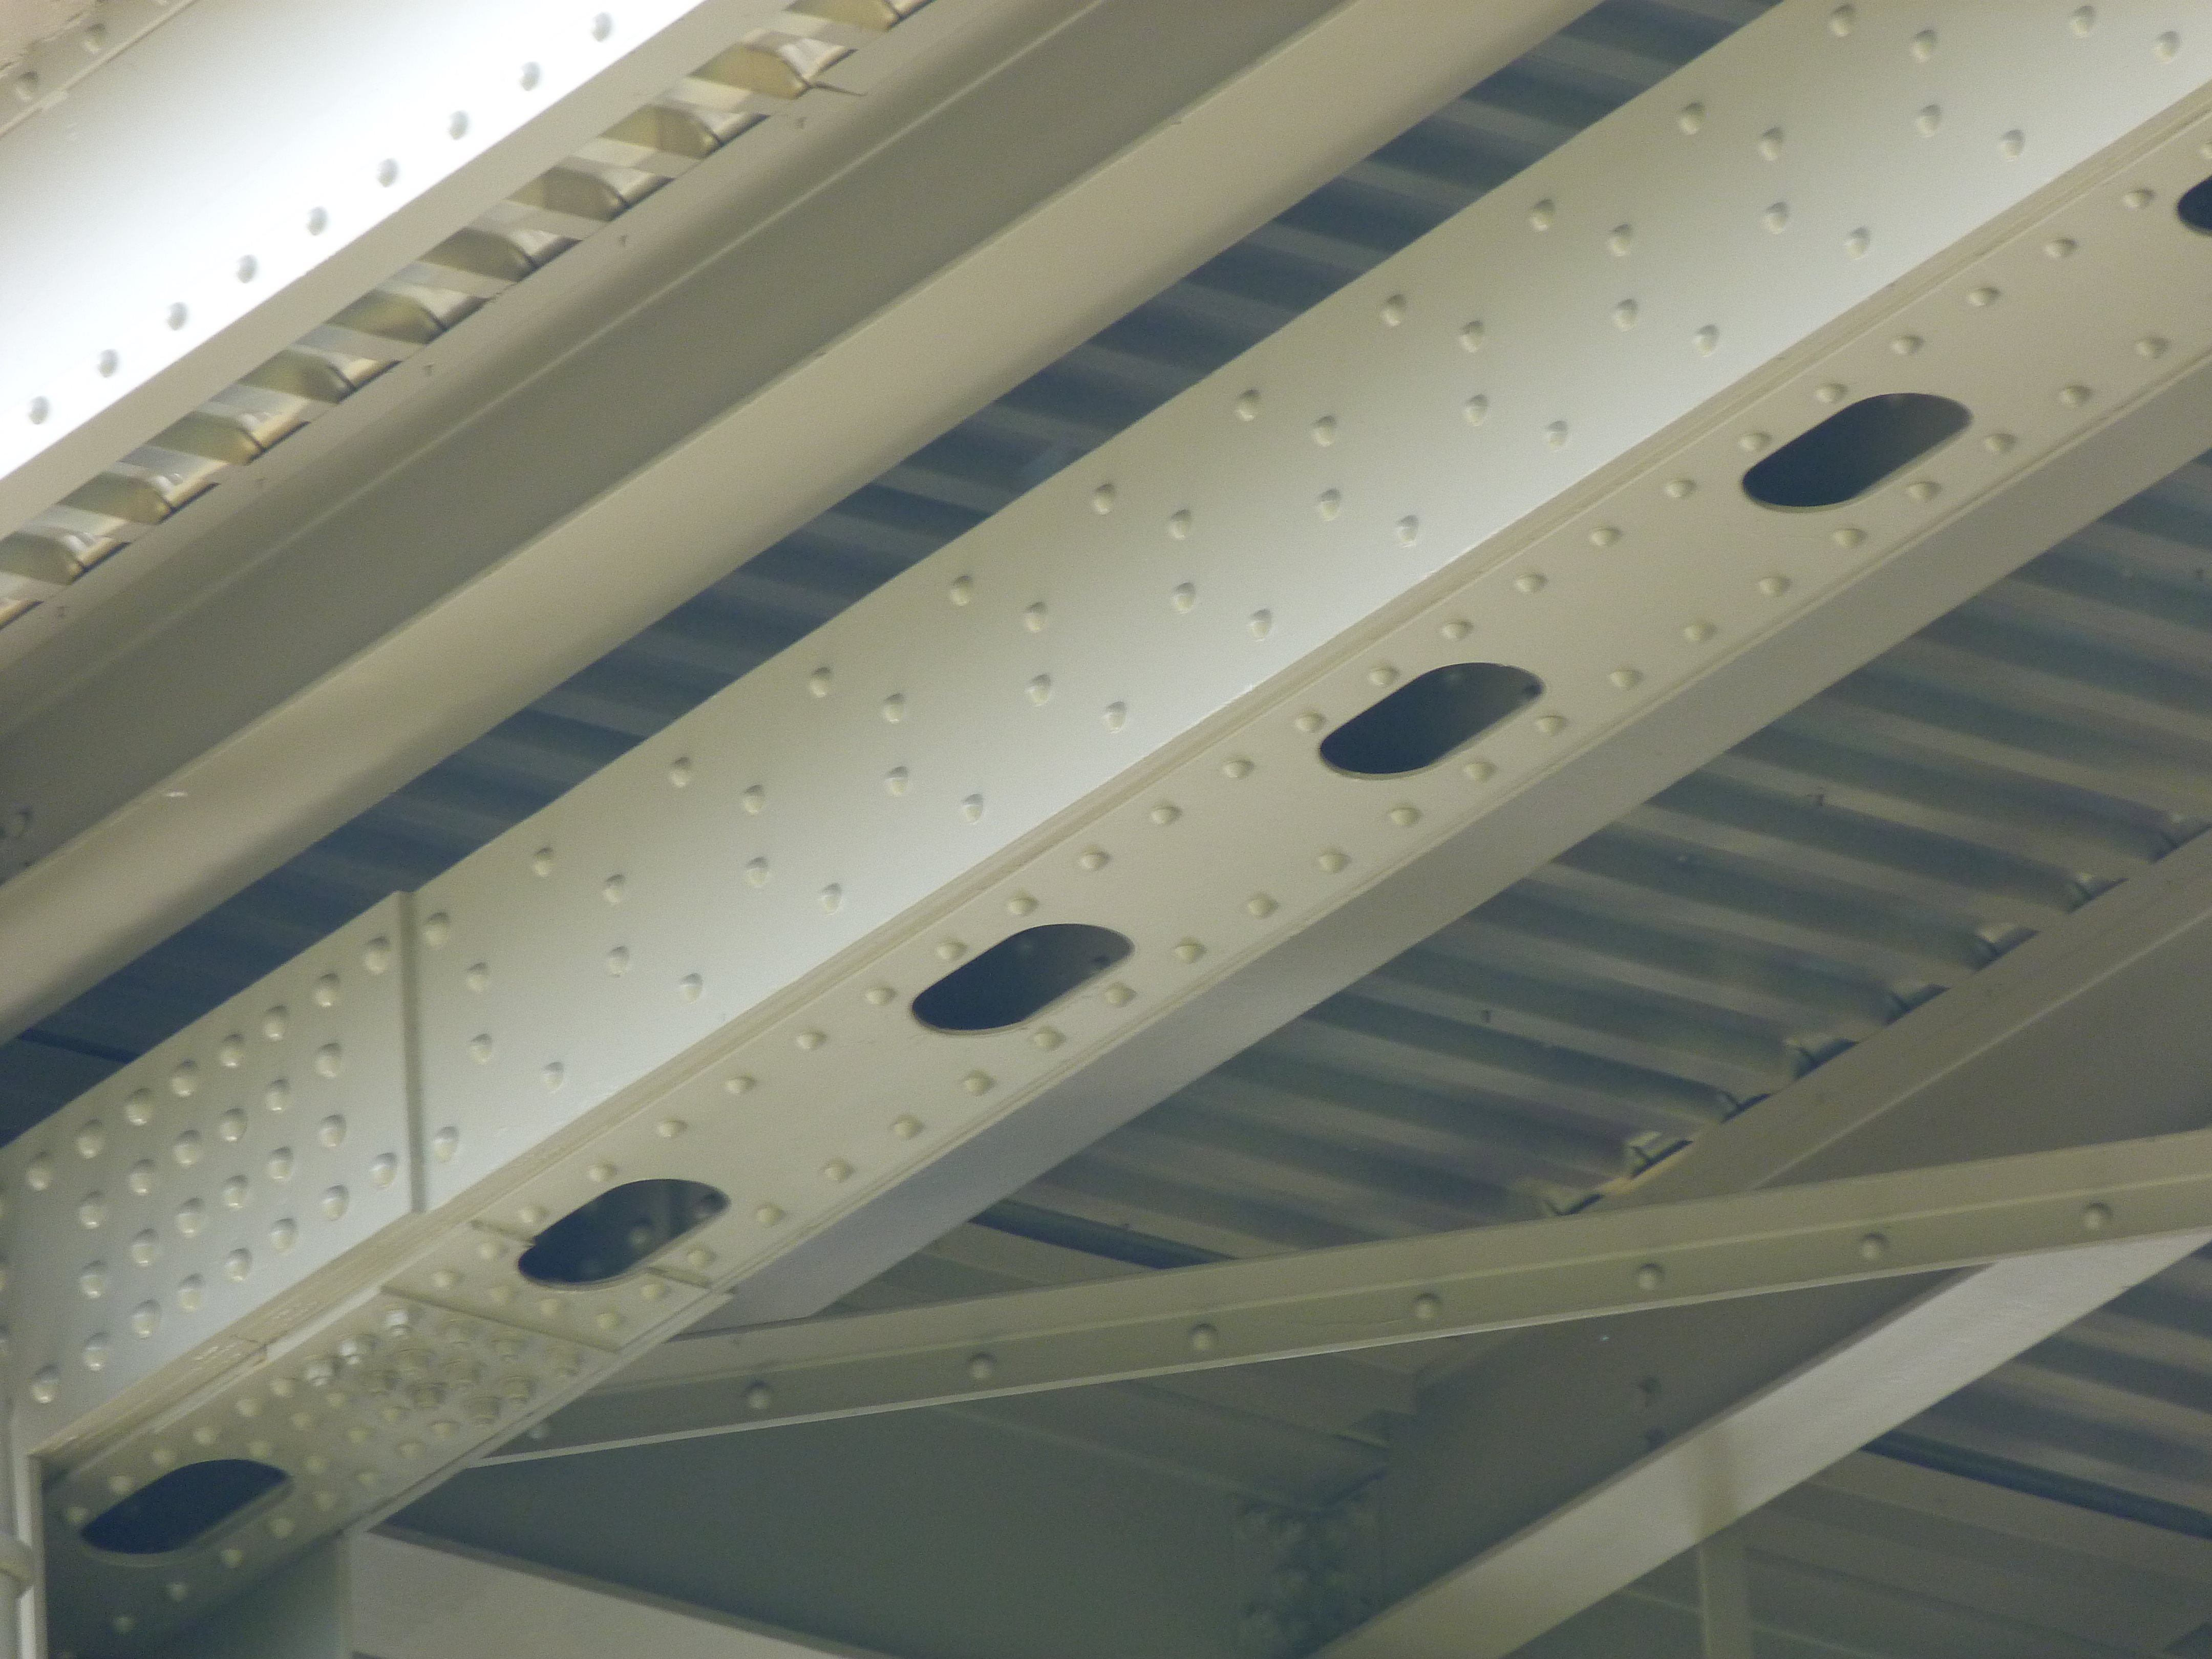
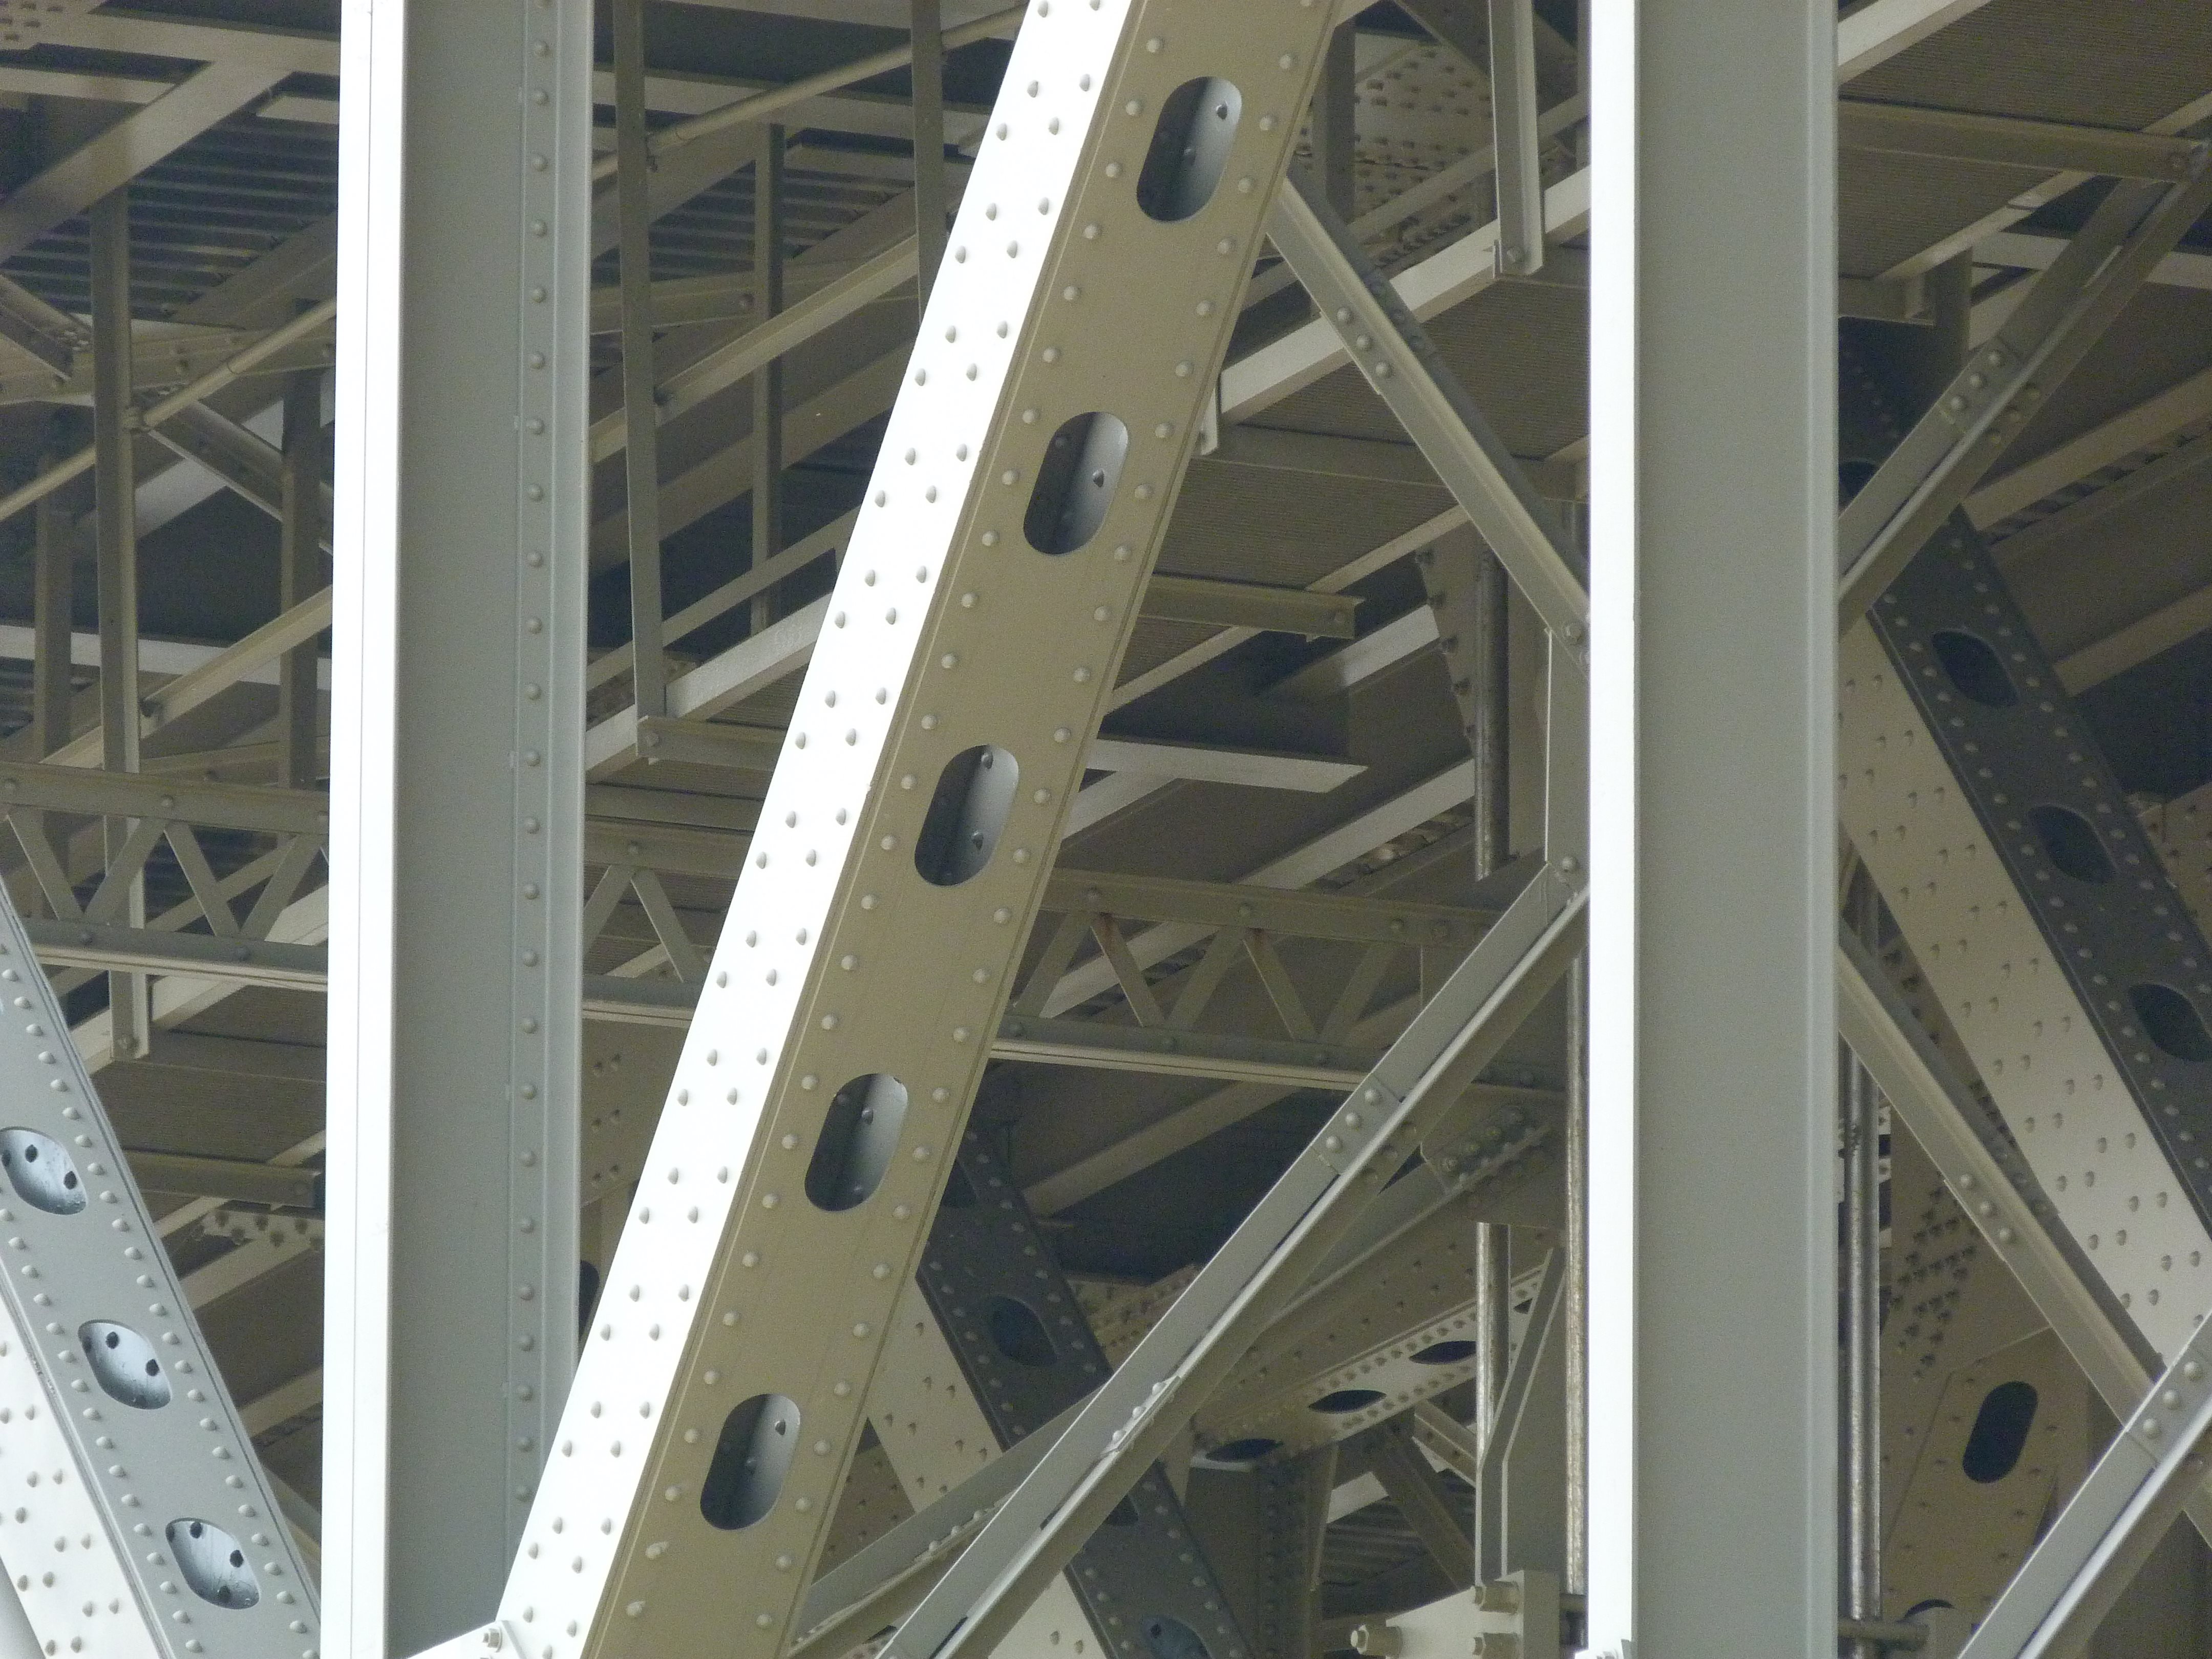
Bracing details.
![]()
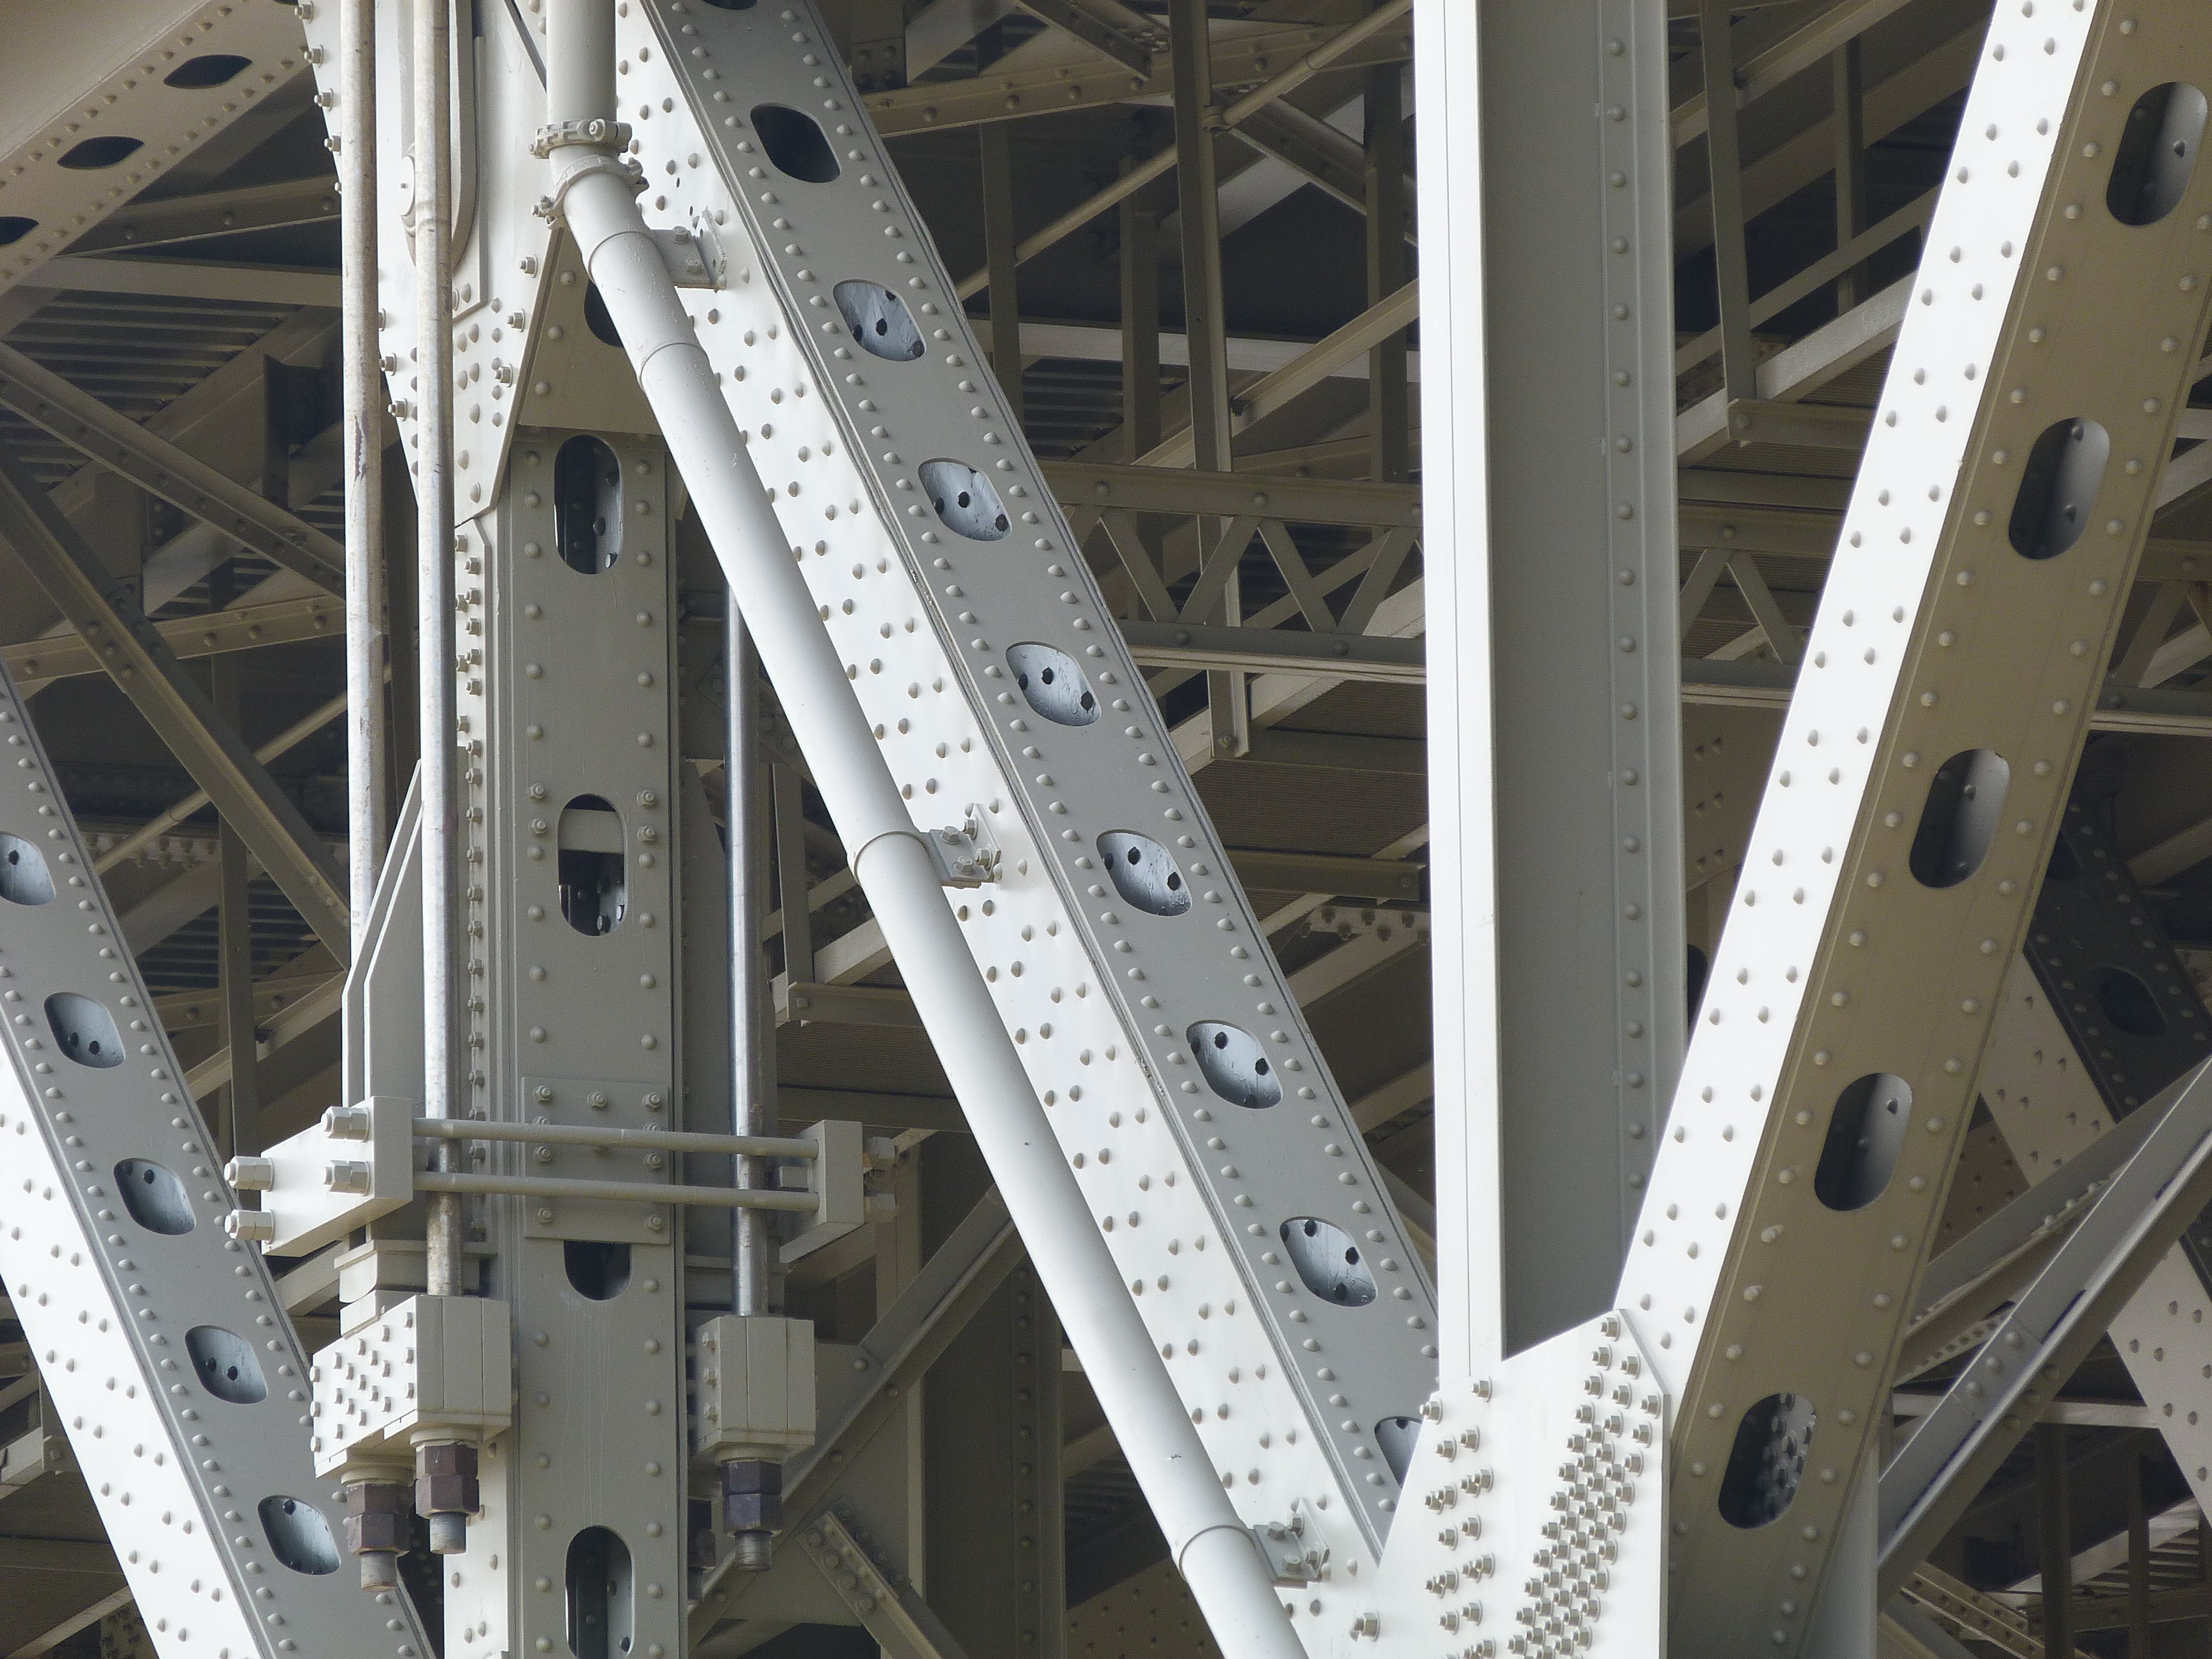
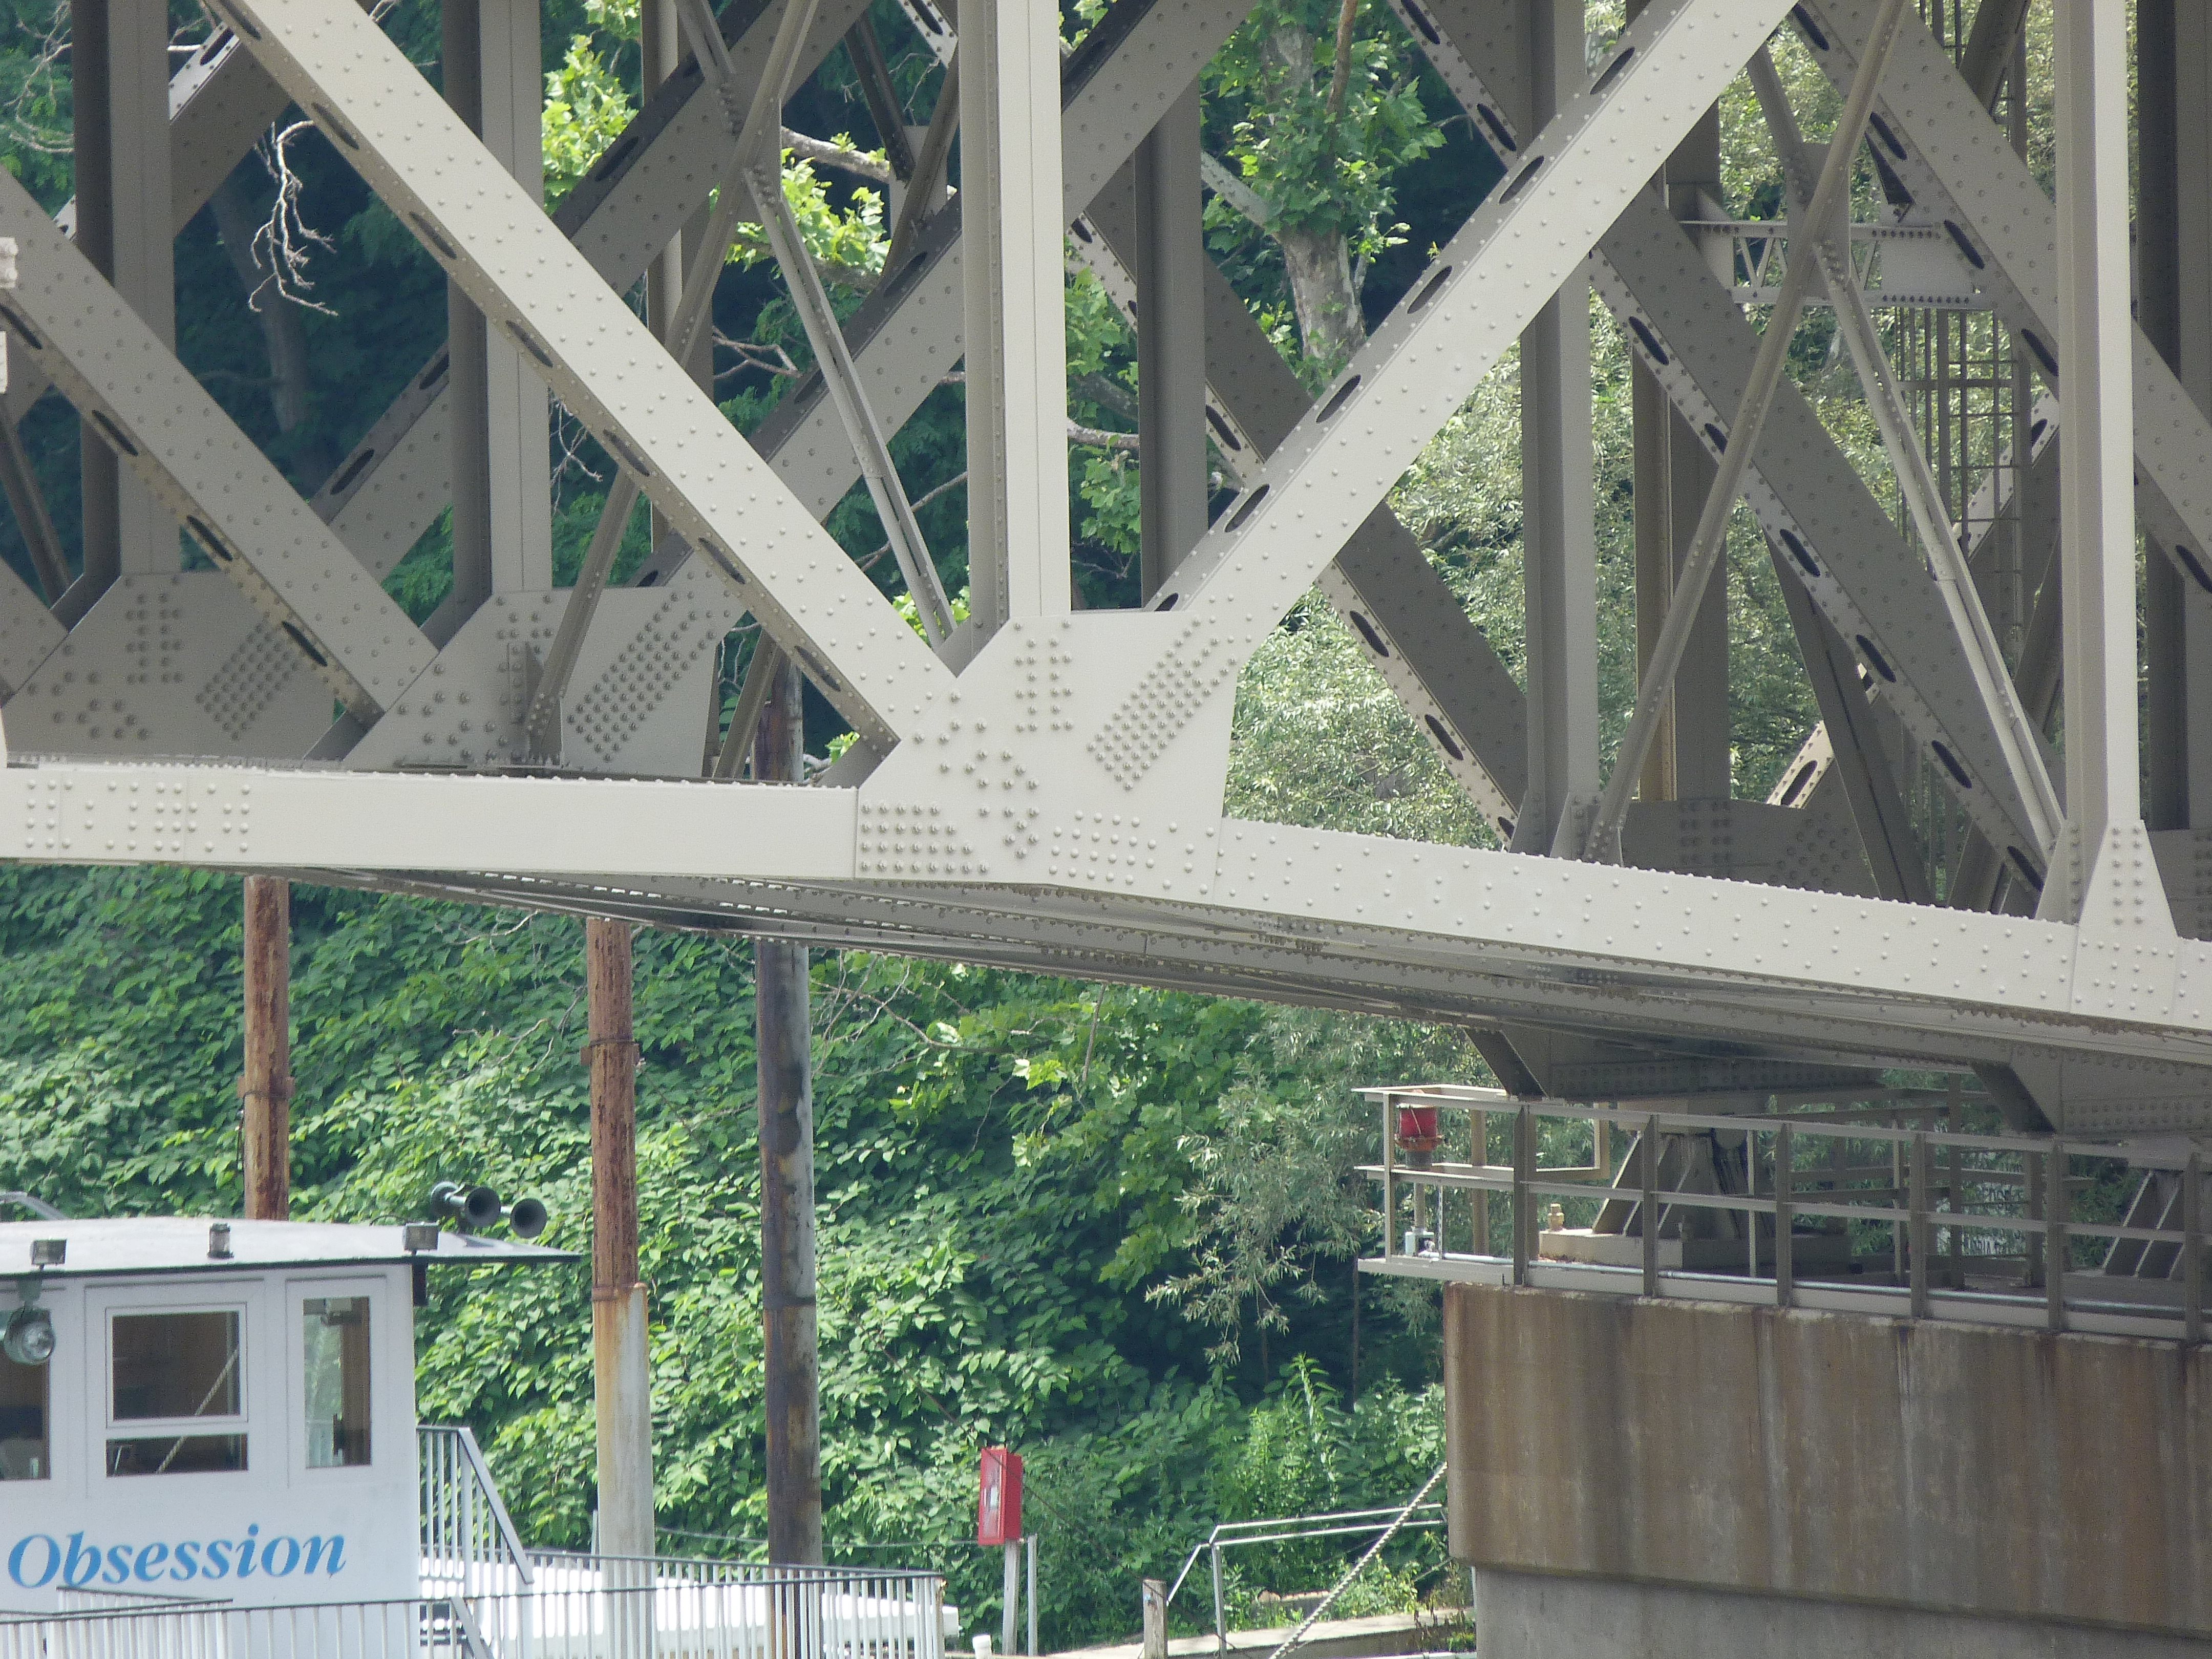
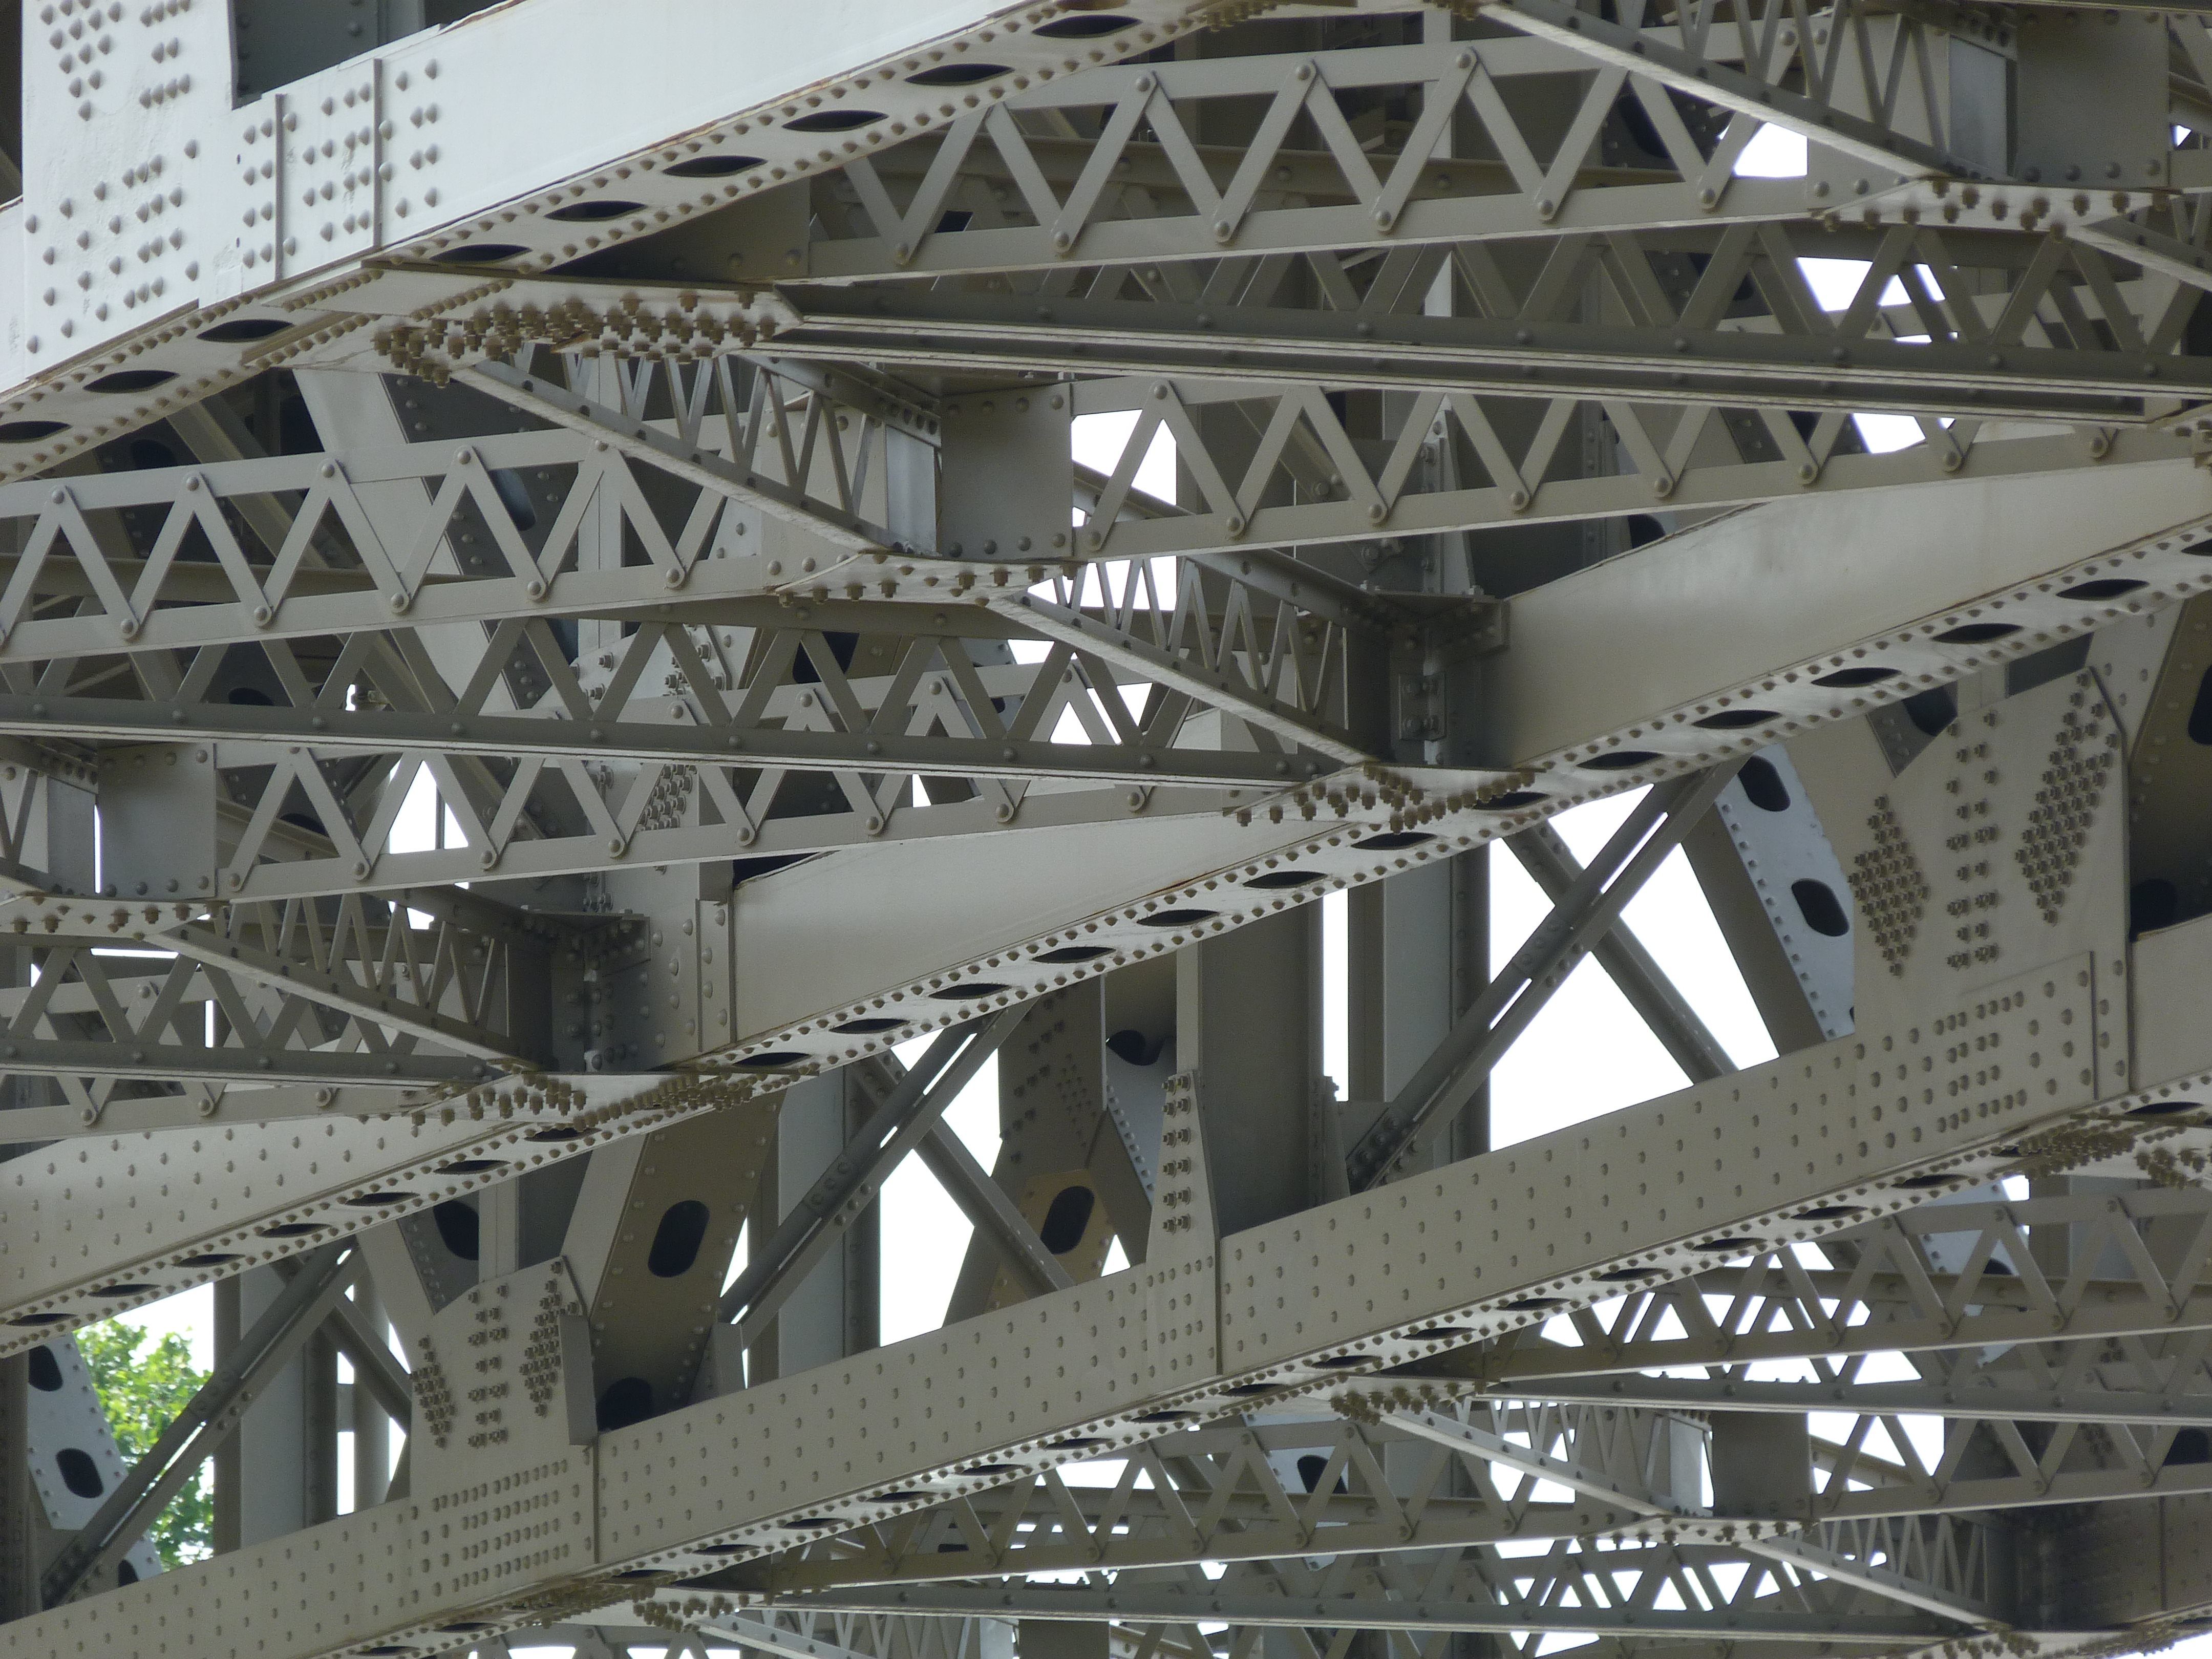
Truss members.
![]()
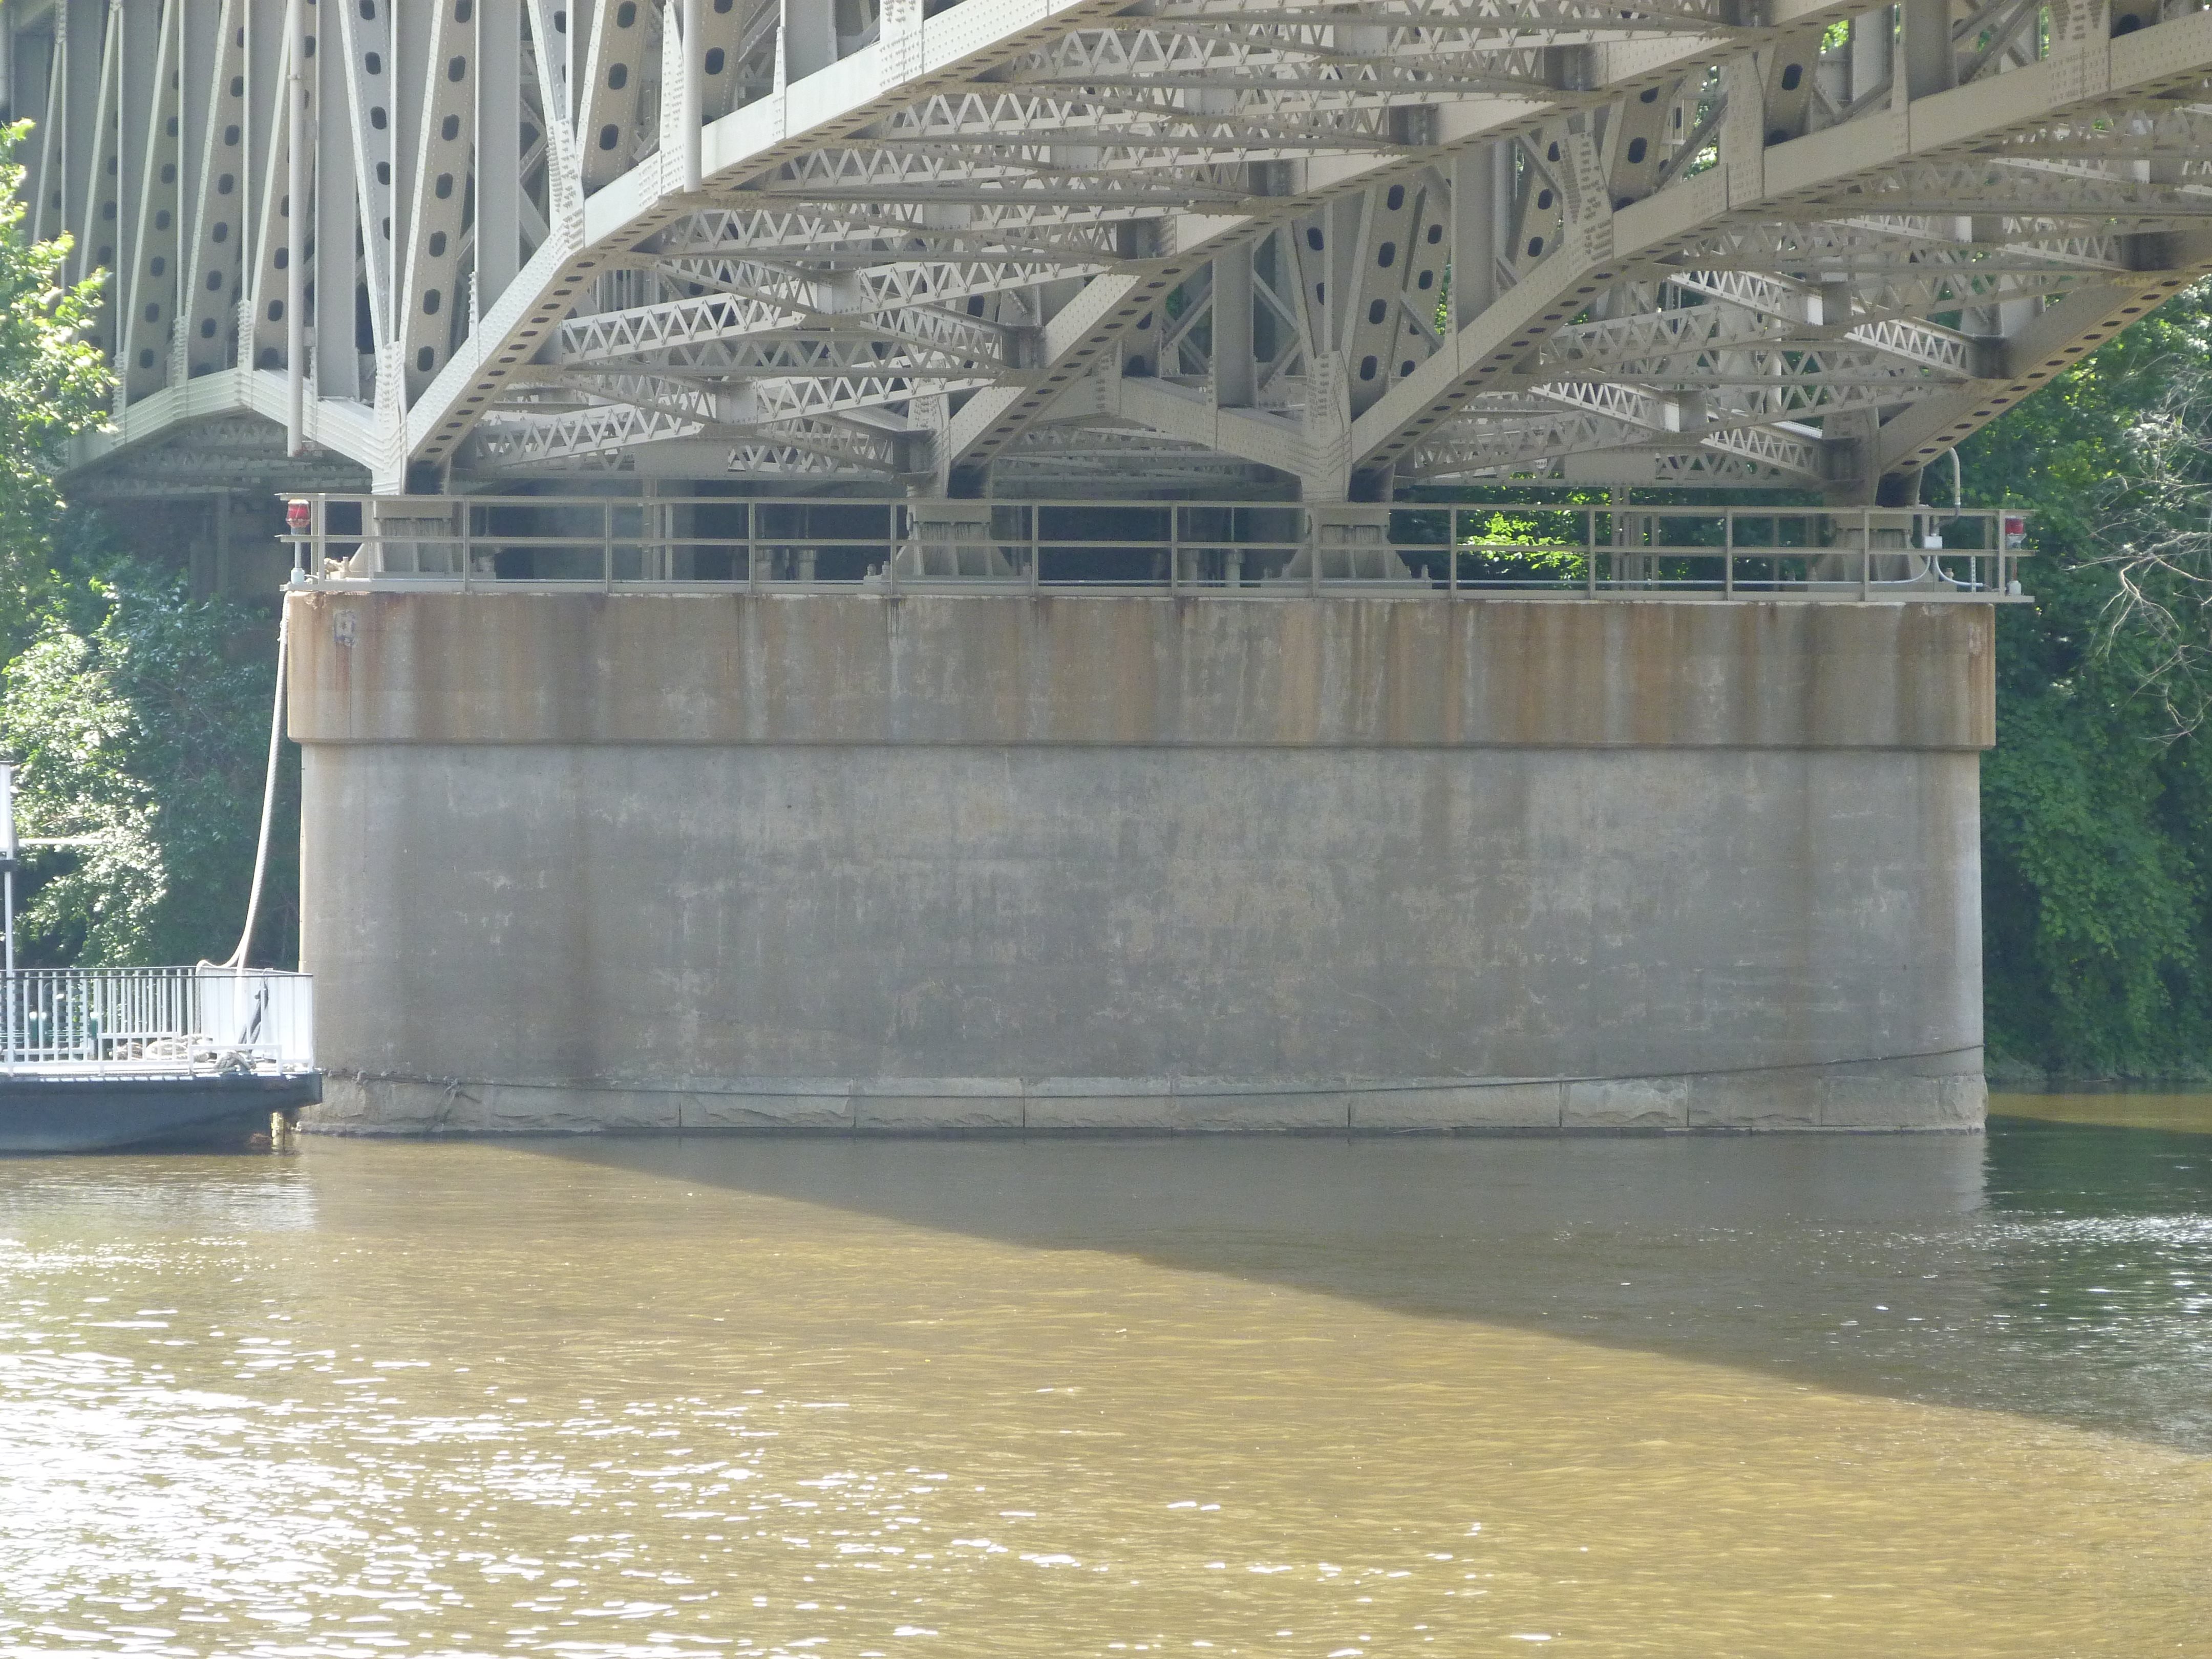
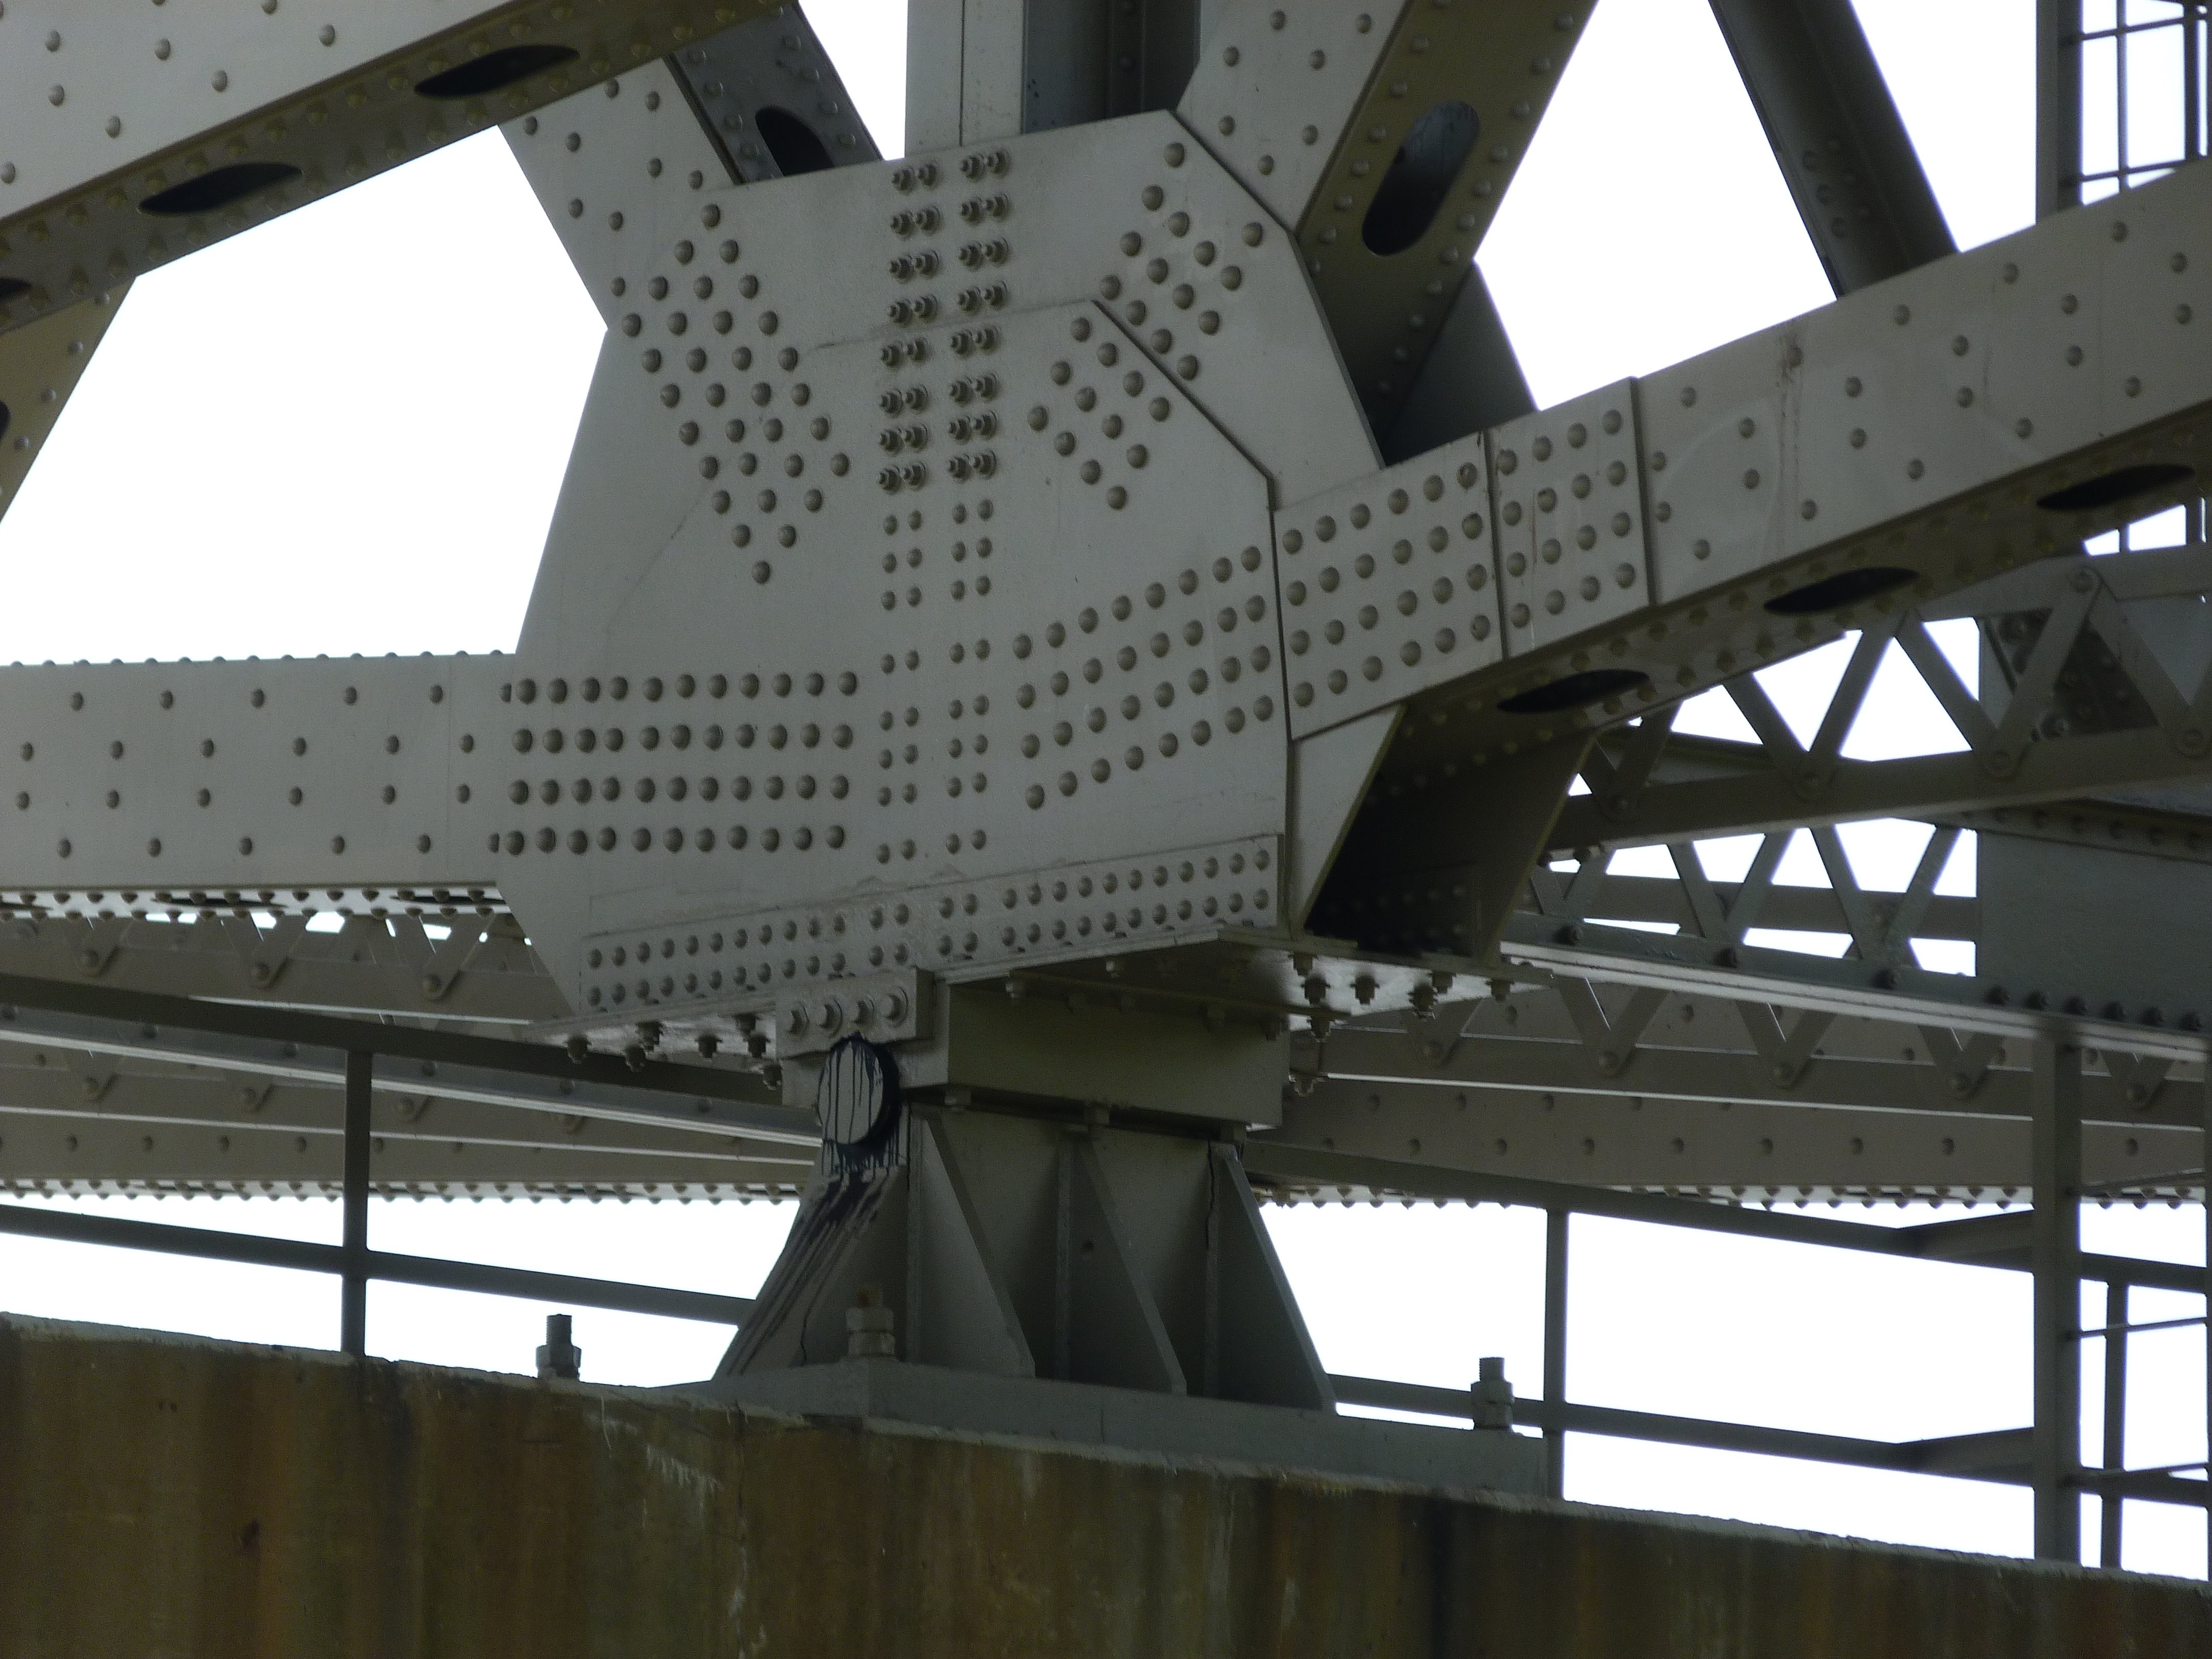
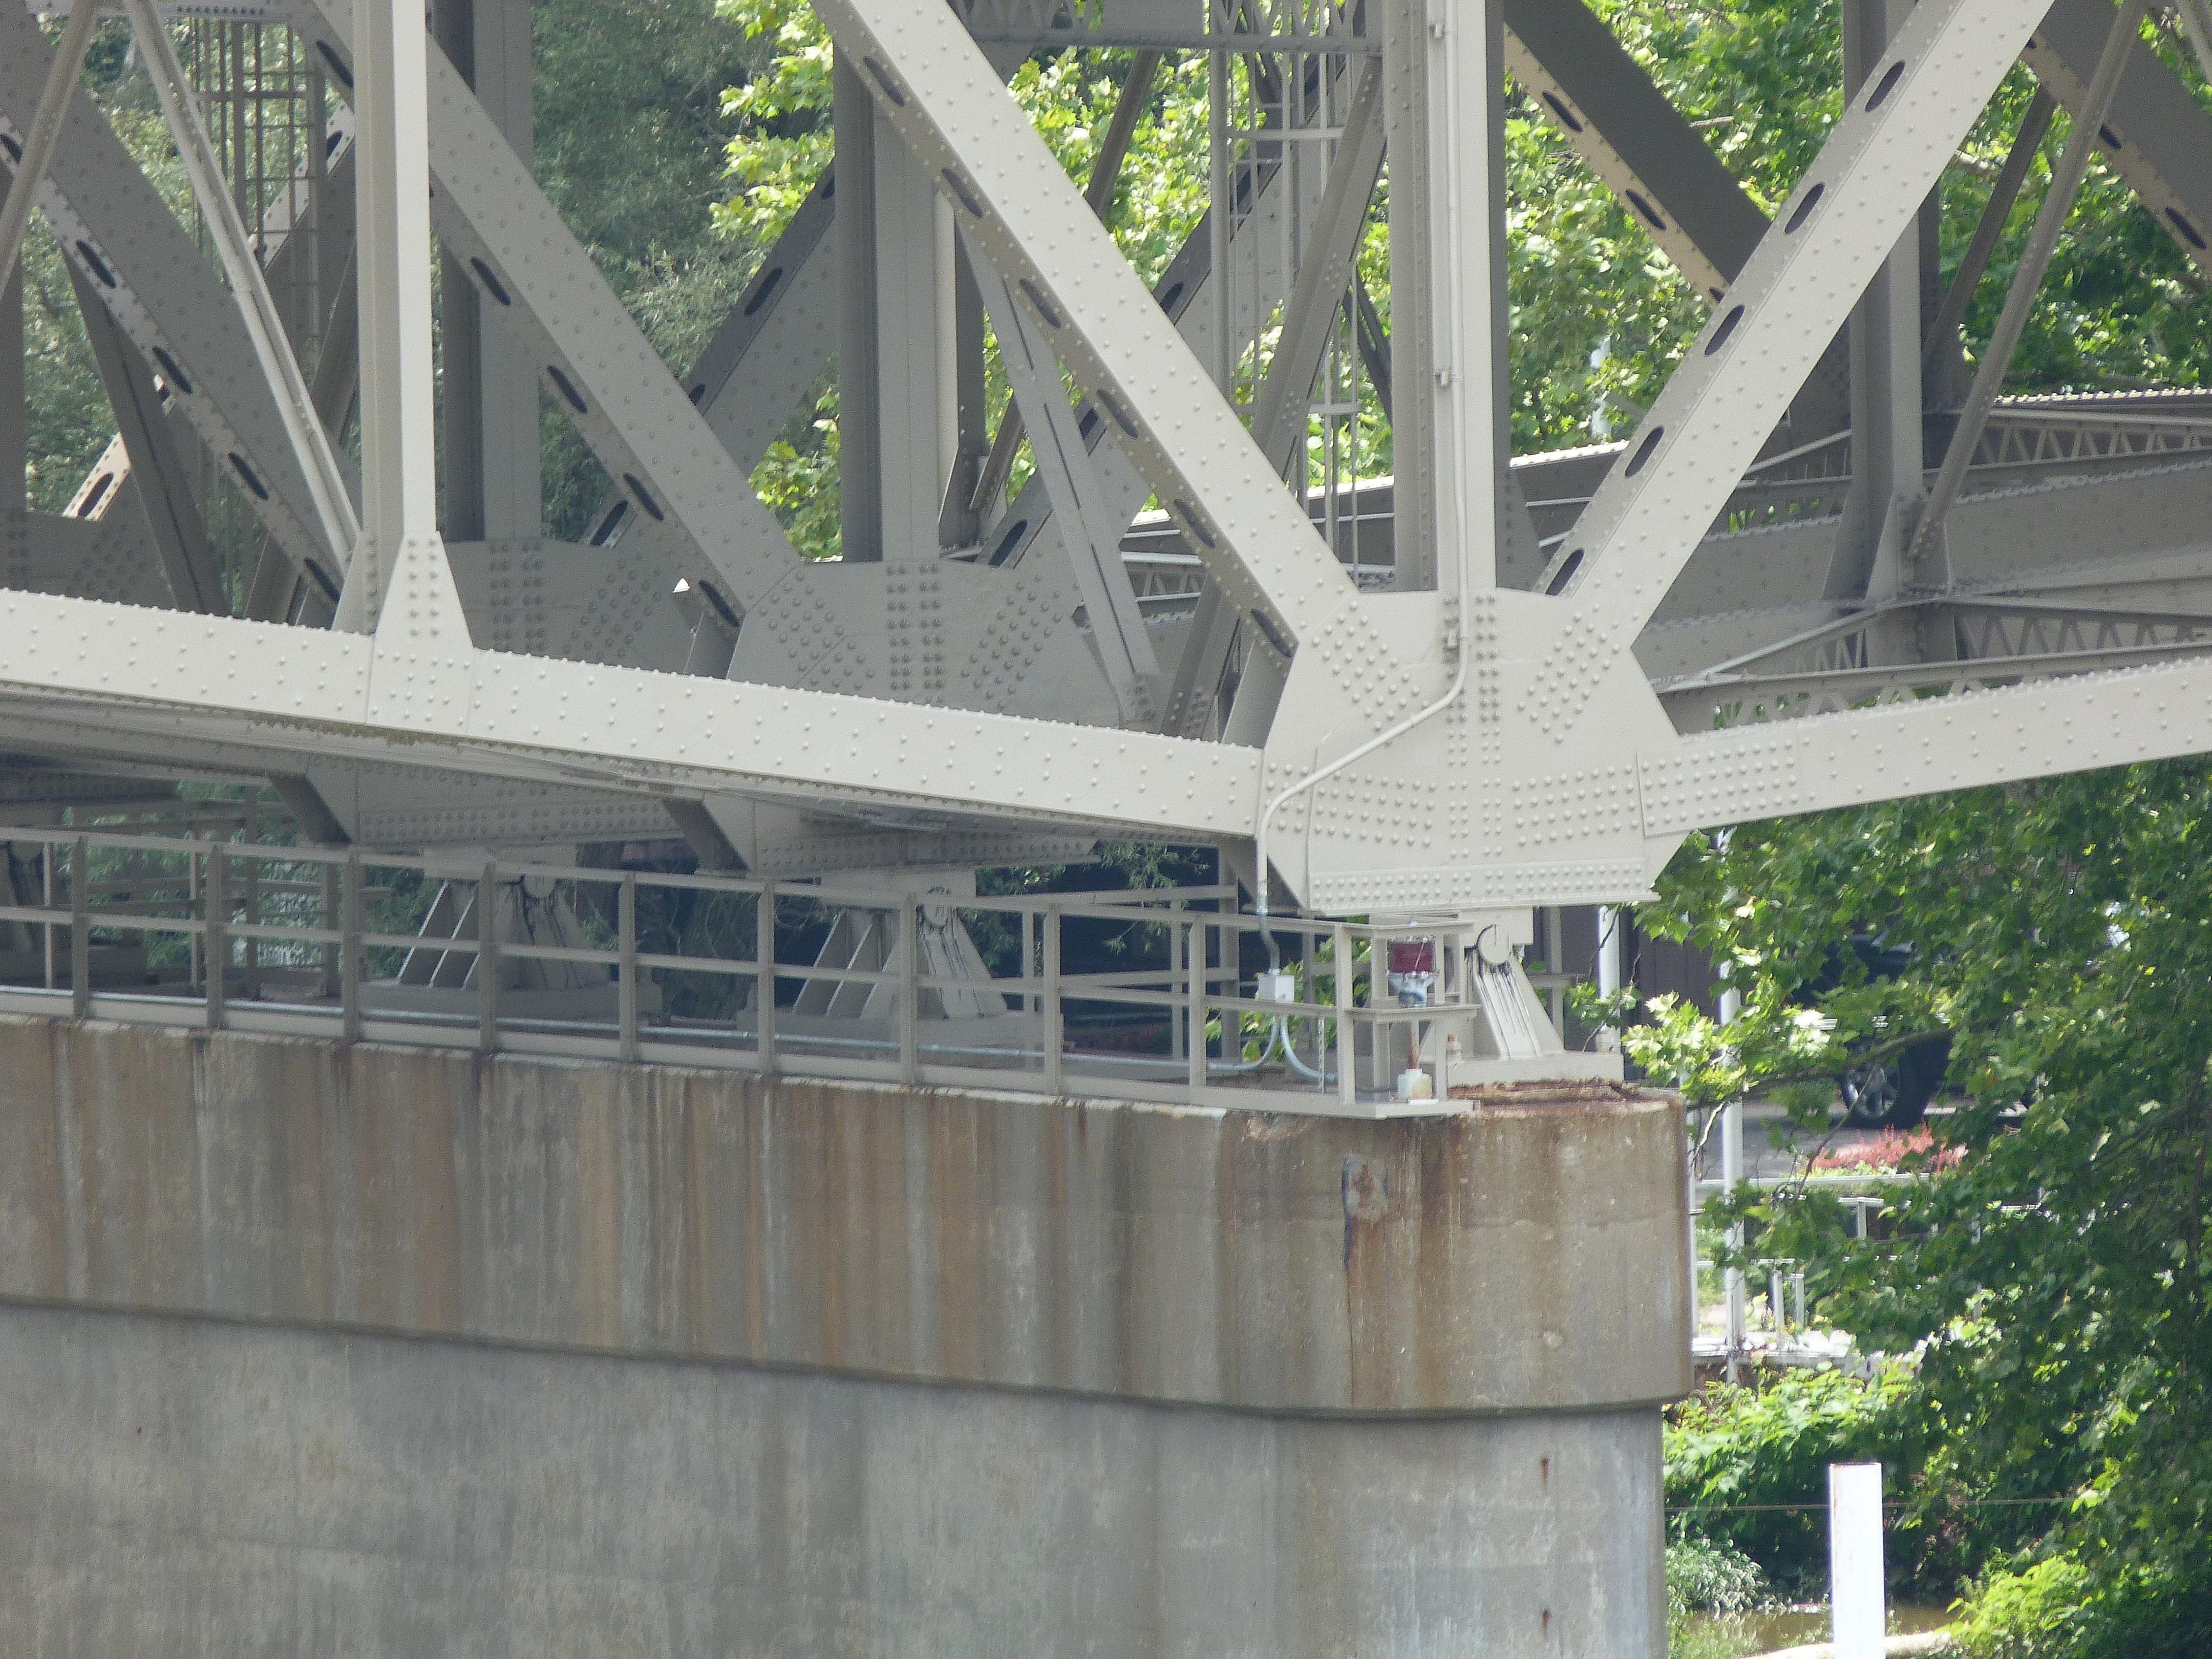
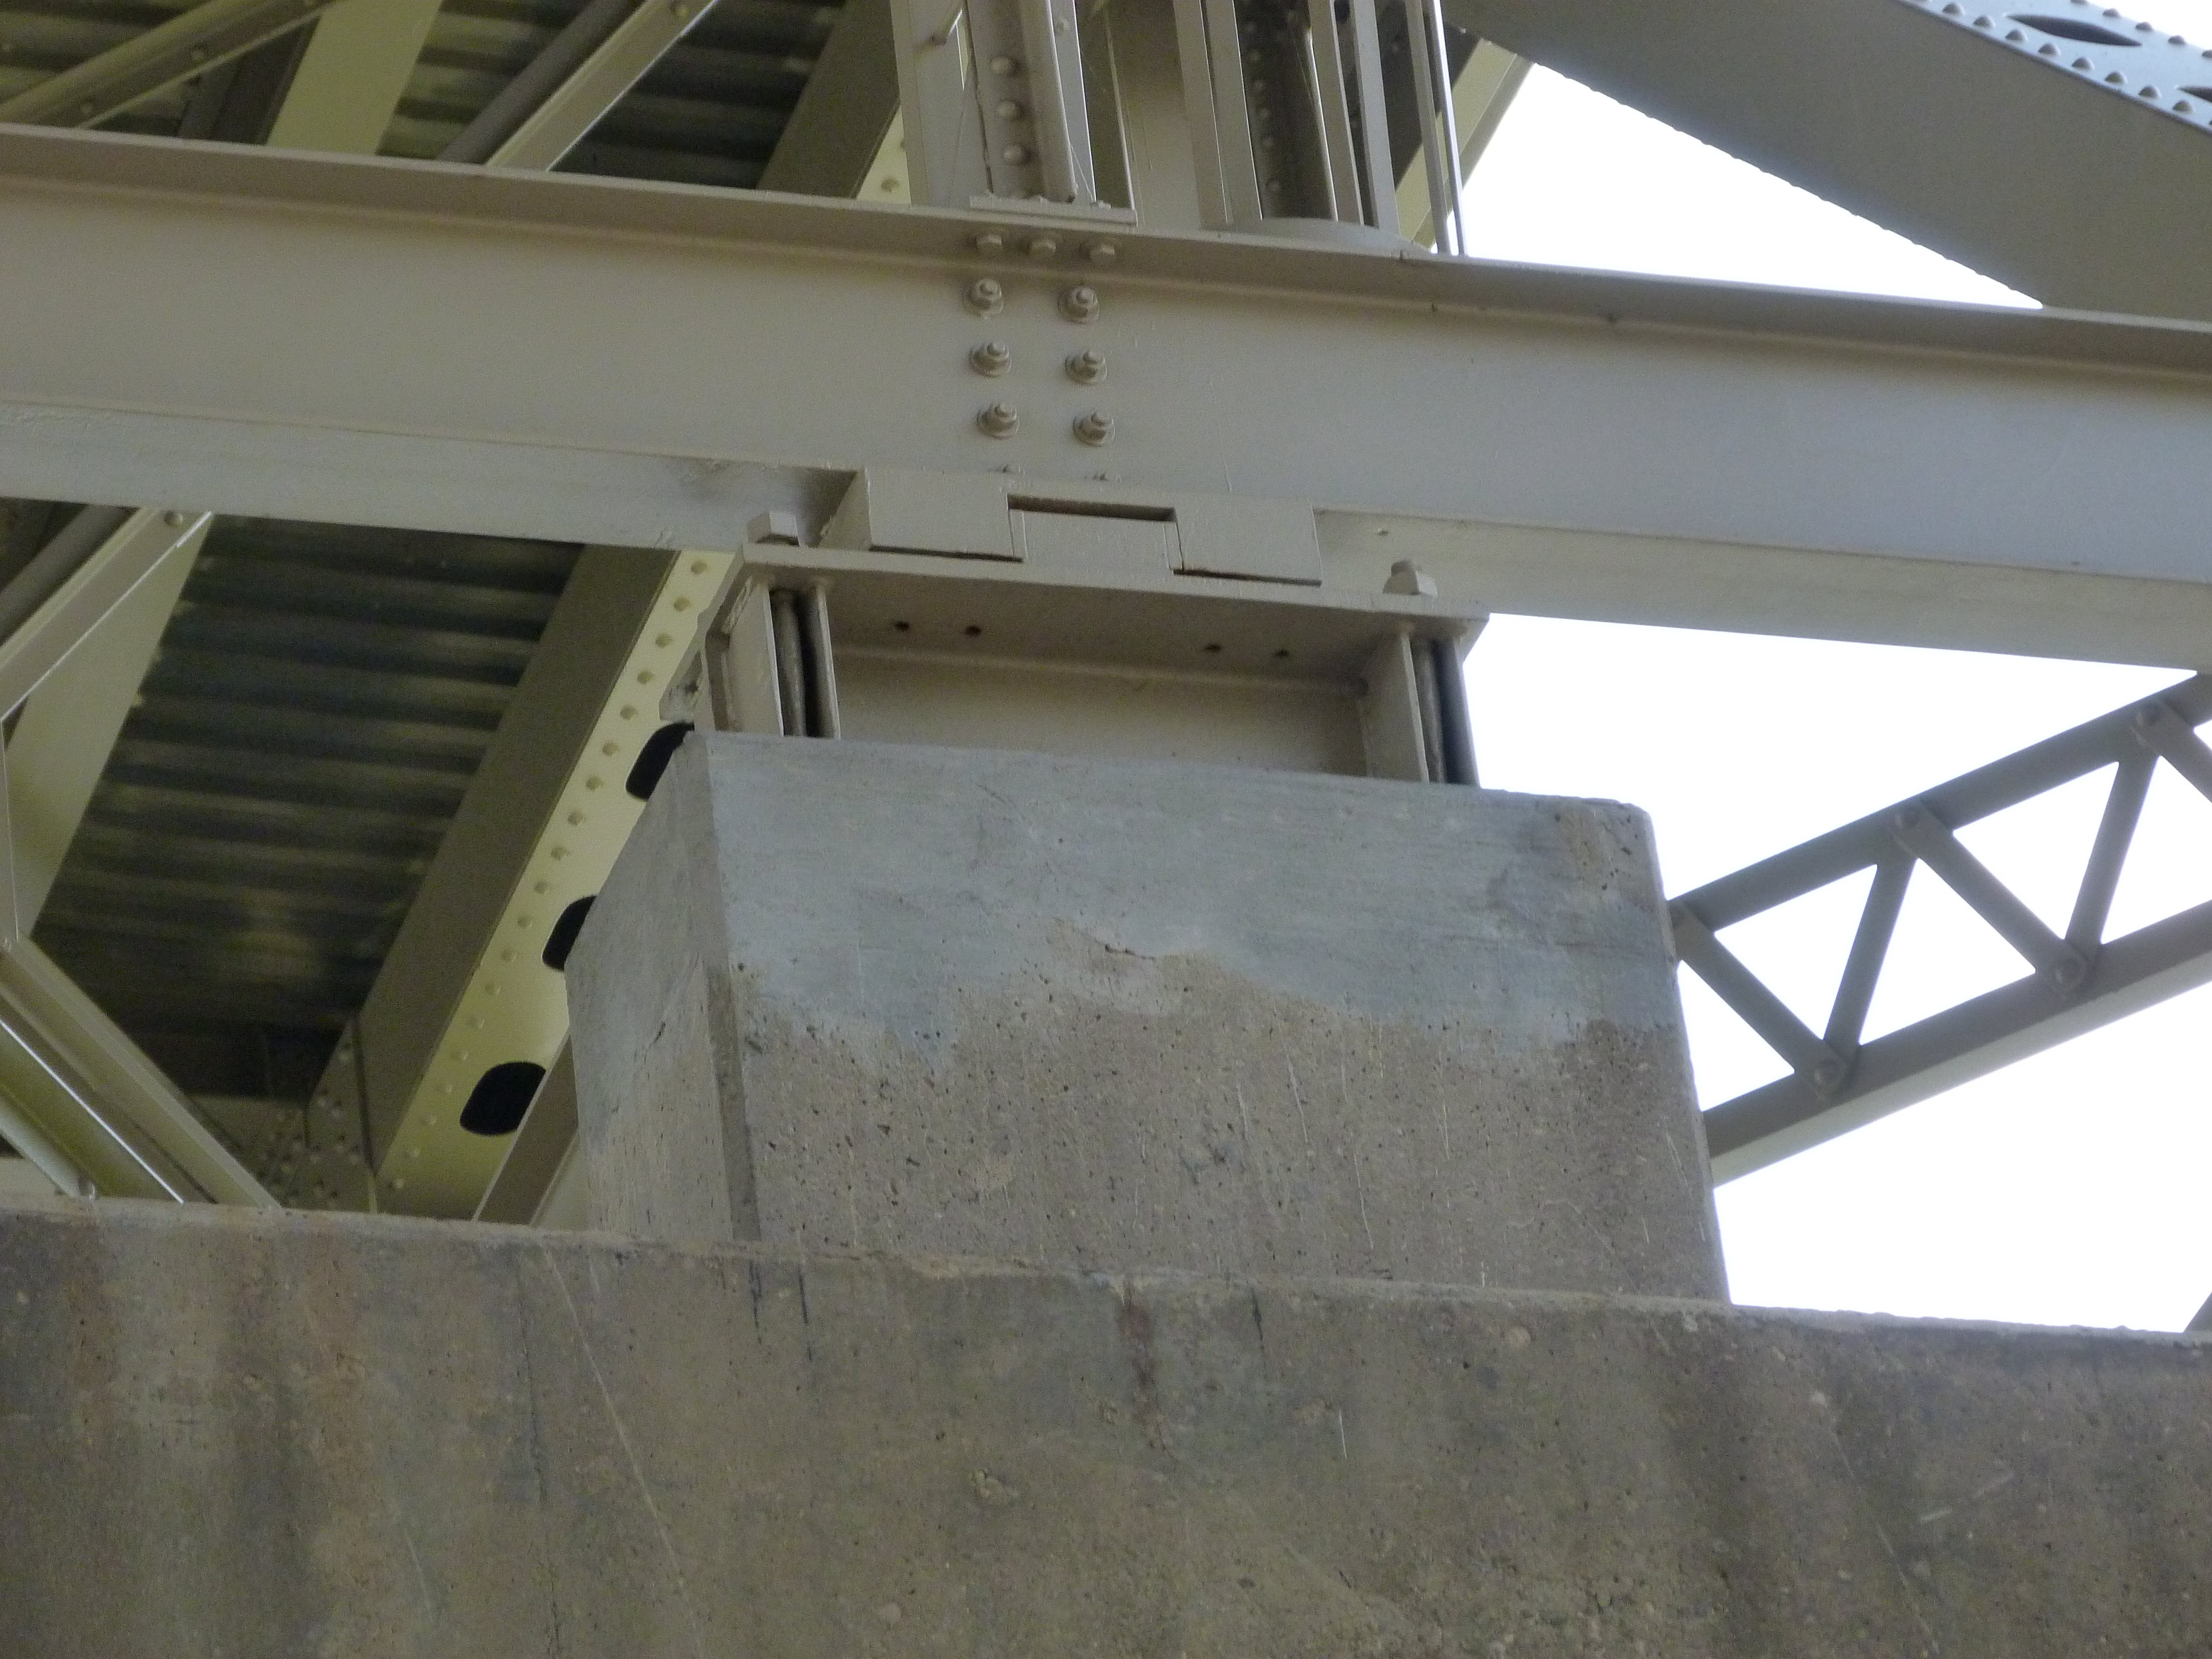
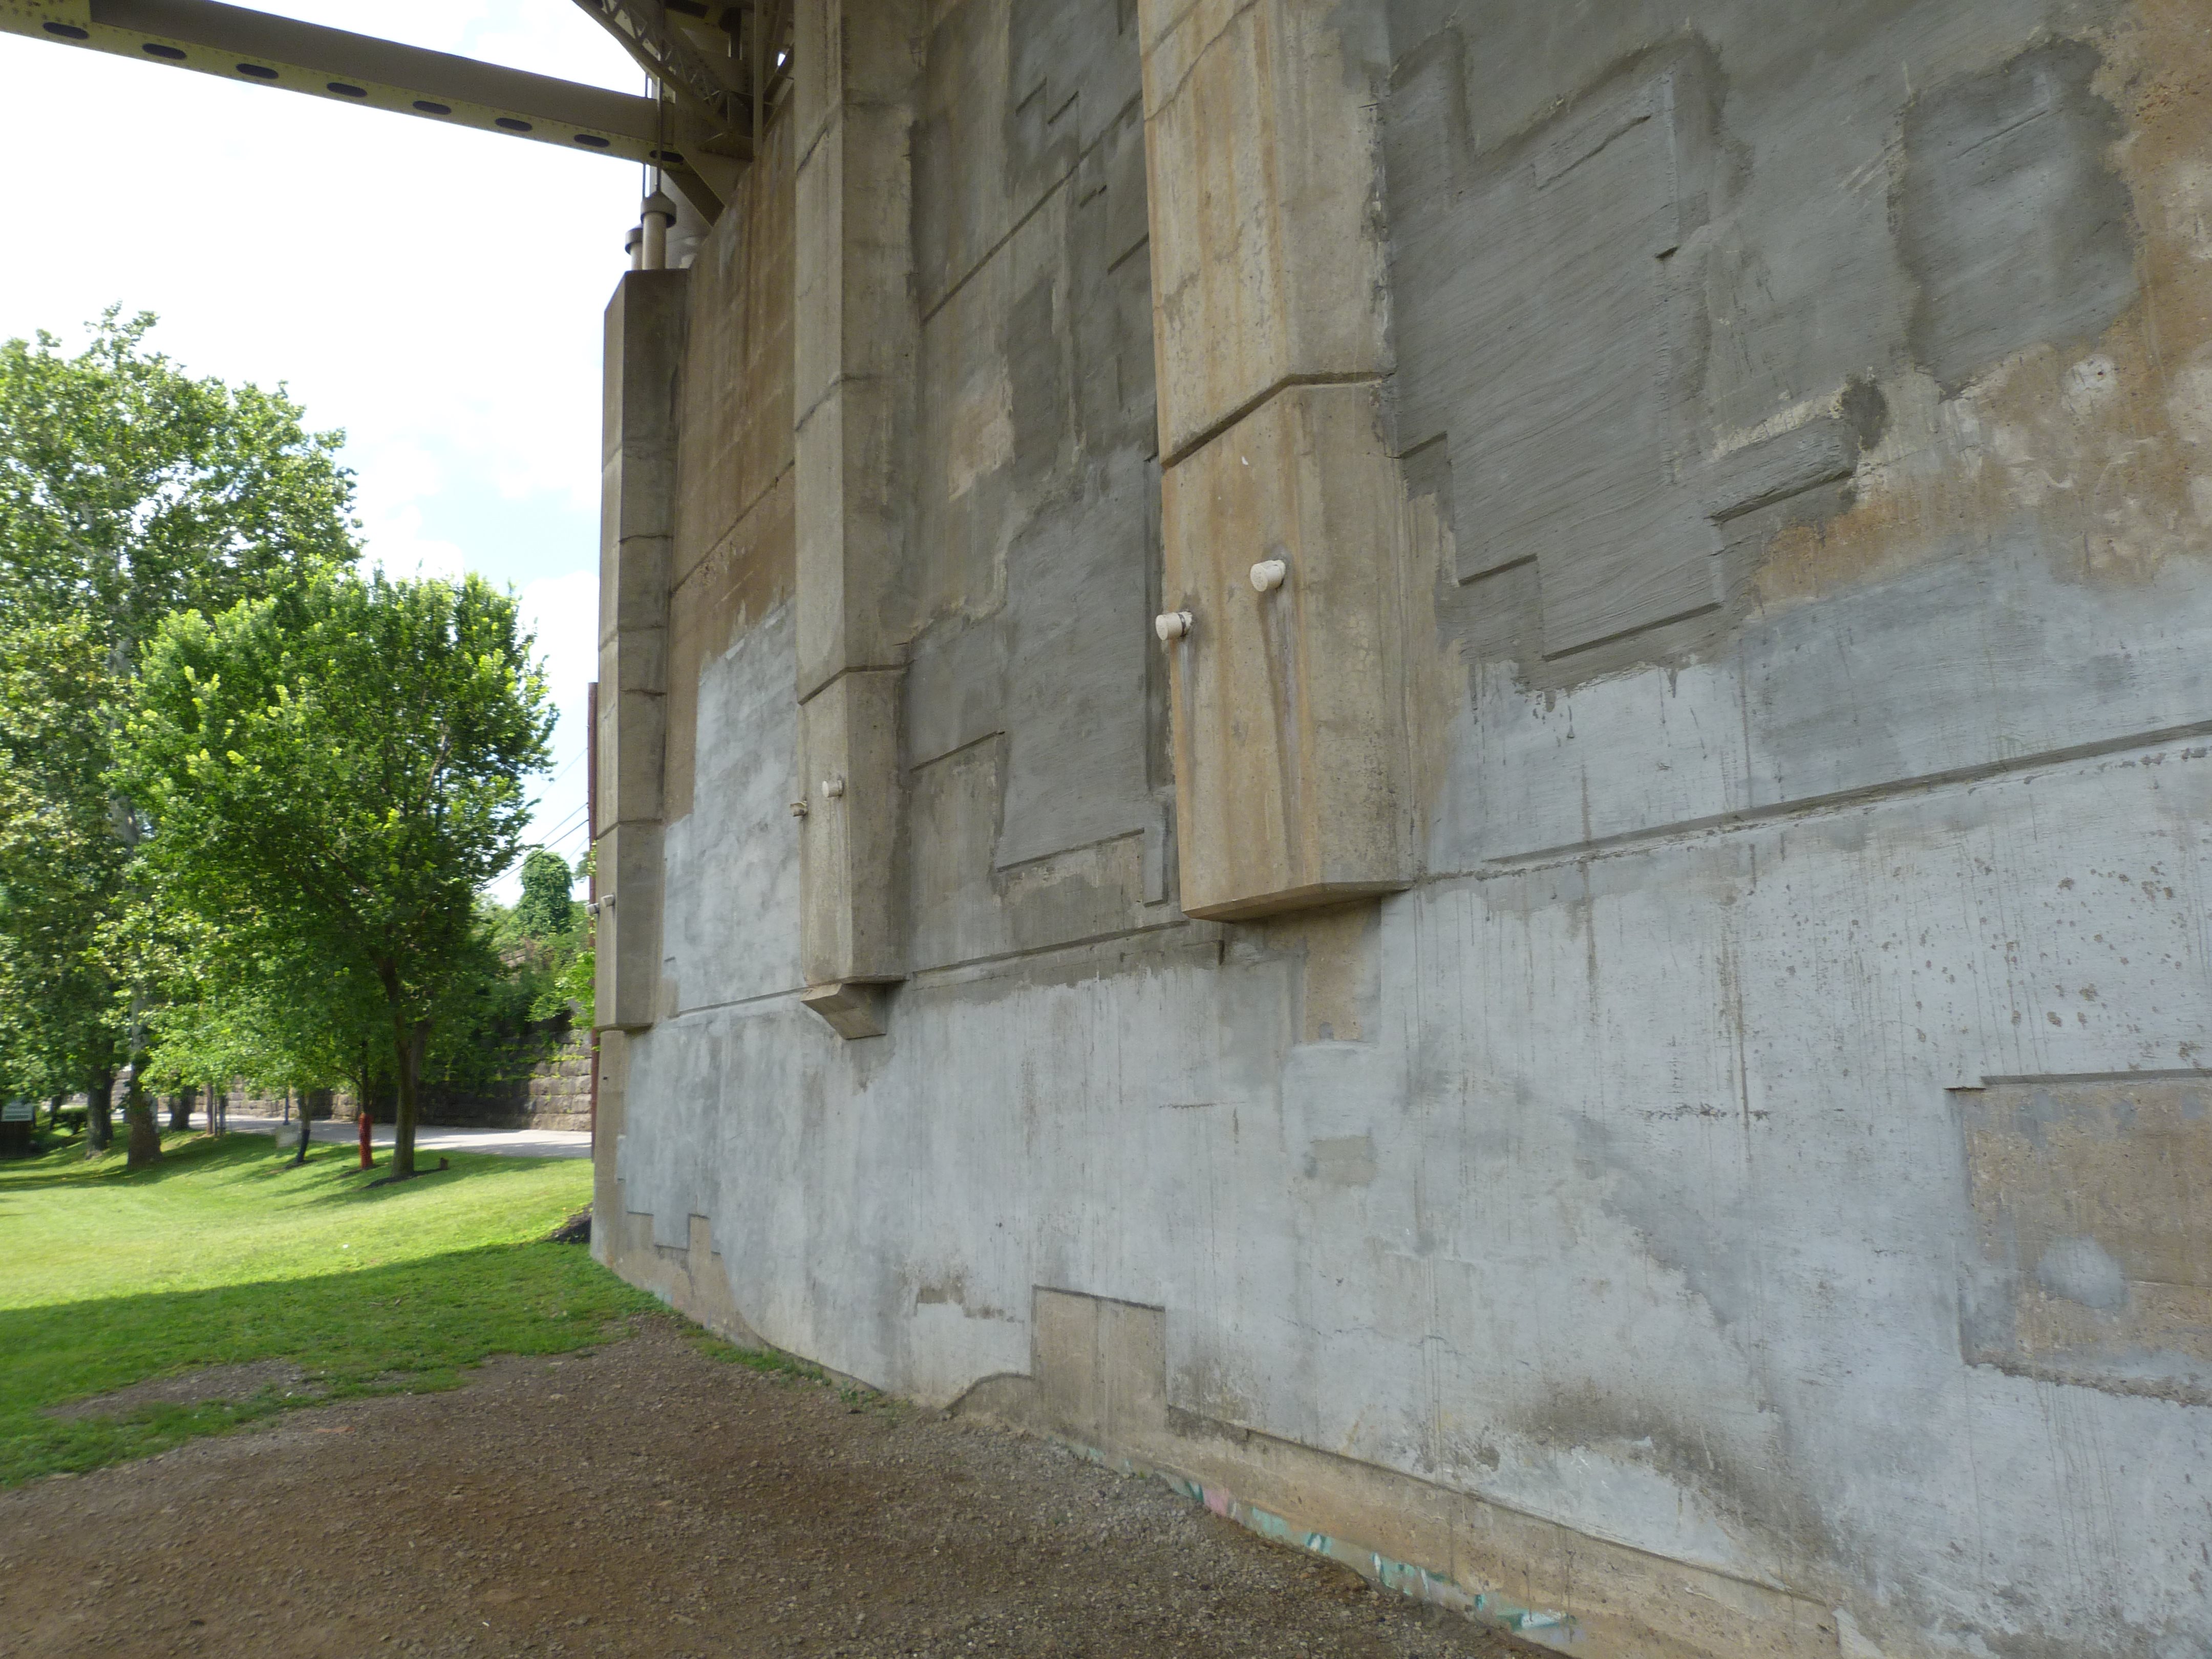
Truss pier.
![]()
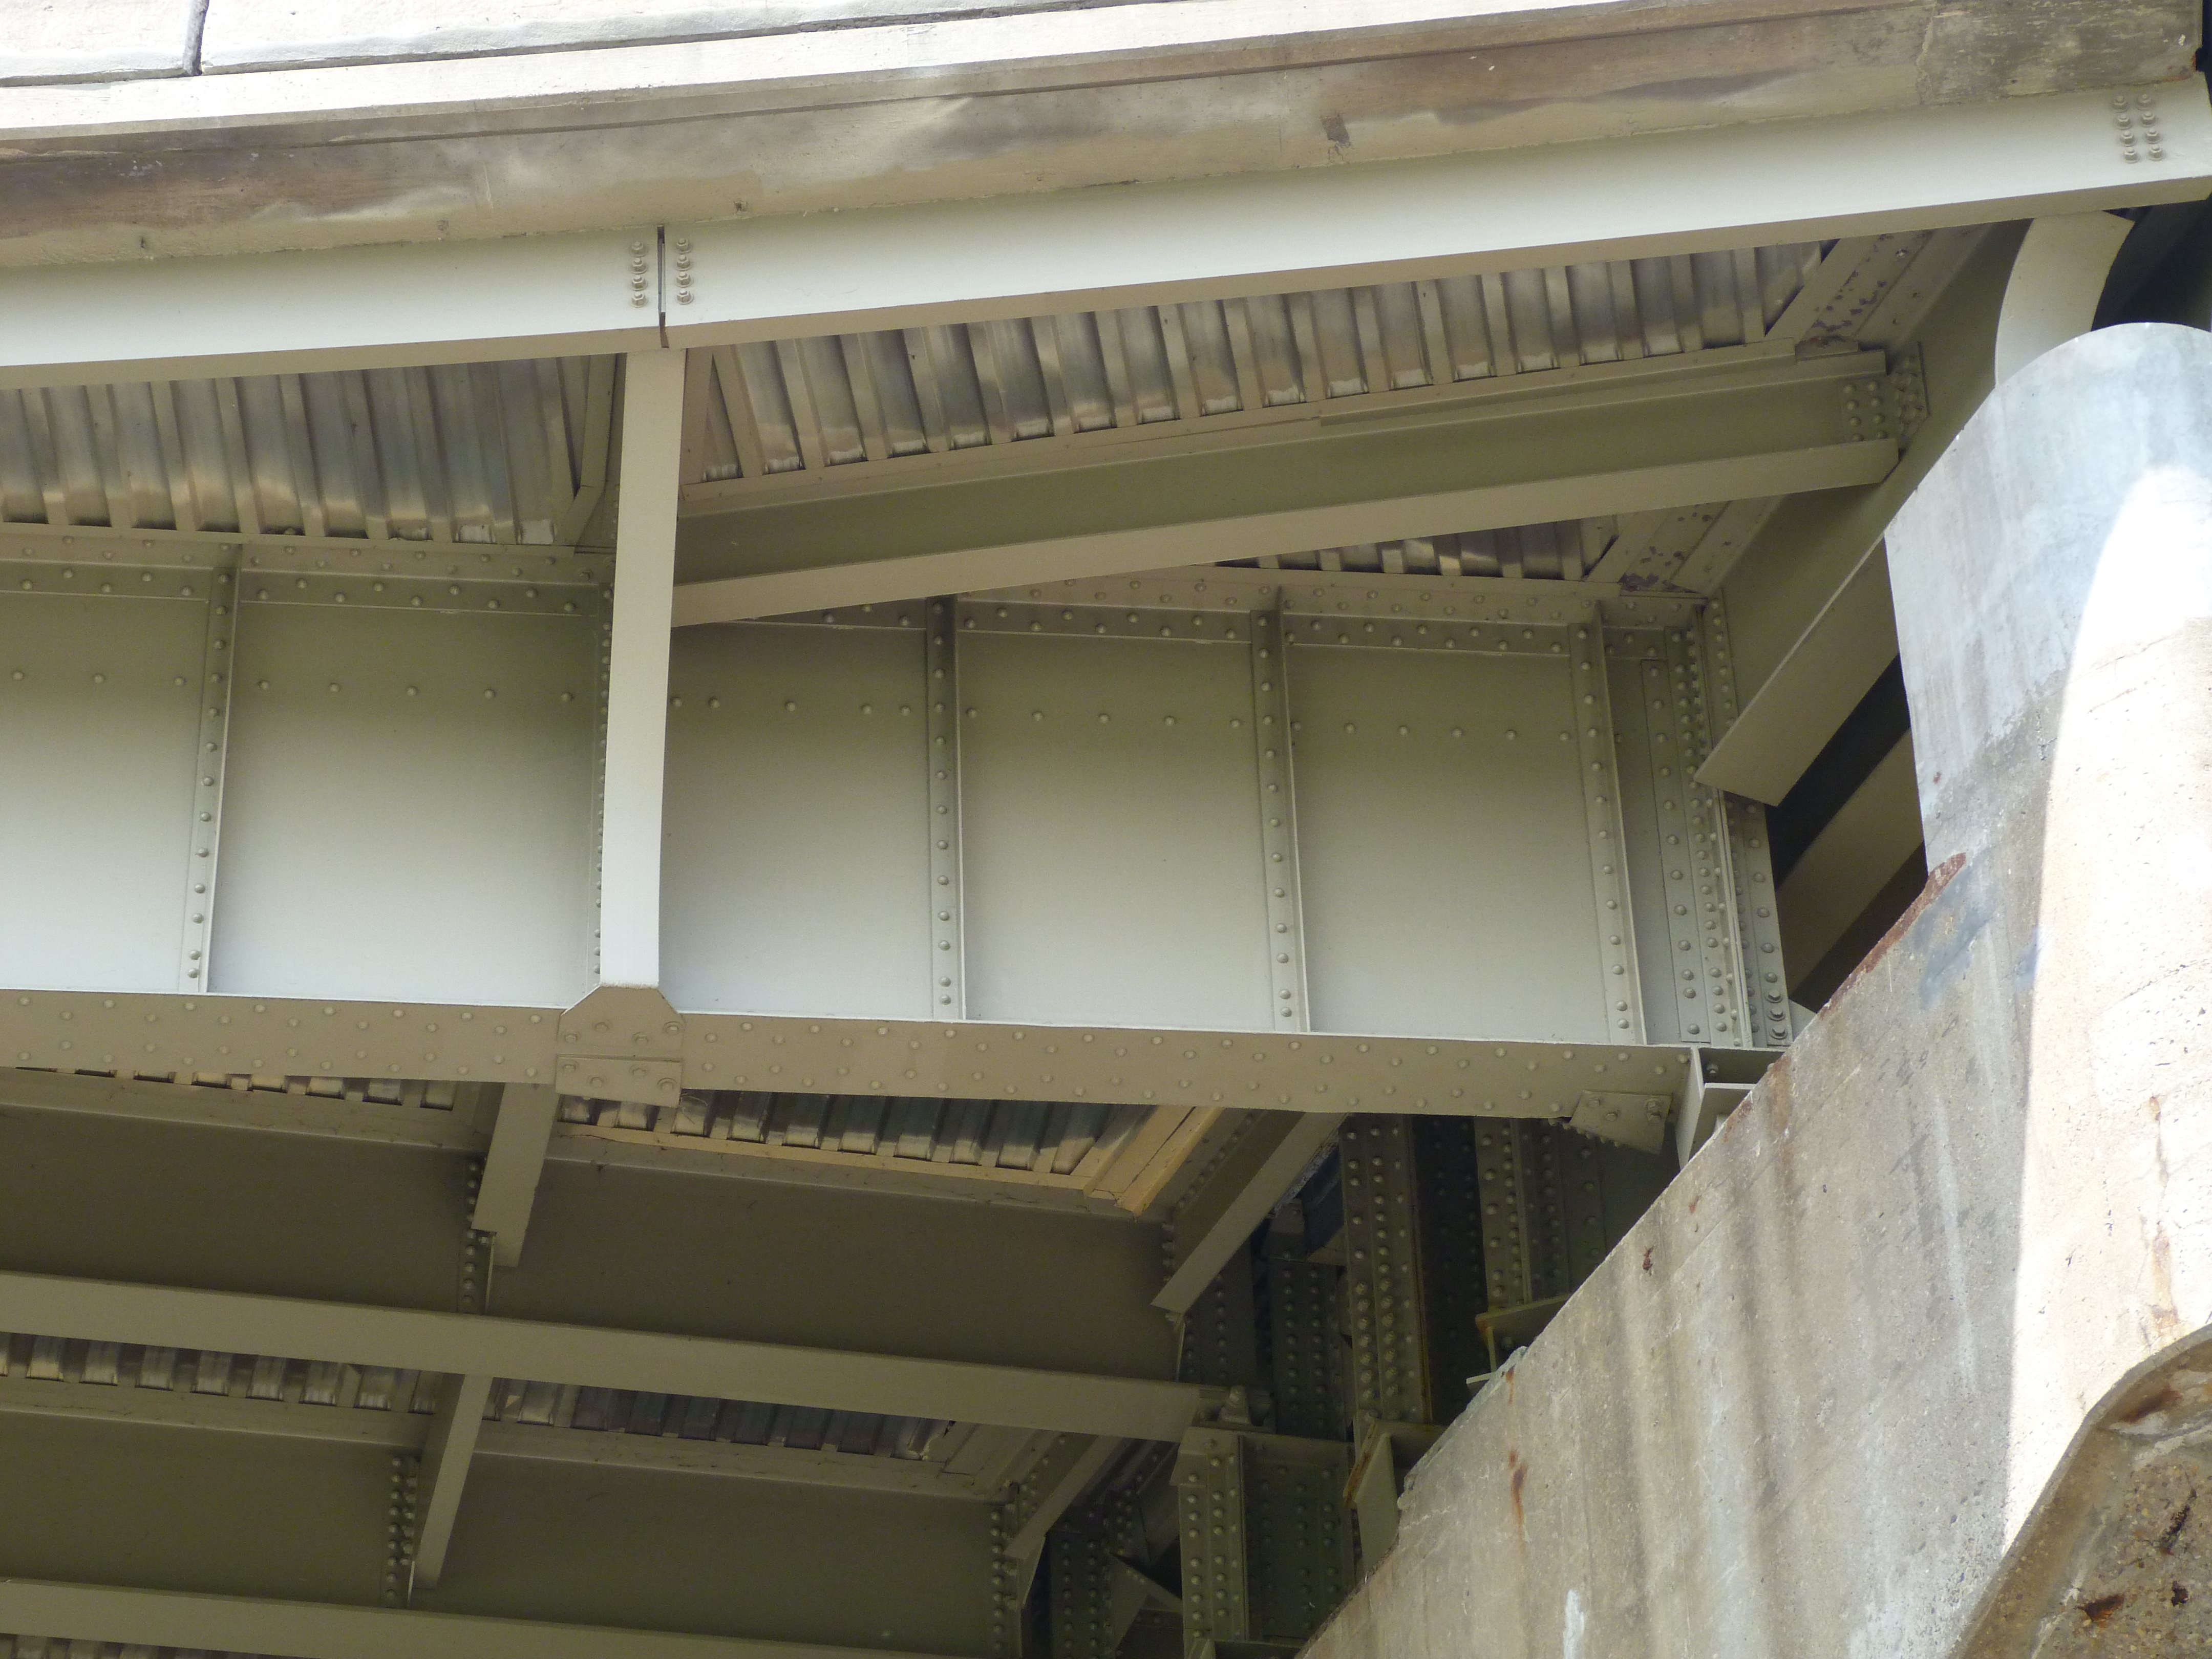
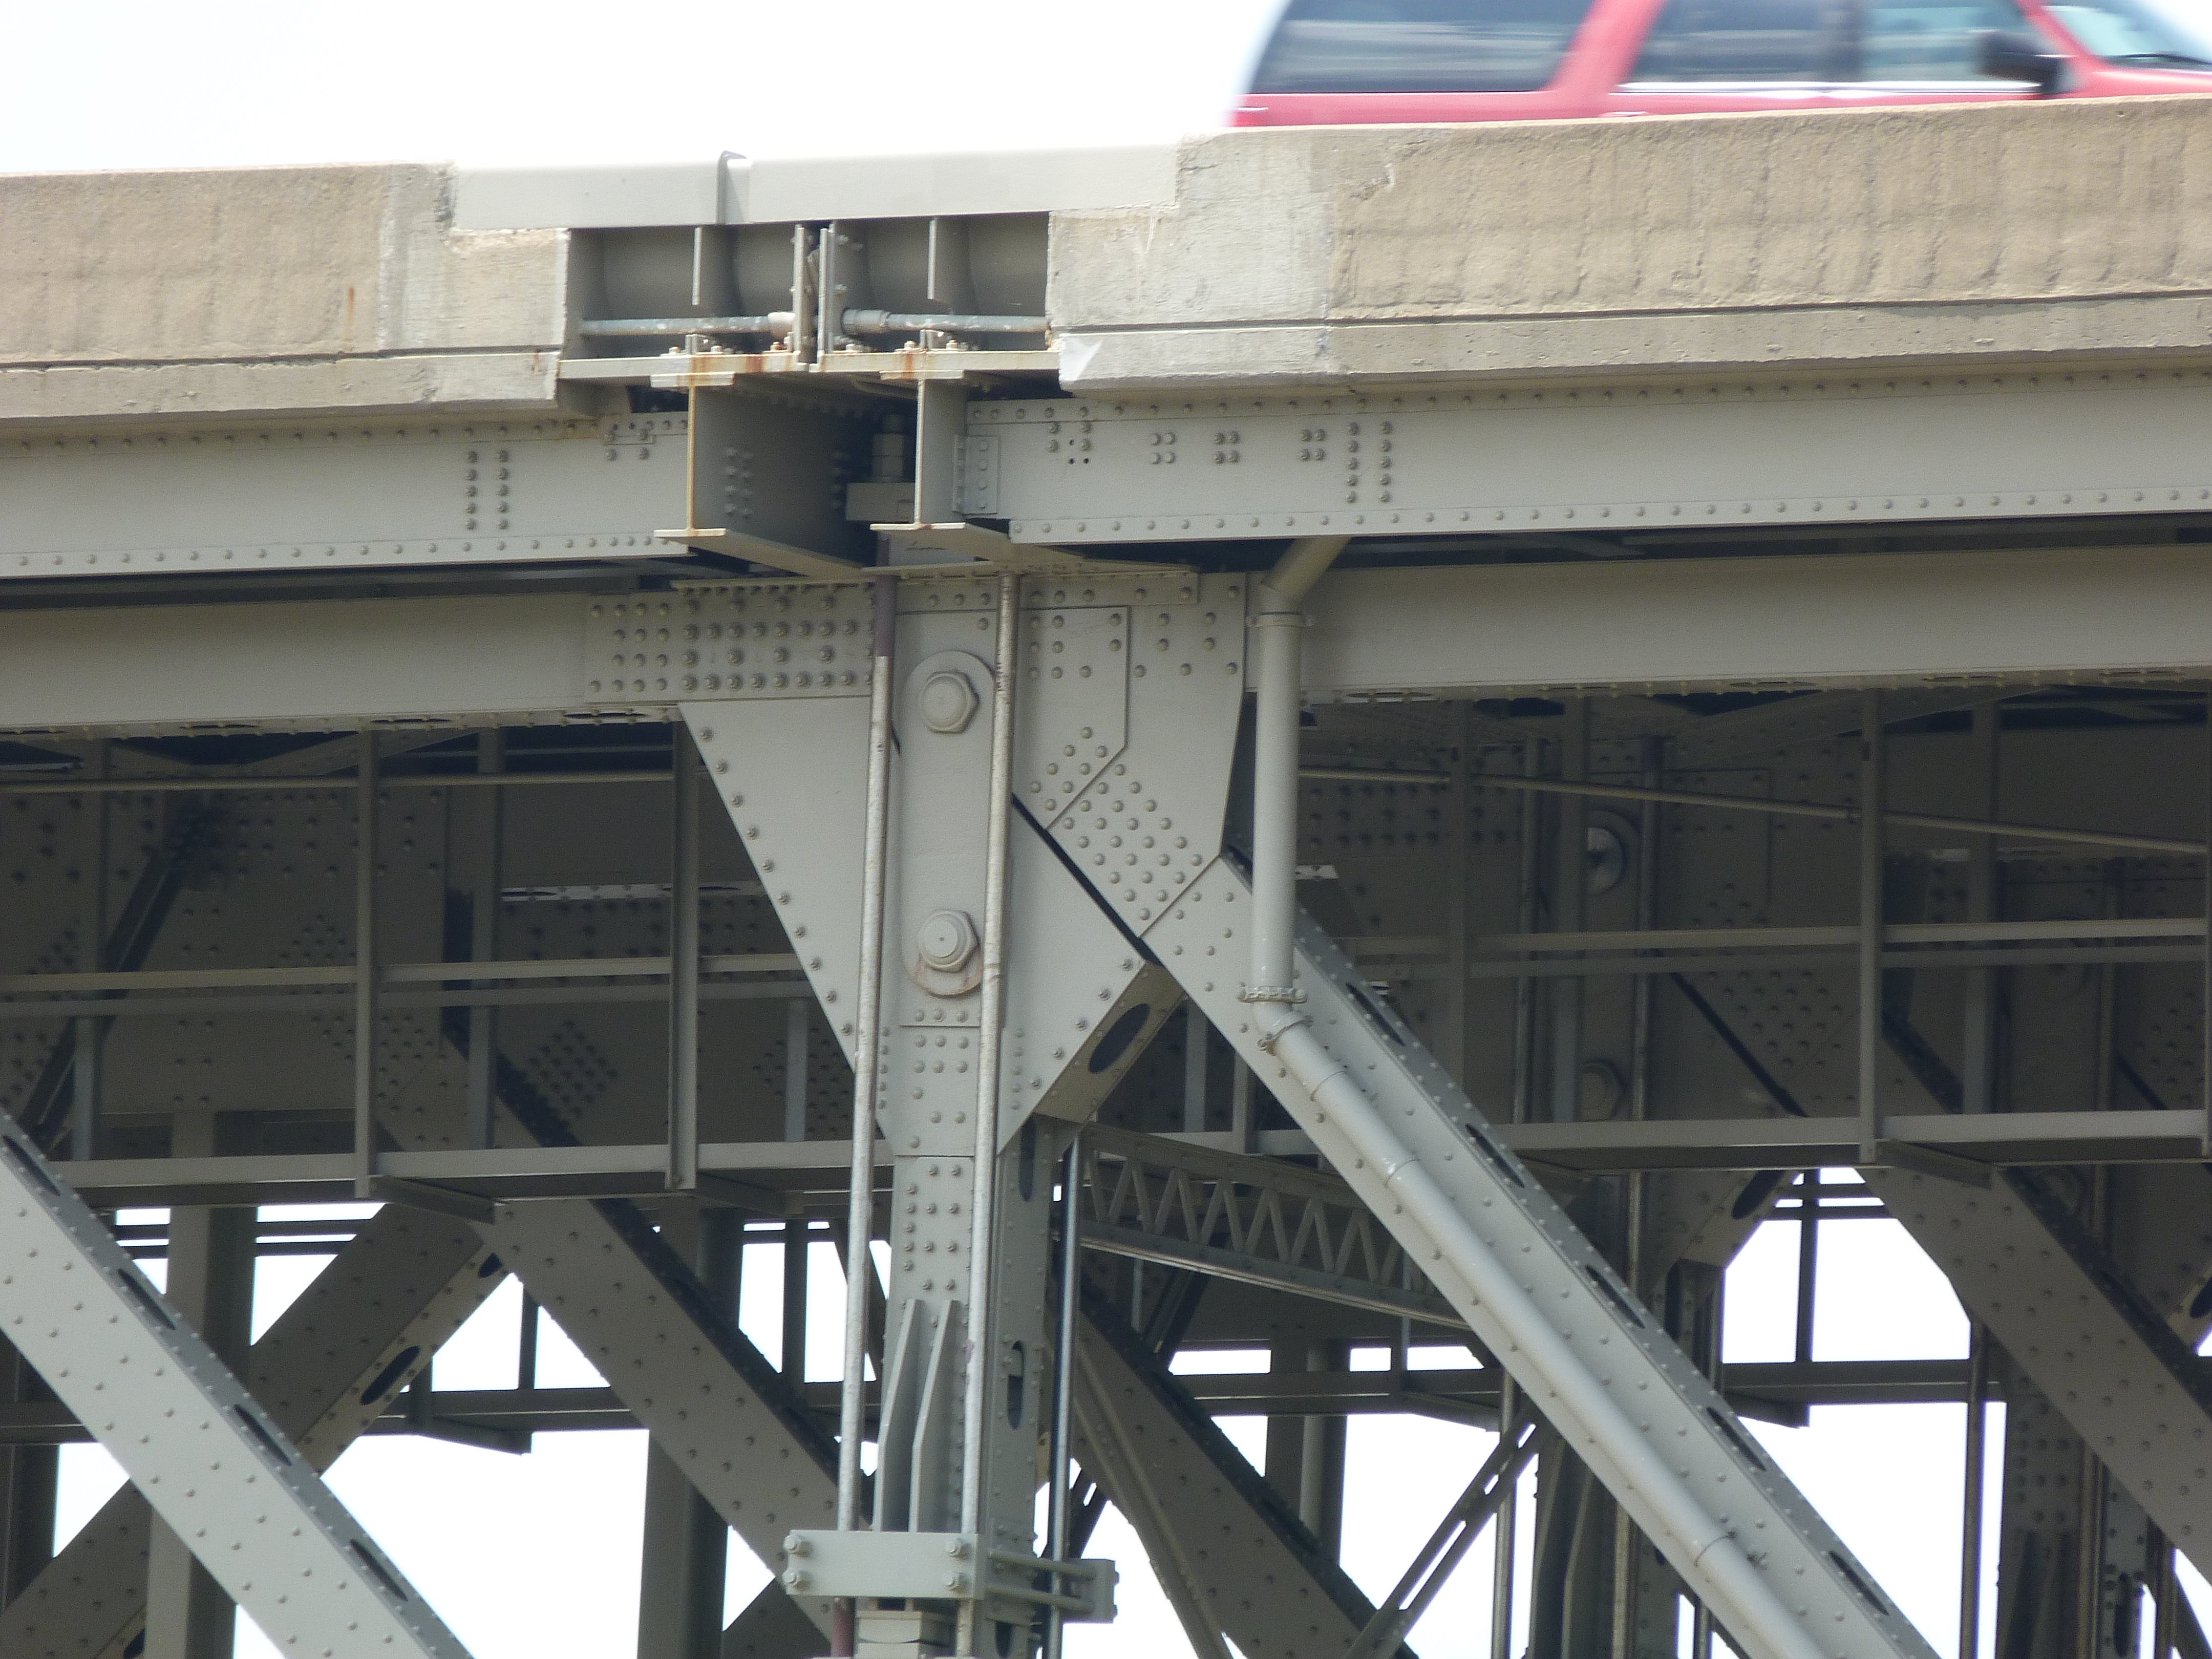
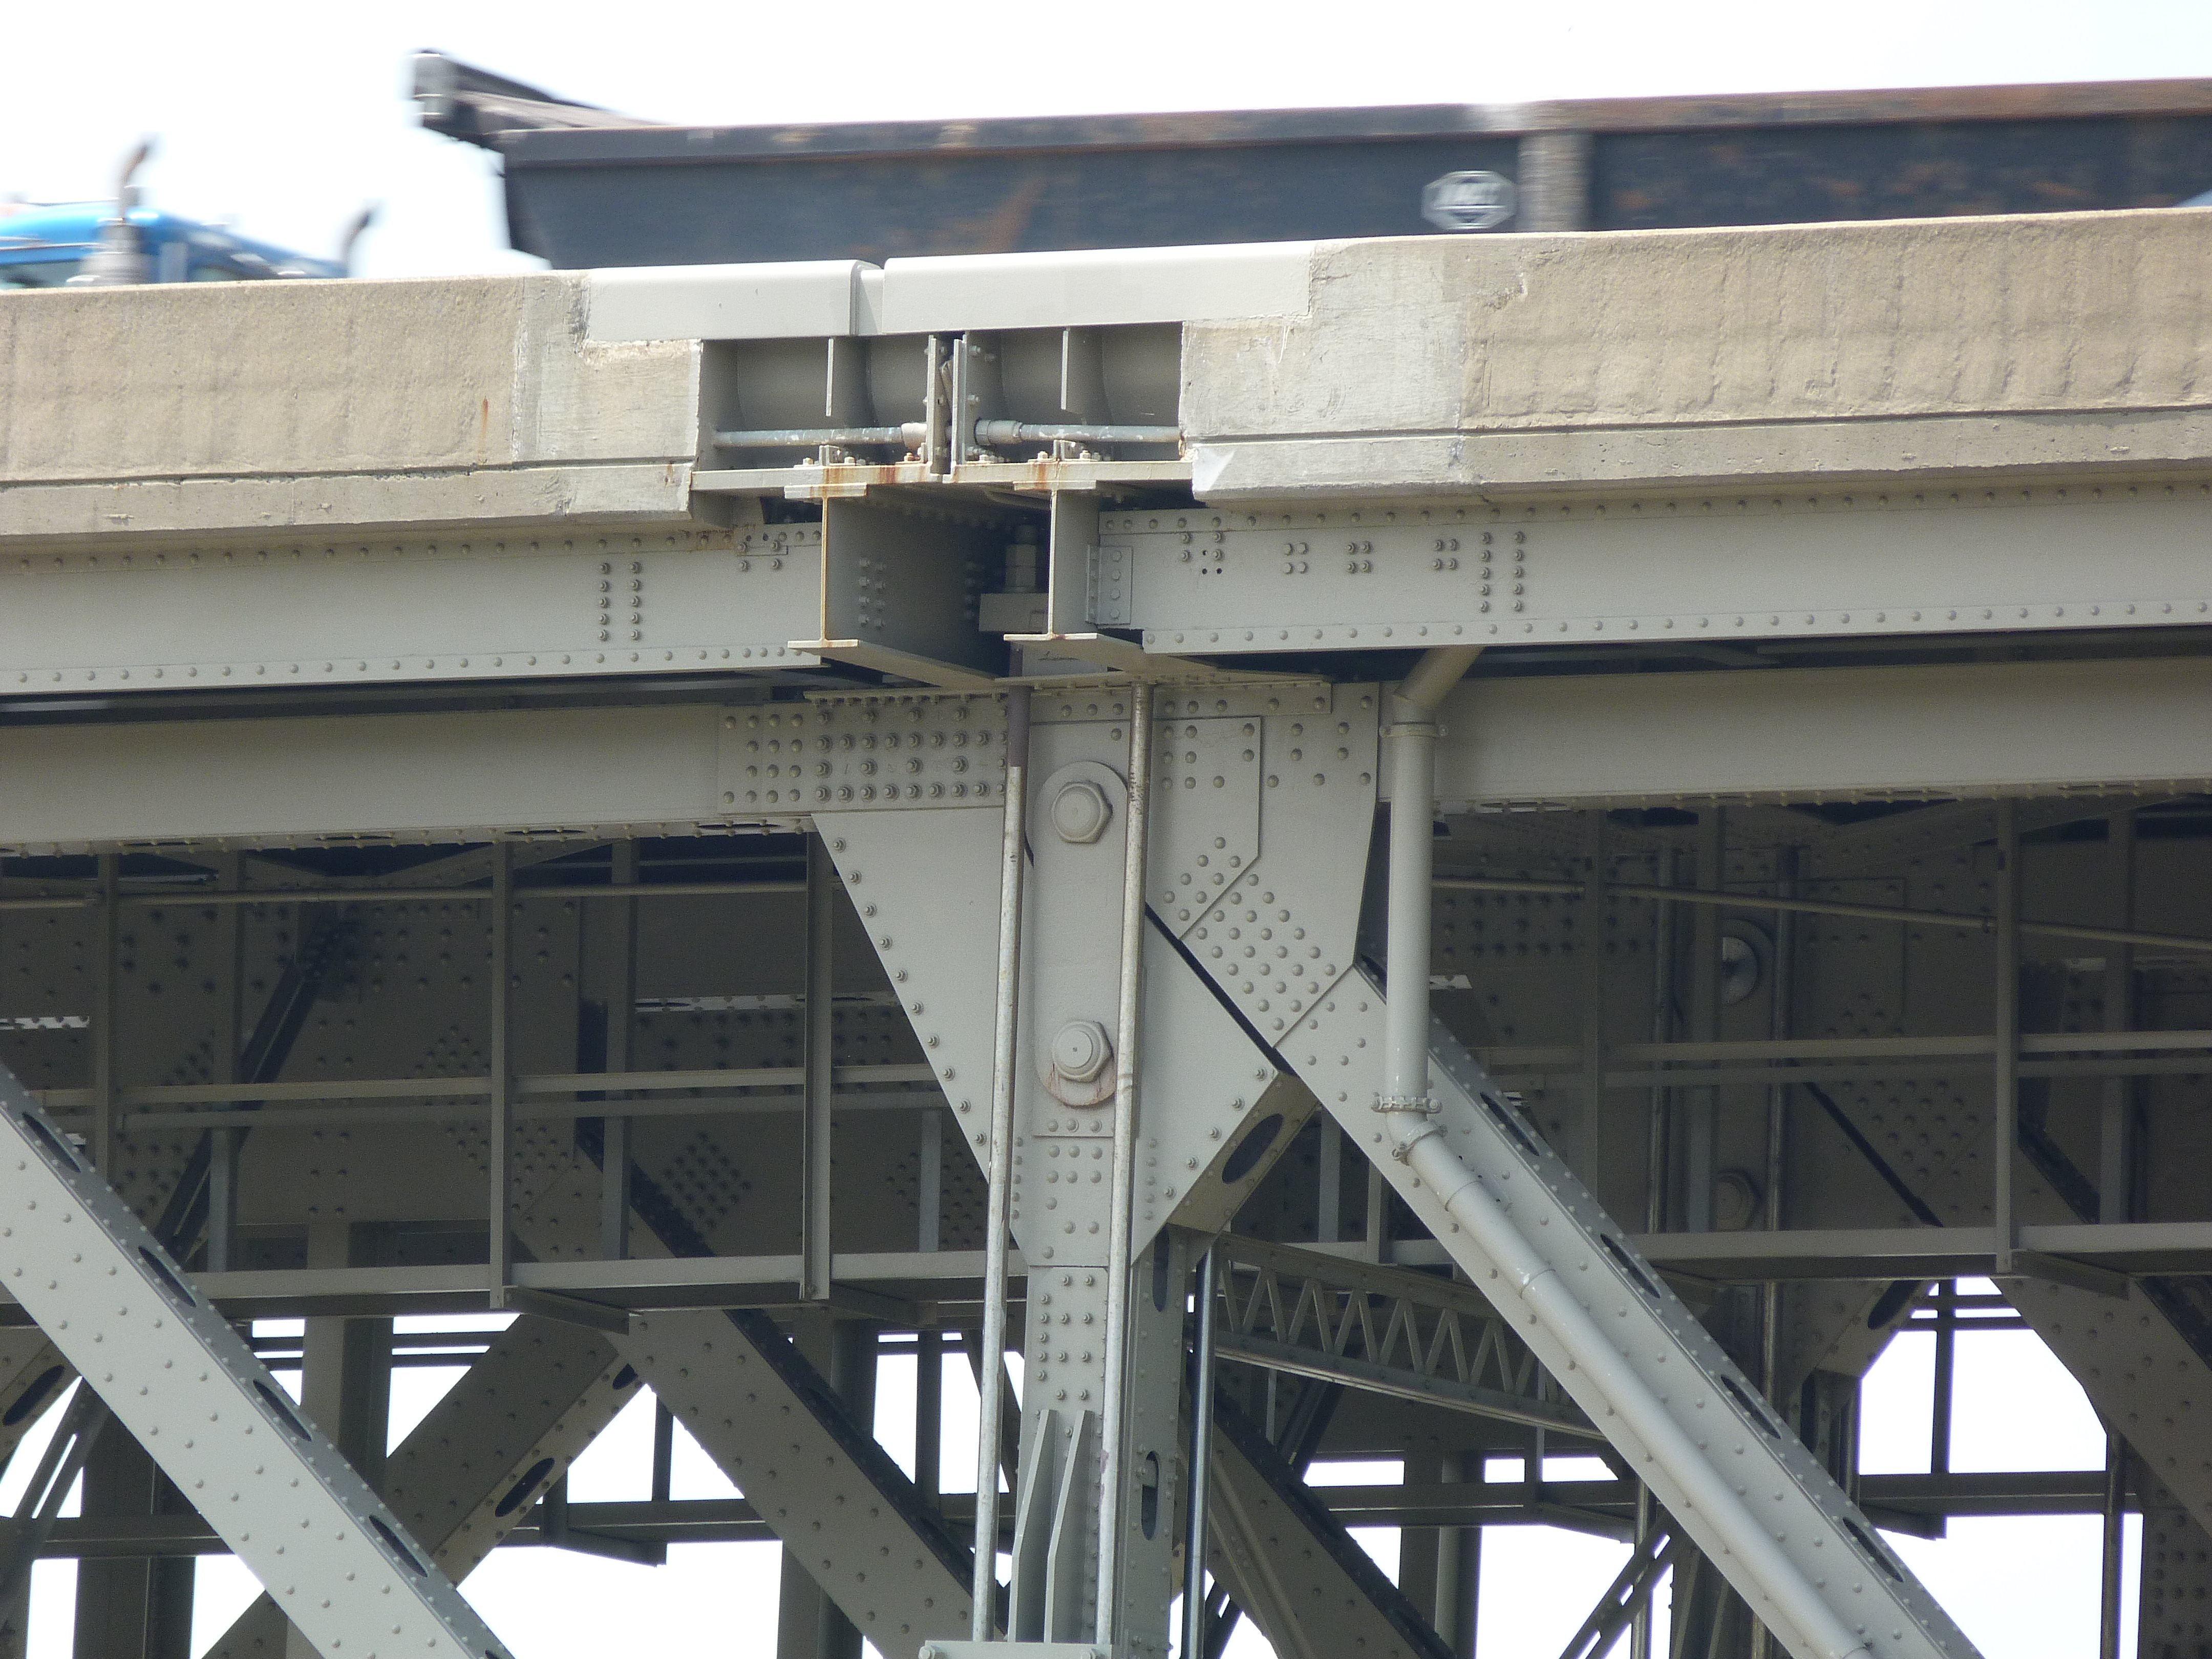
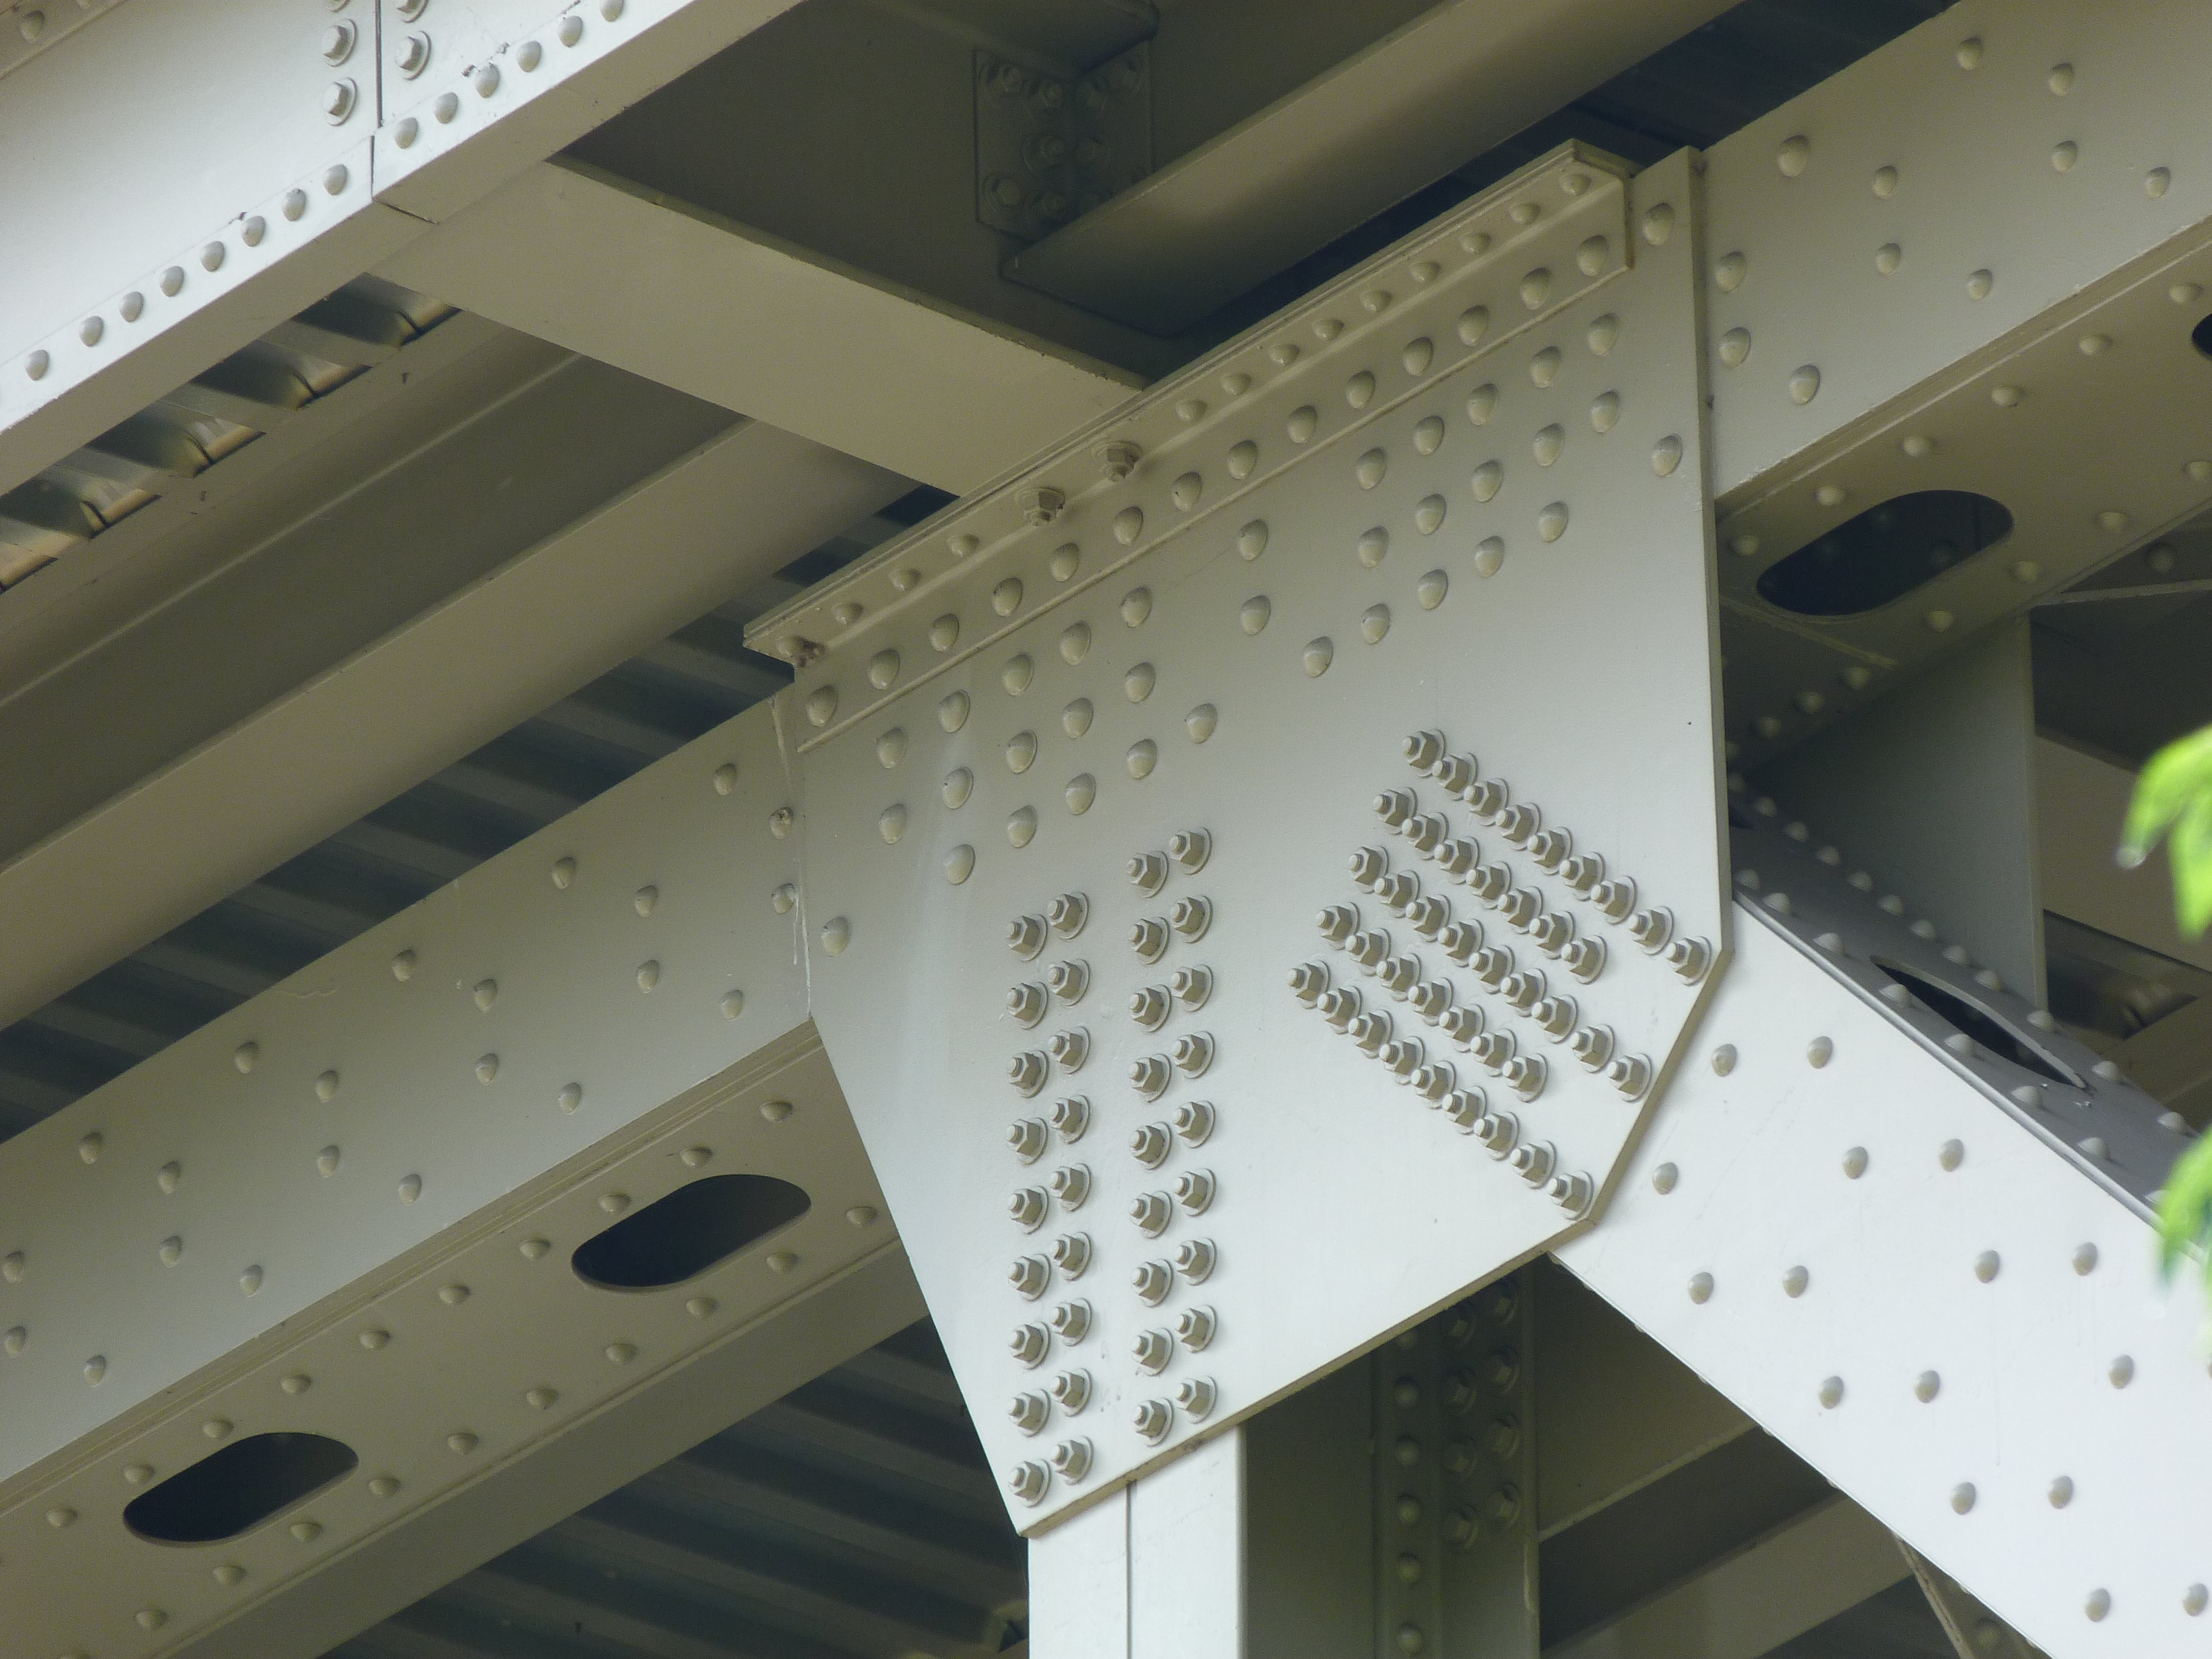
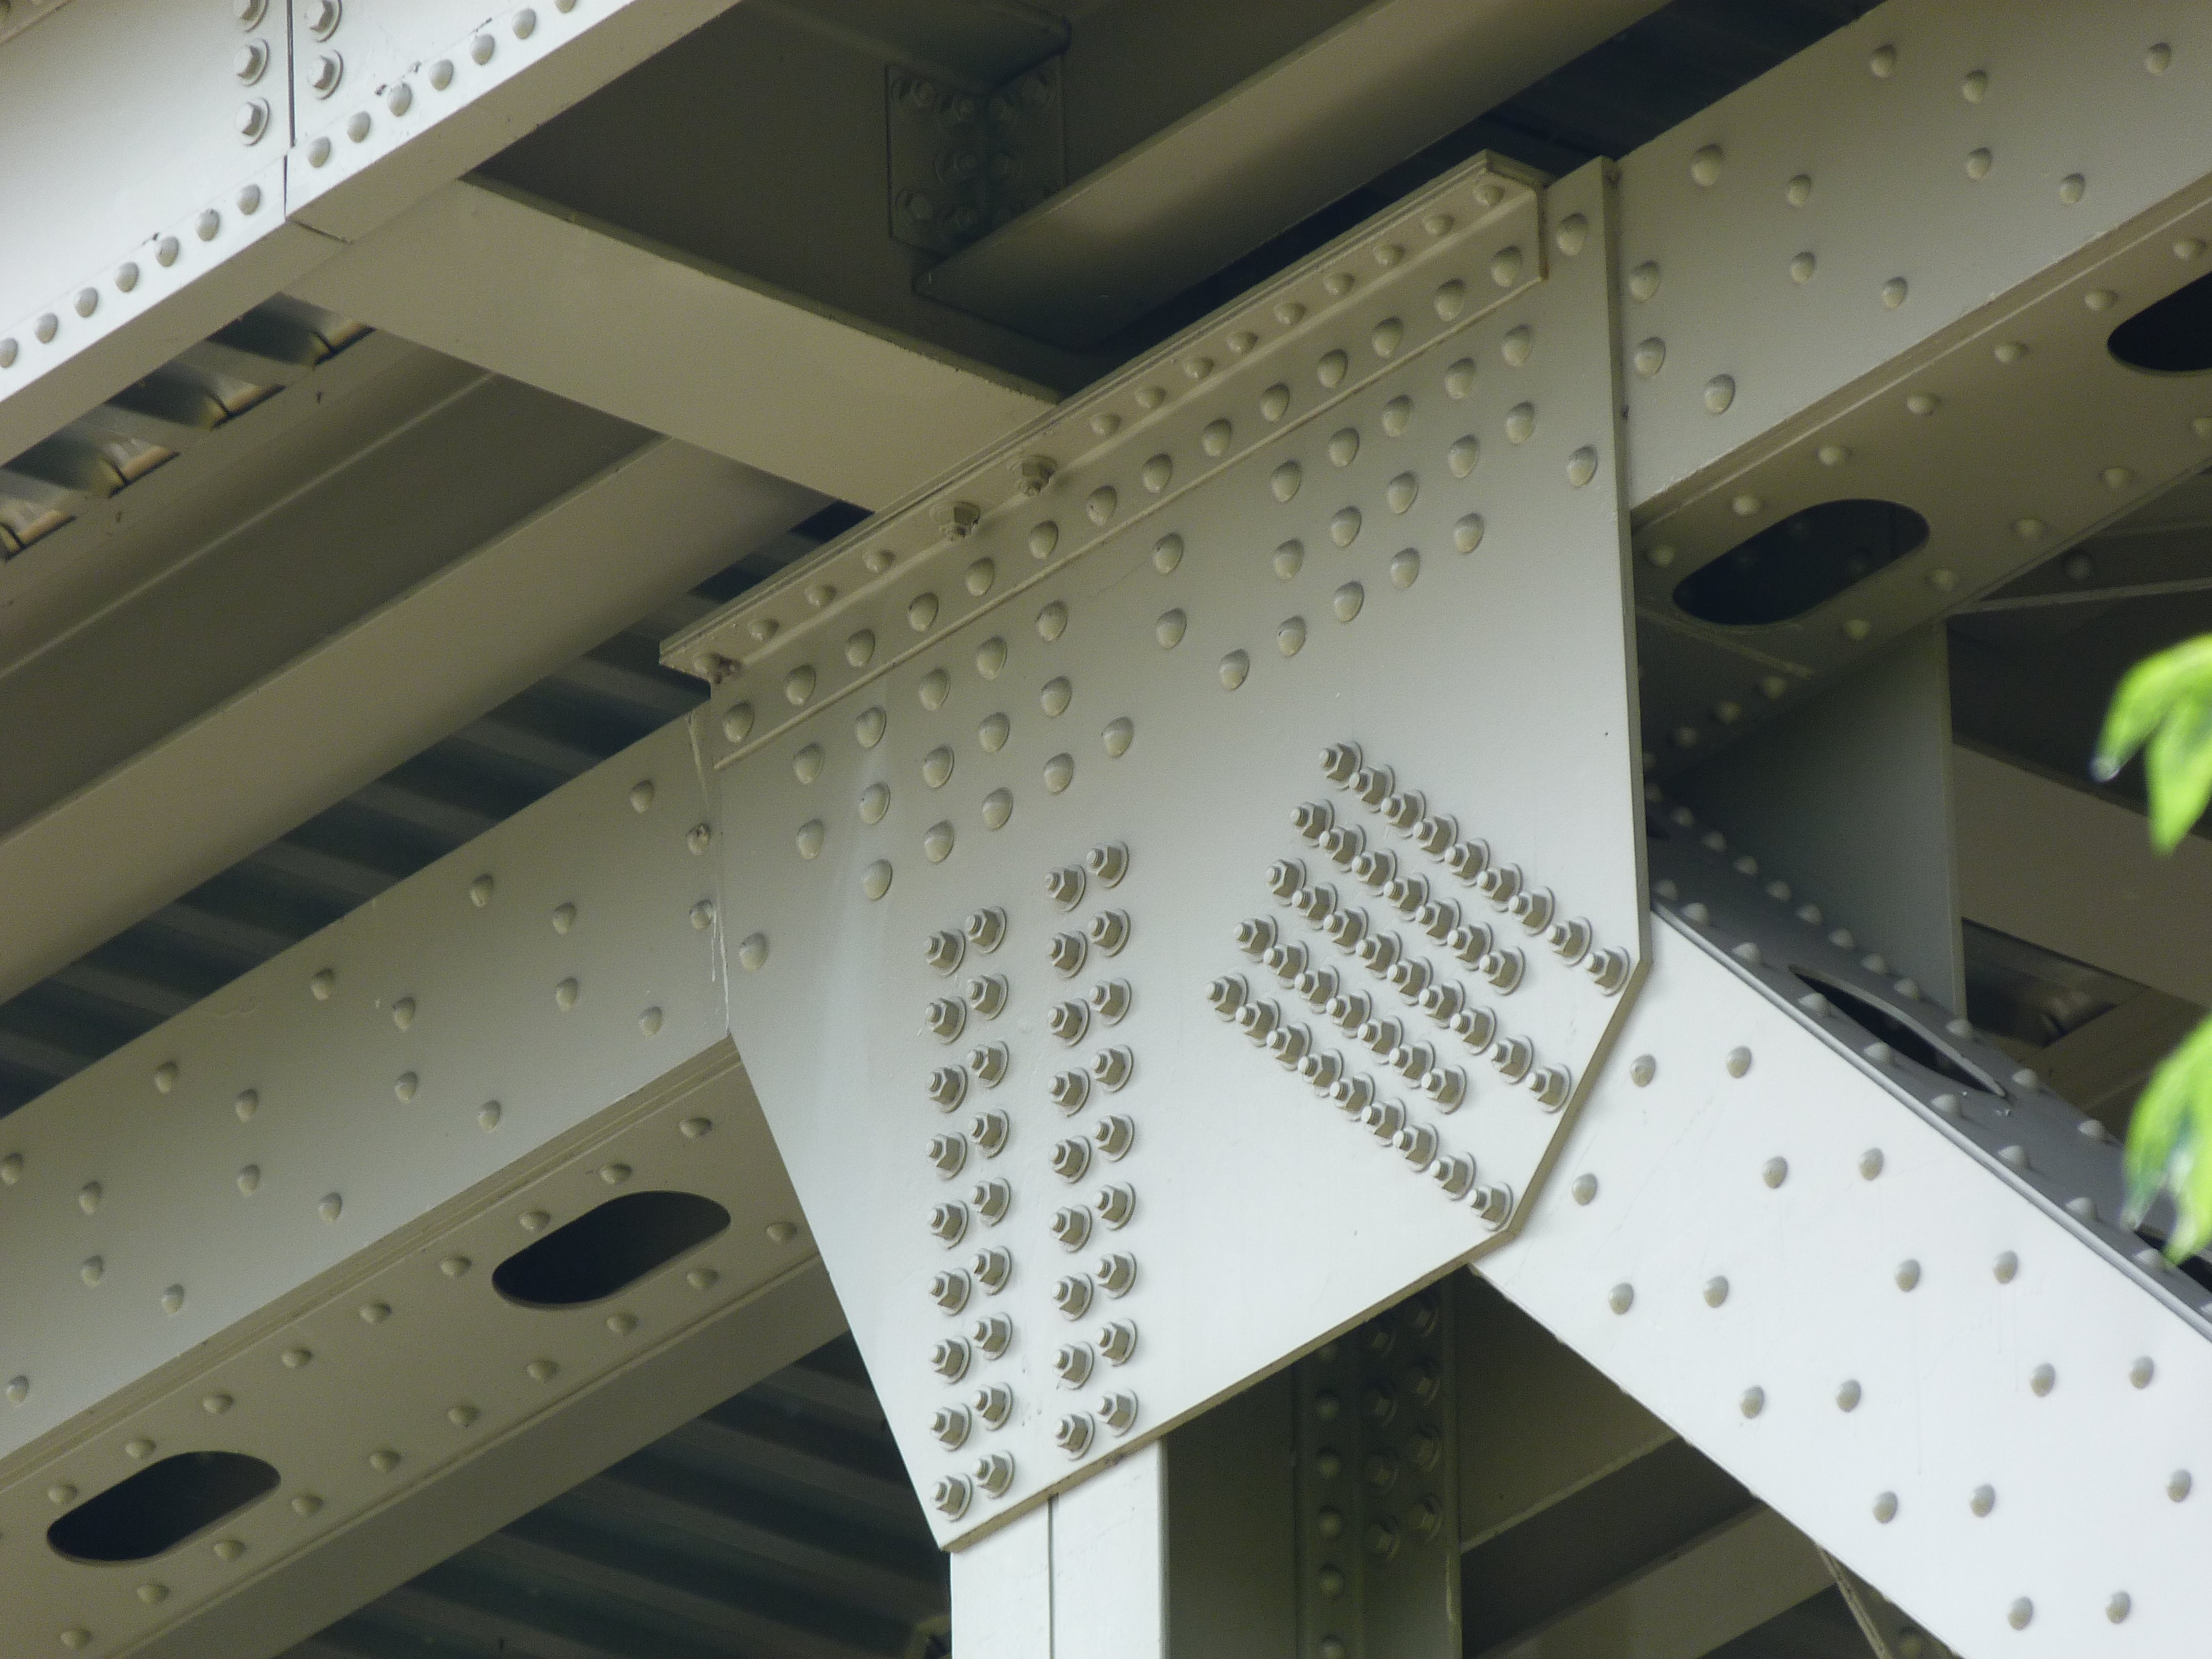
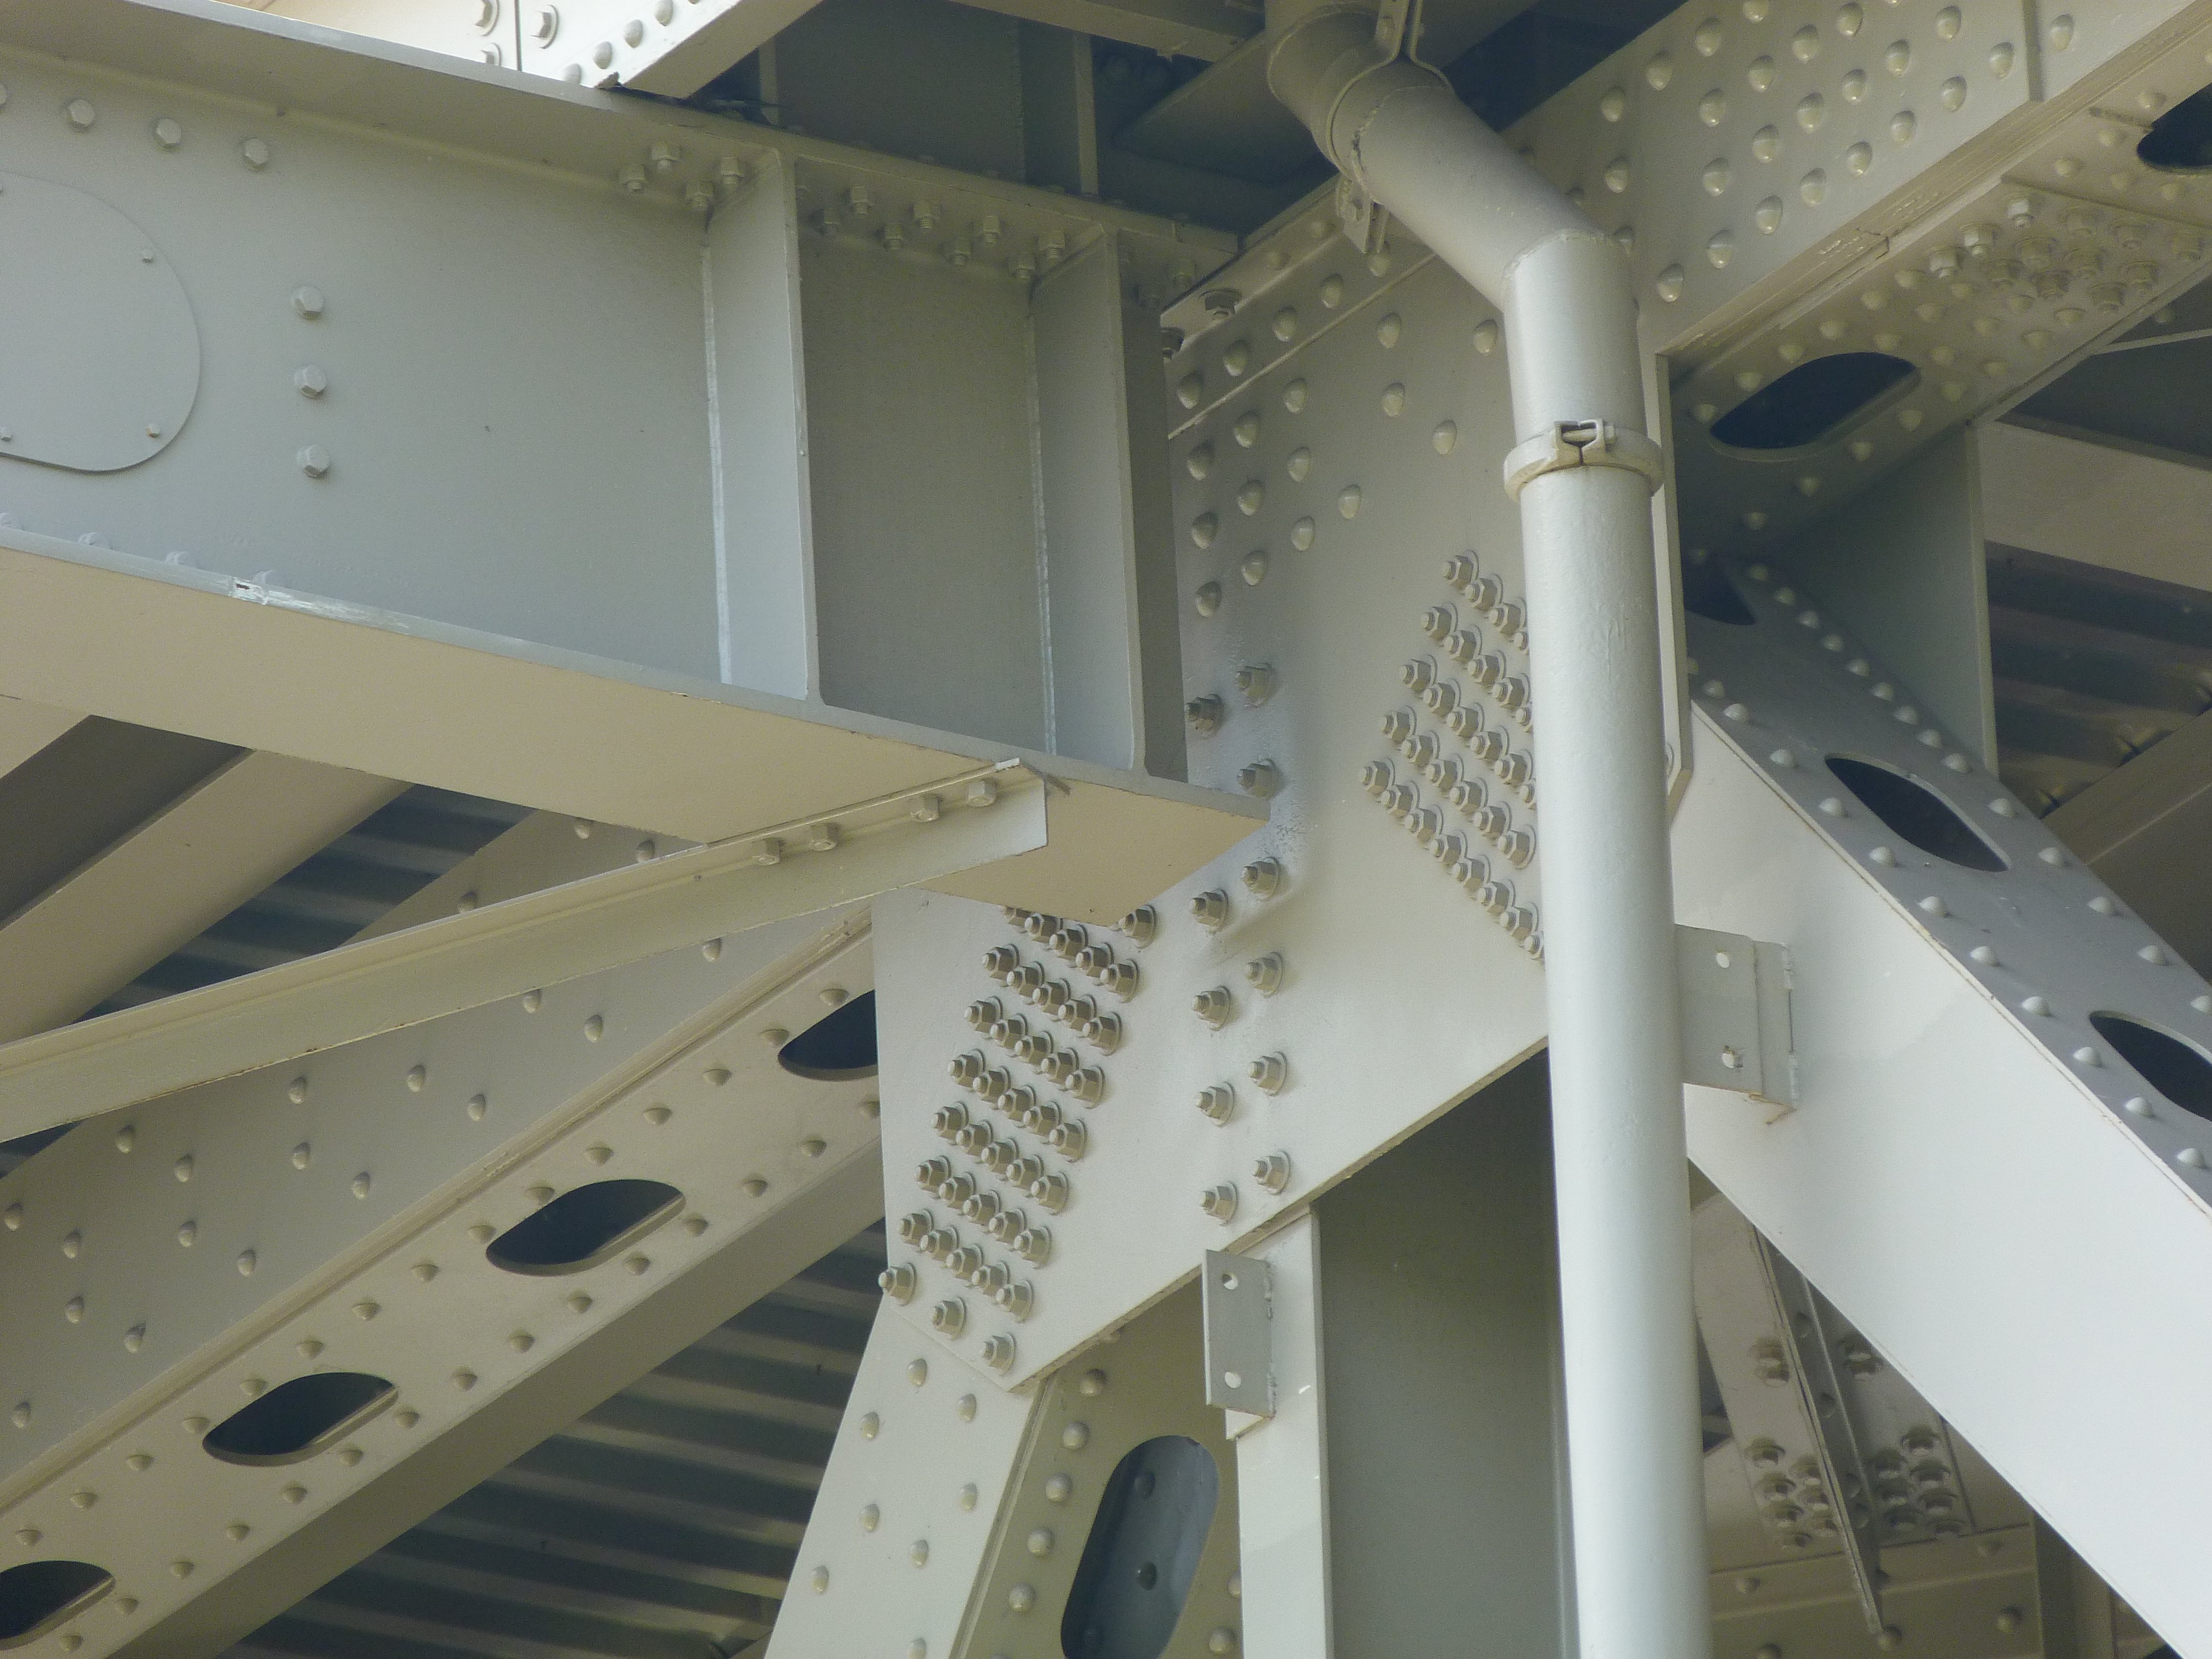
Approach girder details.
![]()

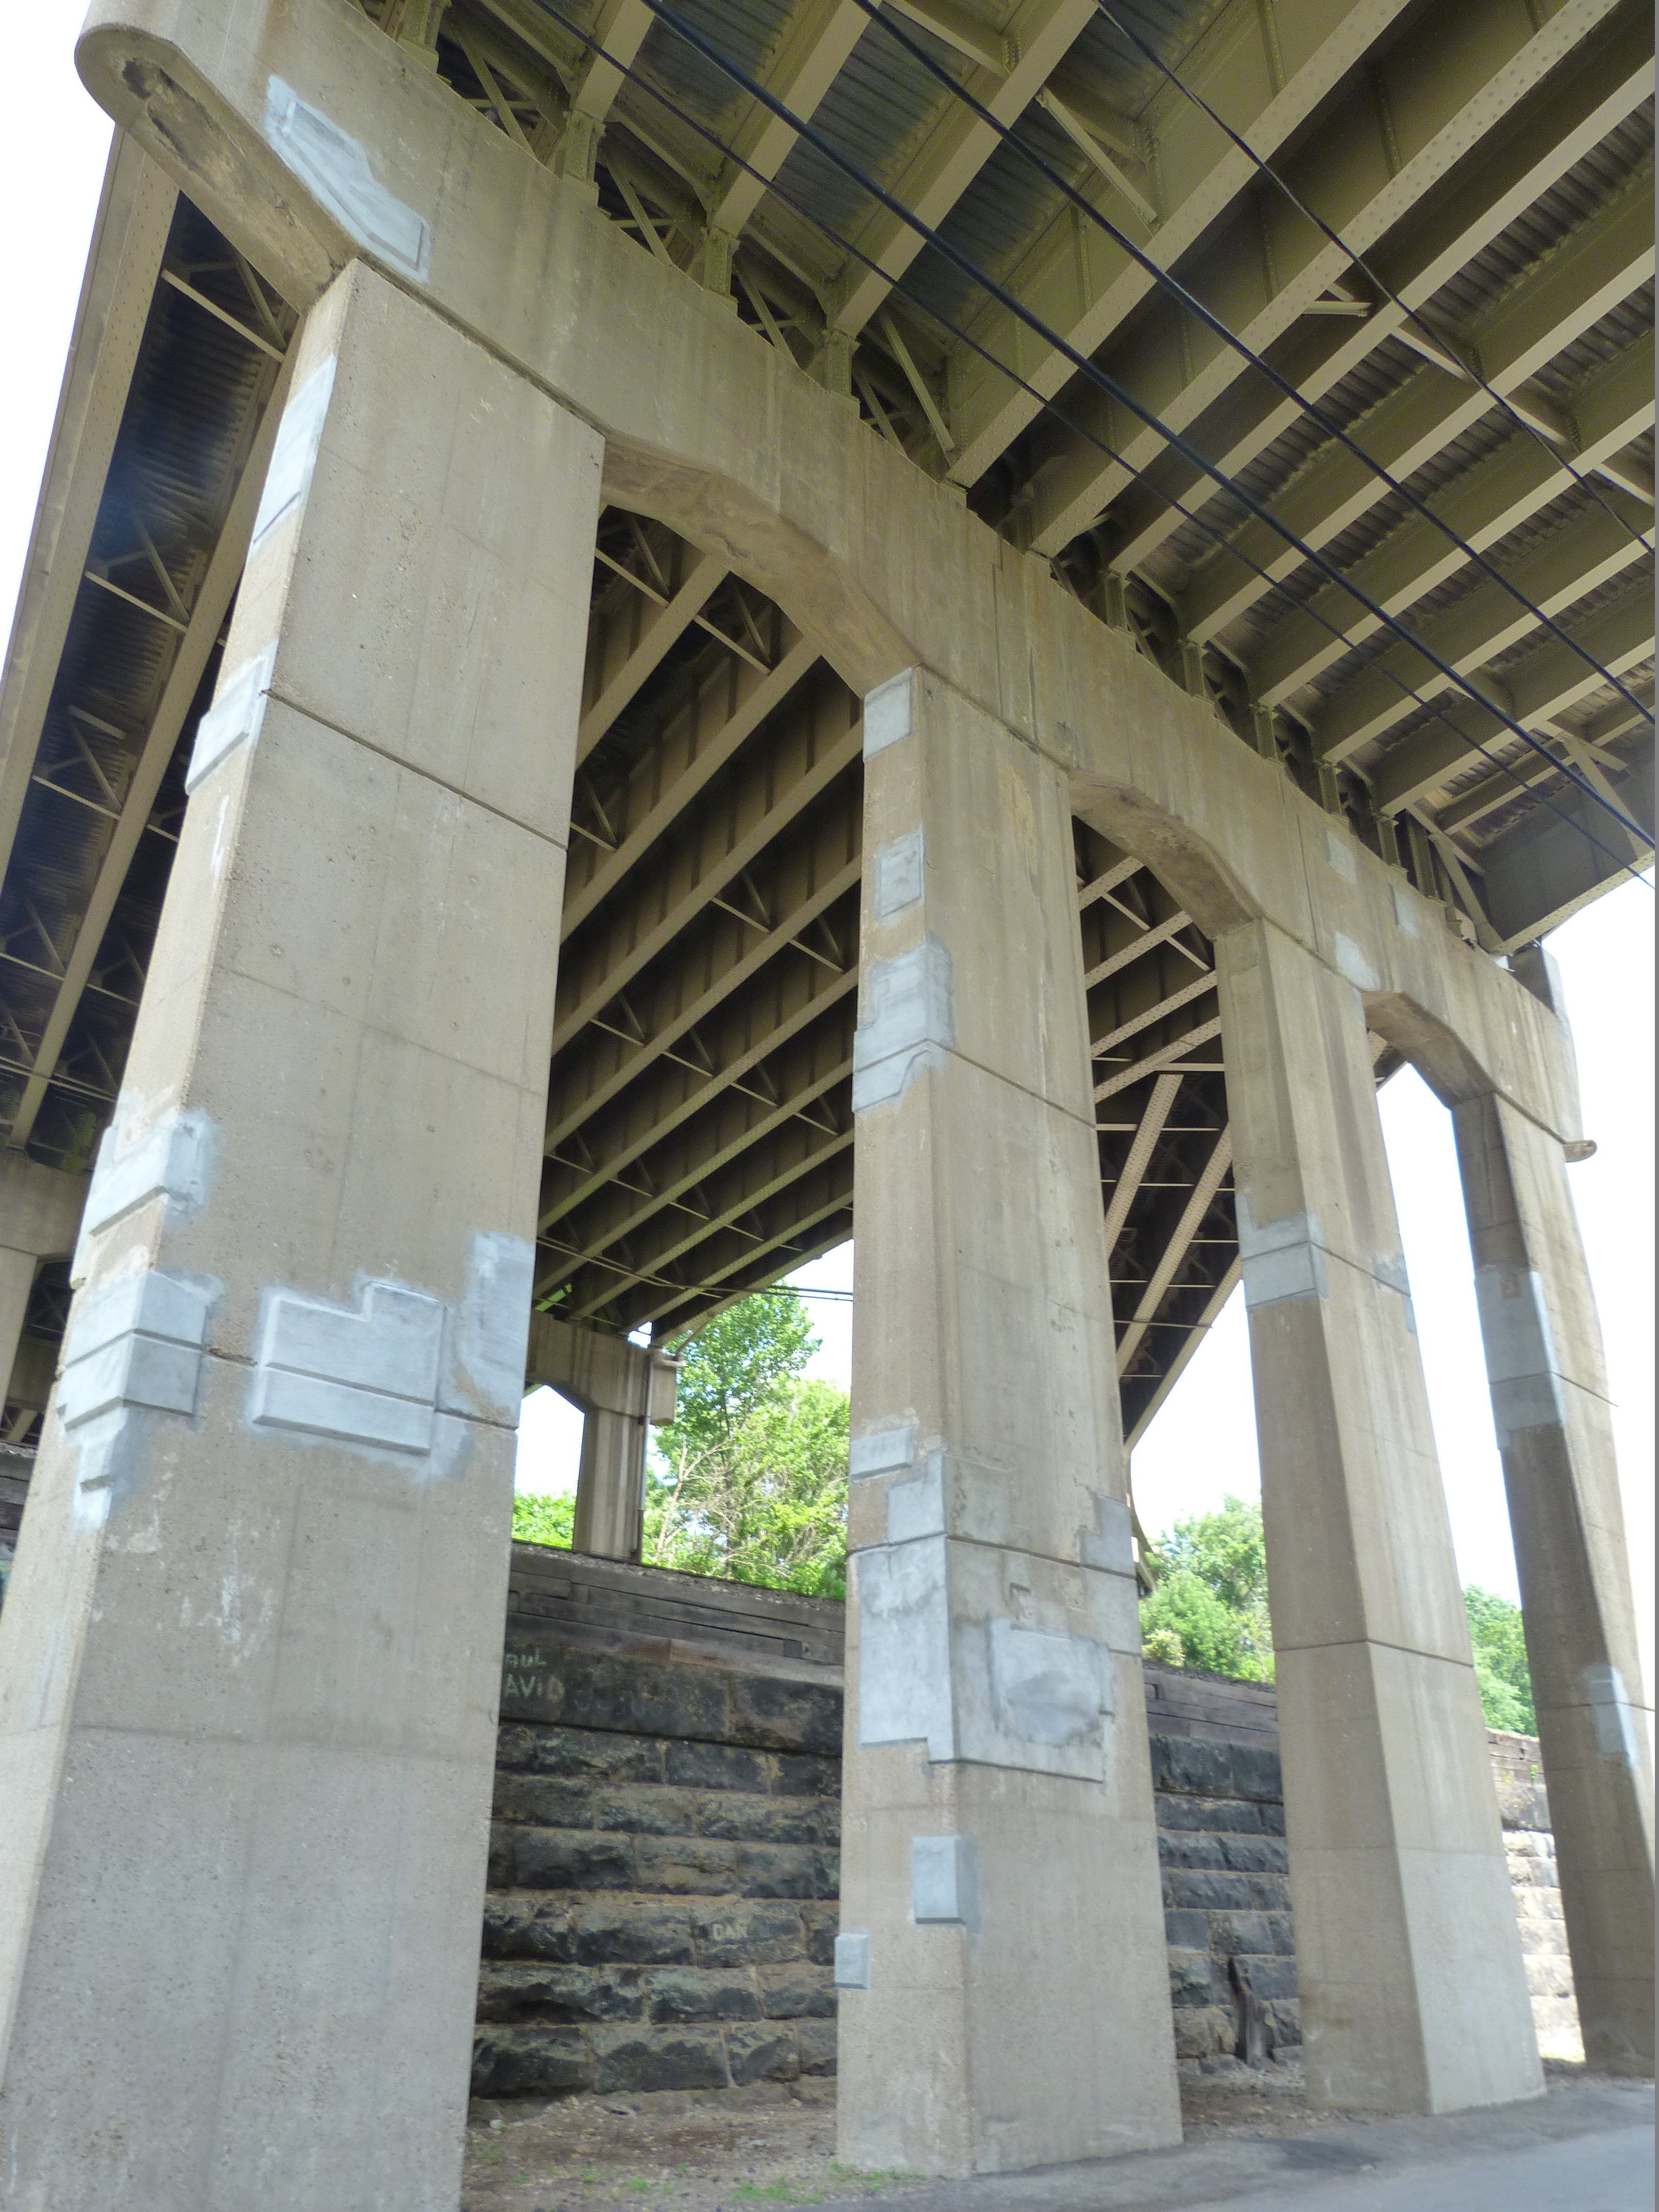
Approach piers.
![]()
![]()
| Back |
| Home |
| Top |

![]()