
Uncredited photos on this page taken by: Nathan Holth and Rick McOmber. Unless stated in a caption, all photos are Copyright with All Rights Reserved. Learn about reuse of our photos.
![]()


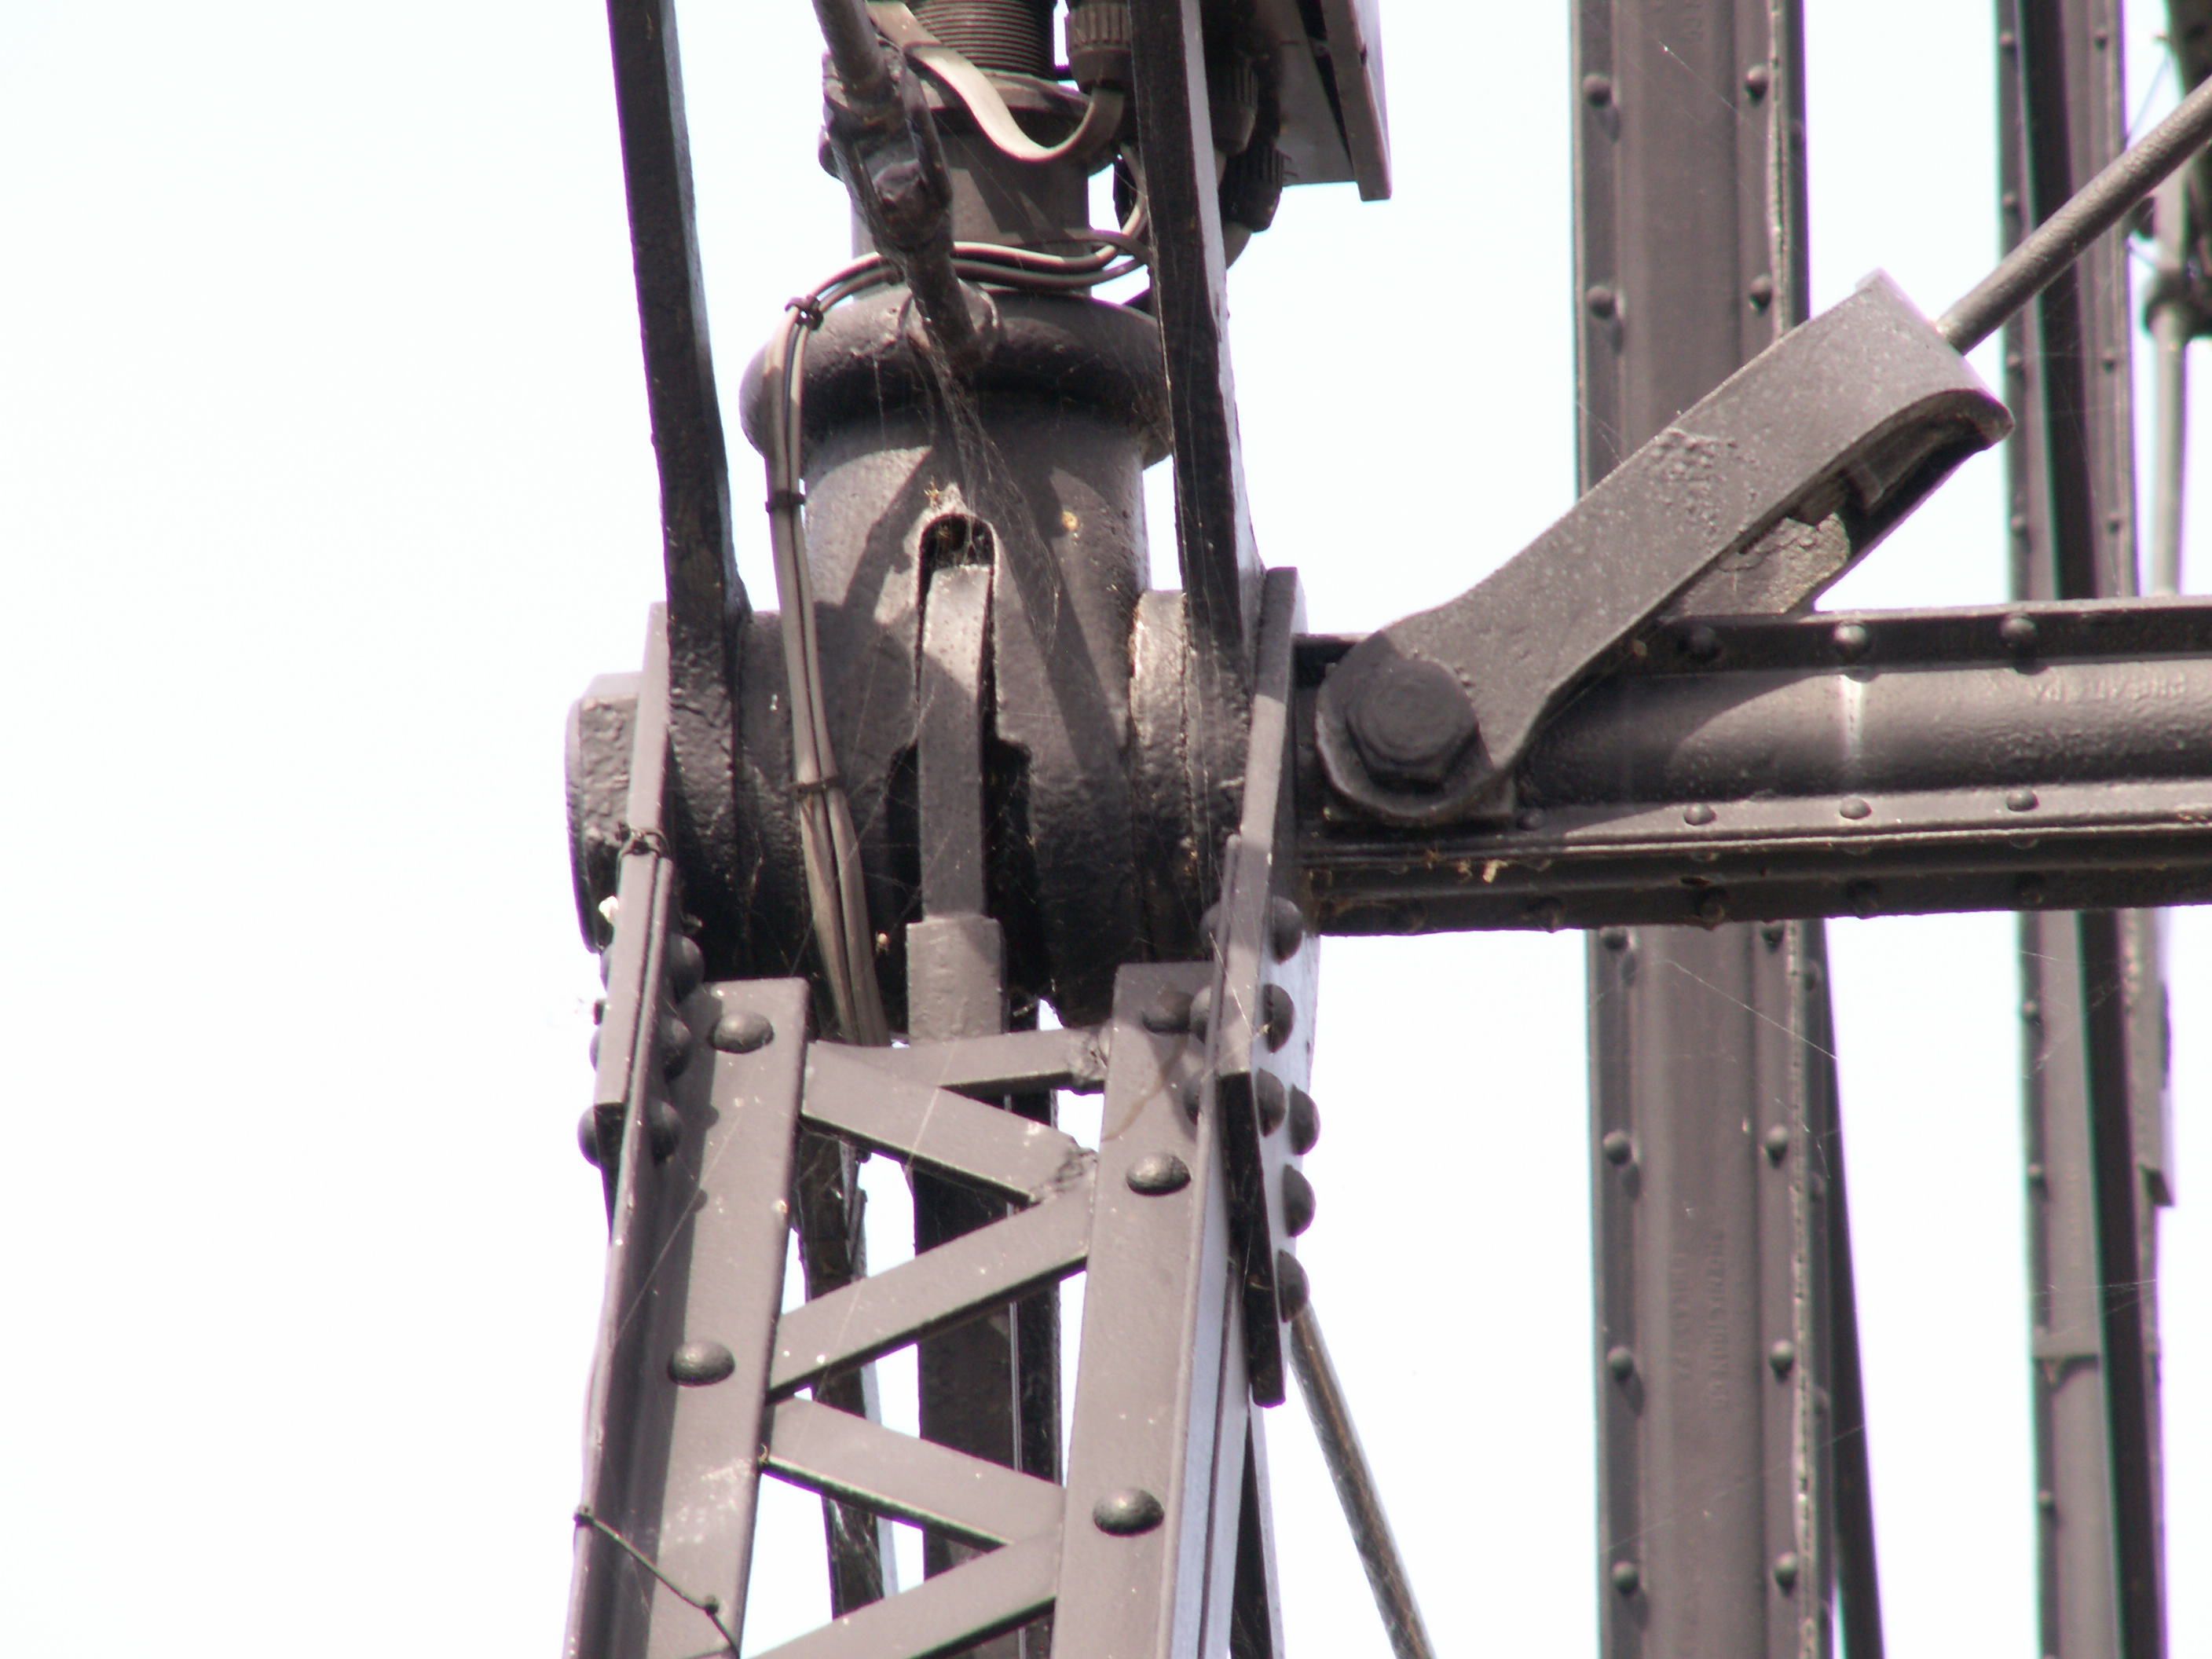
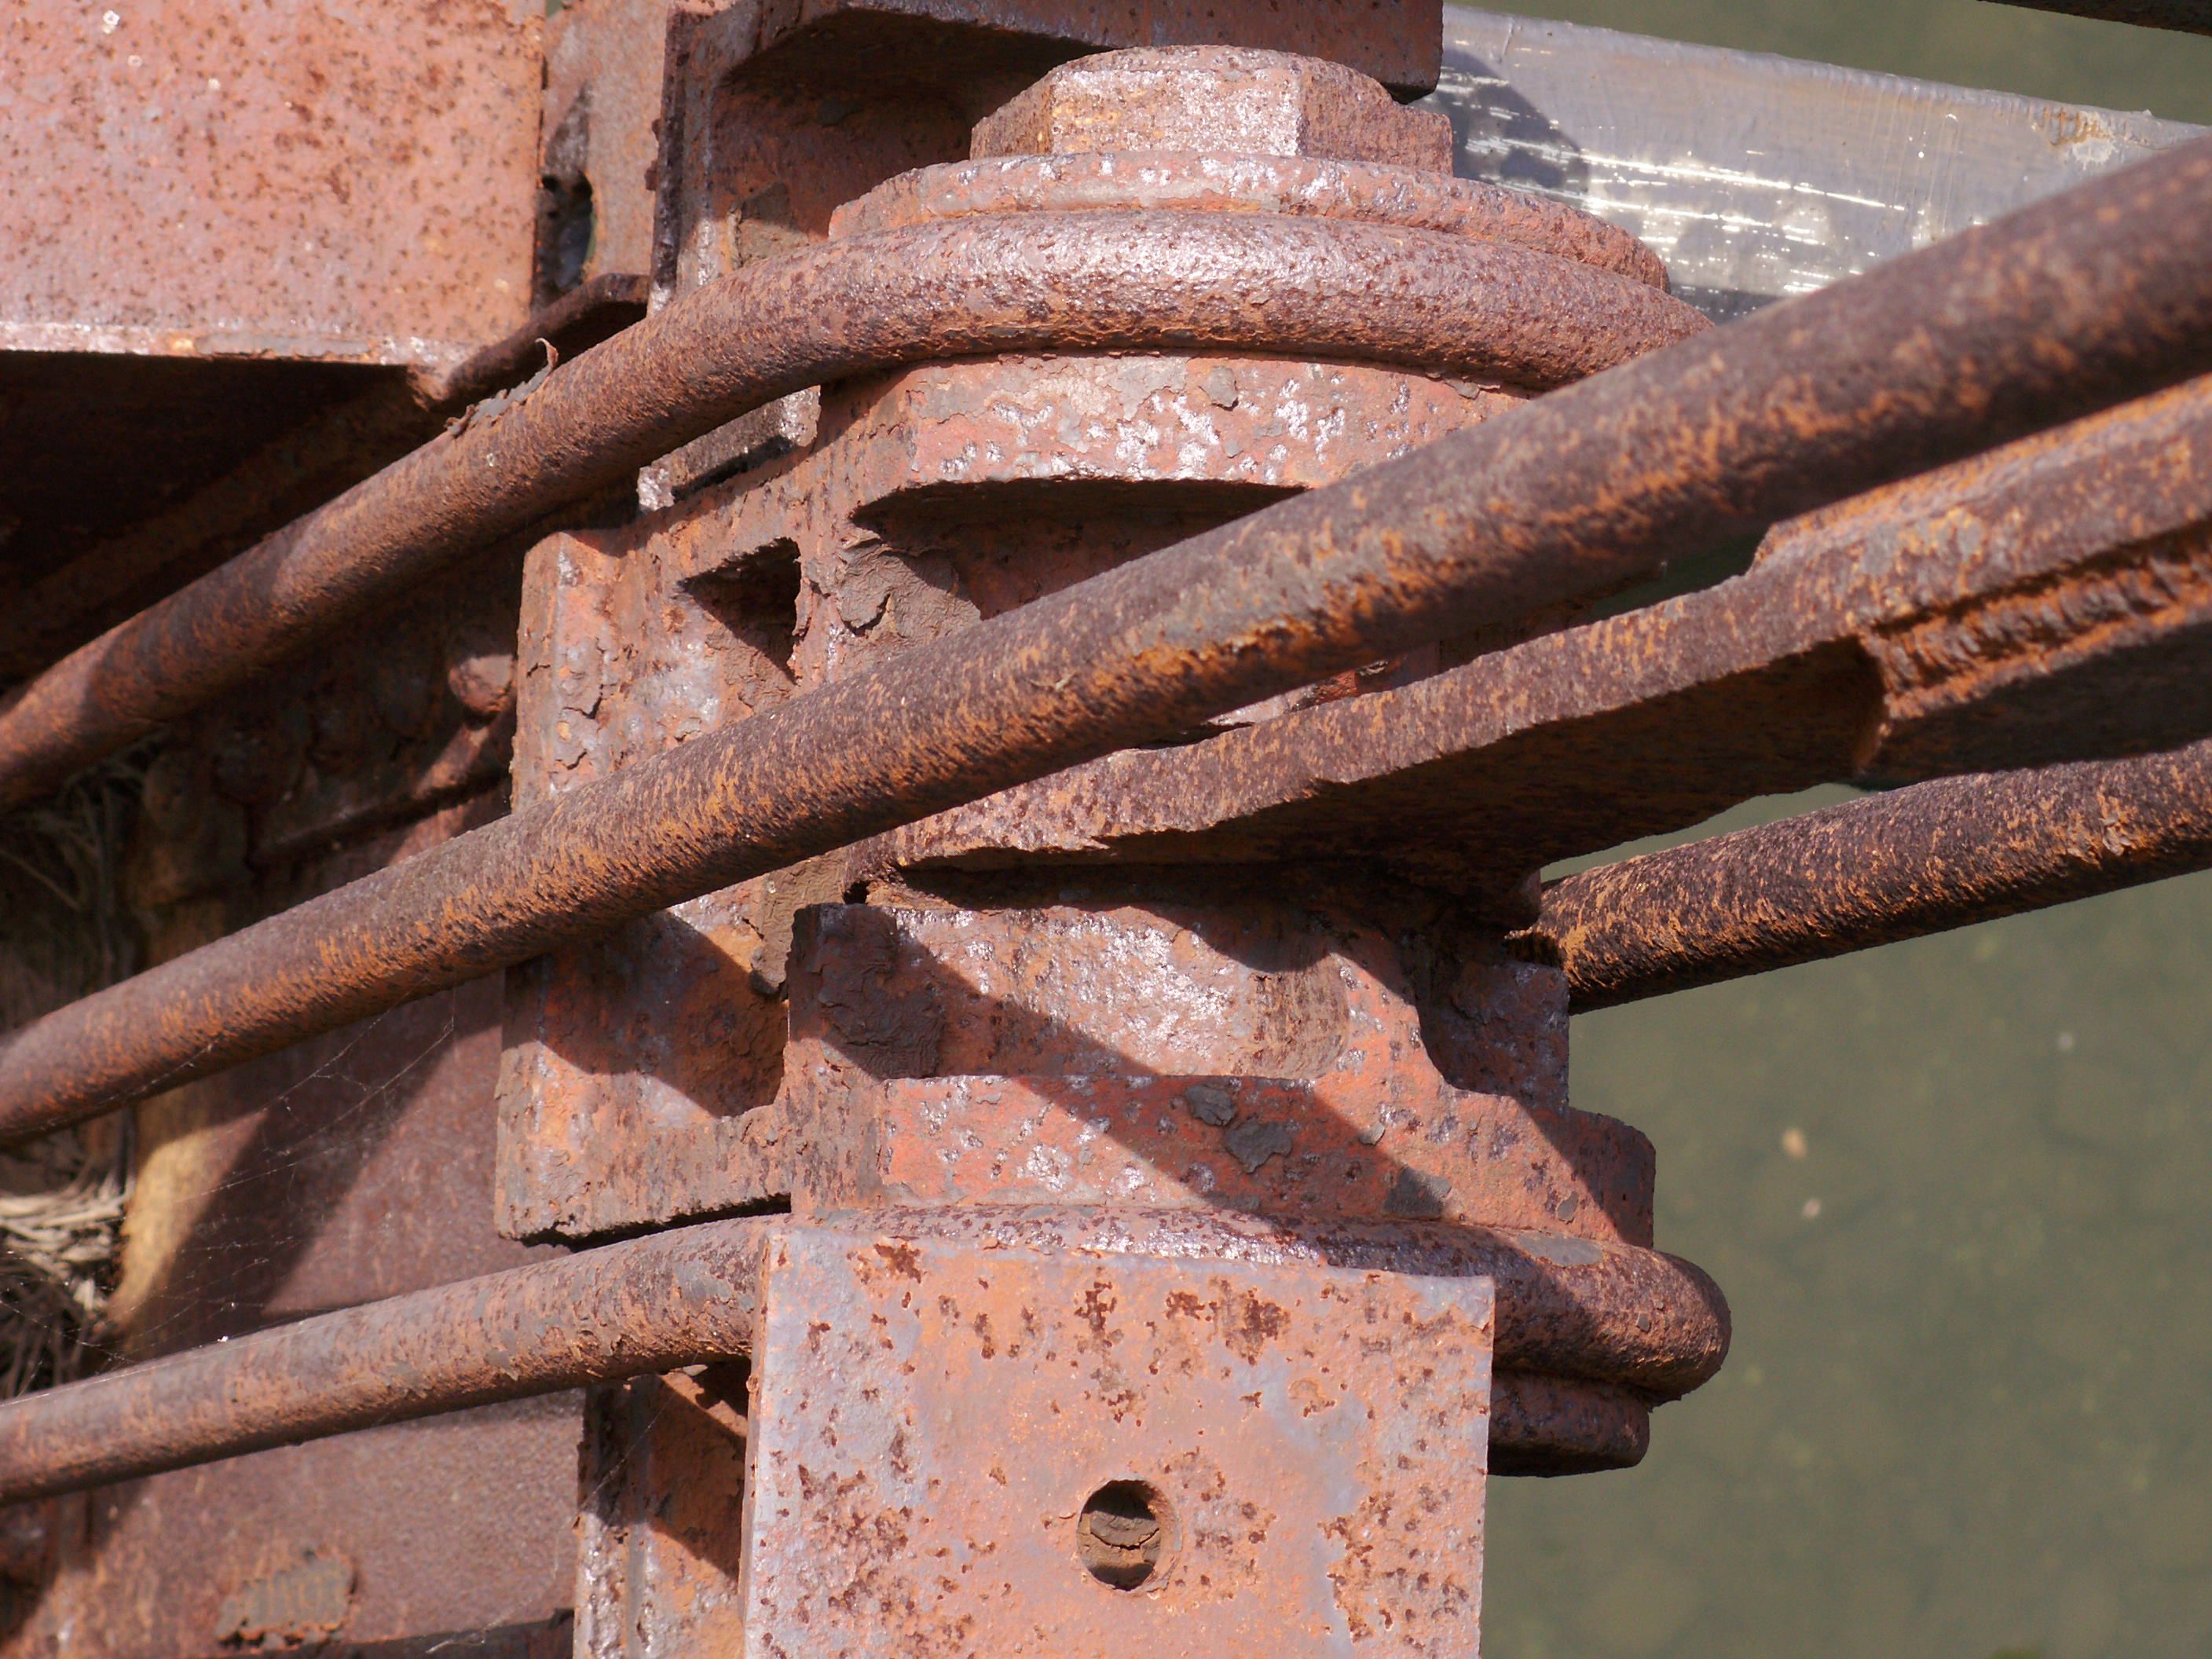
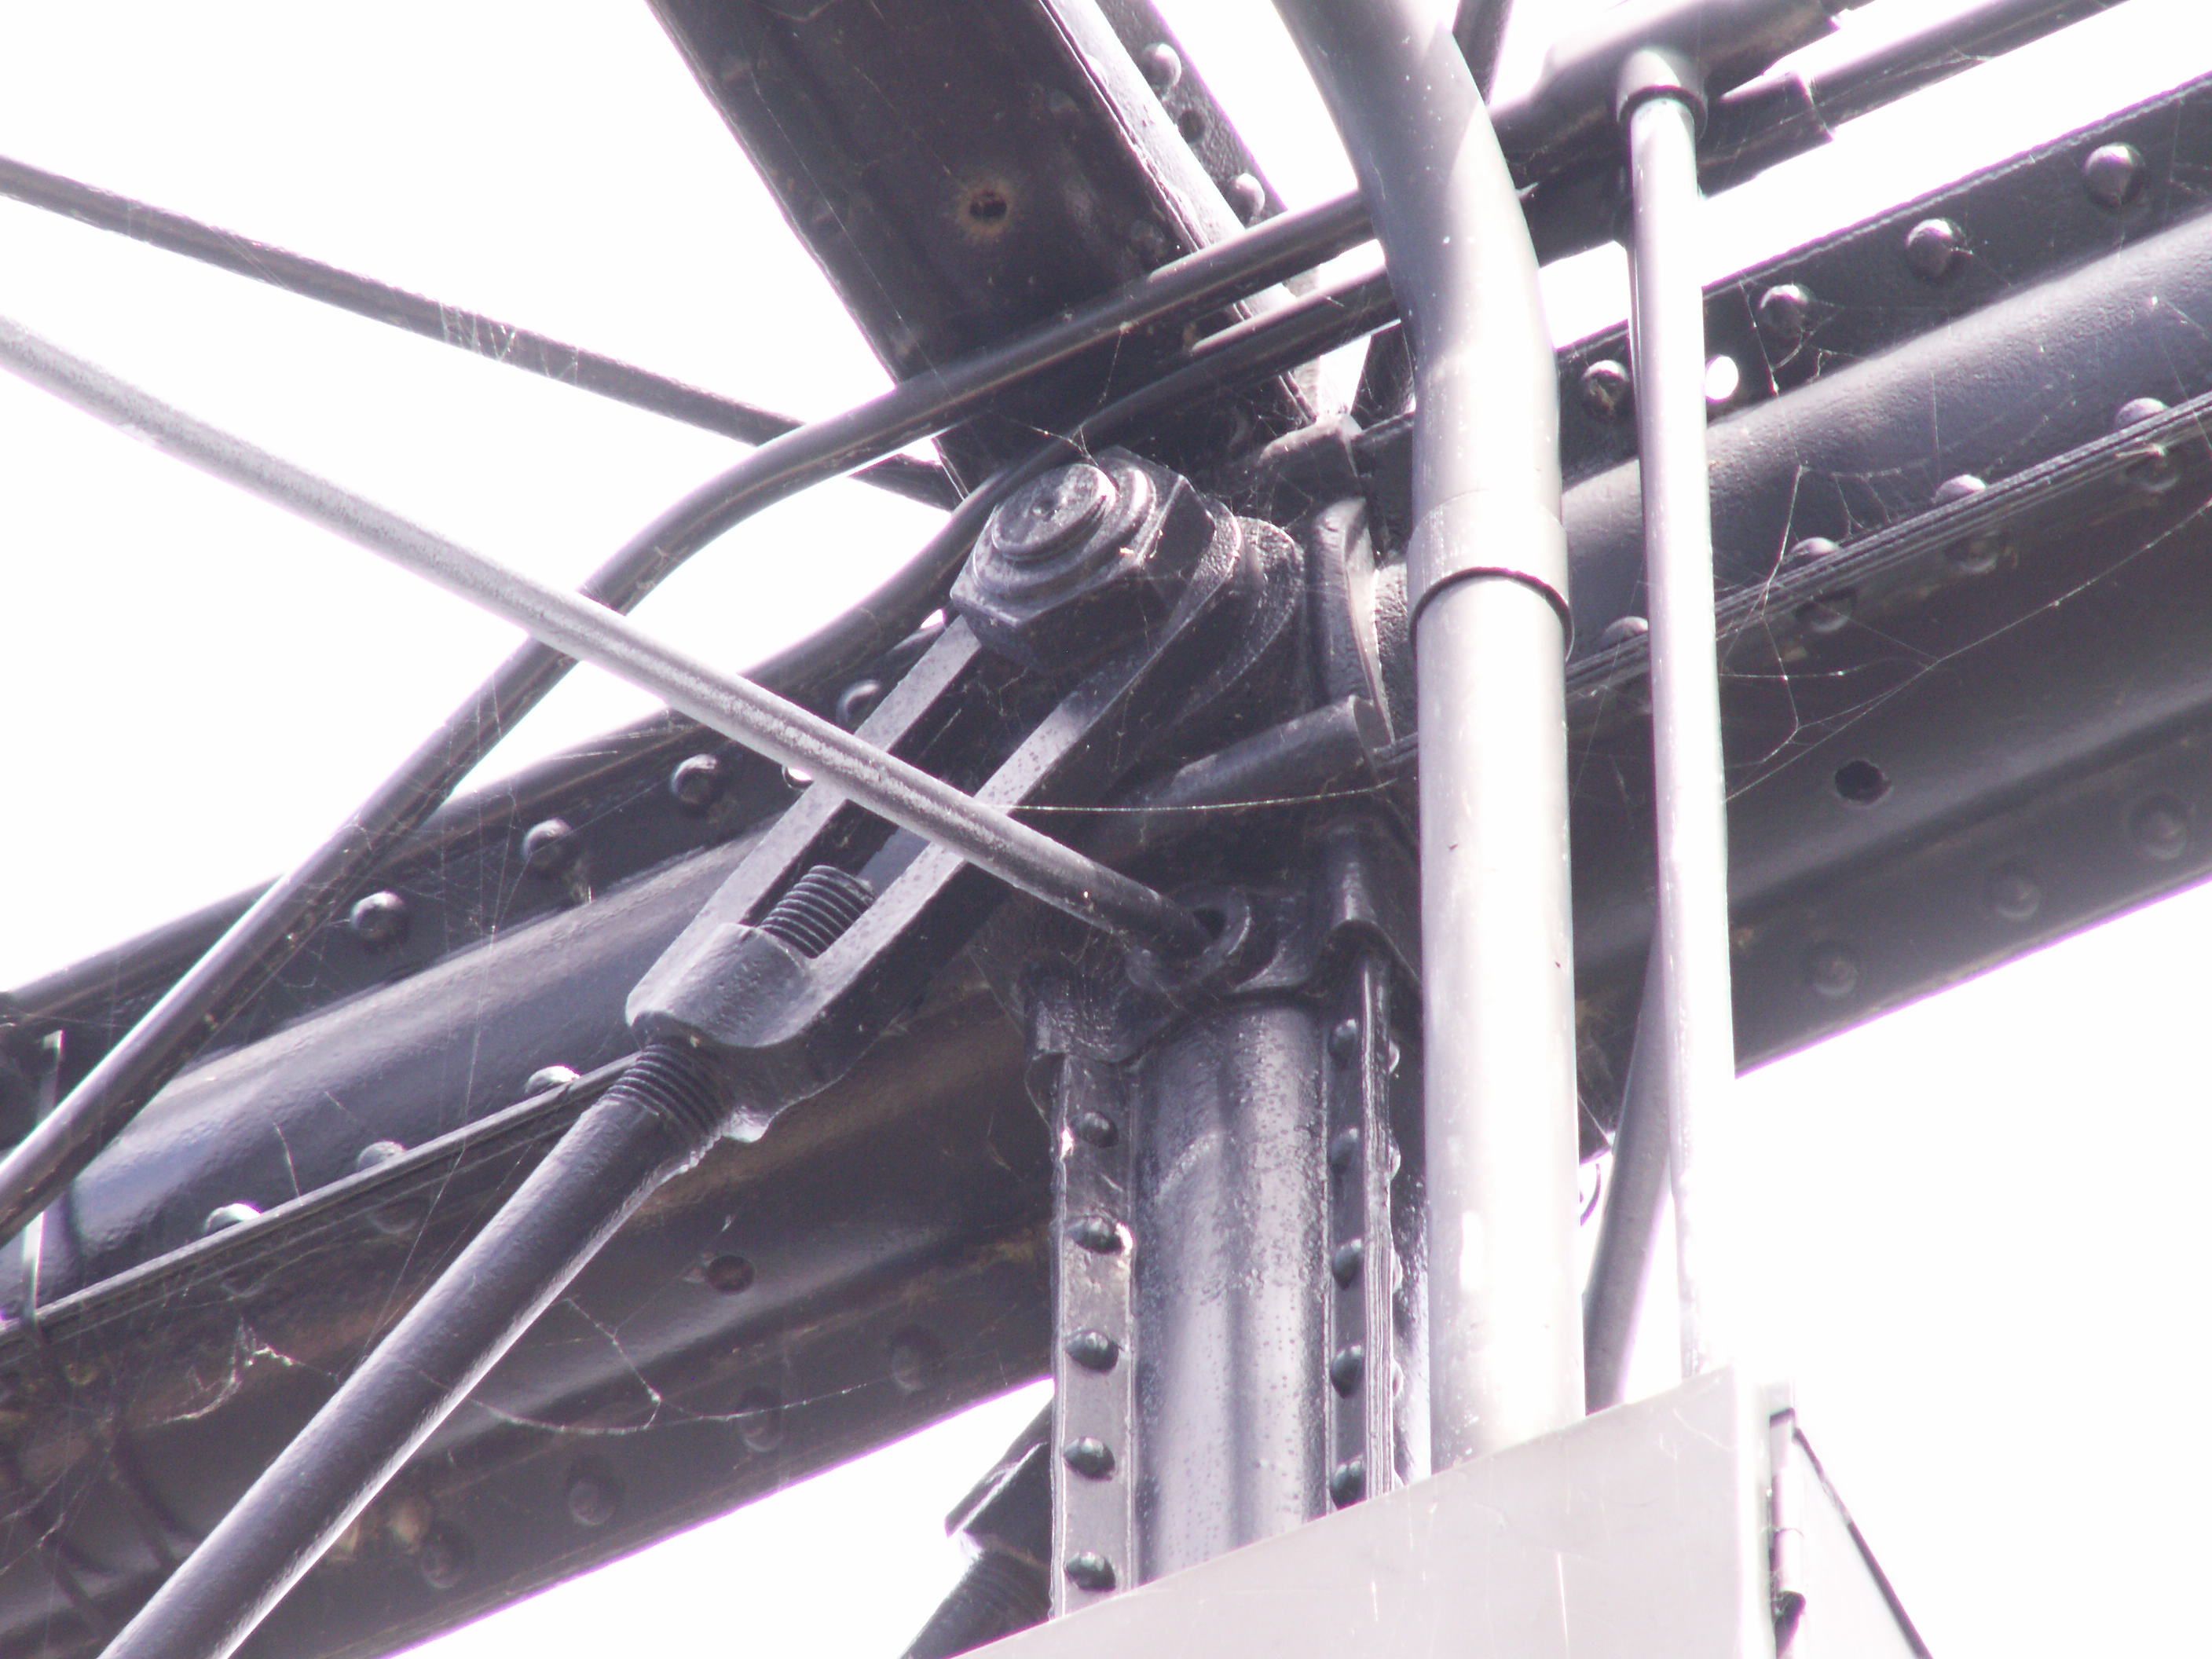
Top chord connections as viewed from beside bridge, eastern spans.
![]()
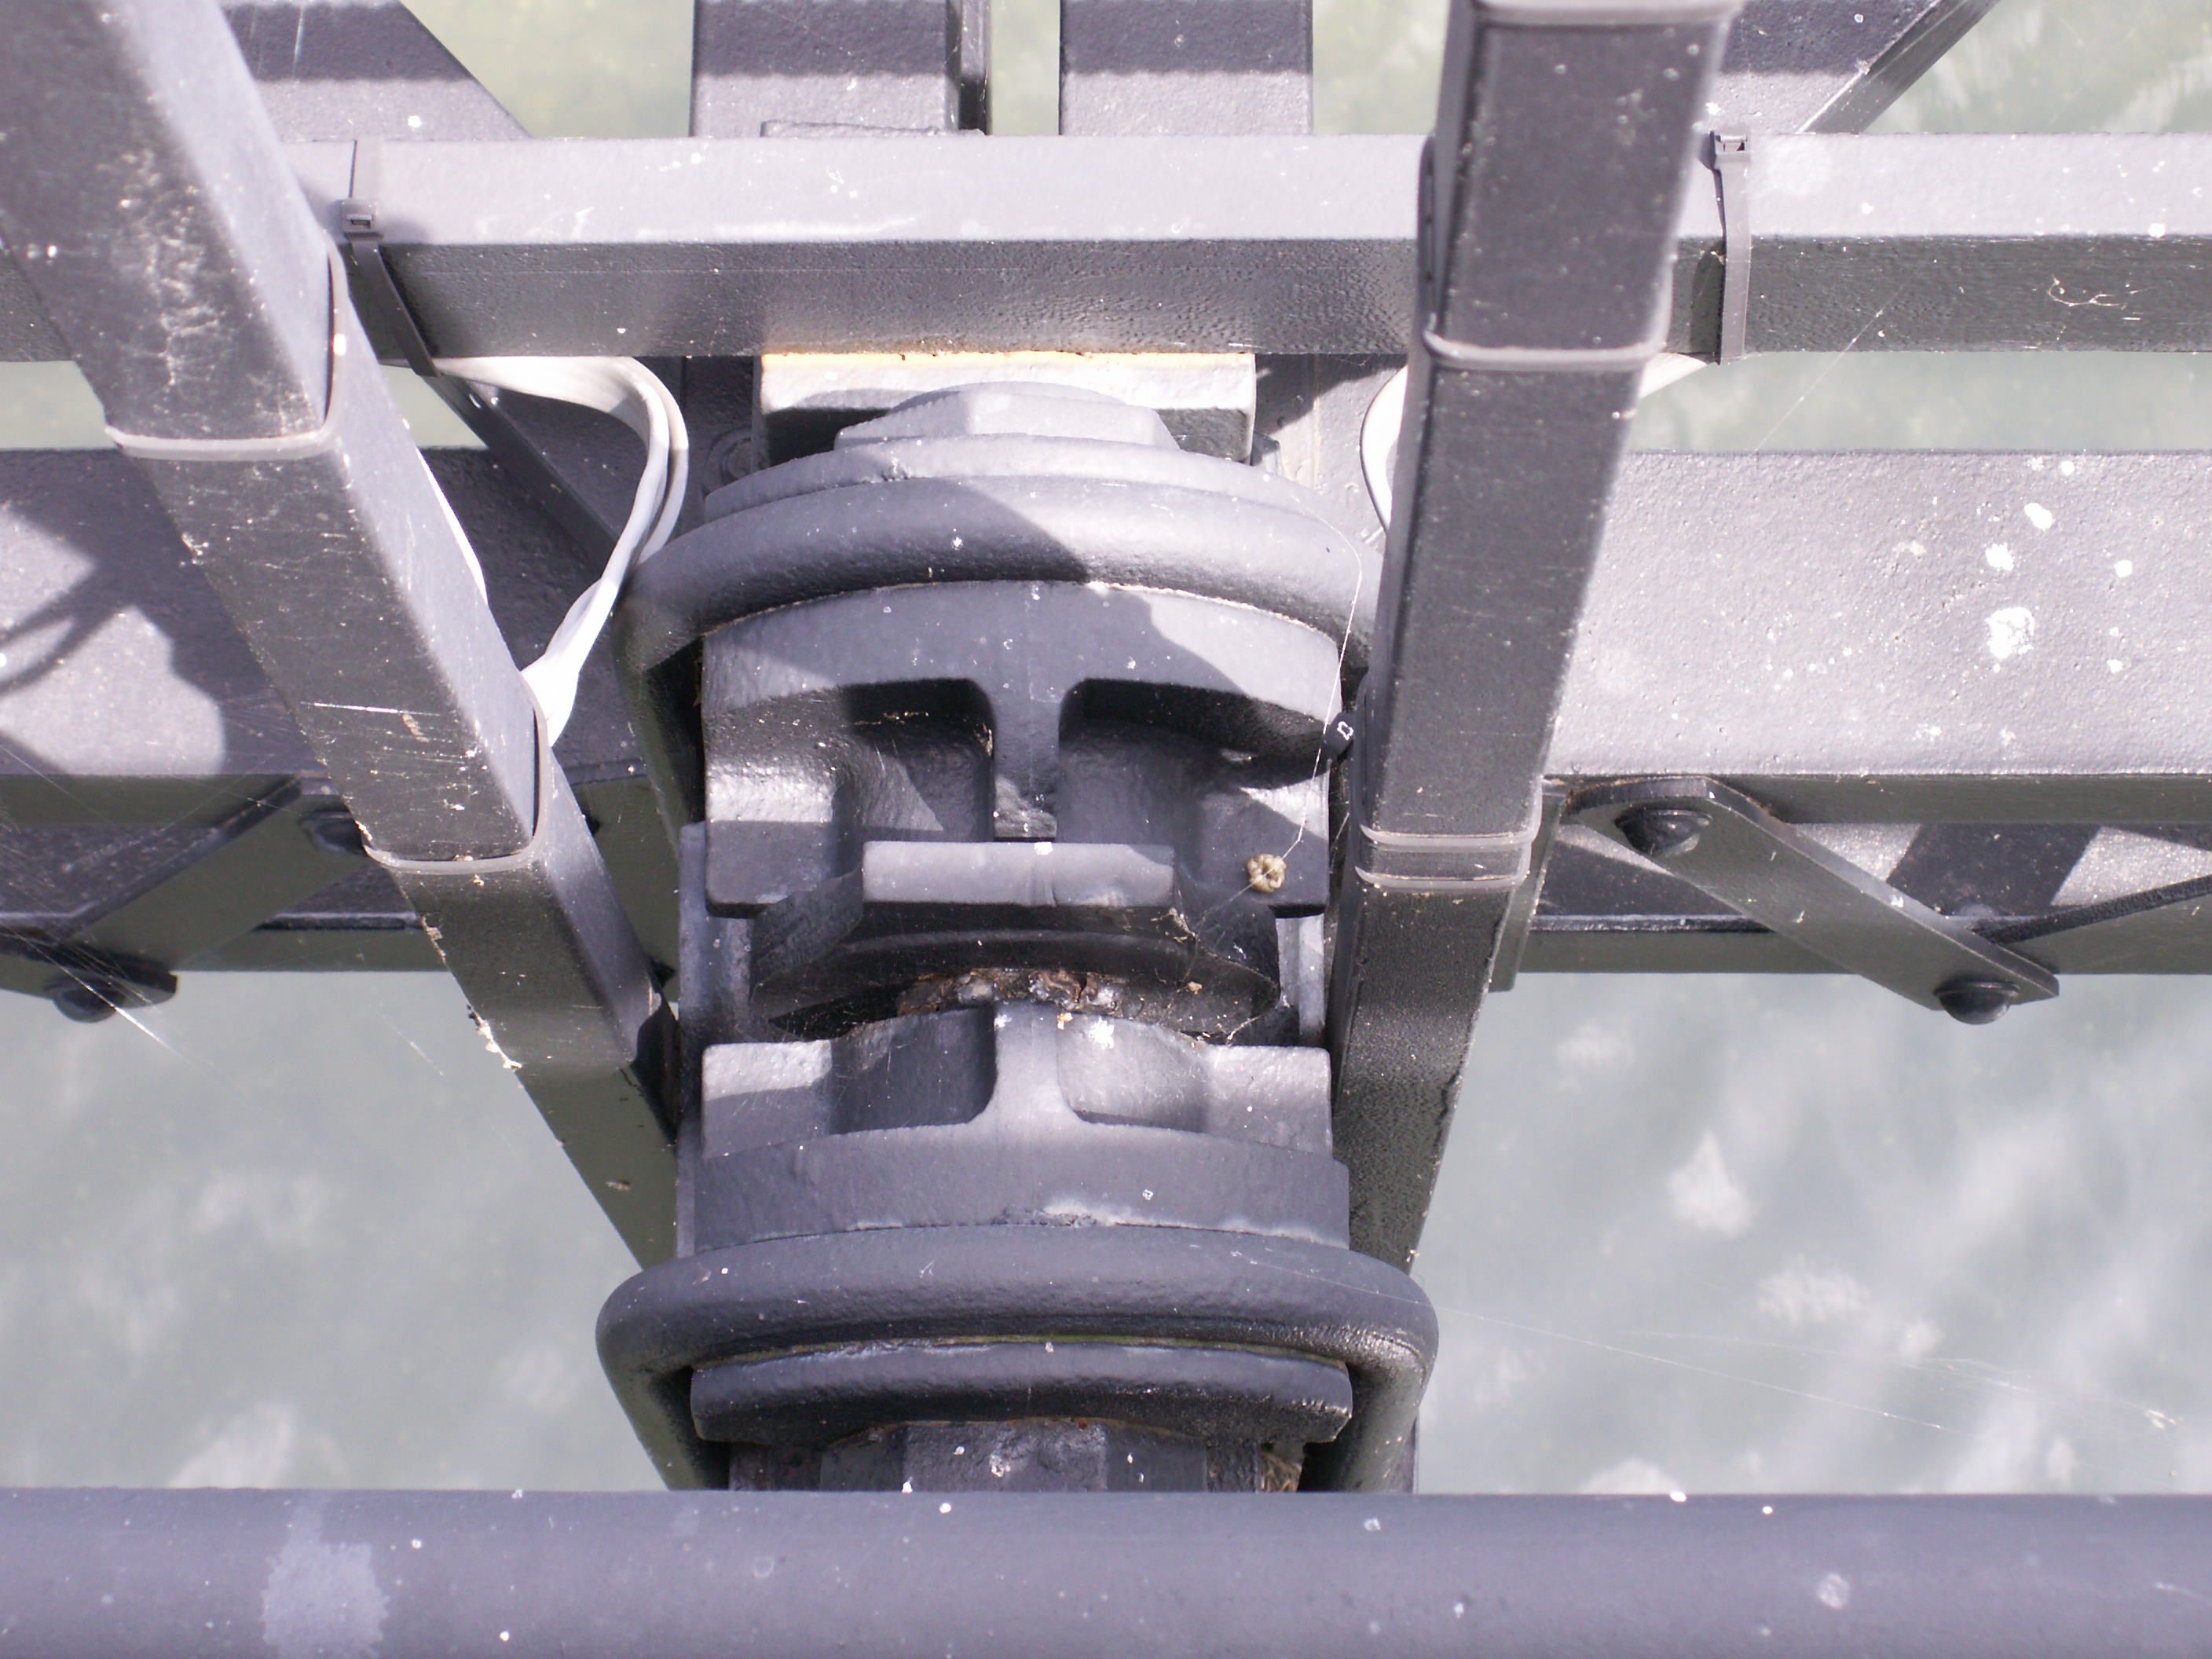
Bottom chord connections as viewed from beside bridge, eastern spans.
![]()


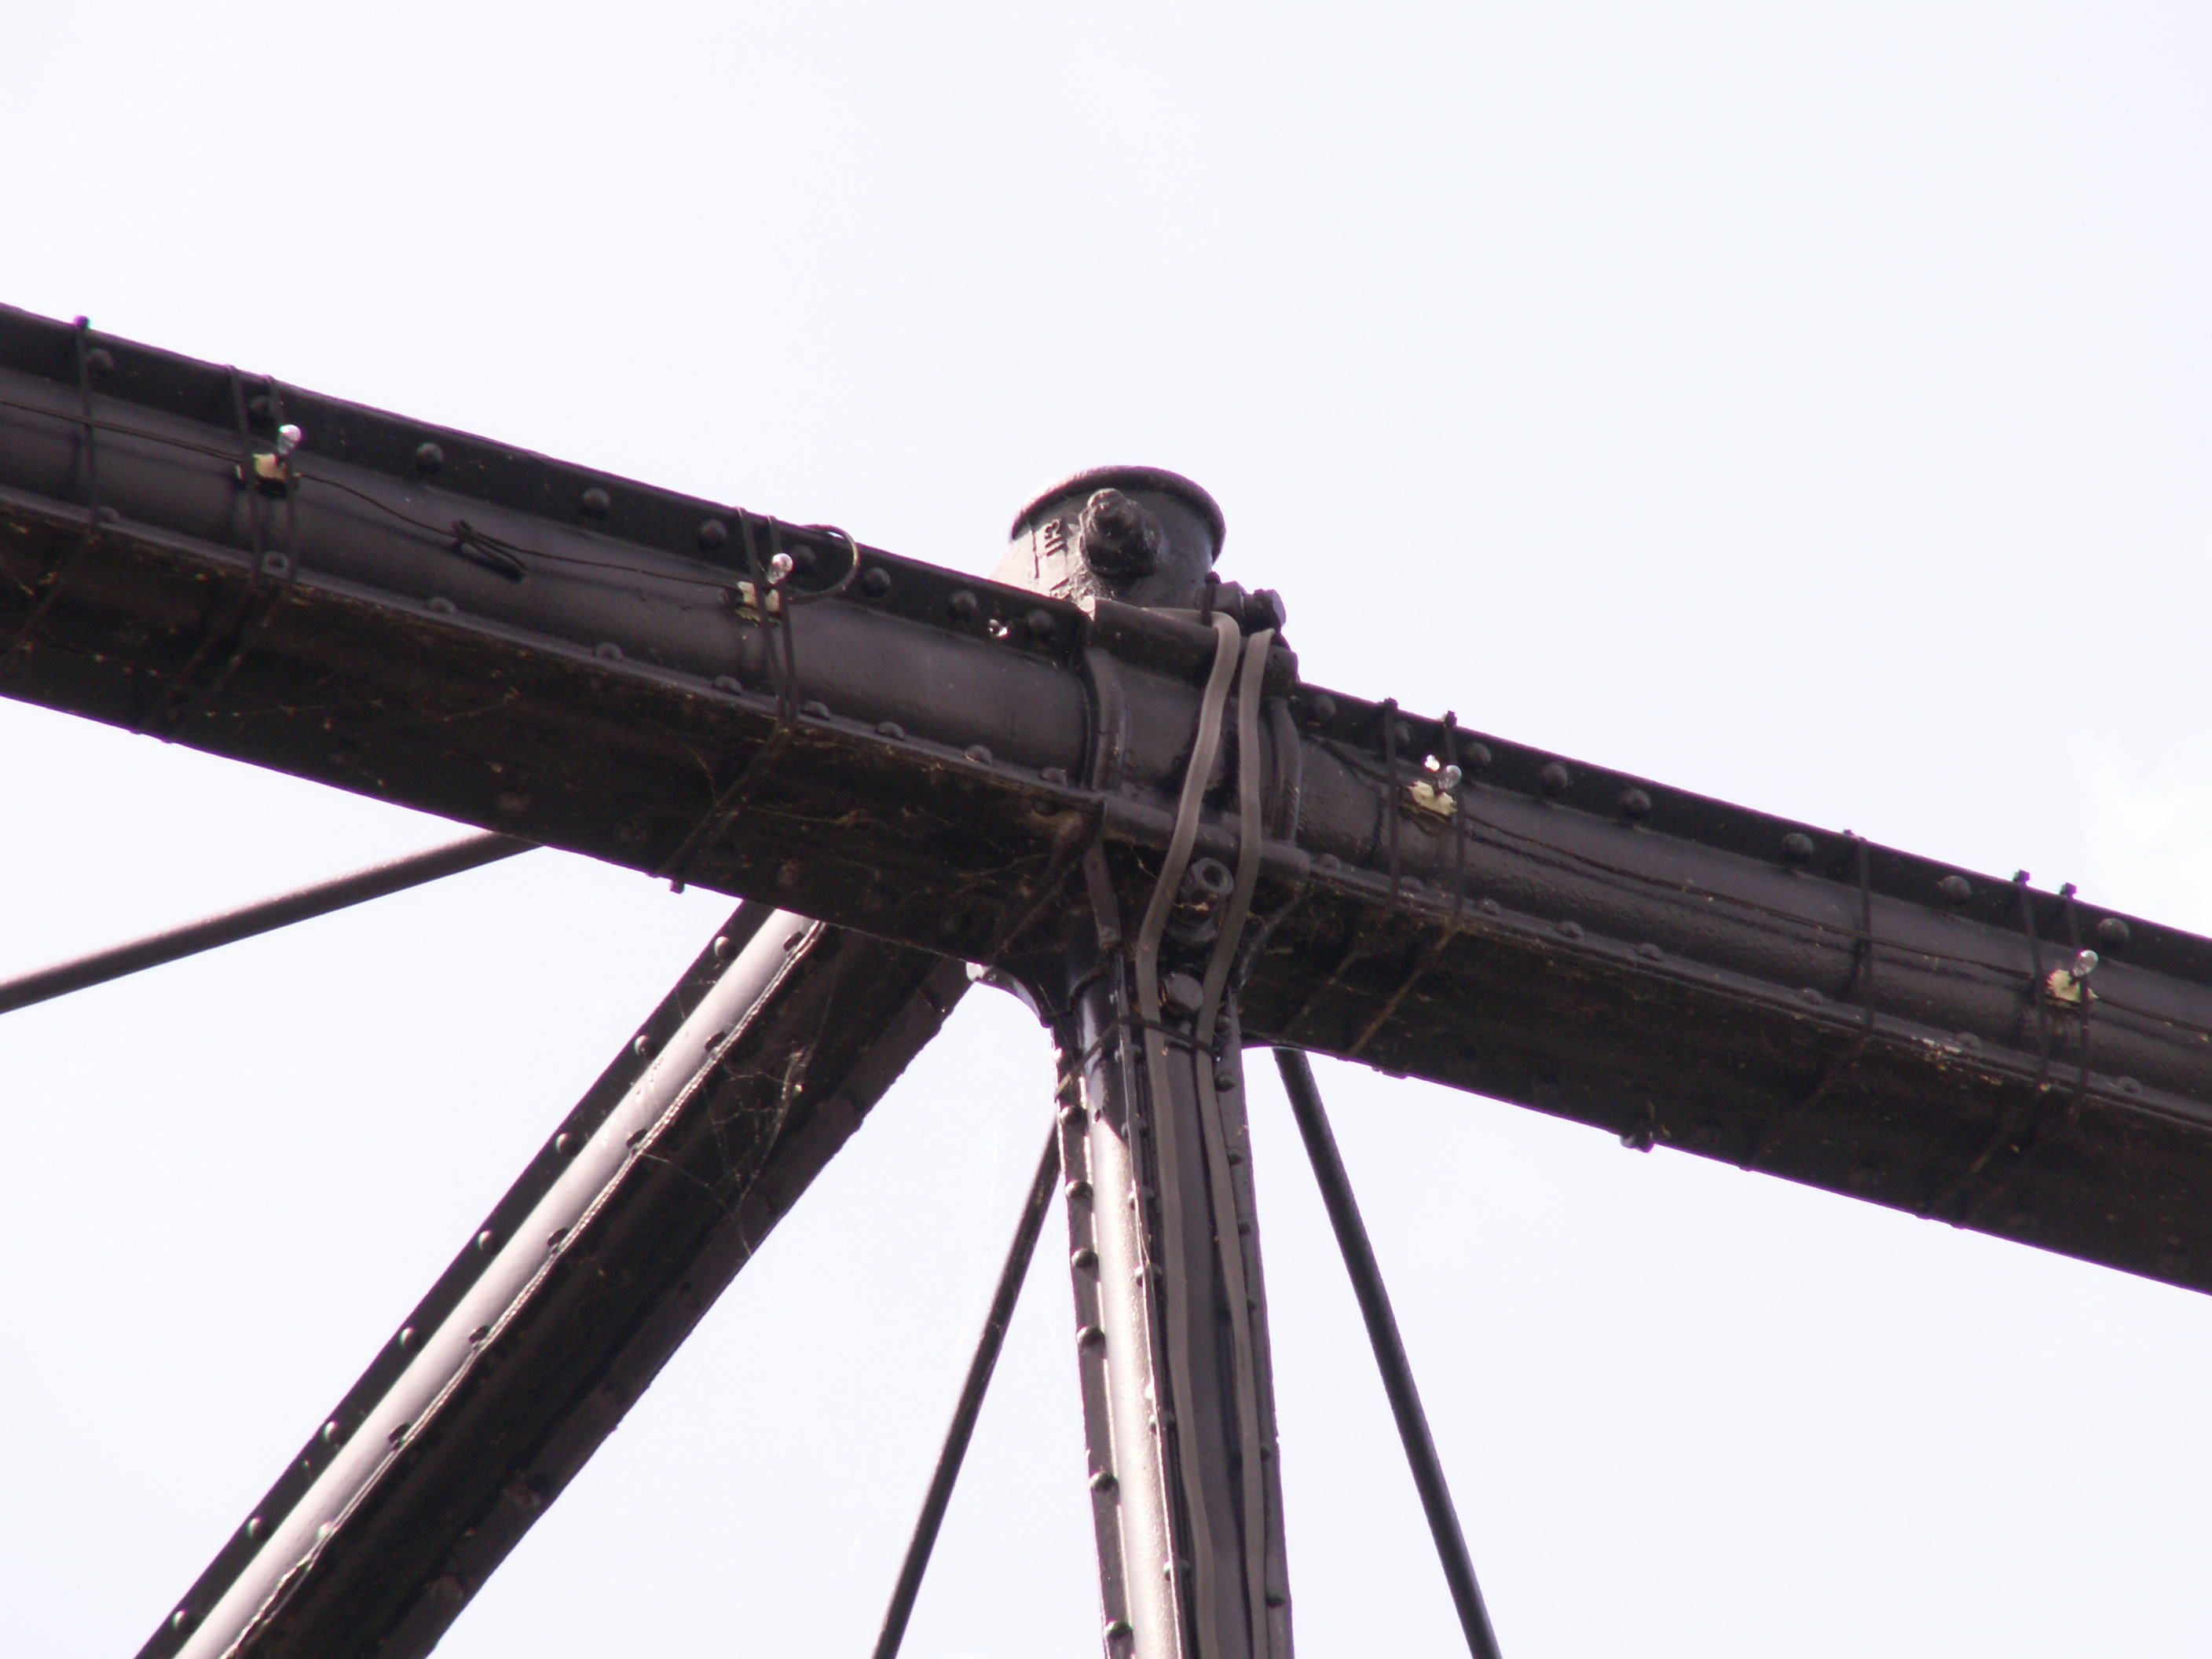
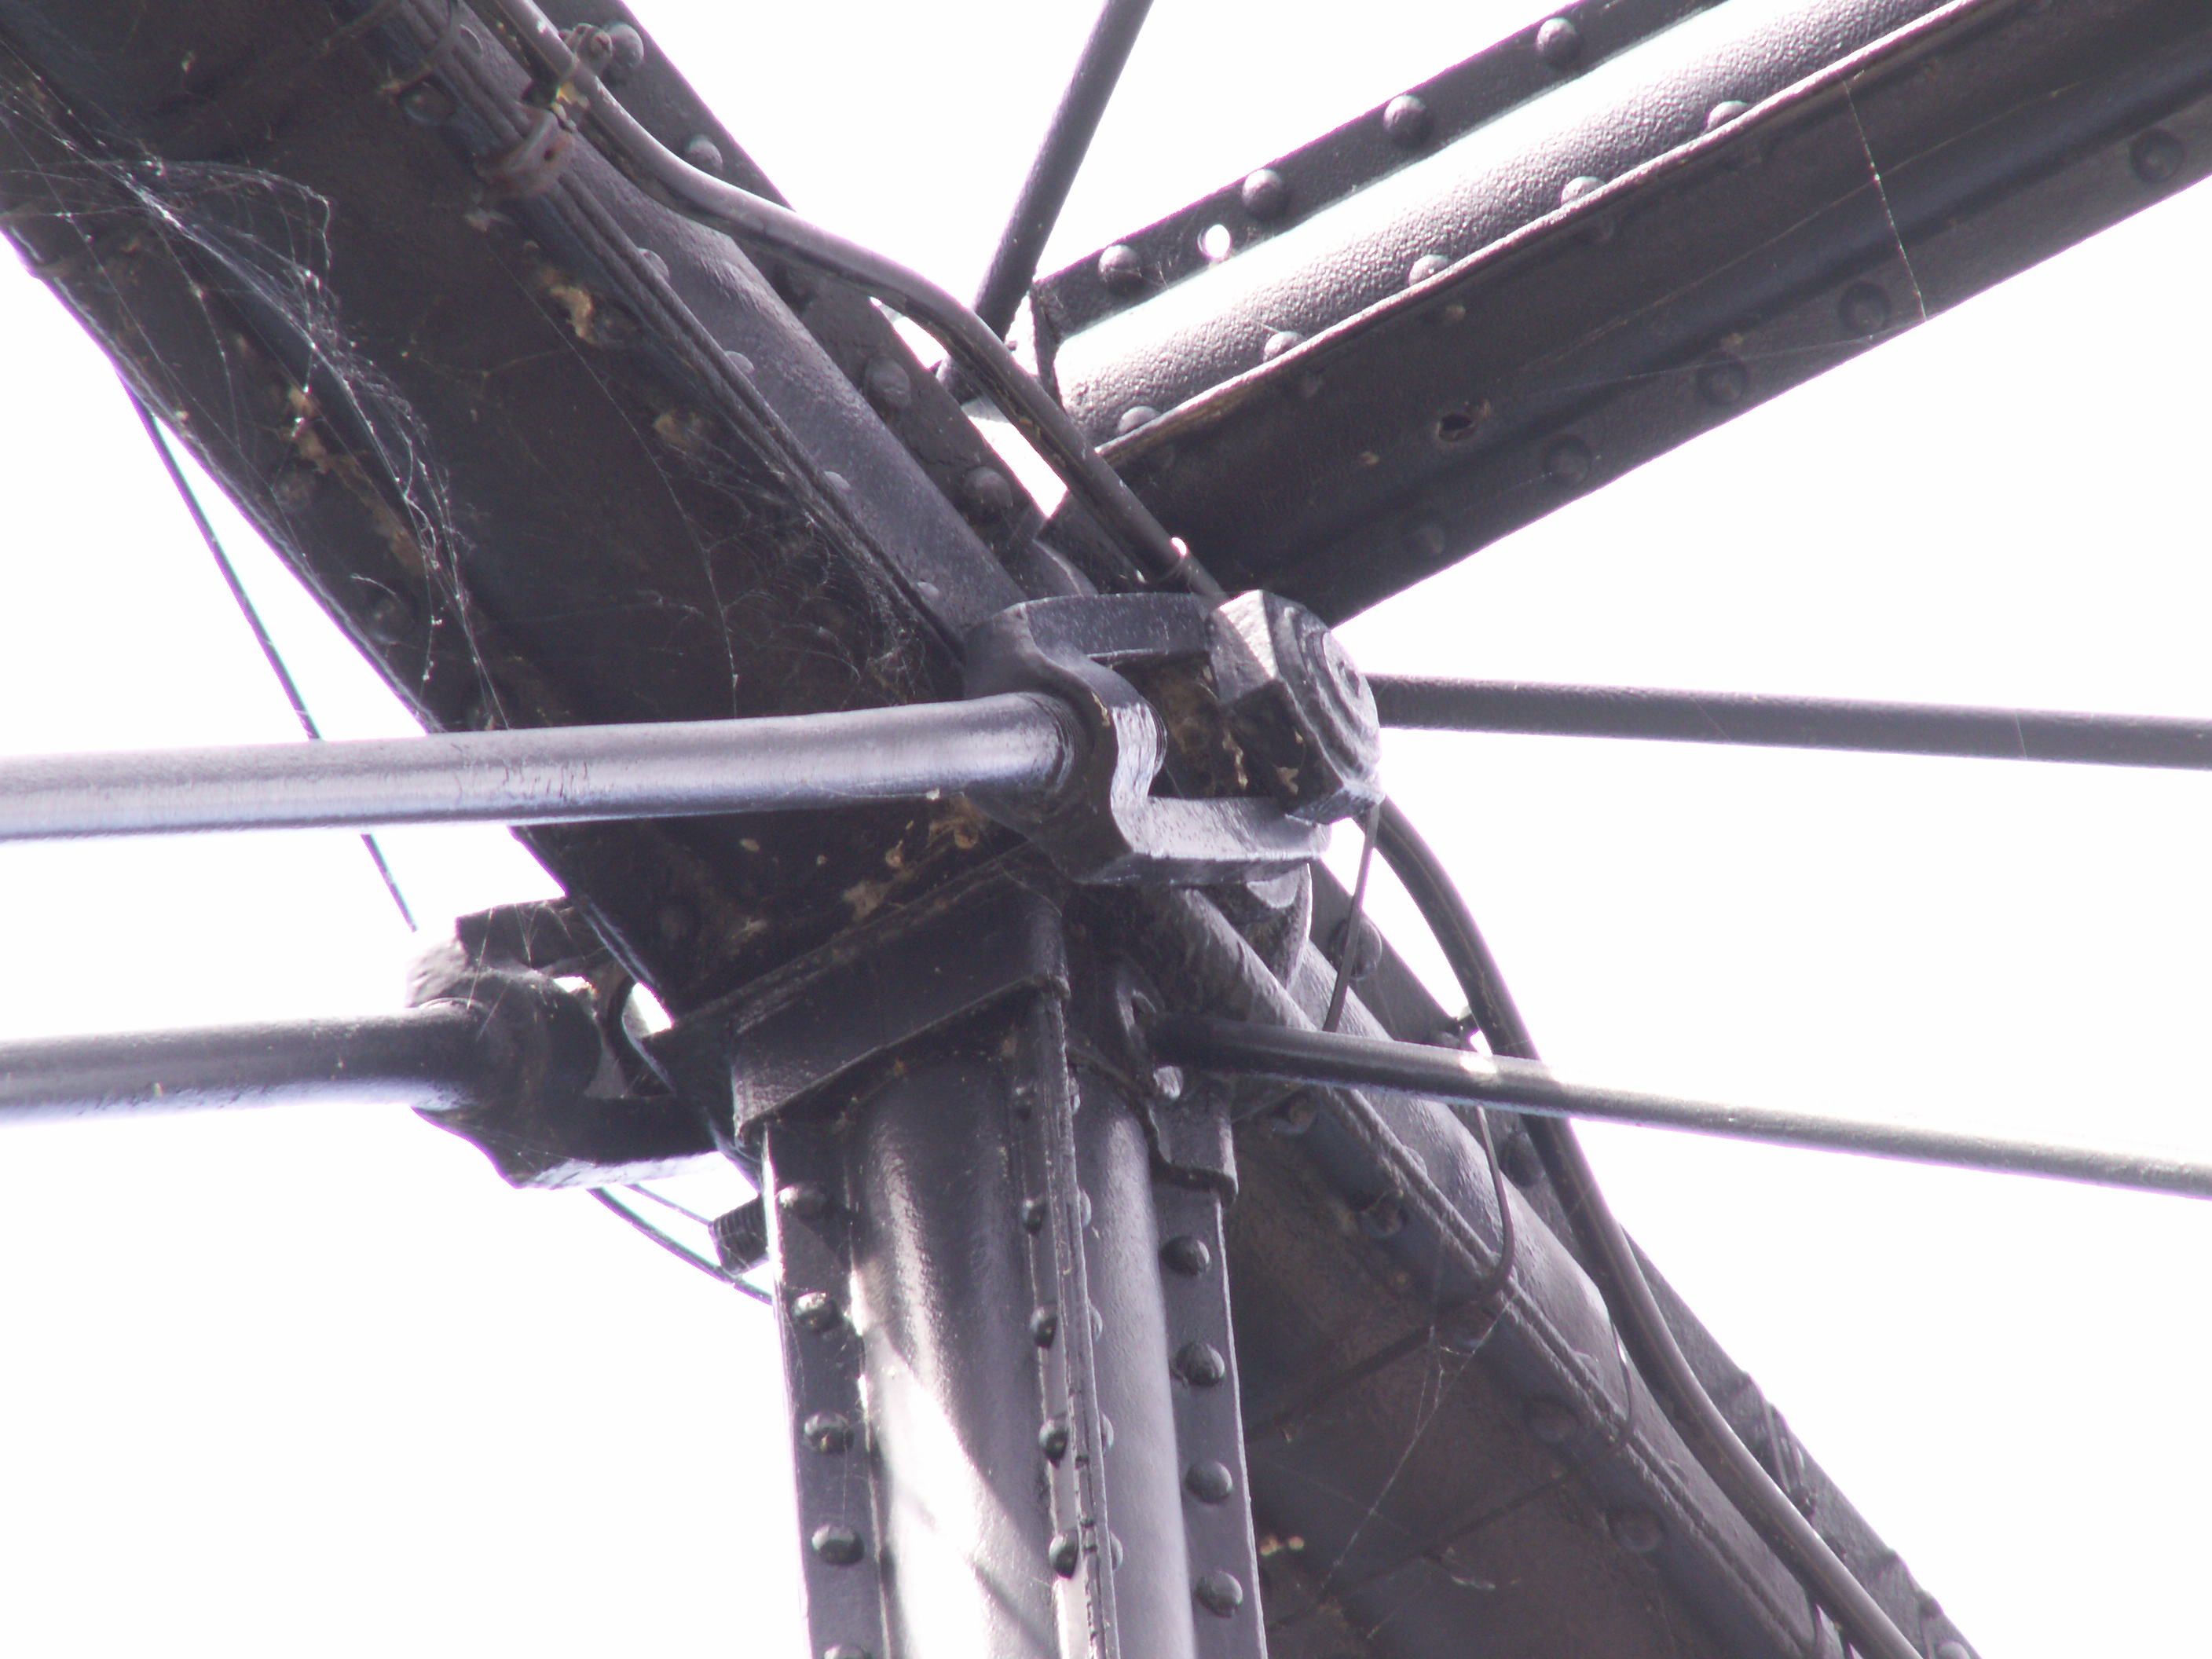
Top chord connections as viewed from on bridge, eastern spans.
![]()


Bottom chord connections as viewed from on bridge, eastern spans.
![]()


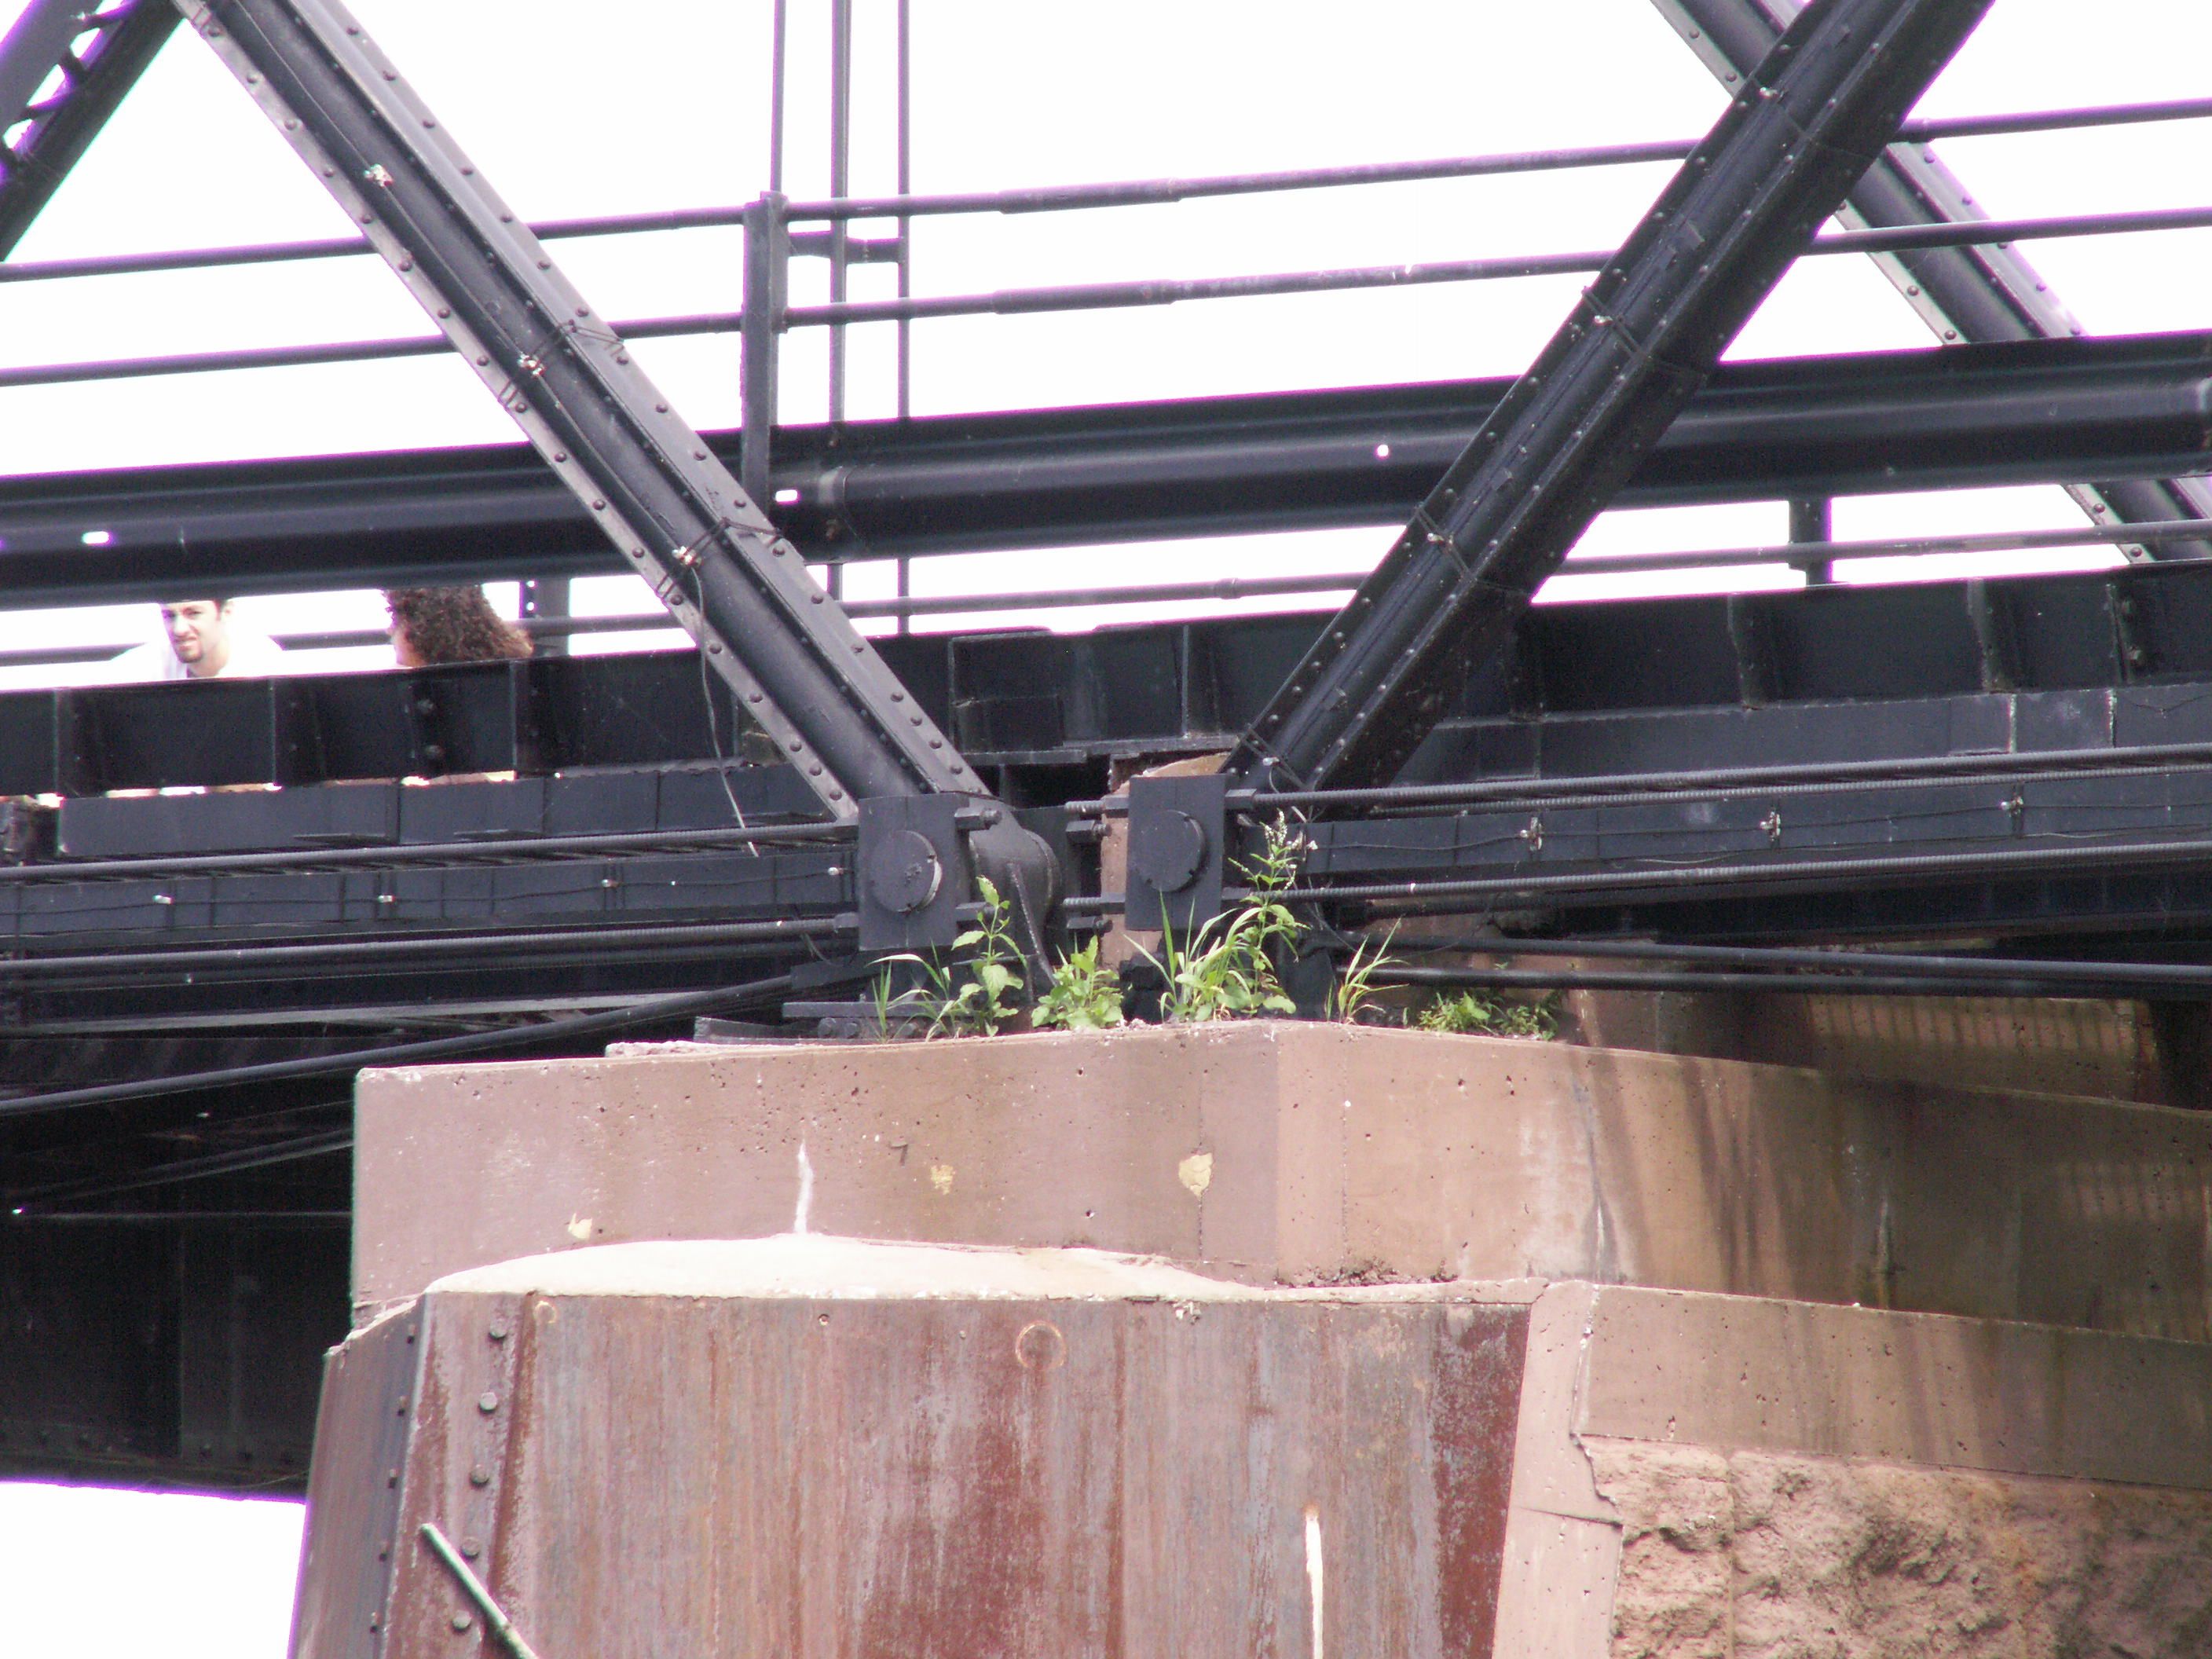
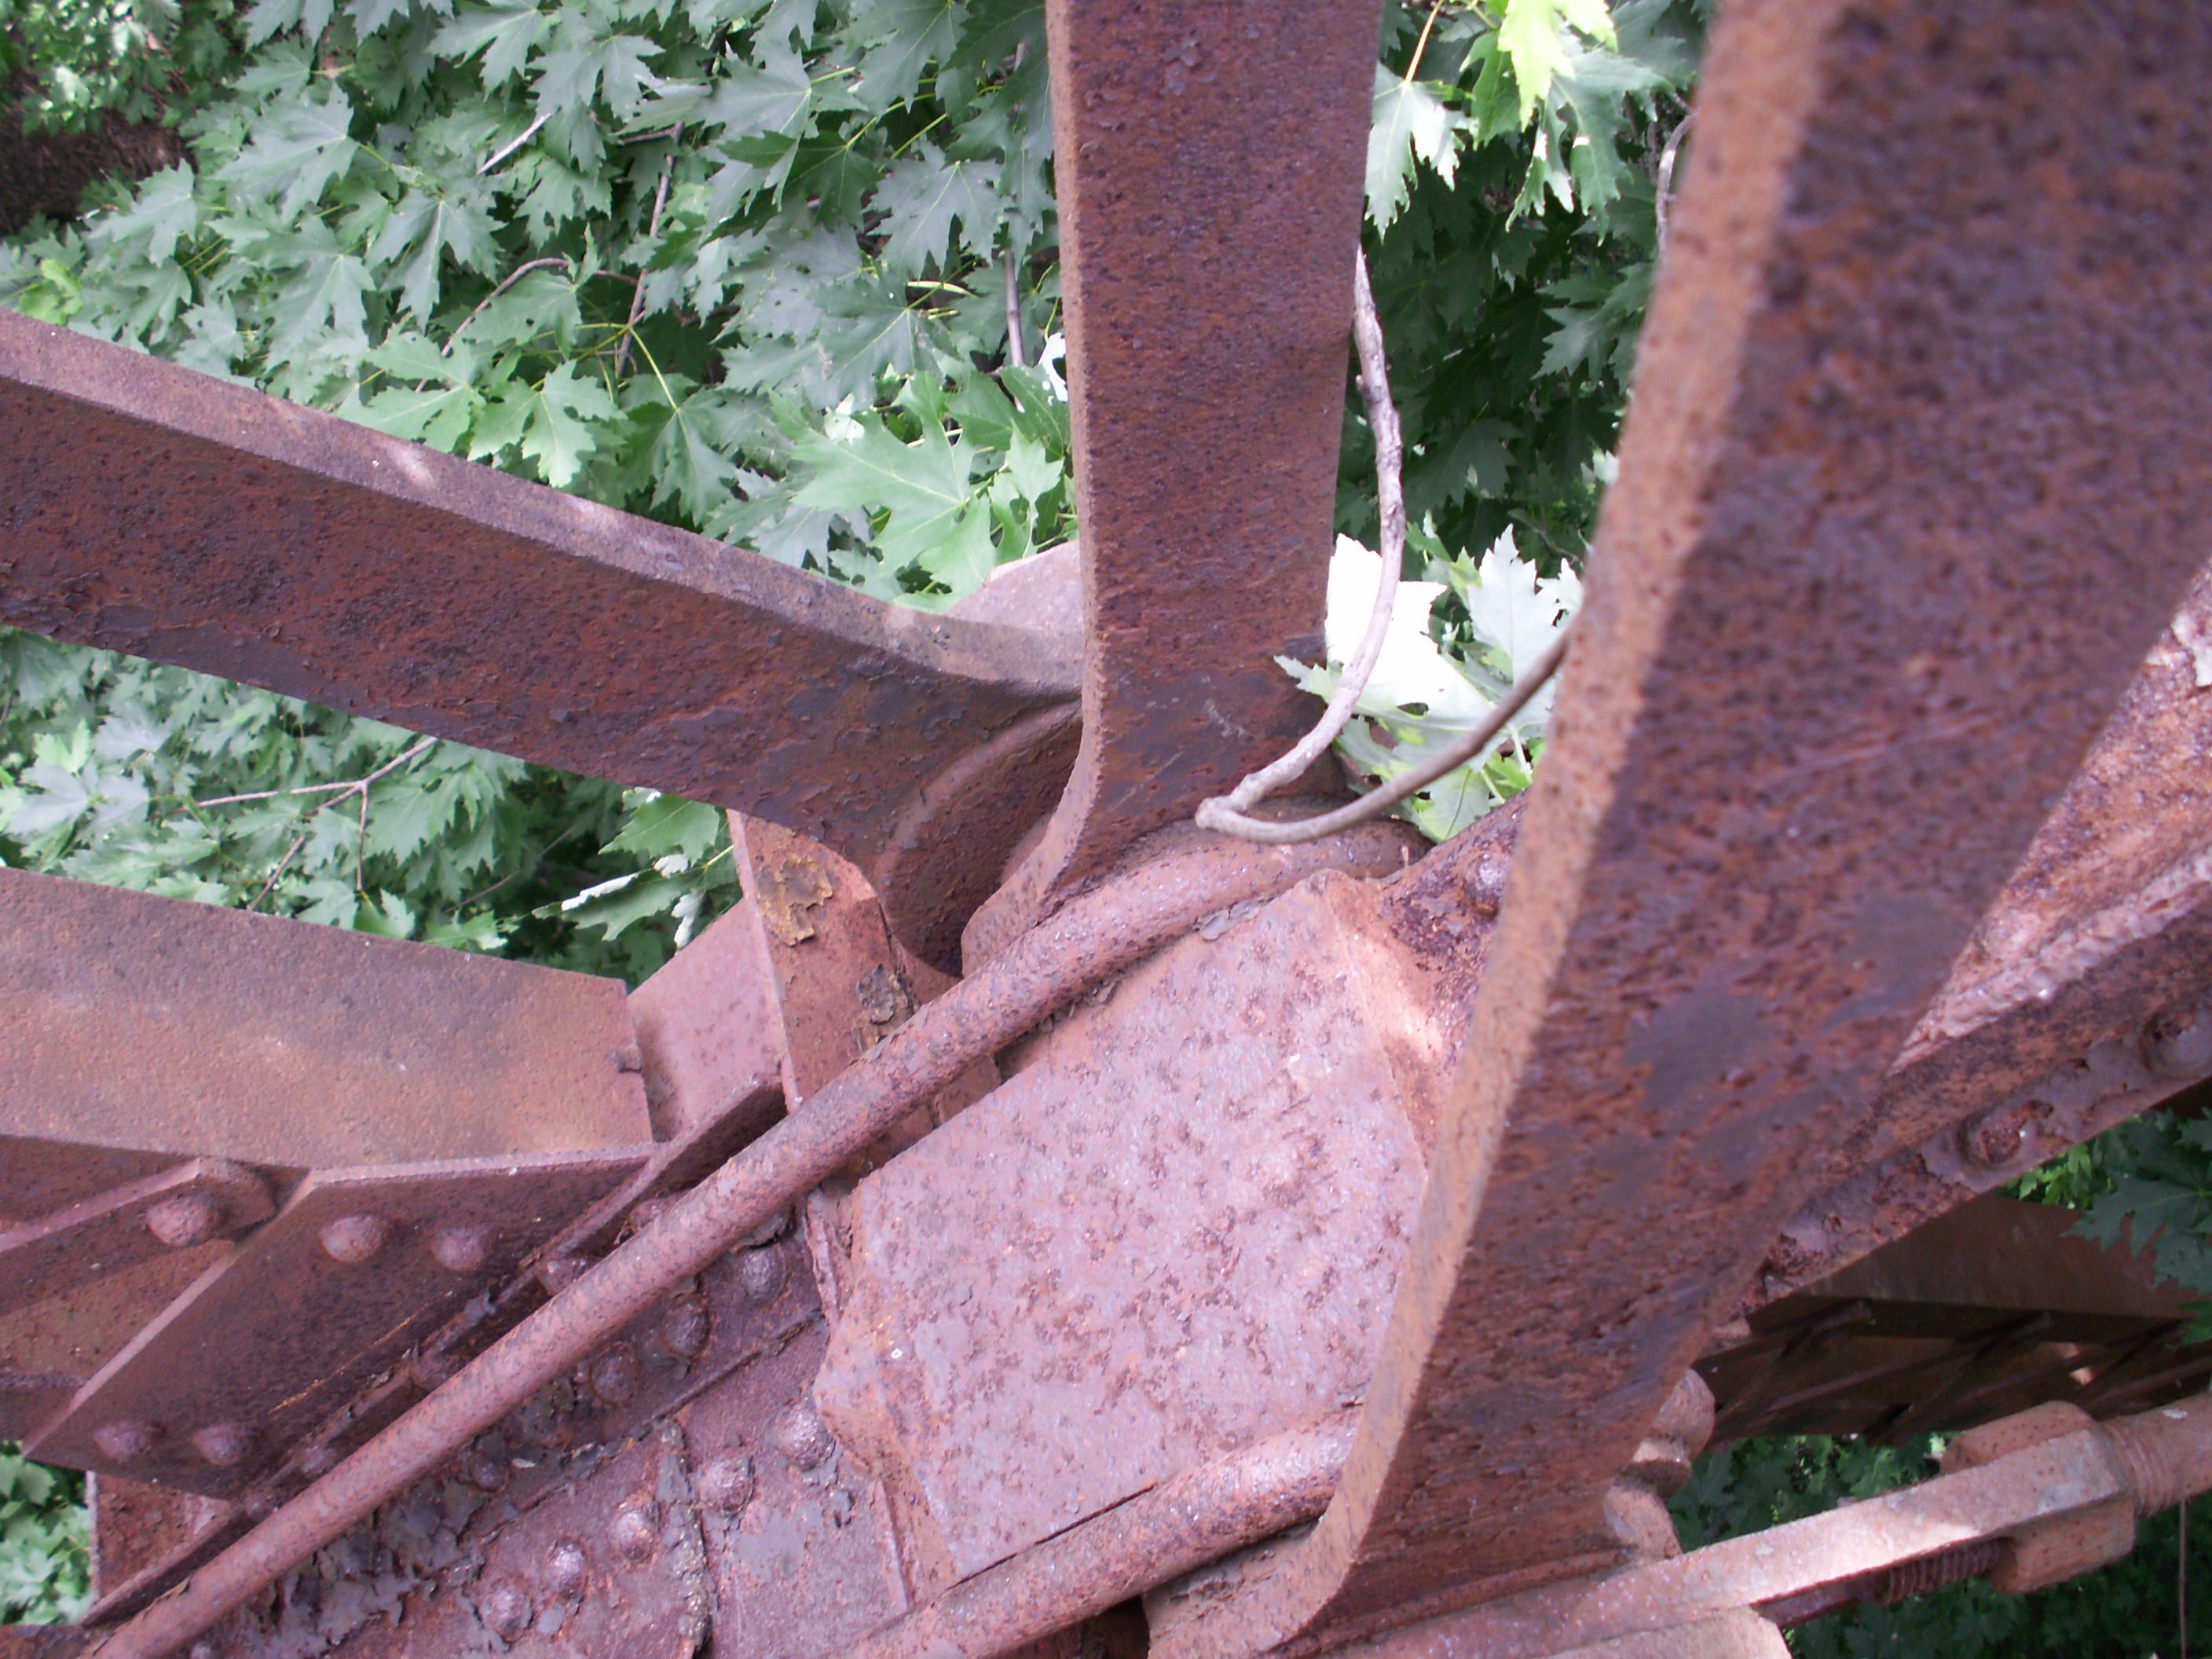
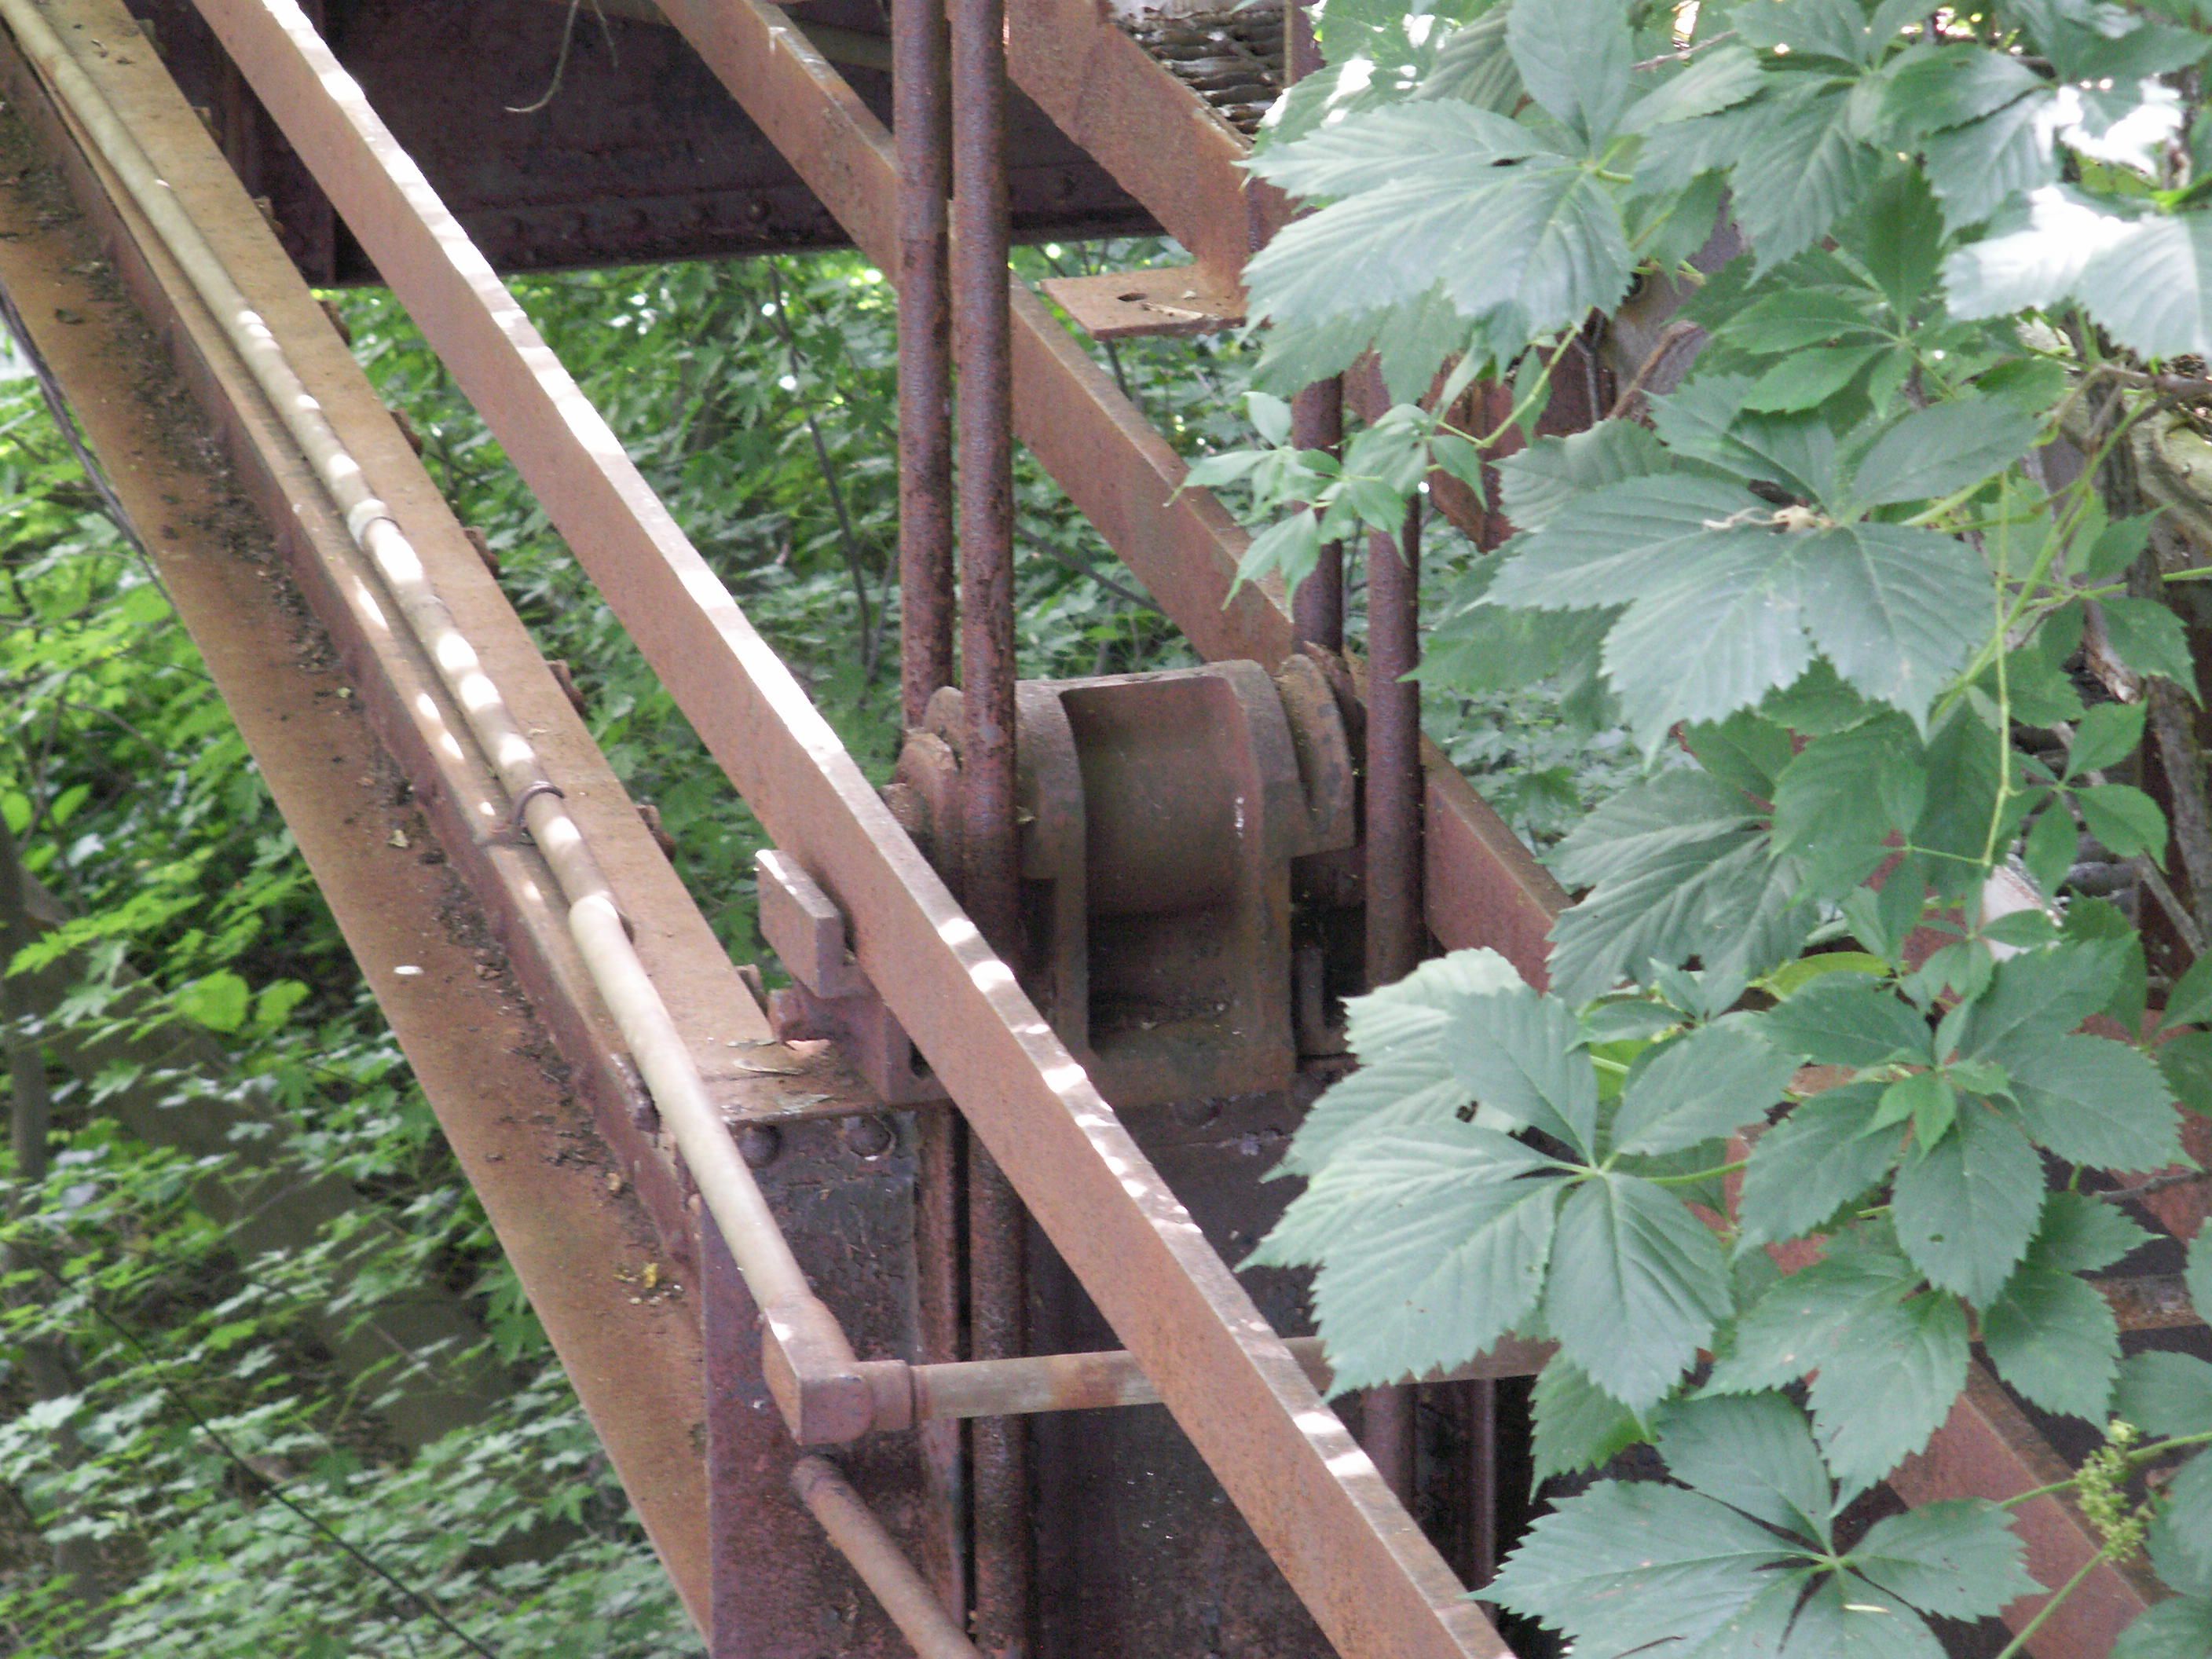
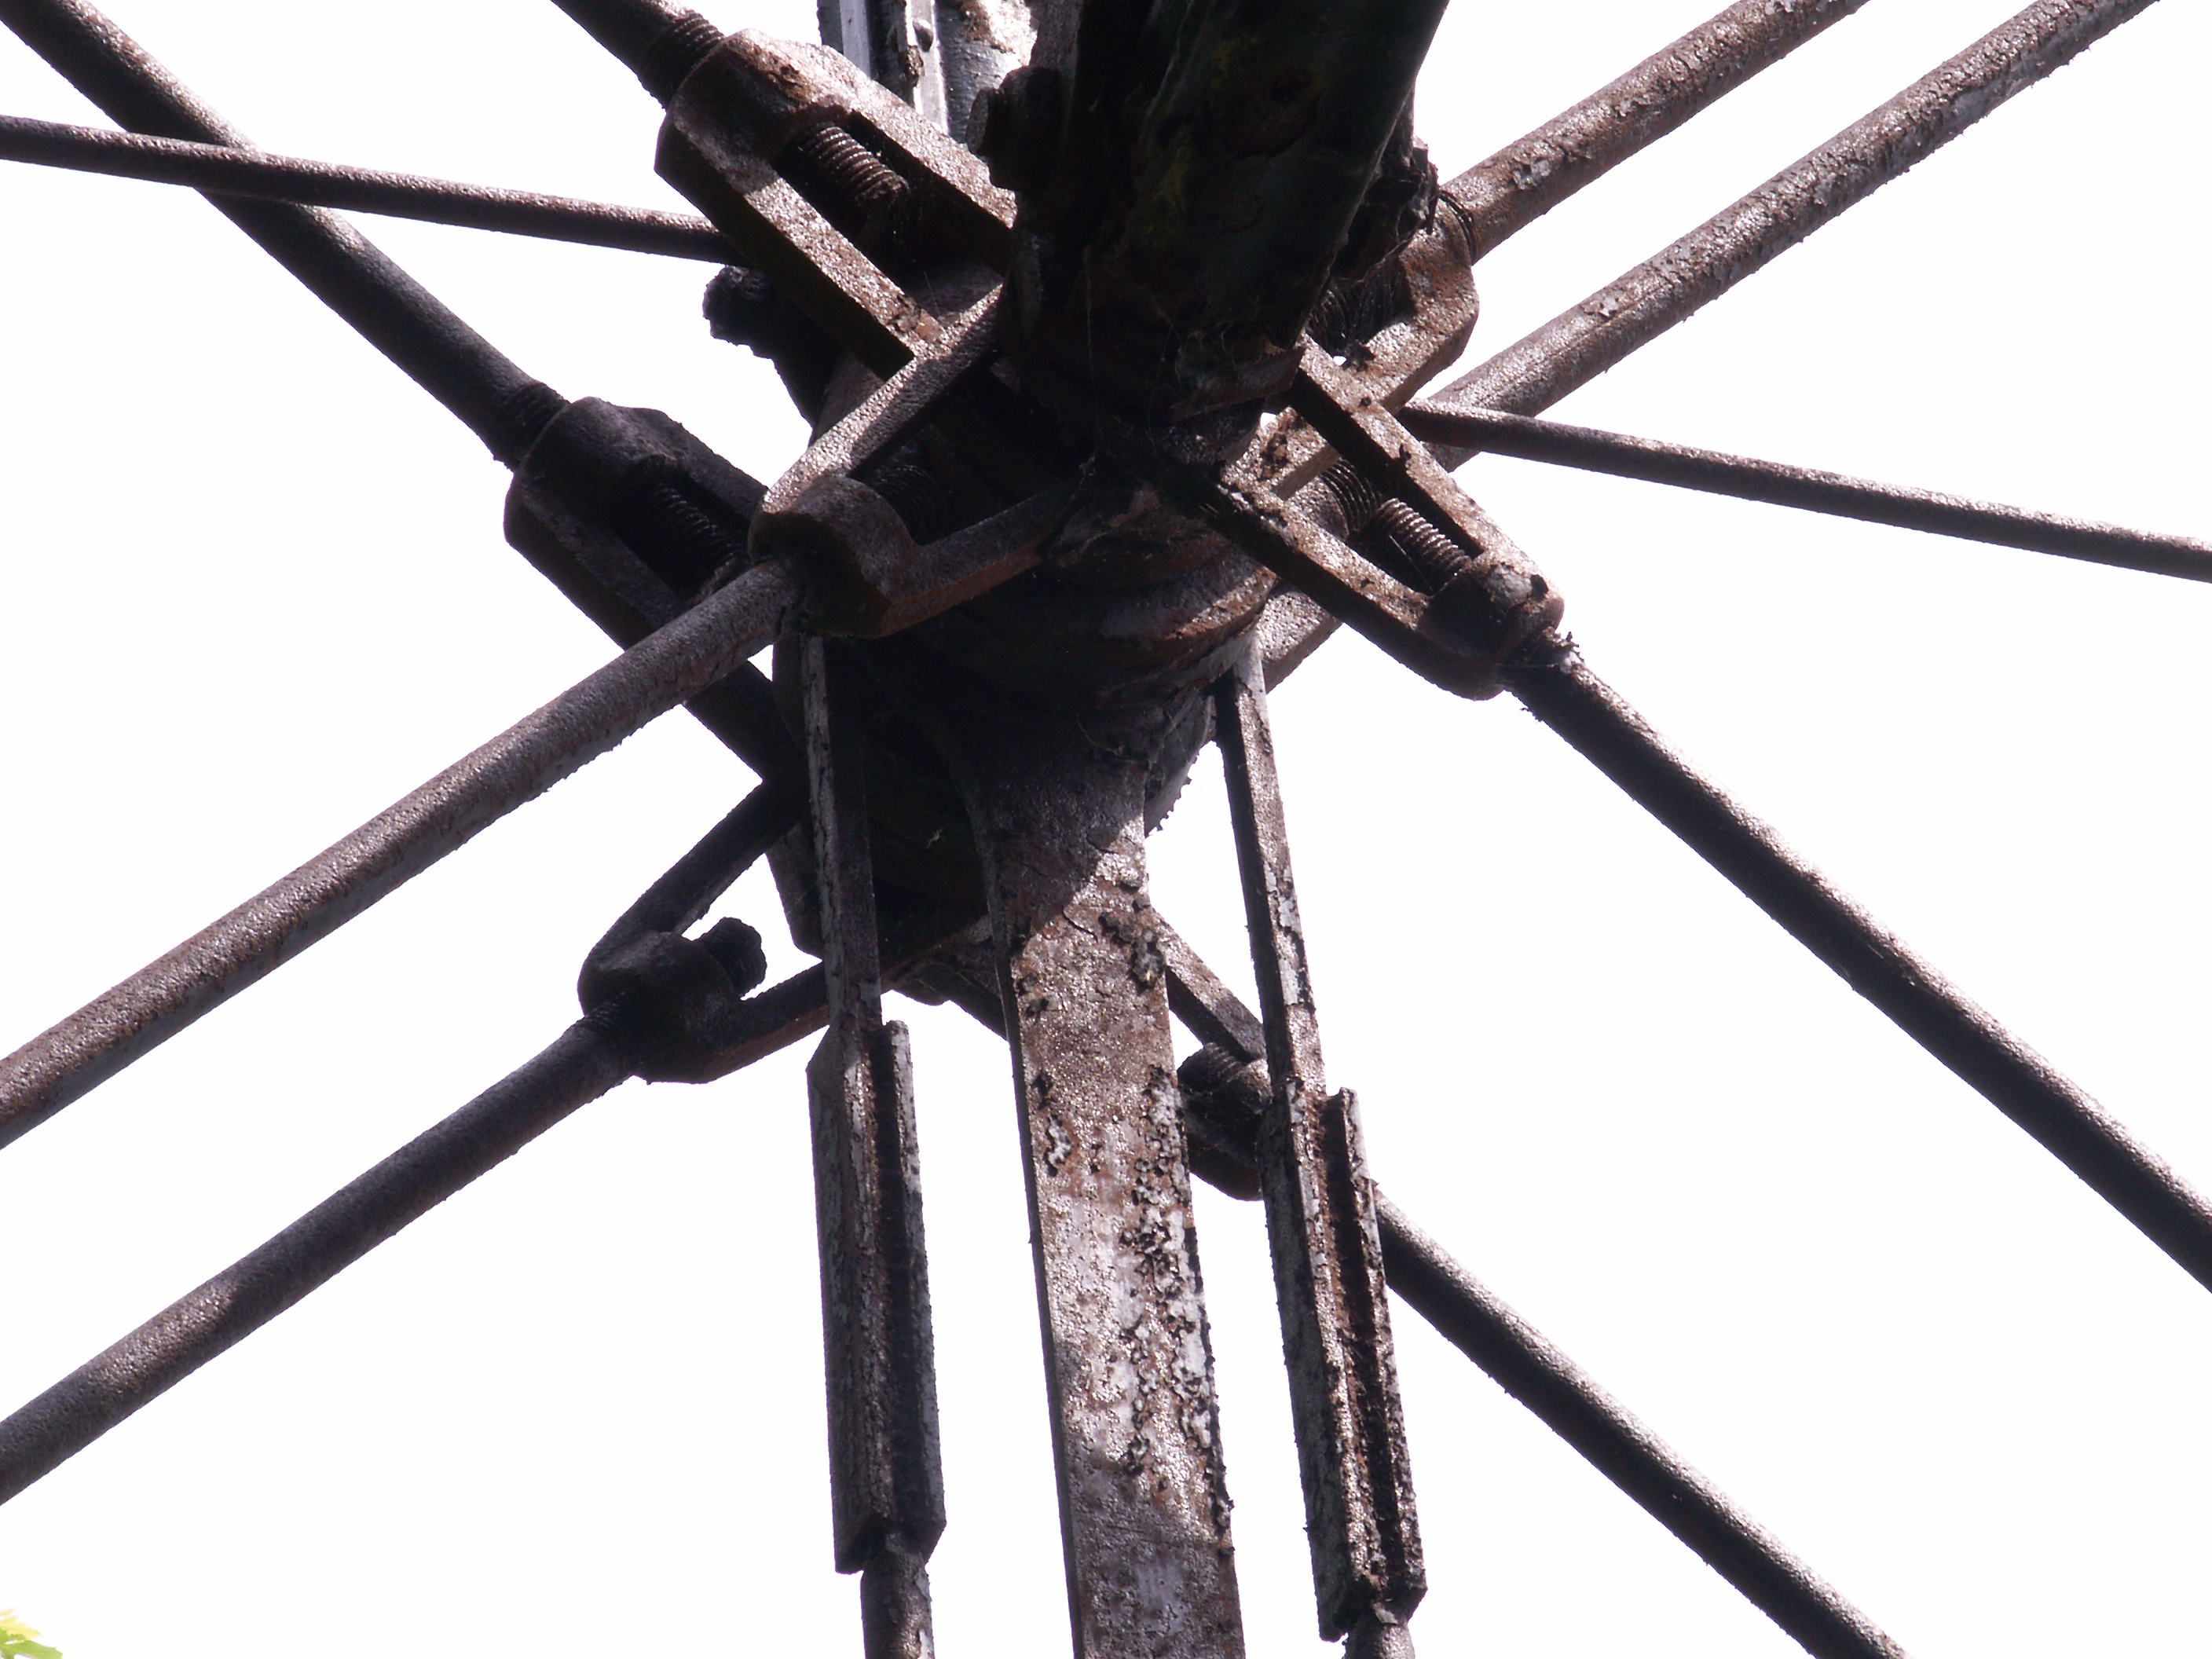
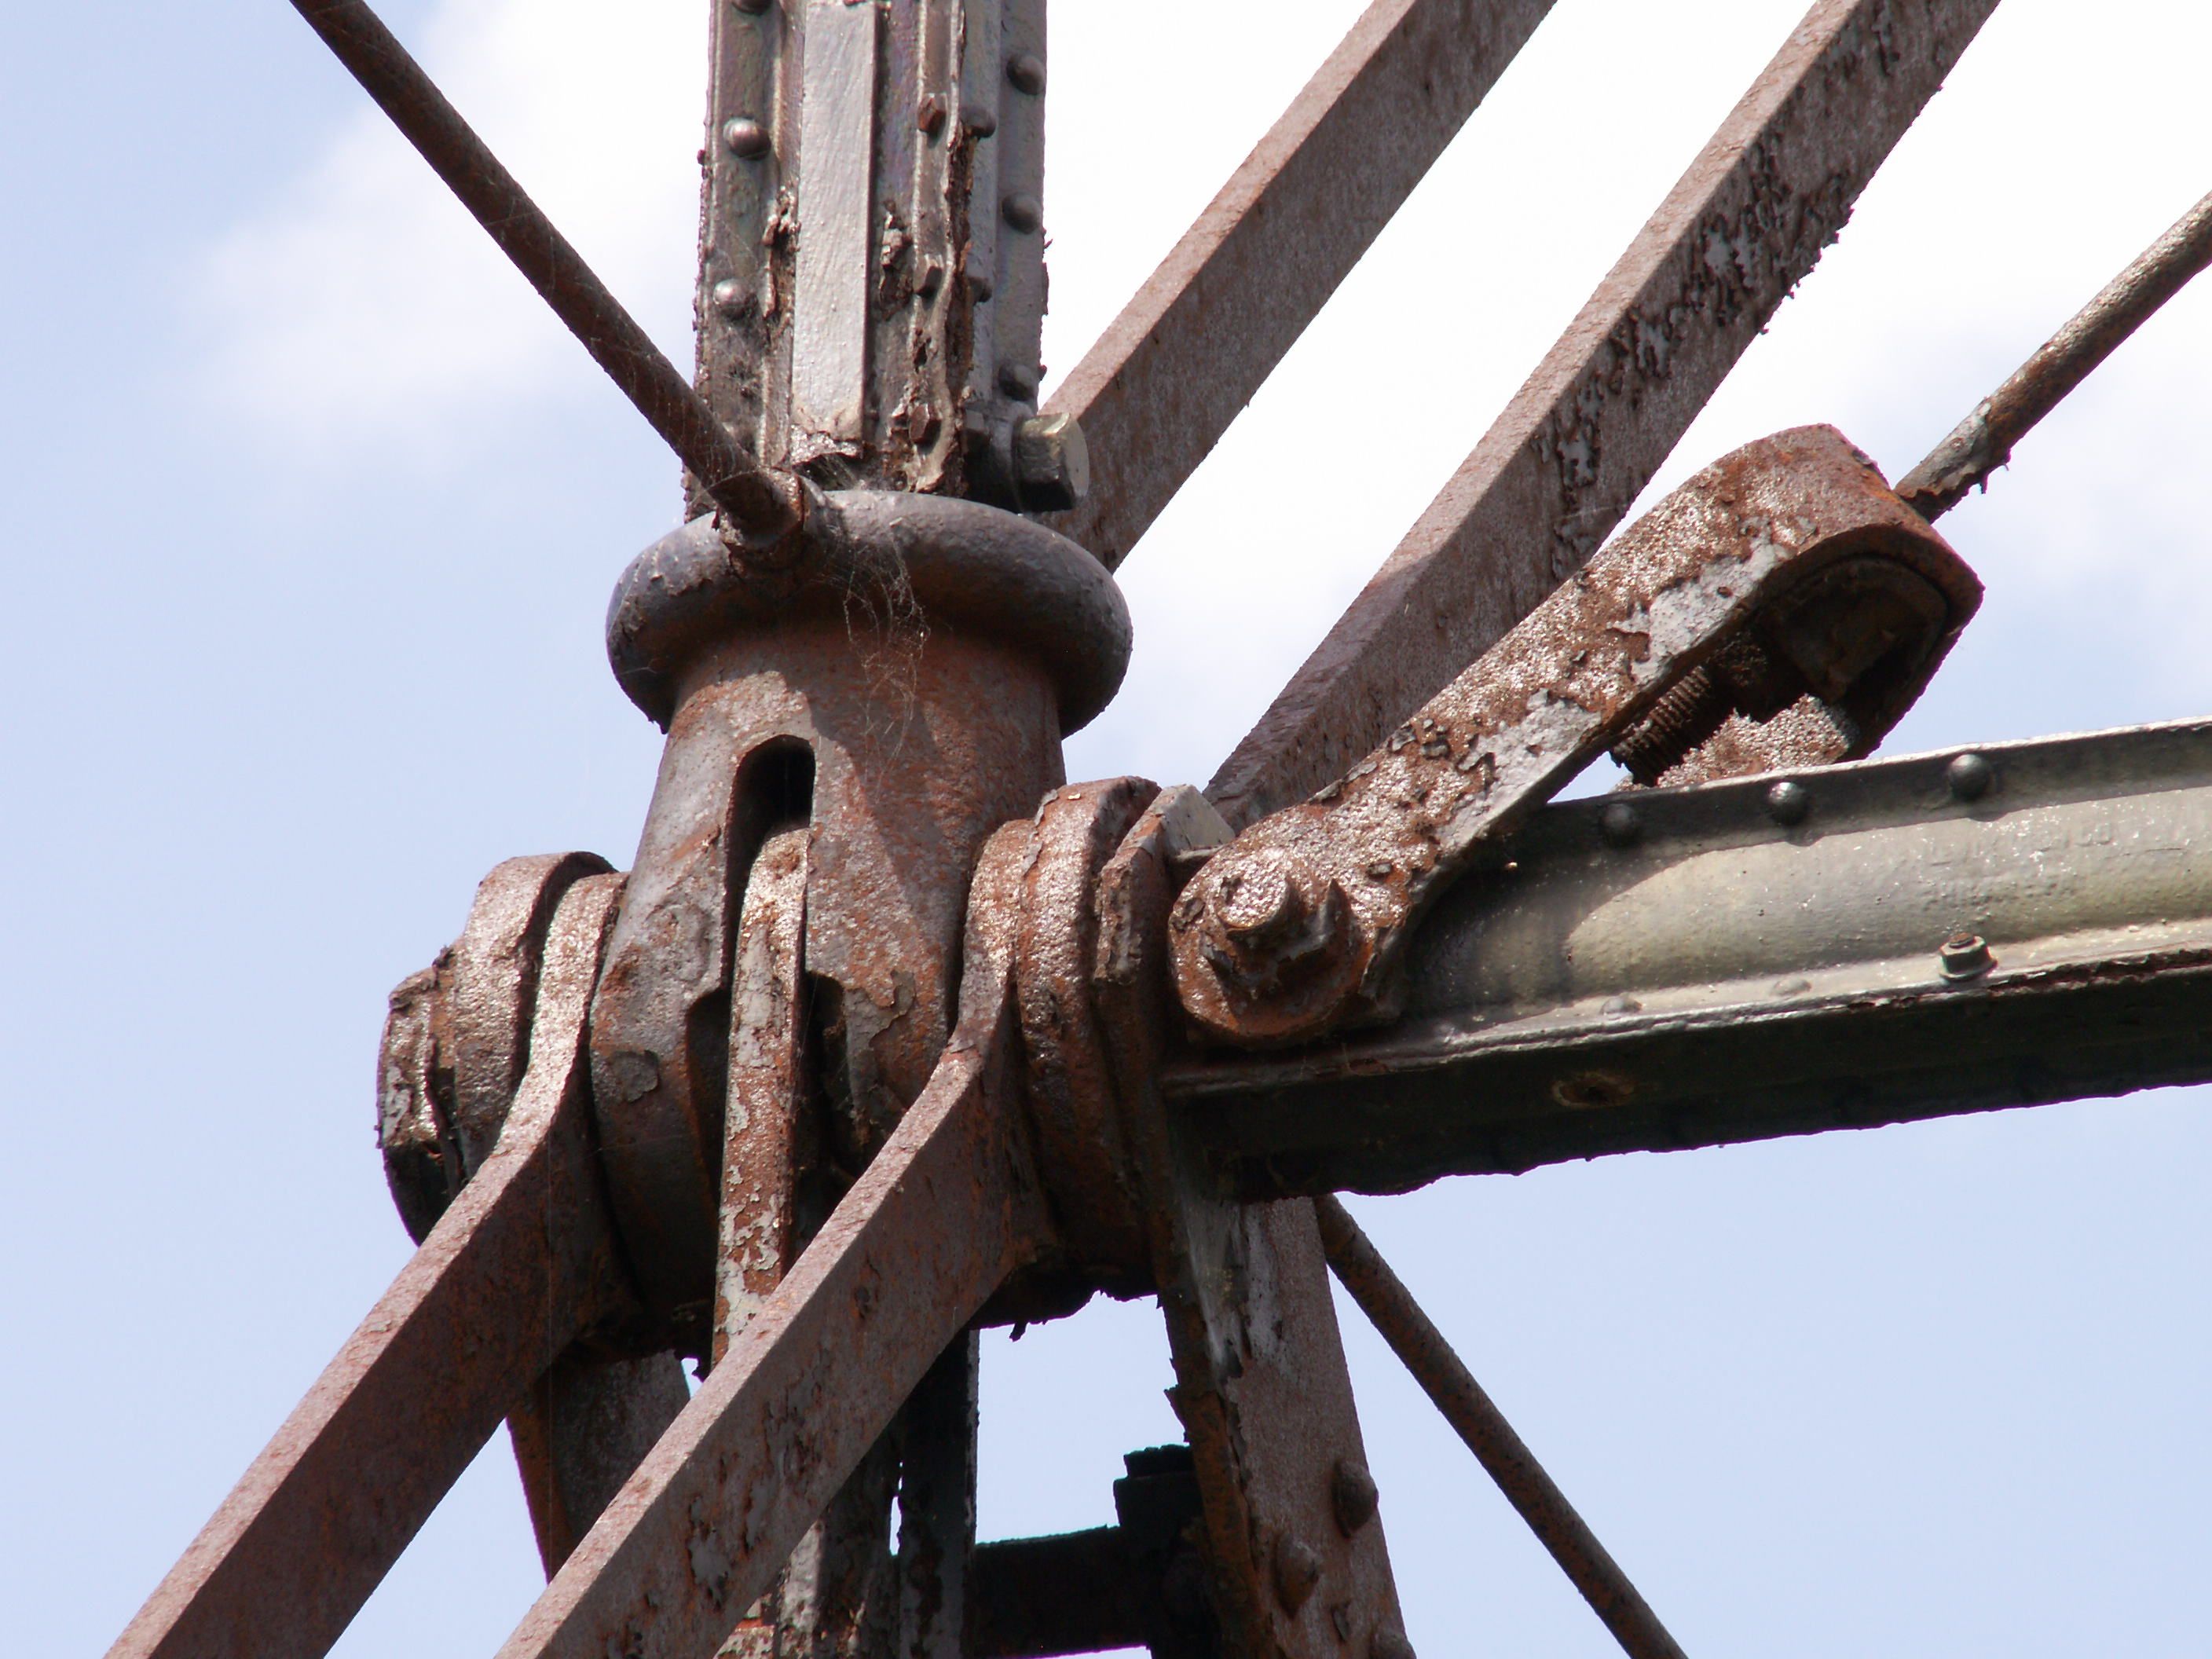
Intermediate and portal bracing connections, eastern spans.
![]()
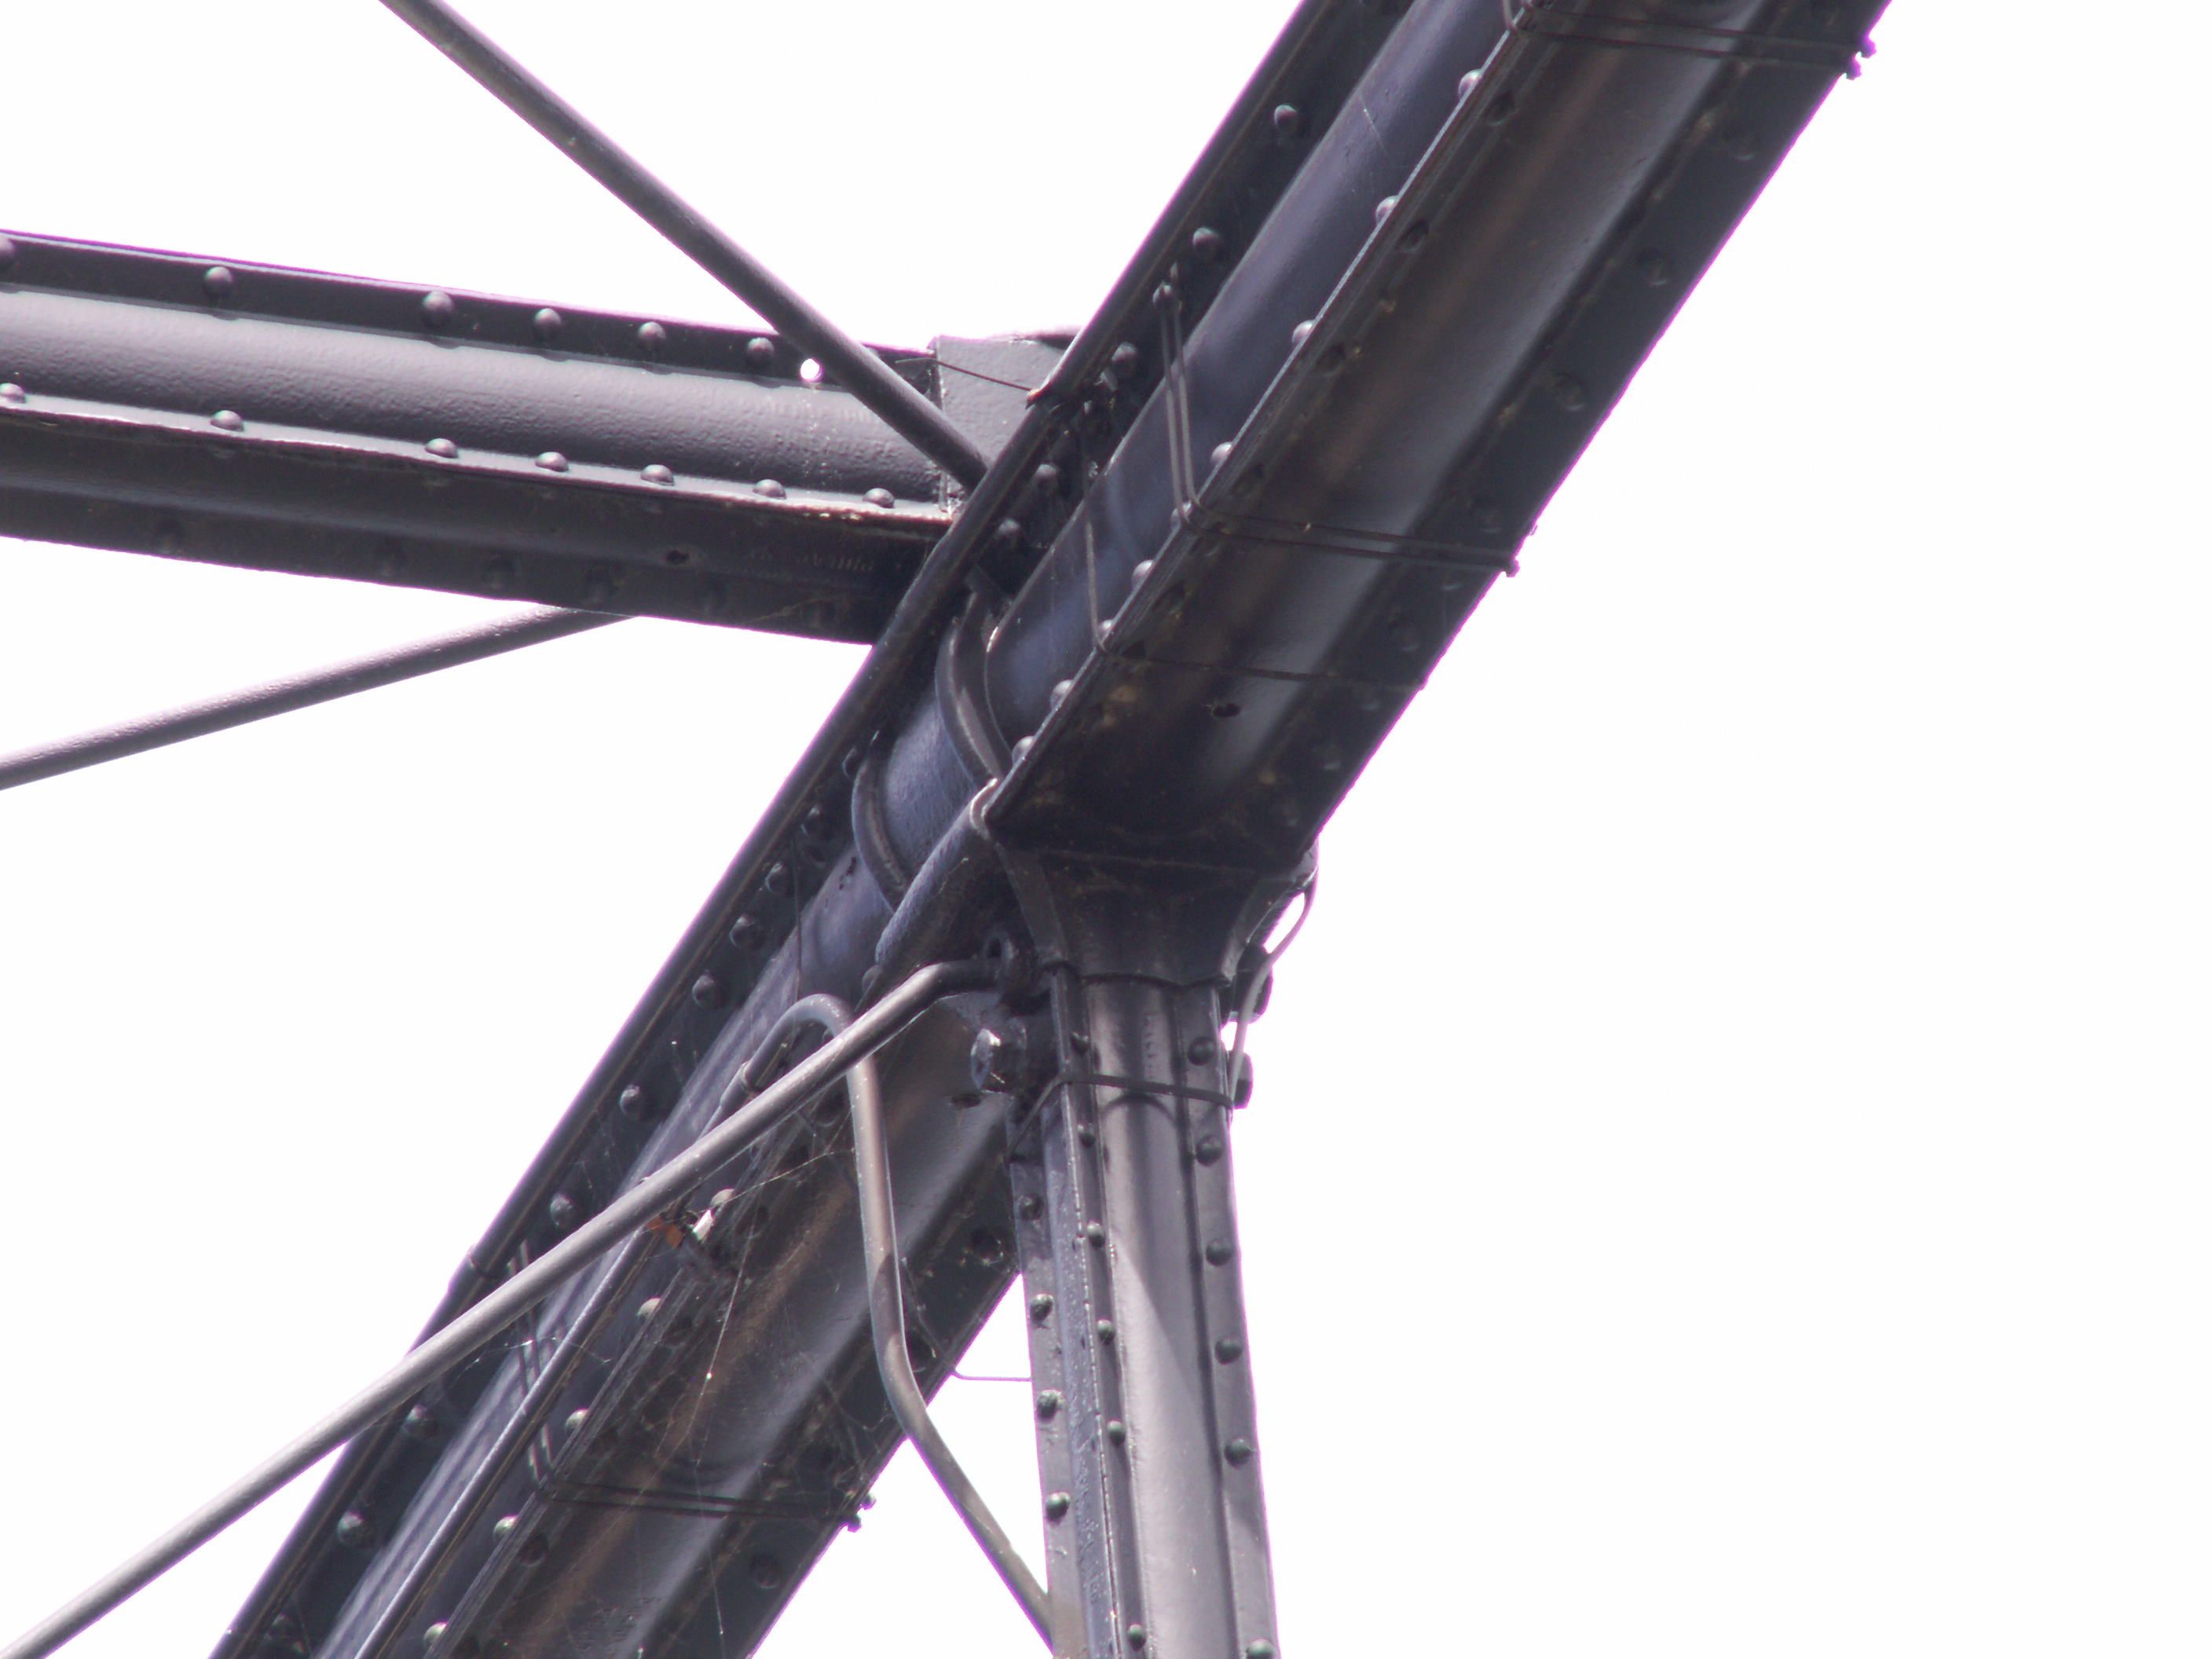
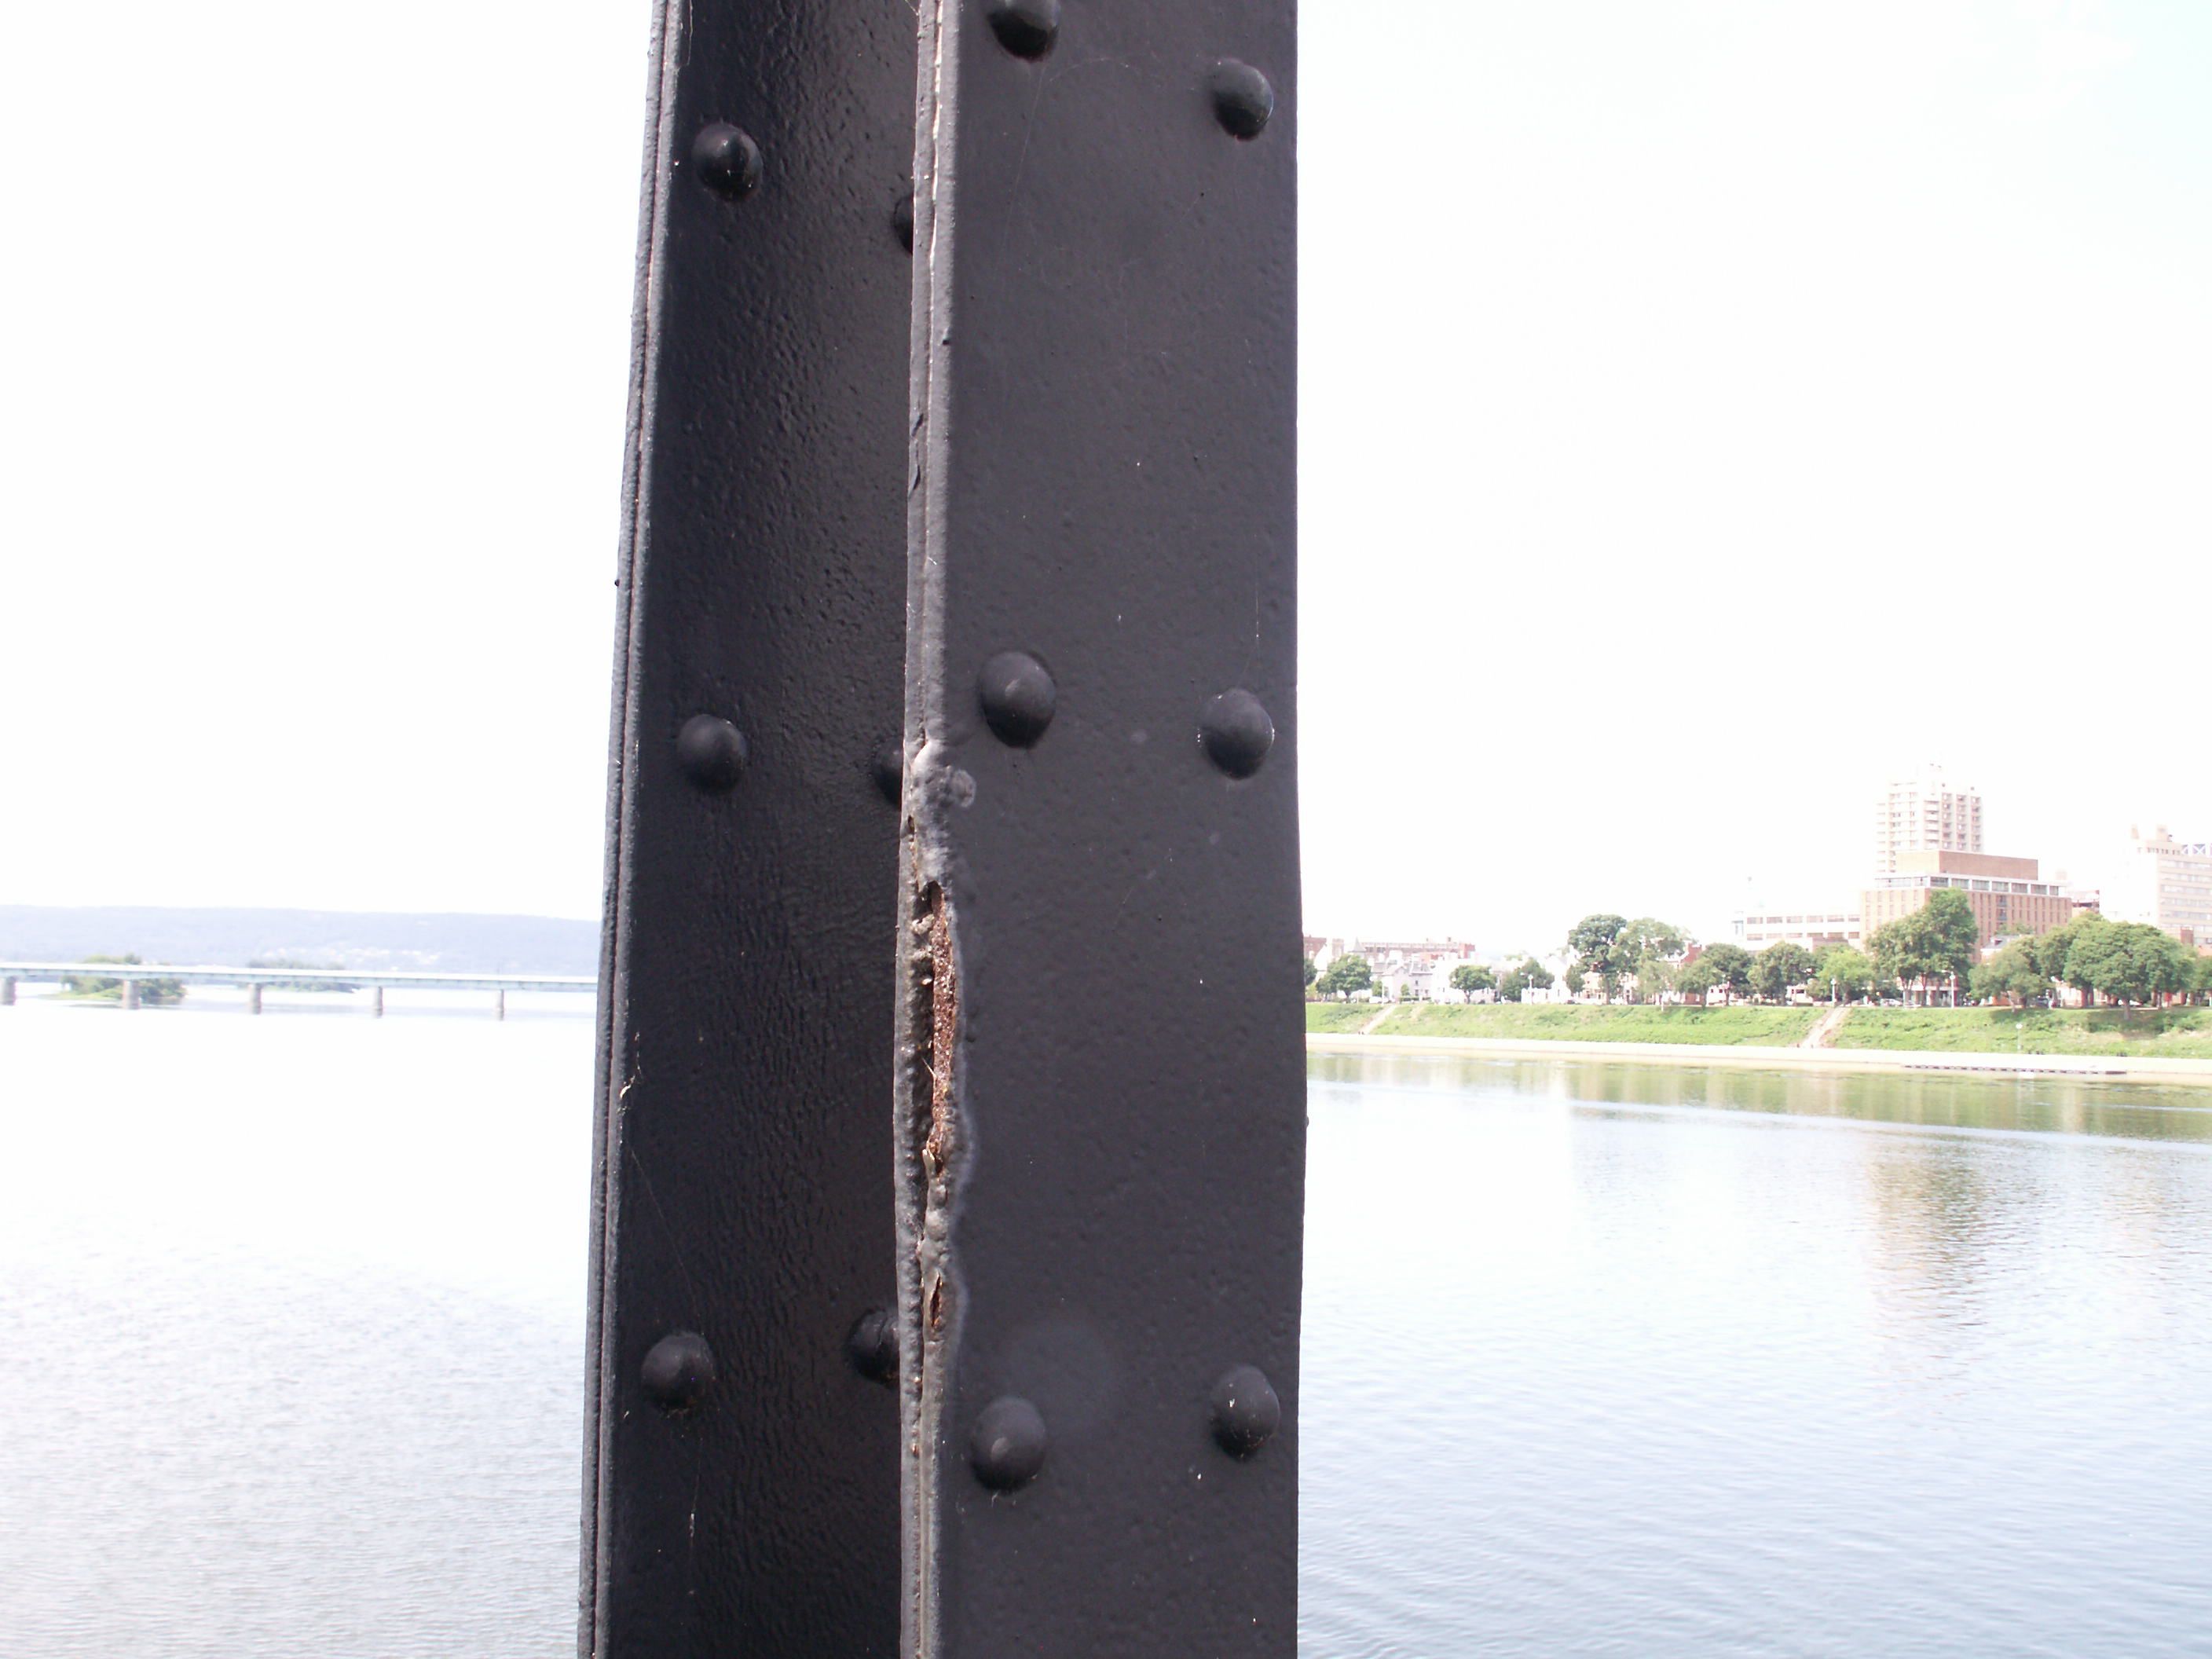
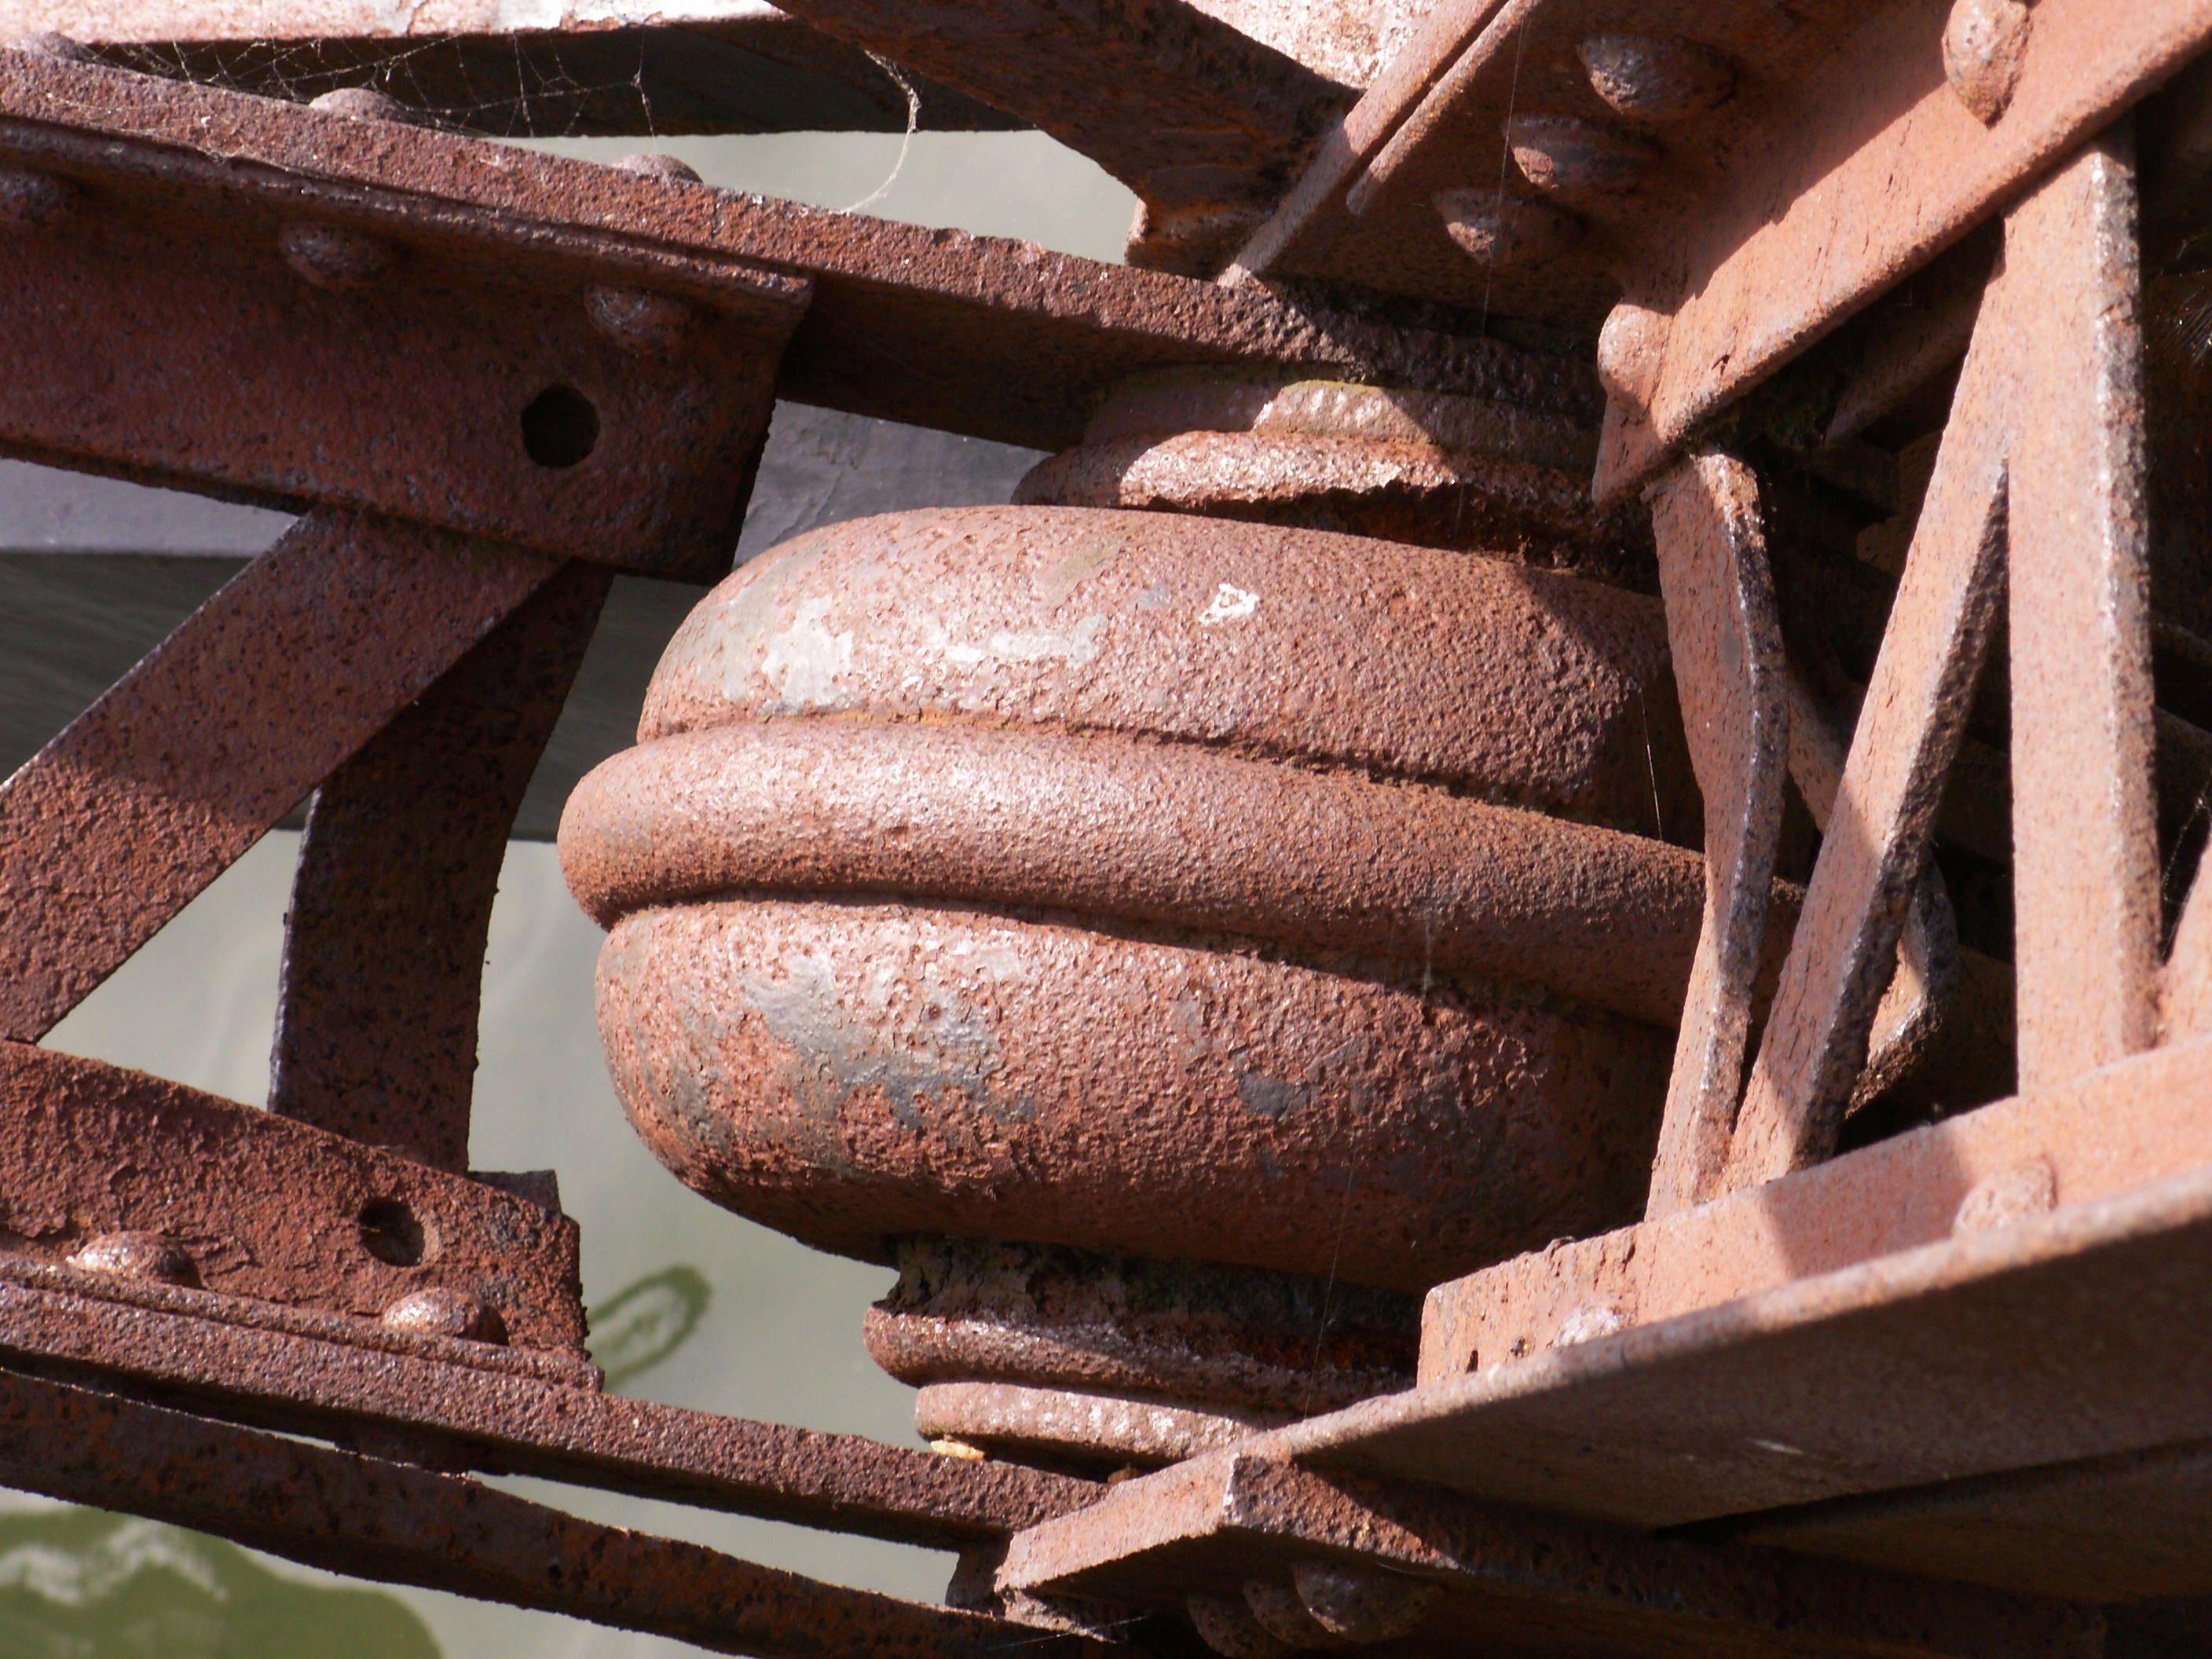
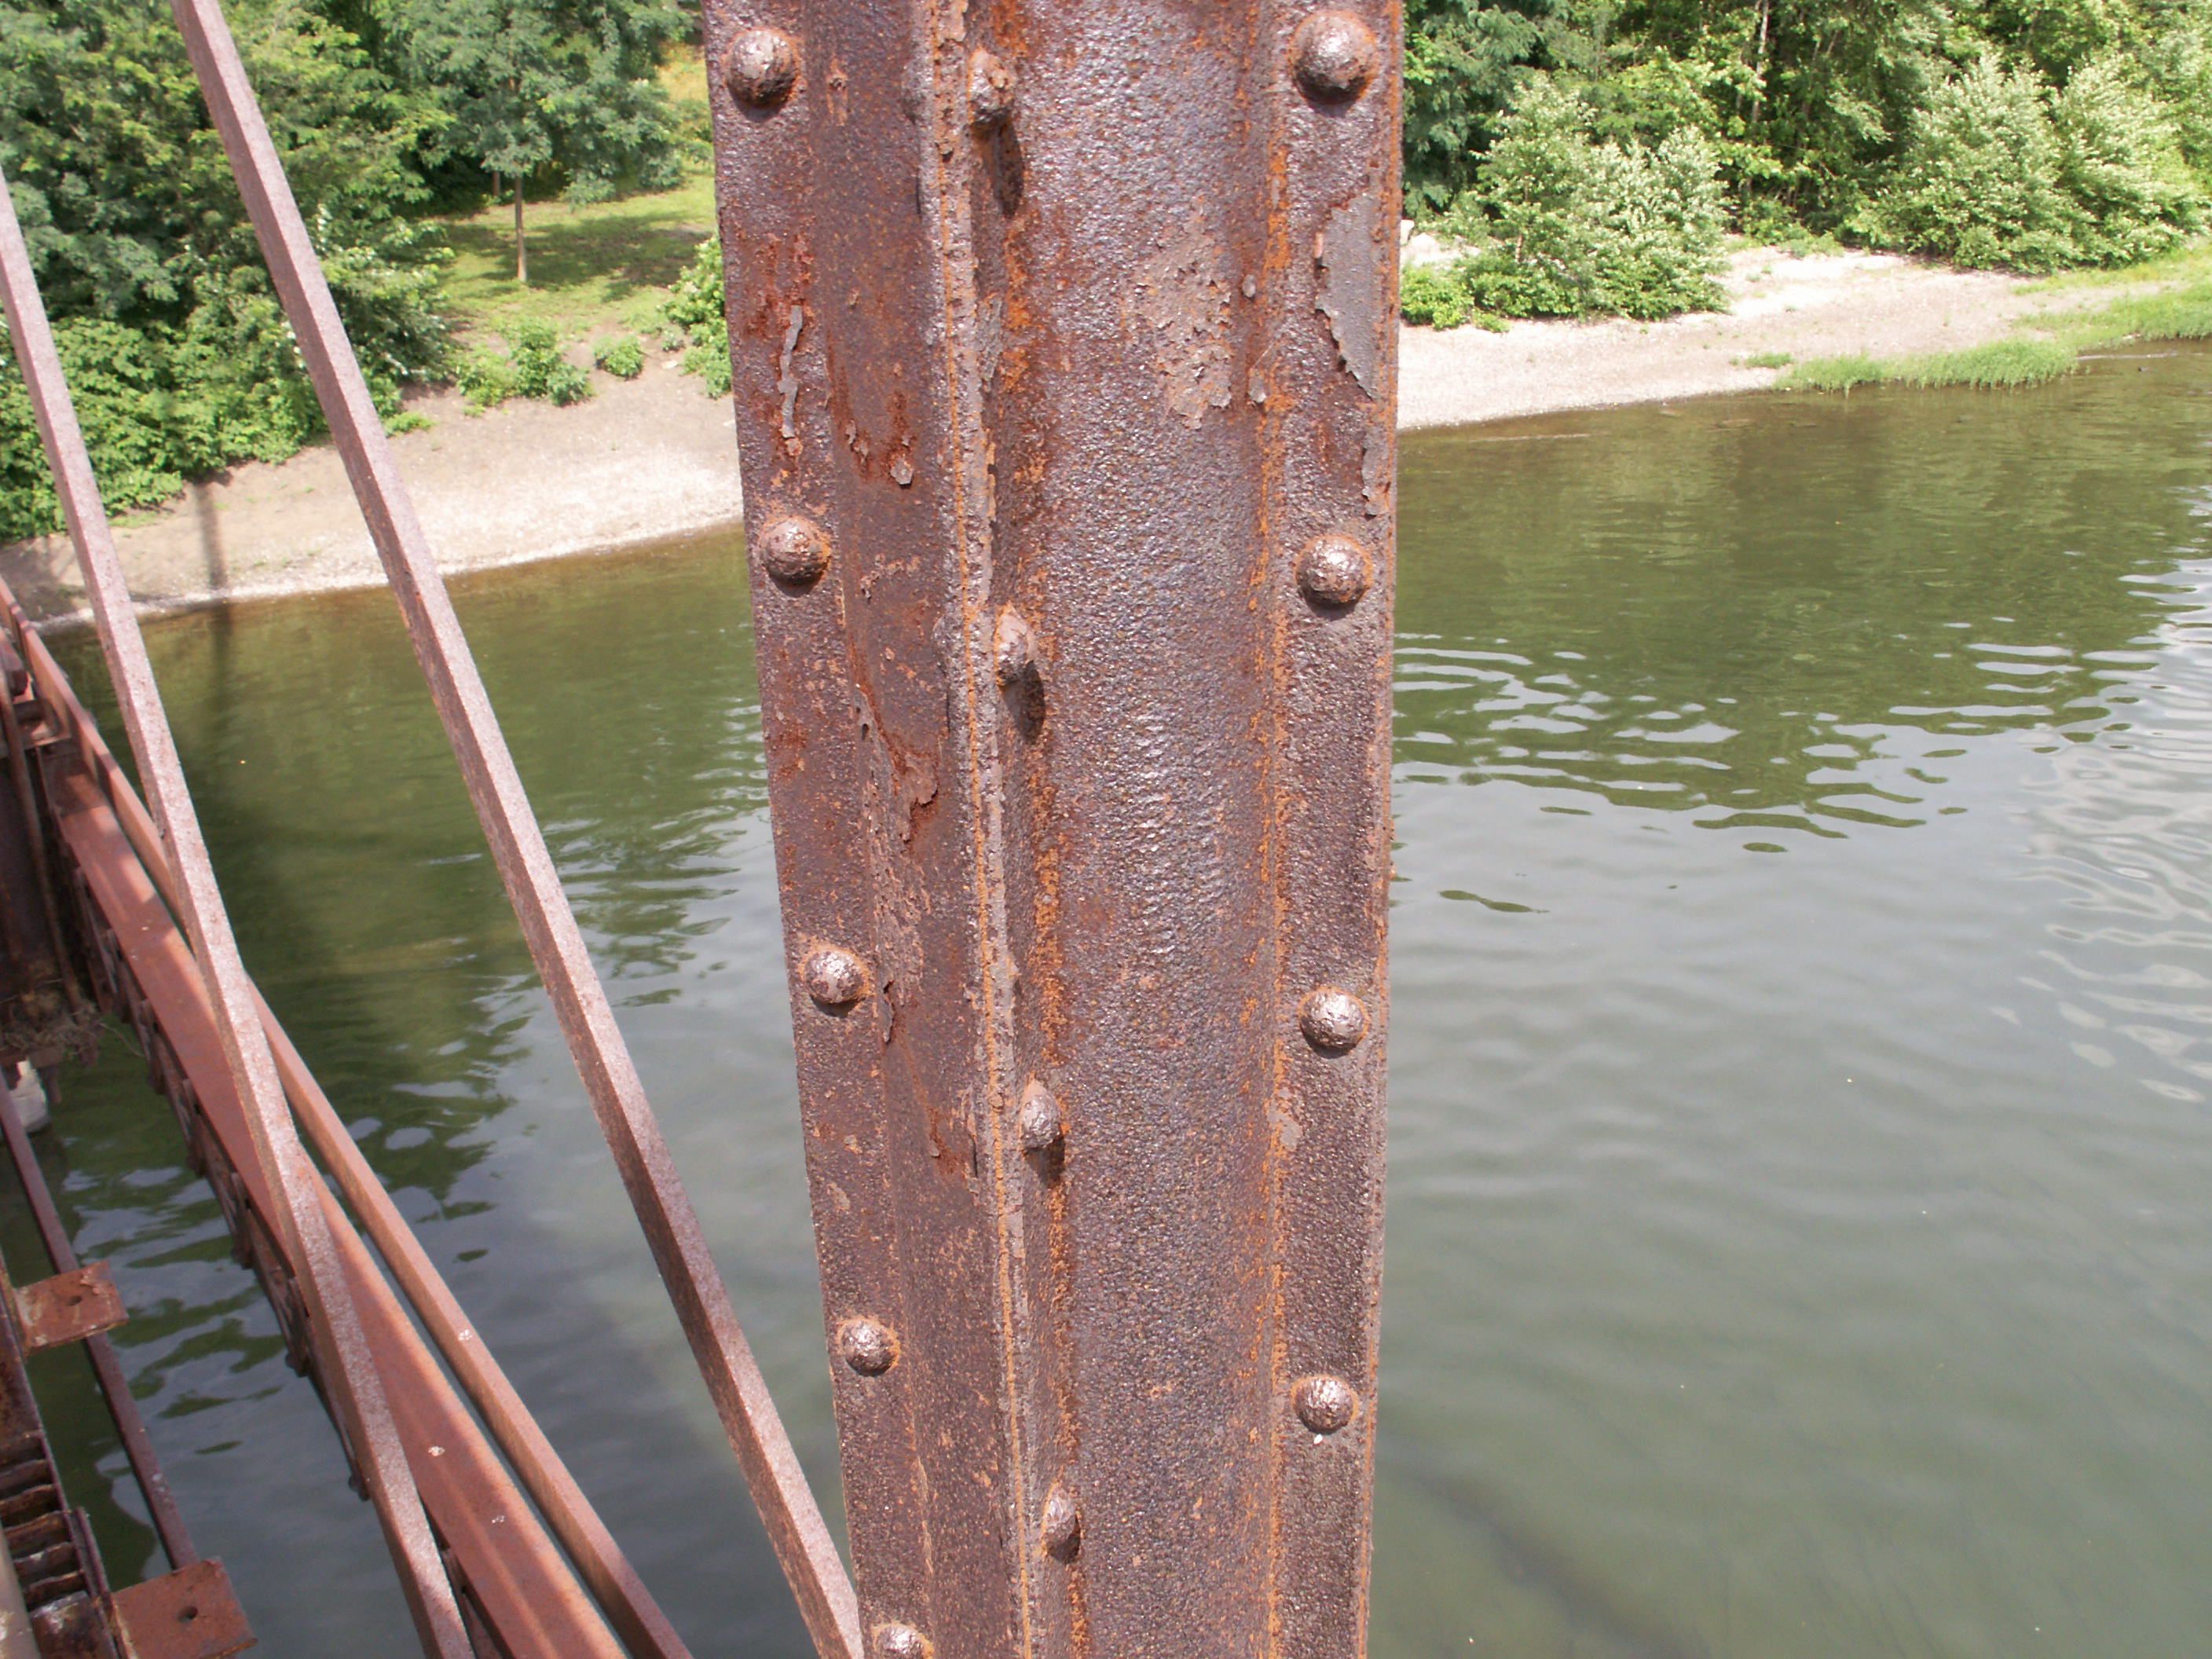
Phoenix column members and chords, eastern spans.
![]()


Built-up beams. Not a column, but also fabricated by Phoenix. Phoenix fabricated all forms of metal beams, not just columns.
![]()
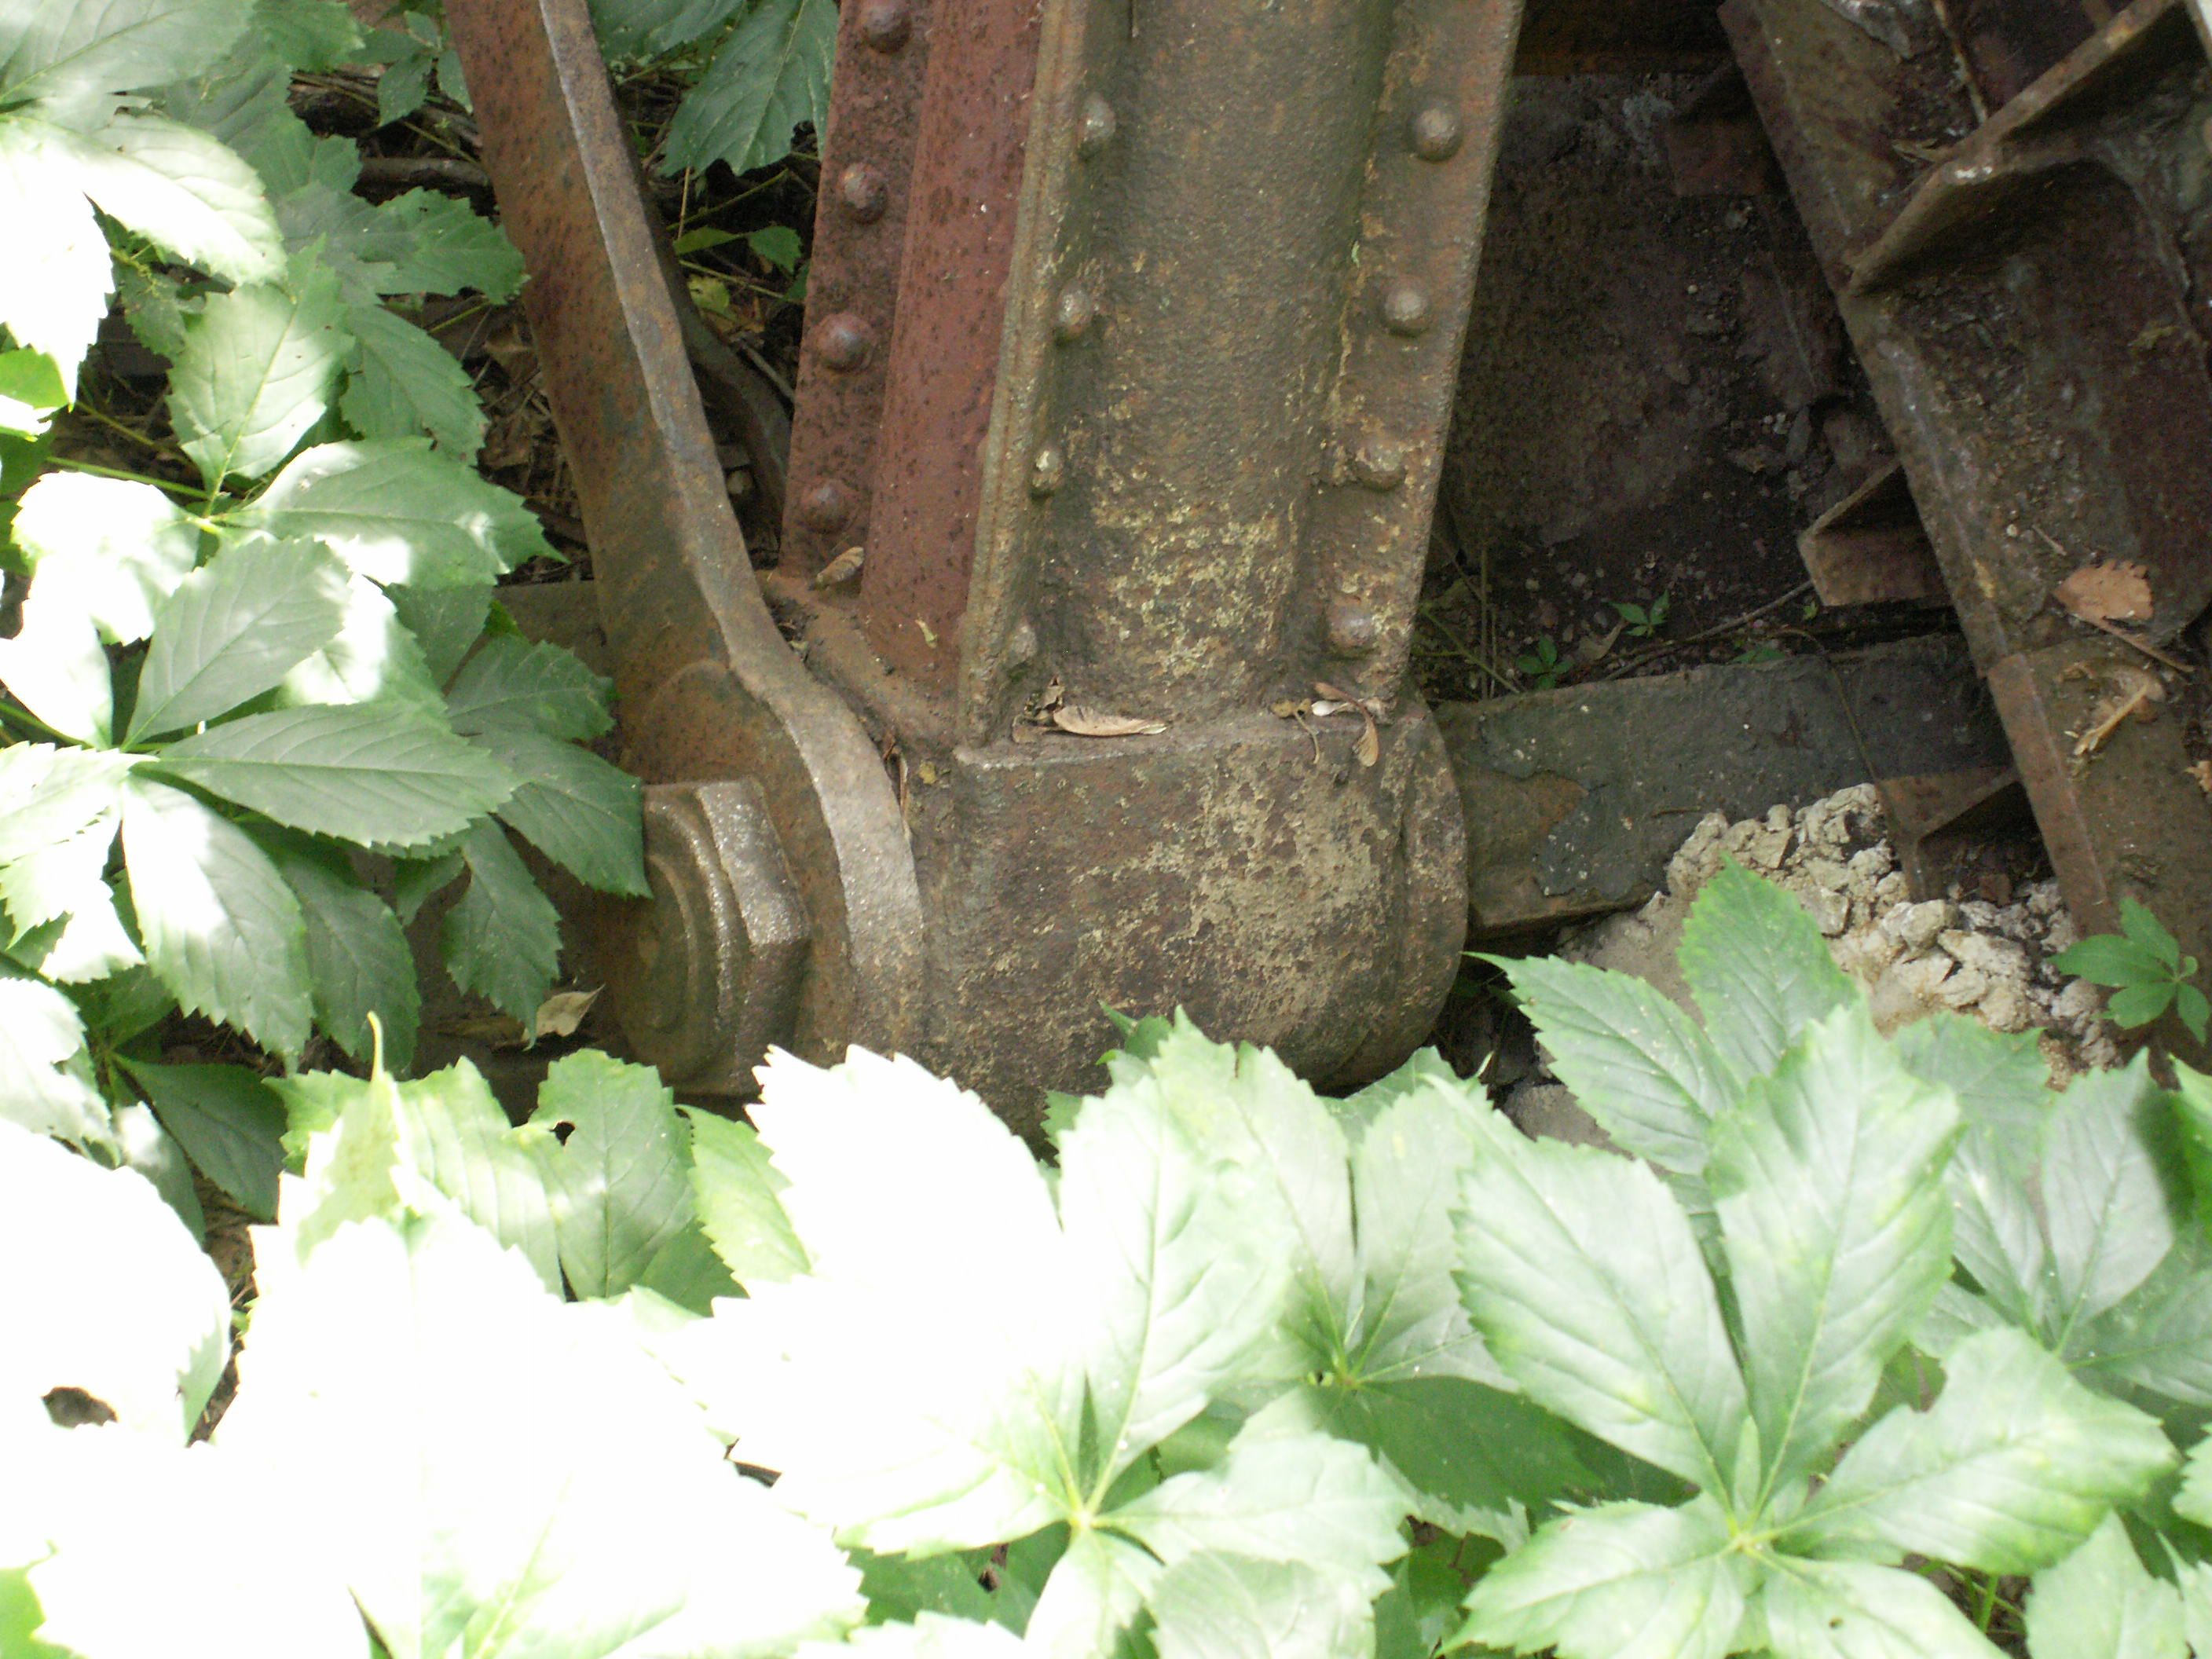
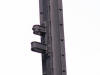
Bottom chord, eastern spans.
![]()

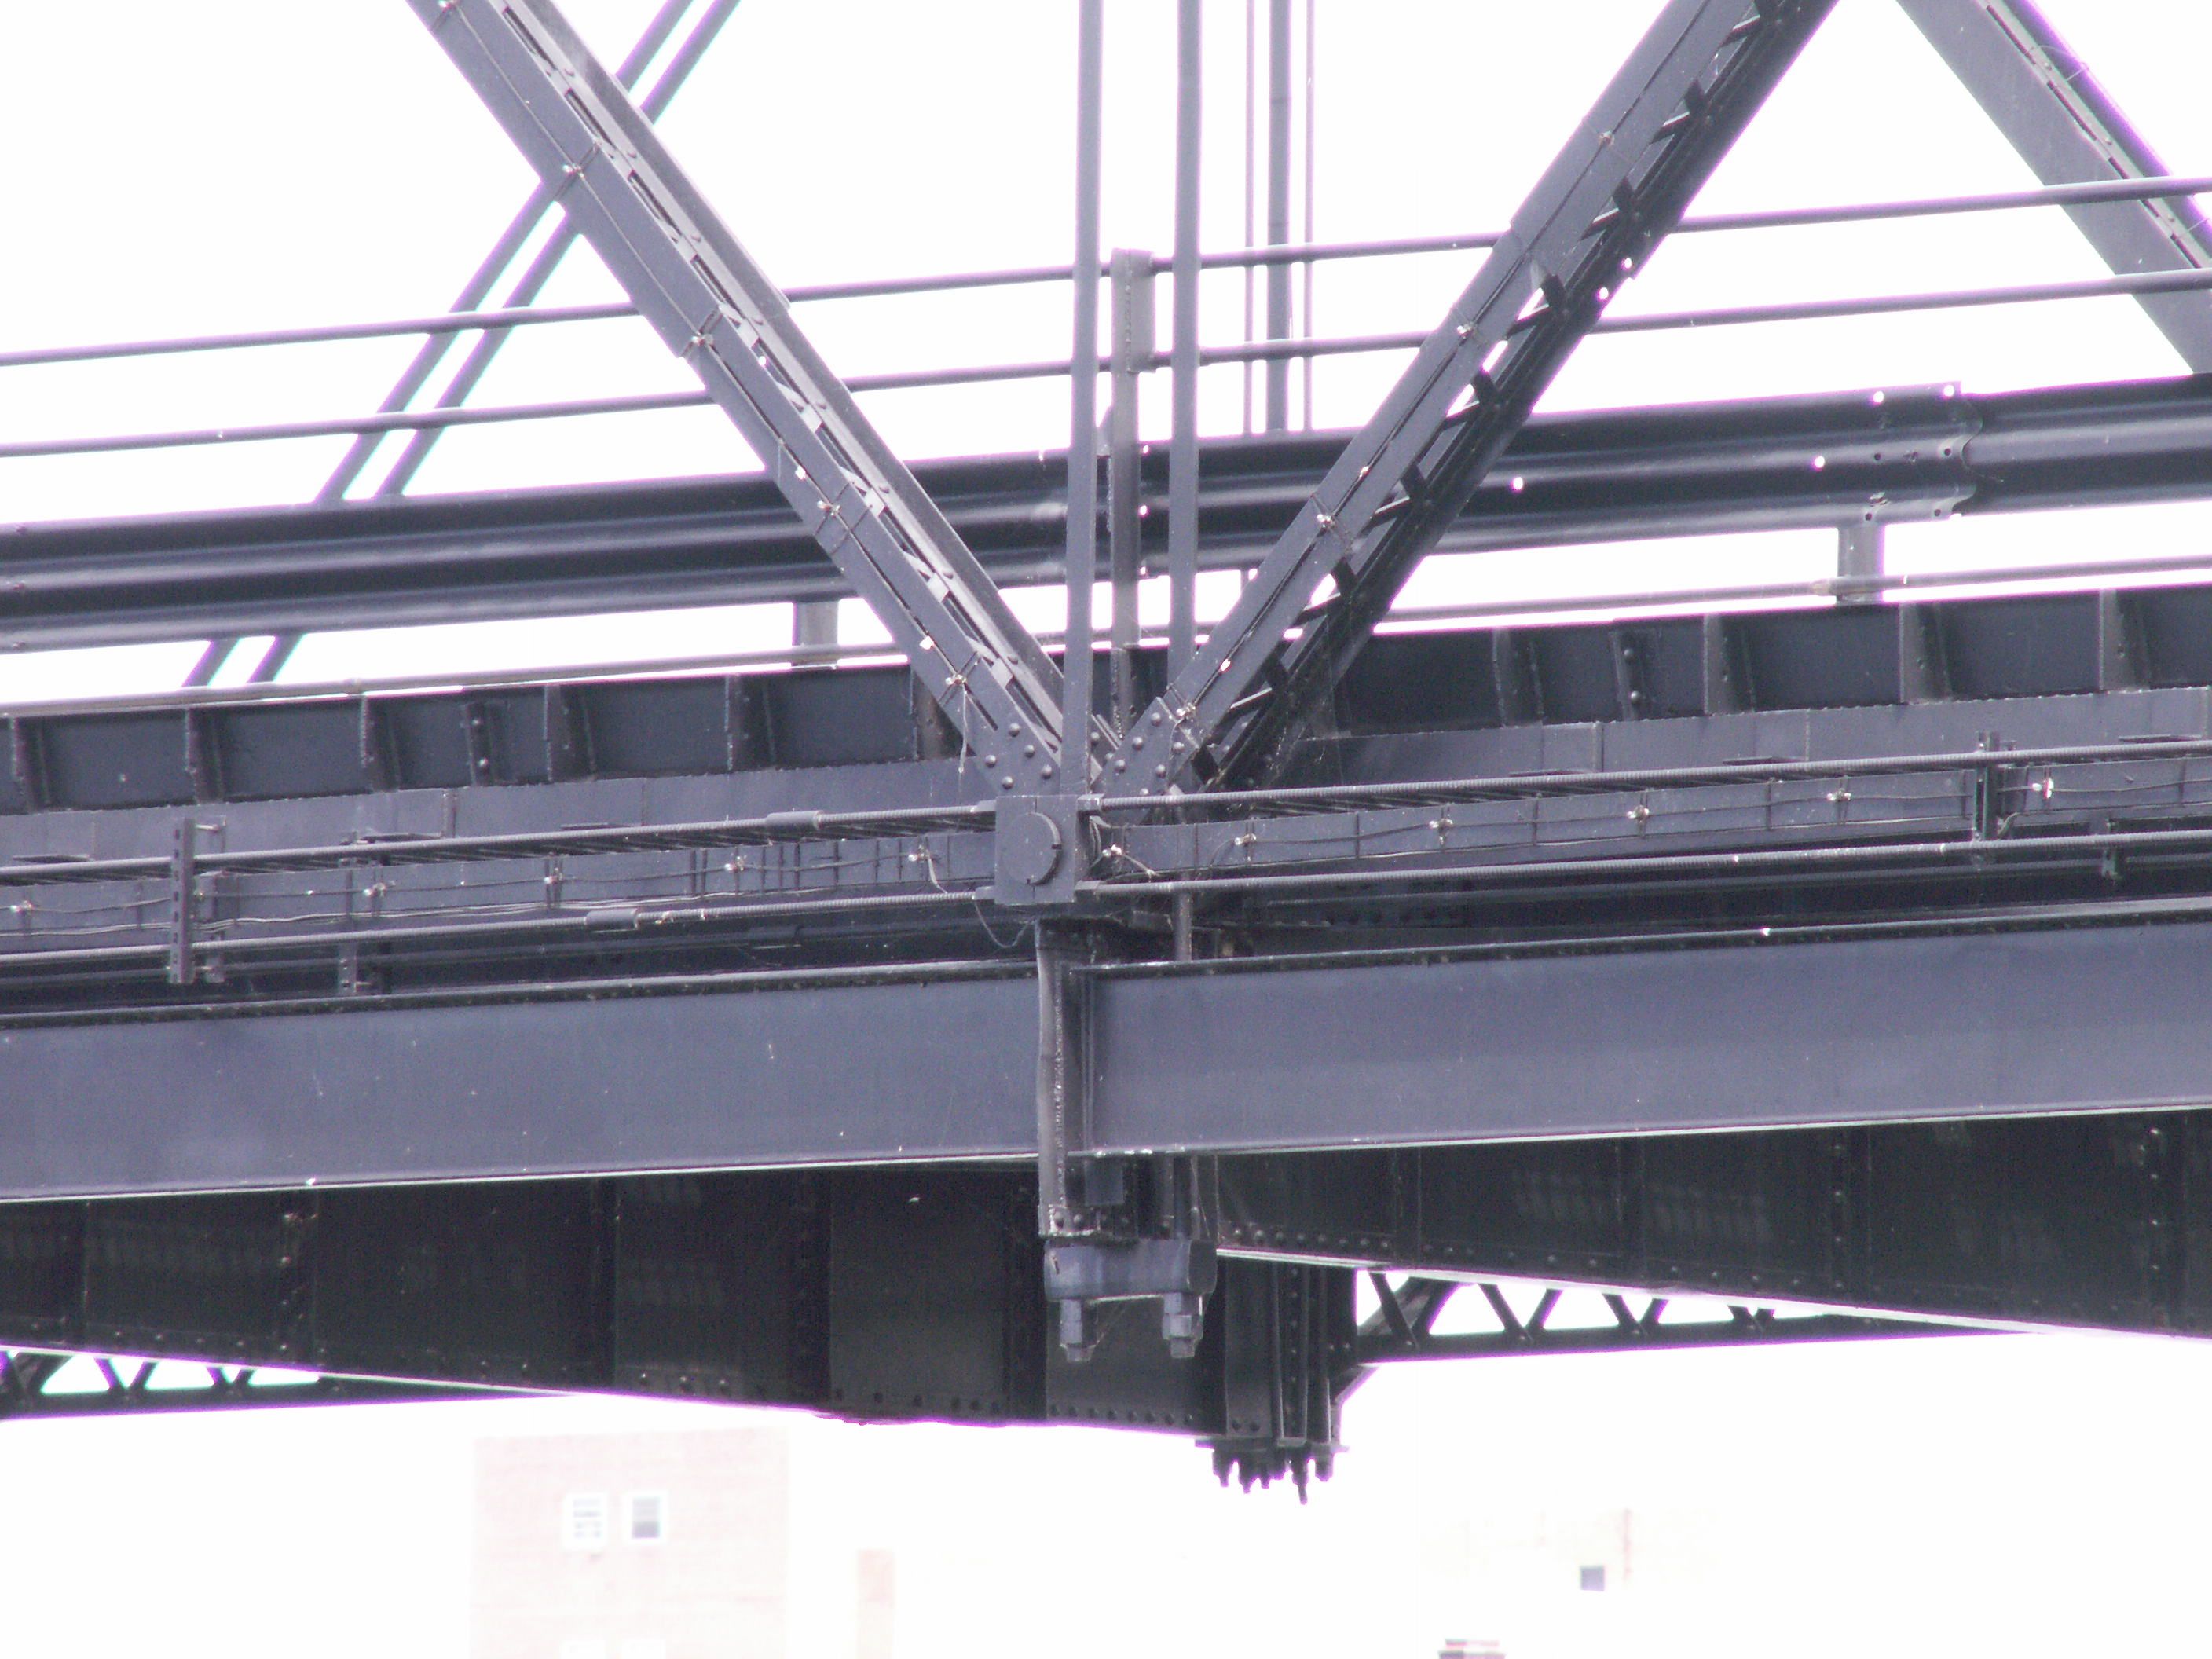
Sway bracing, eastern spans.
![]()


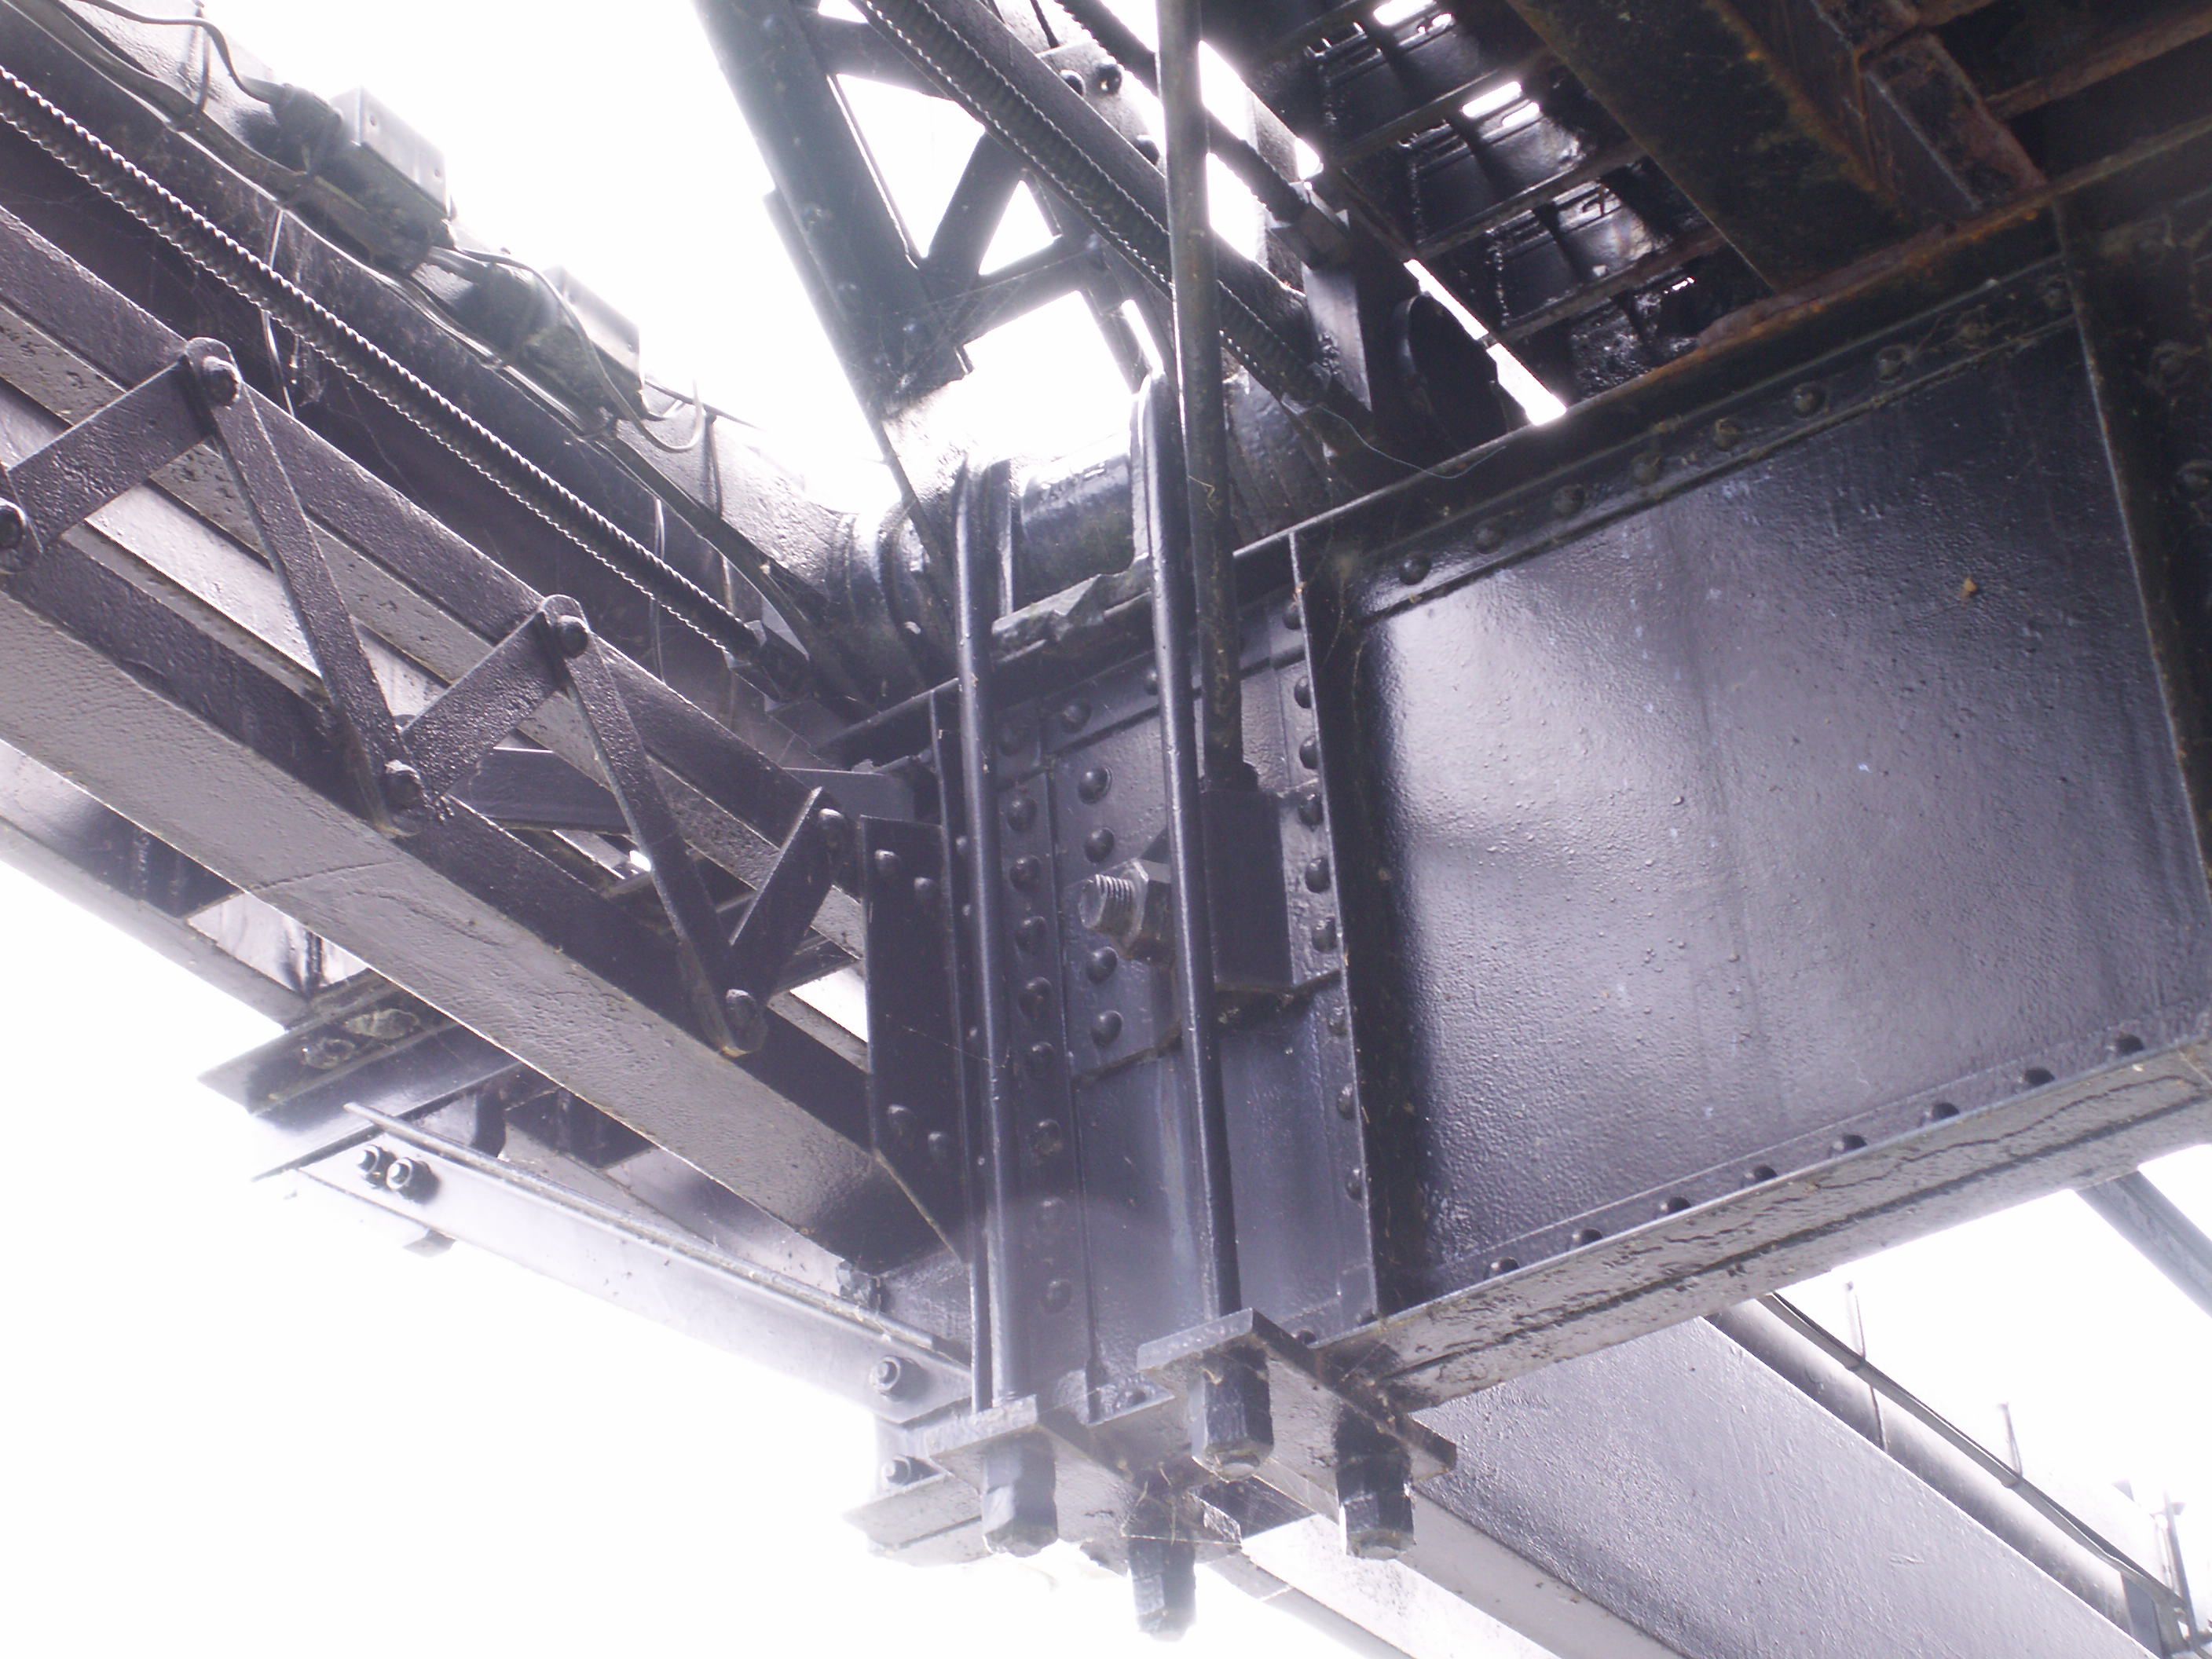


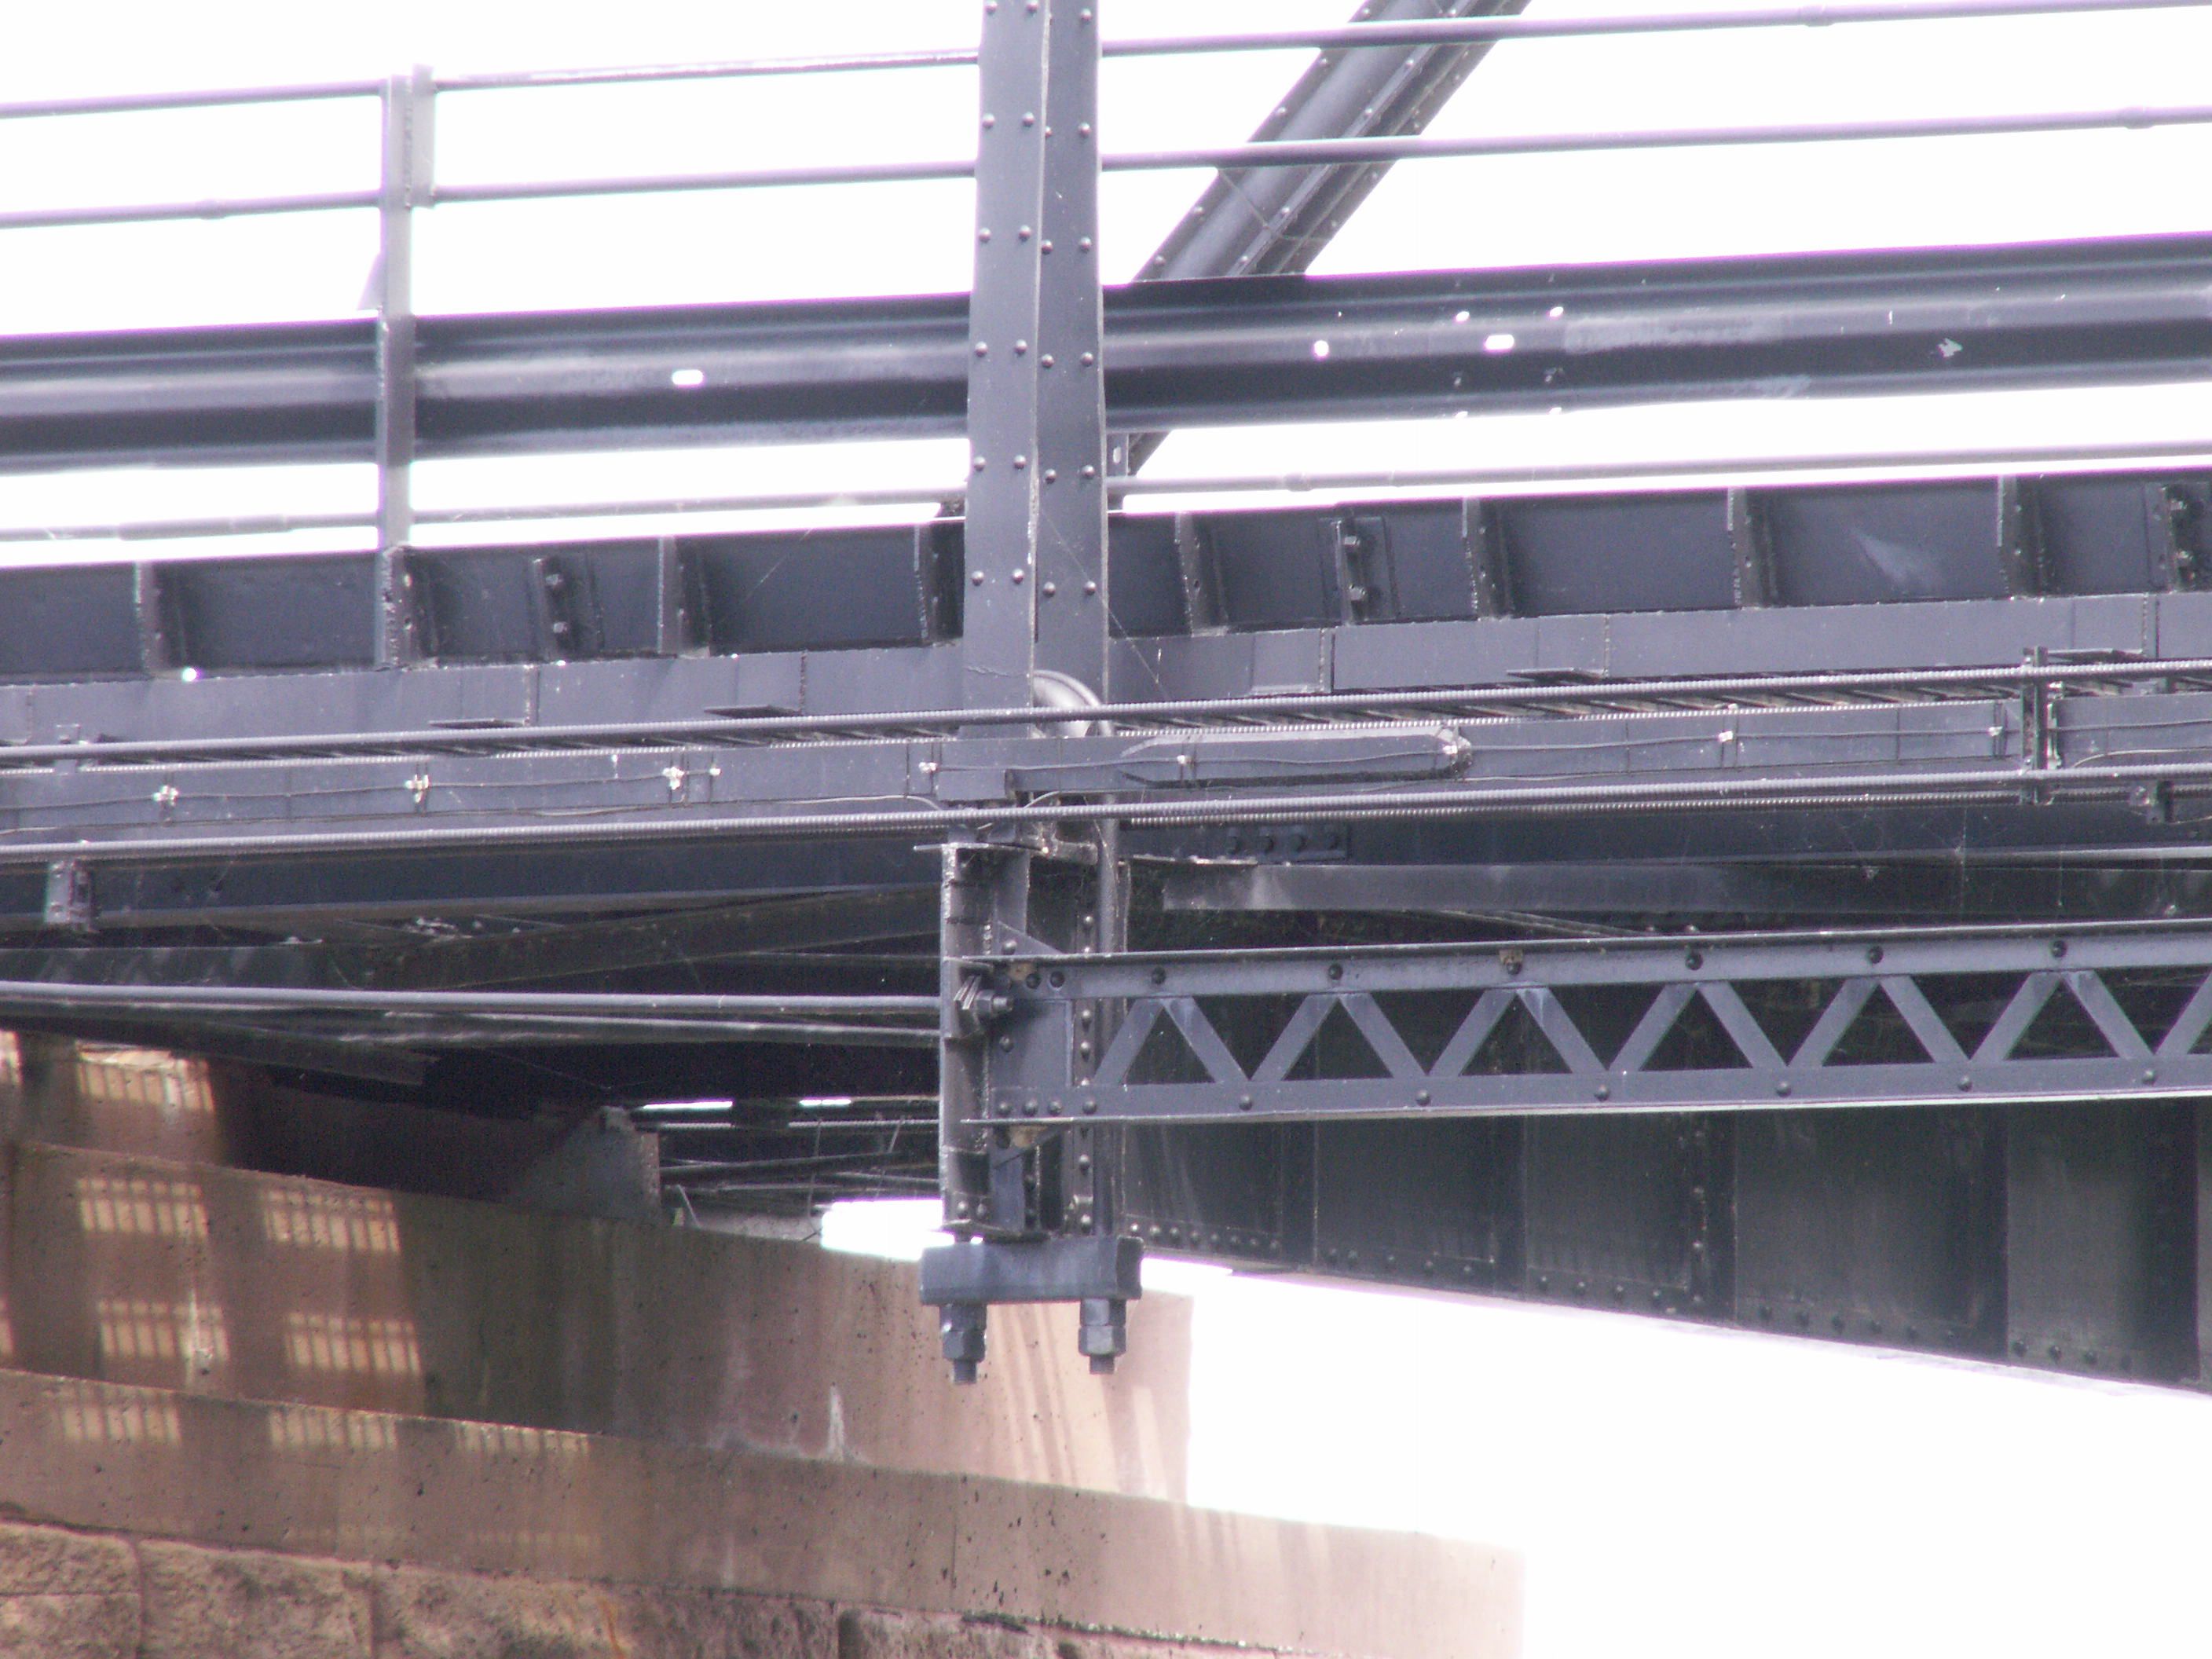
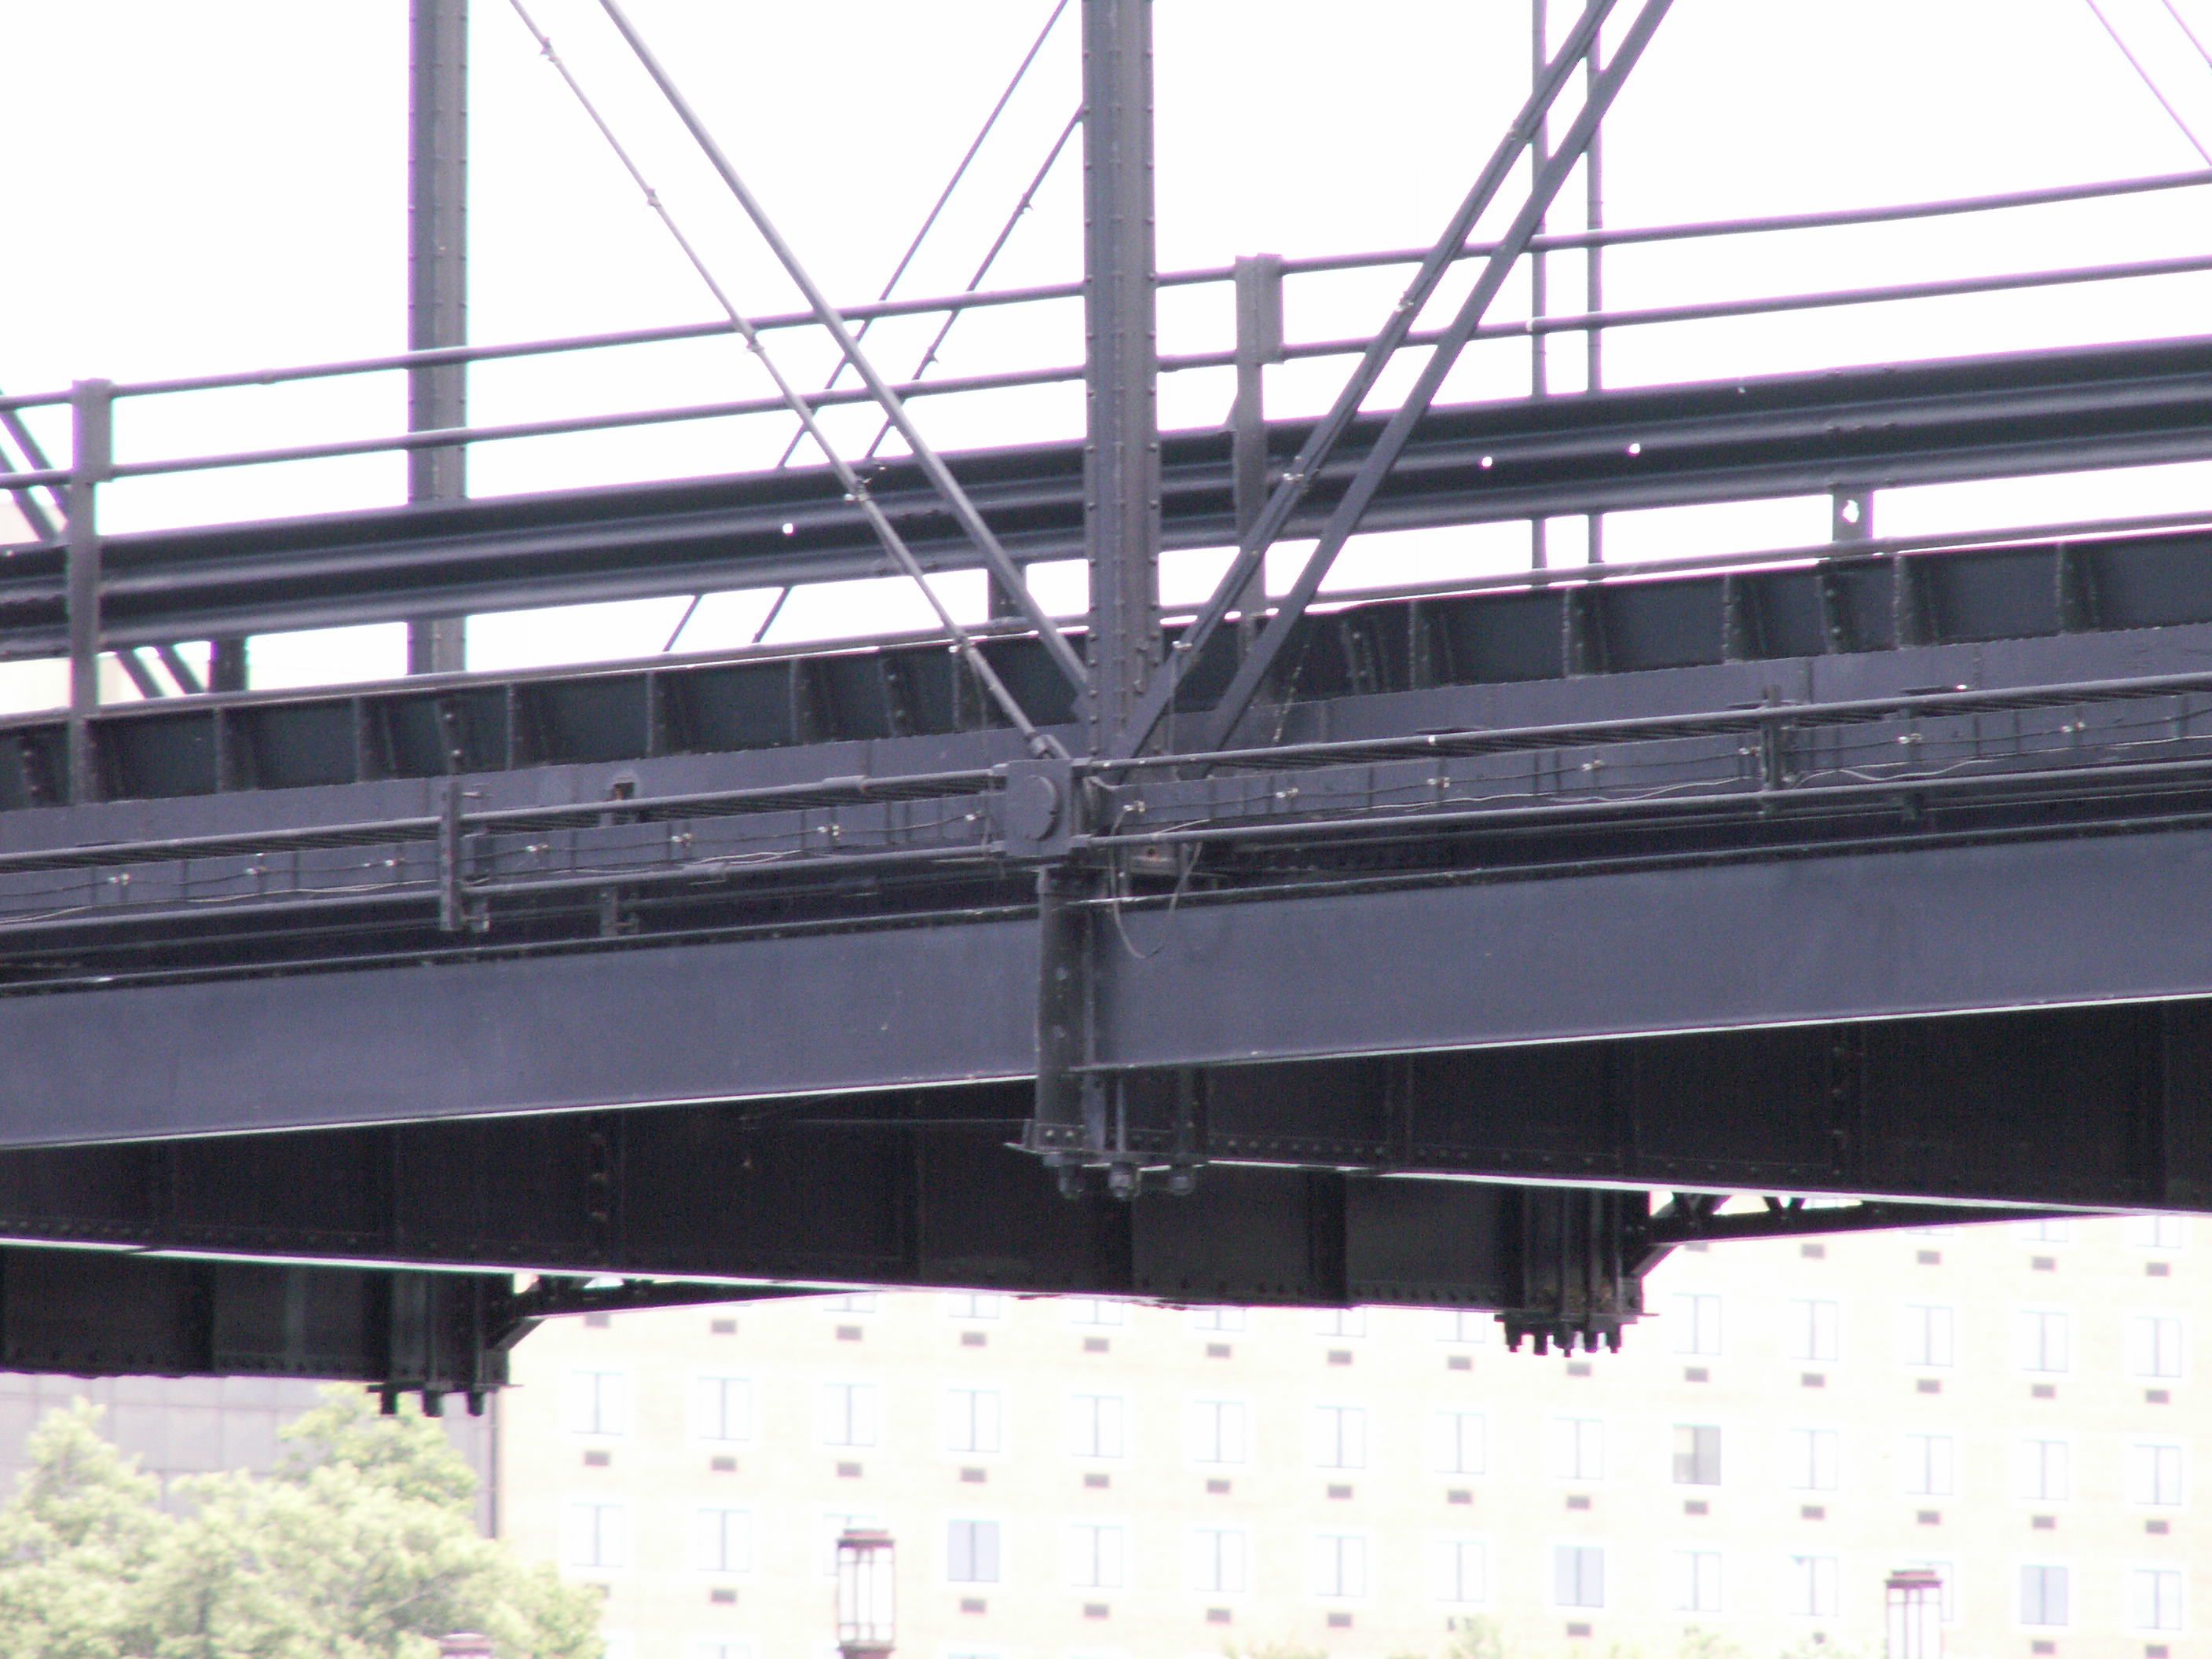
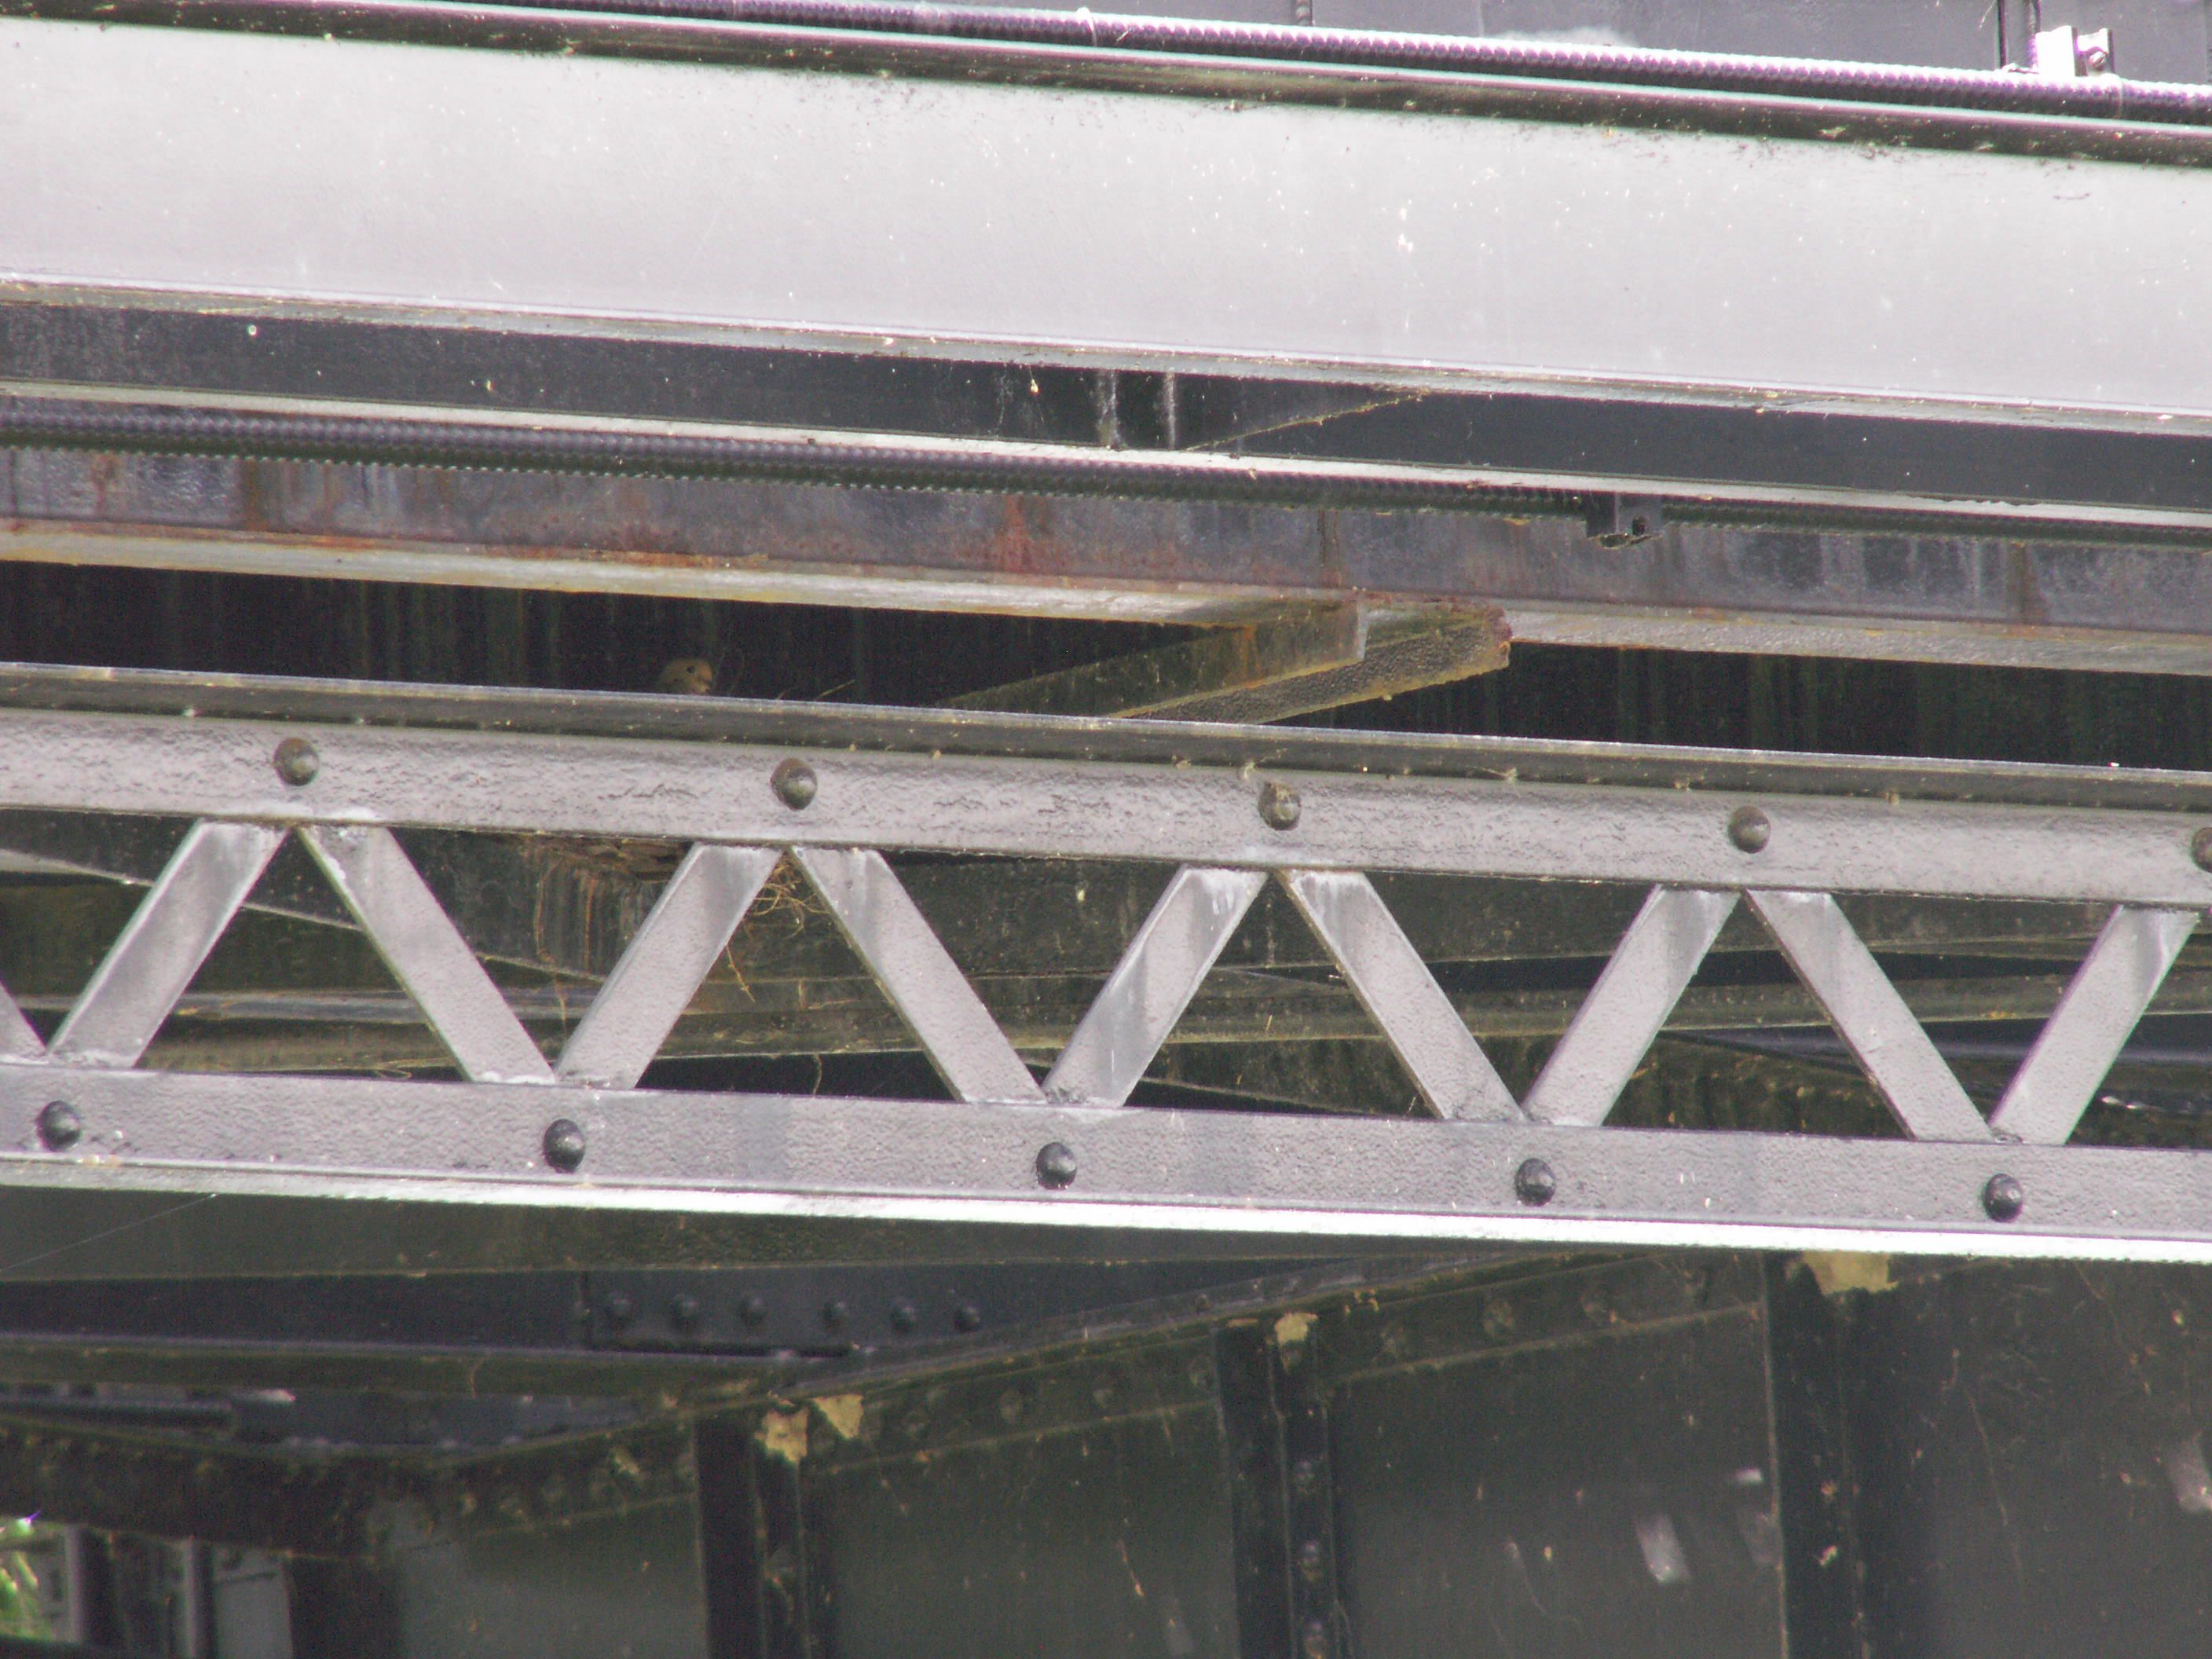
Views under bridge, eastern spans.
![]()


Decorative details.
![]()


Railing as seen on approach. It lists D & W of New York and an 1889 date.
![]()


Bottom chord connections as viewed from on bridge, western spans.
![]()


Top chord connections as viewed from on bridge, western spans.
![]()


Intermediate and portal bracing connections, western spans.
![]()


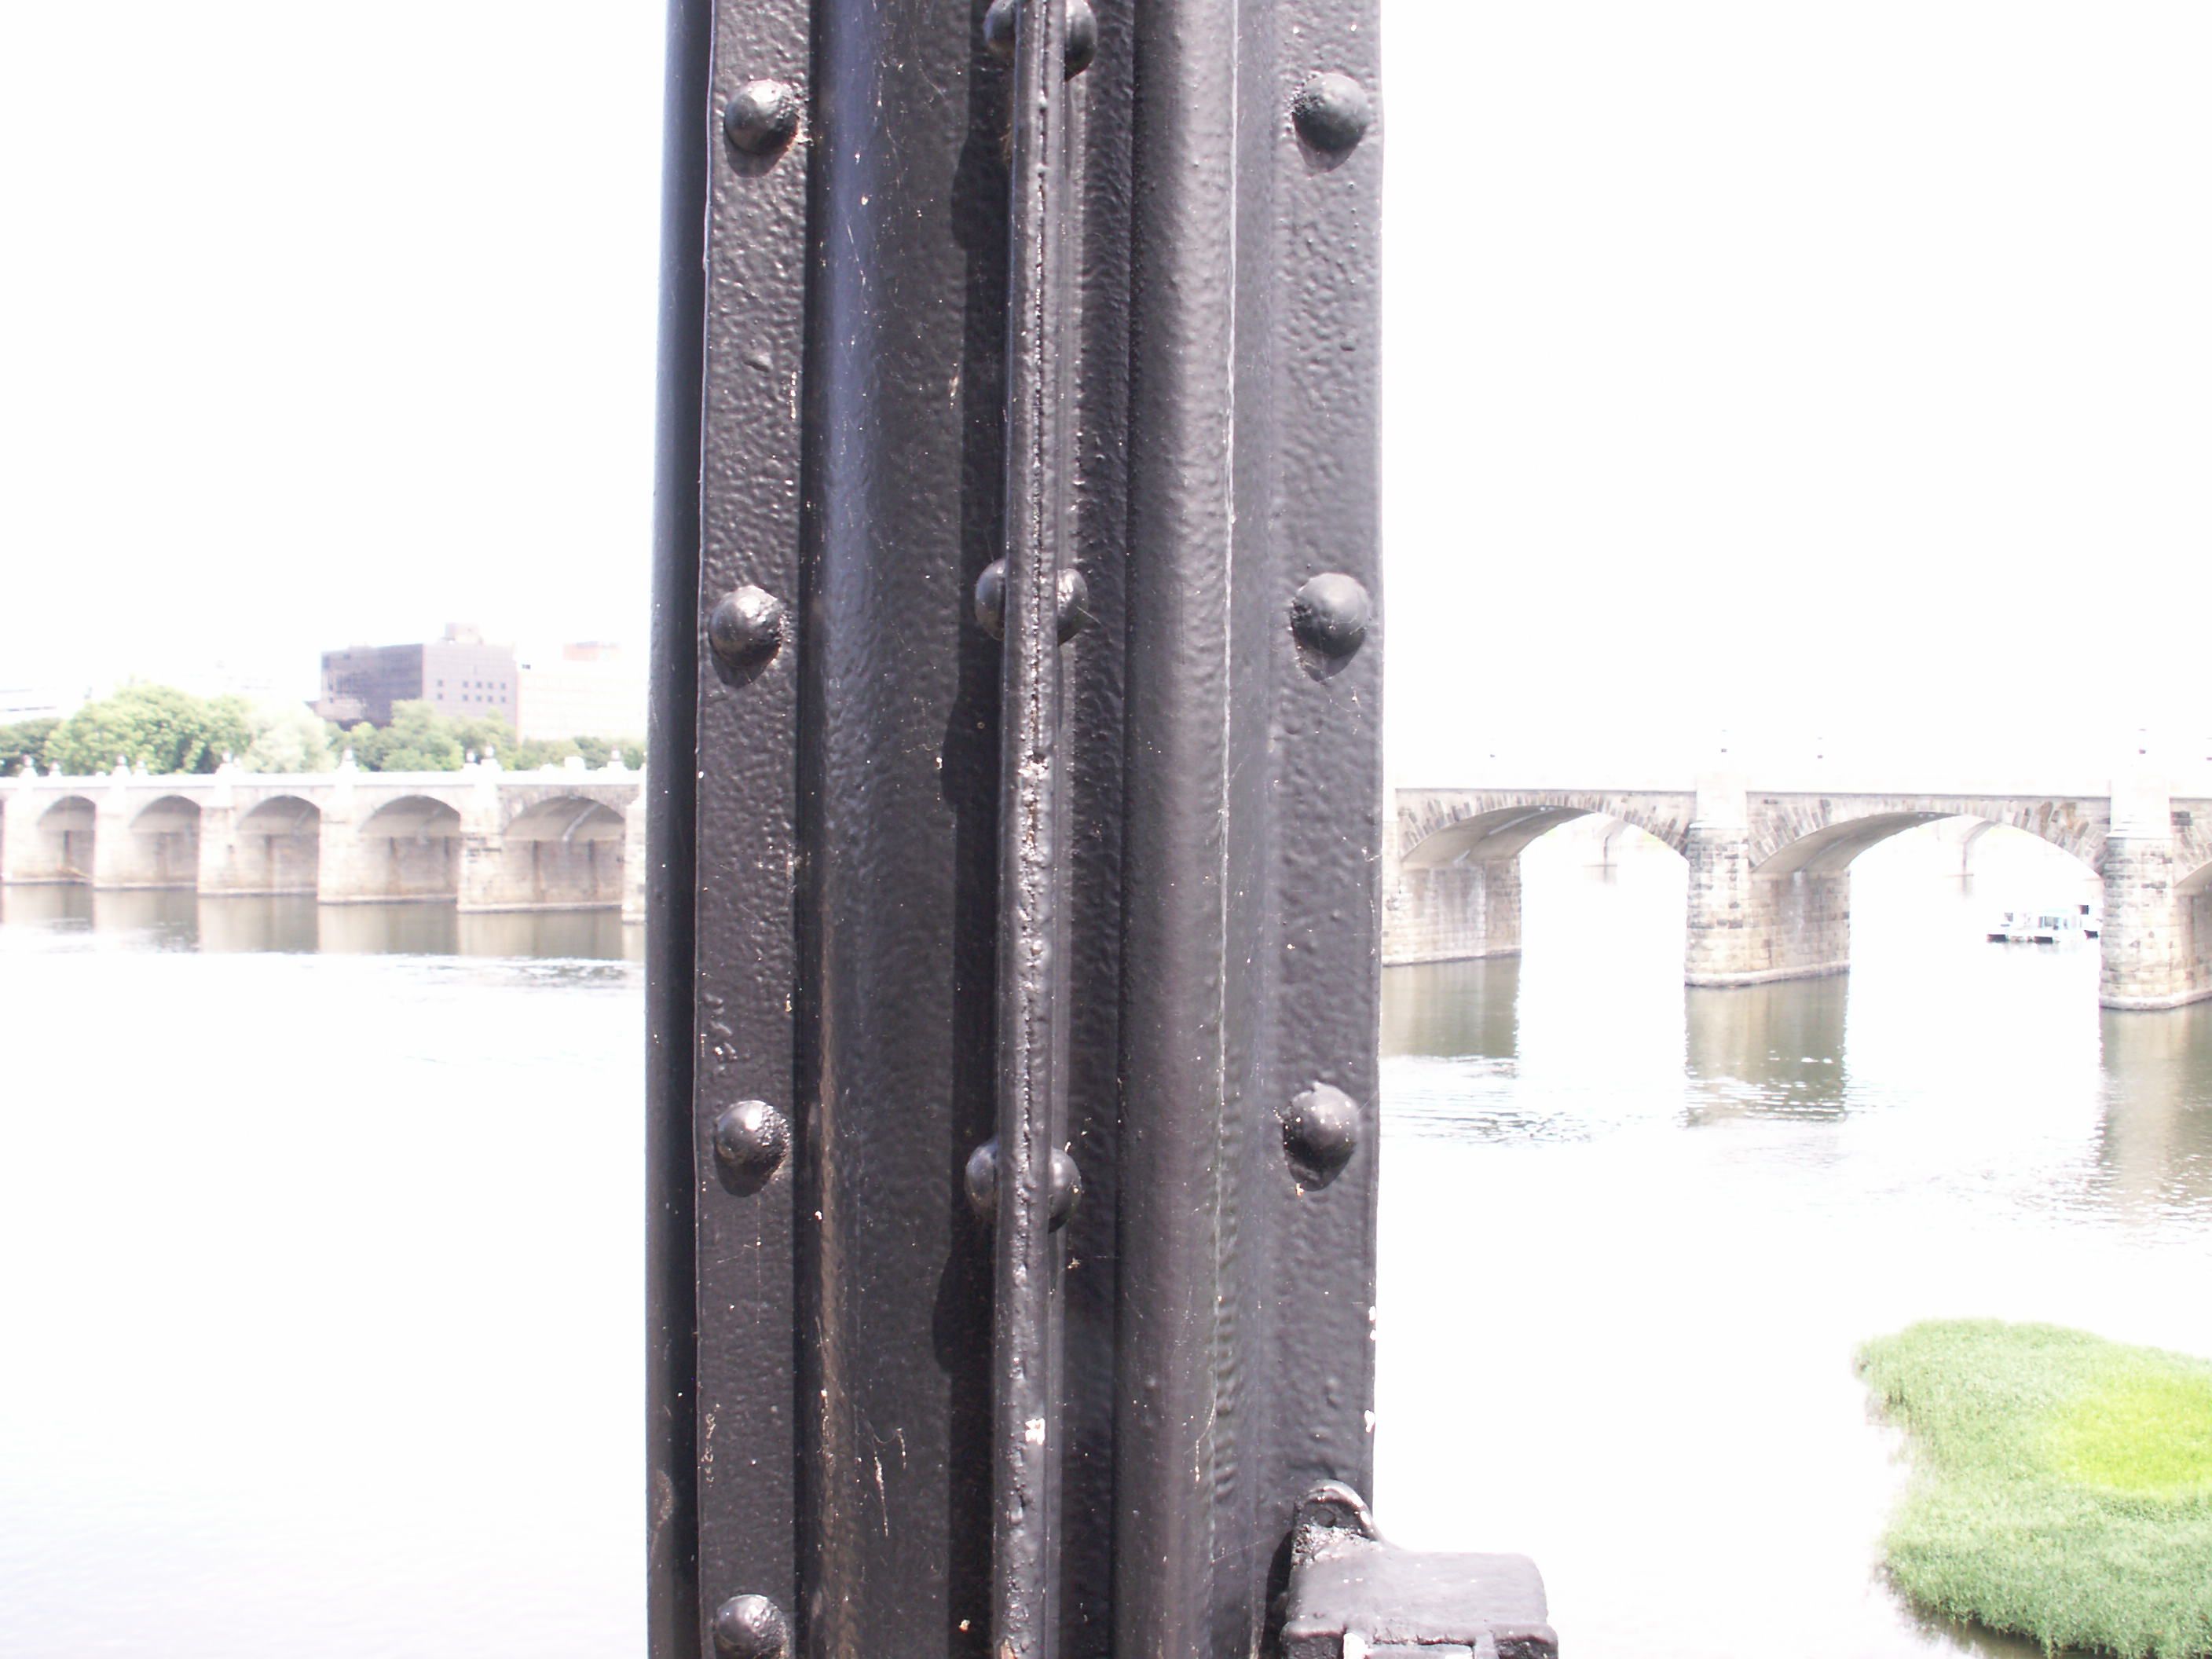
Phoenix column members and chords, western spans.
![]()
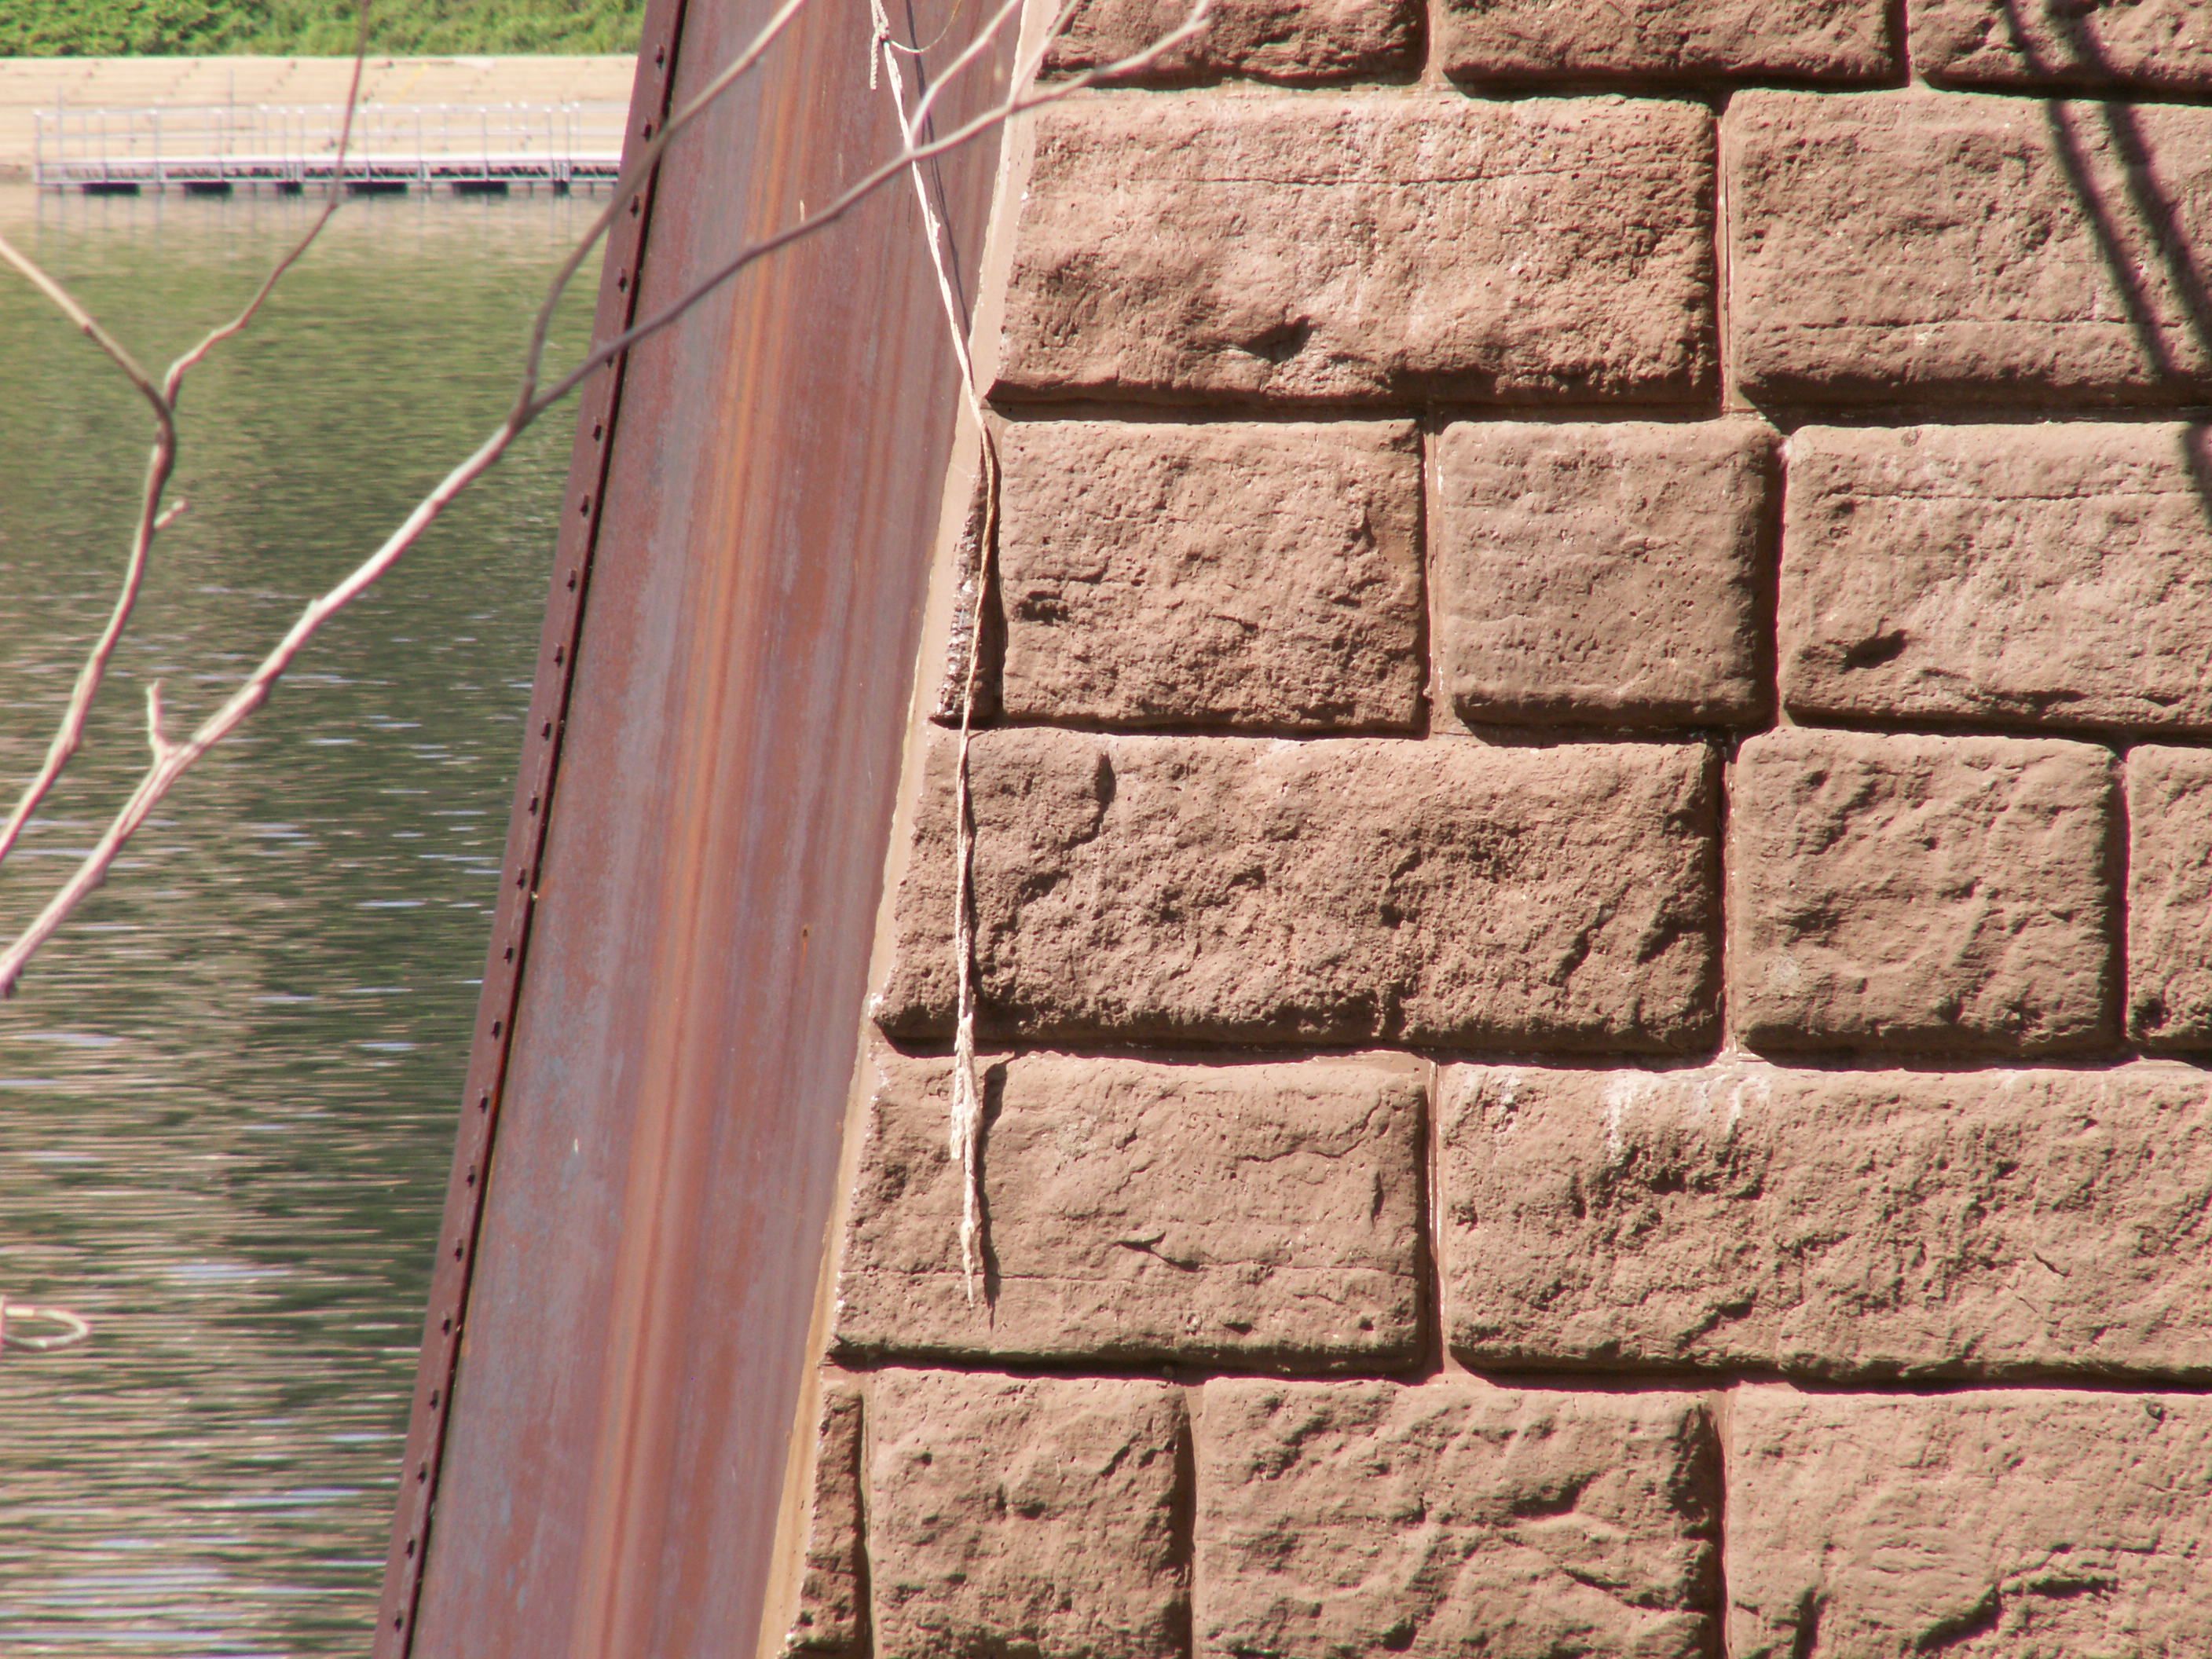
Stone pier details.
![]()
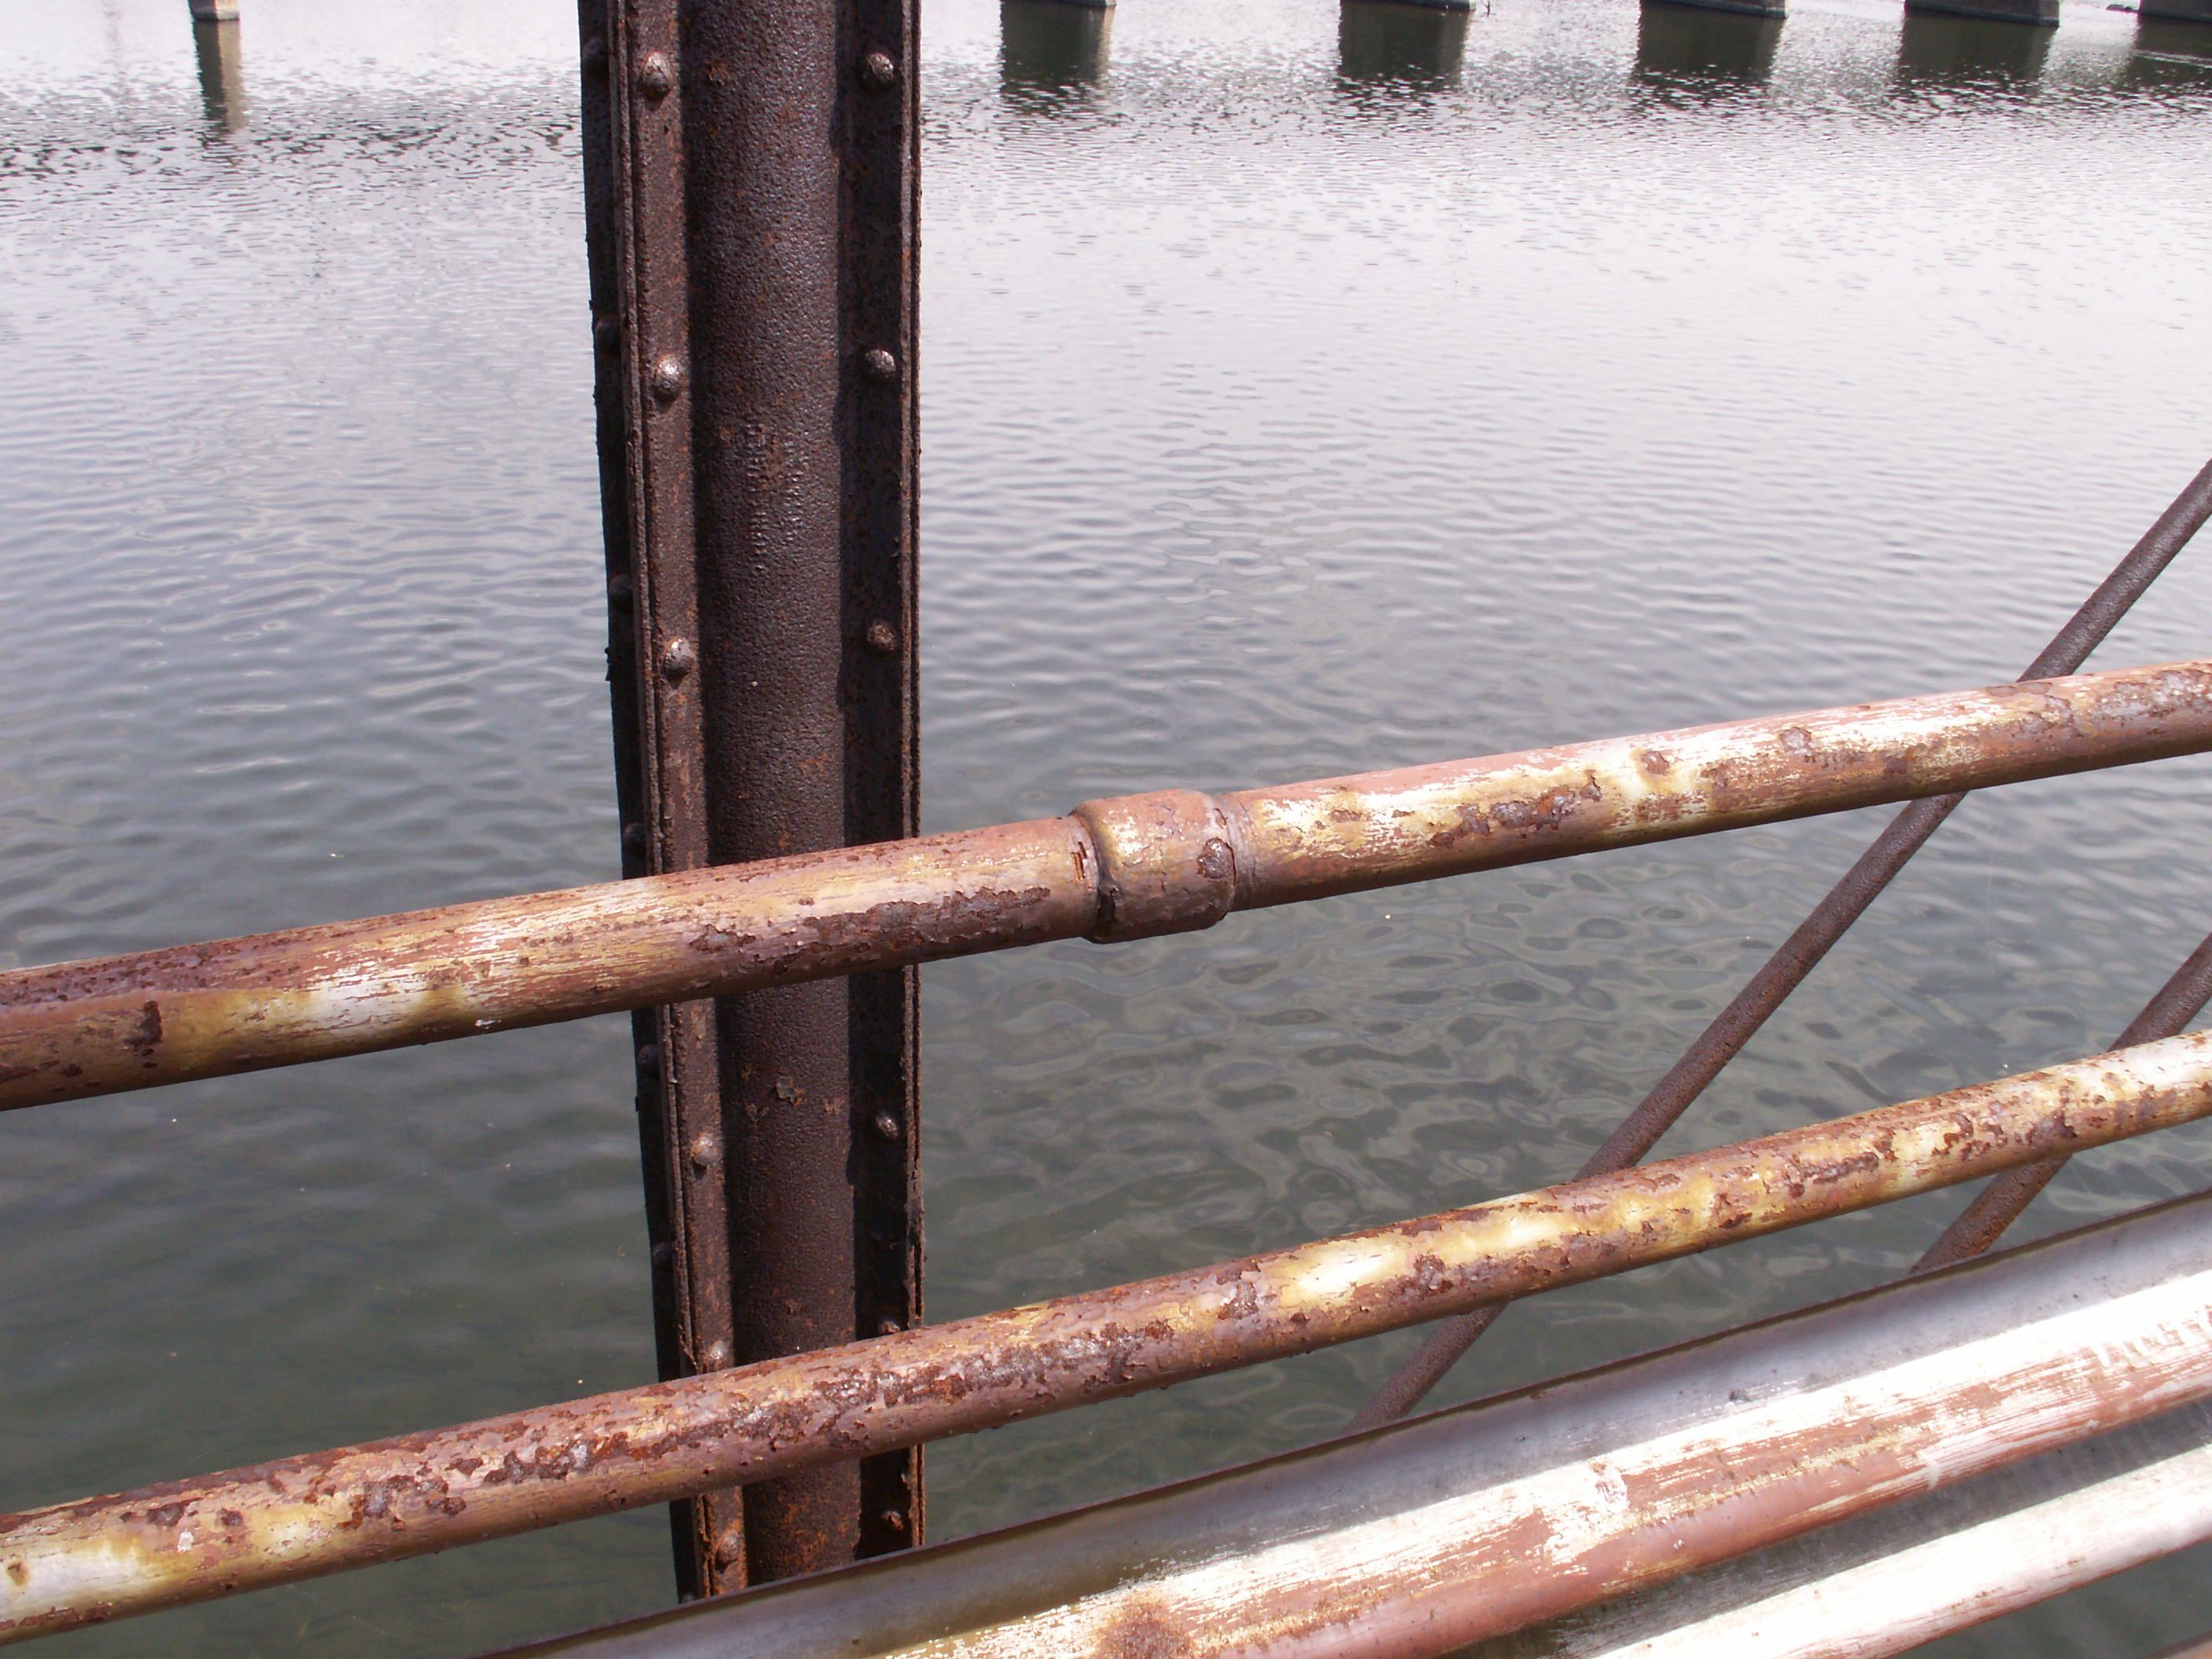
Railing, western spans.
![]()

Deck detail, western spans.
![]()

Garter snake, resting on bridge deck, western spans.
![]()
![]()
| Back |
| Home |
| Top |

![]()

