Uncredited photos on this page taken by: Nathan Holth and Rick McOmber. Unless stated in a caption, all photos are Copyright with All Rights Reserved. Learn about reuse of our photos.
![]()

Portal view facing west.
![]()


Portal views on bridge facing east on a suspended span.
![]()

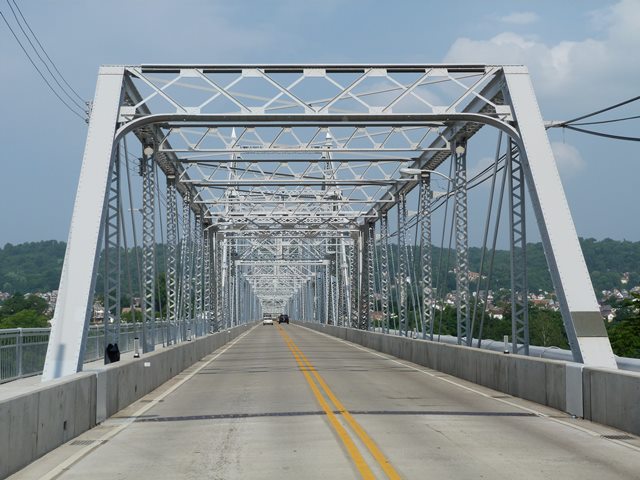
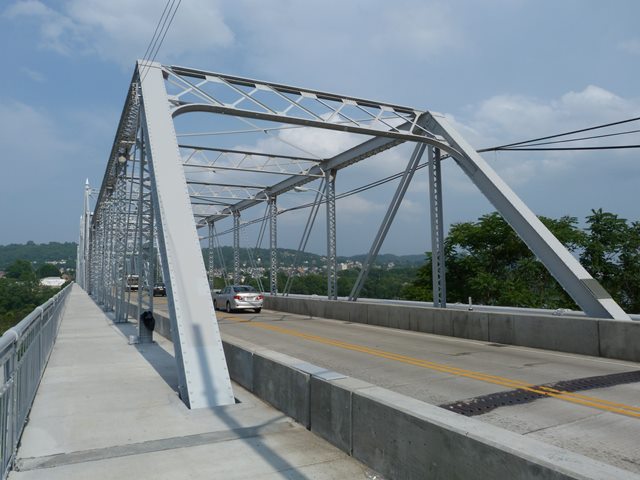
Portal views on bridge facing east in front of though truss spans.
![]()
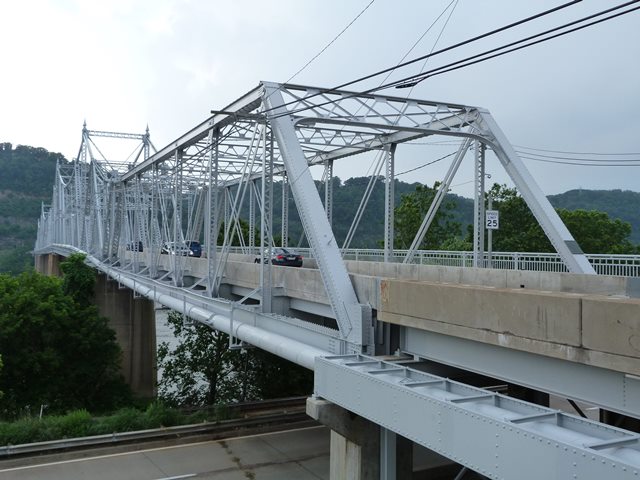


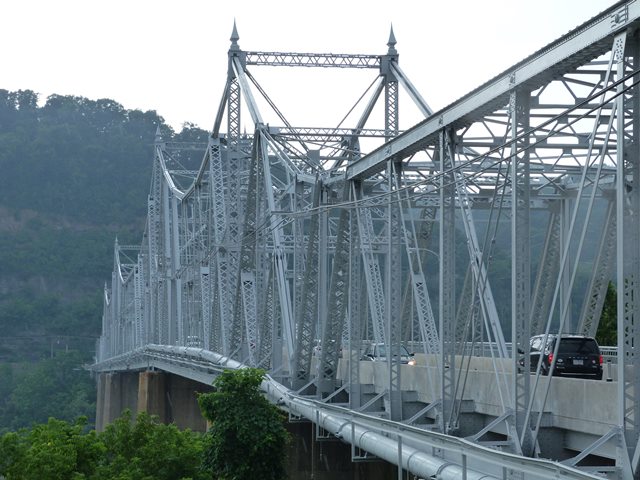
Oblique views from southeast quadrant.
![]()
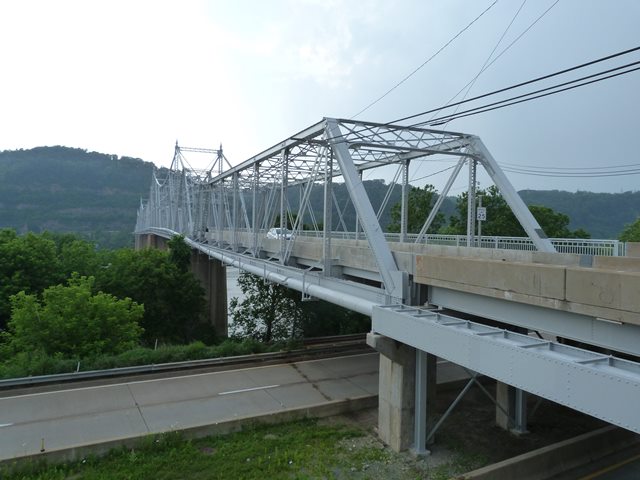
Views beside bridge from southeast quadrant.
![]()

View beside bridge from northeast quadrant.
![]()
Oblique view of truss from sidewalk.
![]()
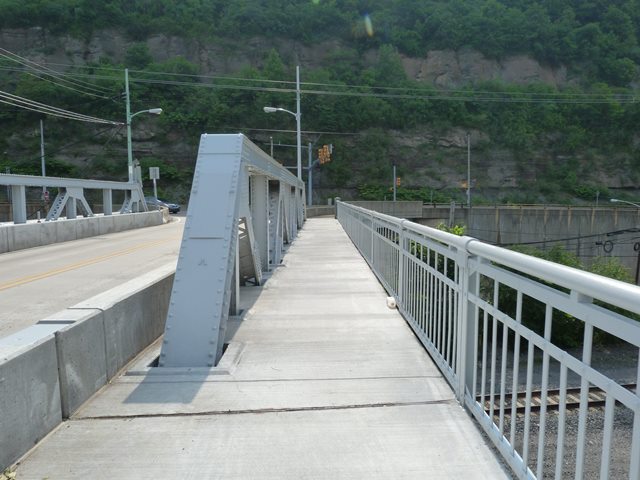
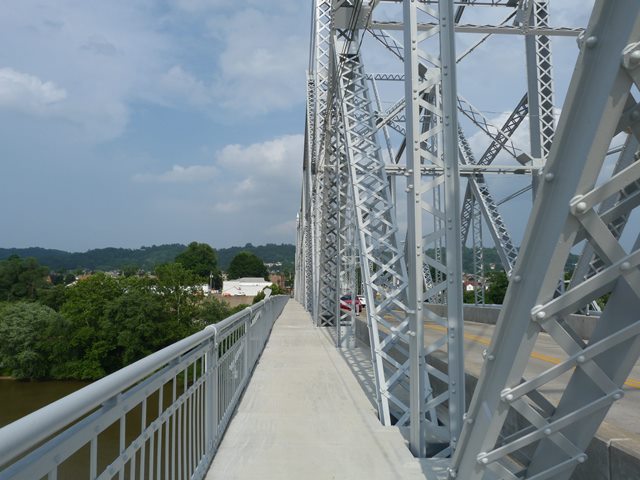
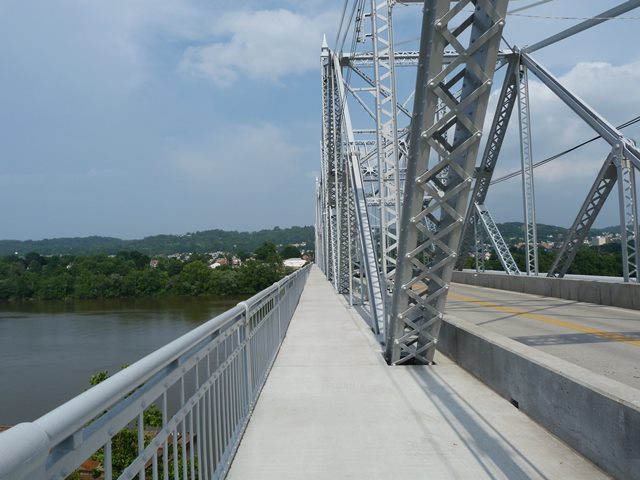
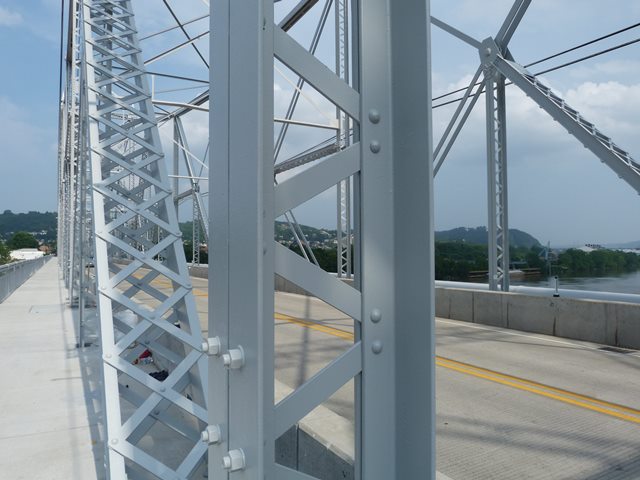
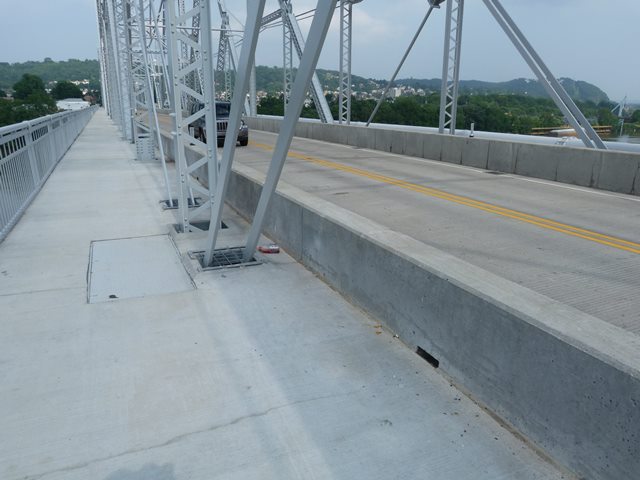
Views on sidewalk.
![]()
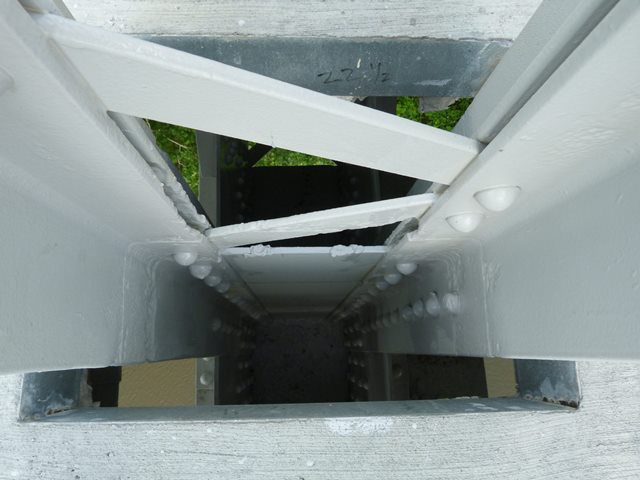
Views of through truss web.
![]()

Views of pony truss web.
![]()
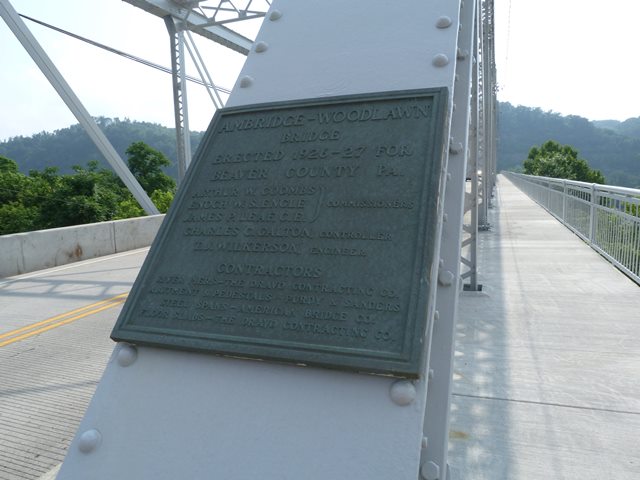
Plaque.
![]()
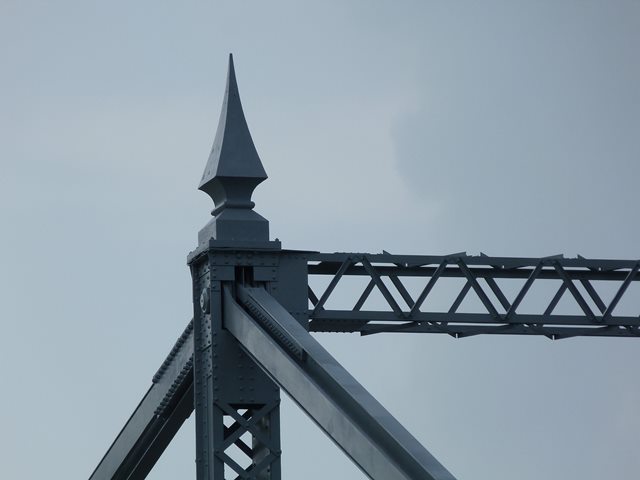
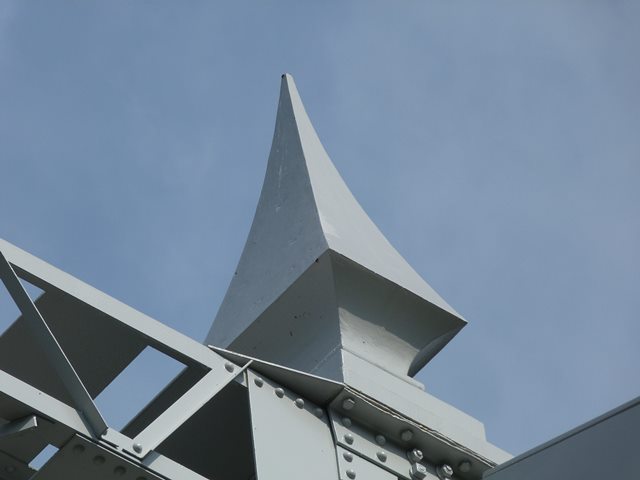

Finials.
![]()
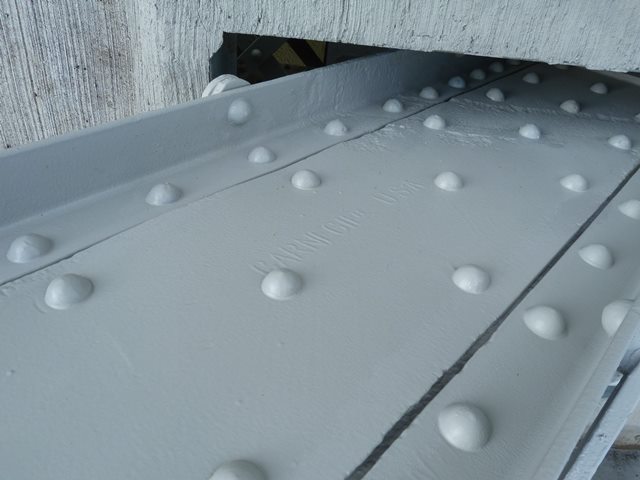
Carnegie brand.
![]()
Jones and Laughlin brand.
![]()

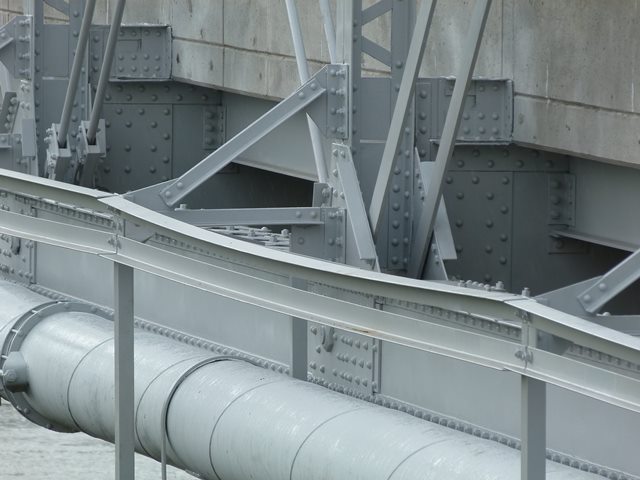
Pipeline container.
![]()

View of suspended span.
![]()
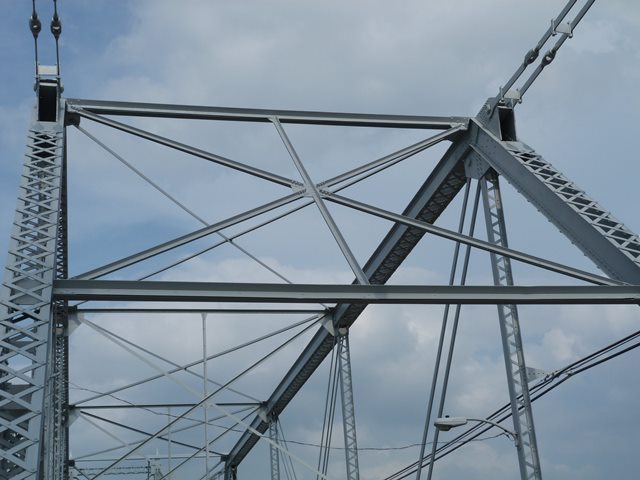
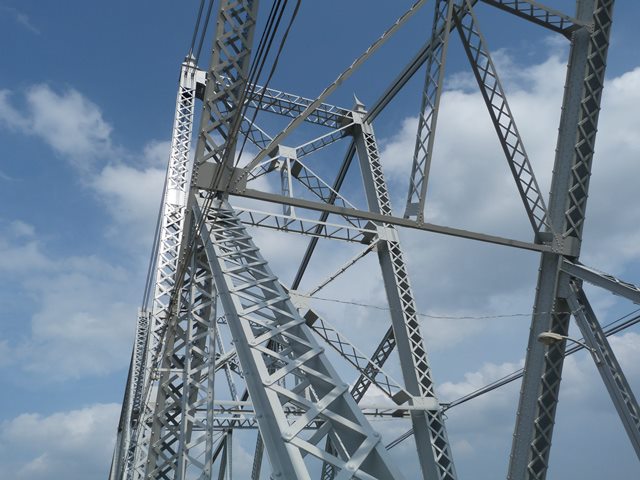
Suspended span portal bracing.
![]()


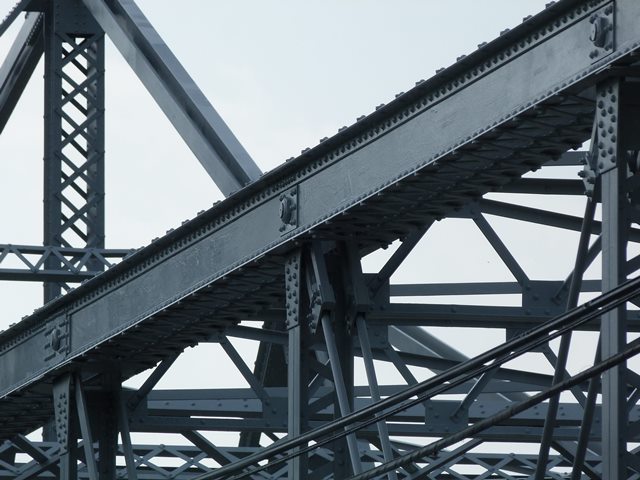
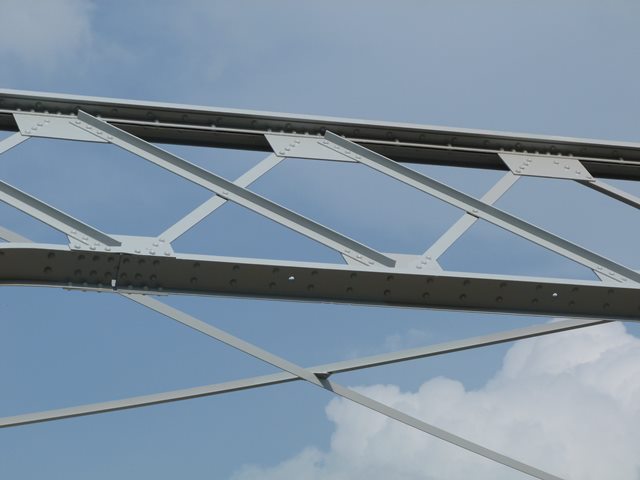
Top chord connections as viewed from beside bridge.
![]()
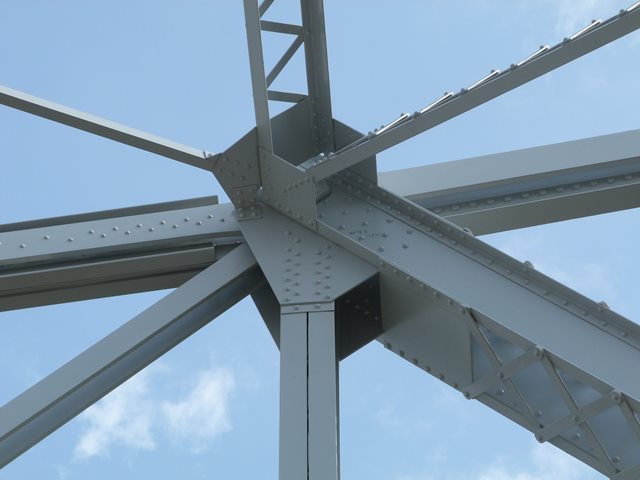
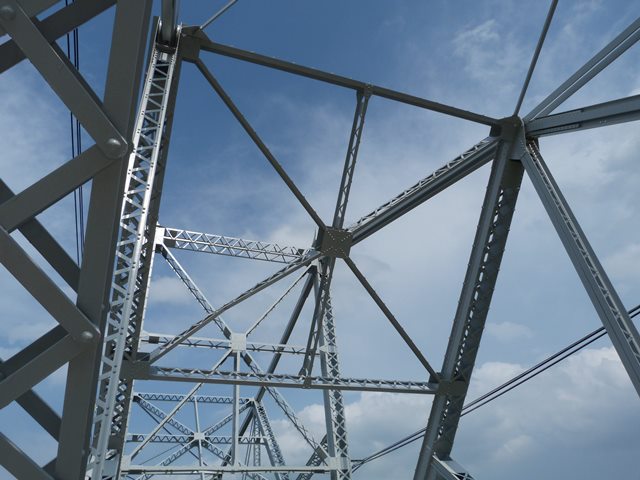
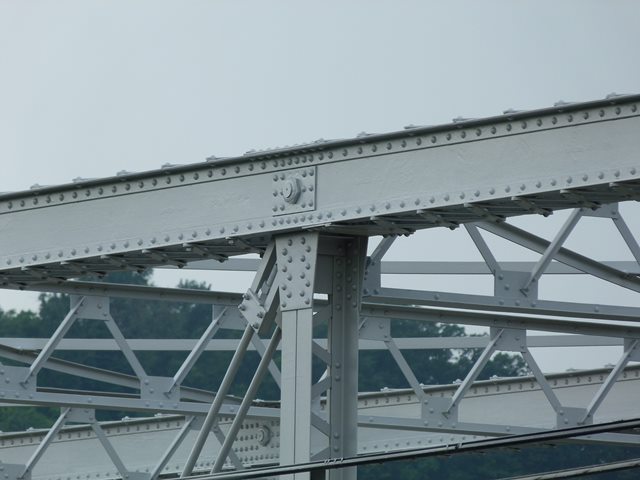
Top chord connections as viewed from on bridge.
![]()
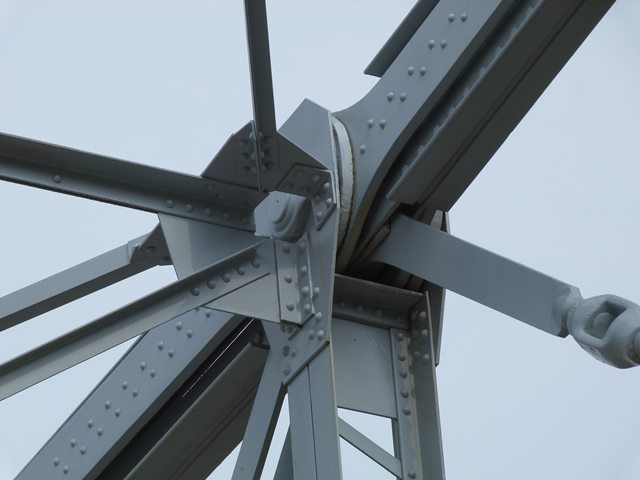
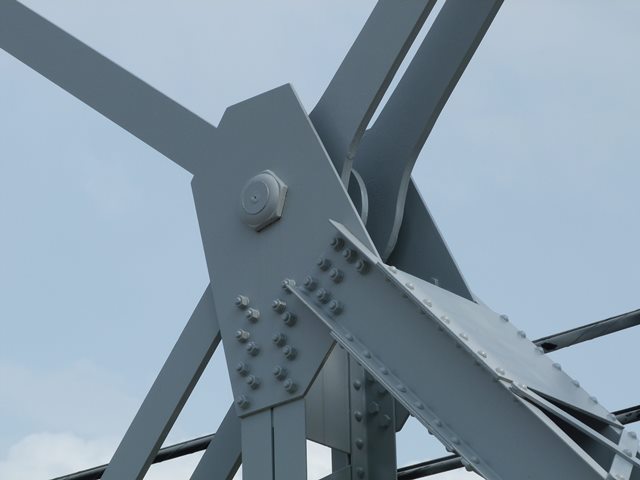
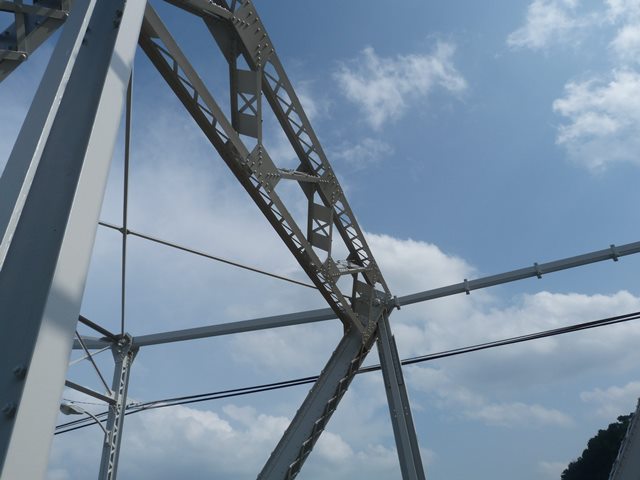
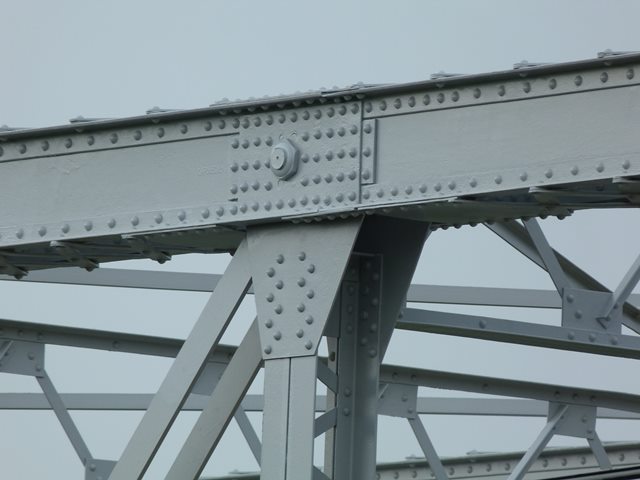
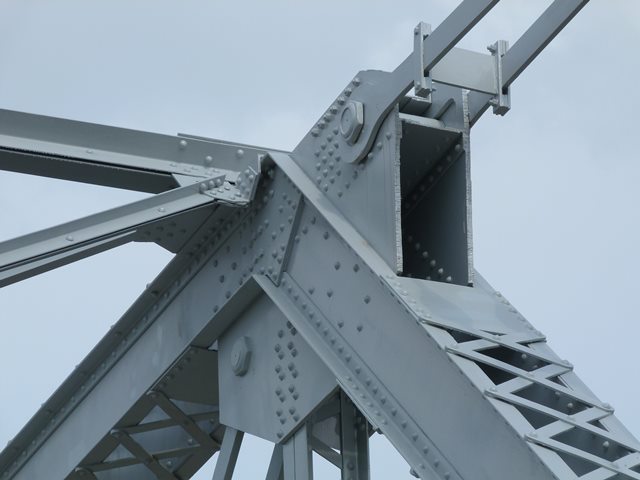
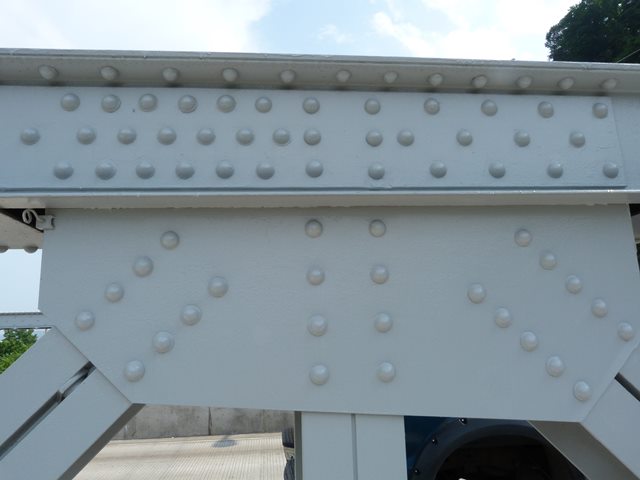
Top chord connection at main post.
![]()
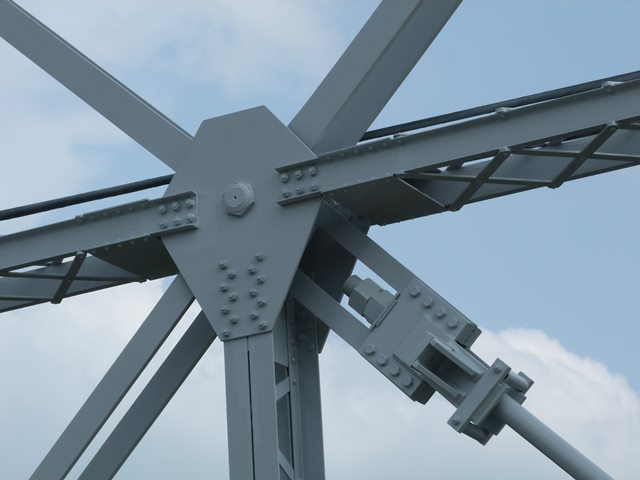
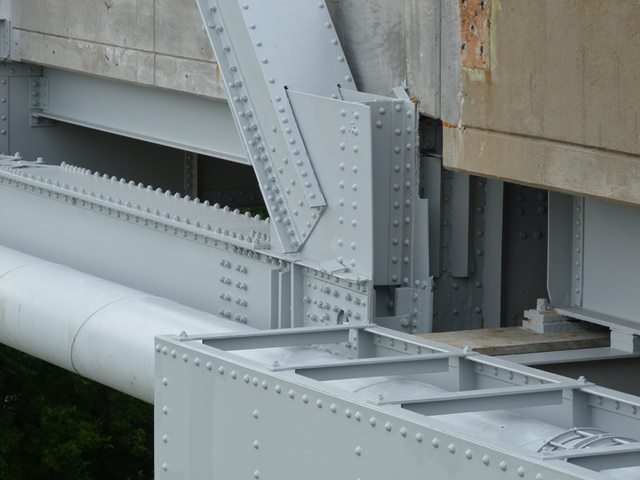
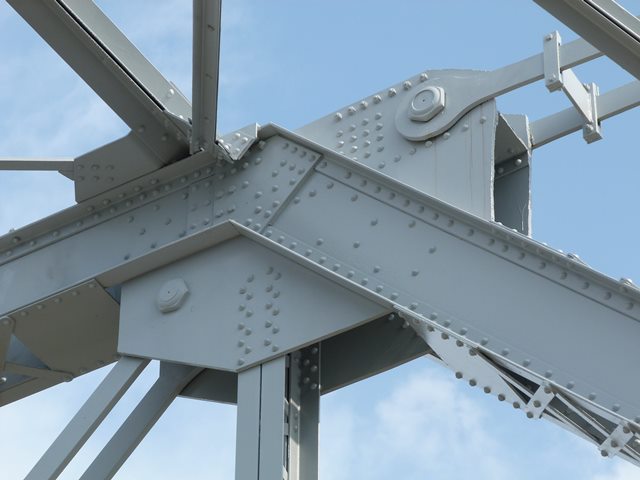
Top chord connection at end of cantilever arm.
![]()

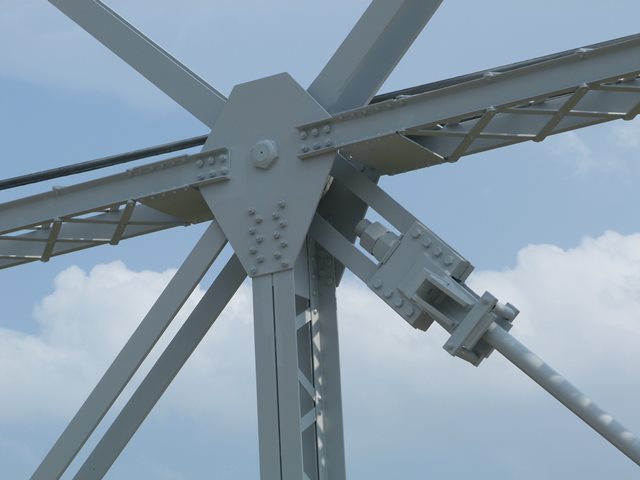
Top chord connection at end of suspended span.
![]()
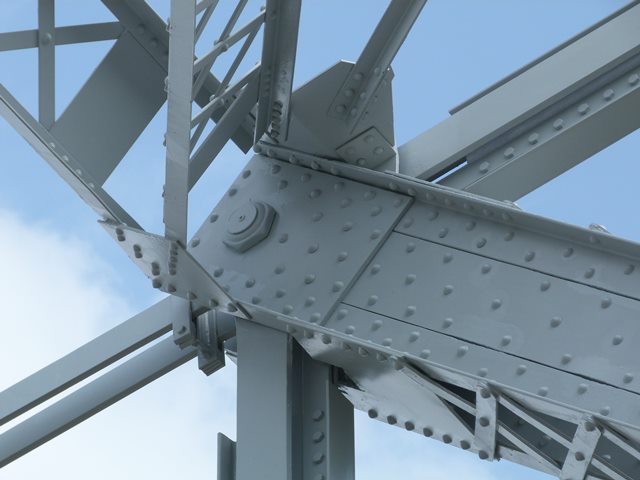
Intermediate connections as viewed from on bridge.
![]()


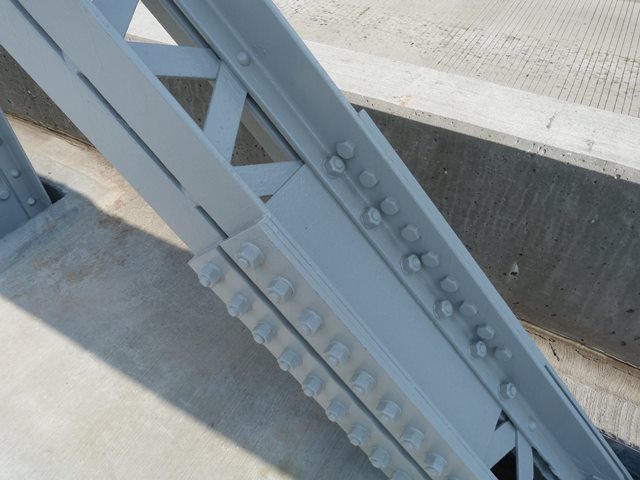
Bottom chord connections as viewed from beside bridge.
![]()
Bottom chord connections, mostly obscured from view as viewed from on bridge.
![]()


Bottom chord connections as viewed from on bridge, with areas of section loss noted.
![]()
Bottom chord connections with suspended span hangers.
![]()


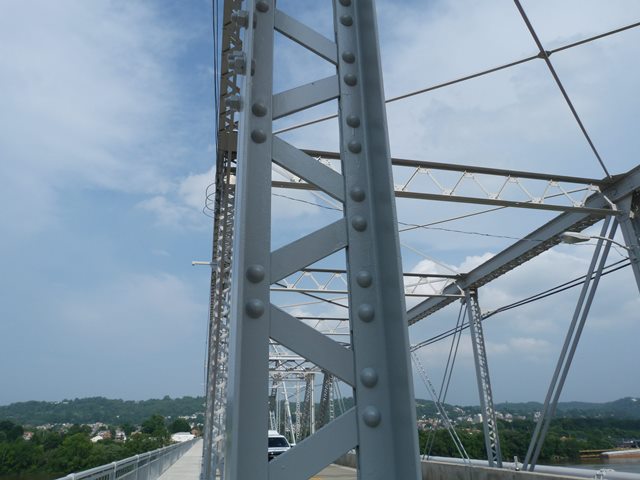
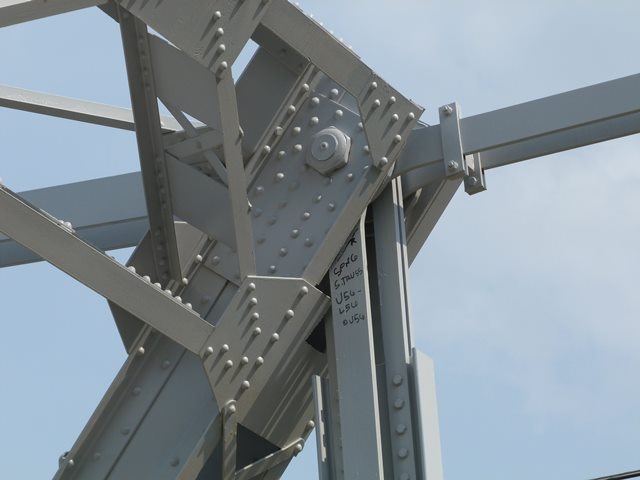
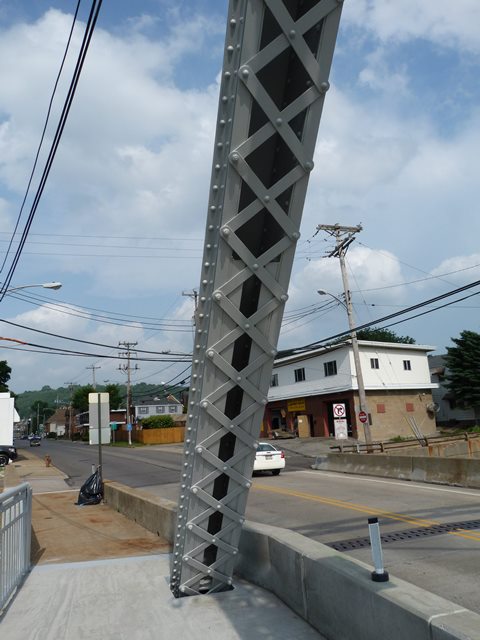
Main post.
![]()

Main post strut.
![]()

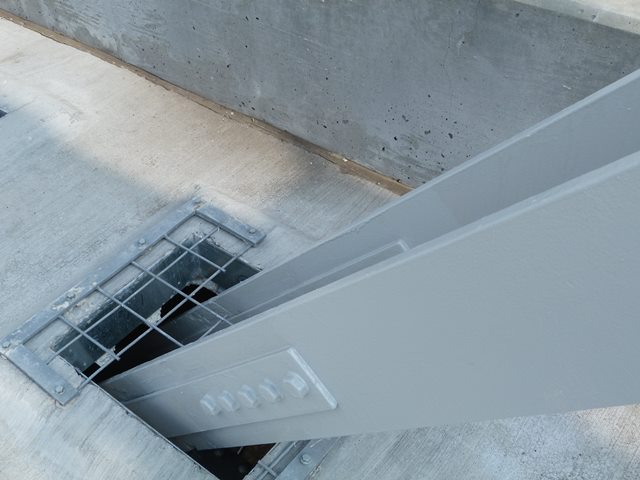
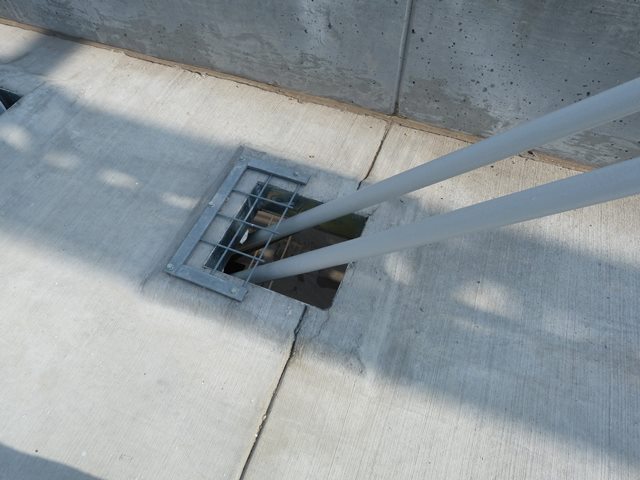
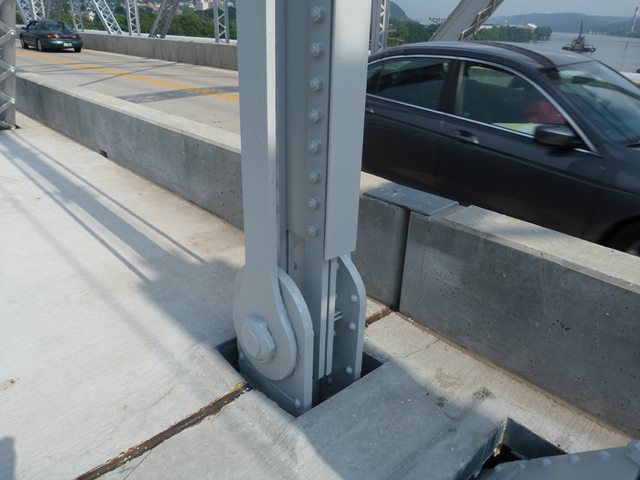
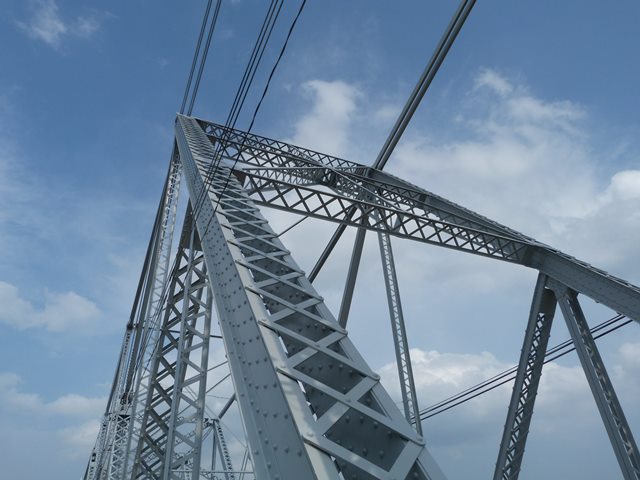
Suspended span end post.
![]()


End posts.
![]()
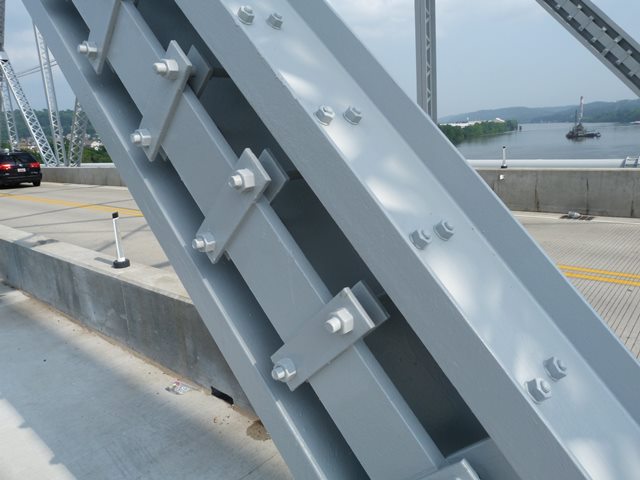
Diagonal members.
![]()
Vertical members.
![]()

Horizontal member.
![]()


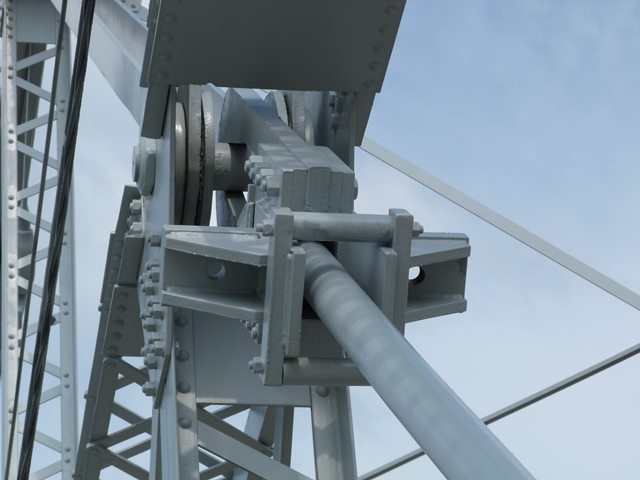
Eyebar between cantilever arm and suspended span top chord. Not the most important item structurally, but it still would have been nice to tighten it using the provided turnbuckle so it didn't look like it was bowed out.
![]()


Pony truss top chord connections as viewed from on bridge.
![]()

Pony truss top chord.
![]()

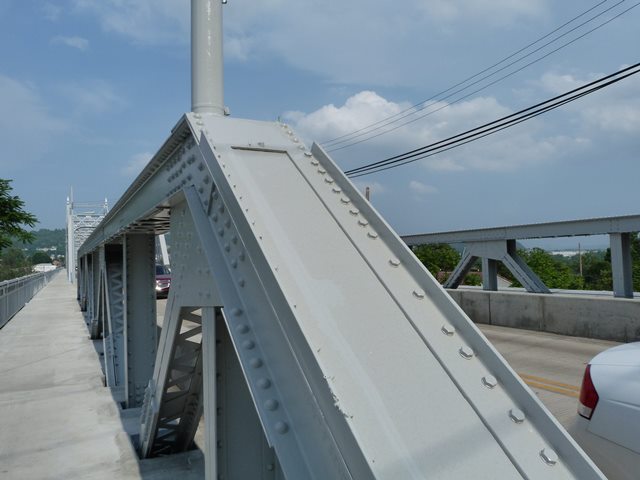
Pony truss end post.
![]()

Pony truss diagonal member.
![]()

Pony truss vertical member.
![]()
Portal bracing.
![]()
Sway bracing.
![]()


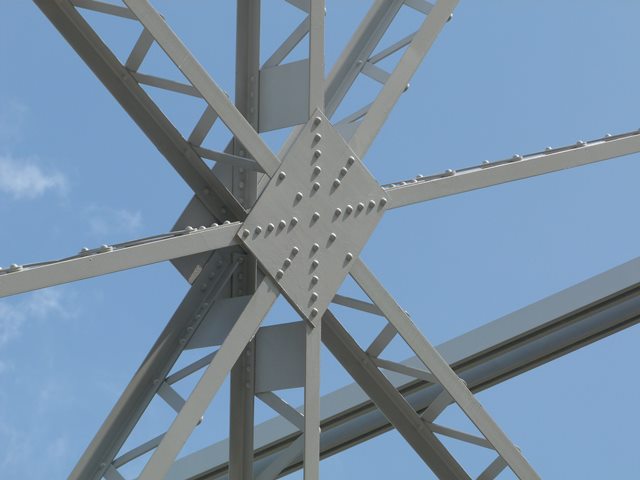
Sway bracing details.
![]()

Lateral bracing.
![]()

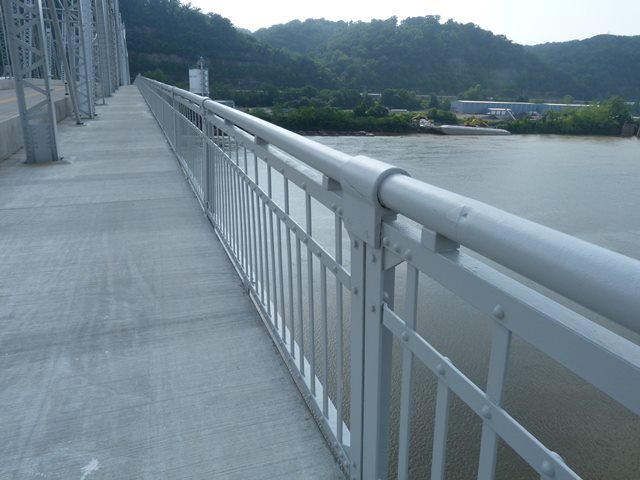
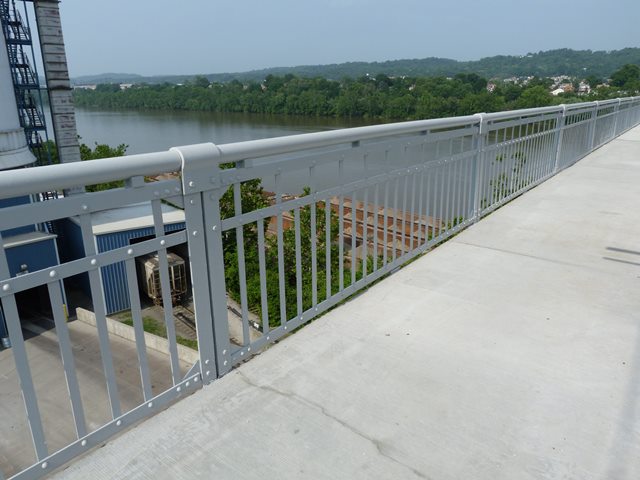
Railing.
![]()


Deck.
![]()

Pier.
![]()

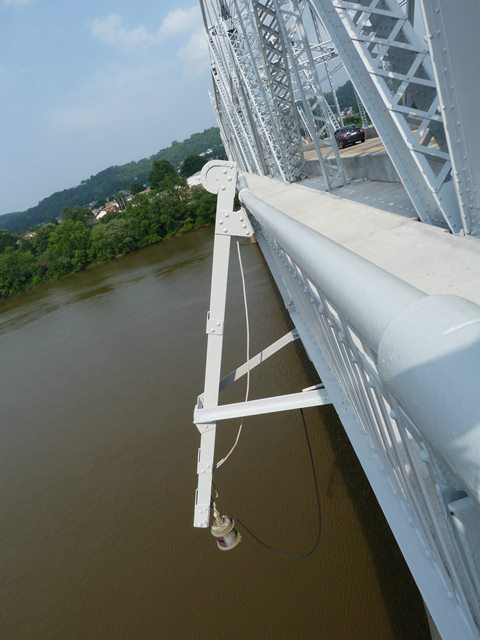
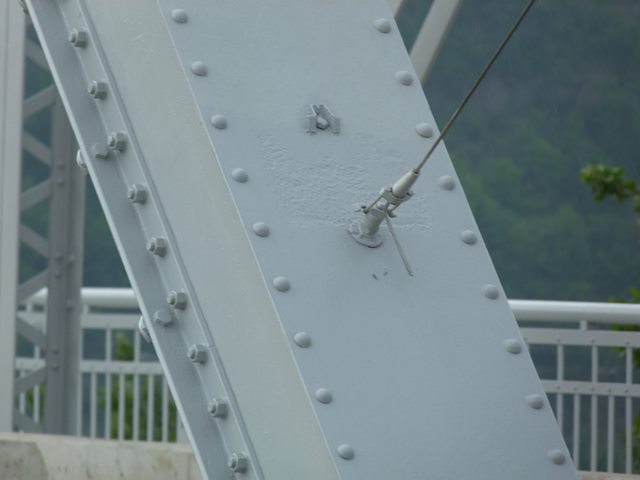
Navigation light.
![]()

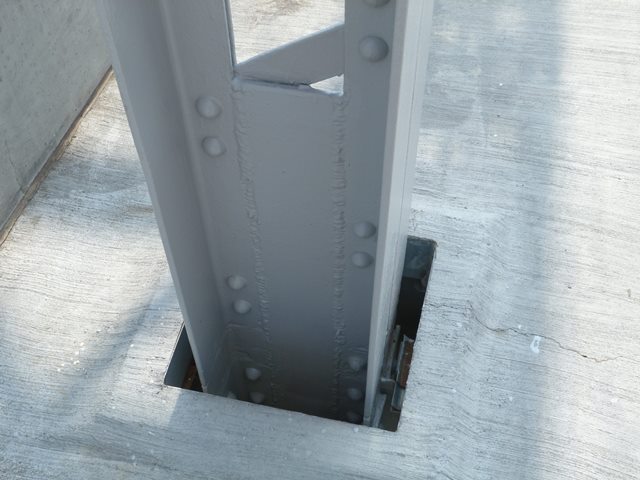
The contractor moved a lacing bar to add plate to this vertical, so now the bar is sticking out!
![]()

Section loss on vertical members.
![]()
Section loss on end post.
![]()

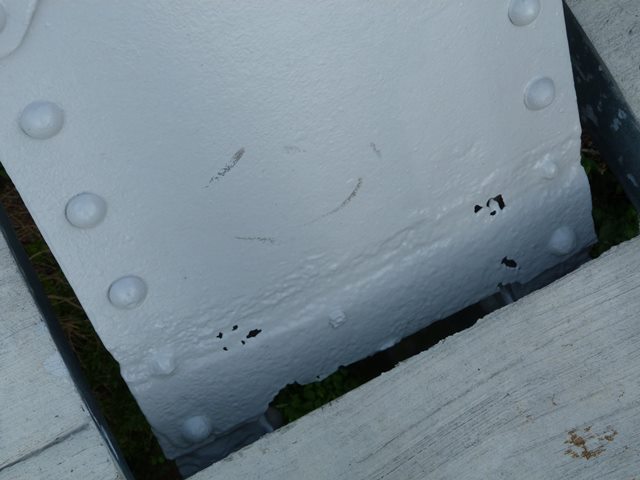
Section loss and area of damaged new paint showing that the old green paint, at least here, was not blasted off prior to painting.
![]()
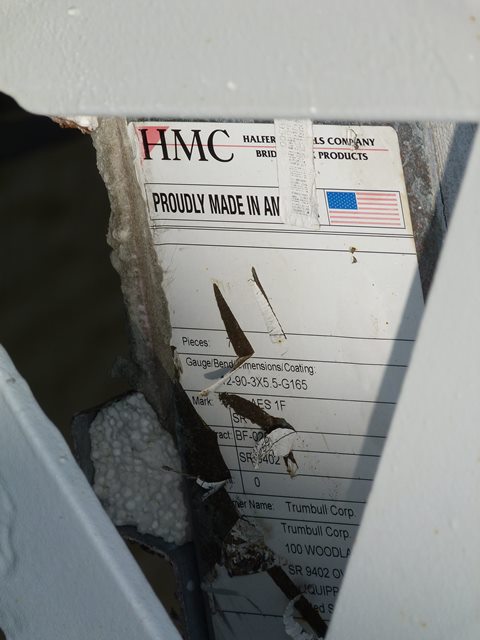
Sticker on bridge.
![]()
![]()

![]()