Uncredited photos on this page taken by: Nathan Holth and Rick McOmber. Unless stated in a caption, all photos are Copyright with All Rights Reserved. Learn about reuse of our photos.
![]()

Adapted From Historic American Engineering Record
This diagram should help viewers interpret the descriptions of the photos on this page. The different sections of the bridge are drawn and labeled, with those sections that were demolished and not present when this bridge was photodocumented shown highlighted in red. The orange section shows where the bridge's north approach was added, which today is part of the main bridge and the primary means of crossing the bridge.
![]()

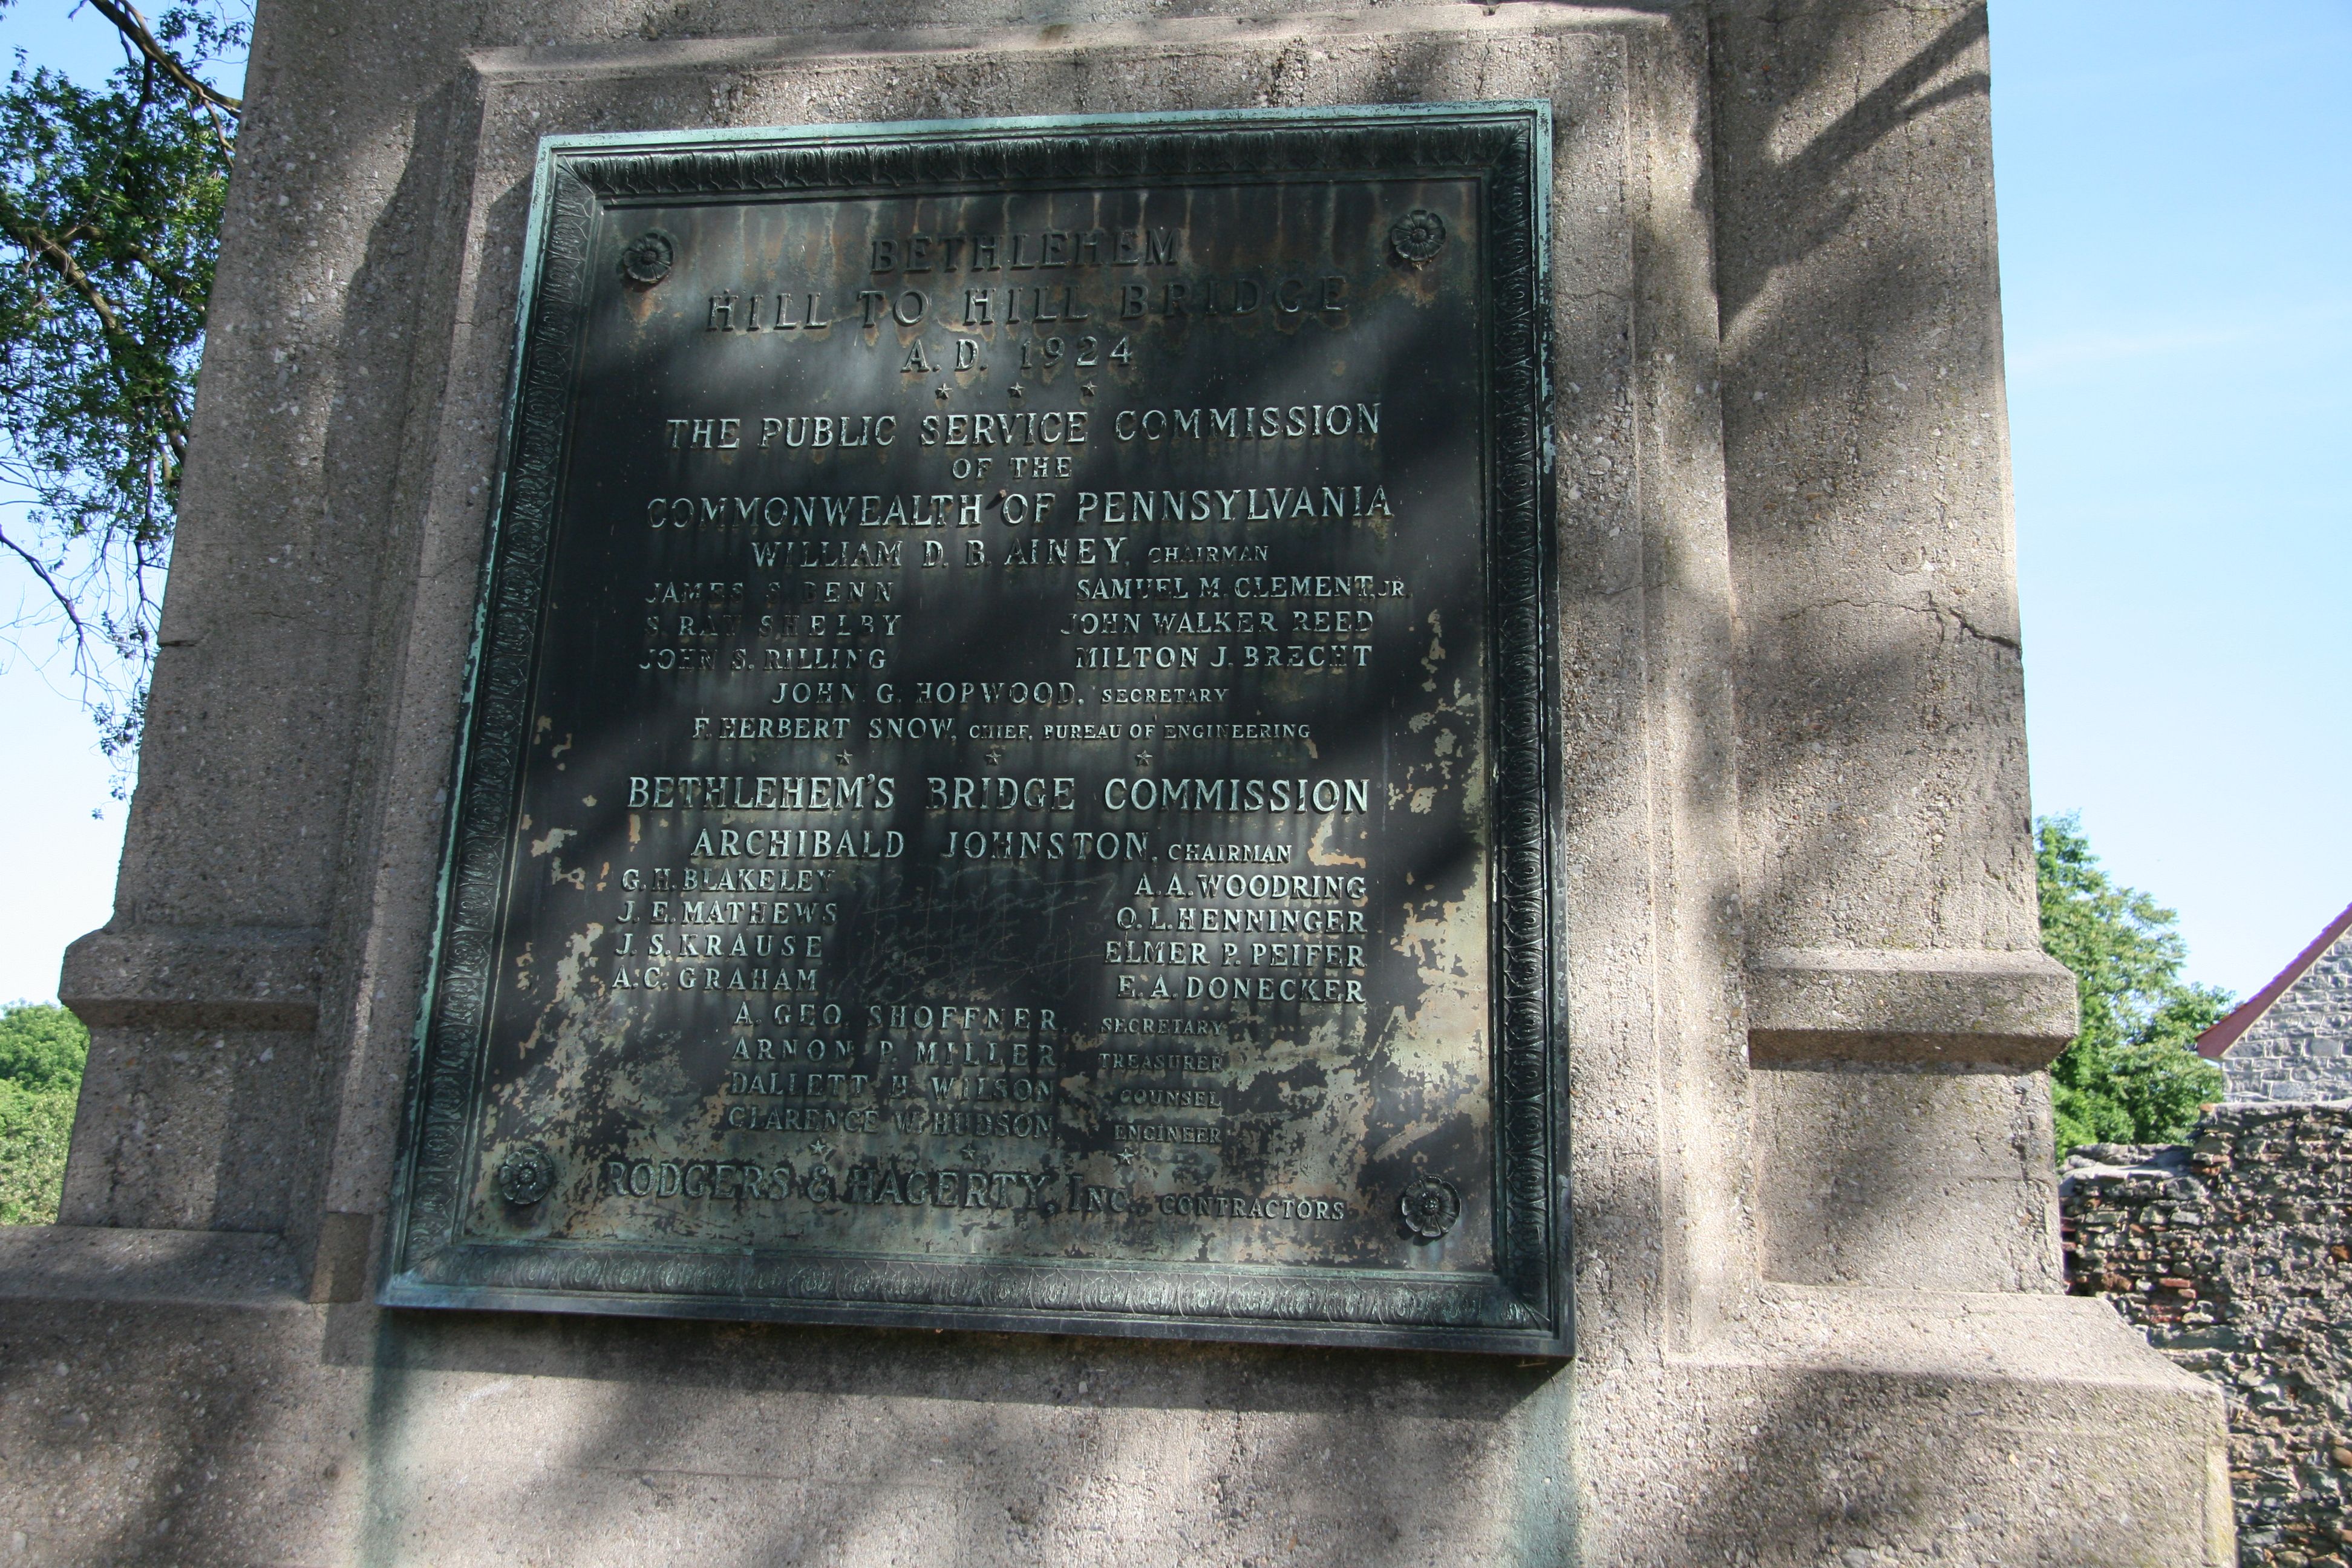
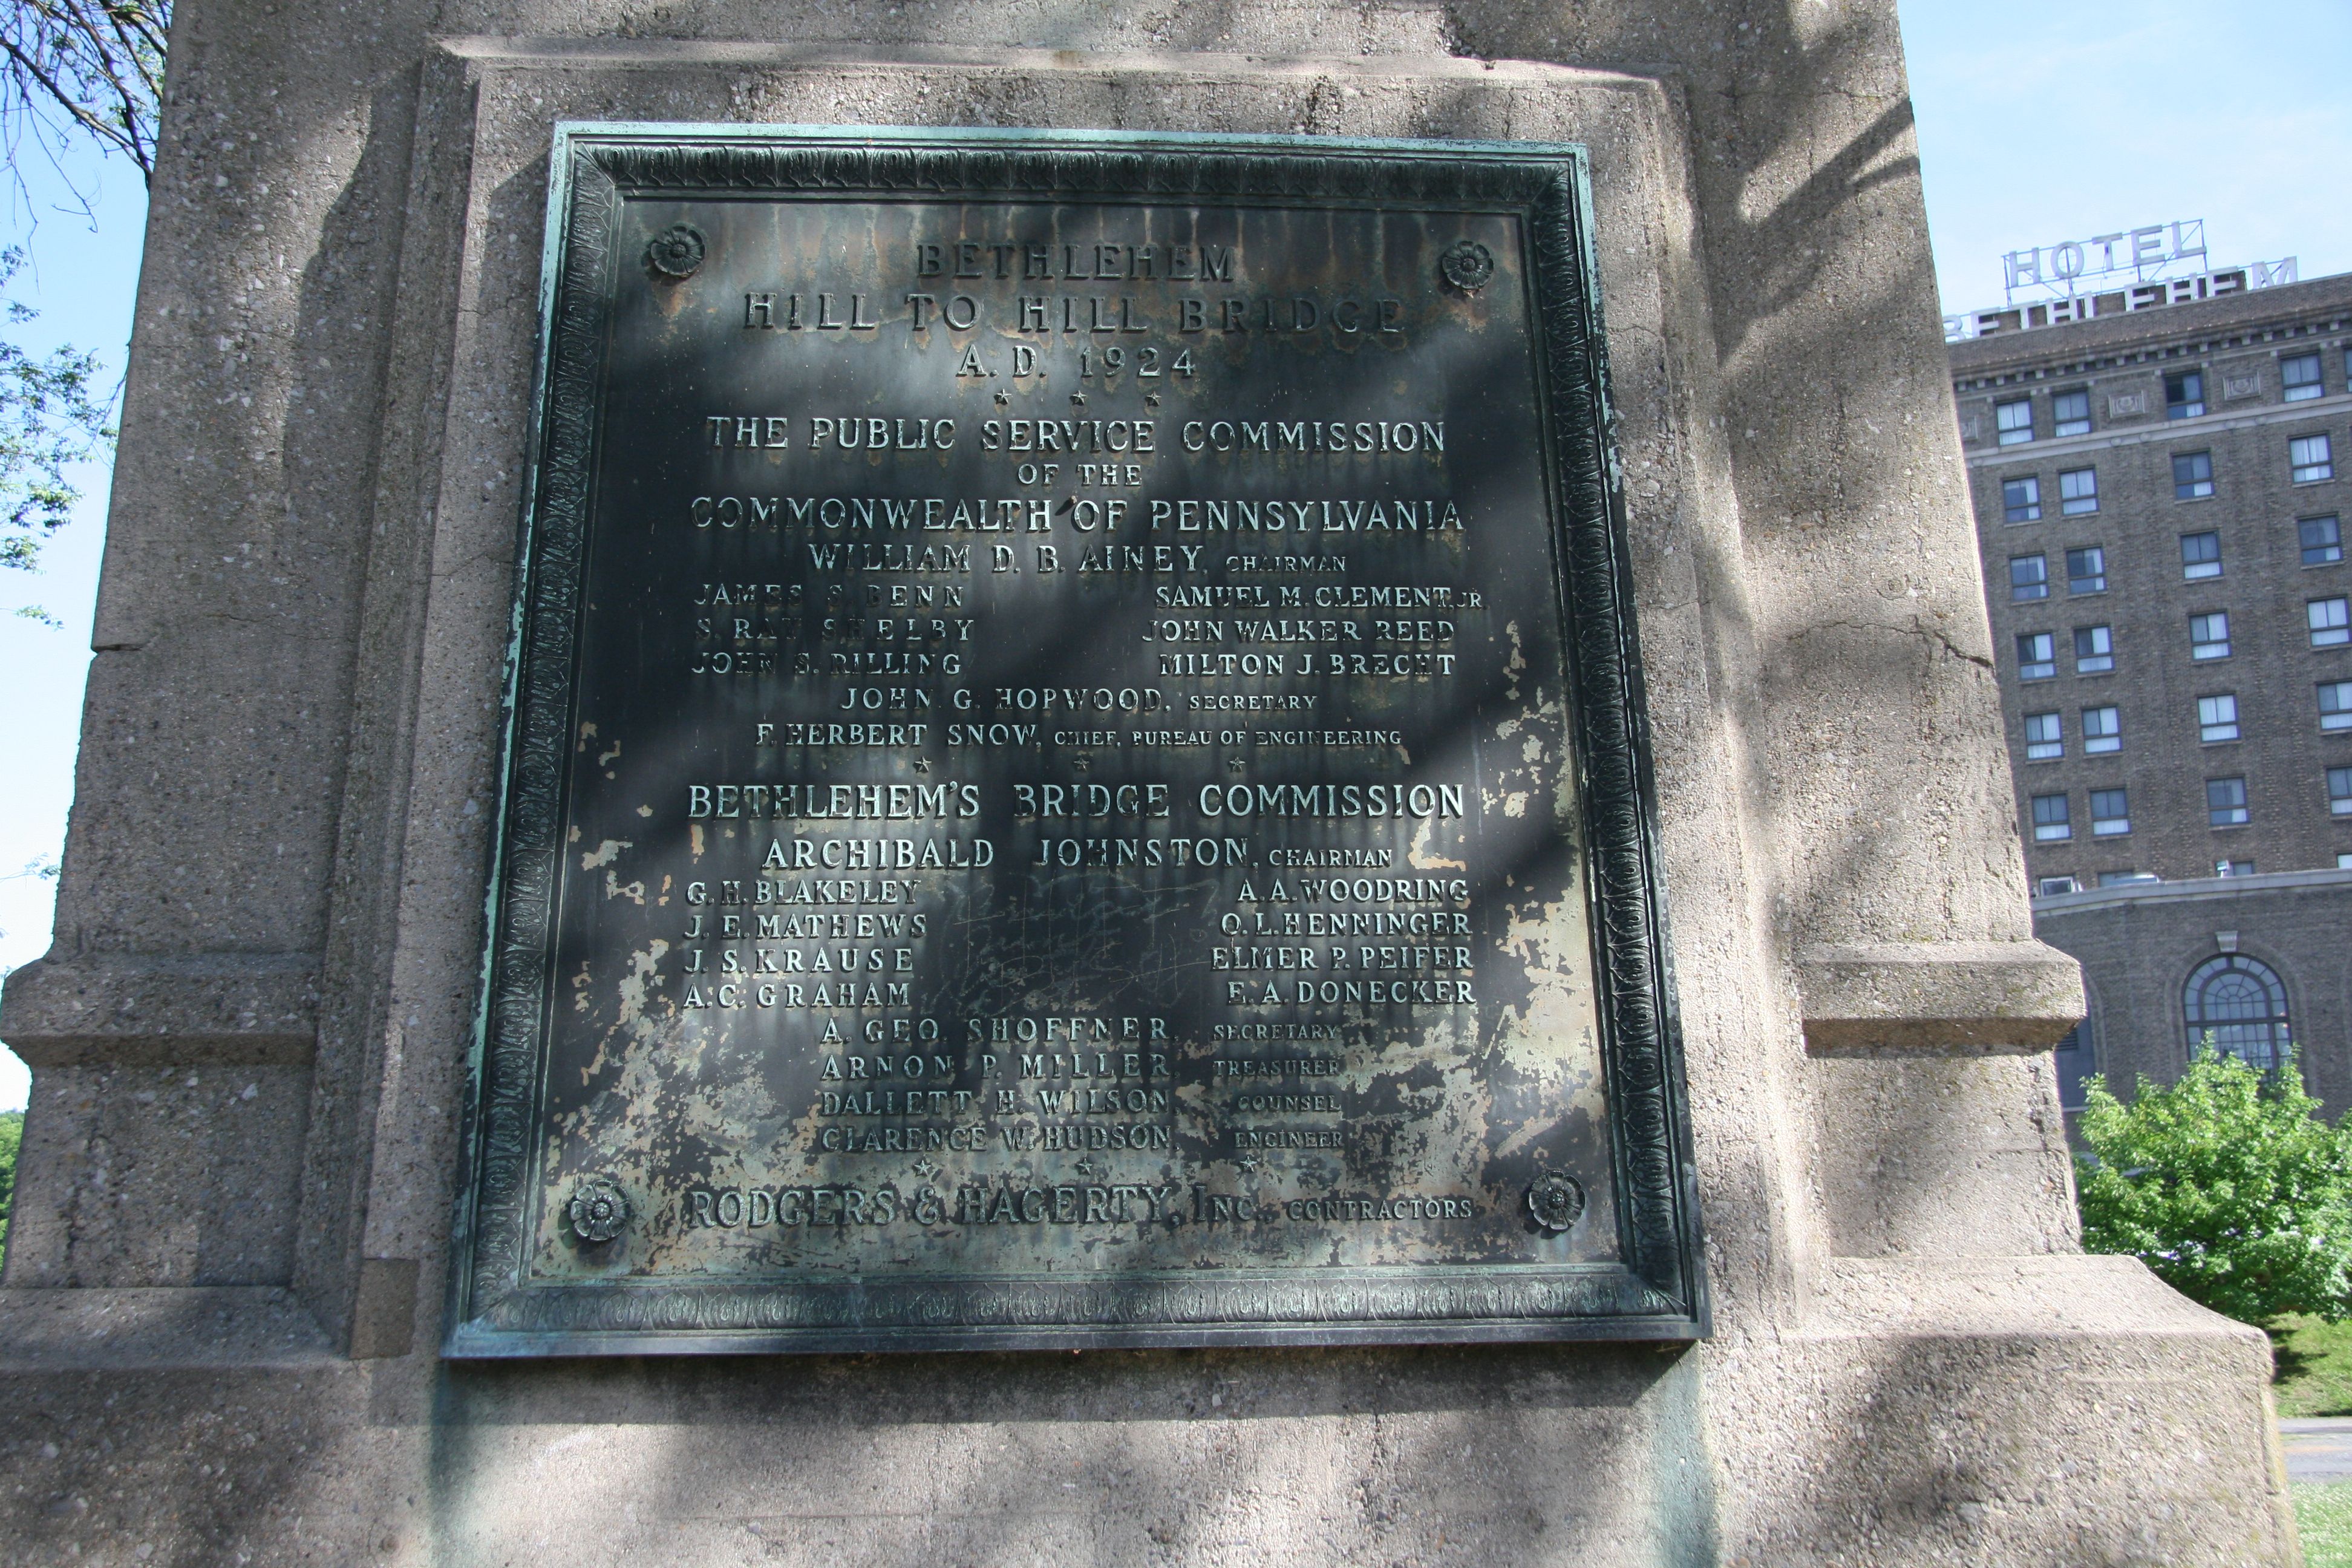
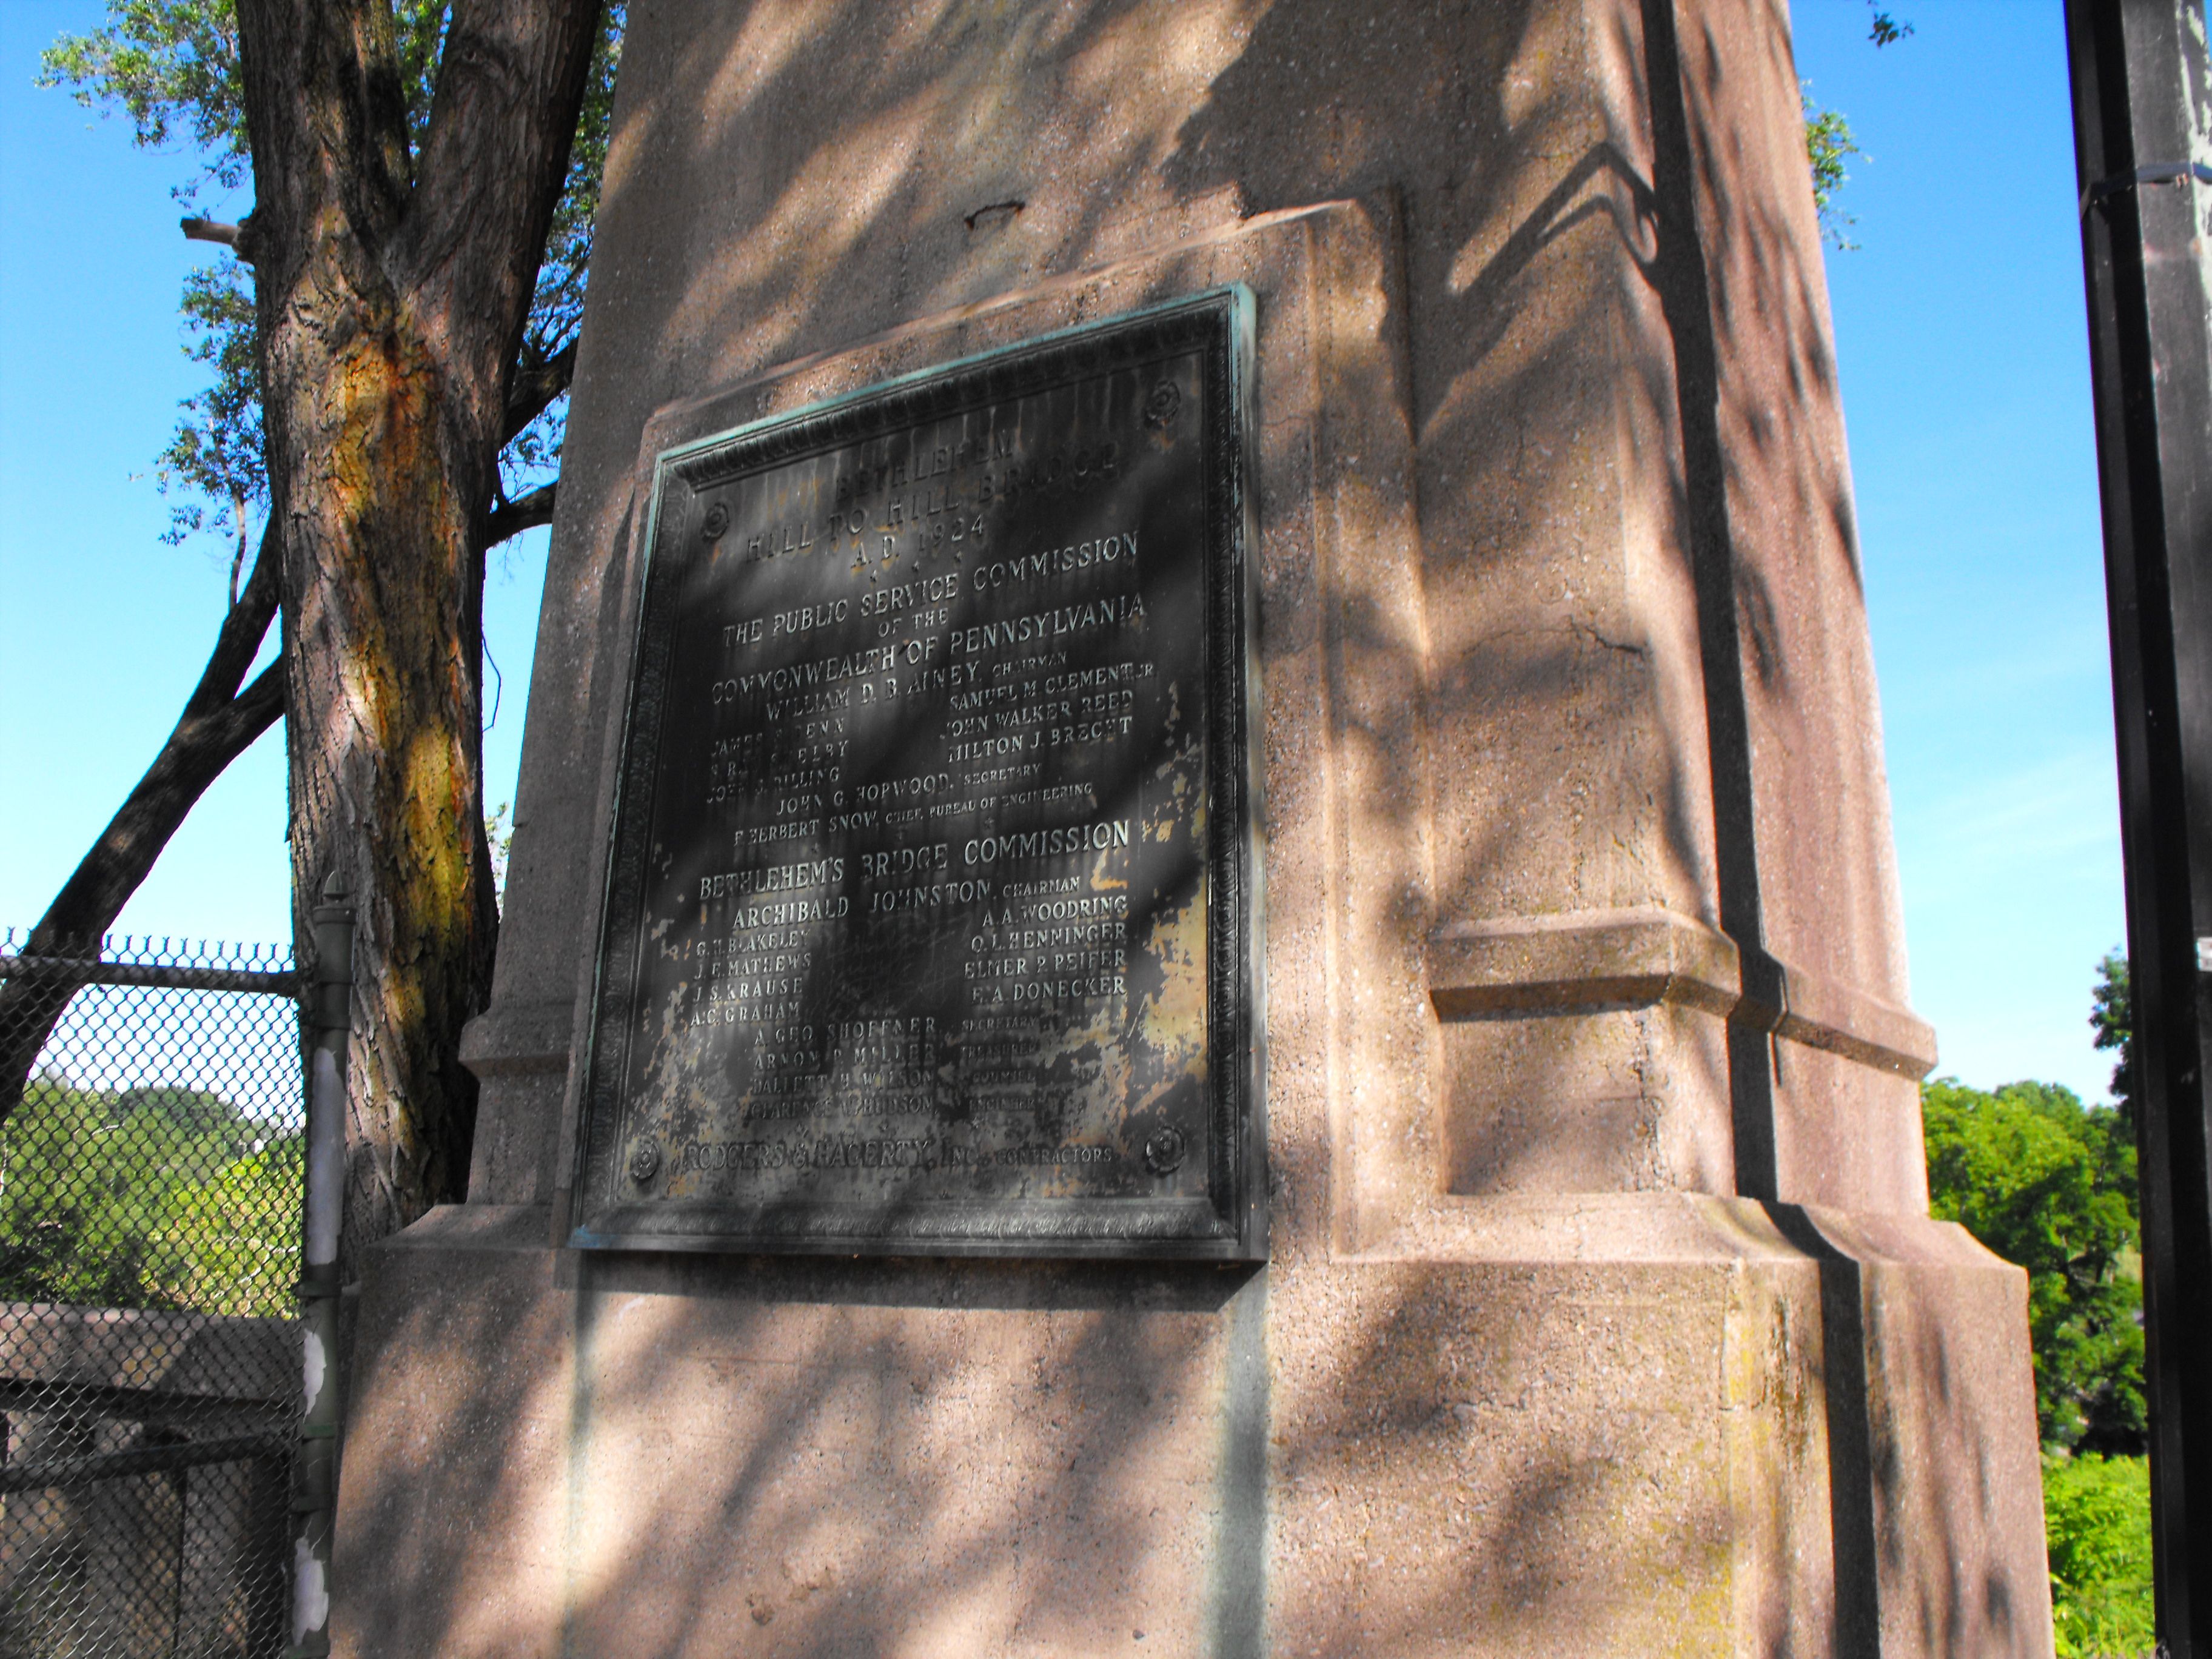
Plaque, mounted on decorative pillars at end of Main Street Branch ramp.
![]()

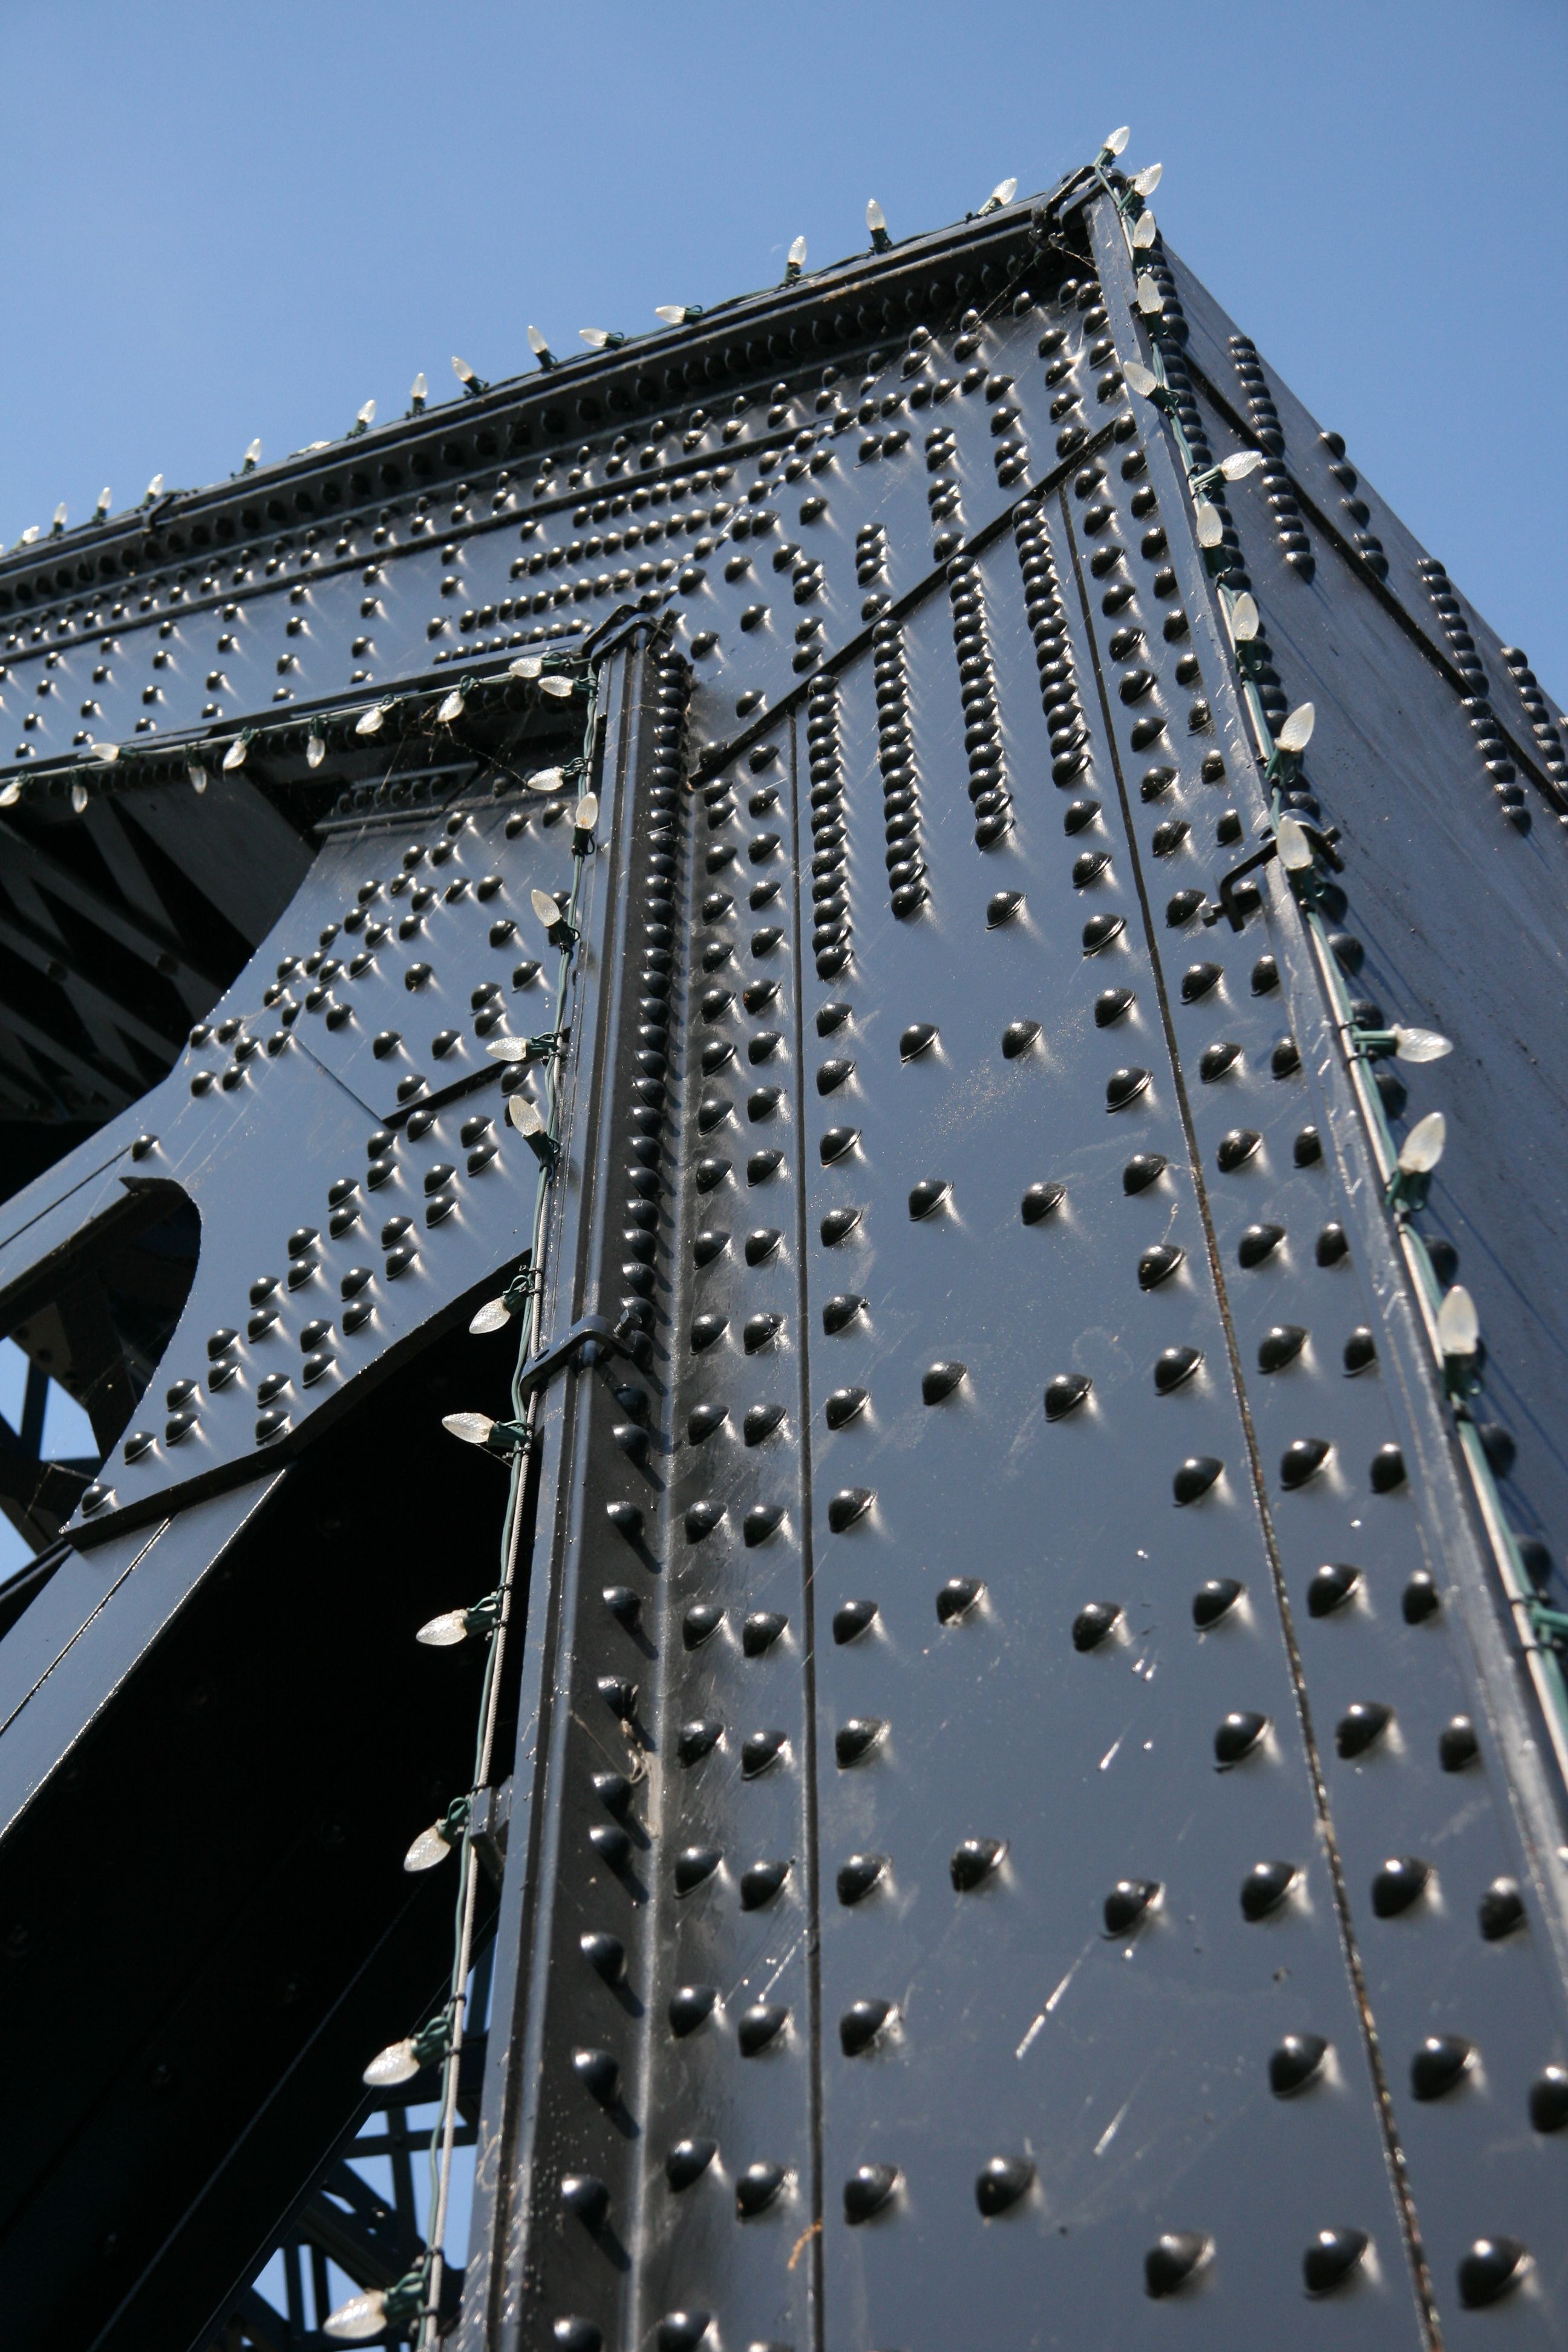
Bethlehem brand on truss.
![]()

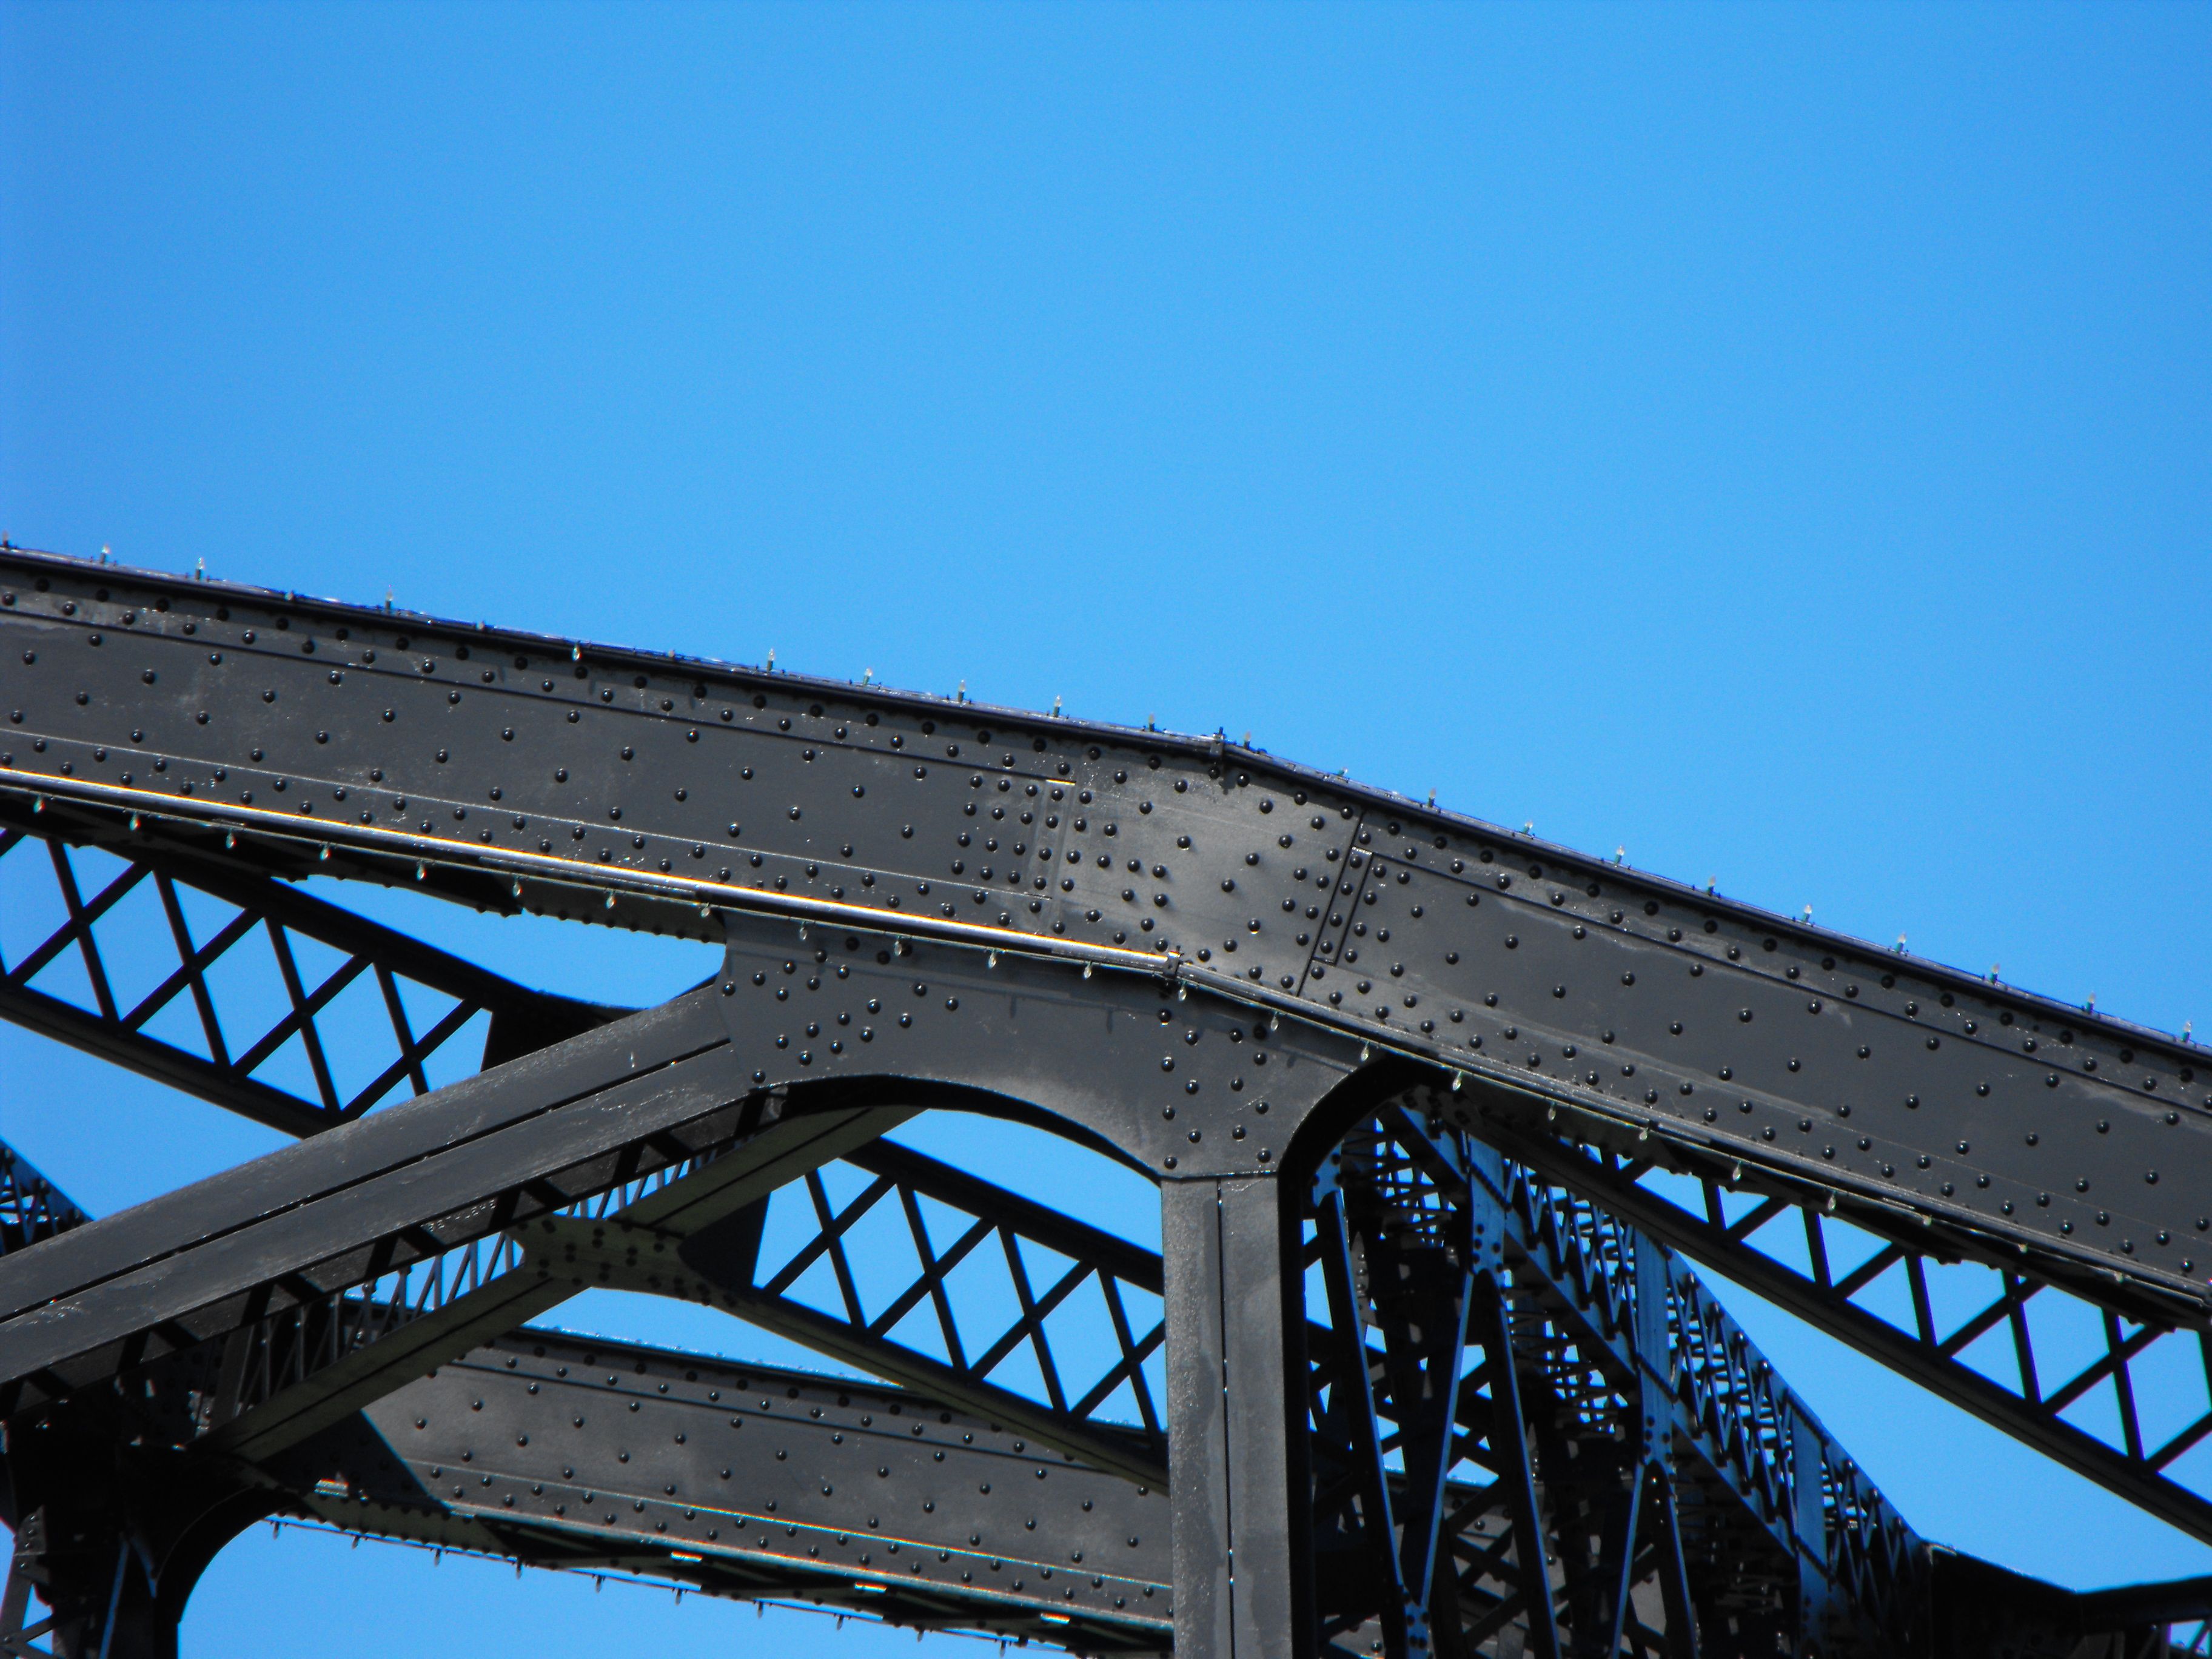


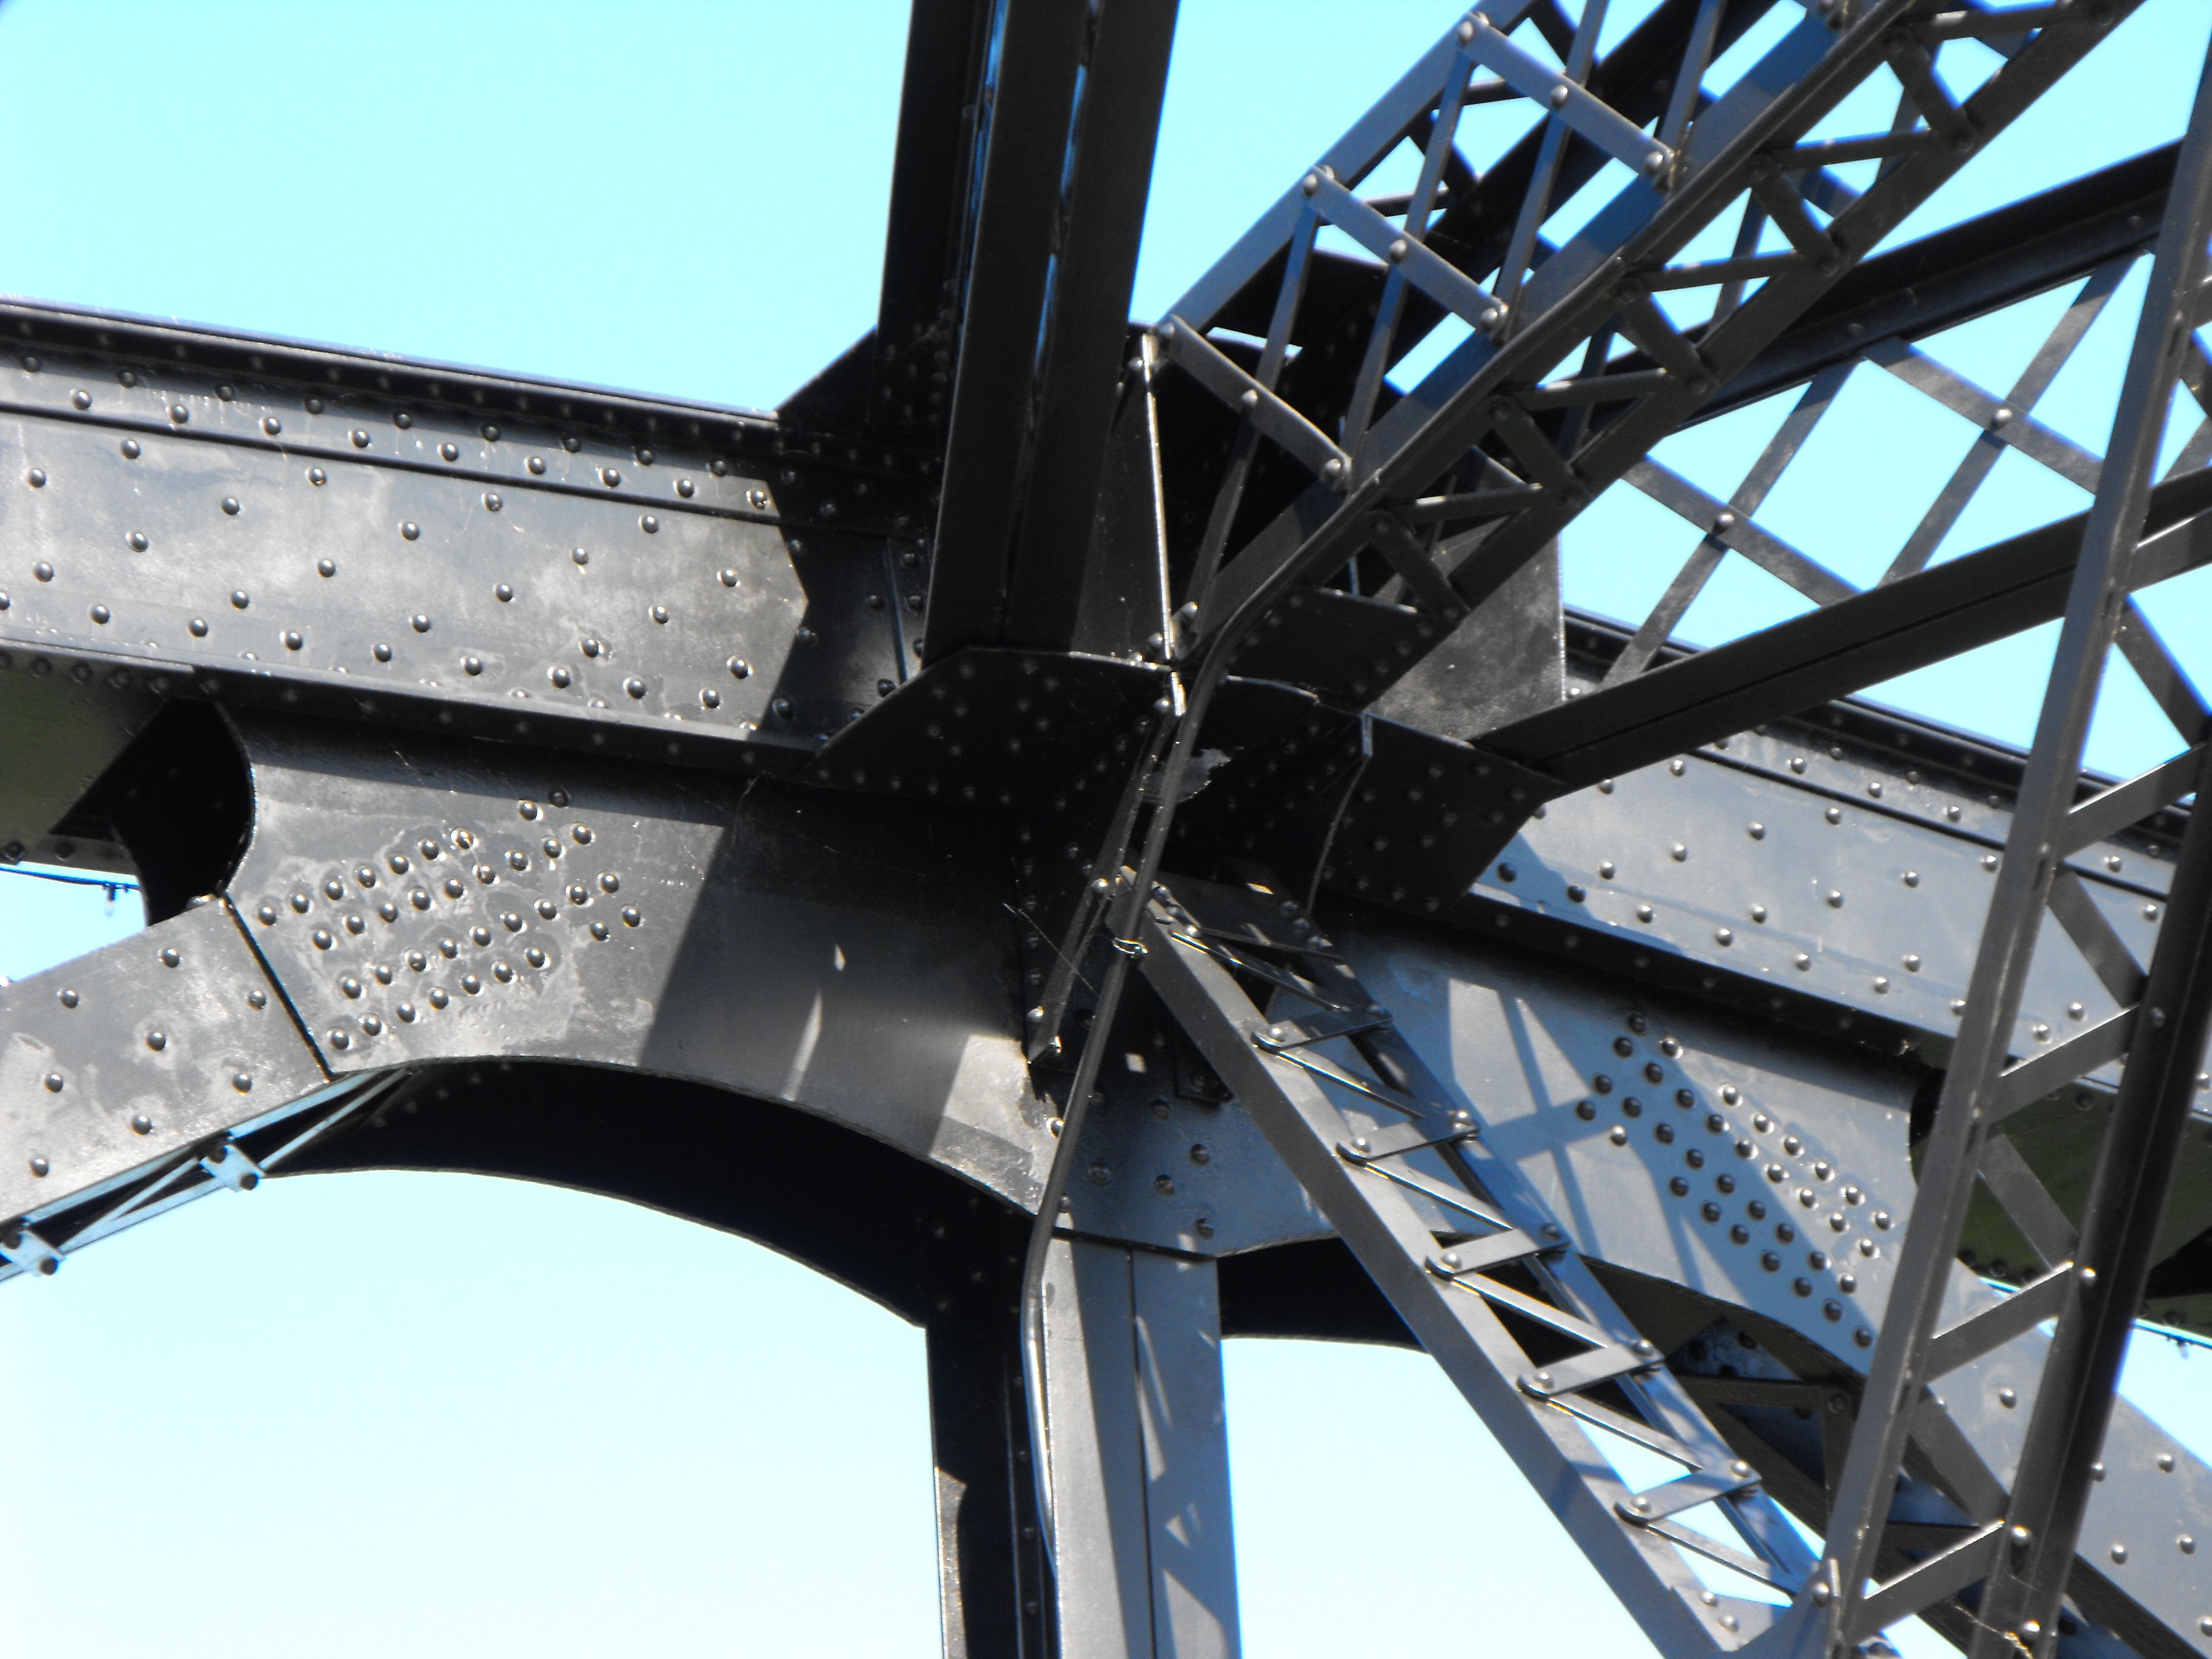
Top chord connections as viewed from beside bridge.
![]()
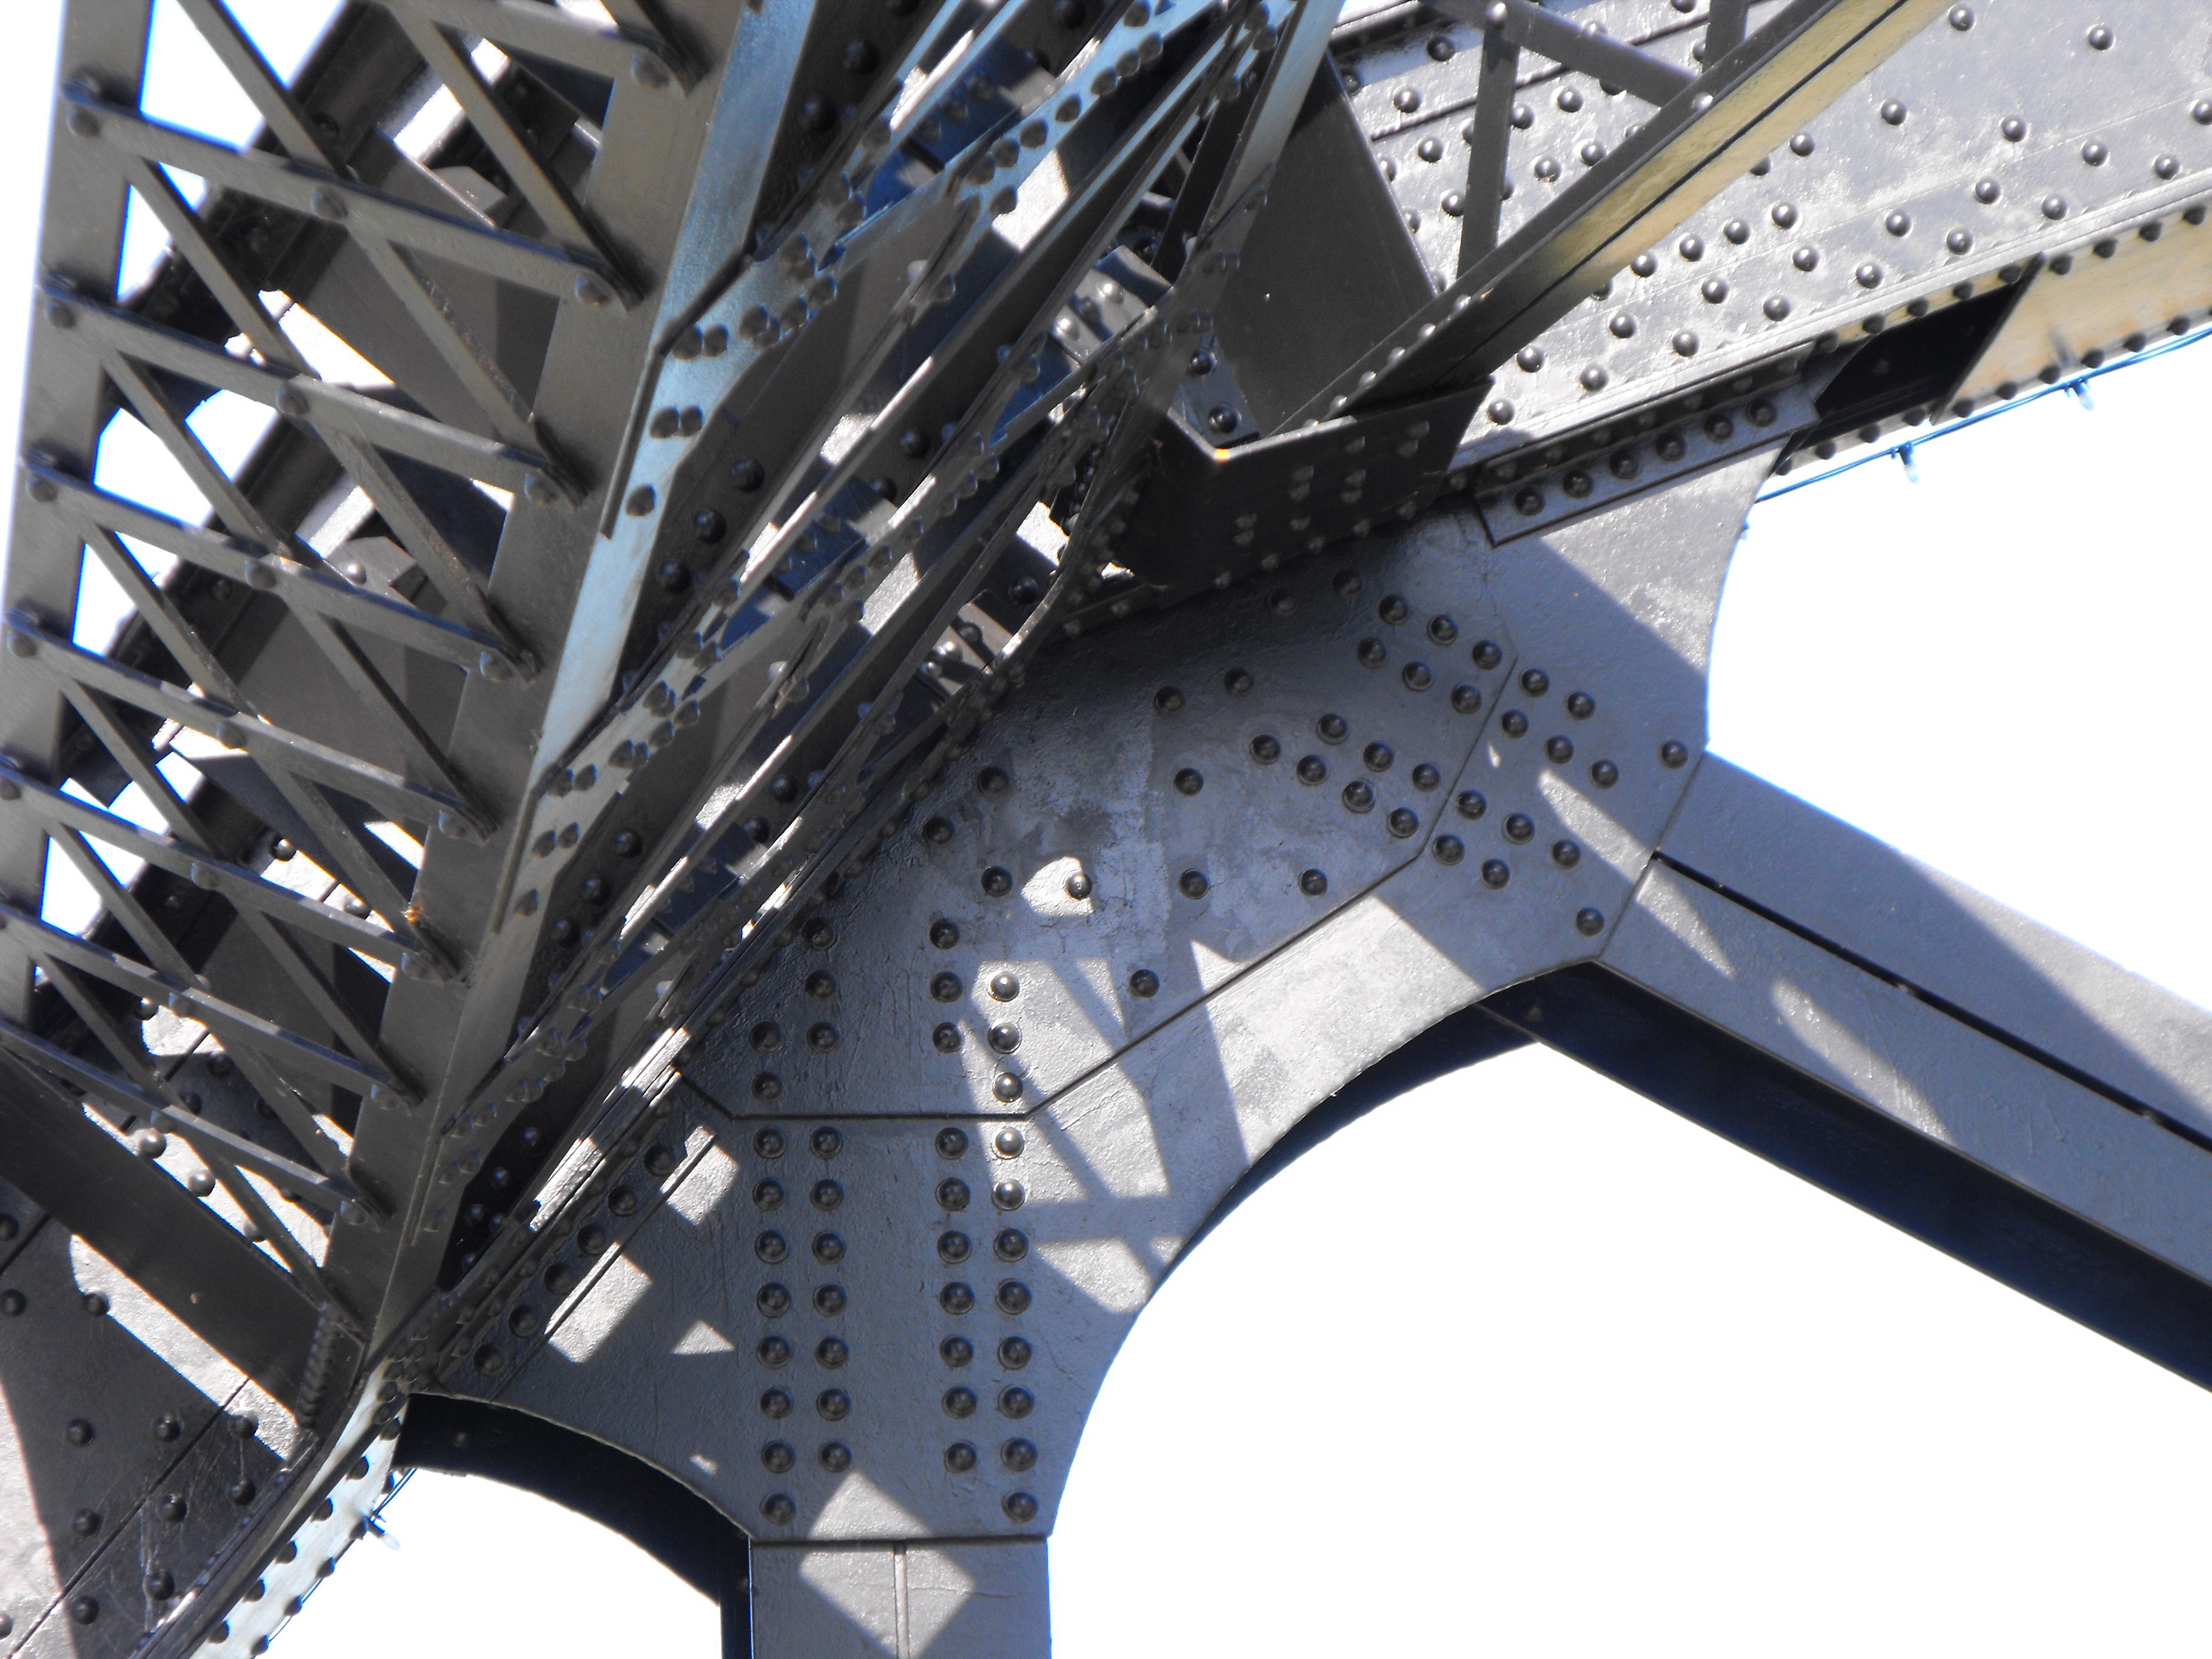
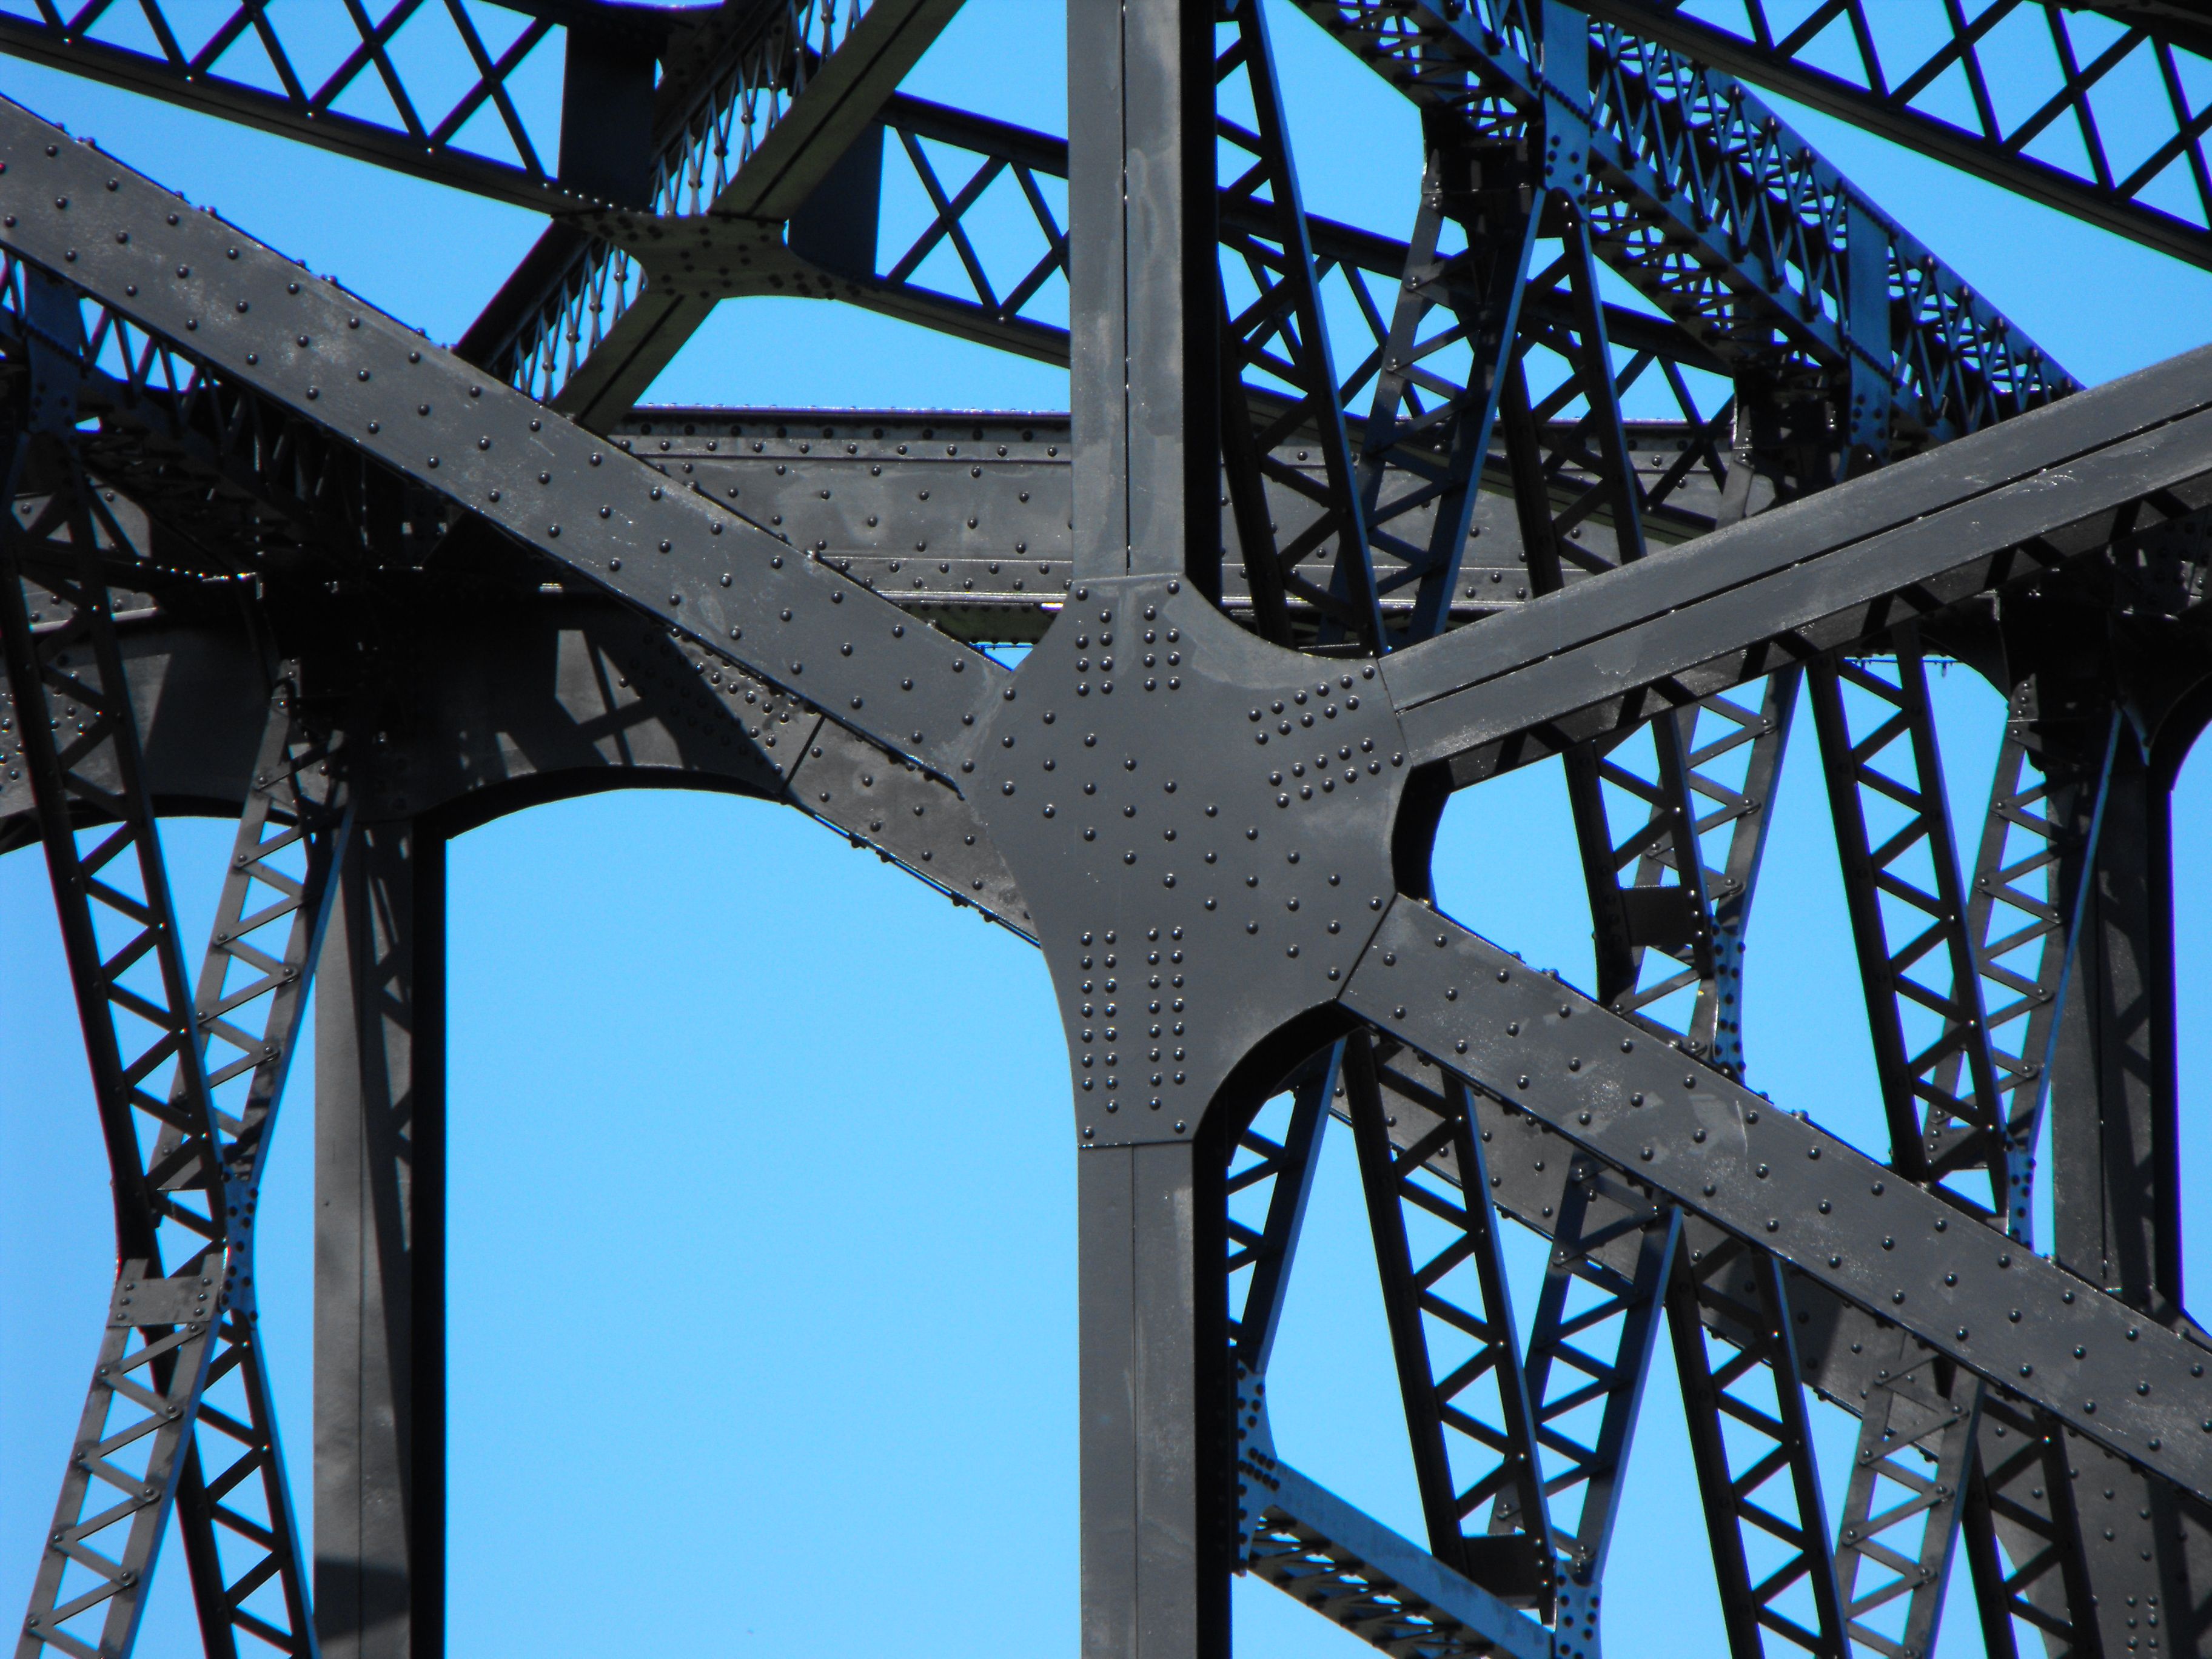
Top chord connections as viewed from on bridge.
![]()

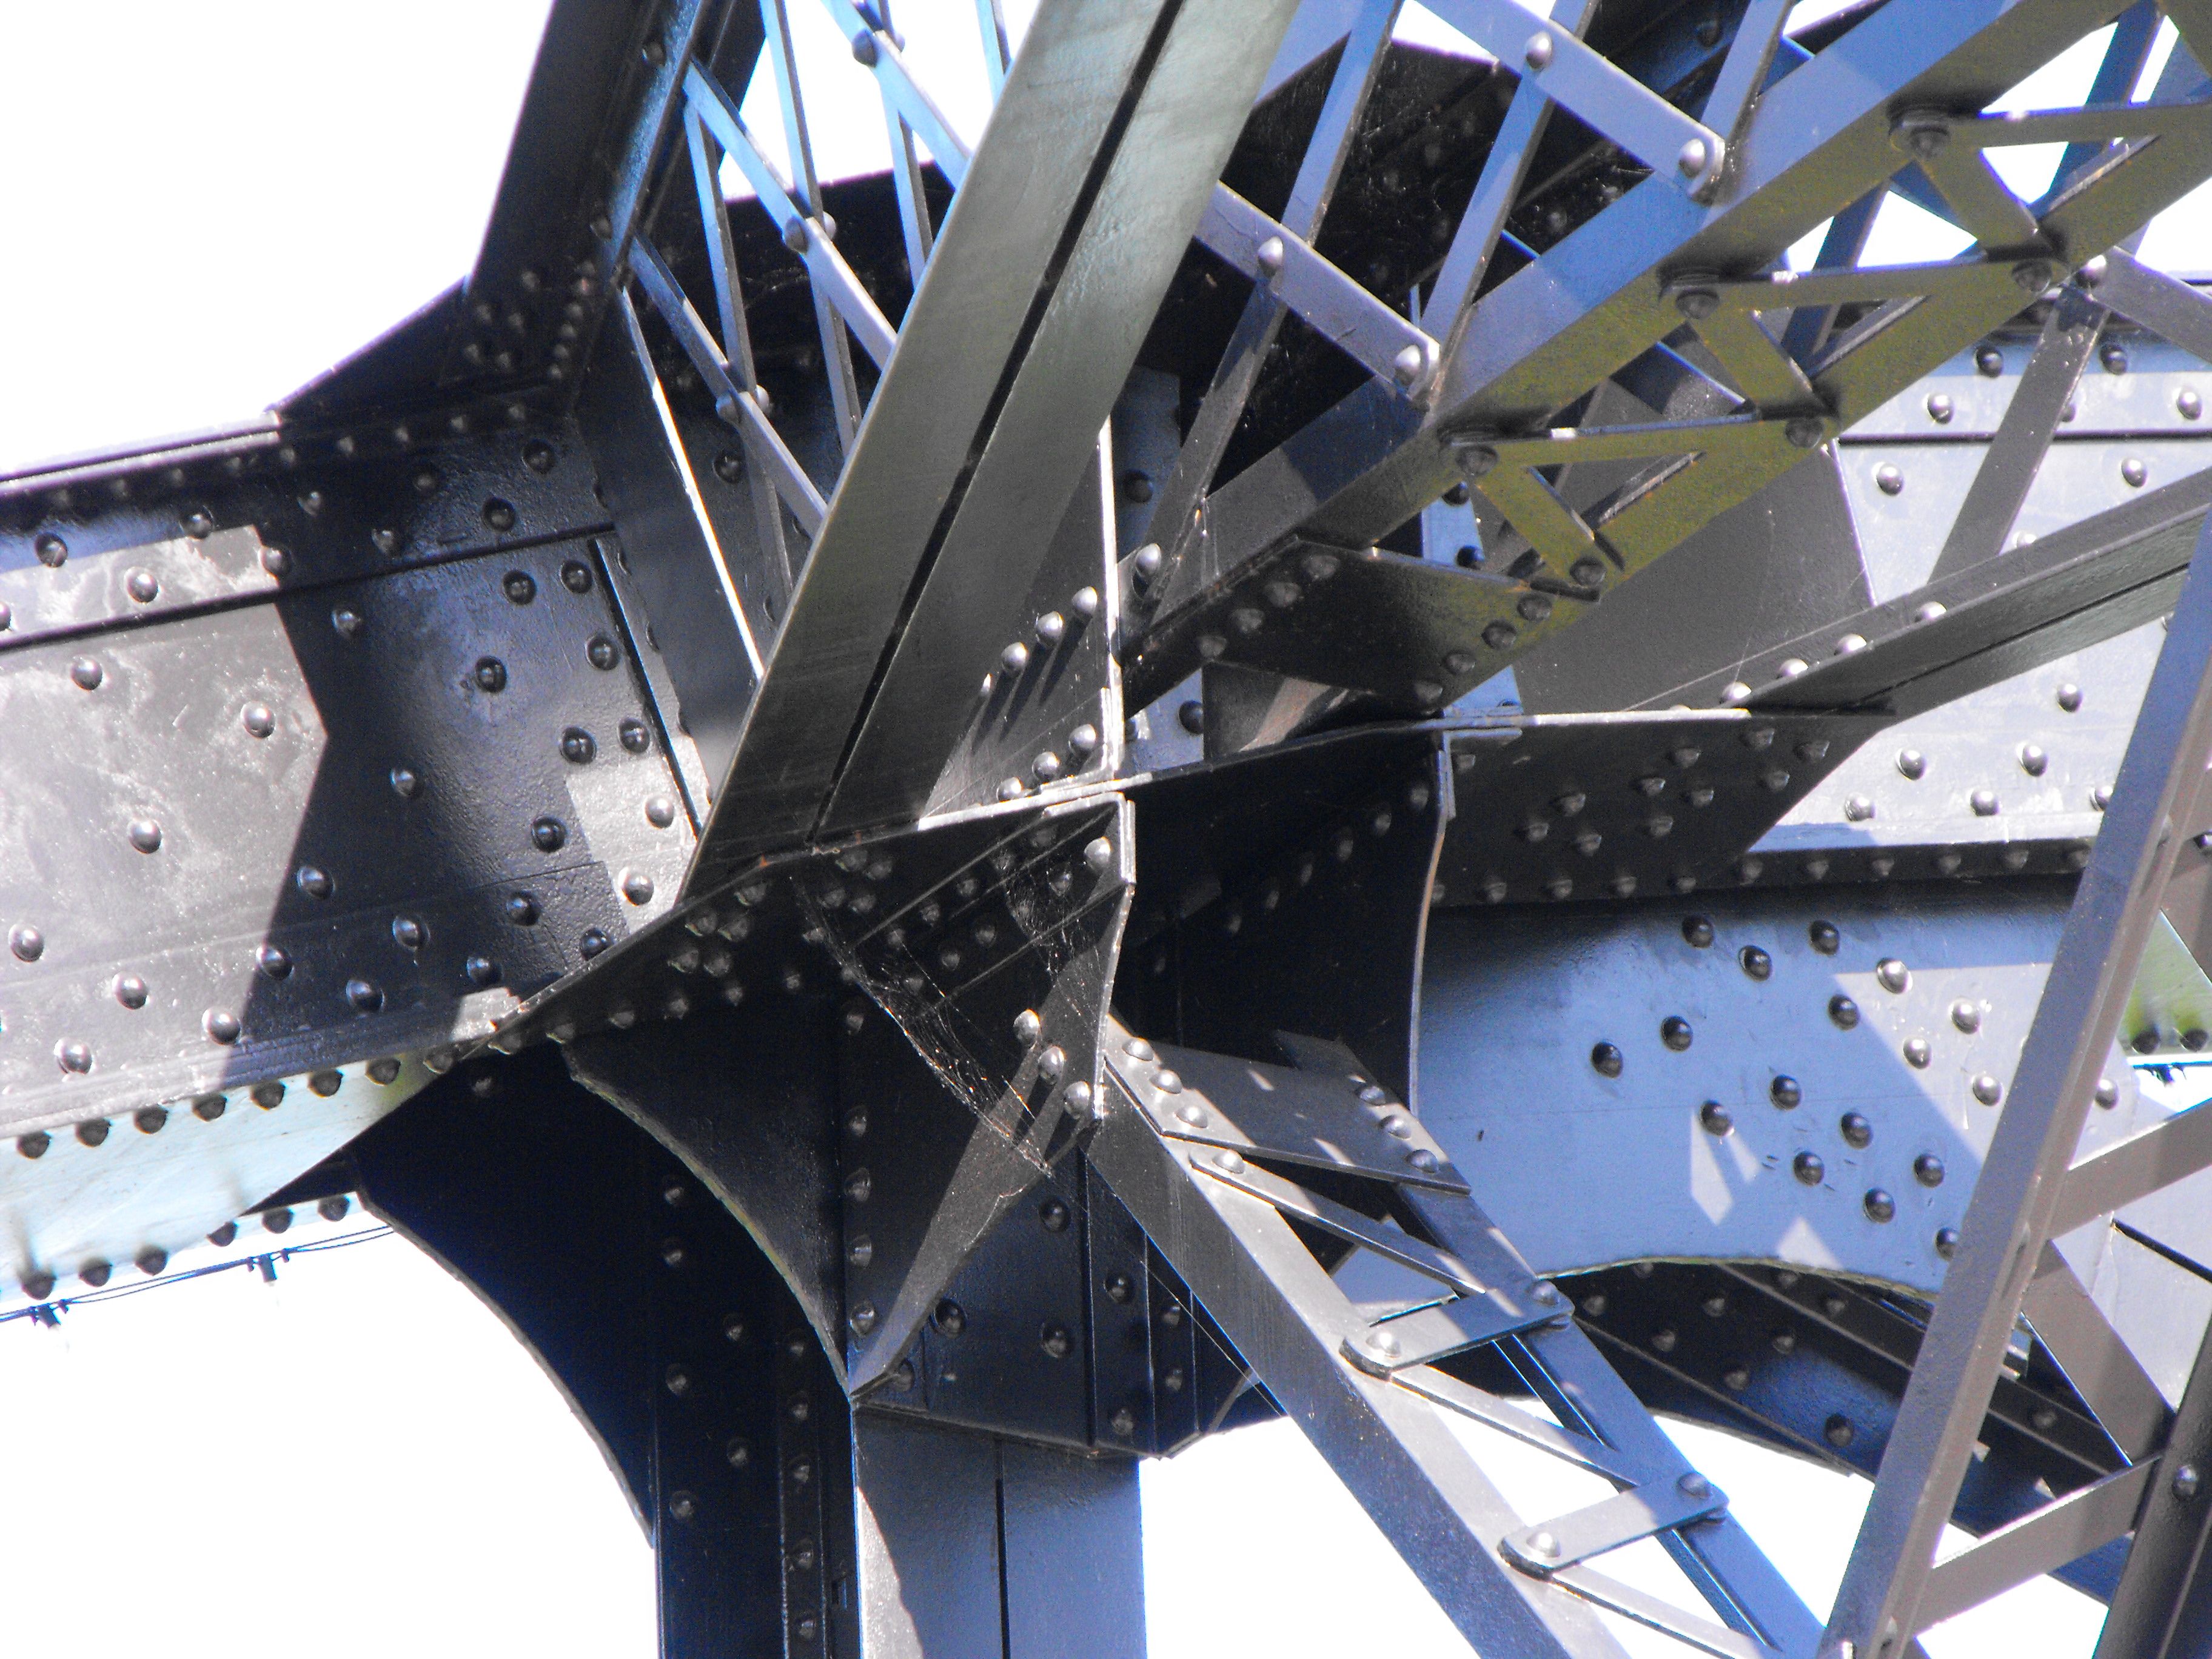
Bottom chord connection as viewed from on bridge.
![]()

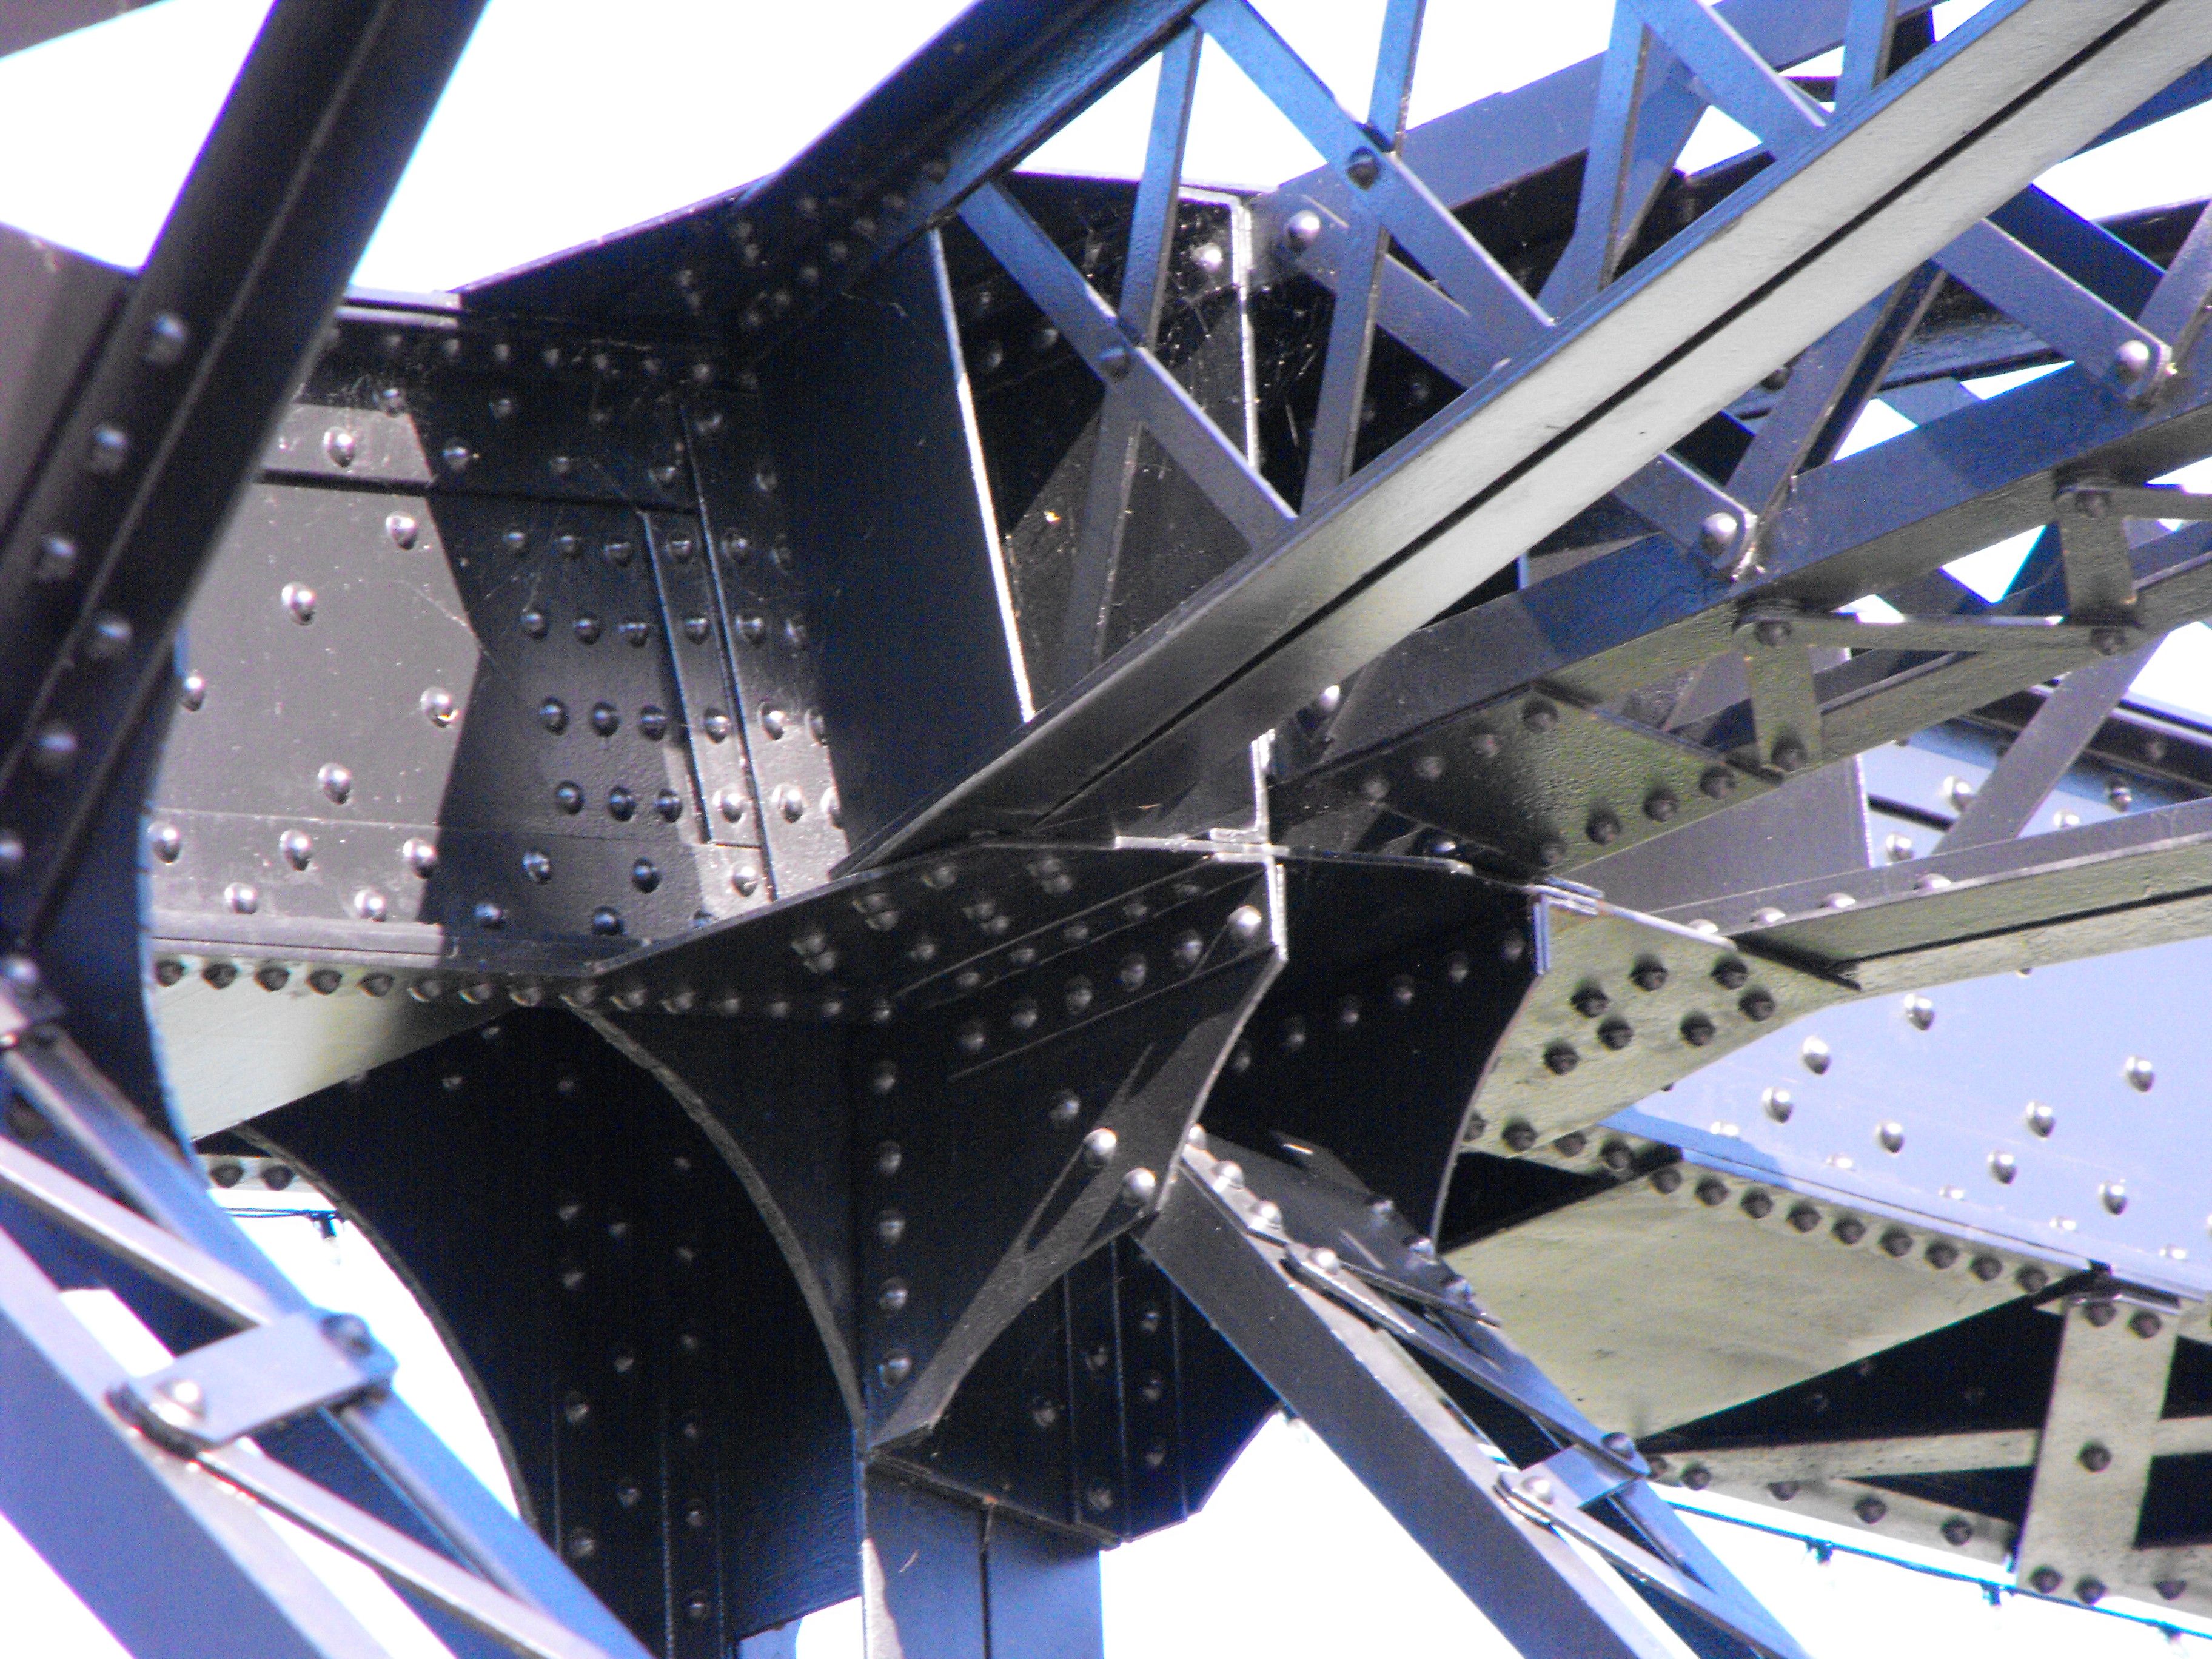
Intermediate connections as viewed from beside bridge.
![]()


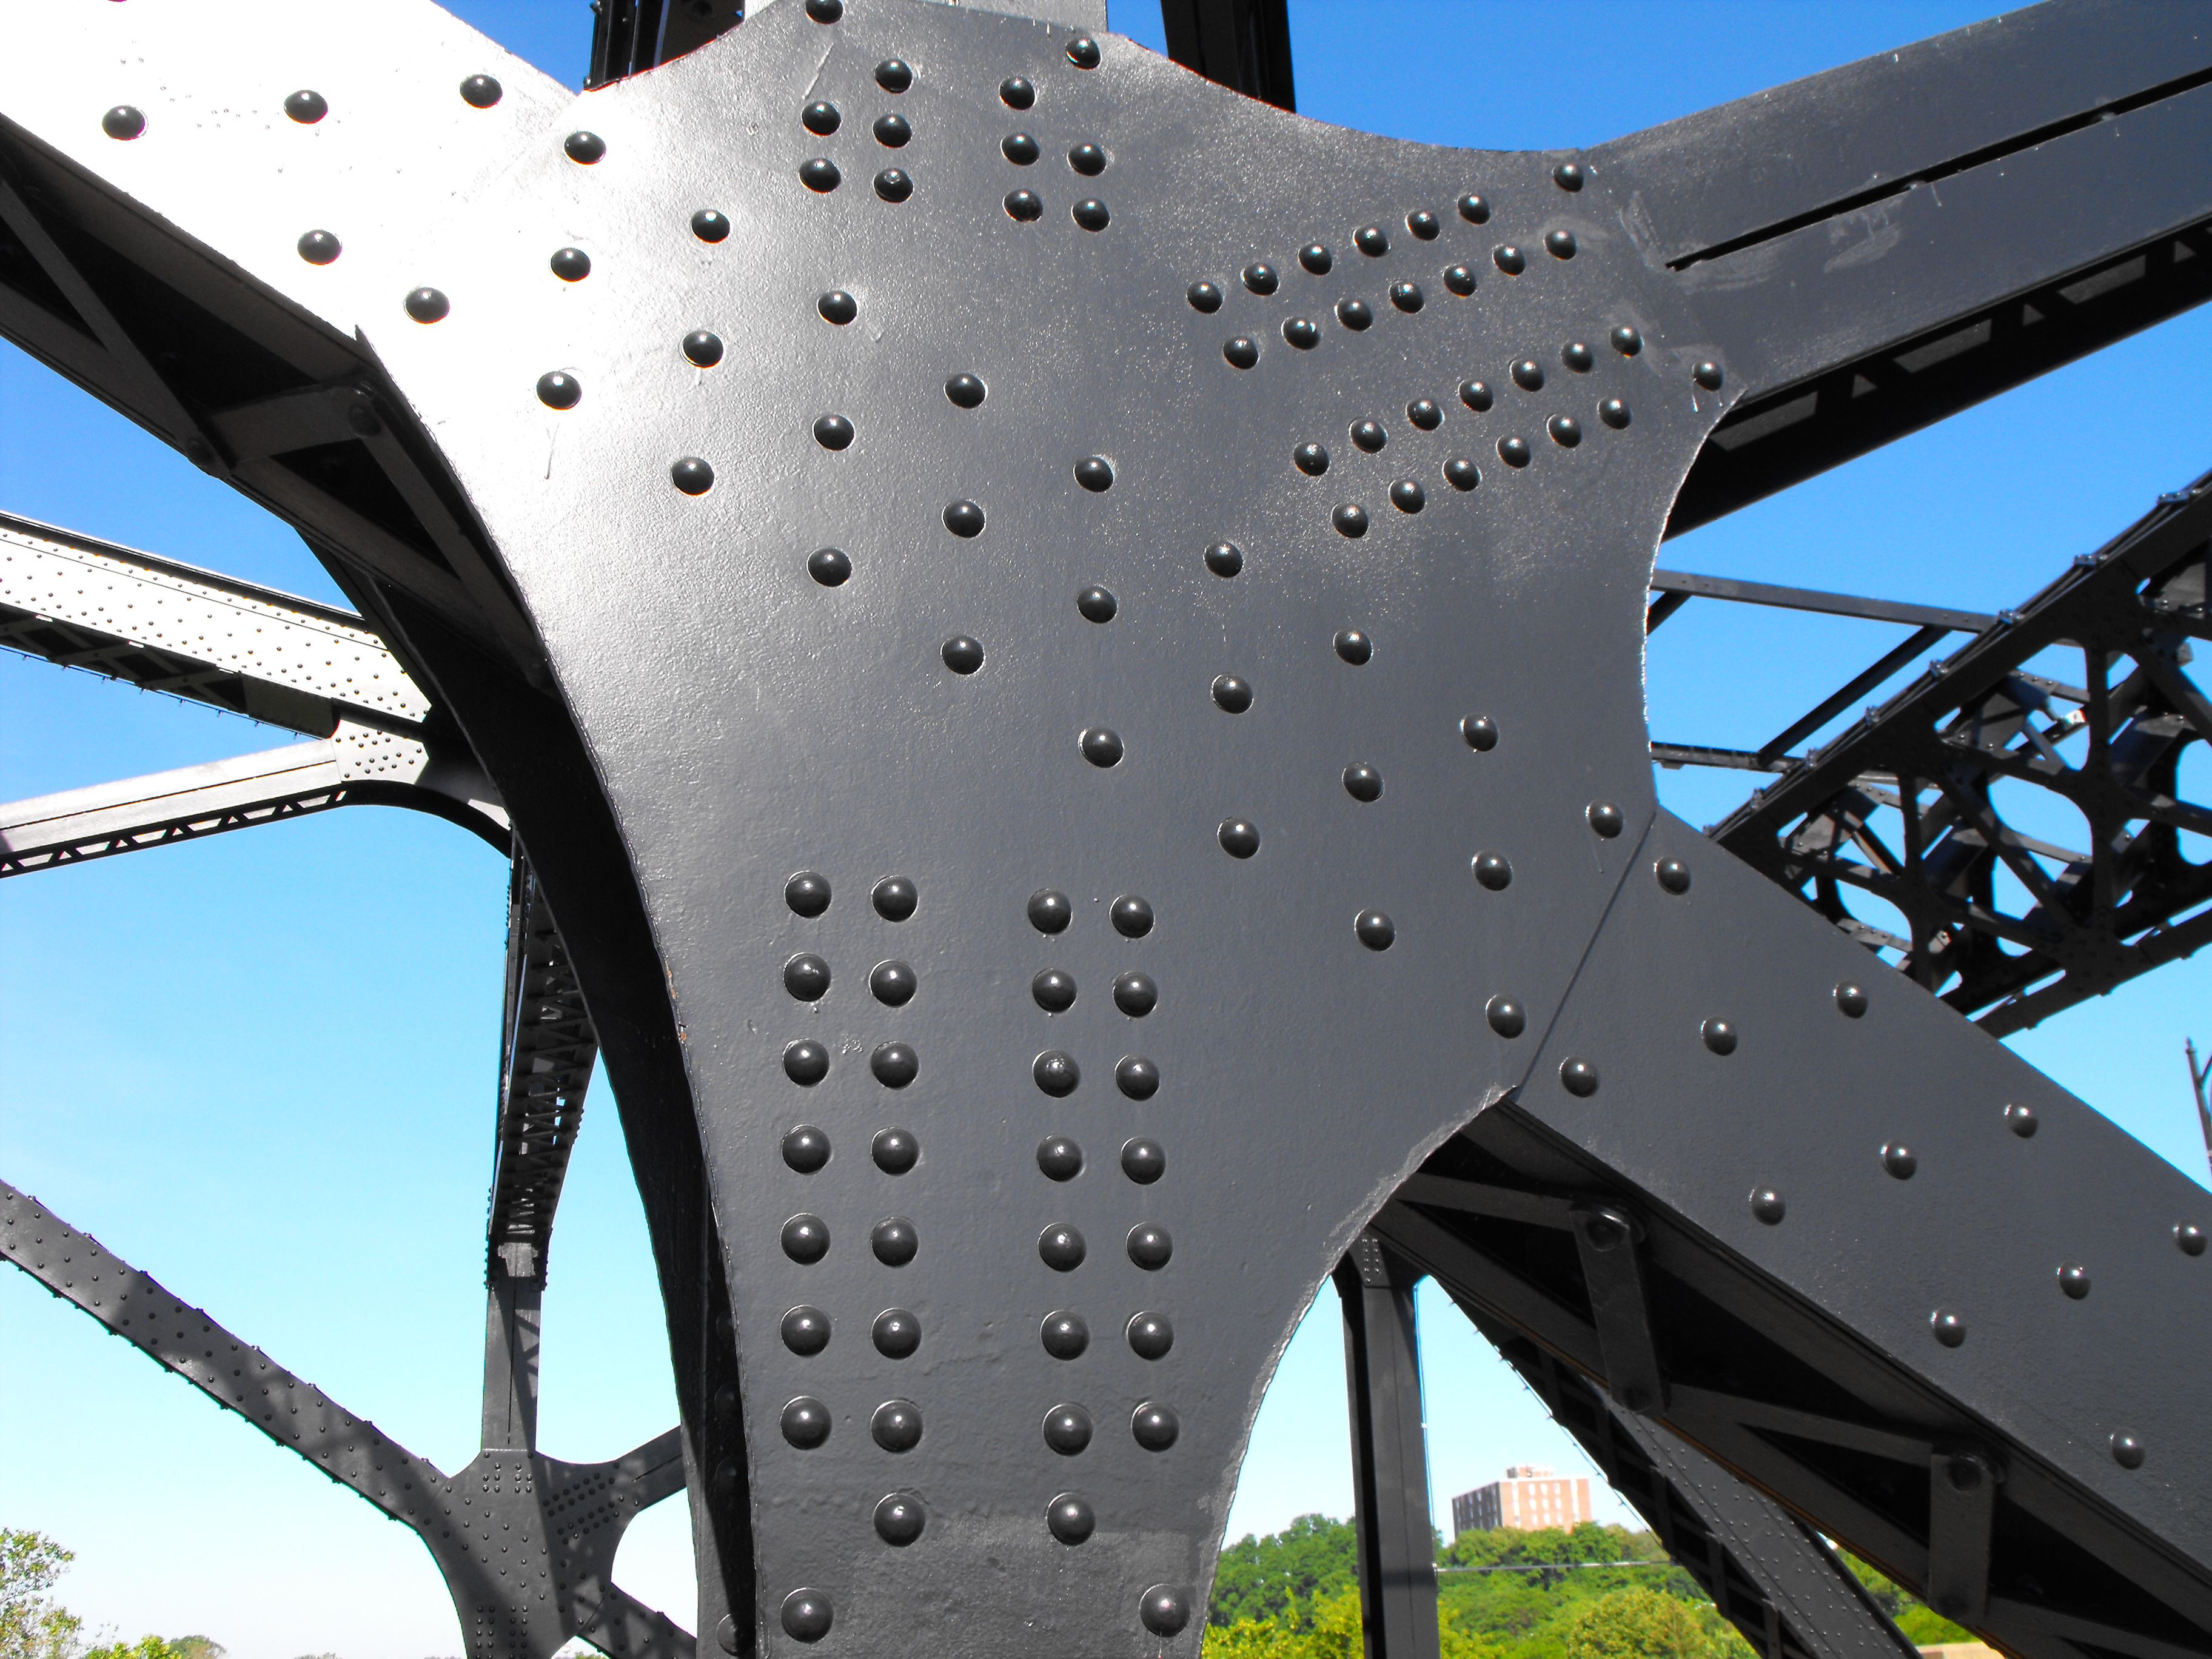


Intermediate connections as viewed from on bridge.
![]()
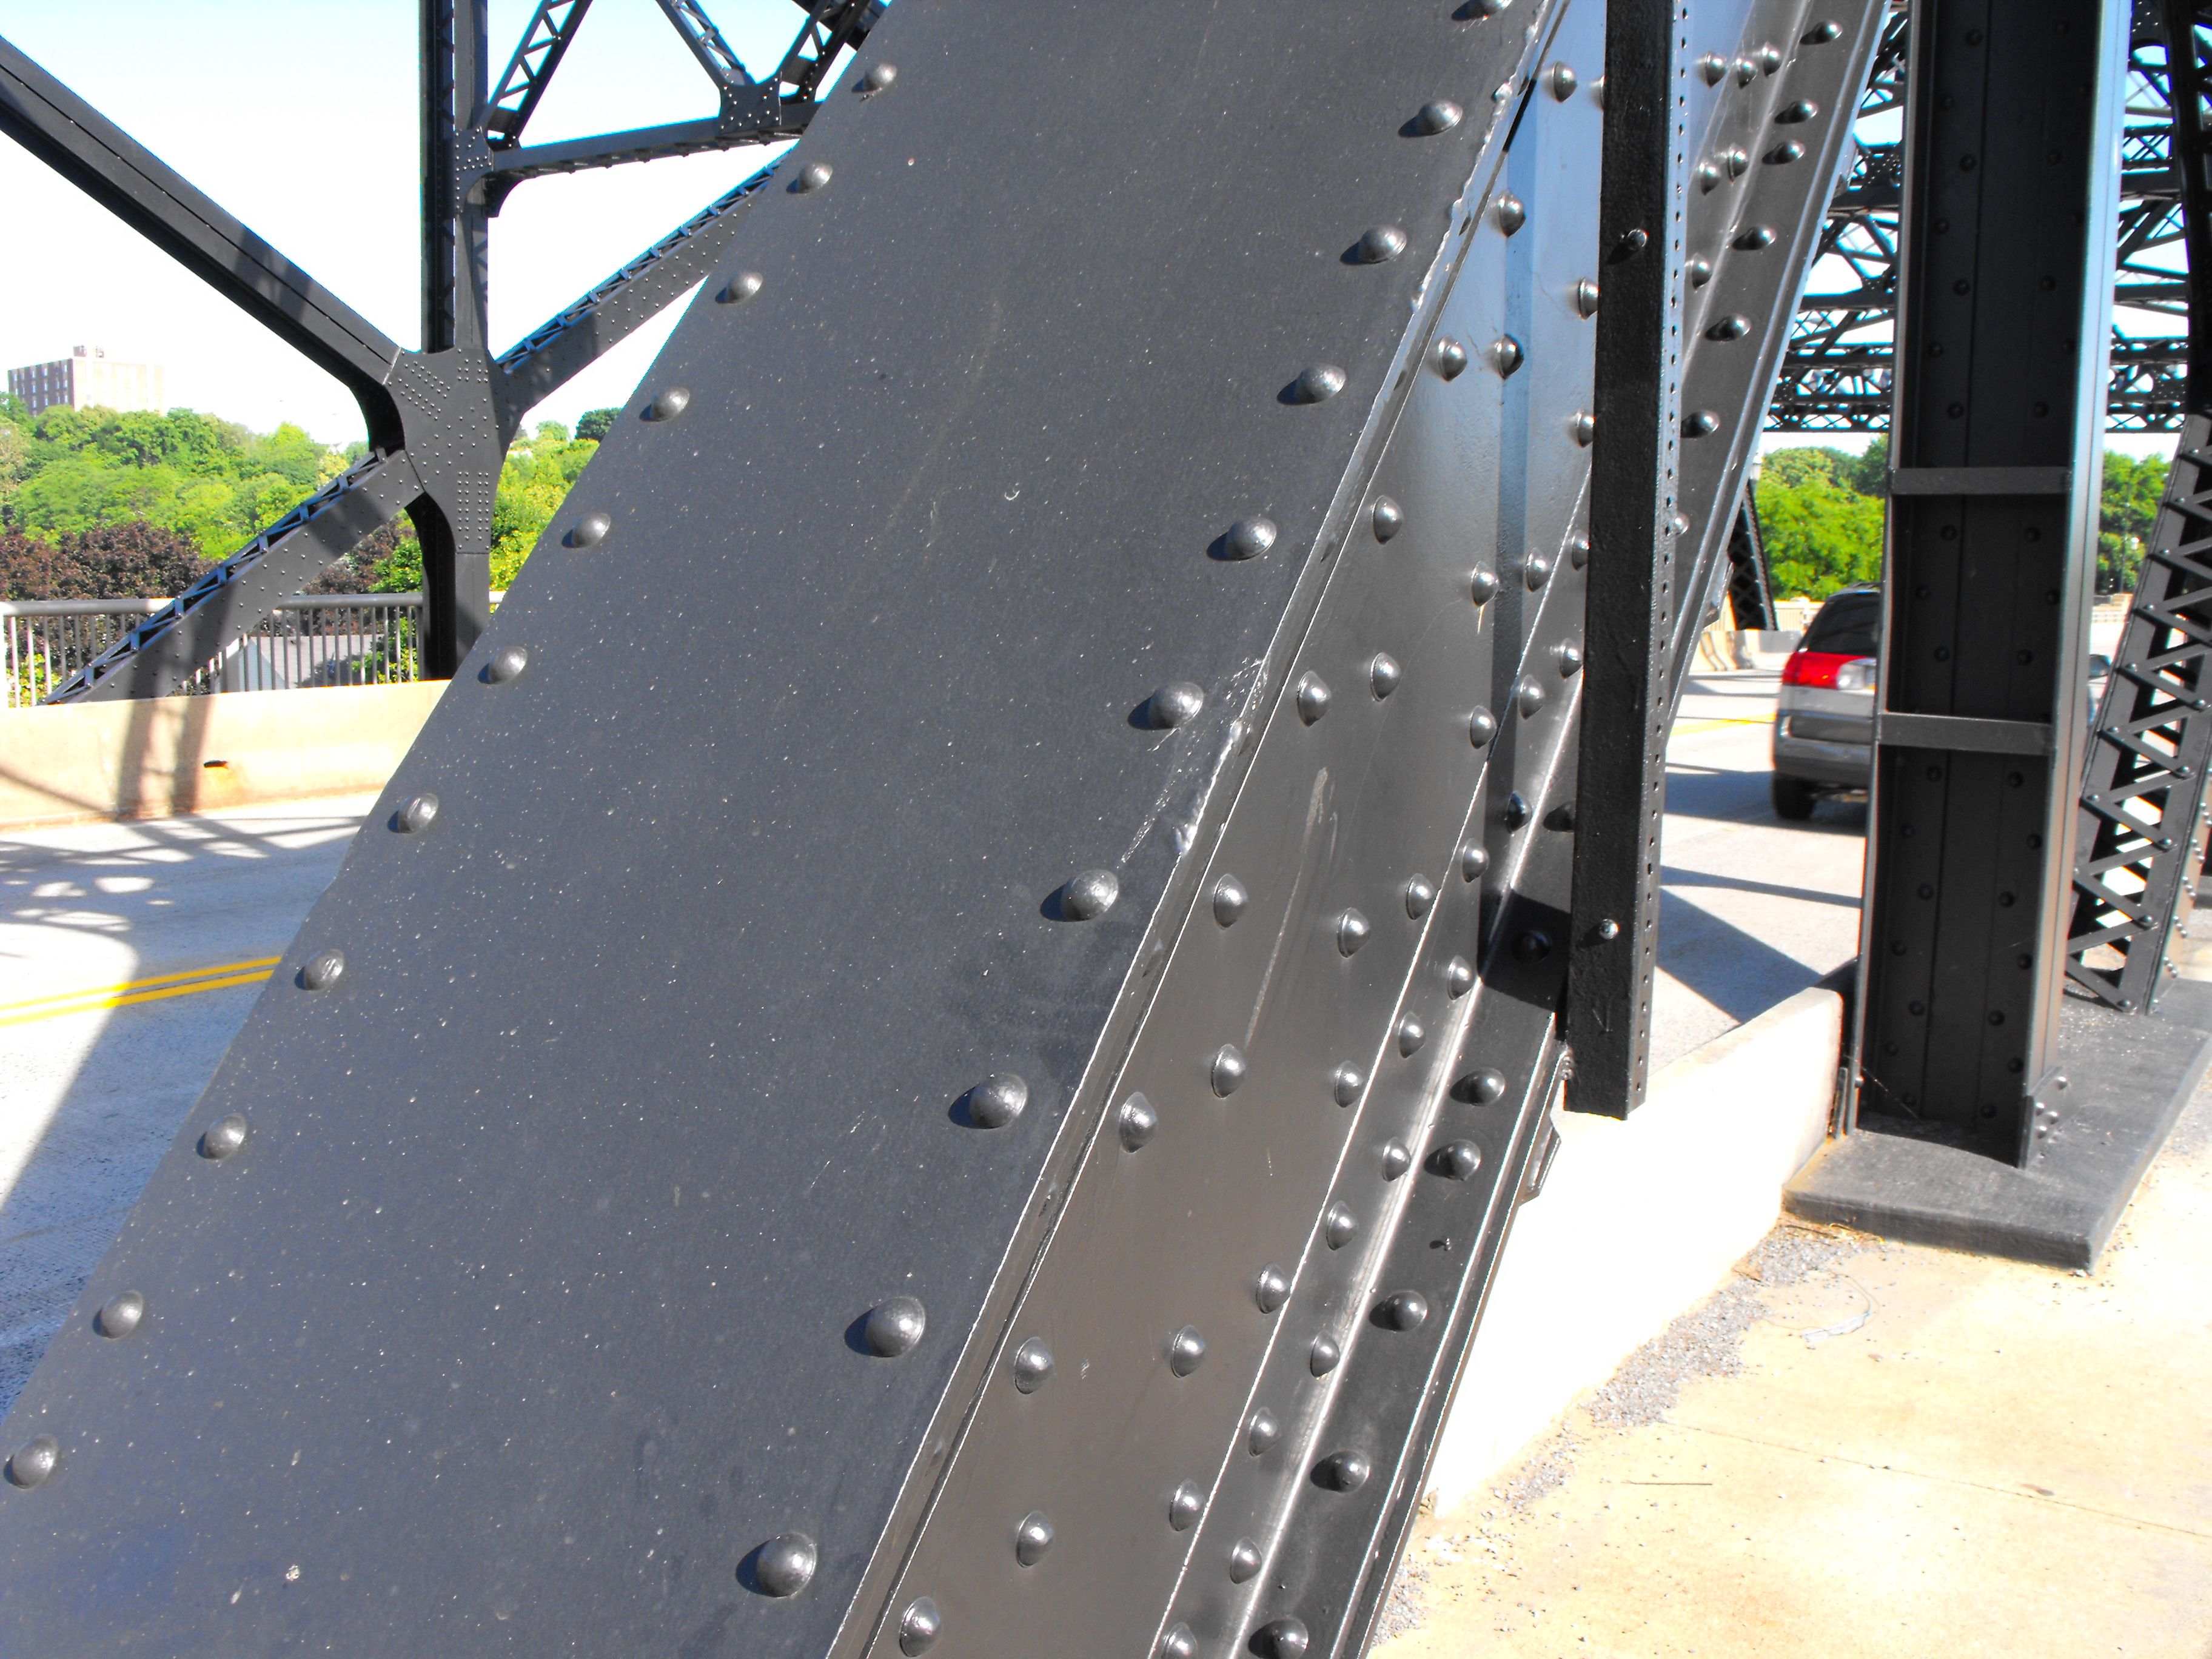


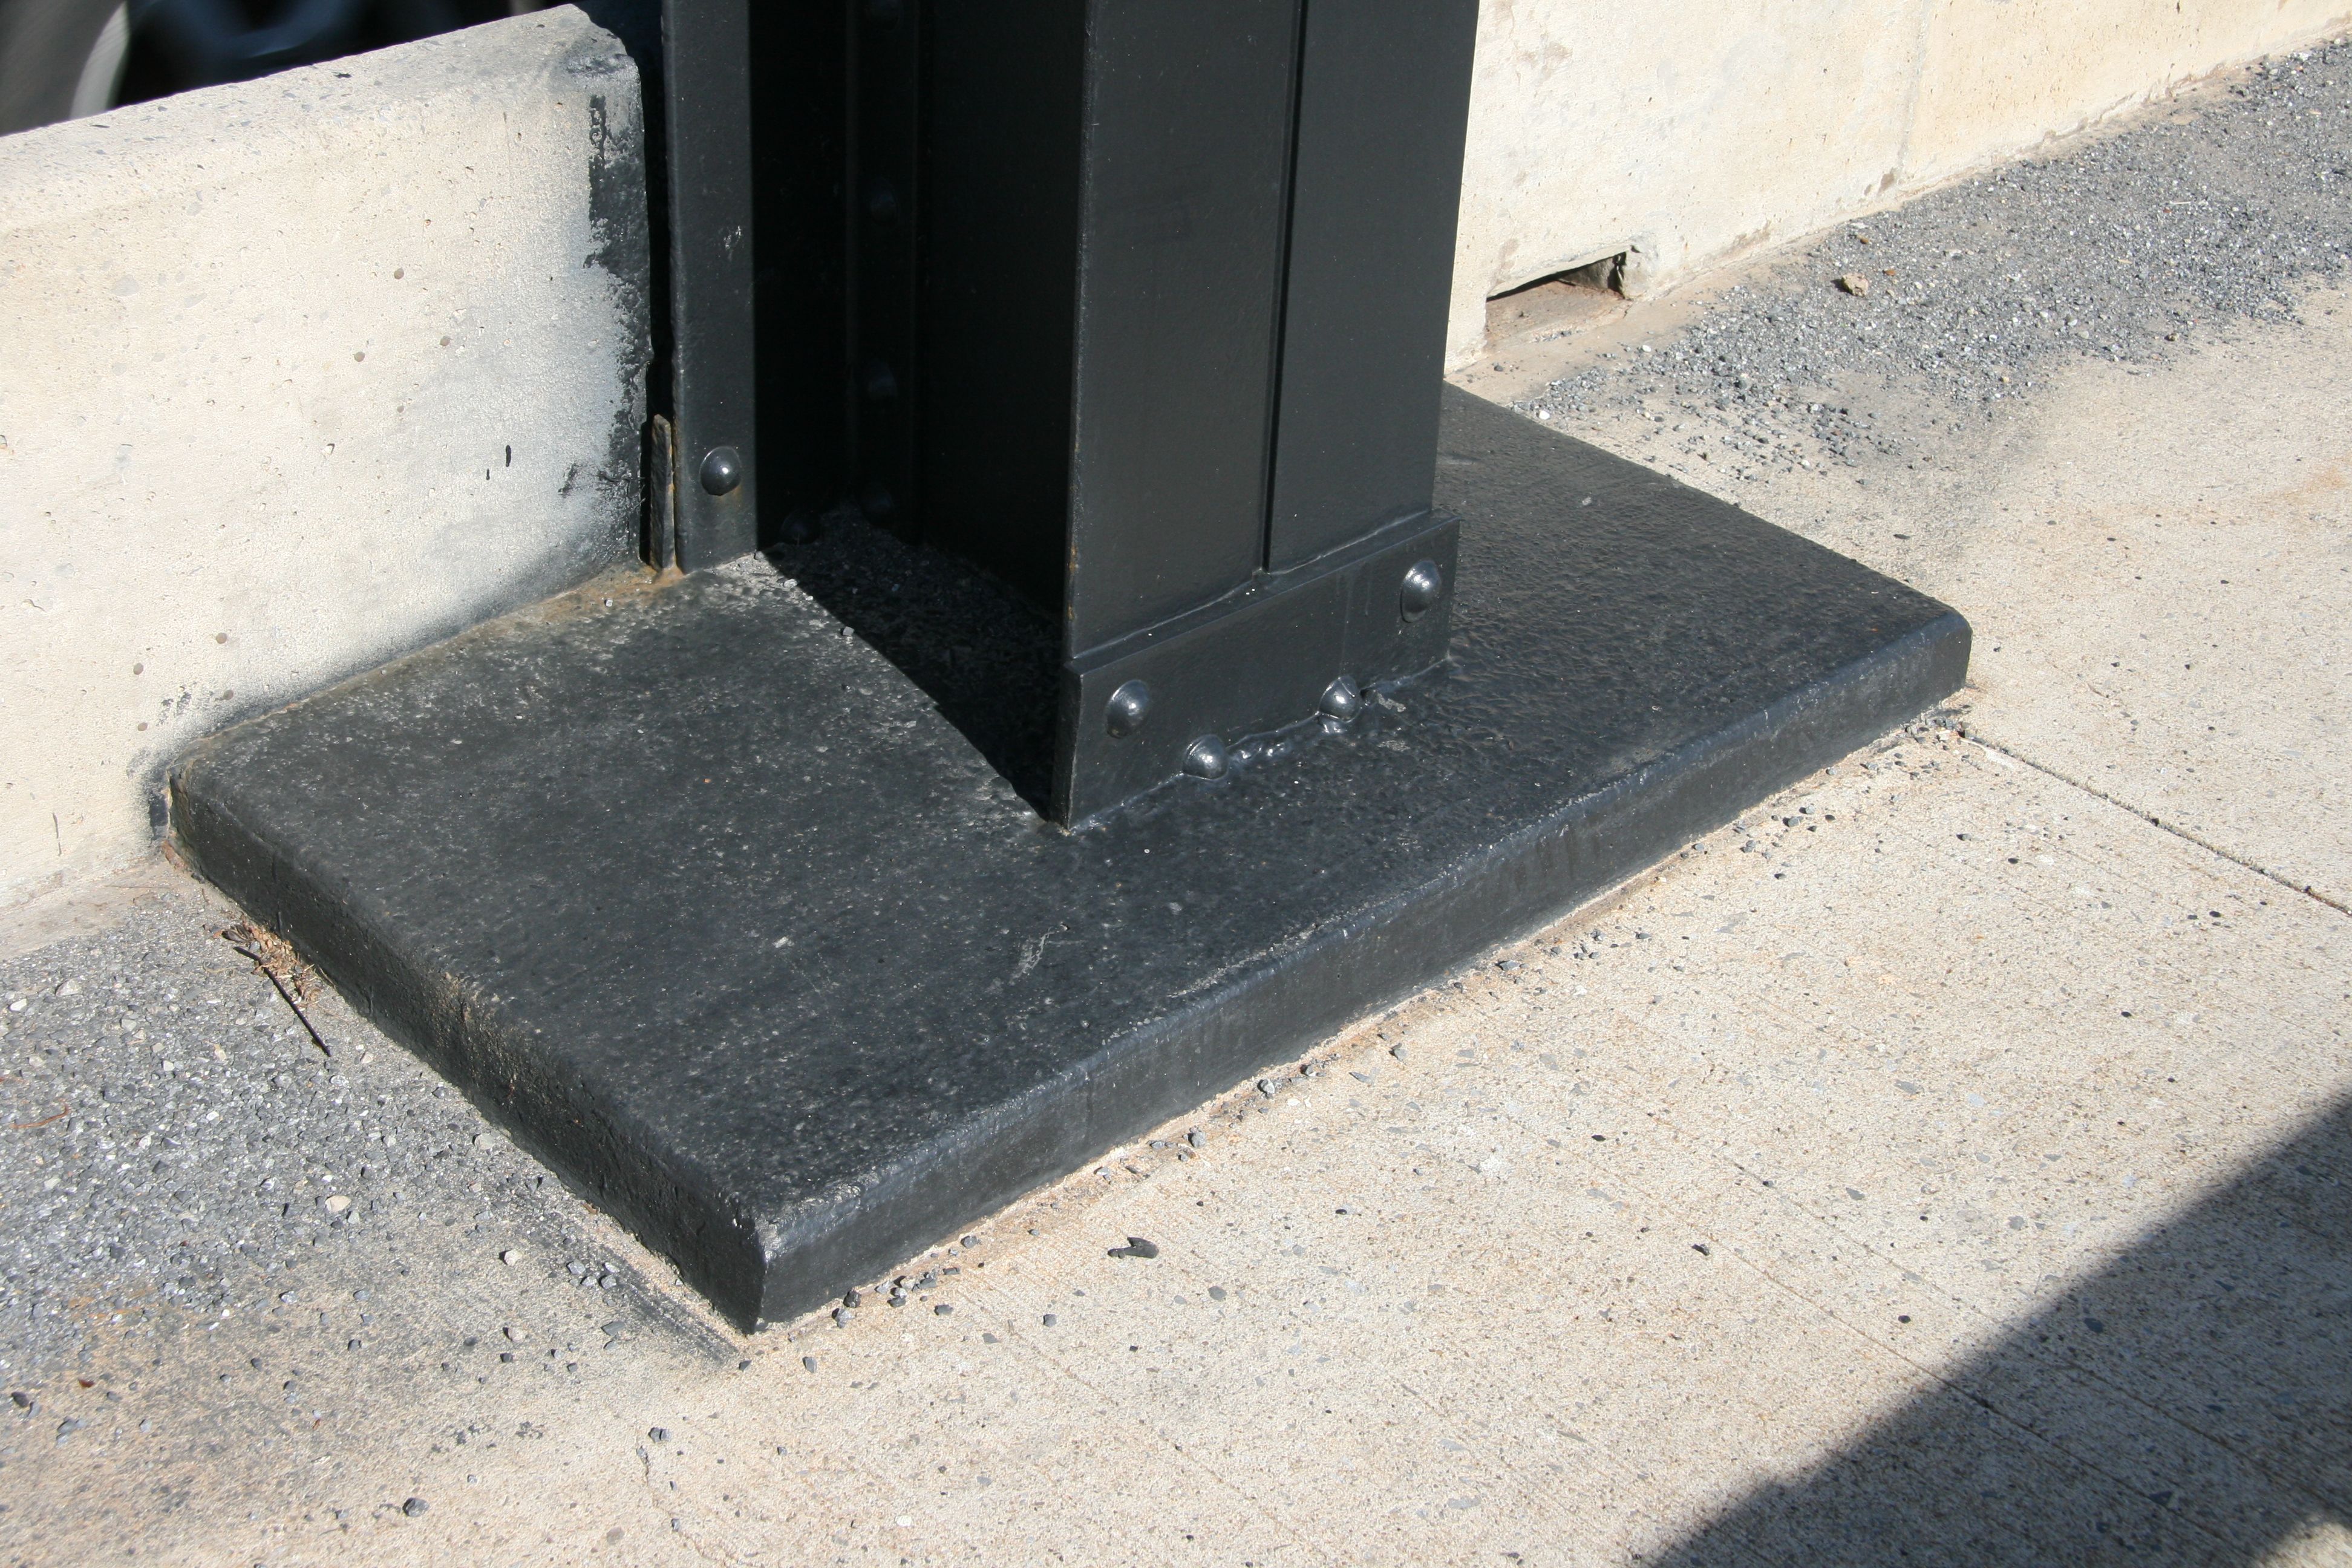
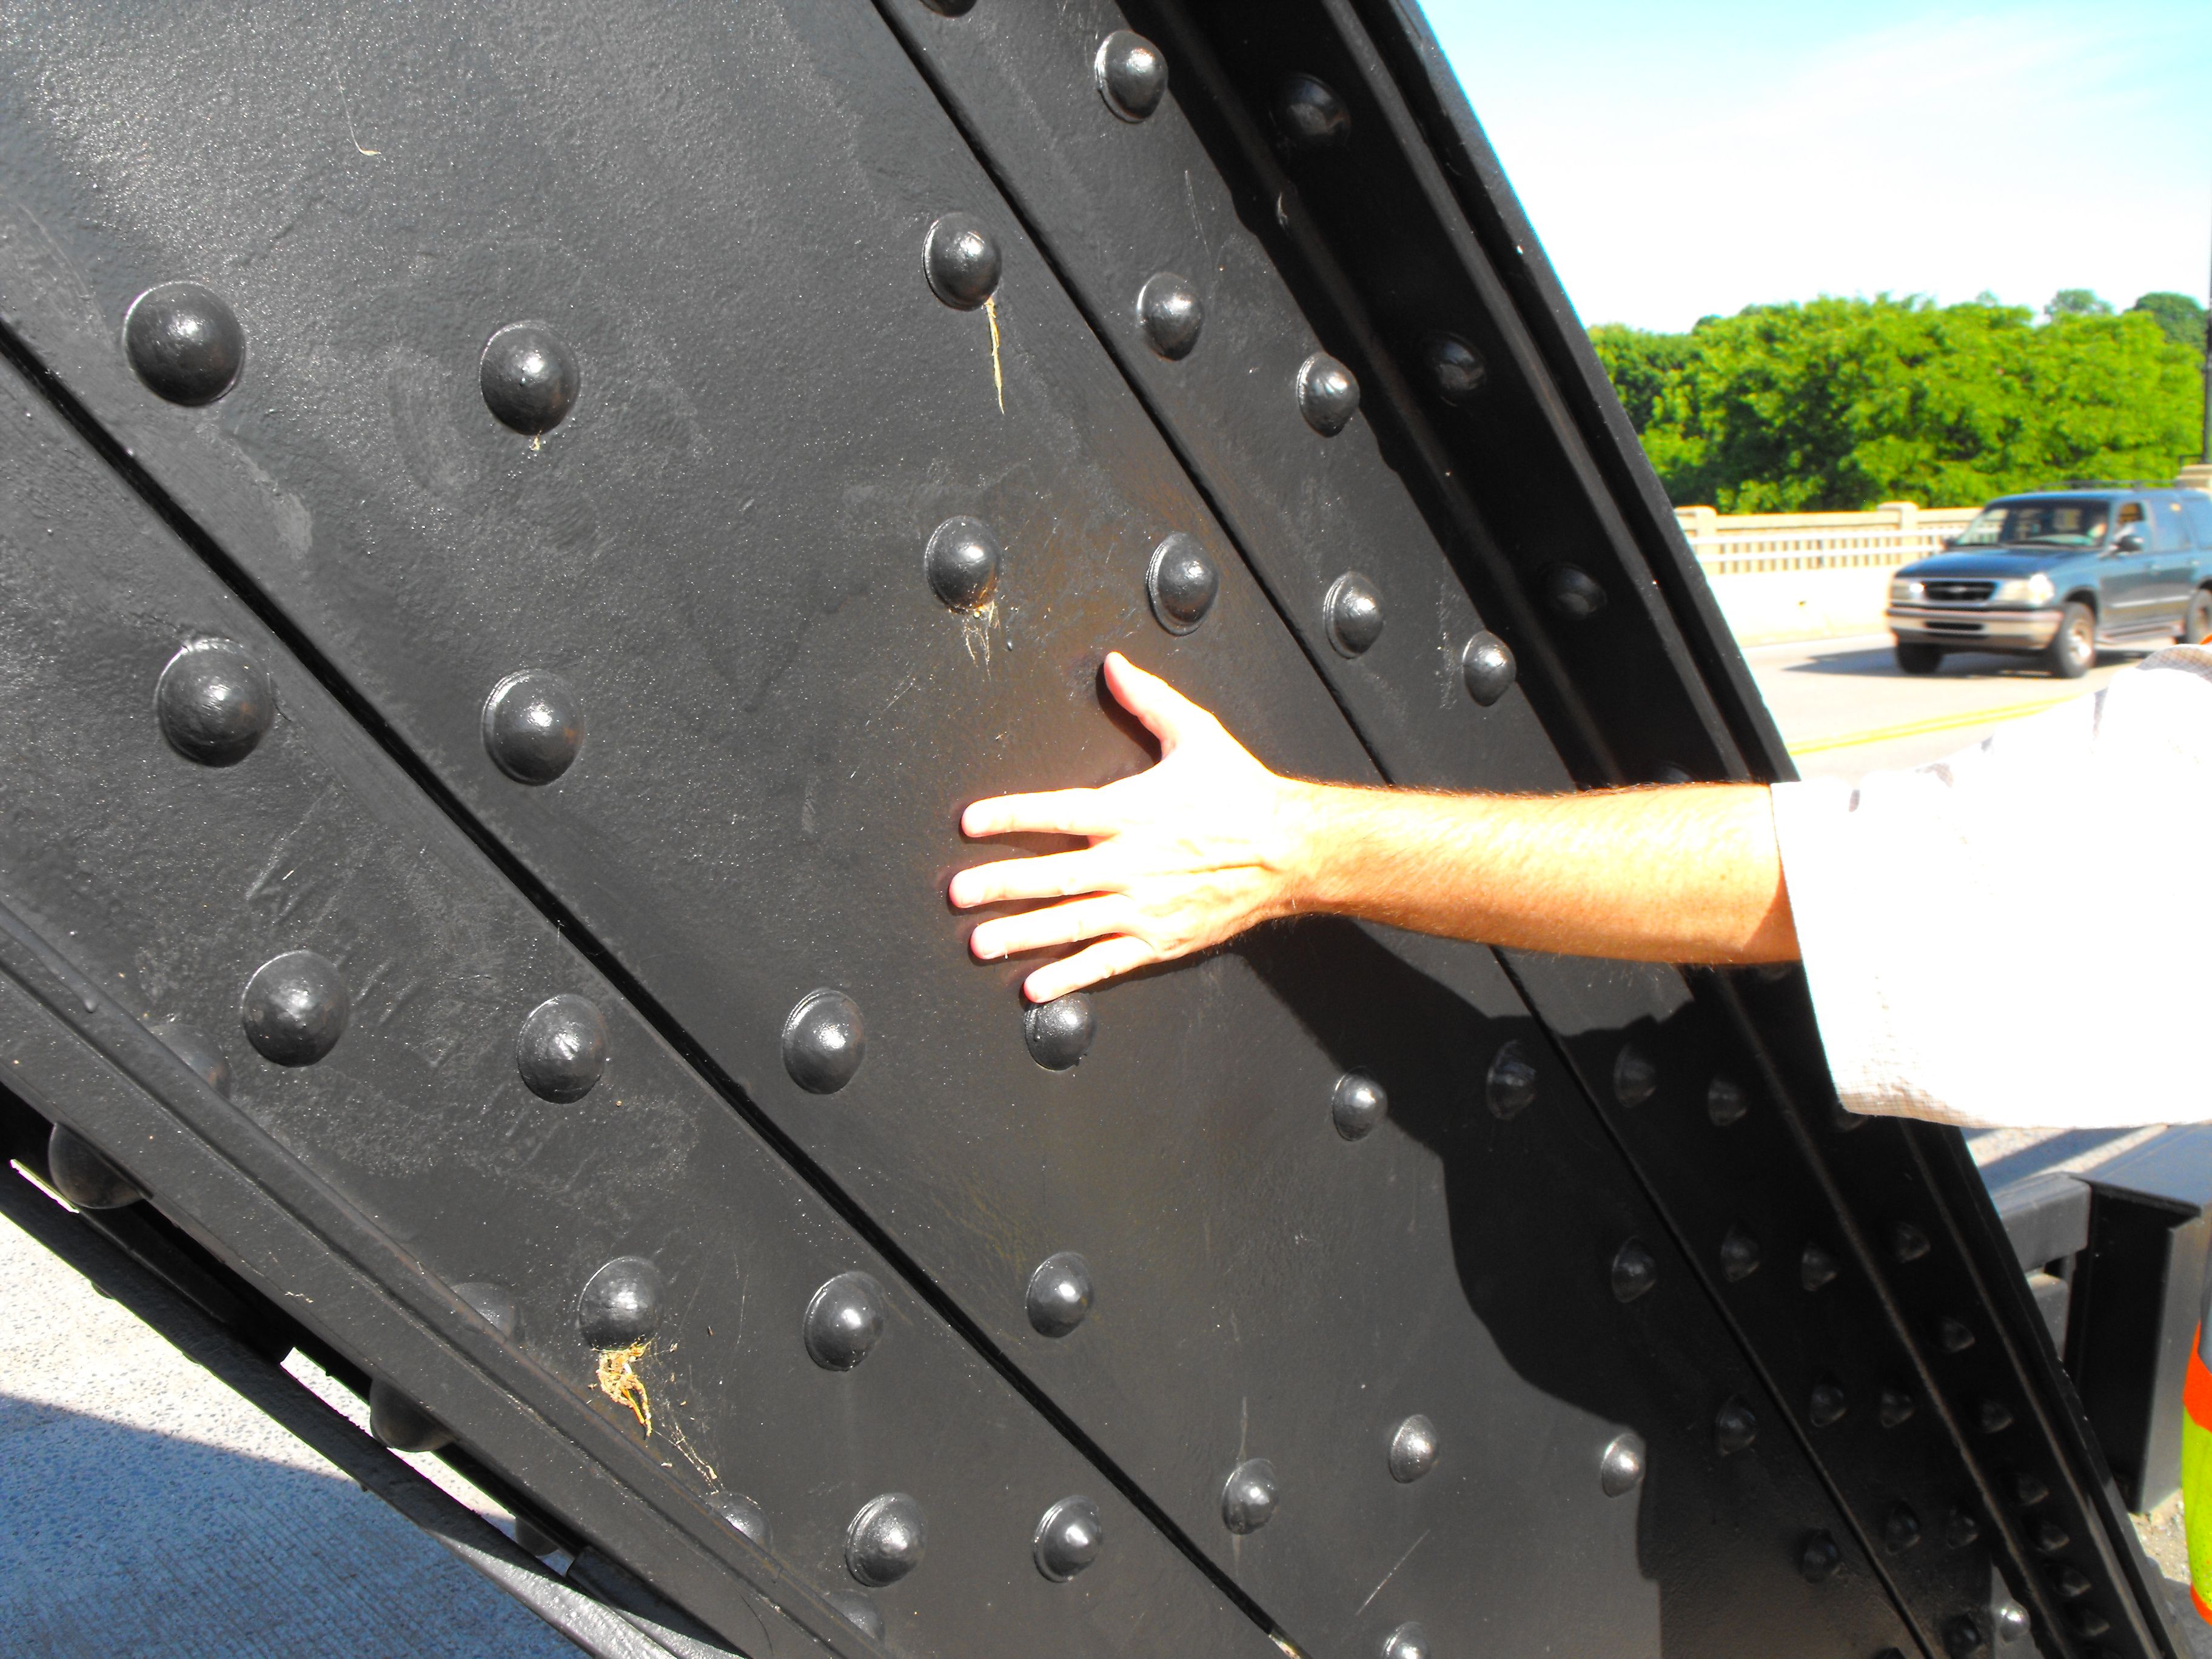
End posts.
![]()
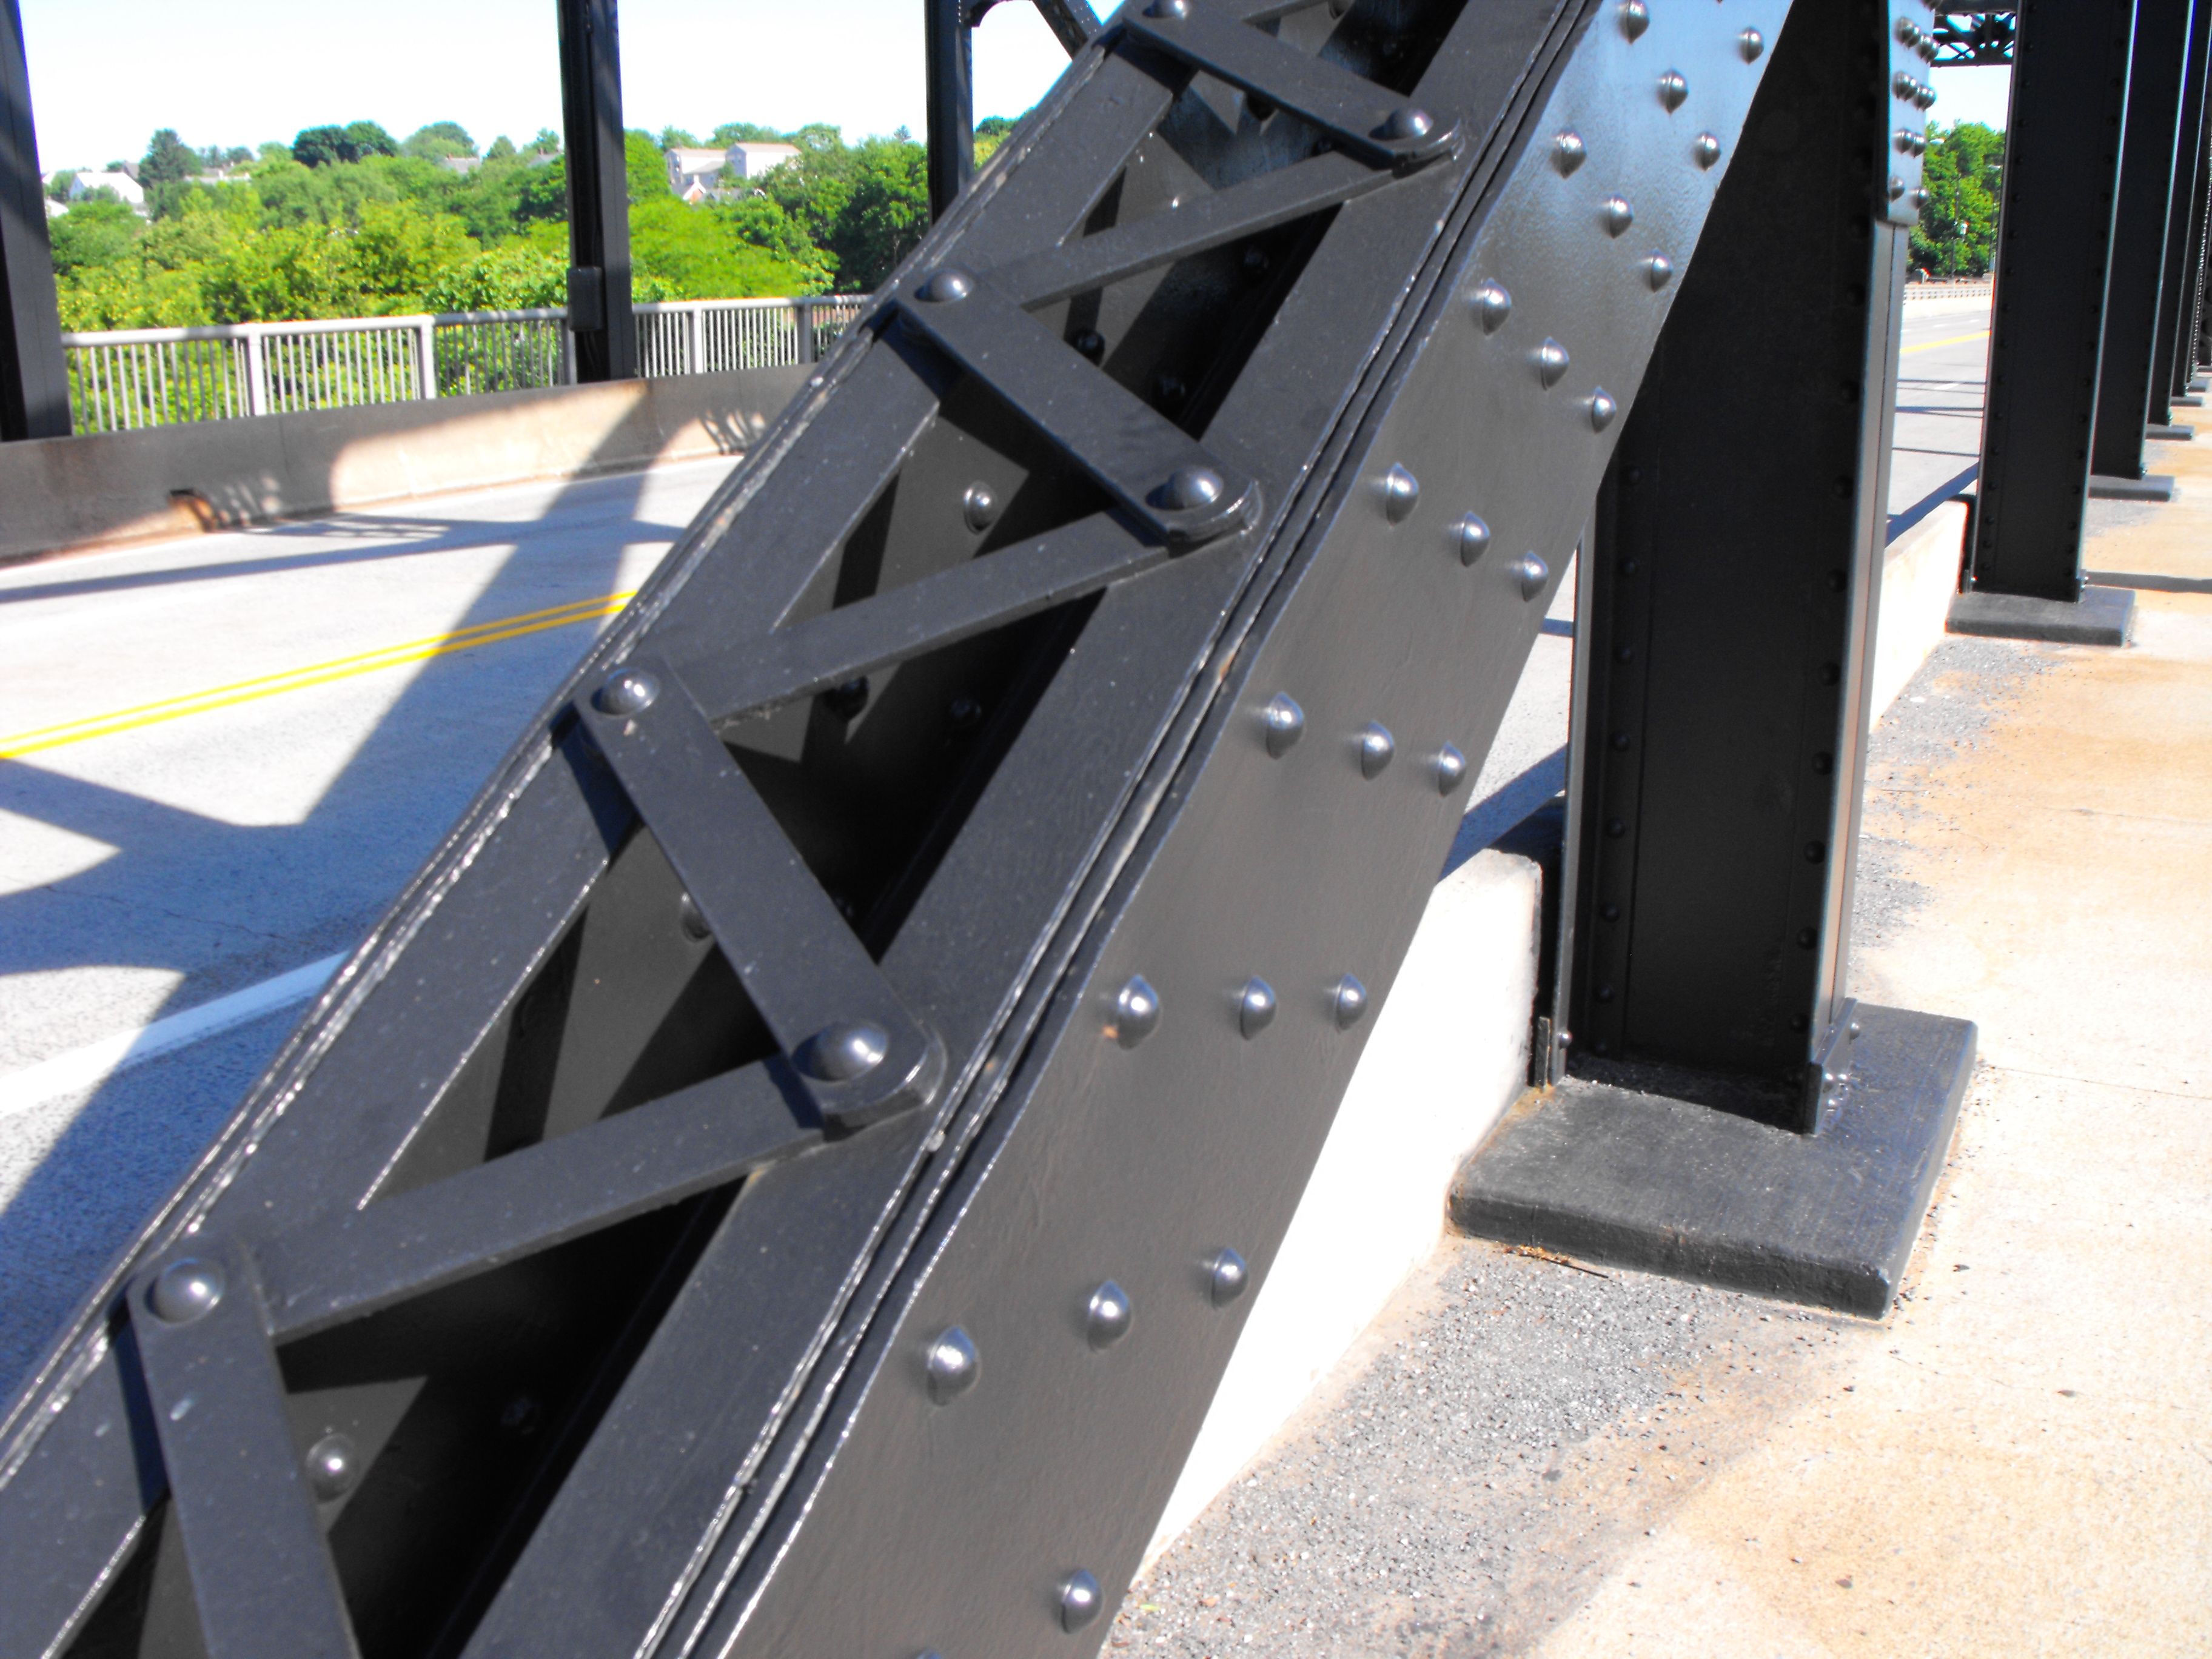

Diagonal members.
![]()
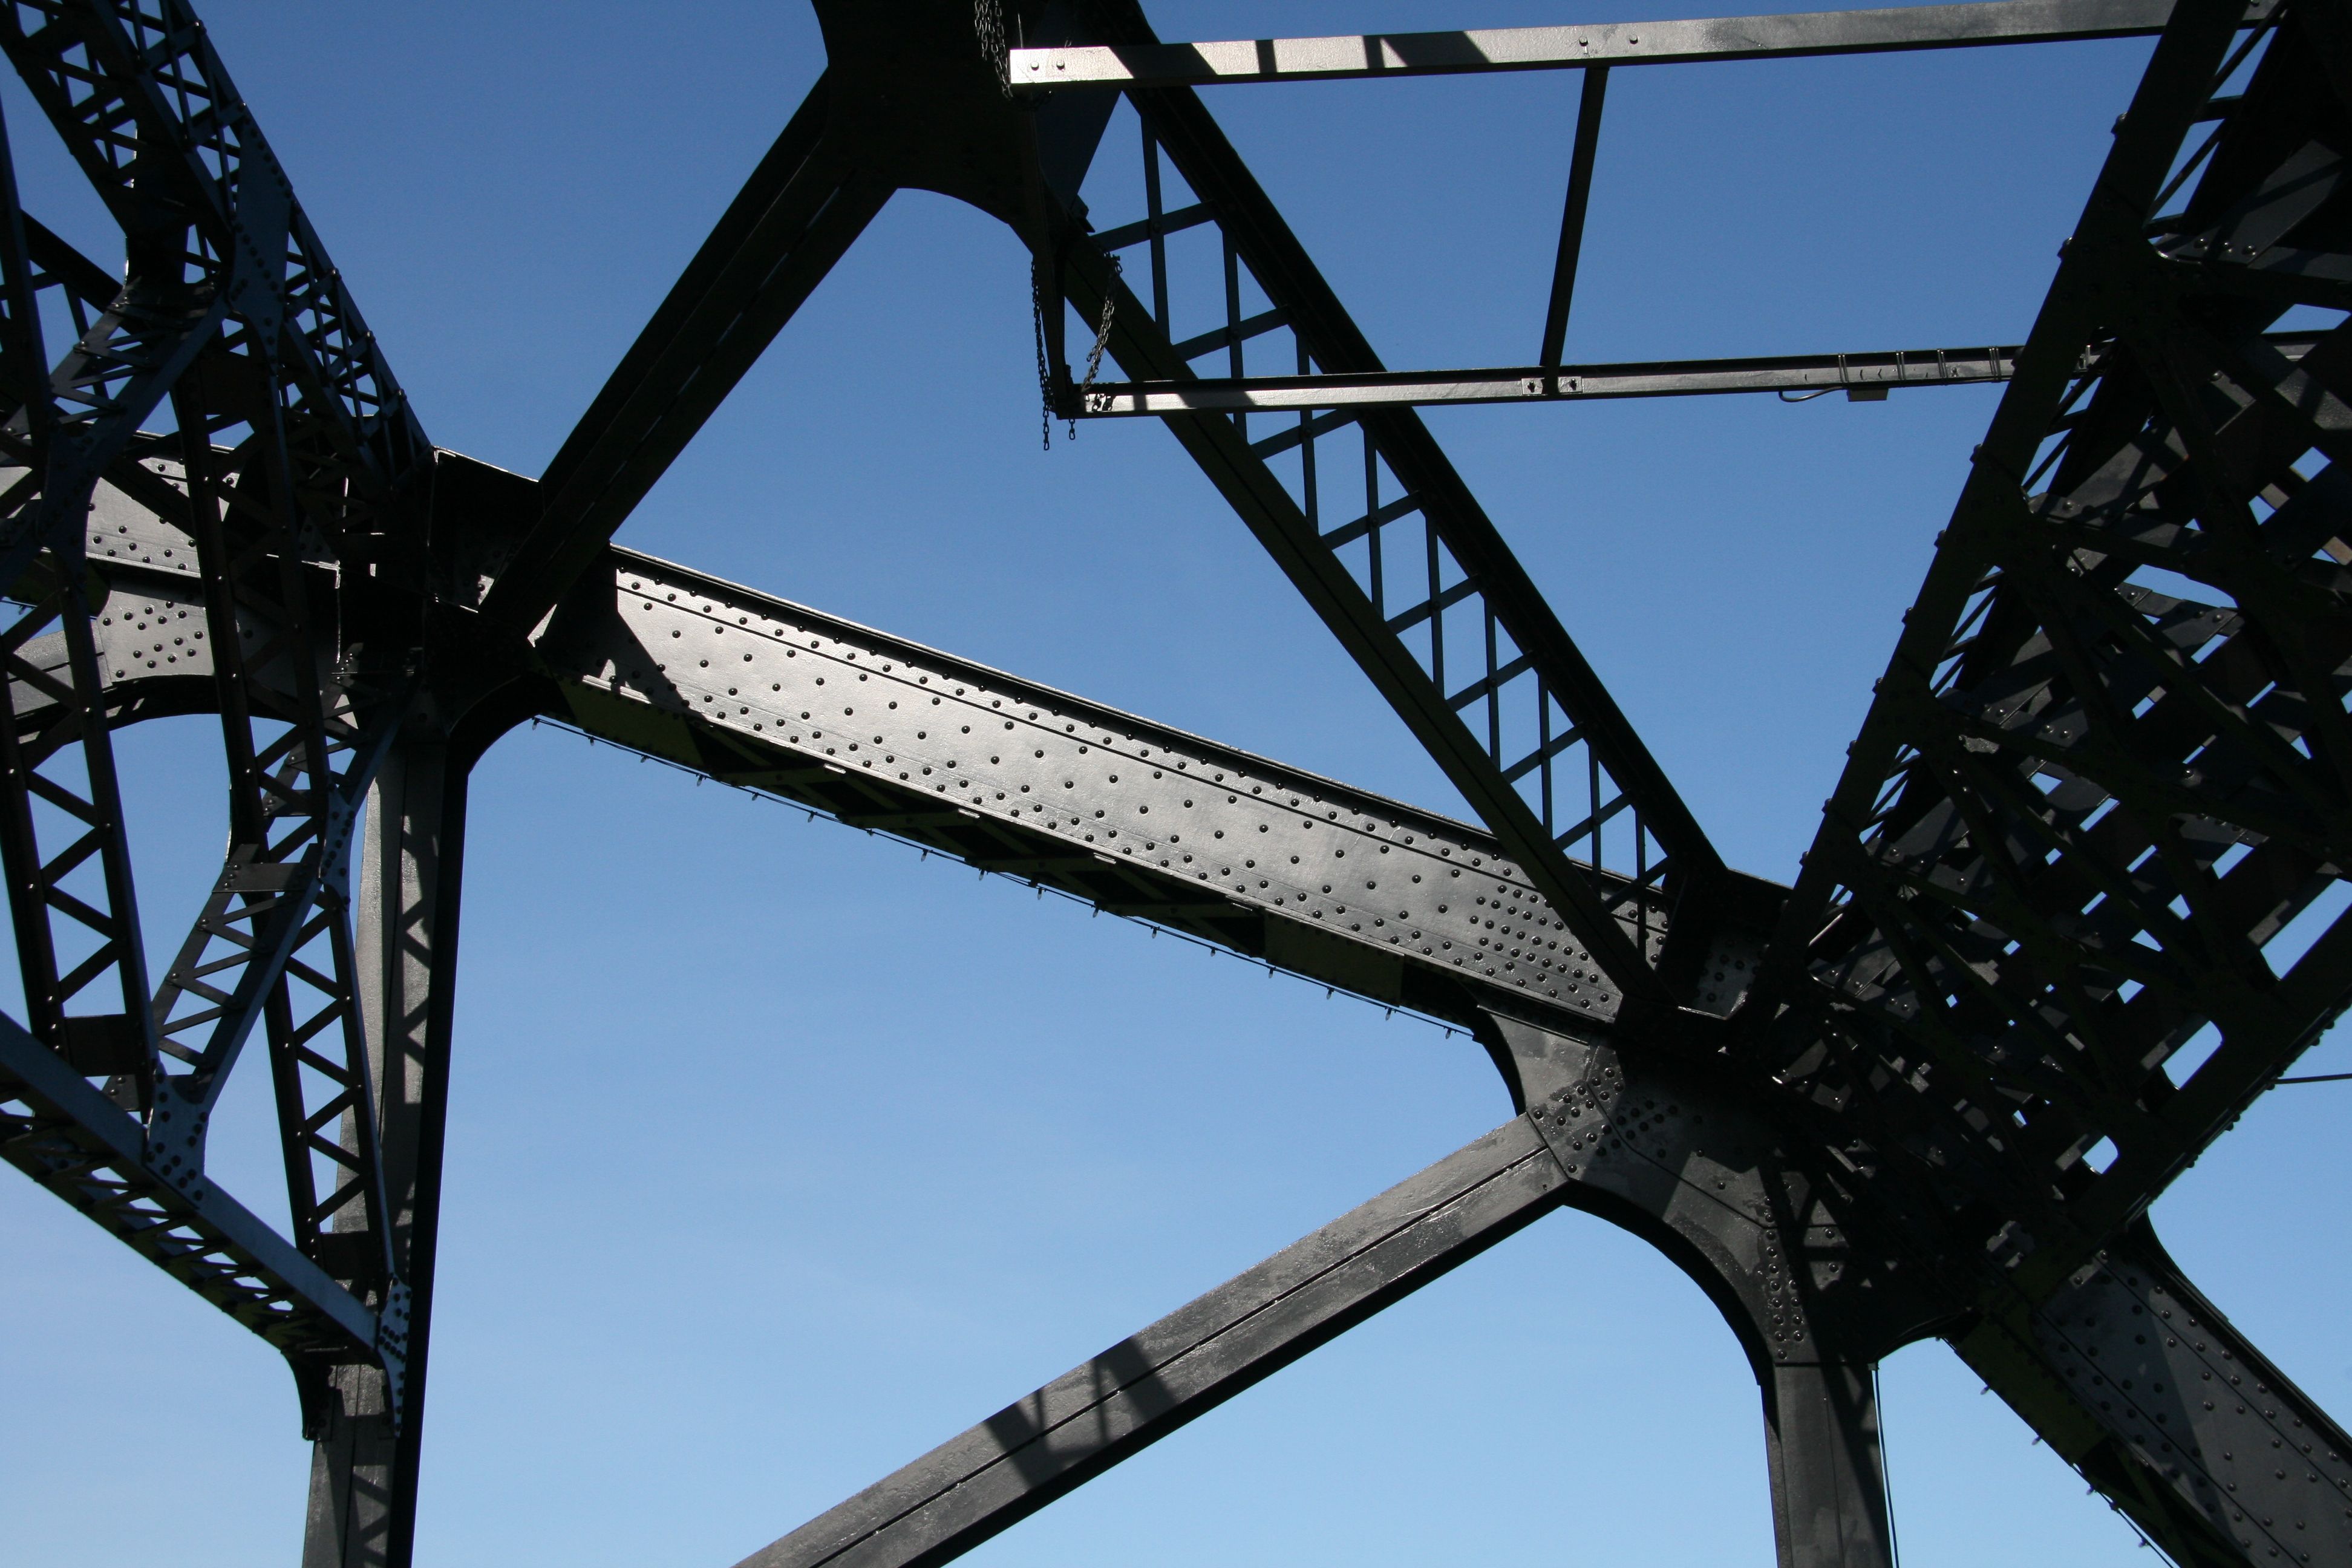

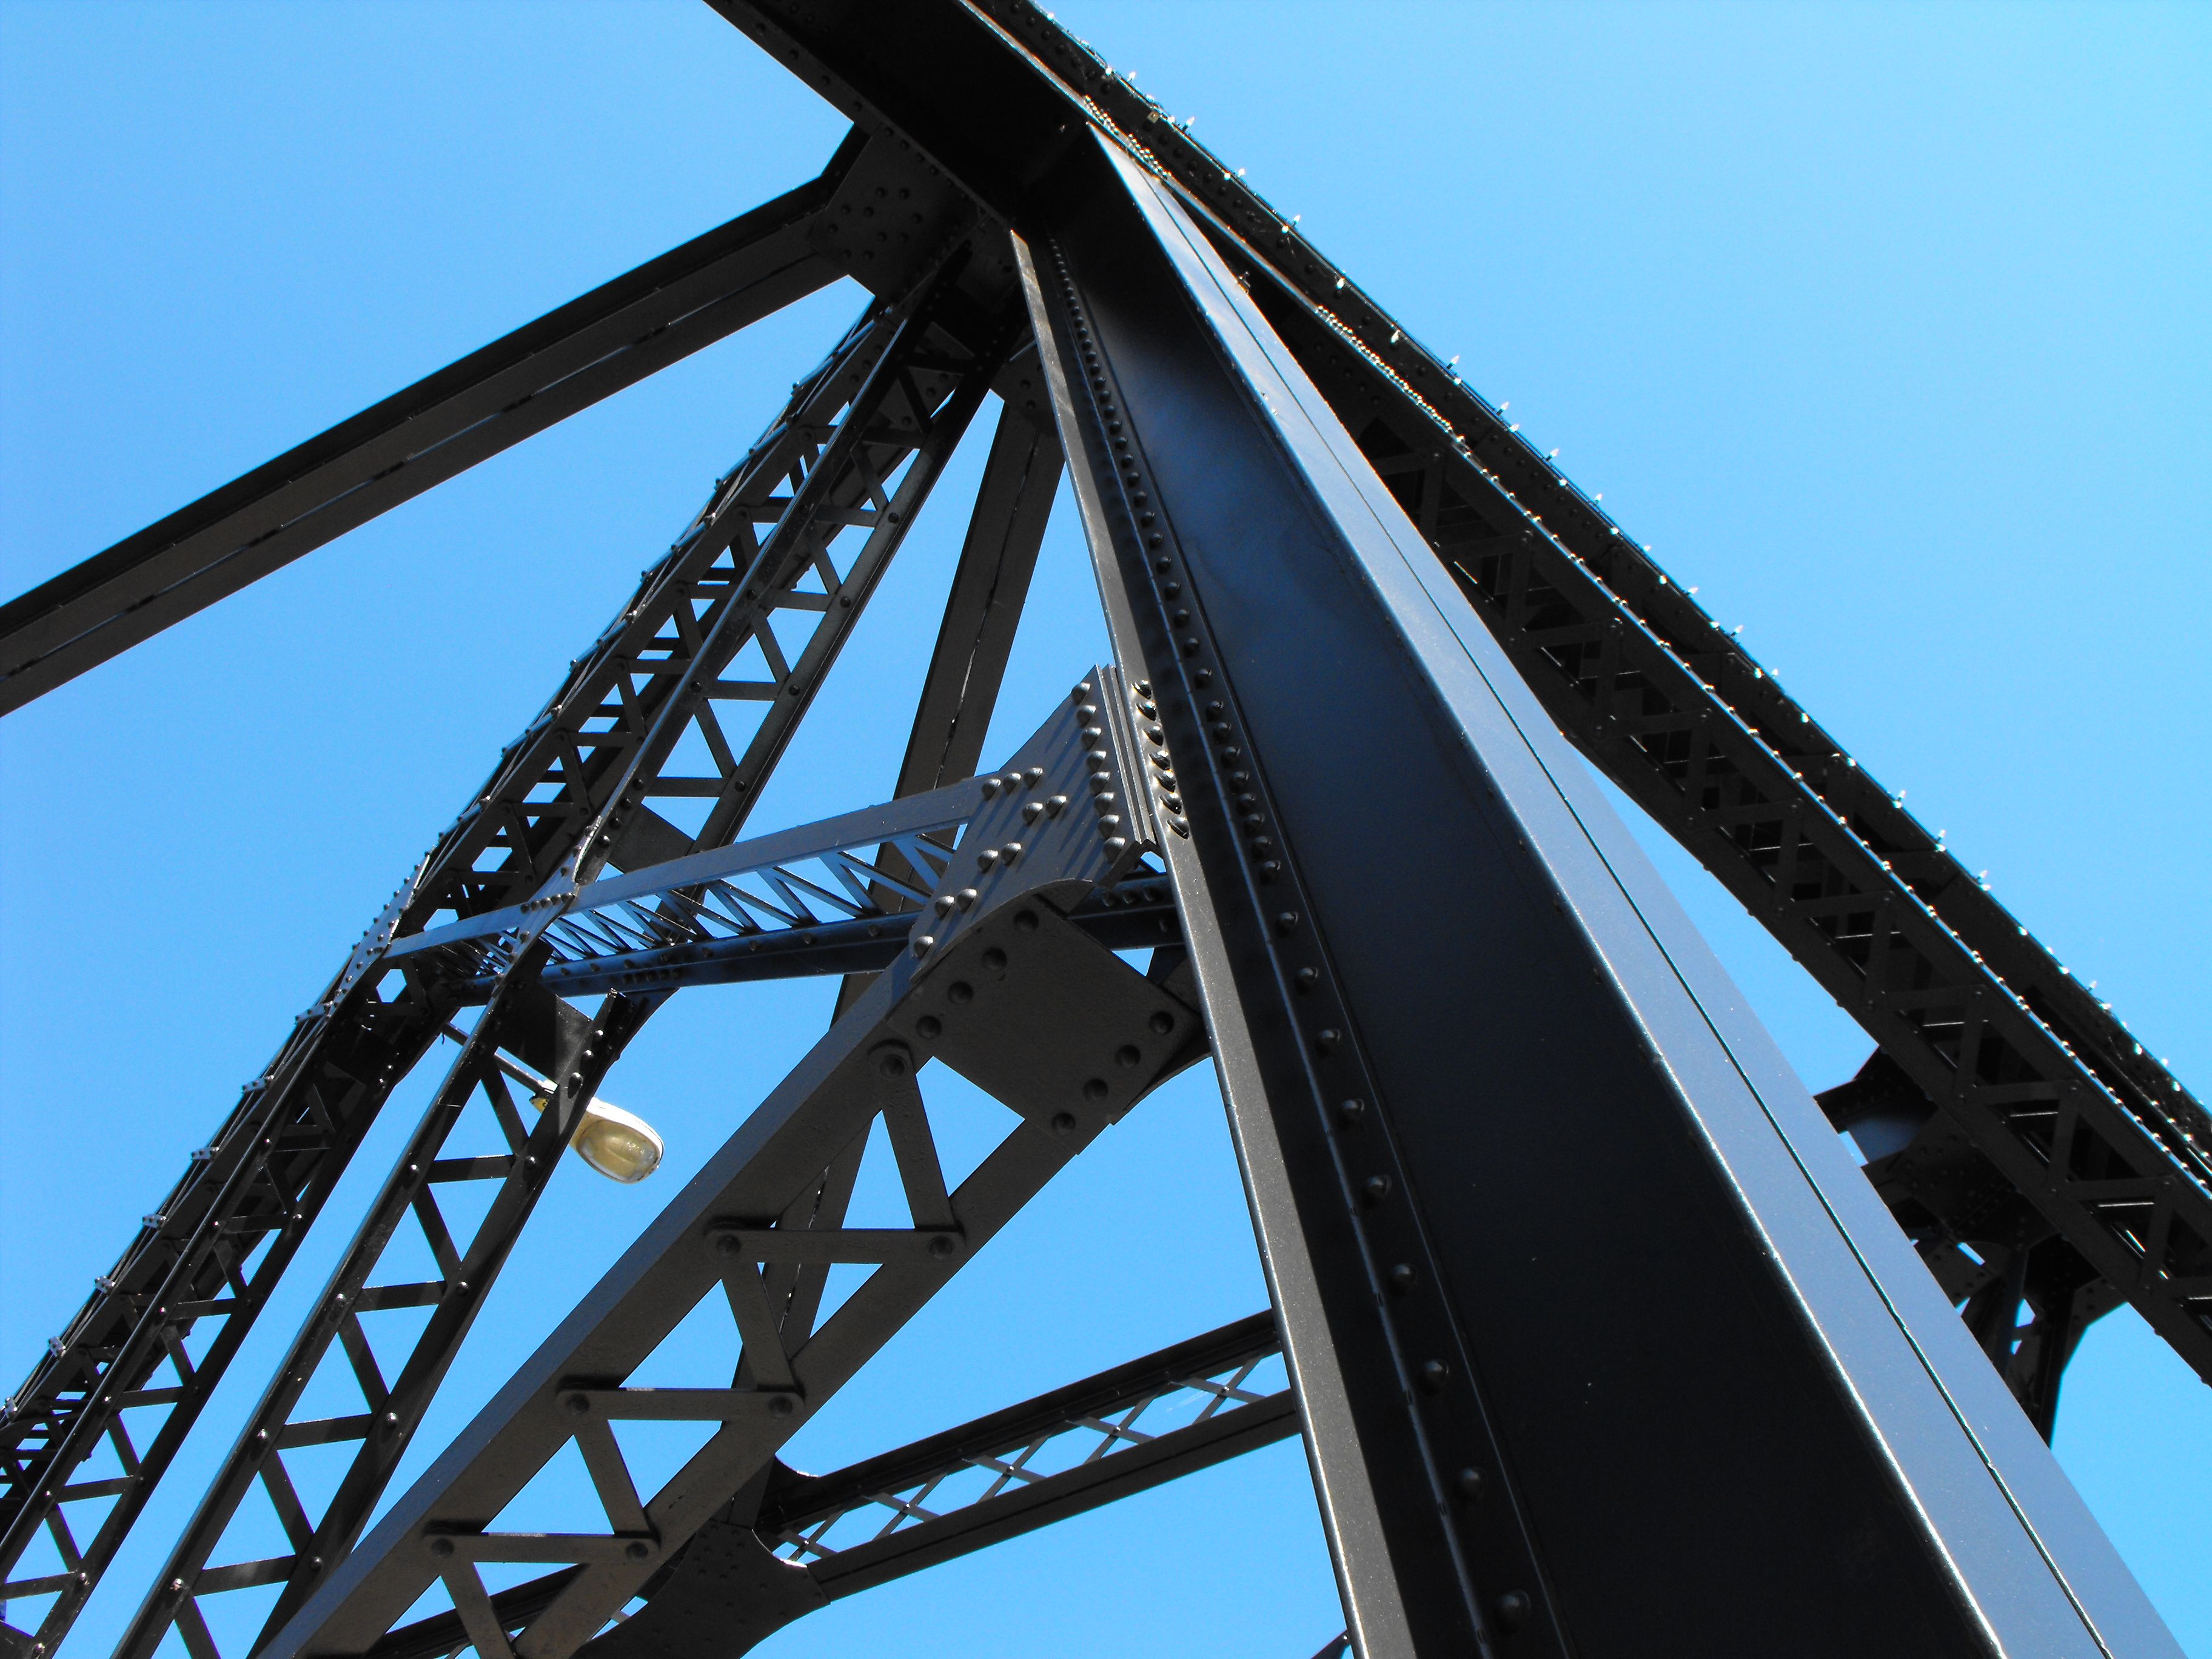
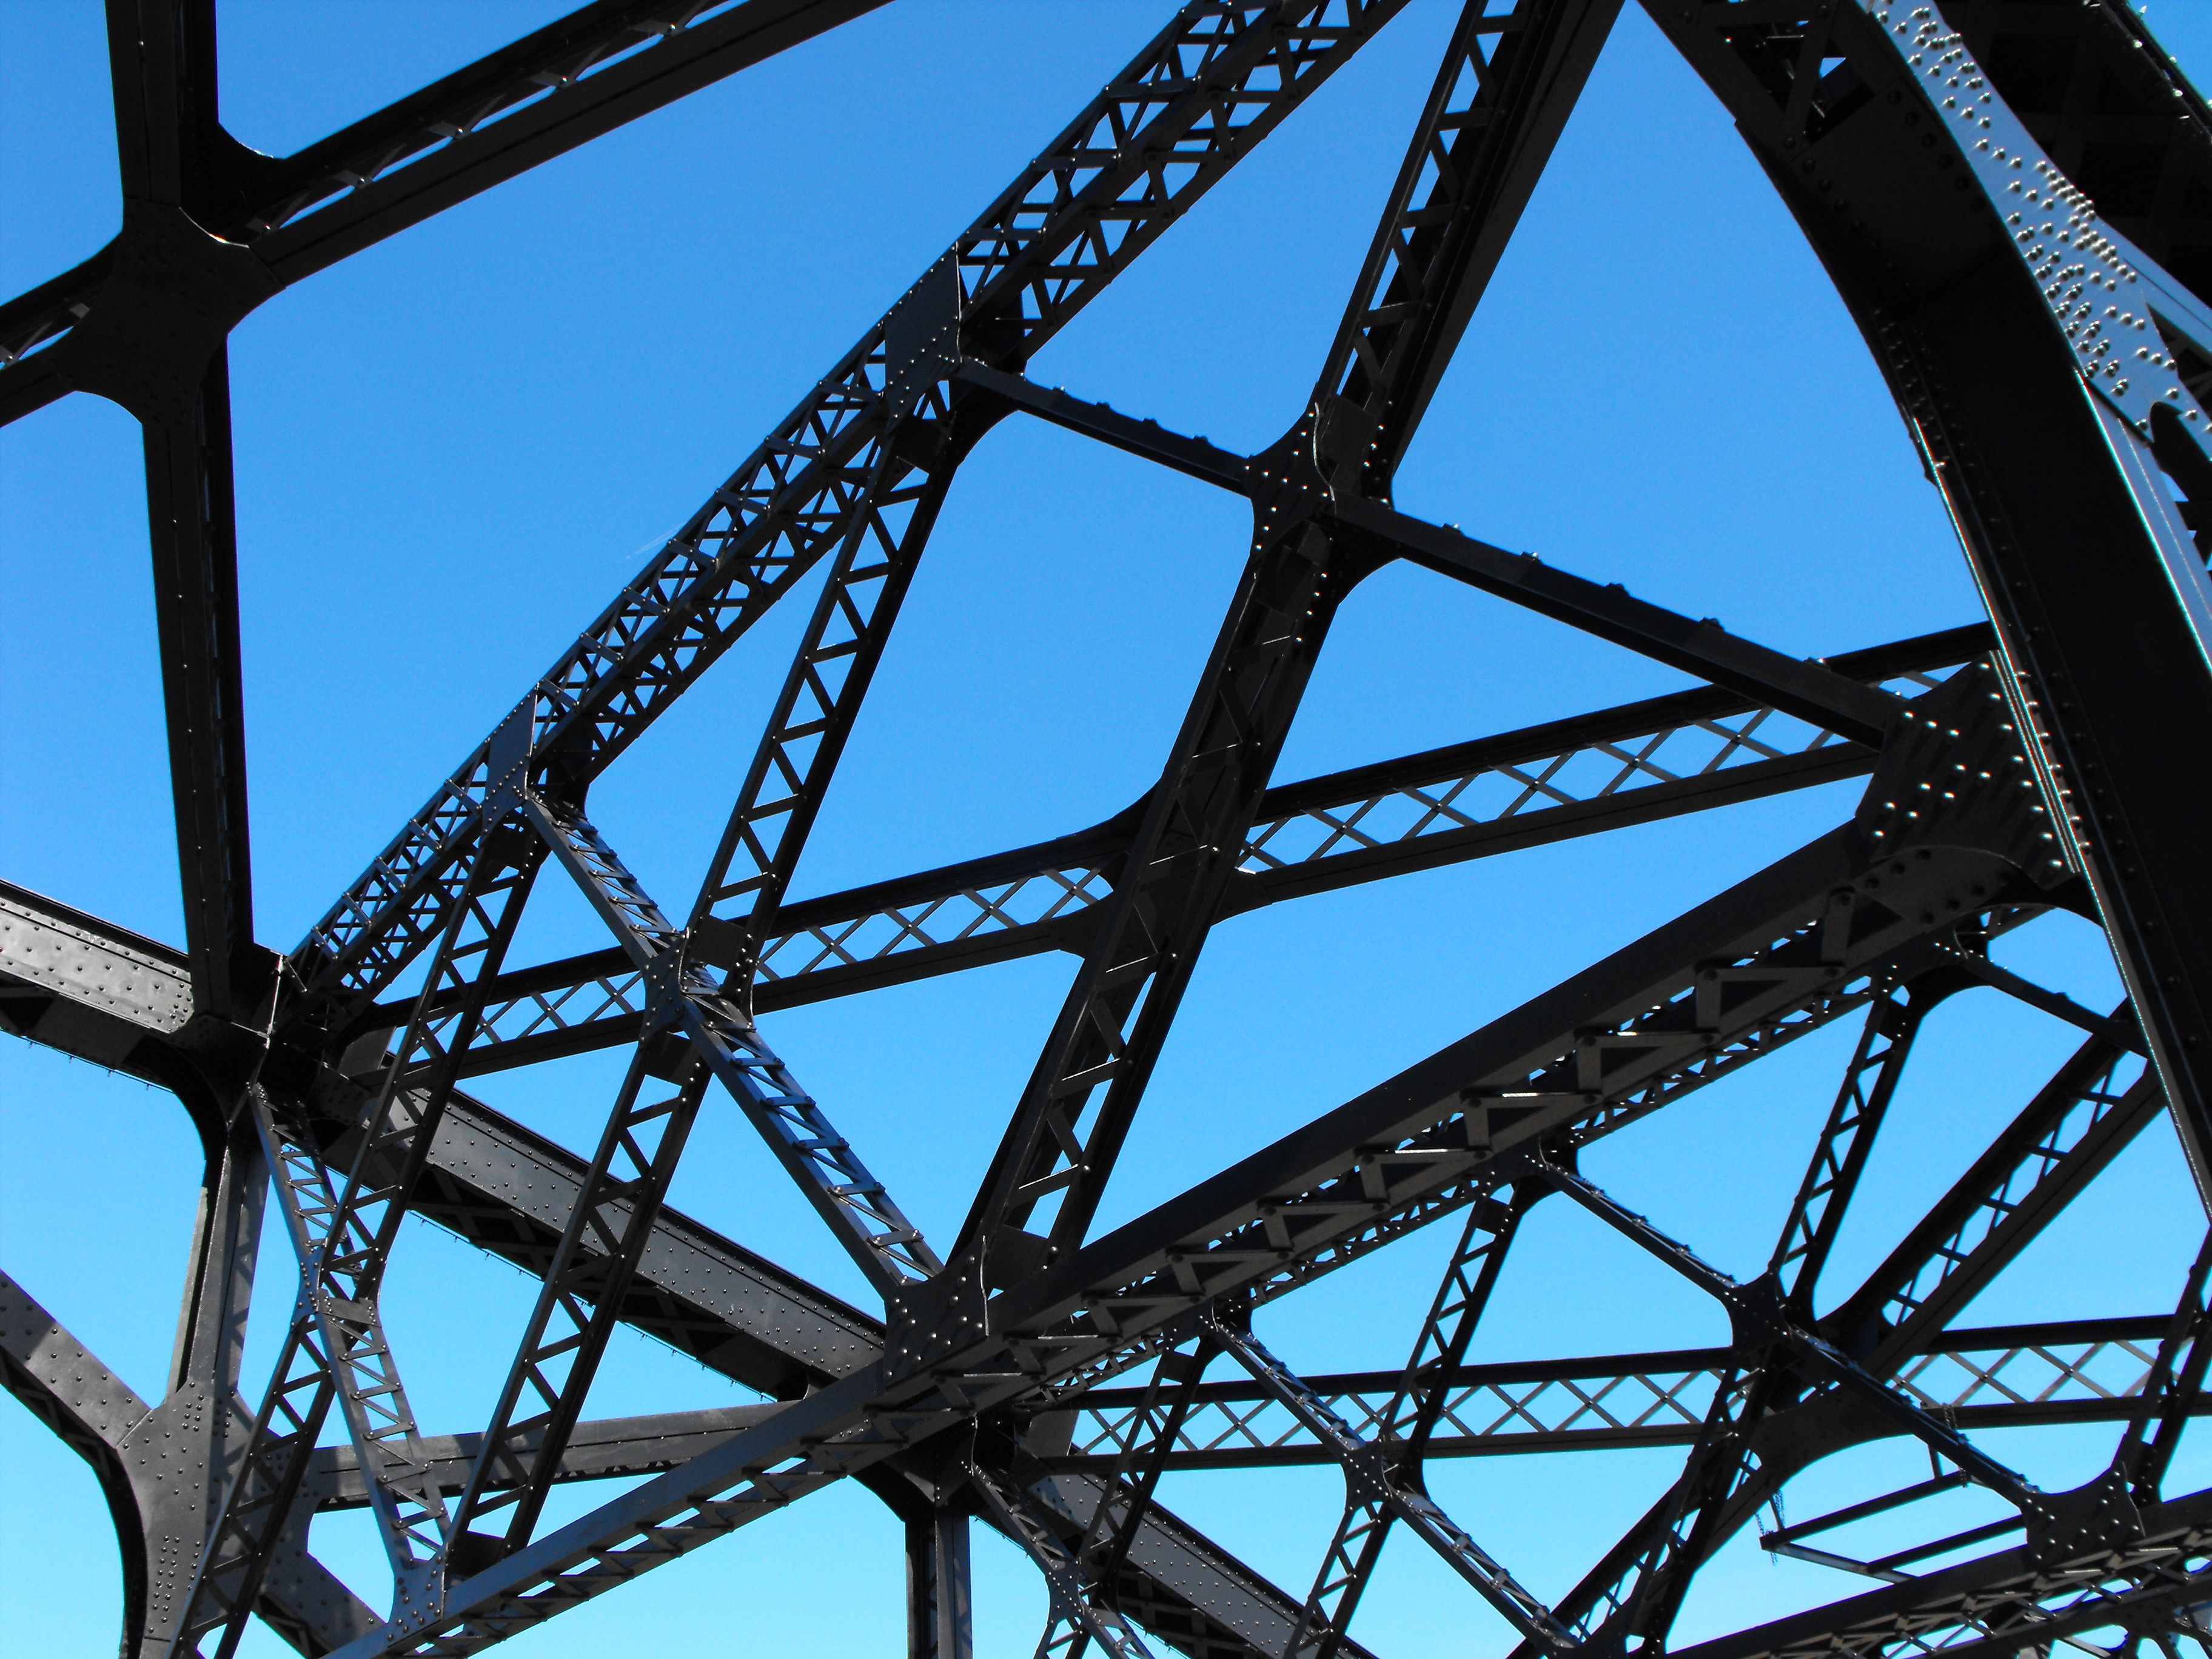
Top chord and diagonal members.
![]()
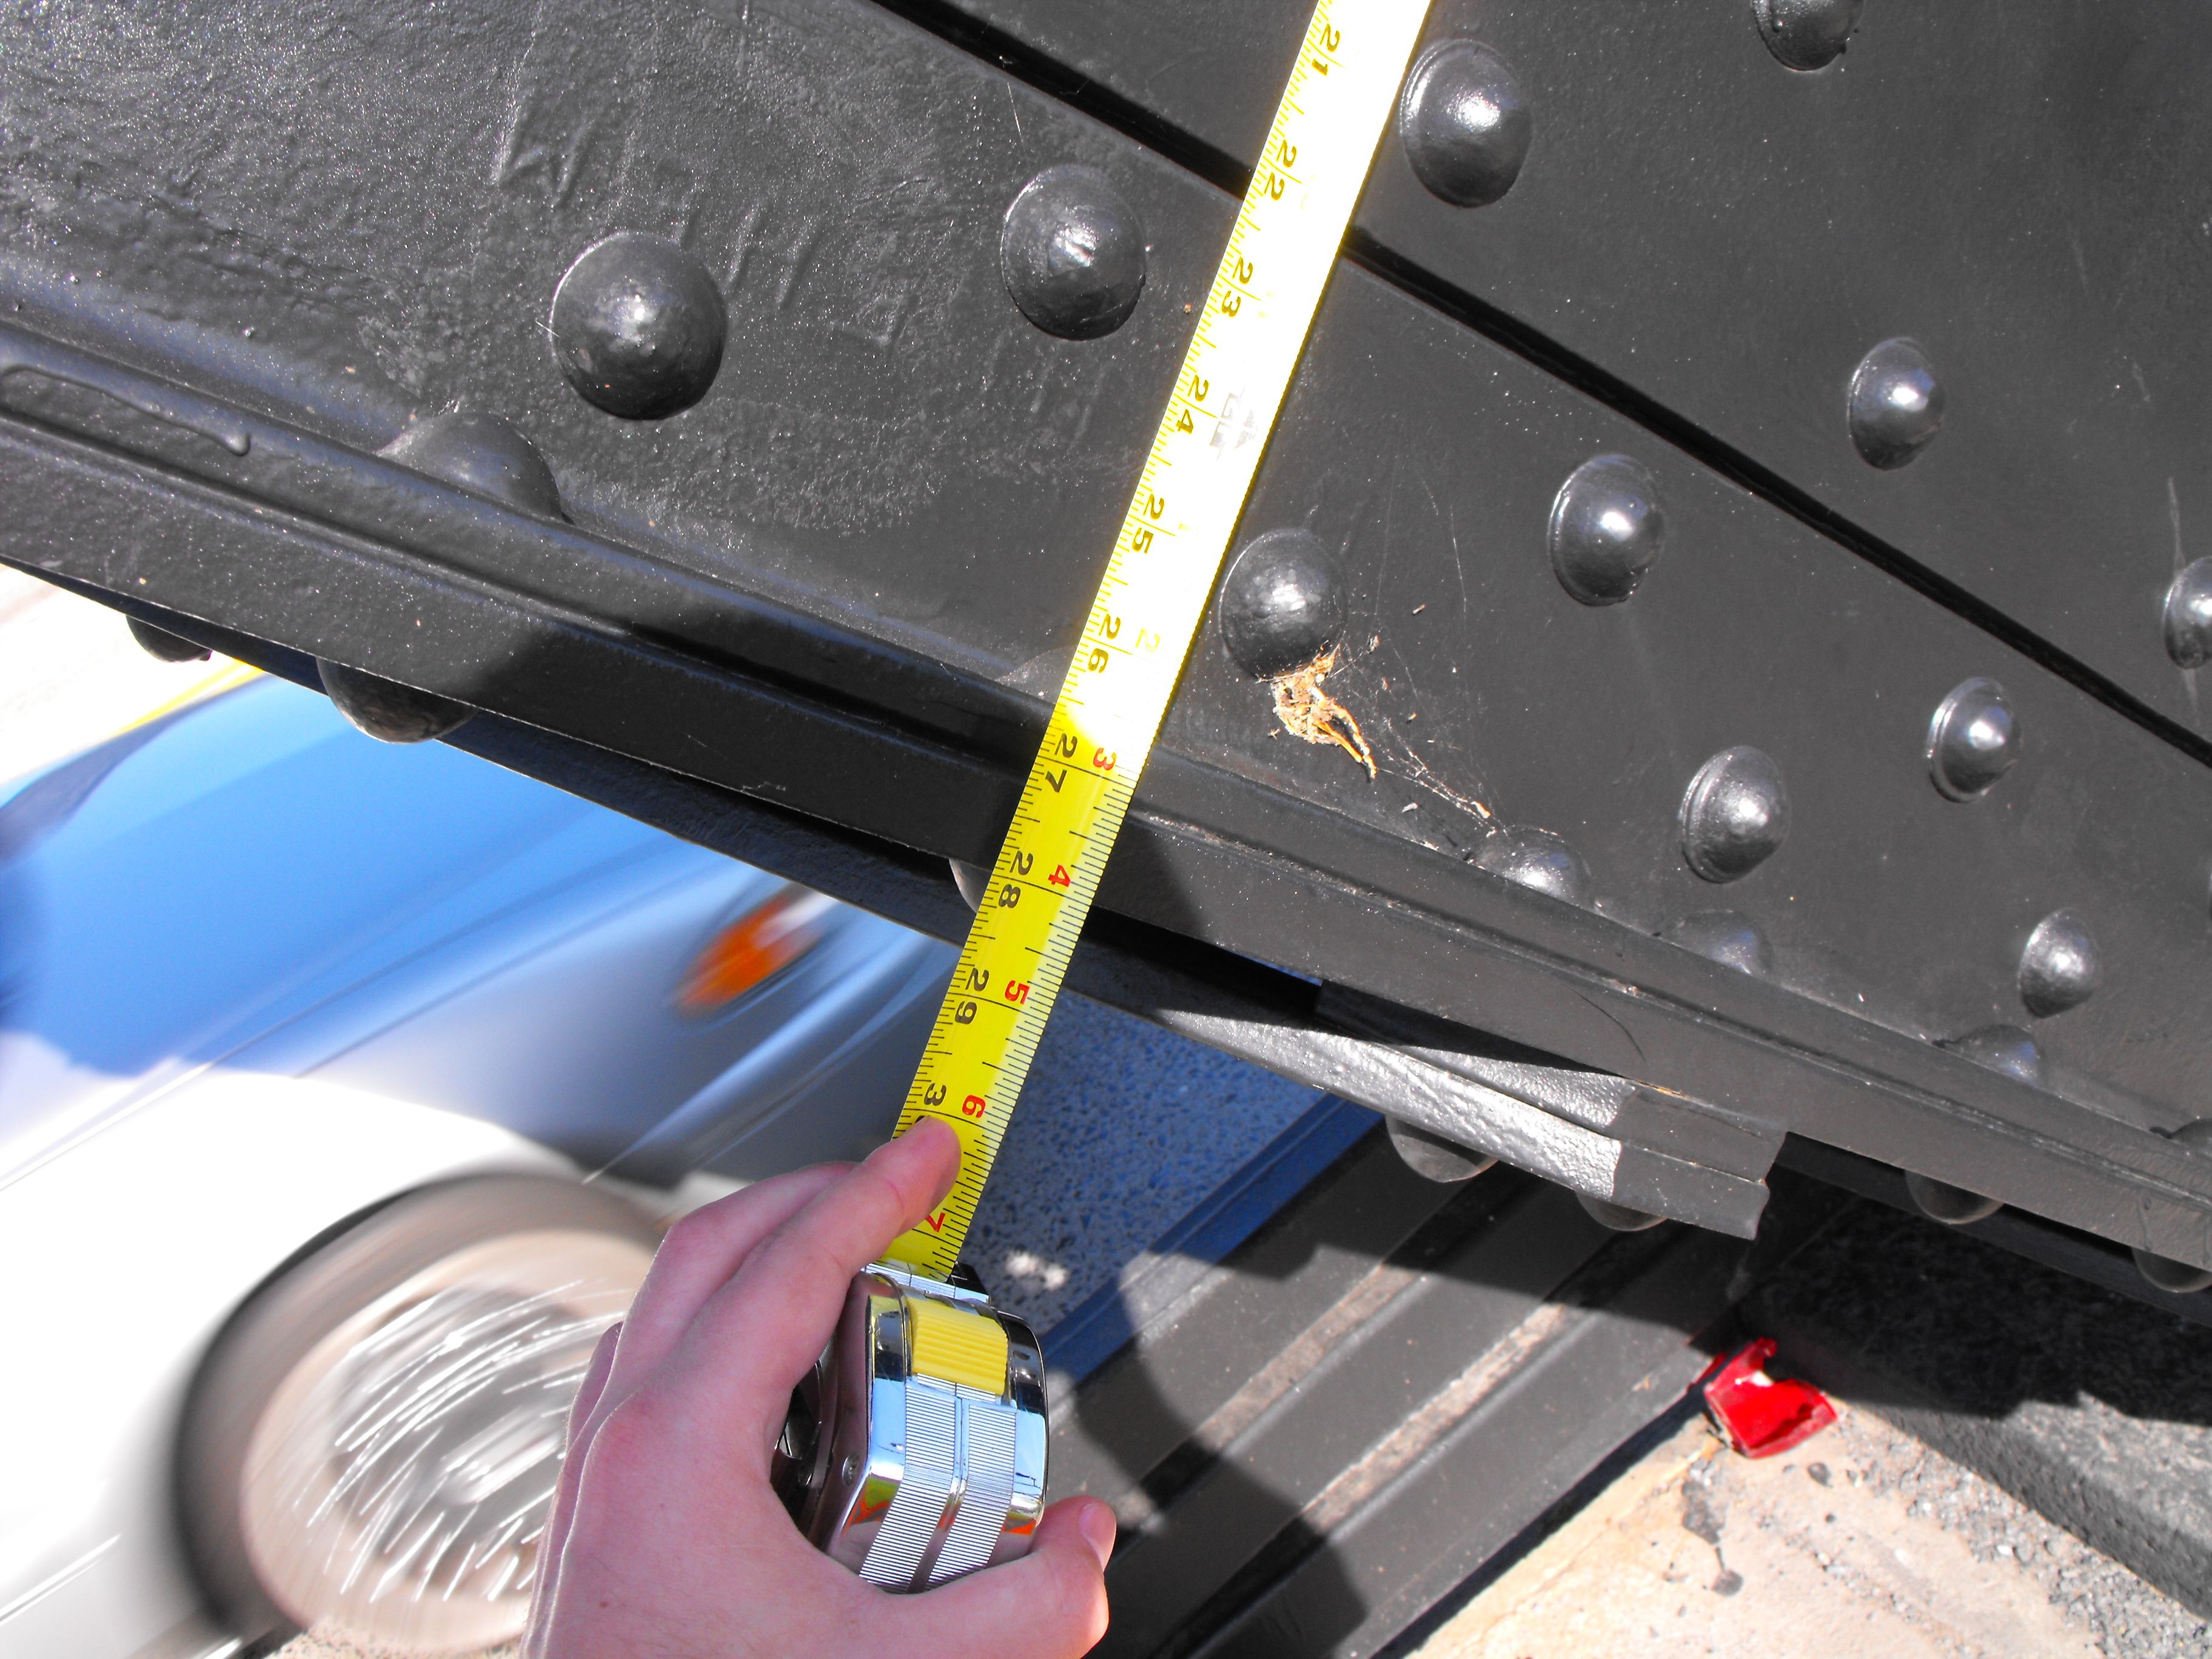
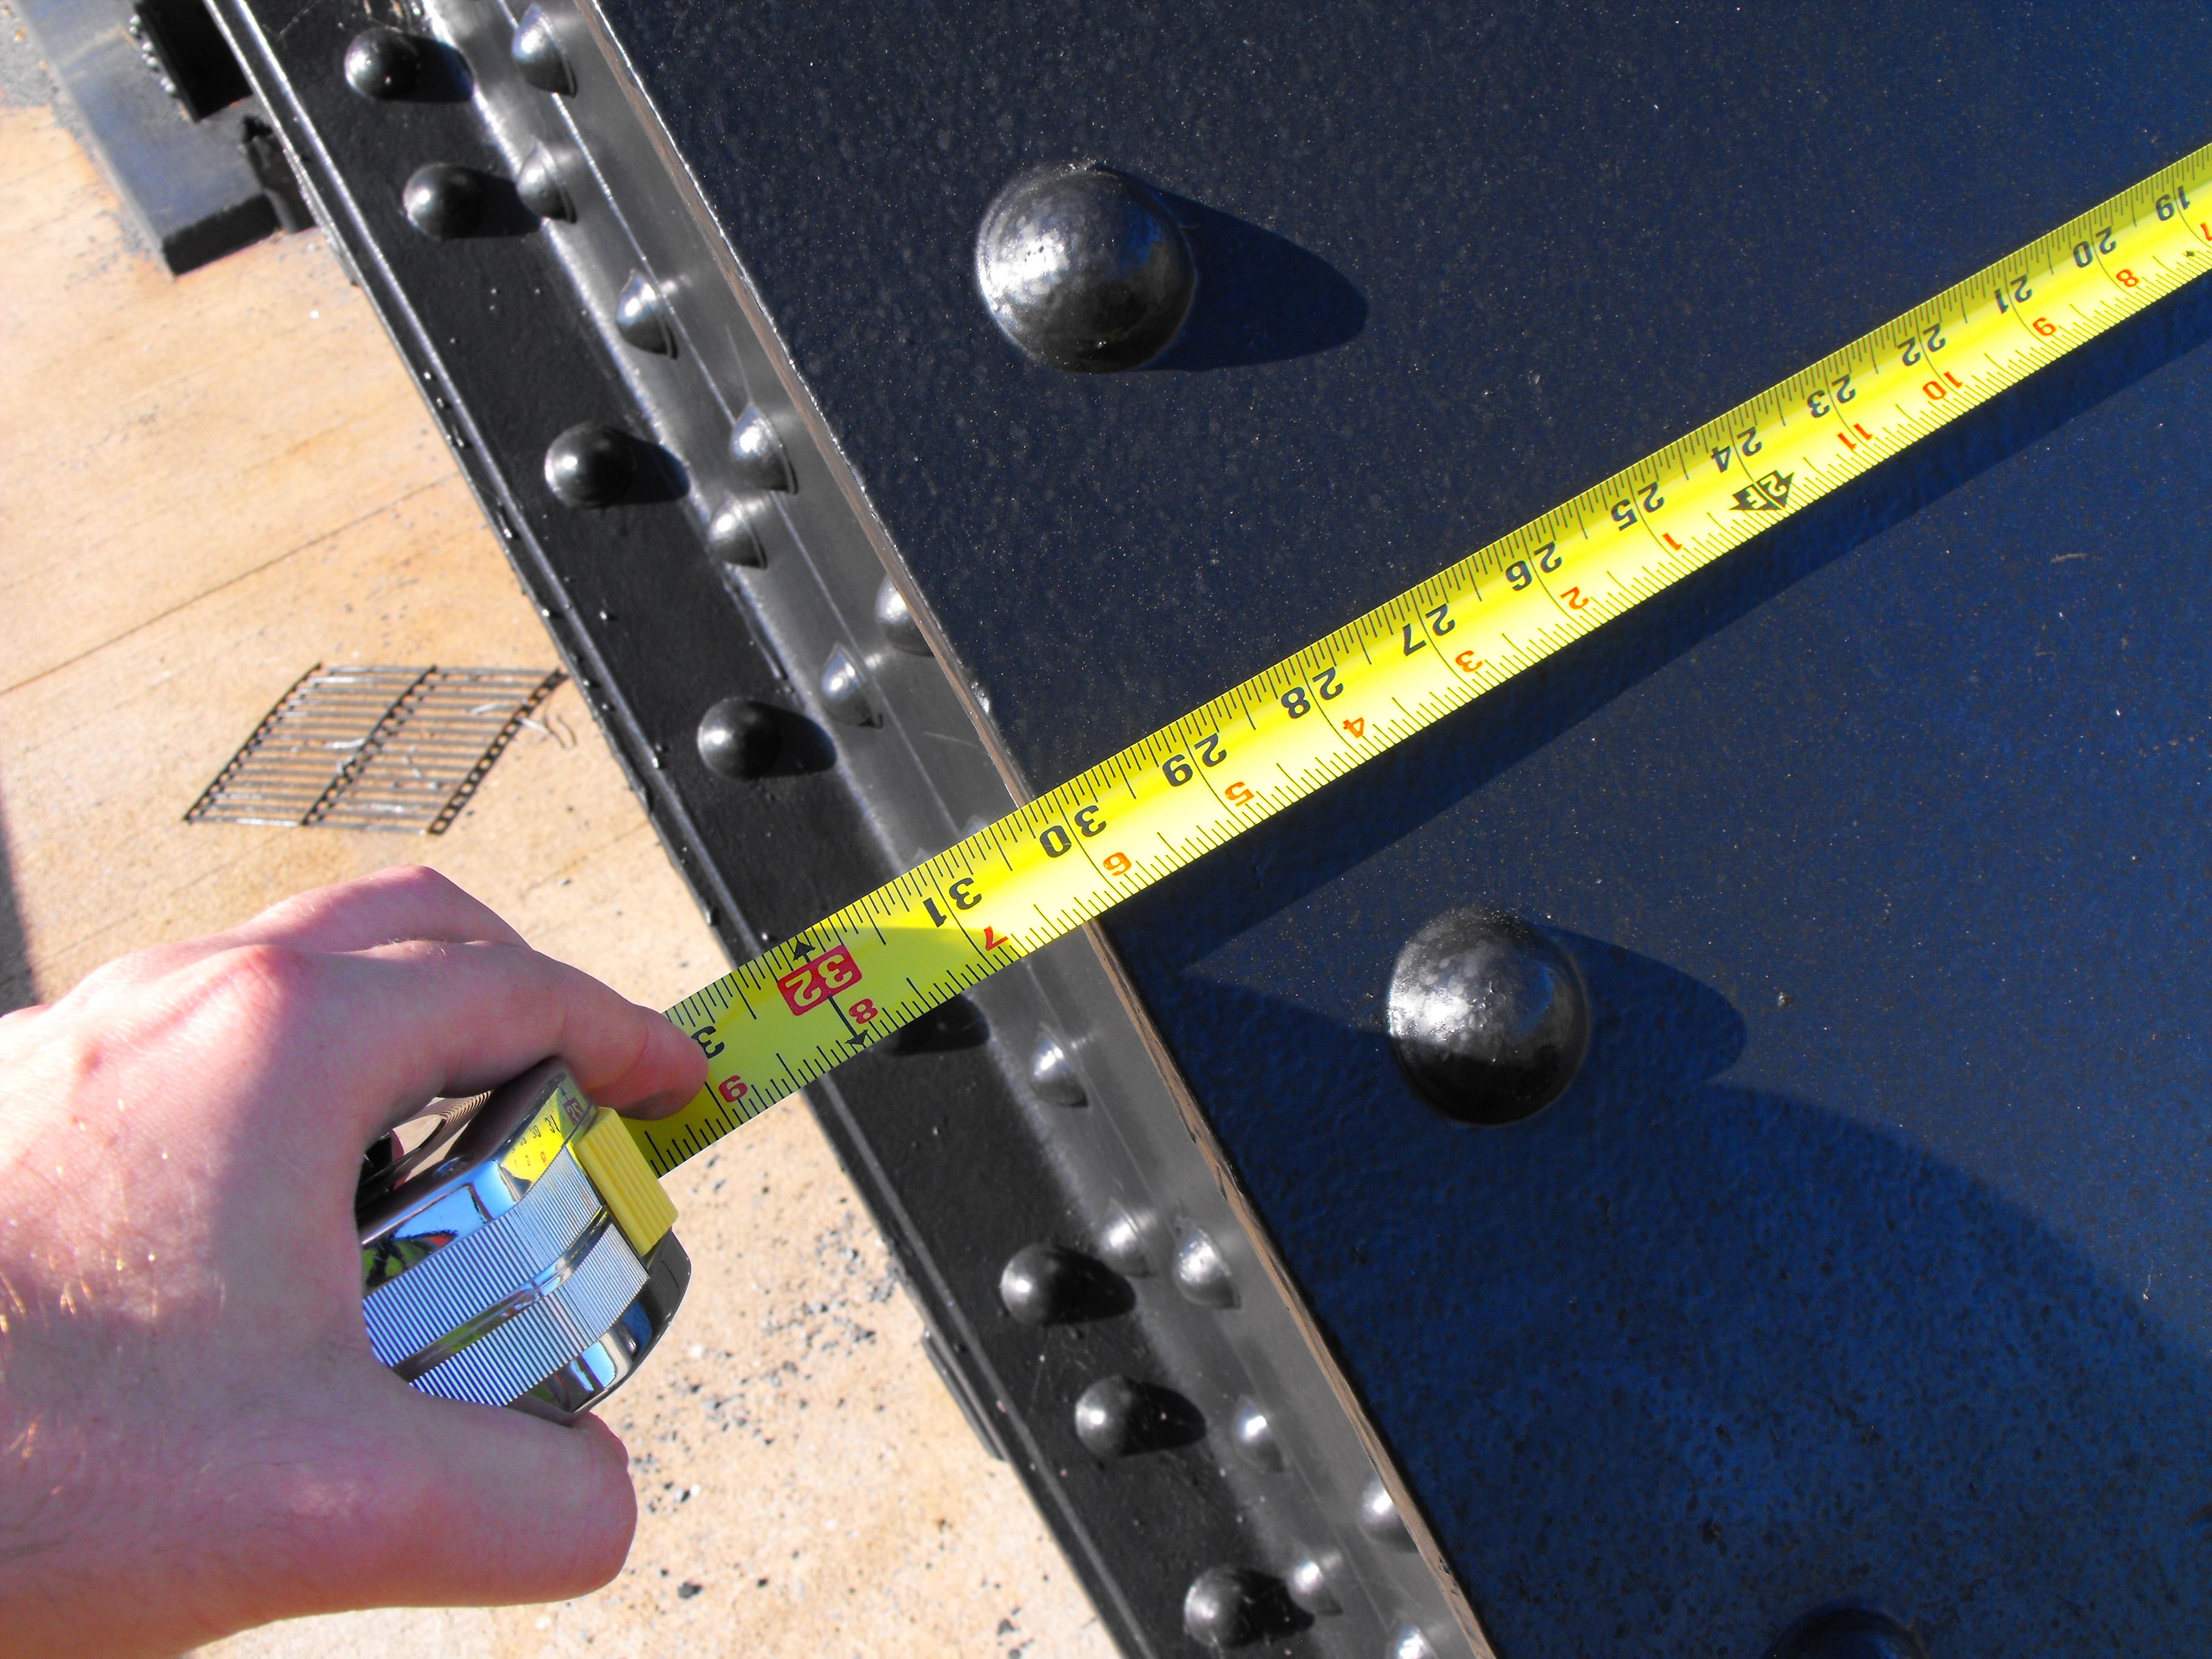
End post measurements and visual scale.
![]()
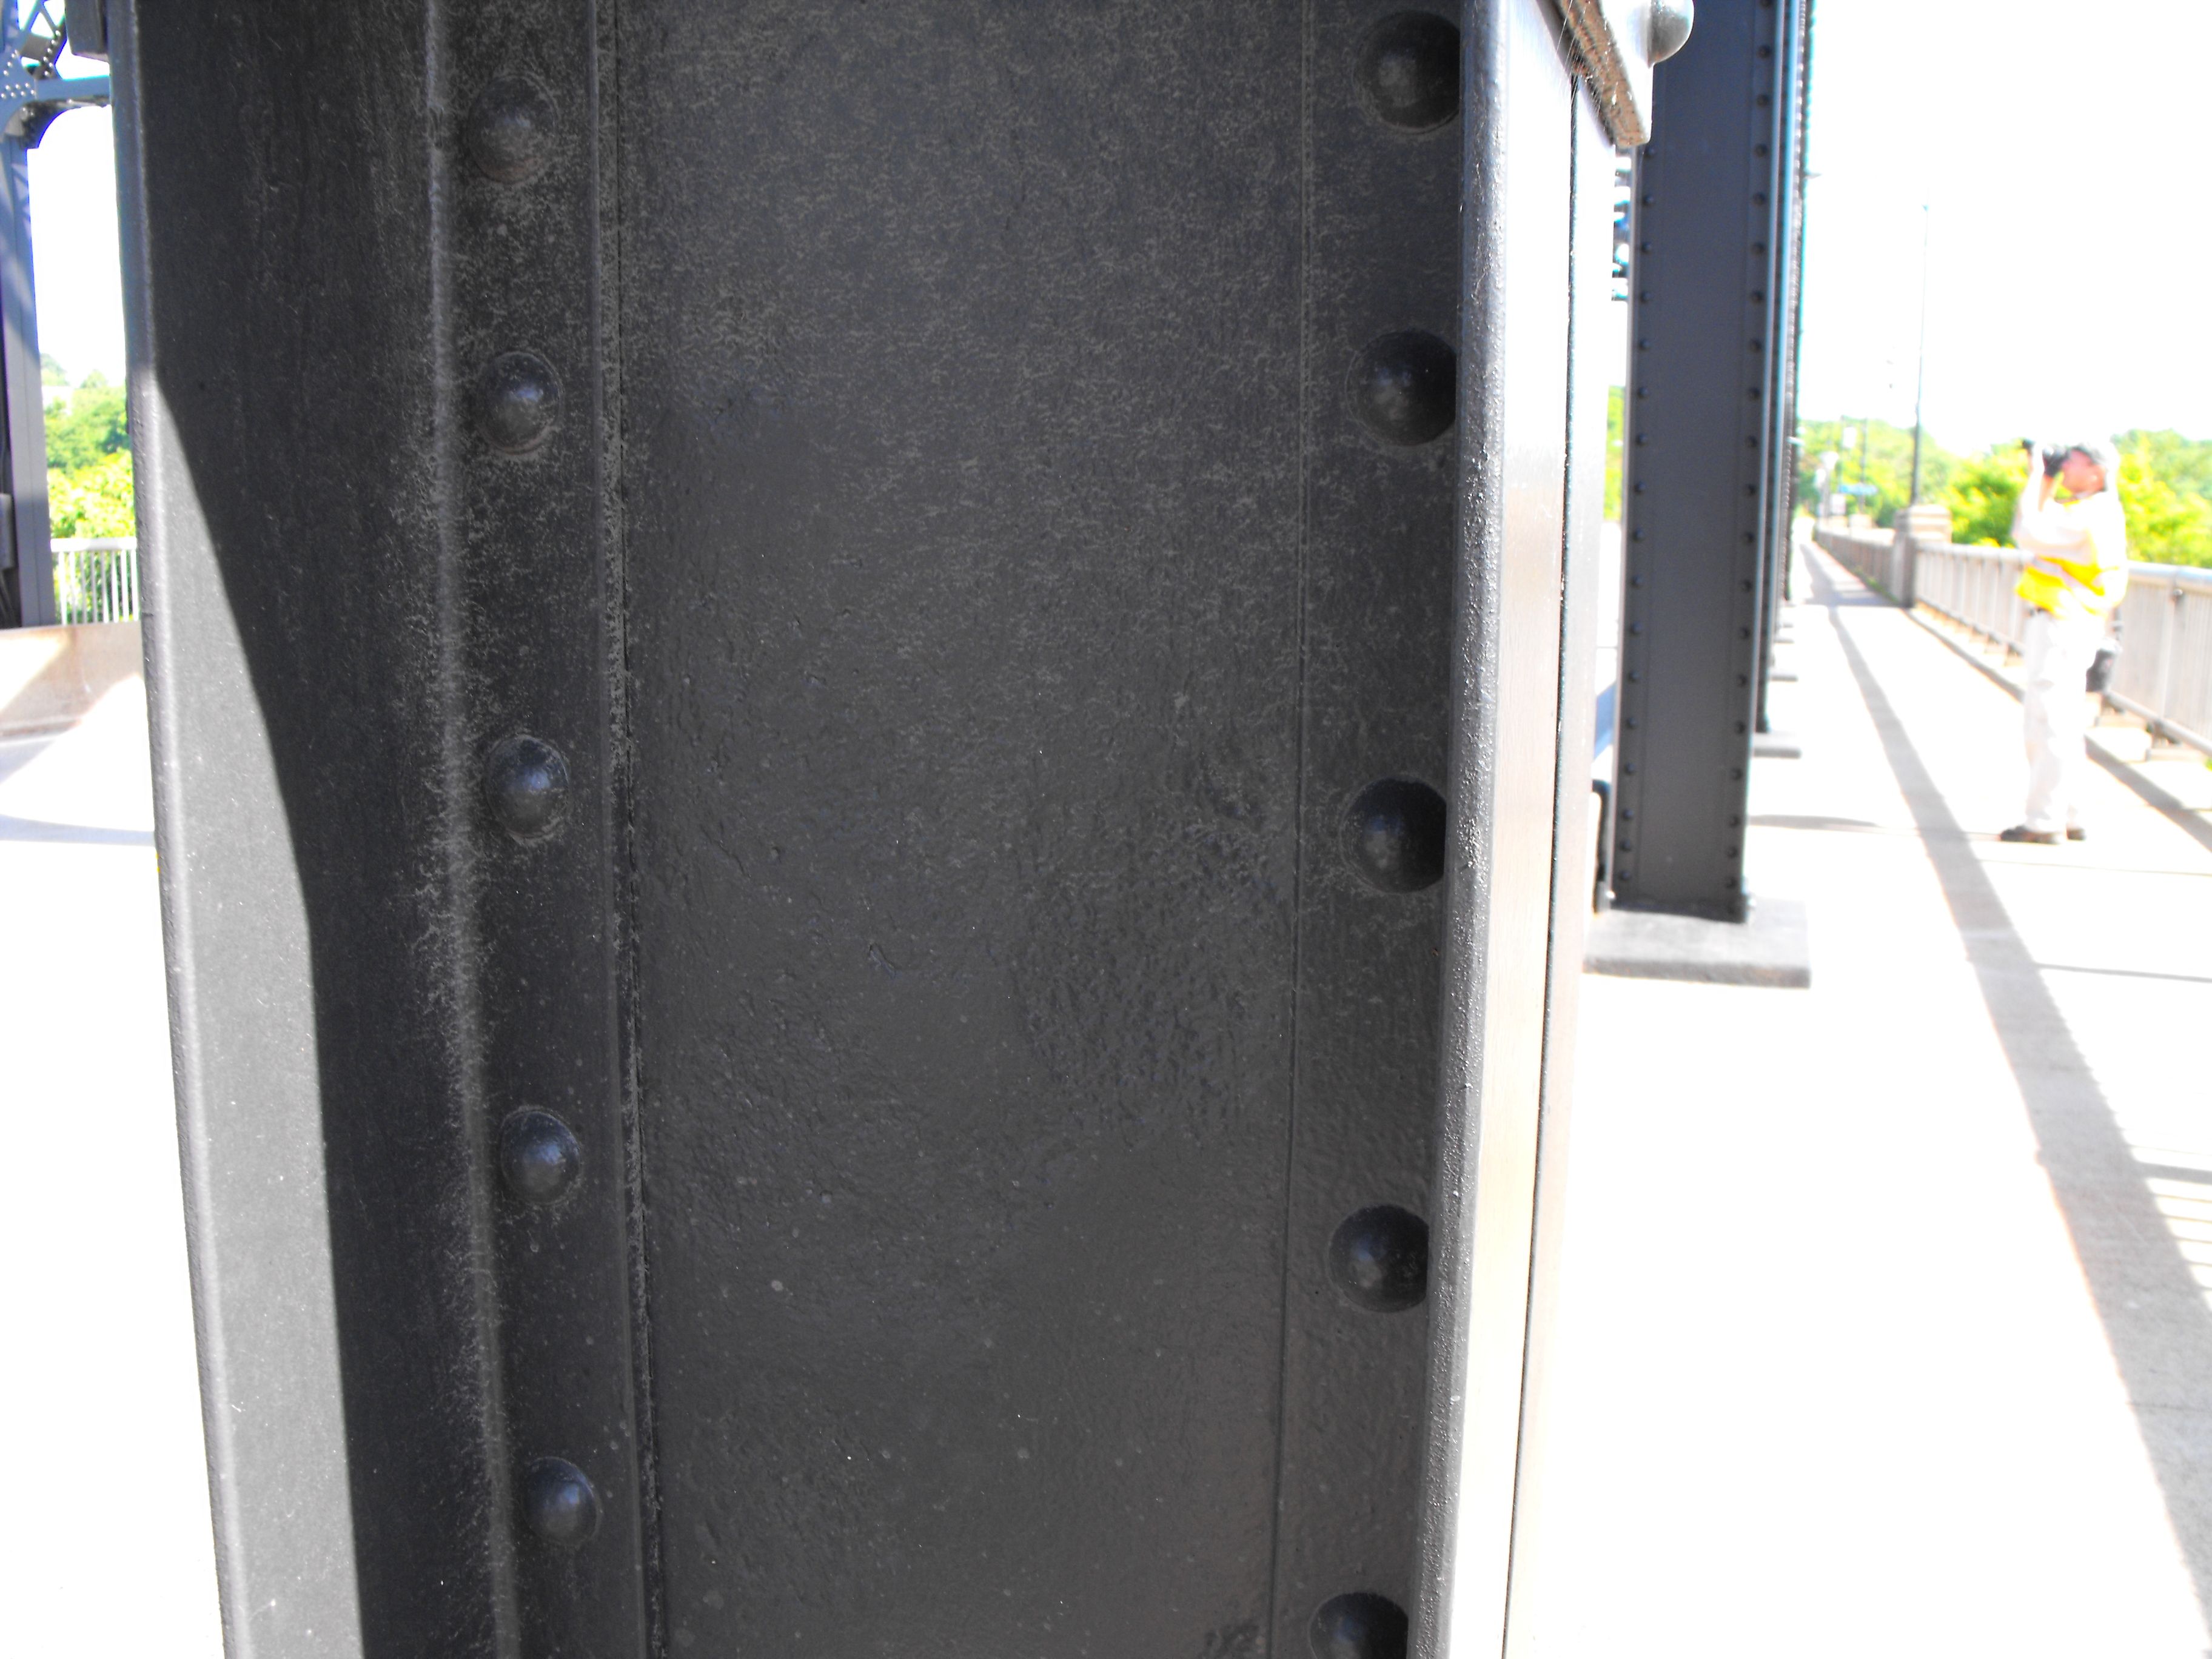

Vertical members.
![]()

Lateral bracing.
![]()

Lateral bracing connection.
![]()

Sway bracing.
![]()
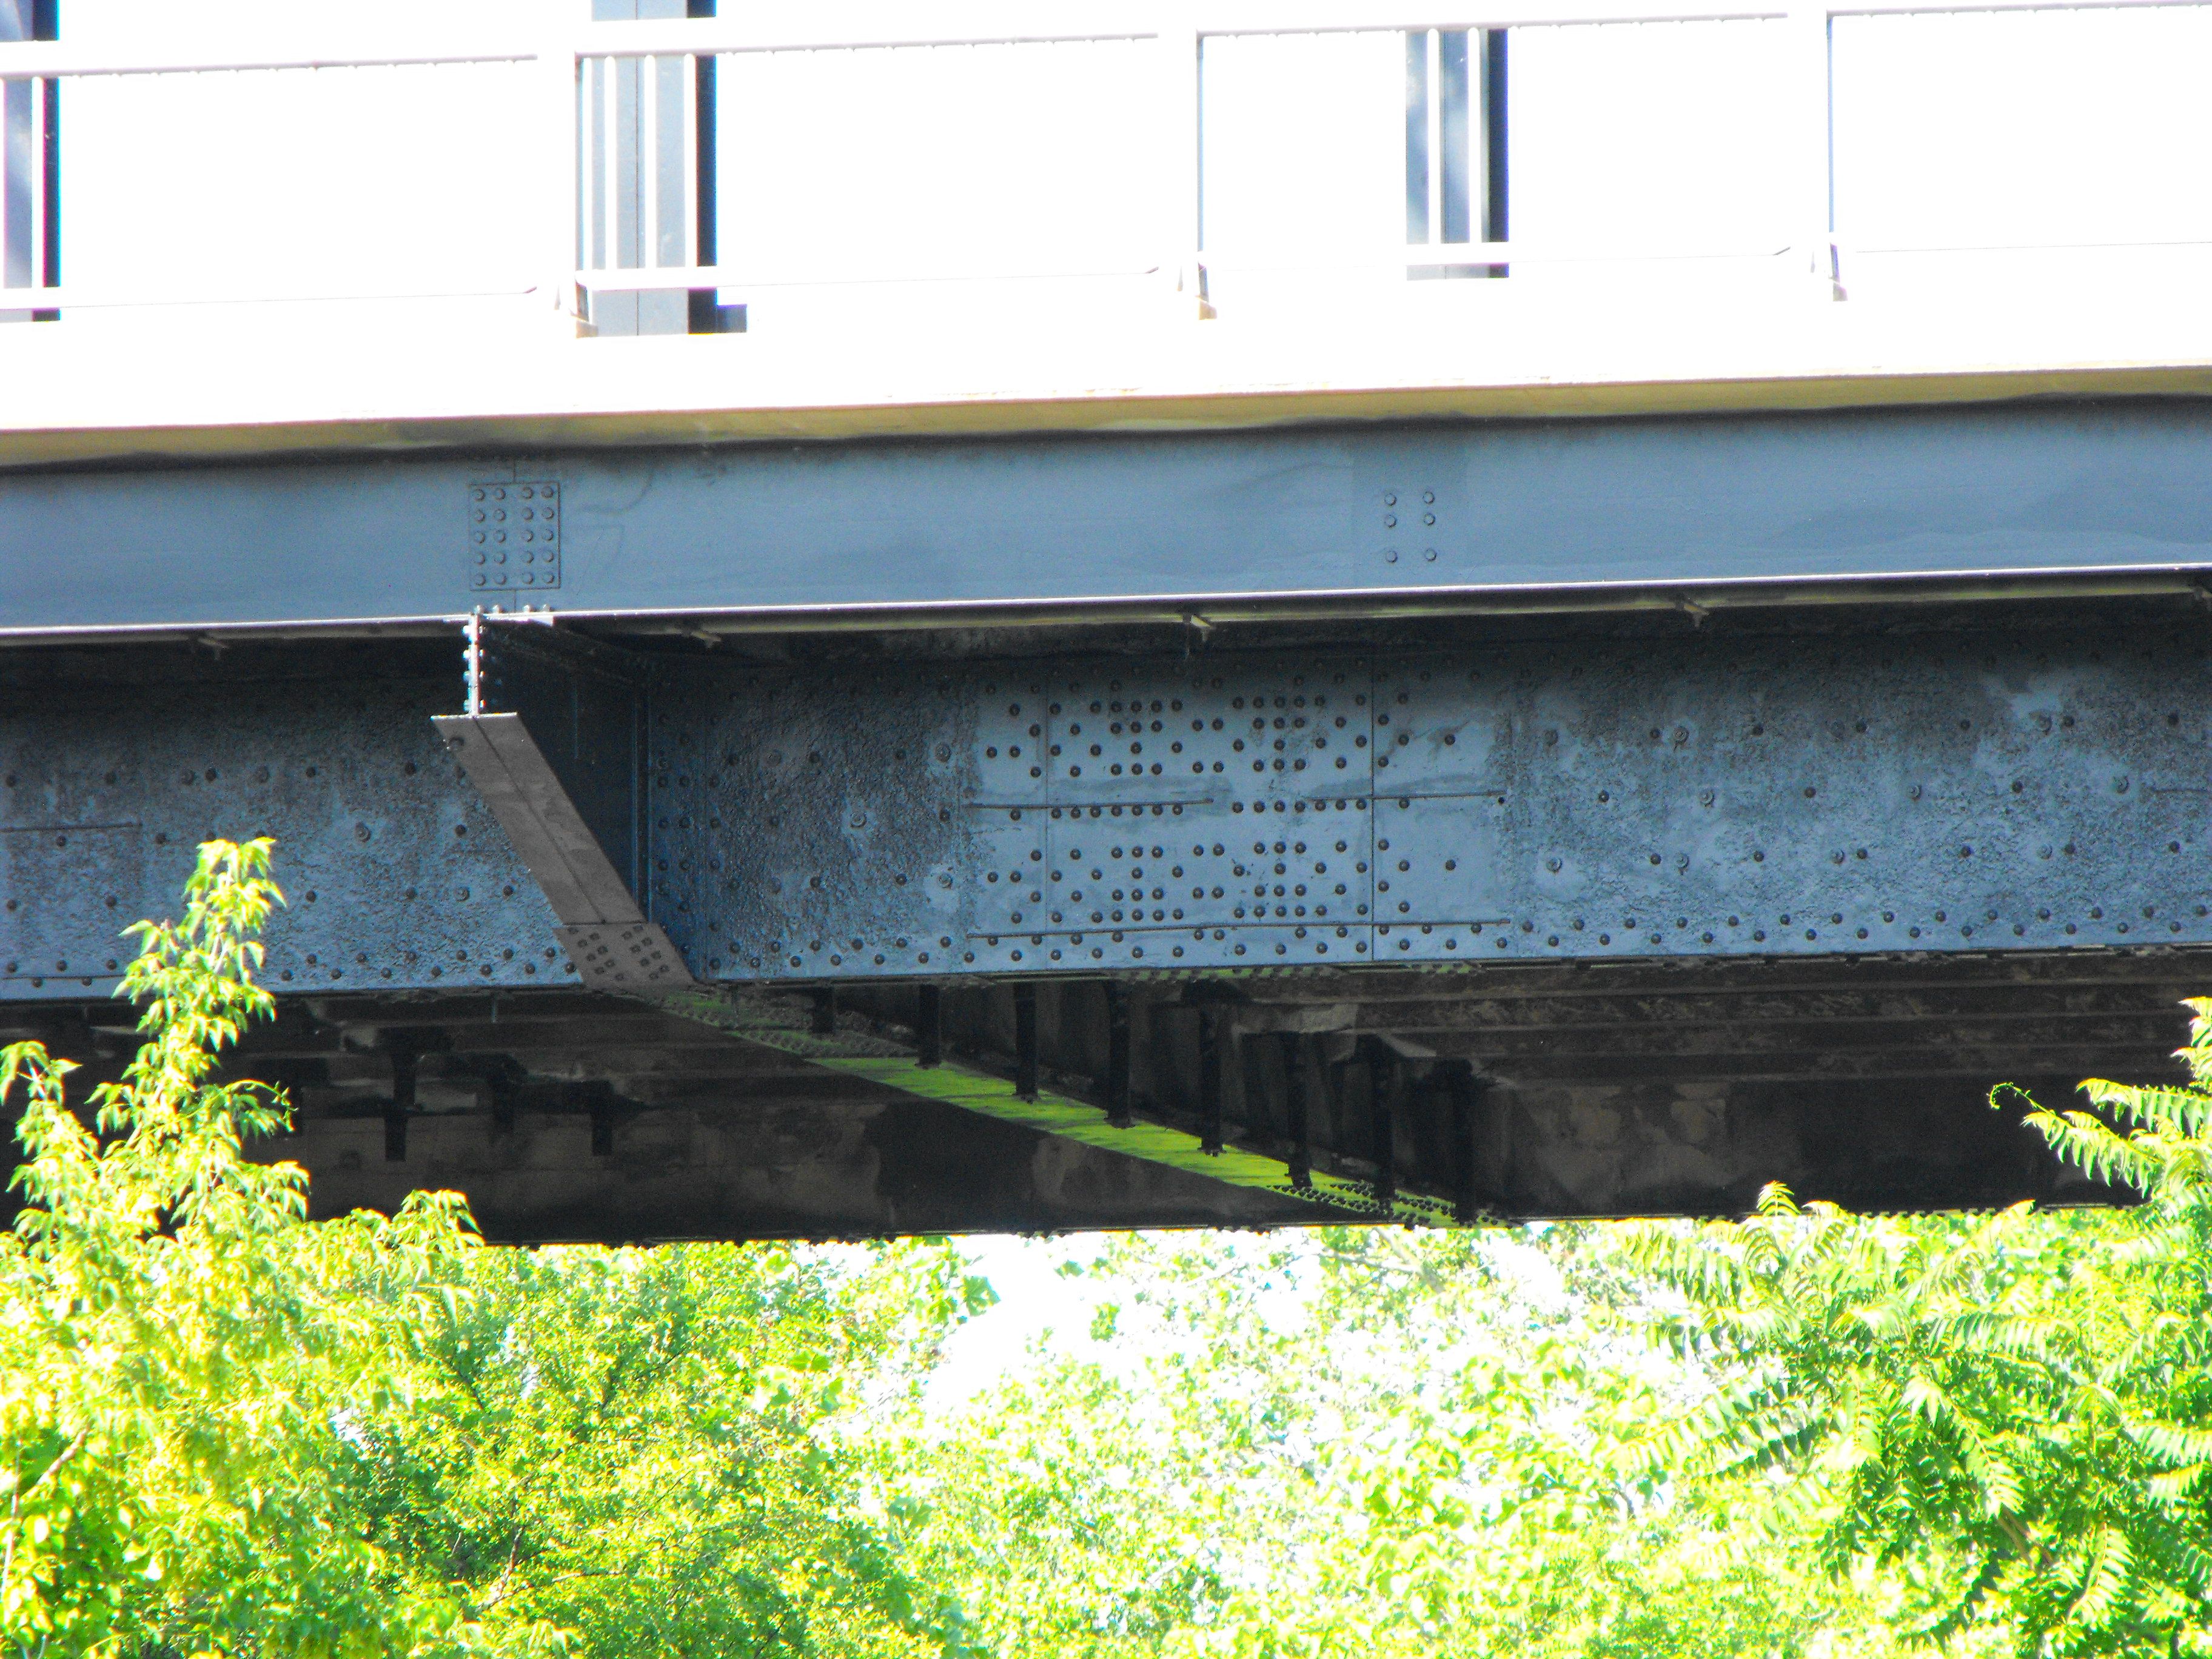
Bottom chord.
![]()
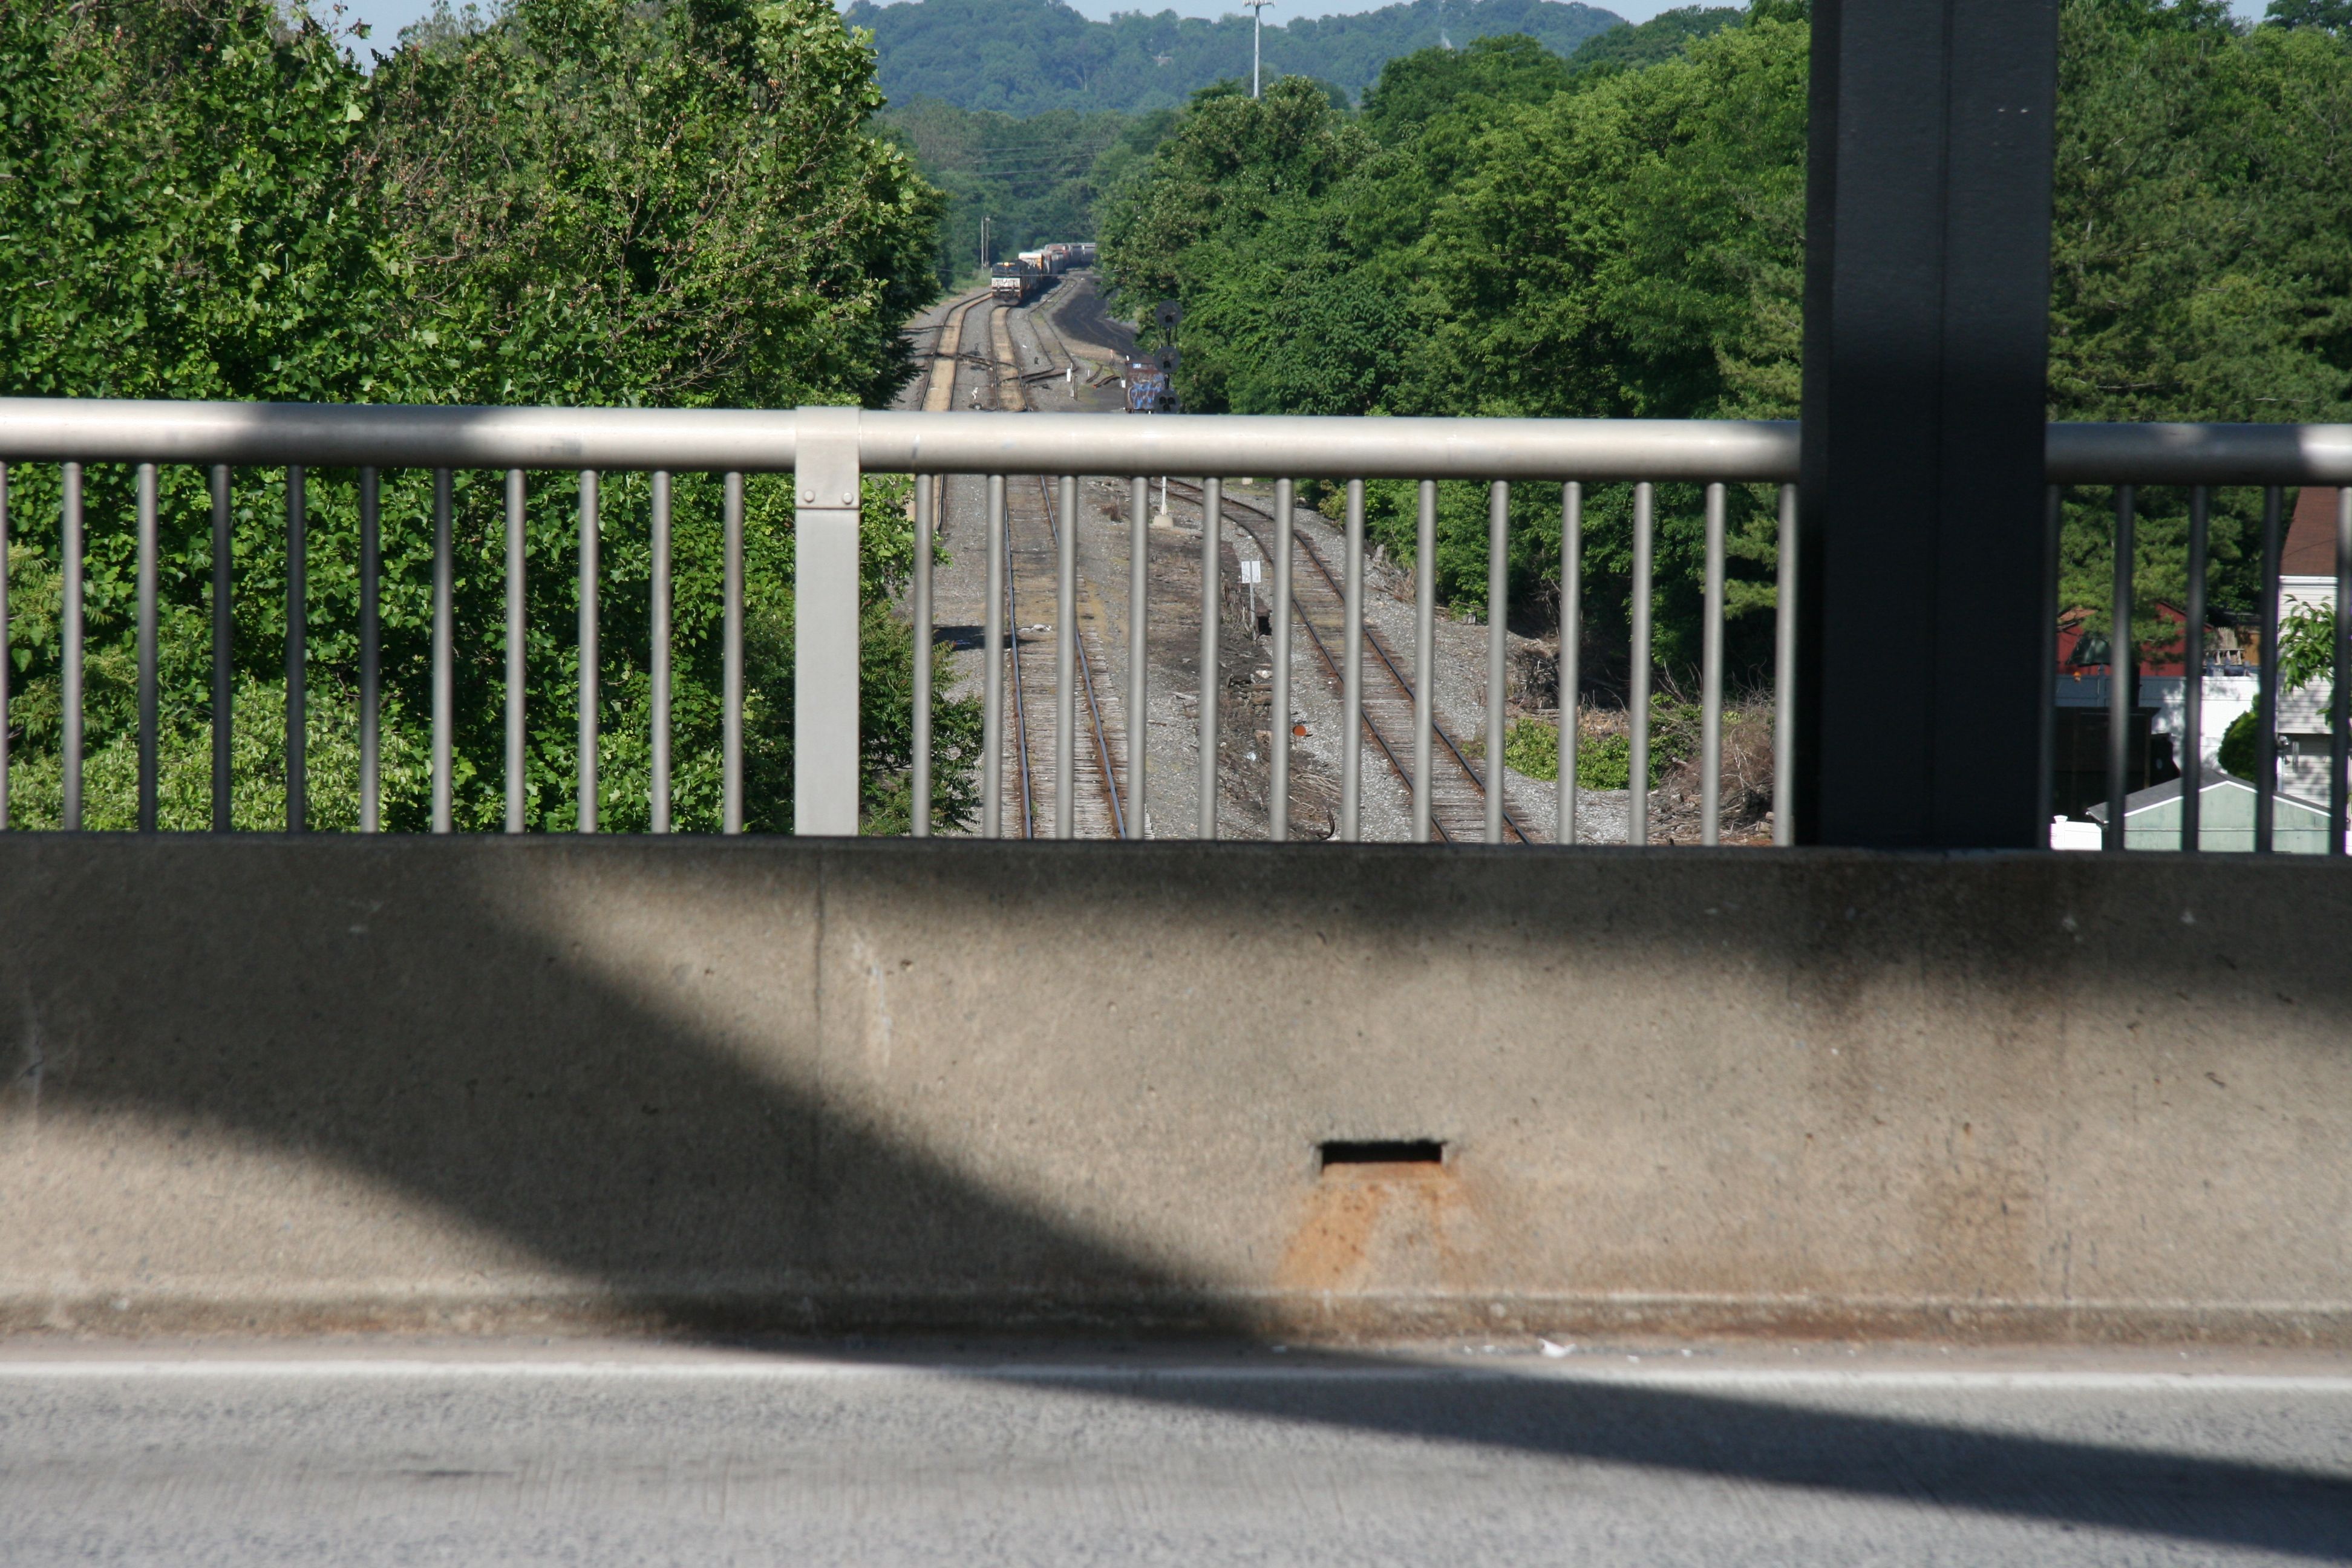
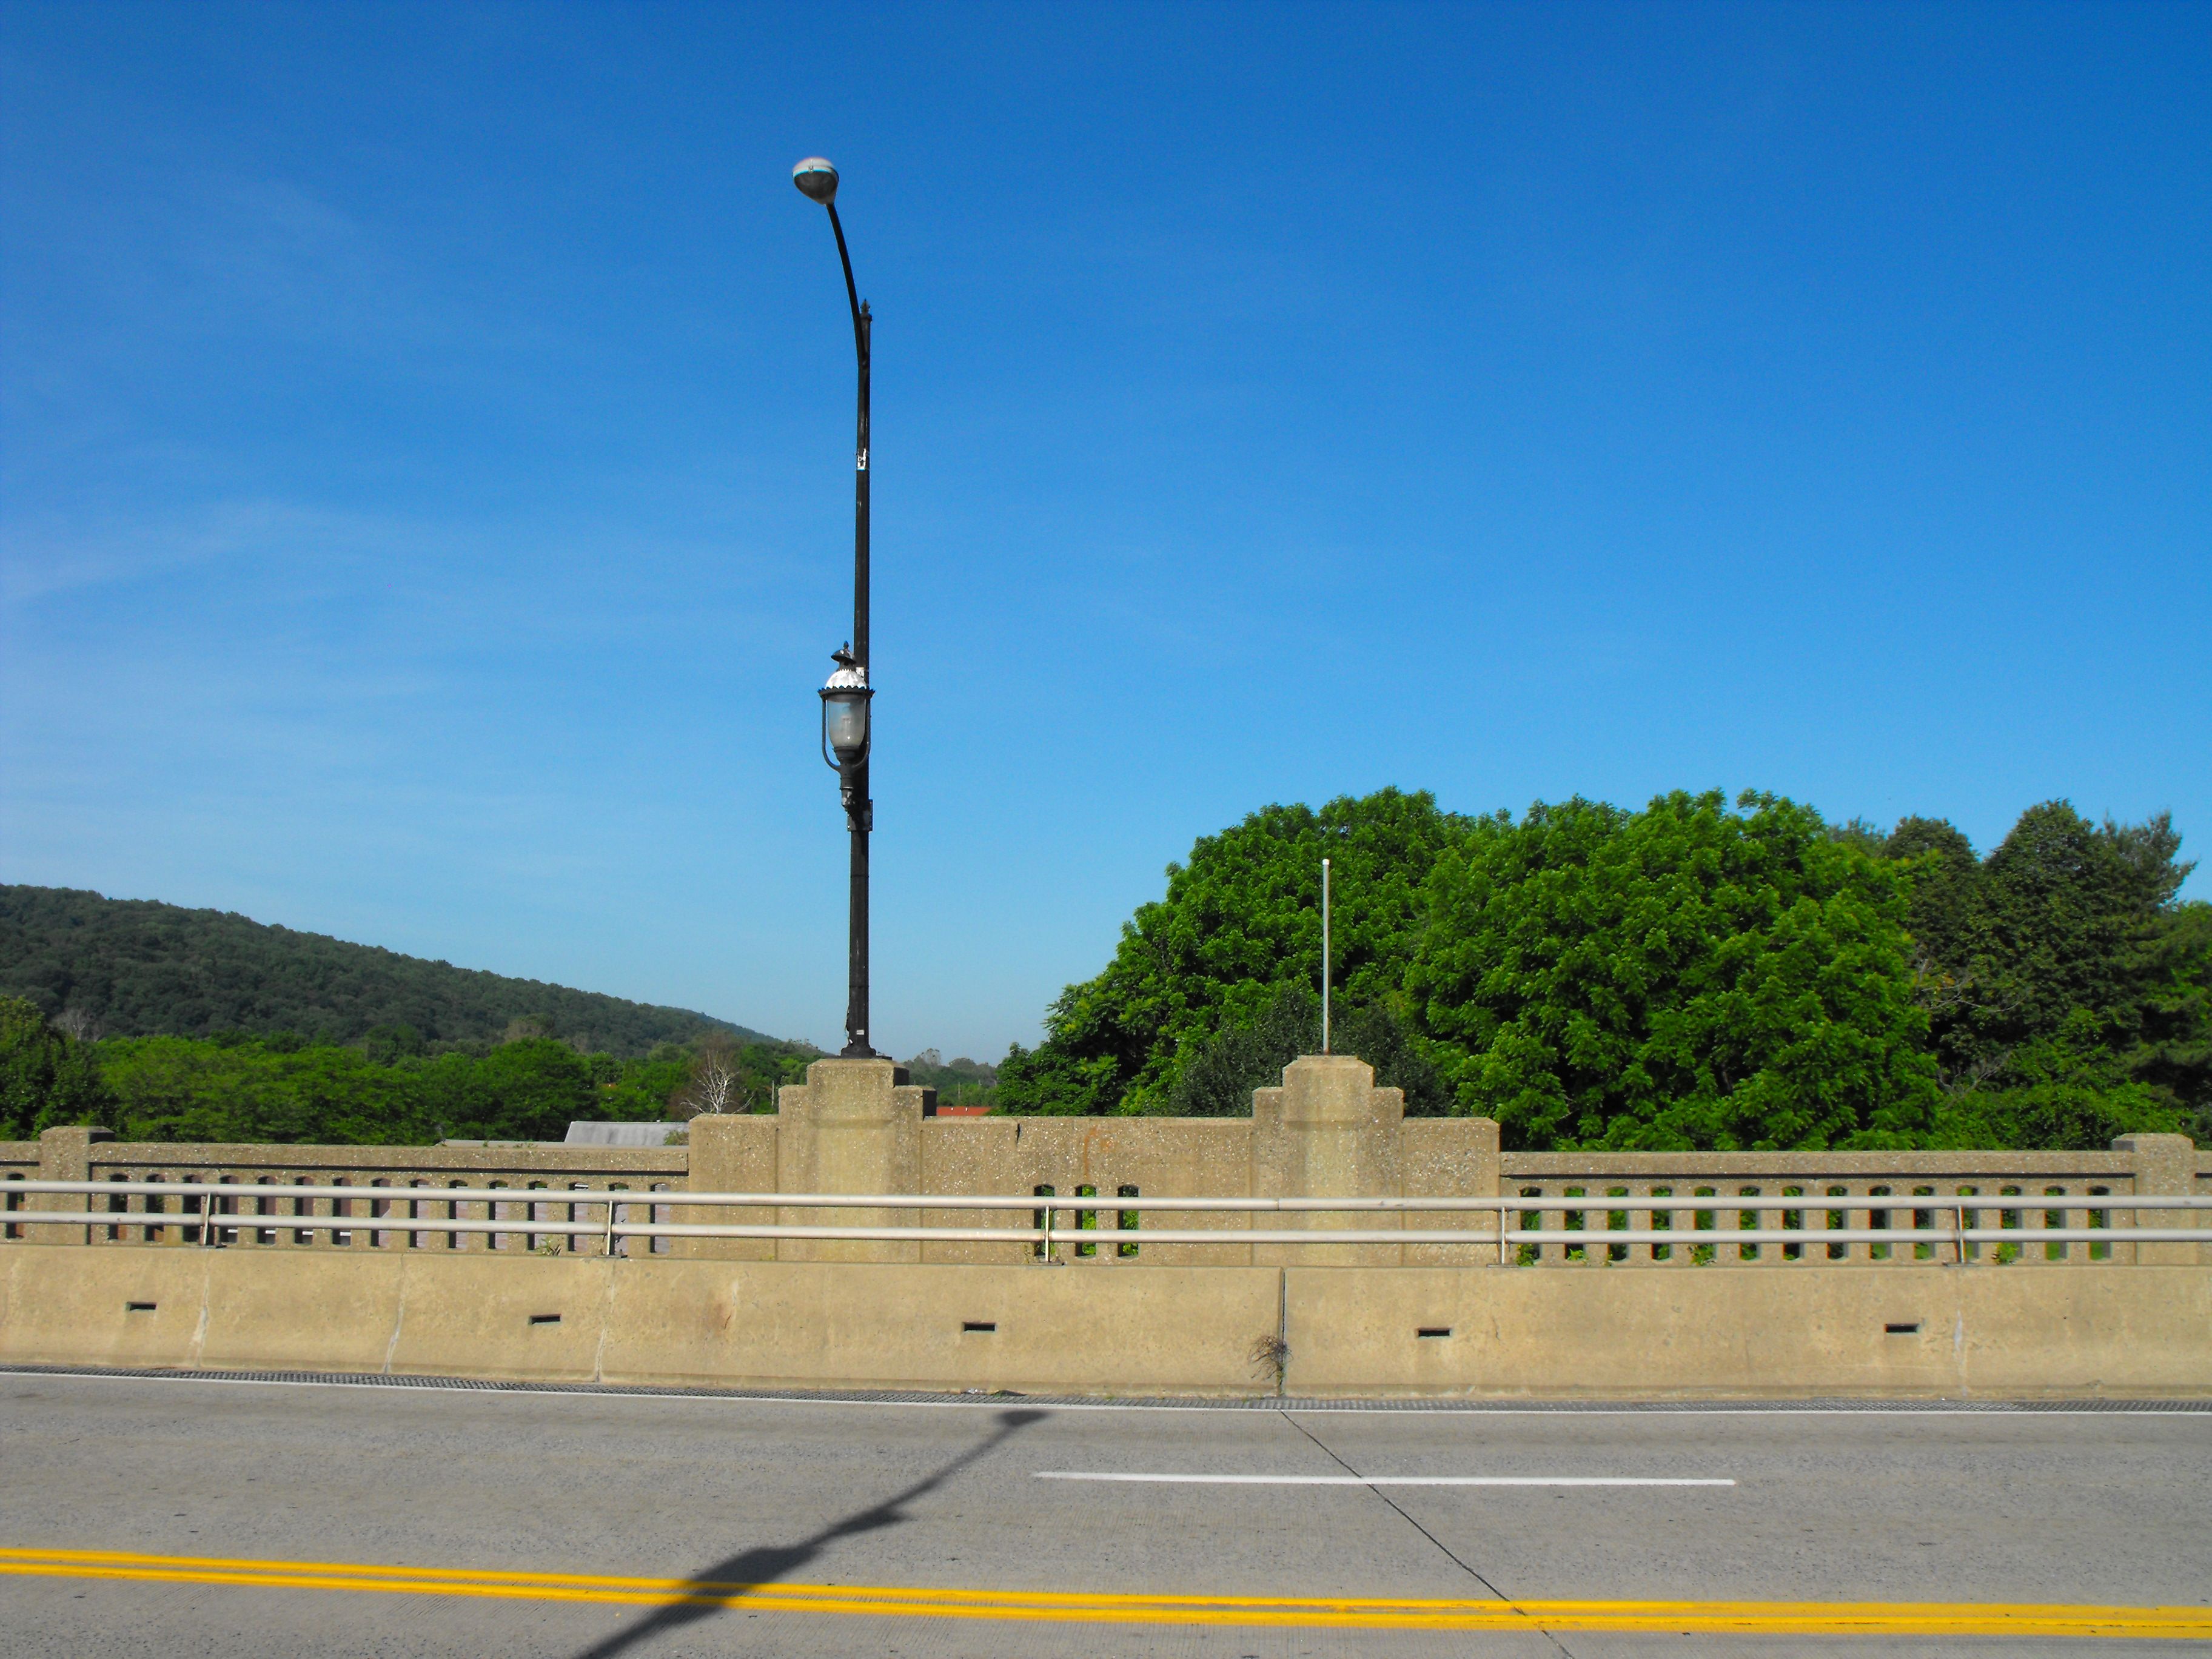
Modern railing on truss span.
![]()
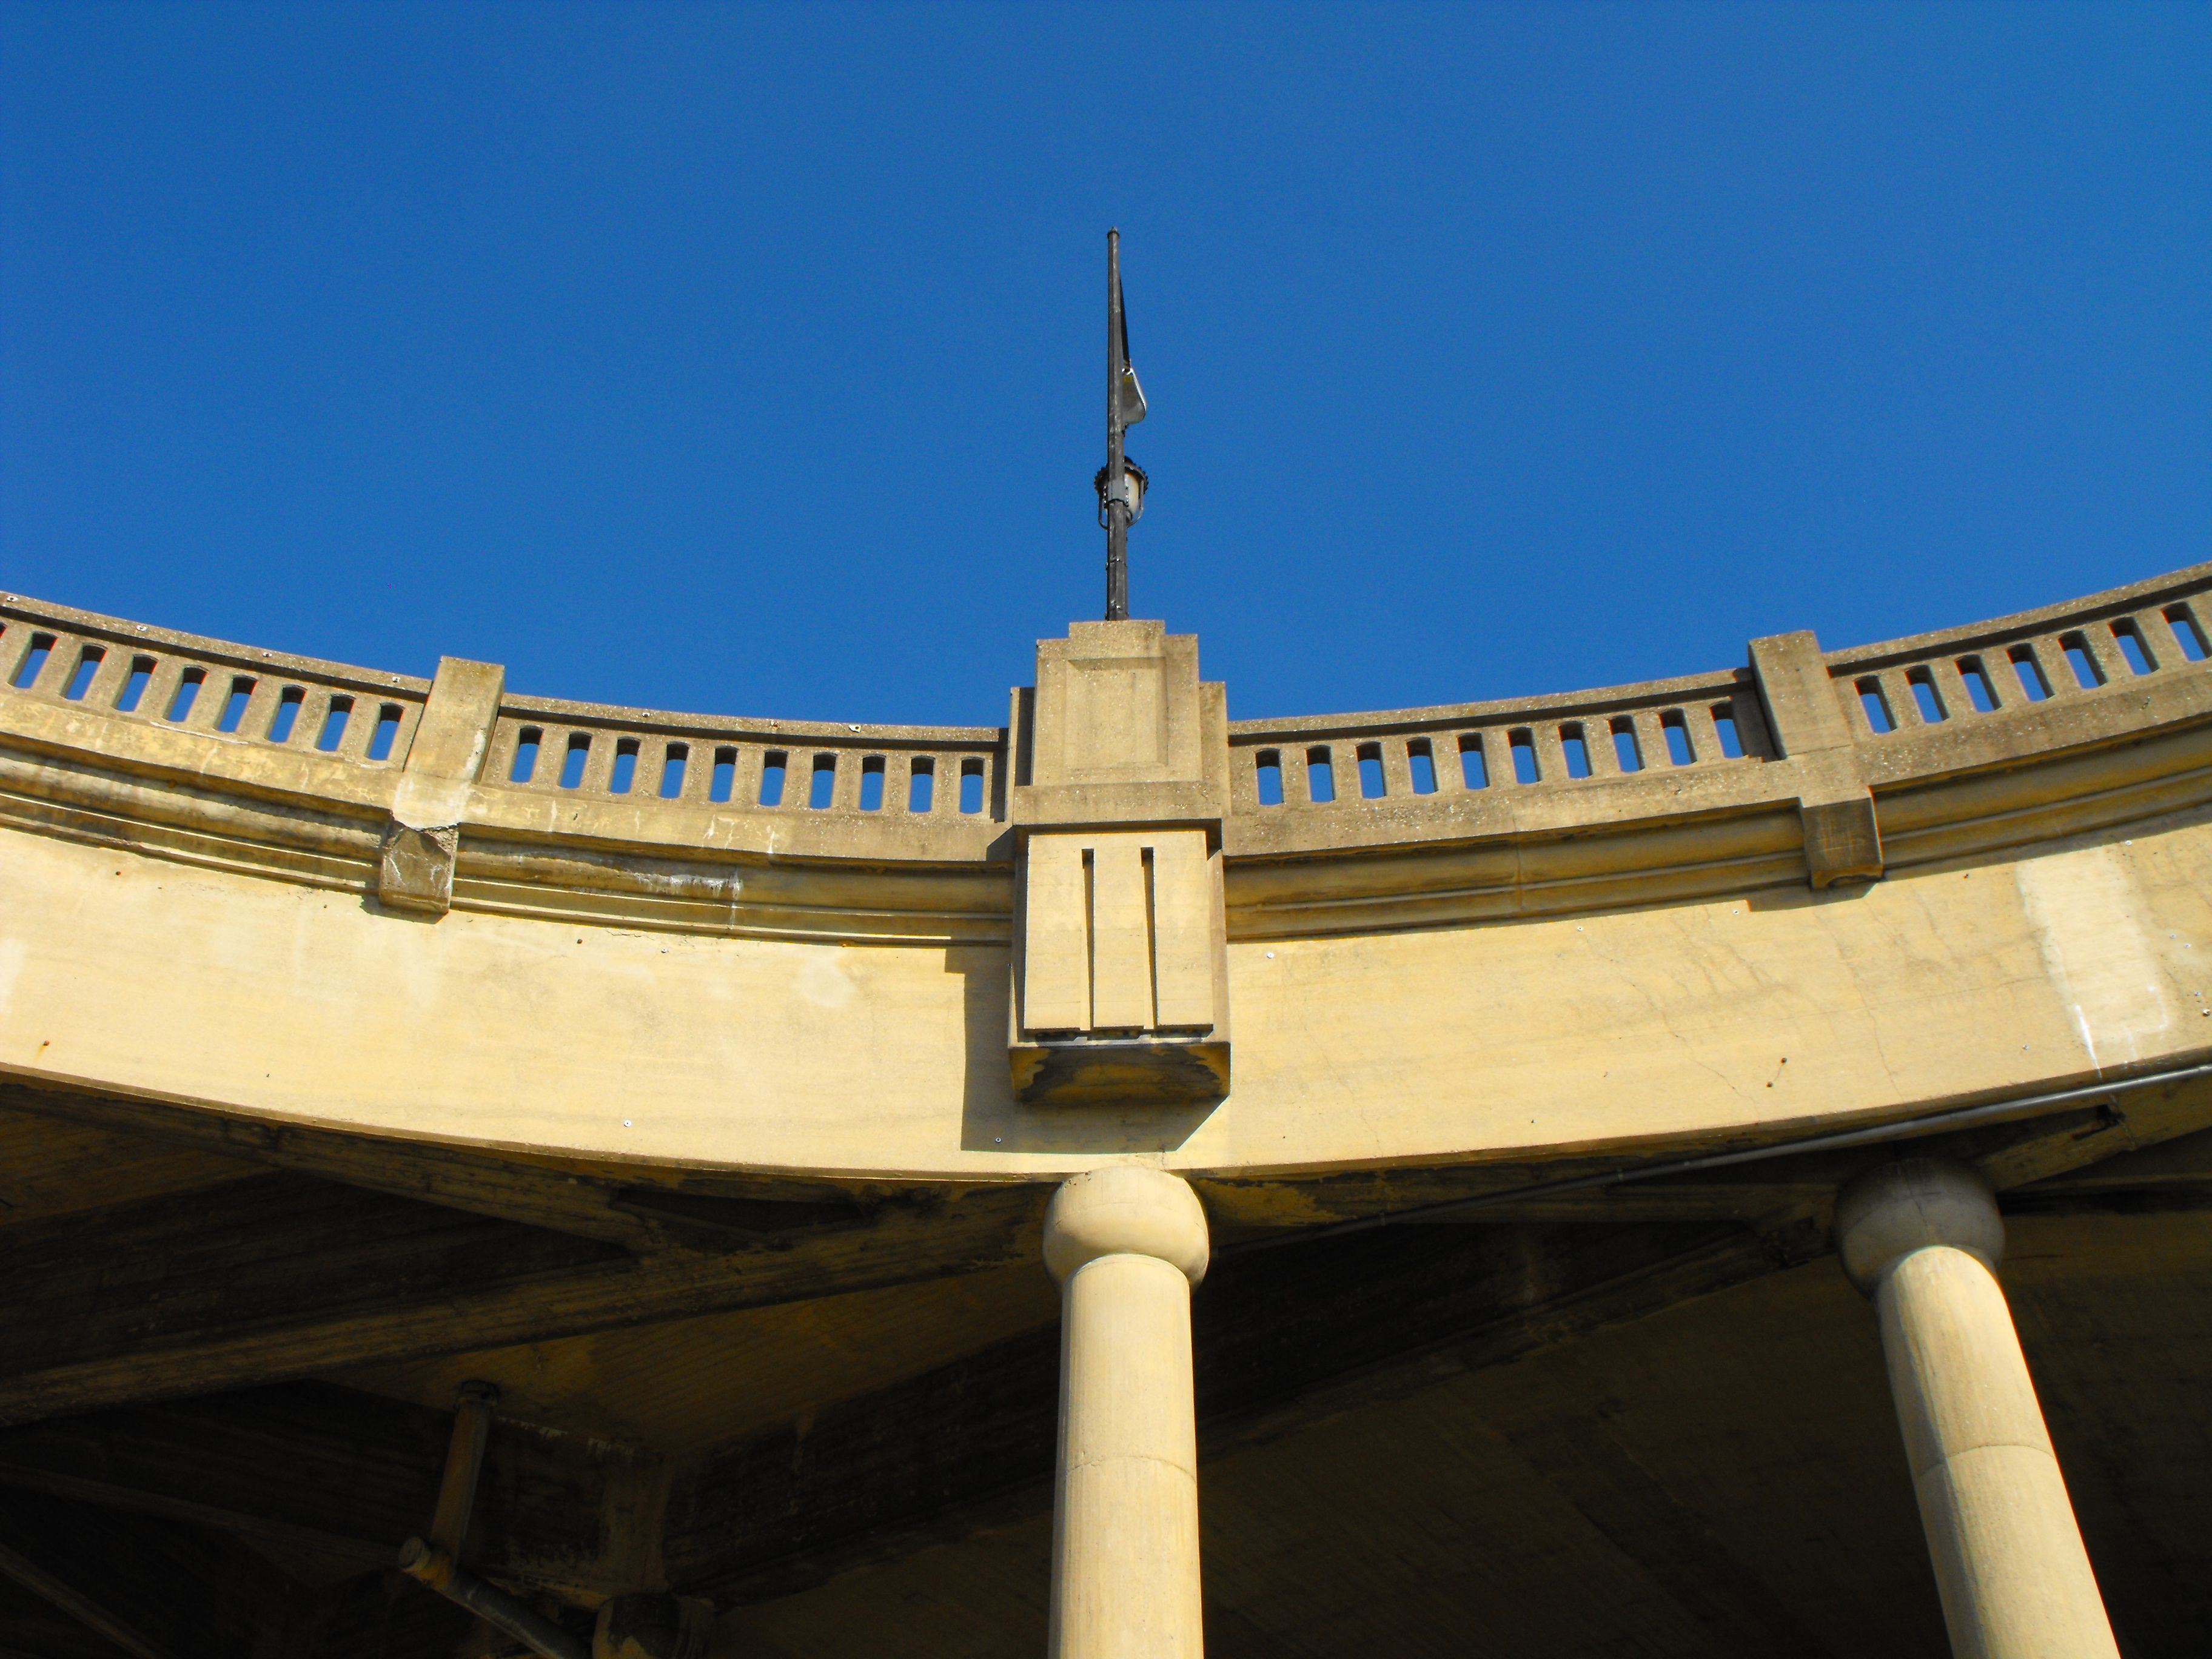


Looking up at curved railing sections.
![]()

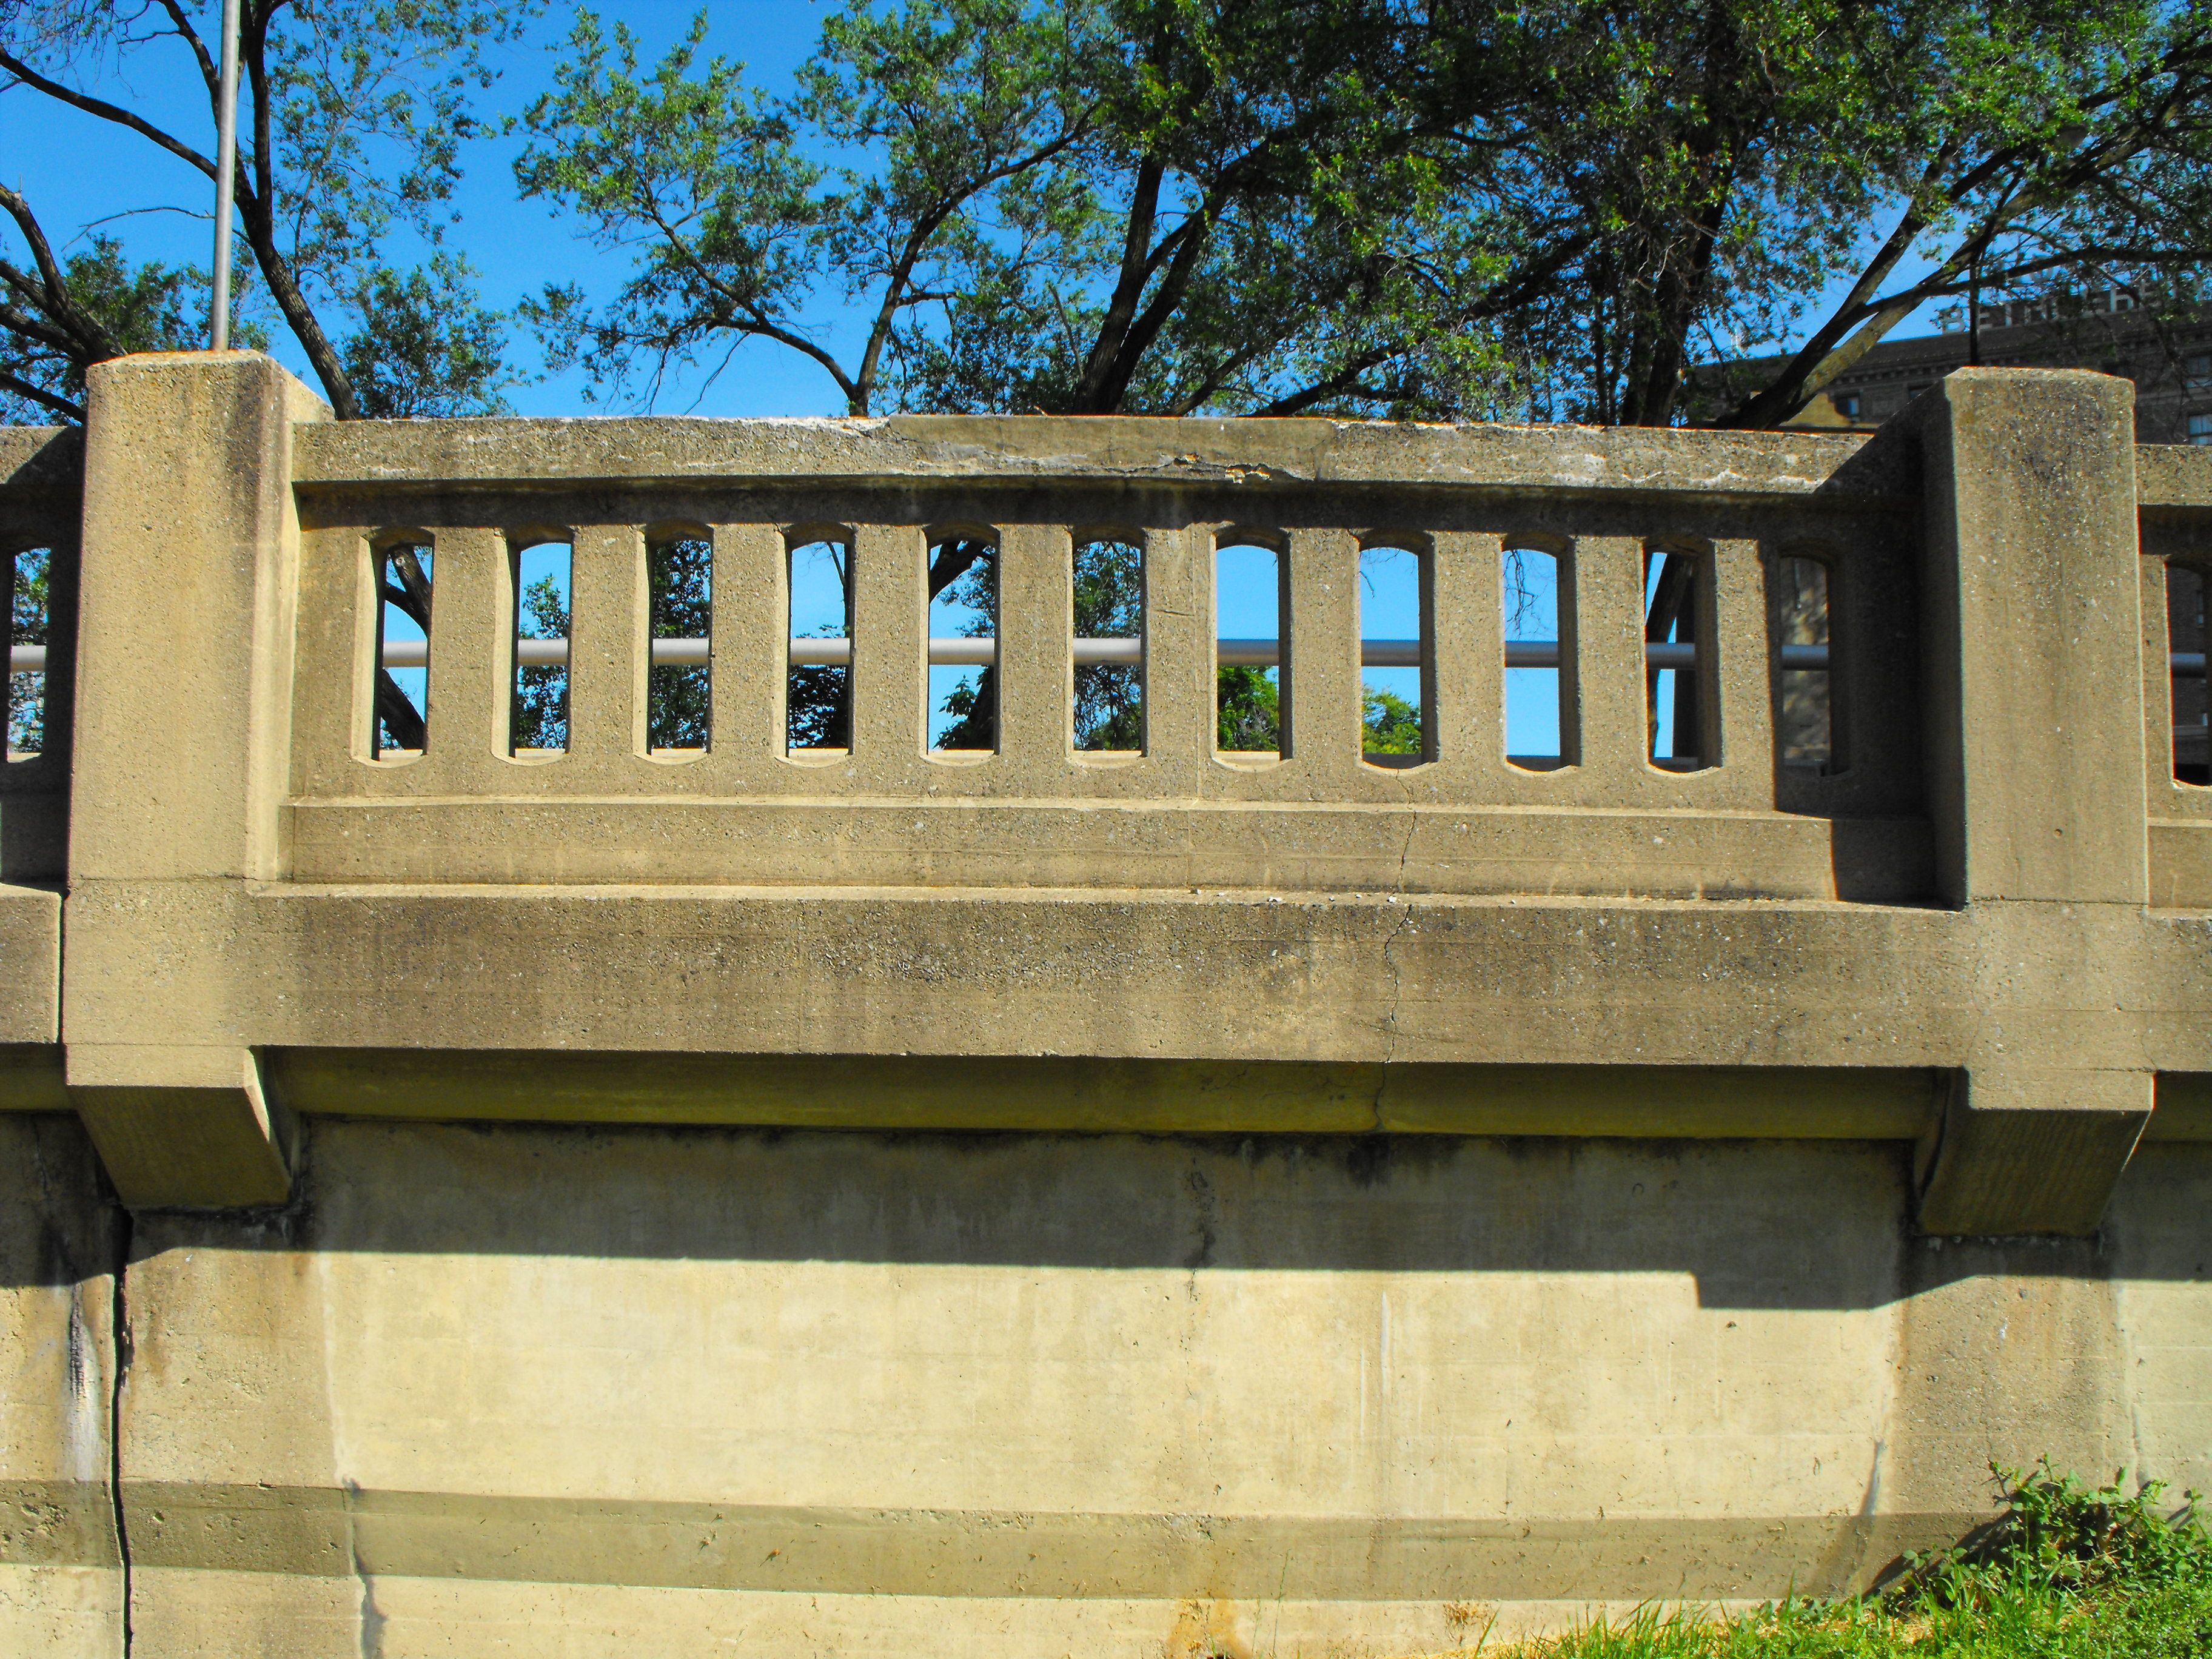
Curved railing sections as viewed from on bridge.
![]()


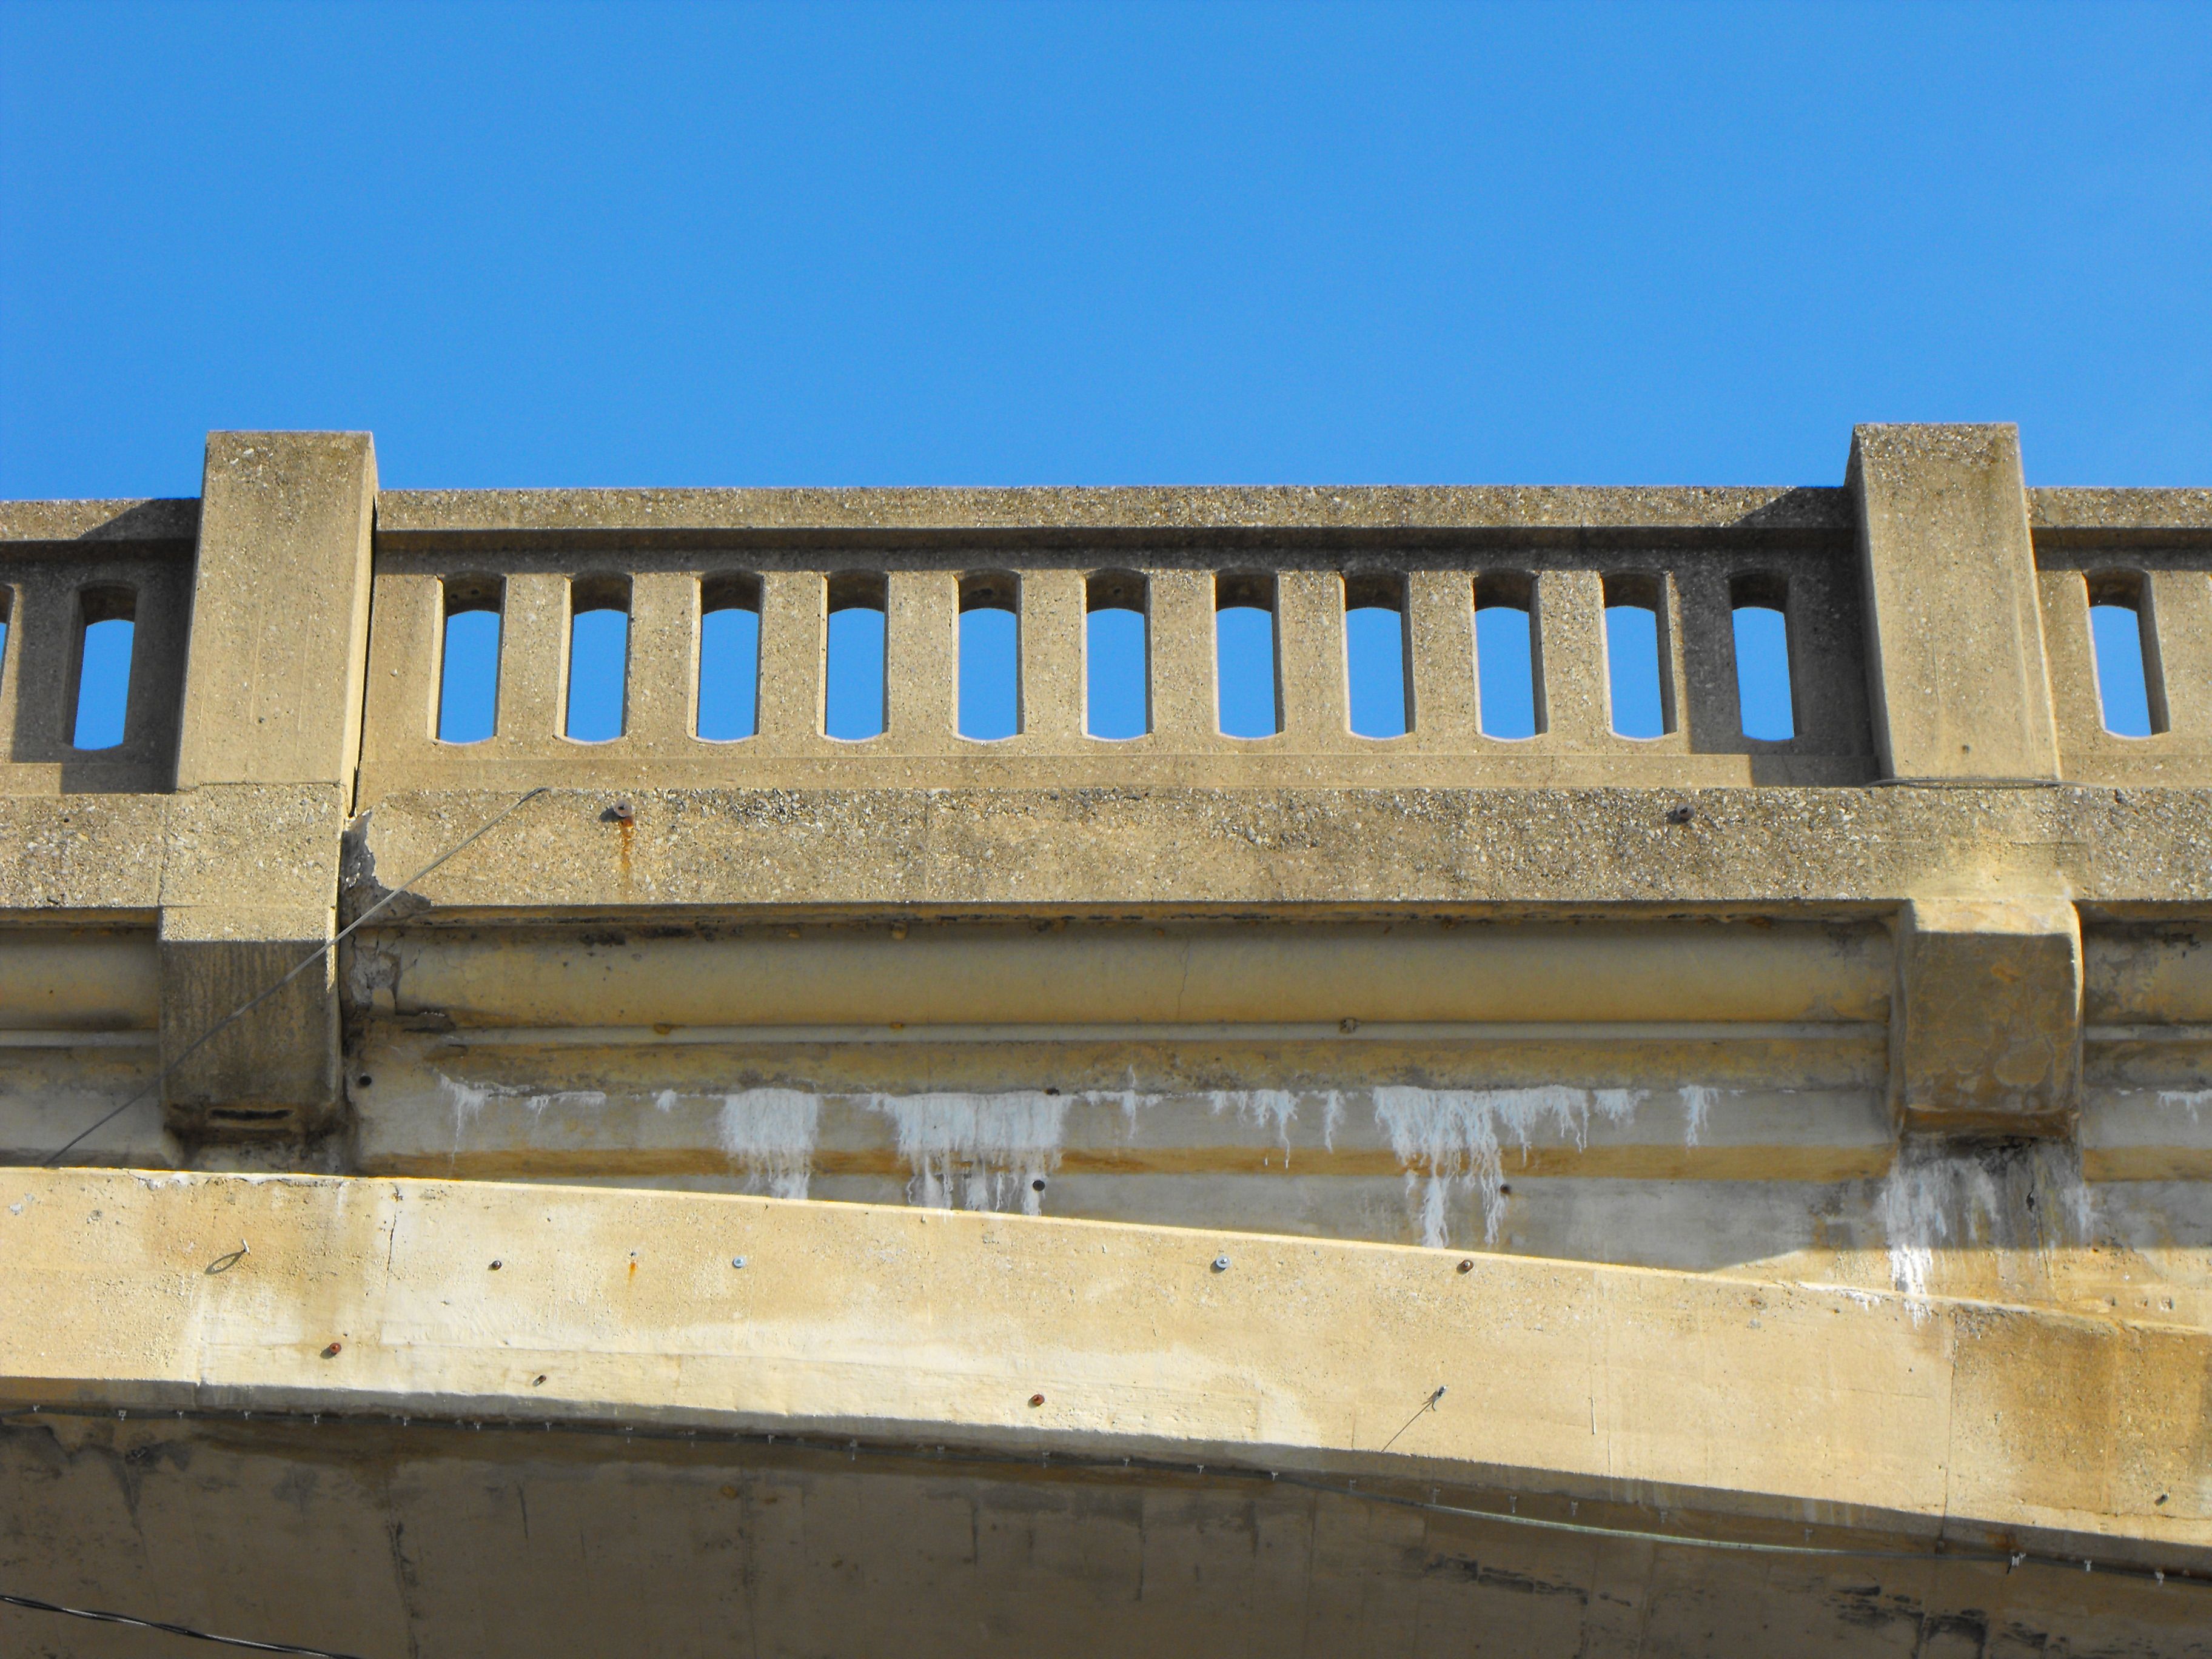

Looking up at curved railing sections.
![]()

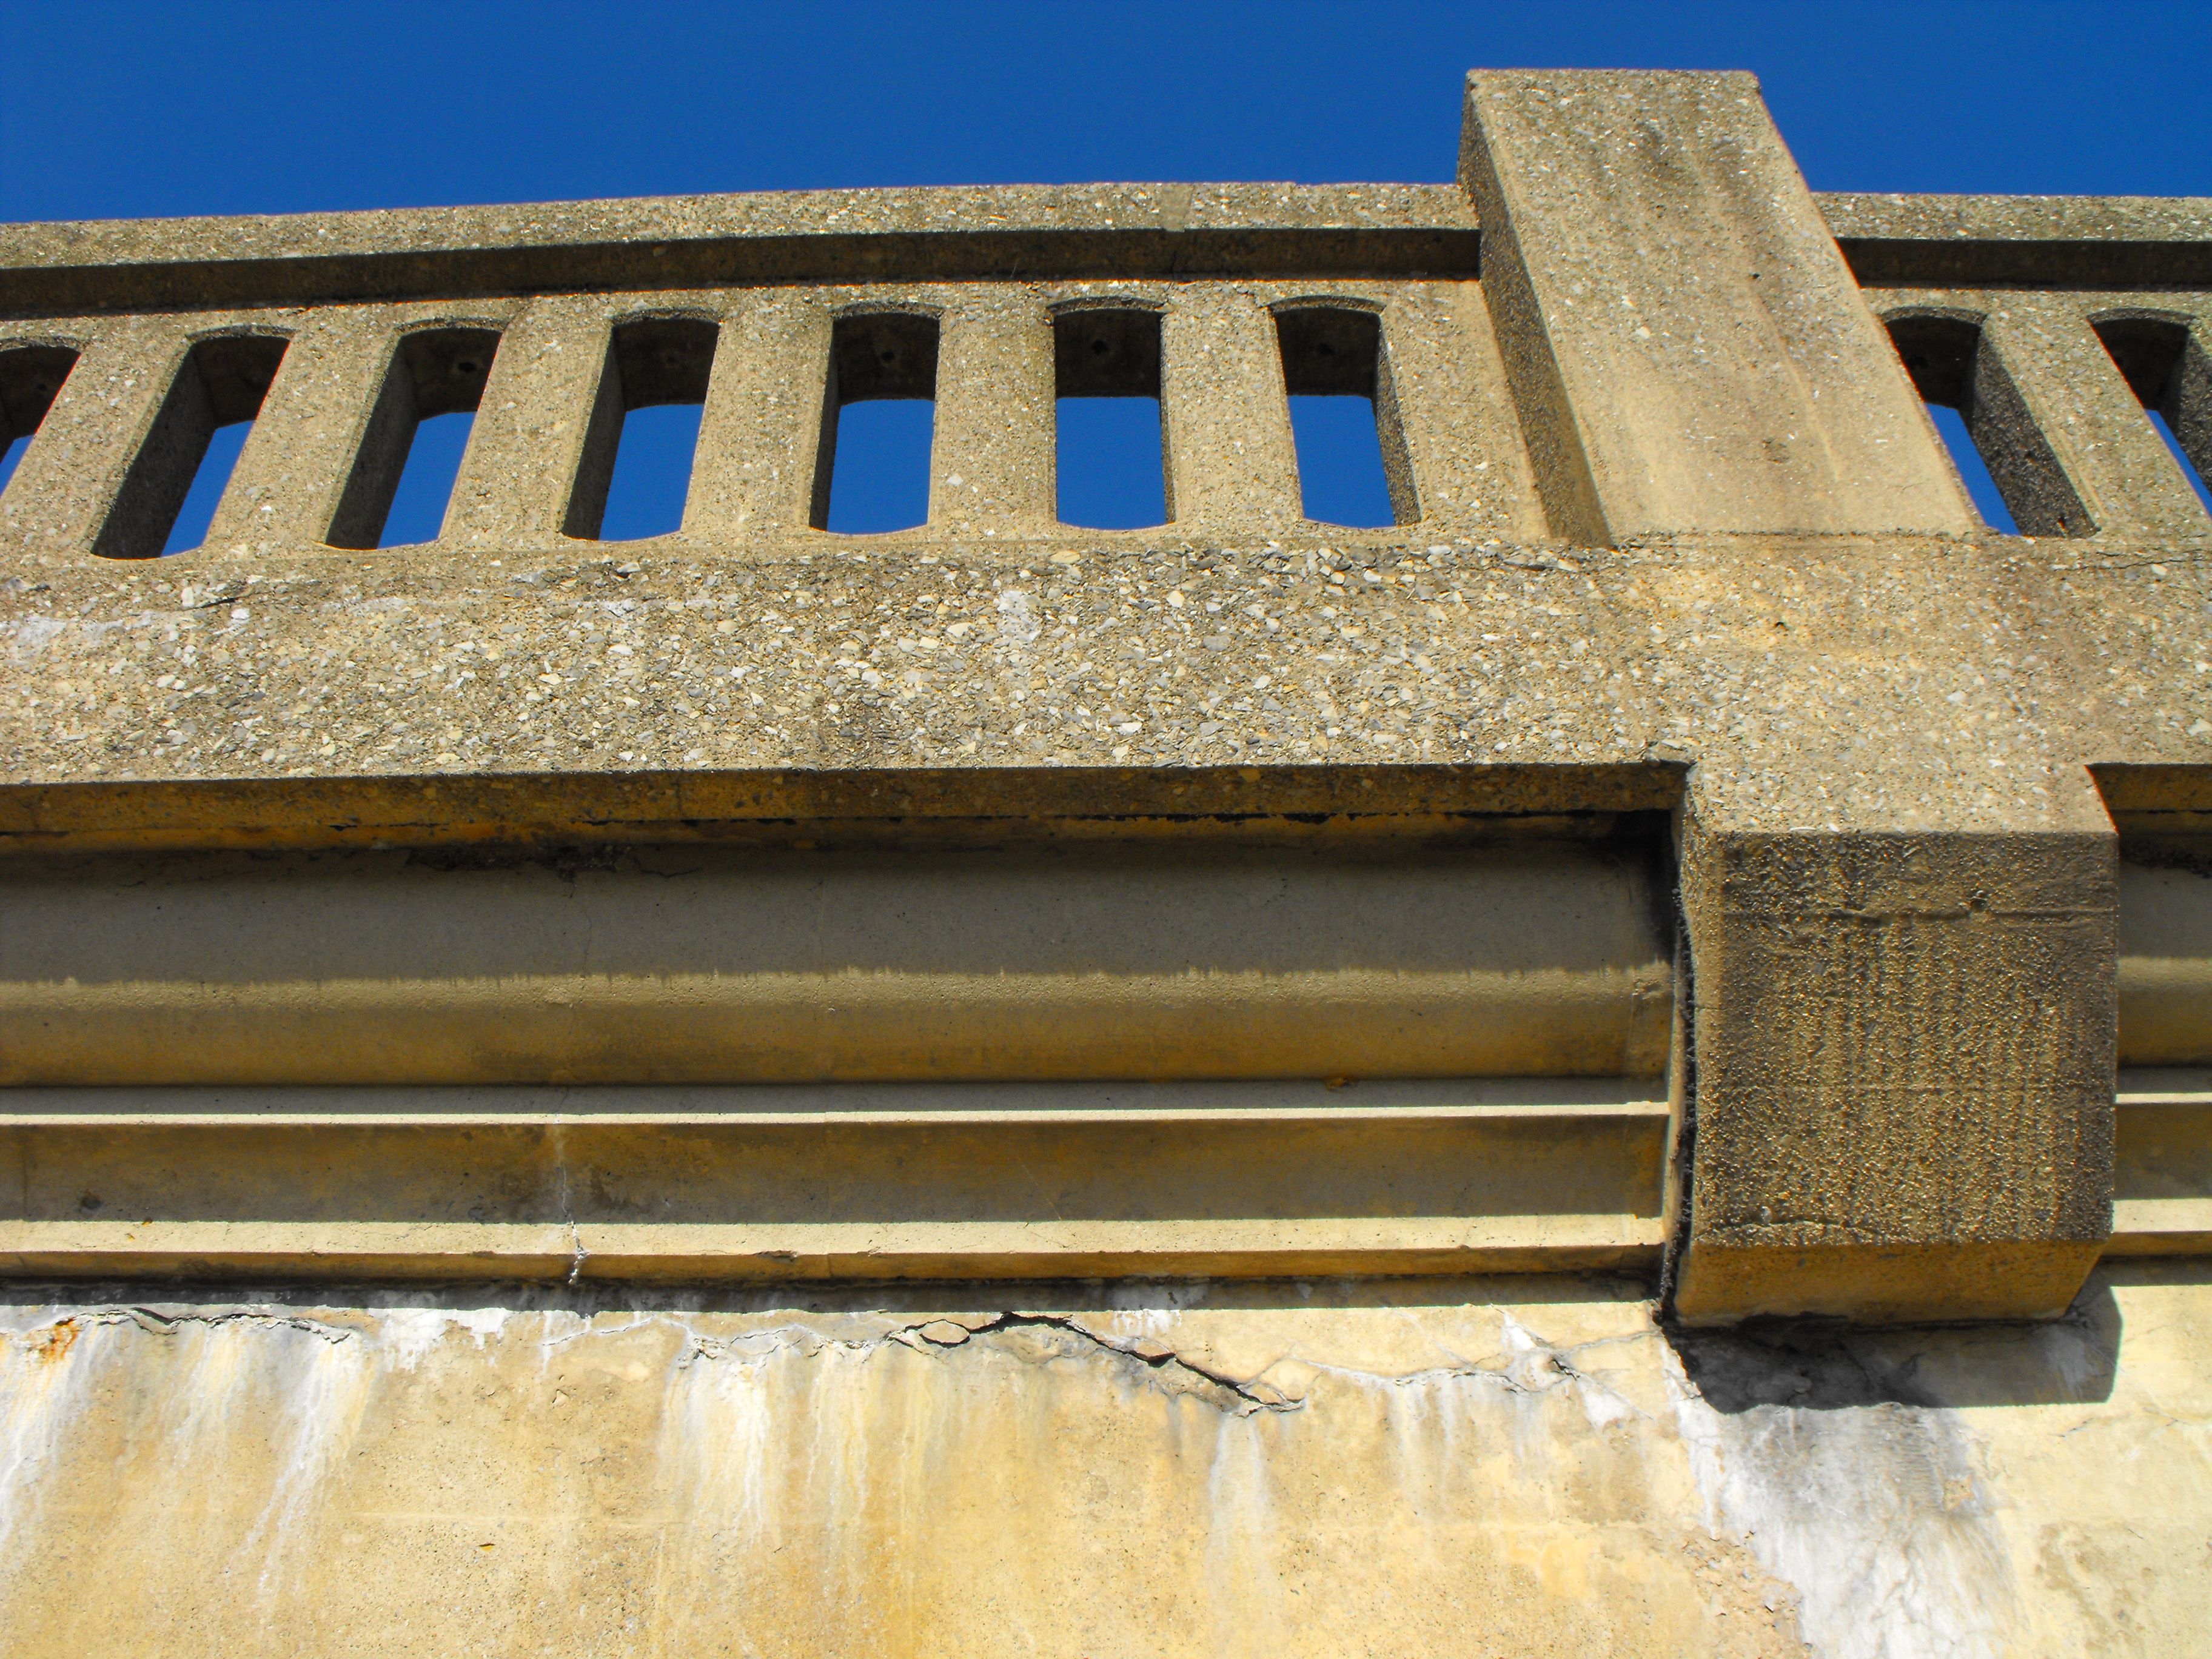
Railing detail at piers.
![]()
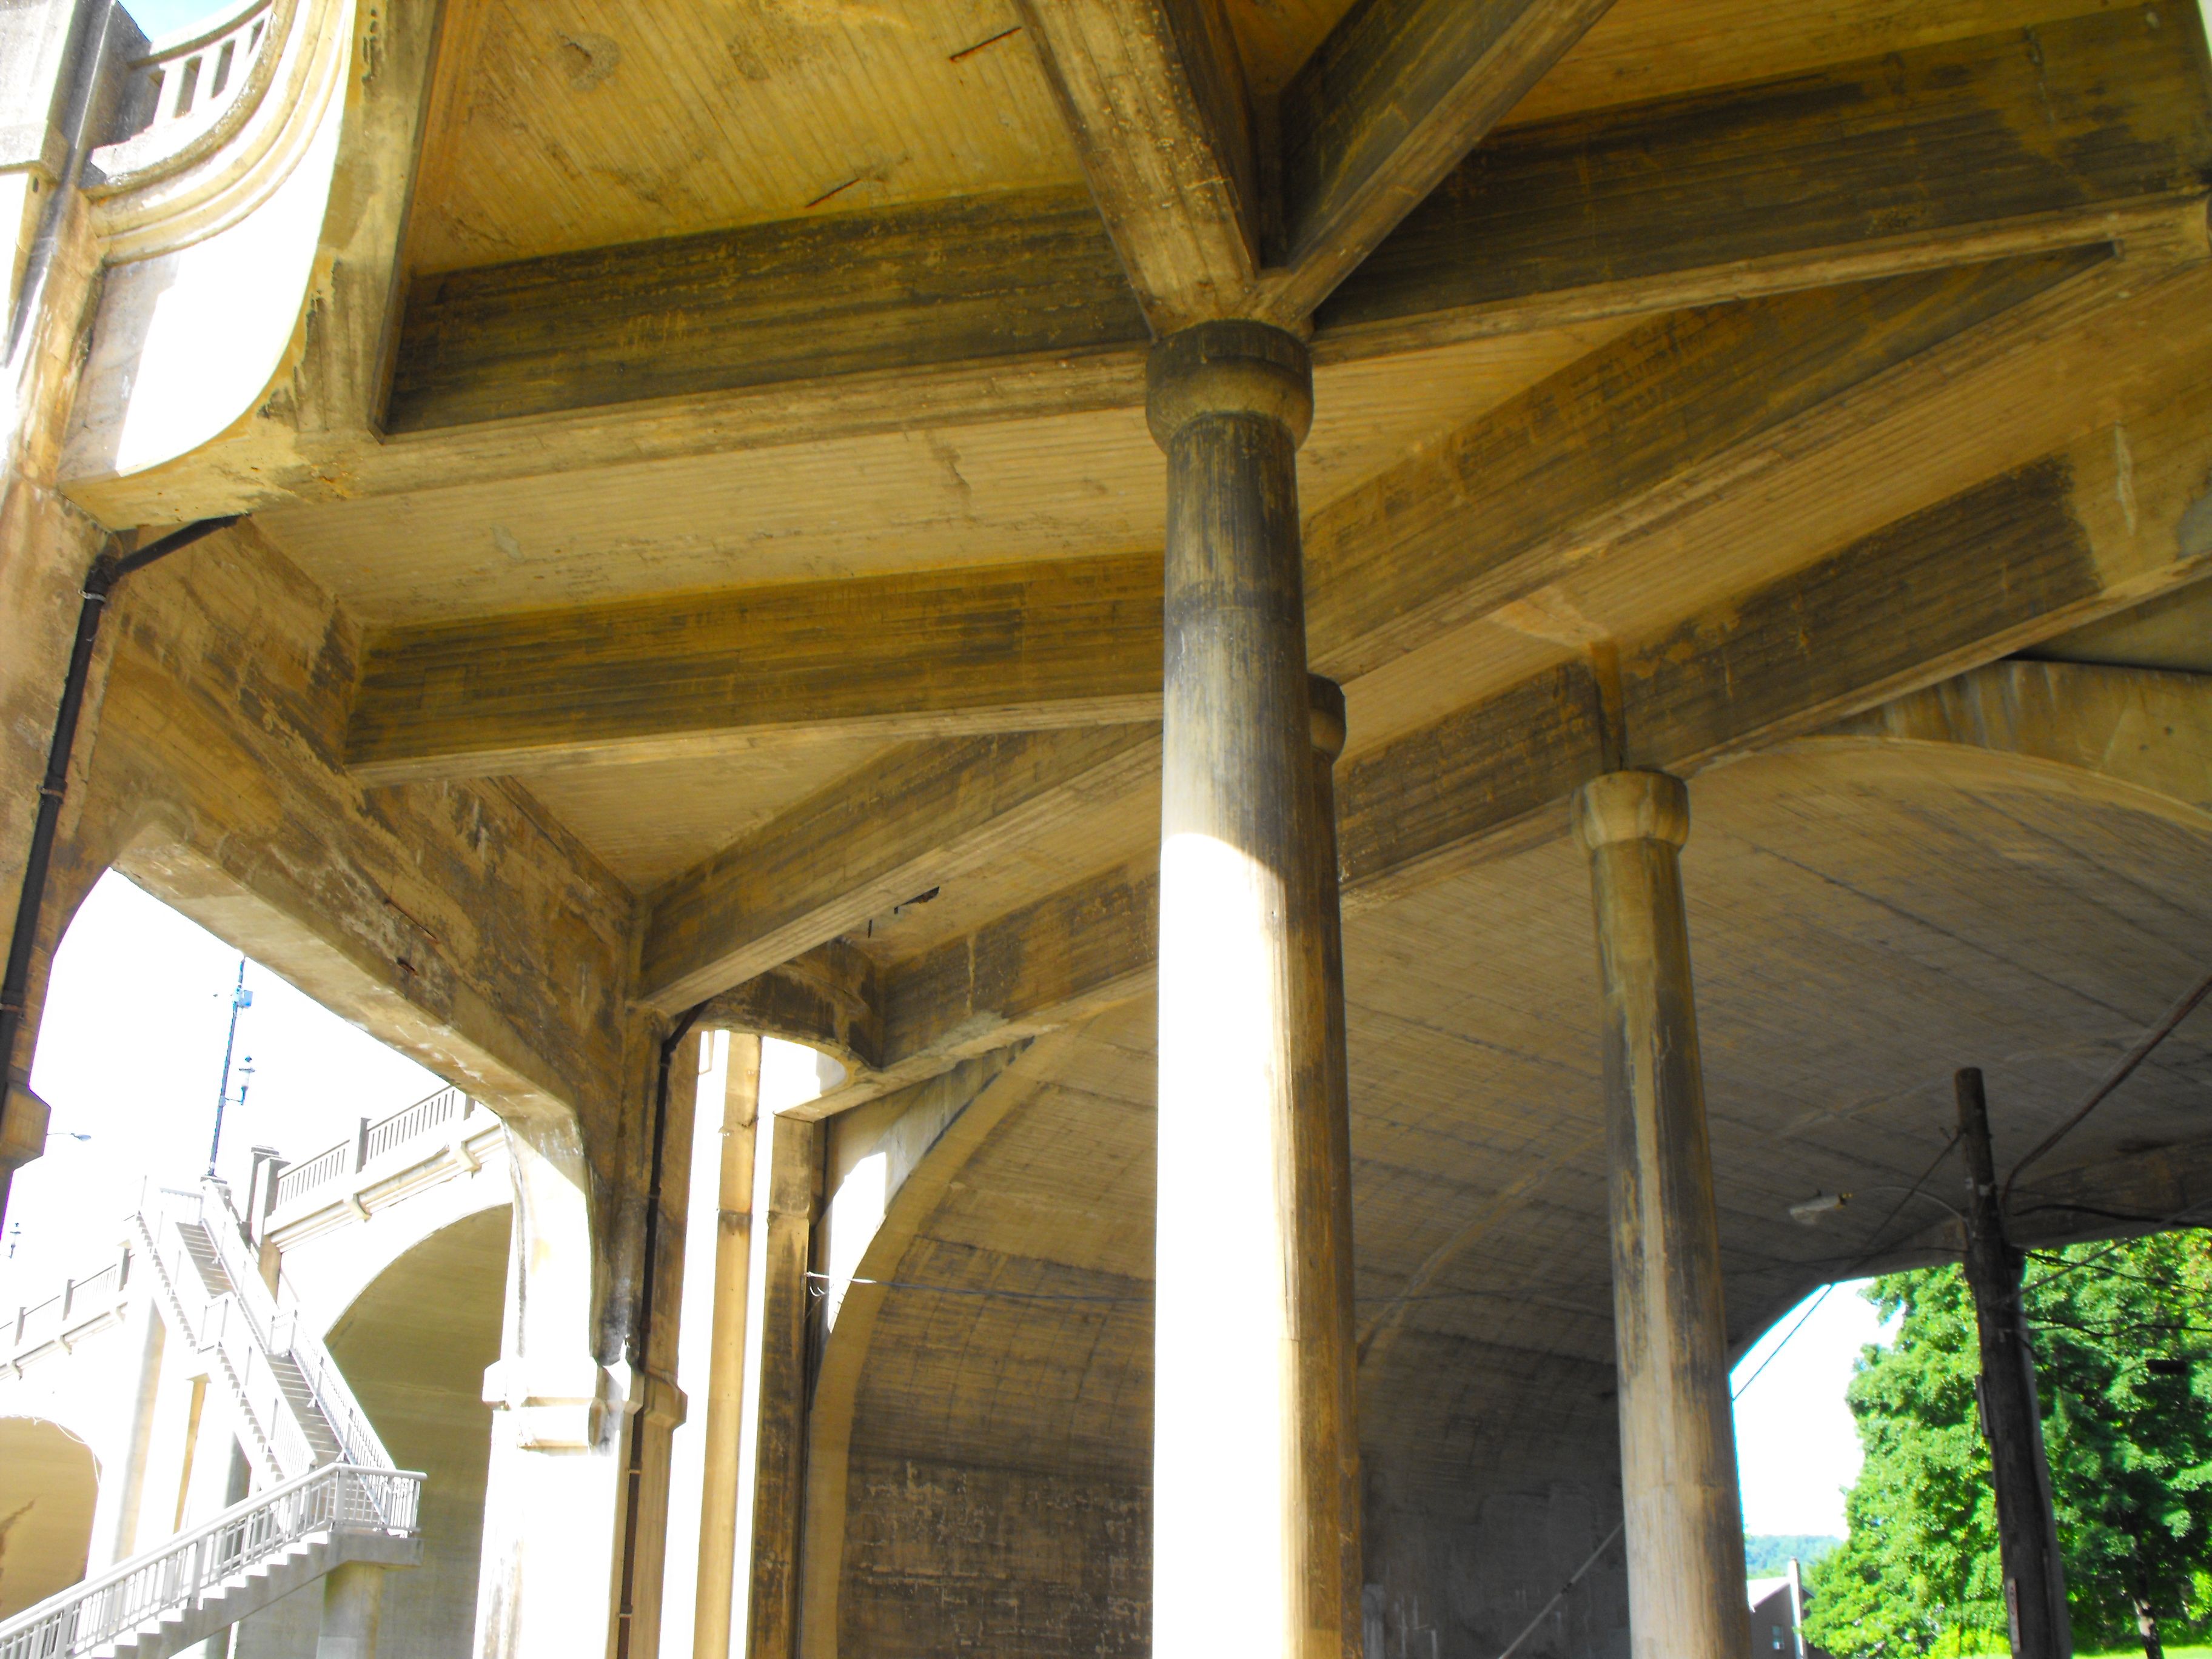
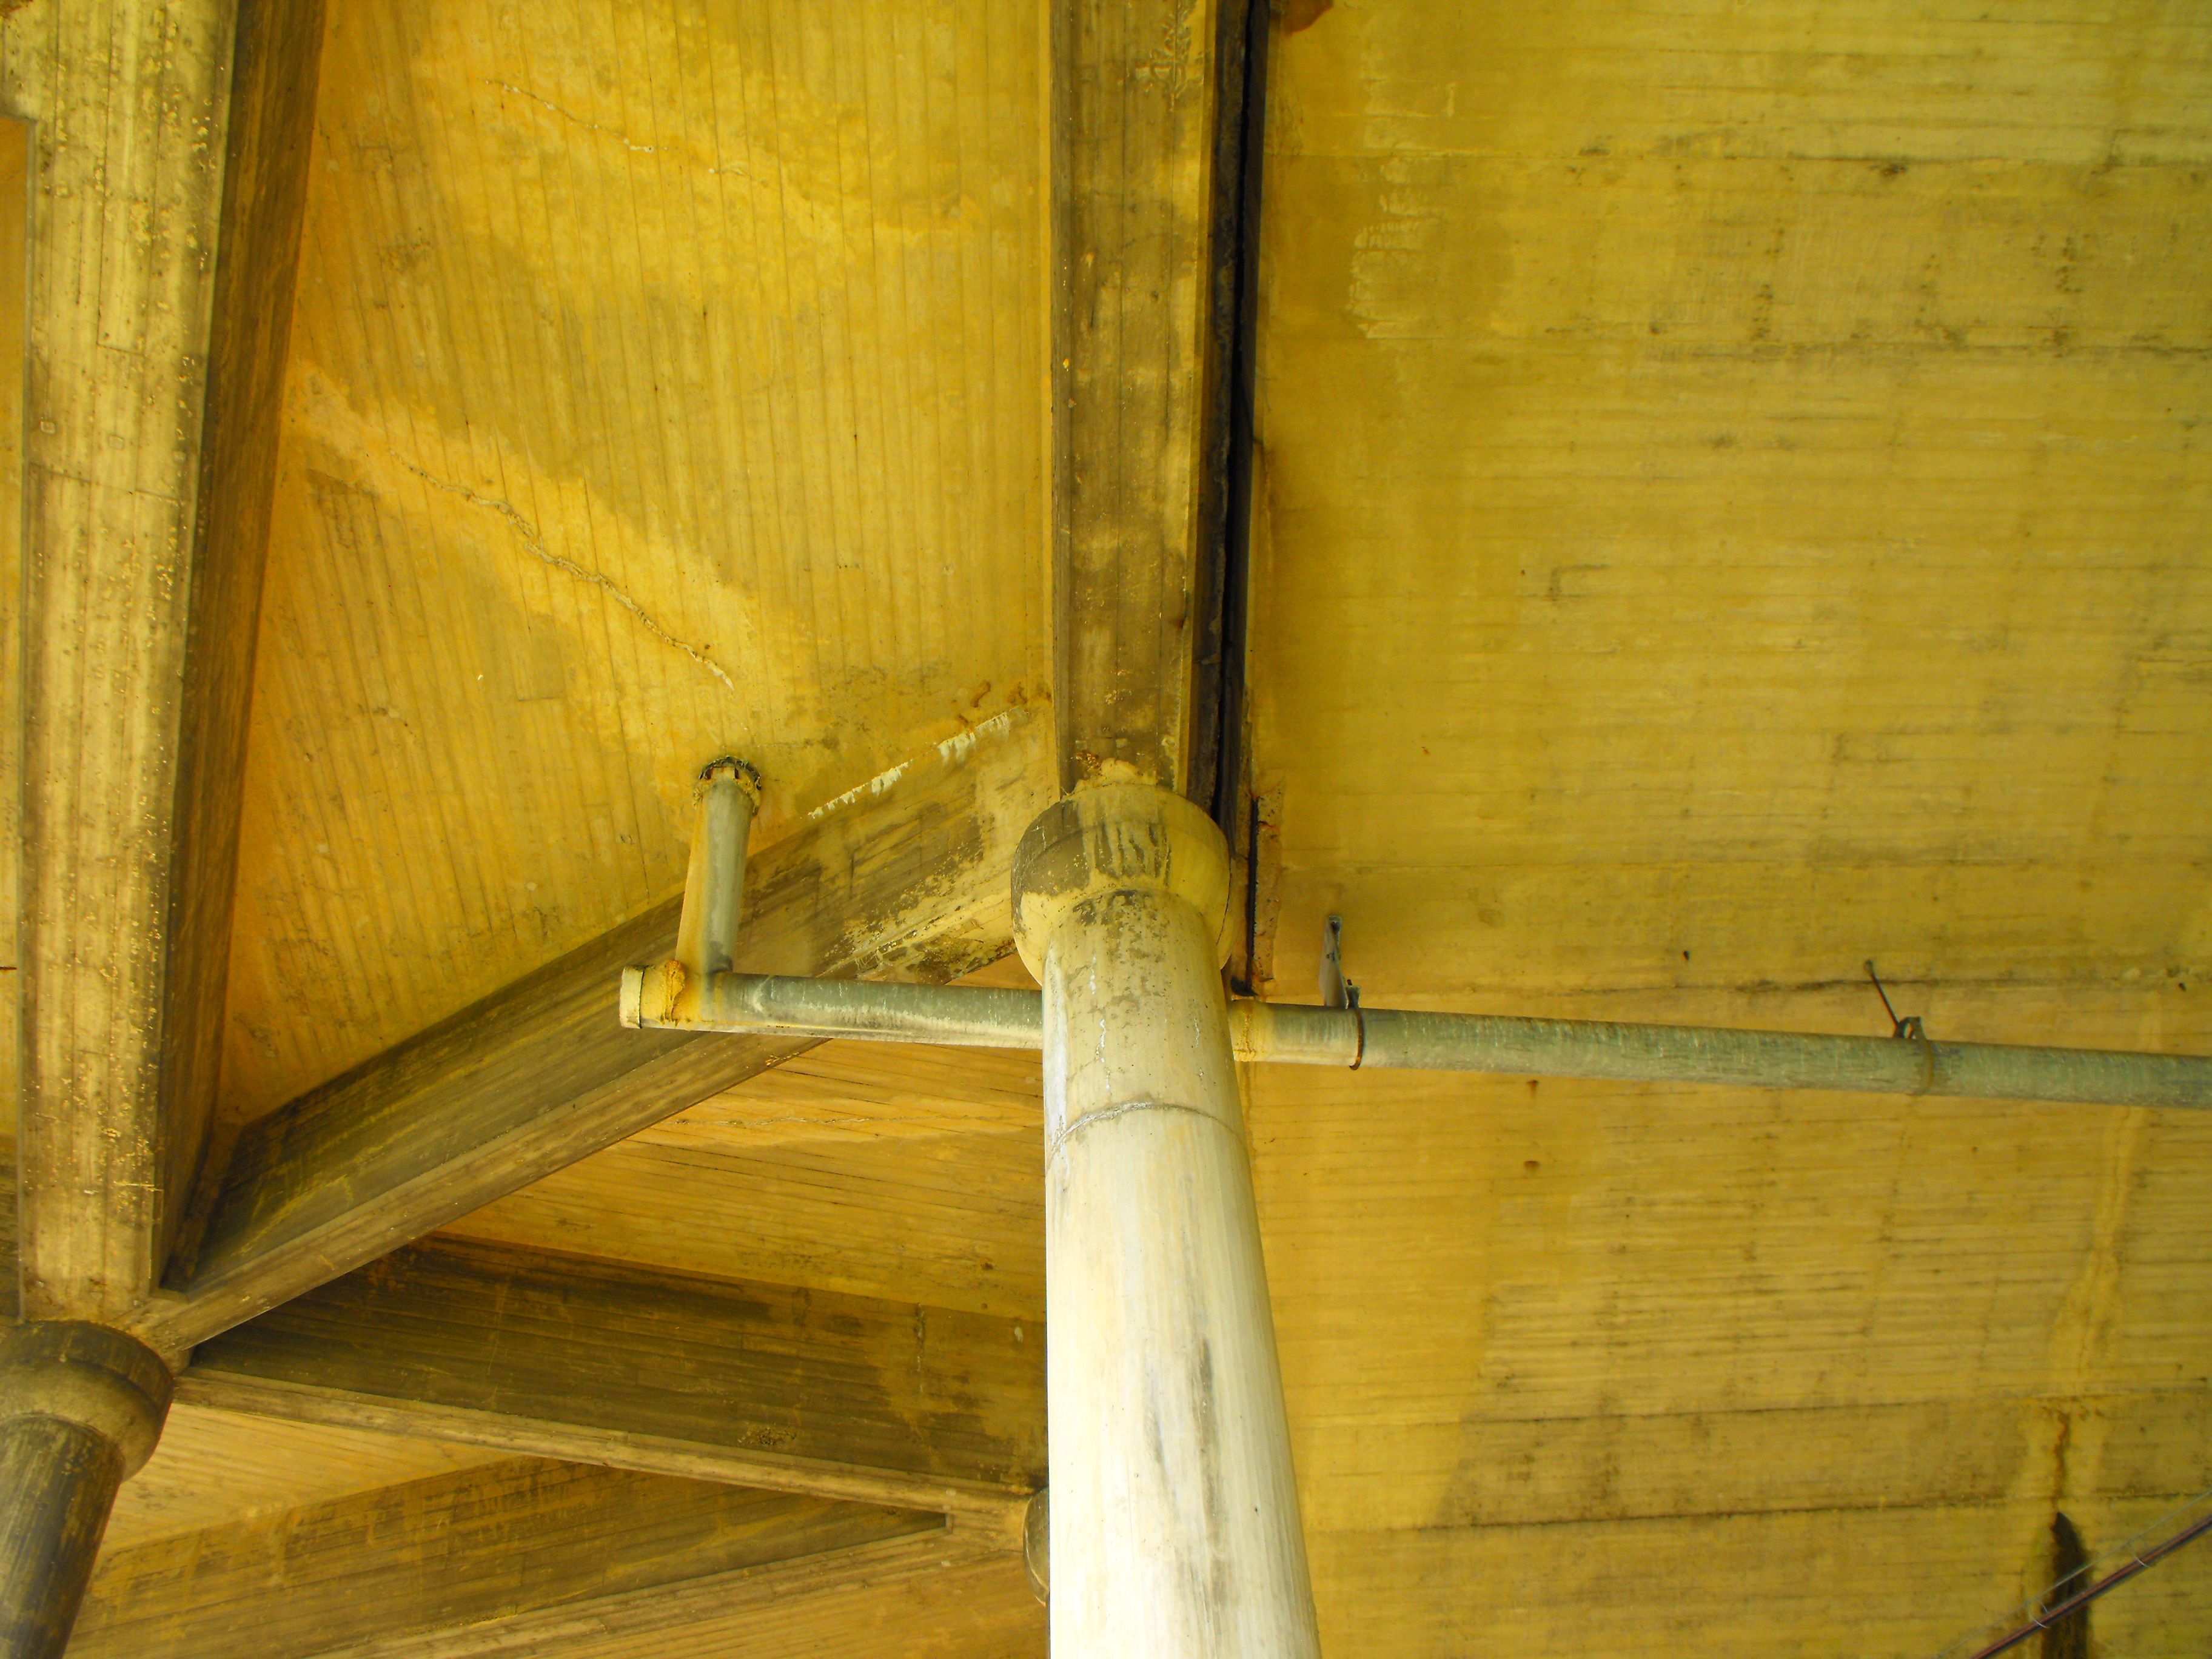
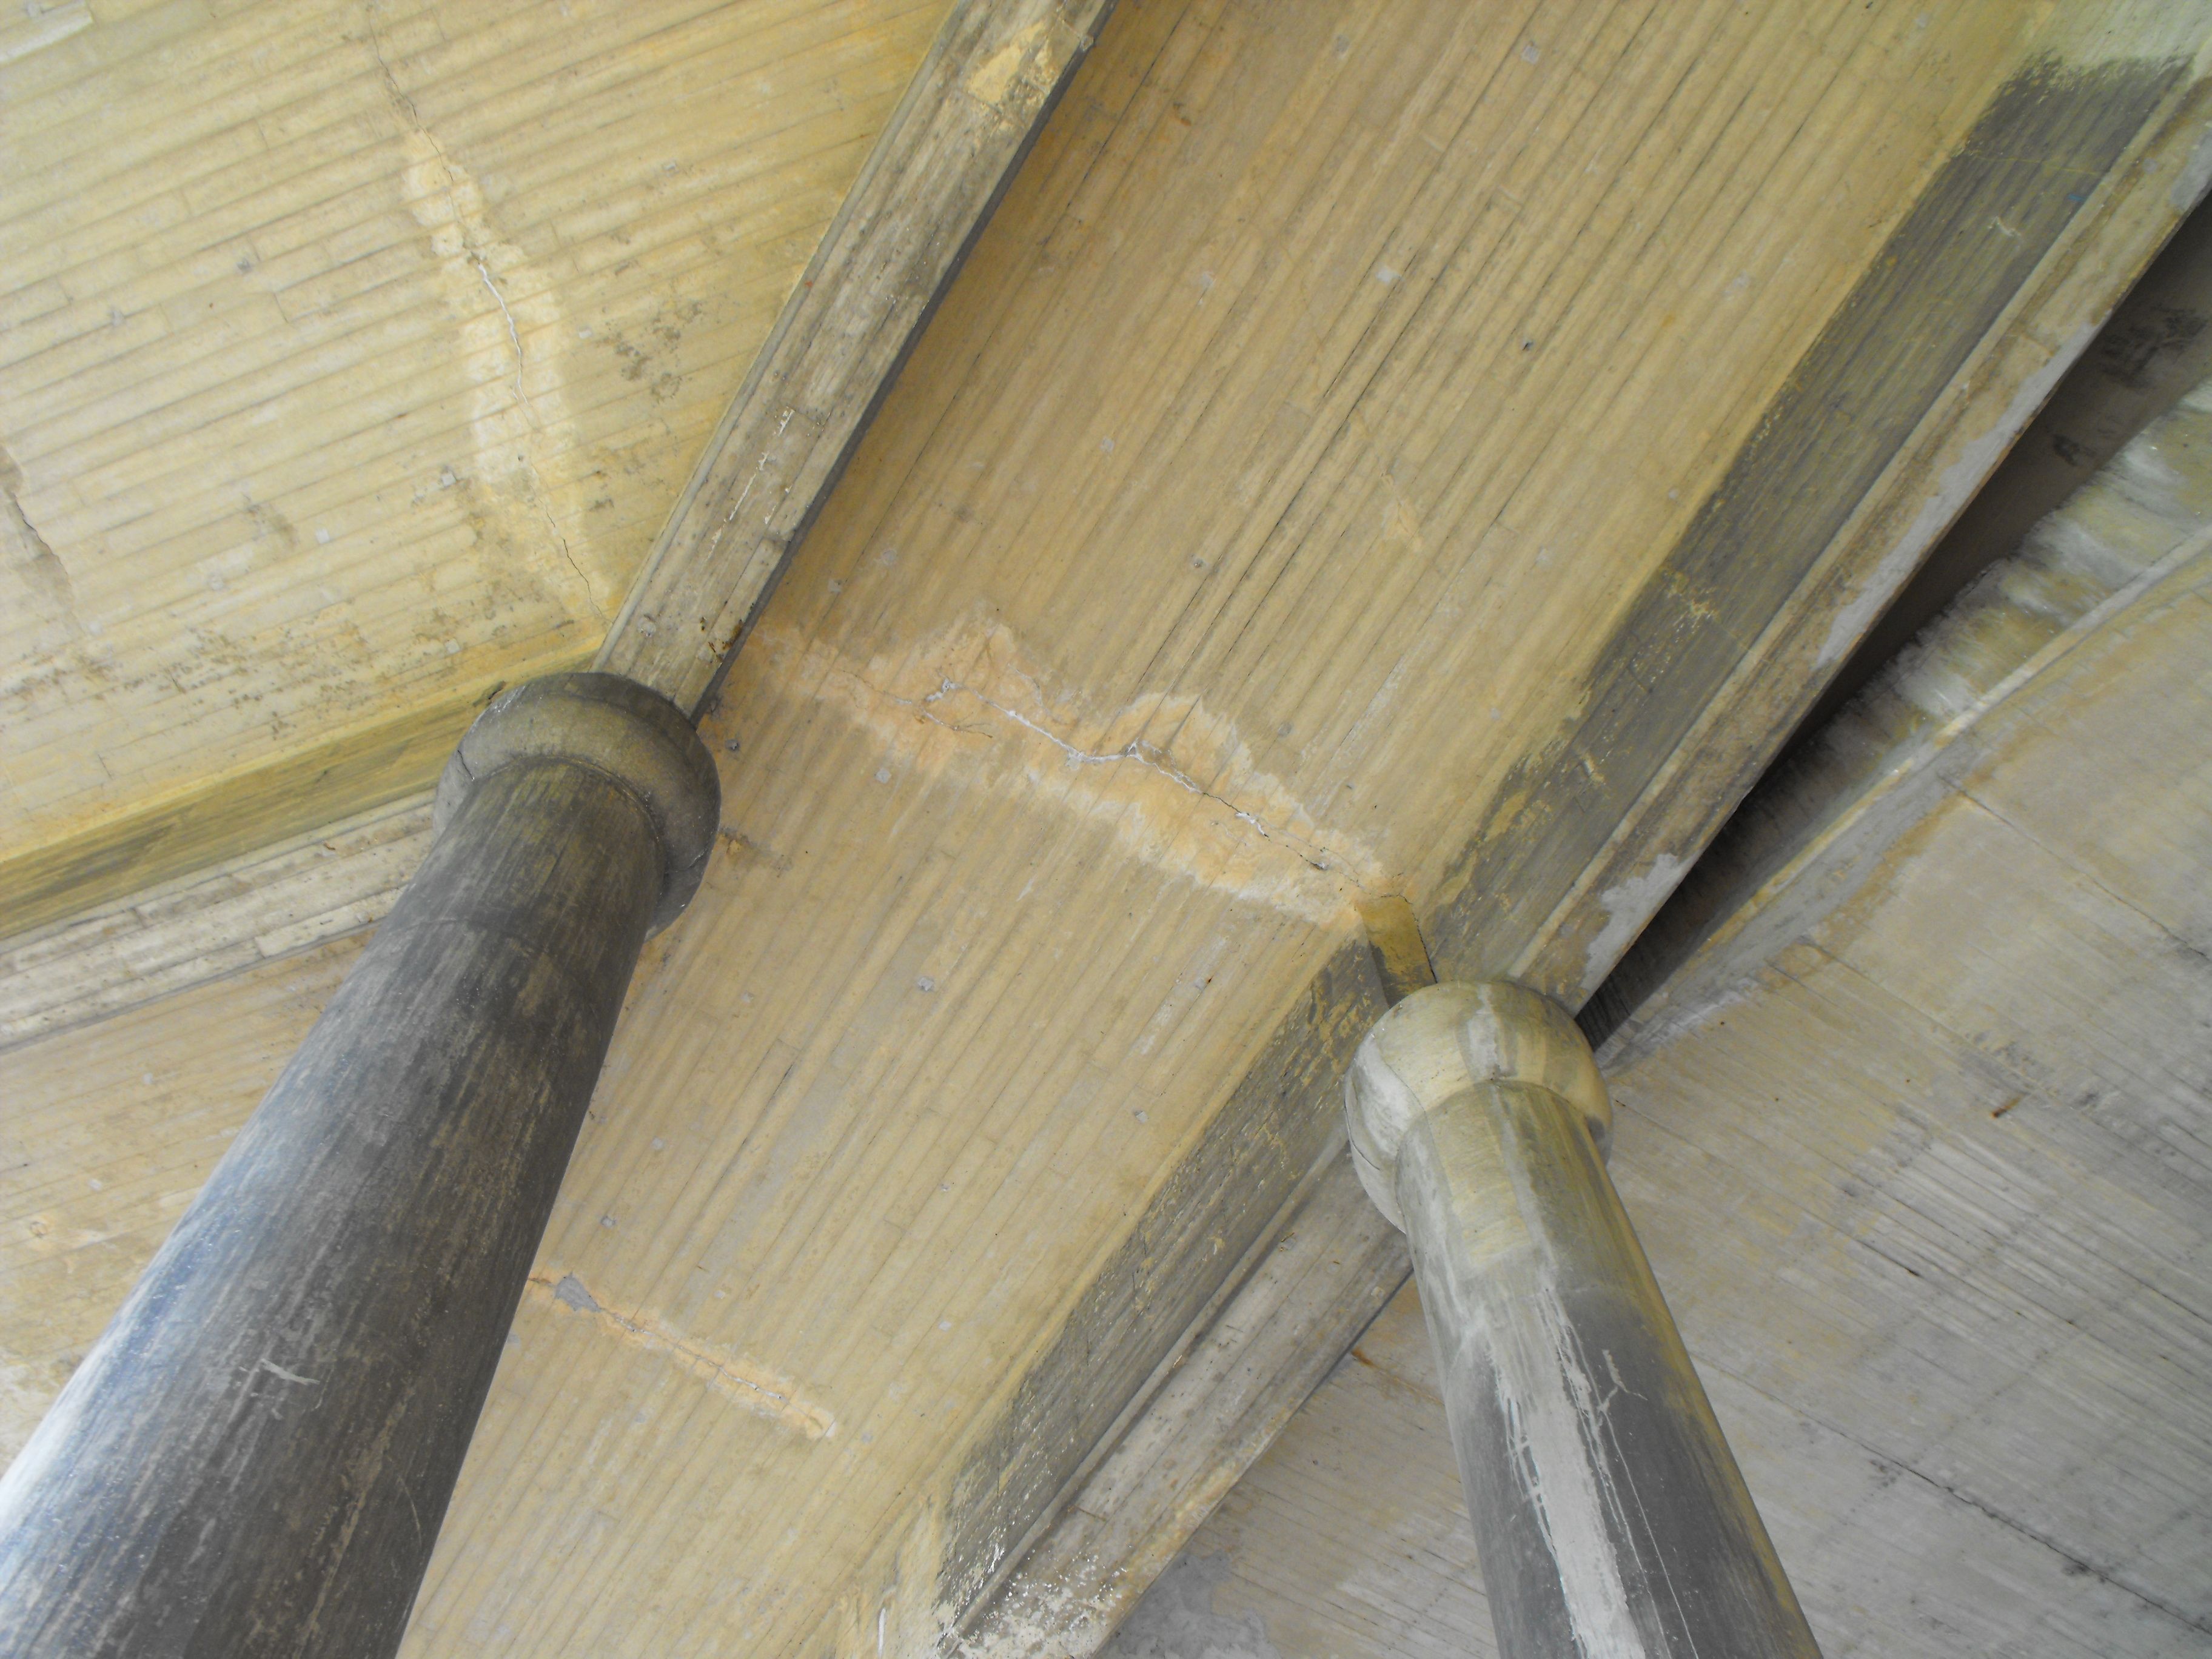
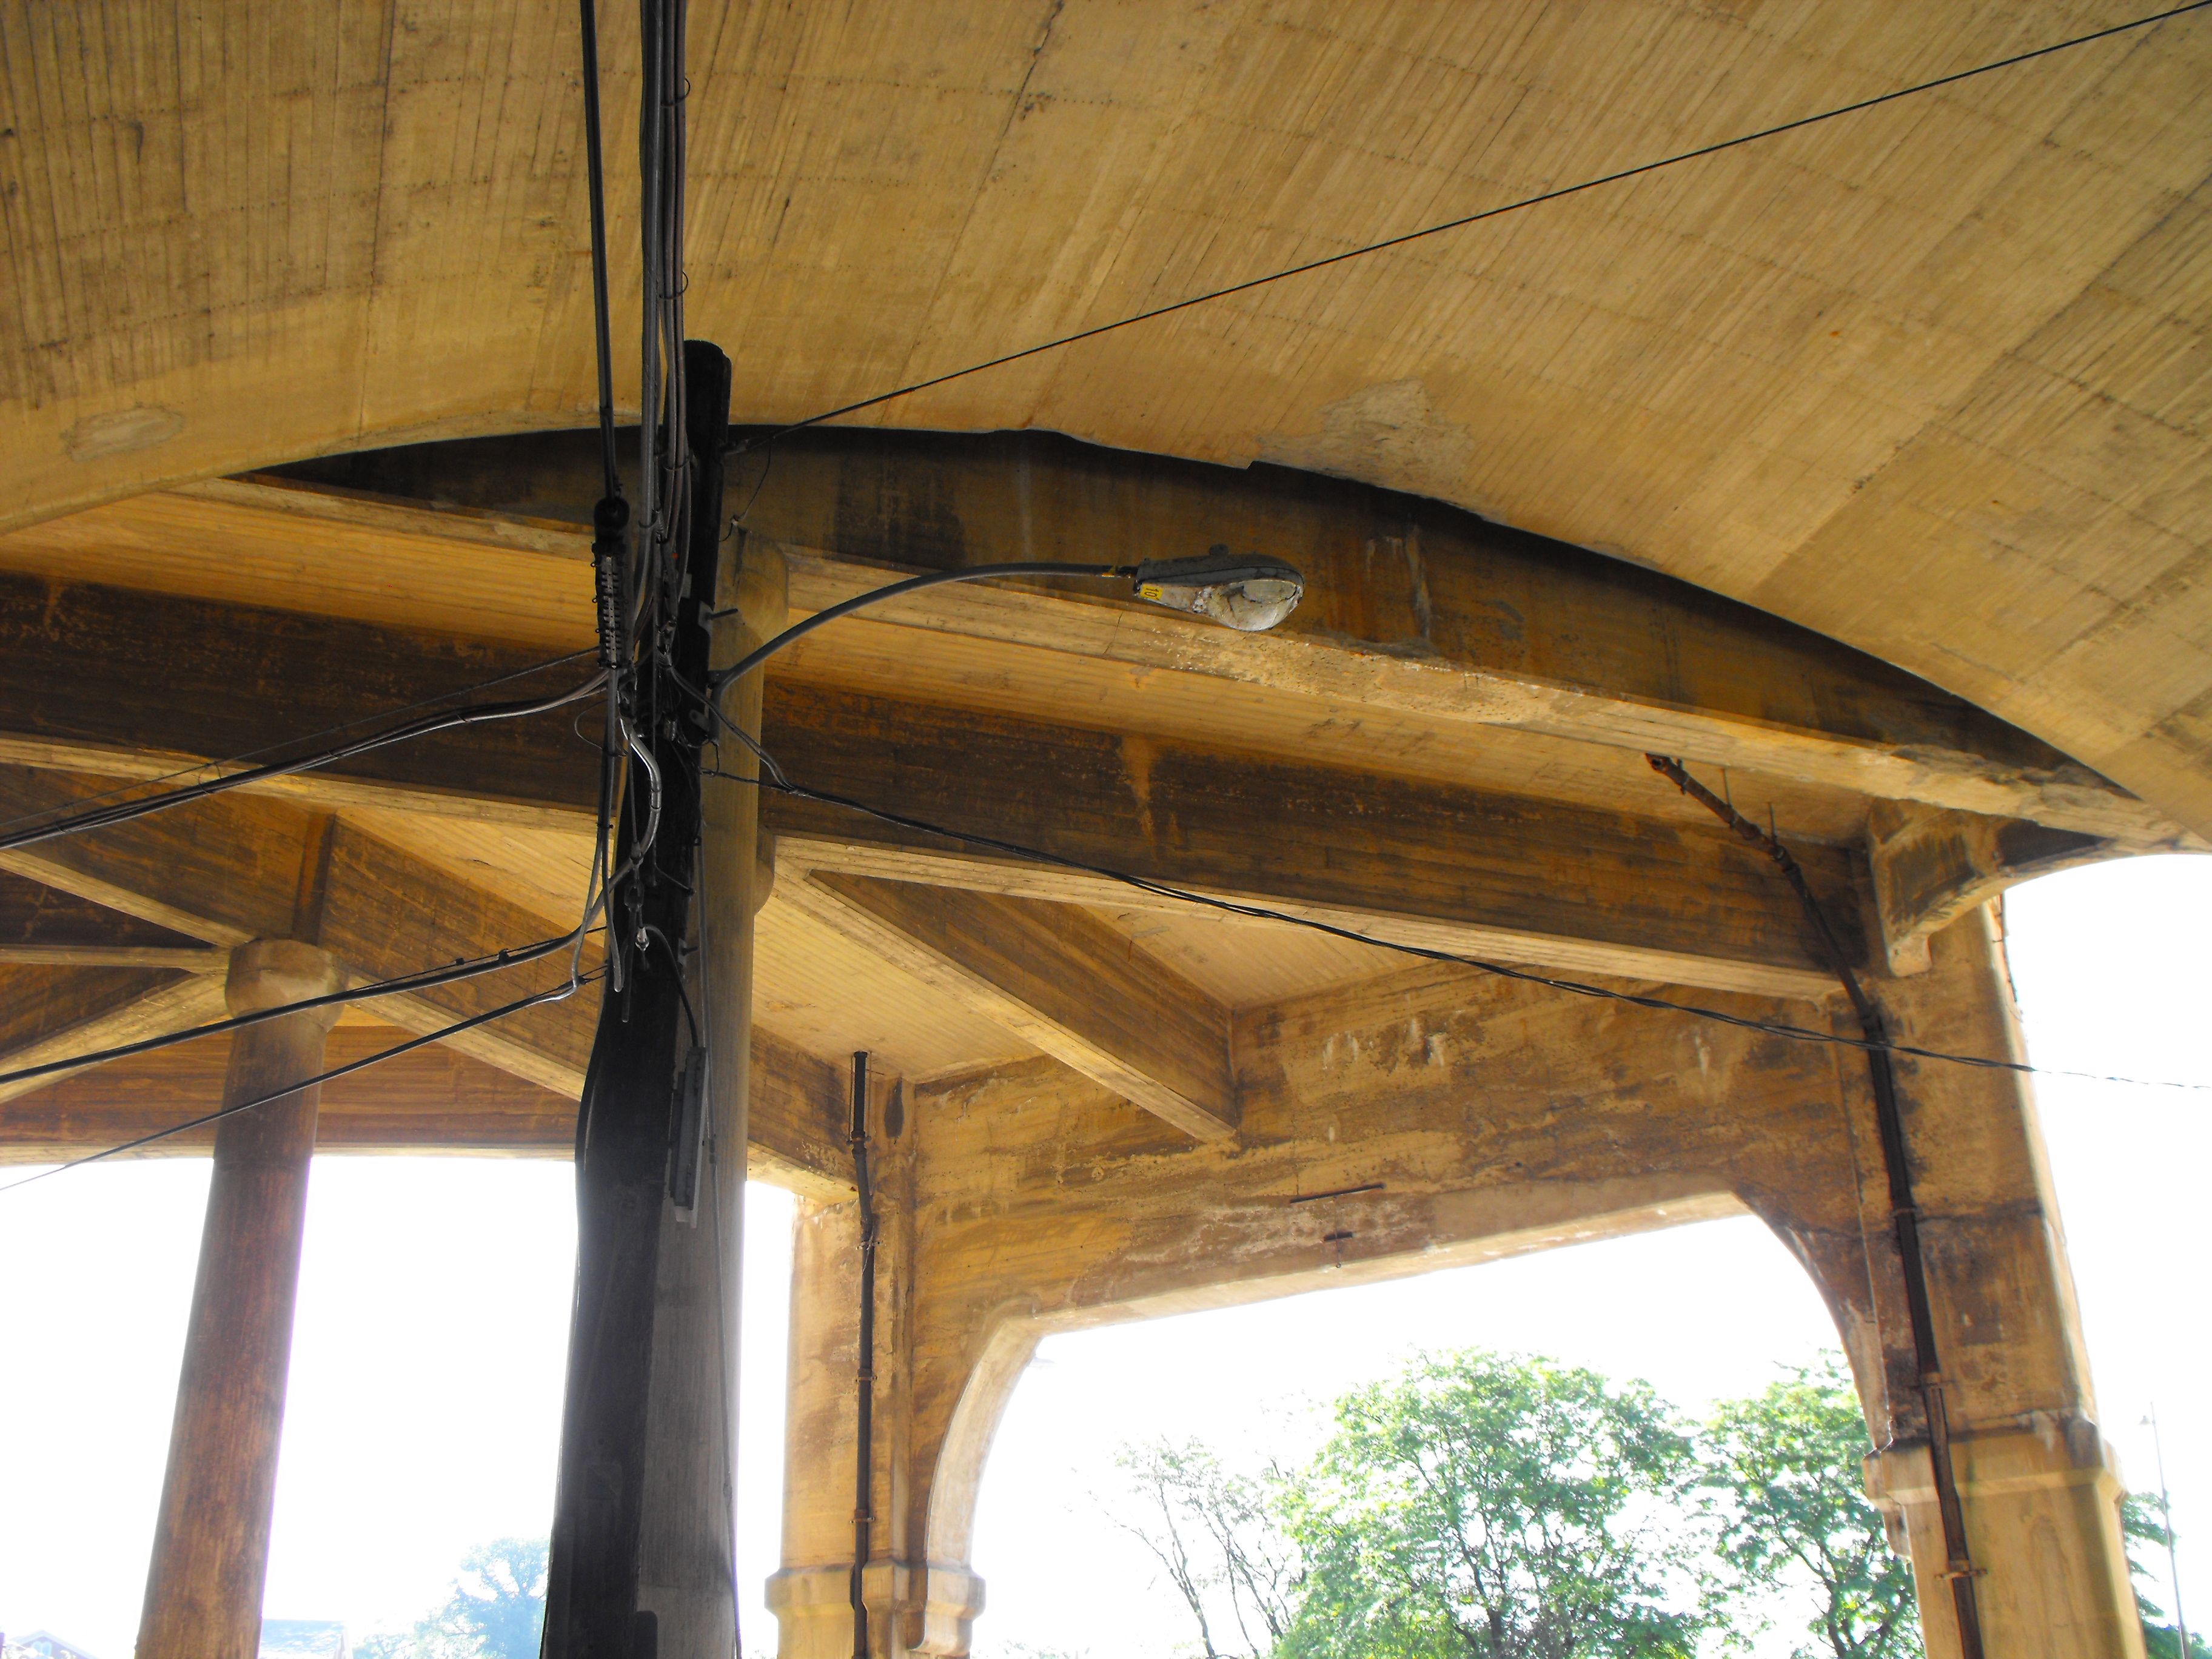
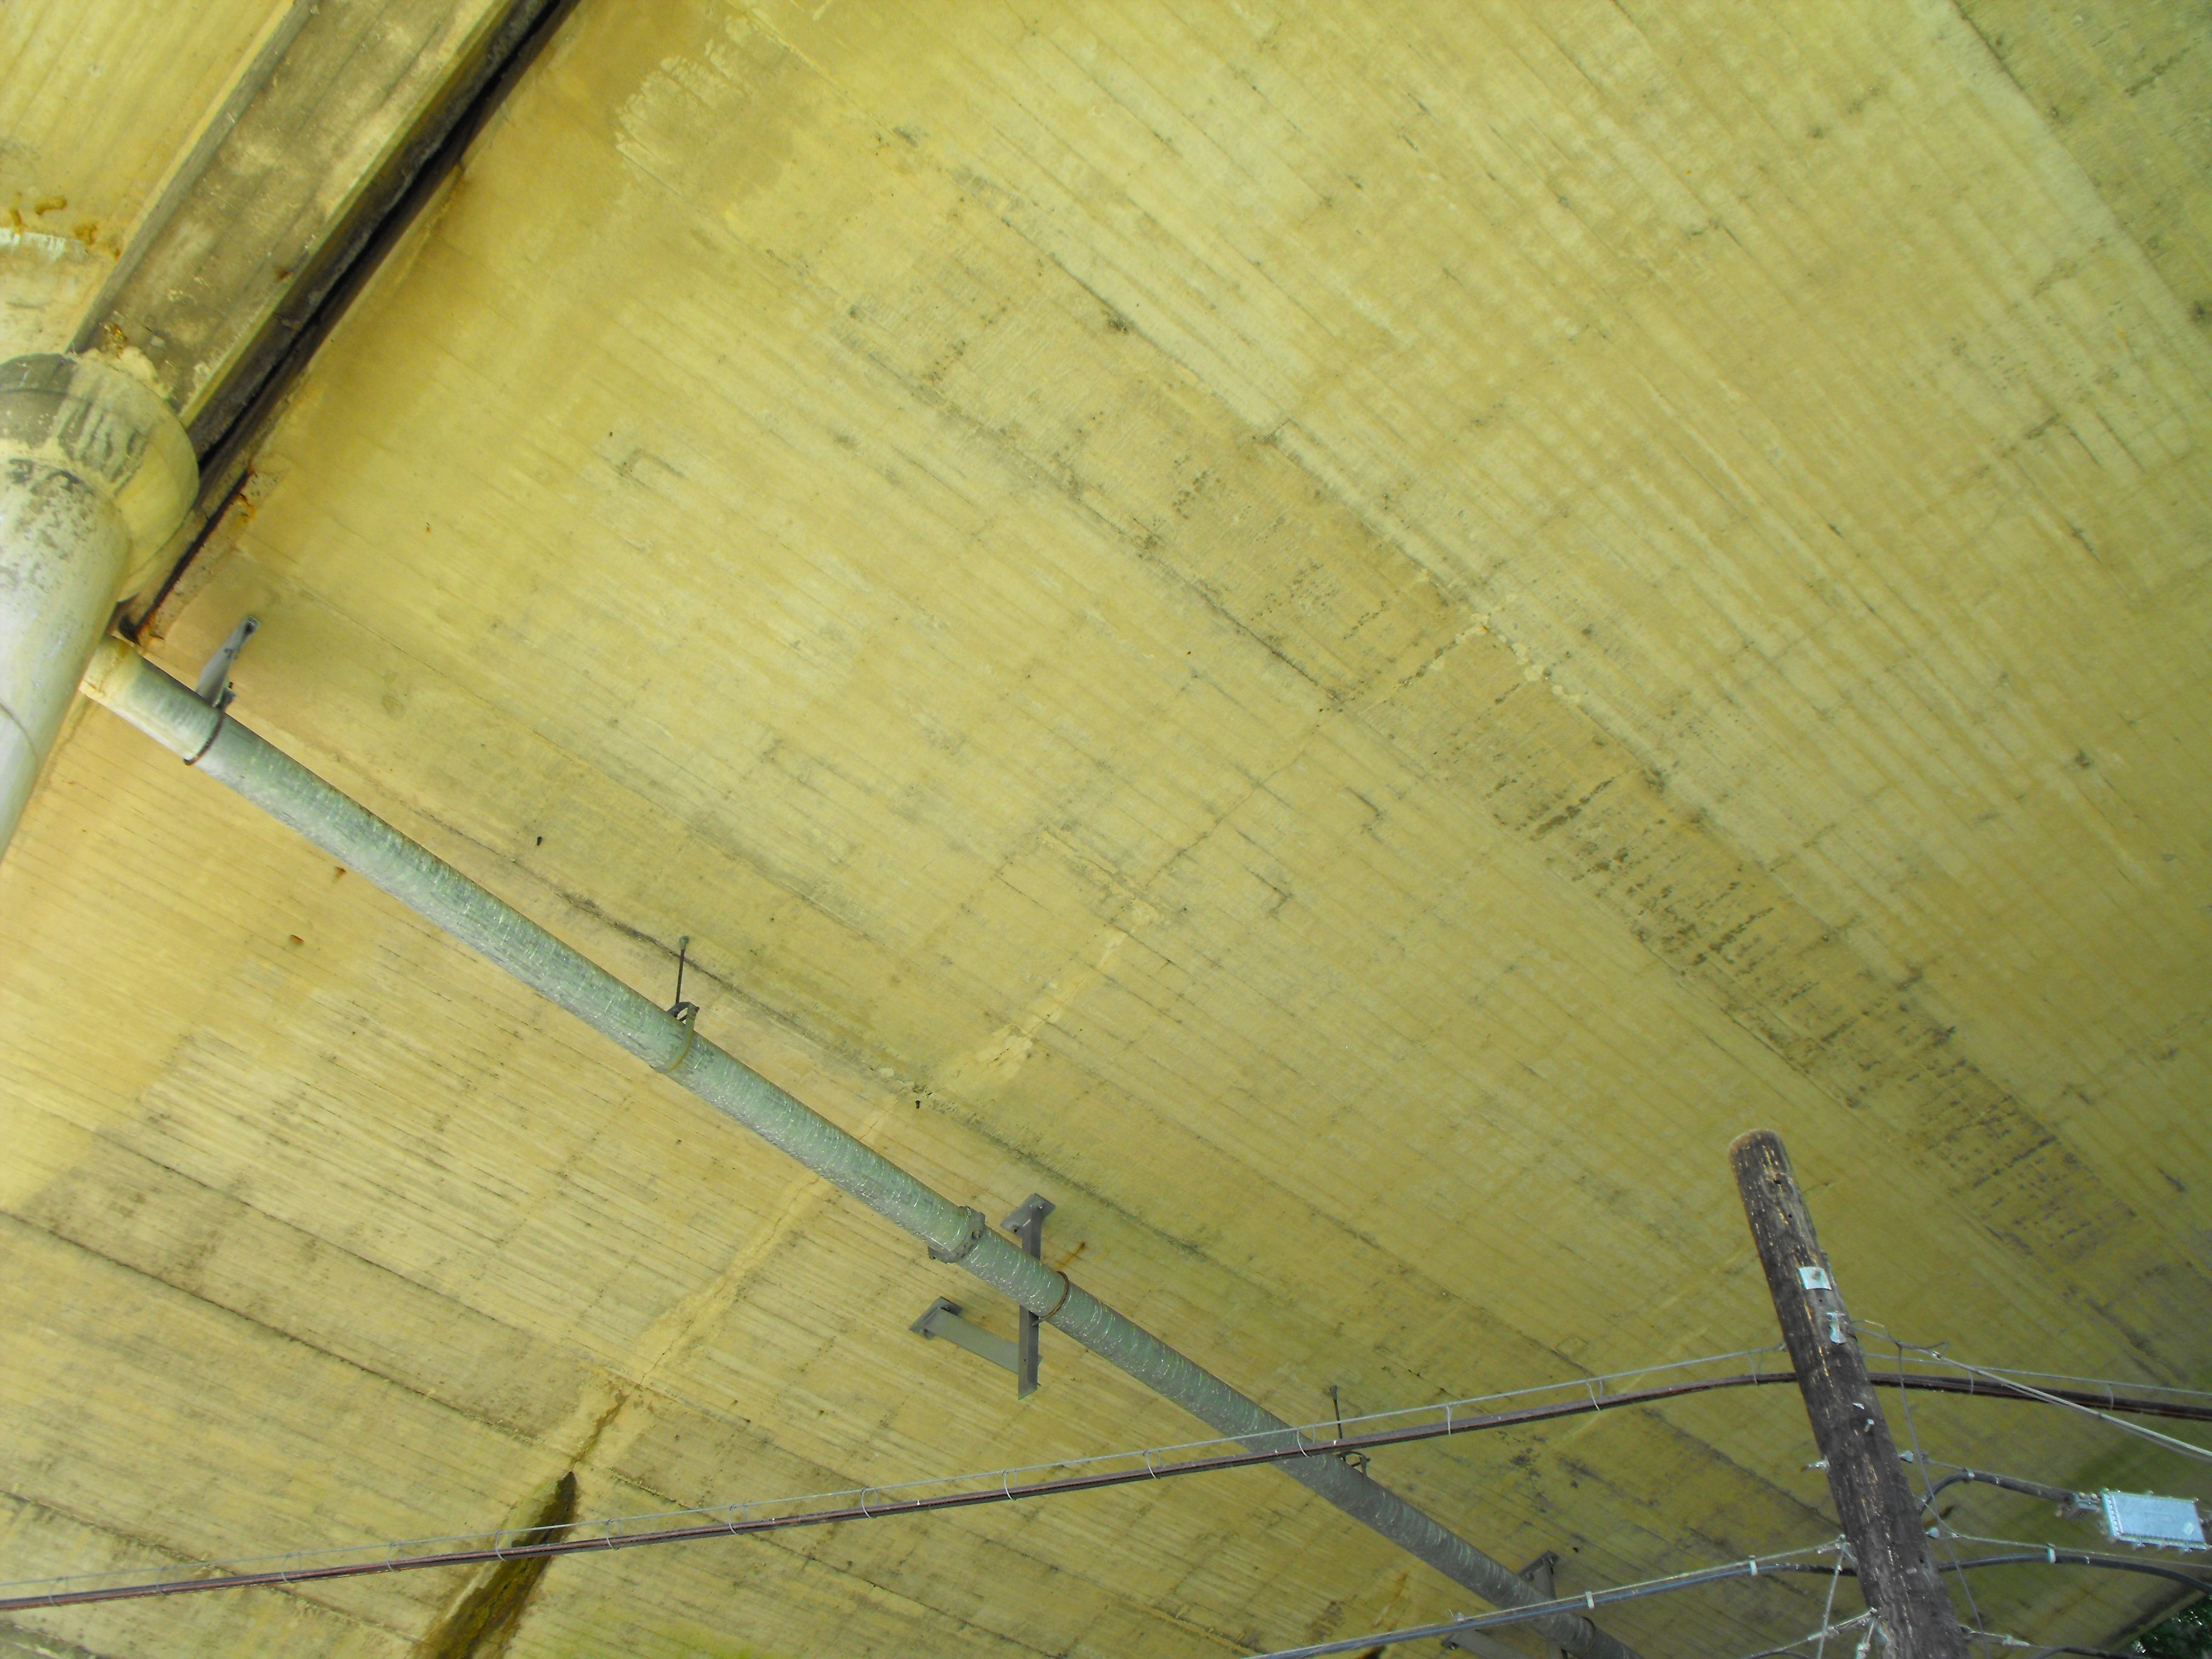
Views under the Main Street Ramp intersection, showing the unique and complex arrangement of concrete beams under the deck.
![]()
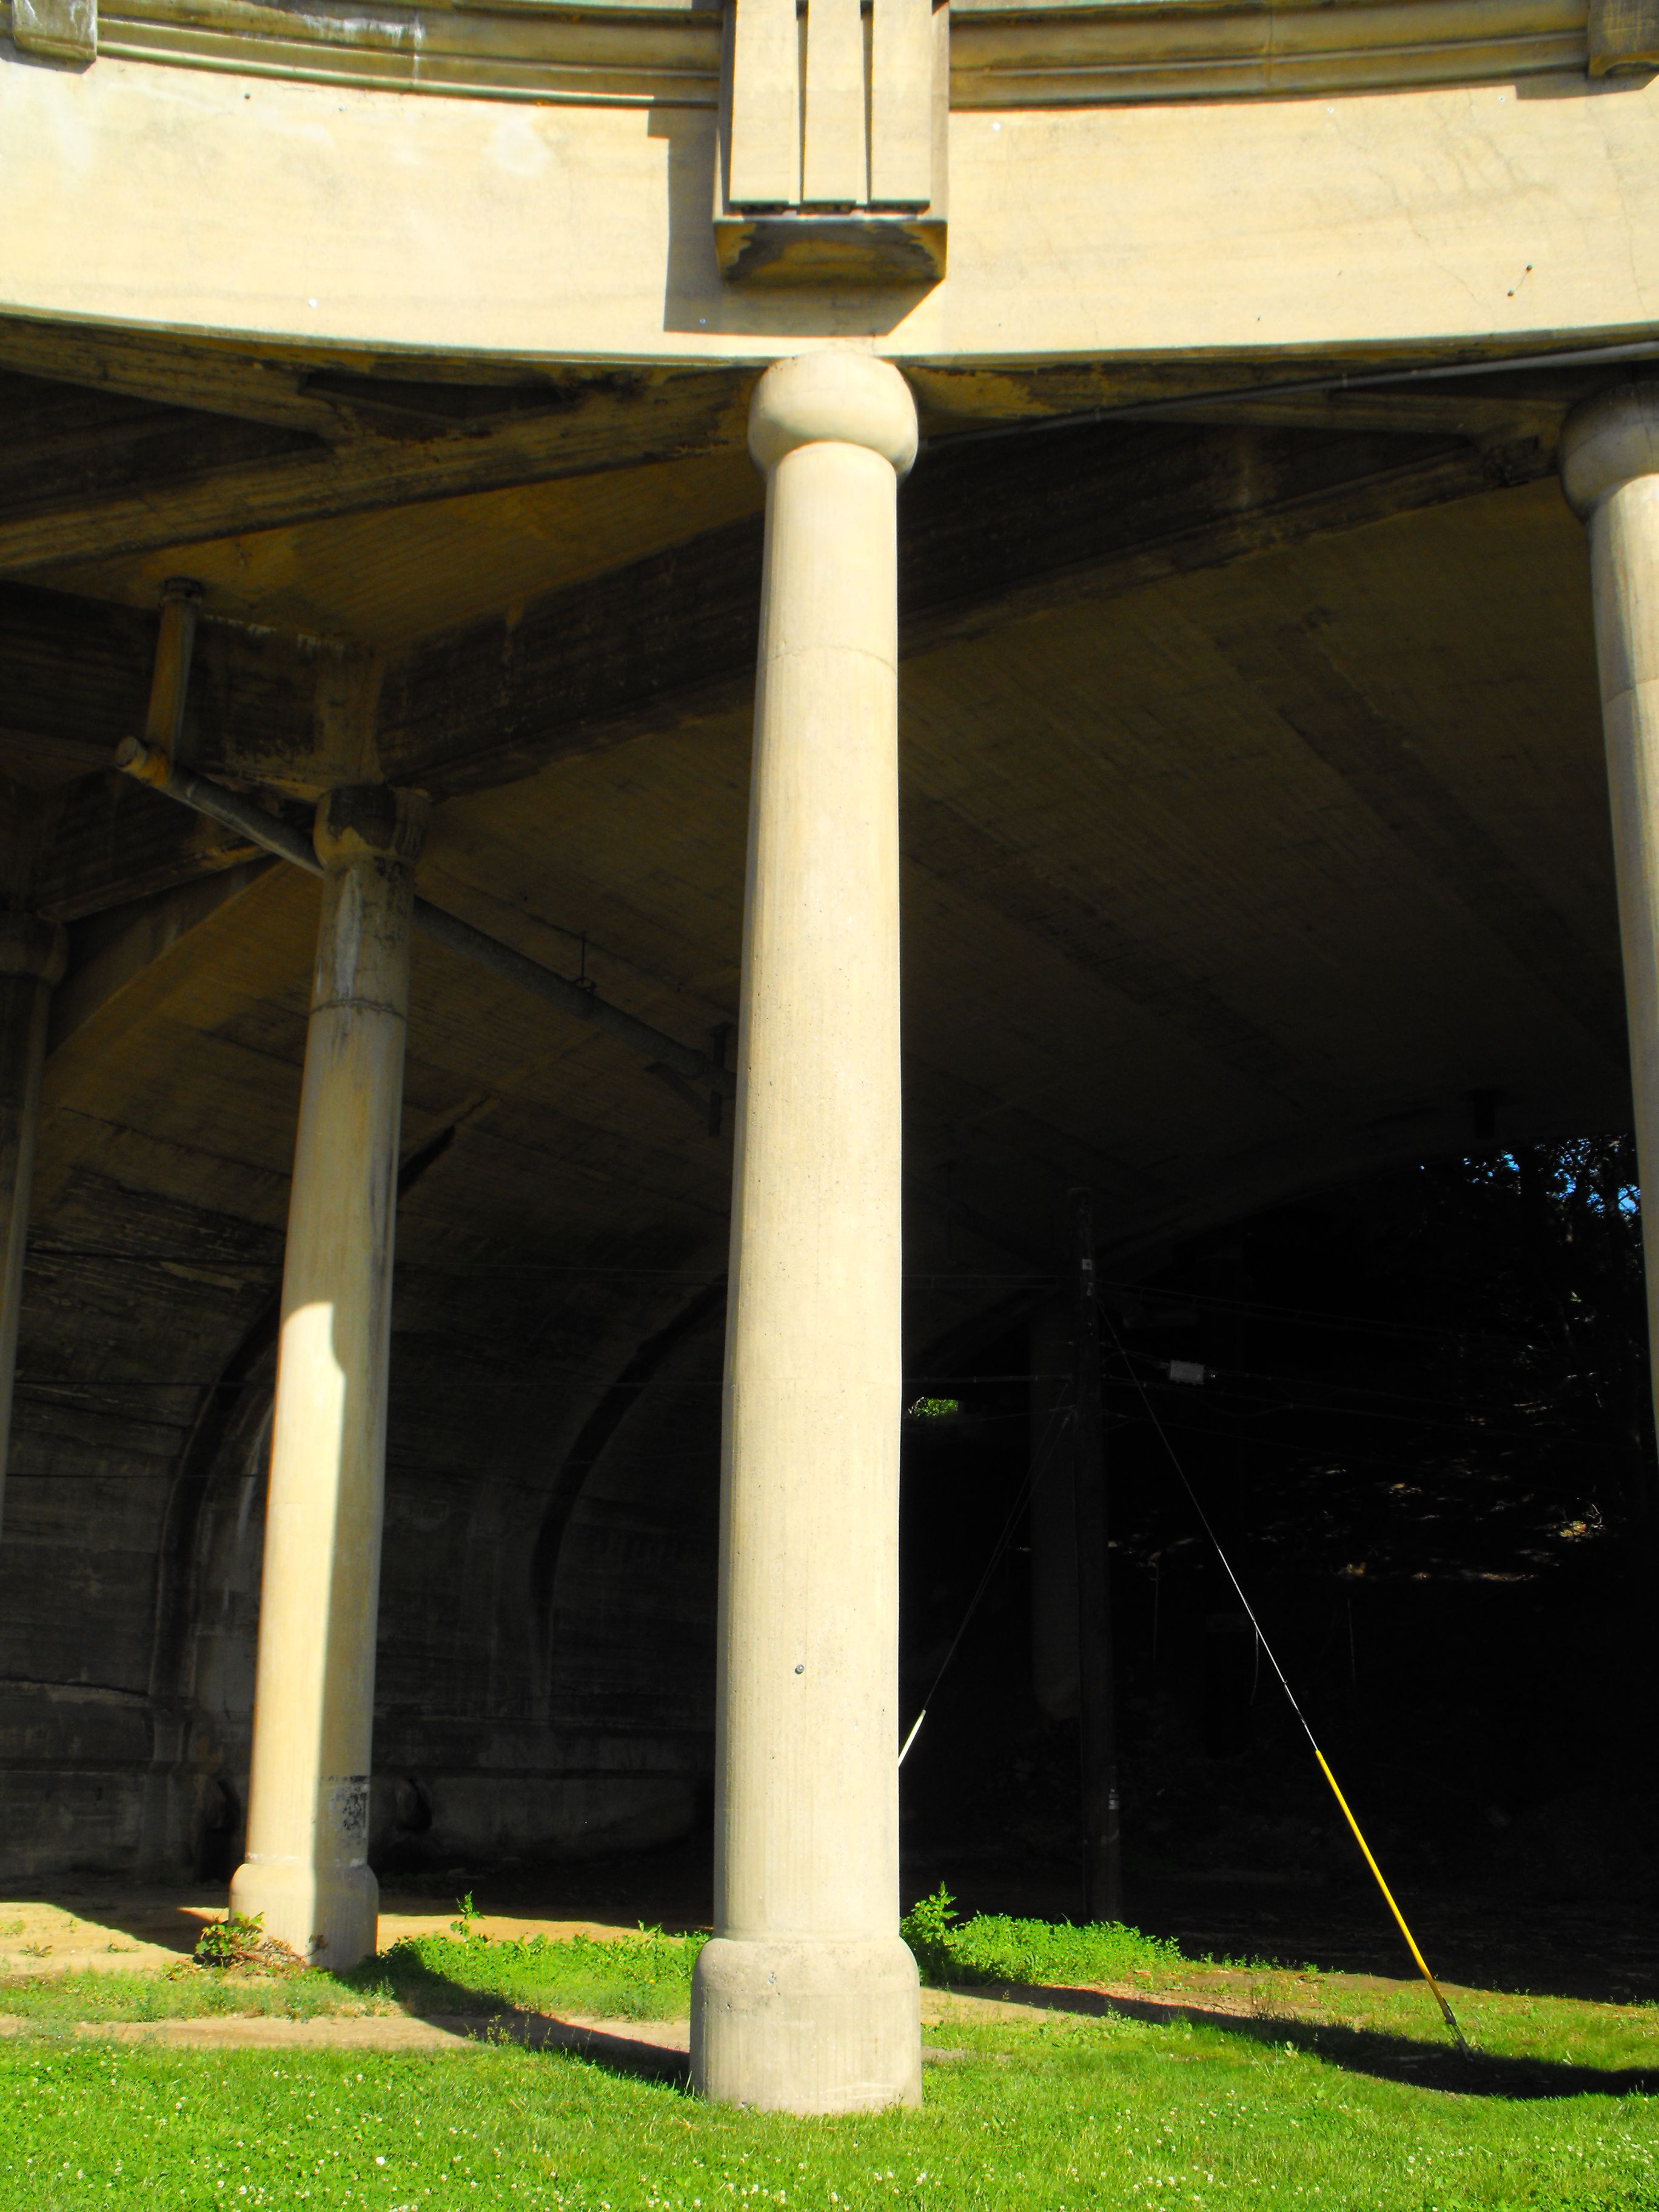

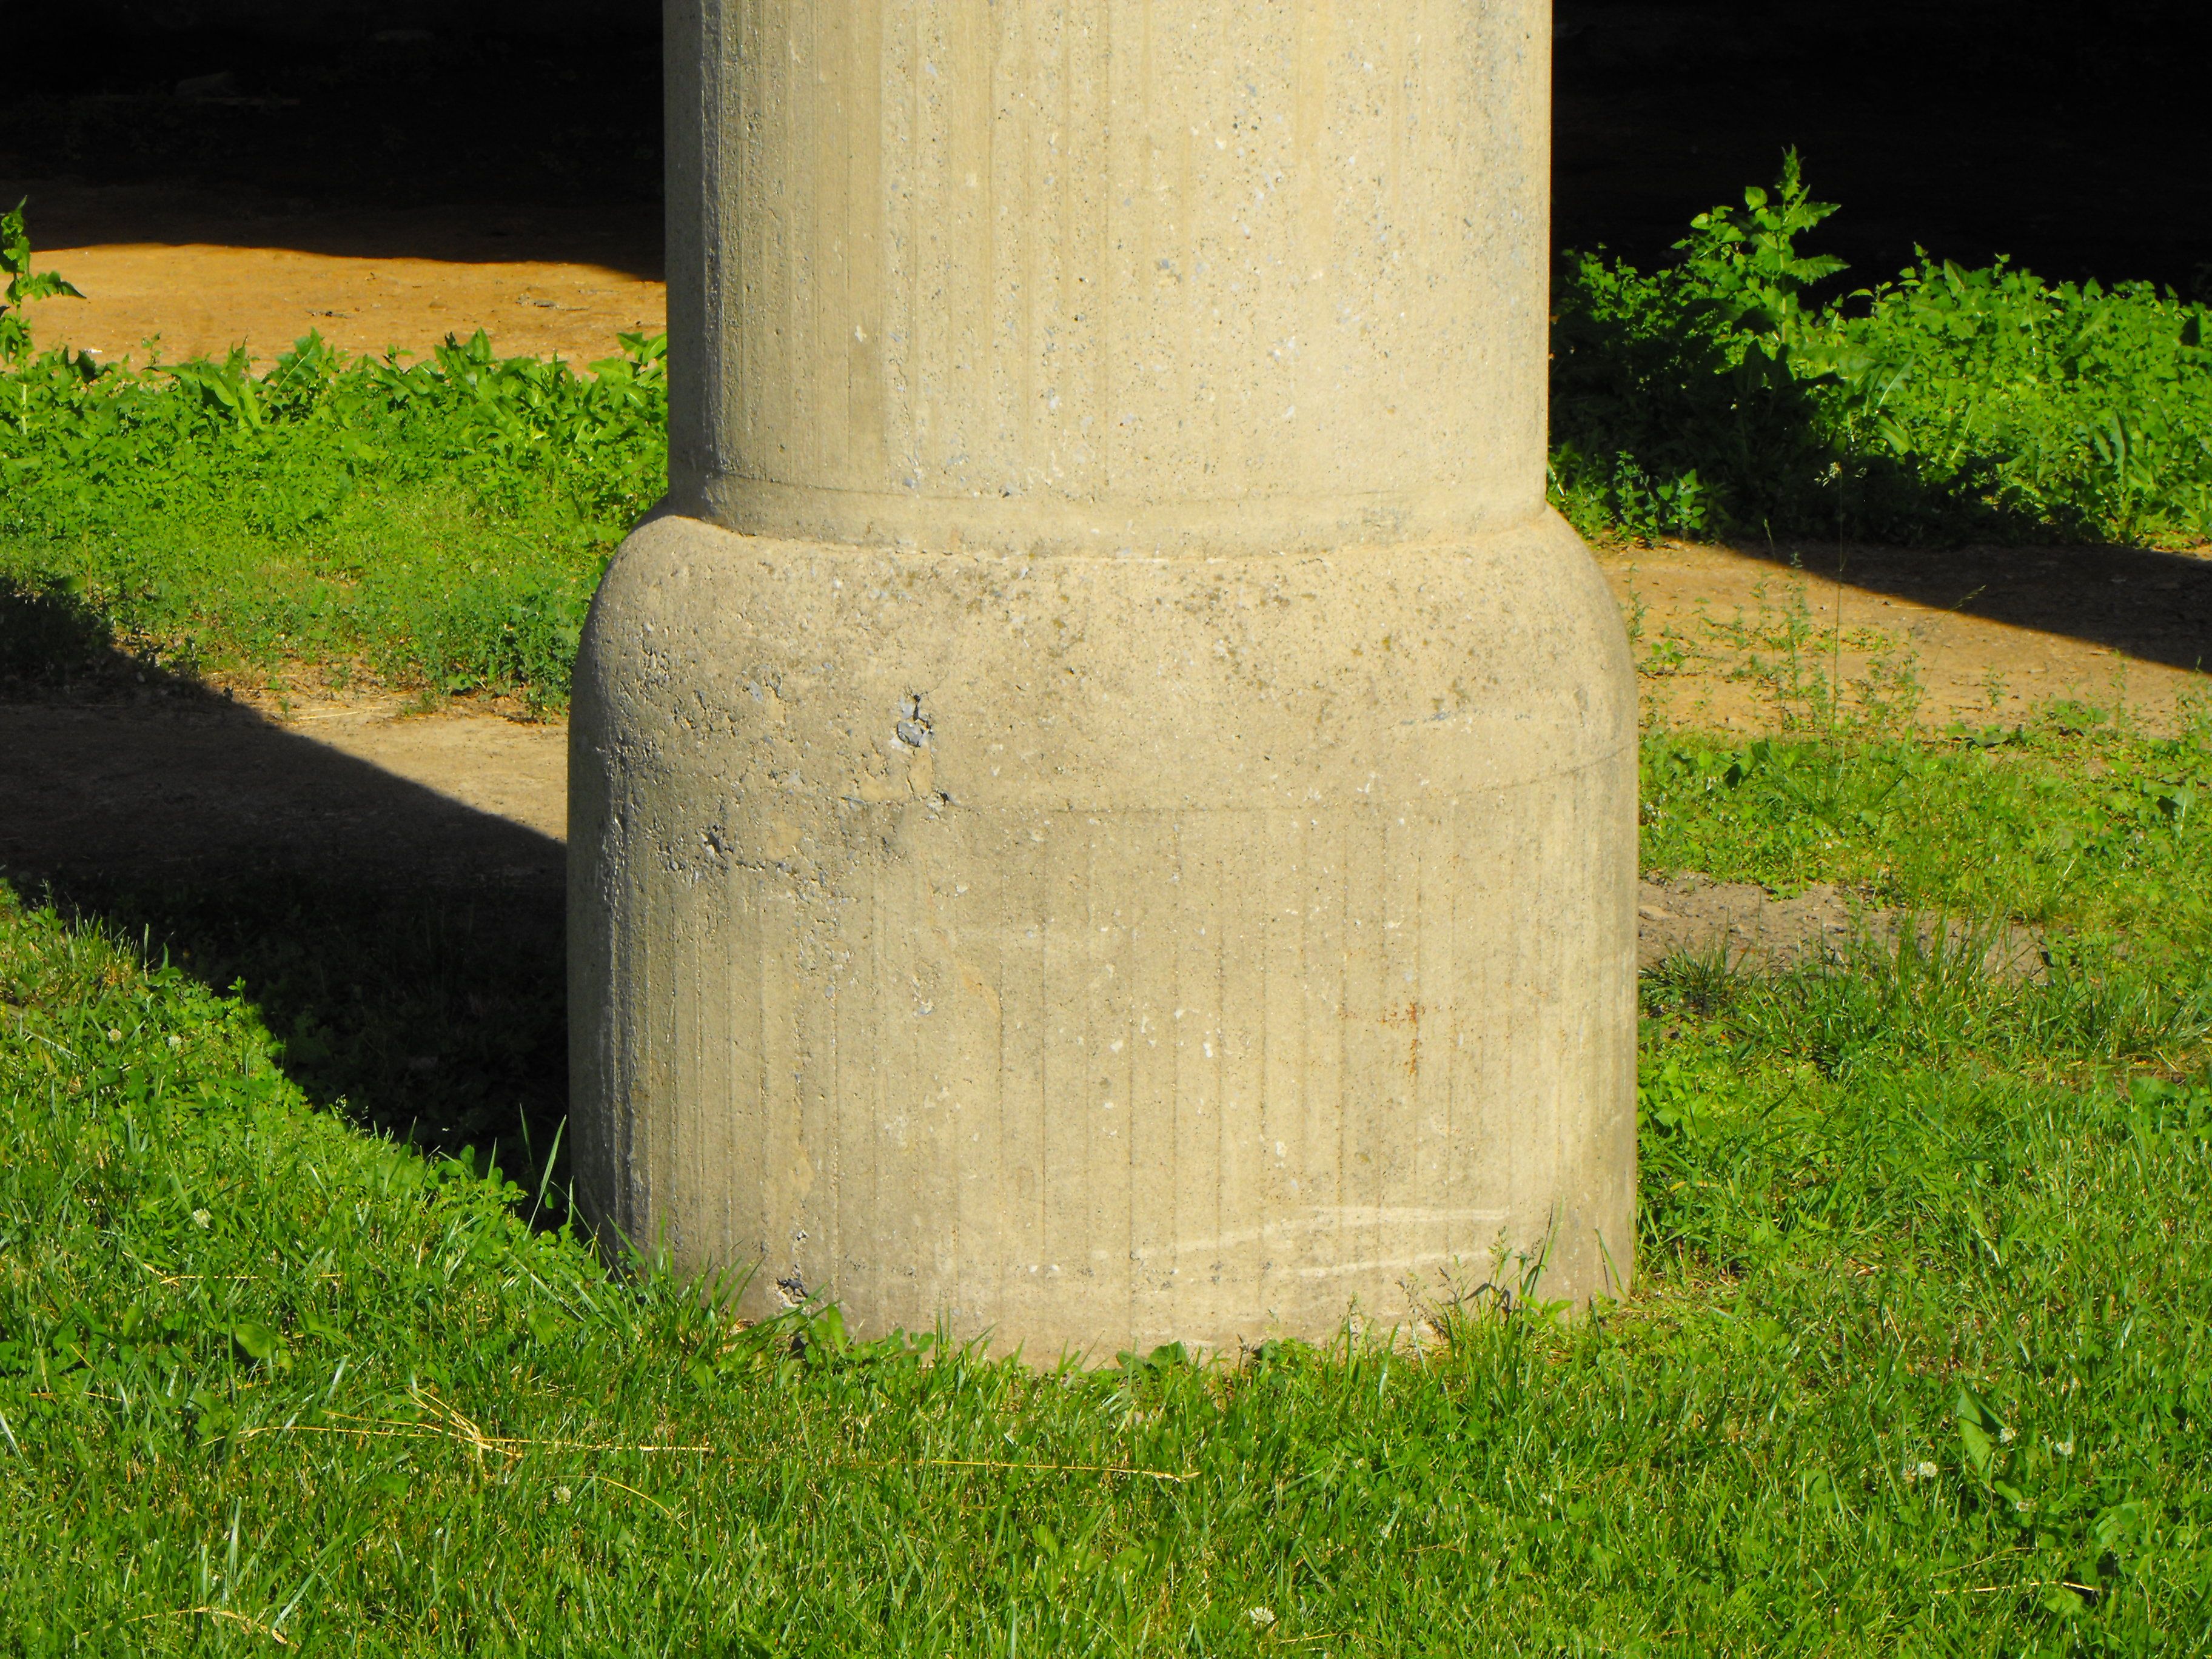
Piers under Main Street Ramp intersection.
![]()


Views under arch spans.
![]()
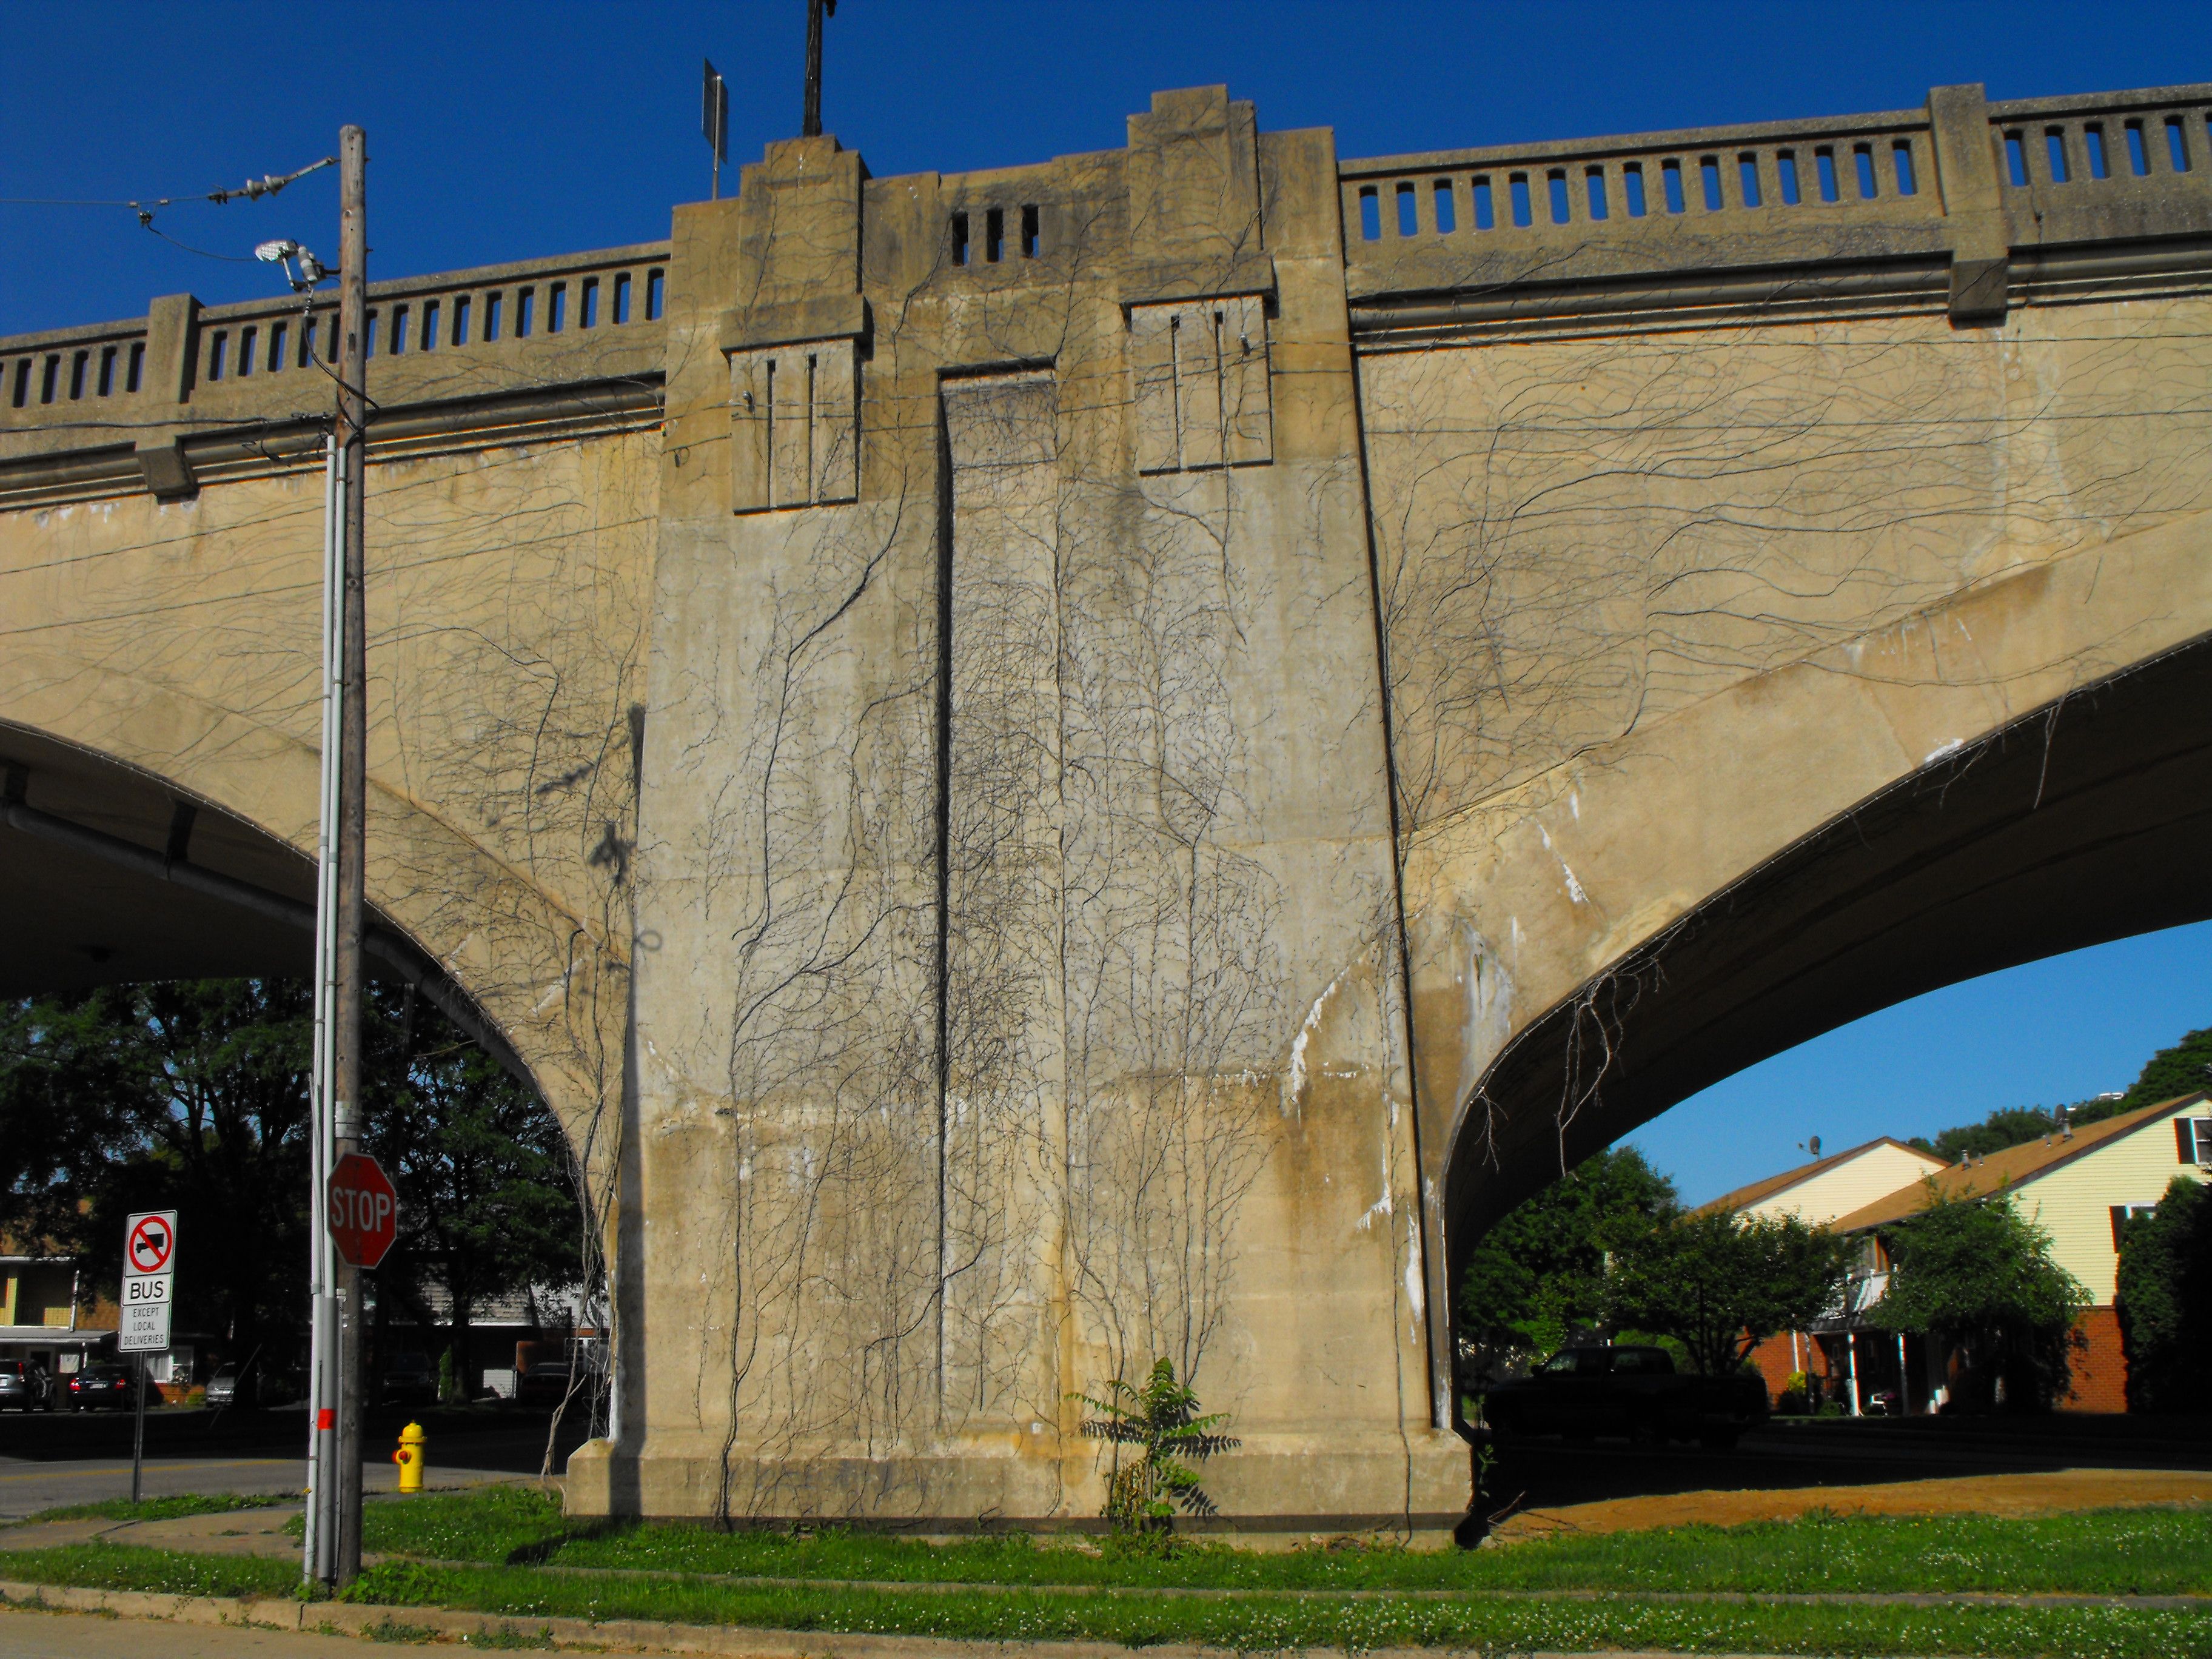

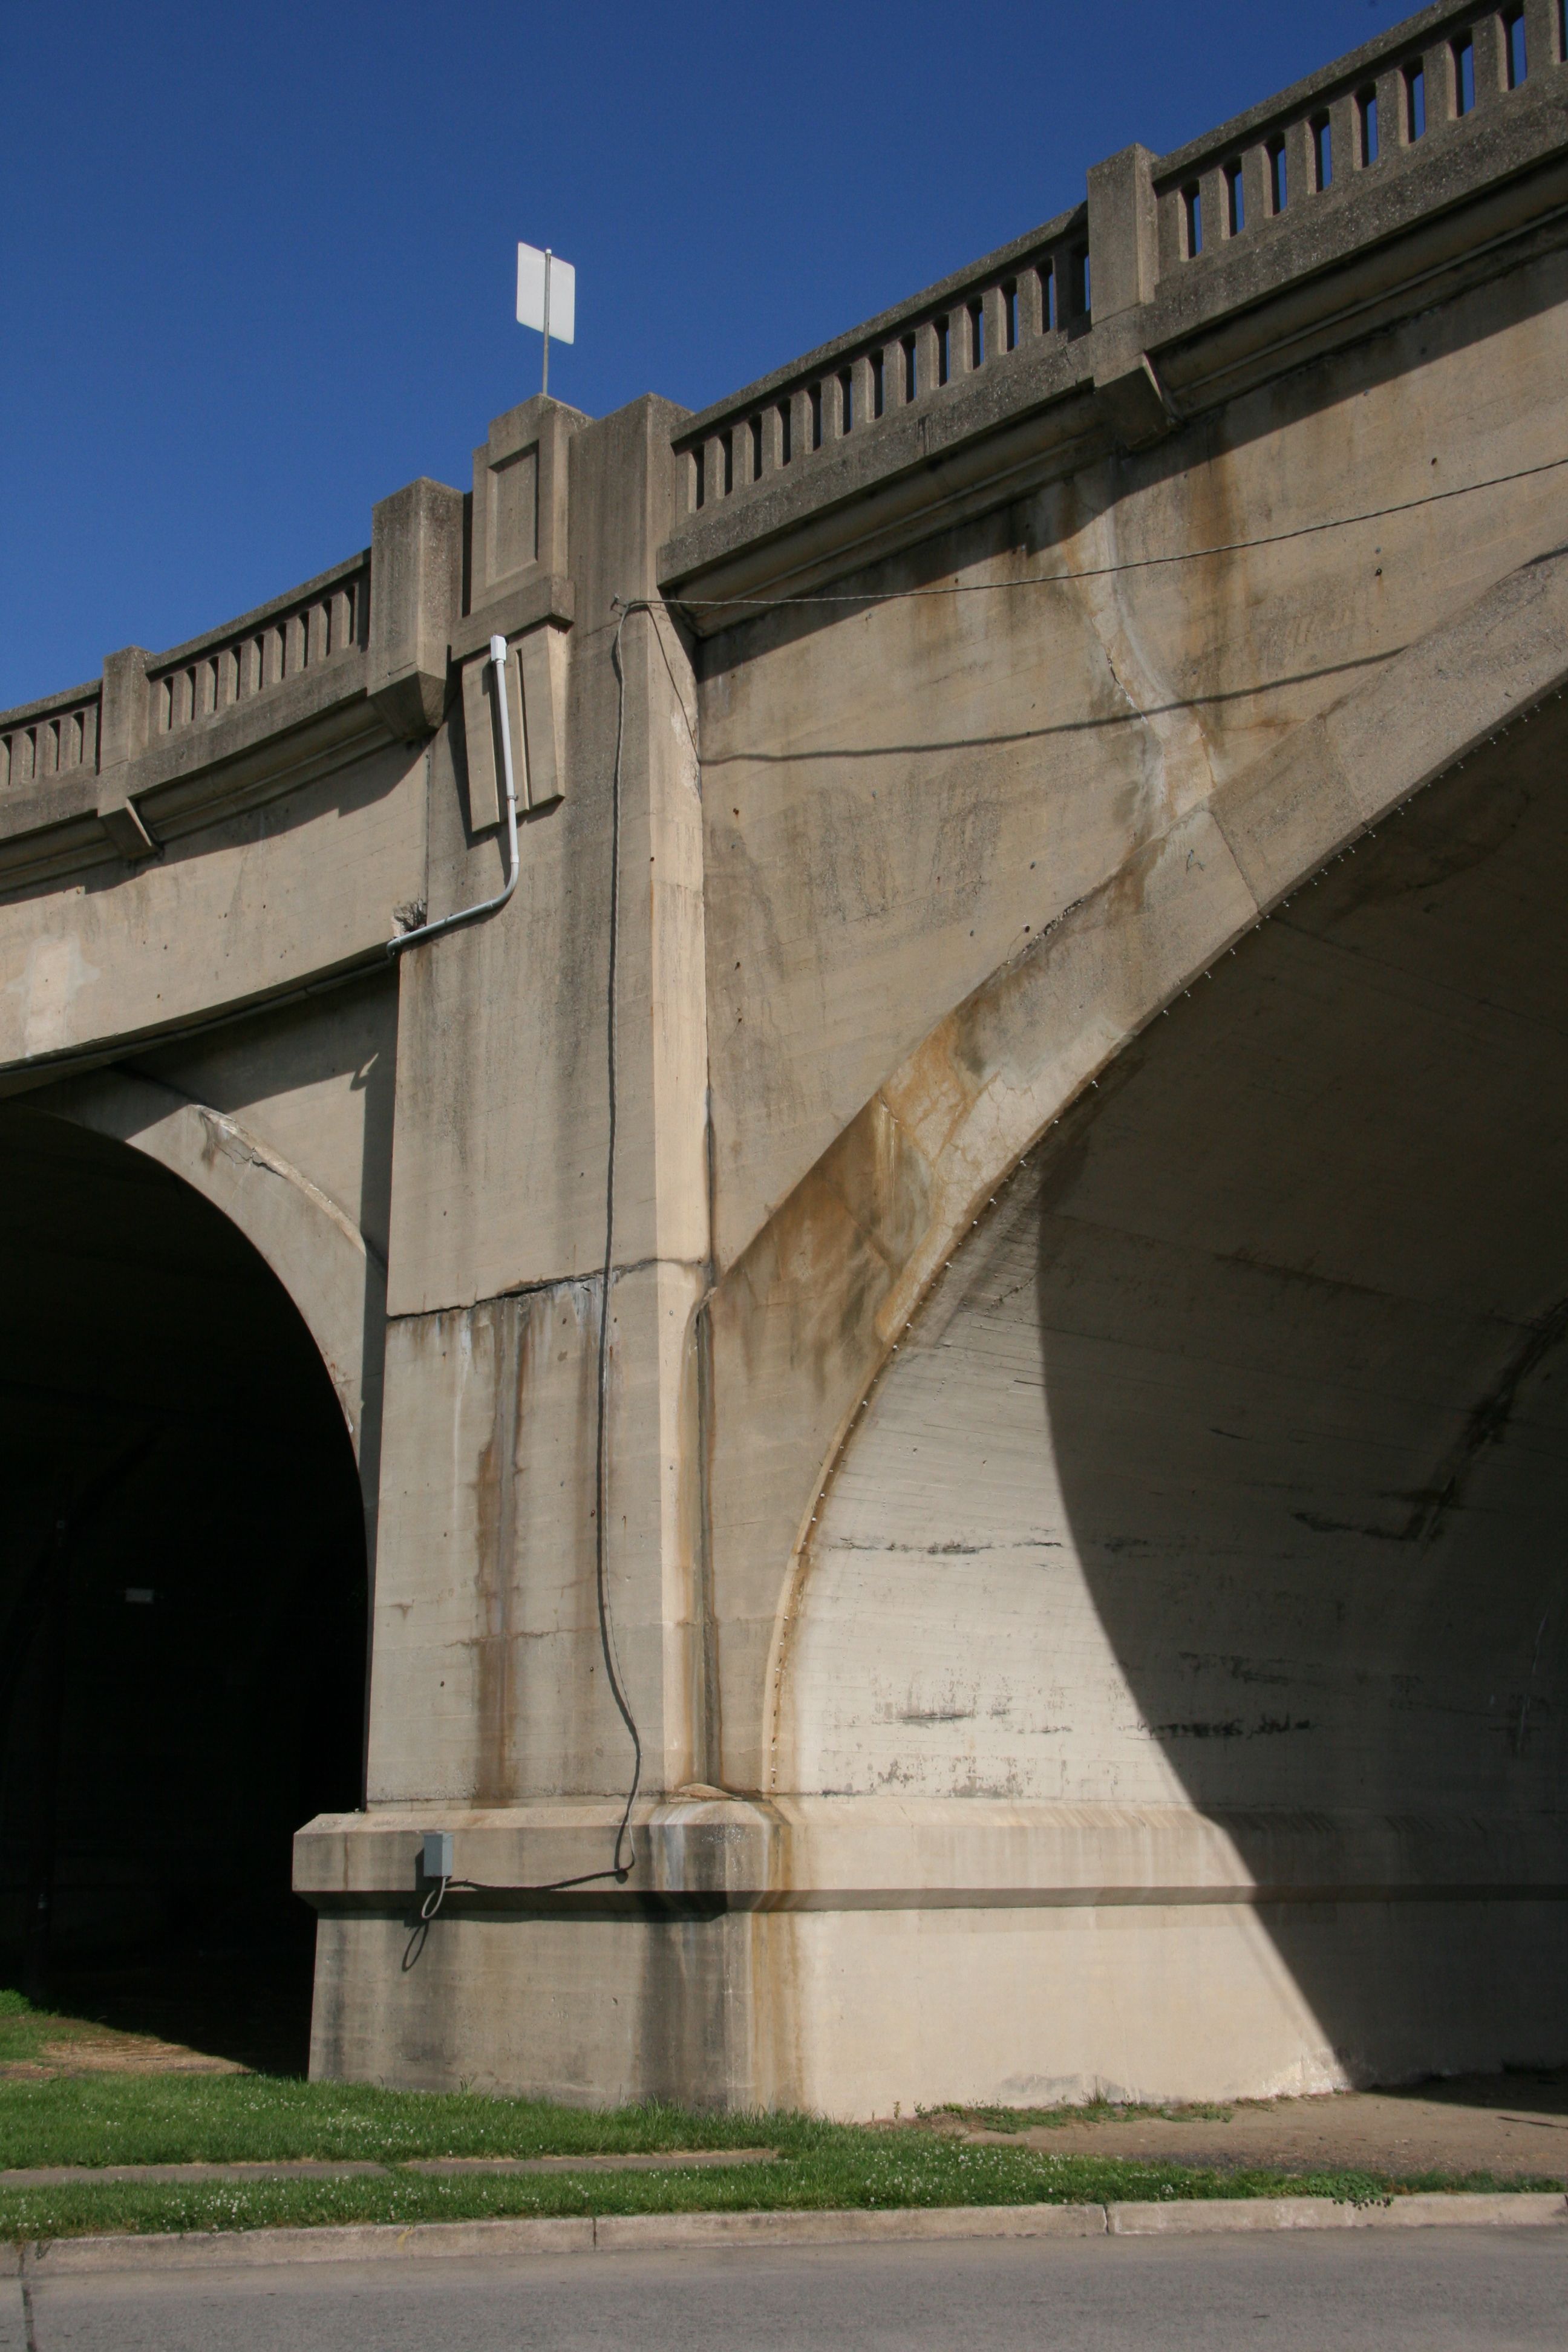

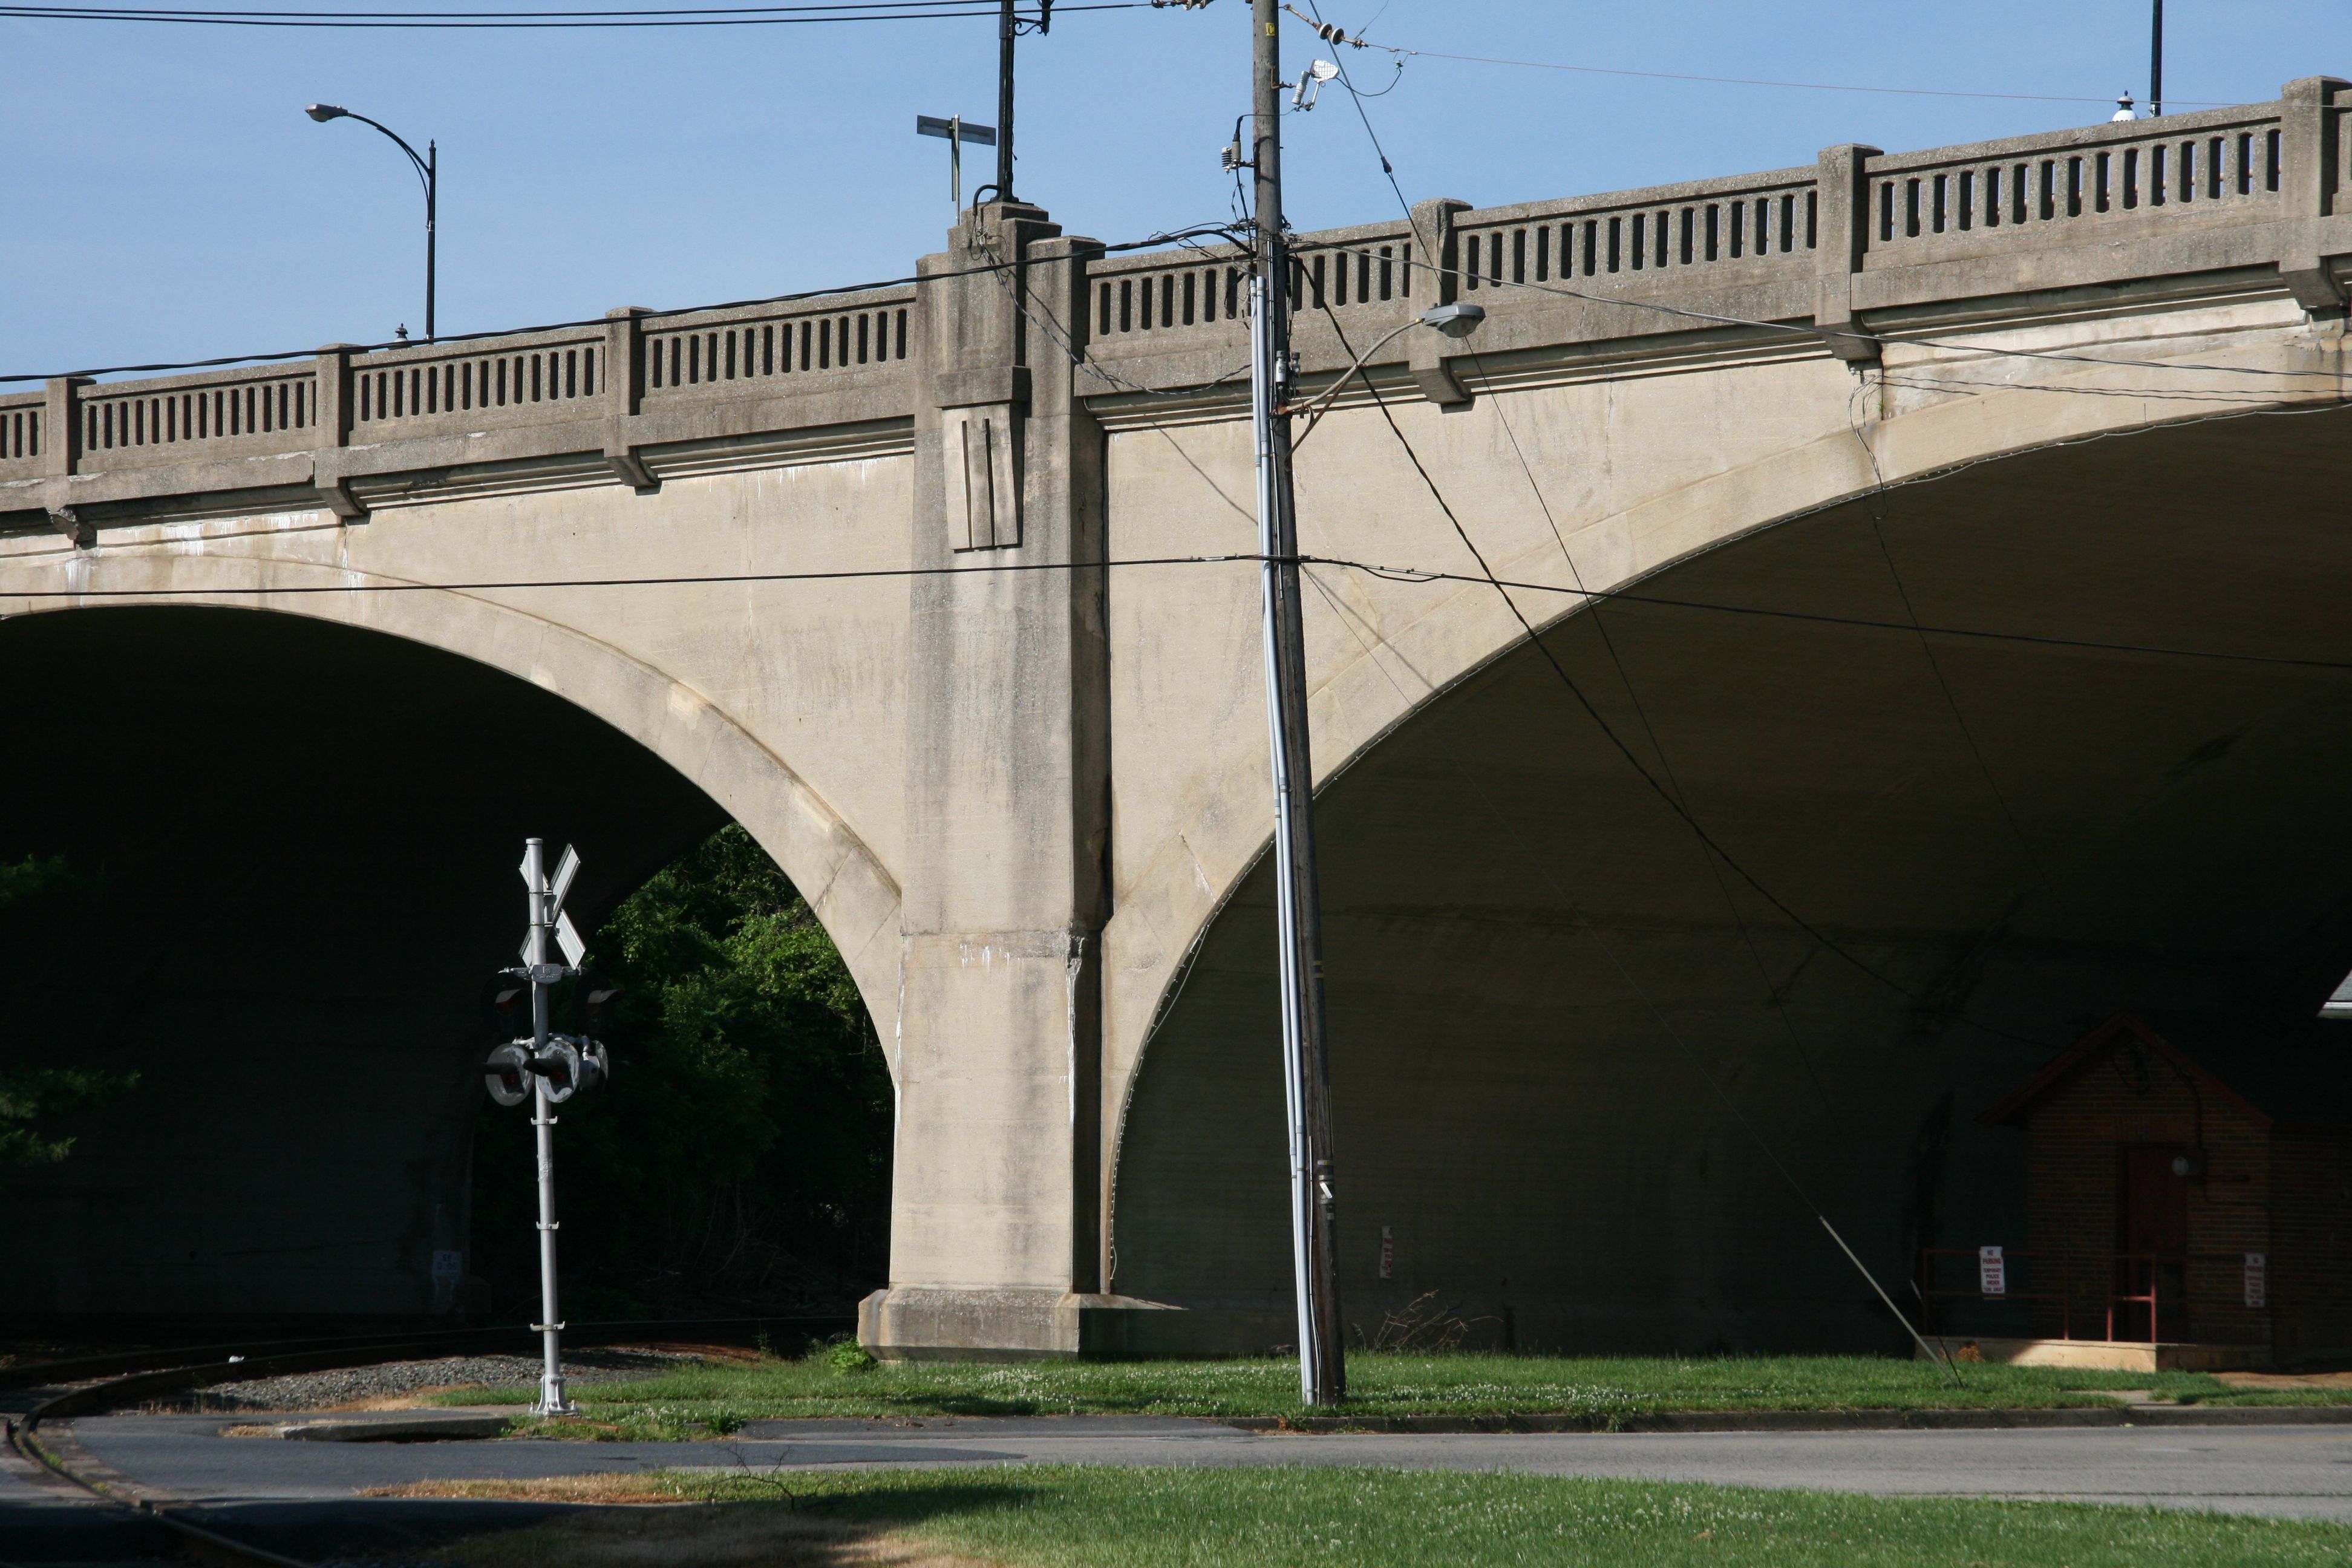
Arch span piers for those over land.
![]()
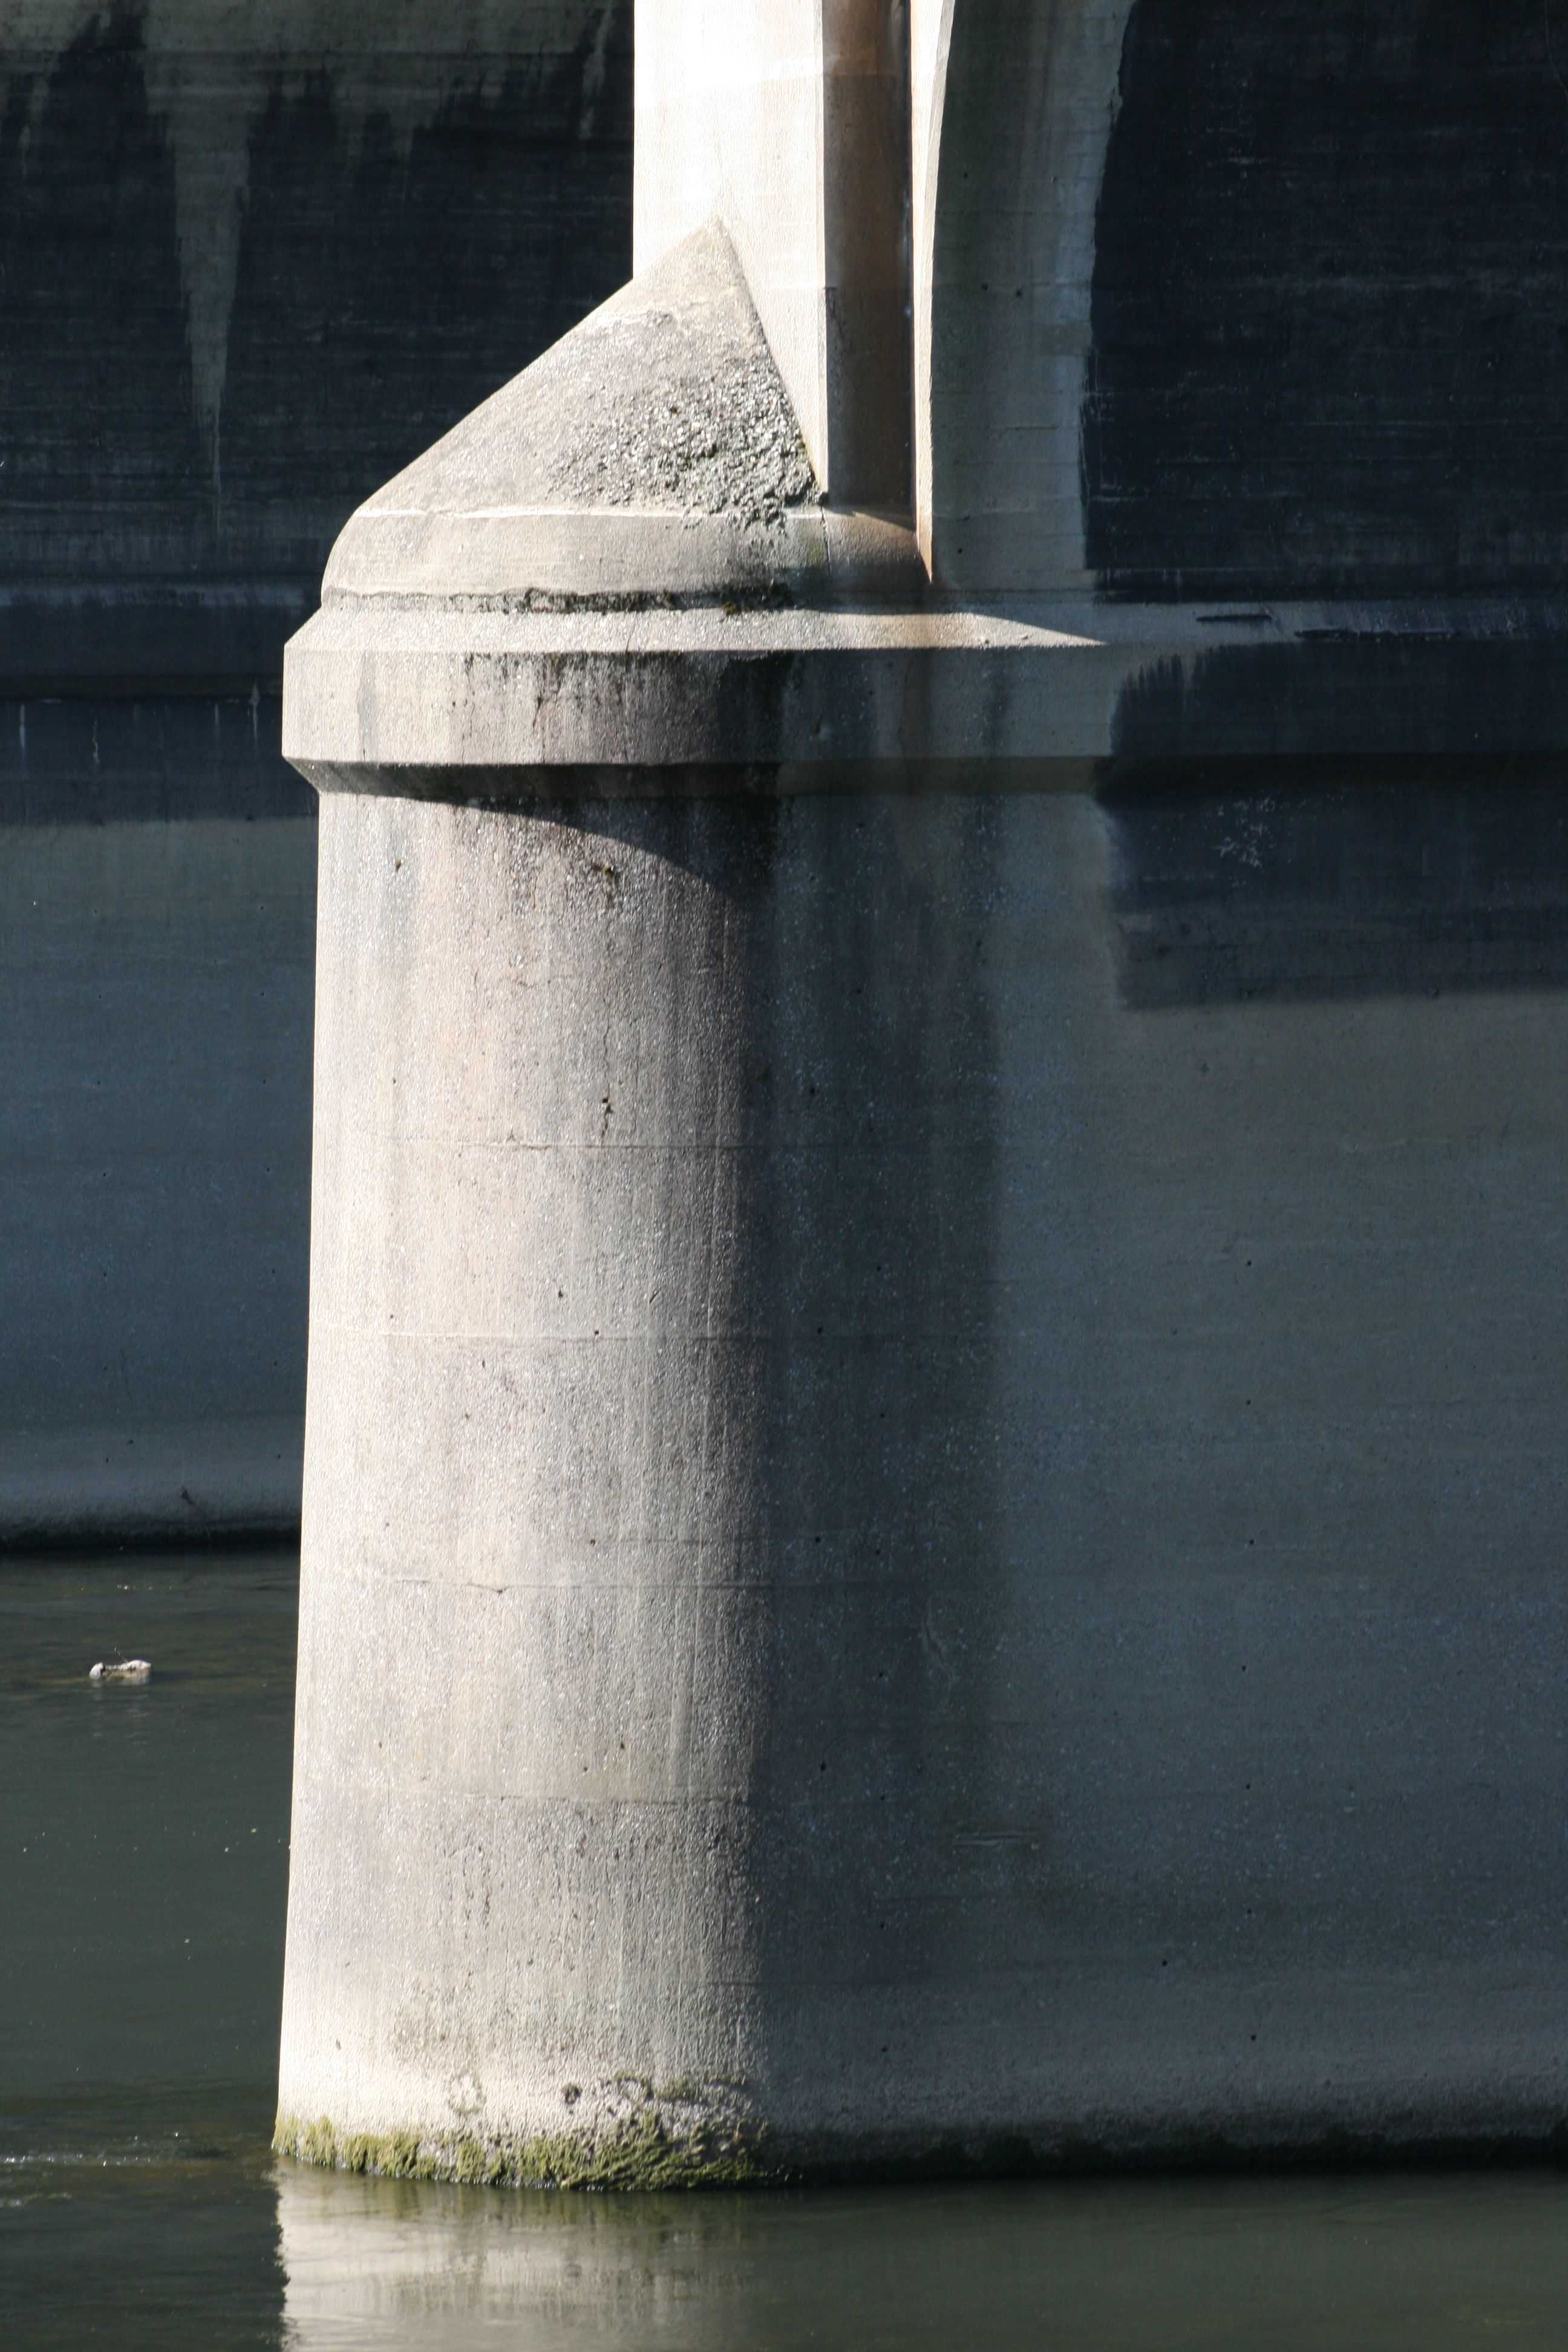
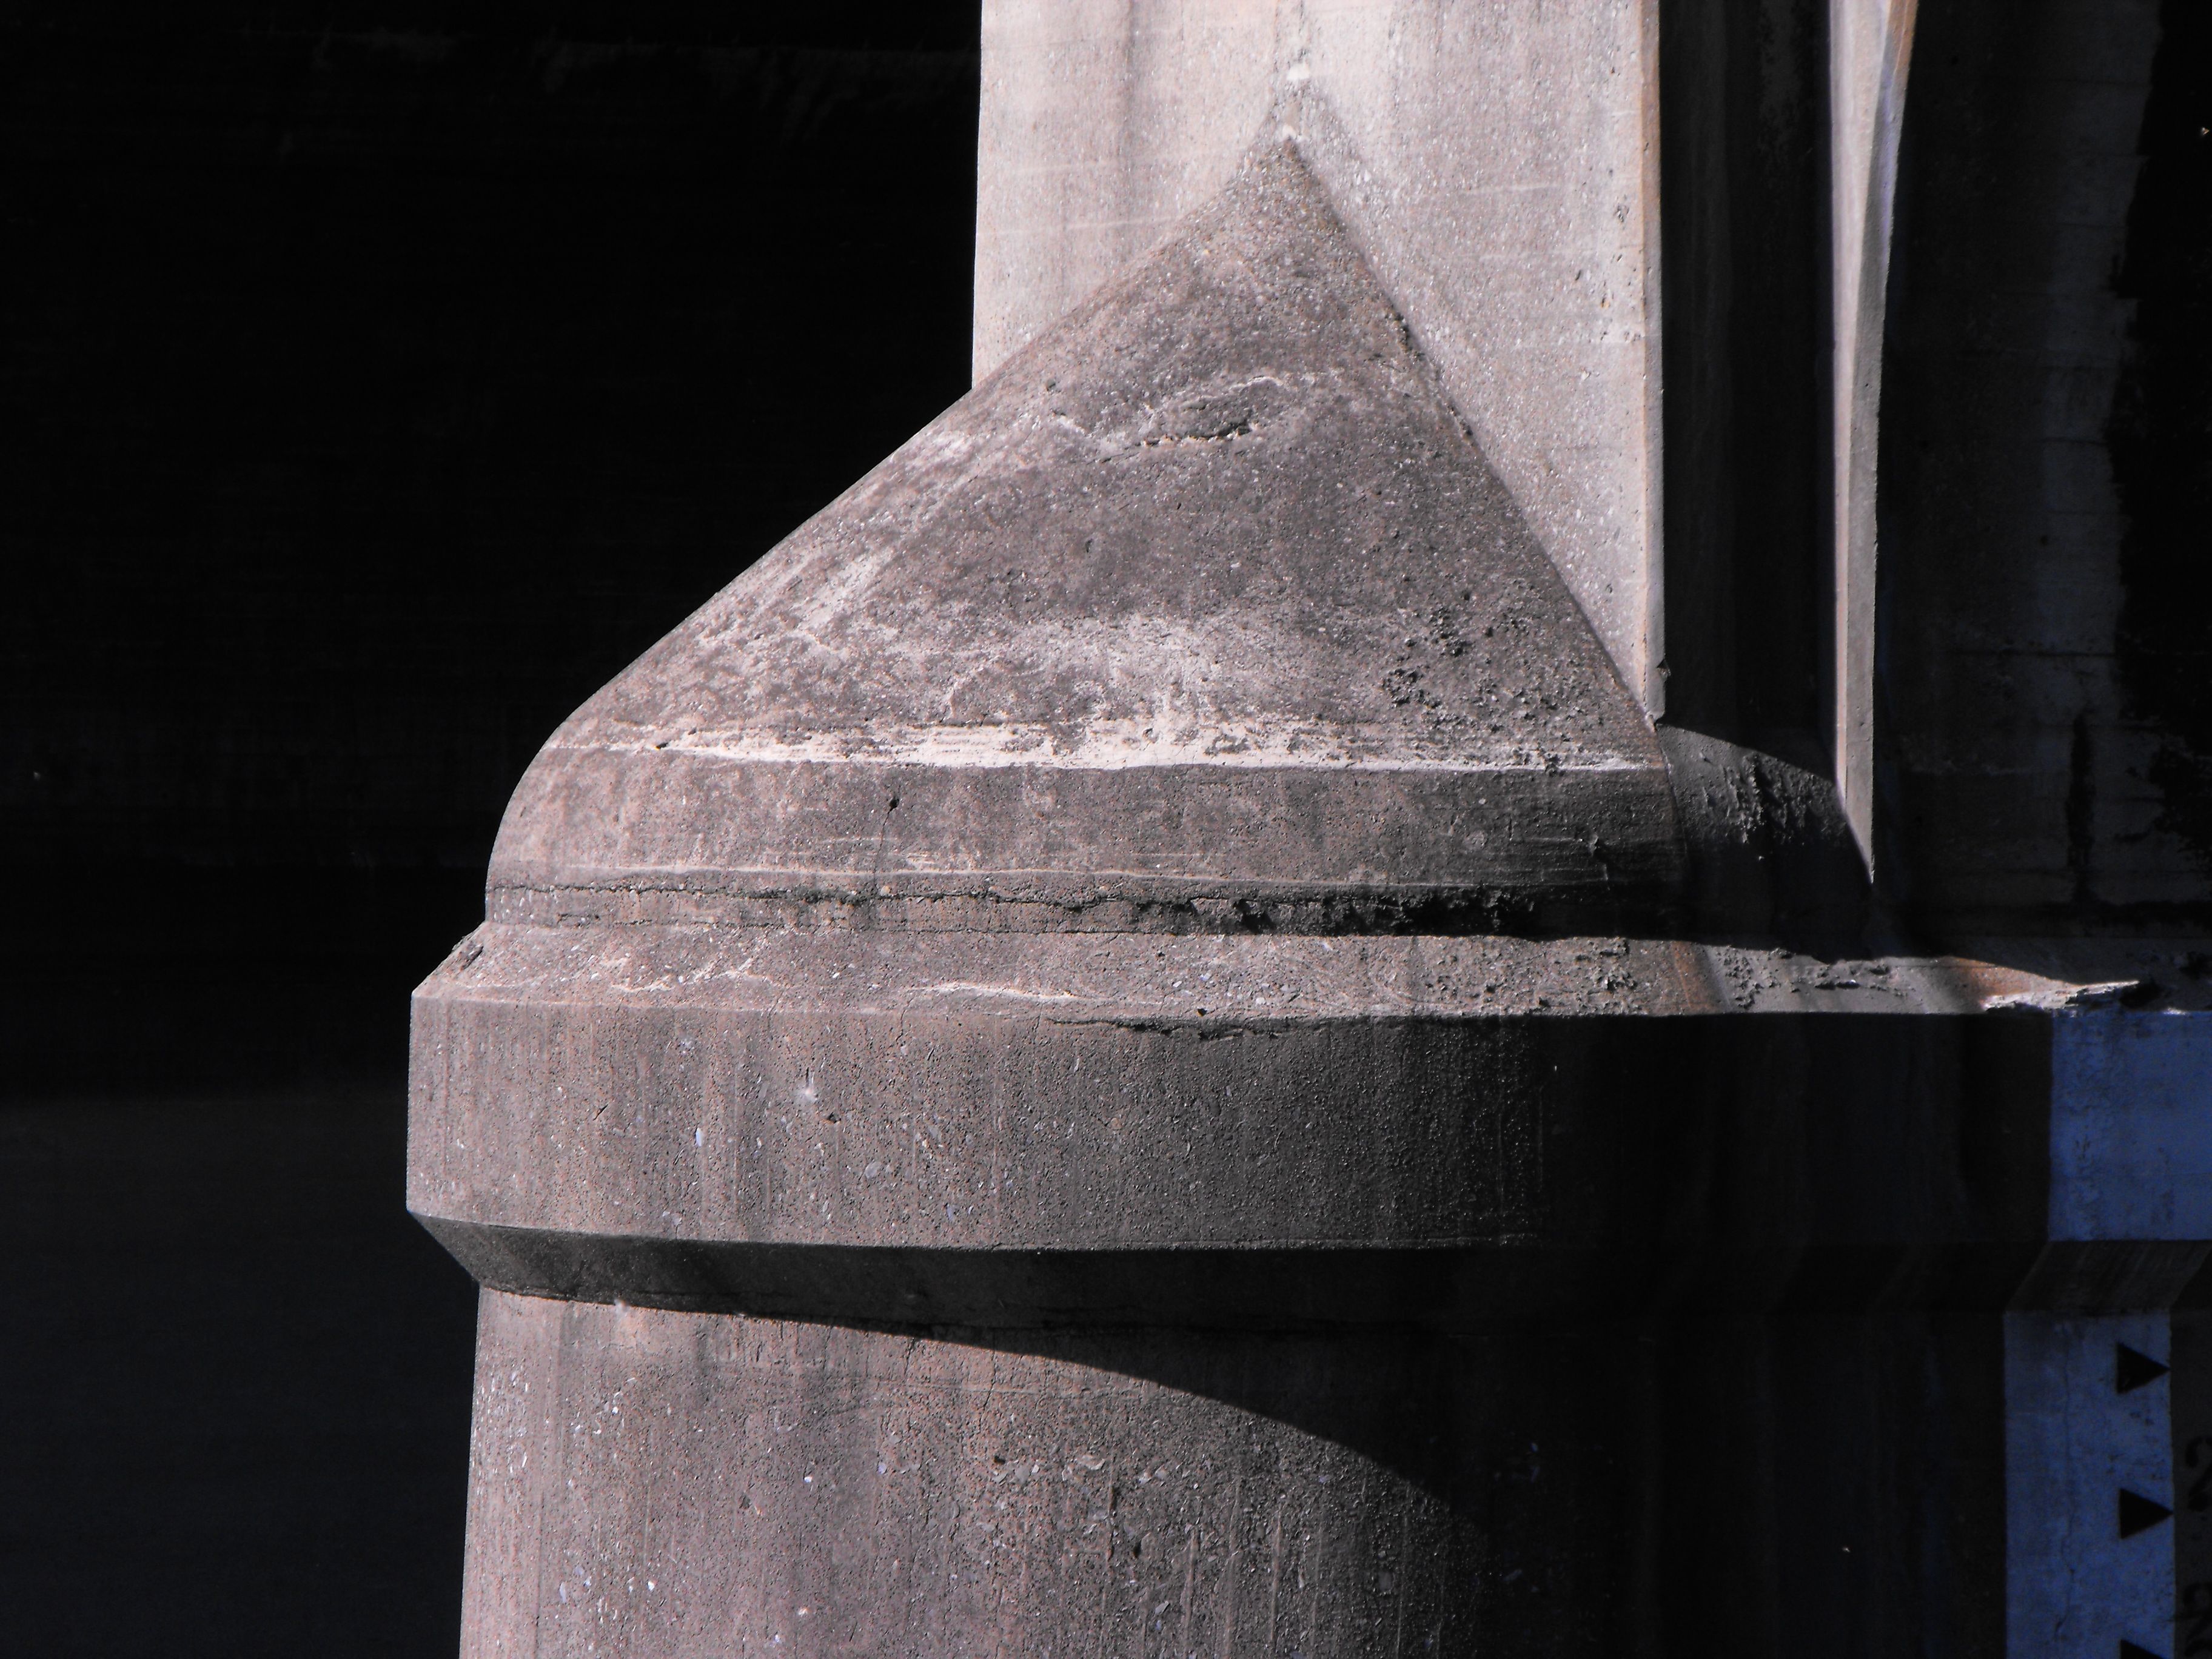
Arch span pier details for those over water.
![]()

Retaining wall detail on Main Street Branch ramp.
![]()

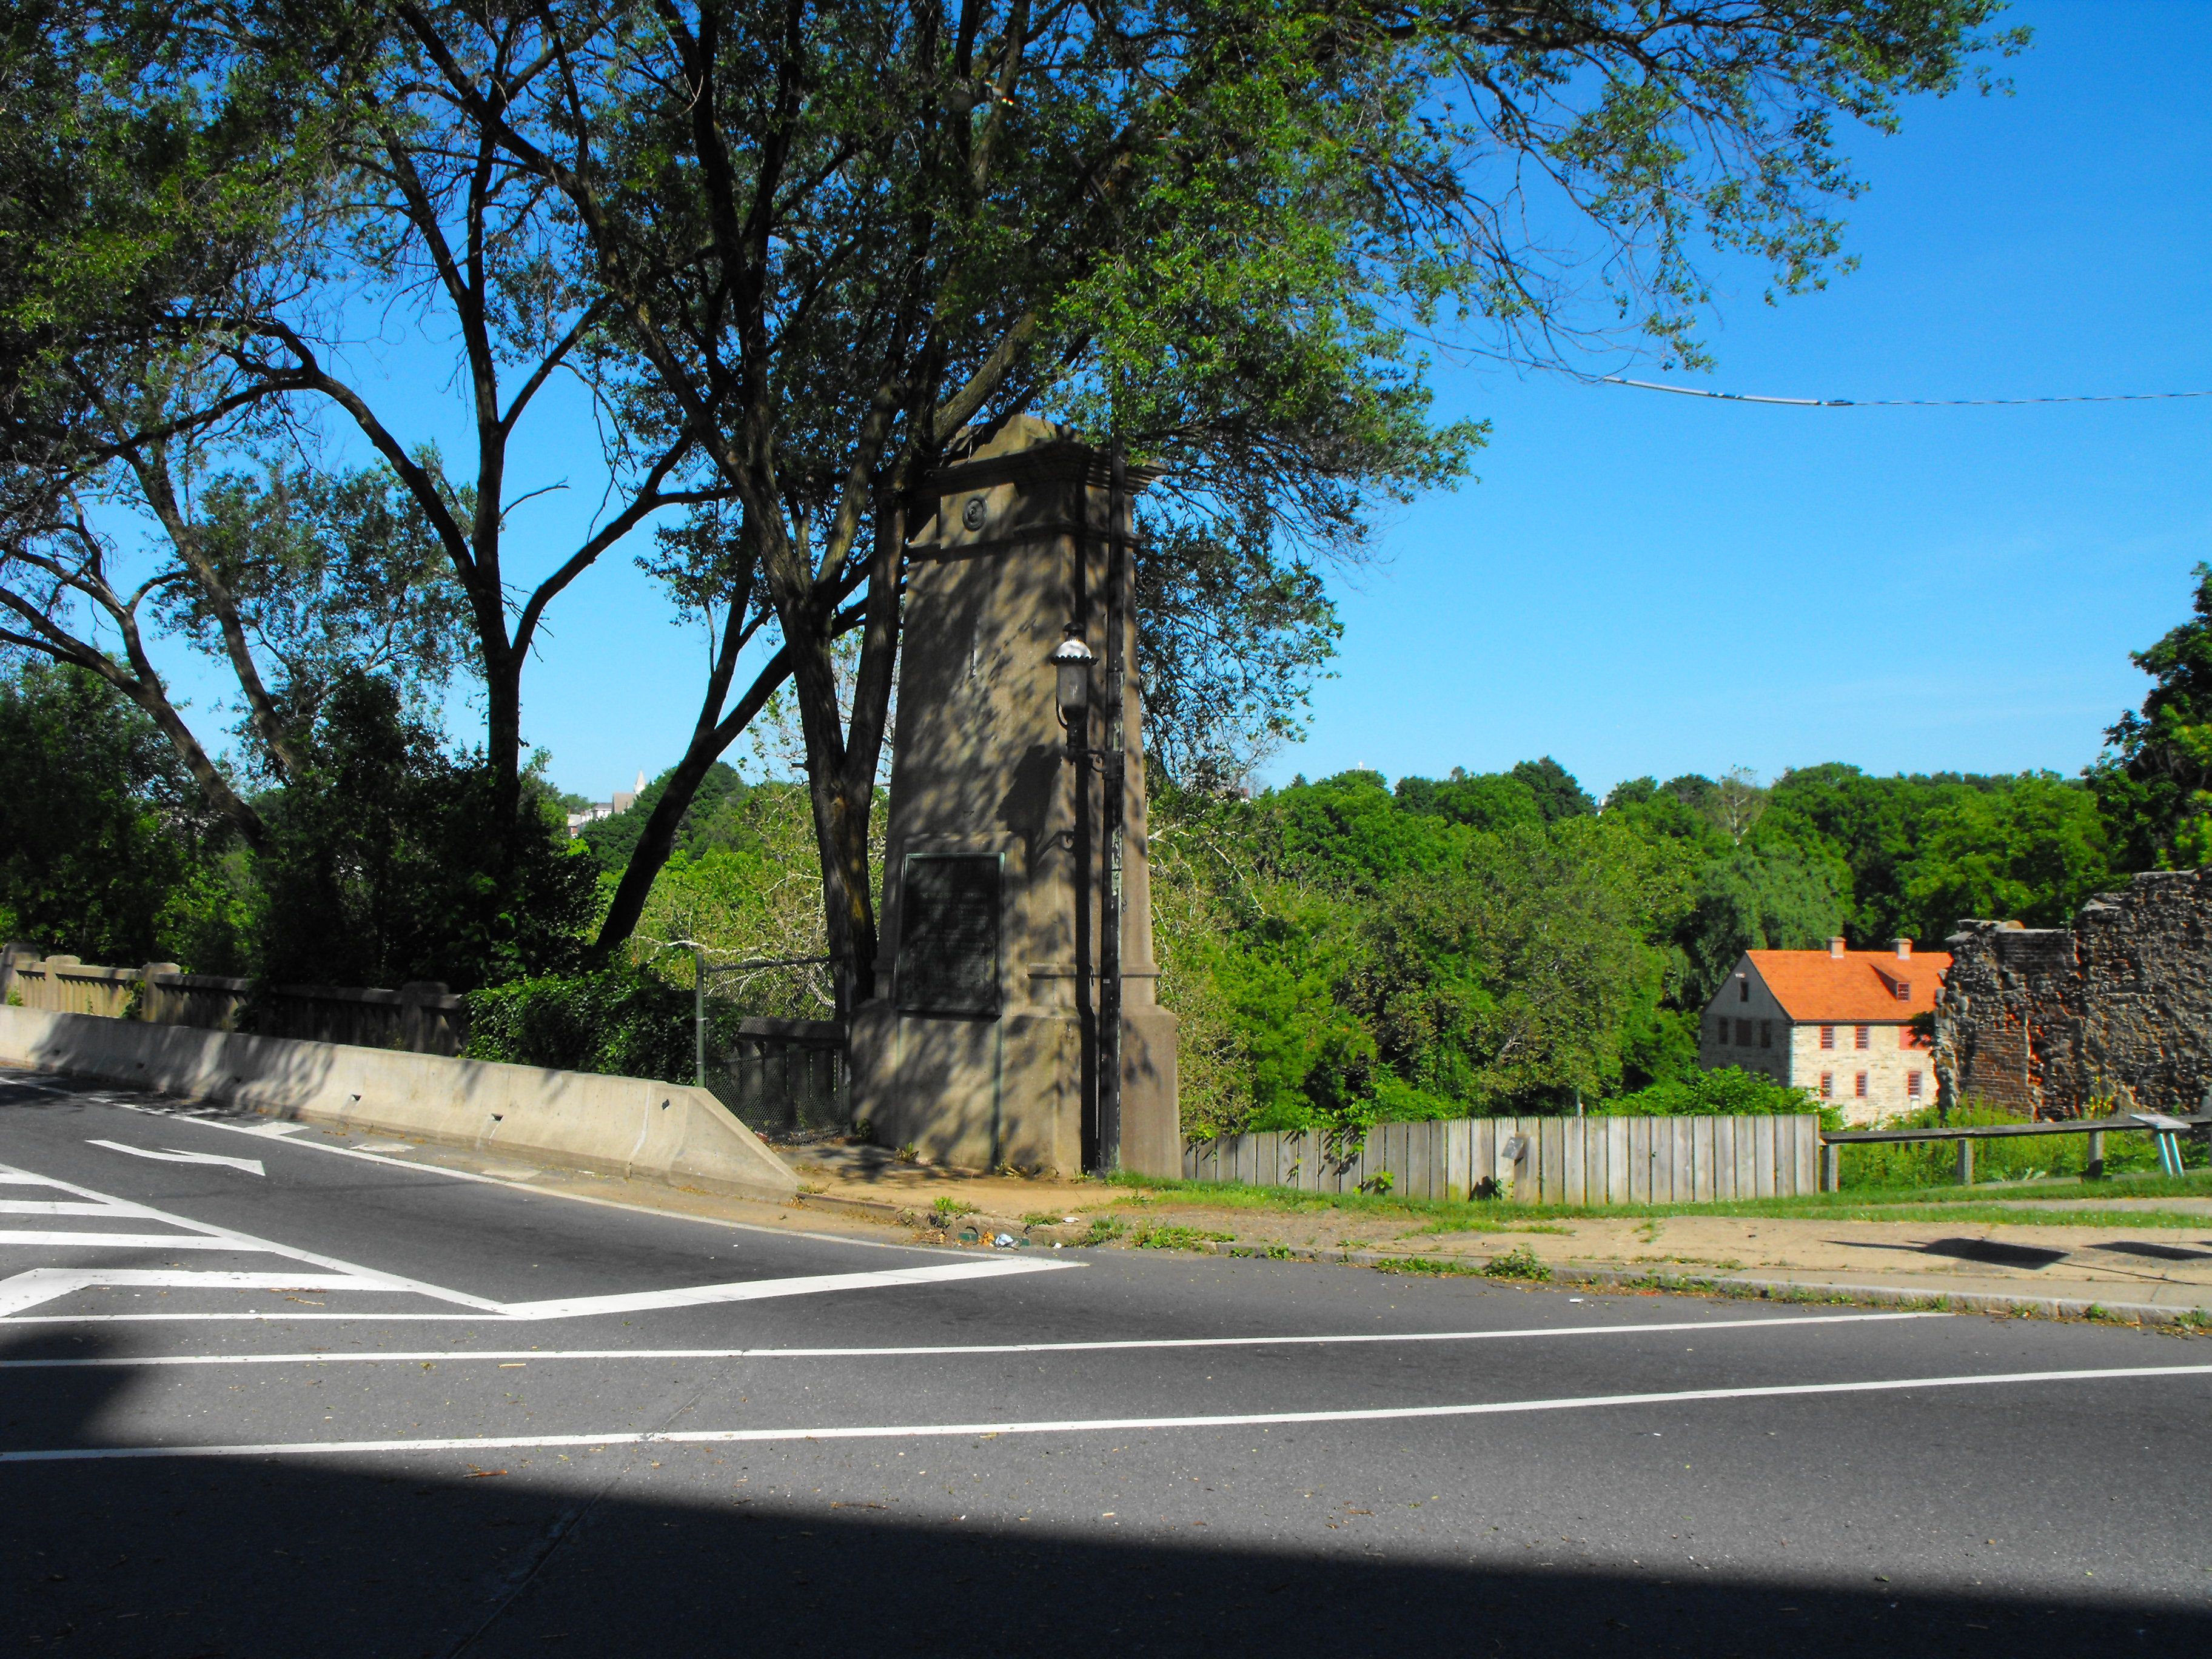
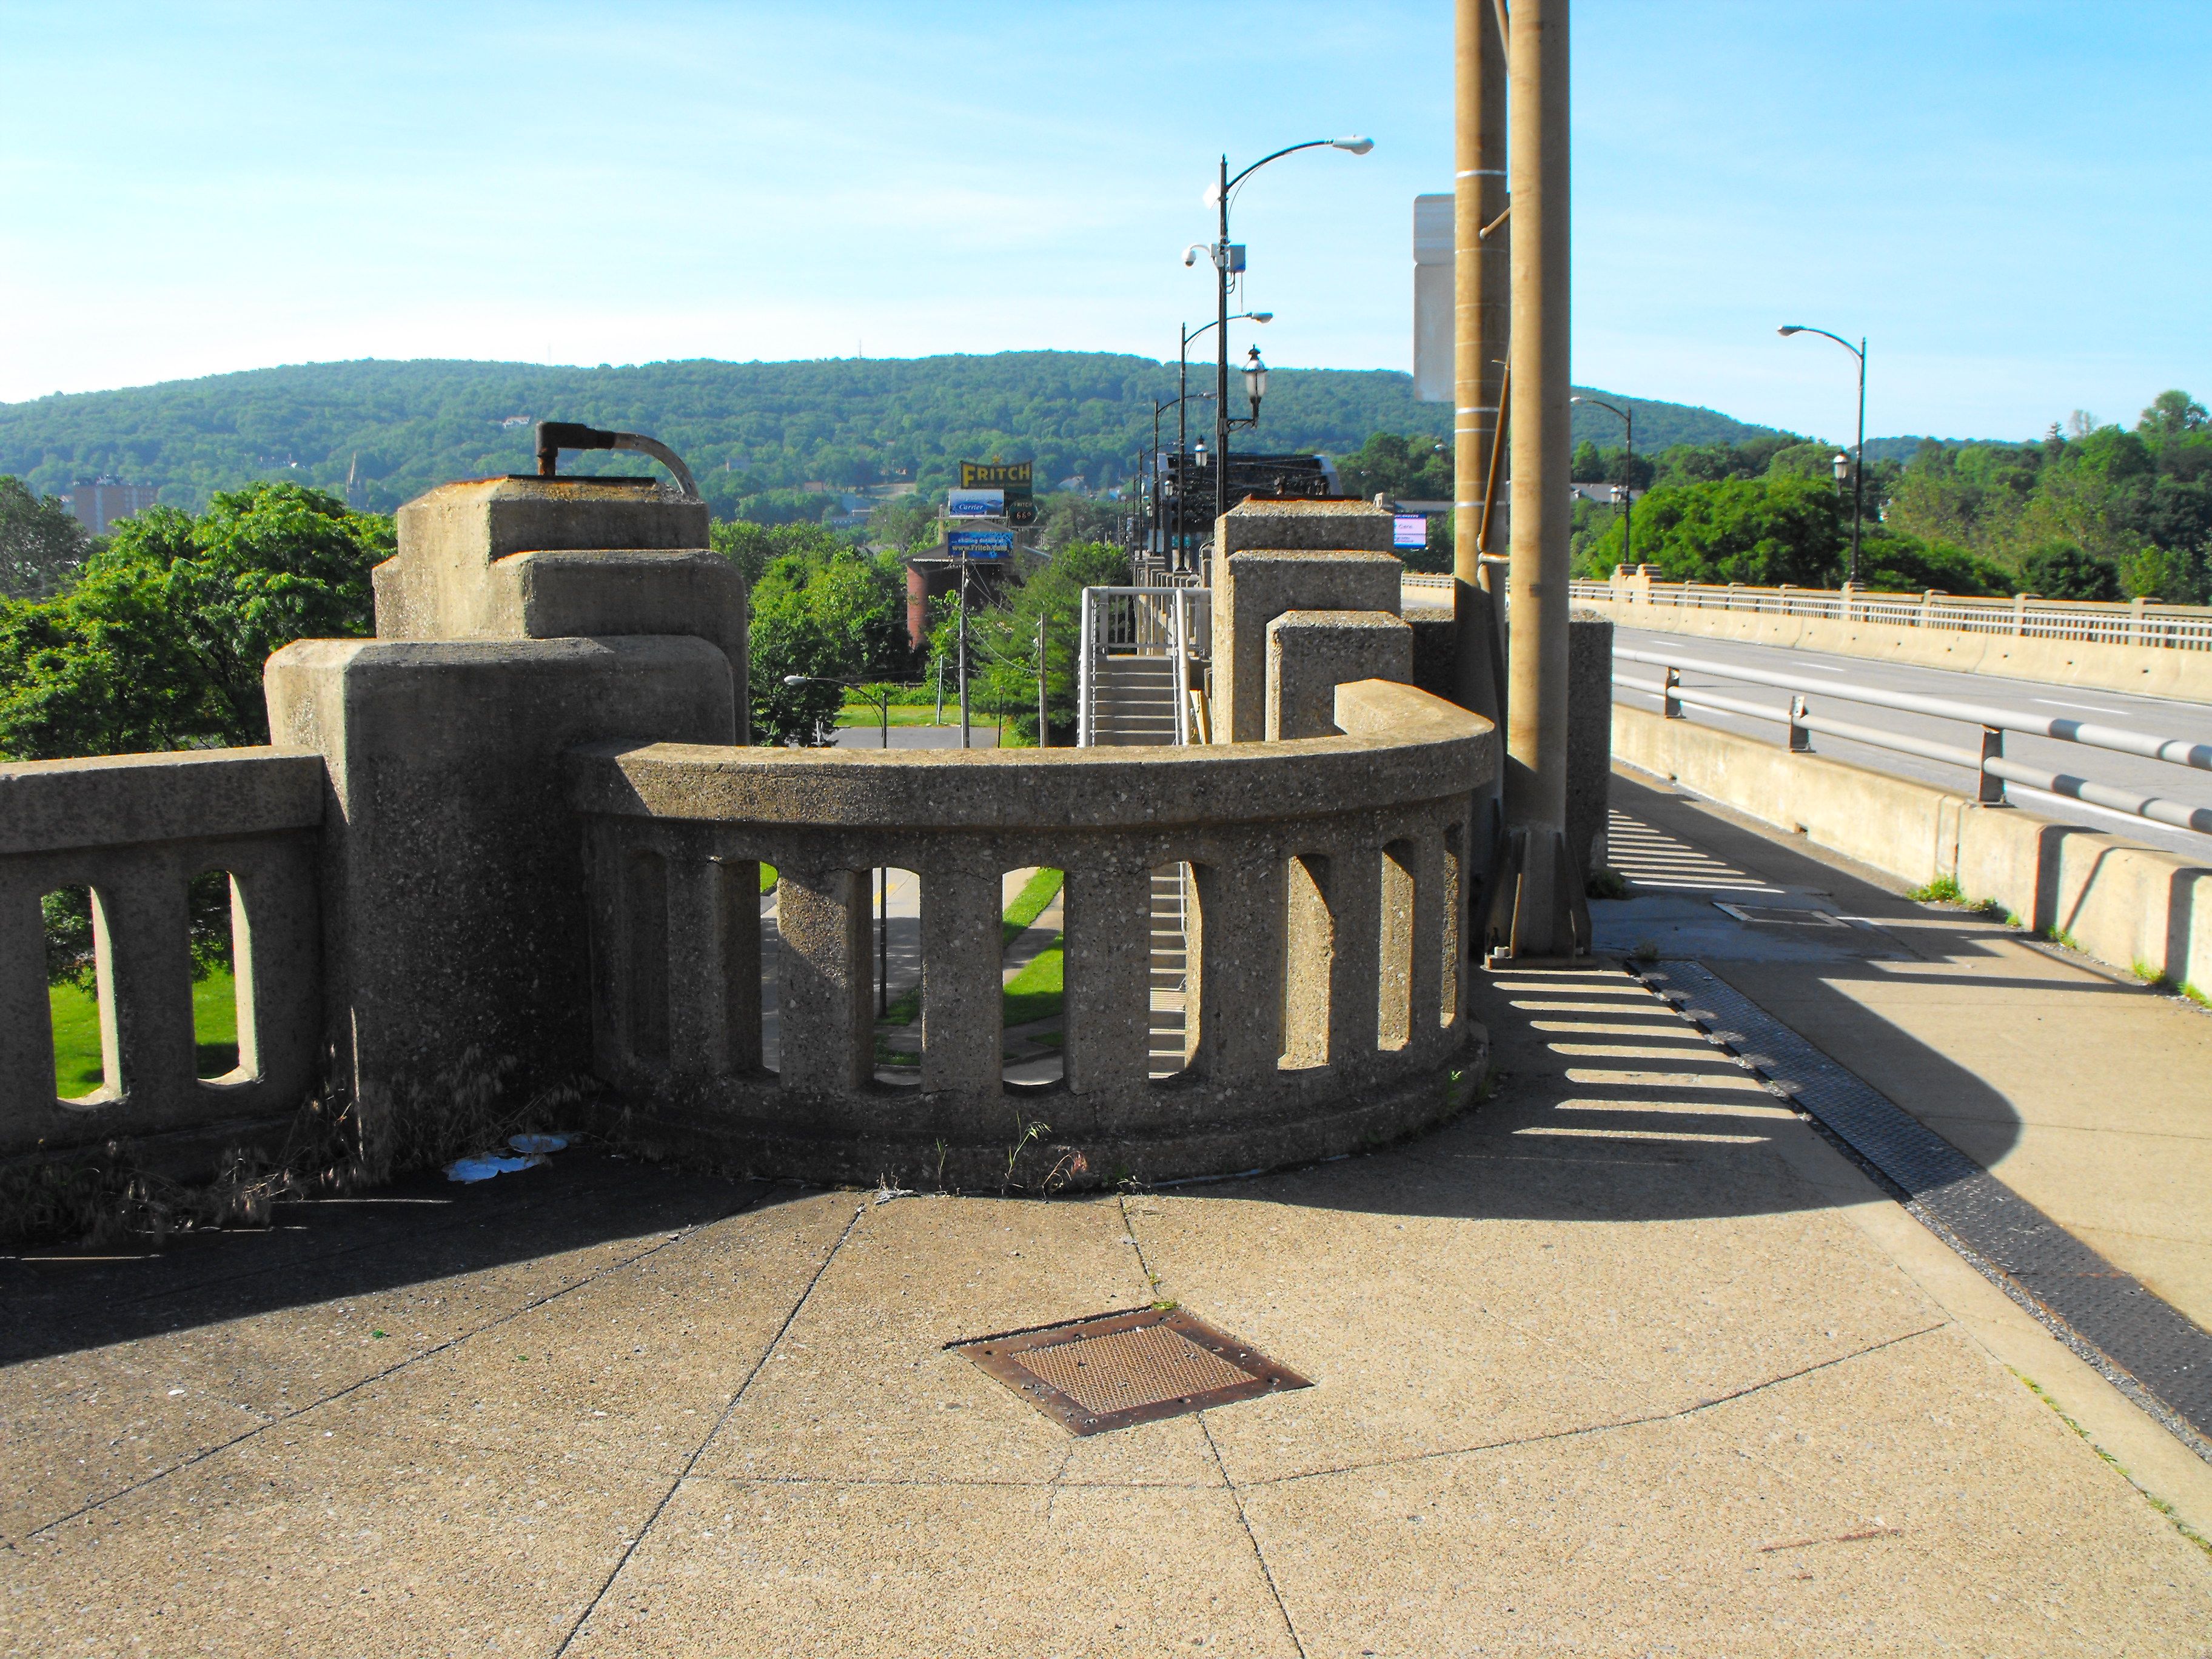
Decorative pillars at end of Main Street Branch ramp.
![]()

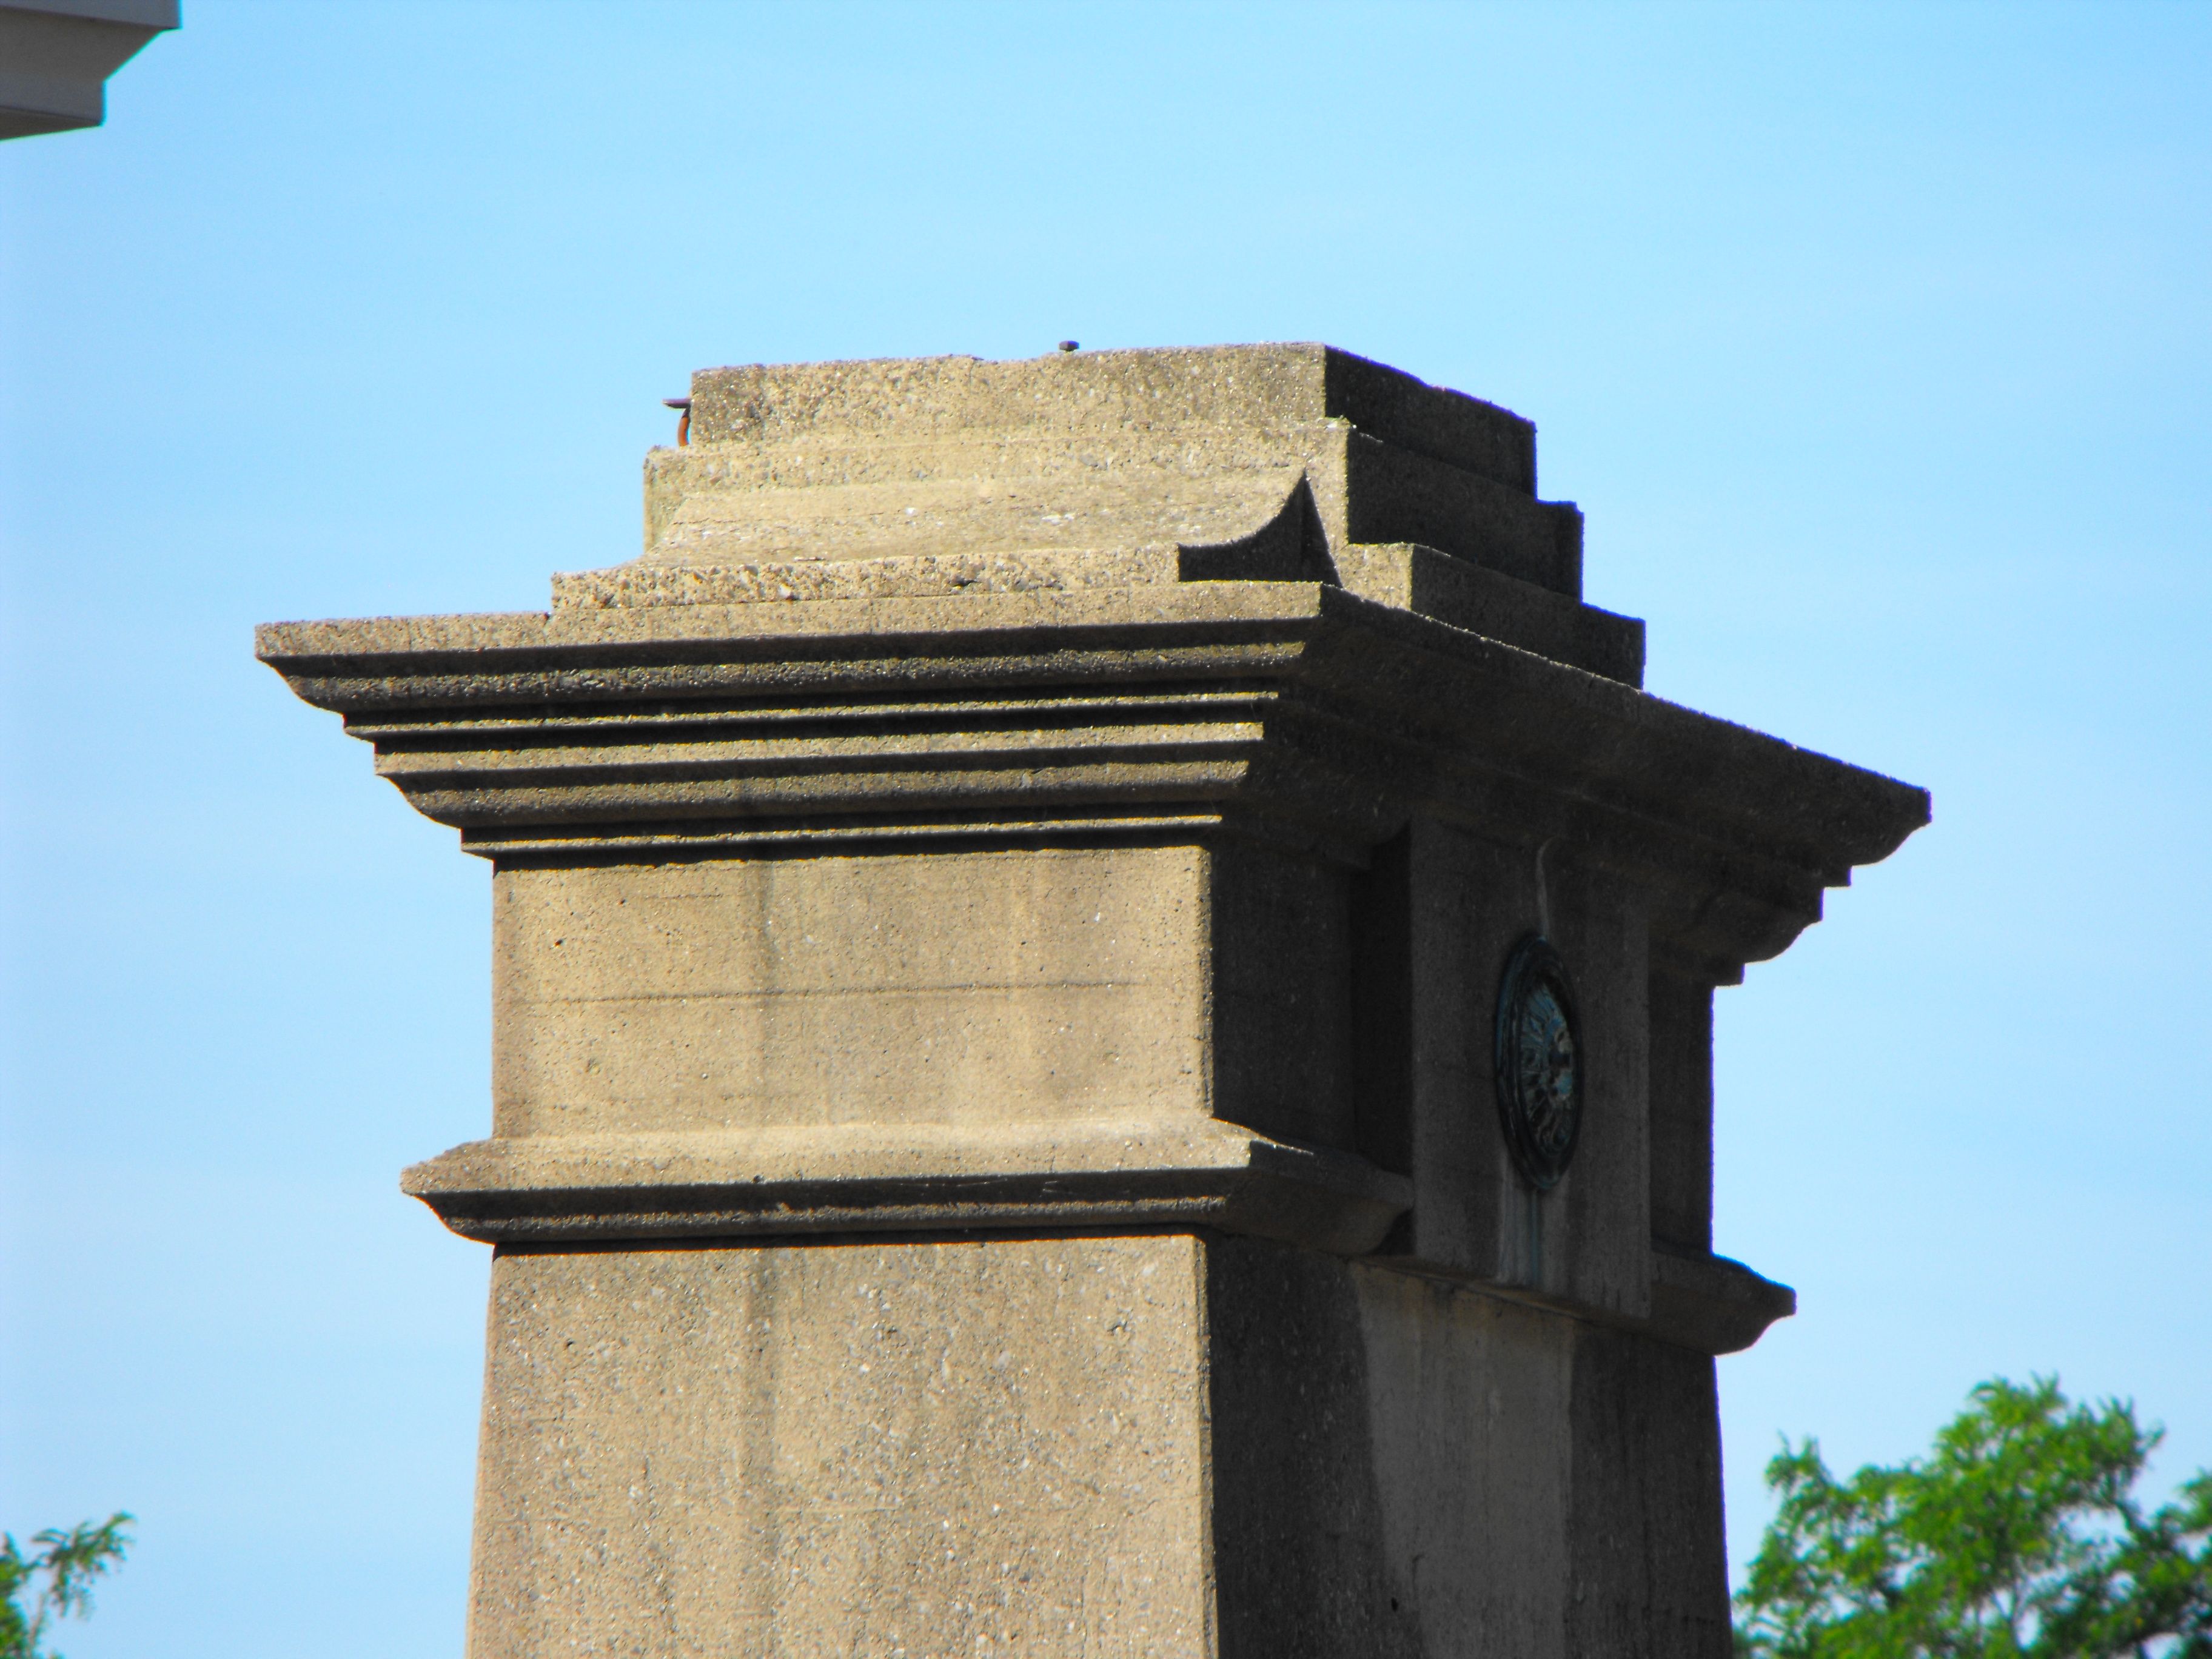
Detail of decorative pillars at end of Main Street Branch ramp.
![]()

Decoration on pillars at end of Main Street Branch ramp.
![]()

Decorative lighting over pedestrian tunnel under Main Street Branch Ramp.
![]()
Detail of pedestrian tunnel wall under Main Street Branch Ramp.
![]()
![]()
| Back |
| Home |
| Top |

![]()