
Uncredited photos on this page taken by: Nathan Holth and Rick McOmber. Unless stated in a caption, all photos are Copyright with All Rights Reserved. Learn about reuse of our photos.
![]()


Original / Full Size
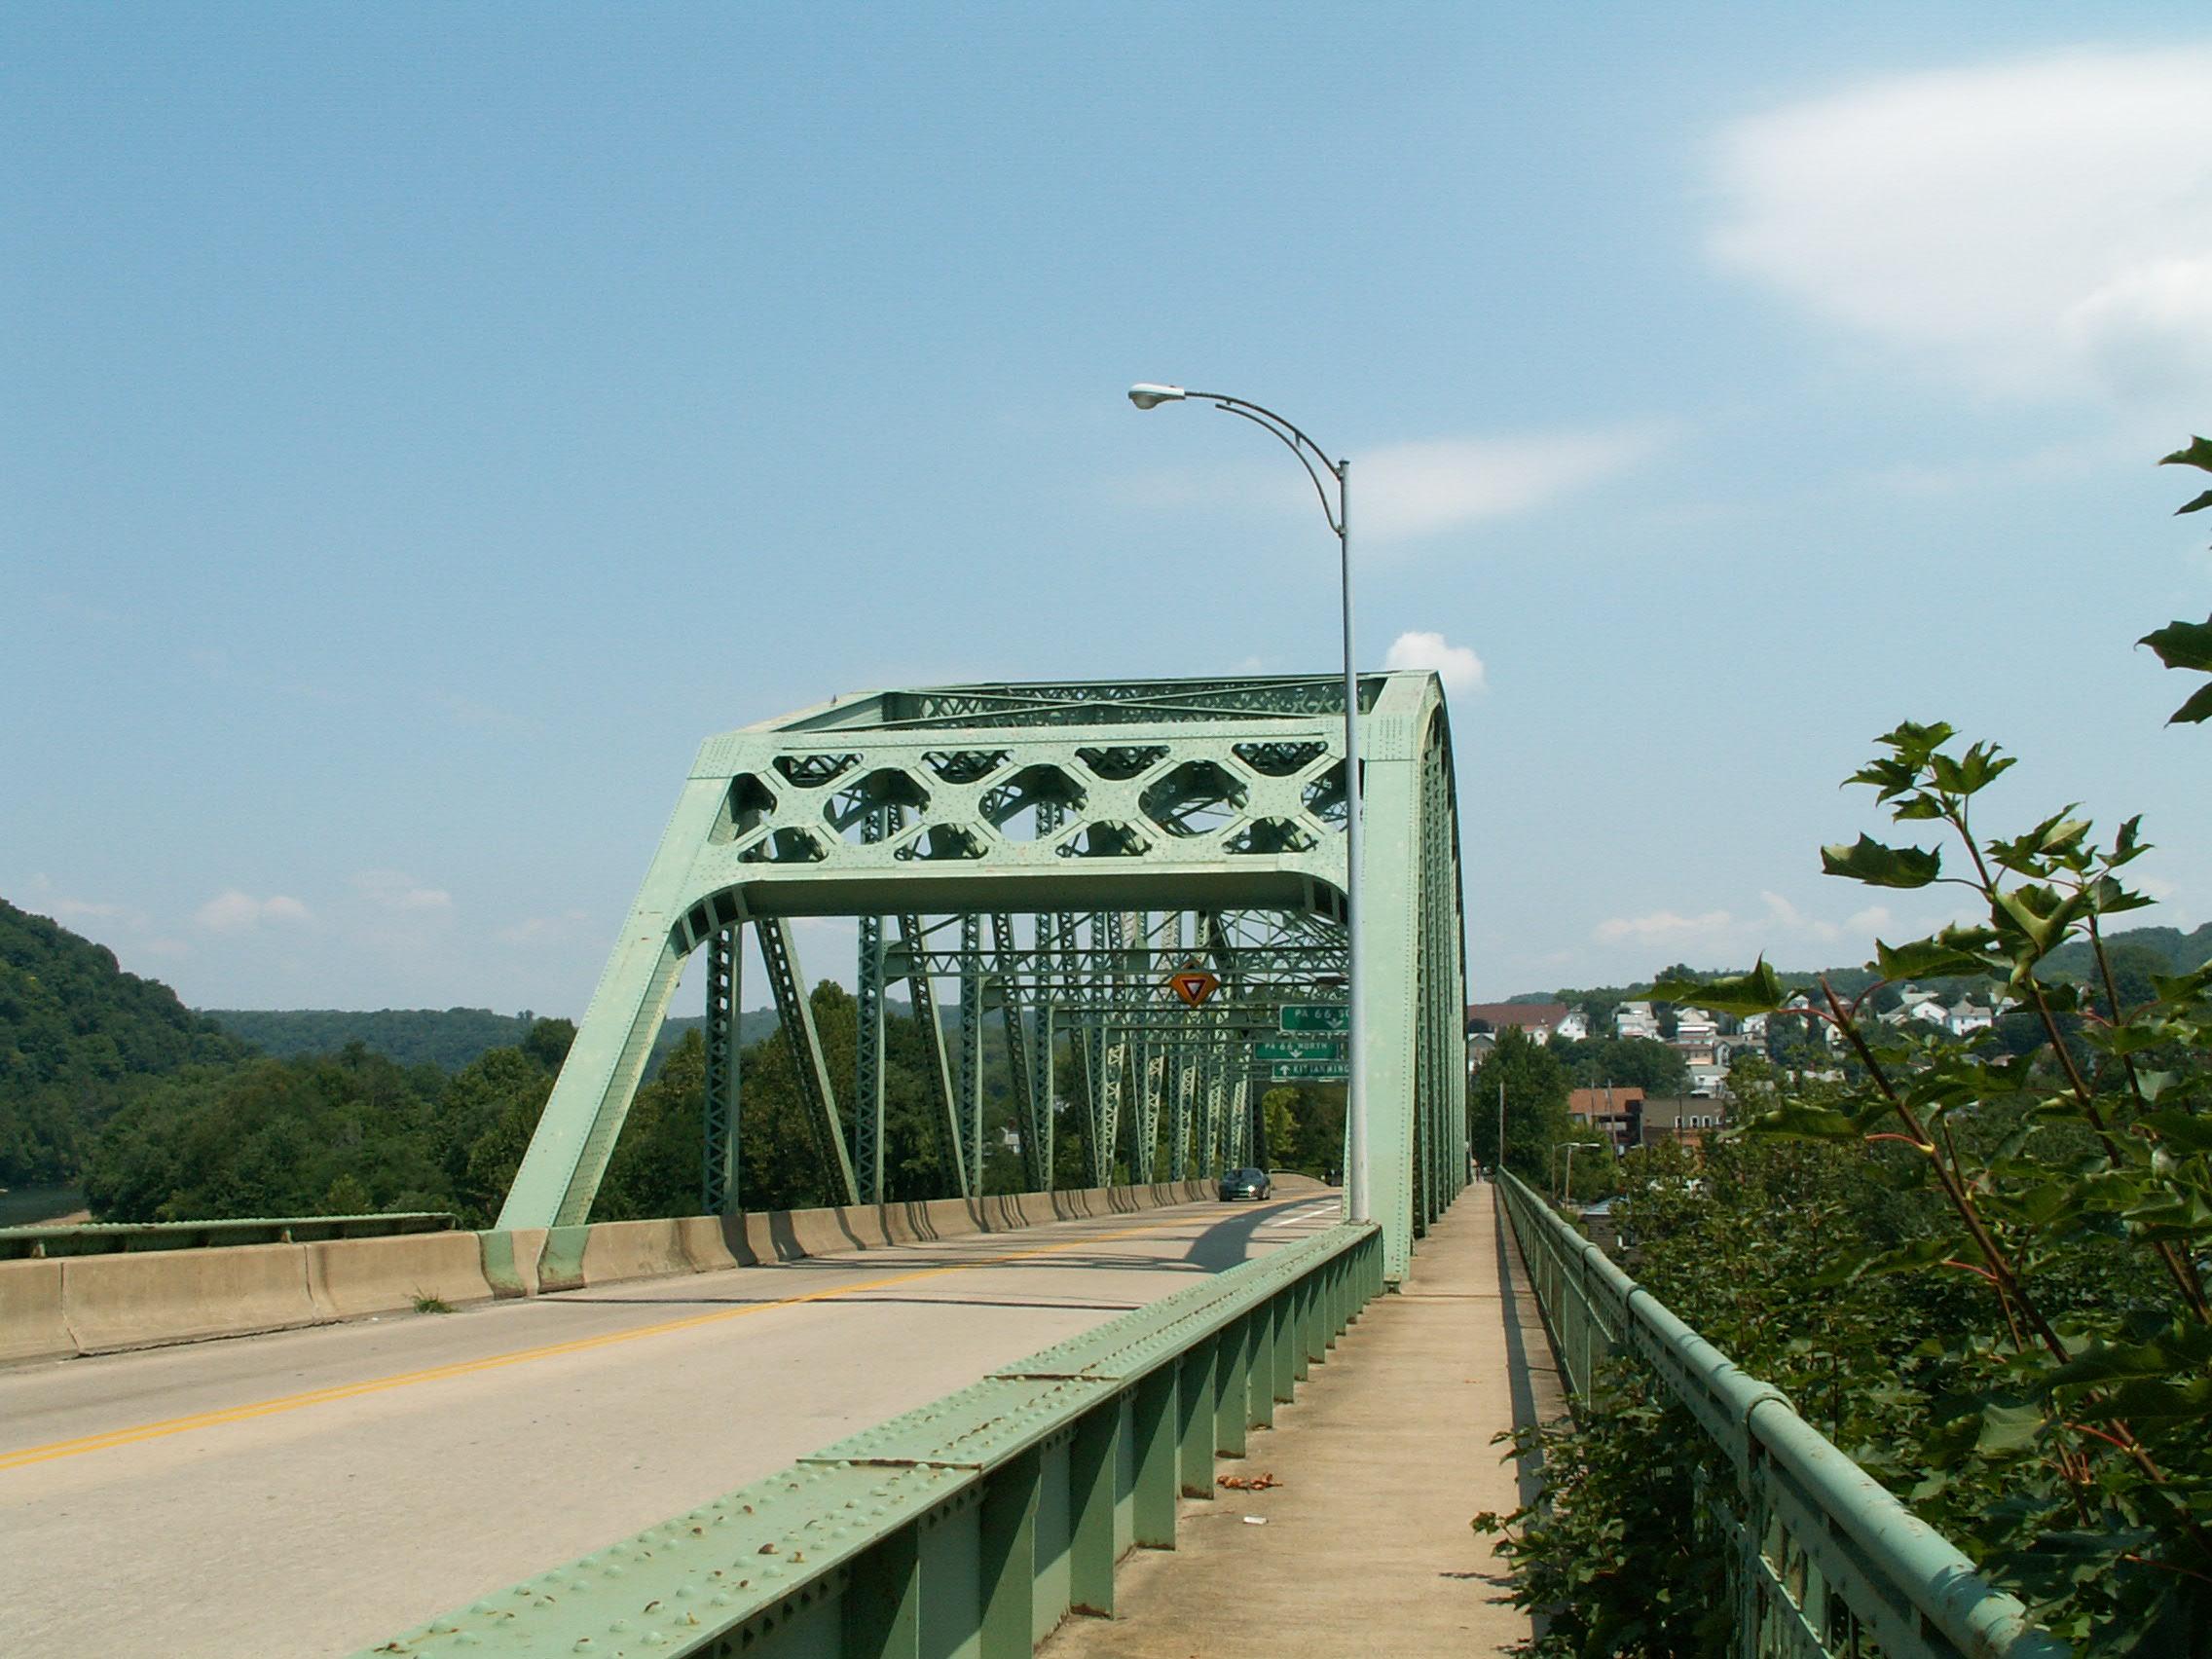
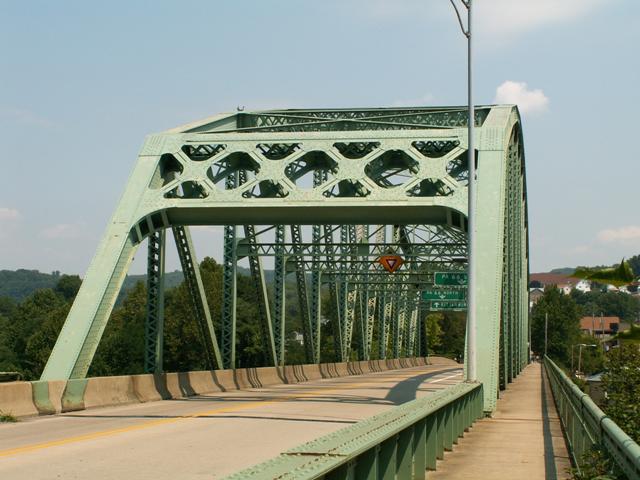
Views from beside roadway.
![]()

Original / Full Size
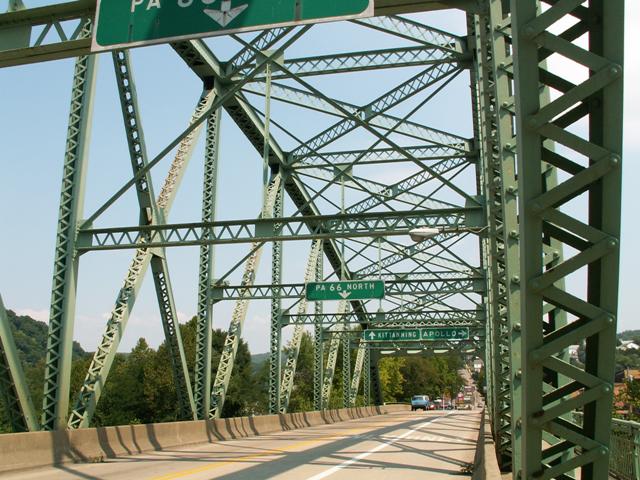
Portal view.
![]()


Original / Full Size
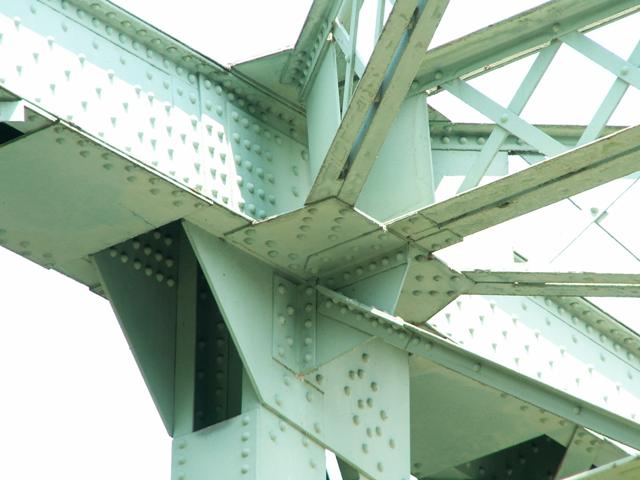
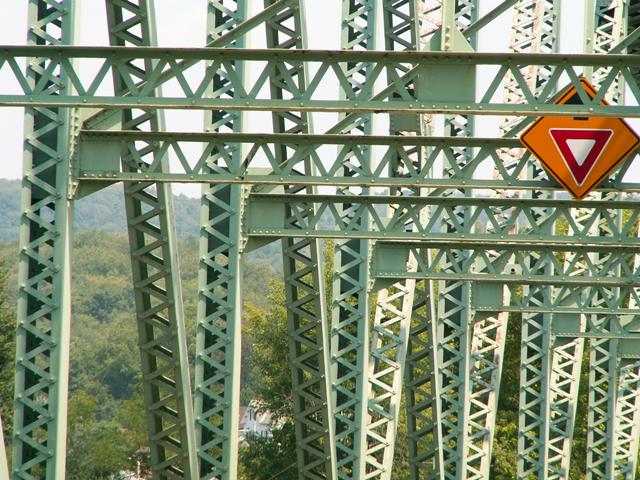
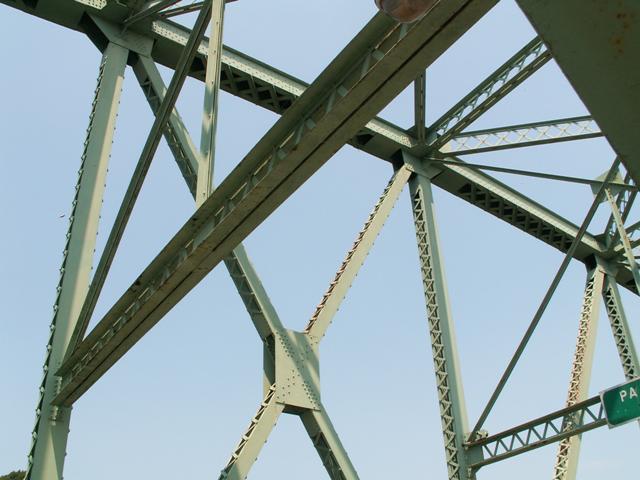
Views of truss web.
![]()

Original / Full Size
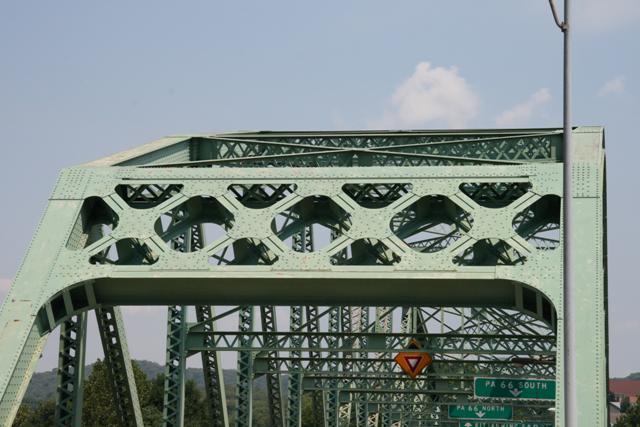
Portal bracing.
![]()

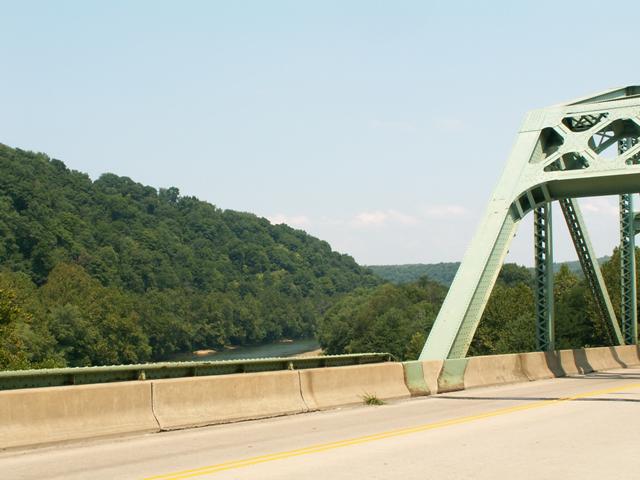
Original / Full Size
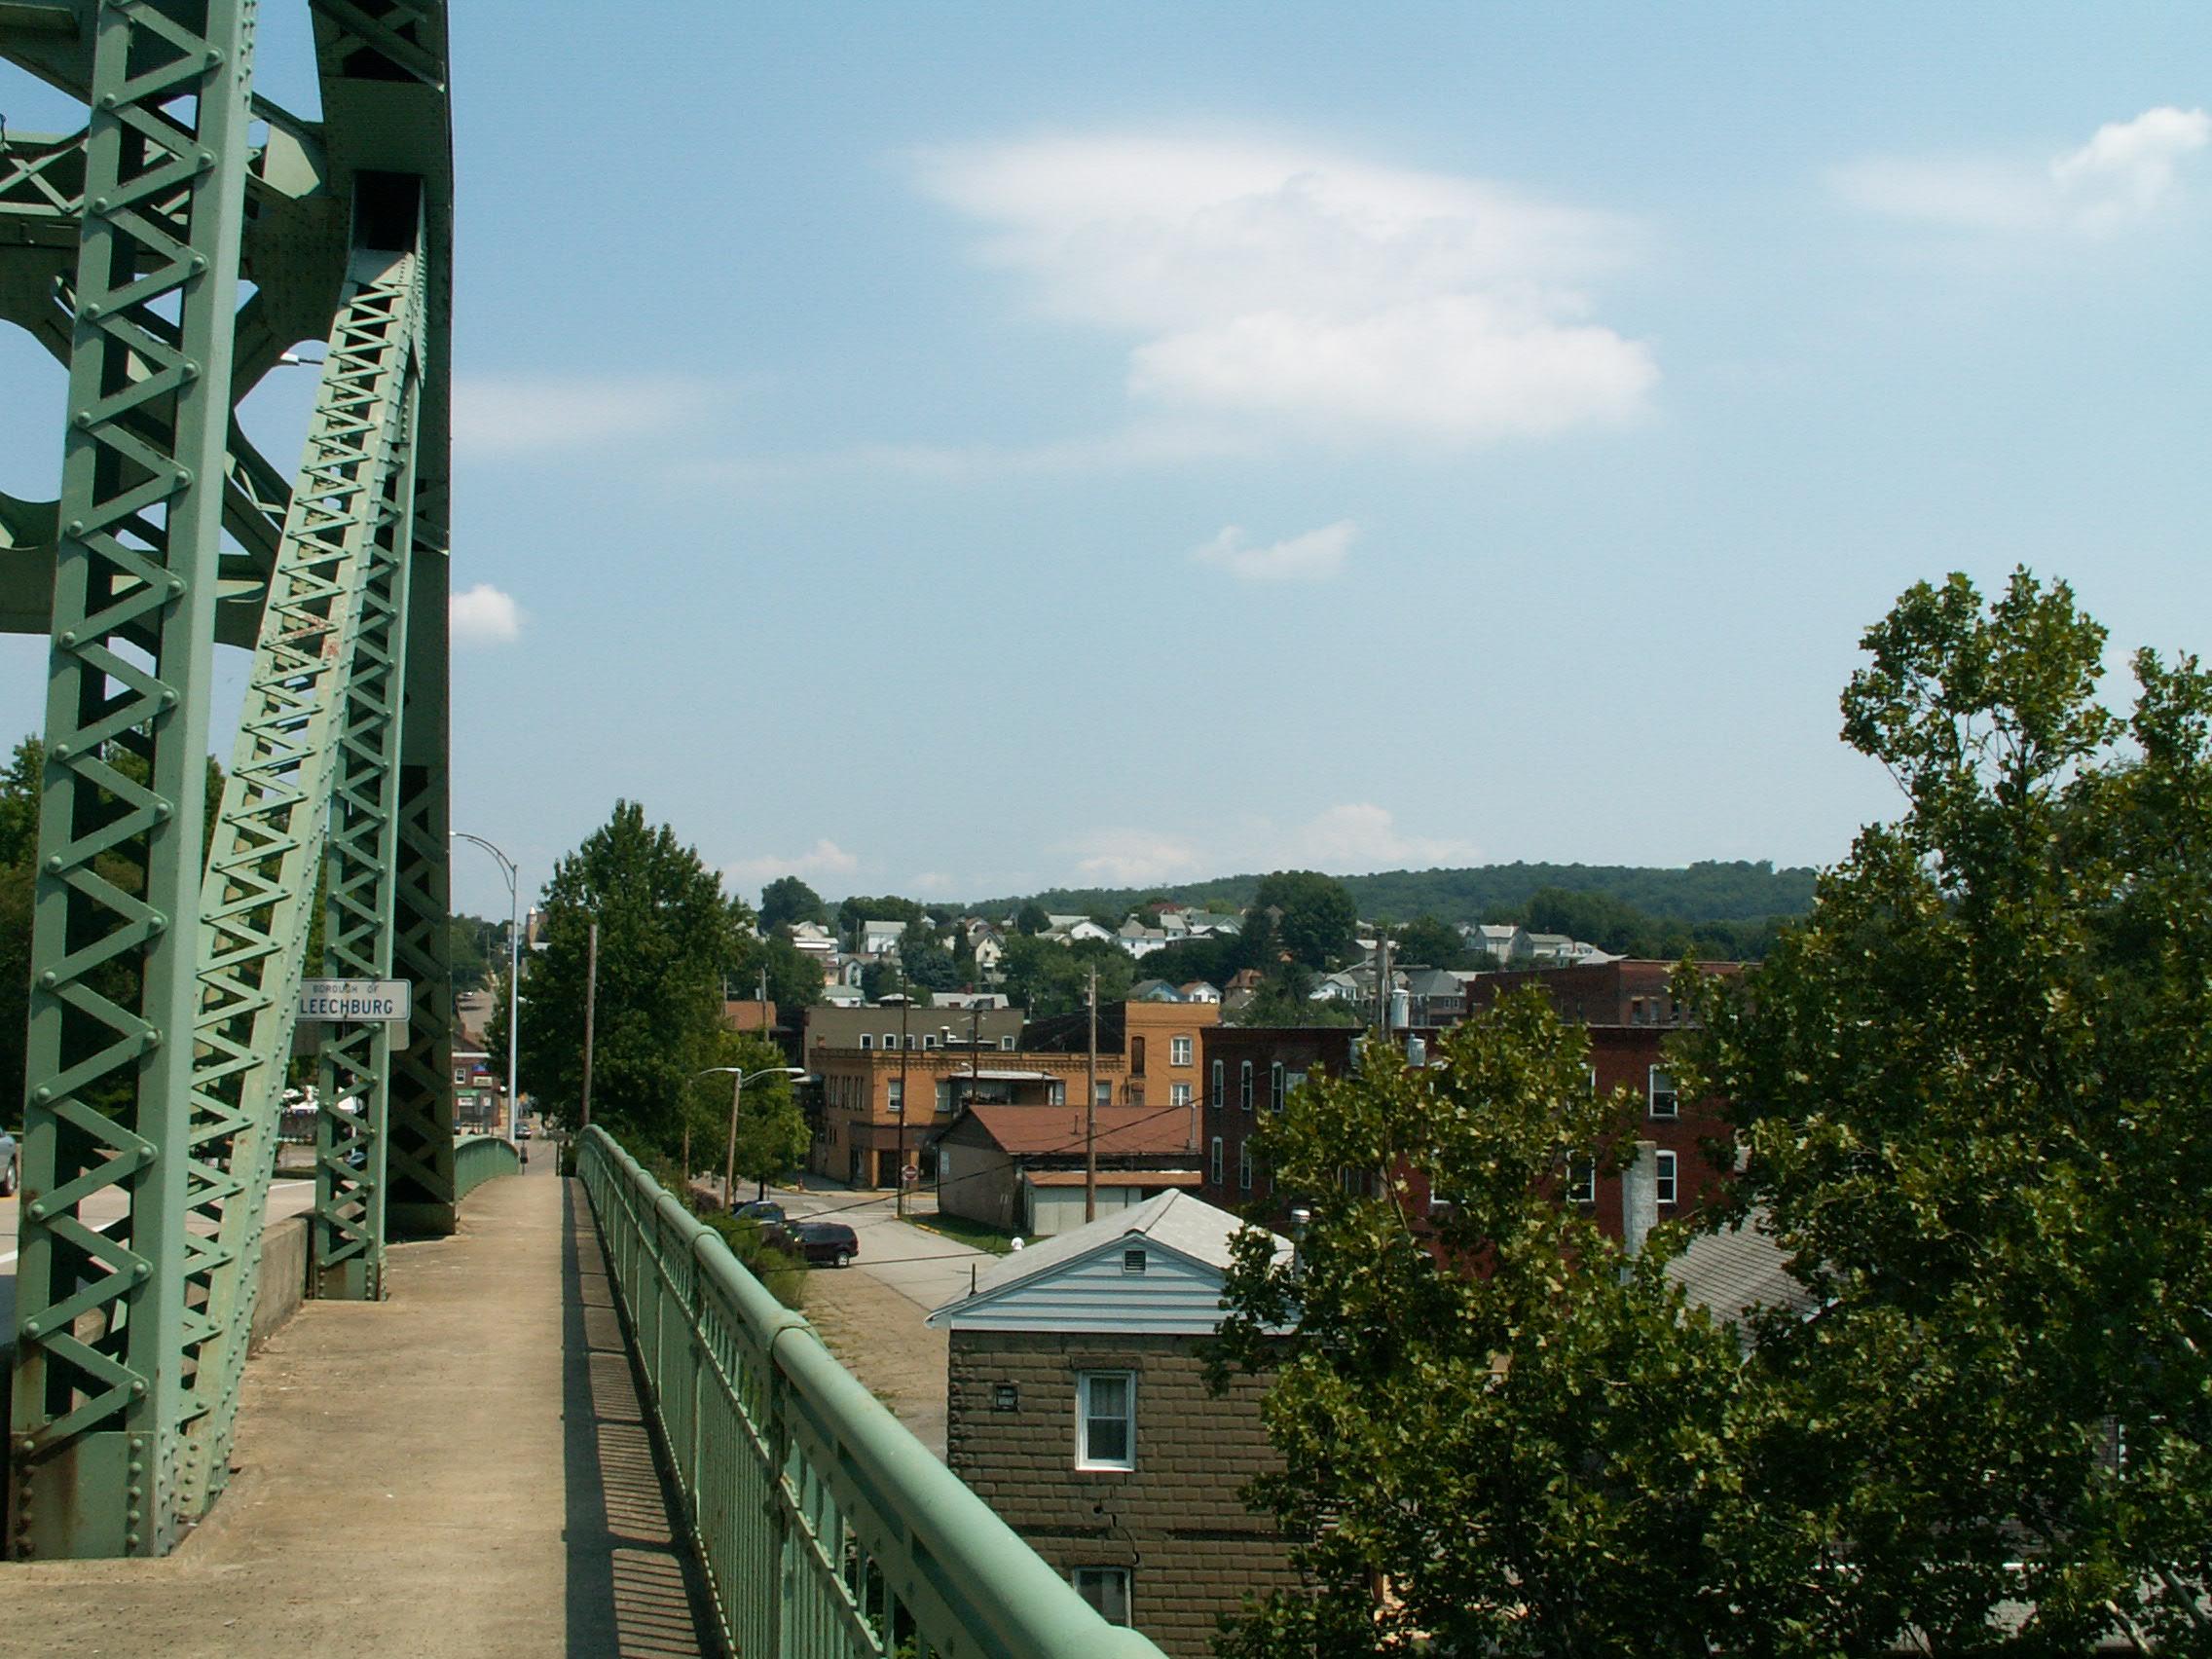
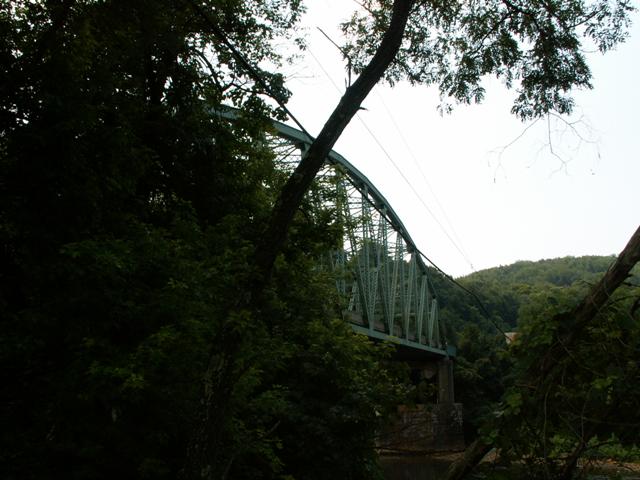
Scenery at bridge.
![]()
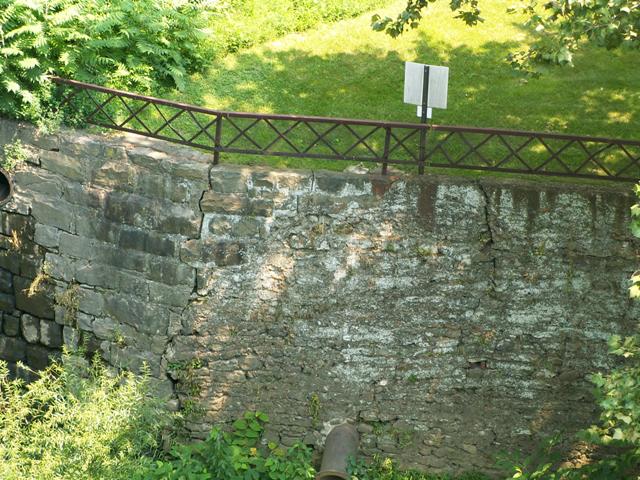
This appears to be the abutment, and perhaps the railings, of a former bridge.
![]()


![]()

Bottom chord connections are often difficult to photo on these bridges due to sidewalks.
![]()
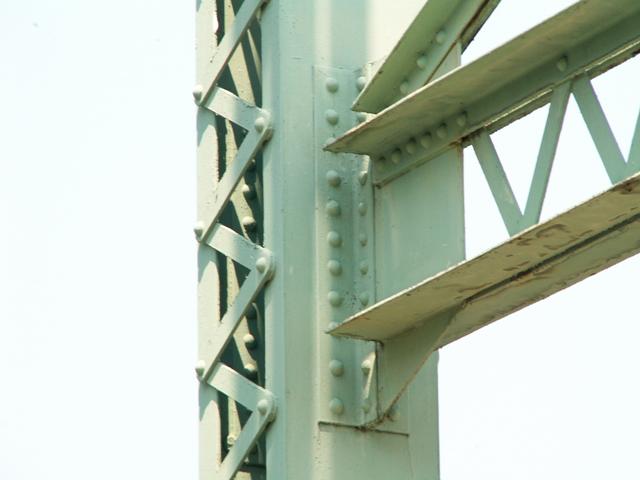


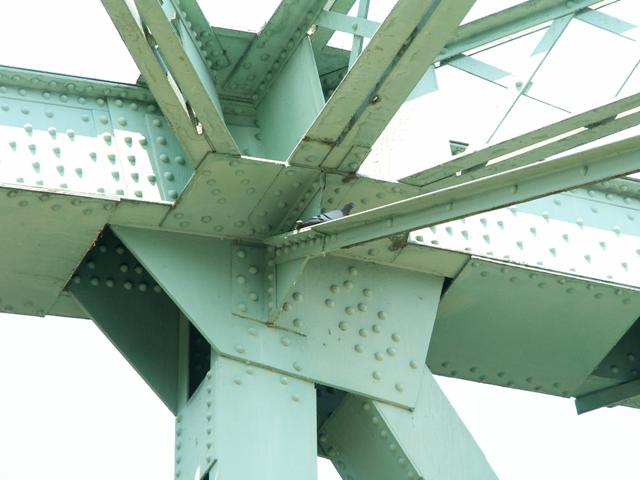
Sway bracing connections.
![]()

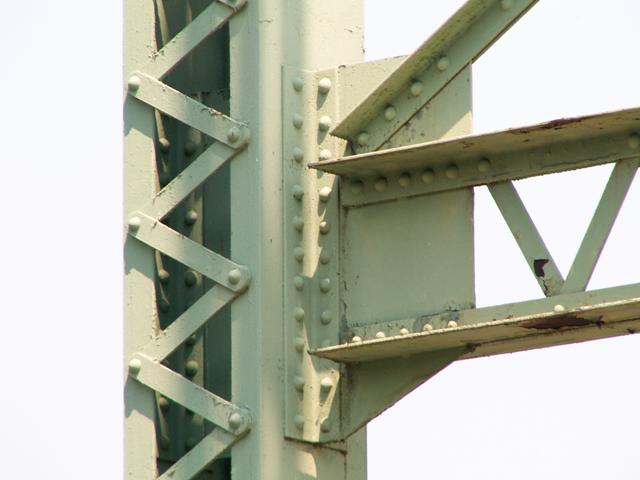
Sway bracing.

Cambria brand.
![]()

Bethlehem brand.
![]()


Vertical members.
![]()
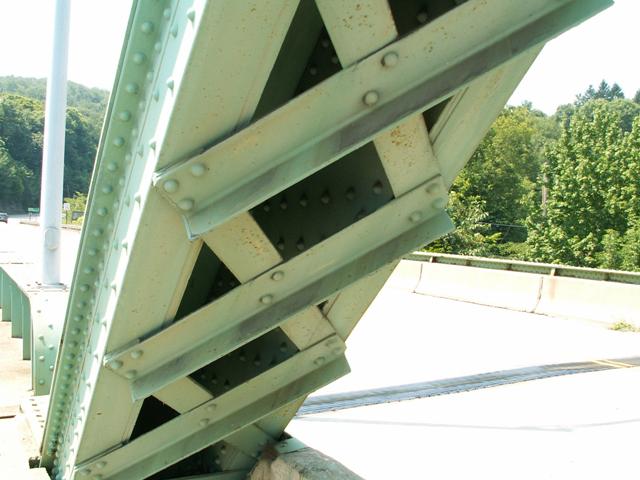

End post.
![]()

Top chord.
![]()
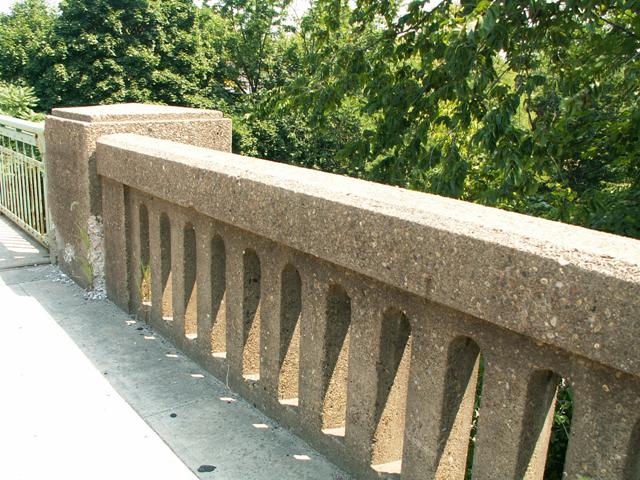

Railing.
![]()

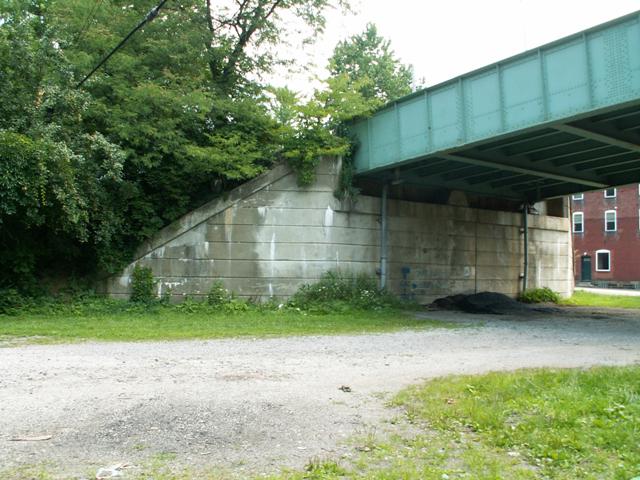
Plate girder approach span overviews.
![]()


Plate girder approach span details.
![]()

Views beside bridge.
![]()
Zoomed view.
![]()


Views from beside roadway.
![]()

Portal view.
![]()

Truck traffic on bridge.
![]()


Views of truss web.
![]()
Portal bracing.
![]()


Scenery at bridge.
![]()
![]()
| Back |
| Home |
| Top |

![]()