Uncredited photos on this page taken by: Nathan Holth and Susie Babcock. Unless stated in a caption, all photos are Copyright with All Rights Reserved. Learn about reuse of our photos.
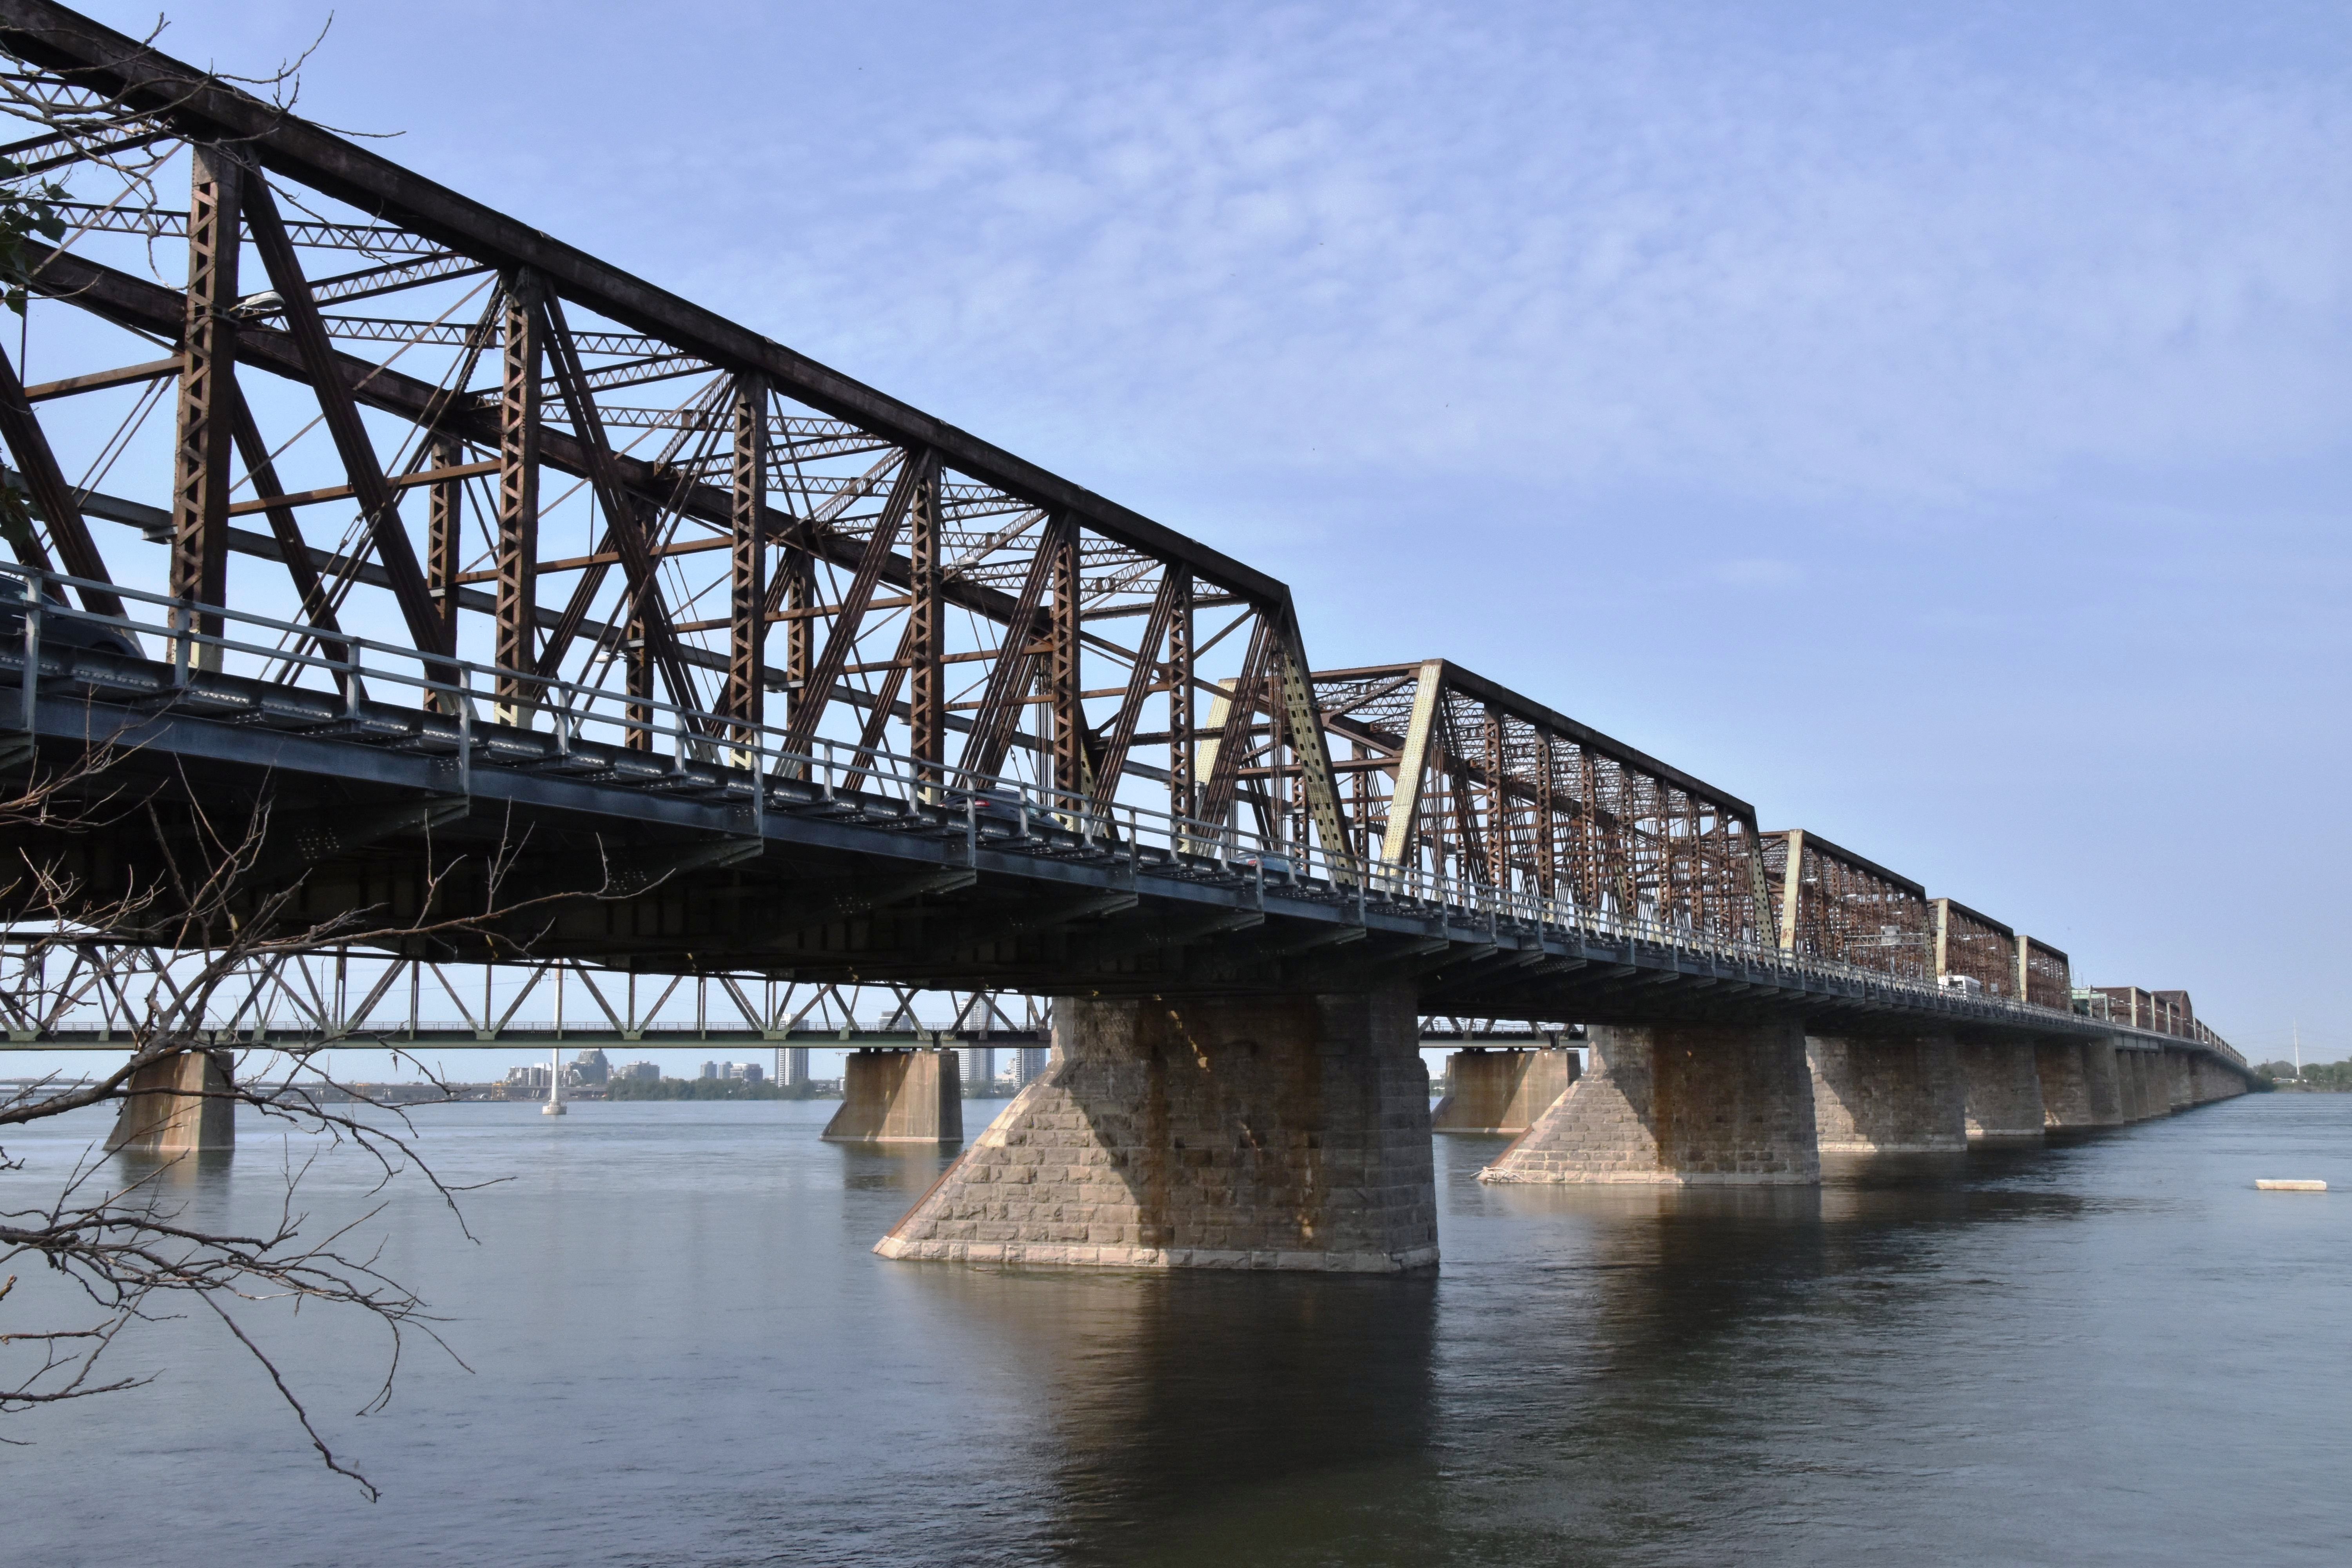
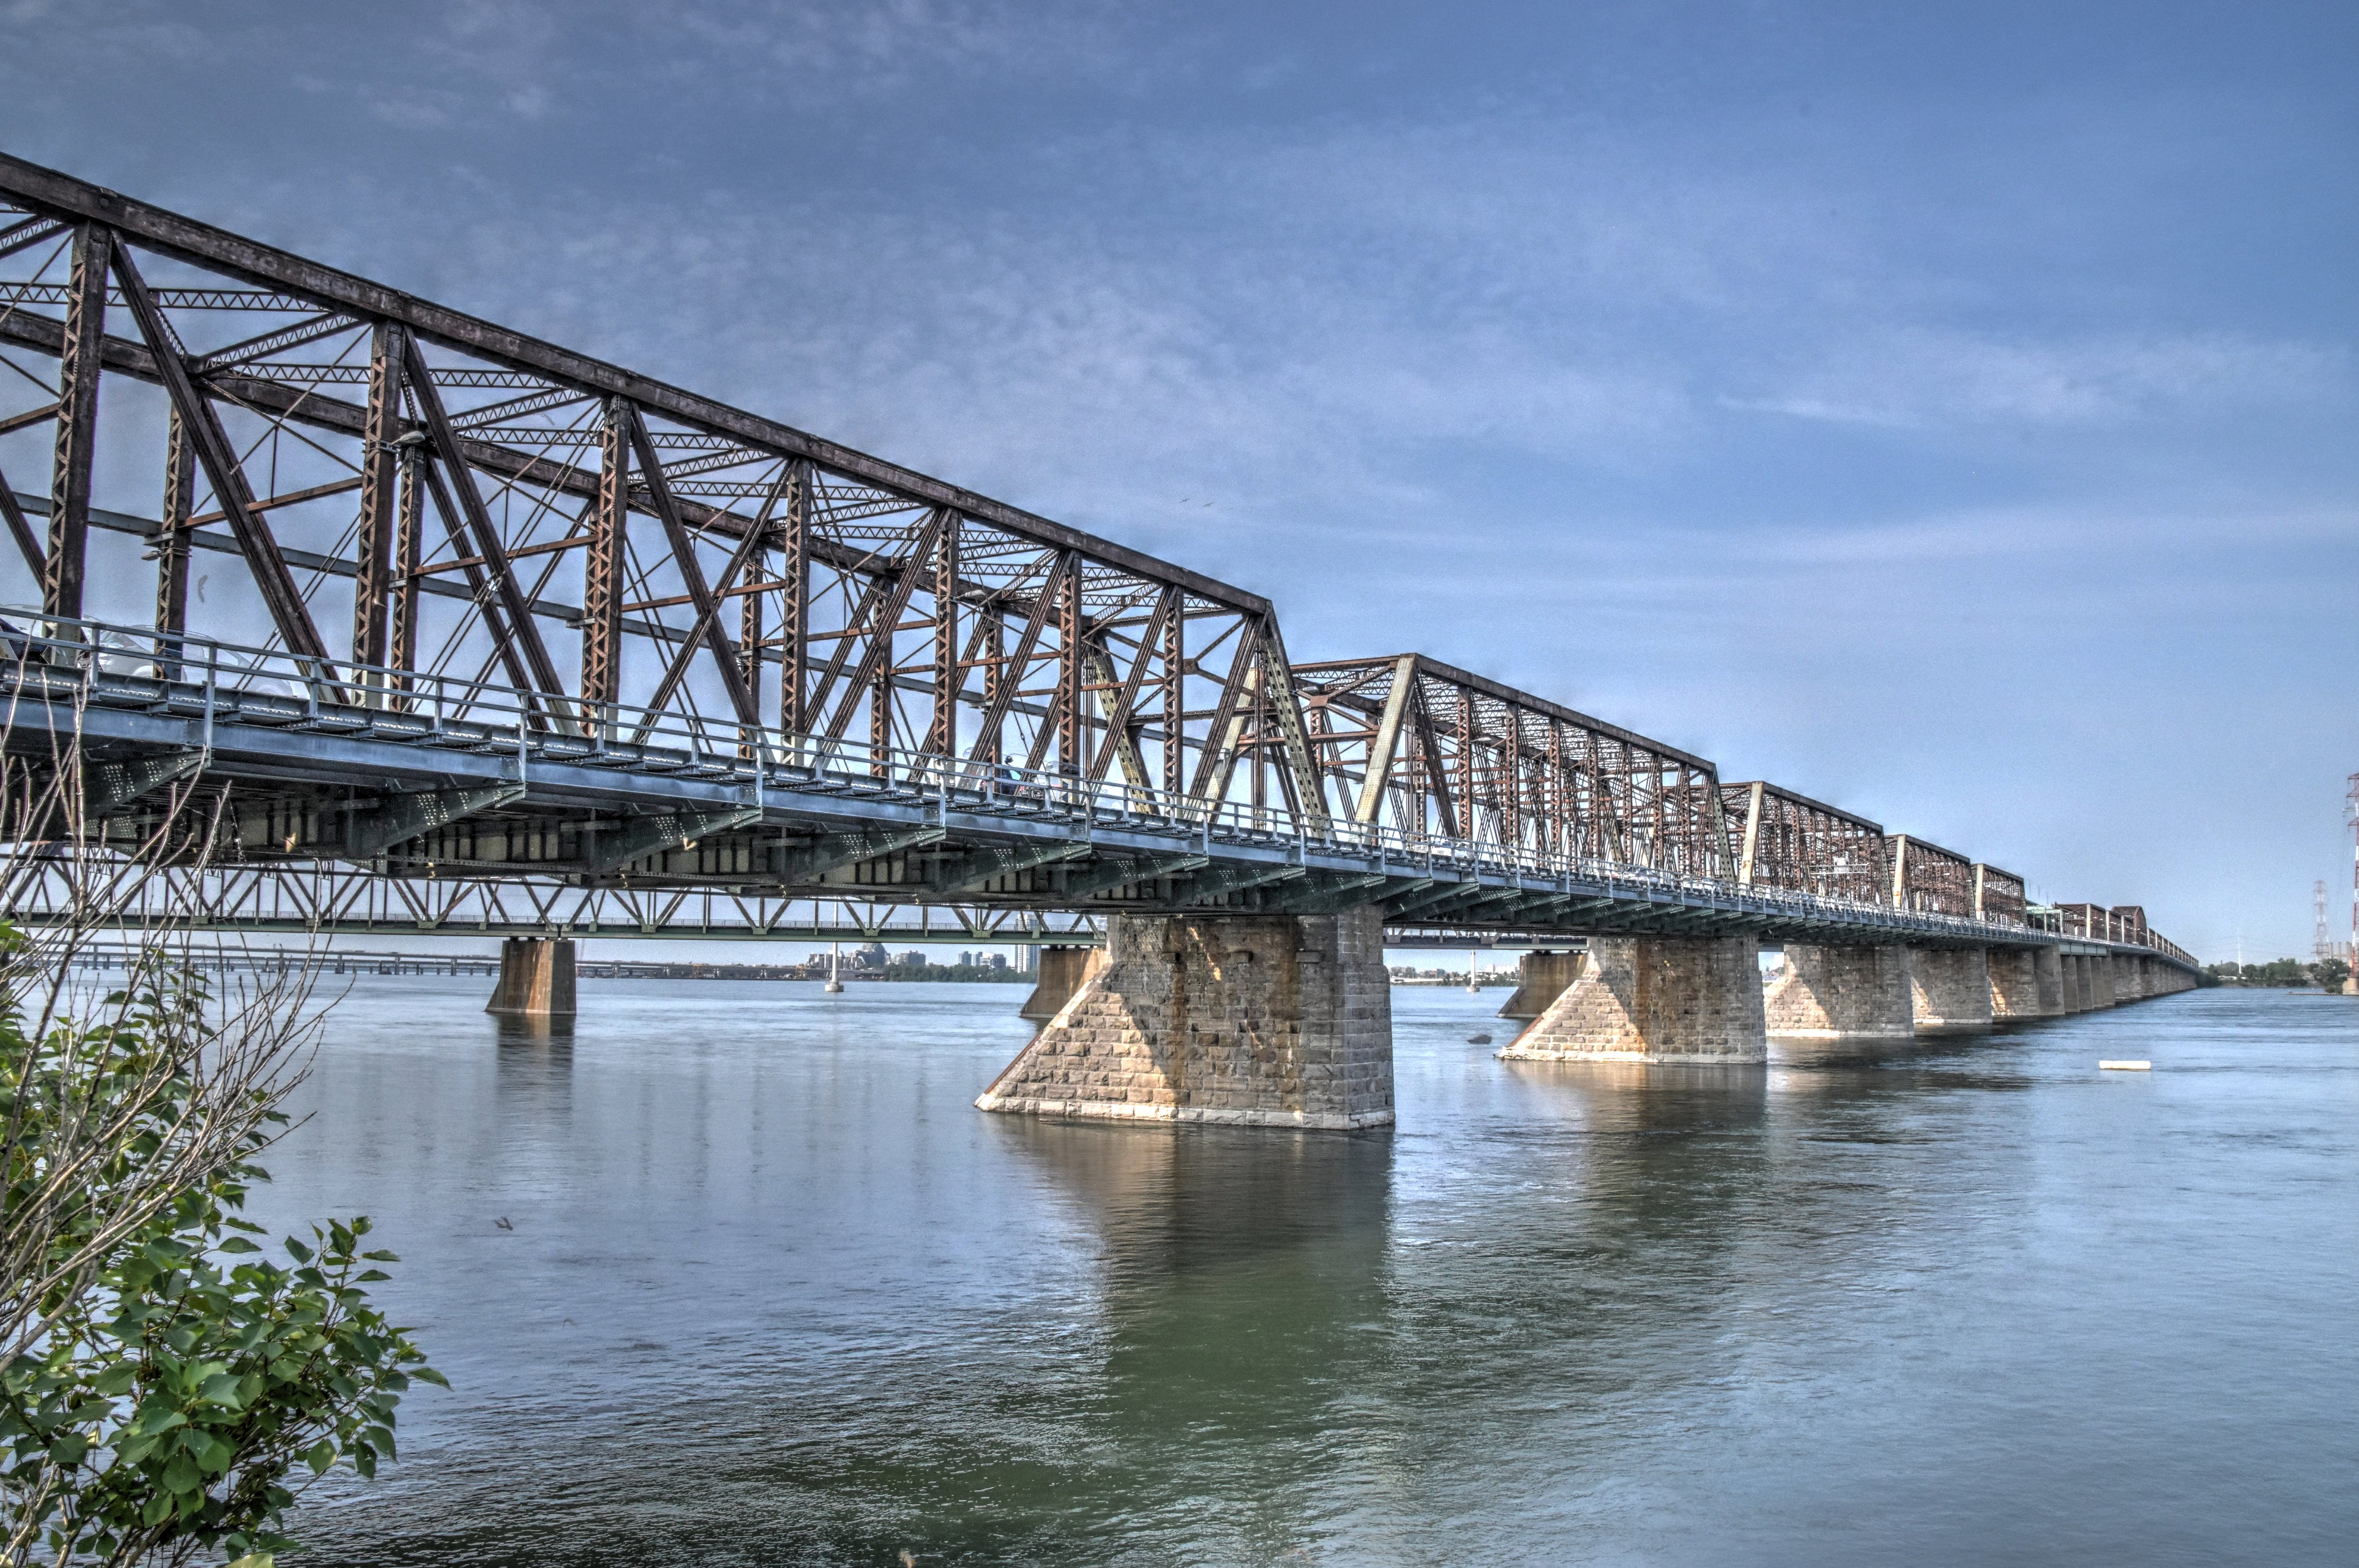
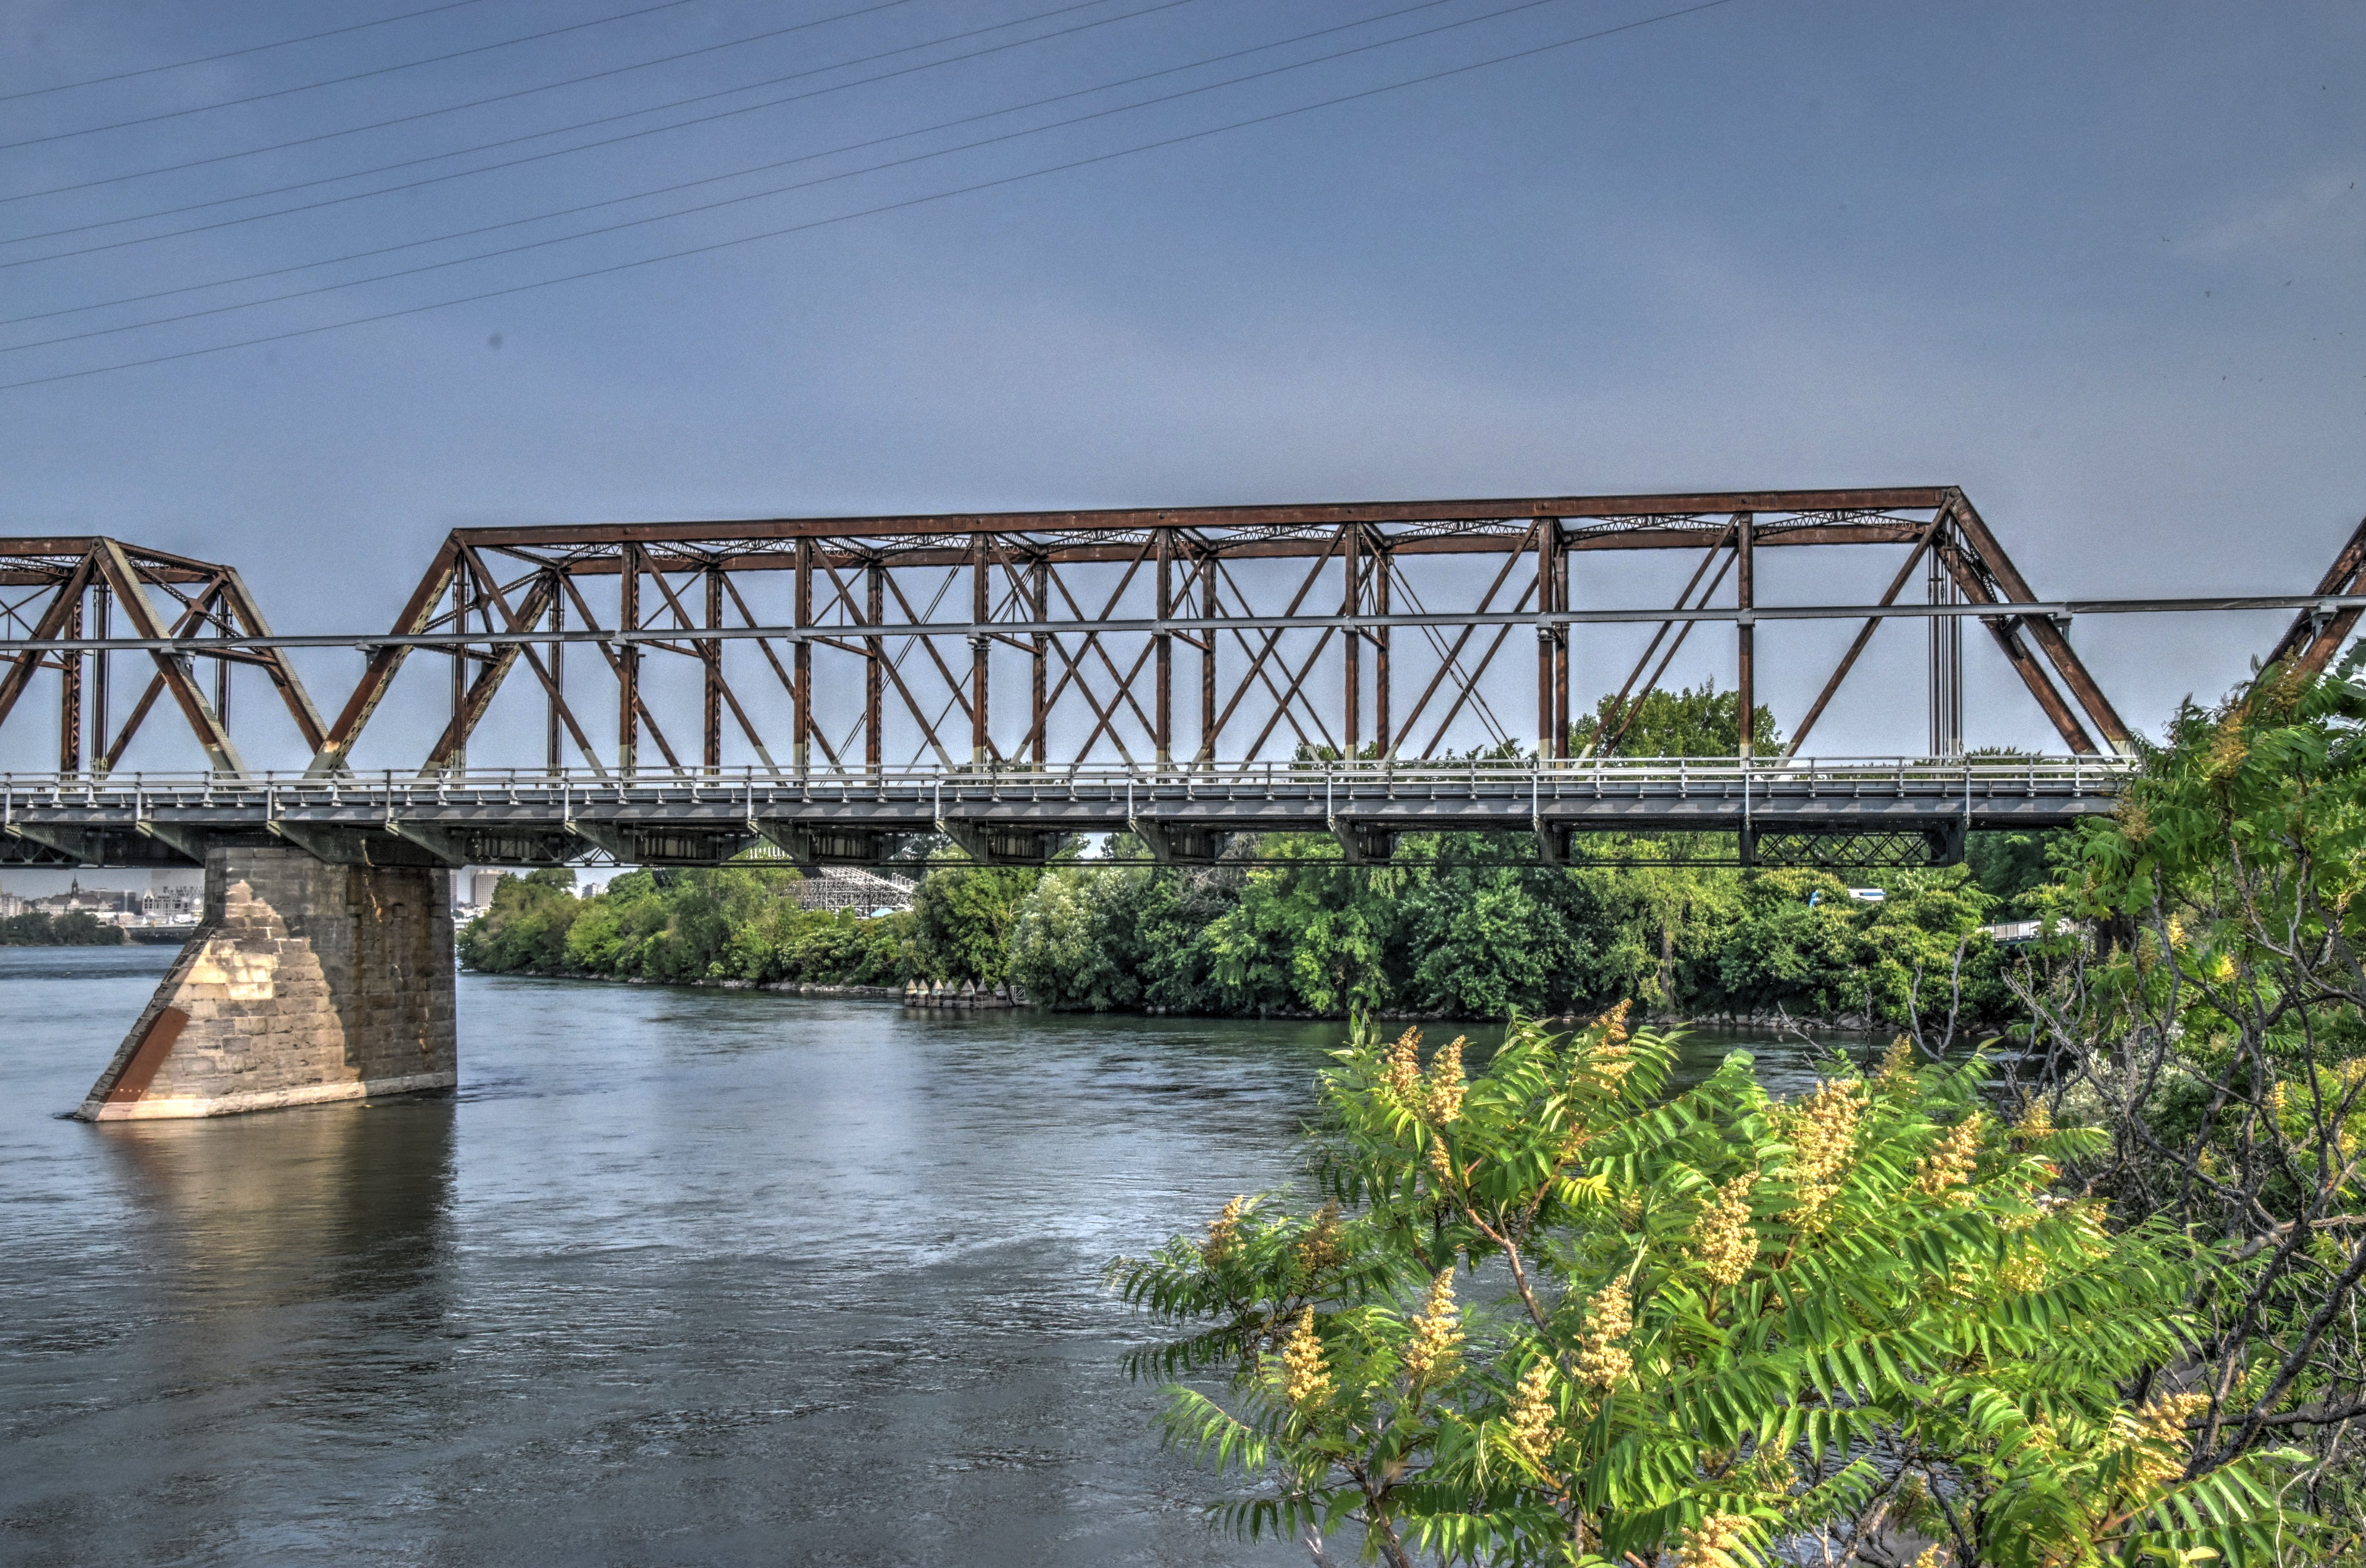
![]()


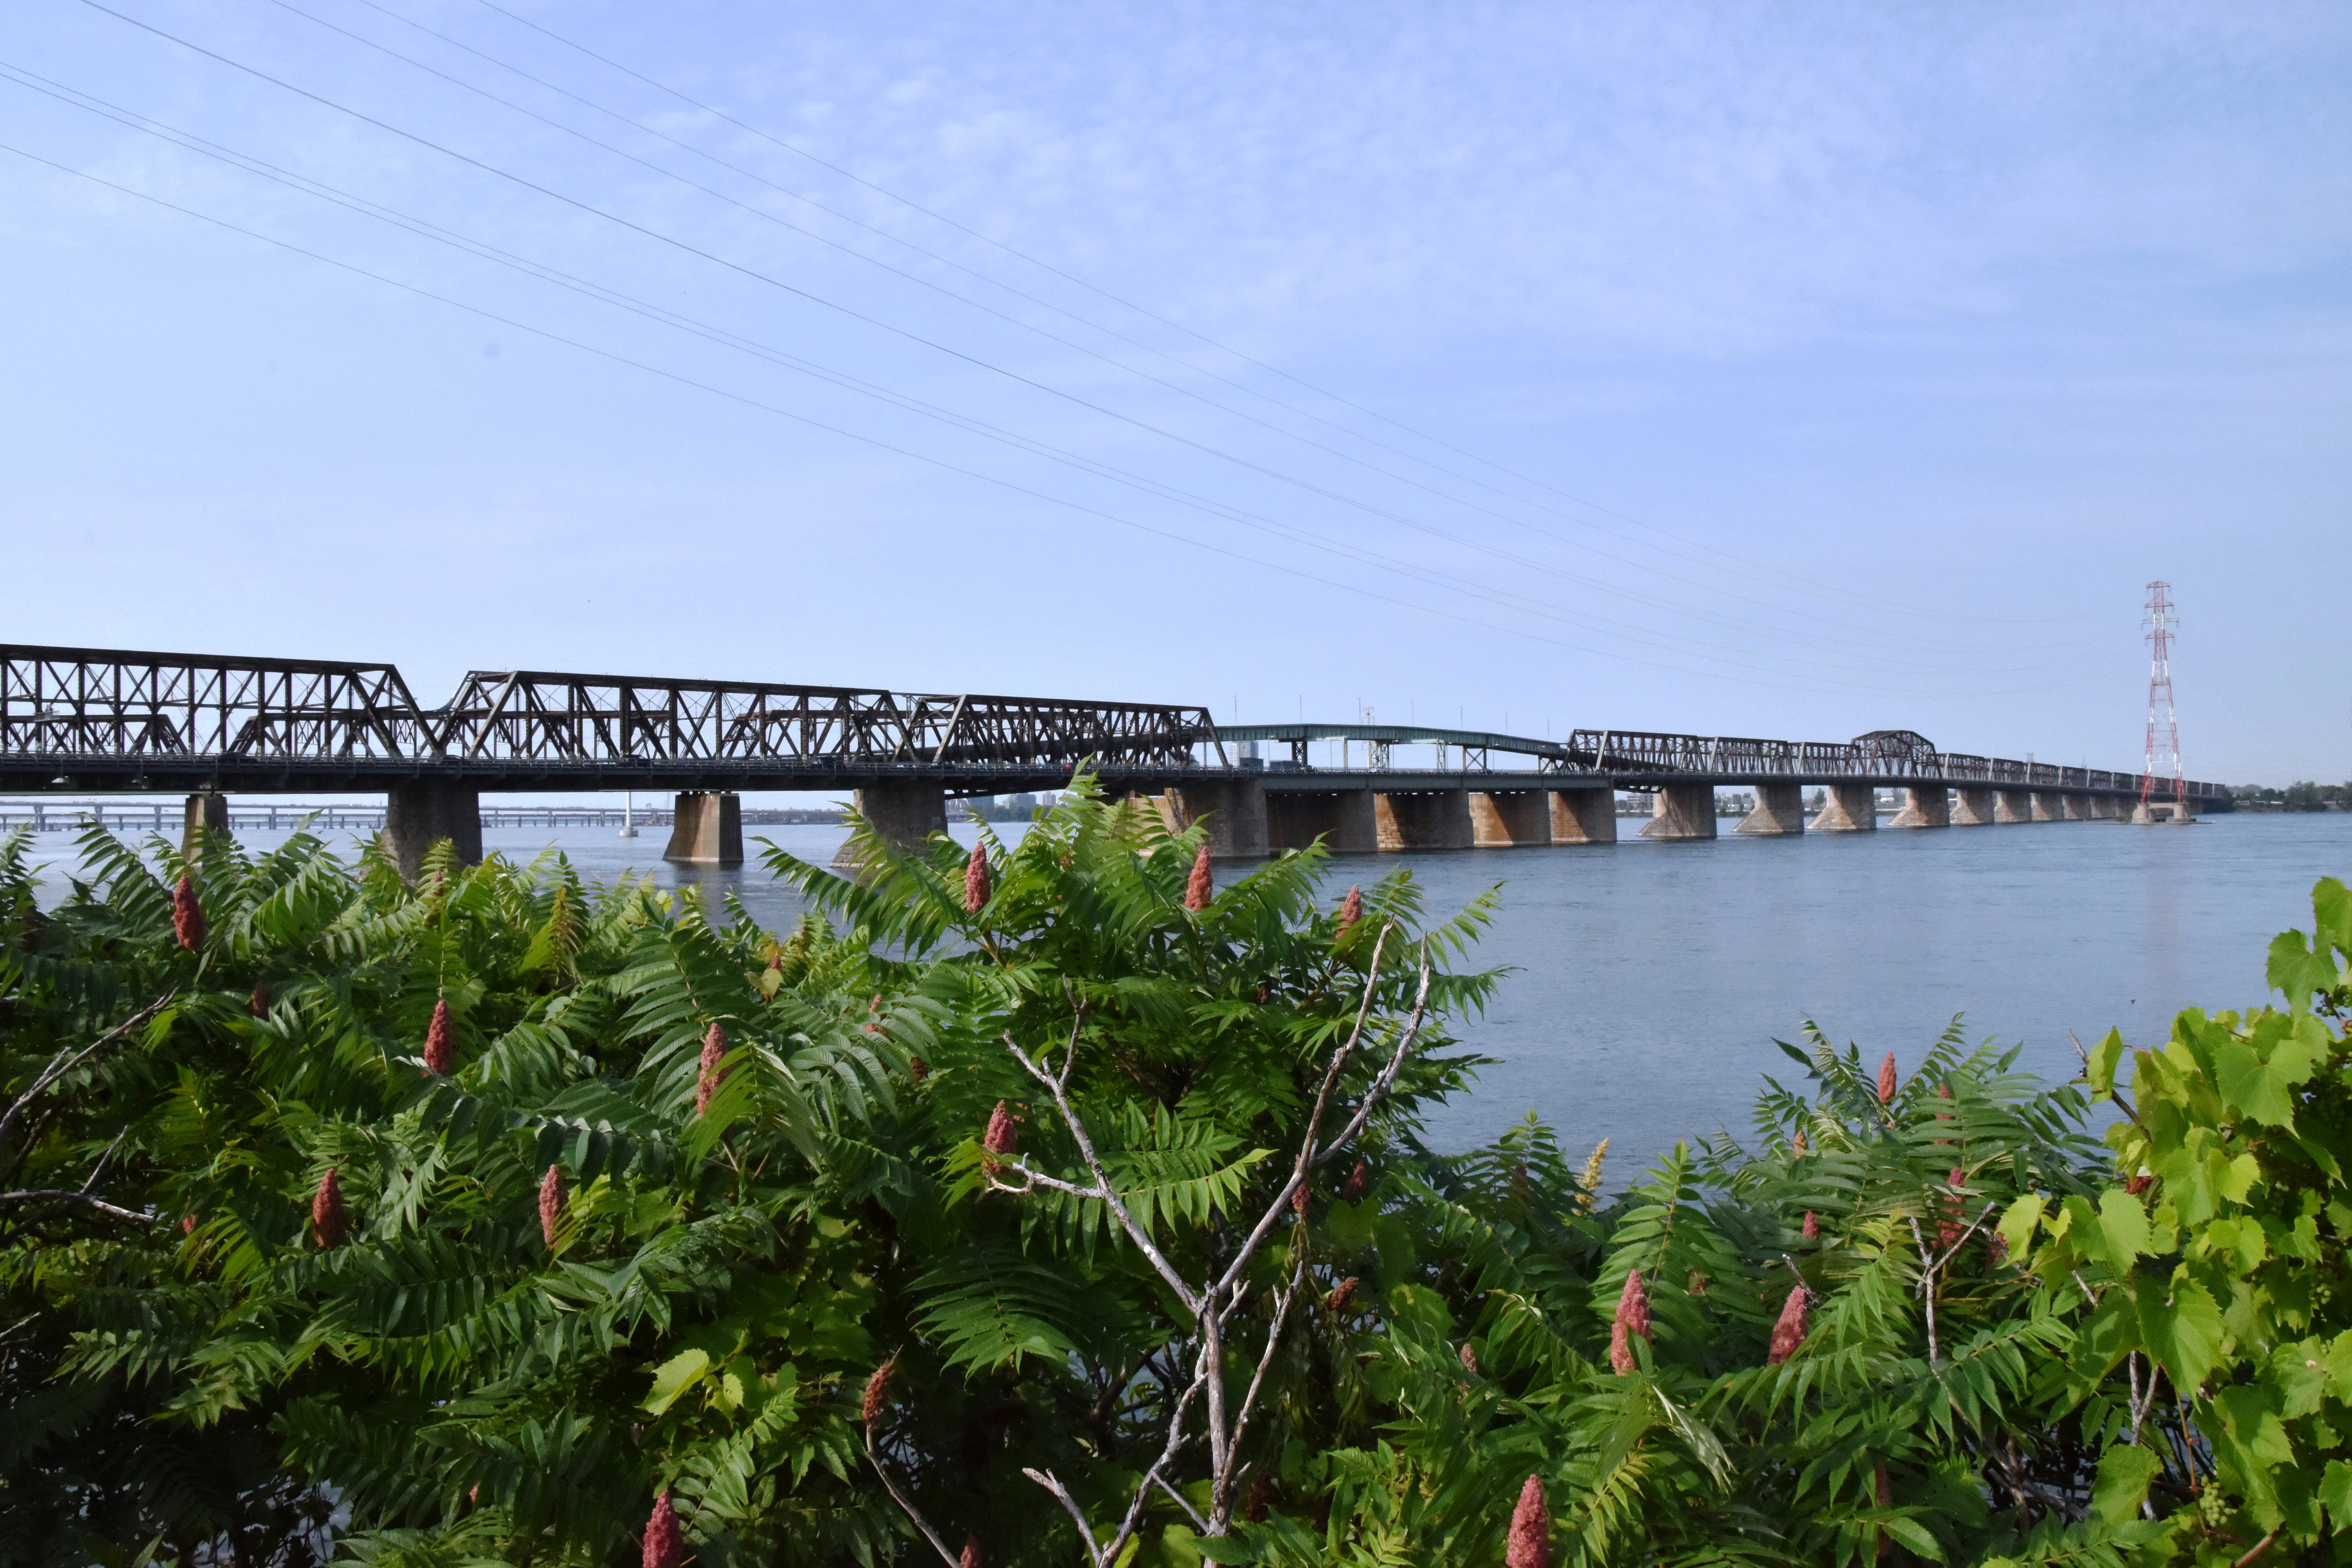


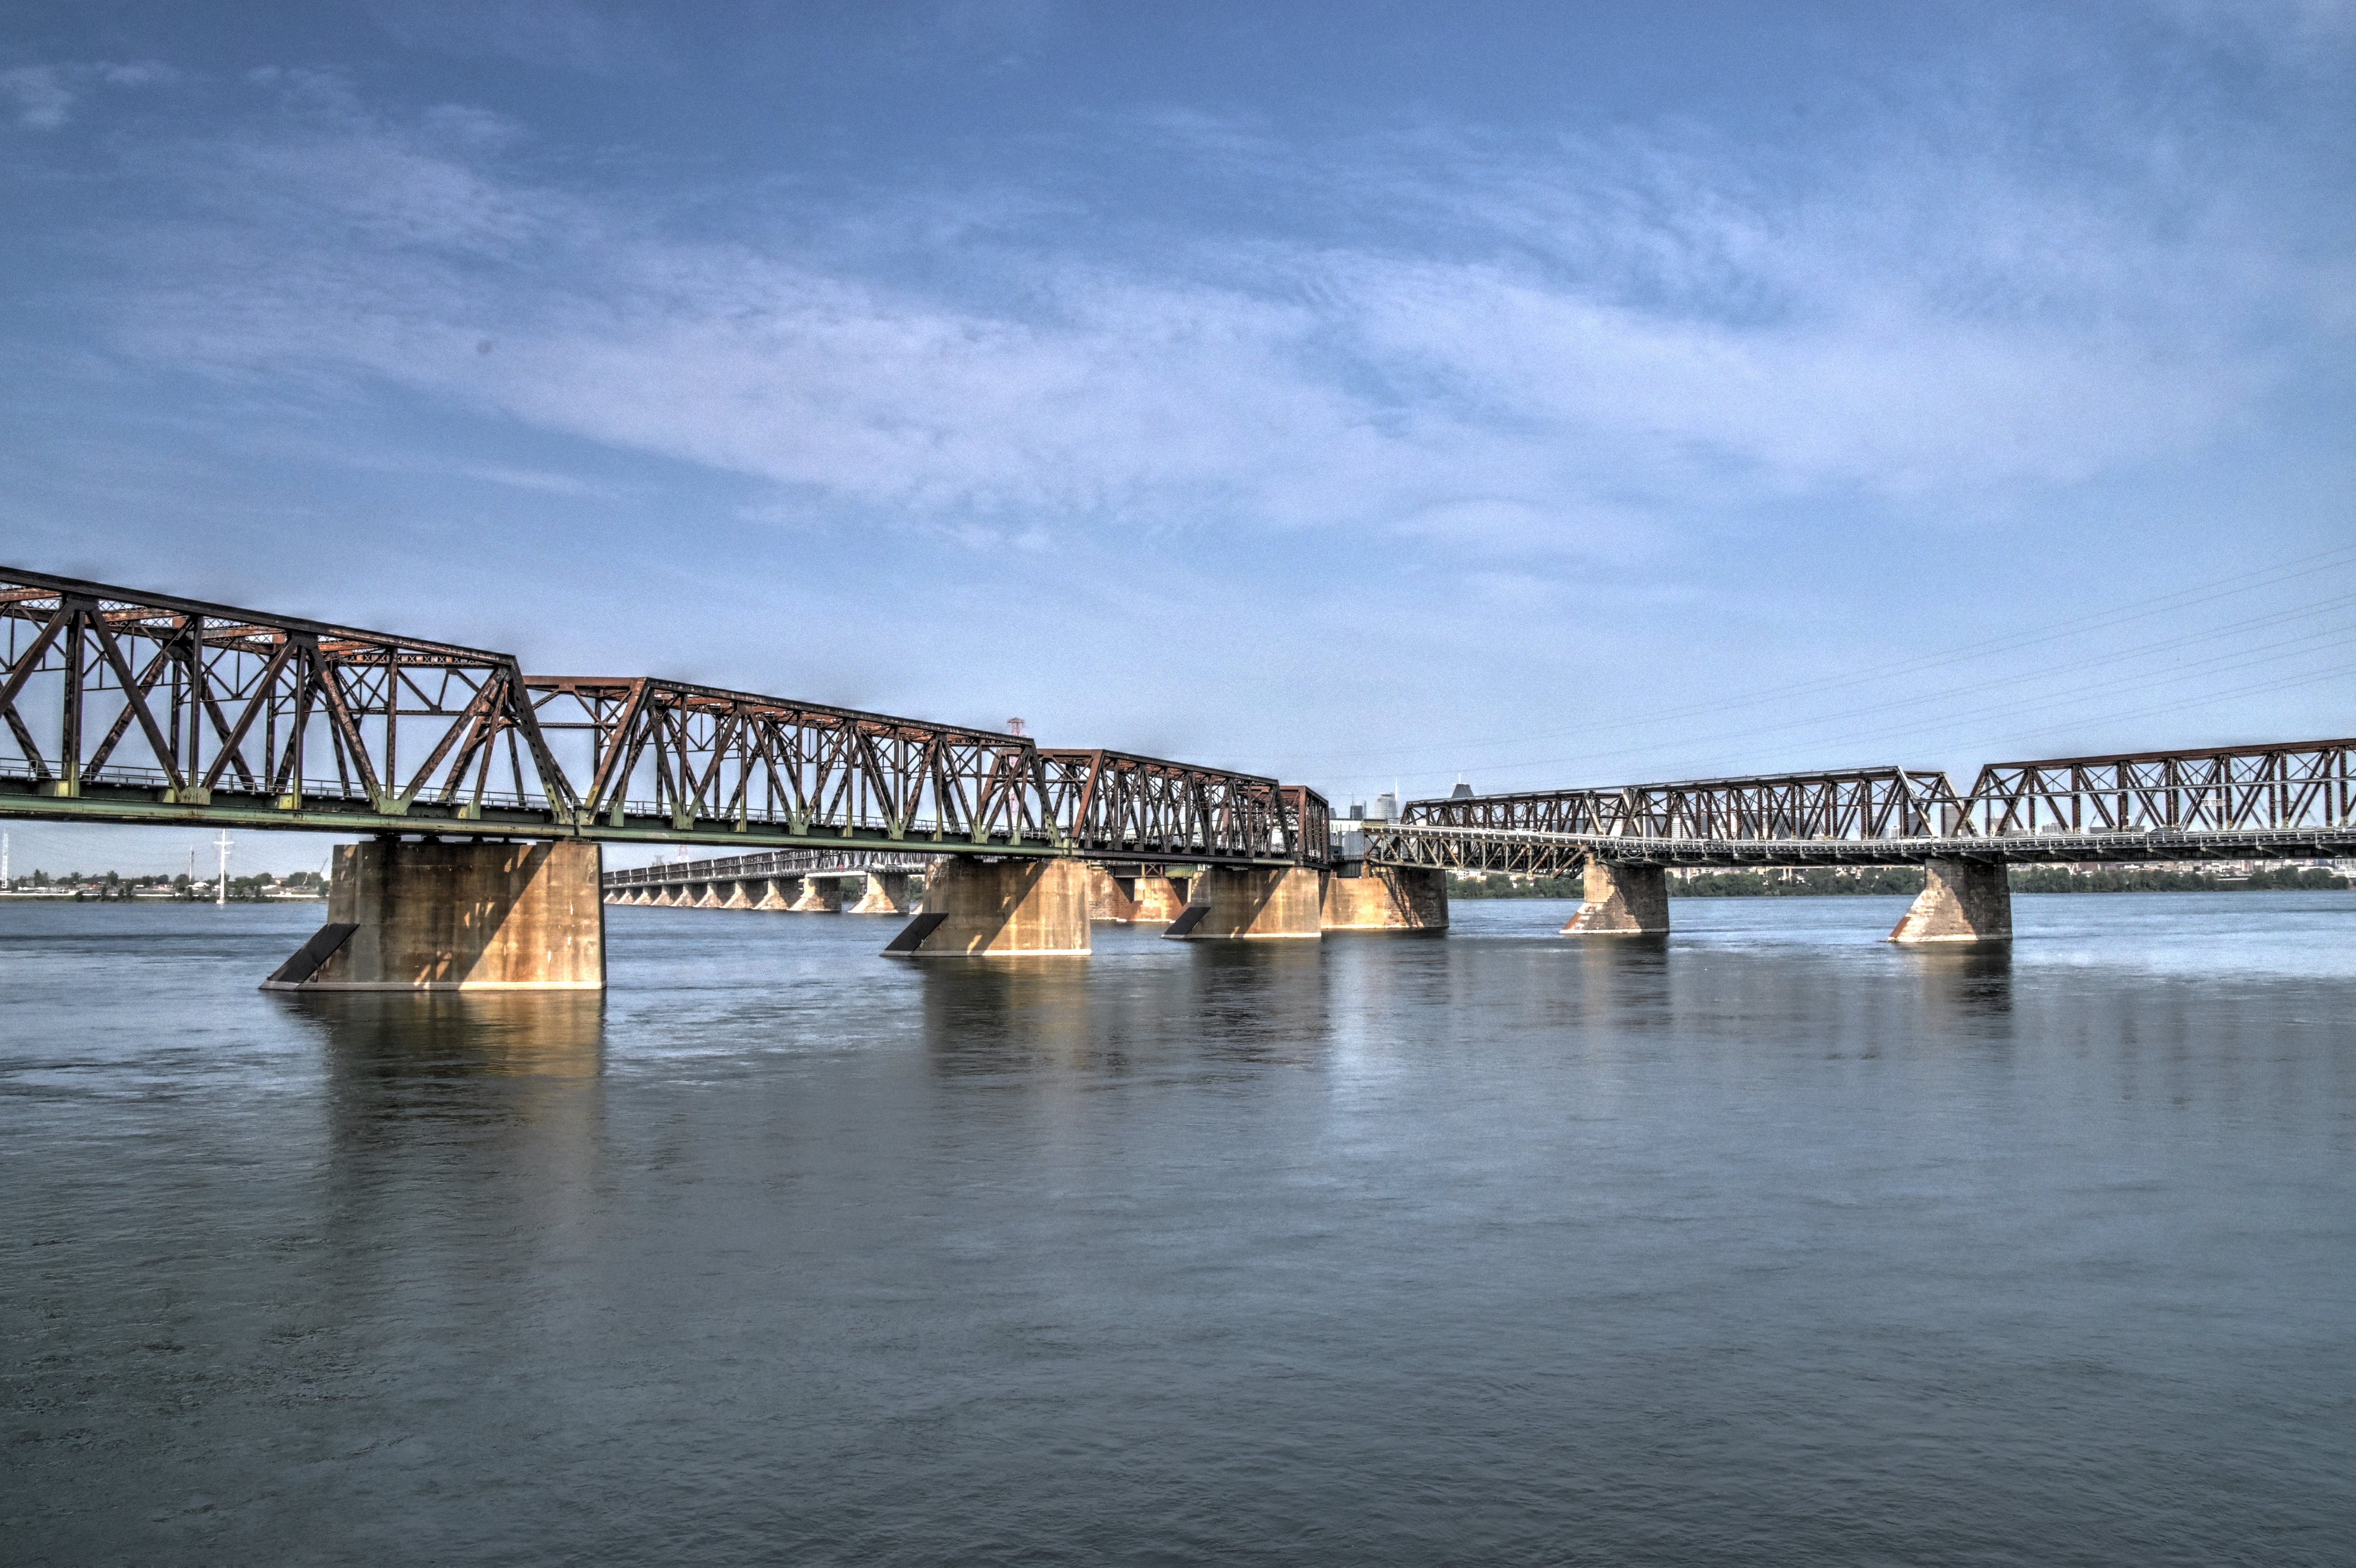
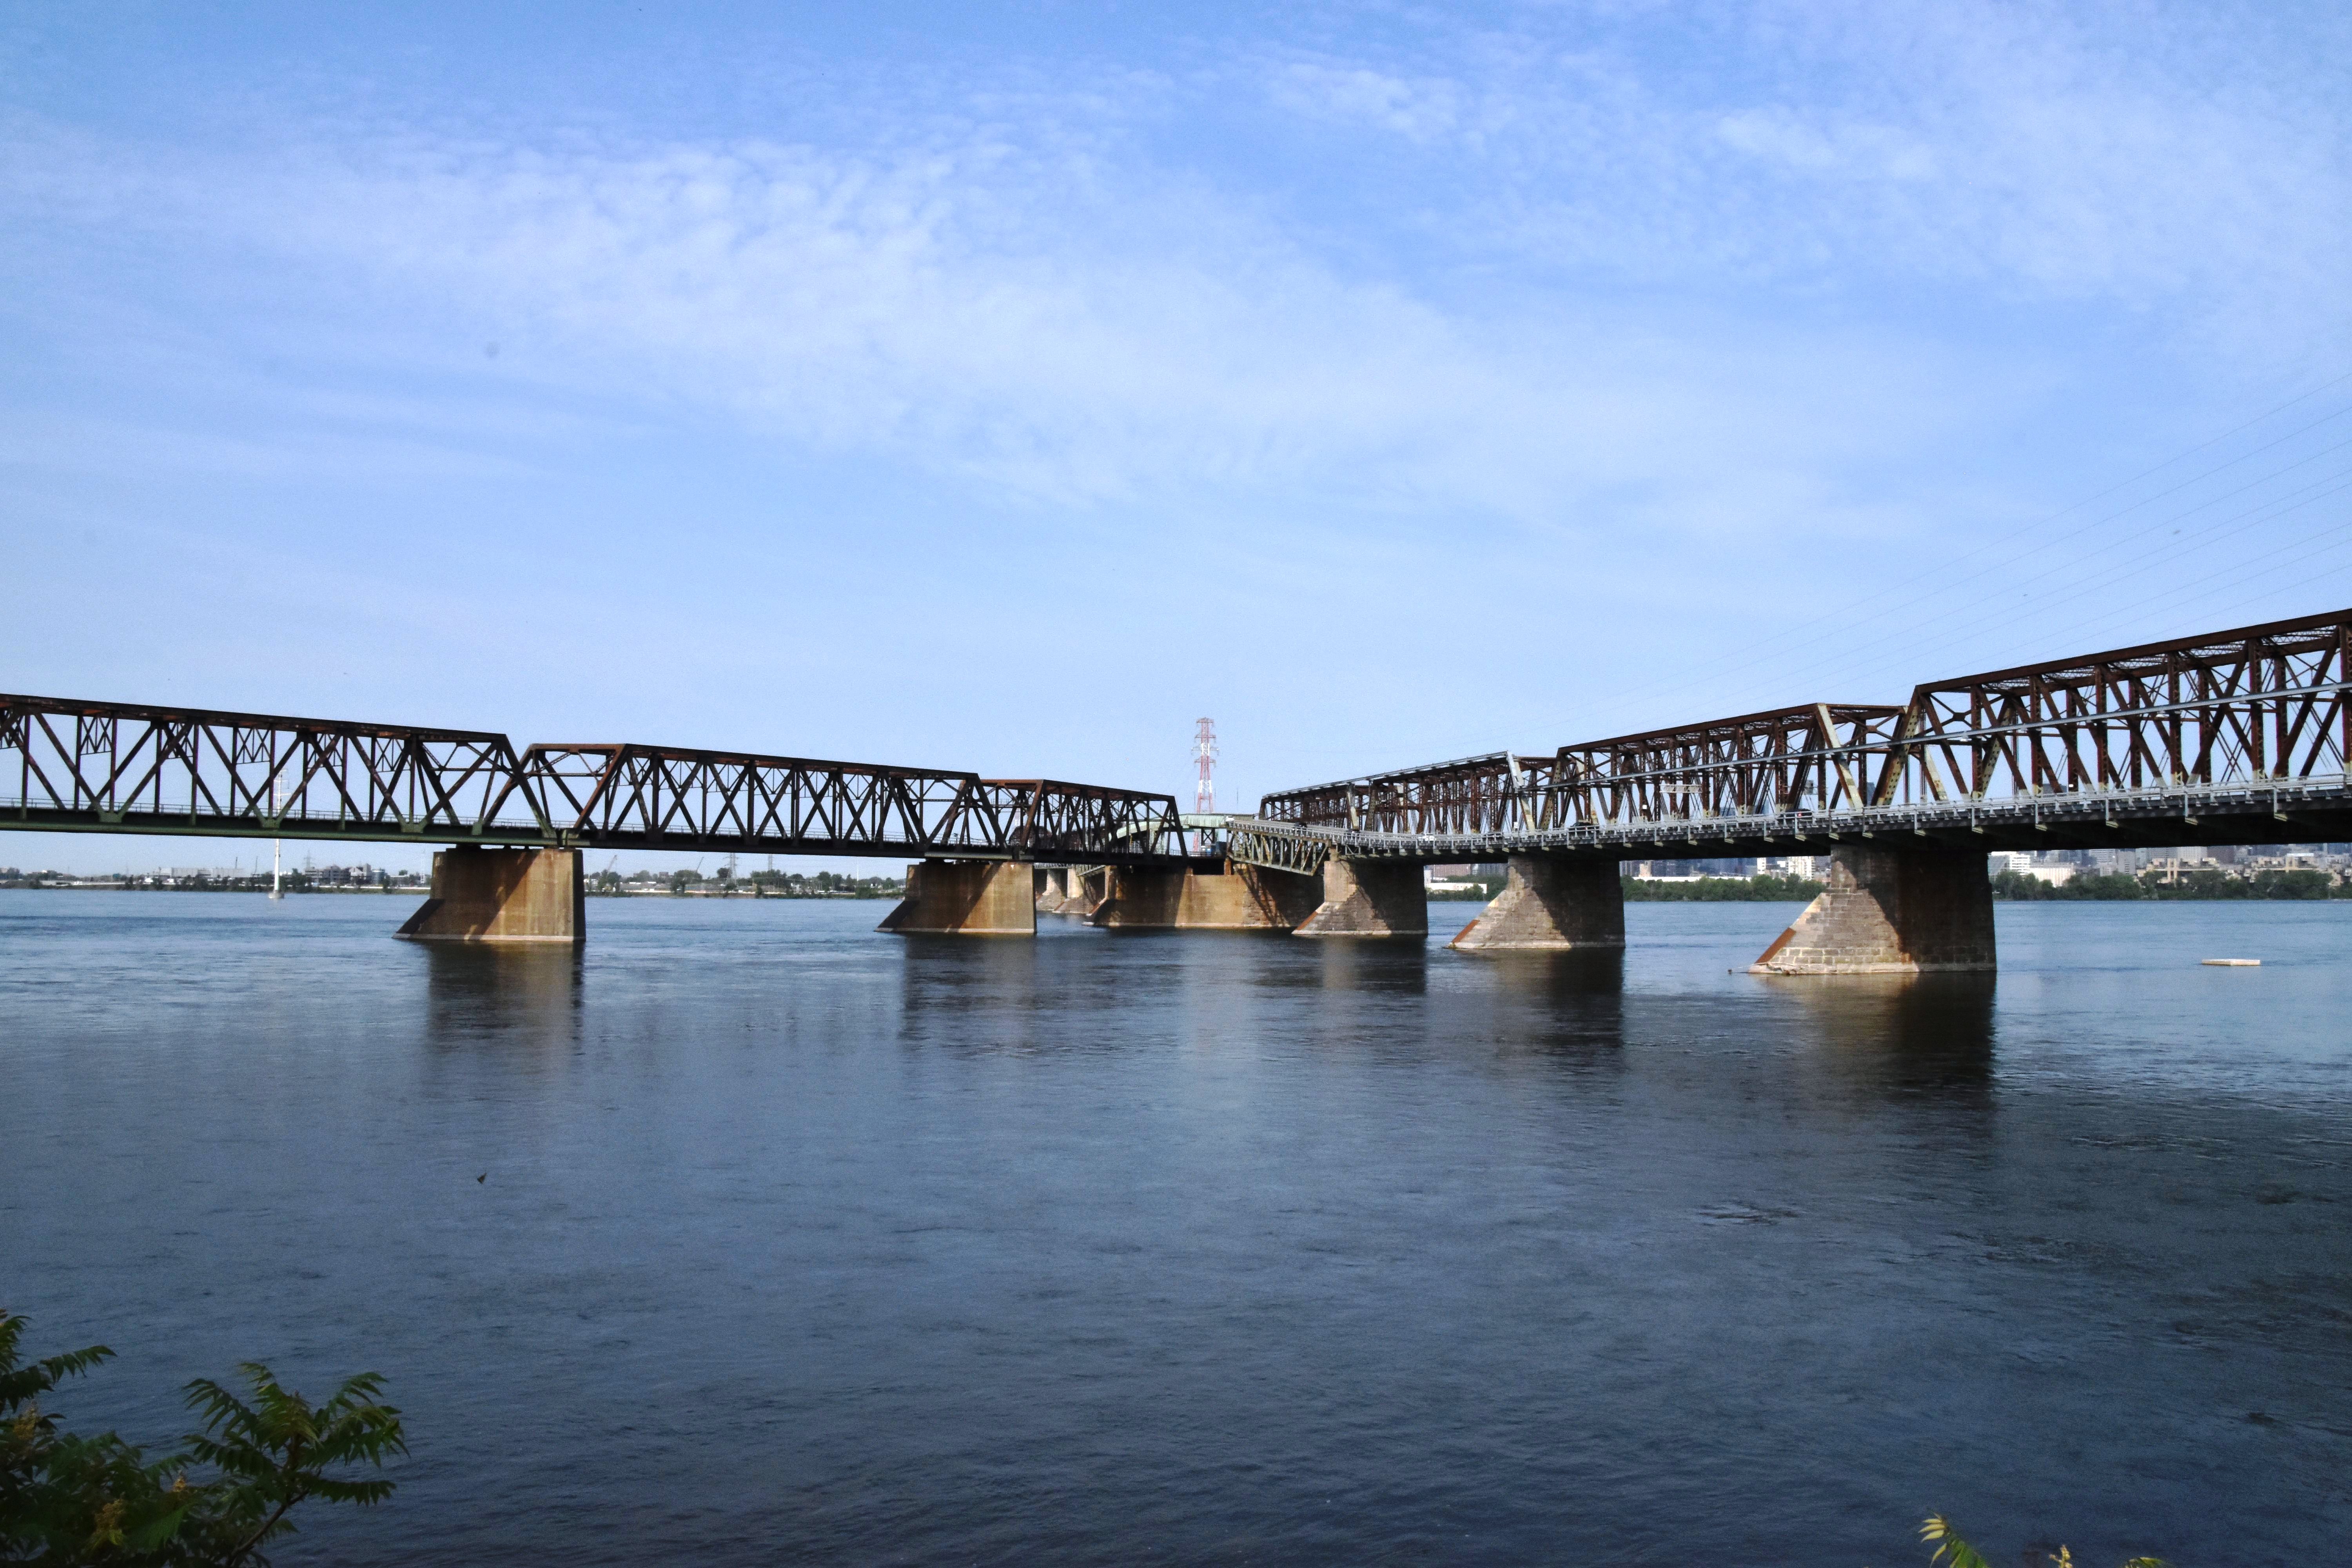
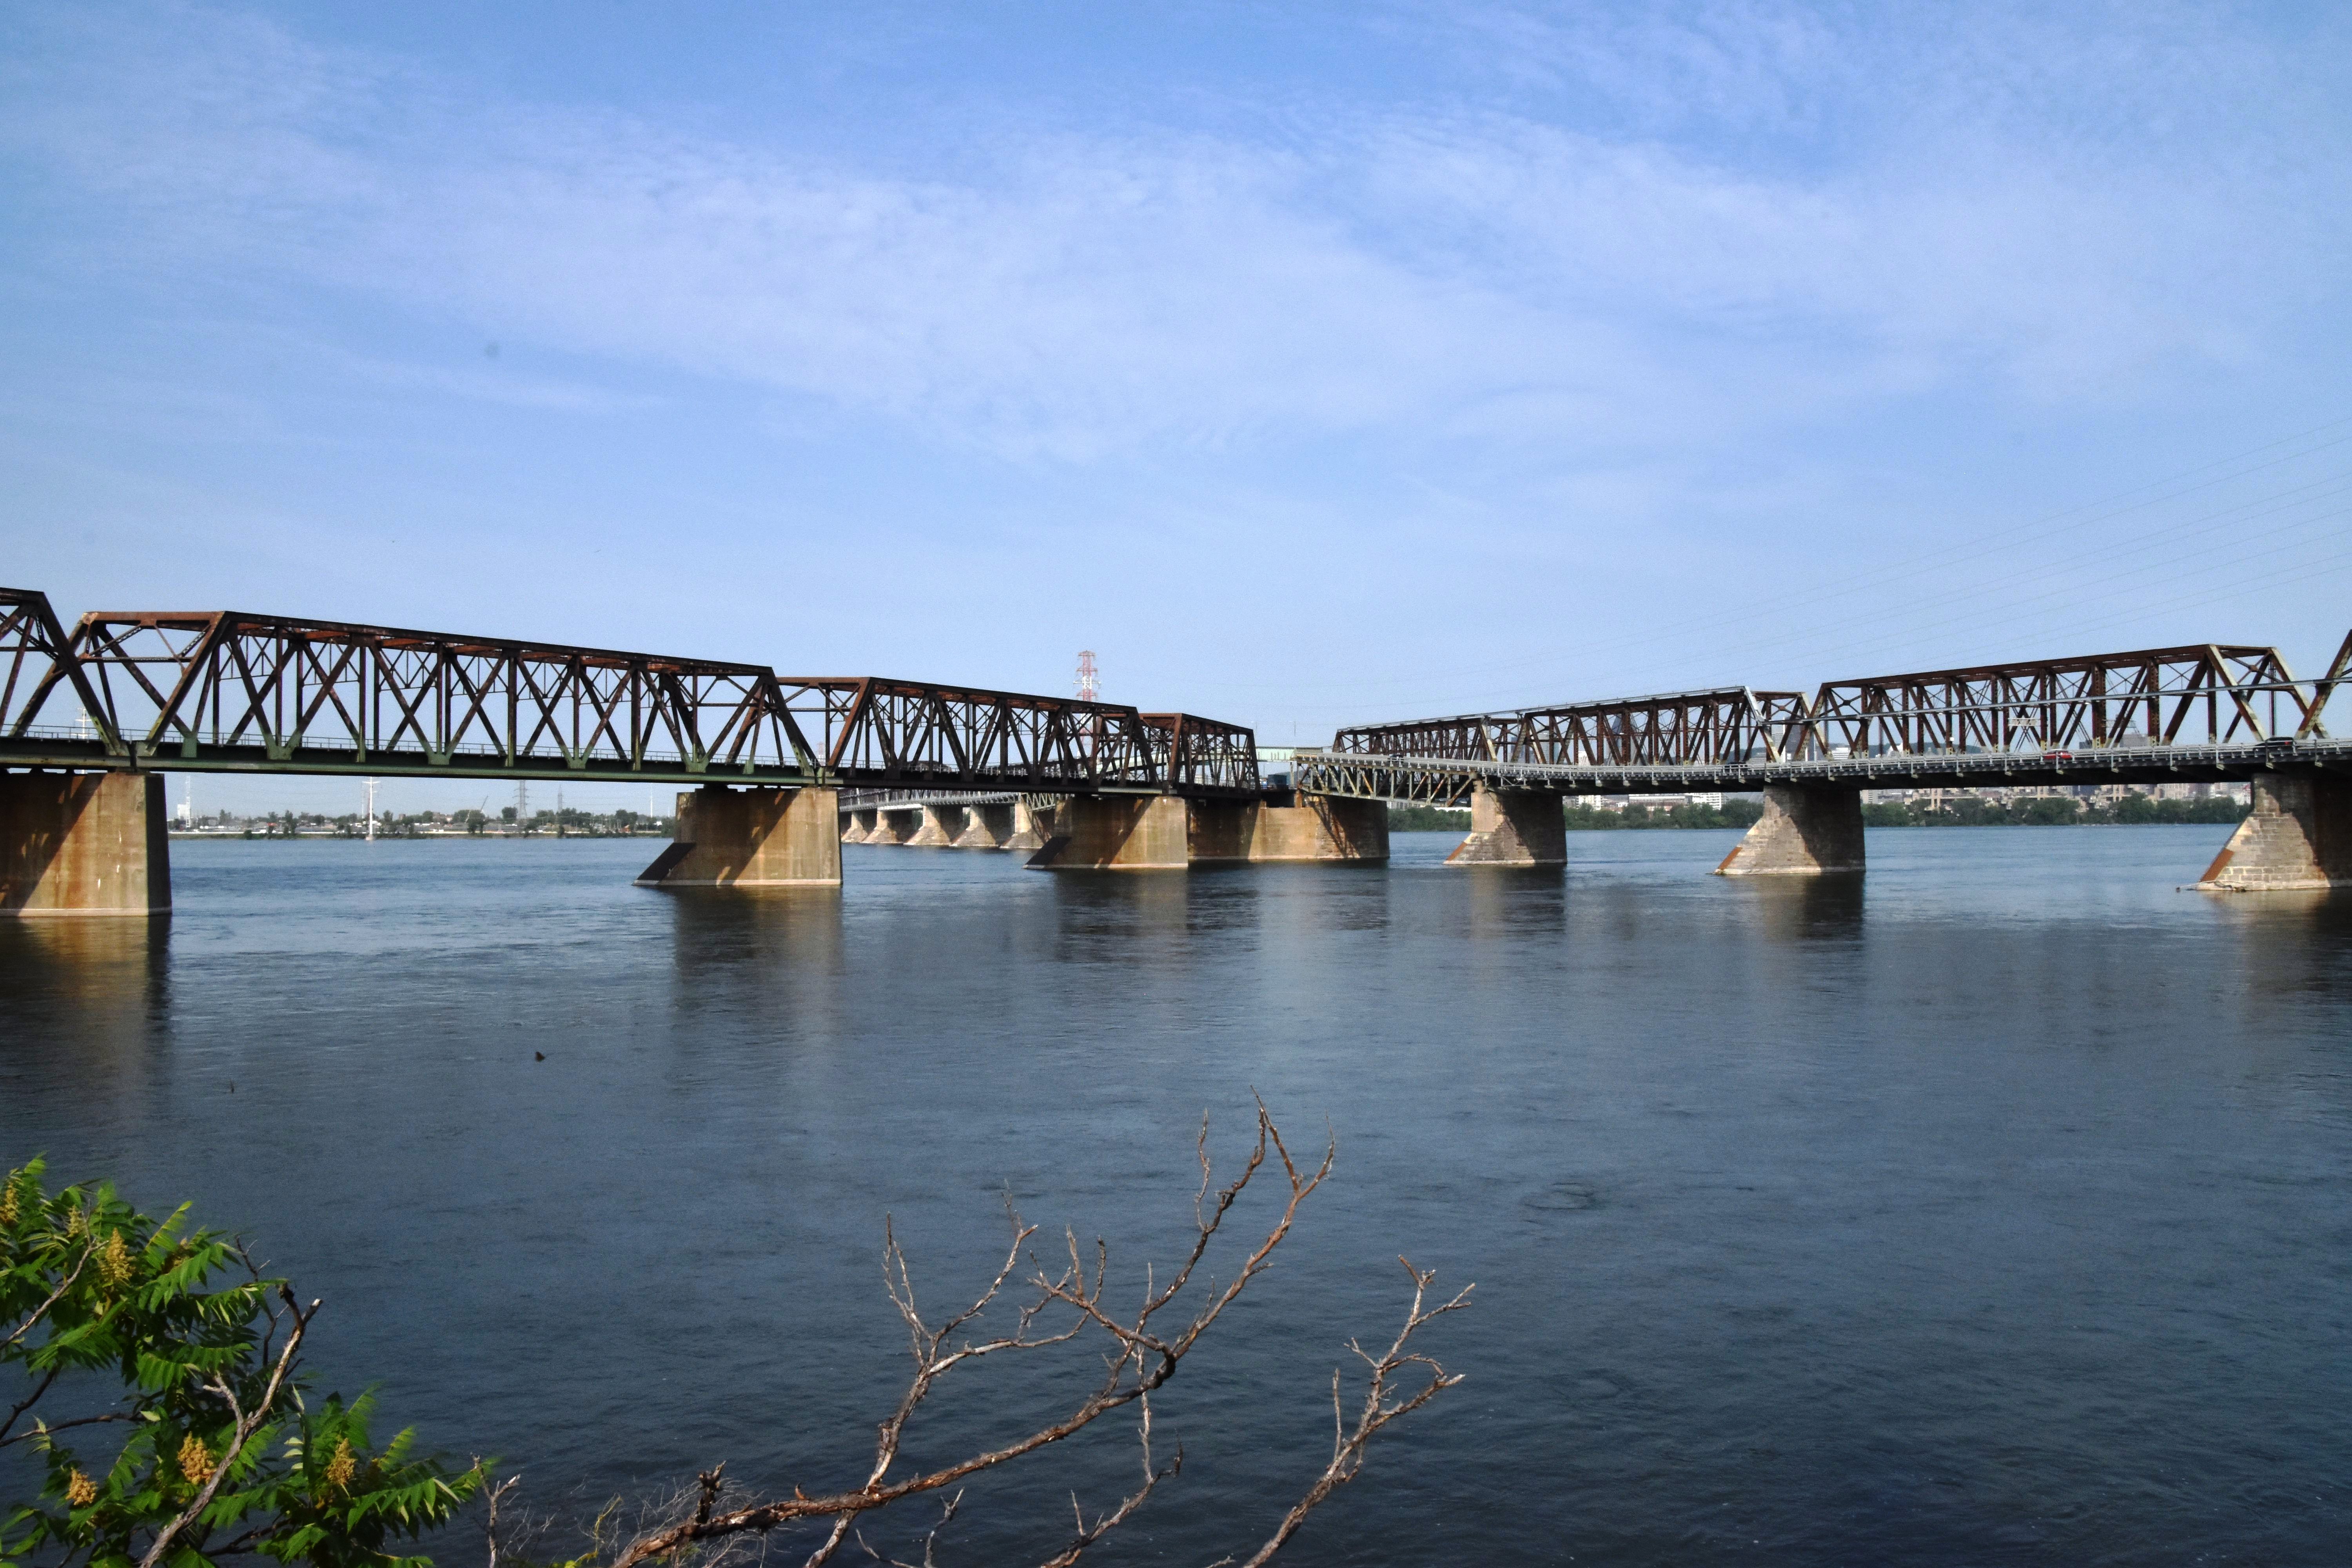
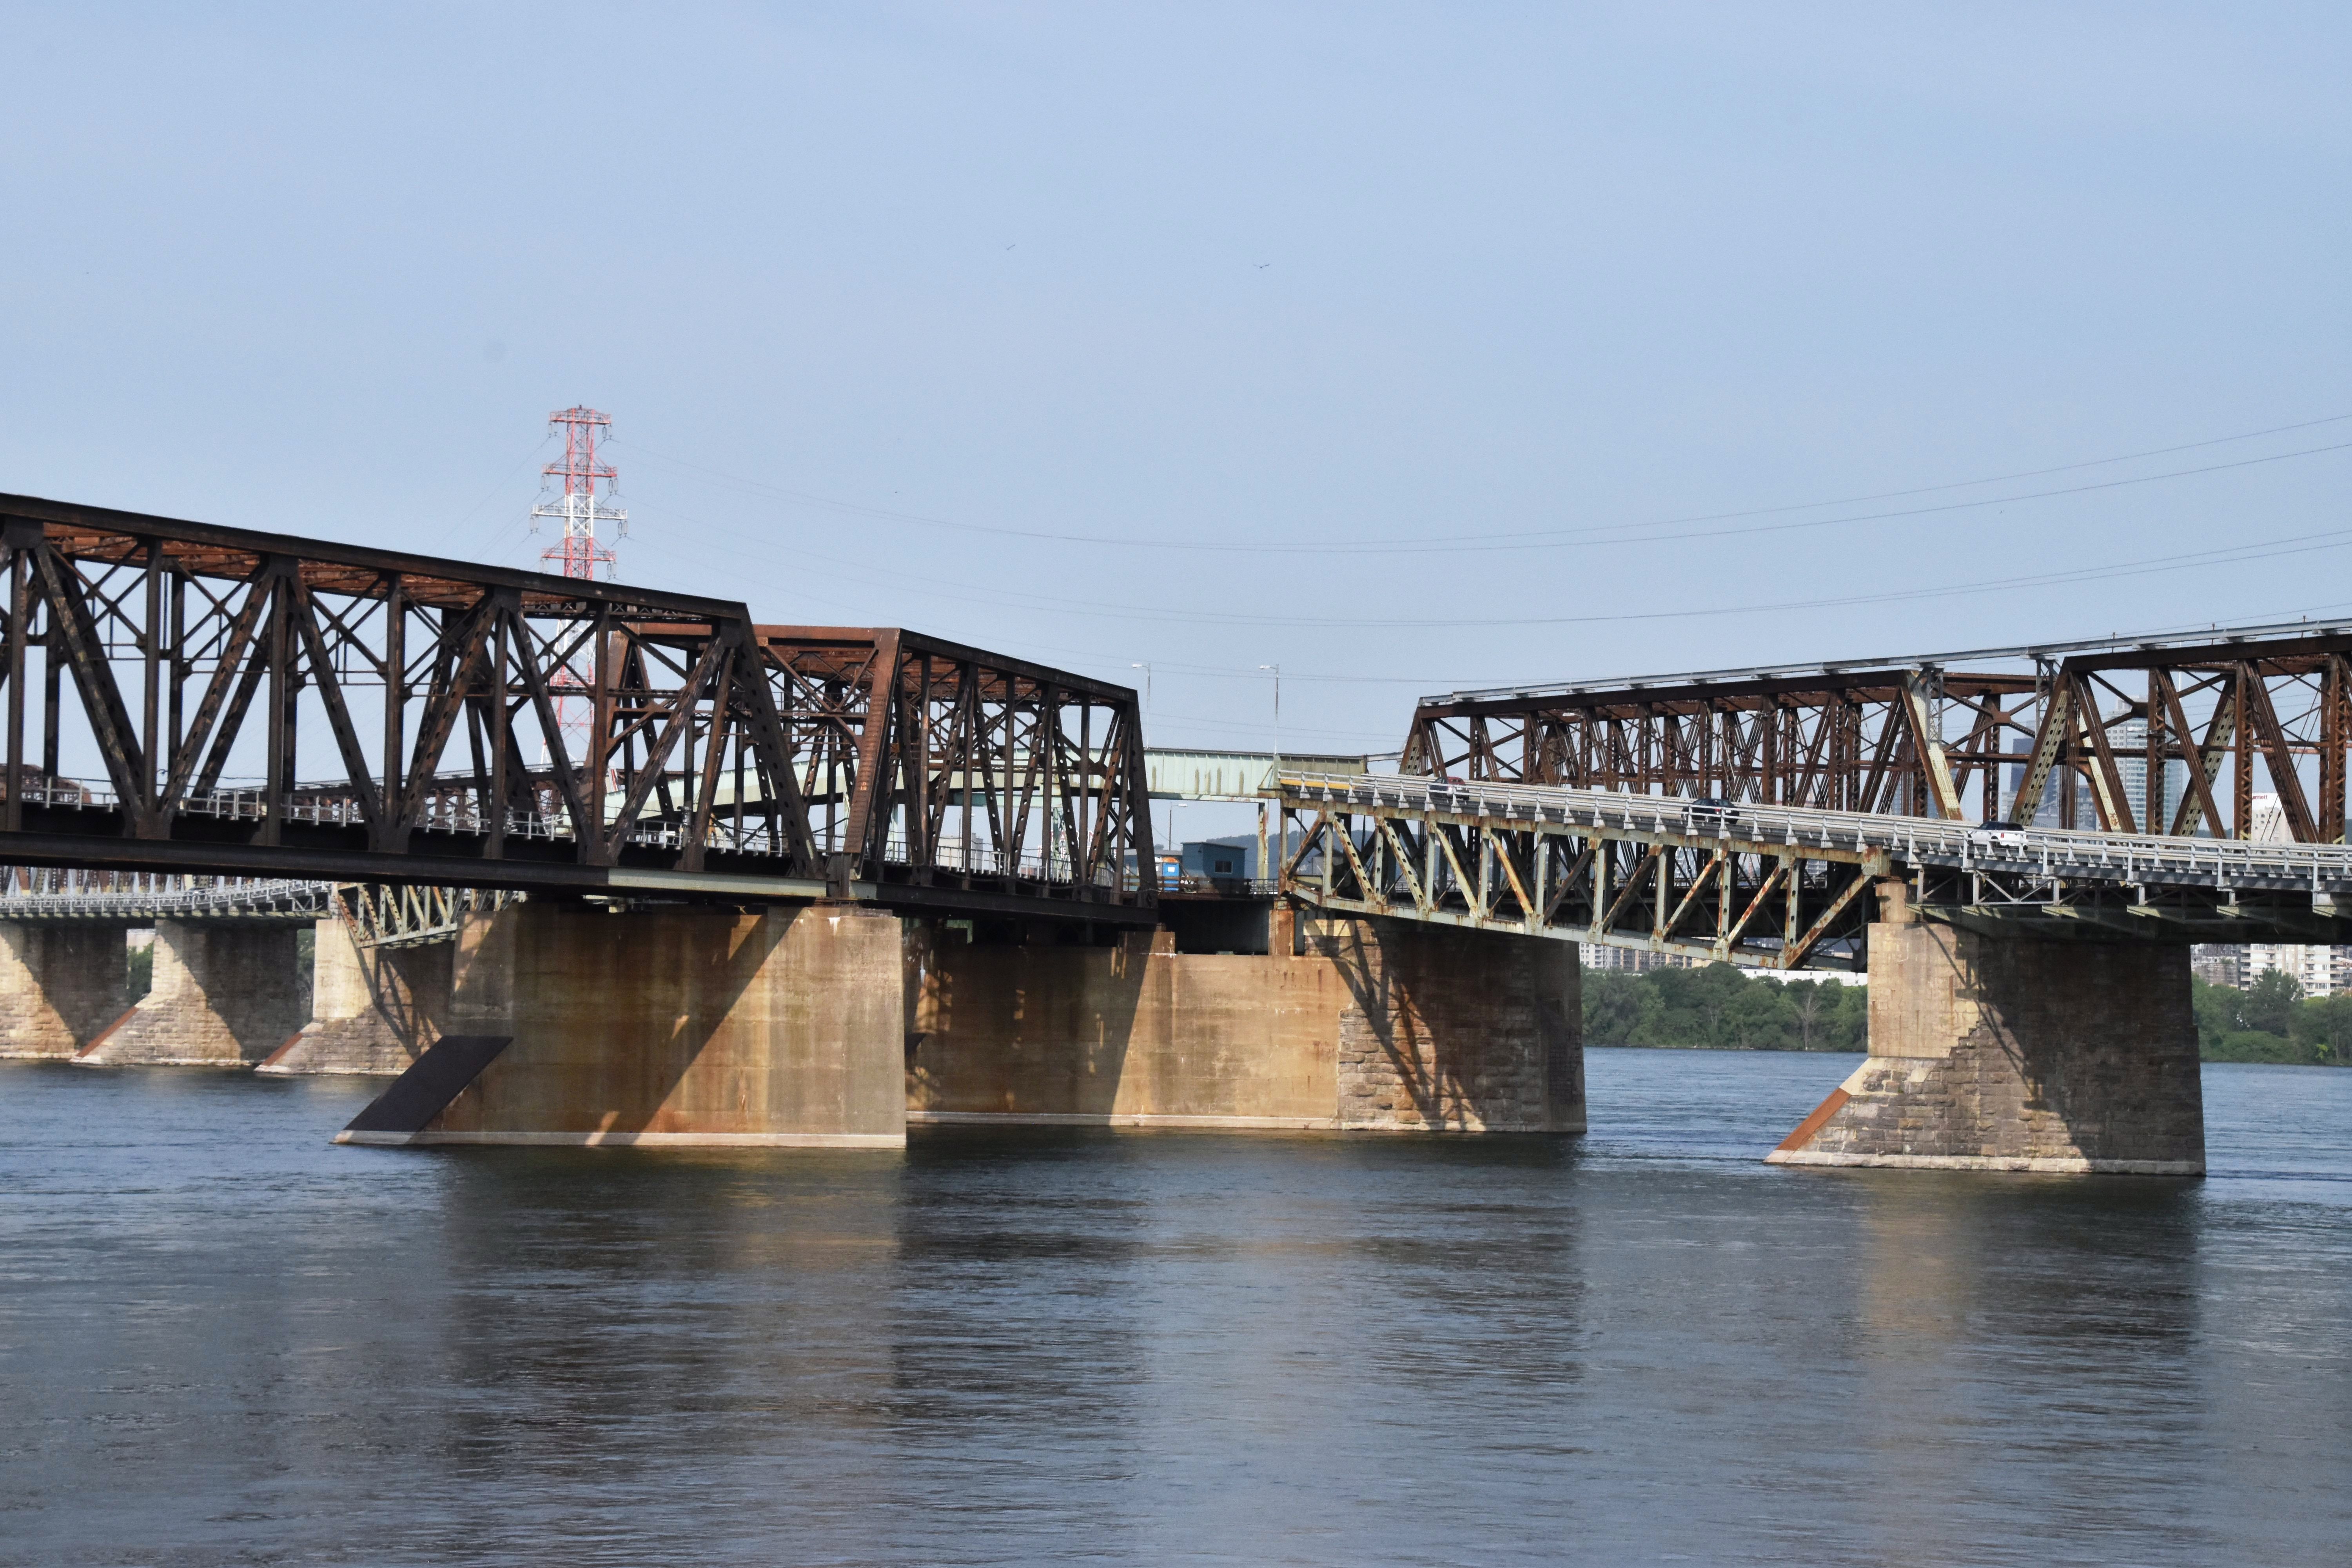
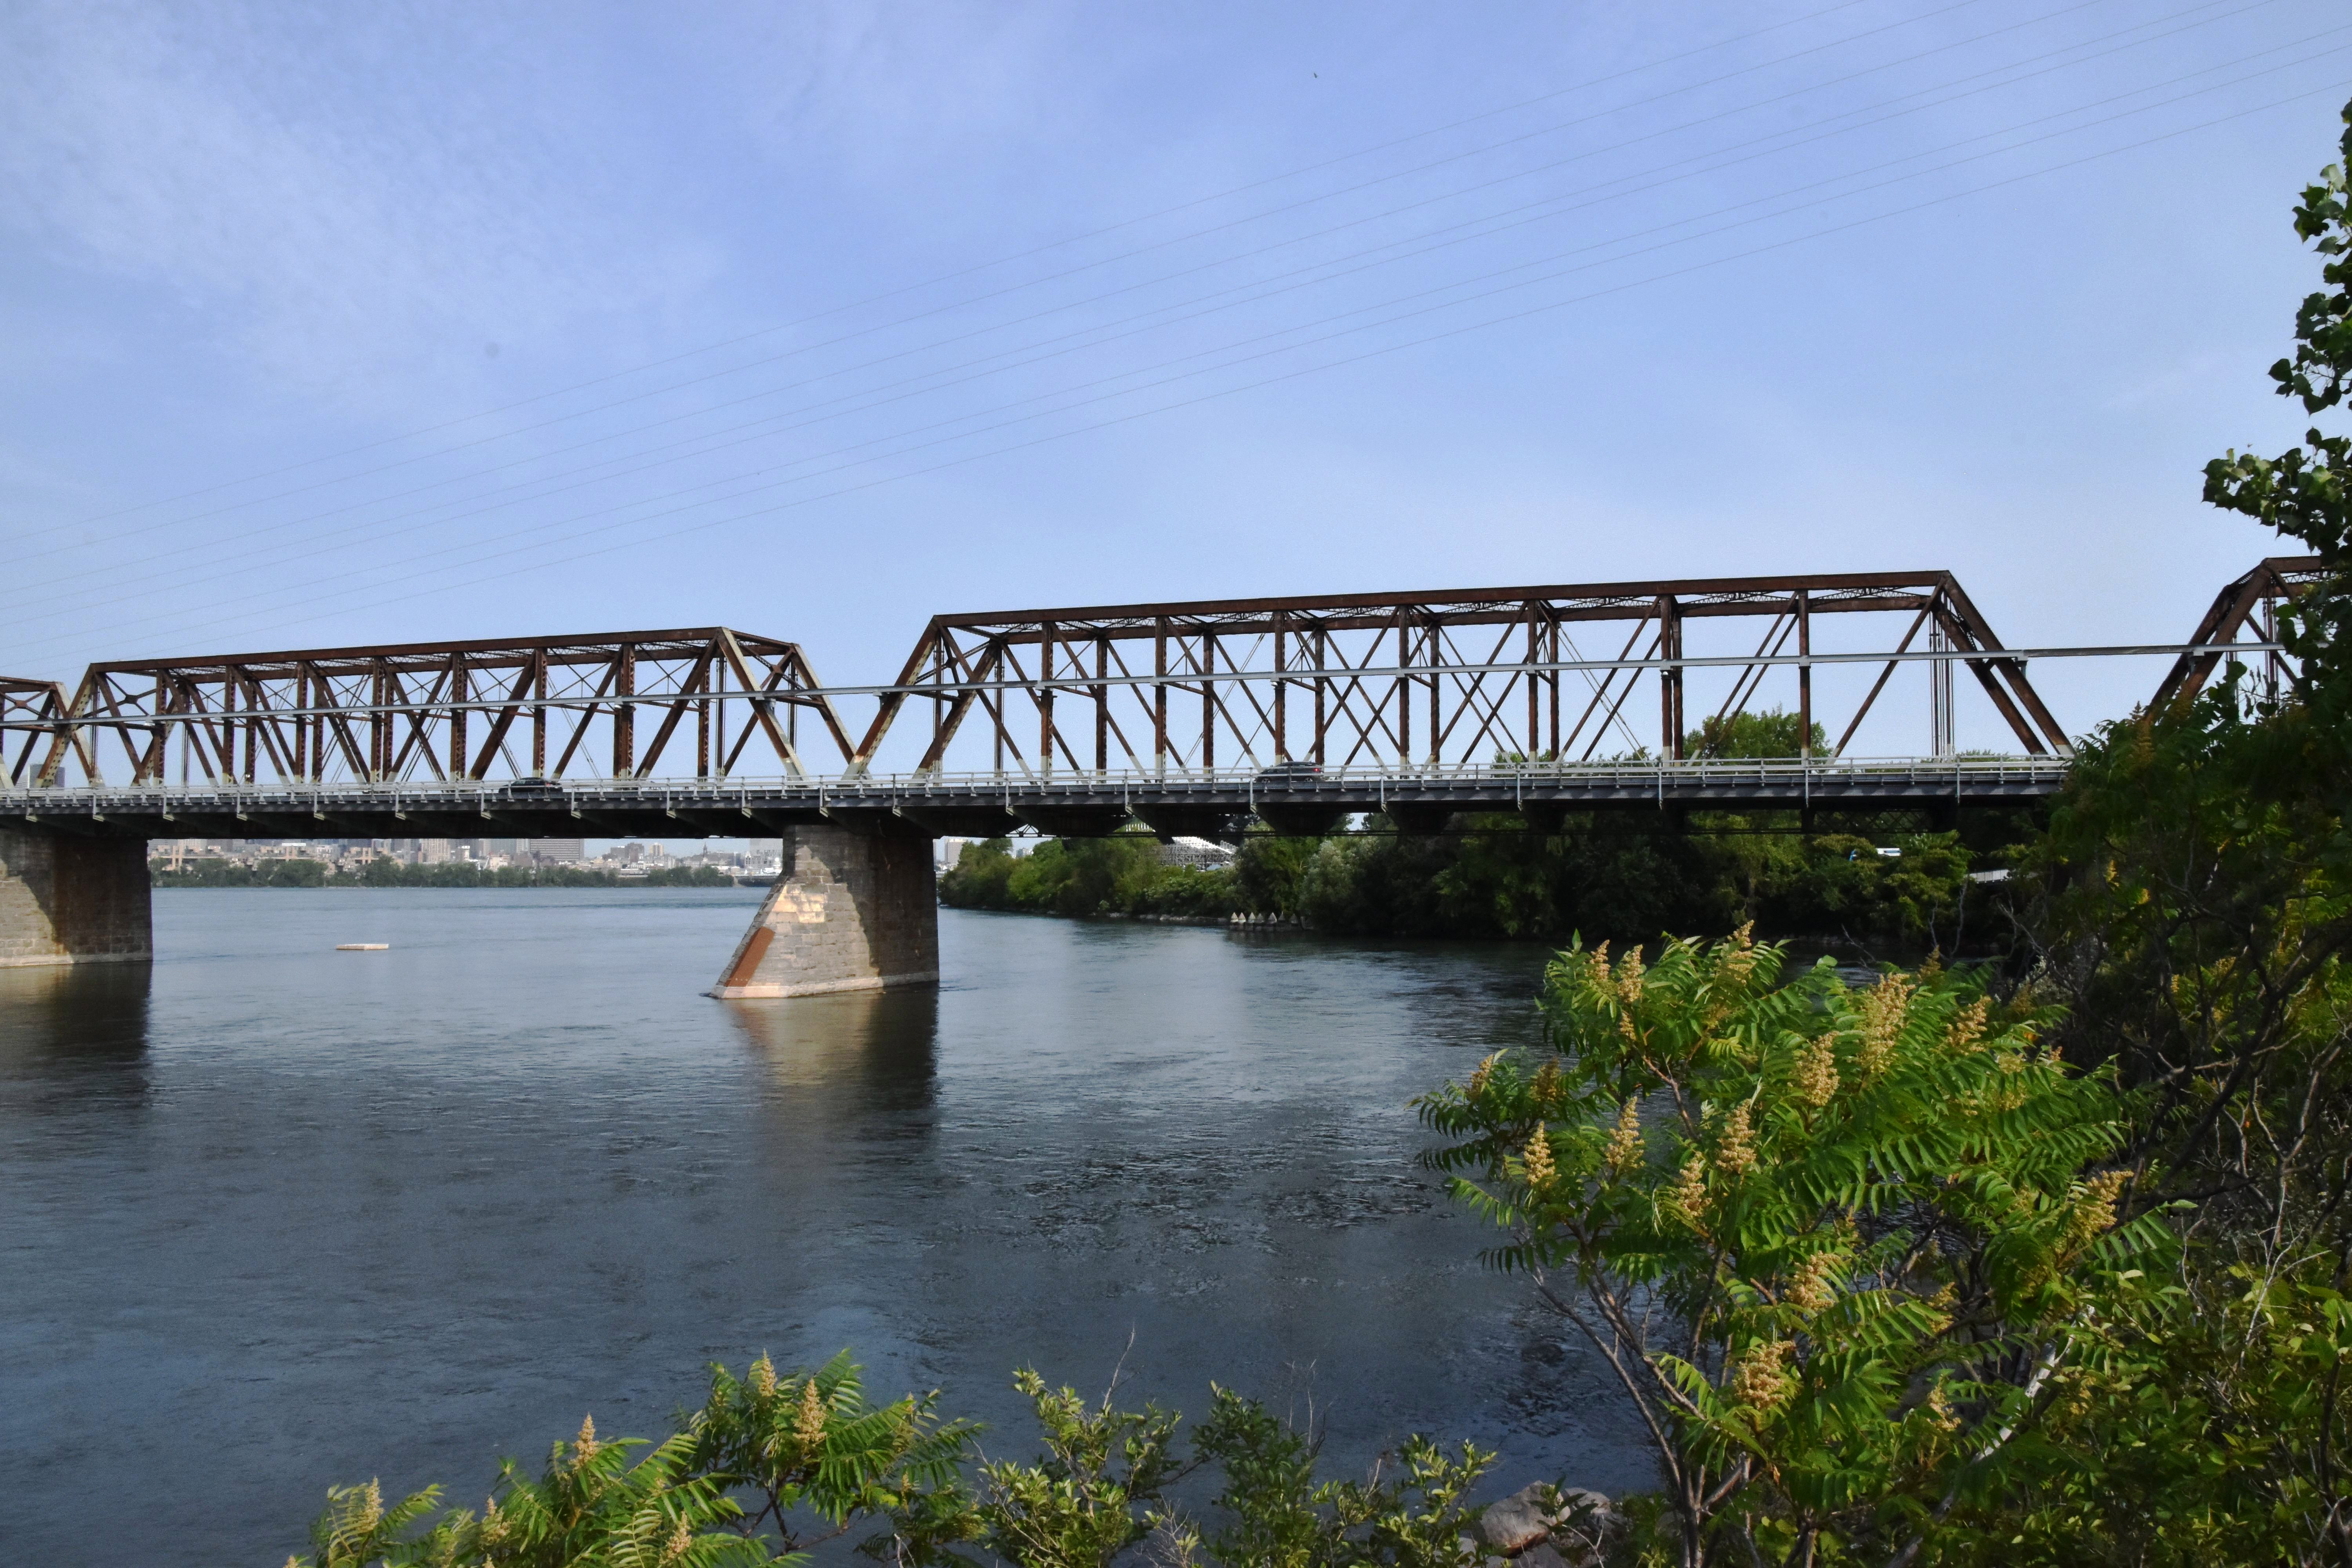
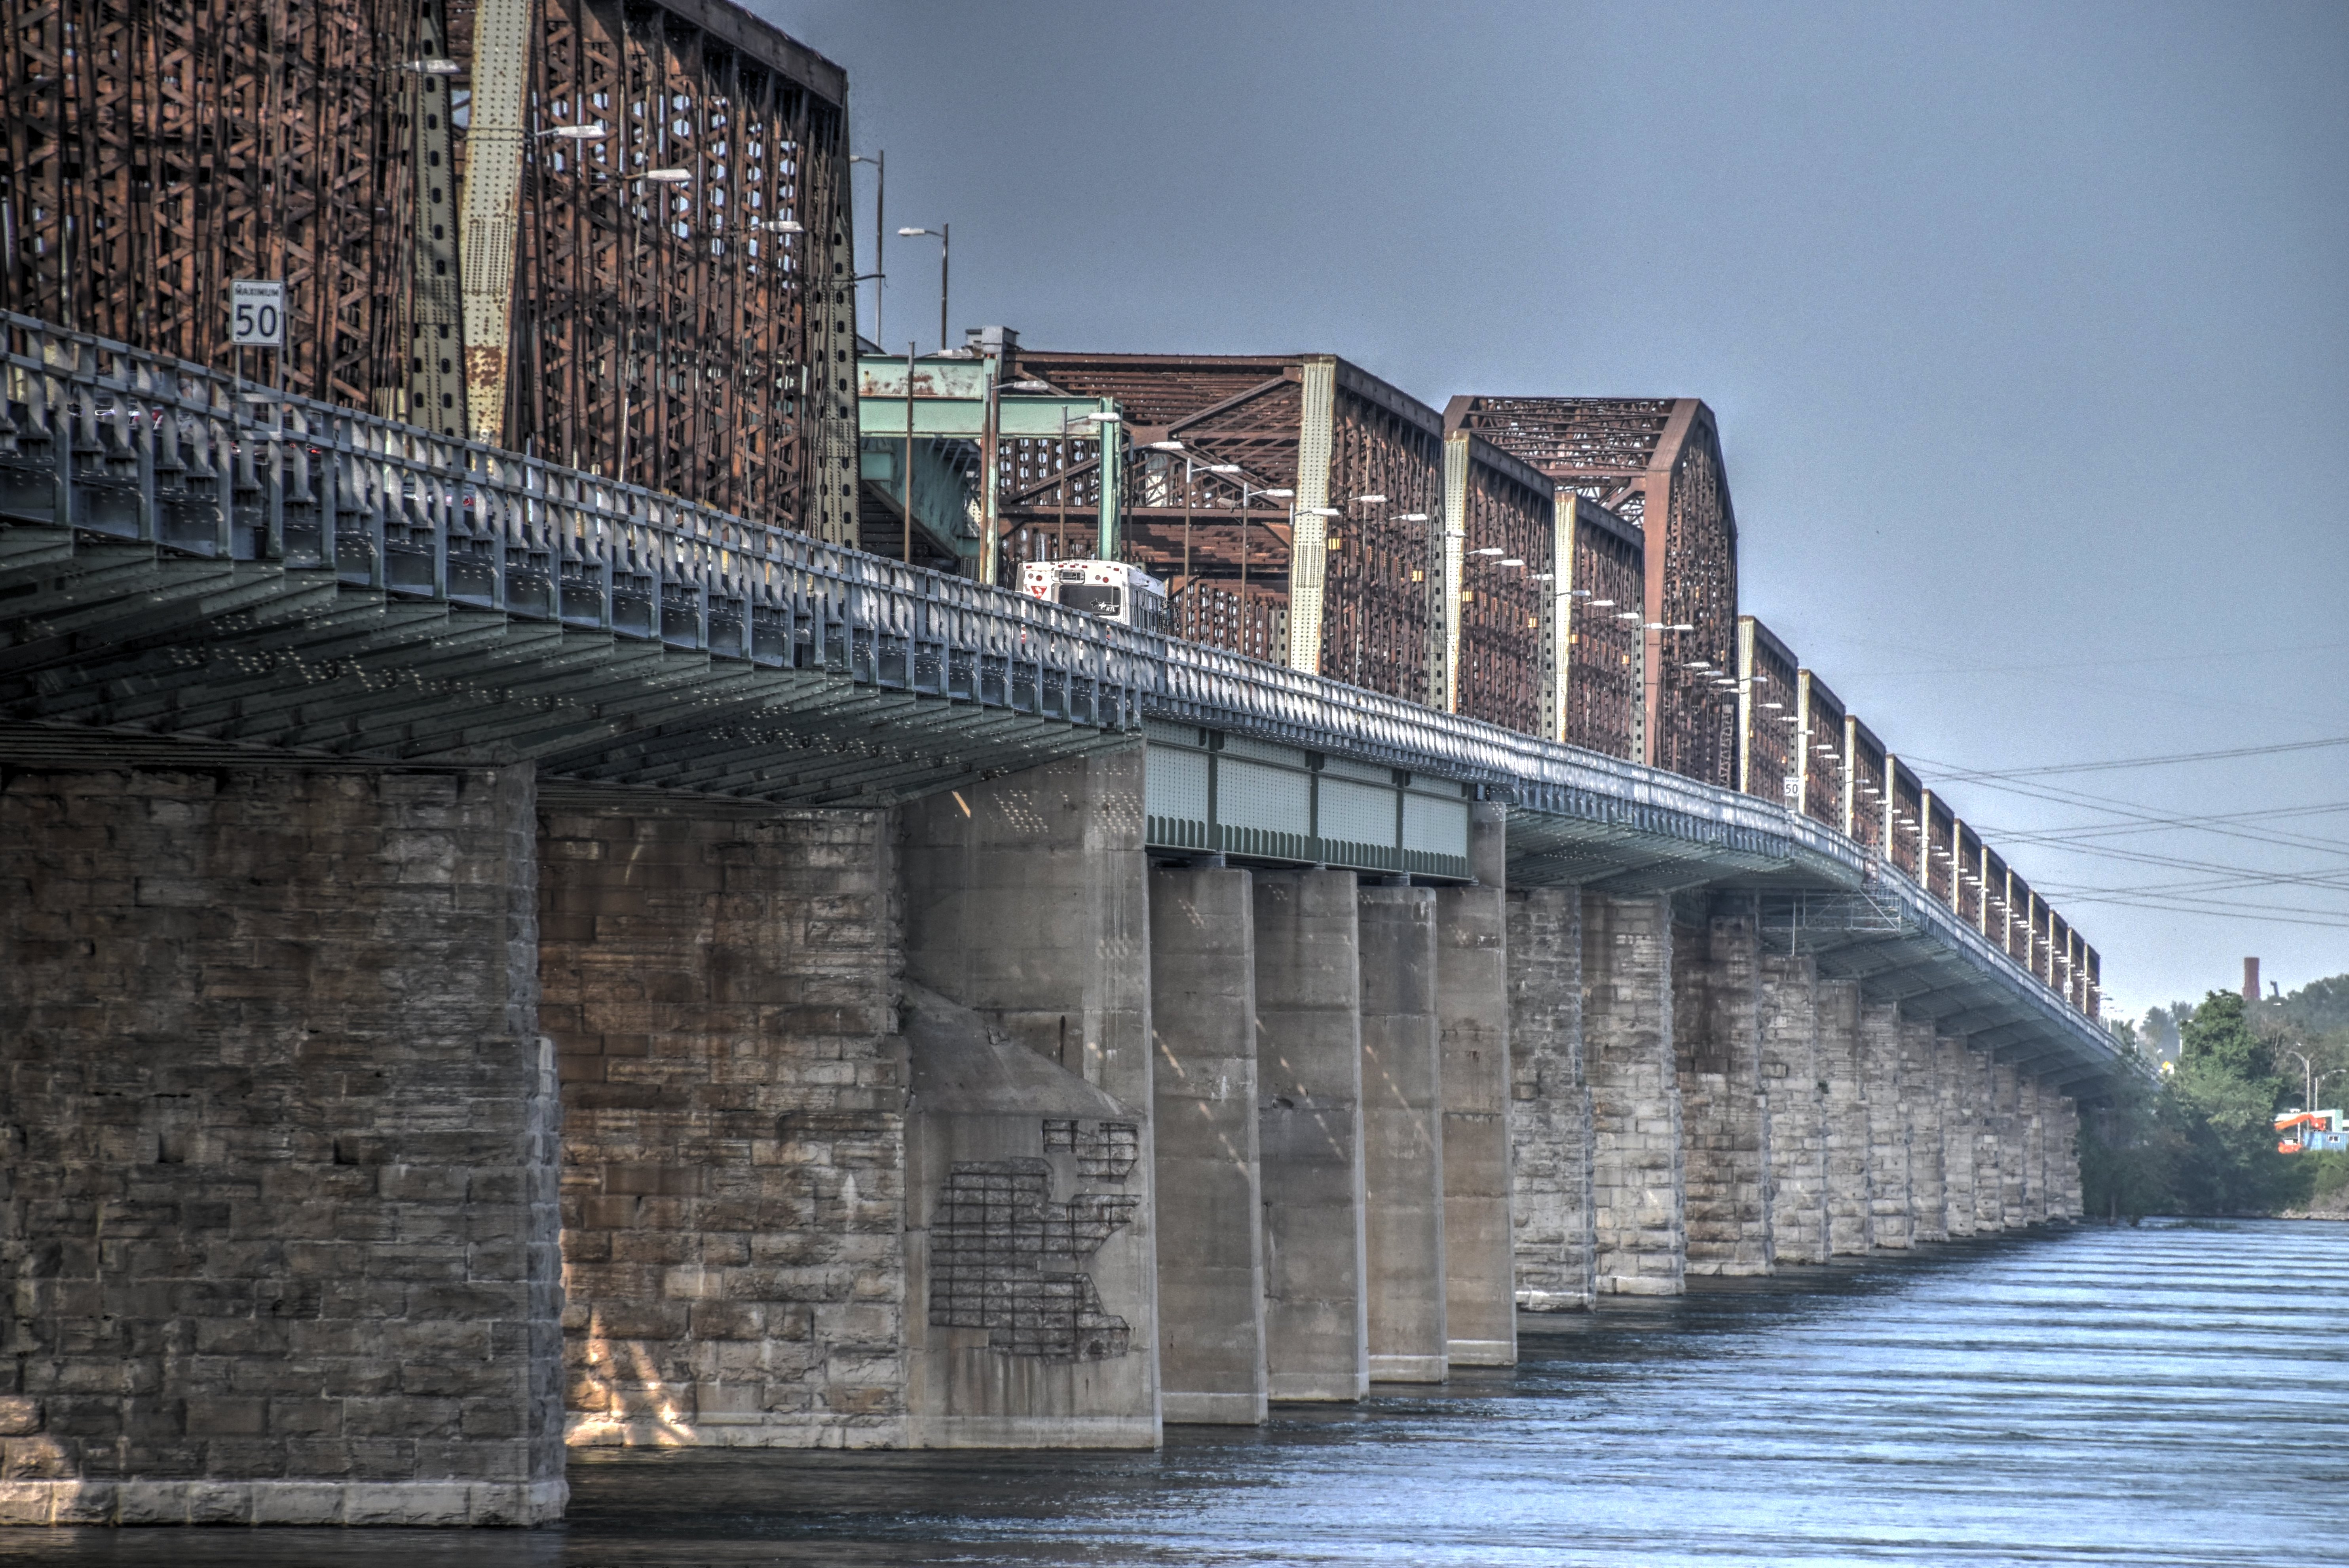
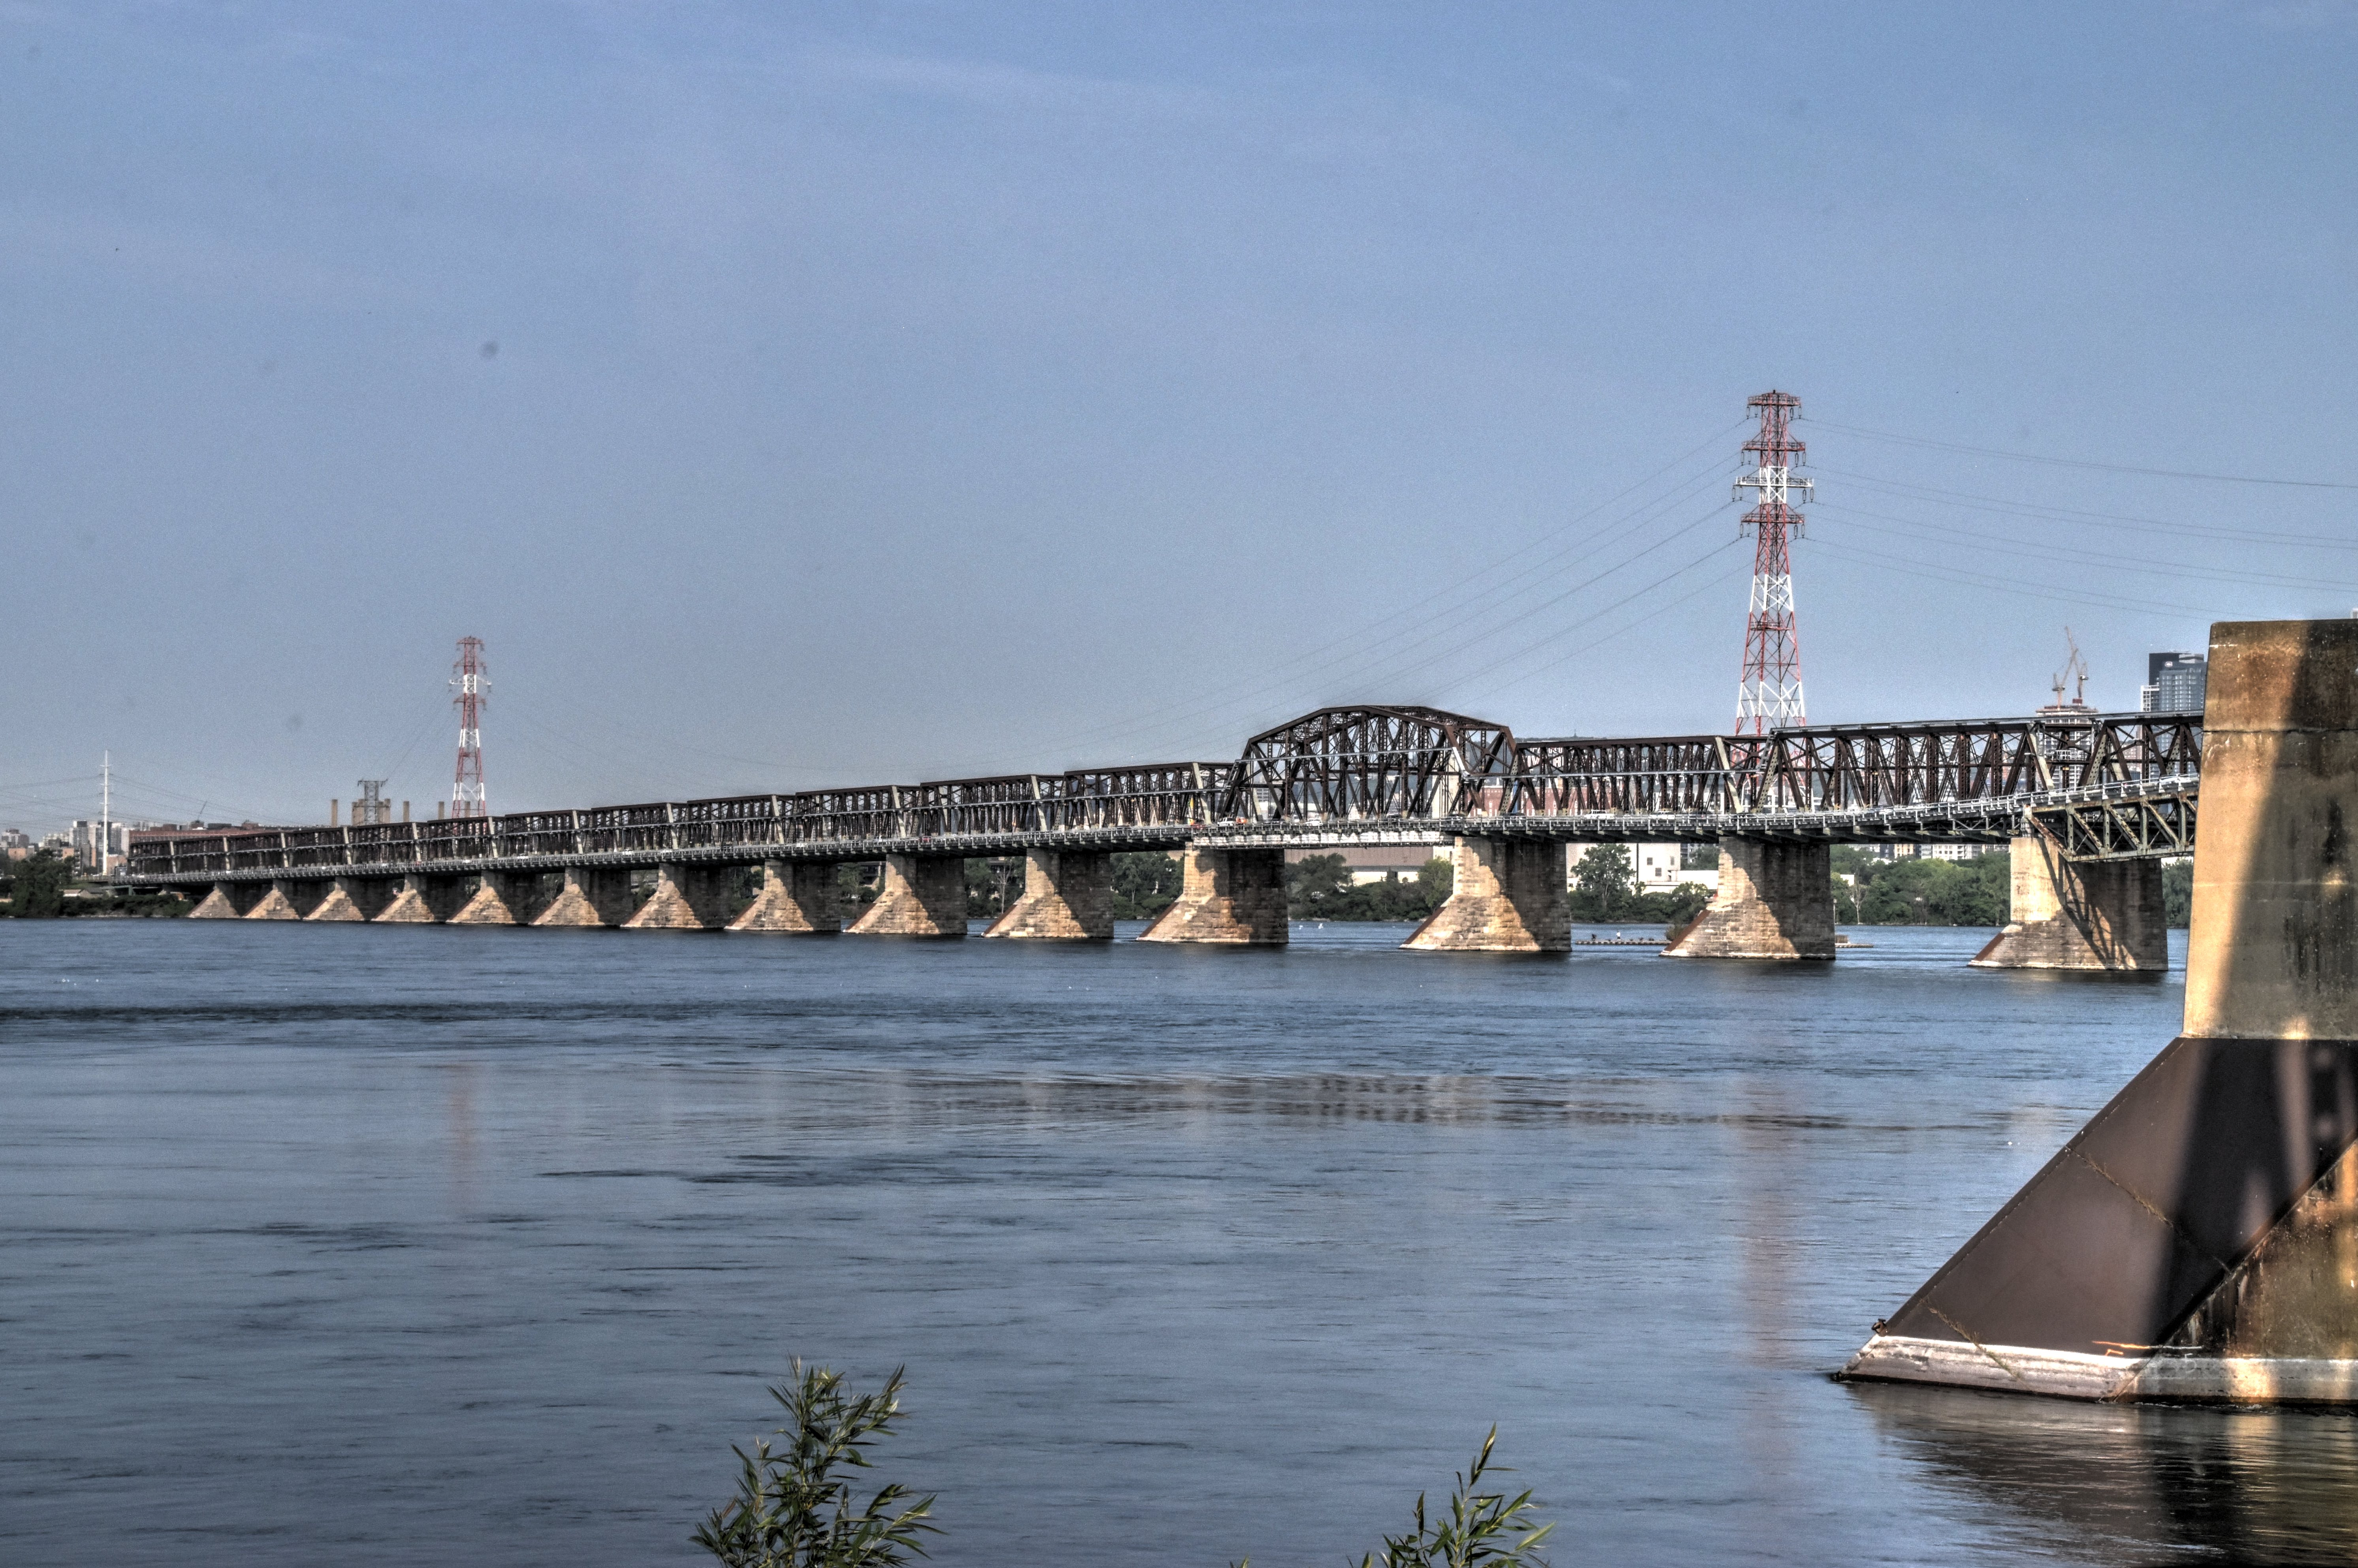
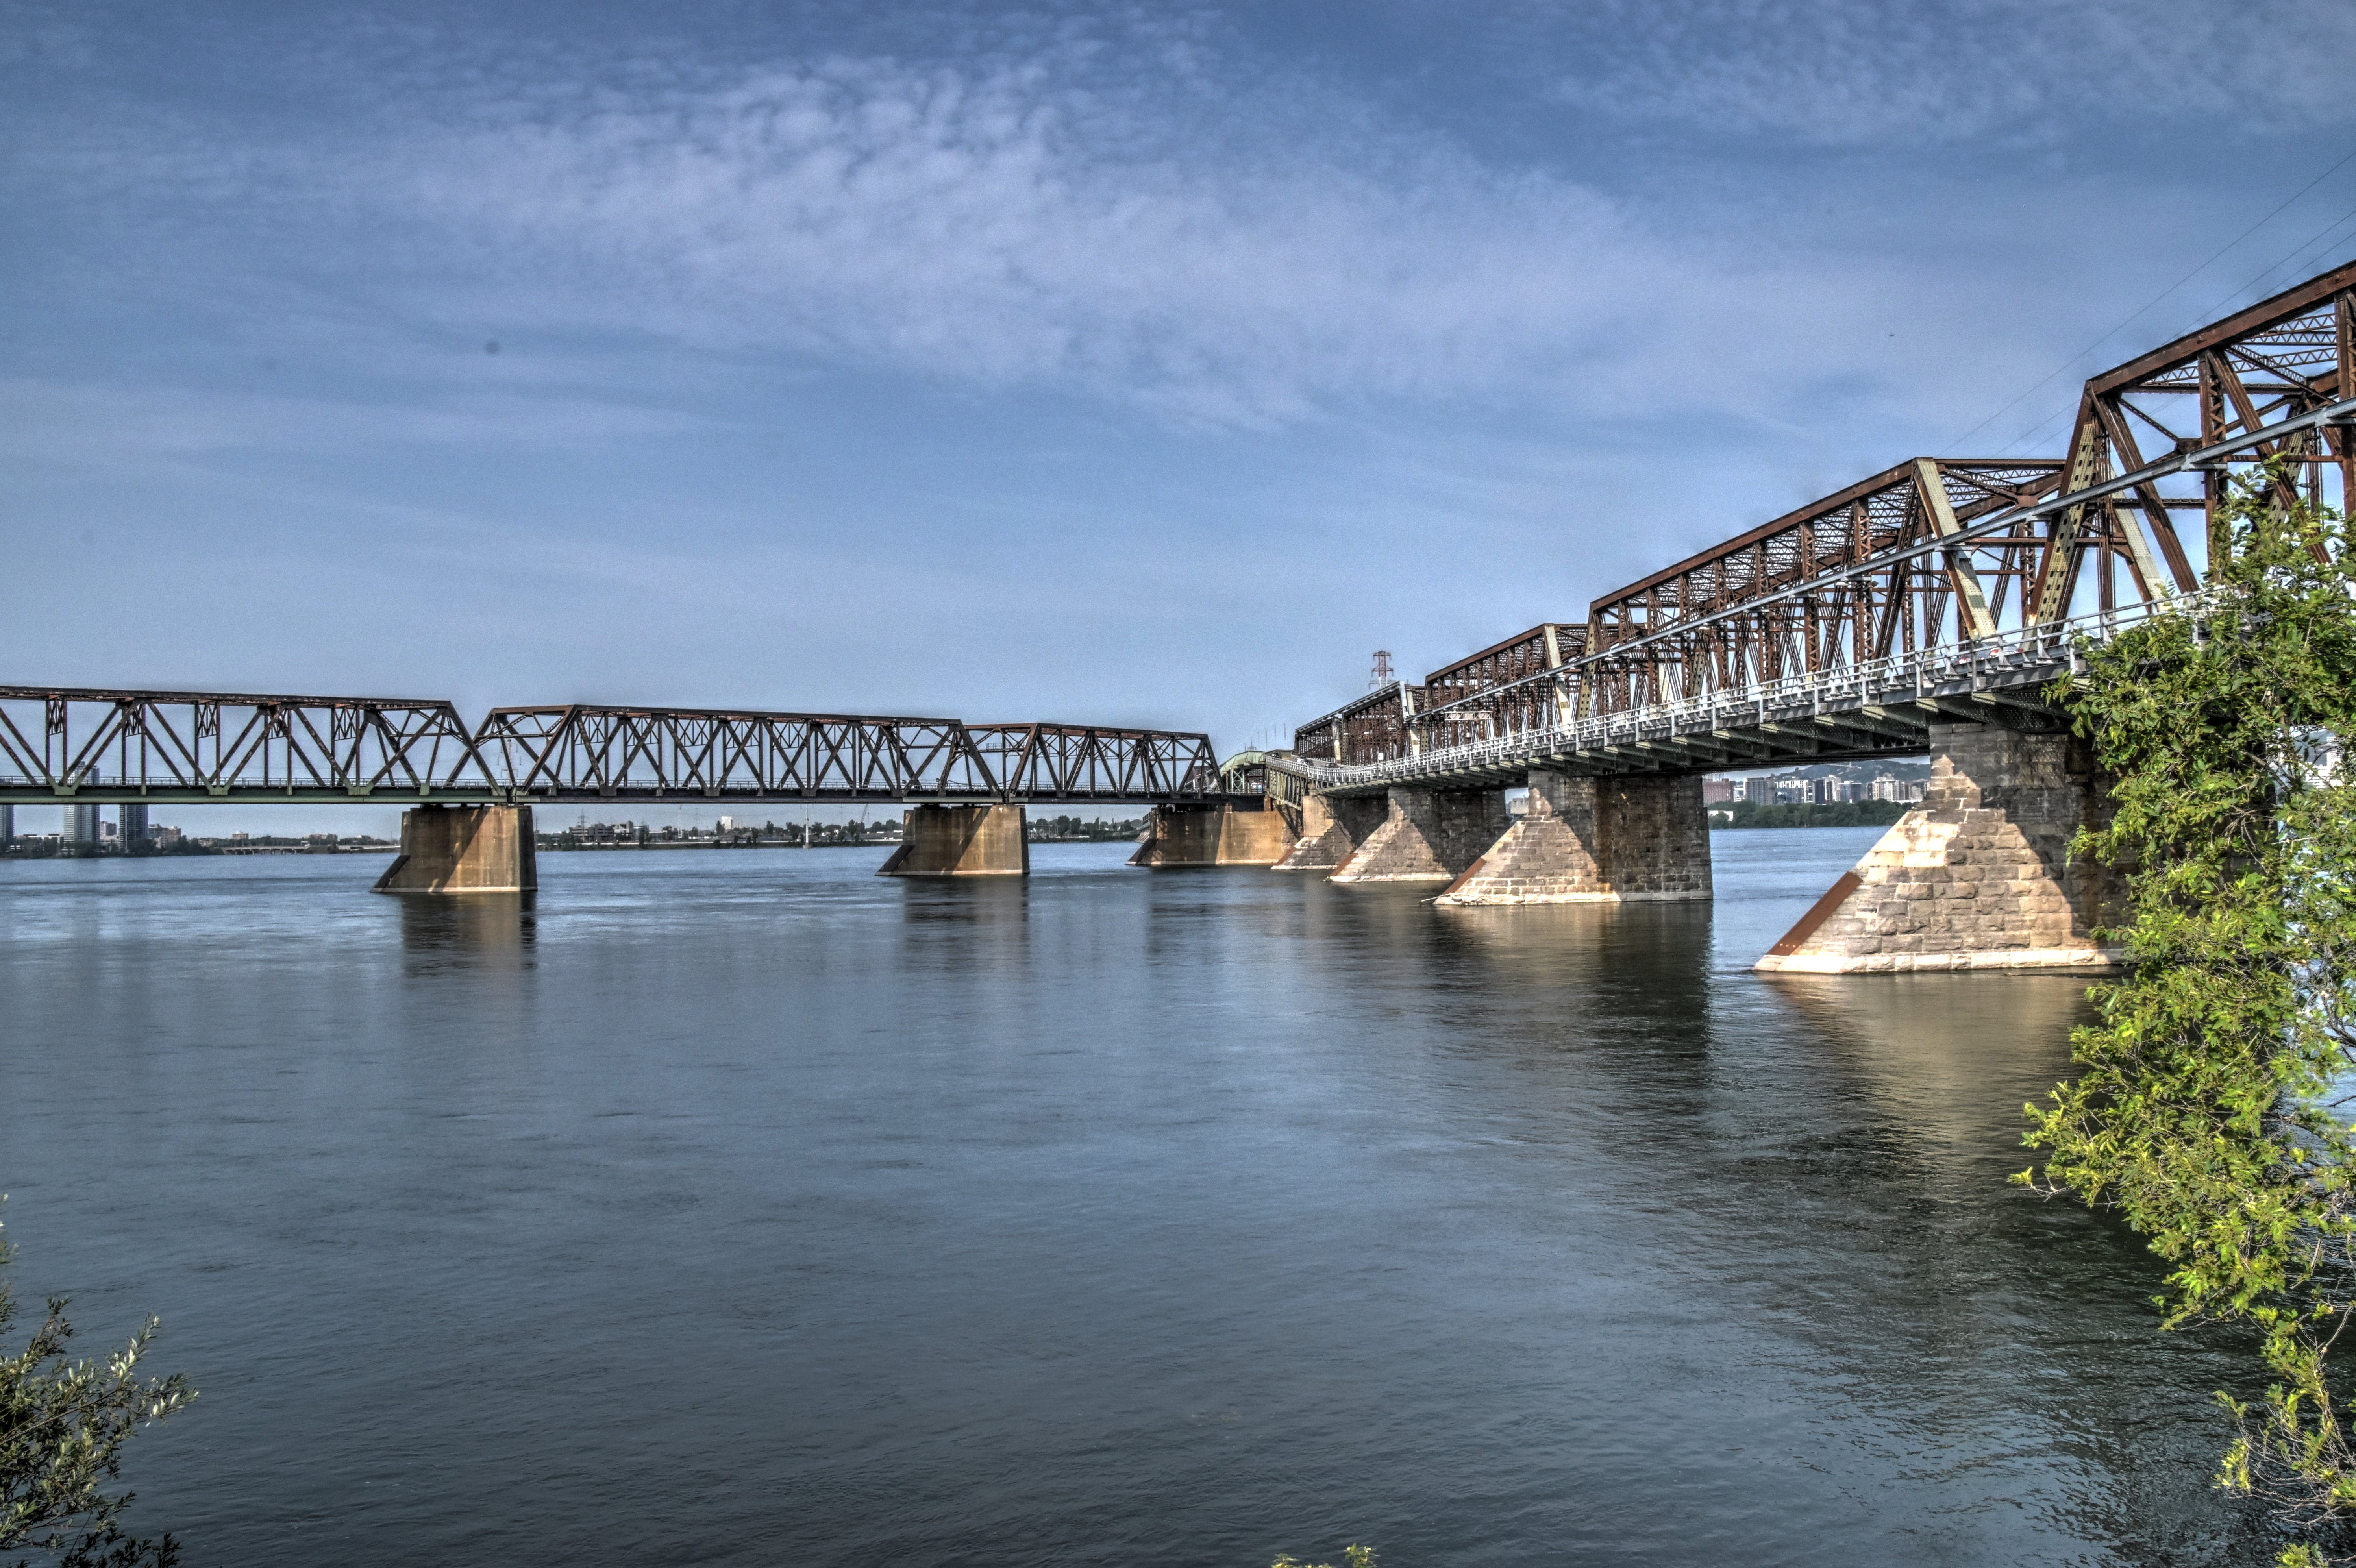
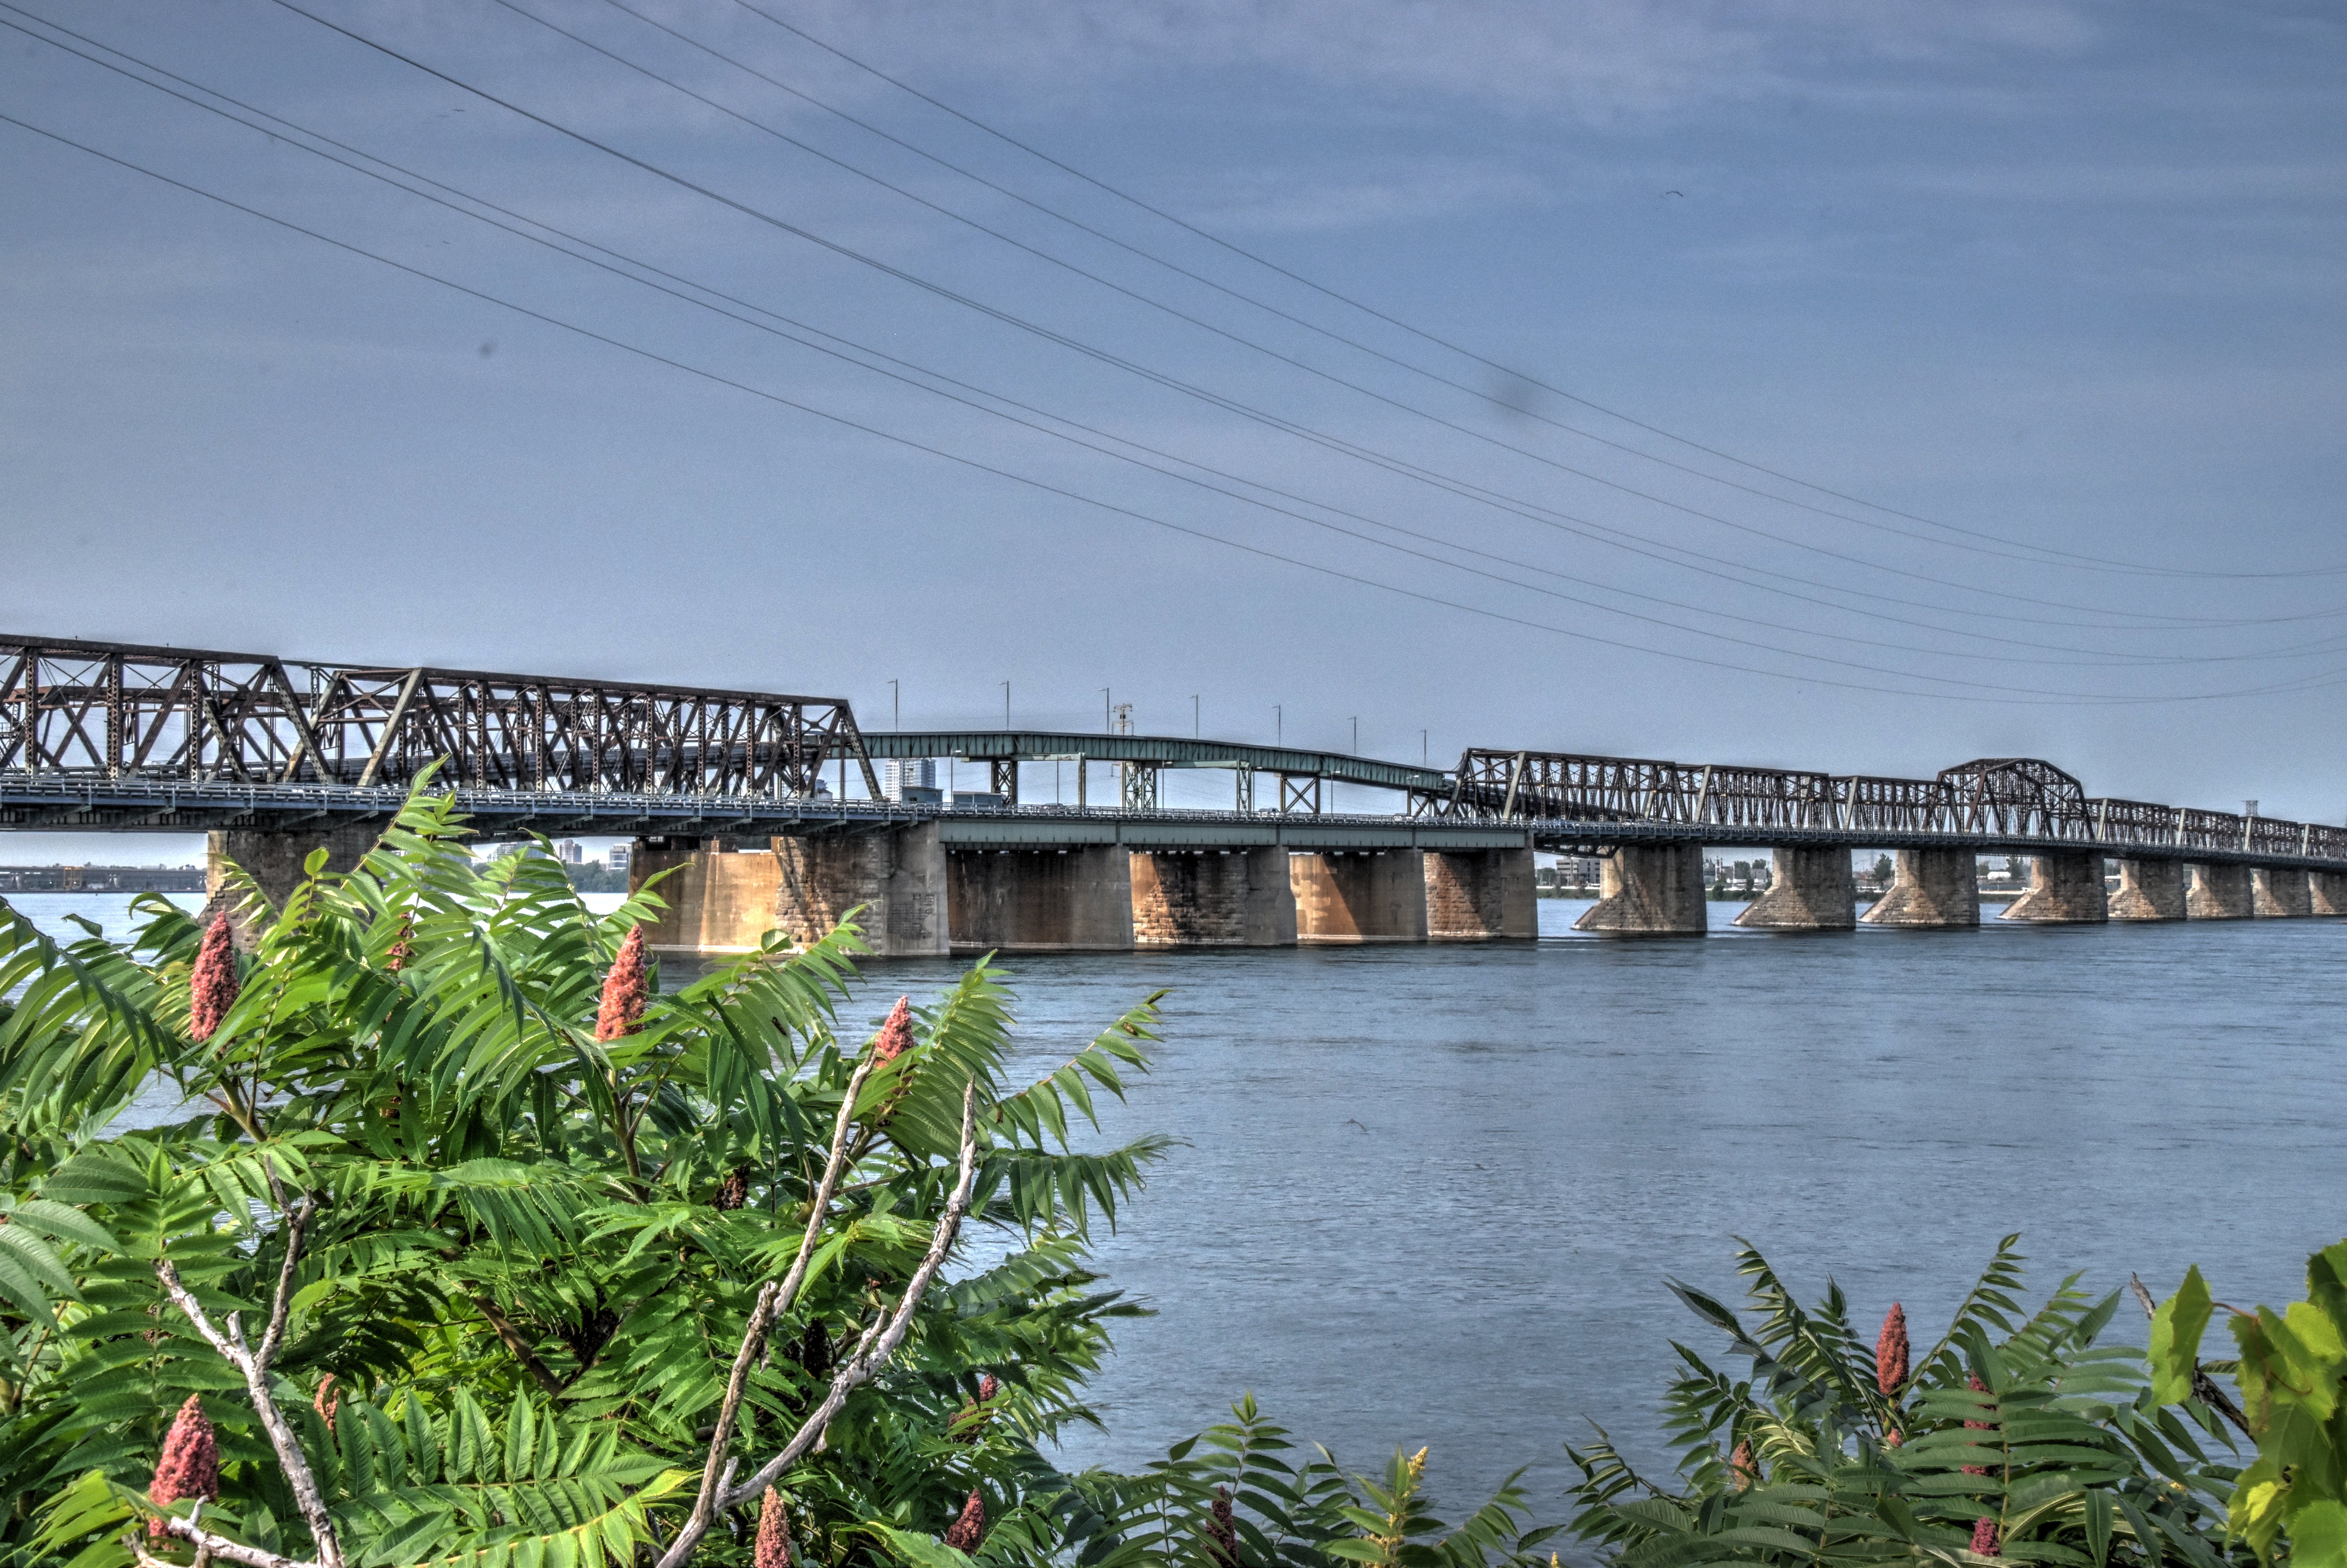
Elevation from northeast quadrant.
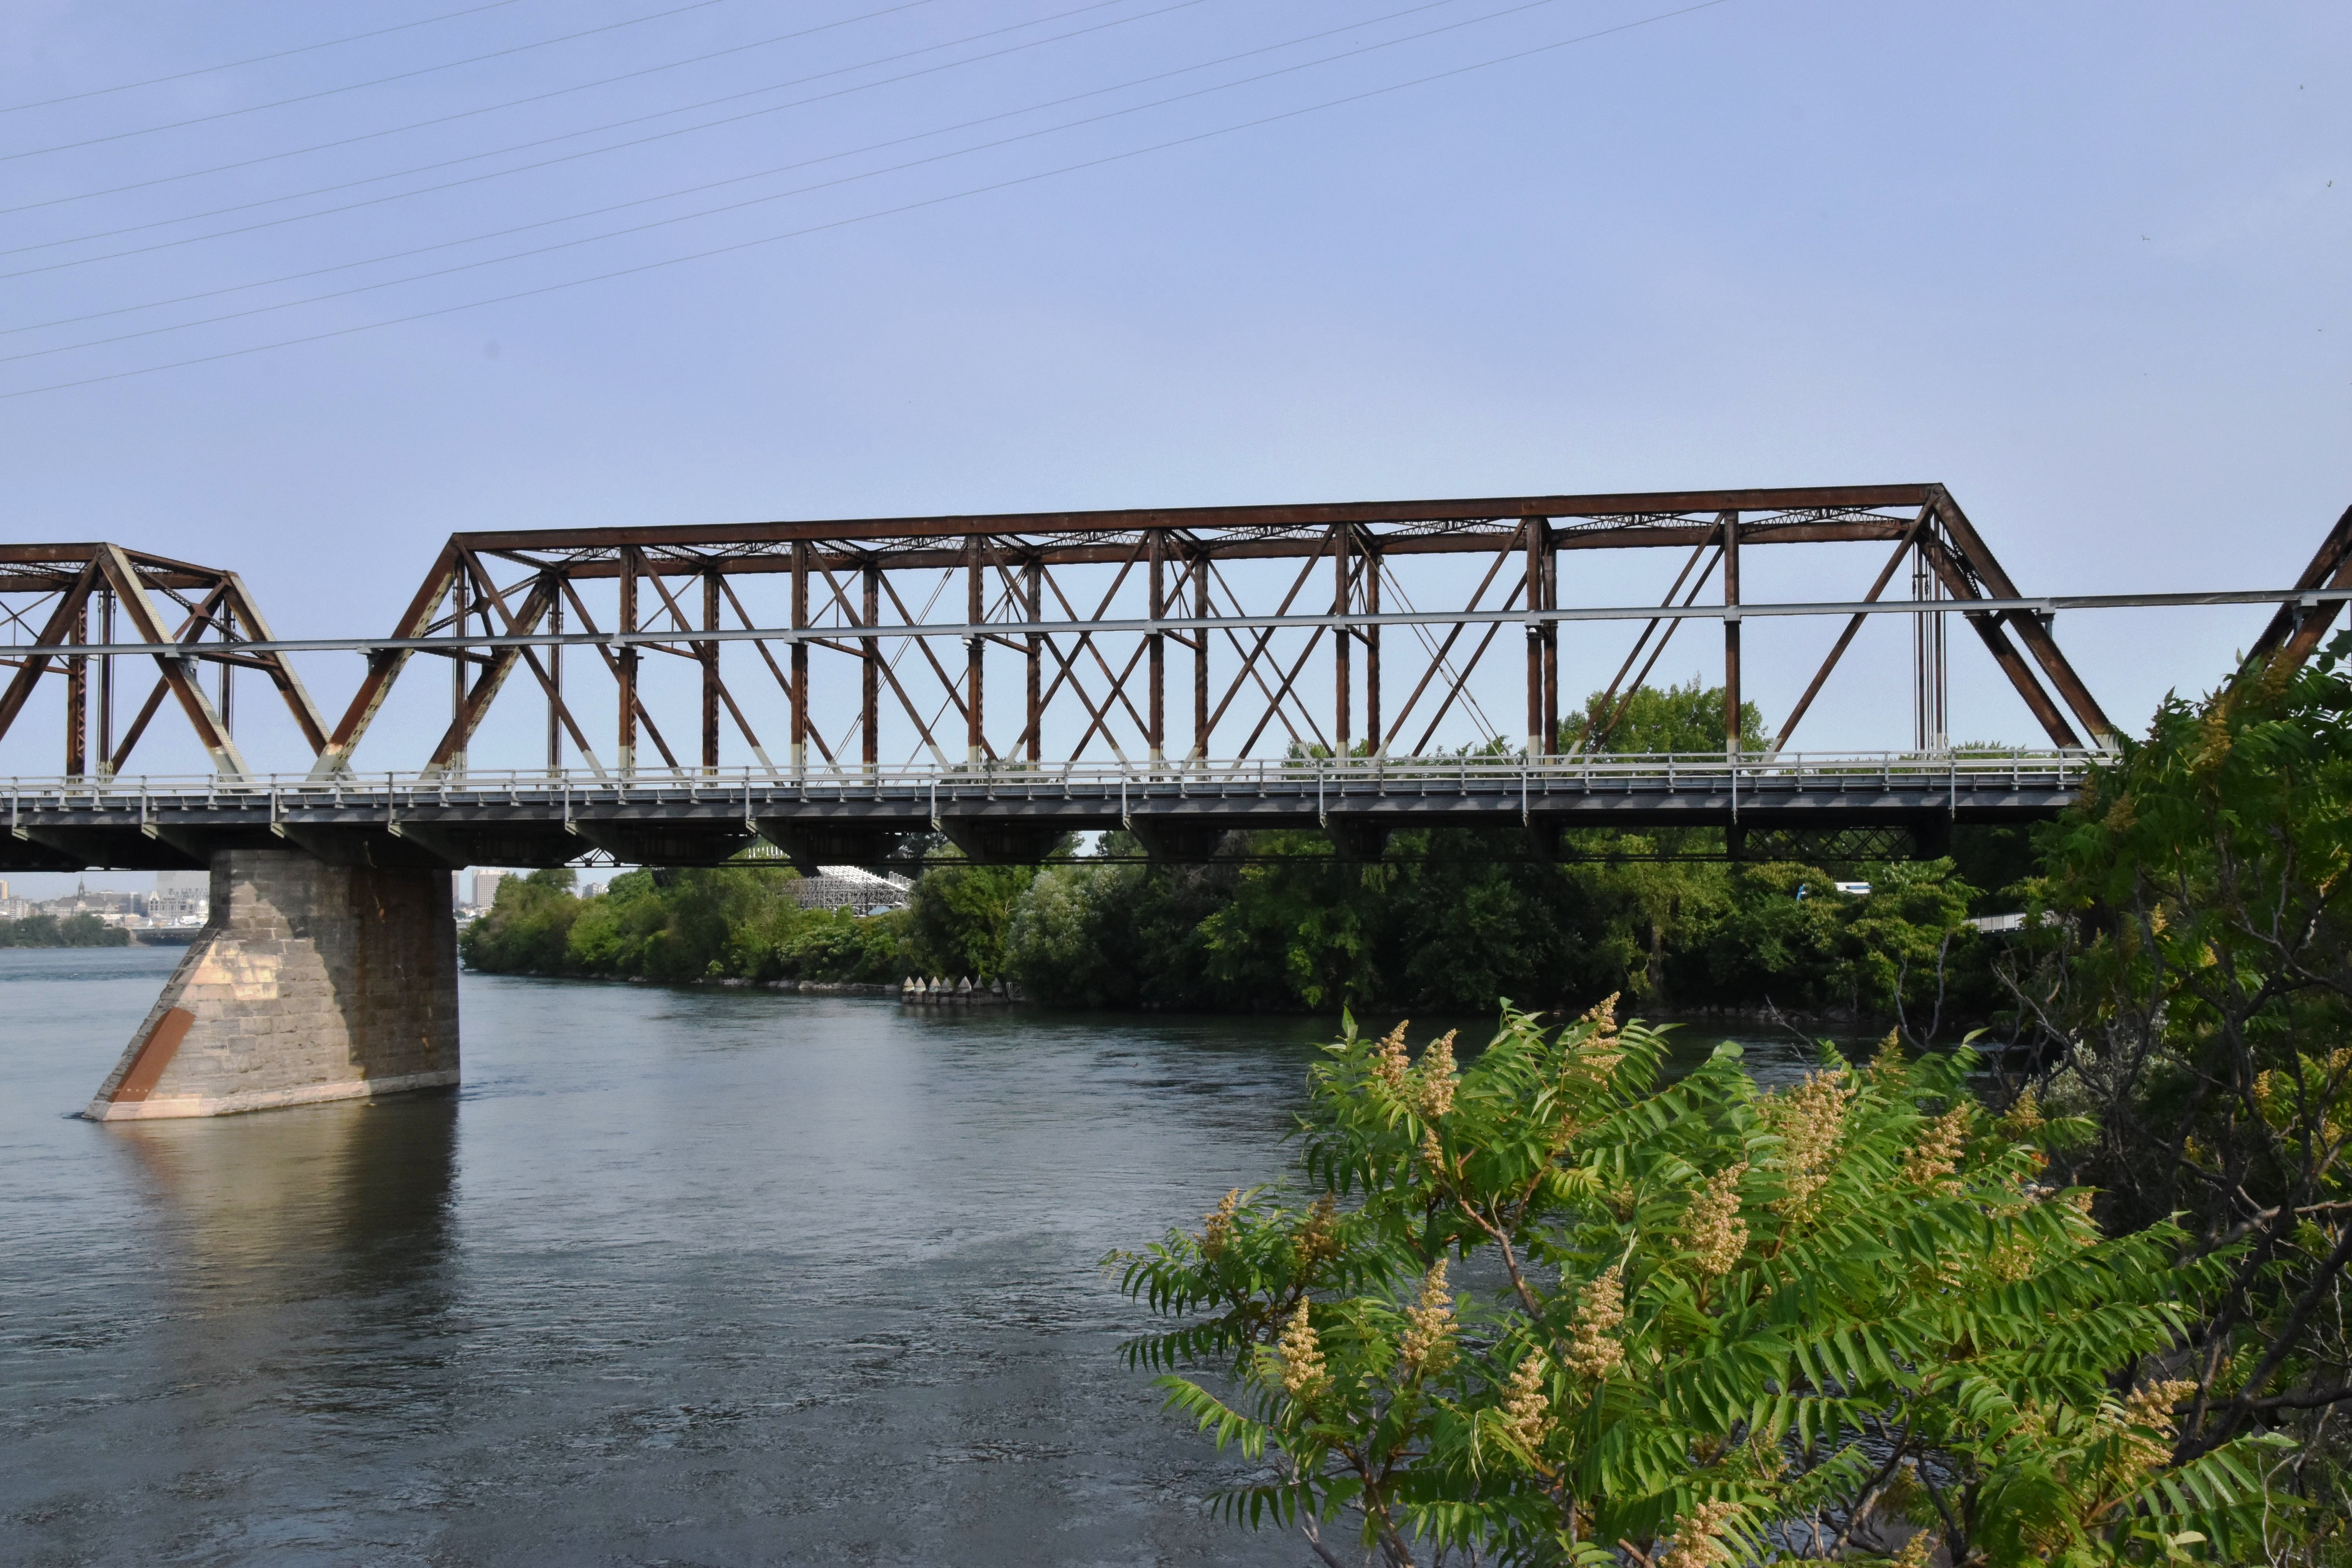
![]()
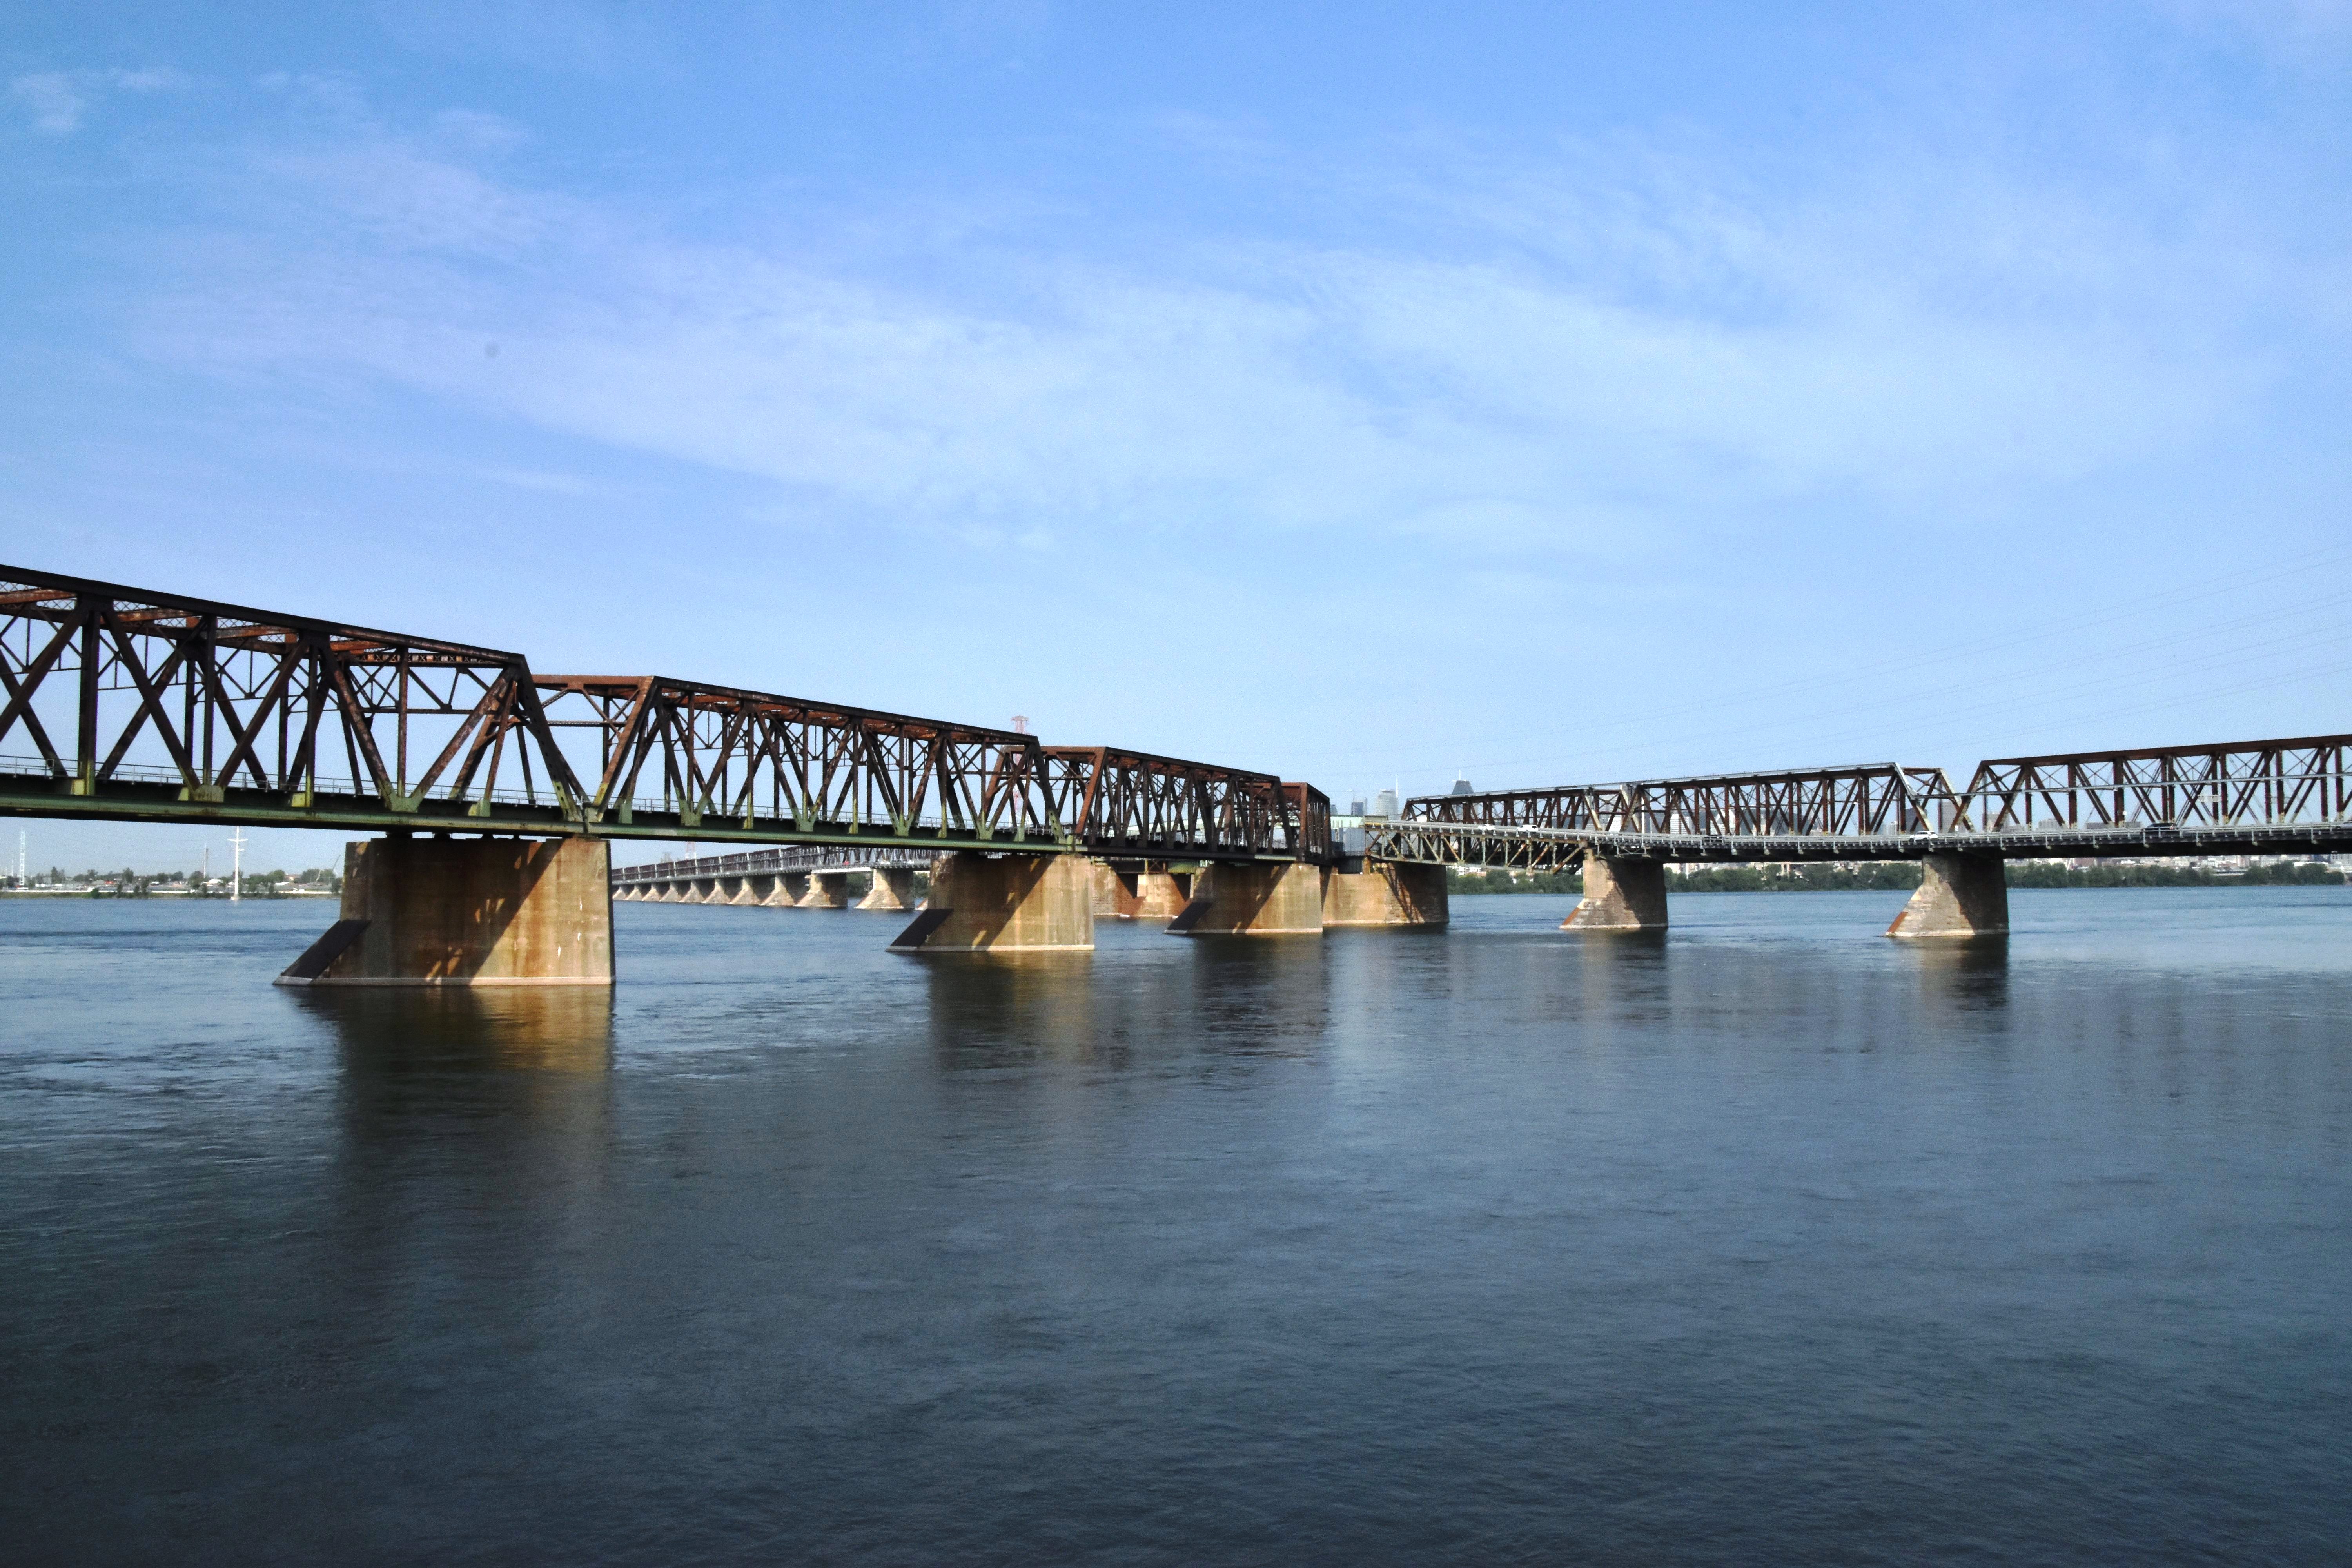
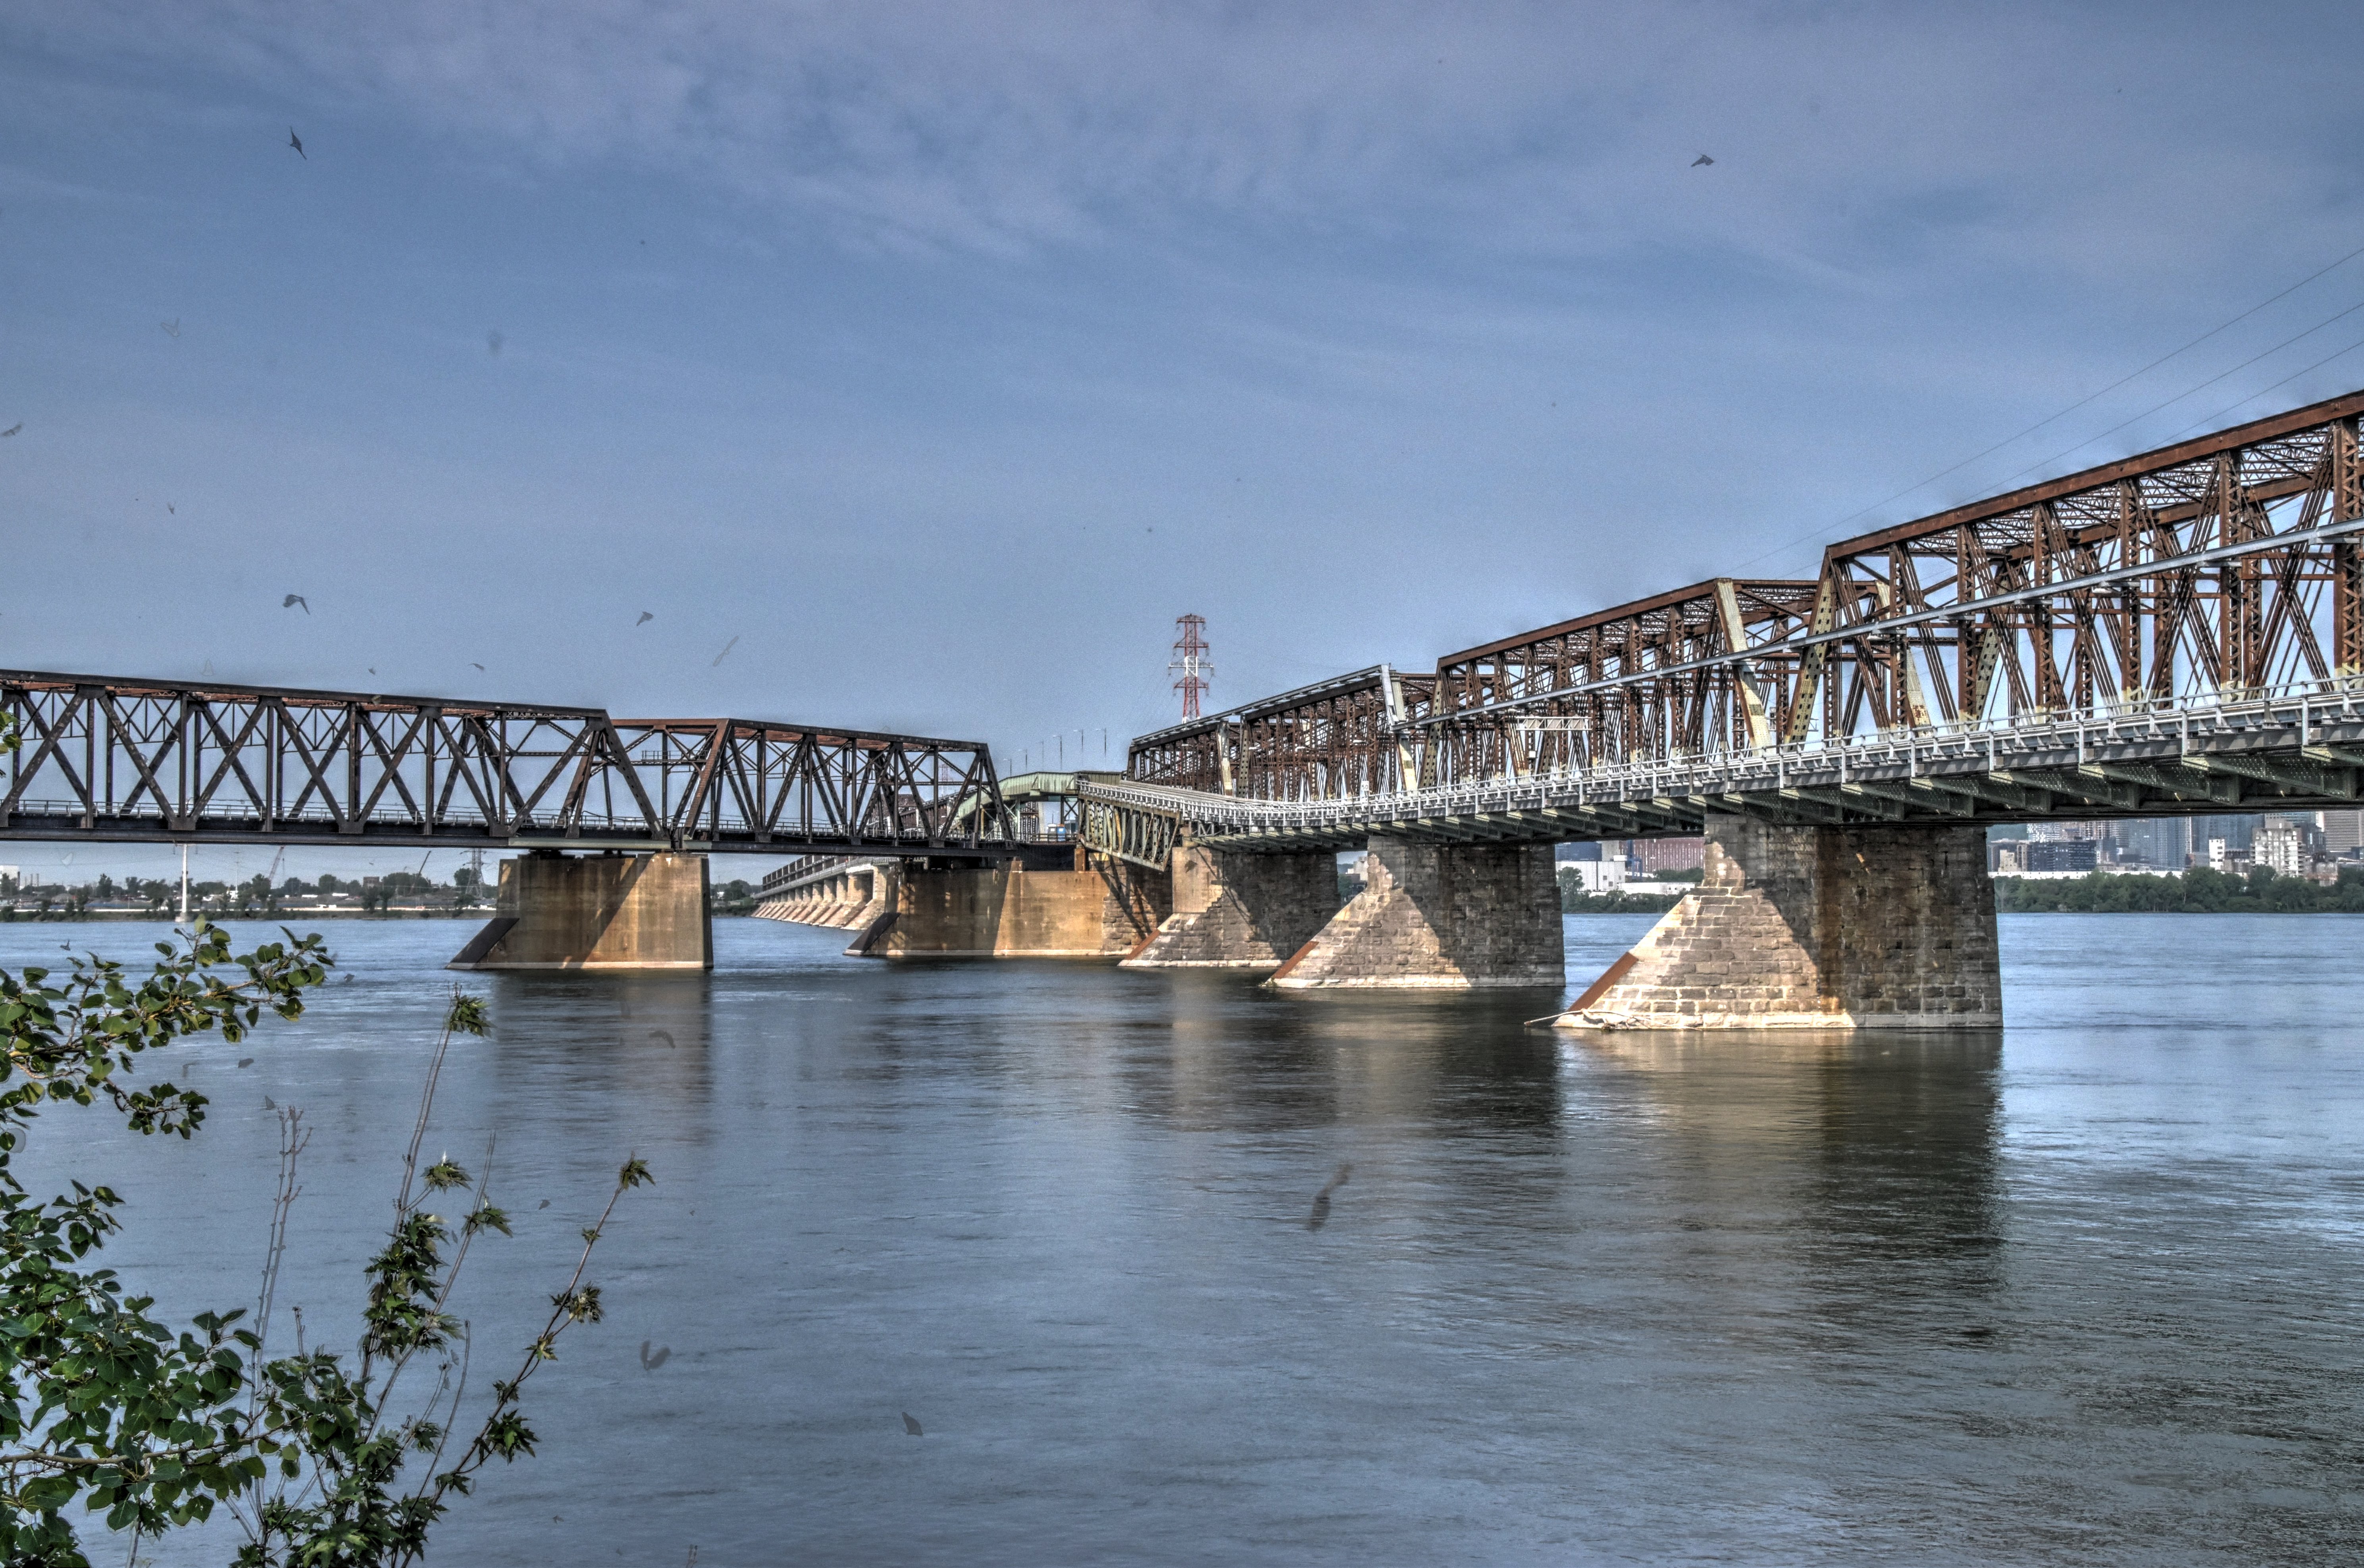
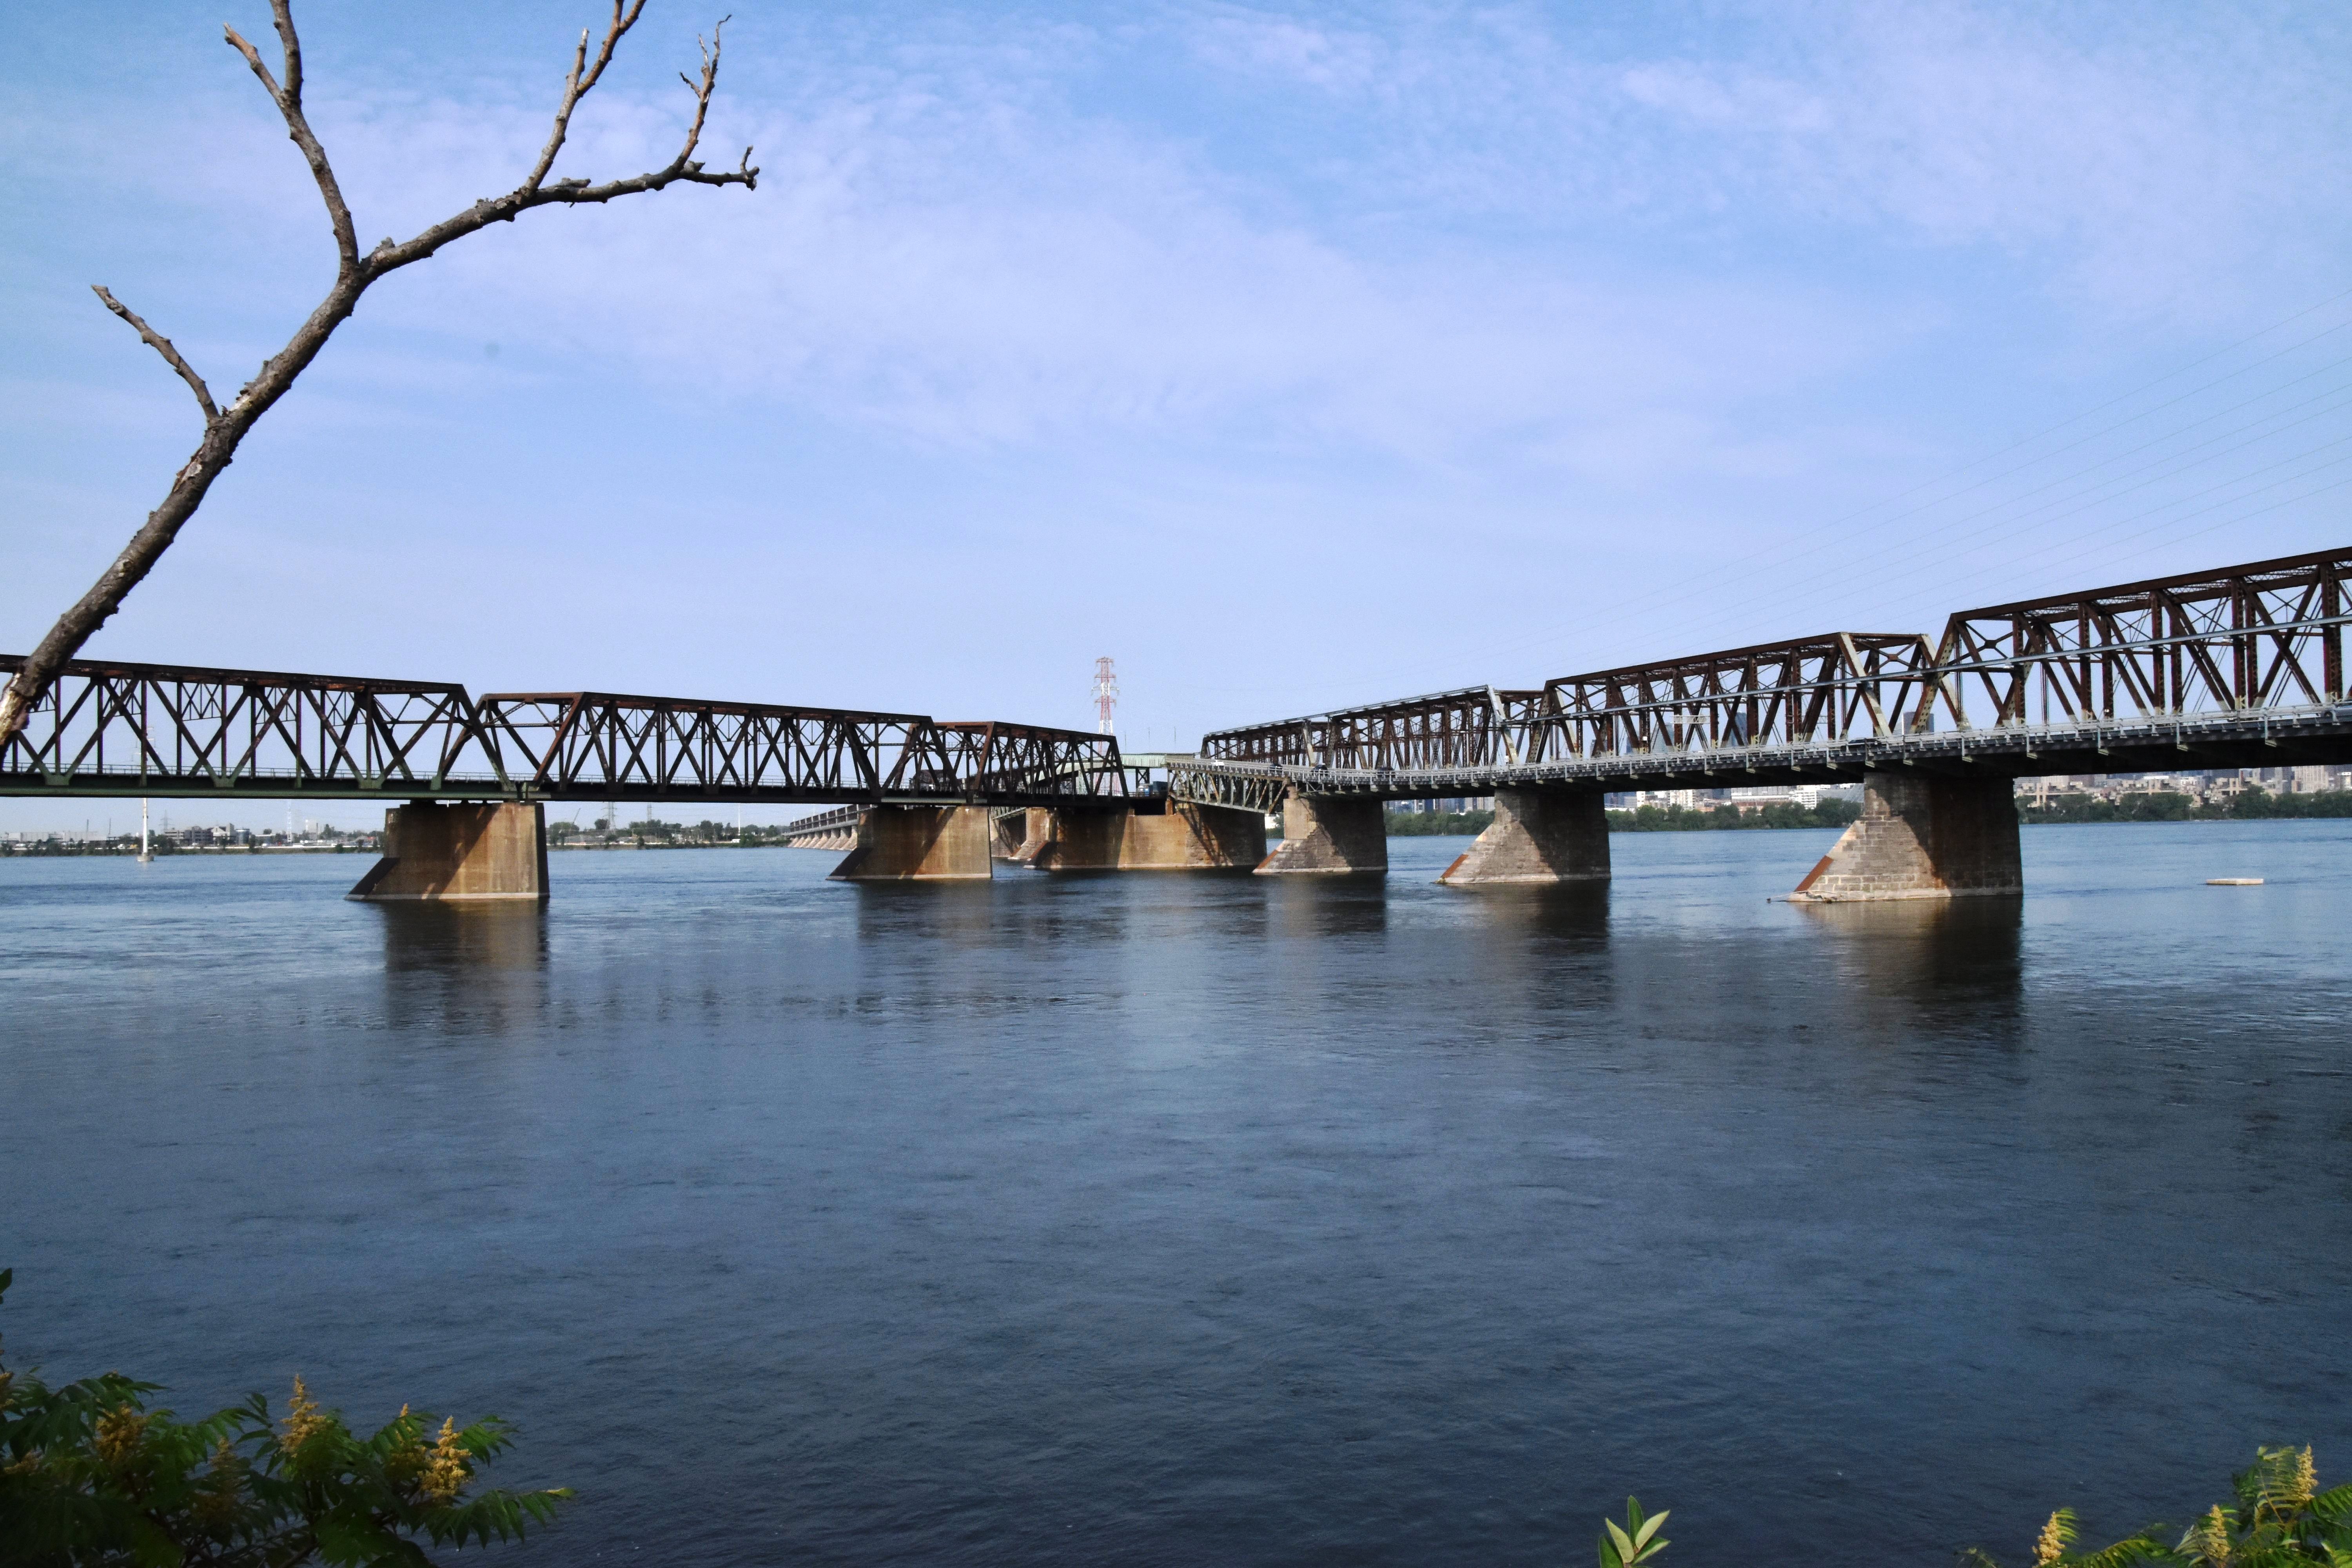
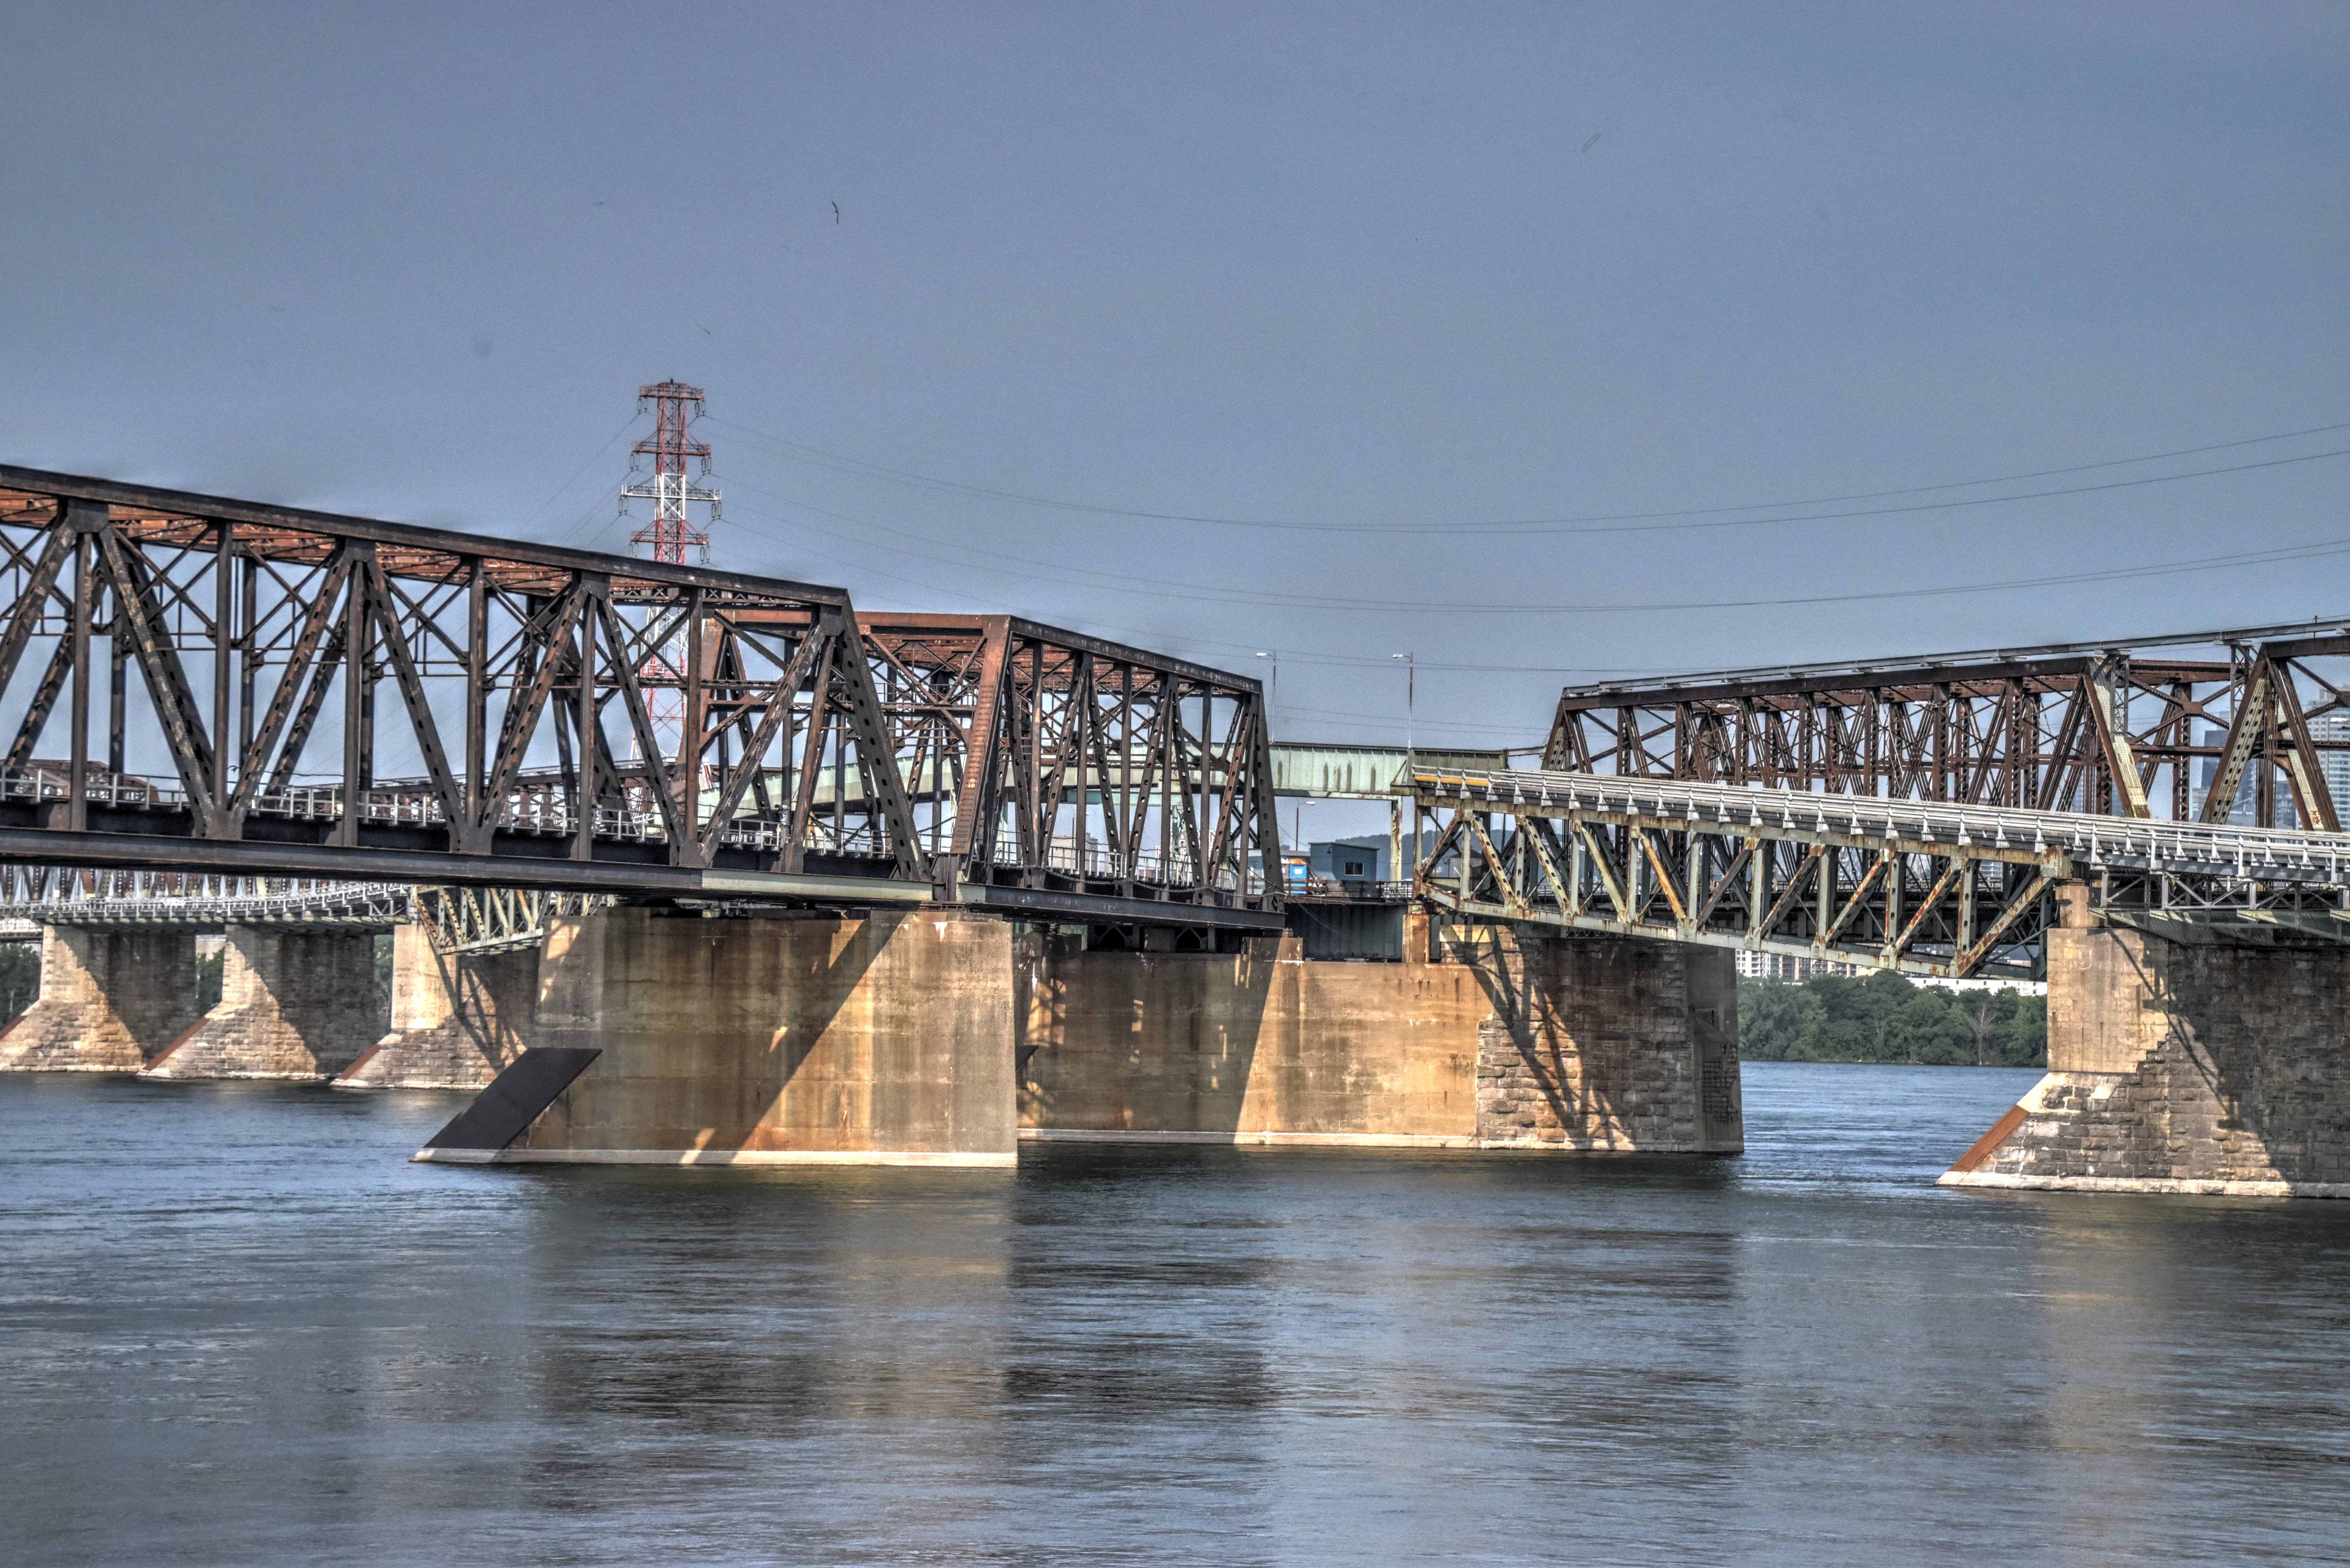
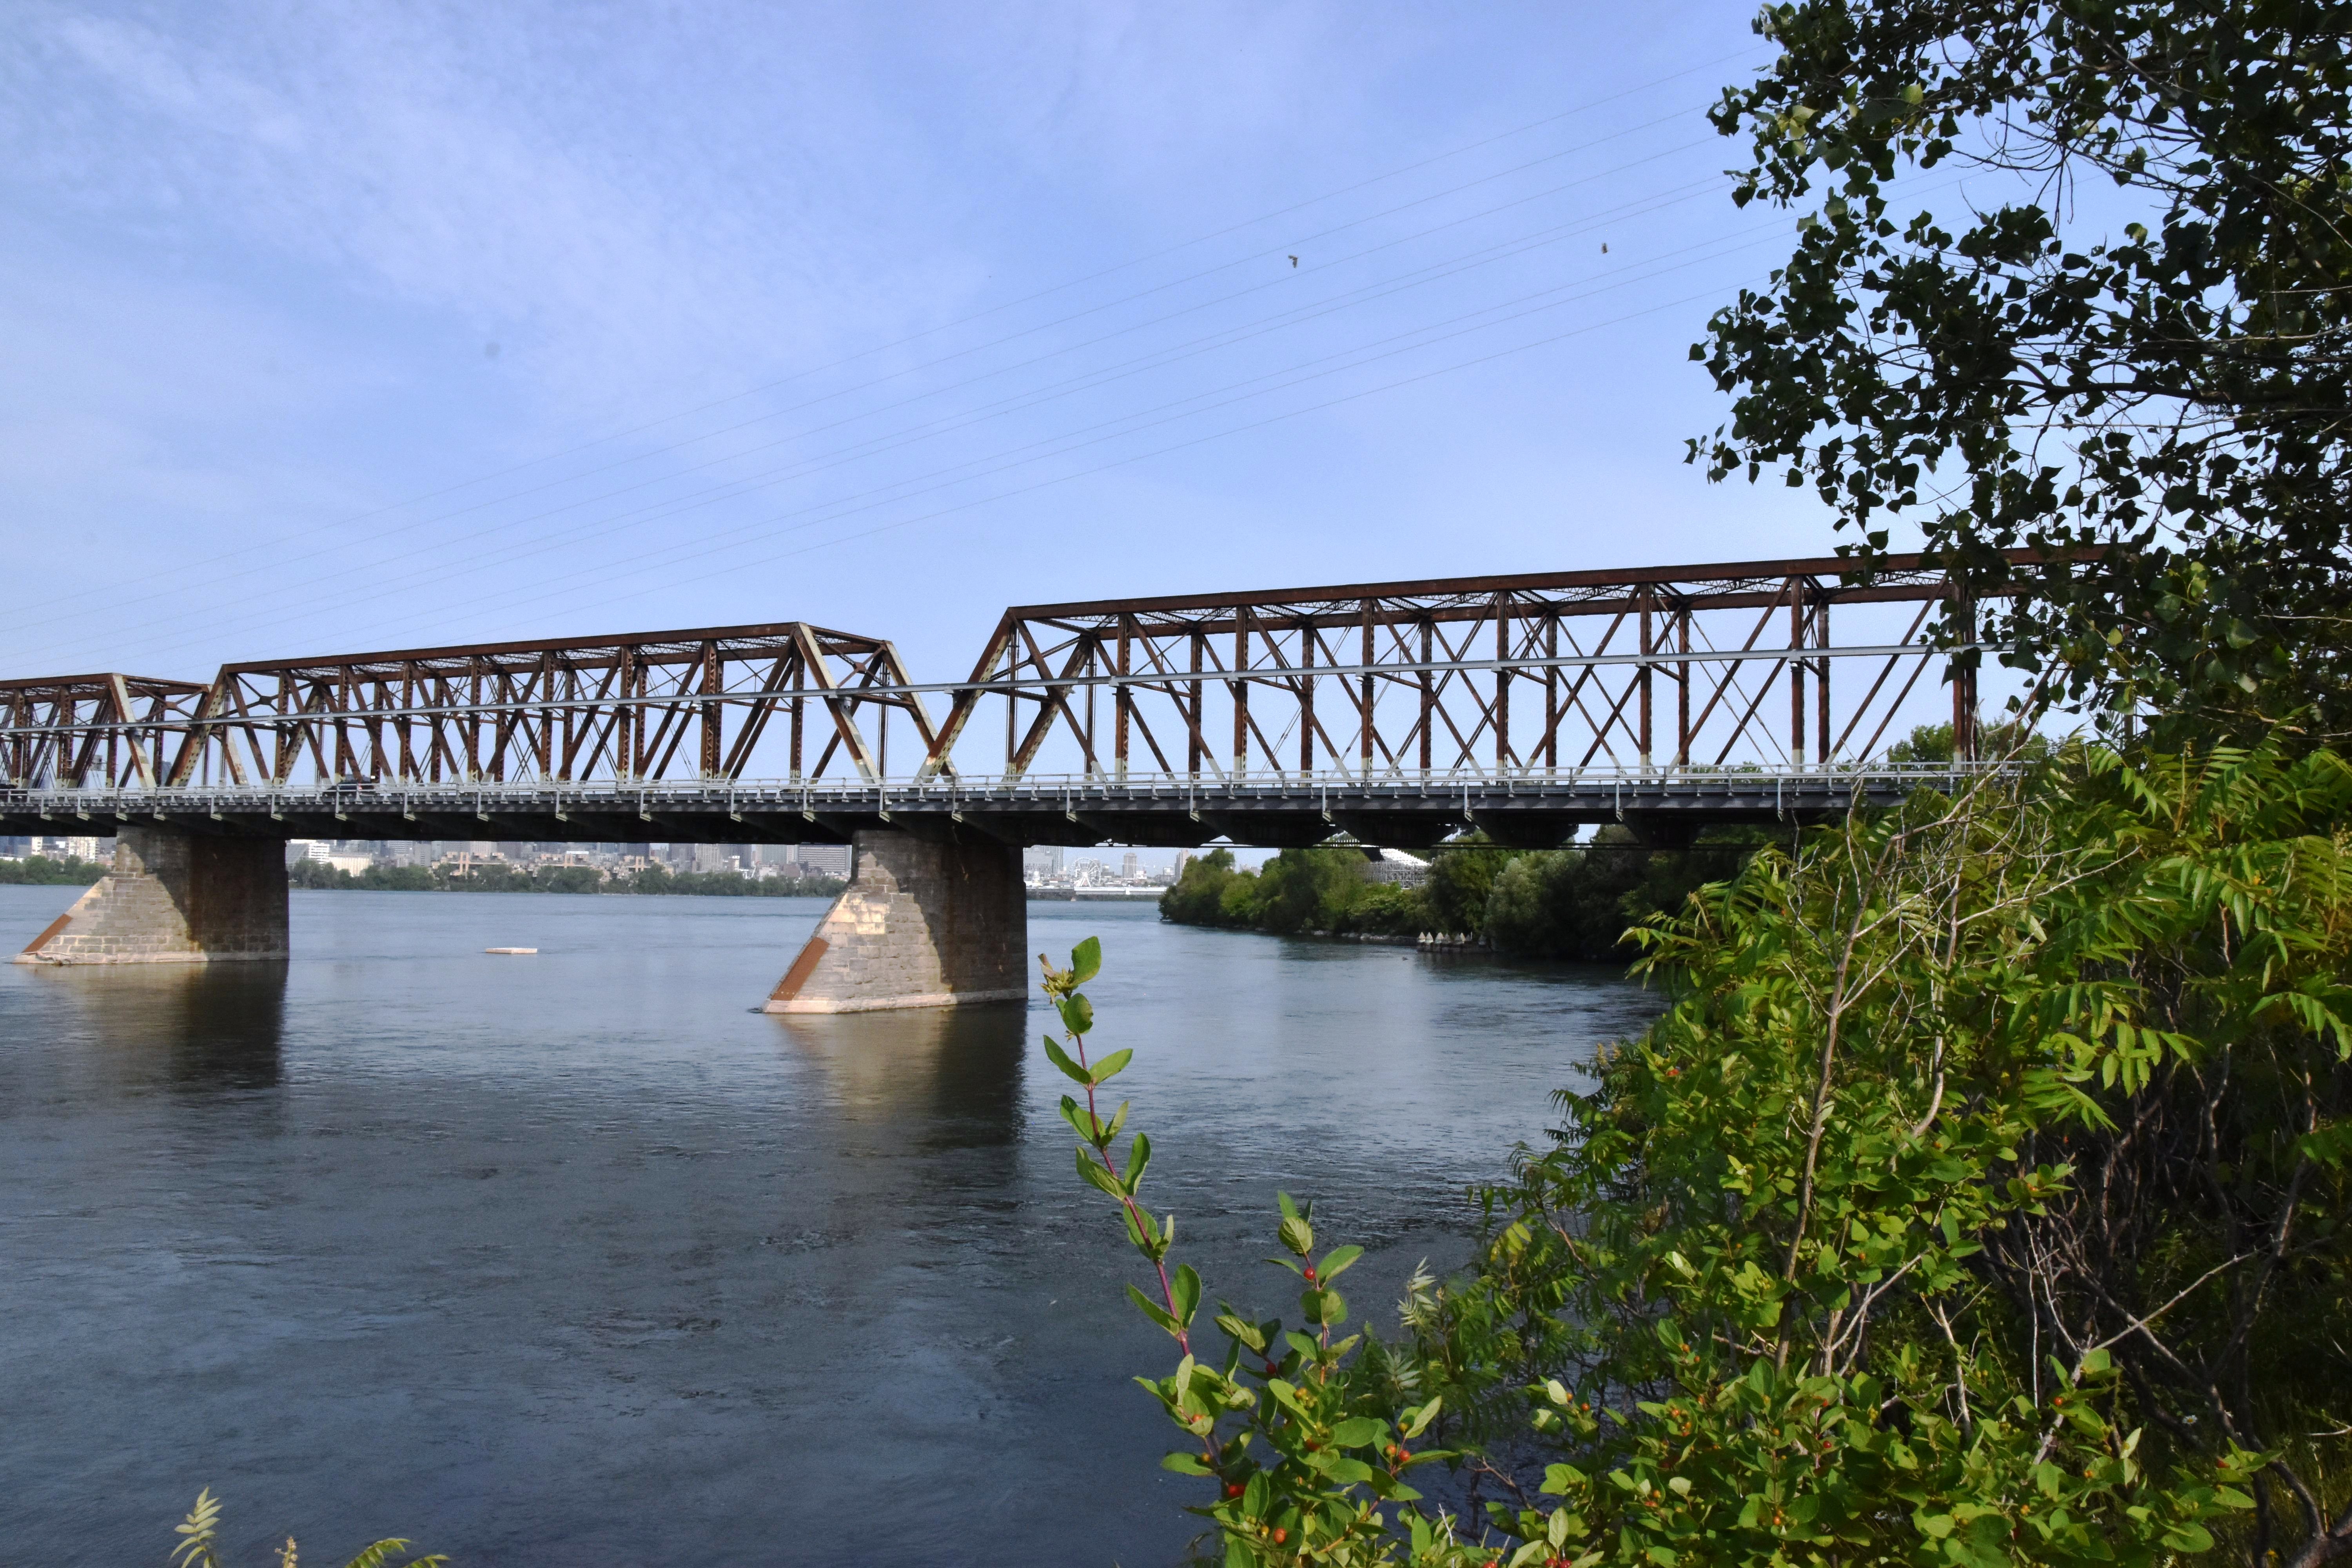
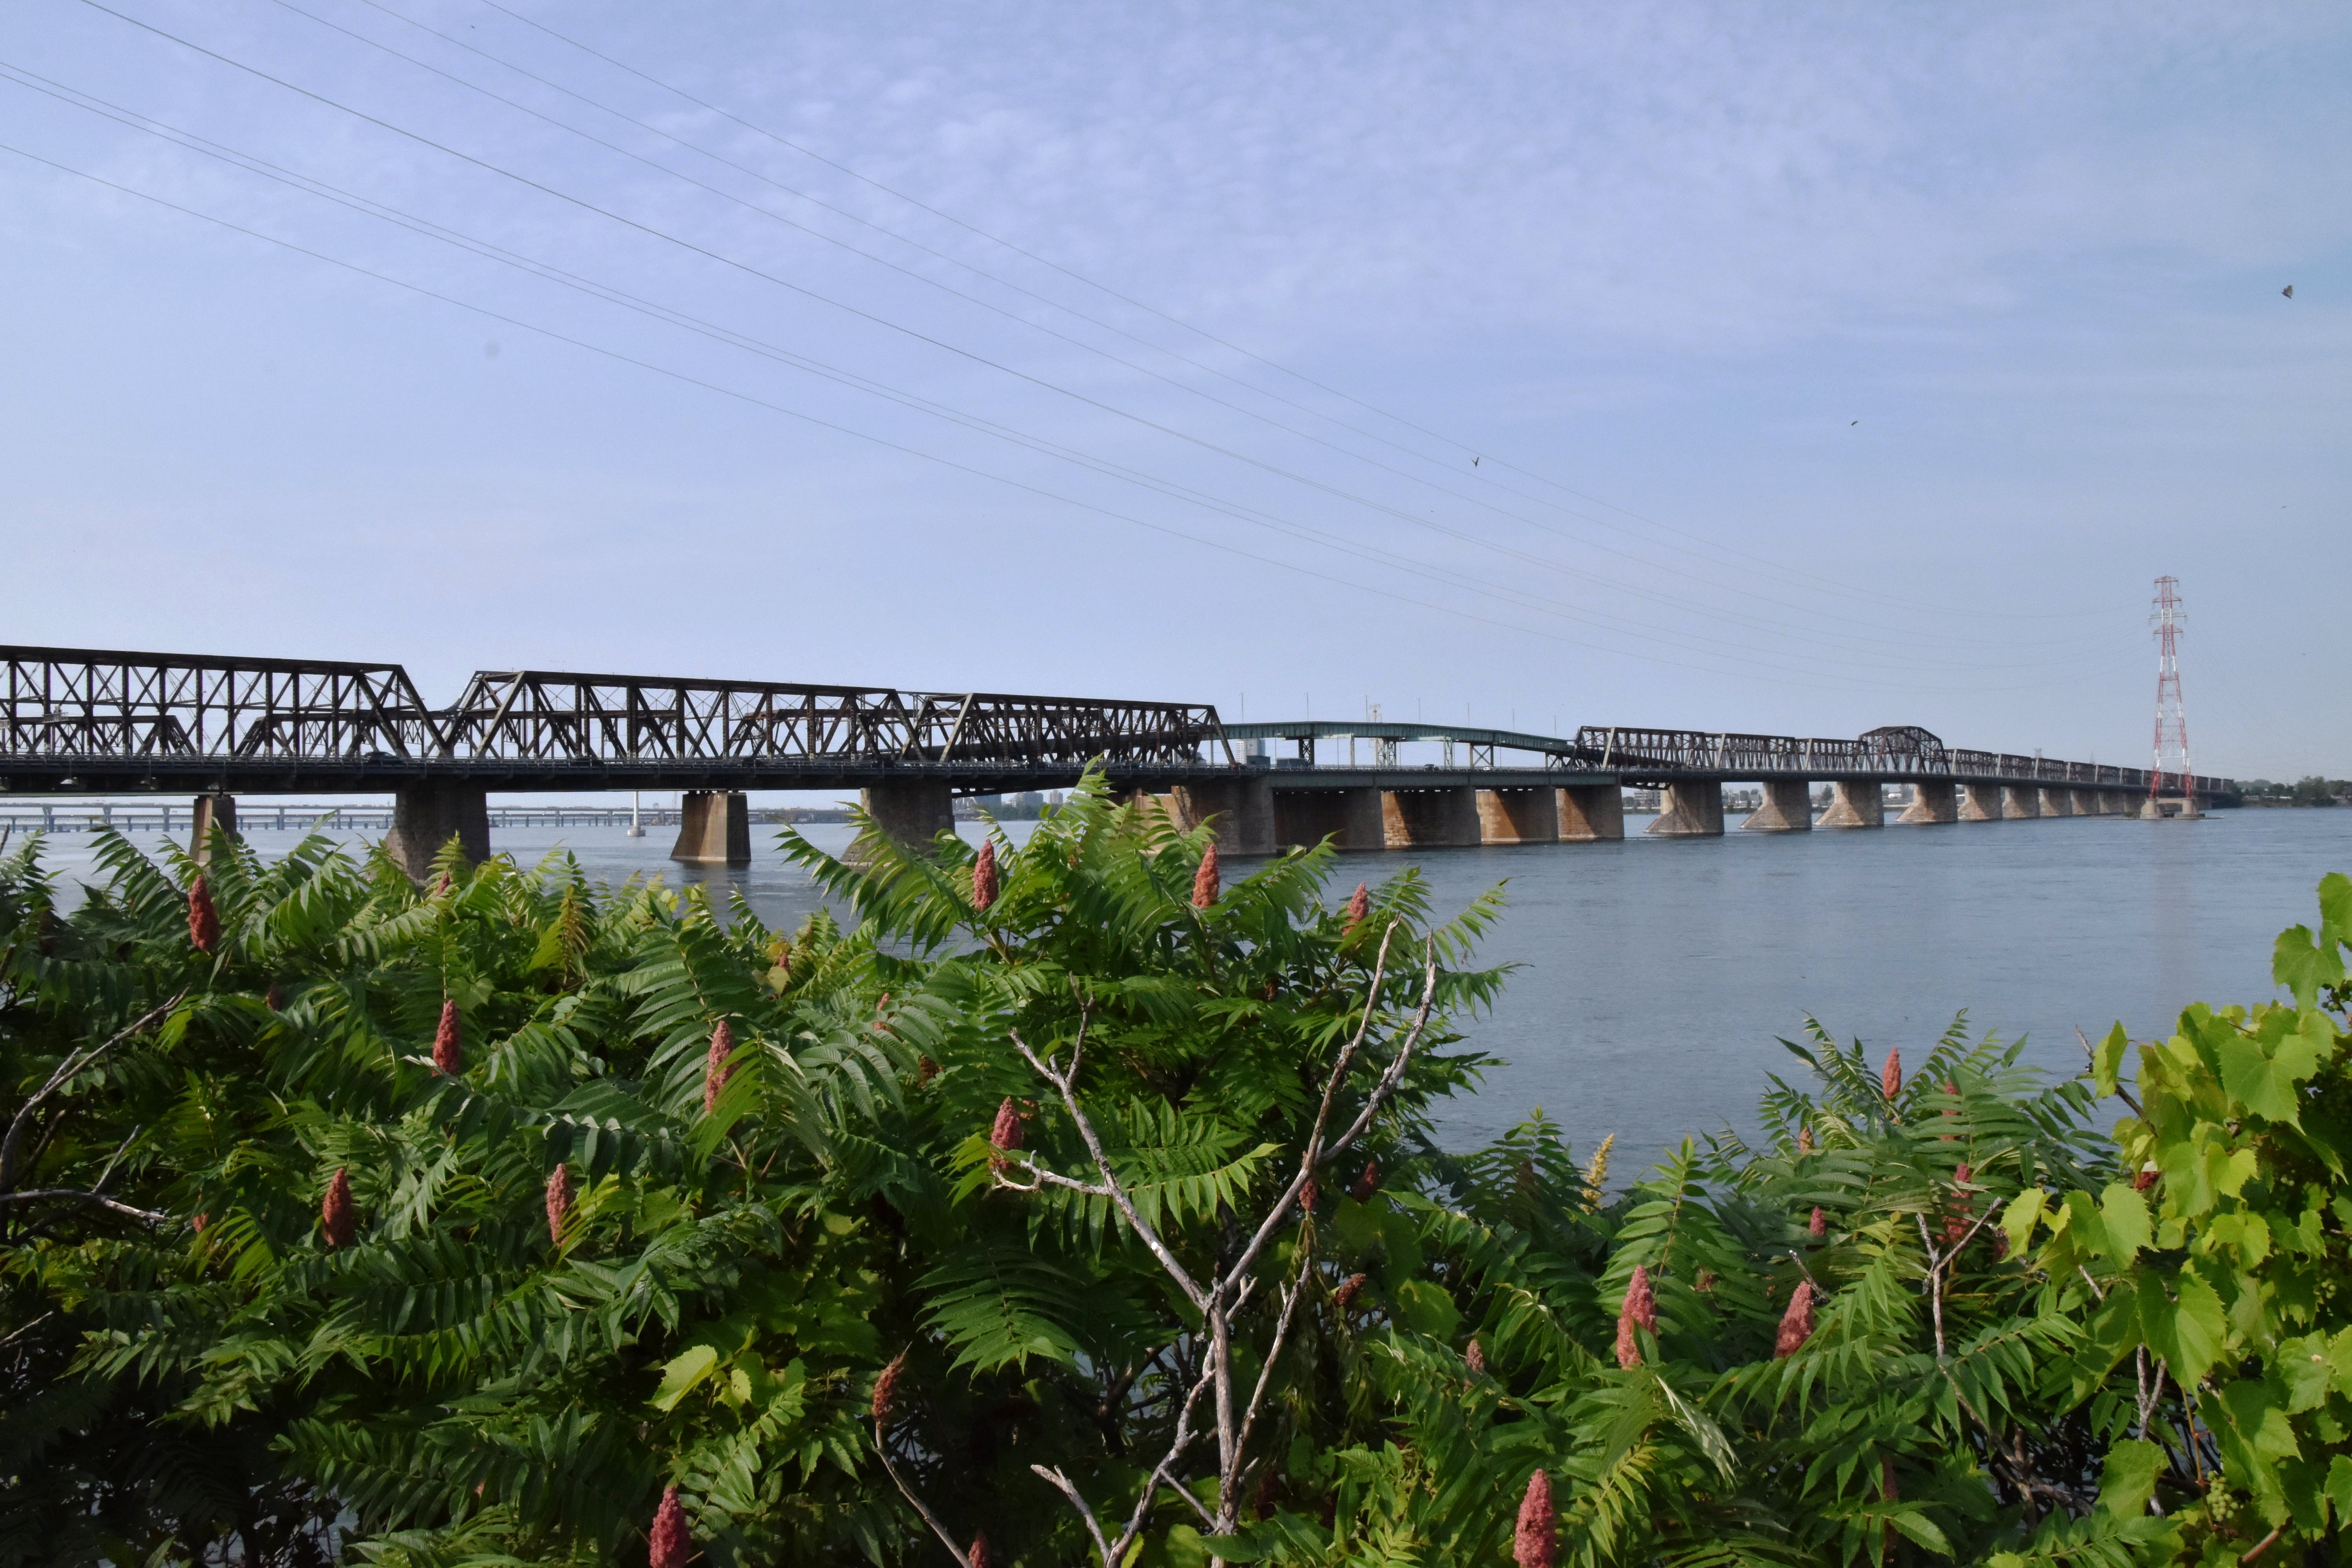
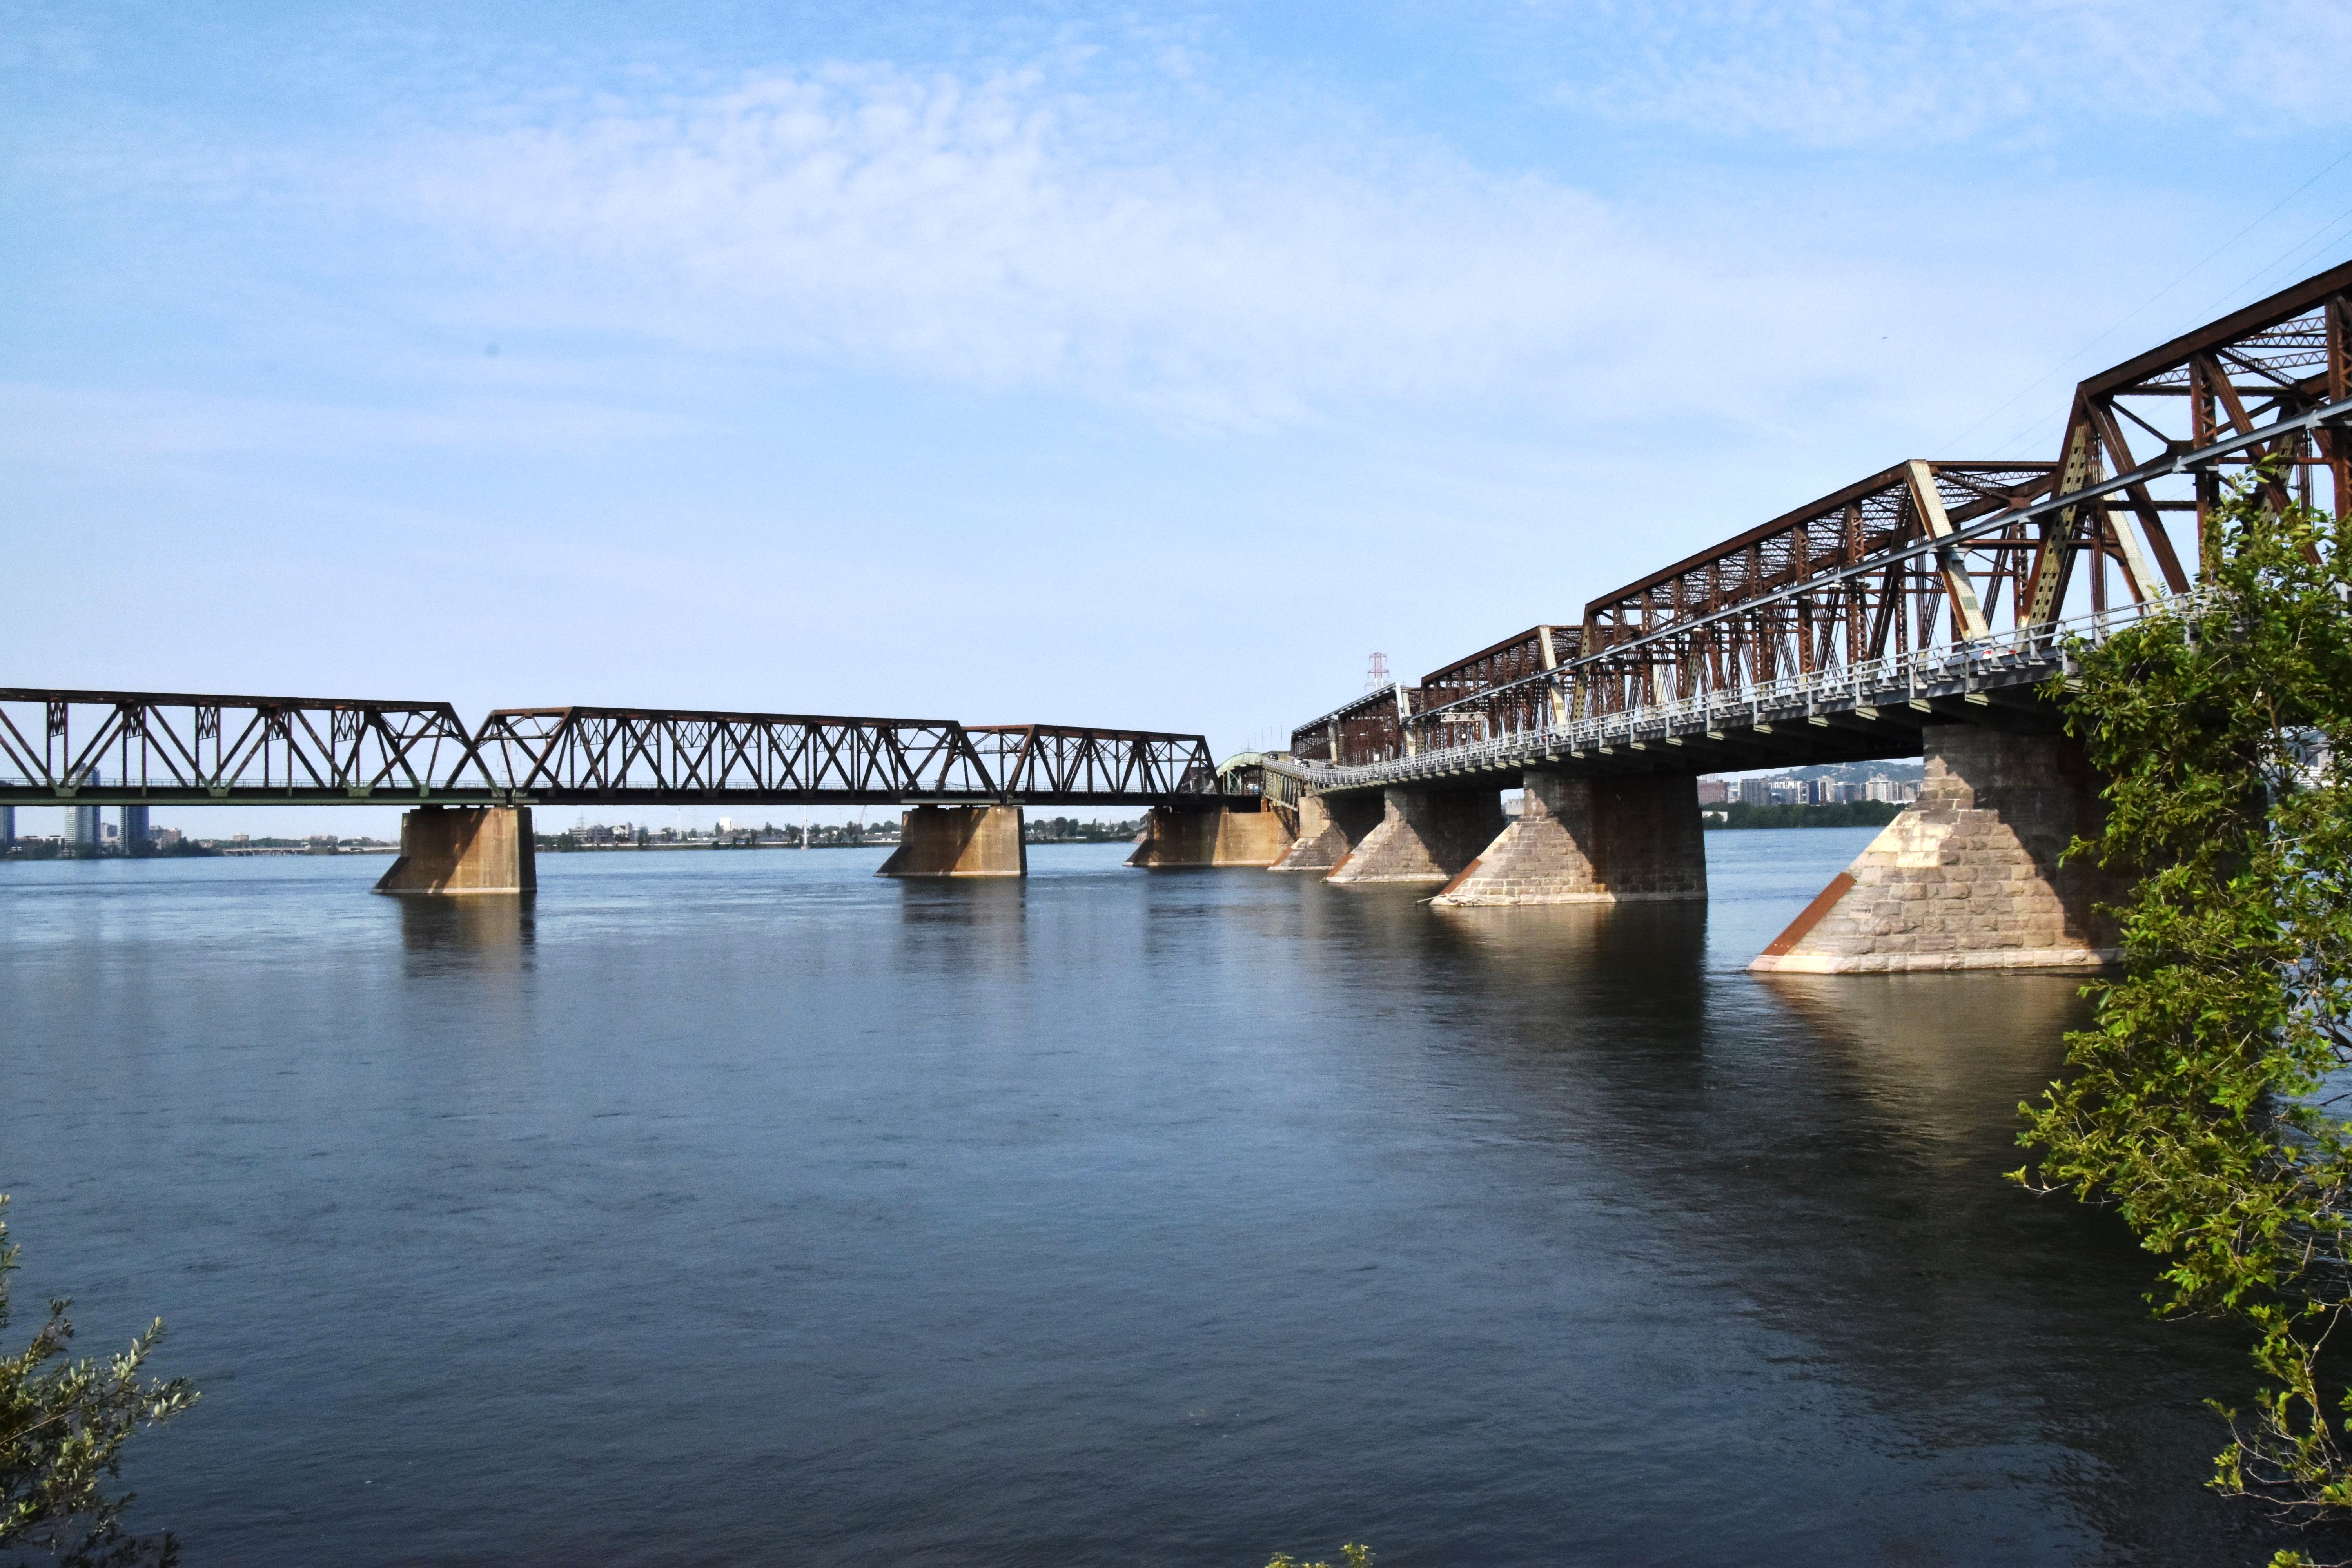
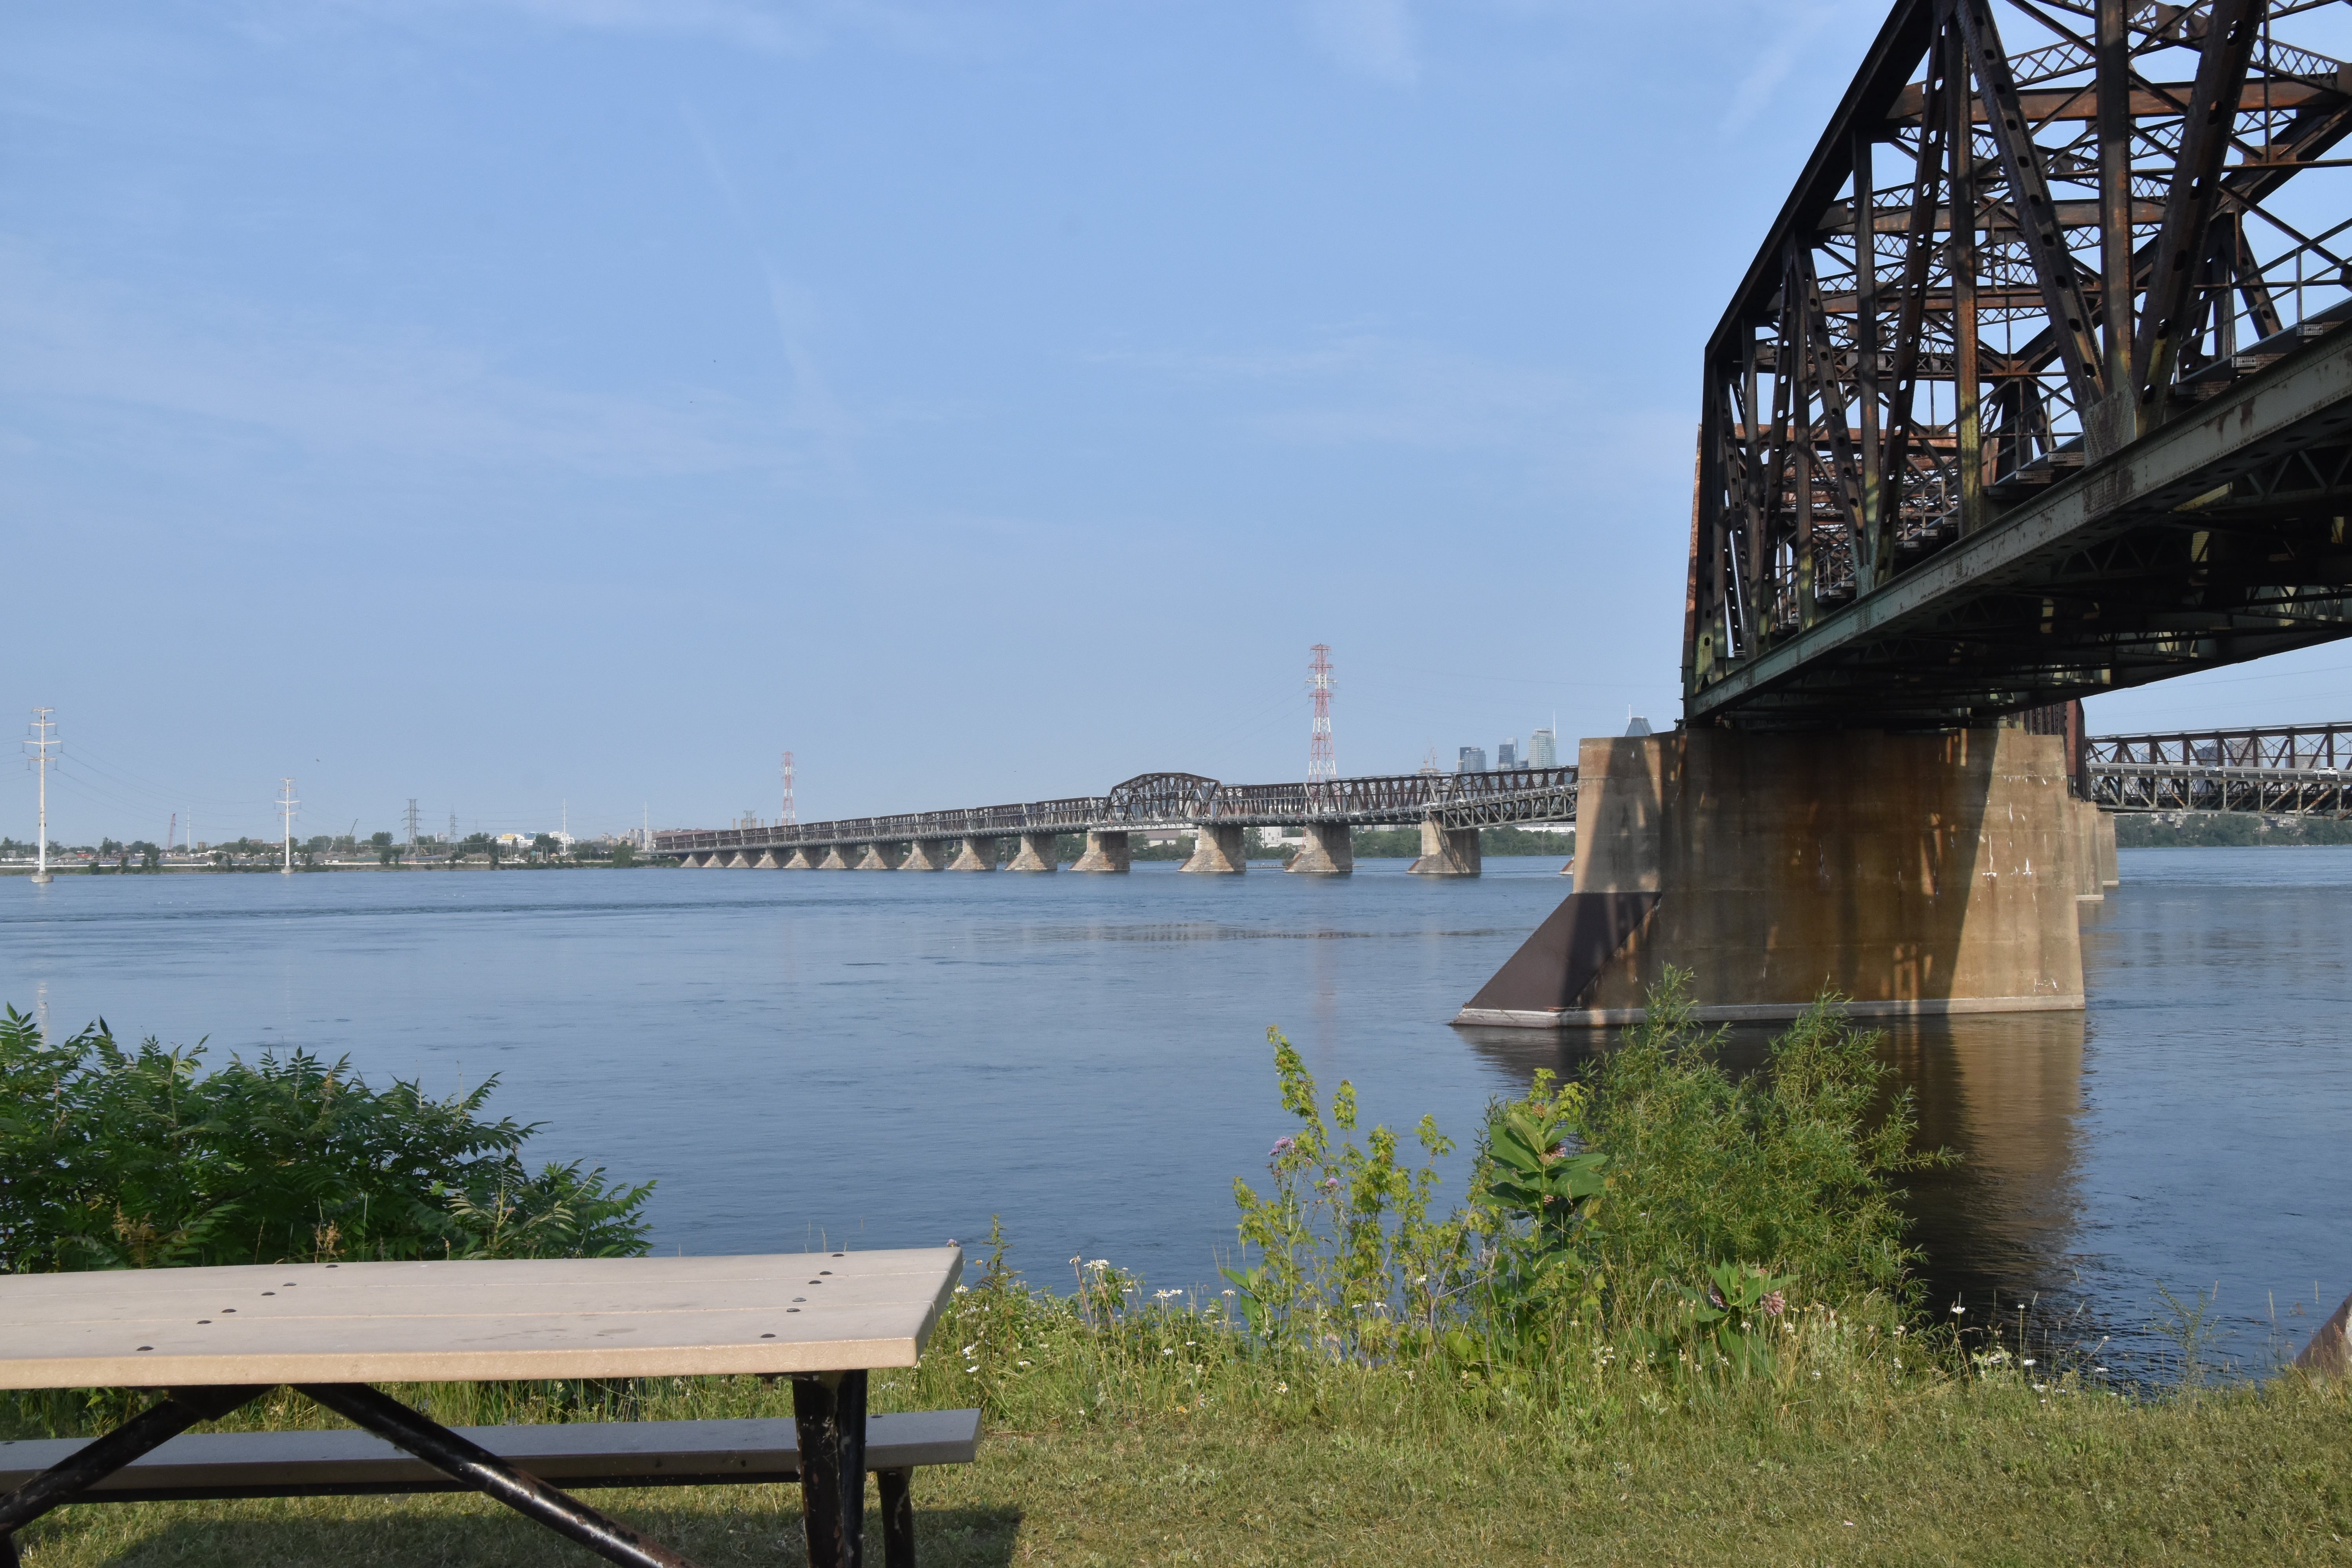
Views beside bridge from northeast quadrant.
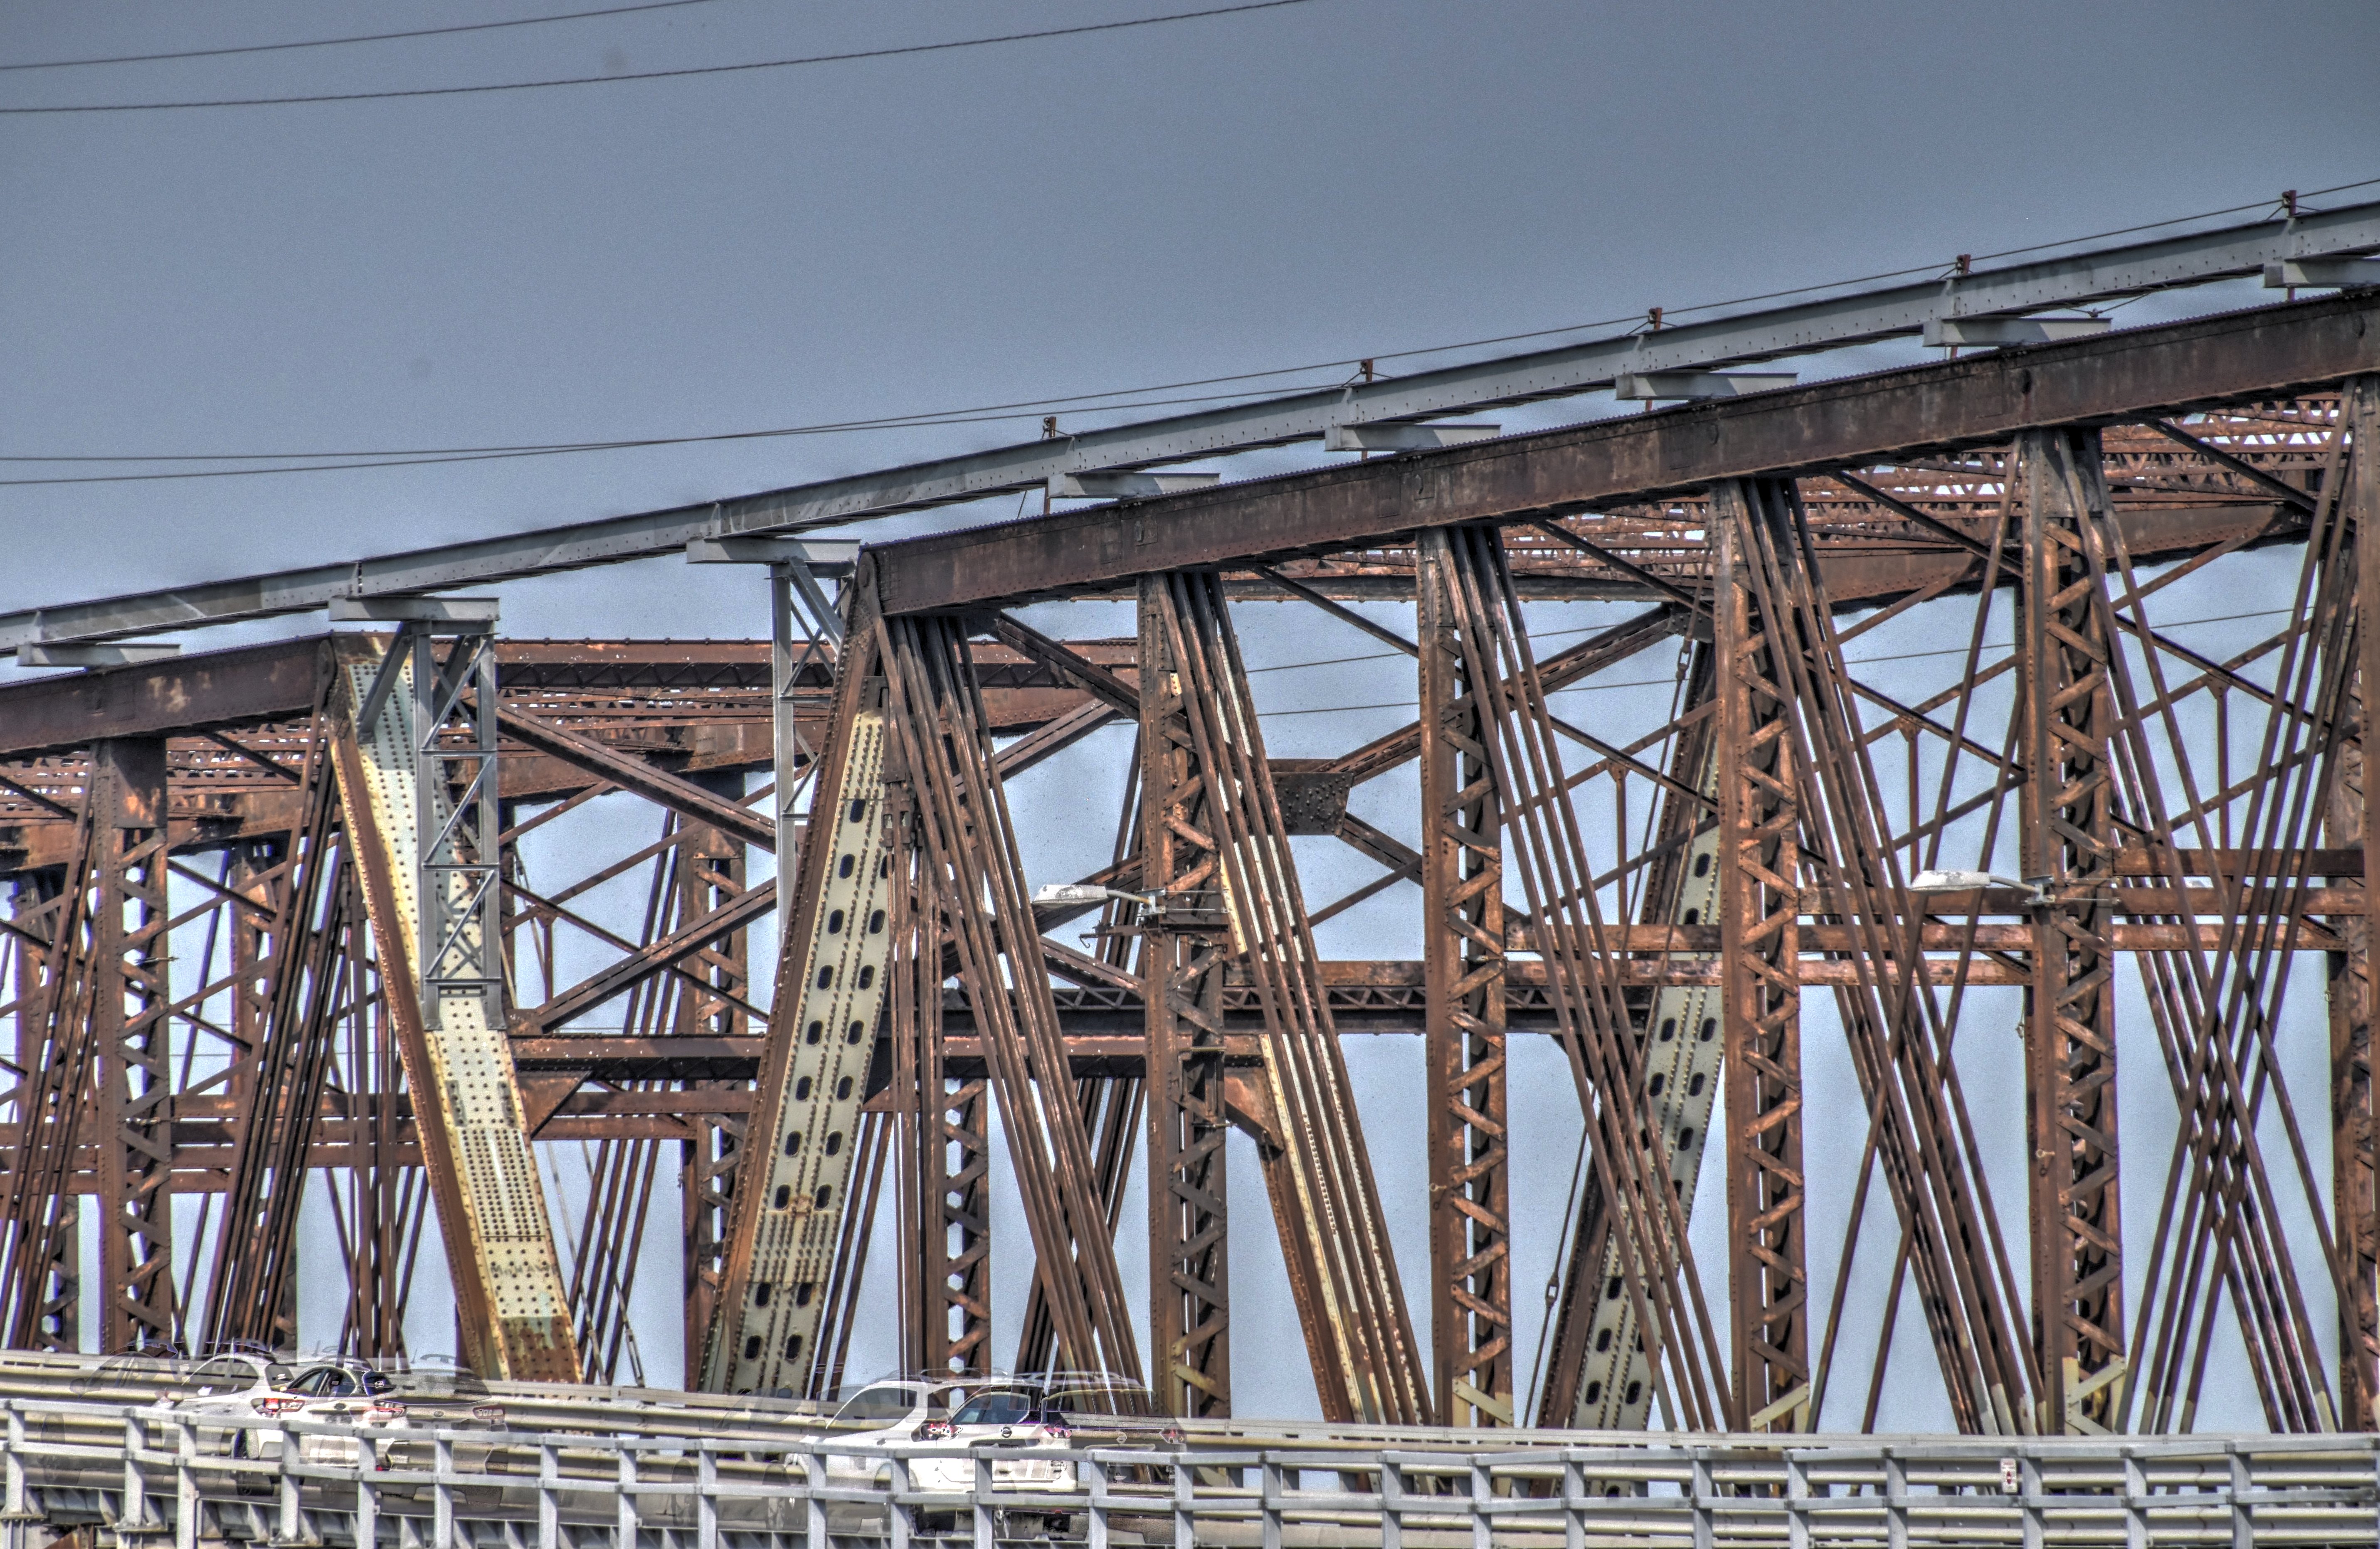
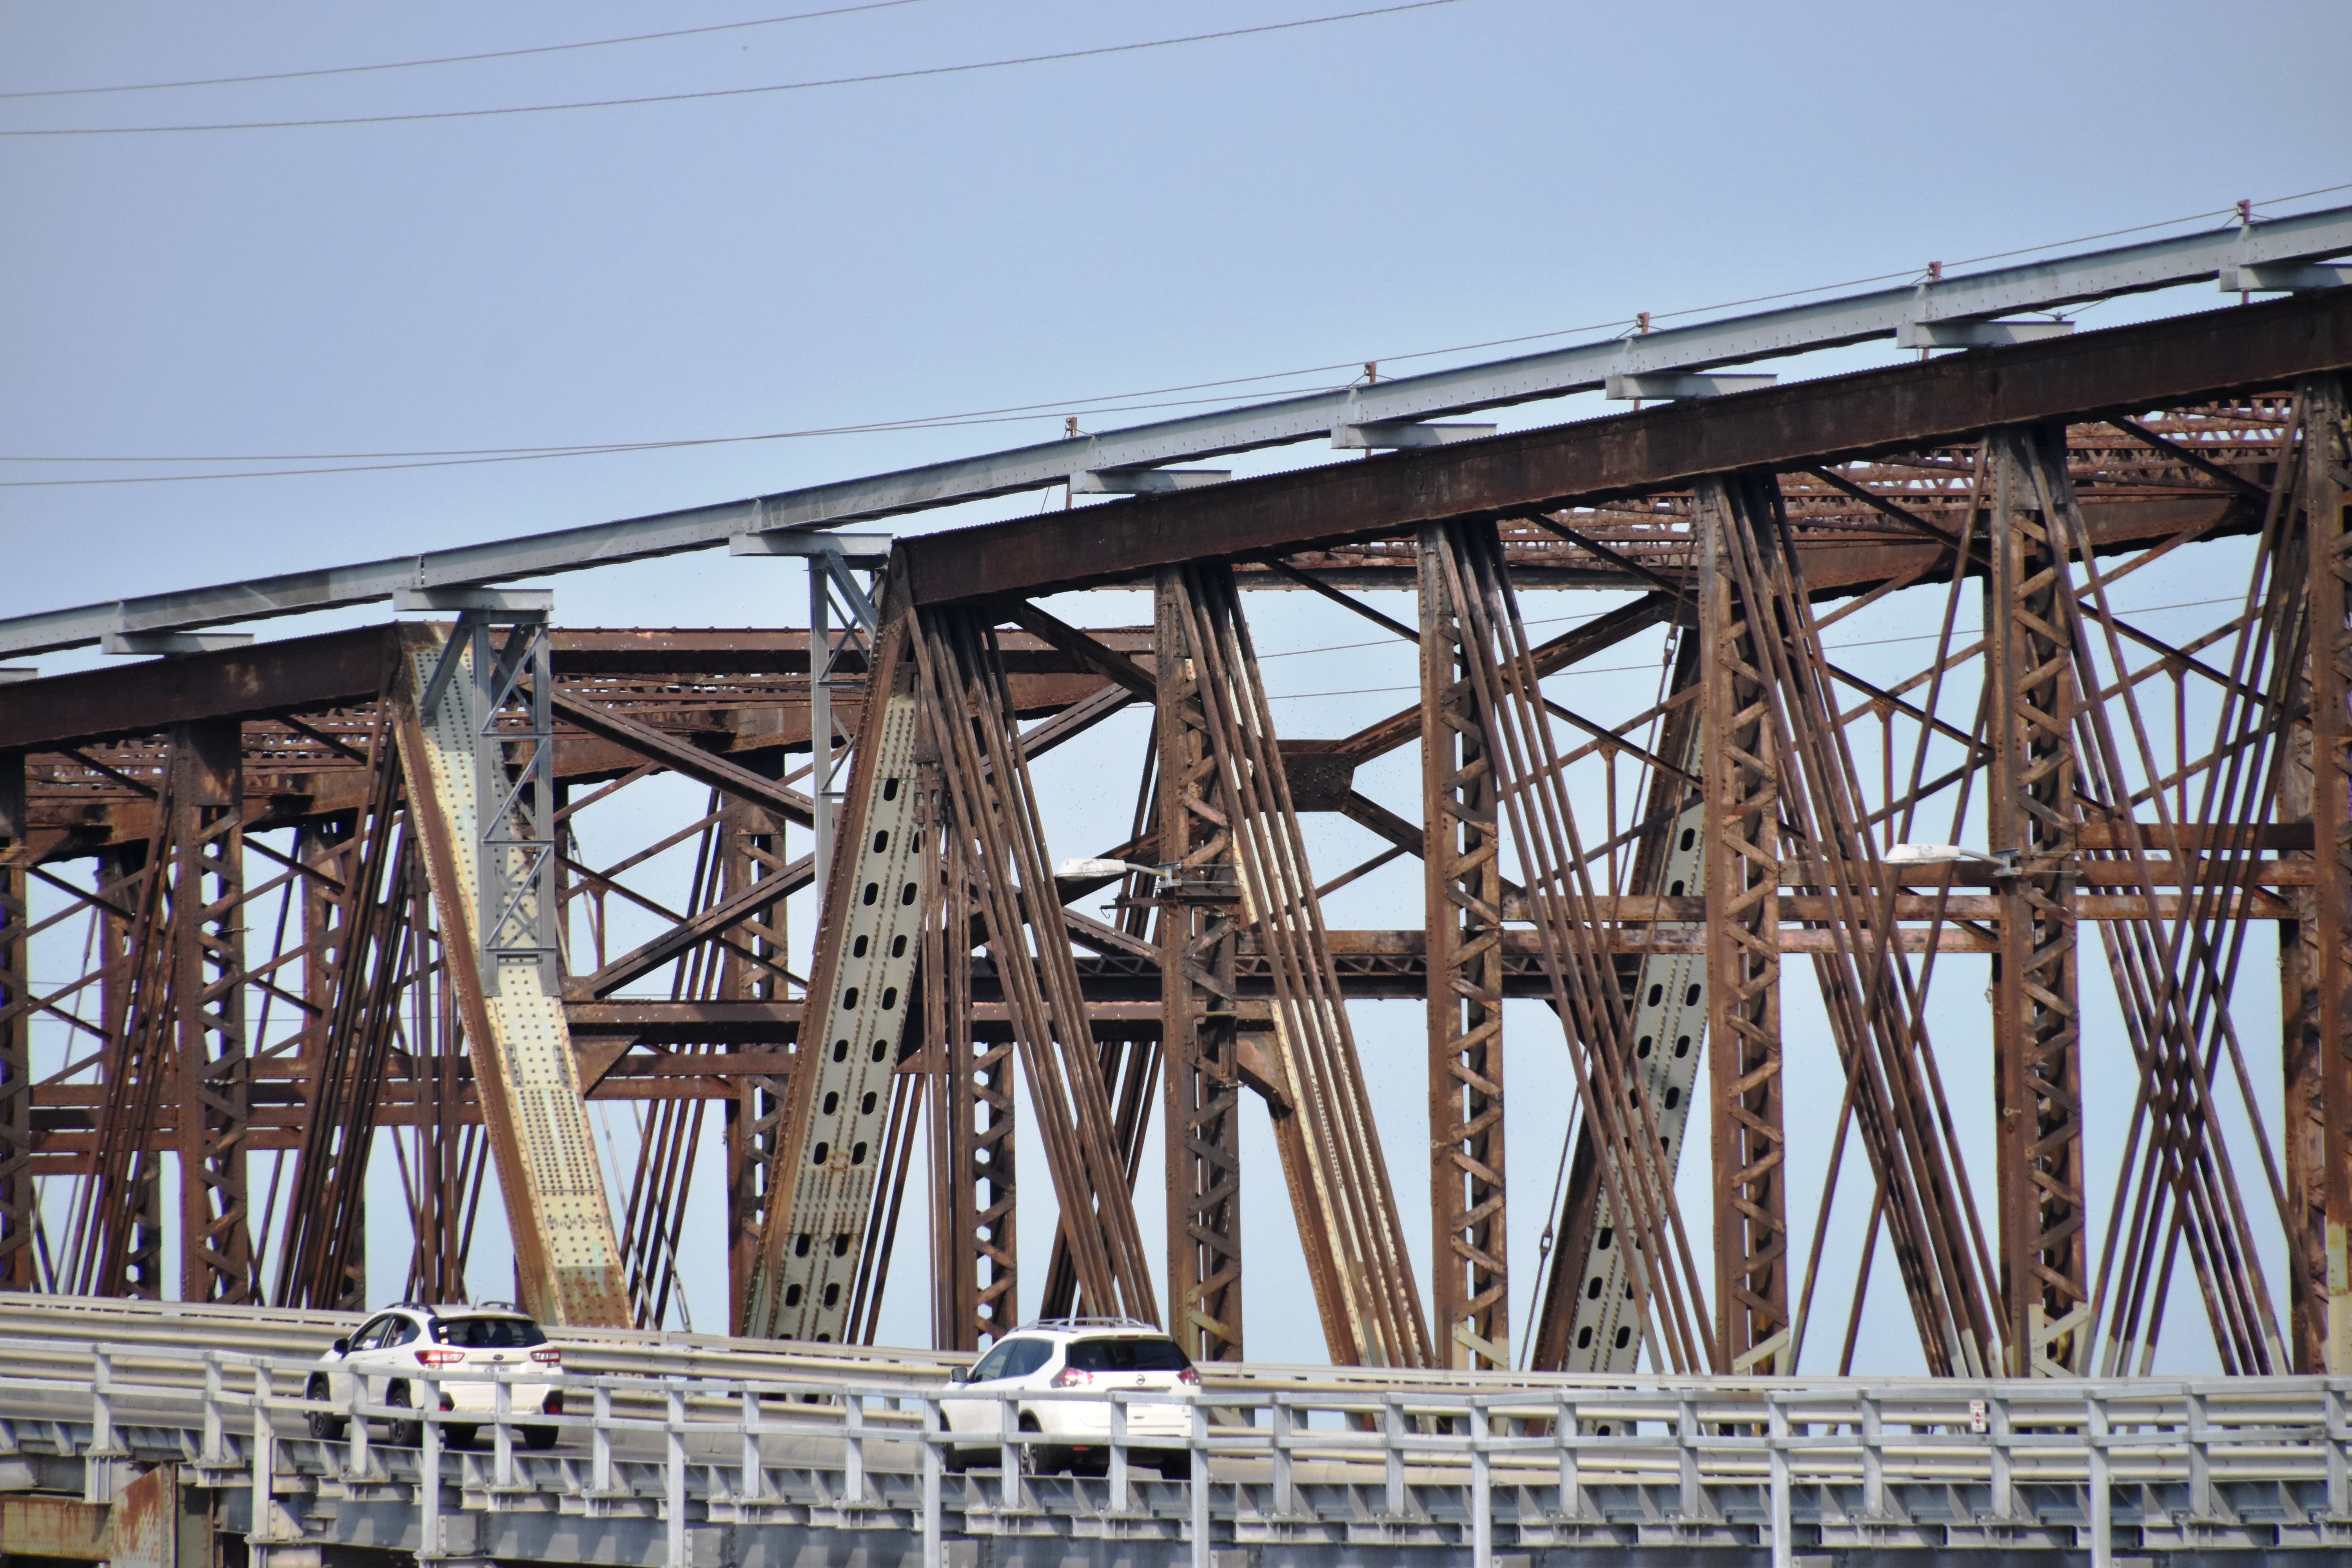
![]()


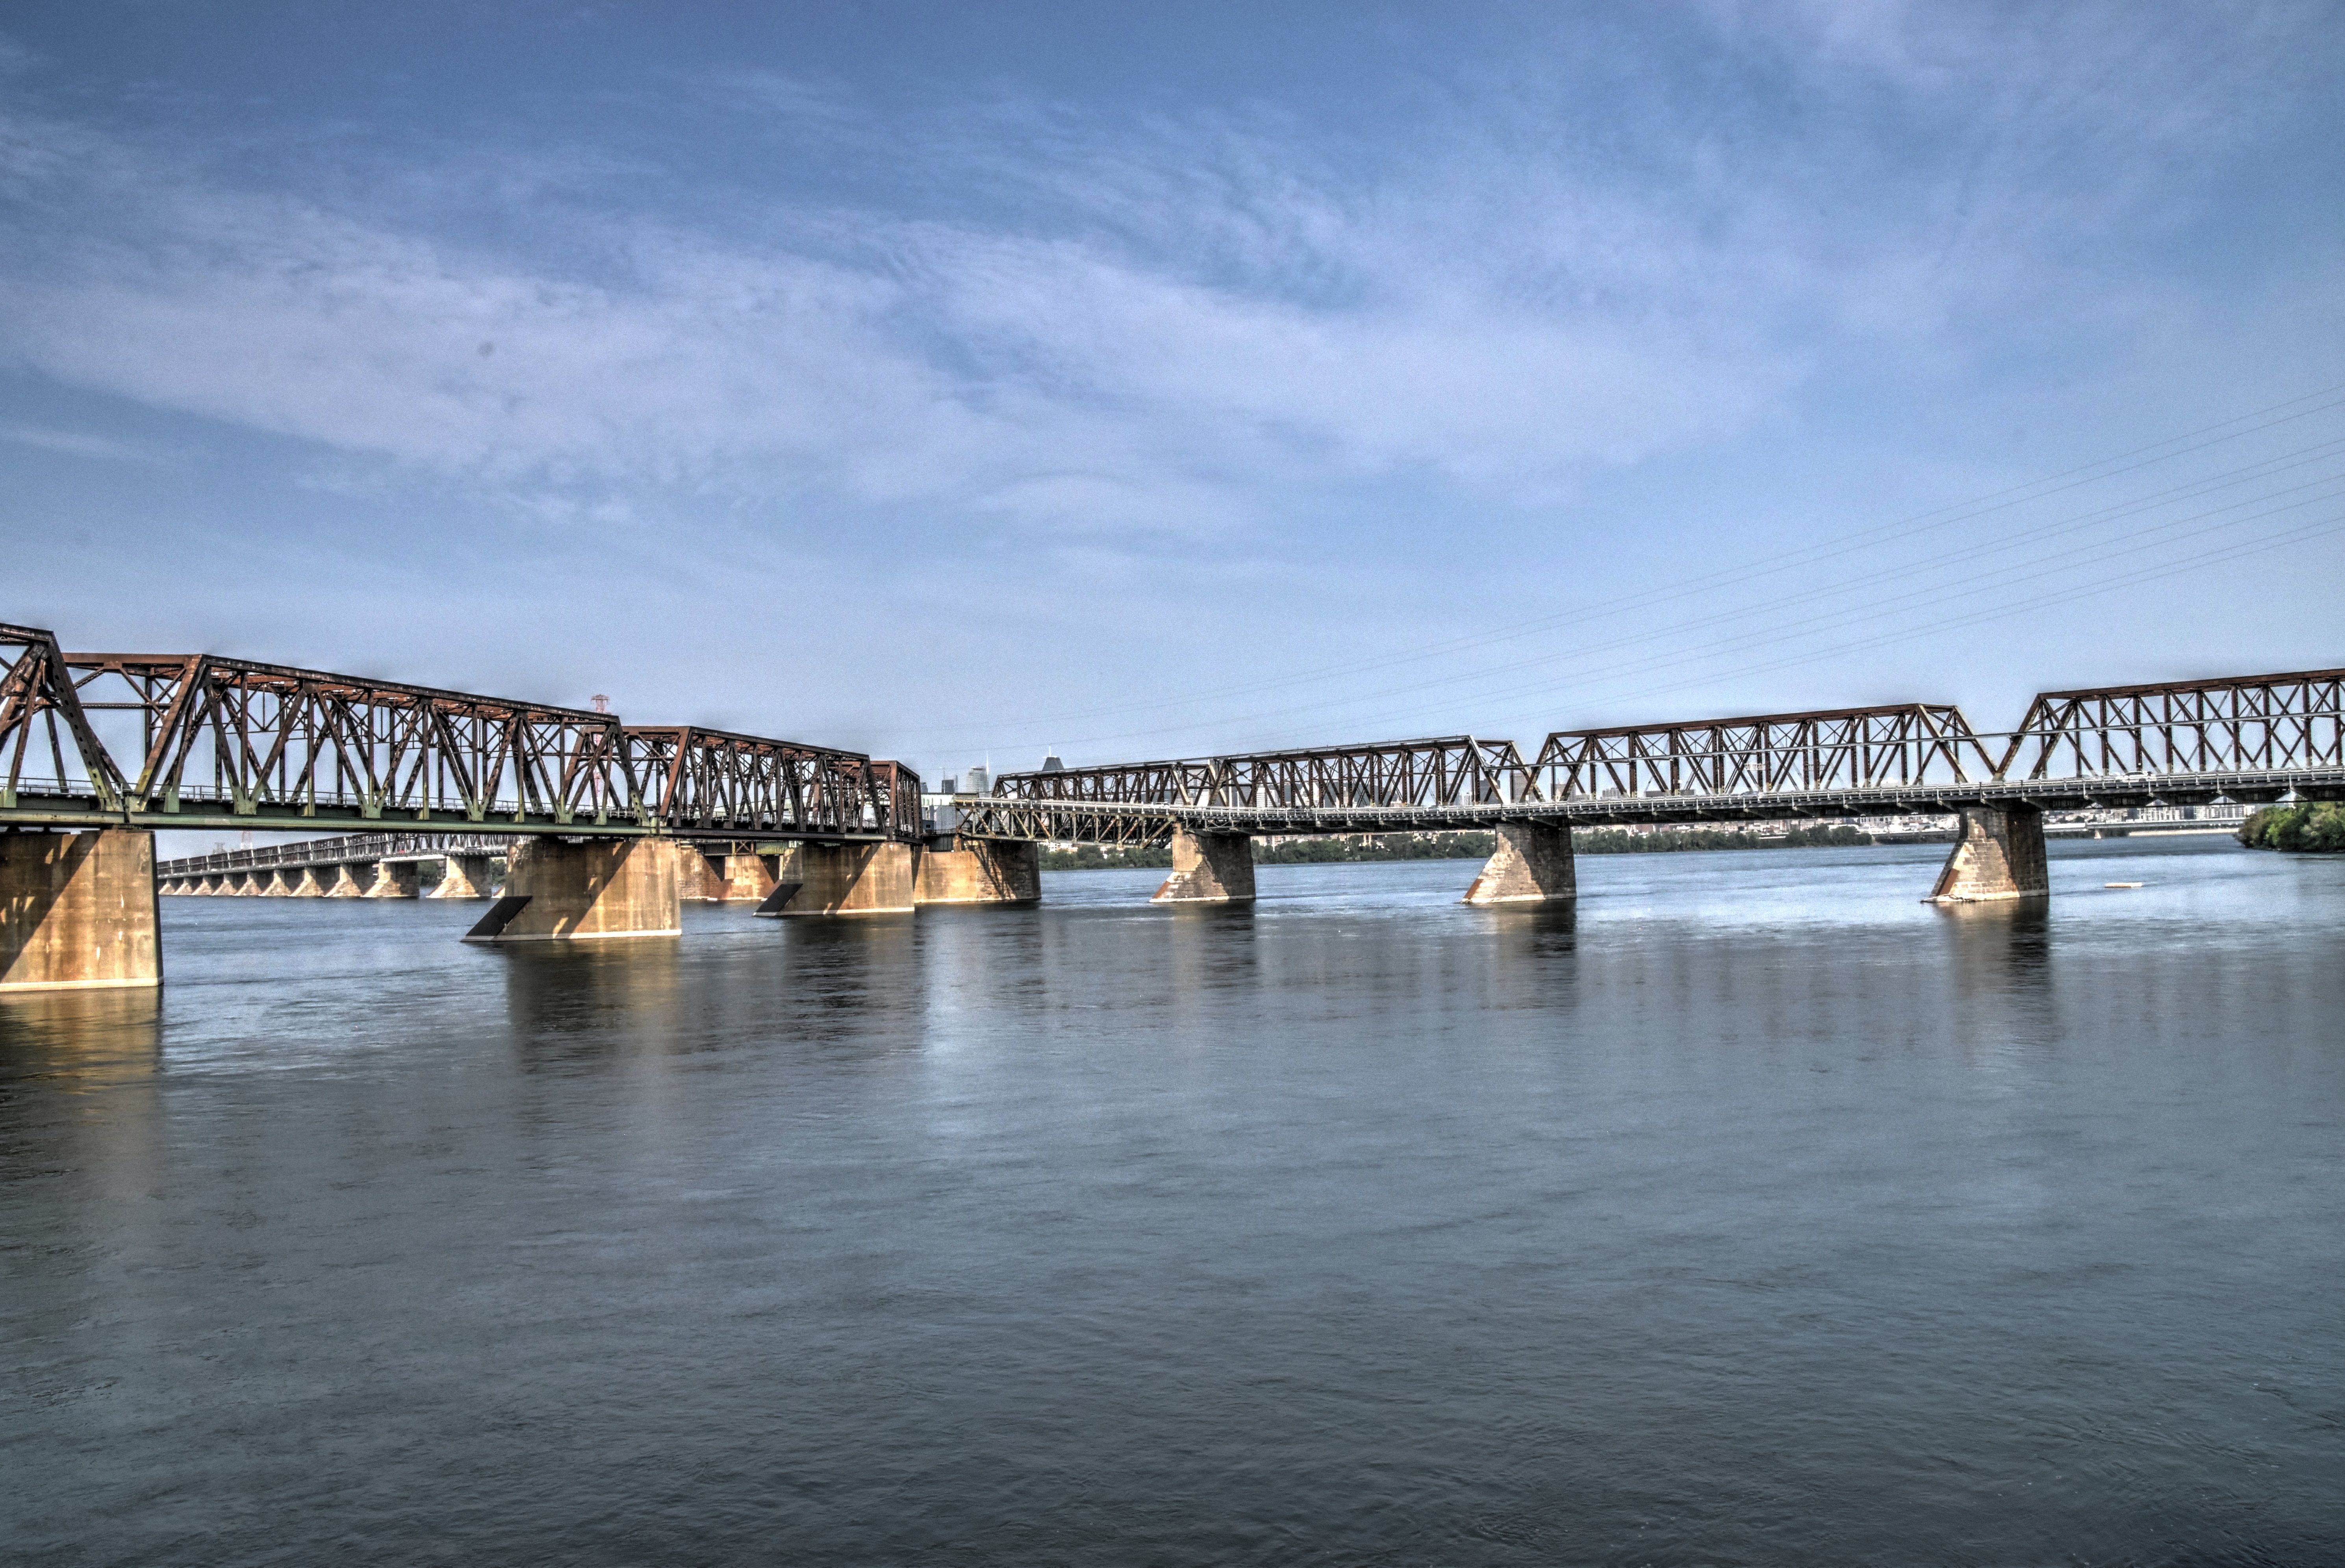
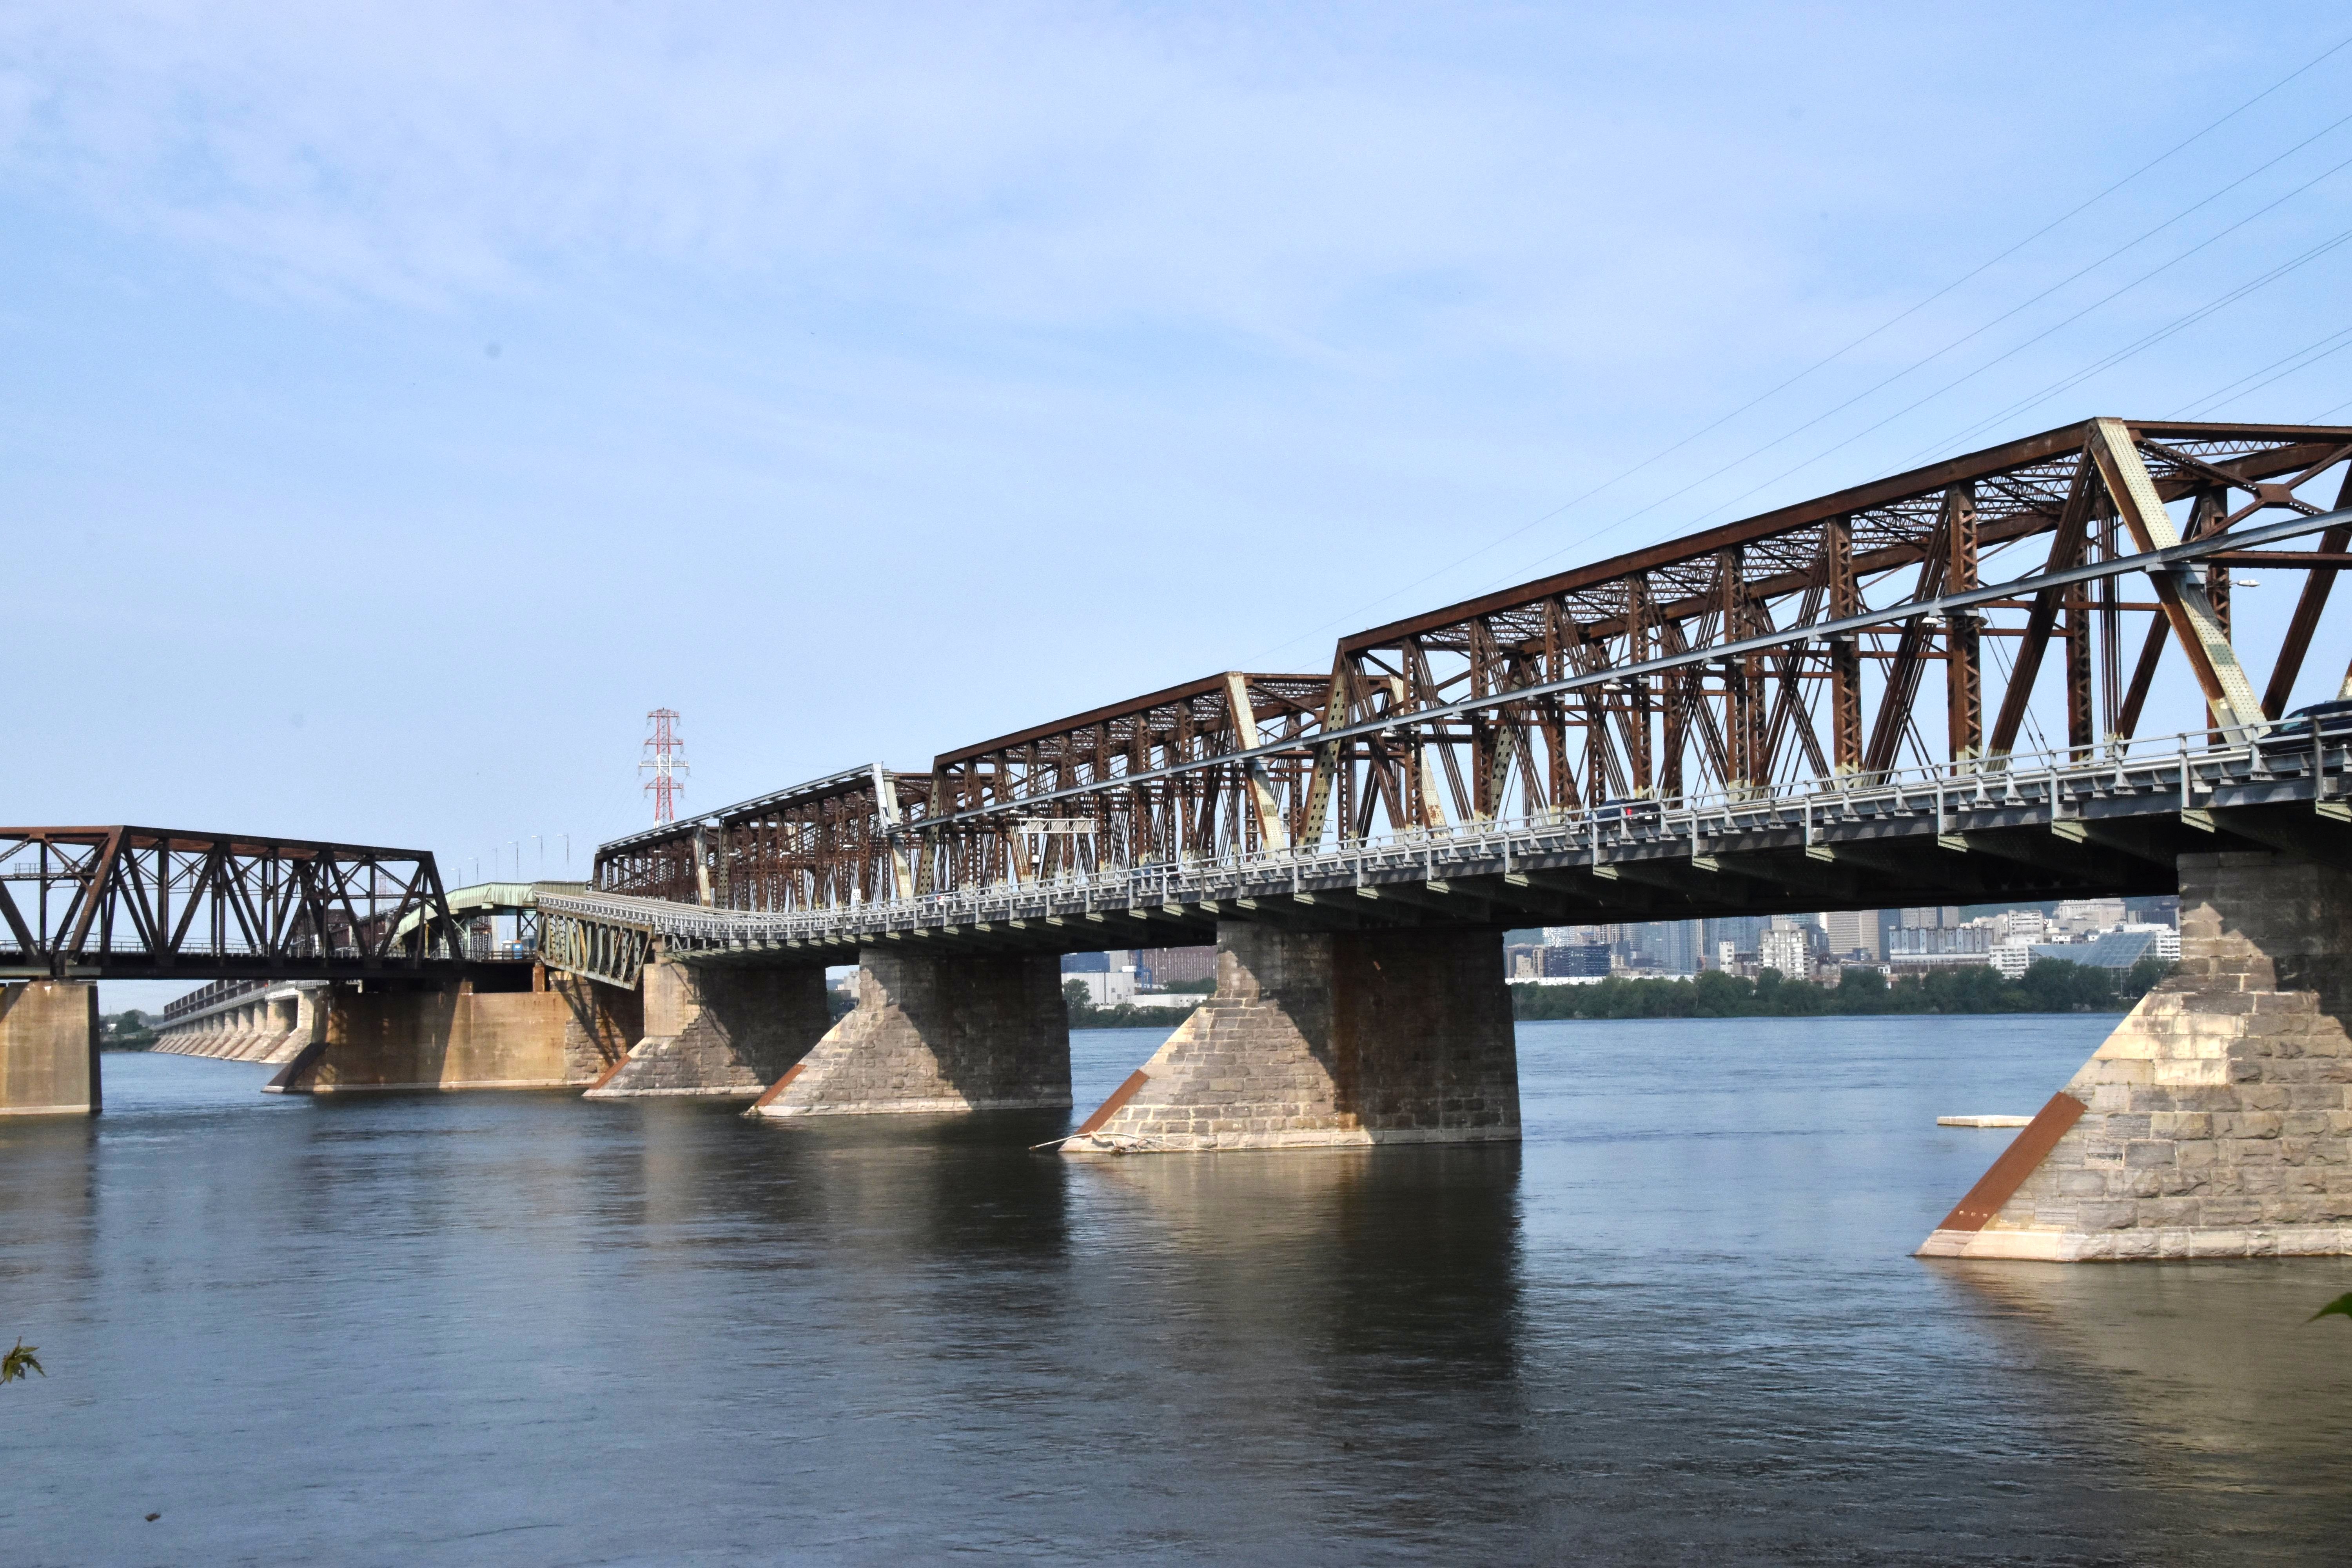
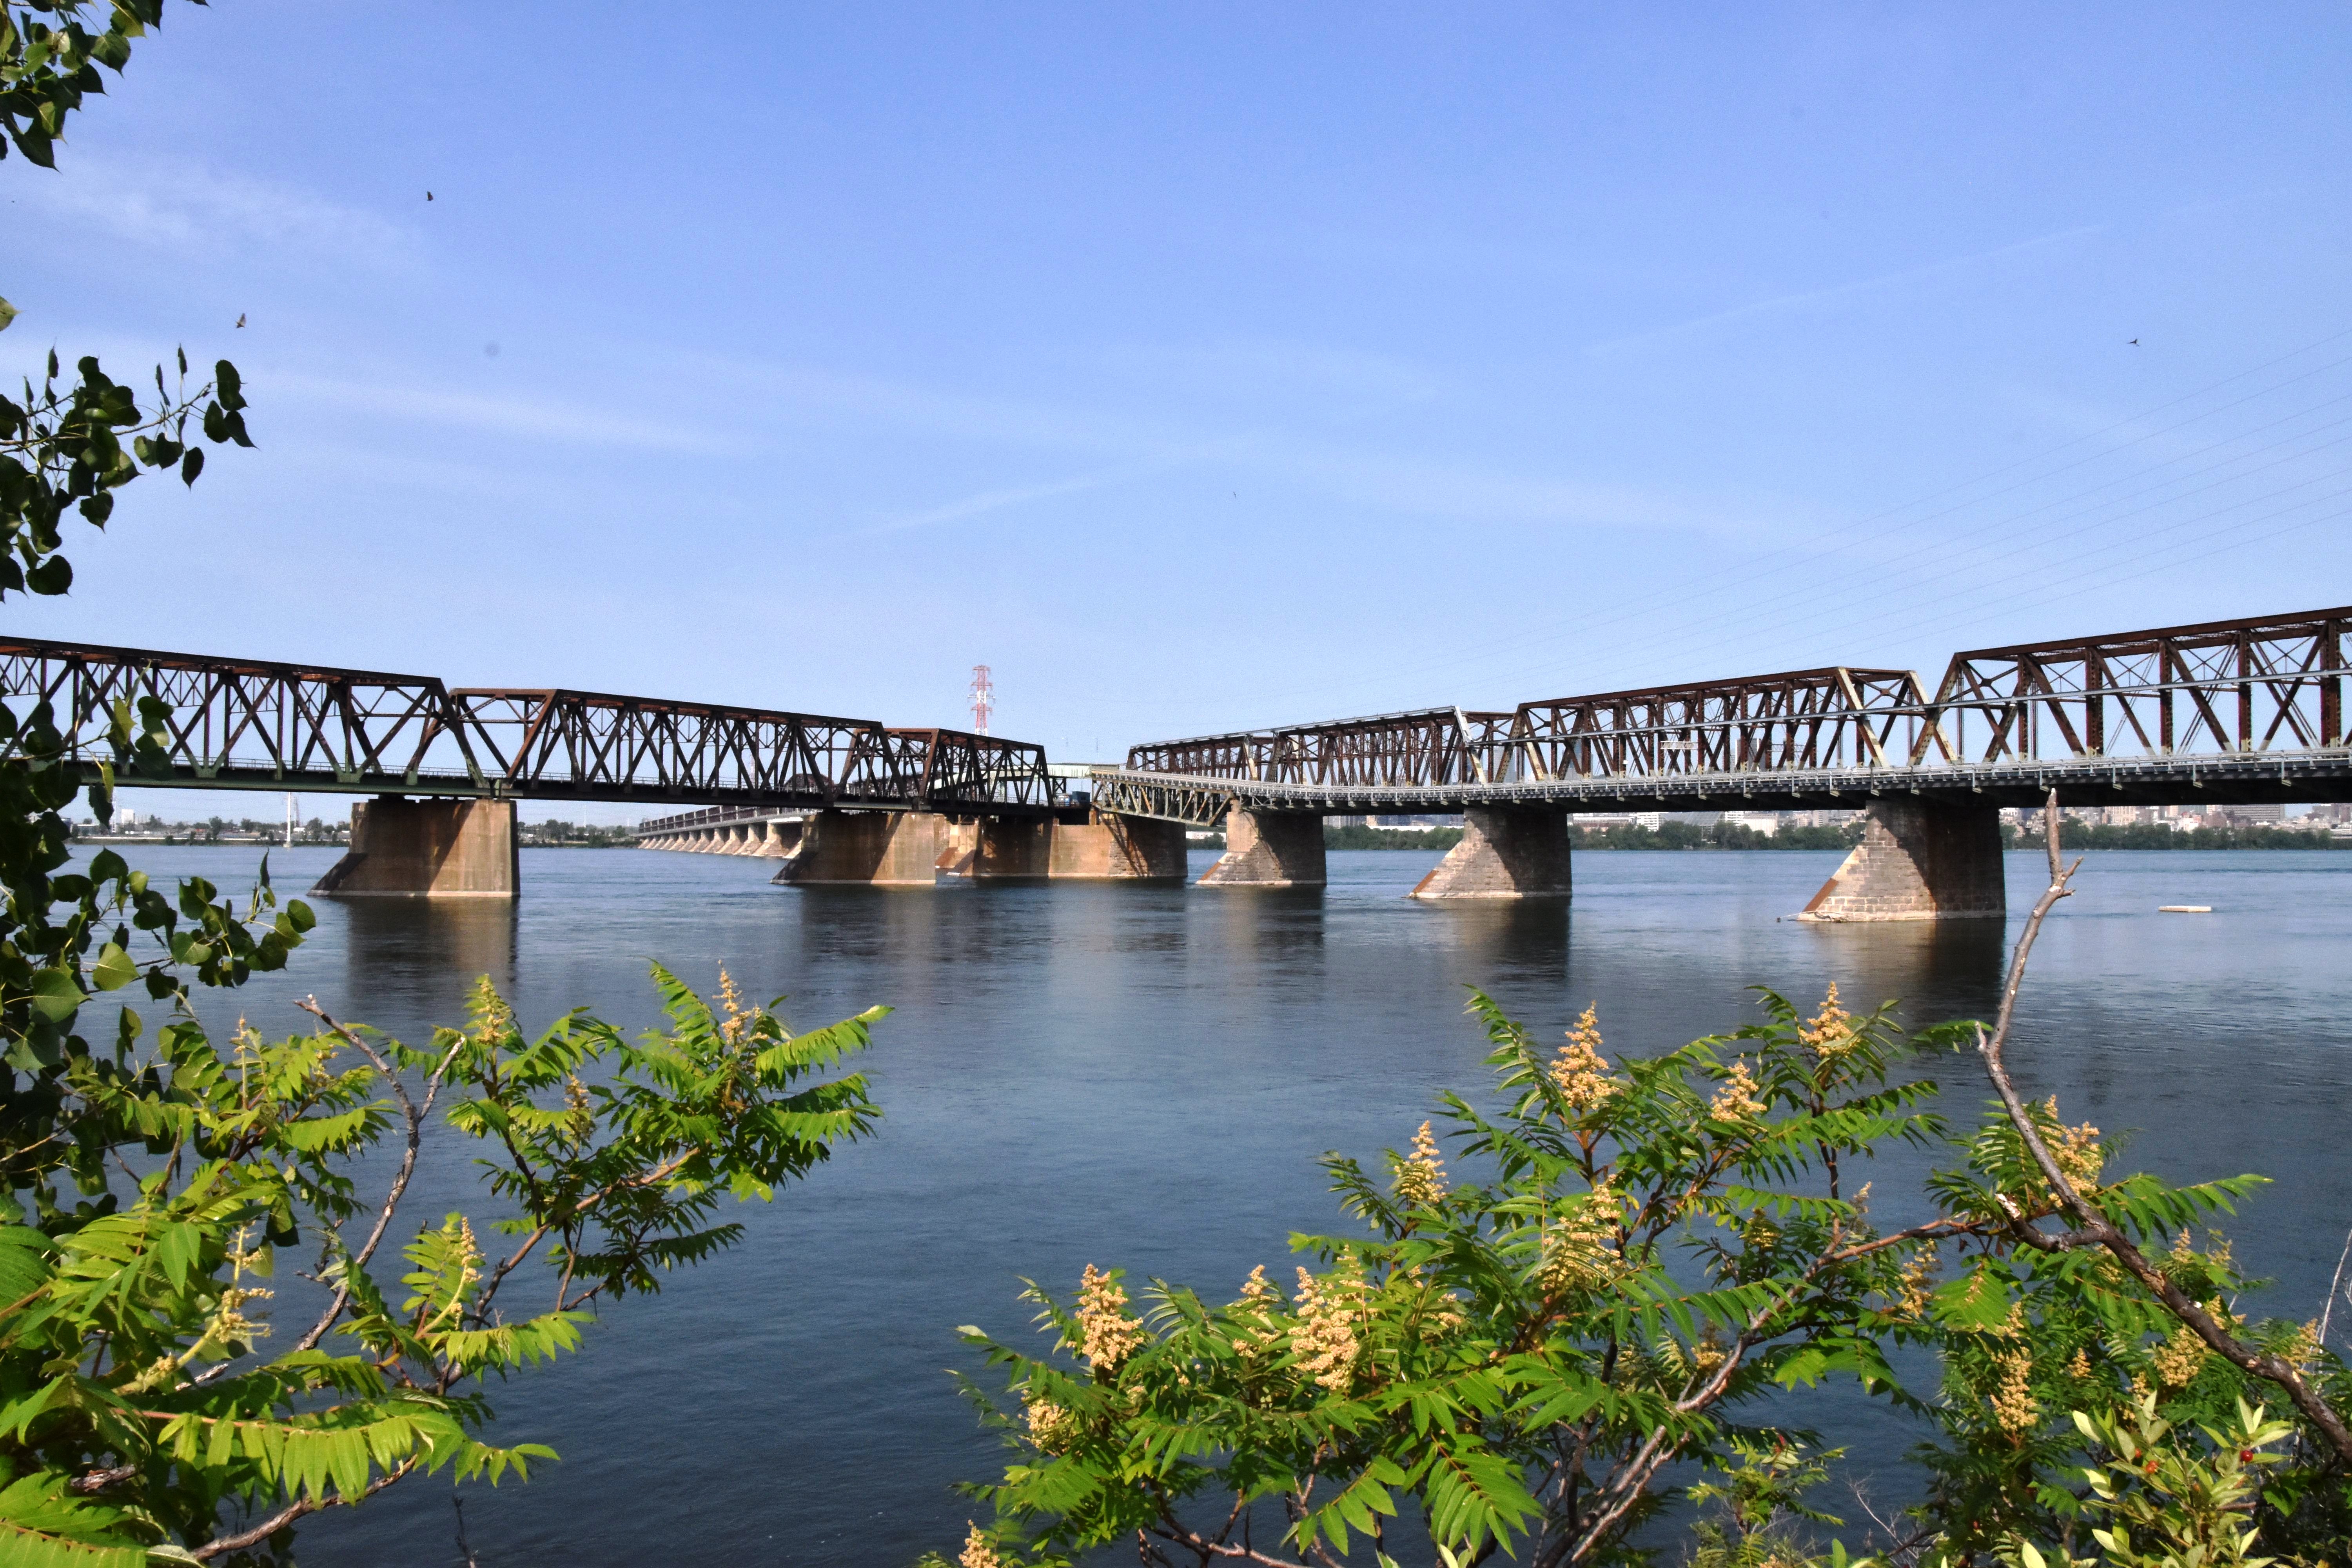
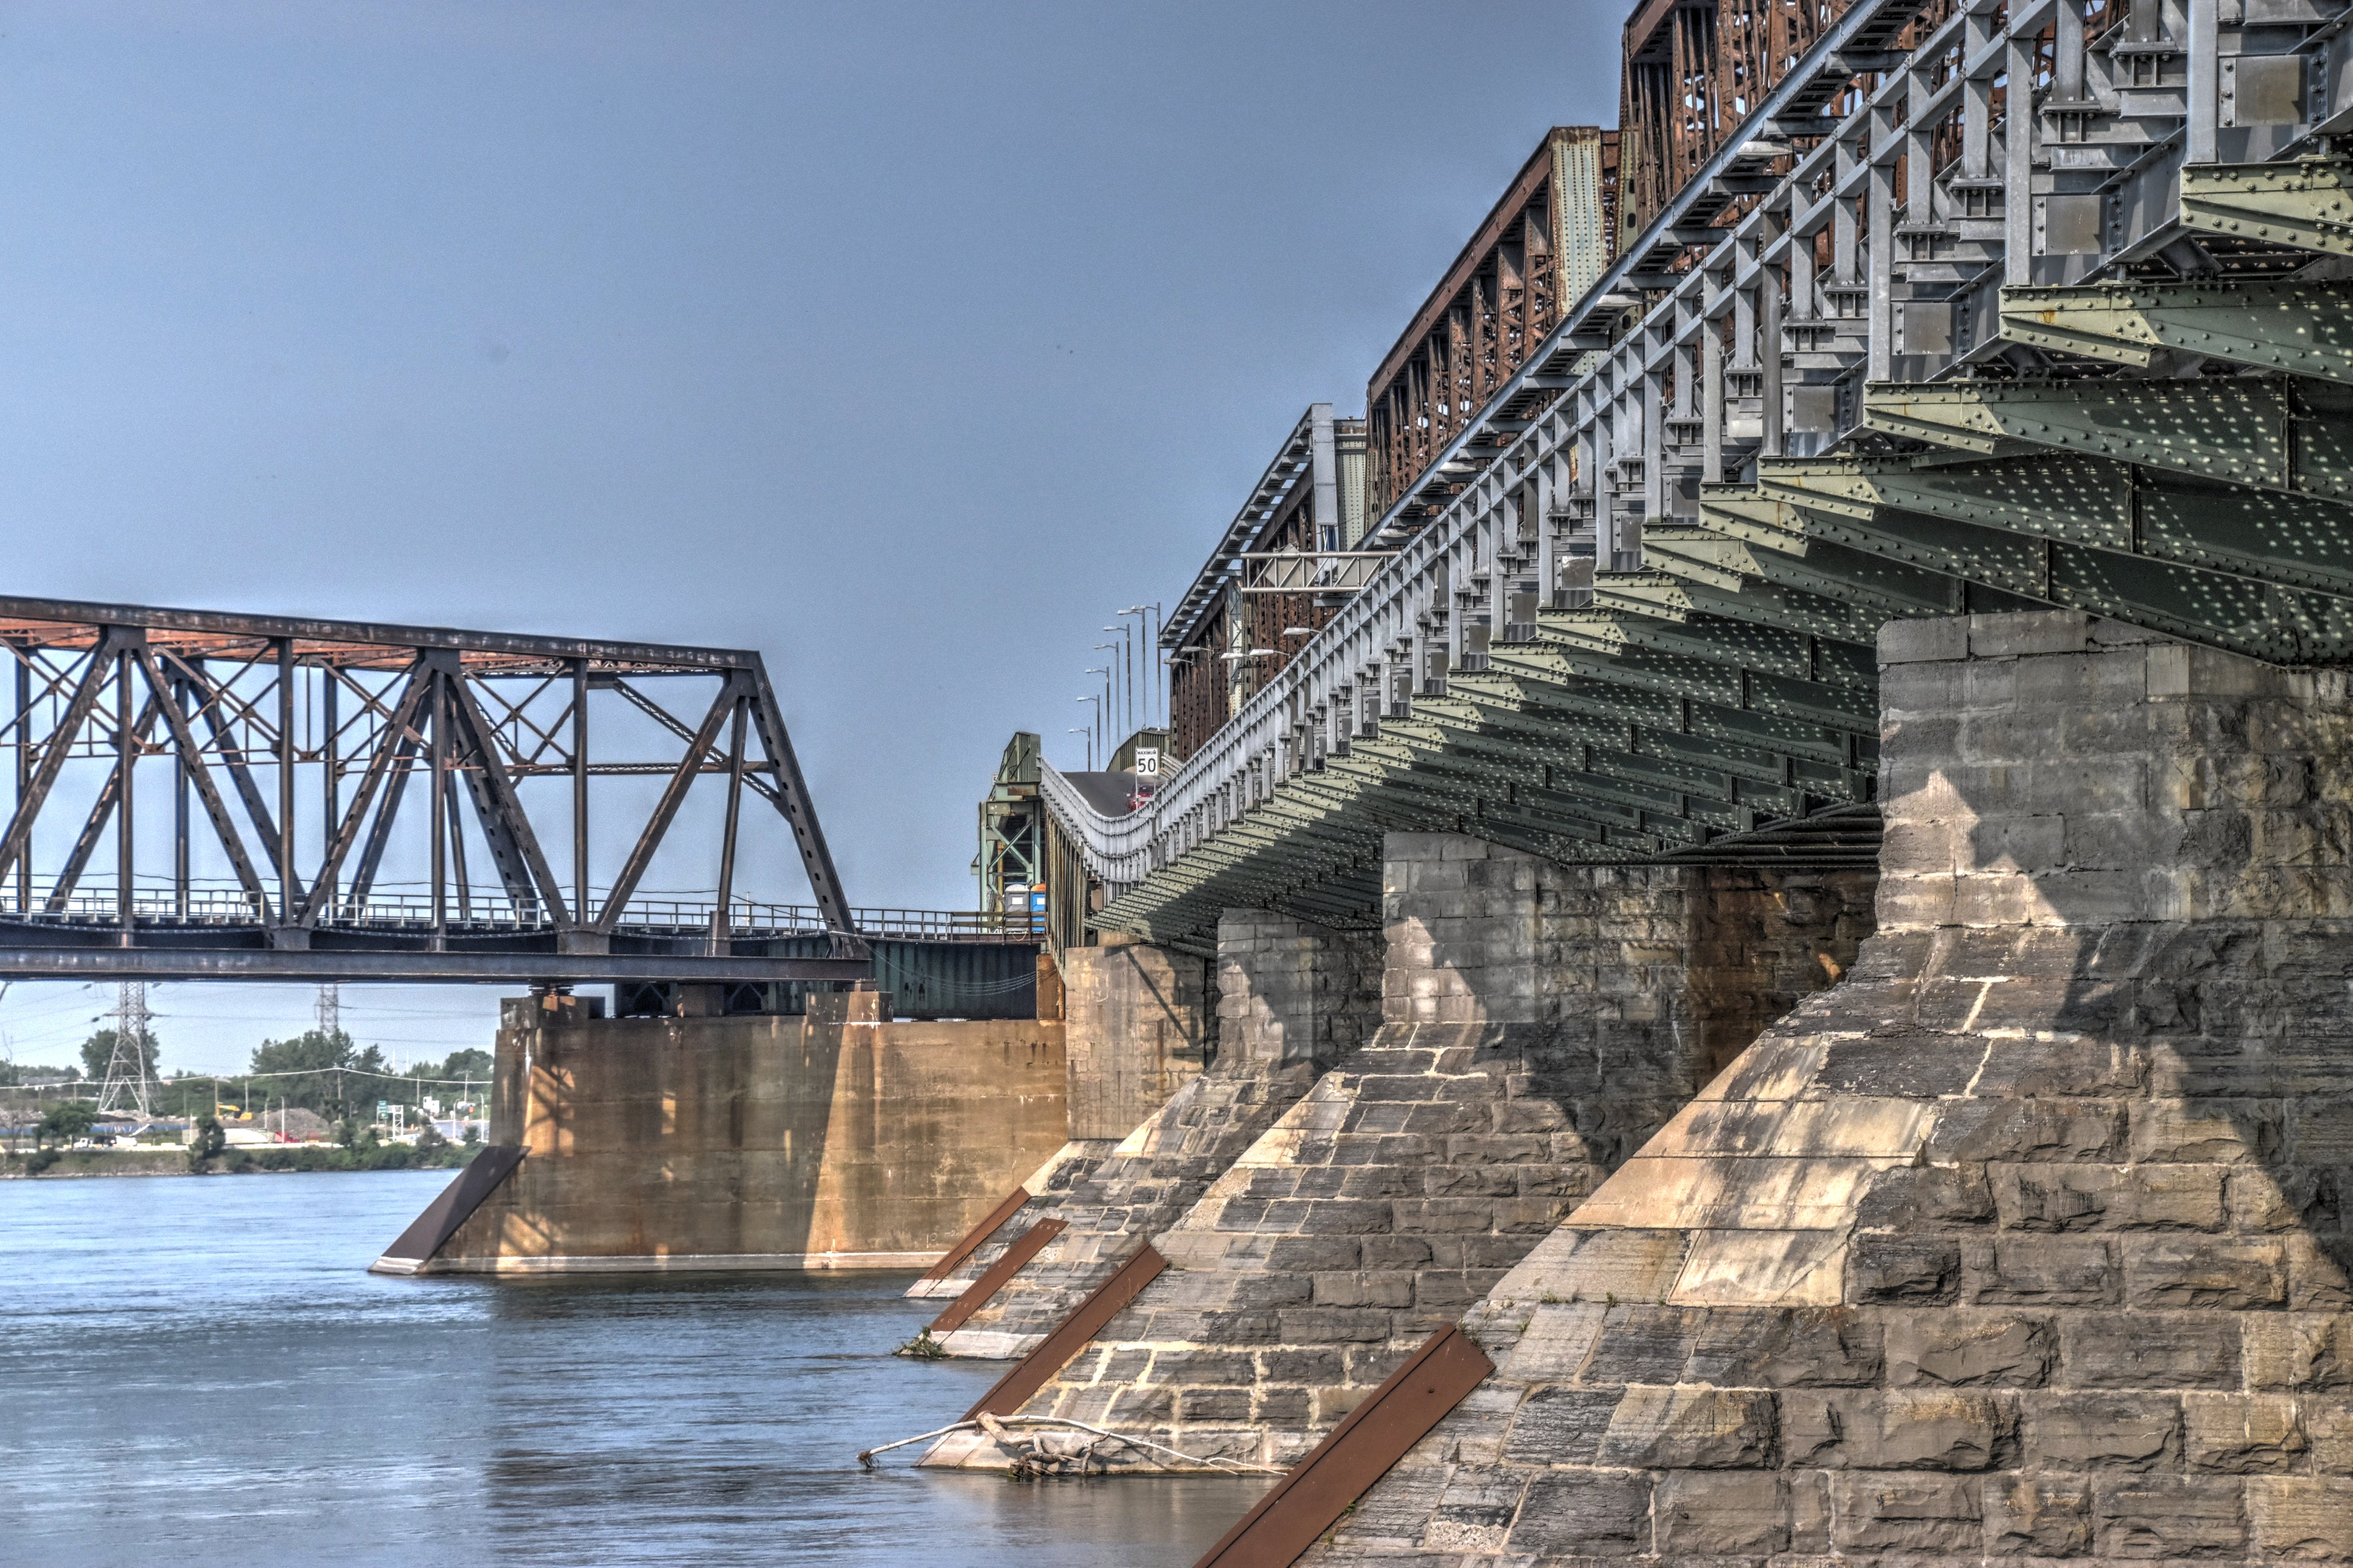
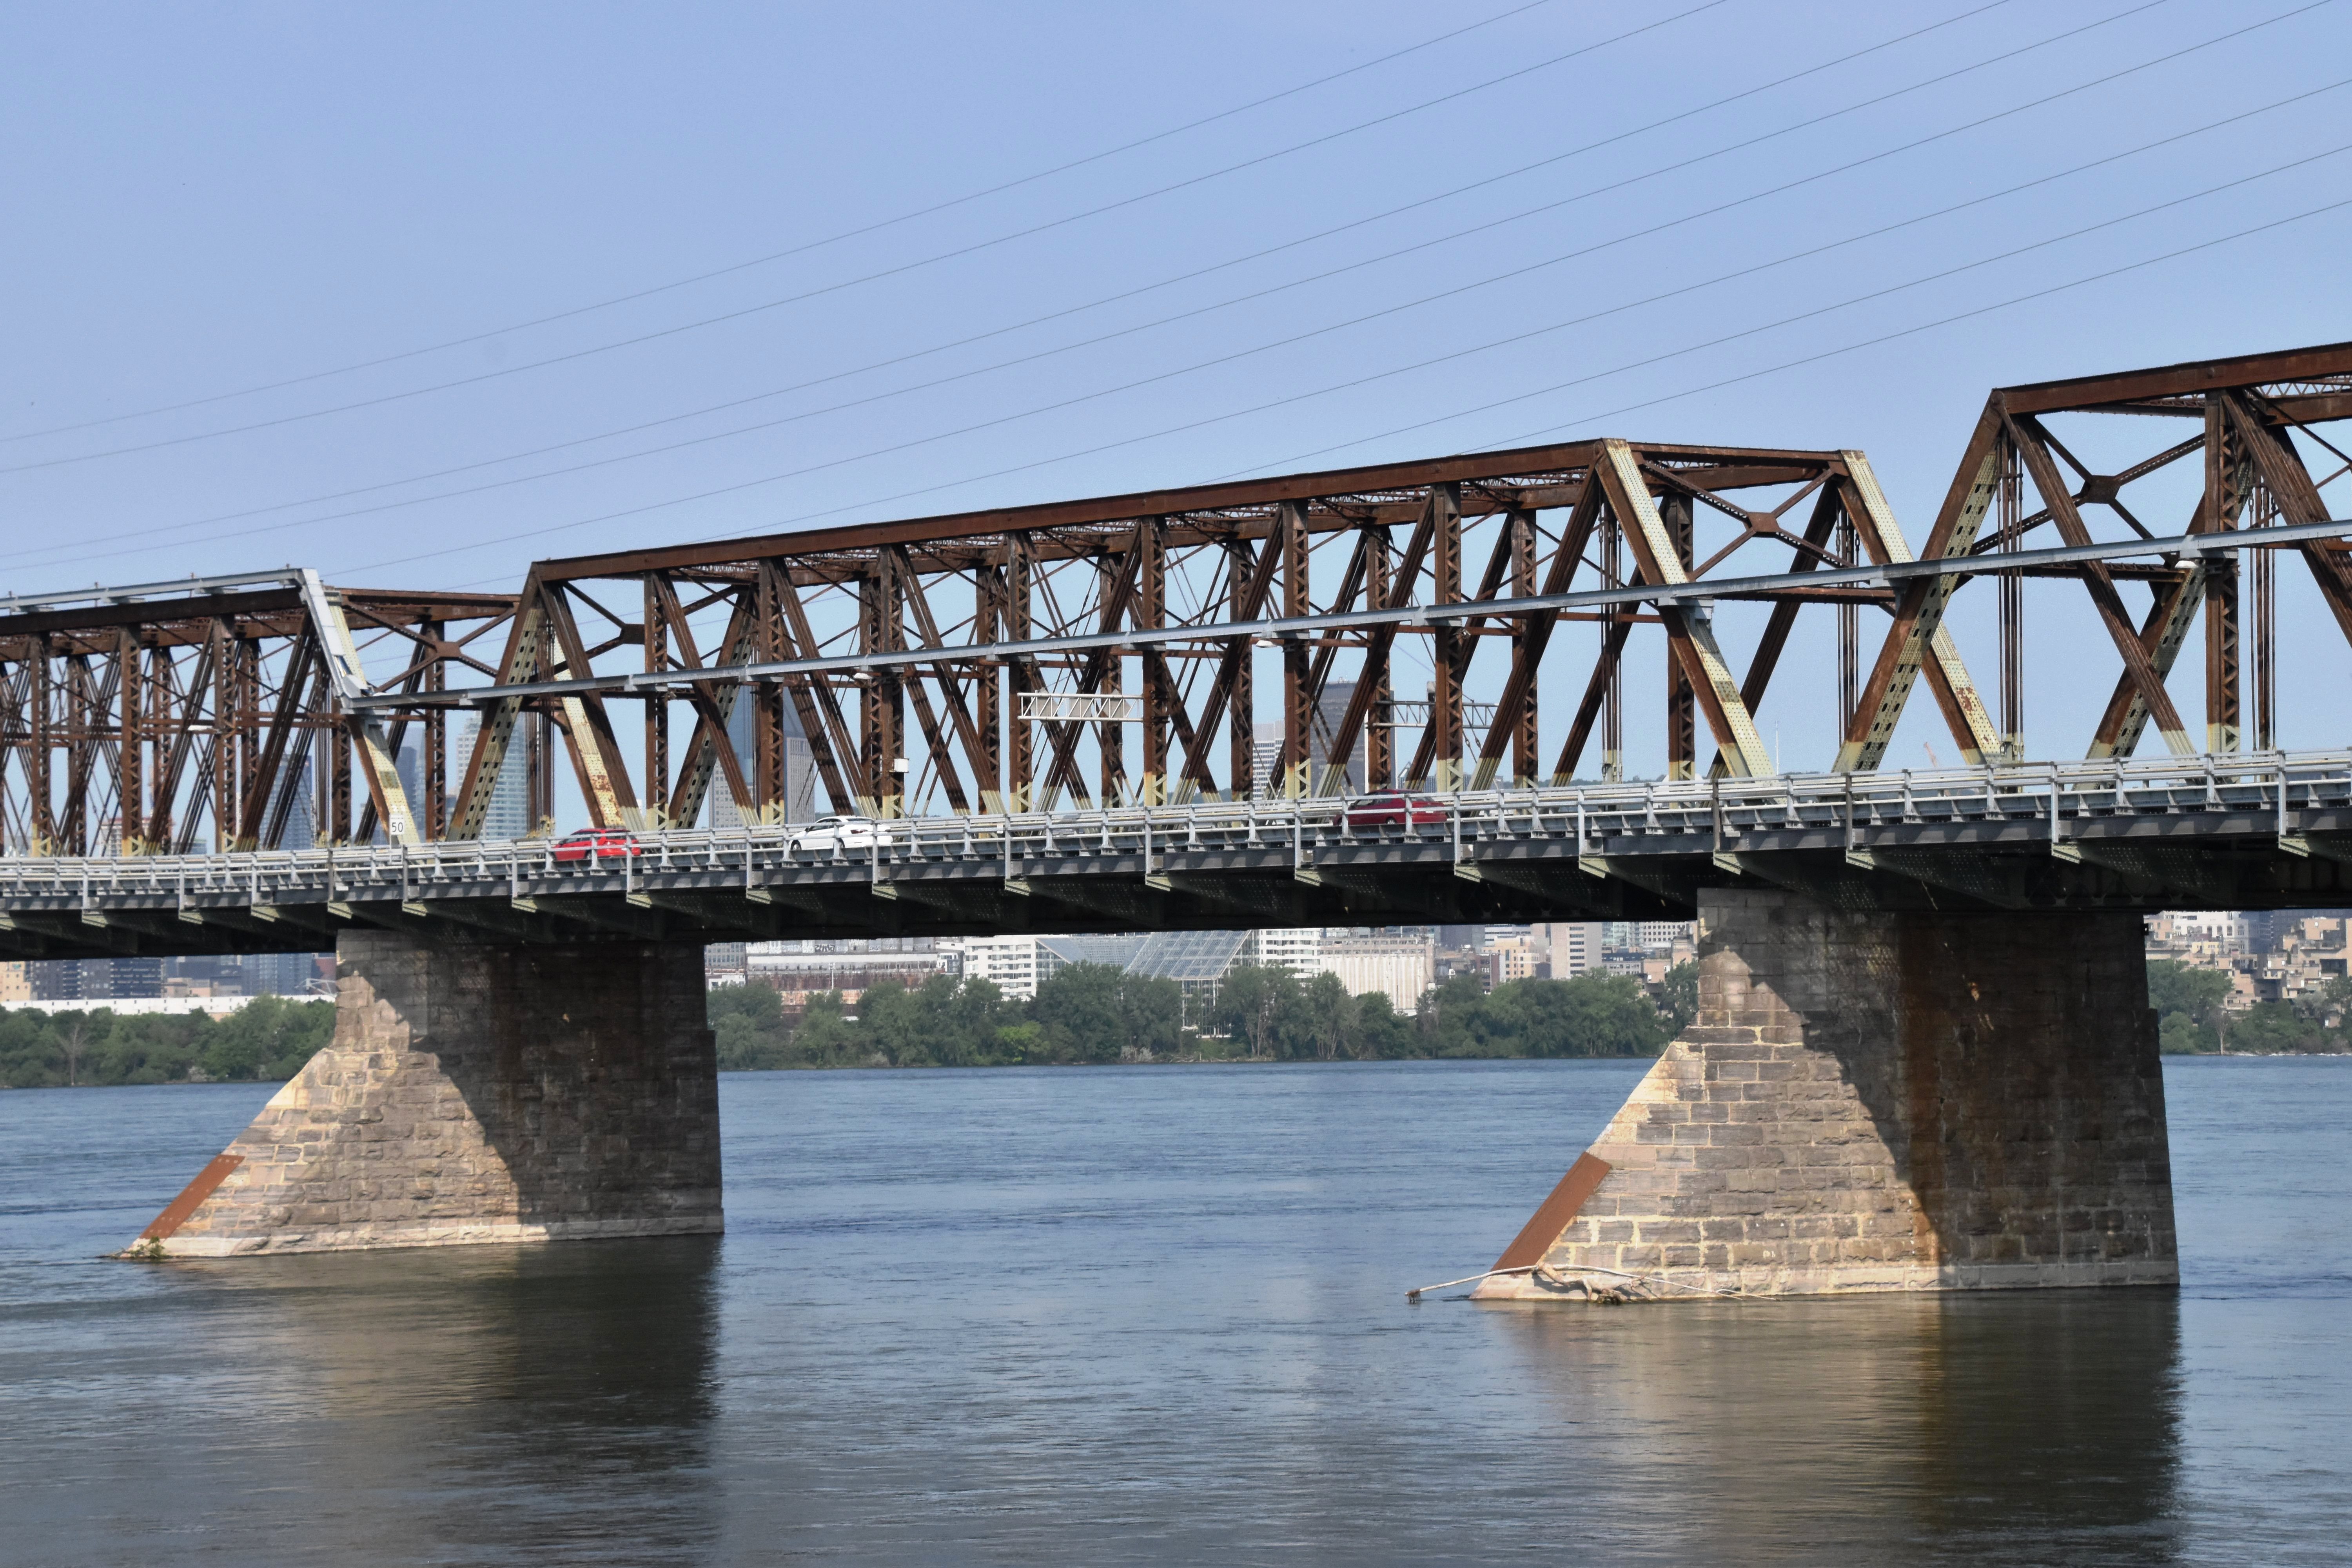
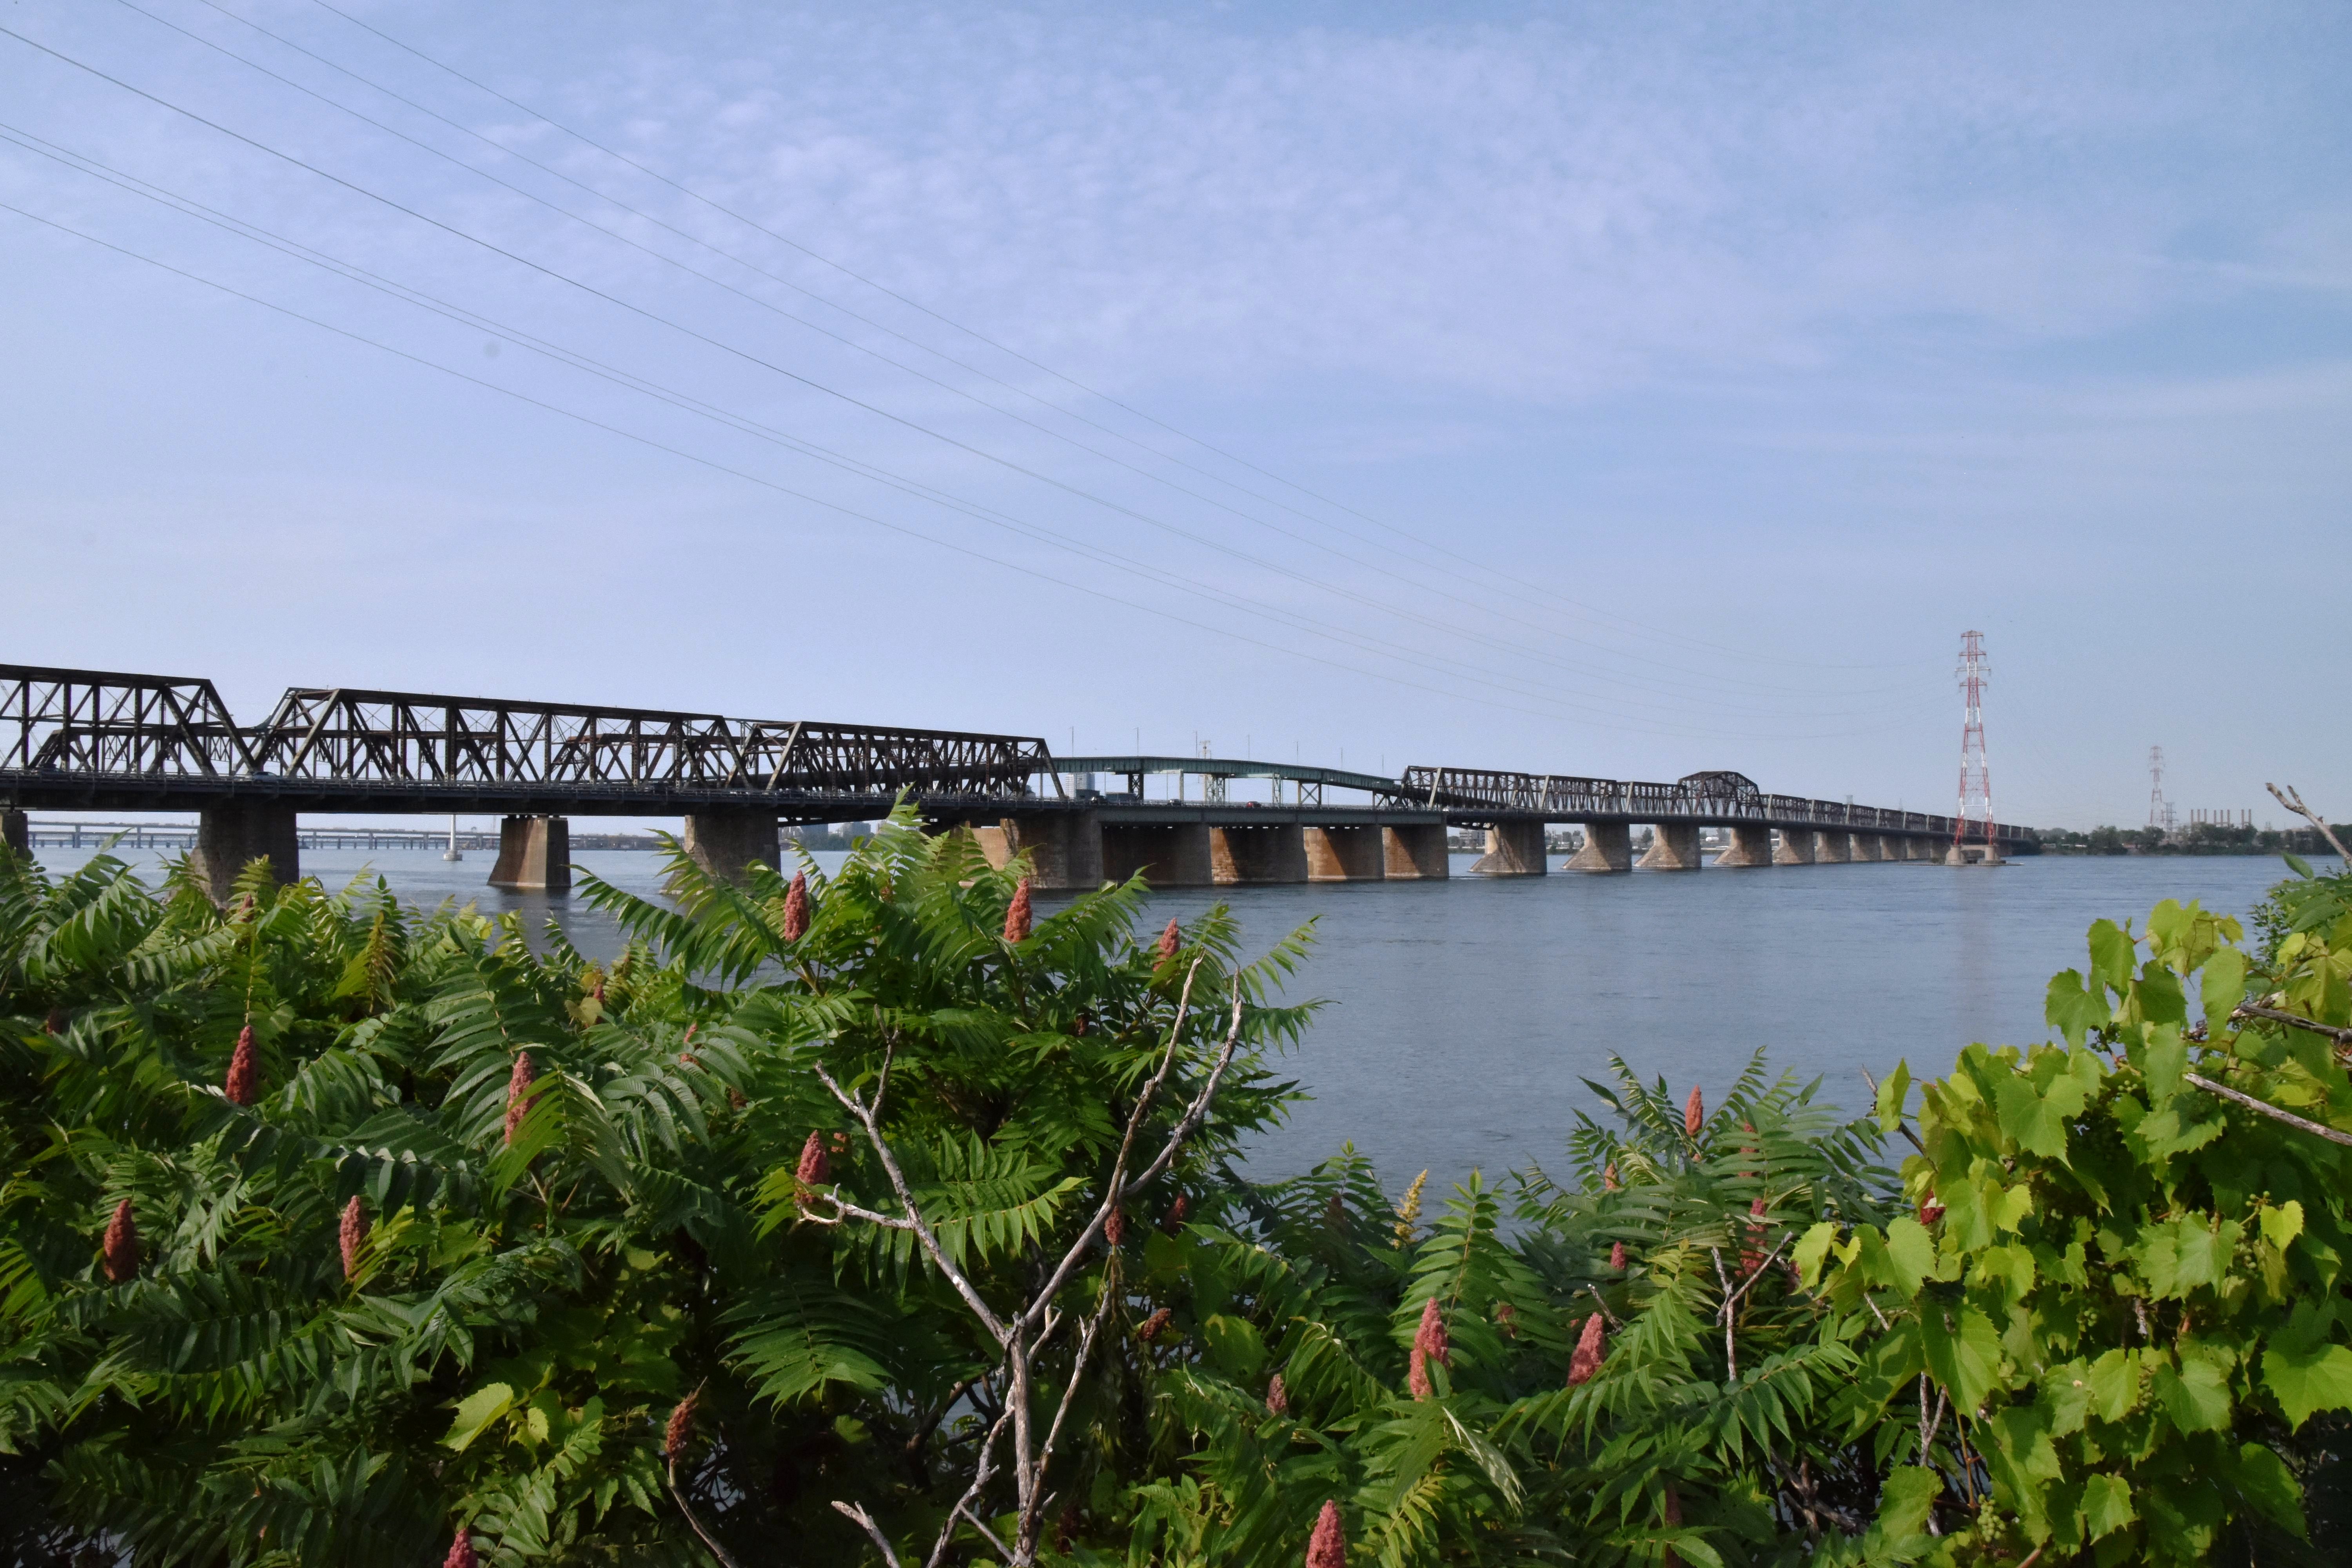
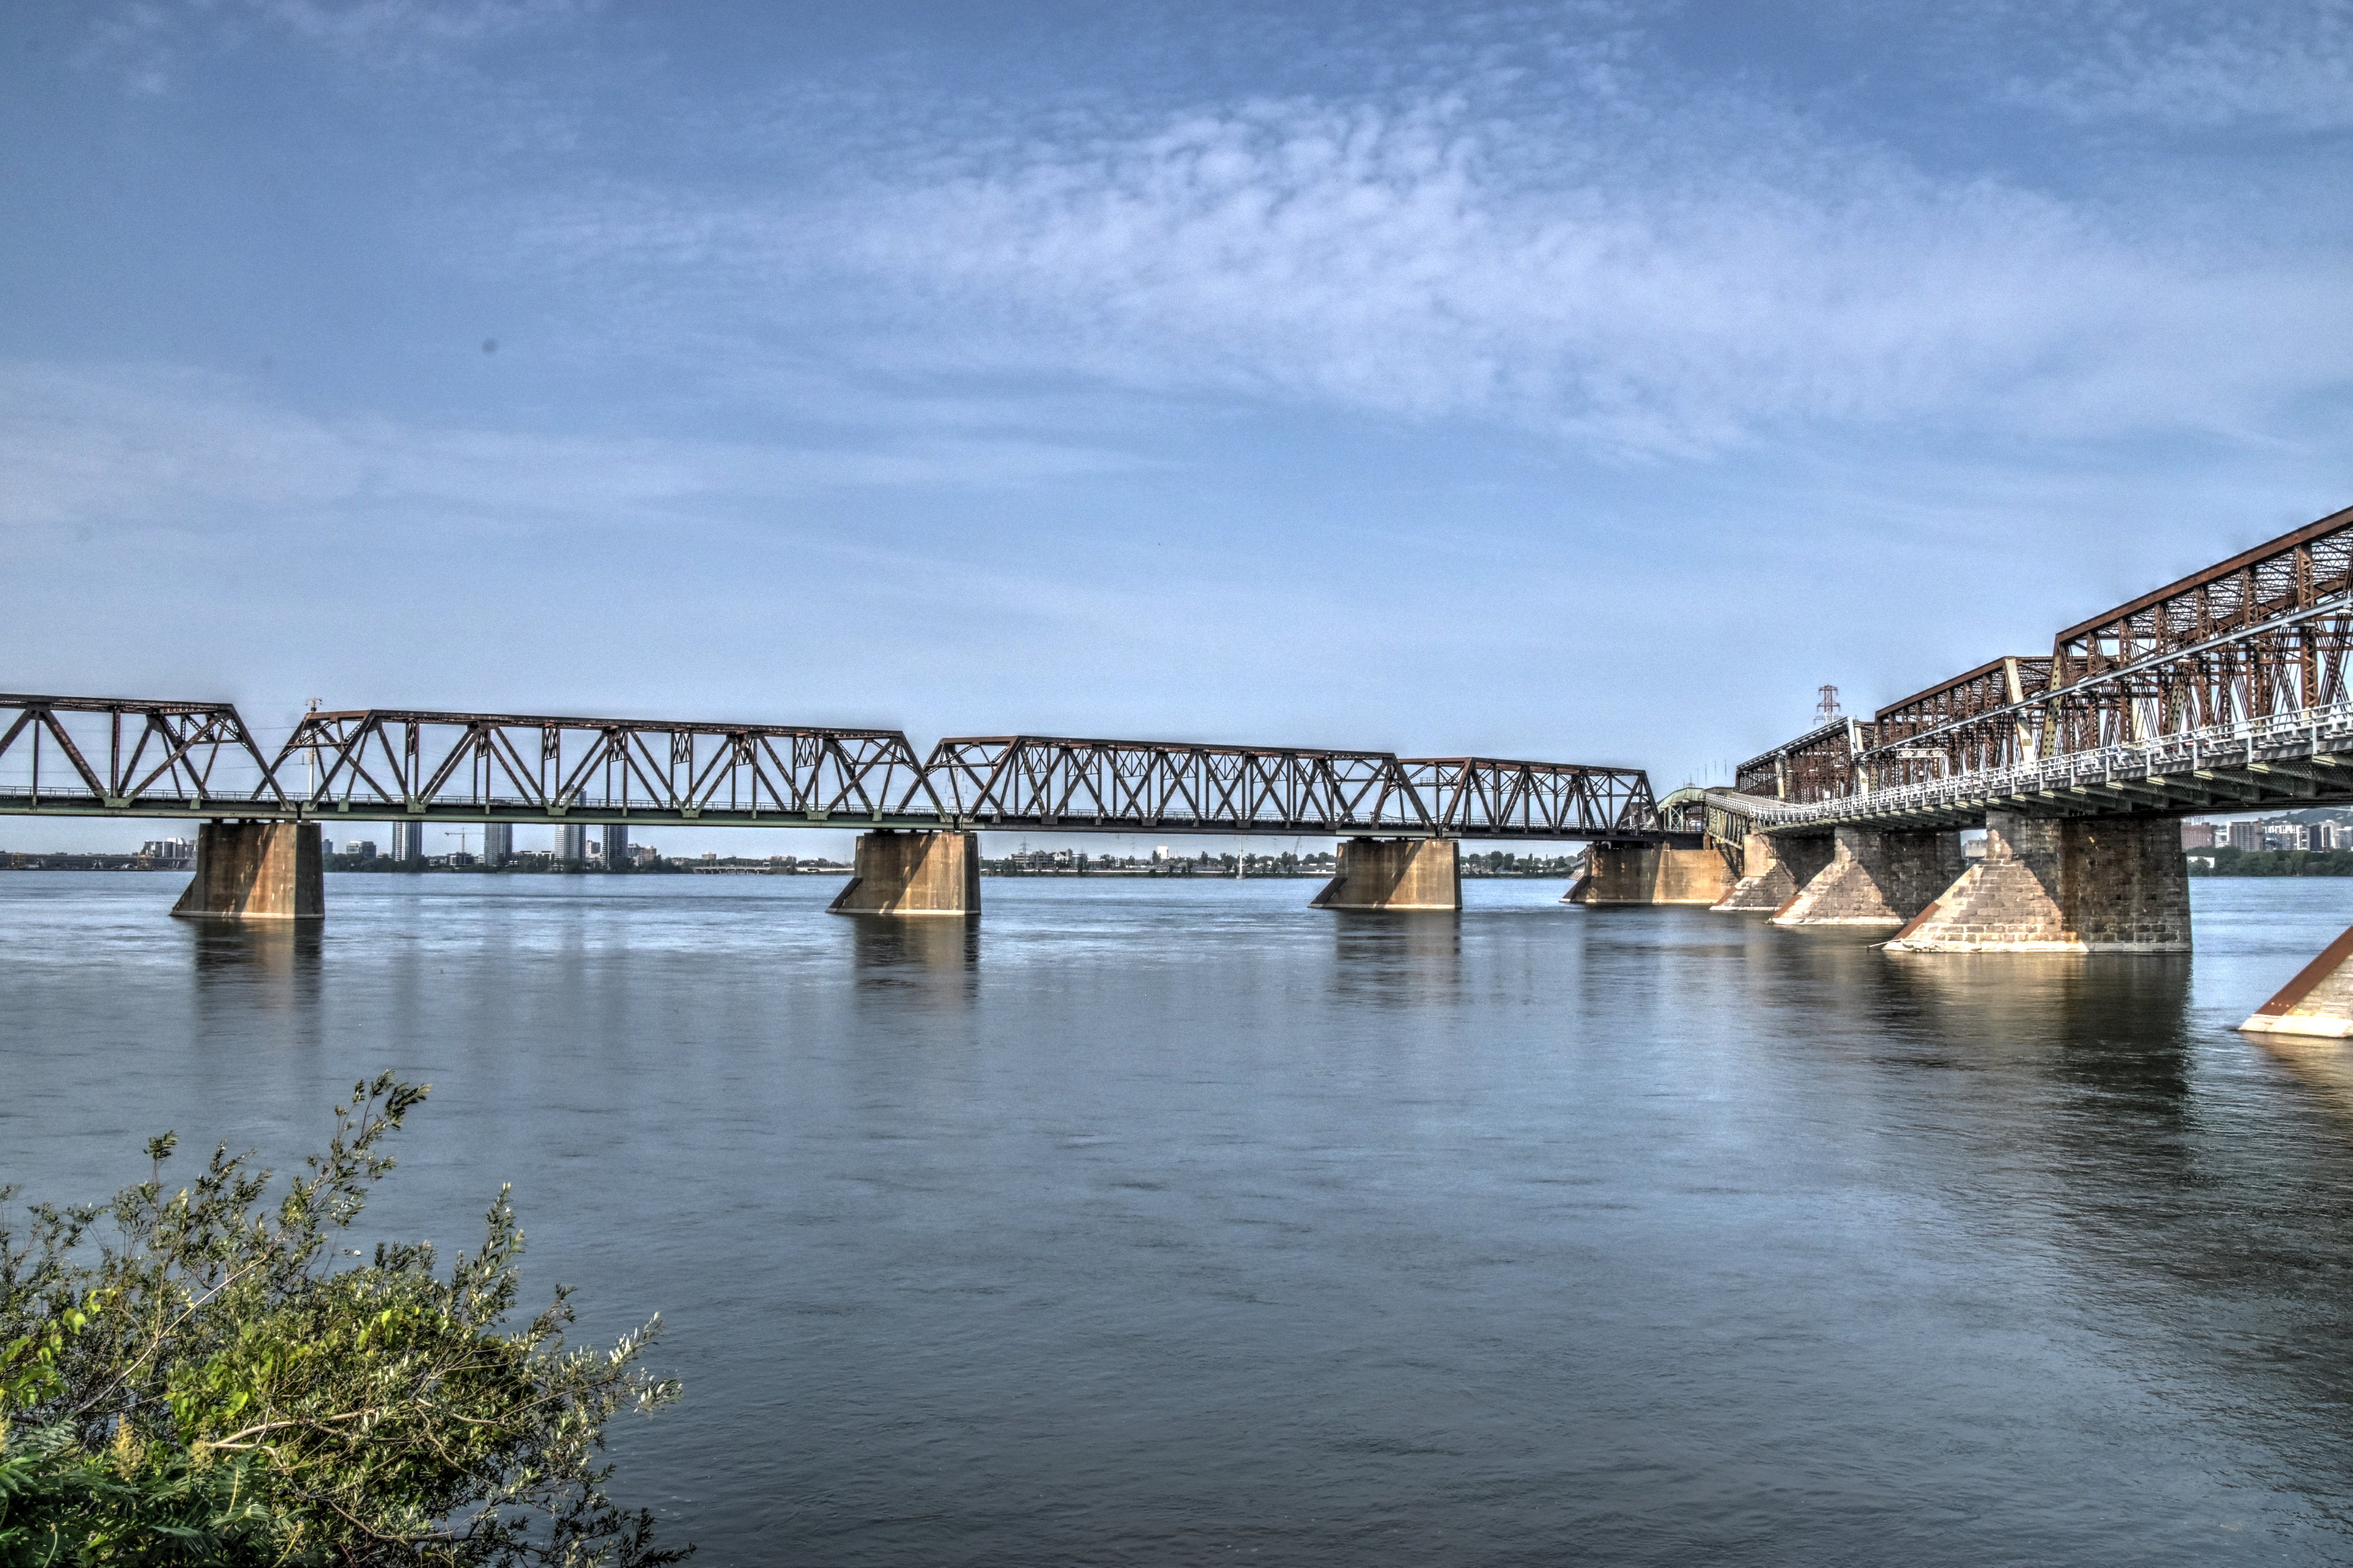
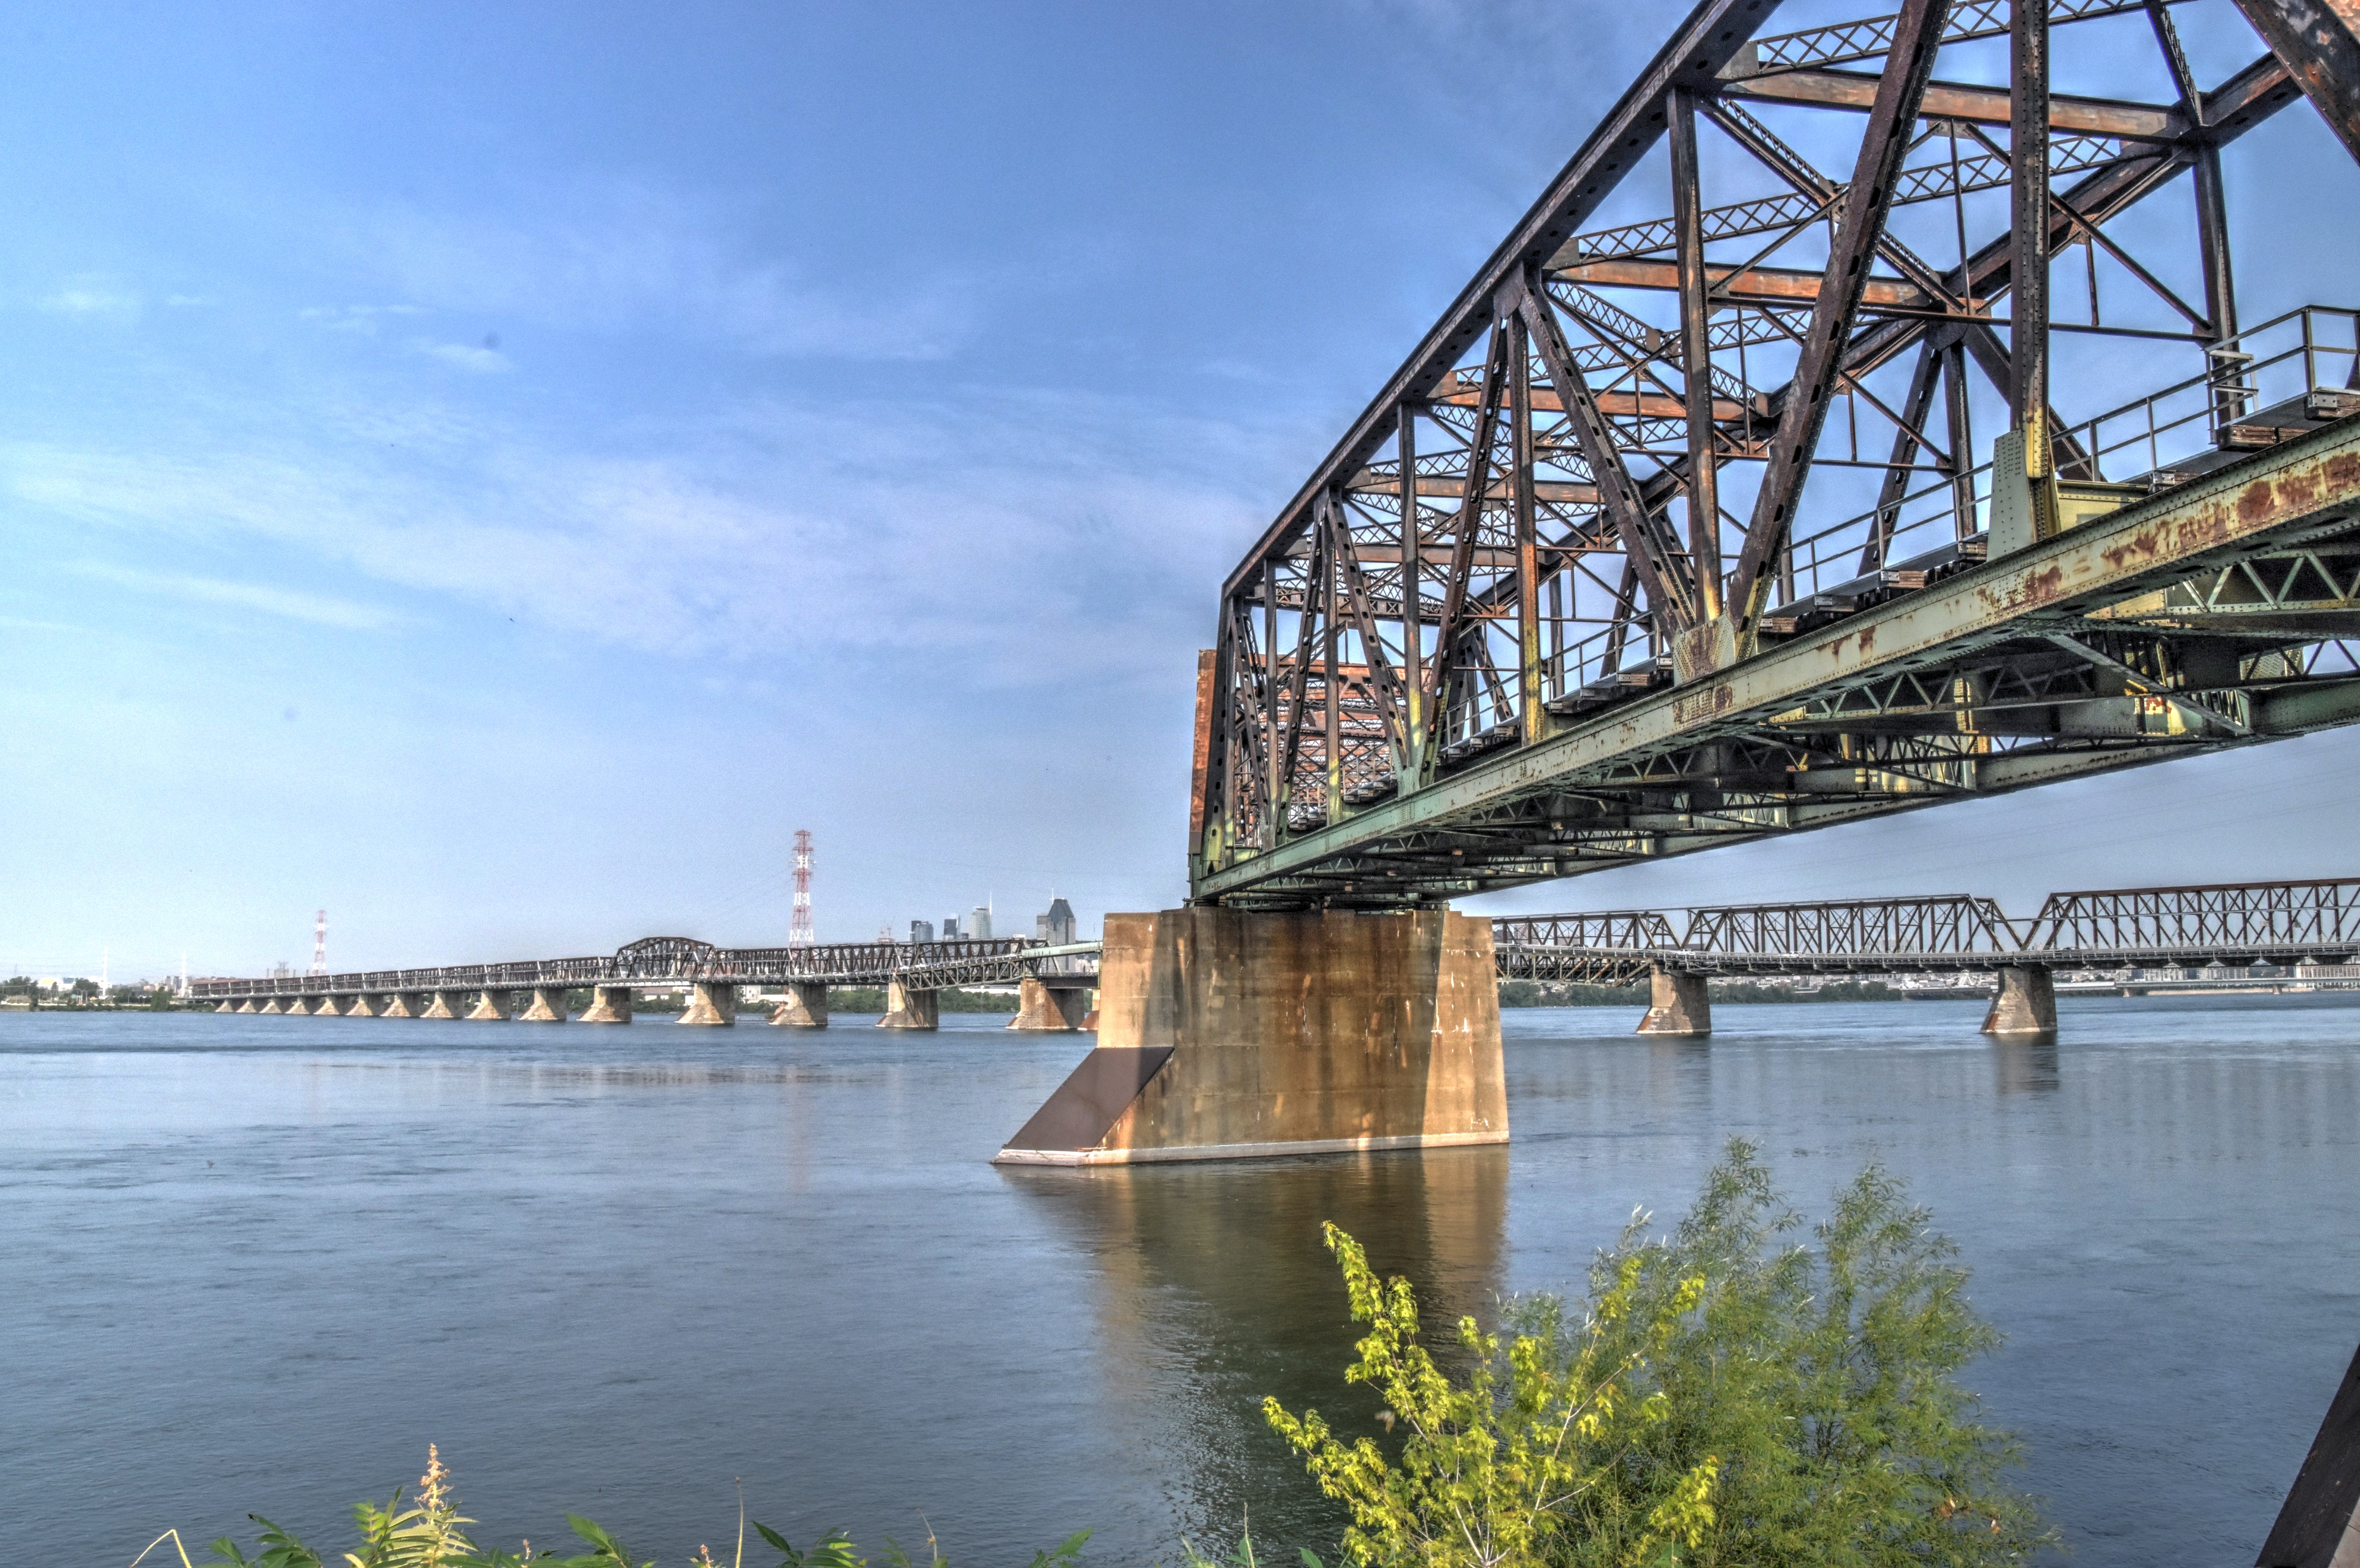
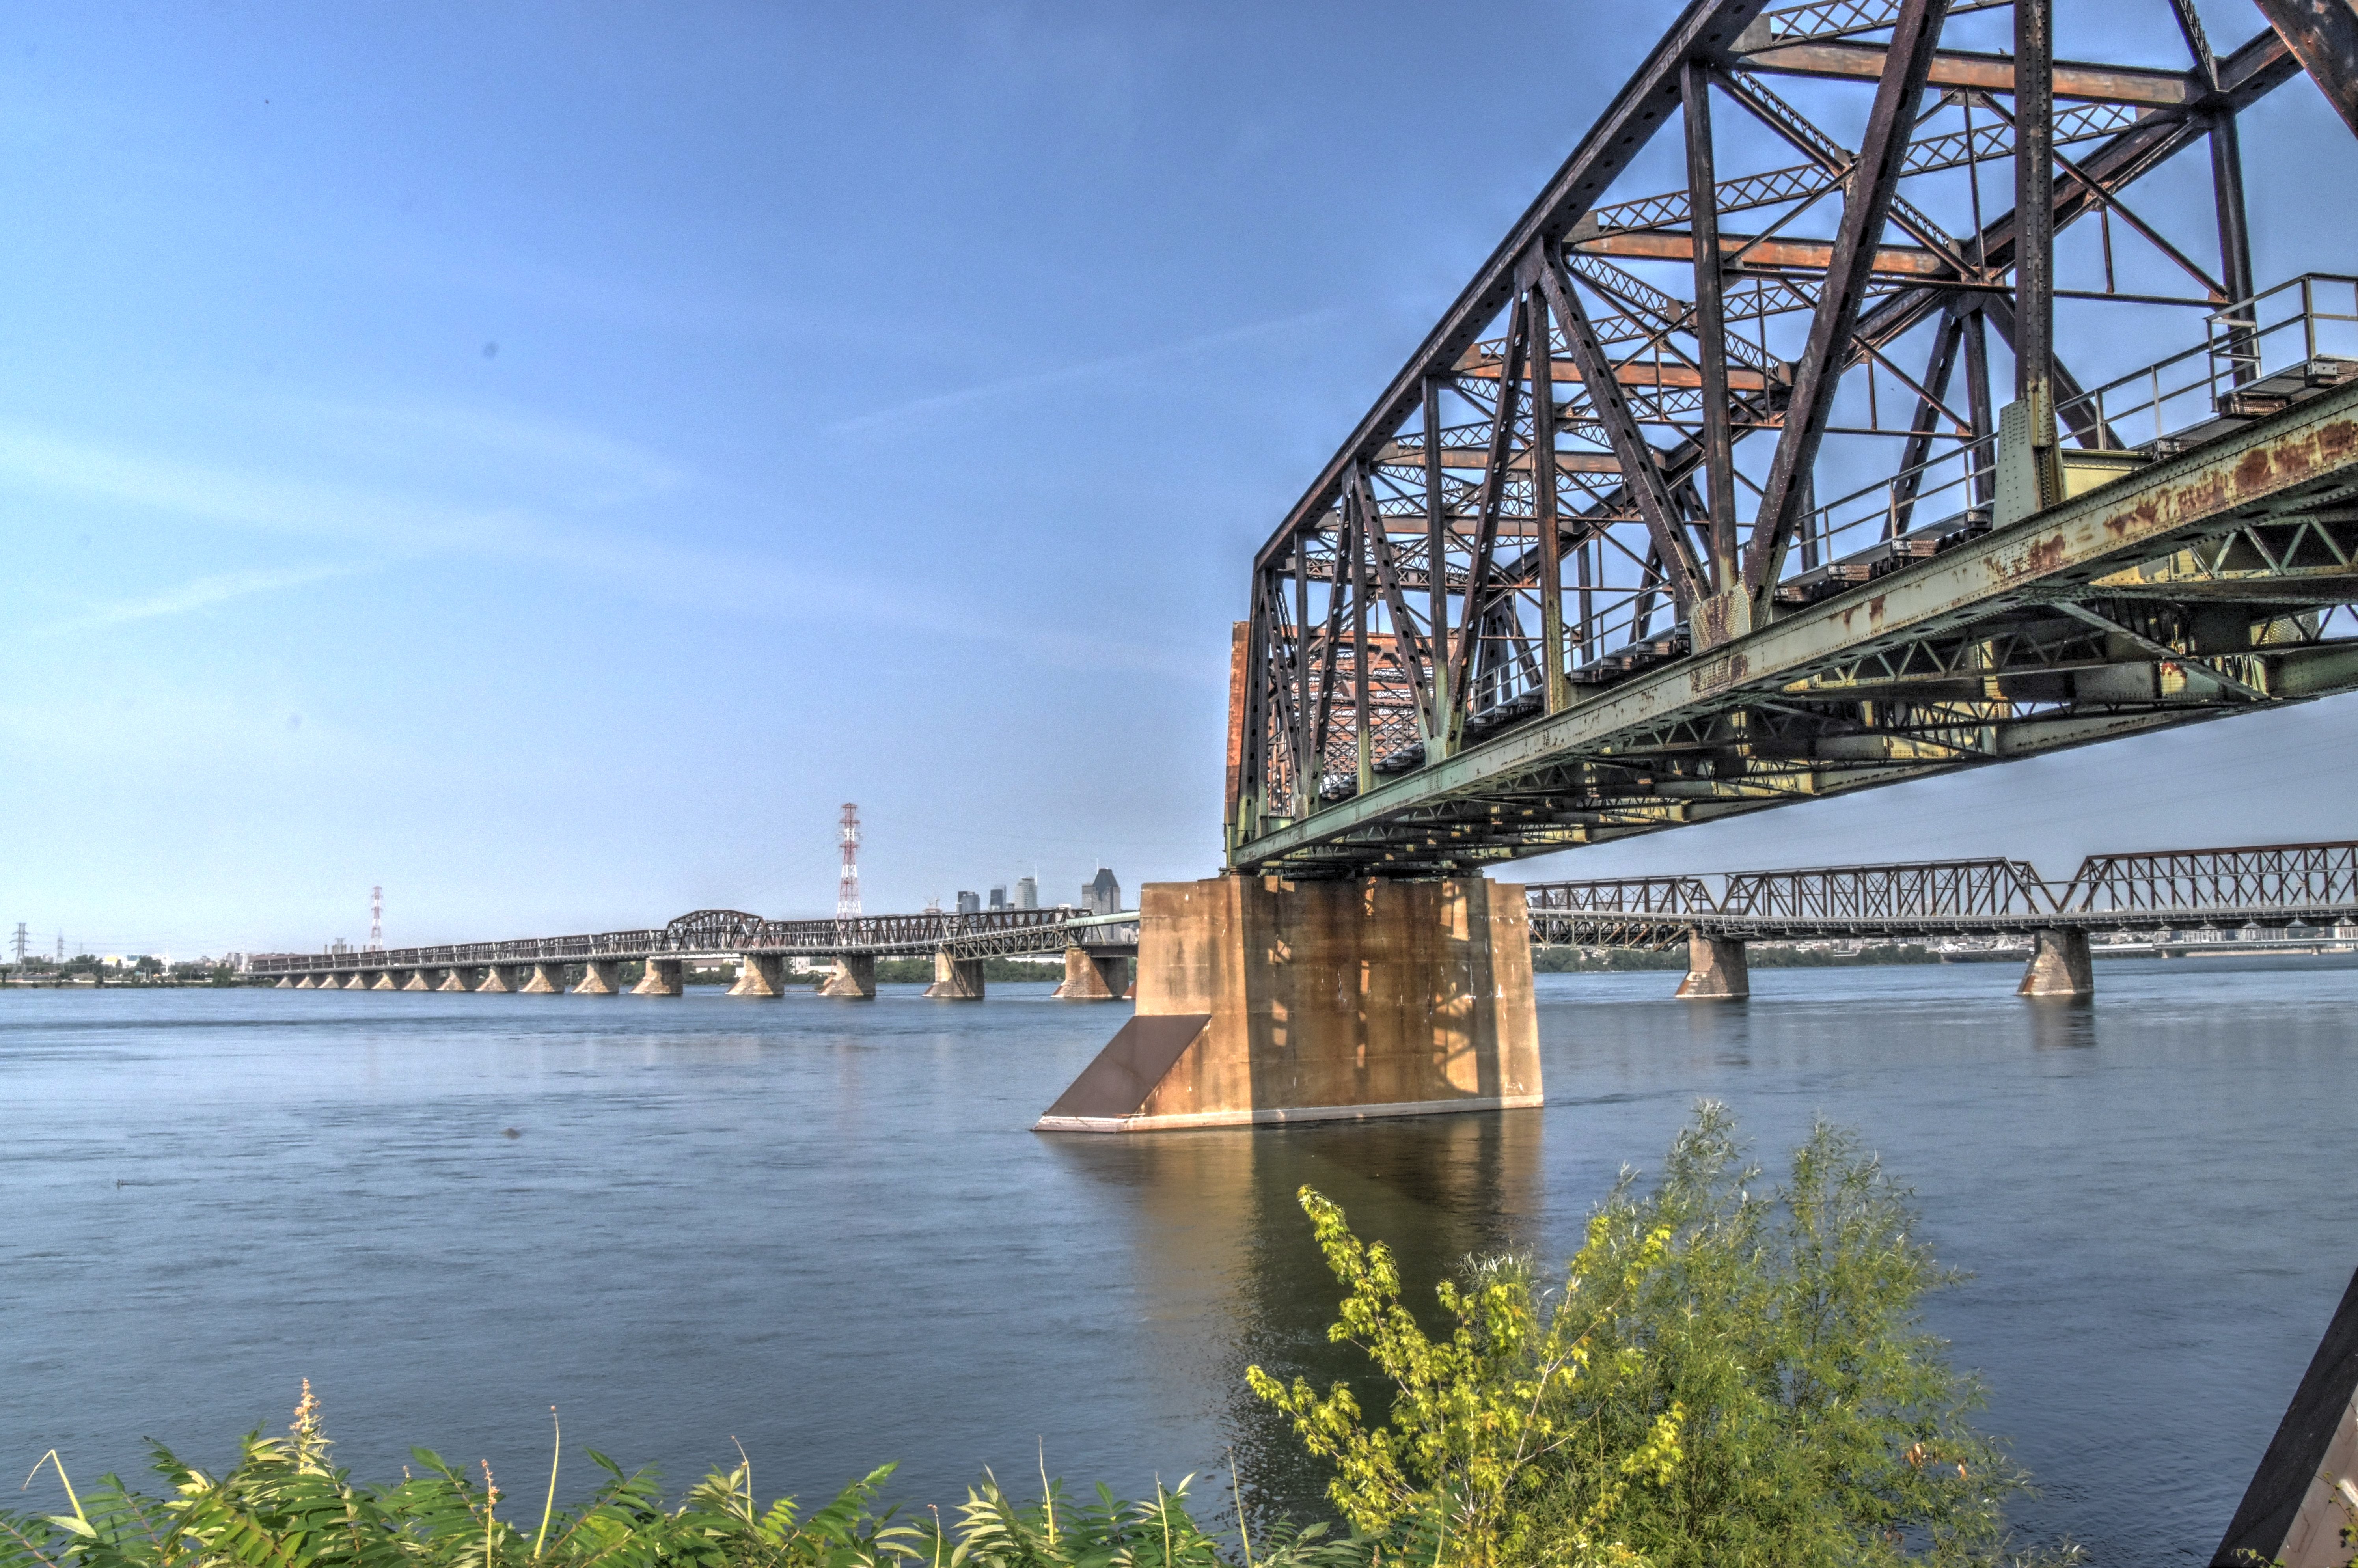
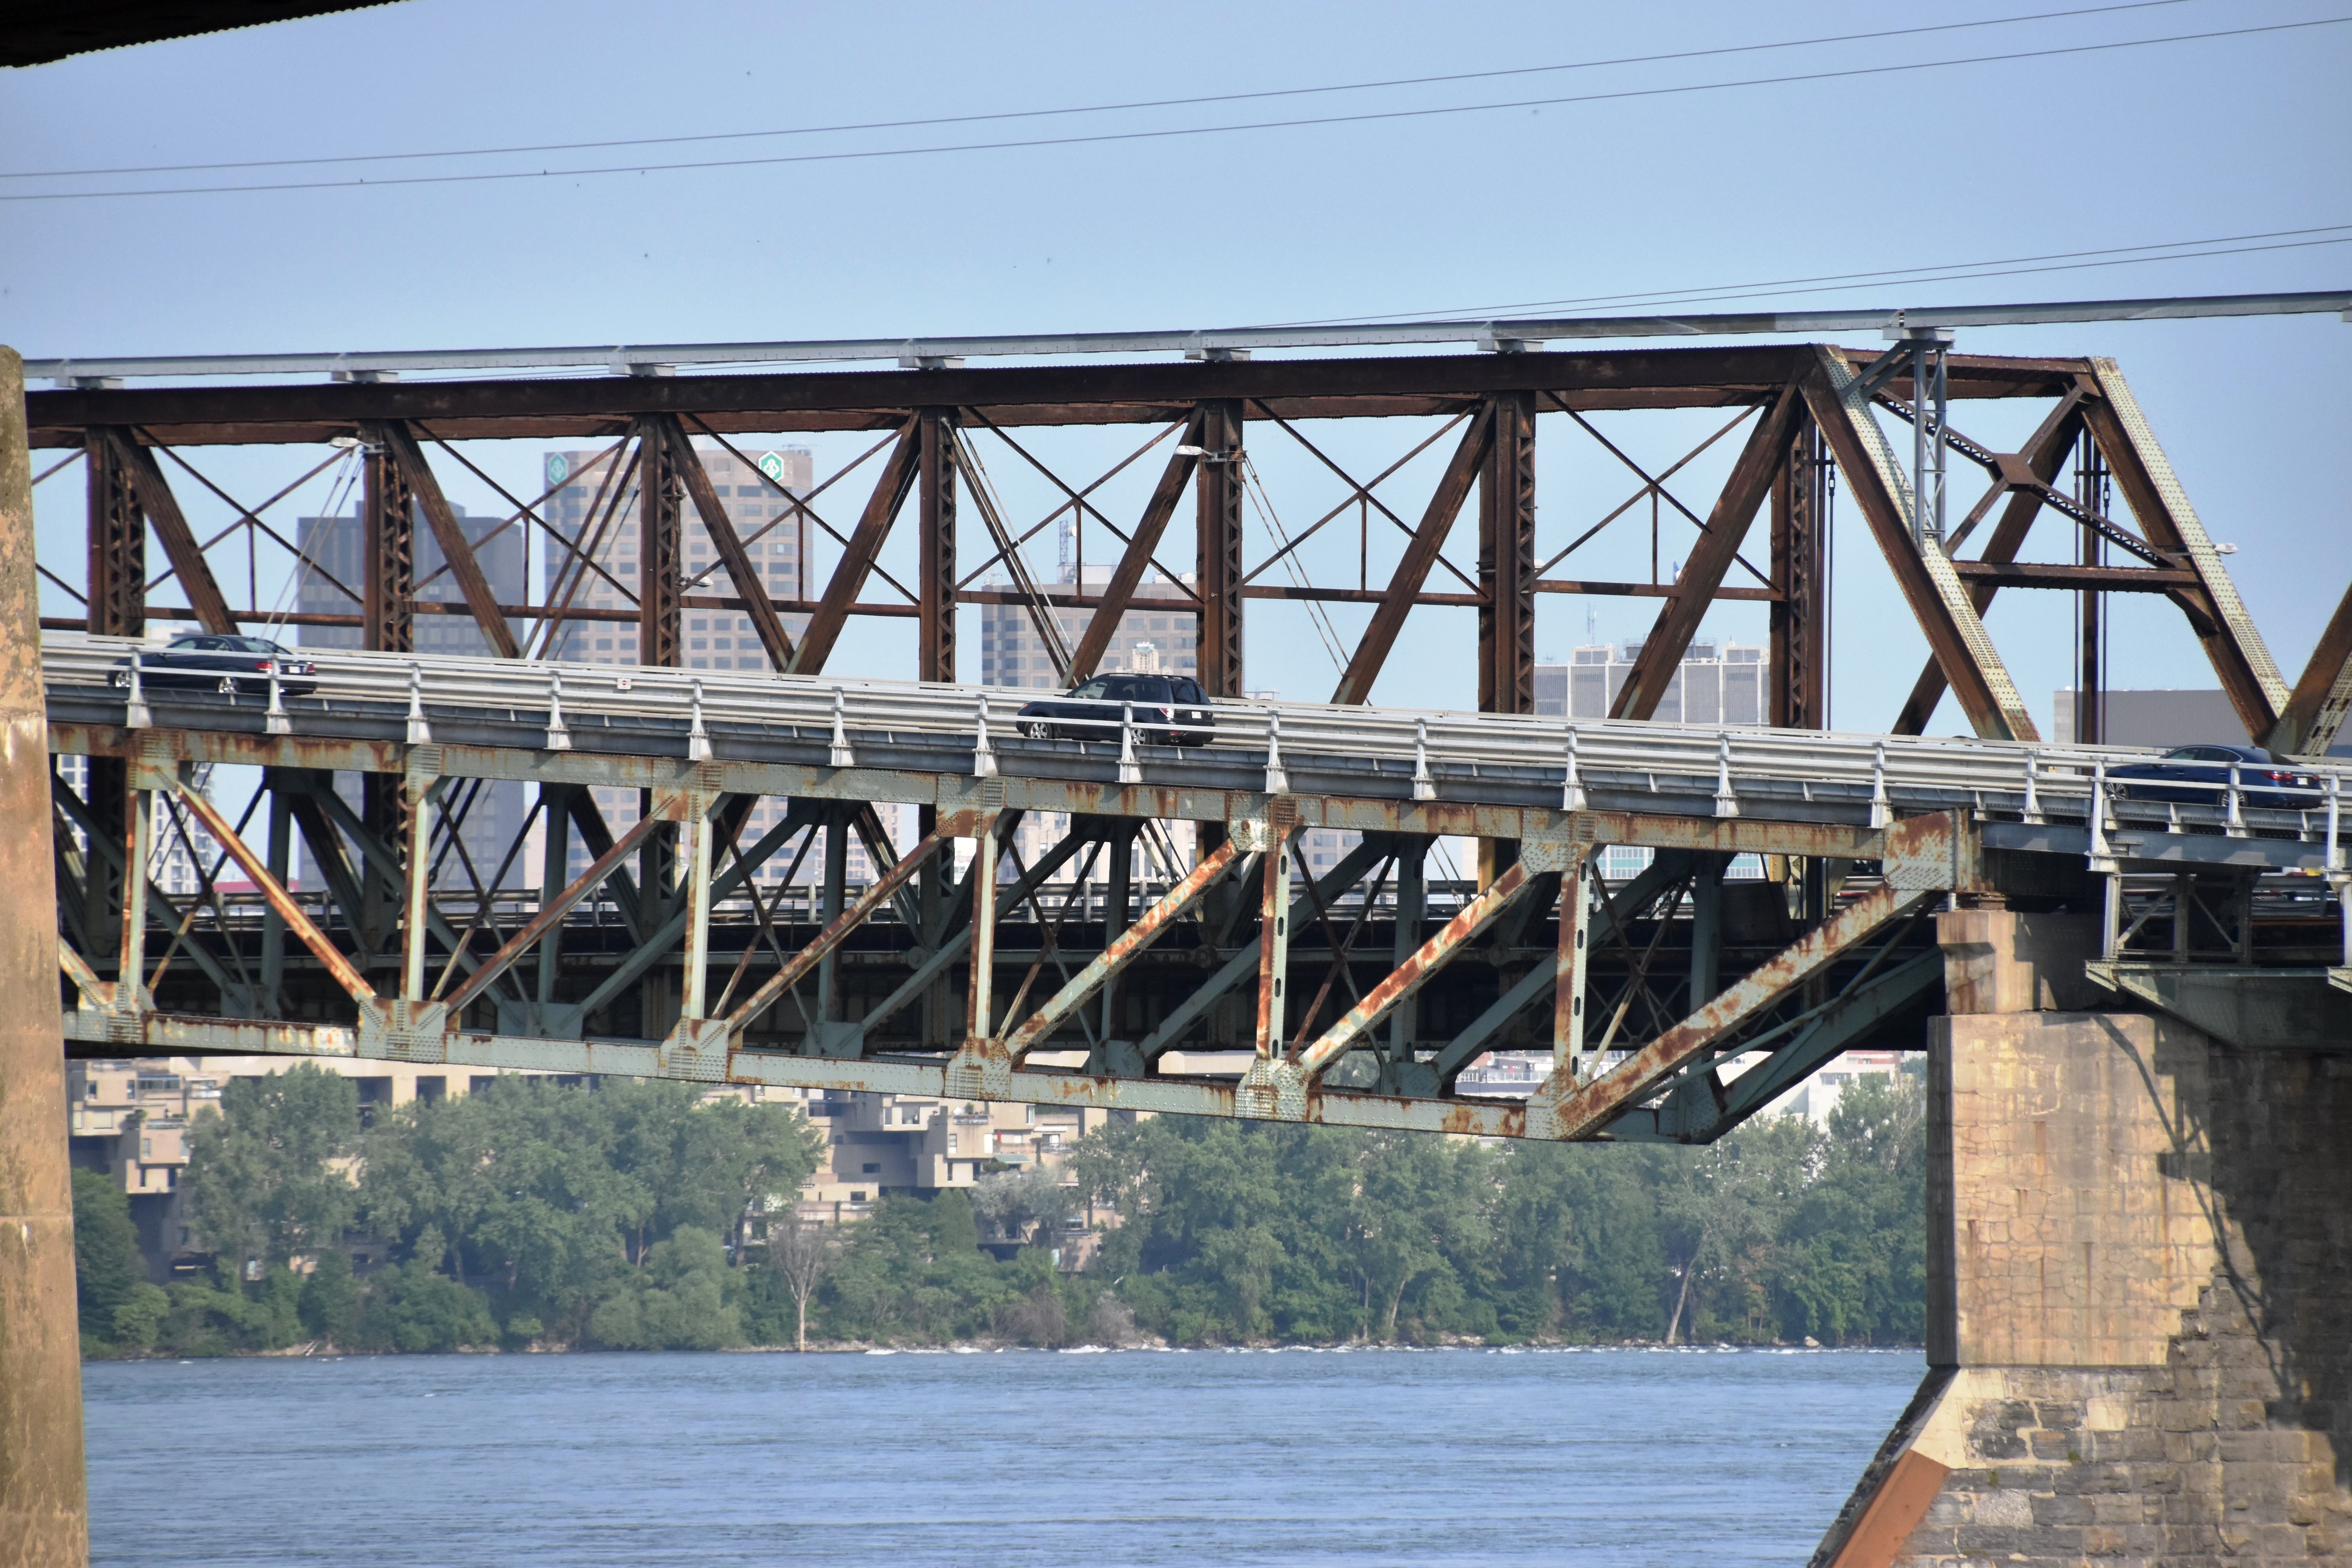
Zoomed views beside bridge from northeast quadrant.
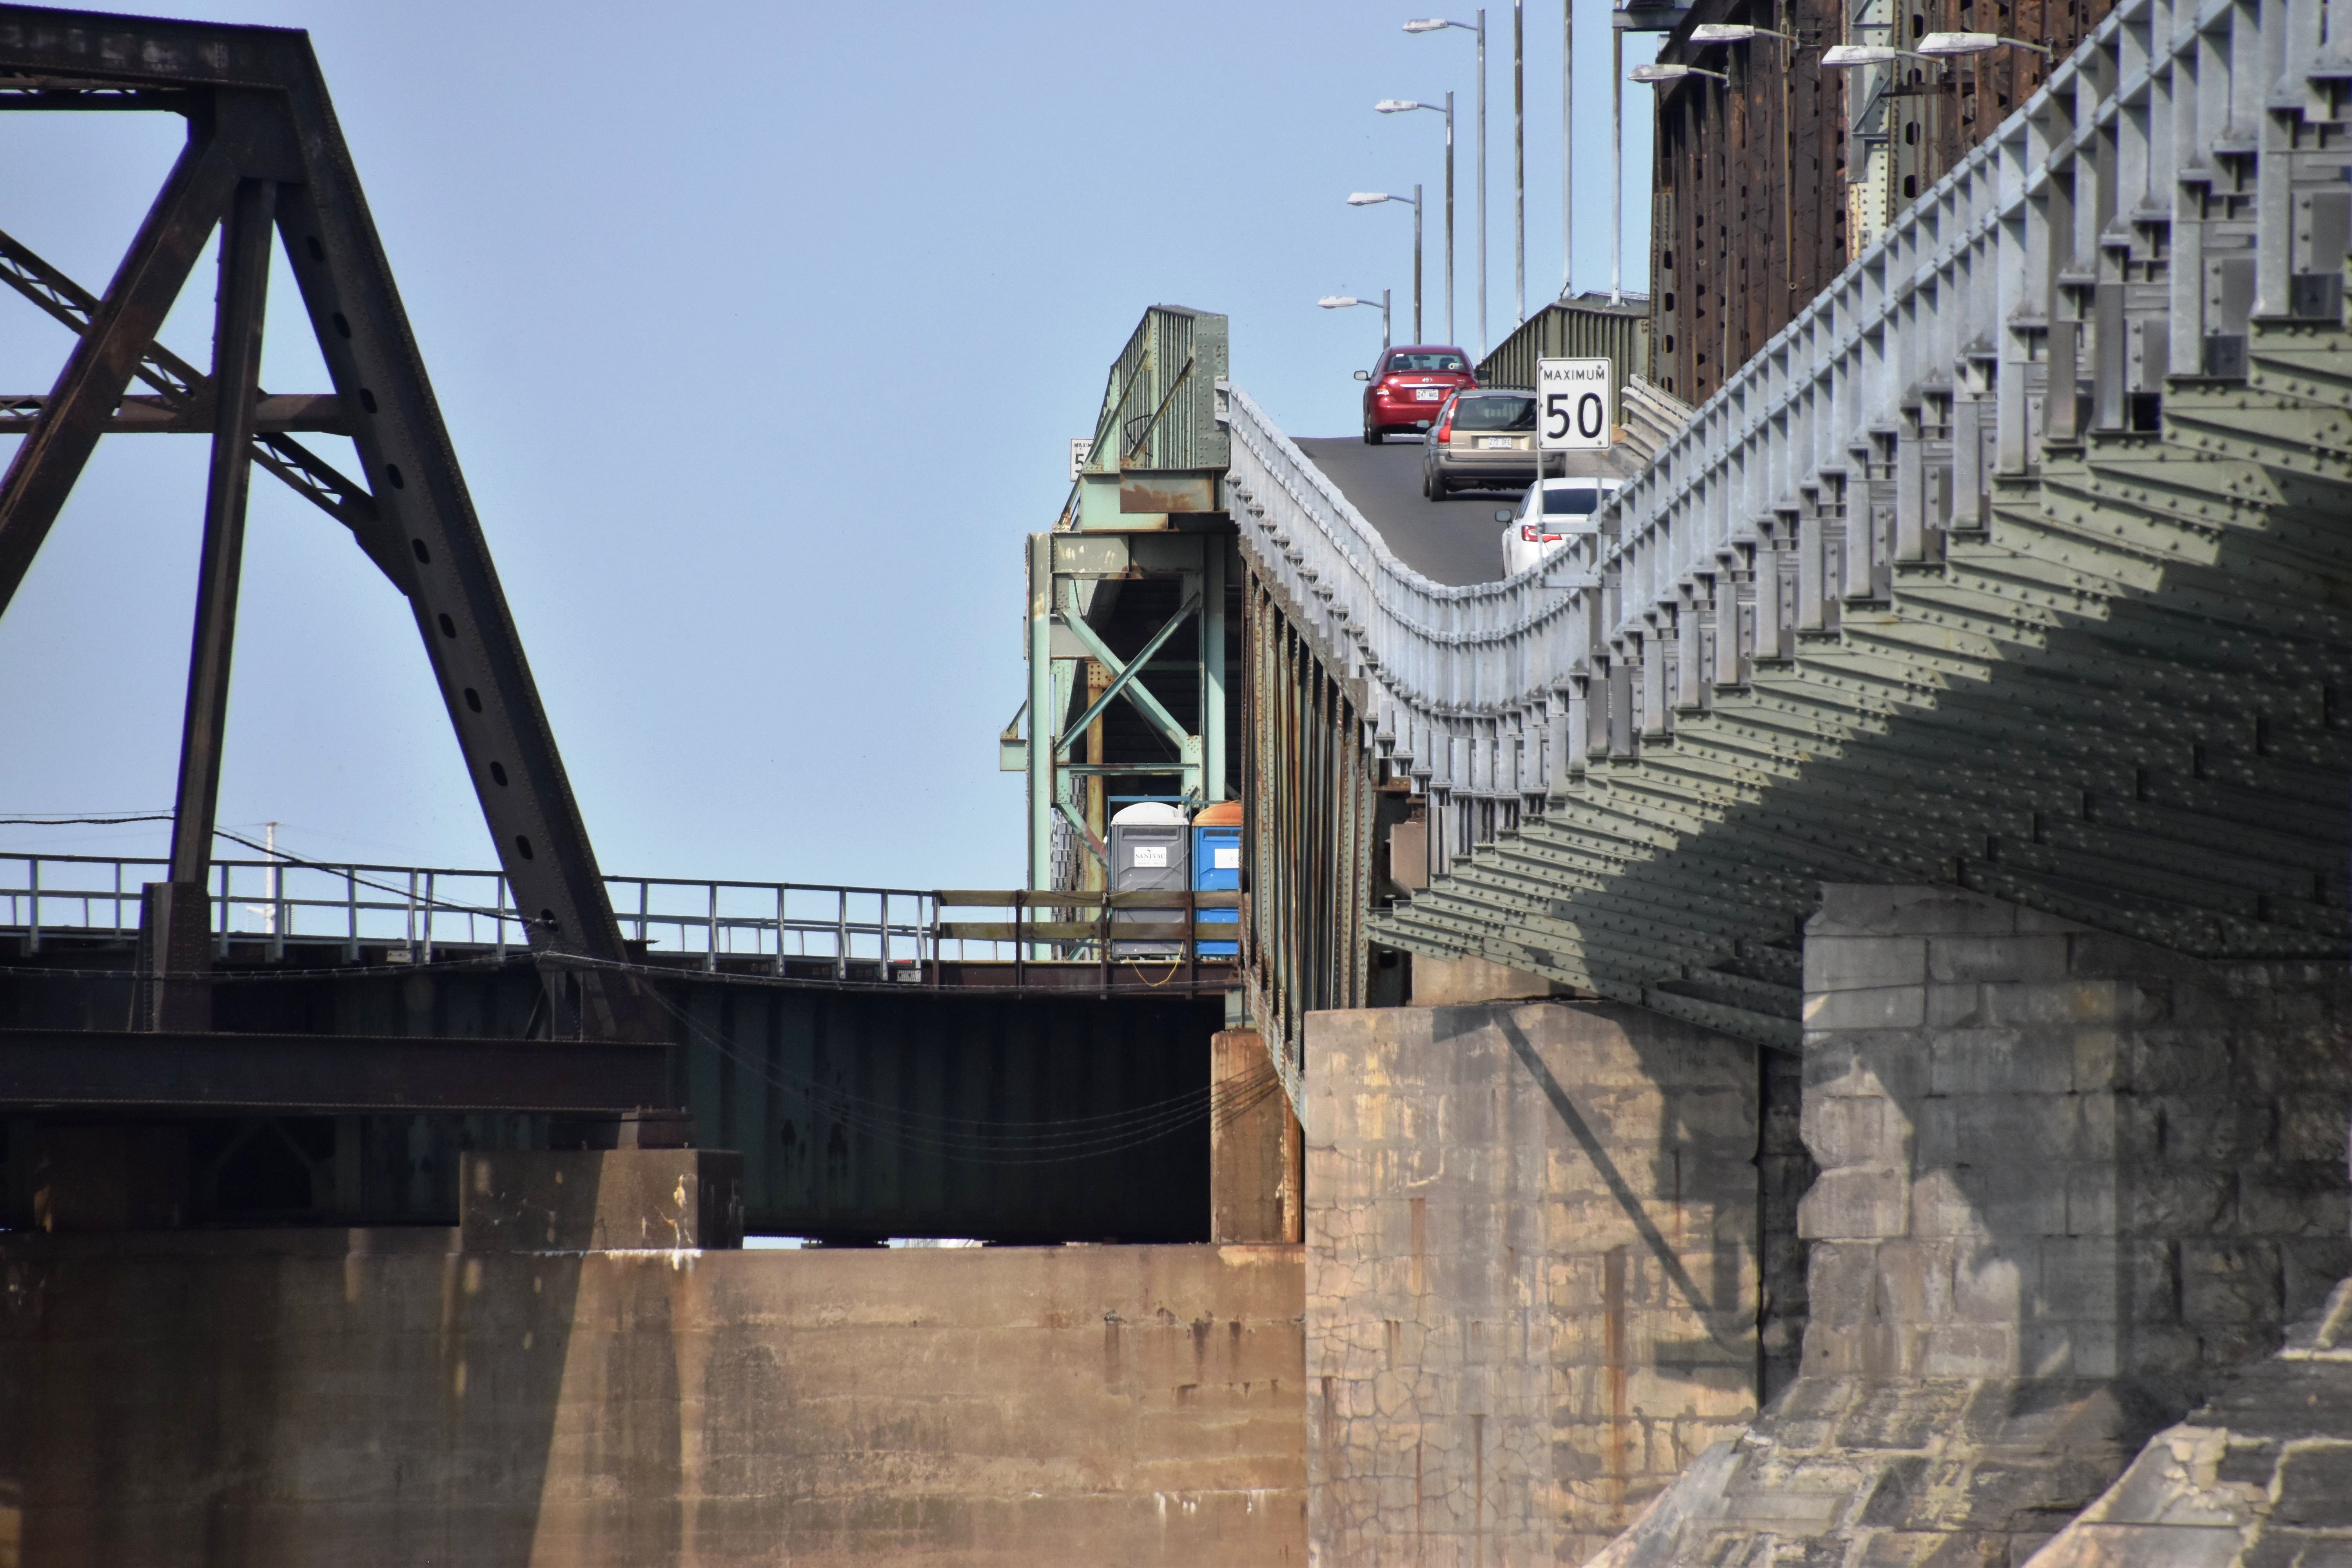
![]()
![]()
![]()
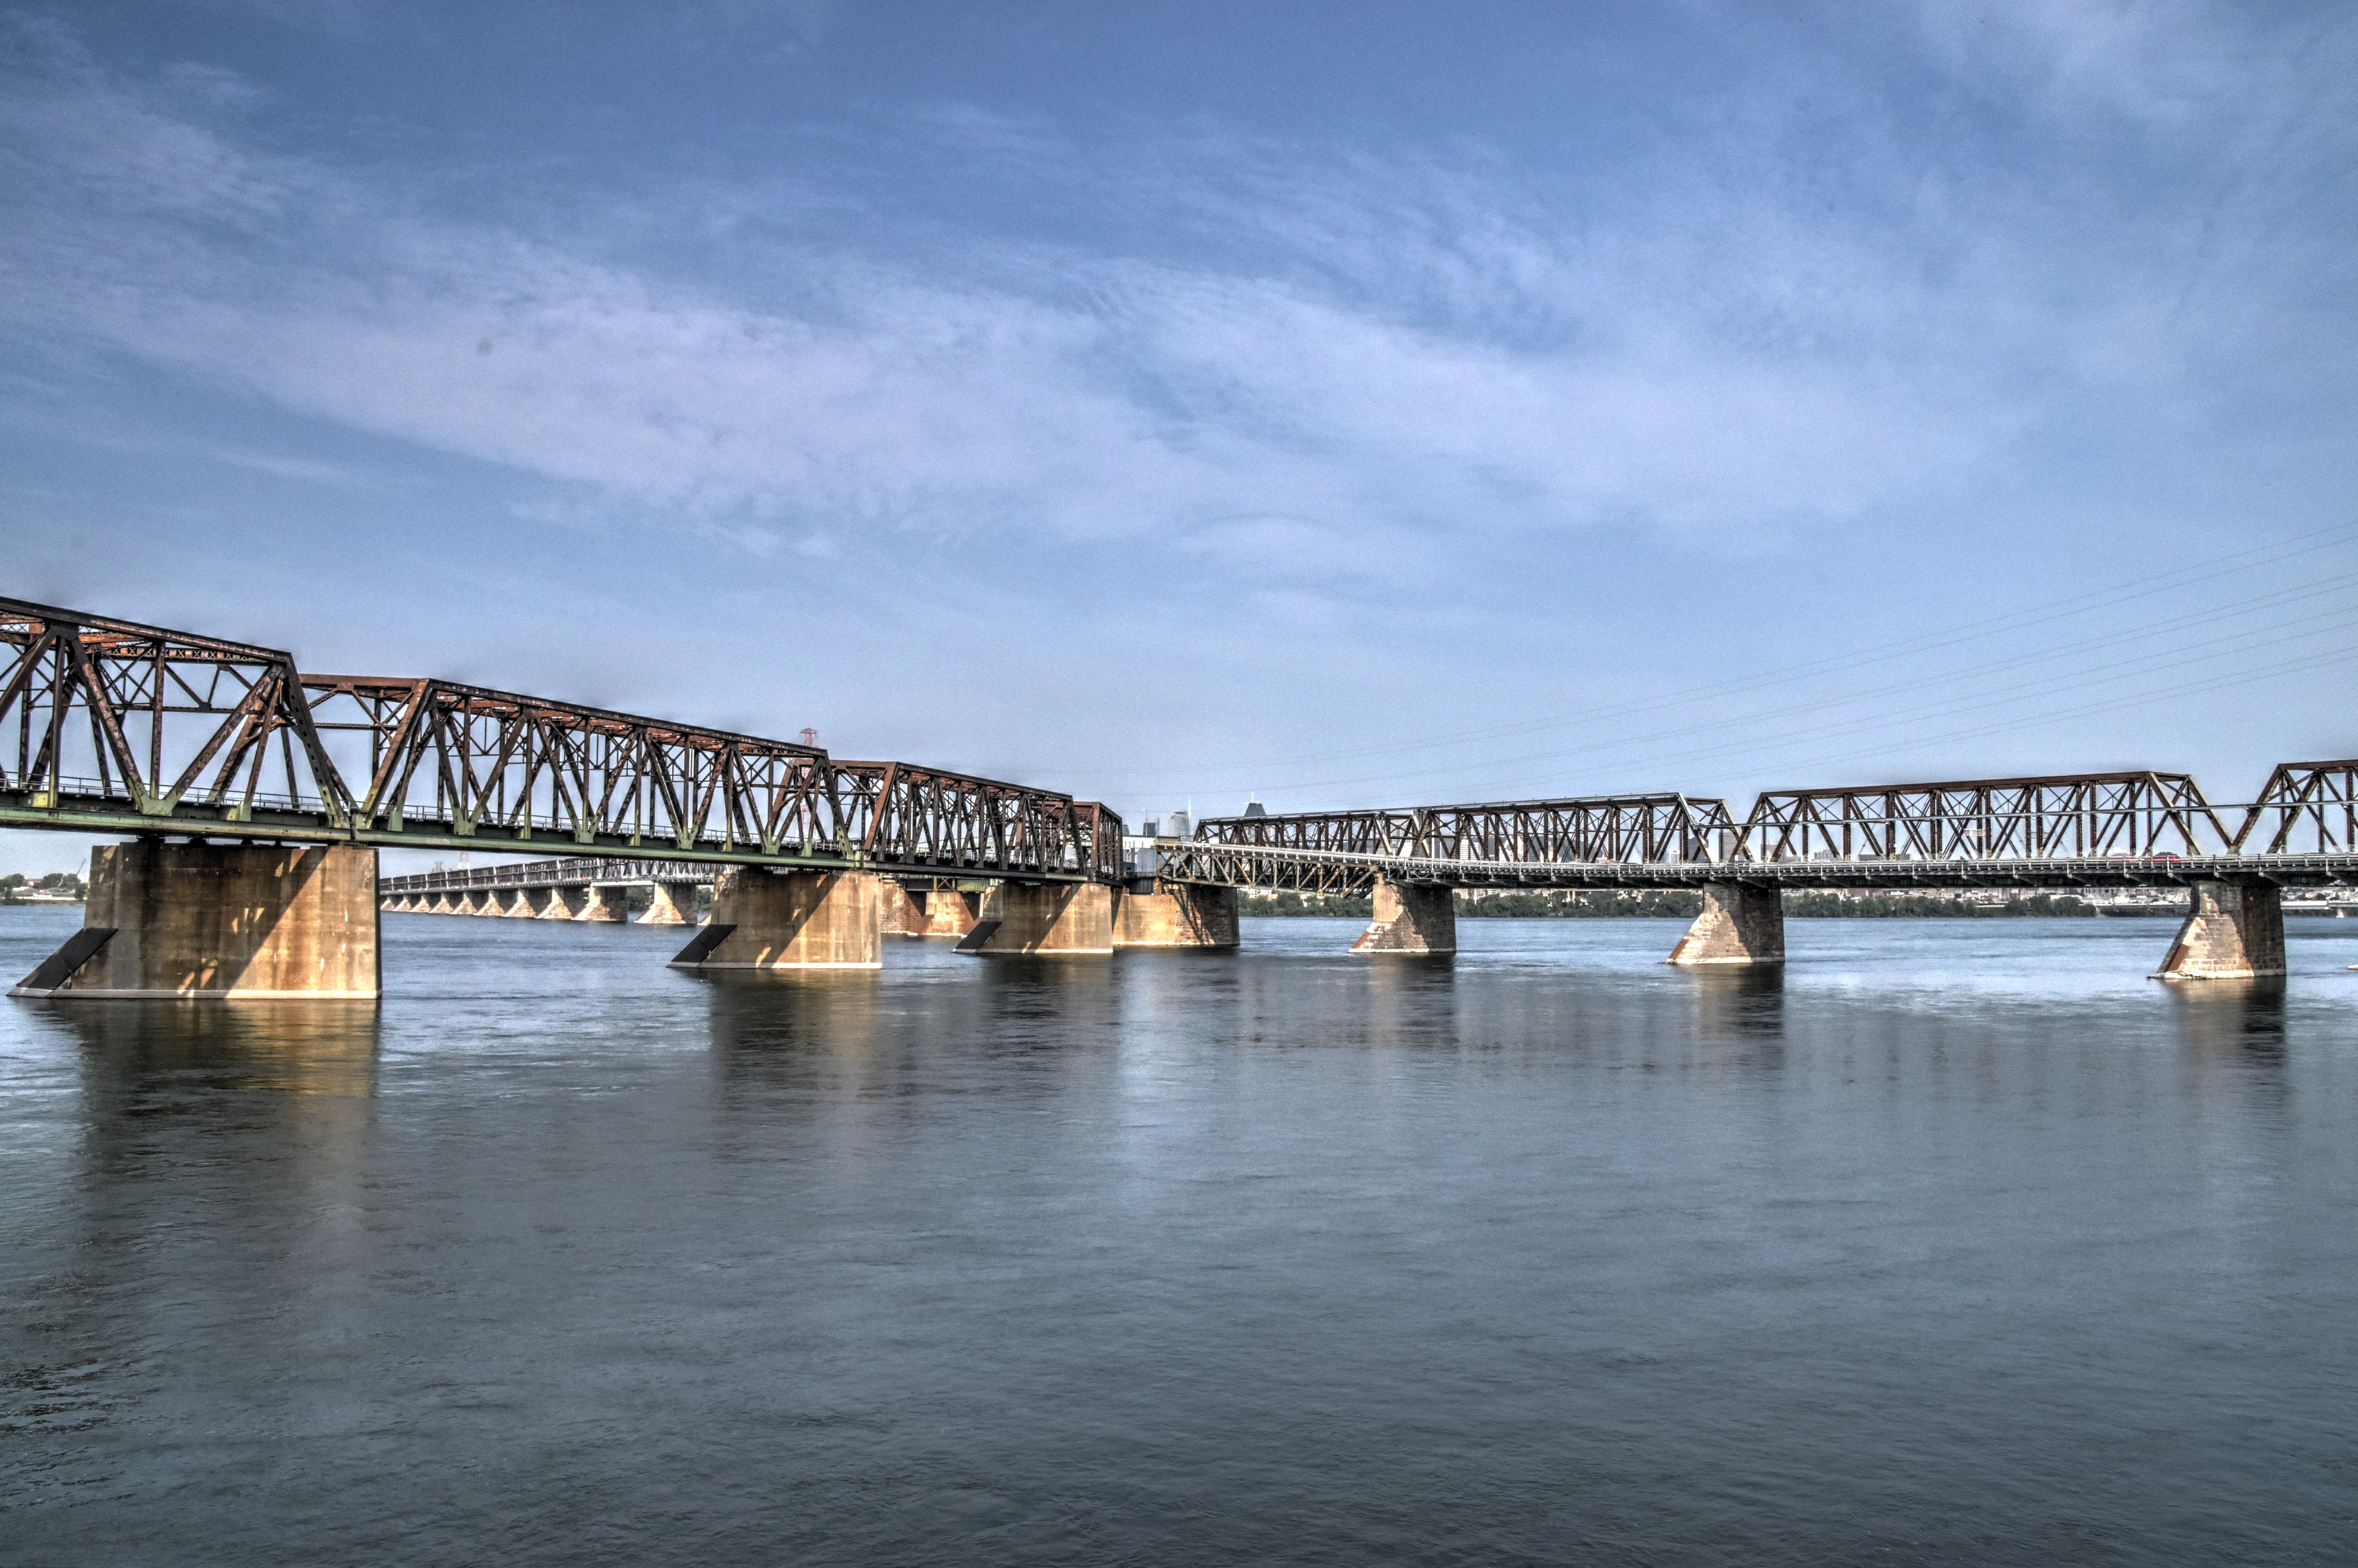
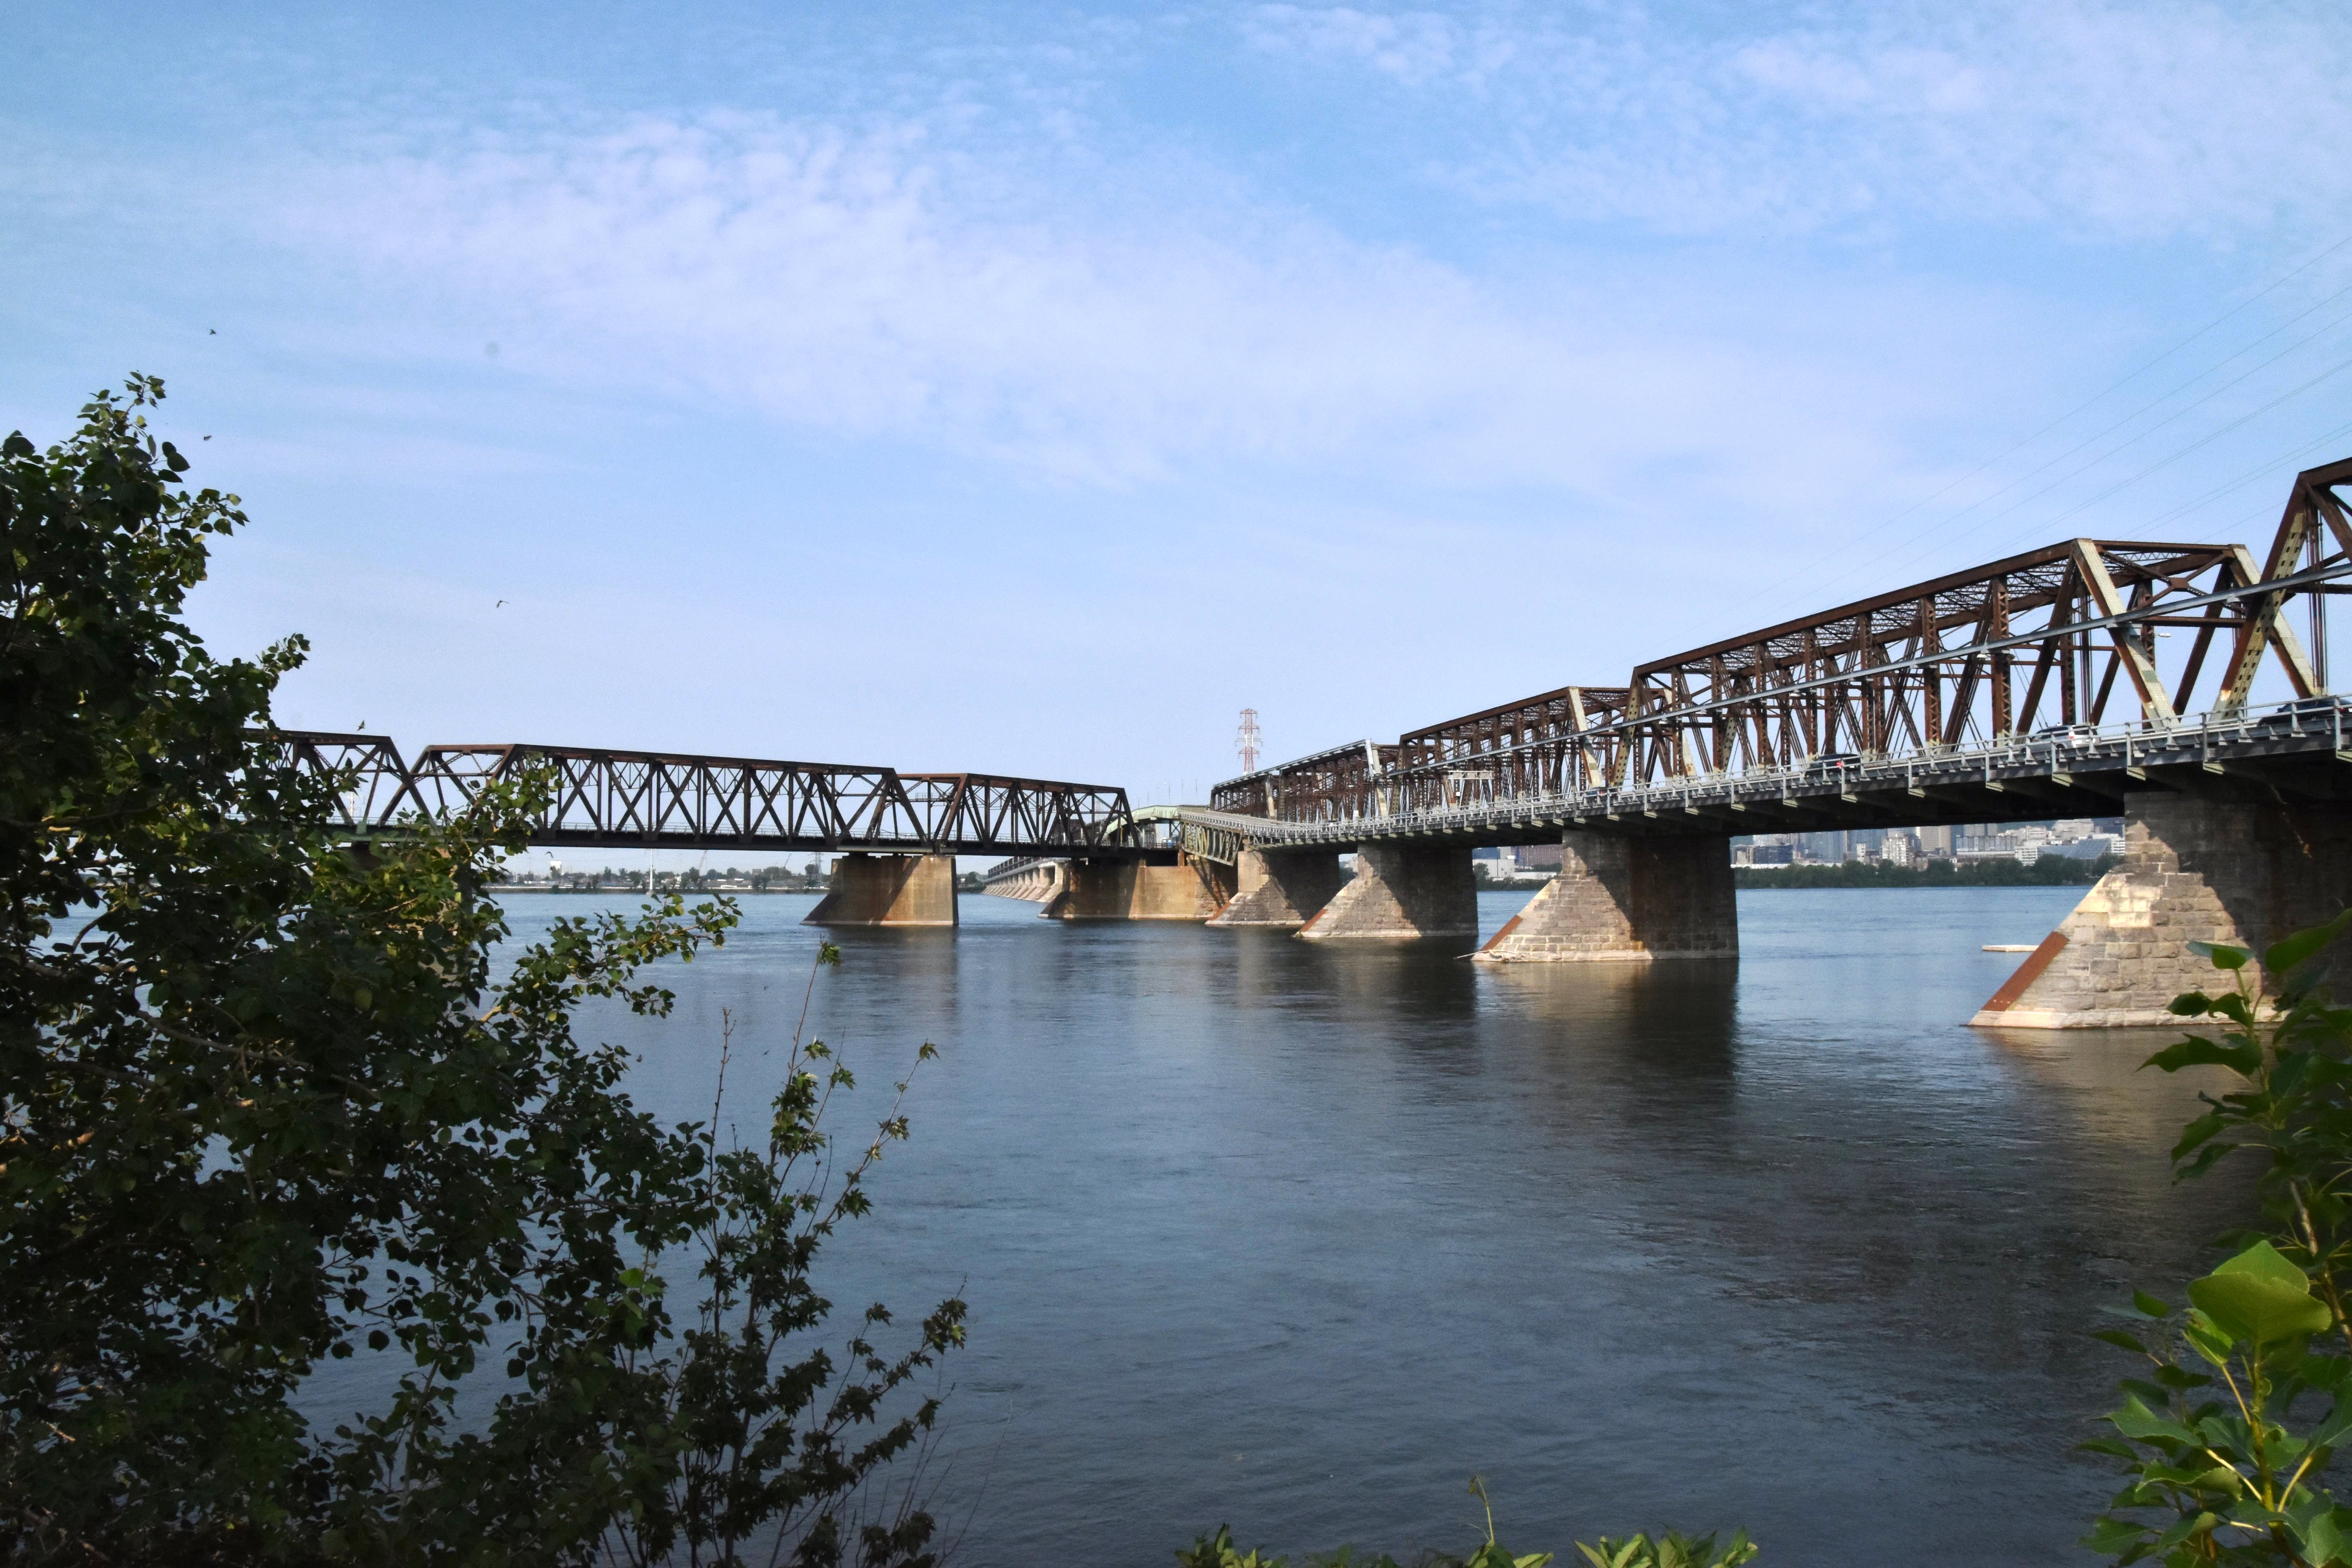
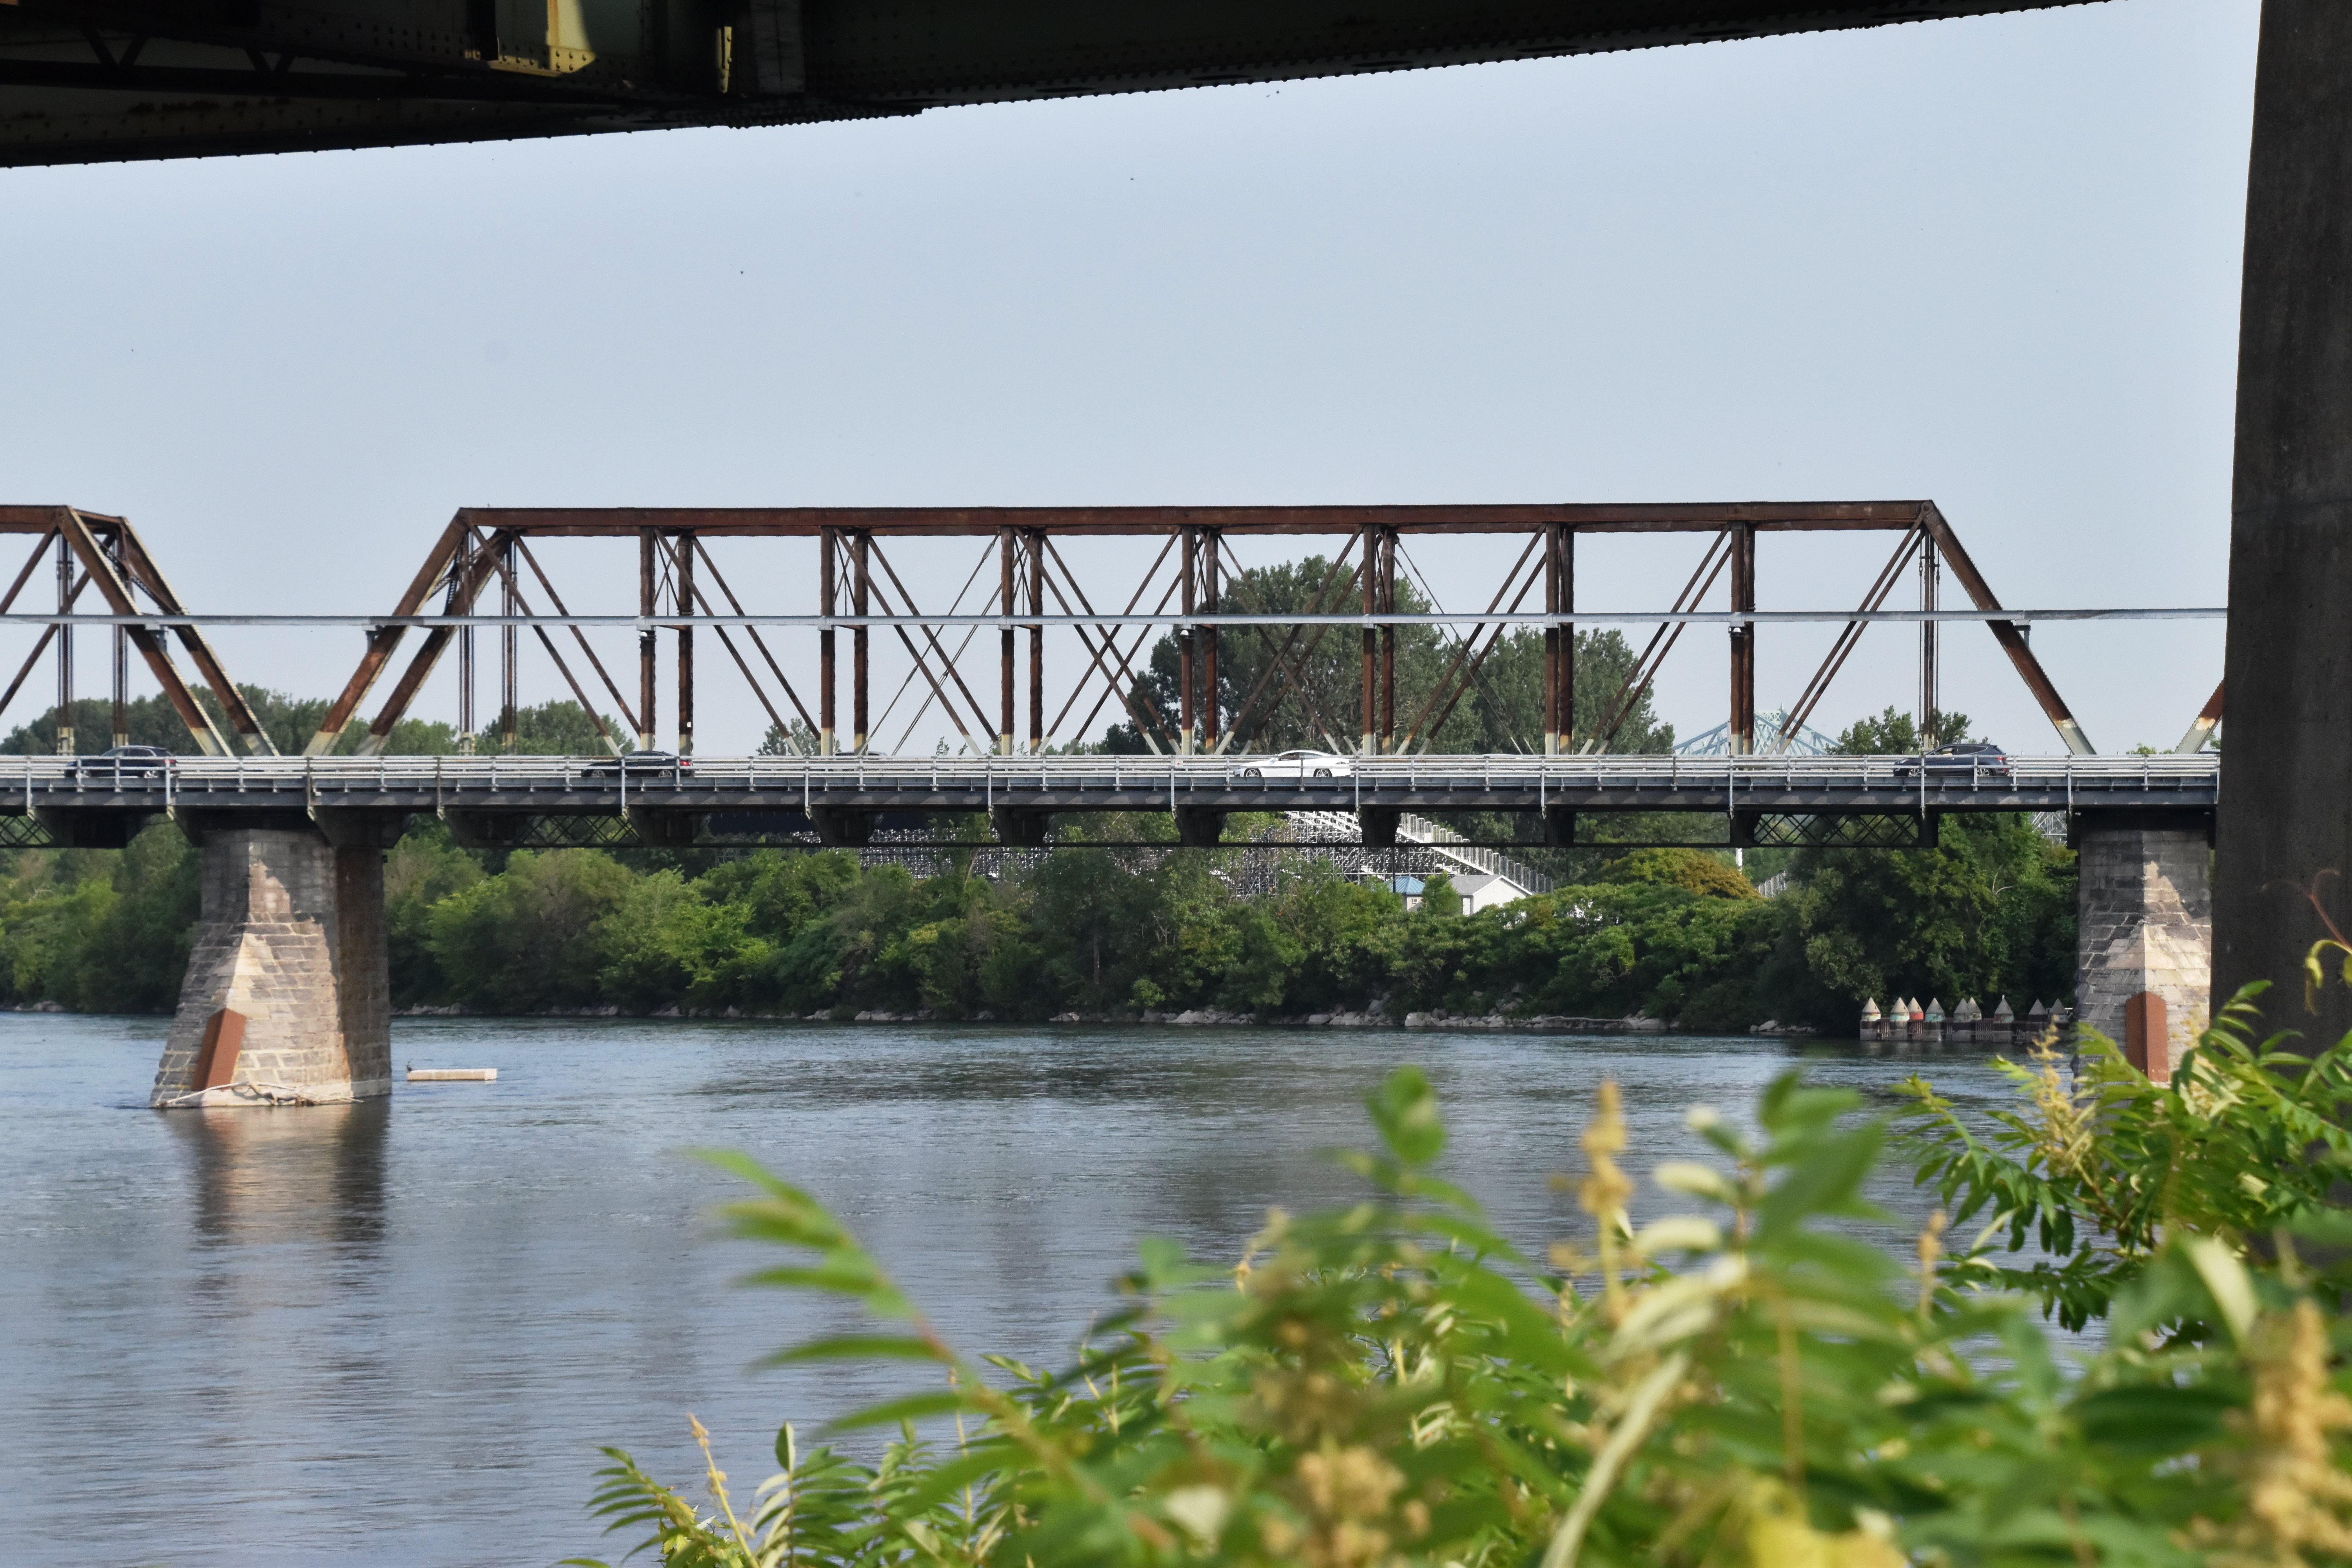
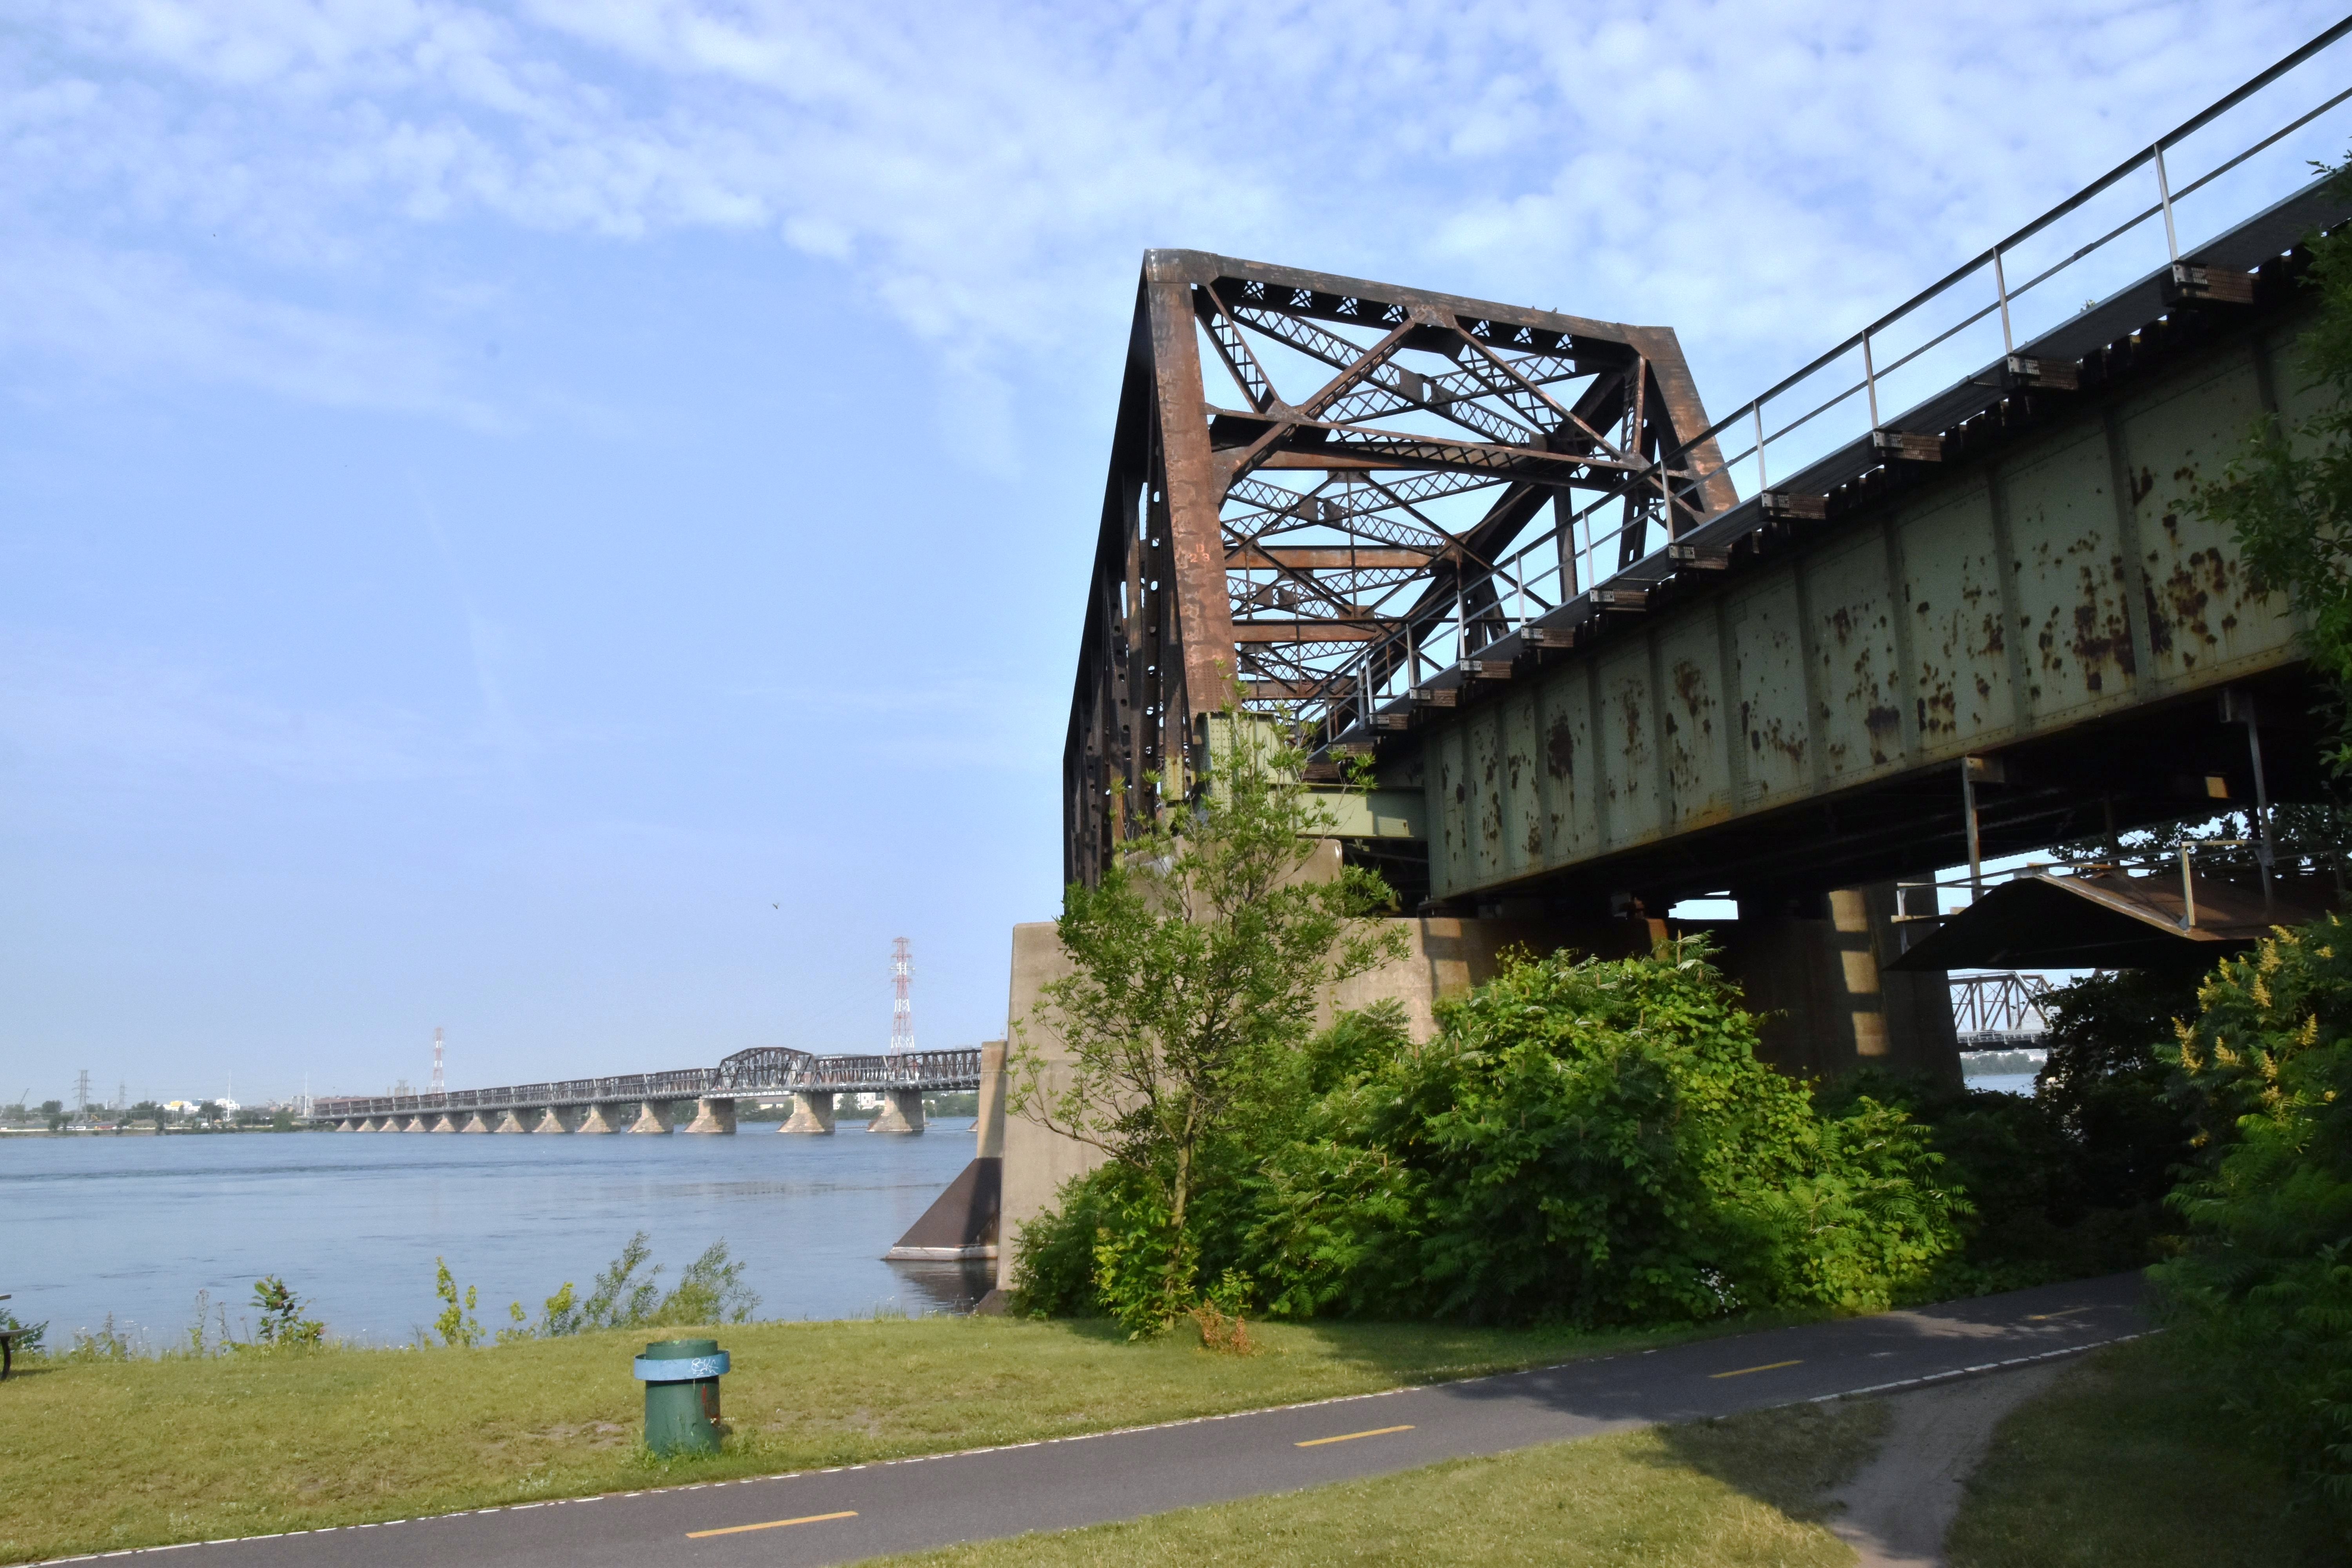
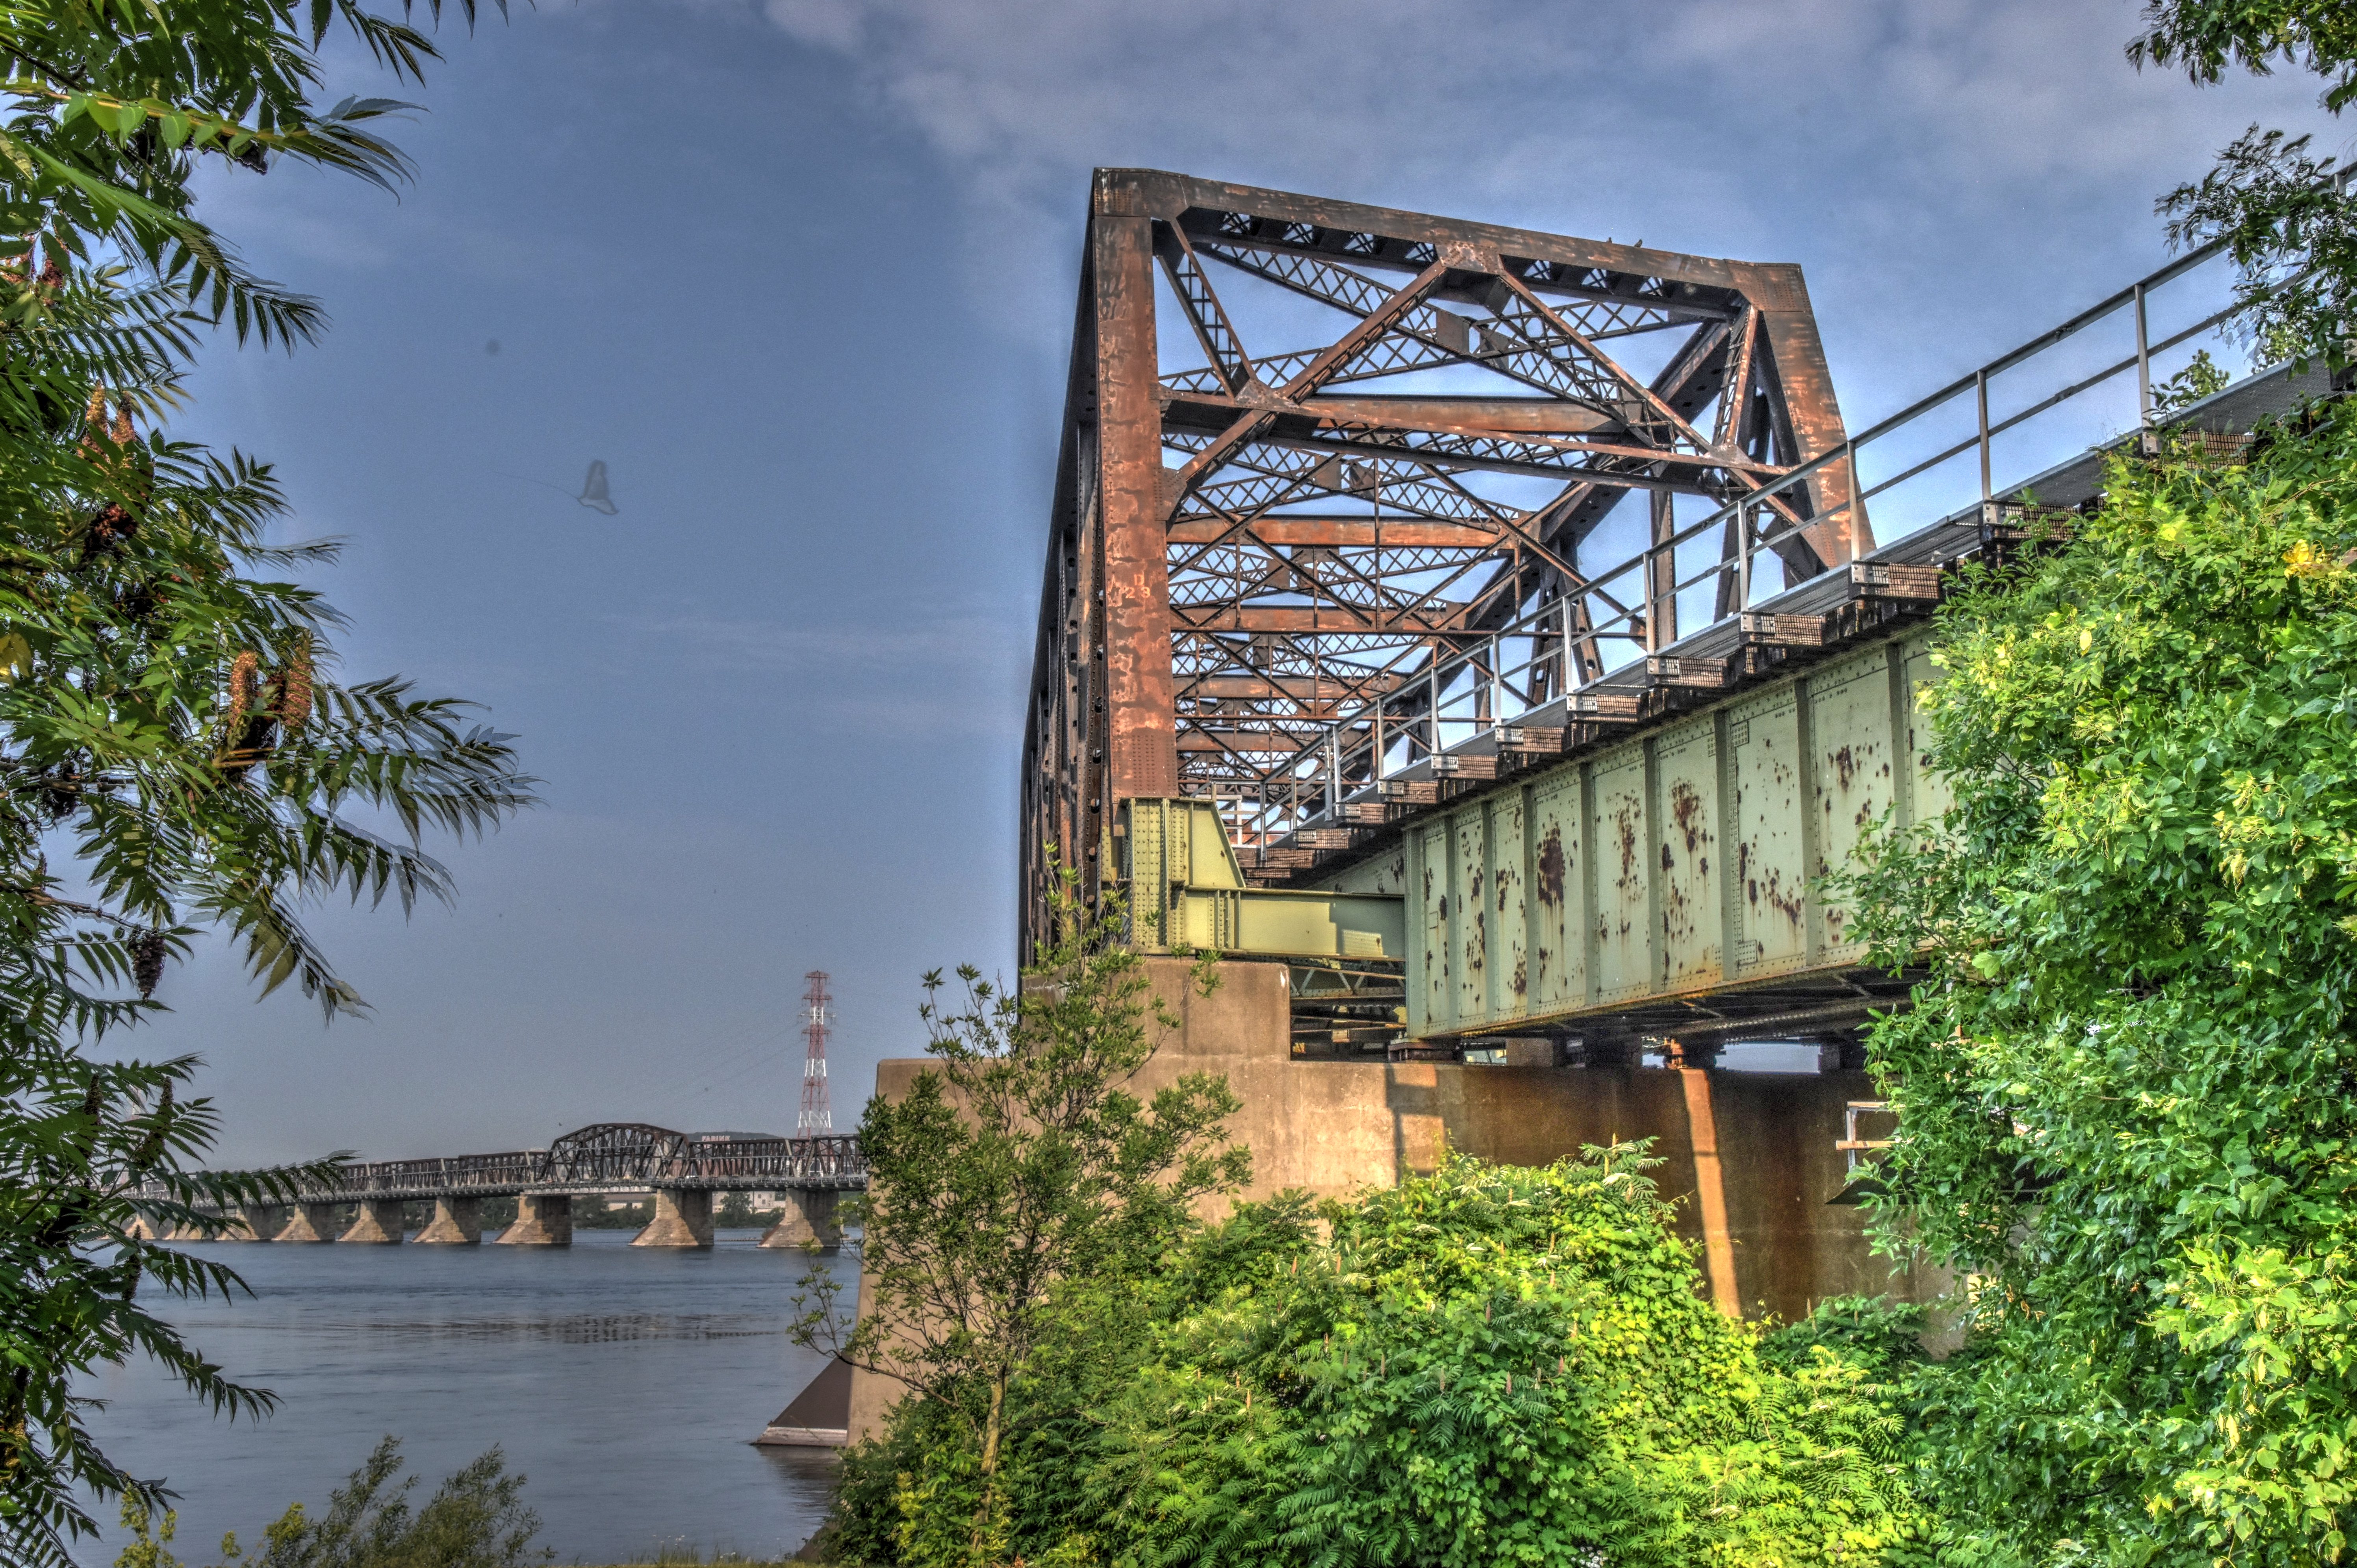
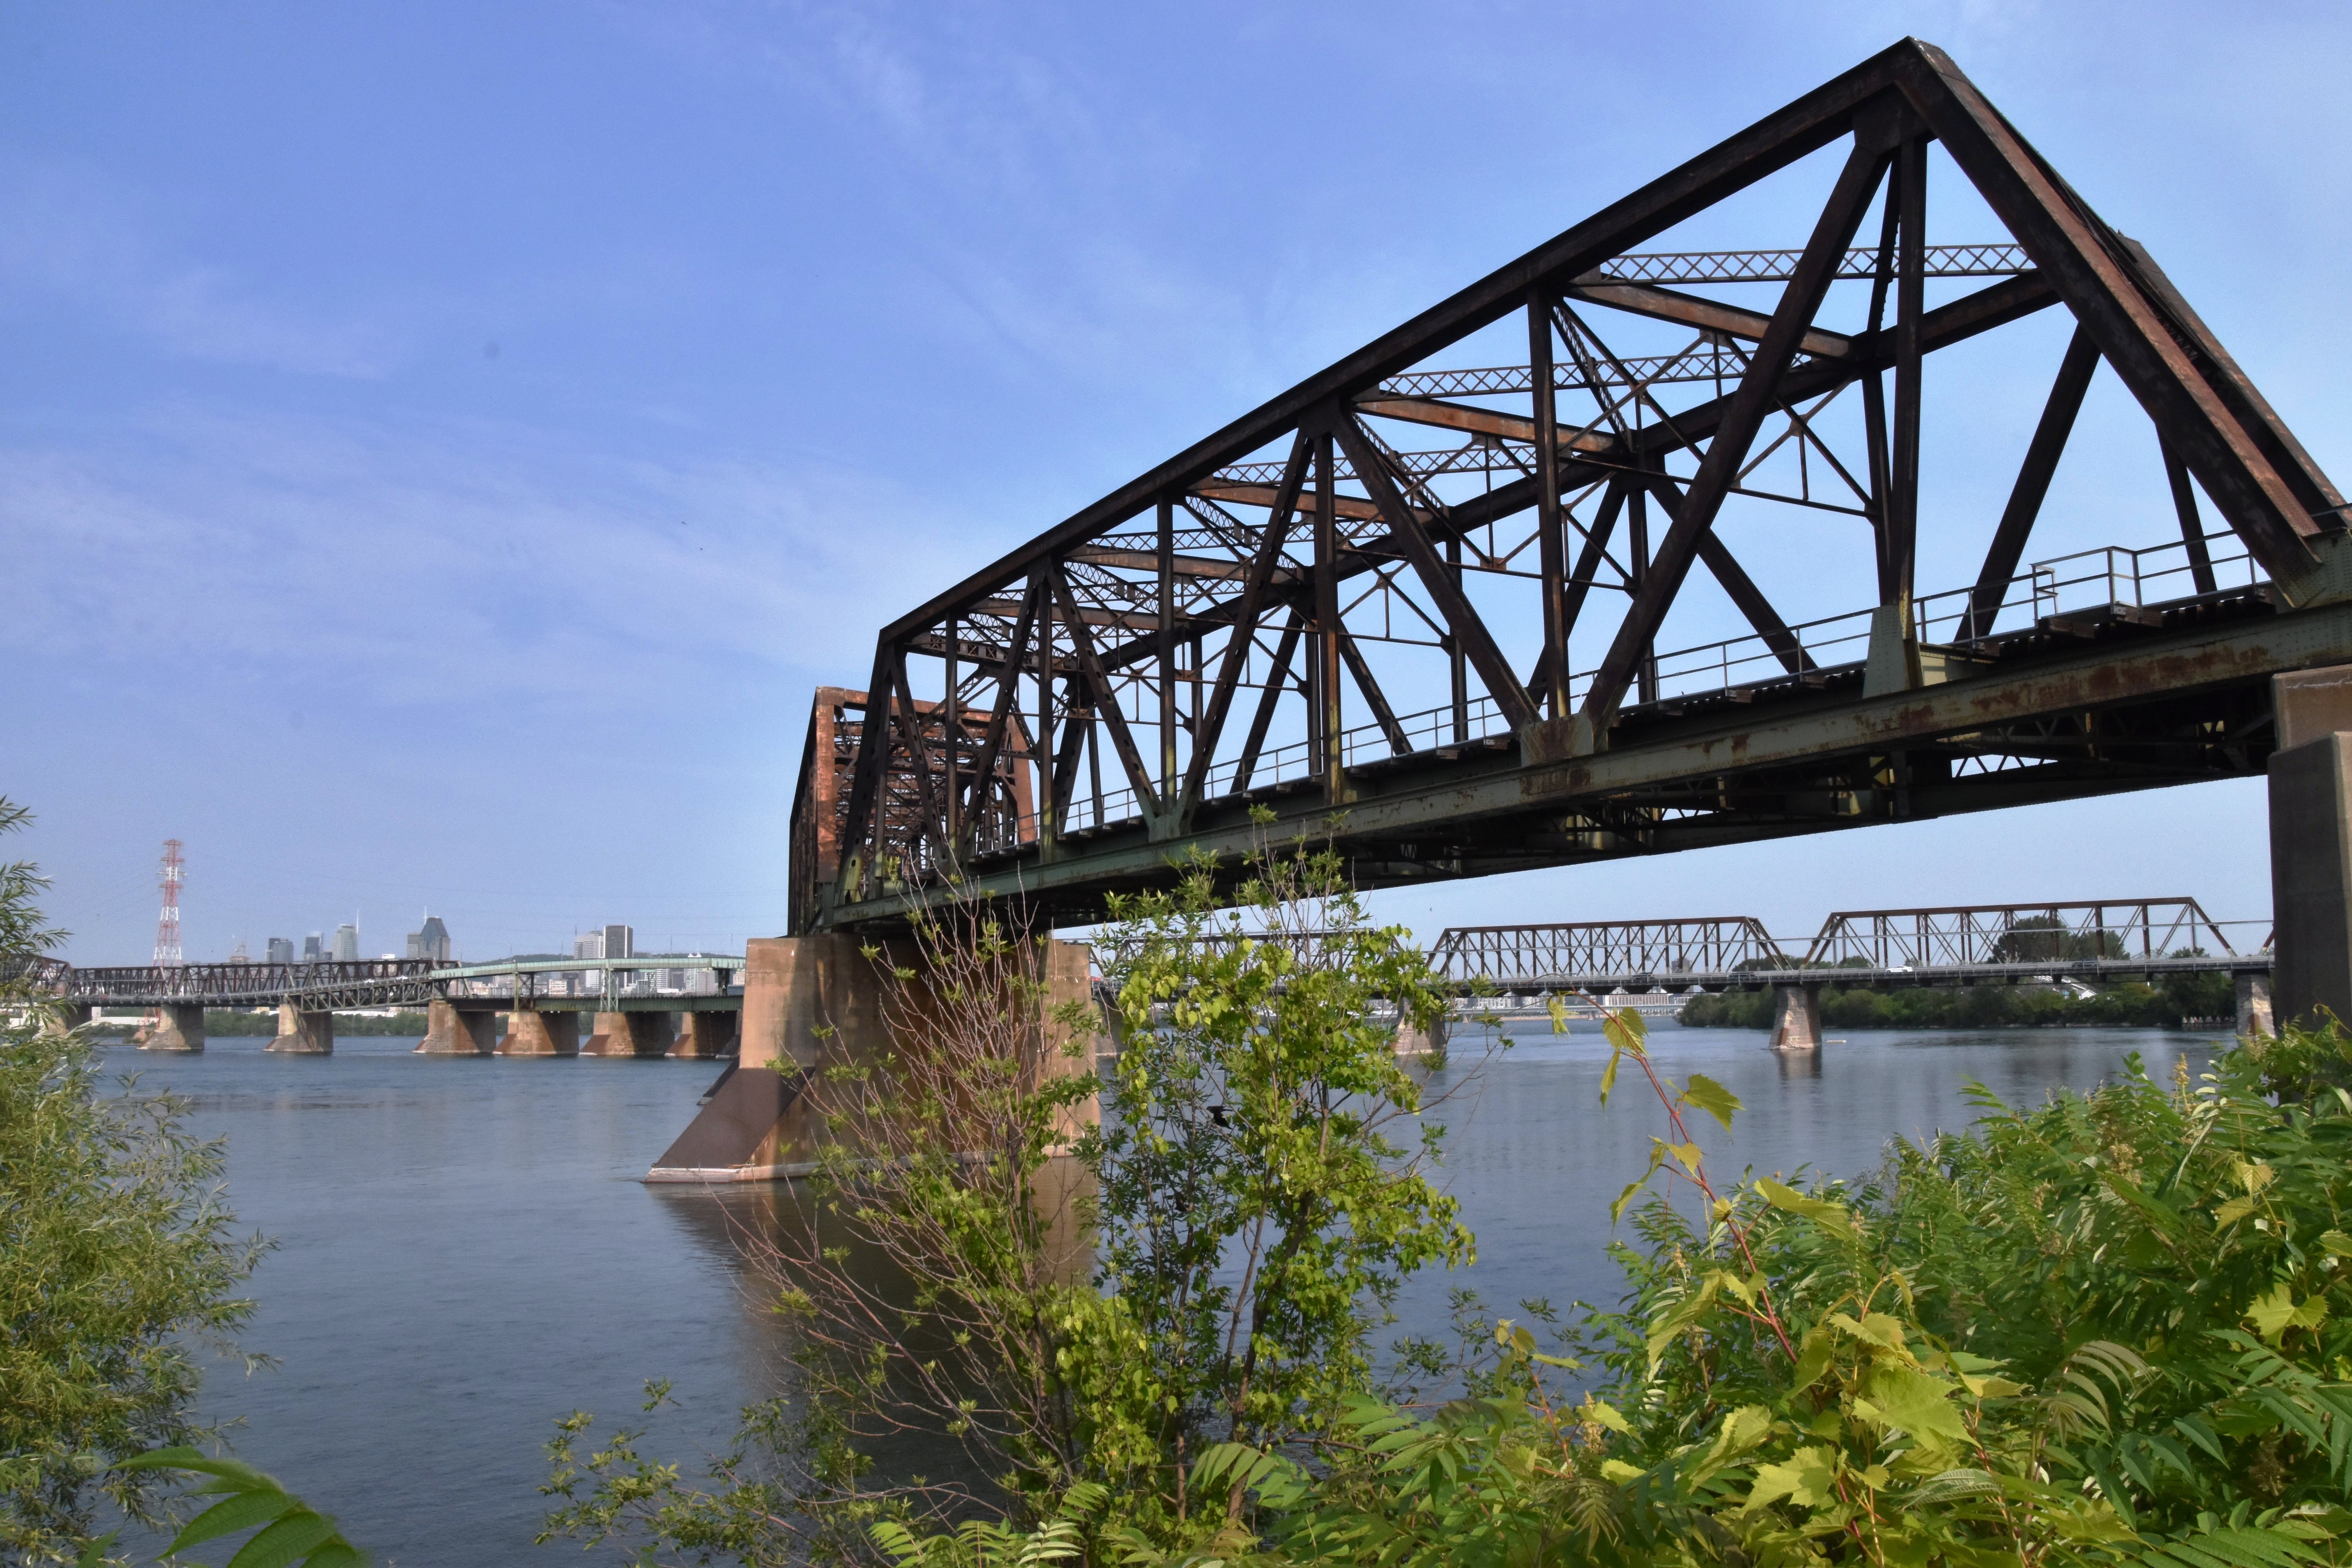
Panoramic views beside bridge from northeast quadrant.
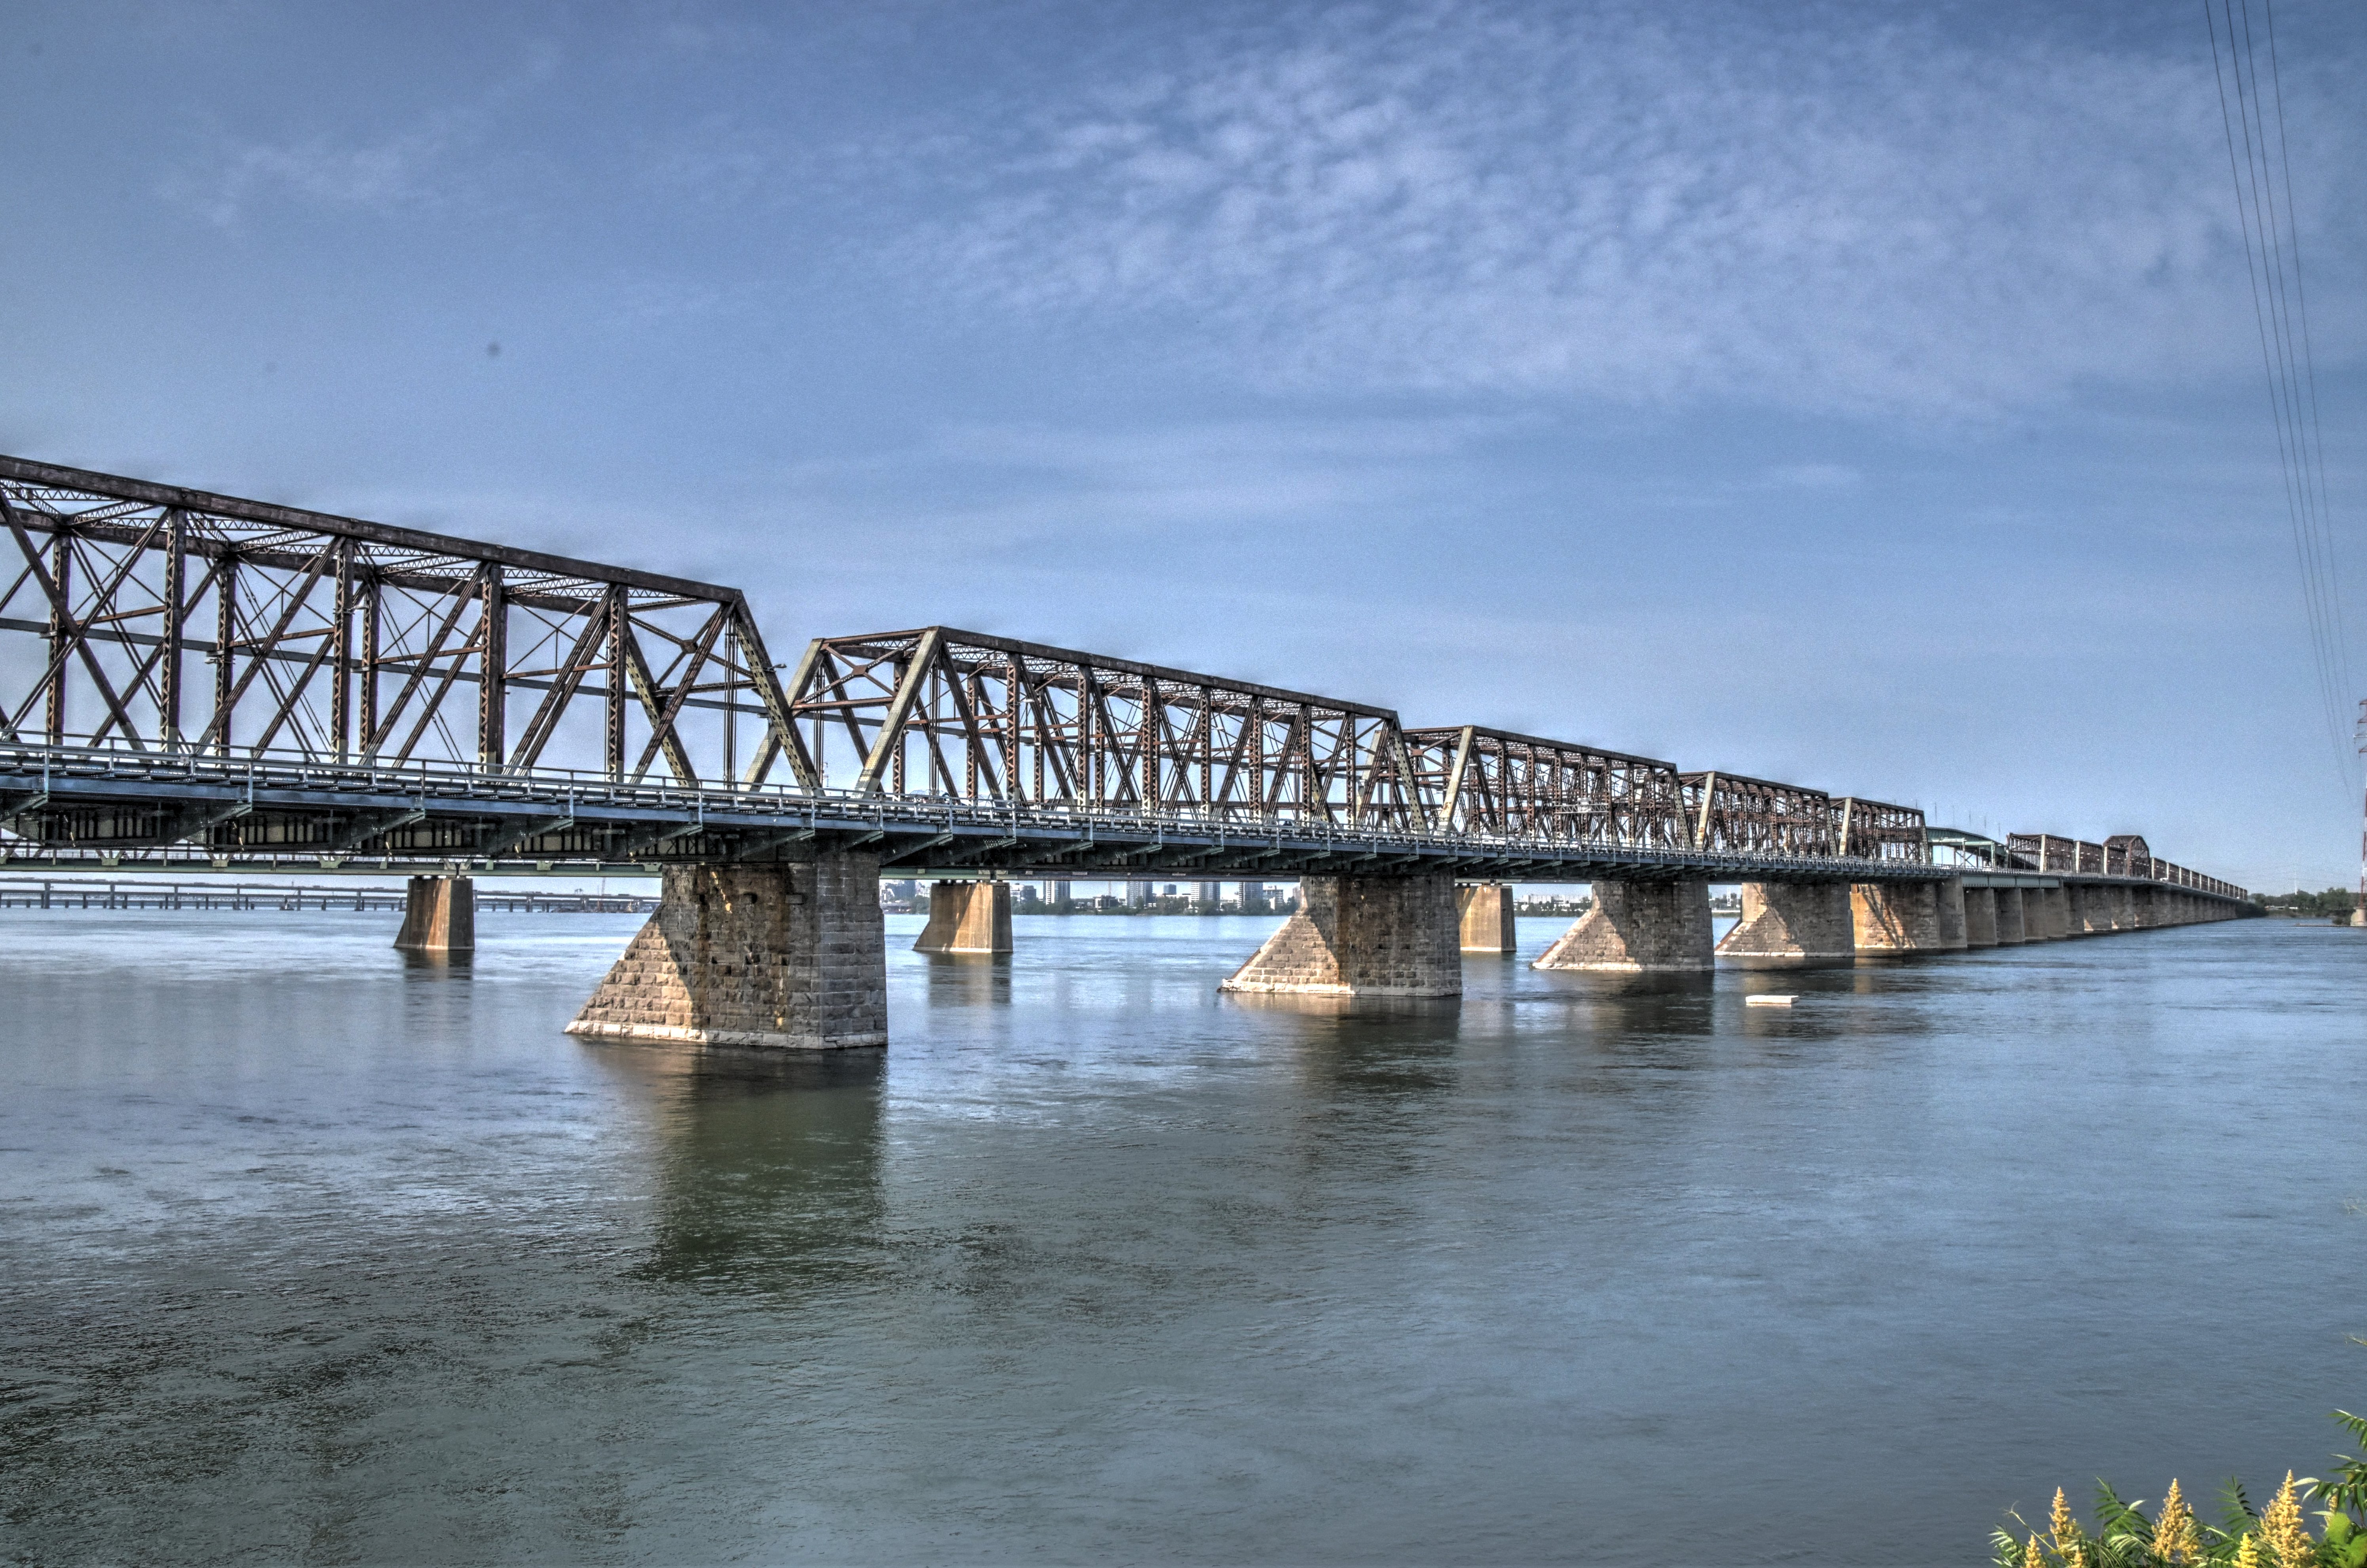
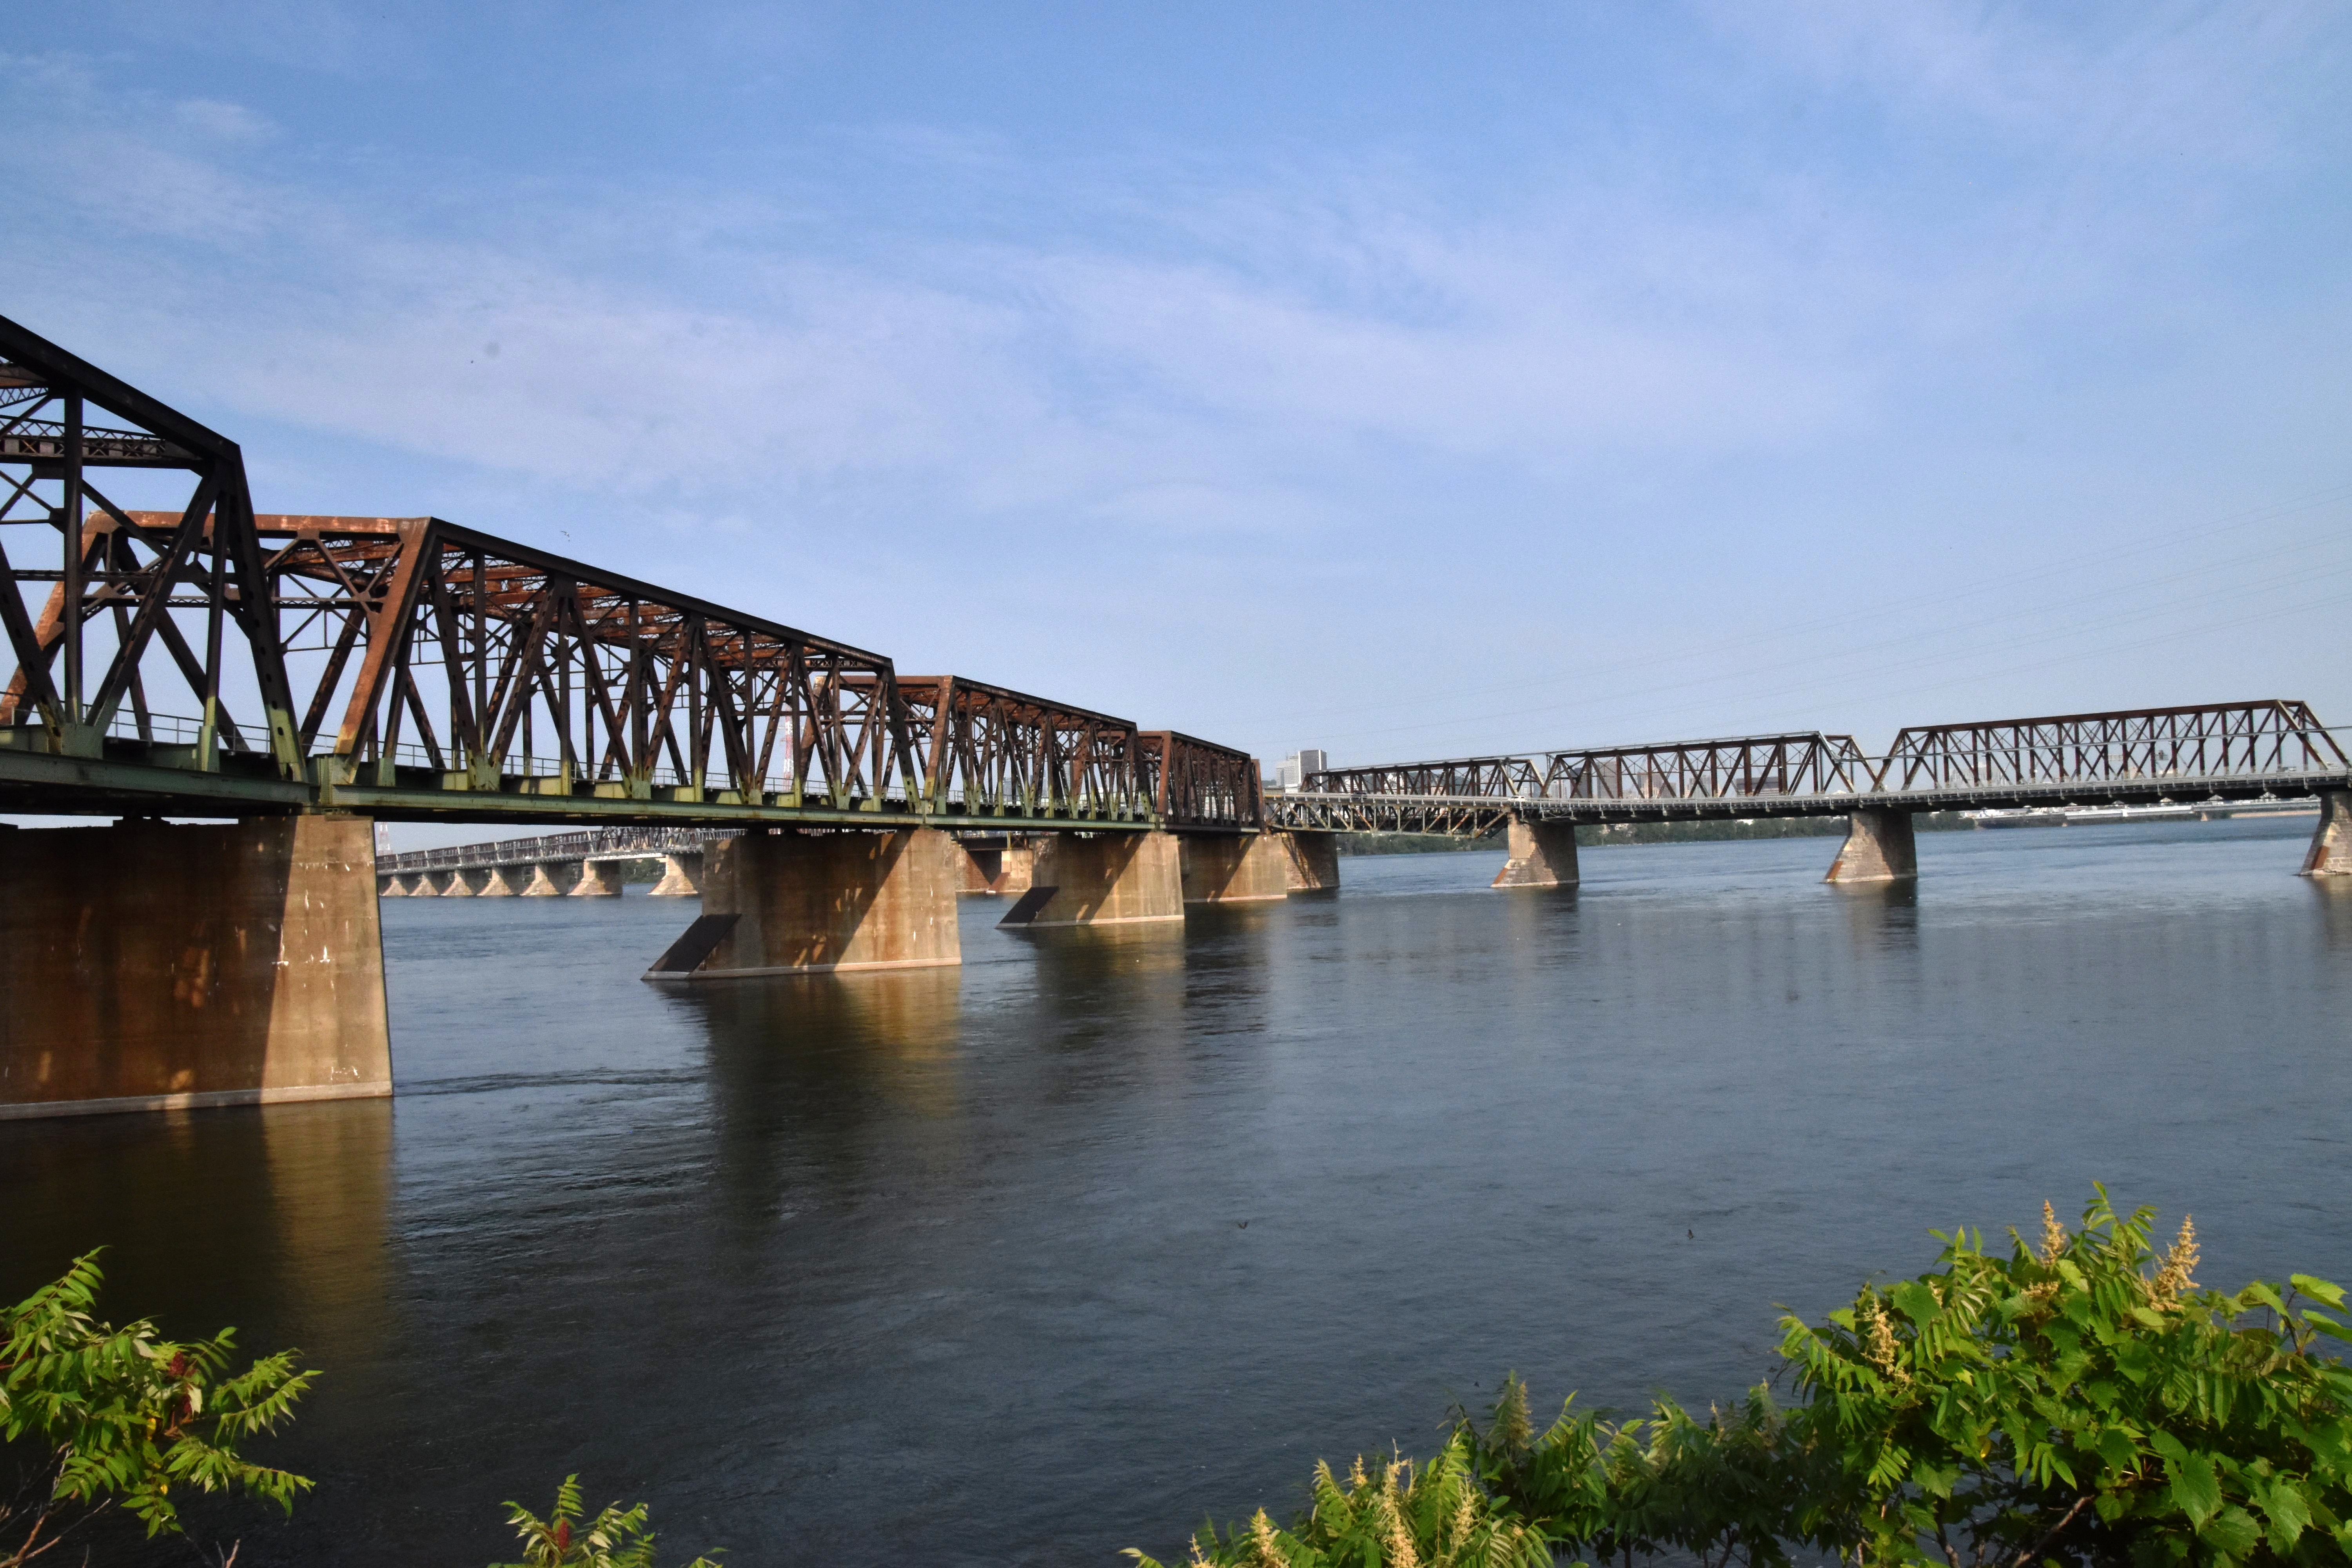
![]()


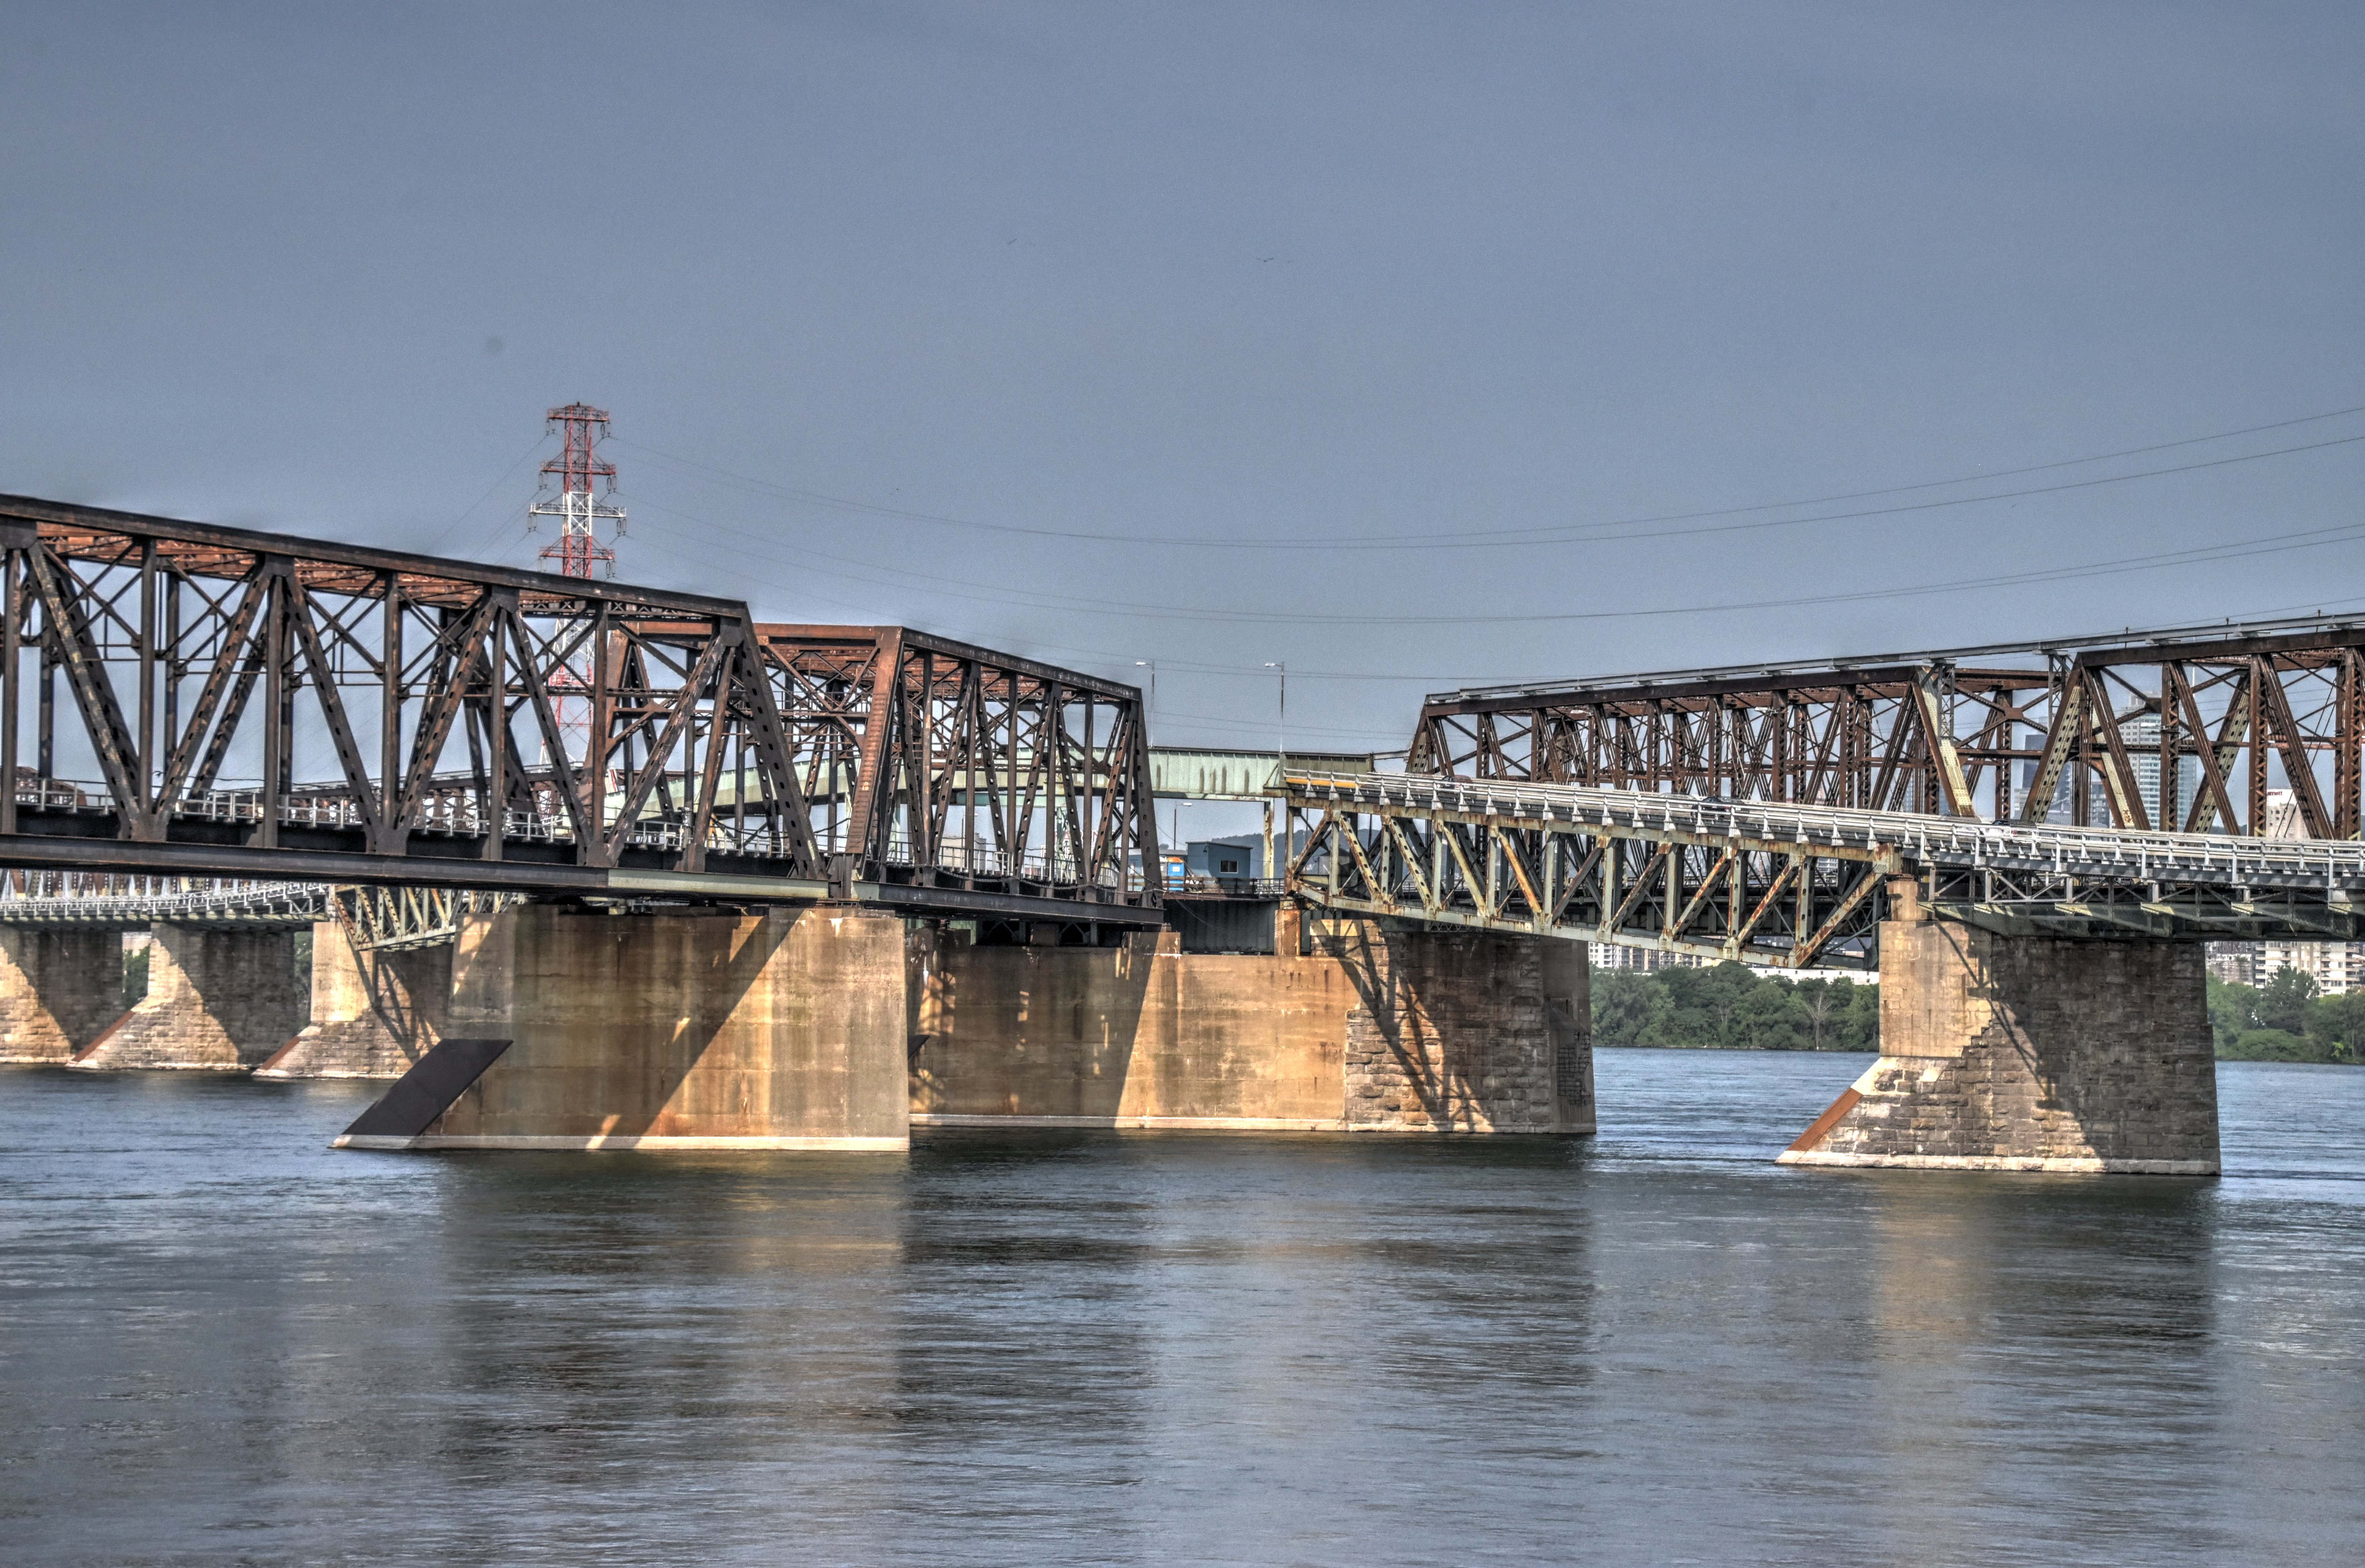
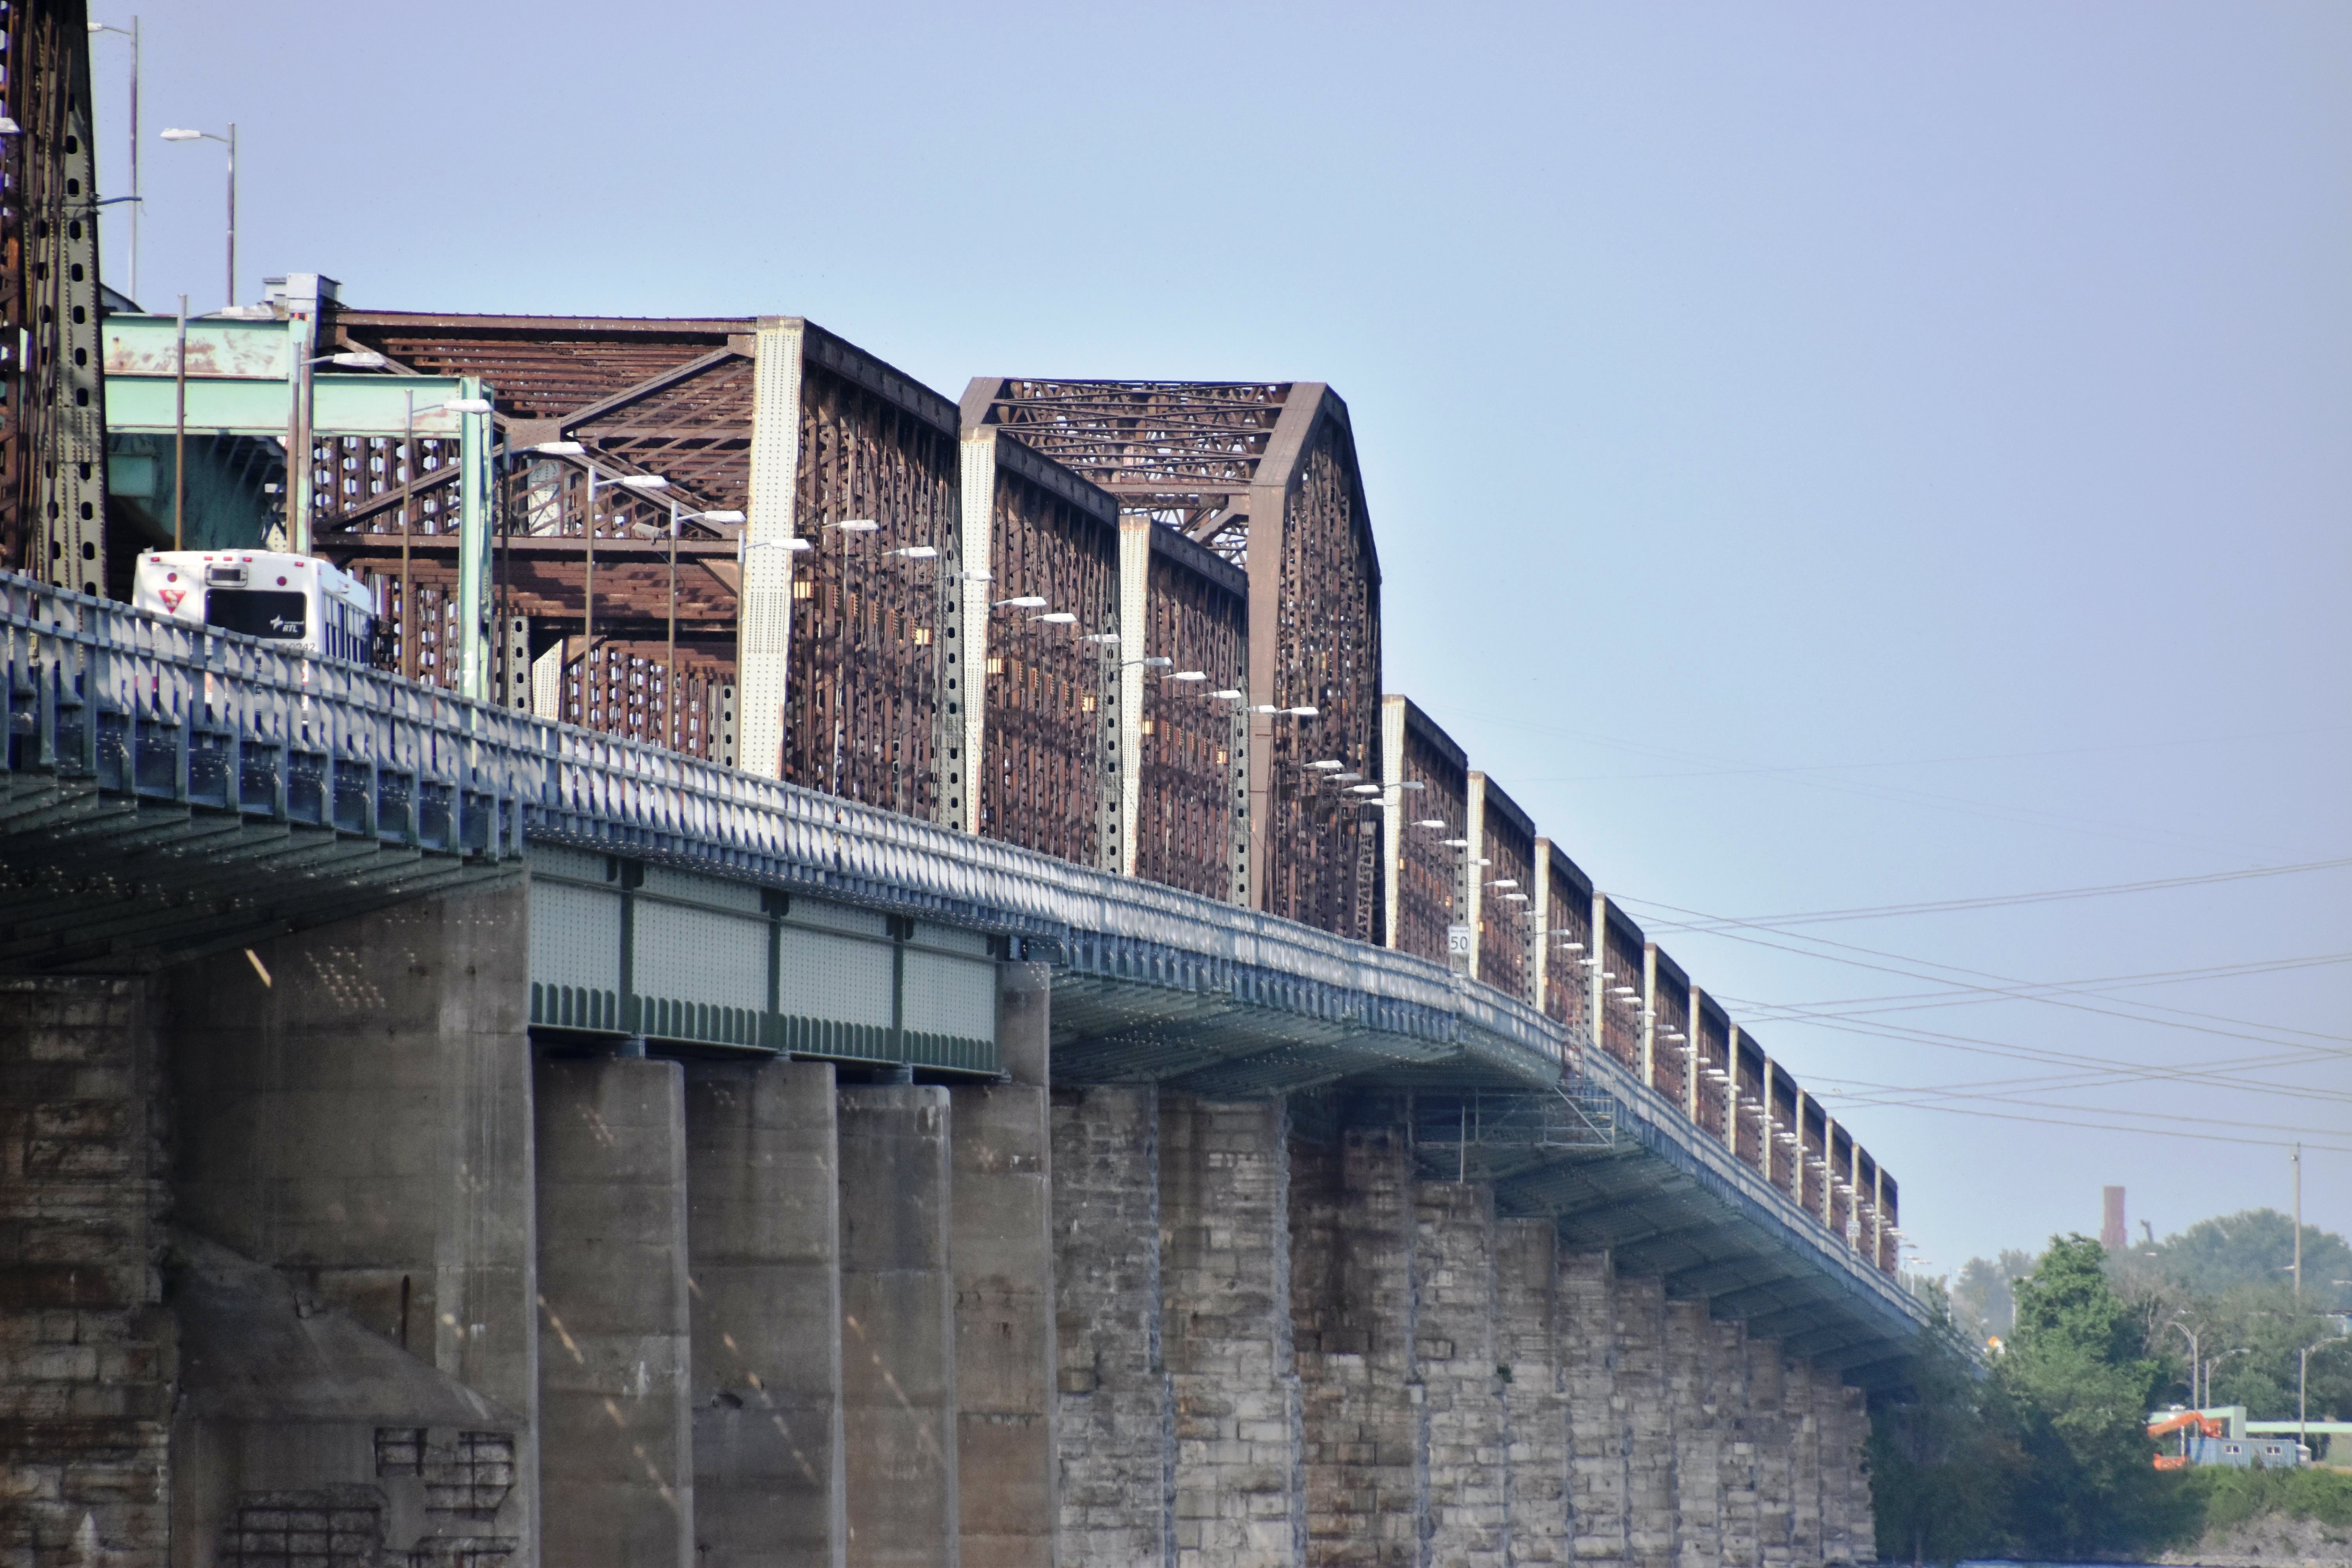
Elevation of western spans from southeast quadrant.
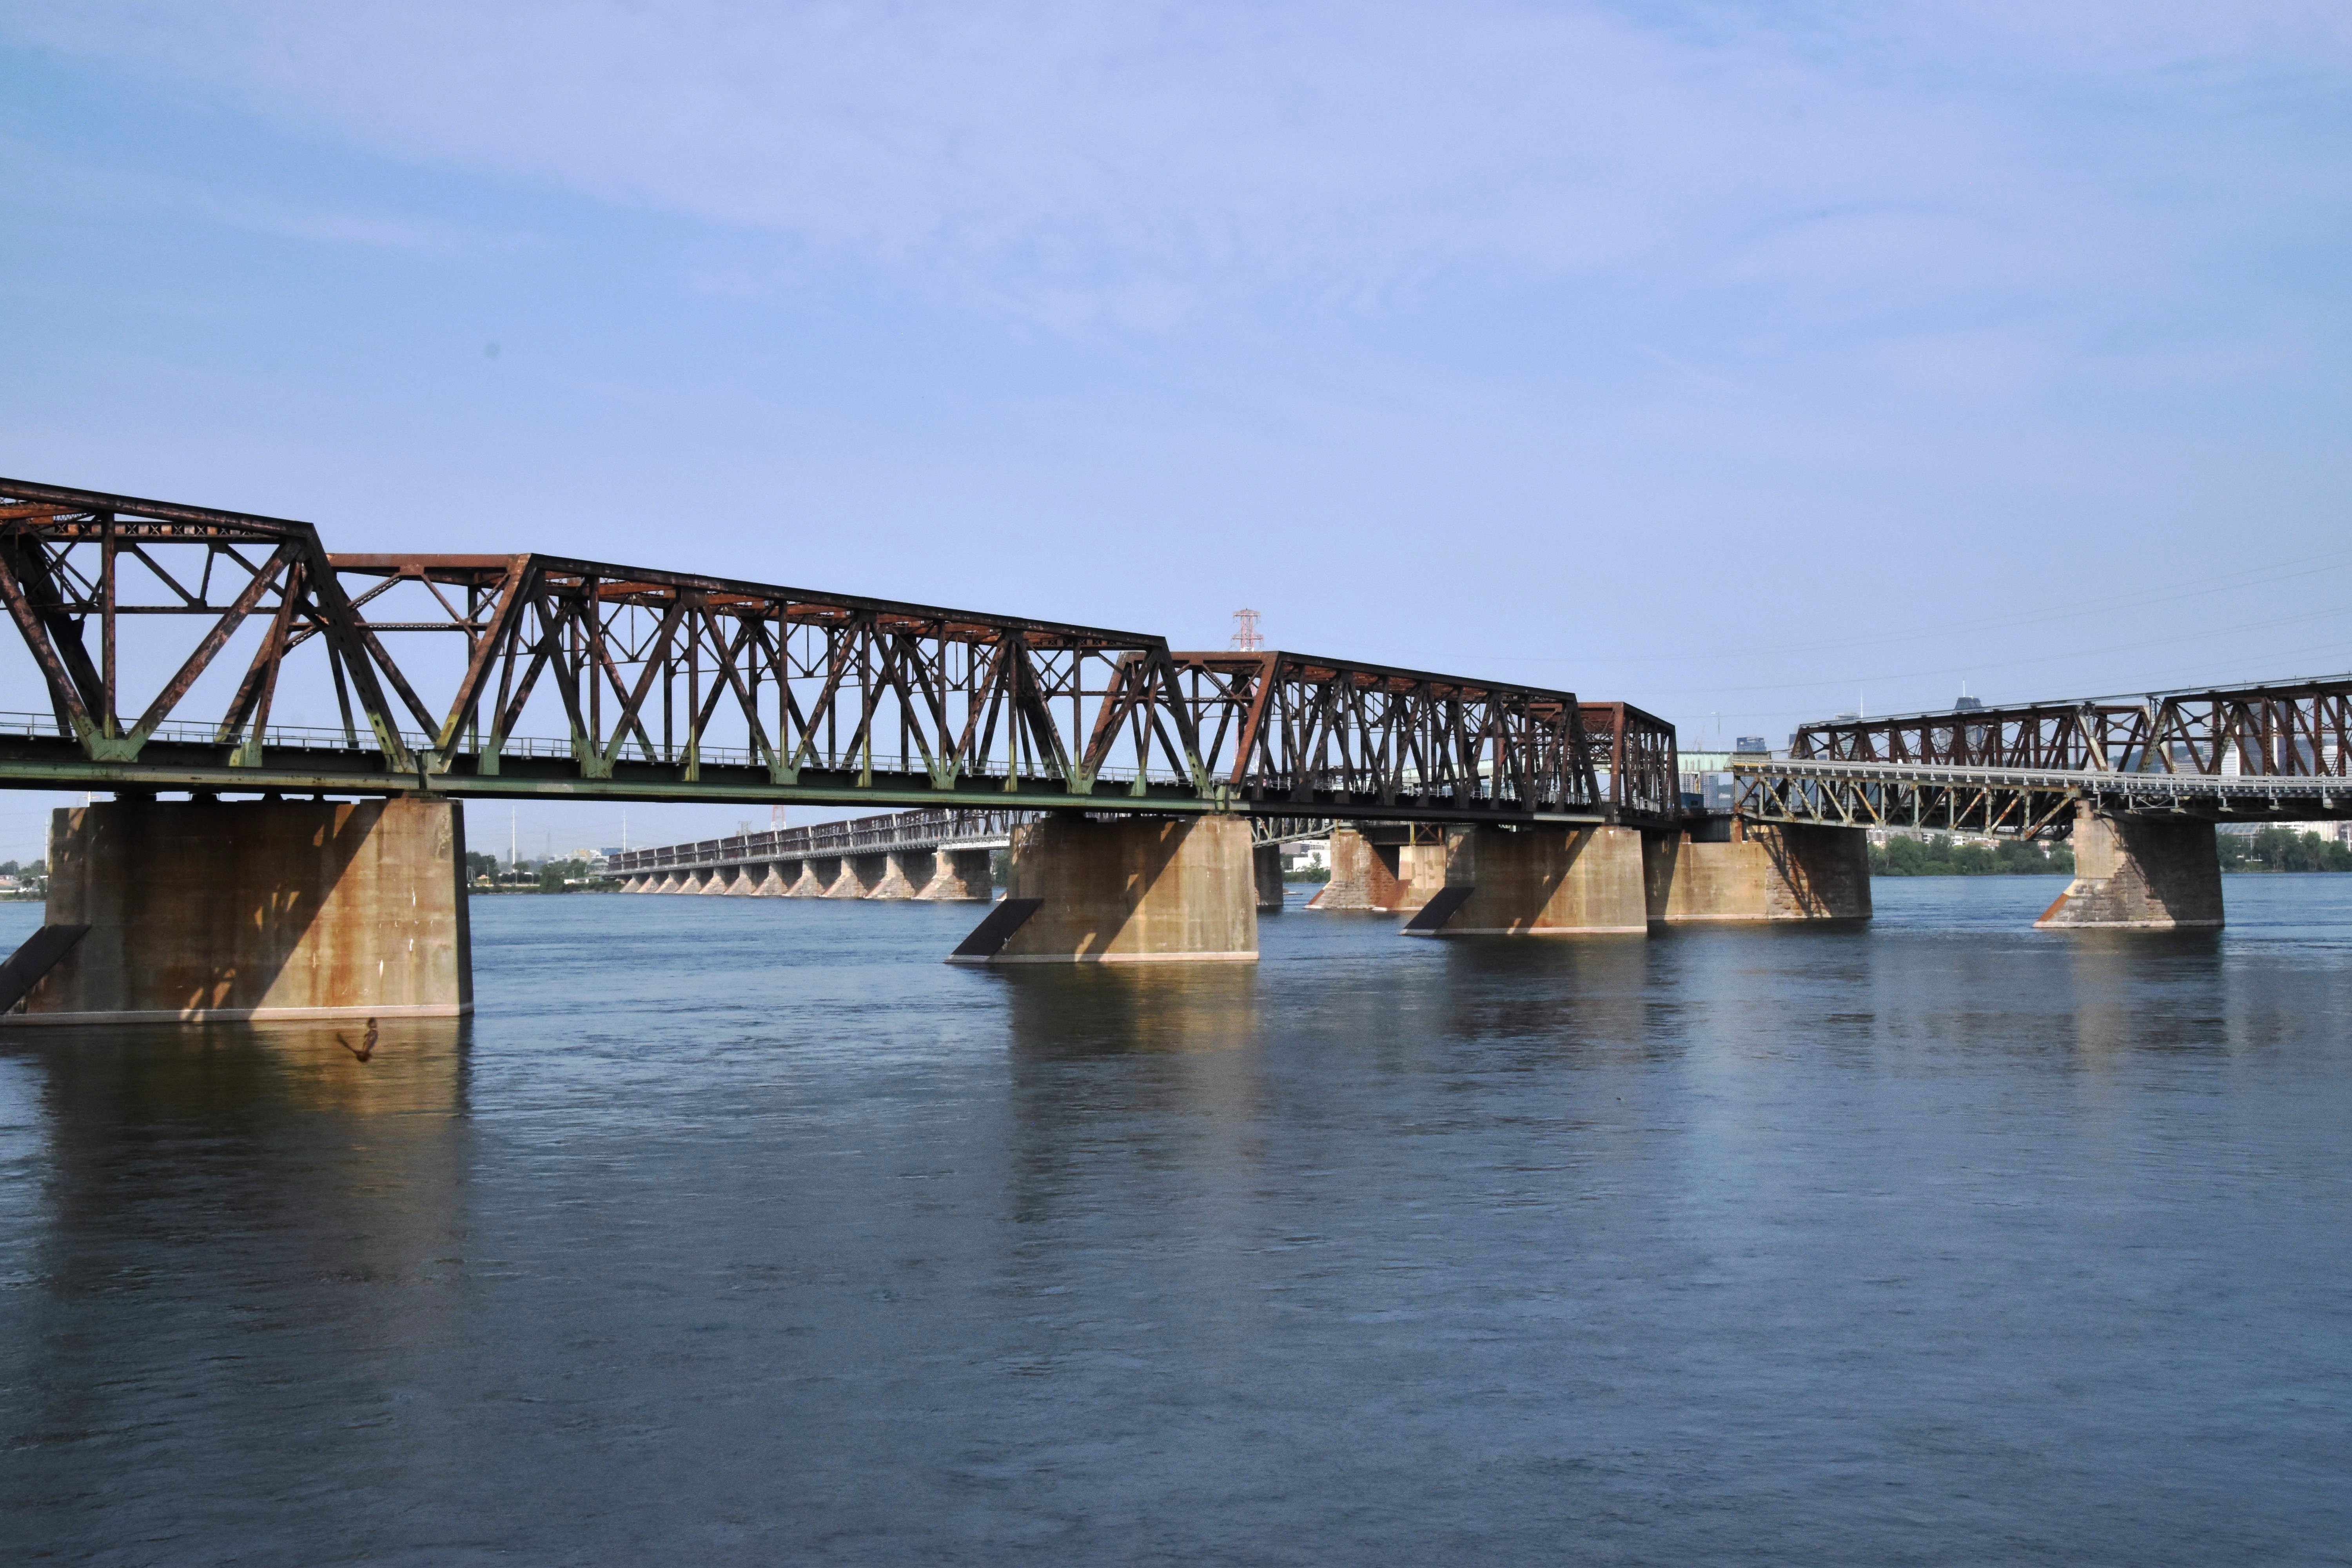
![]()
![]()
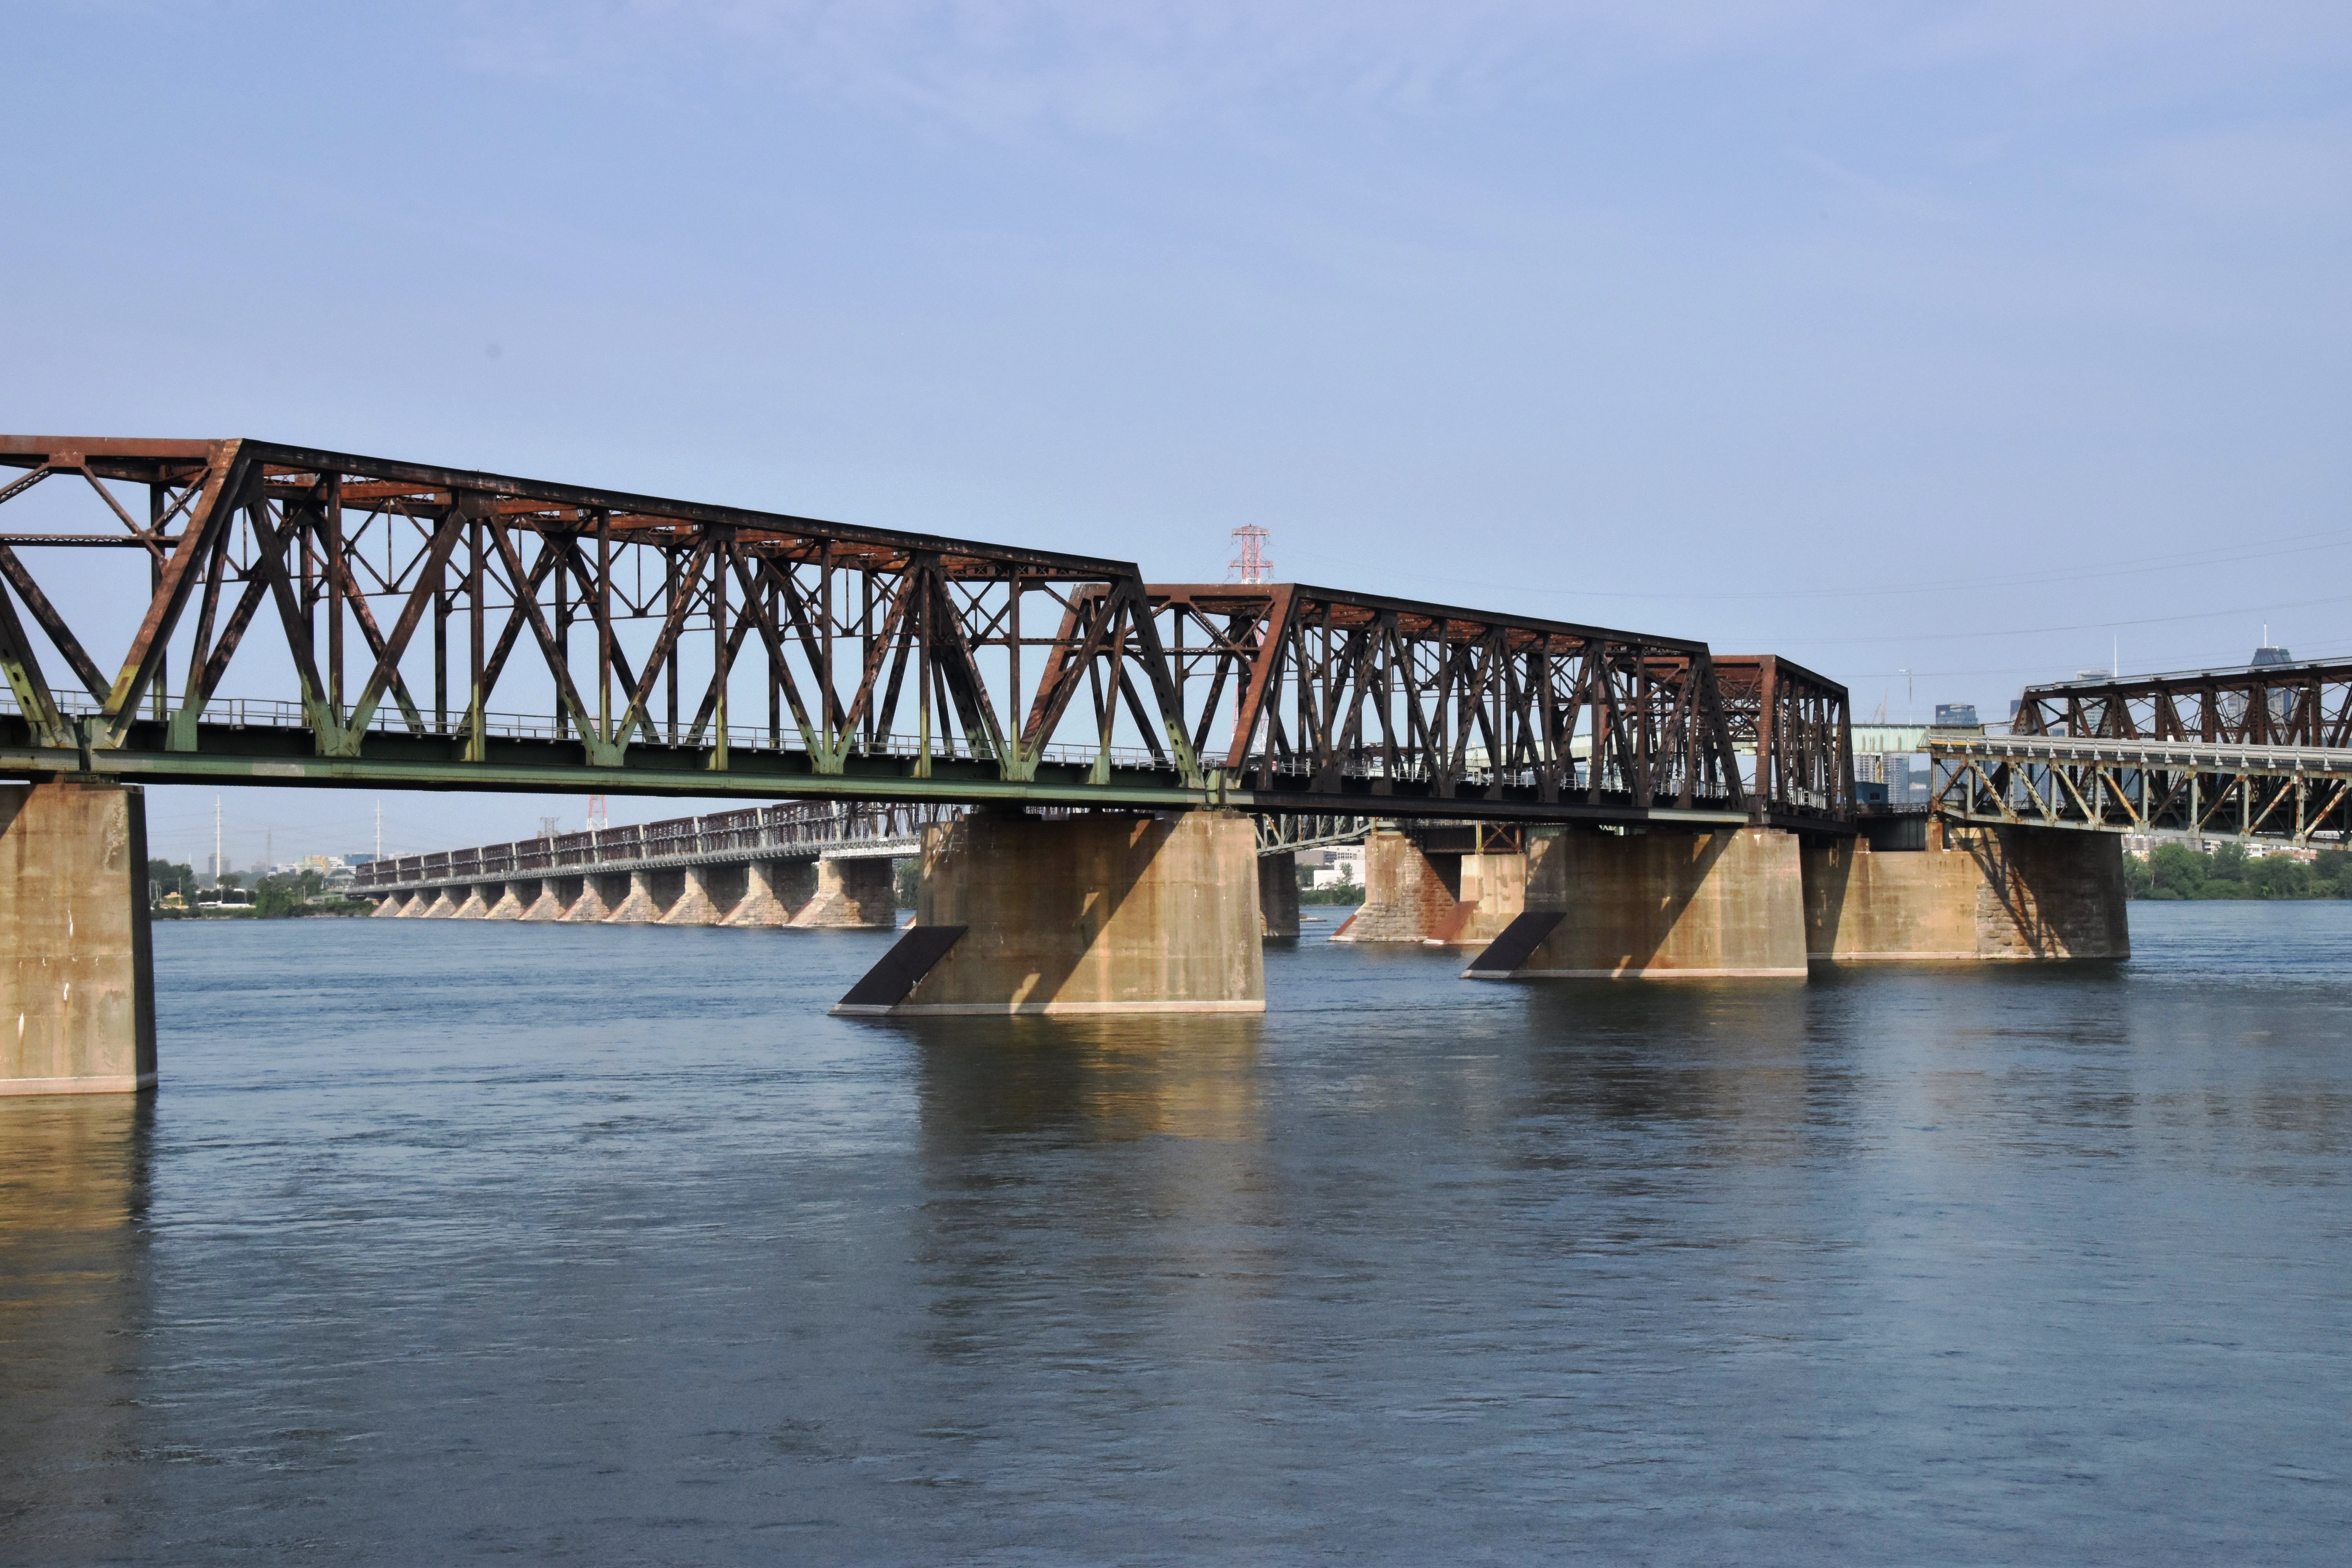
![]()
![]()
![]()
![]()
![]()
![]()
![]()
![]()
![]()
![]()
![]()
![]()
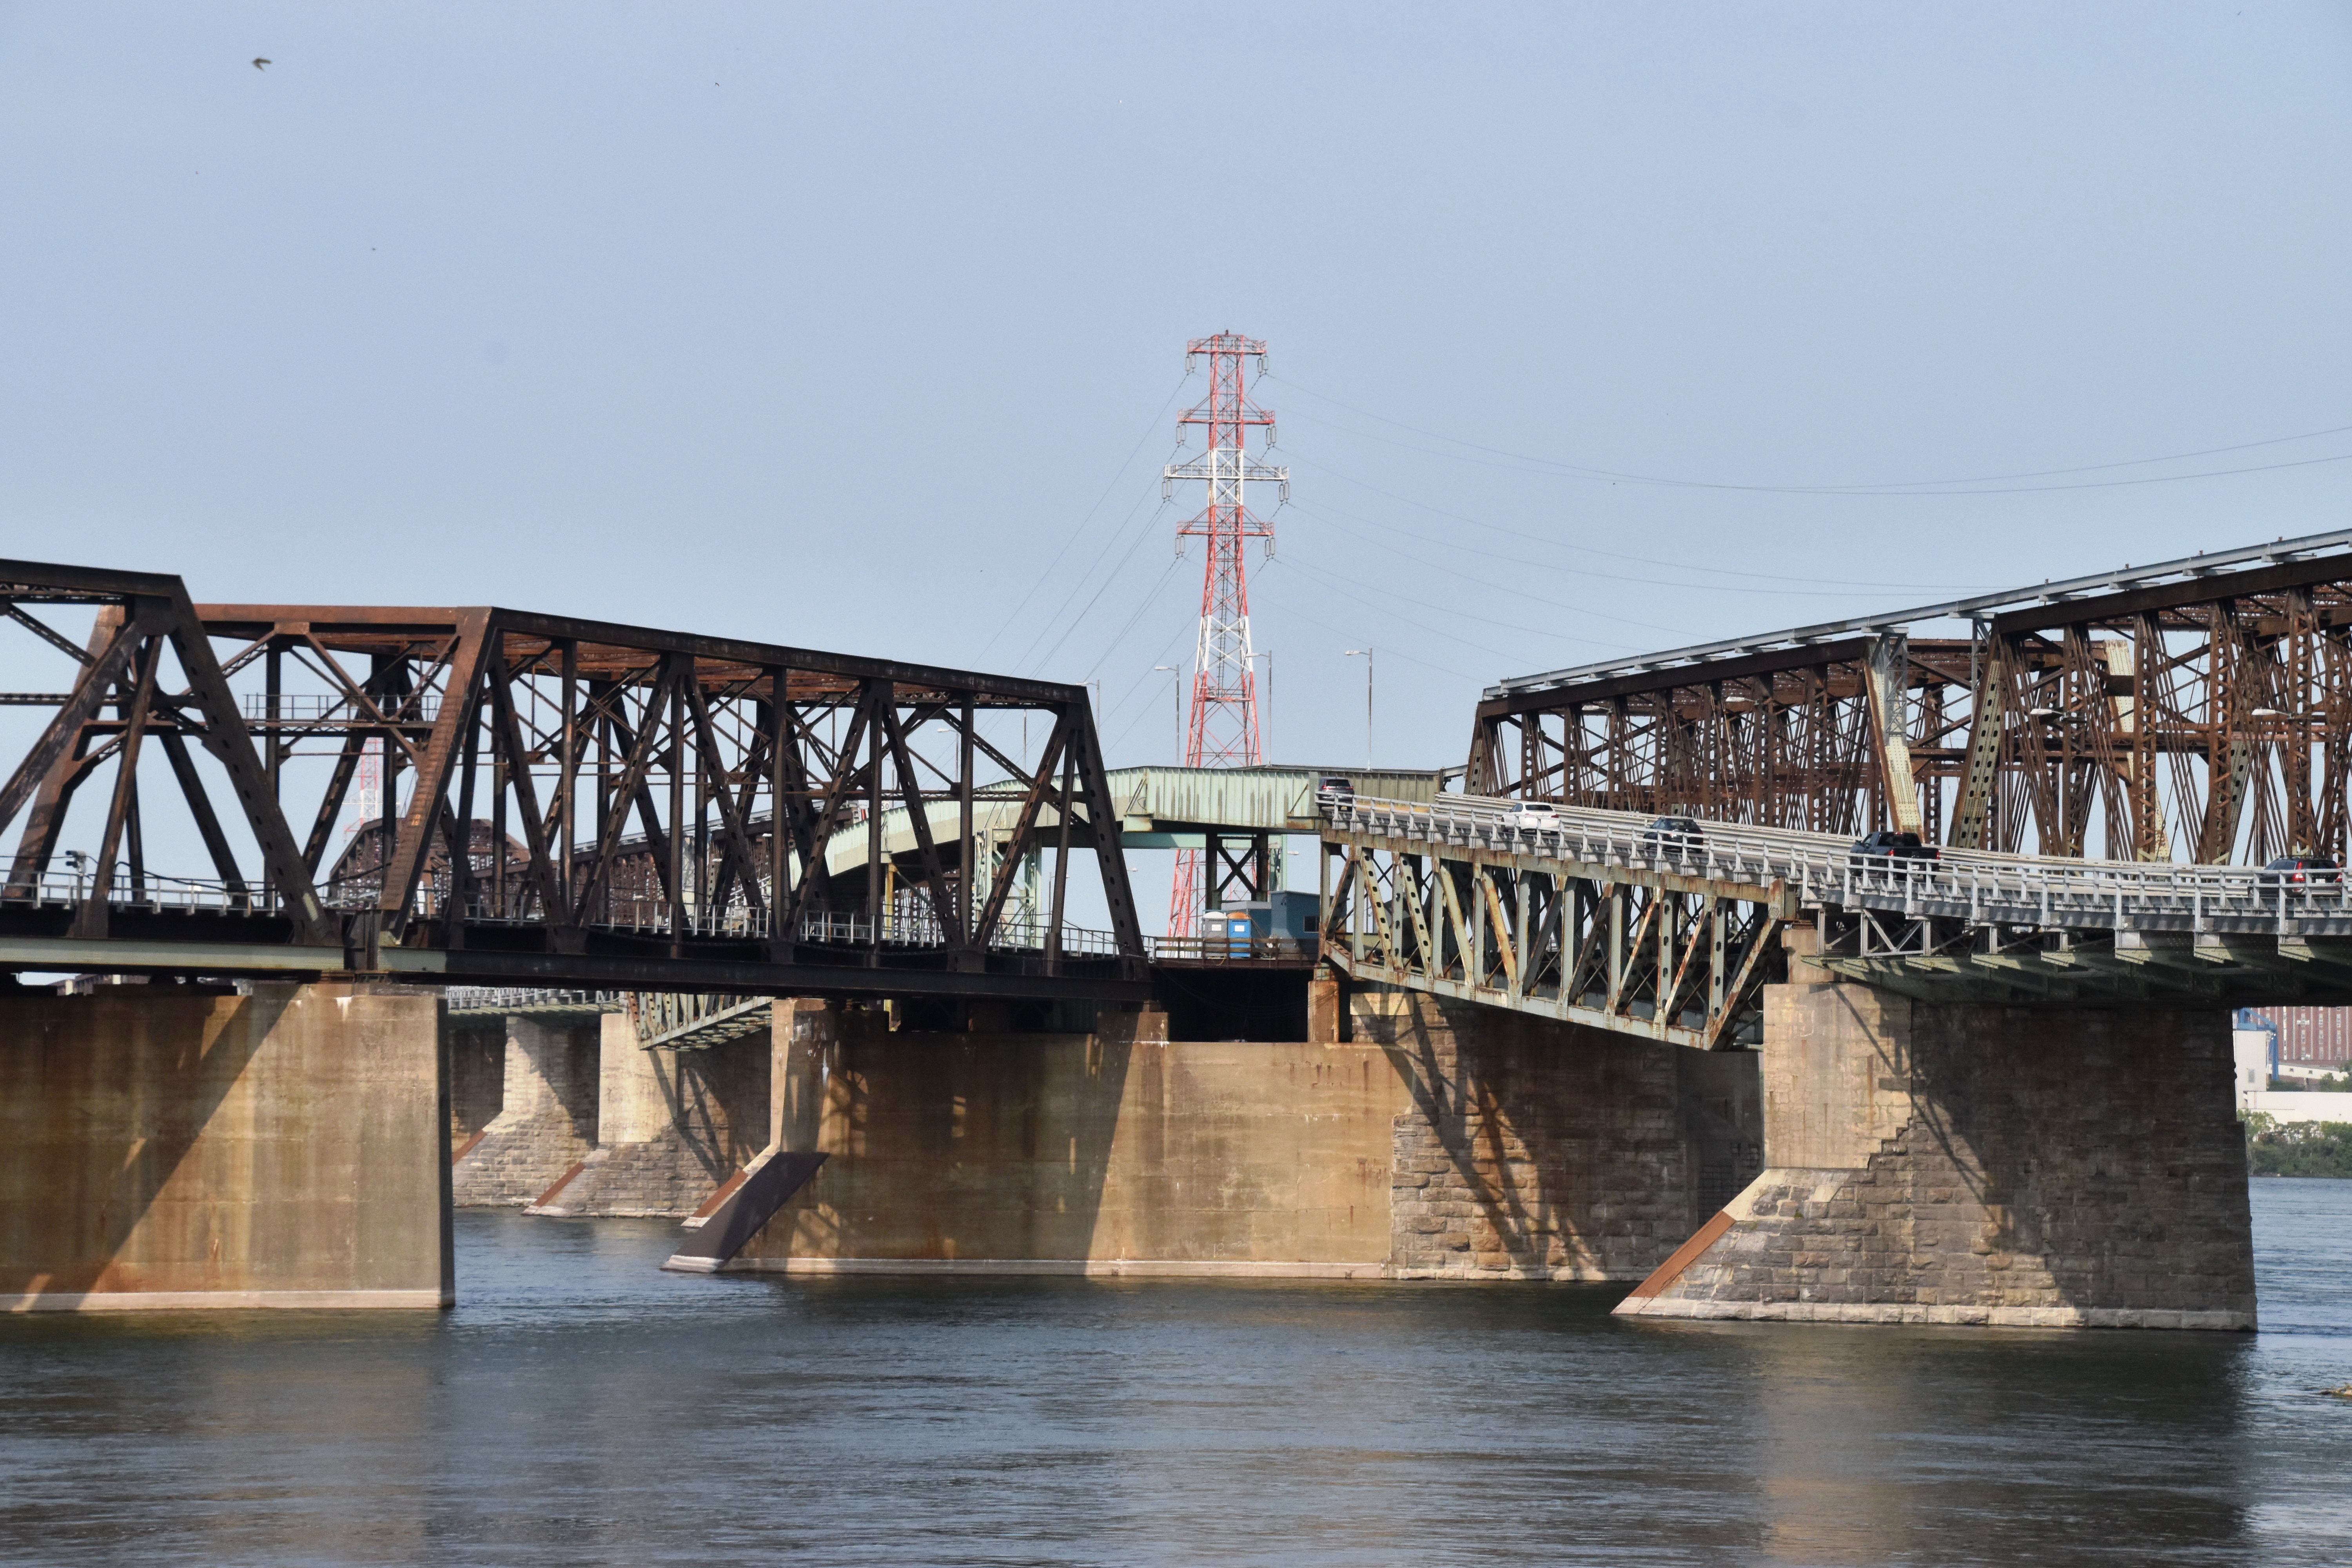
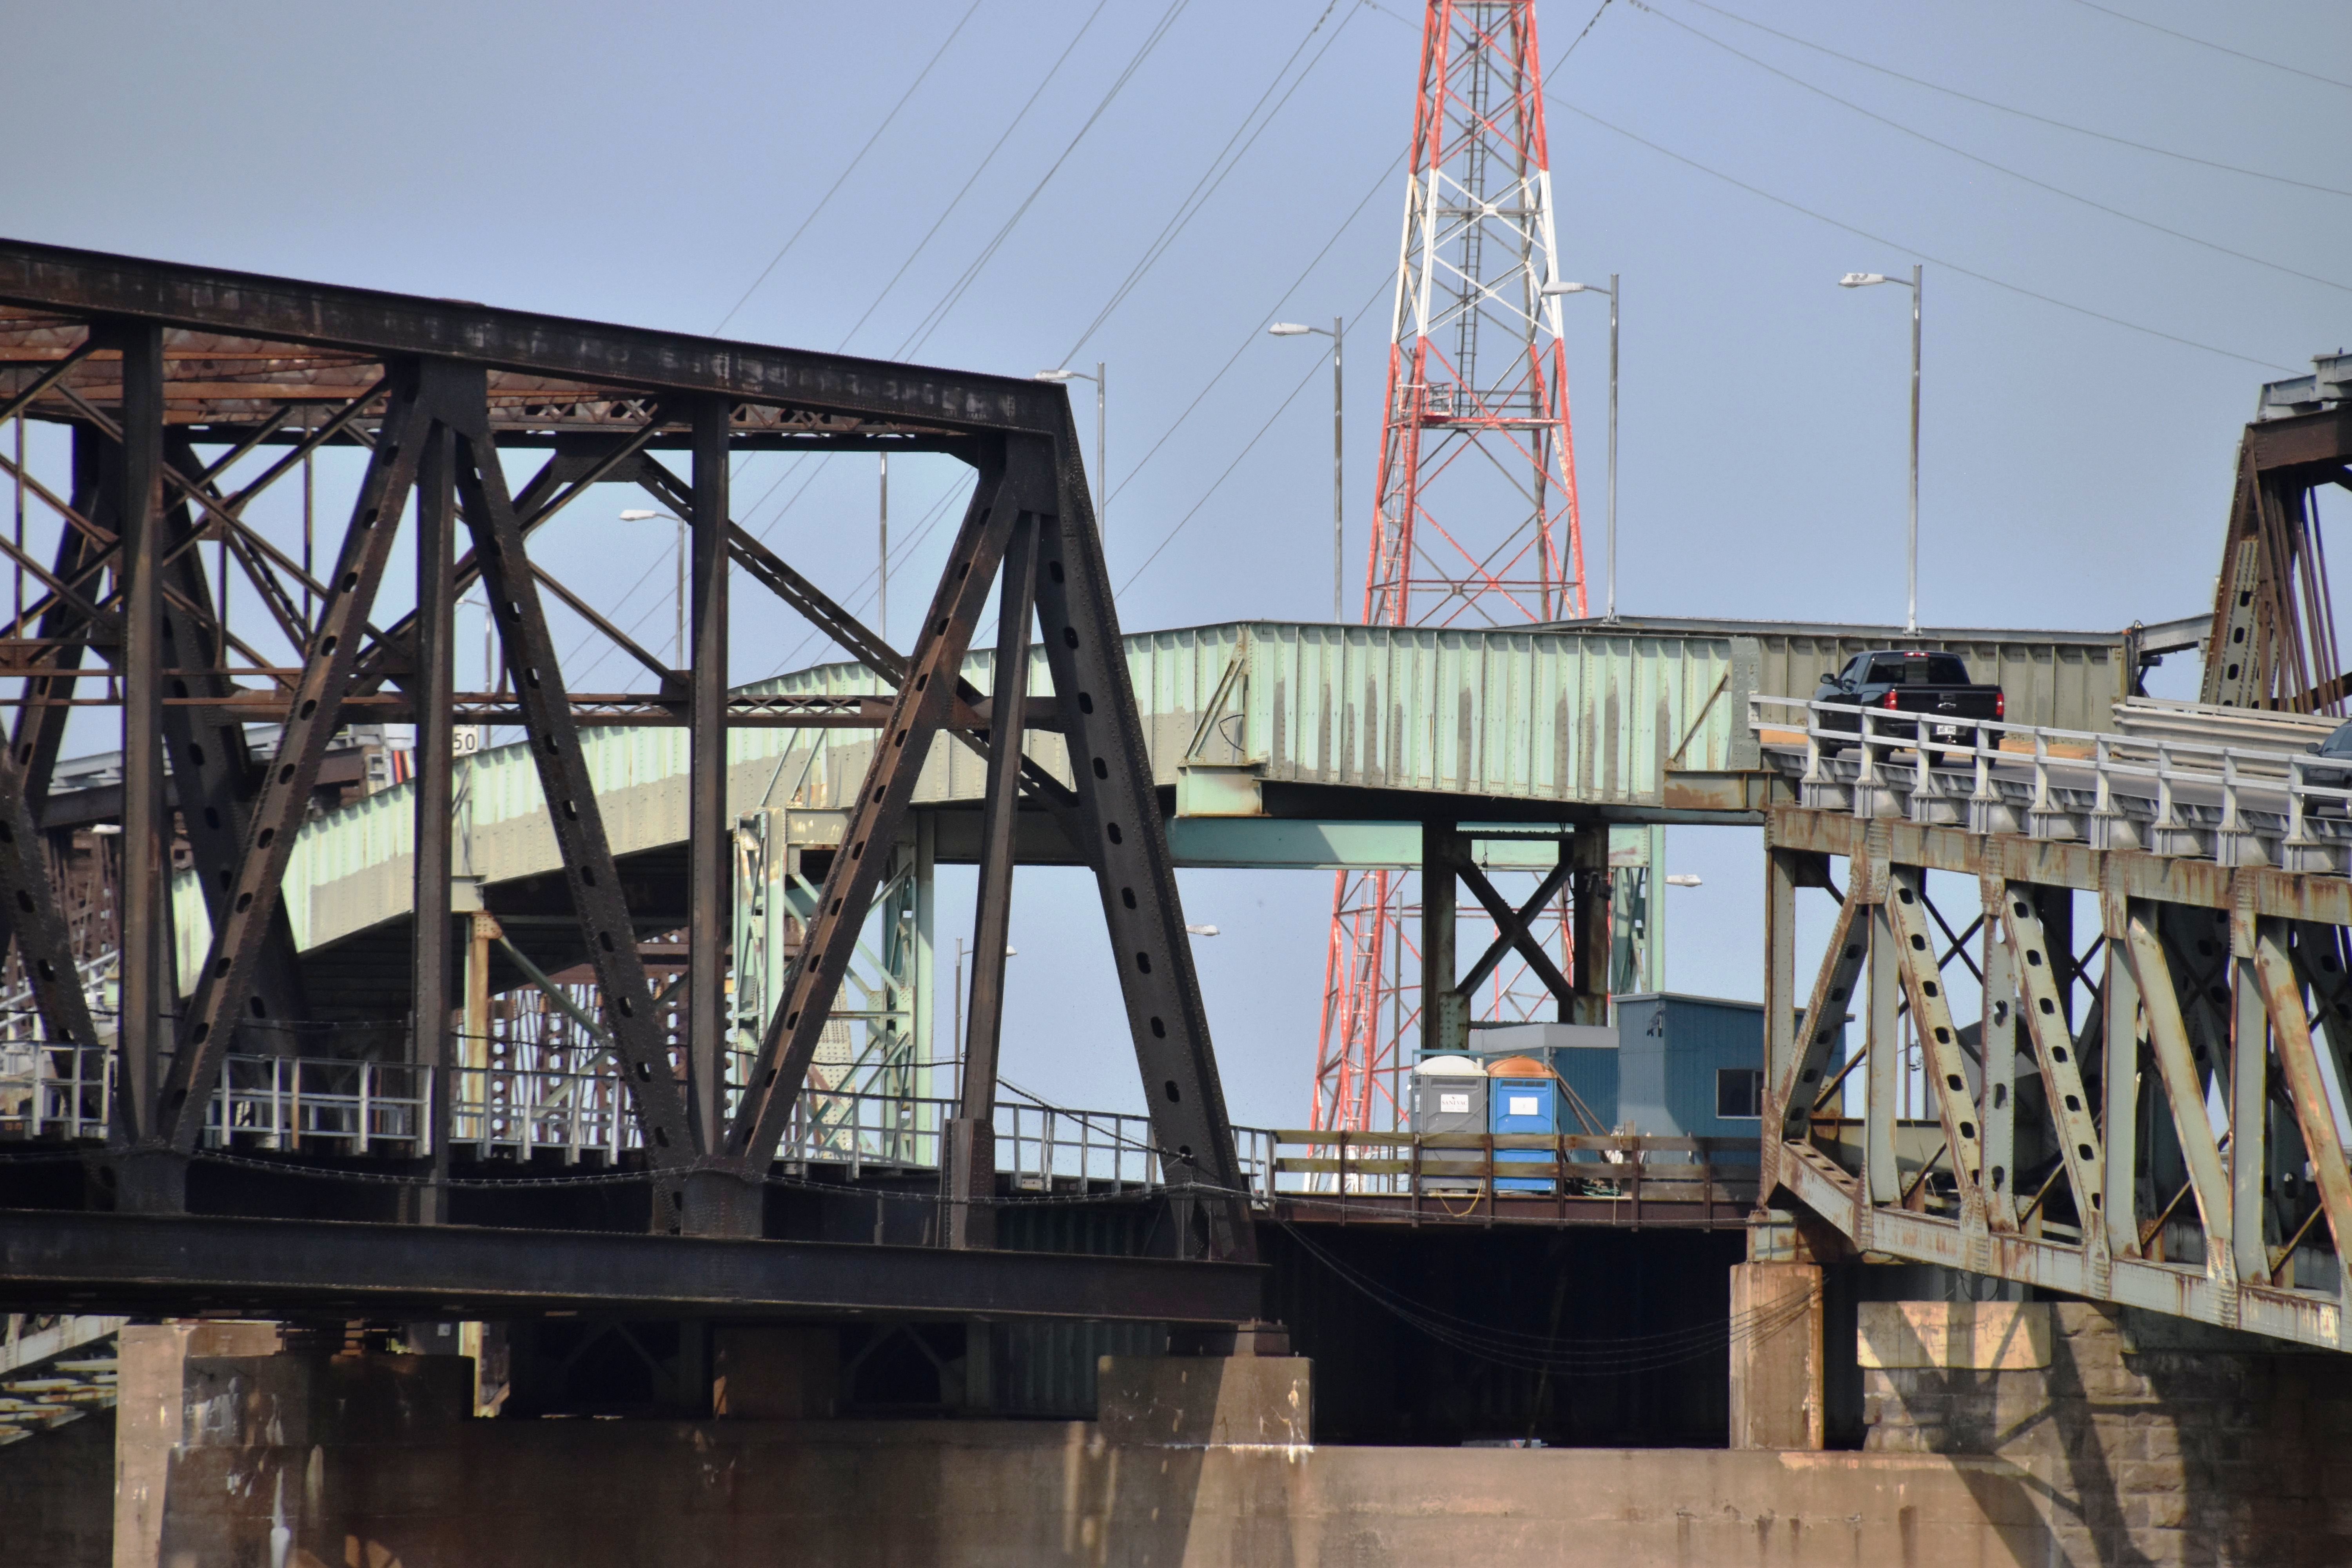
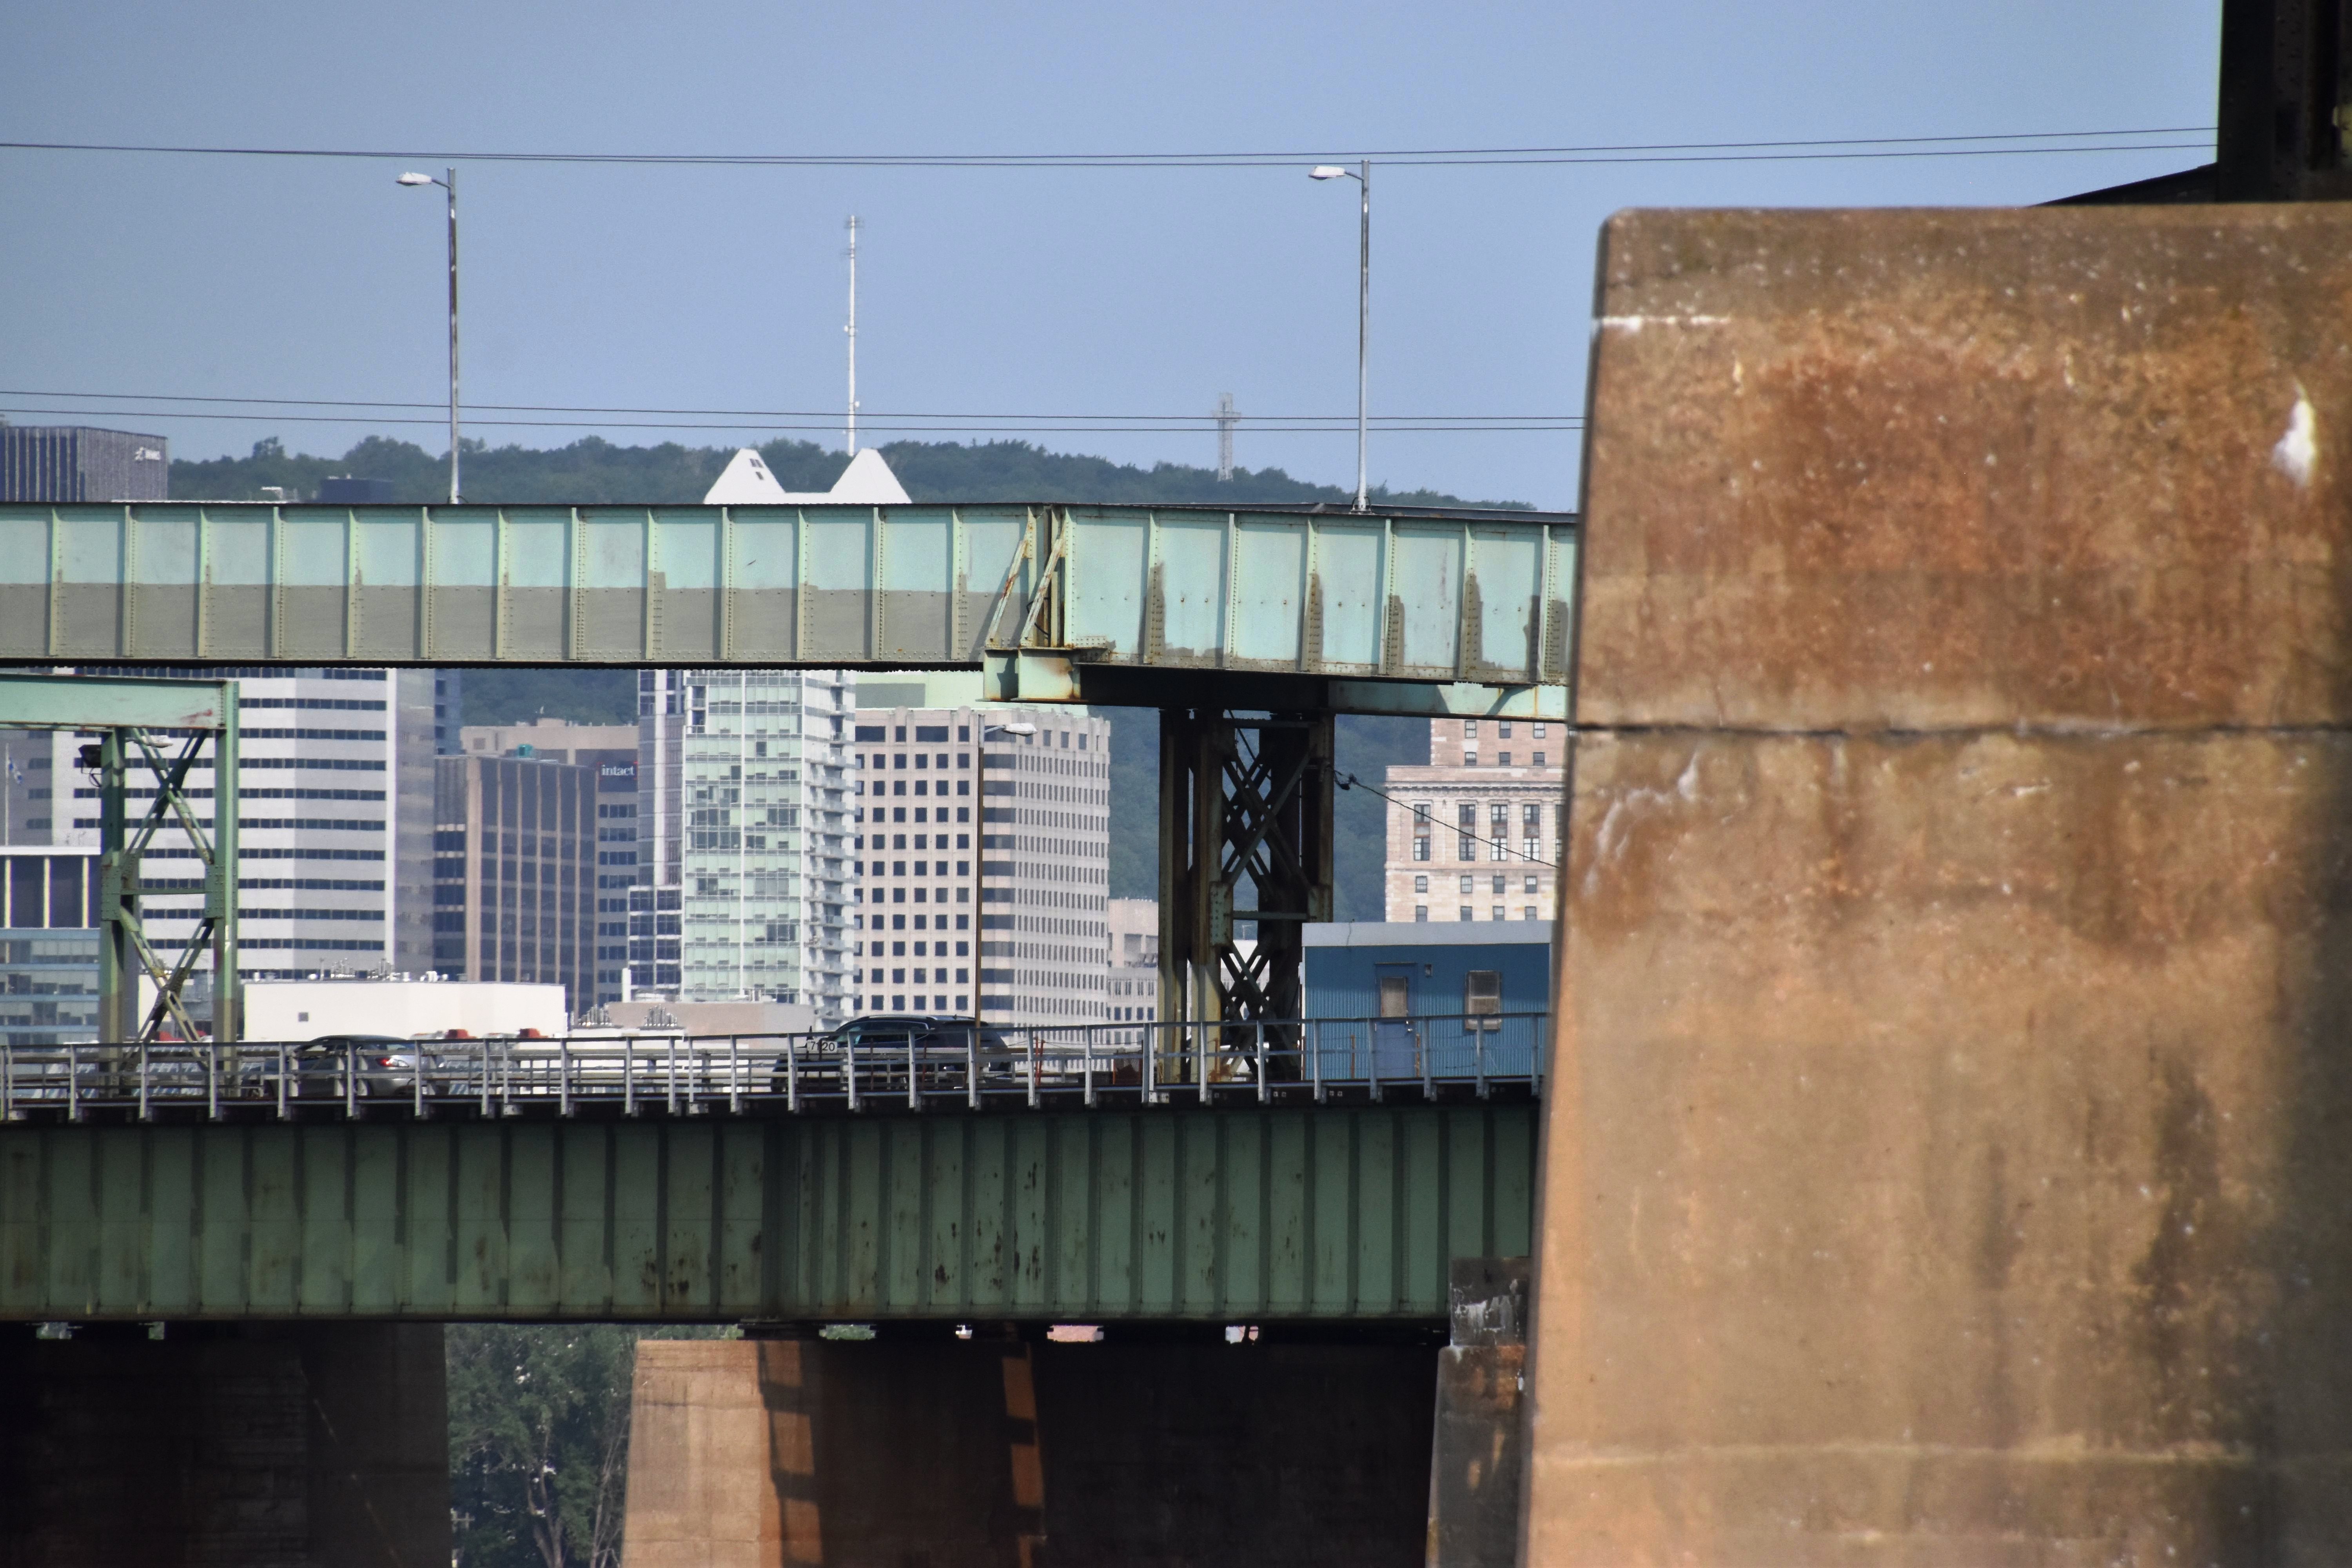
Panoramic views facing west between main spans and St. Lambert Diversion.
![]()
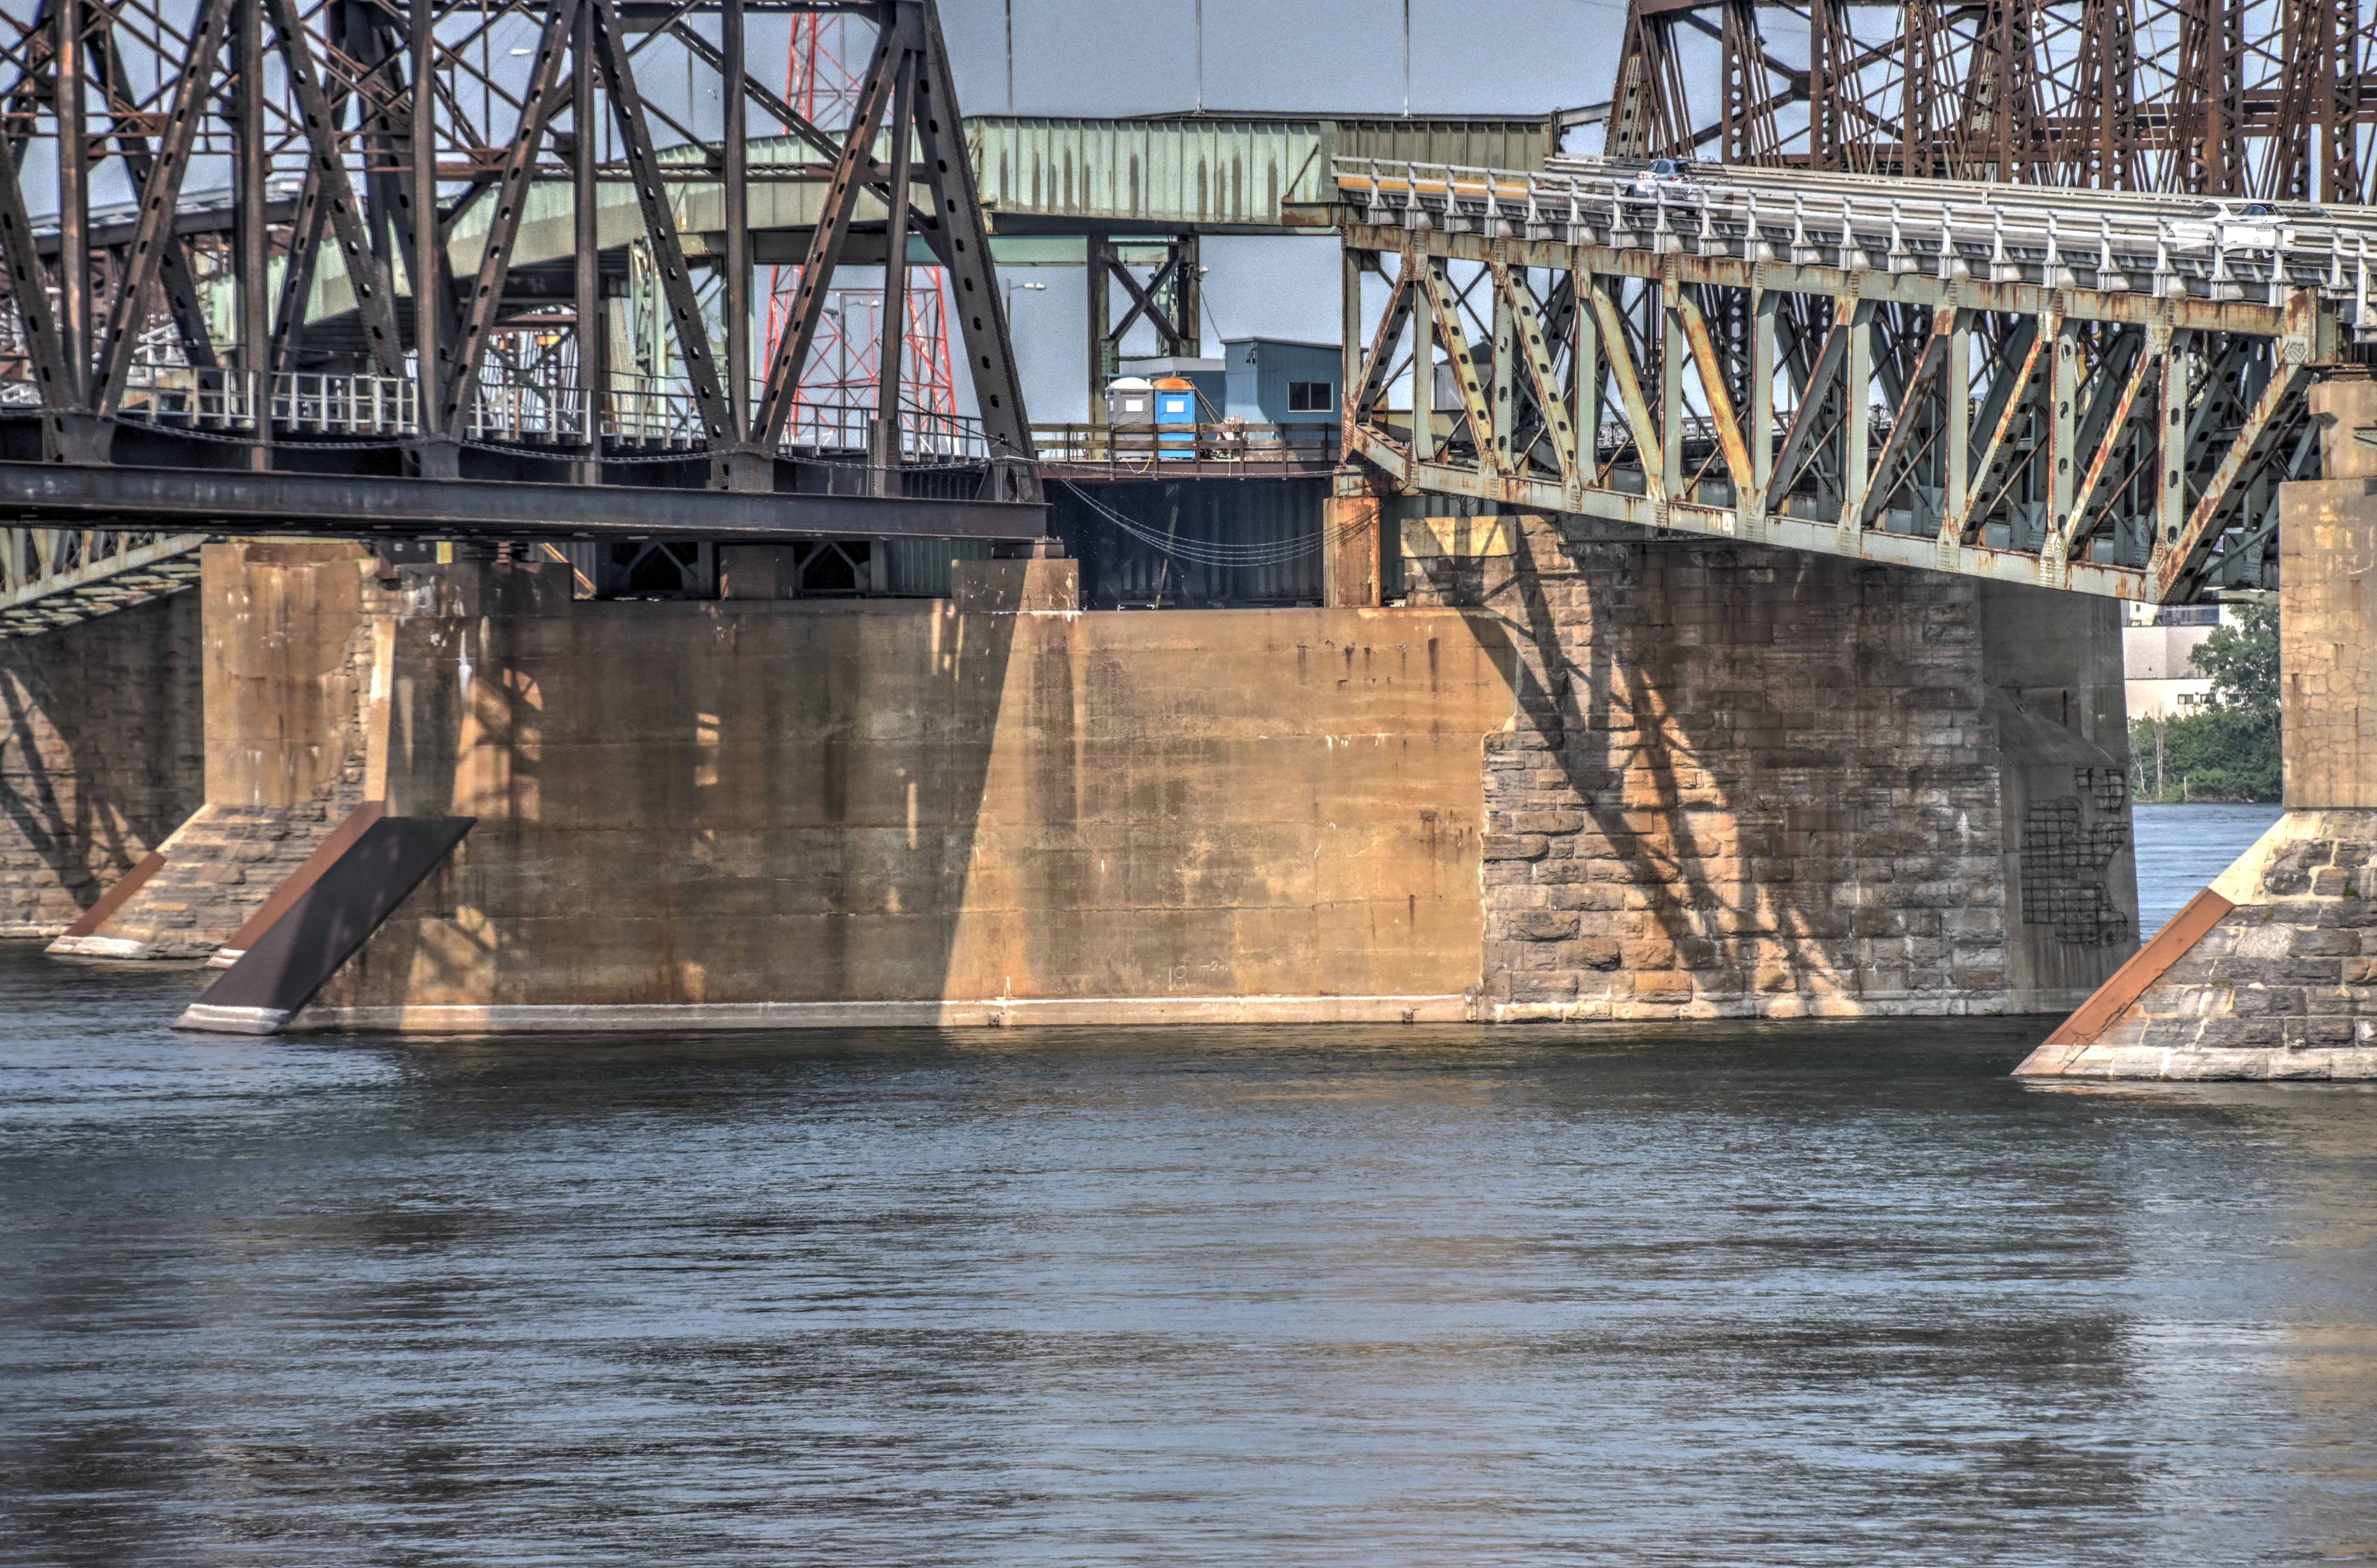
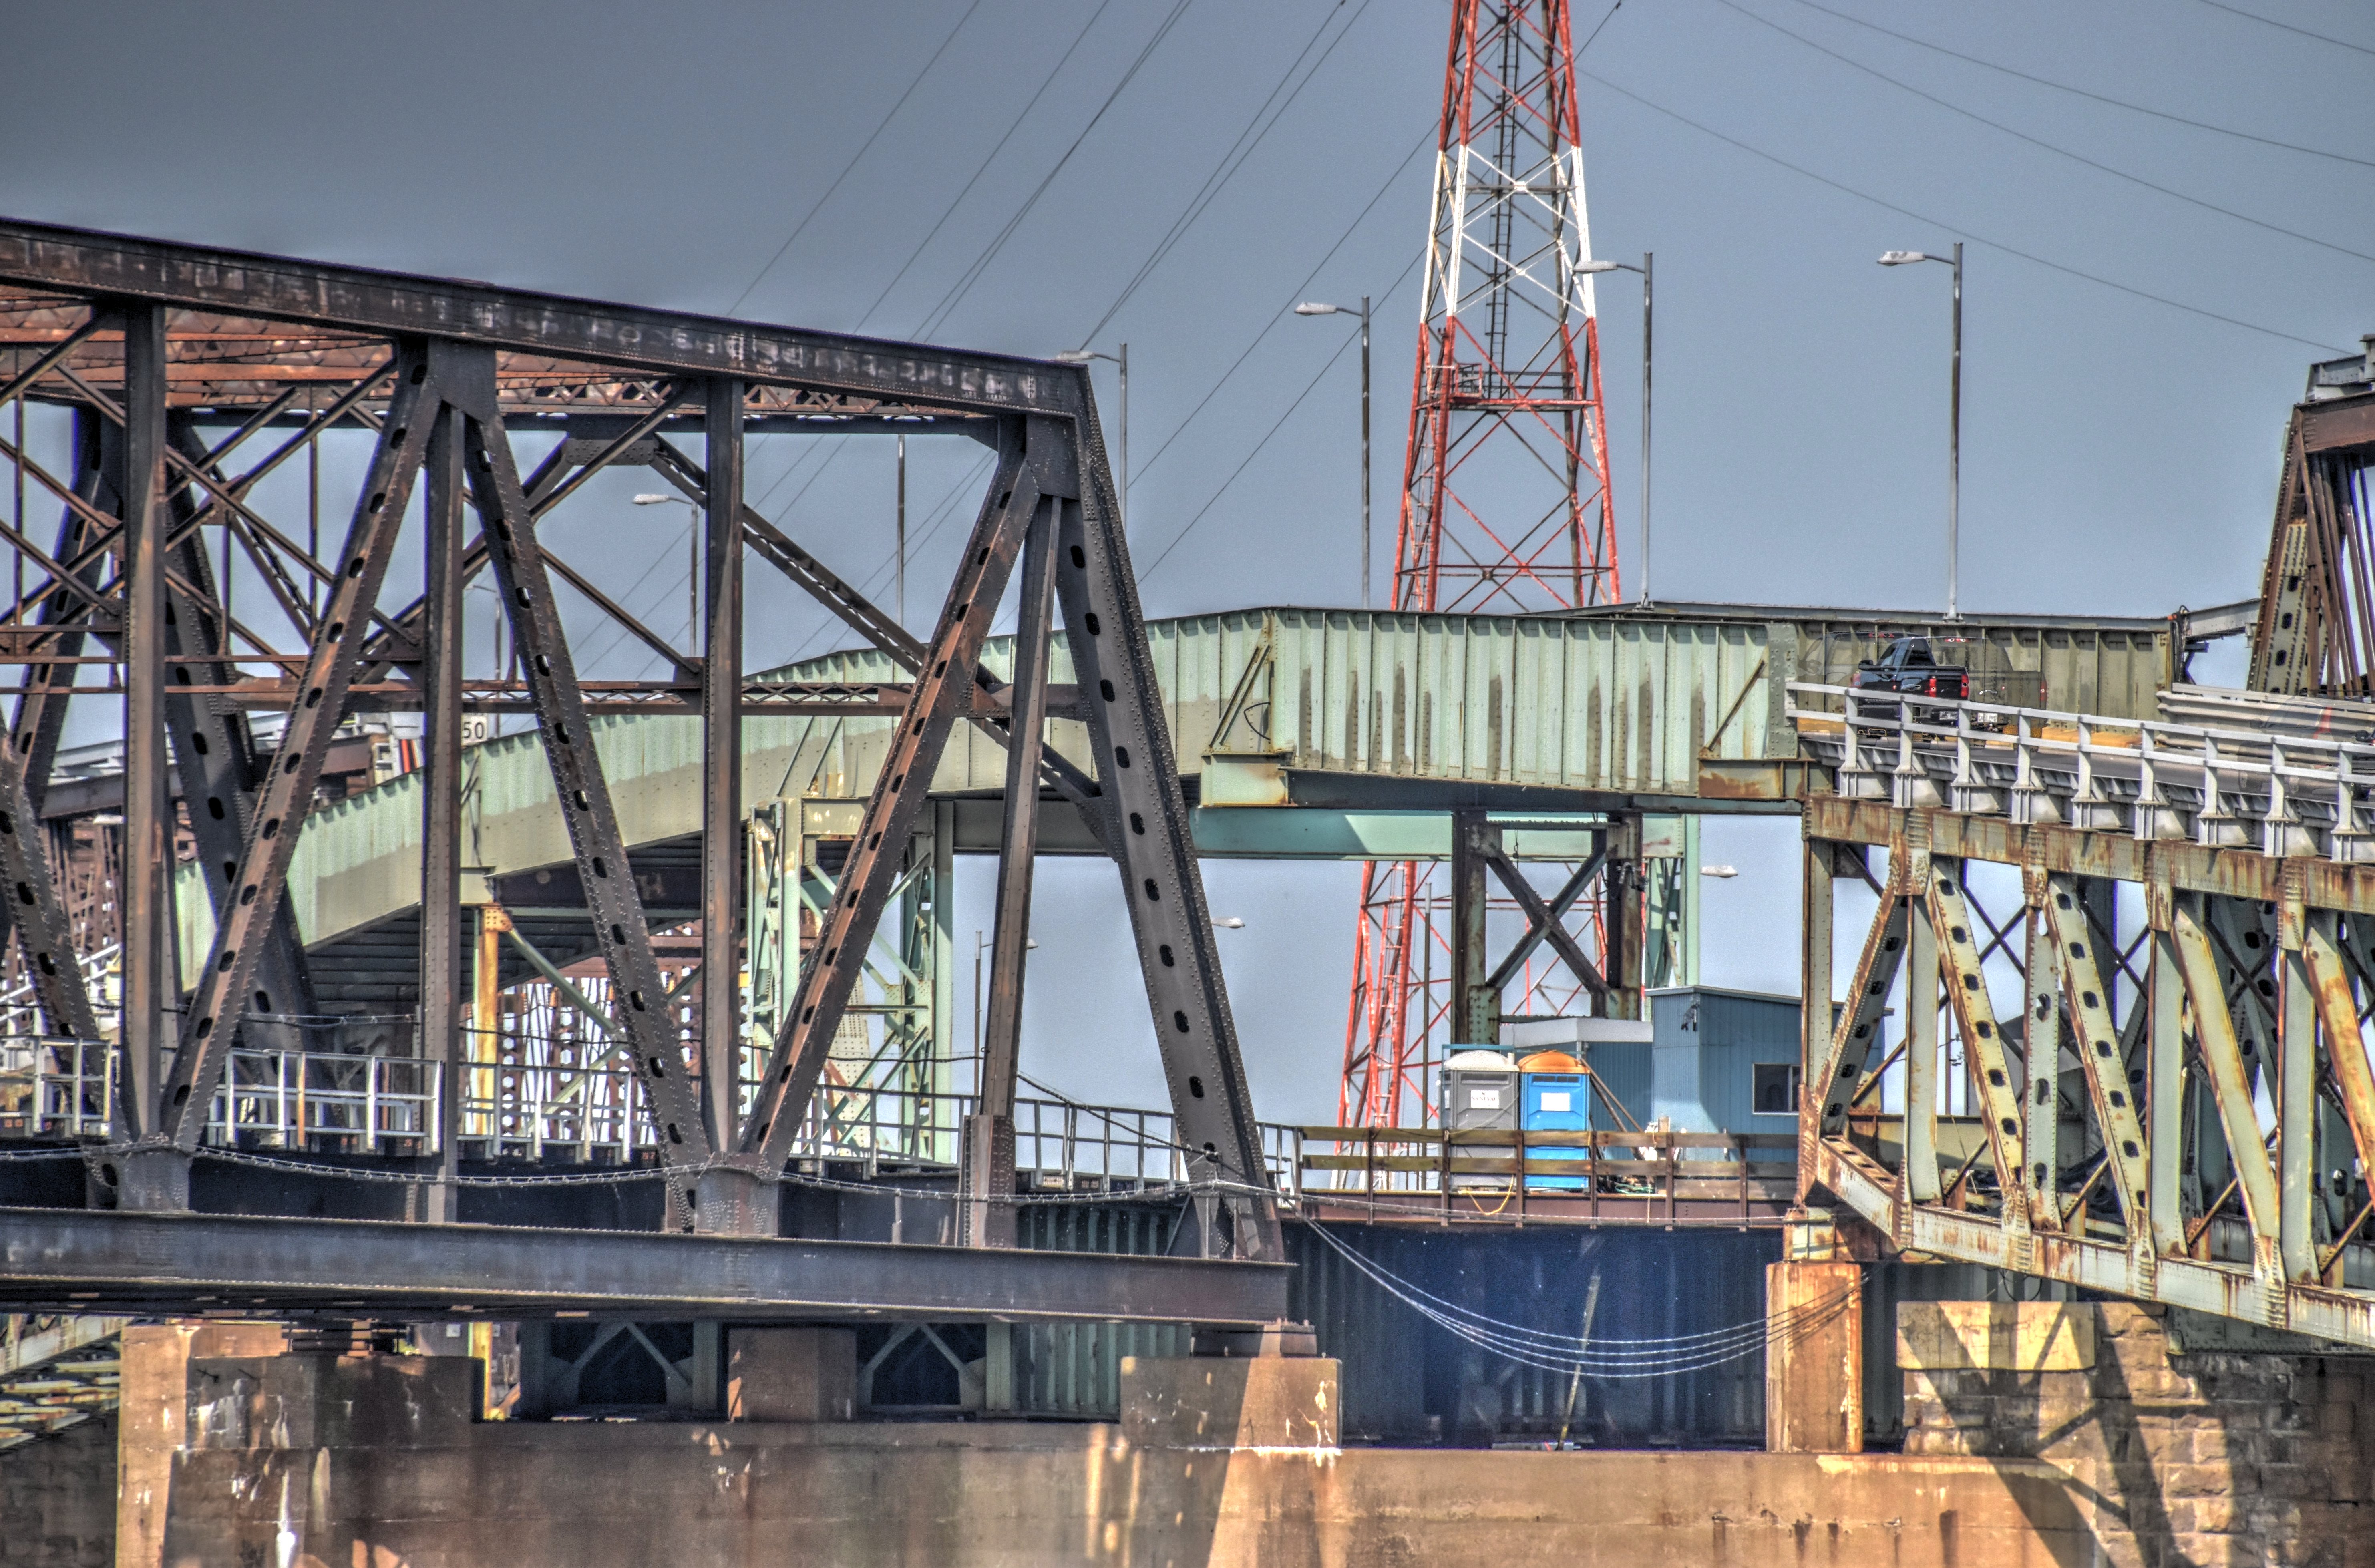
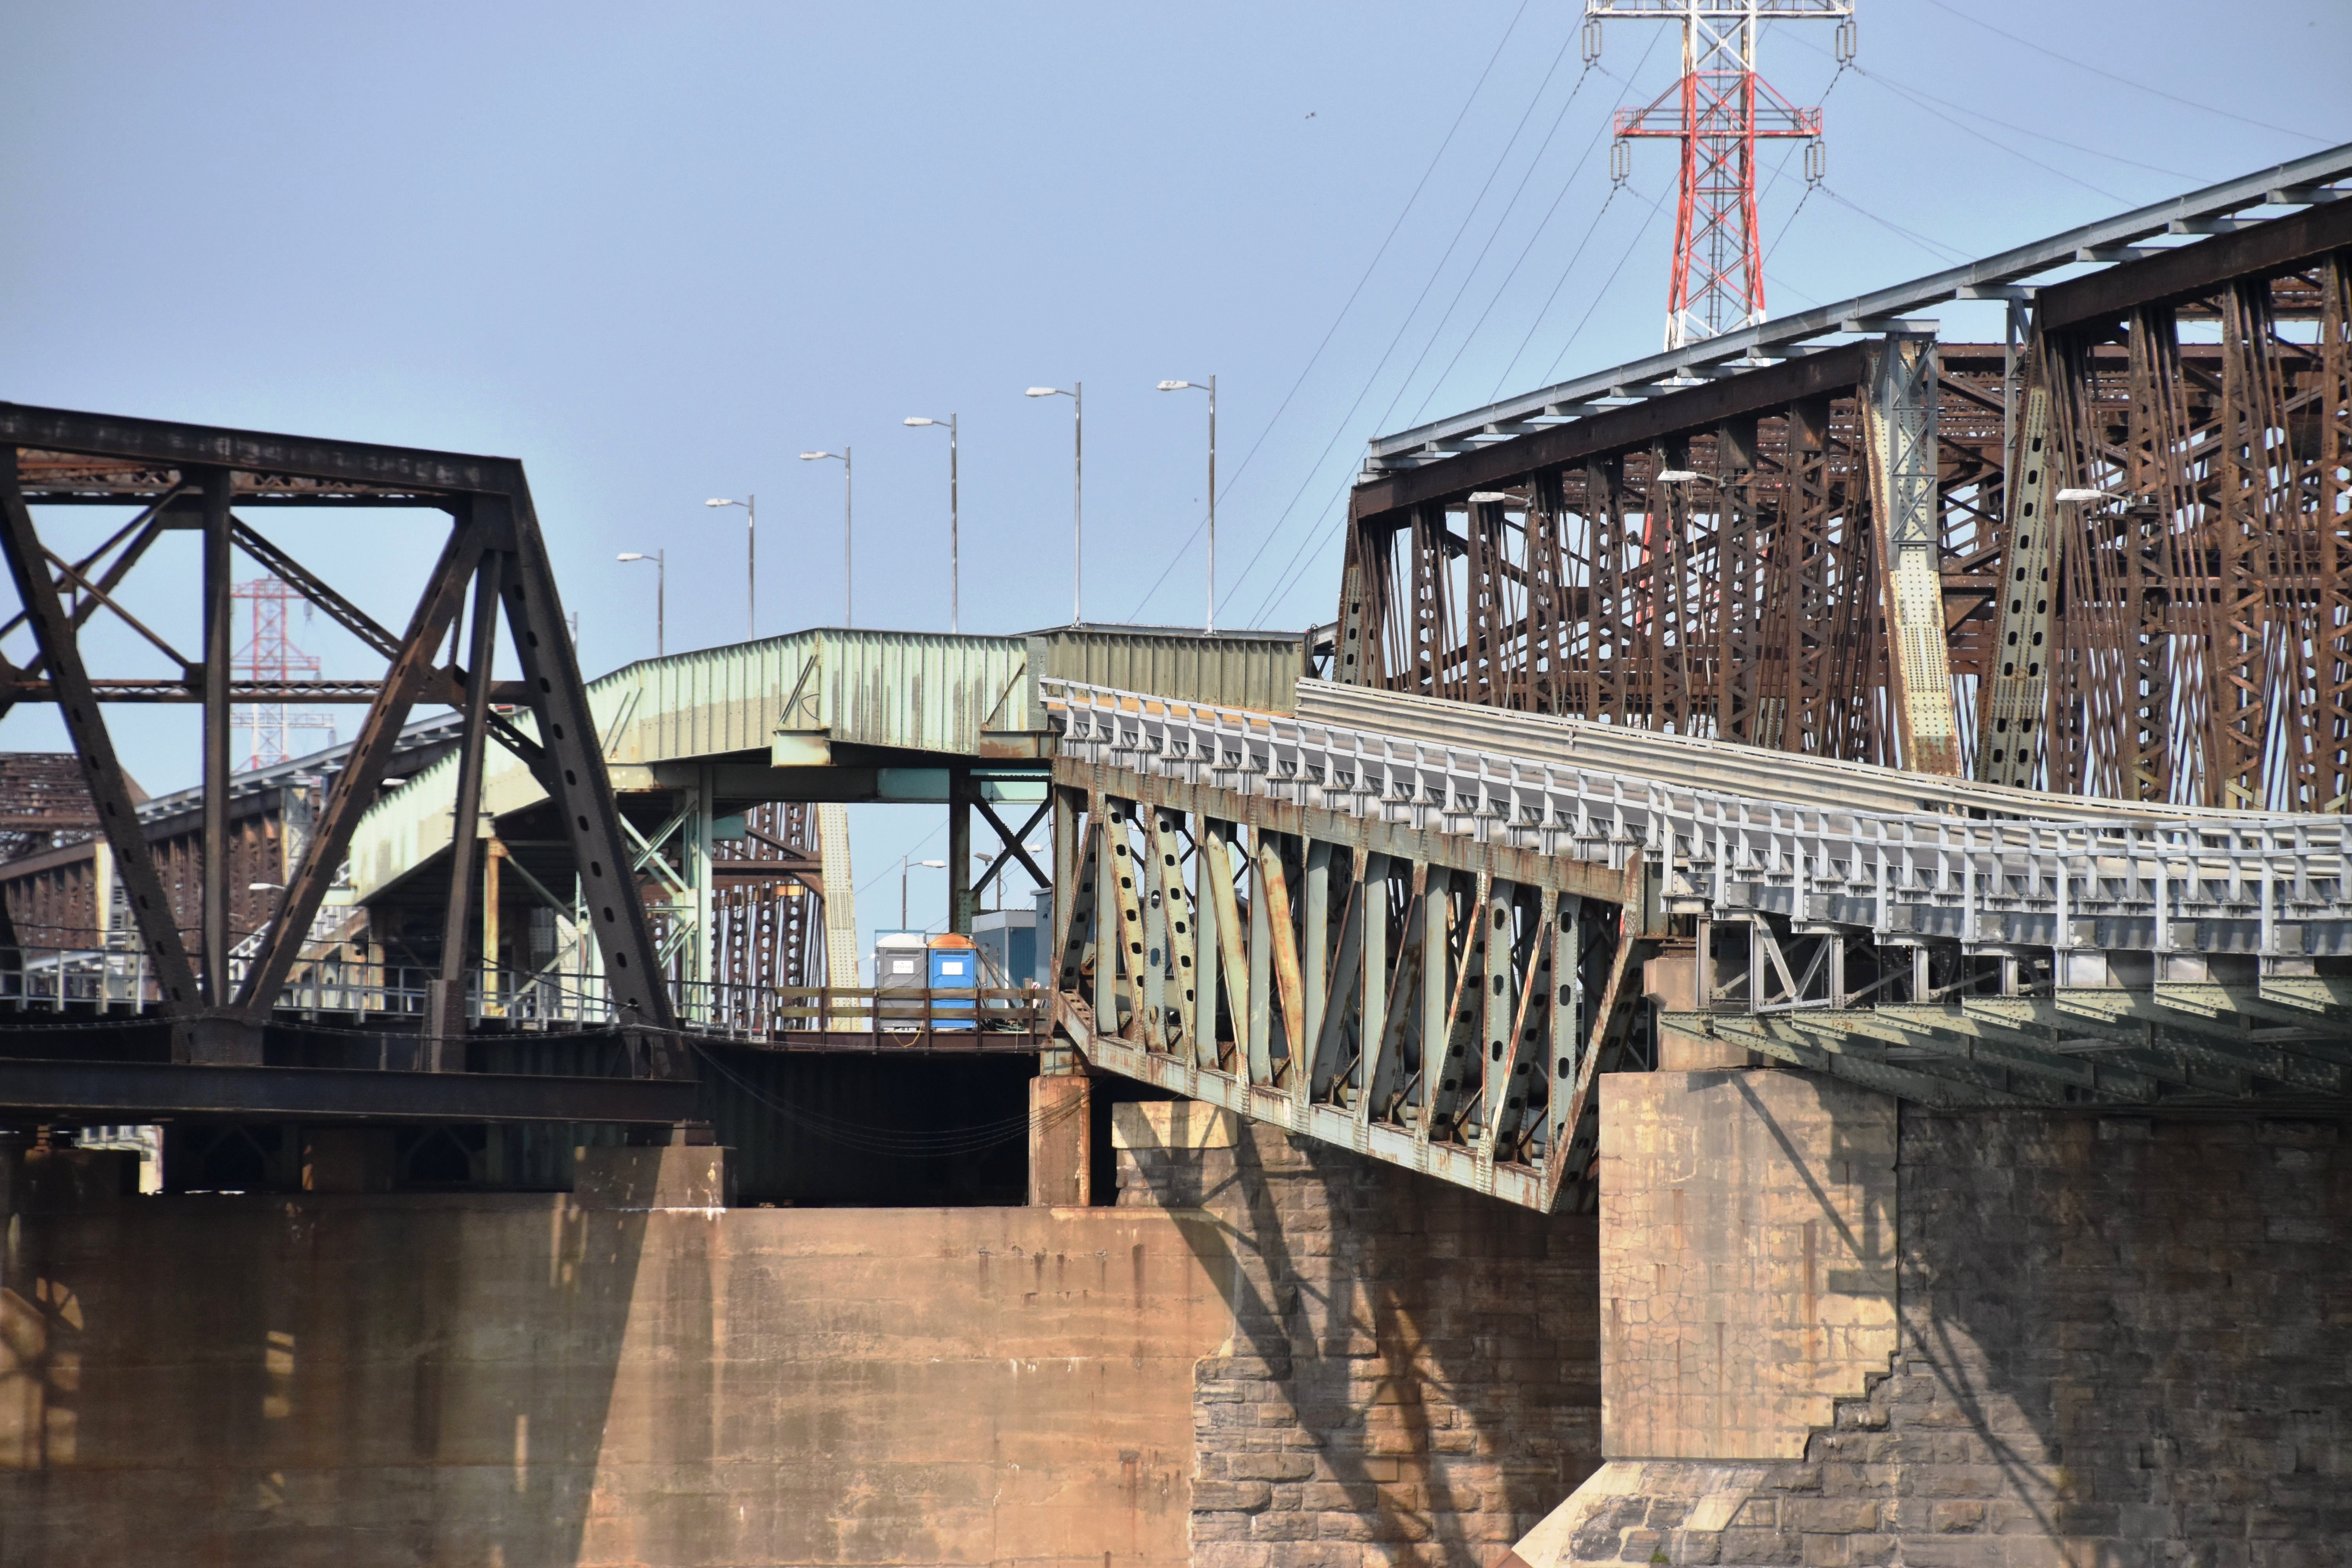
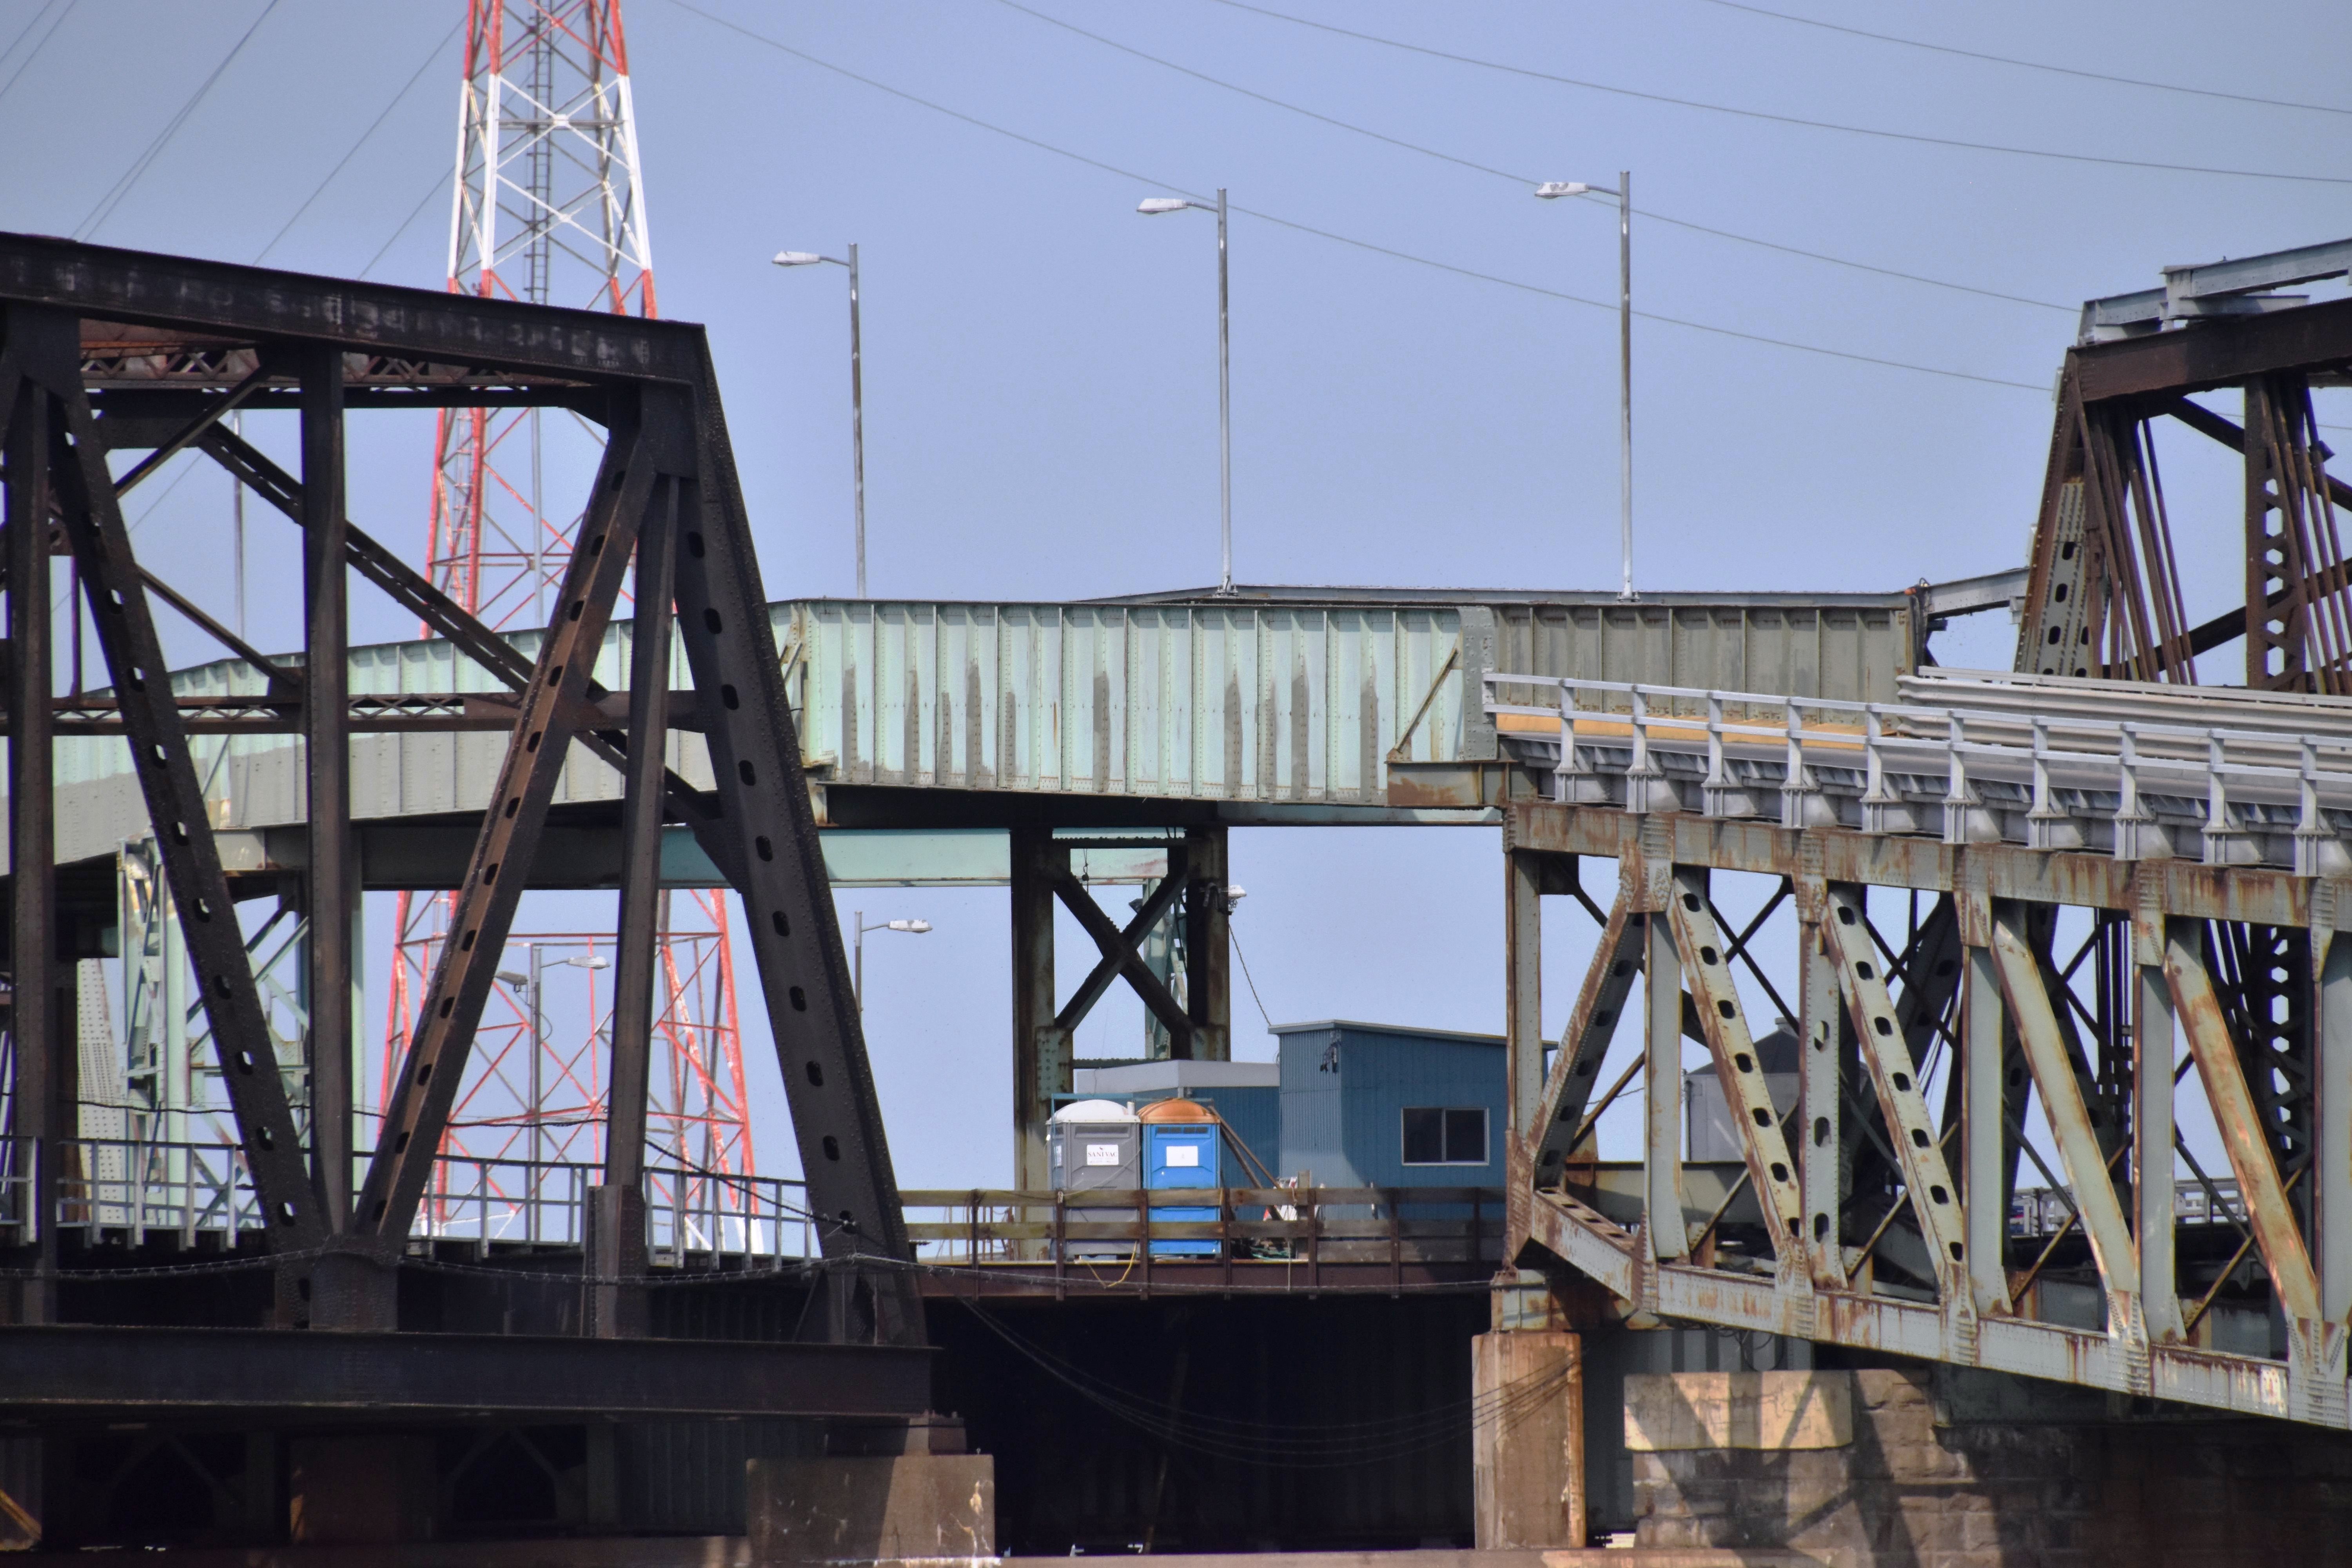
Views facing between main spans and St. Lambert Diversion, next to St. Lambert Diversion spans.
![]()
Views facing west between main spans and St. Lambert Diversion.
![]()


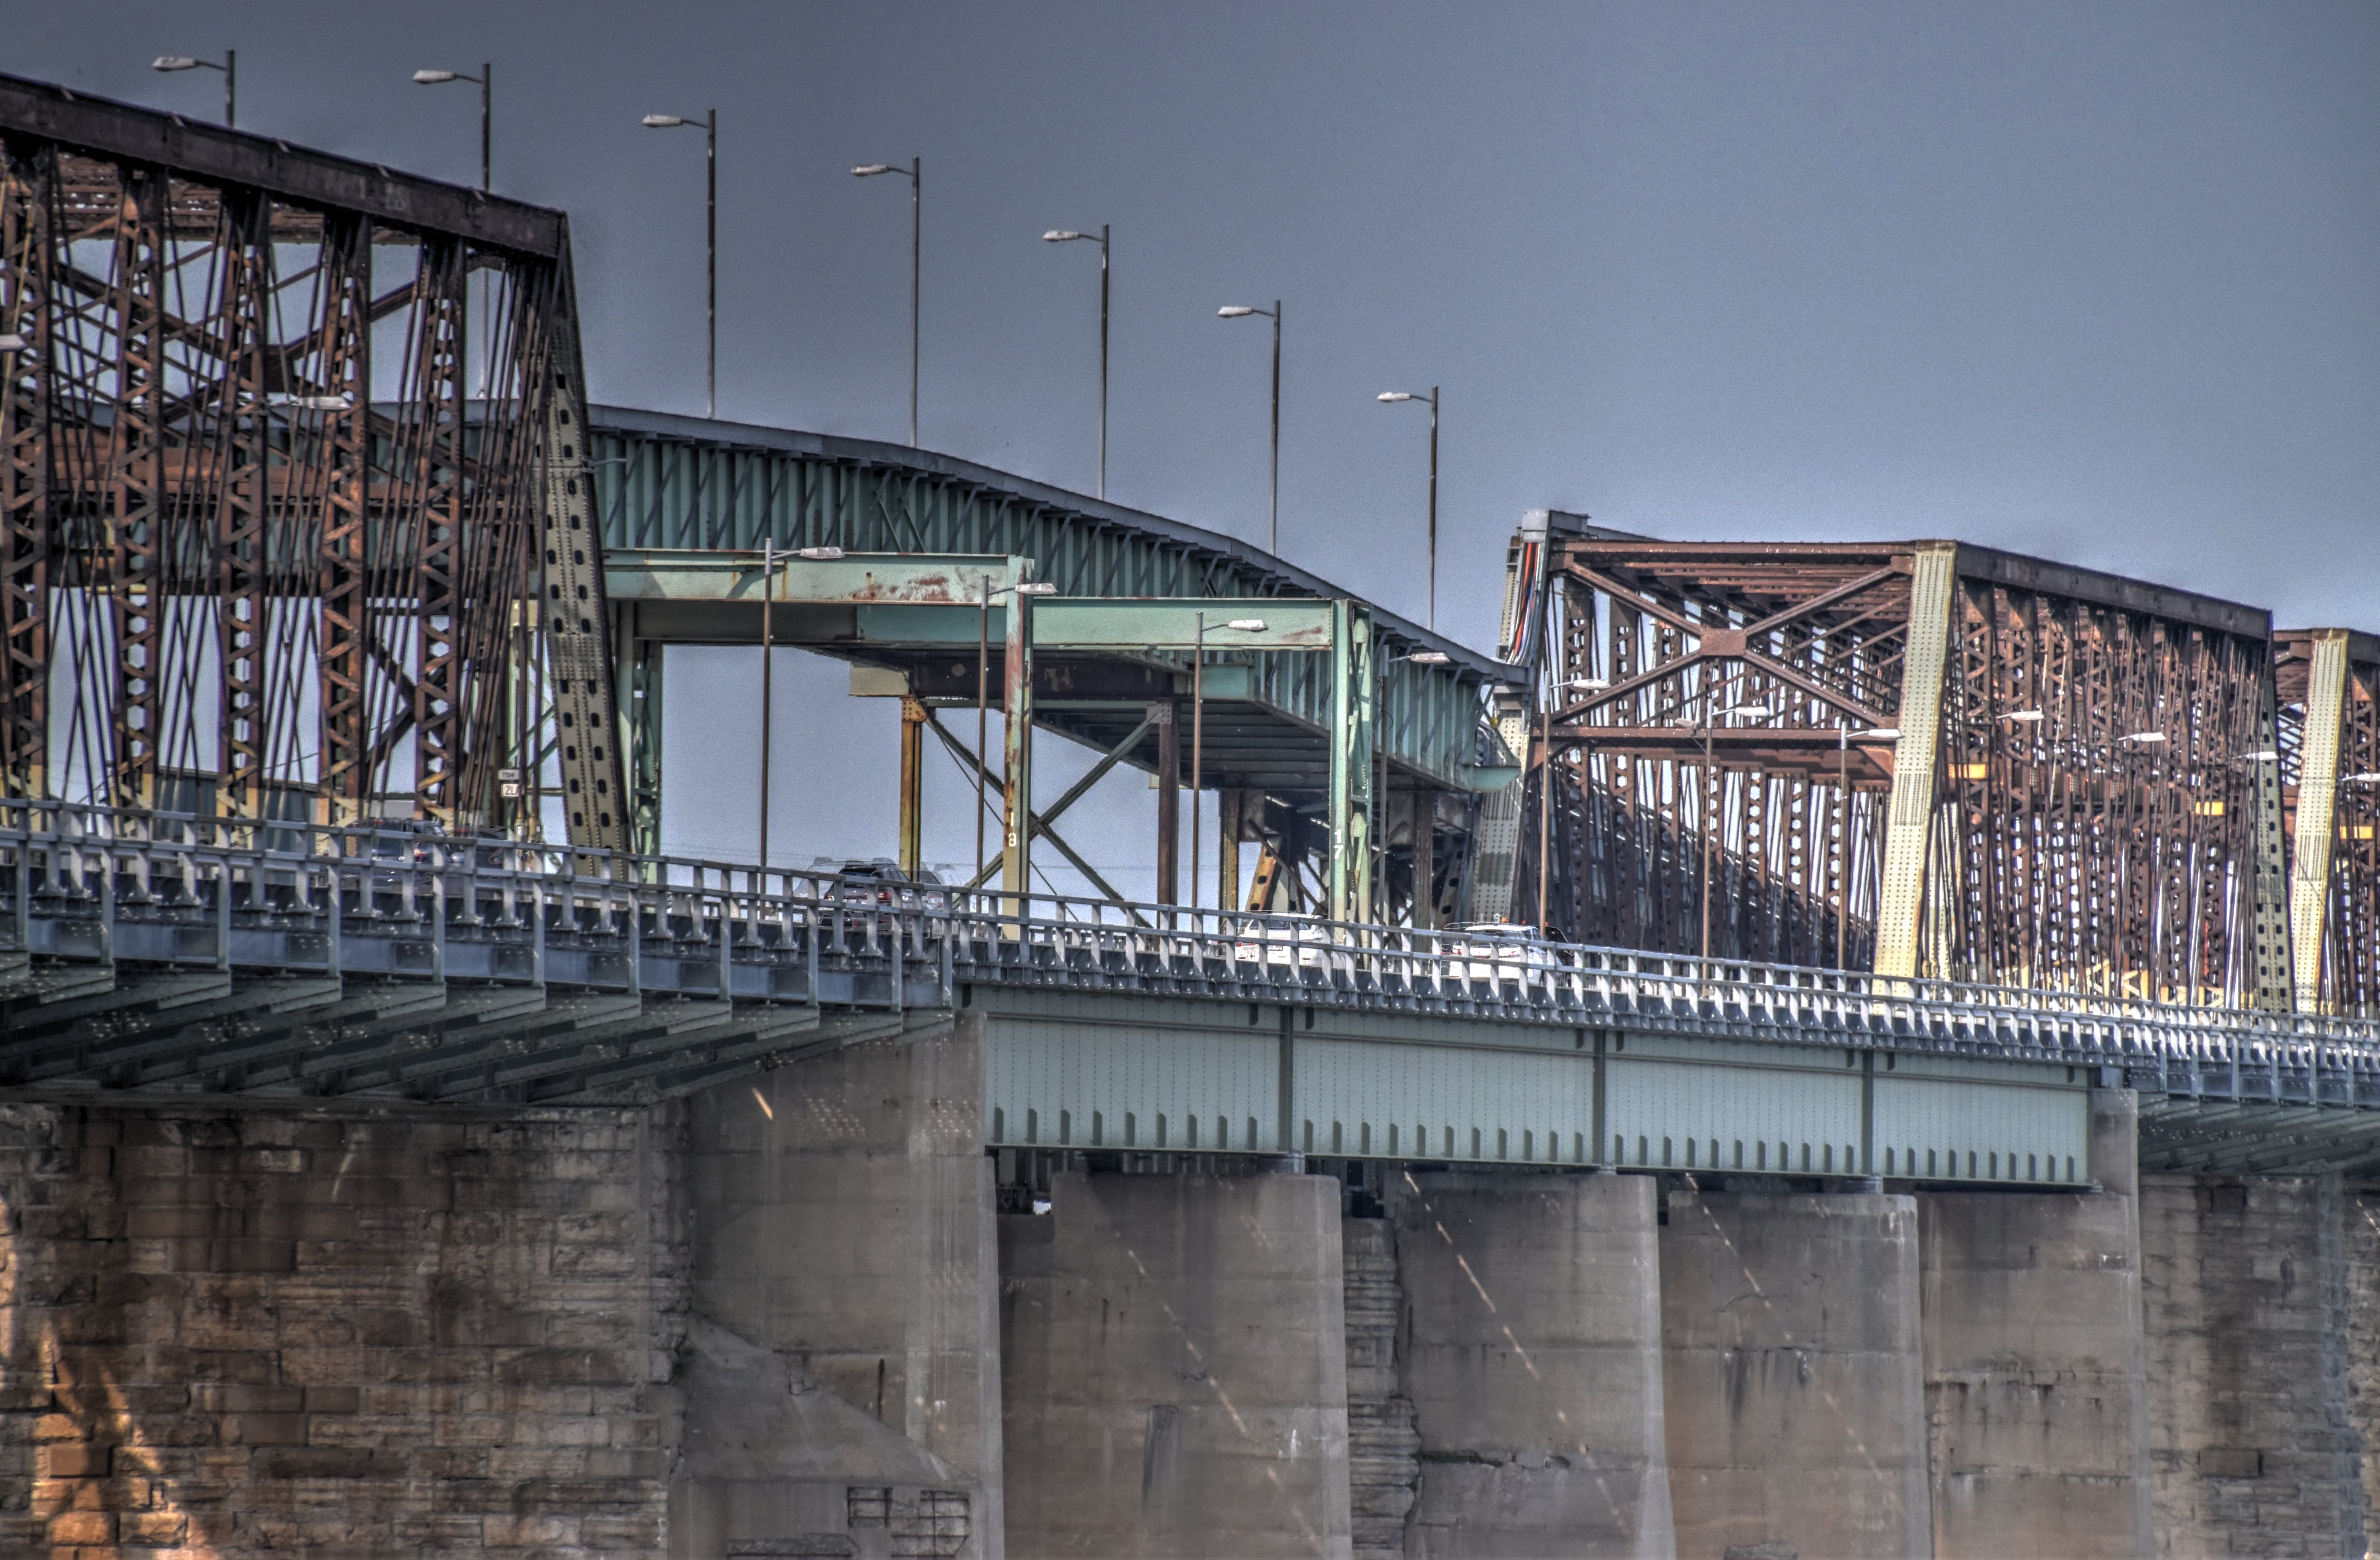
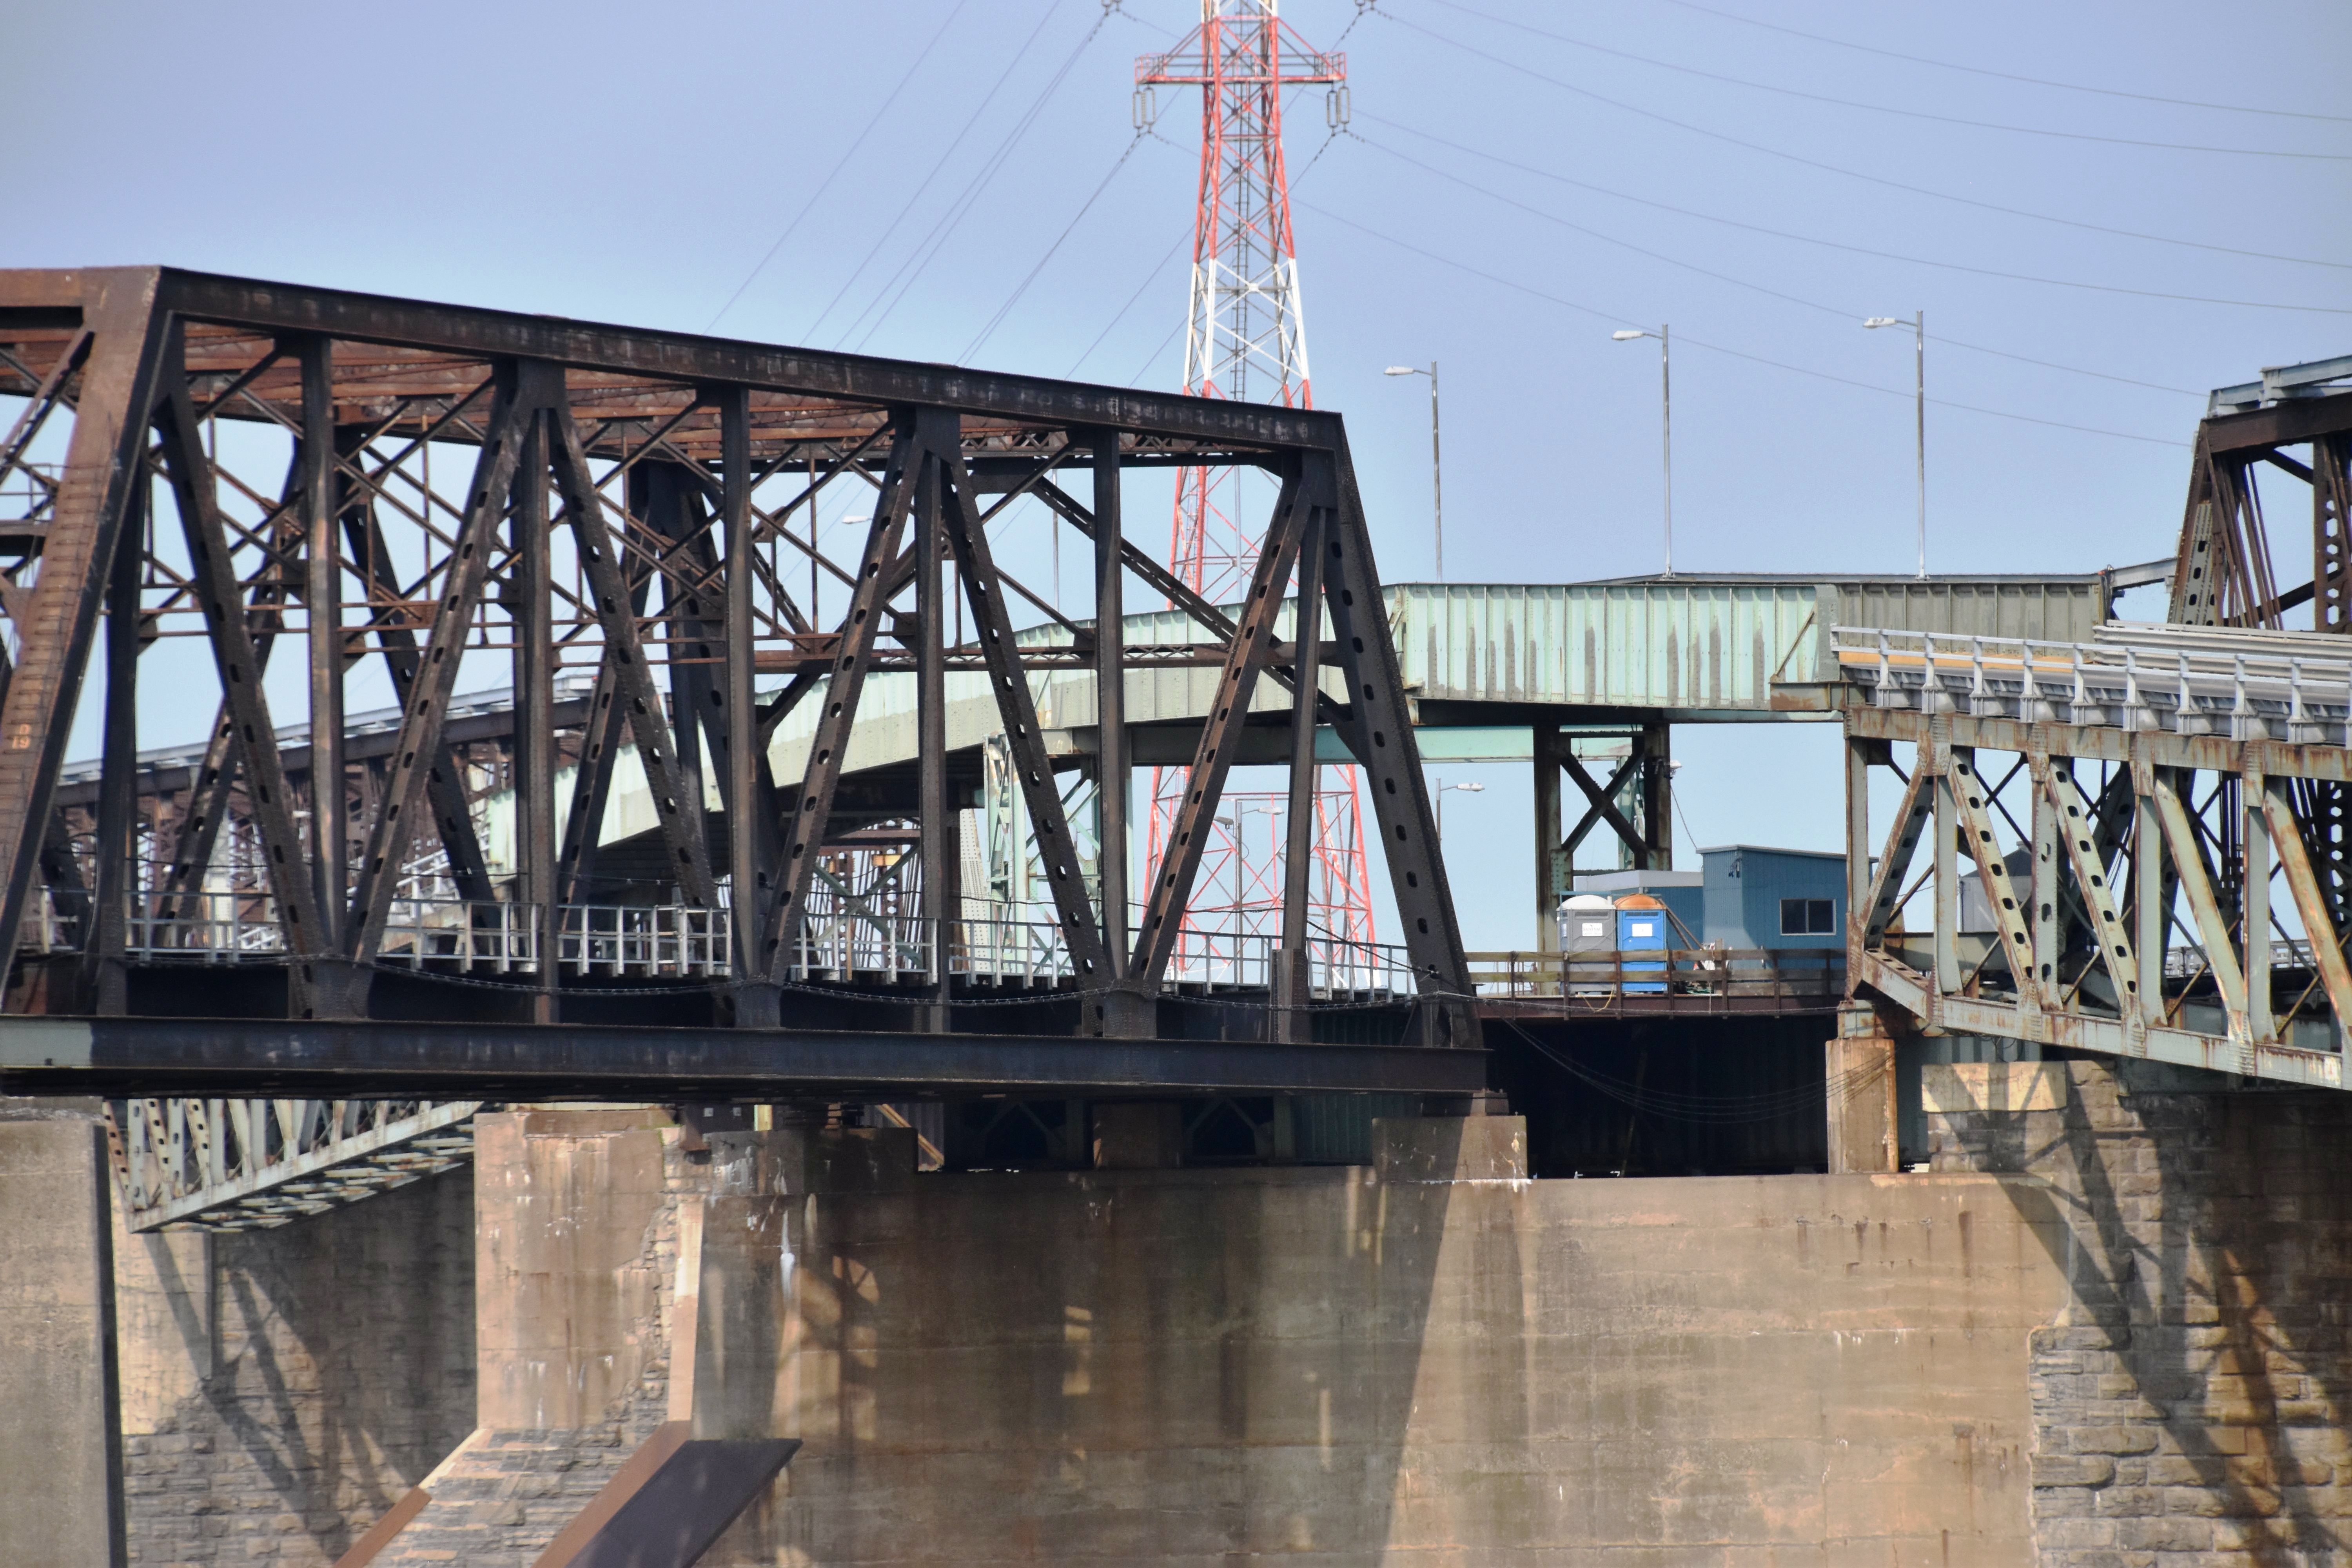
Views facing between main spans and St. Lambert Diversion, next to main spans.
![]()


View beside St. Lambert Diversion from southeast quadrant.
![]()
![]()
![]()
![]()
![]()
Panoramic views beside St. Lambert Diversion from southeast quadrant.
![]()


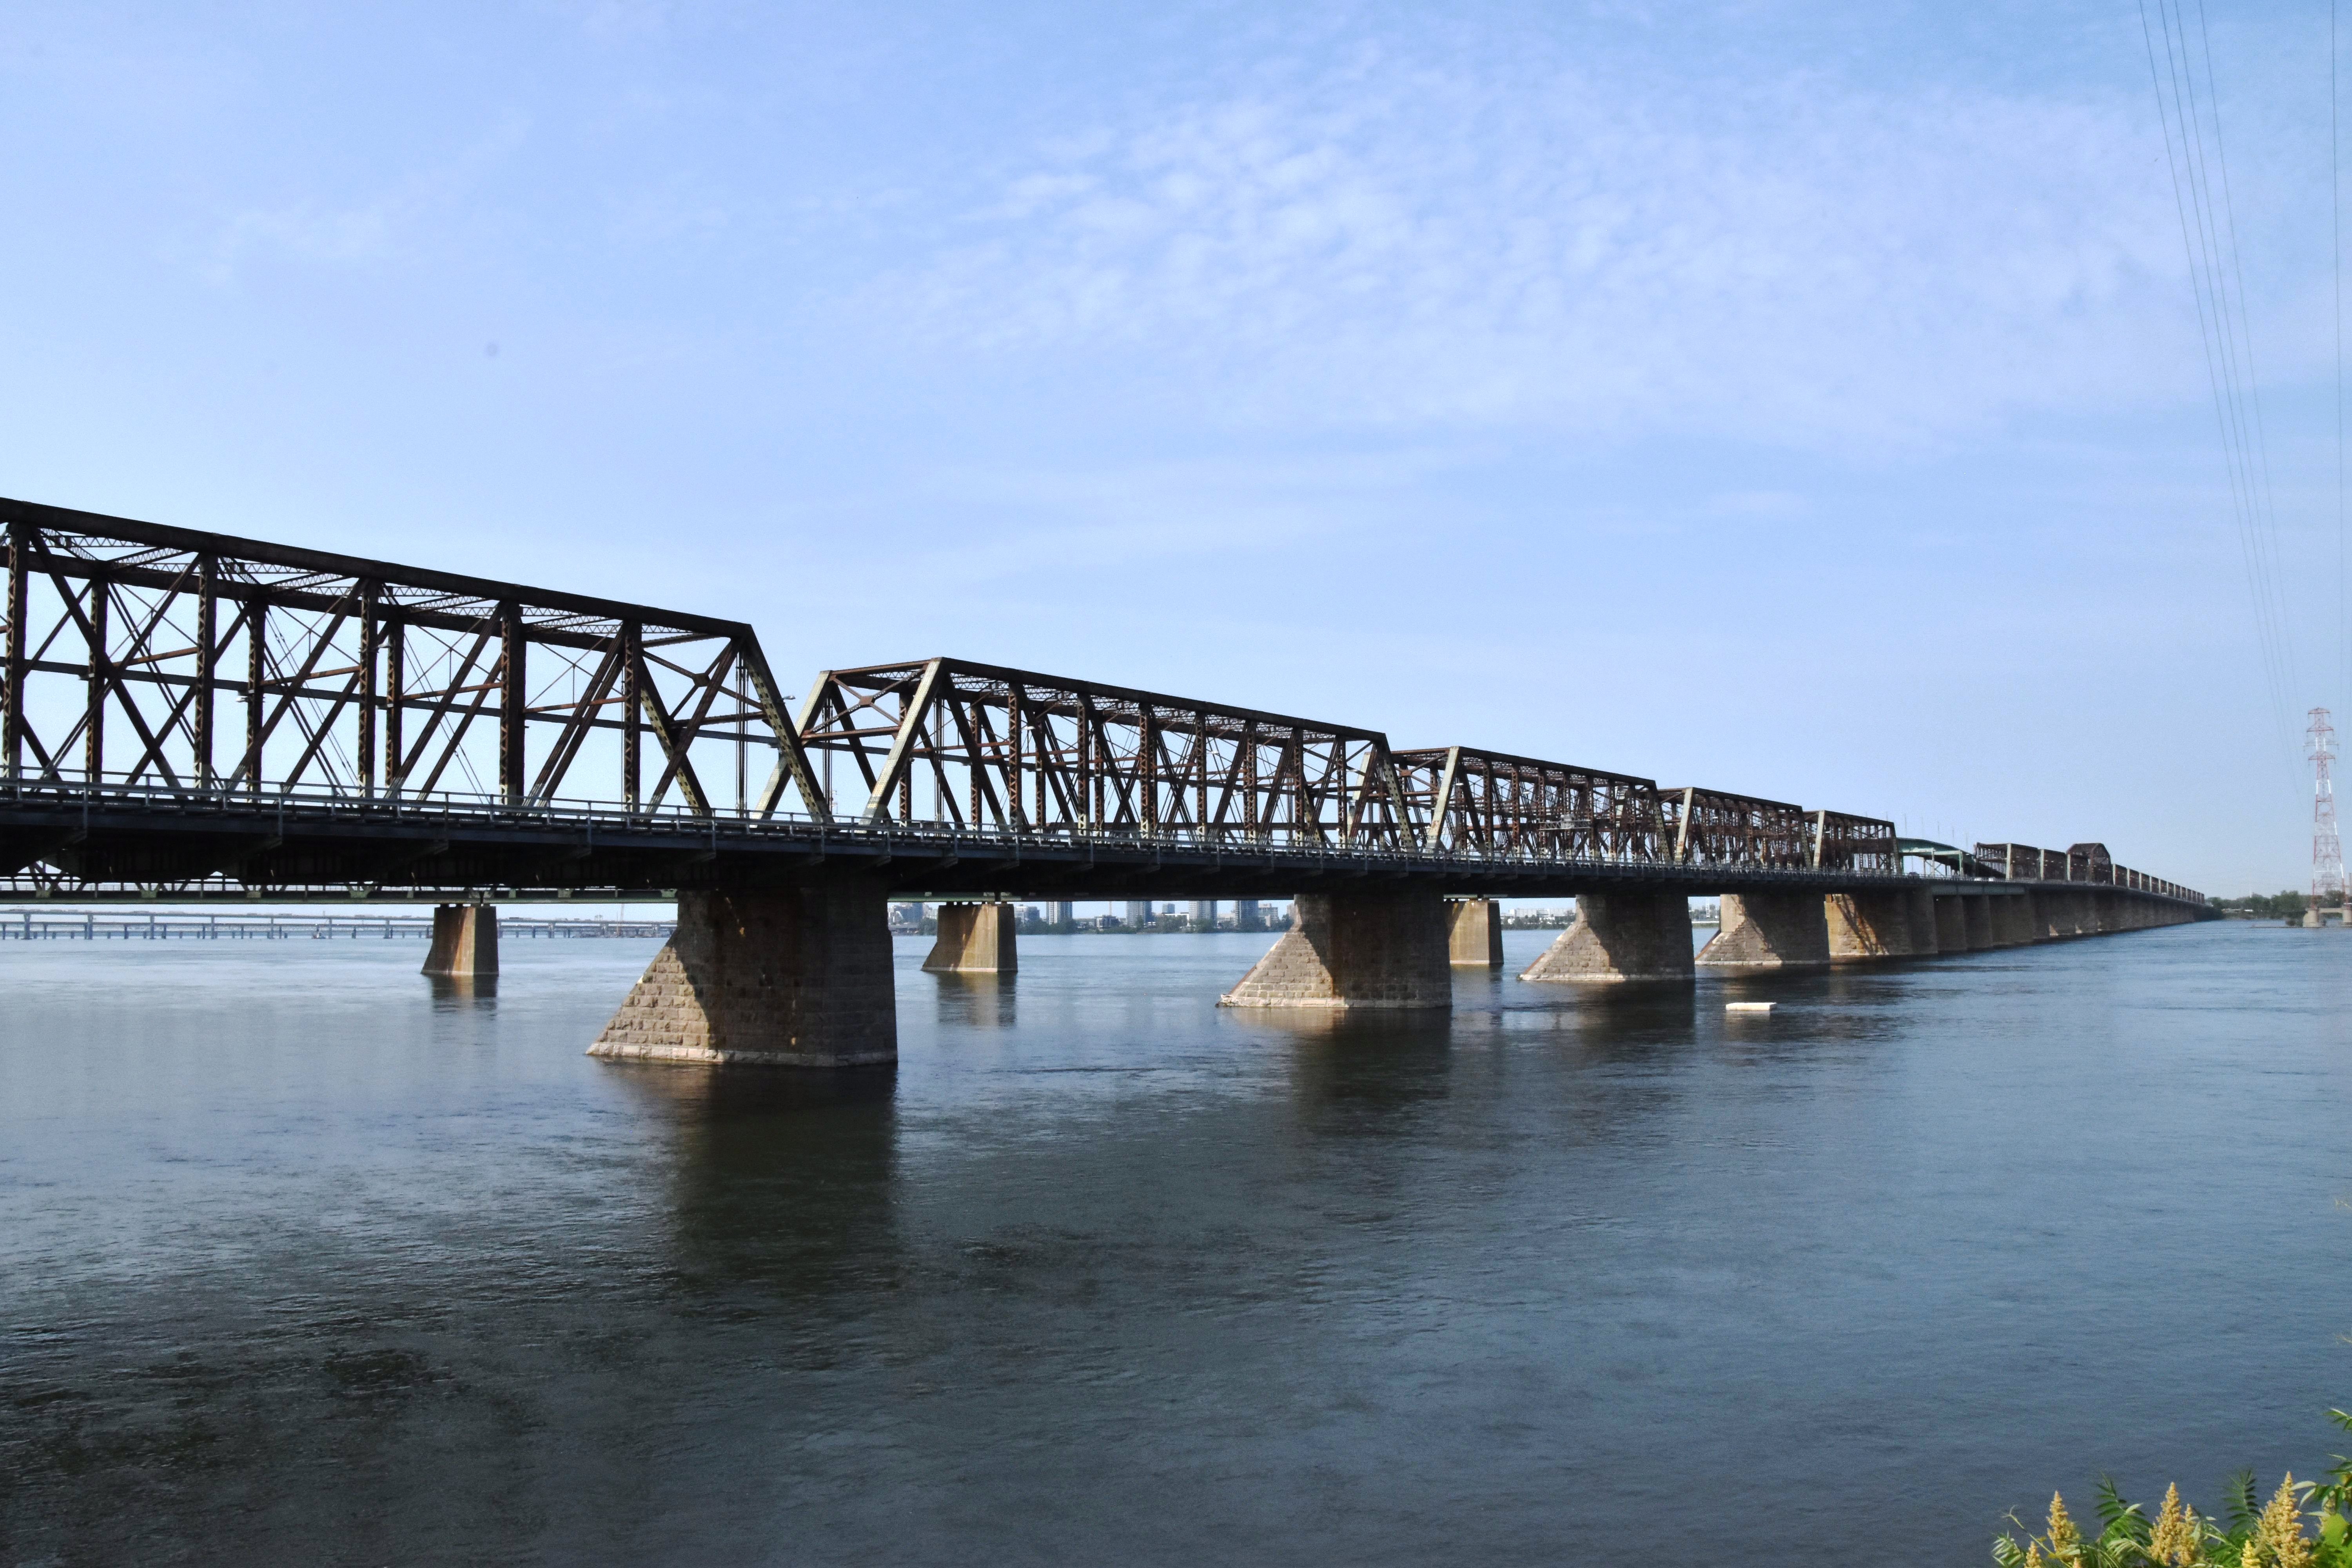
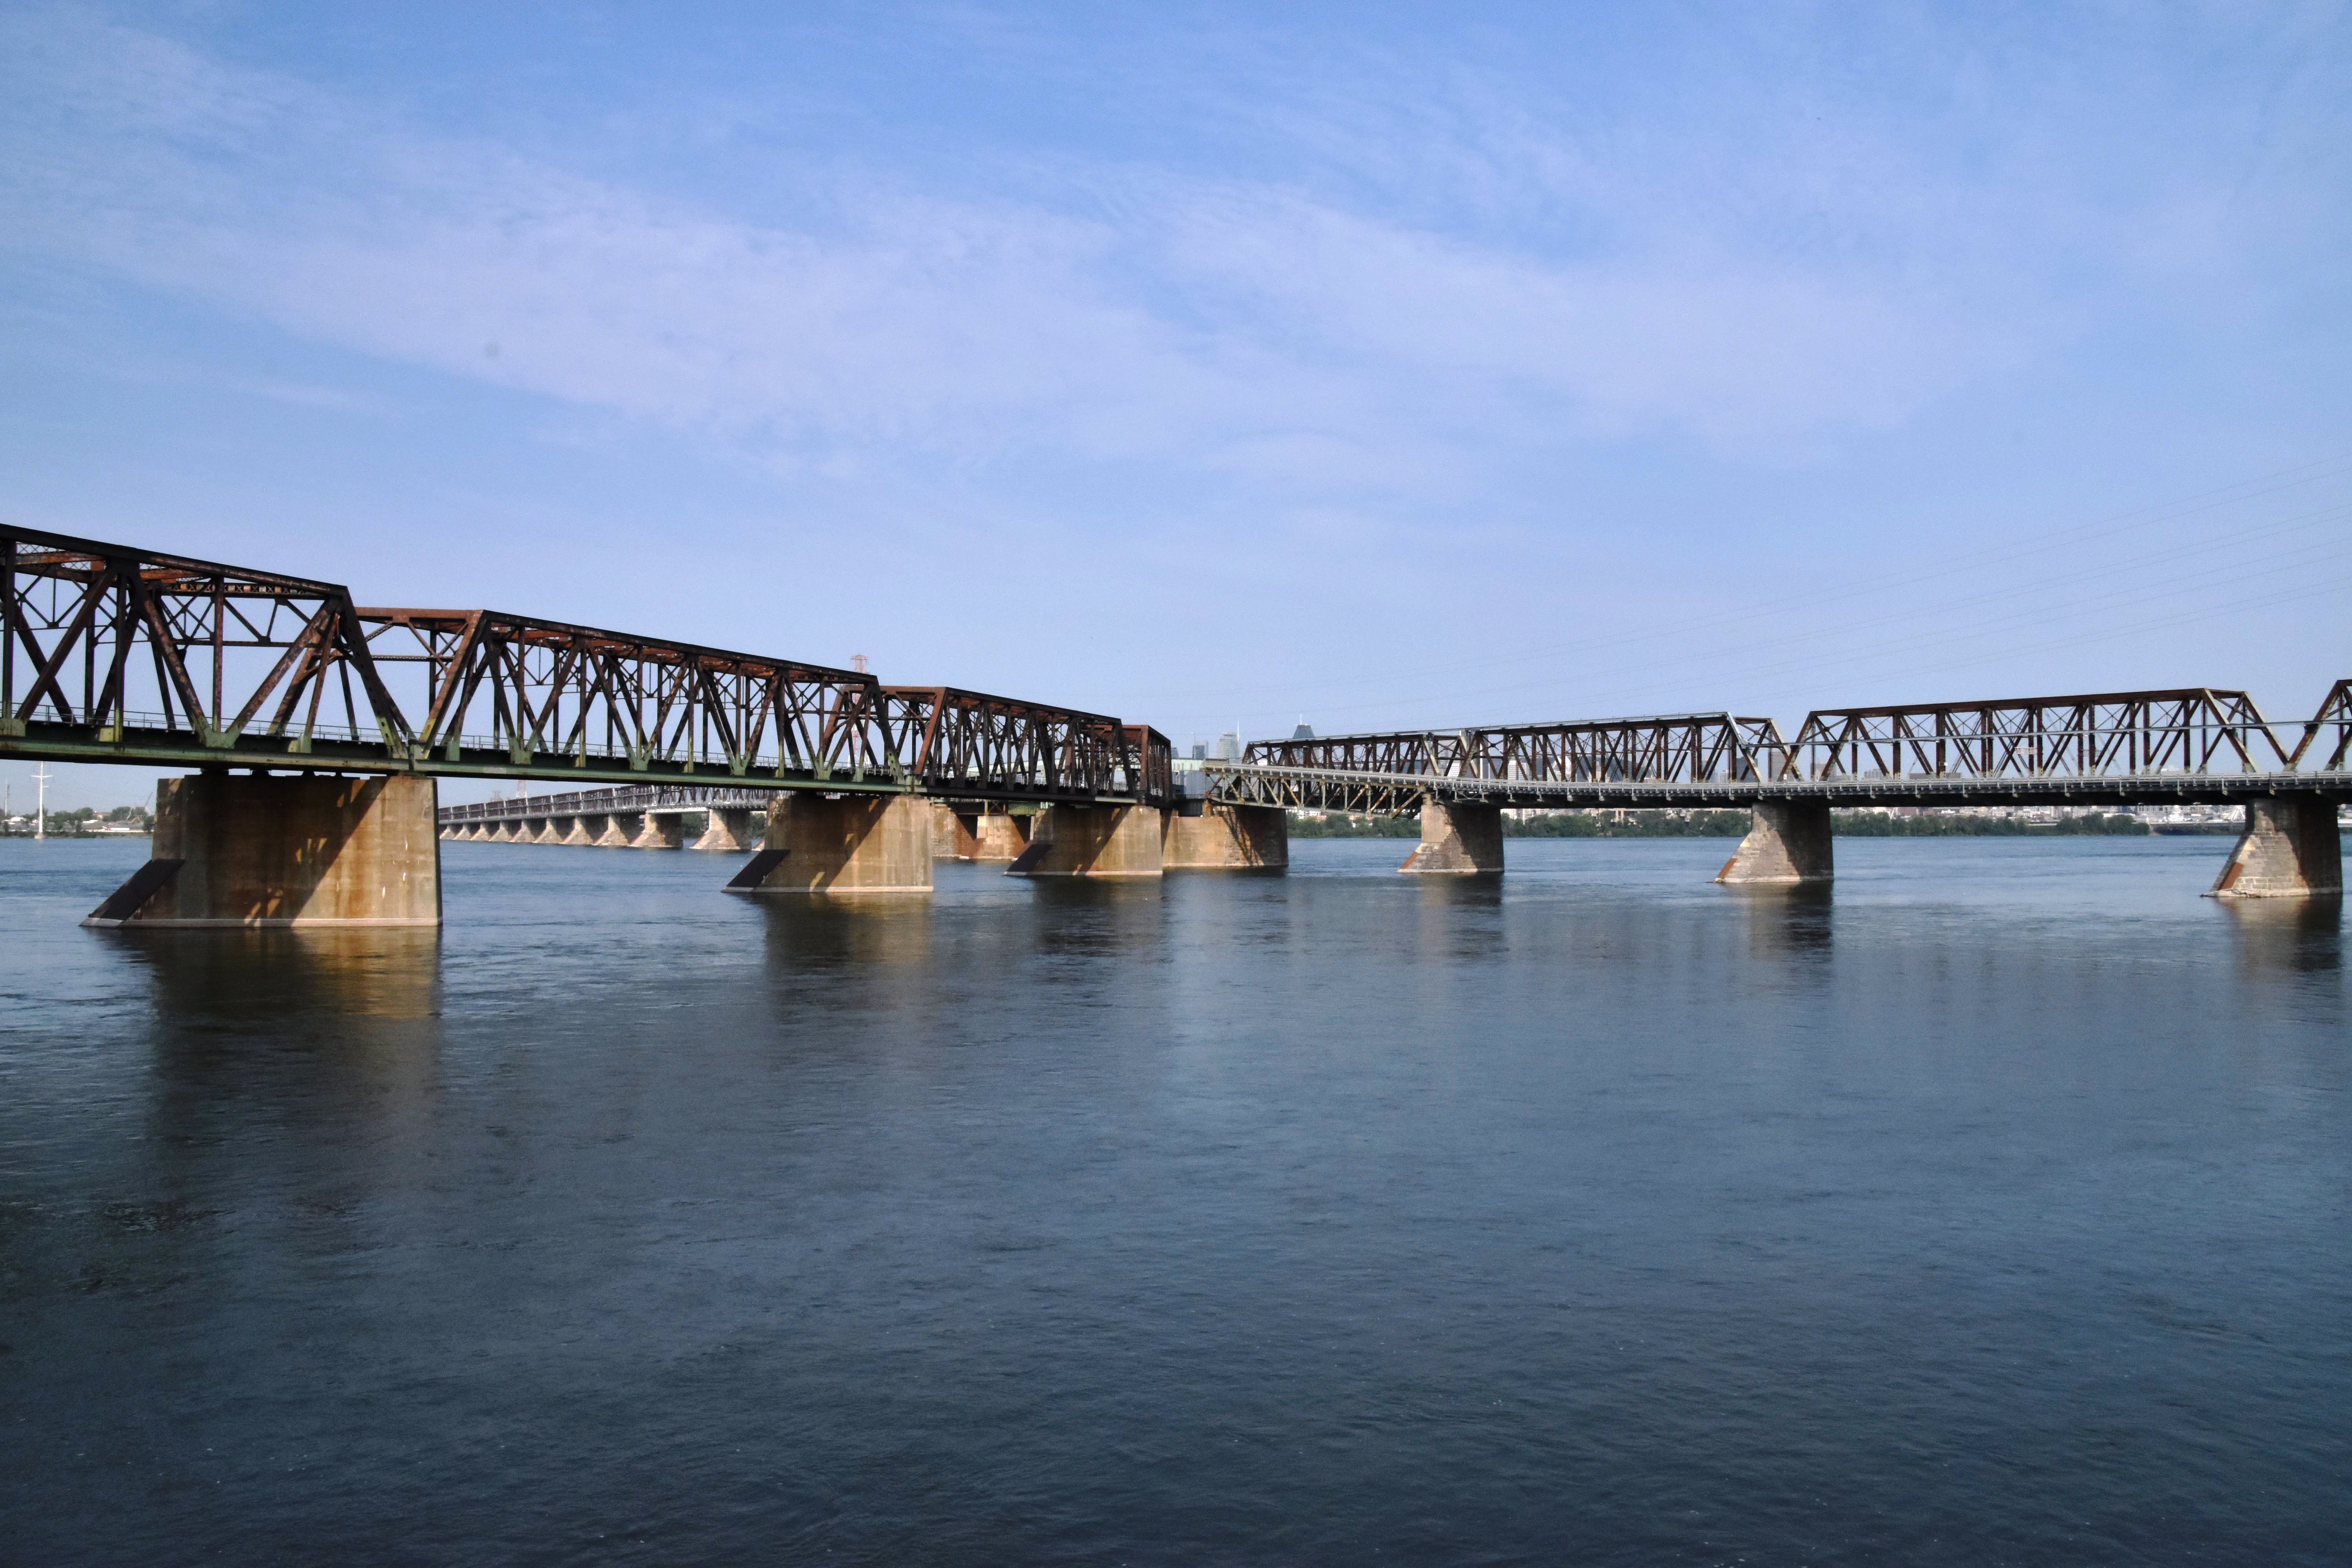
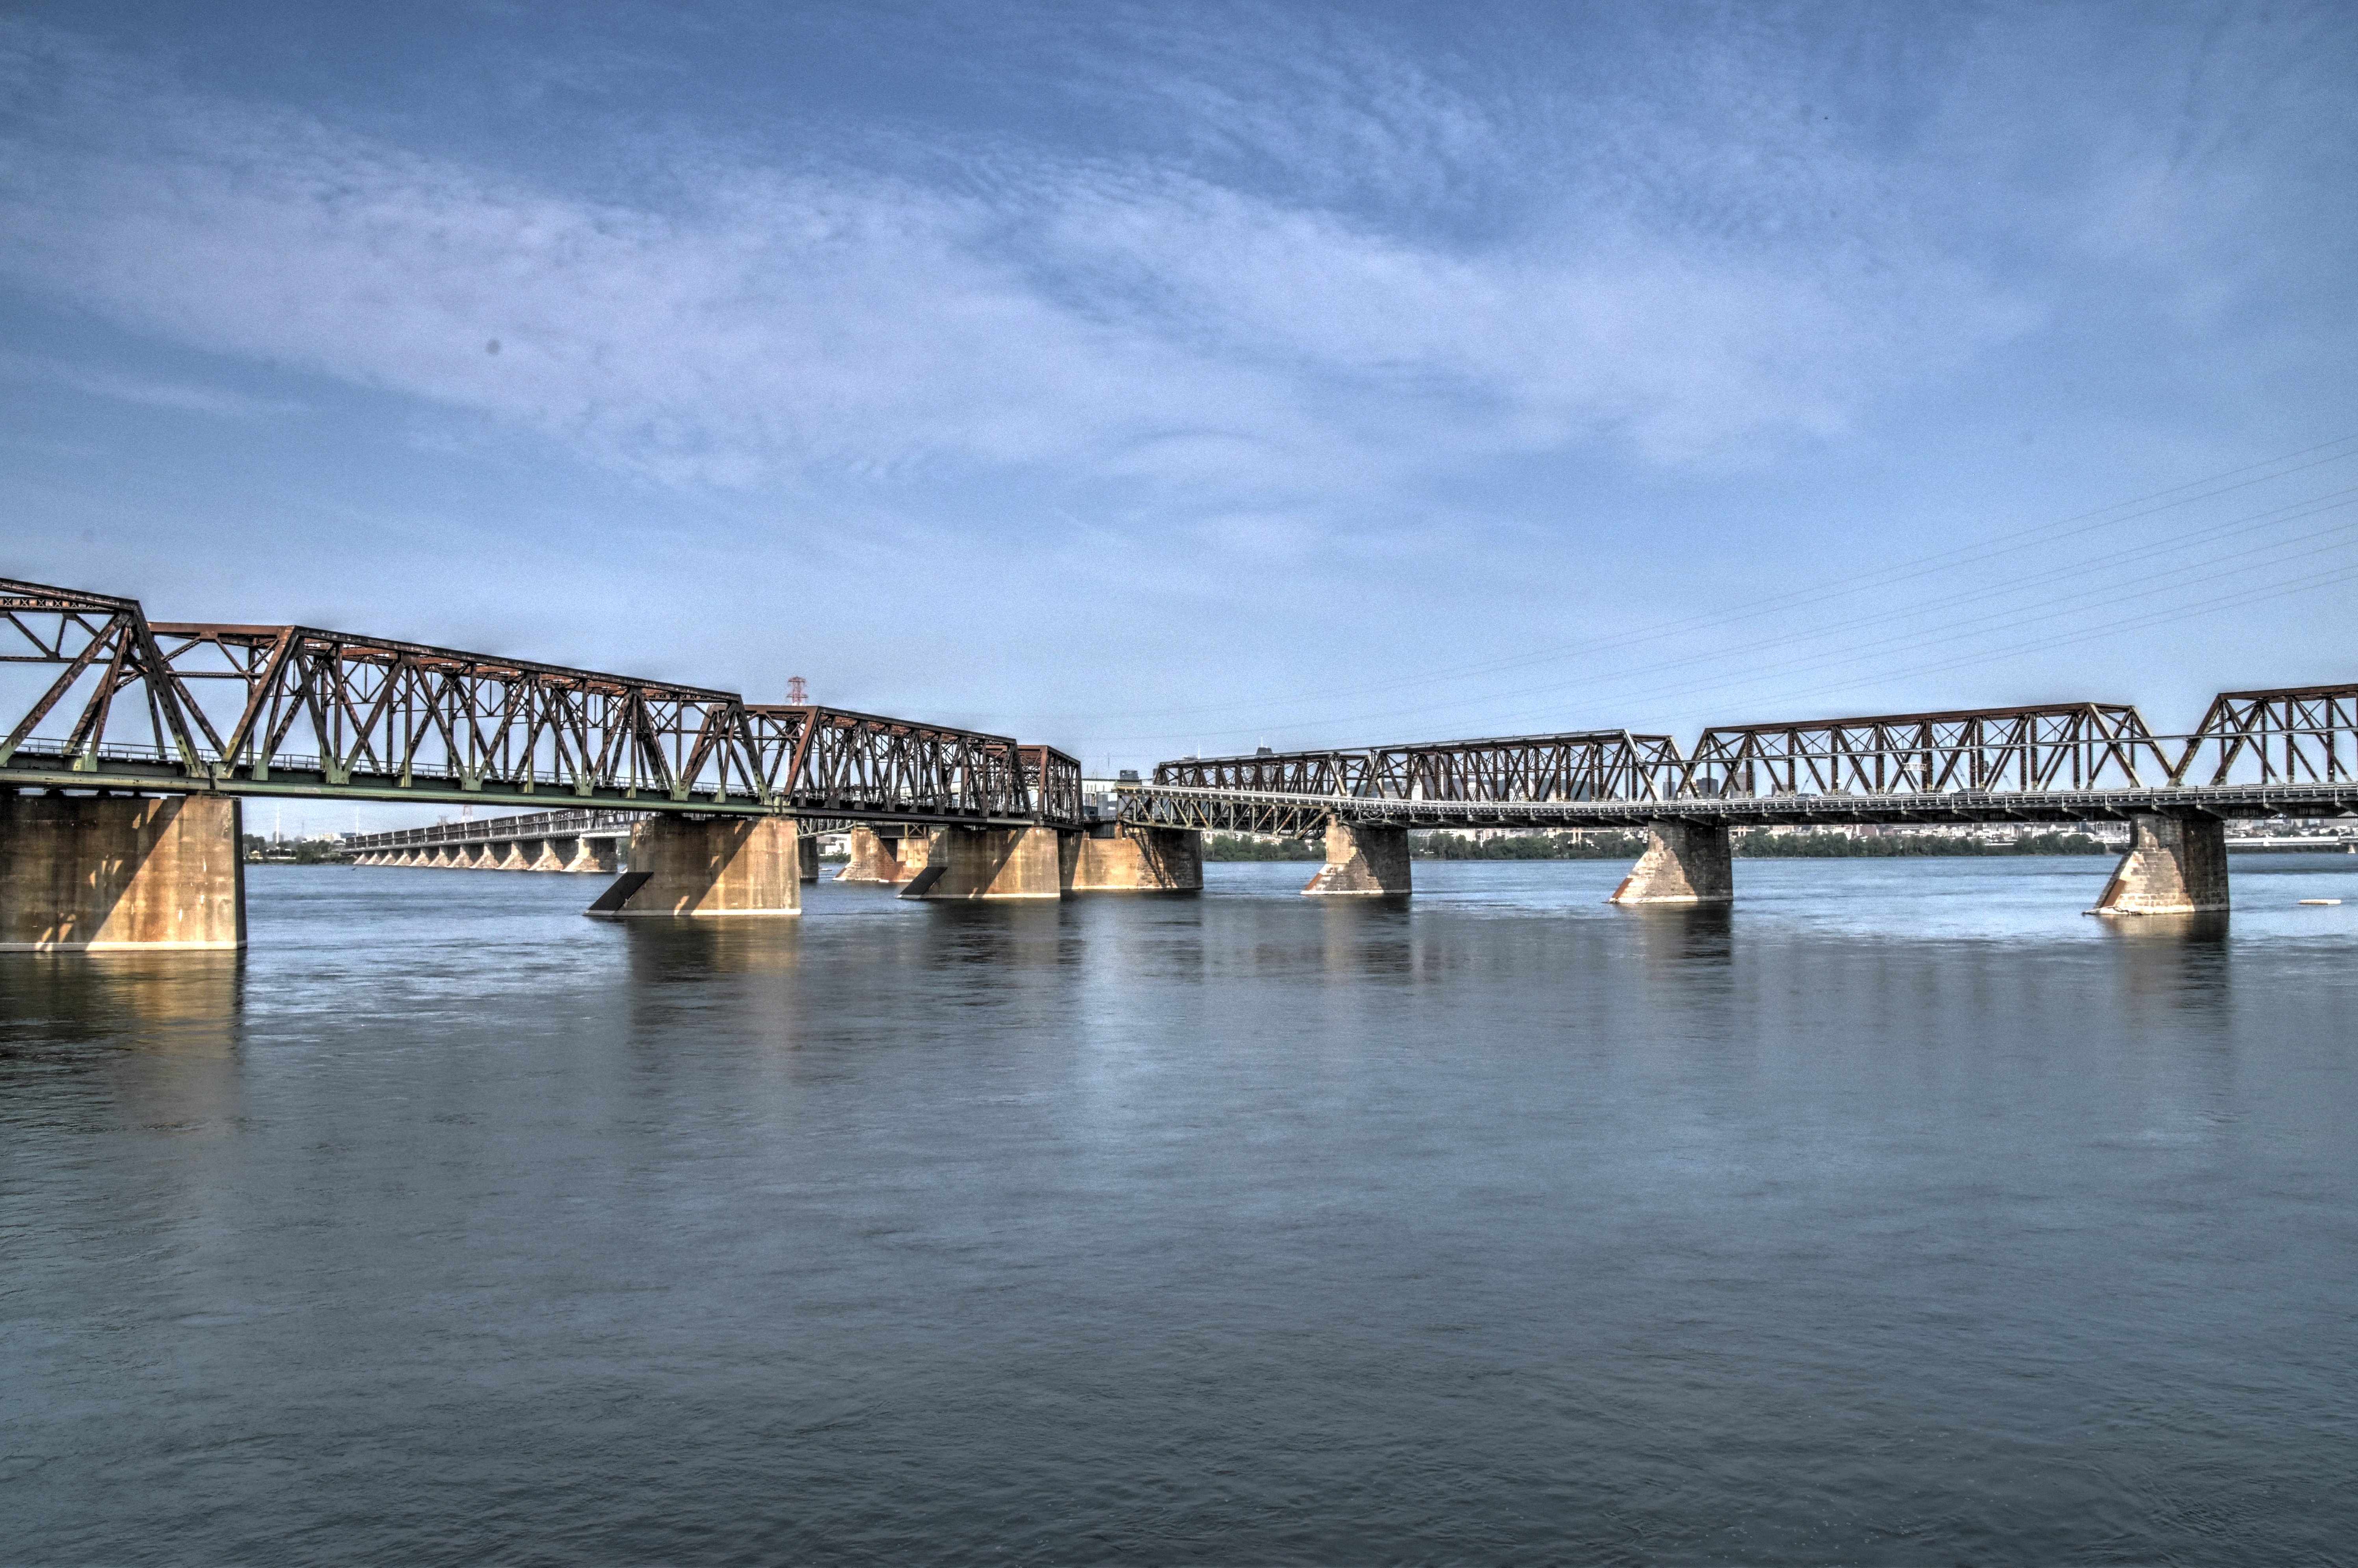
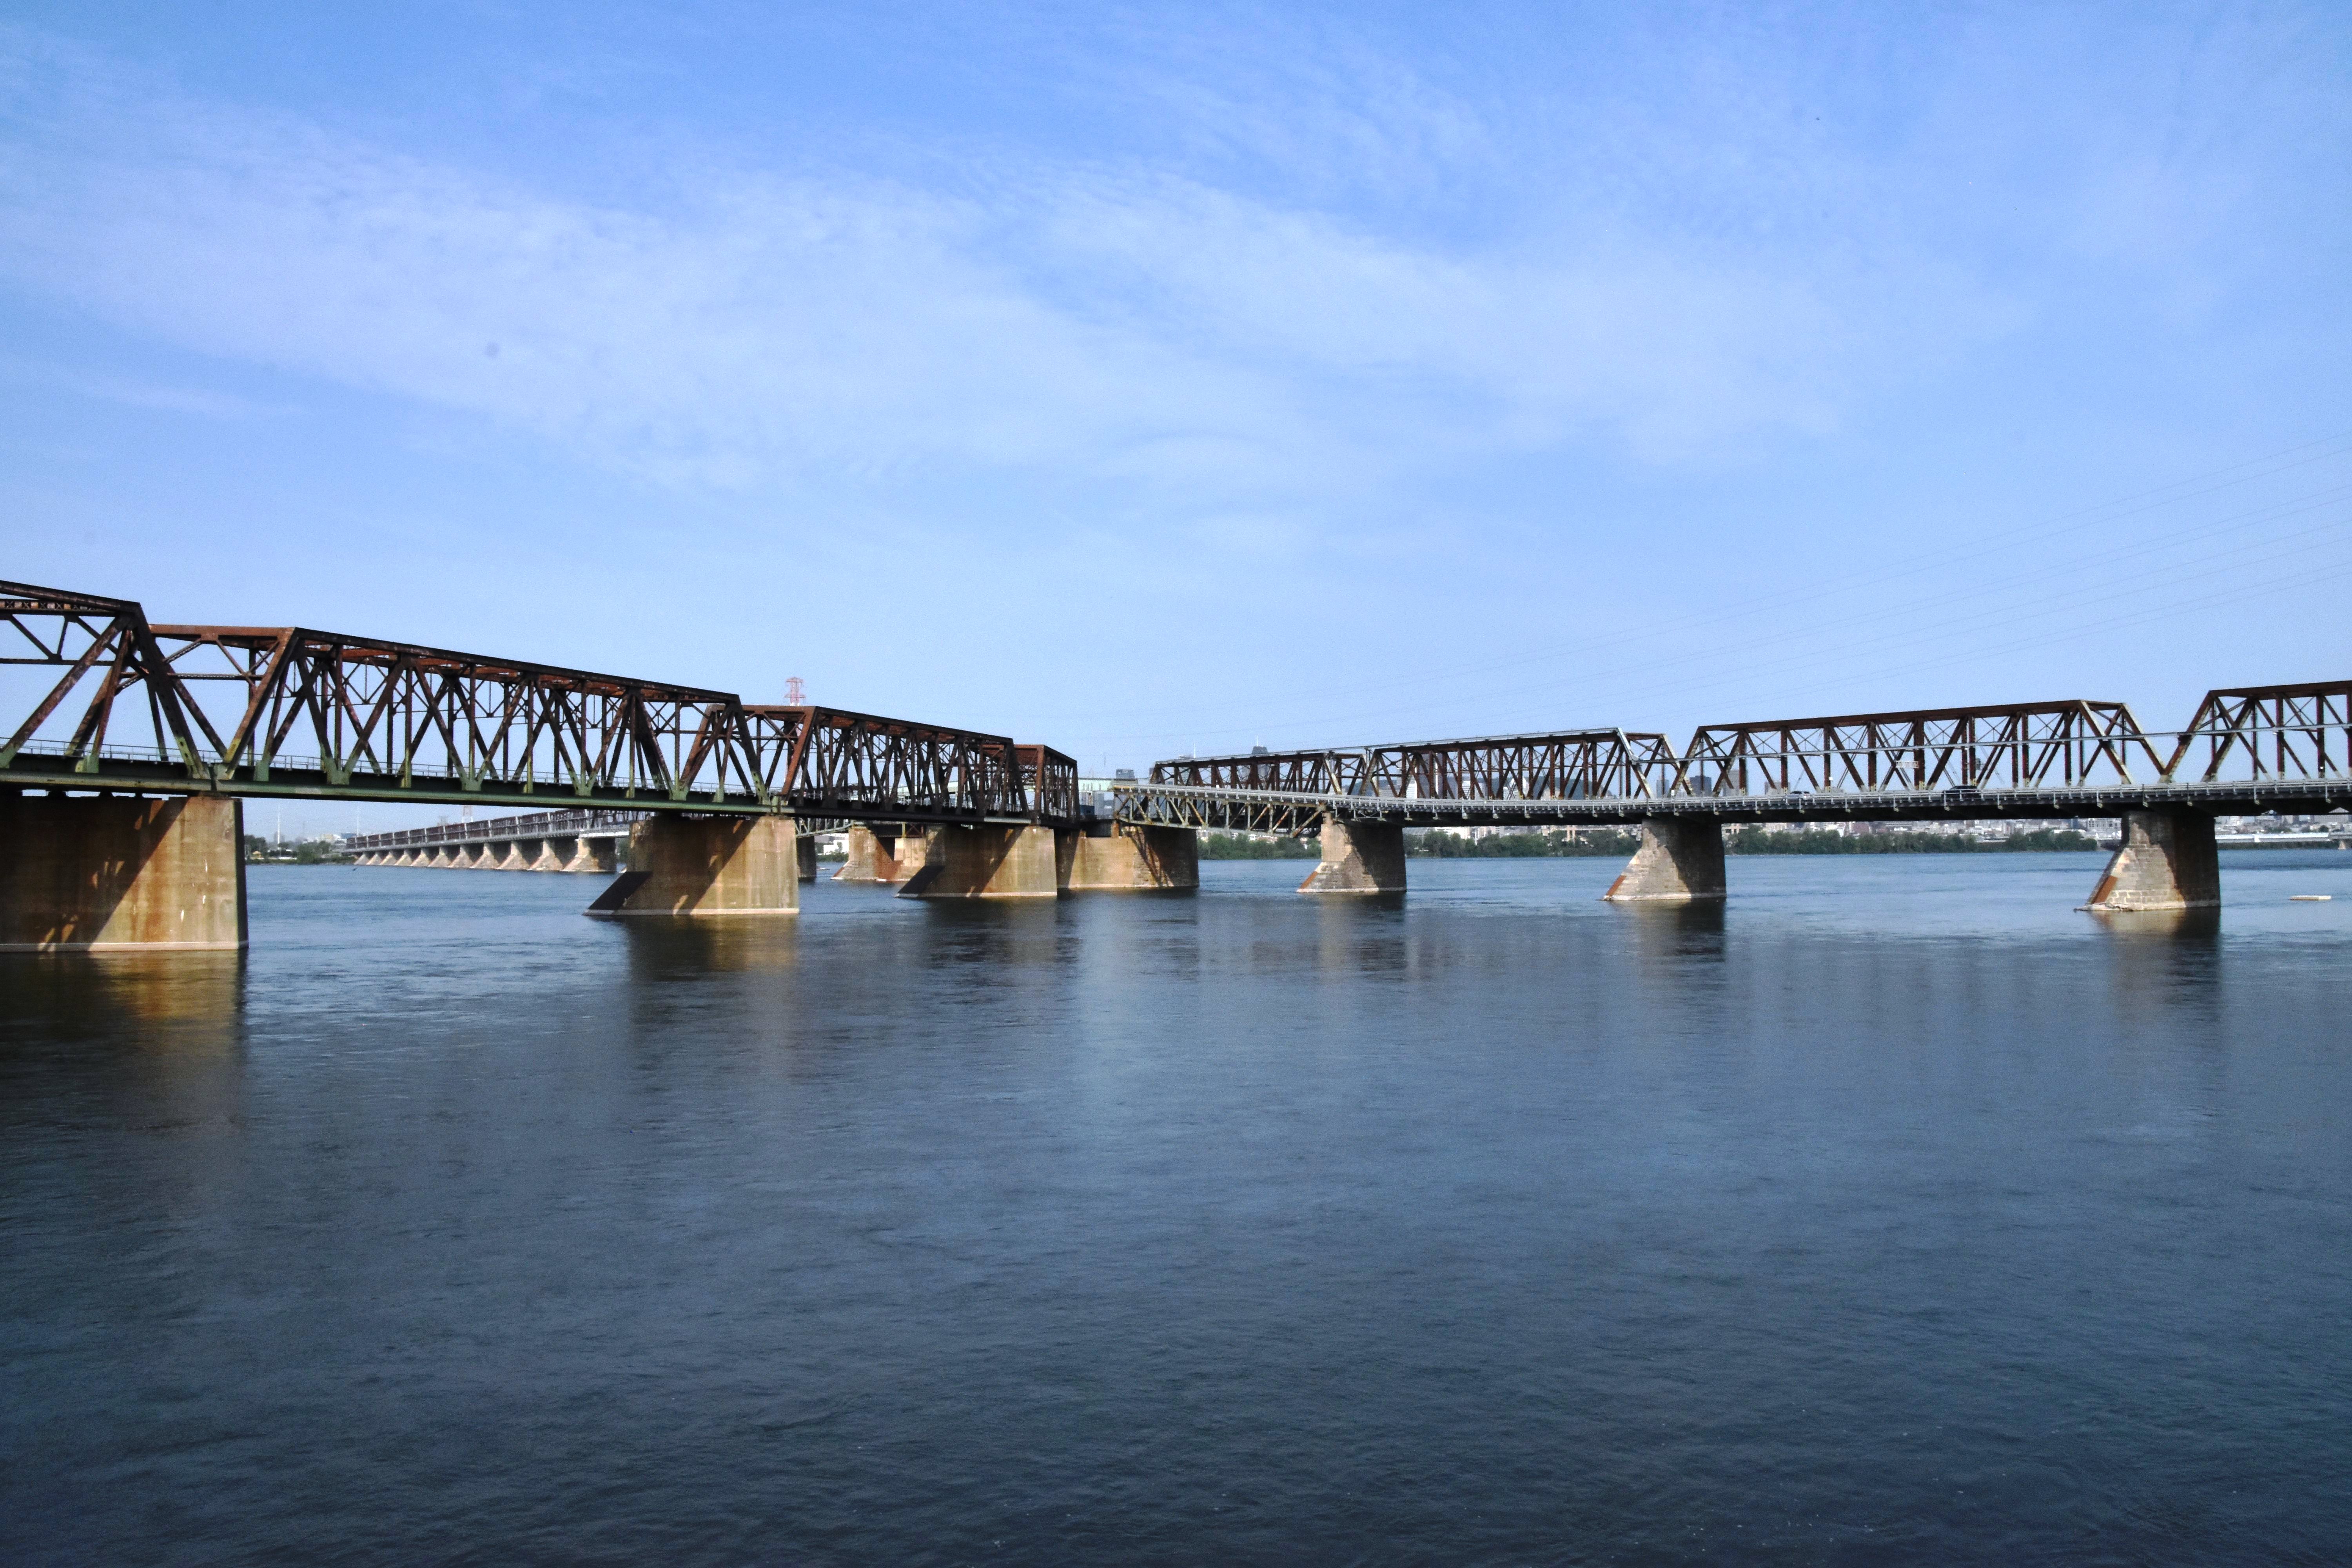
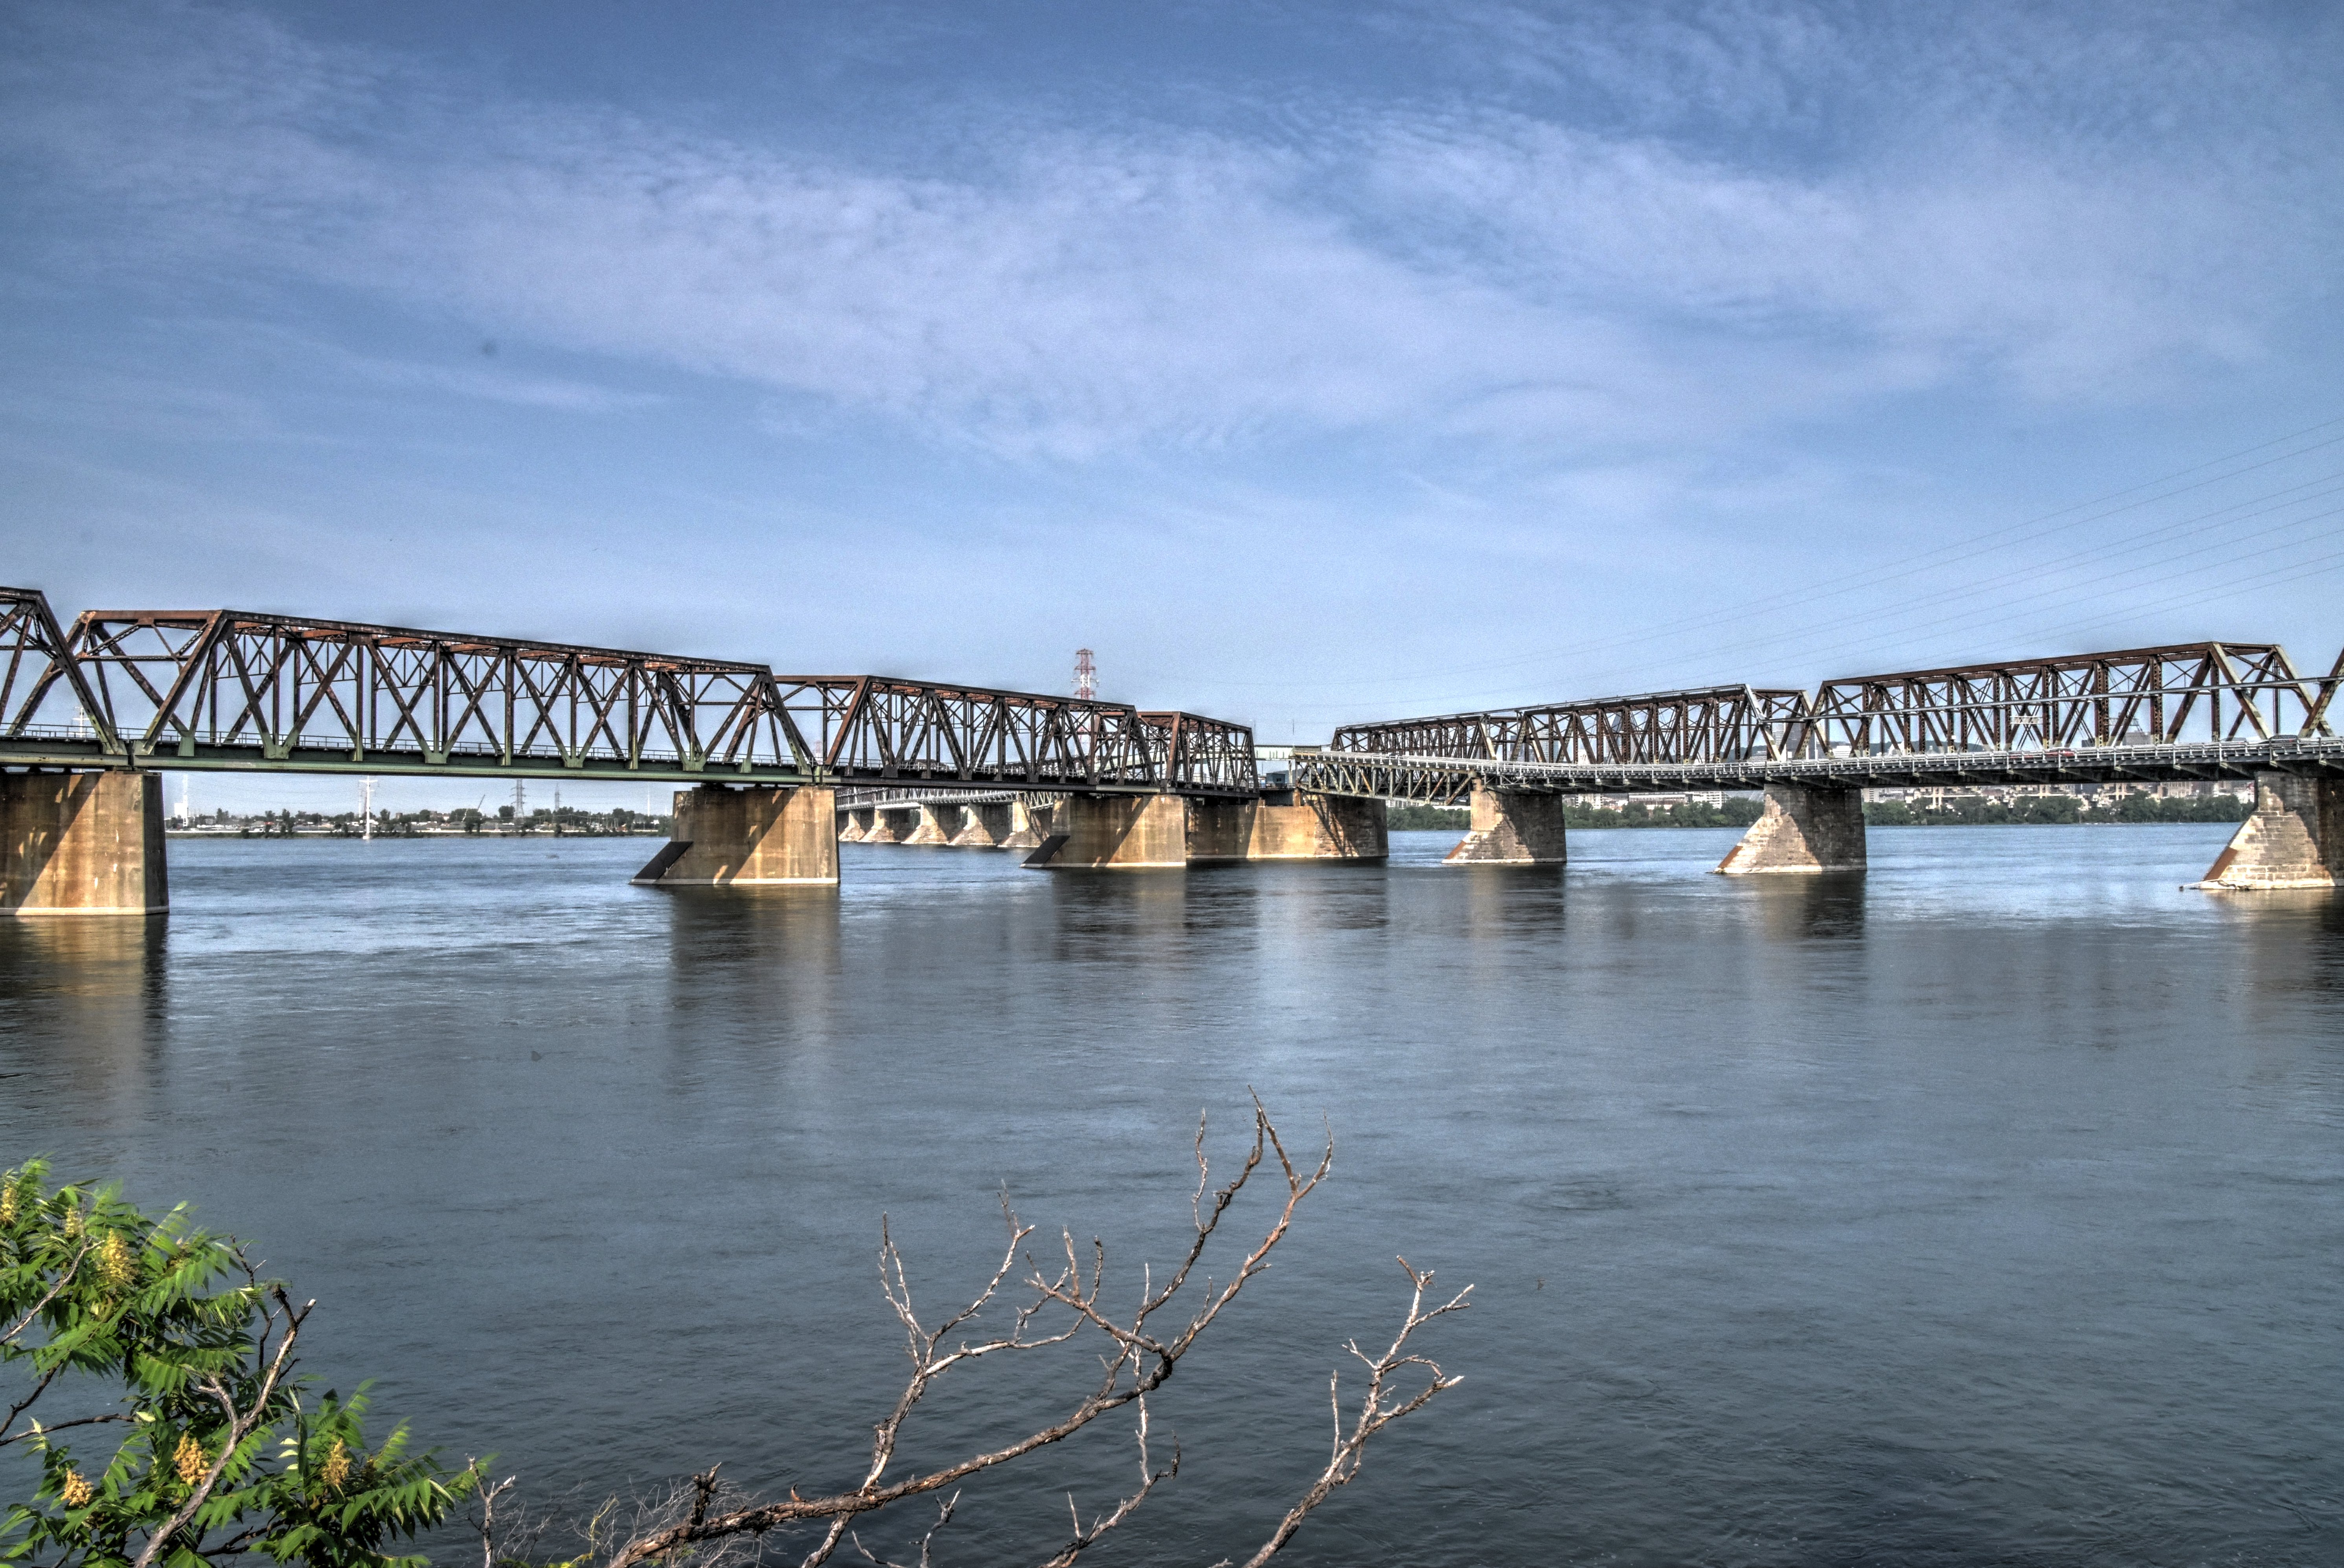
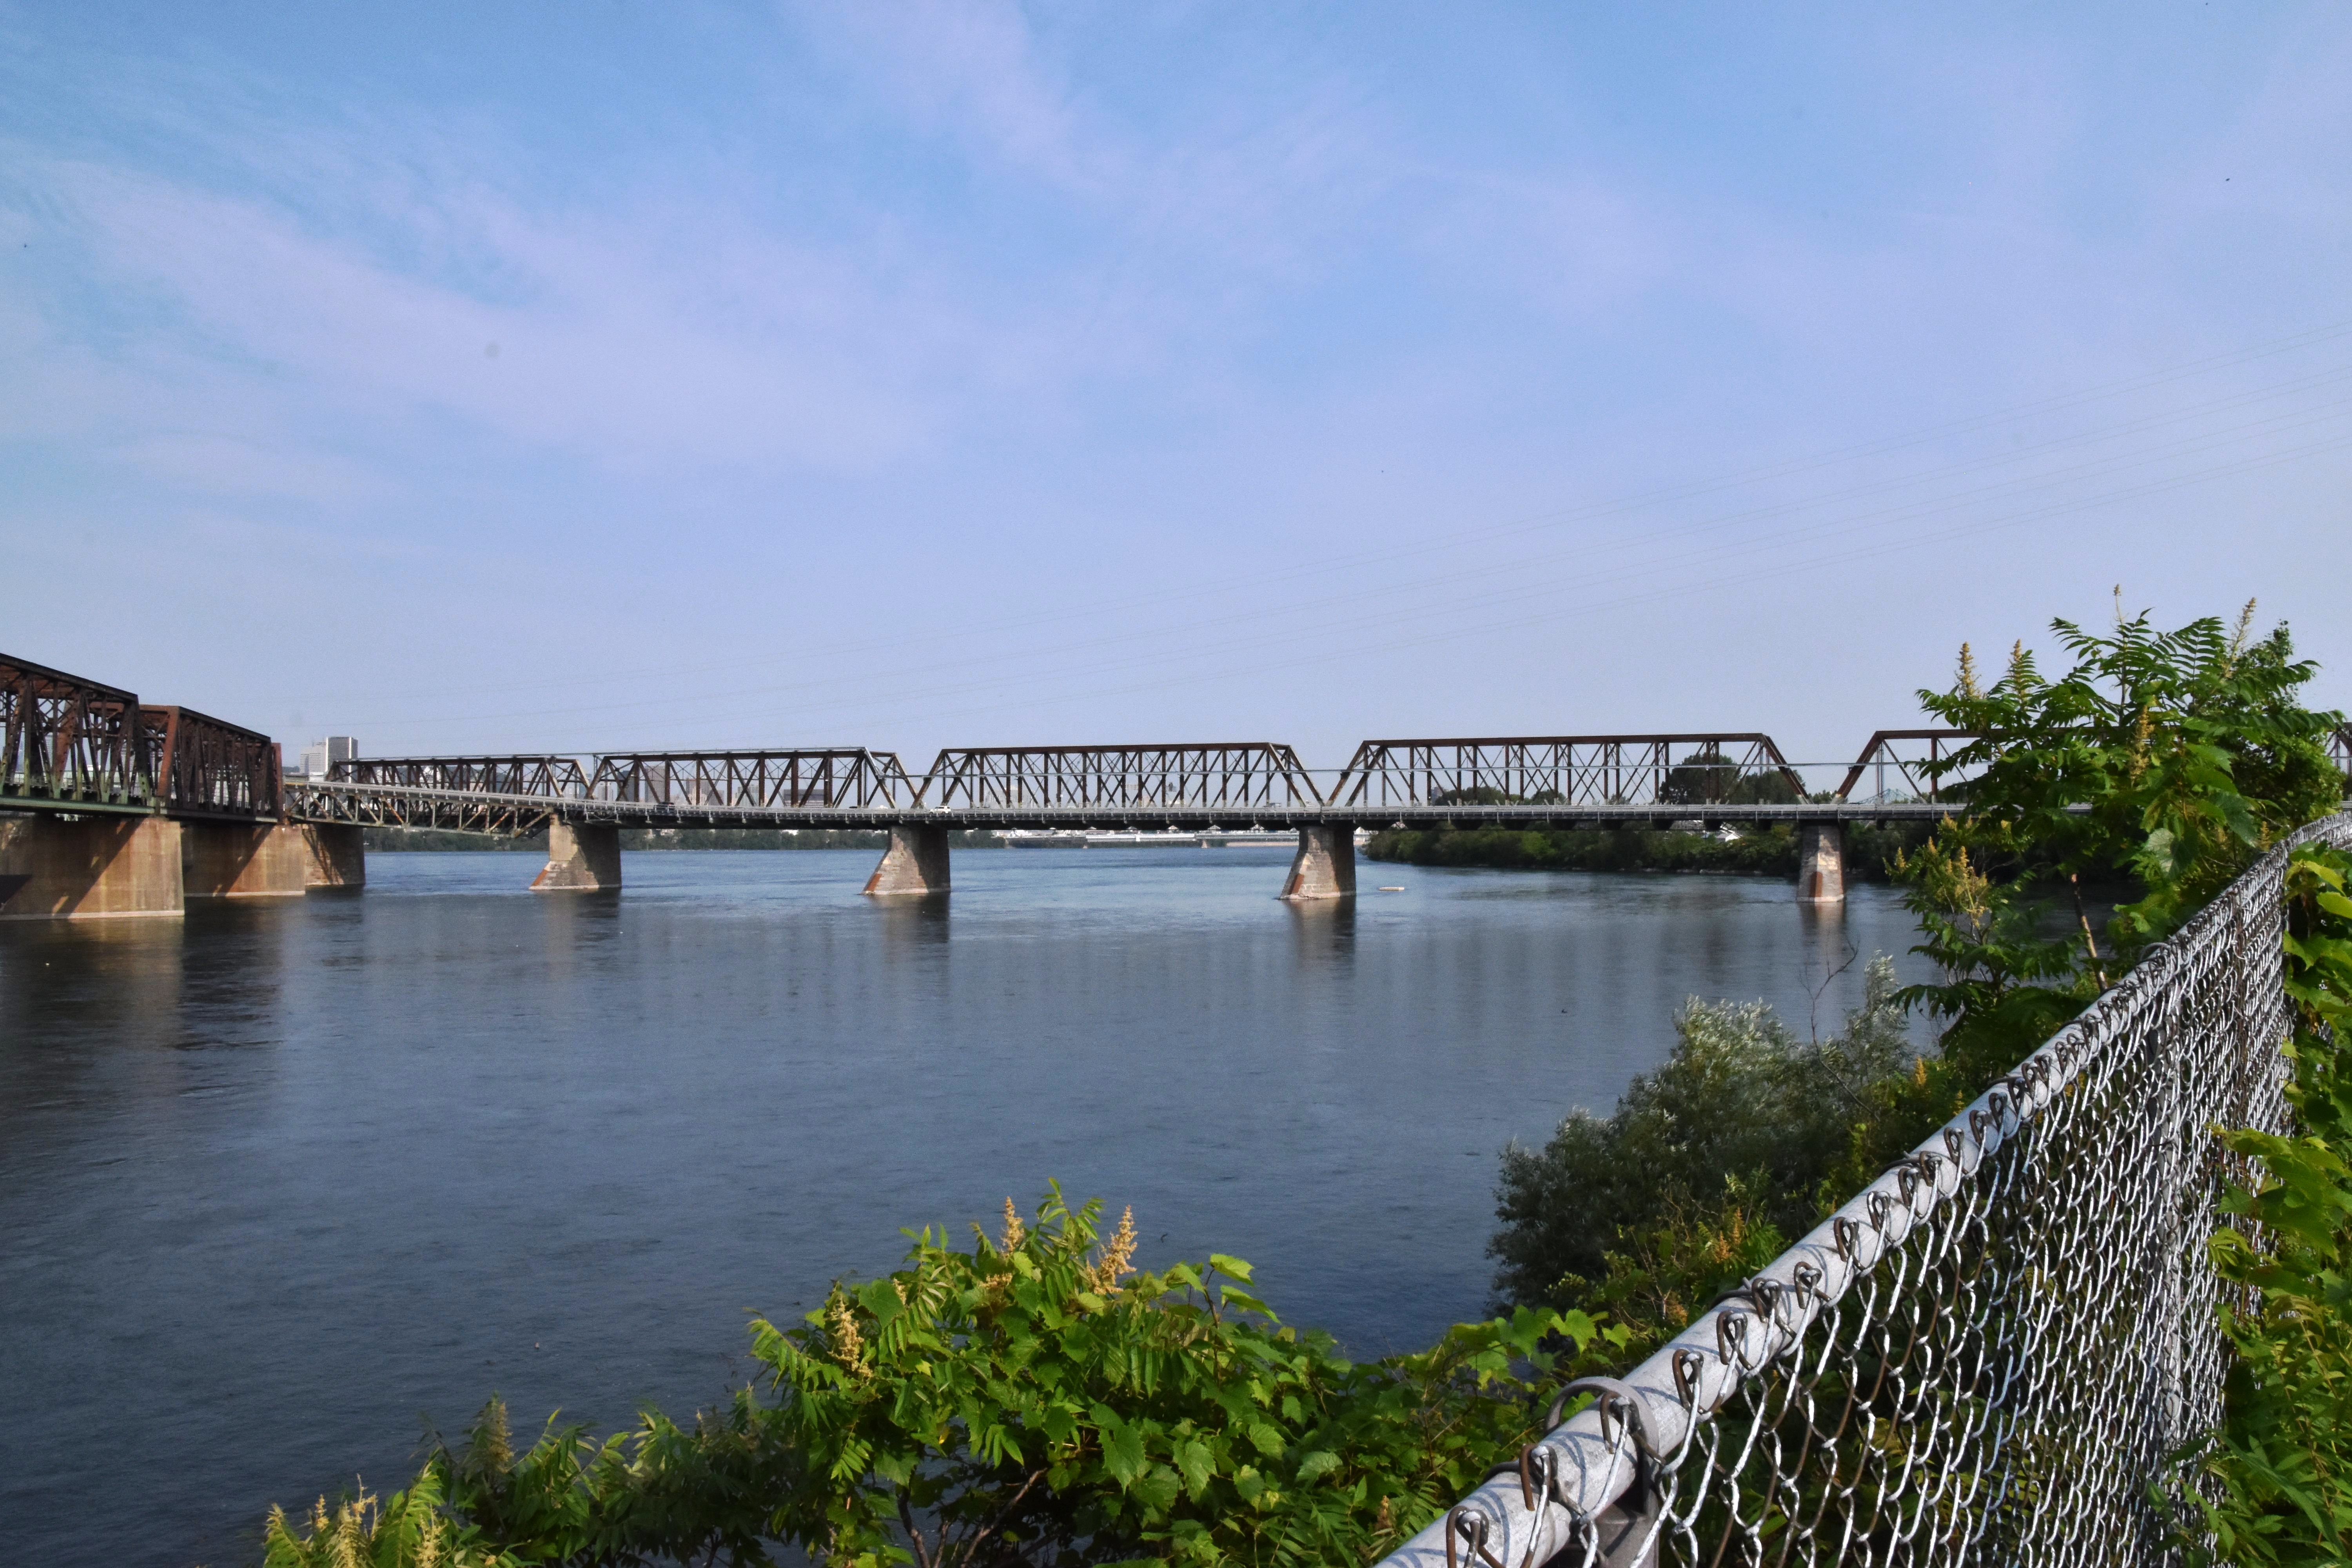
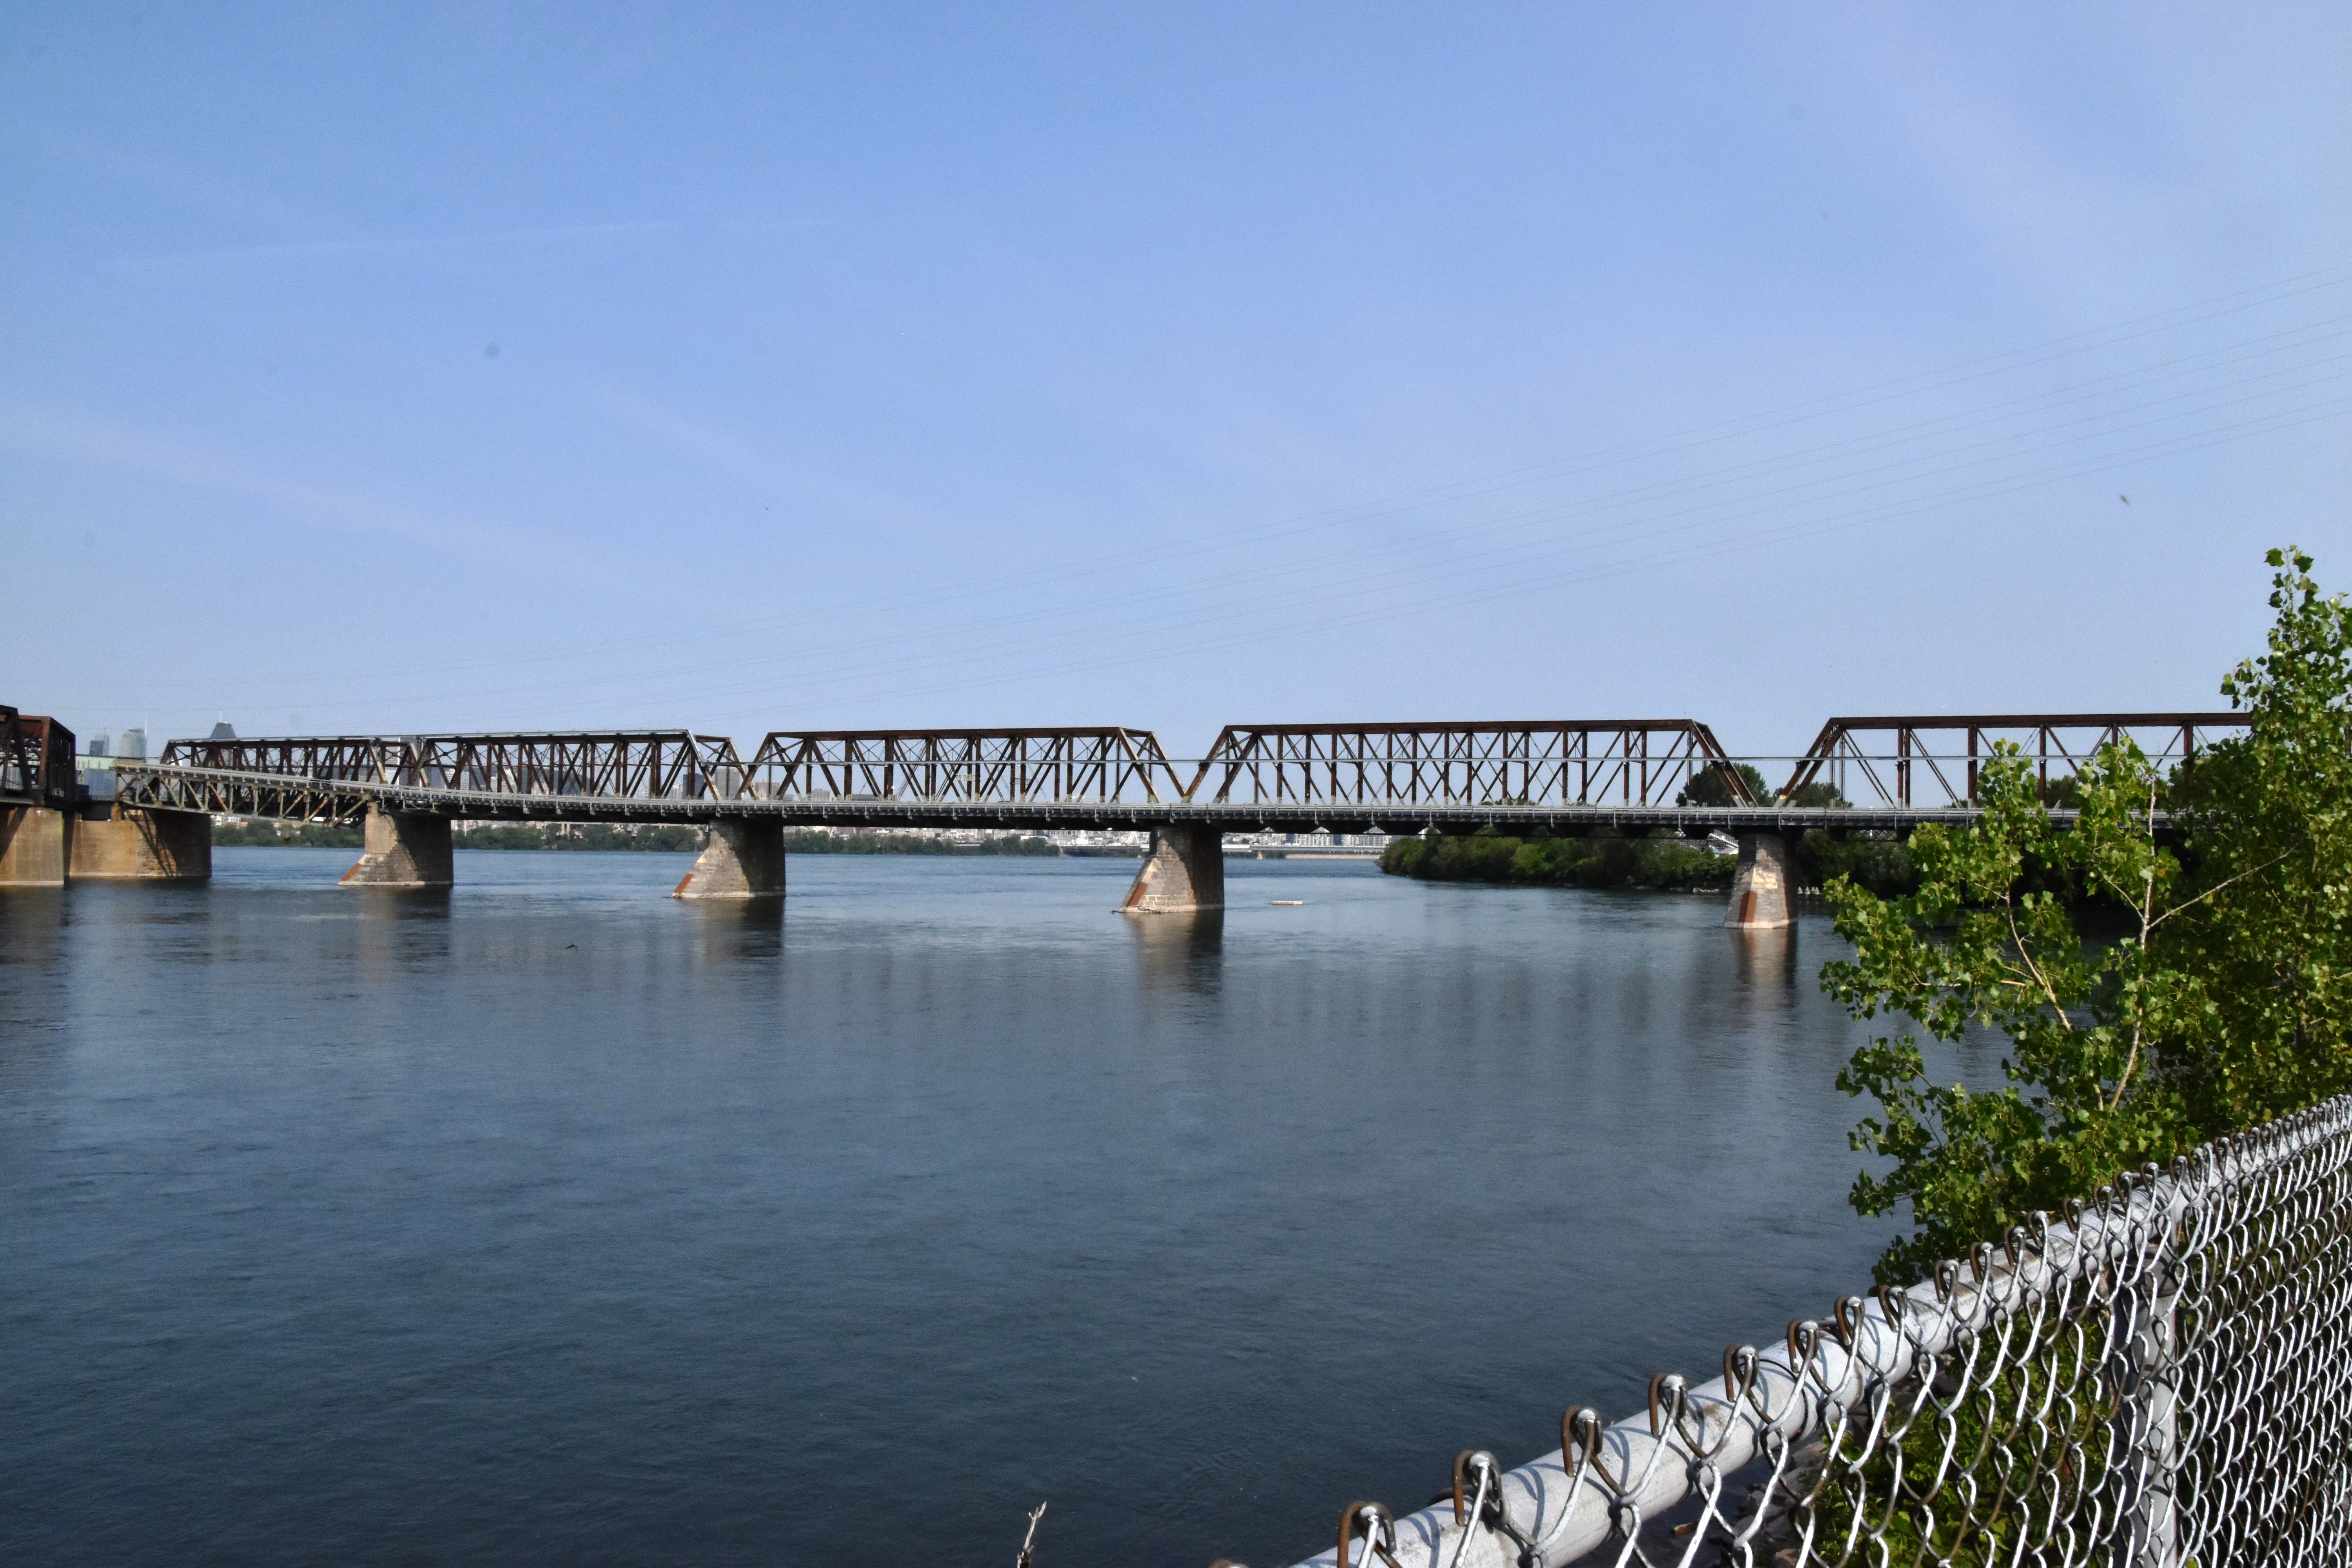
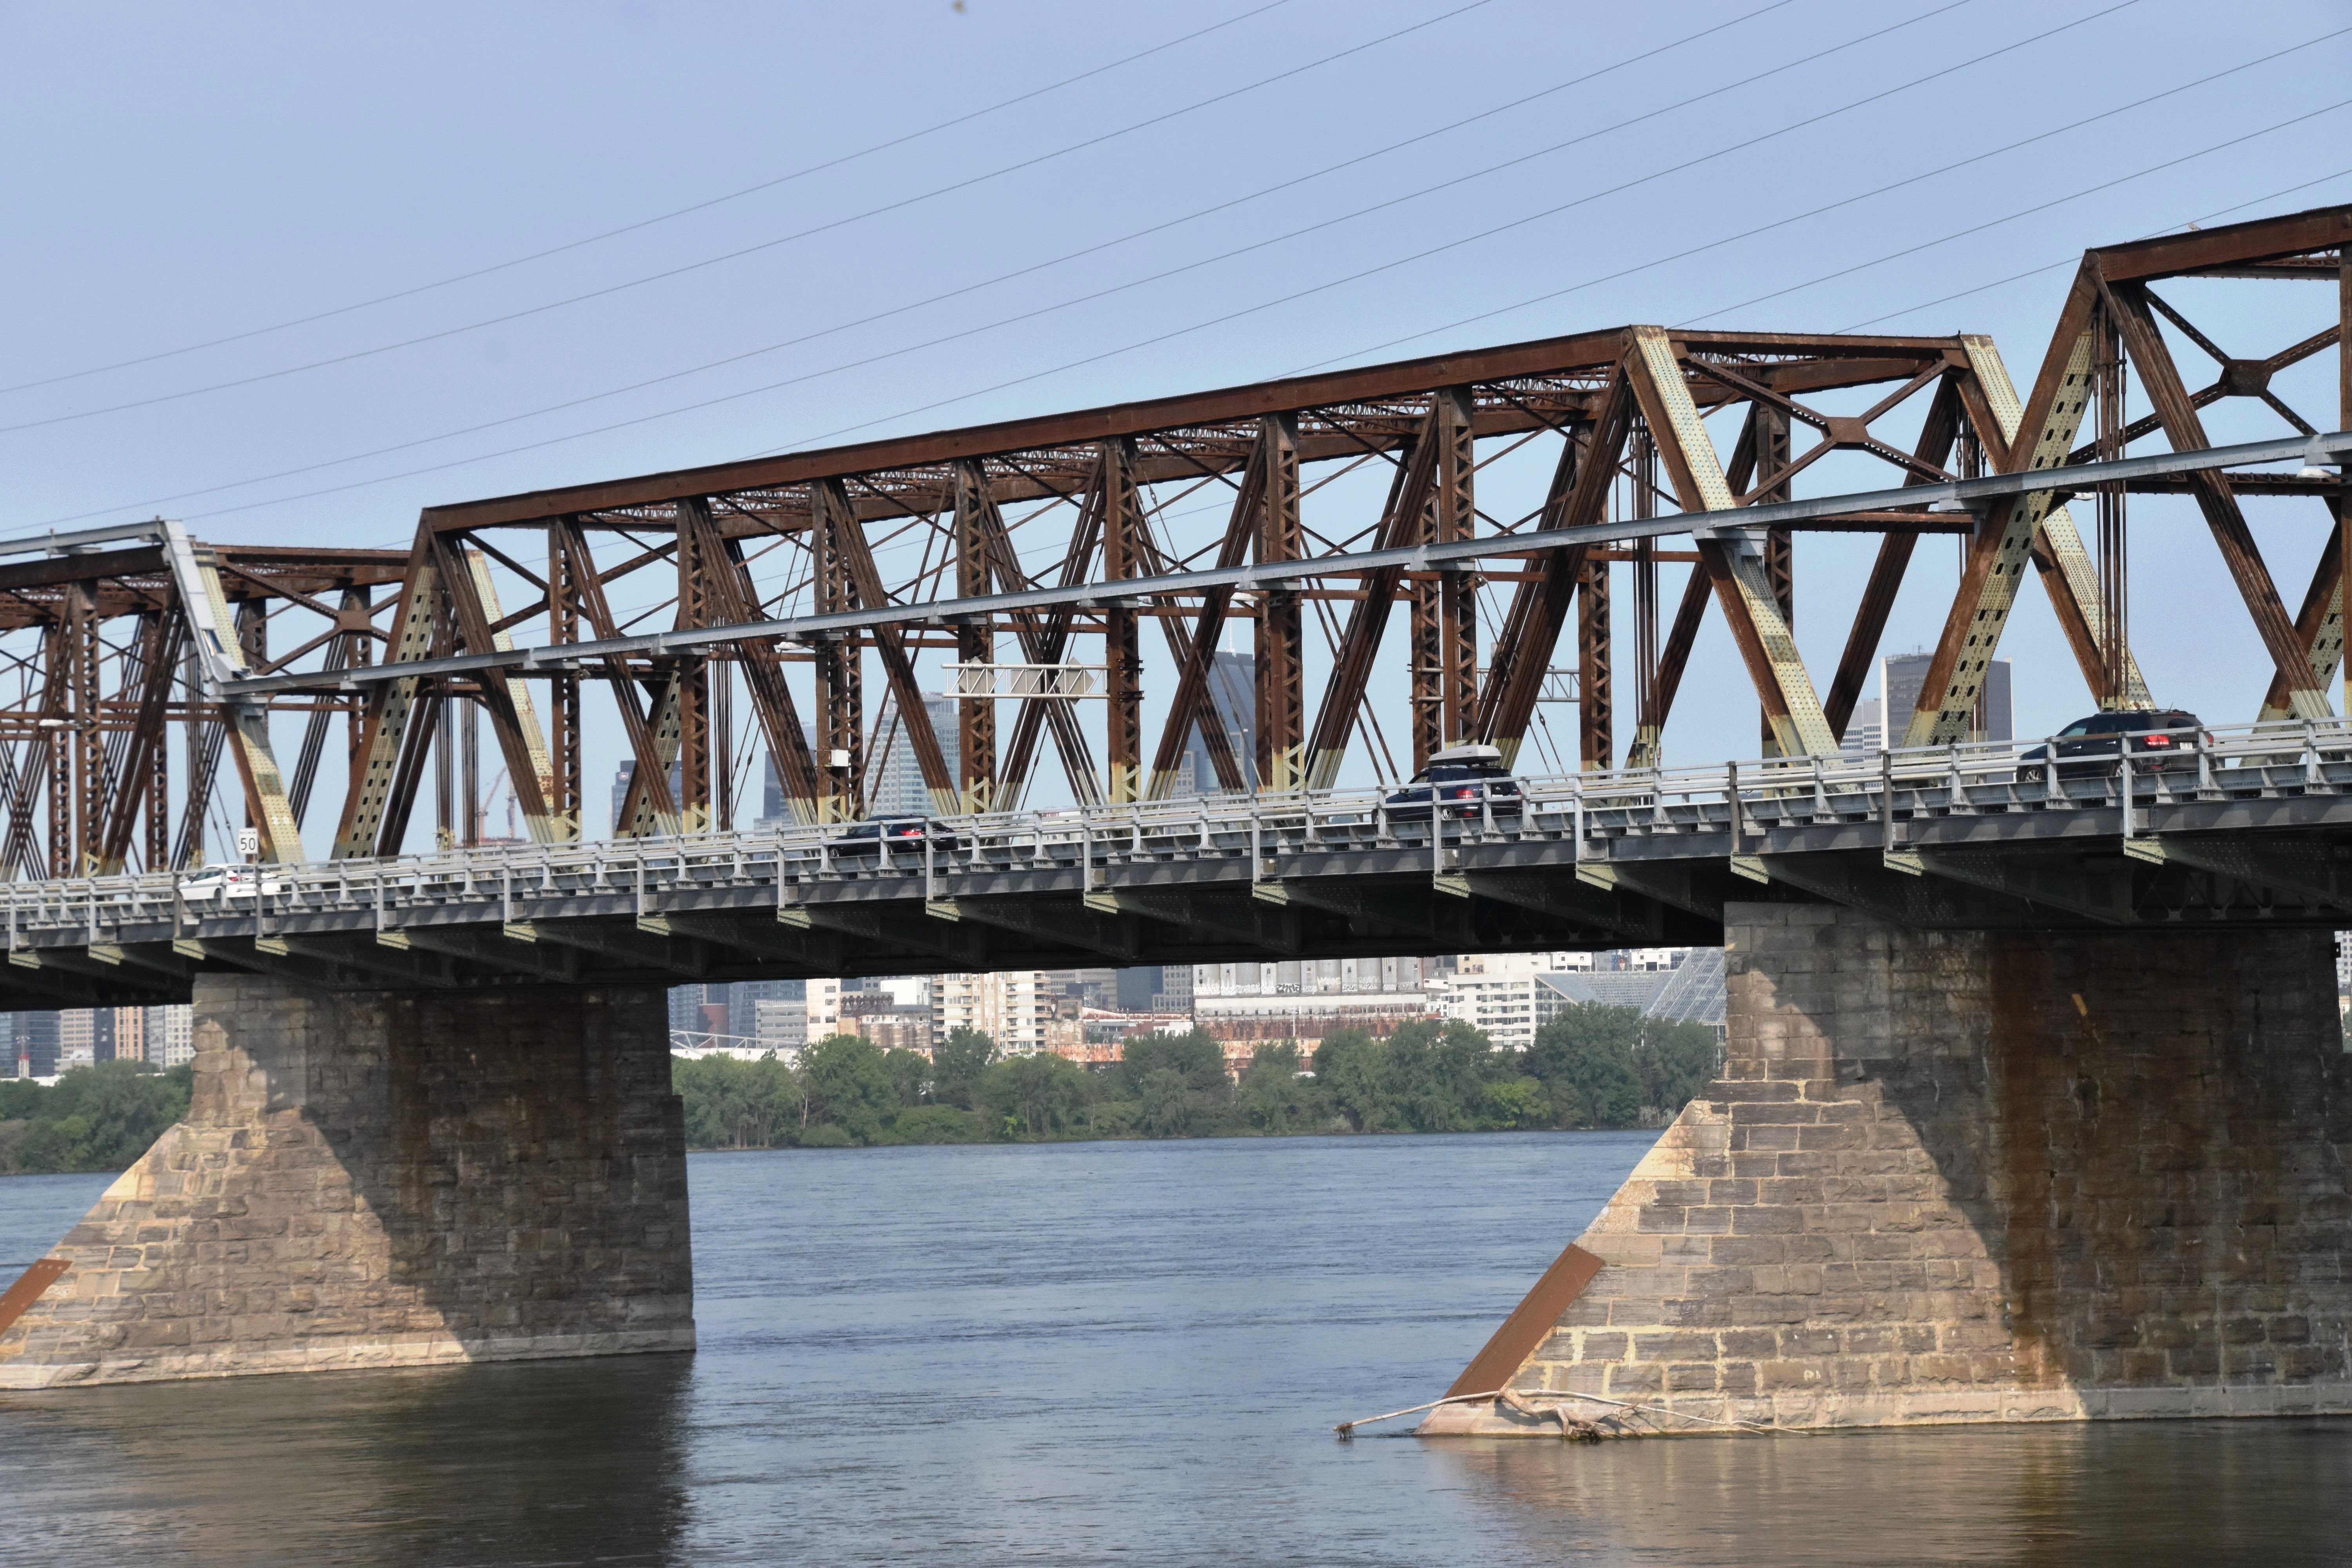
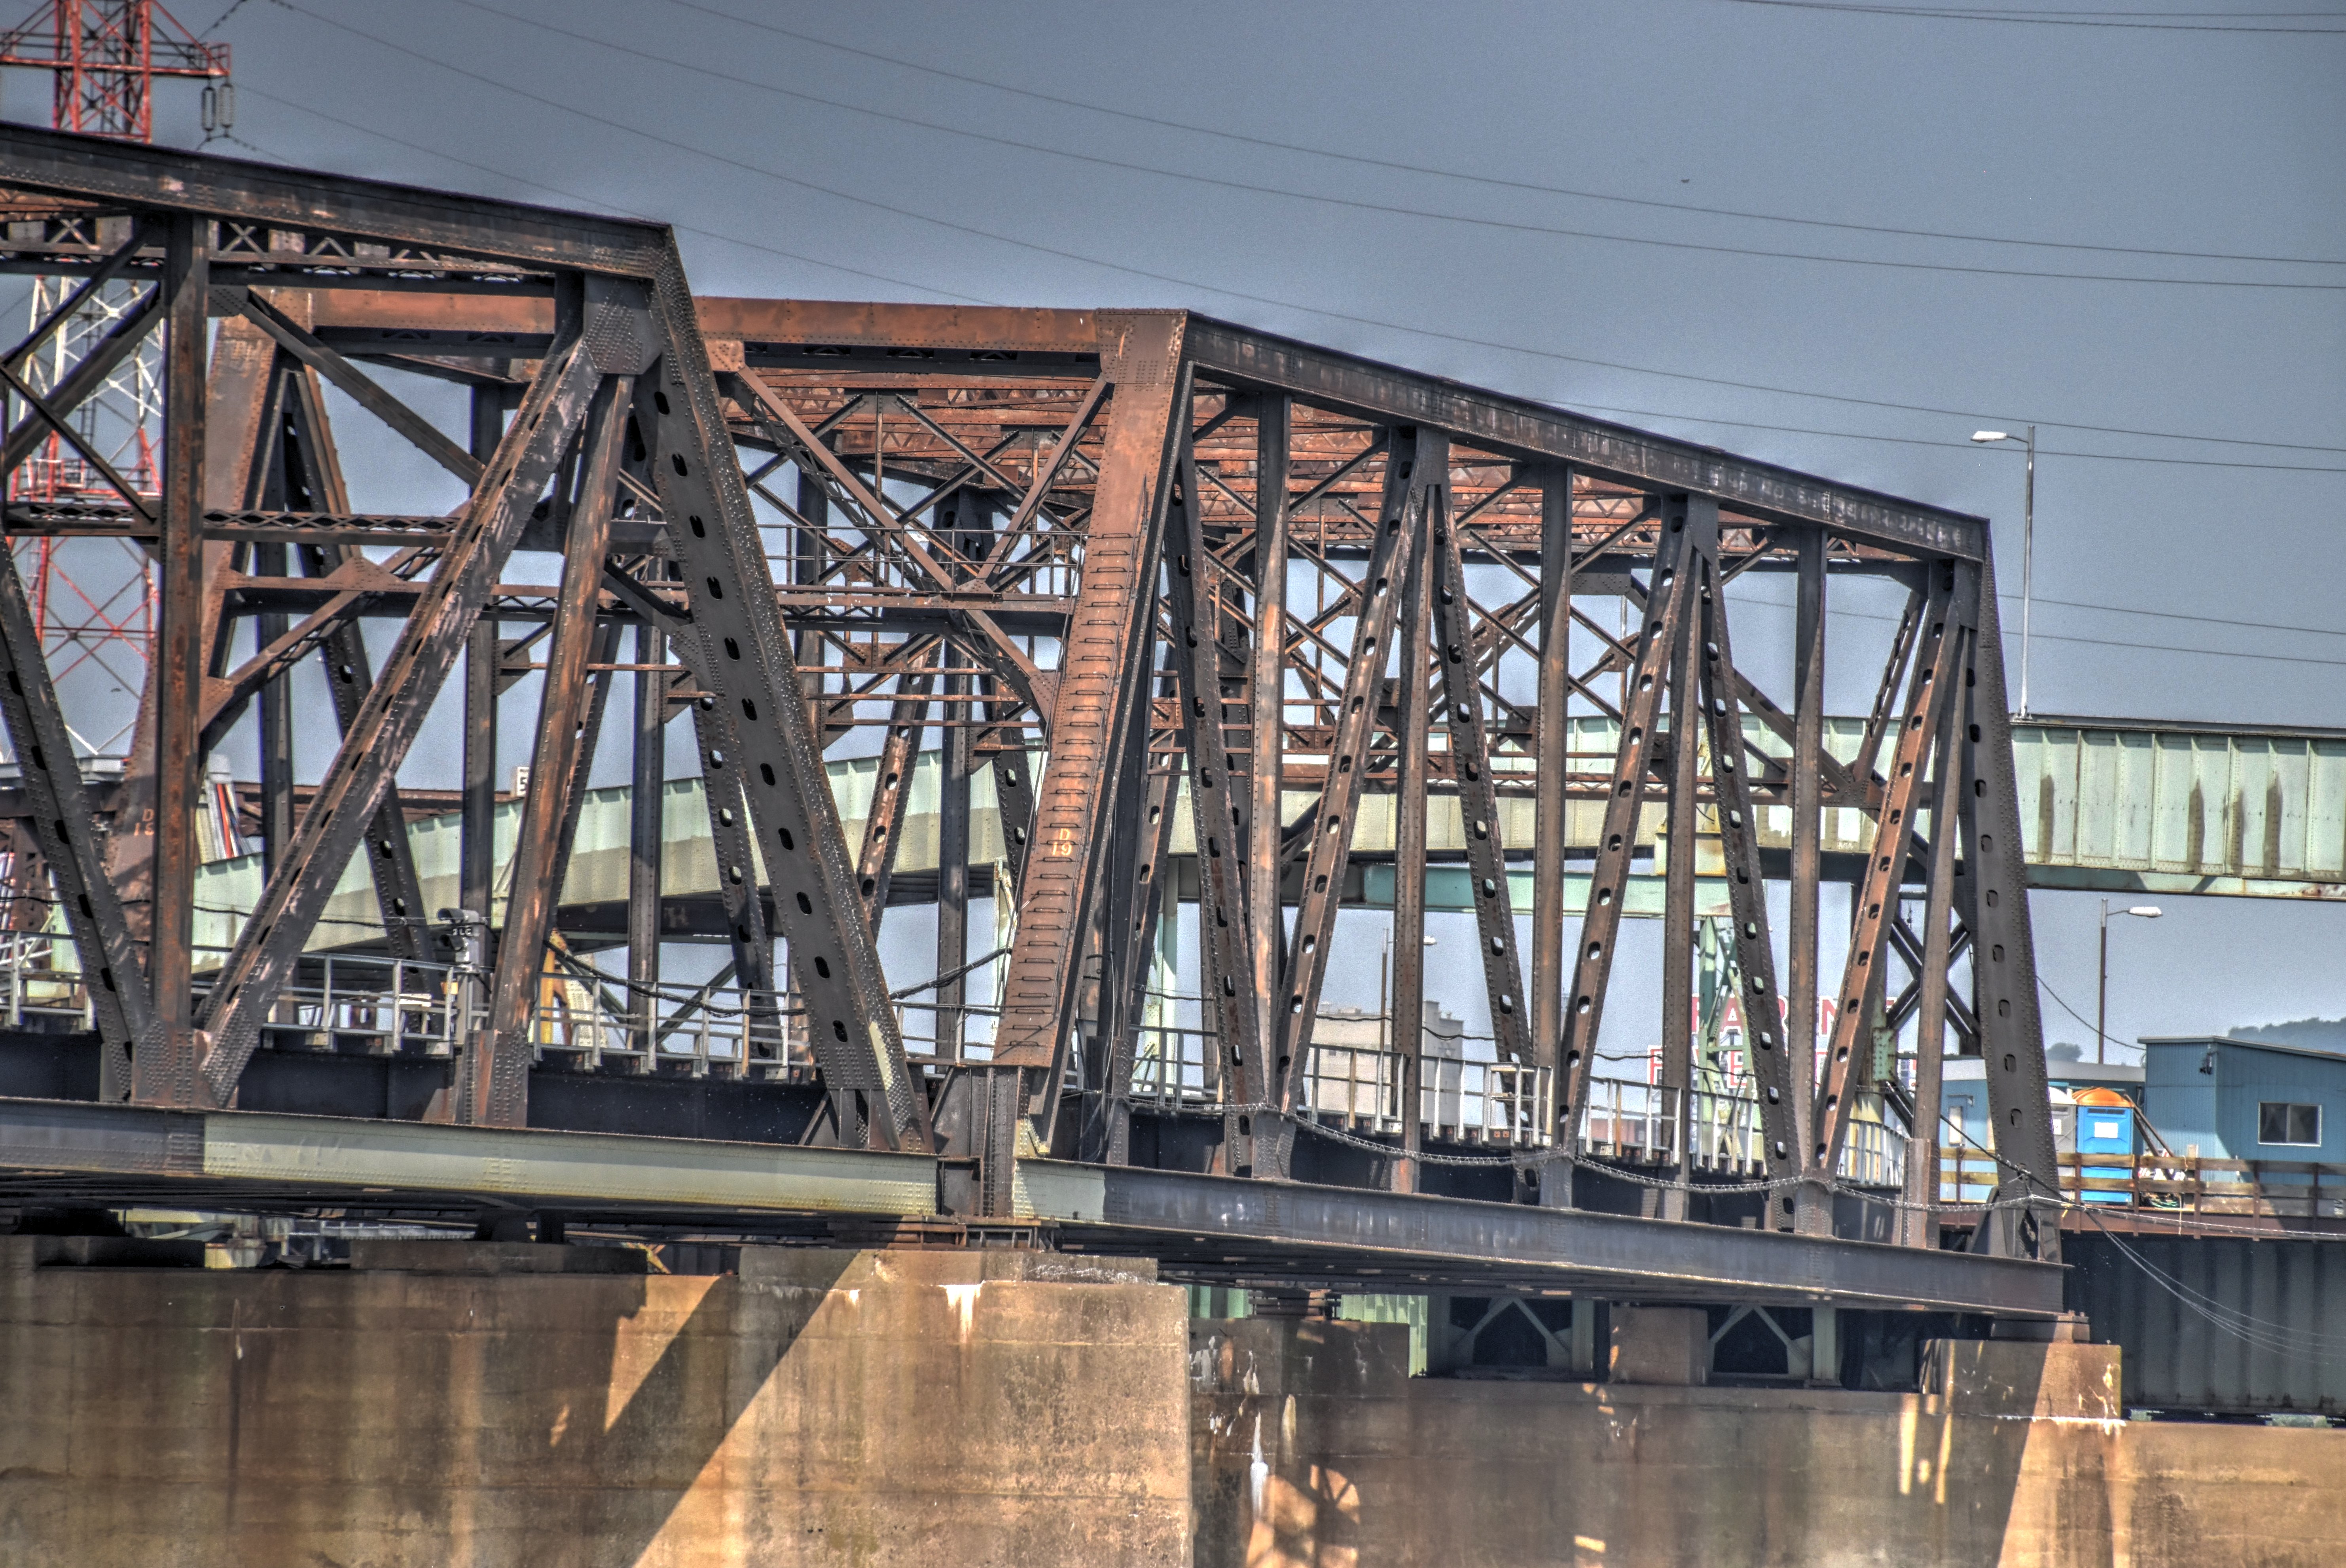
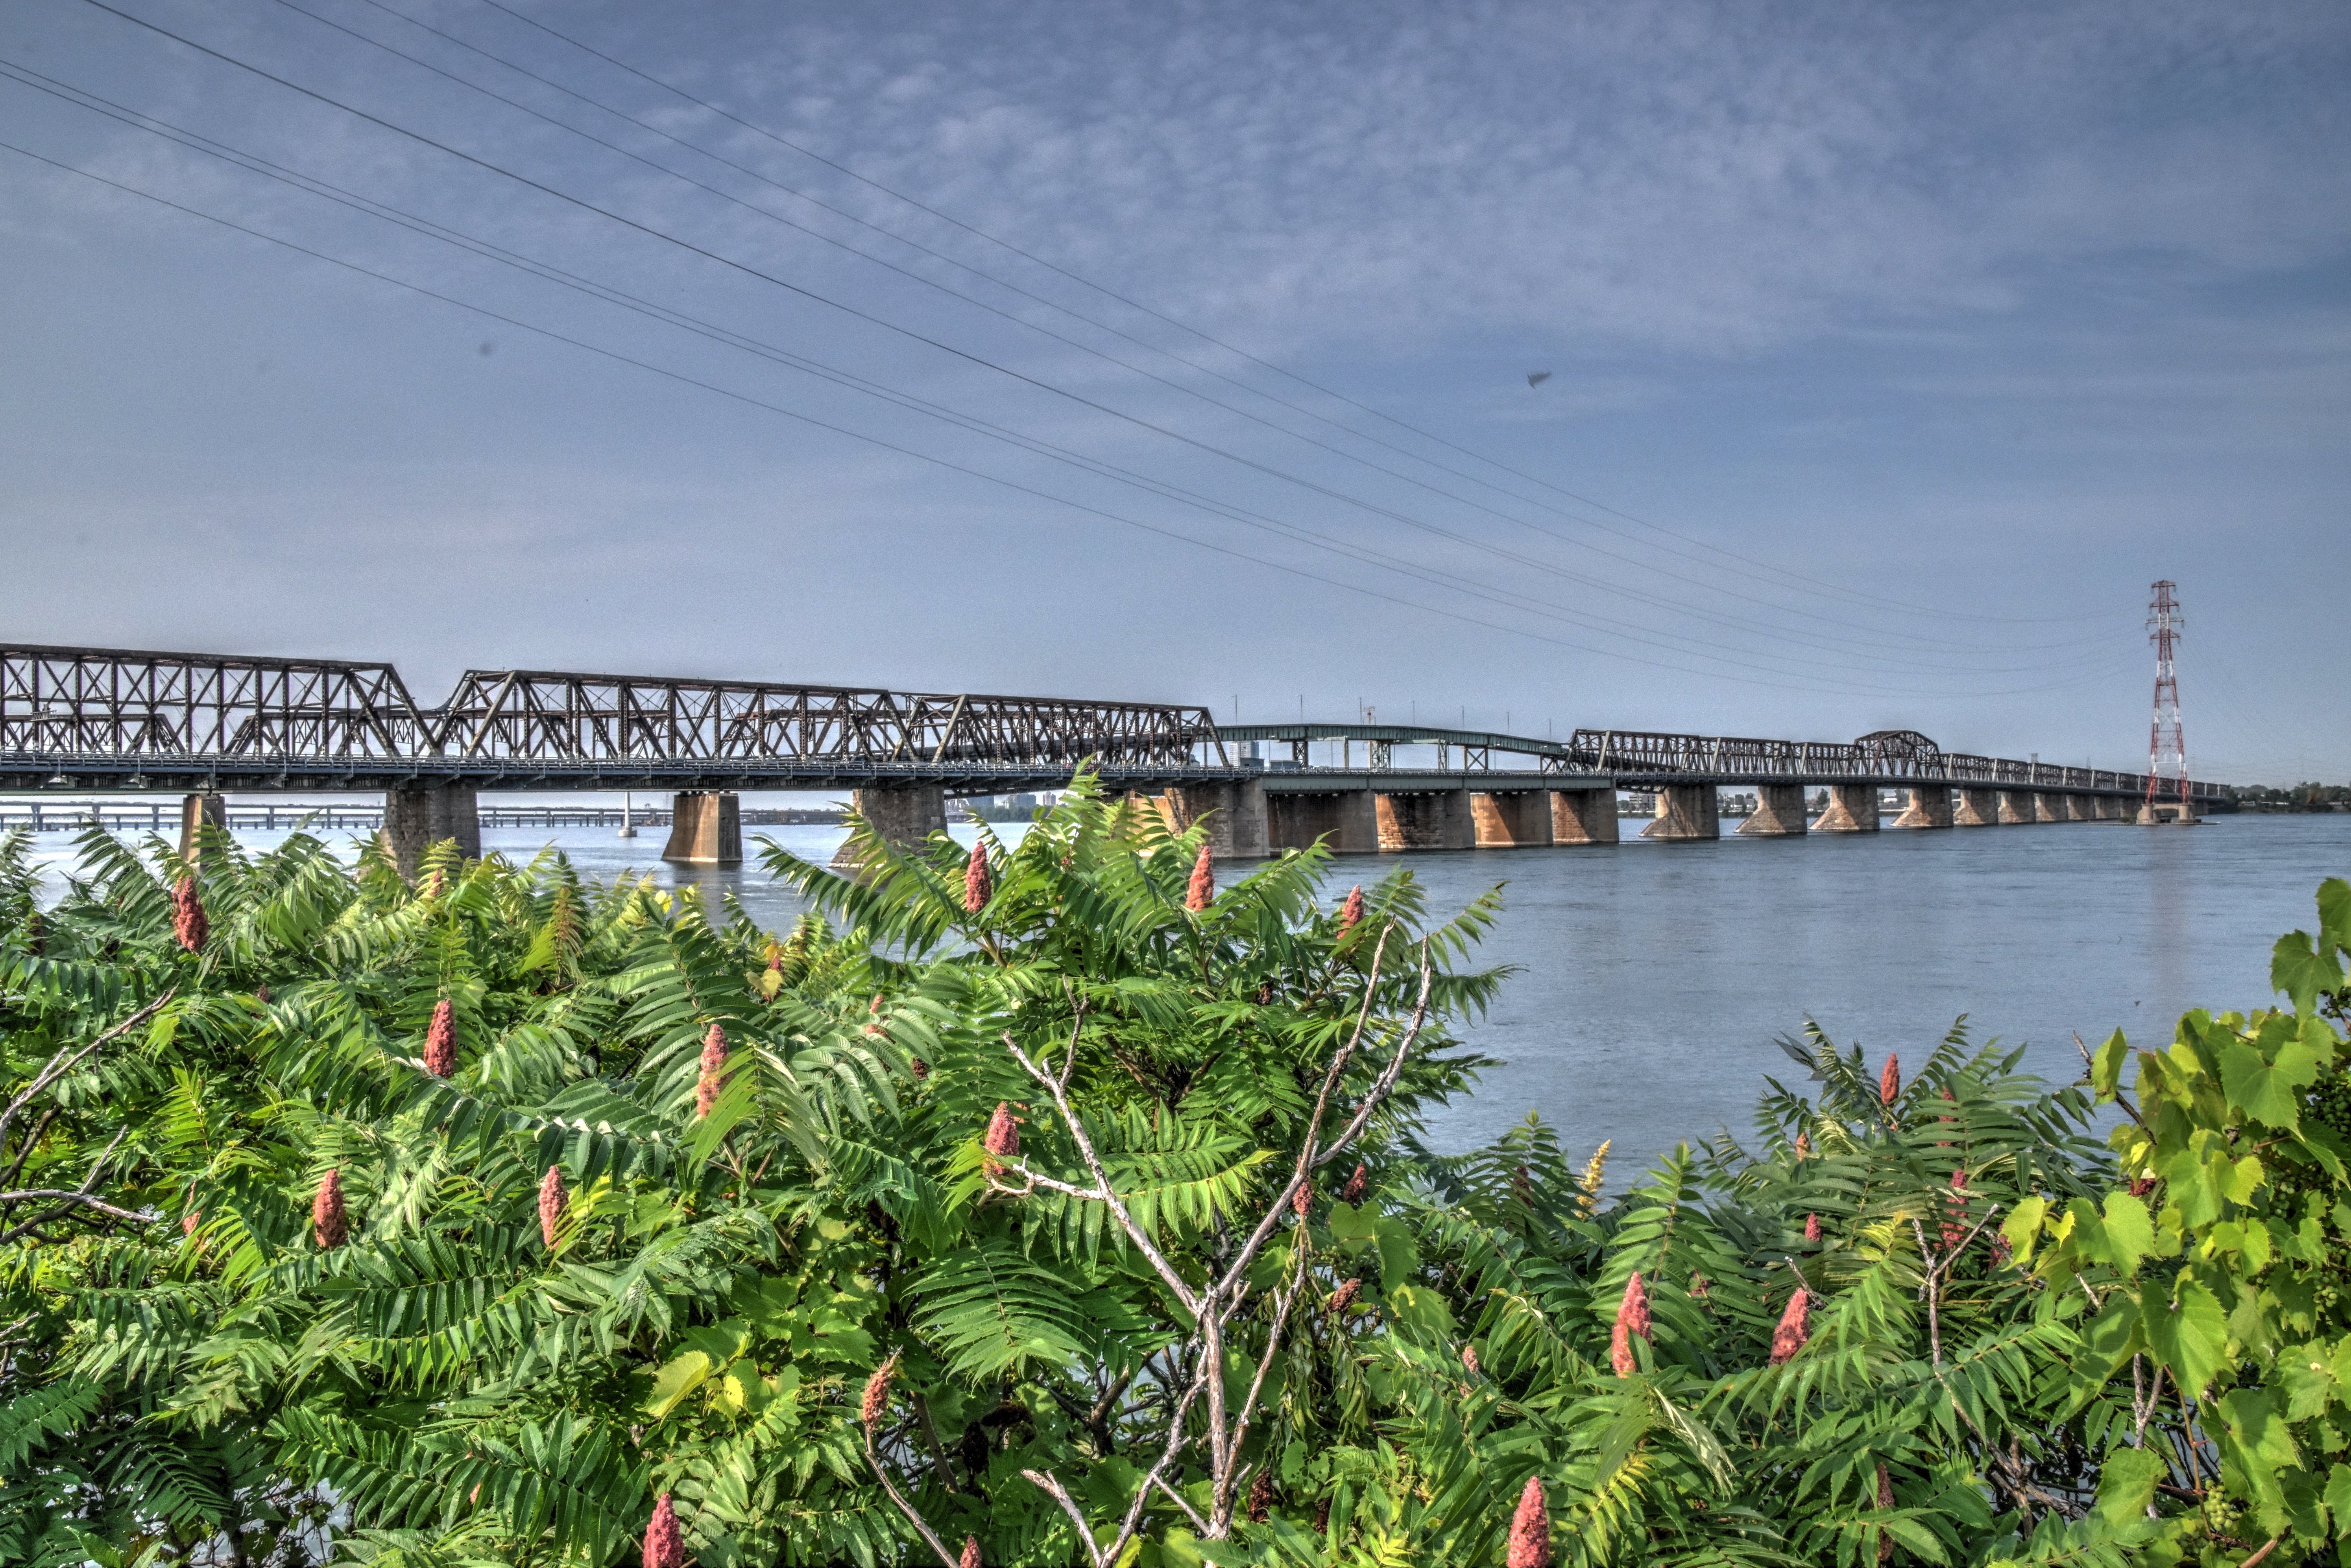
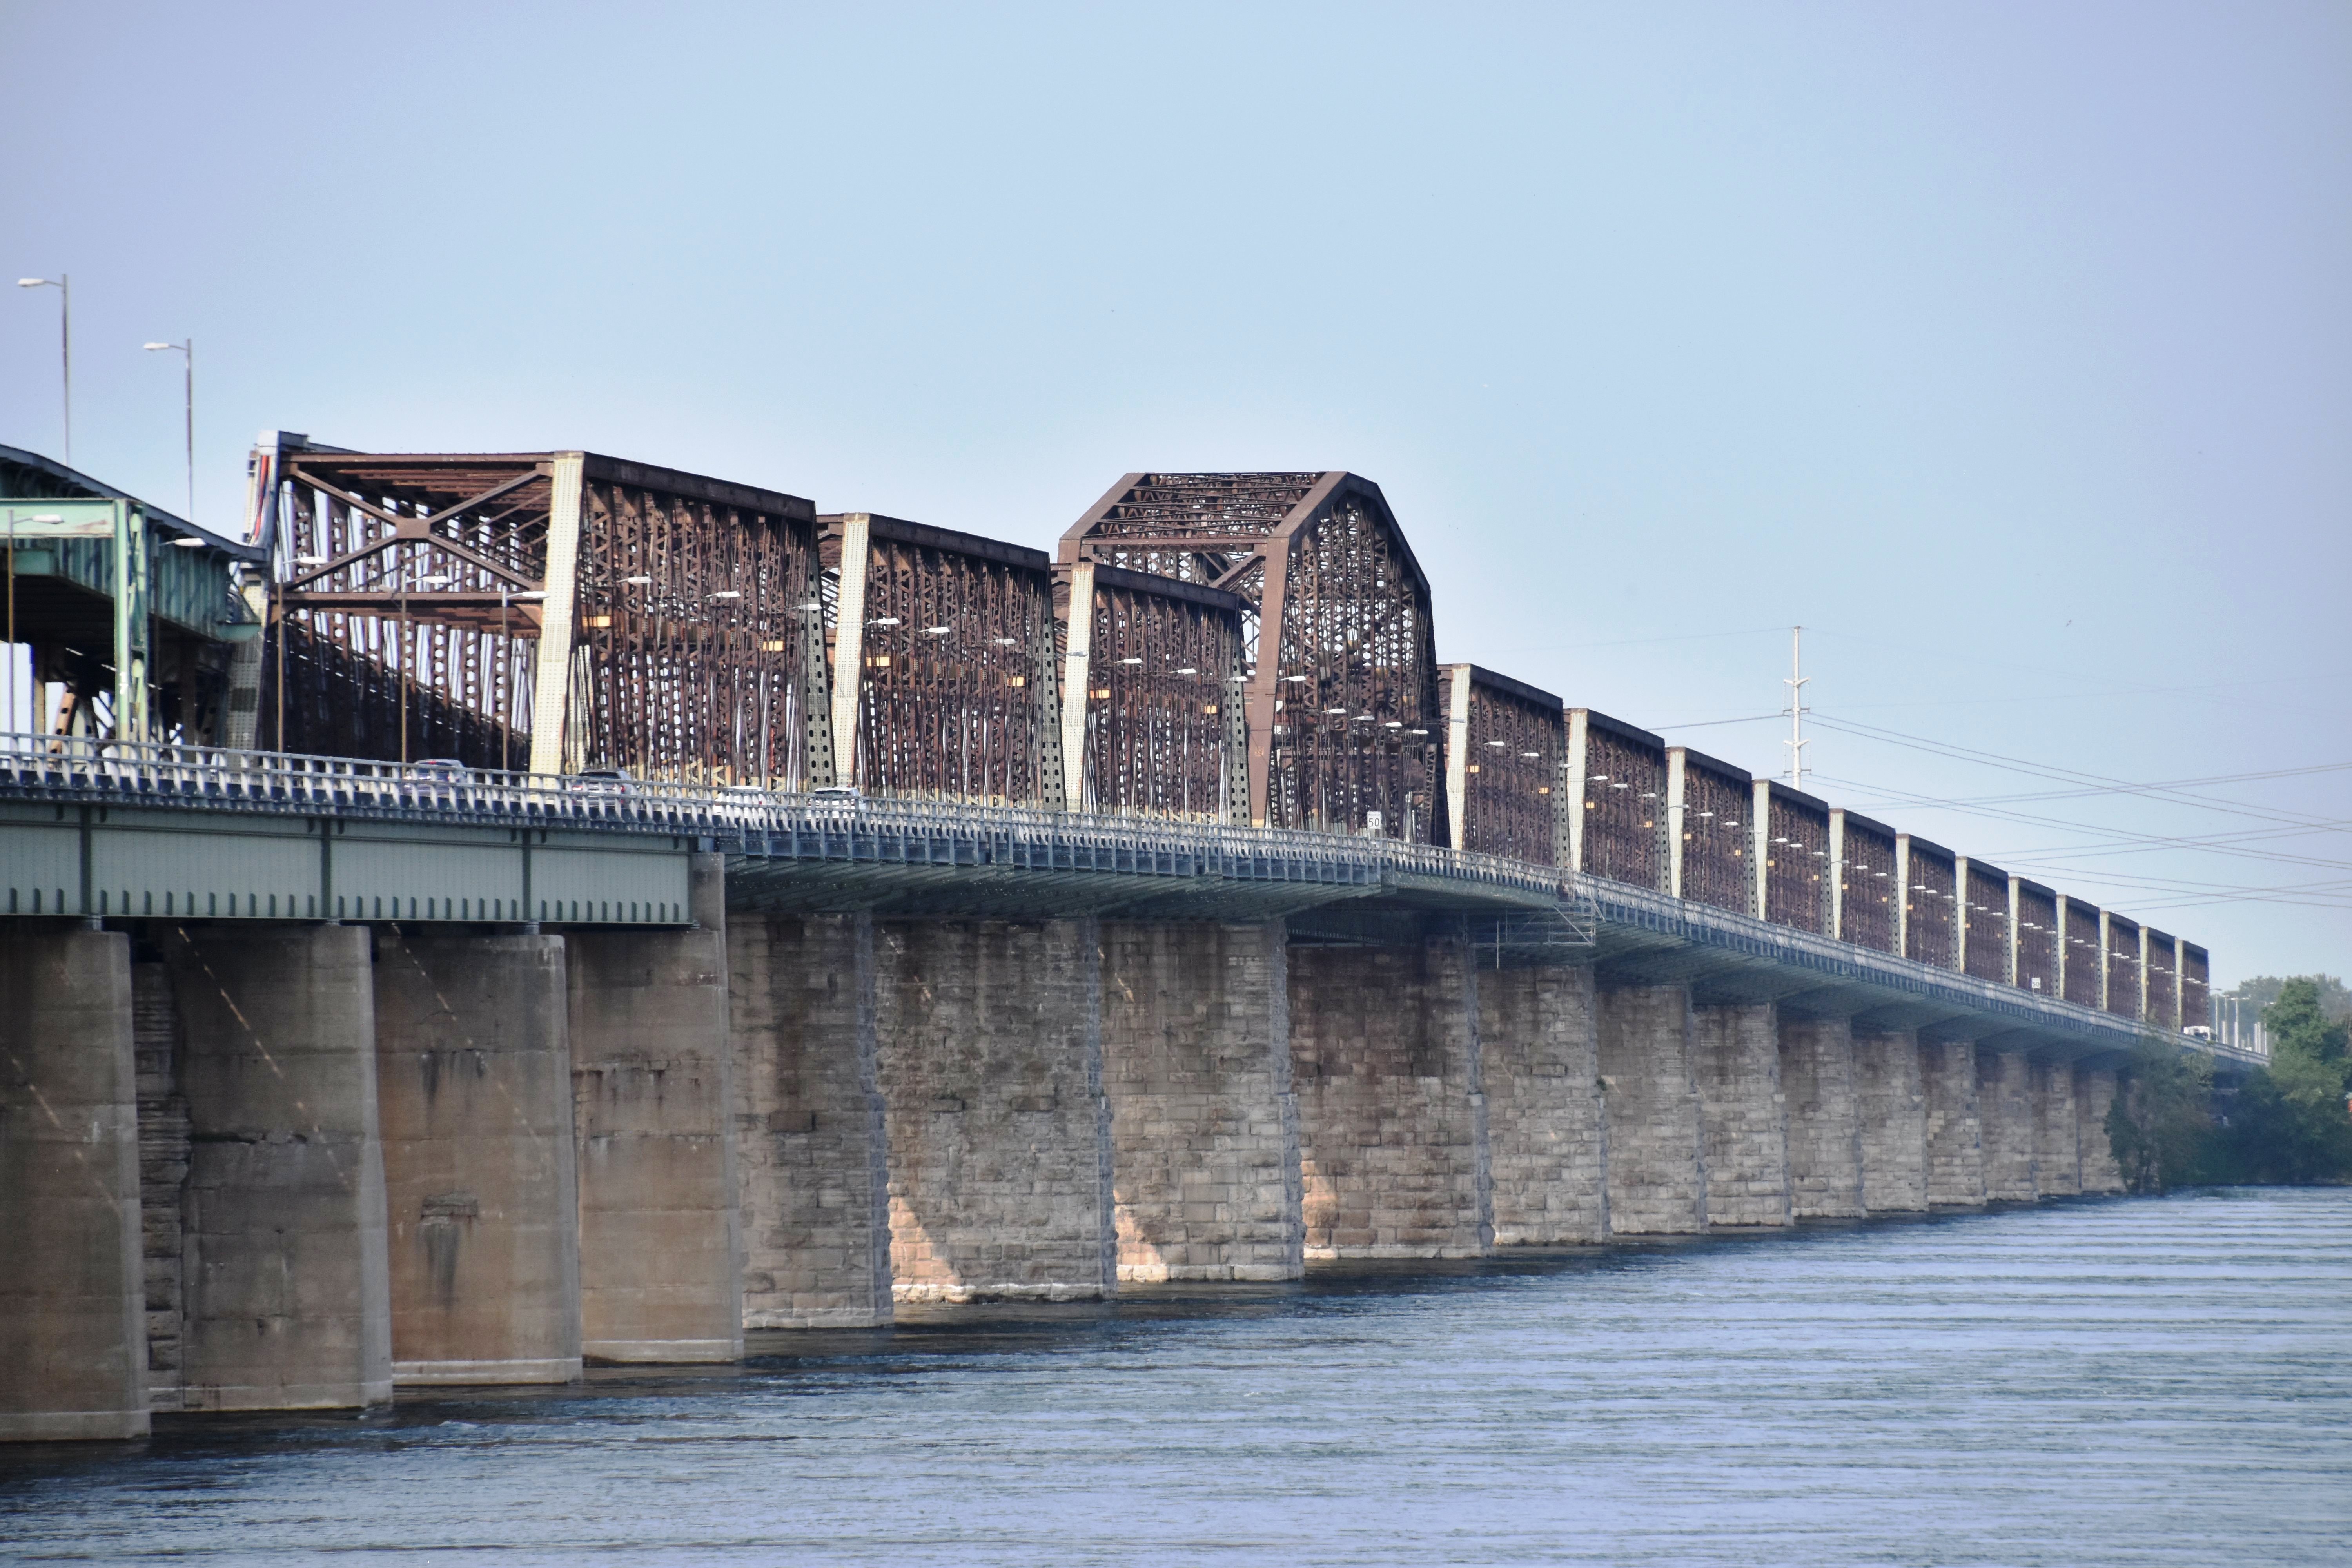
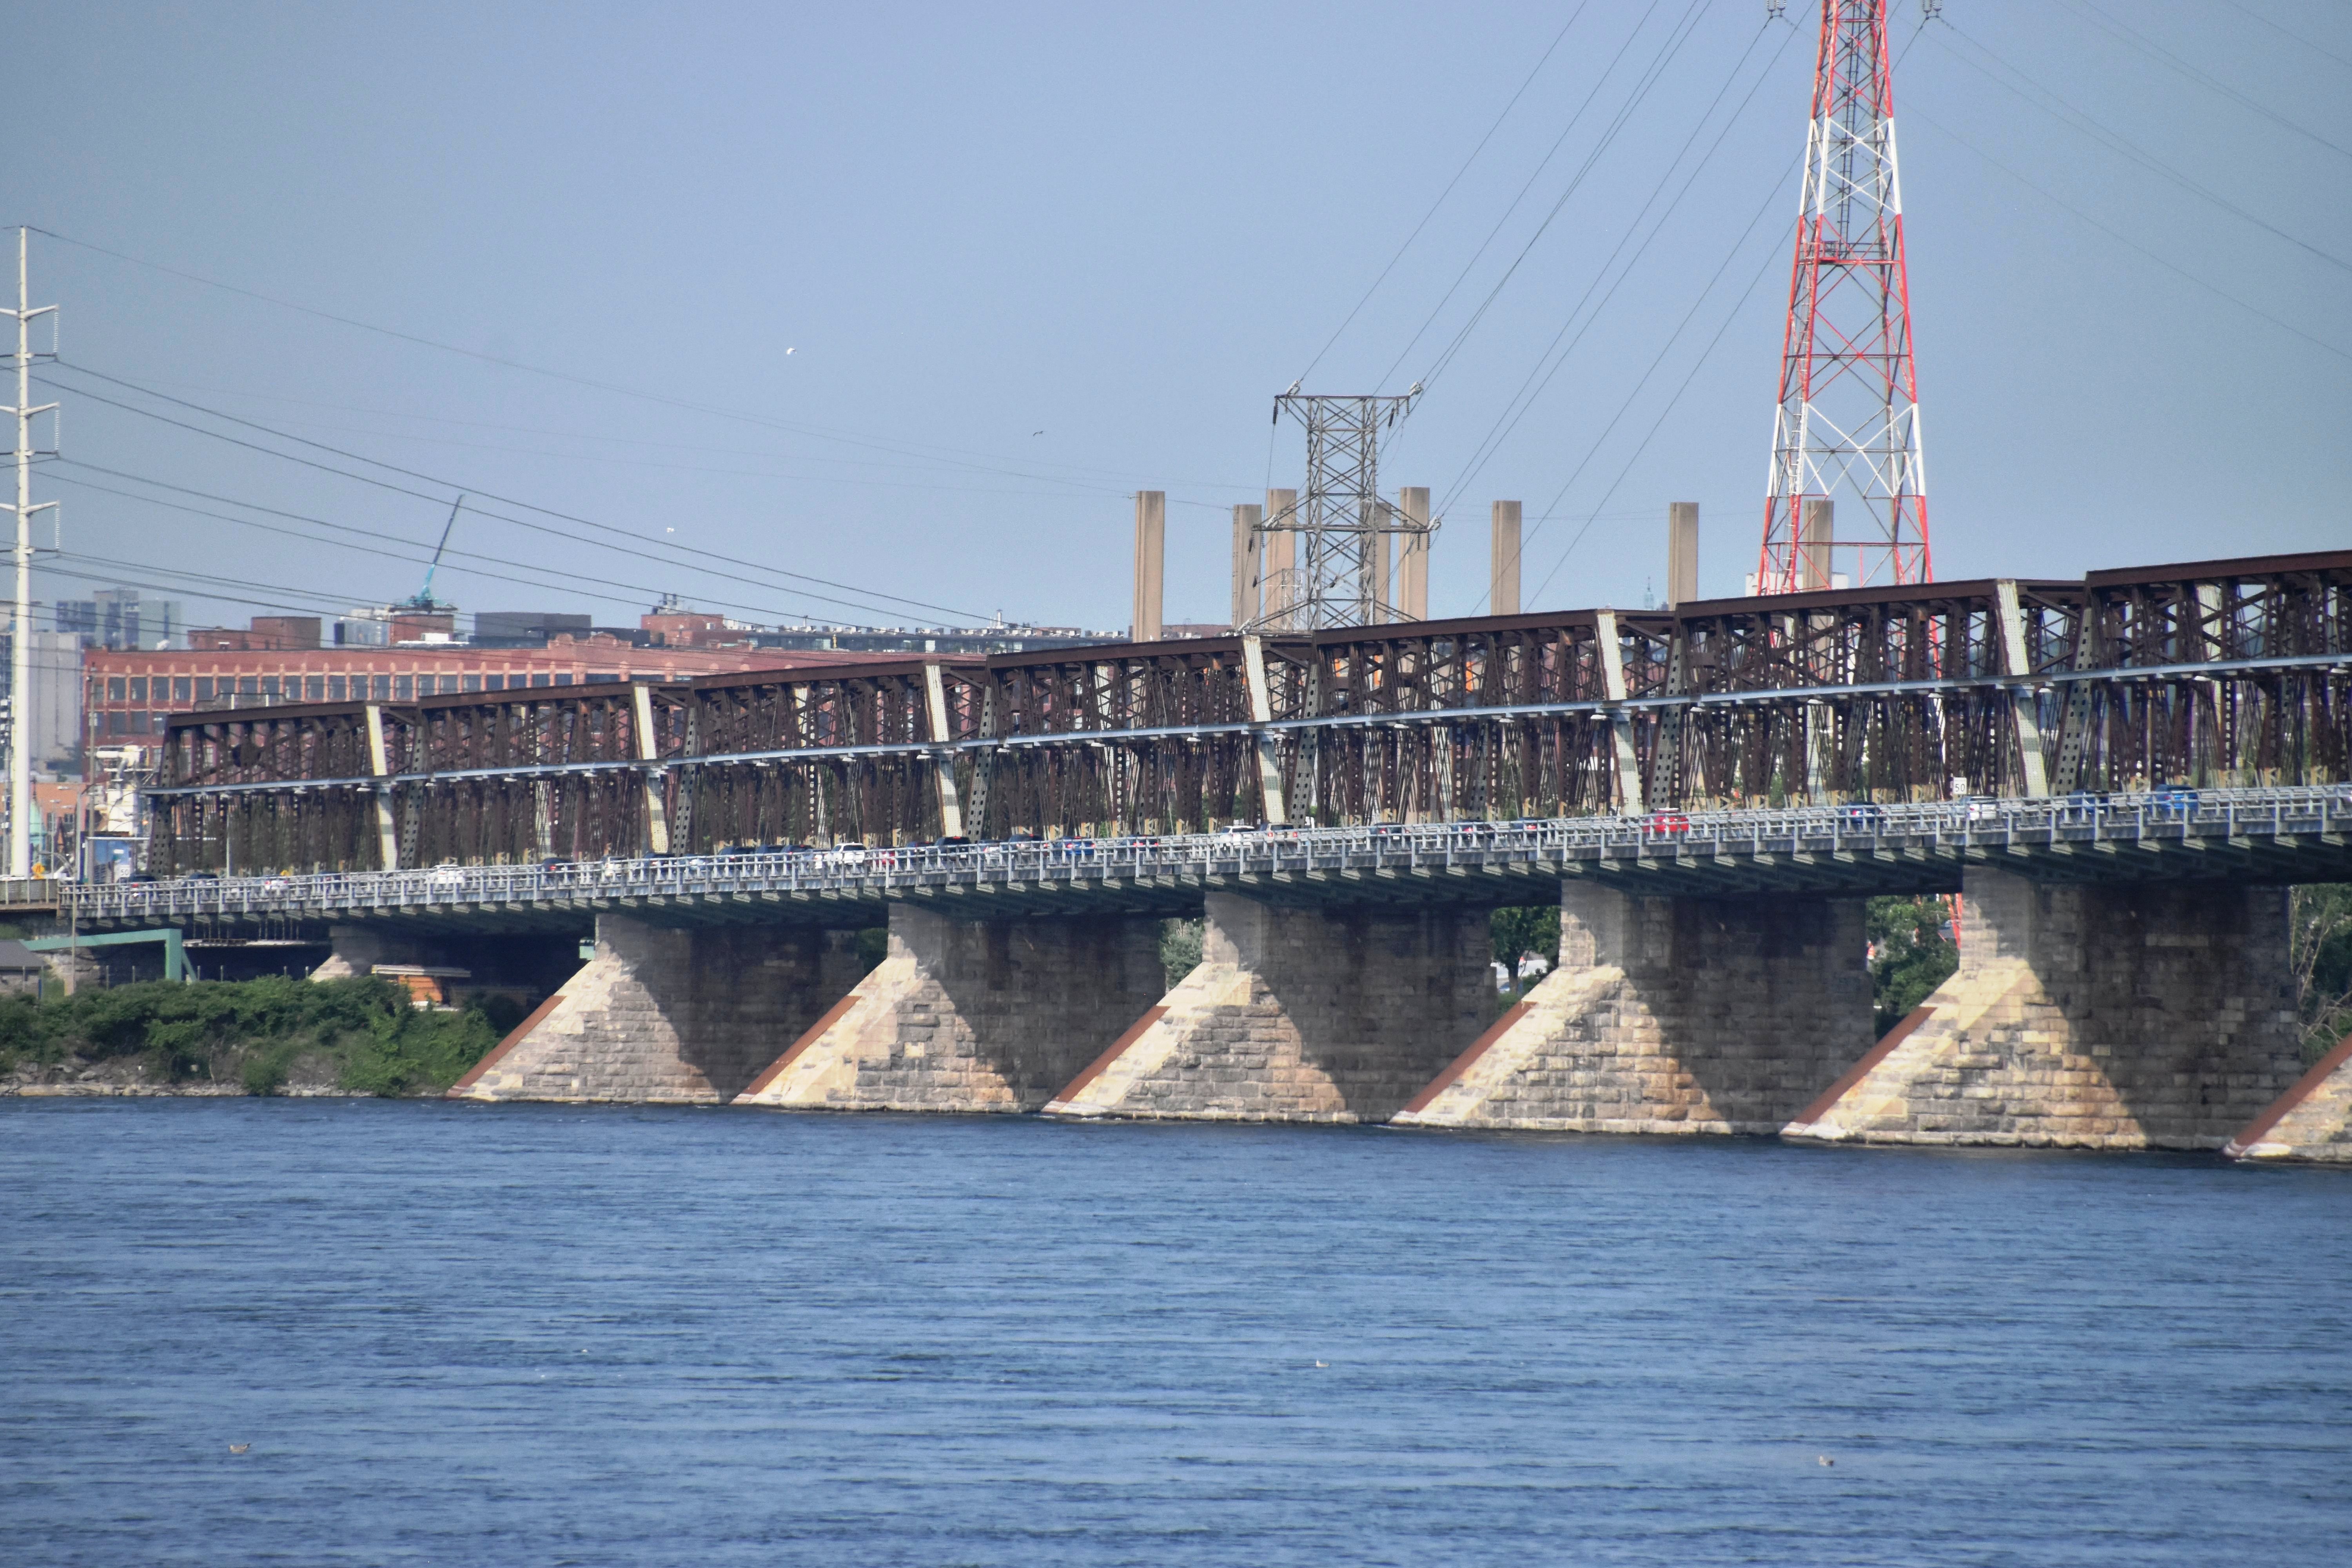
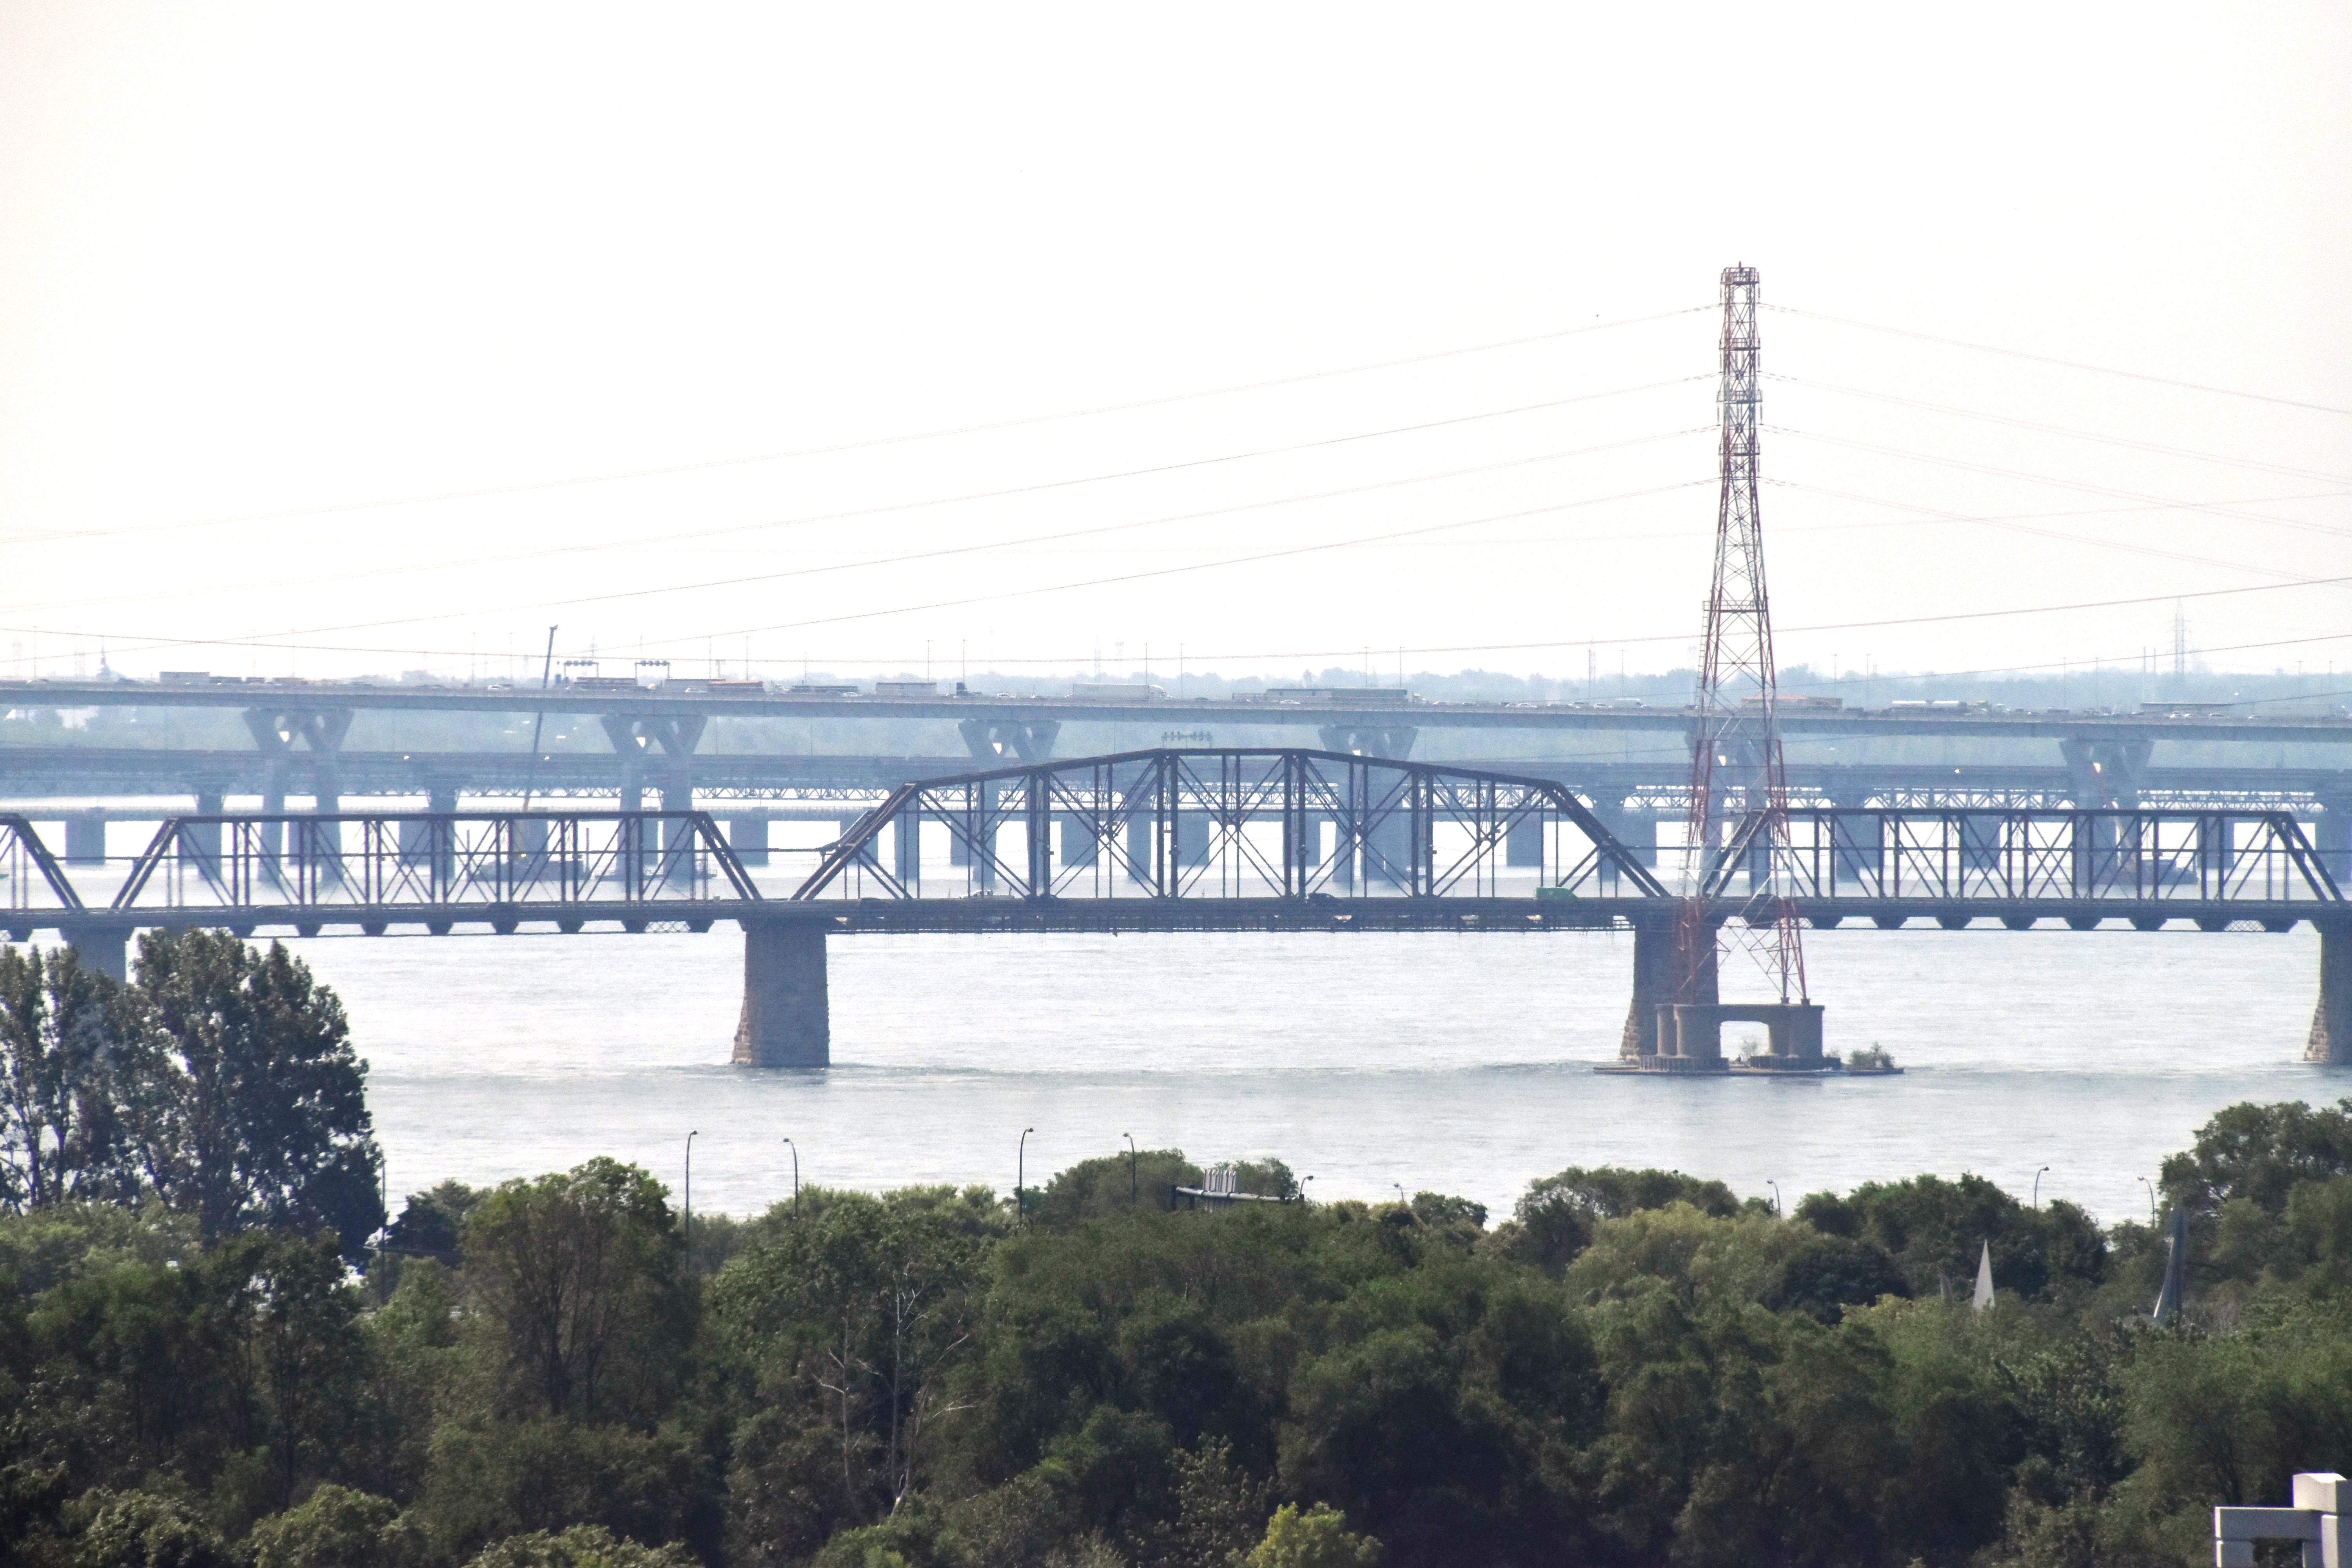
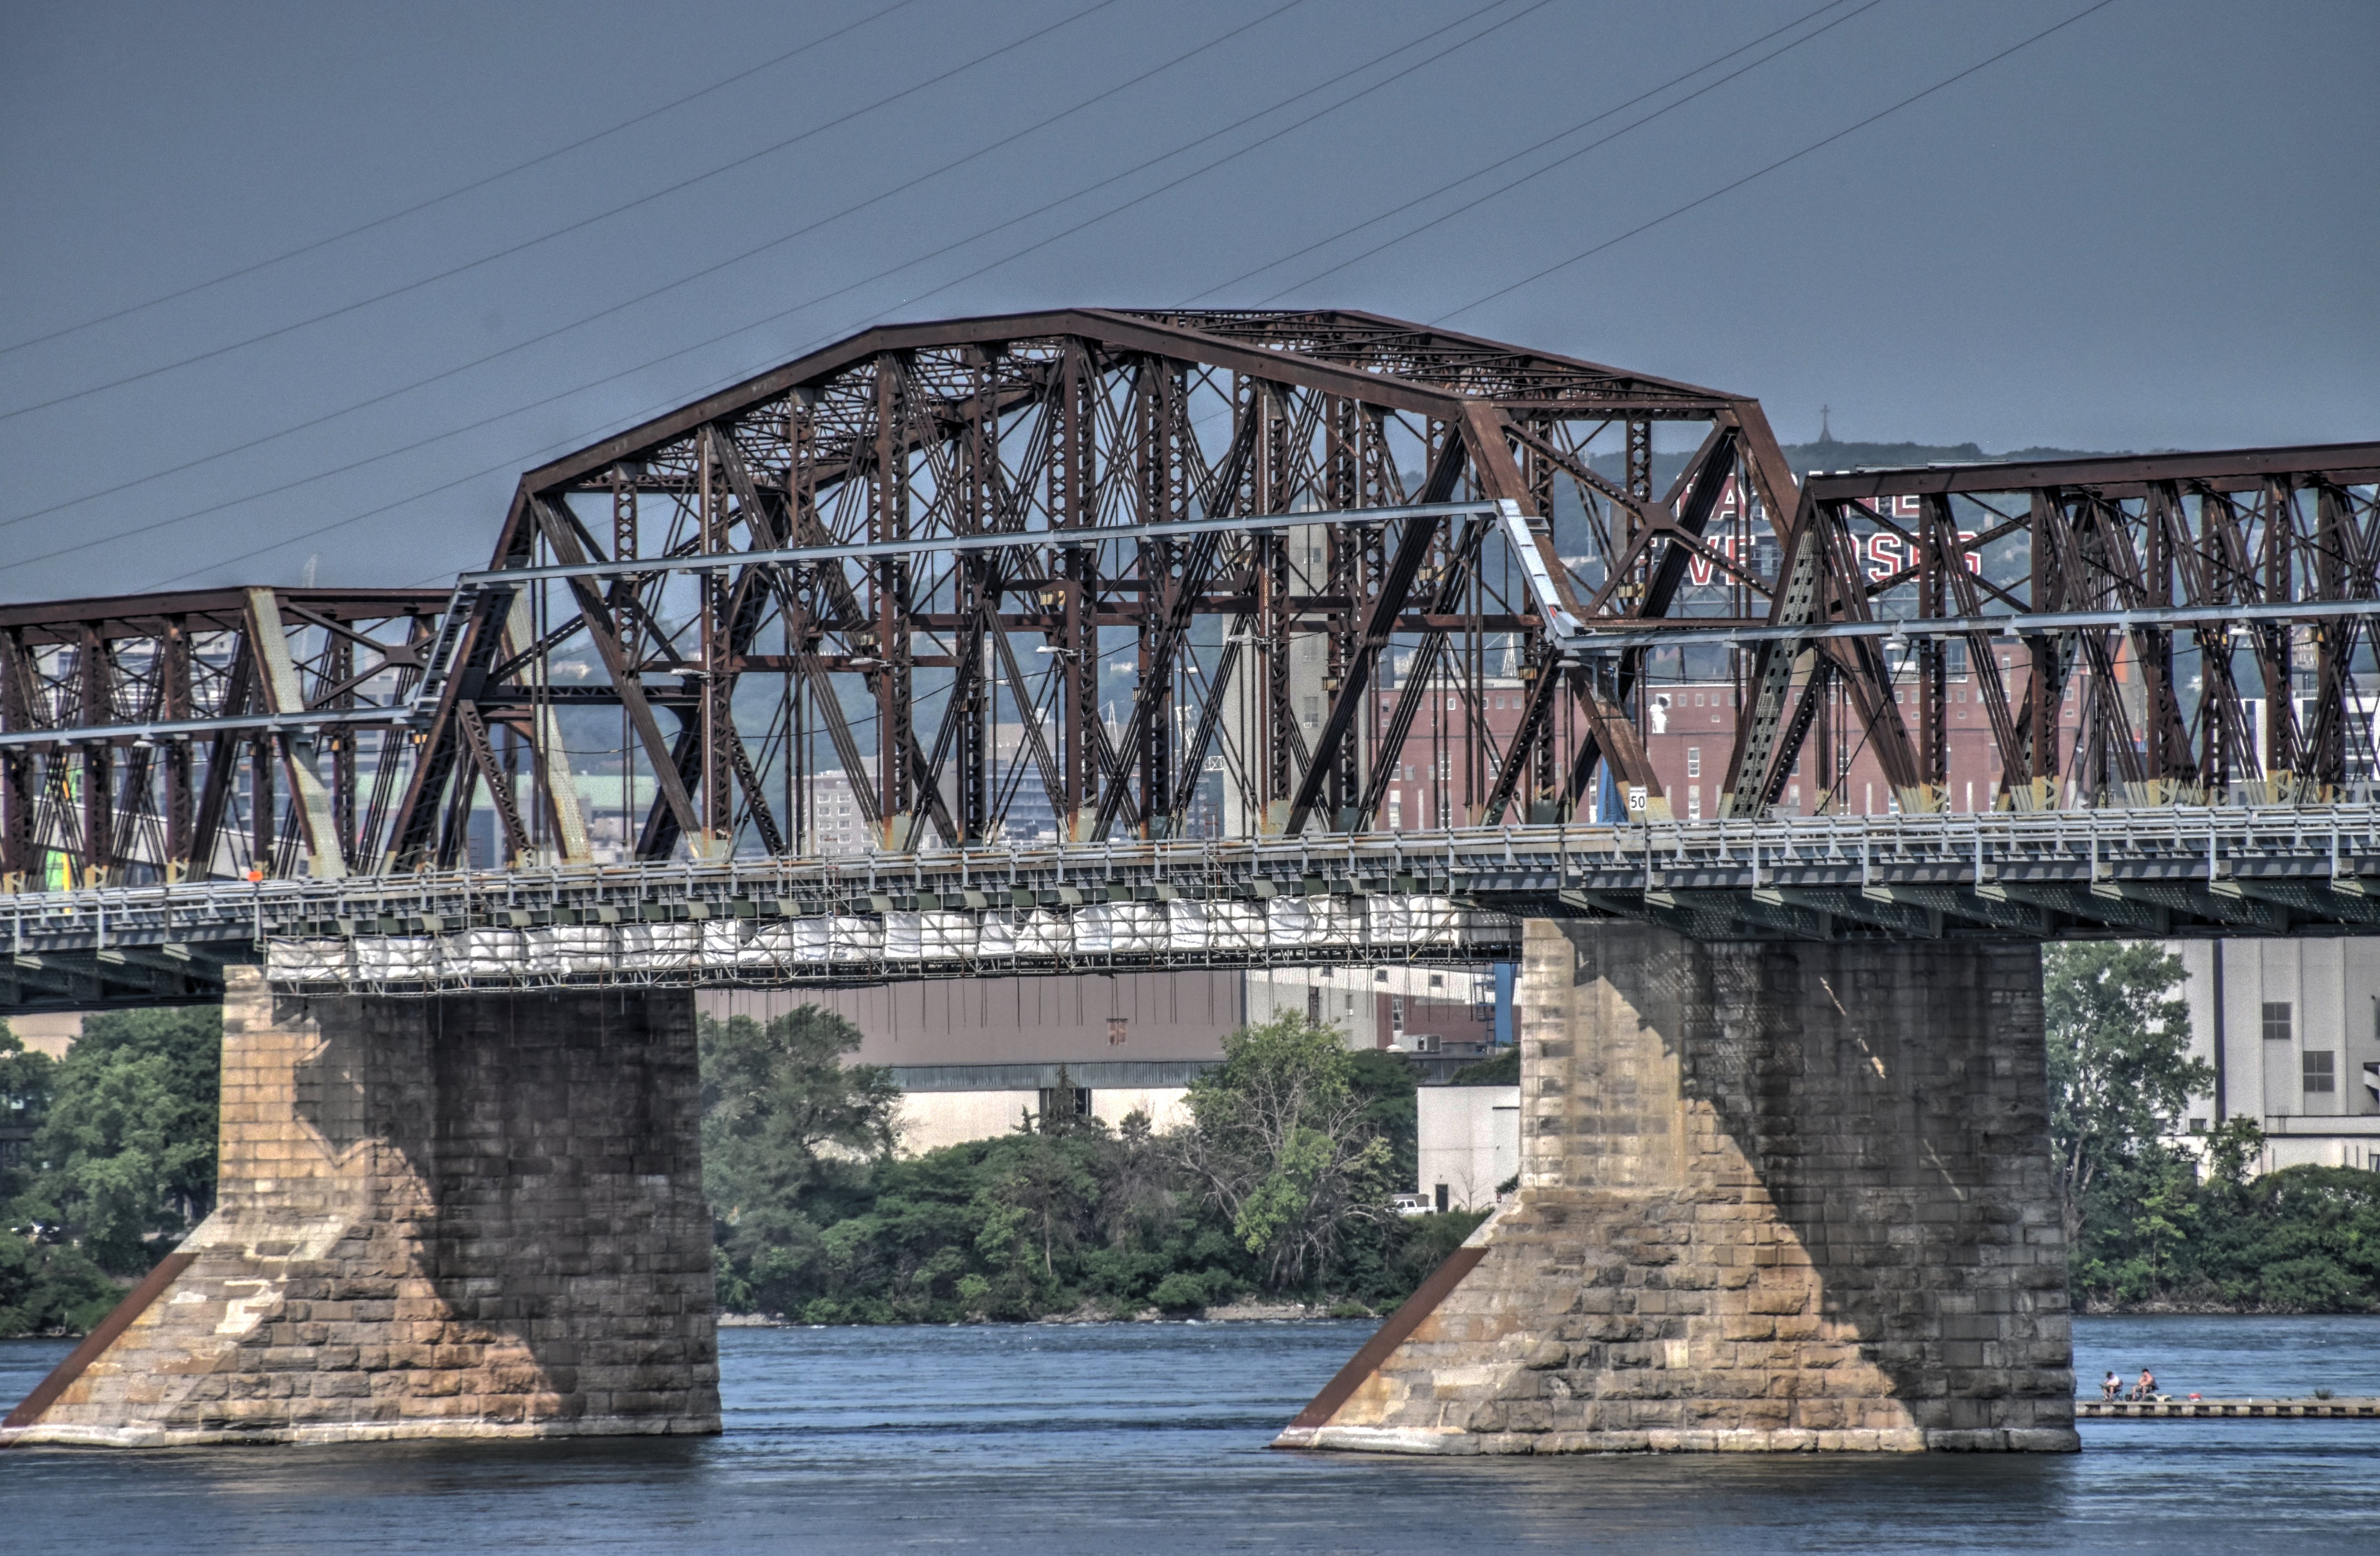
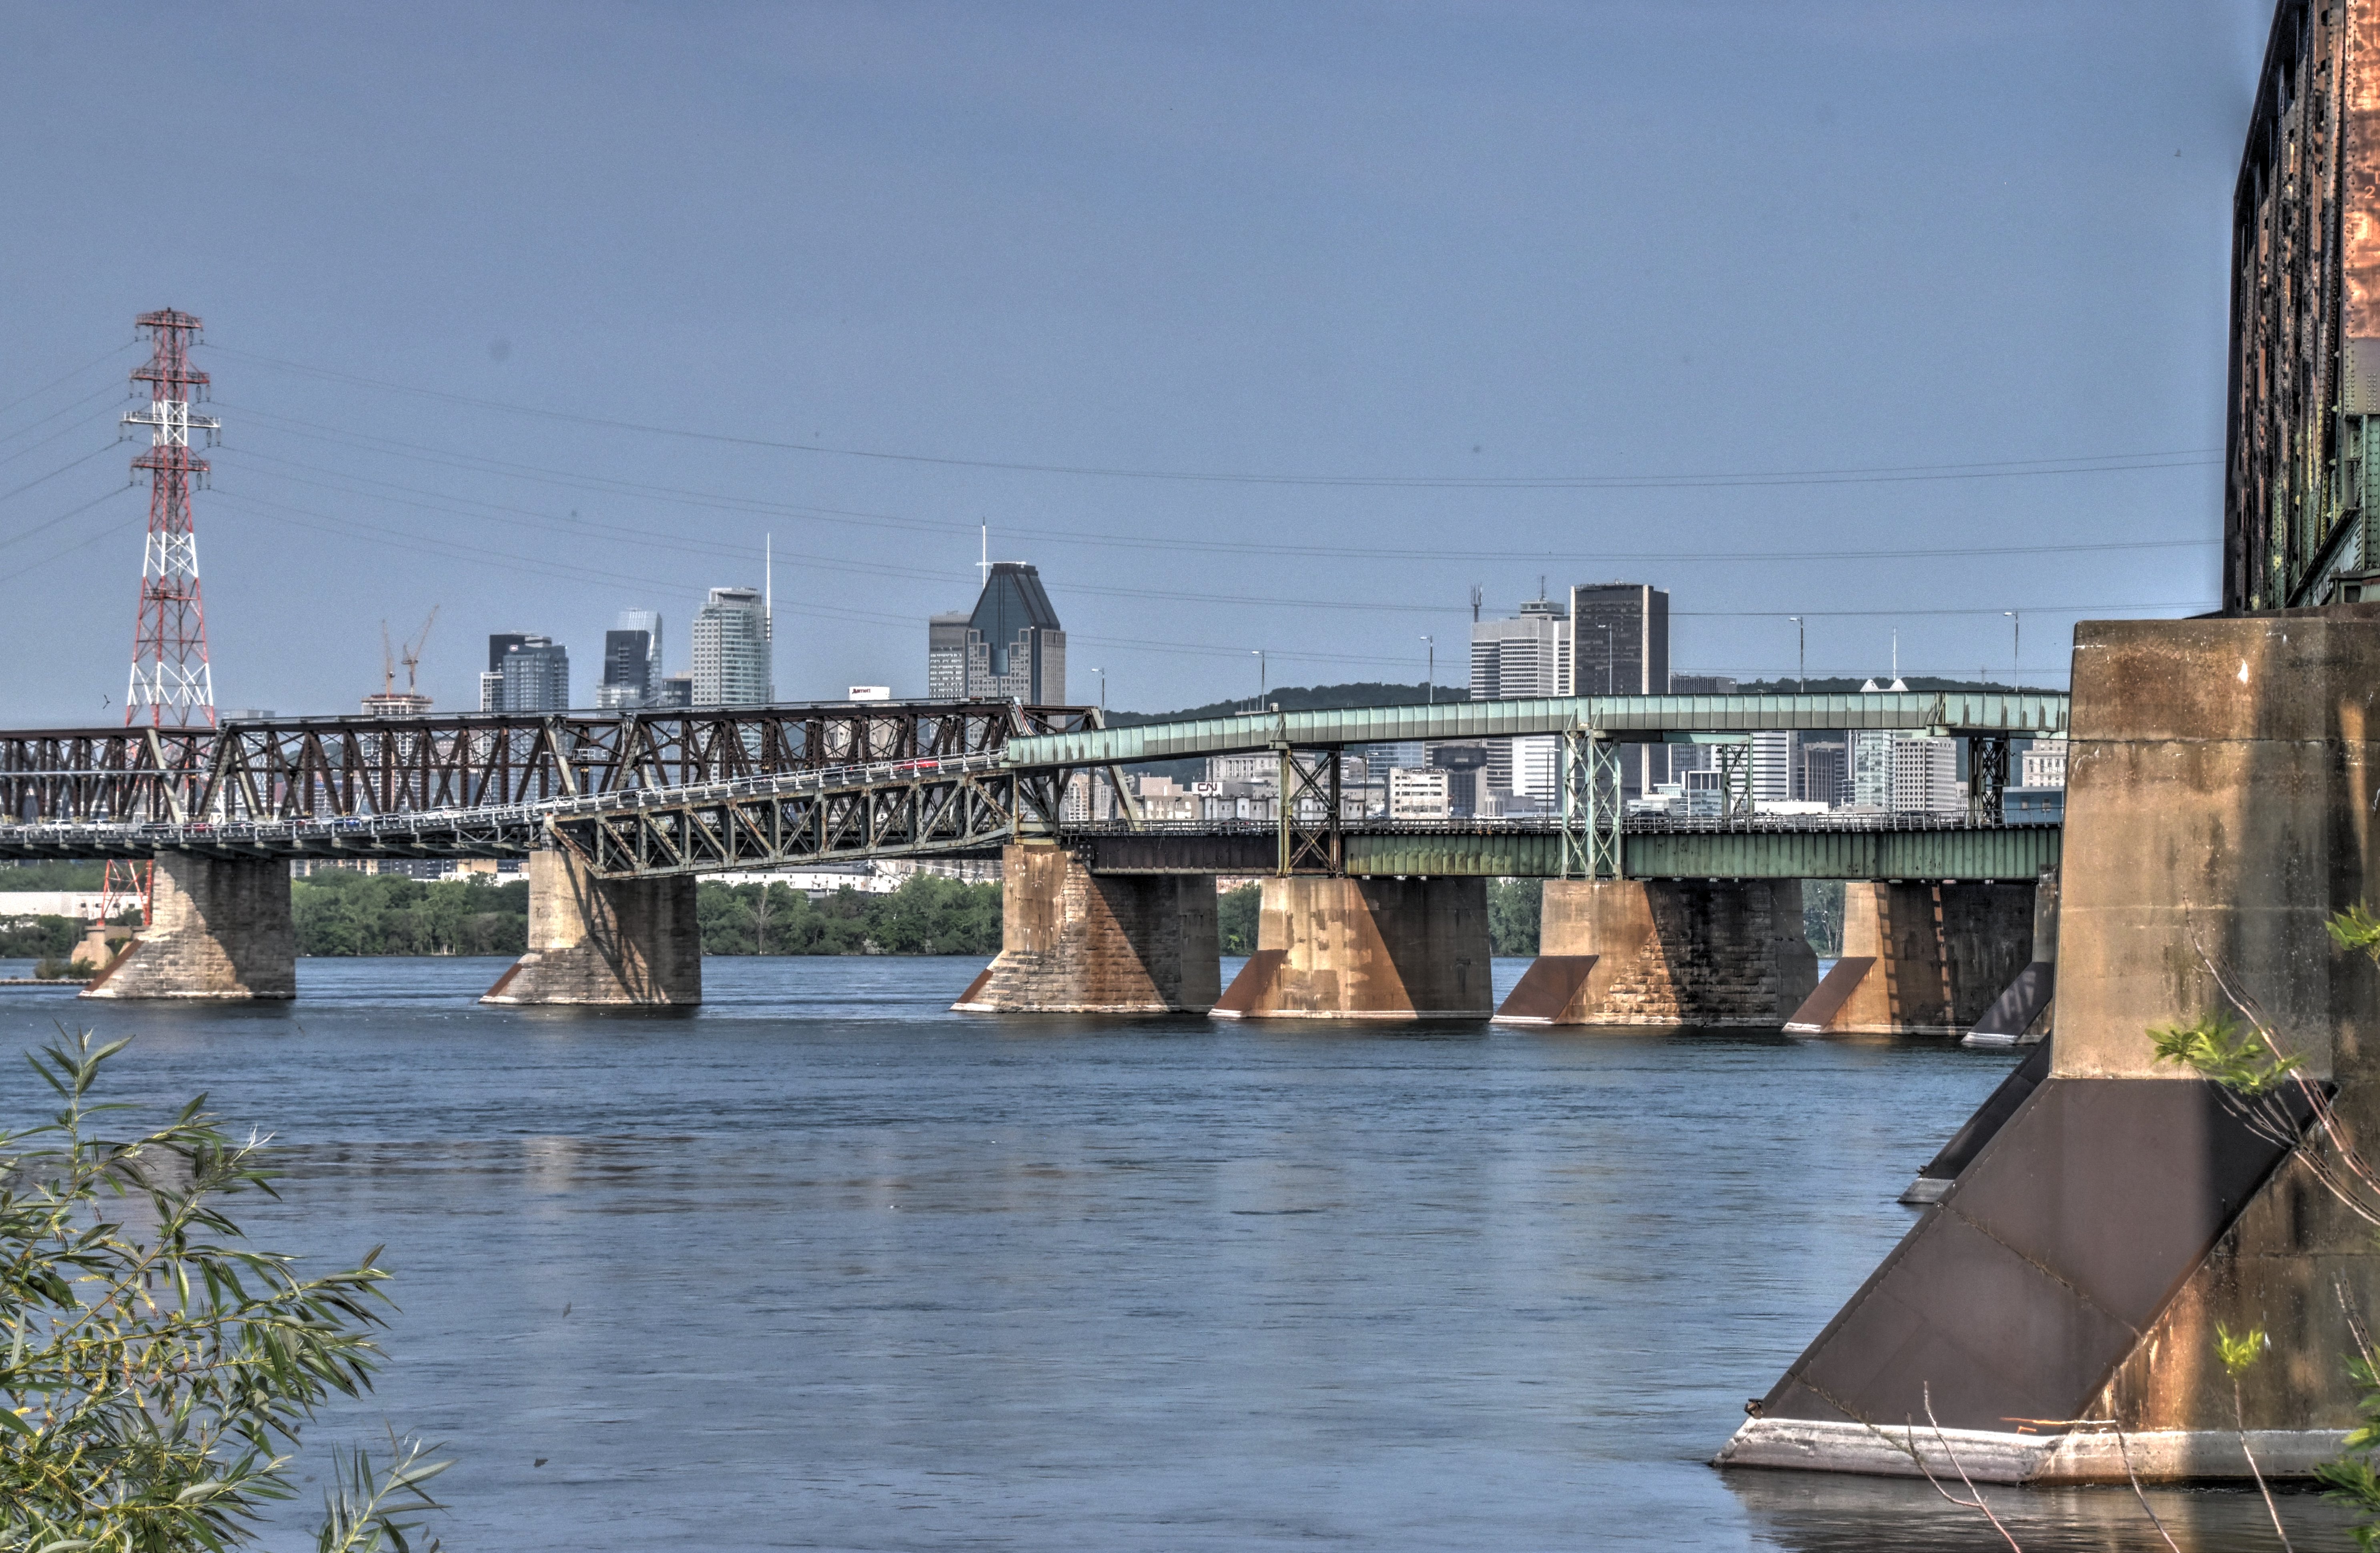
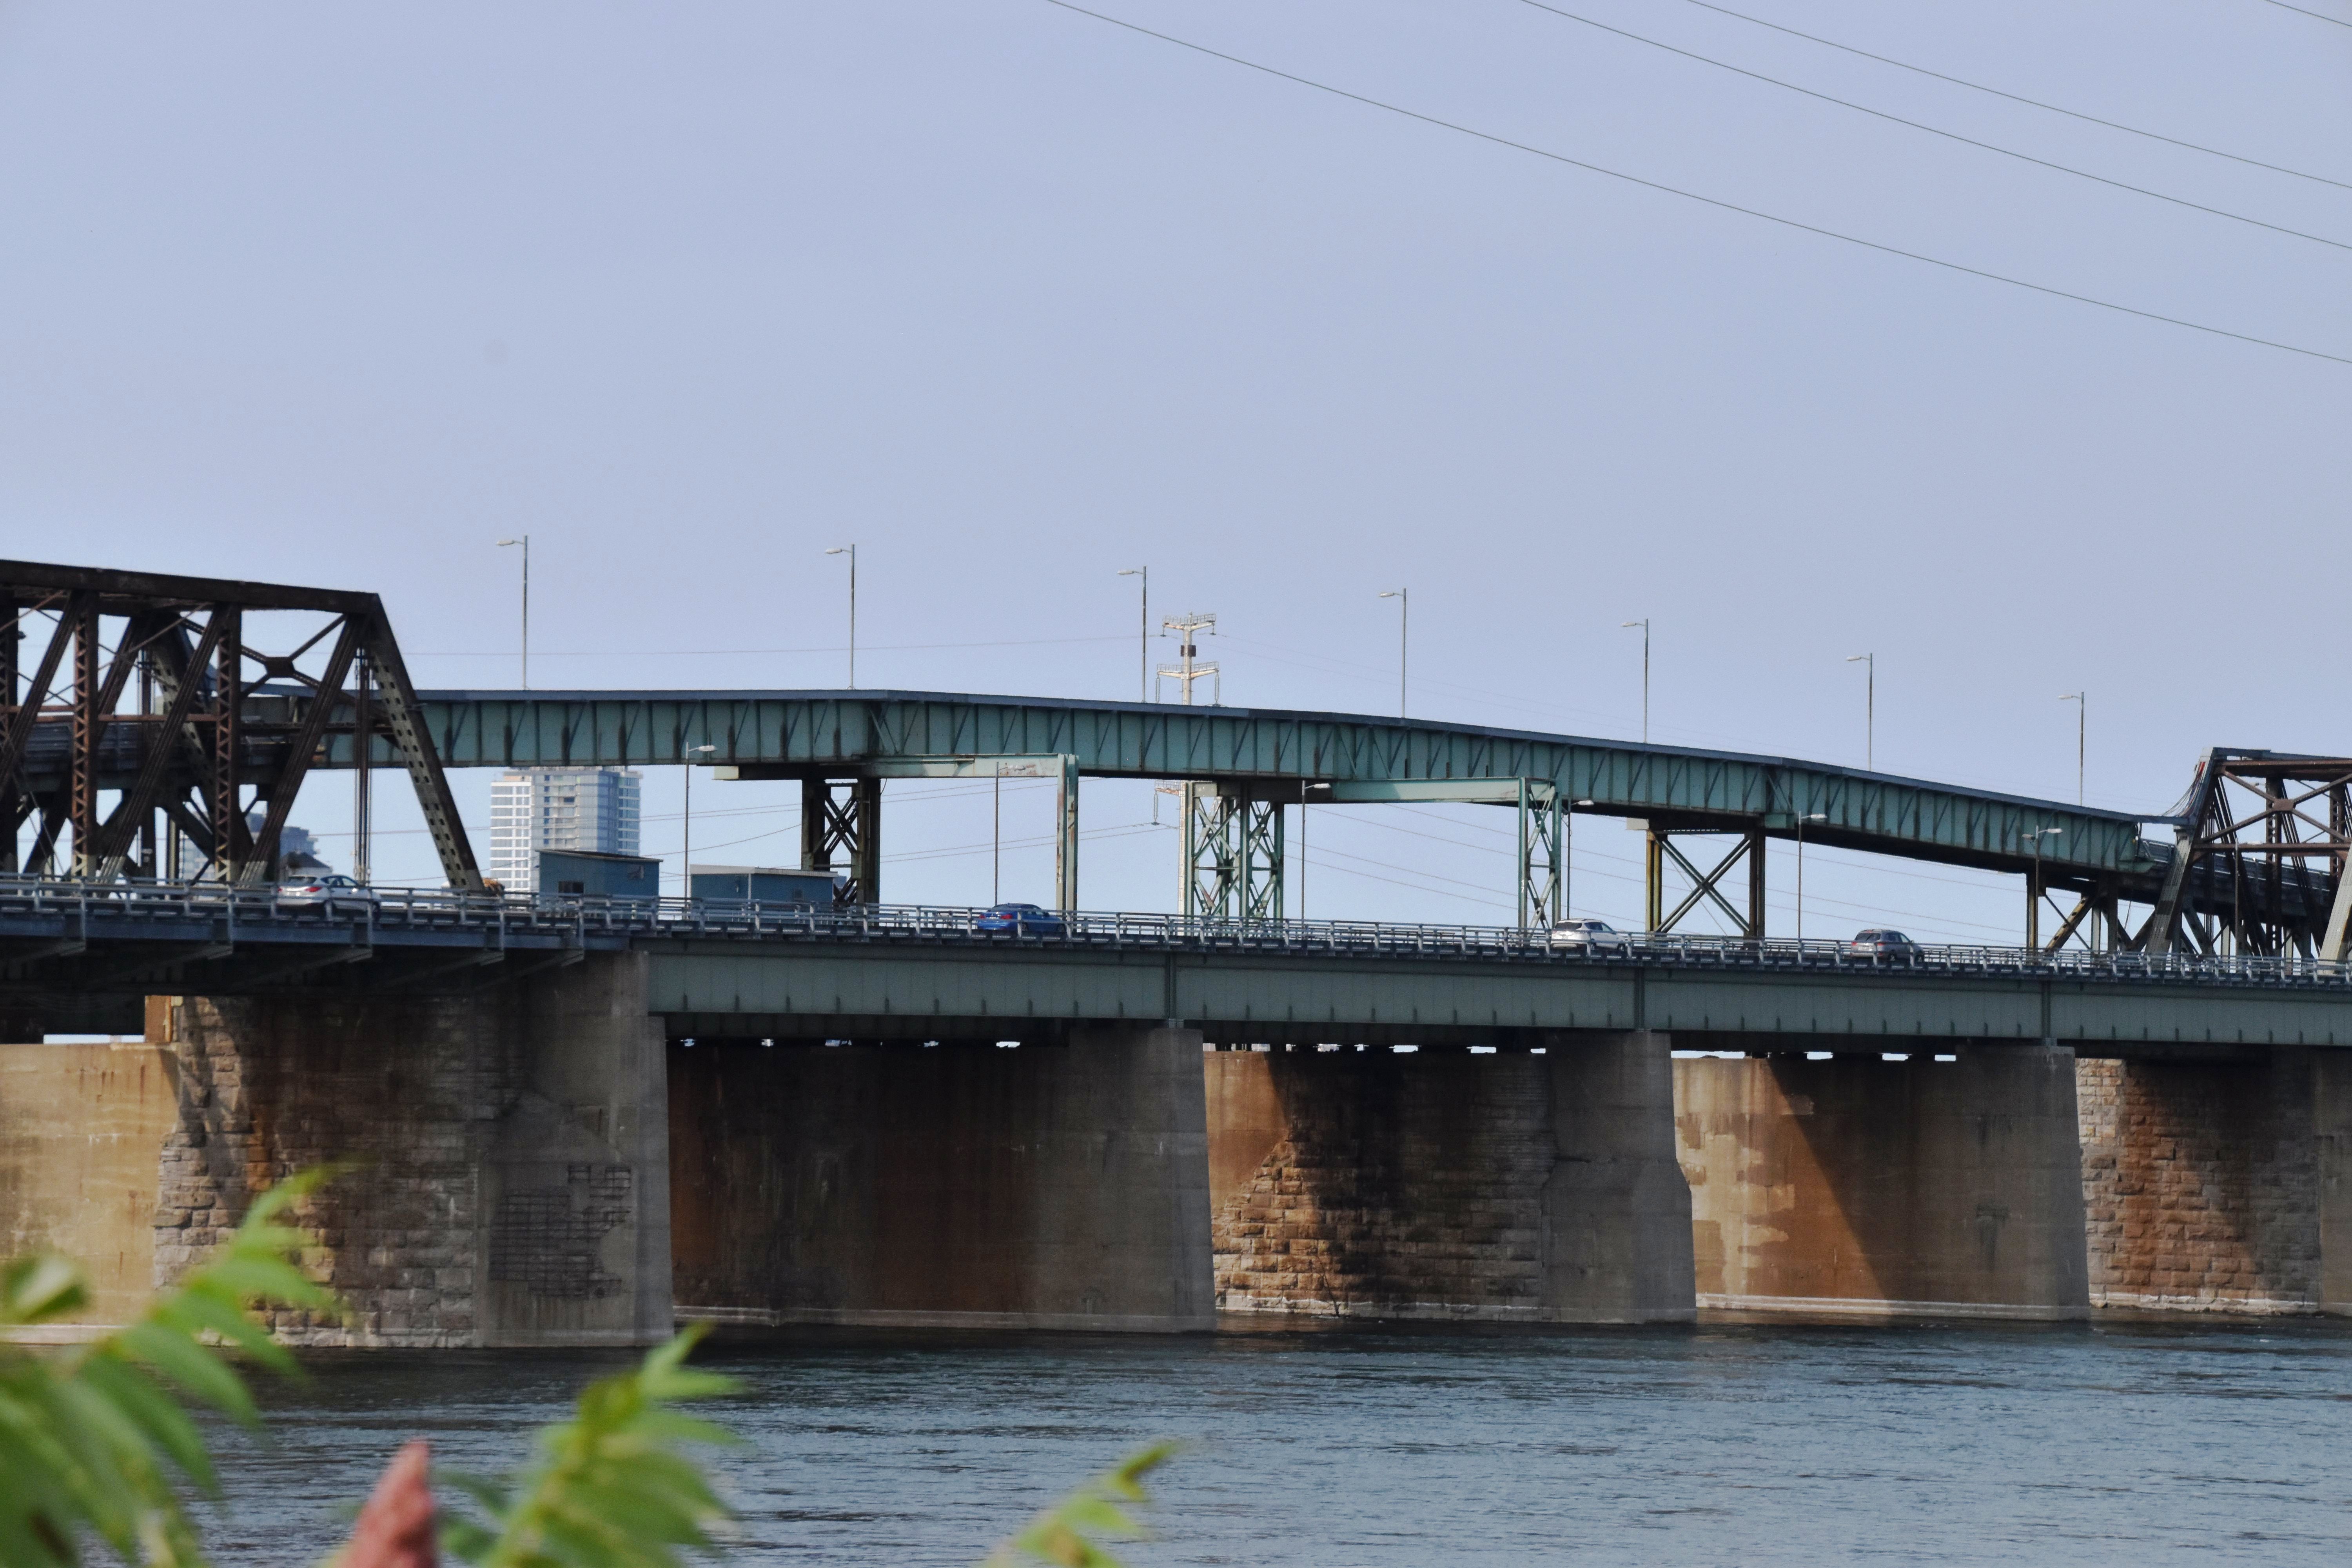
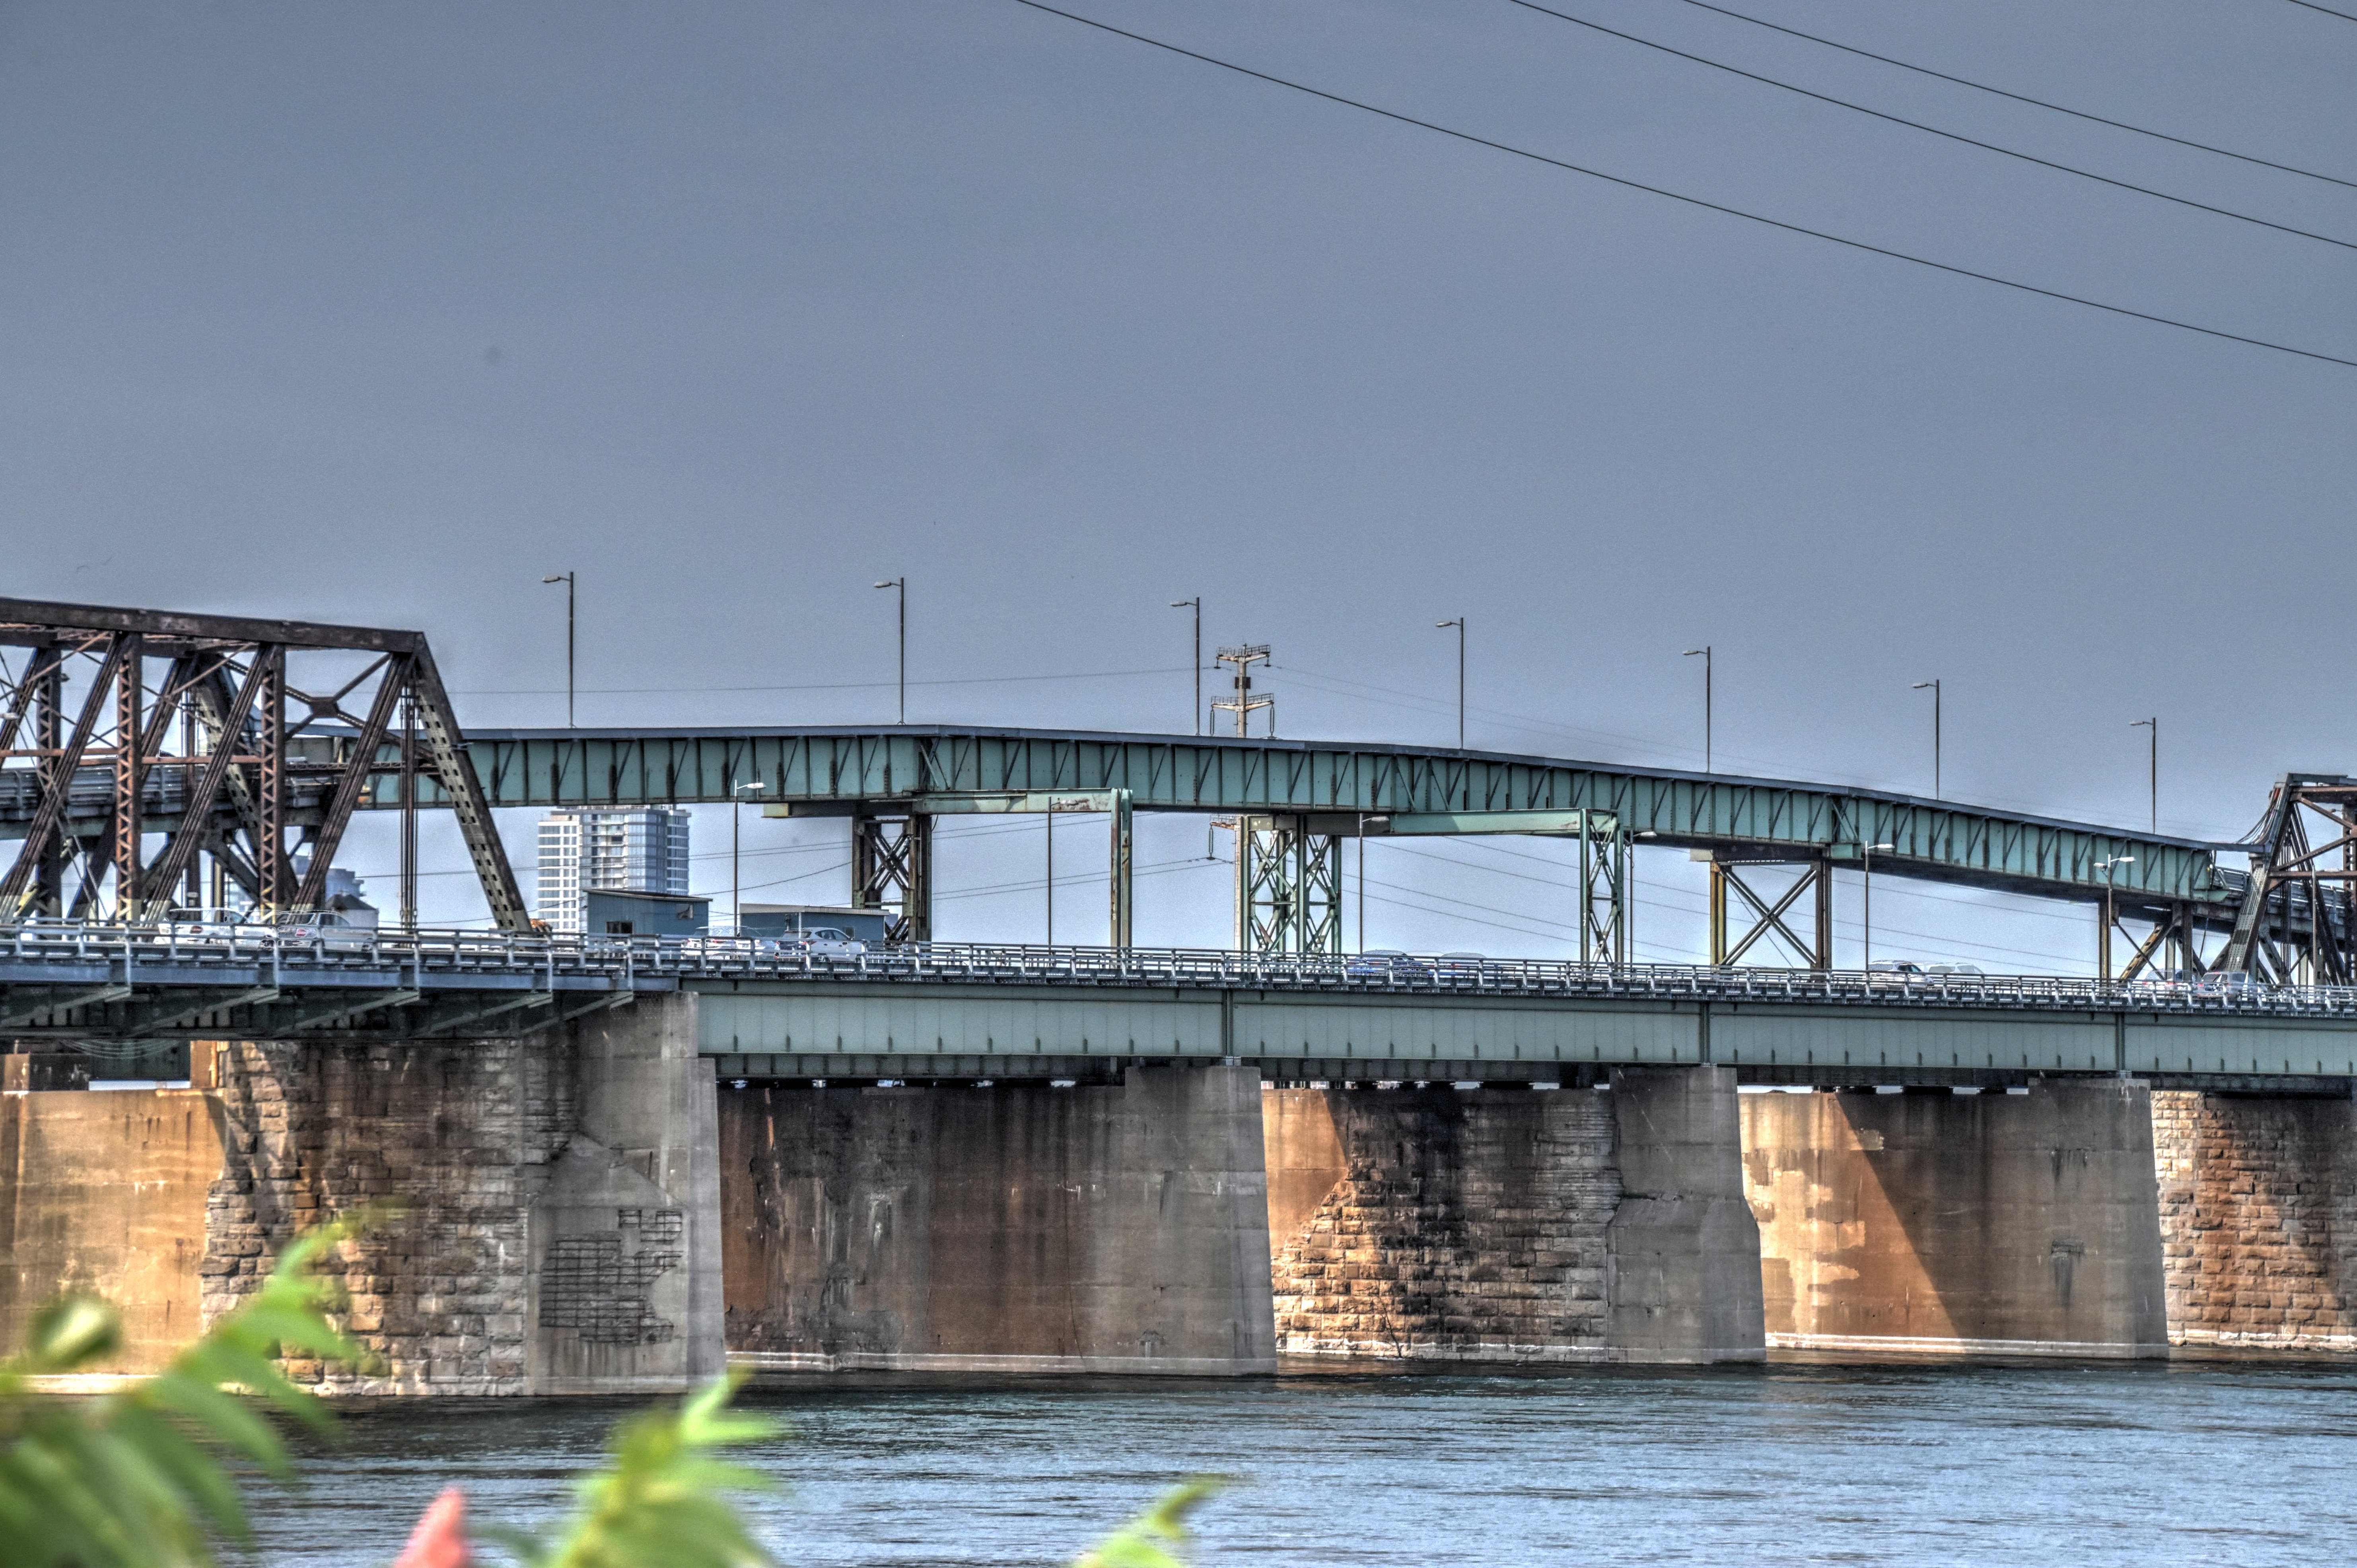
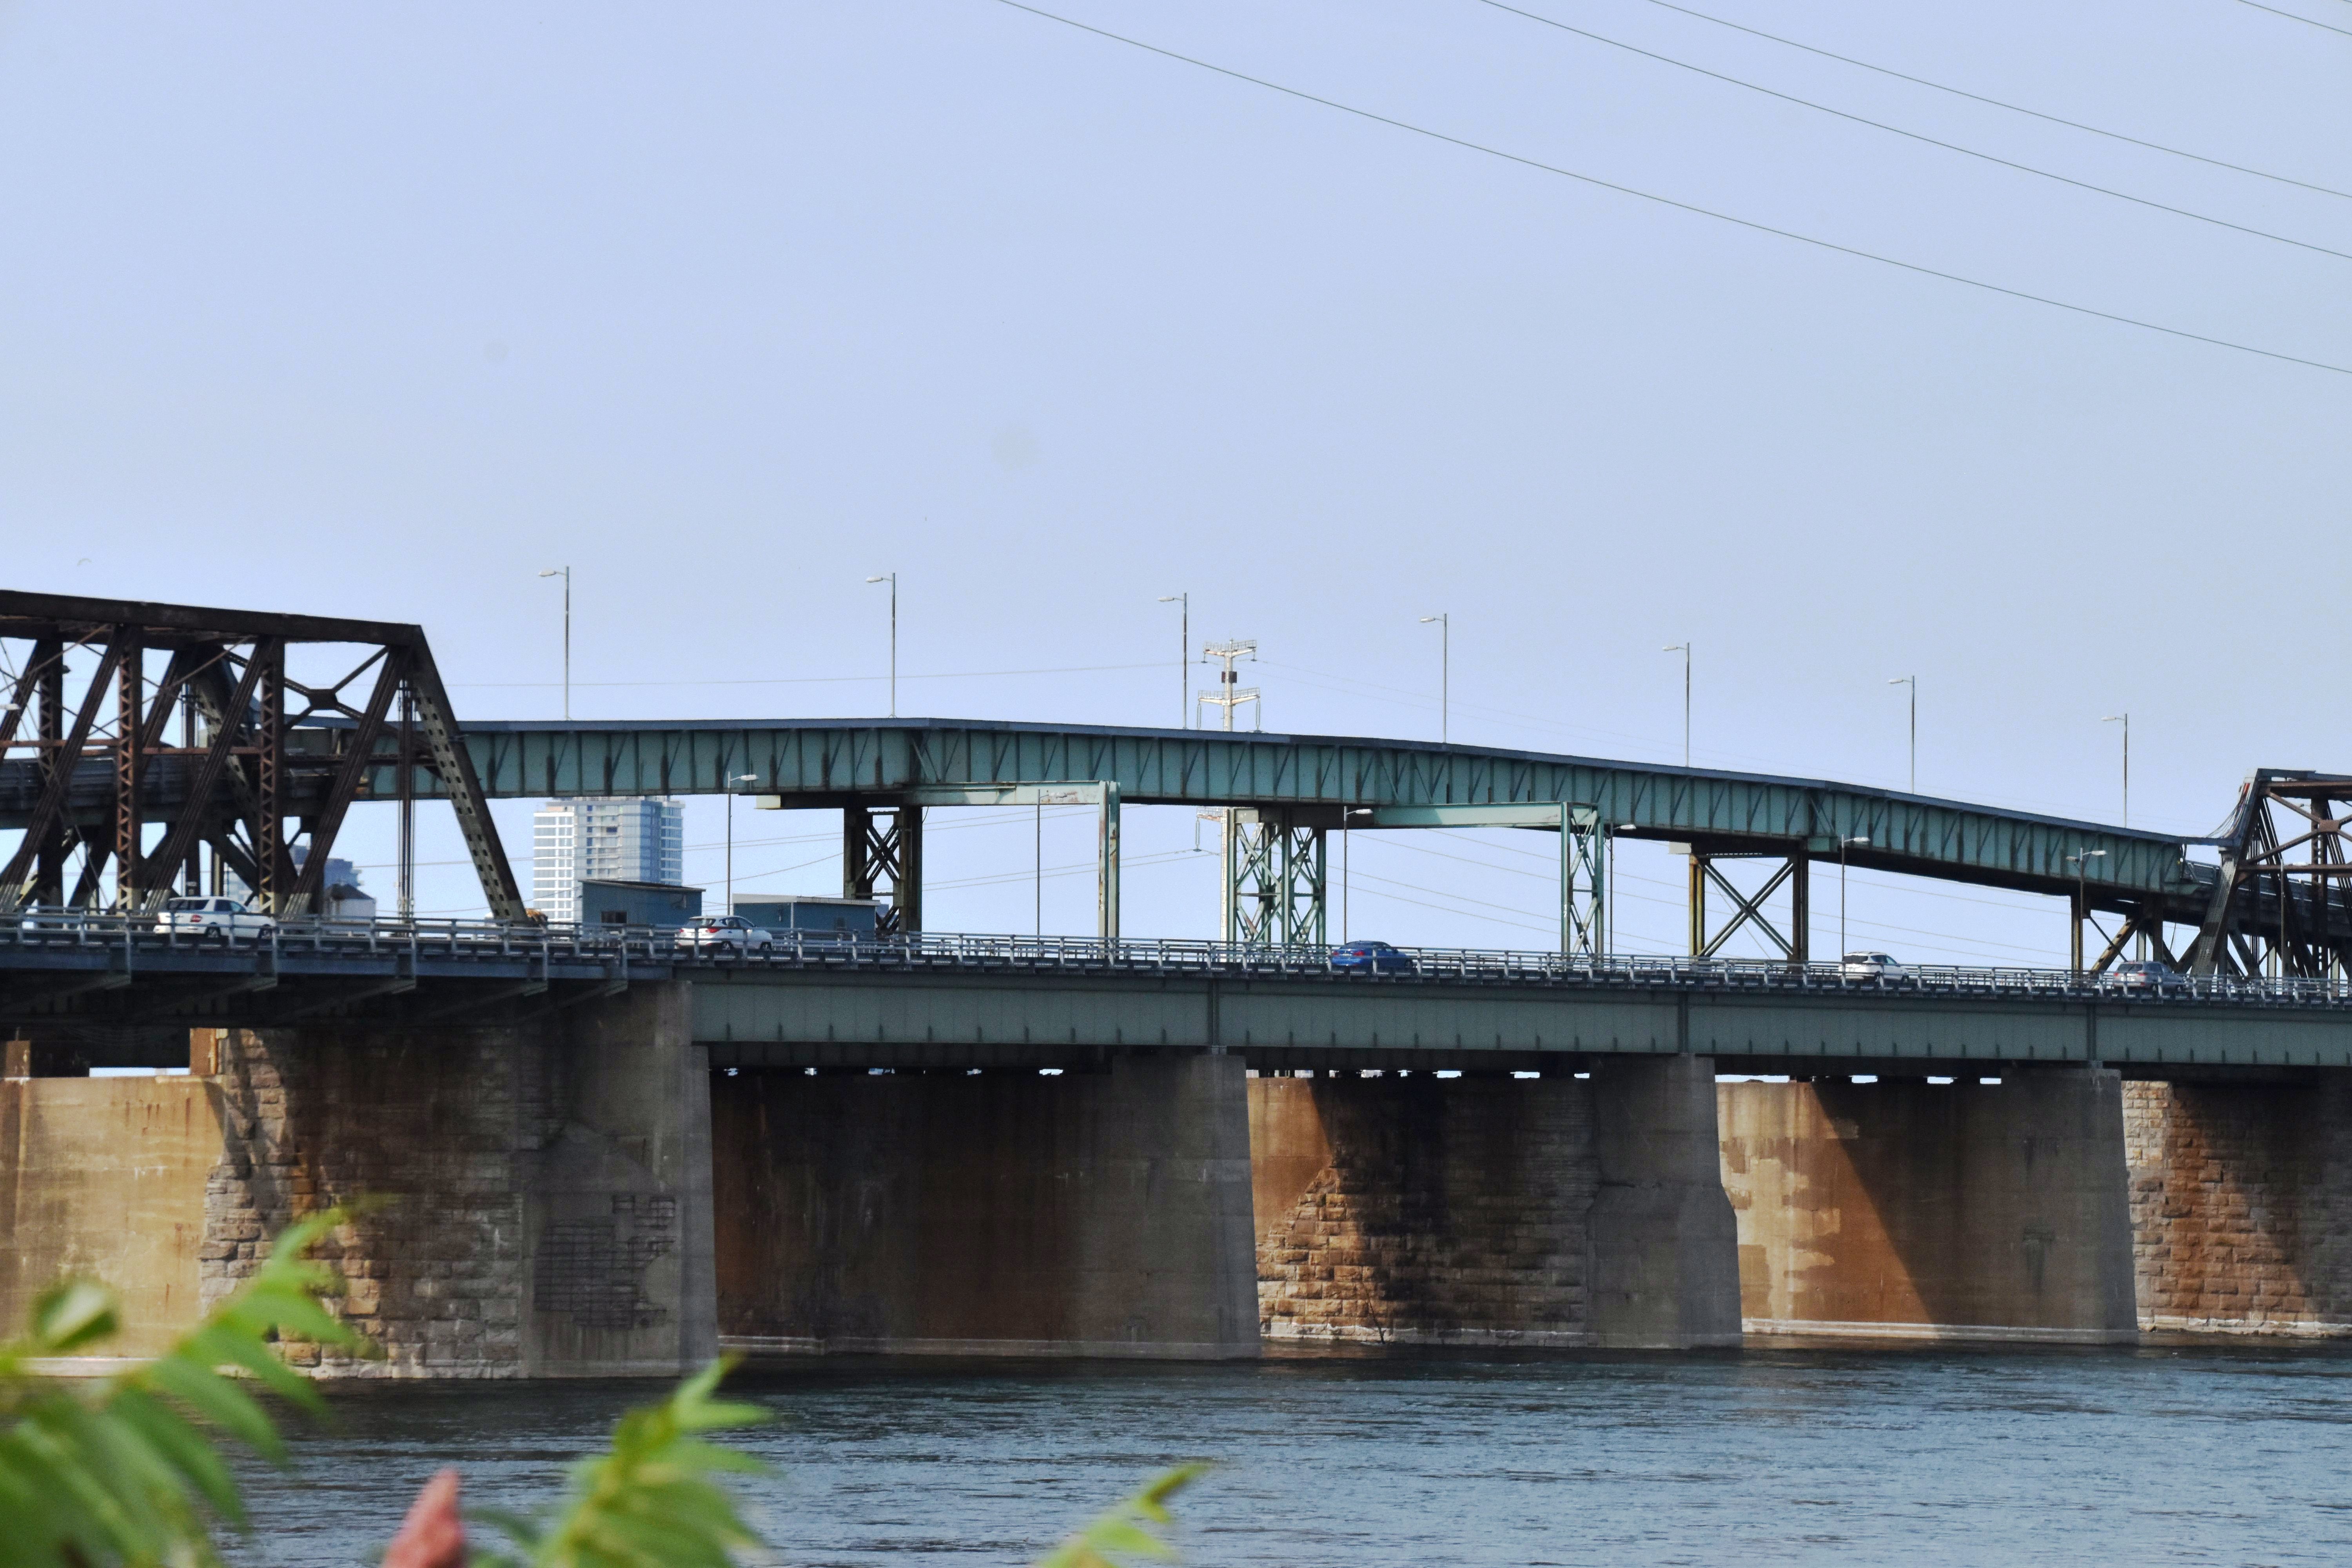
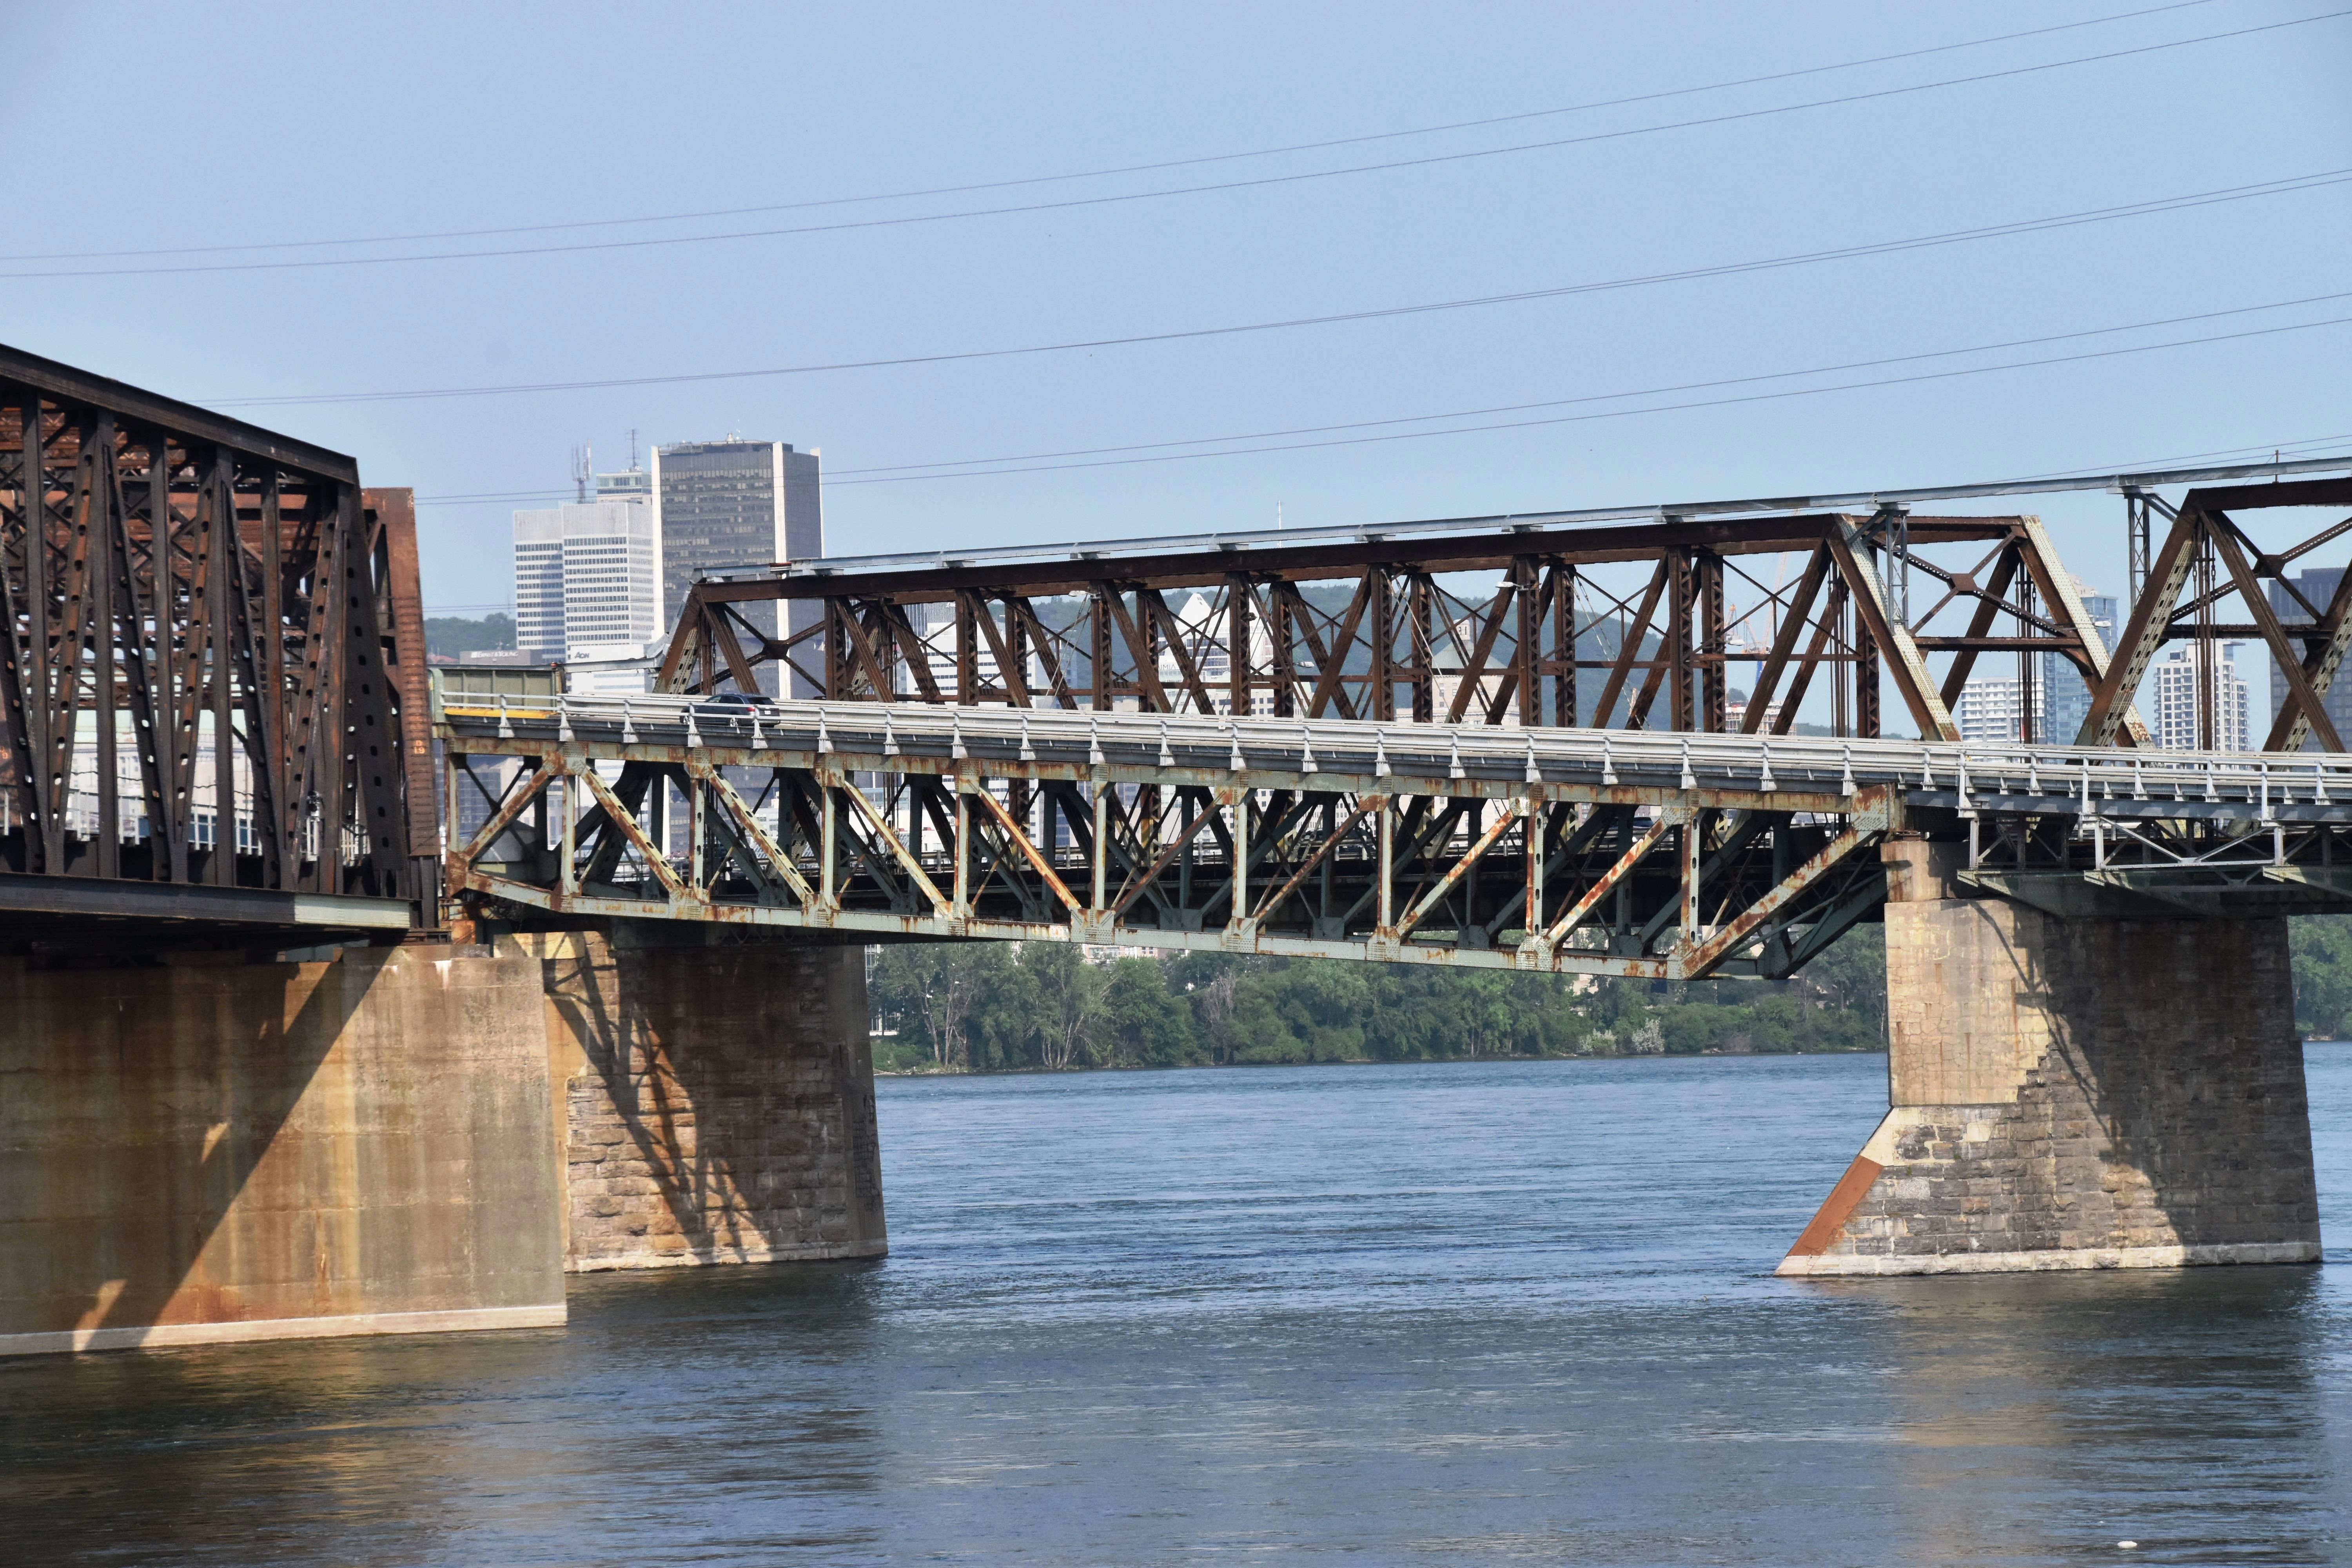
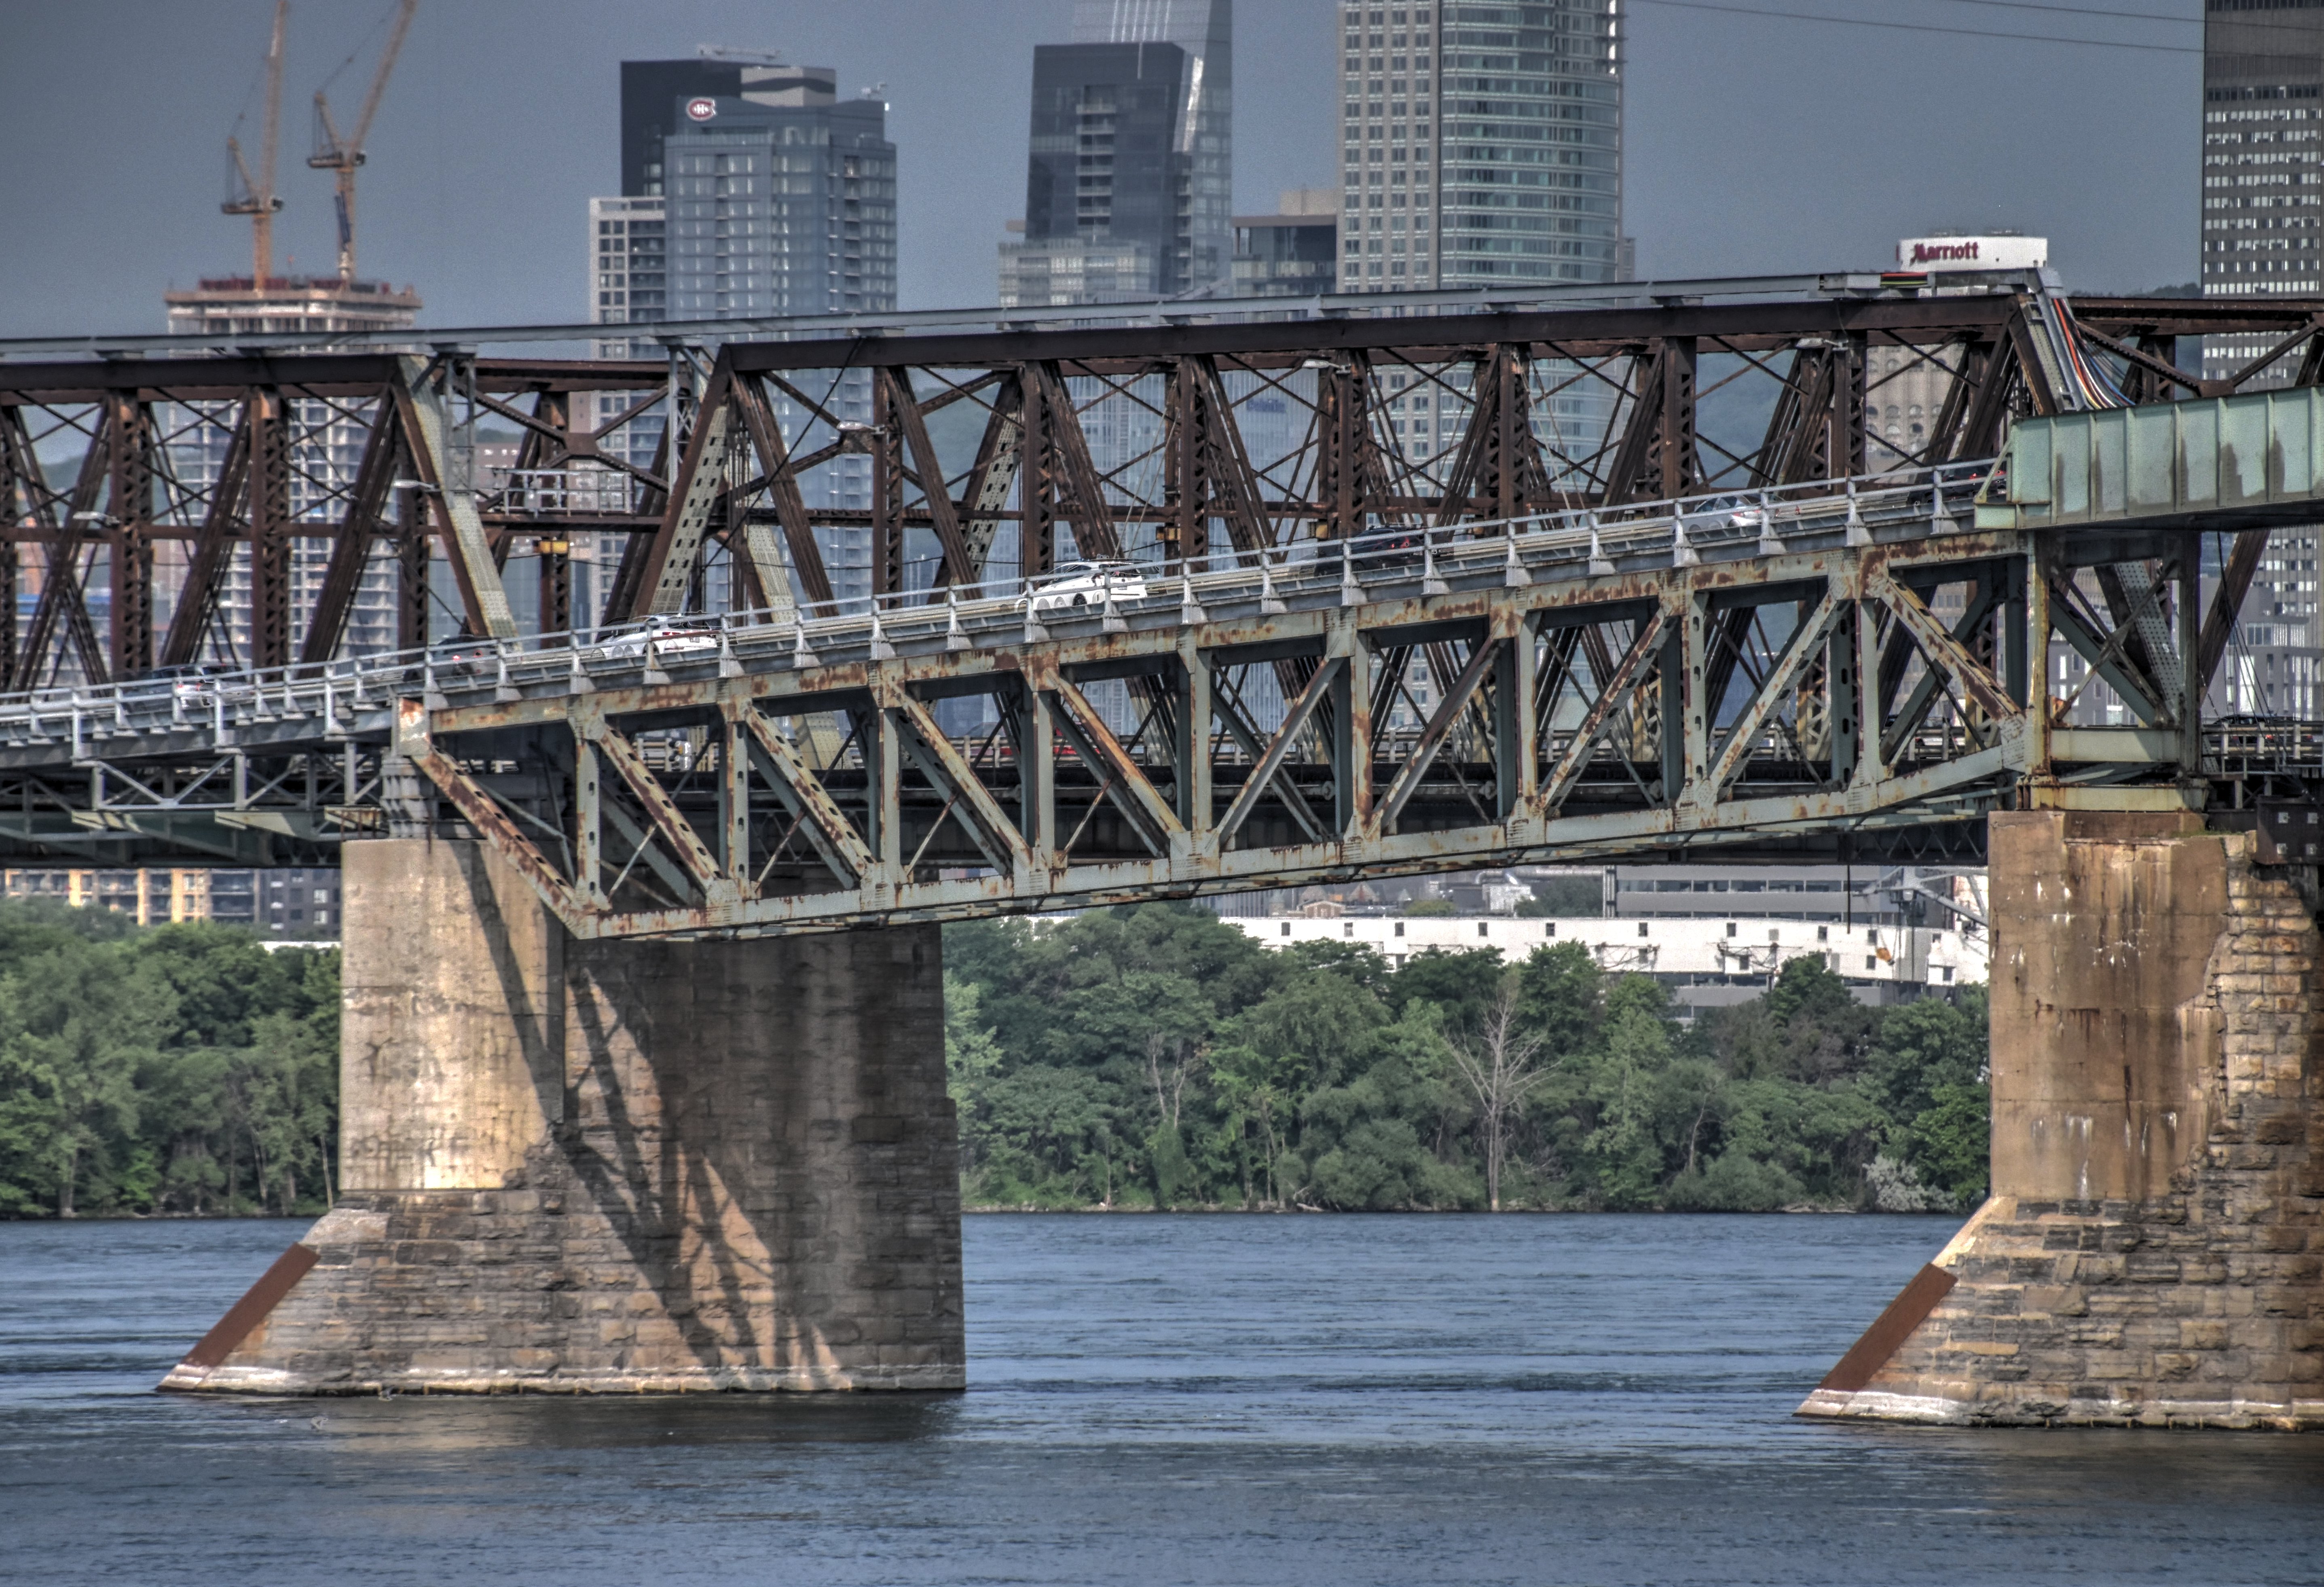
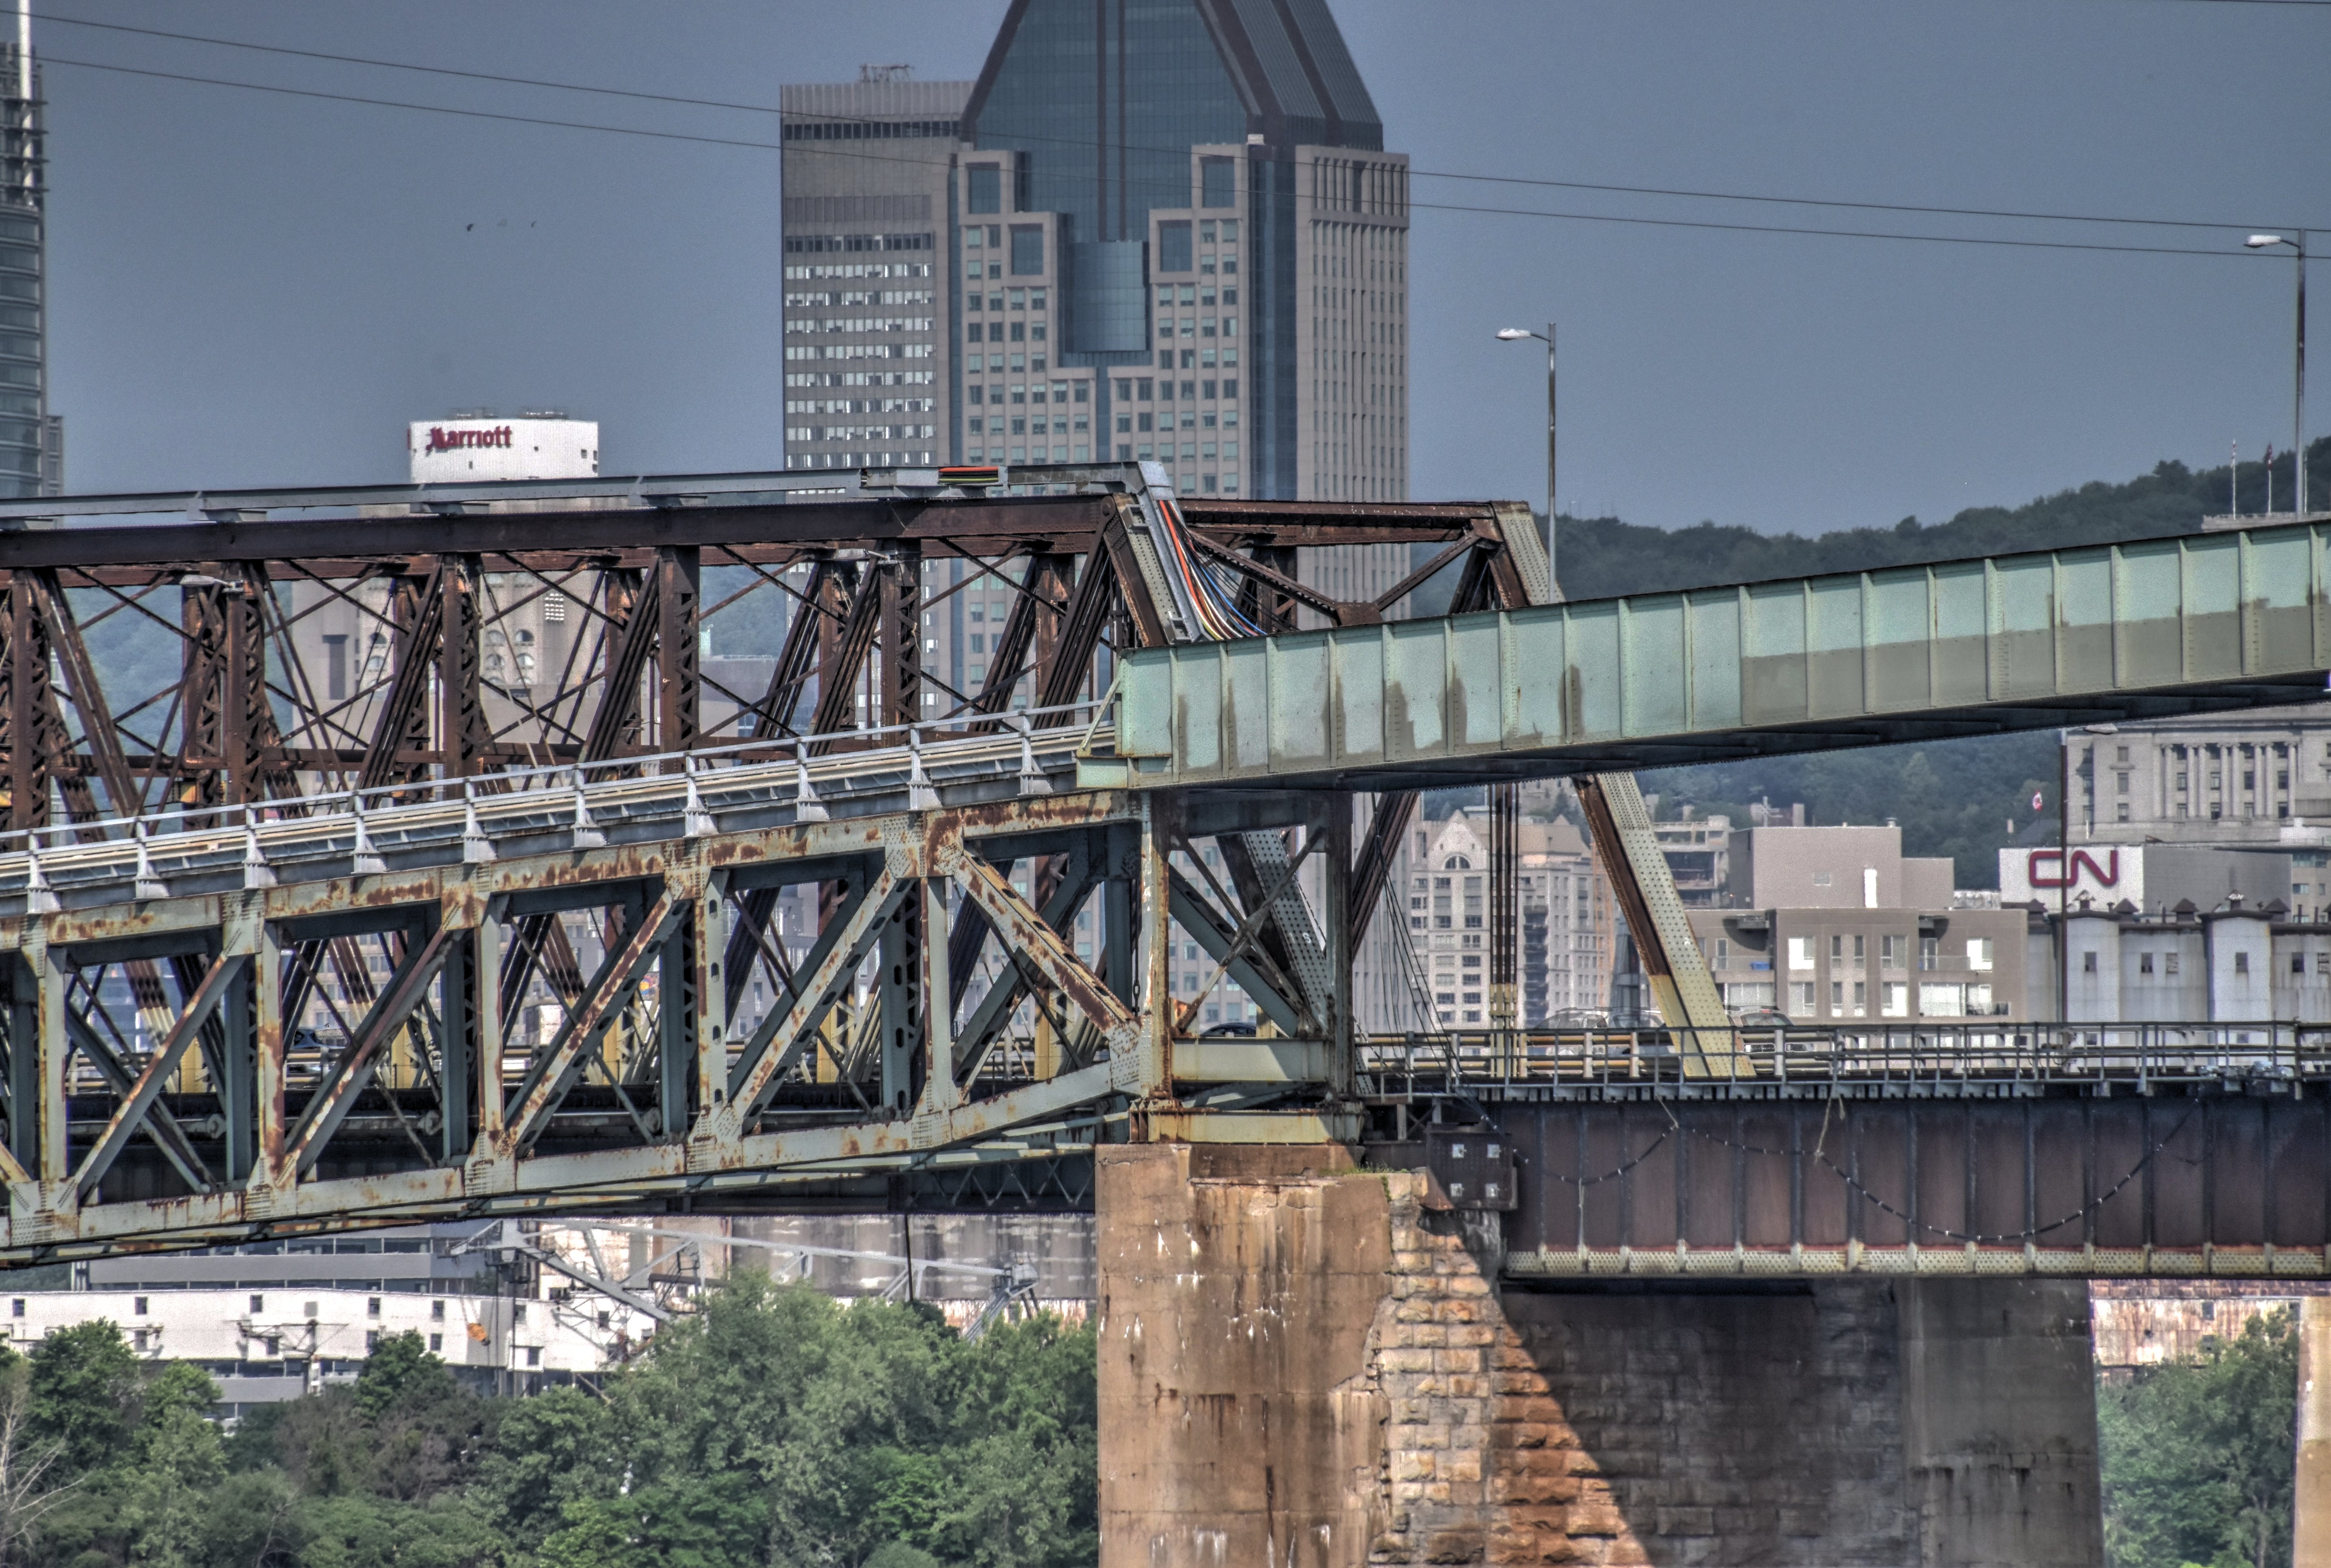
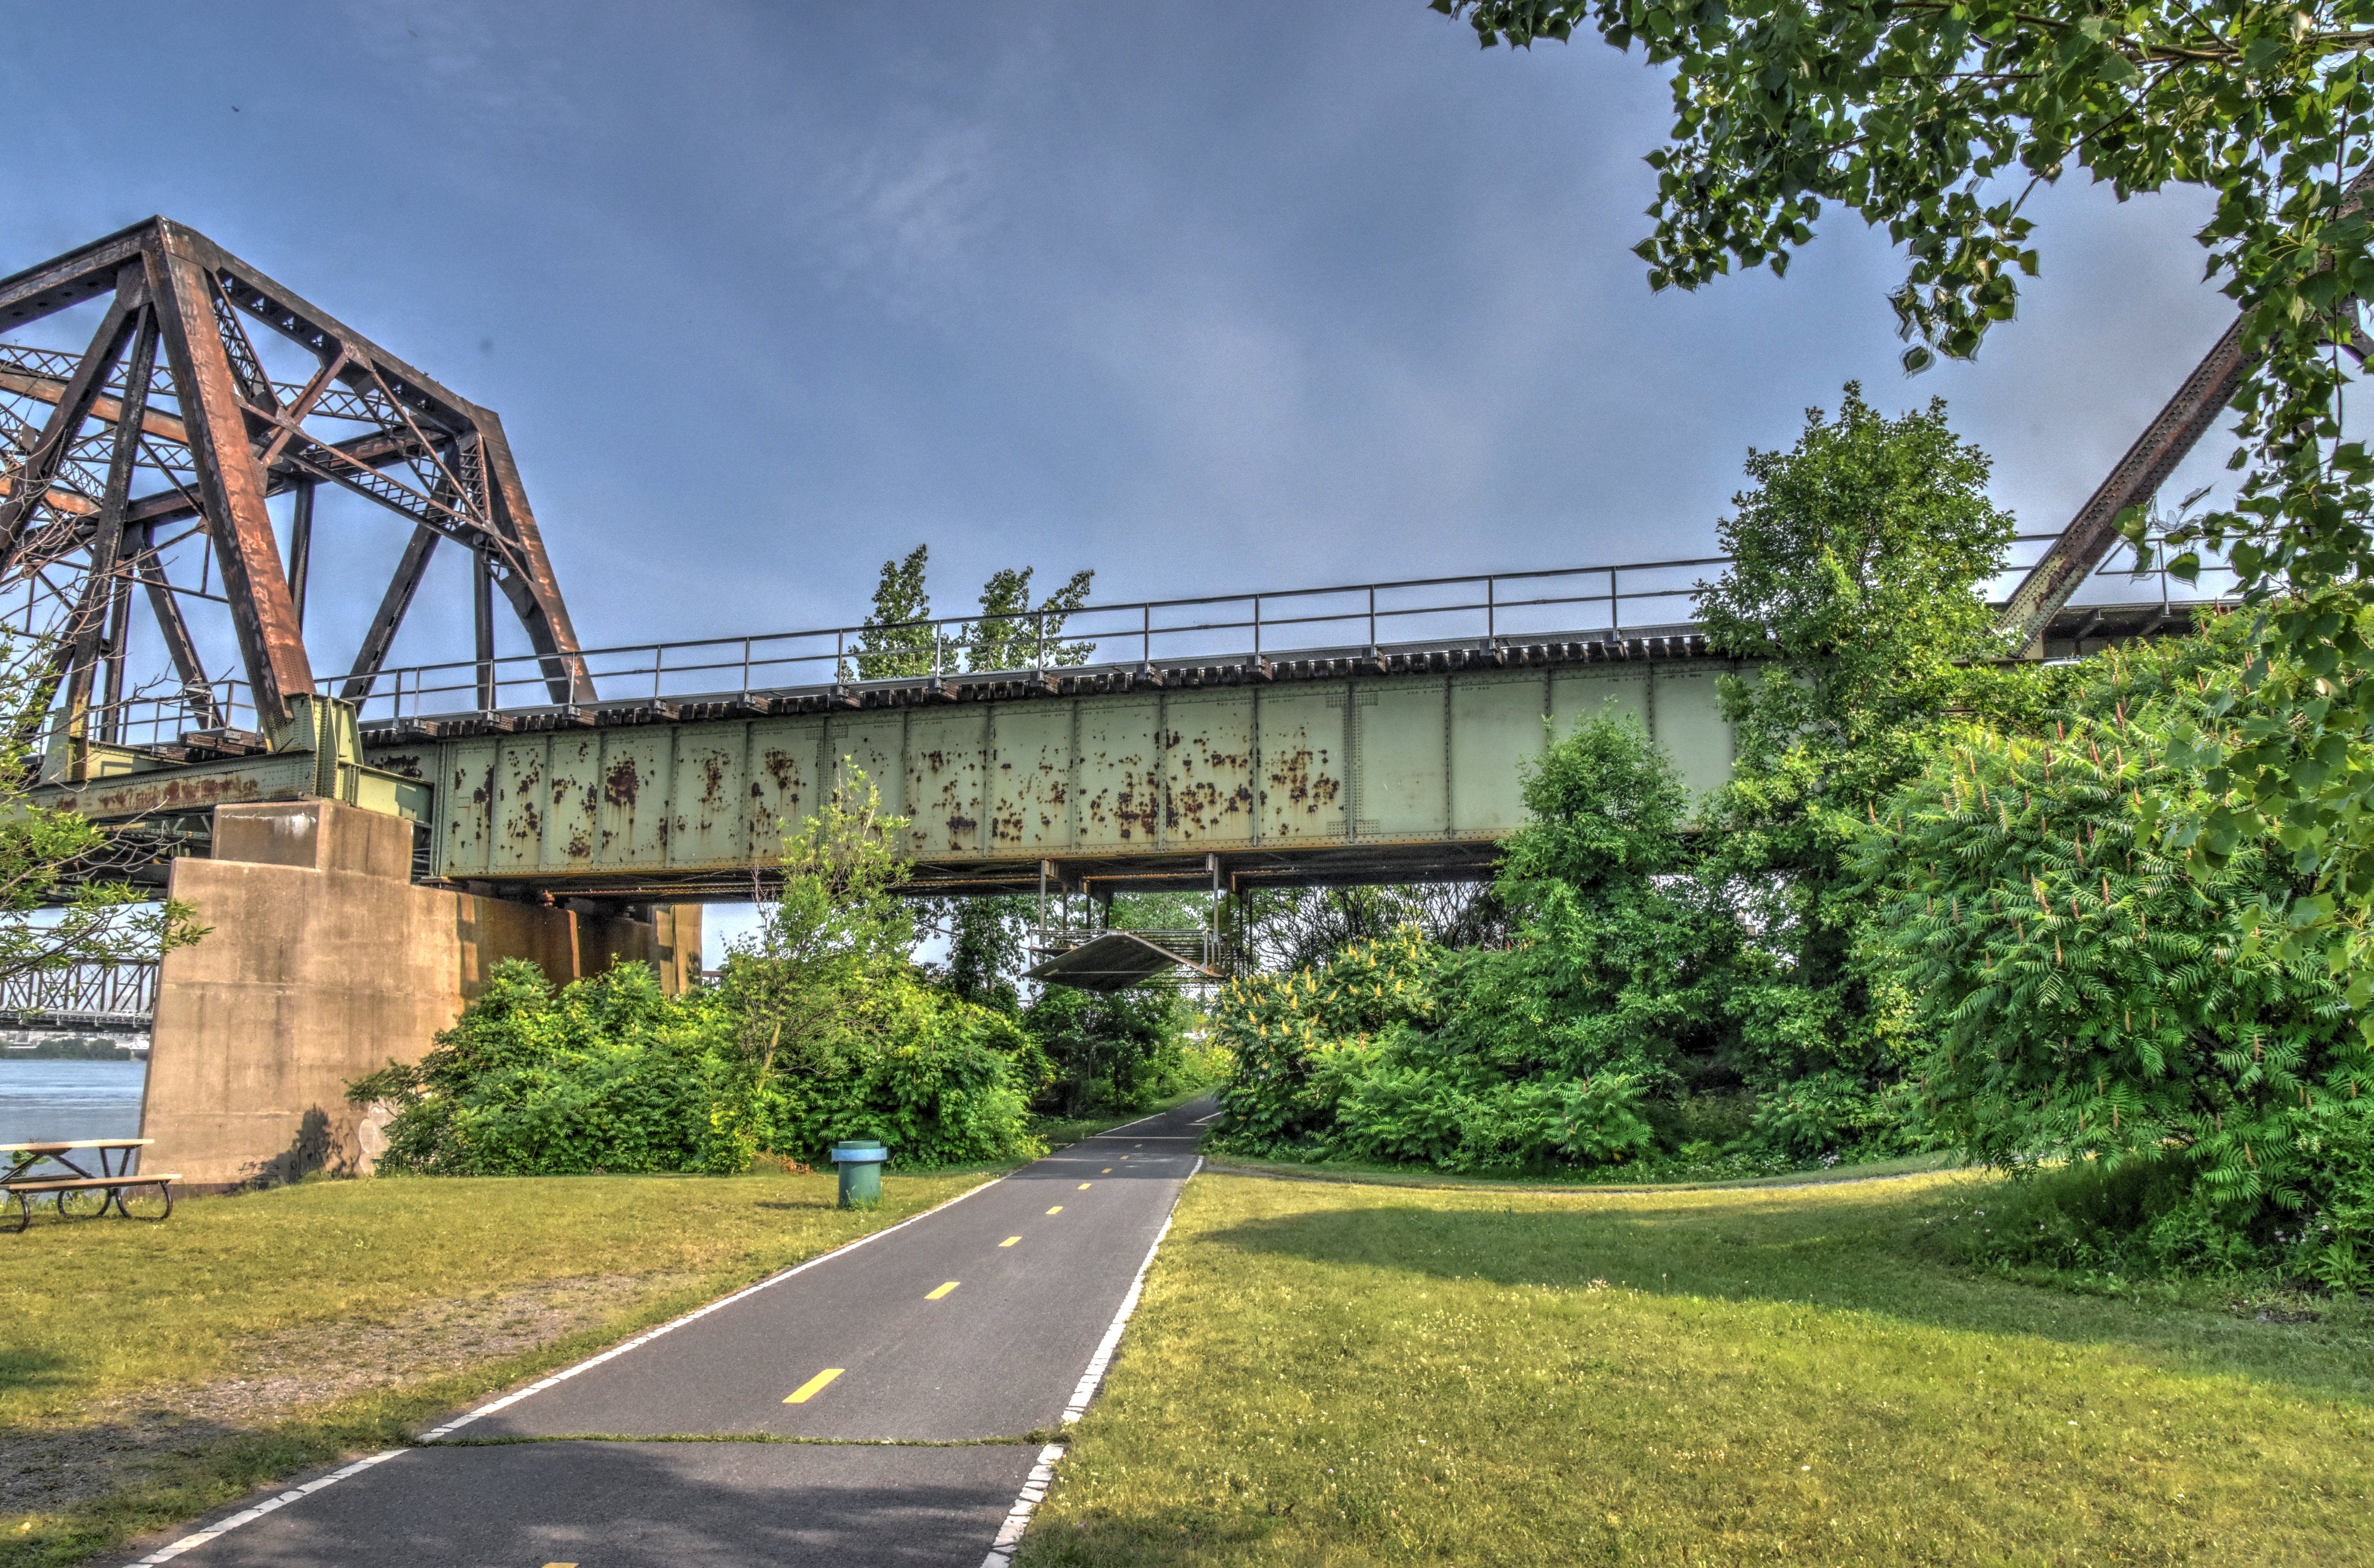
Distant north elevation.
![]()


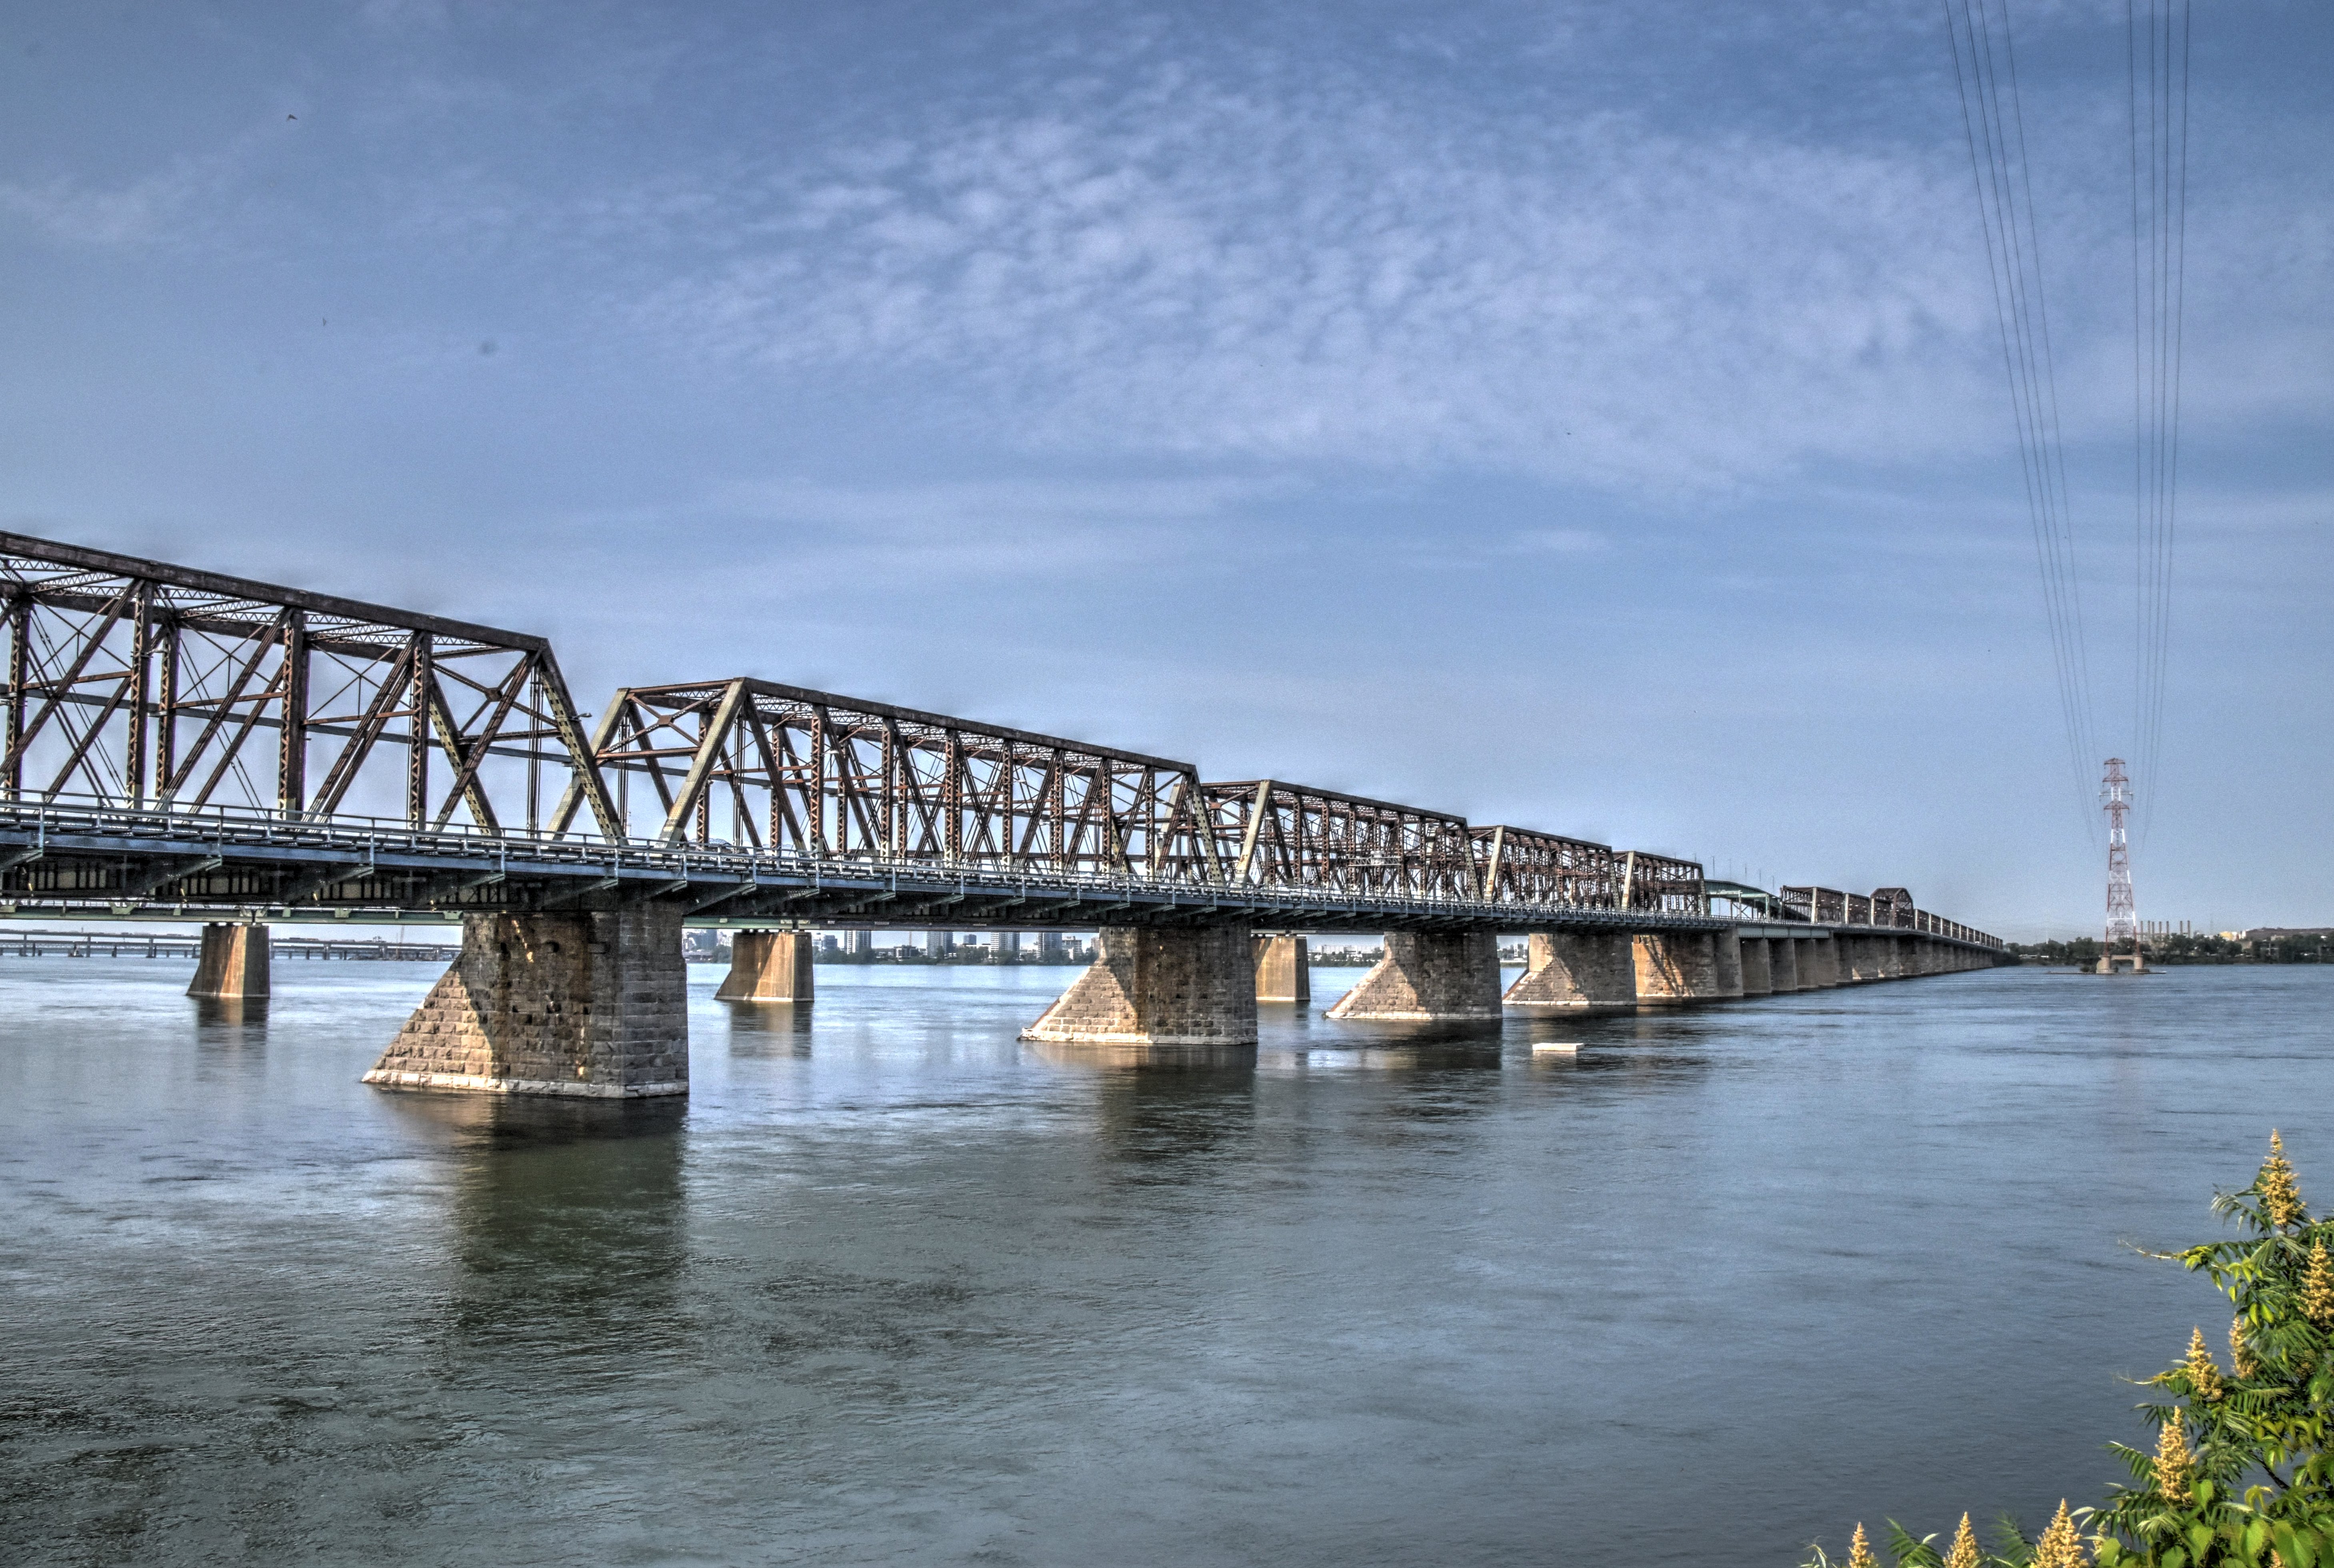
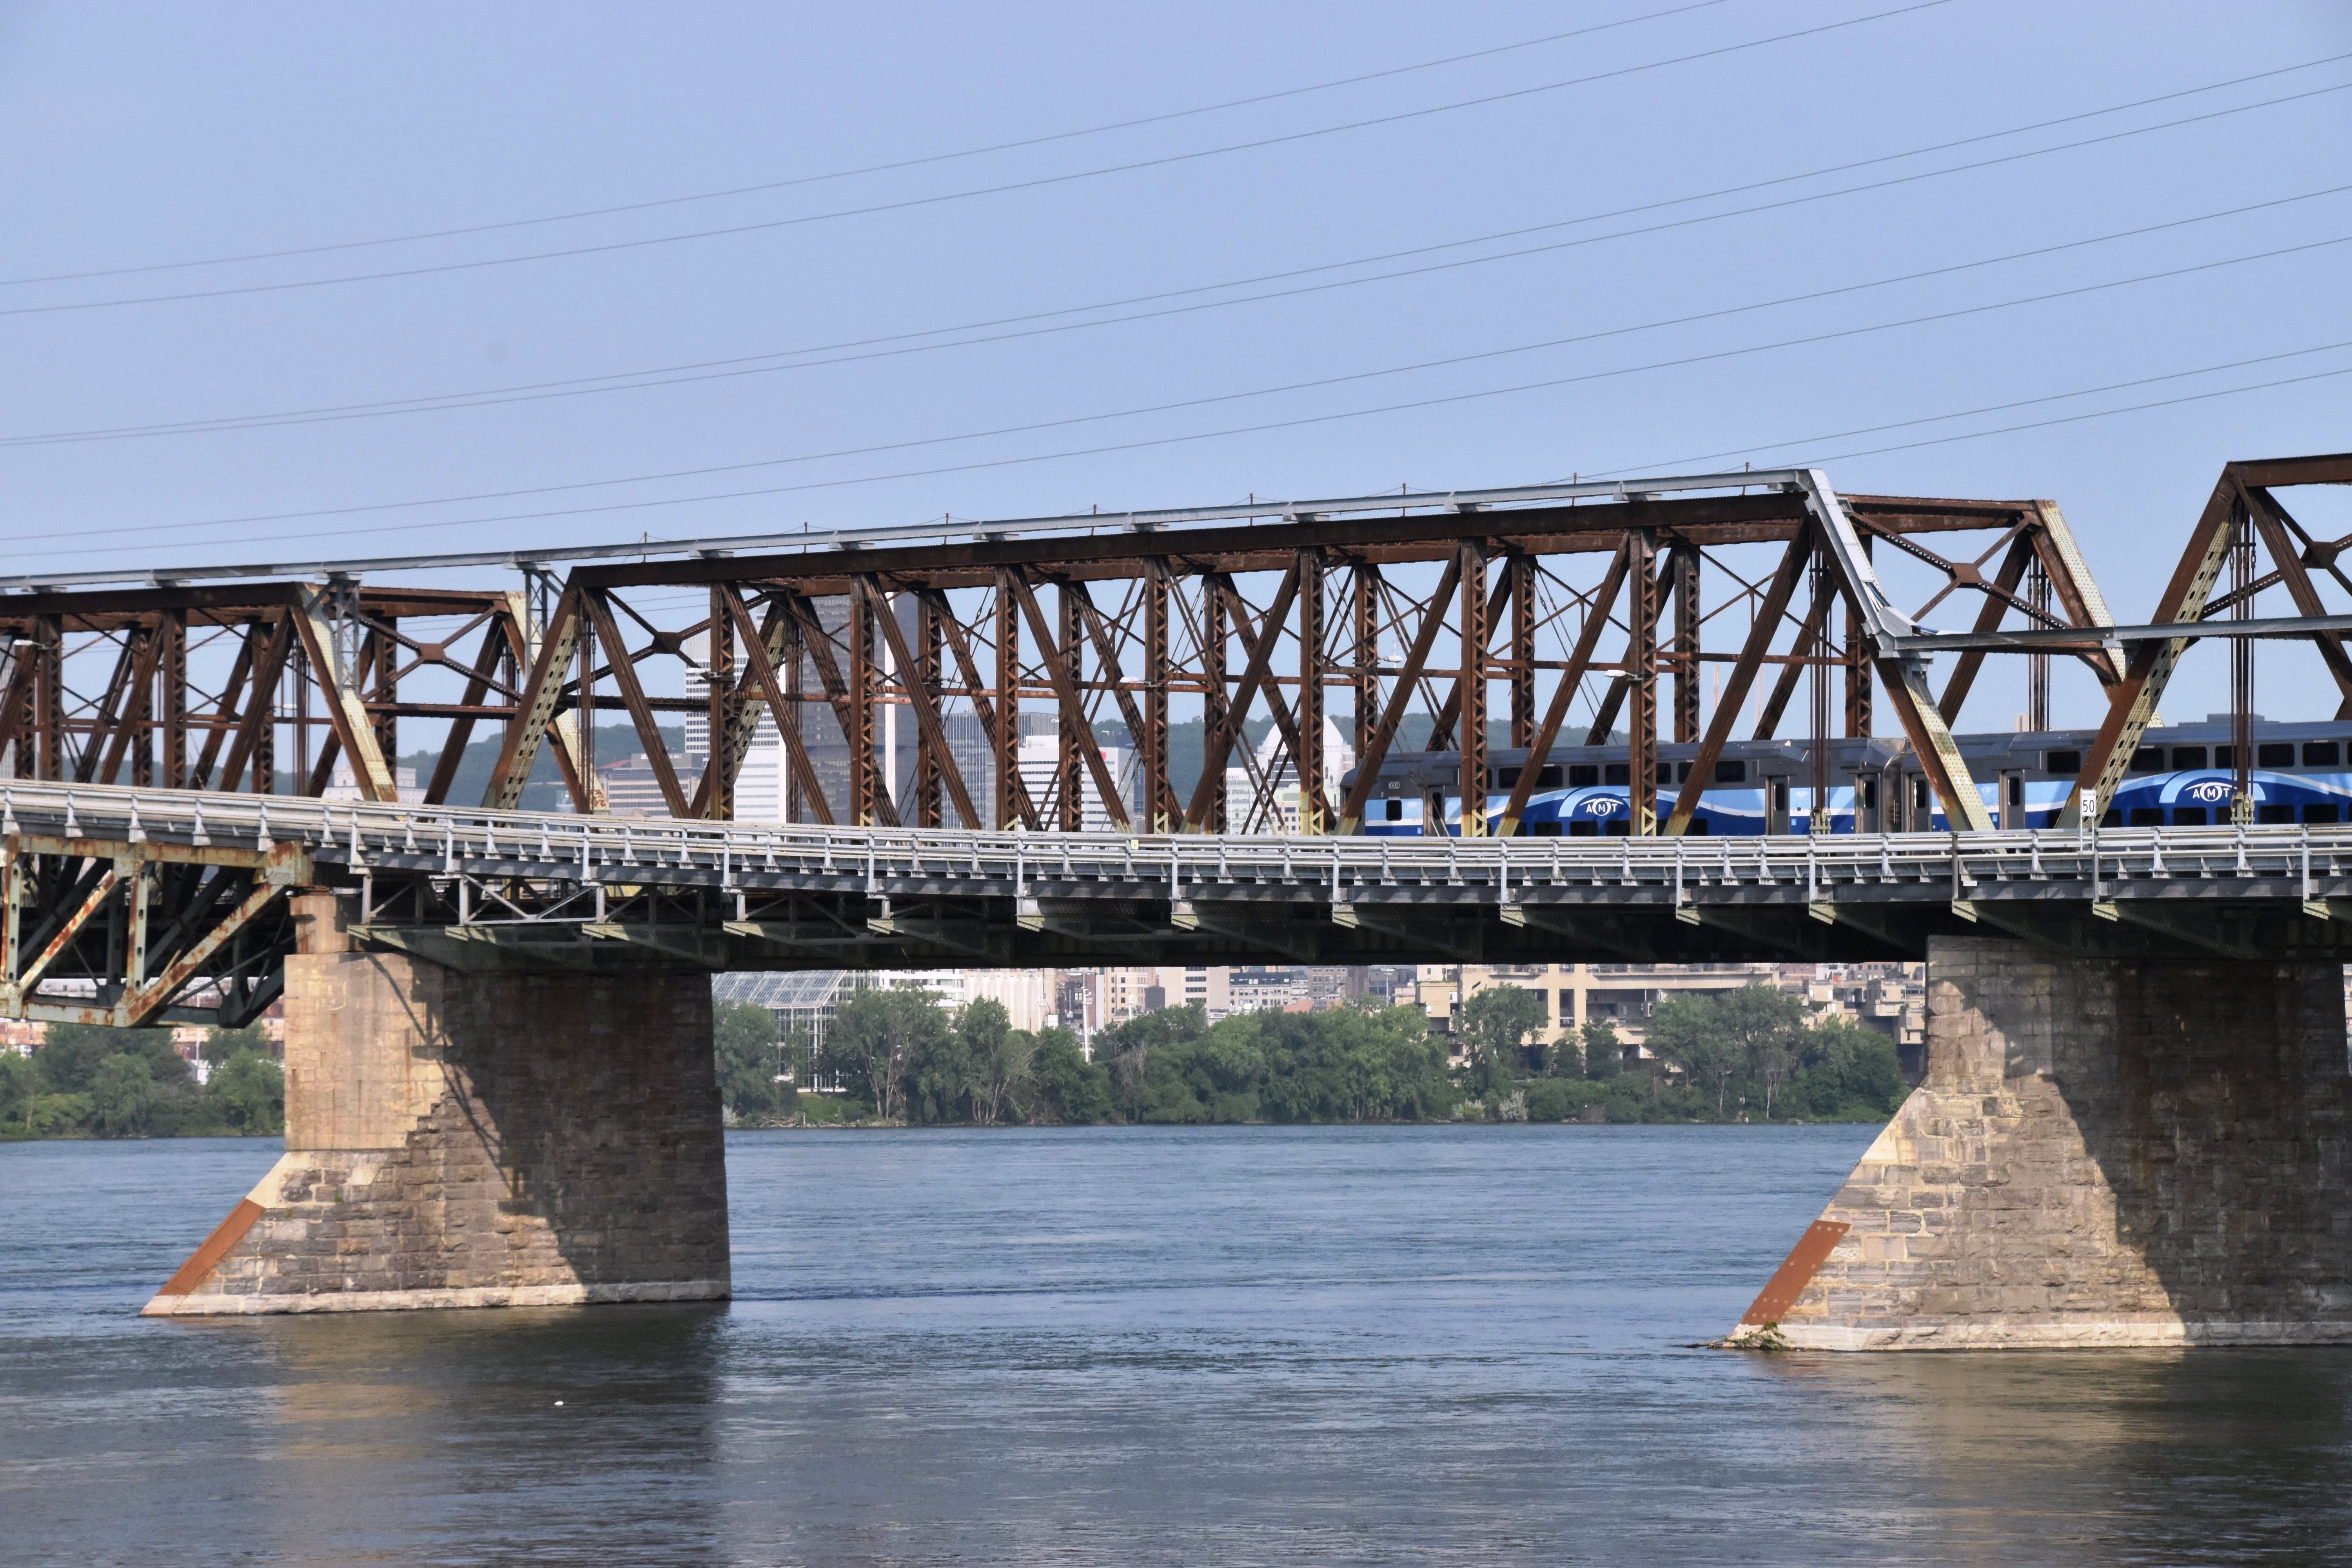
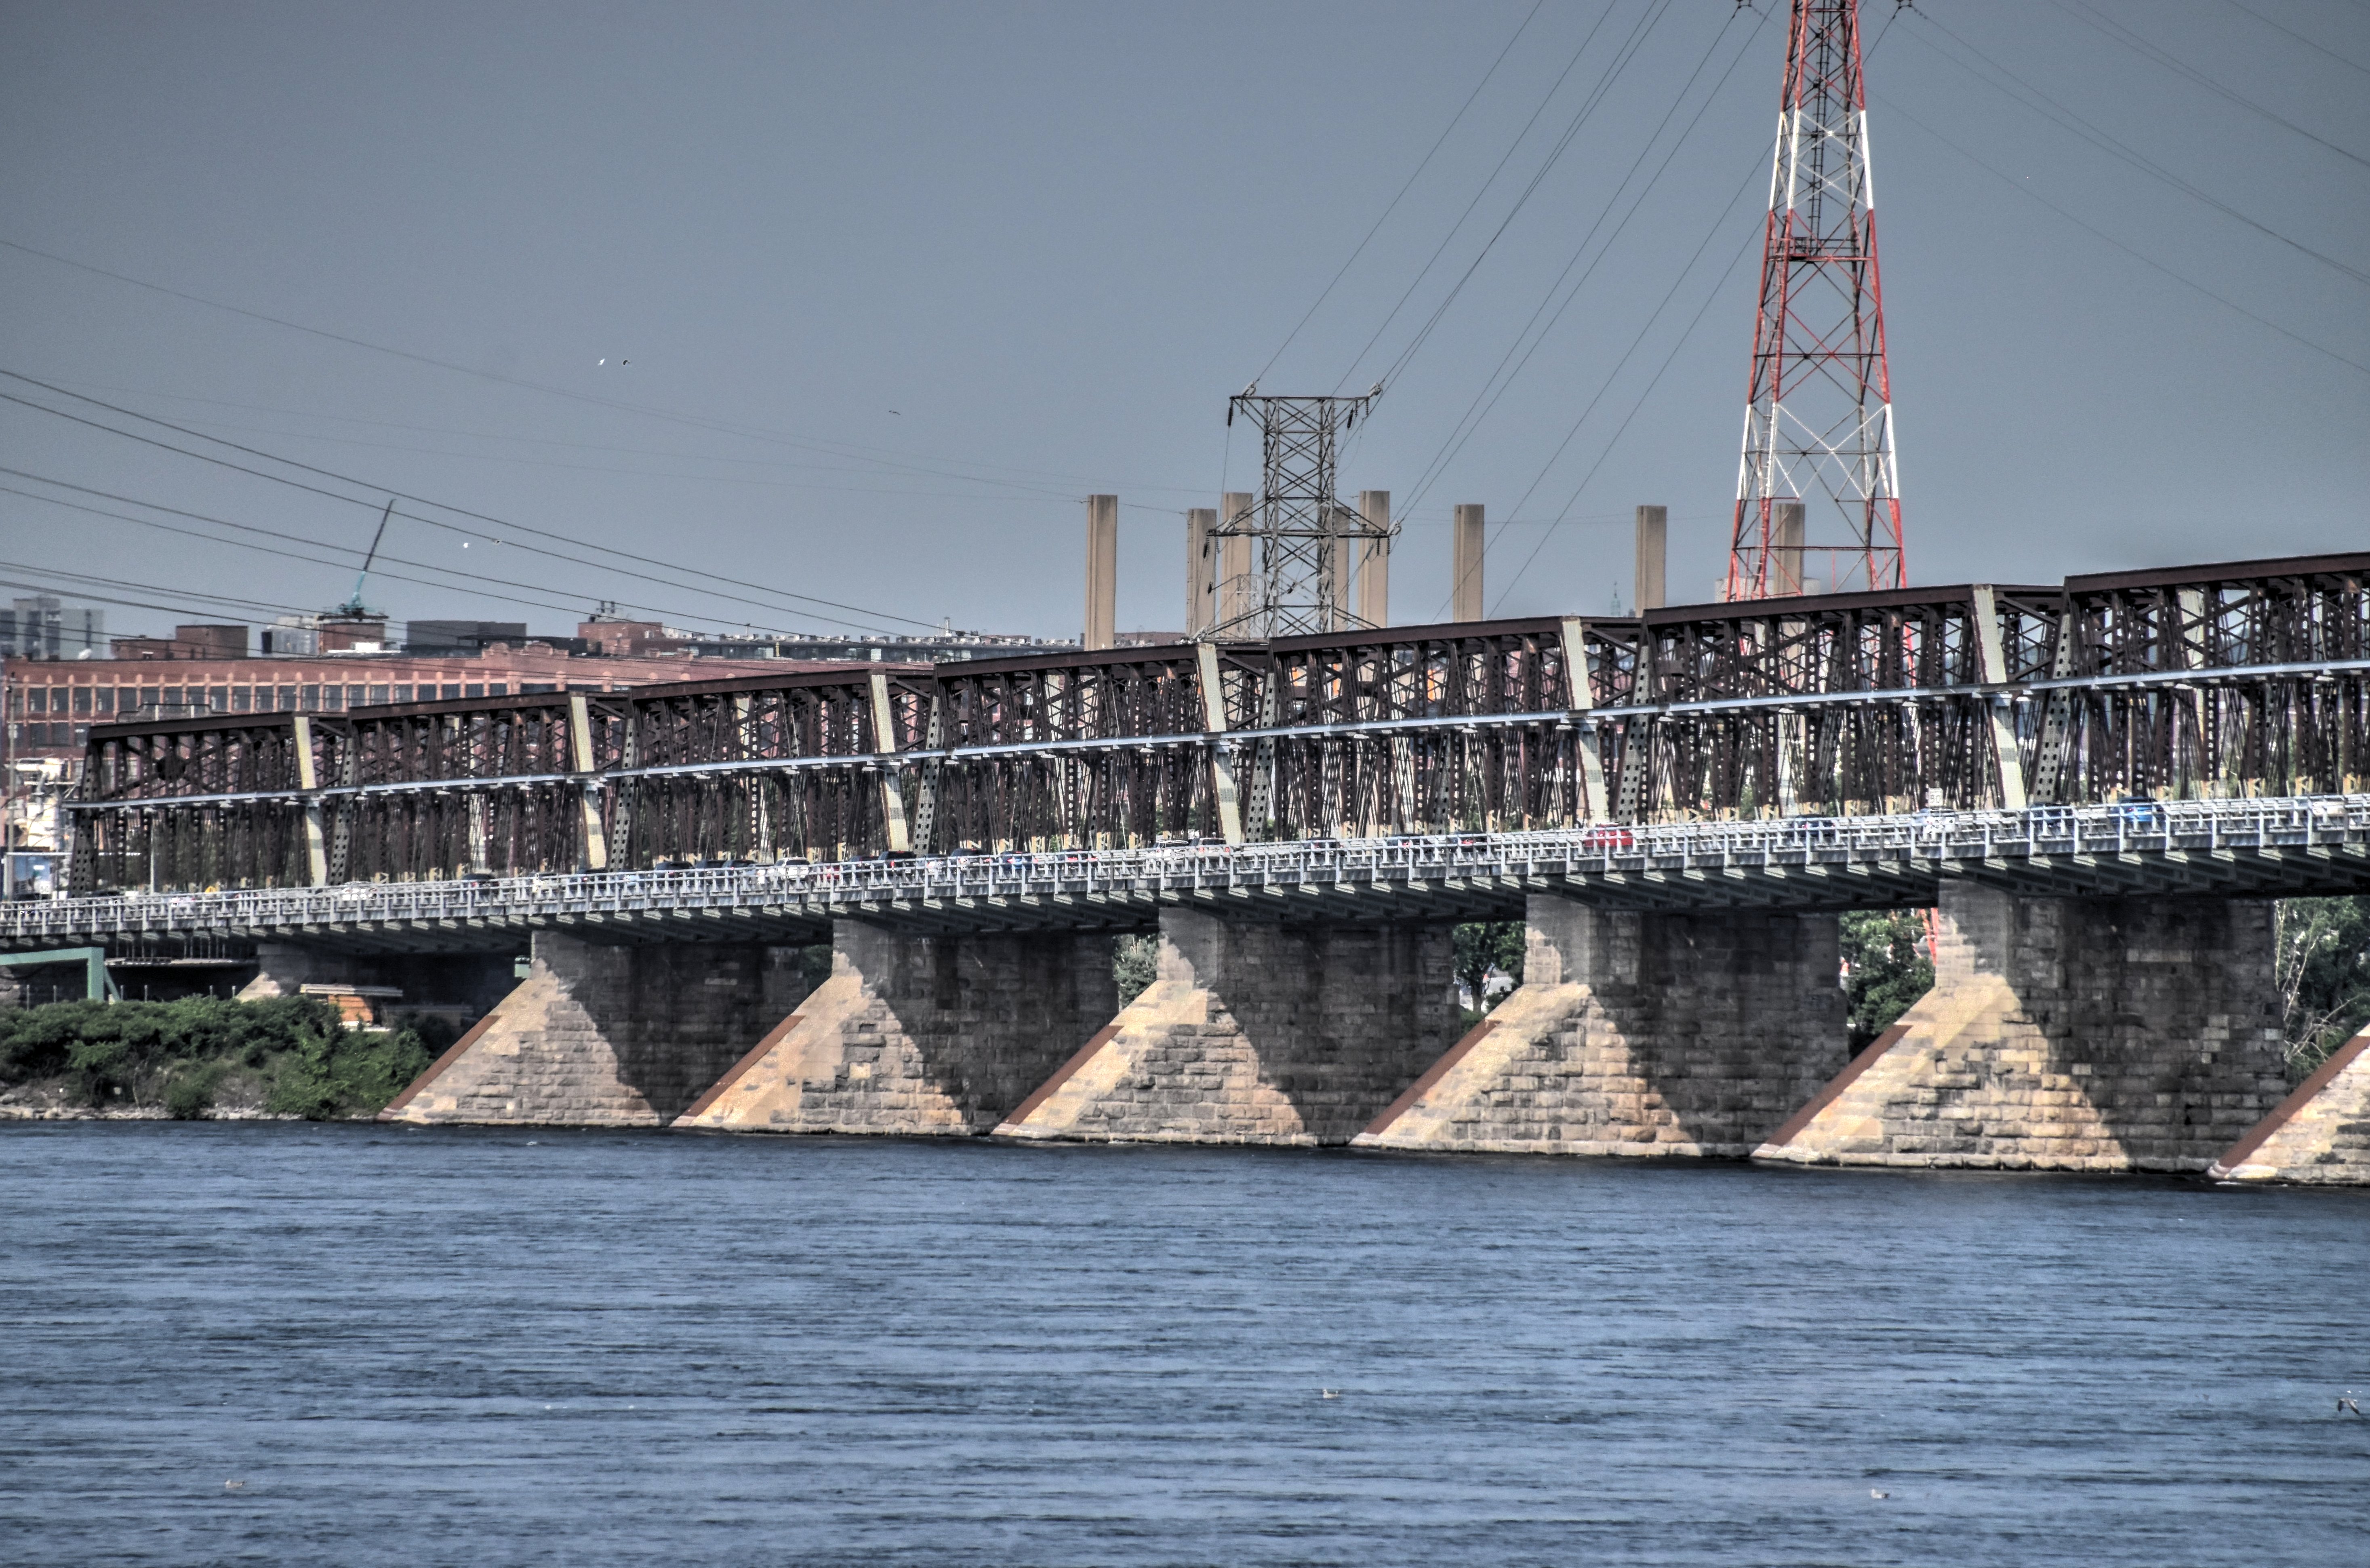
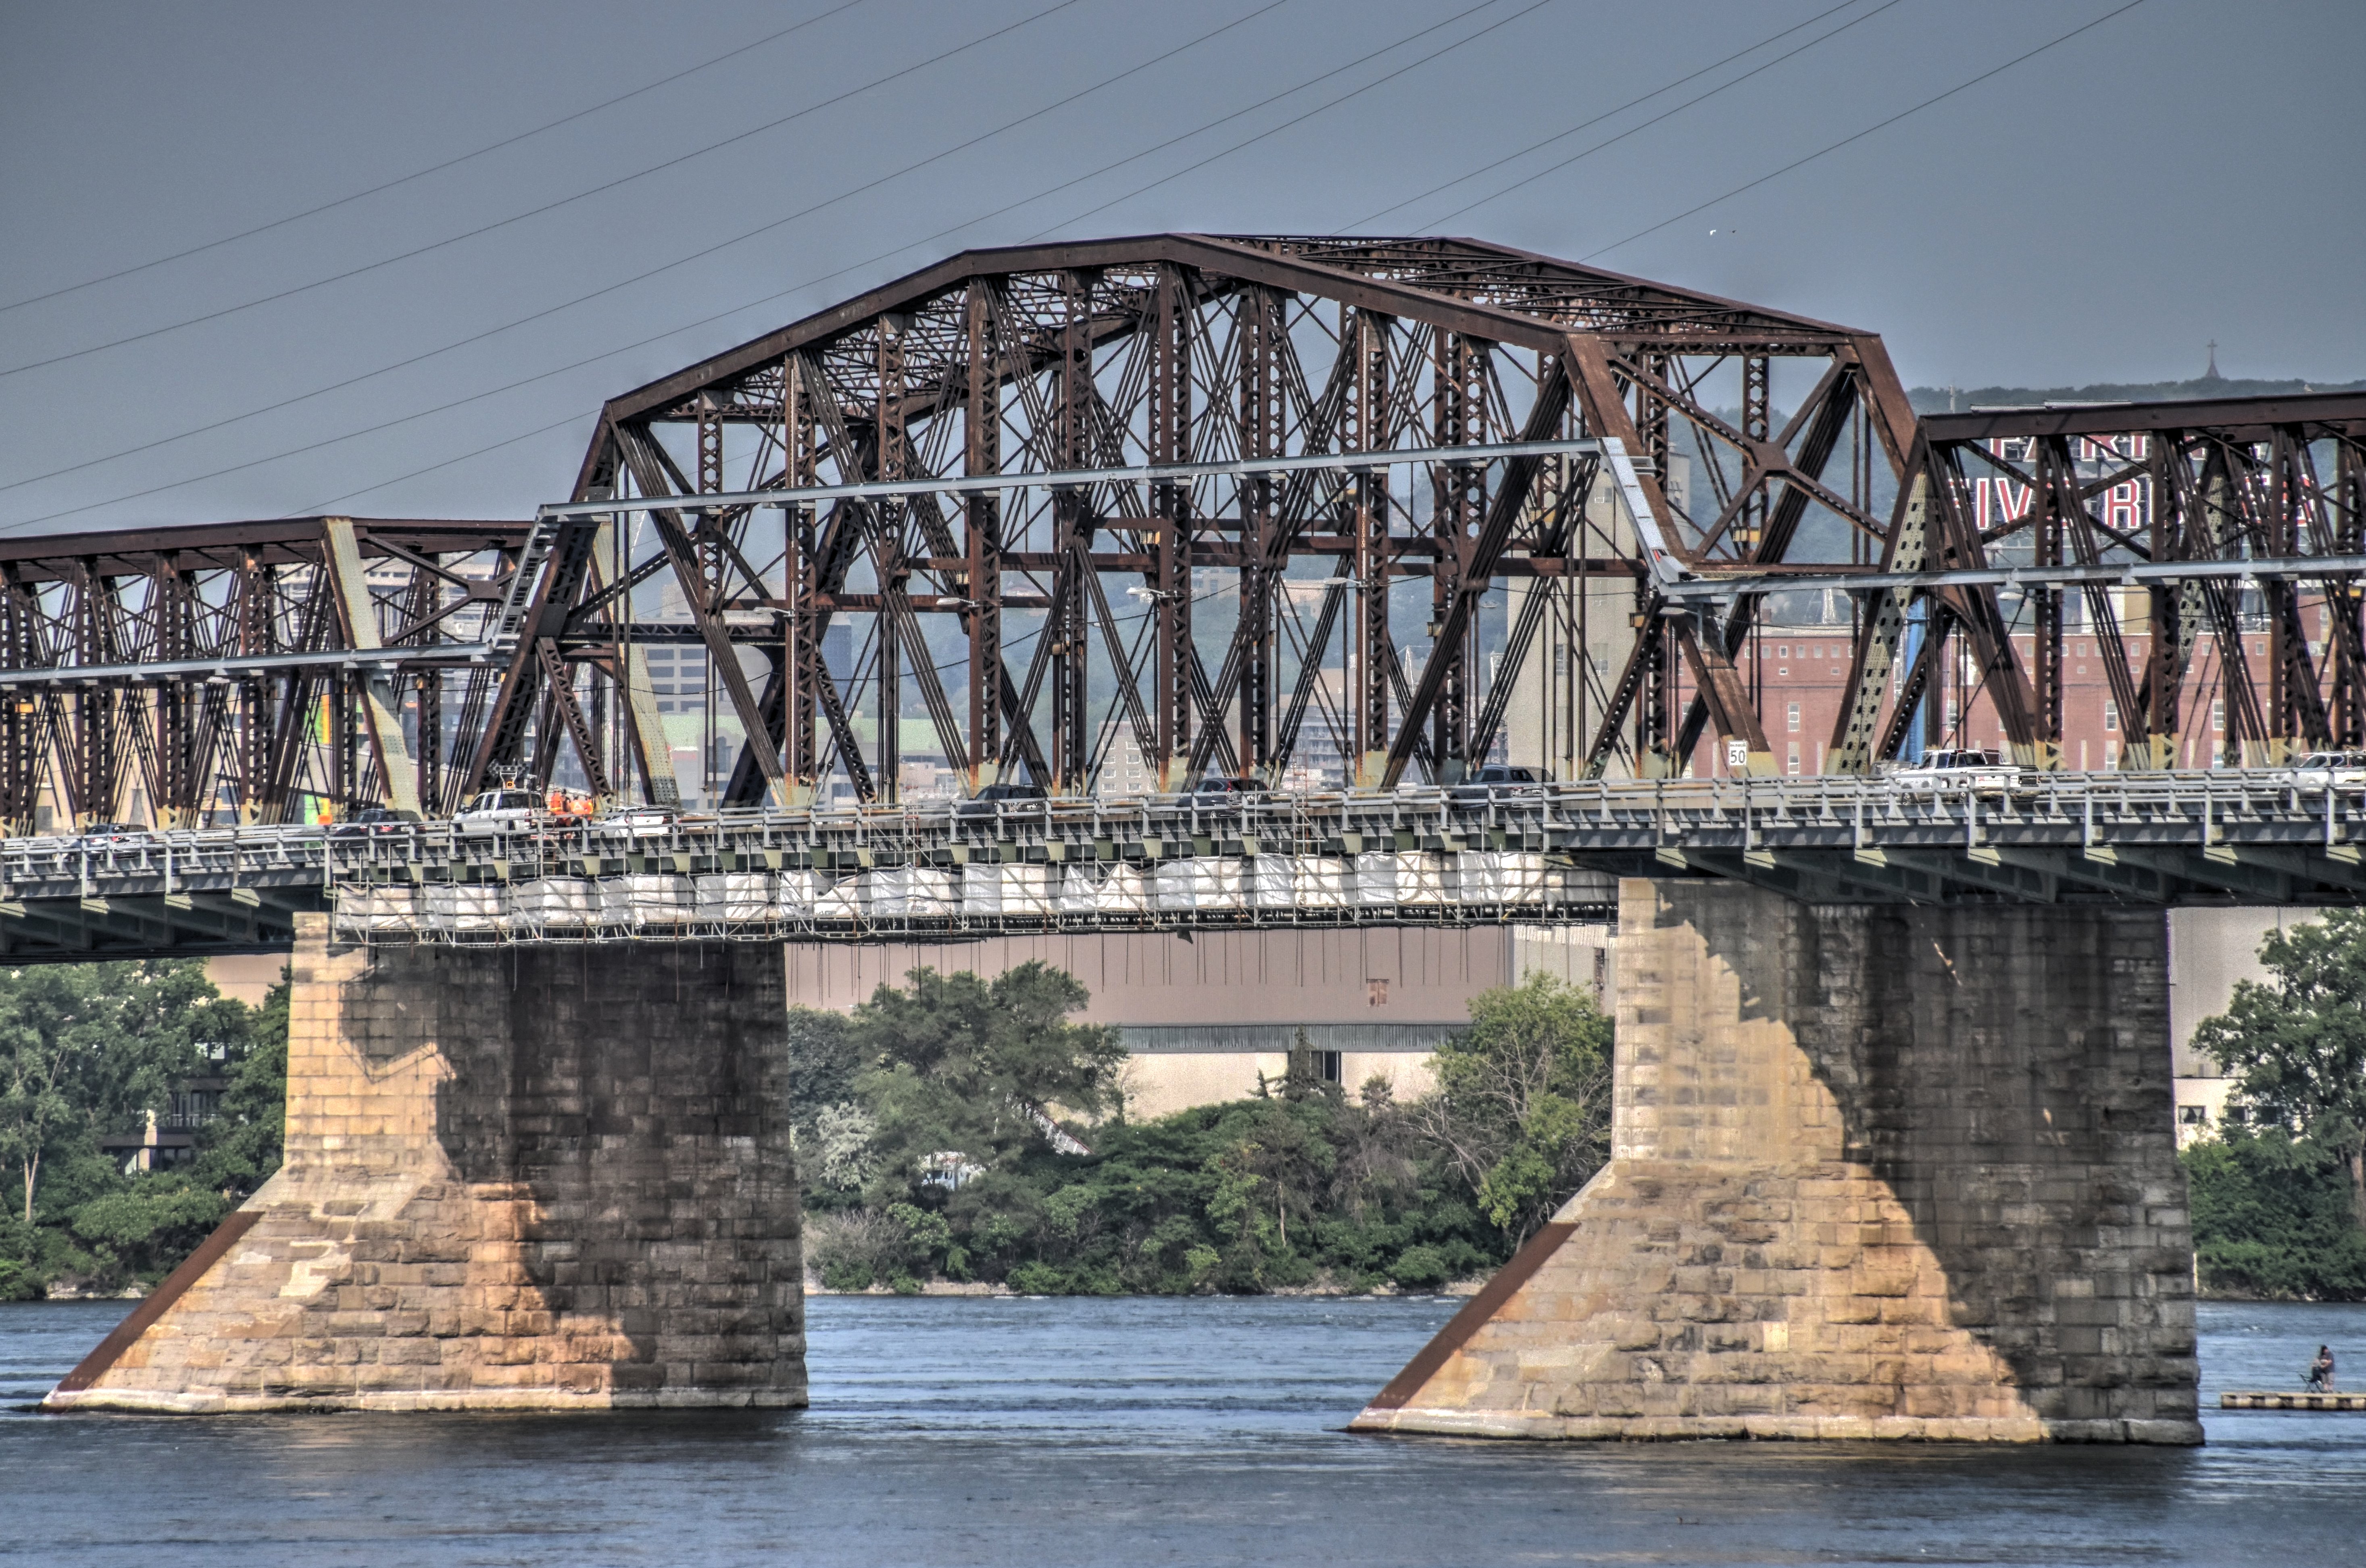
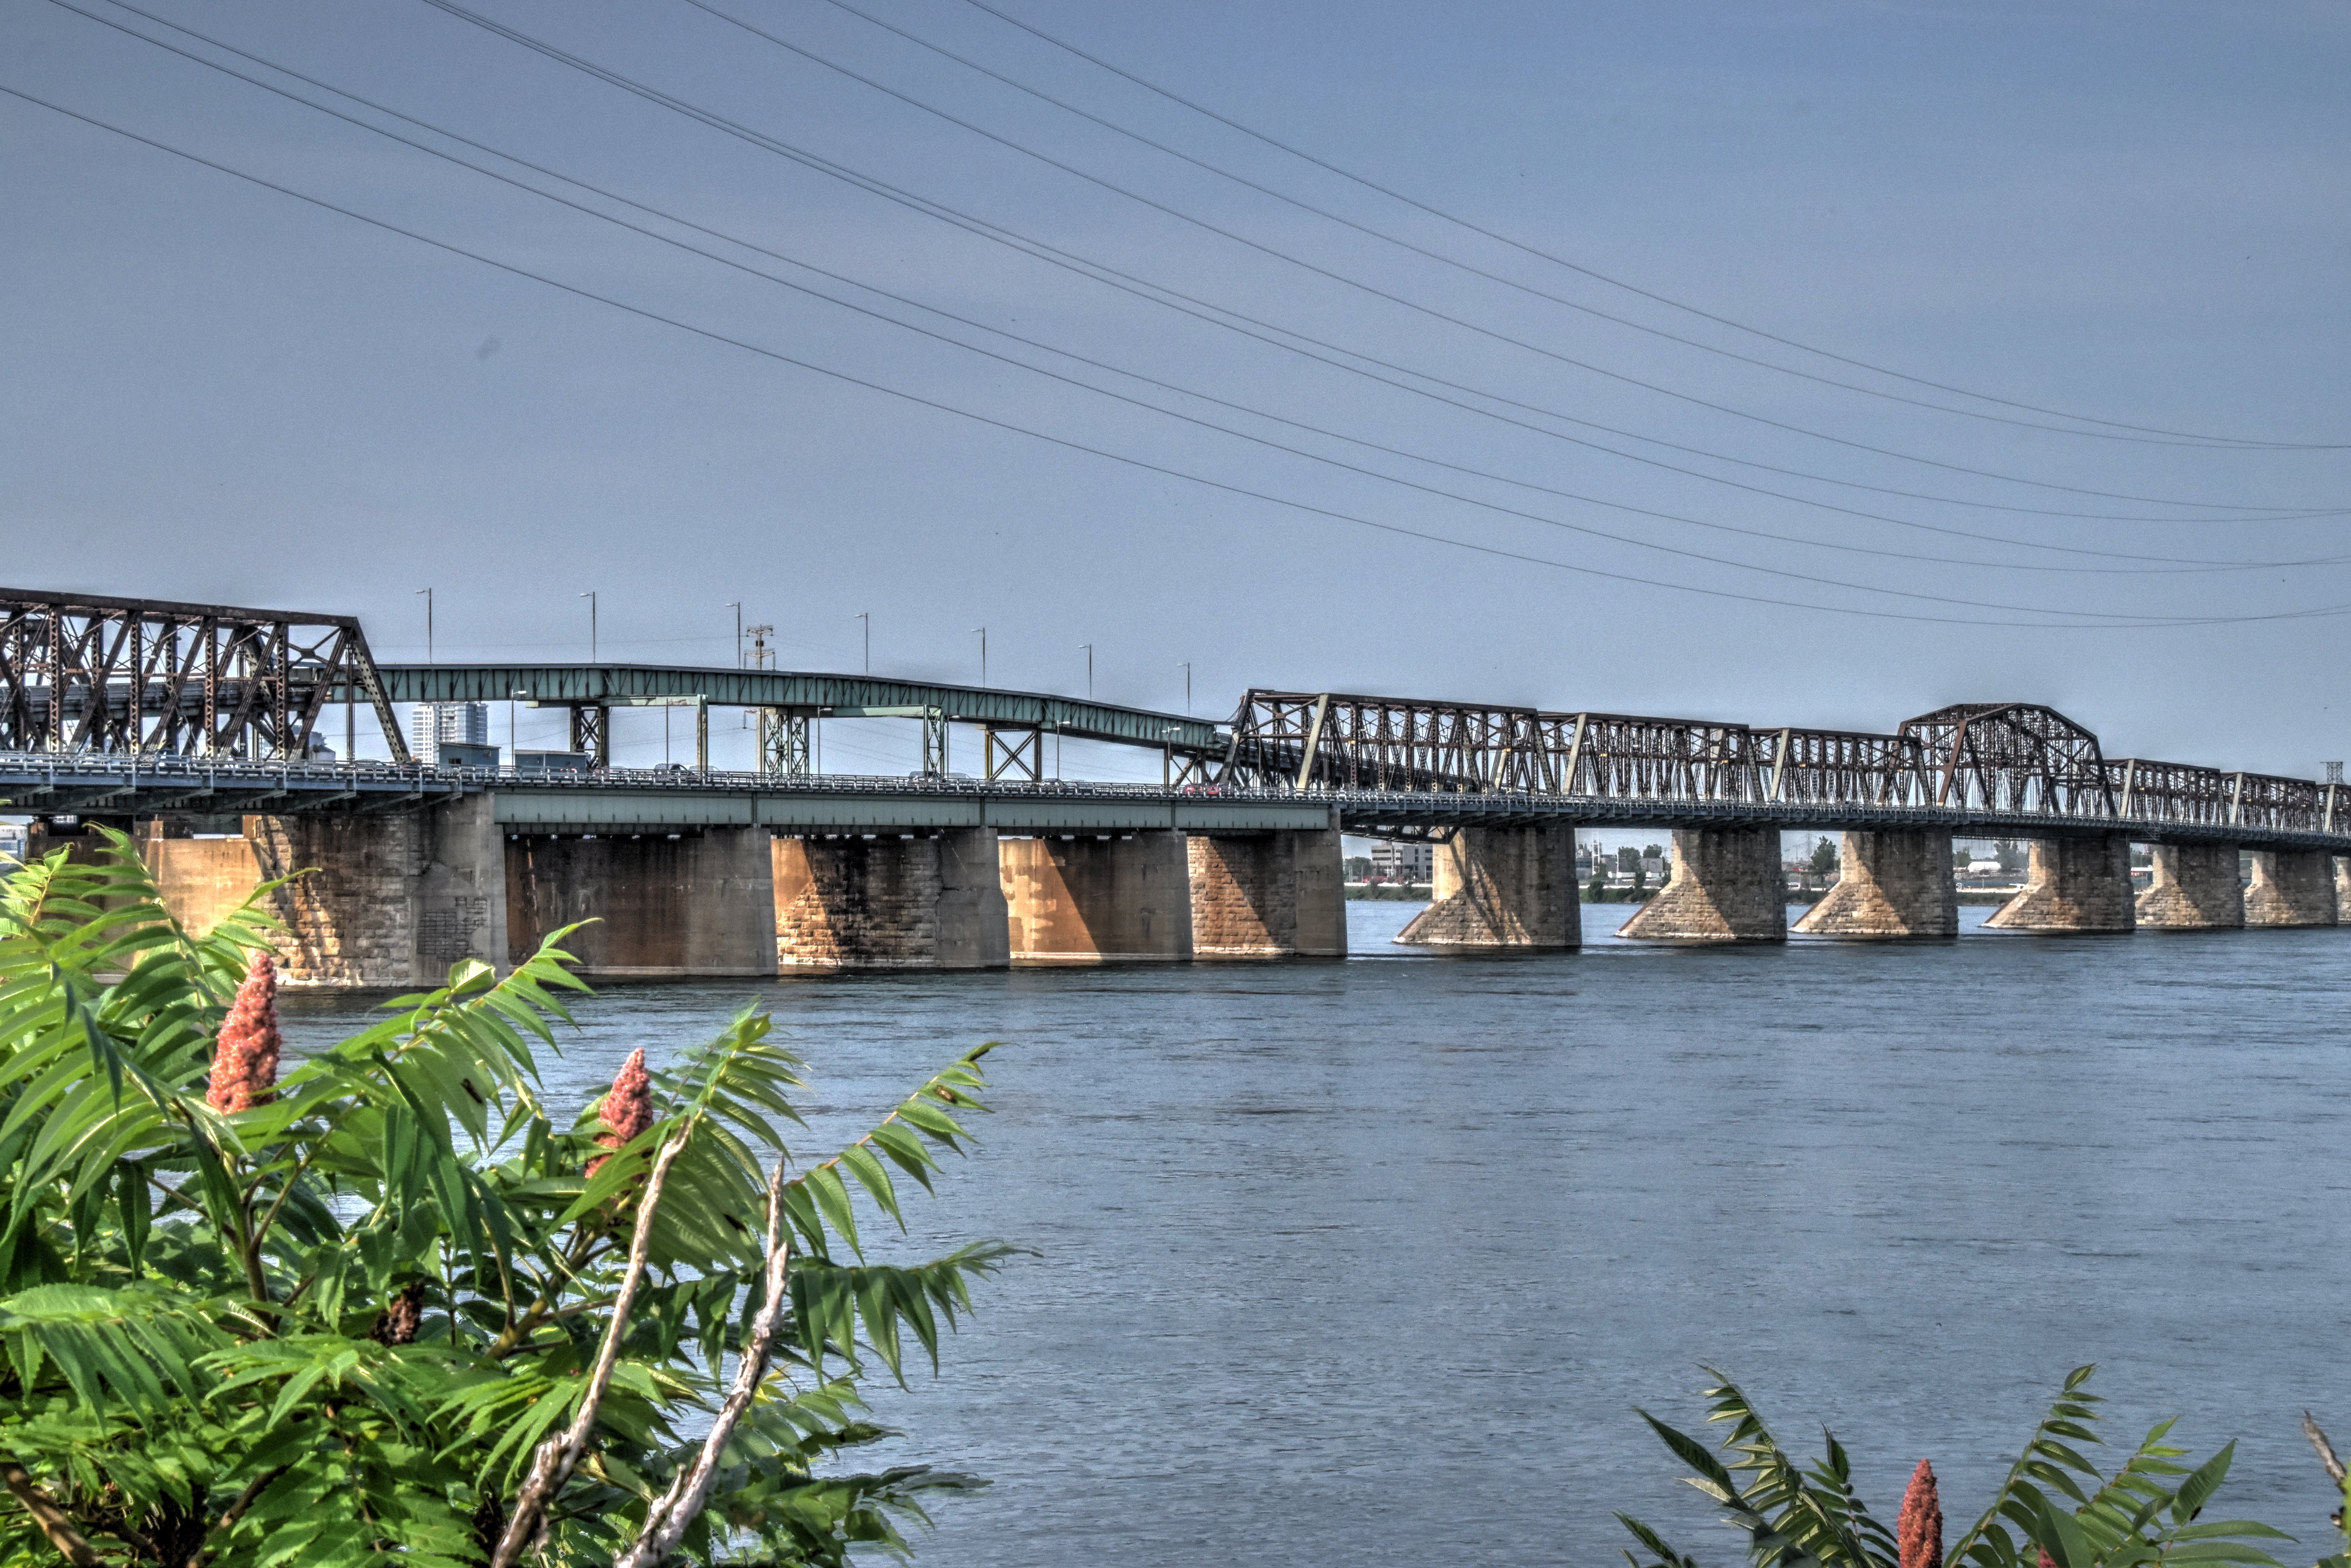
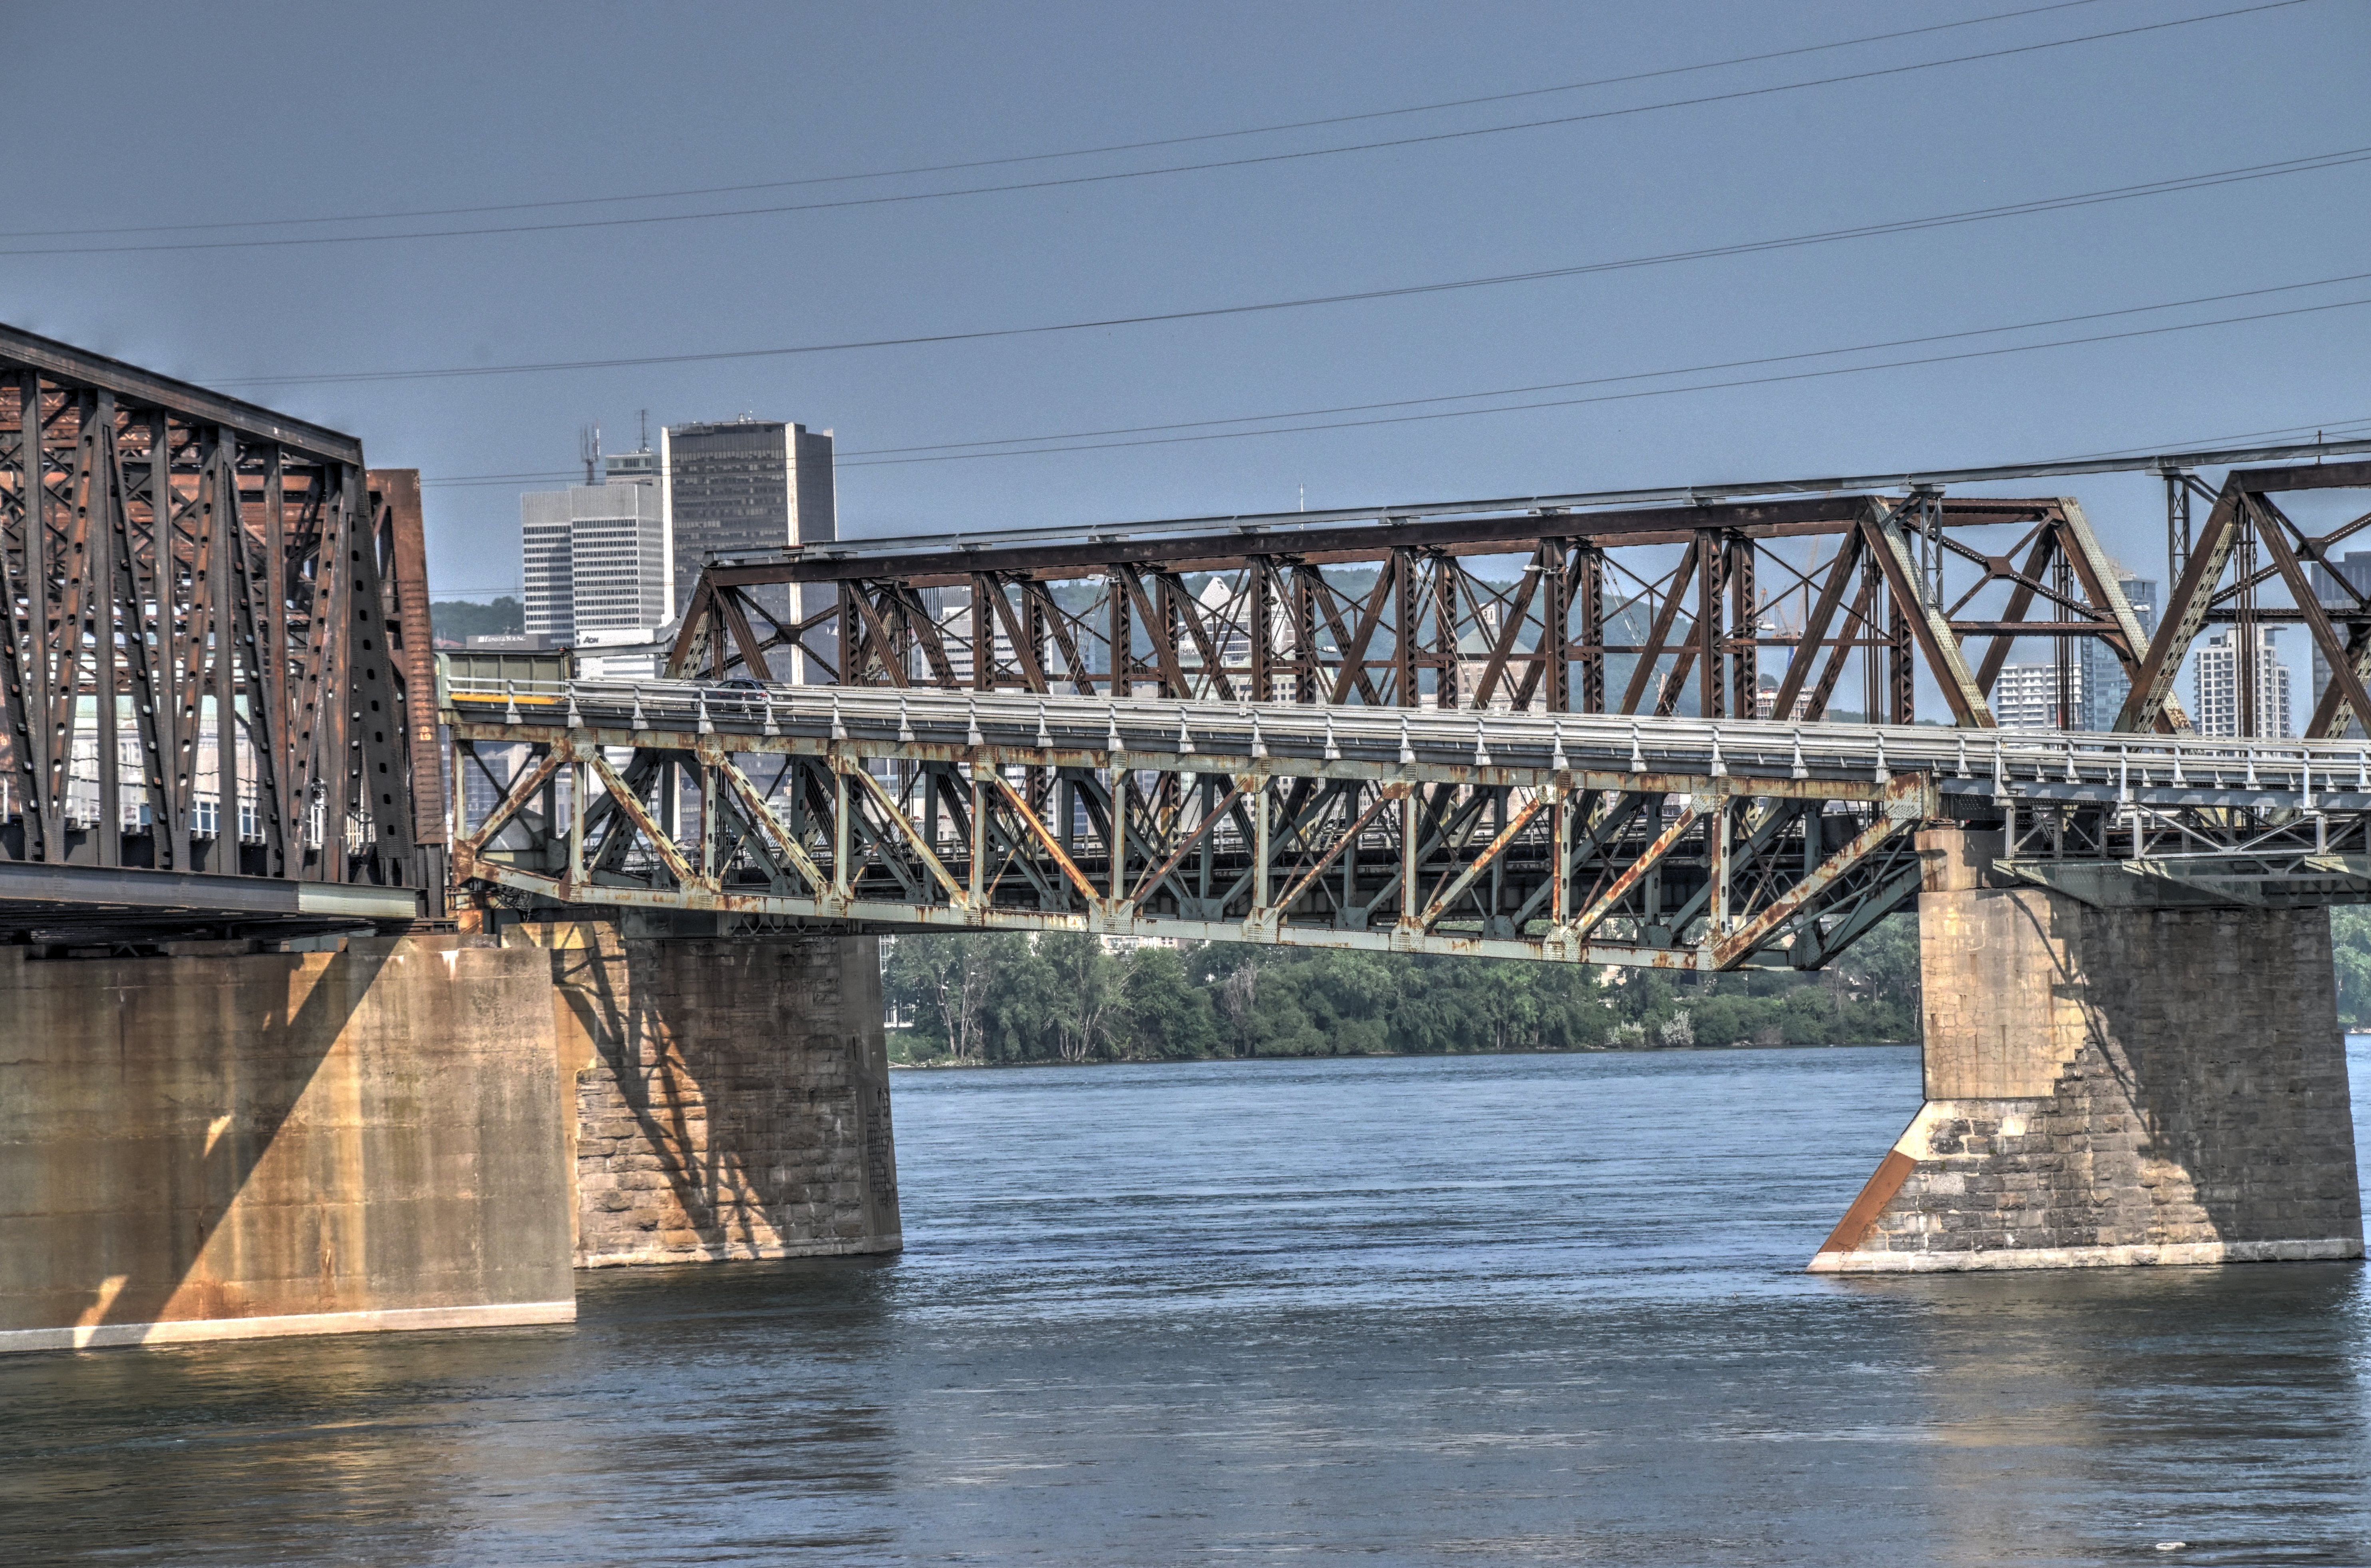
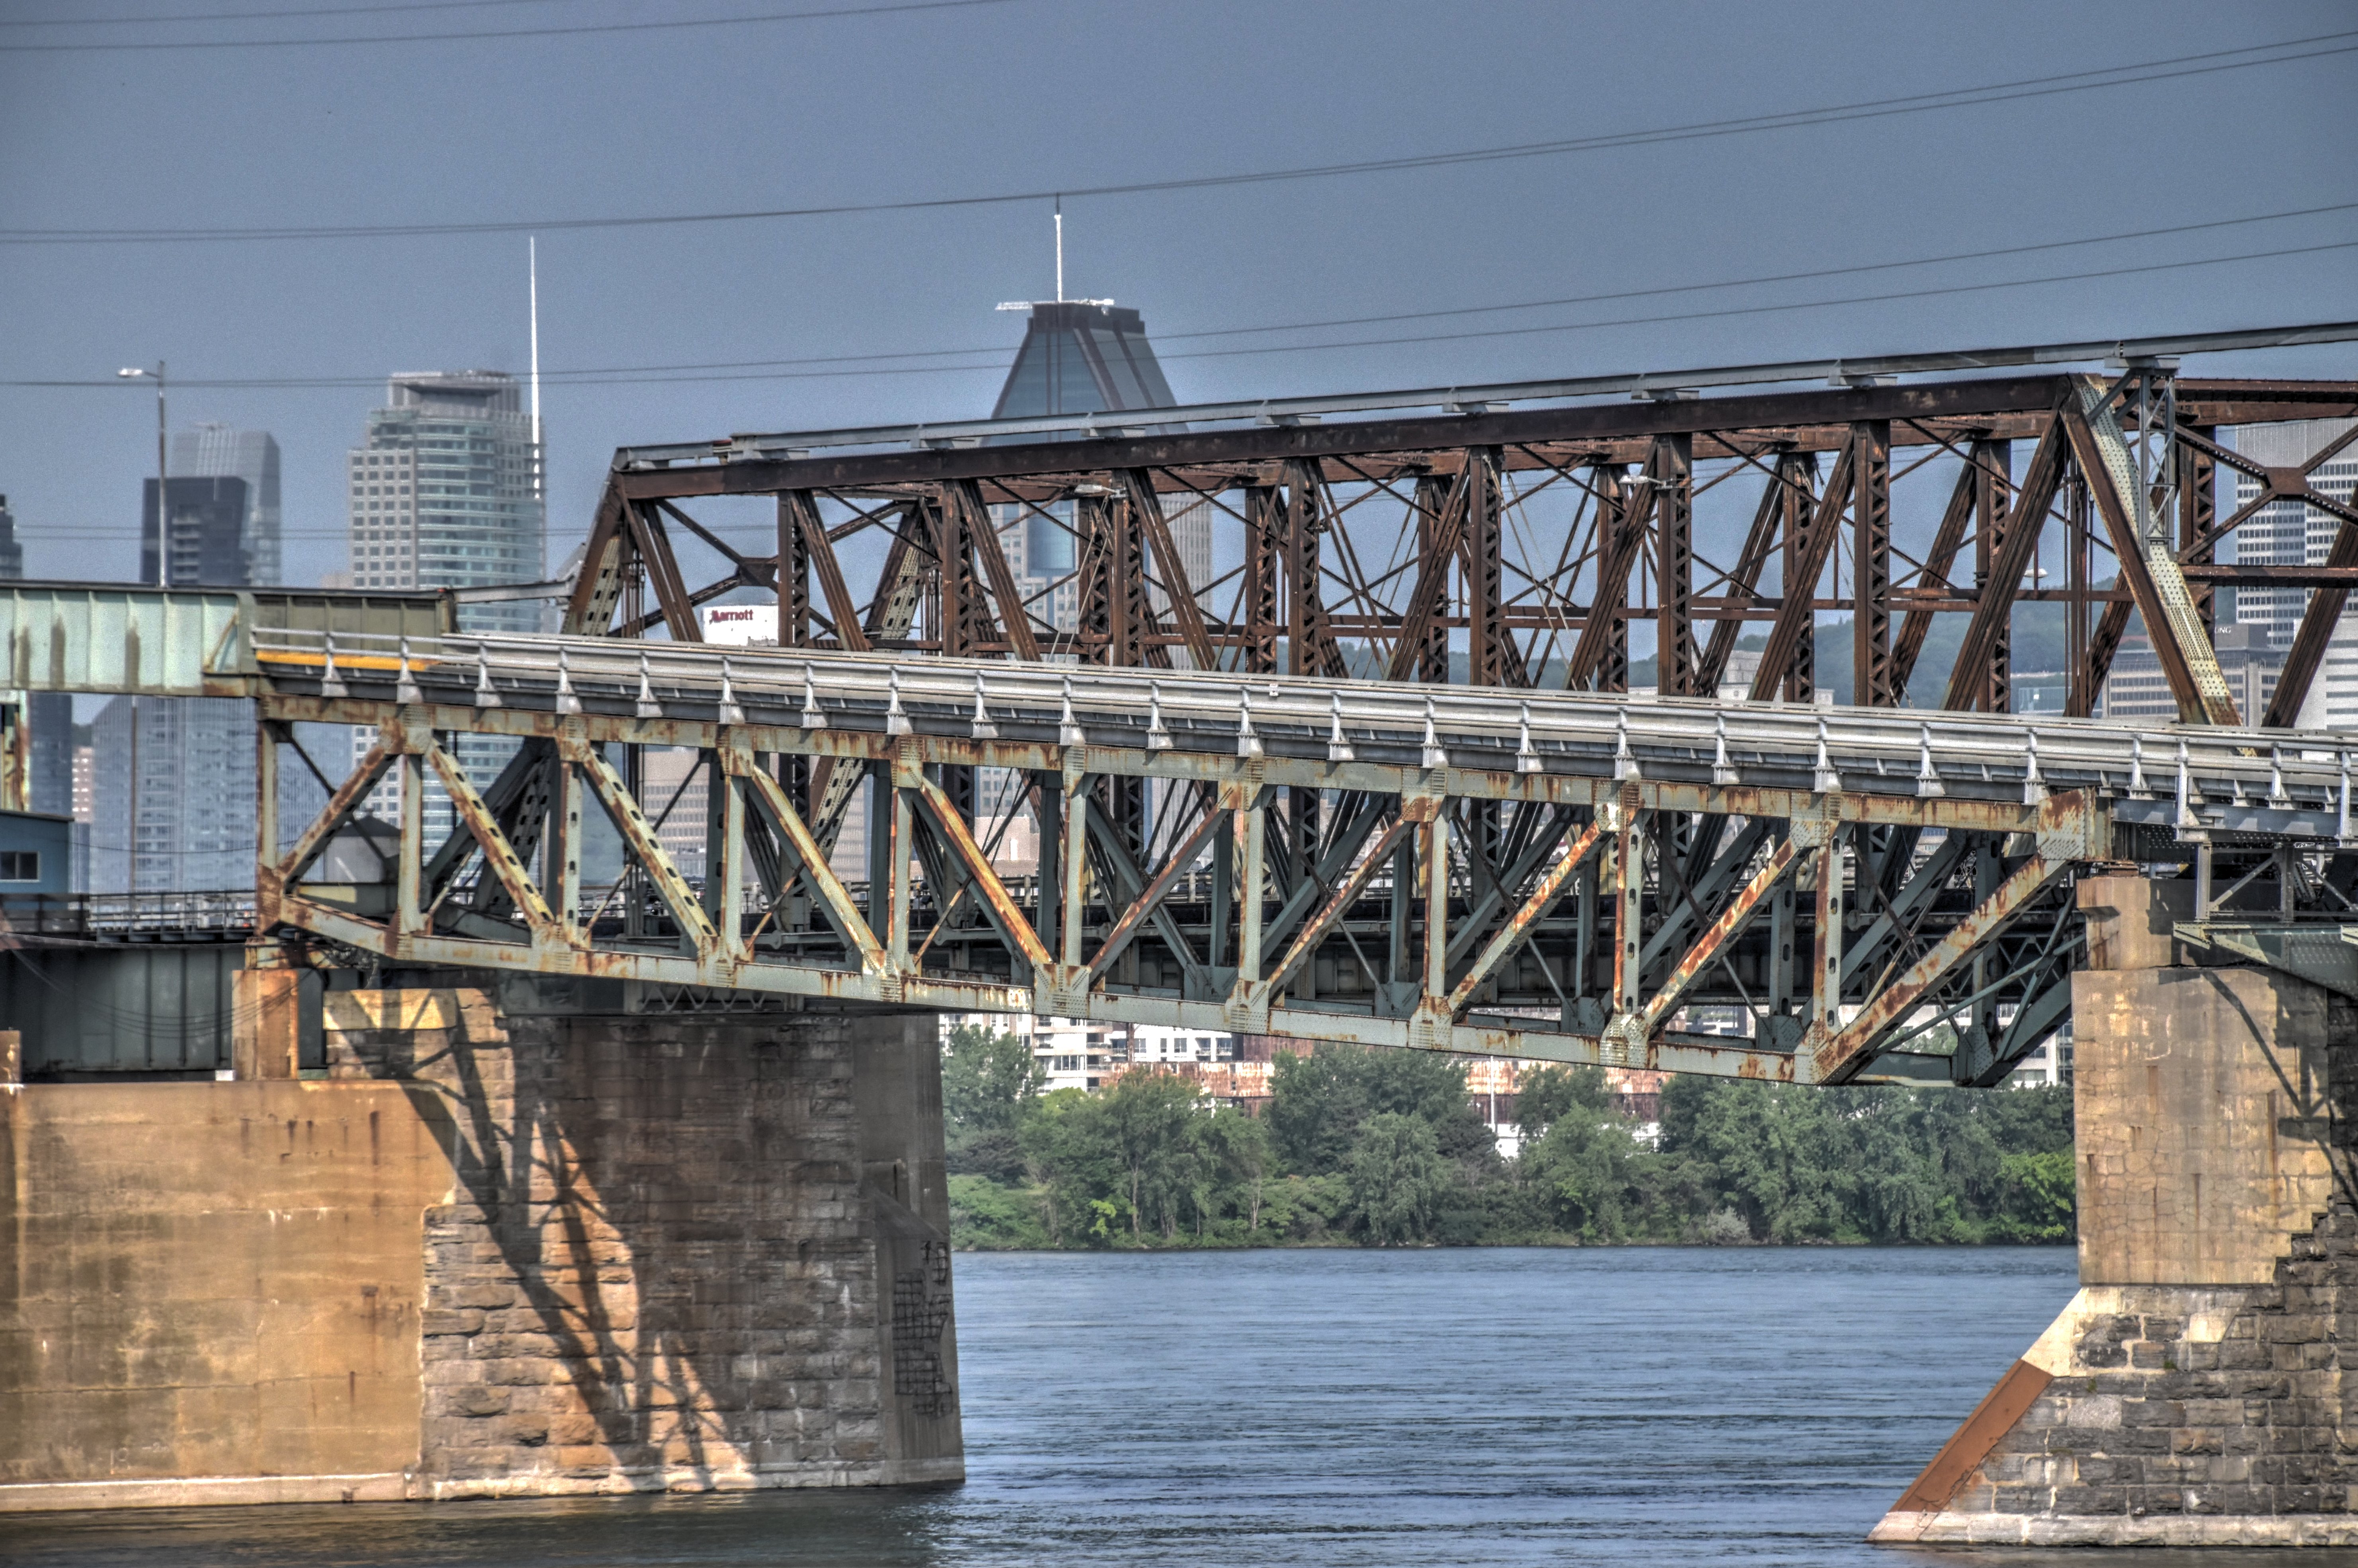
Distant north elevation of main span.
![]()


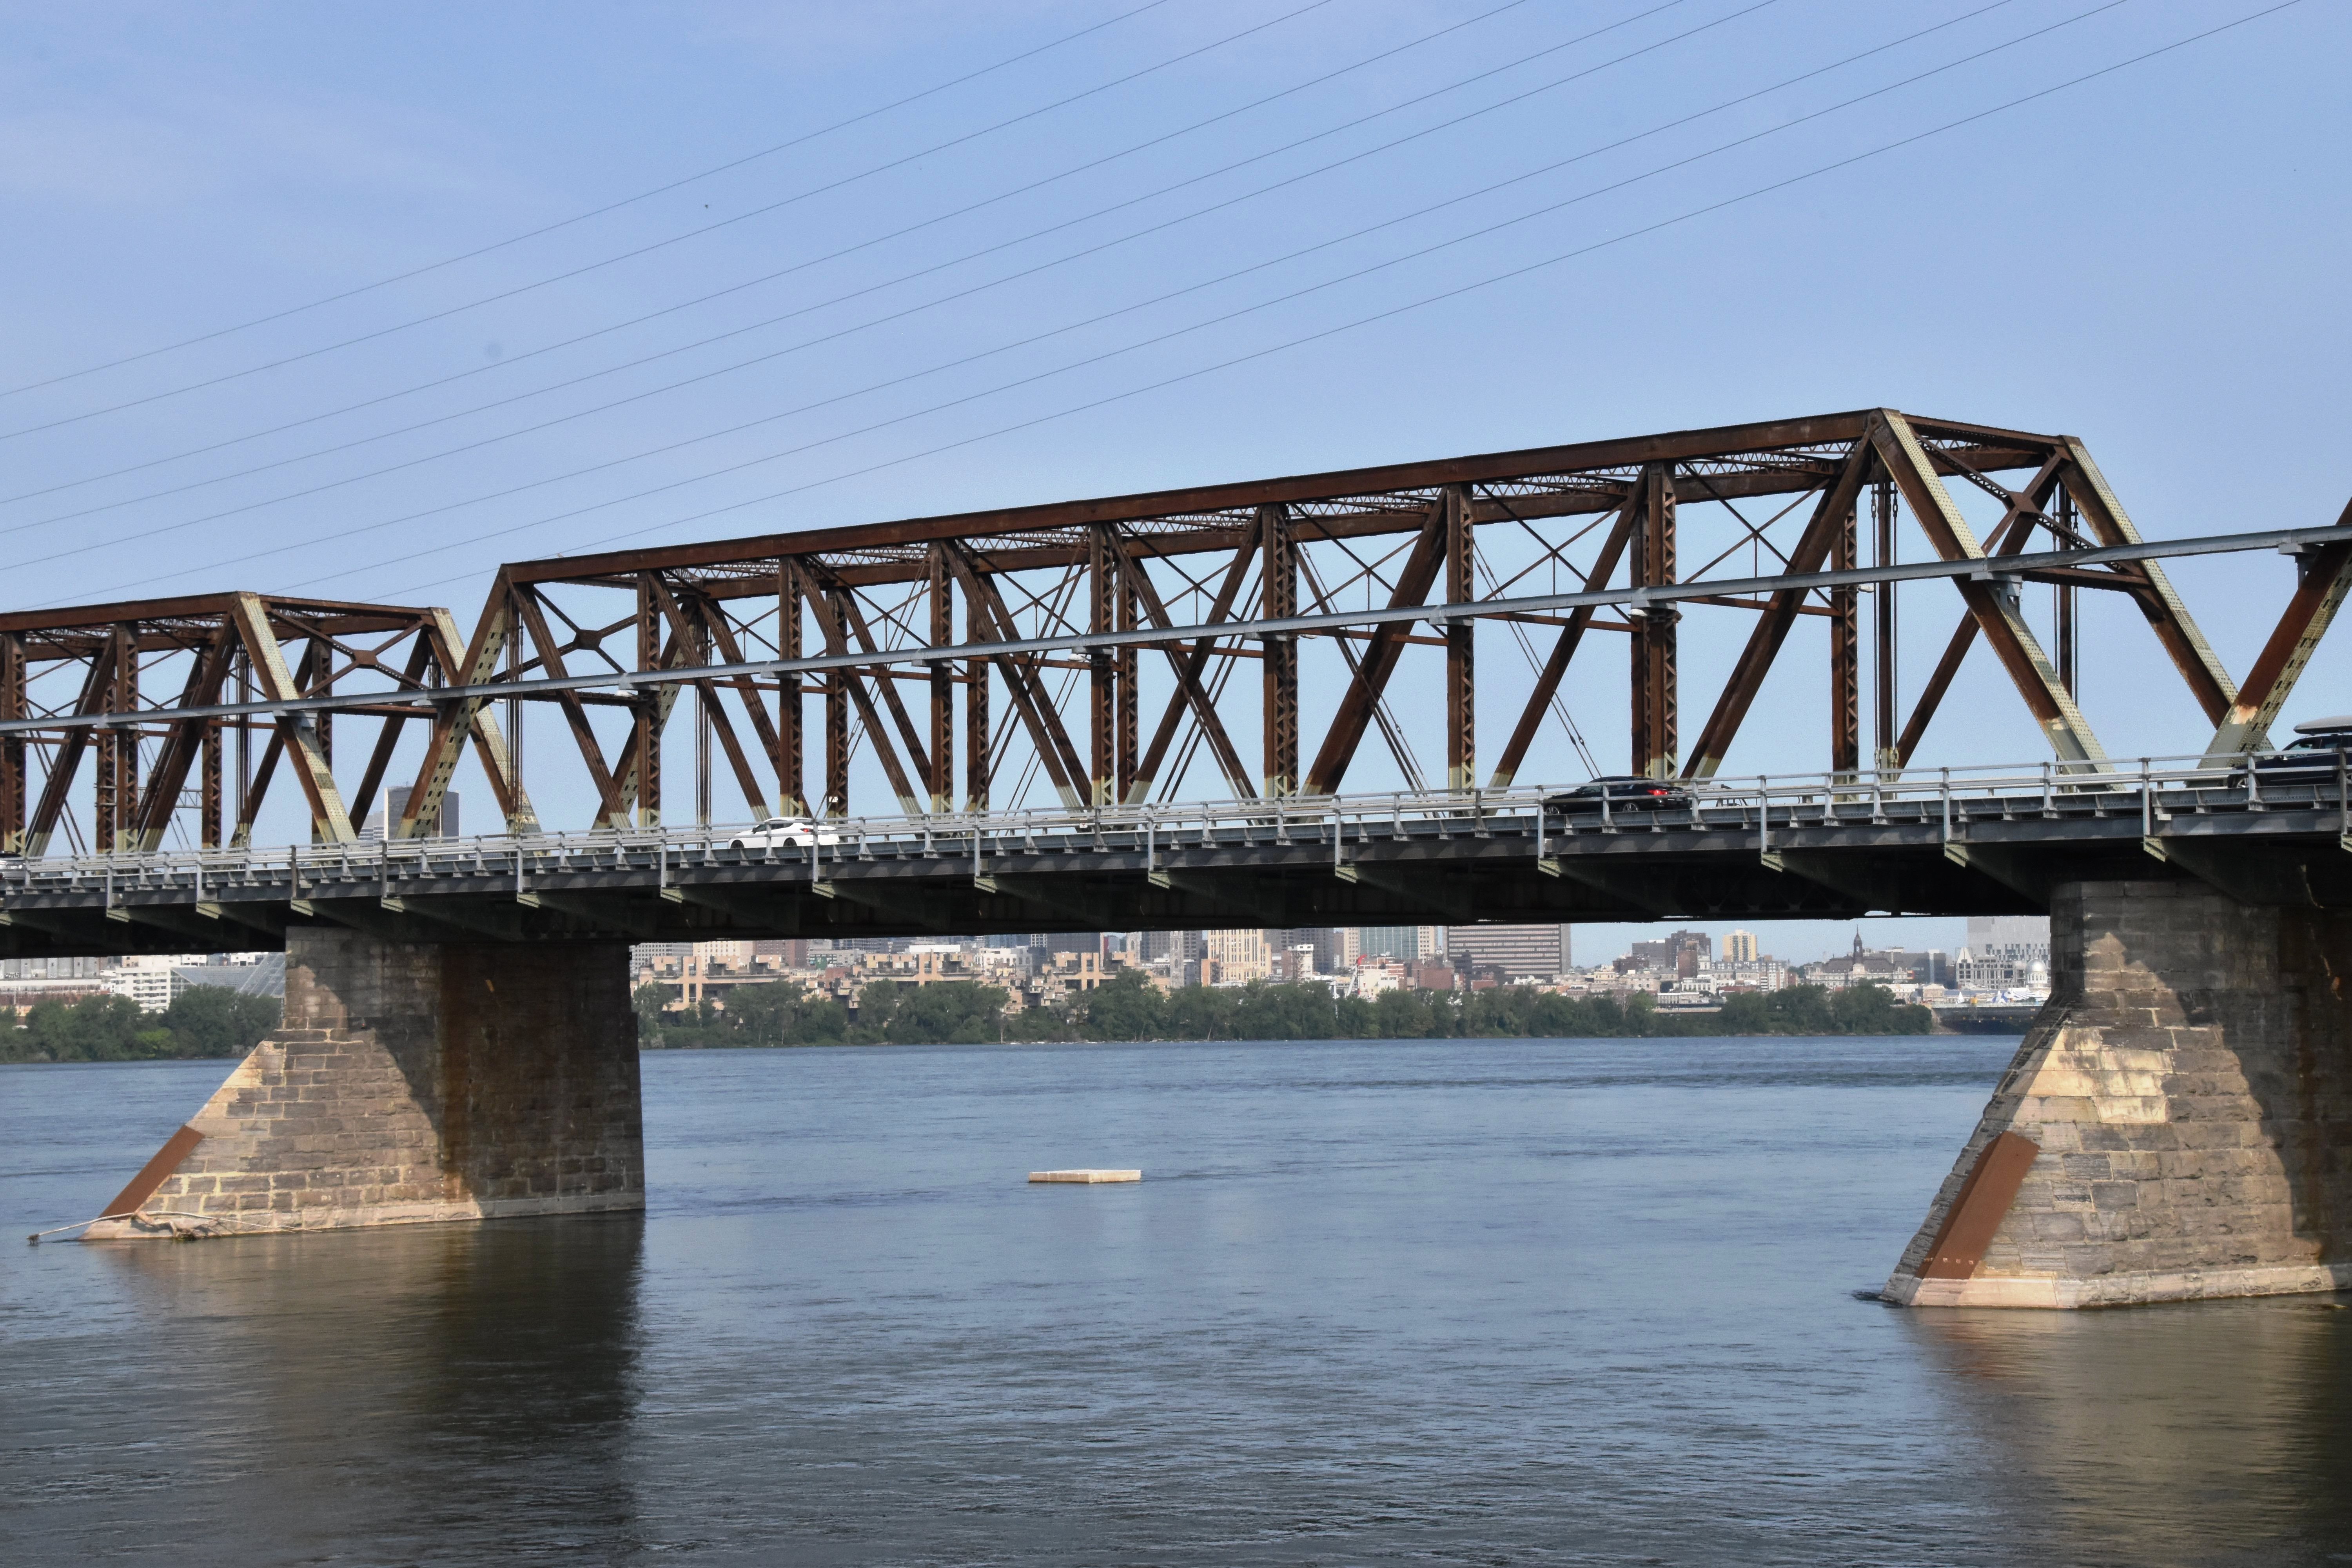
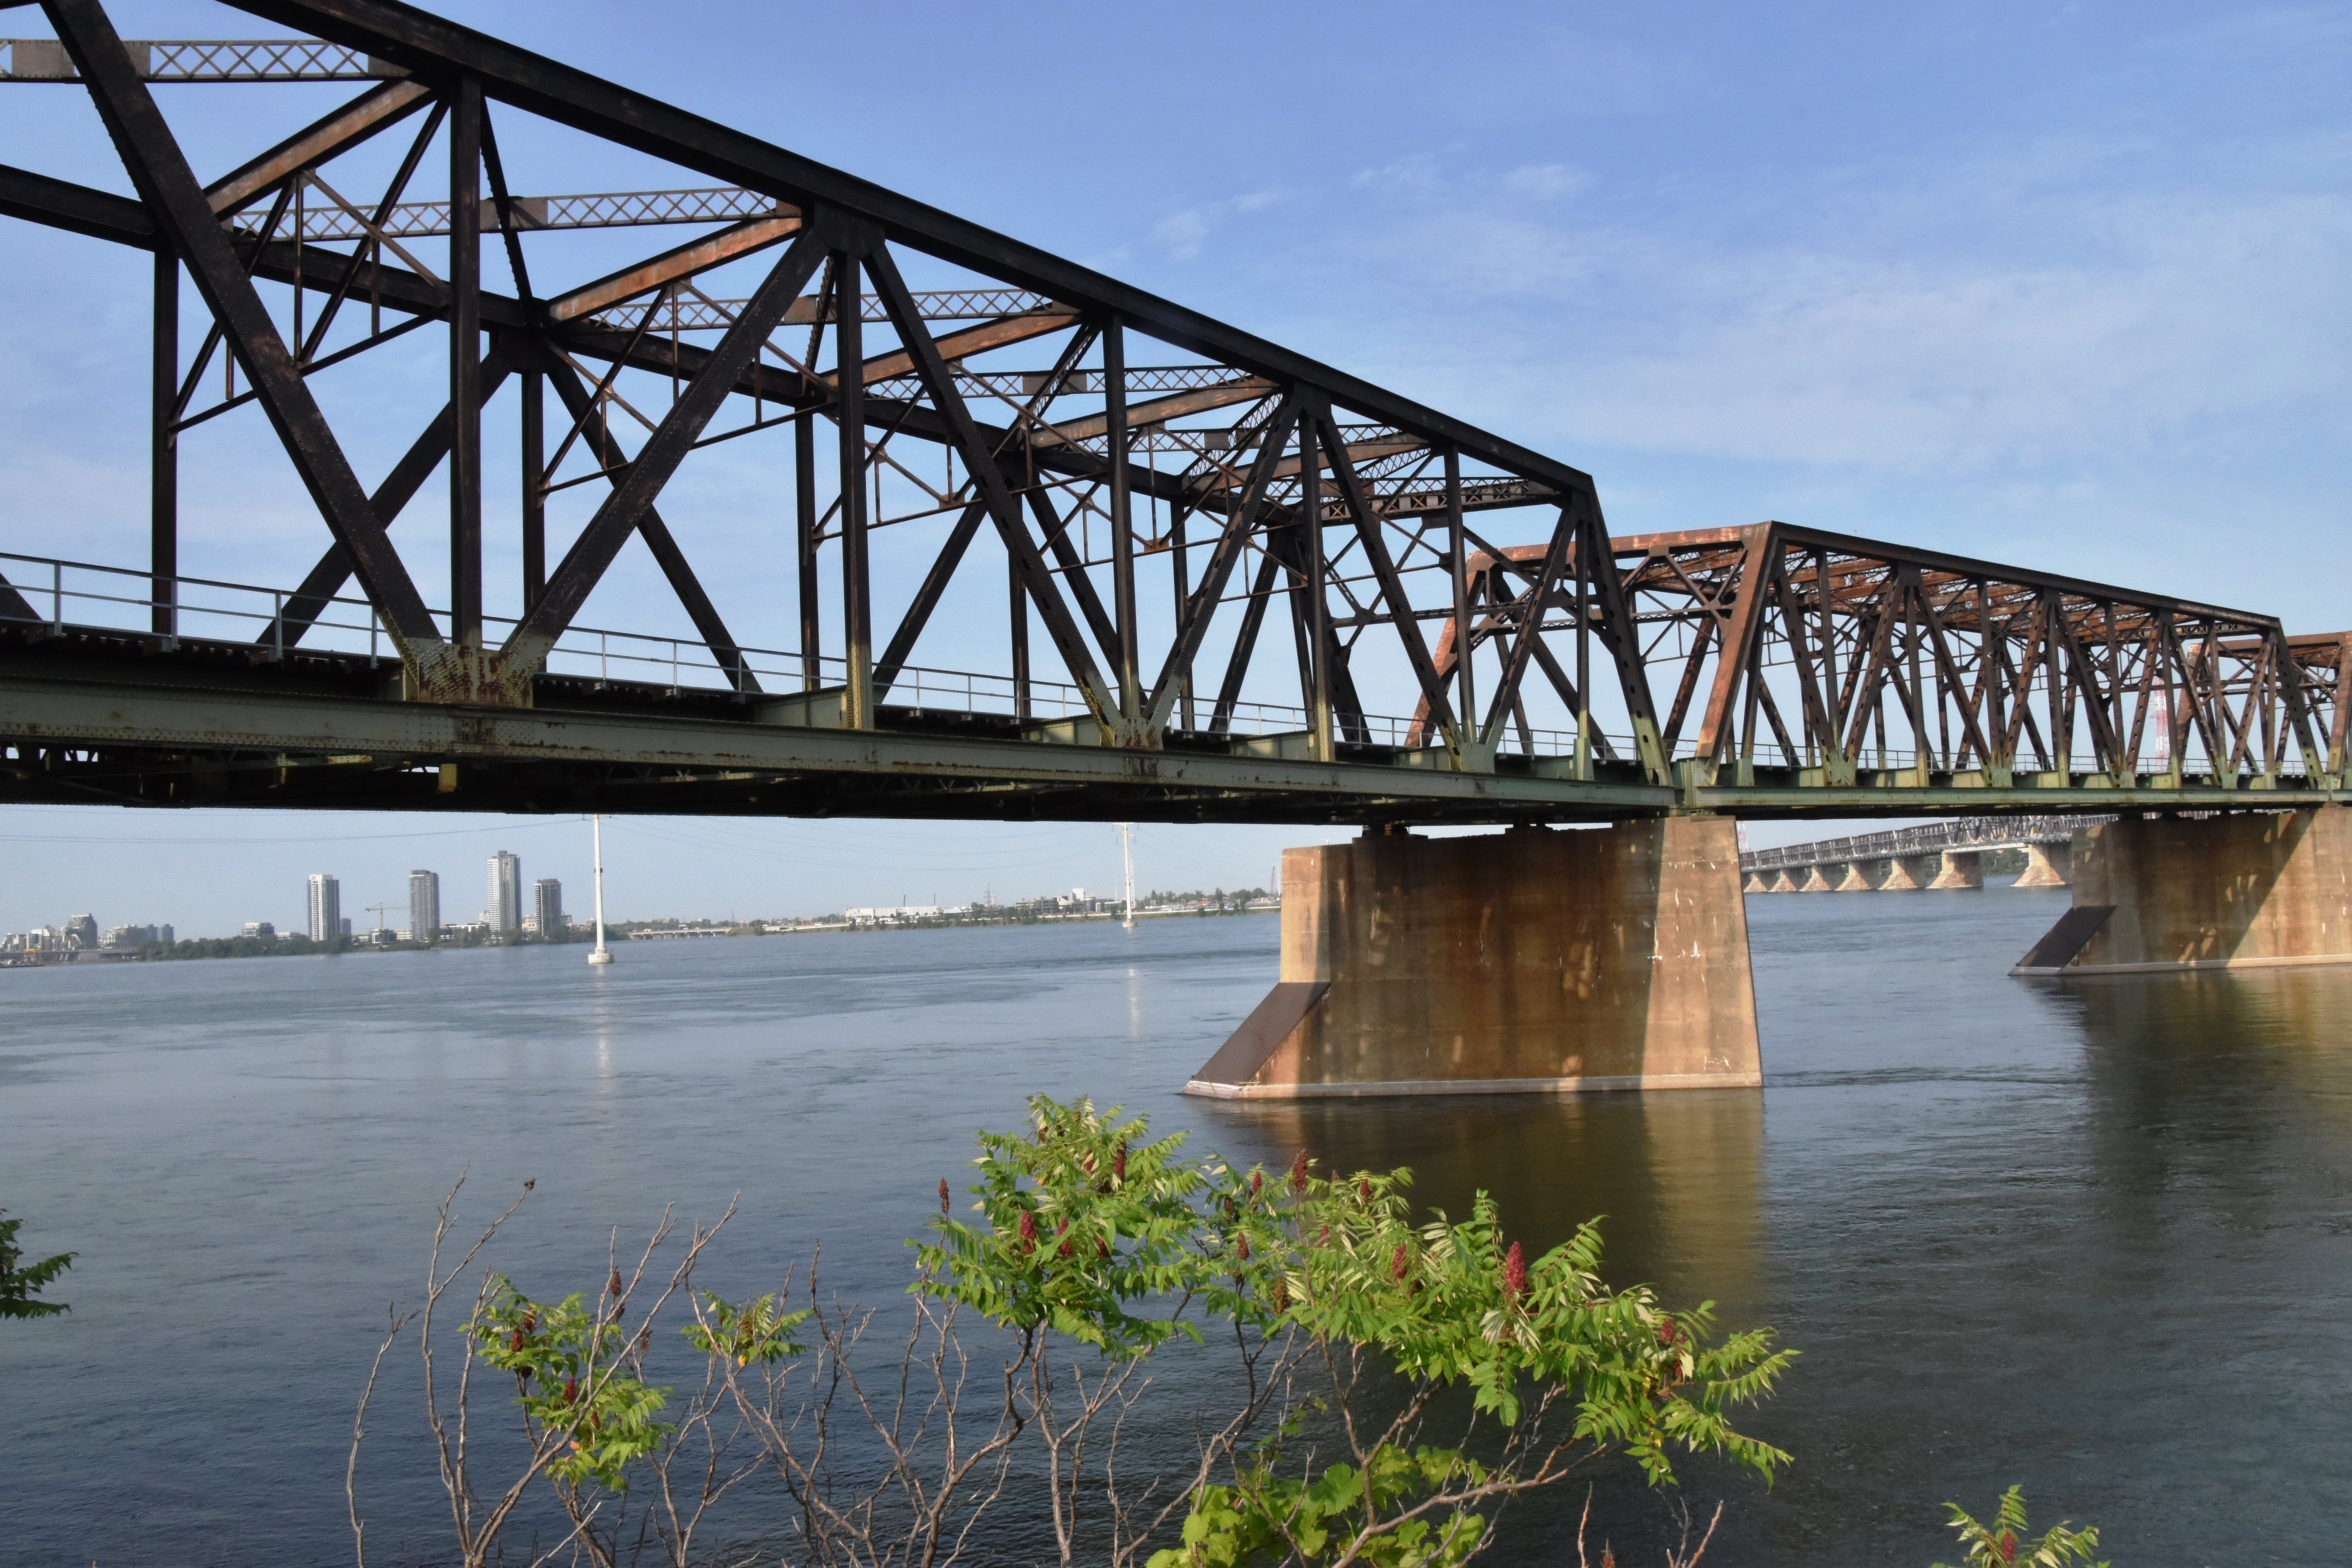
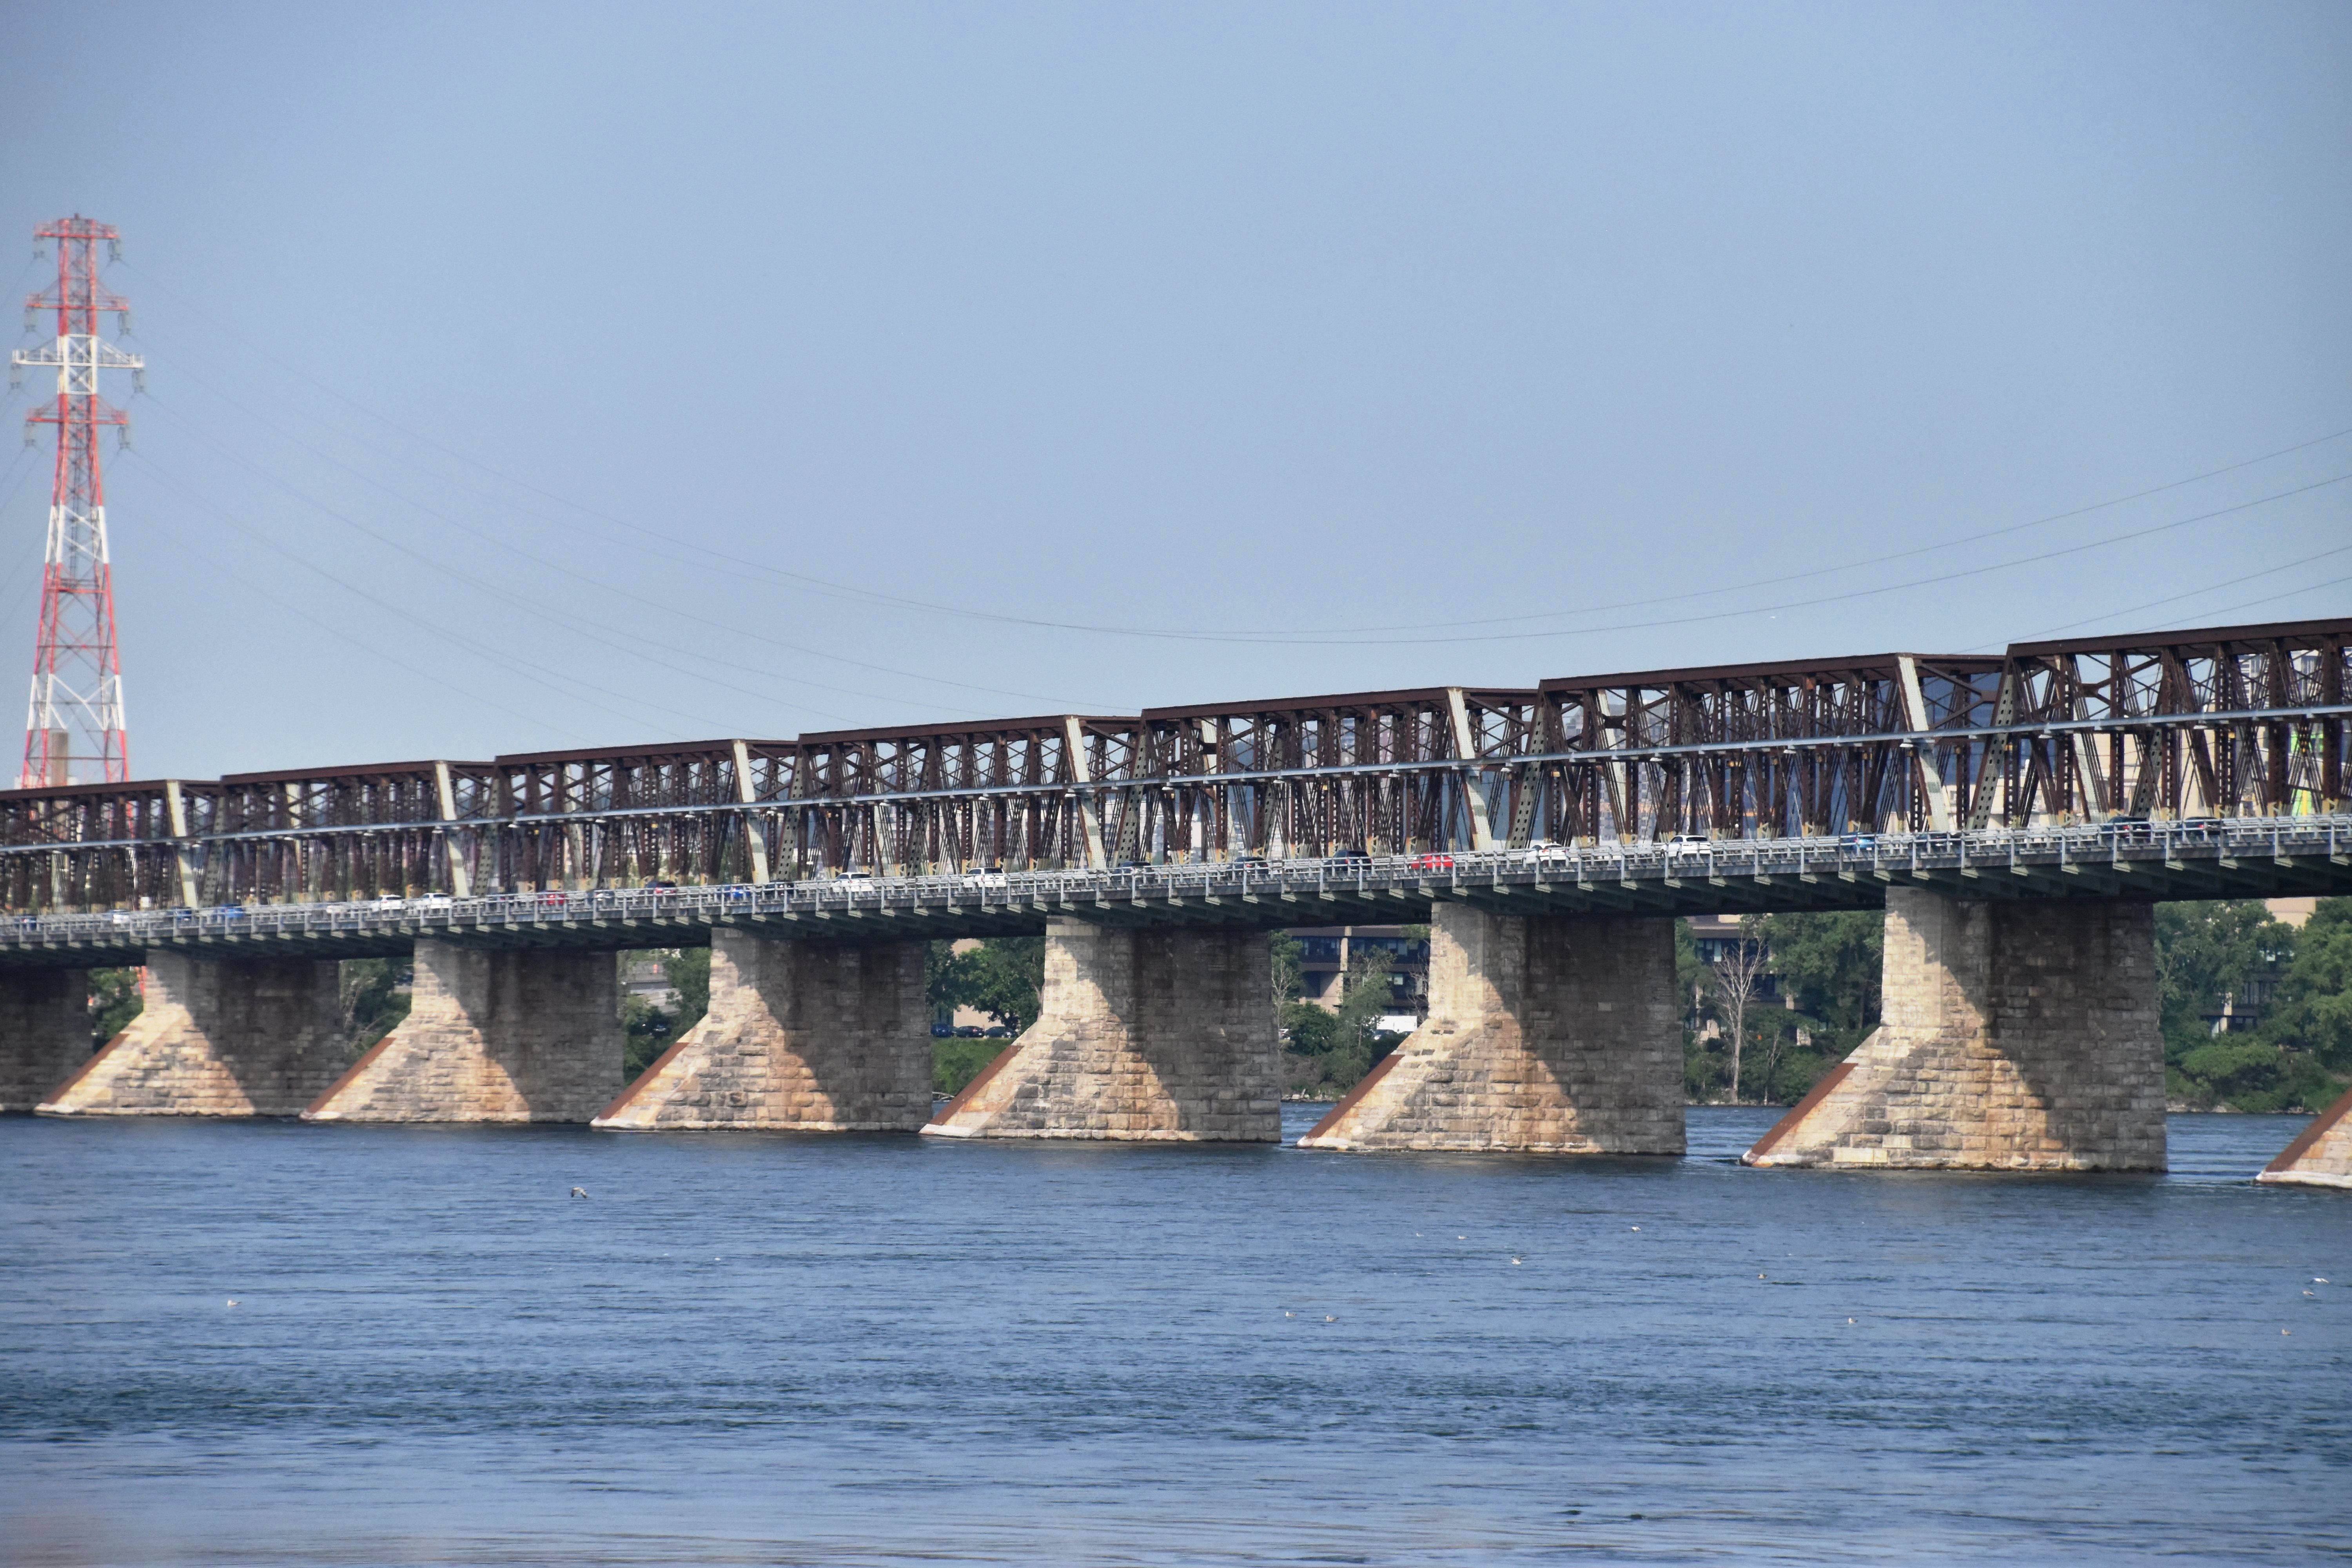
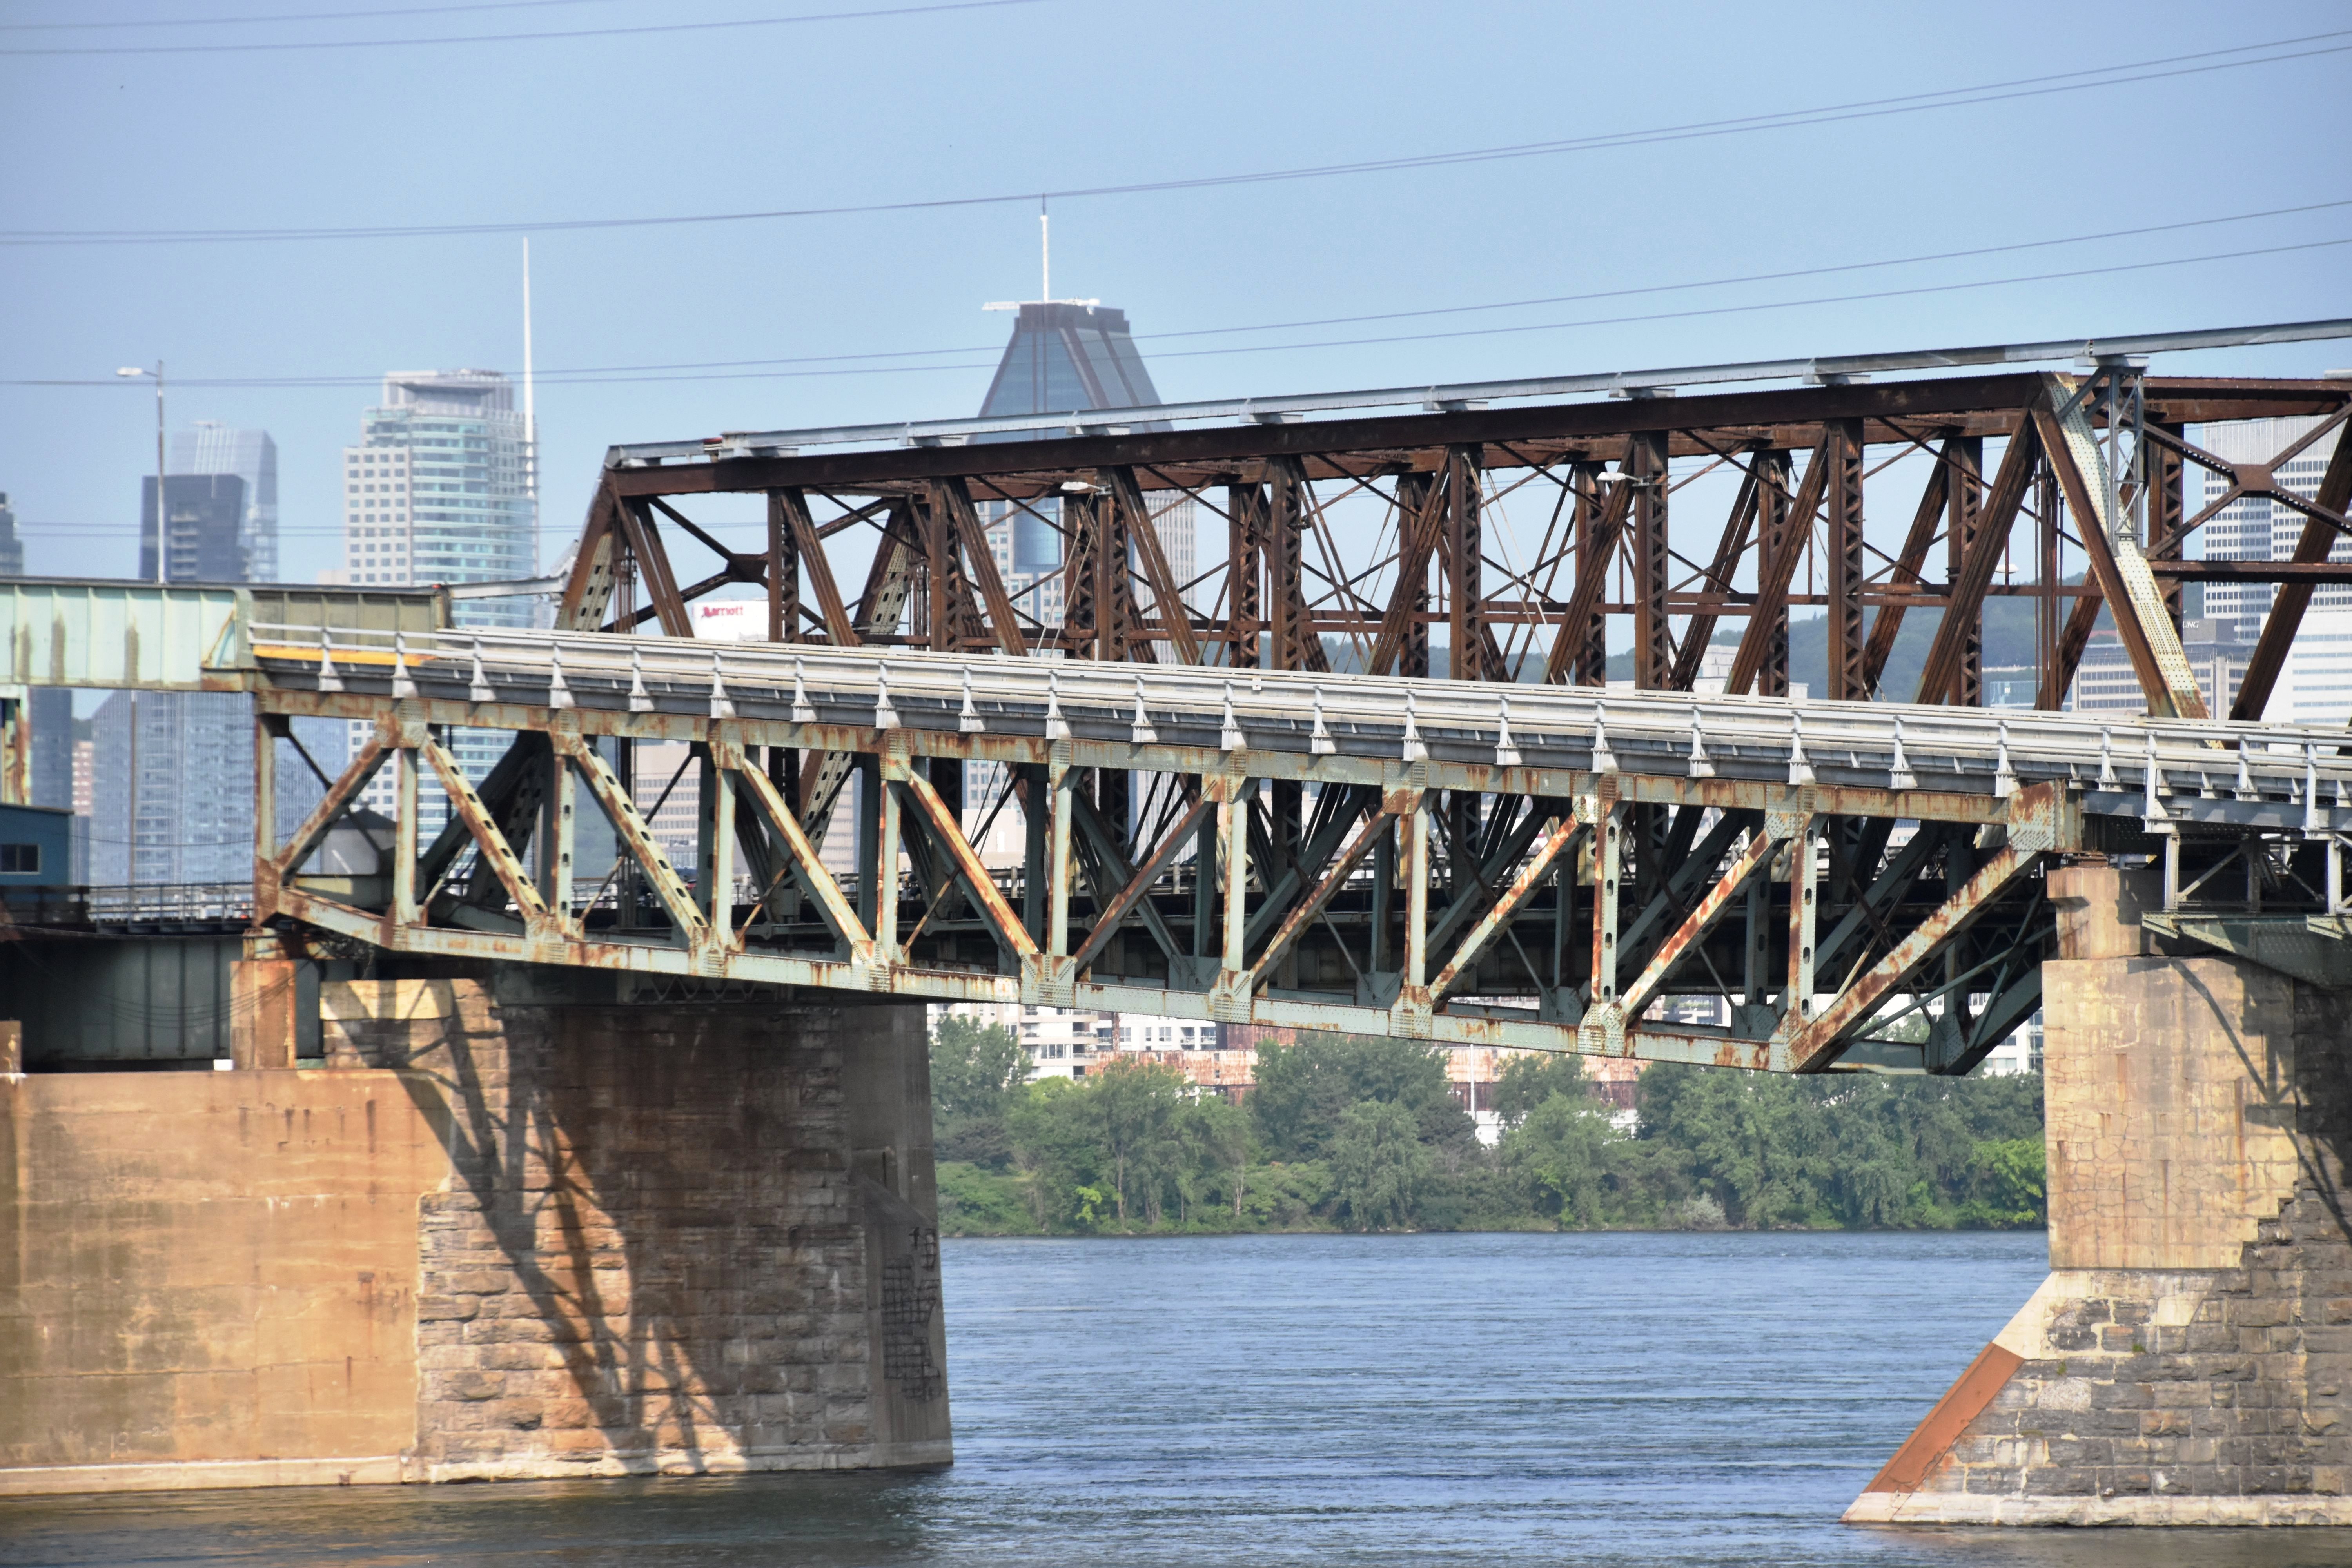
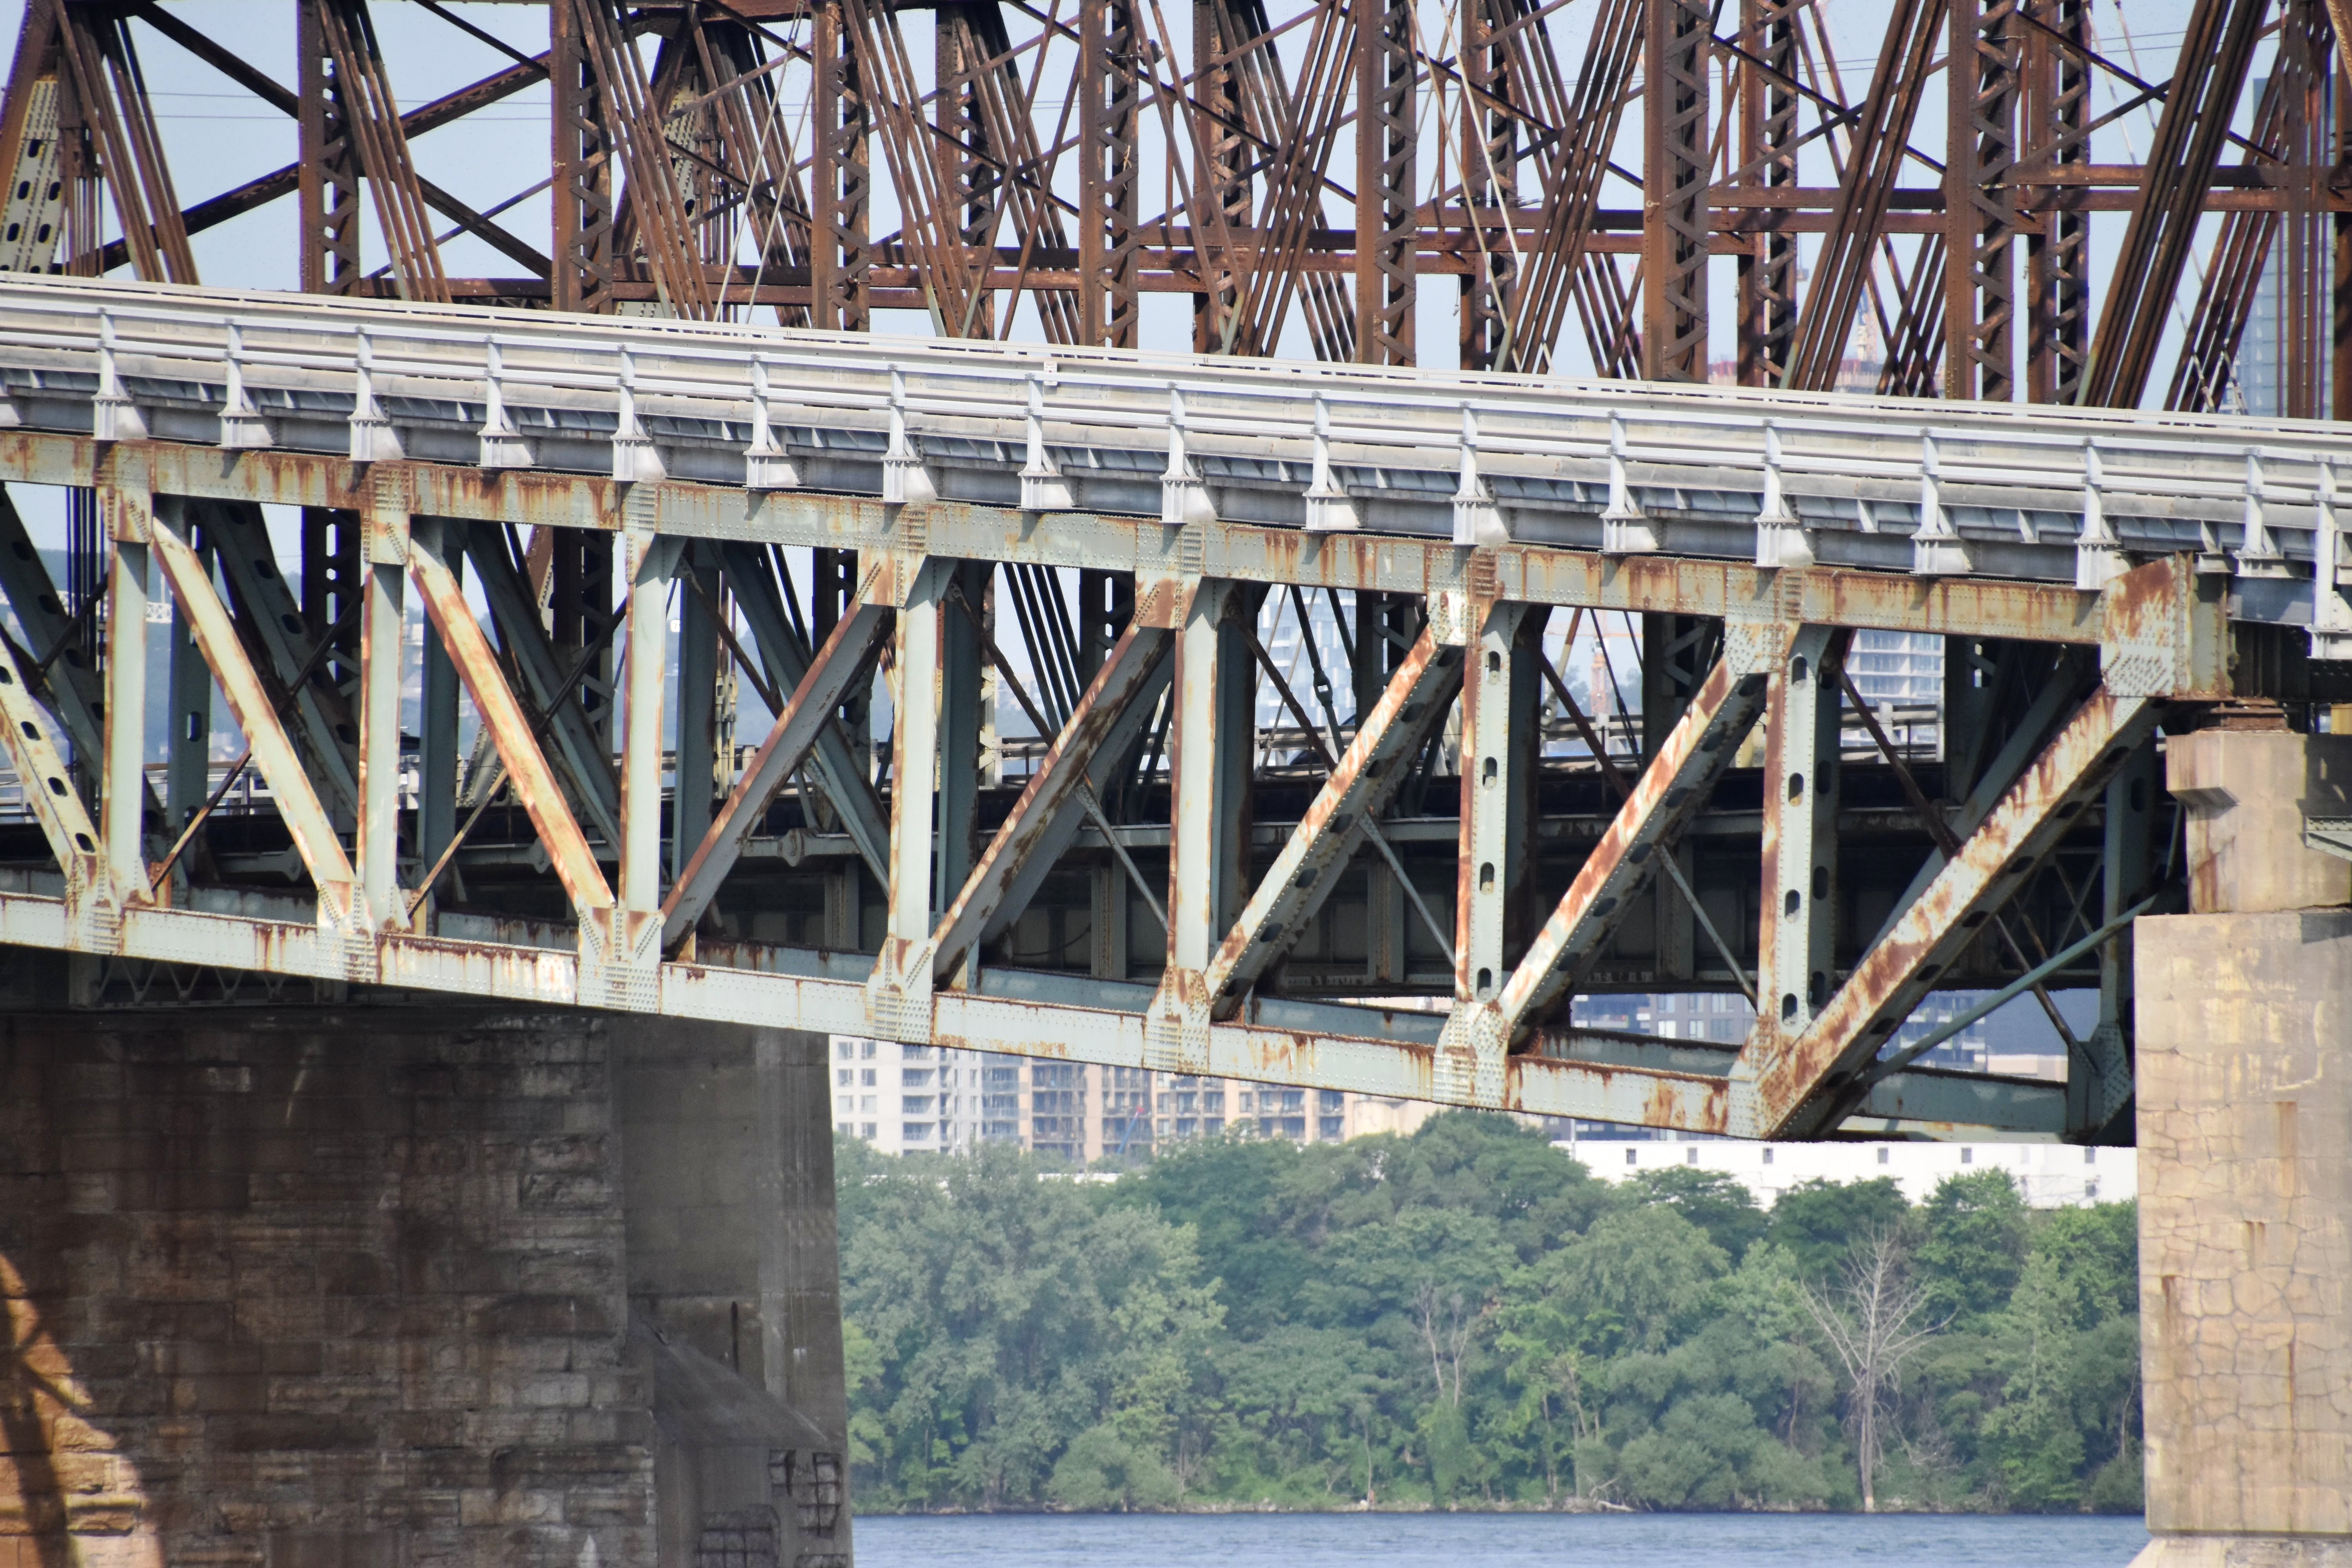
Elevation of main span from southeast quadrant.
![]()

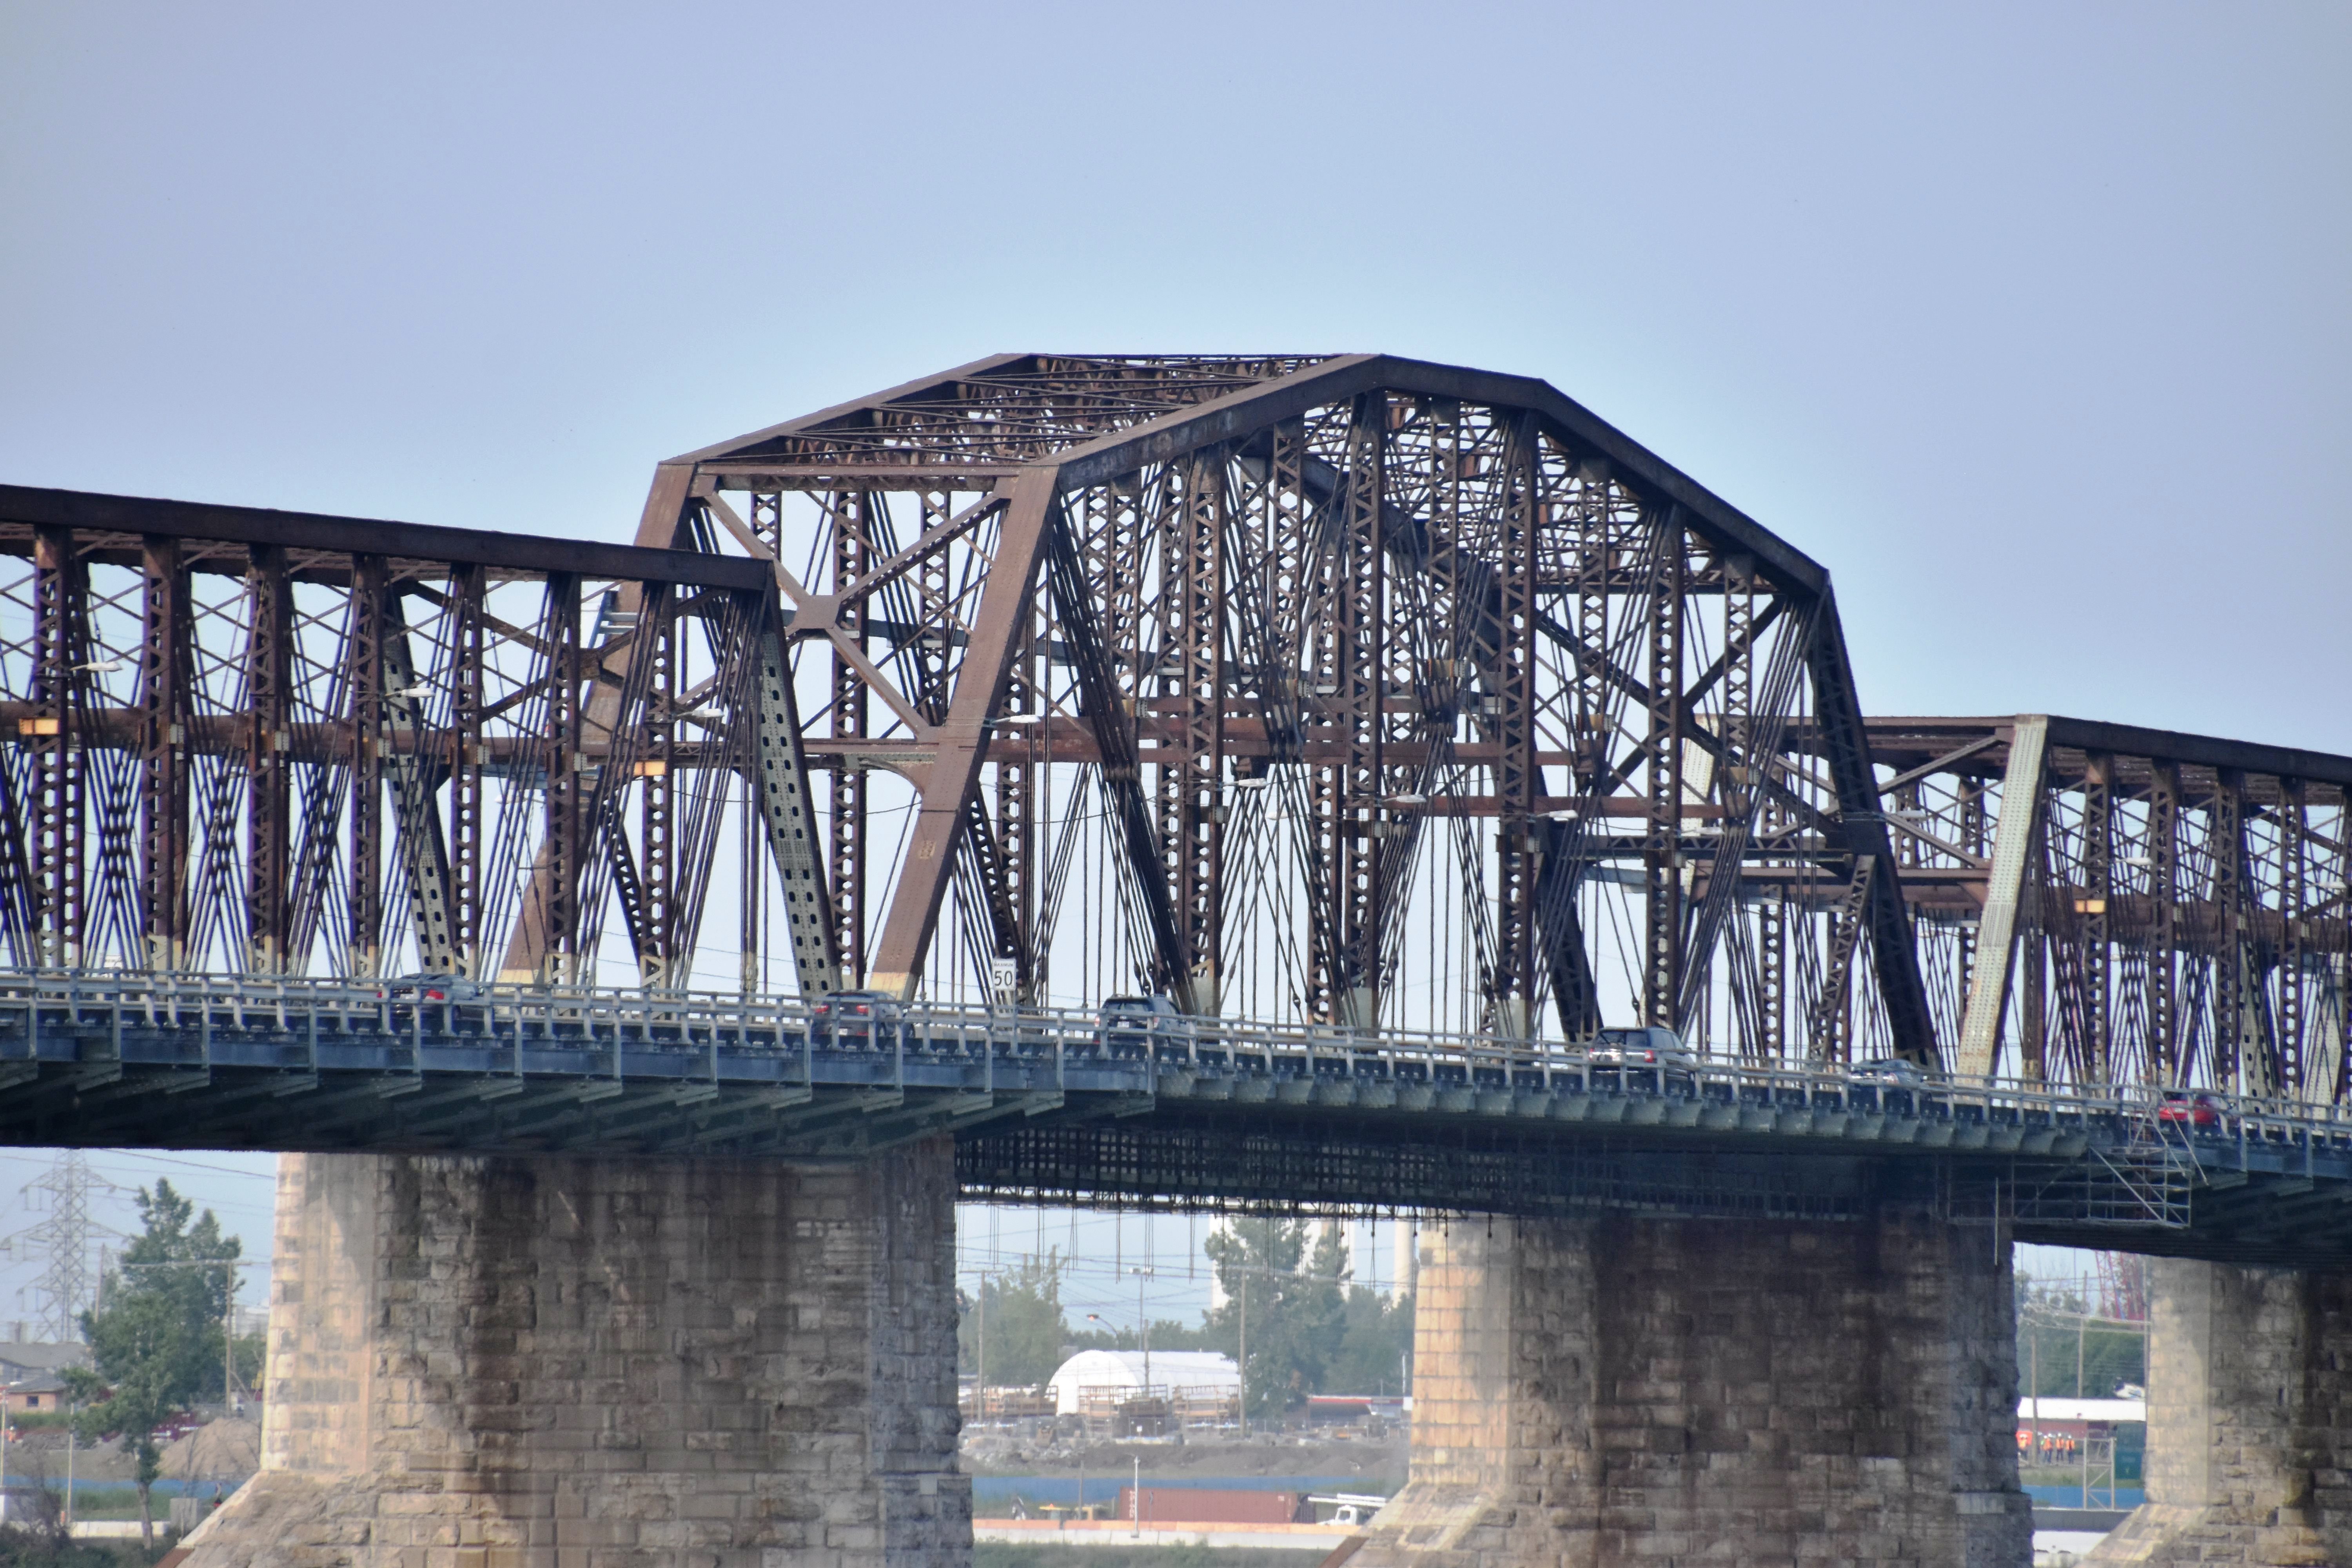
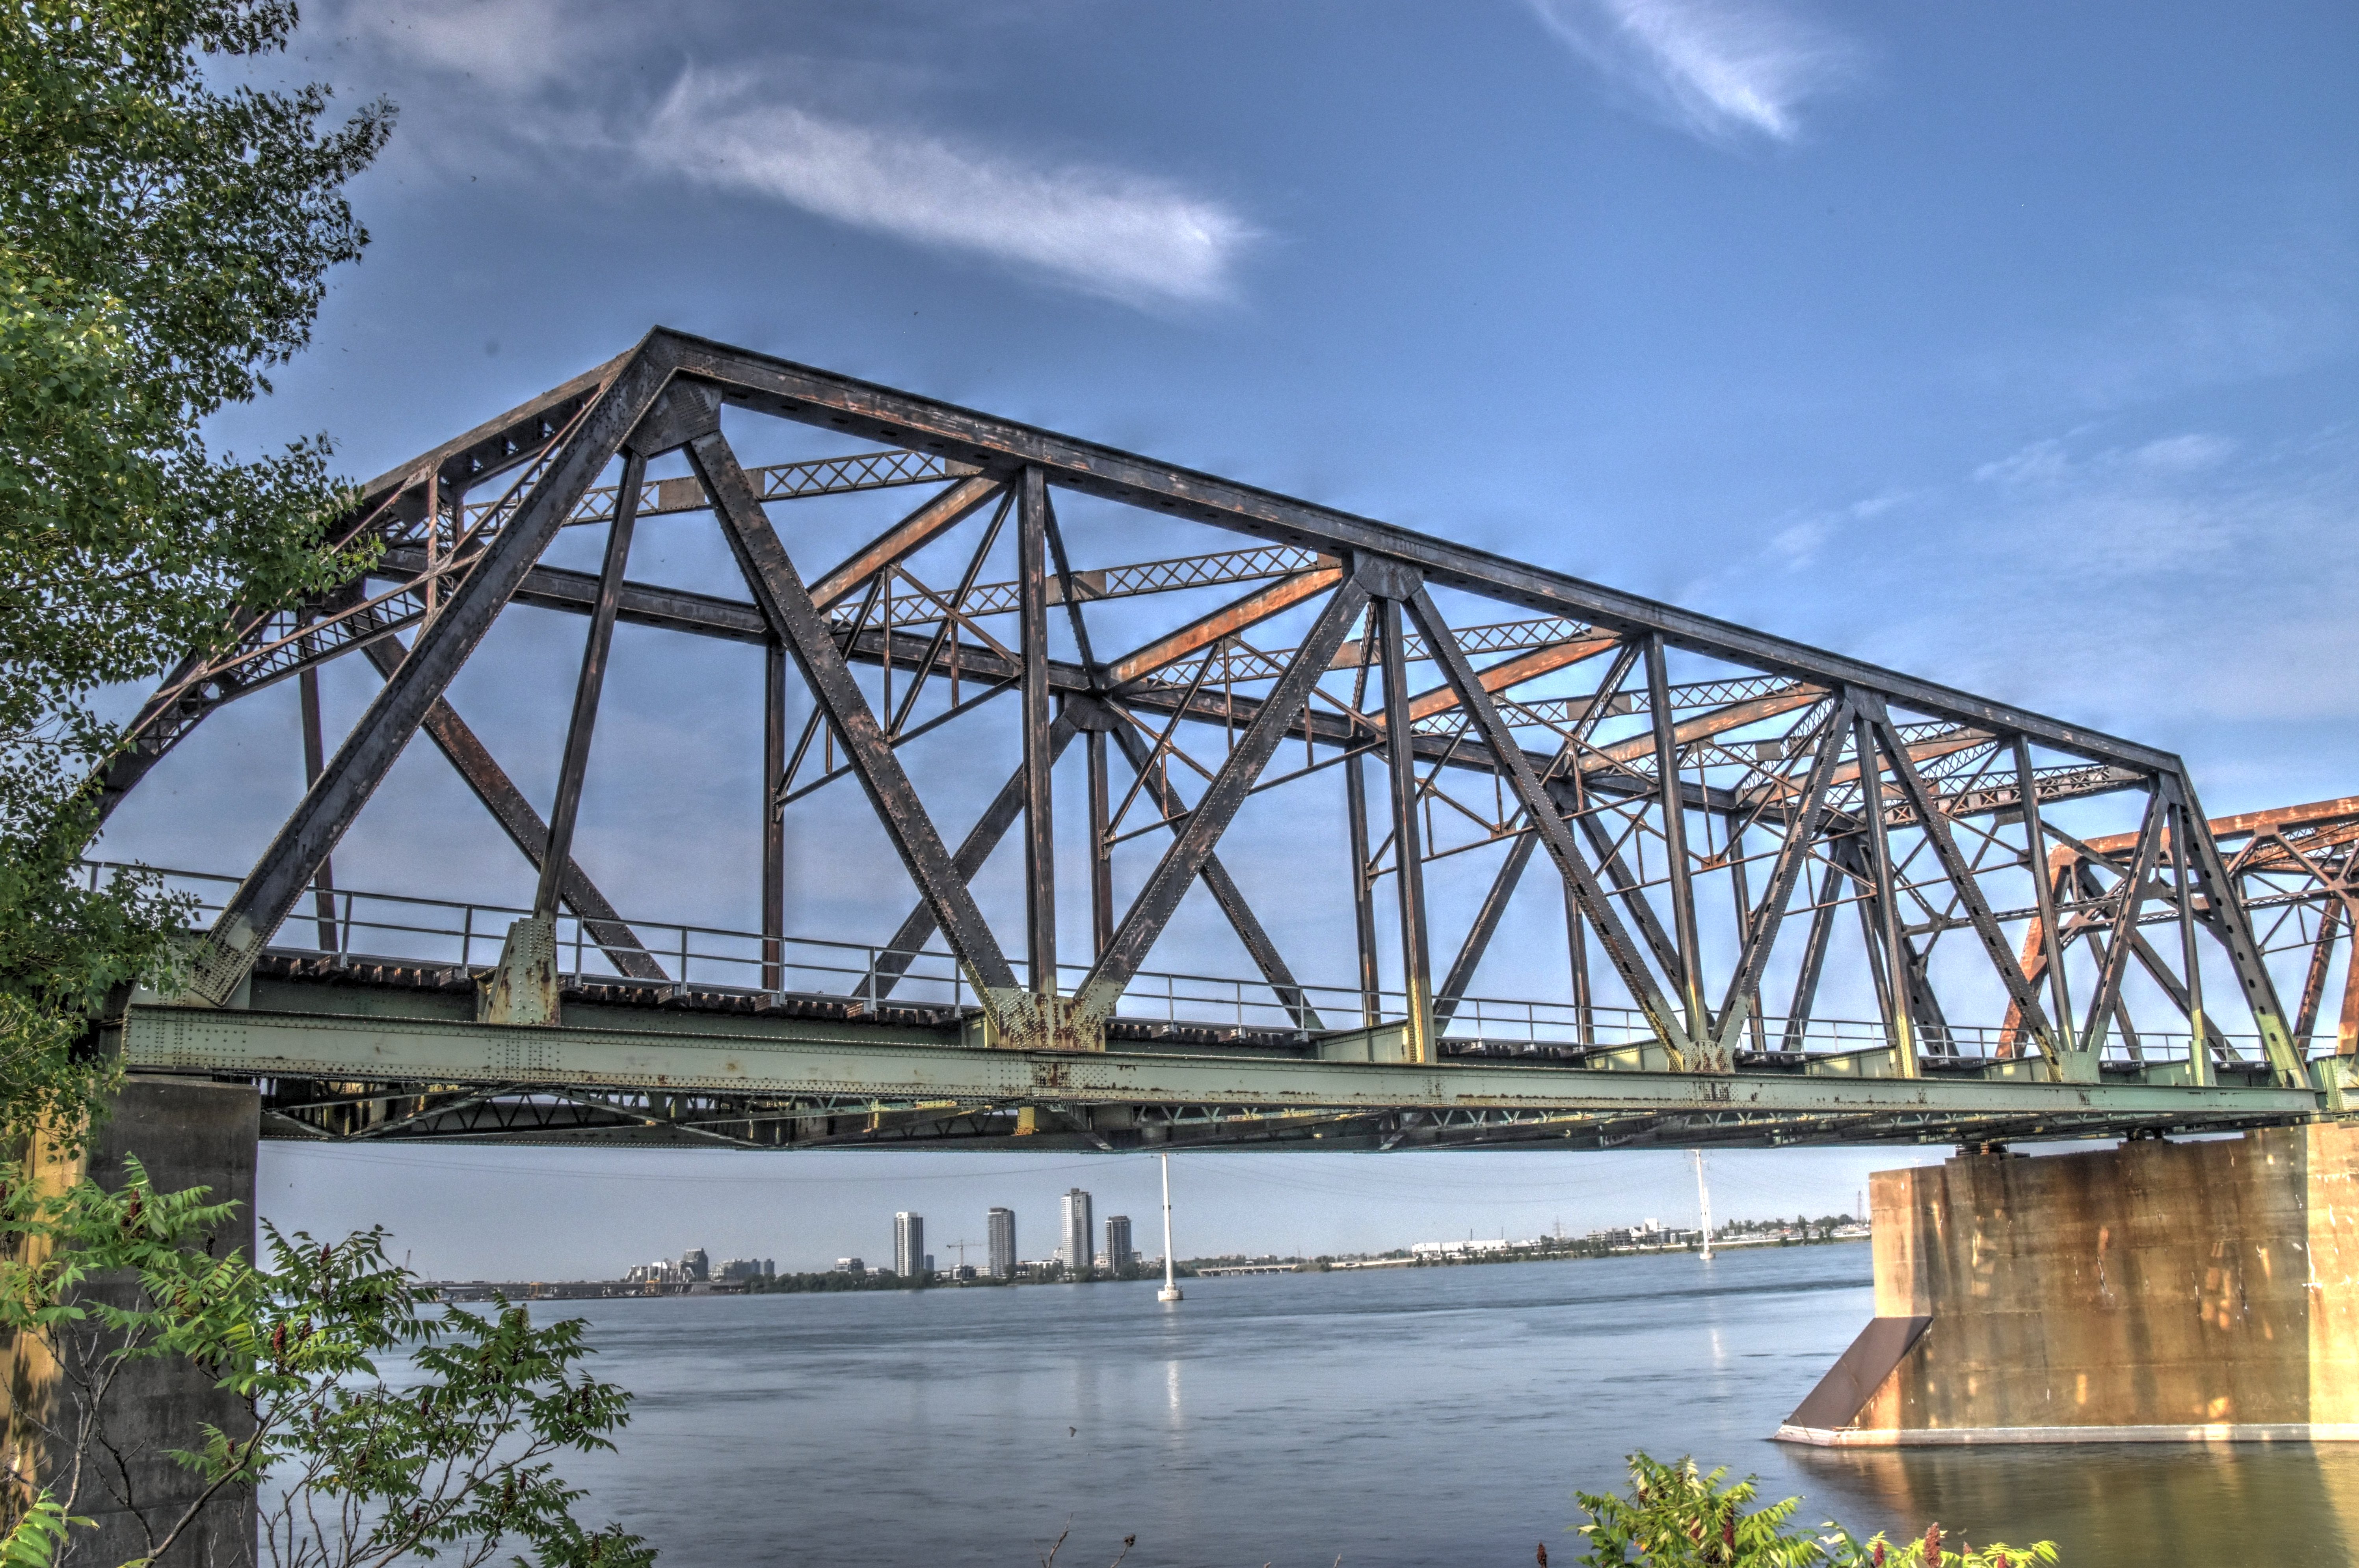
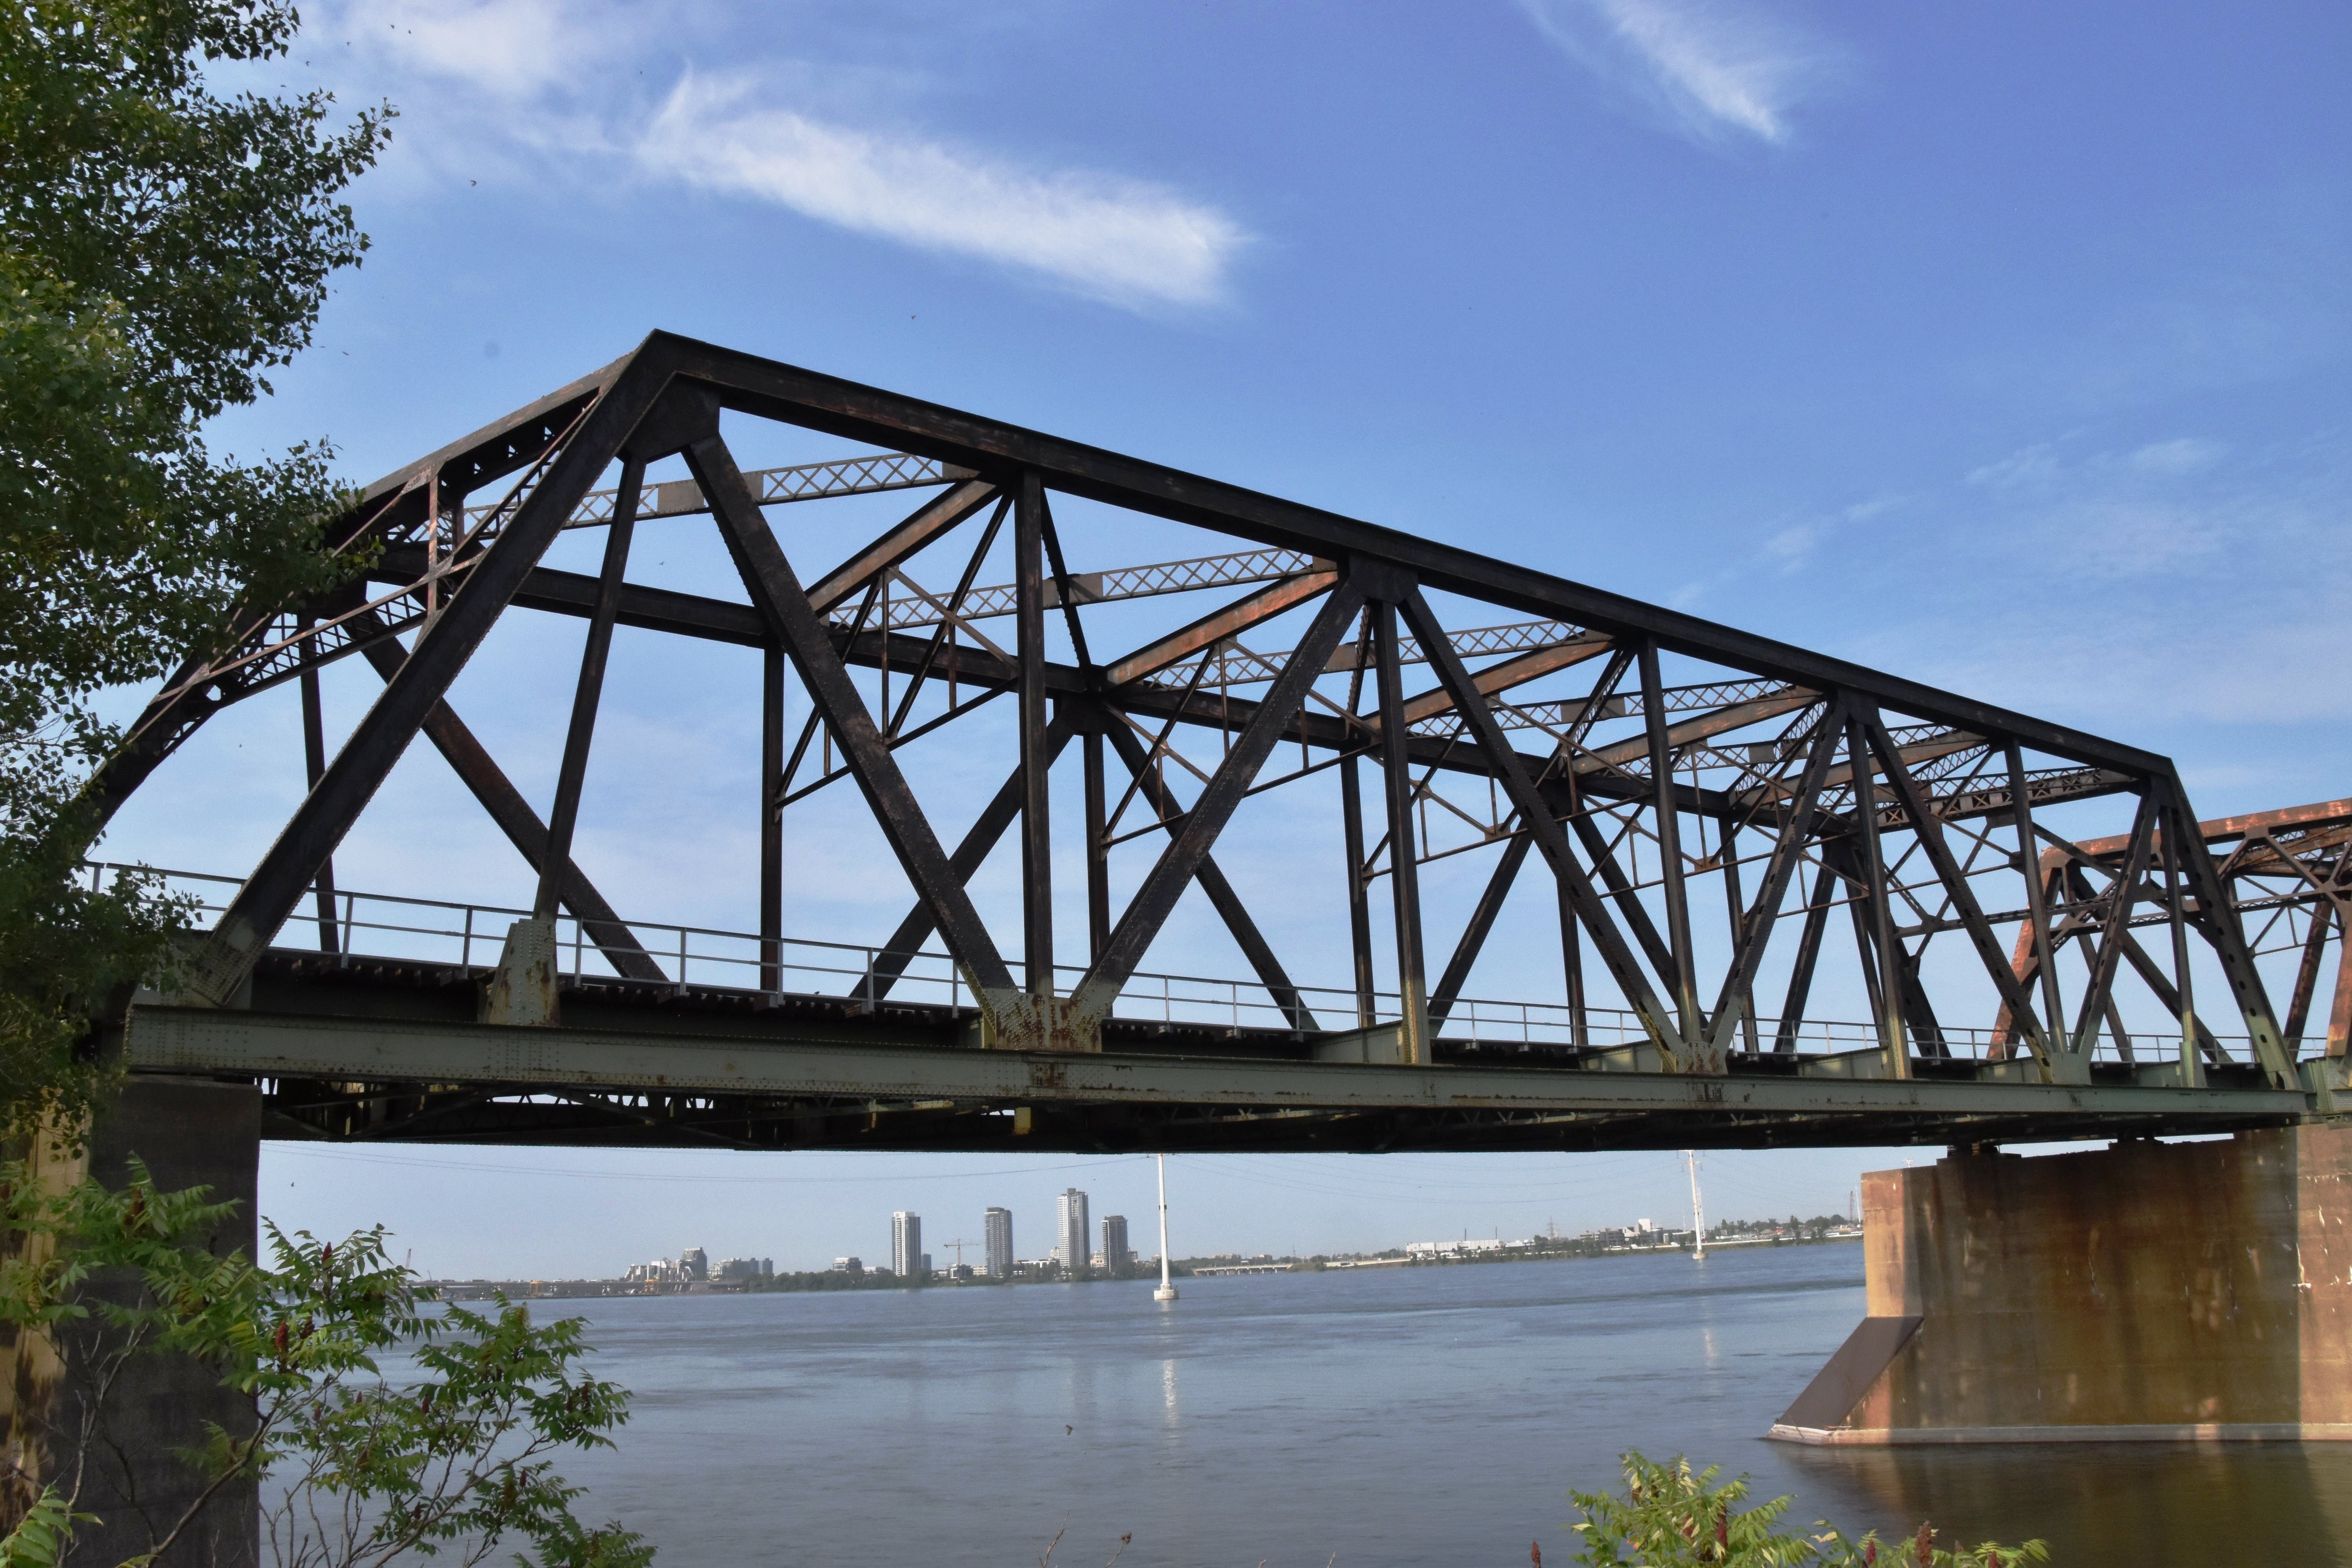
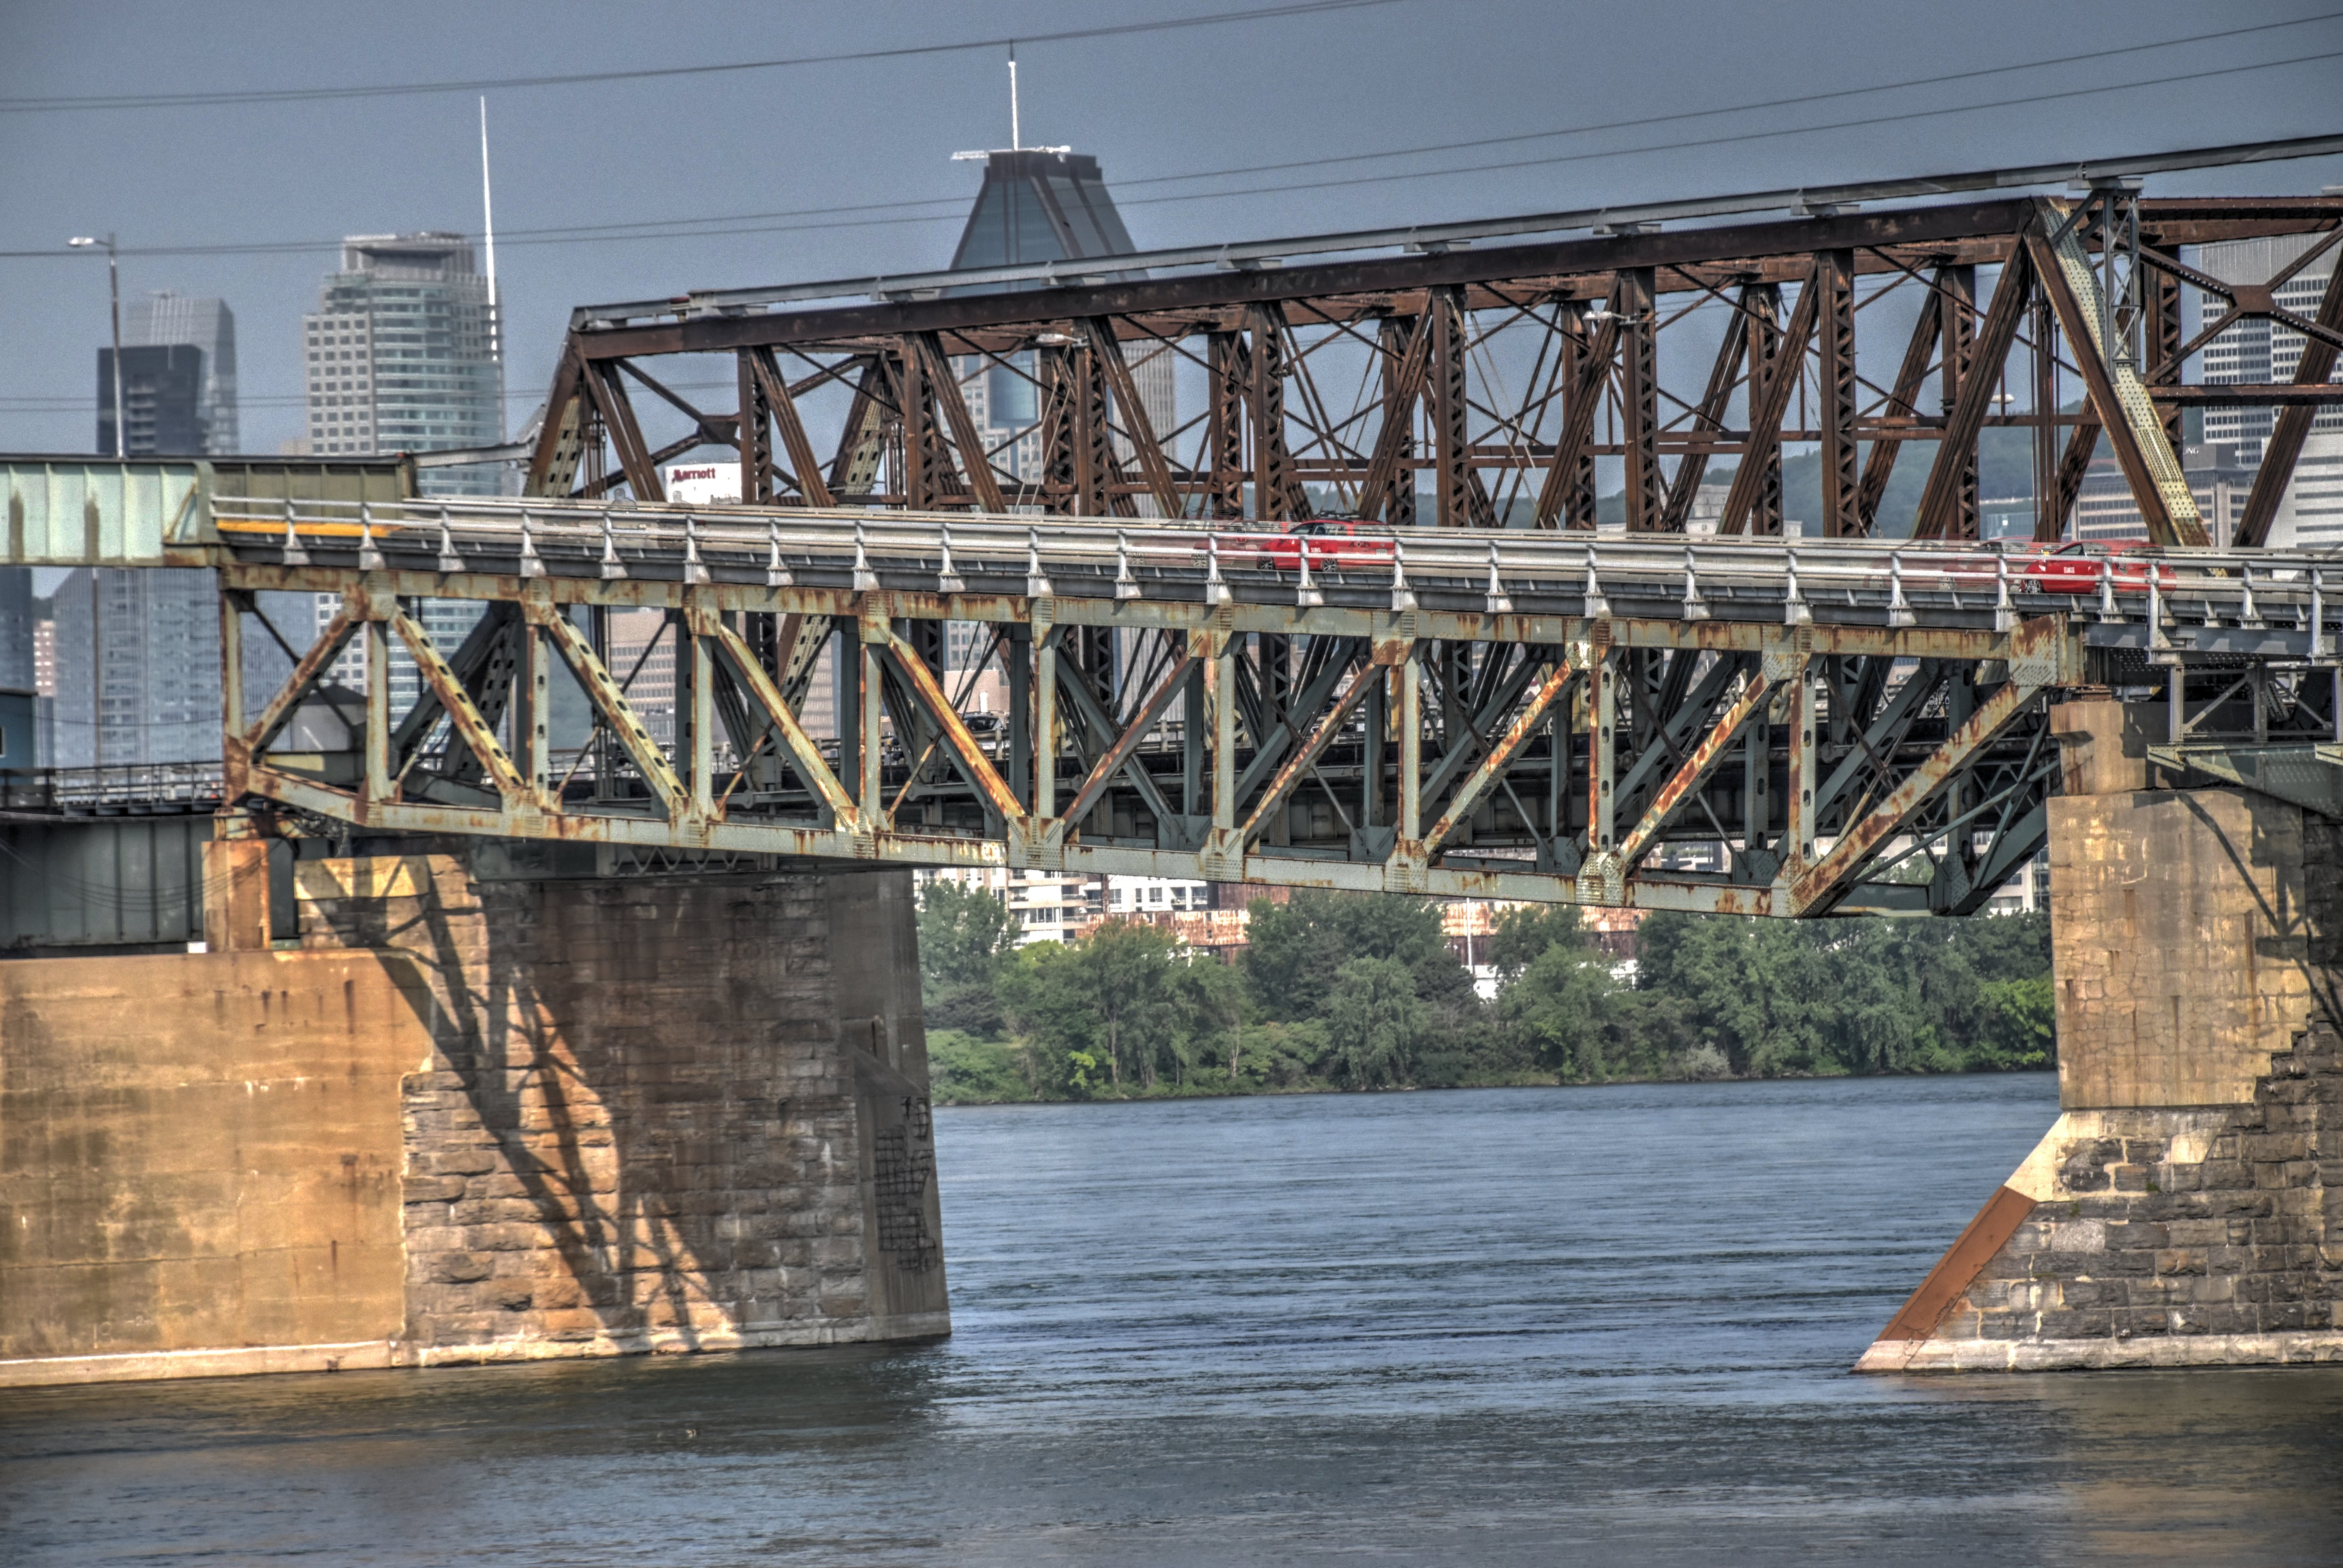
Elevation of main span from northeast quadrant.
![]()


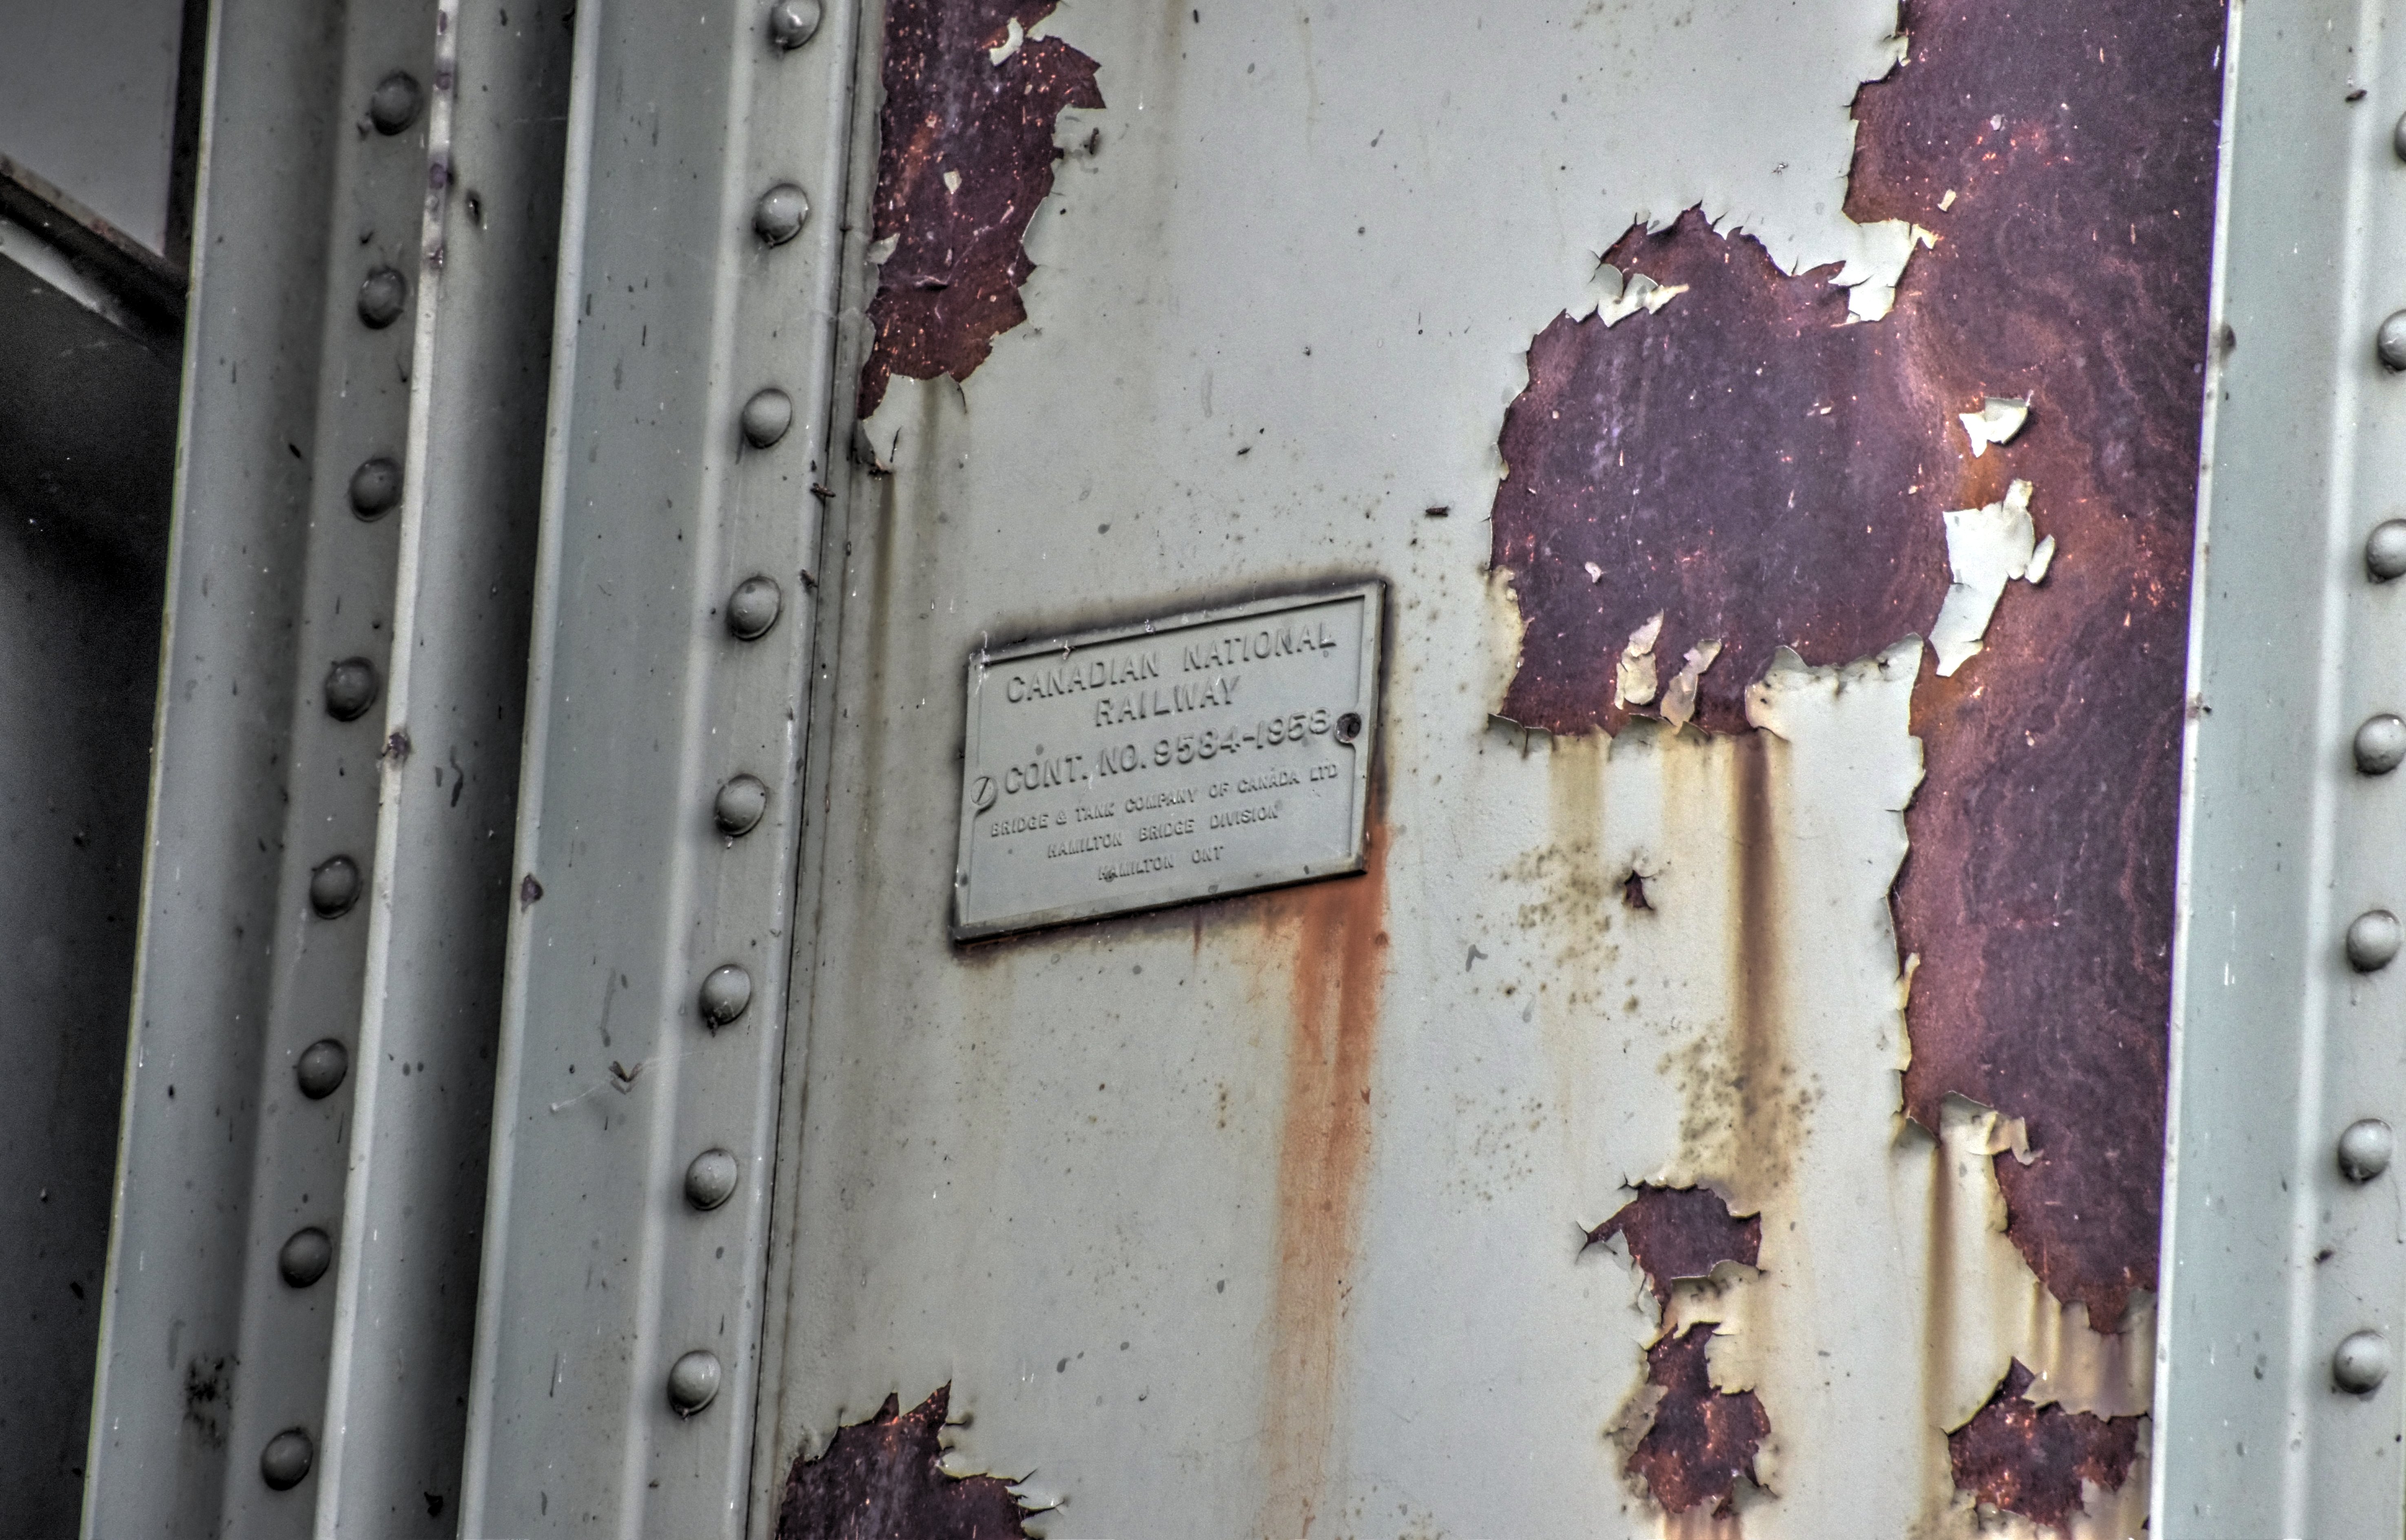
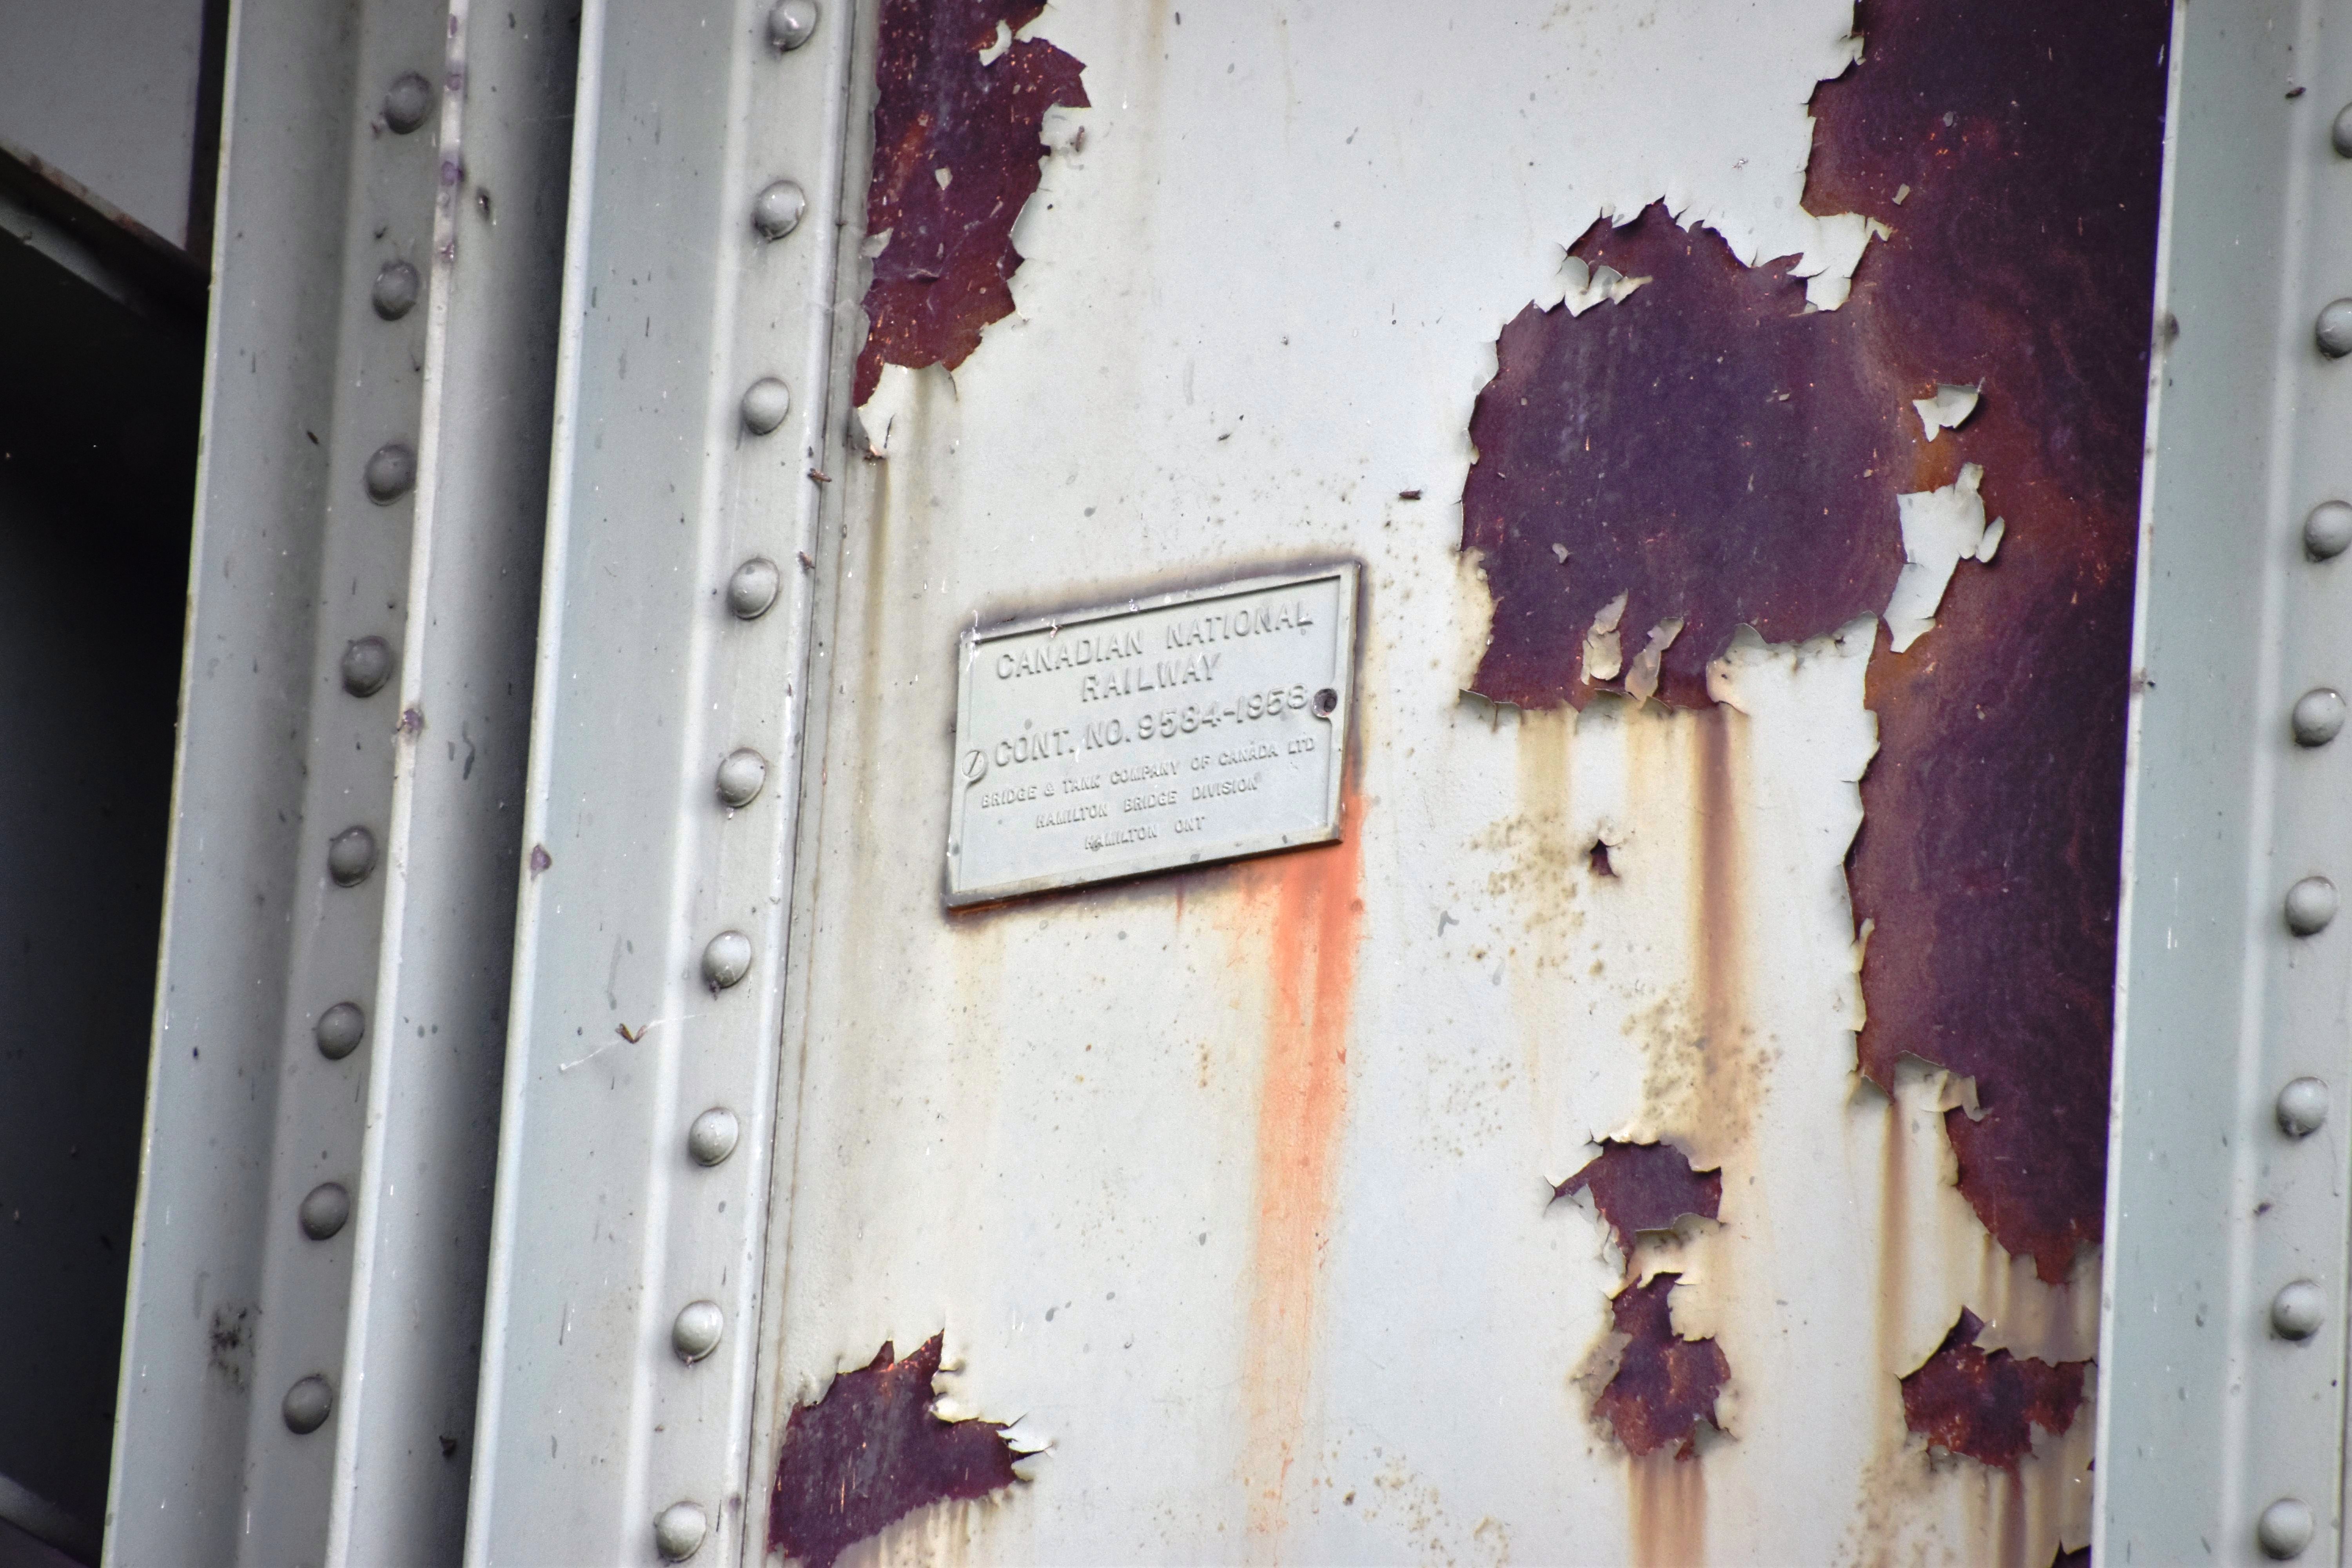
Portal sign and plaque.
![]()

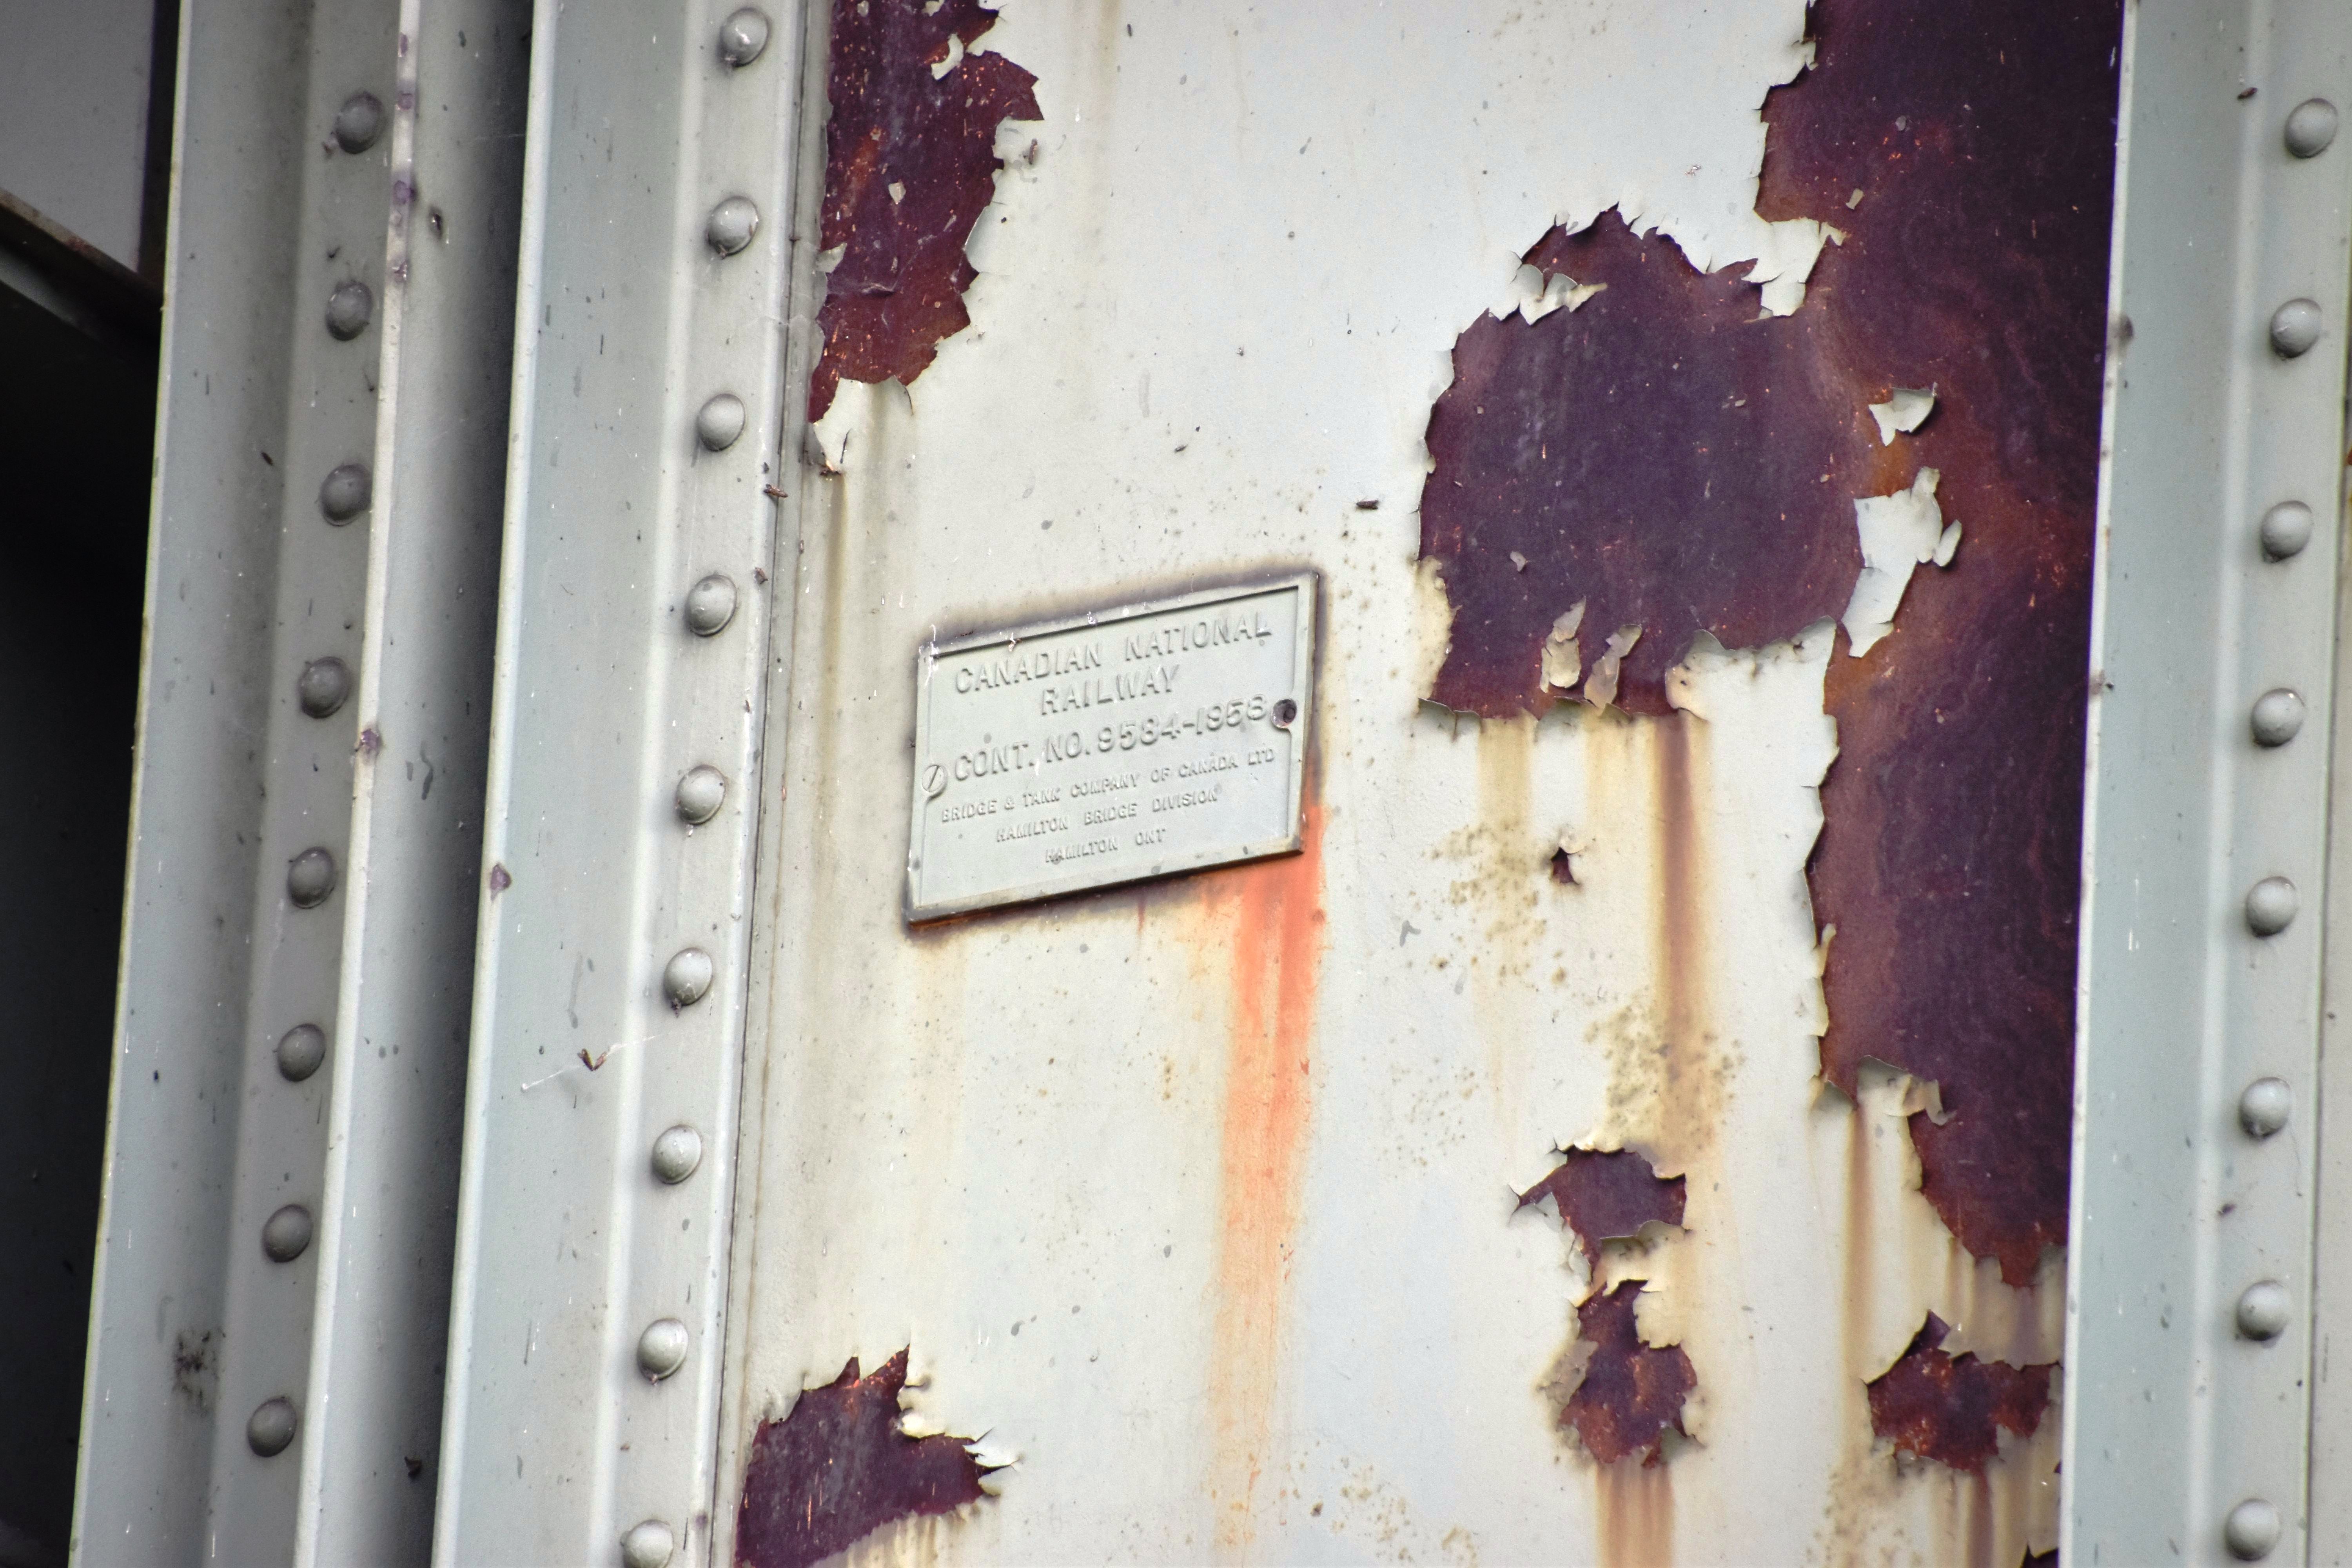
St. Lambert Diversion girder plaque.
![]()
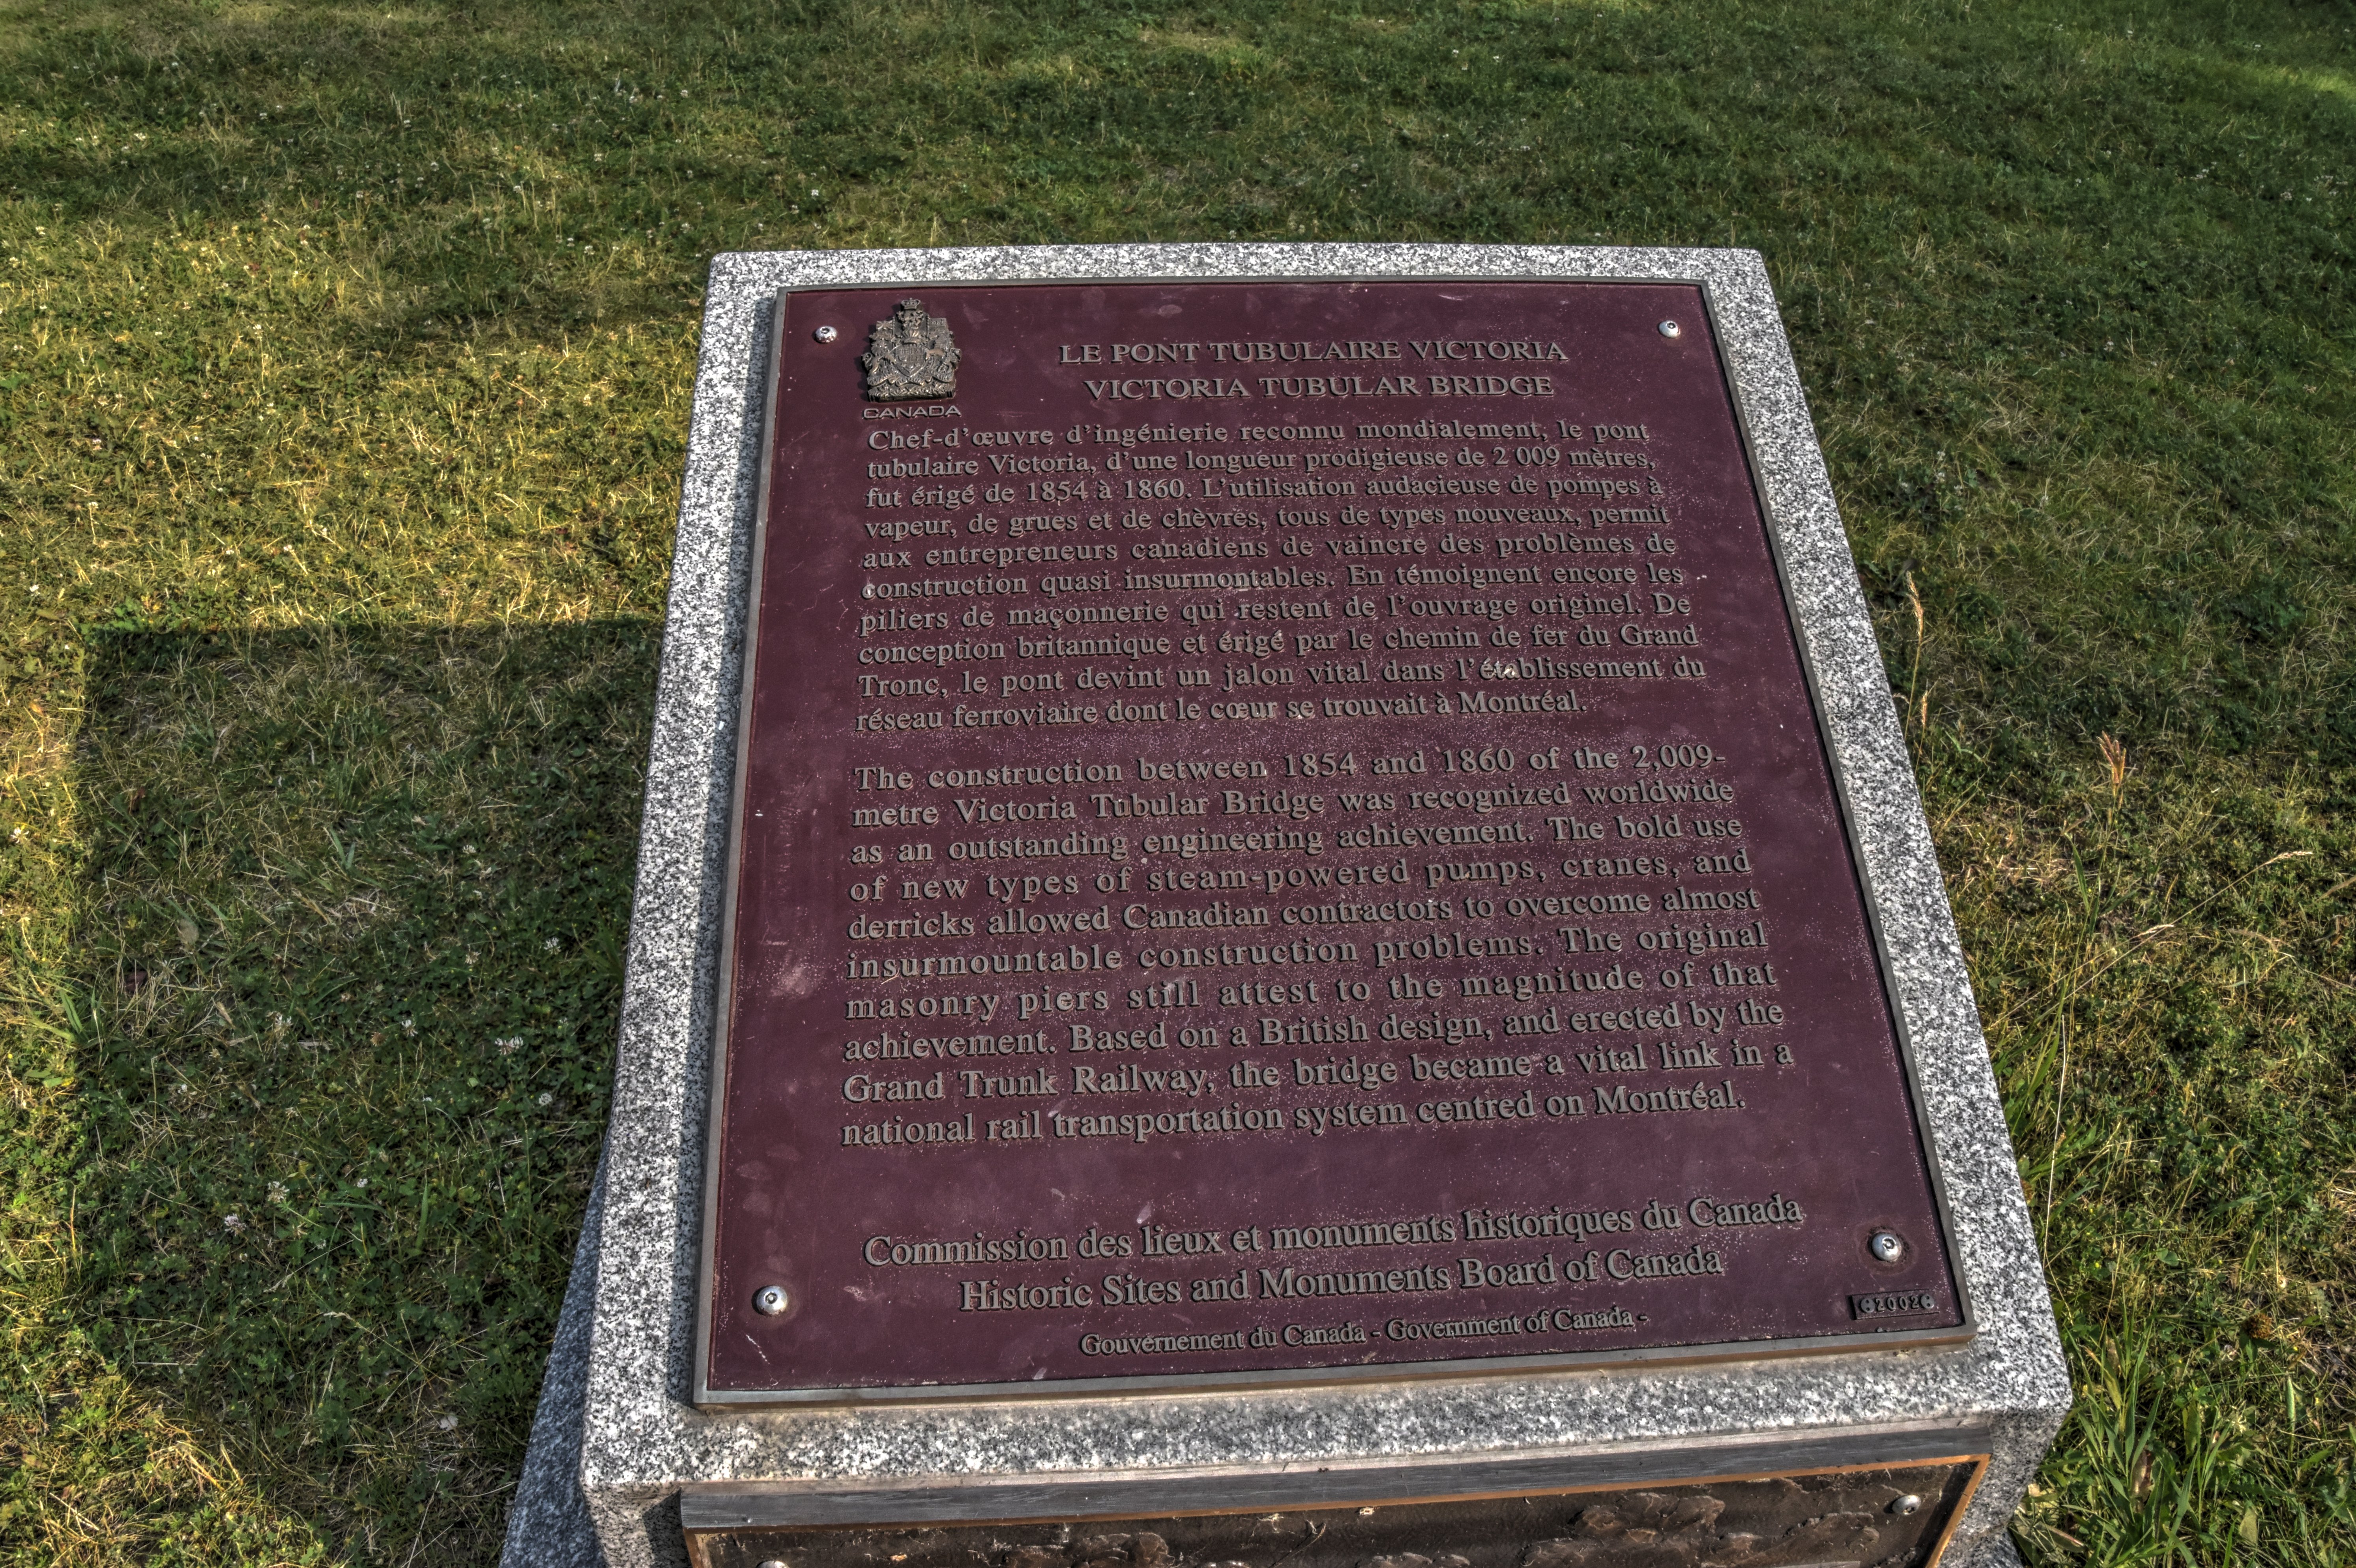

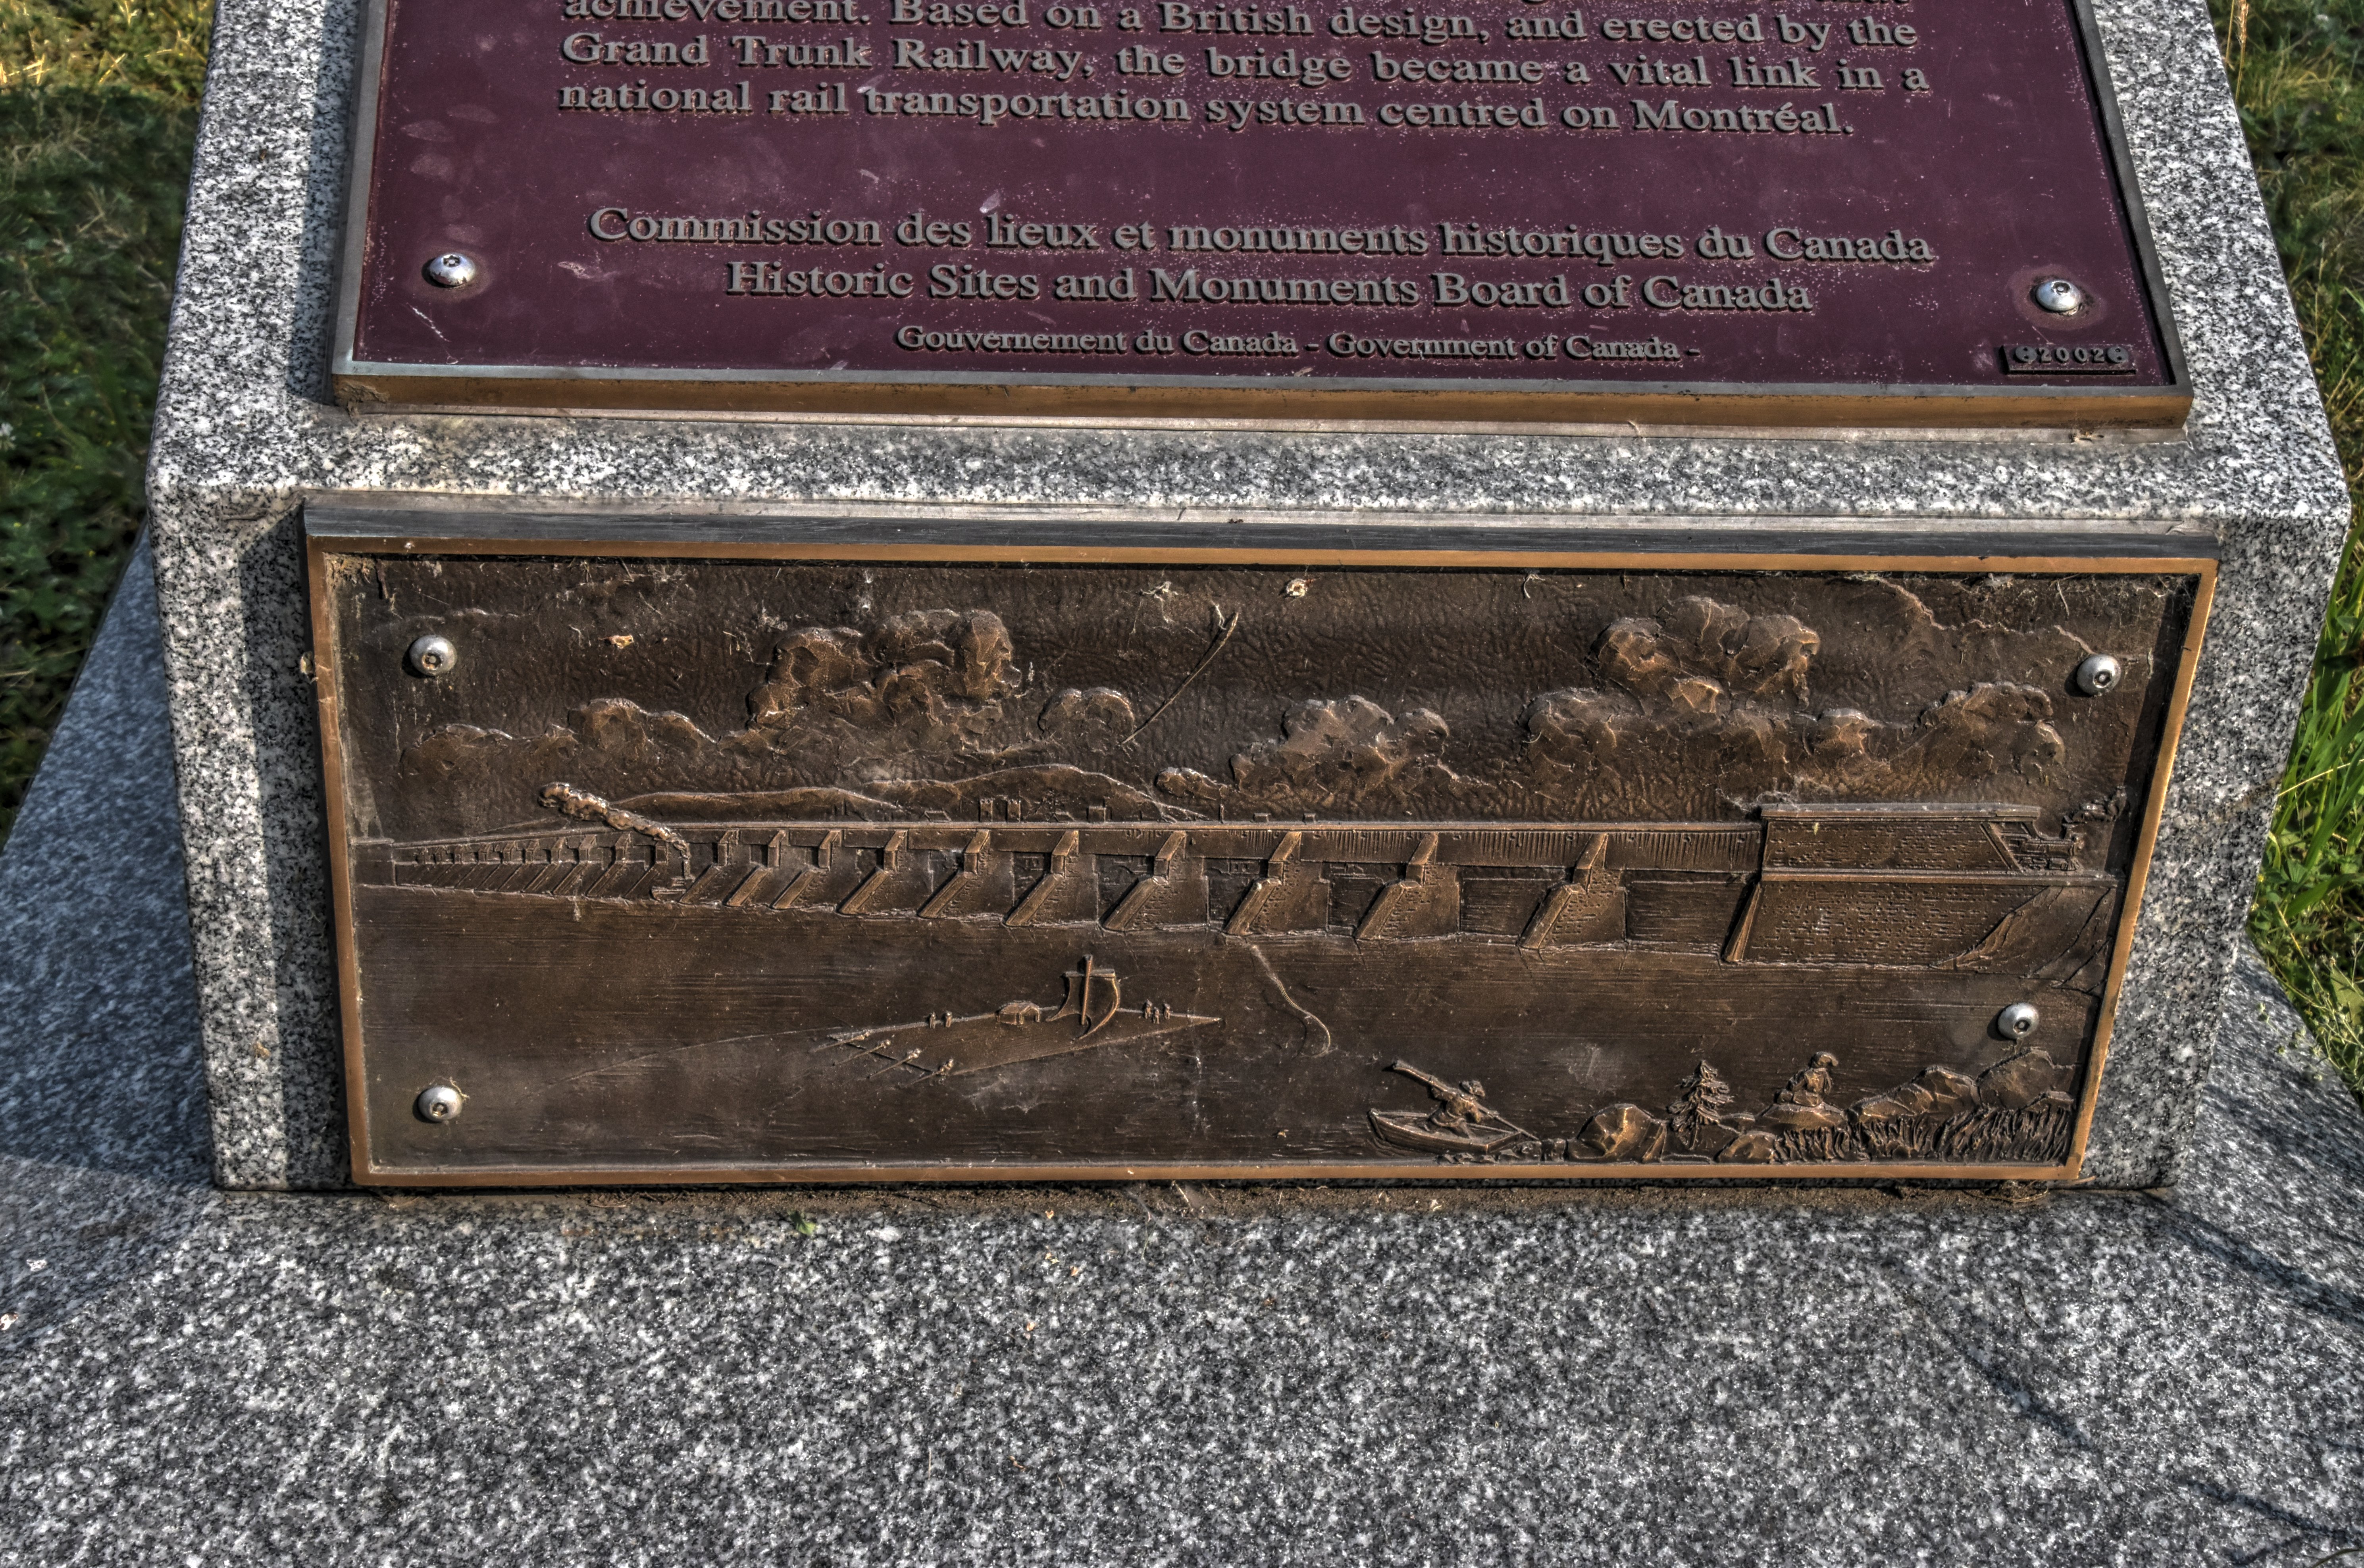

Interpretive plaque for tubular girder bridge.
![]()


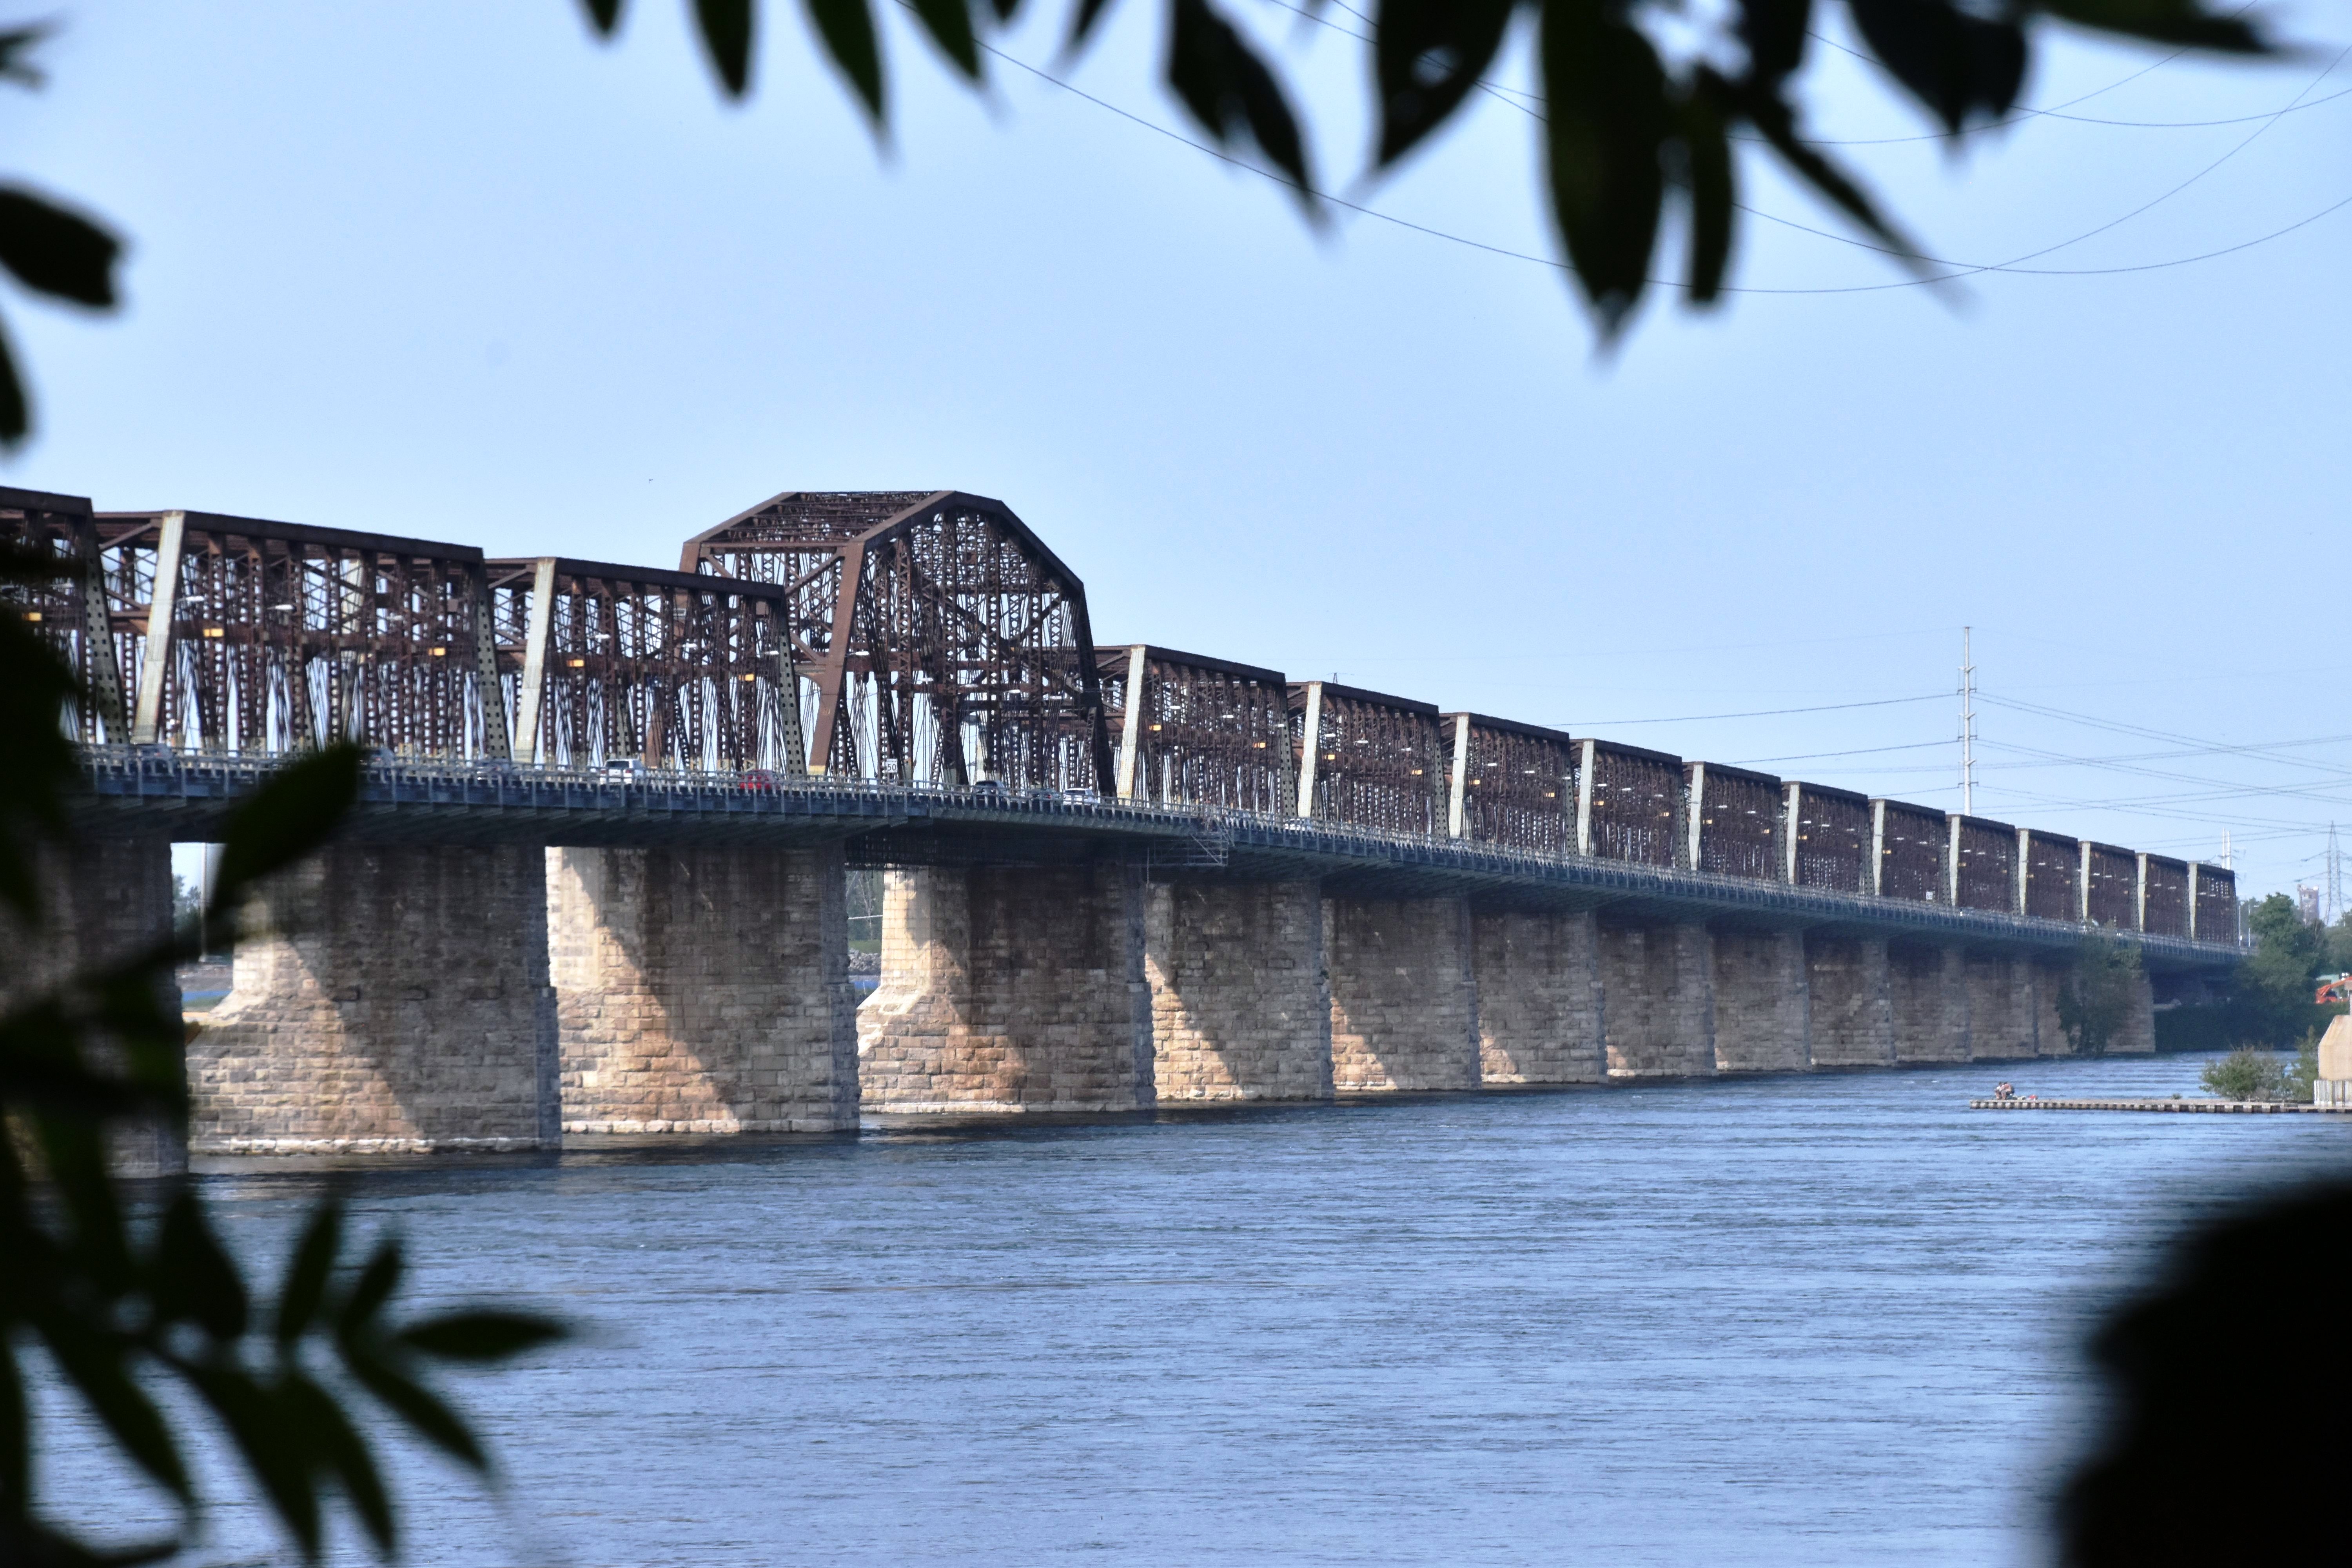
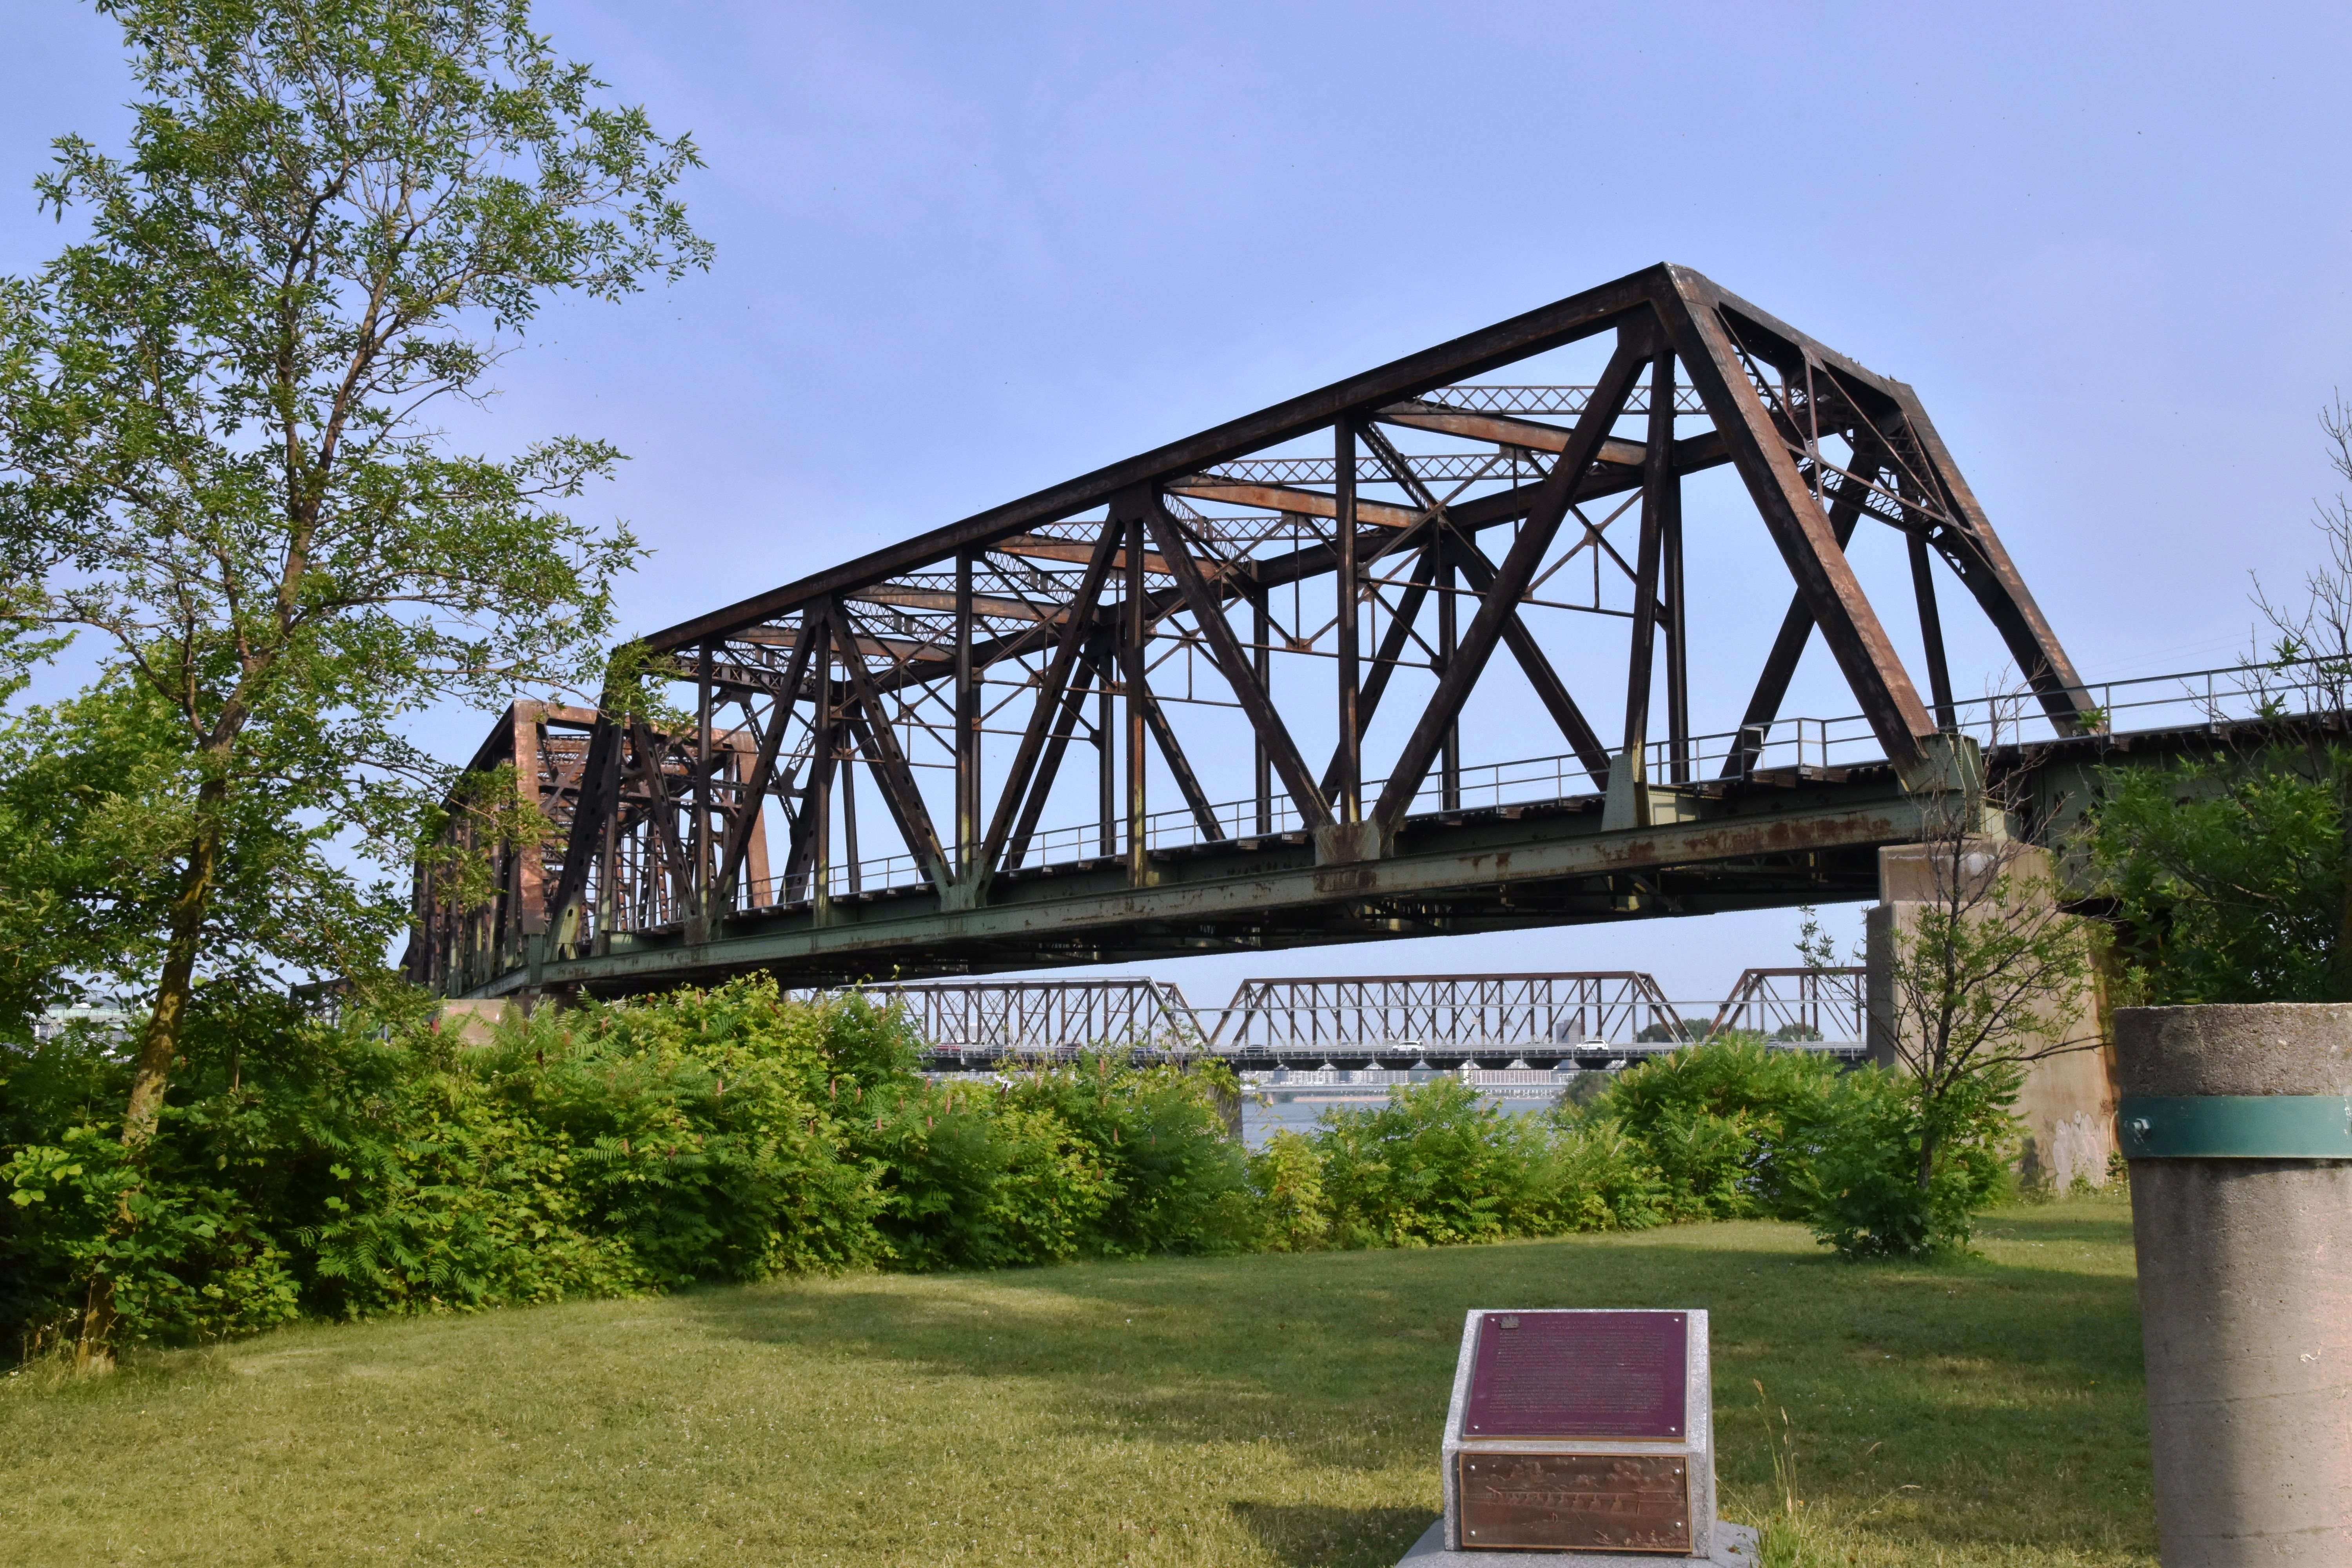
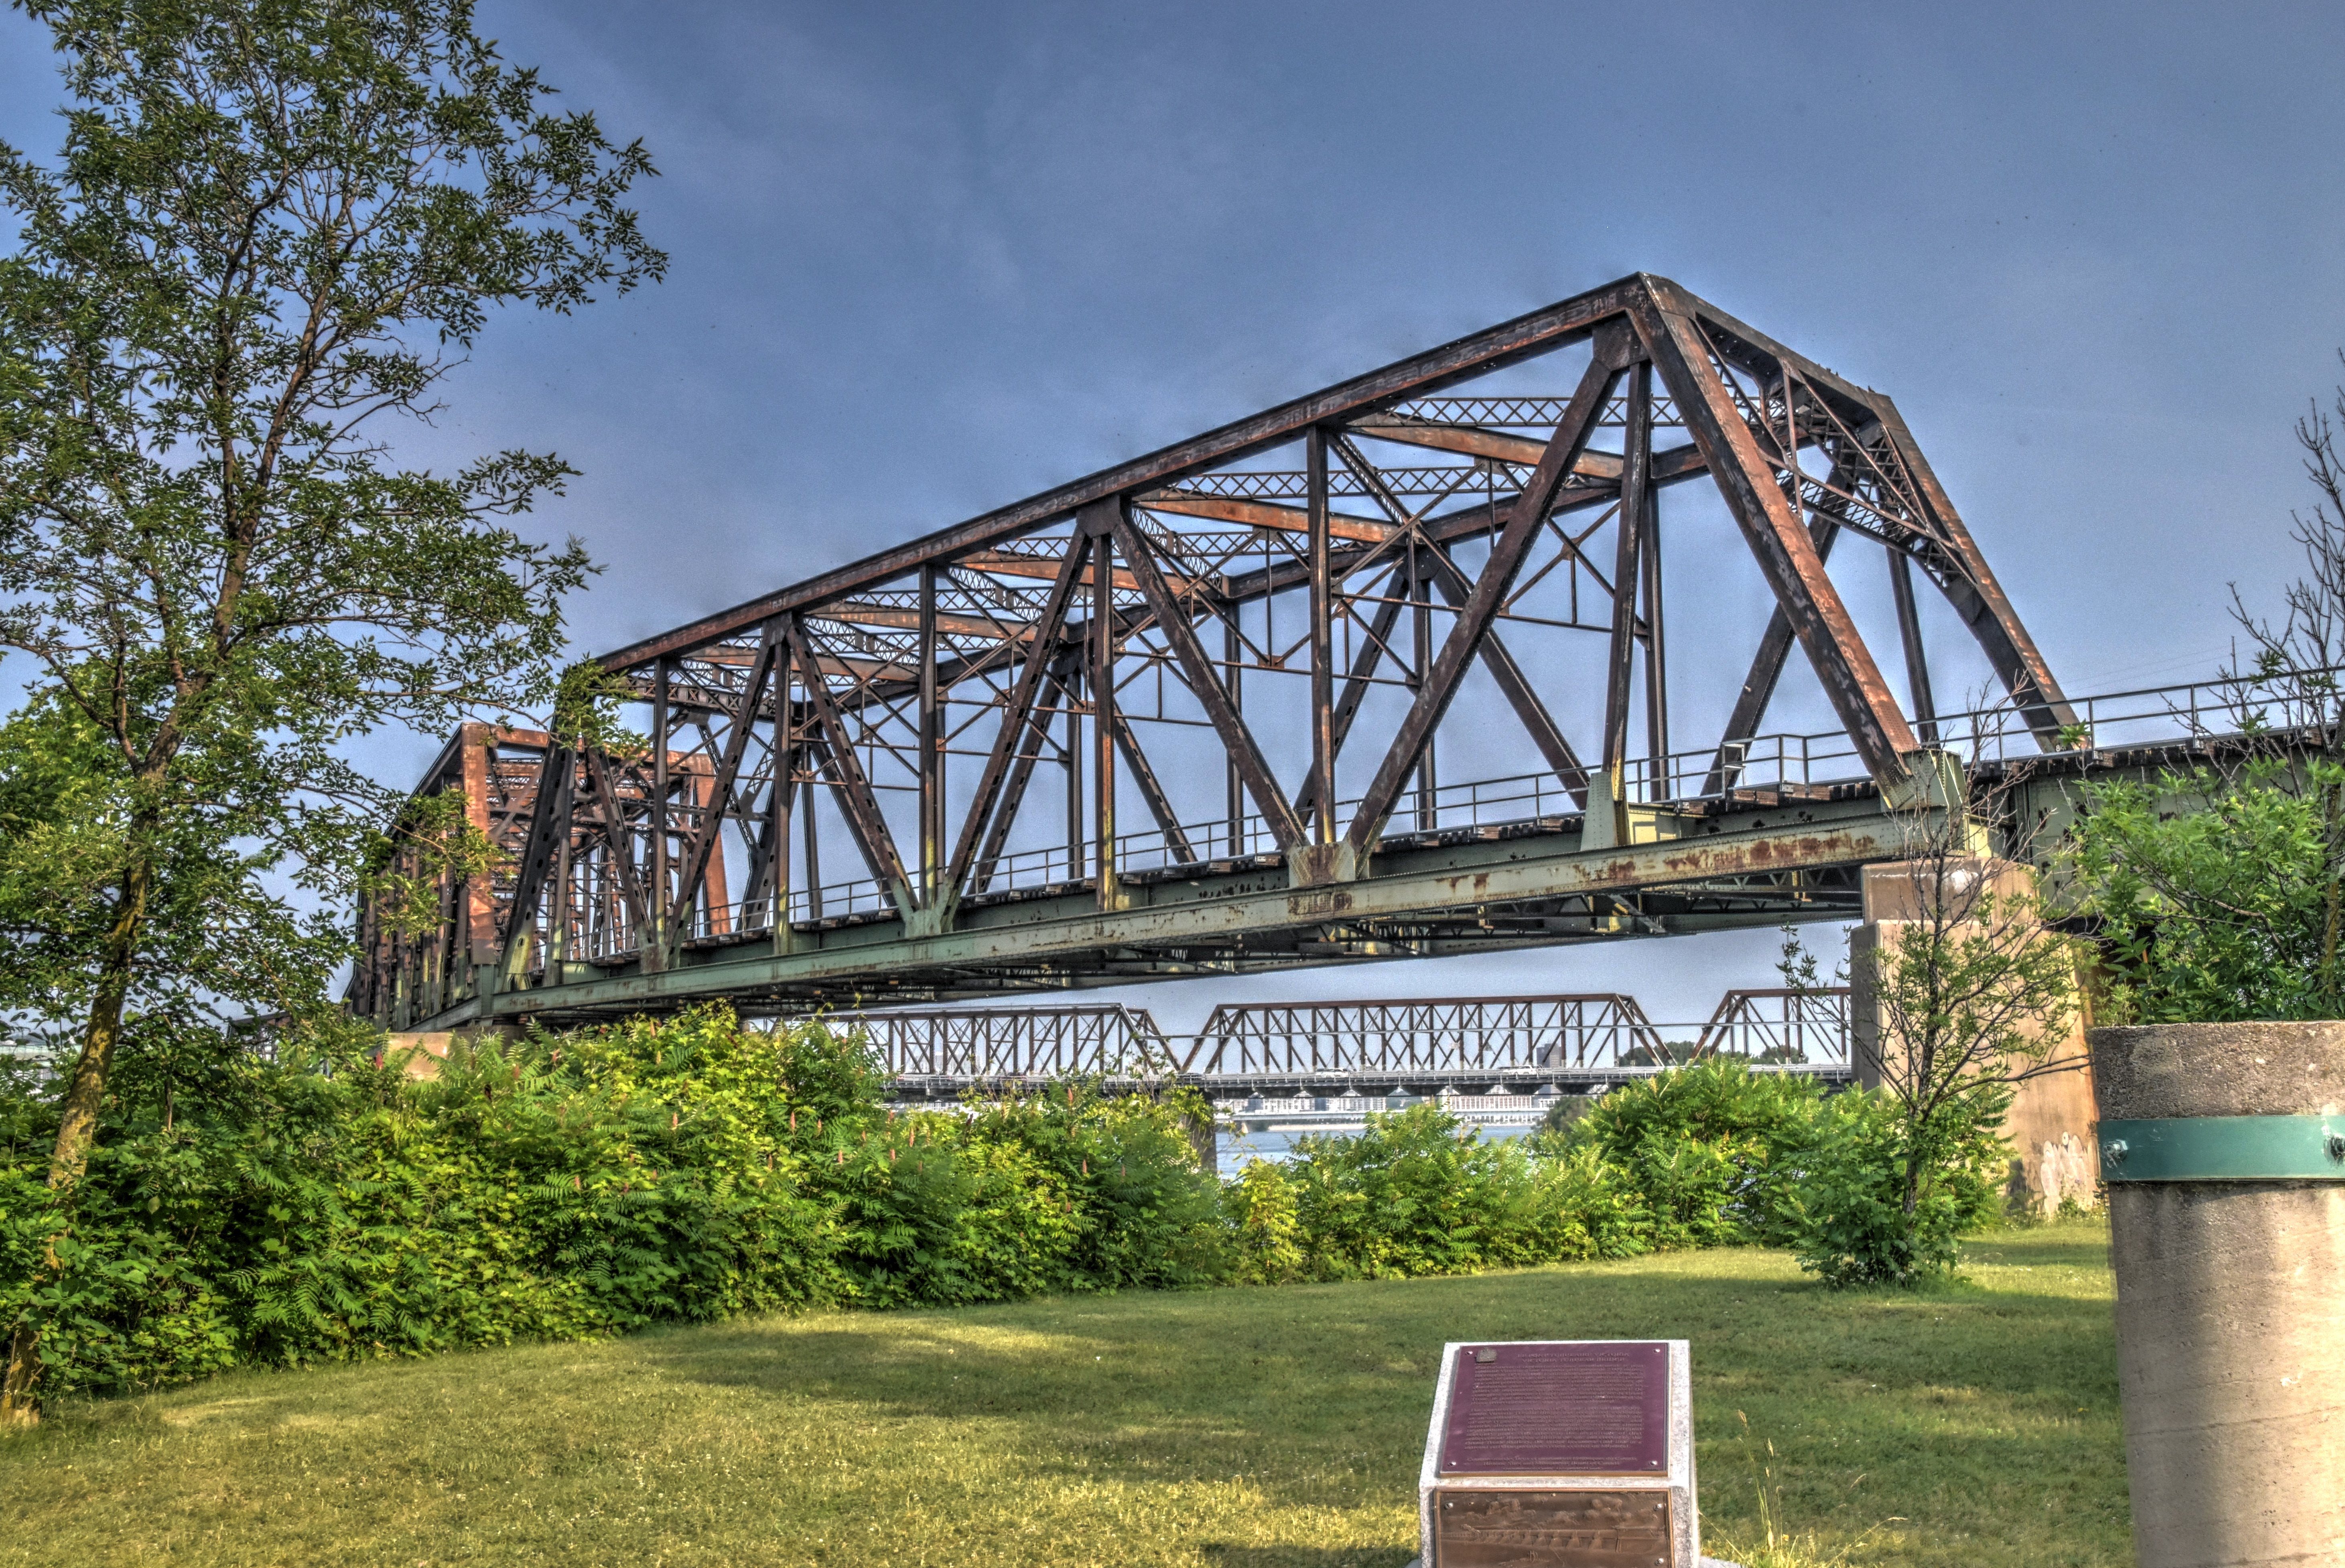
Distant elevation of flyover spans from southeast quadrant.
![]()


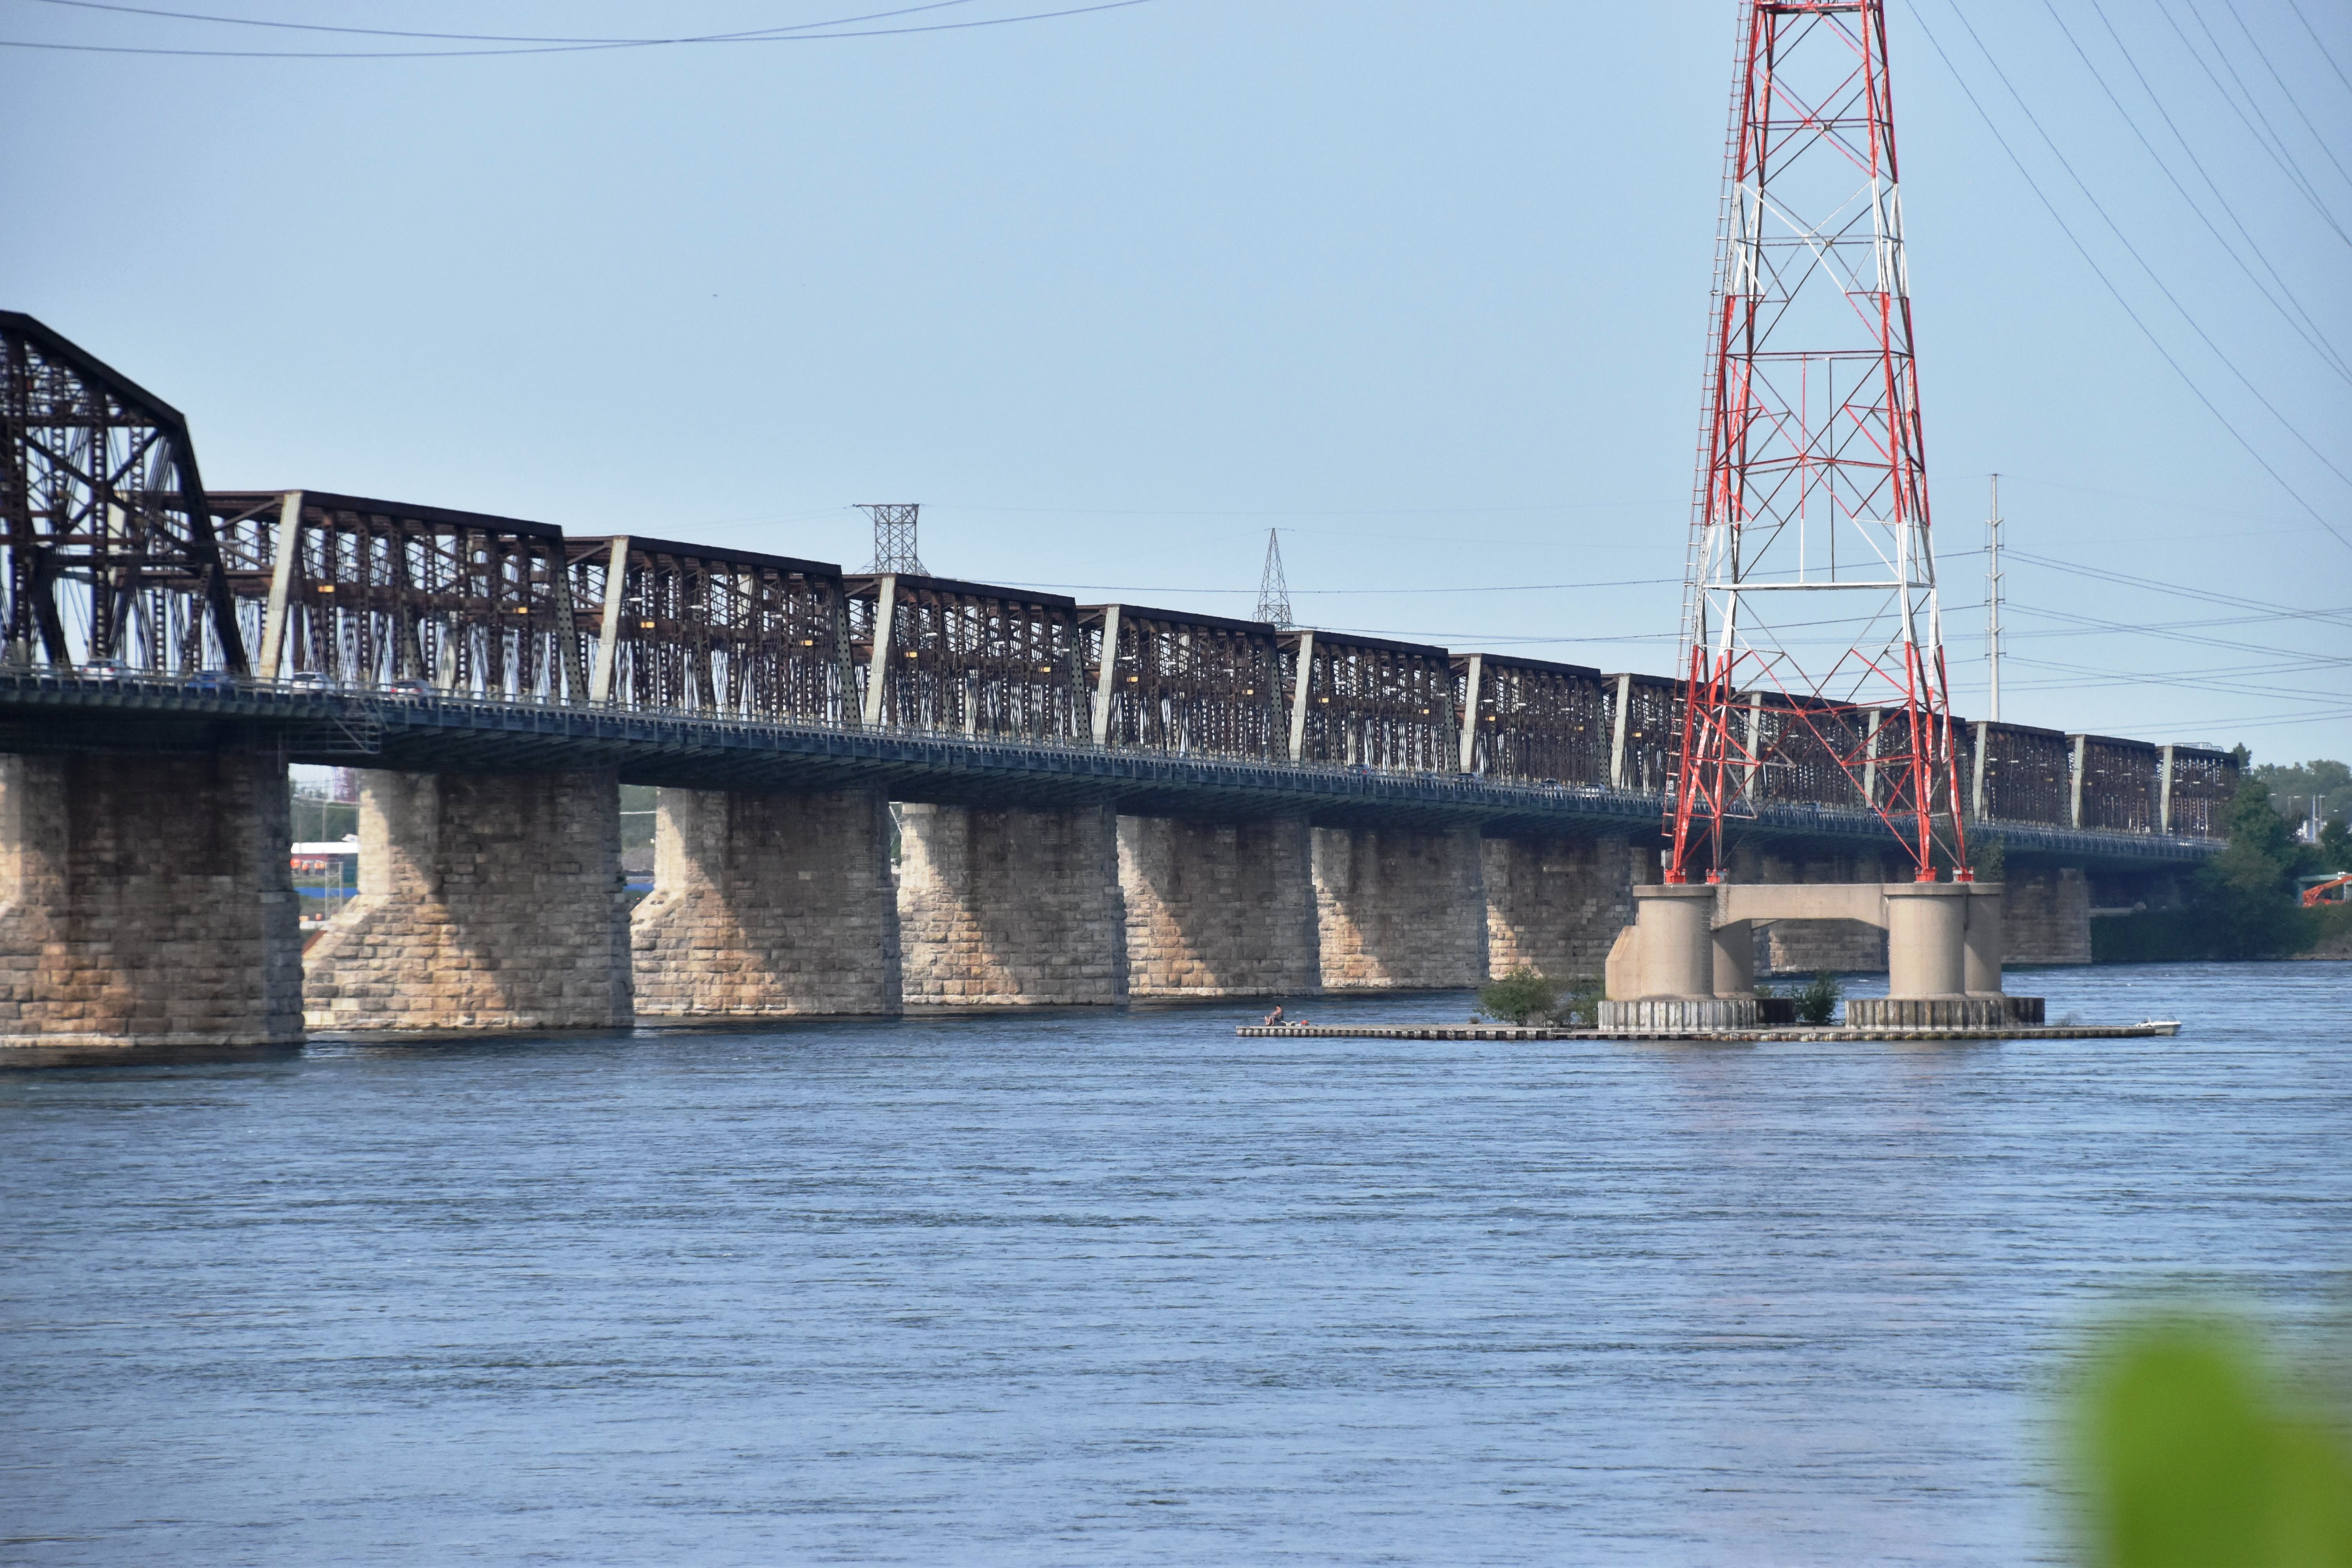
Elevation of flyover spans from northeast quadrant.
![]()
Elevation of flyover spans from southeast quadrant around spans.
![]()


Oblique view of flyover spans from southeast quadrant around spans.
![]()
View beside bridge showing flyover spans from southeast quadrant around spans.
![]()

View beside bridge showing flyover spans from northeast quadrant around spans.
![]()


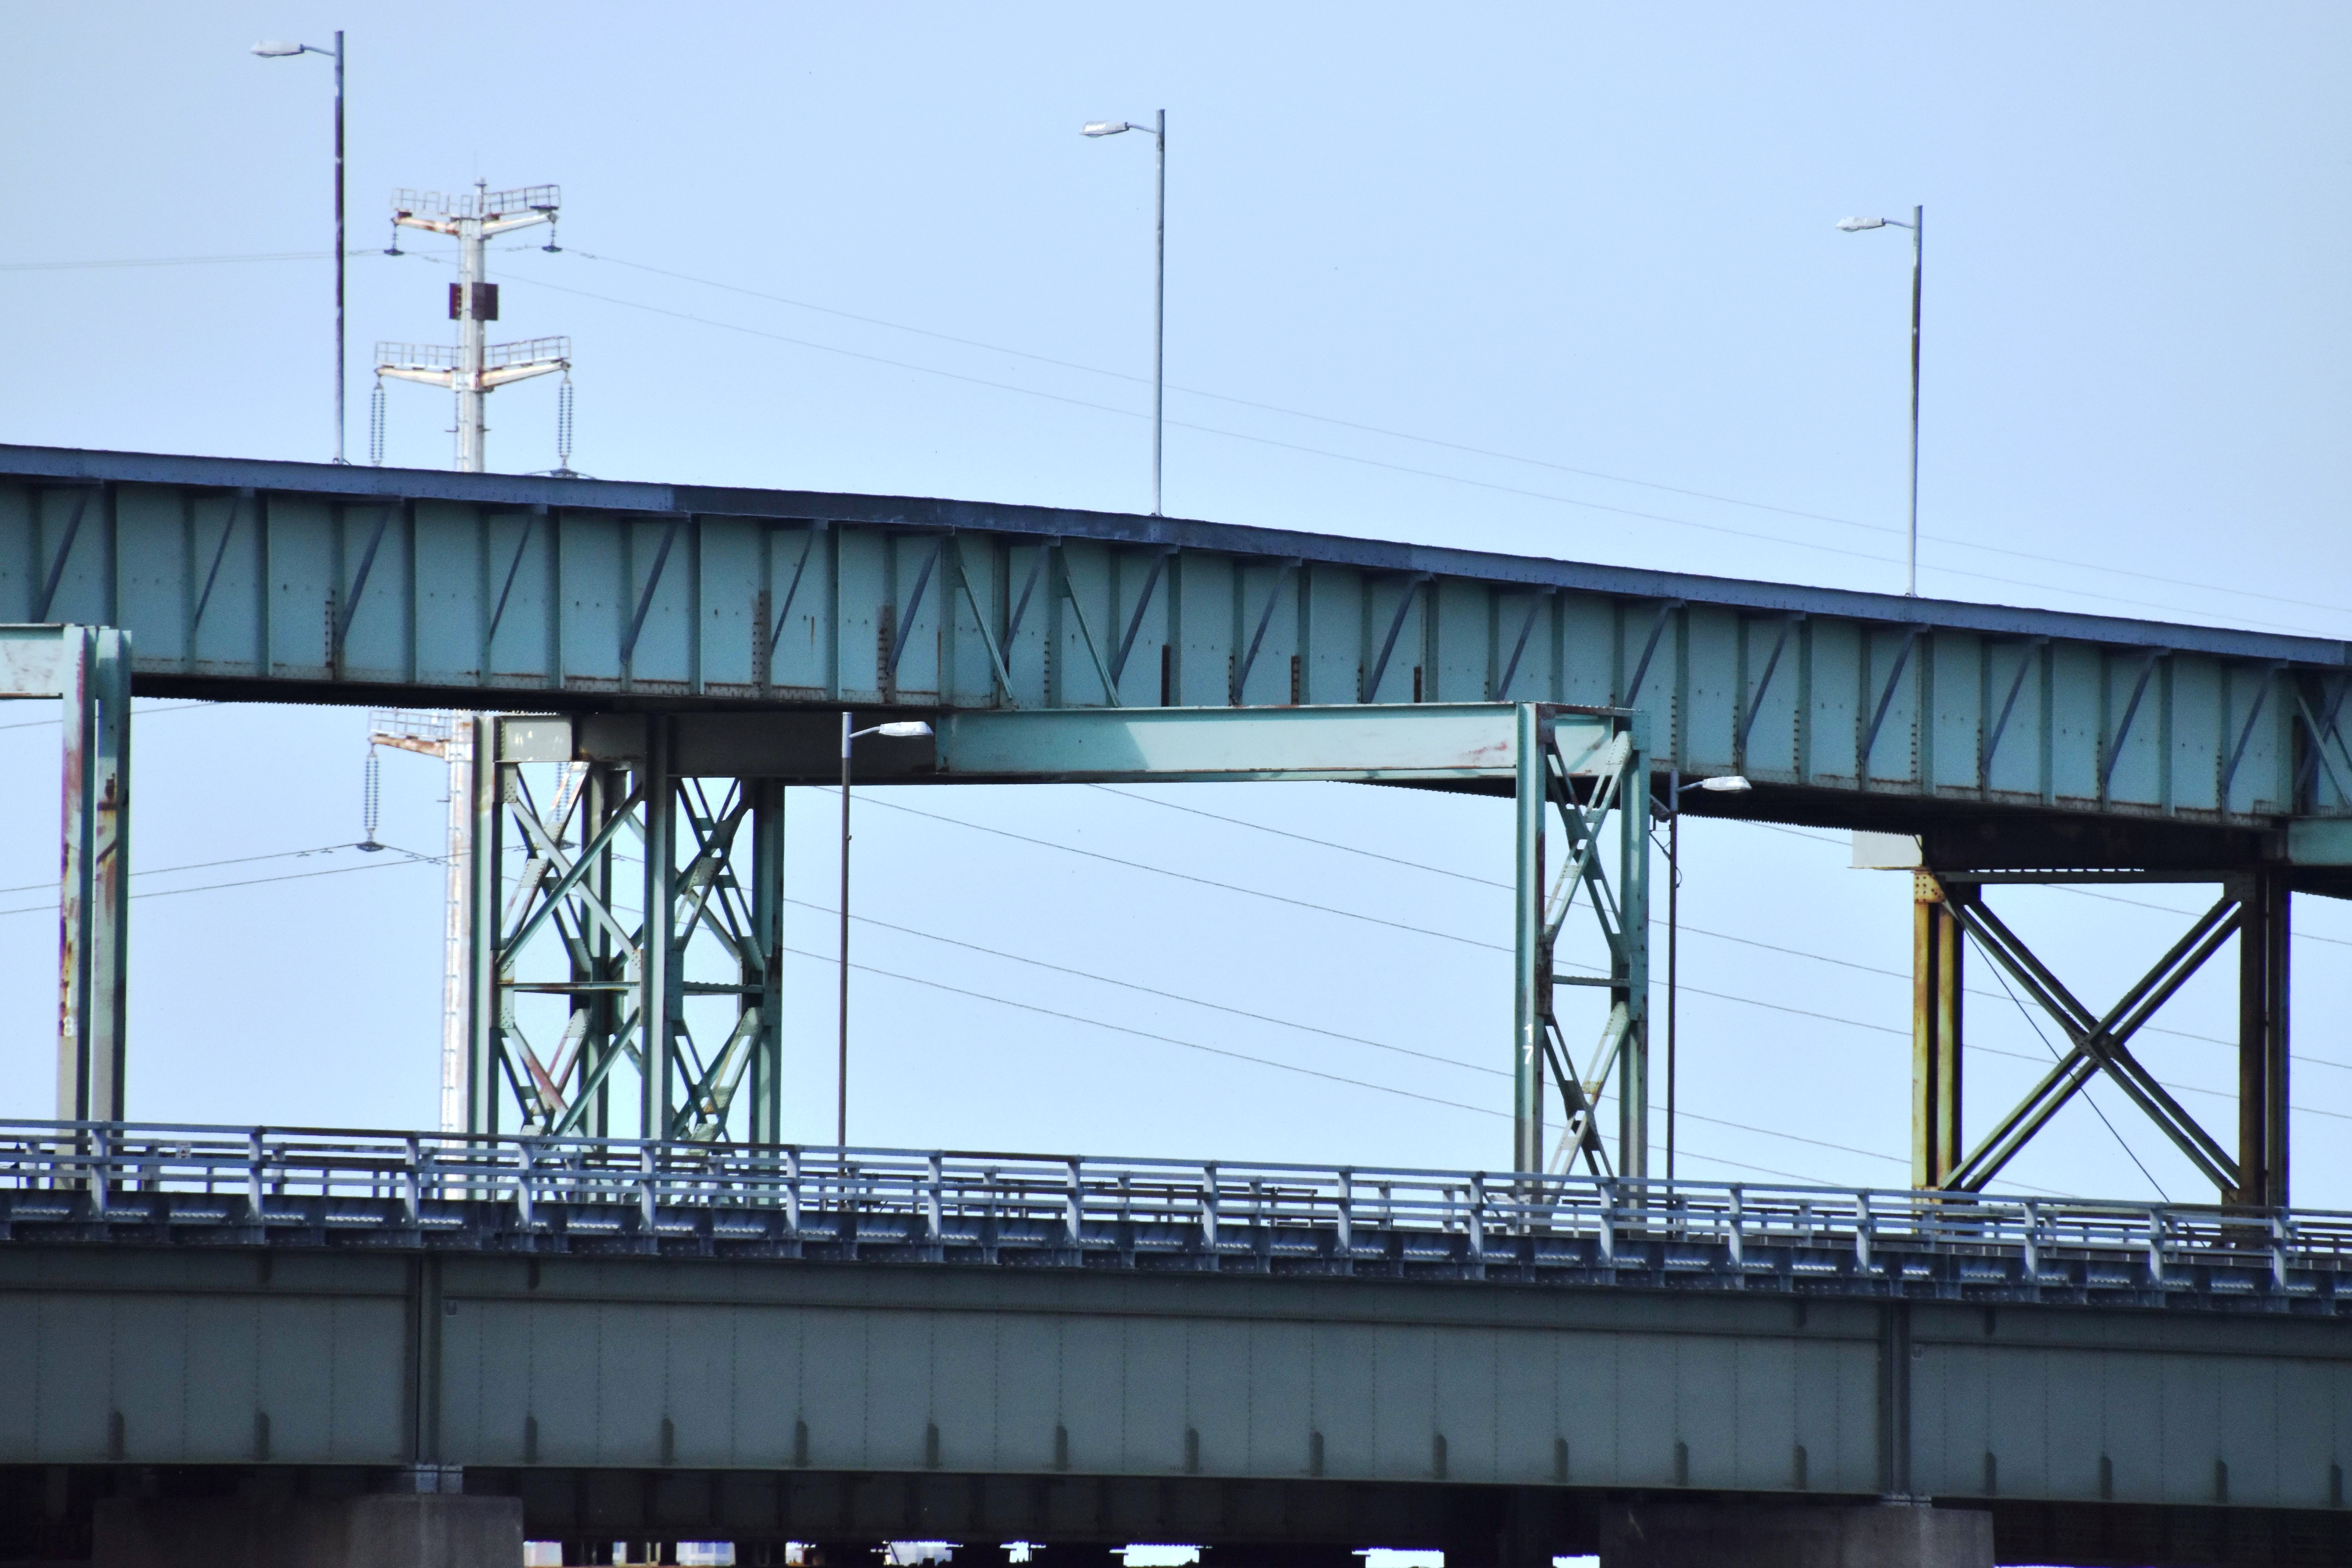
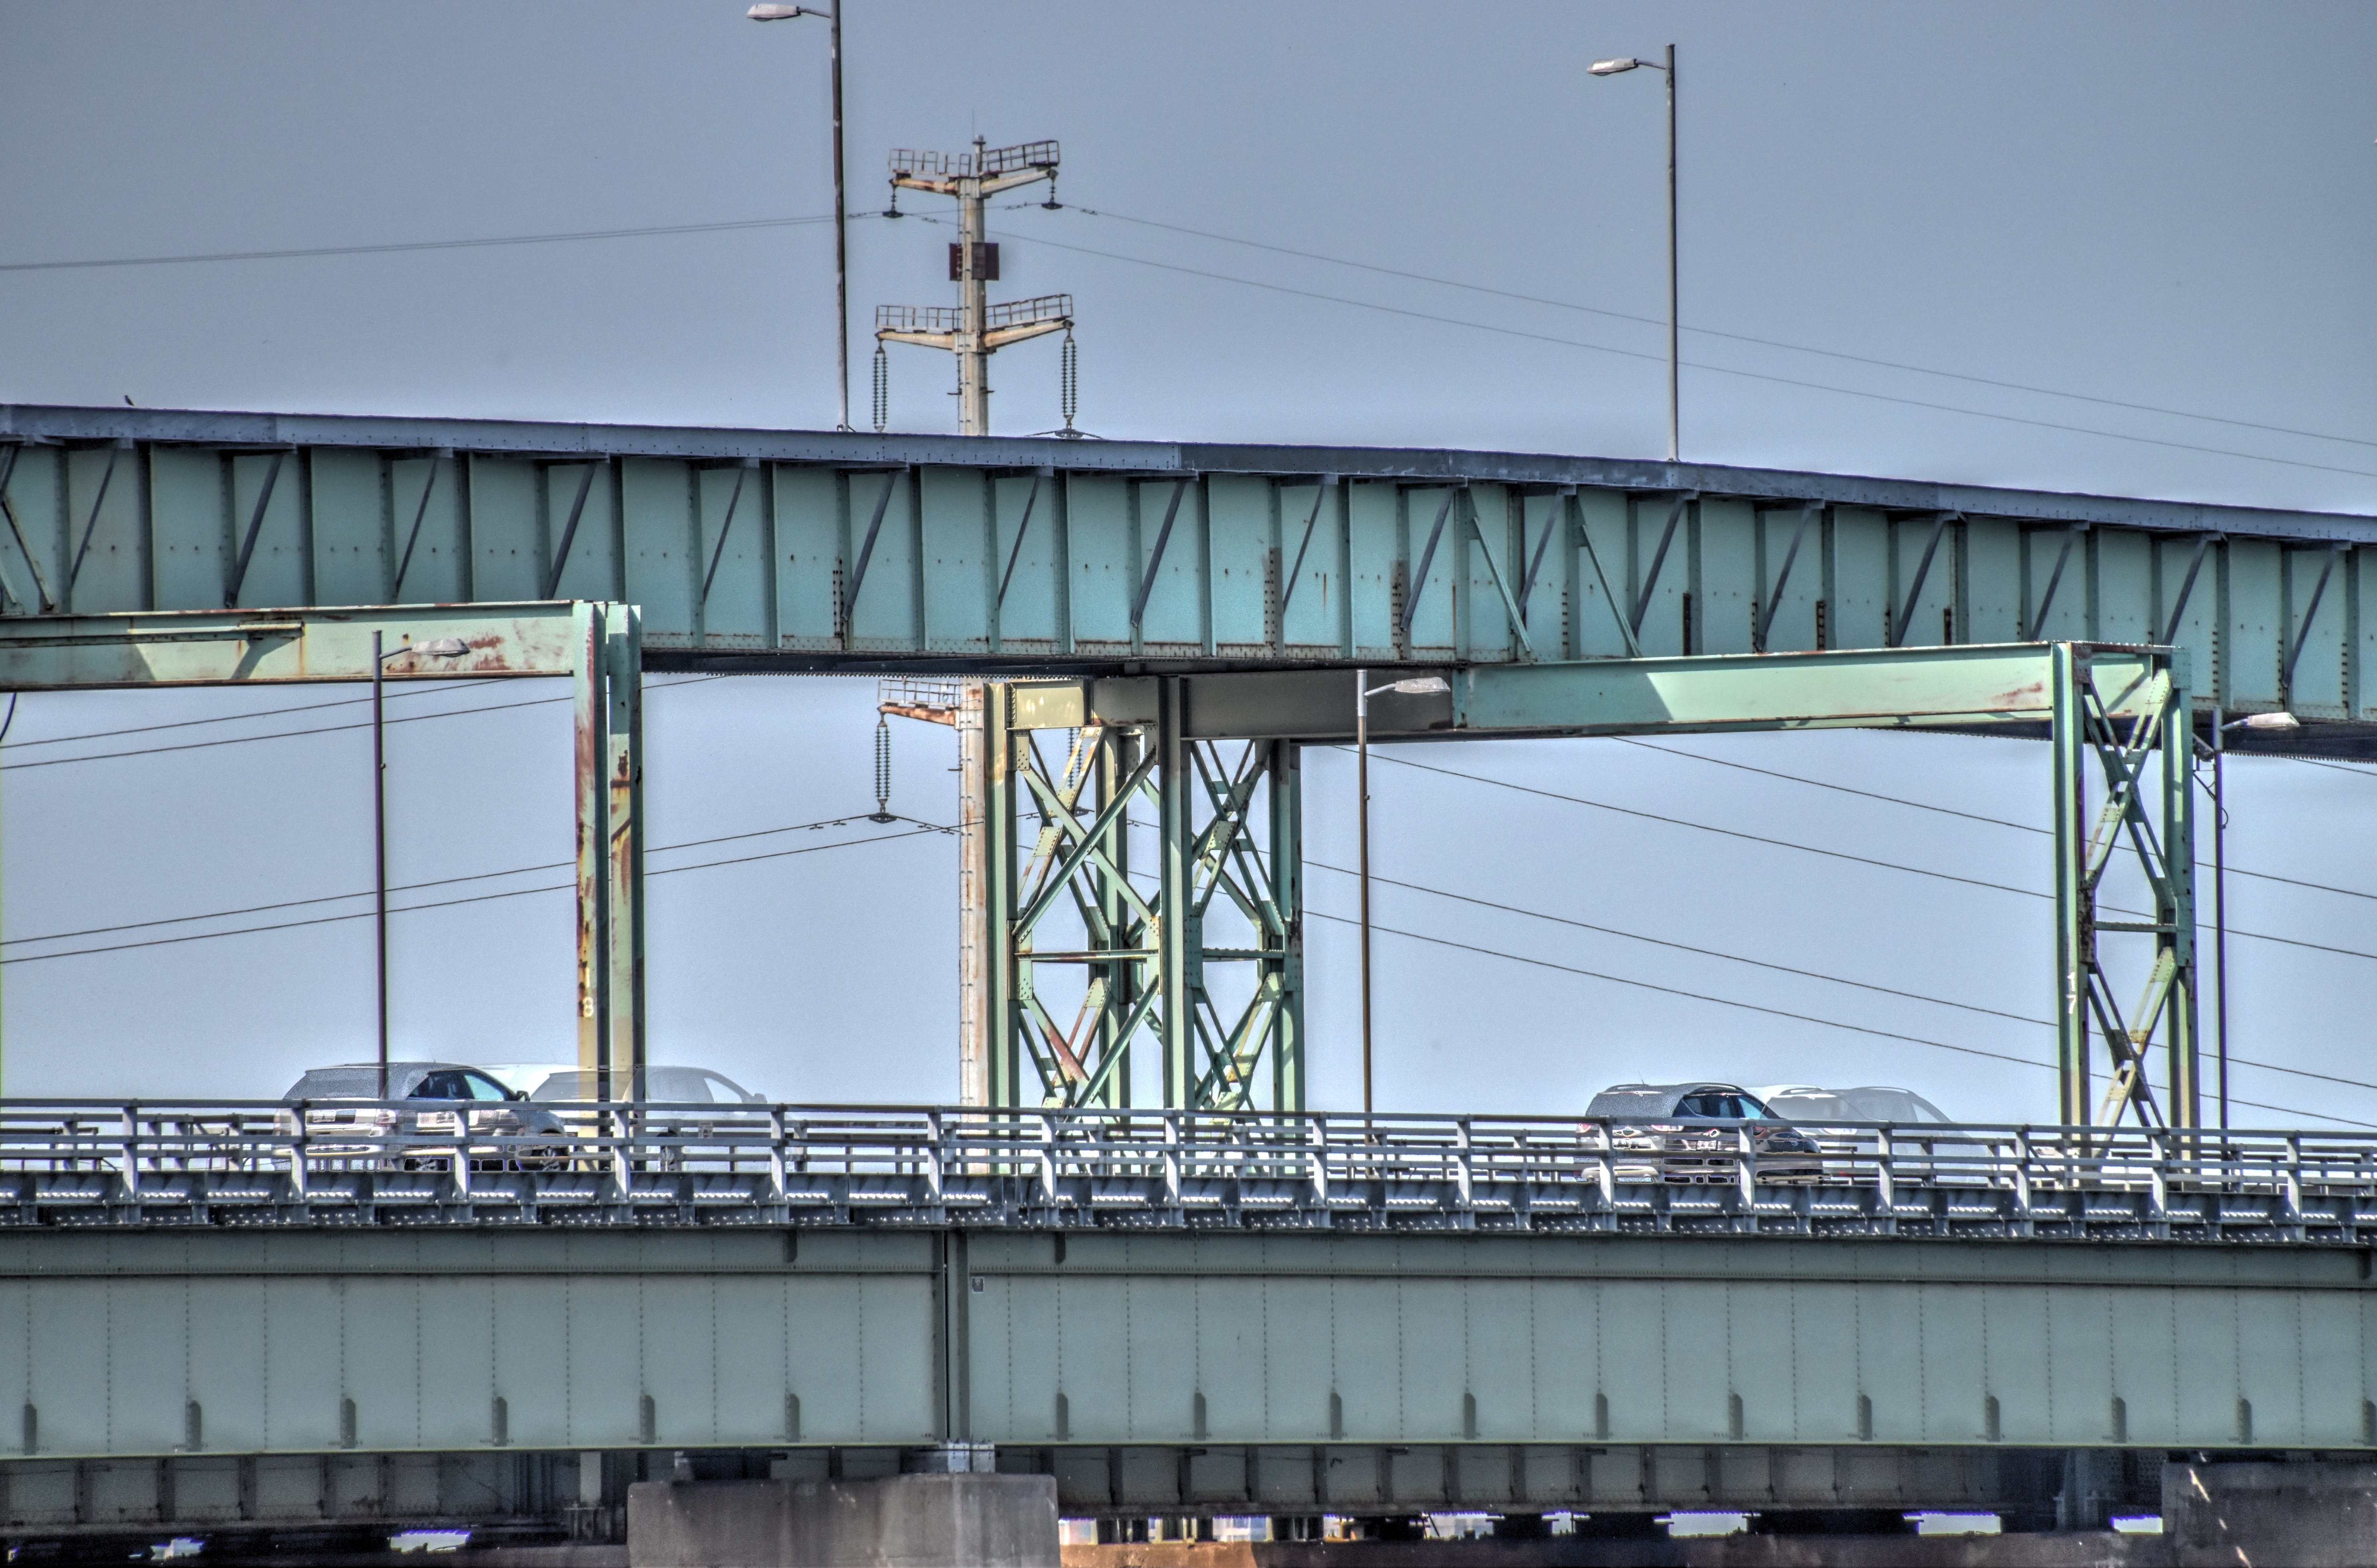
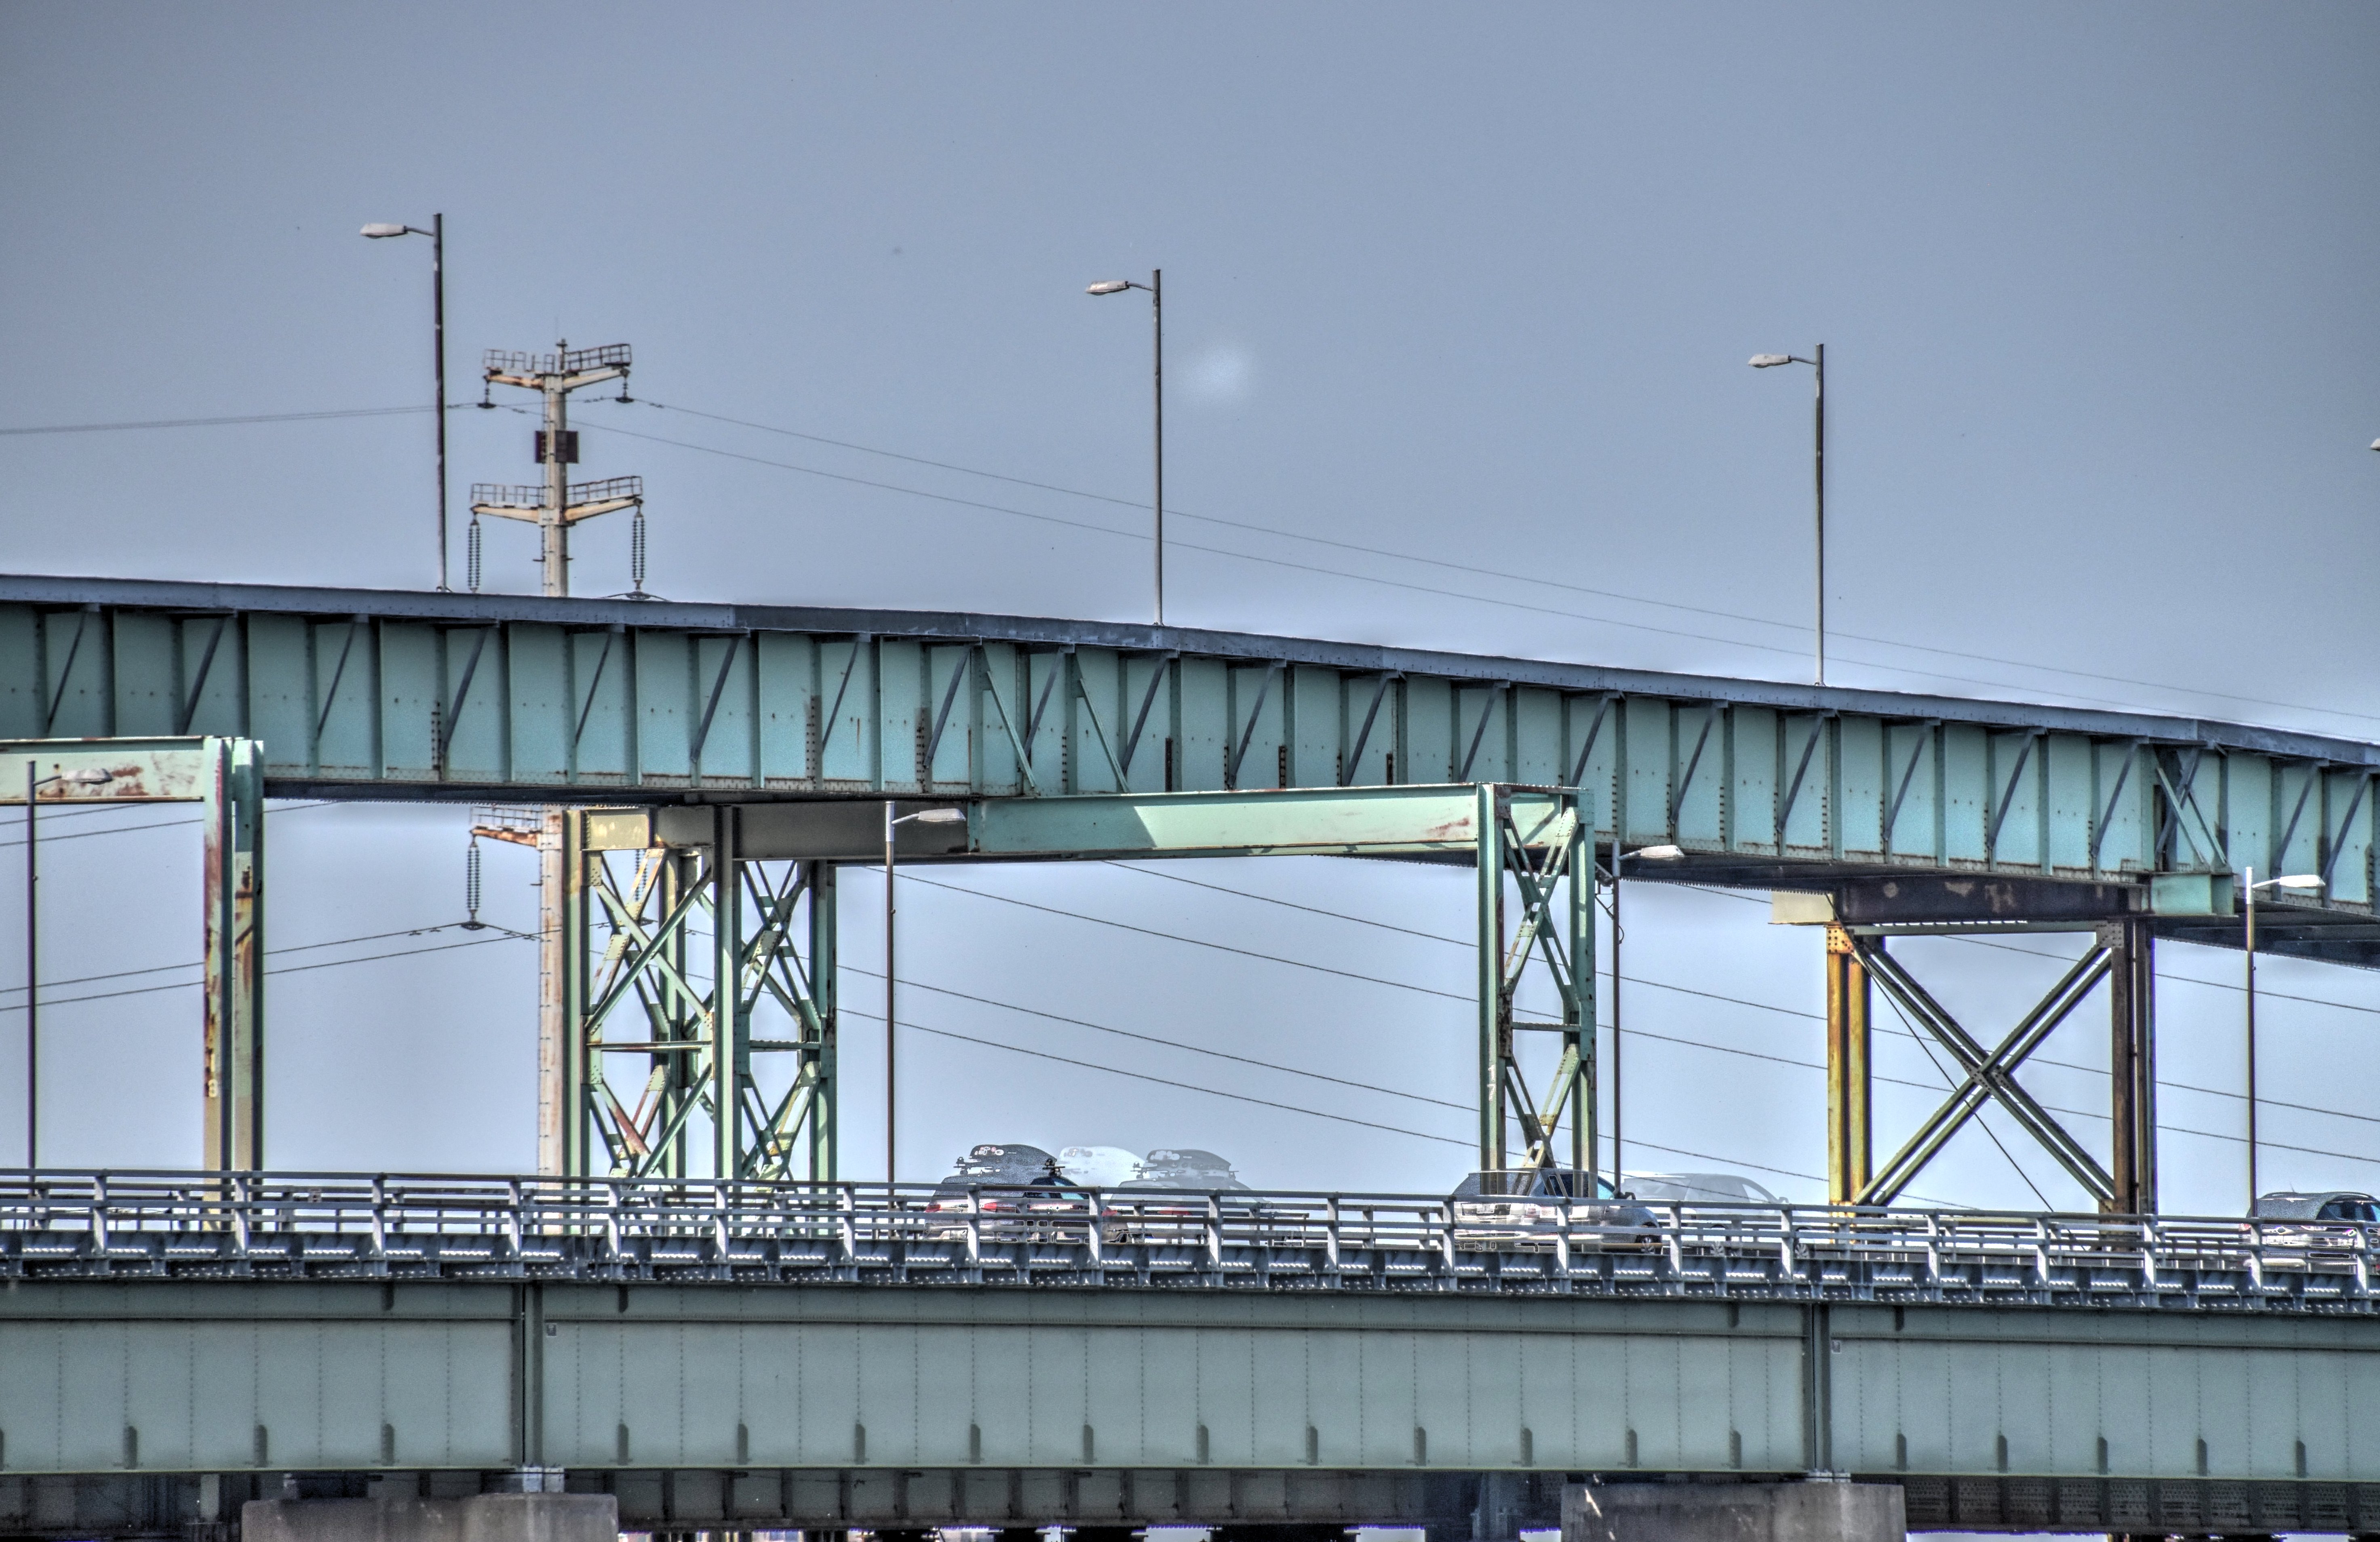
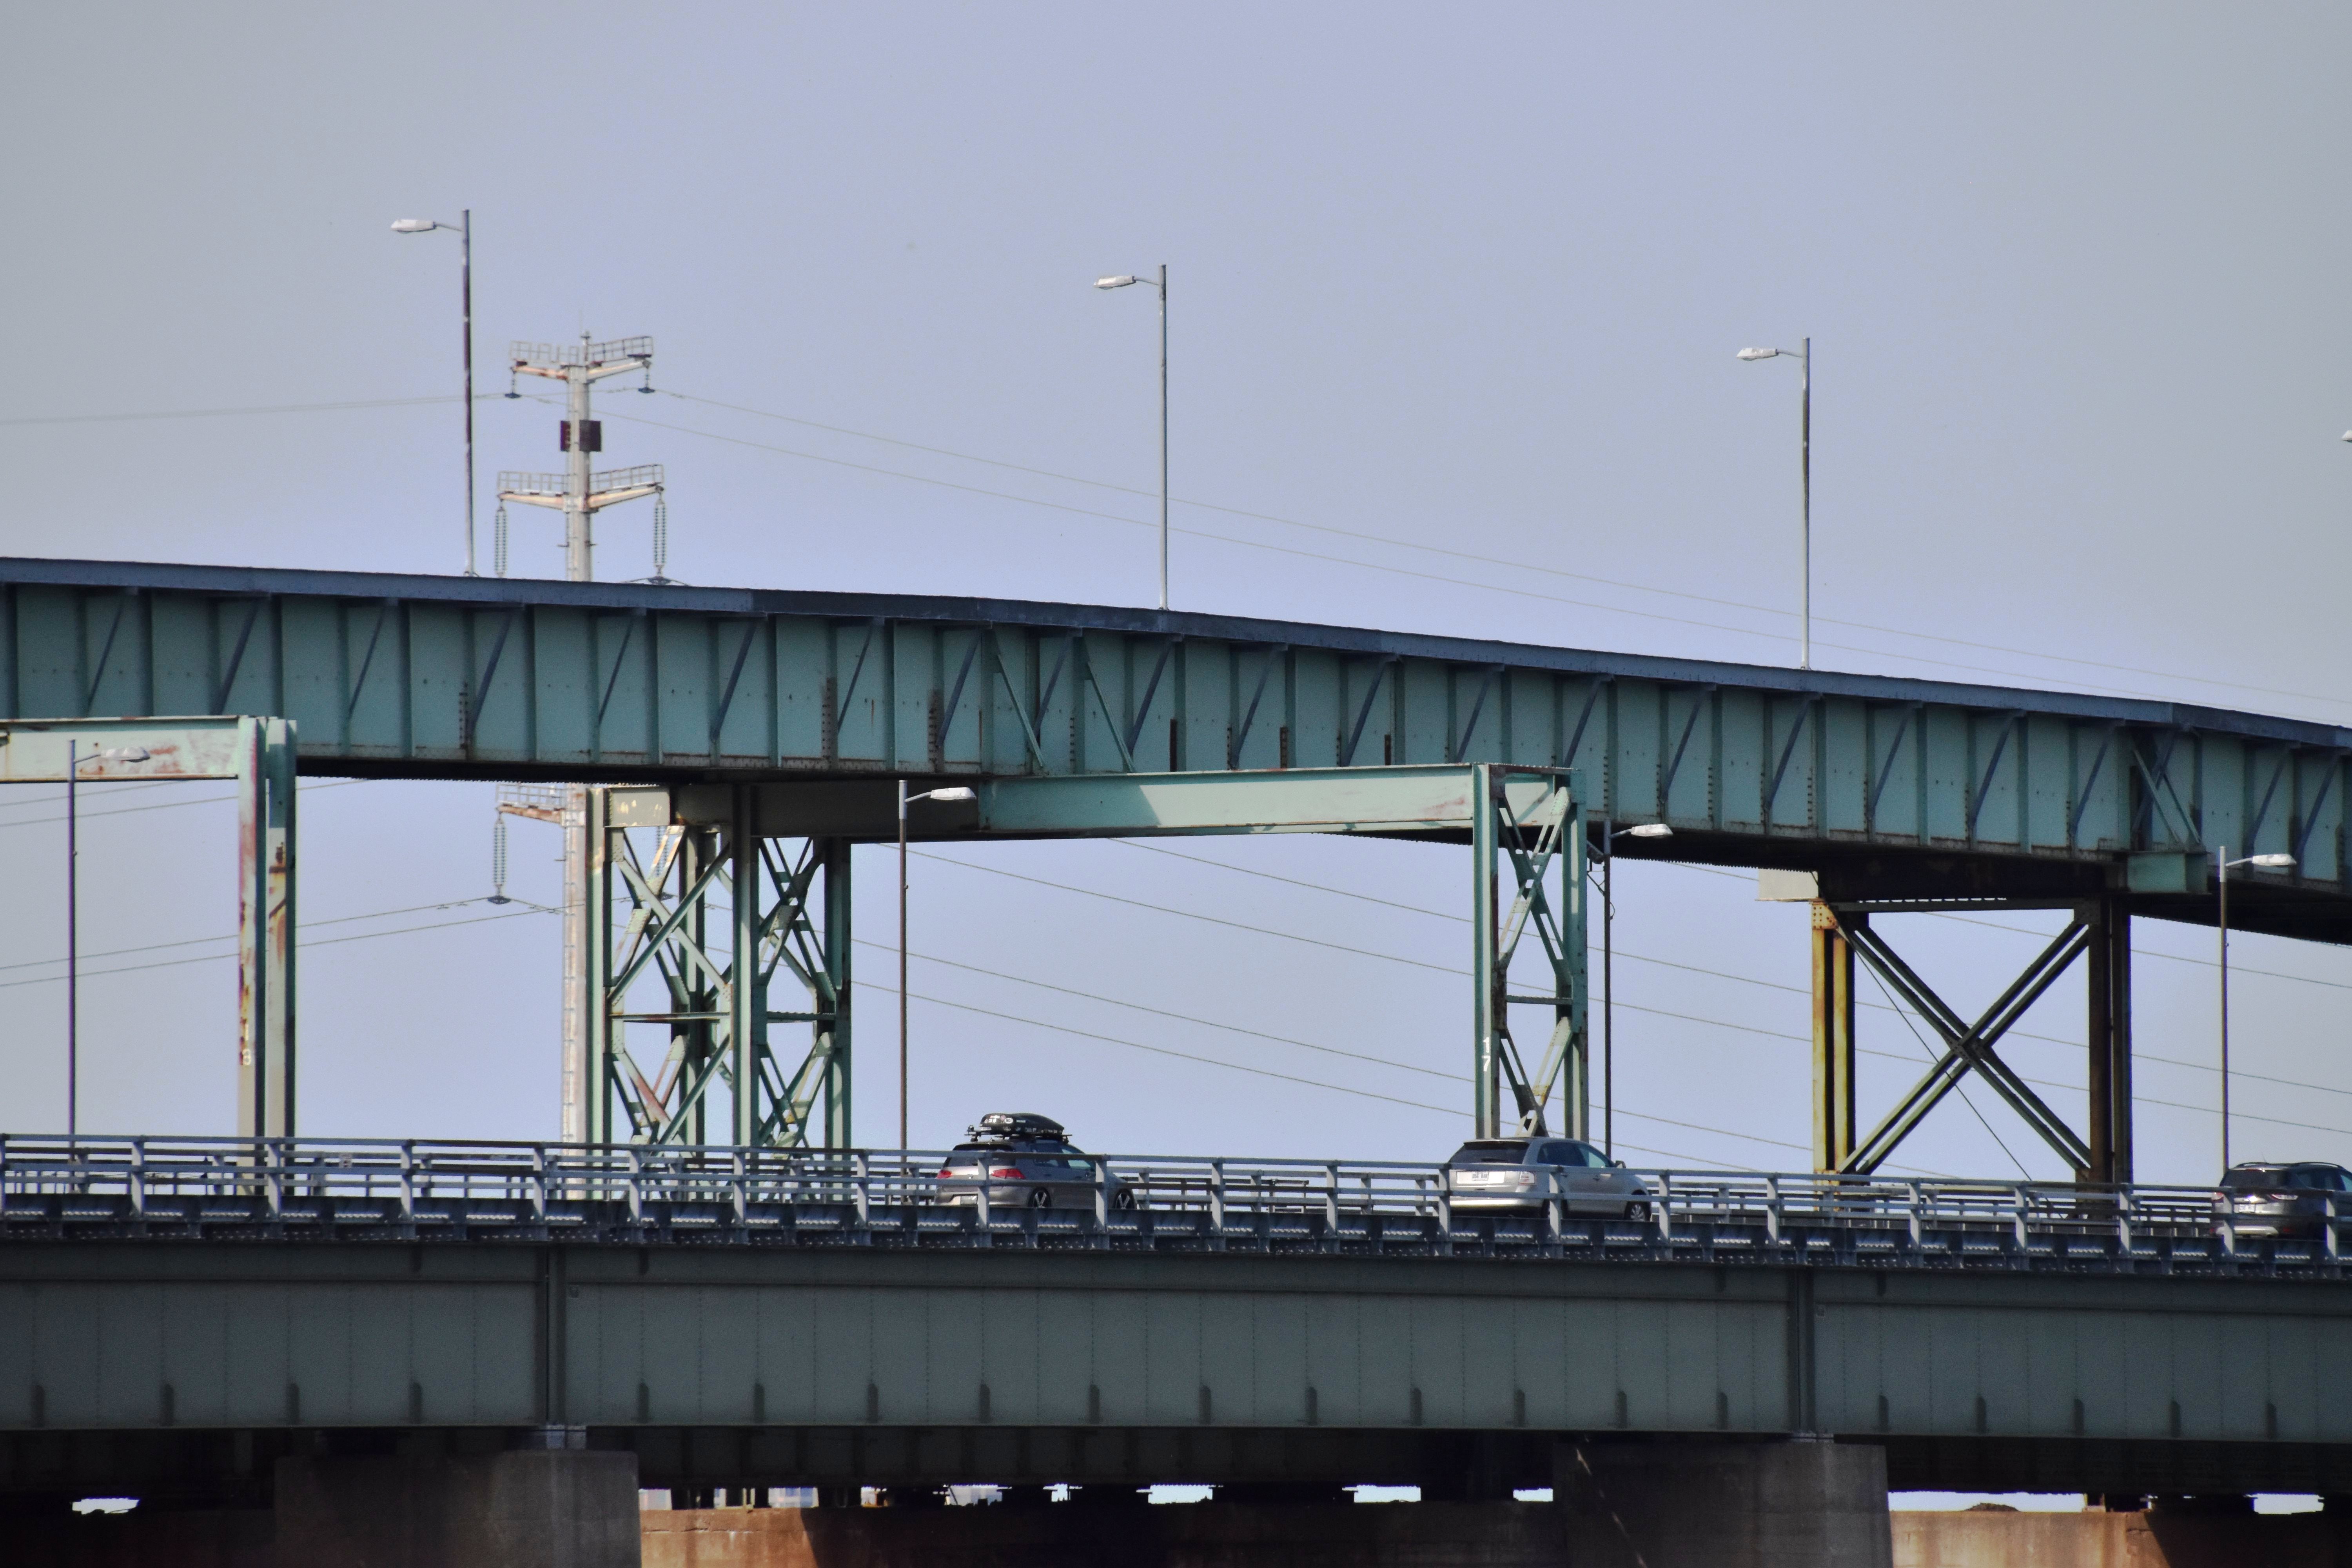
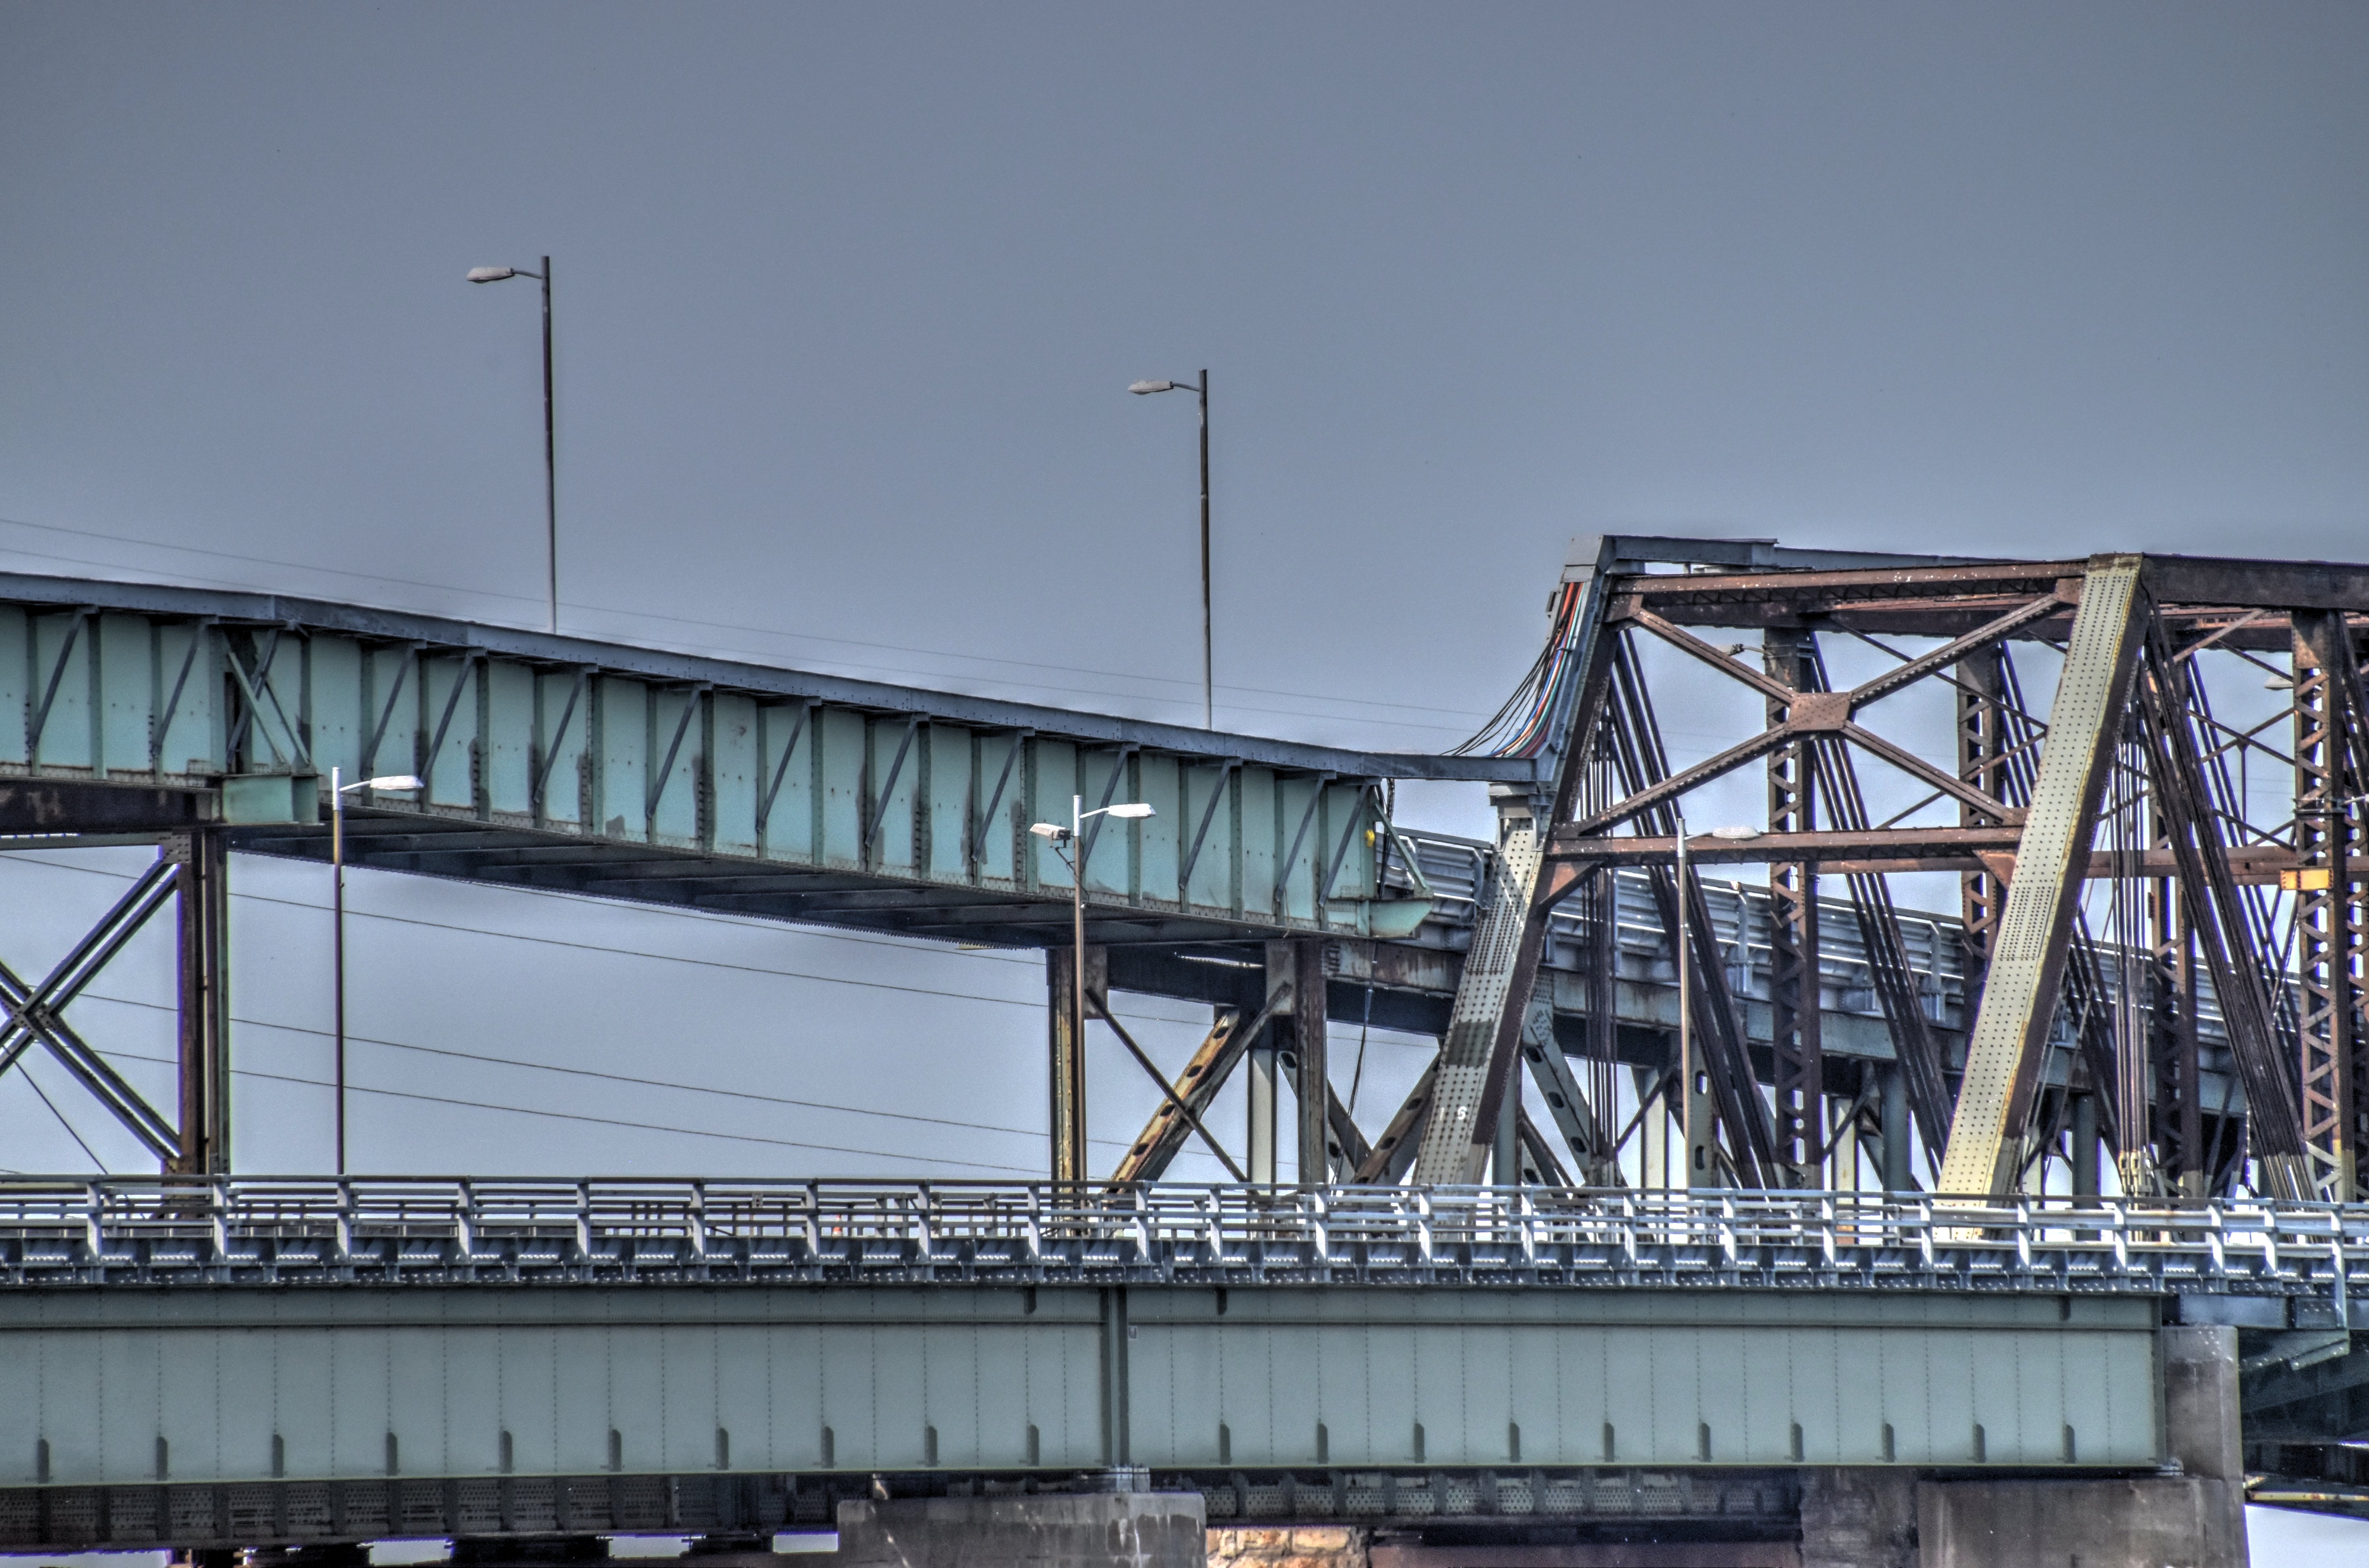
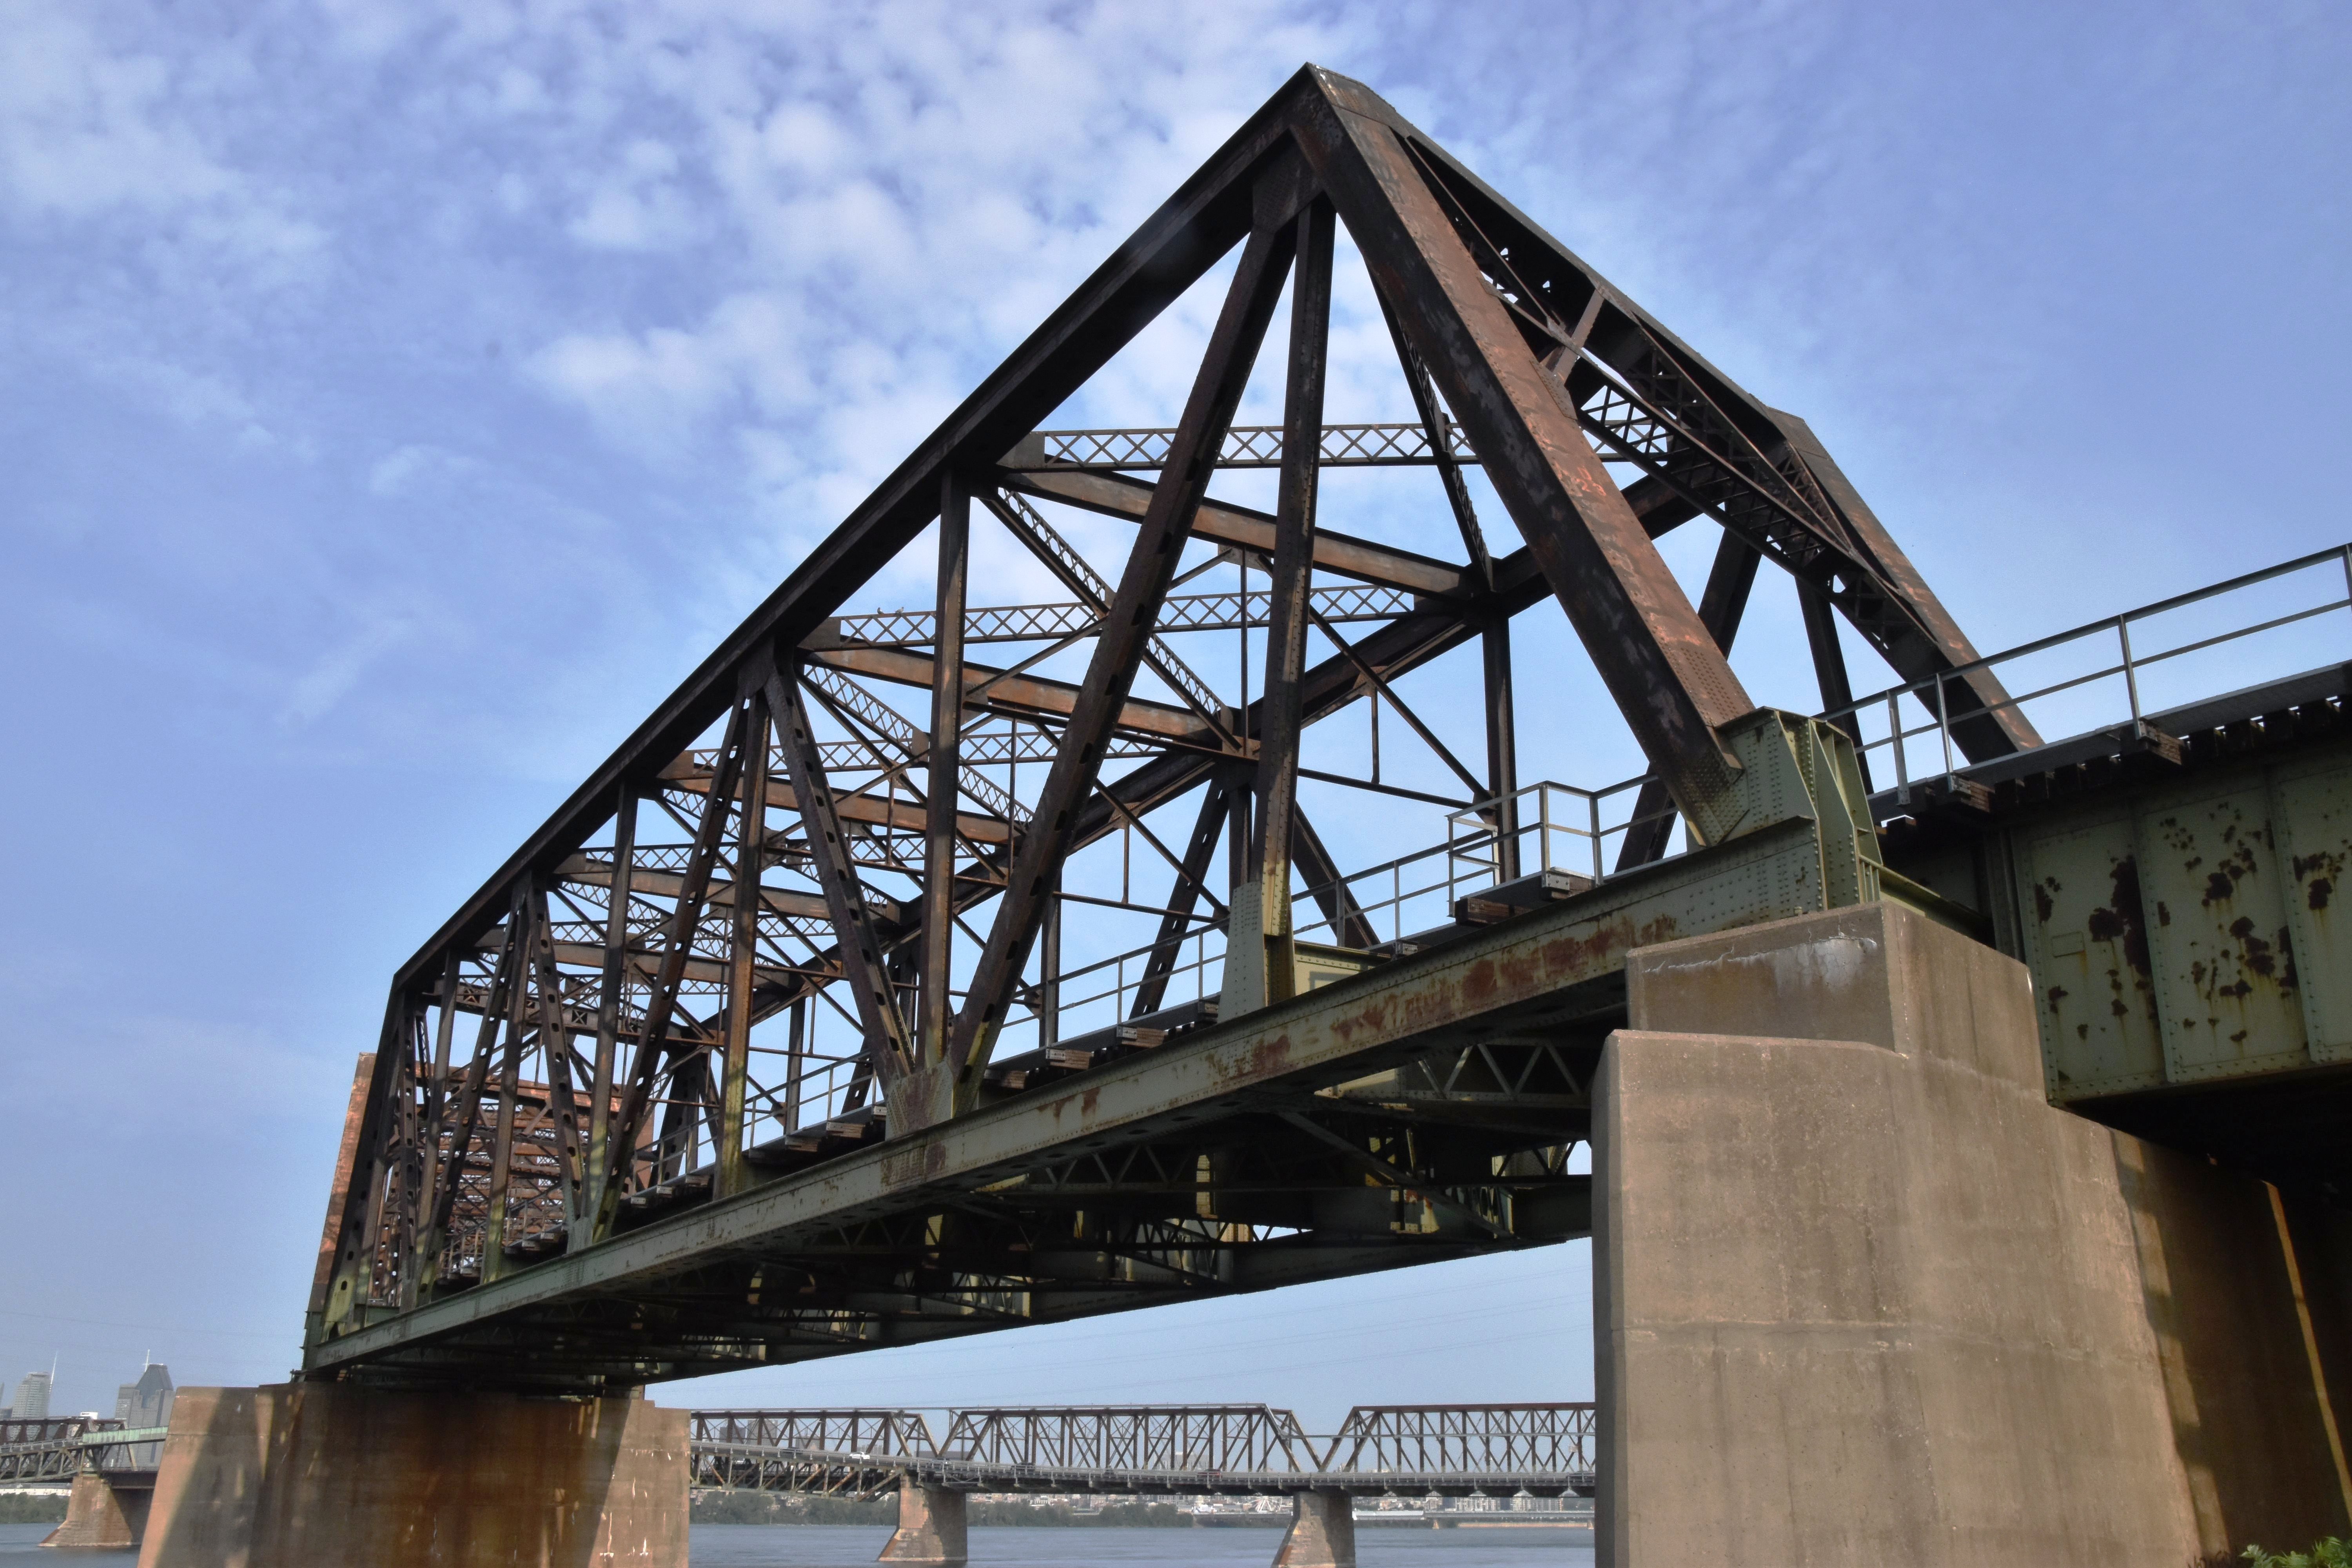
Flyover truss elevation from southeast quadrant.
![]()


Detail of flyover truss.
![]()


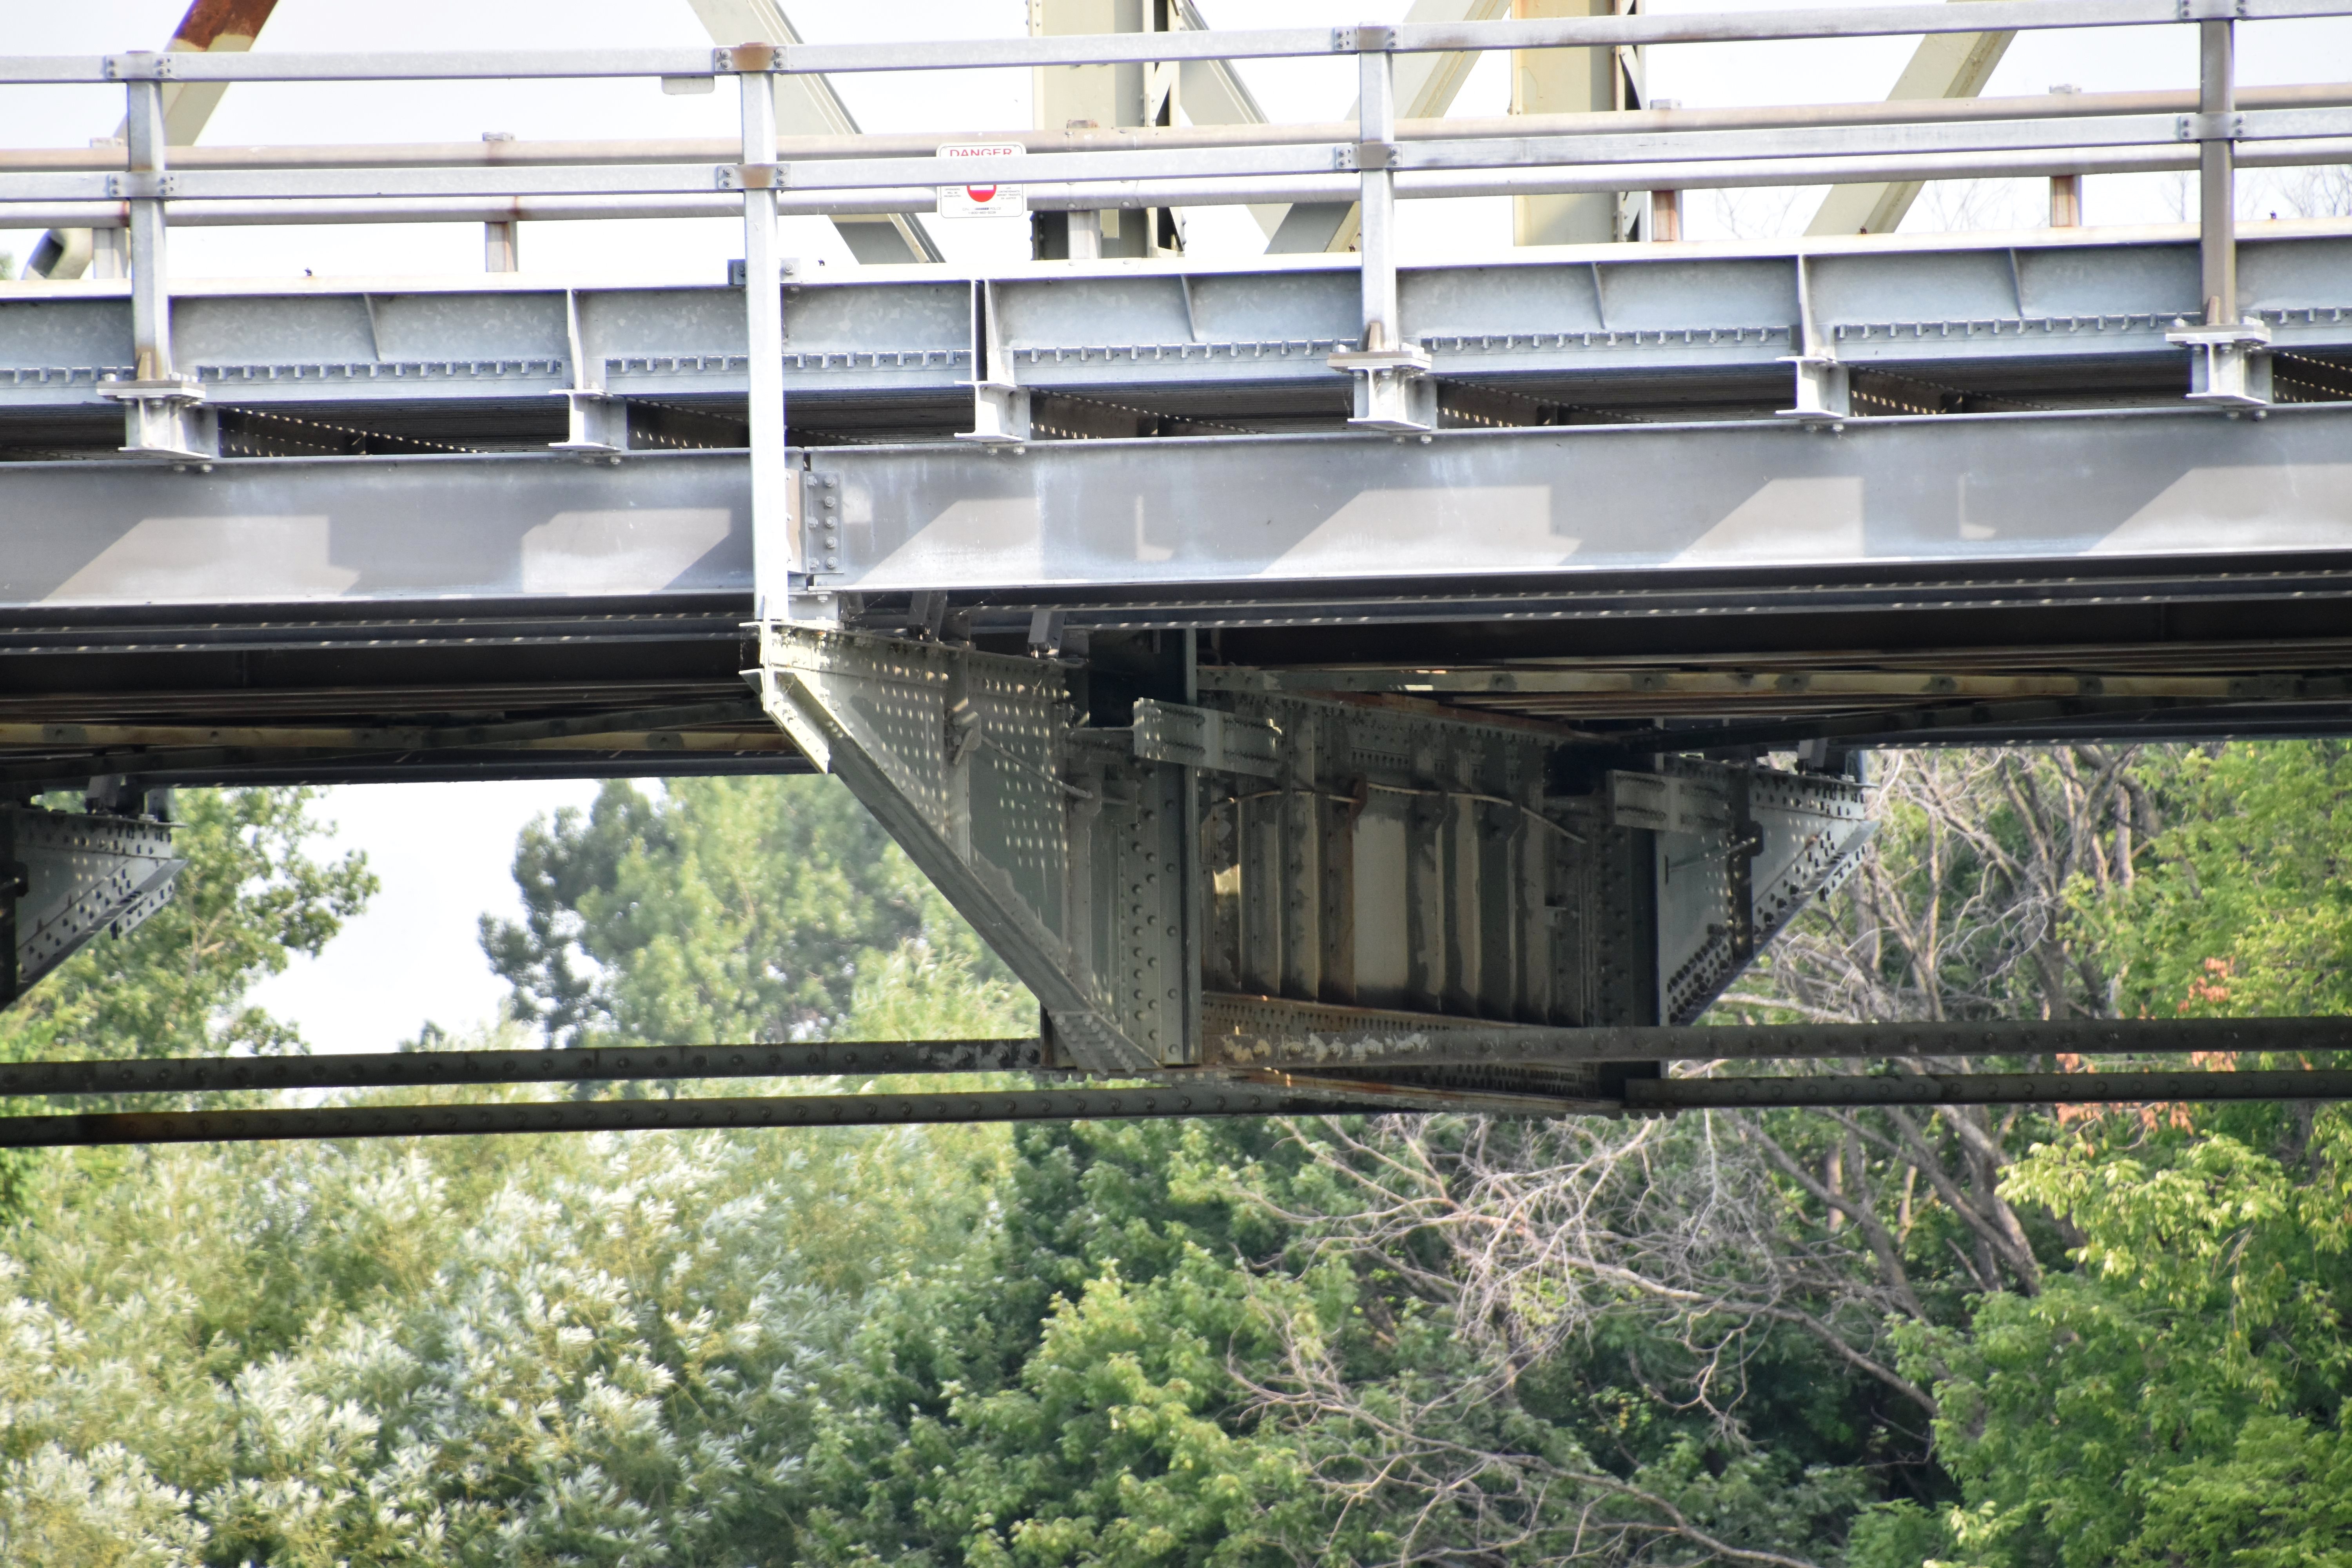
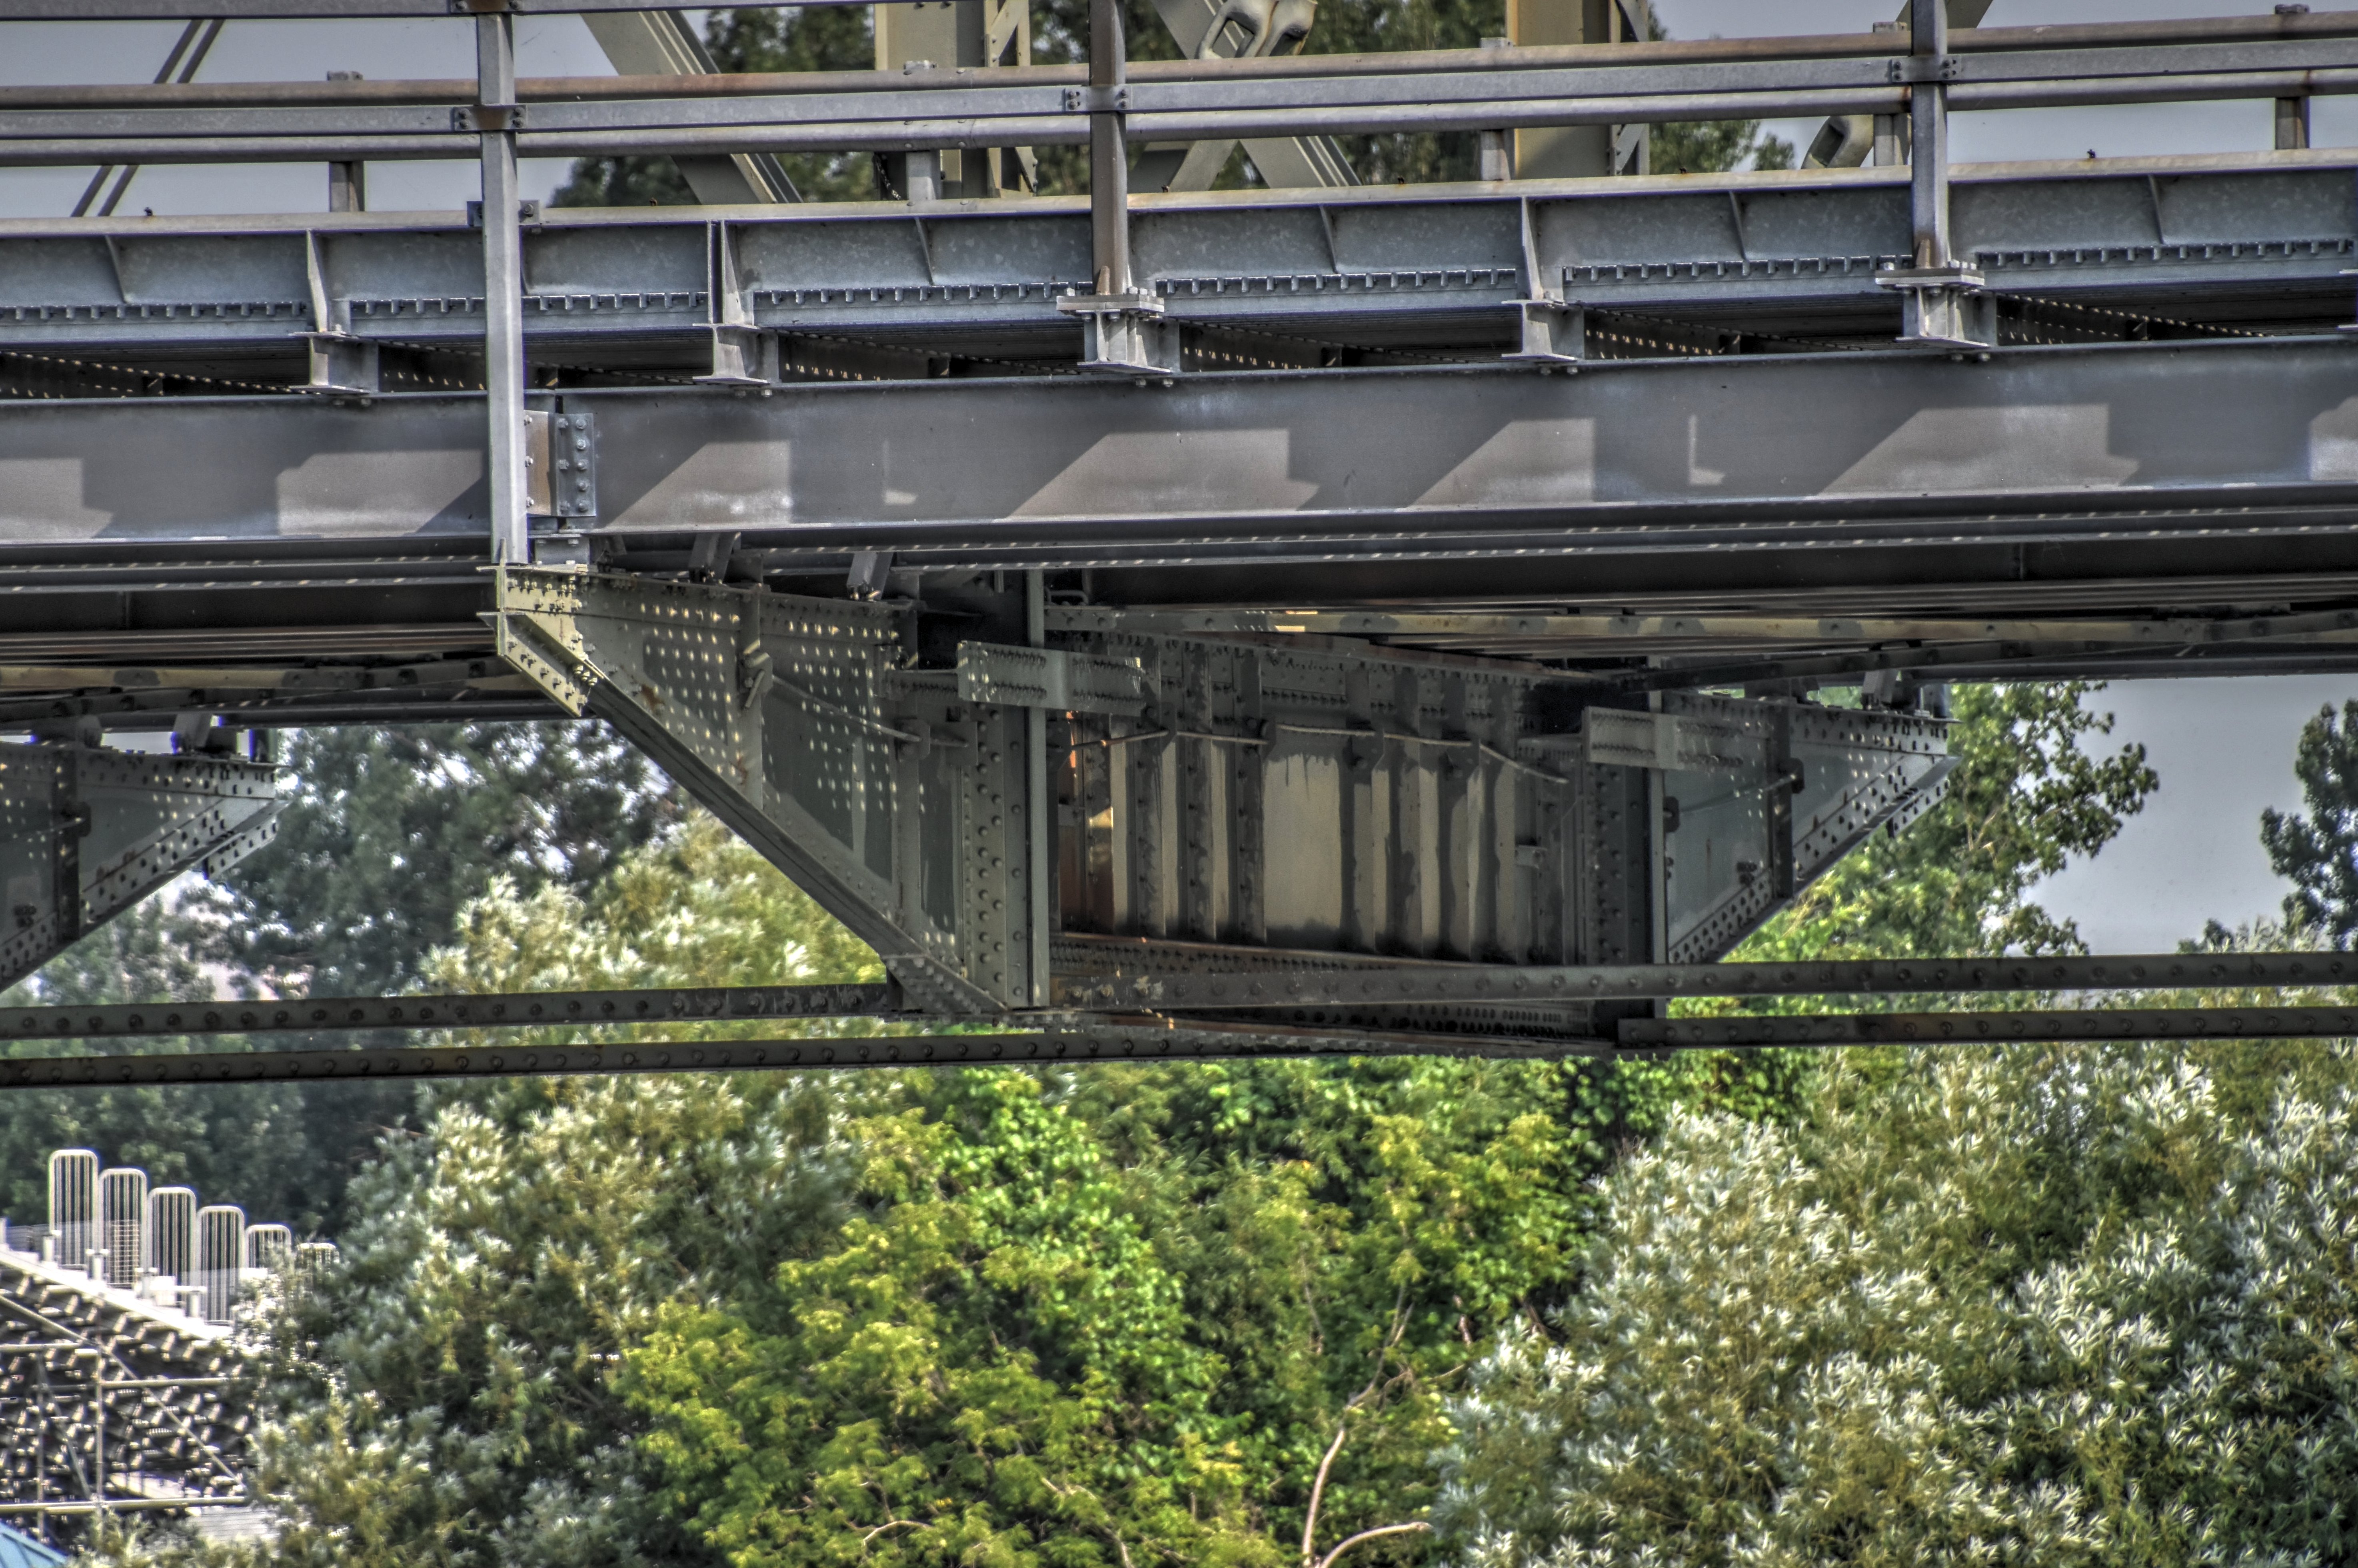
Detail of flyover girders.
![]()


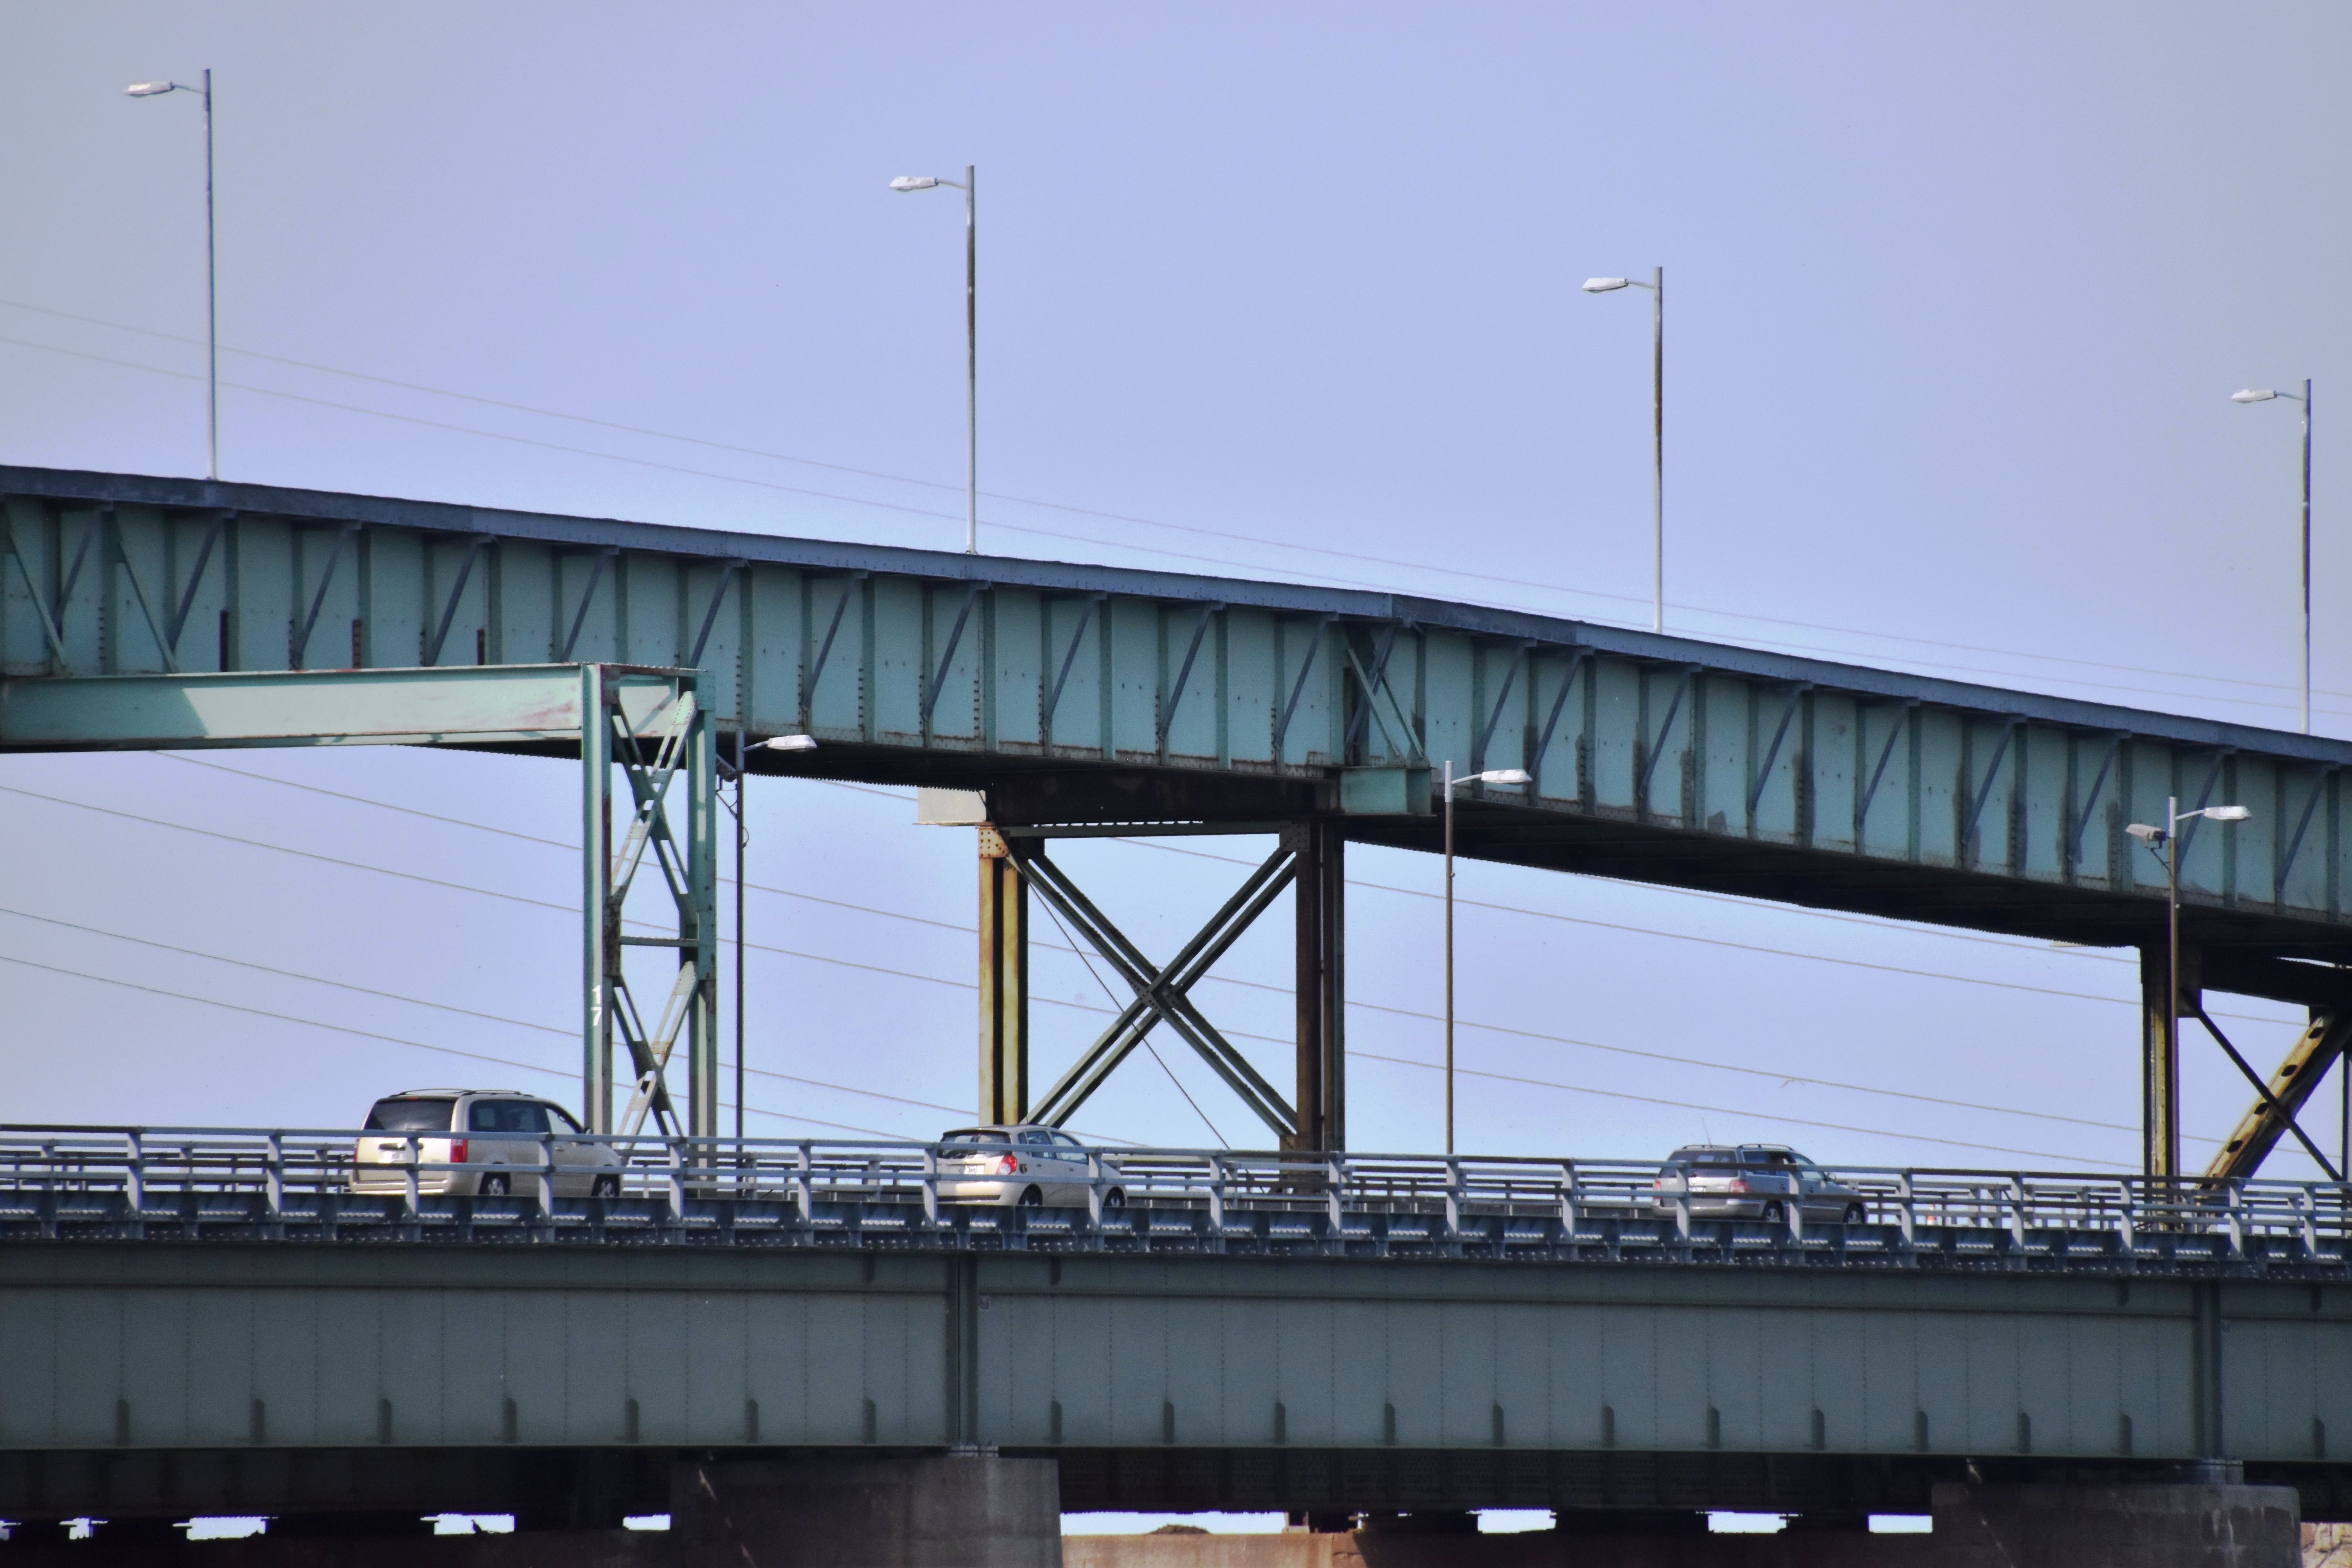
Girder spans under flyover.
![]()
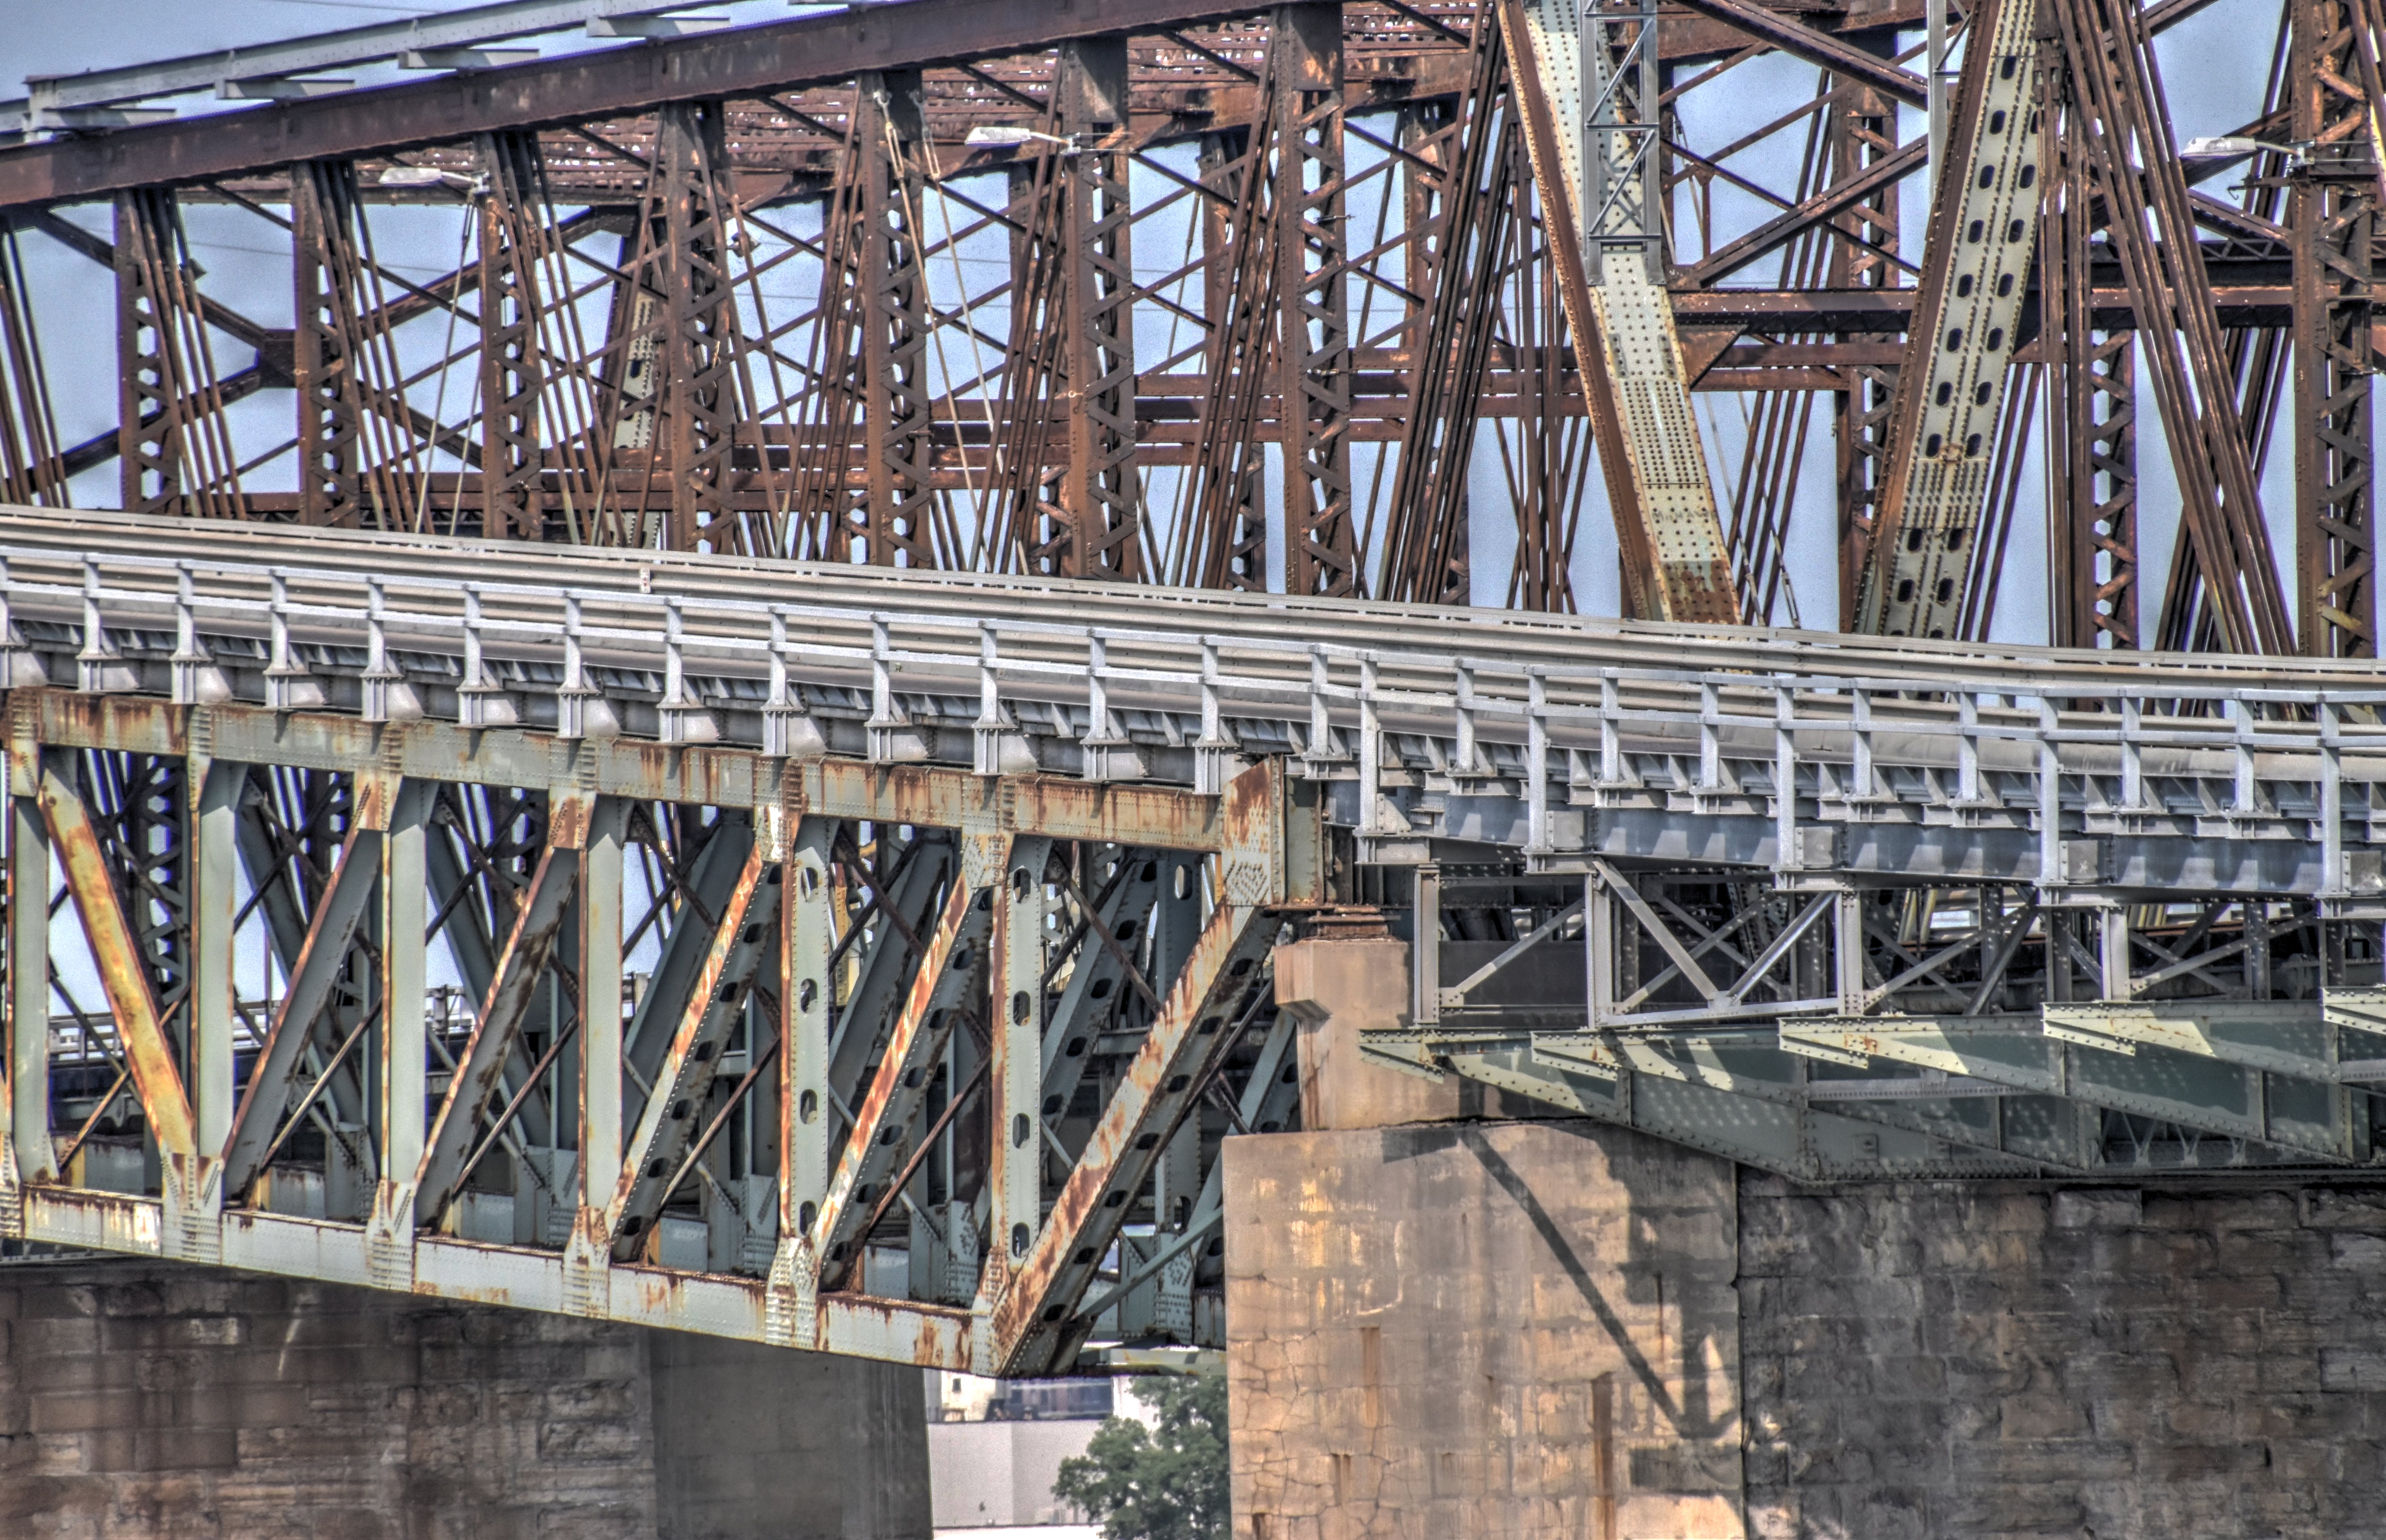
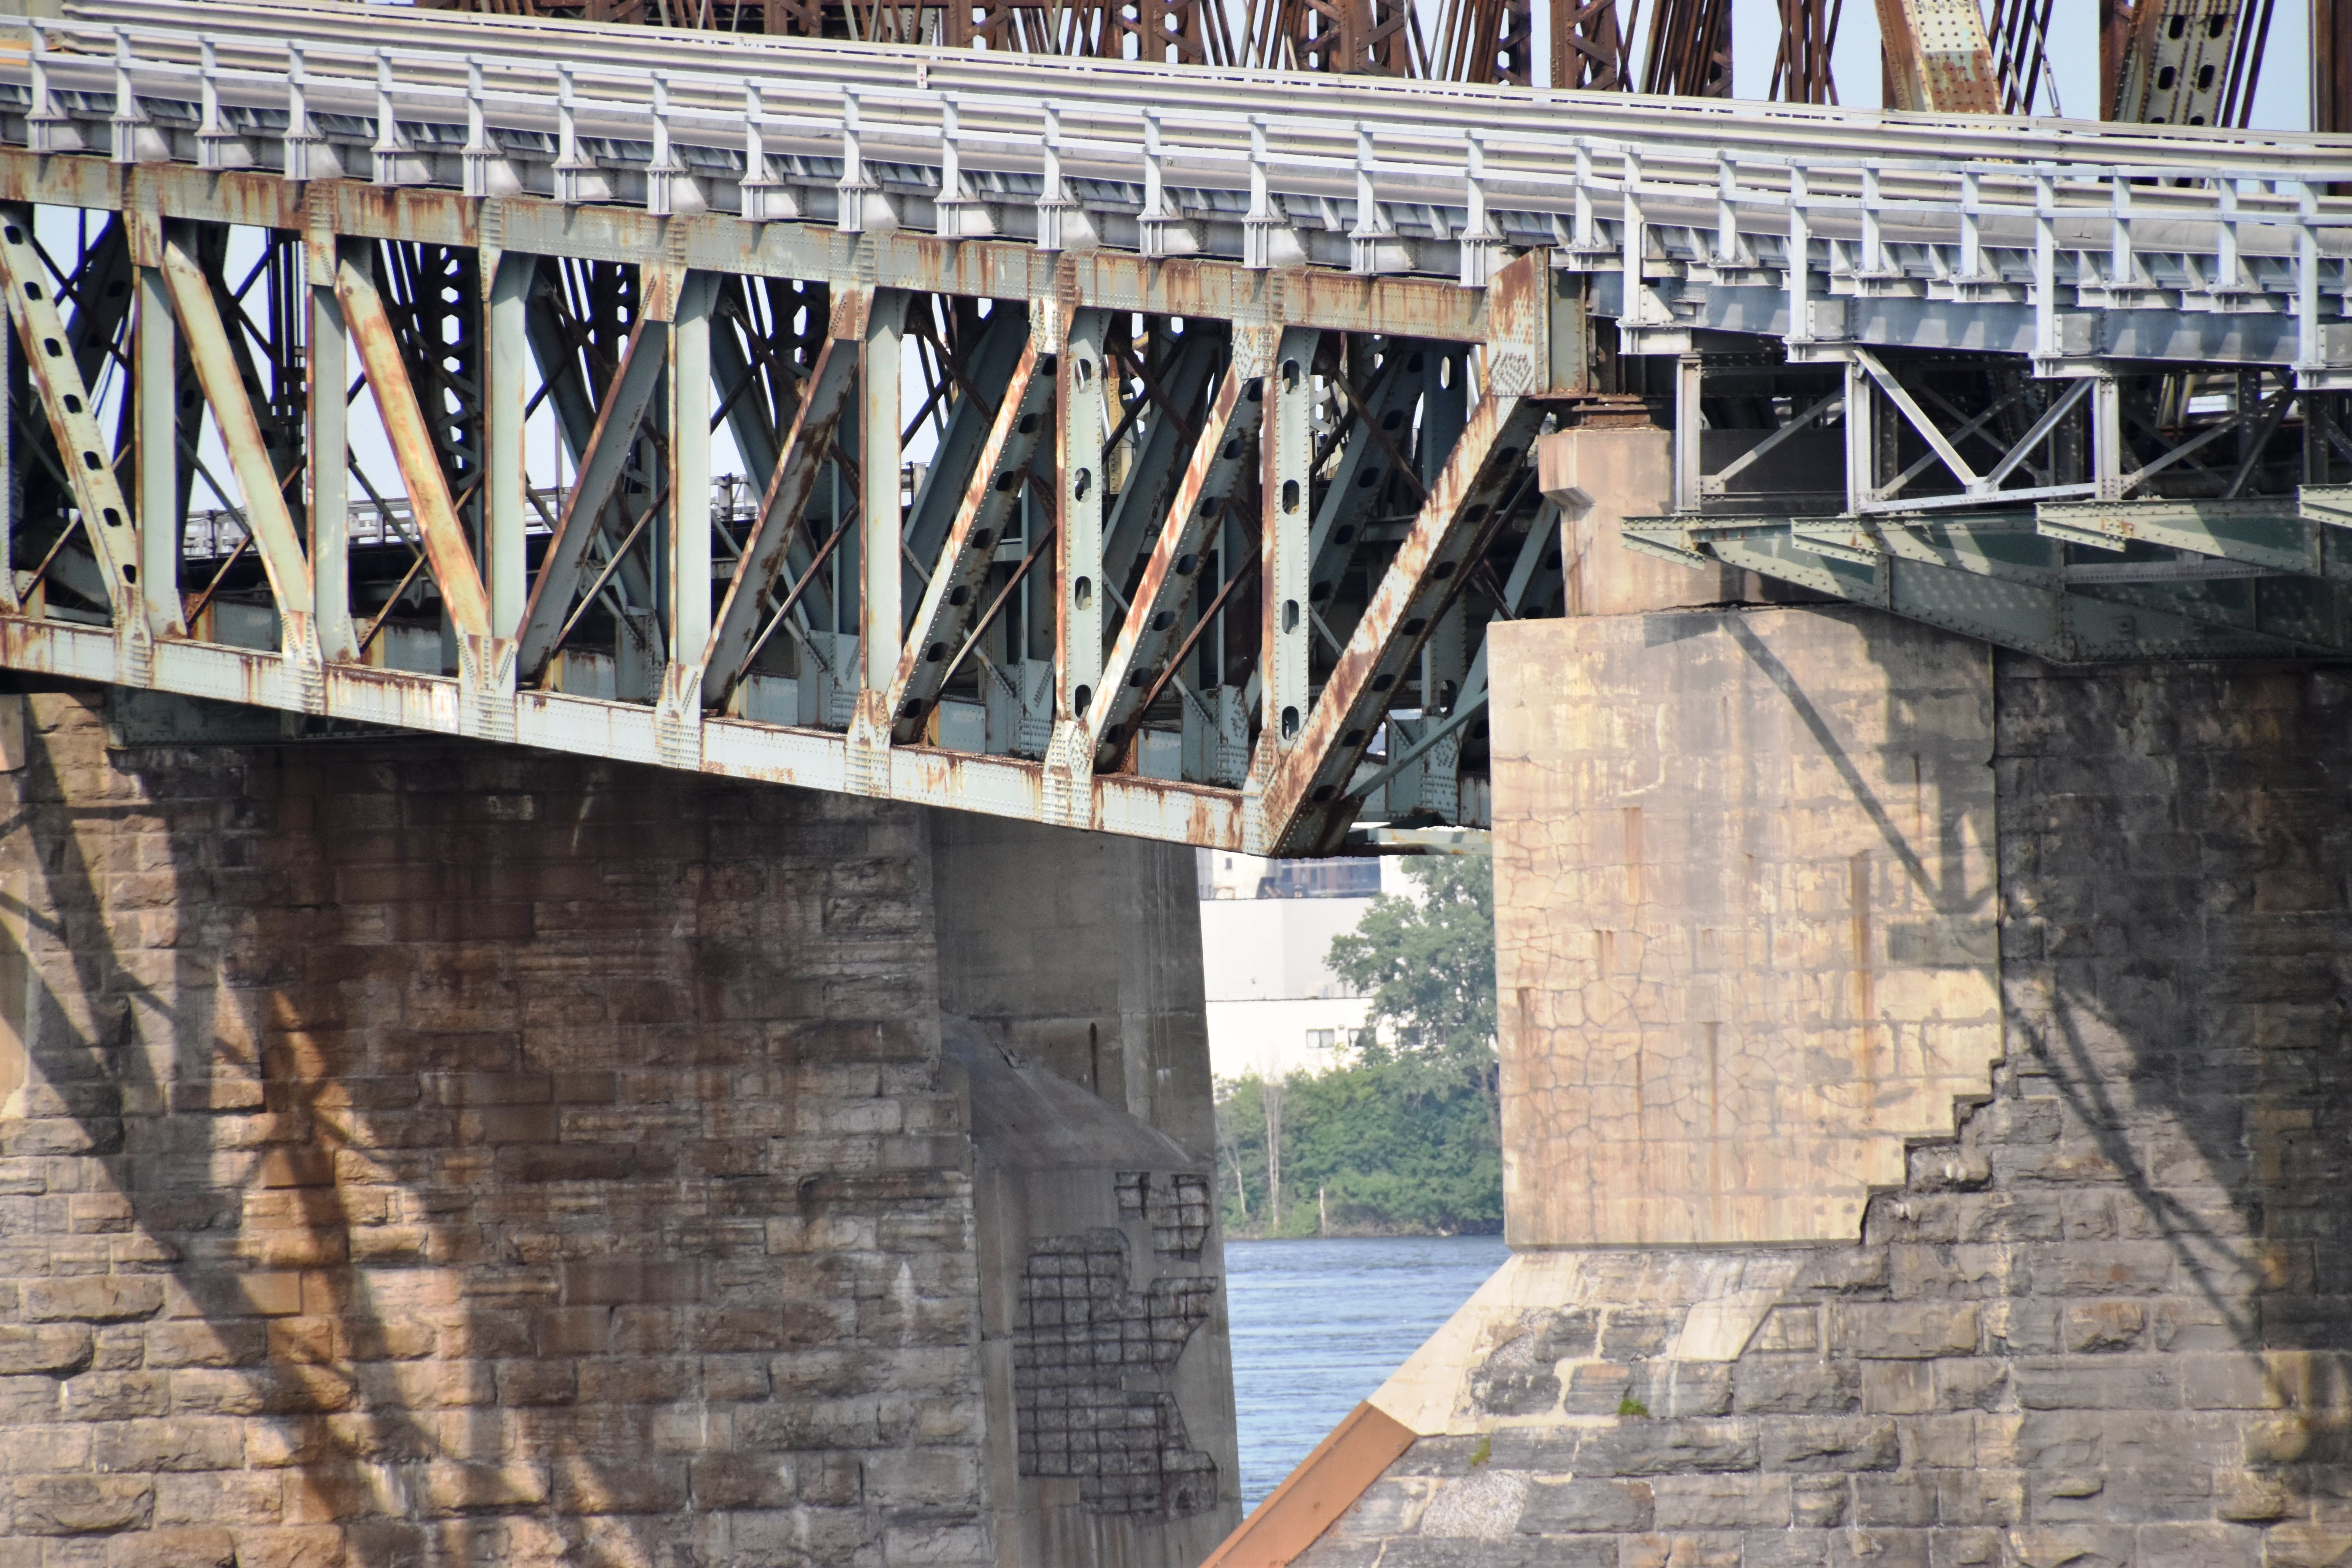
Eastern spans elevation from southeast quadrant around spans.
![]()
Elevation of individual spans from southeast quadrant around spans.
![]()
Views of St. Lambert Diversion, from northeast quadrant around spans.
![]()
Views of St. Lambert Diversion spans, from northeast quadrant around spans.
![]()


Views of St. Lambert Diversion spans, from southeast quadrant around spans.
![]()

South elevation of St. Lambert Diversion girder span.
![]()


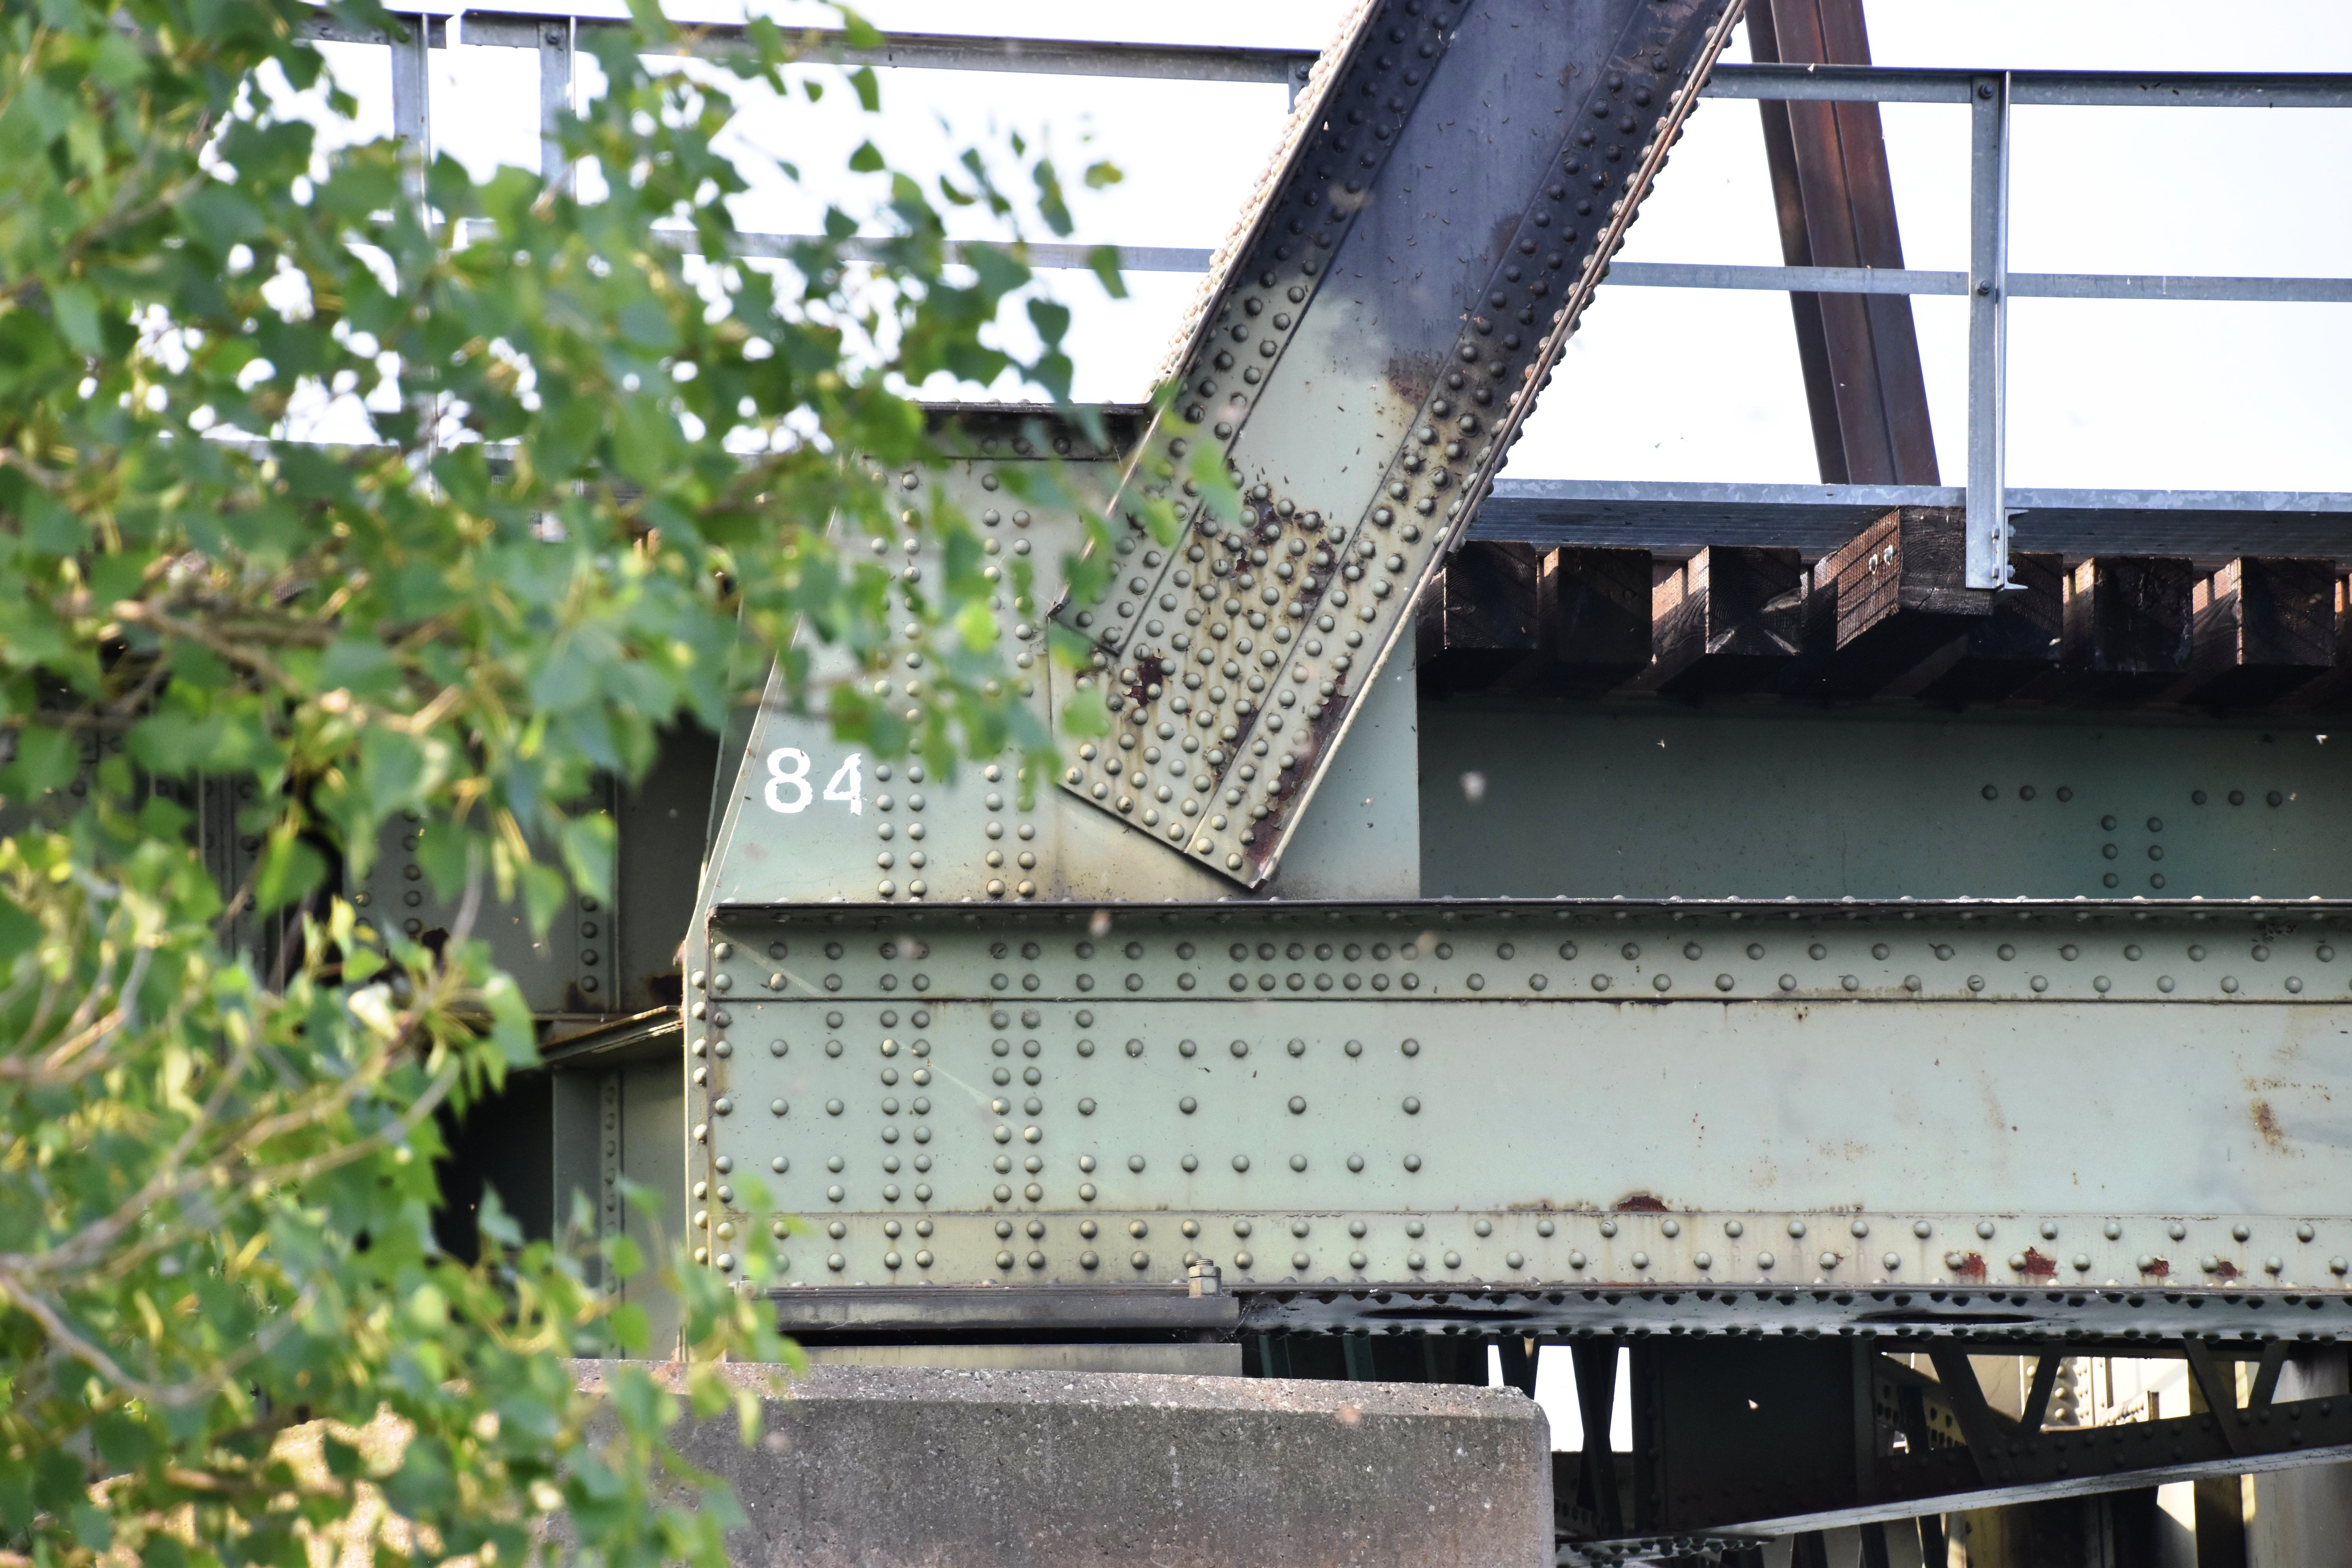
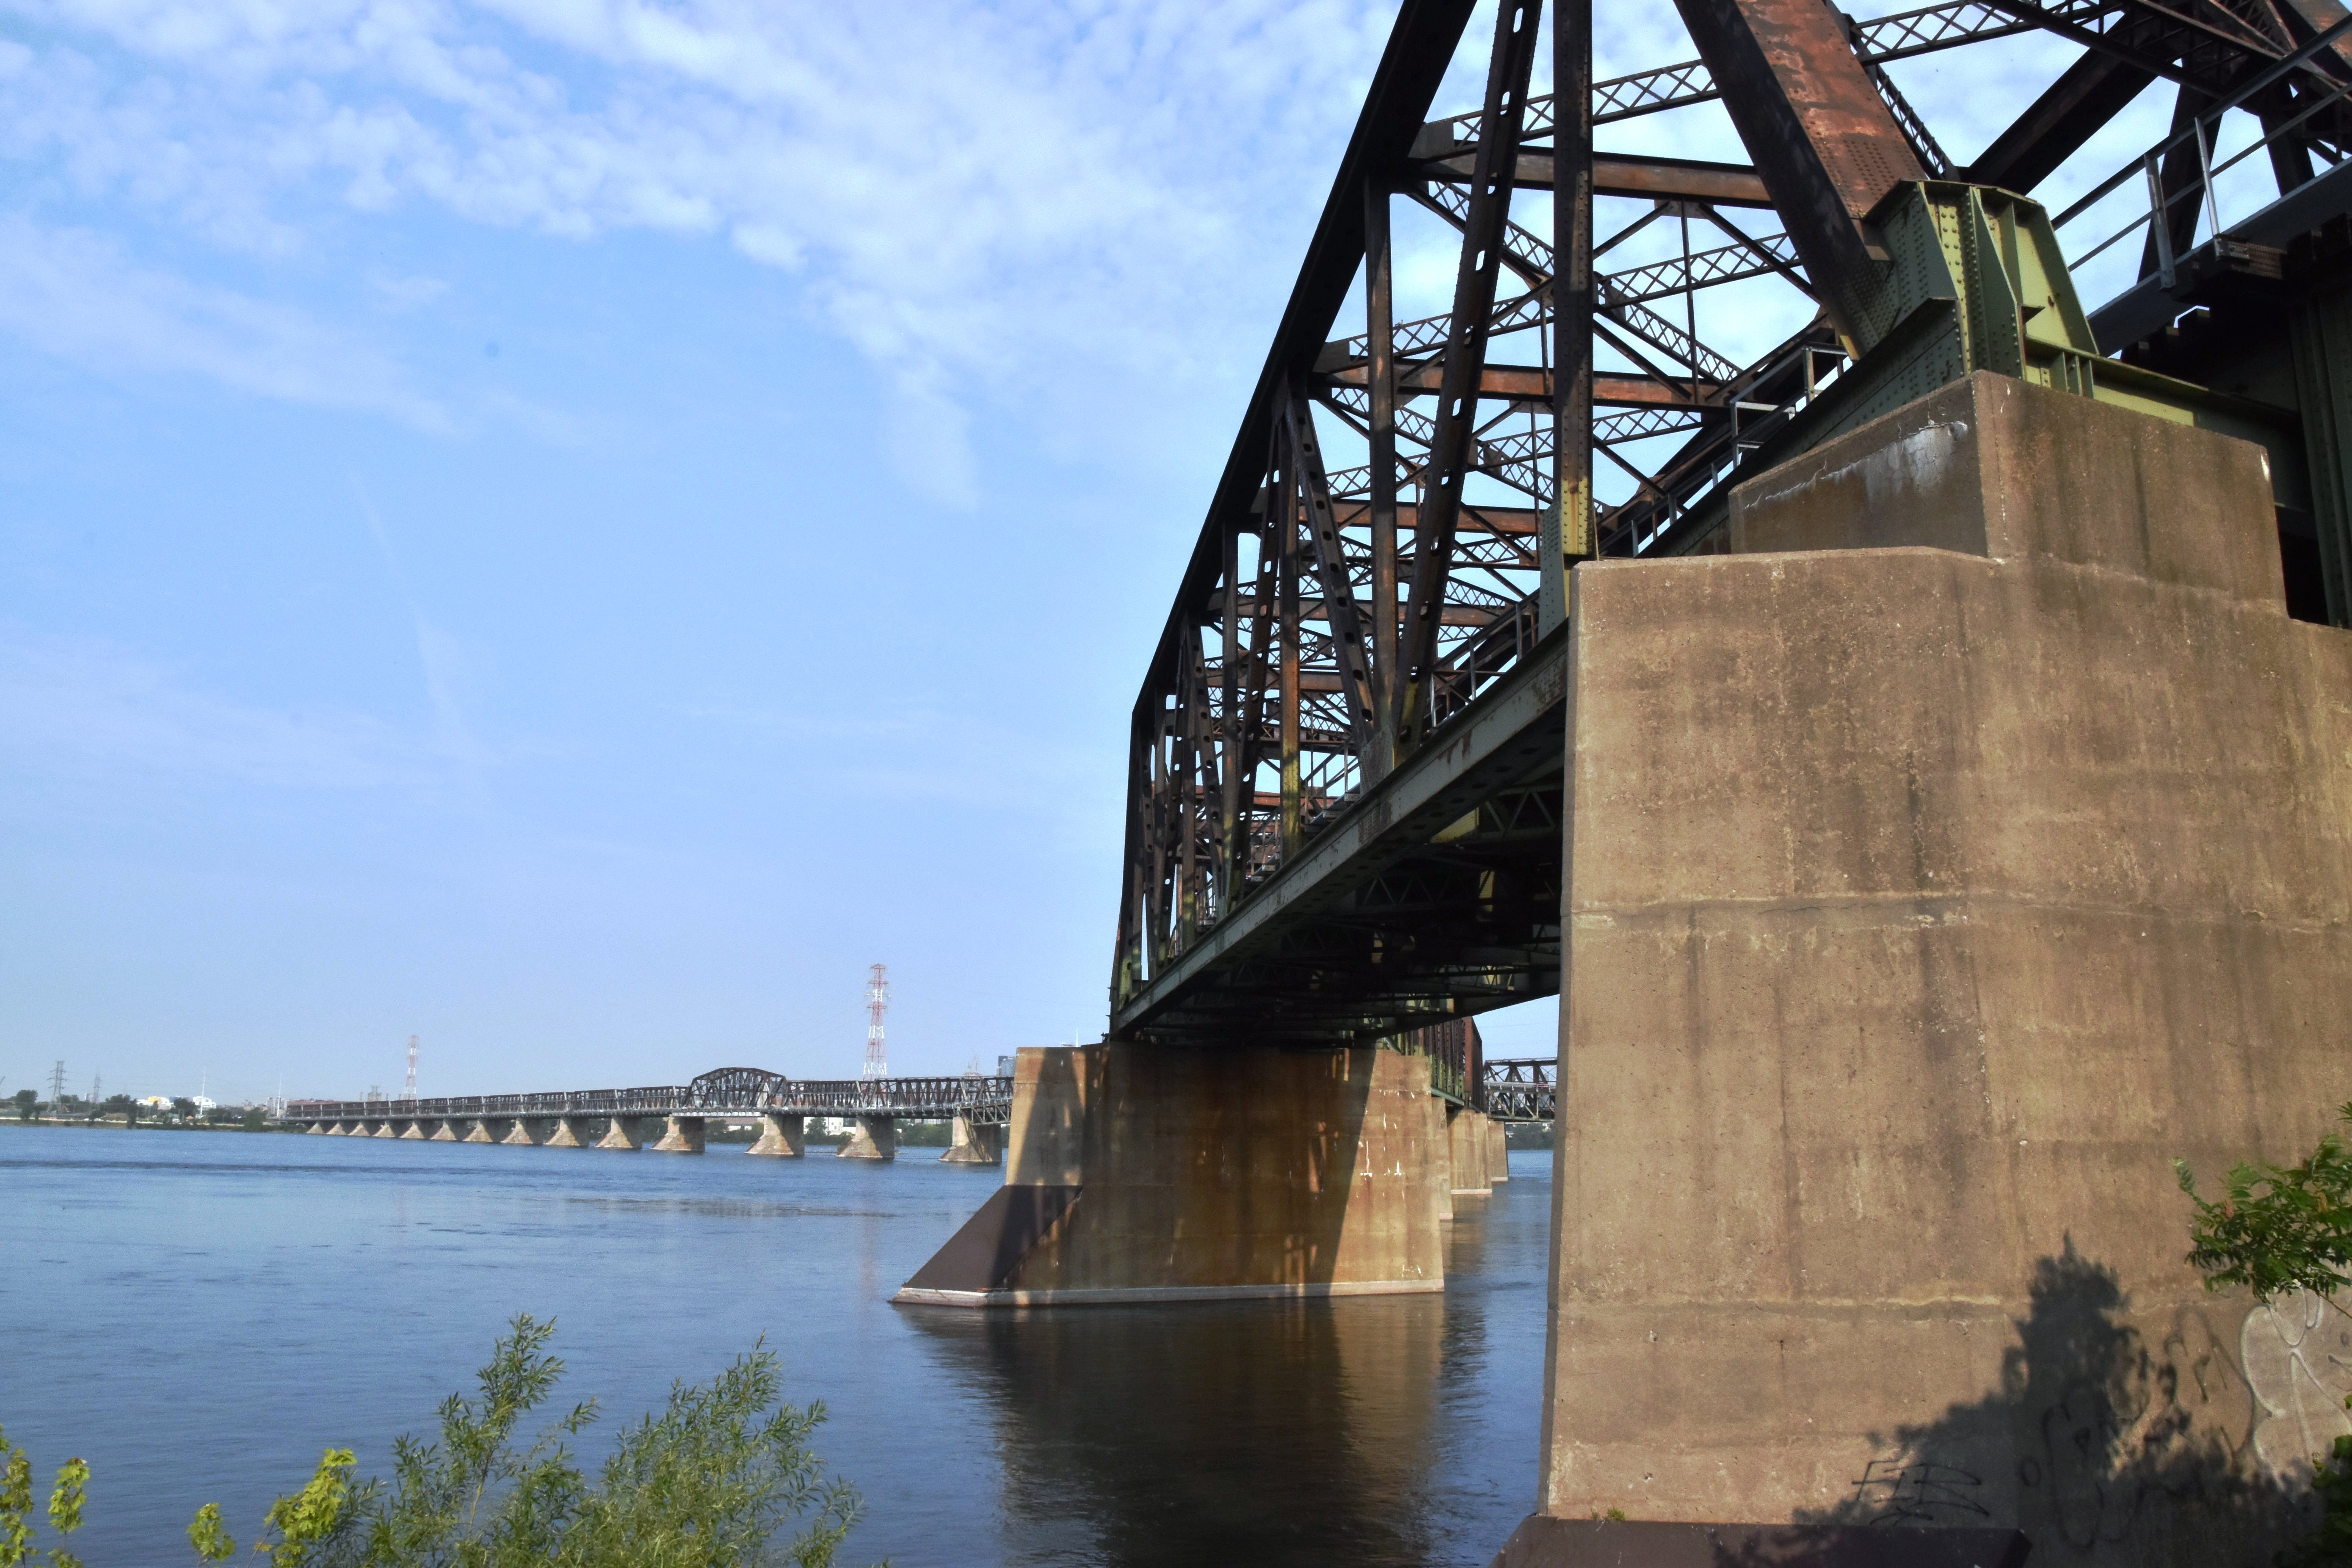
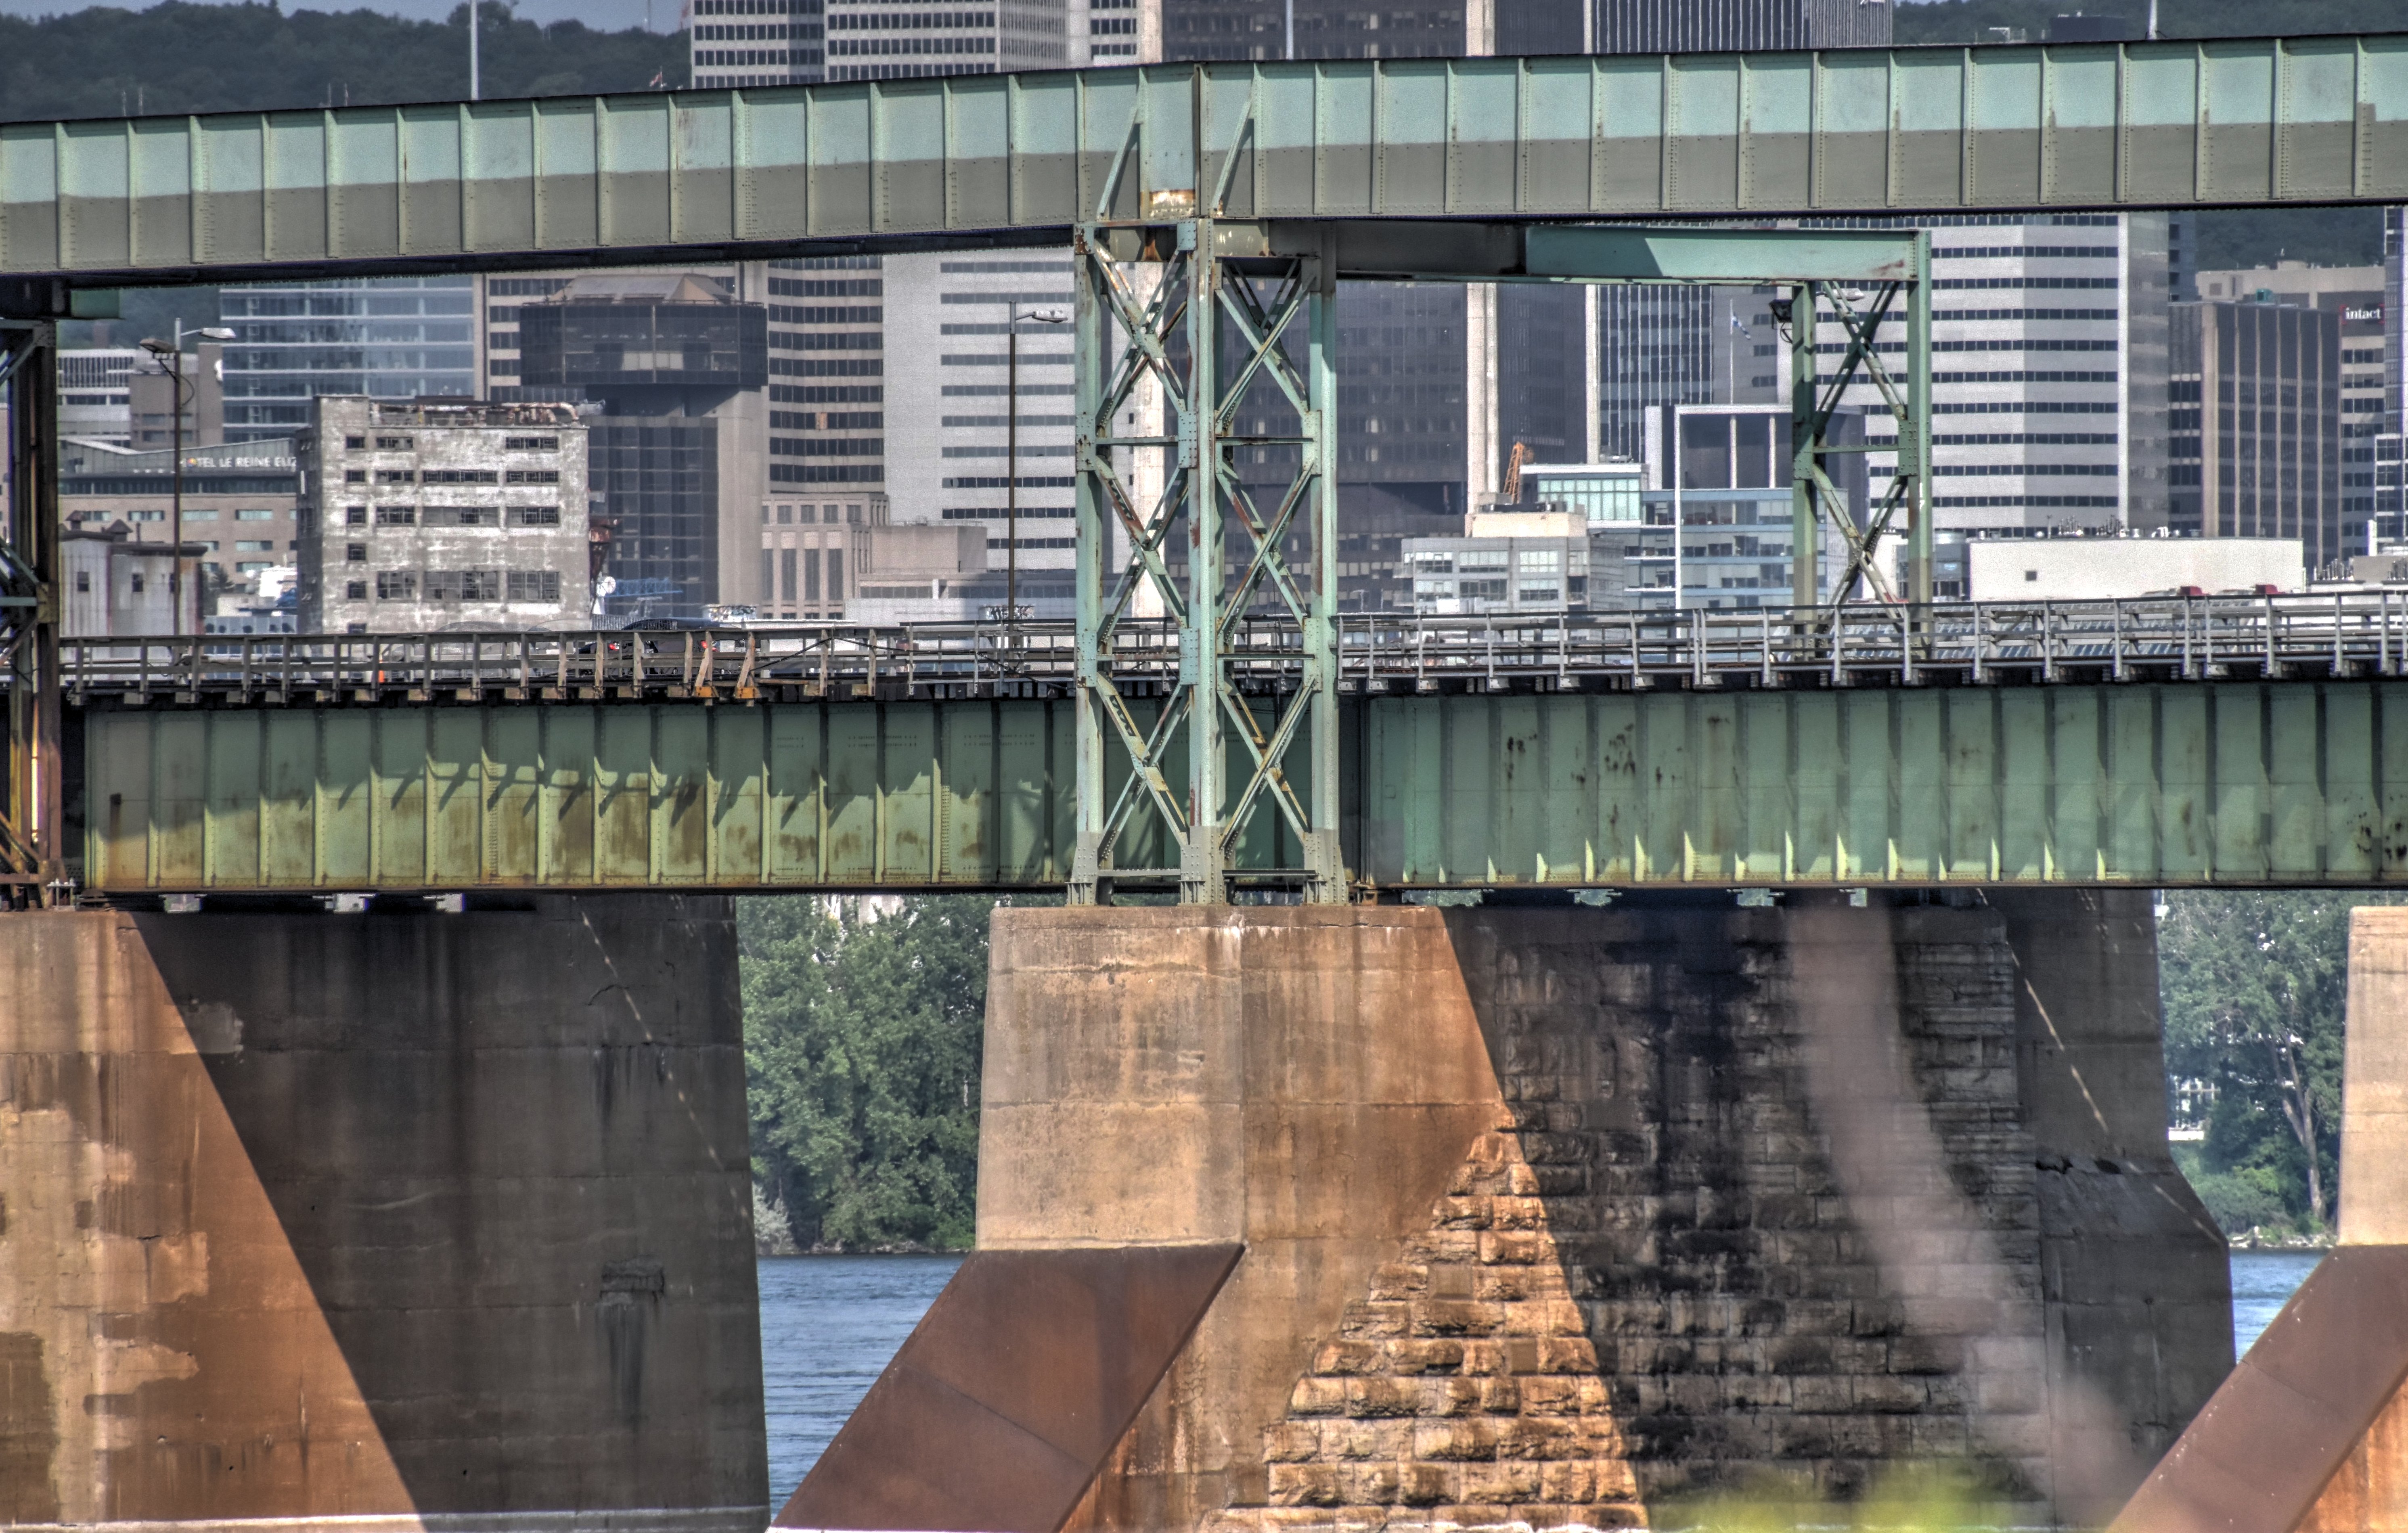
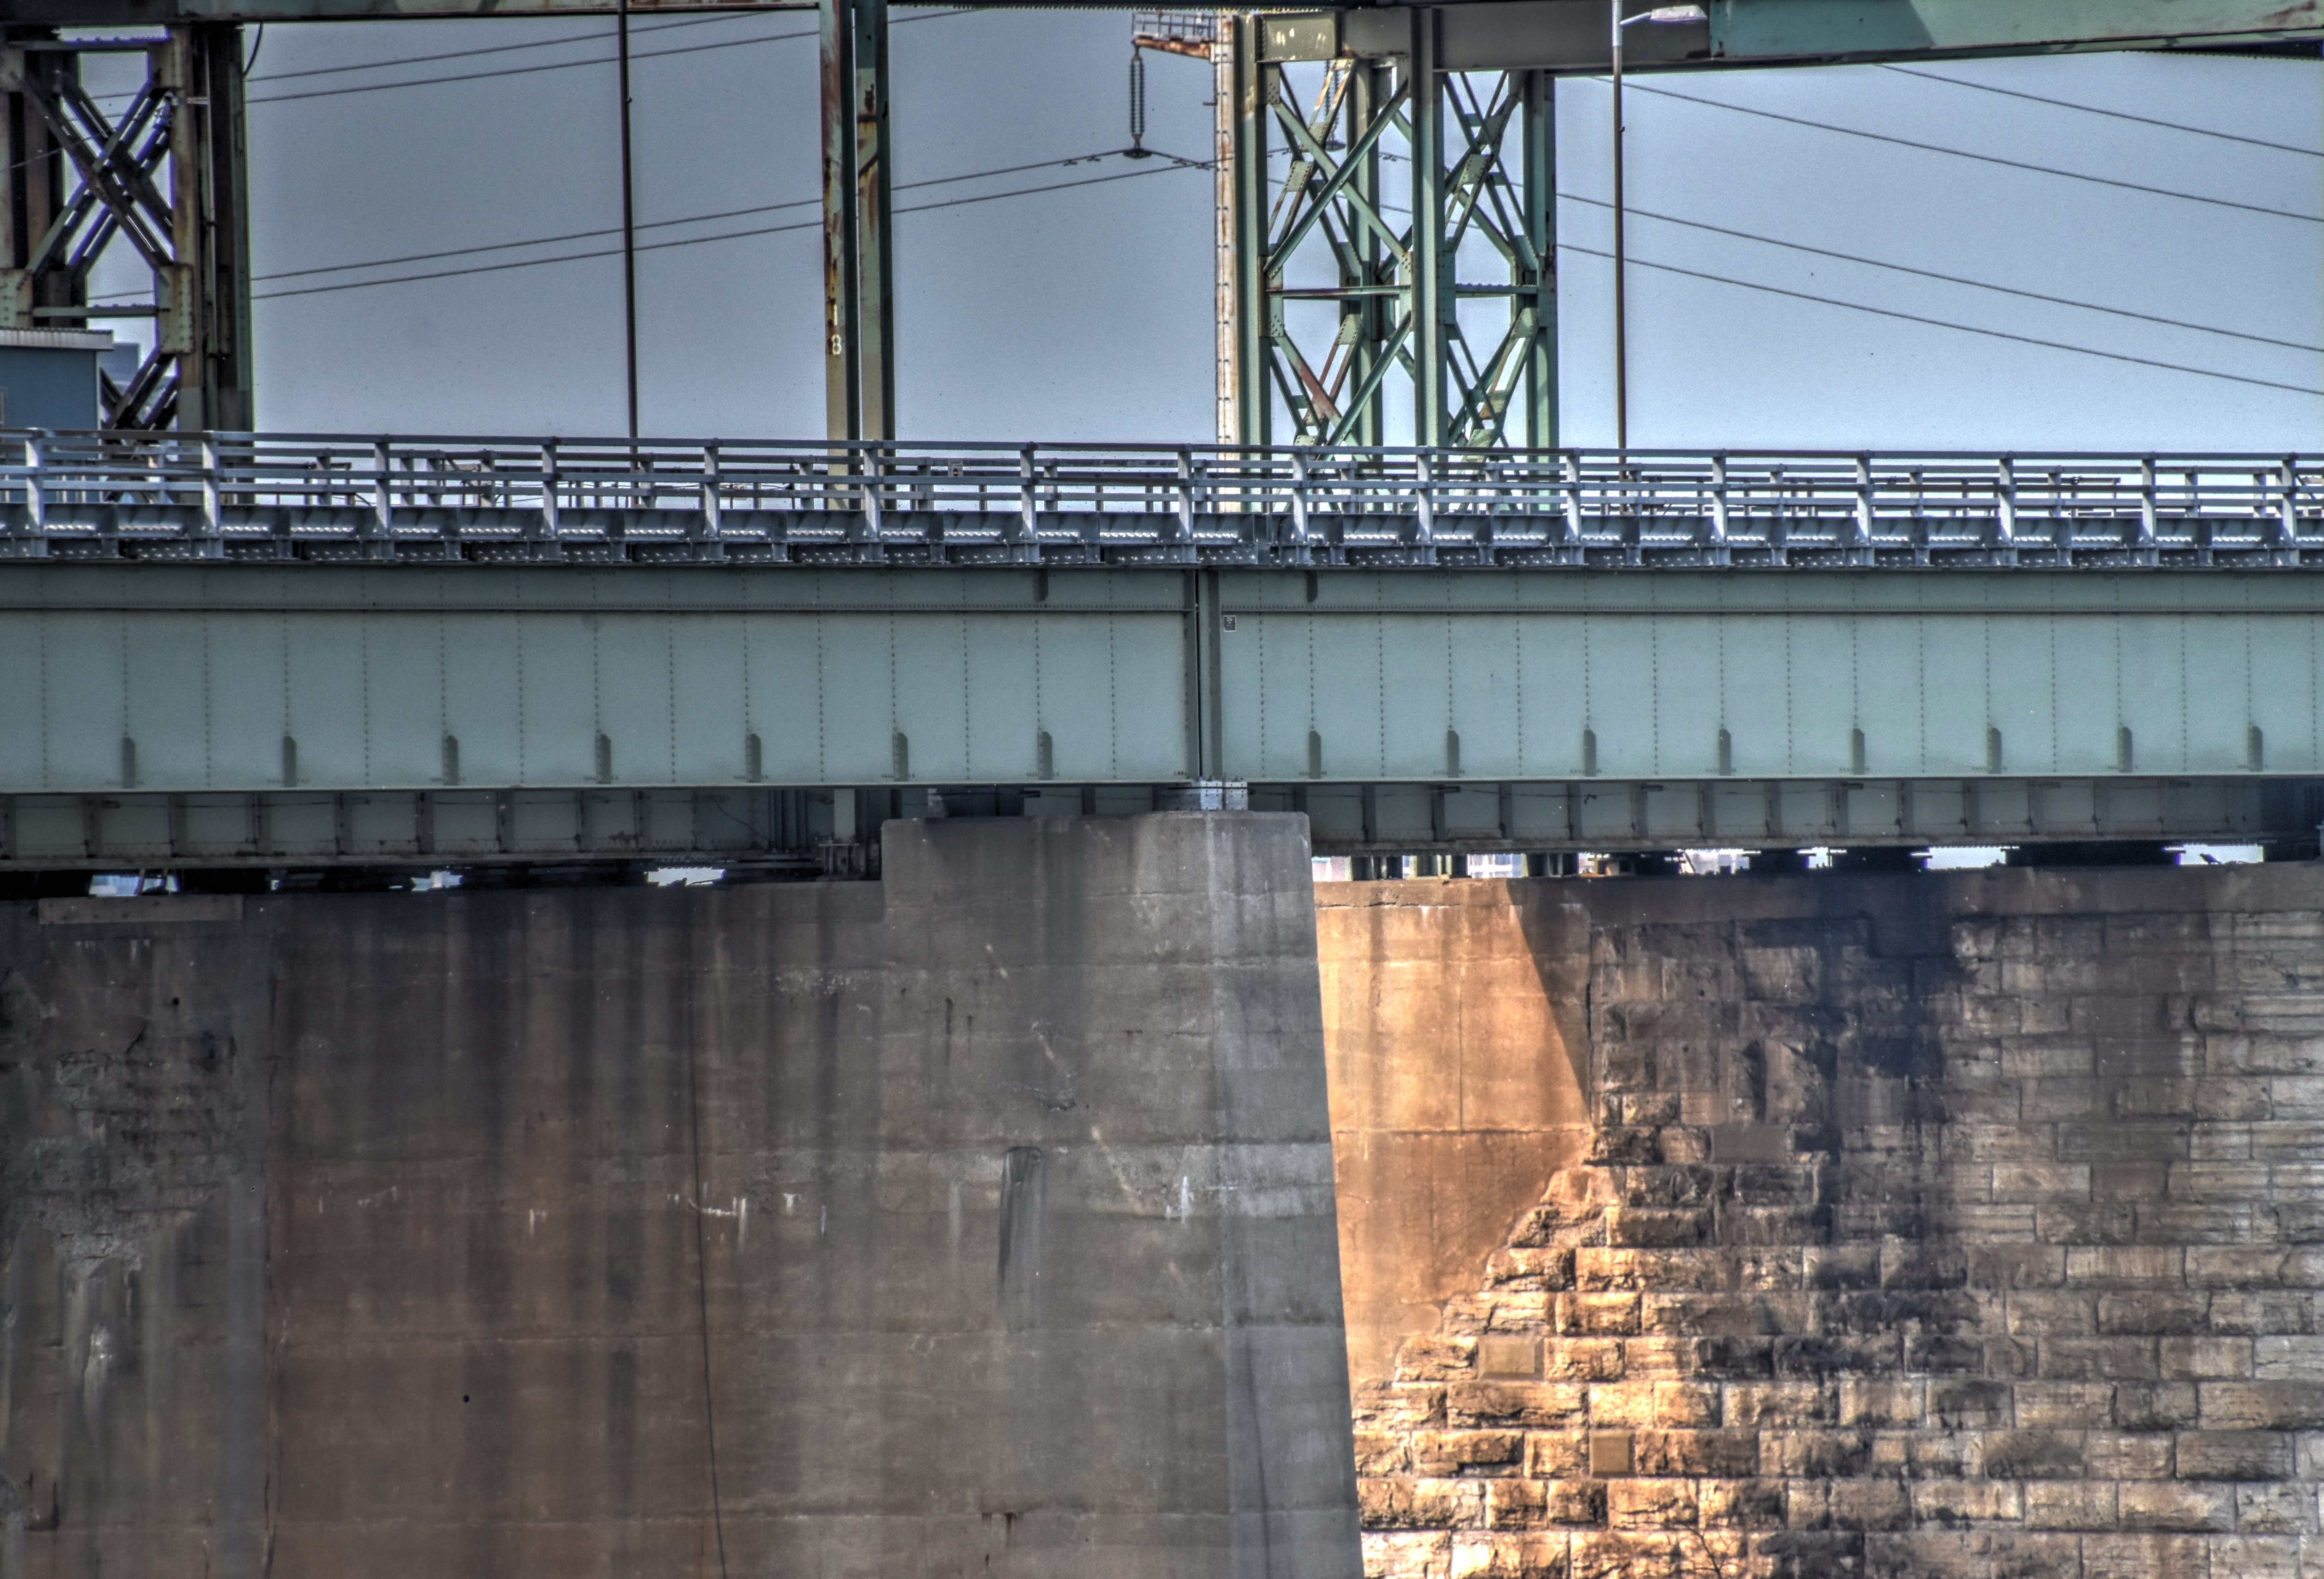
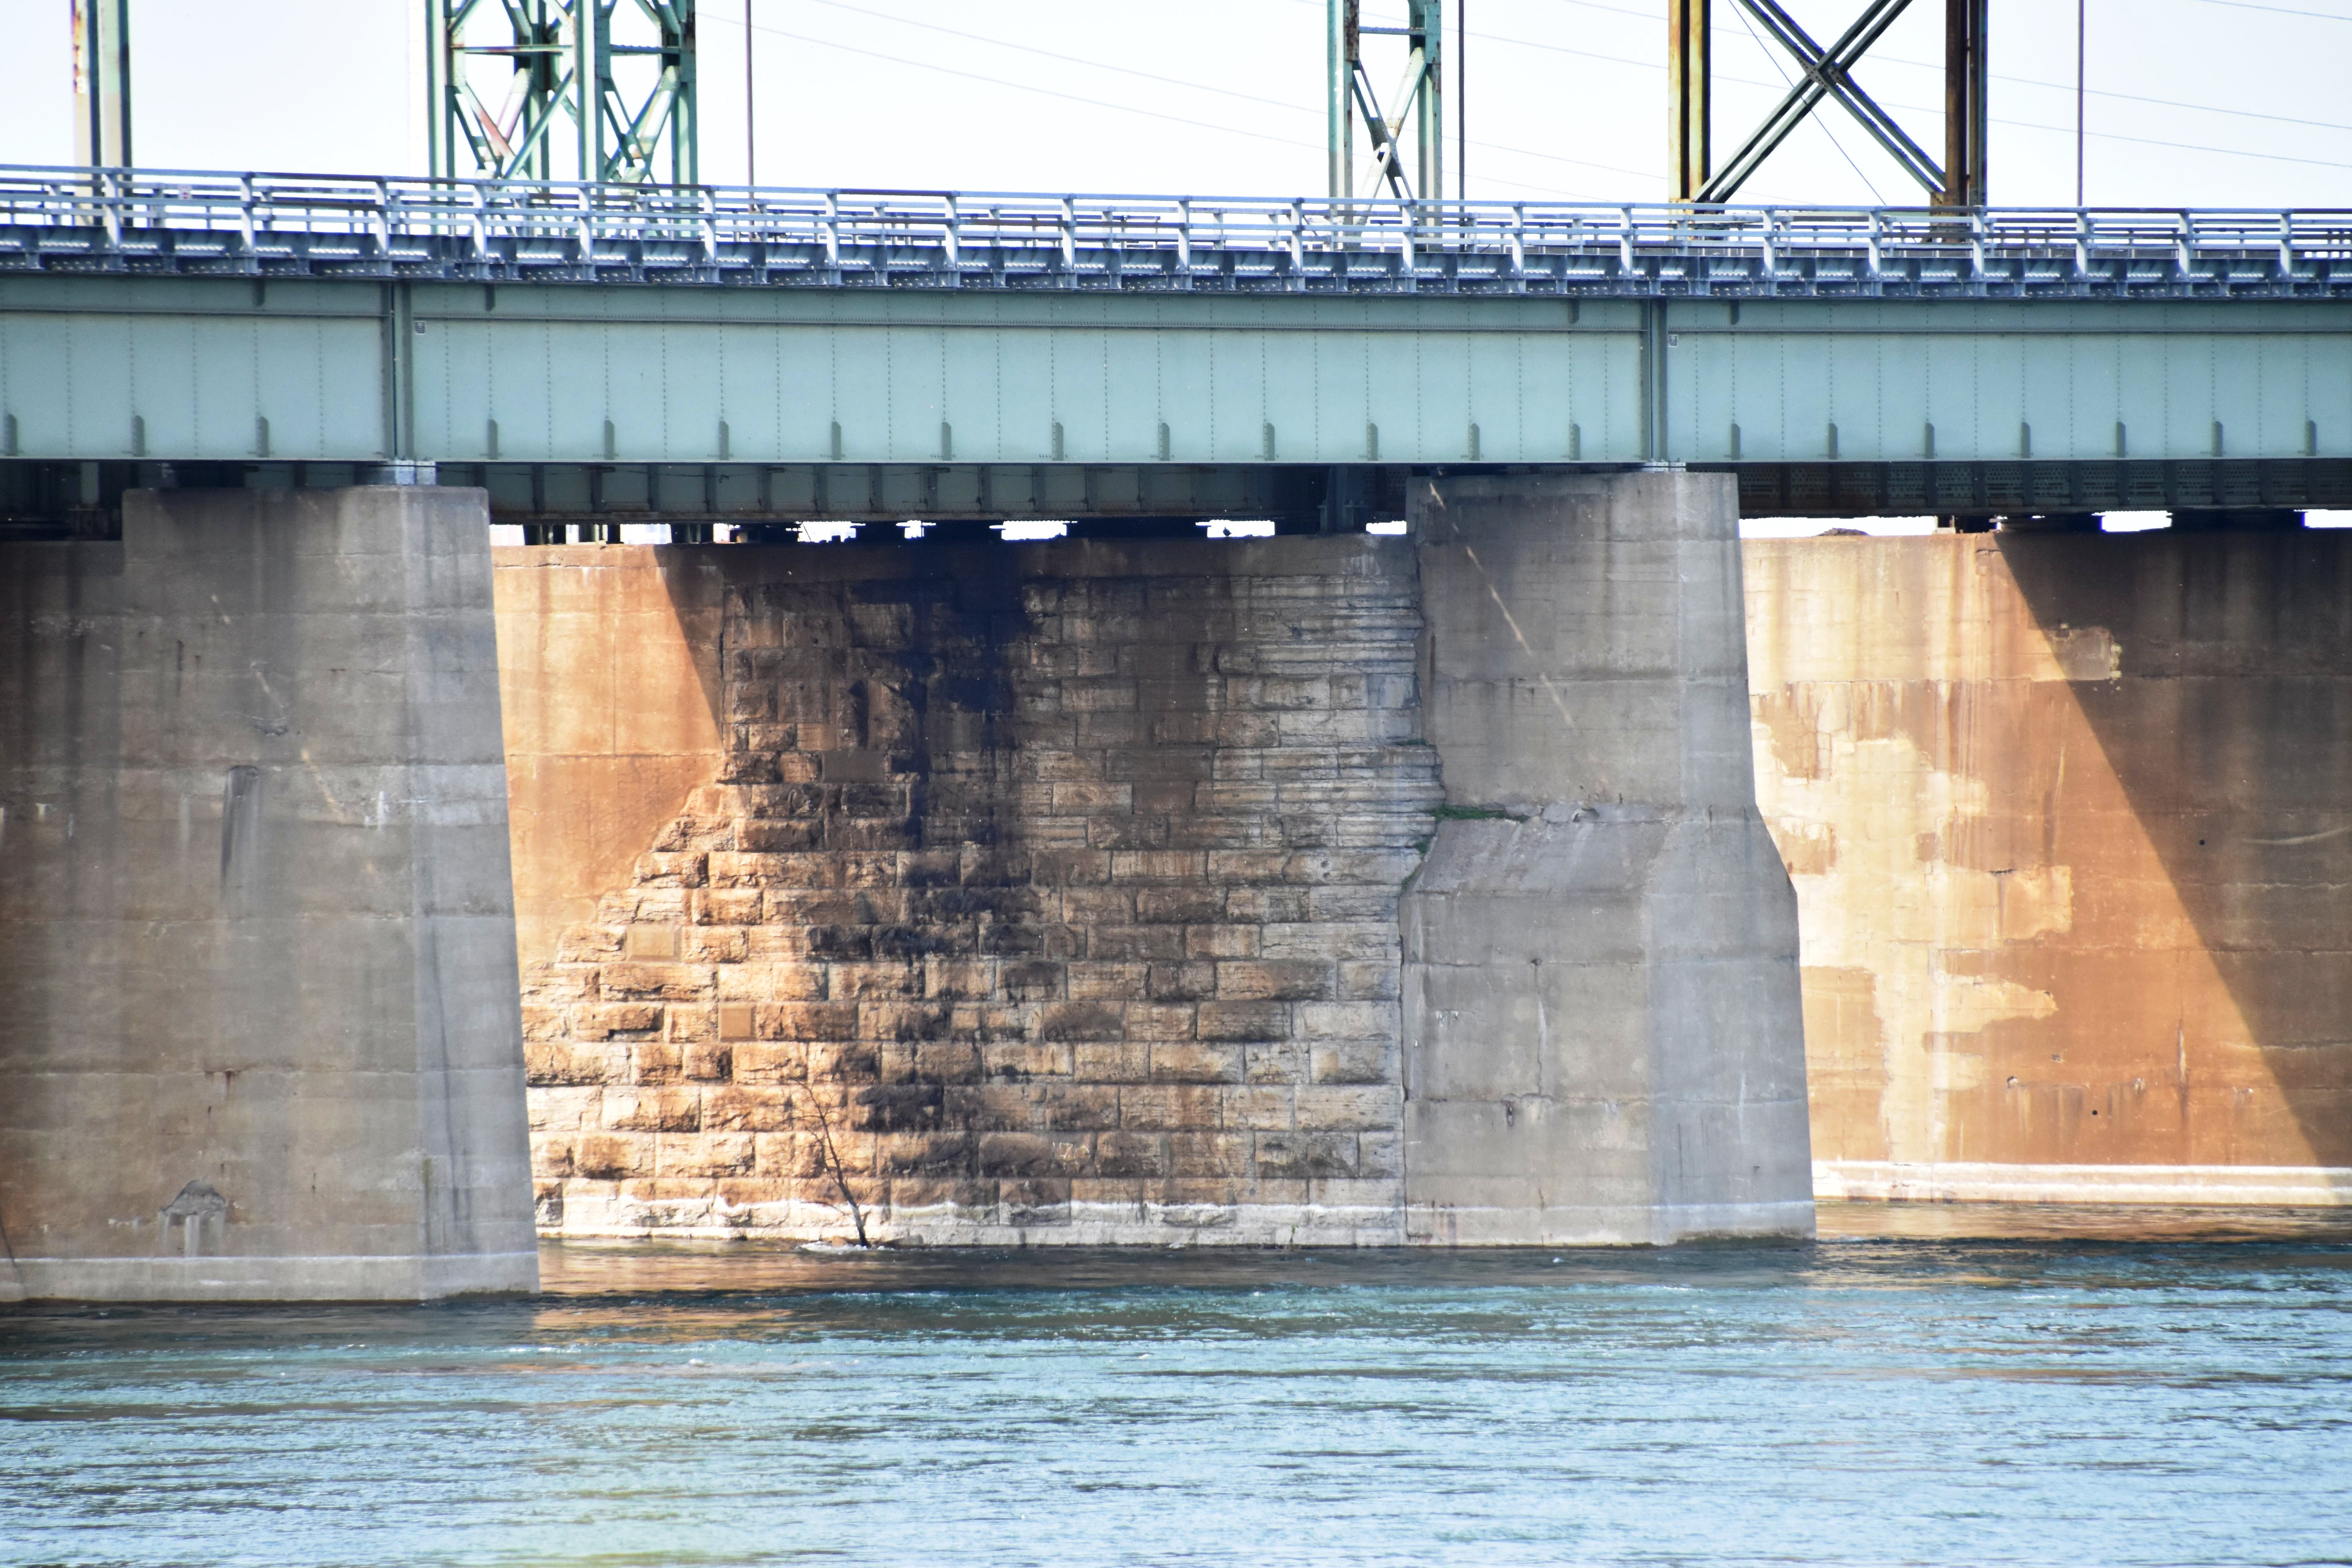
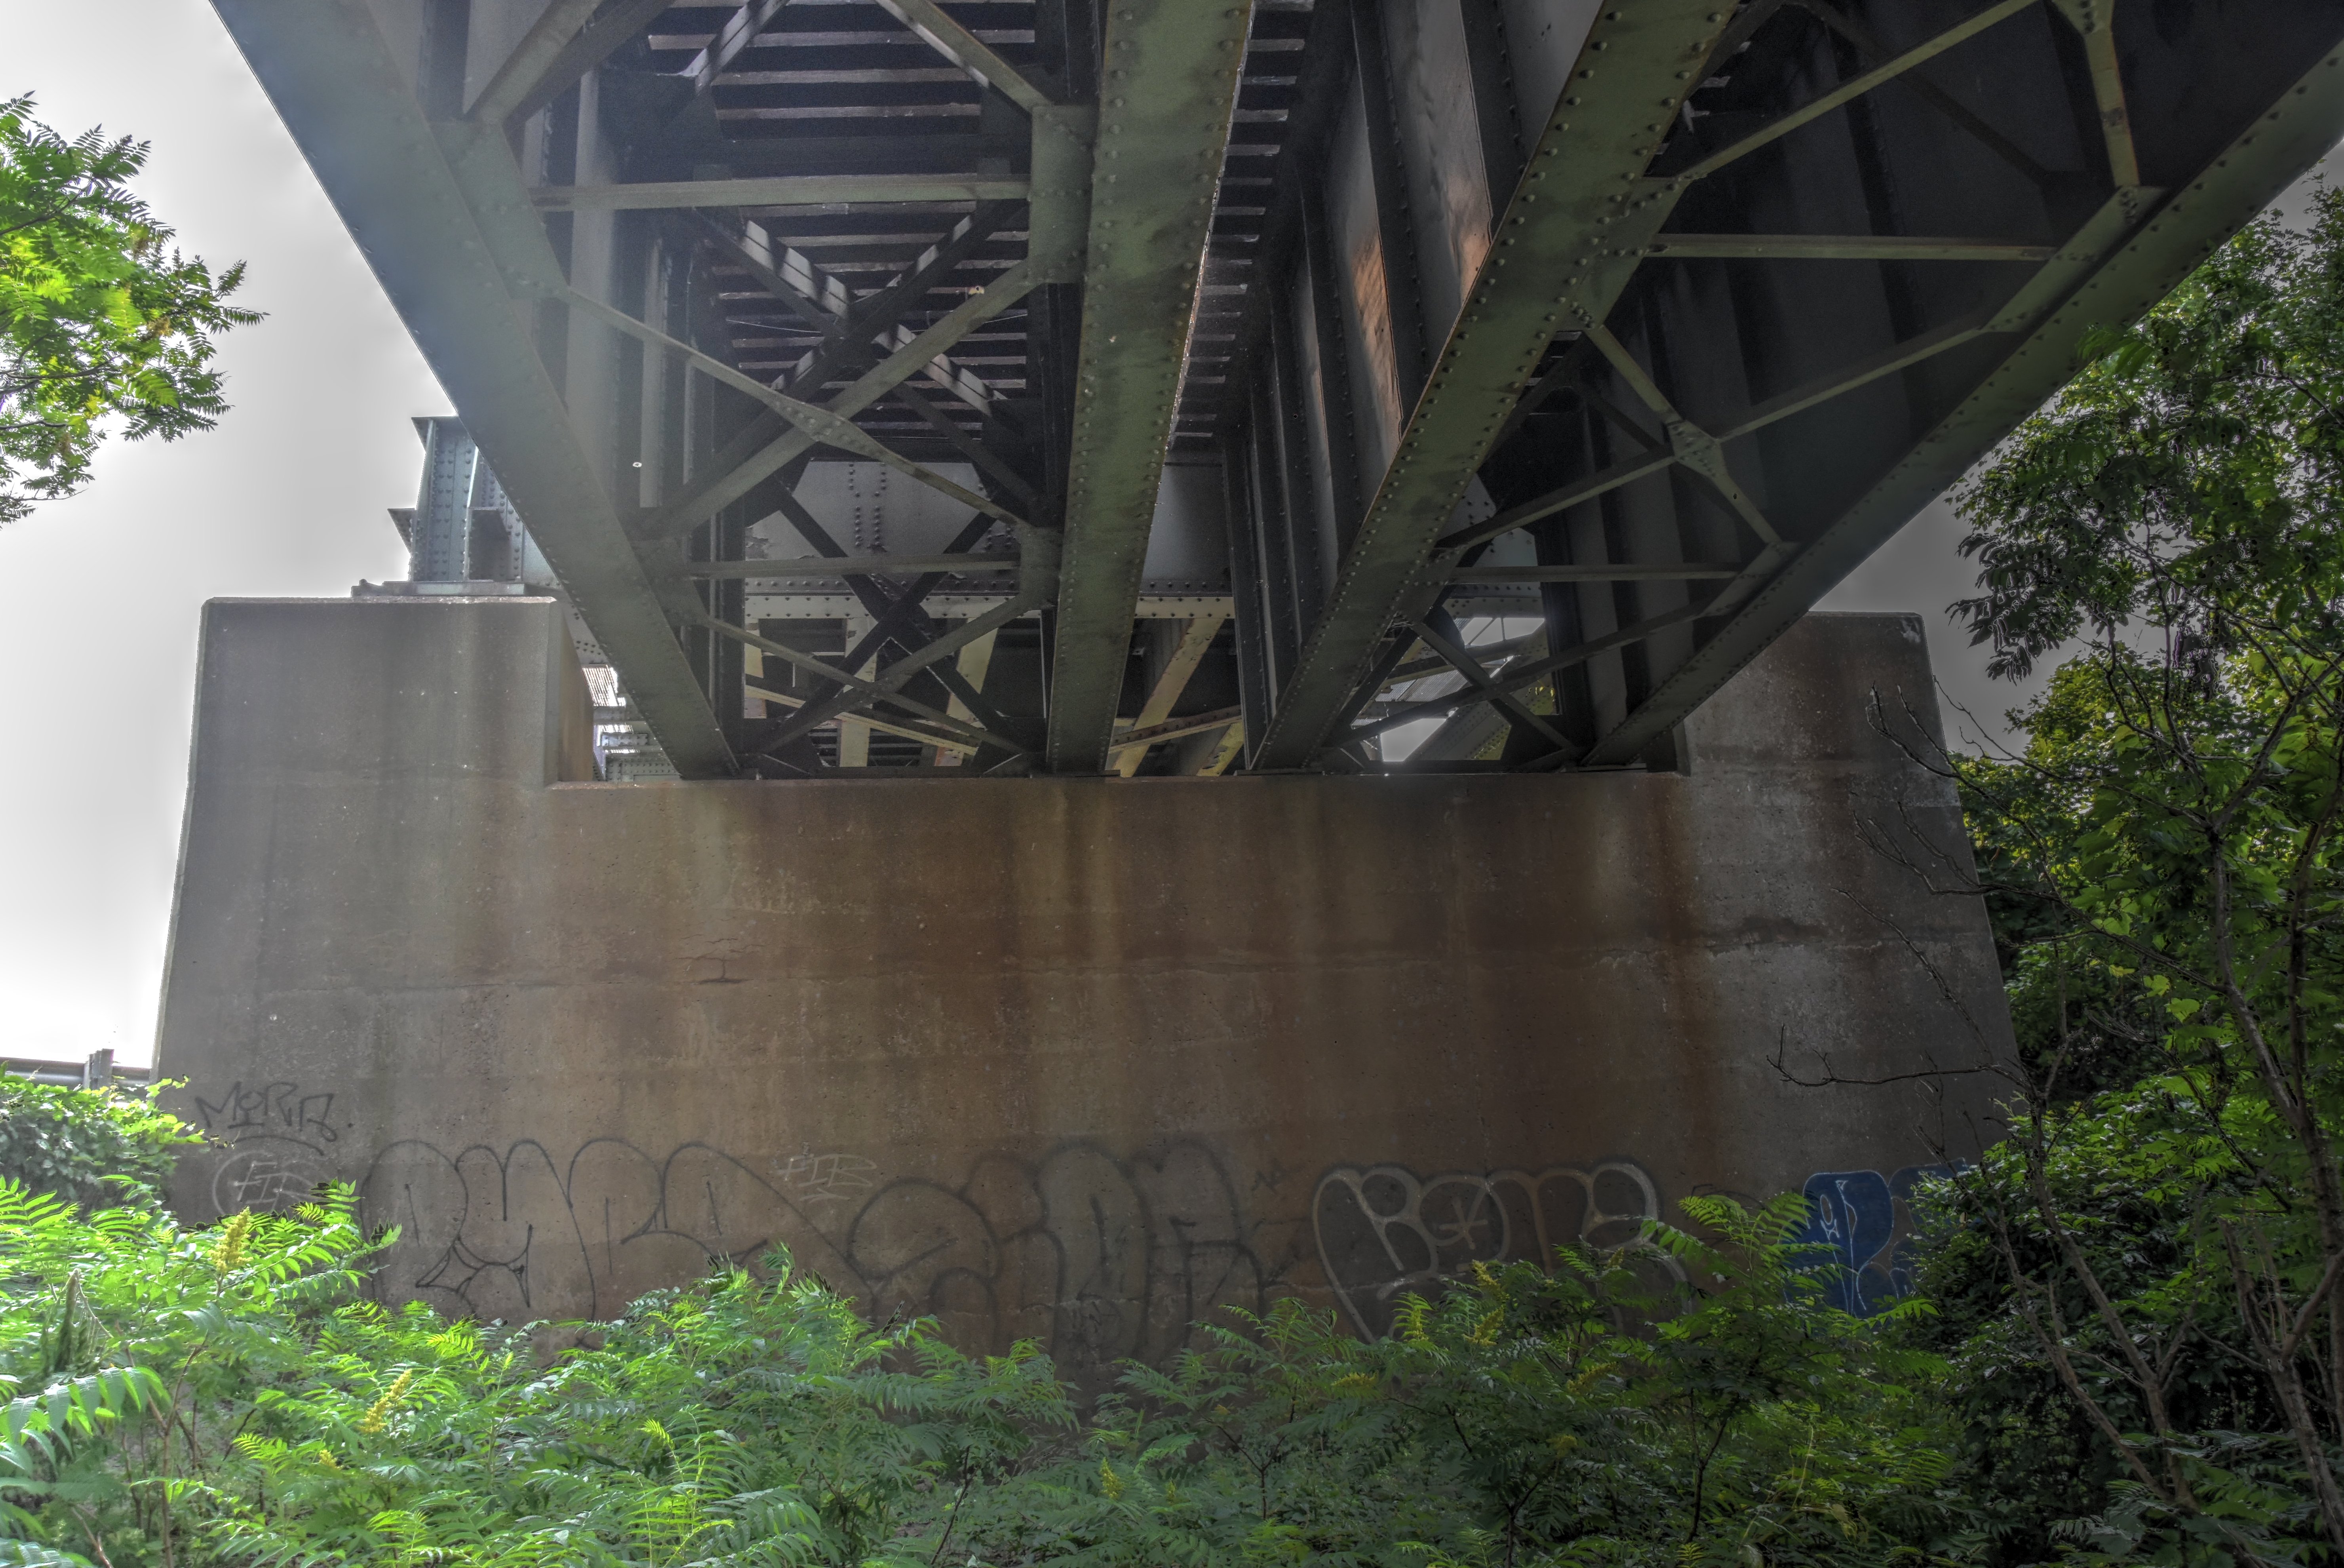
Original piers.
![]()
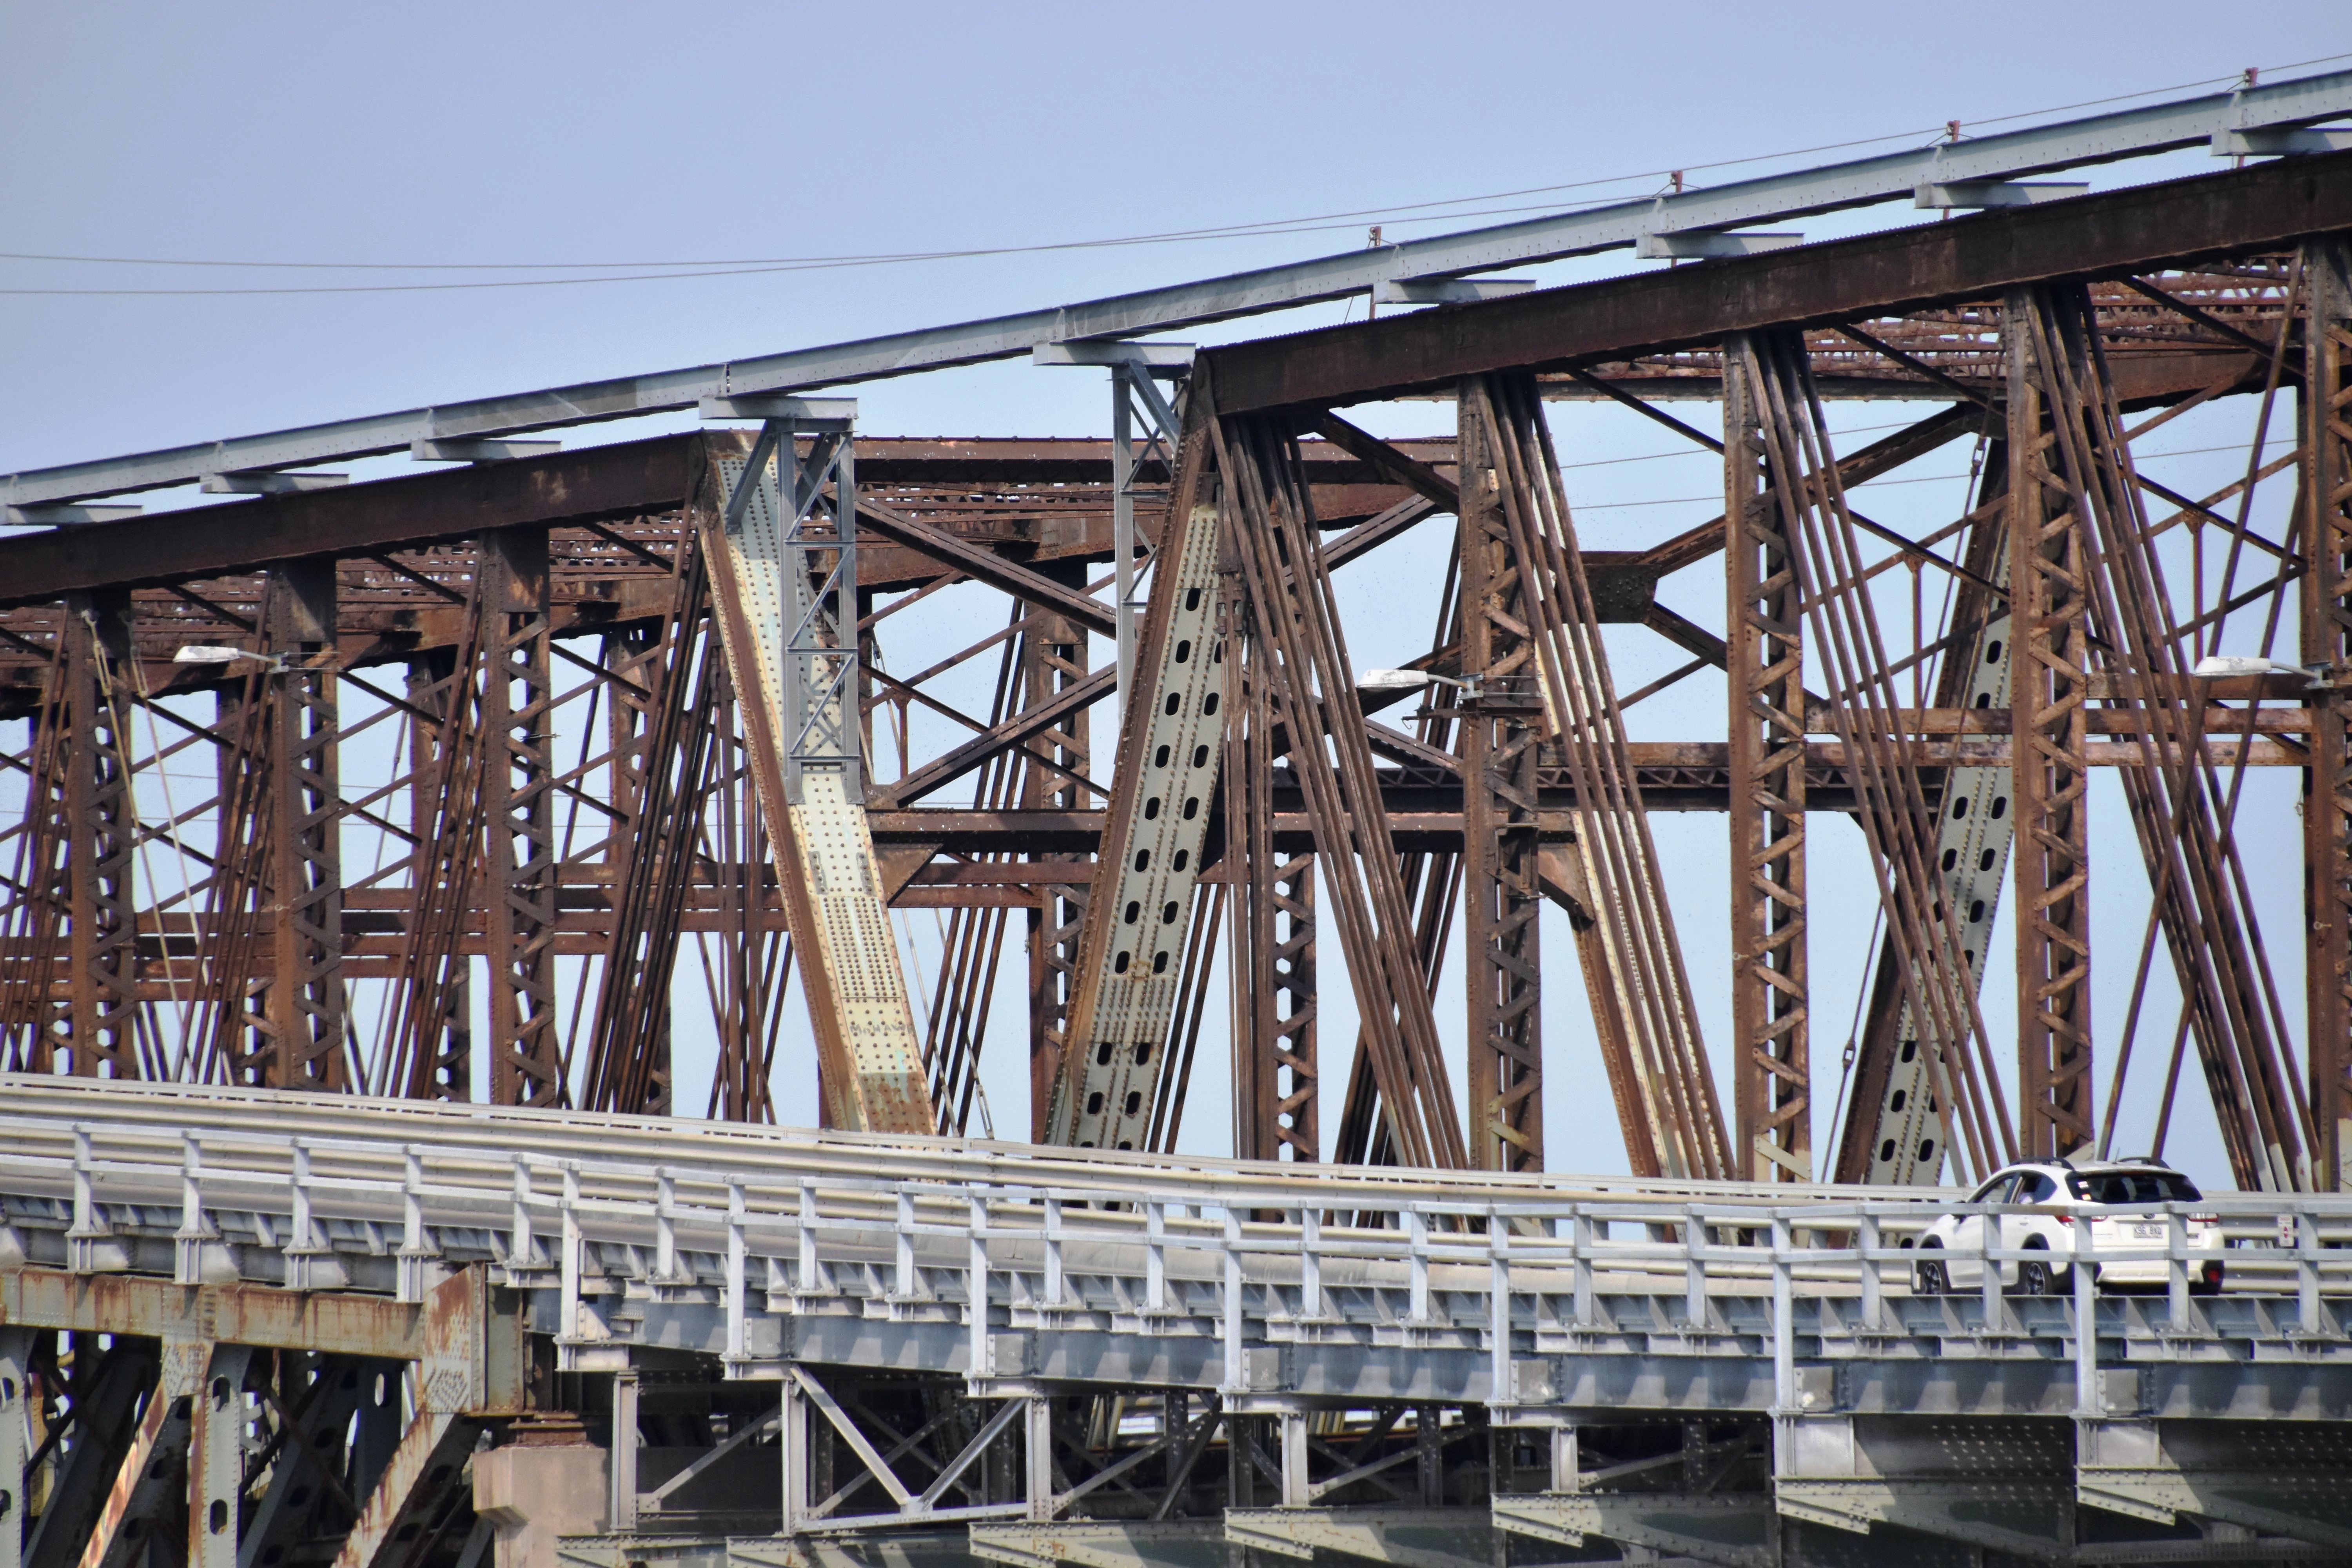
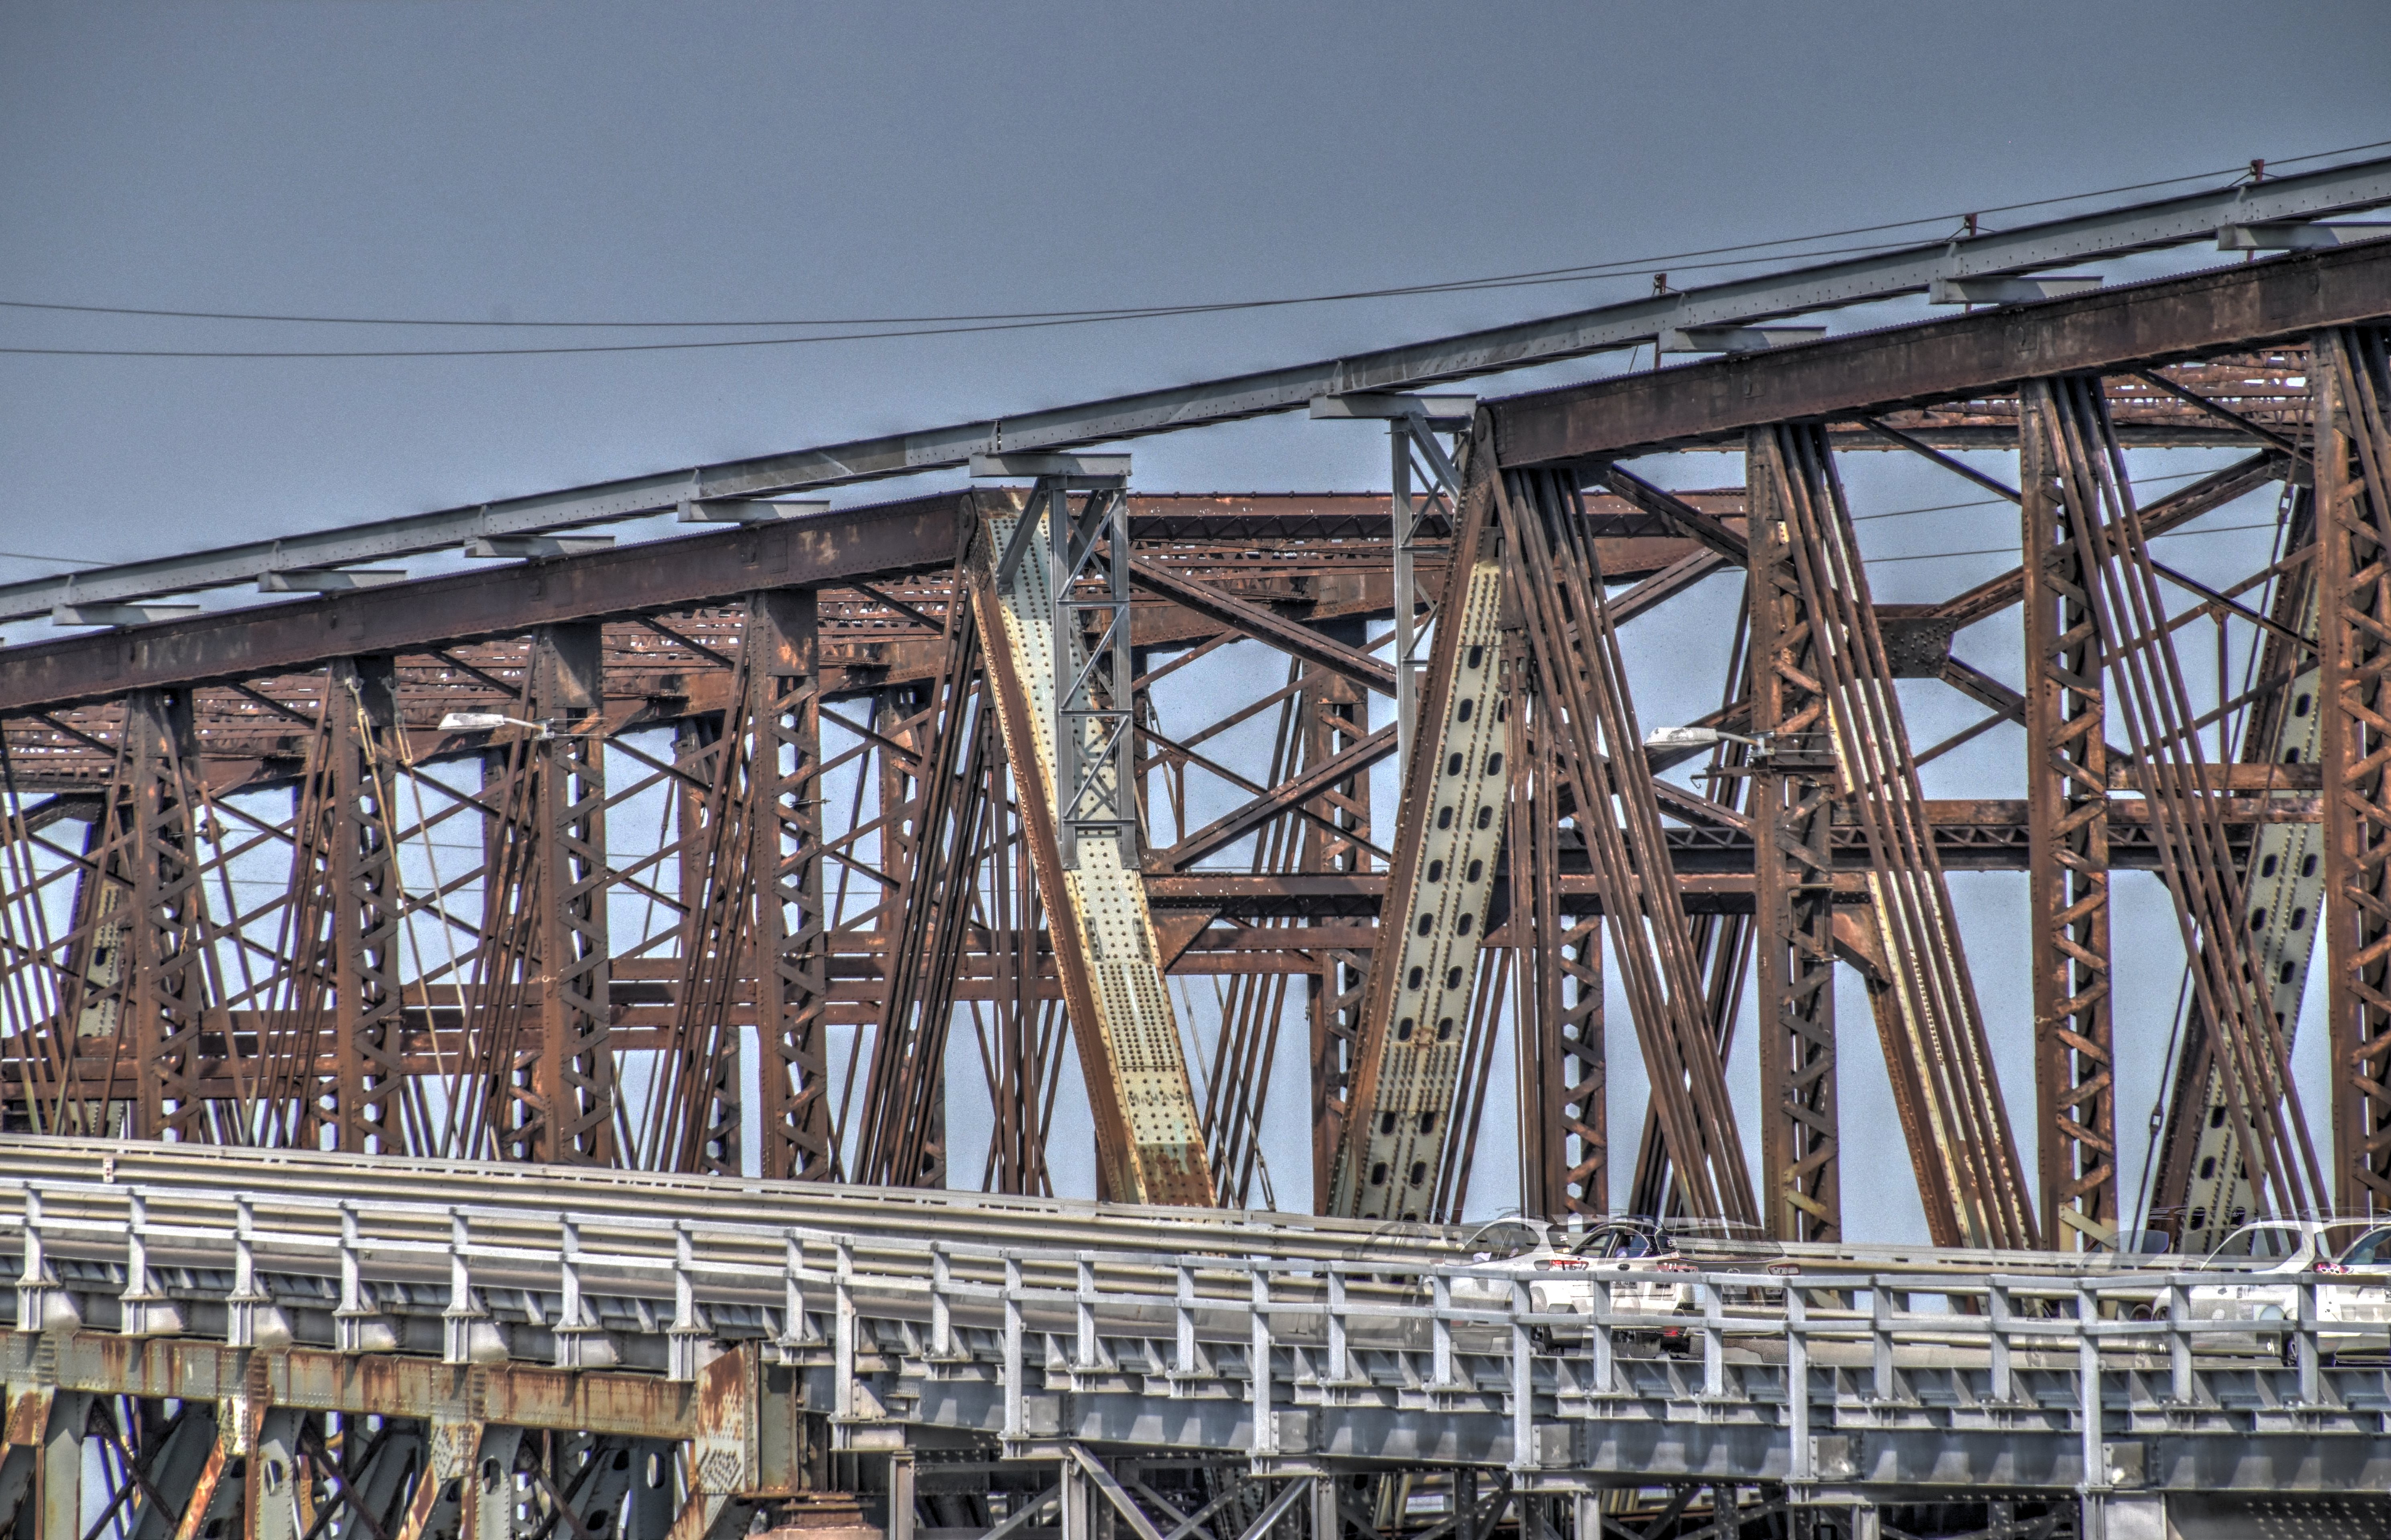
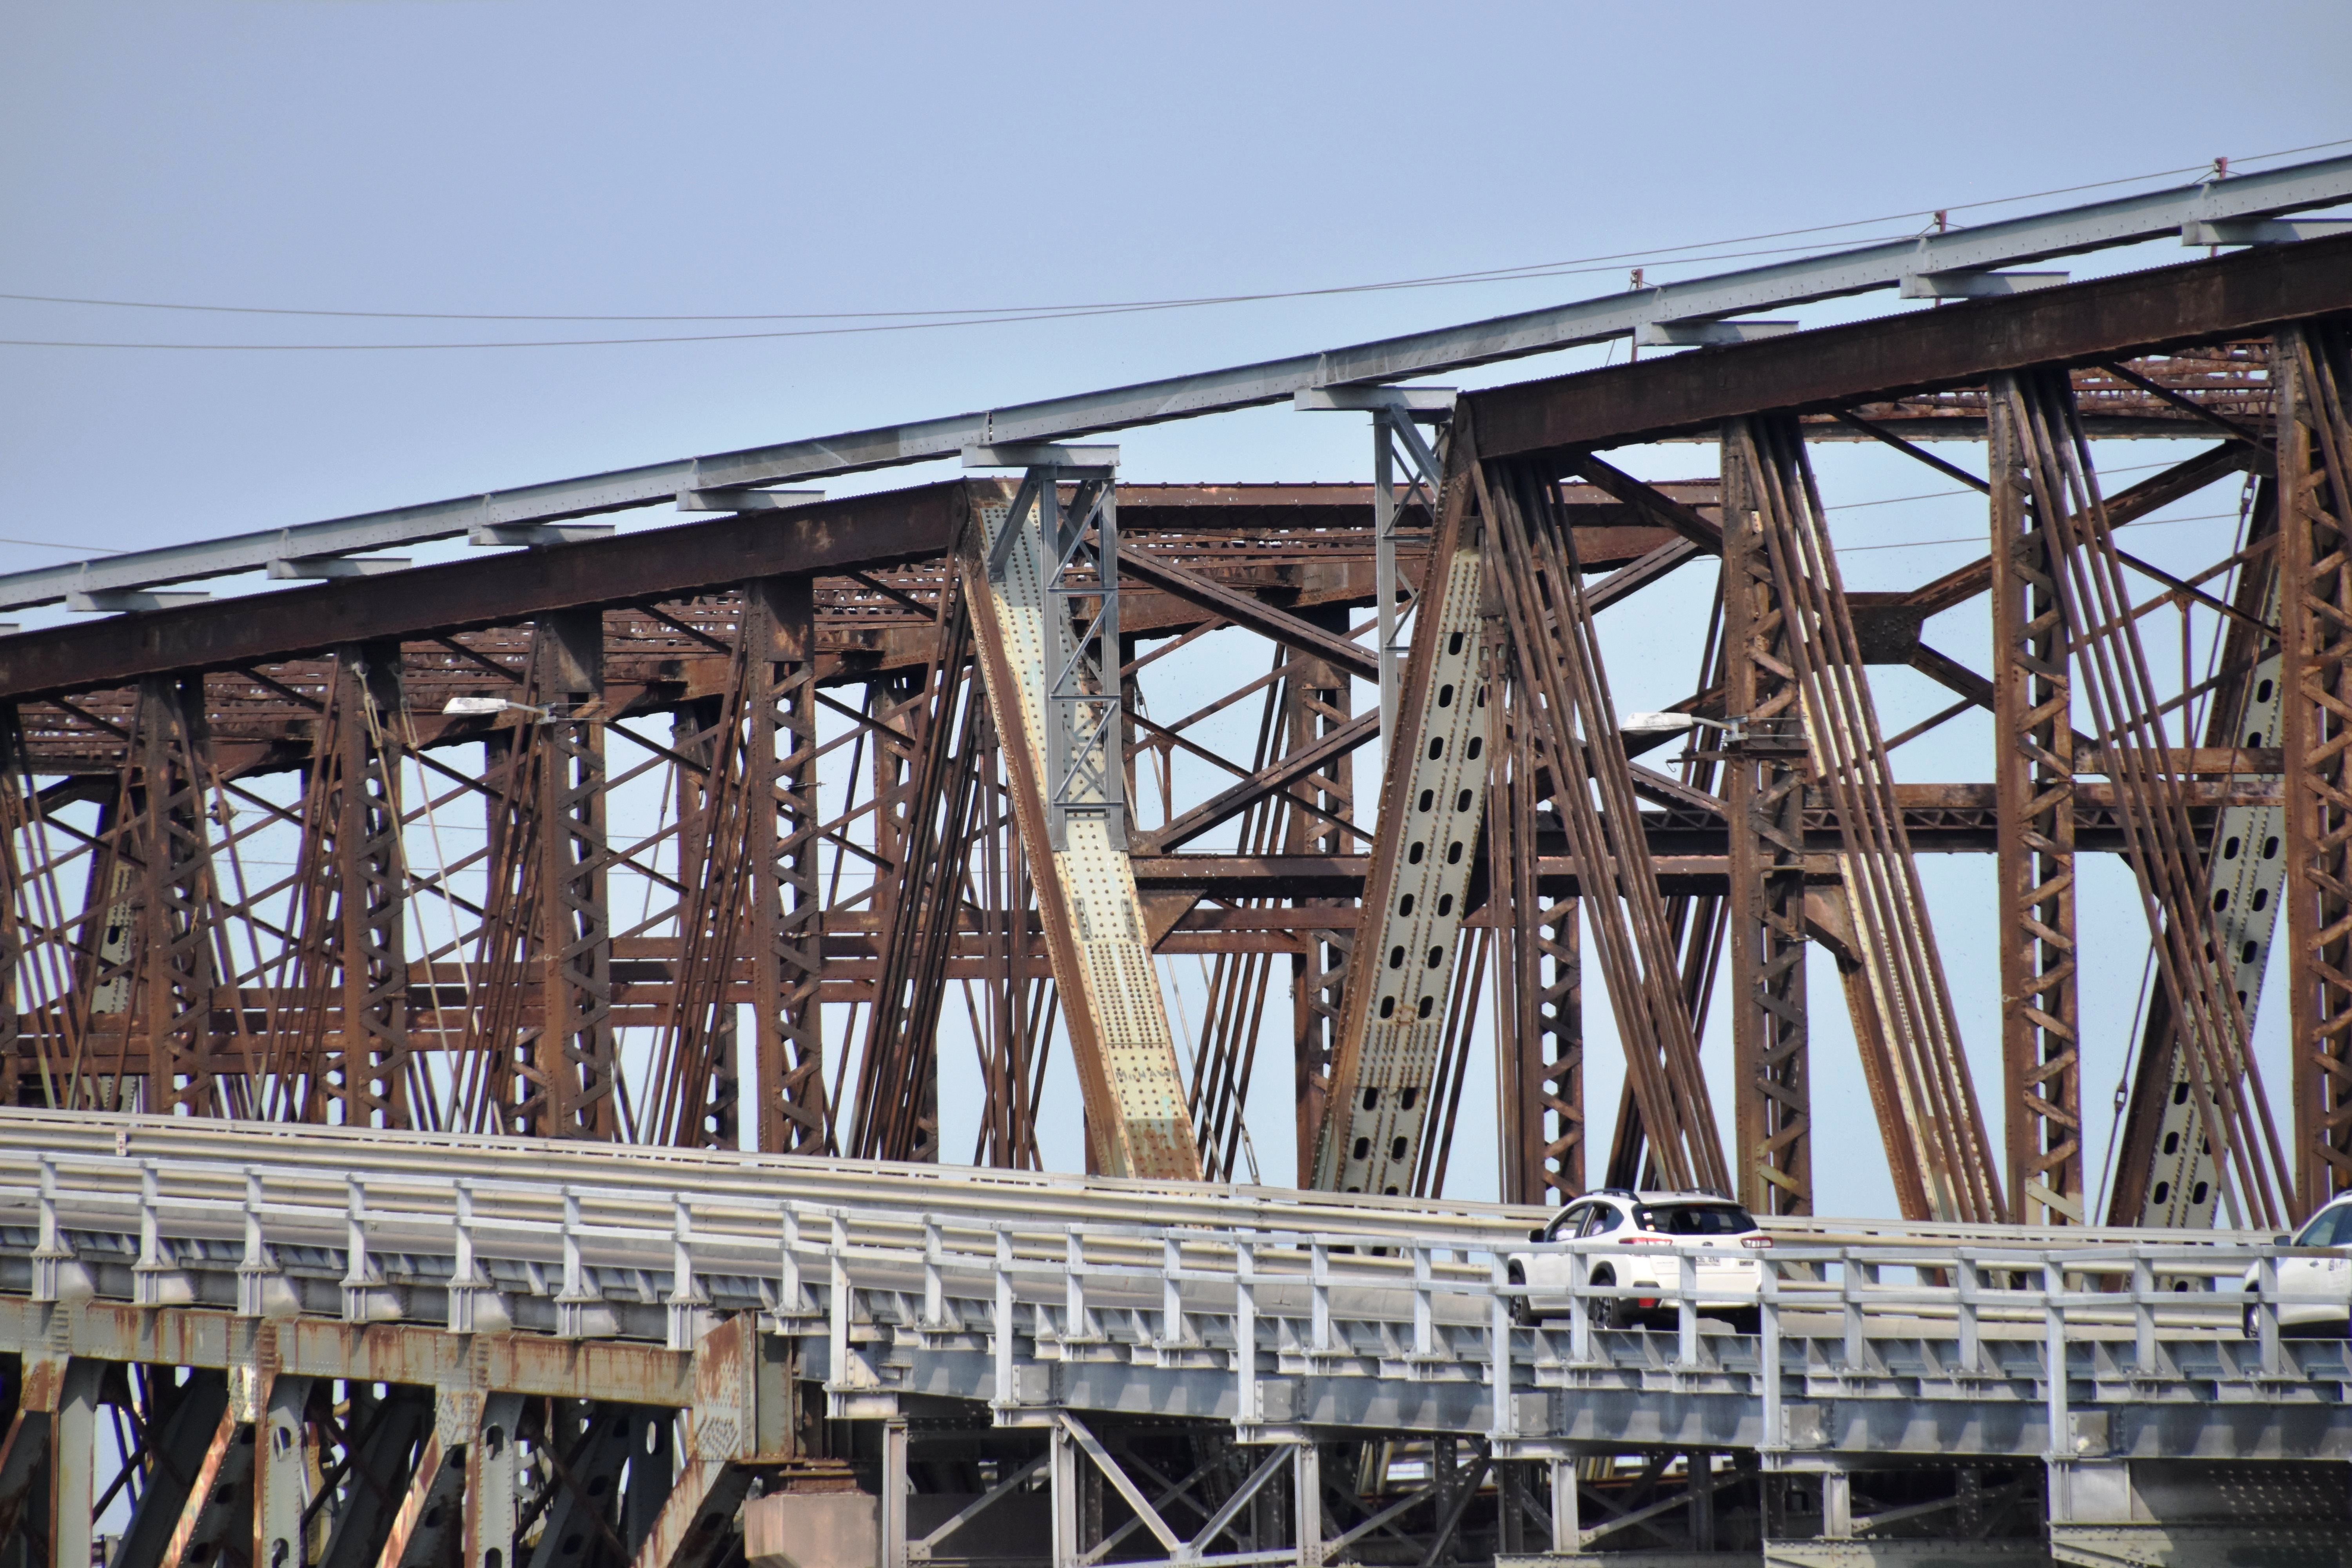
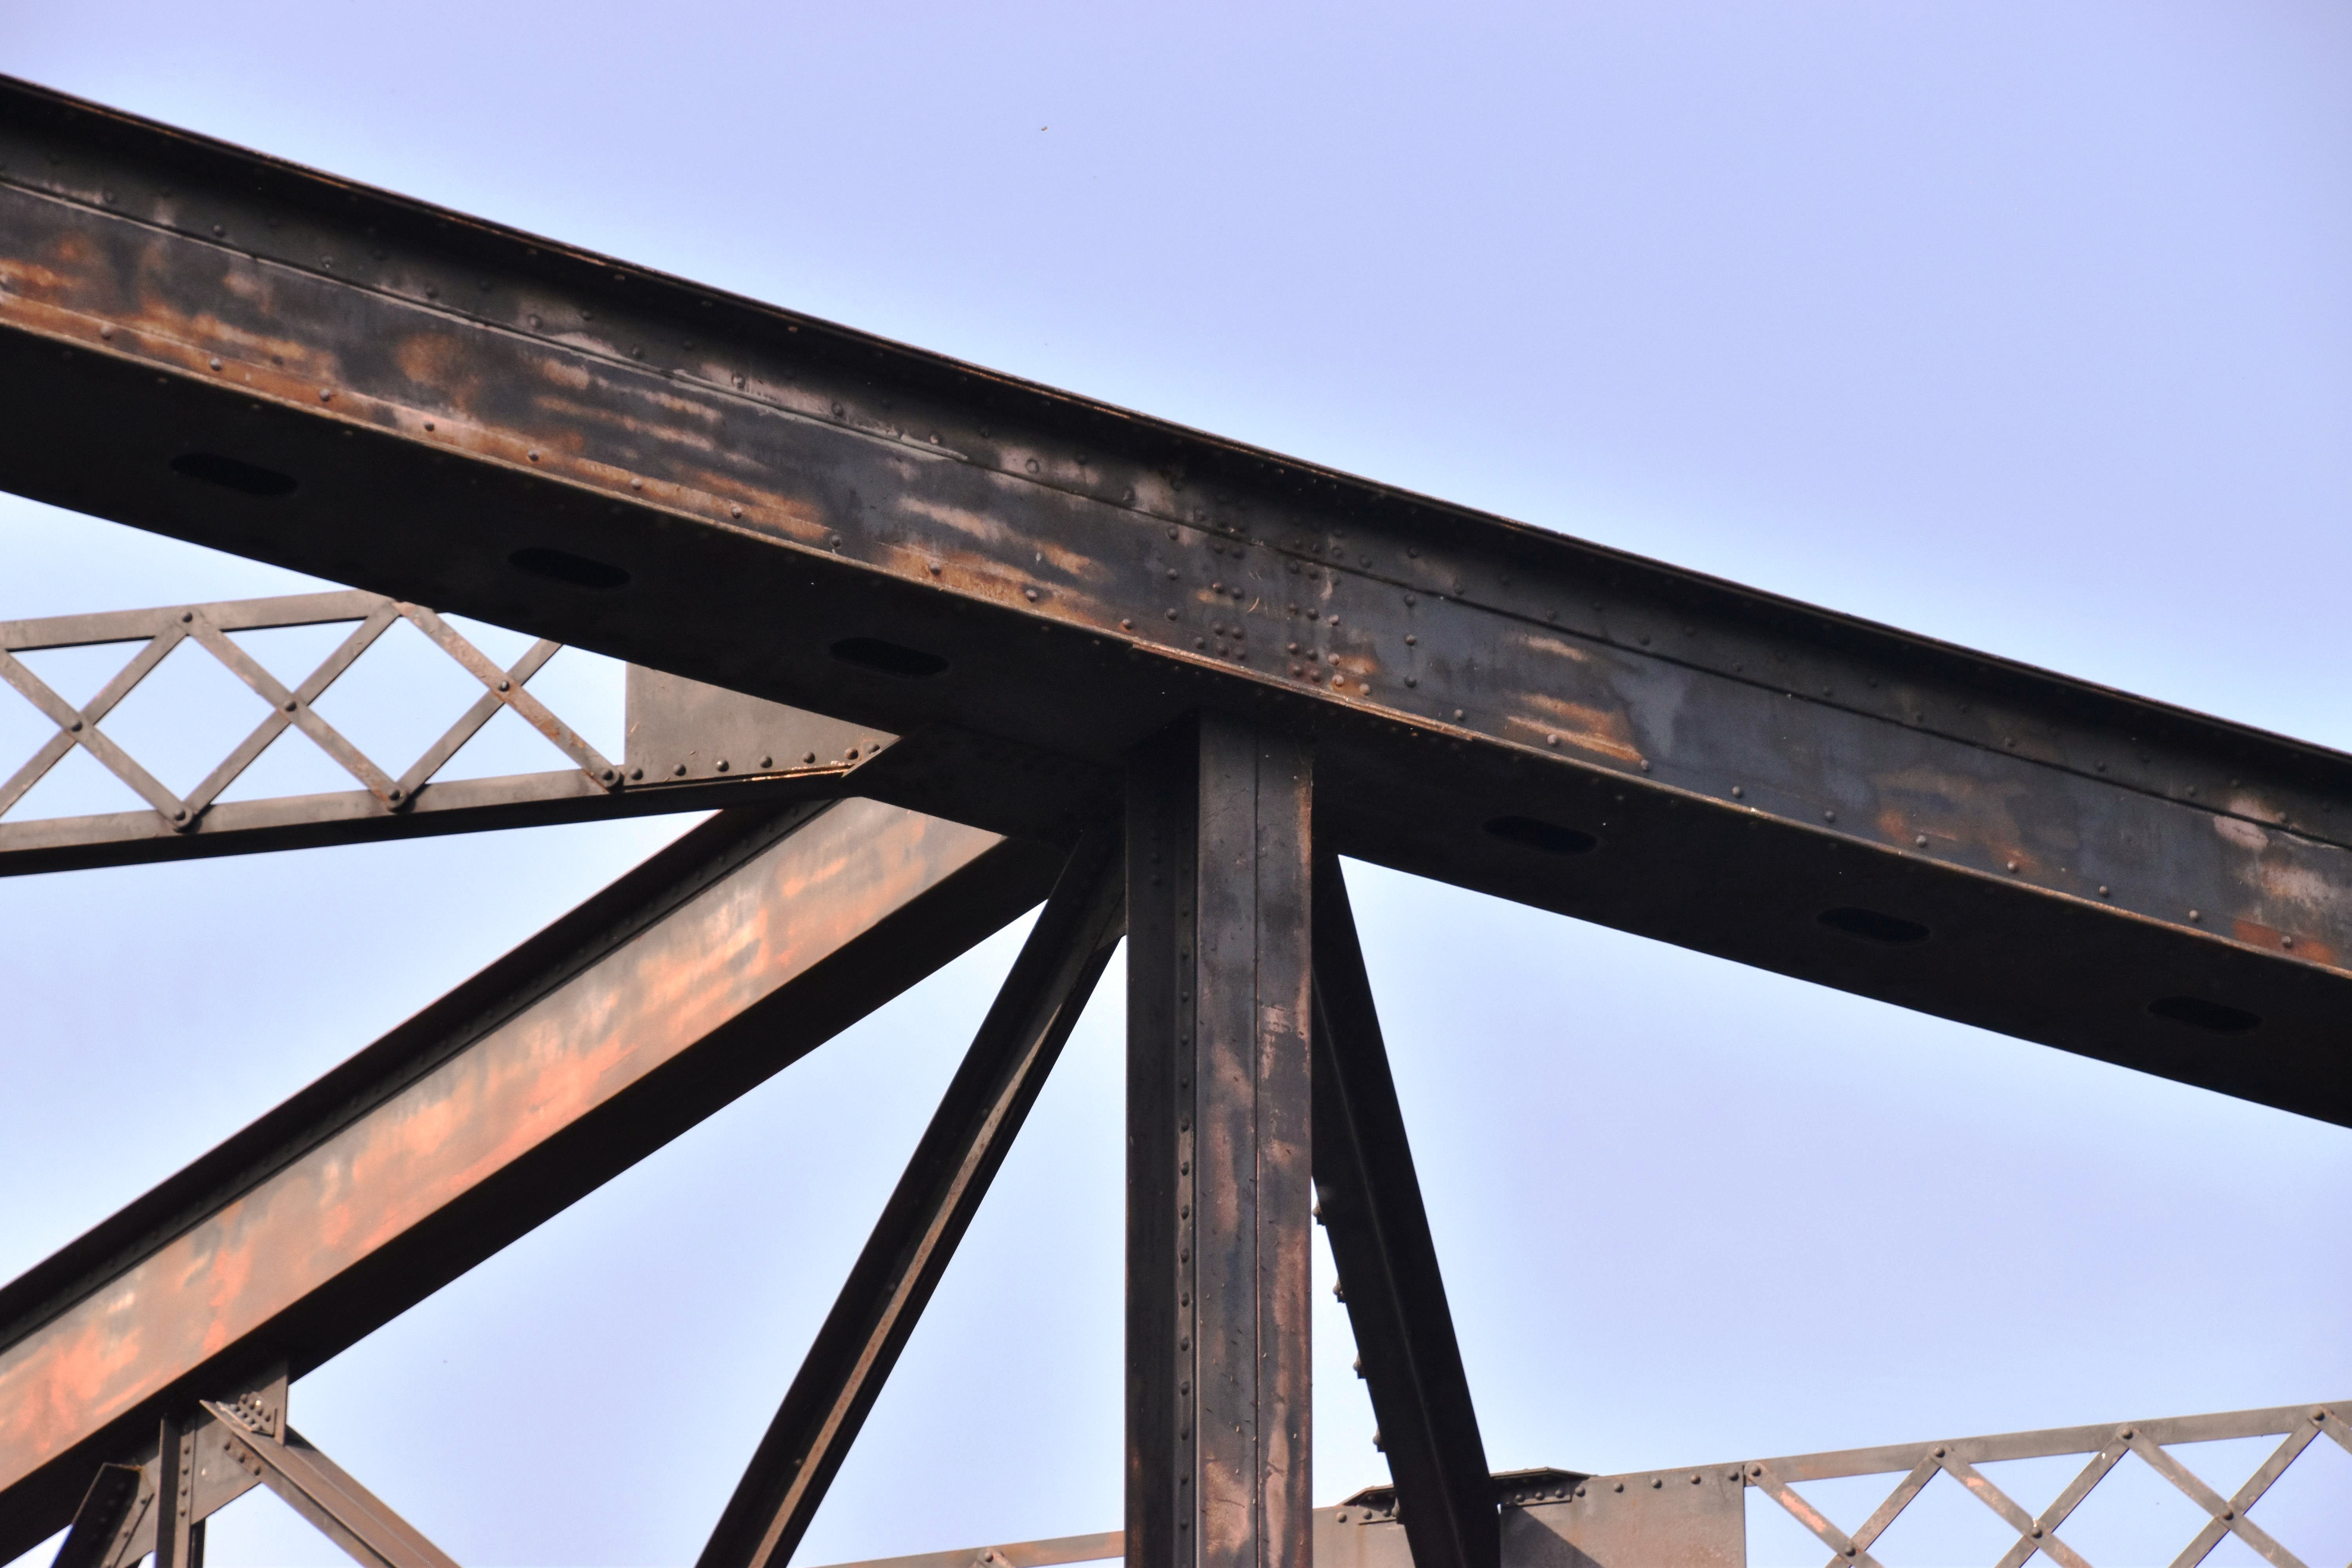
Truss web as seen from beside bridge.
![]()
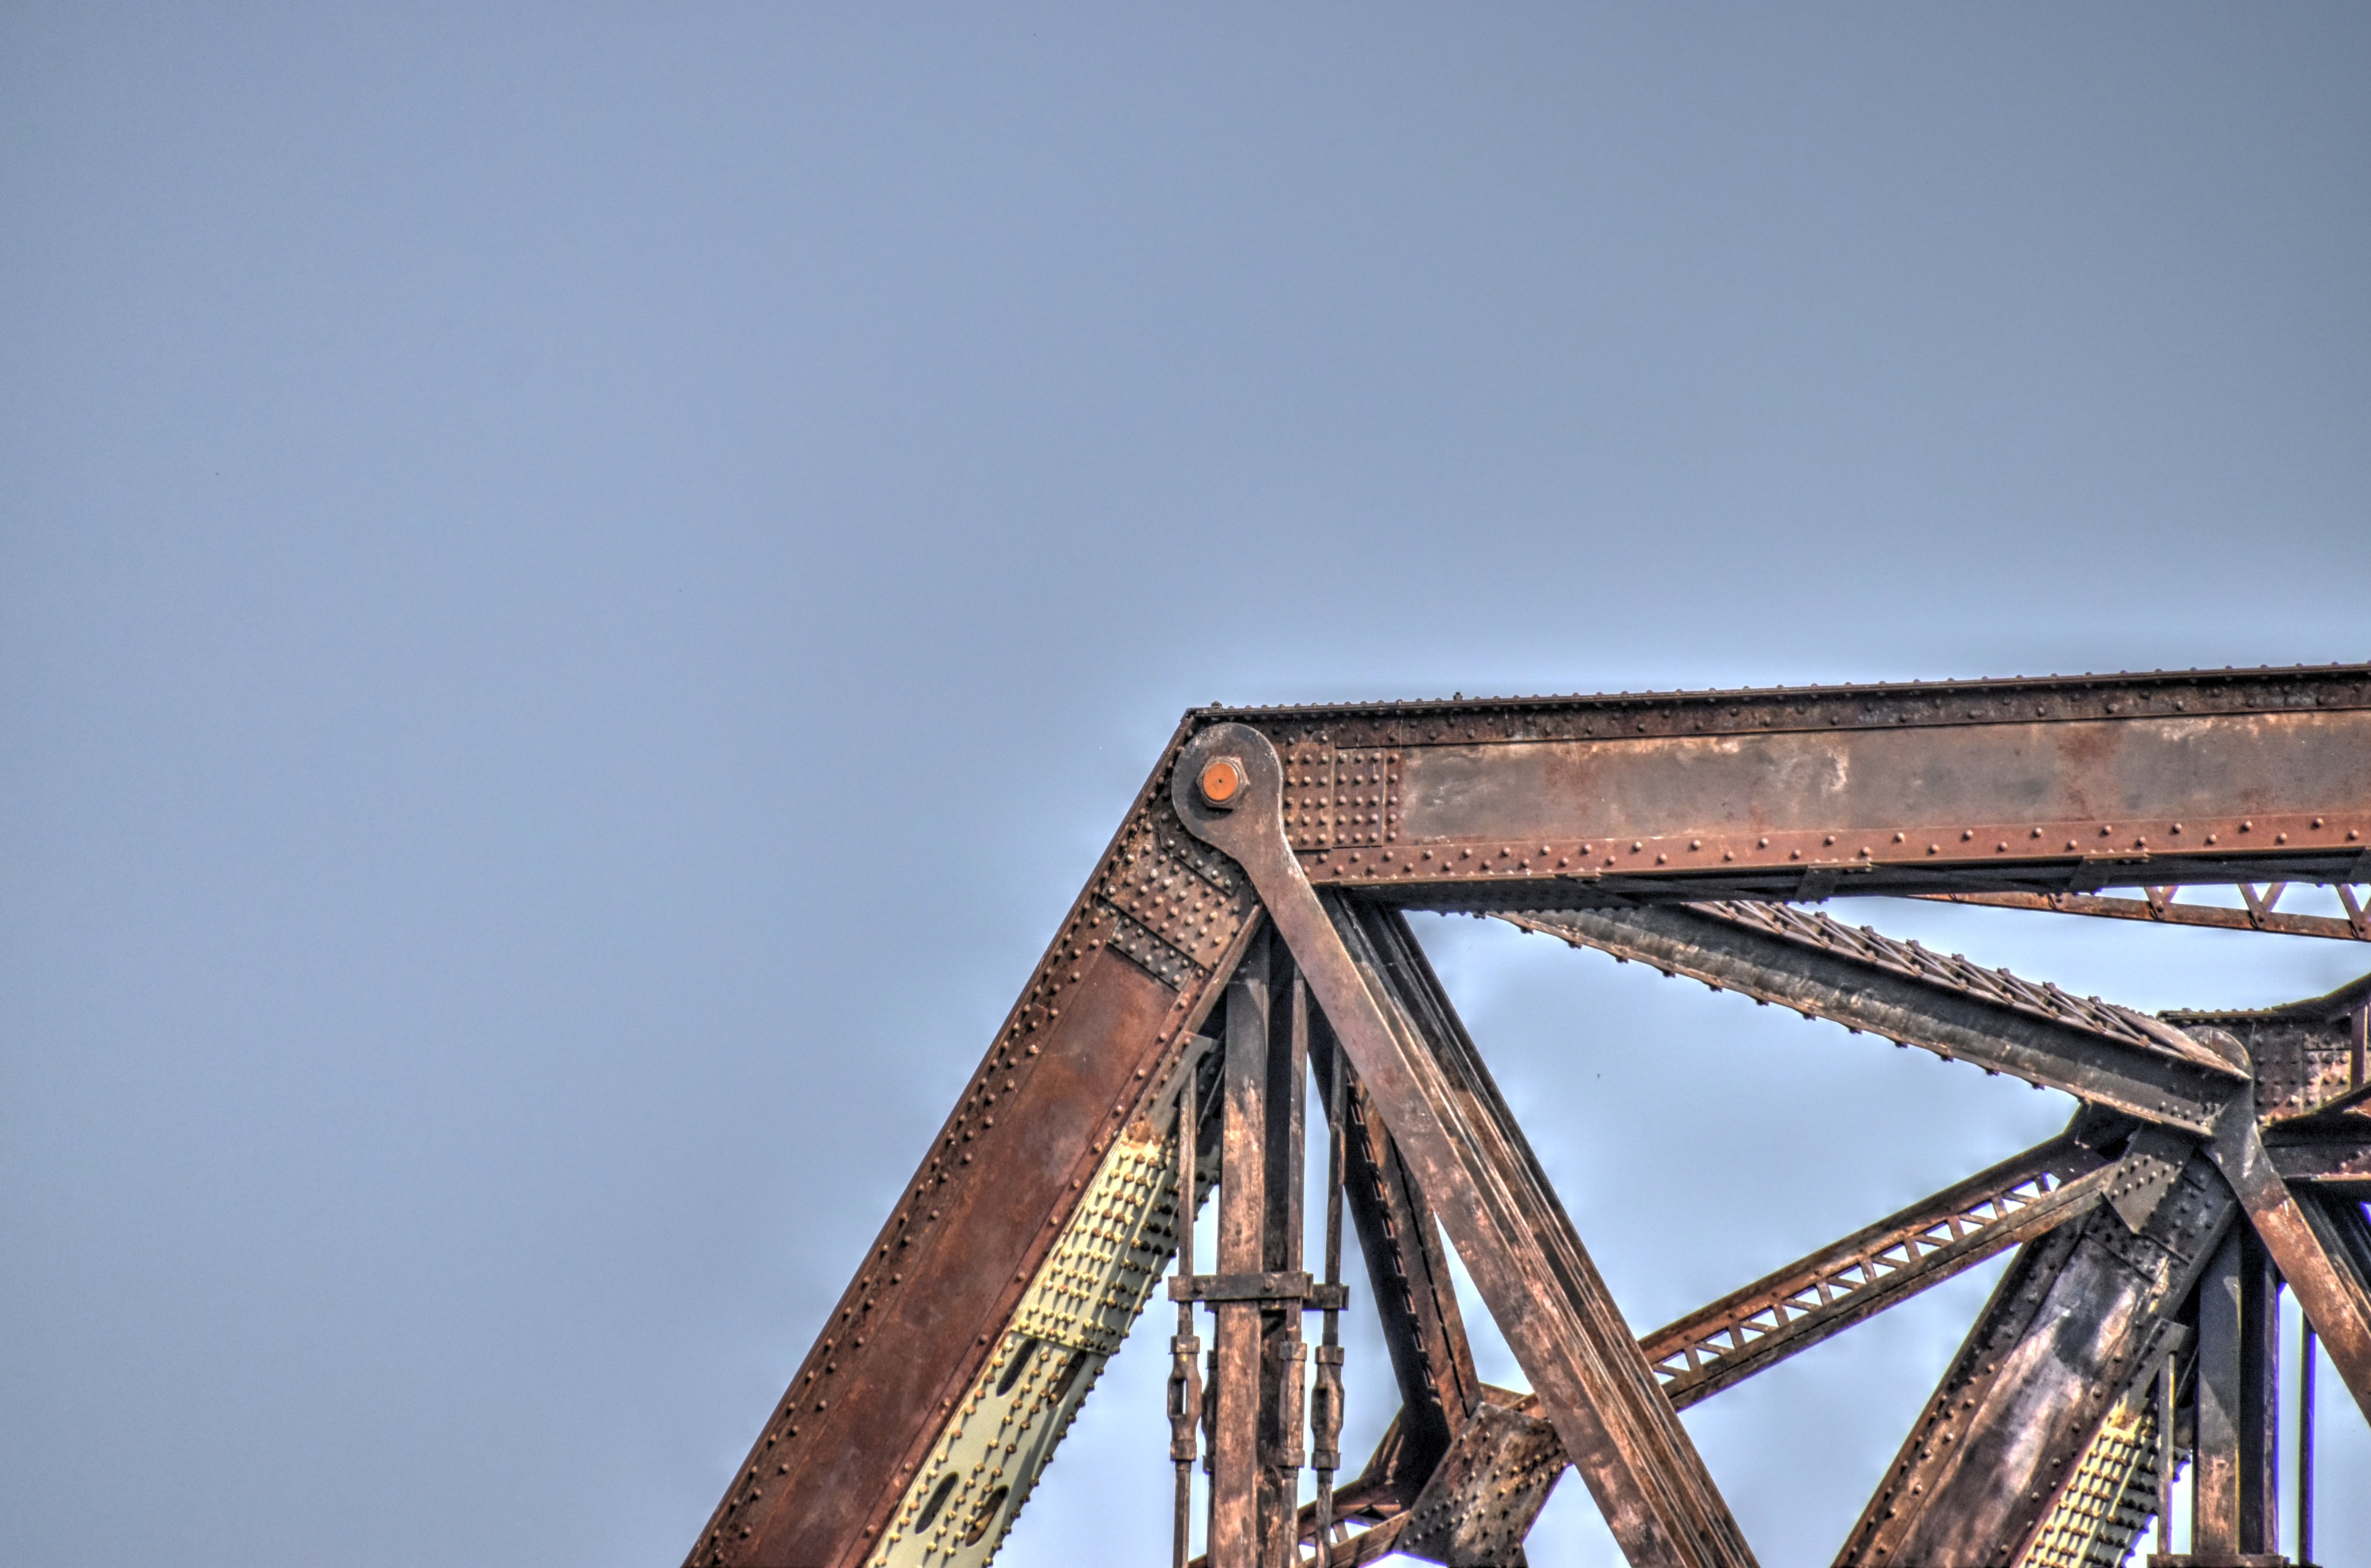
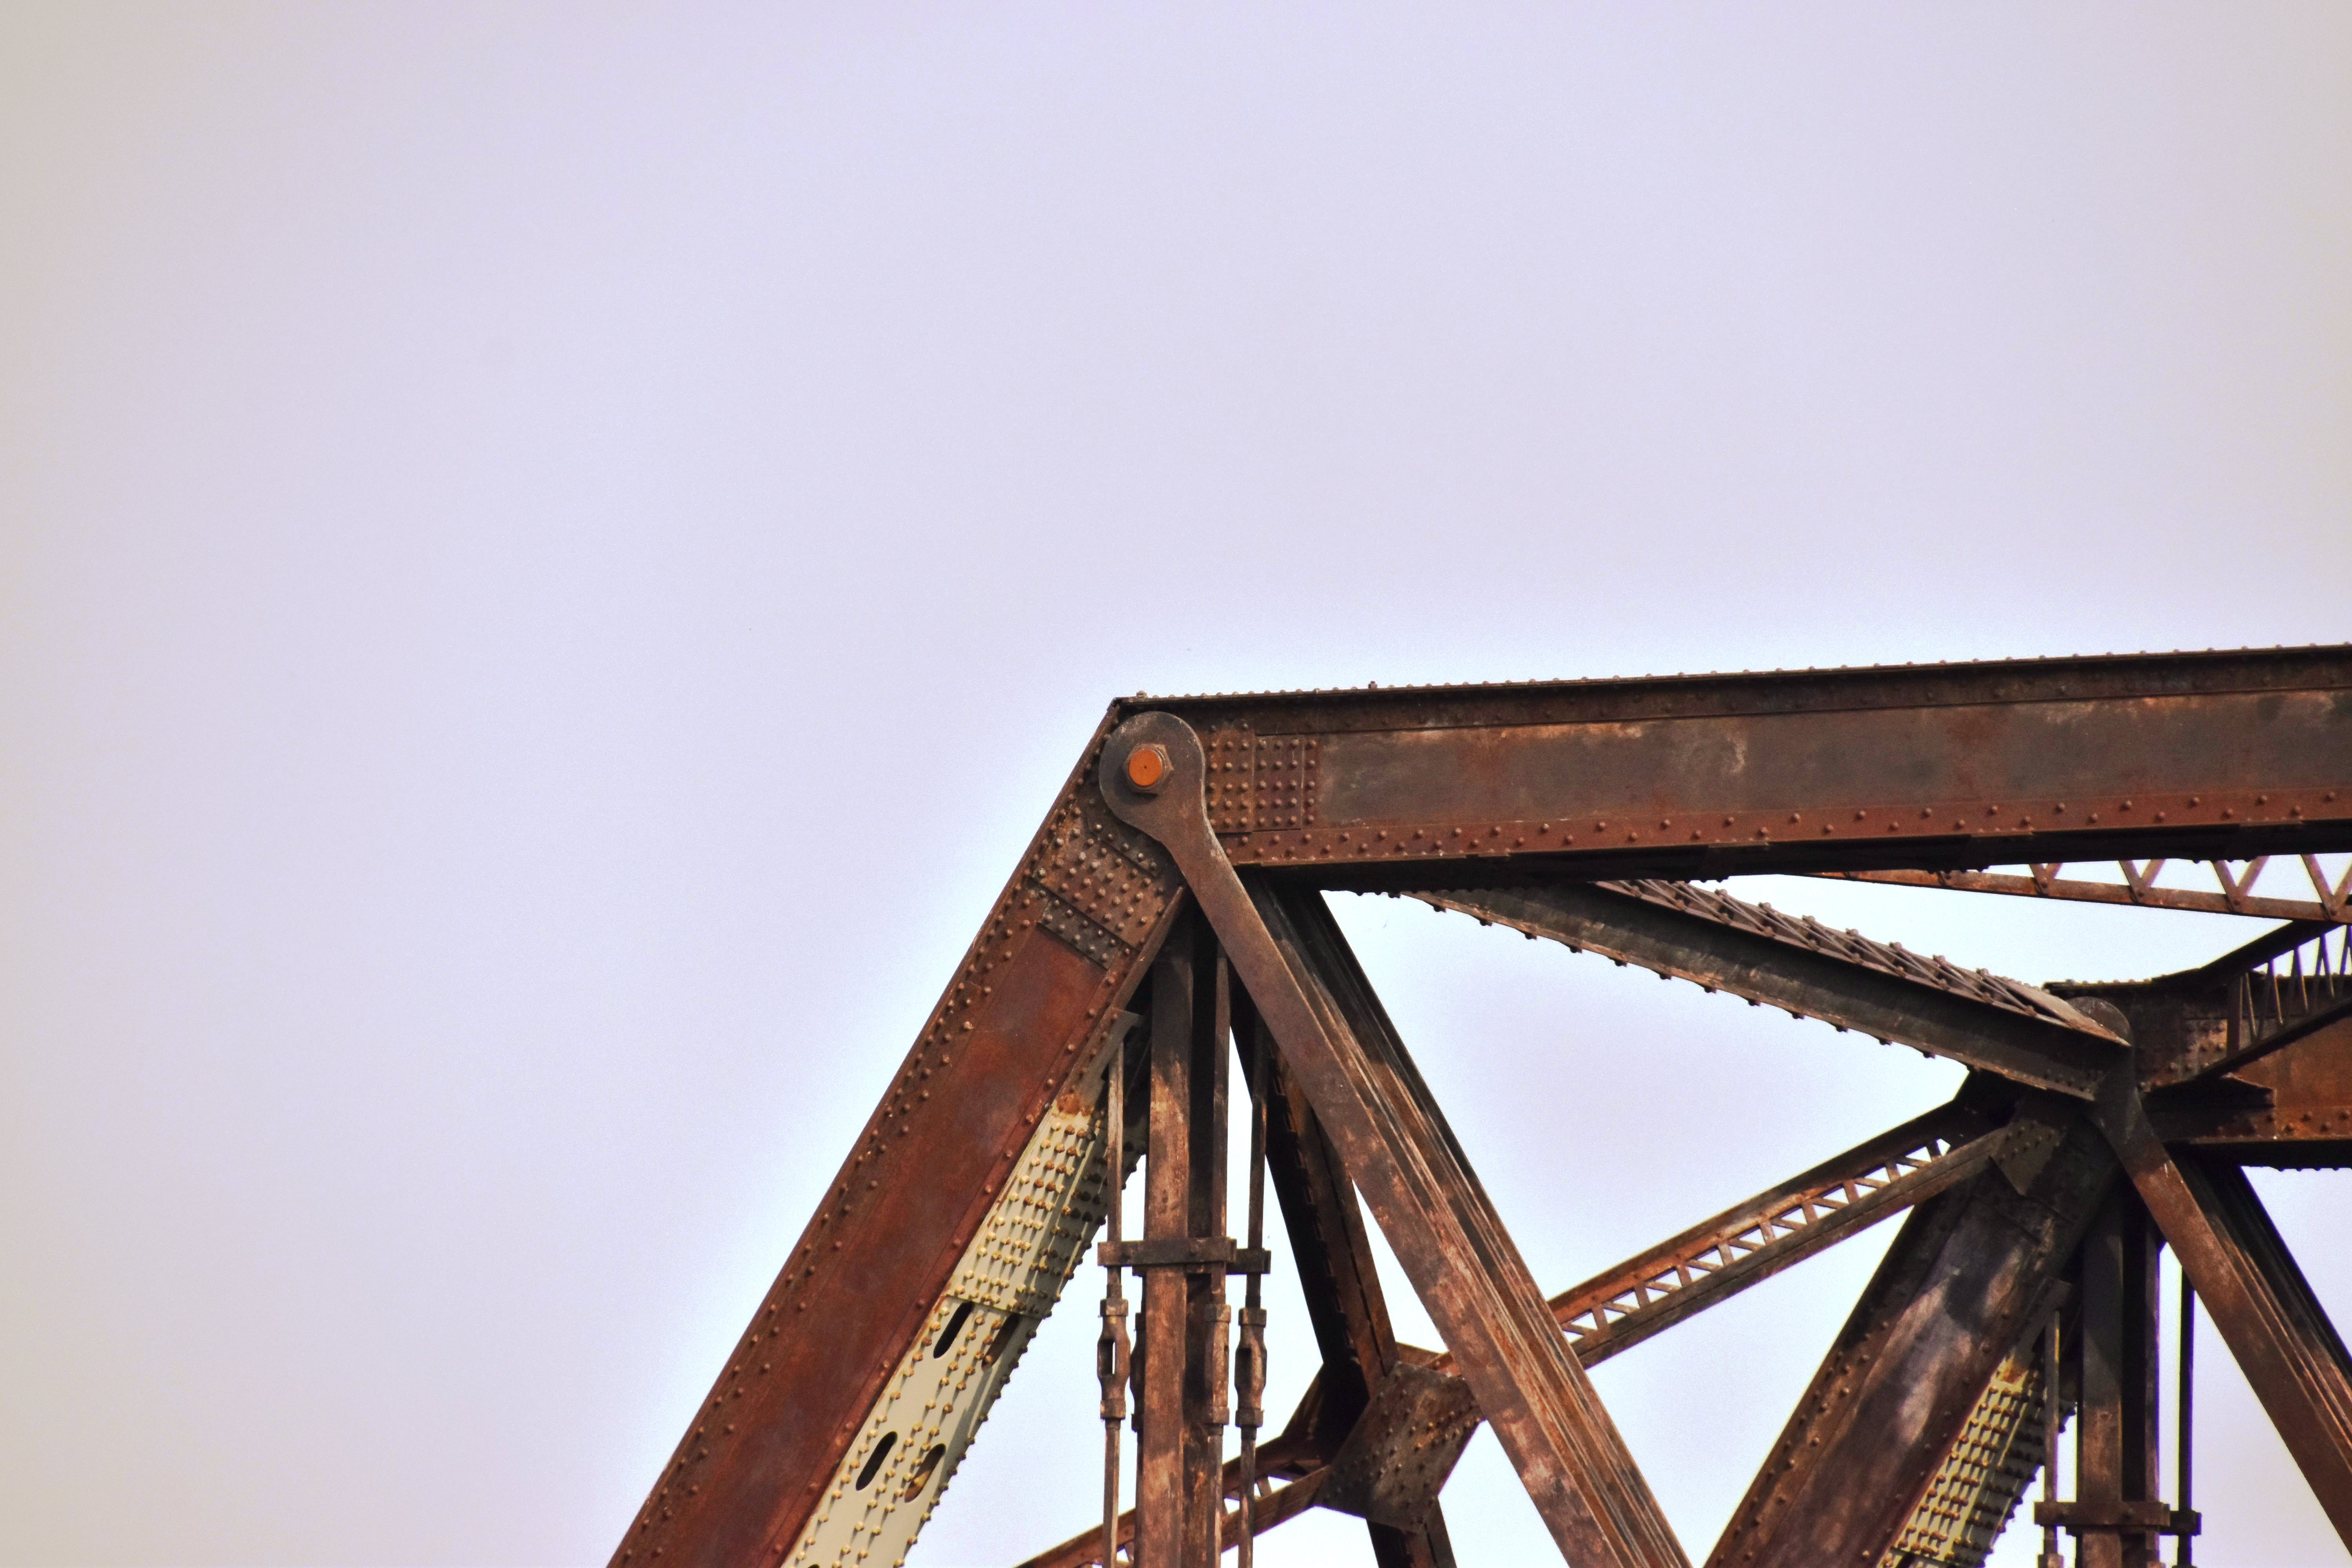


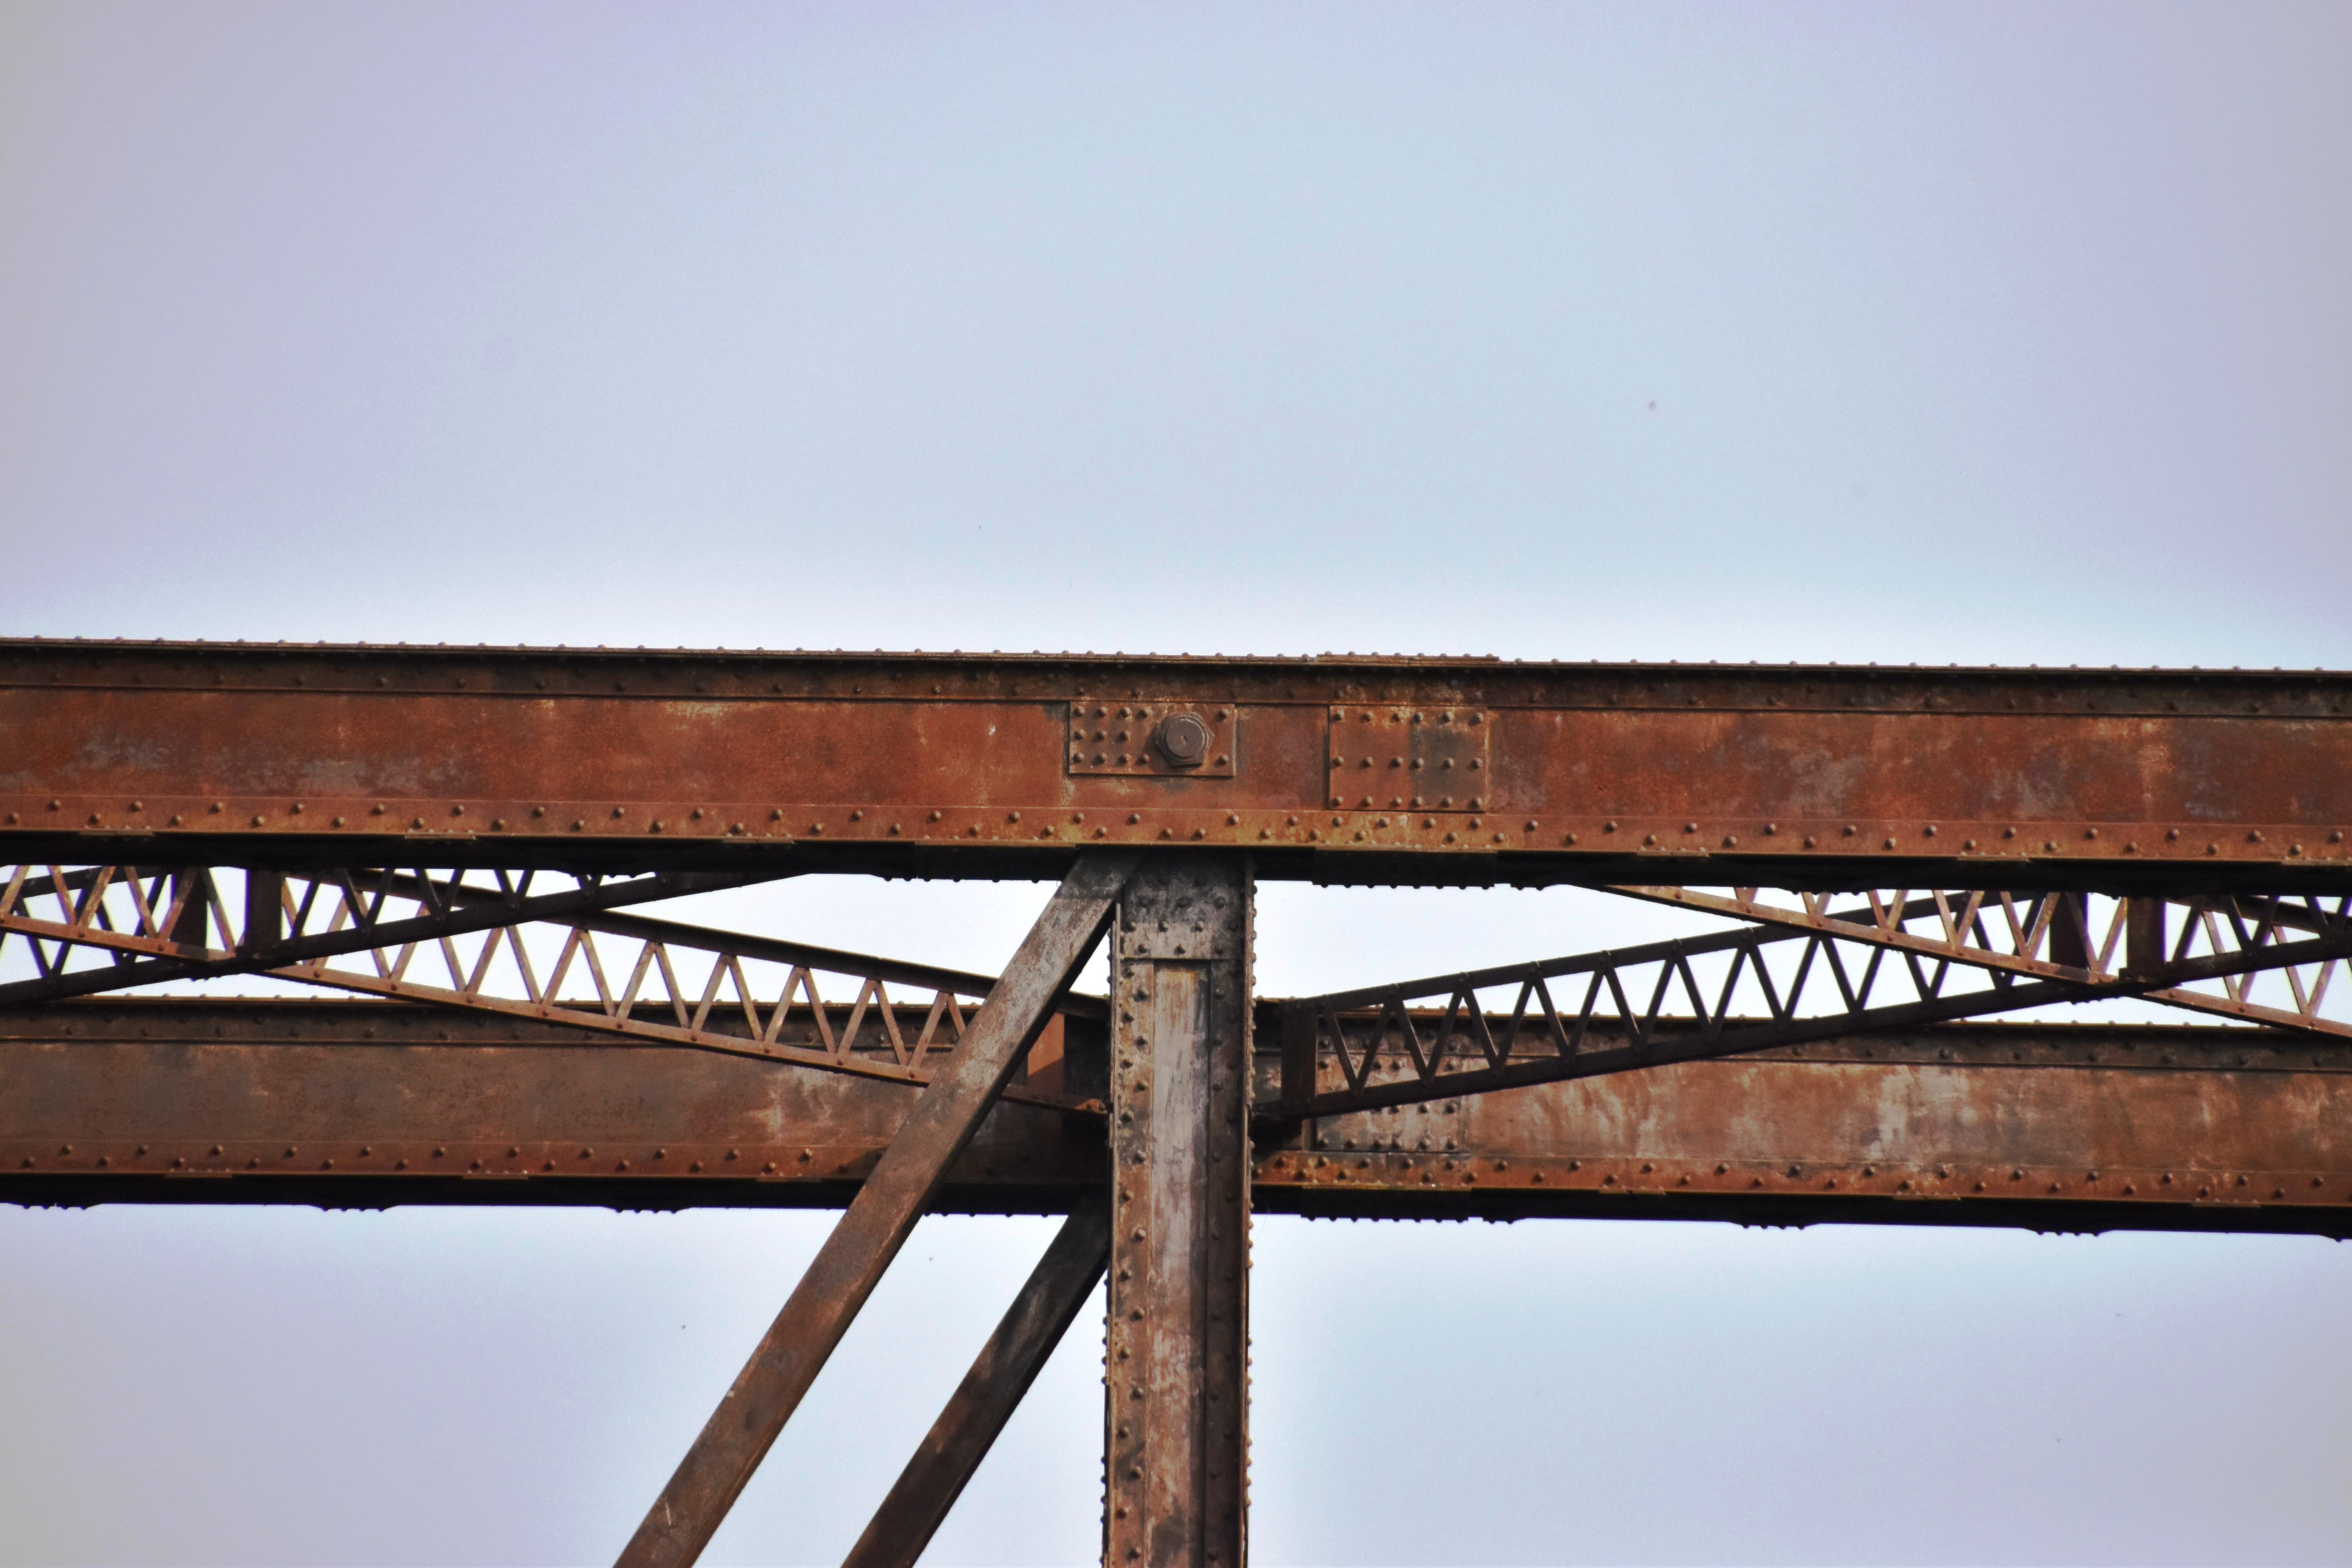


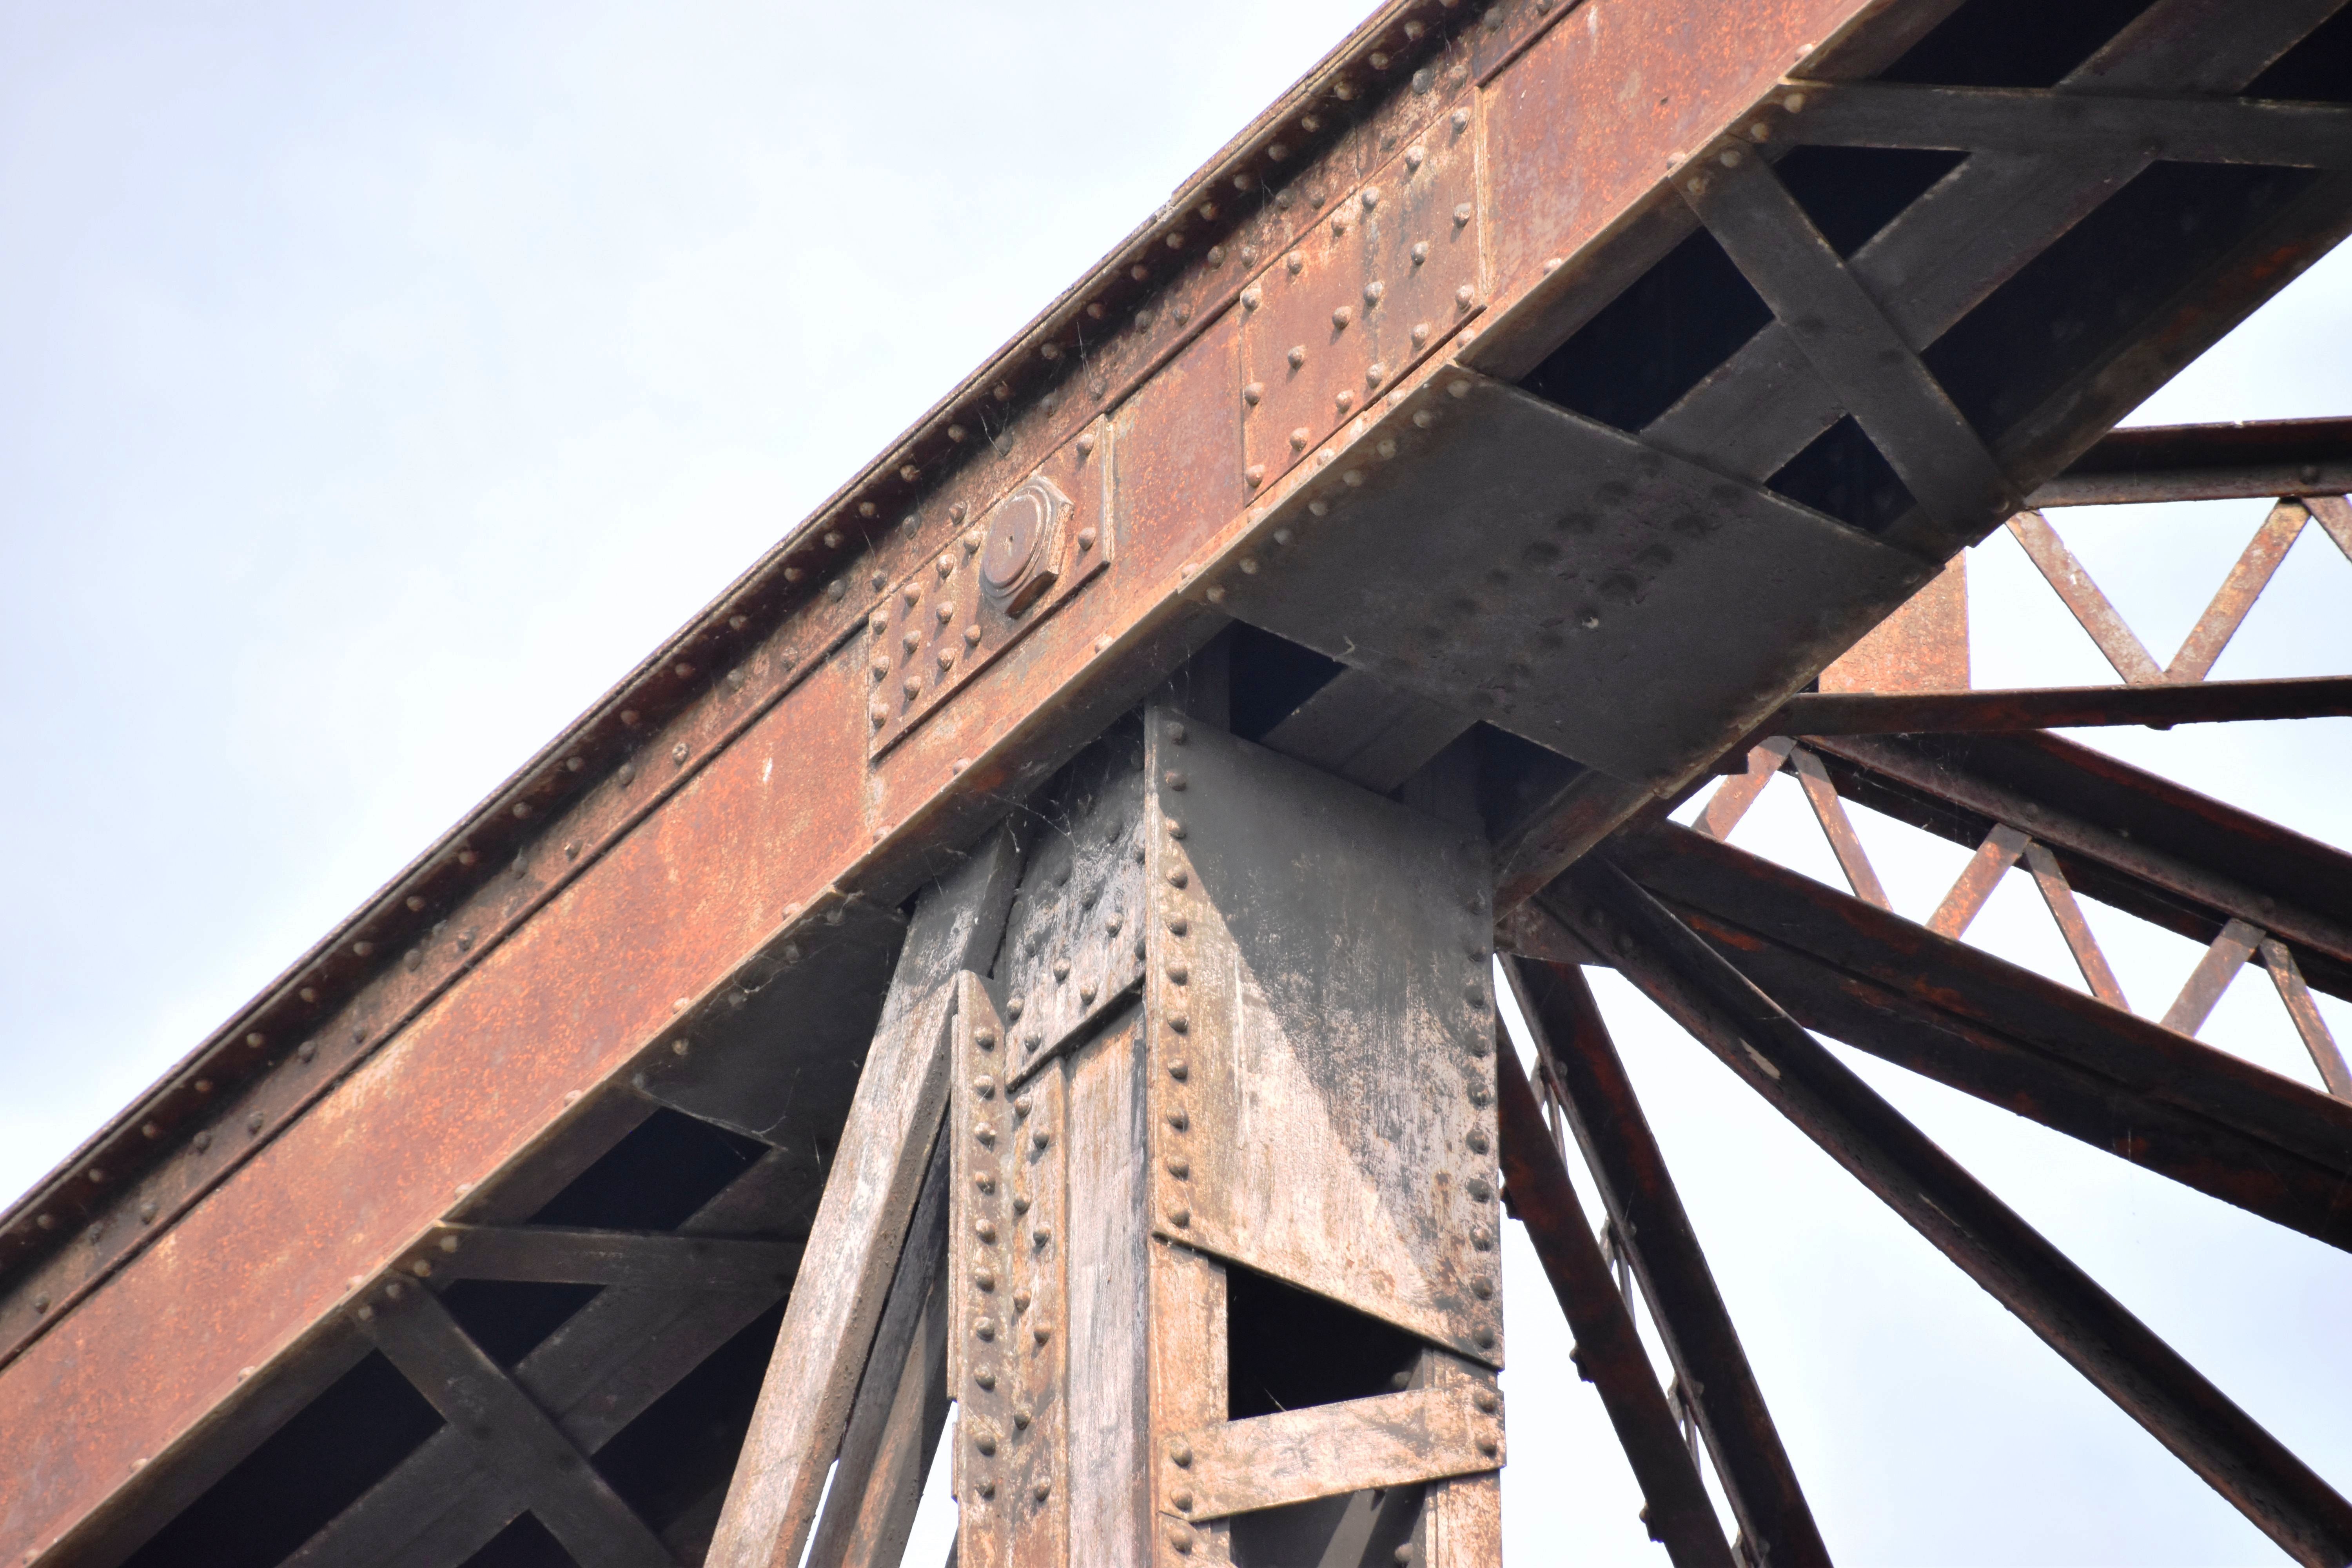
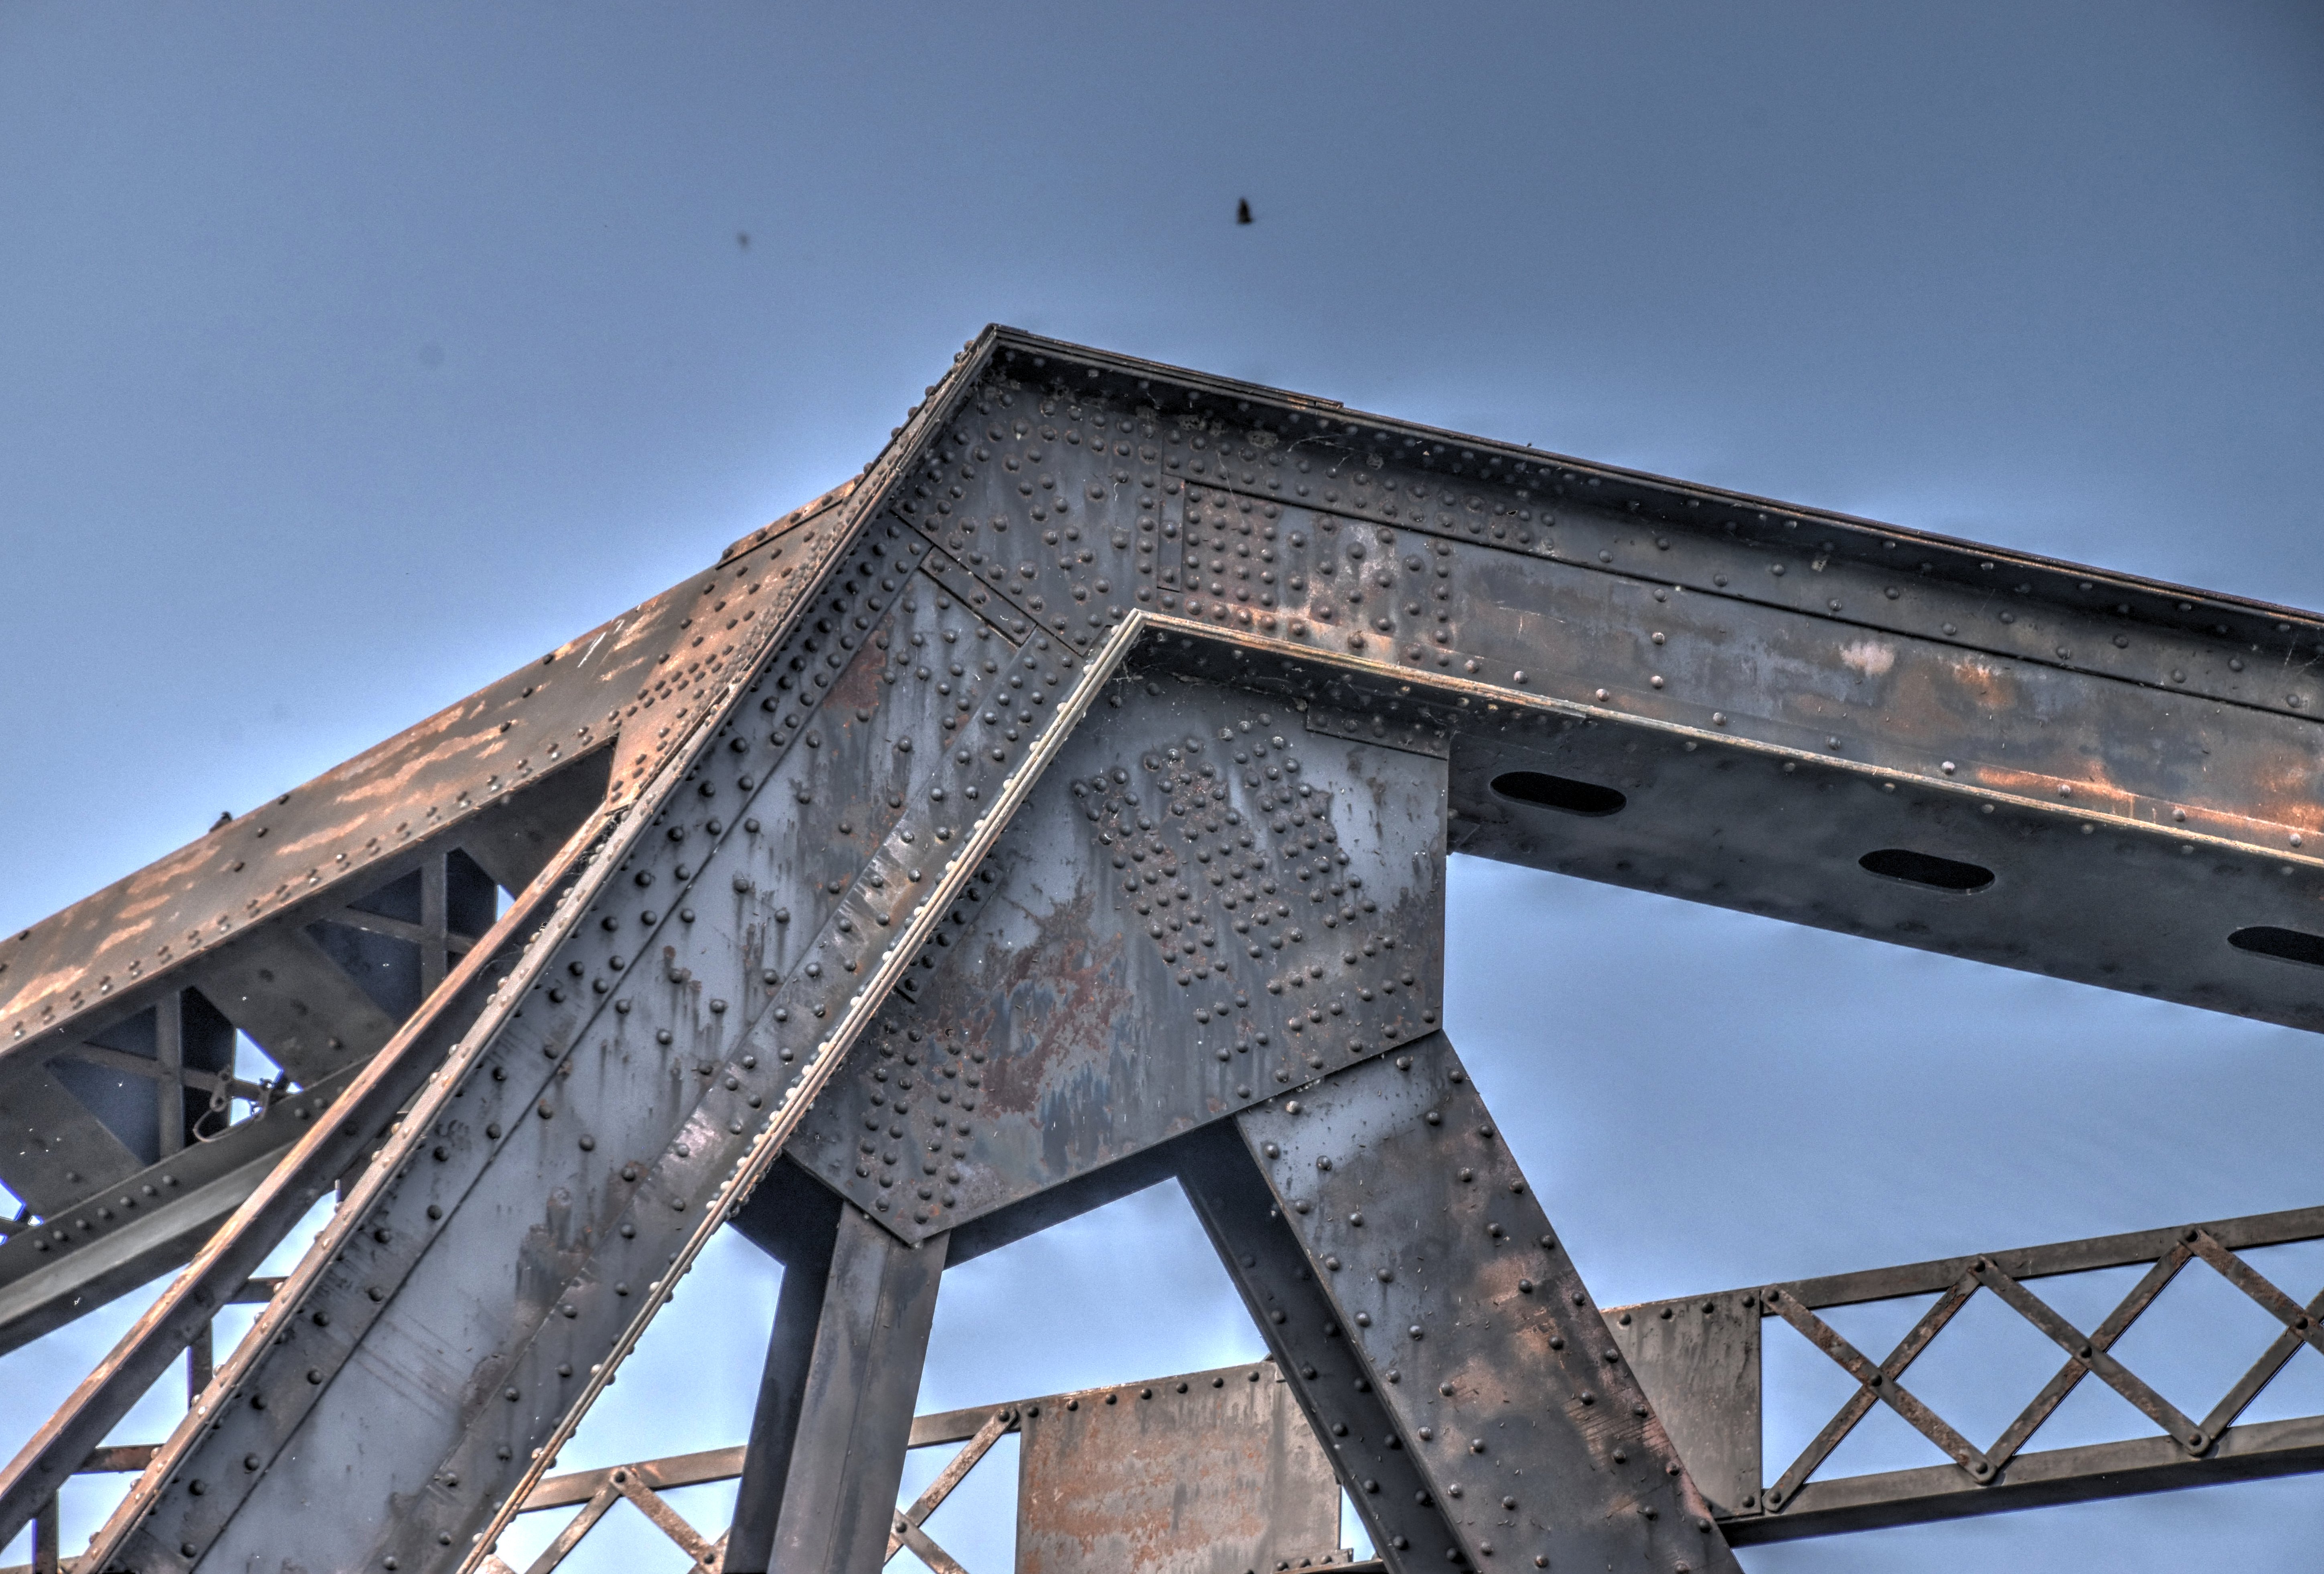
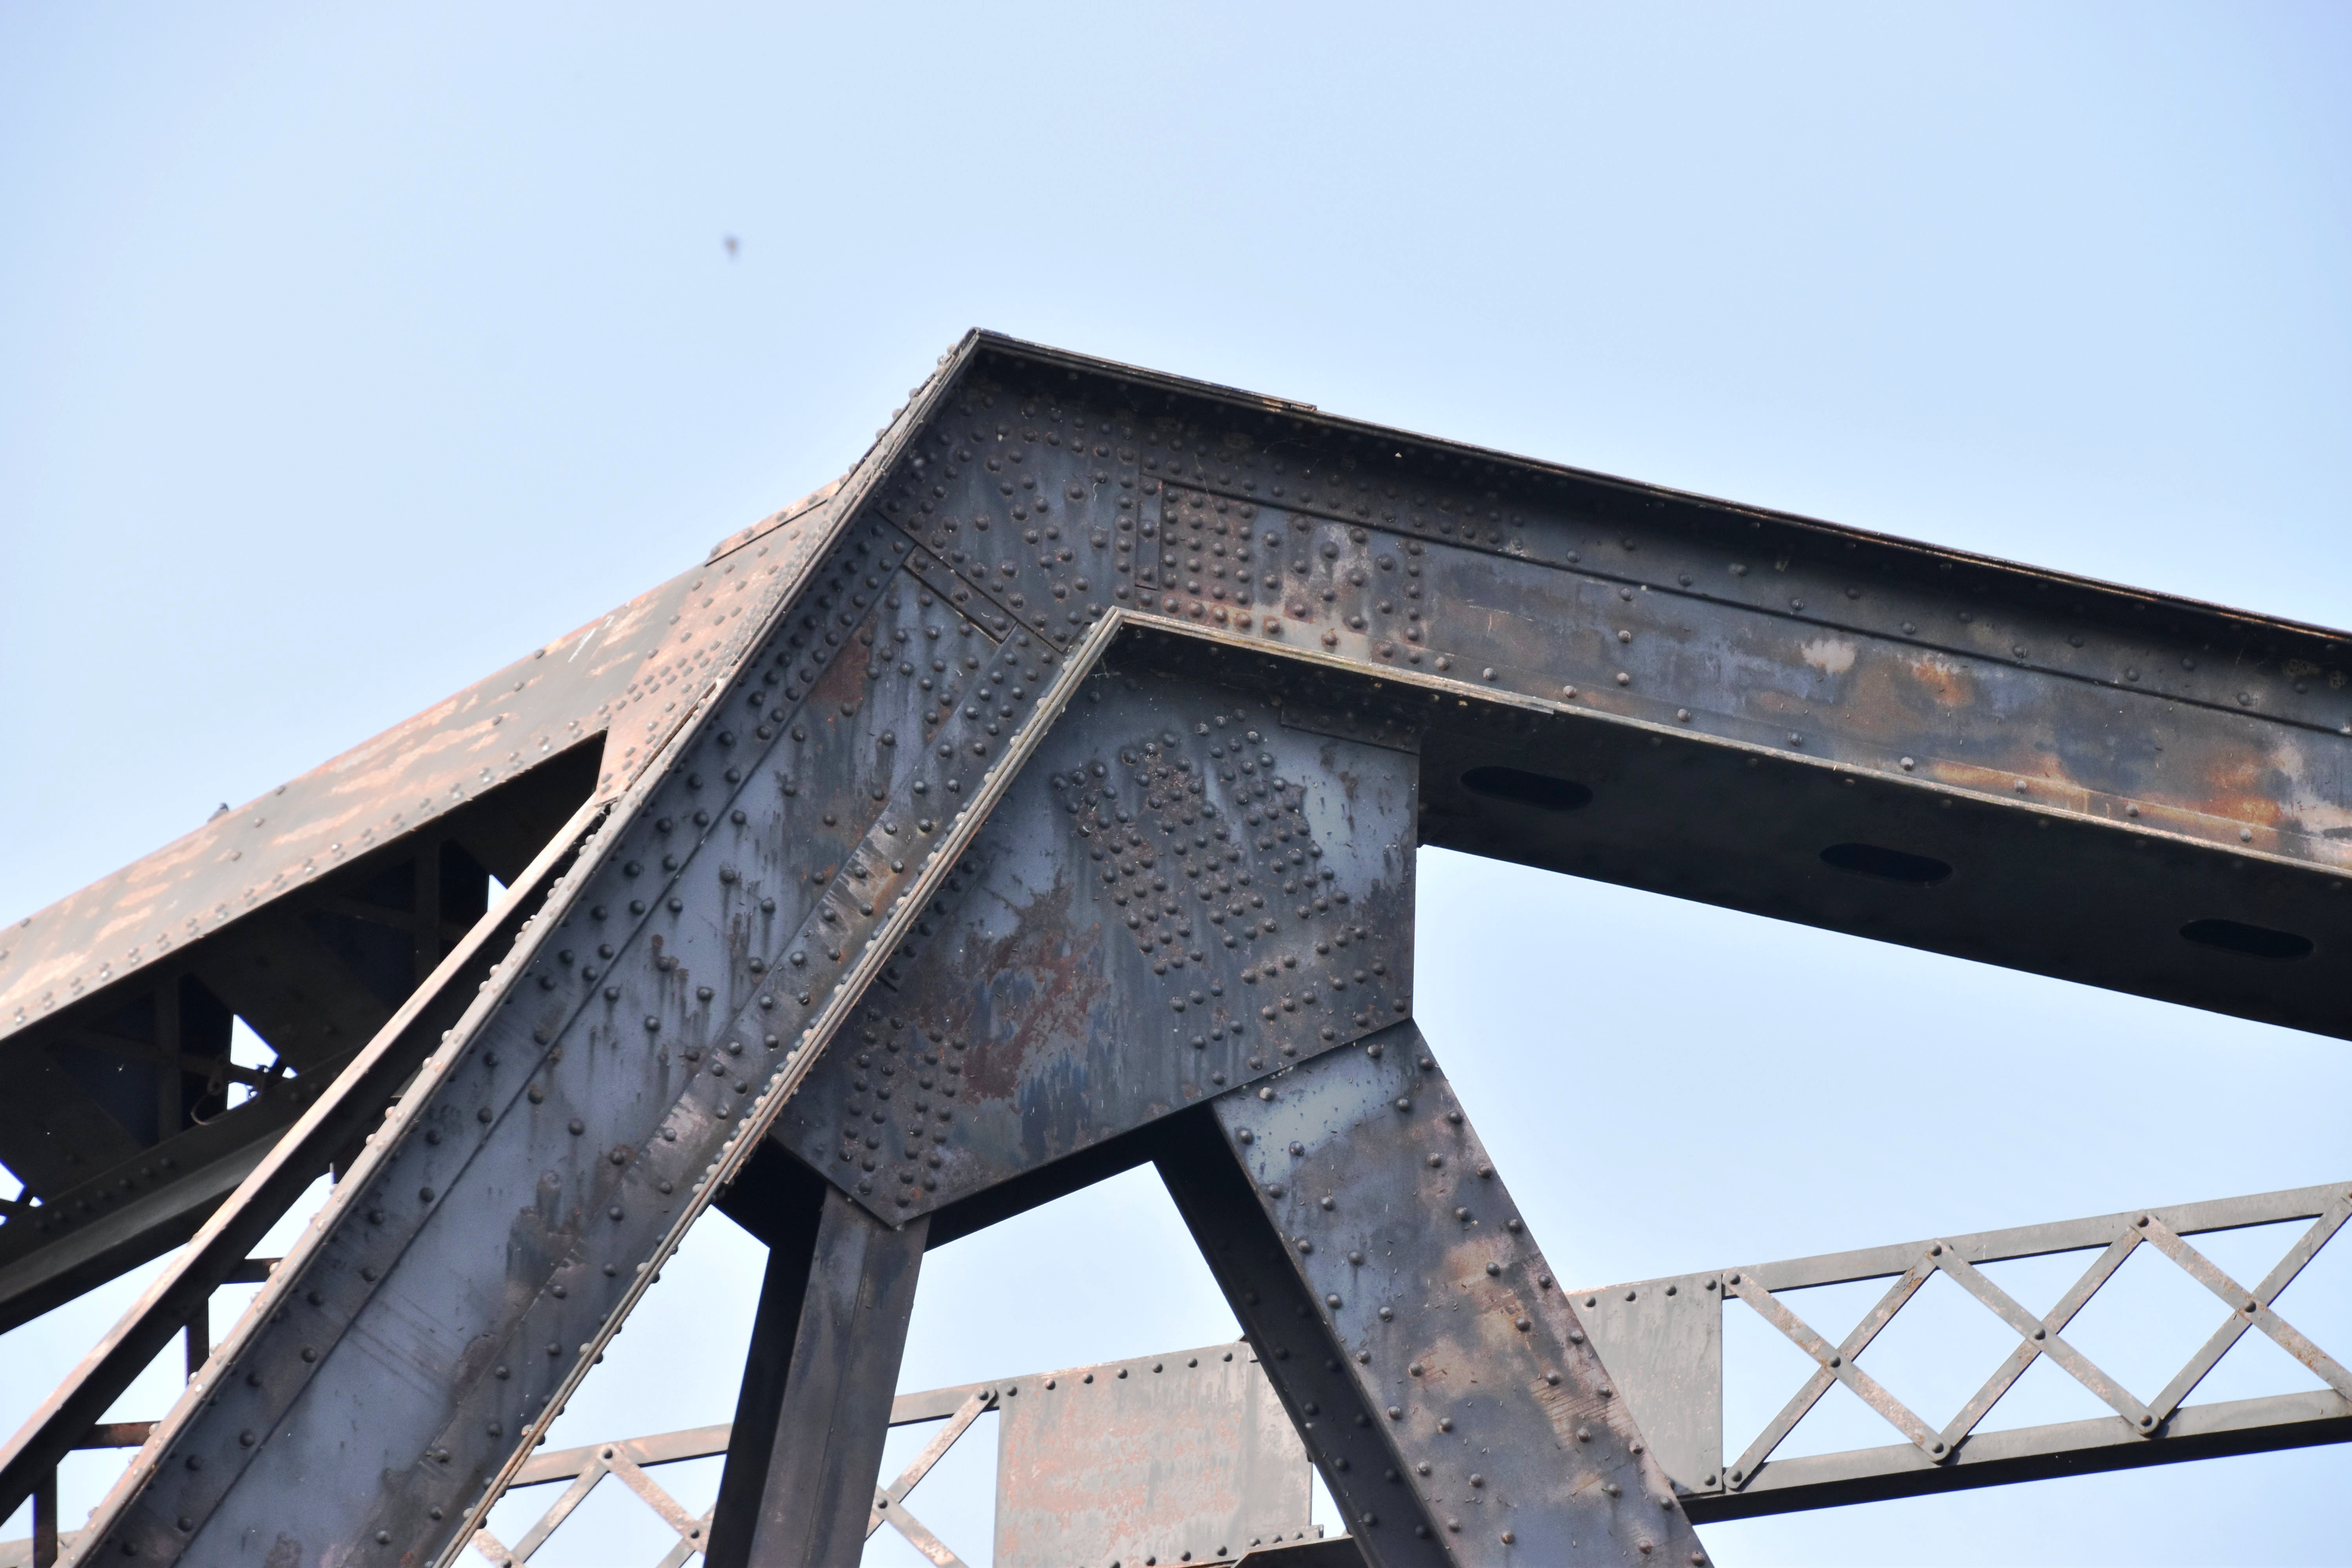
Top chord connections as viewed from beside bridge, distant views.
![]()

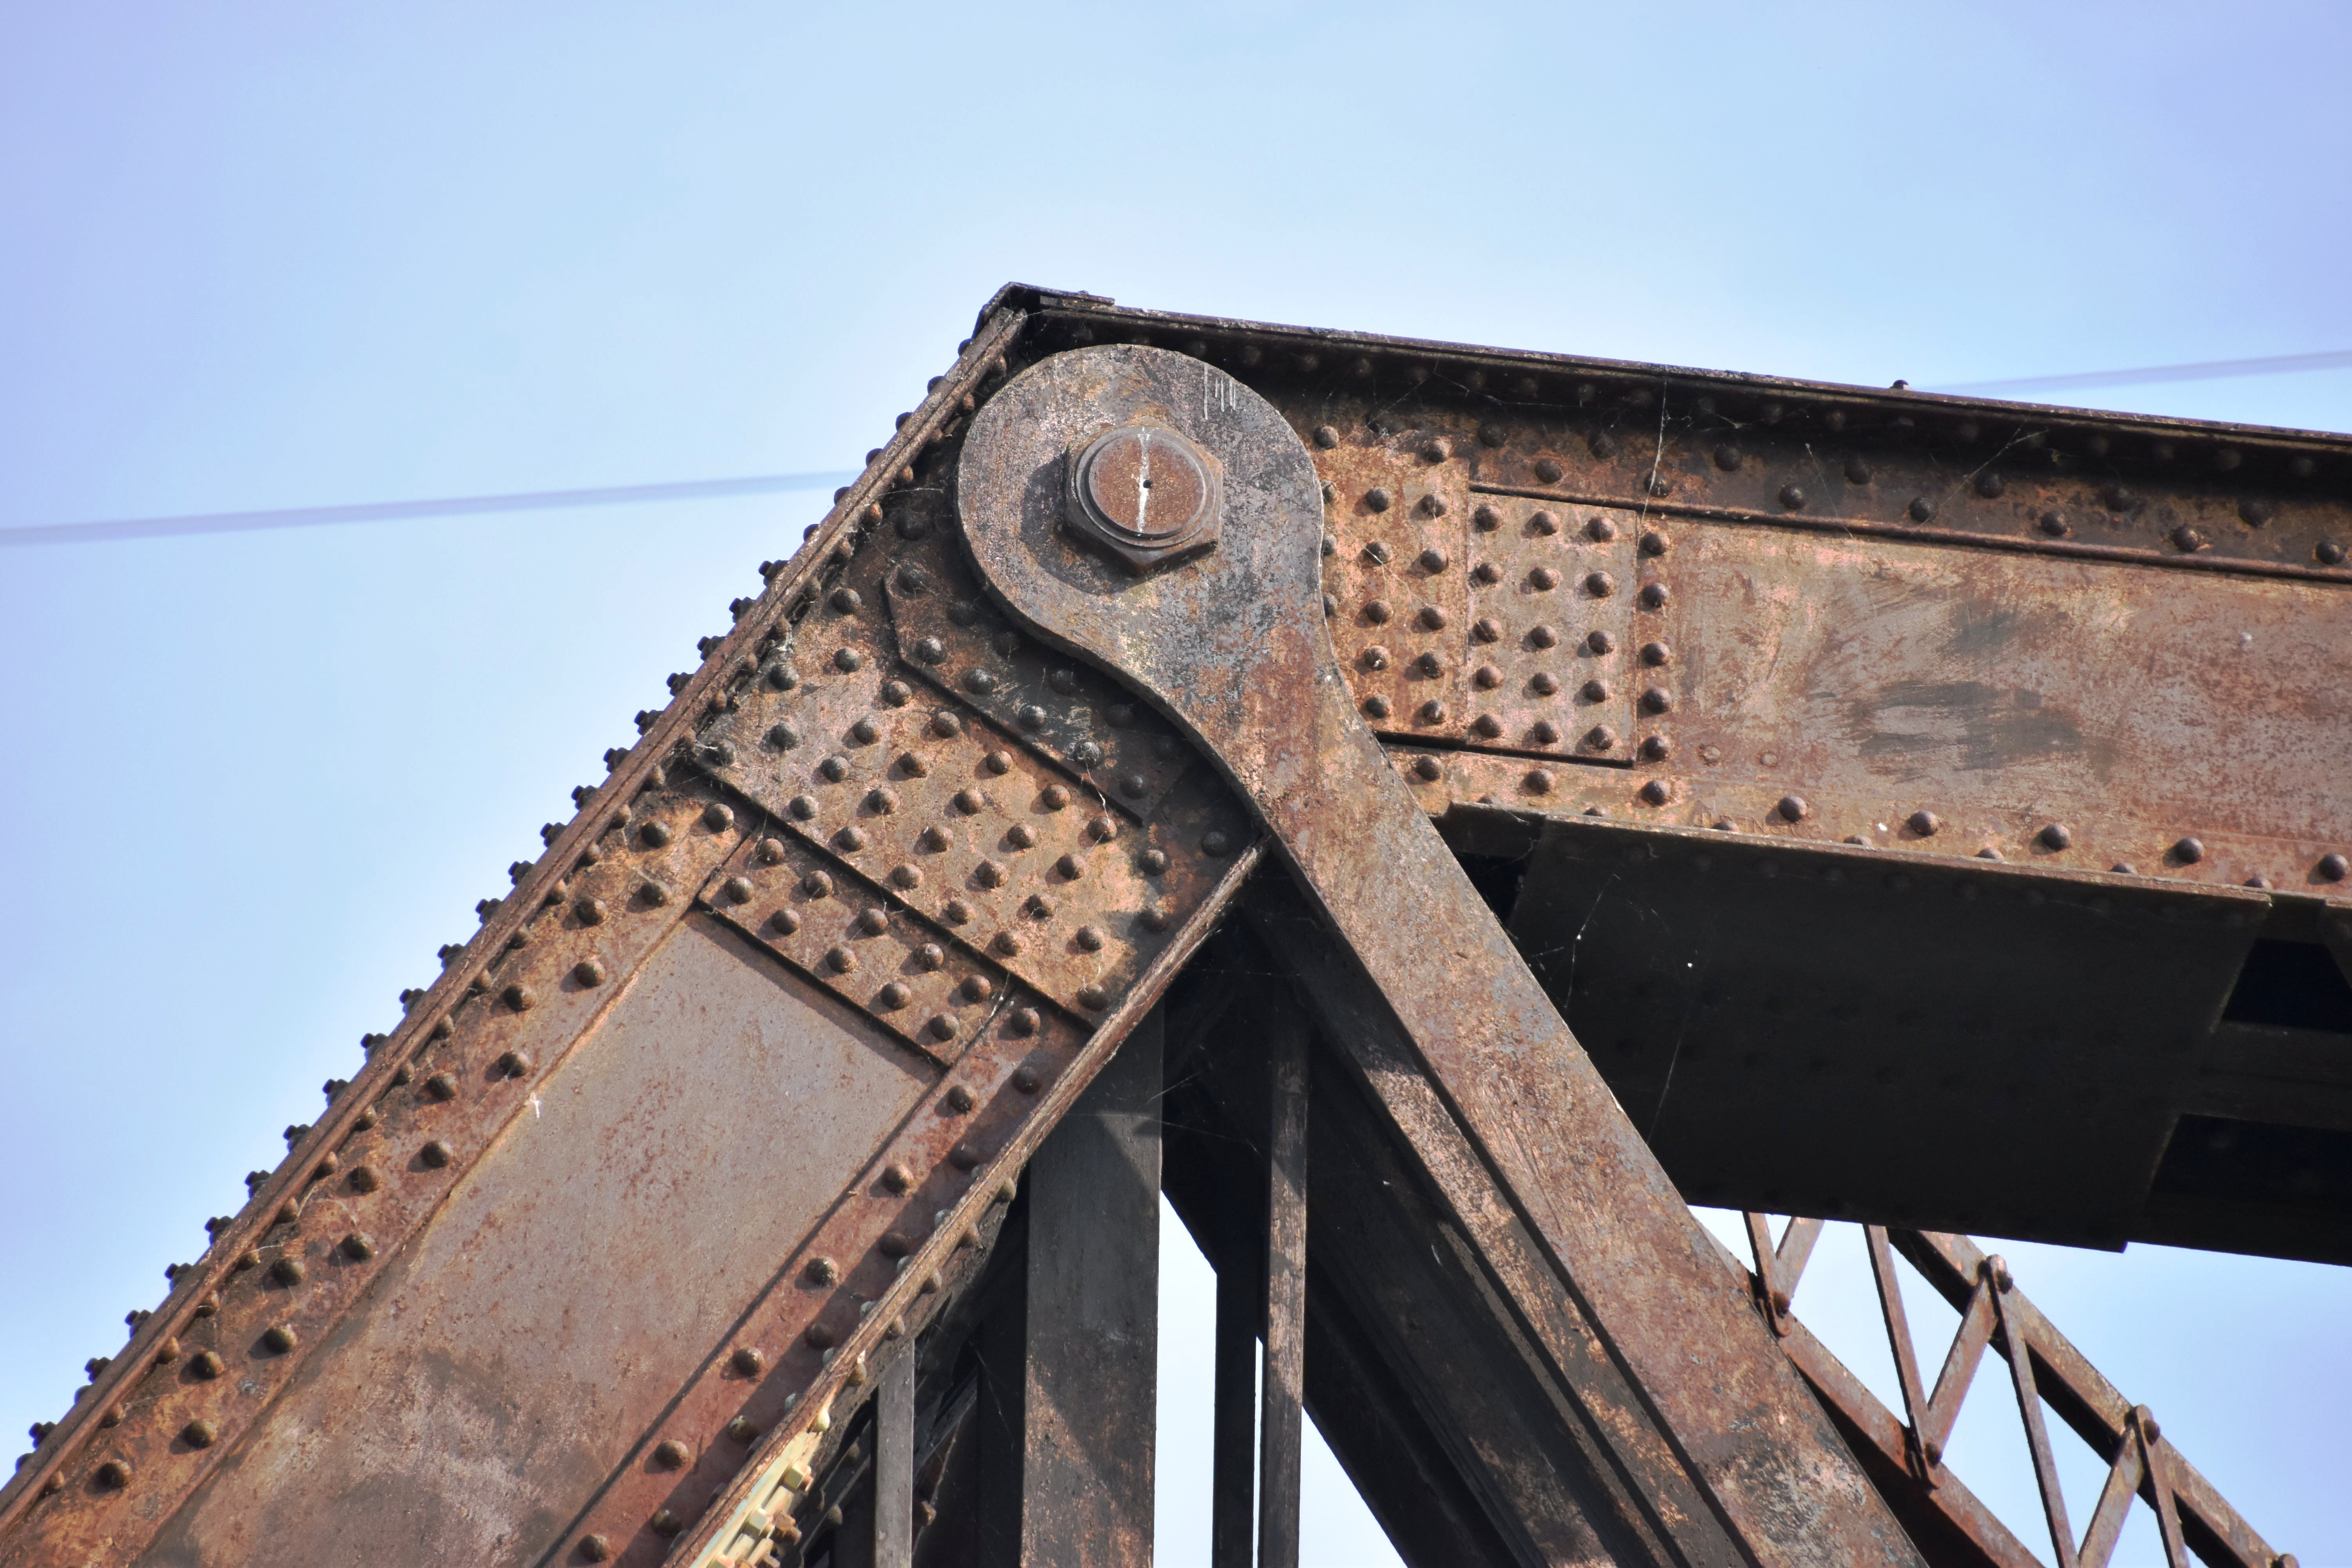
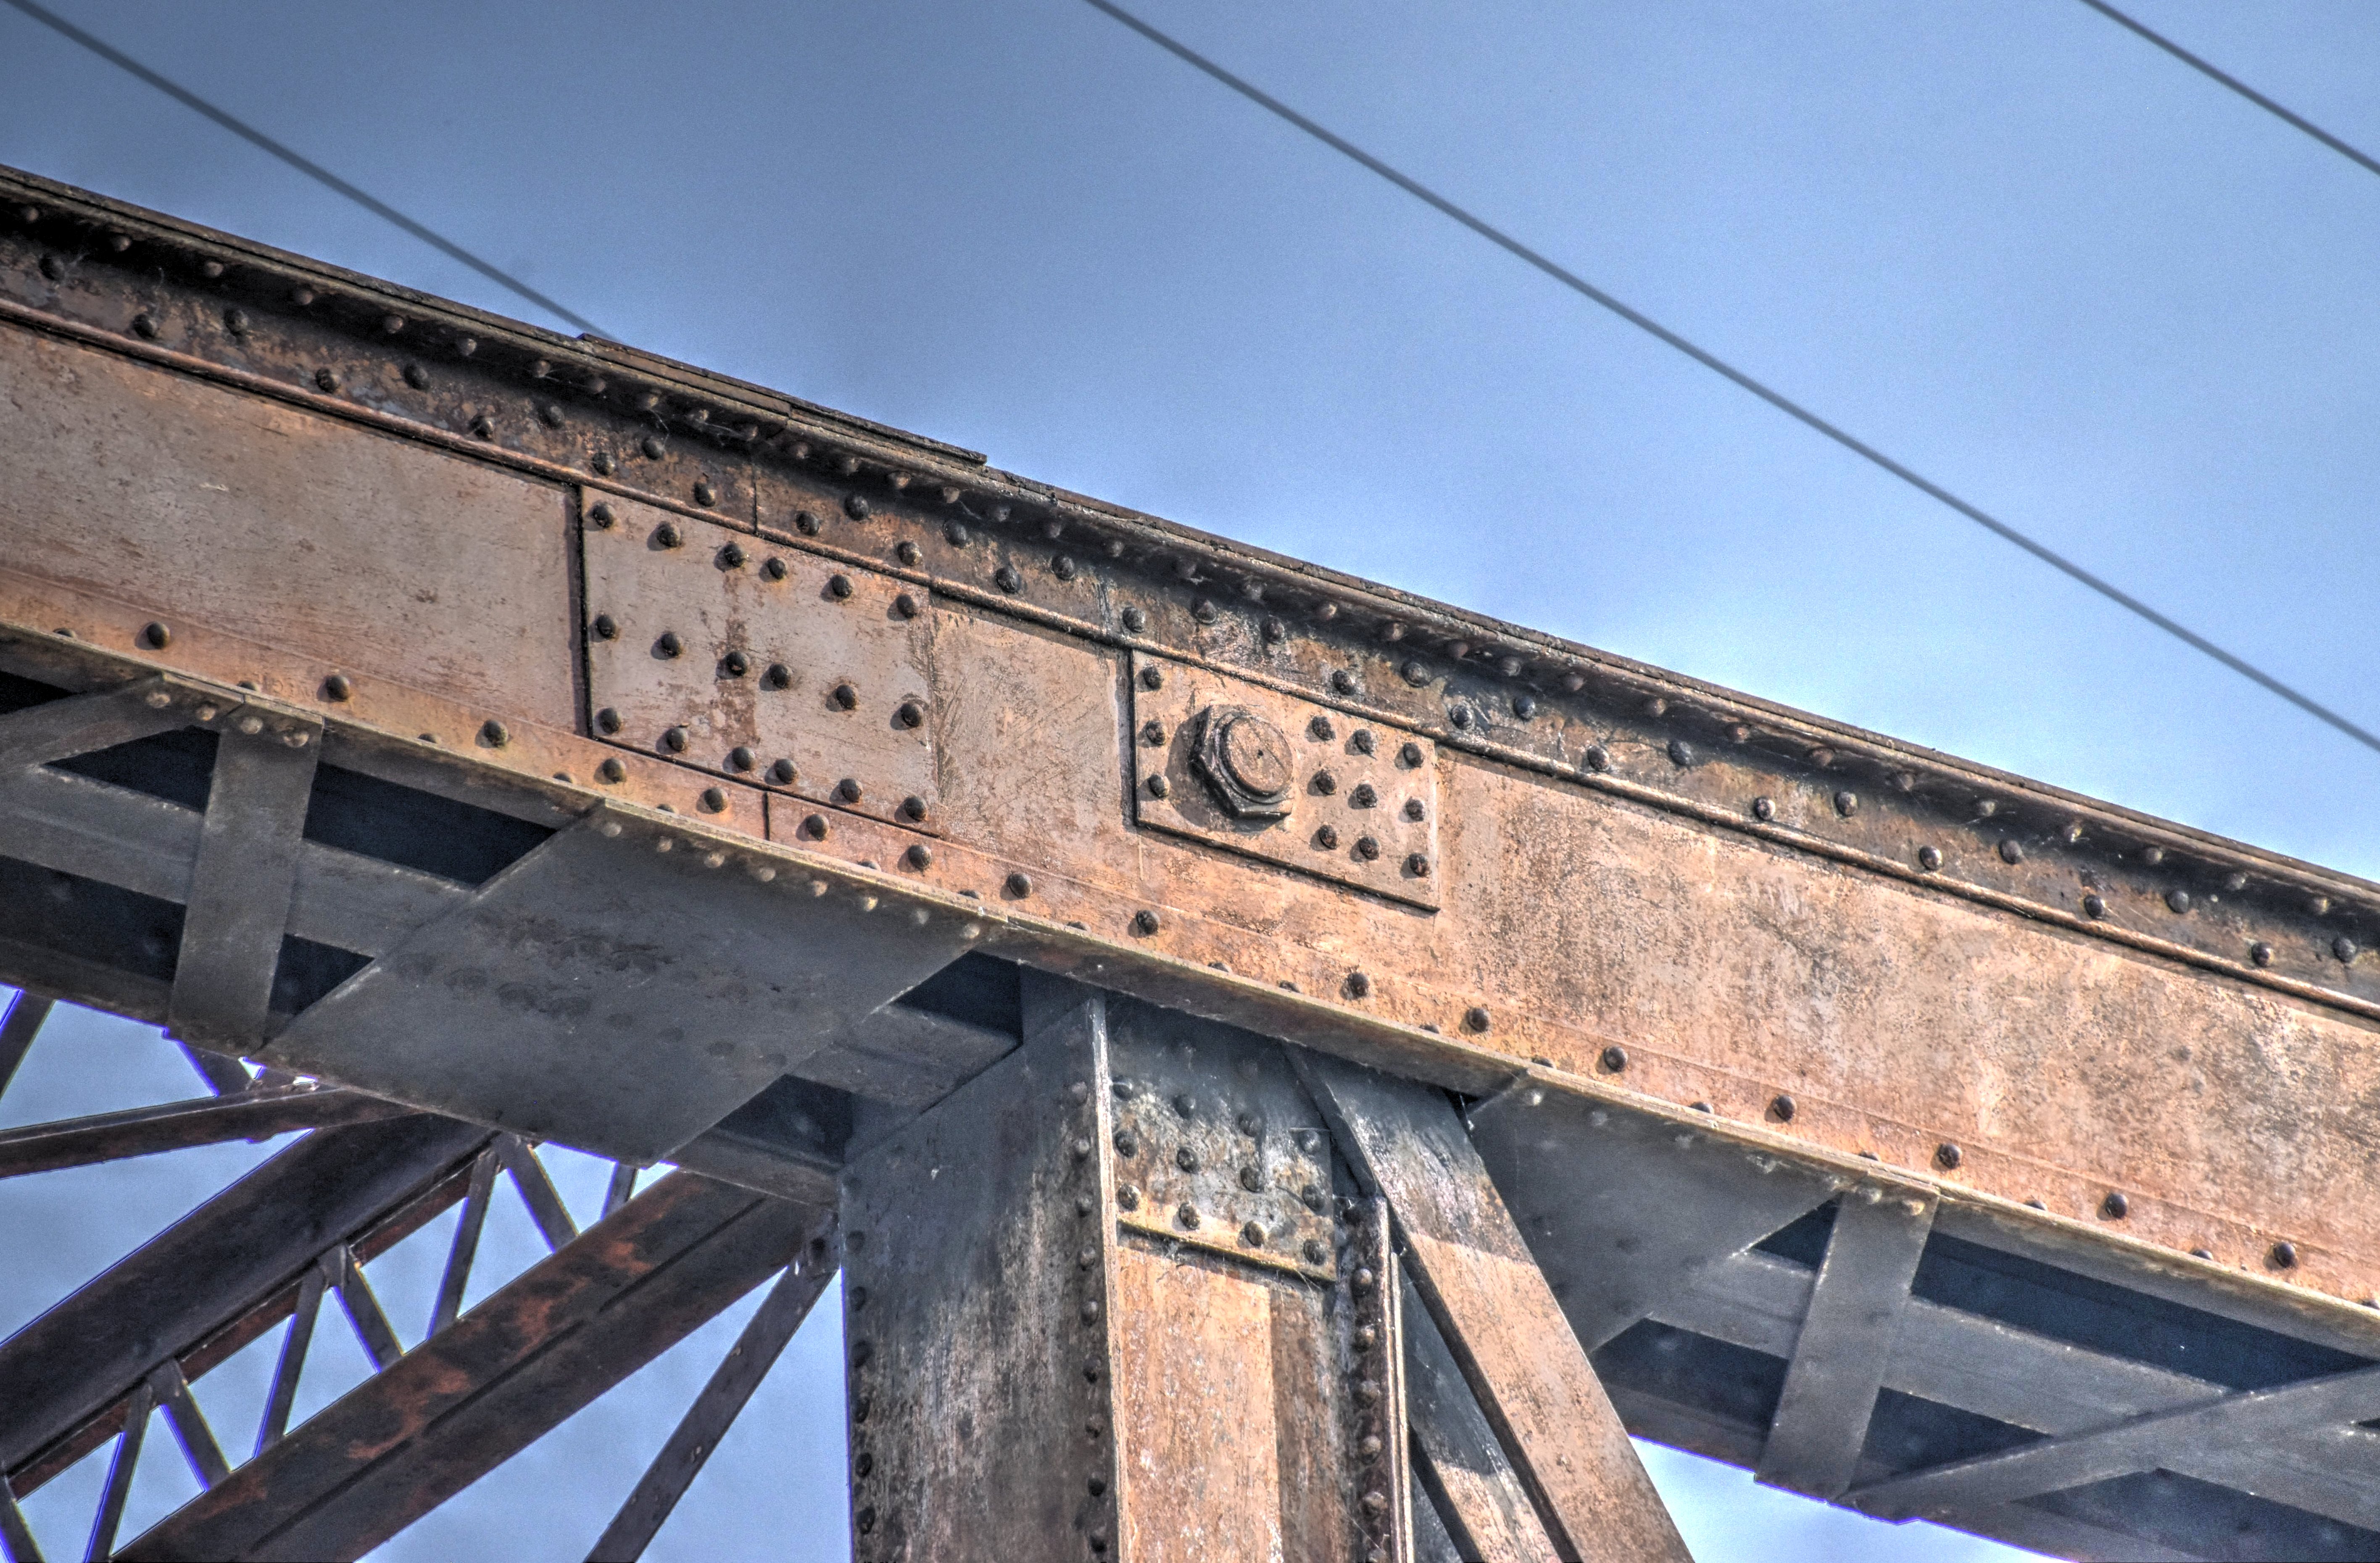
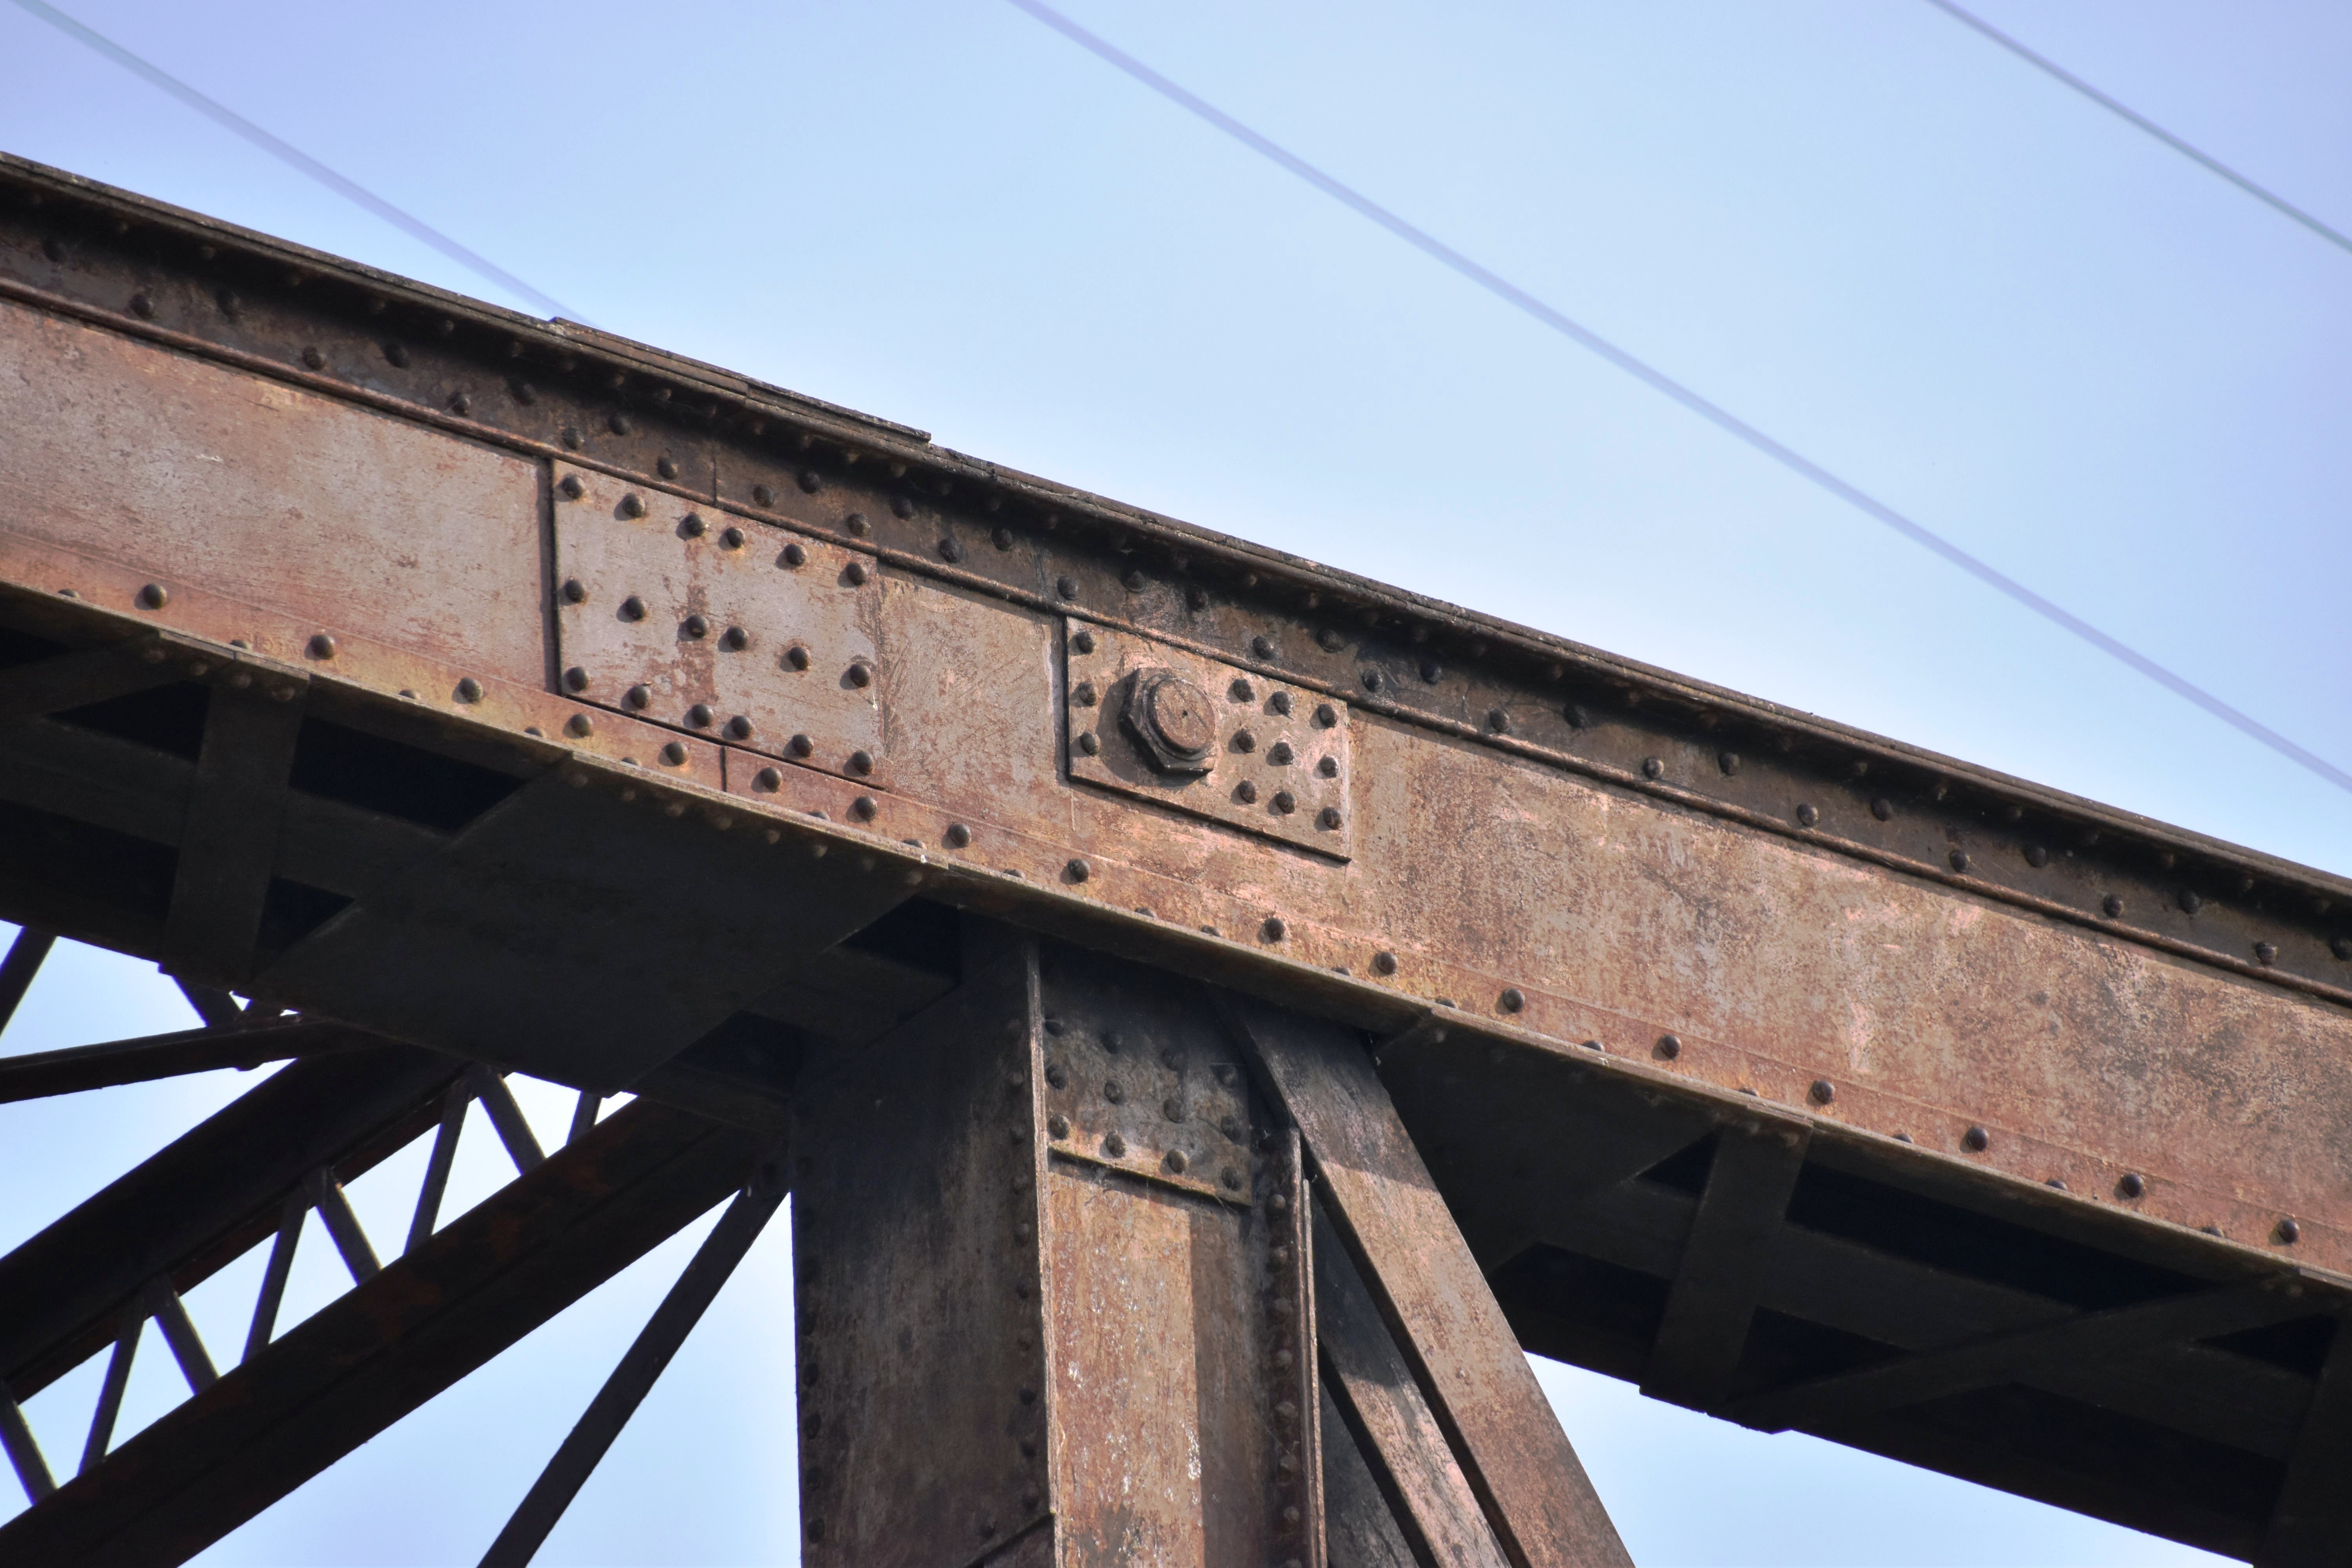
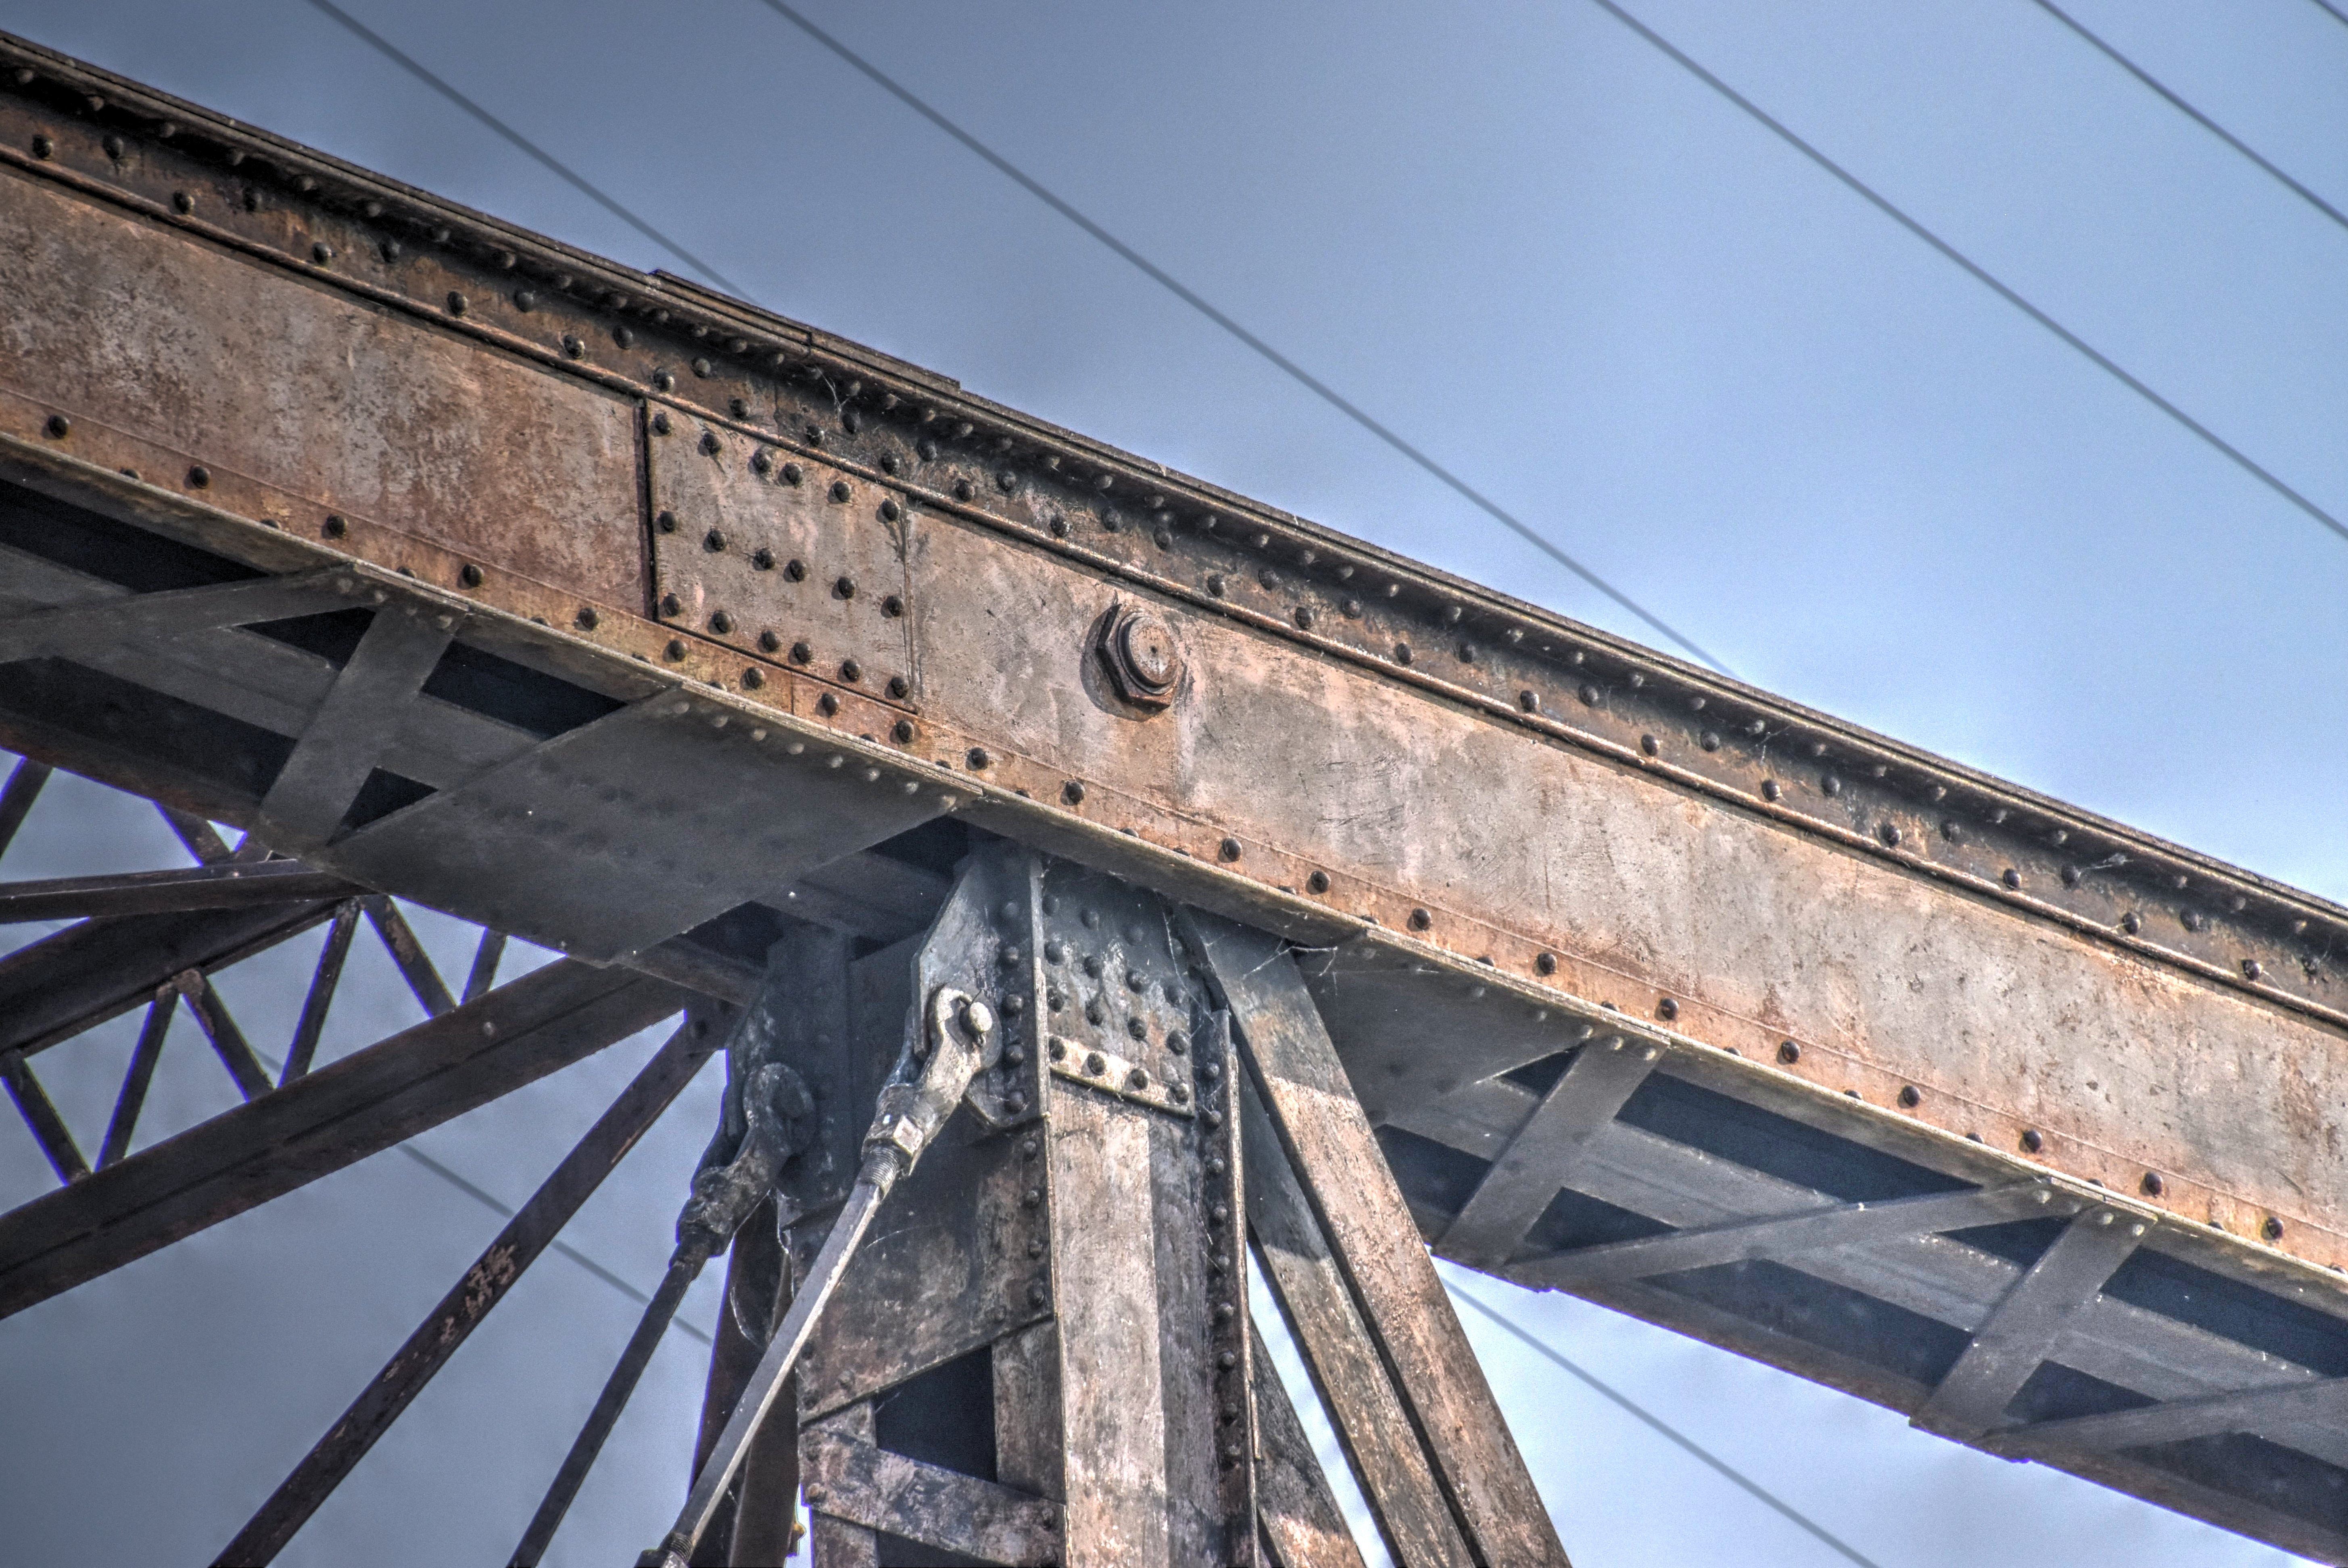
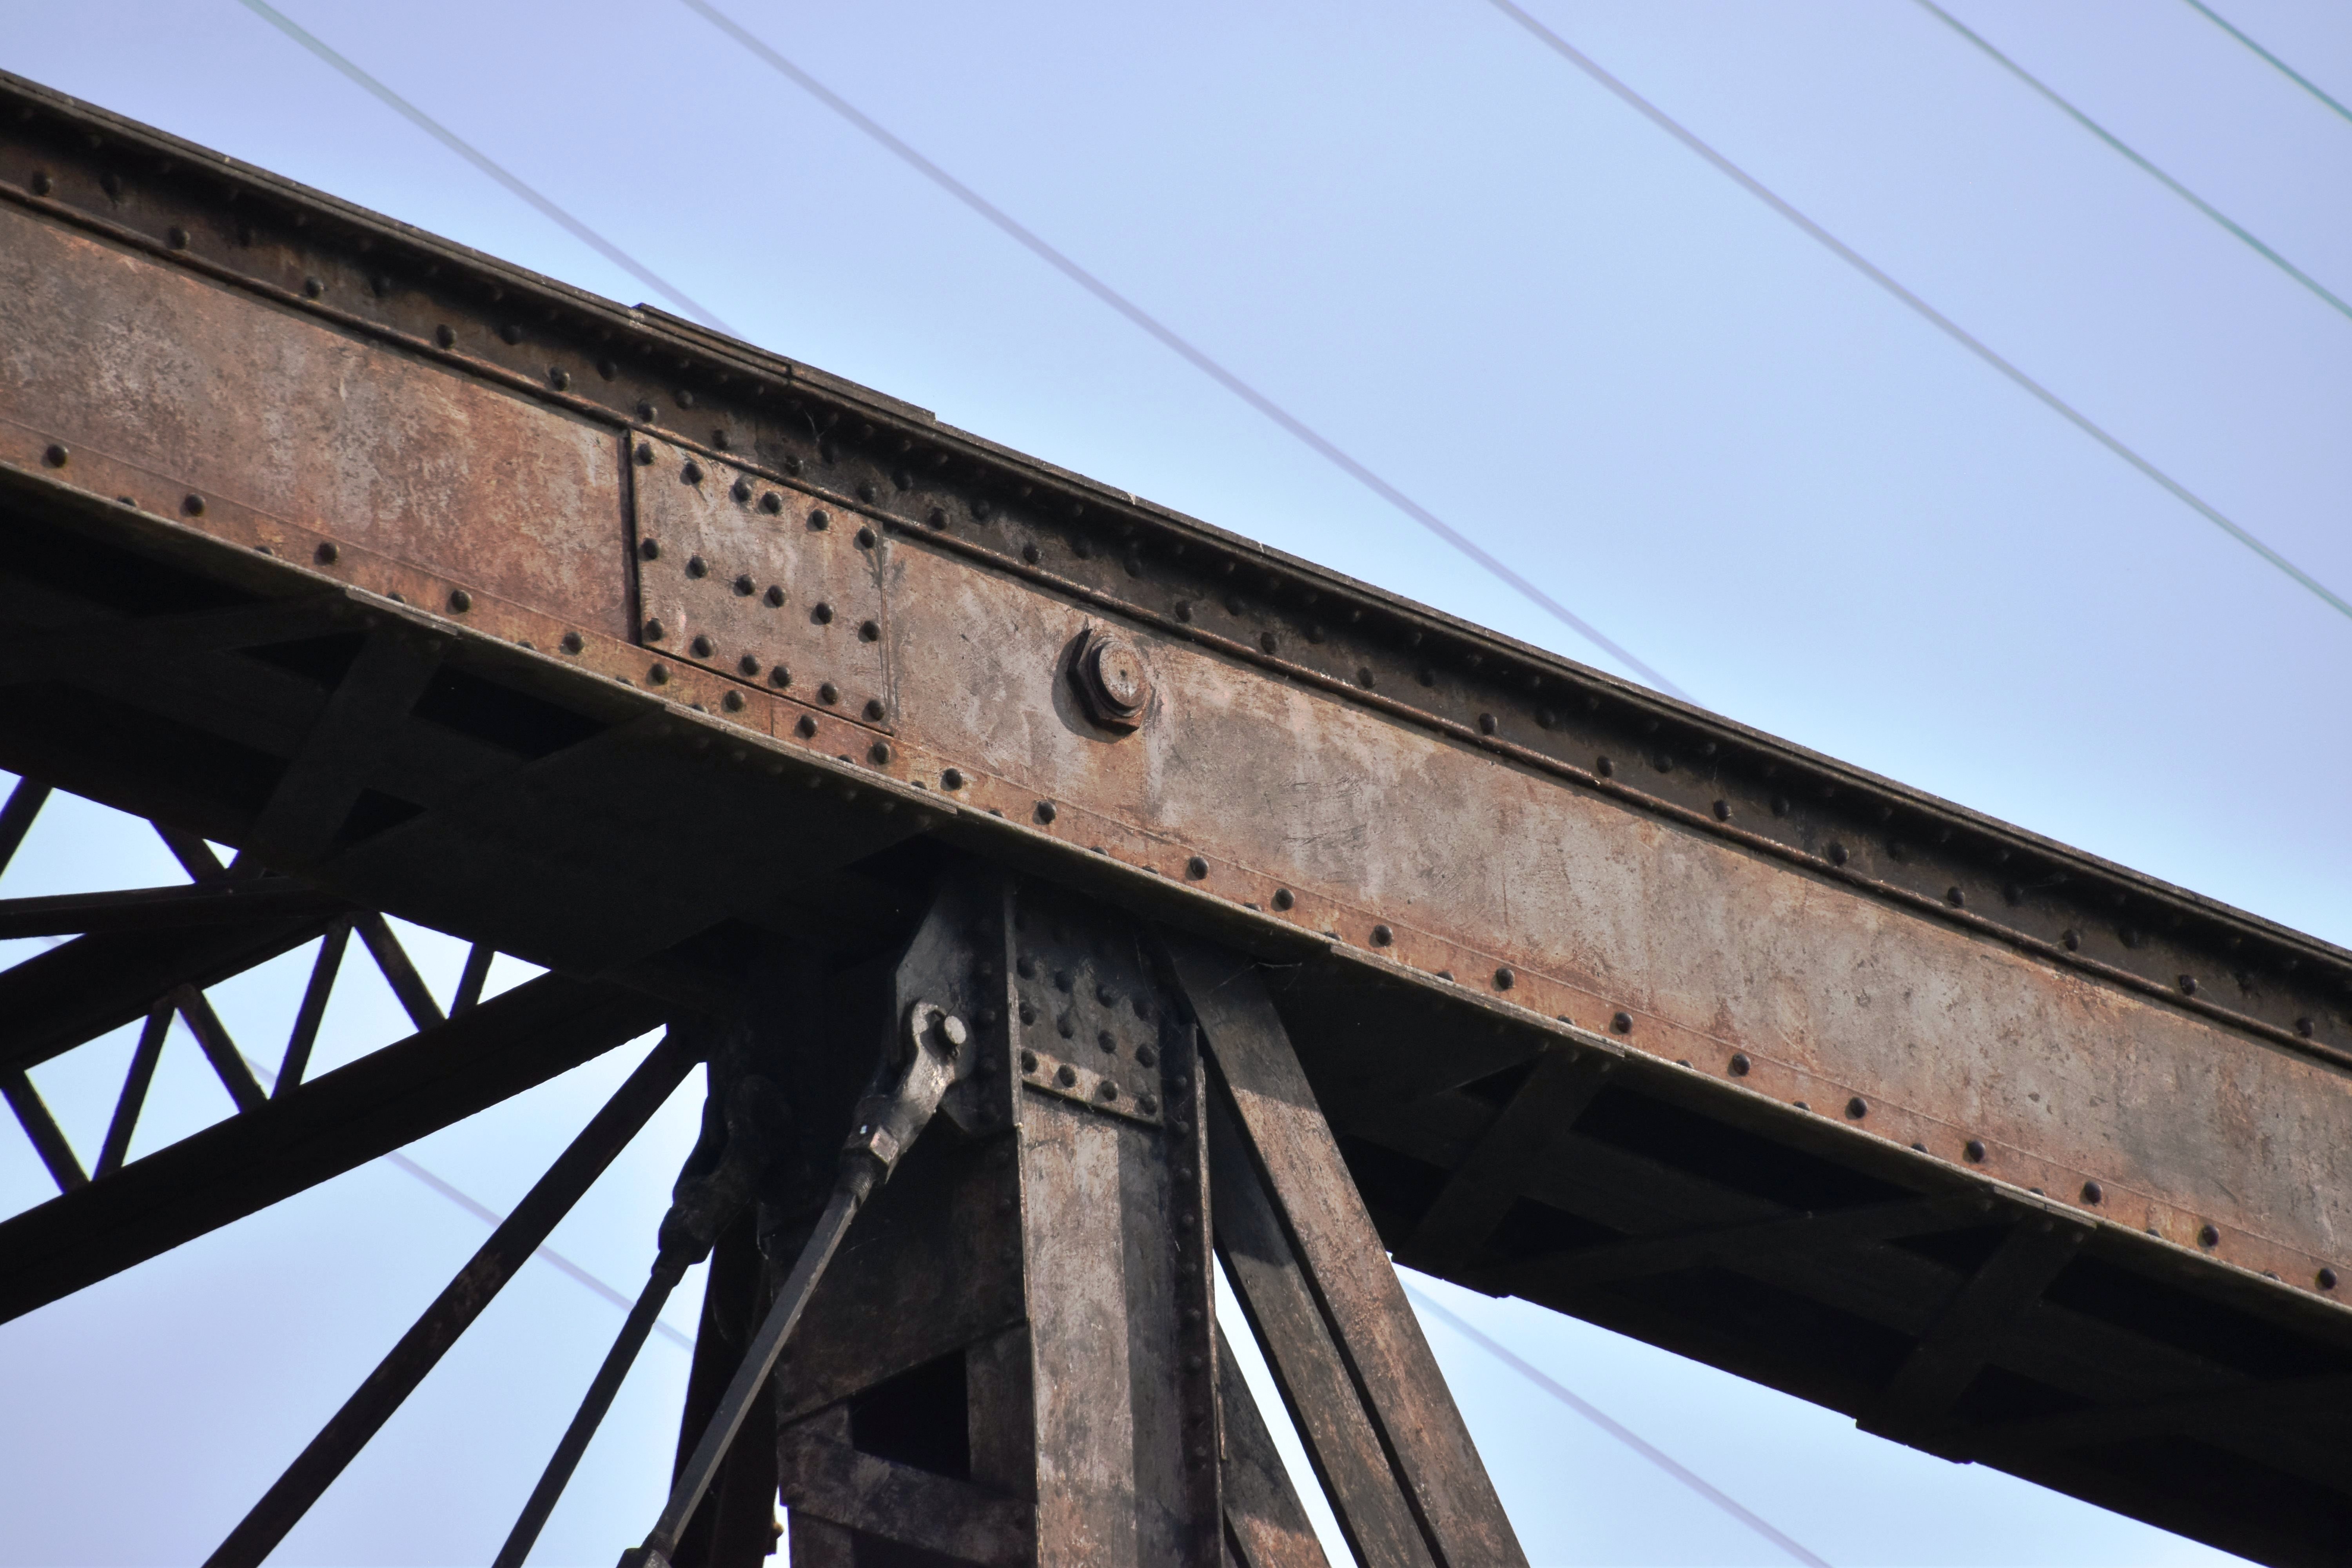


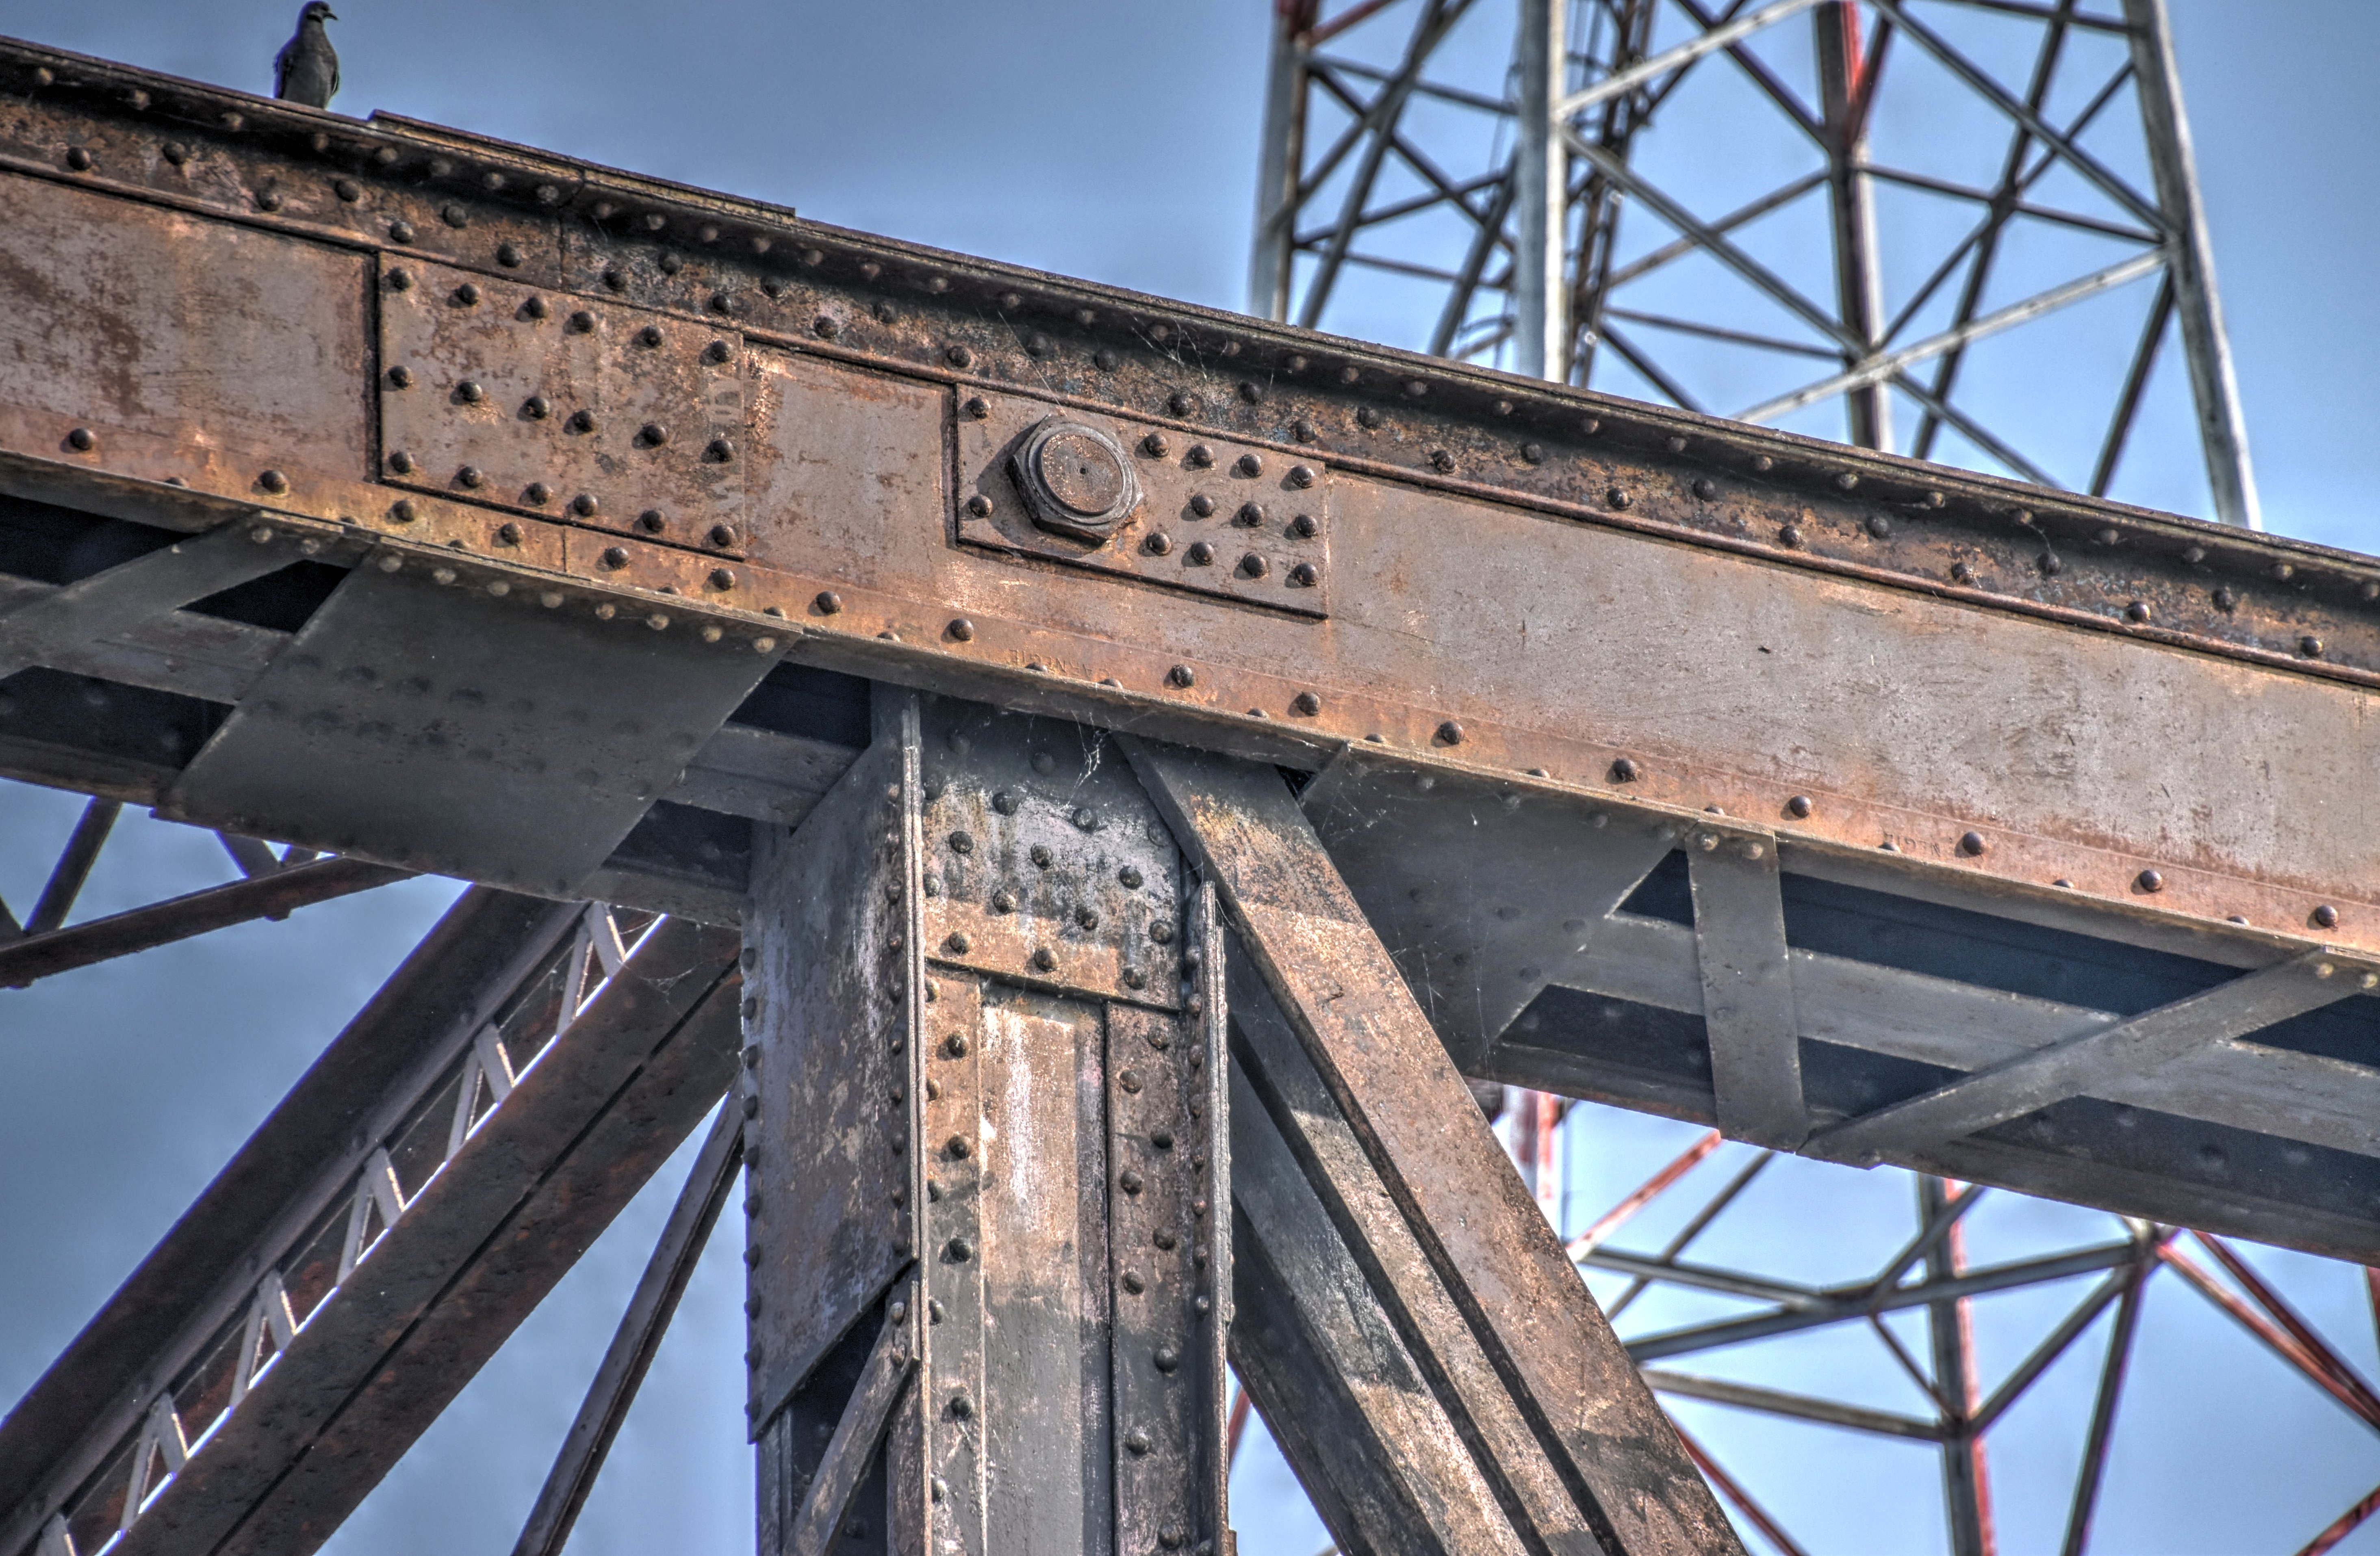


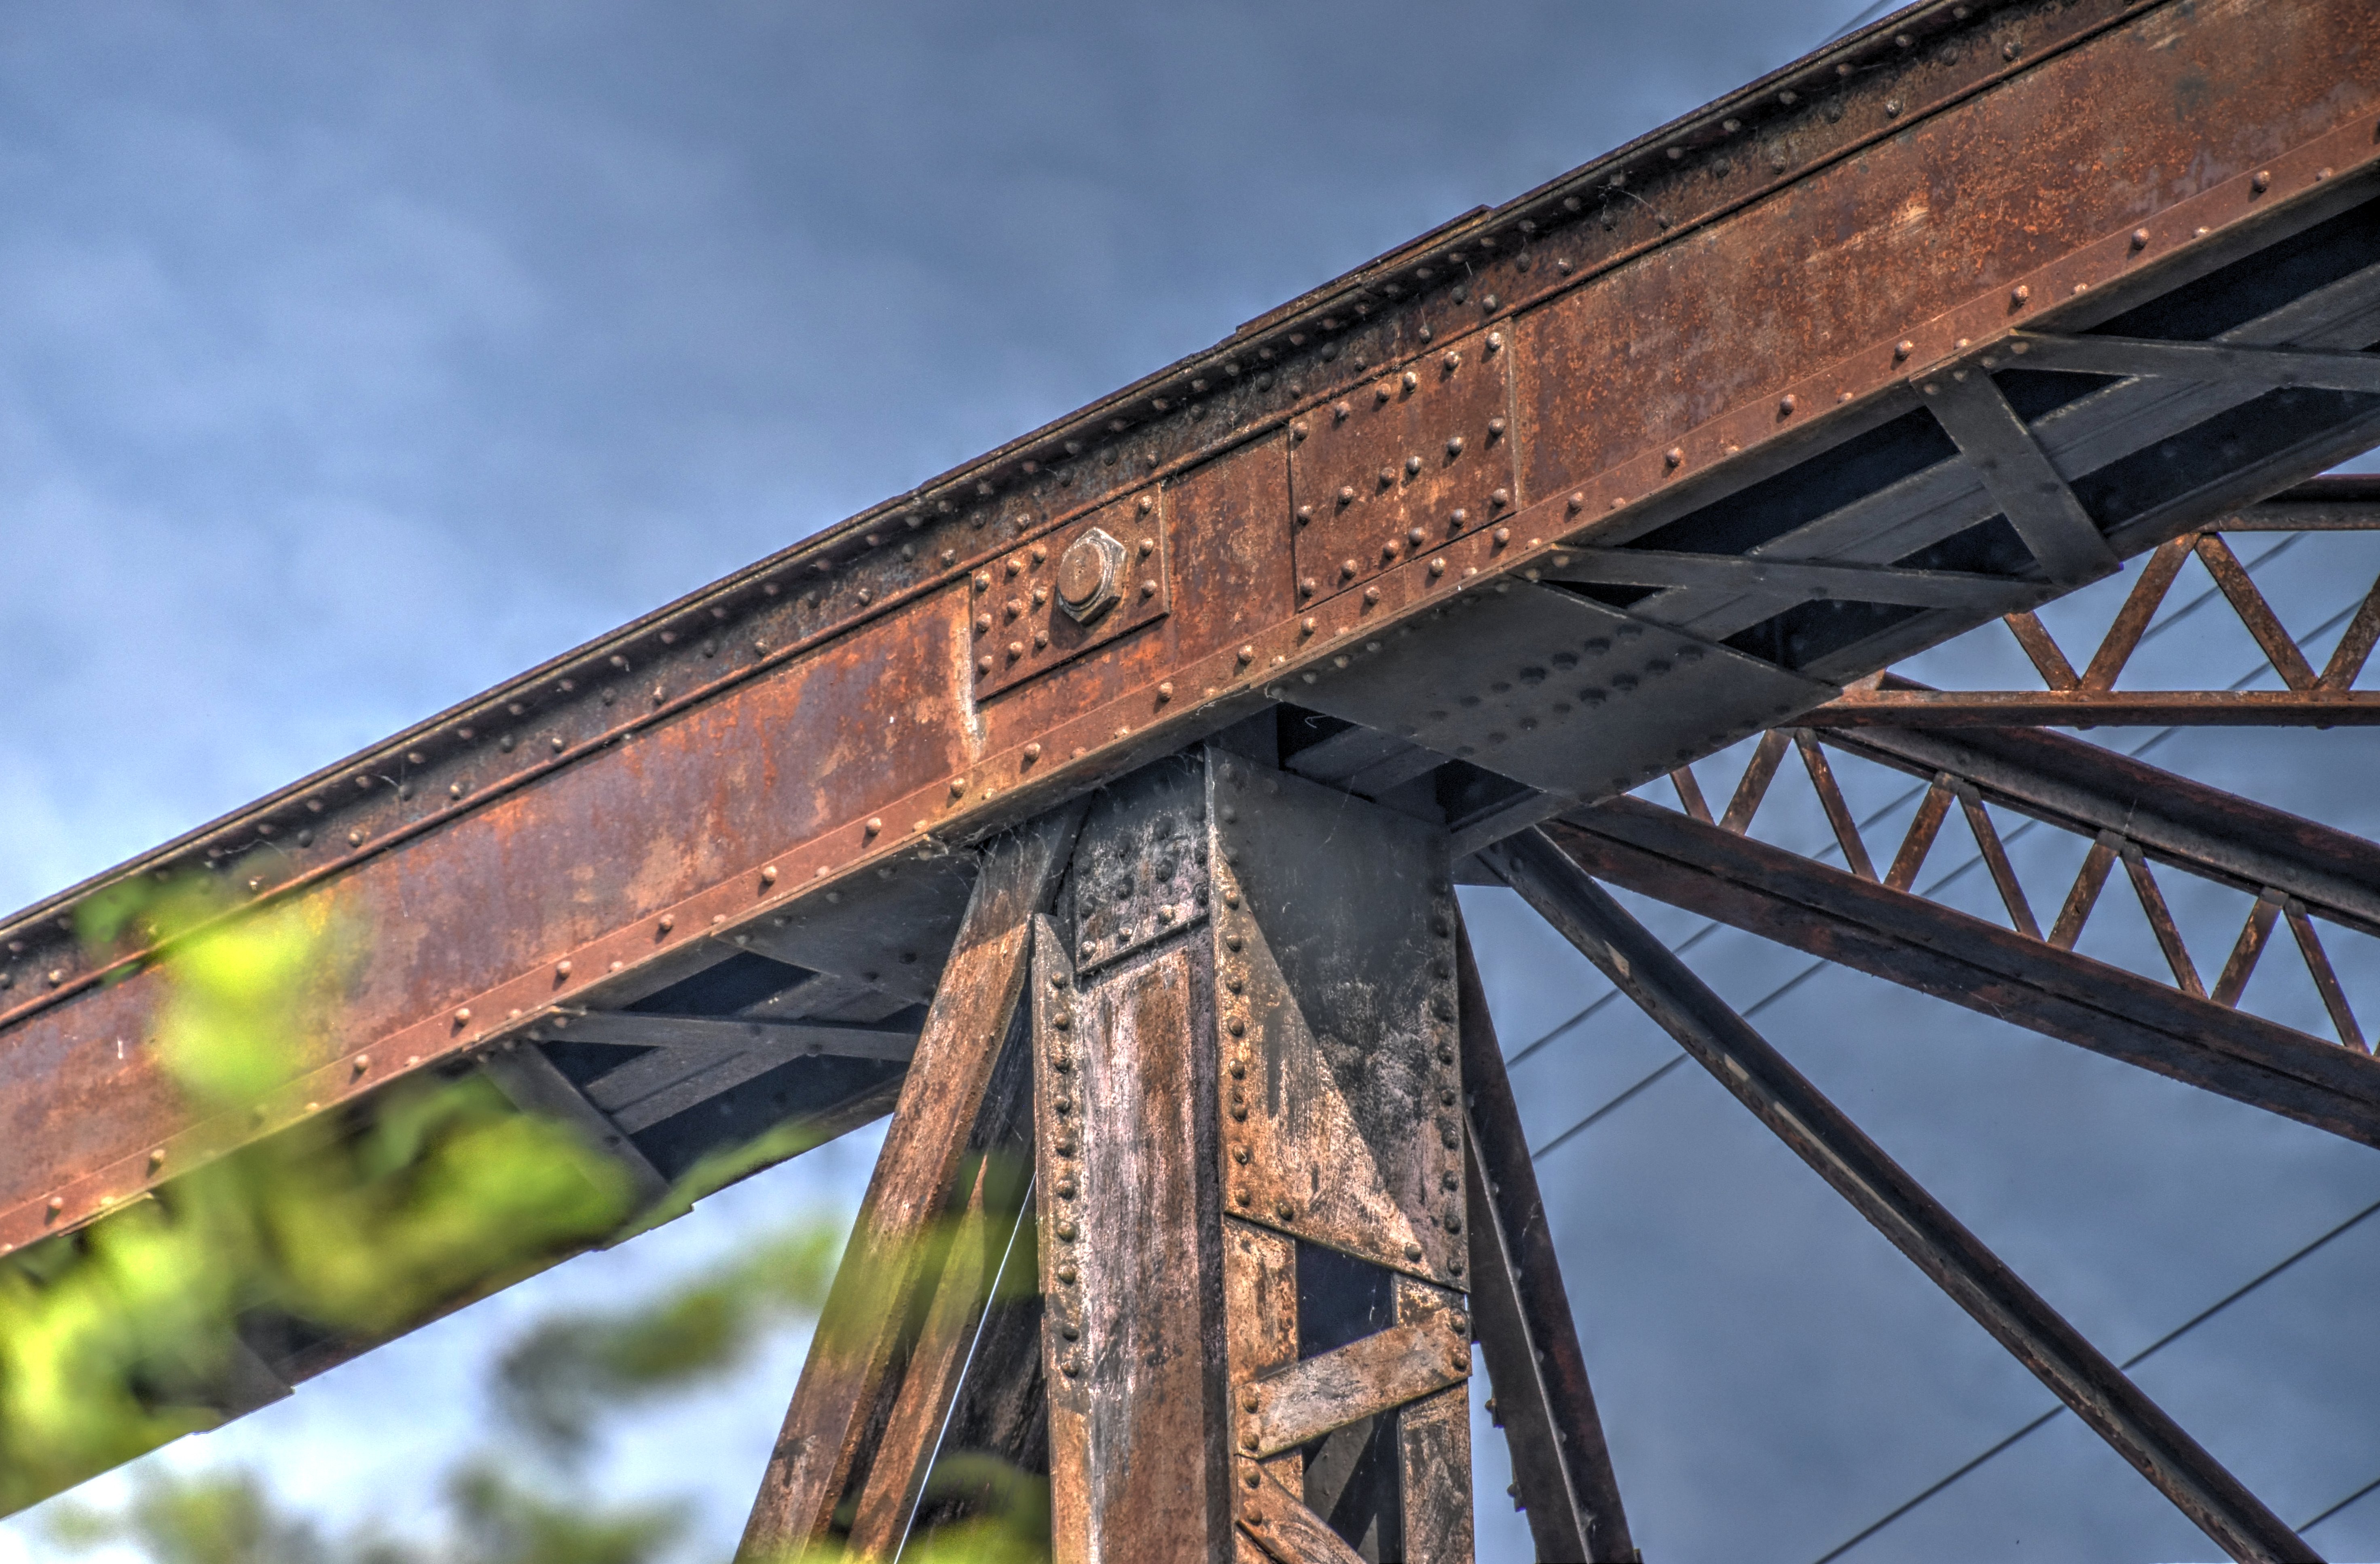


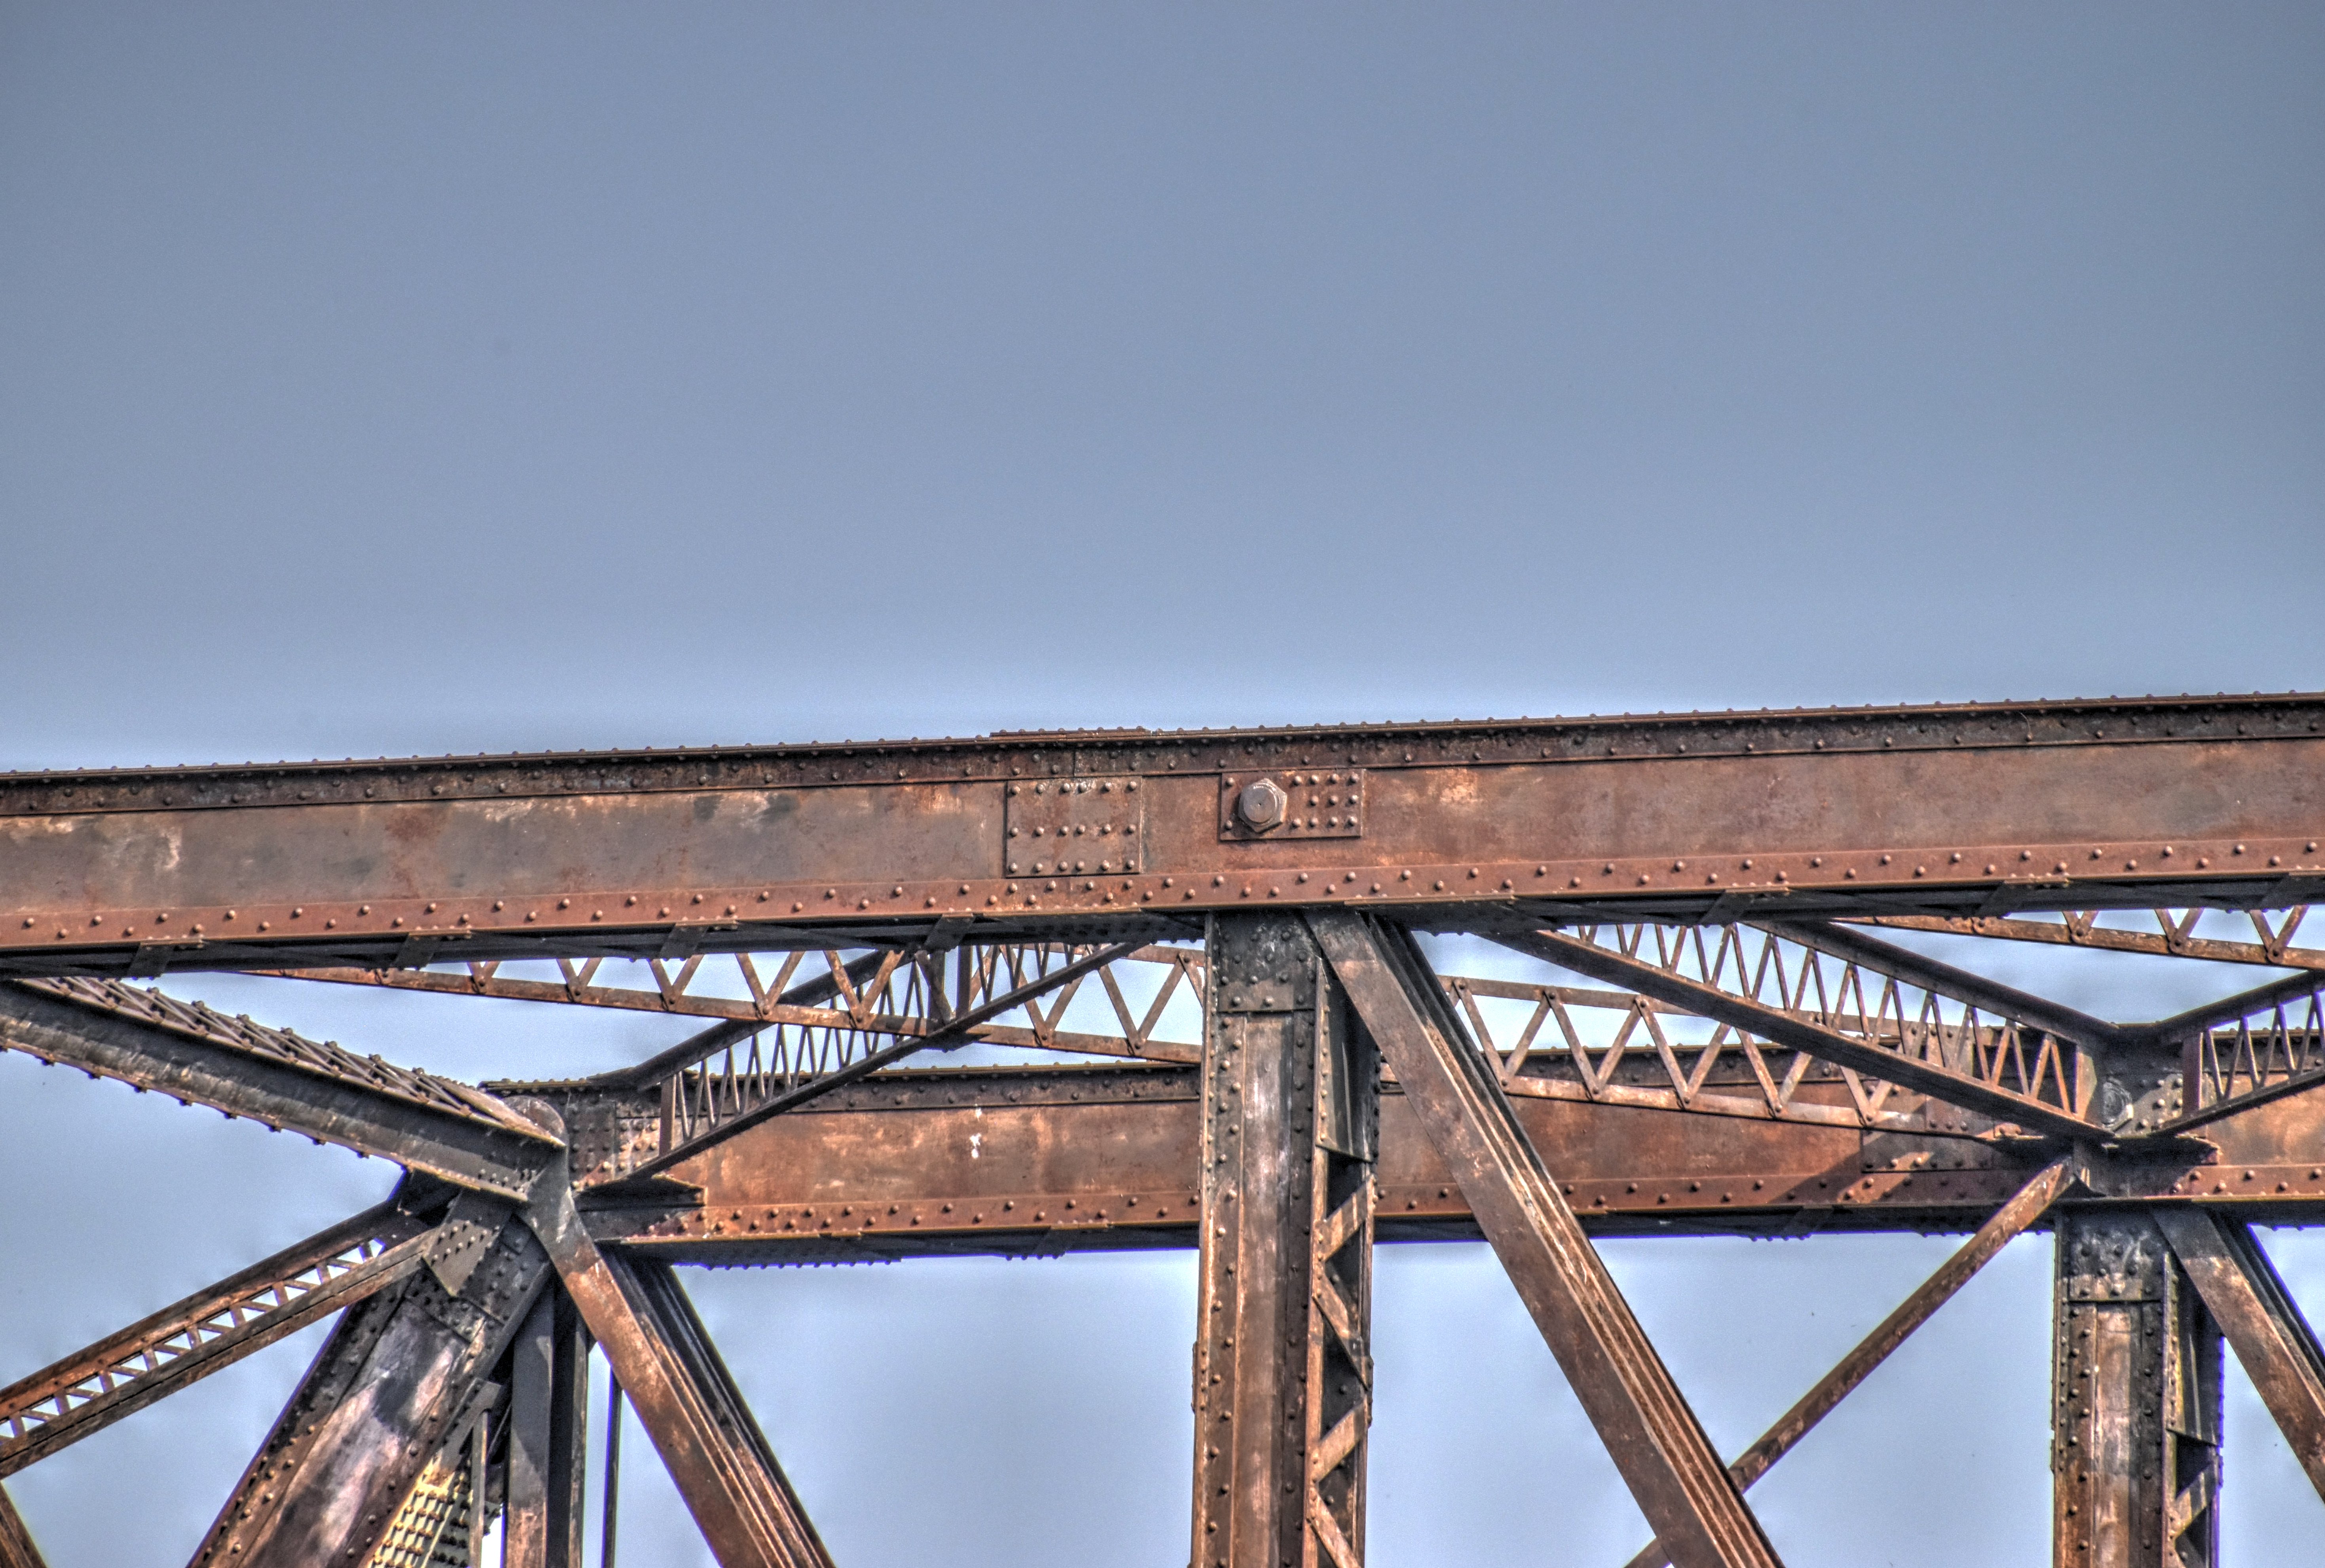
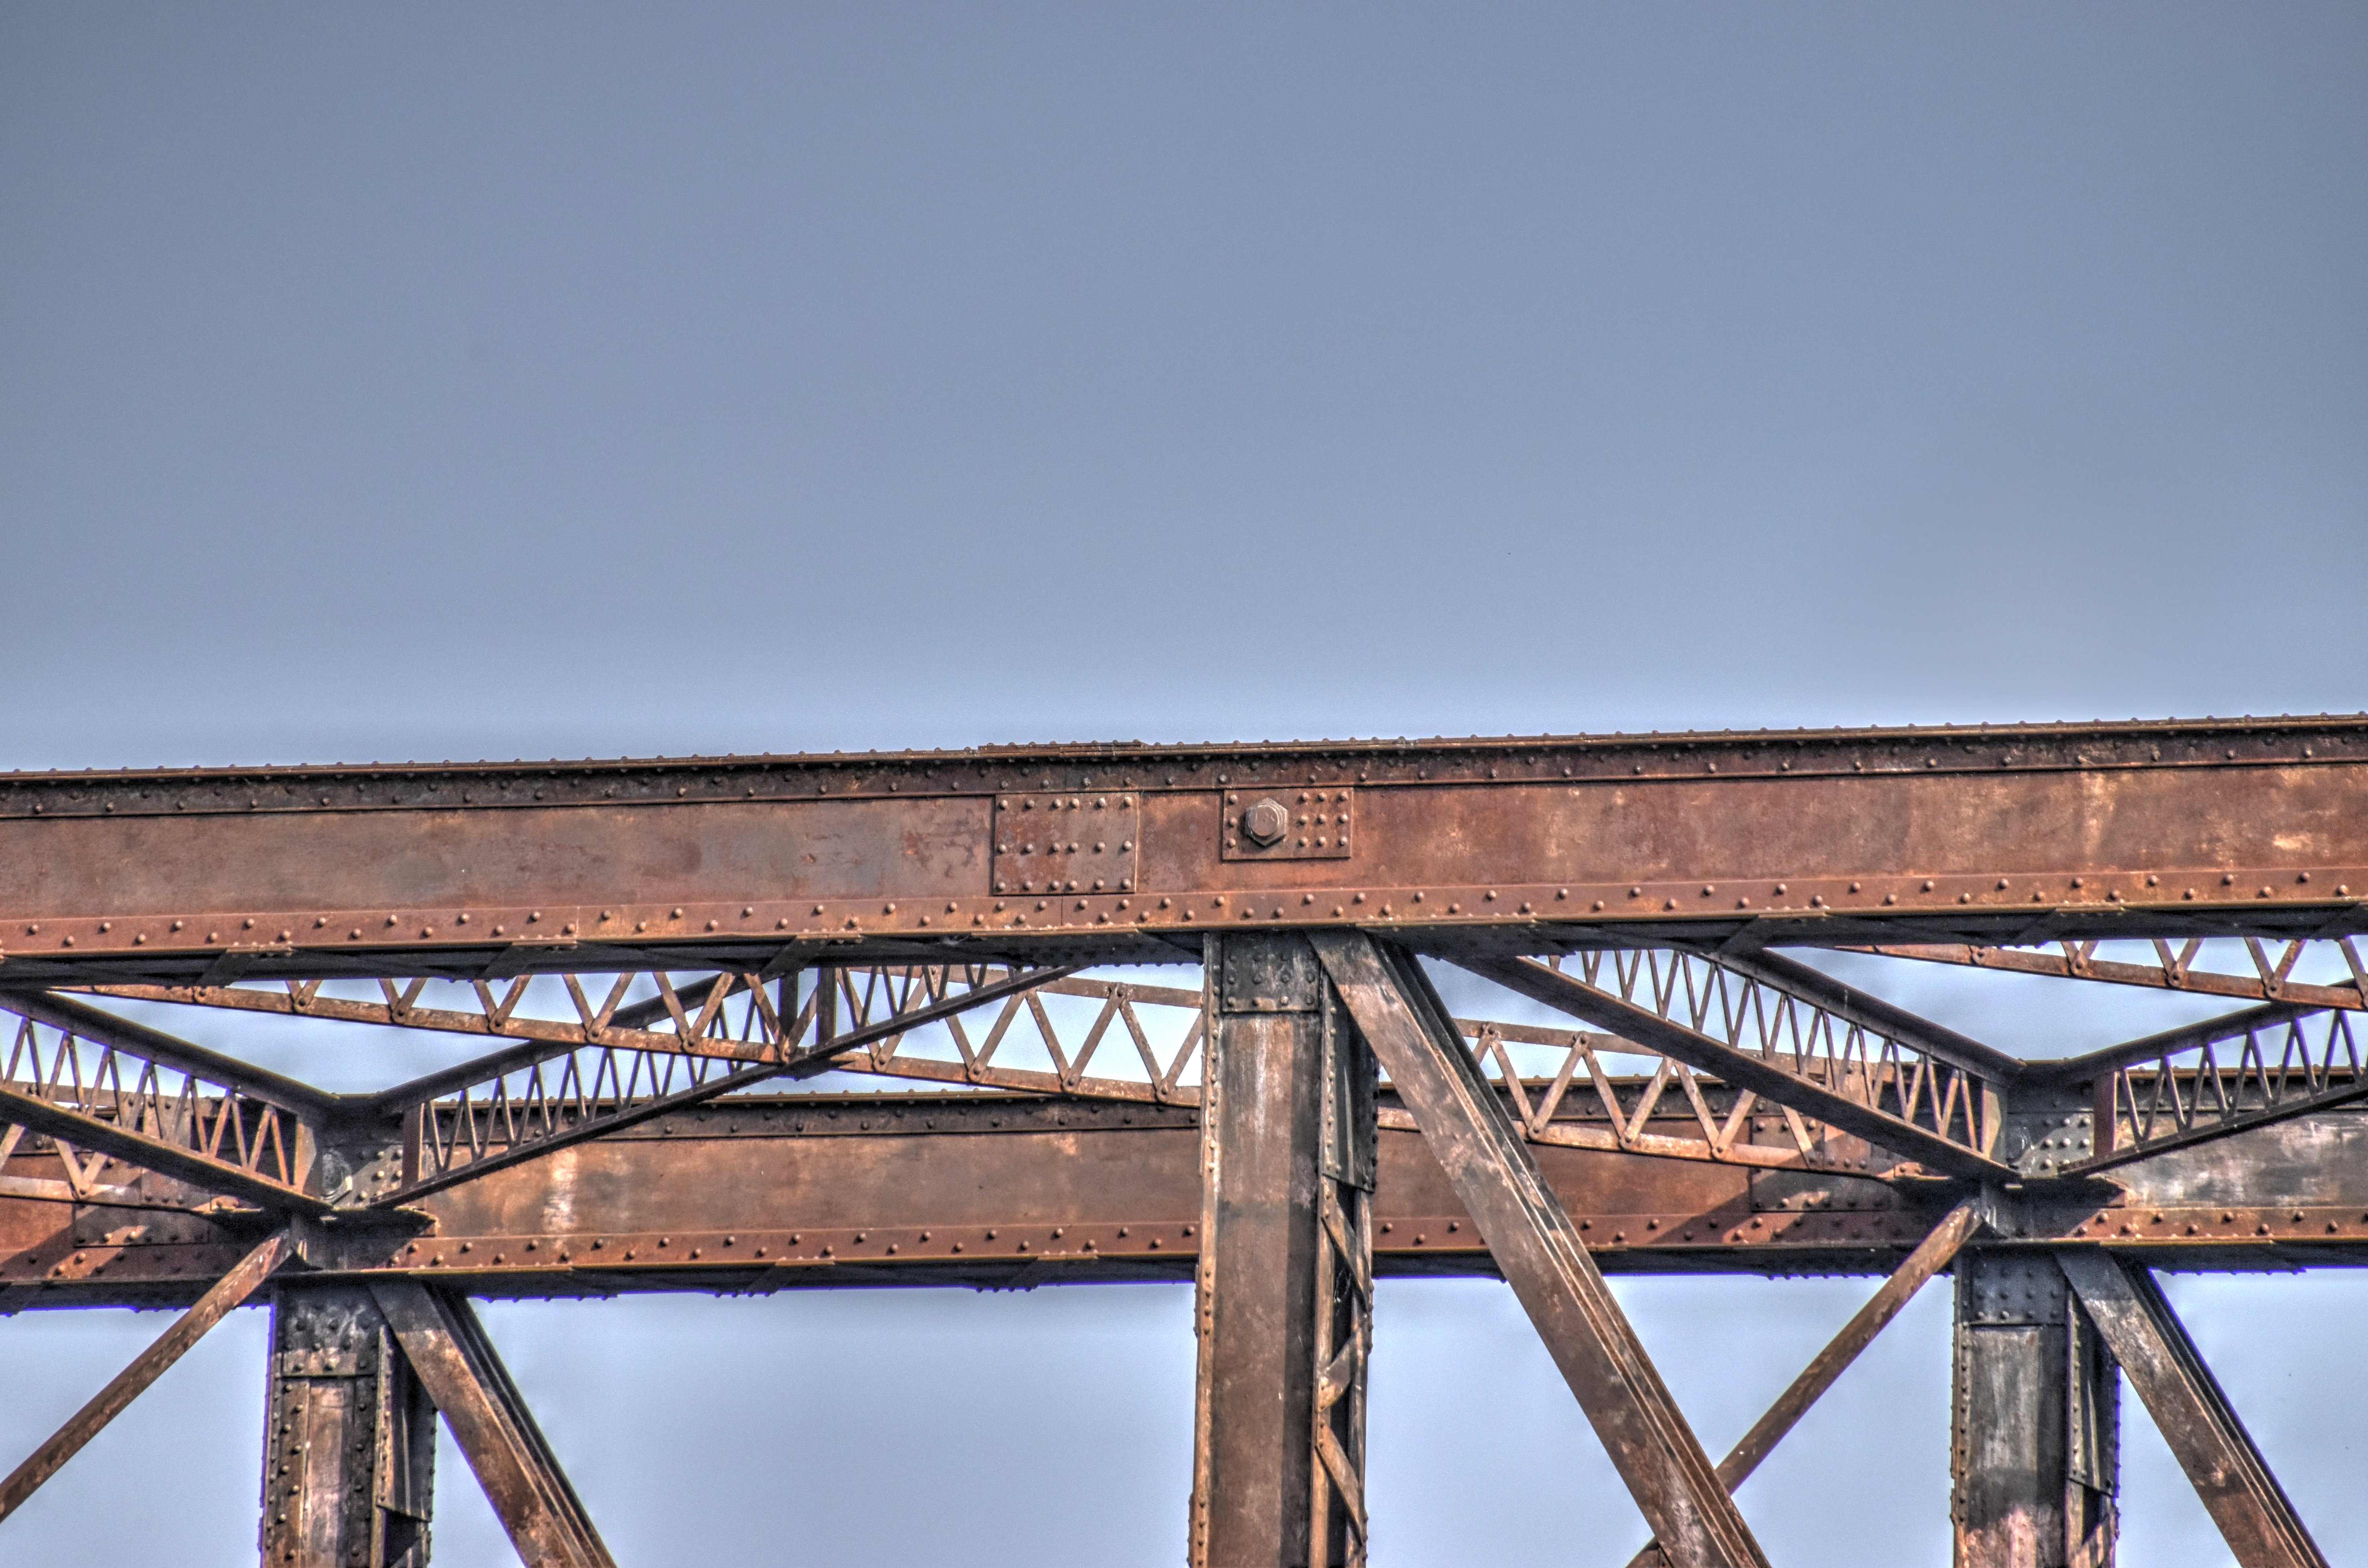
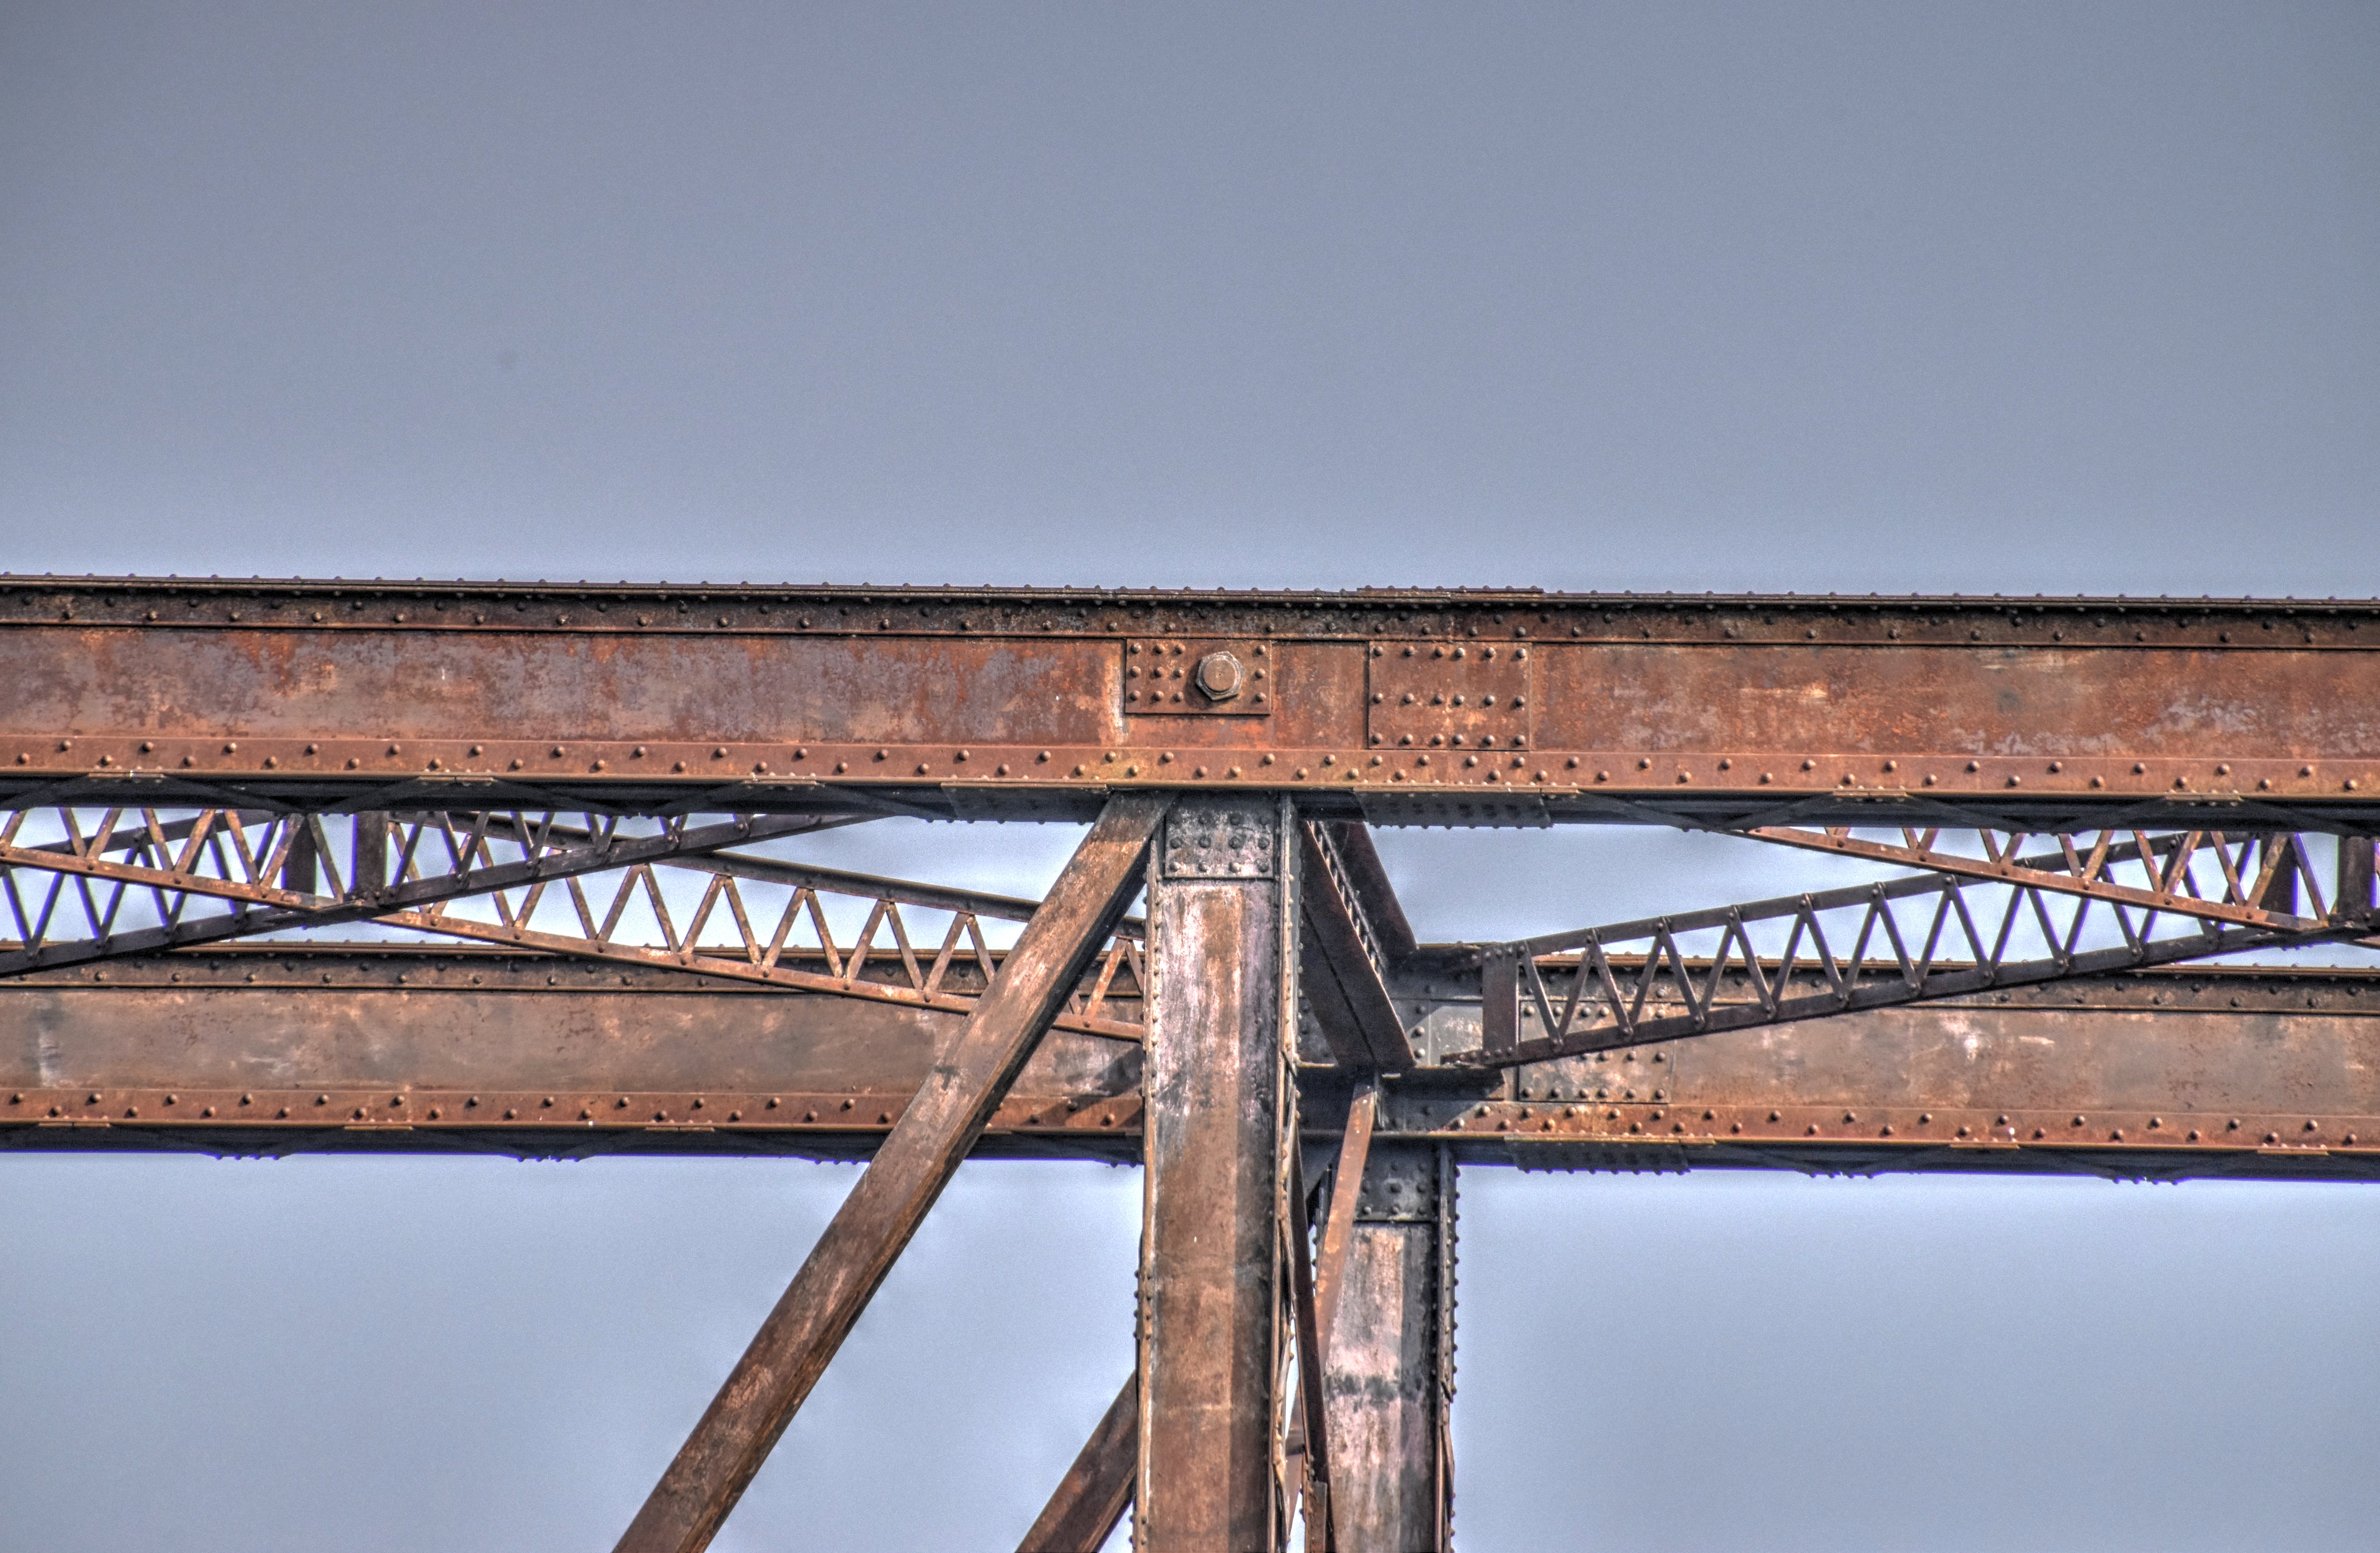
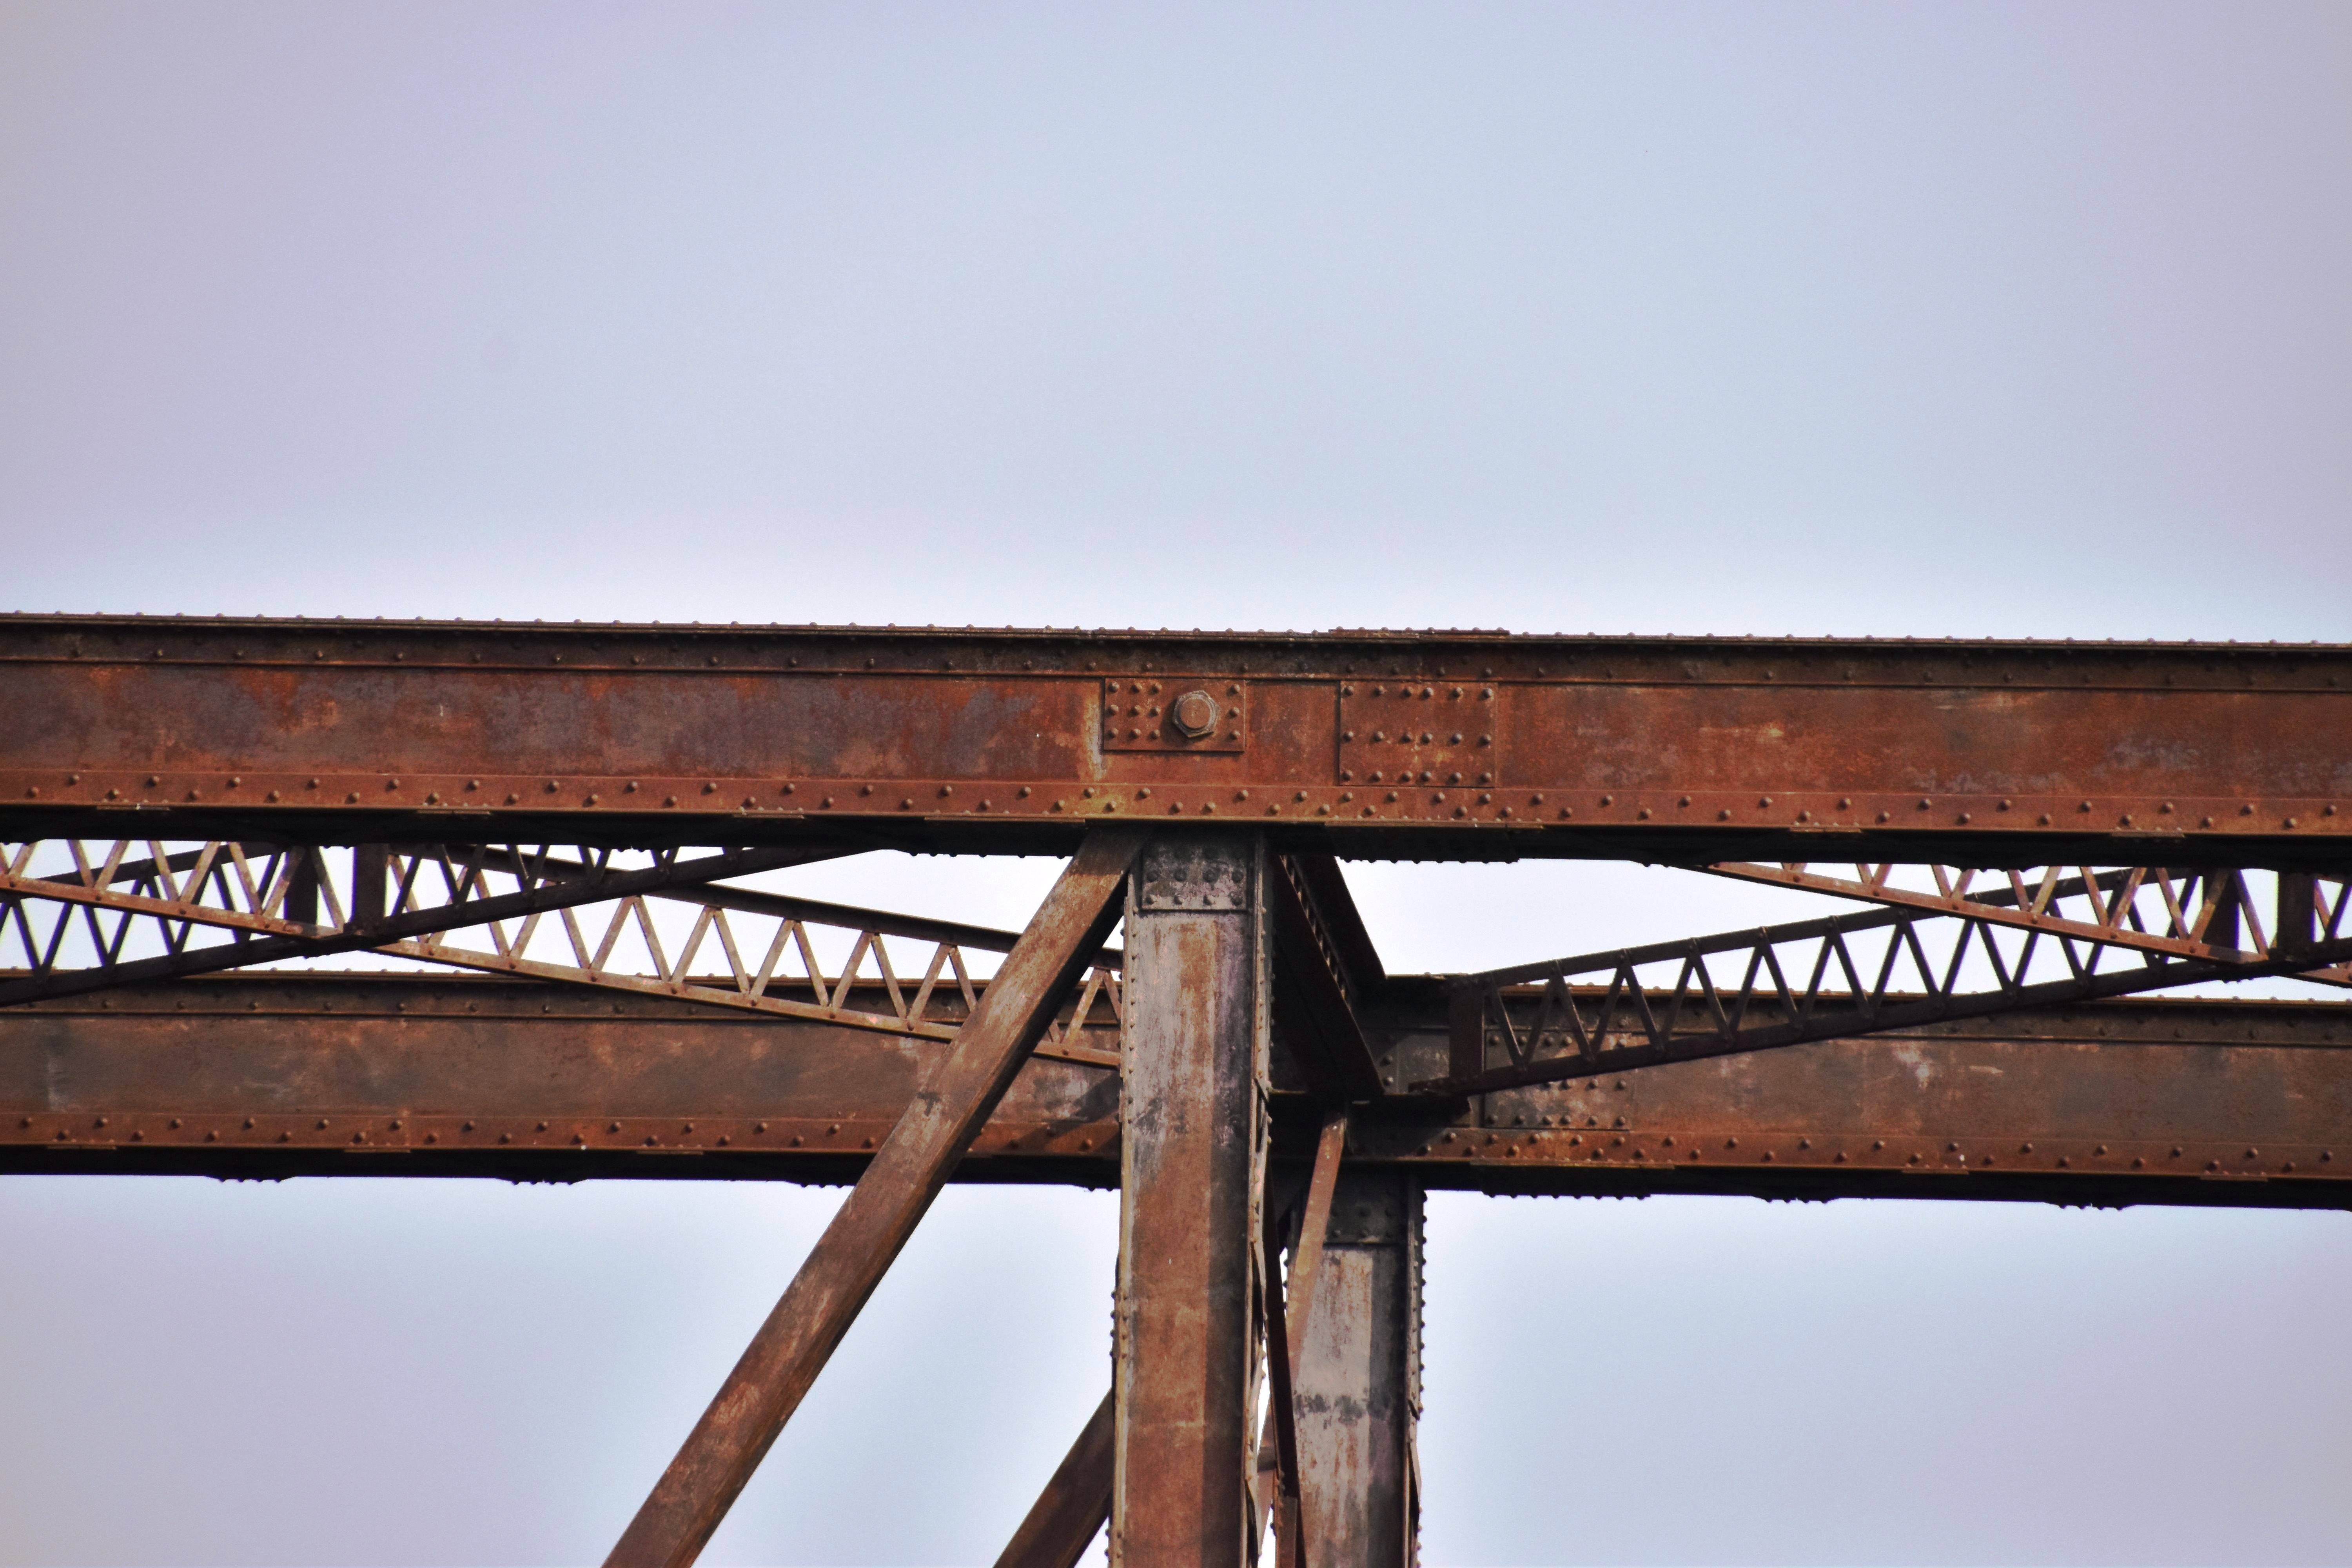
Top chord connections as viewed from beside bridge.
![]()


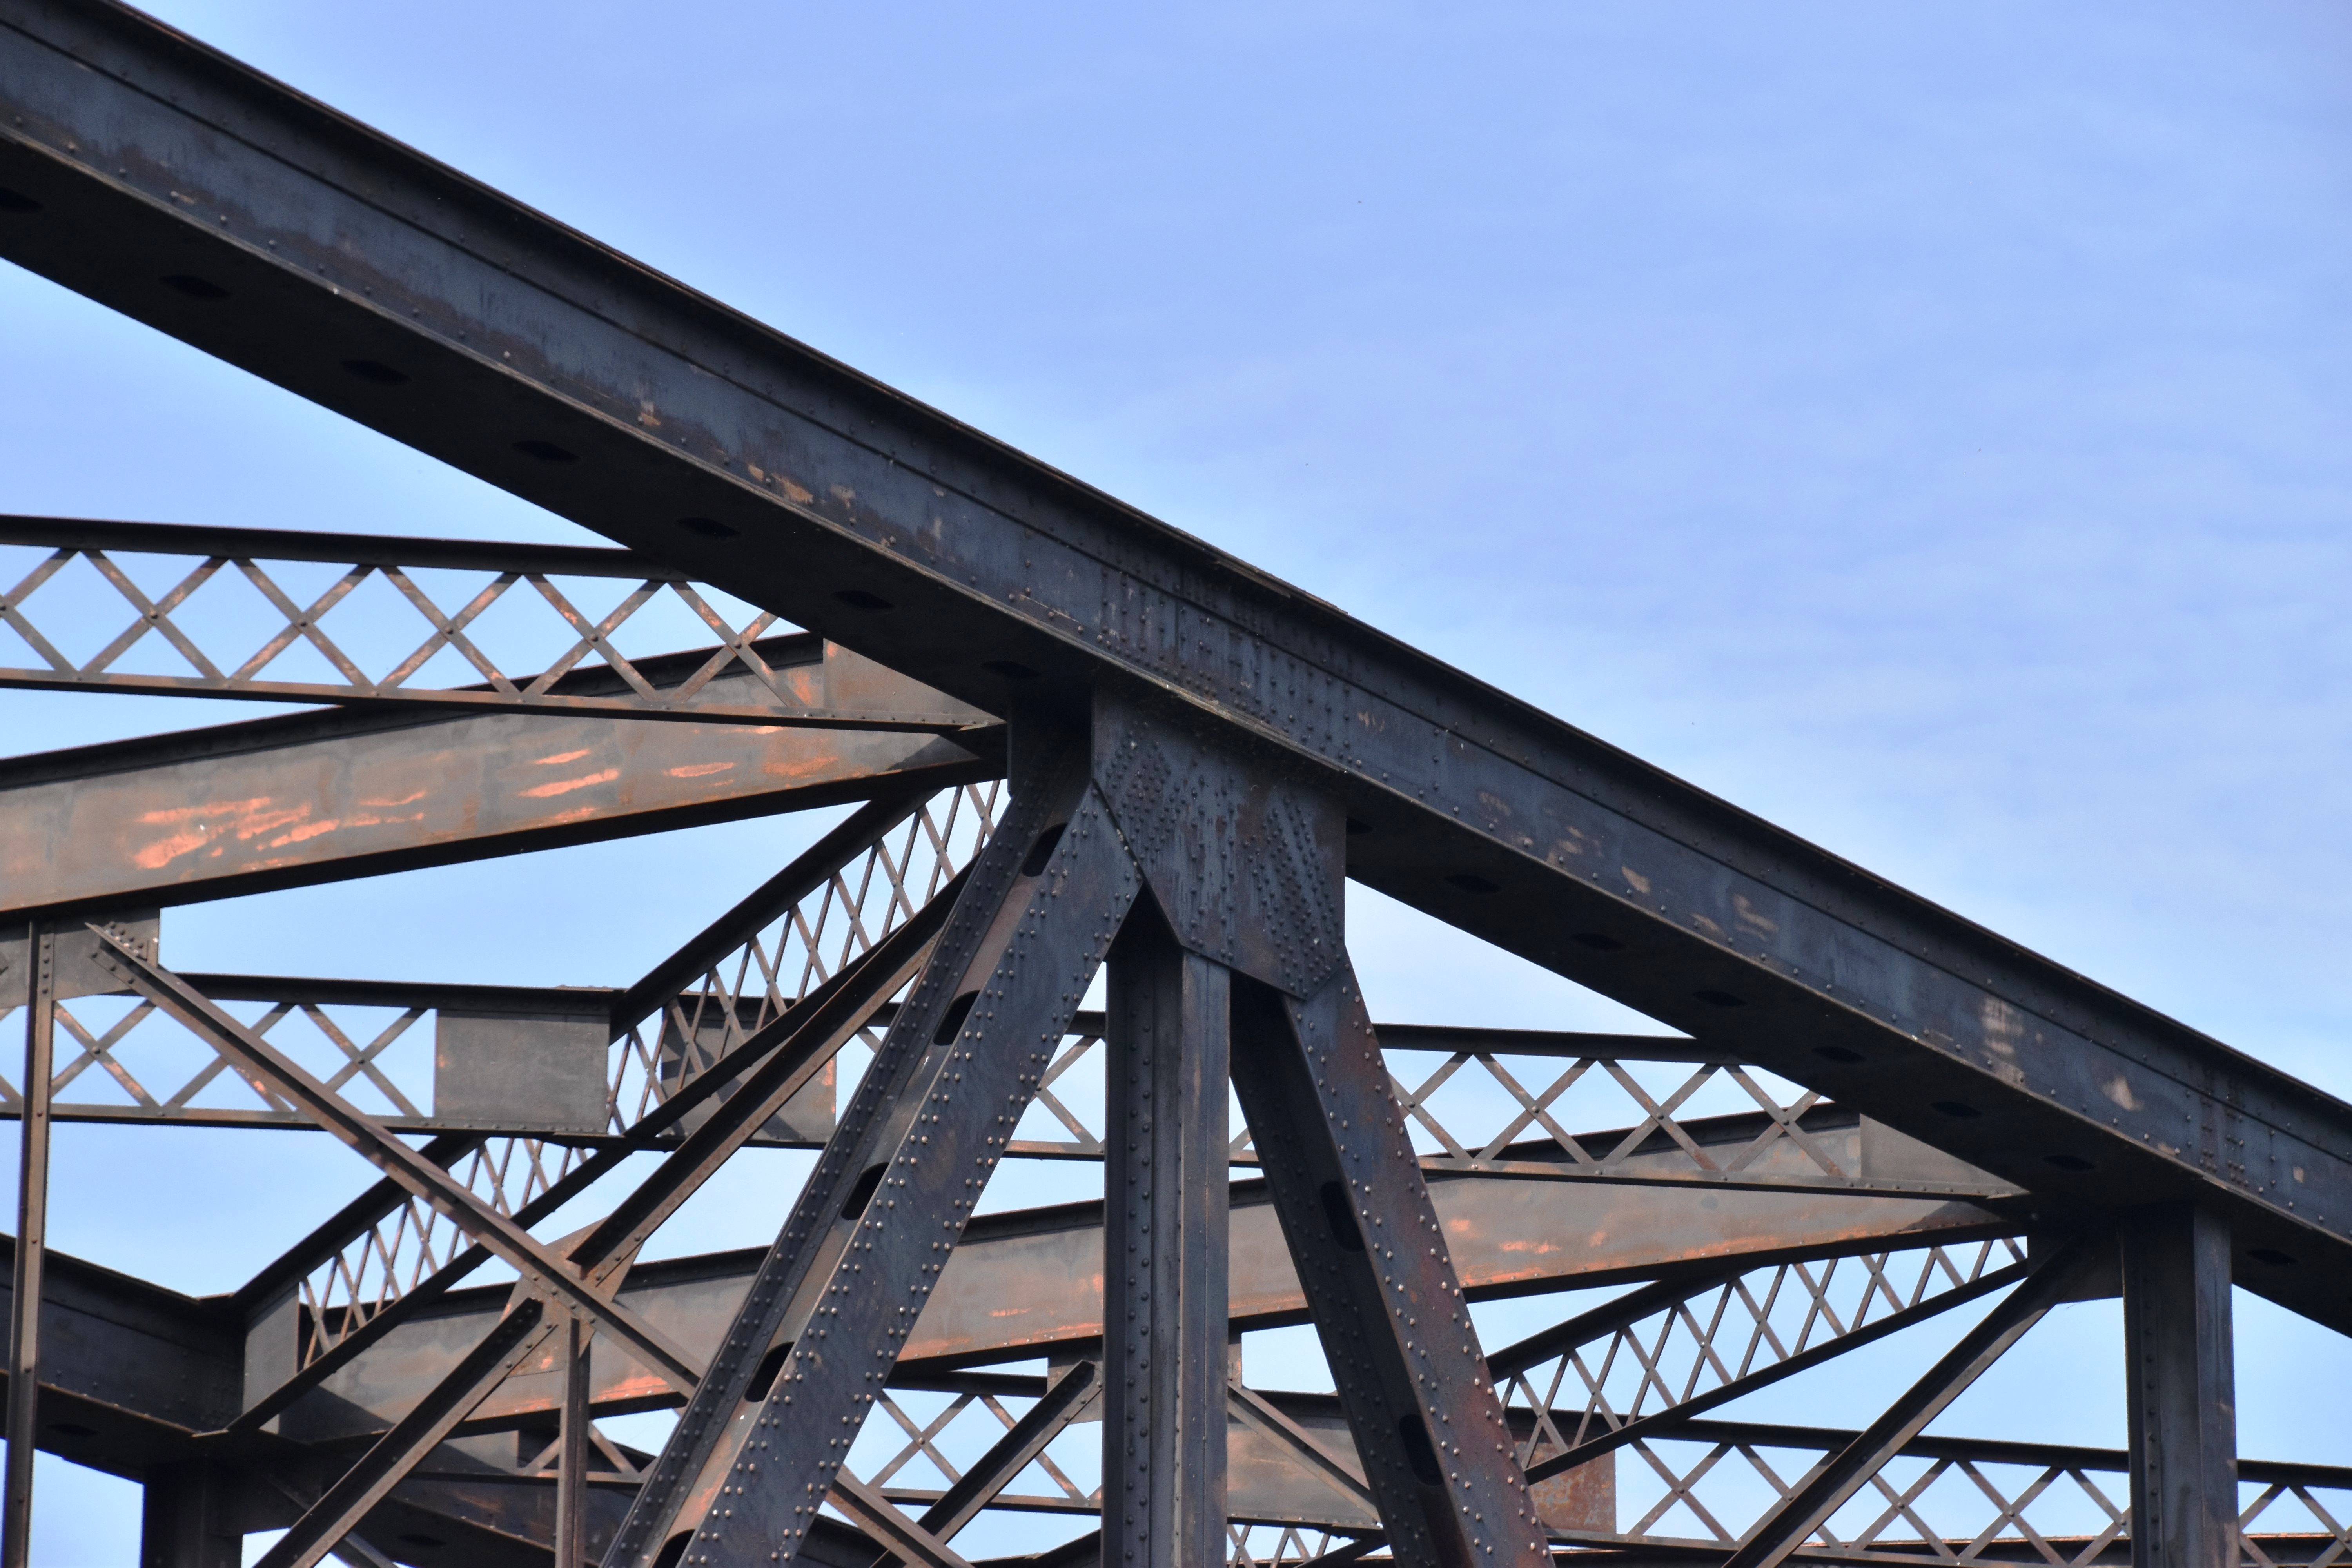
Top chord connections as viewed from beside bridge, interior views.
![]()


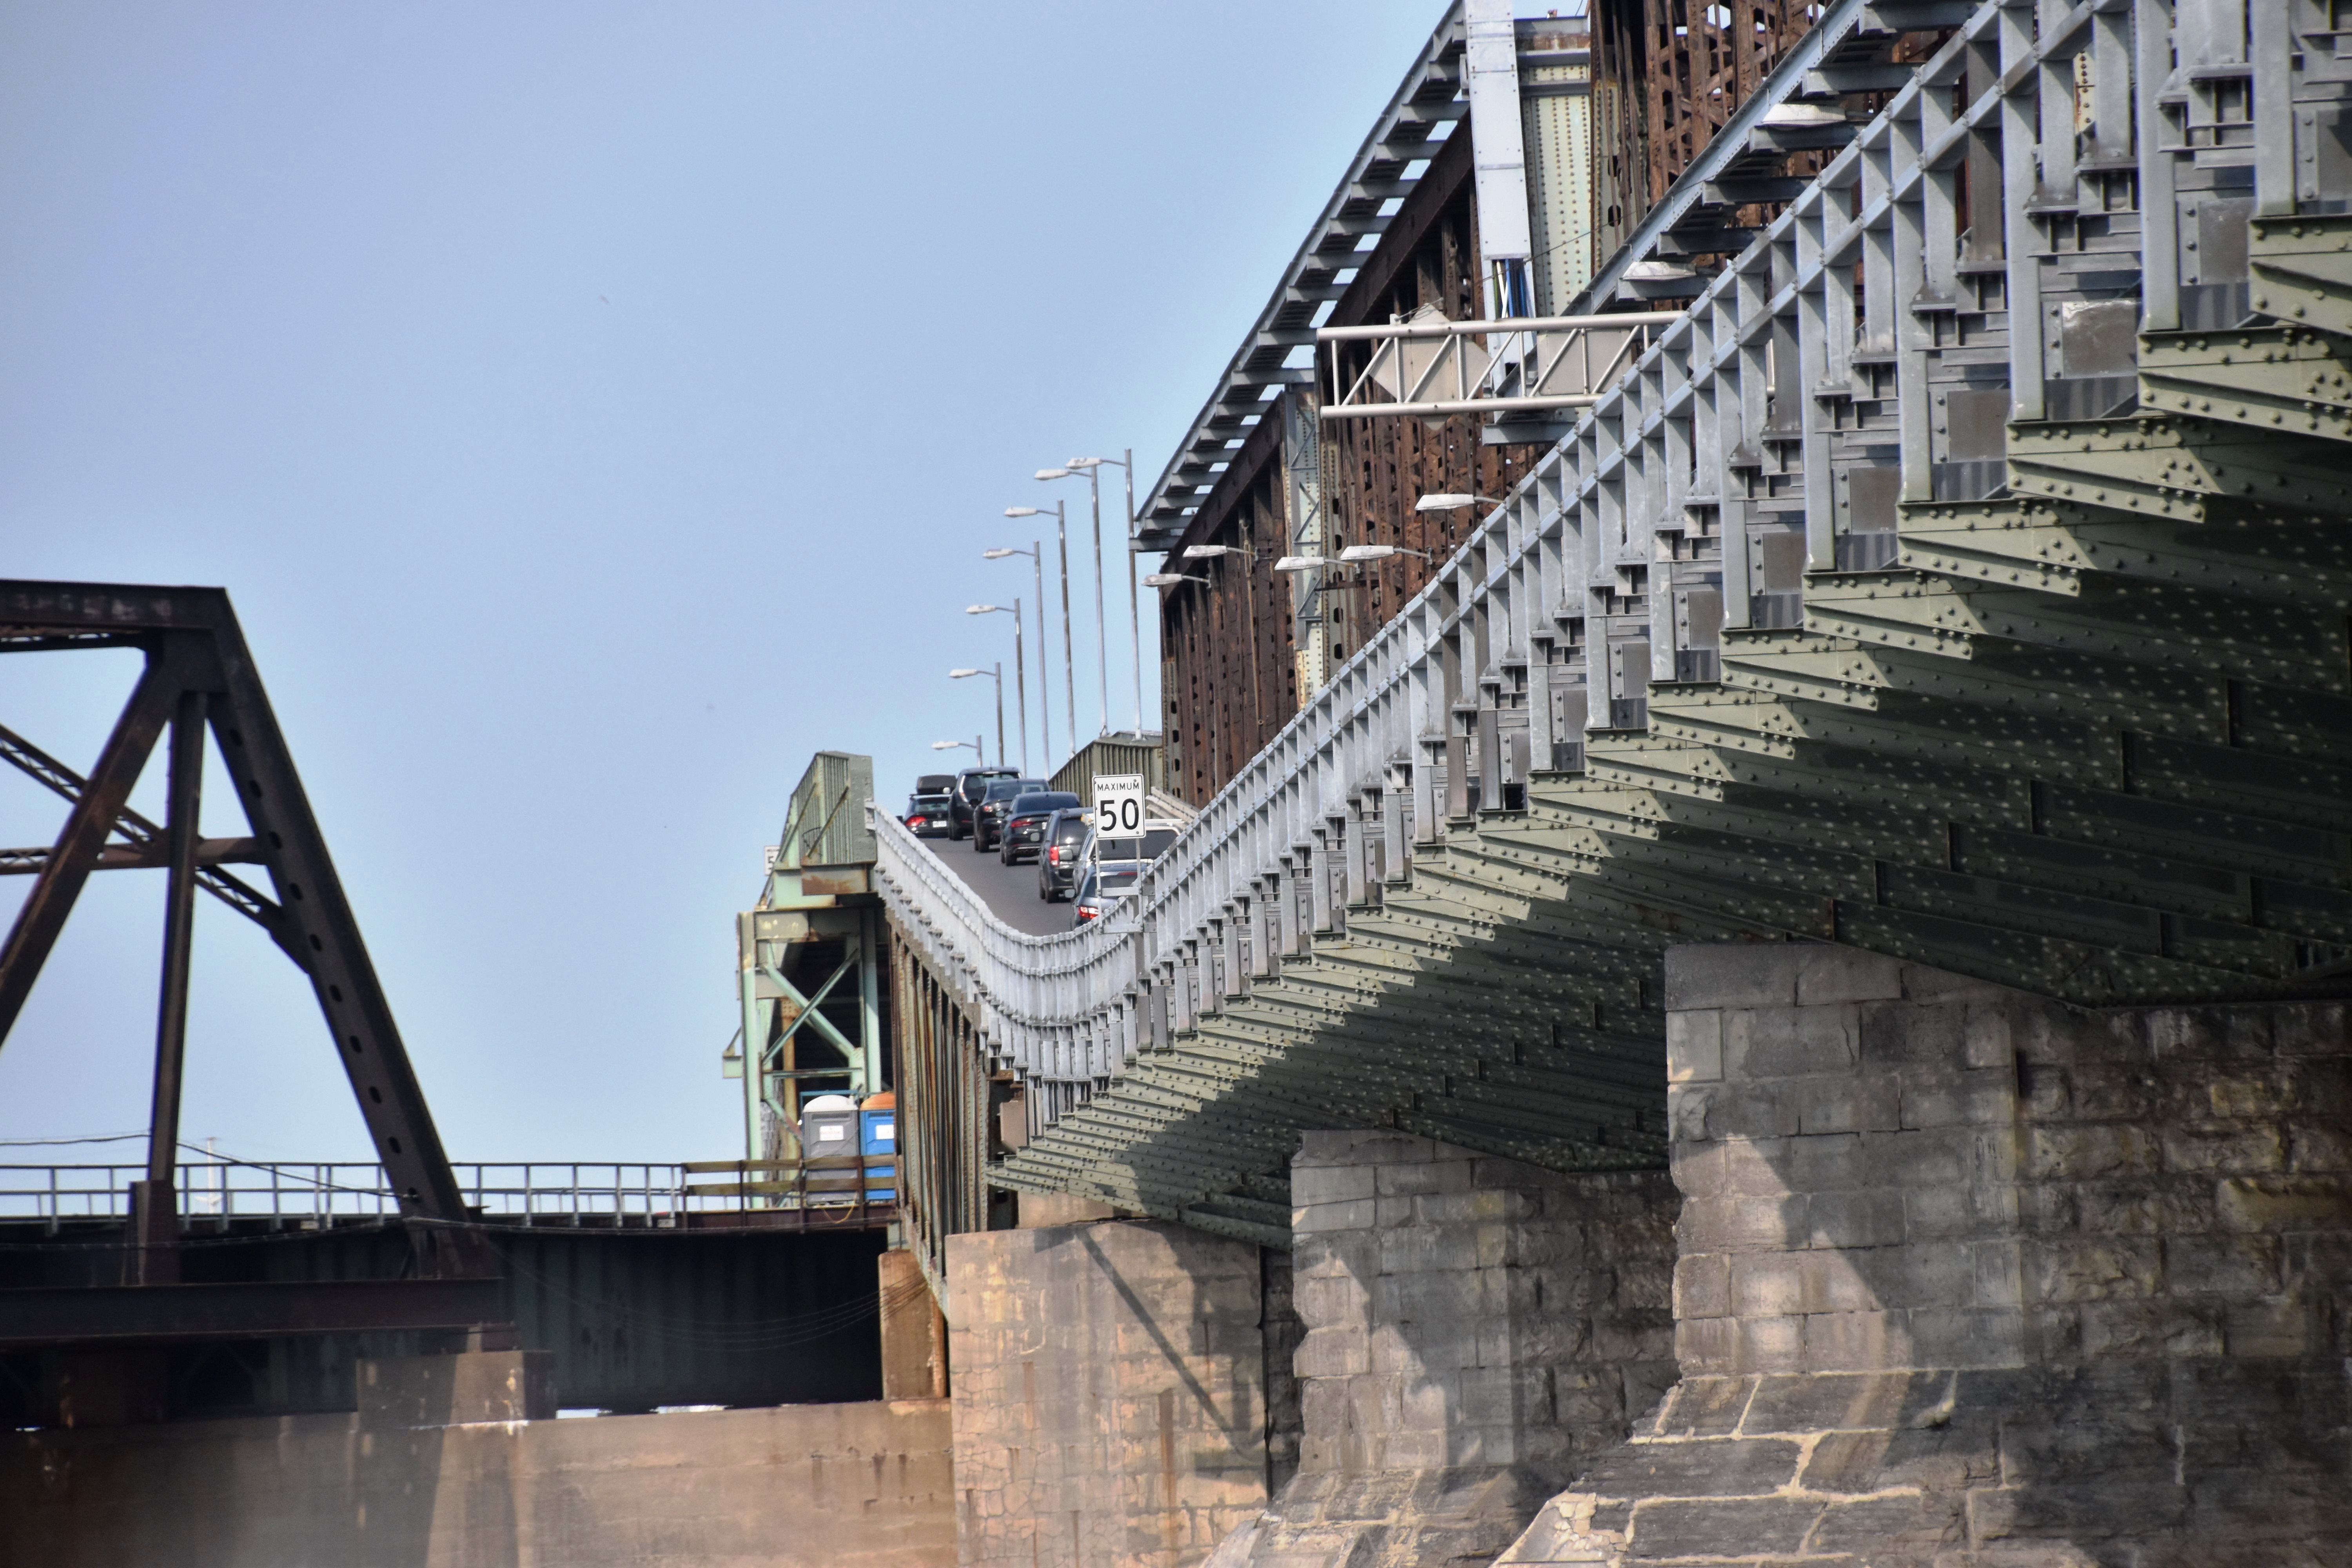
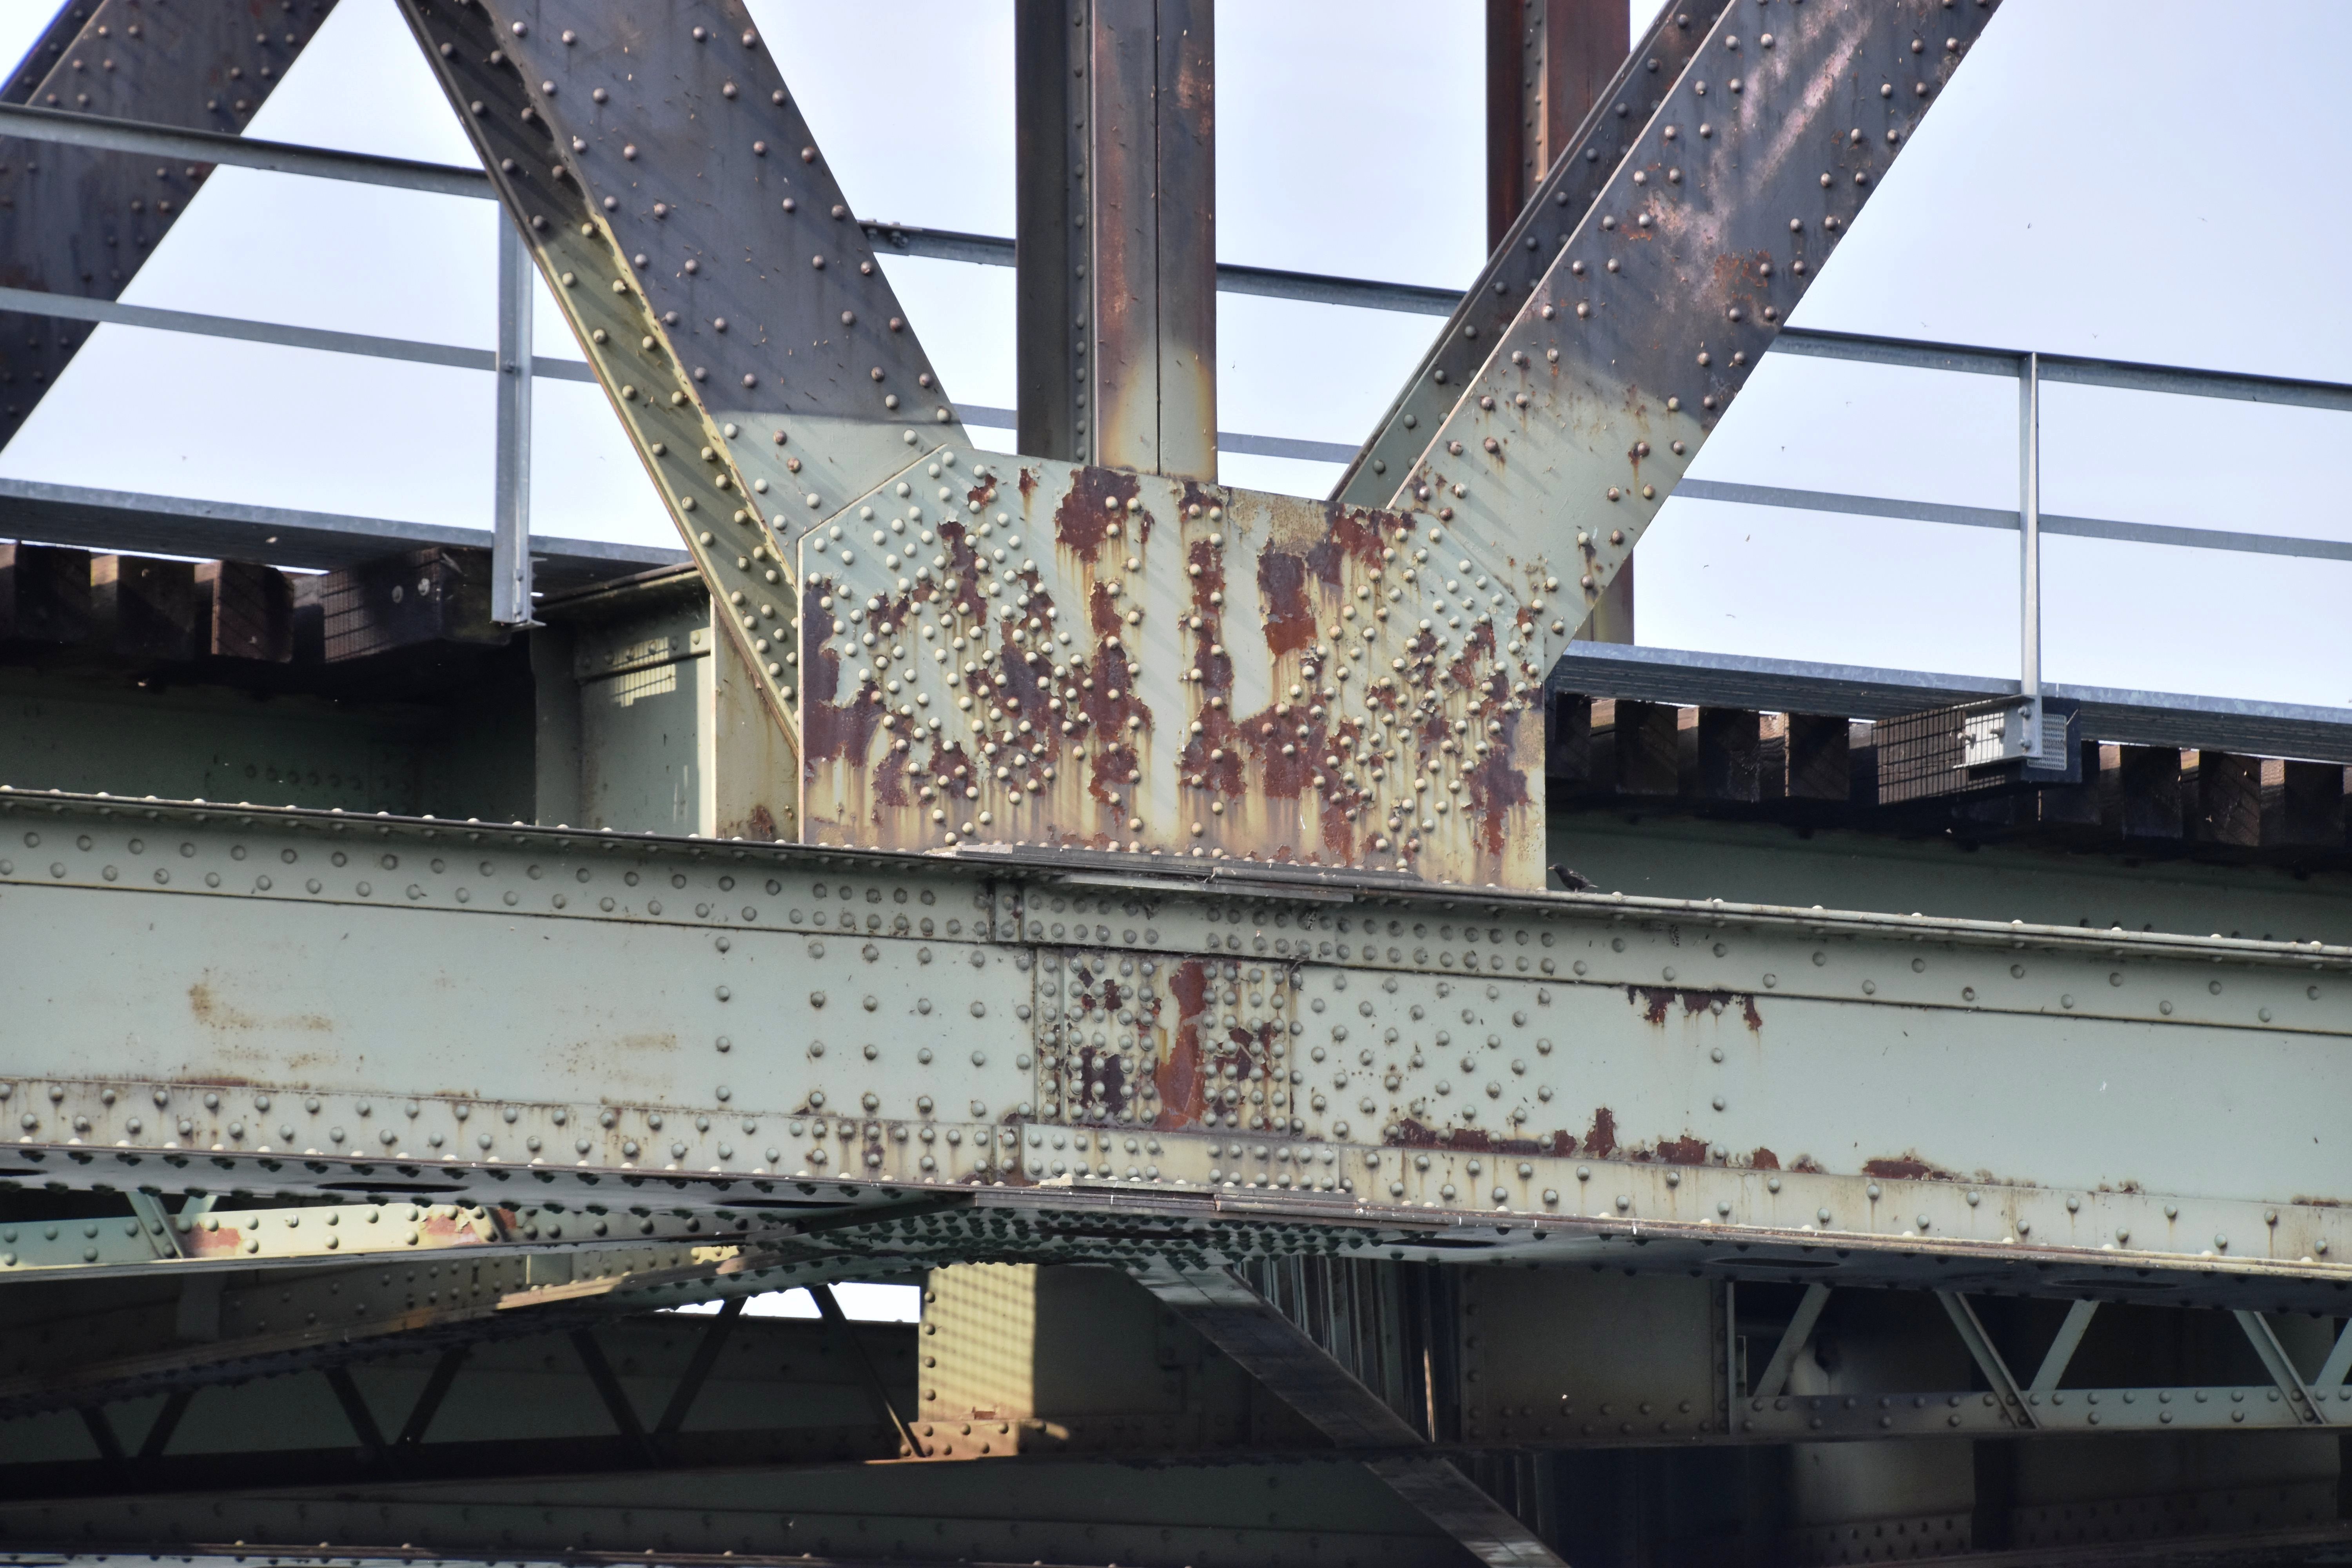
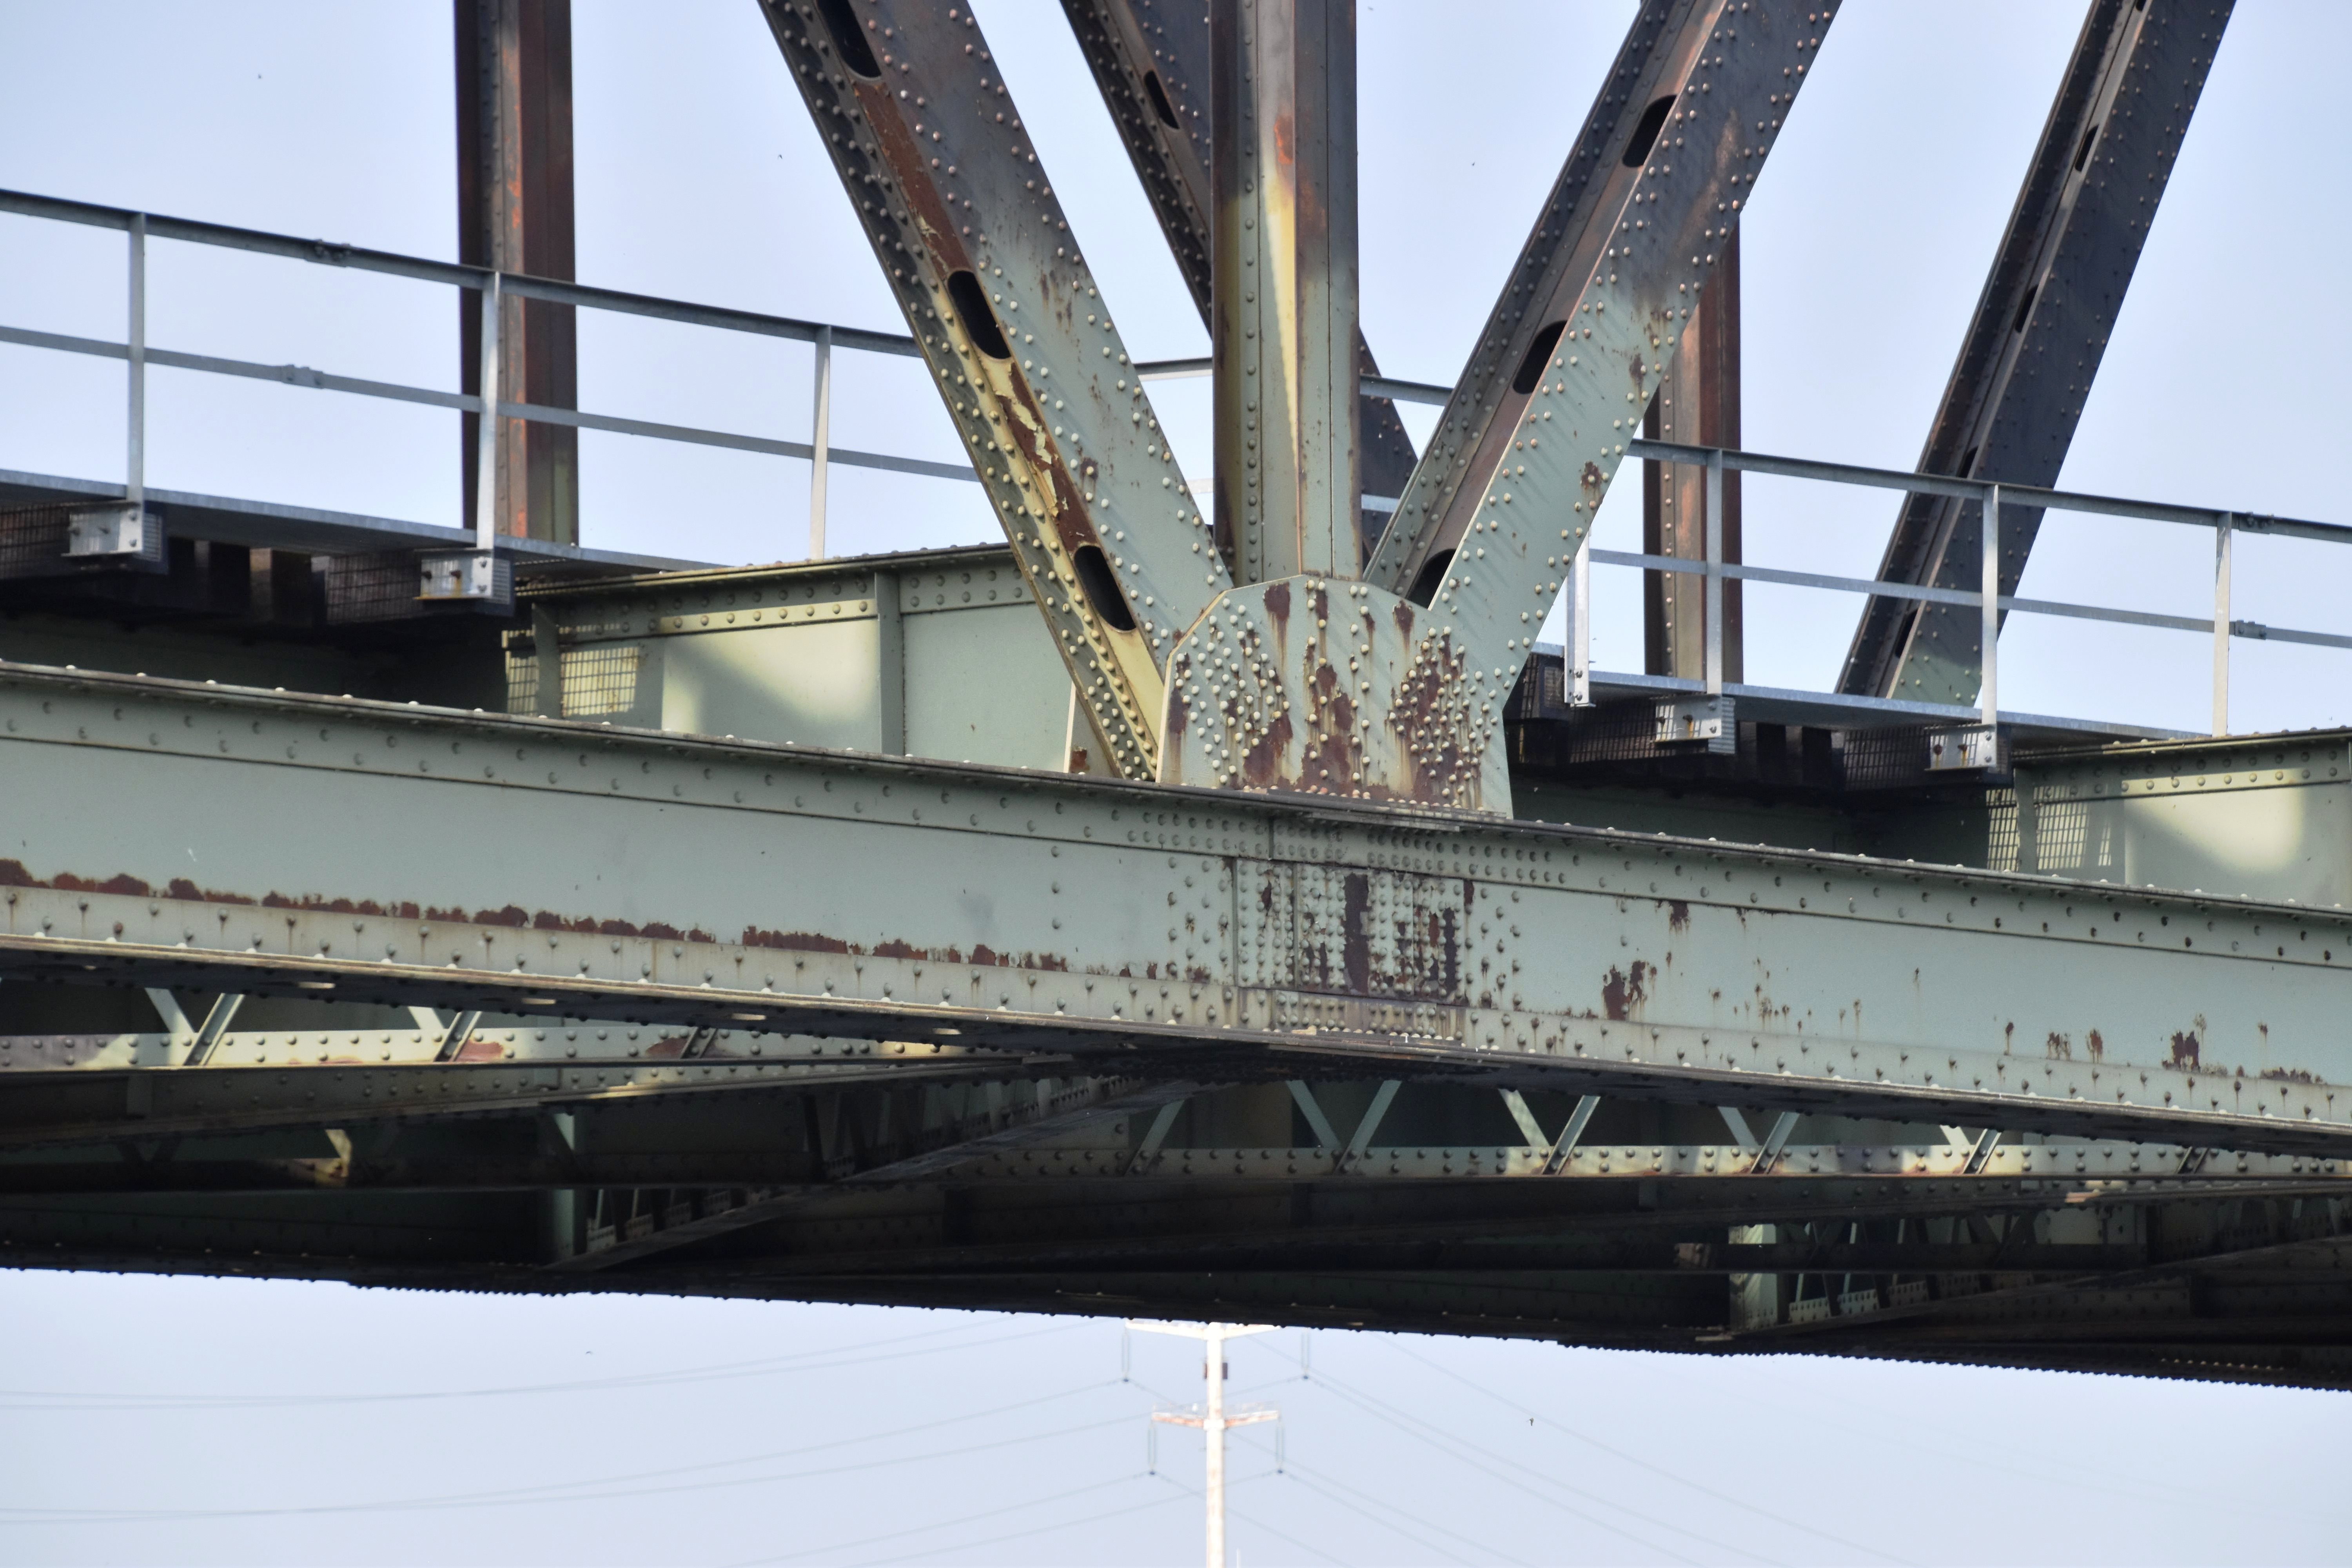
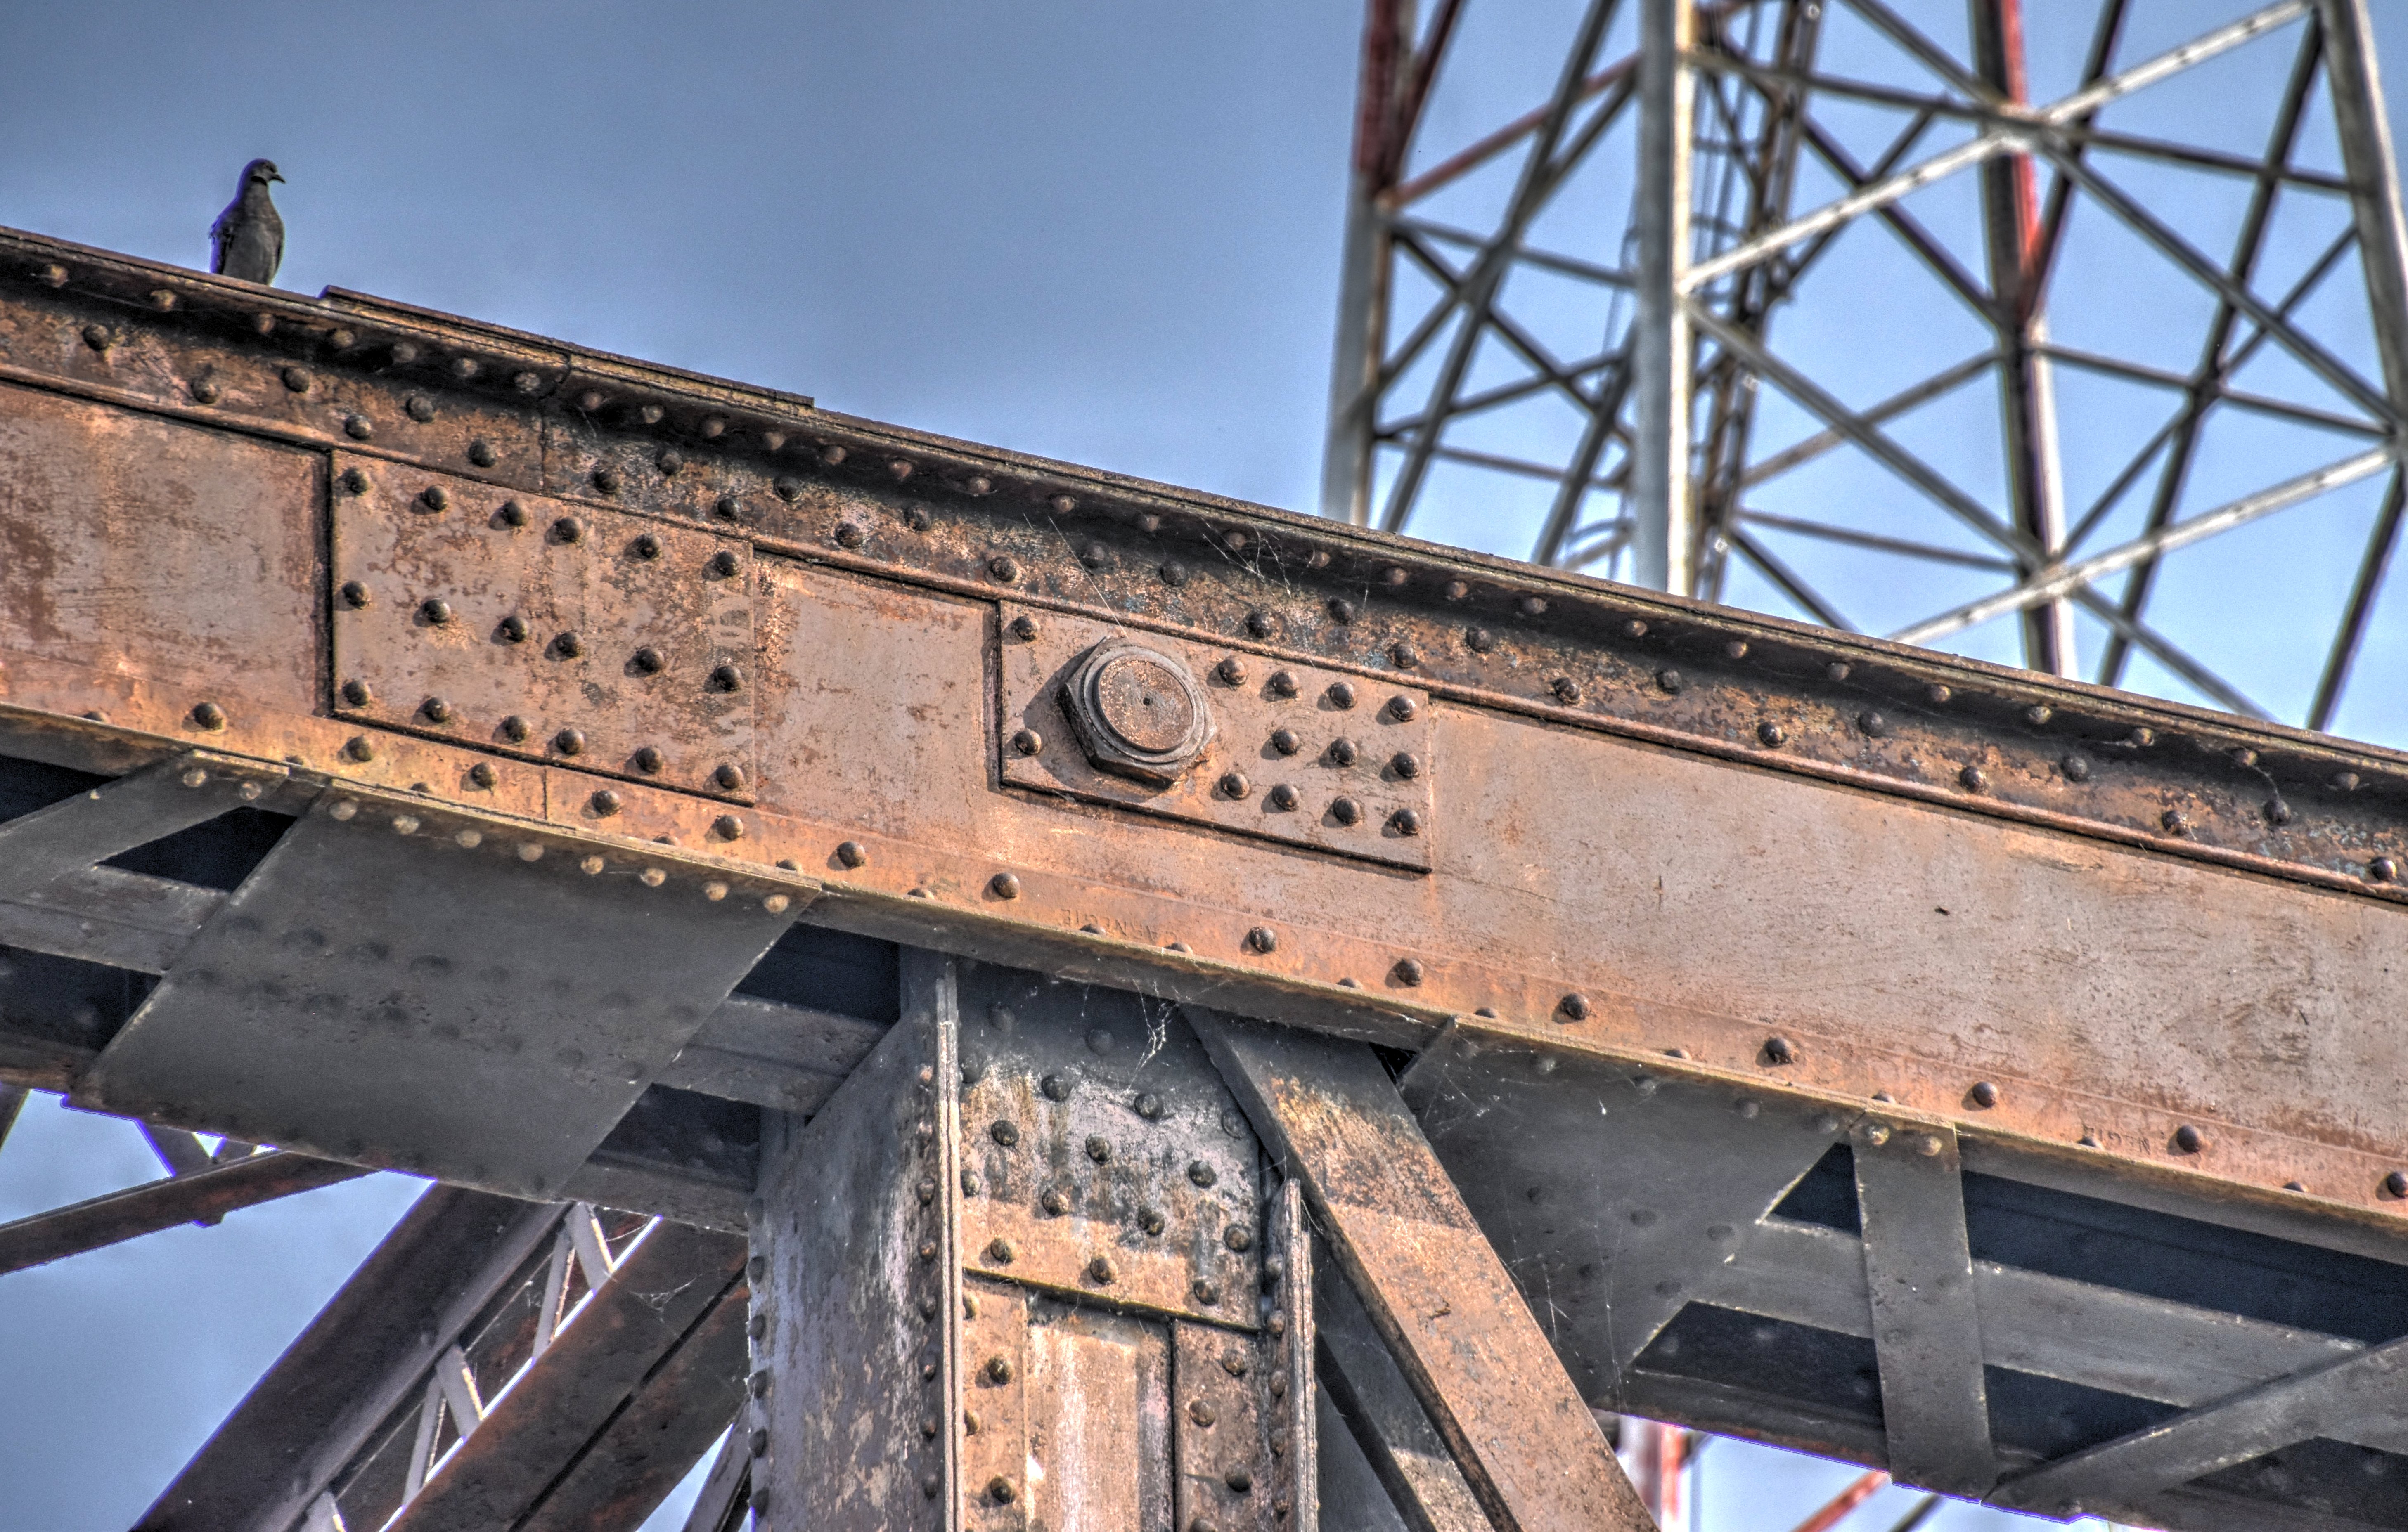
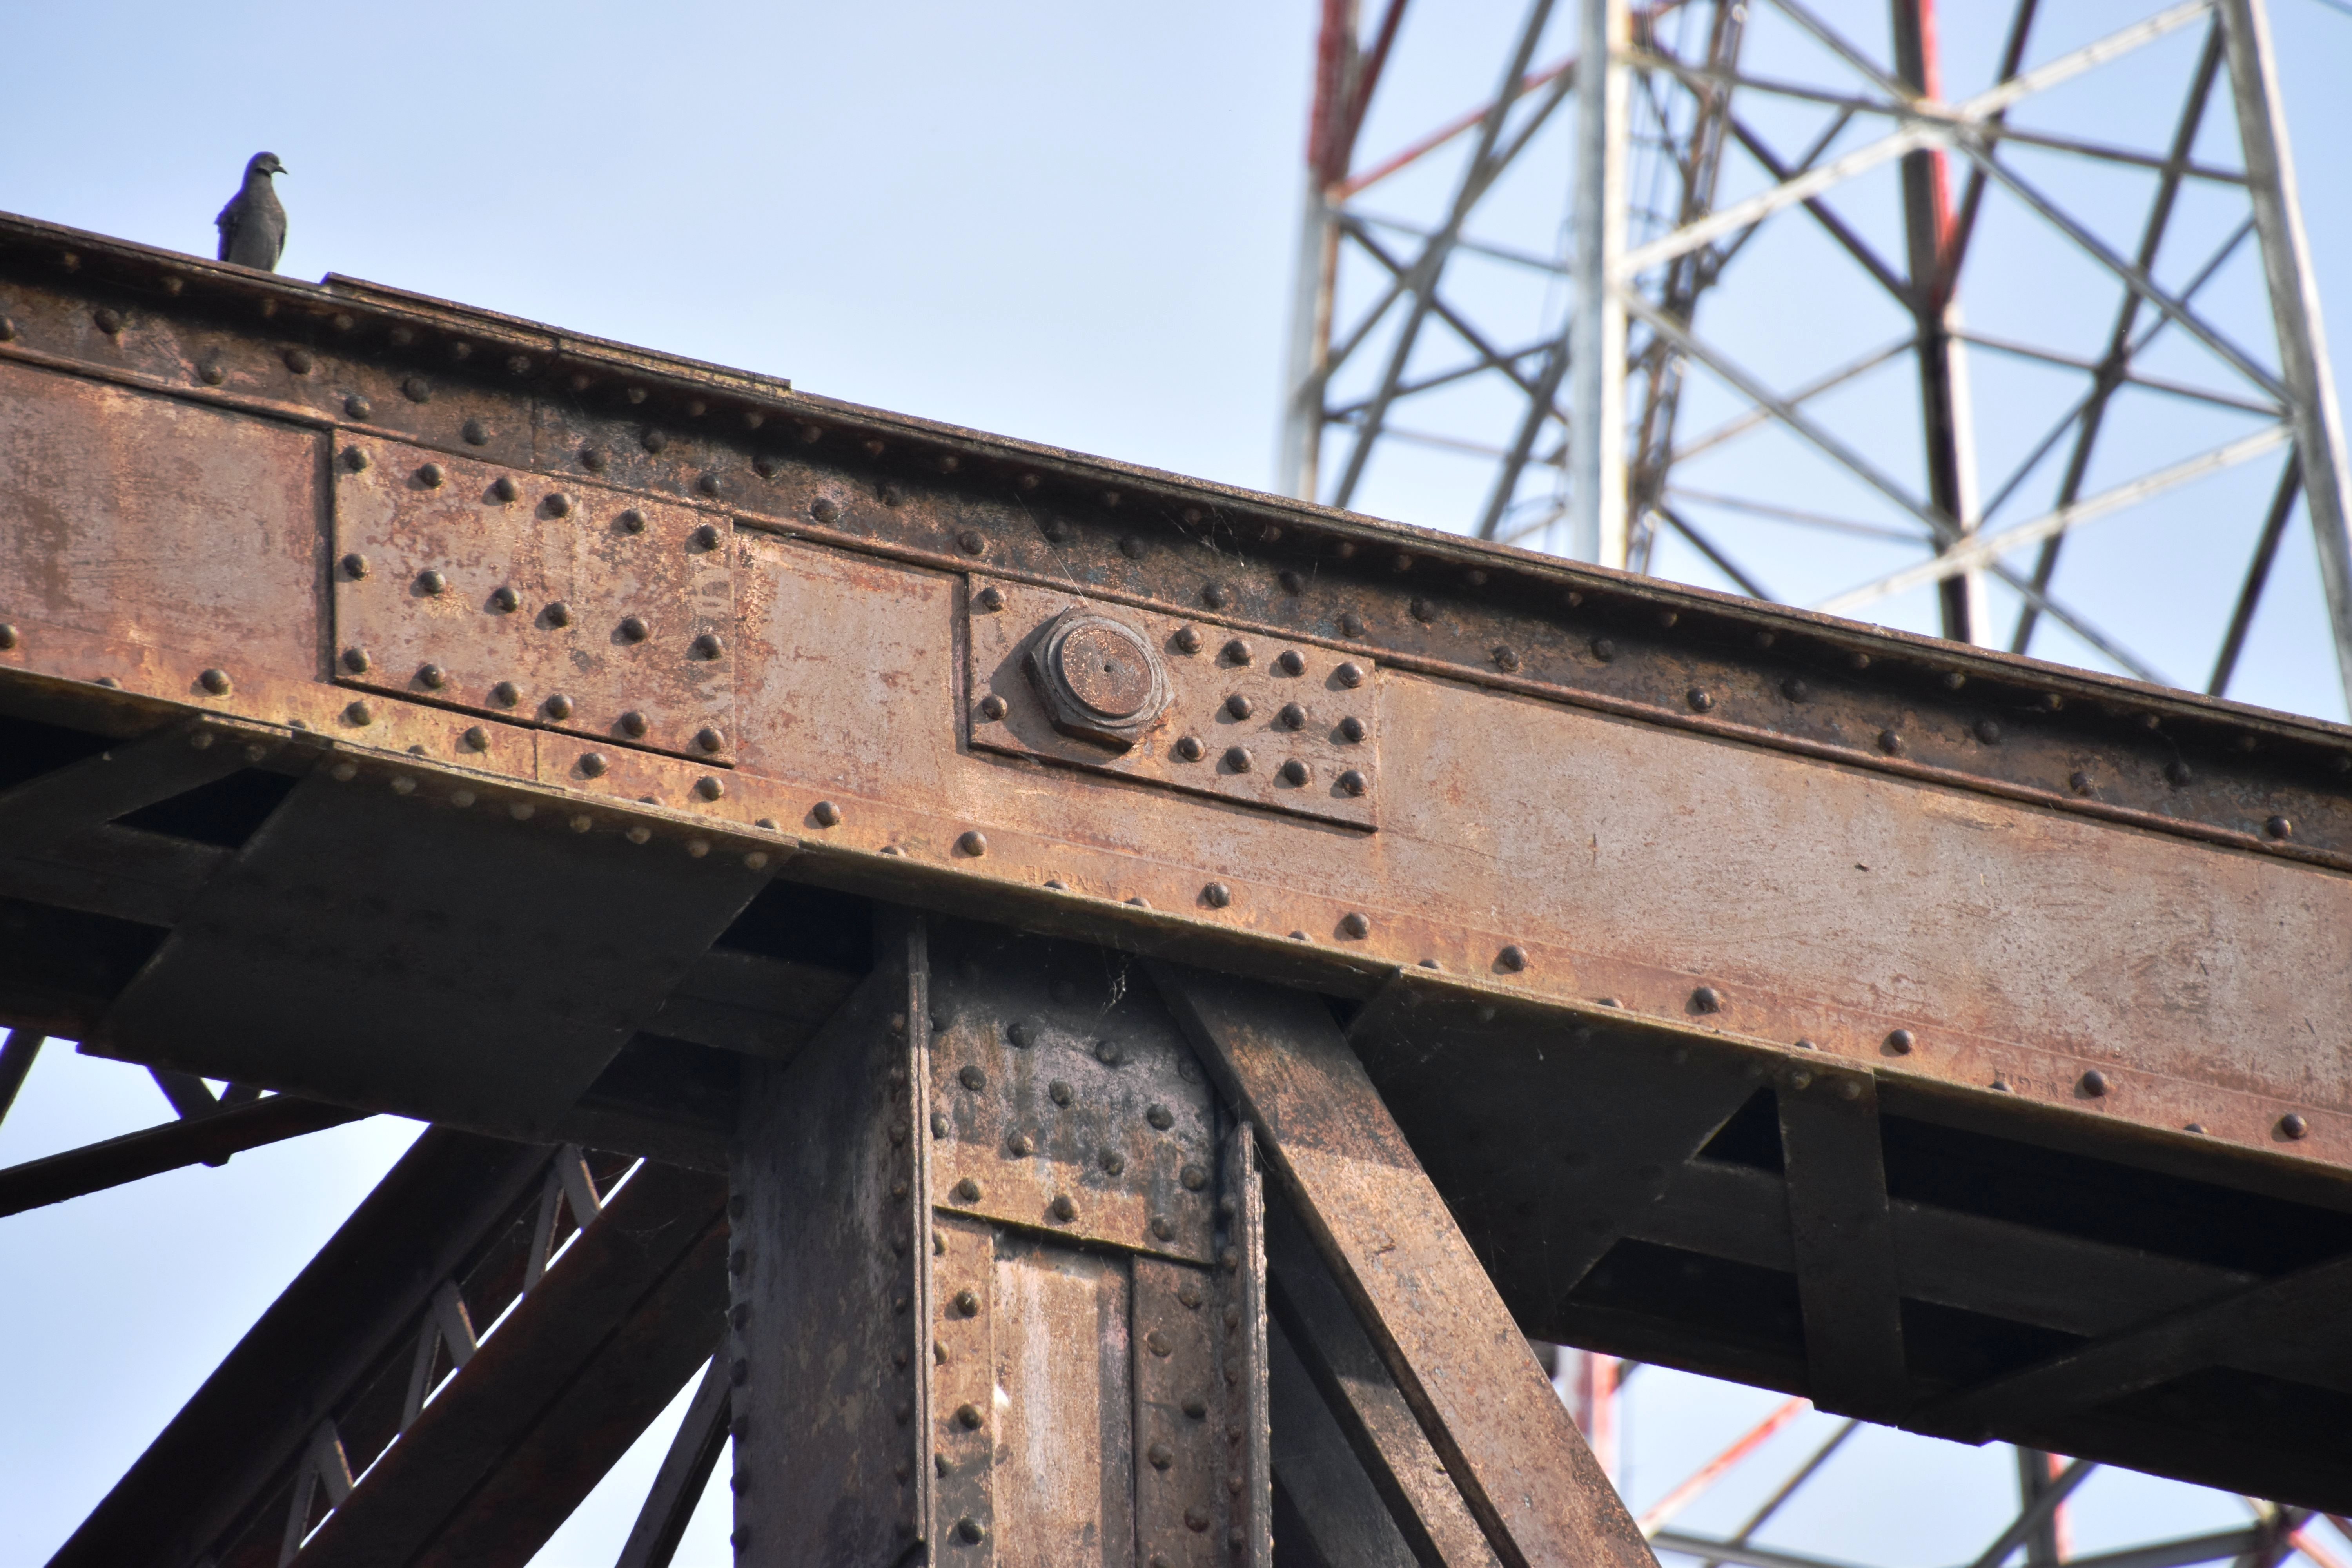
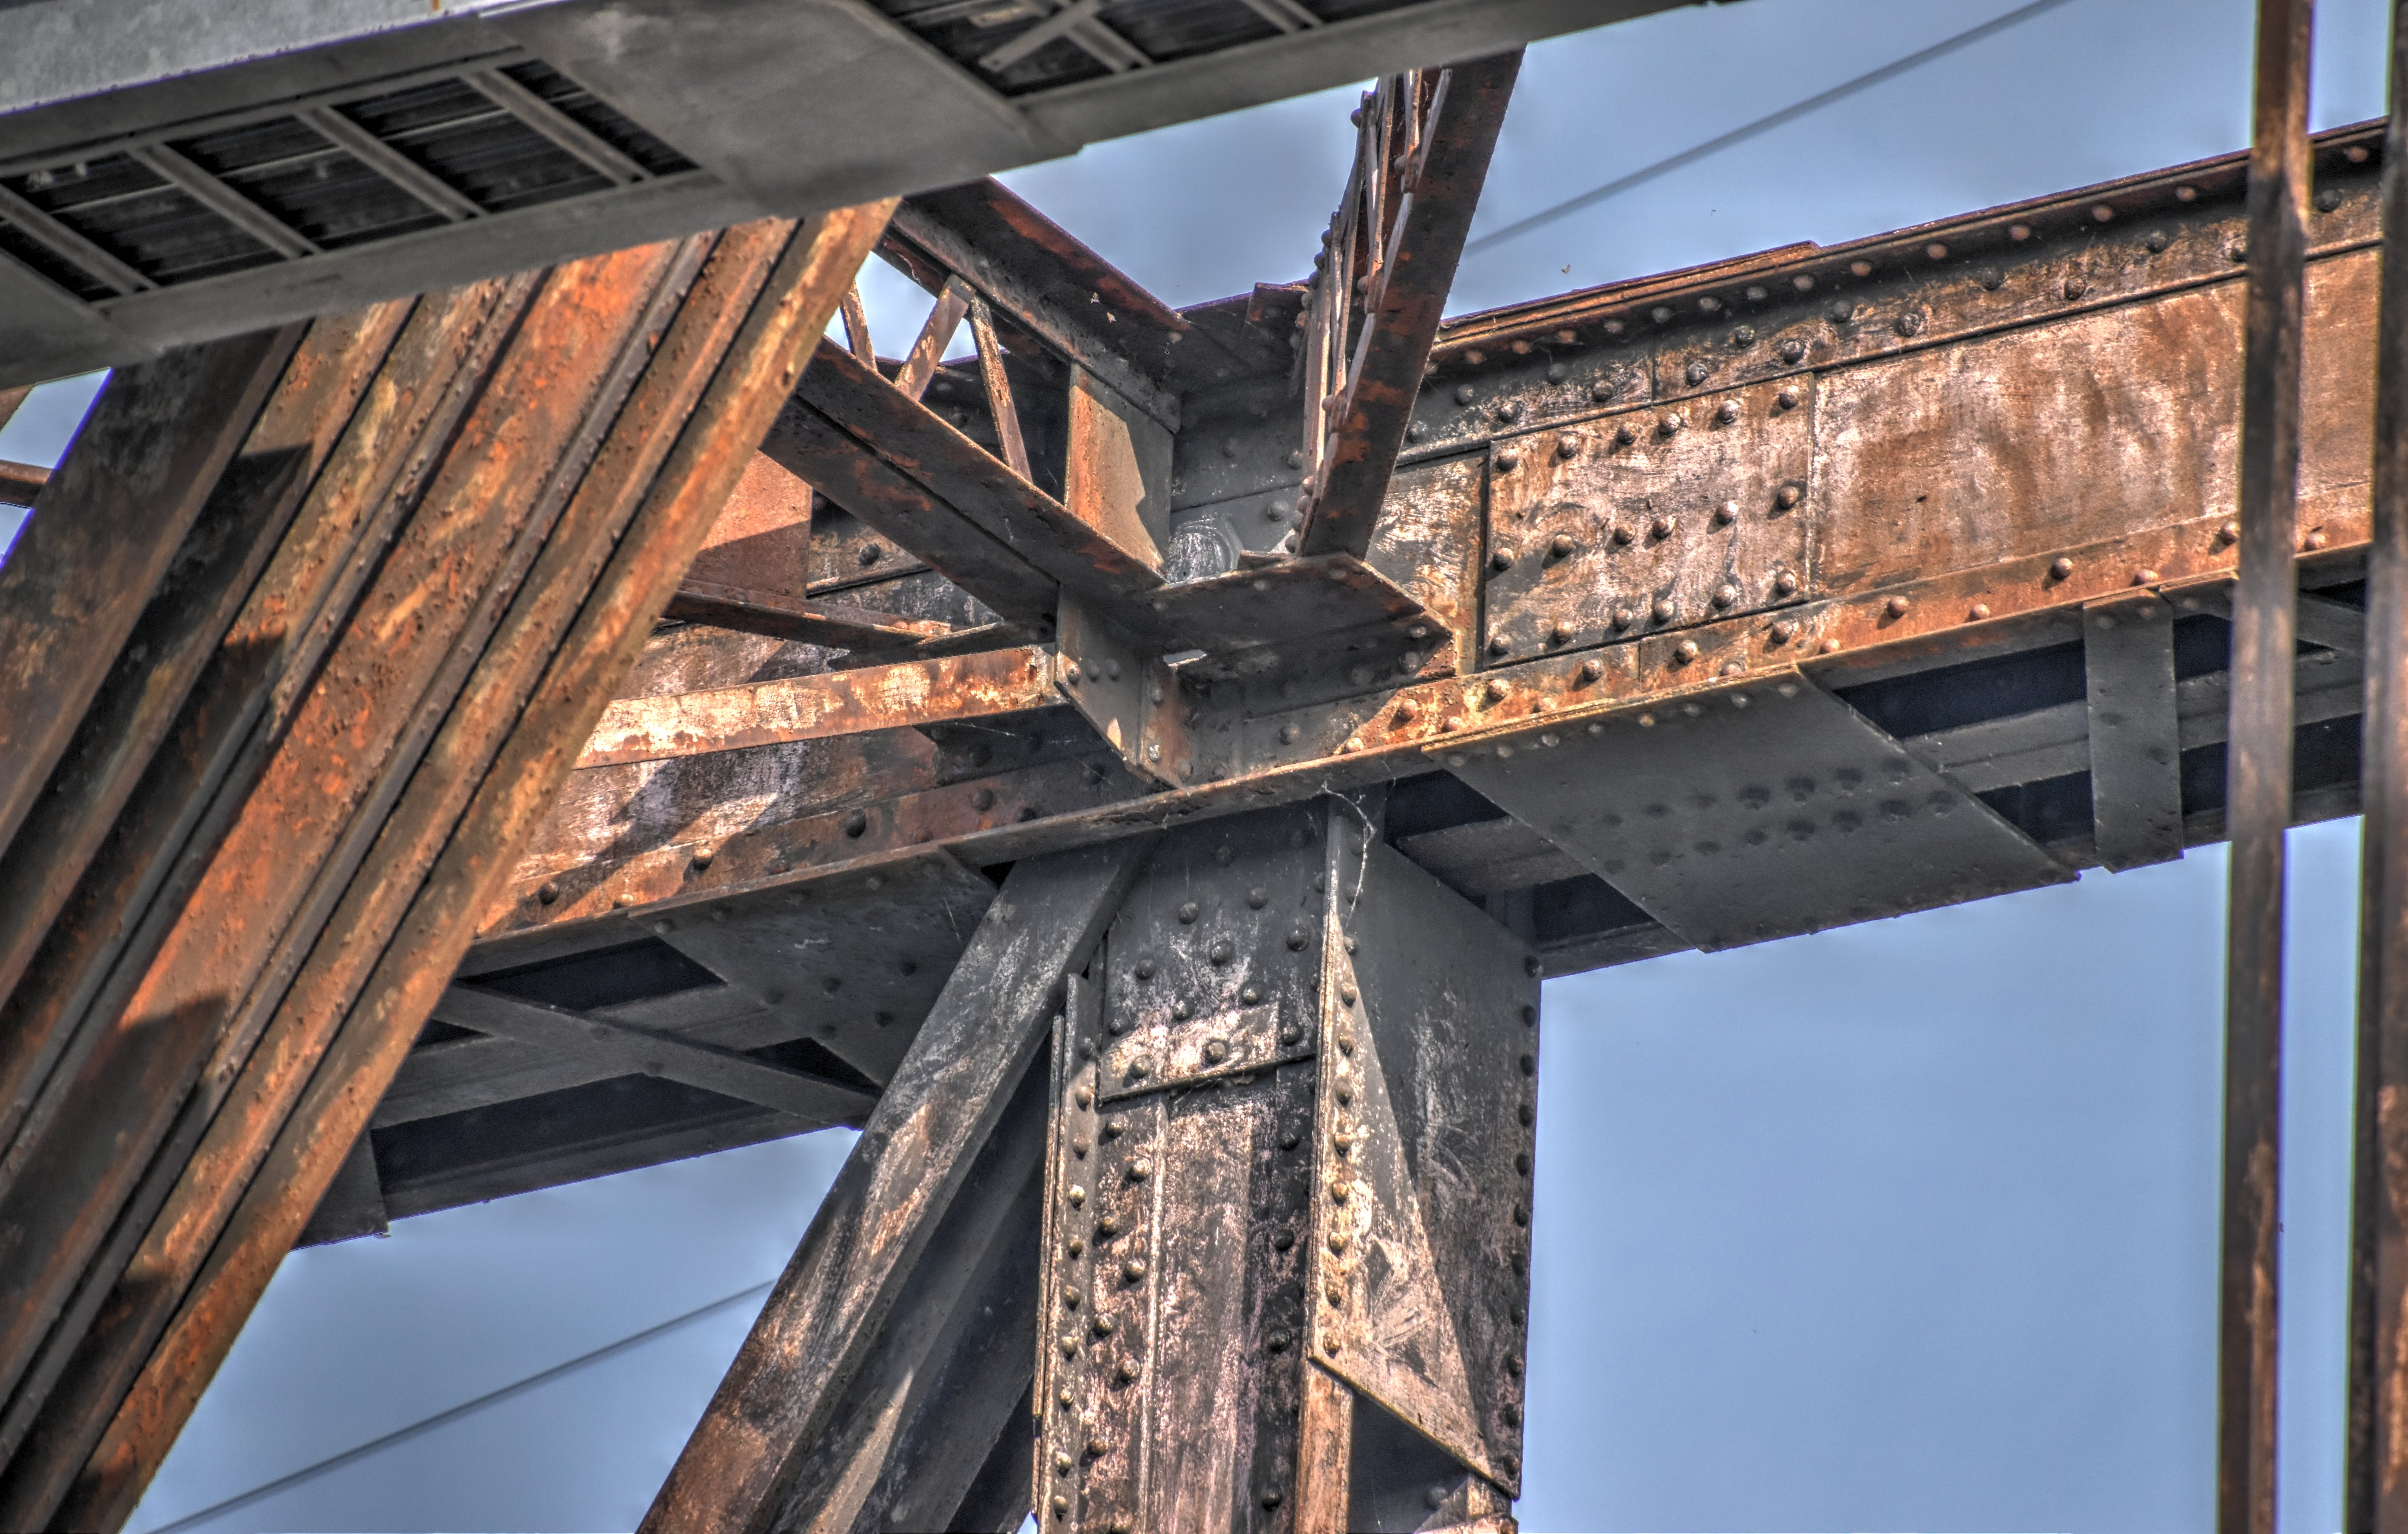
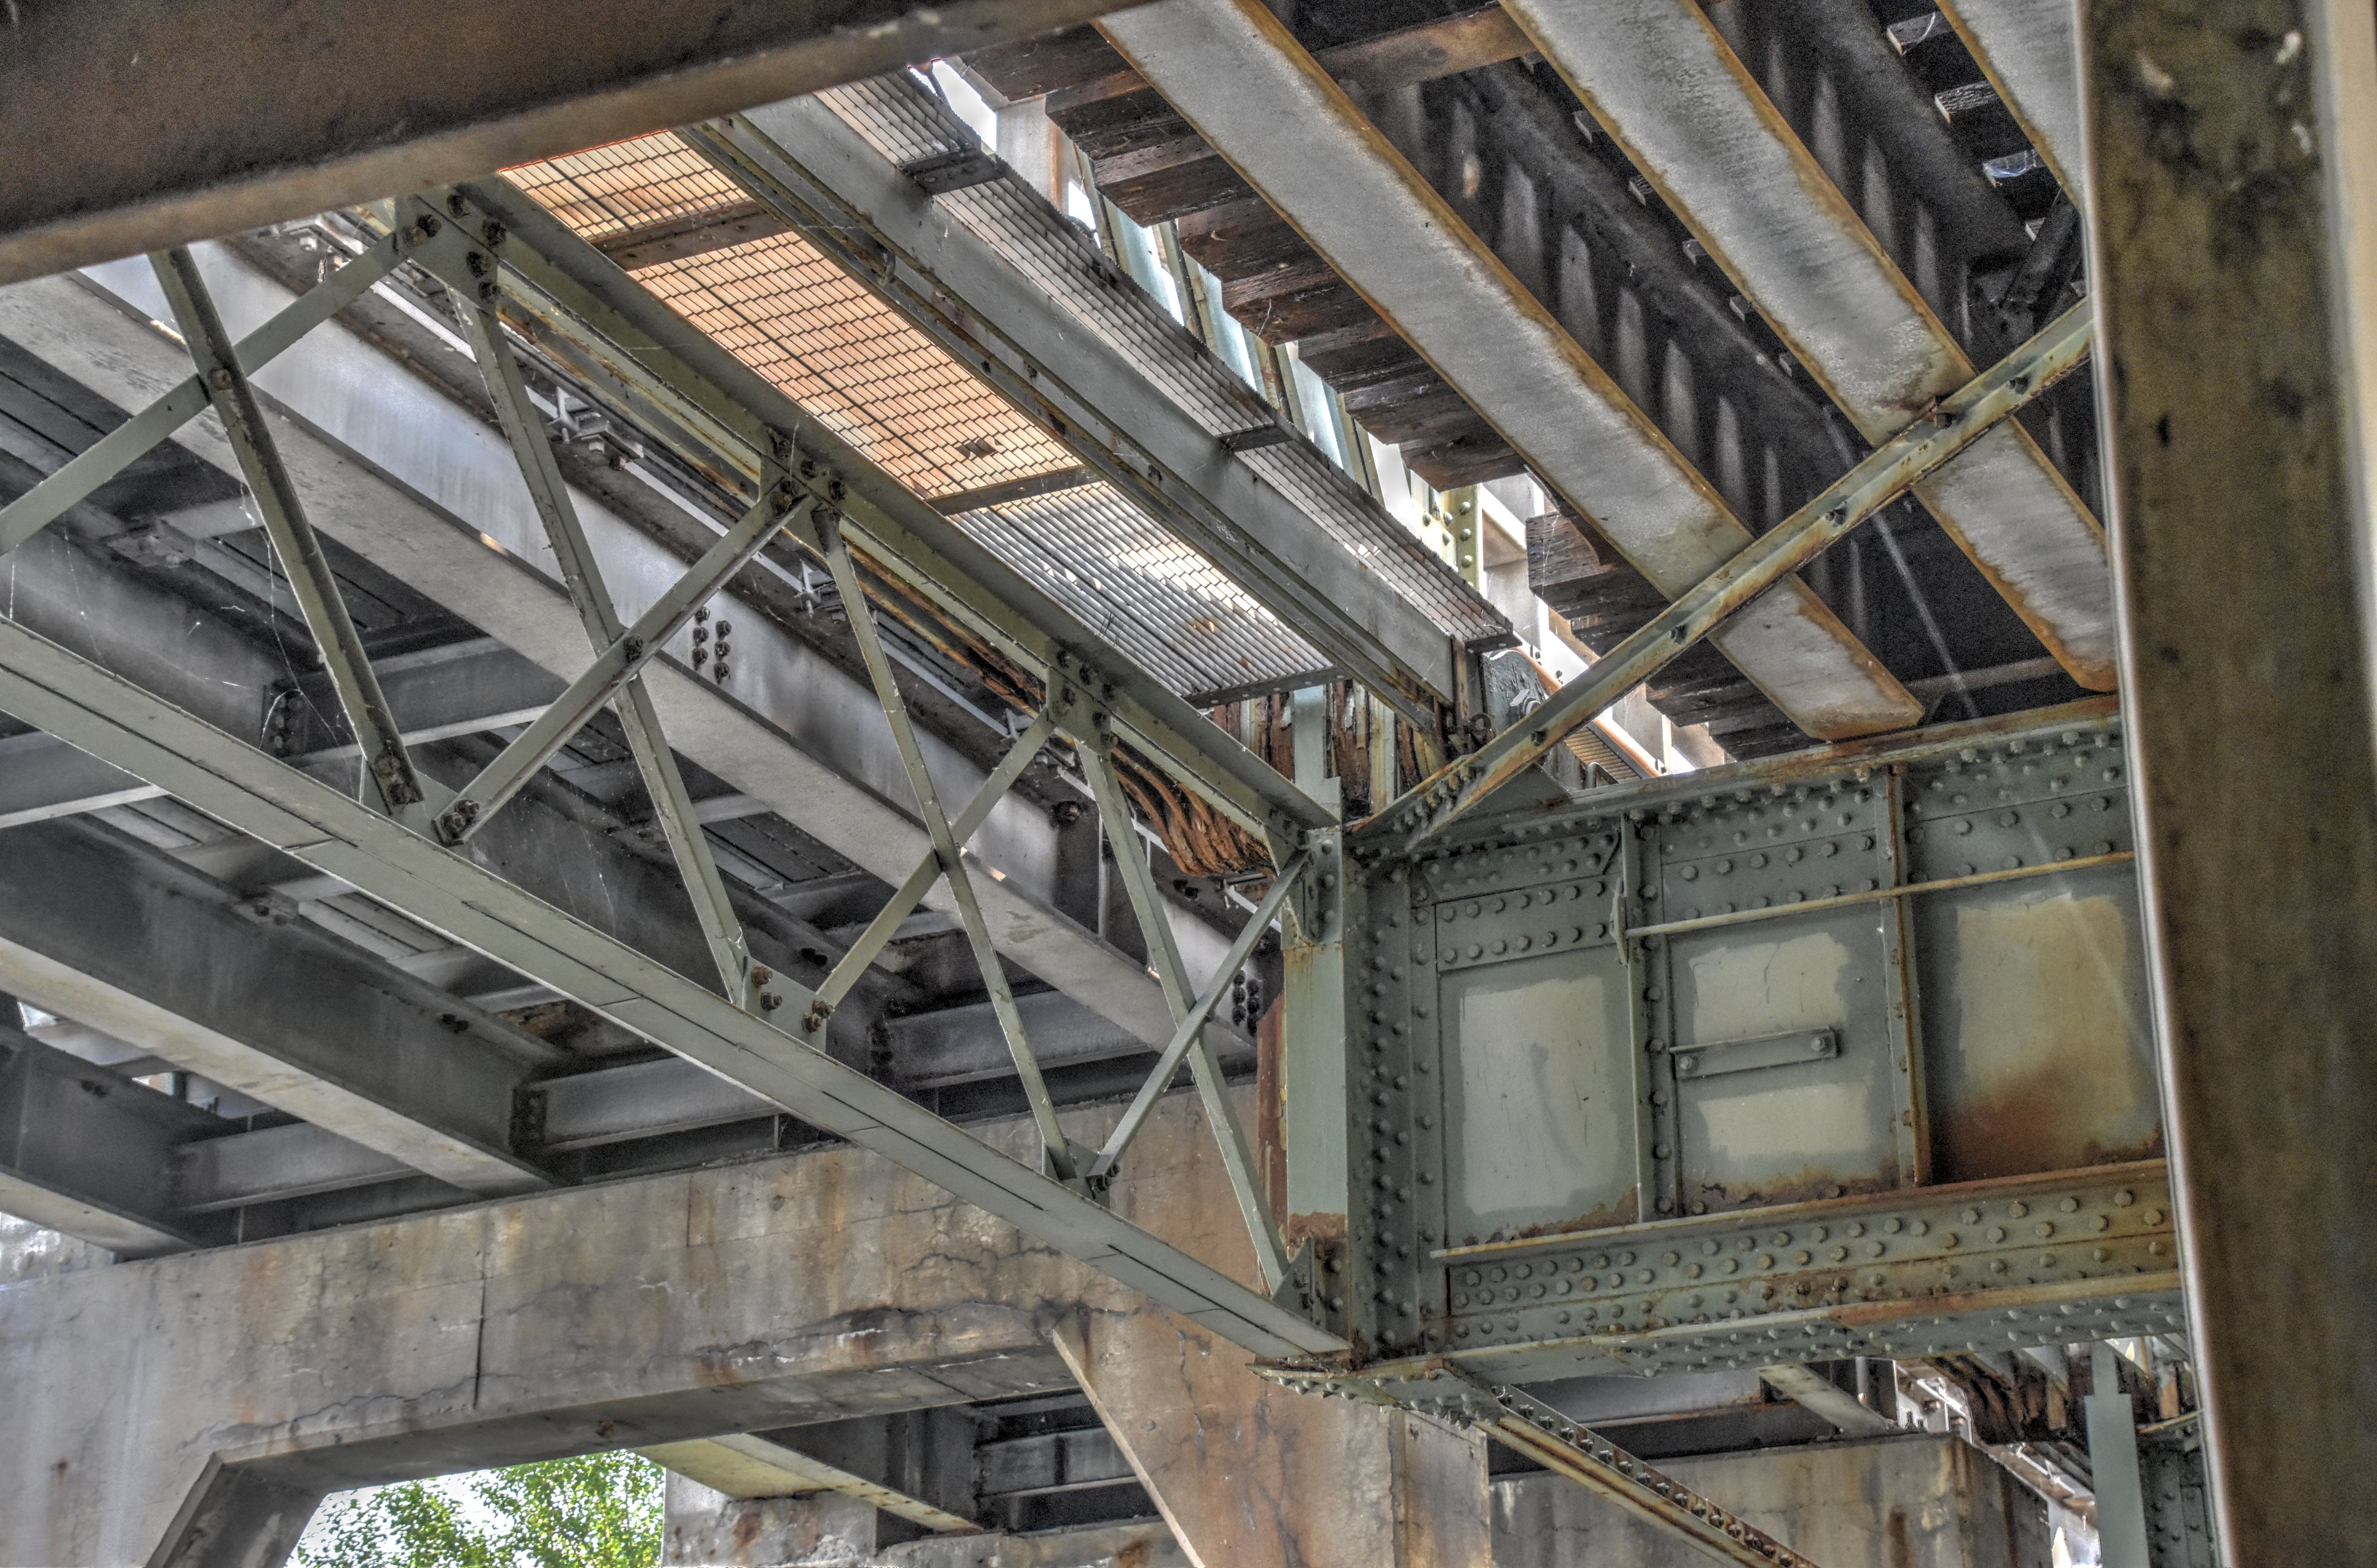
Bottom chord connections as viewed from under bridge.
![]()

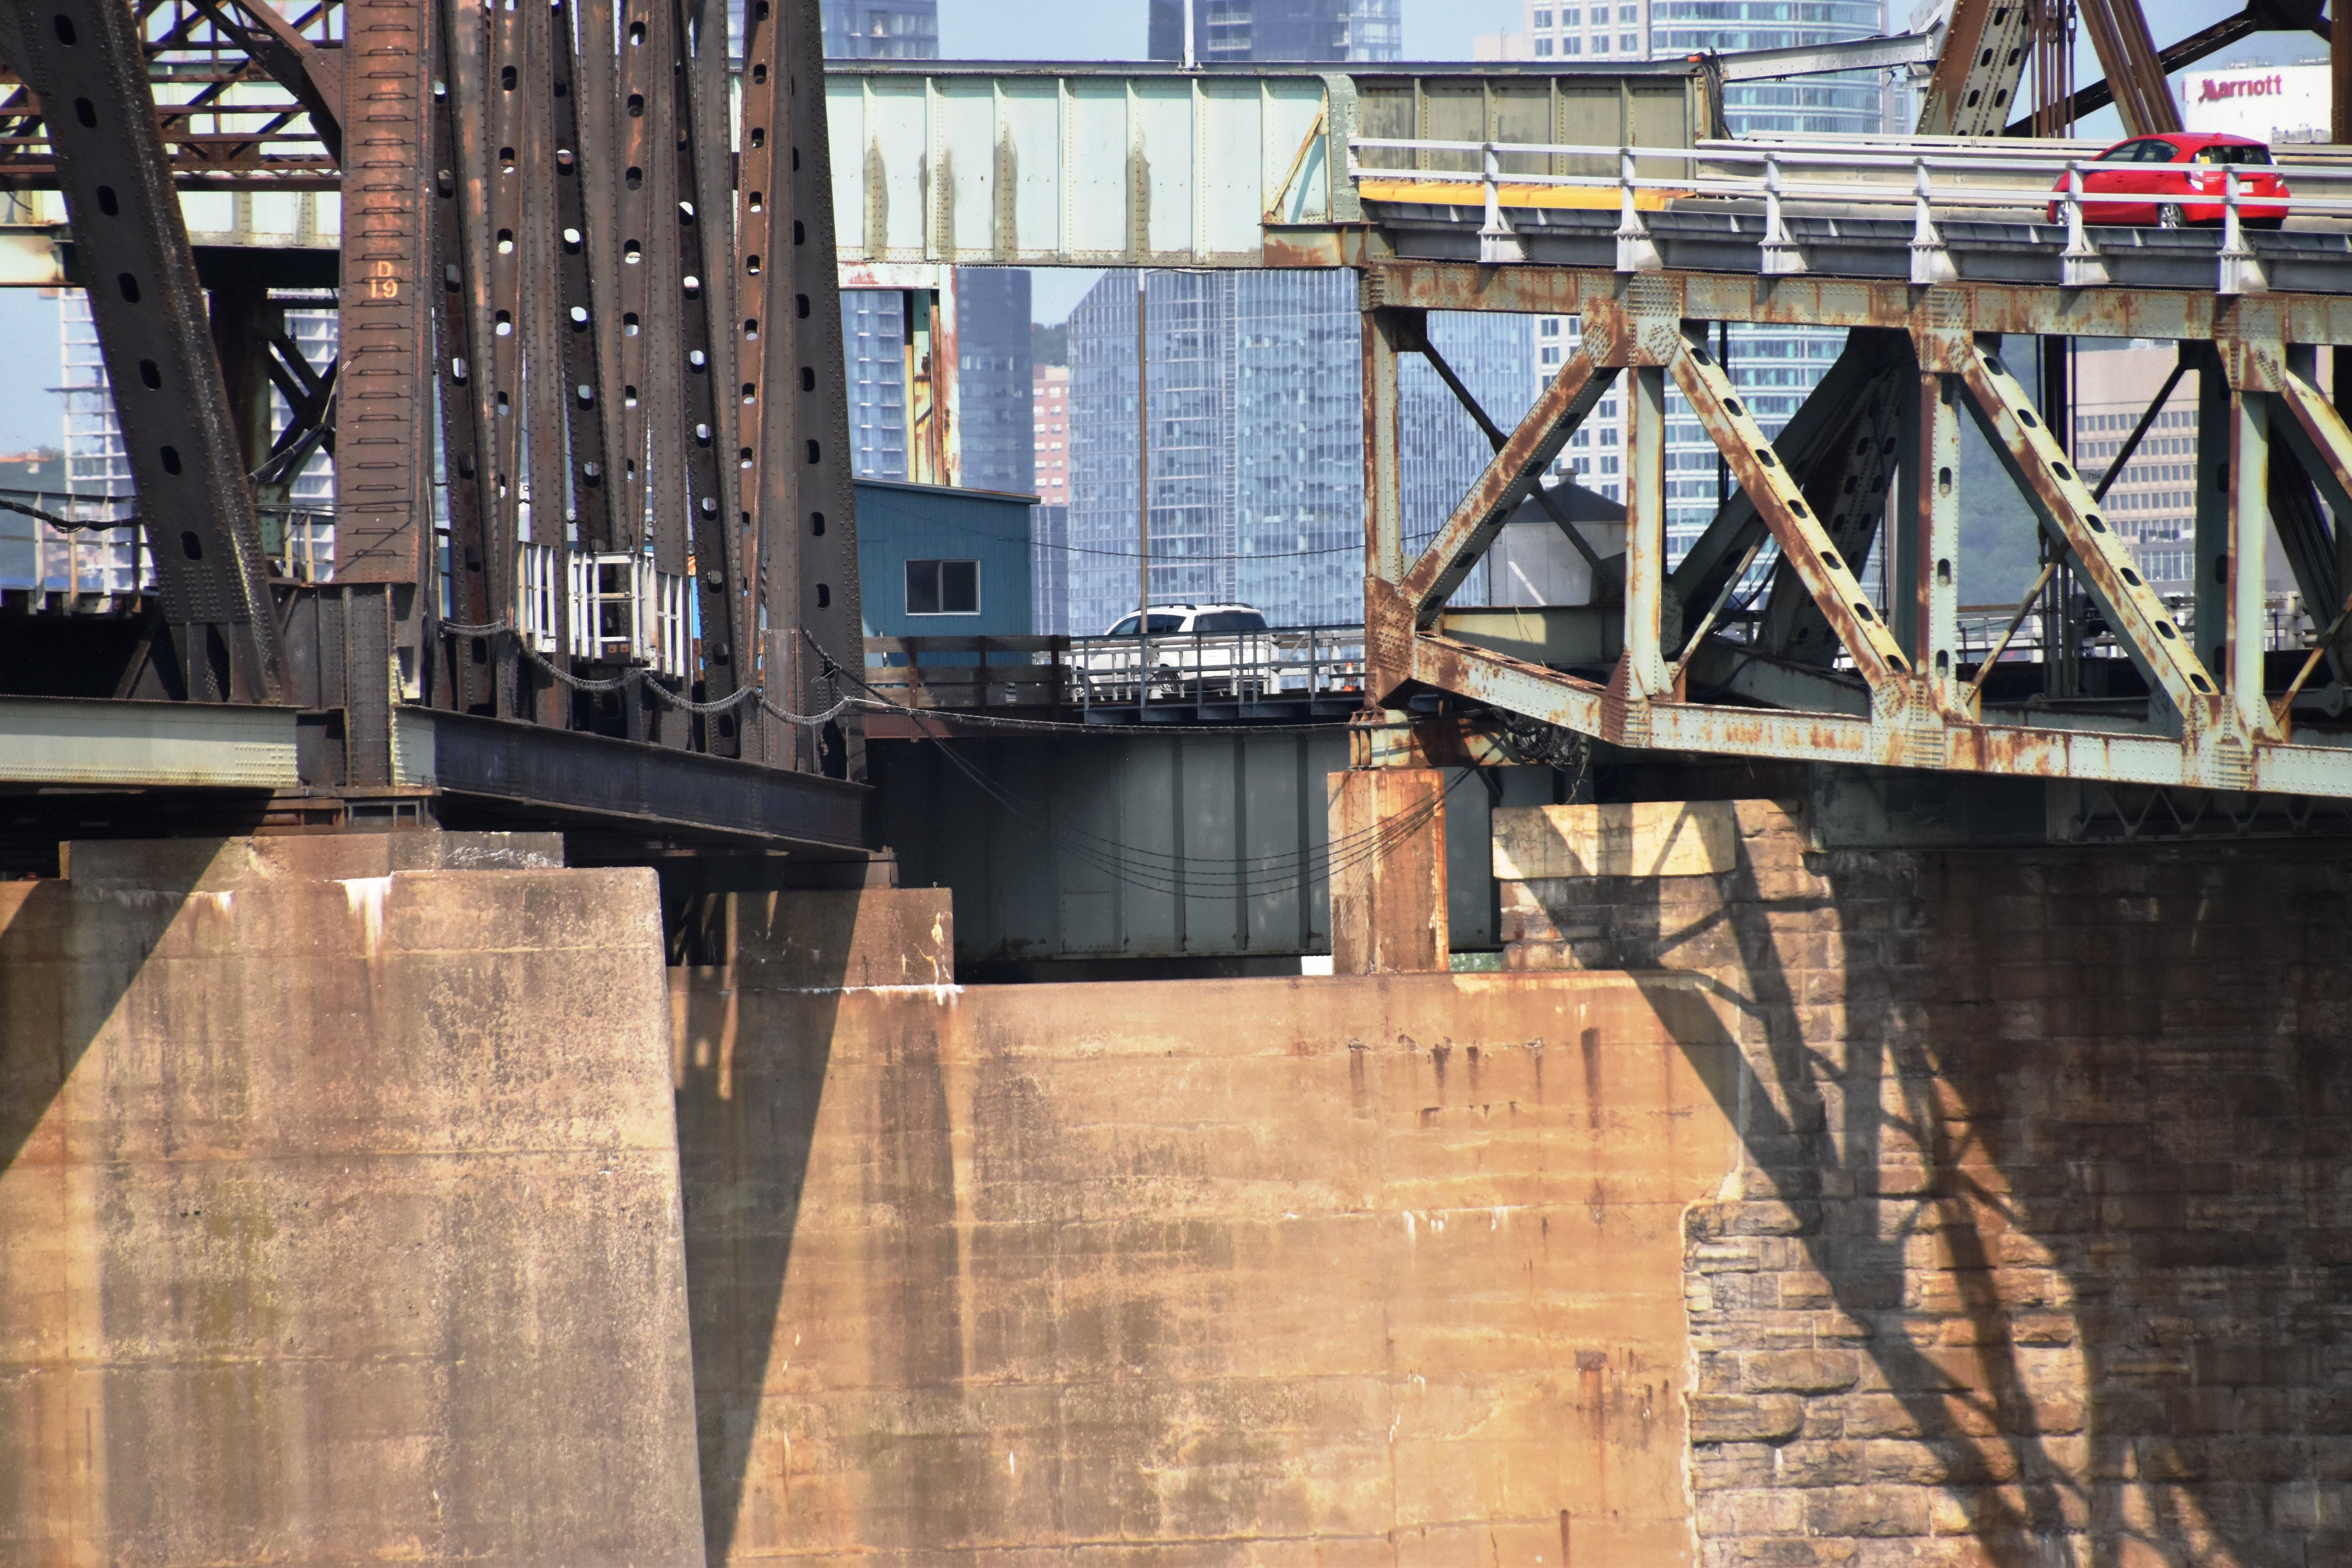
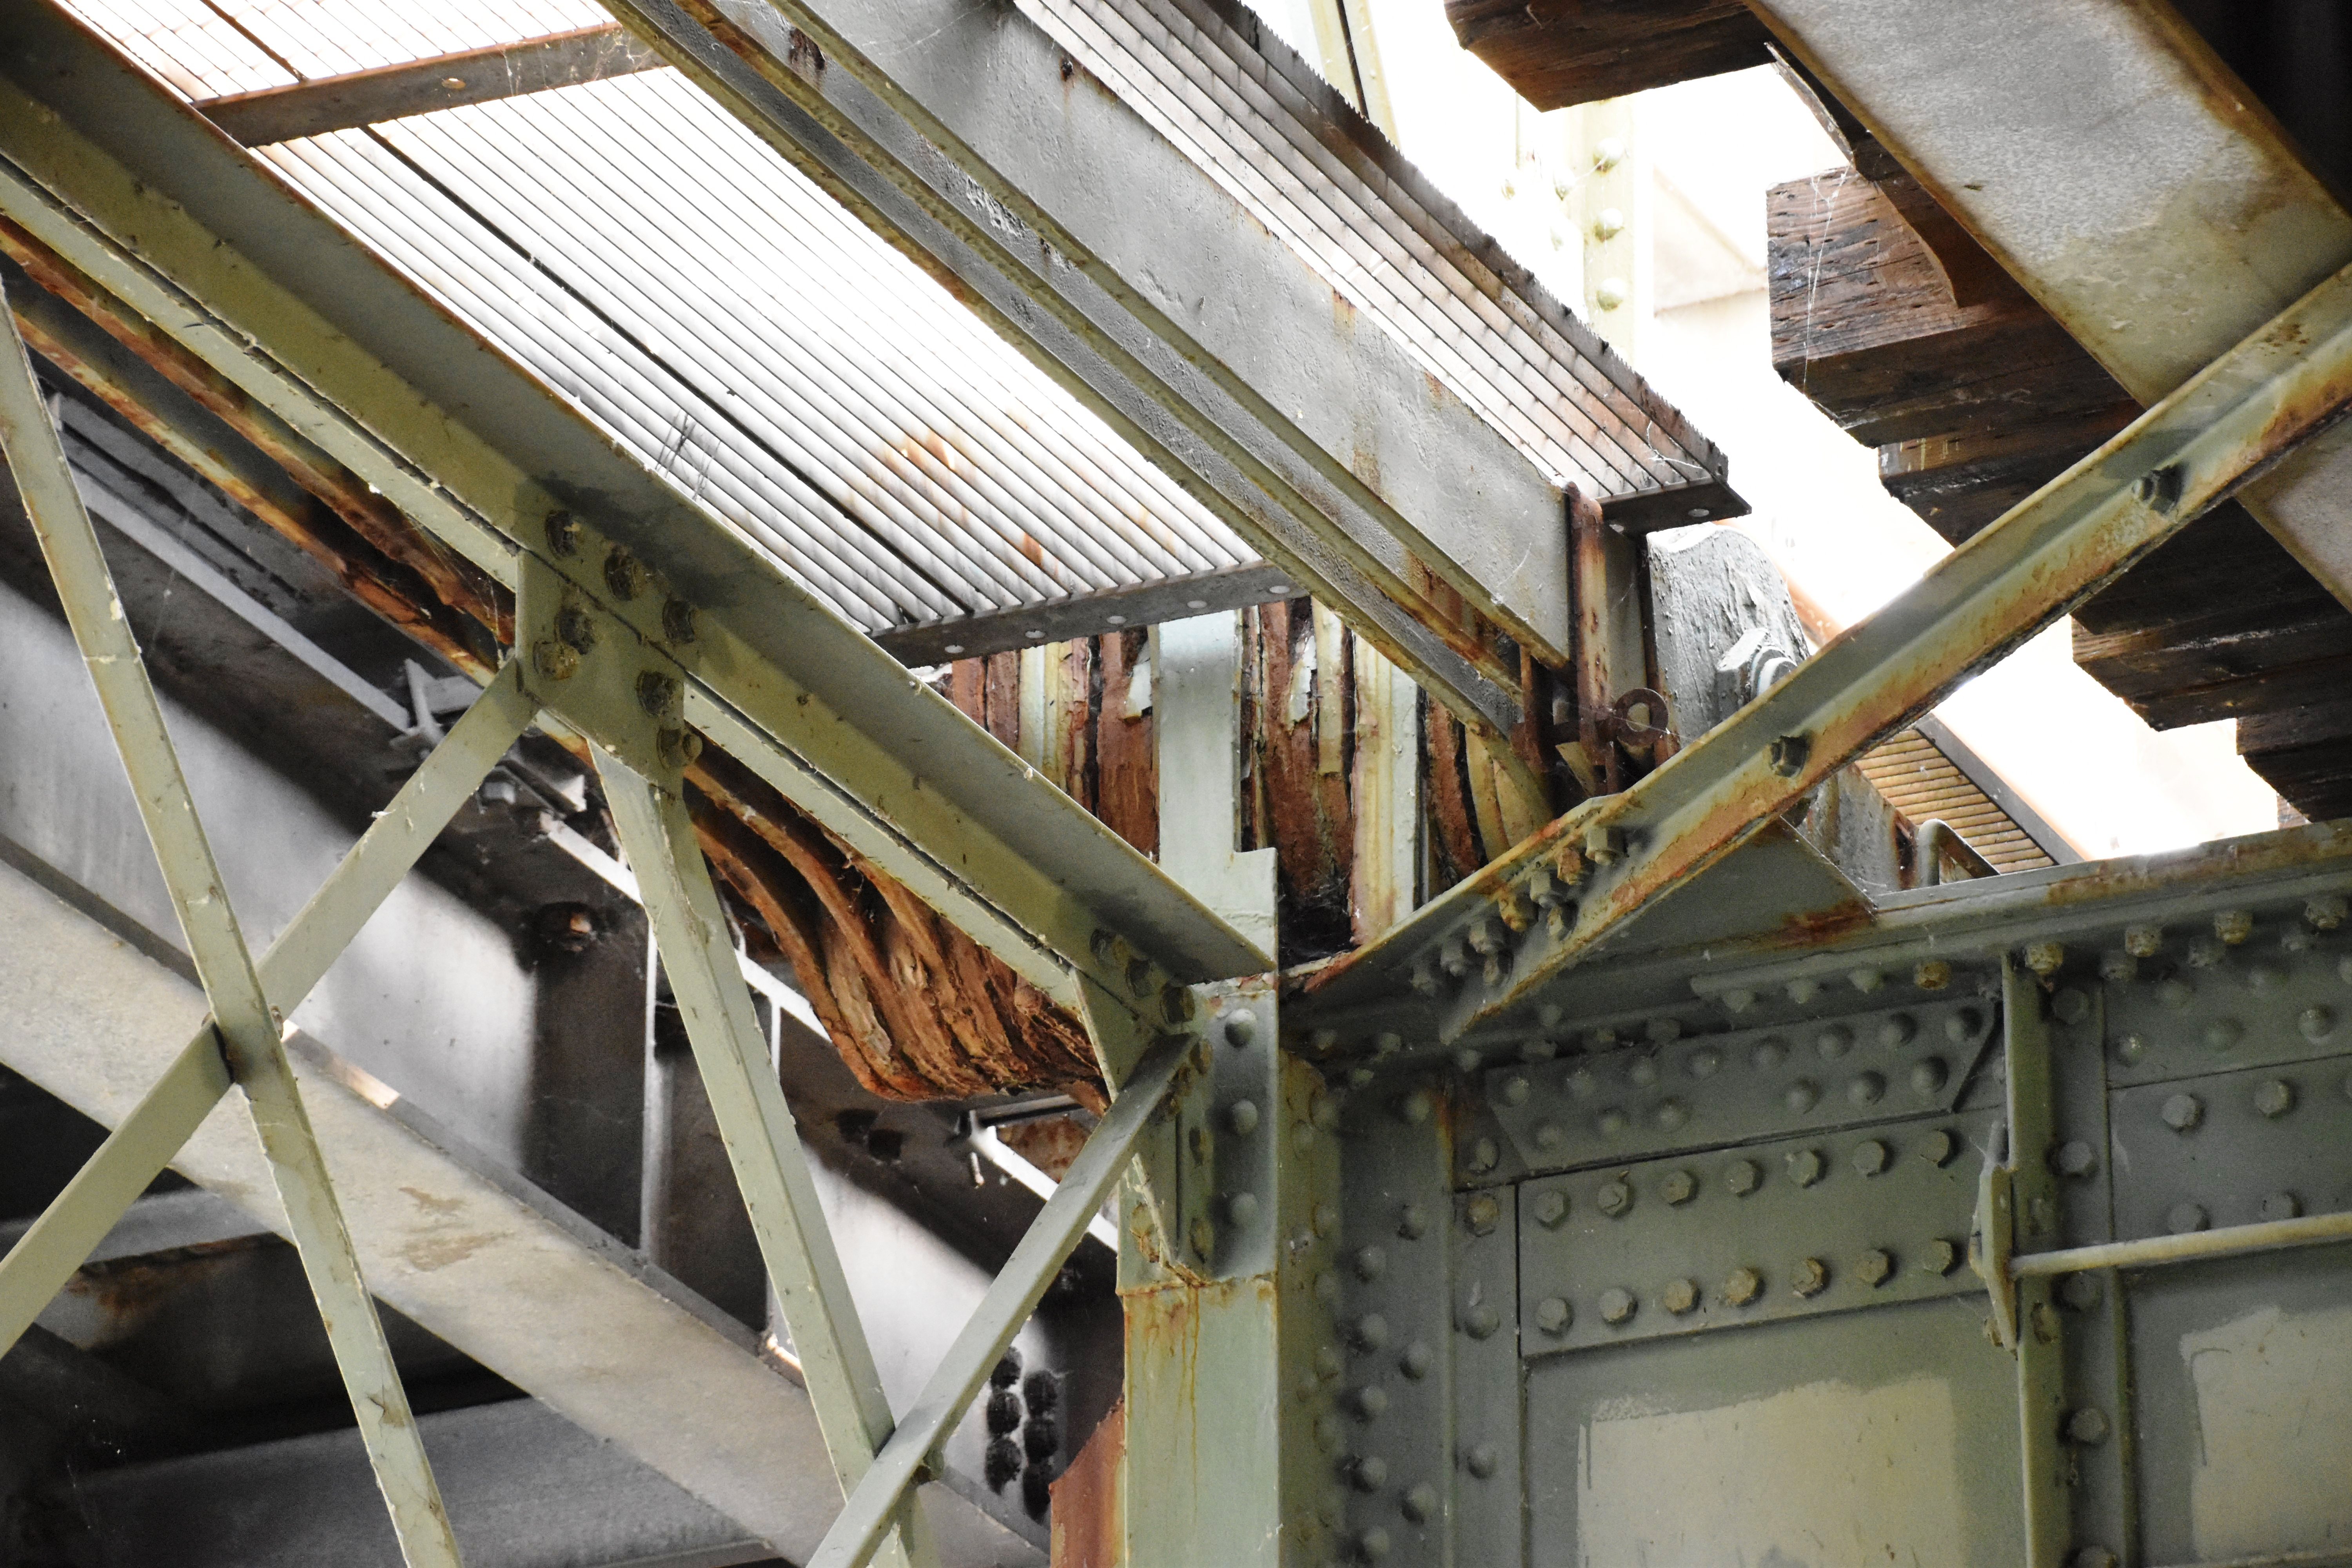
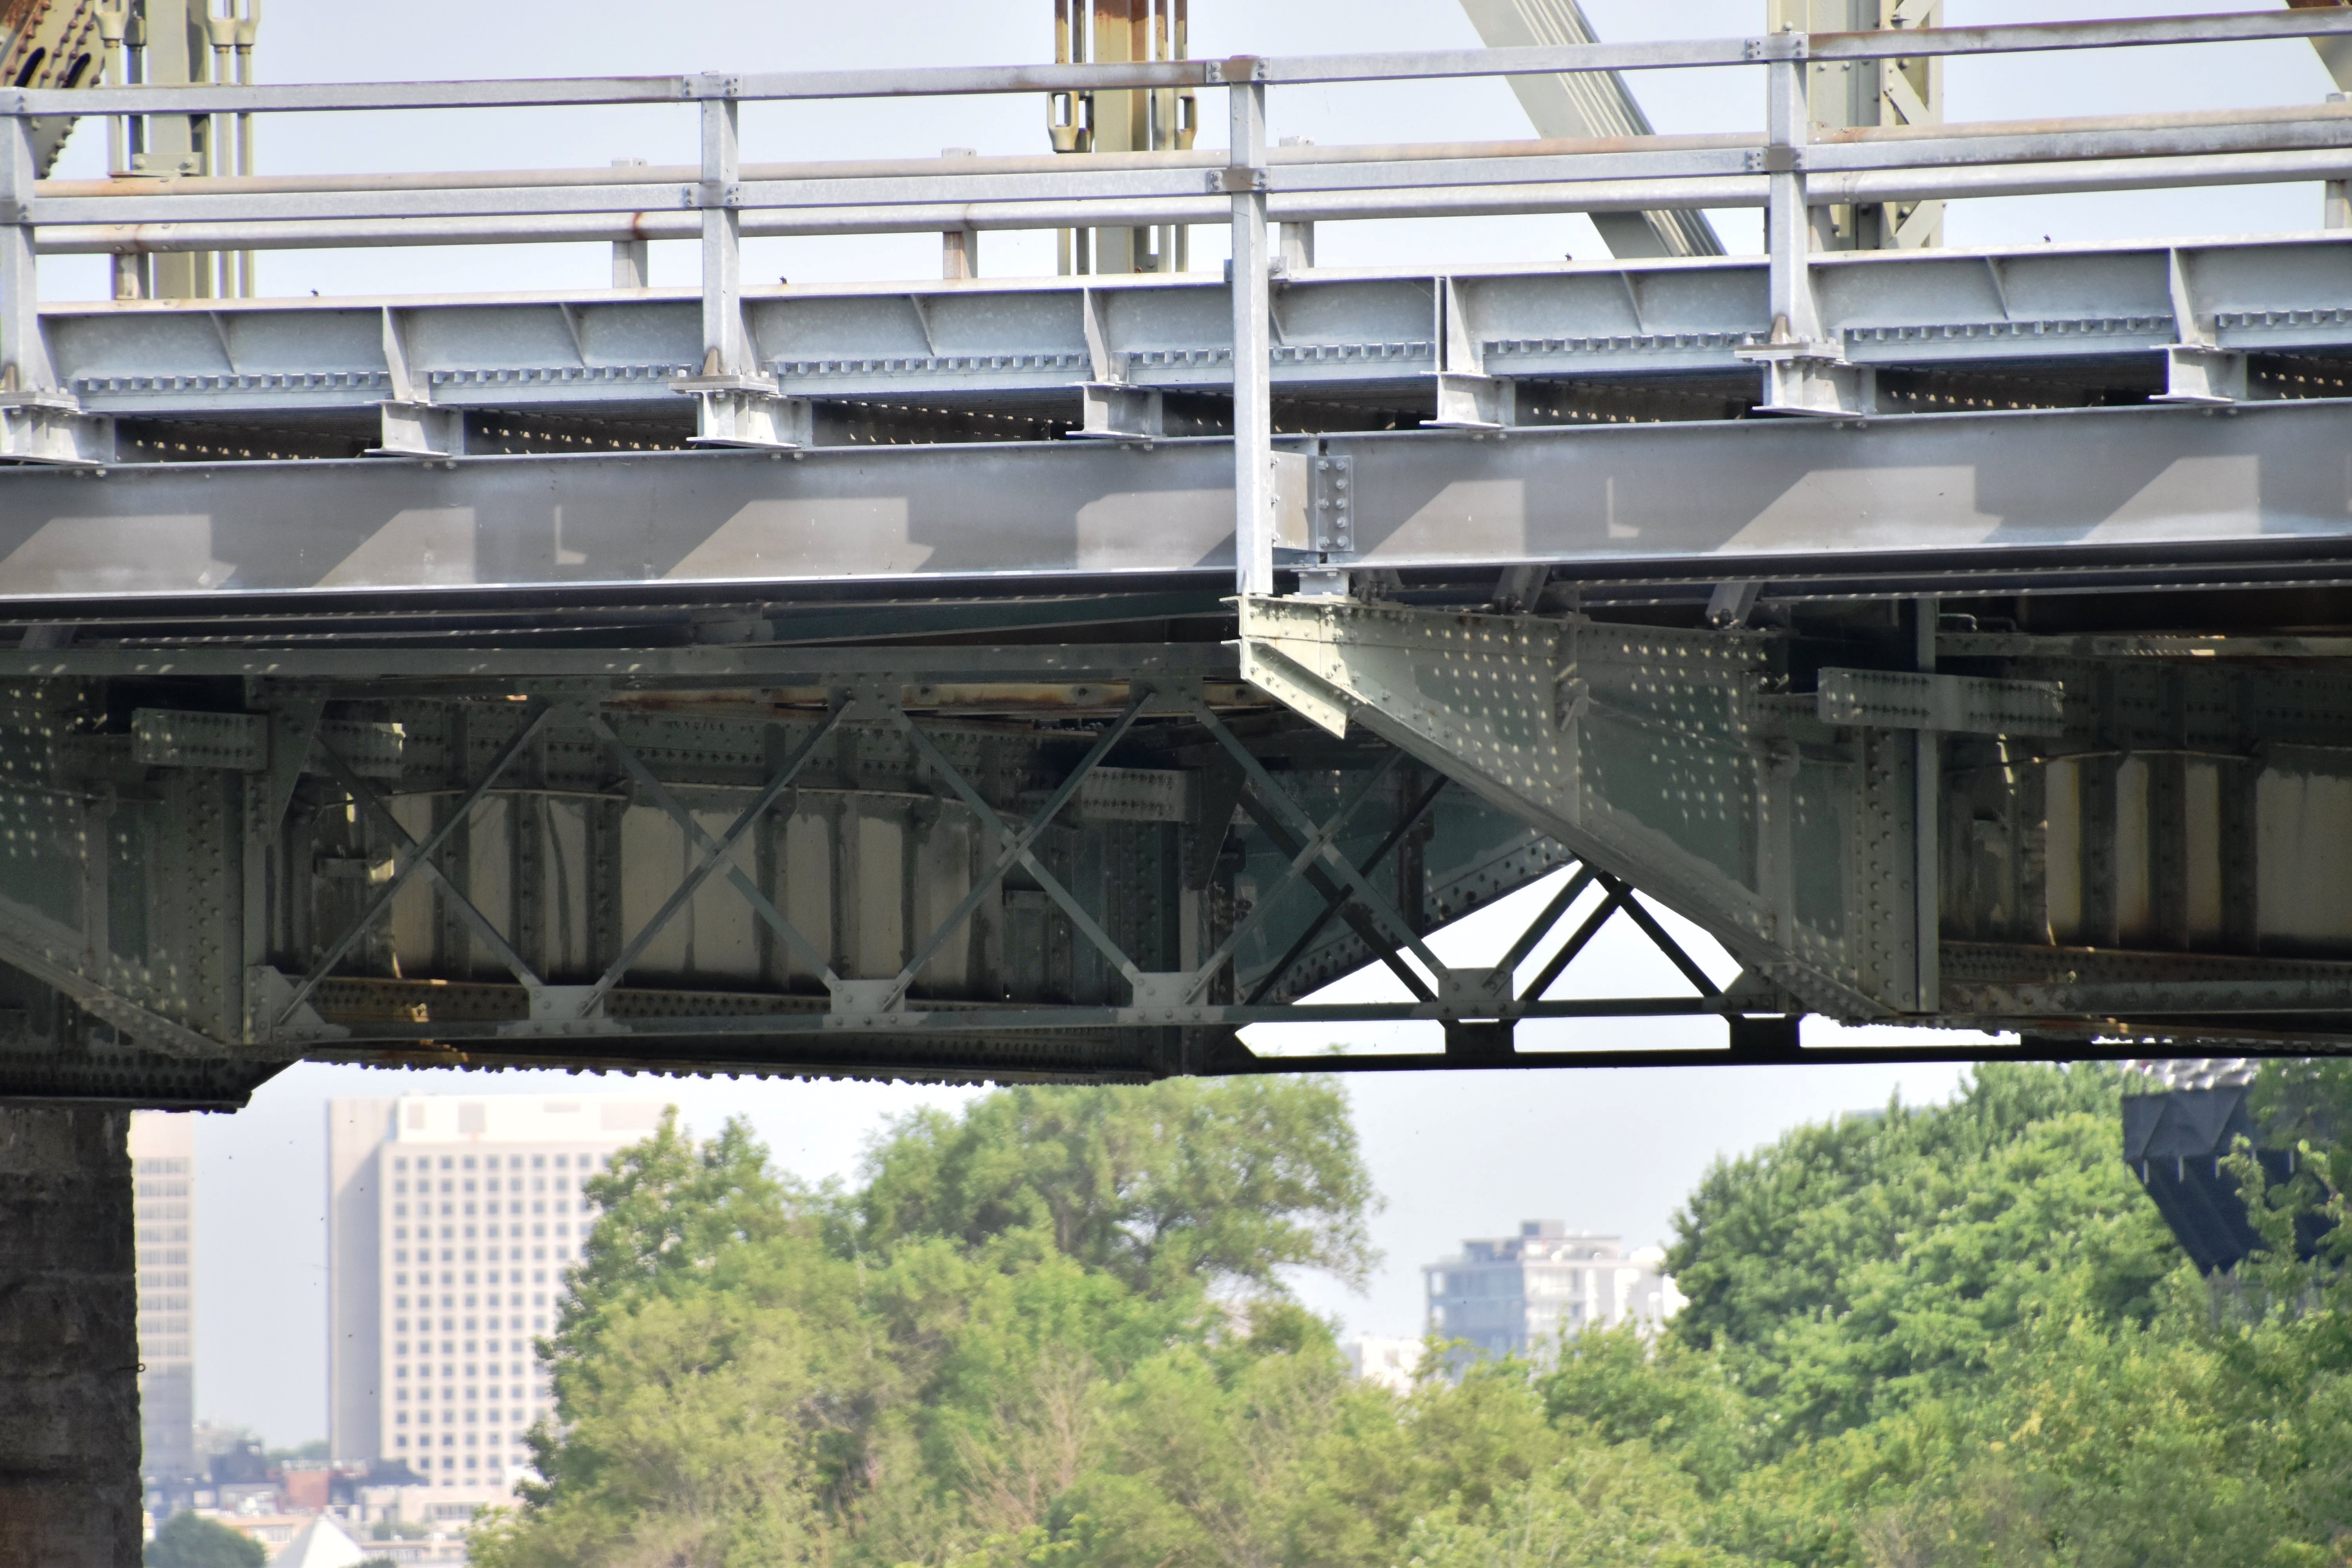
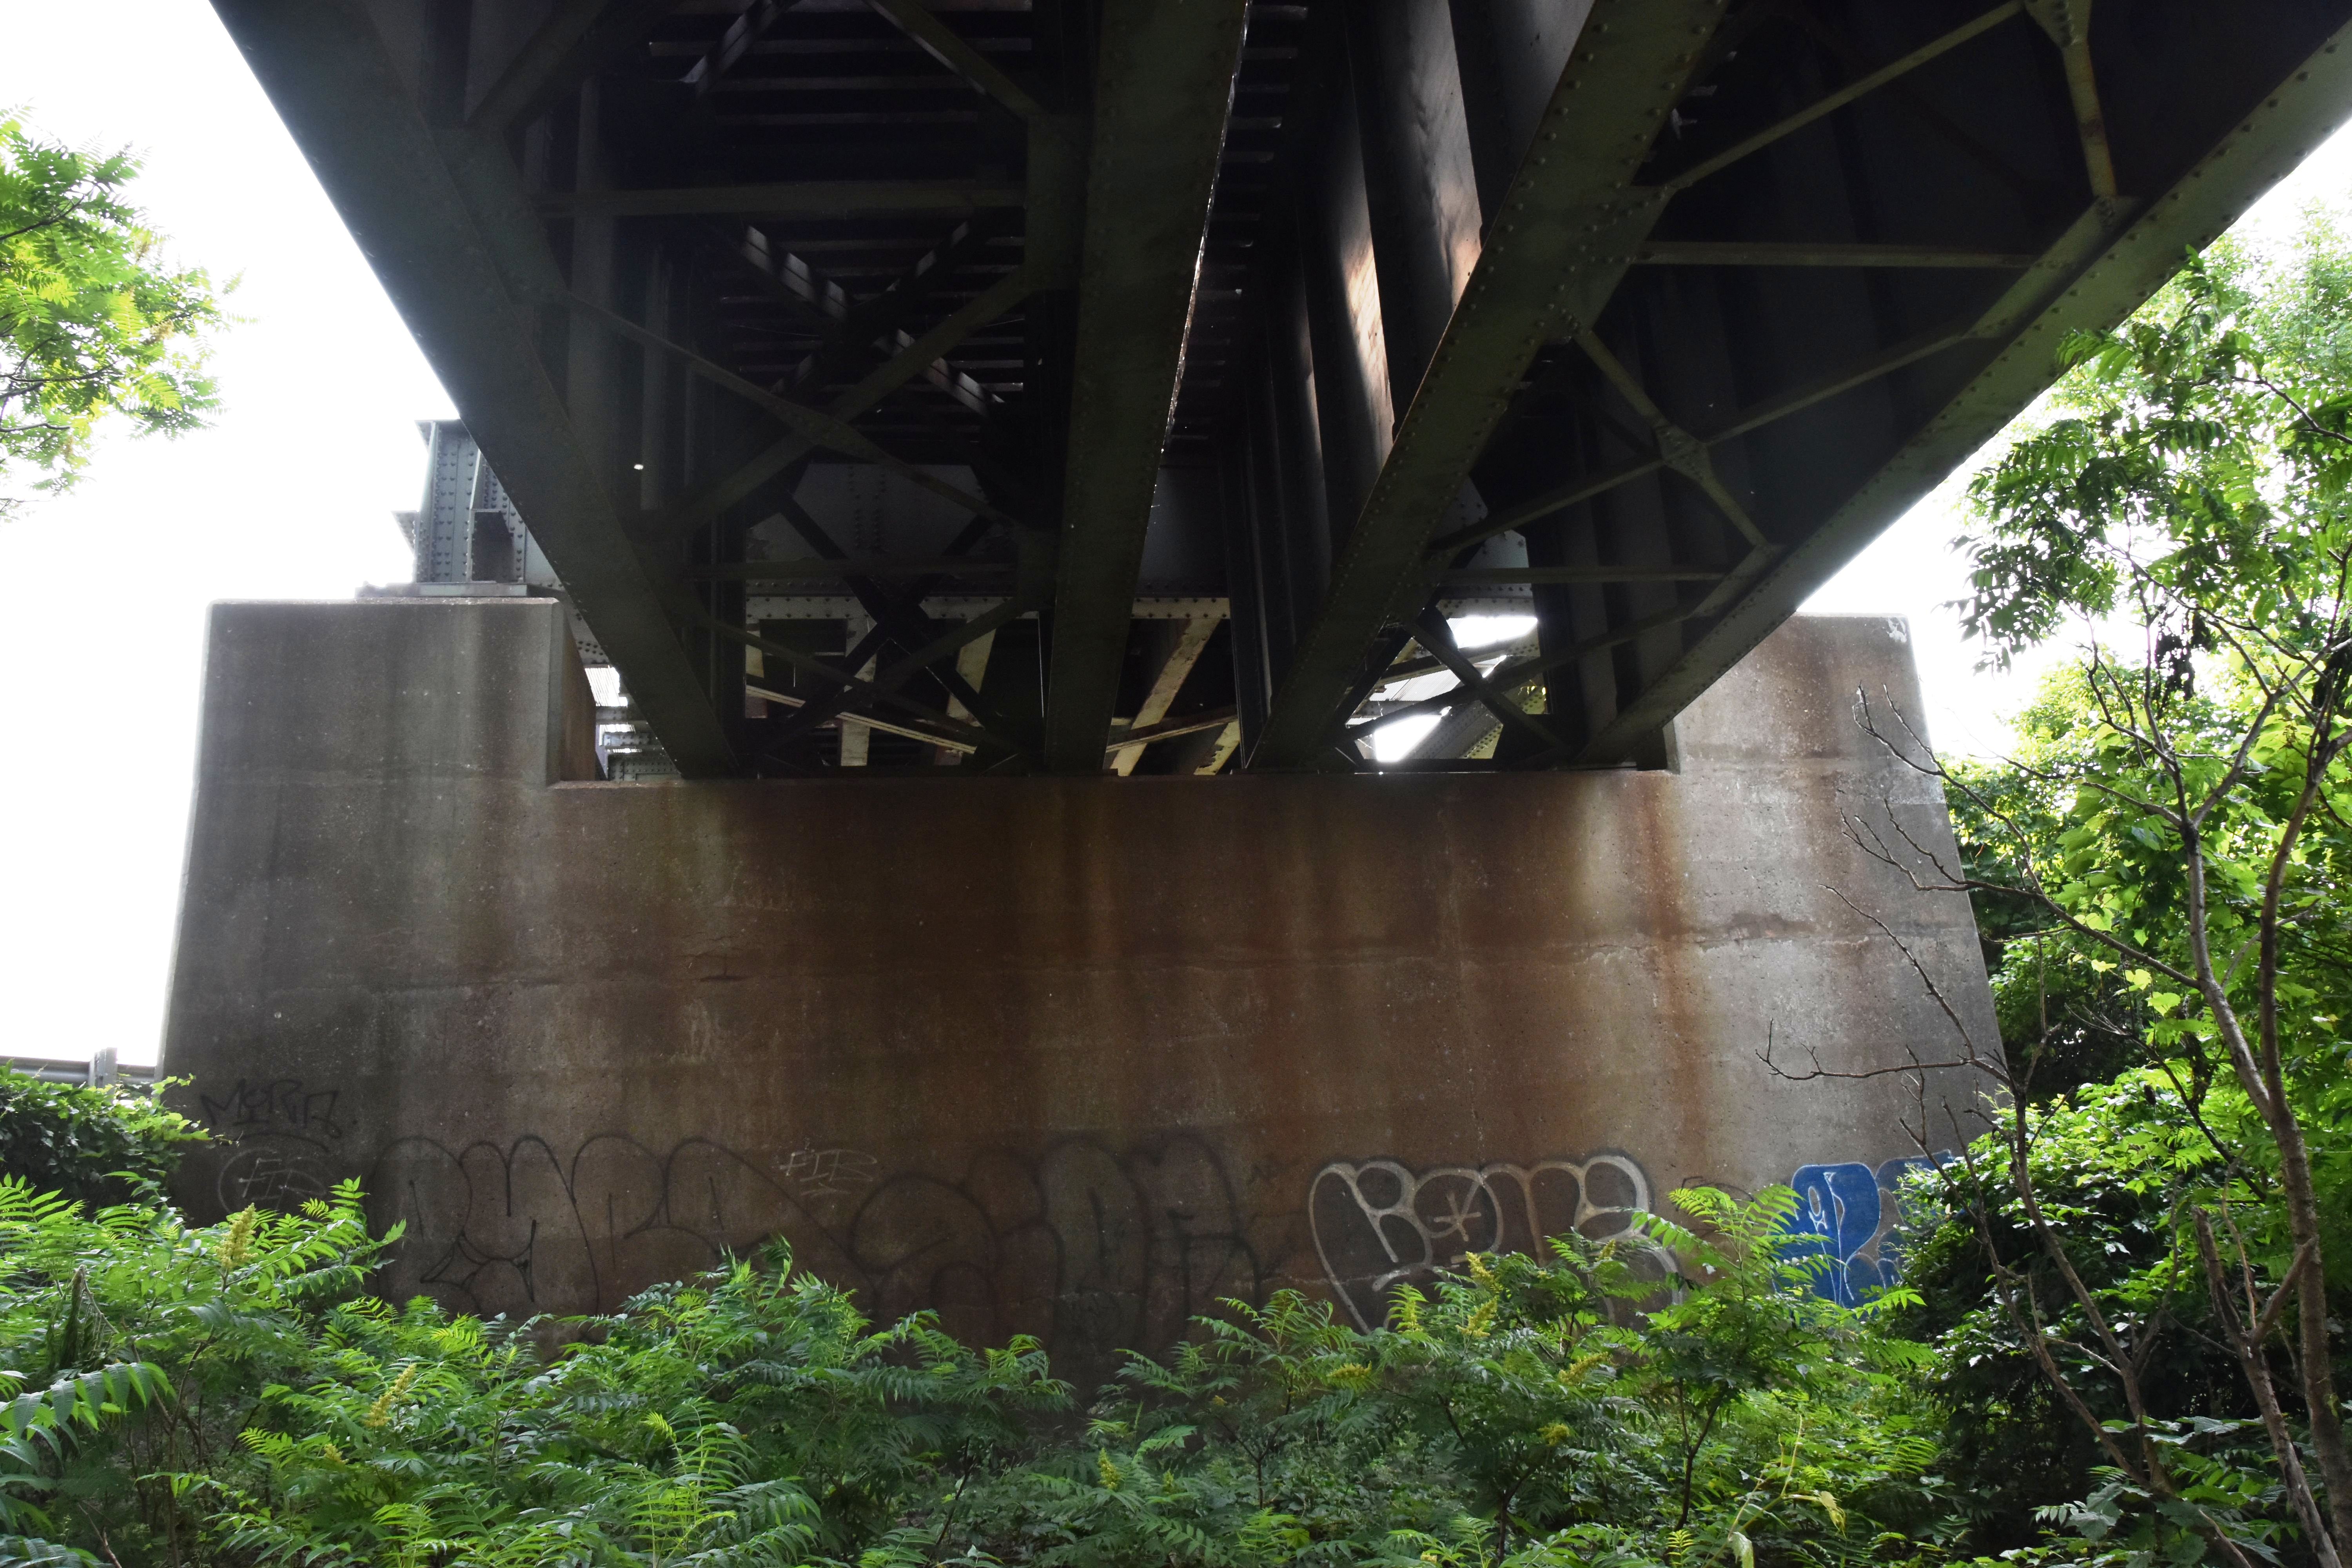
View under bridge.
![]()


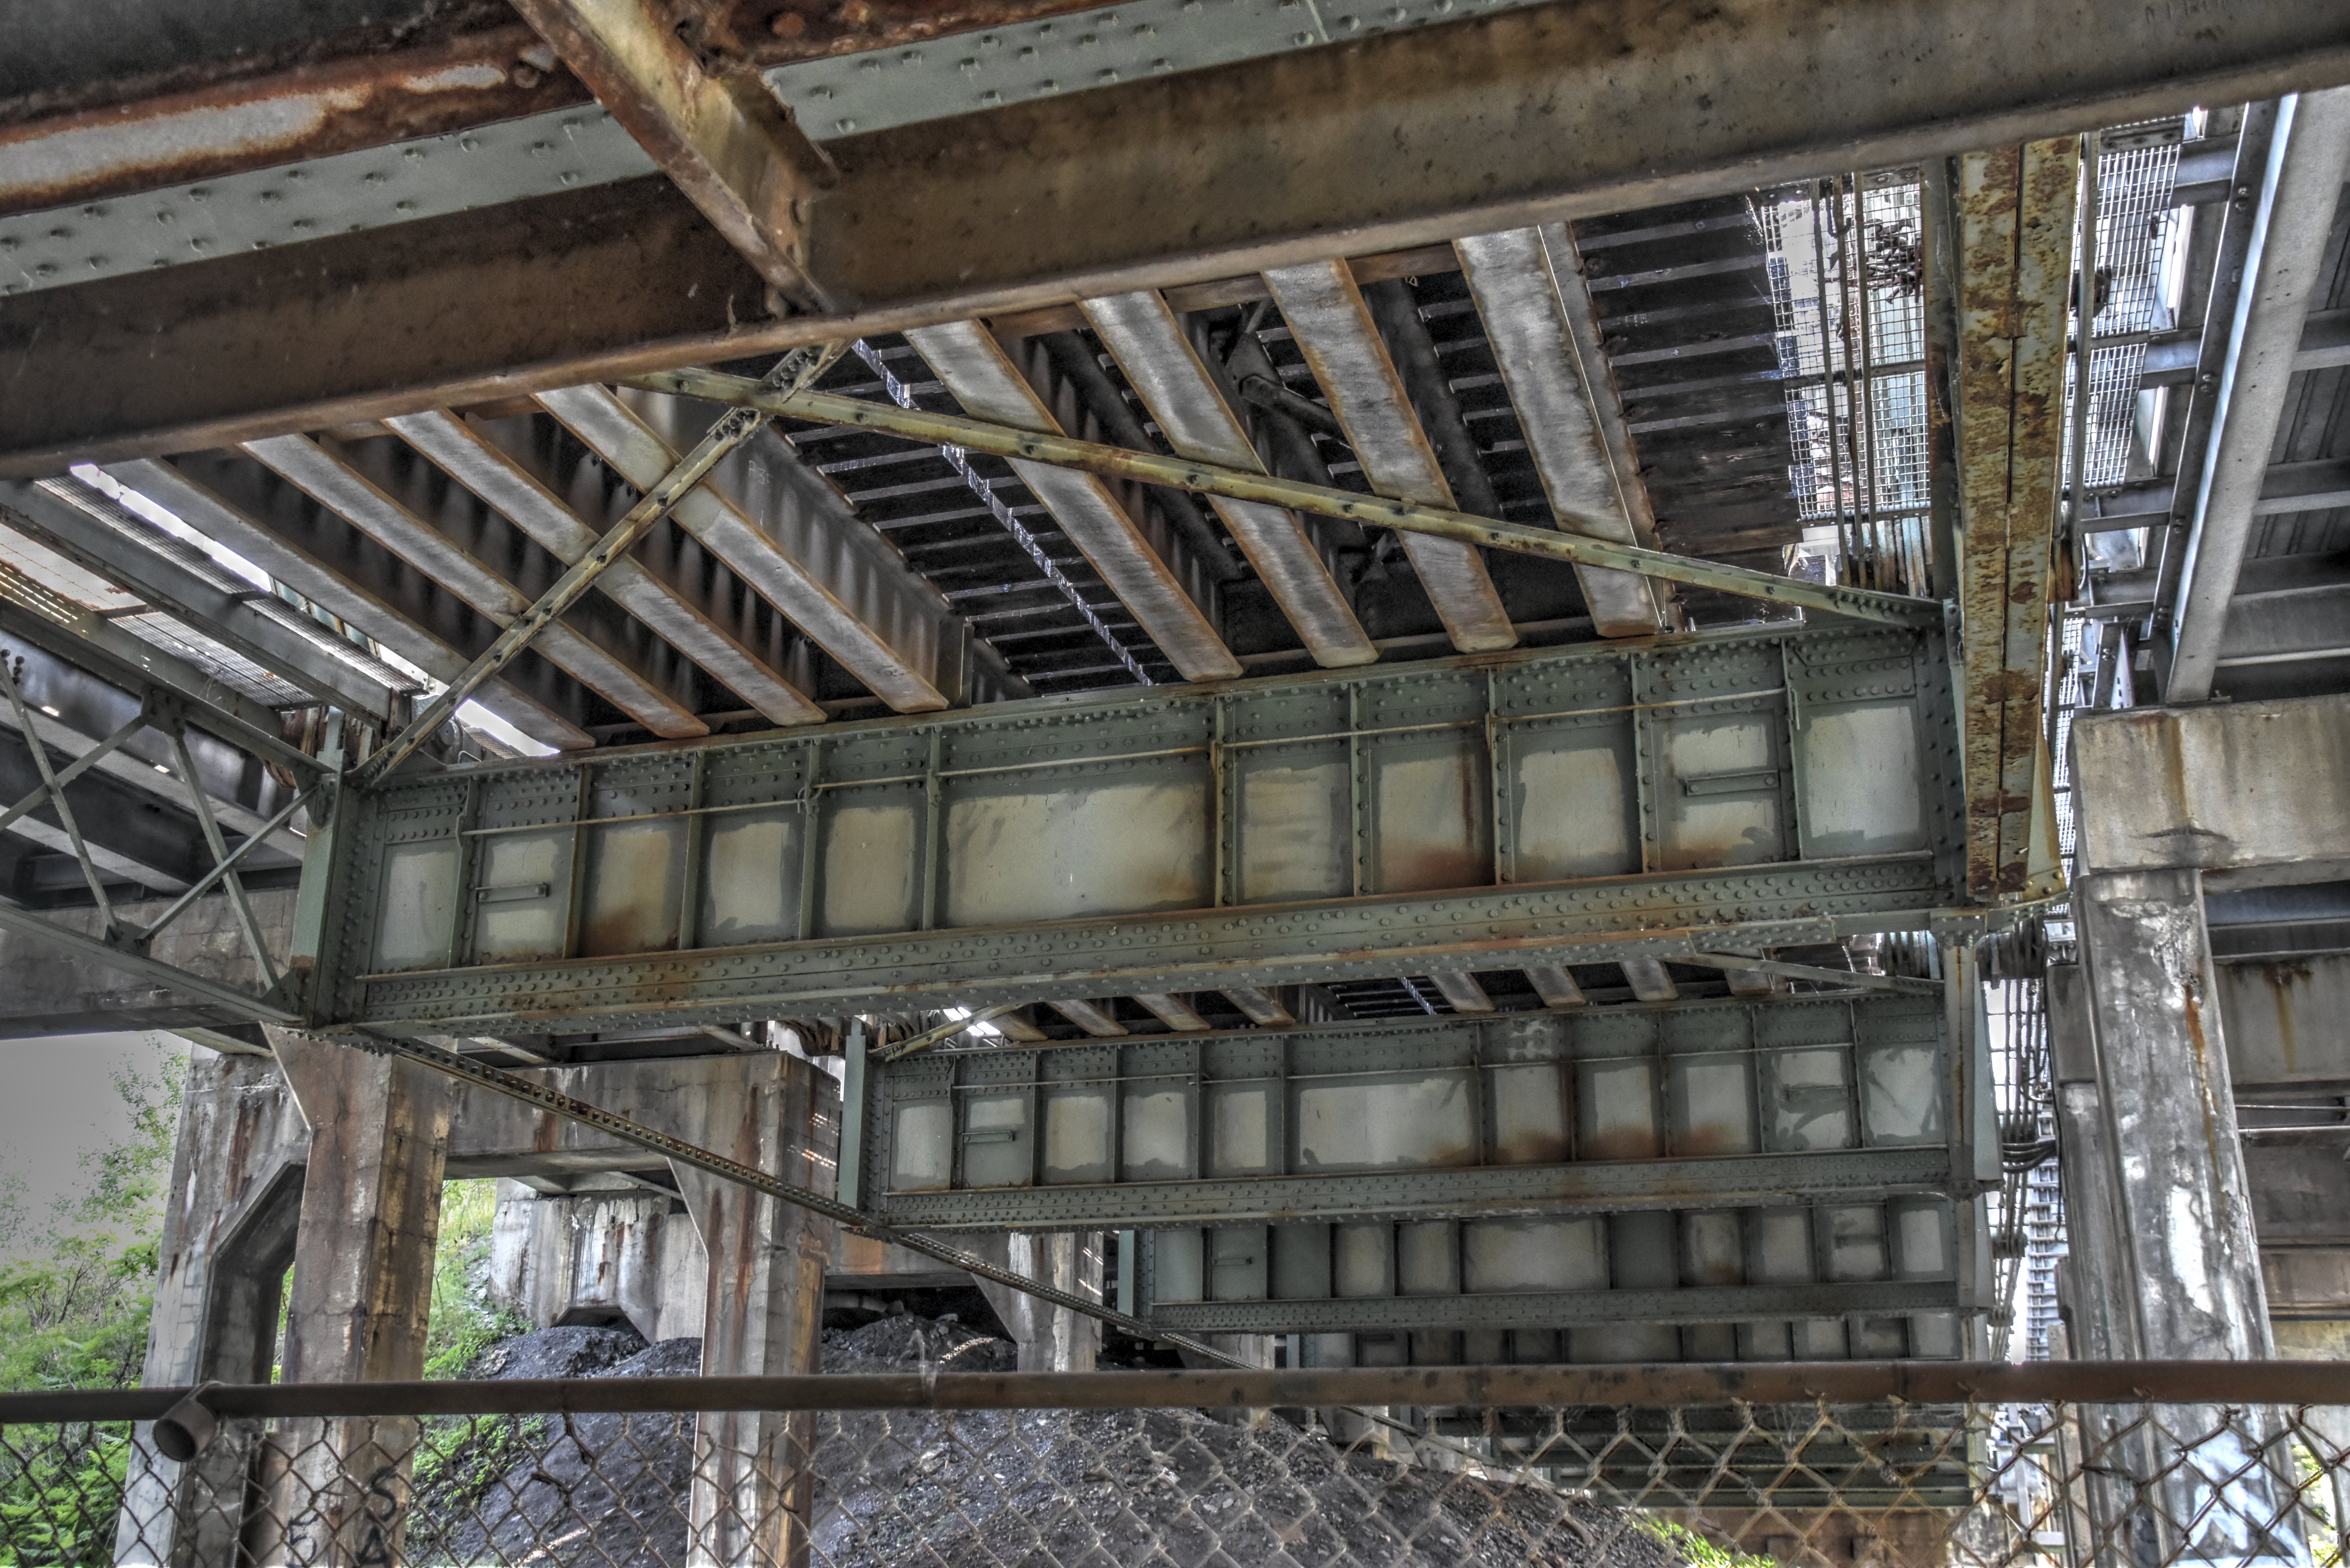


Floorbeams.
![]()


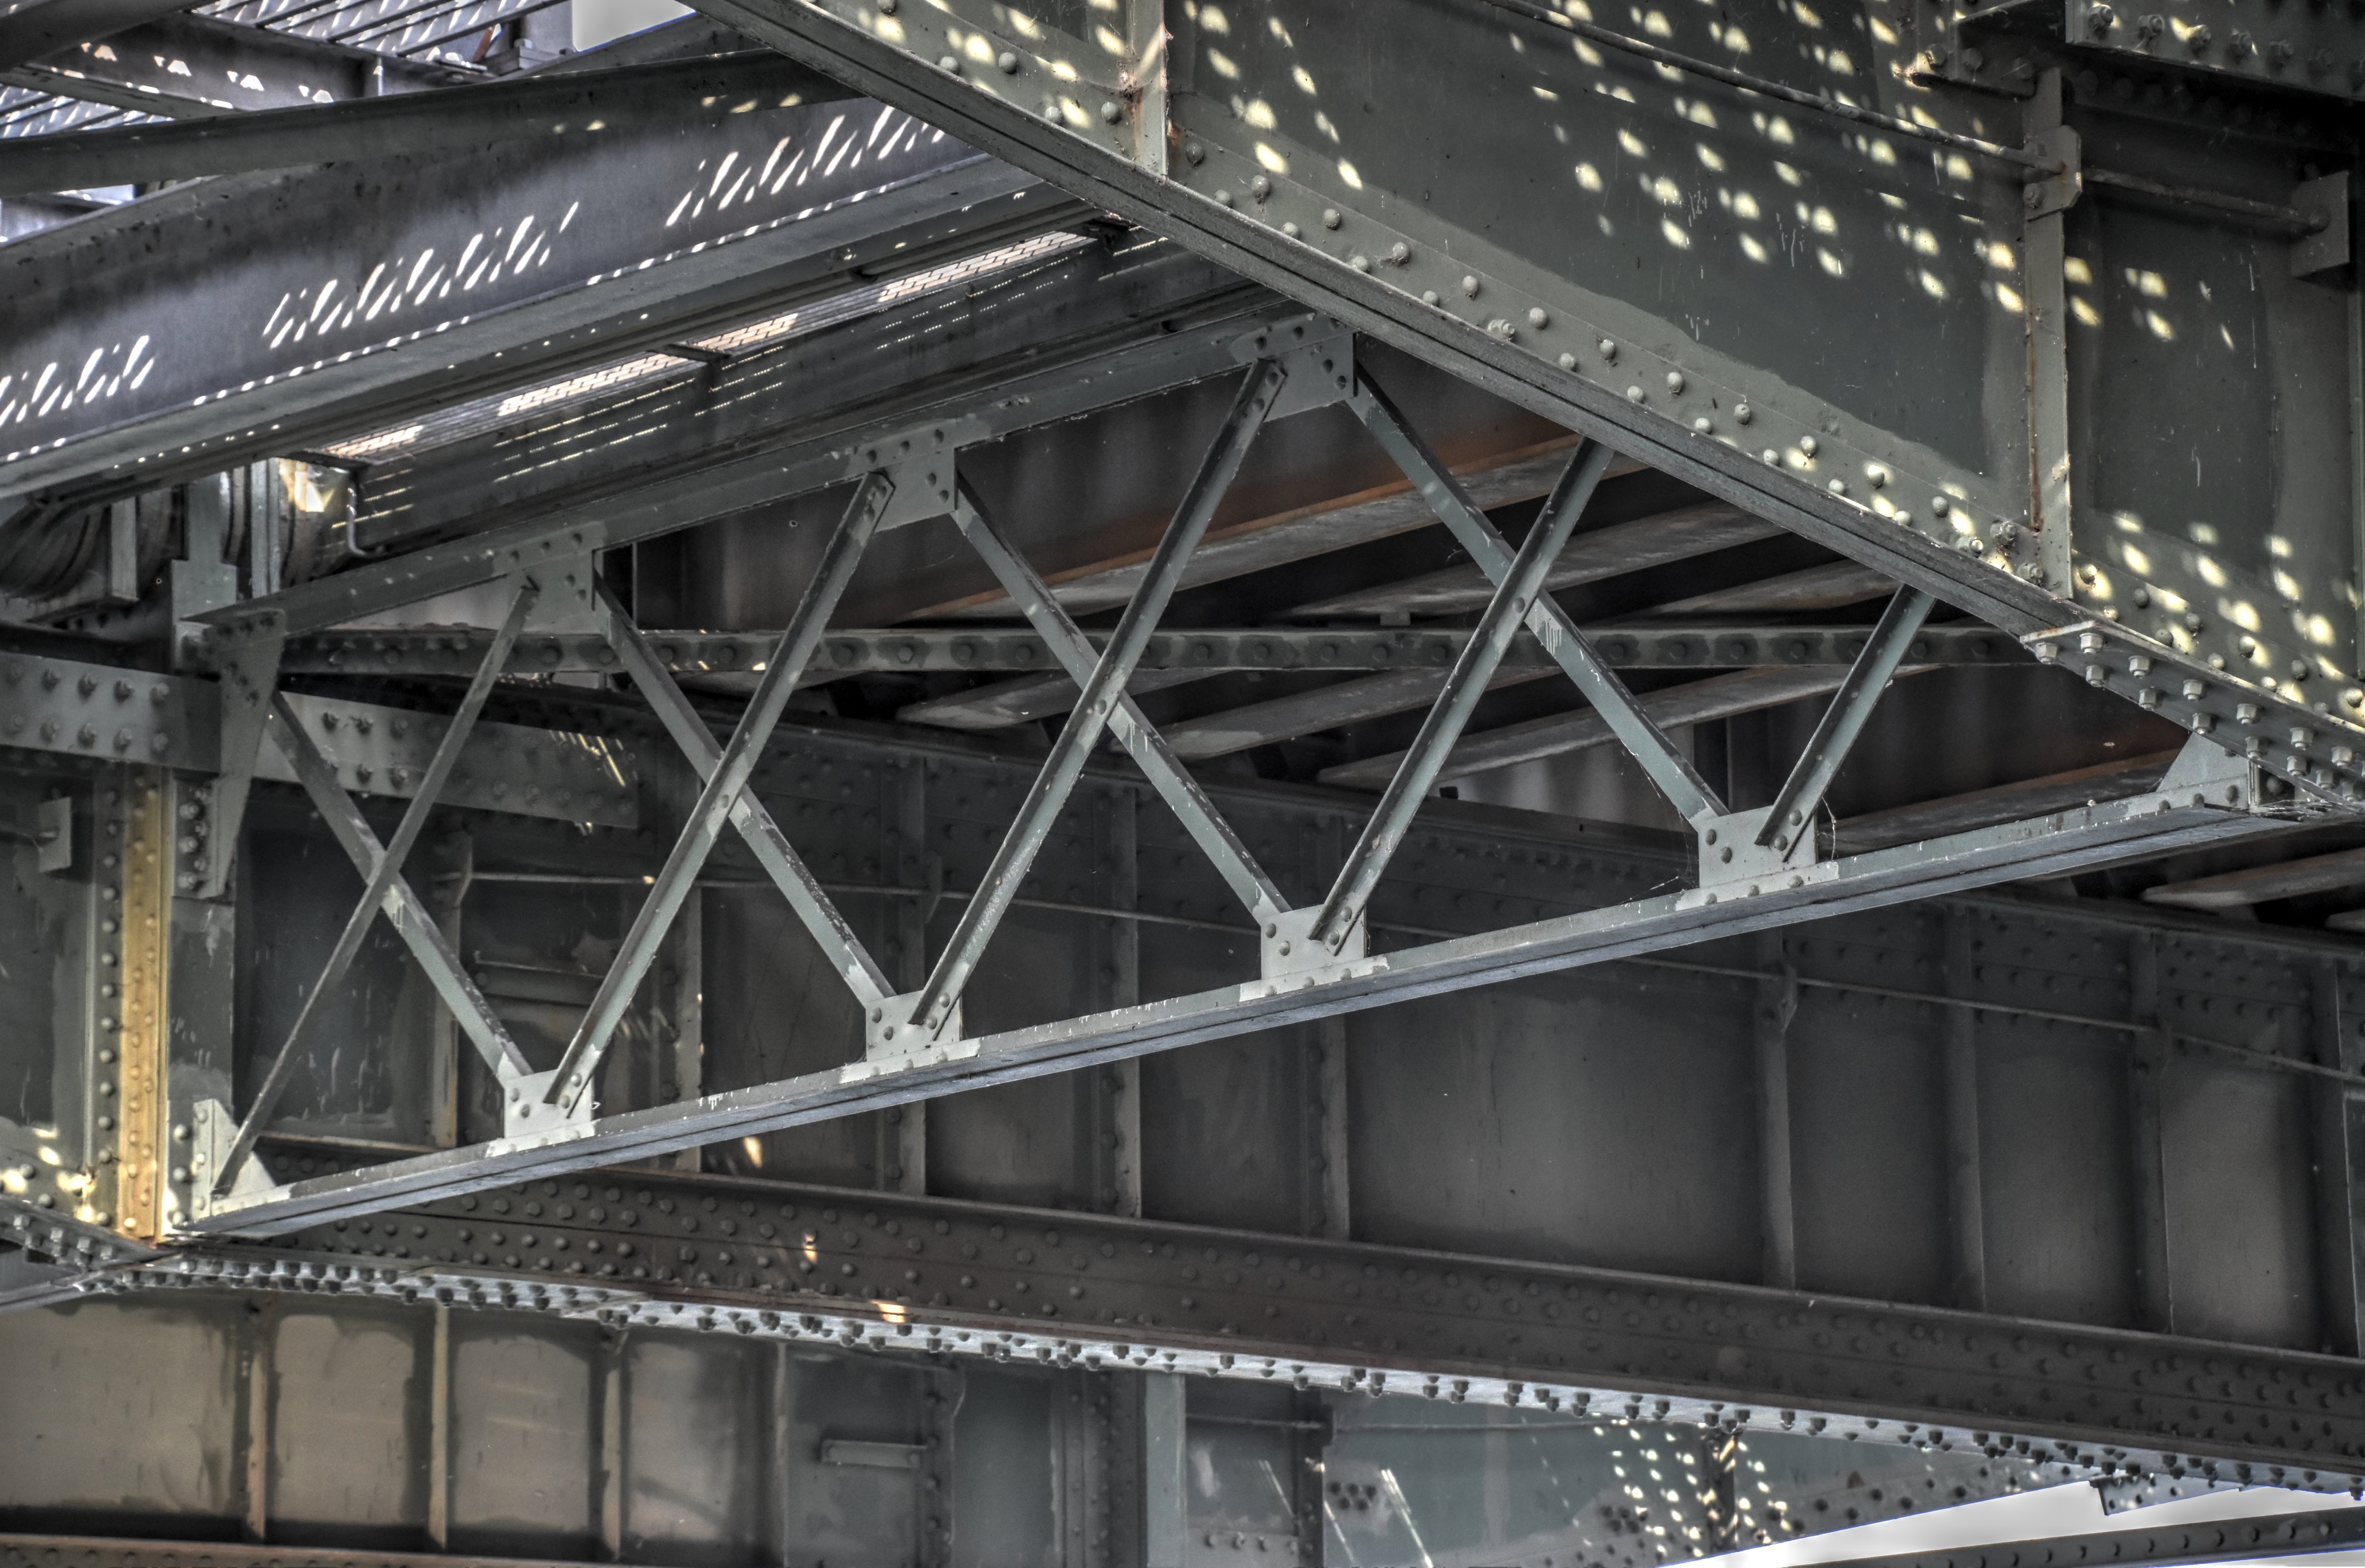


Lower bracing.
![]()


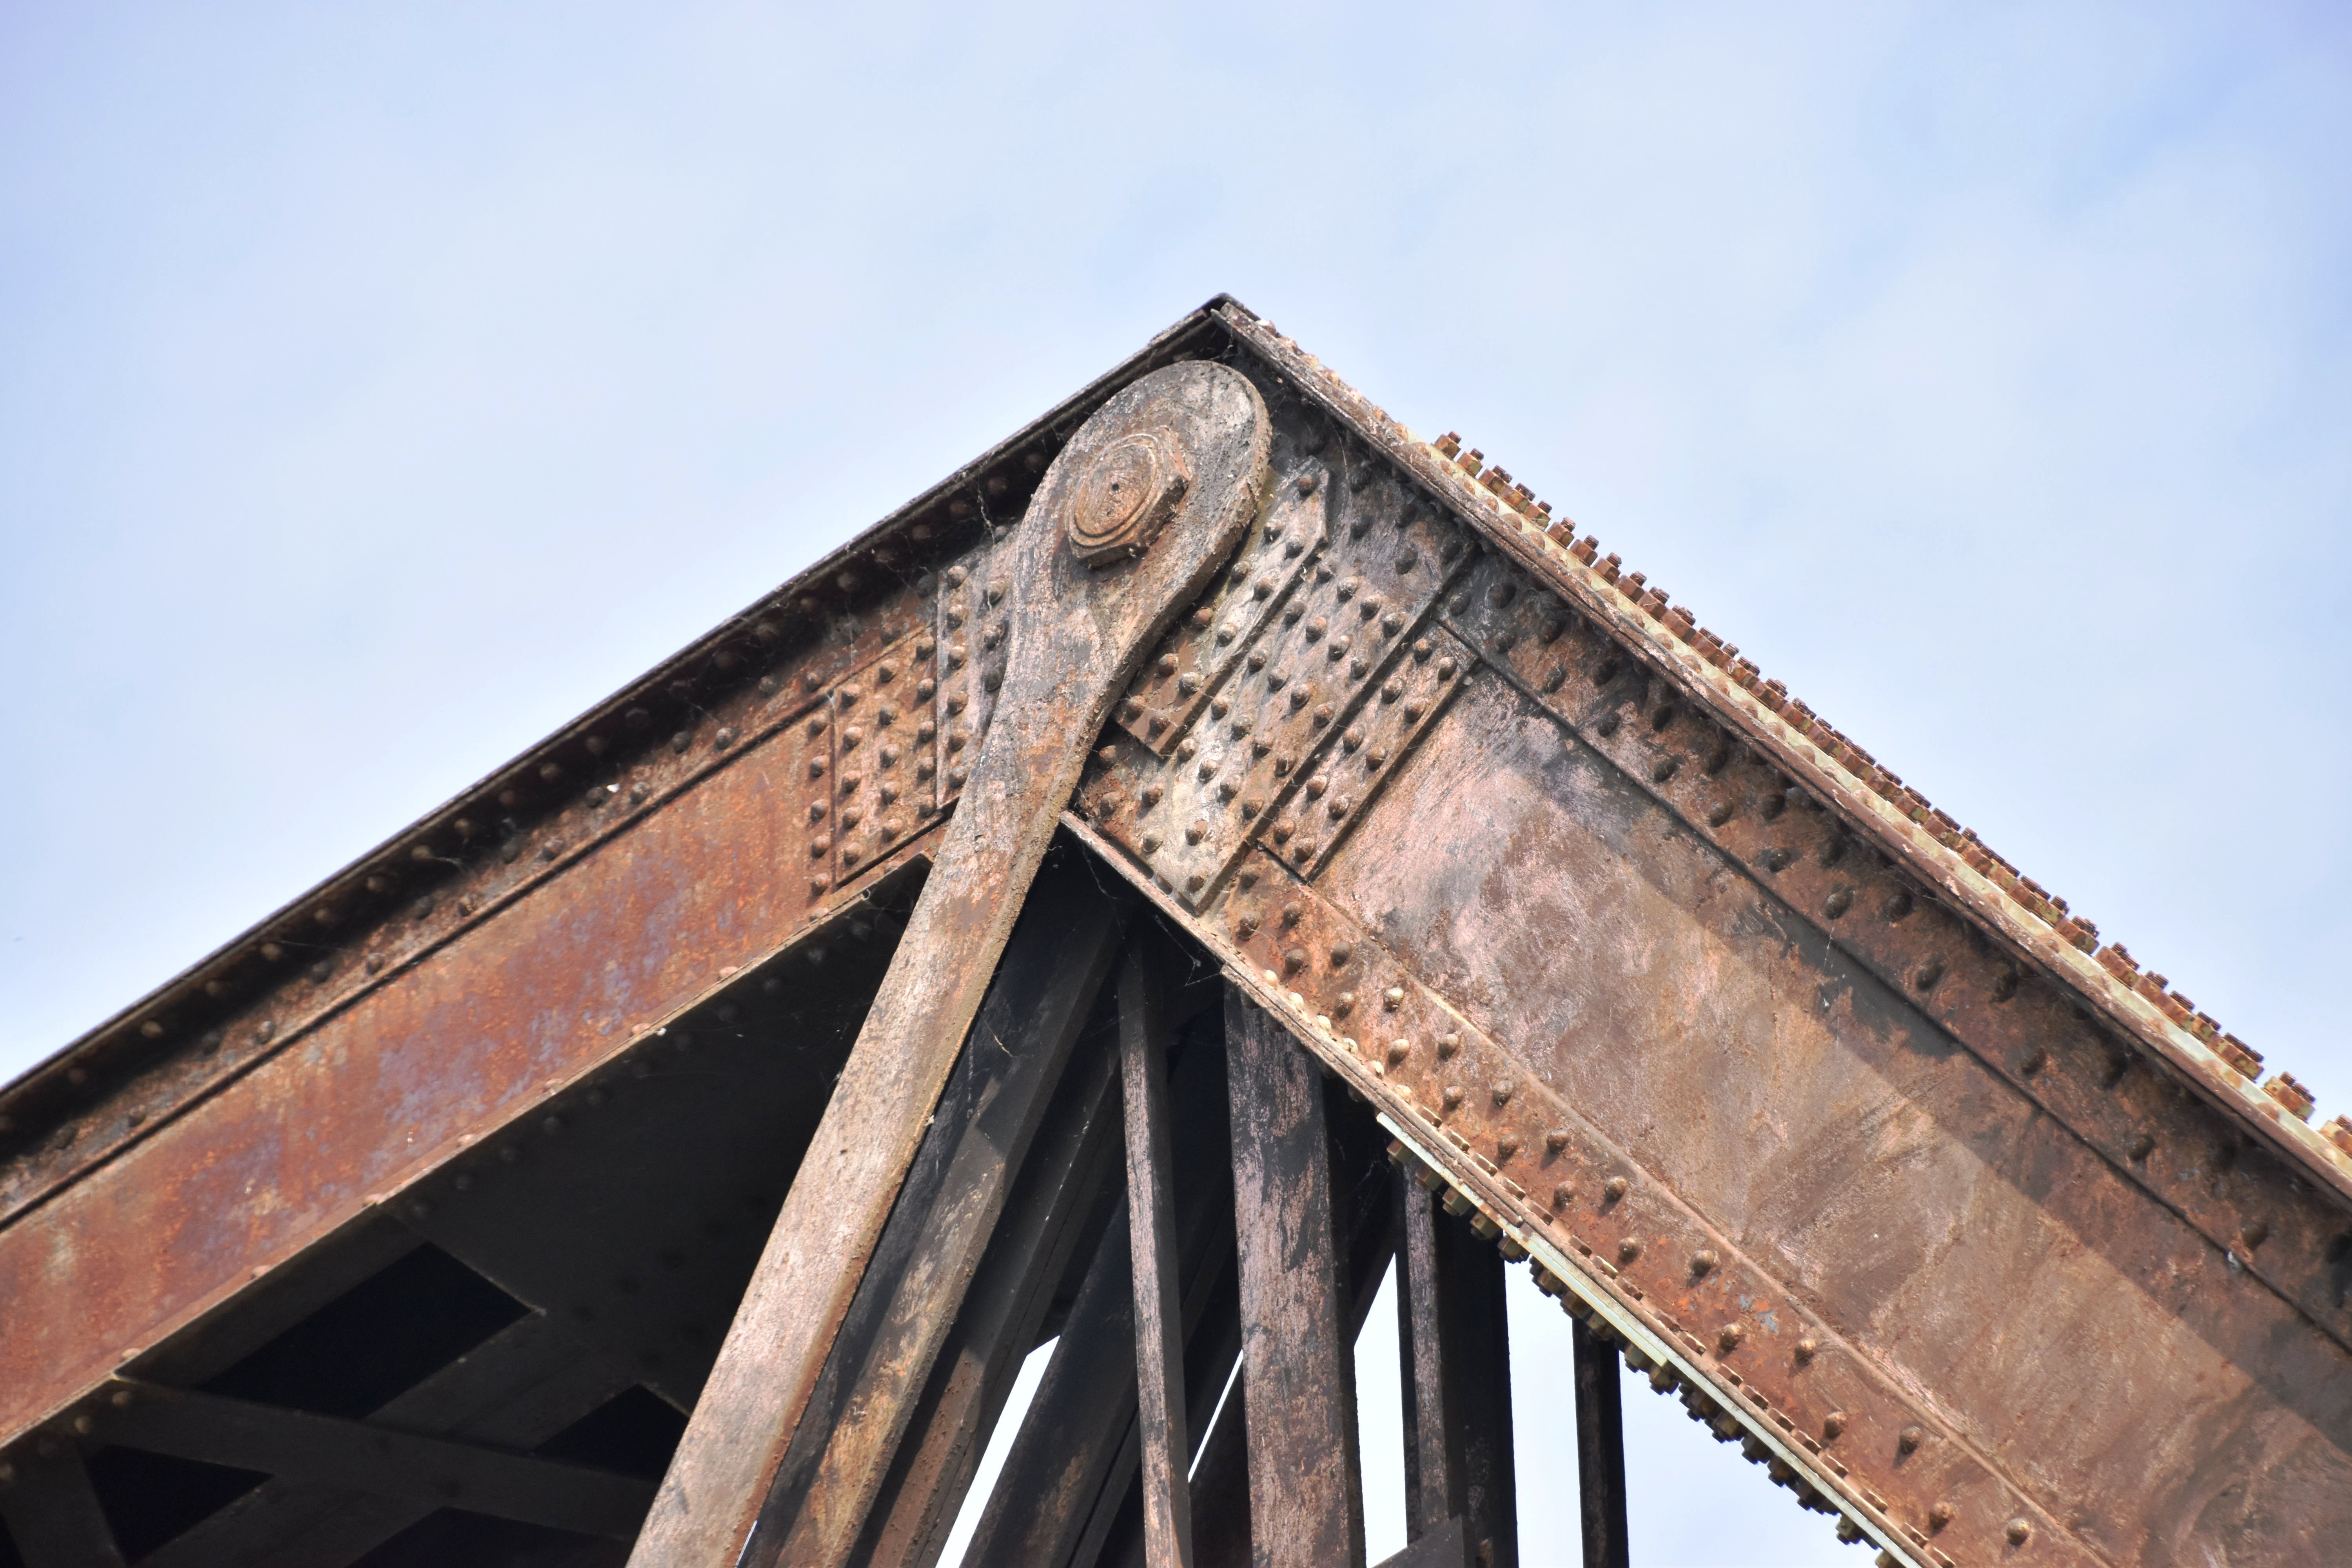
Portal bracing.
![]()


St. Lambert Diversion top chord connections as viewed from beside bridge.
![]()
St. Lambert Diversion bottom chord connections as viewed from beside bridge.
![]()
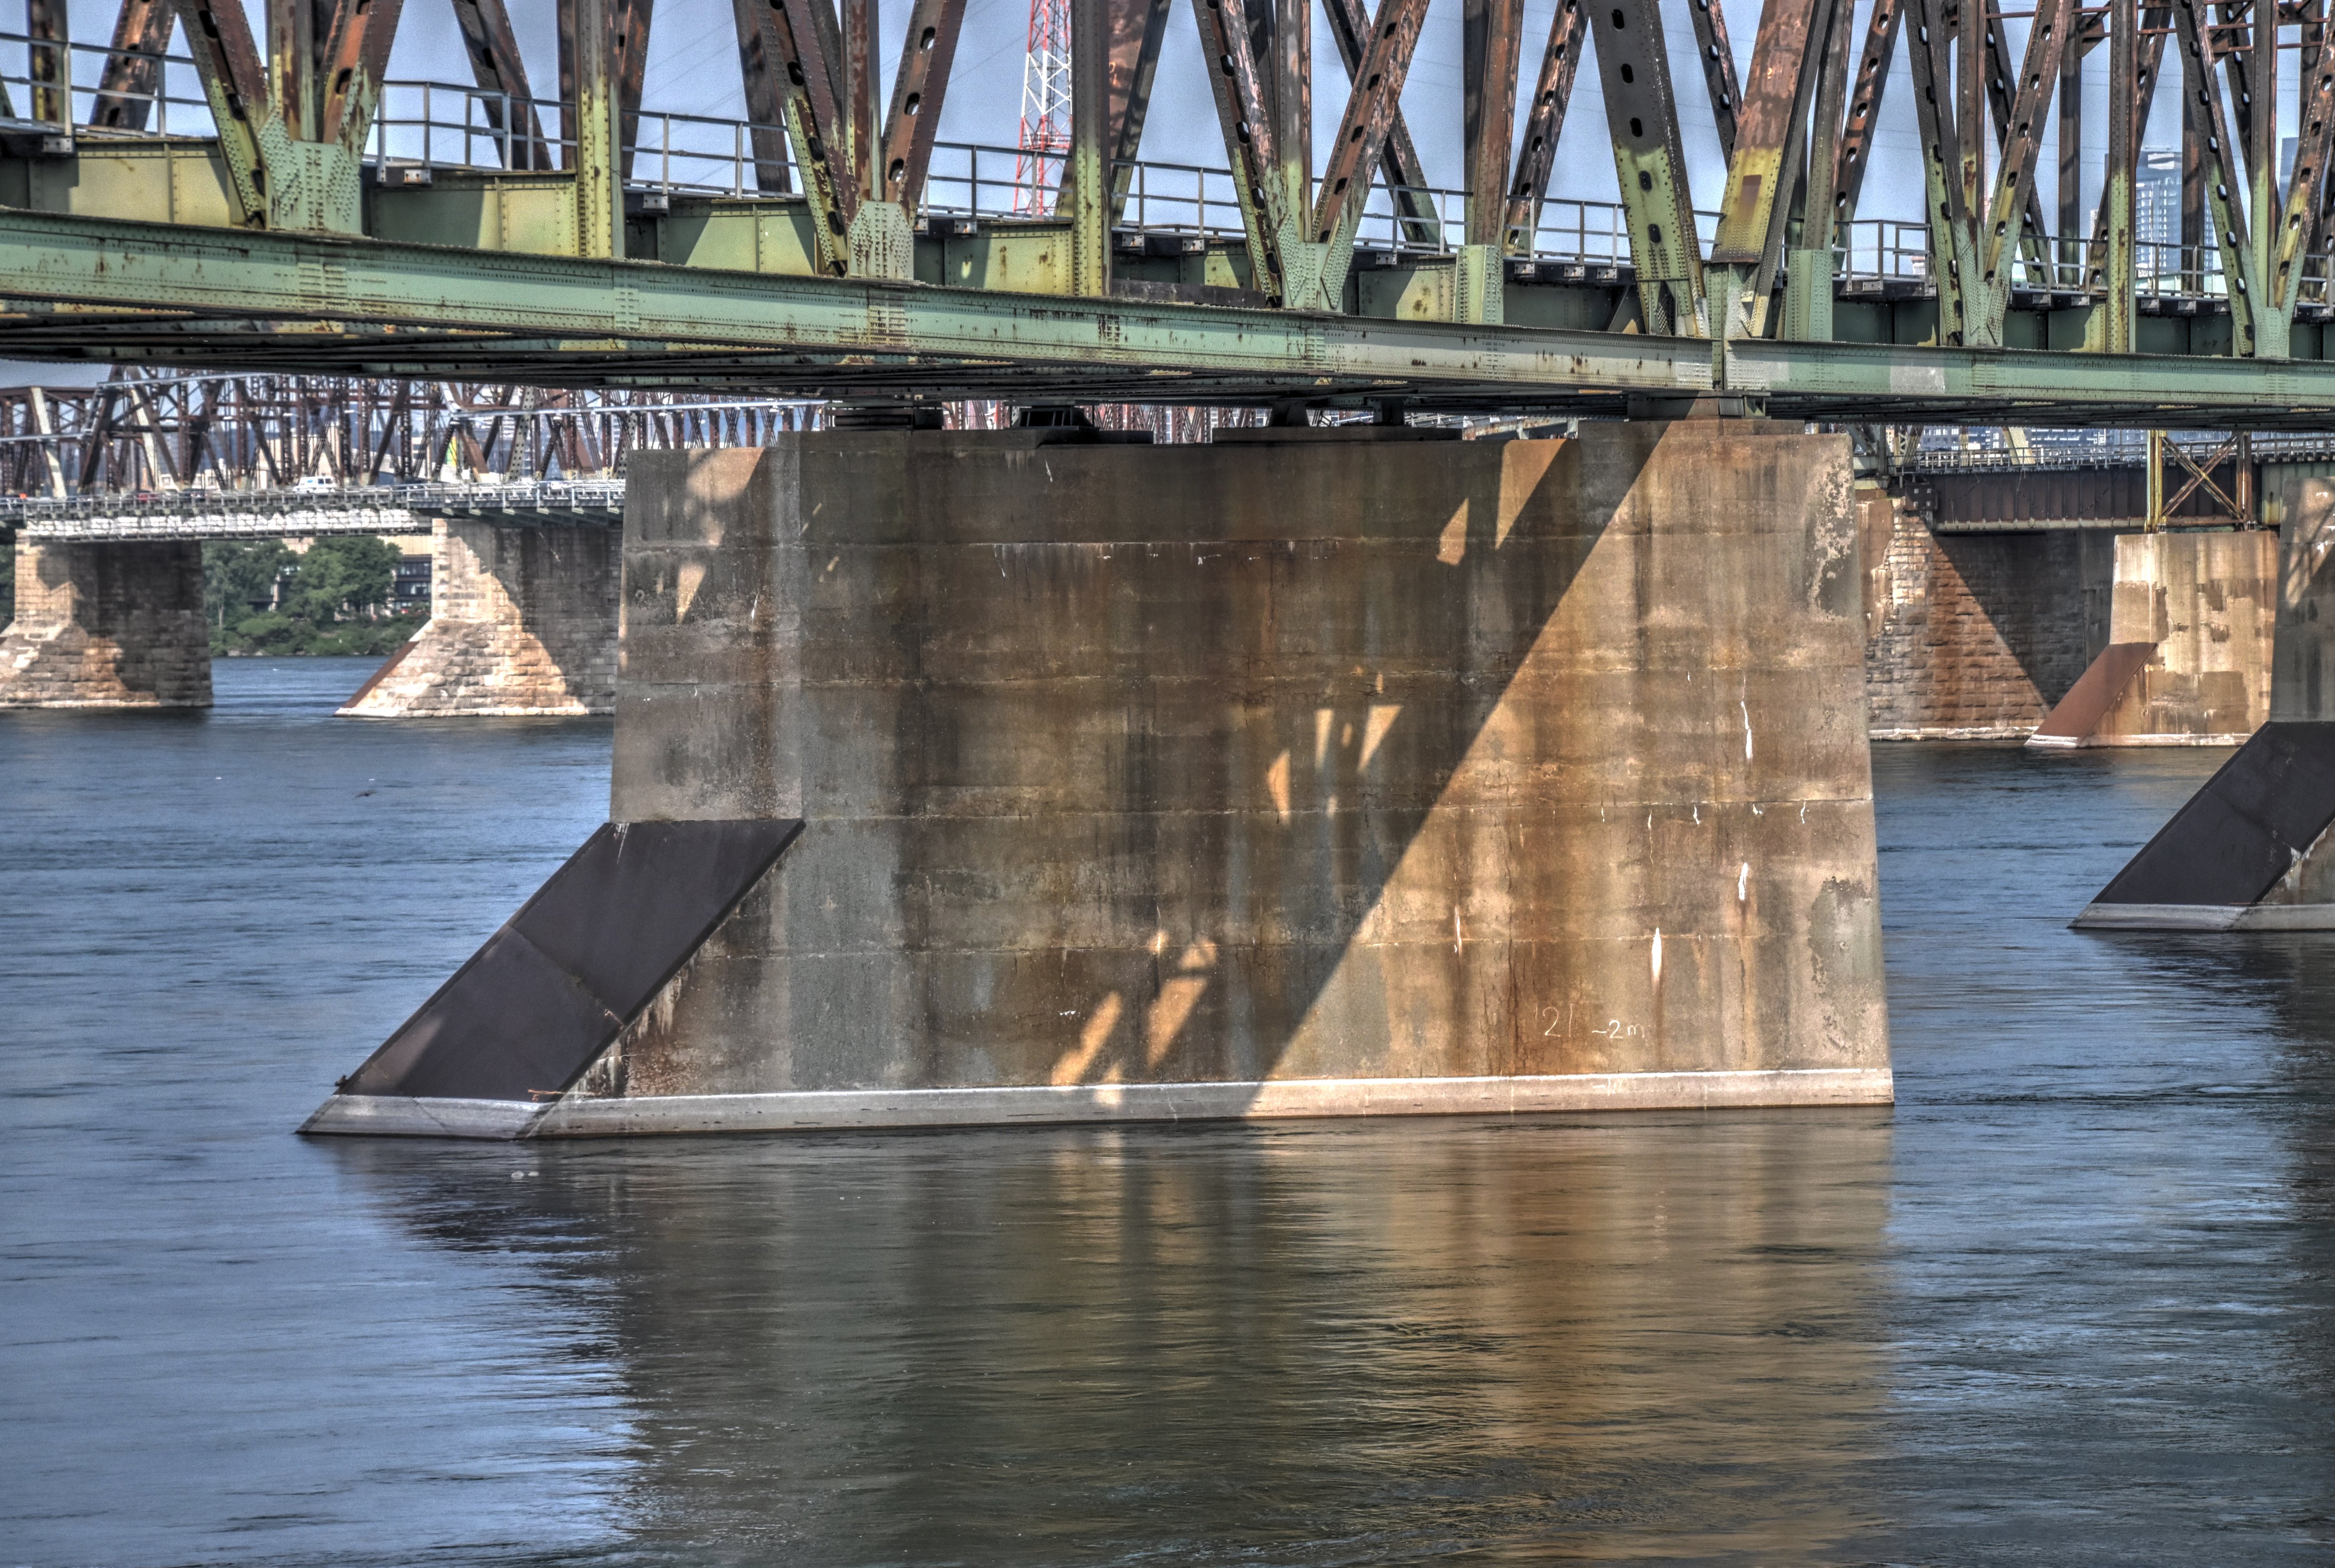
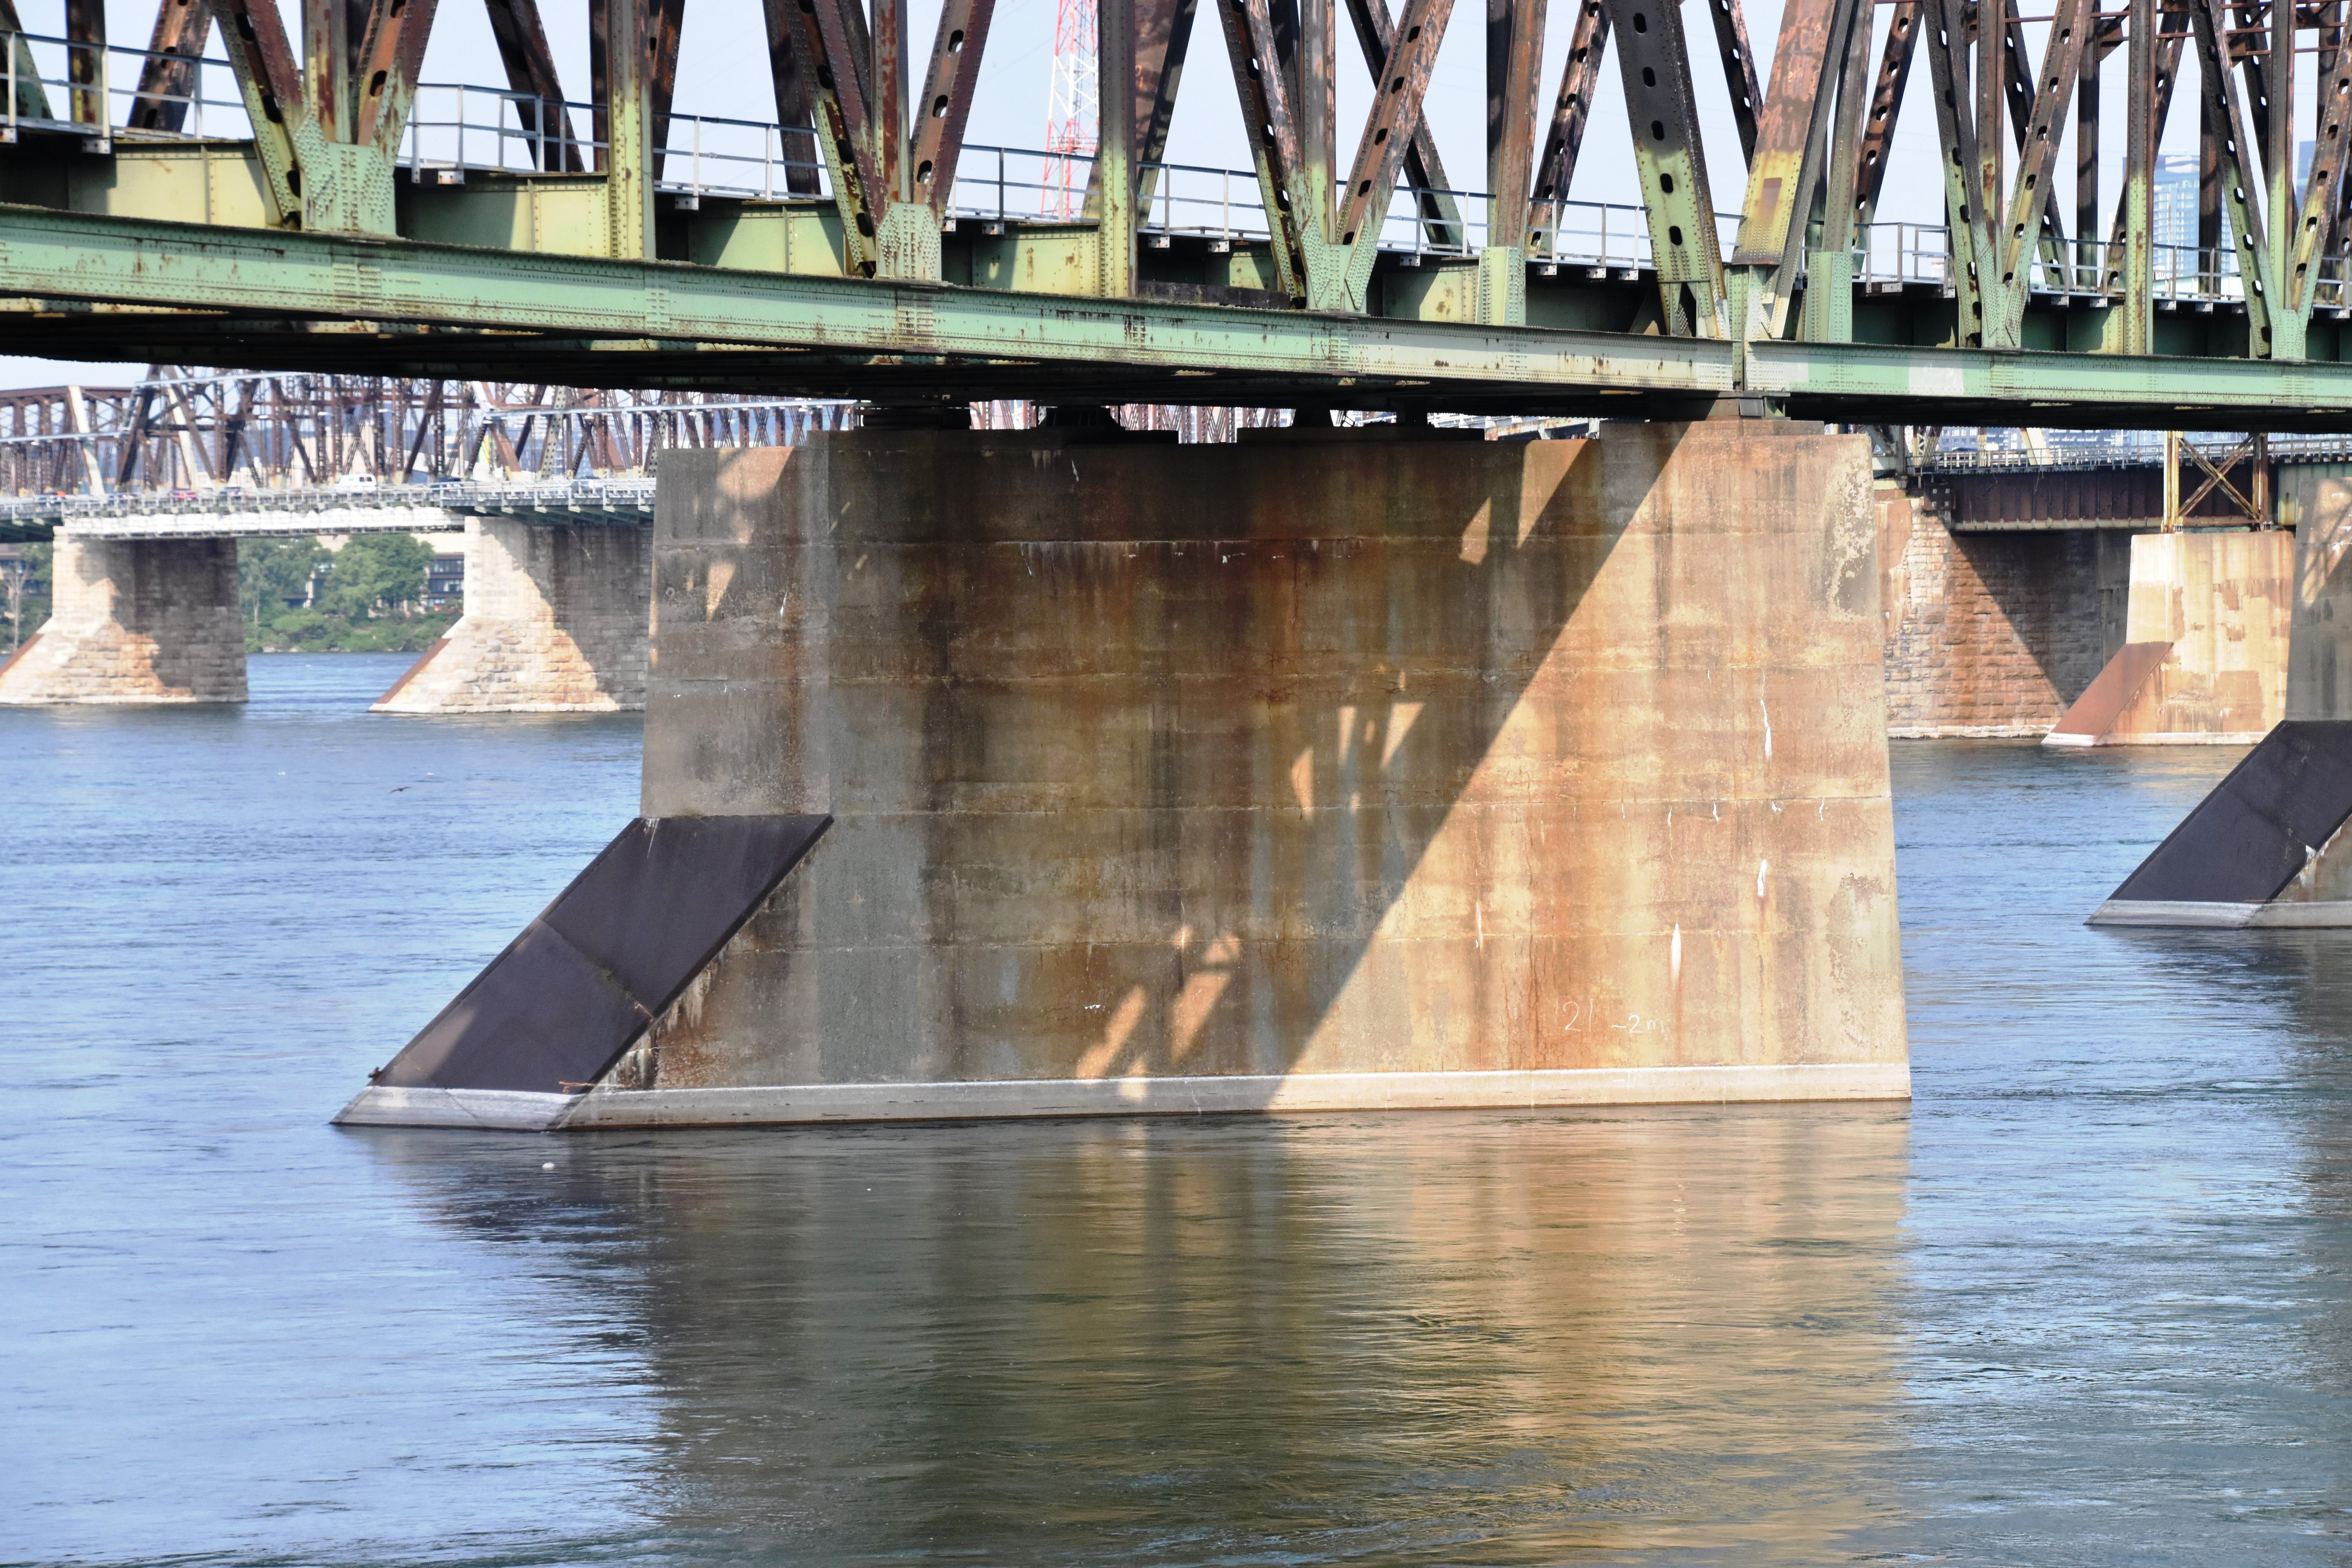
St. Lambert Diversion piers.
![]()


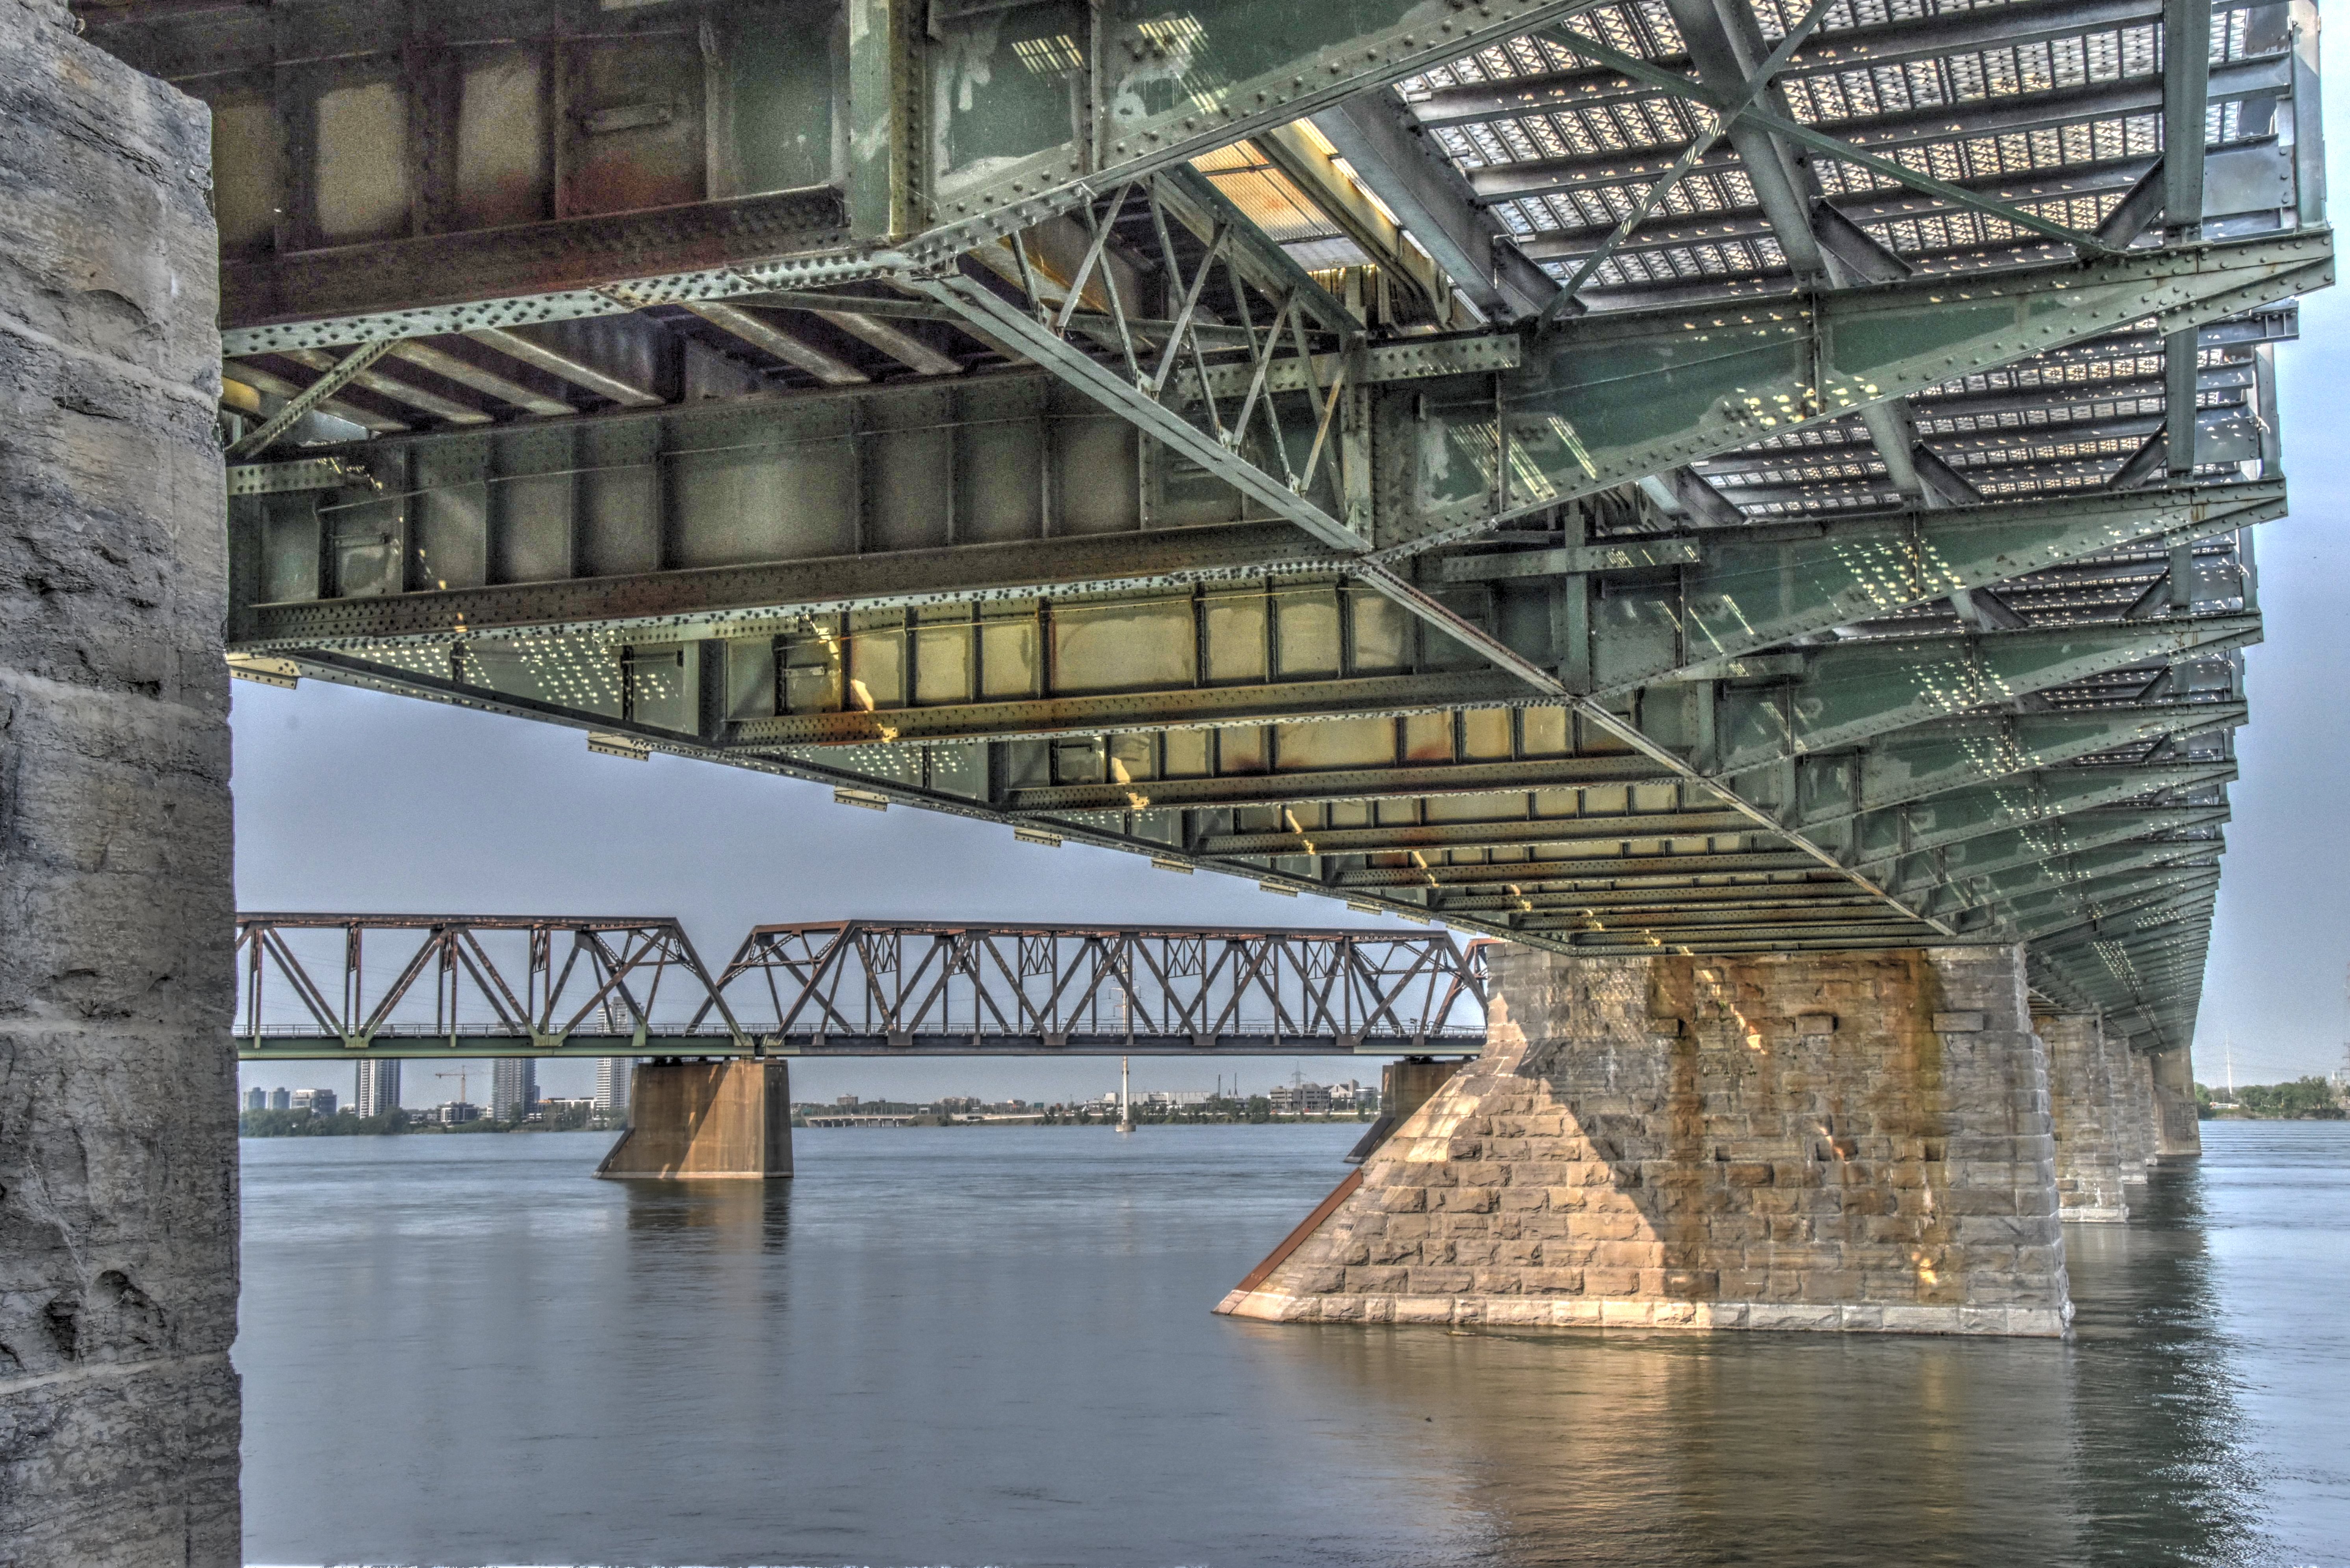
View of main spans looking west under St. Lambert Diversion spans.
![]()


St. Lambert Diversion end posts.
![]()
View under St. Lambert Diversion girder span.
![]()


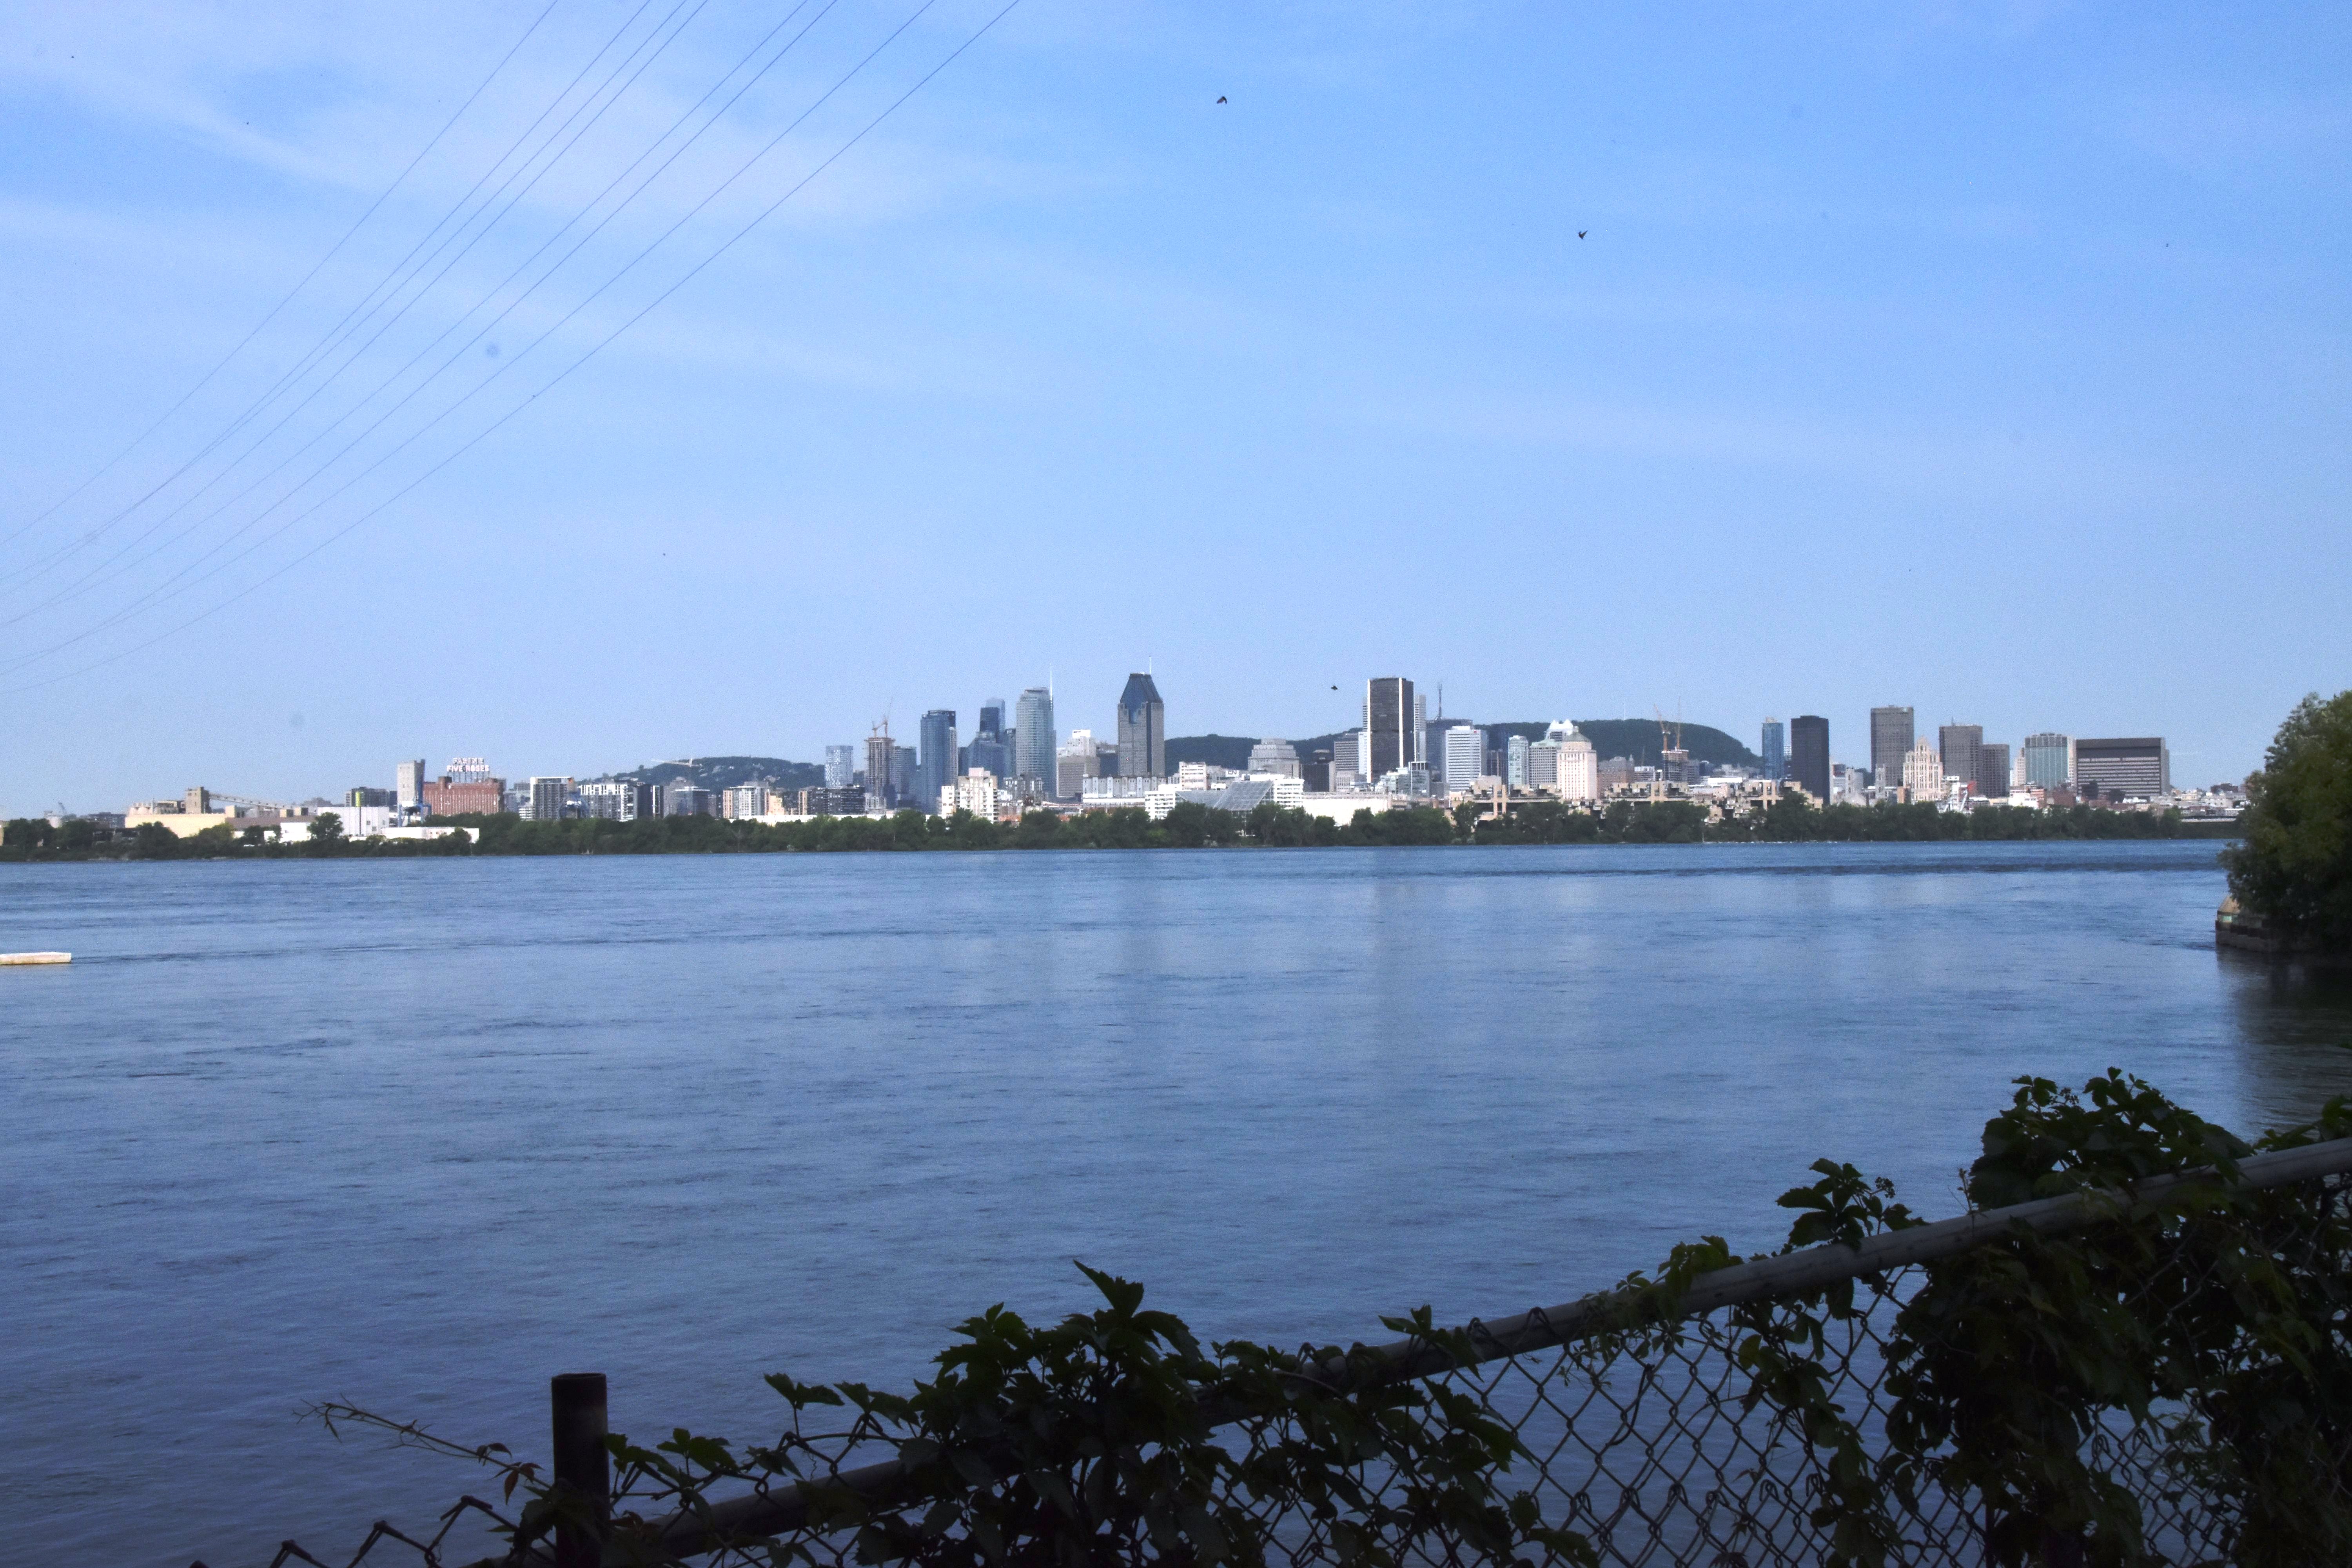
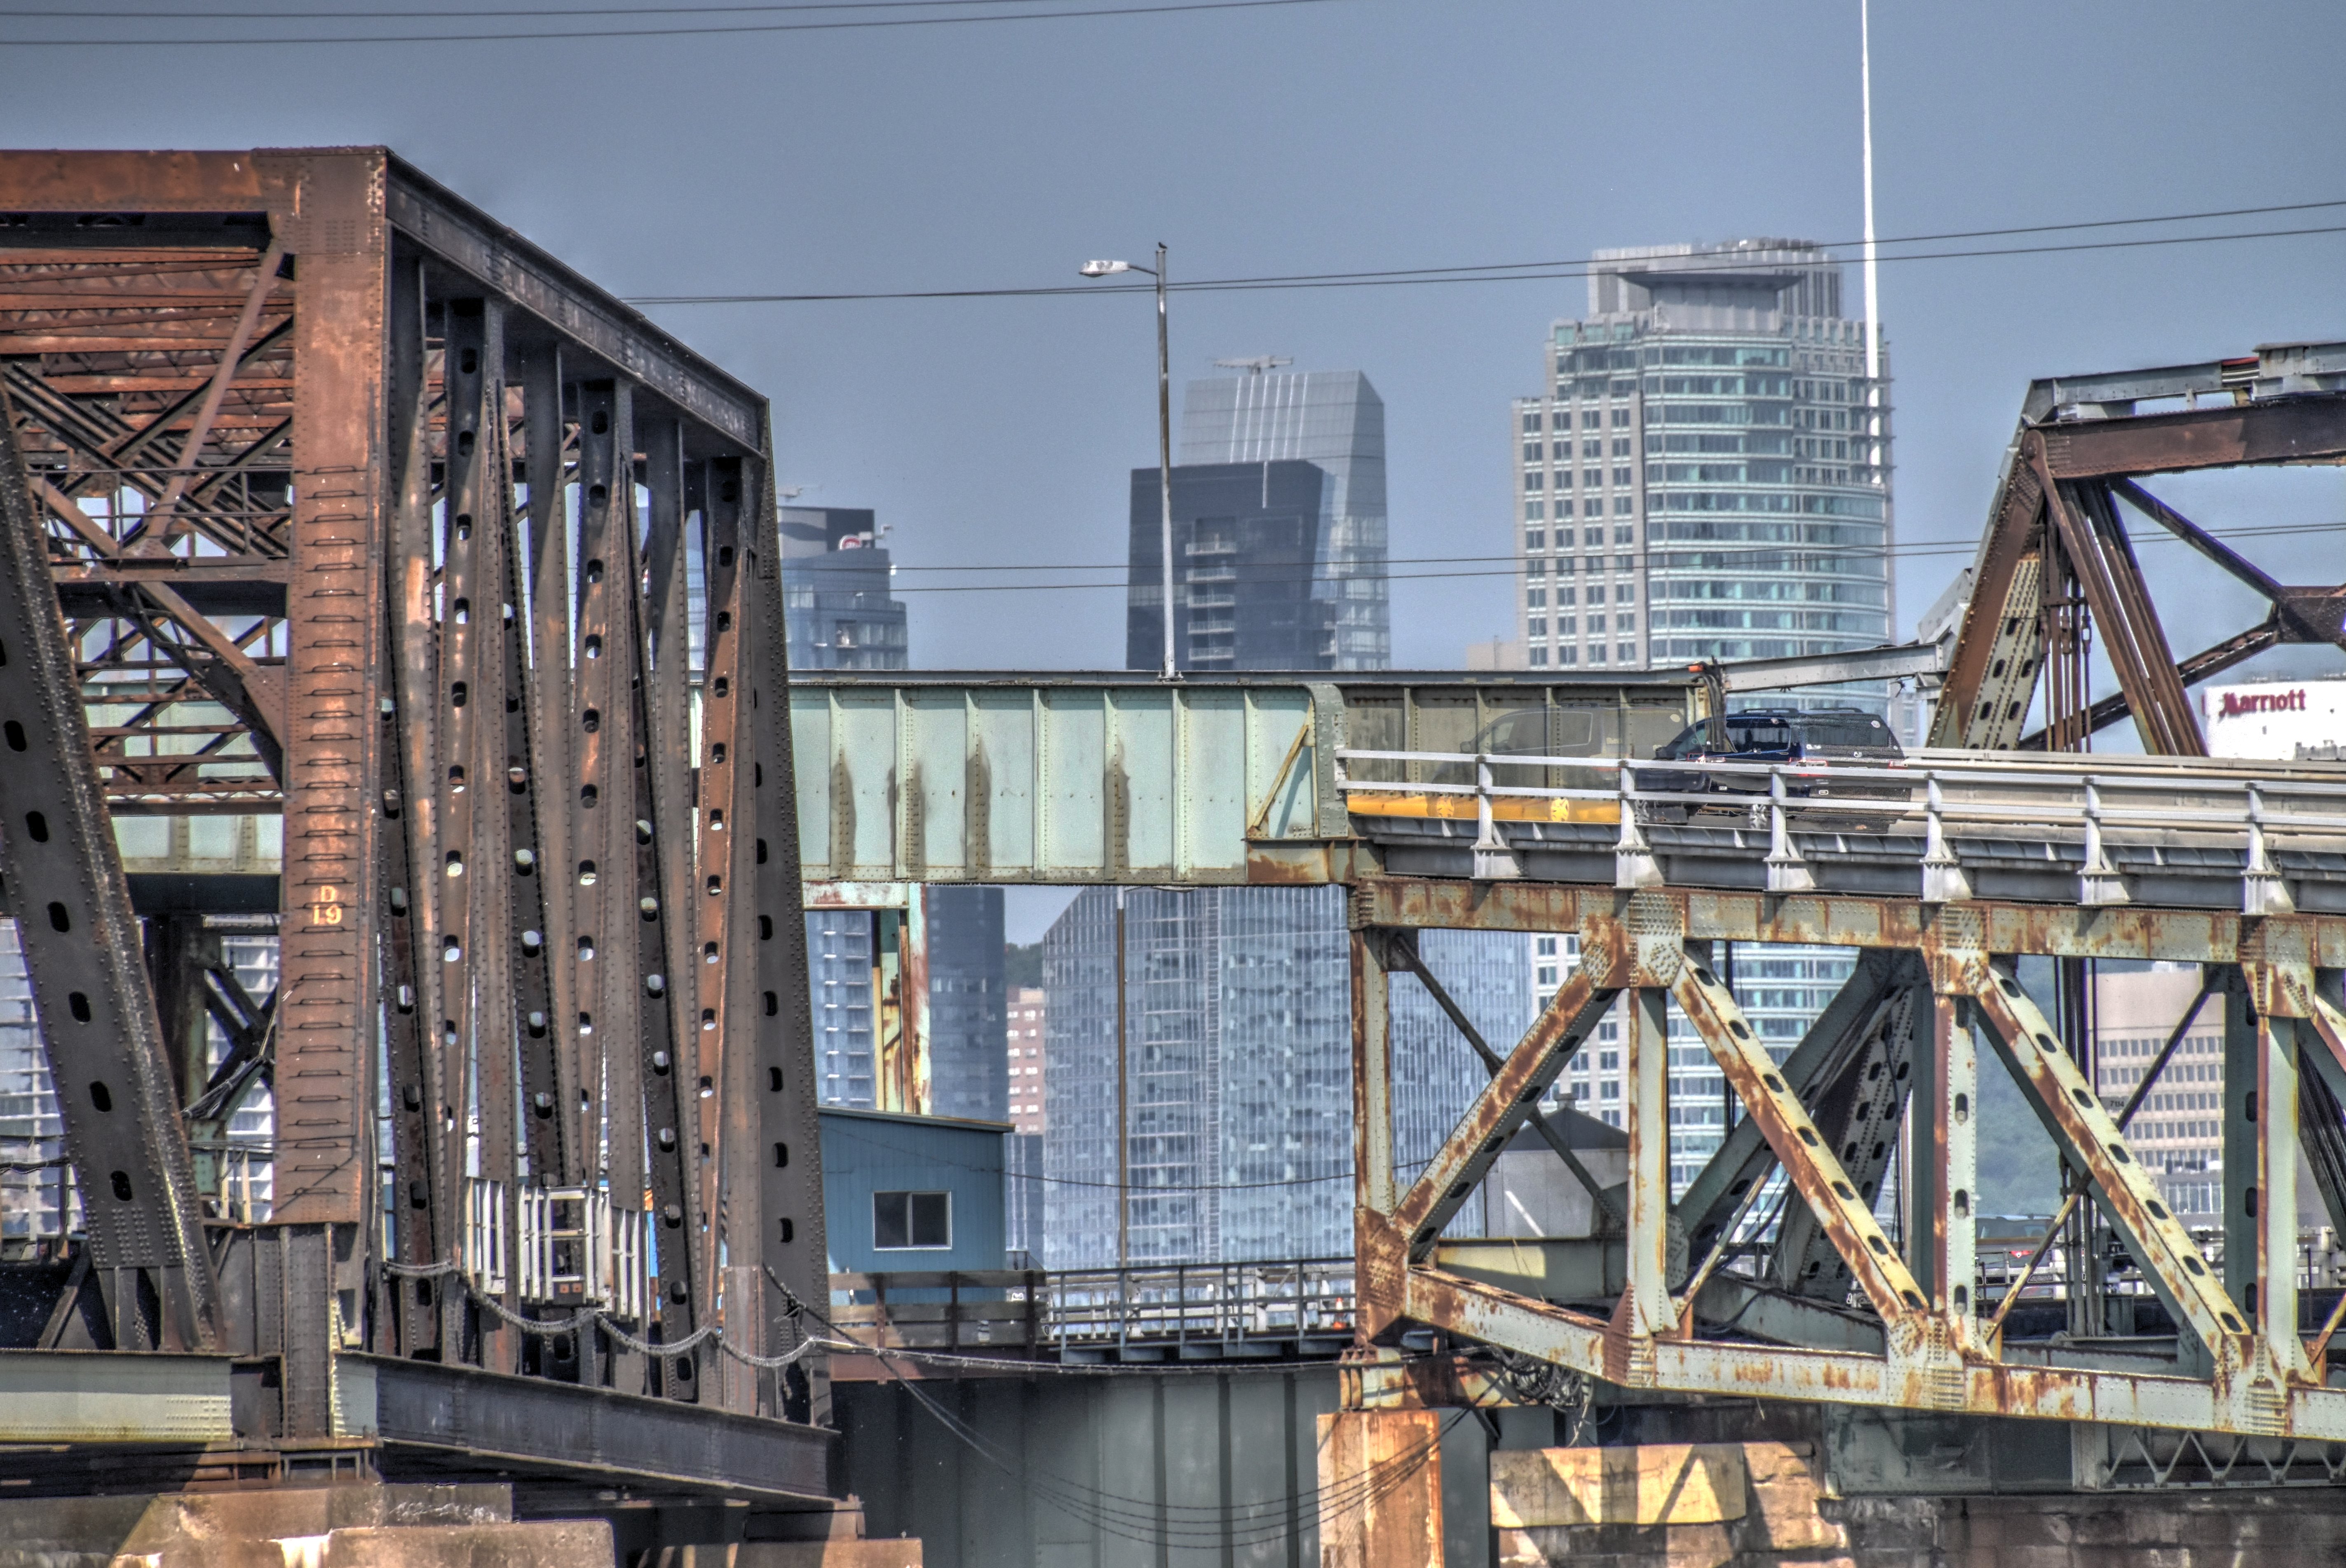
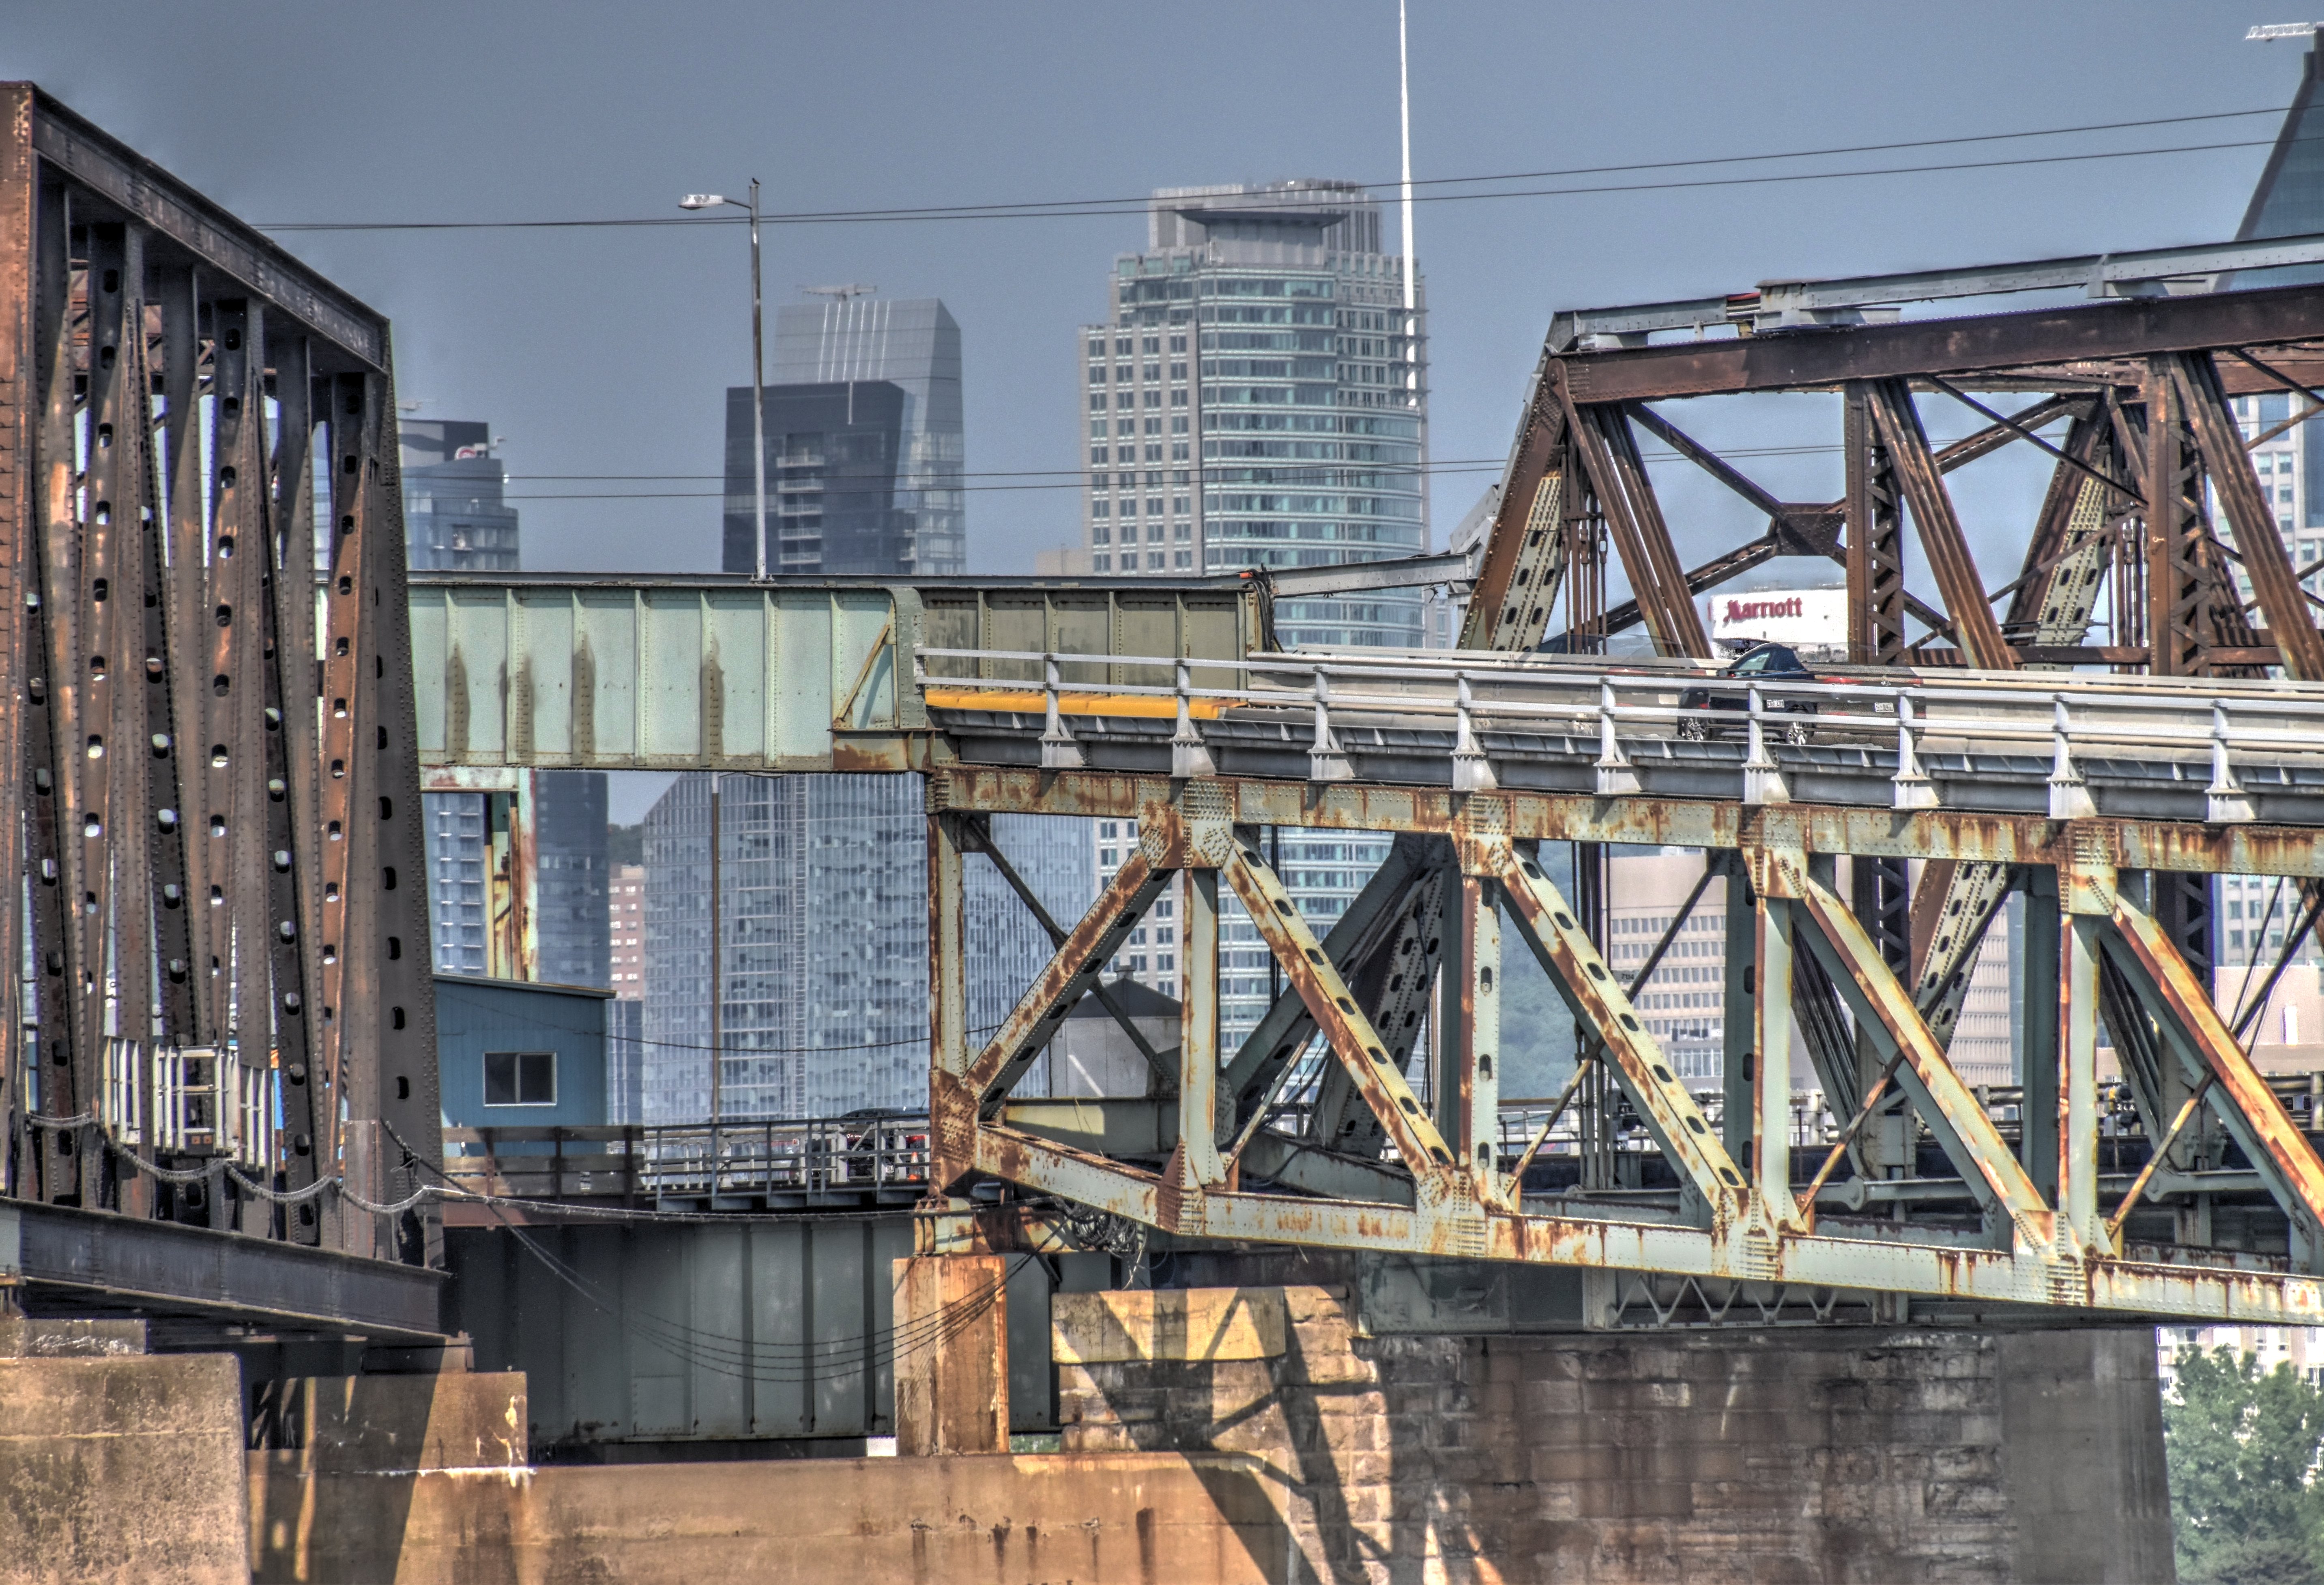
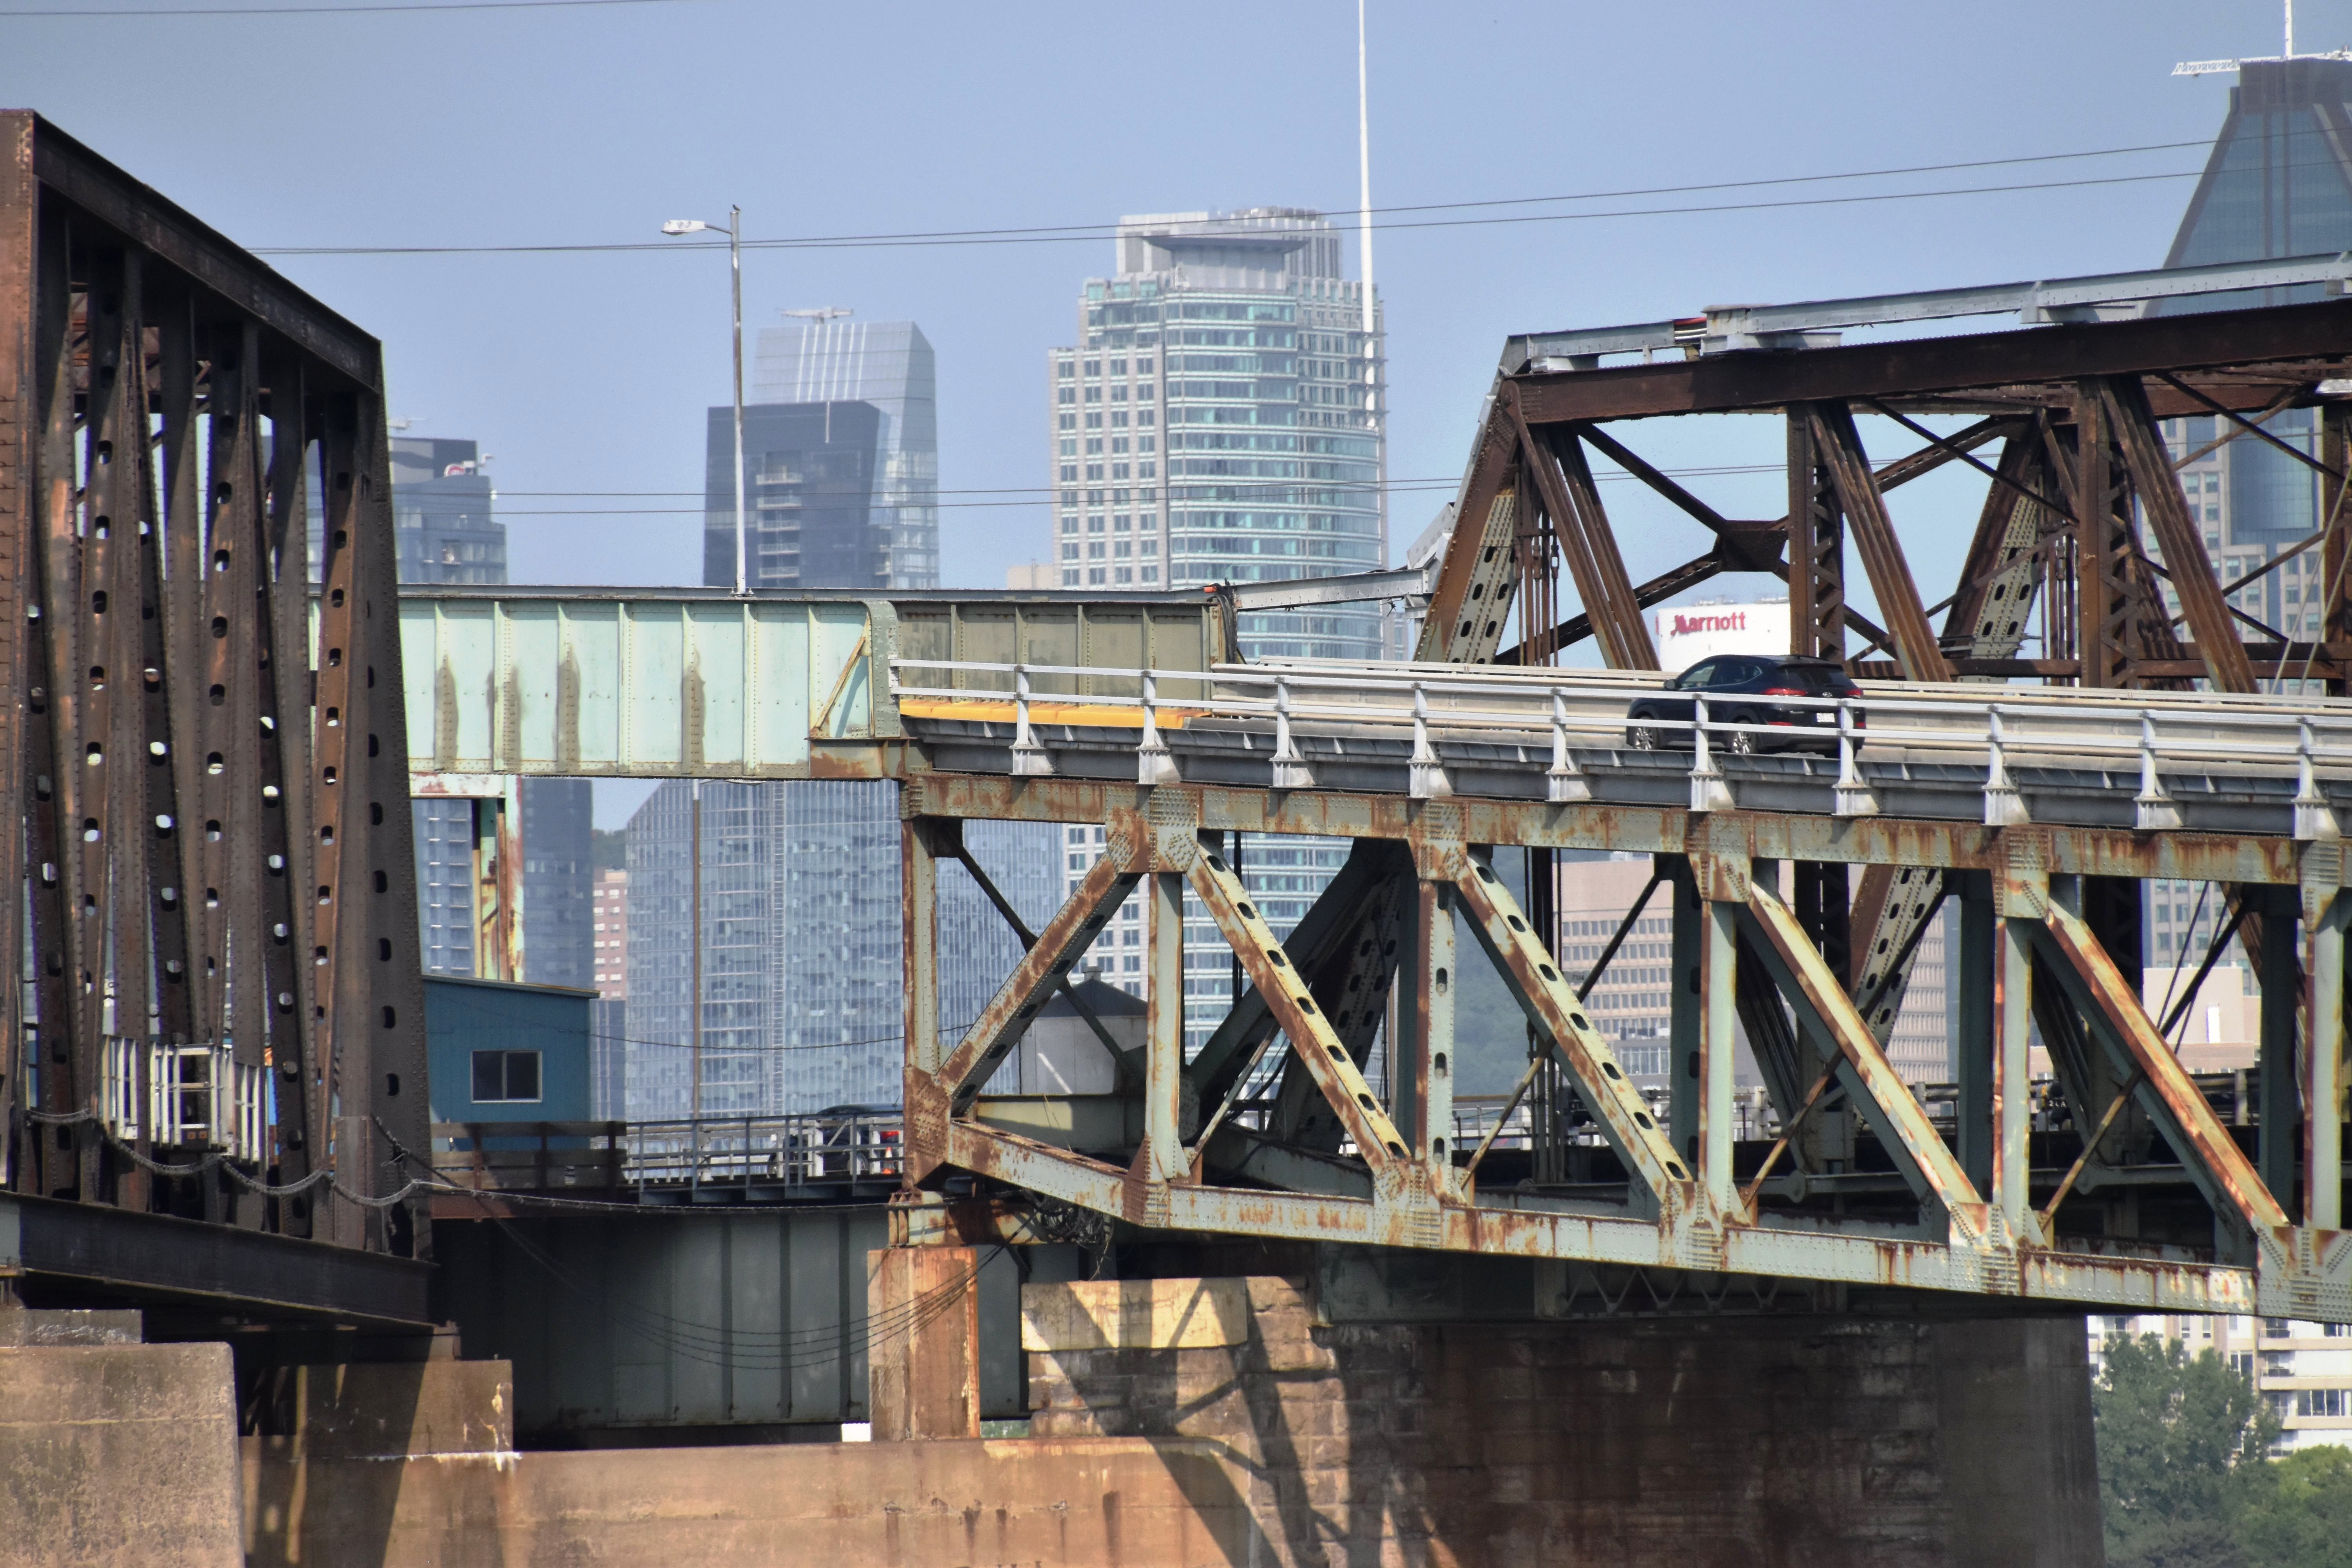
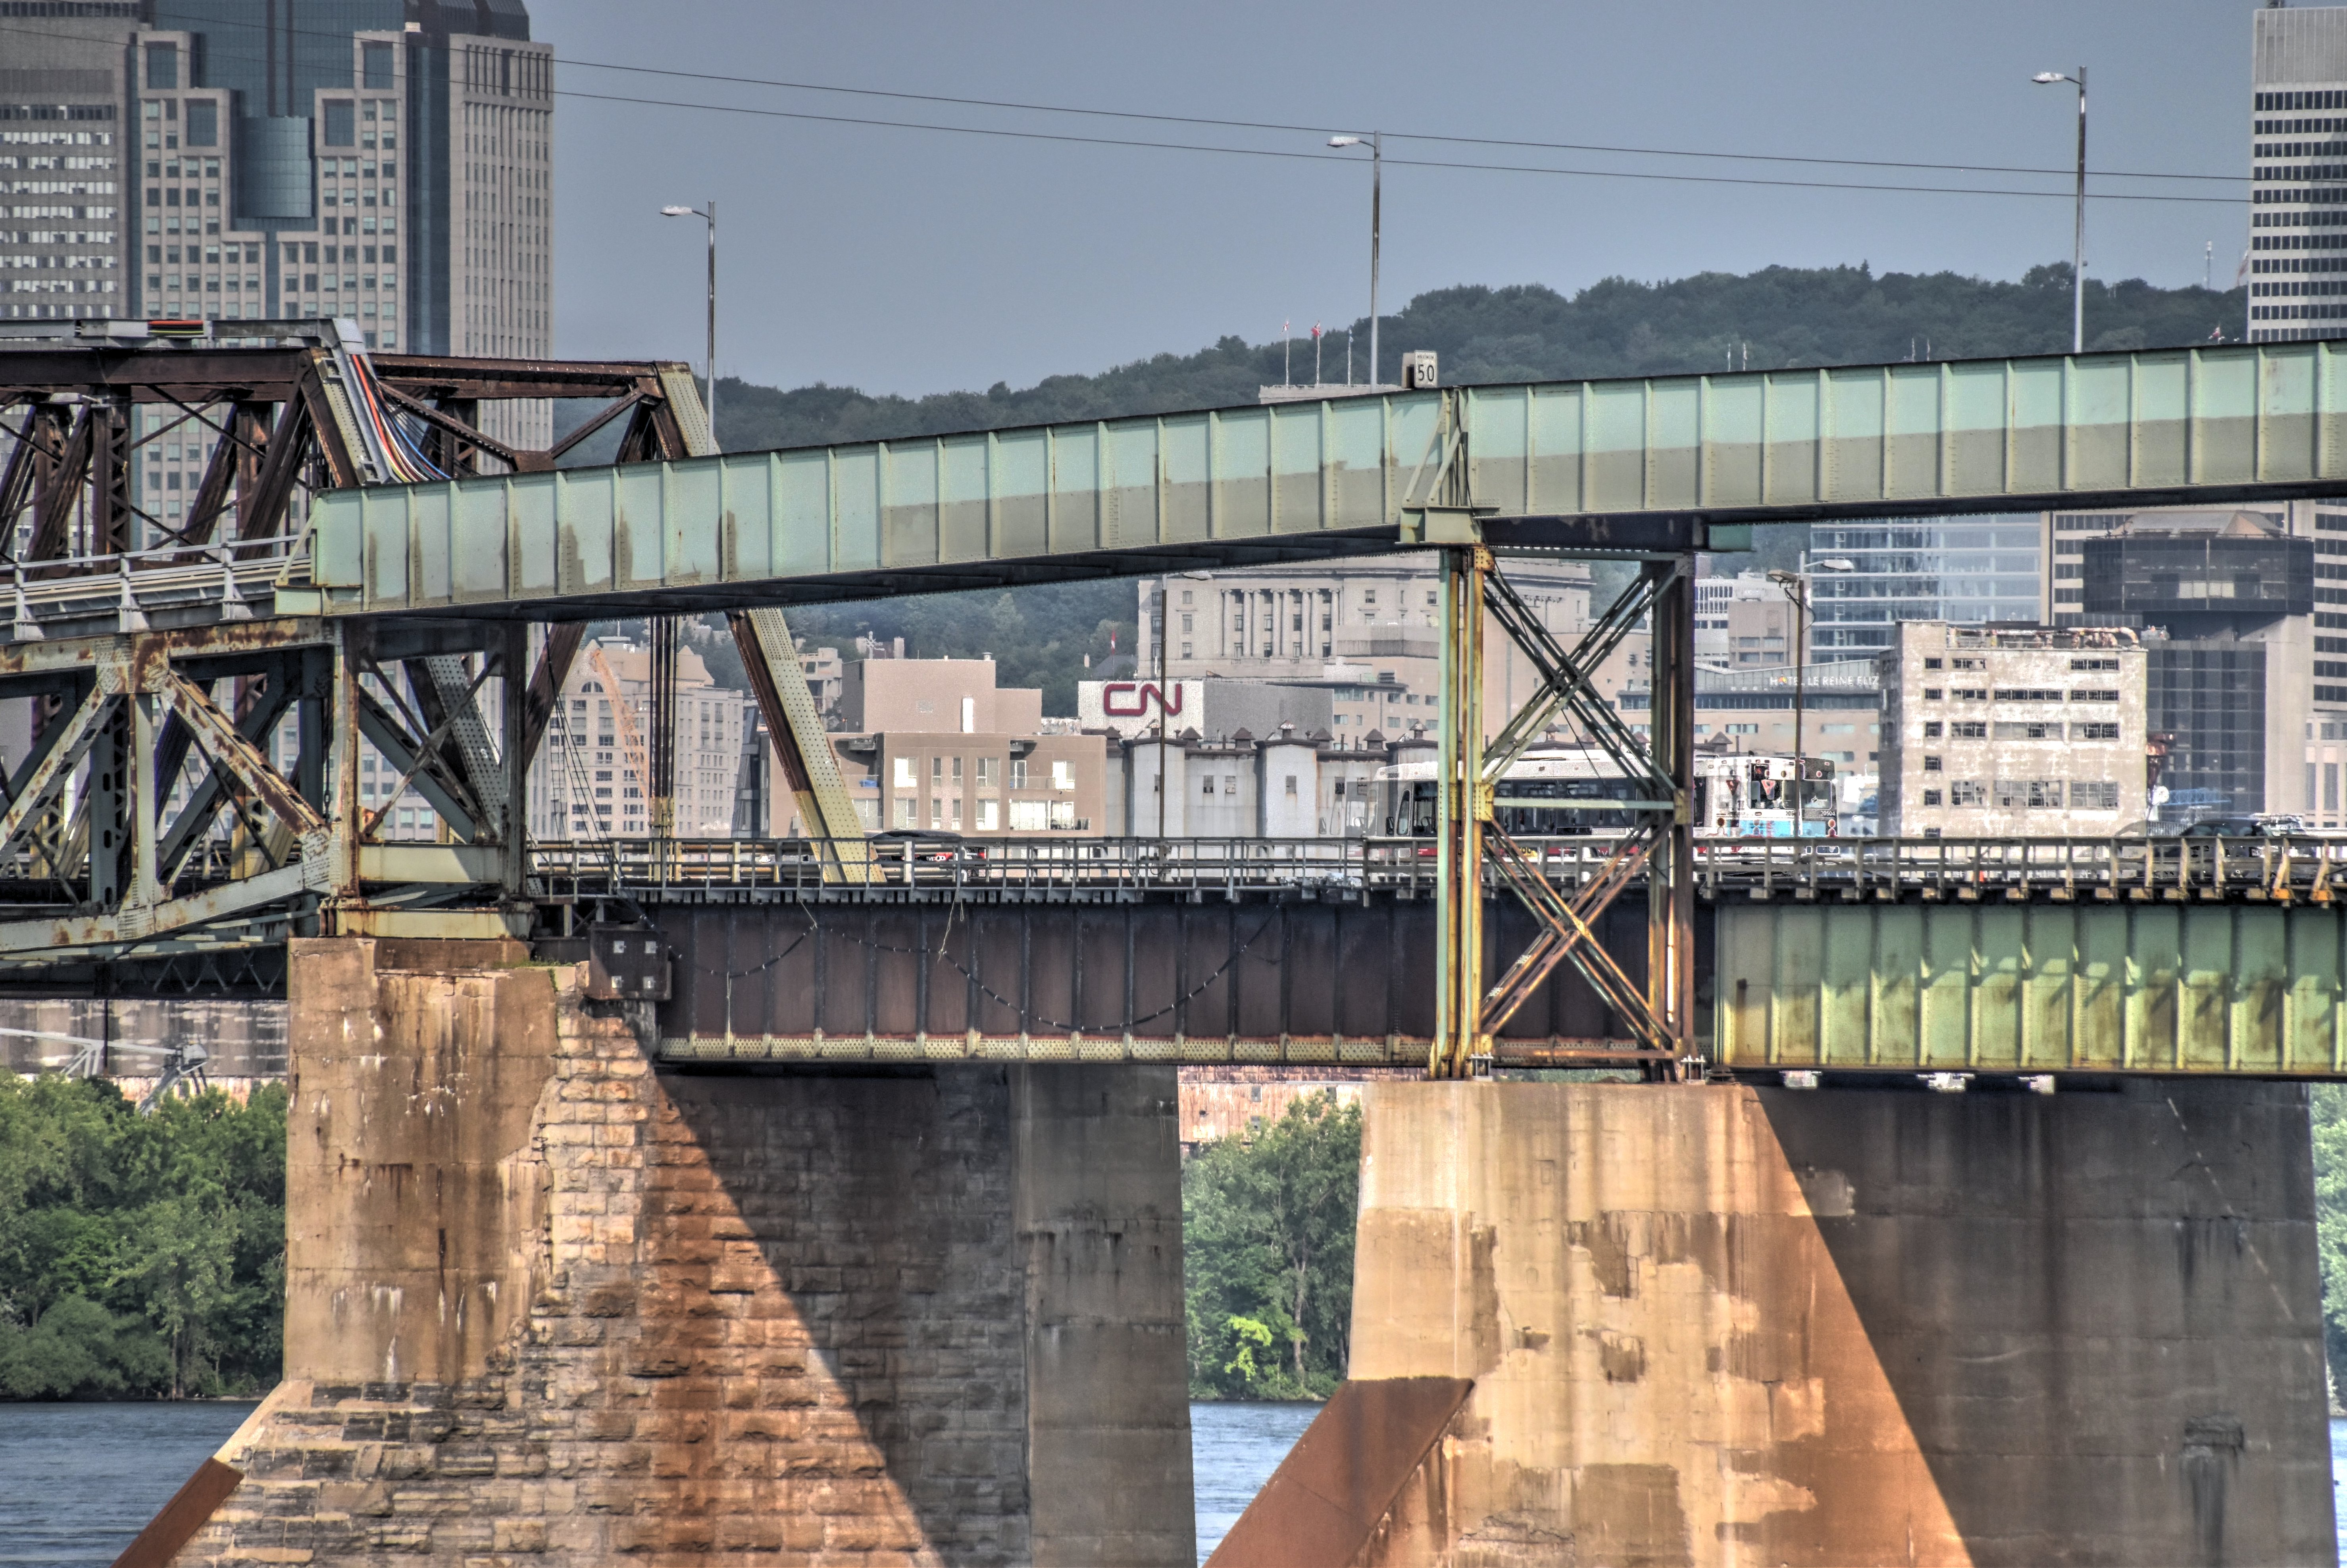
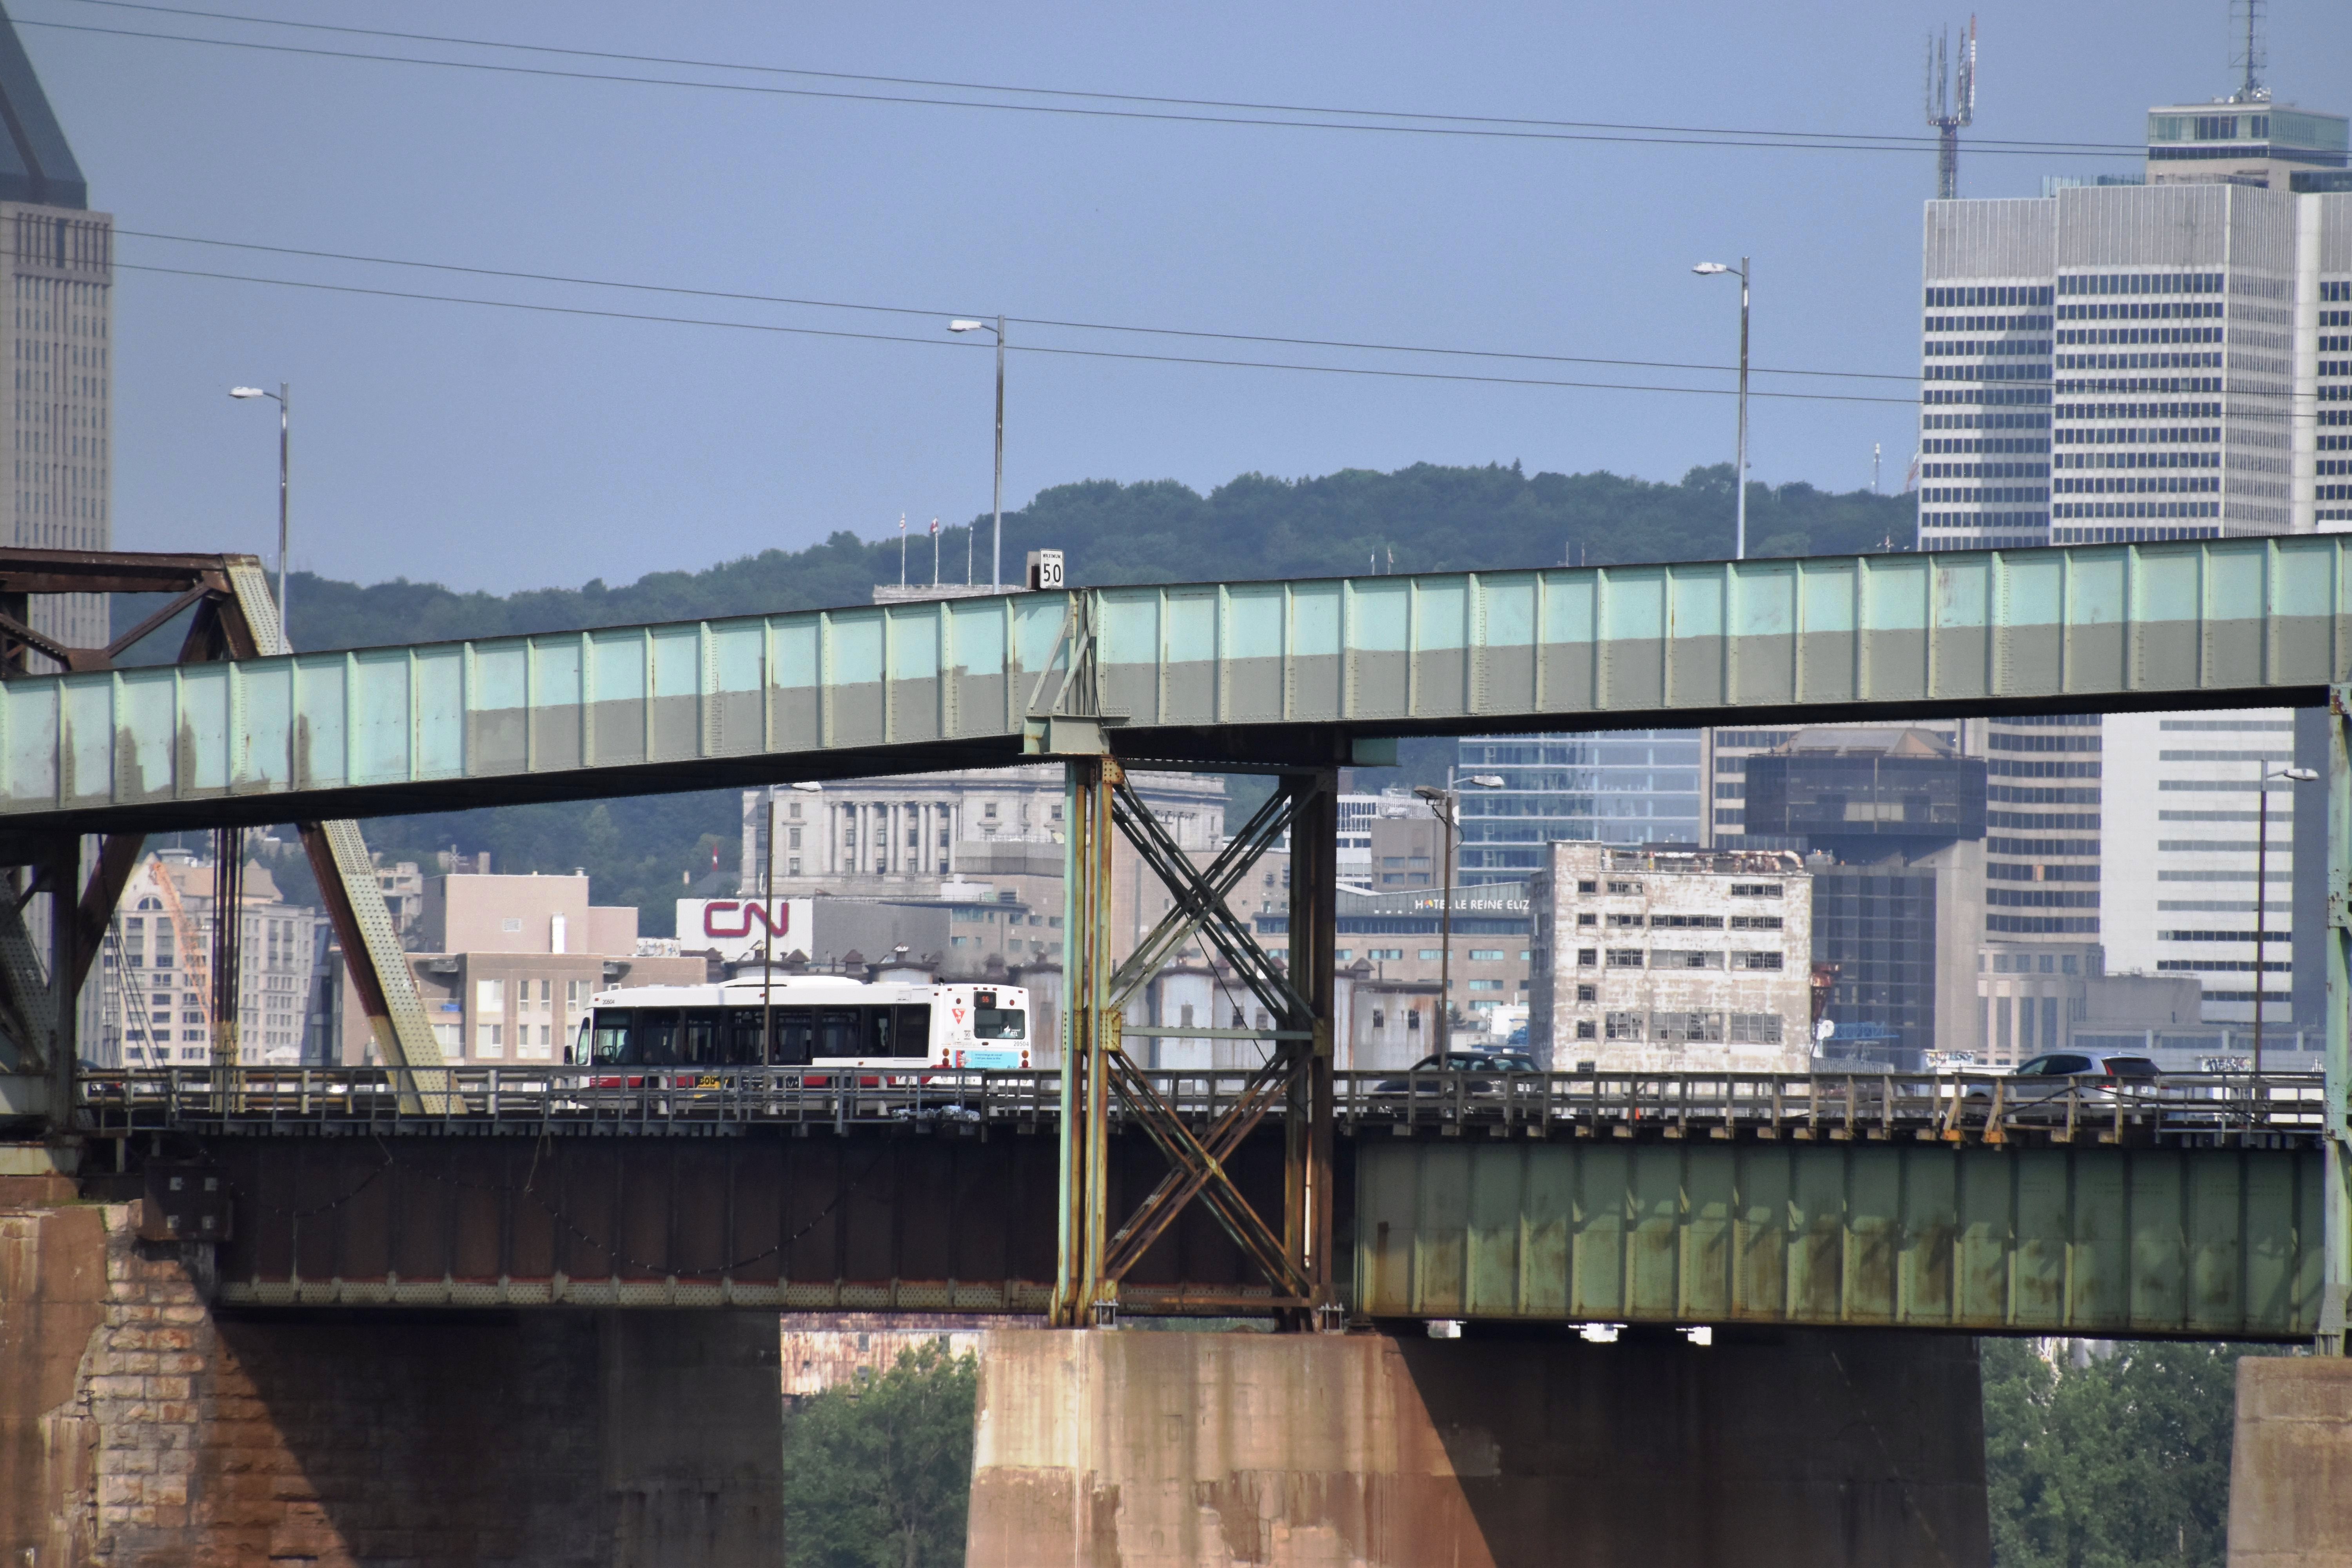
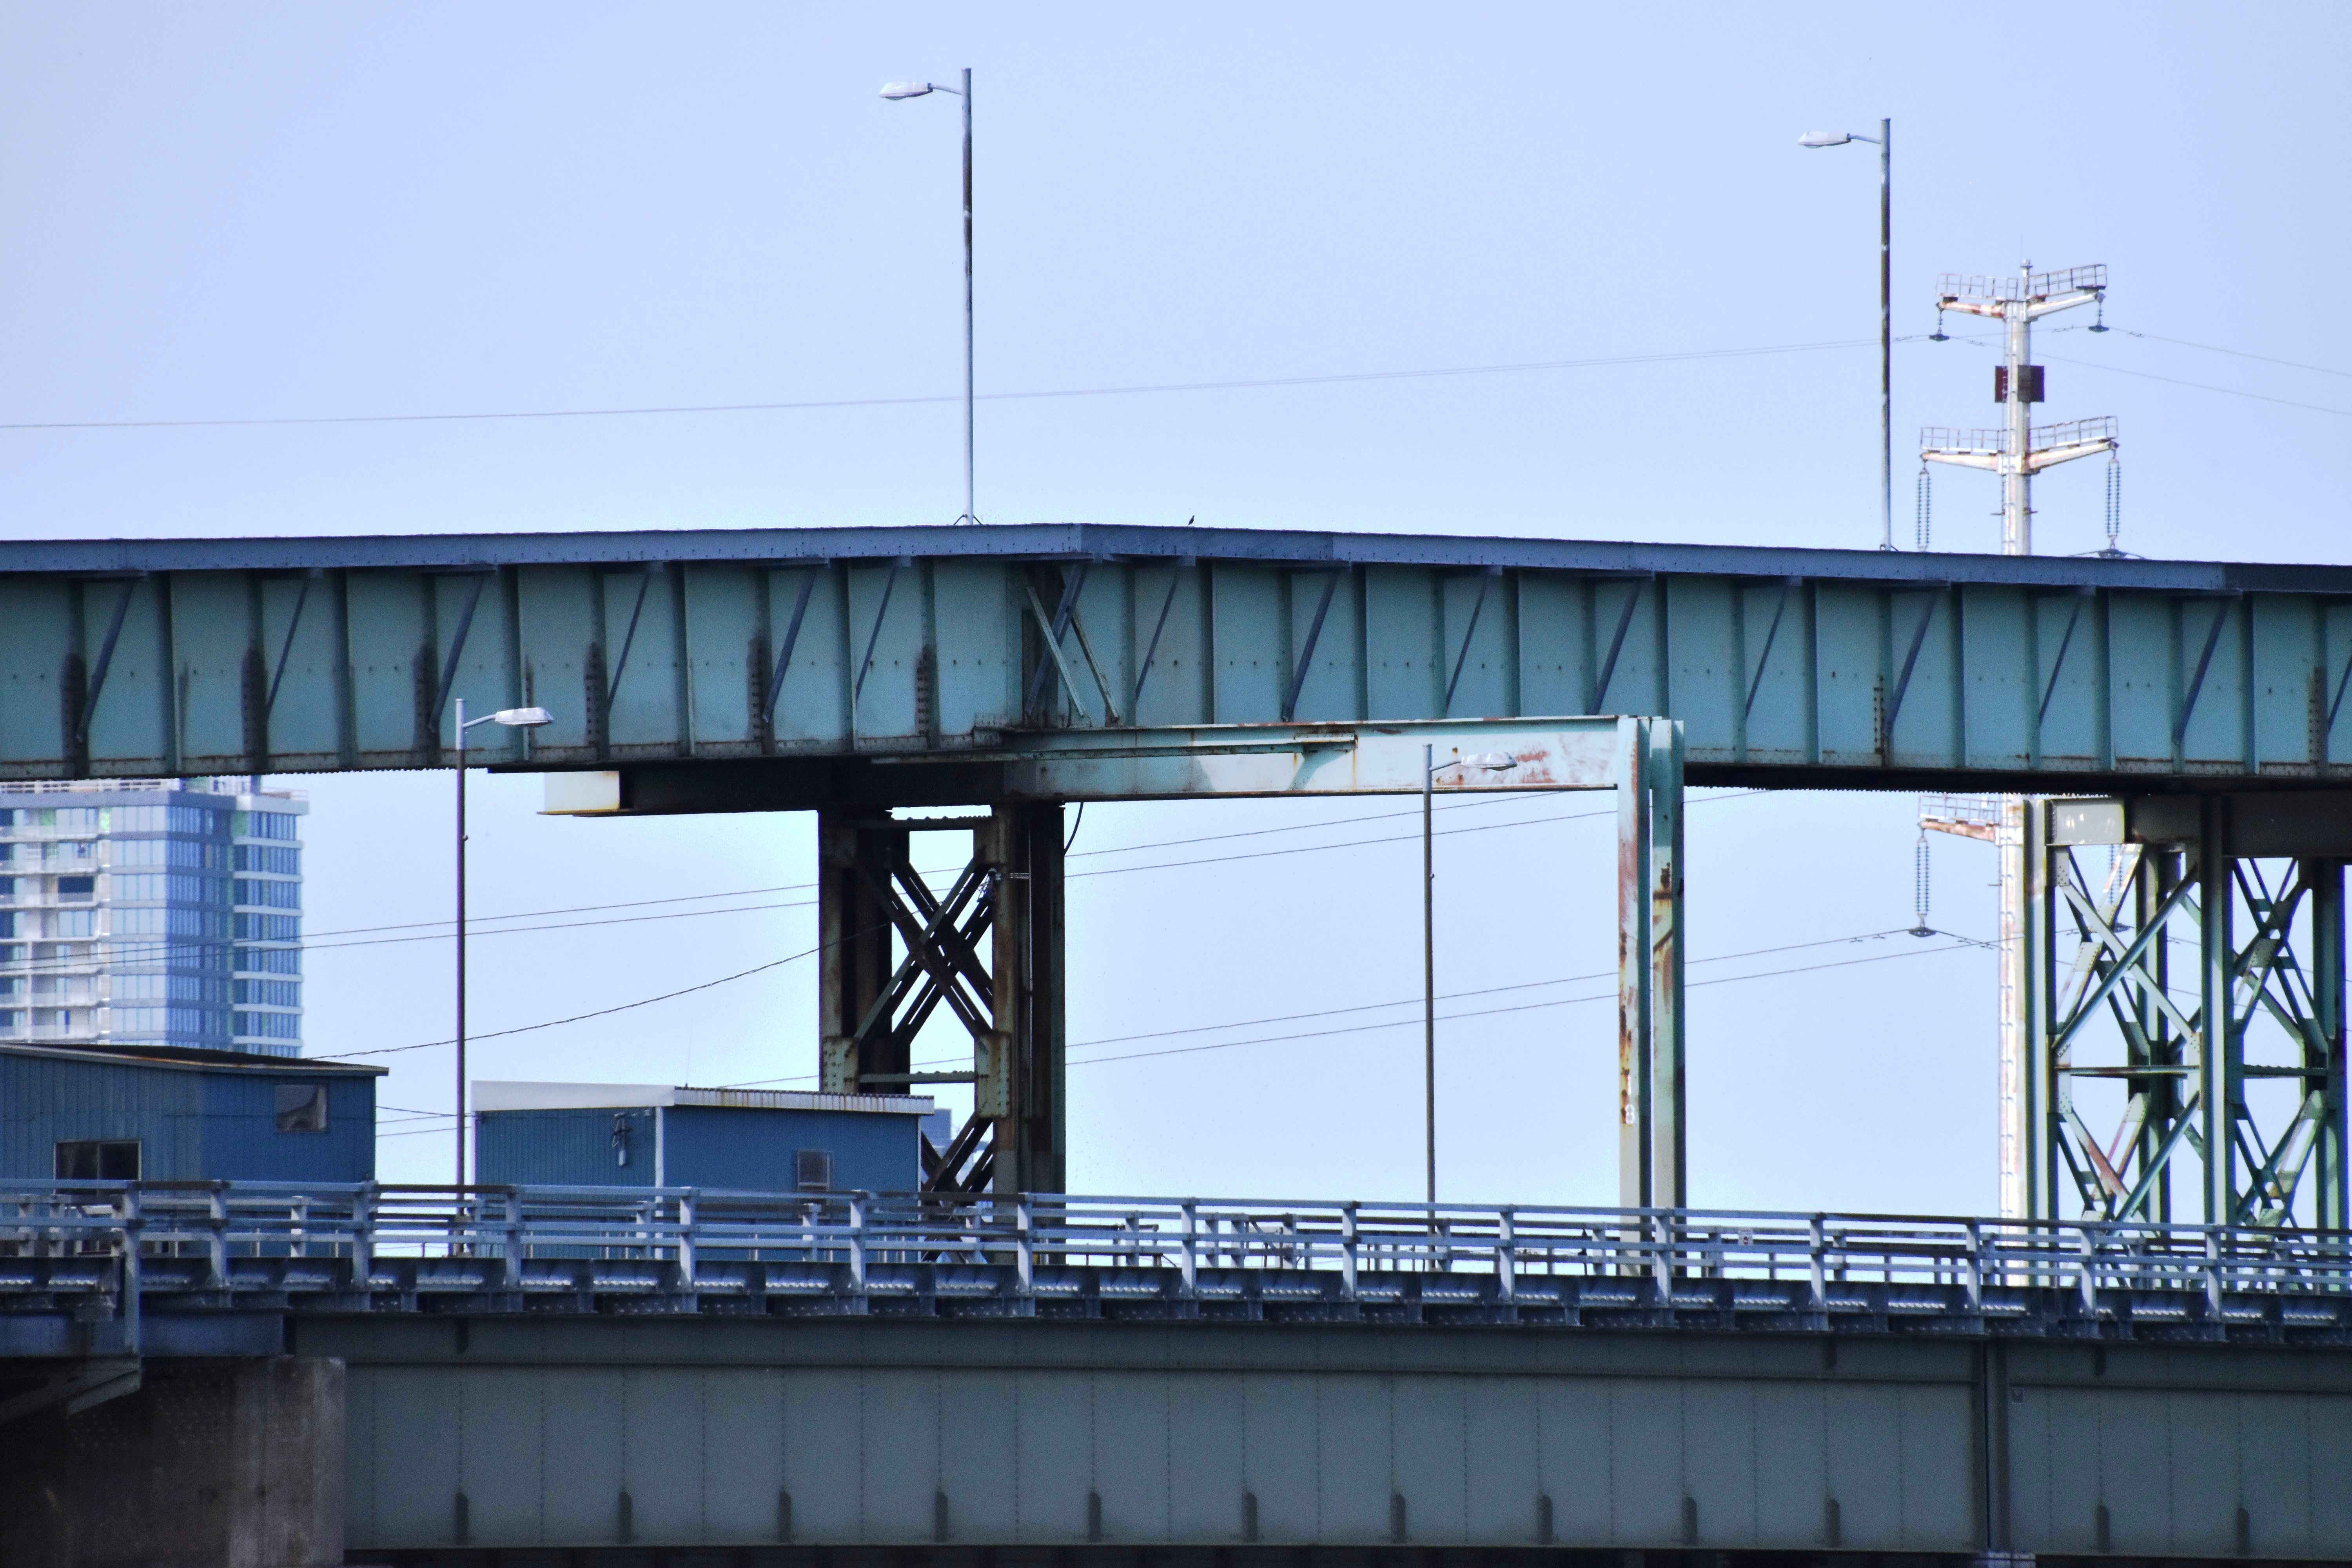
City skyline as seen from bridge.
![]()
![]()

![]()