Uncredited photos on this page taken by: Nathan Holth. Unless stated in a caption, all photos are Copyright with All Rights Reserved. Learn about reuse of our photos.
![]()


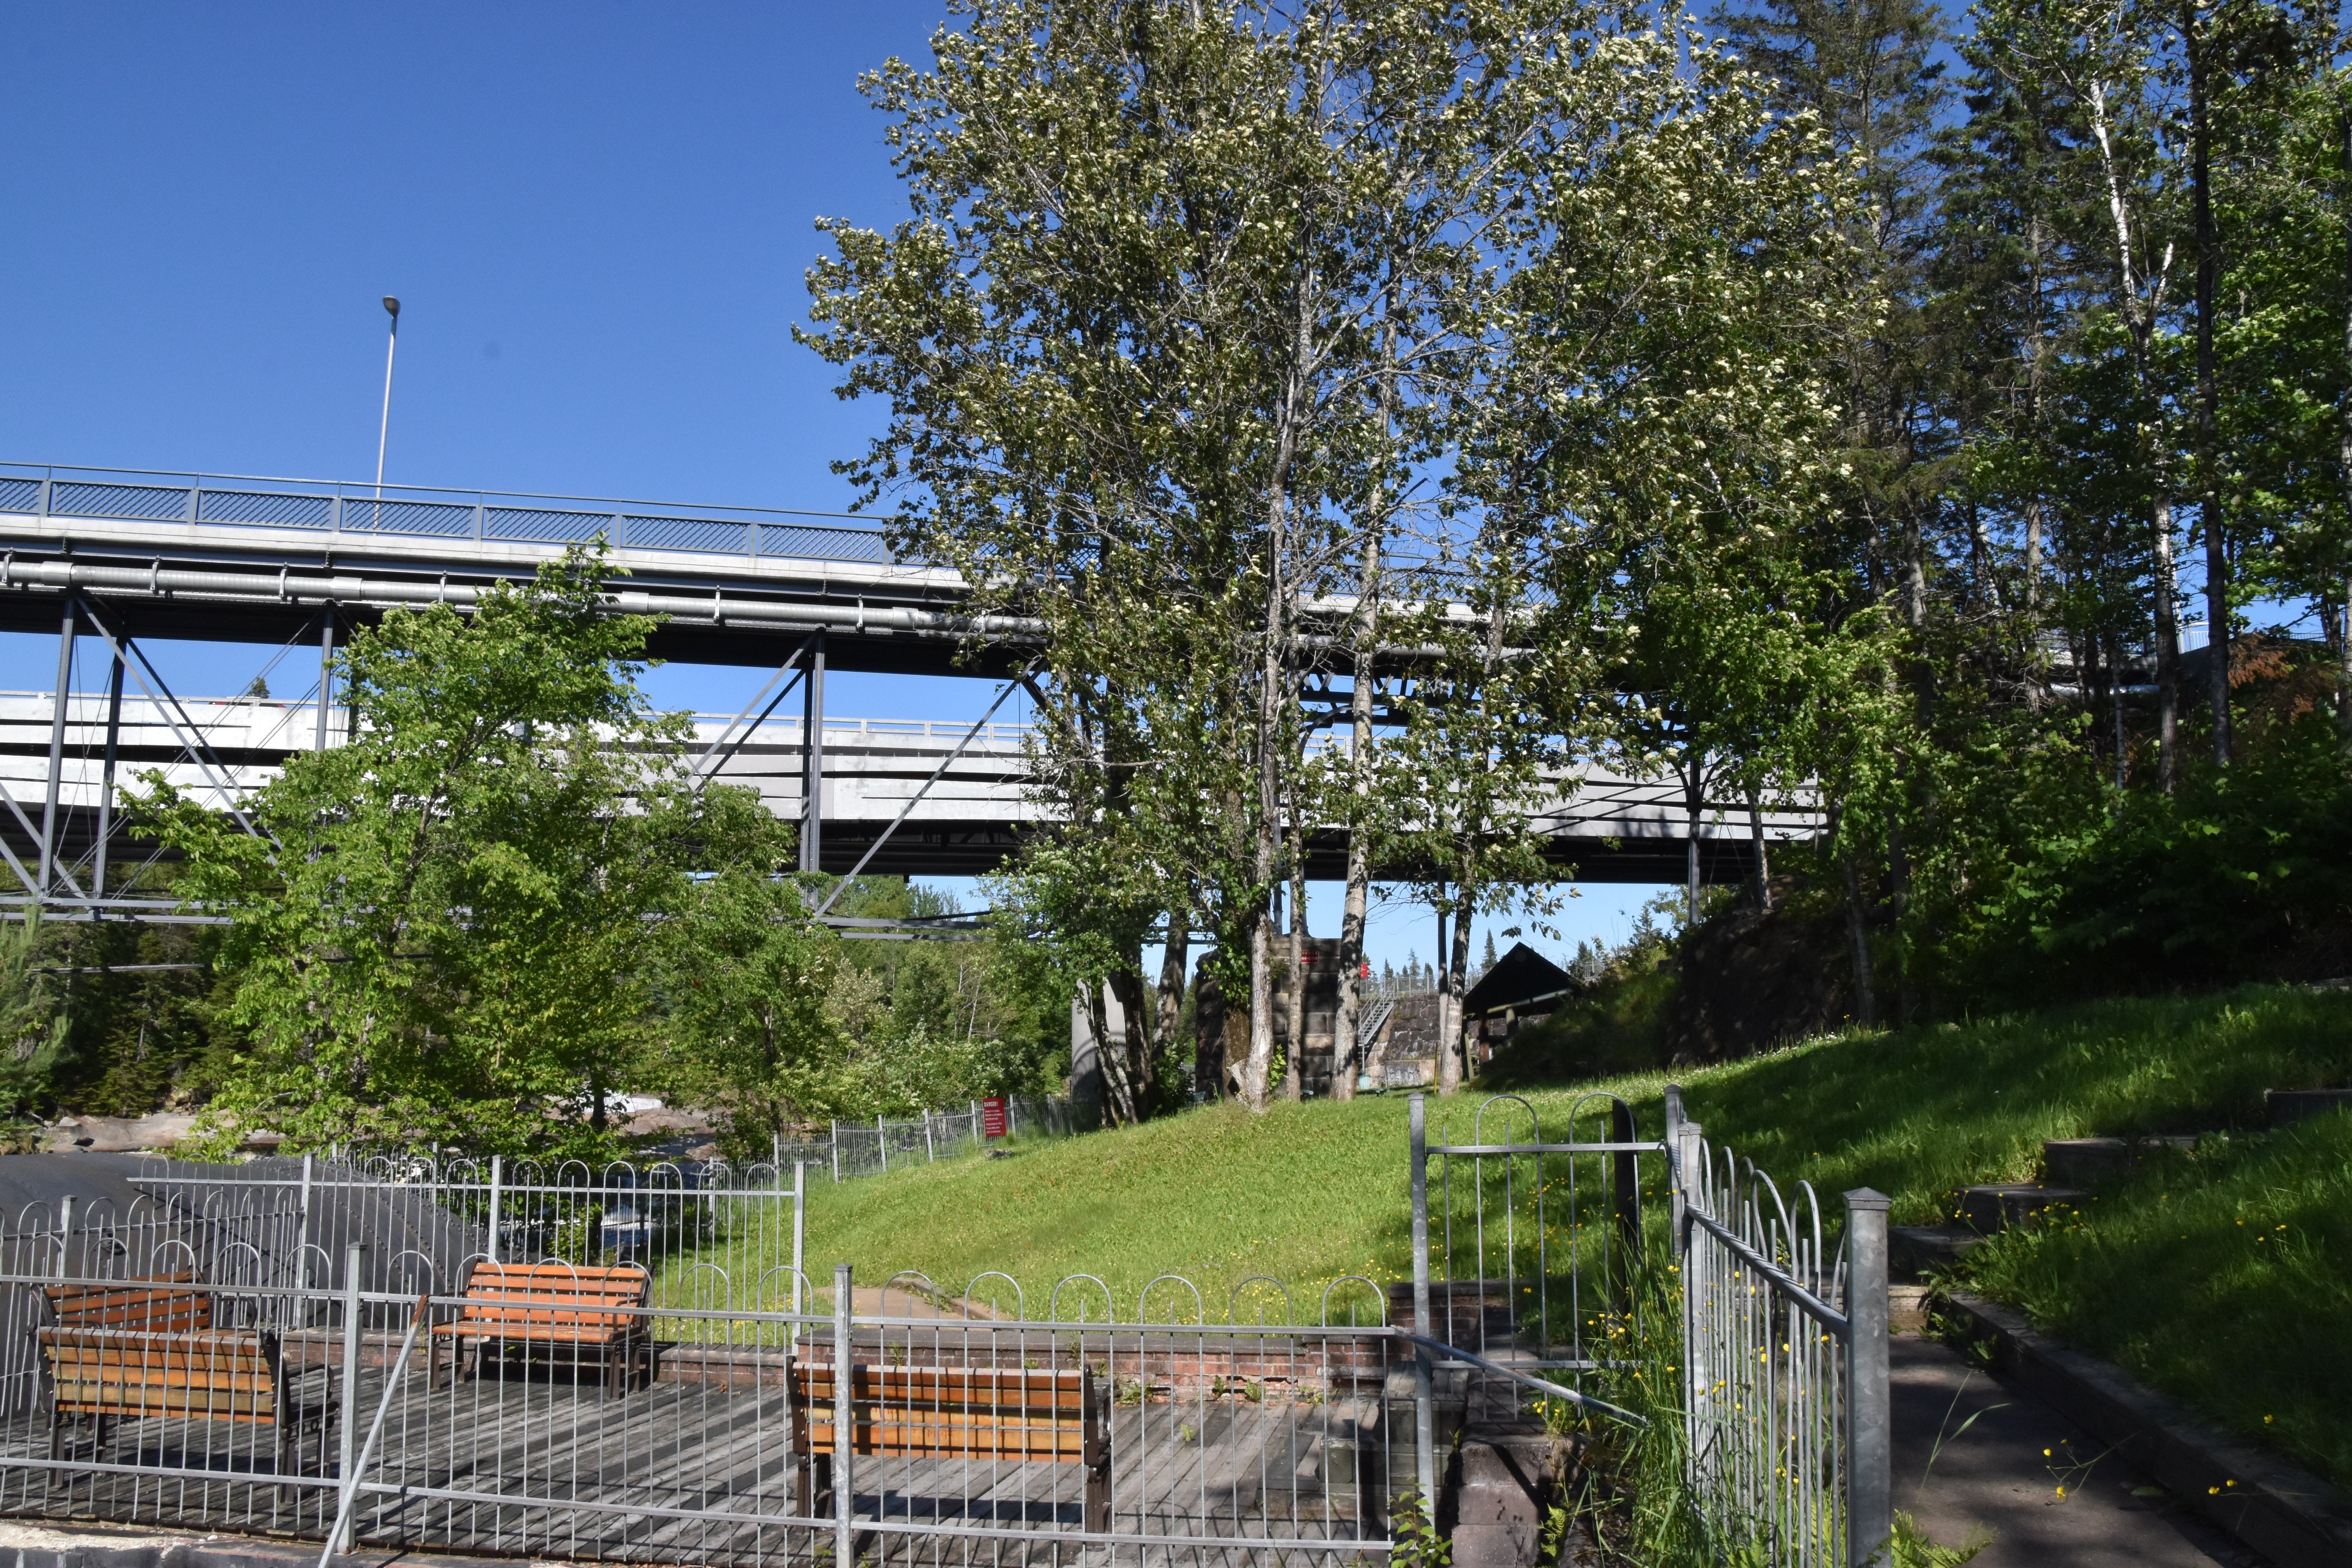
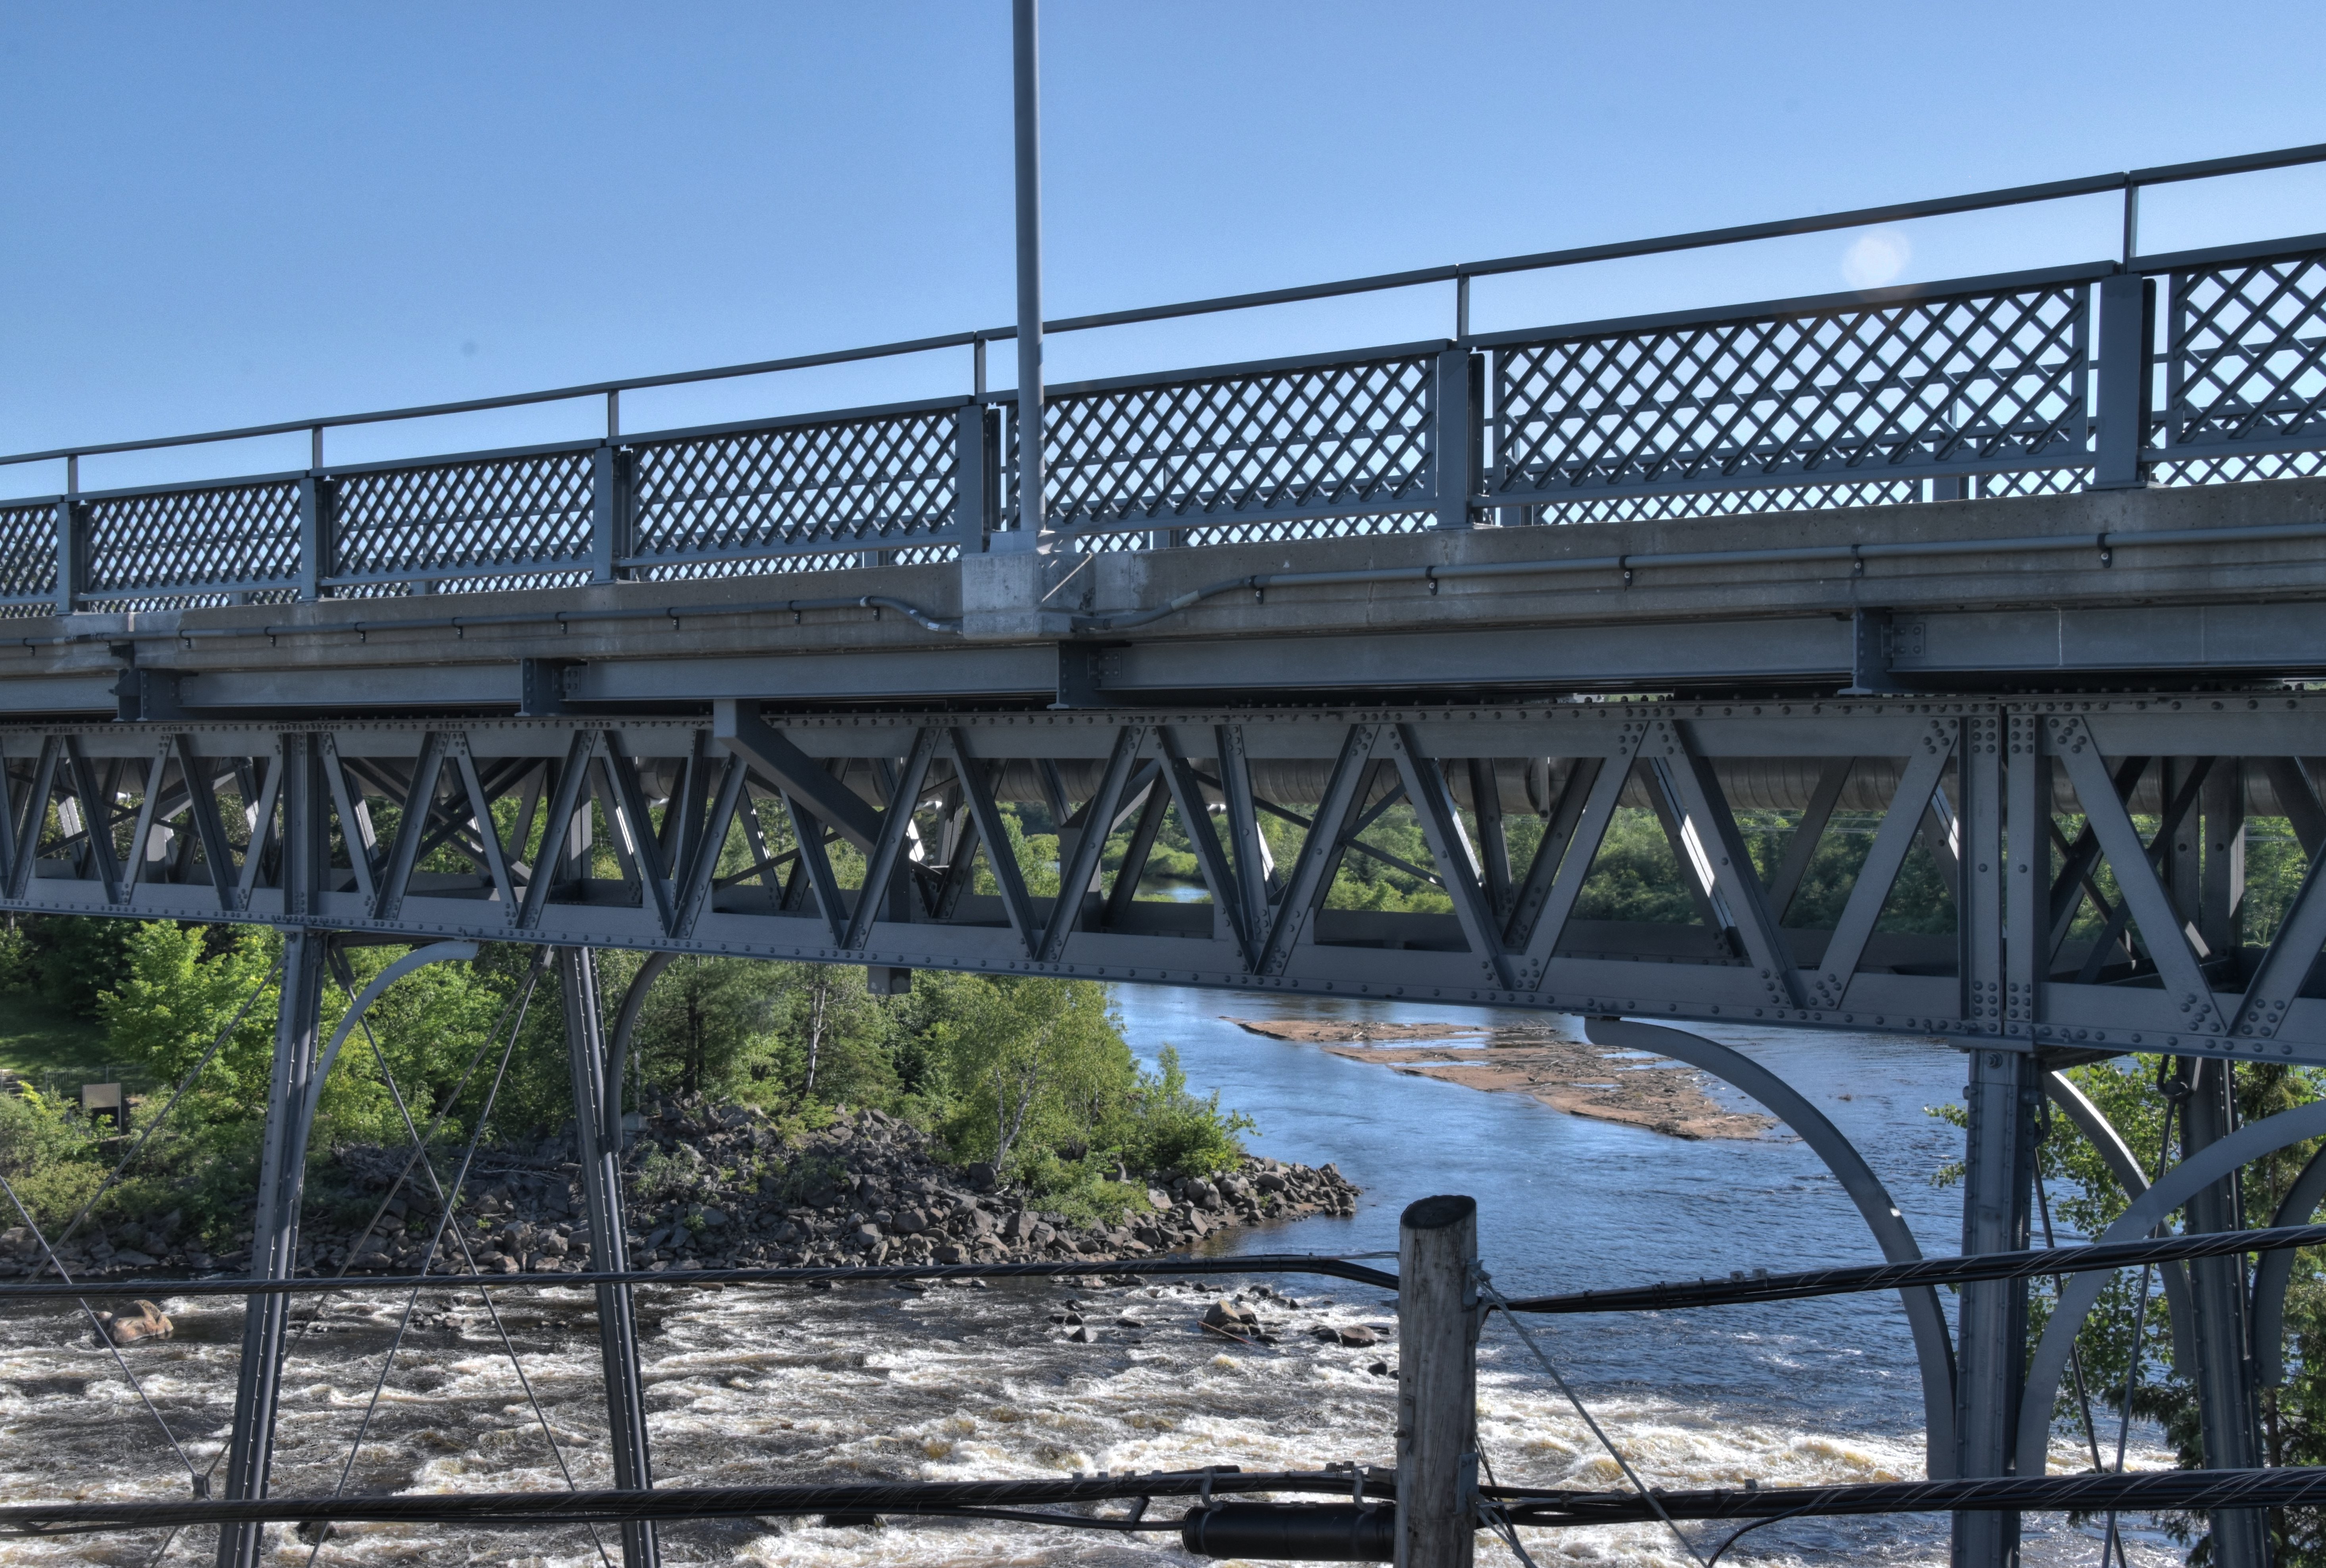
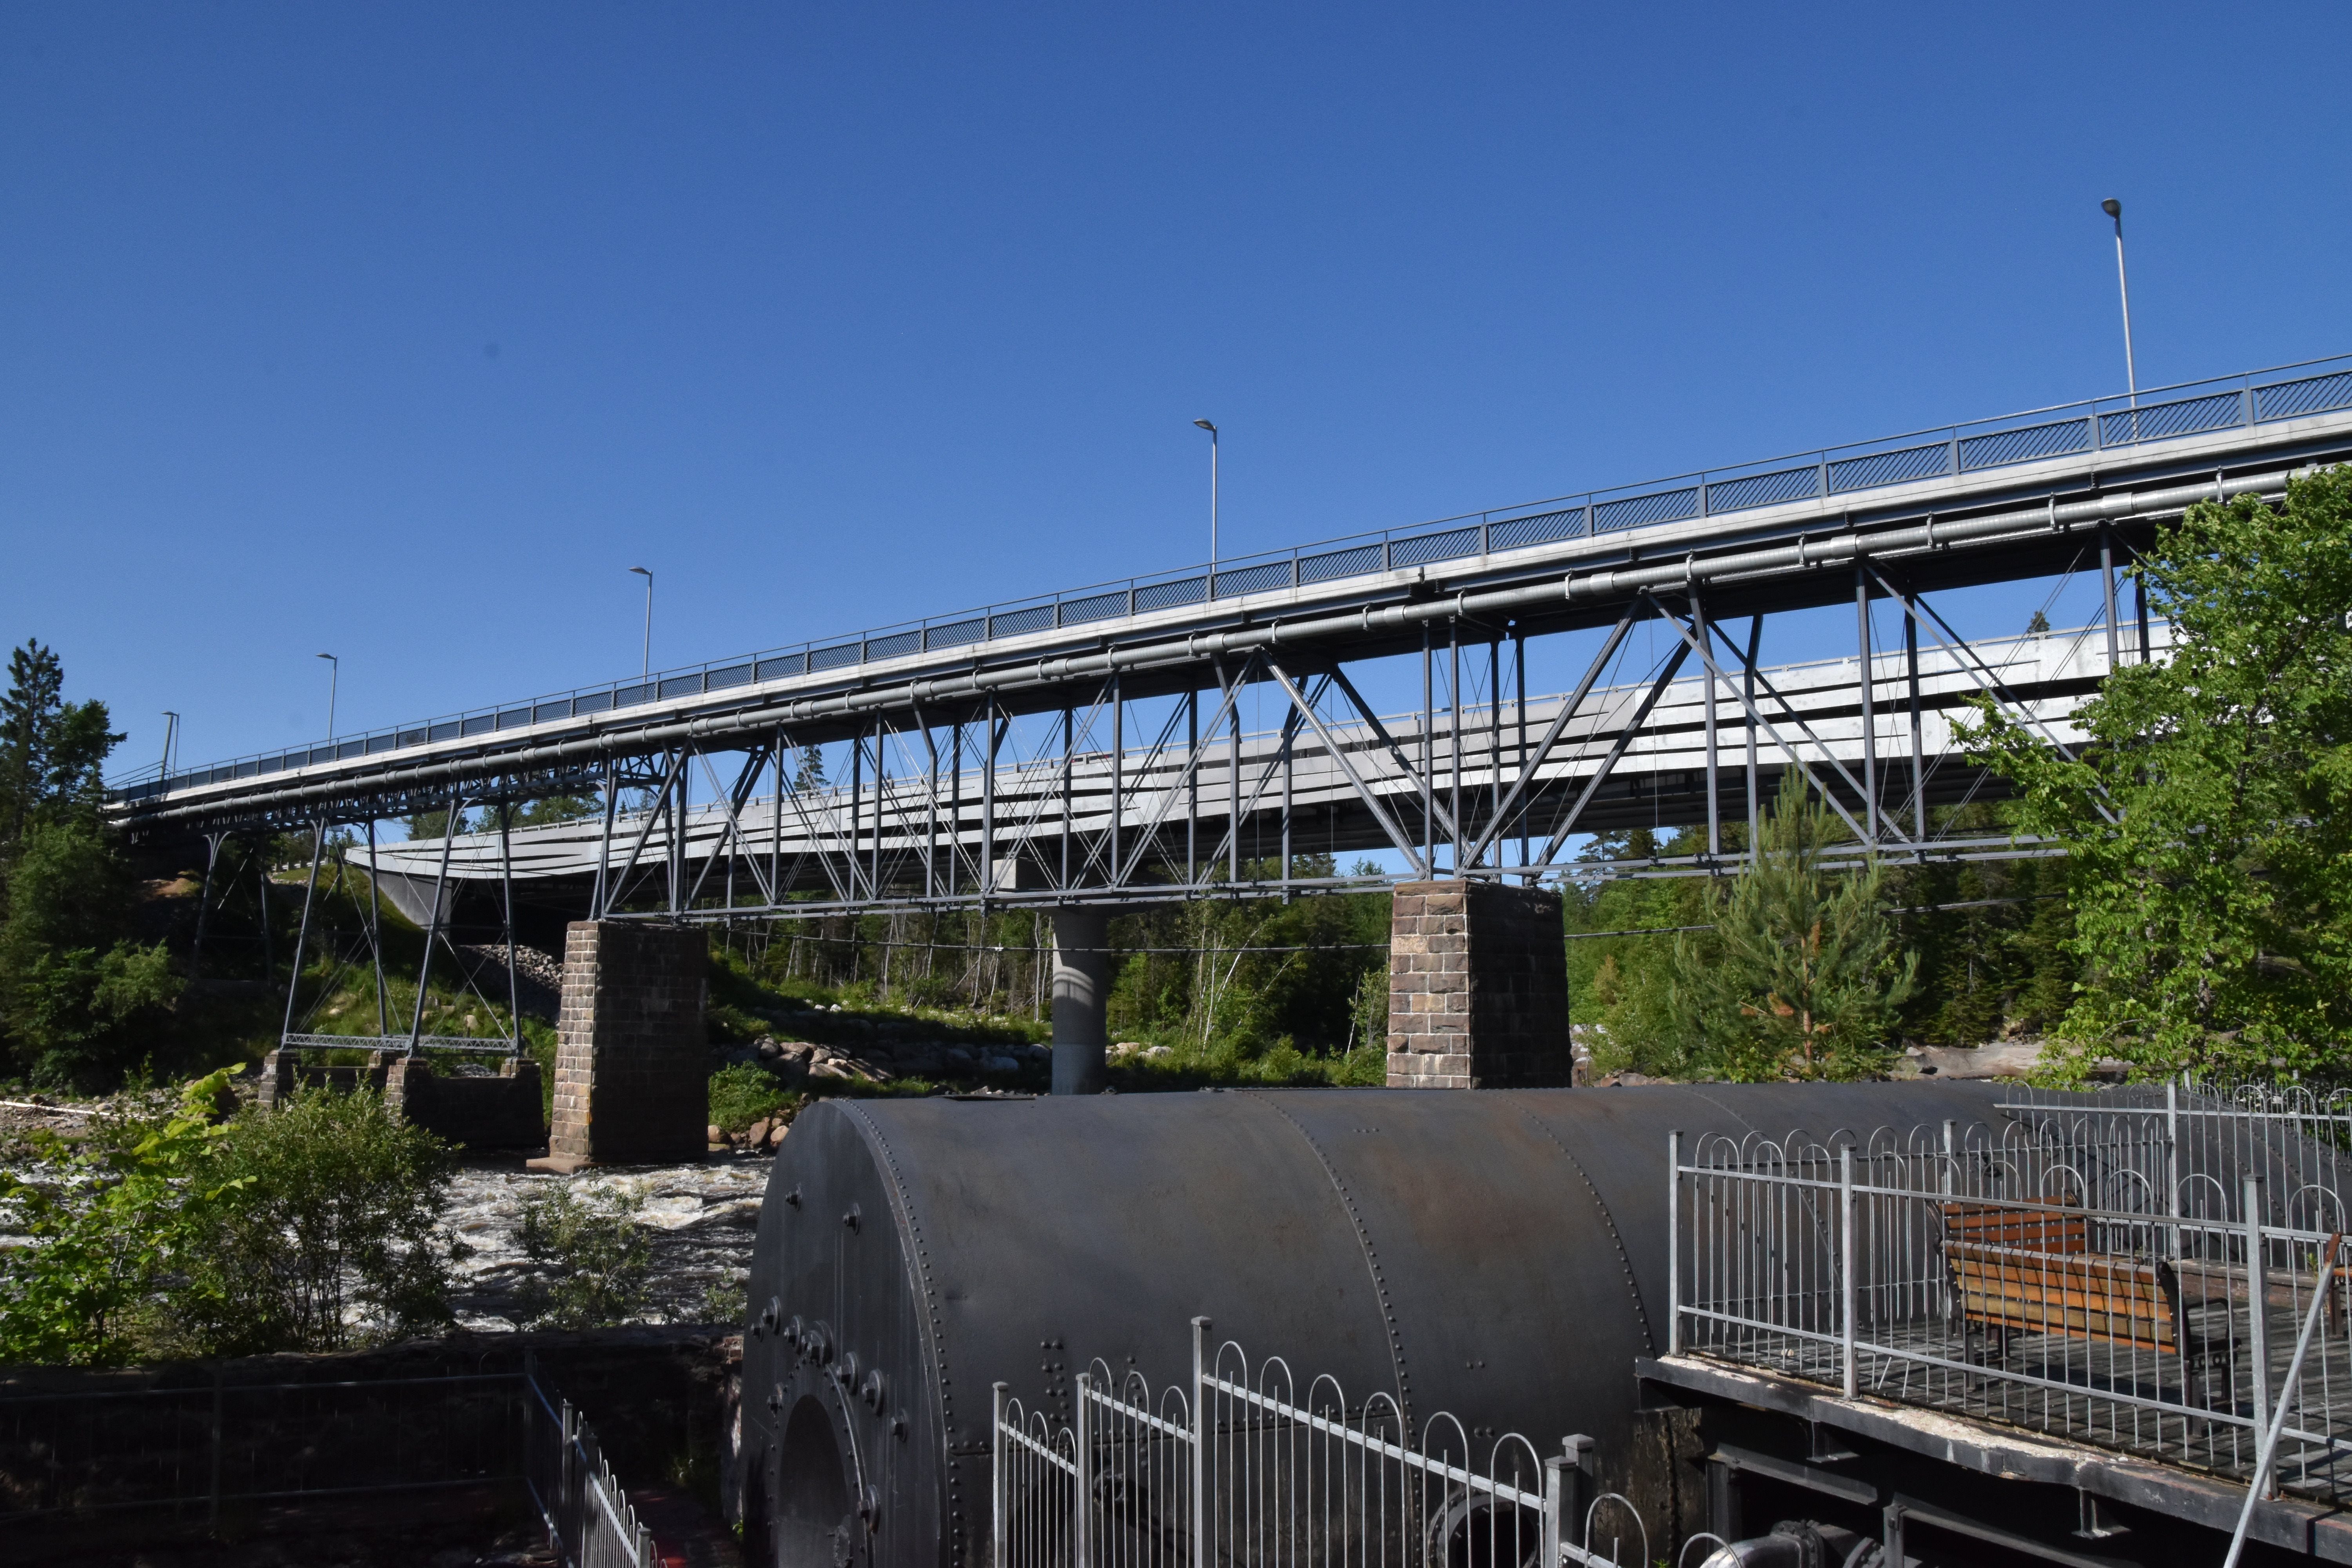
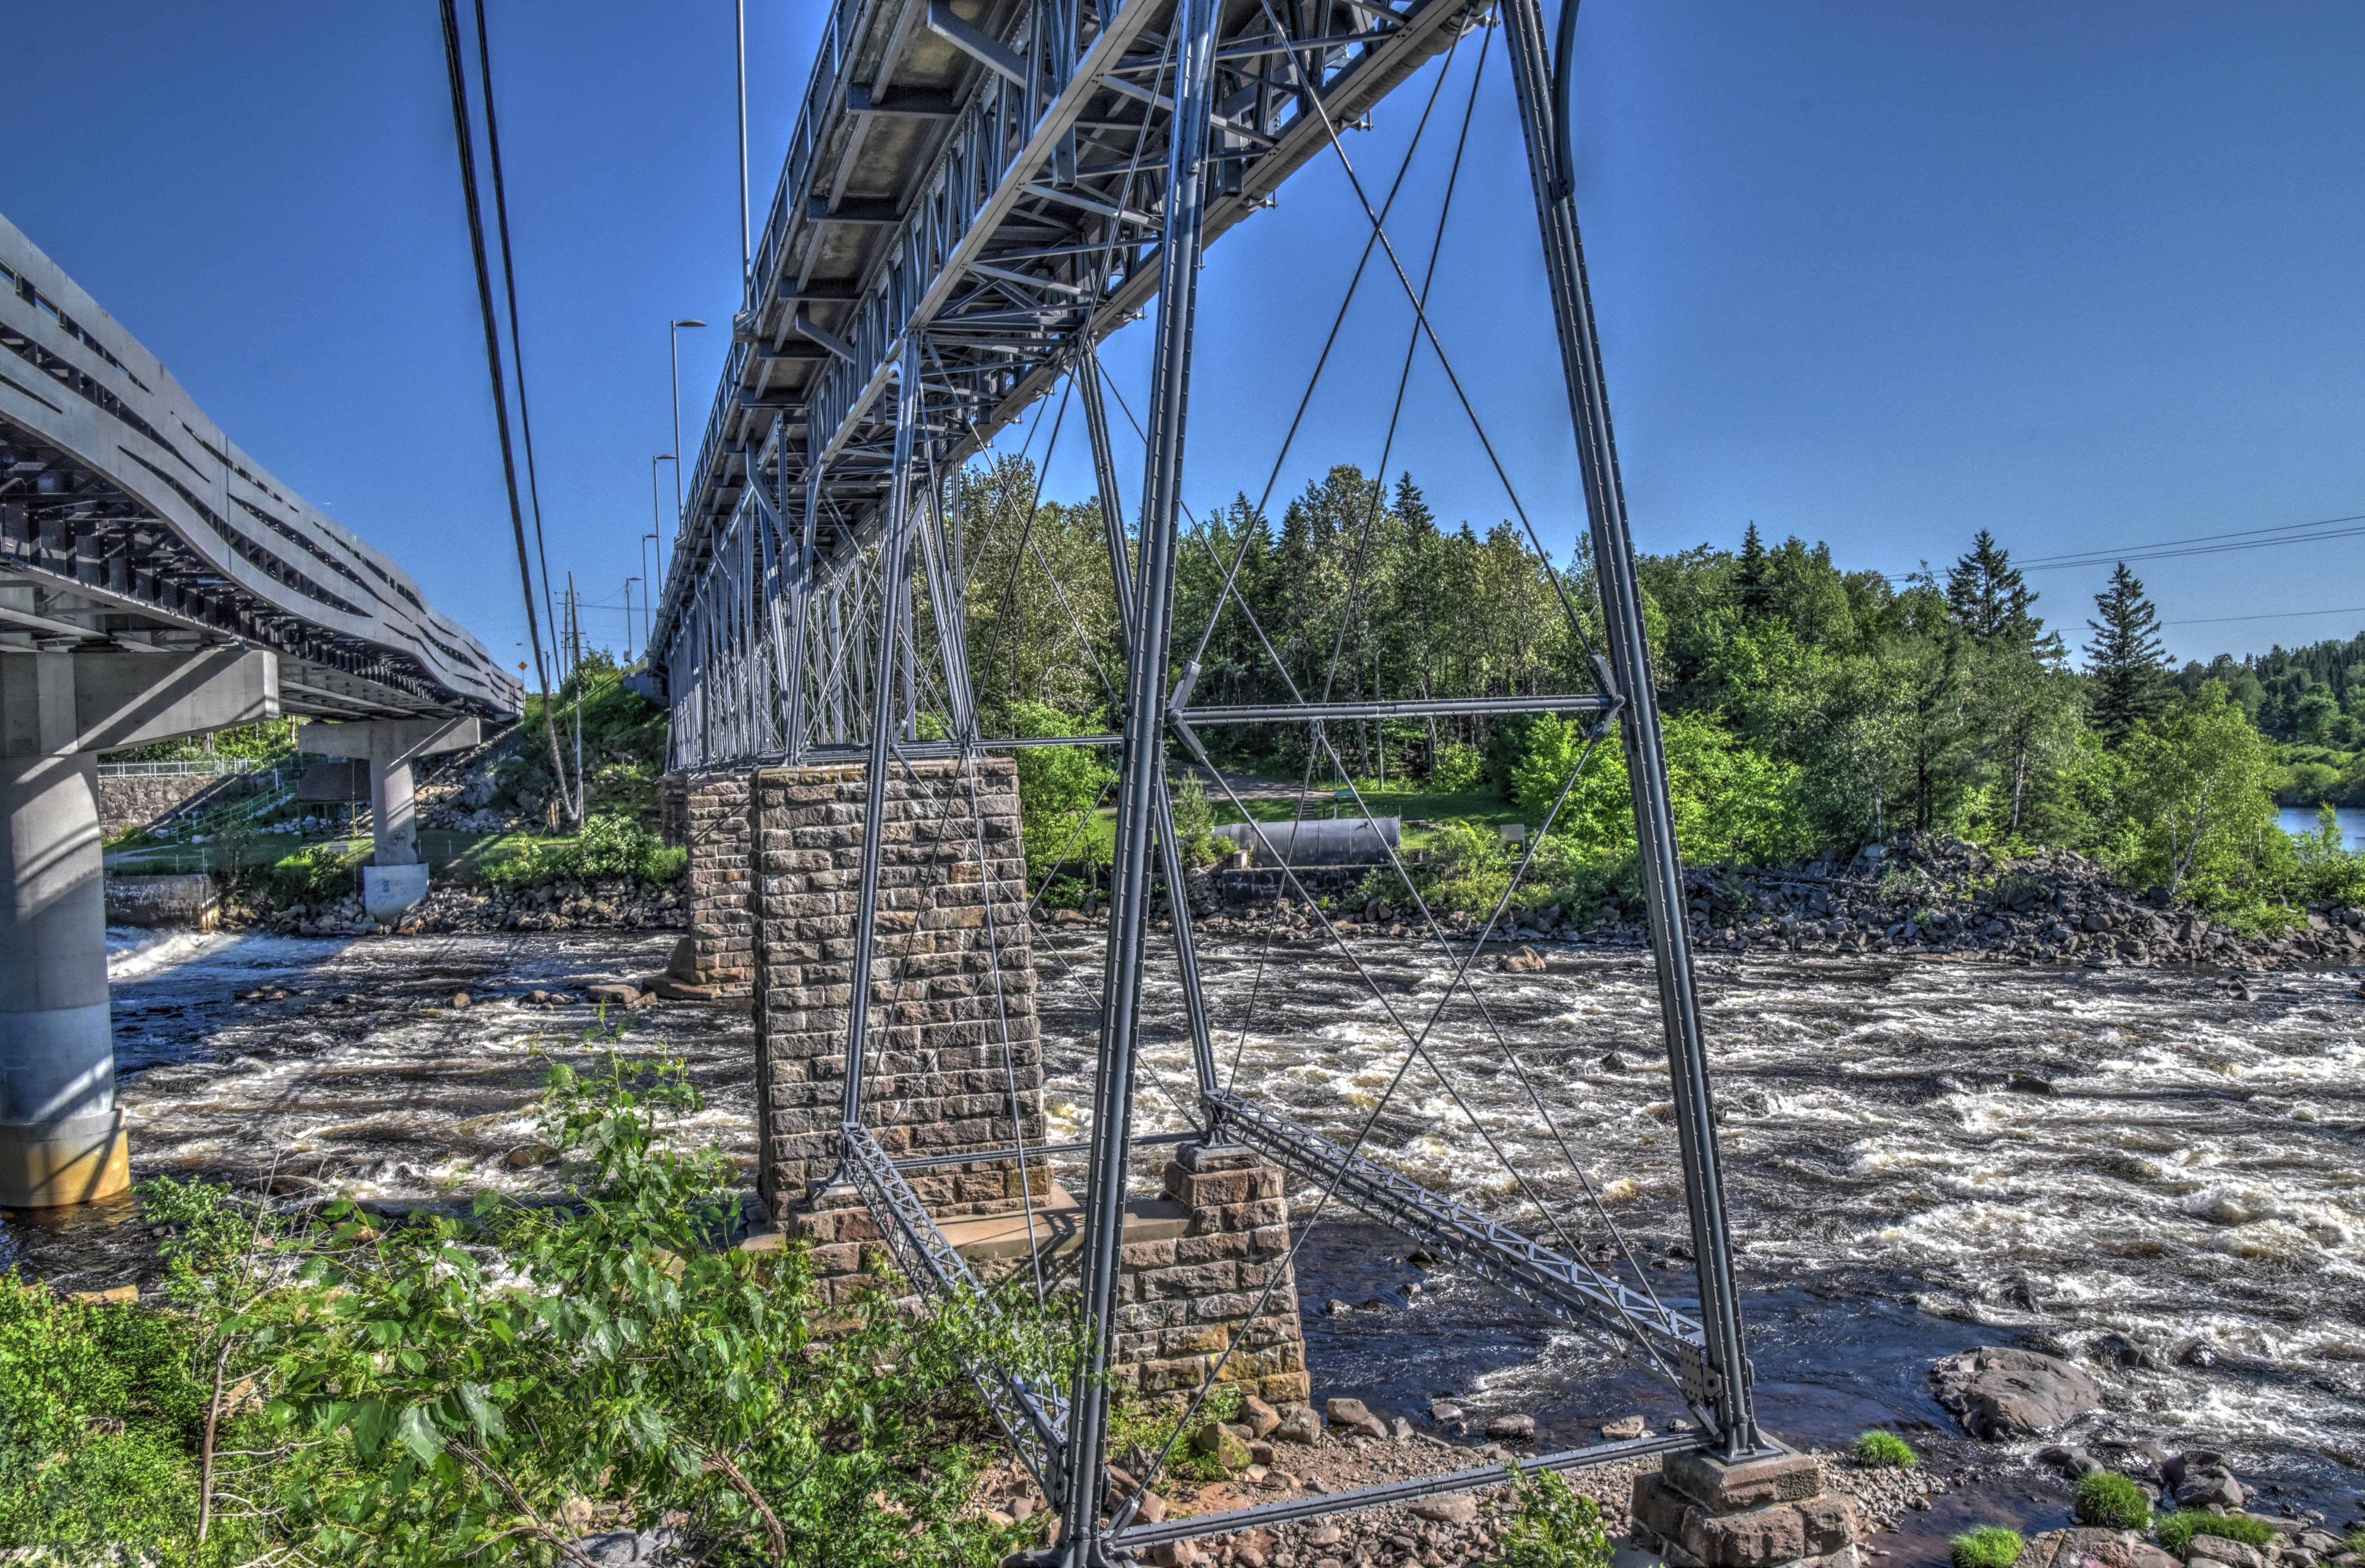
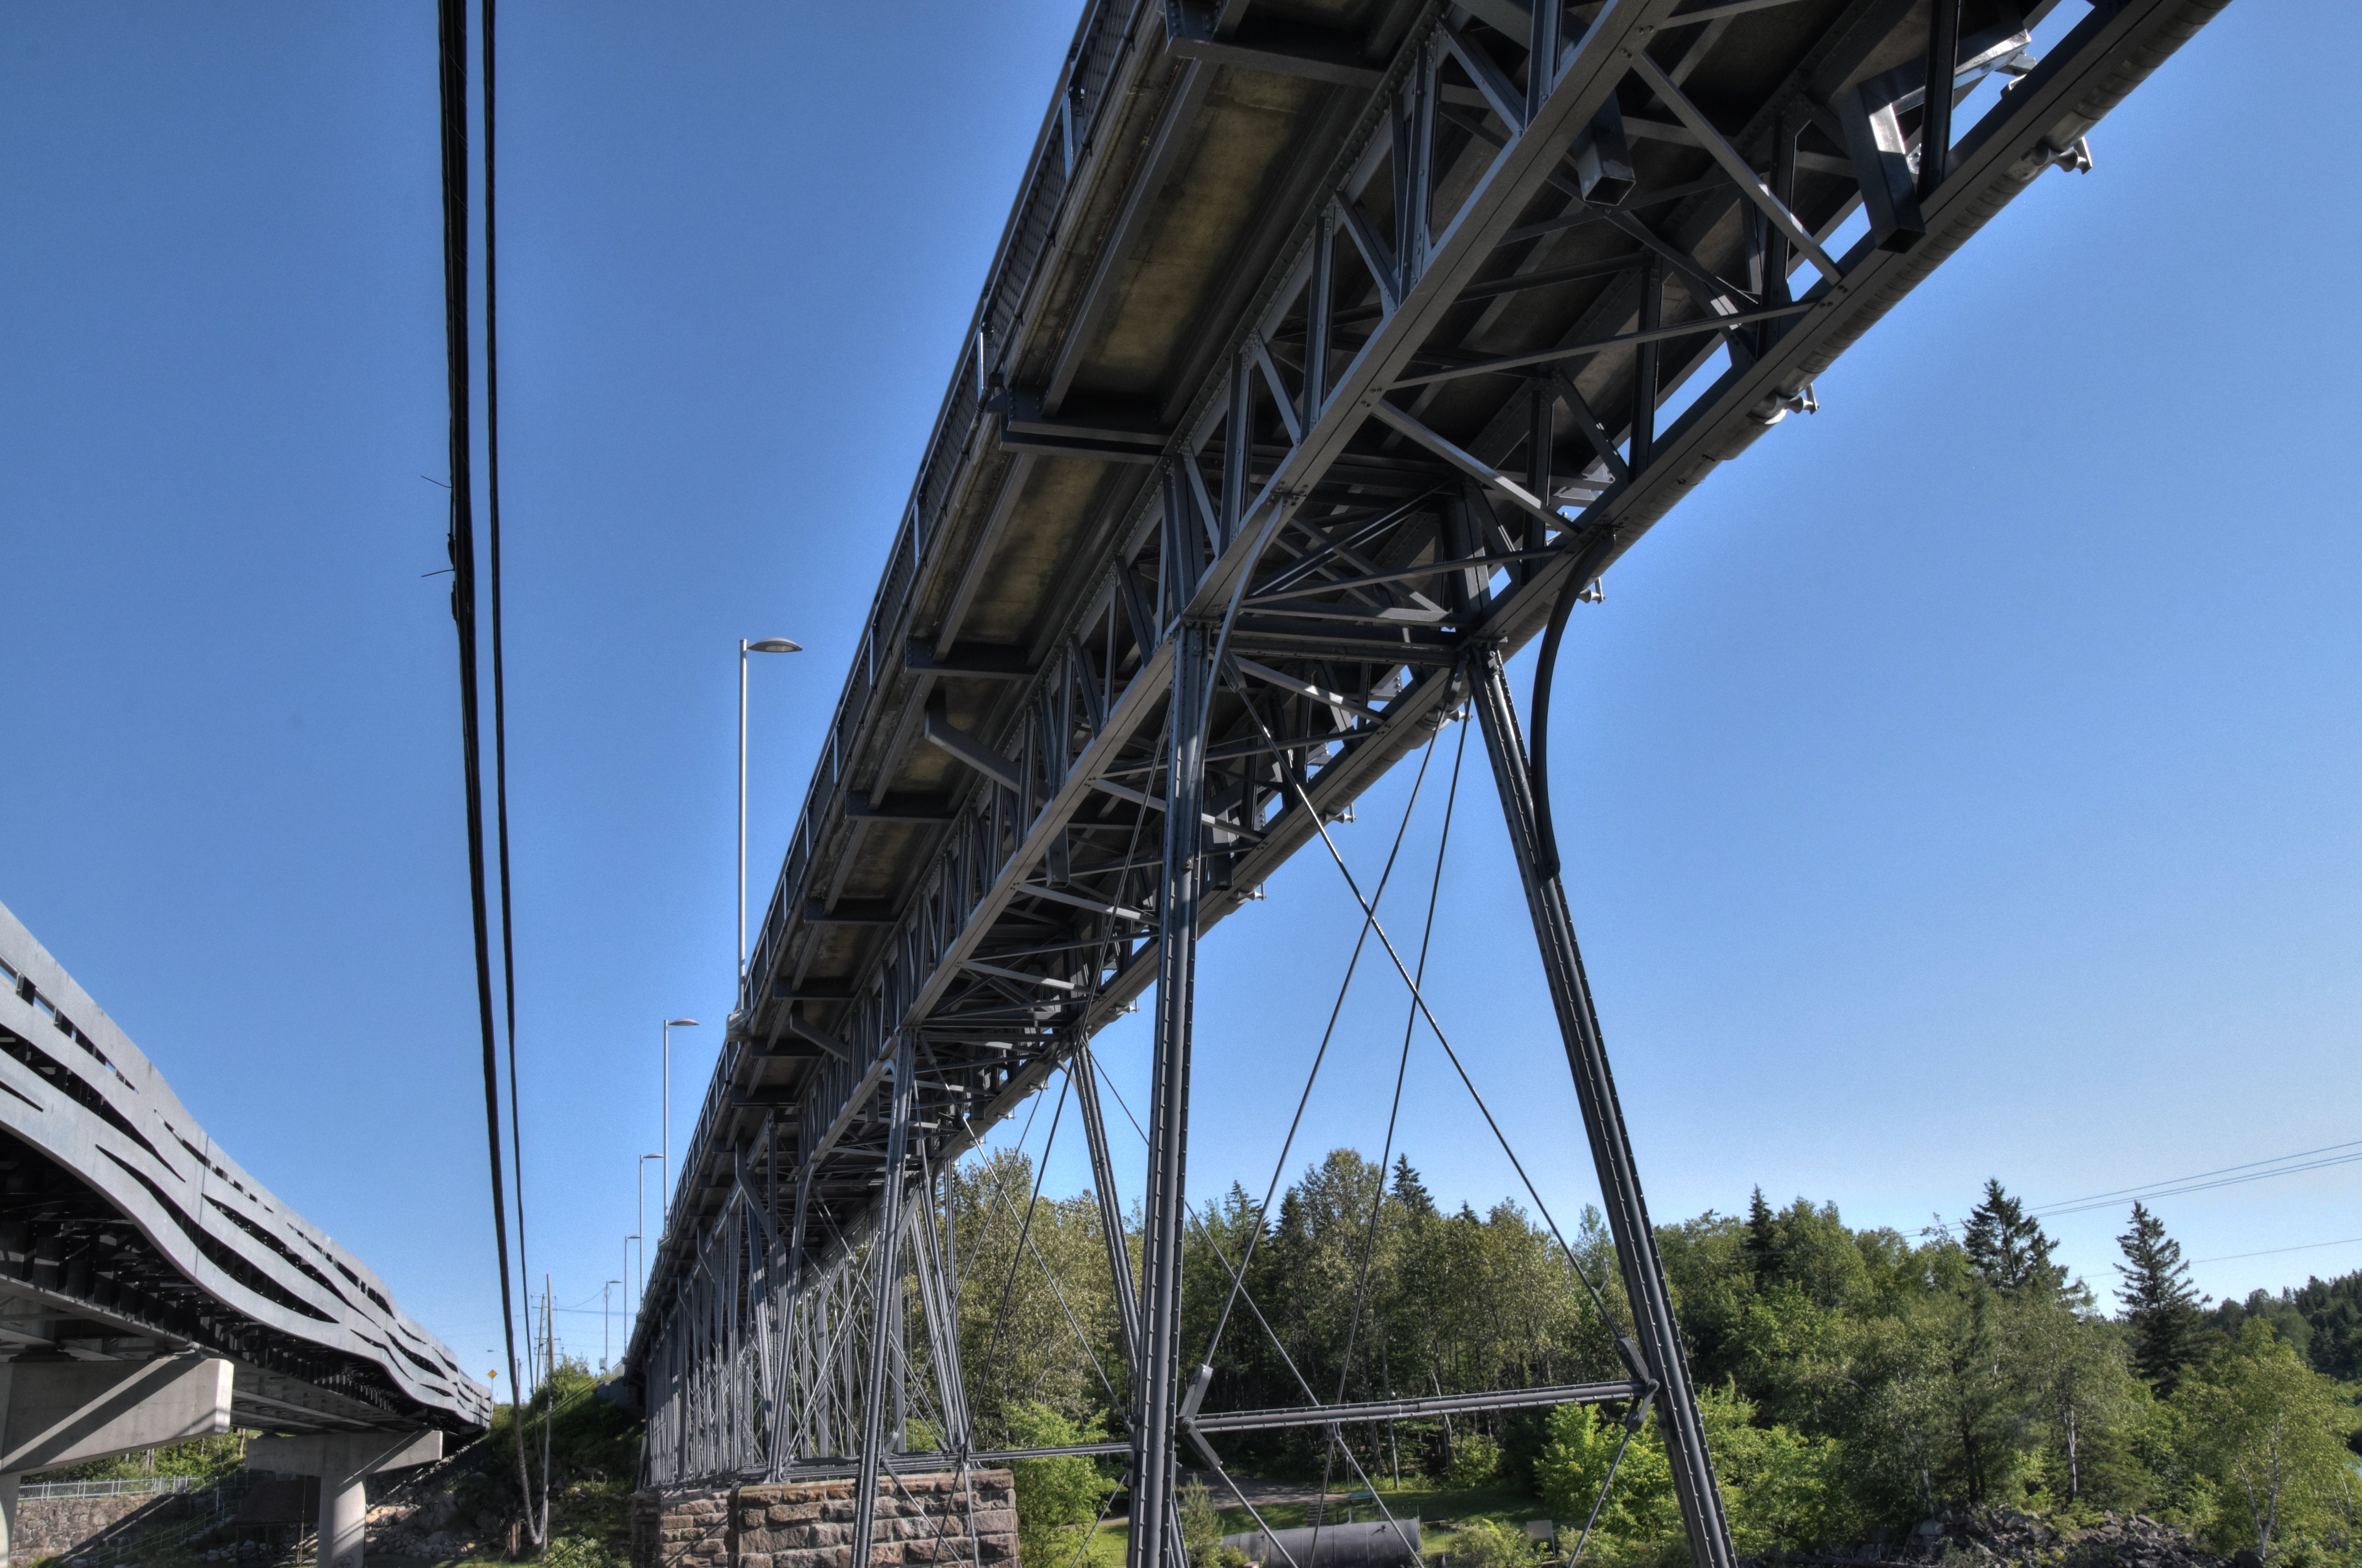
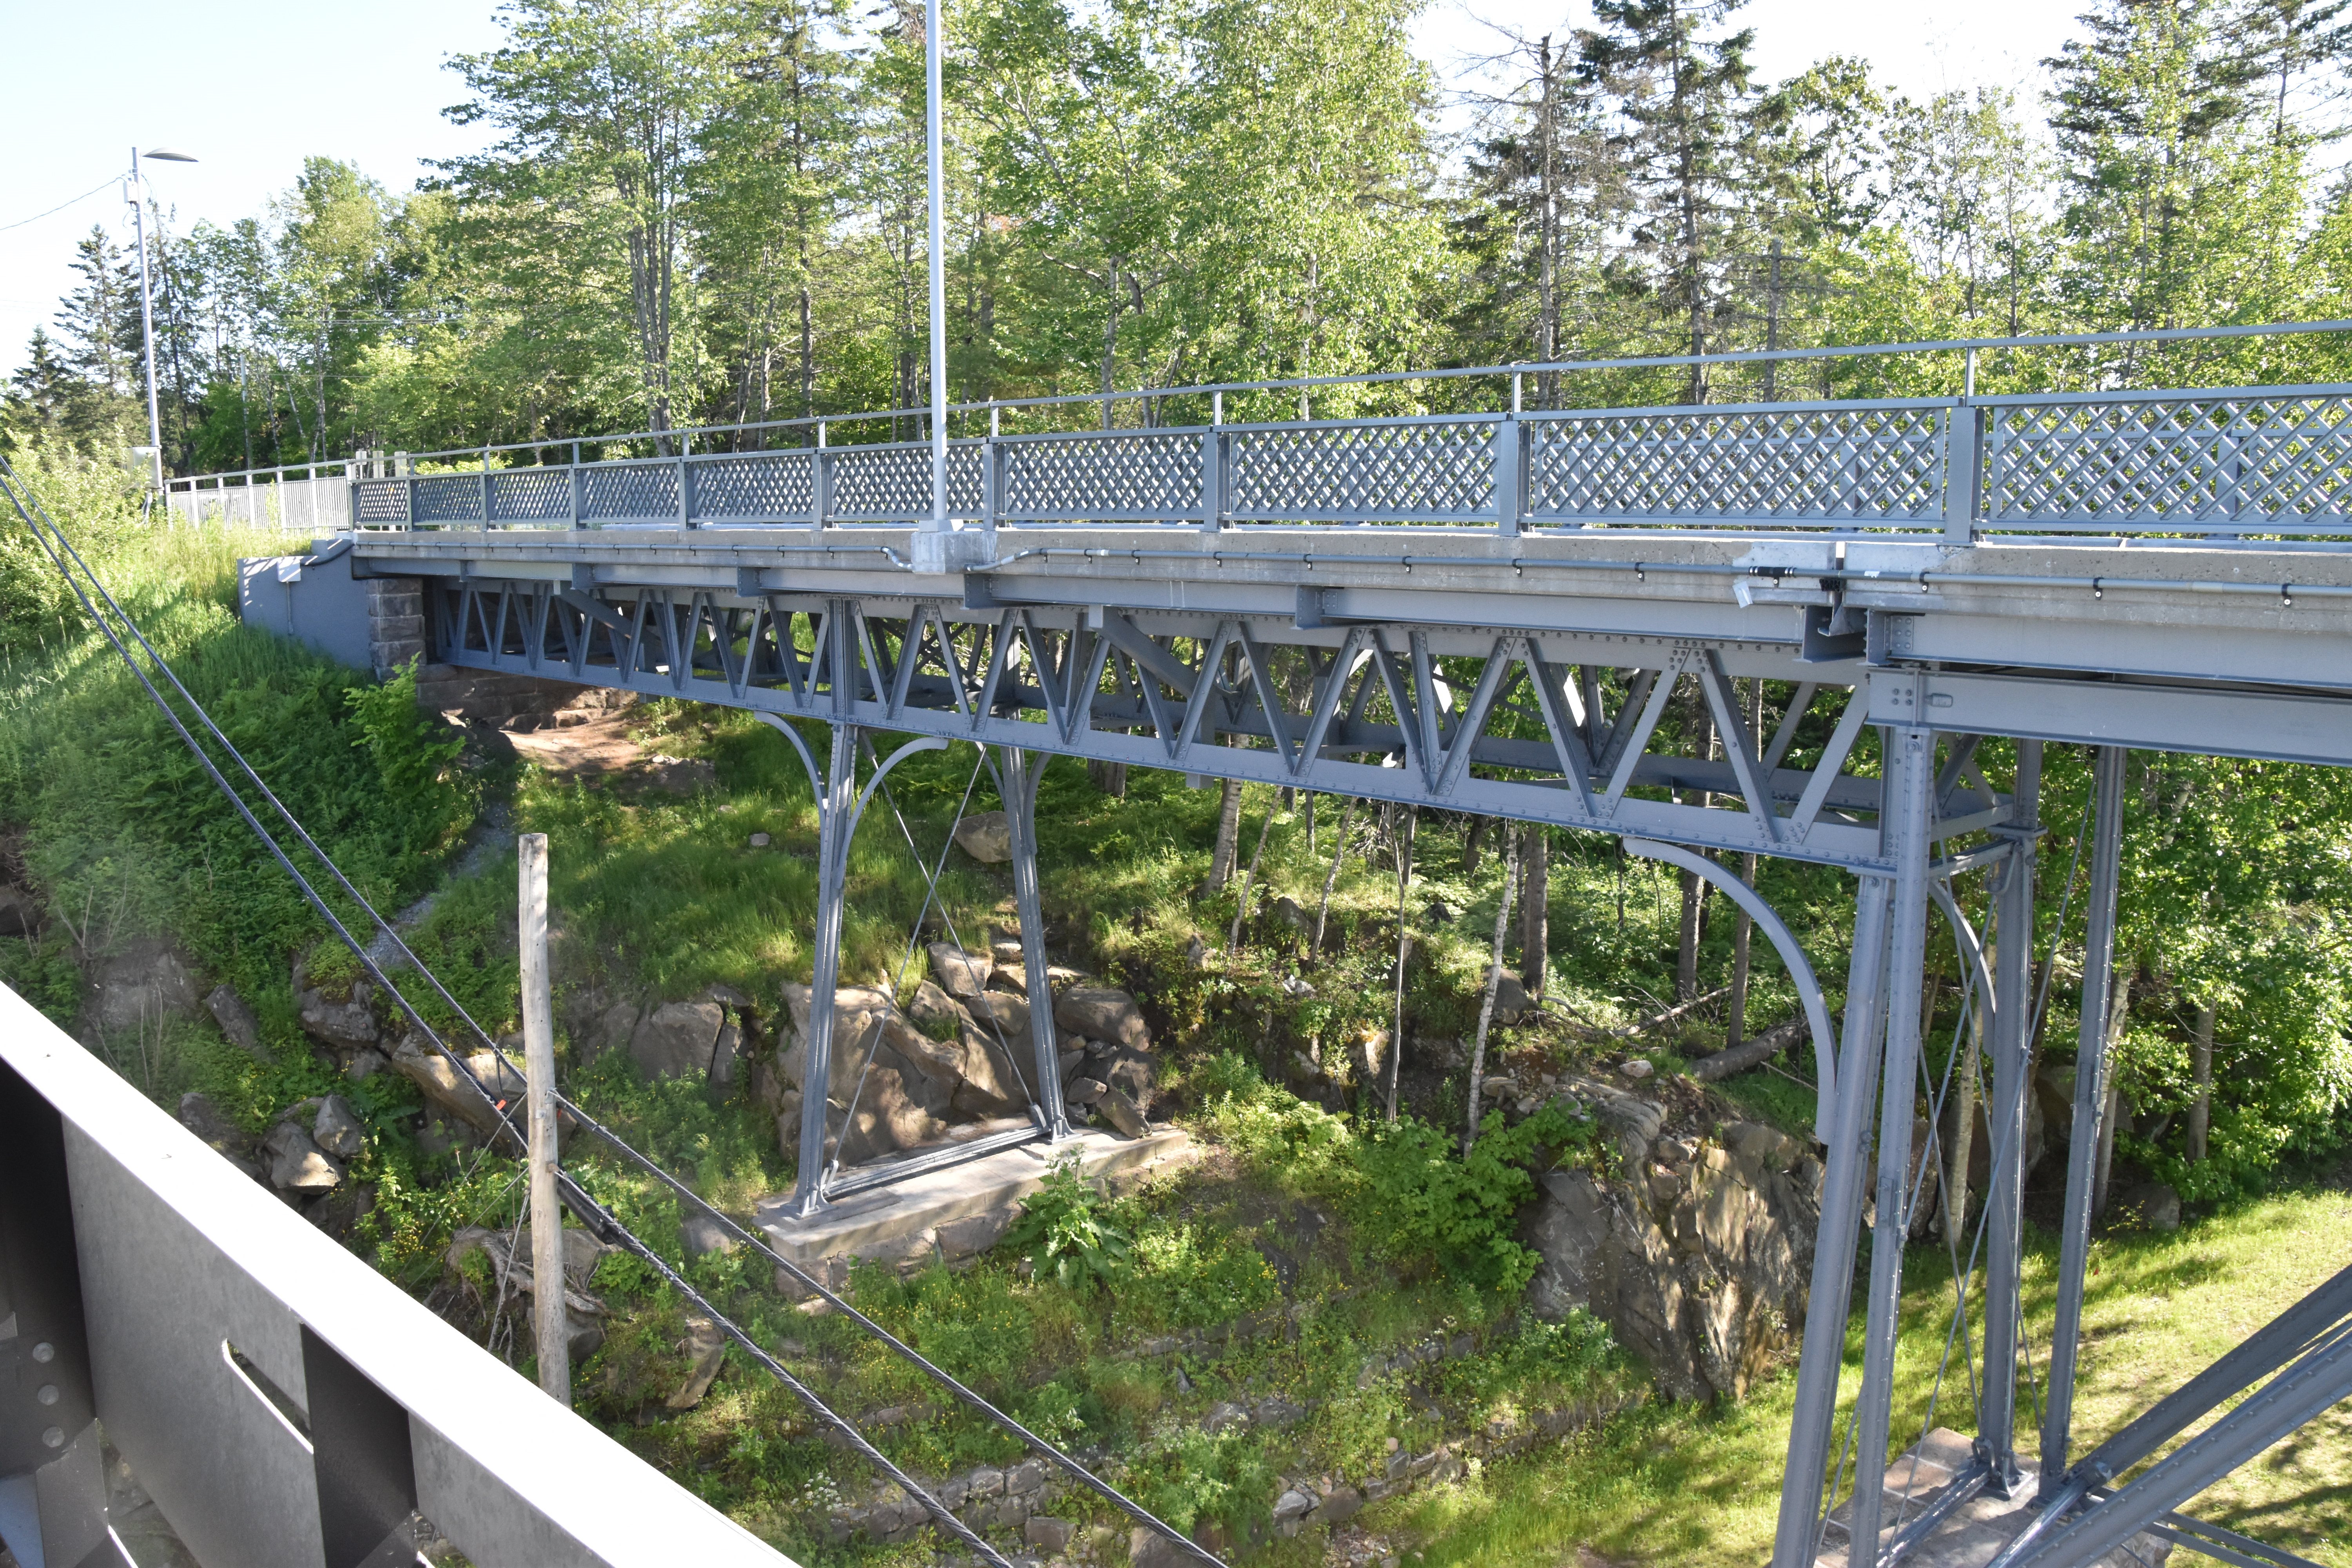
View beside bridge from northwest quadrant.
![]()


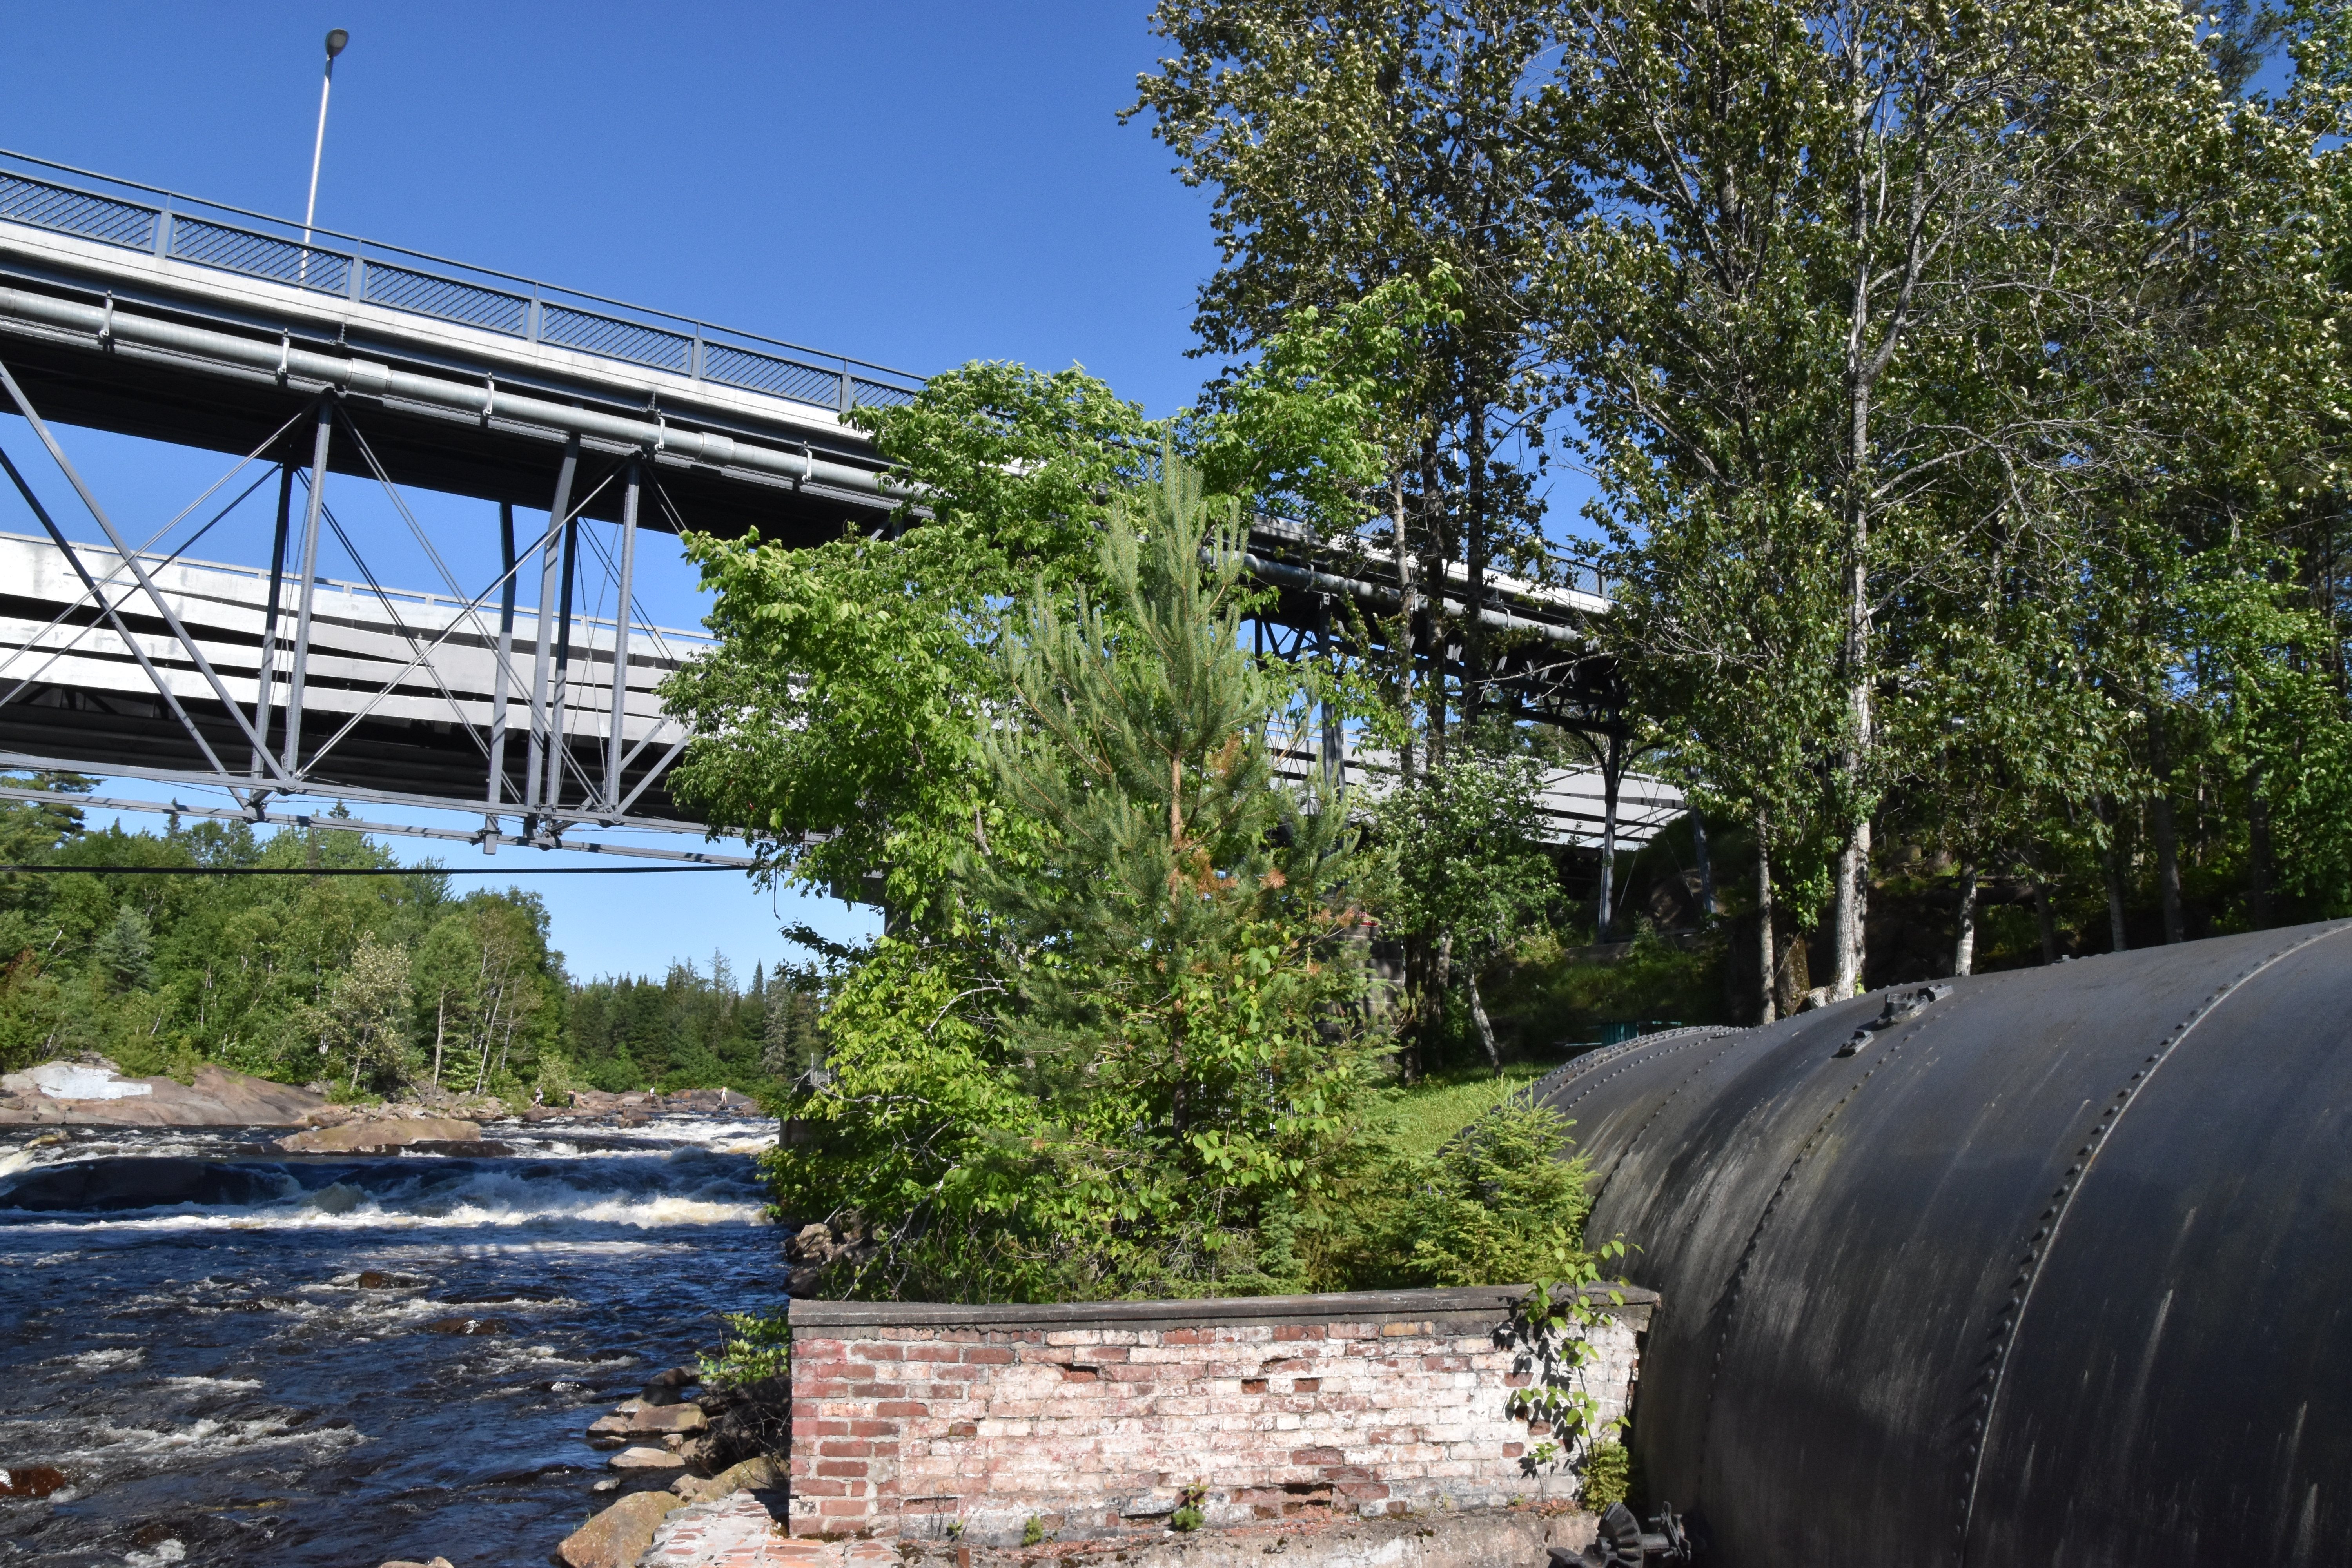
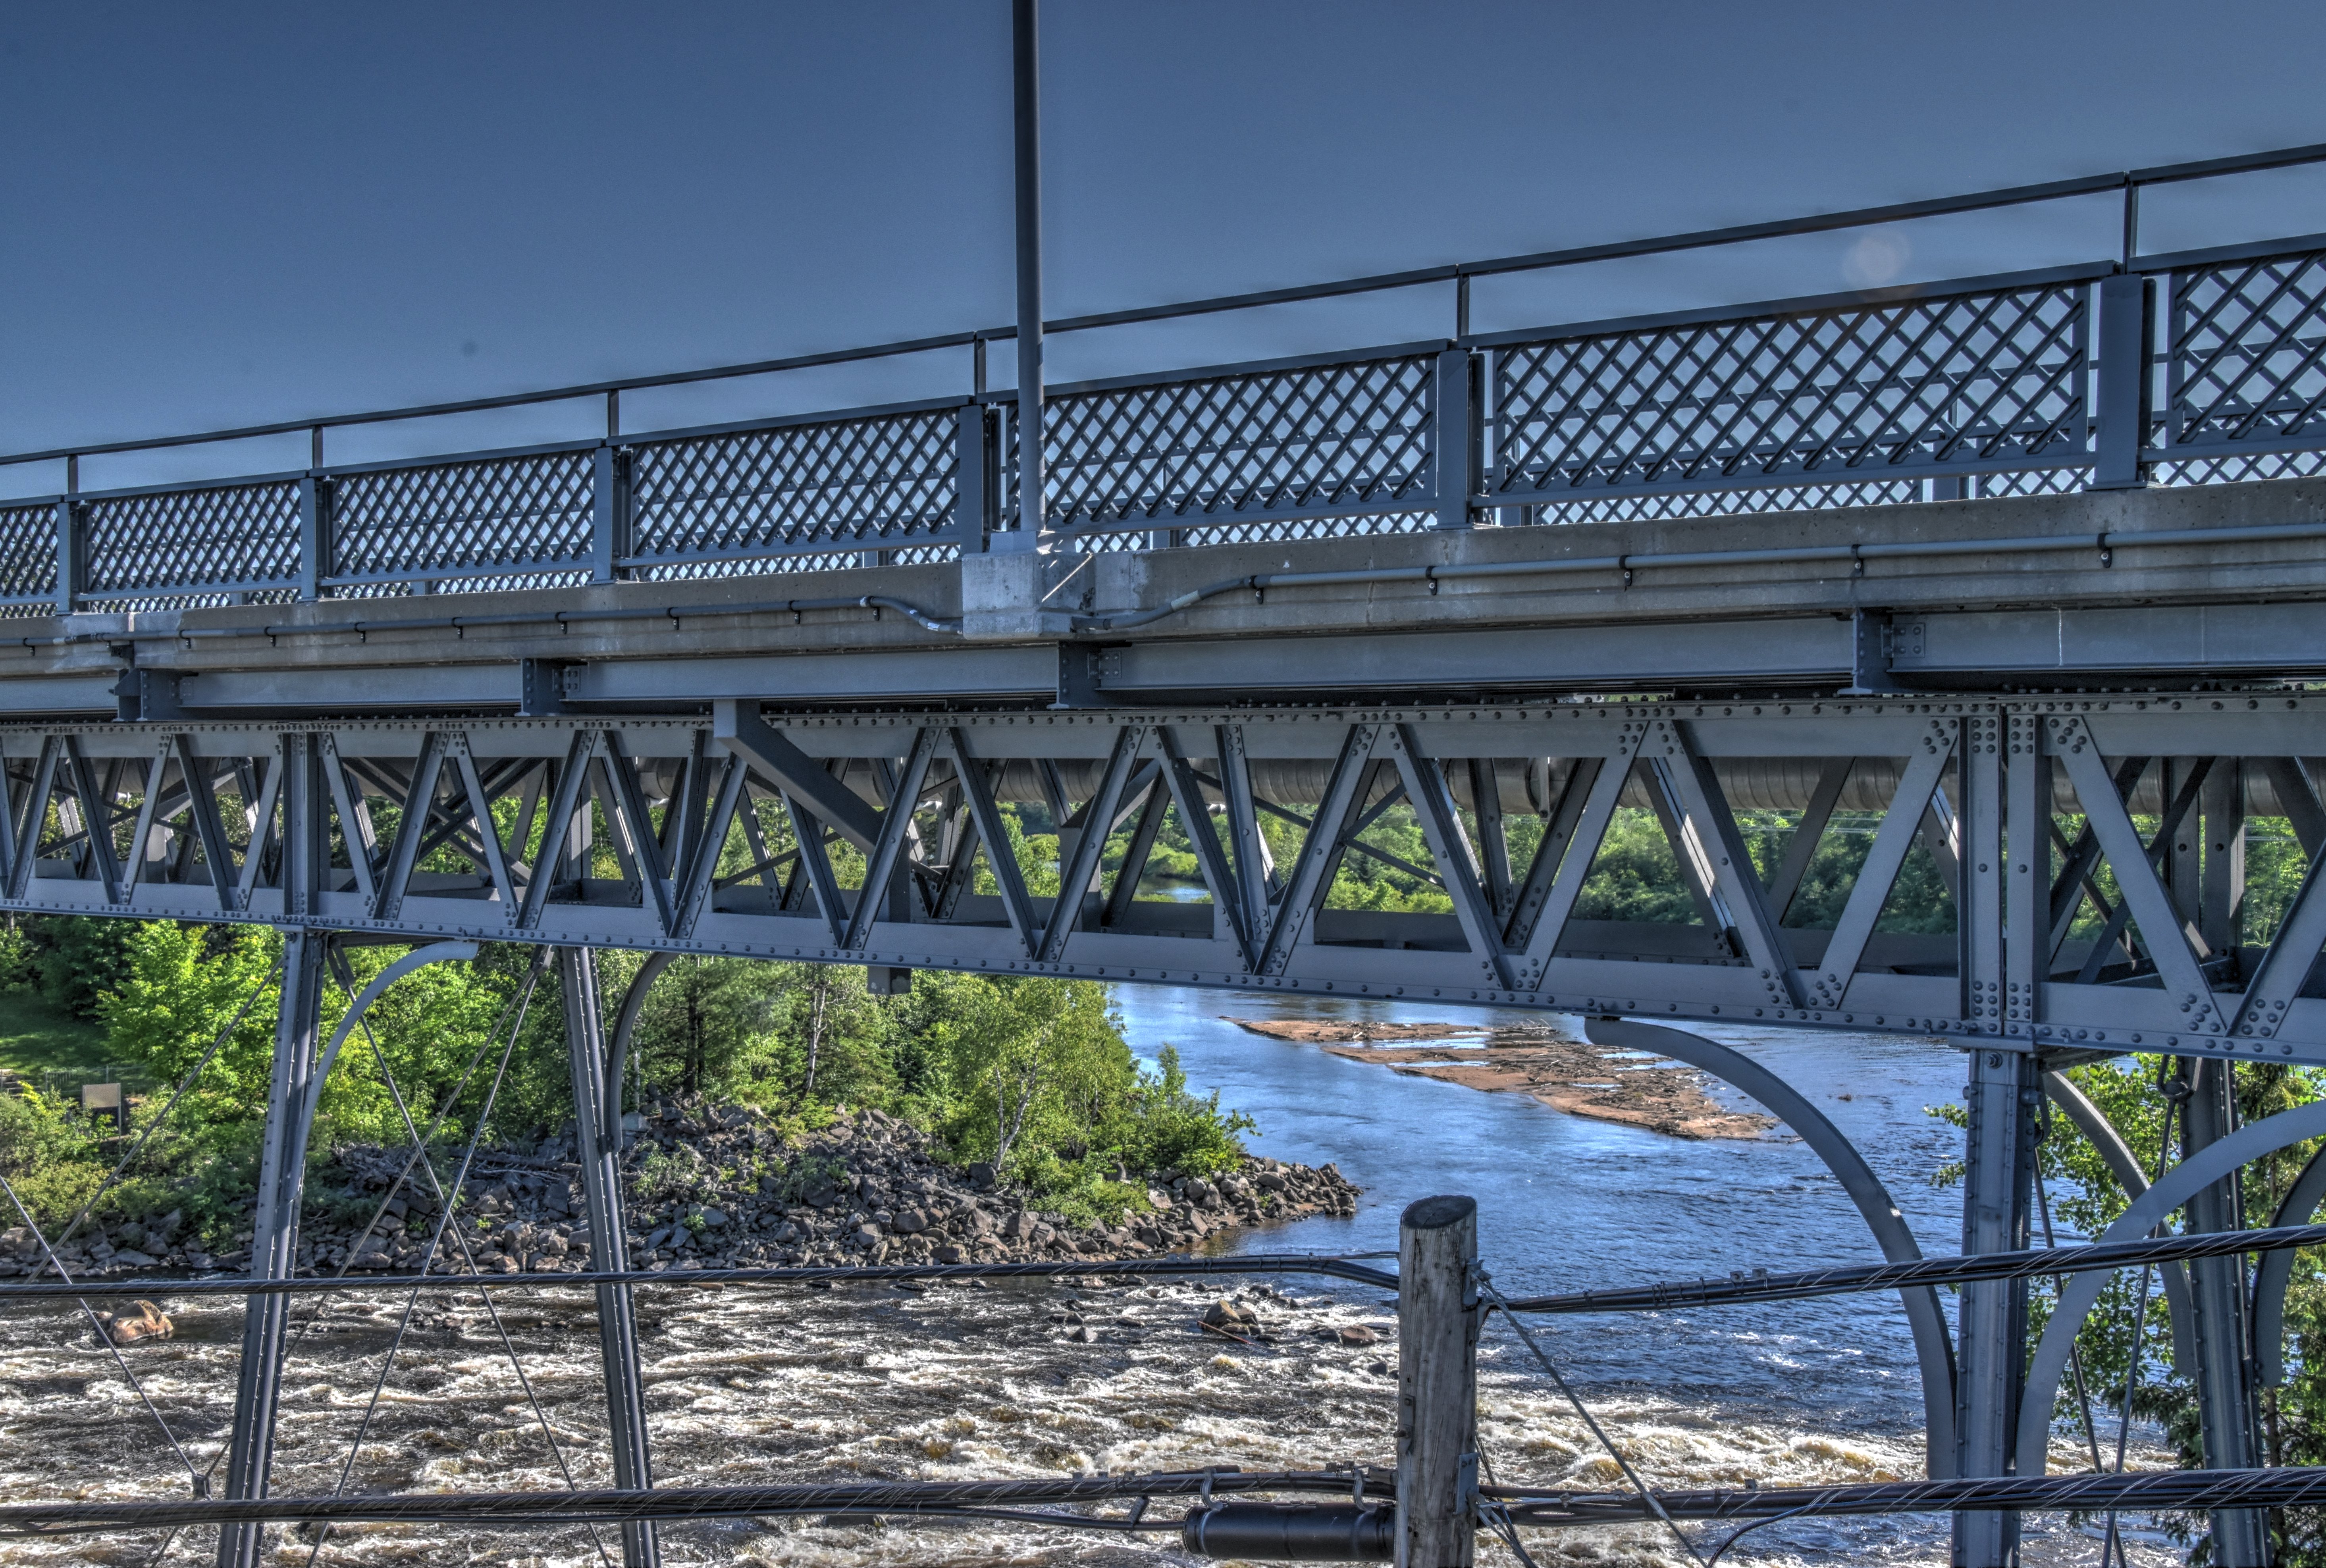
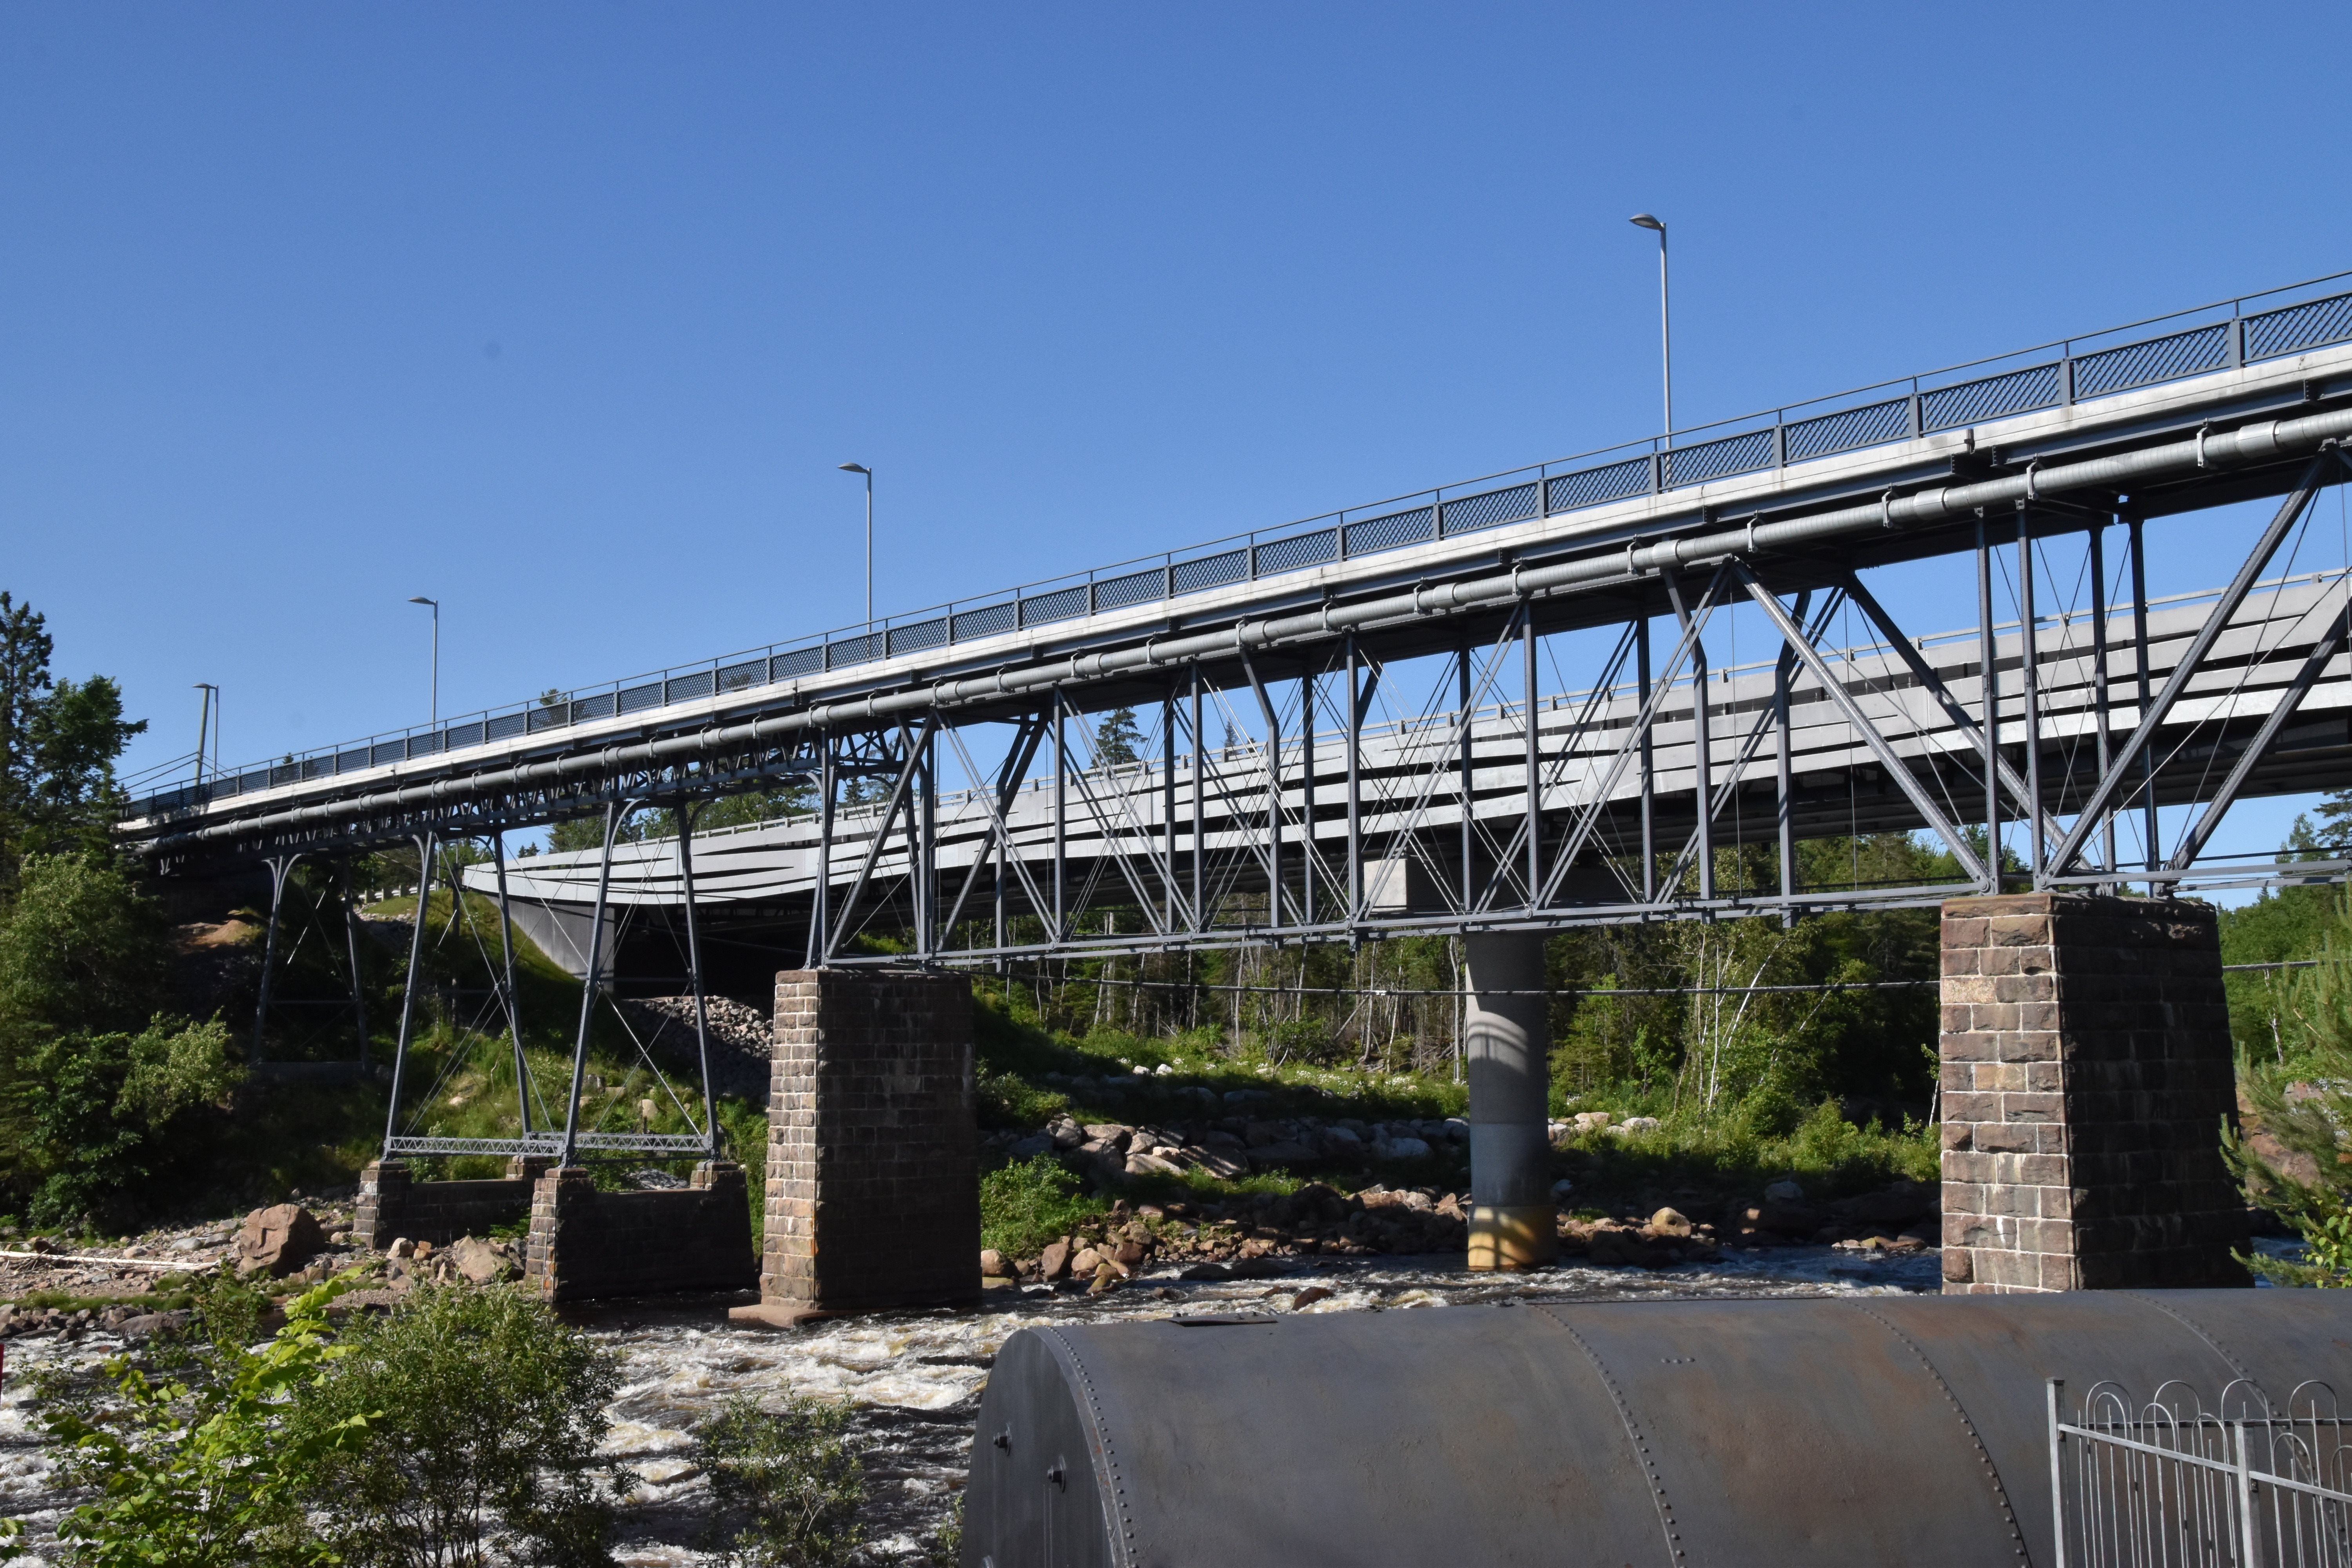
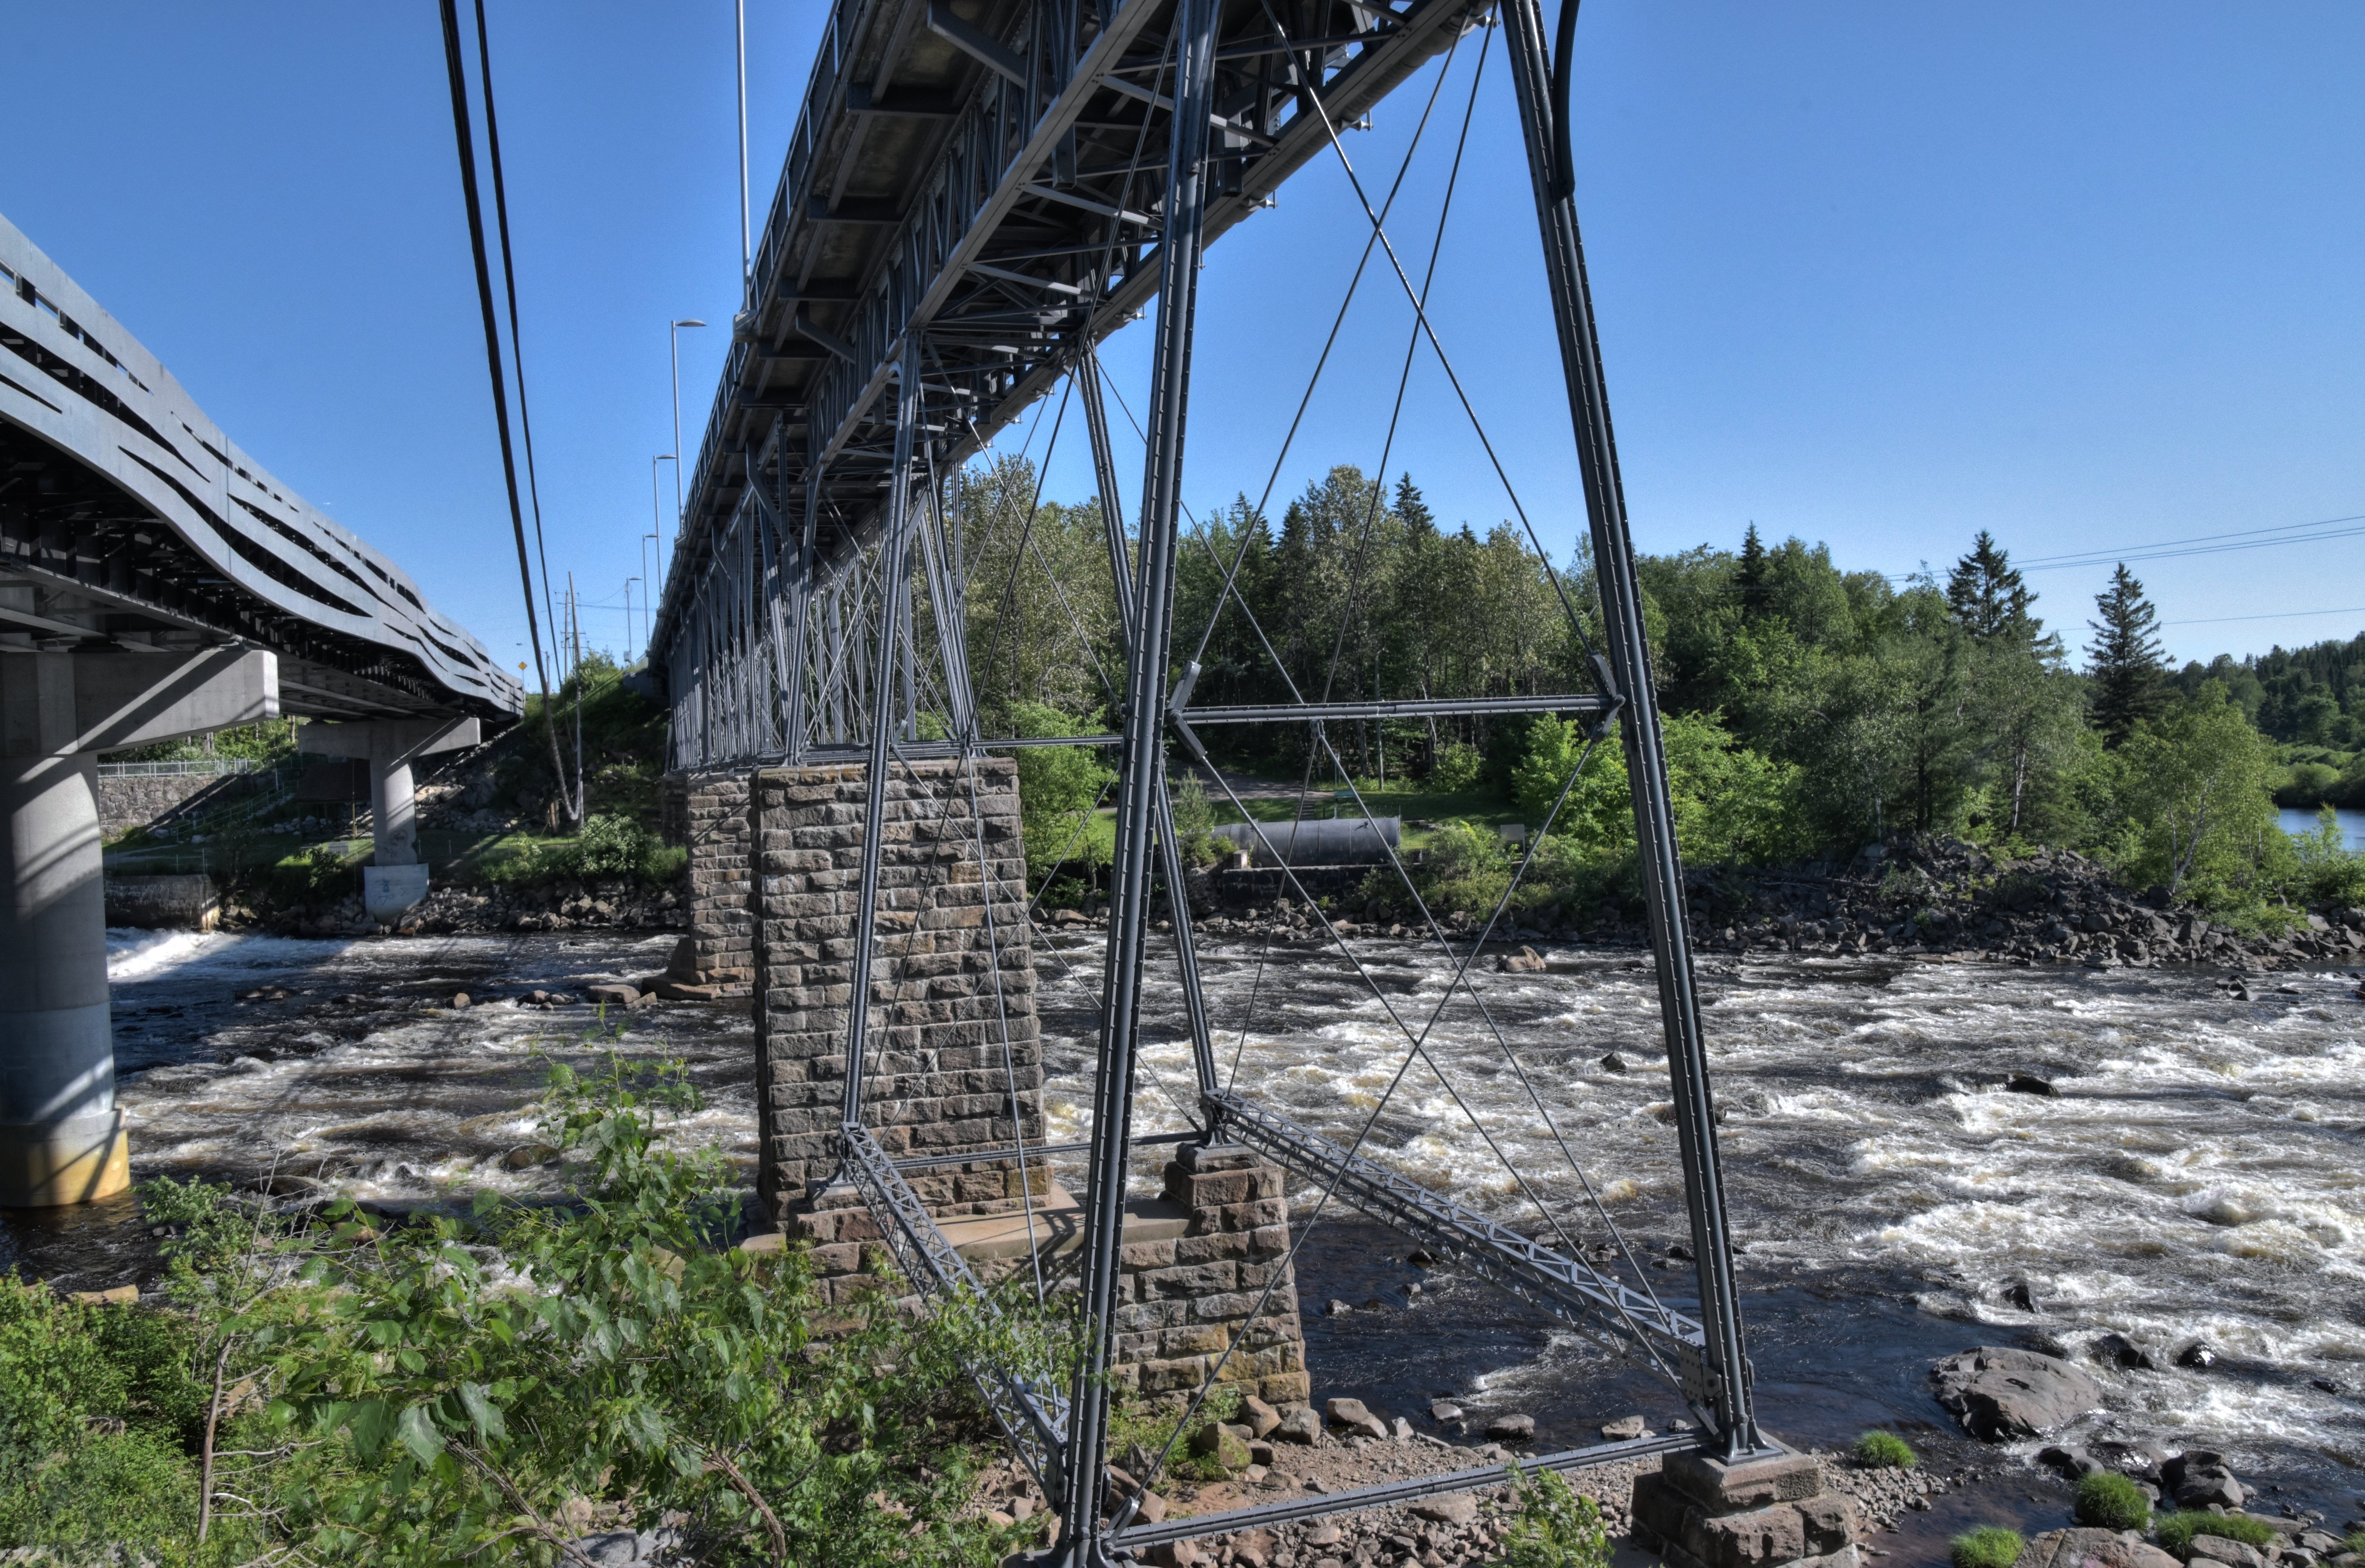
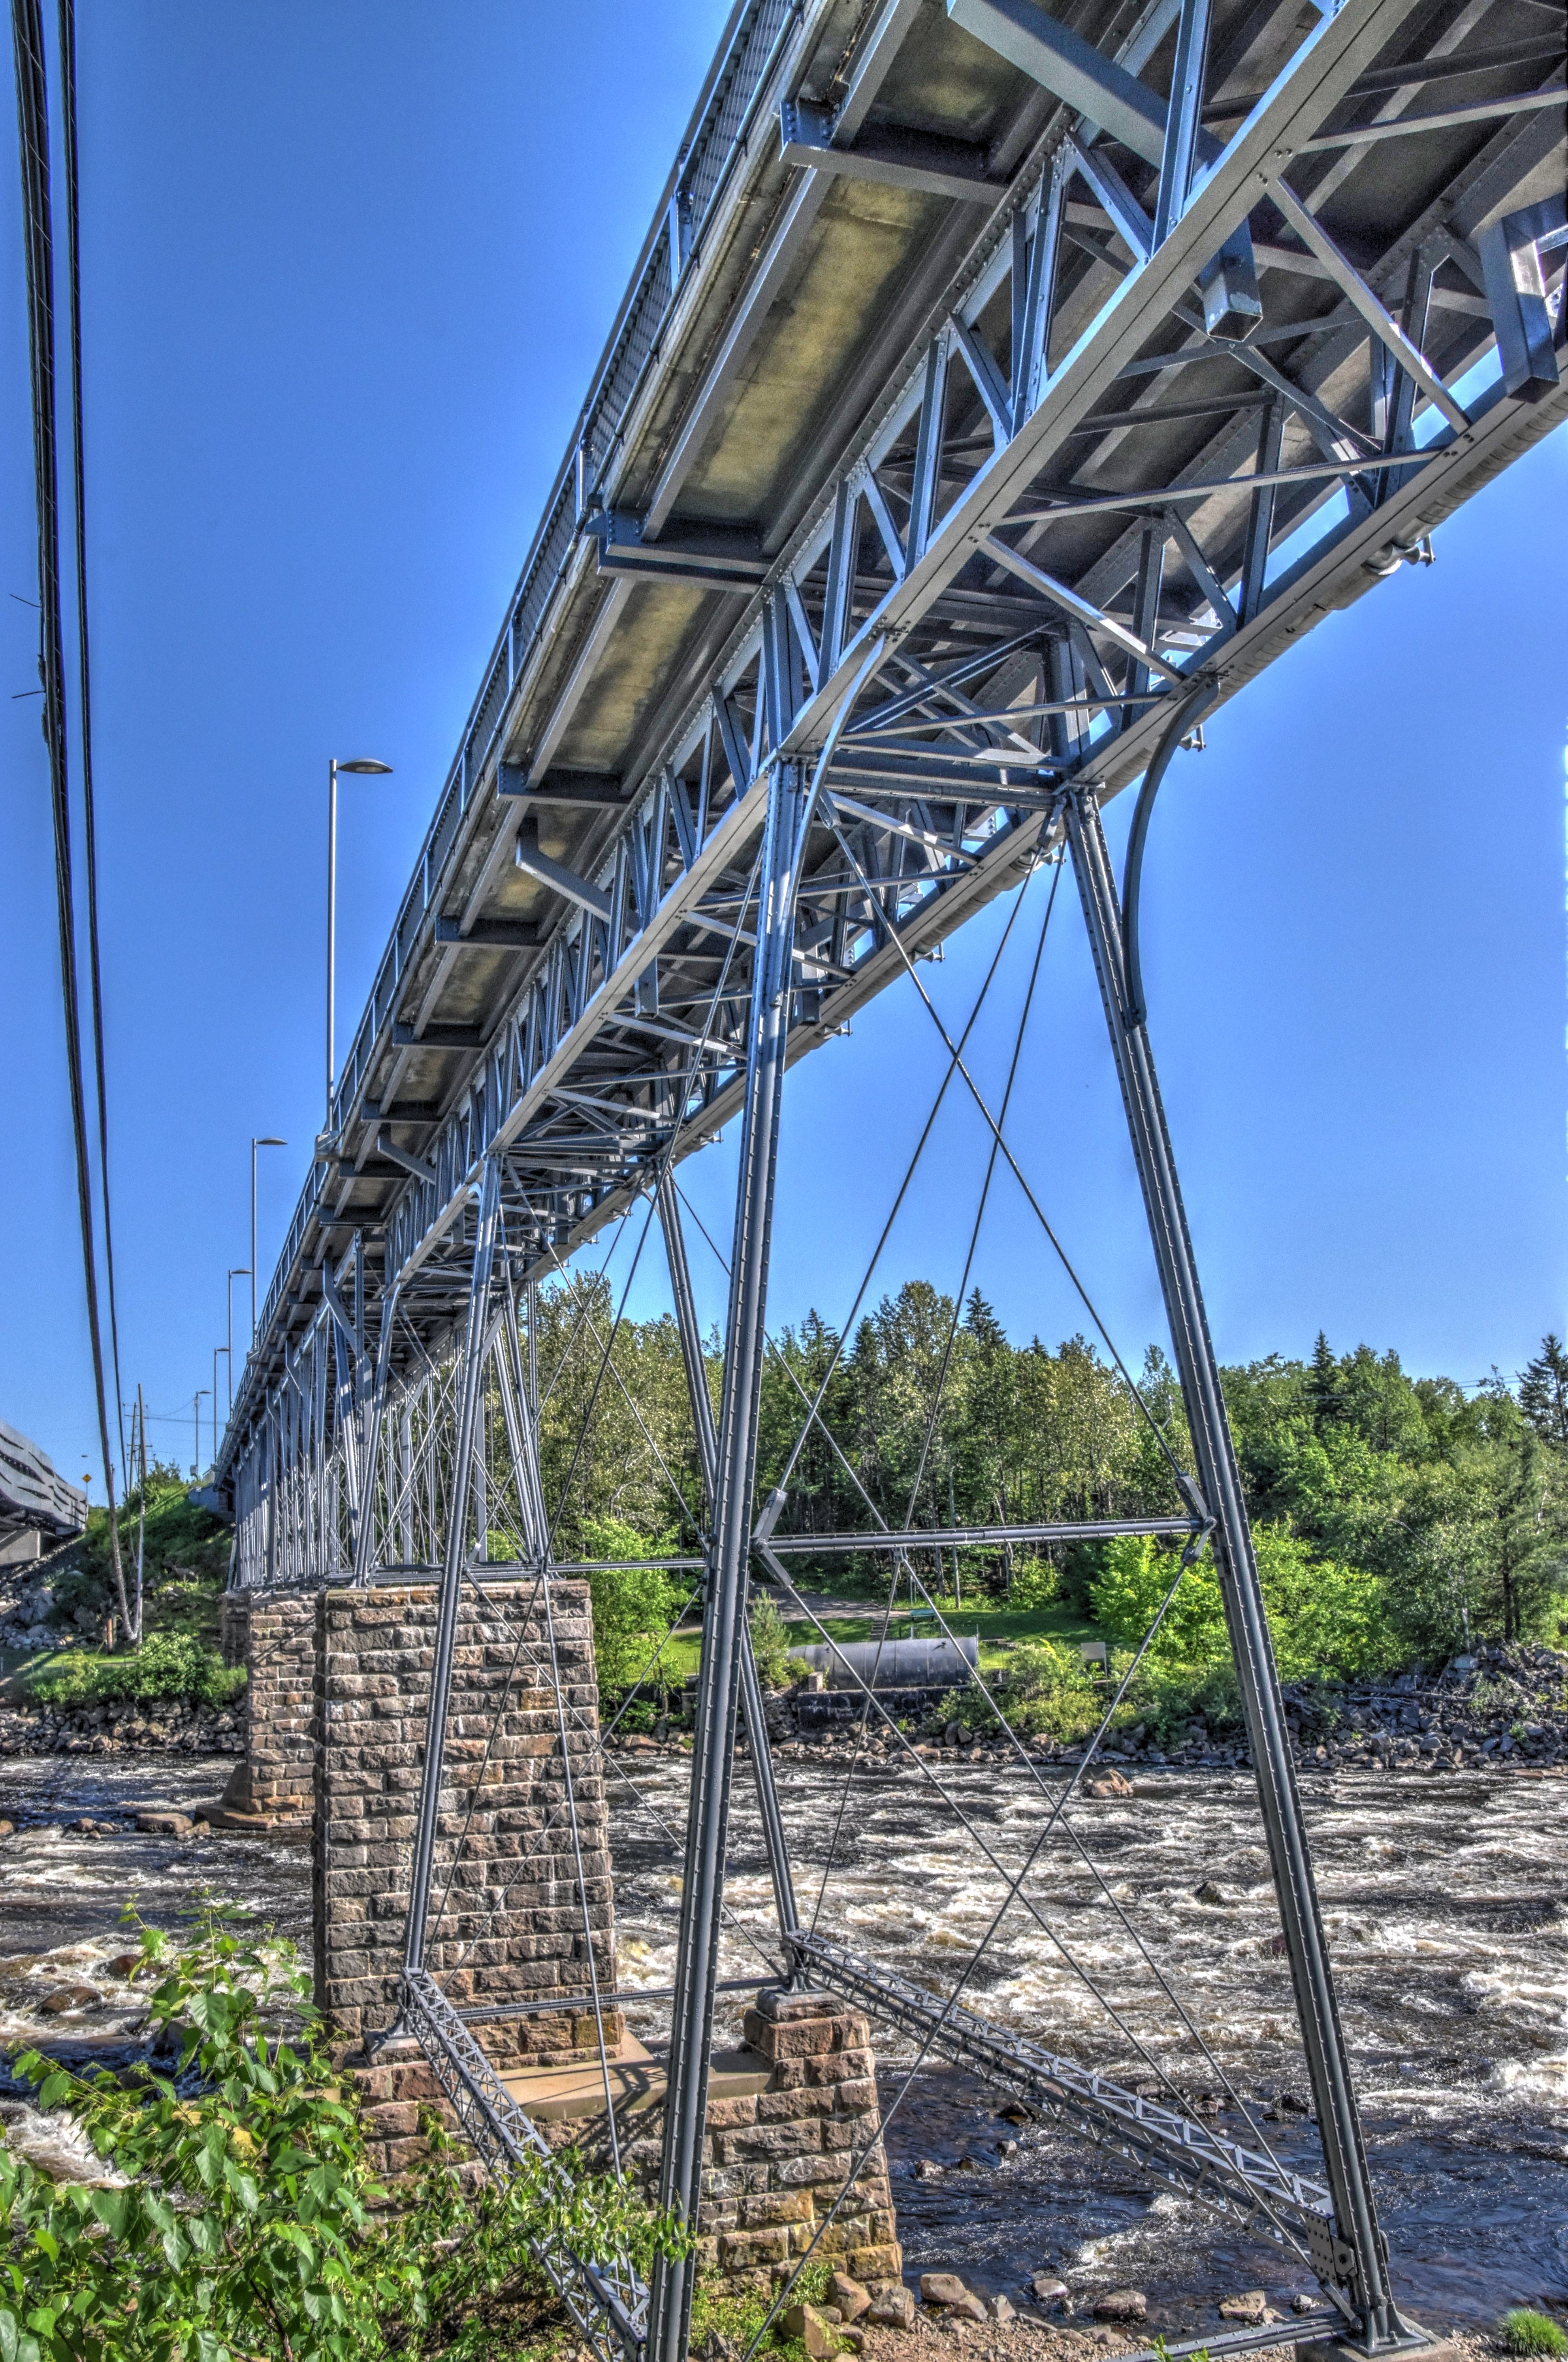
Elevation from northwest quadrant.
![]()


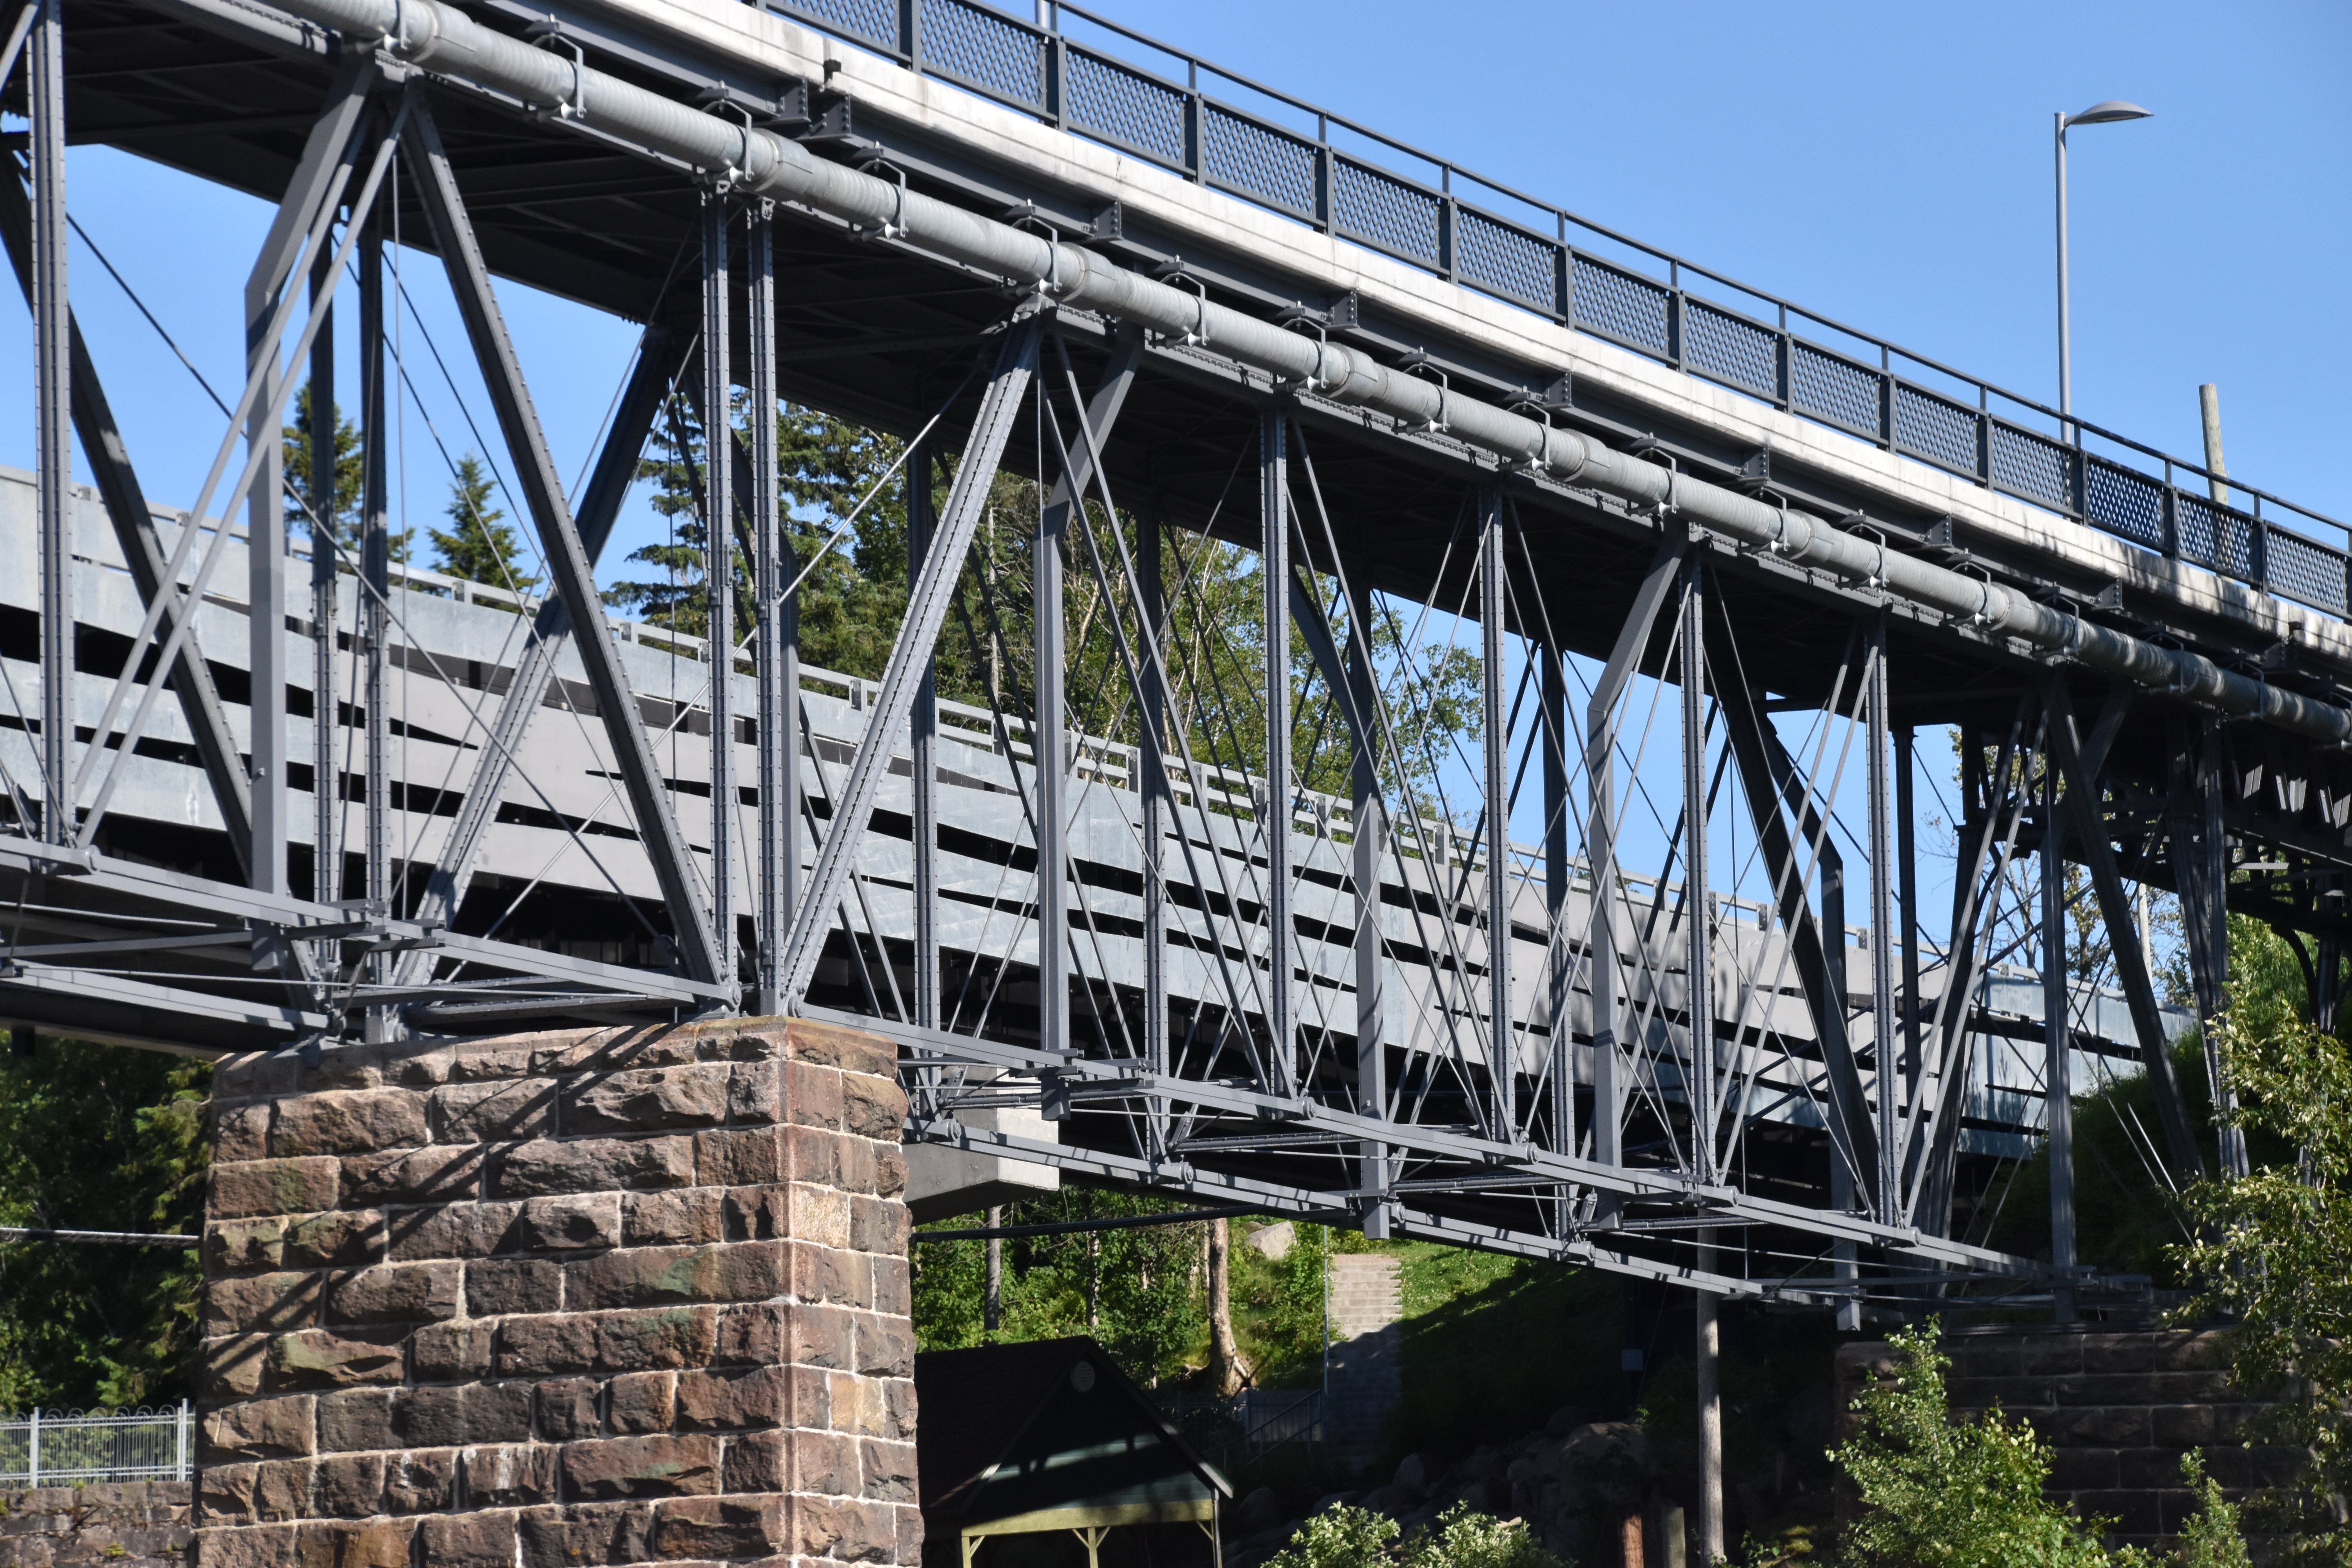
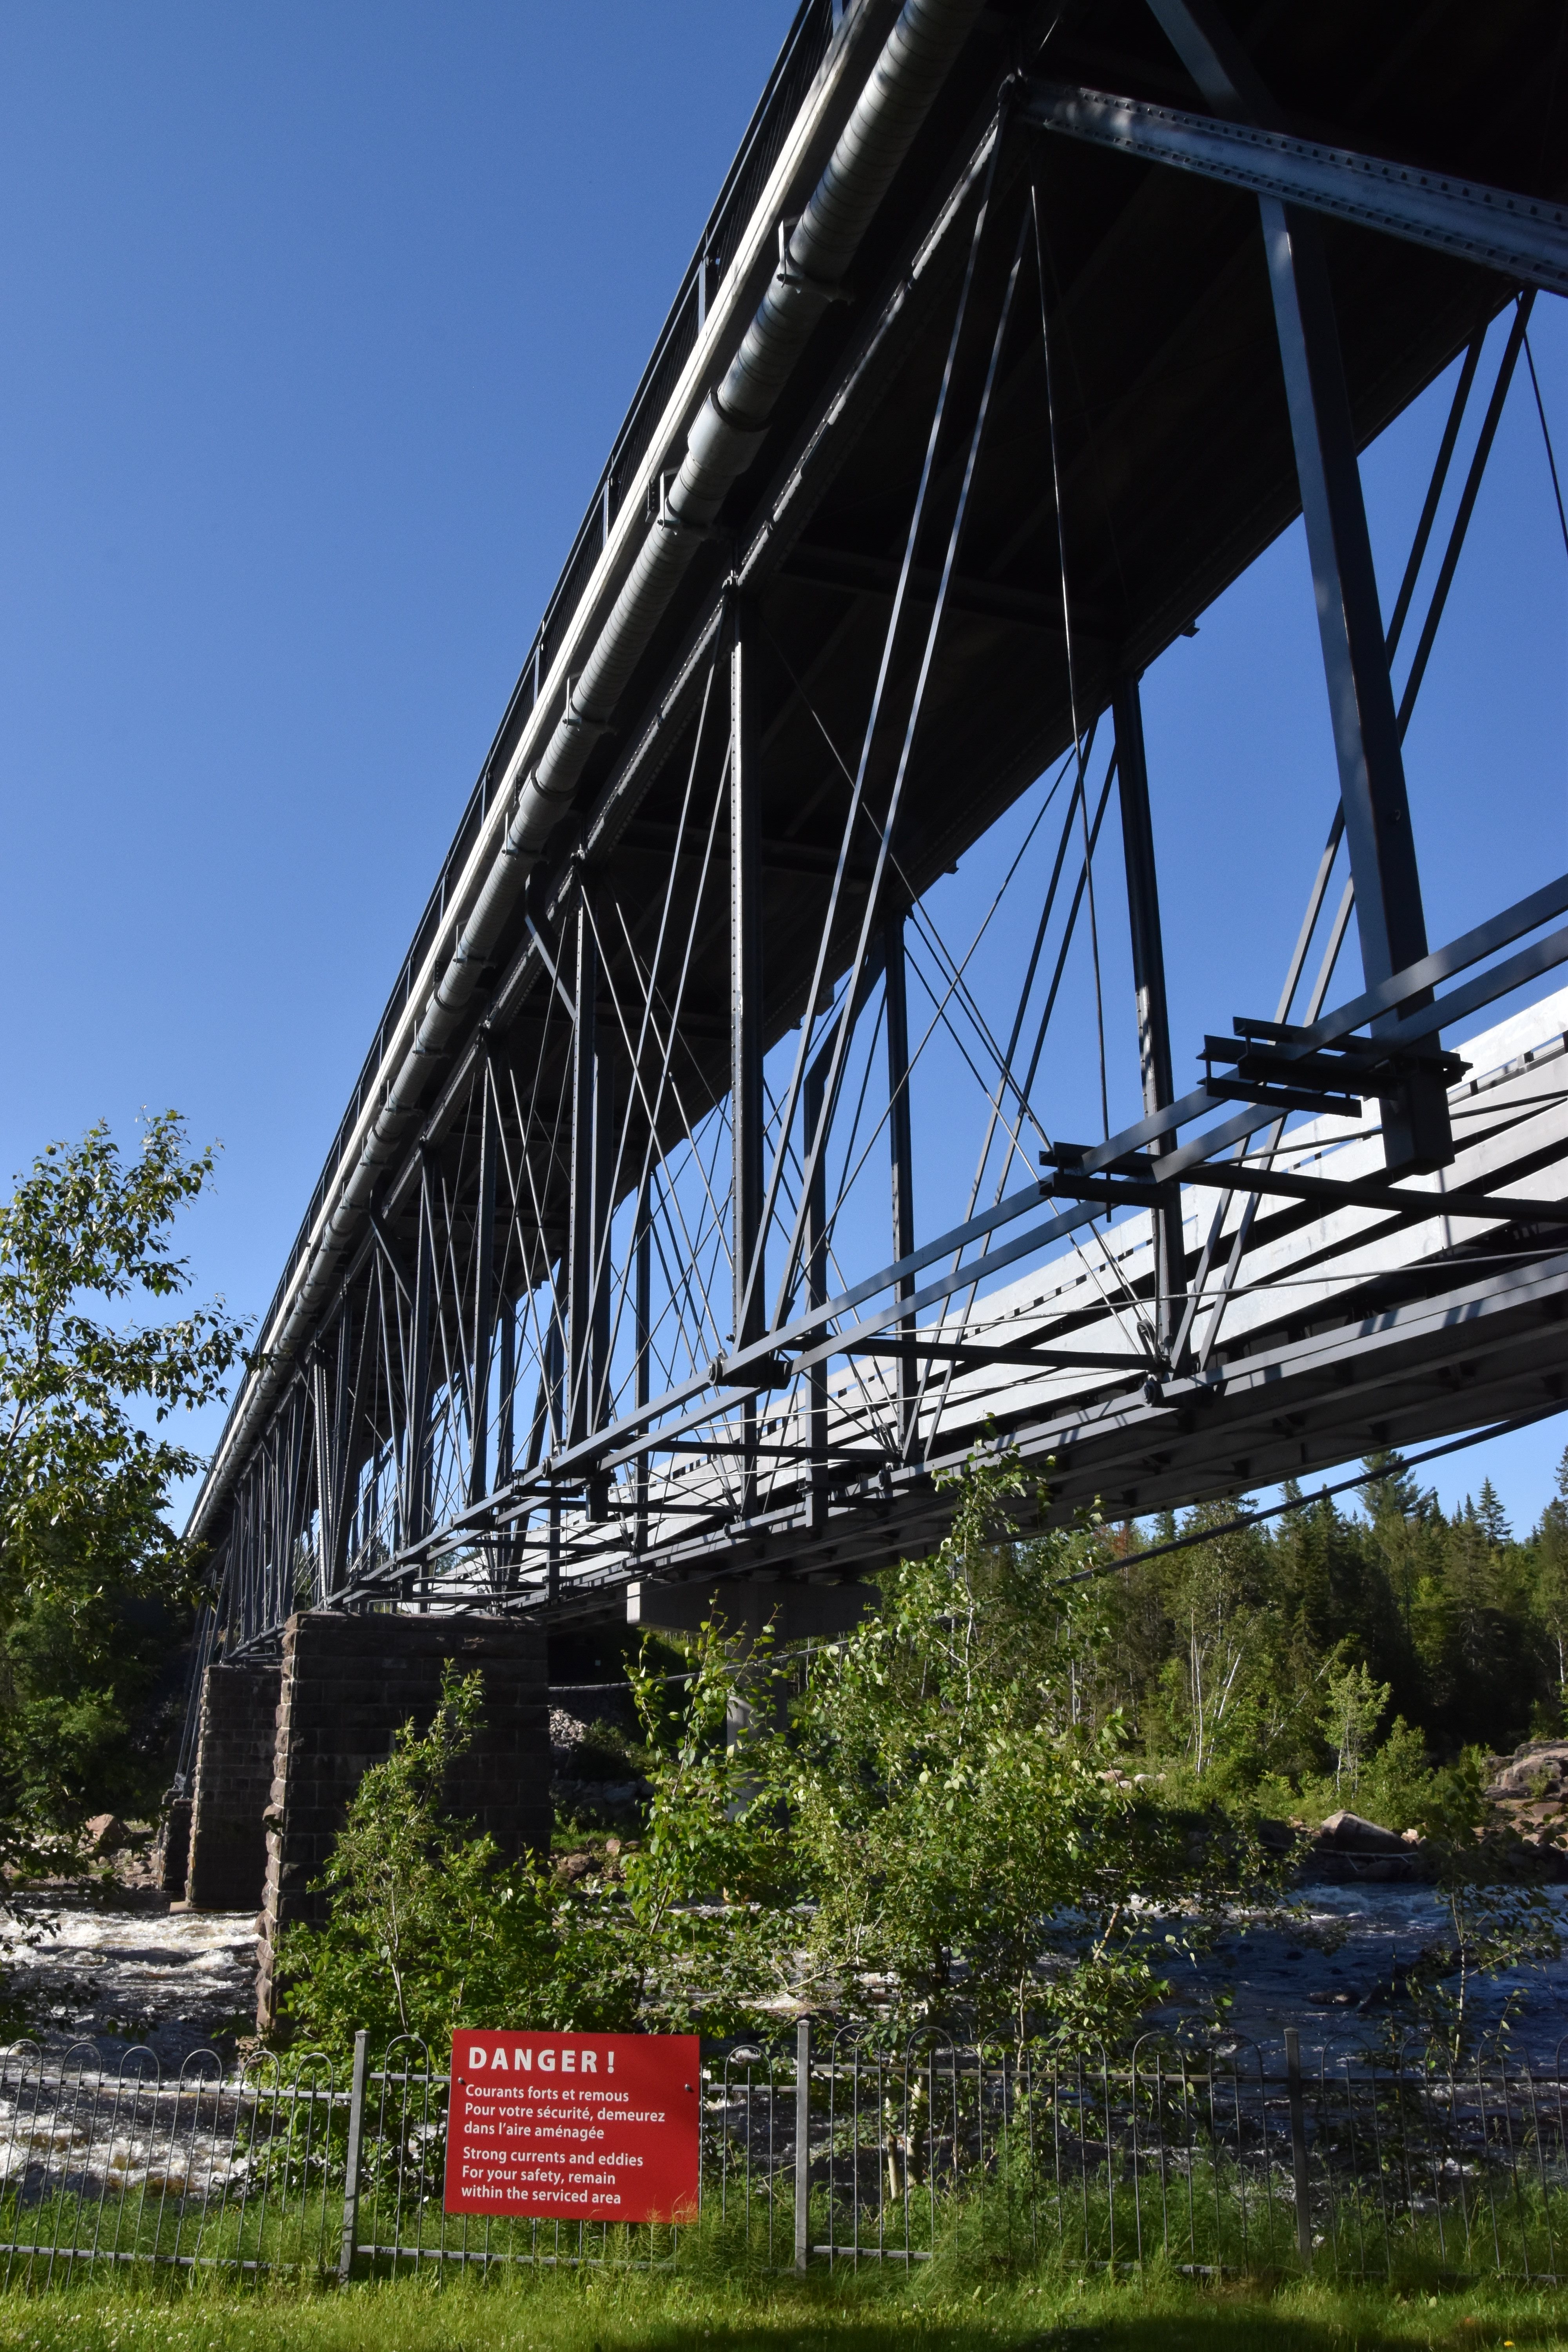
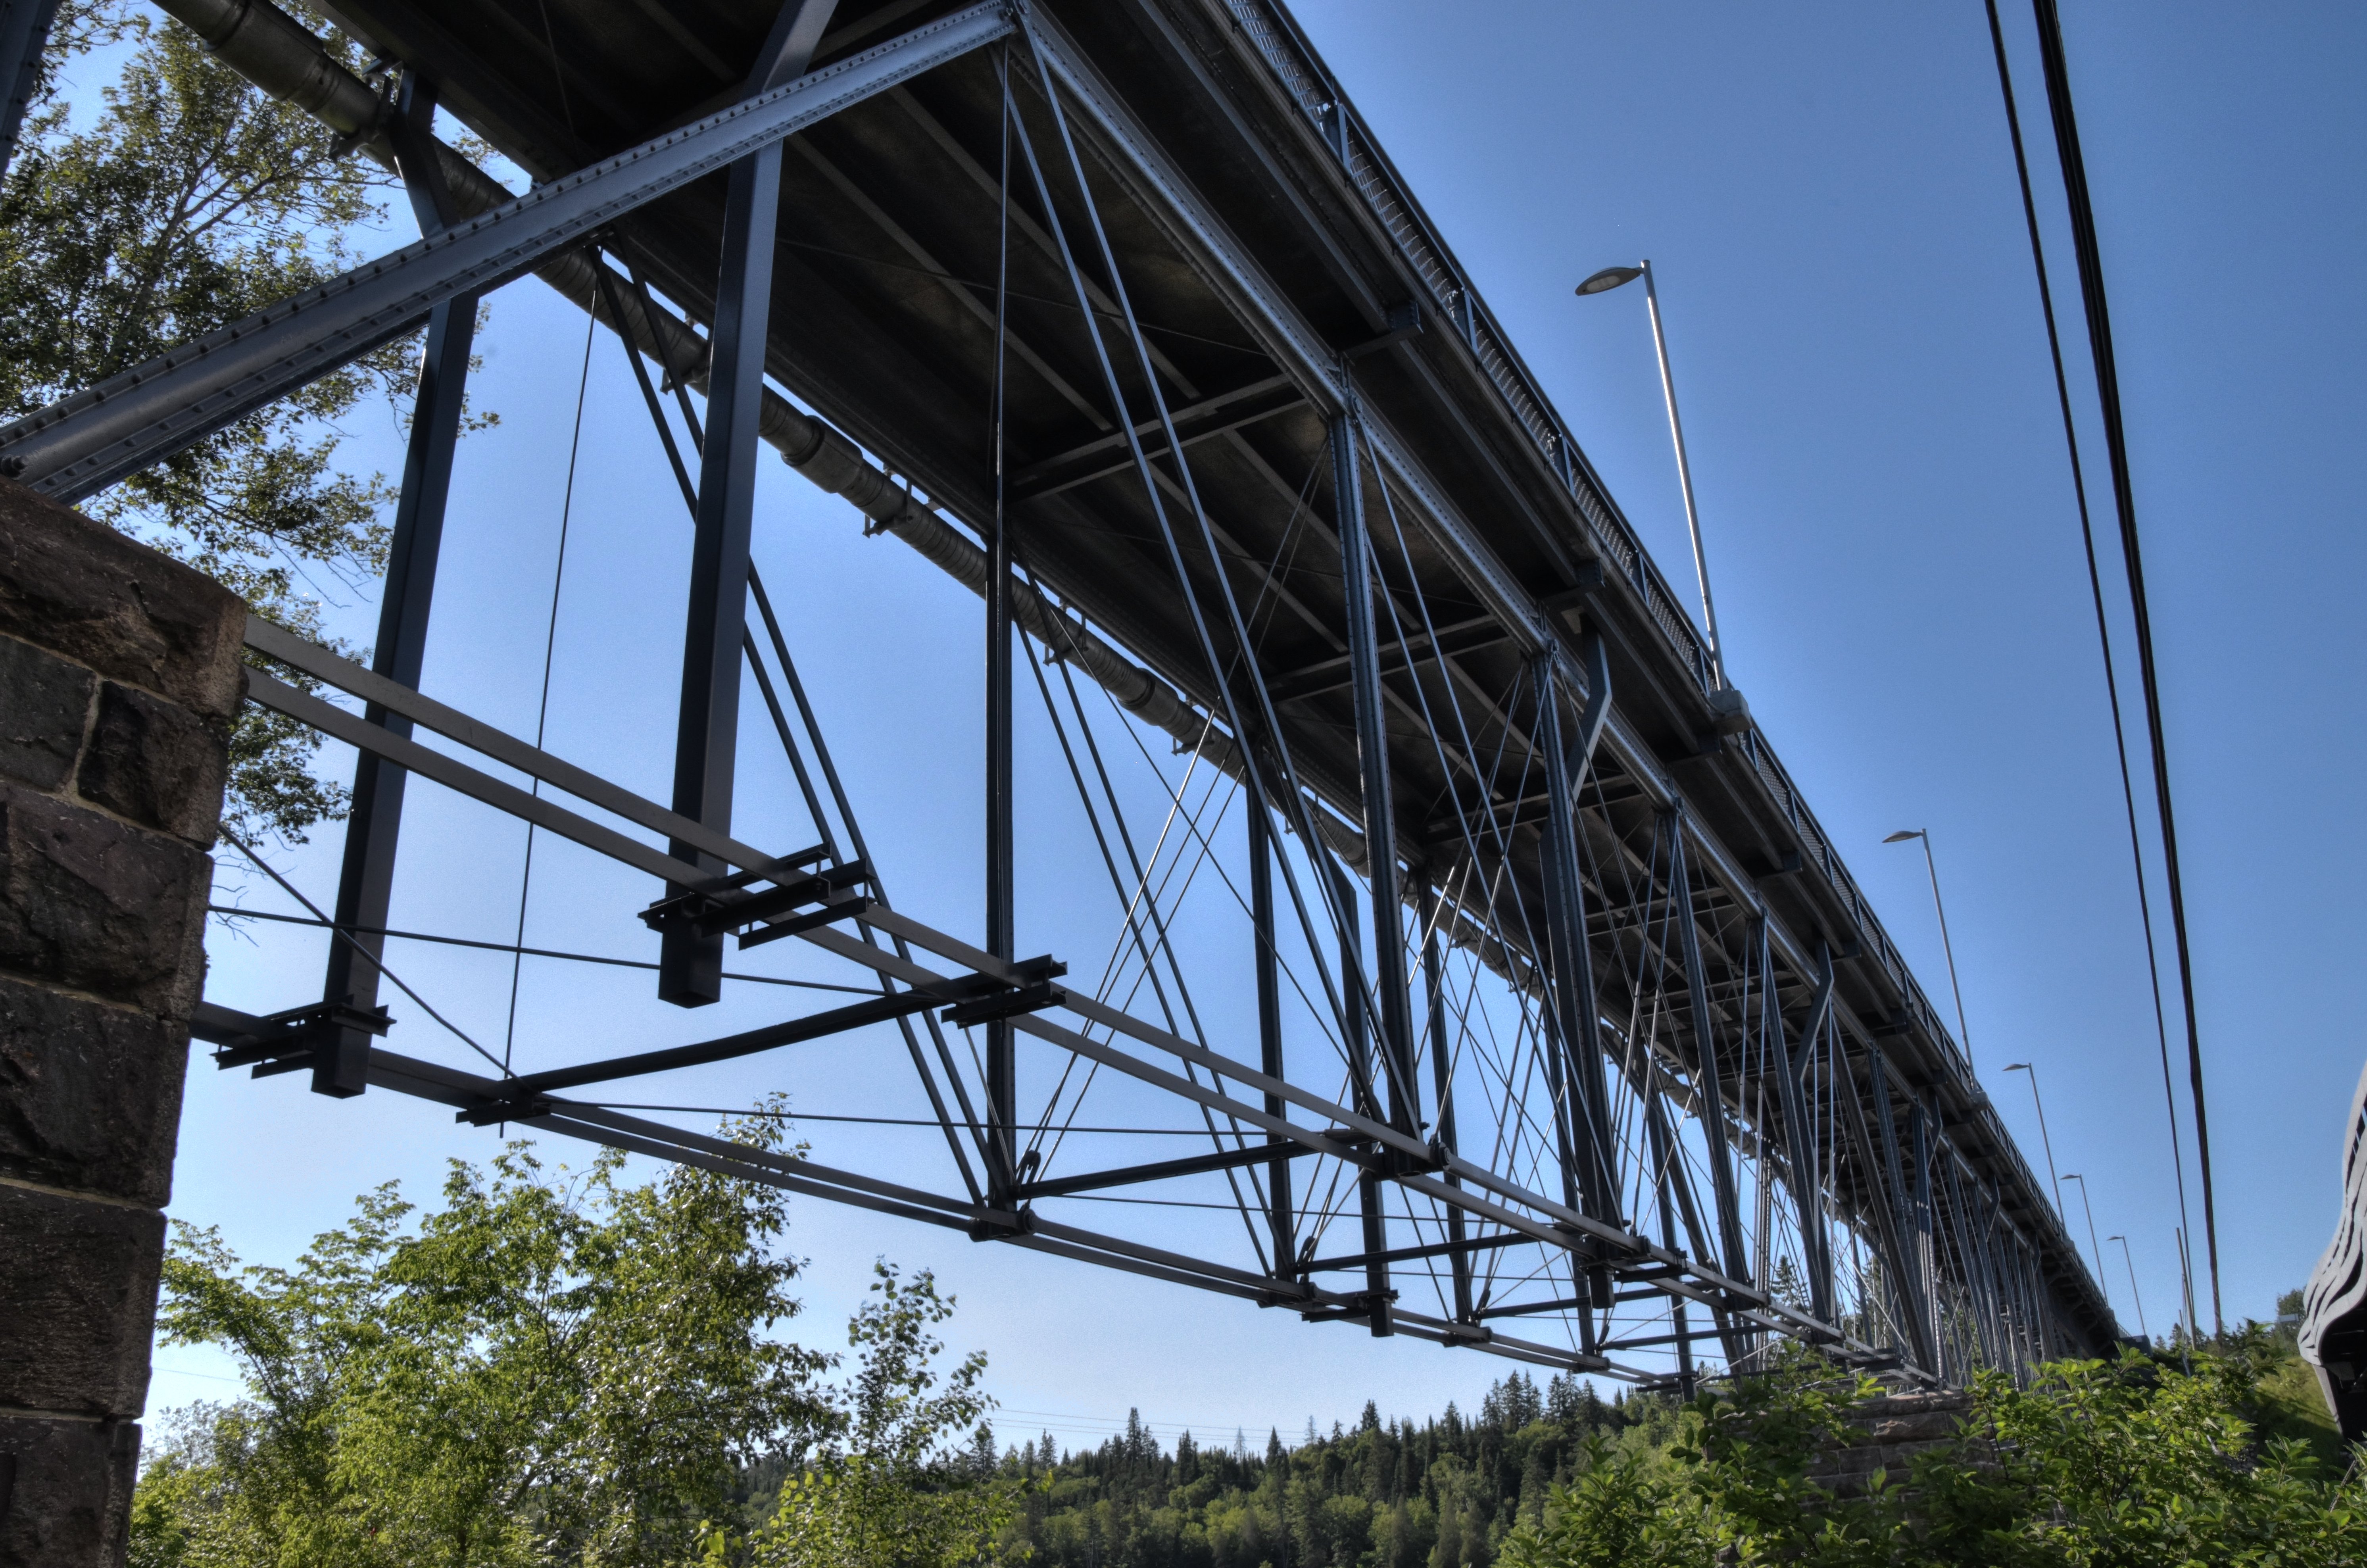
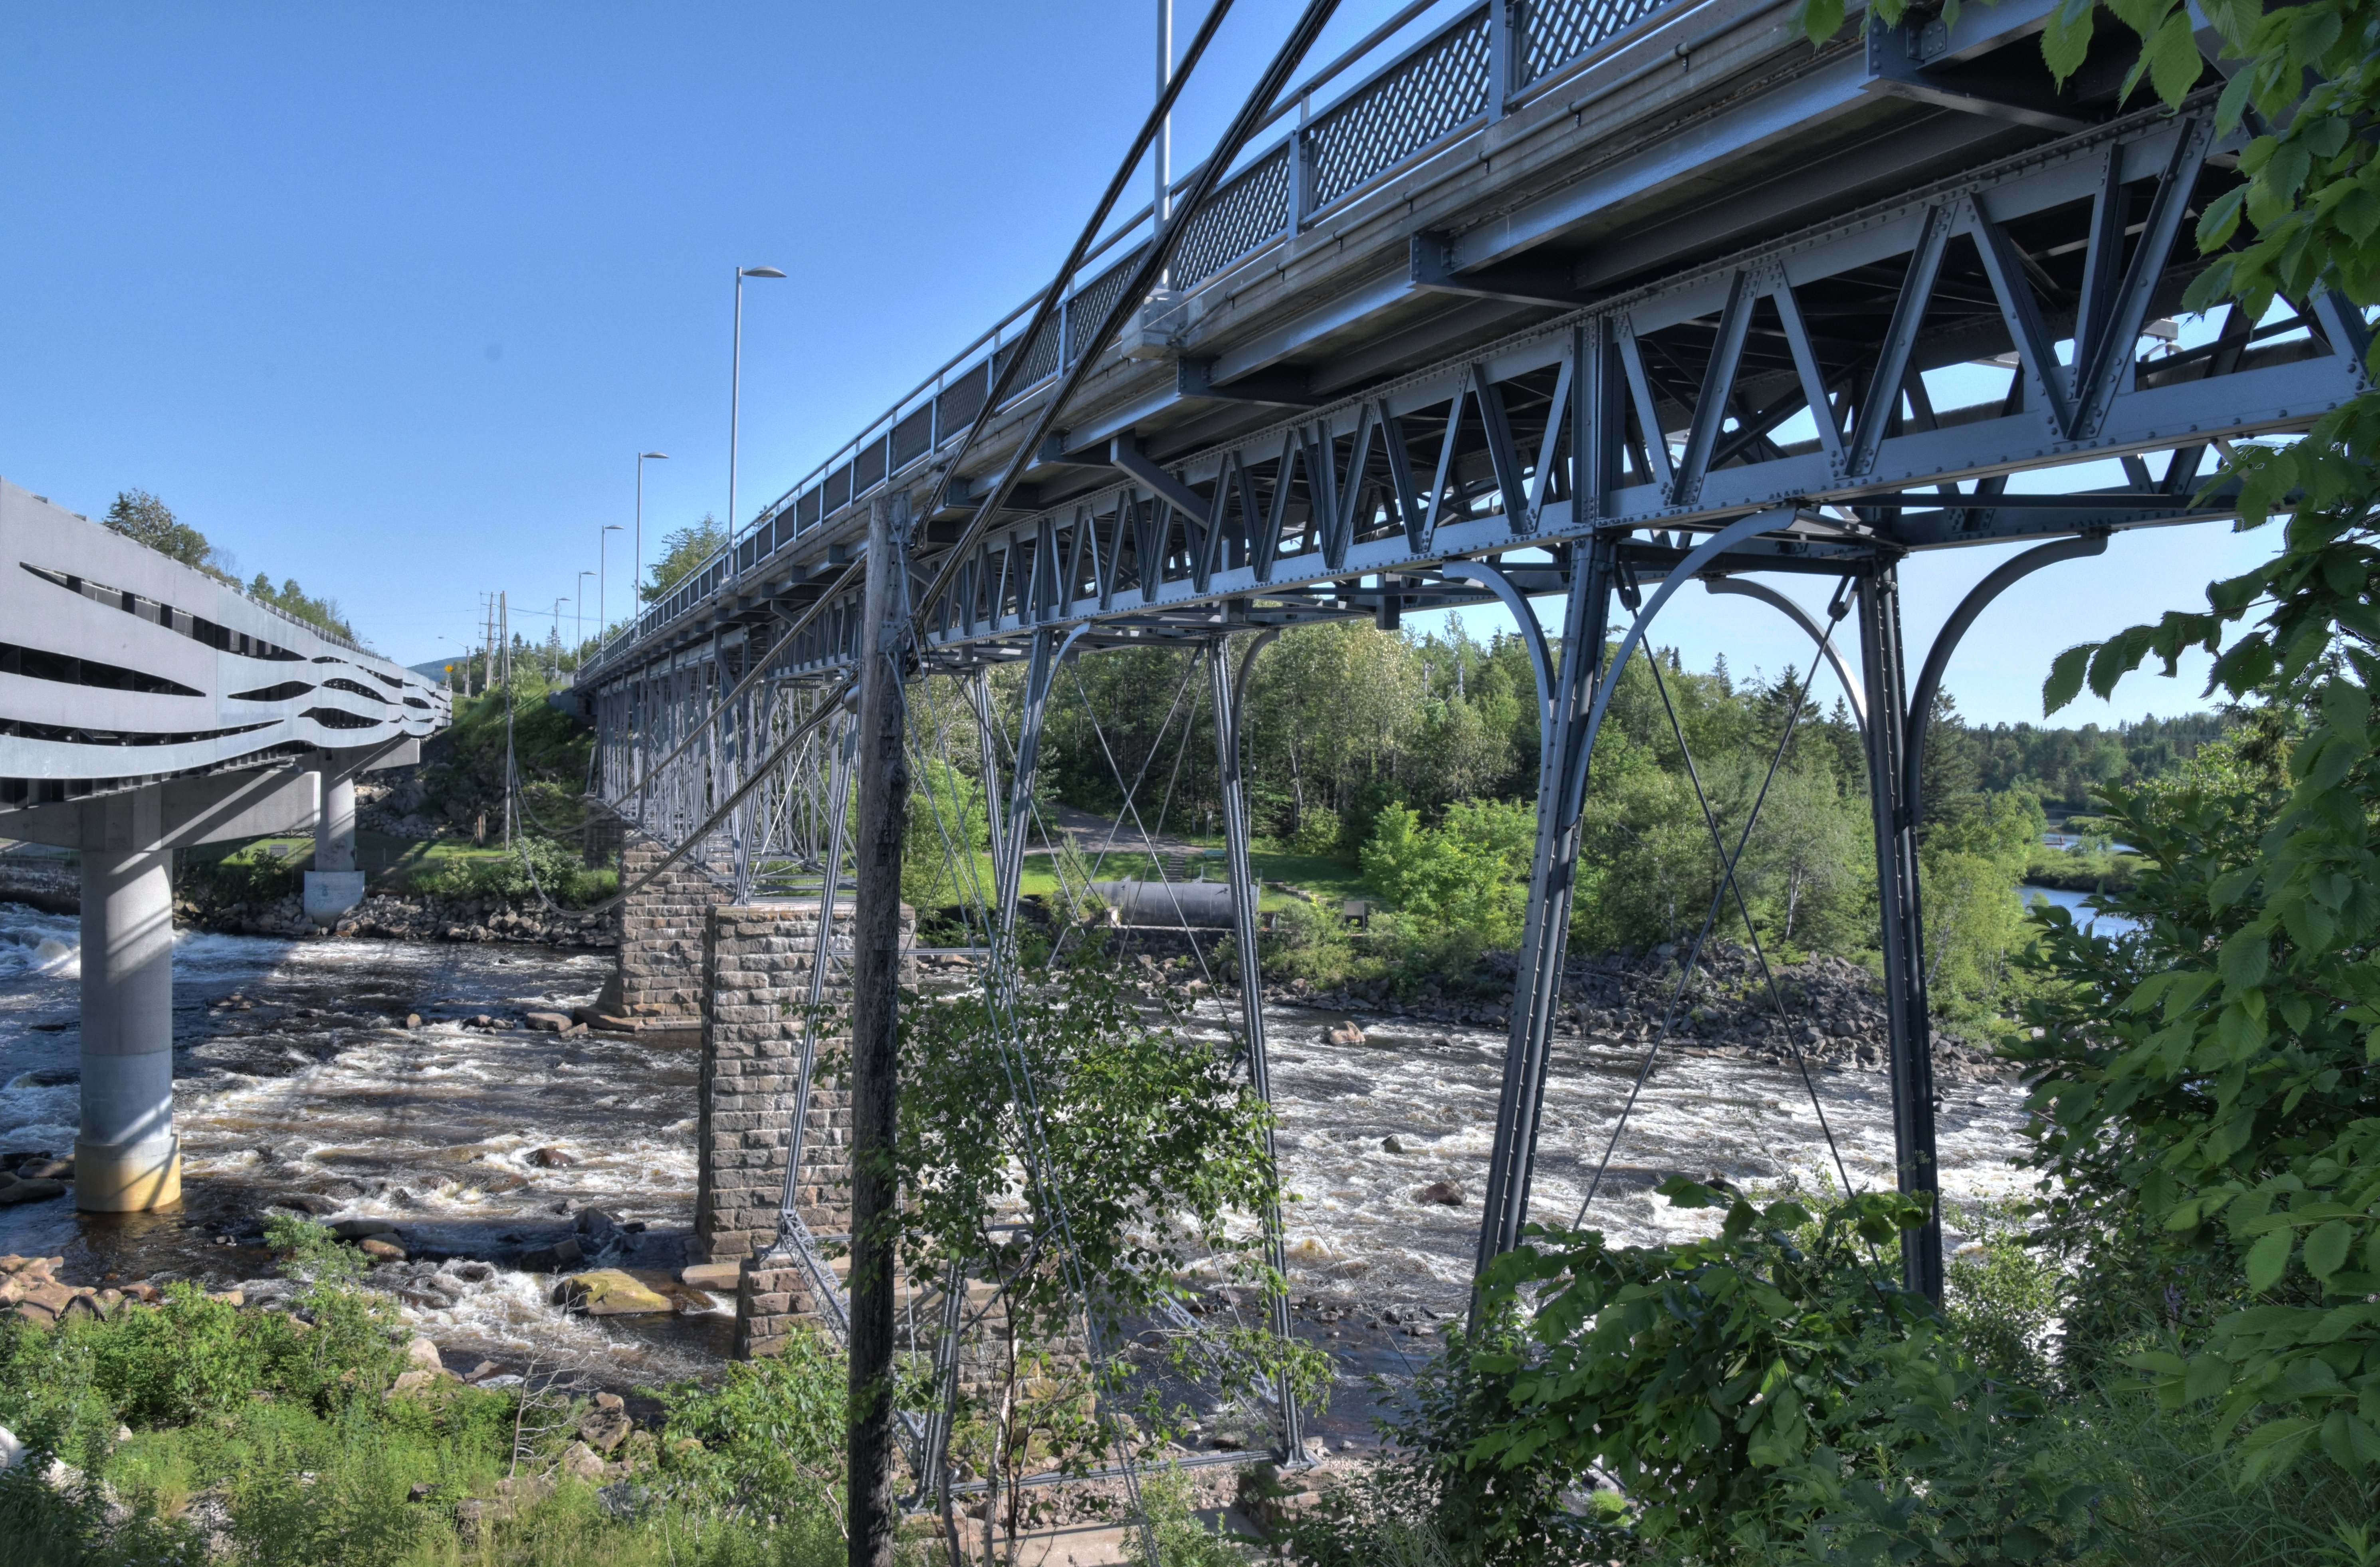
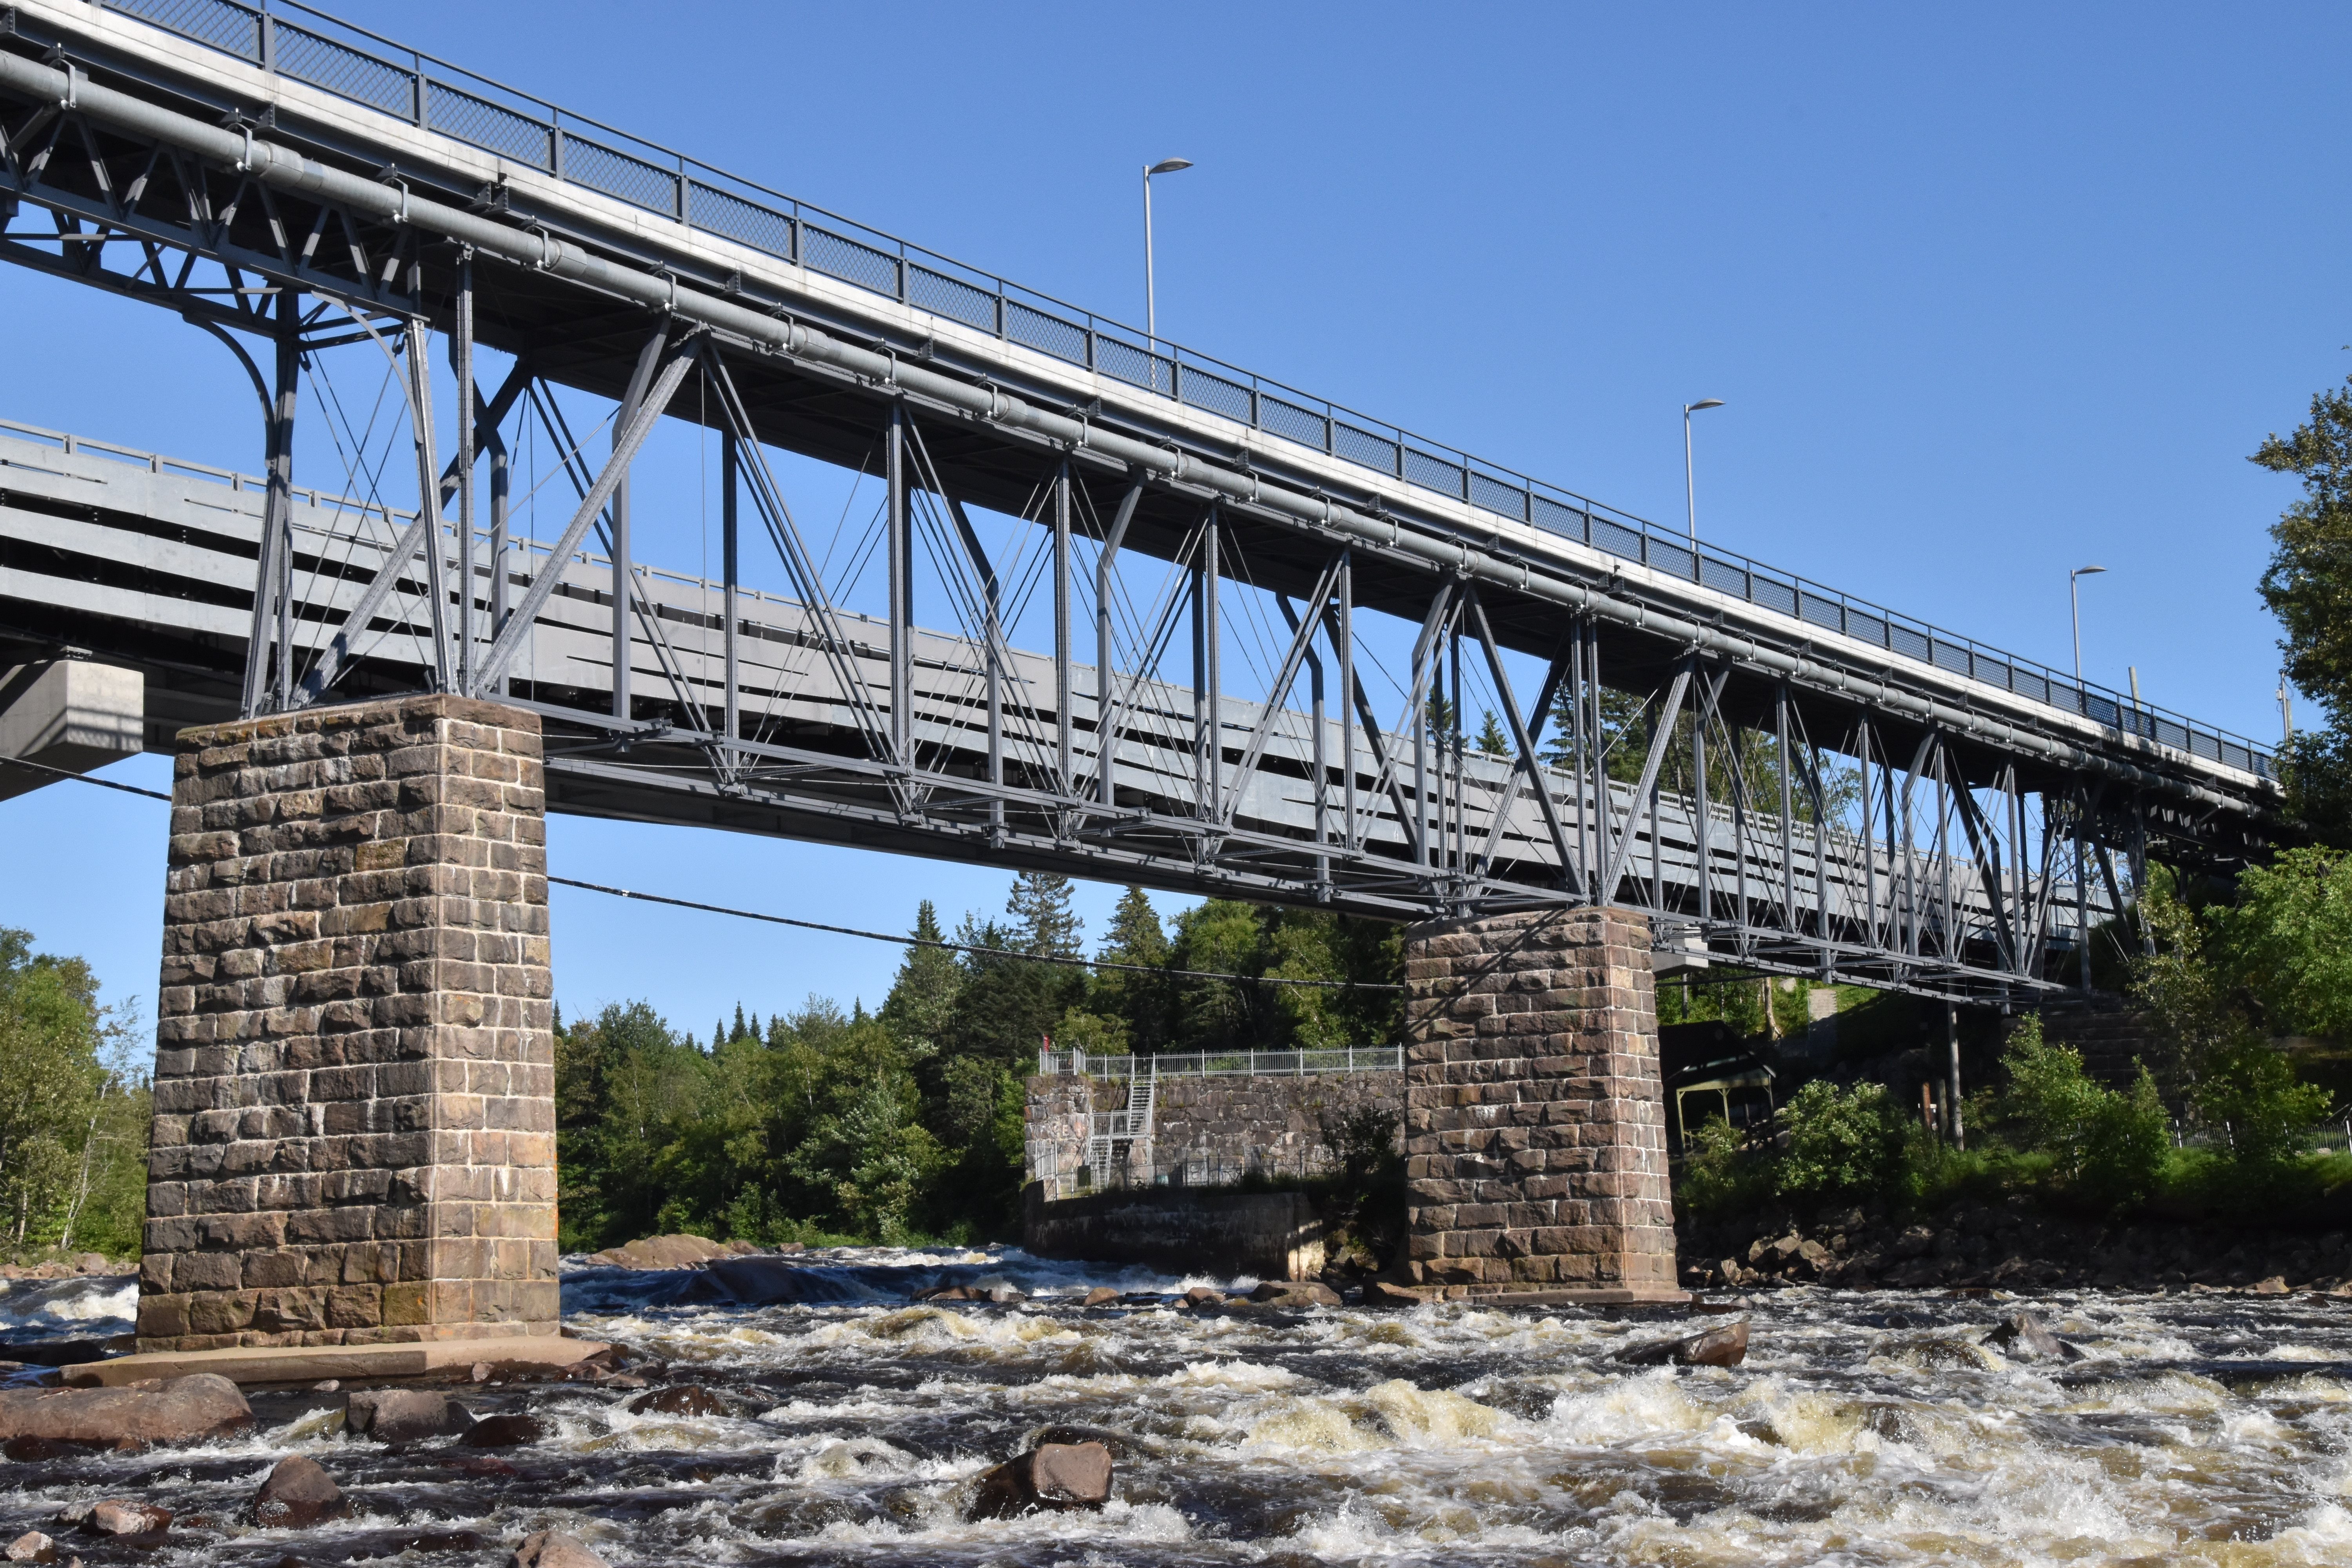
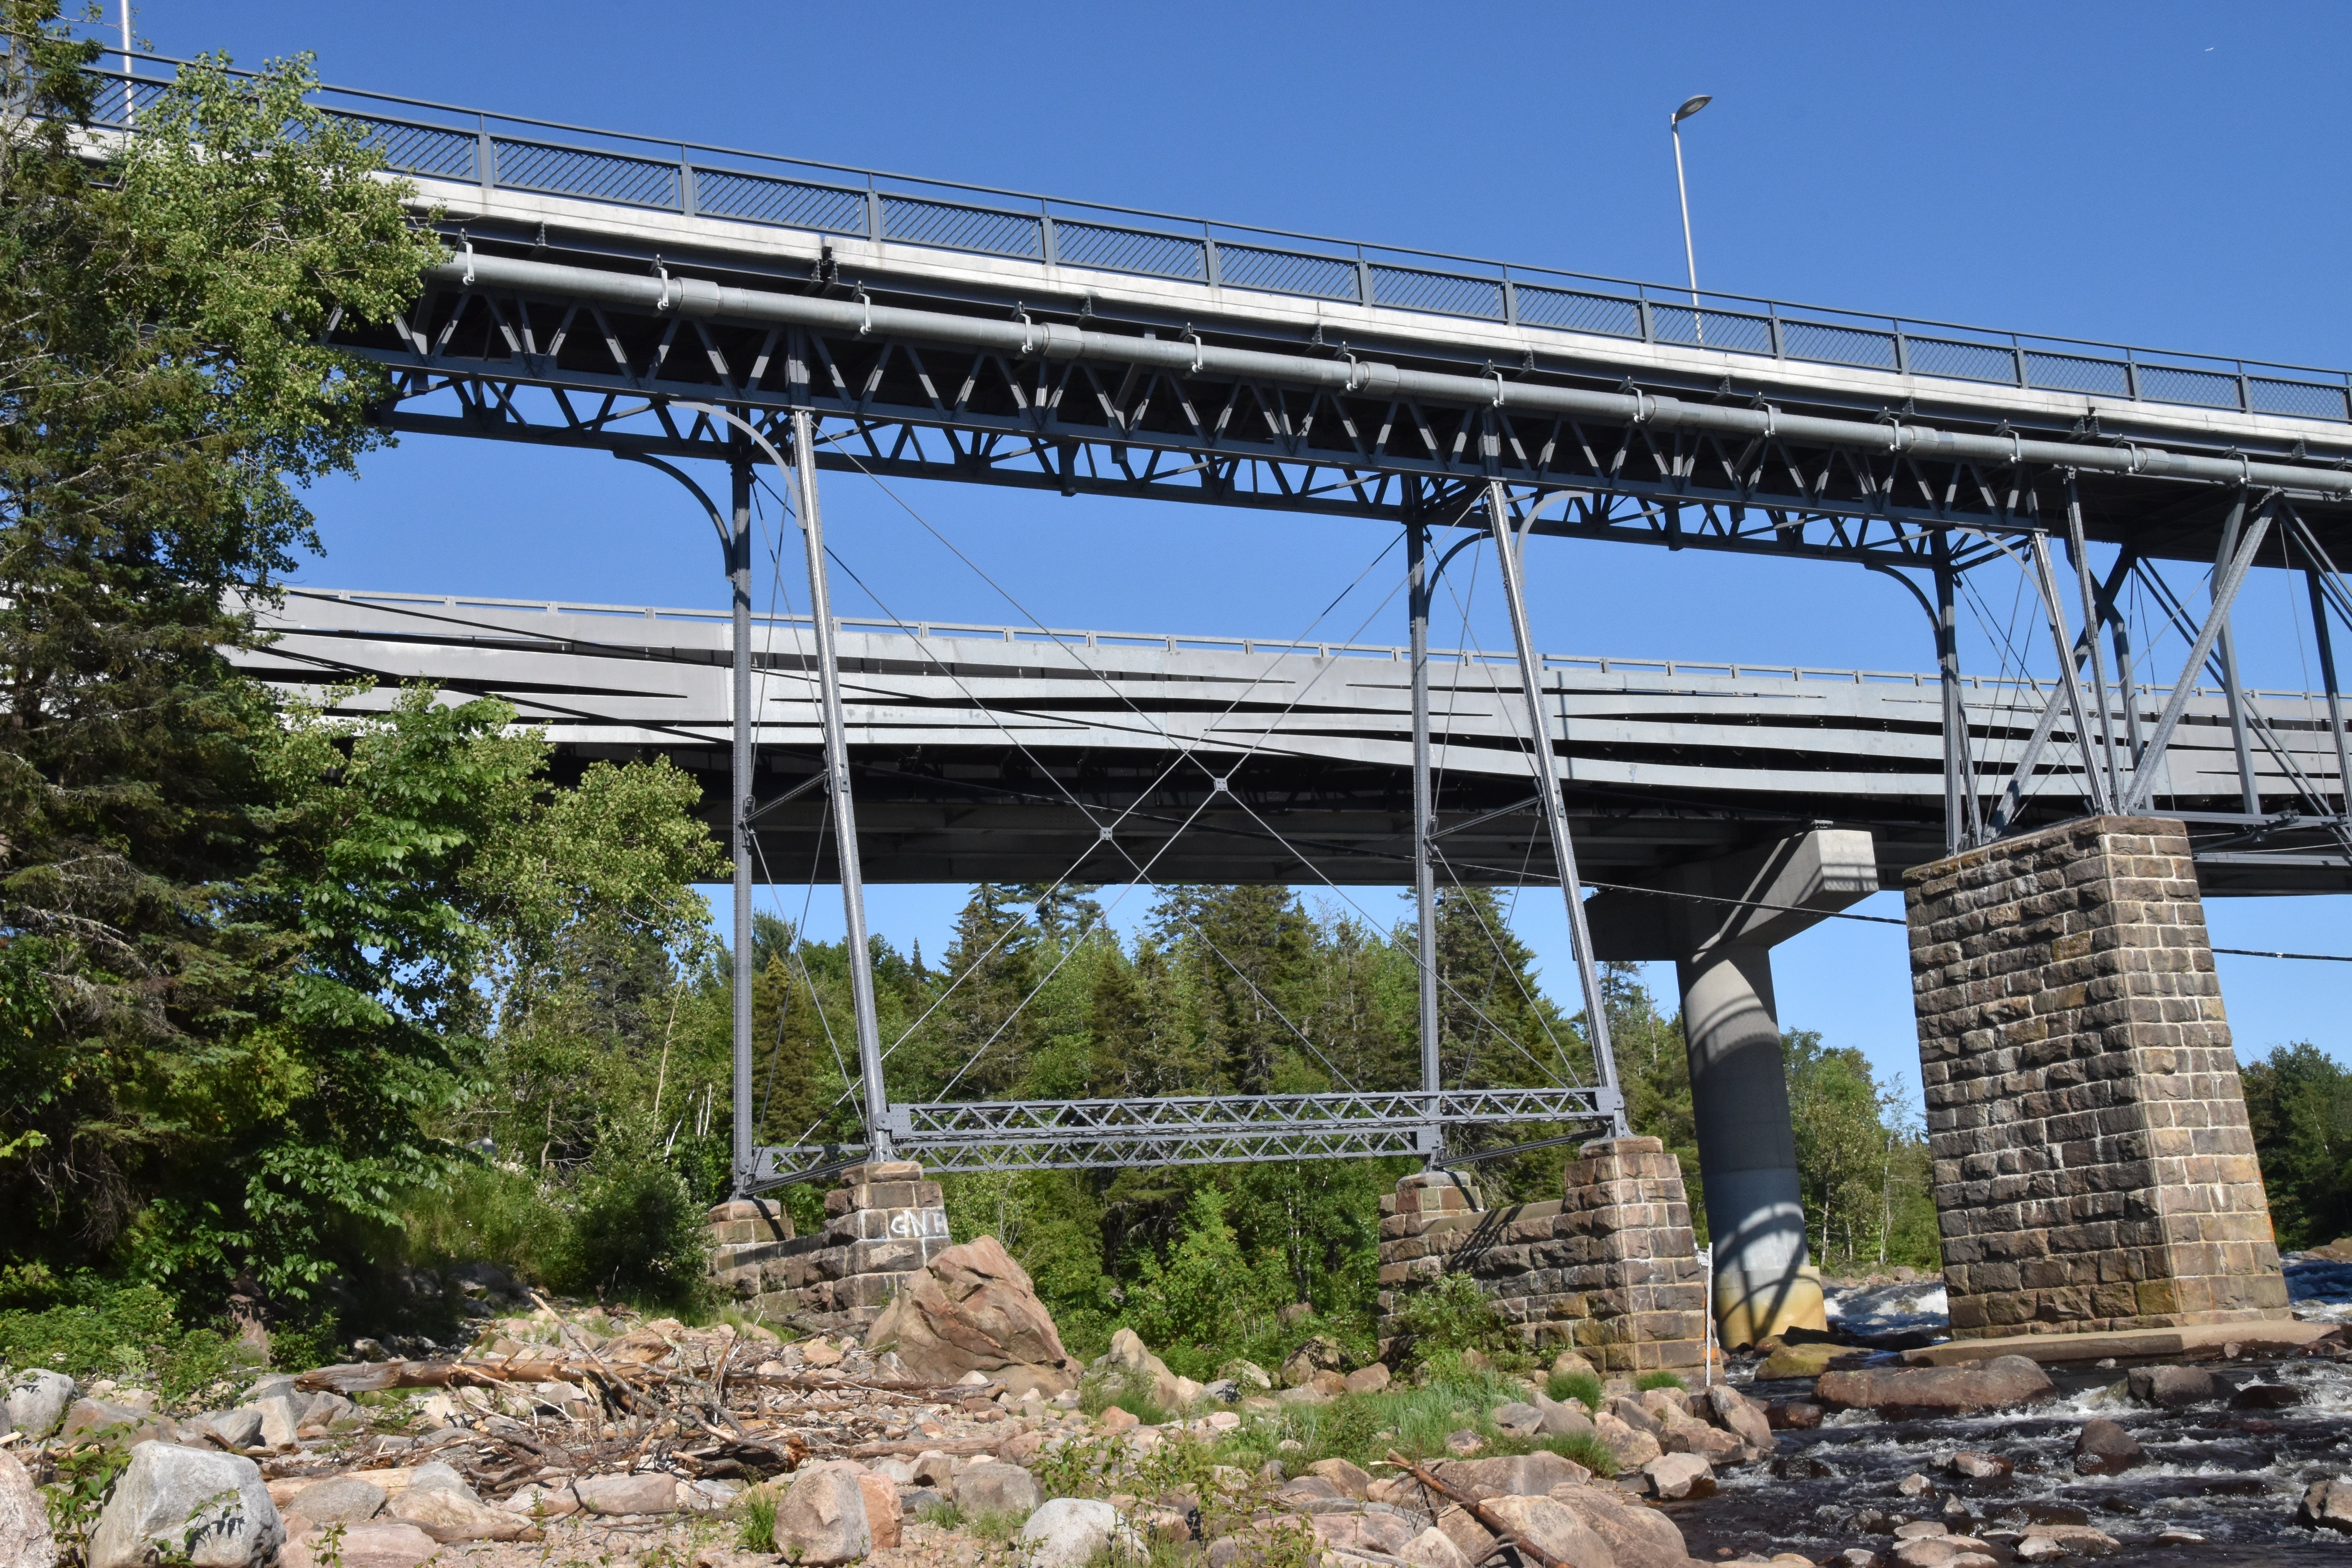
Elevation from southwest quadrant.
![]()

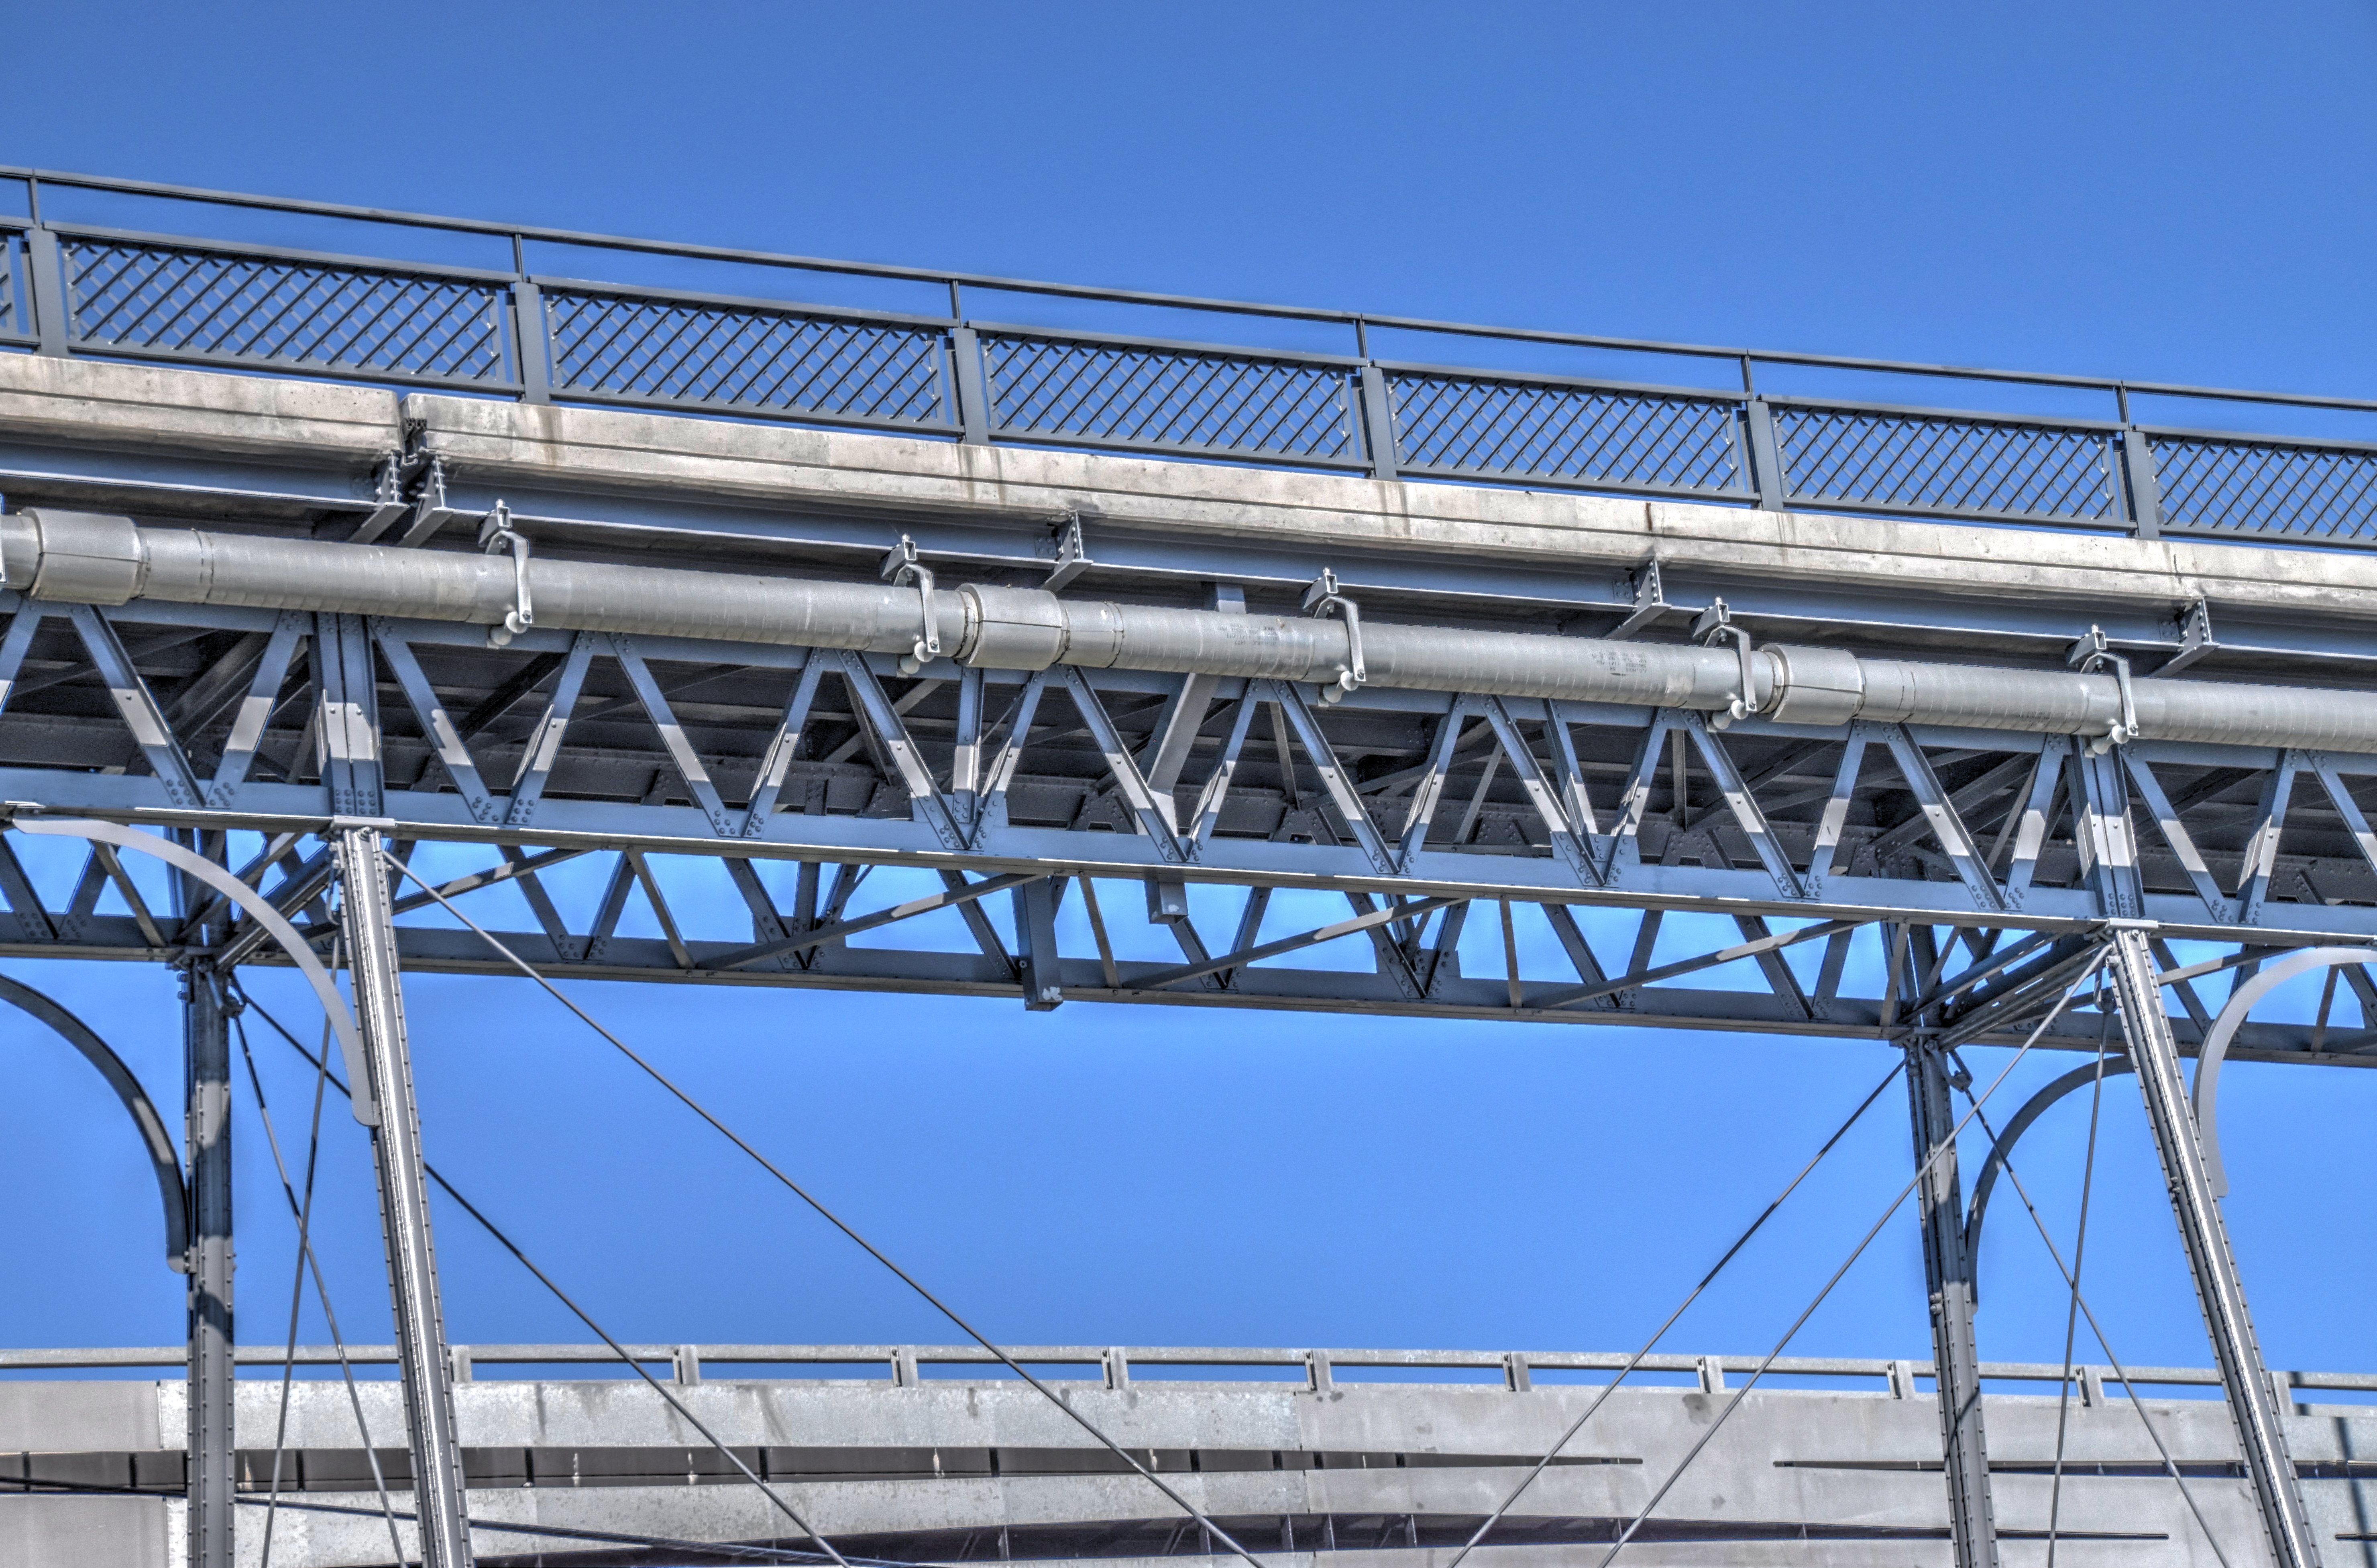
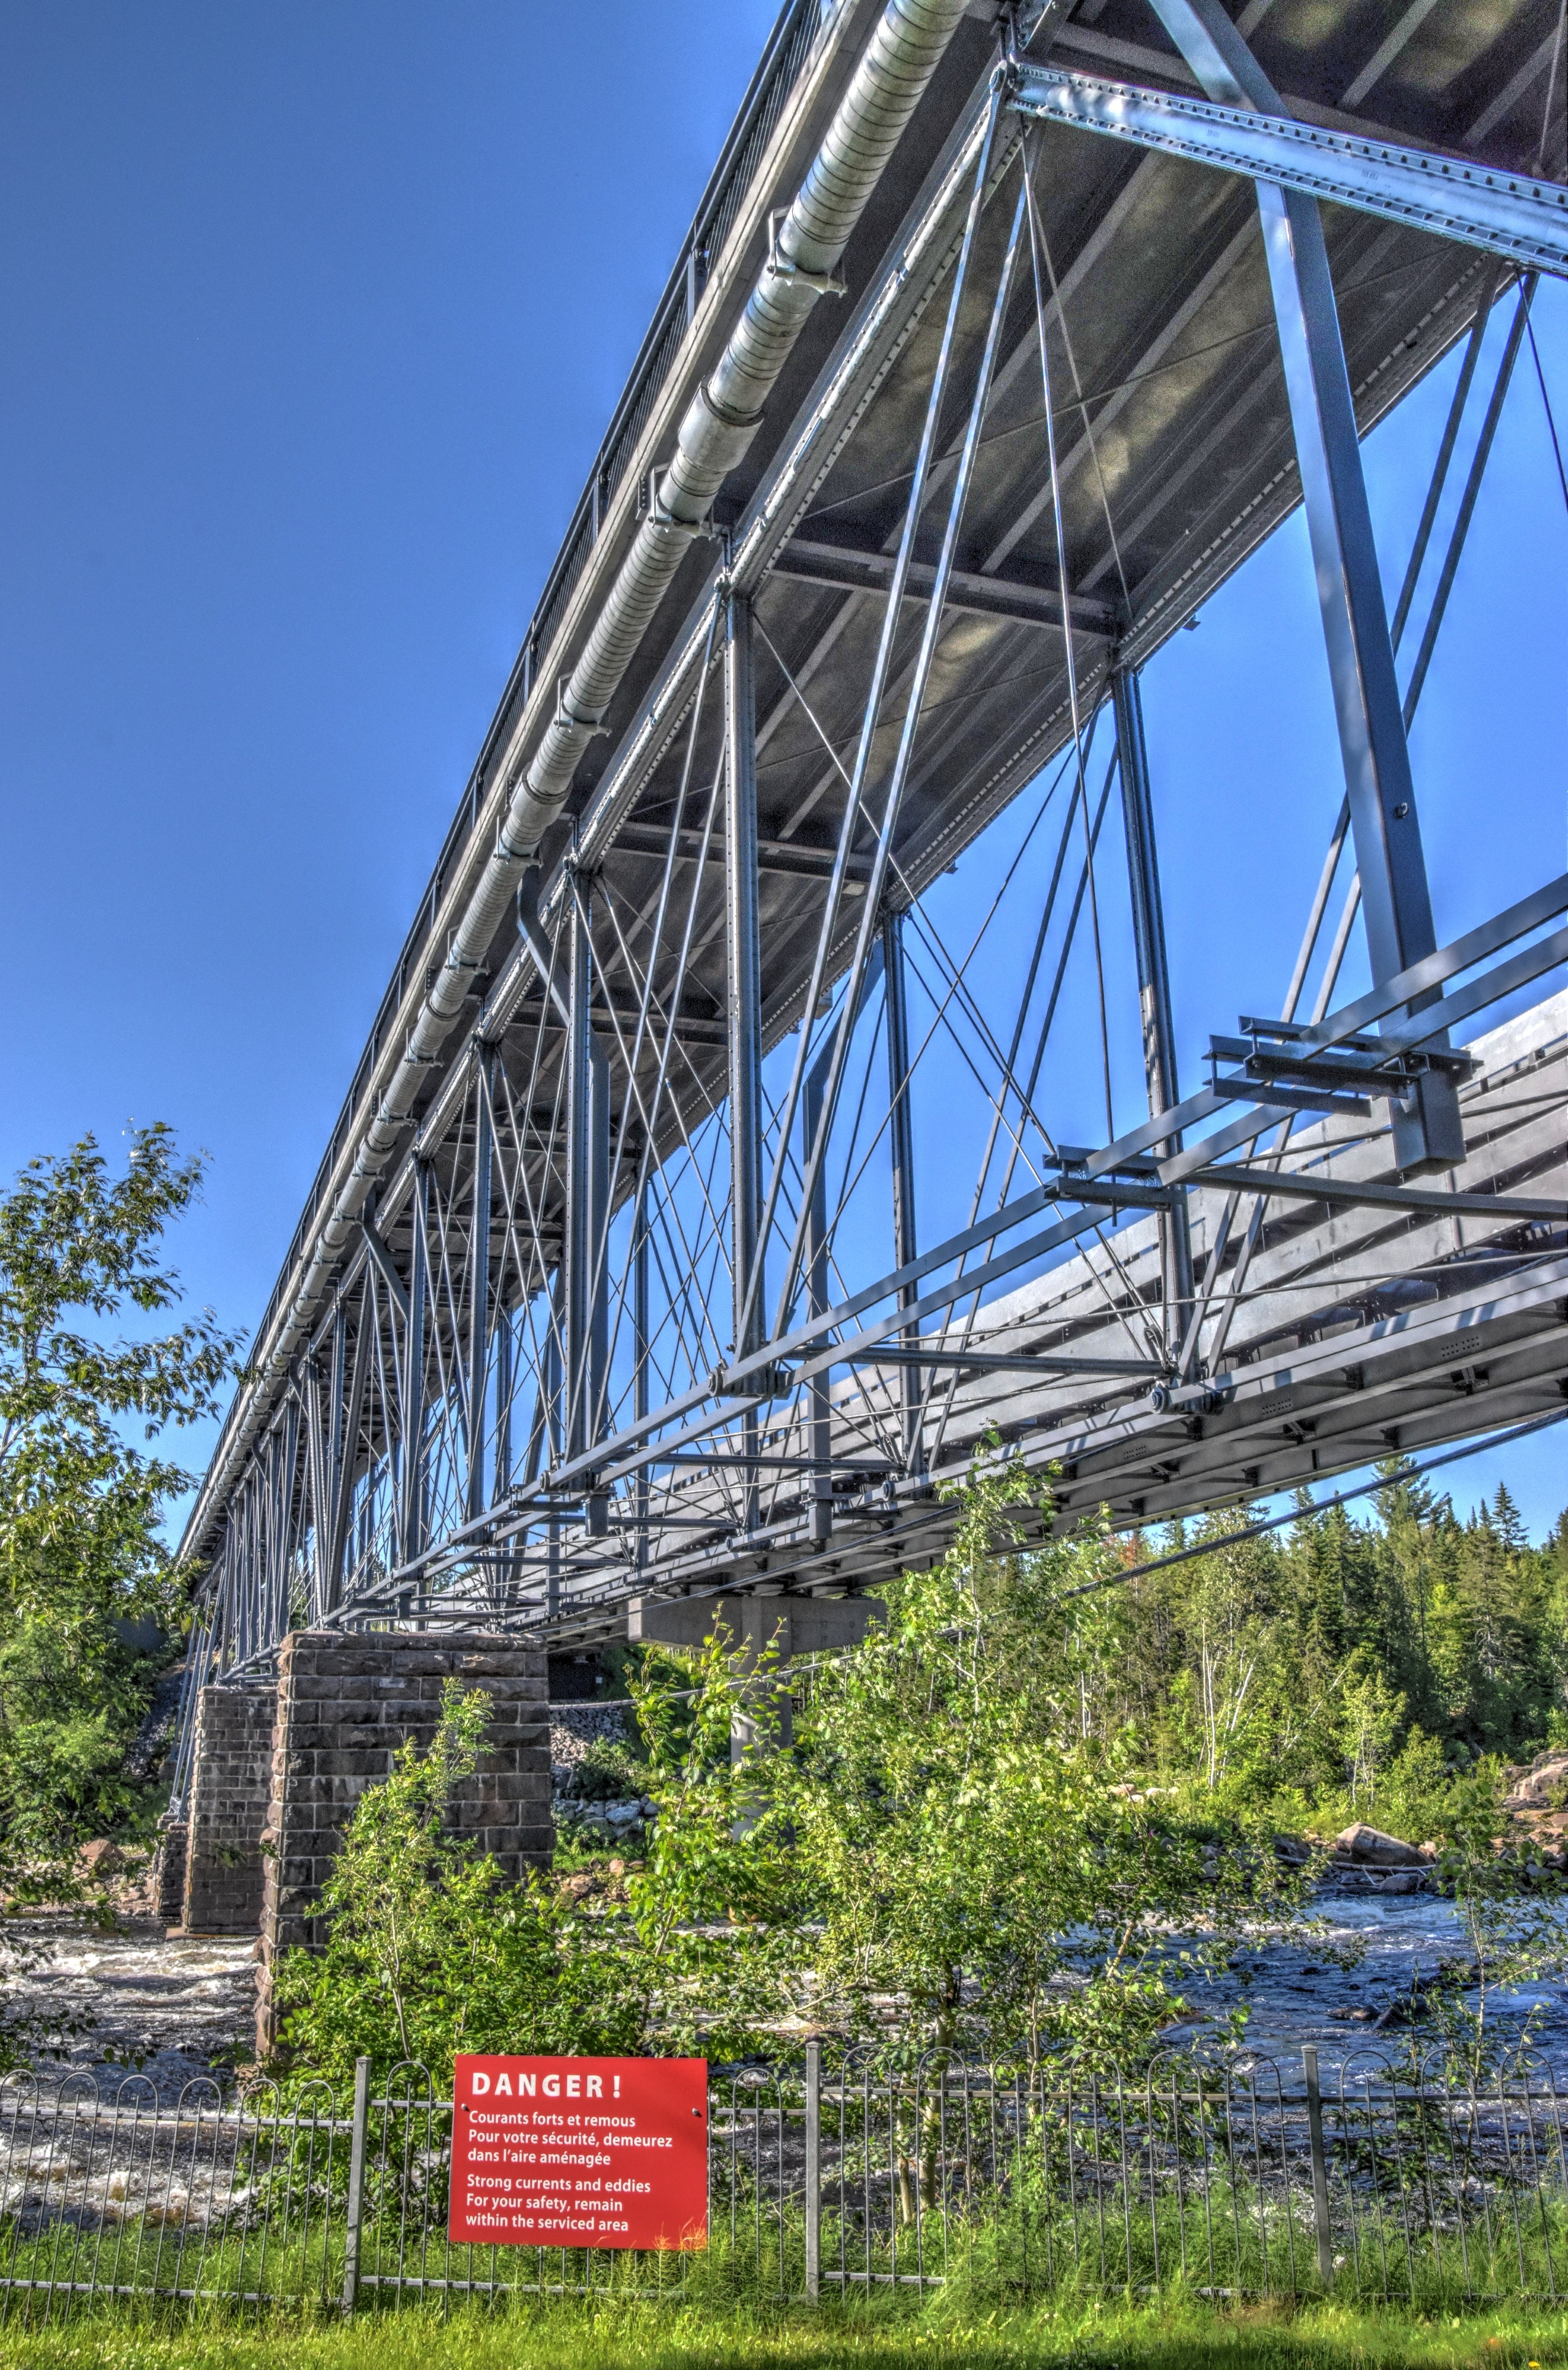
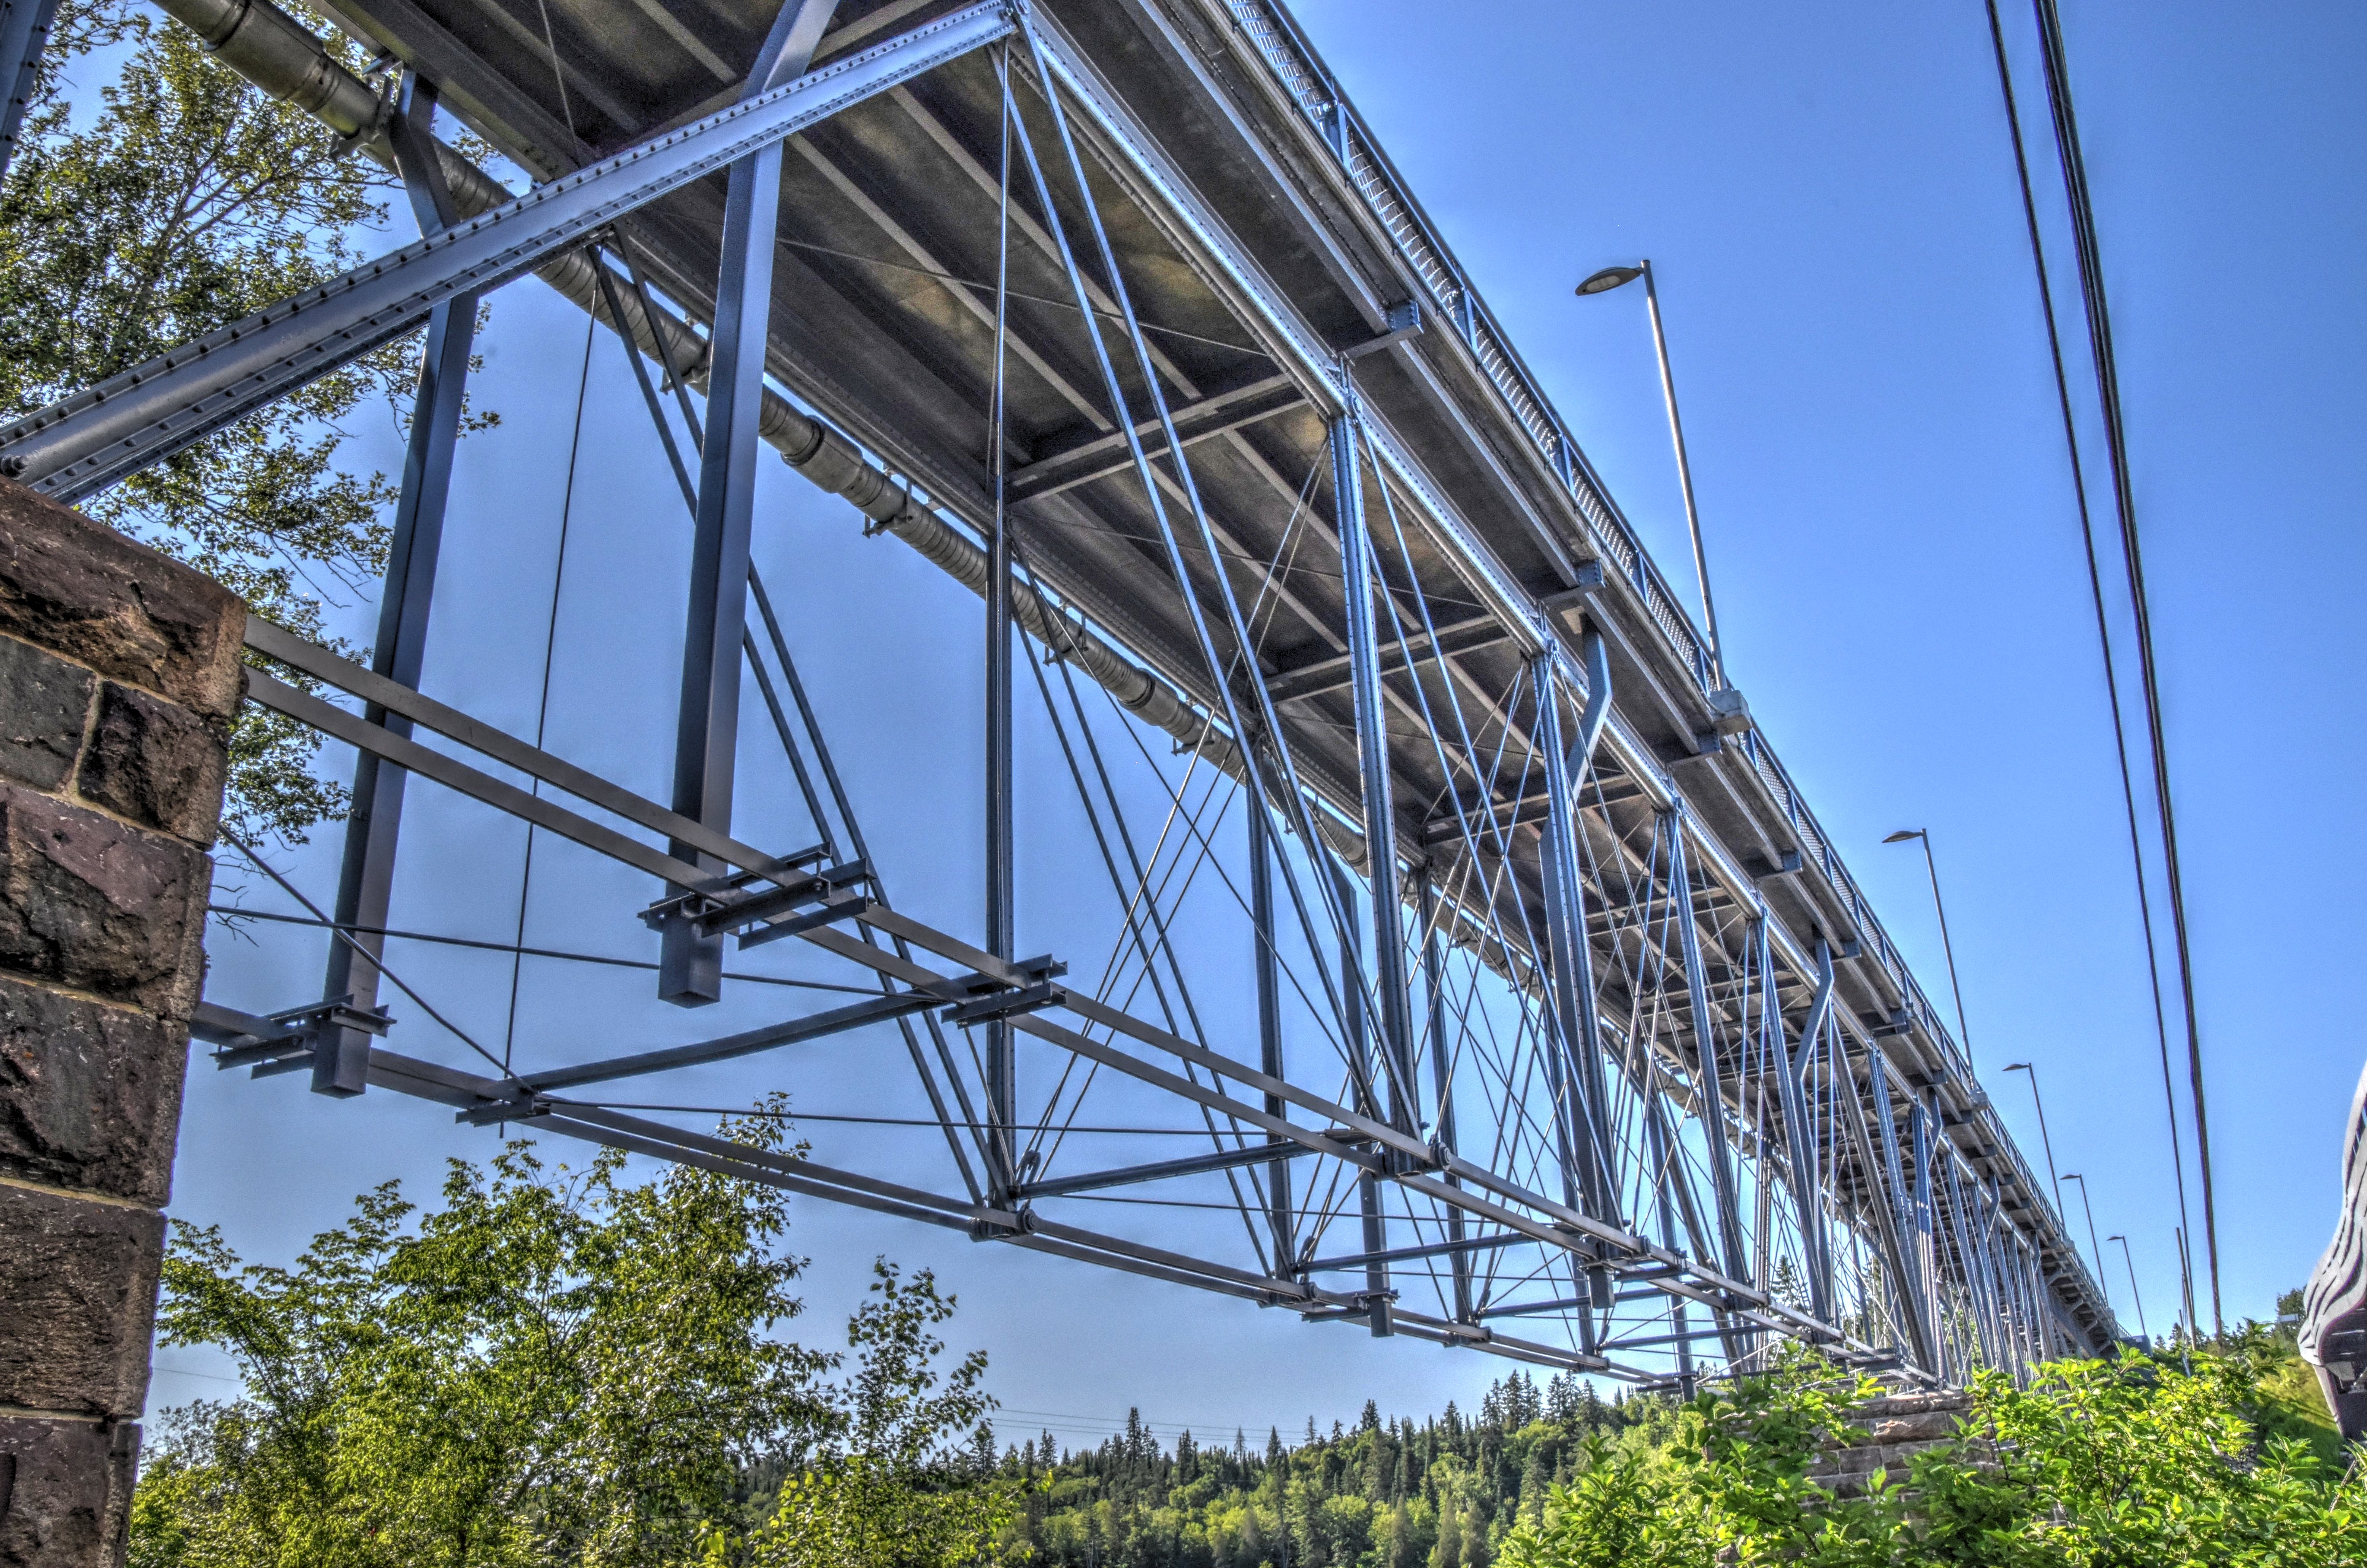
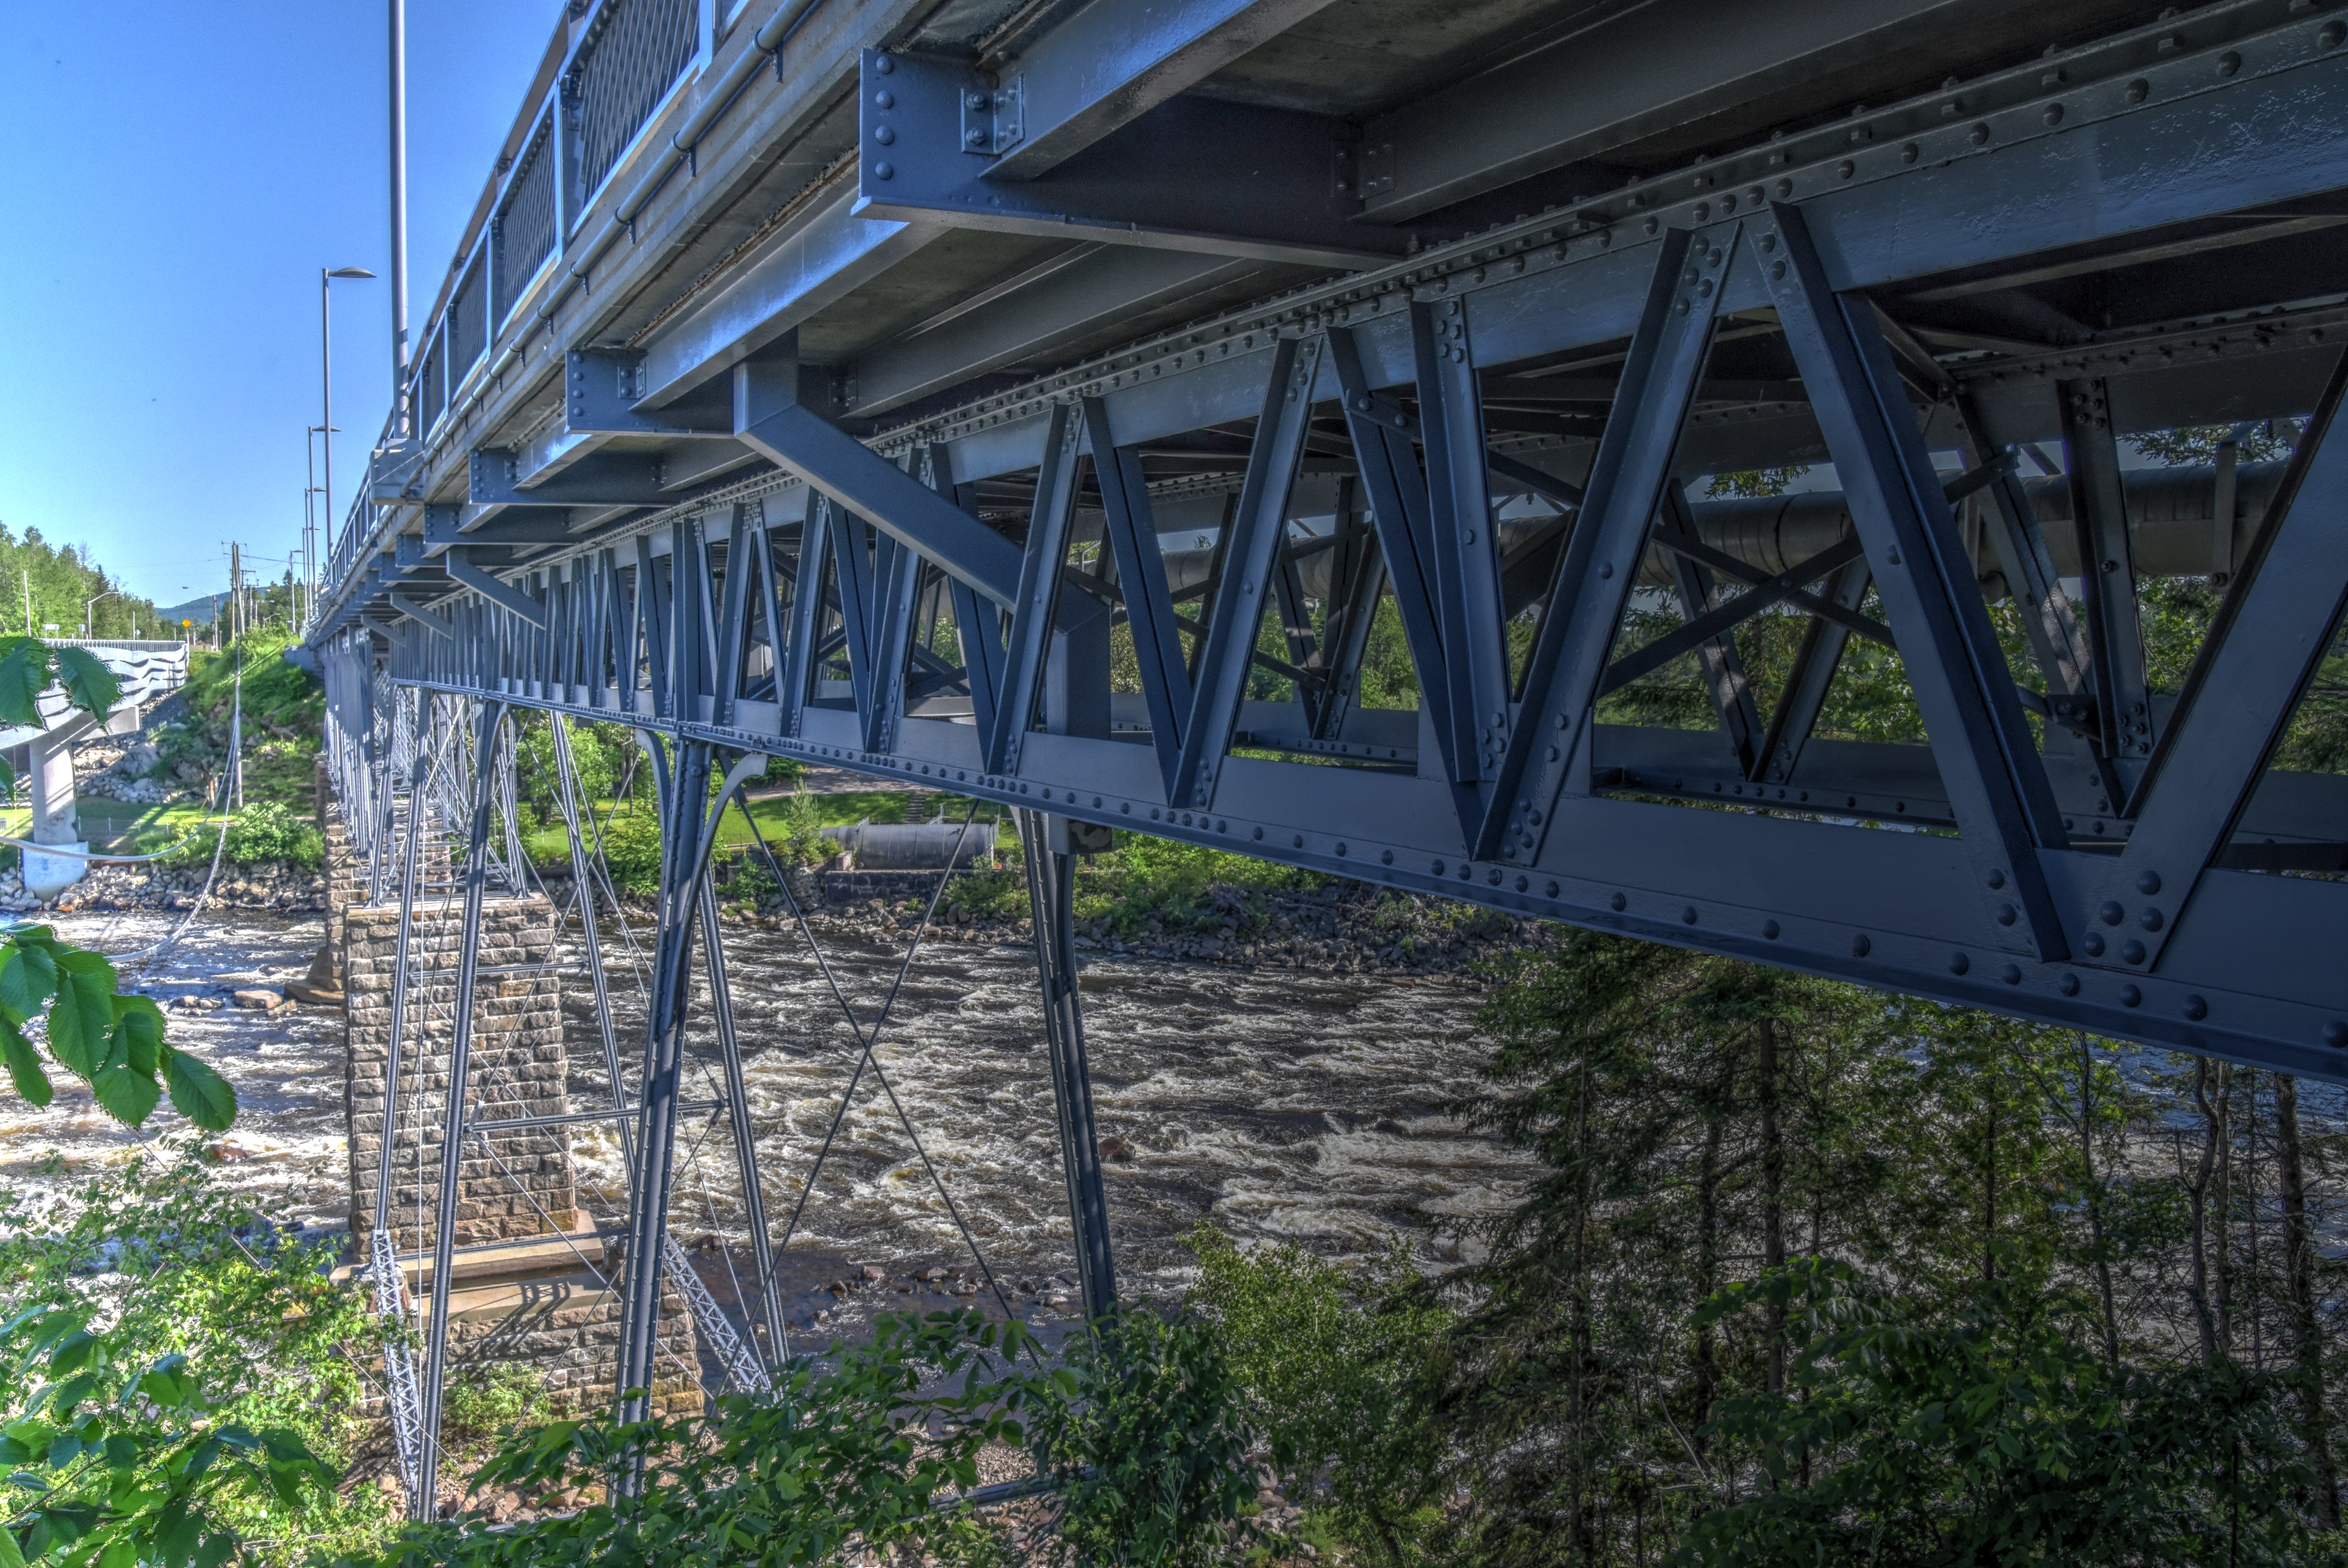
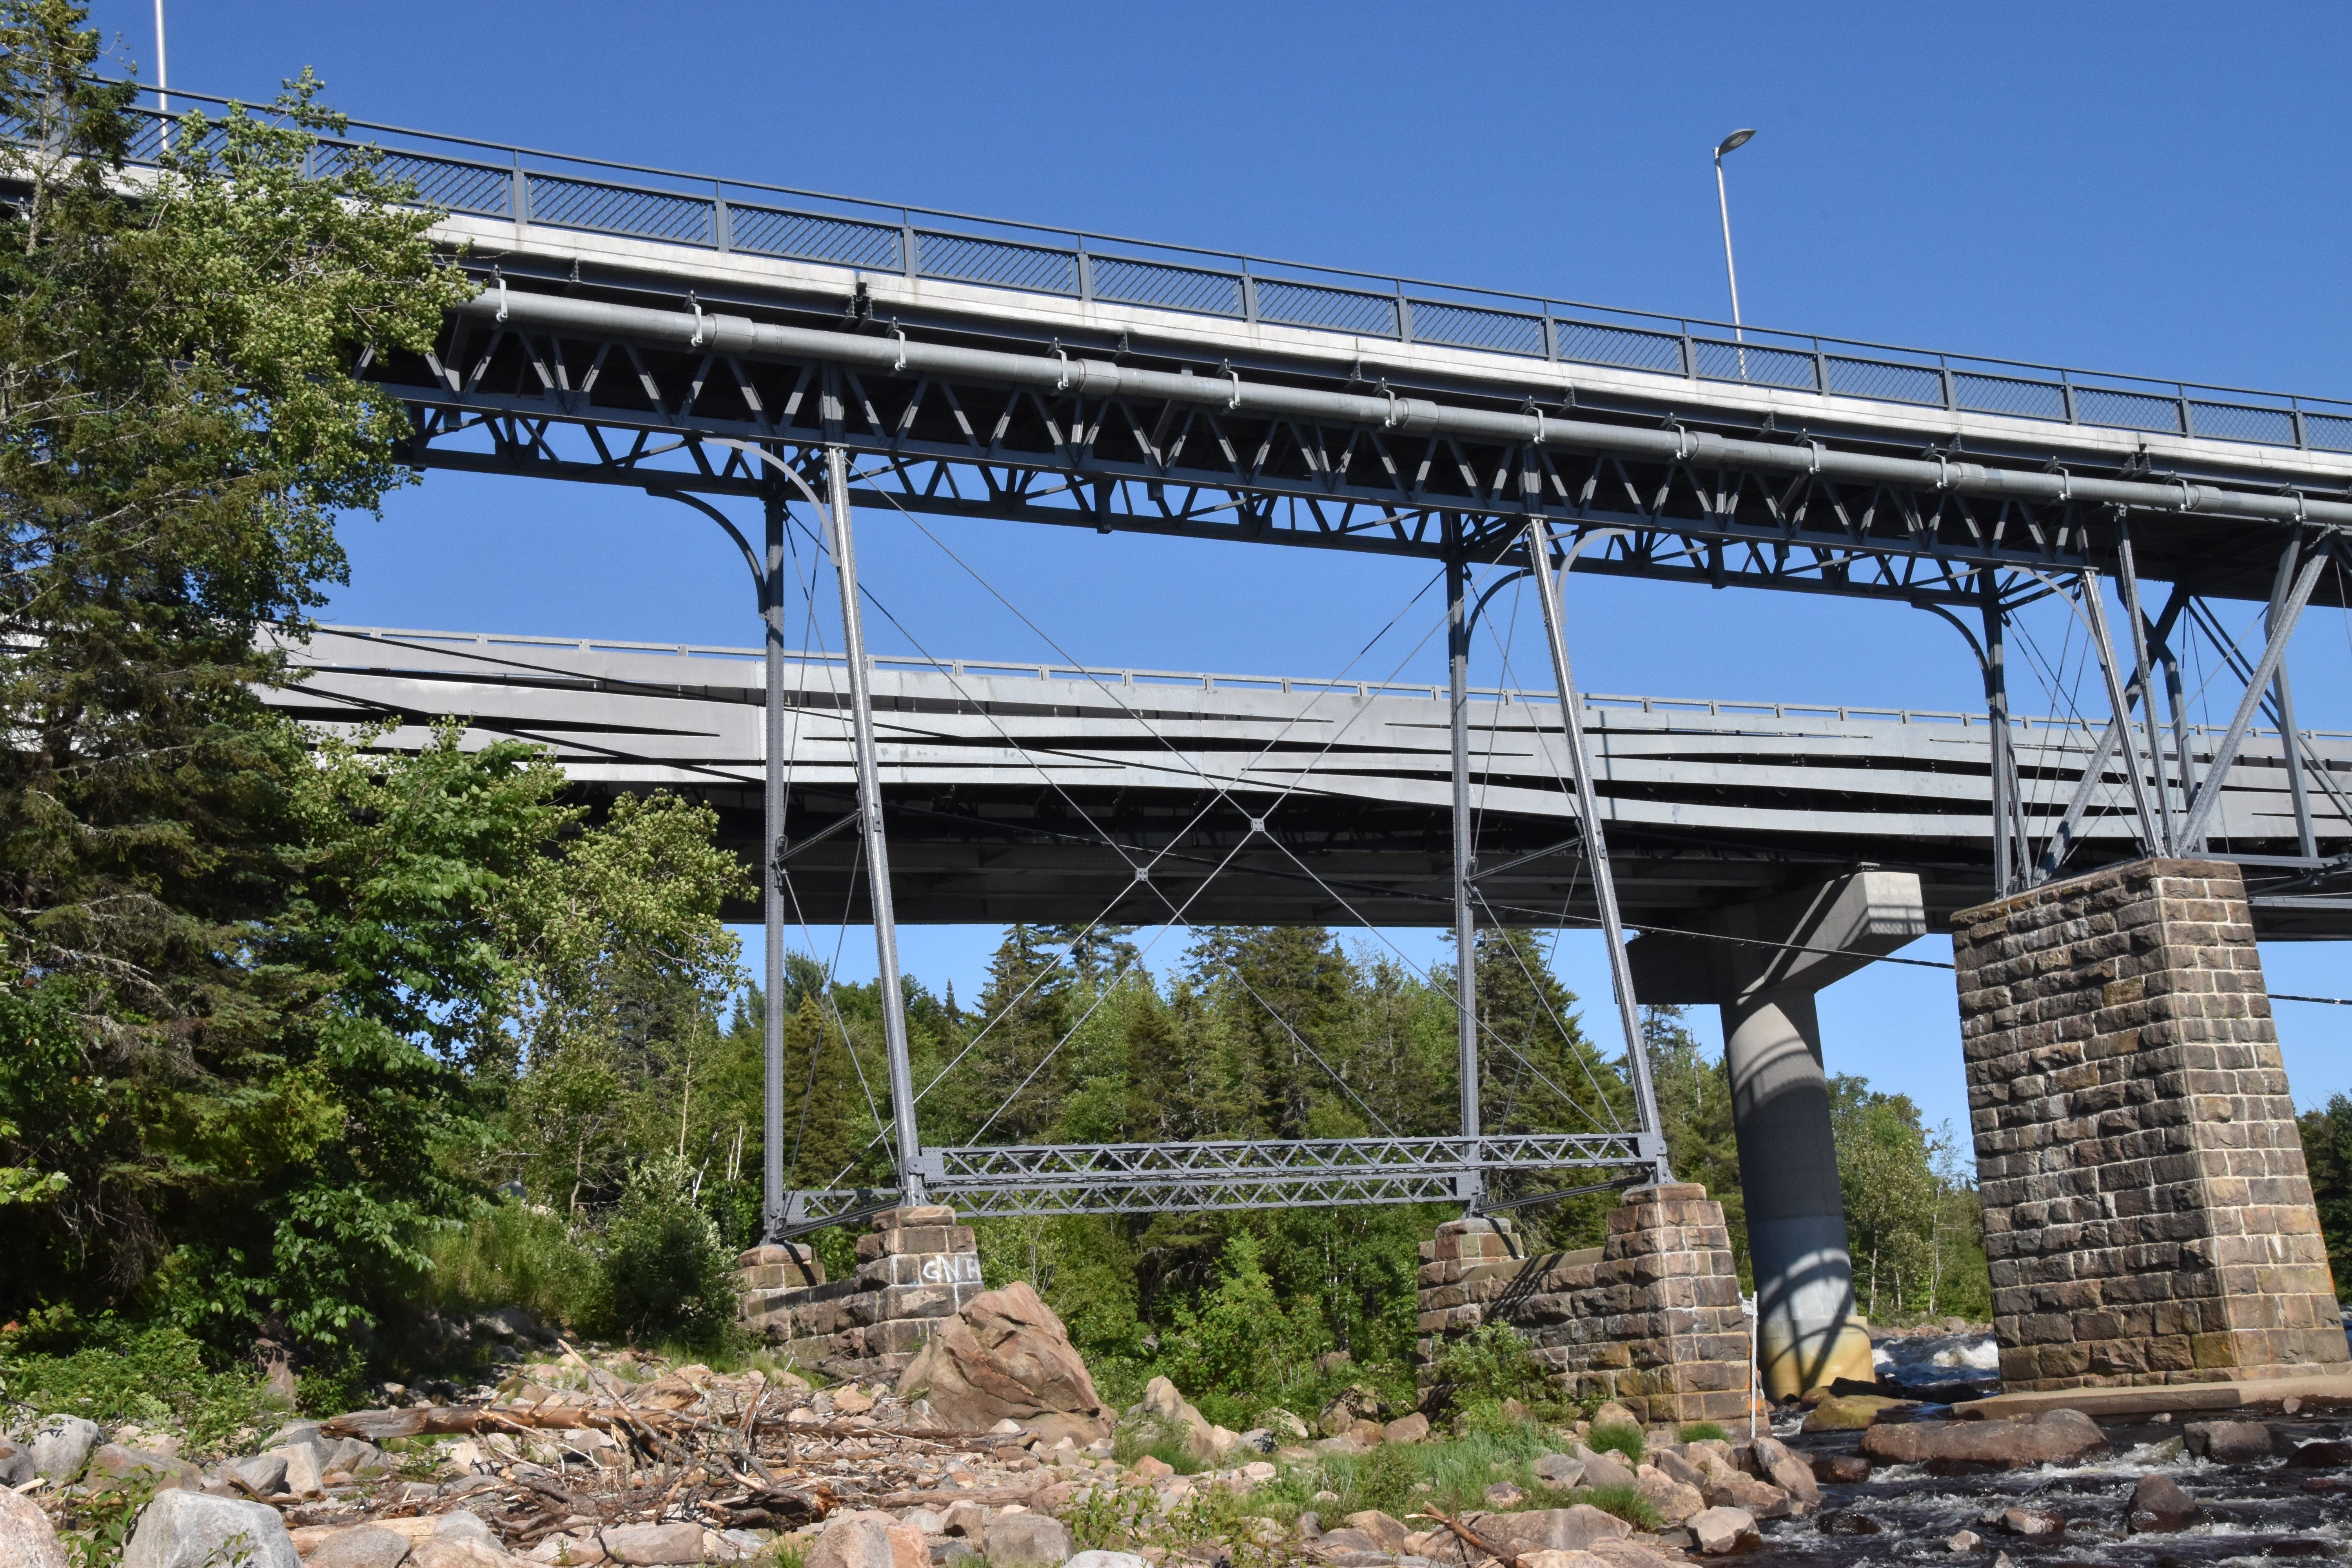
Elevation of main truss span from southwest quadrant.
![]()
![]()
![]()
![]()
Panoramic elevation from southwest quadrant.
![]()

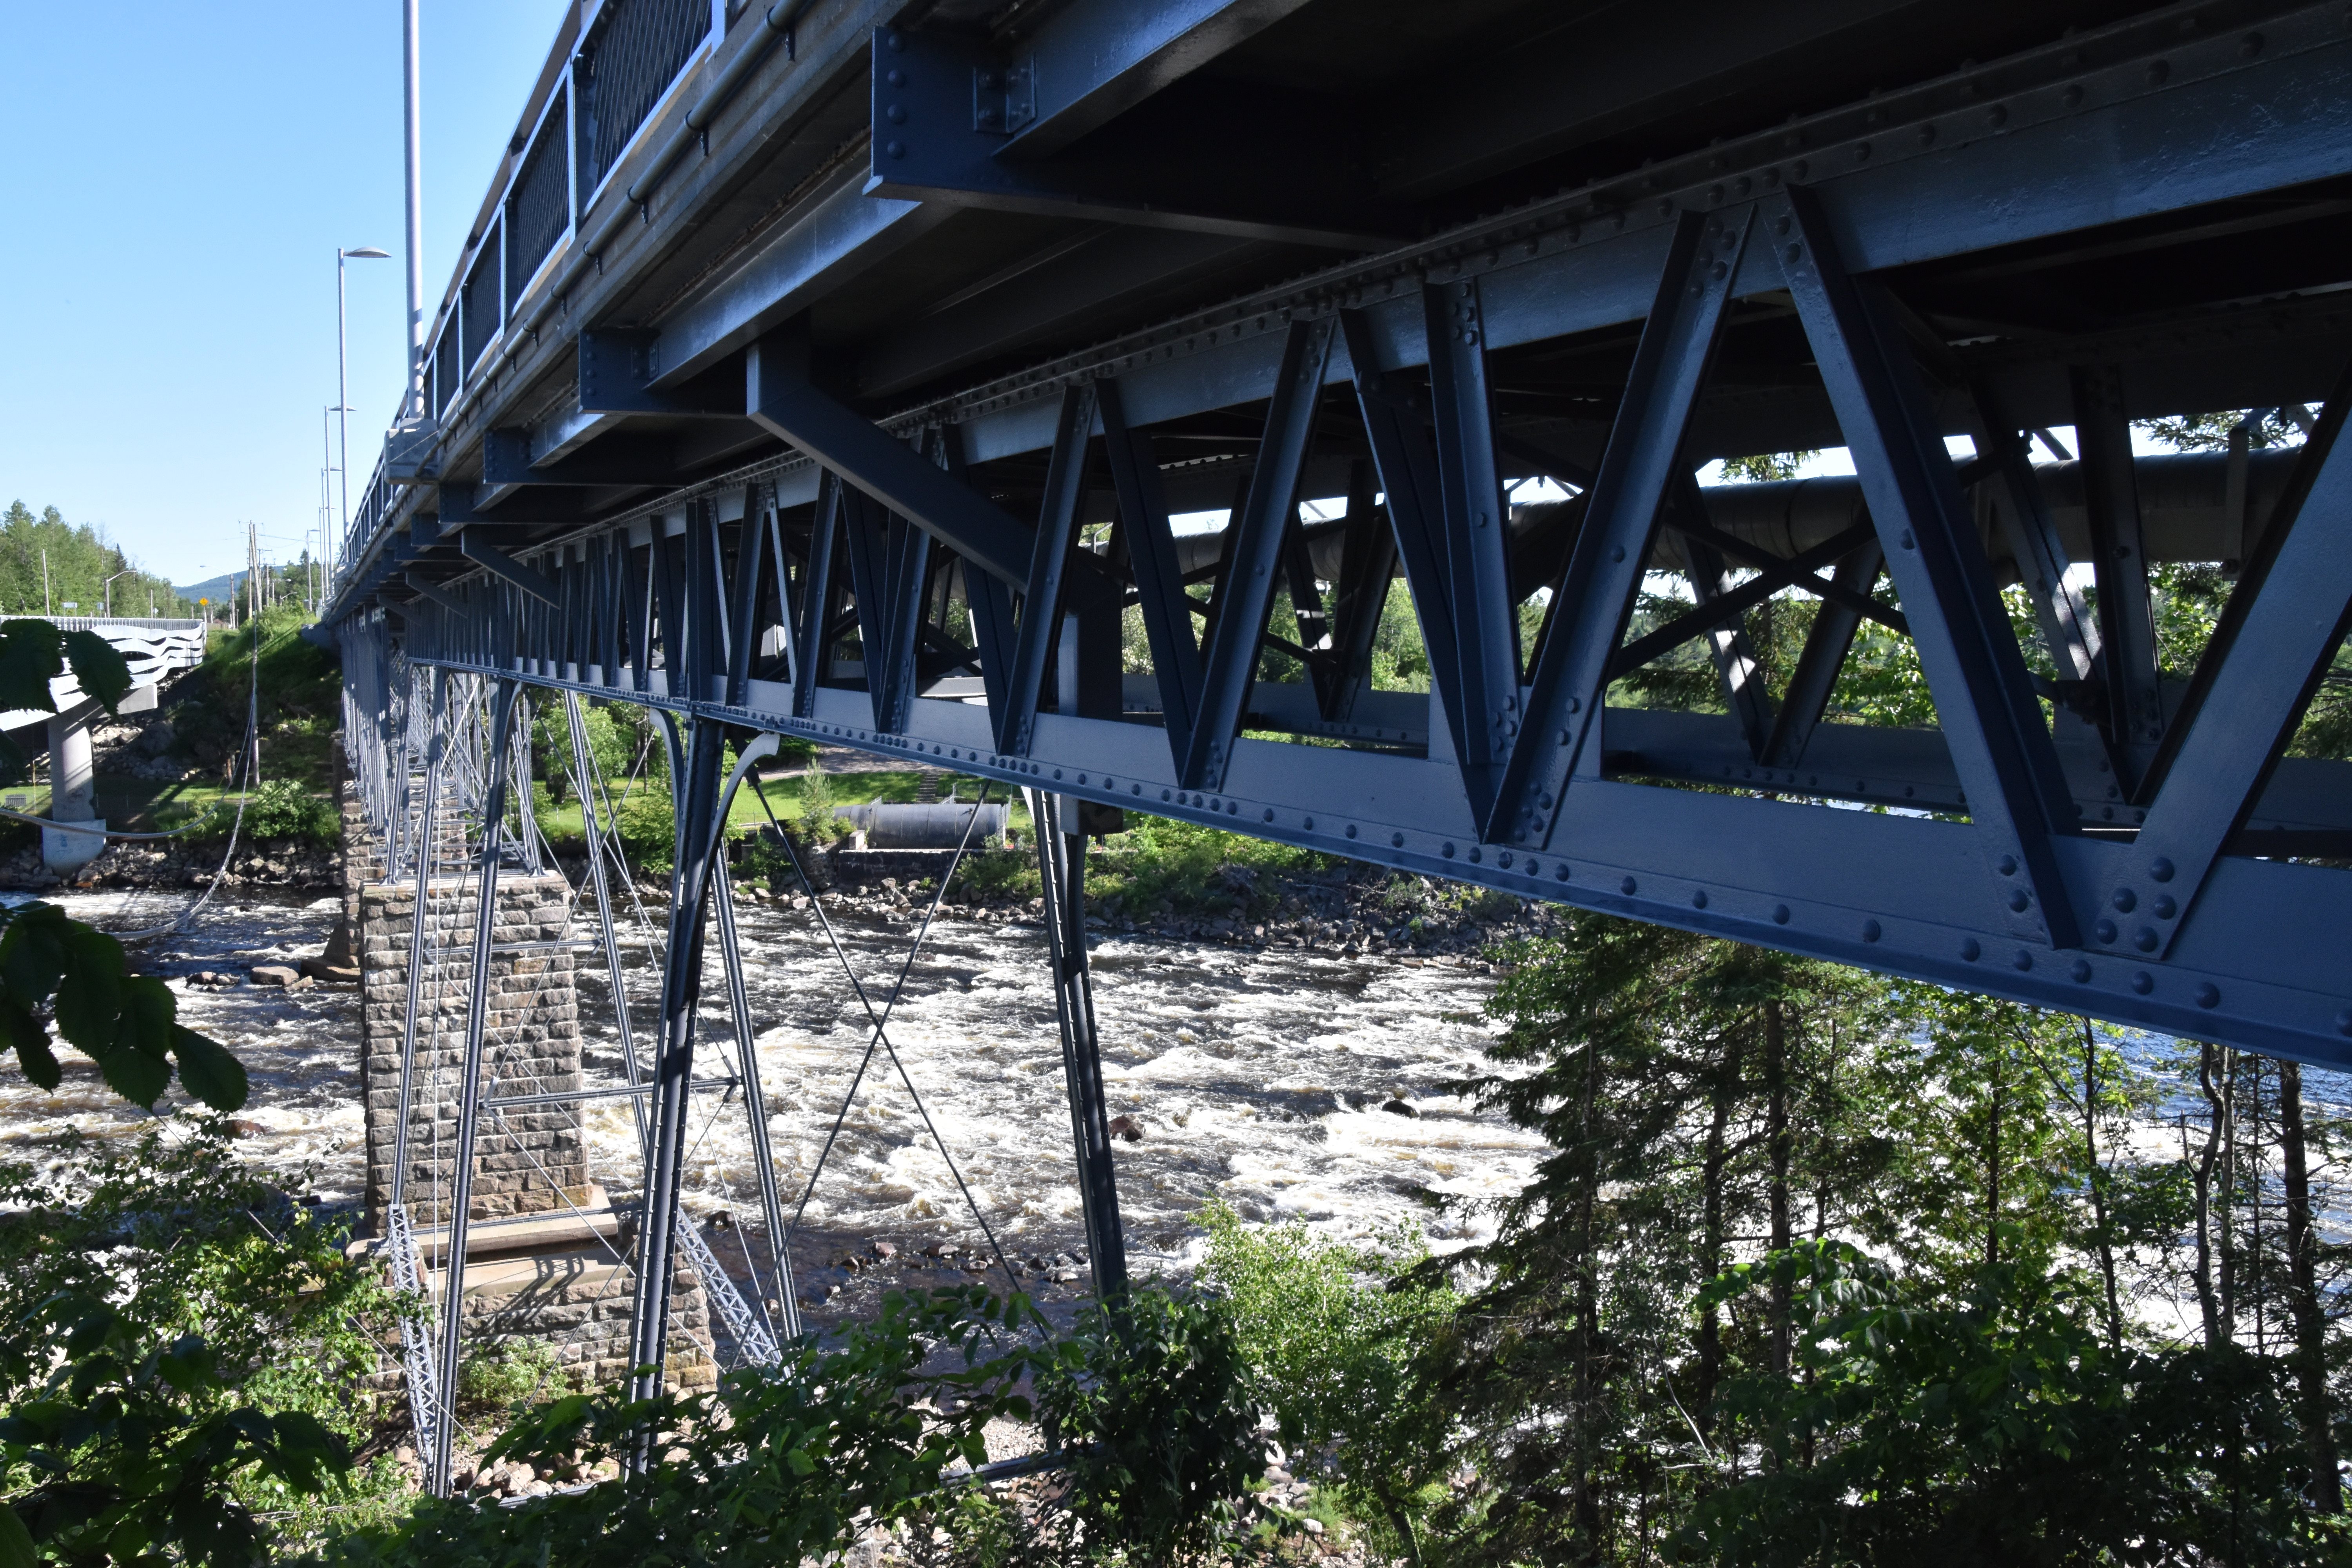
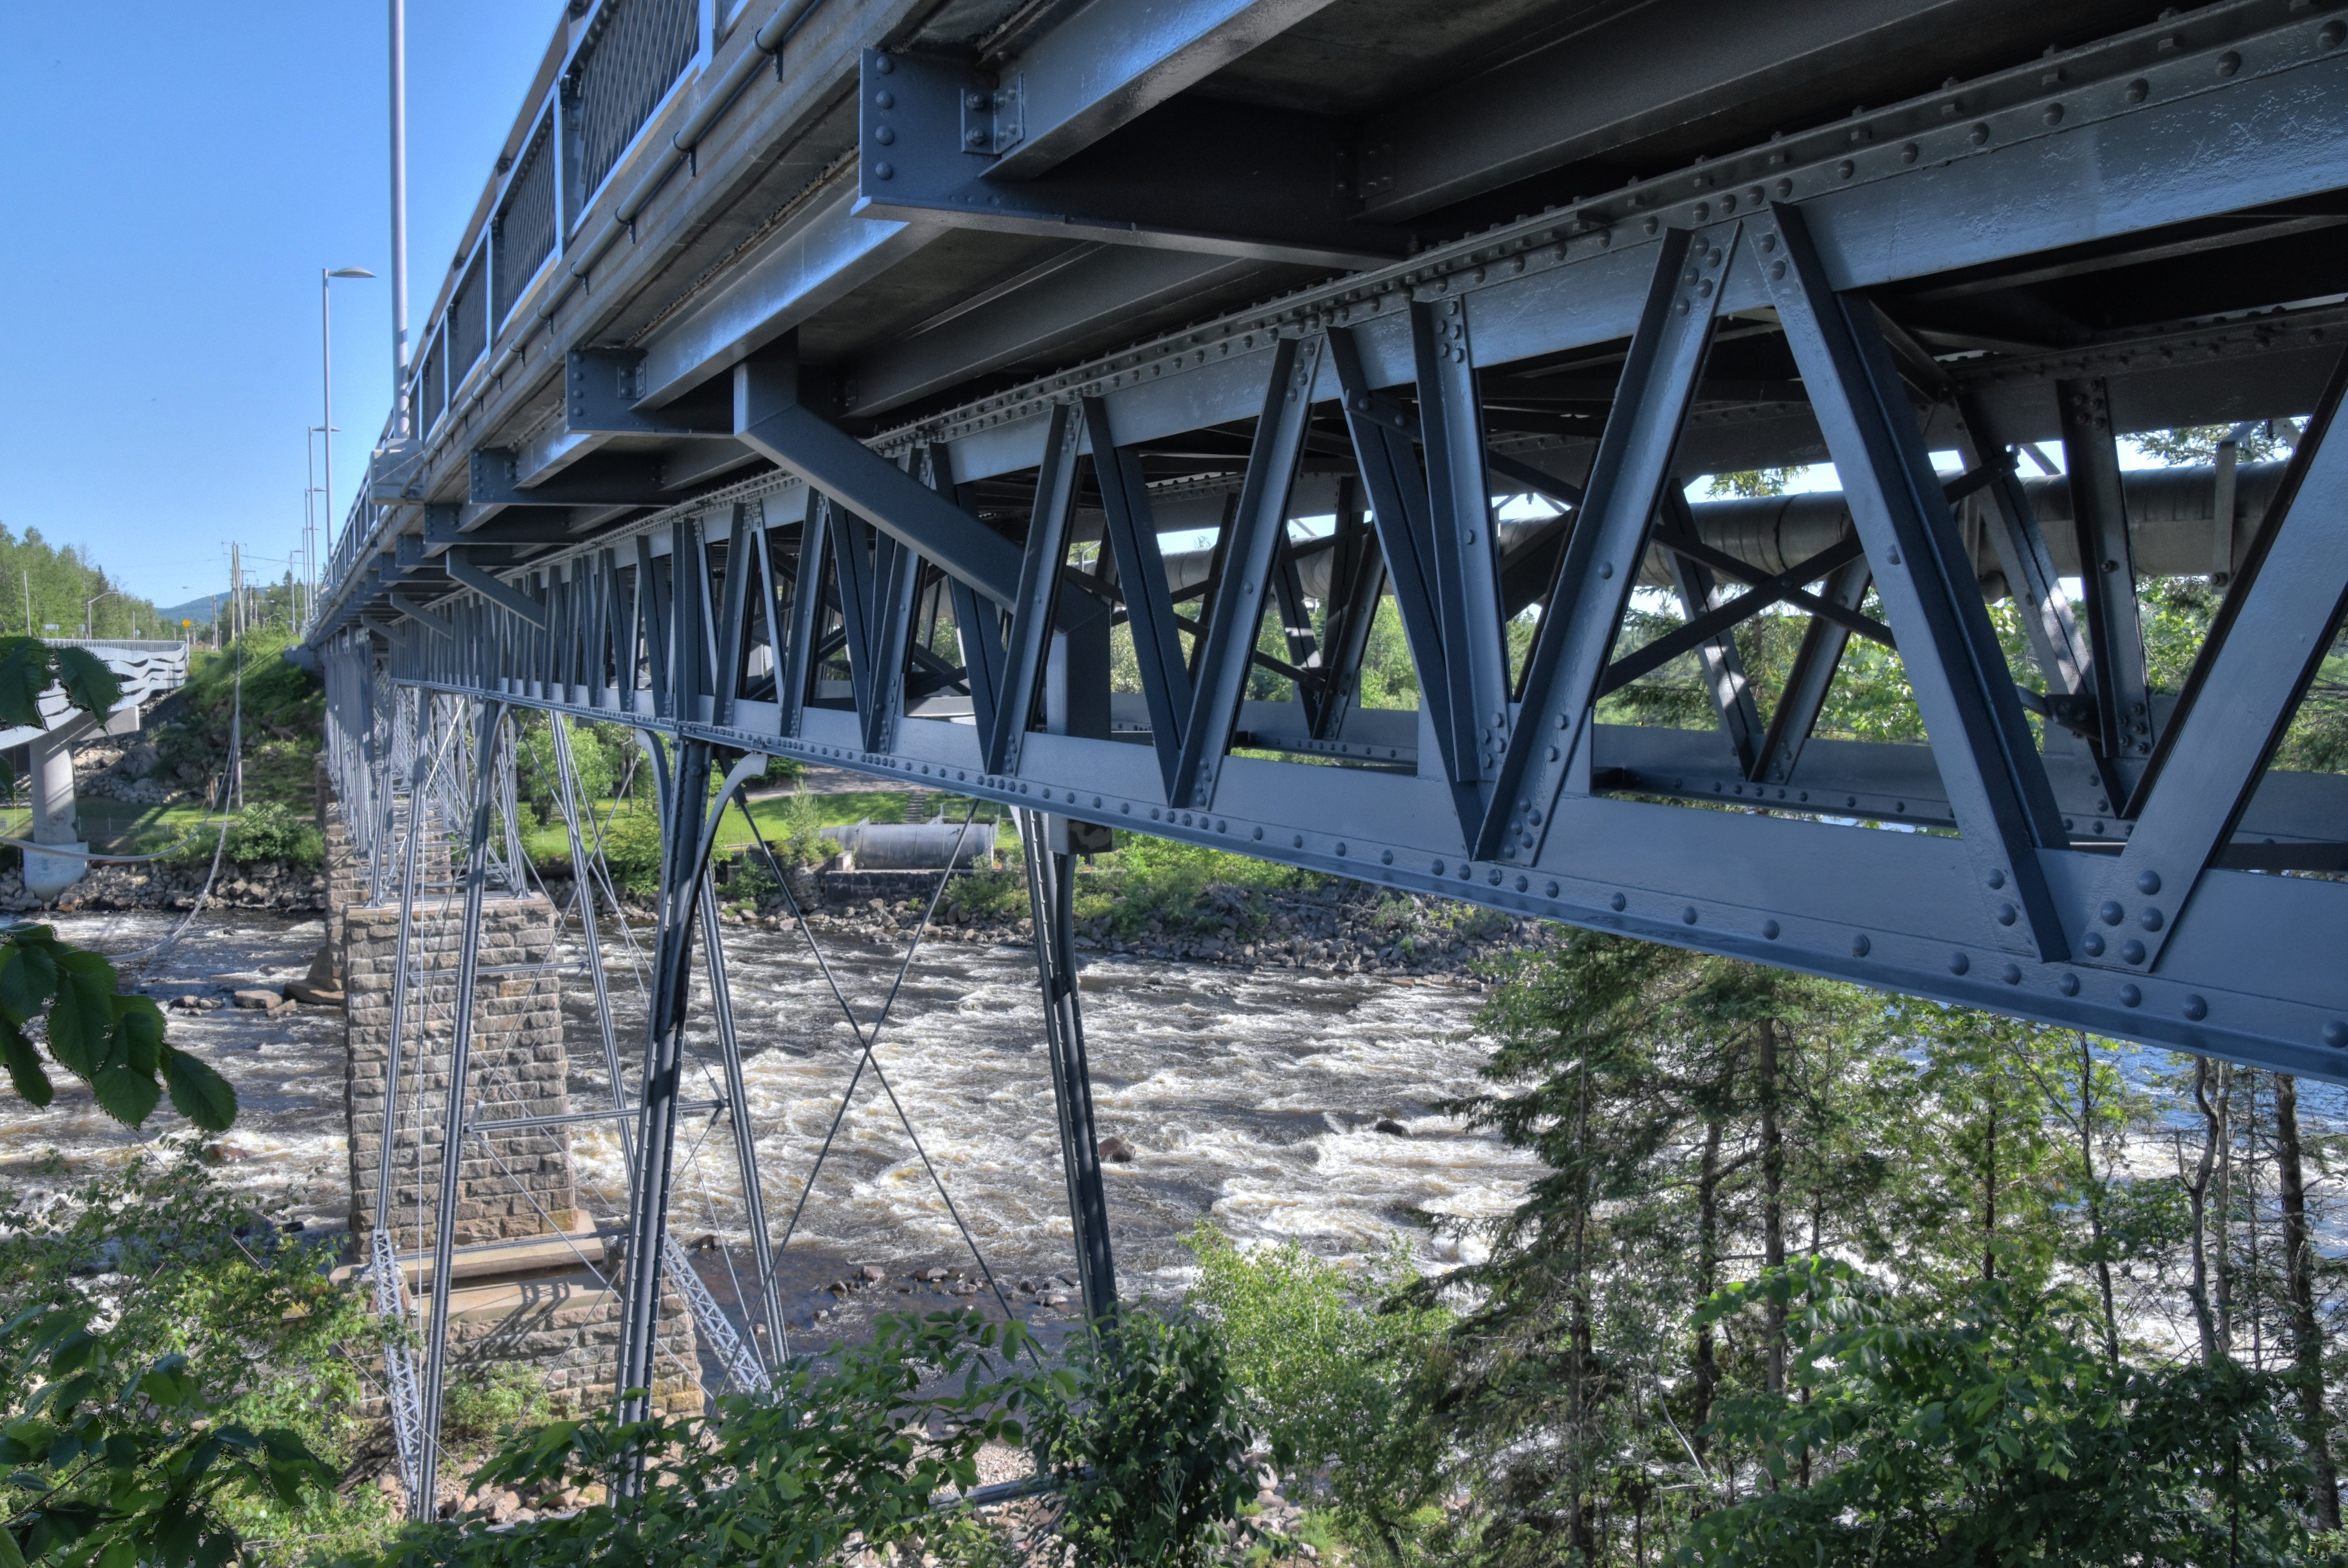
Views beside bridge from southwest quadrant.
![]()


Views beside bridge from southeast quadrant.
![]()


Views beside bridge from northeast quadrant.
![]()


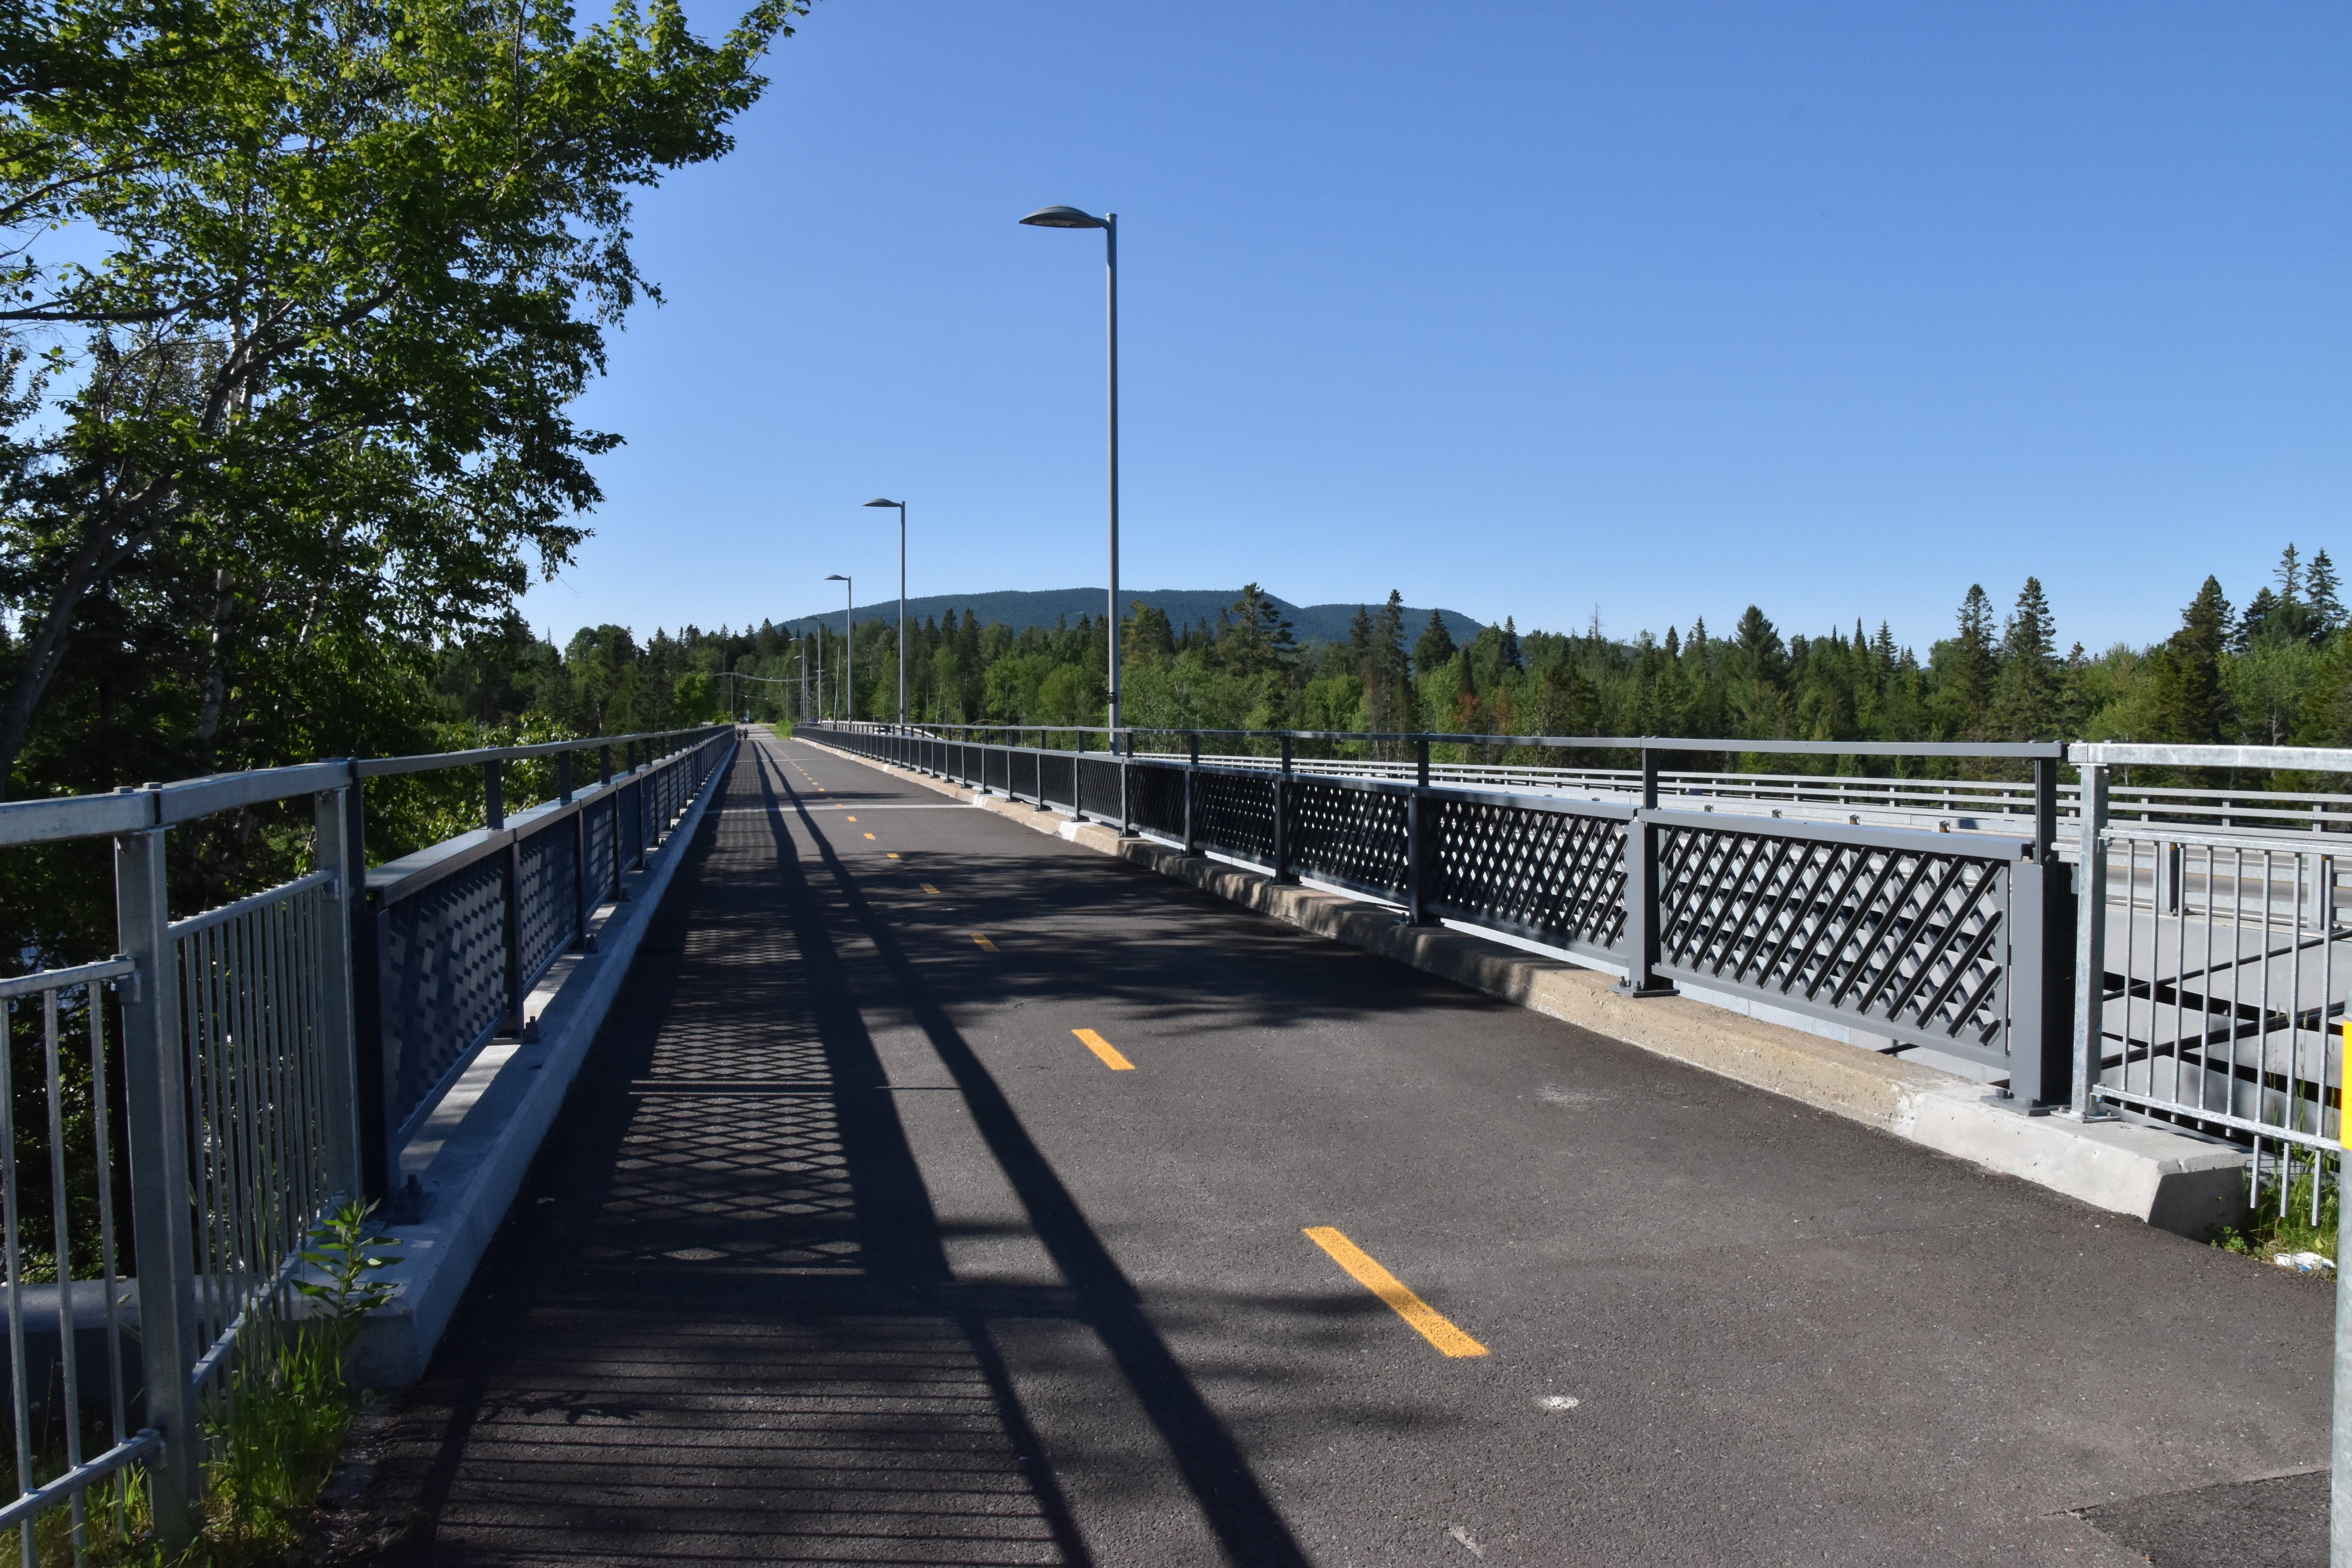

Portal views facing north.
![]()
Elevation from northeast quadrant.
![]()


Main span elevation from northwest quadrant.
![]()

Approach span elevation from northwest quadrant.
![]()


East elevation of south approach spans.
![]()
West elevation of south approach spans.
![]()

Elevation of north approach spans from southwest quadrant.
![]()
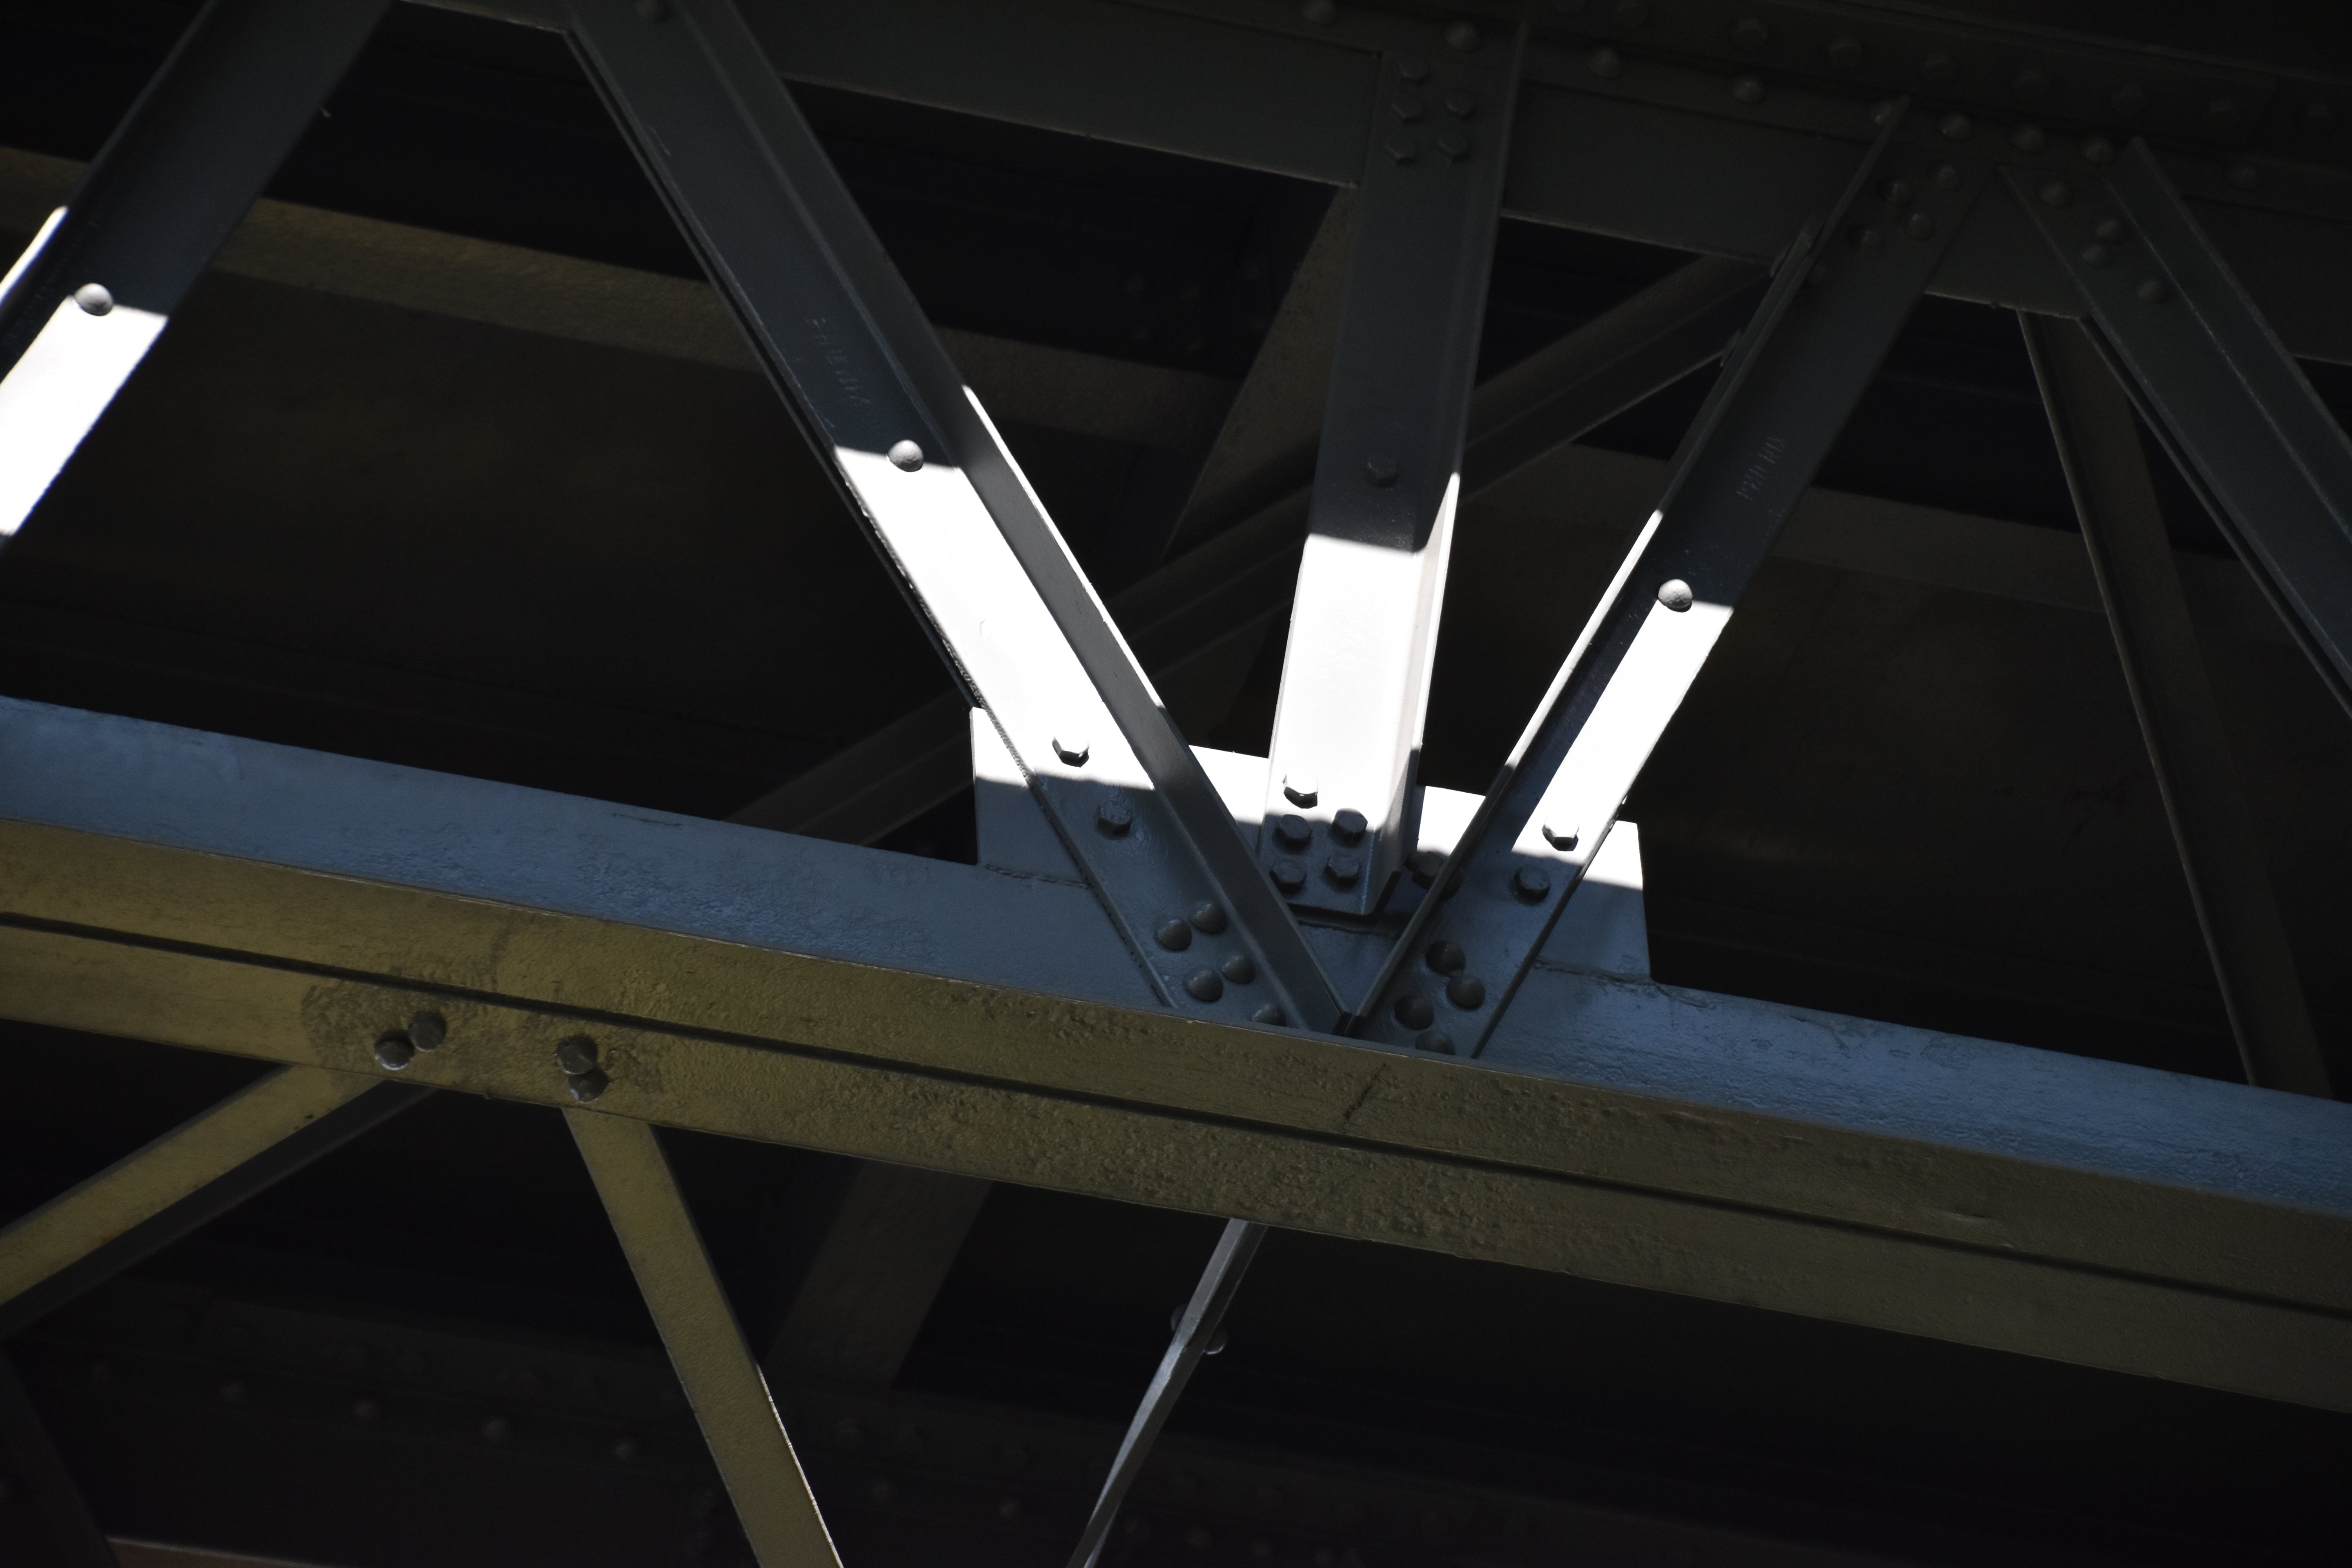
Main span truss web.
![]()
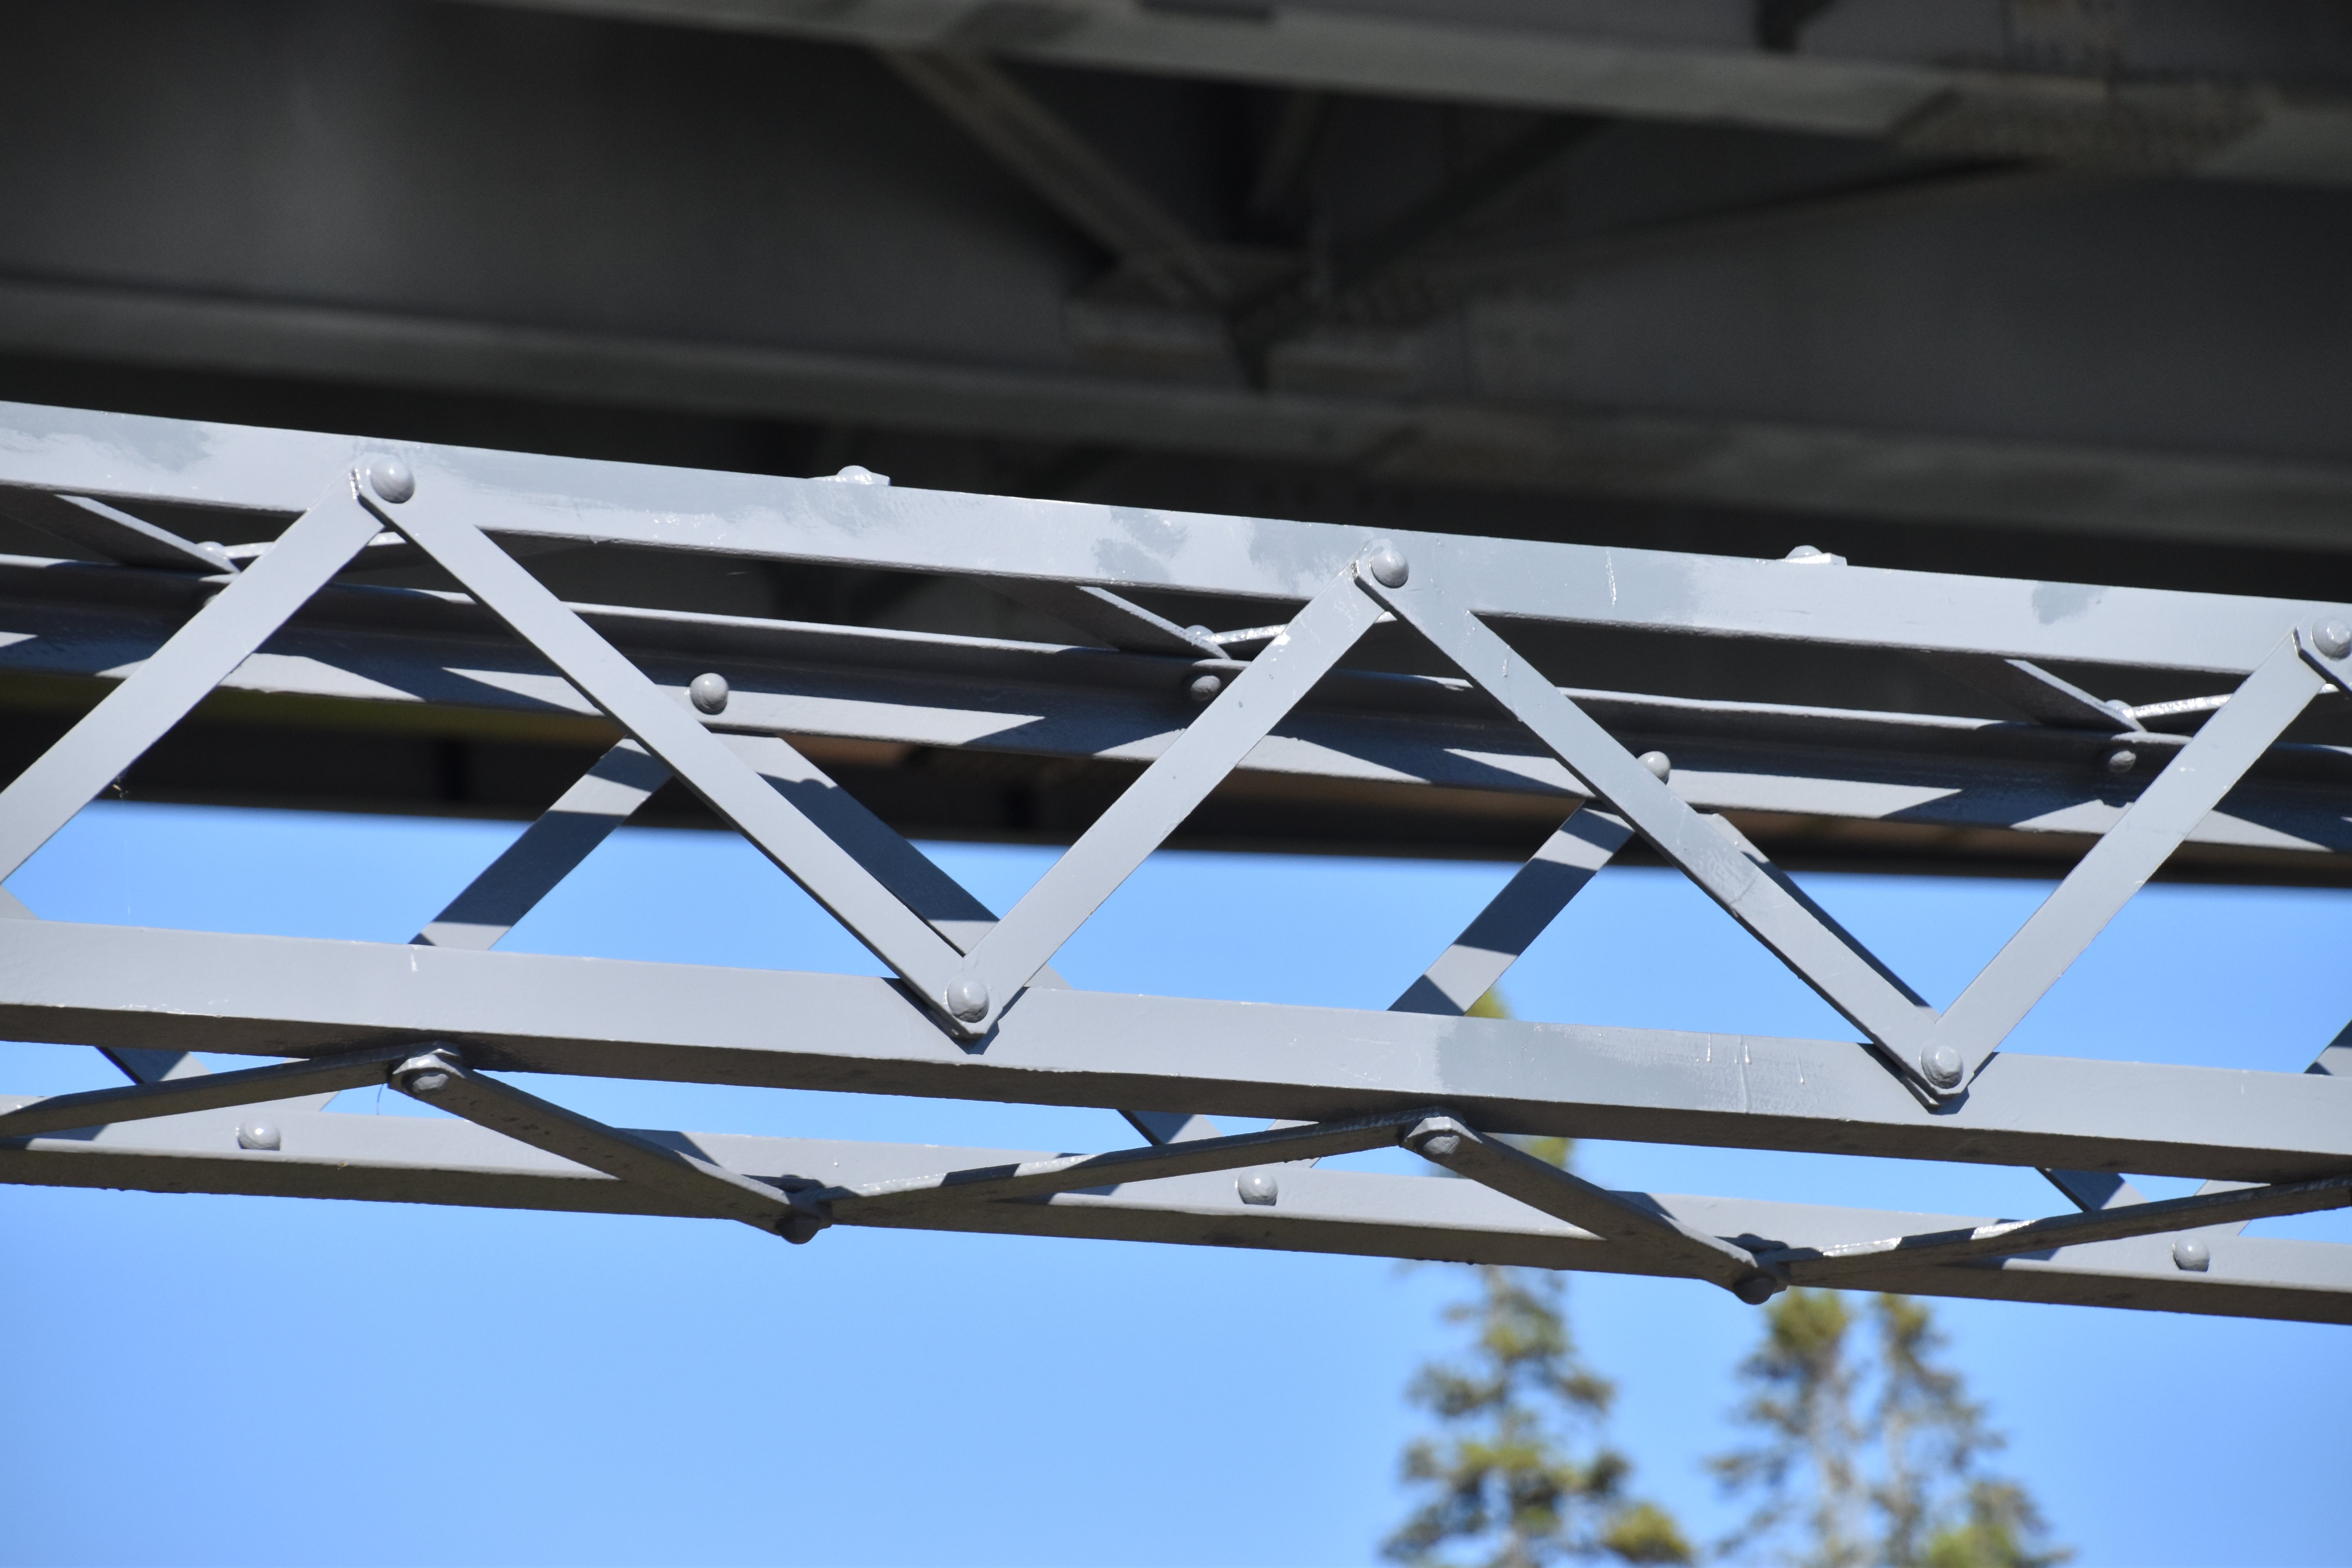
Approach span truss web.
![]()
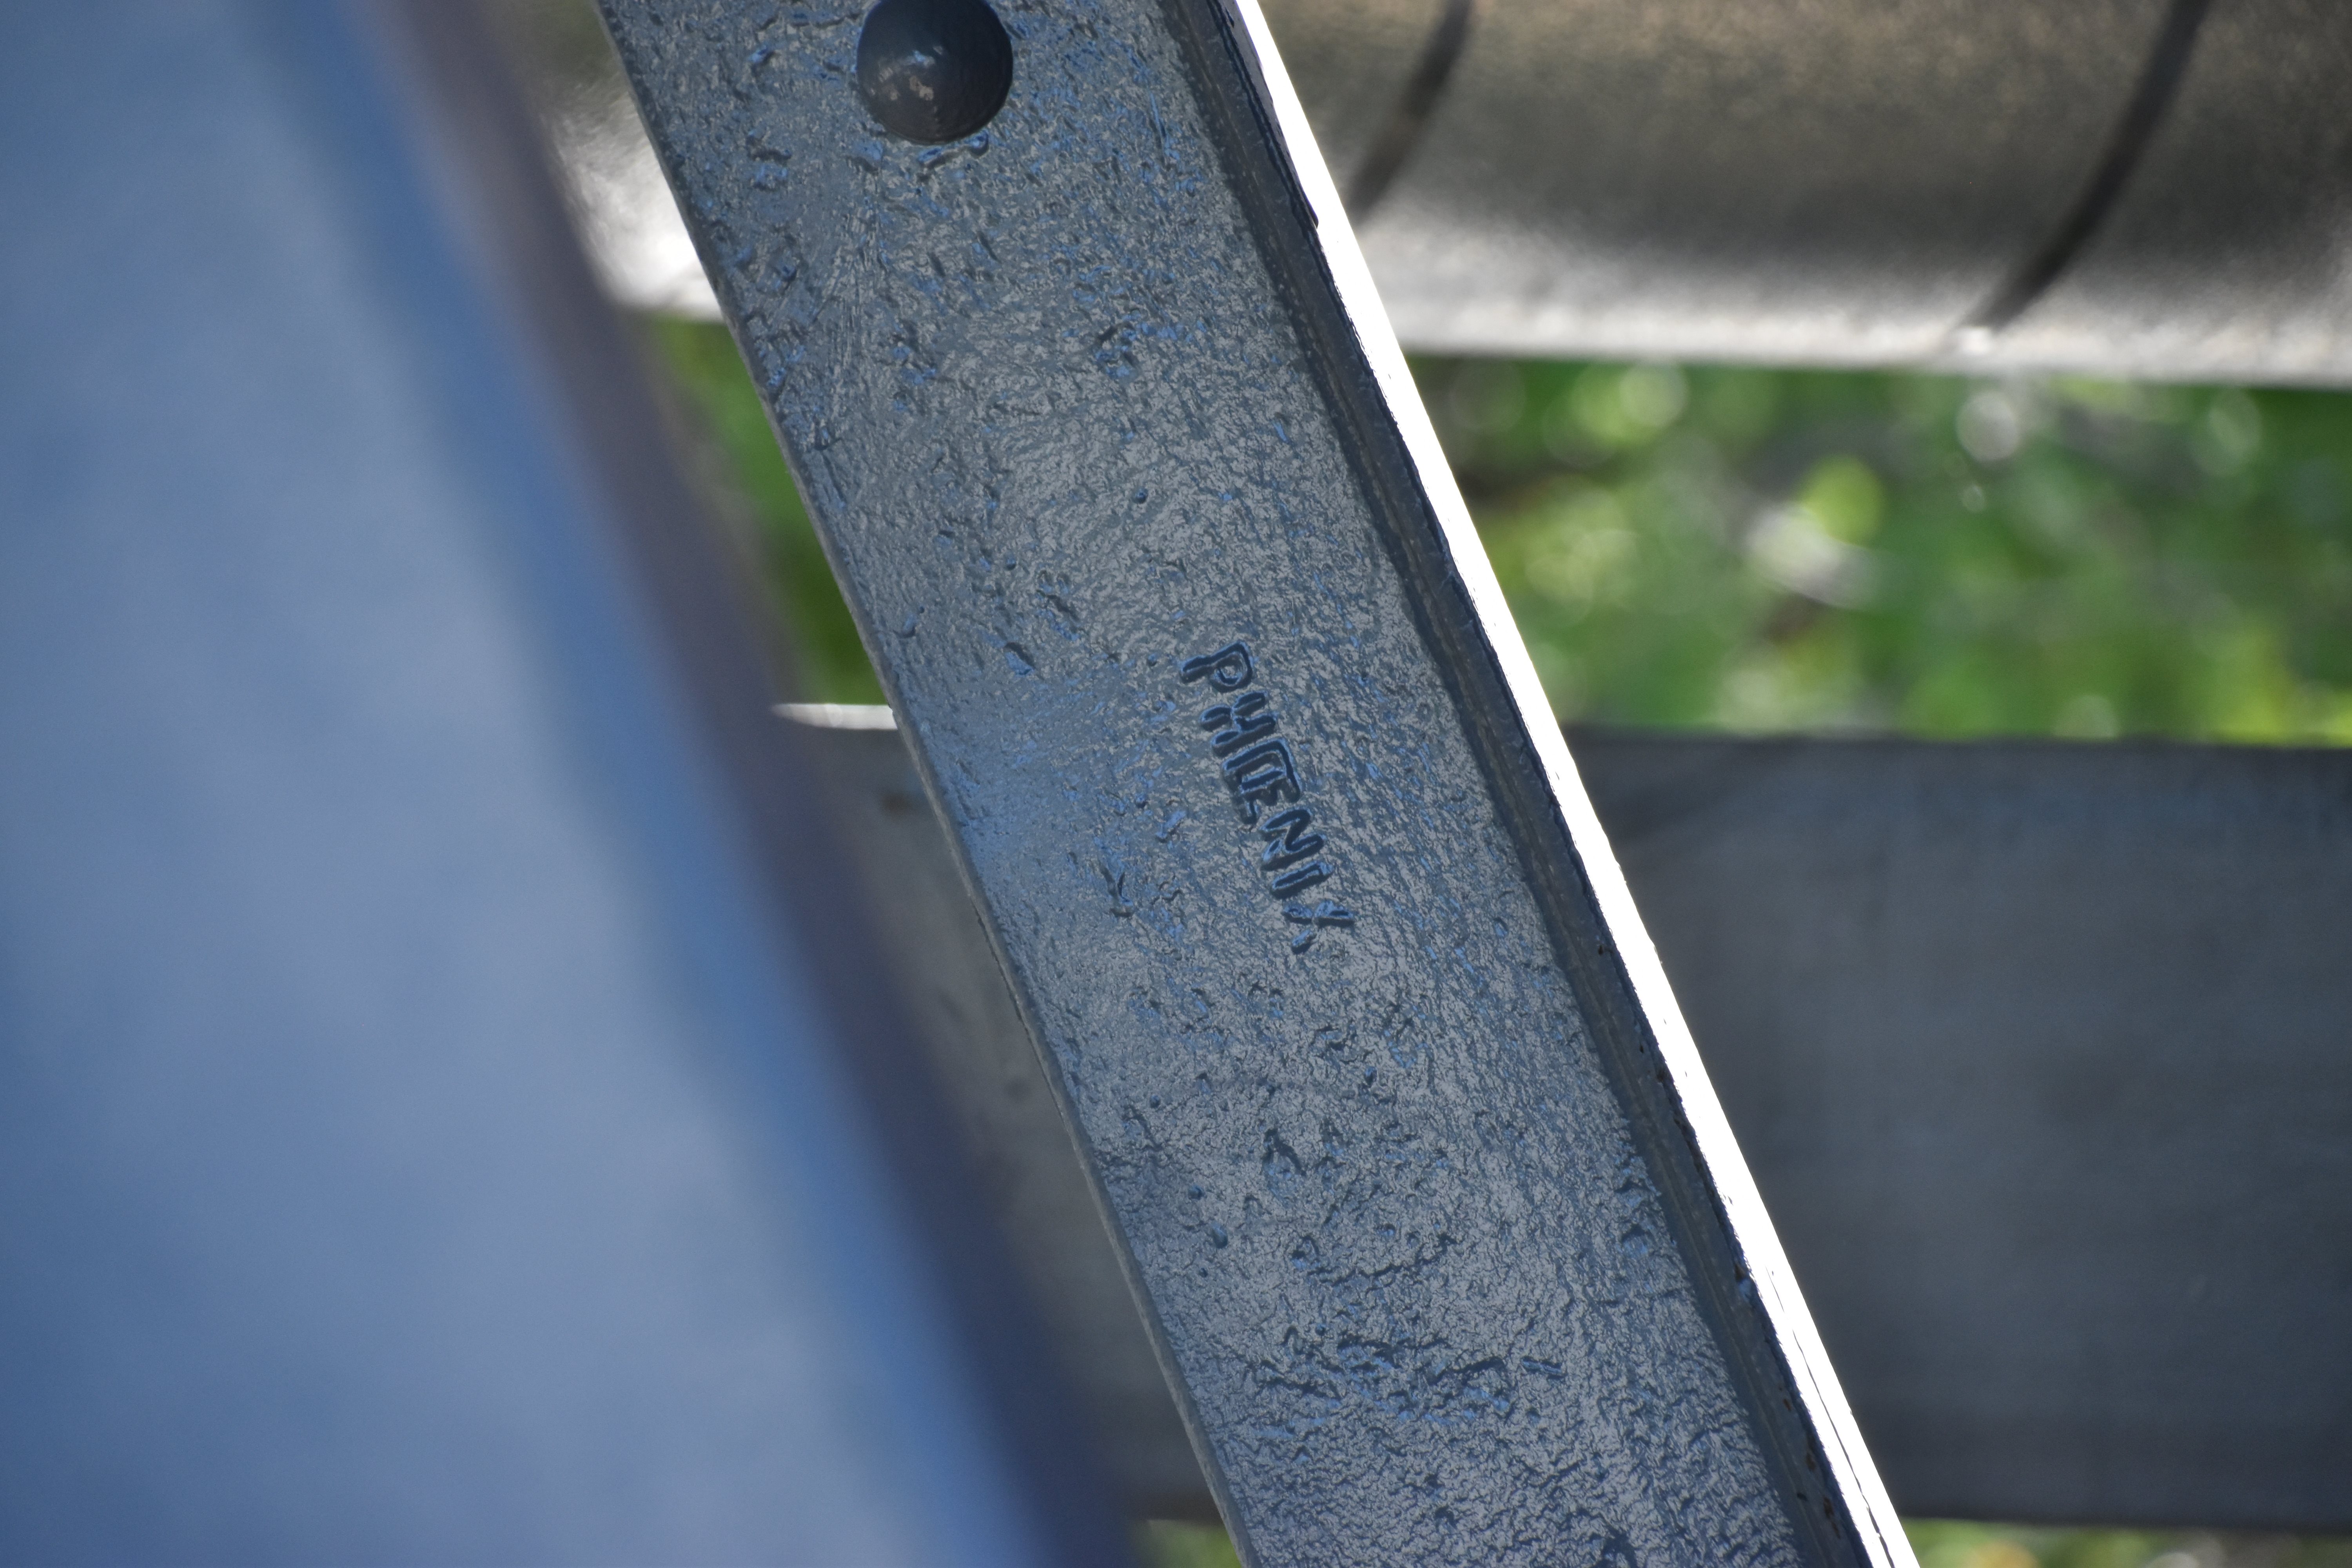
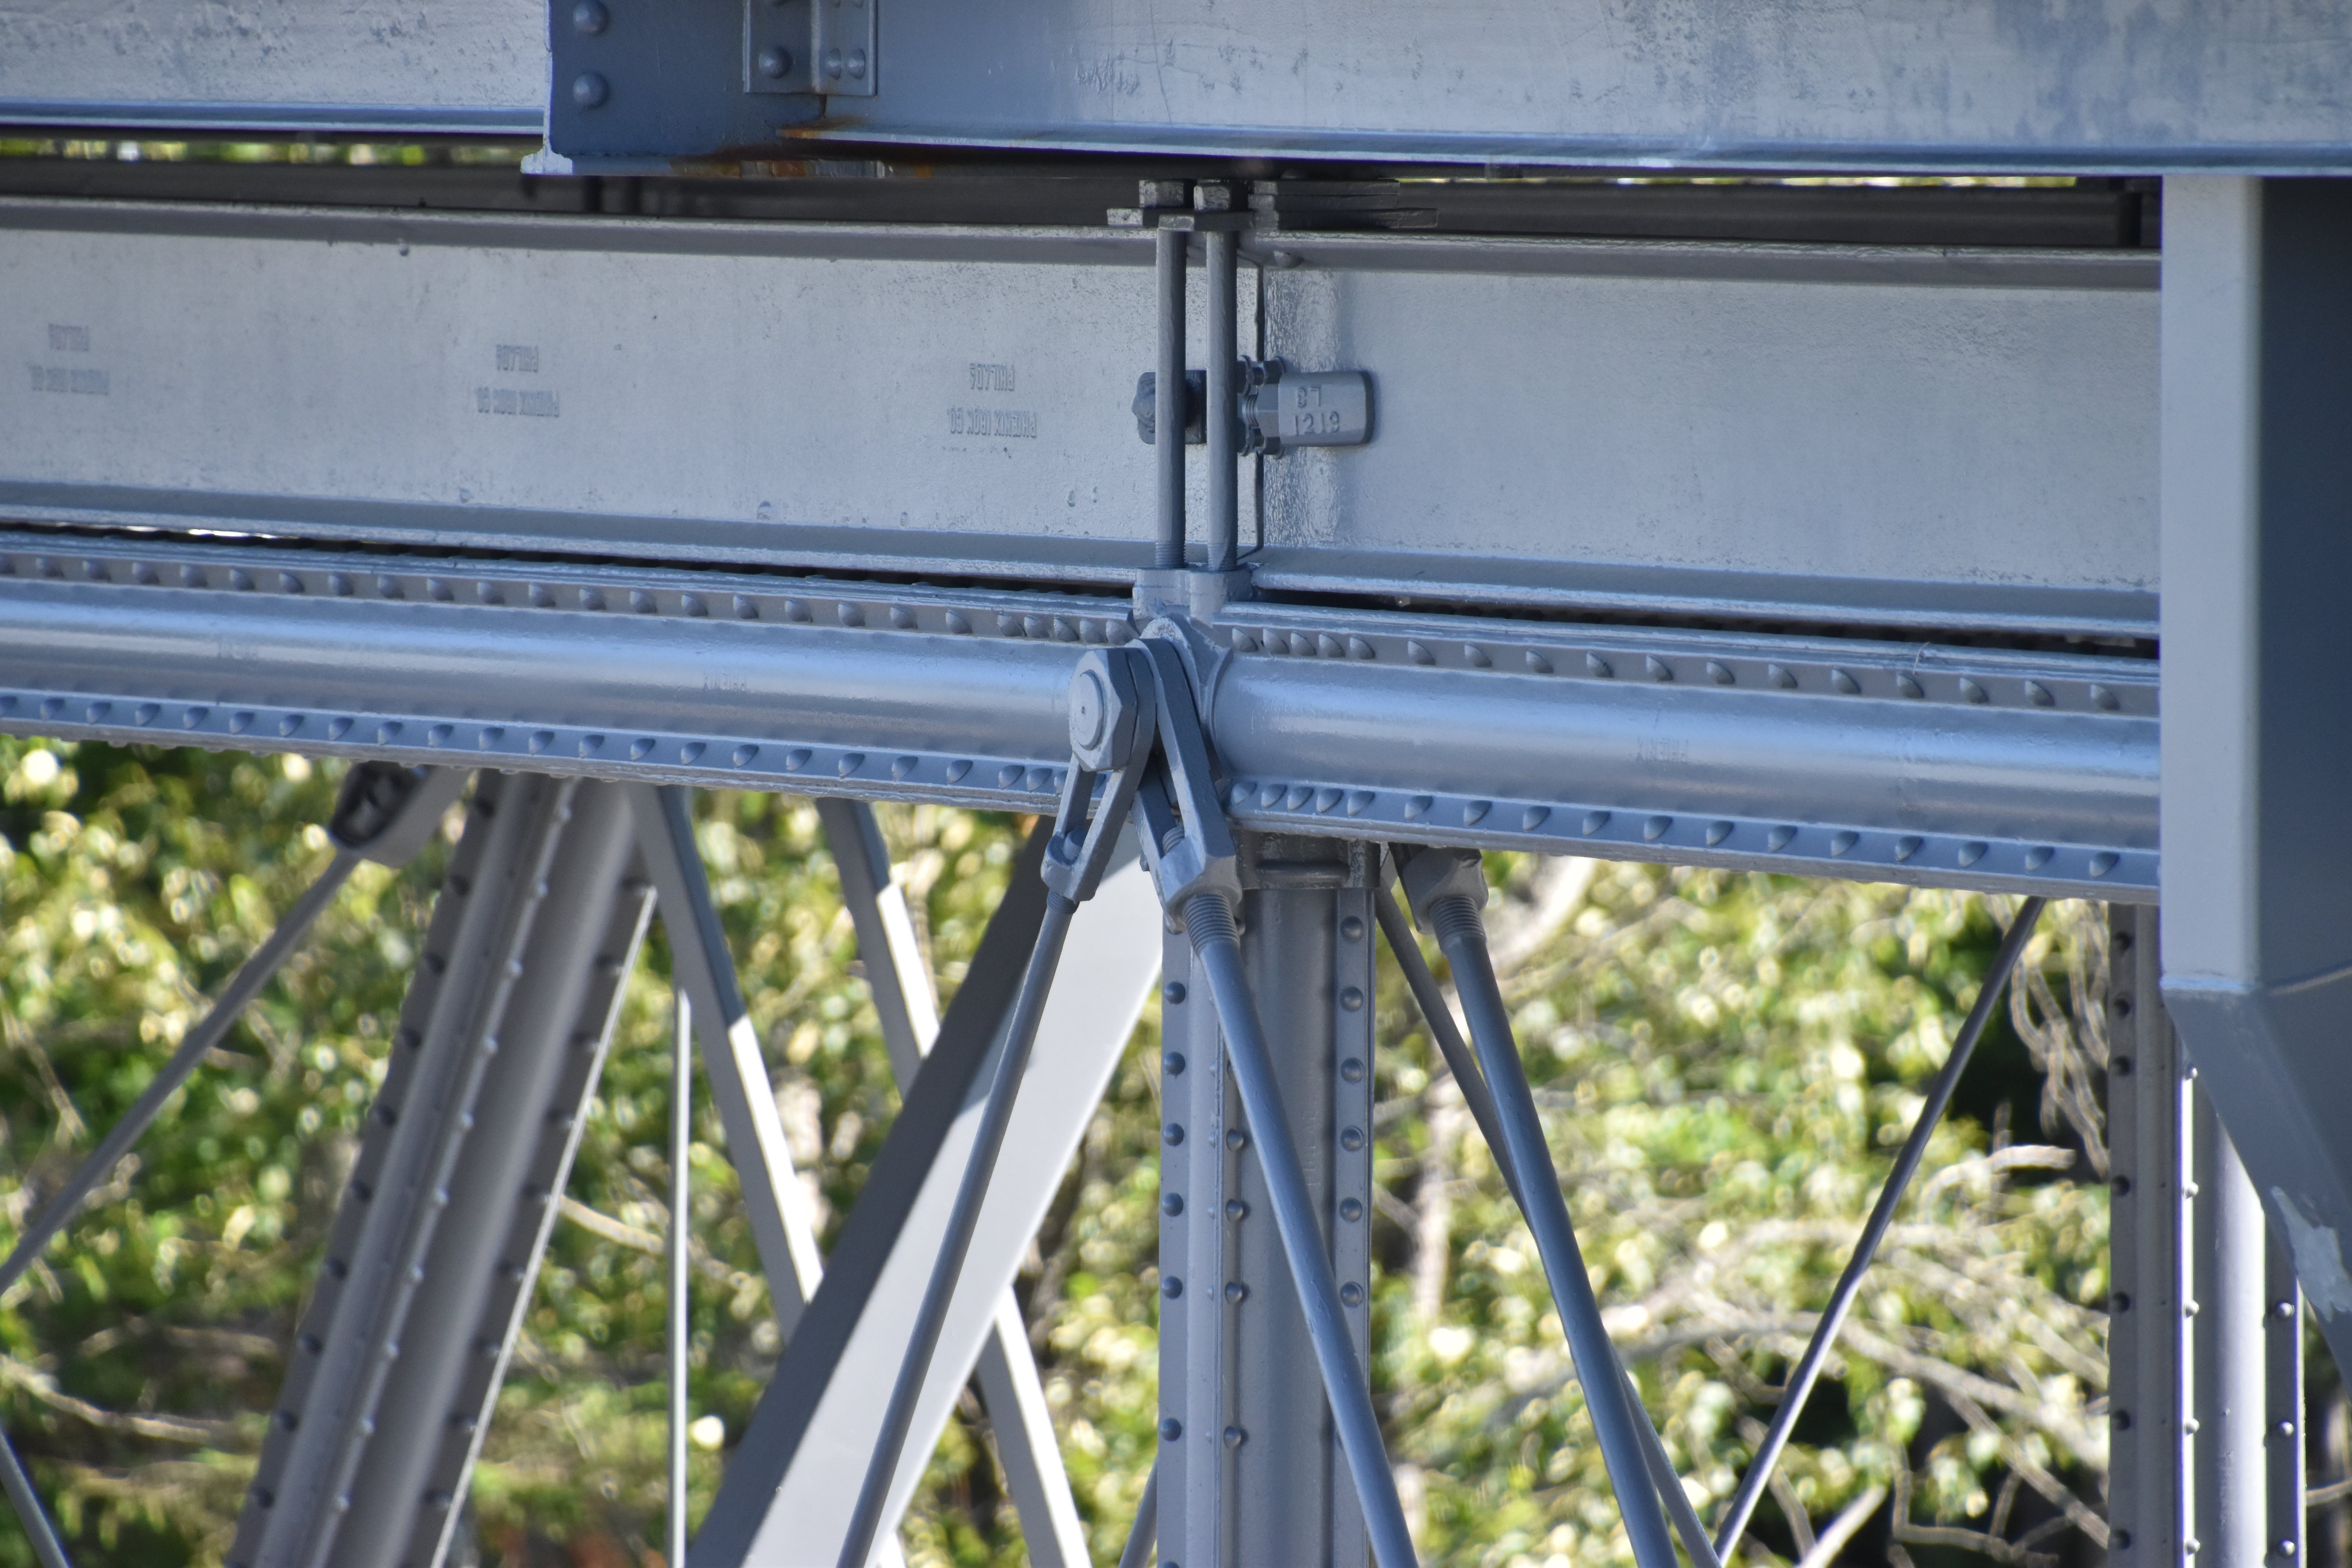
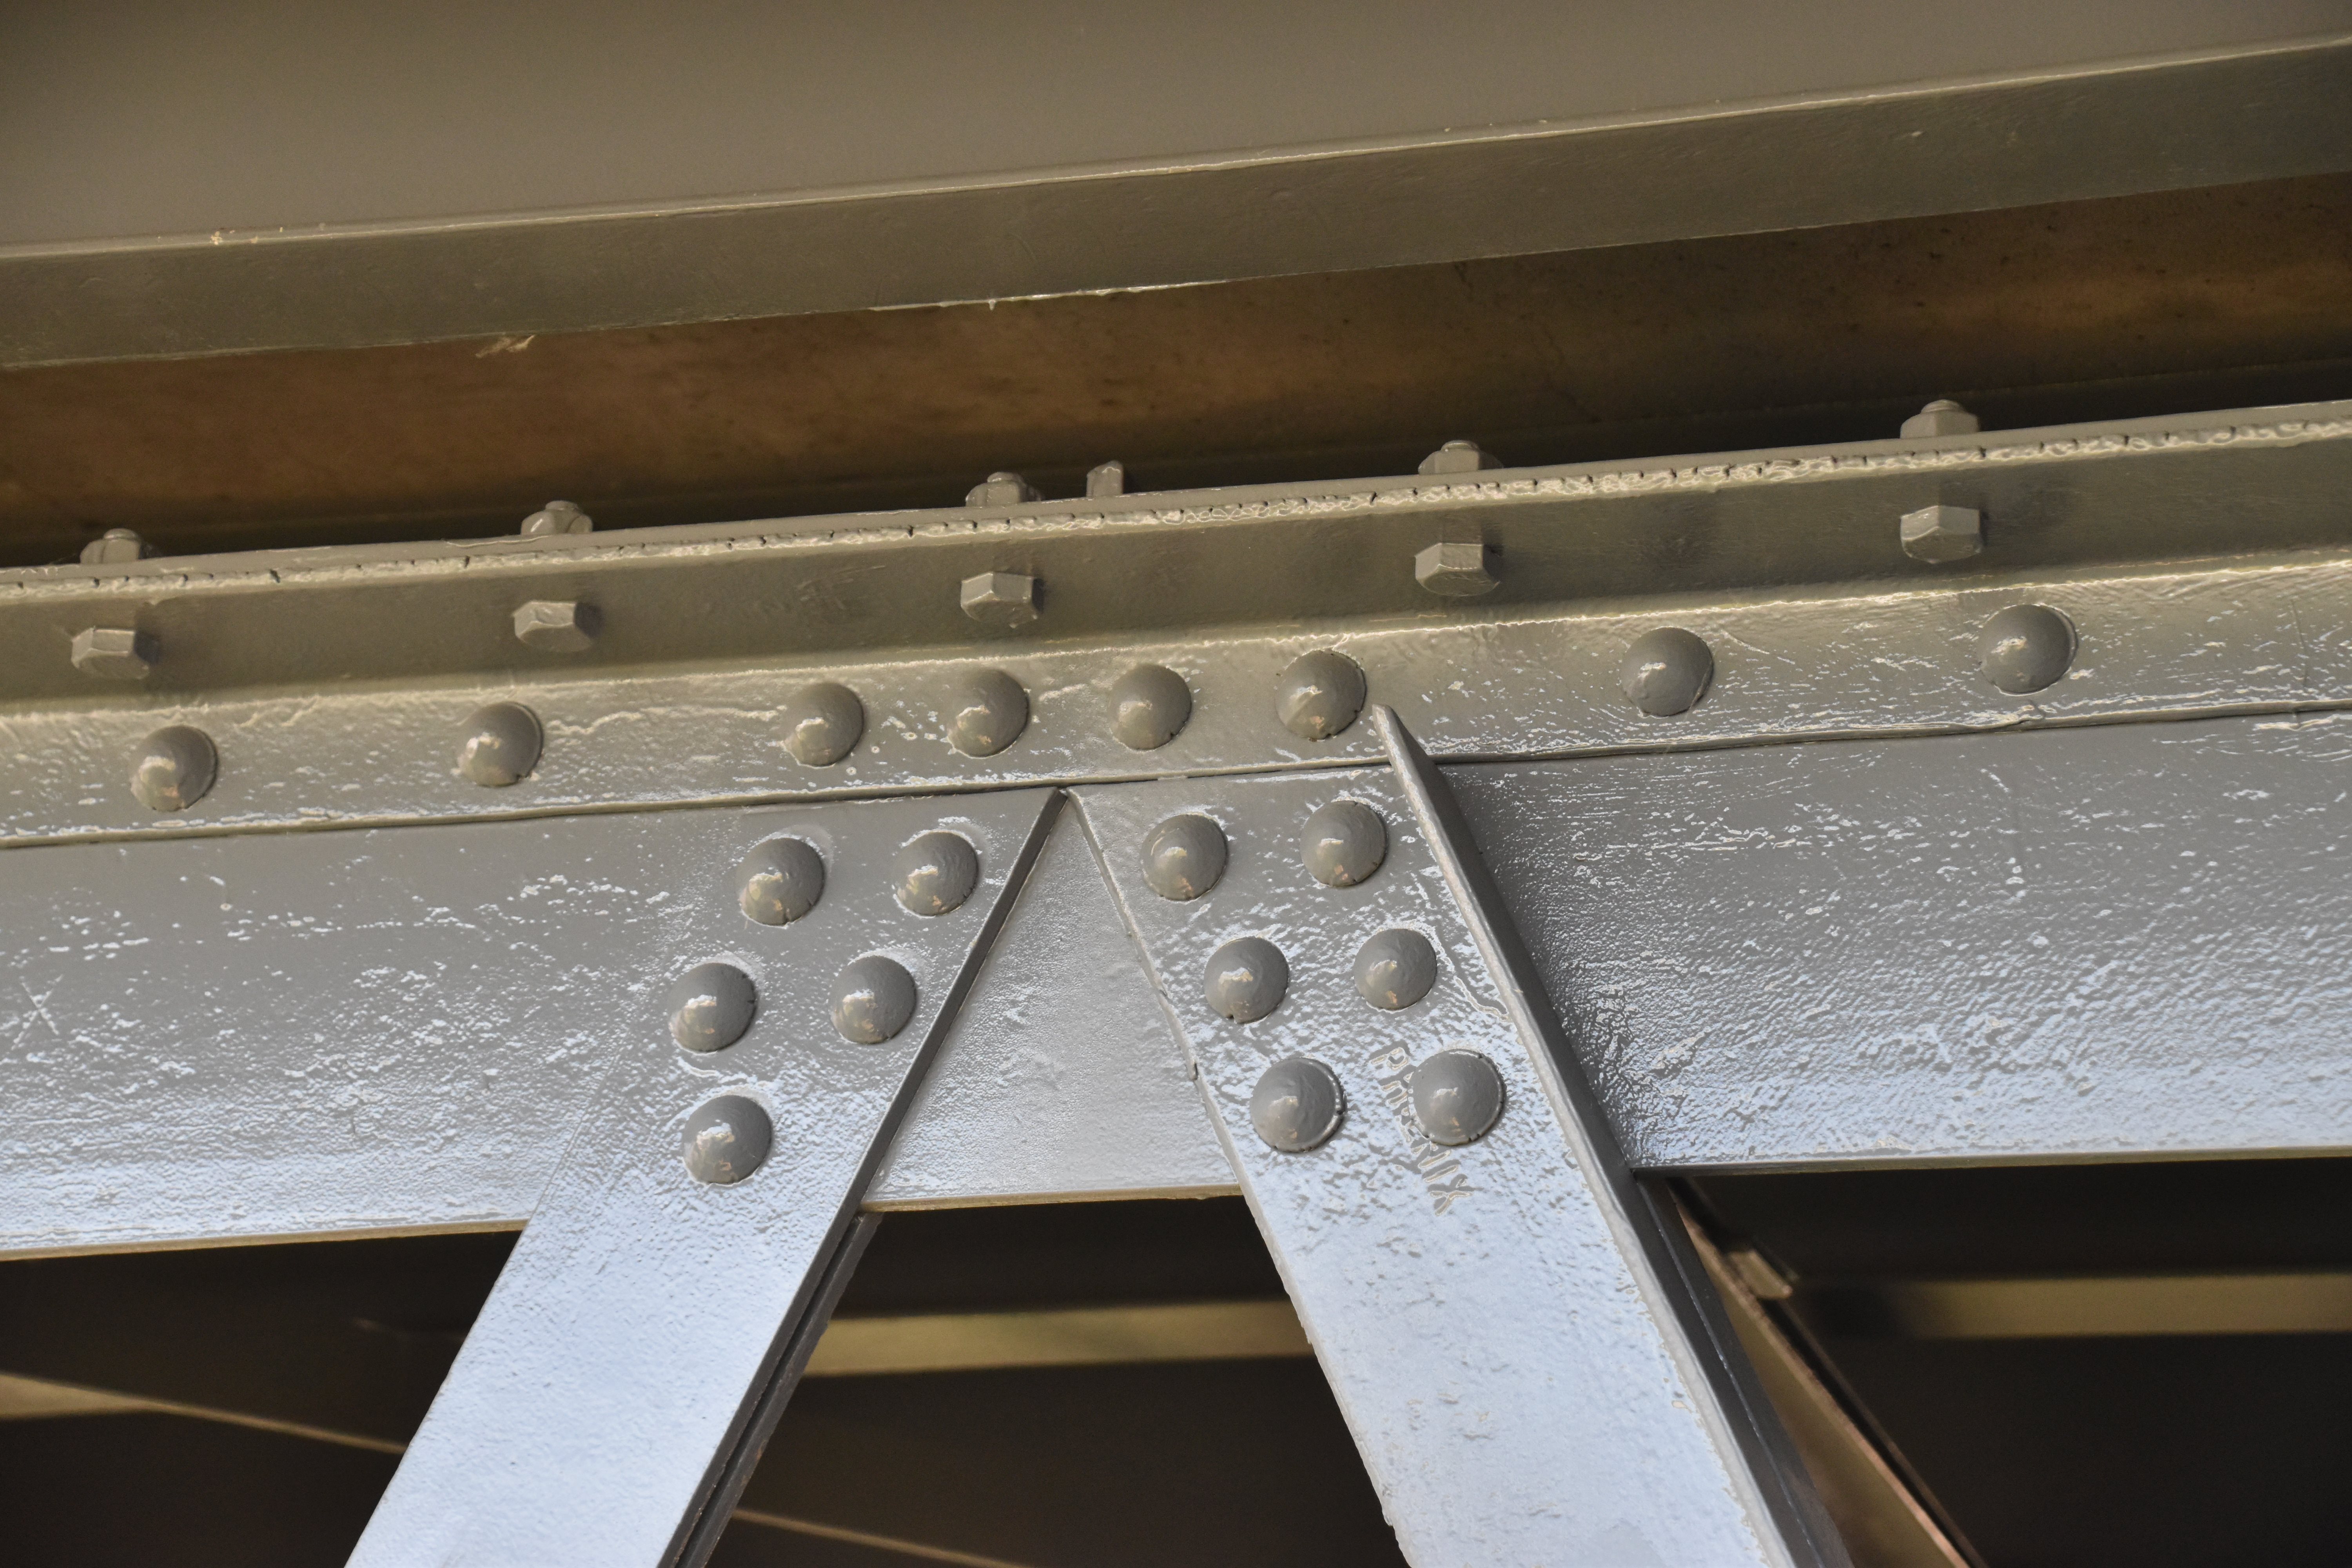
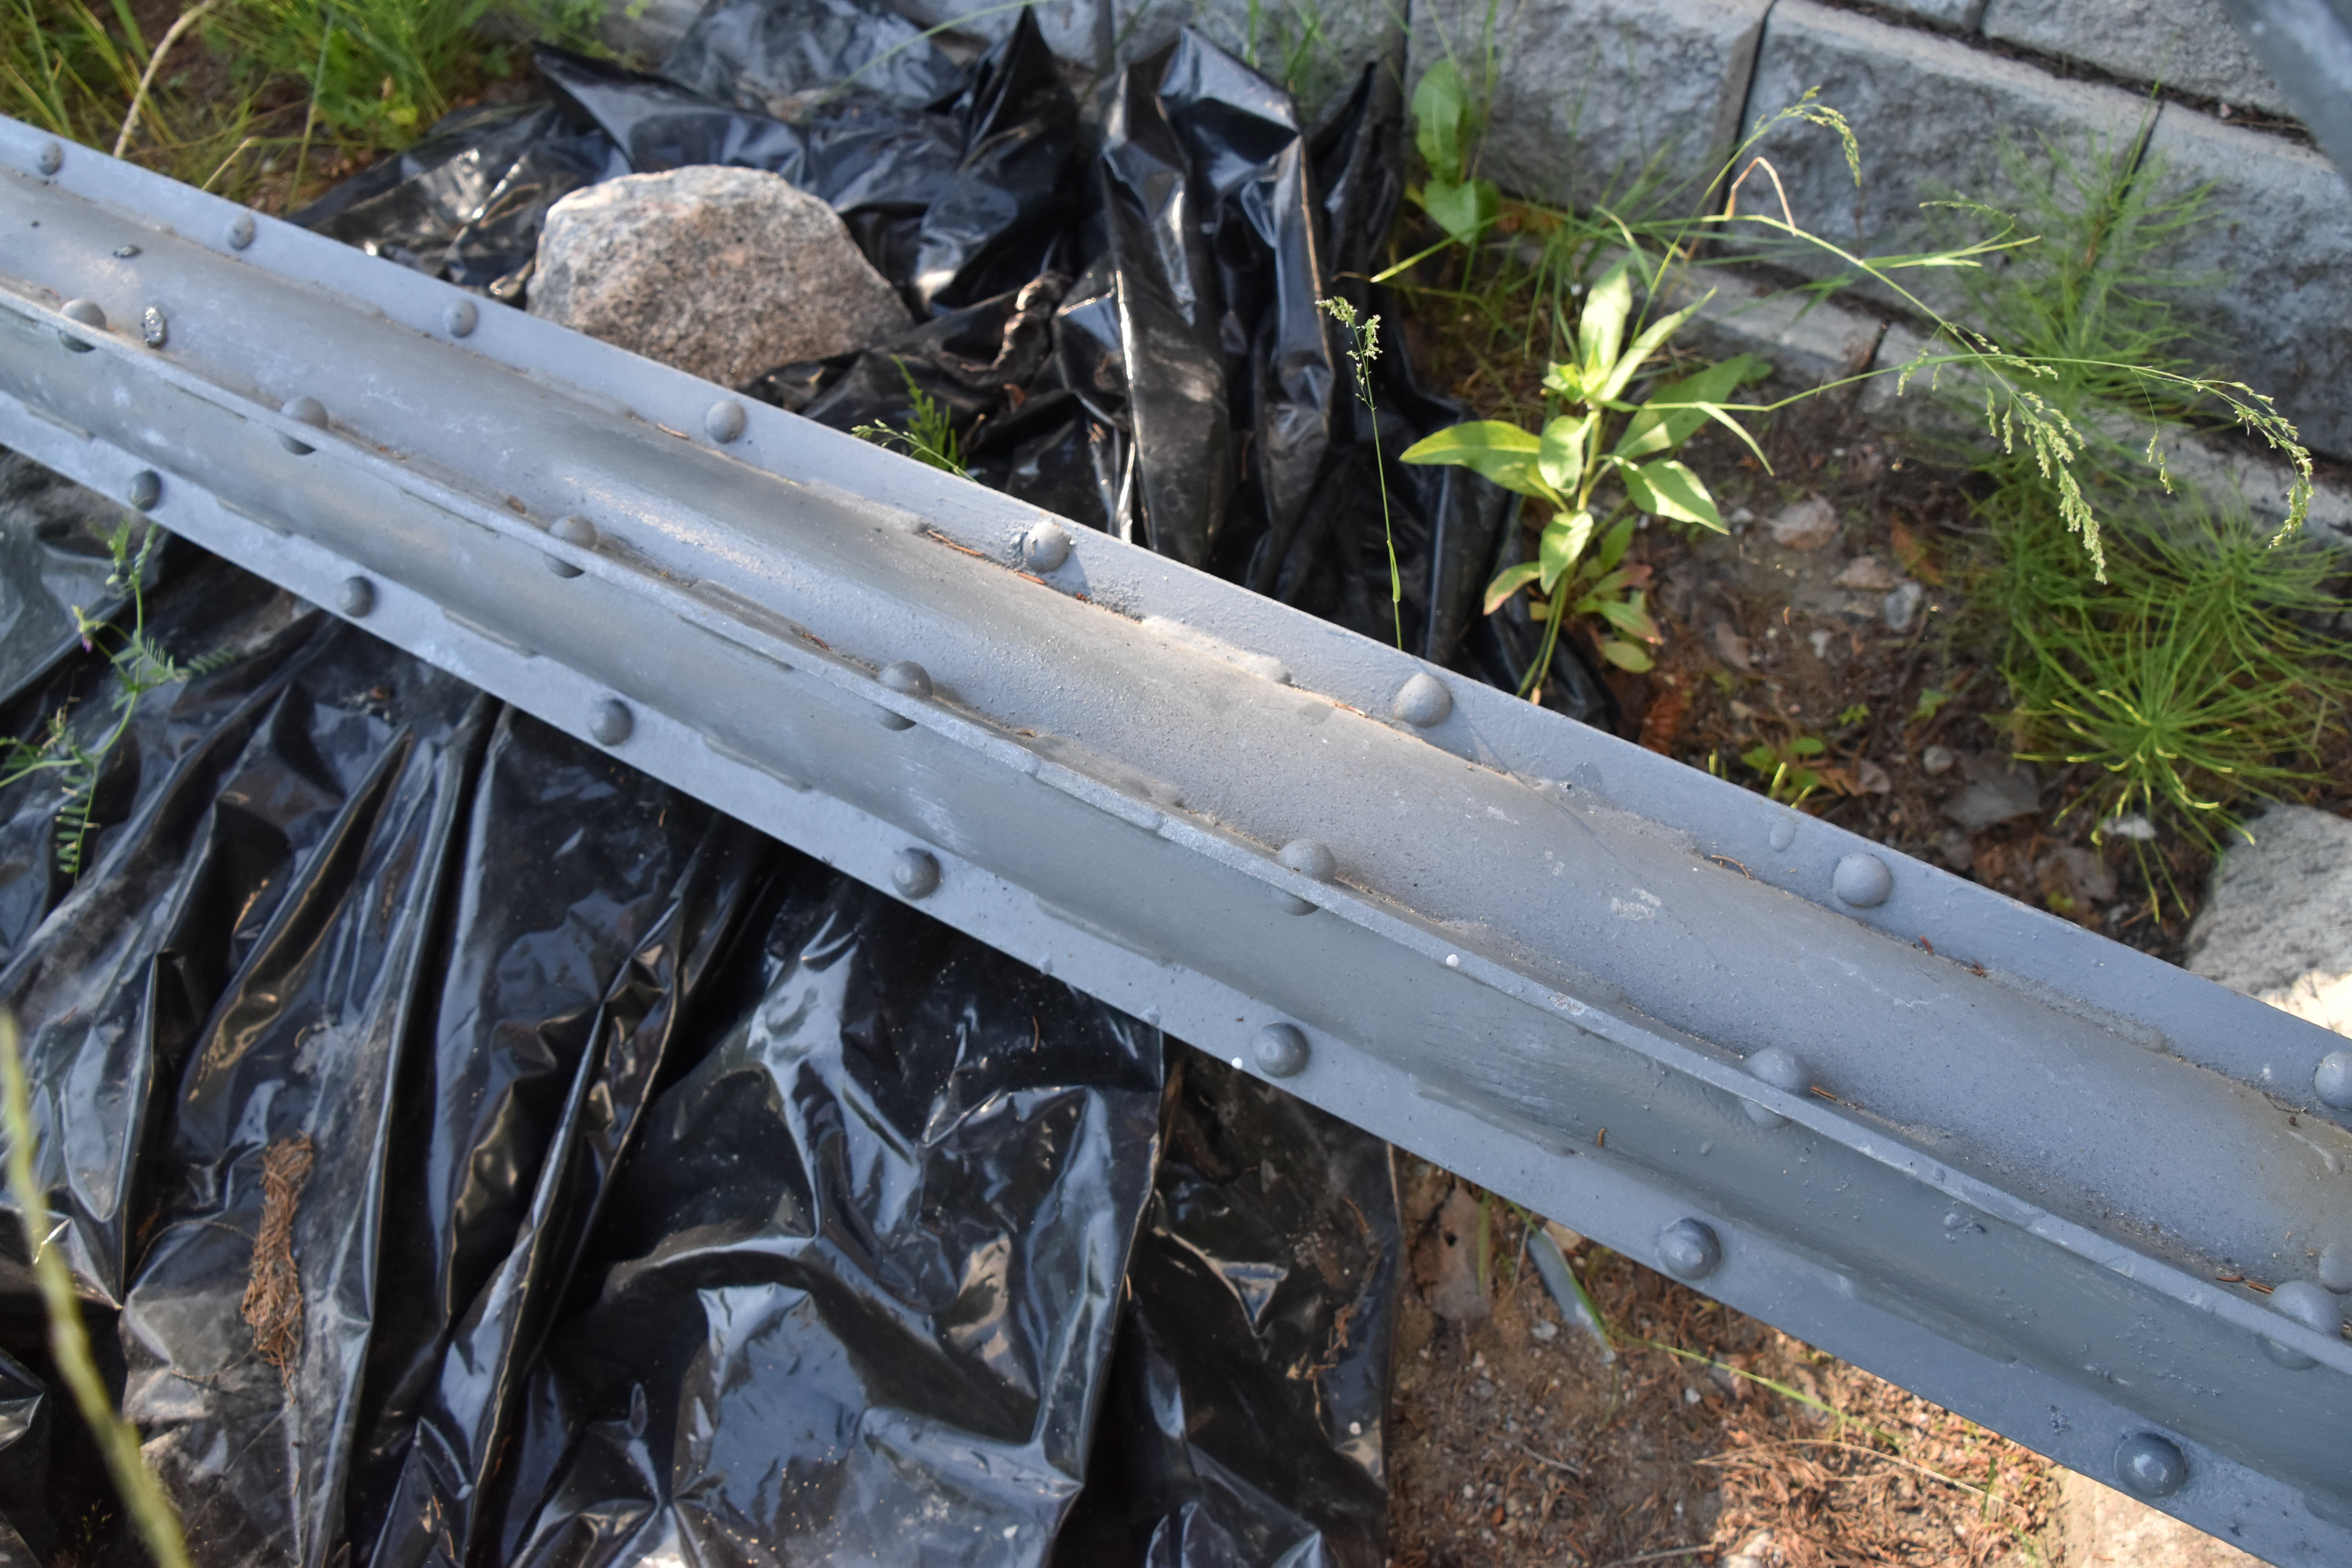
Phoenix brands.
![]()

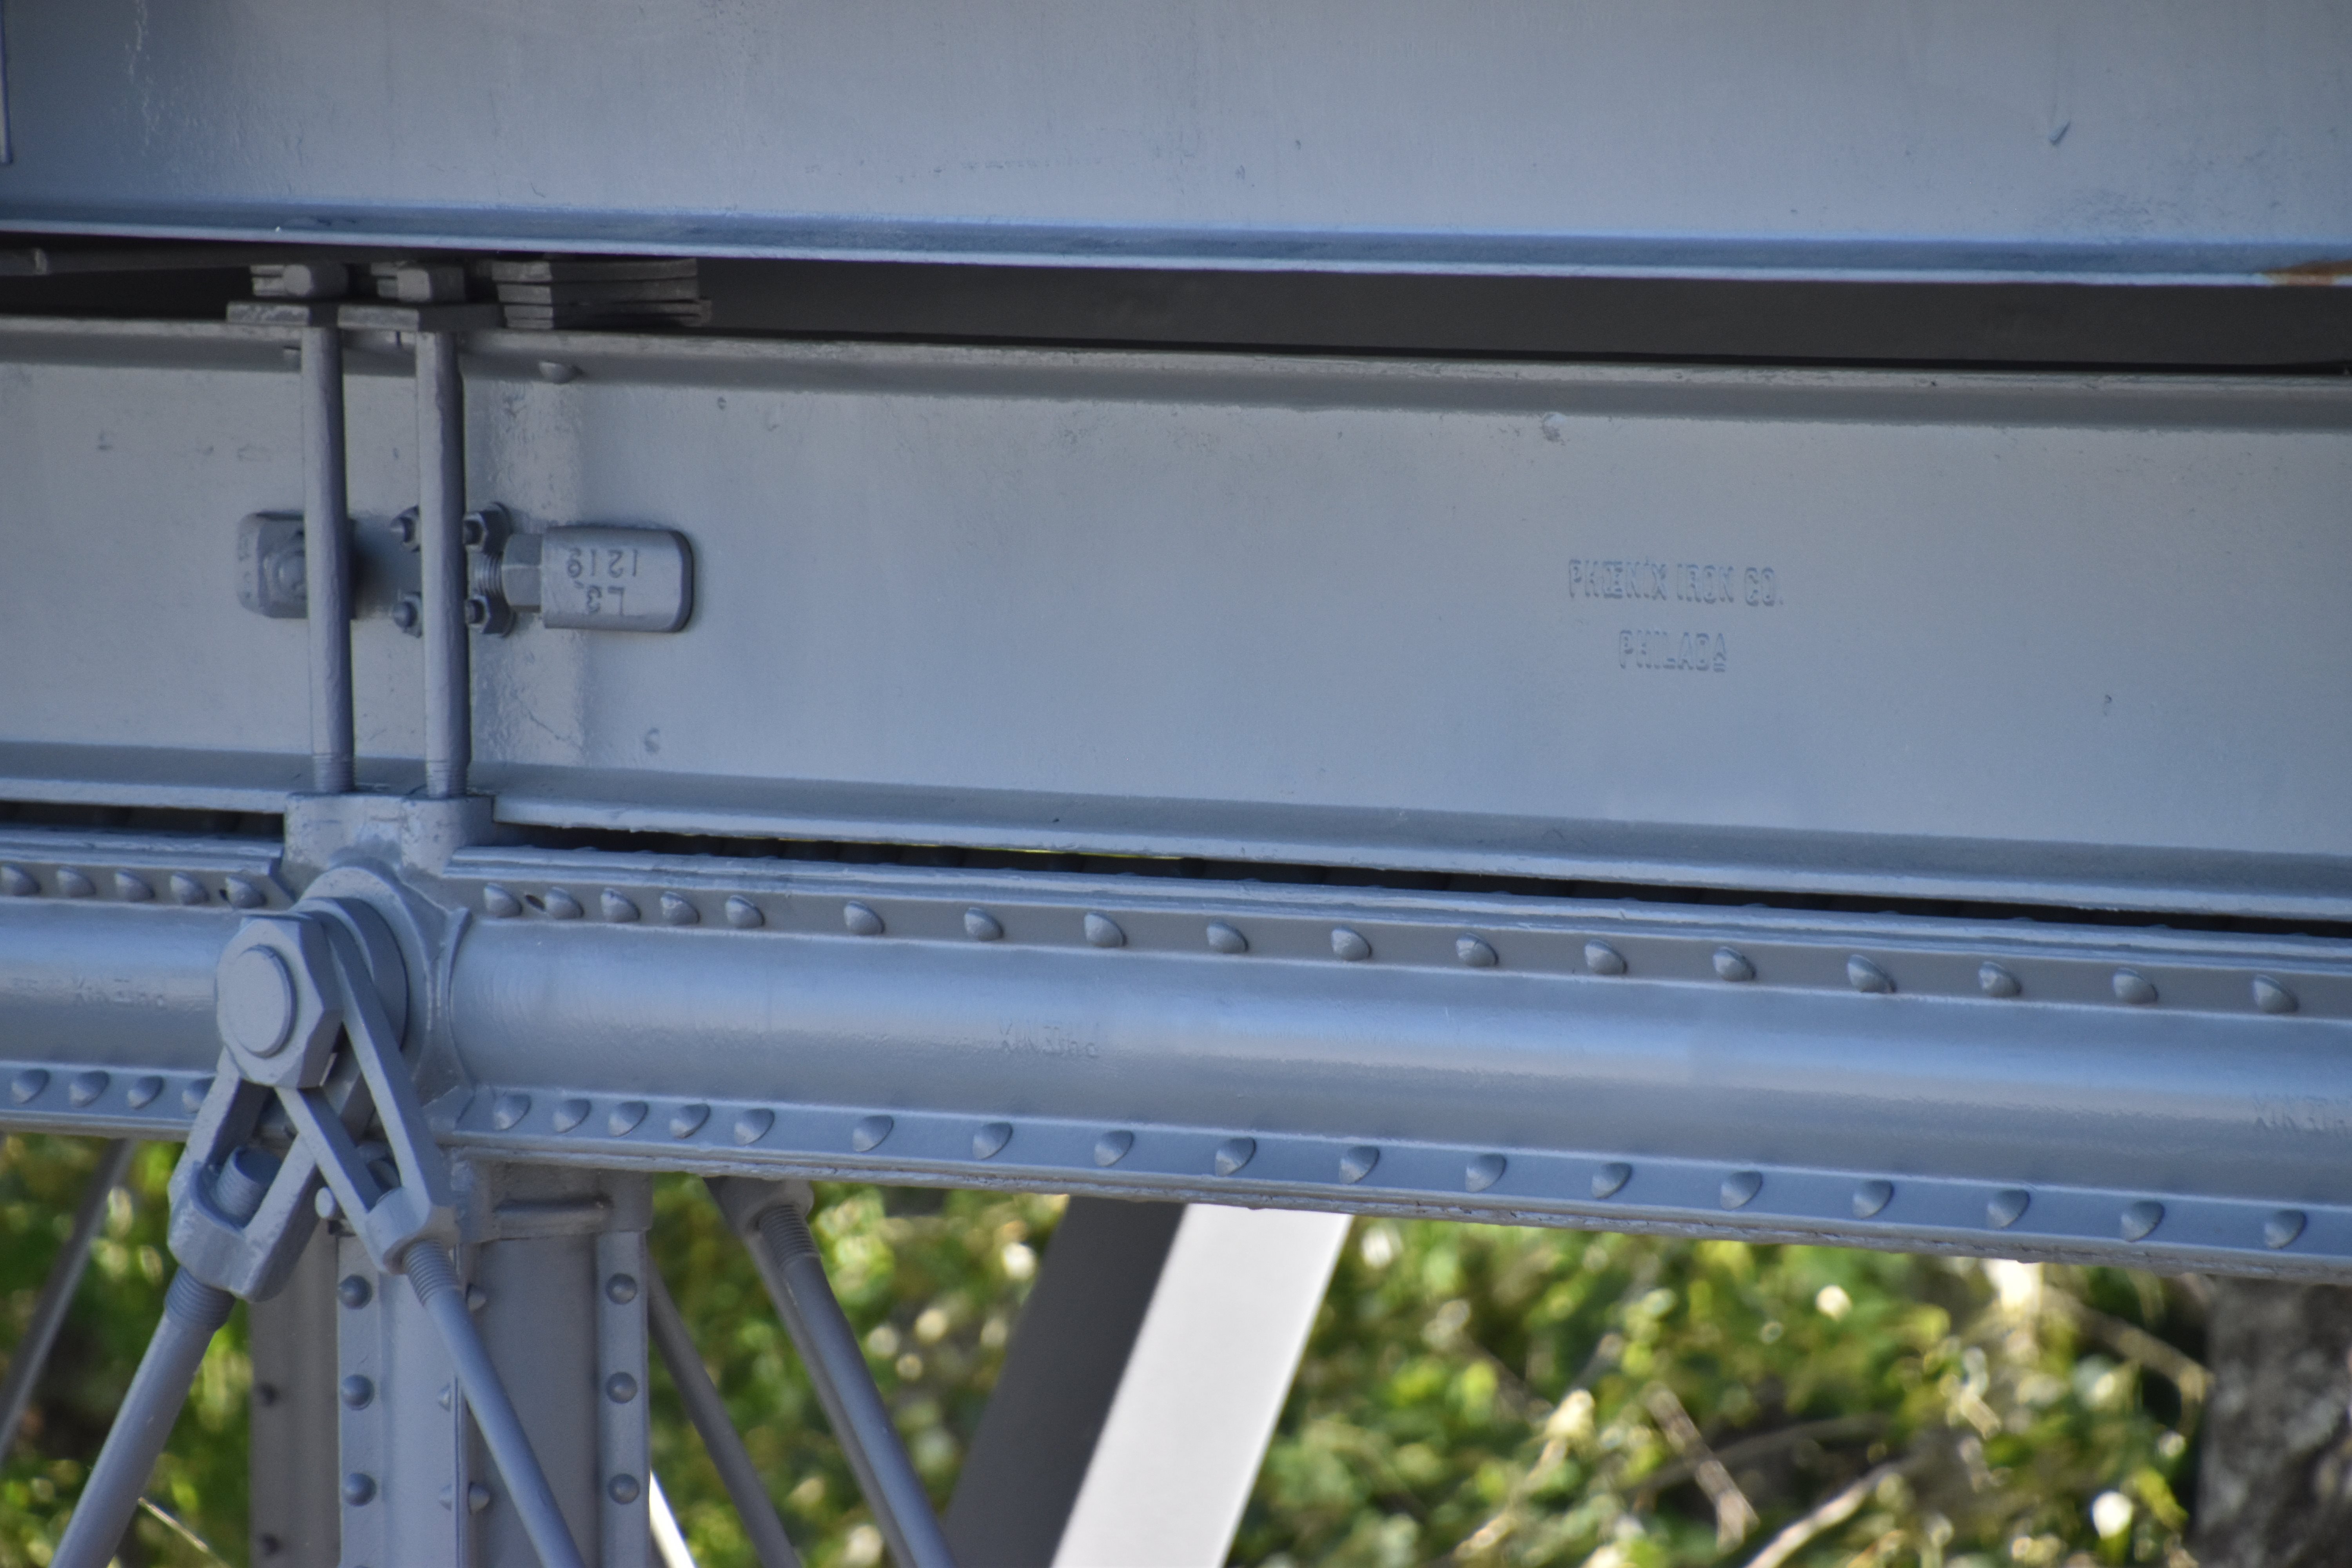


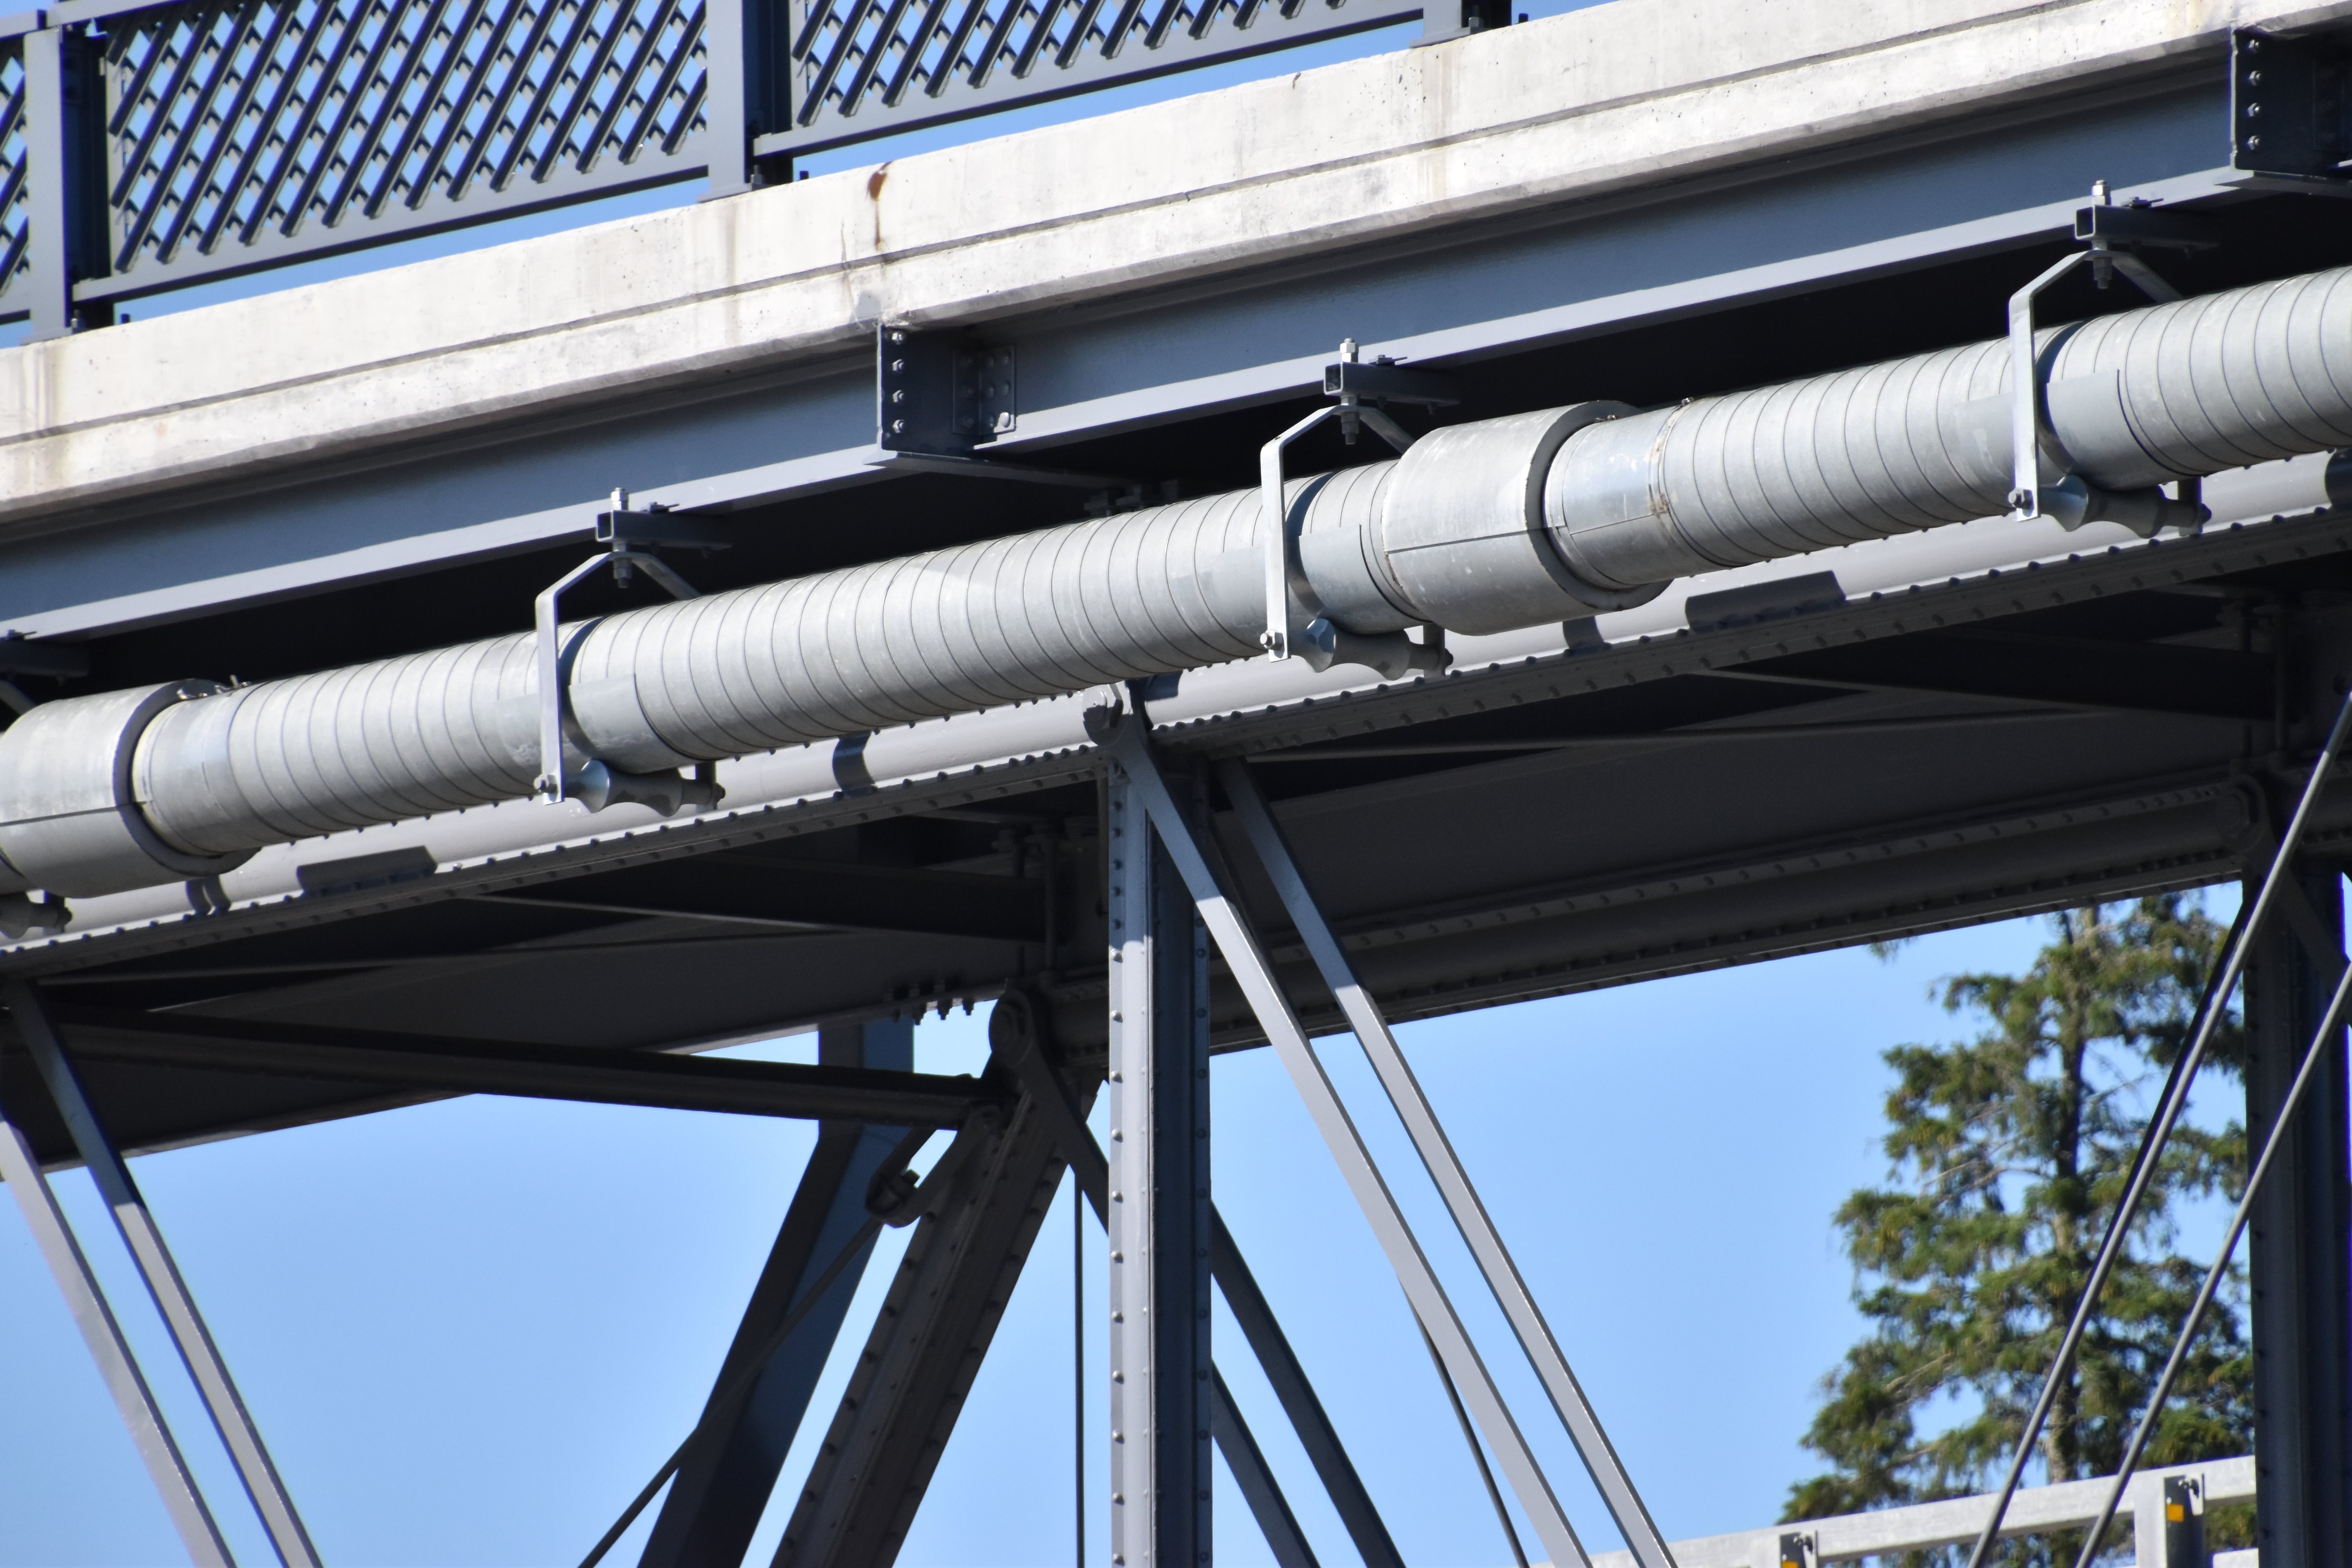
Top chord and deck stringer. Phoenix brands visible on both.
![]()

Memorial plaque.
![]()


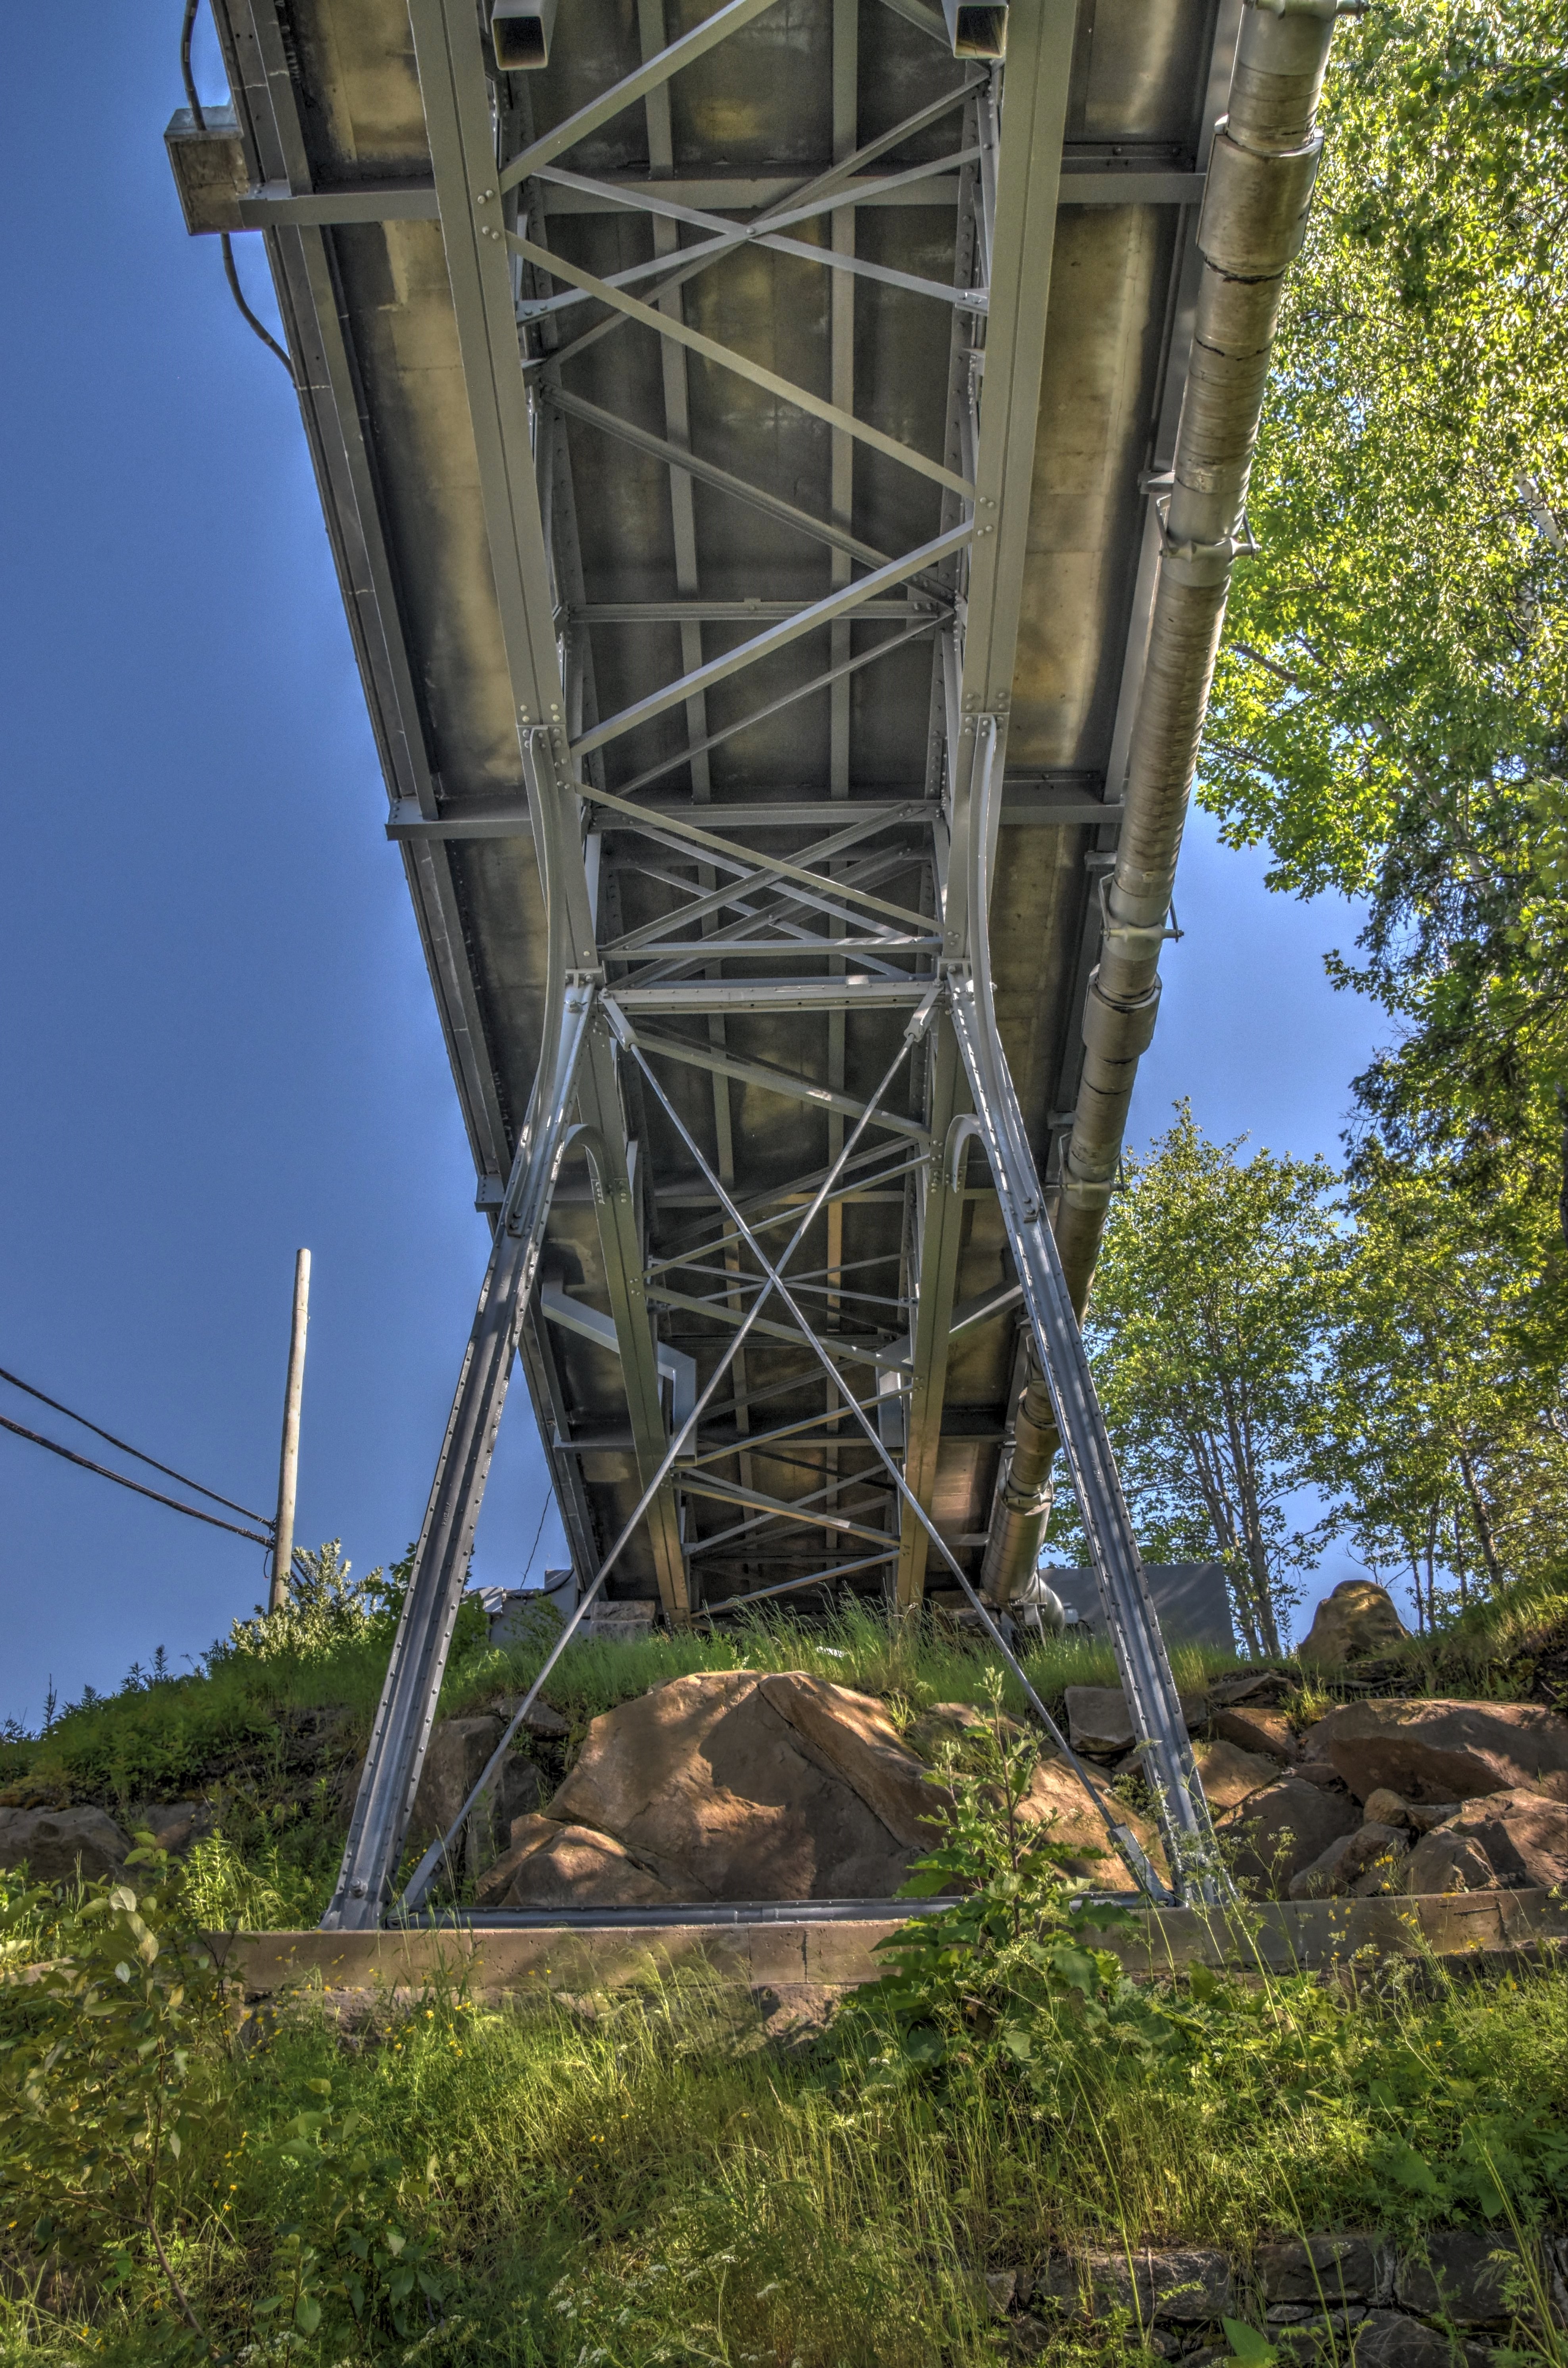
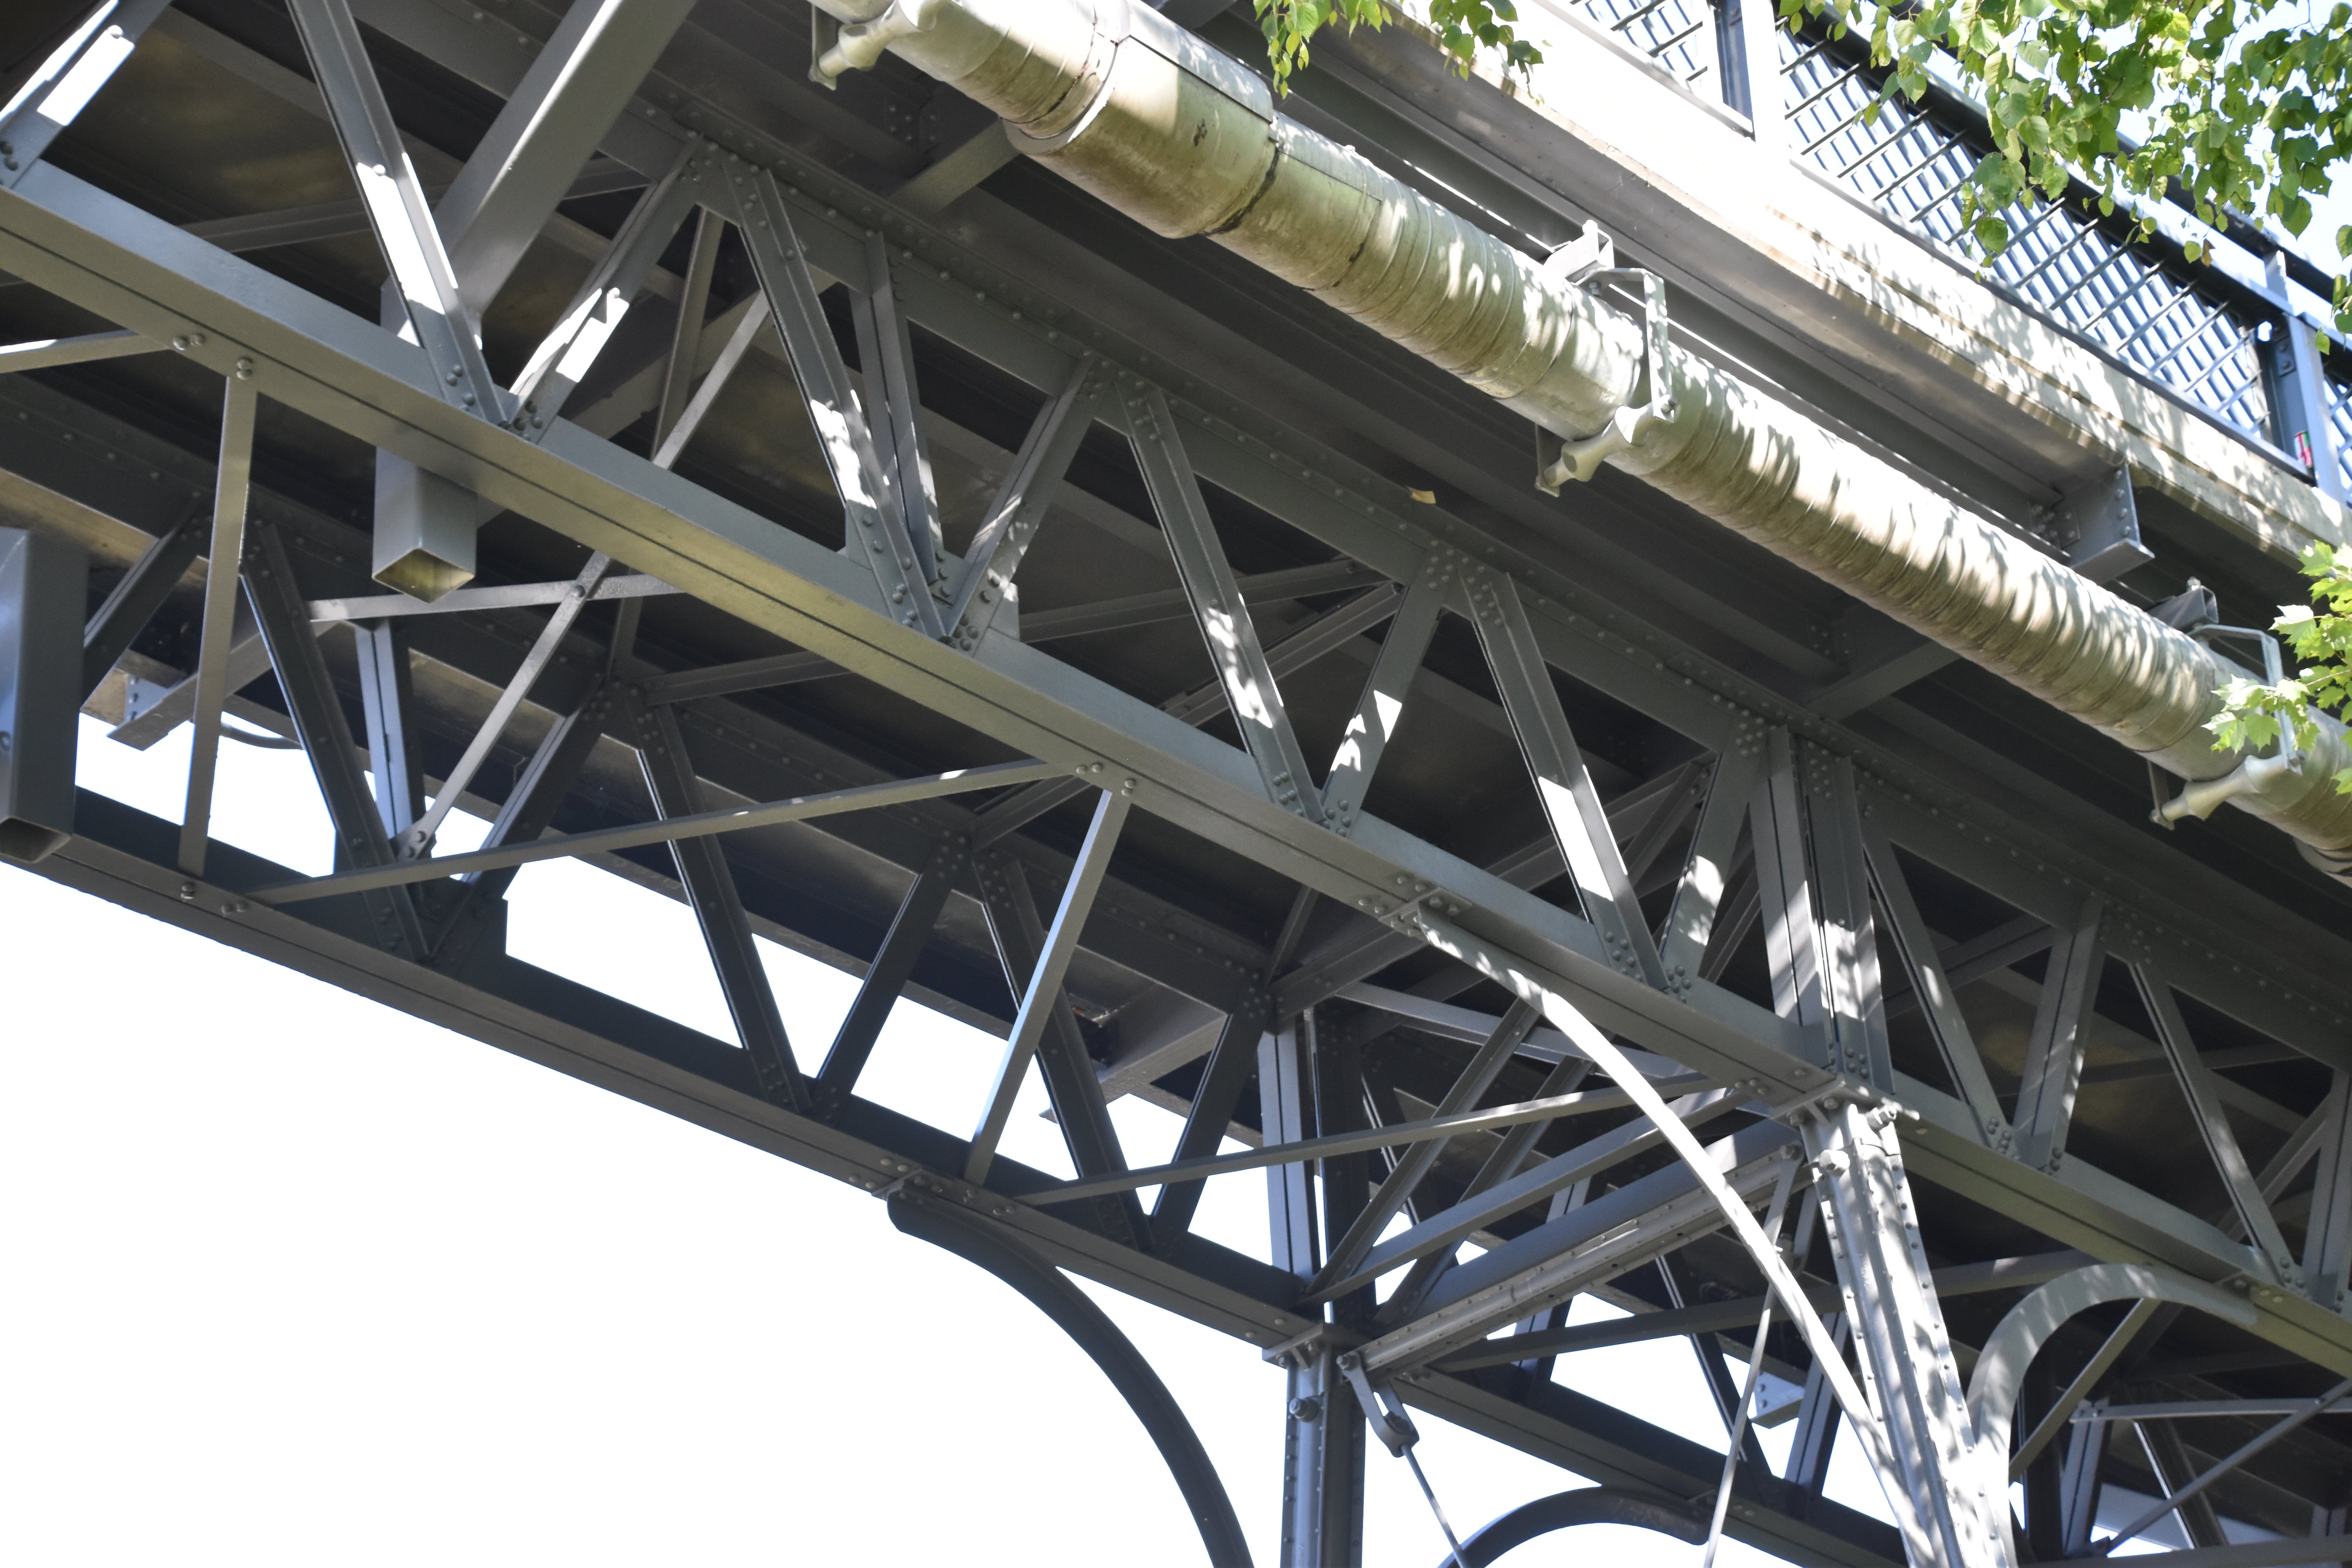
Views under approach spans.
![]()


Views under approach facing south.
![]()


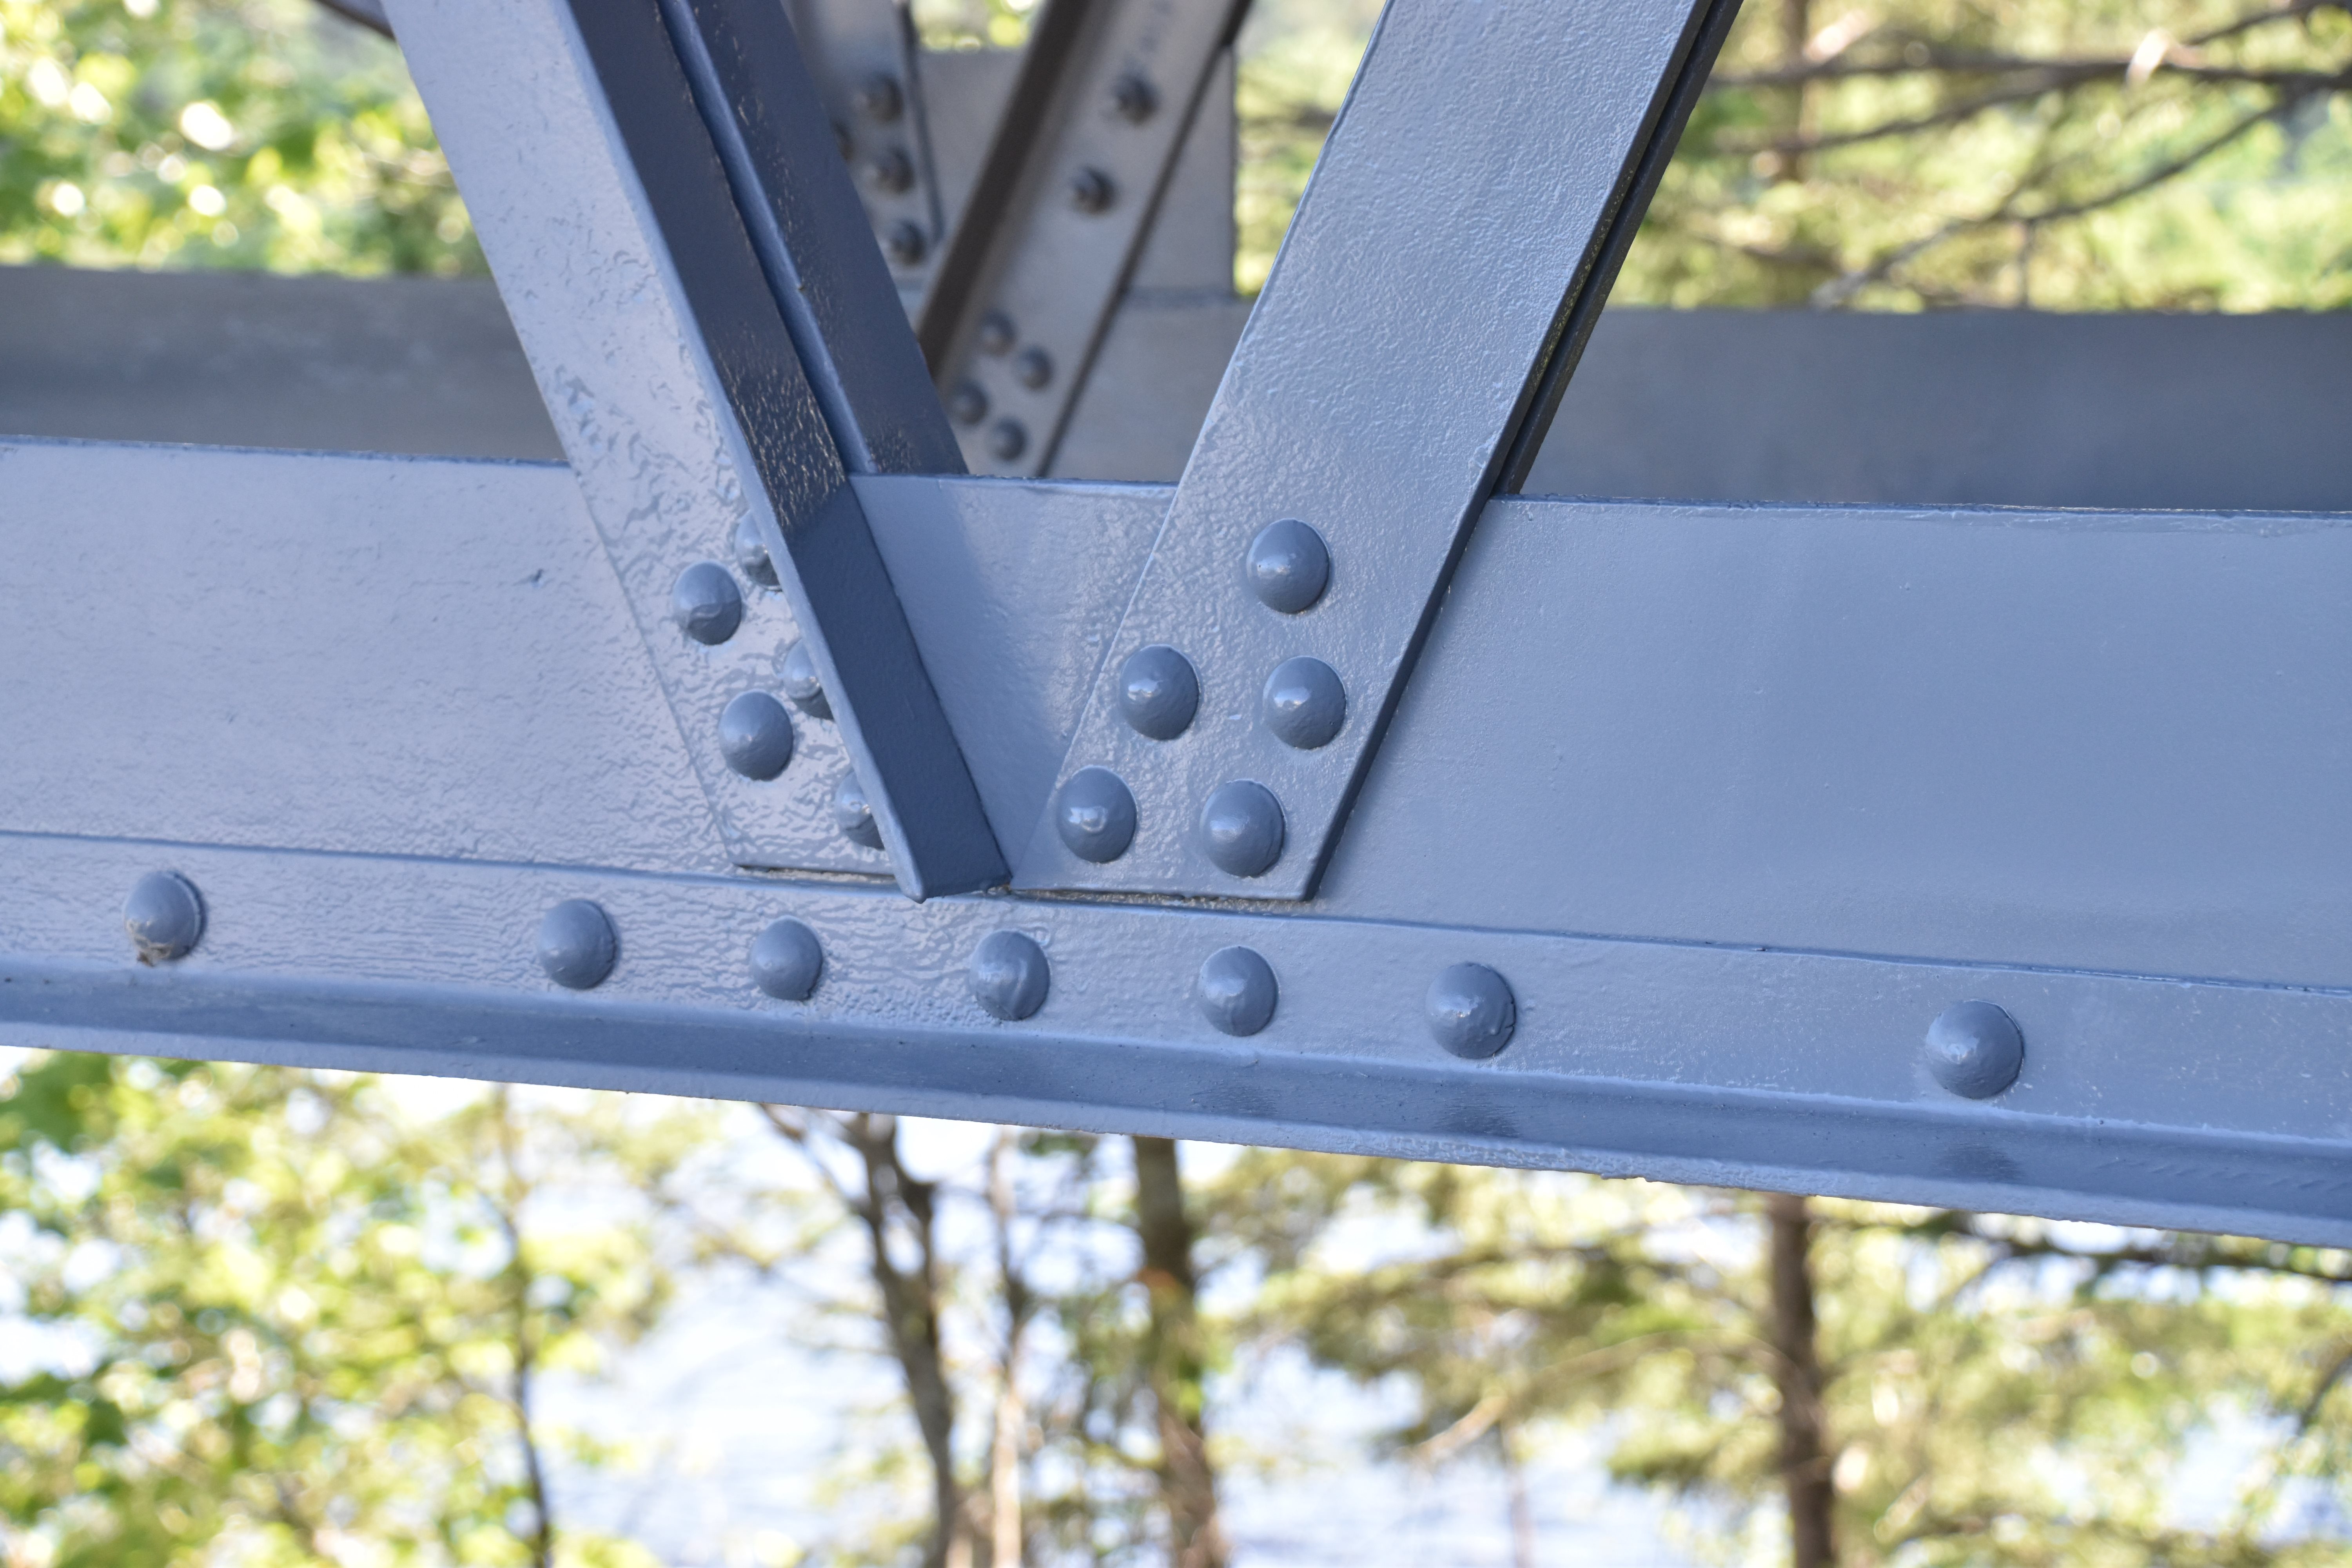
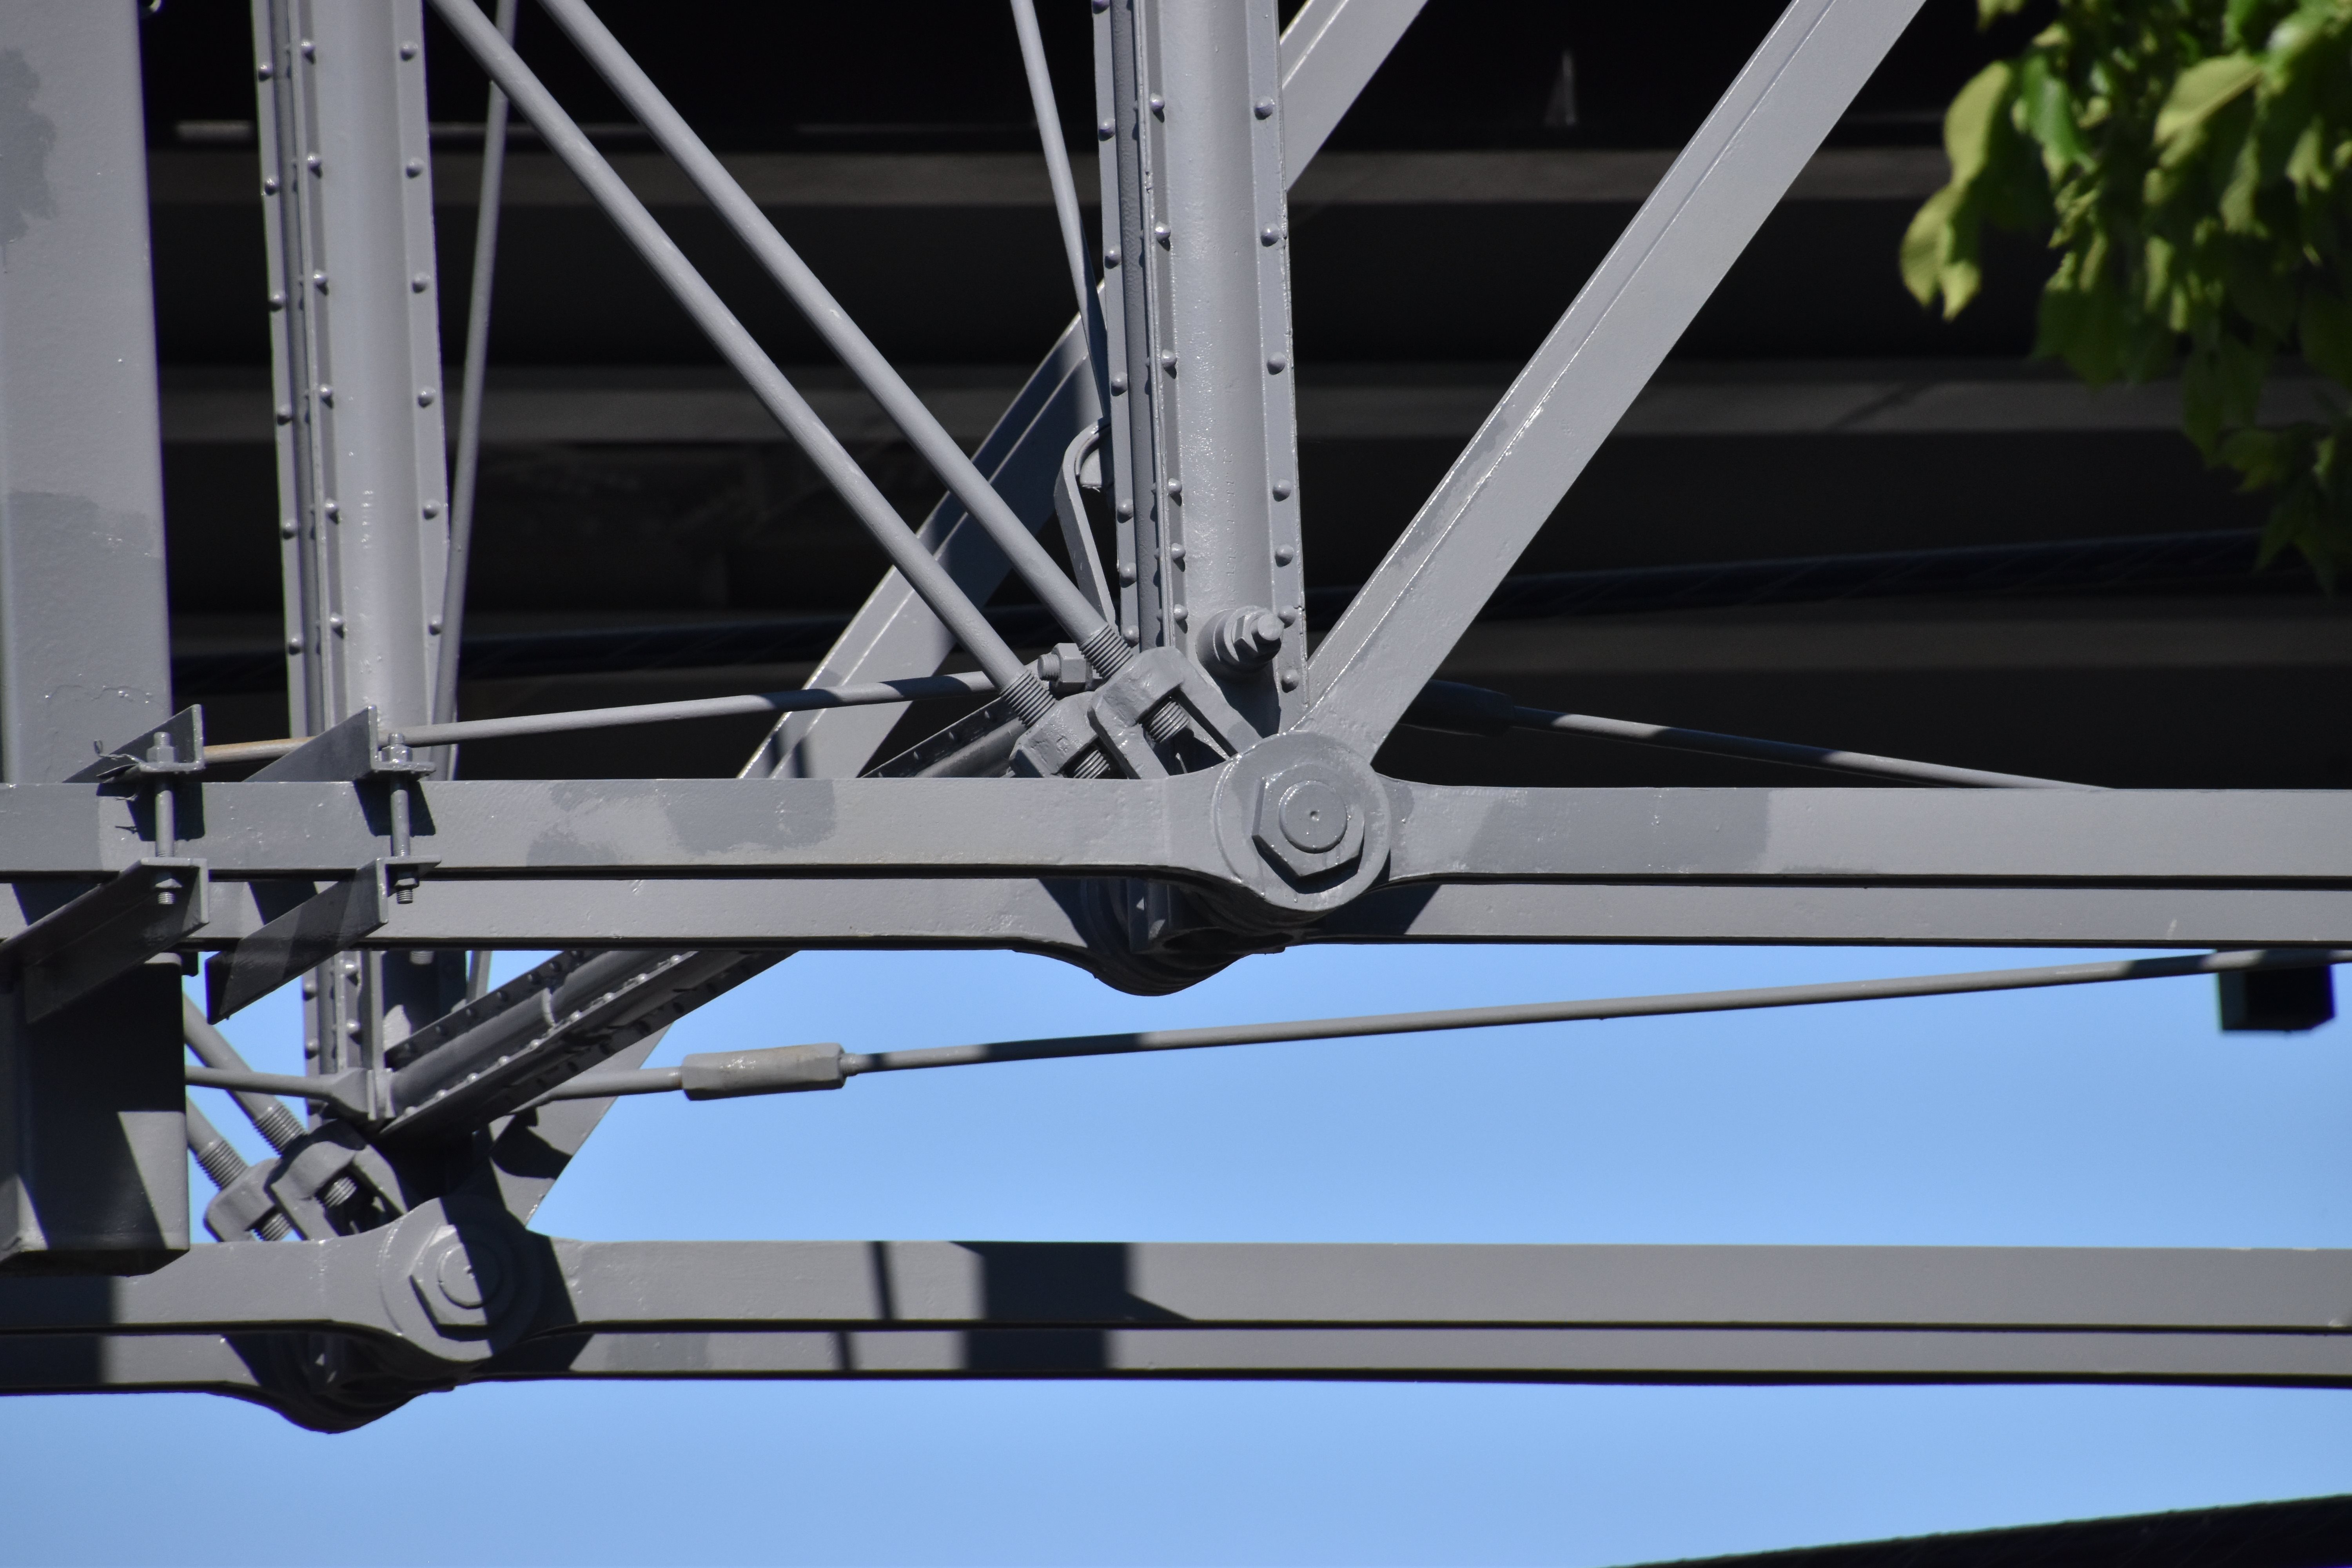
Pratt truss top chord connections.
![]()


Pratt truss bottom chord connections.
![]()


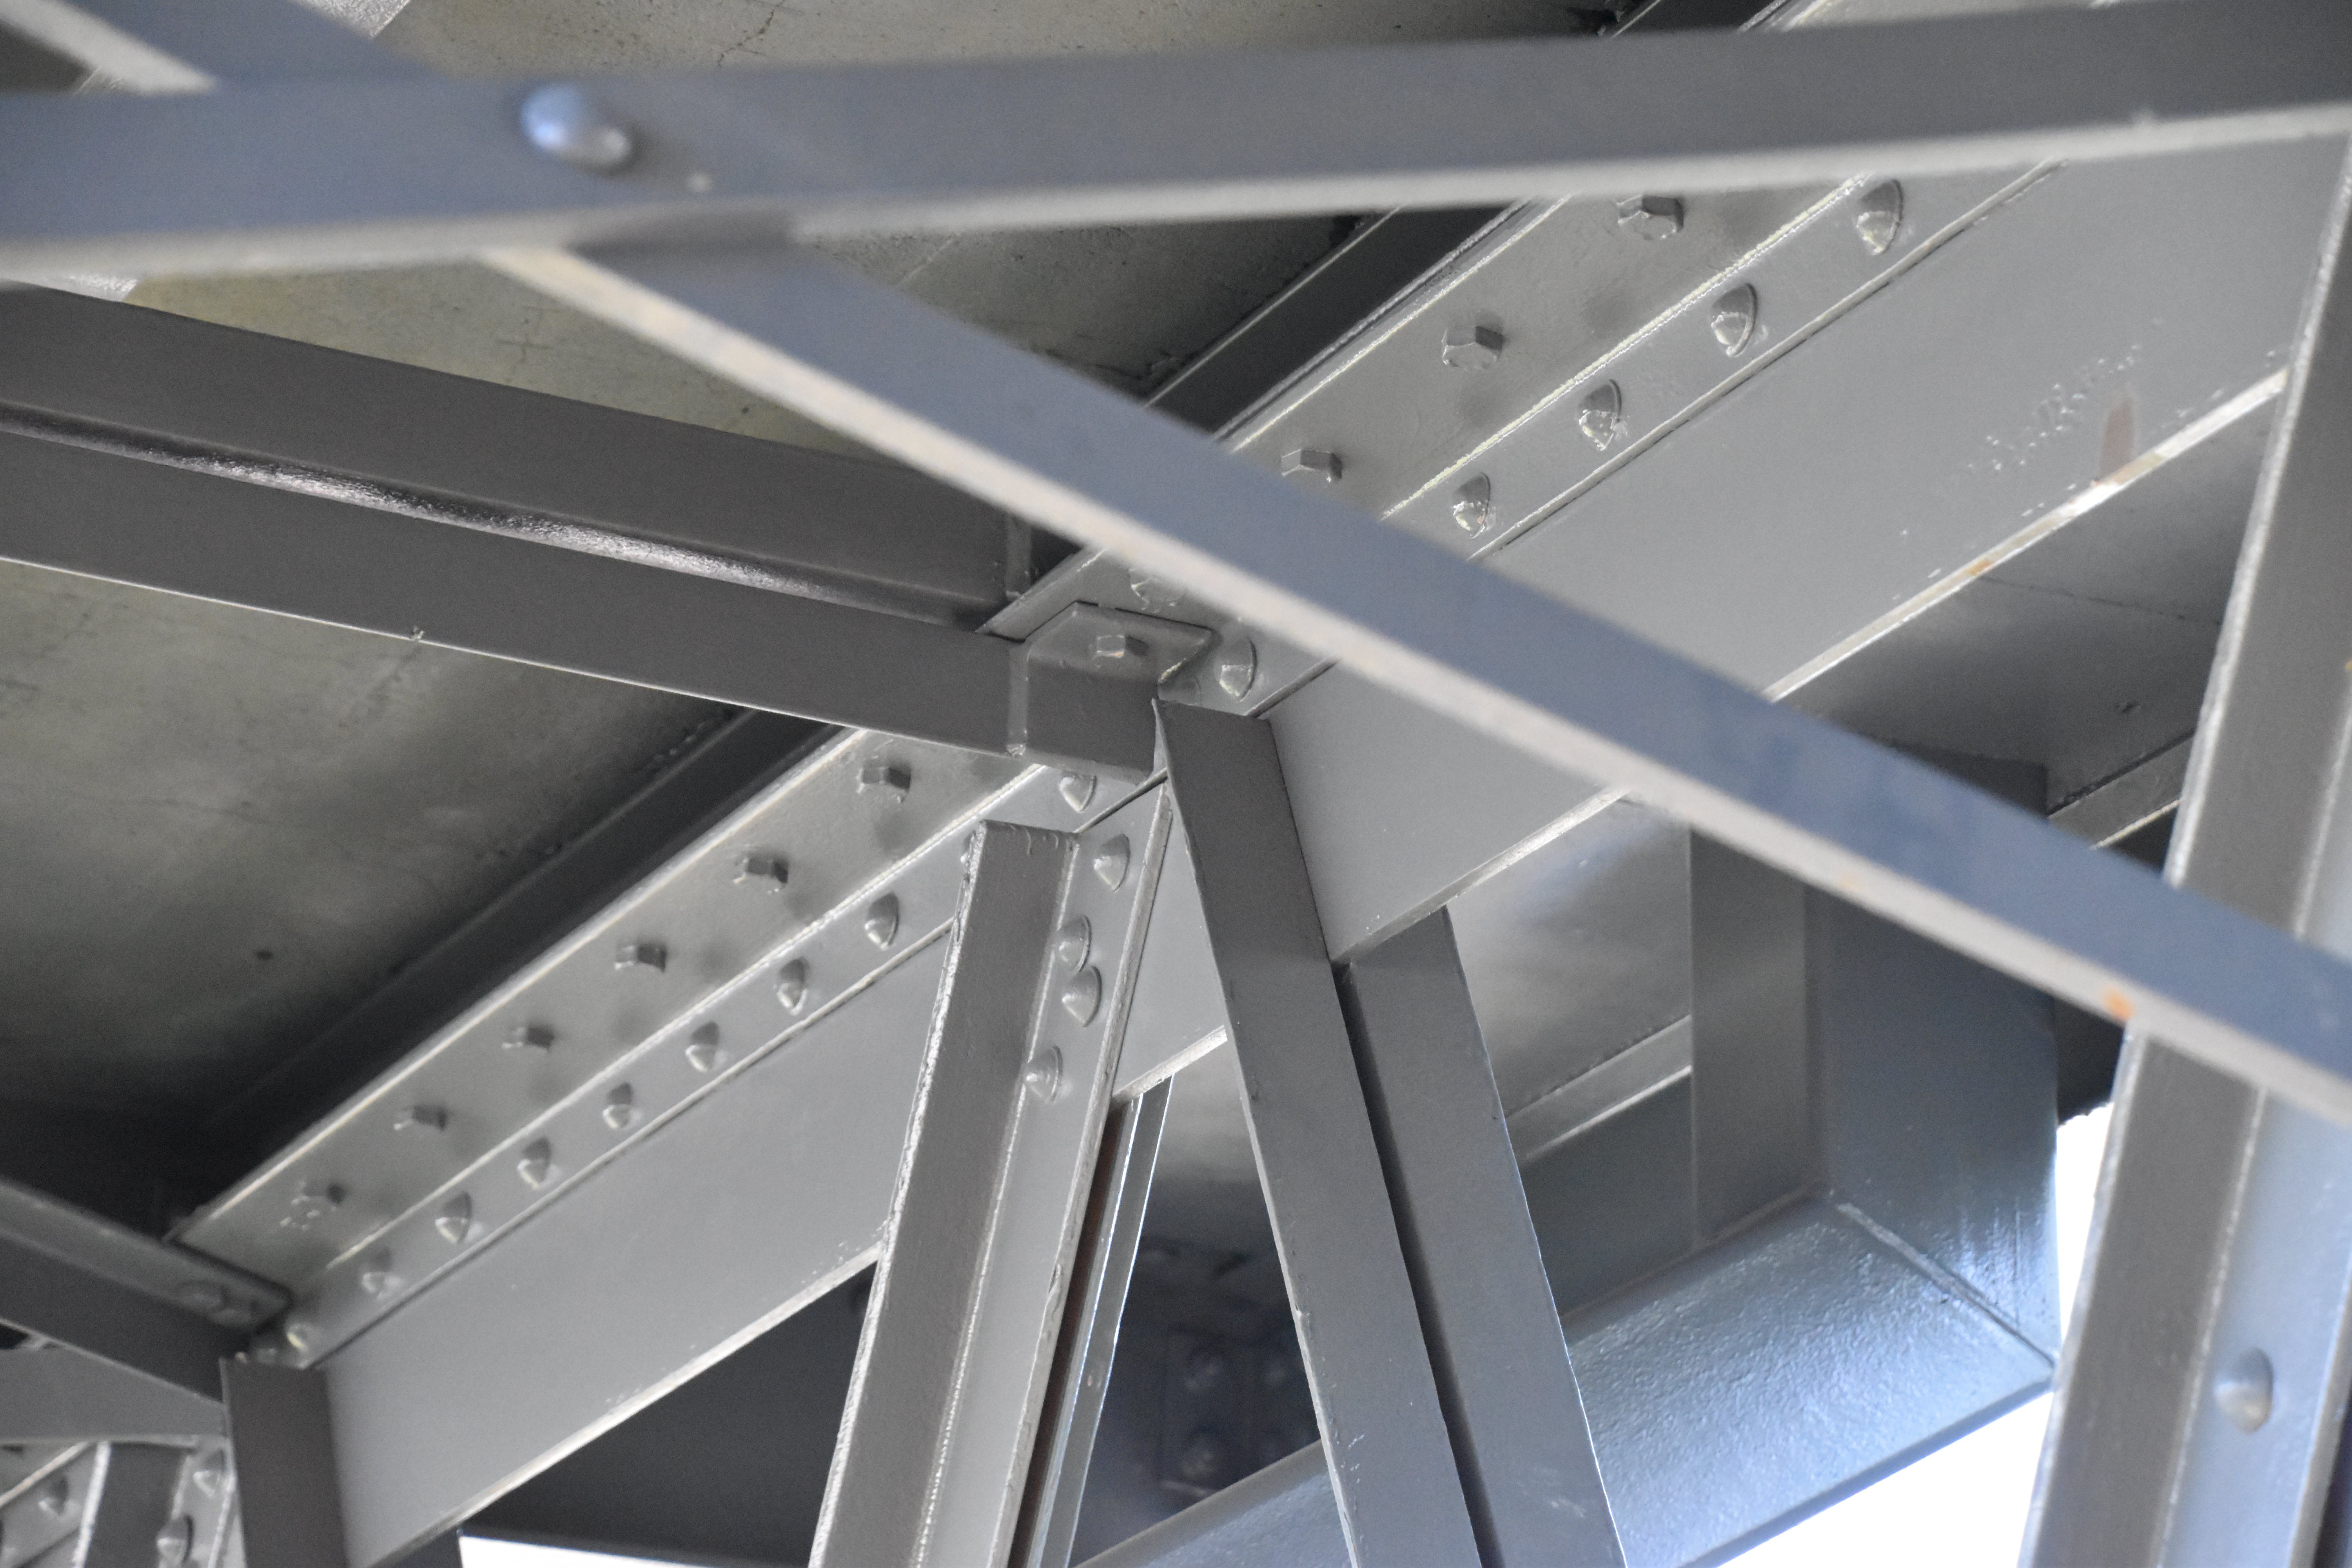


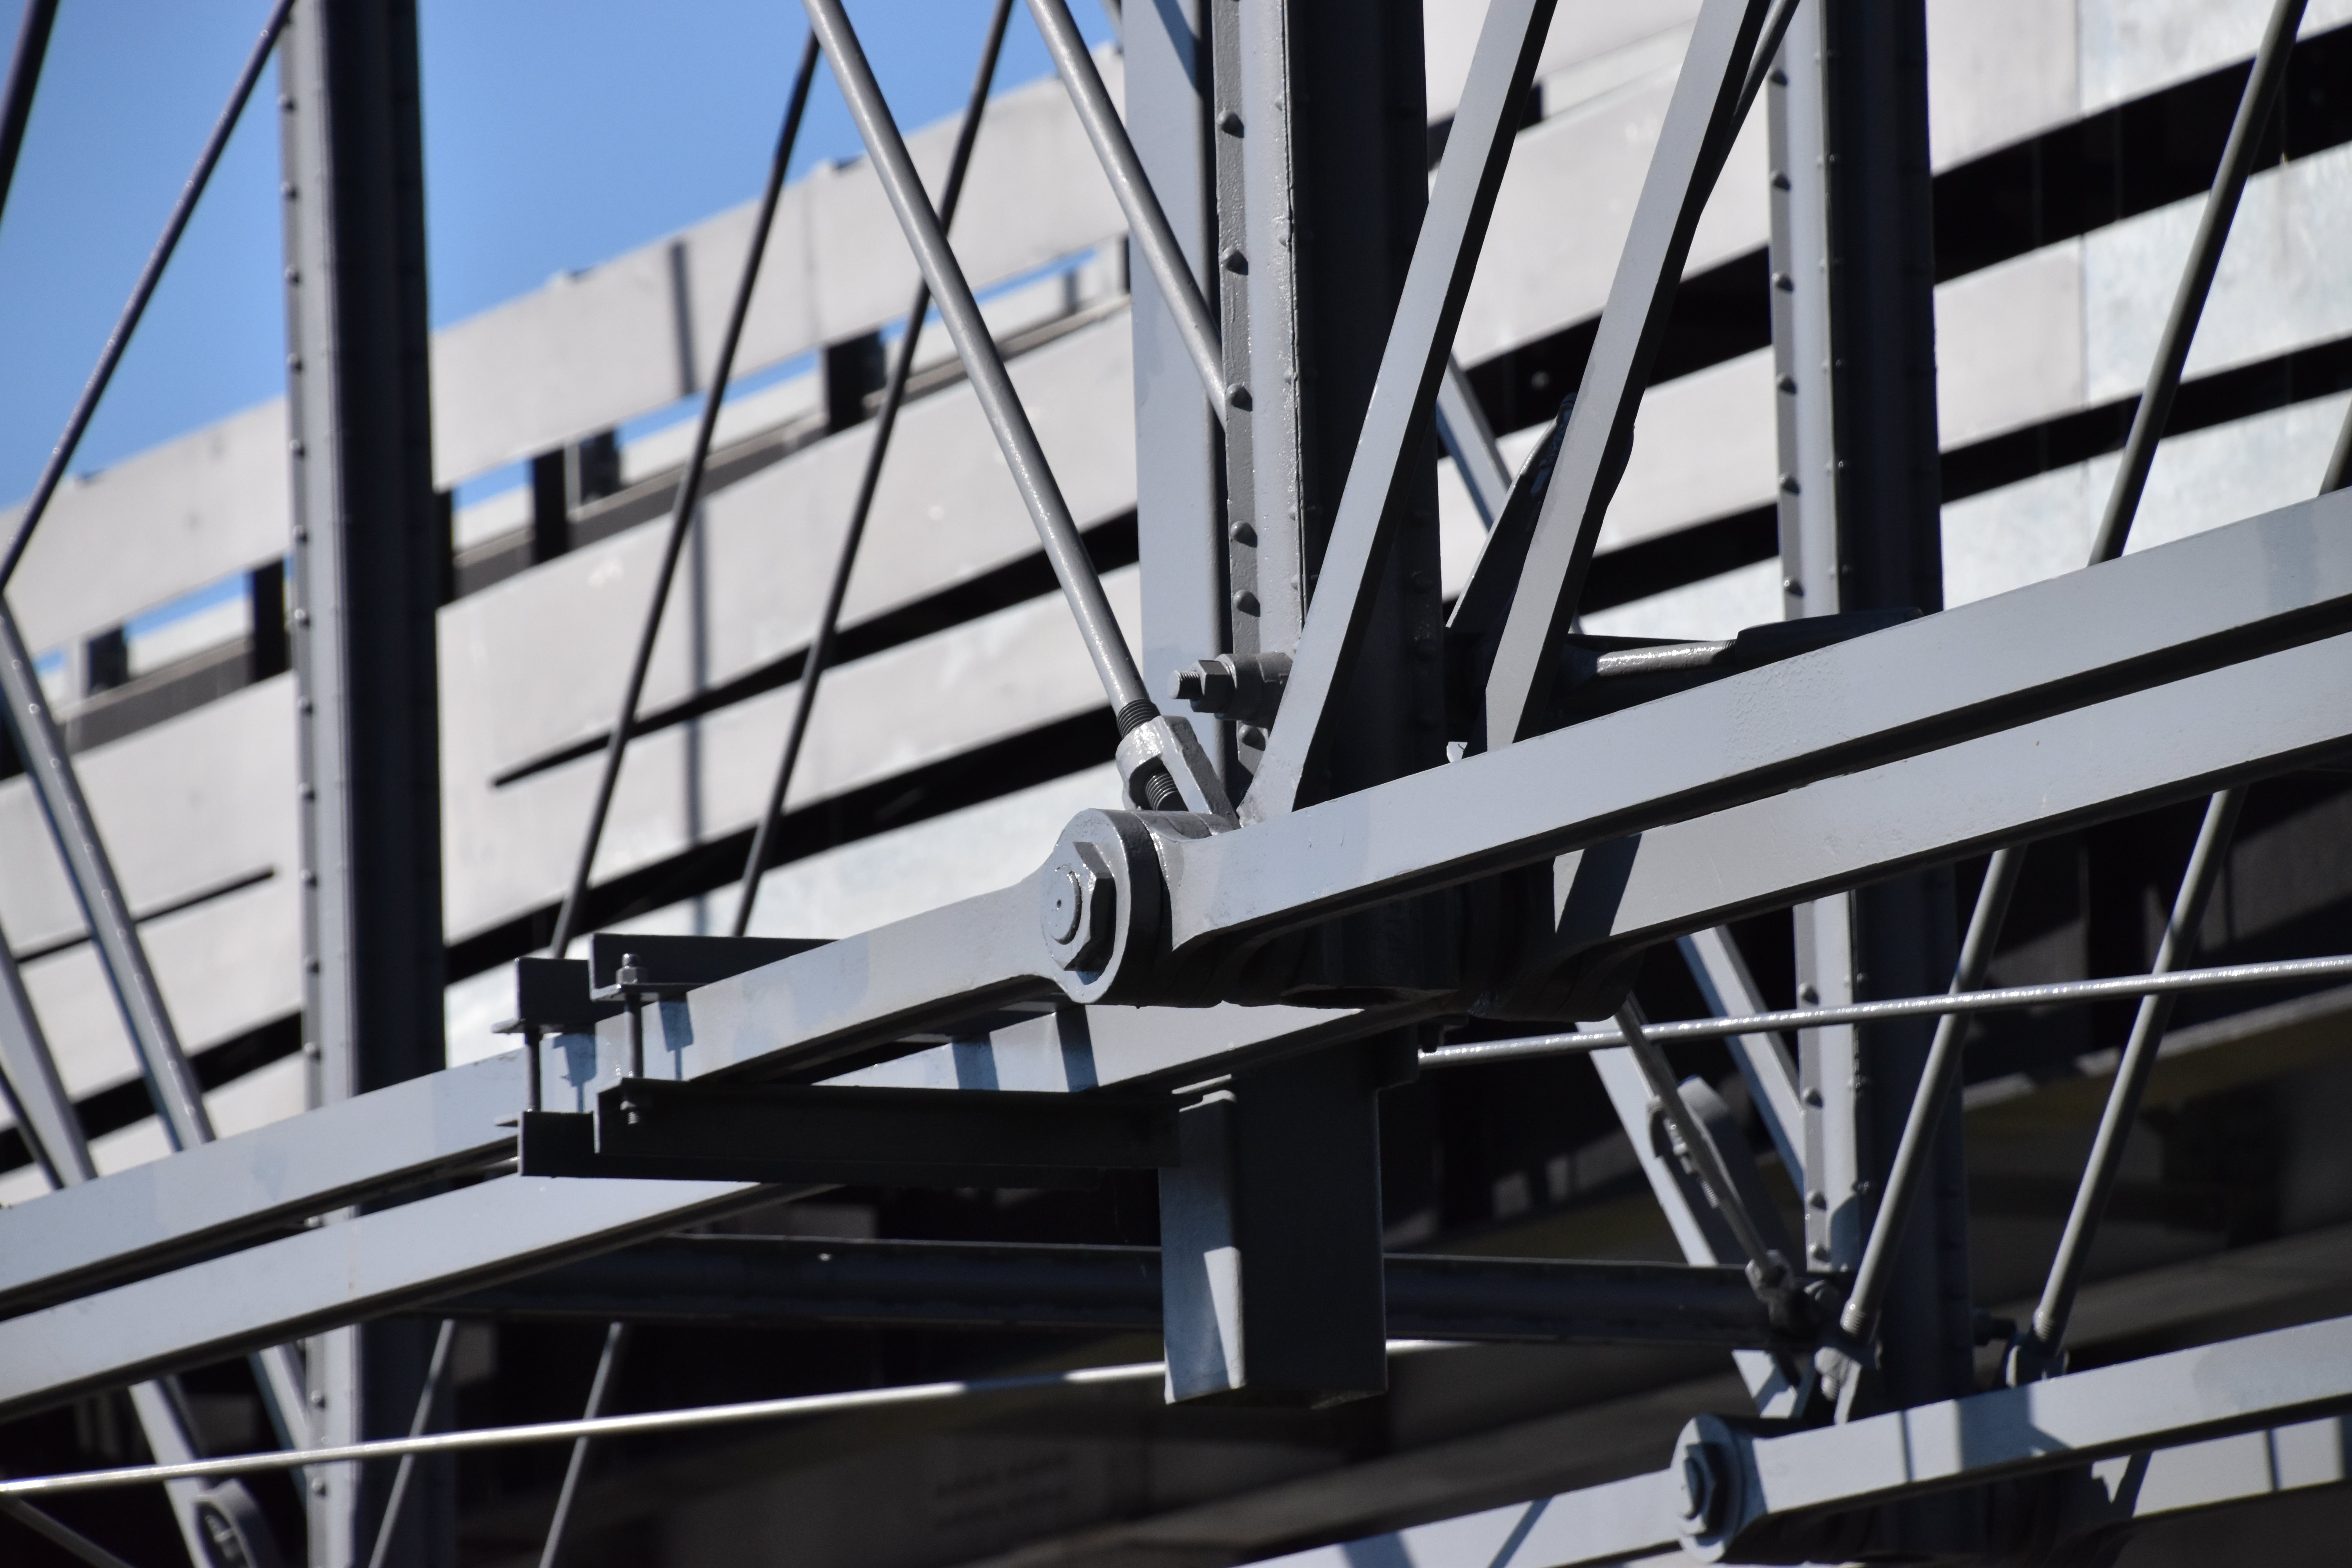
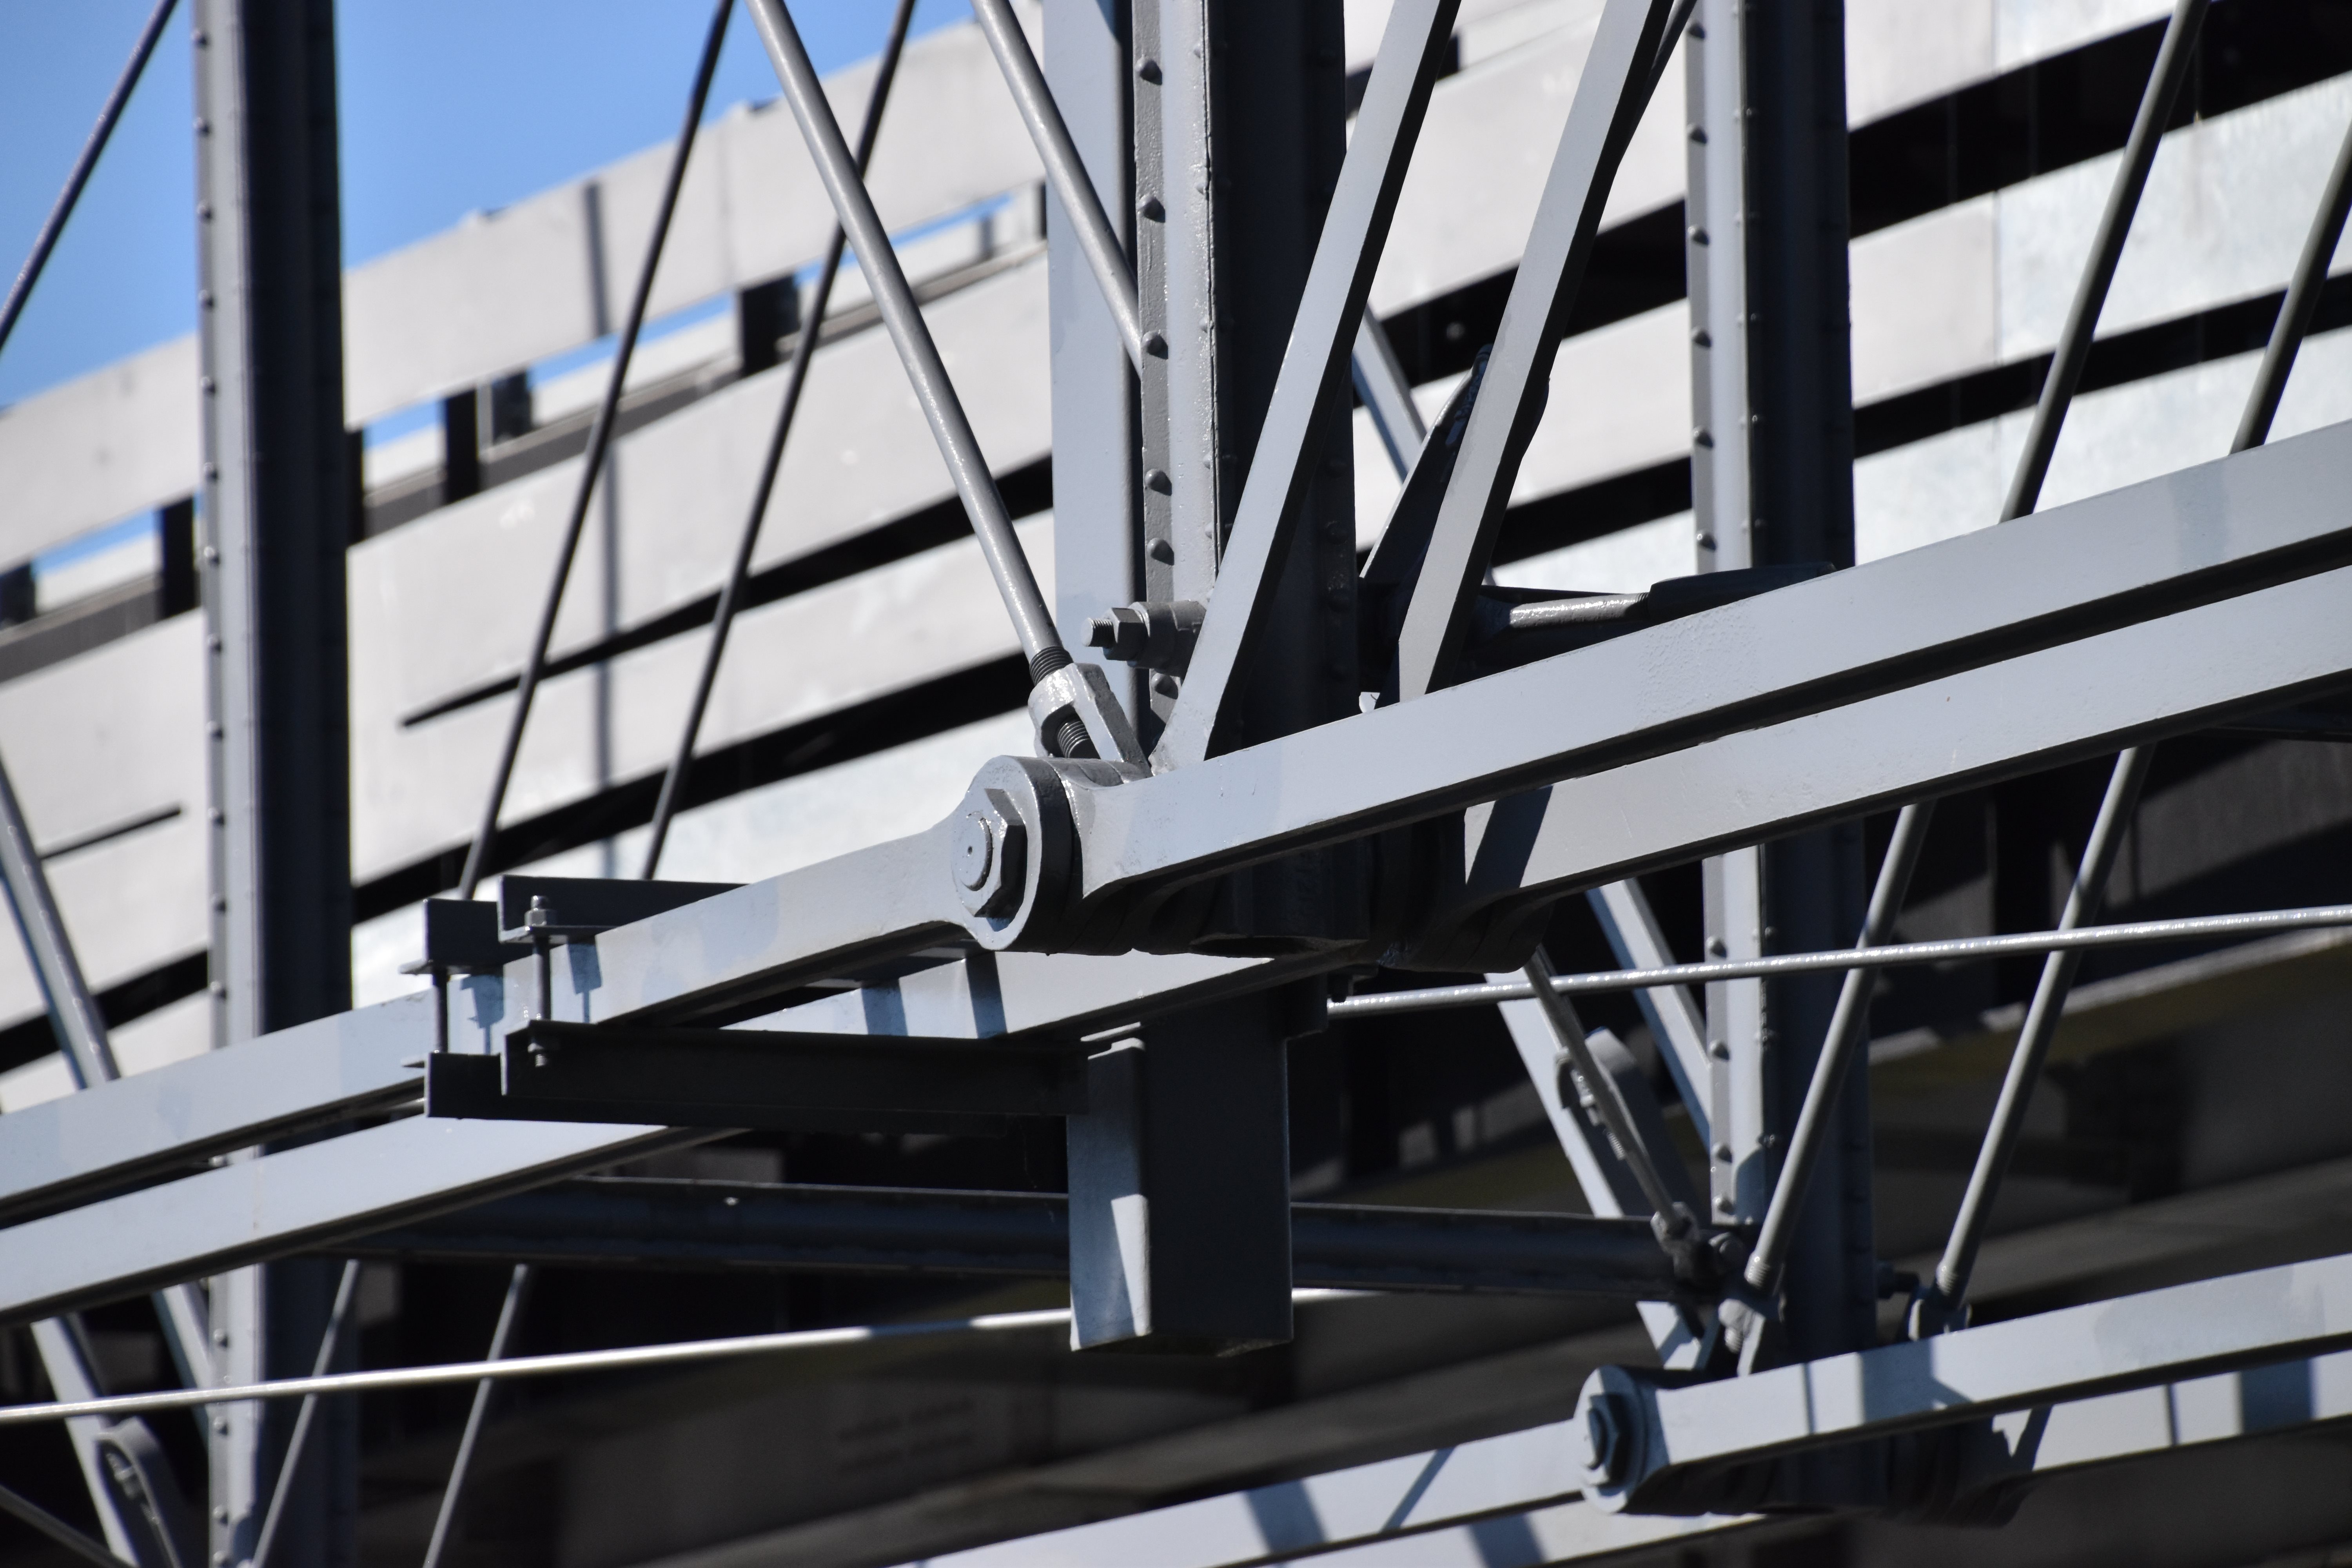
Approach span truss top chord connections.
![]()
Approach span truss bottom chord connections.
![]()

Stringer bearing.
![]()
Main span bearing.
![]()
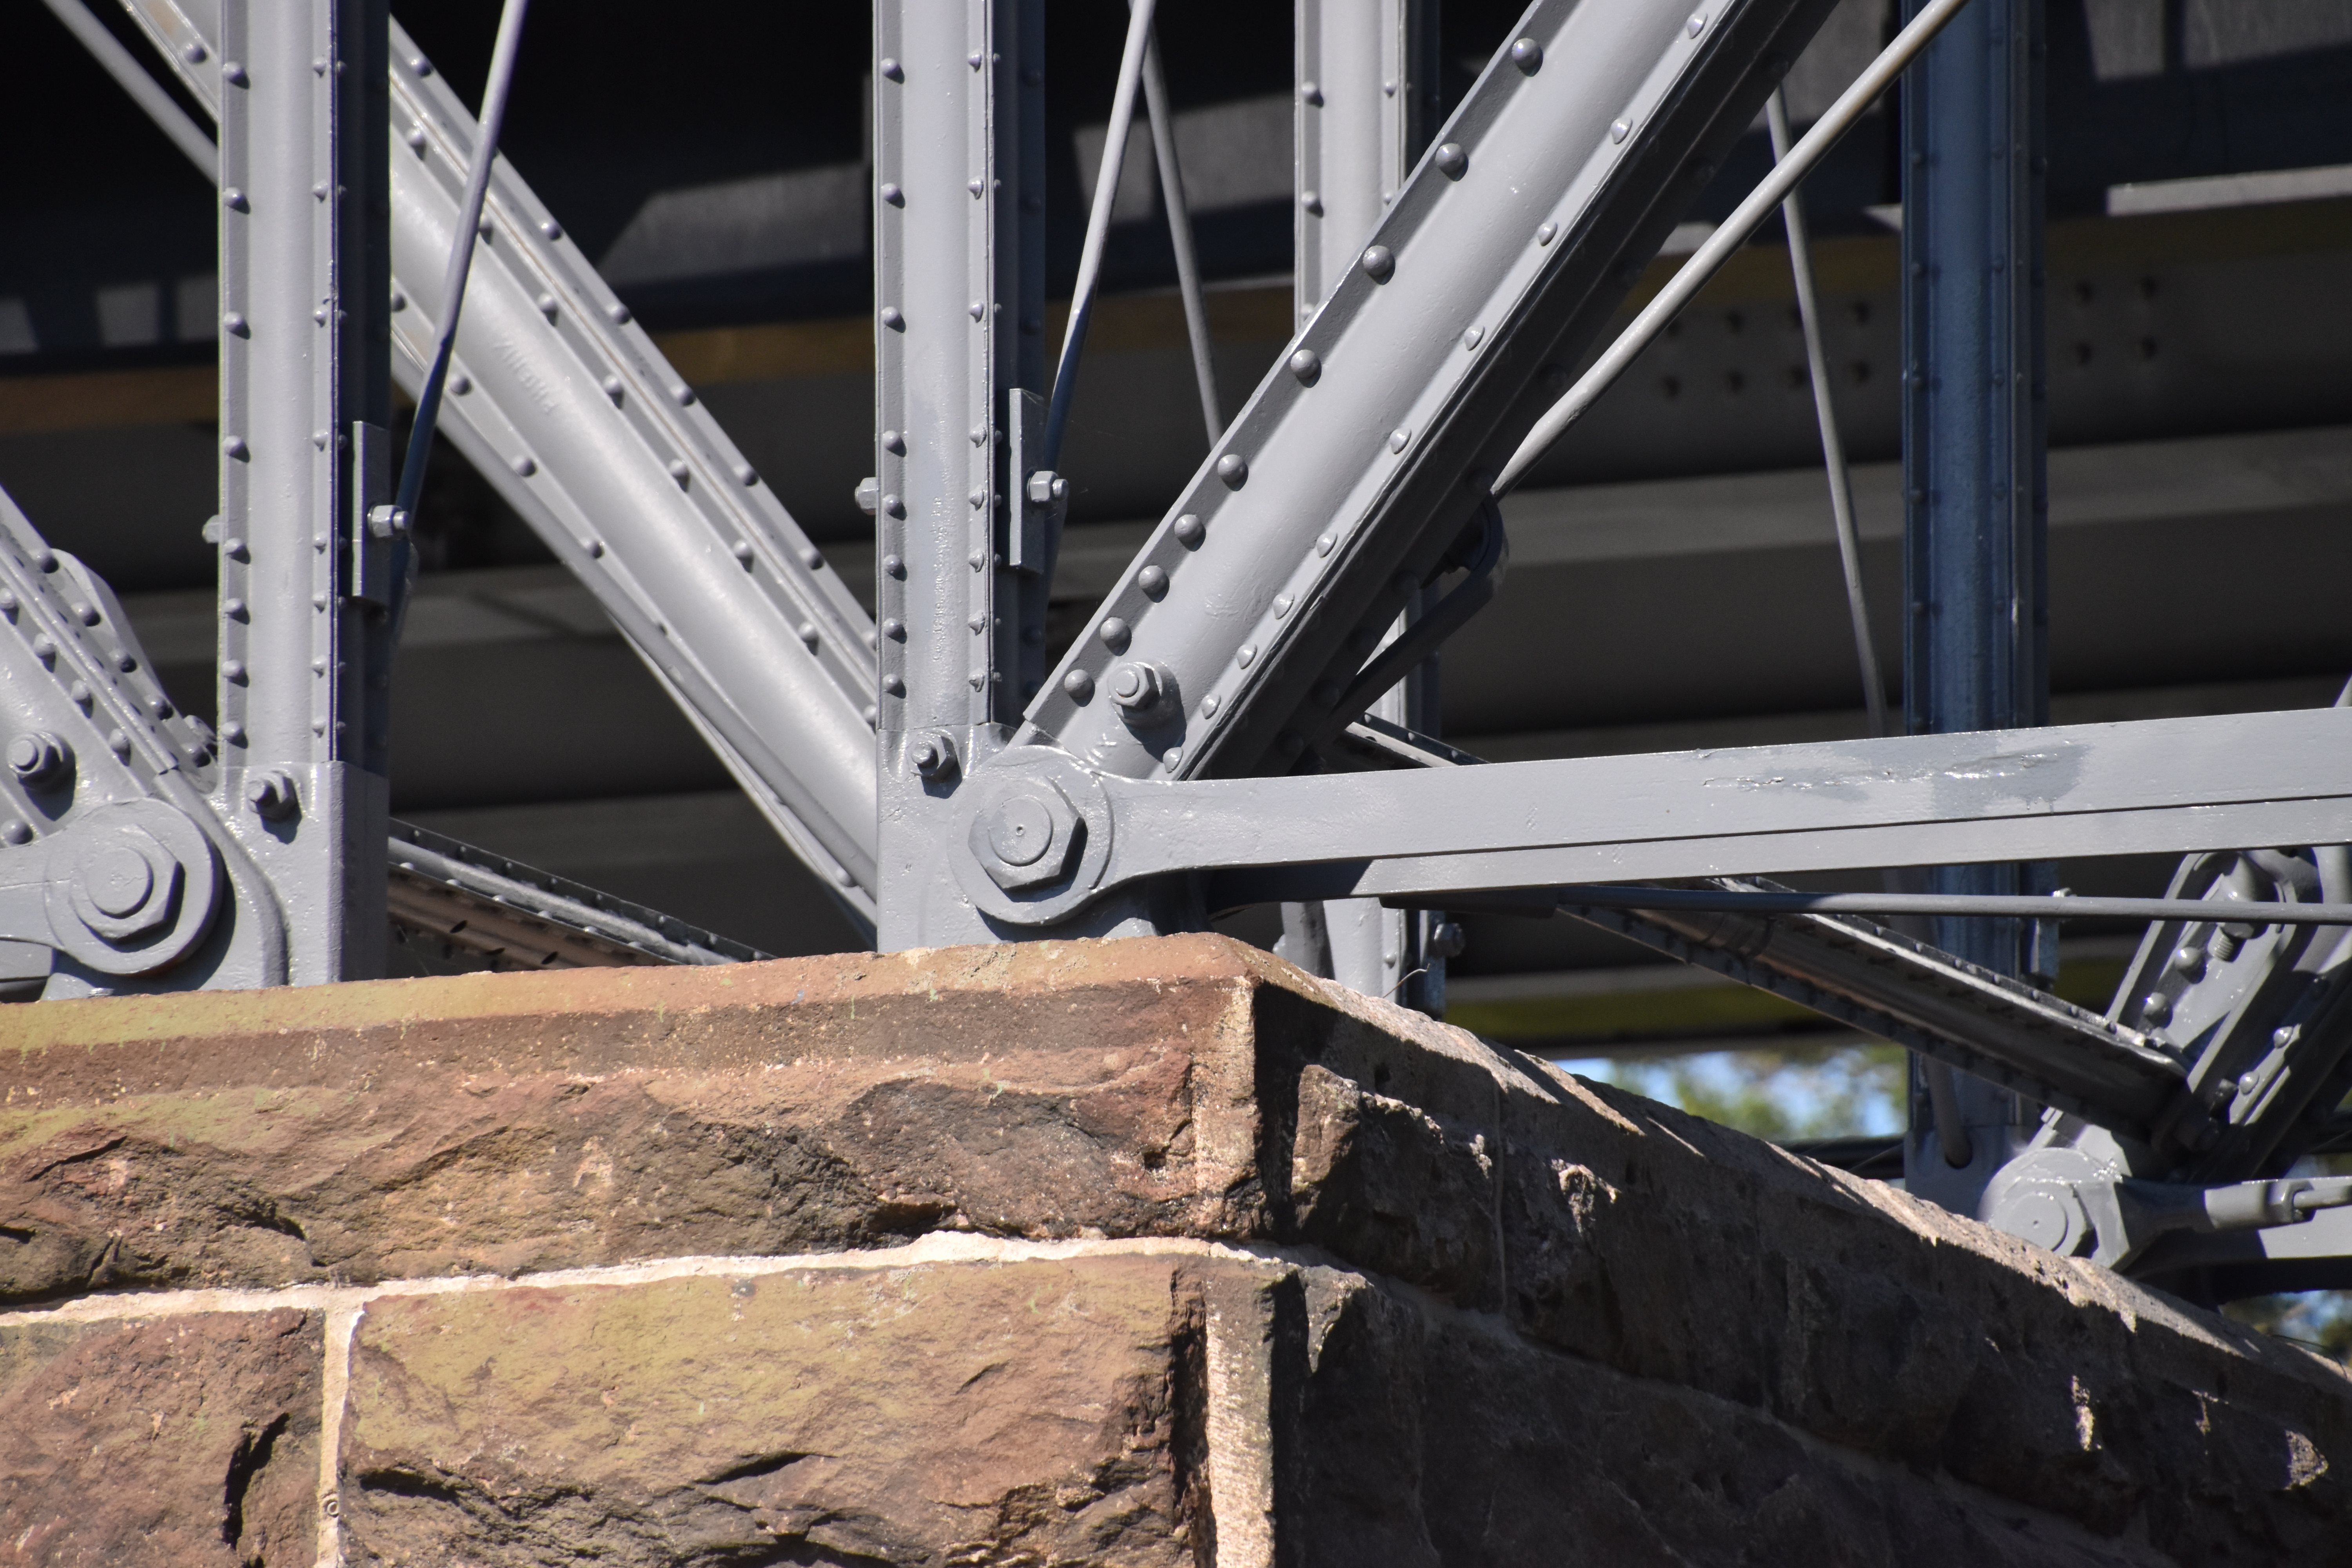
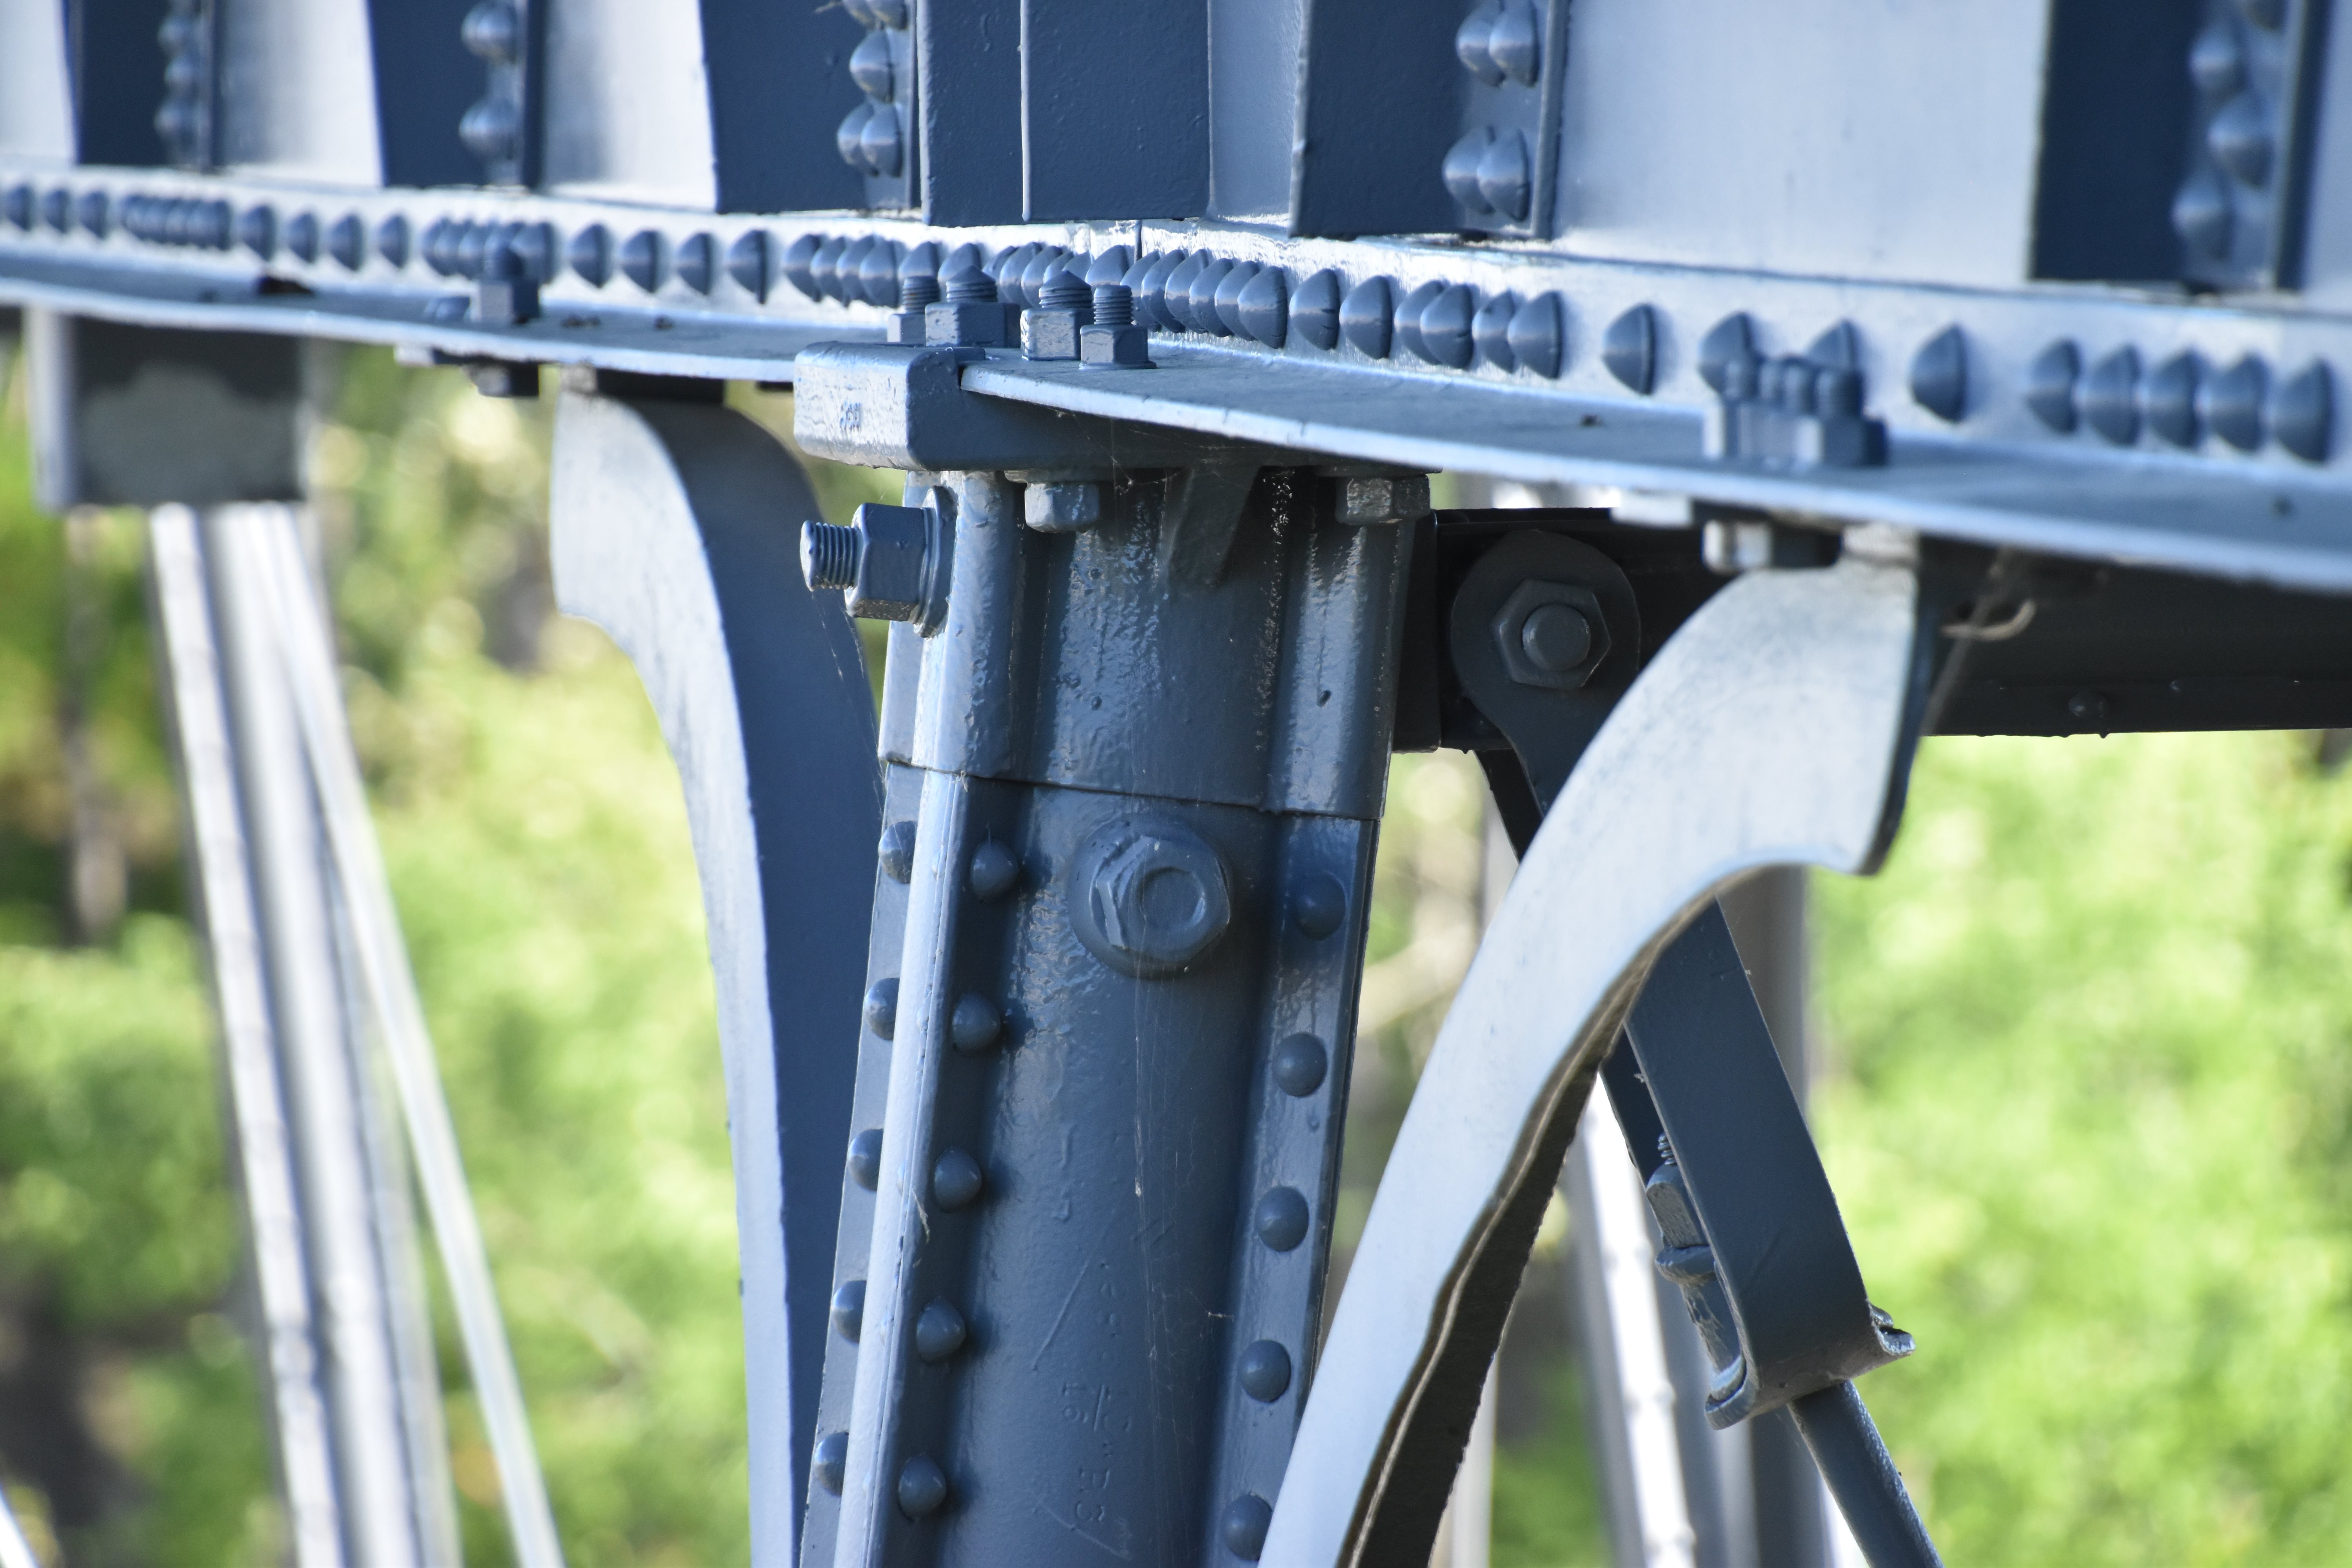
Approach span truss bearing.
![]()
Approach bent bearings.
![]()


Bearings. Main span bearing to the left, approach bent bearing to the right.
![]()
Bottom chord.
![]()
Floor beam.
![]()

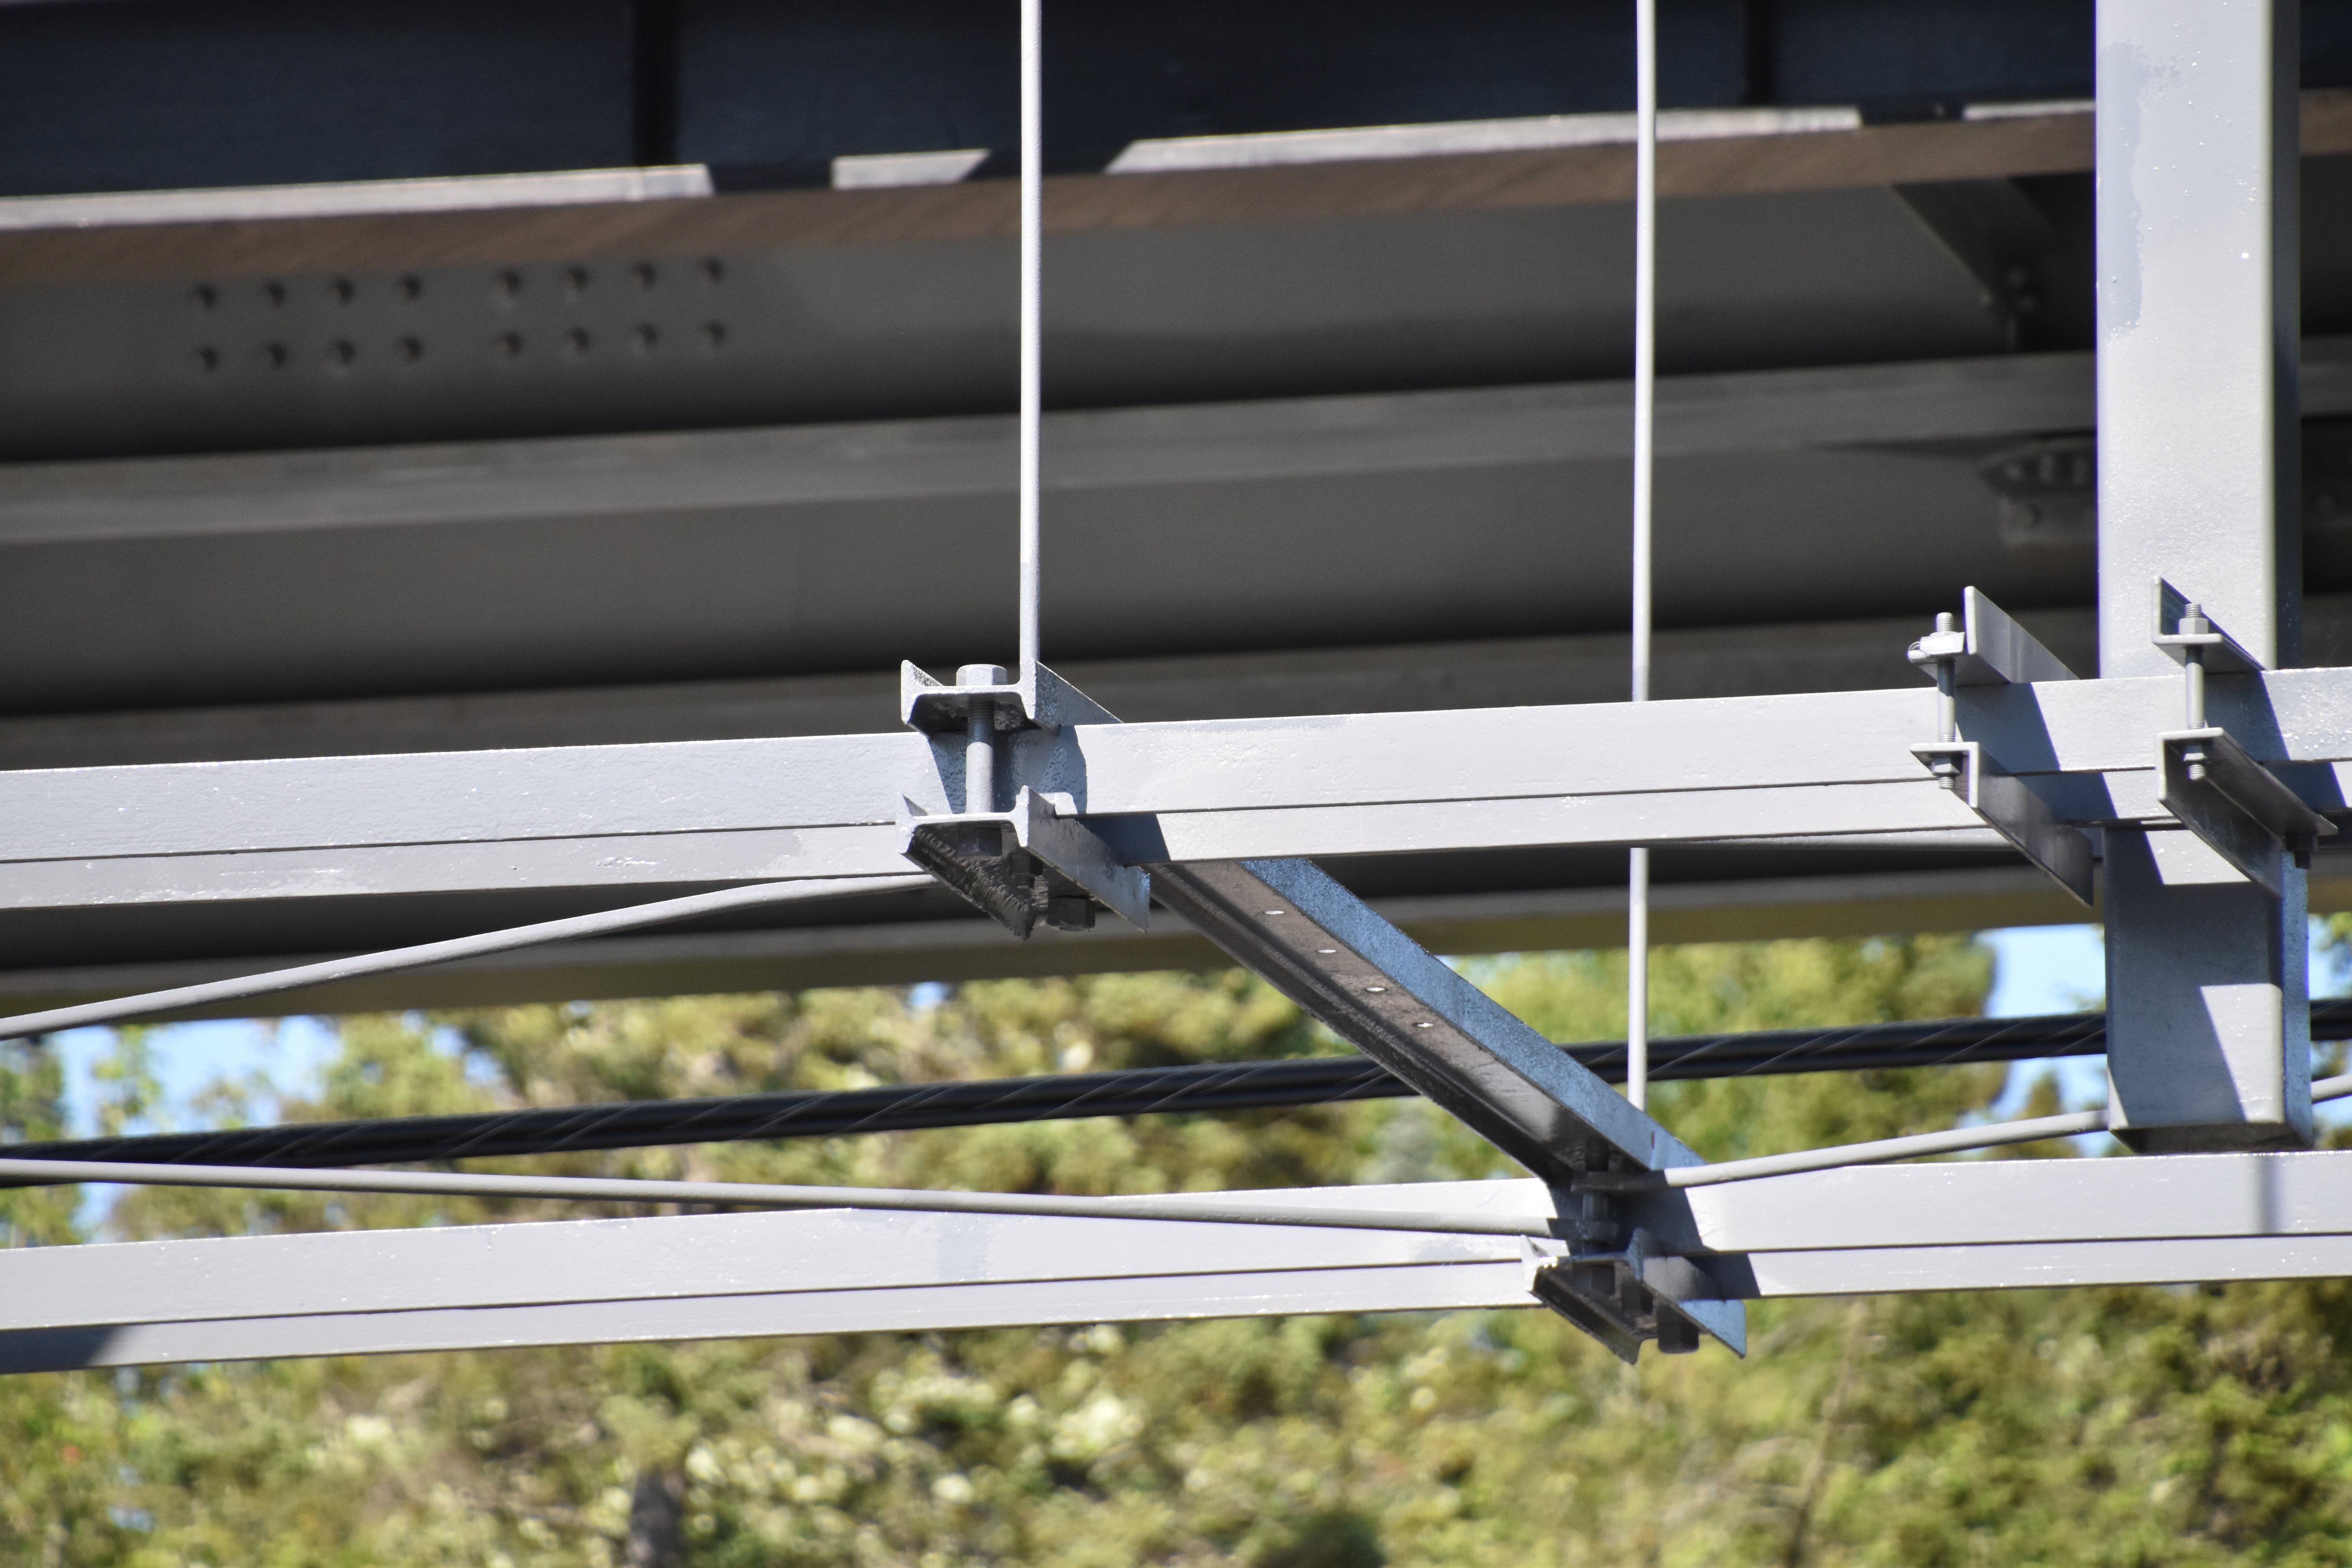
Approach span truss bracing.
![]()


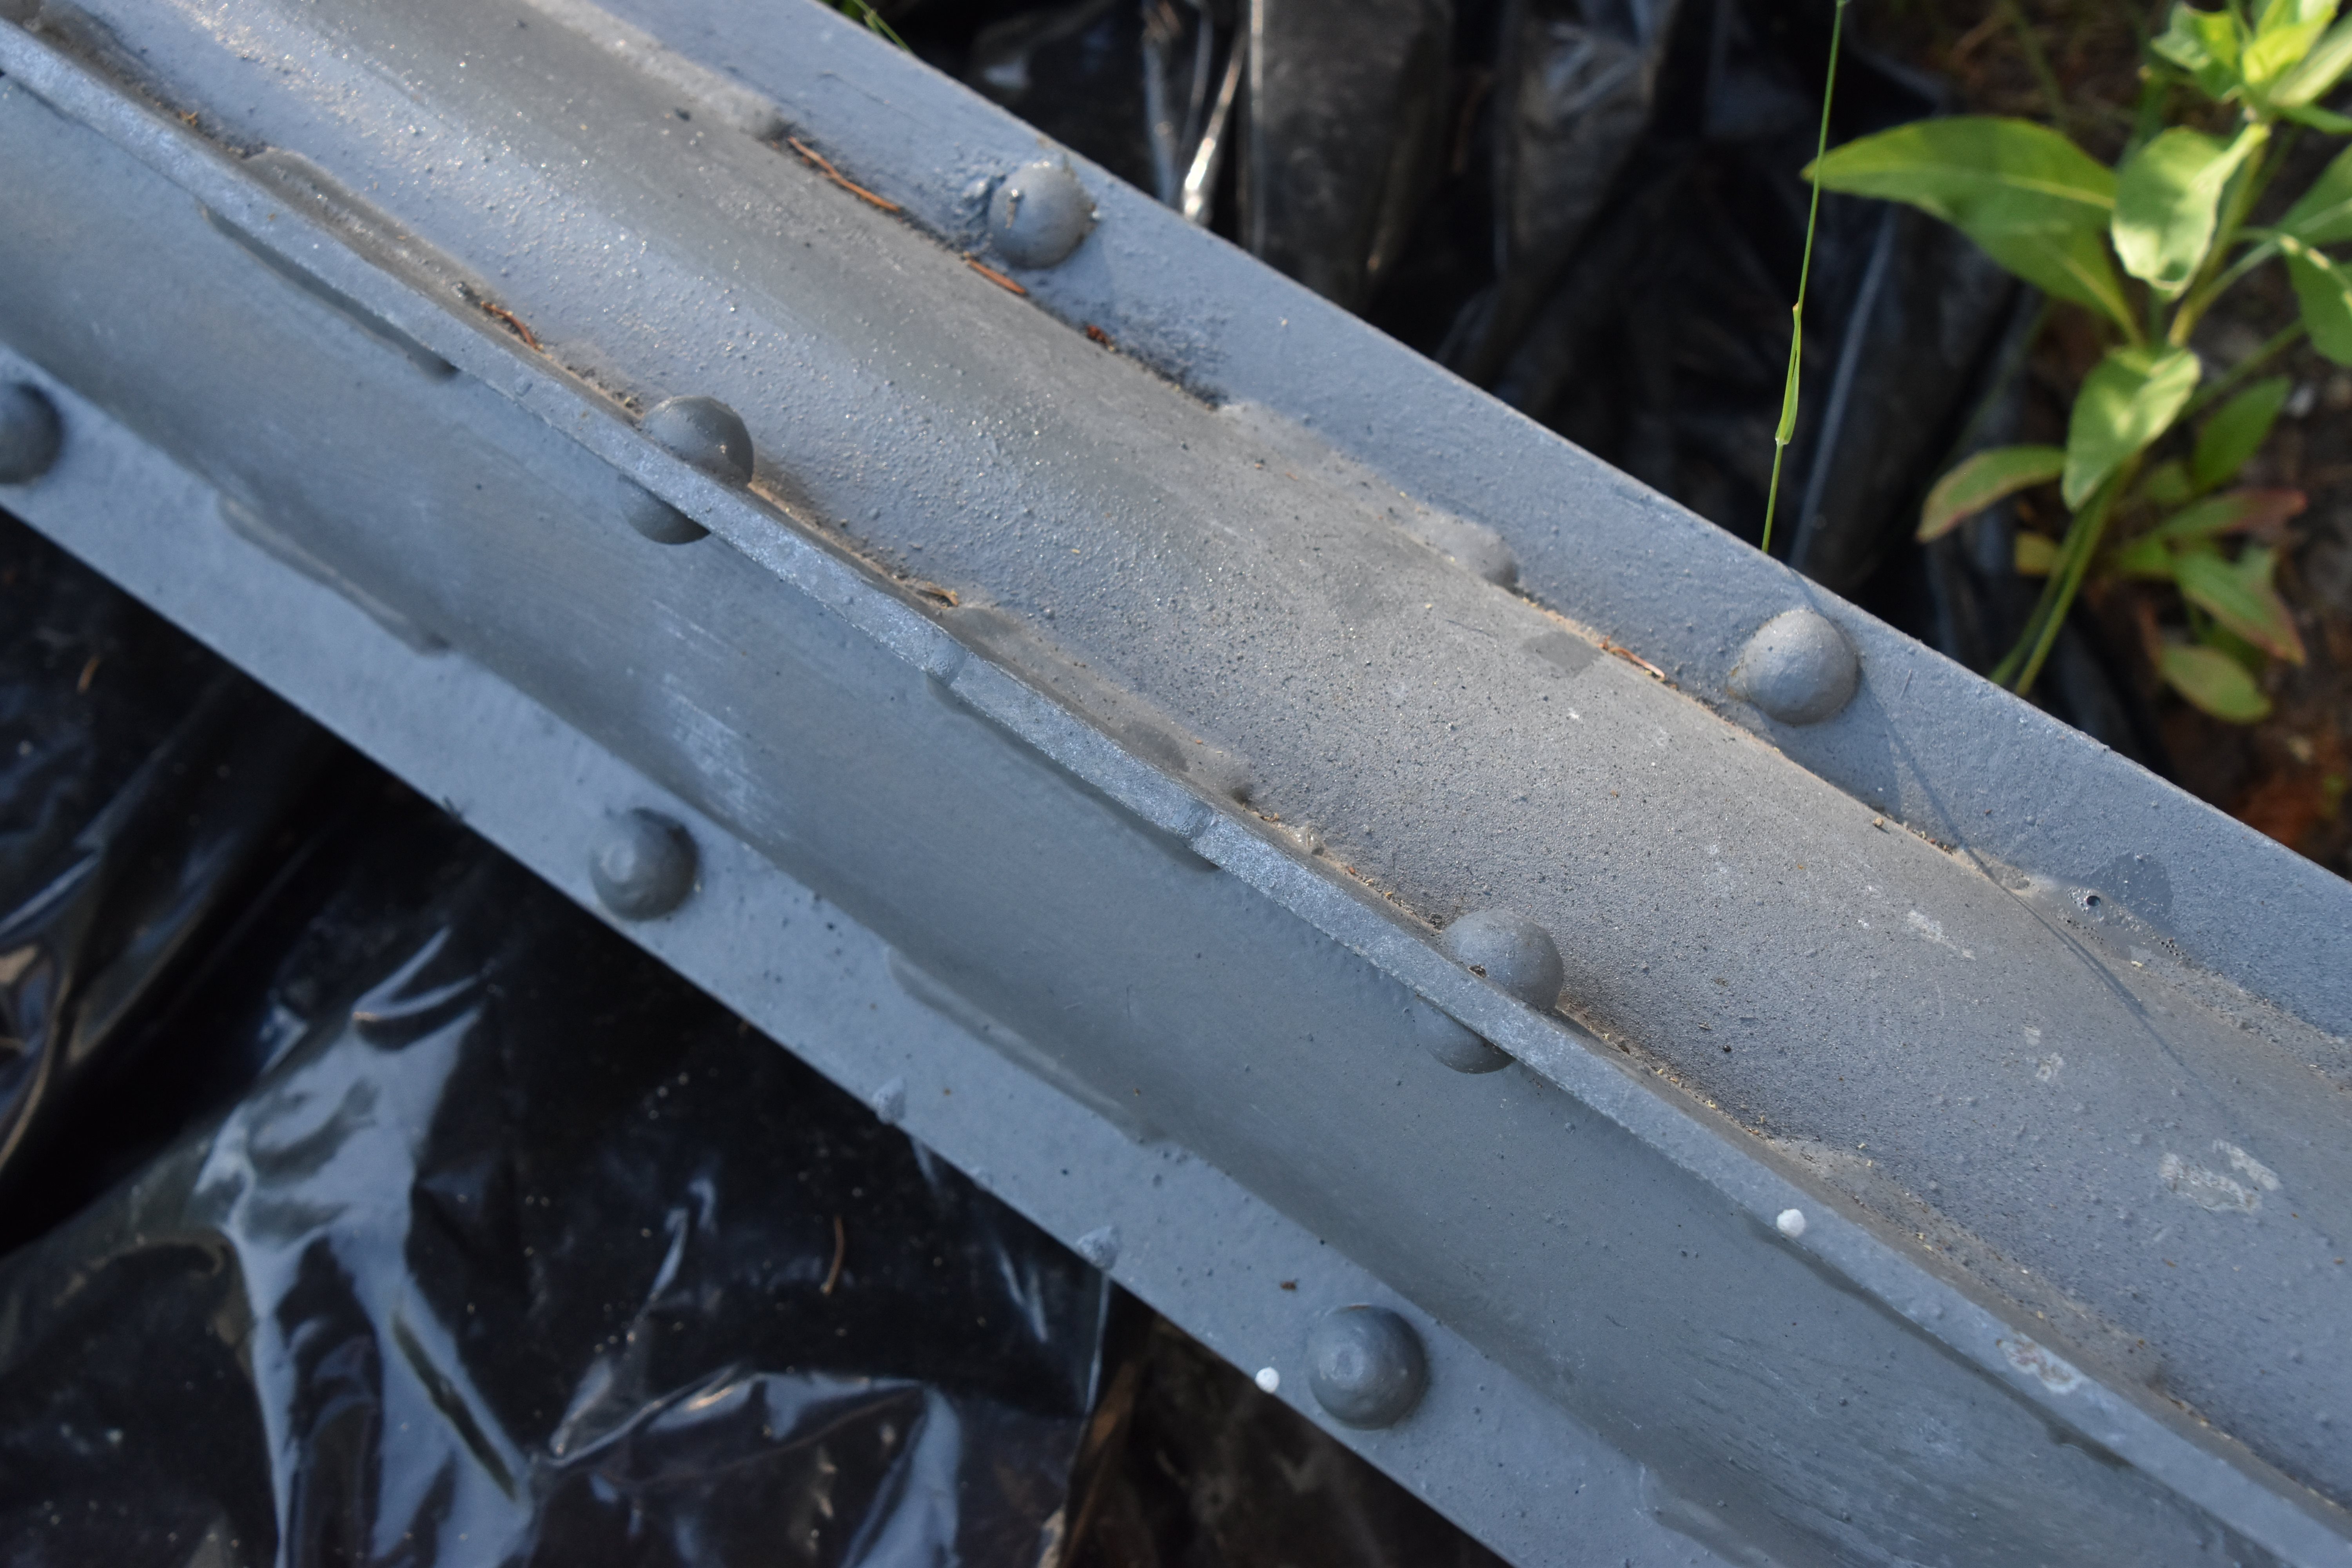
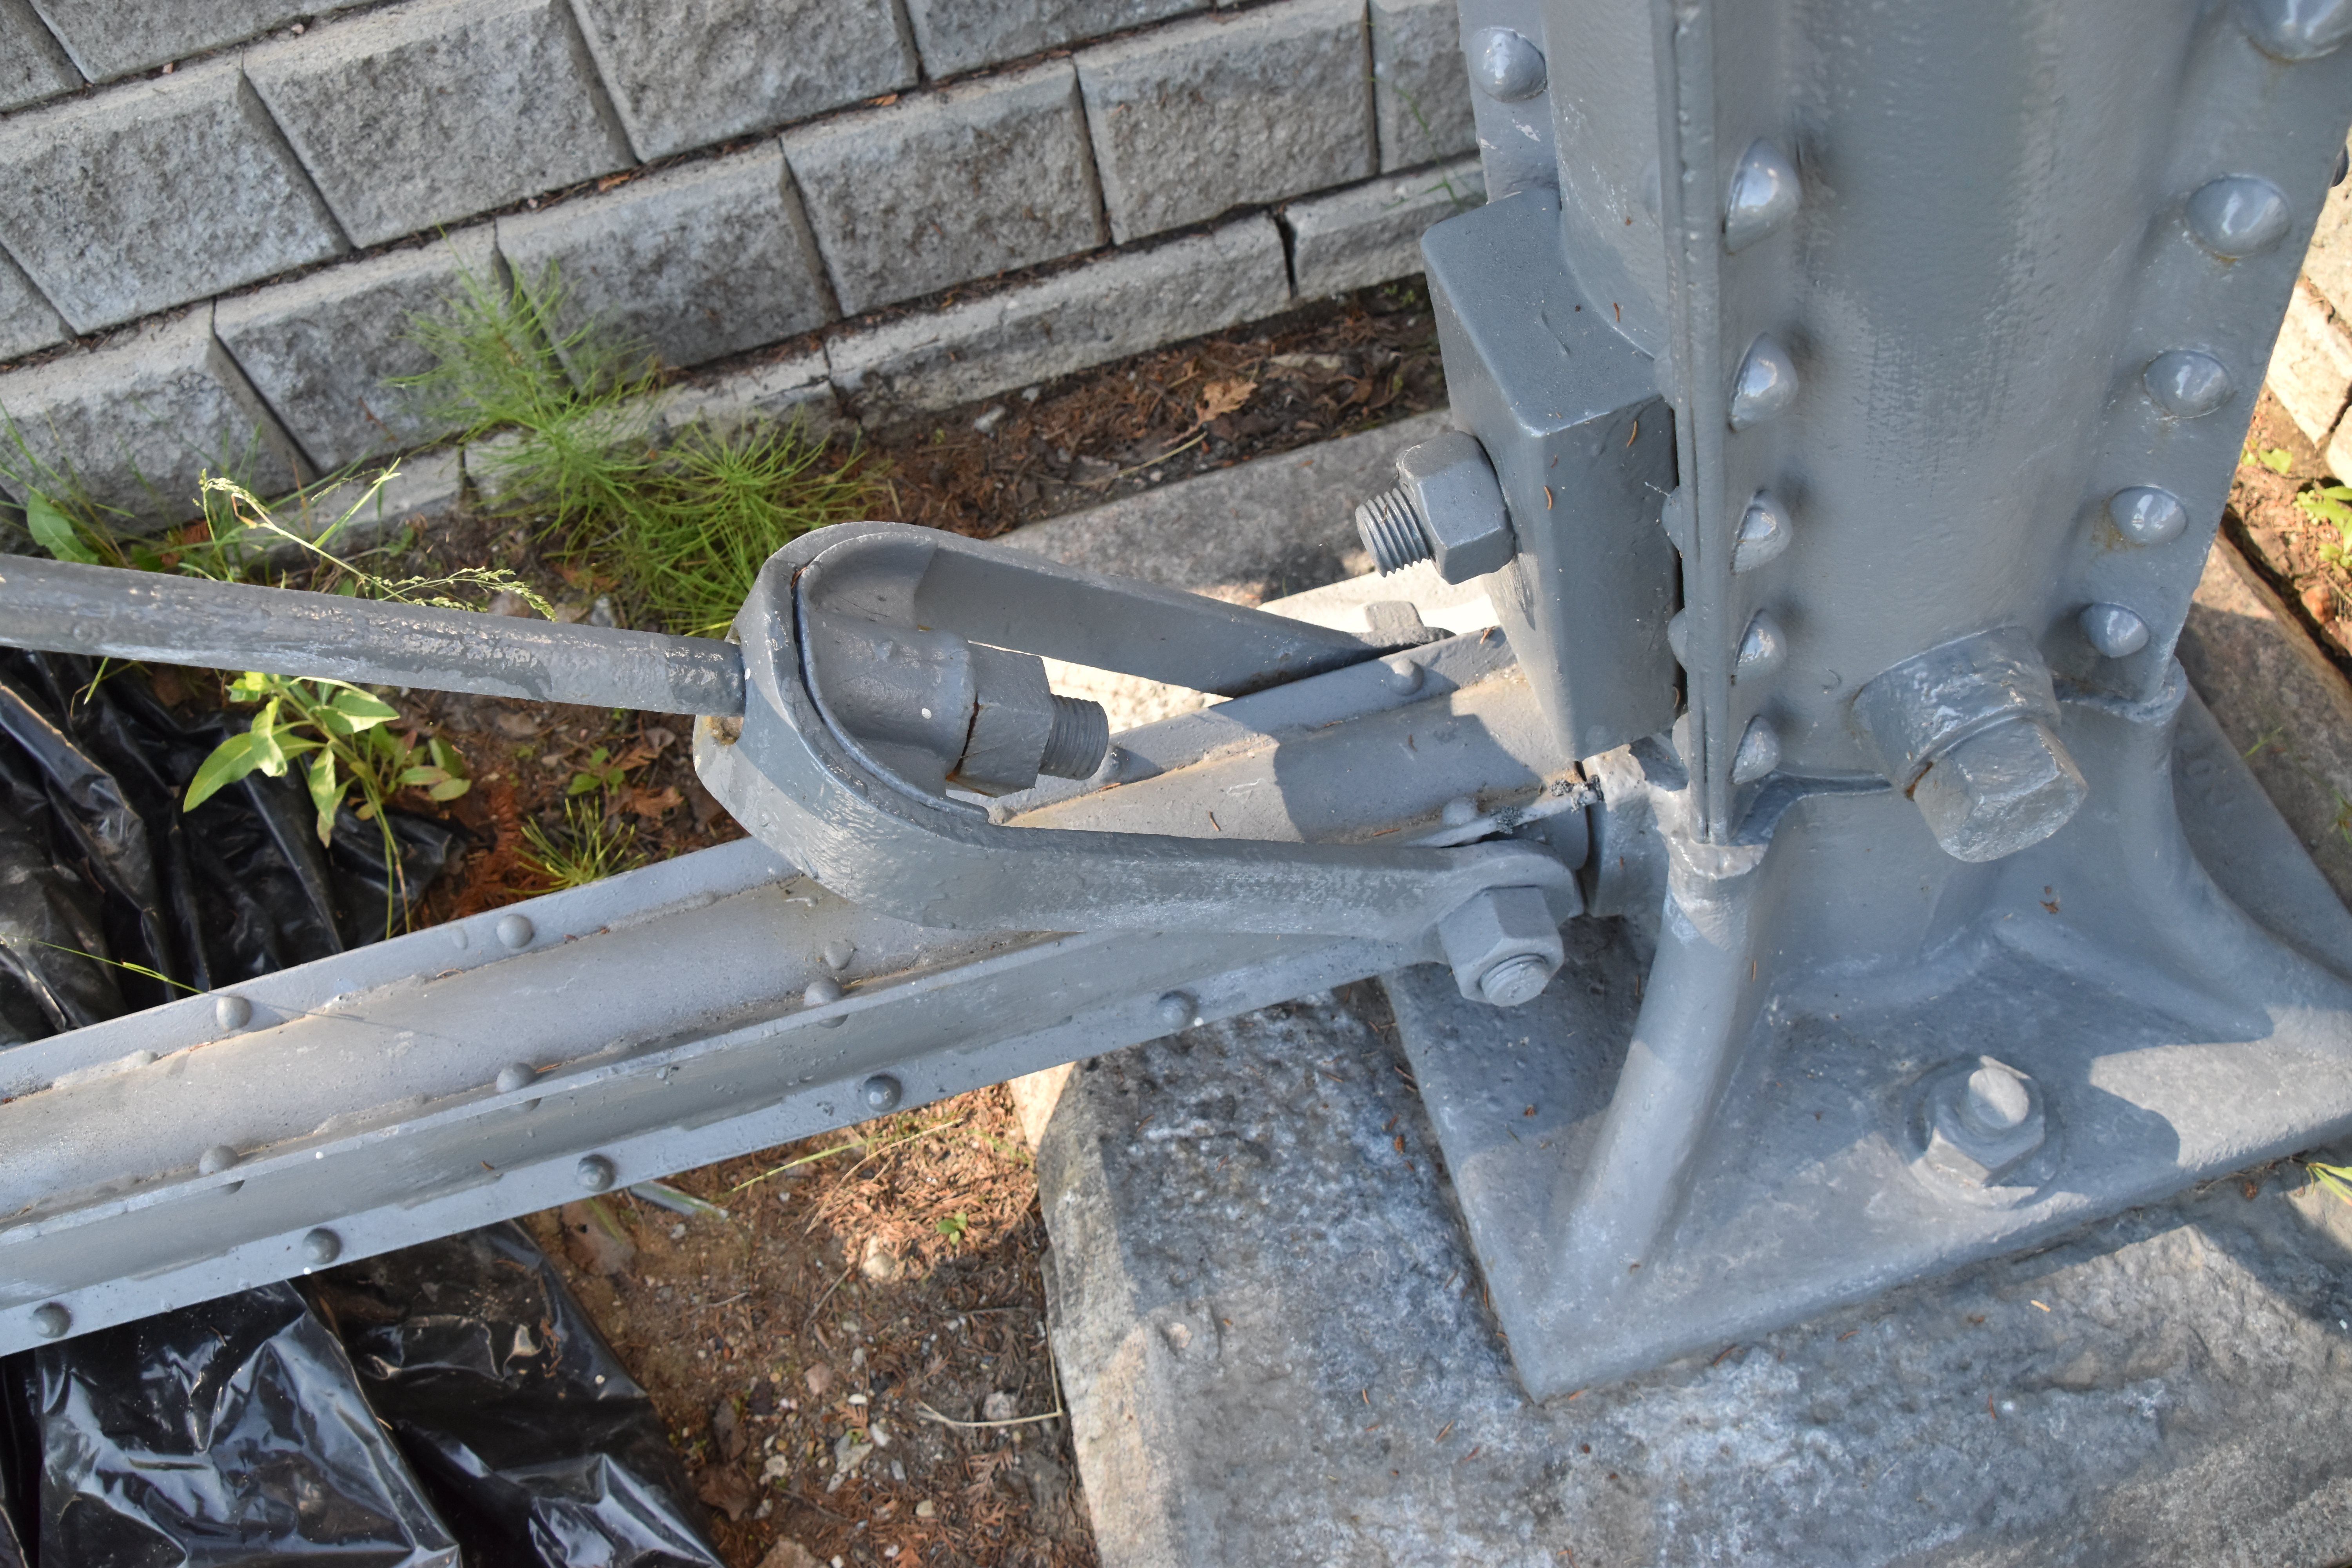
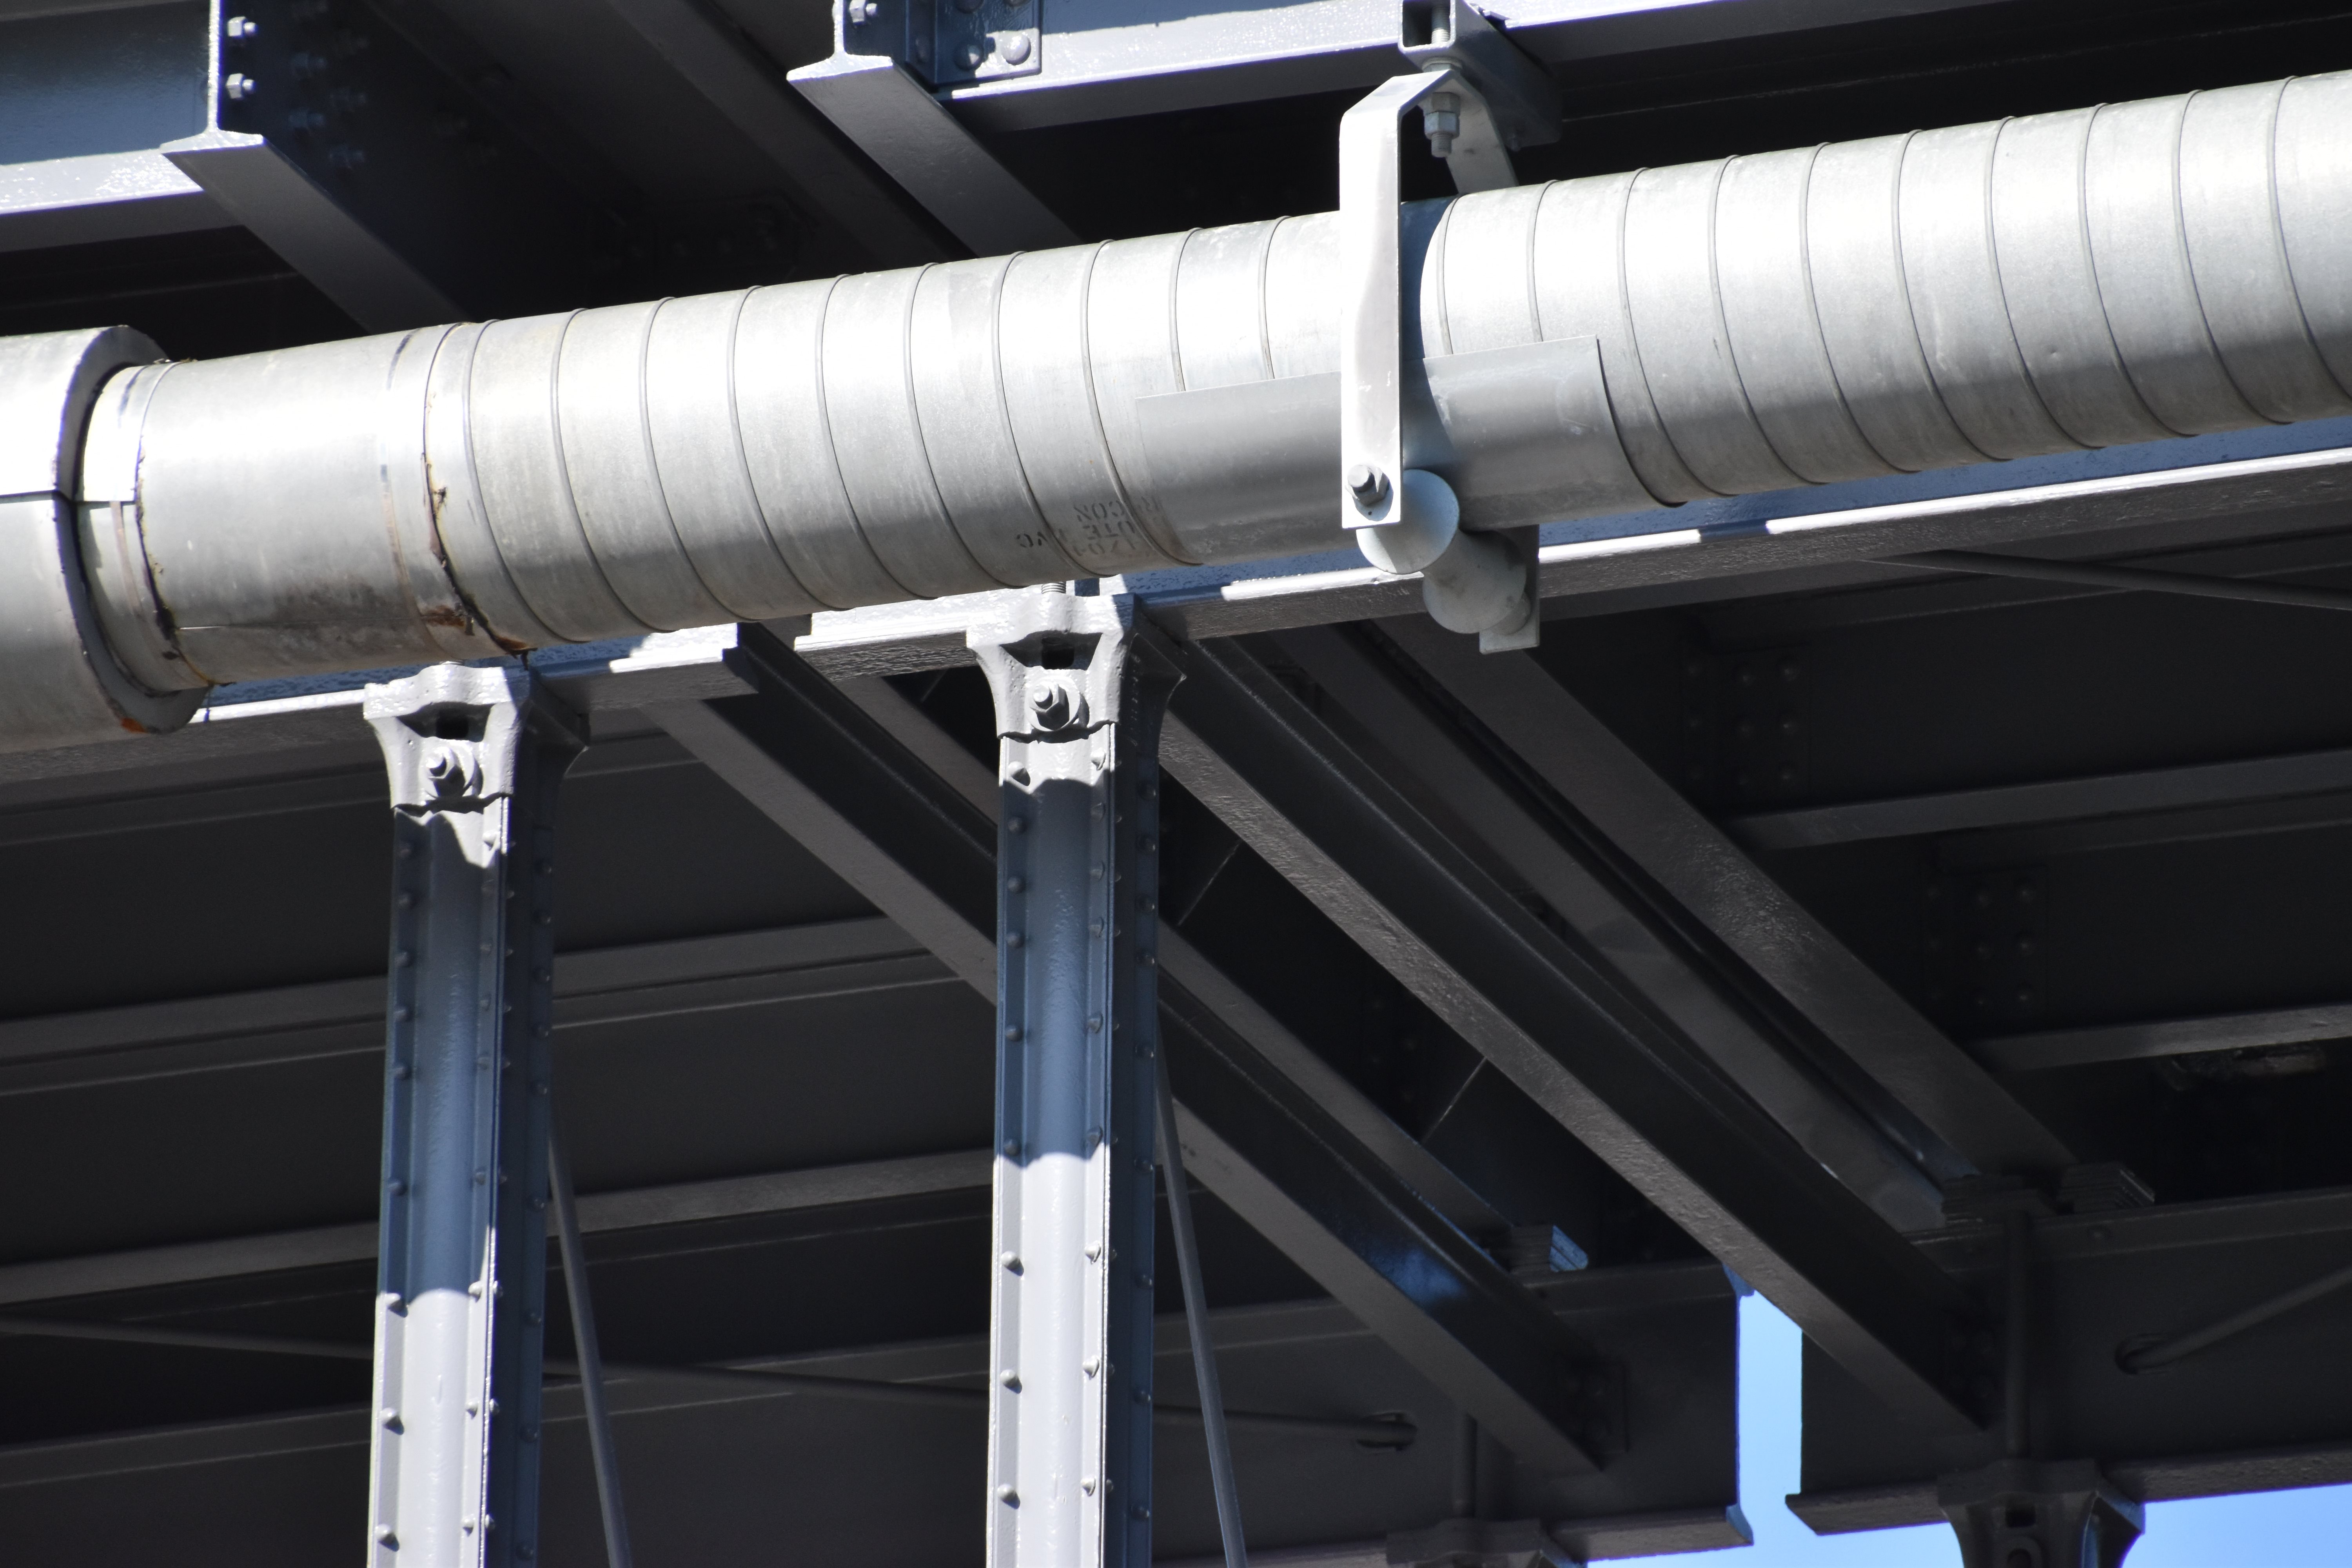
Replaced Phoenix column: bracing on approach bent. Note nonfunctional rivets that do nothing since the plate is not two pieces and is a single piece welded onto a pipe for decorative purposes only.
![]()

Abutment.
![]()


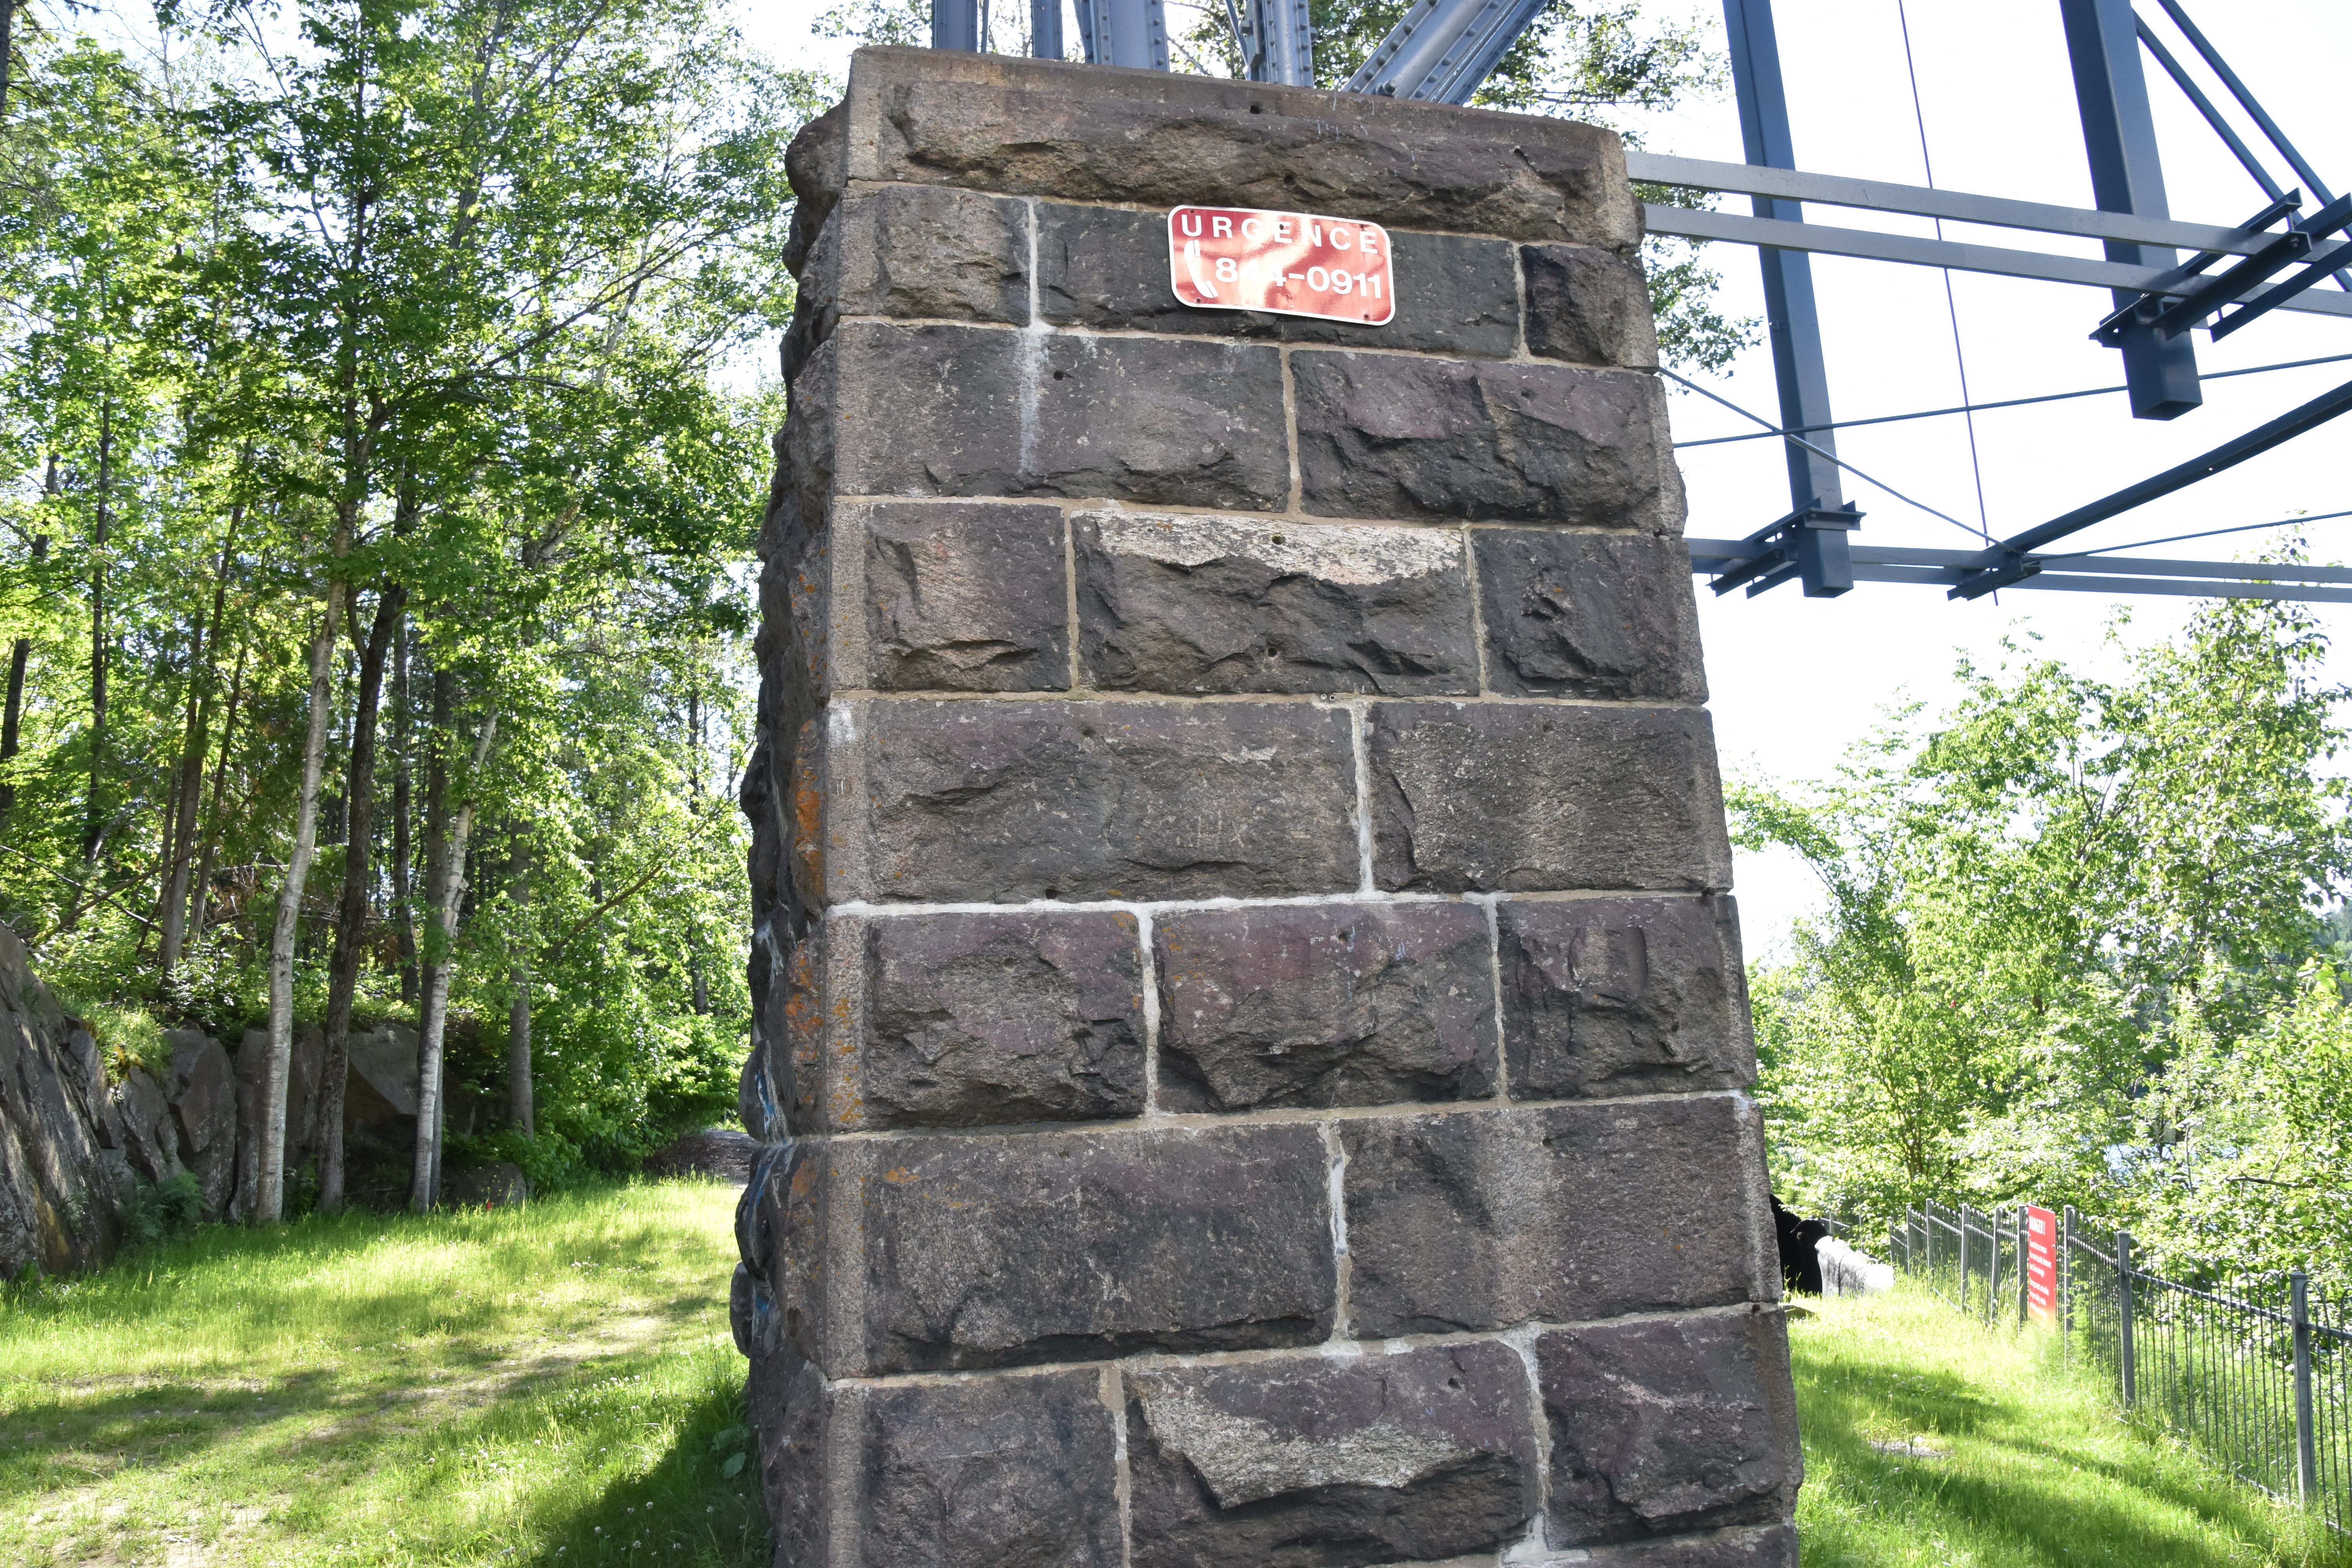

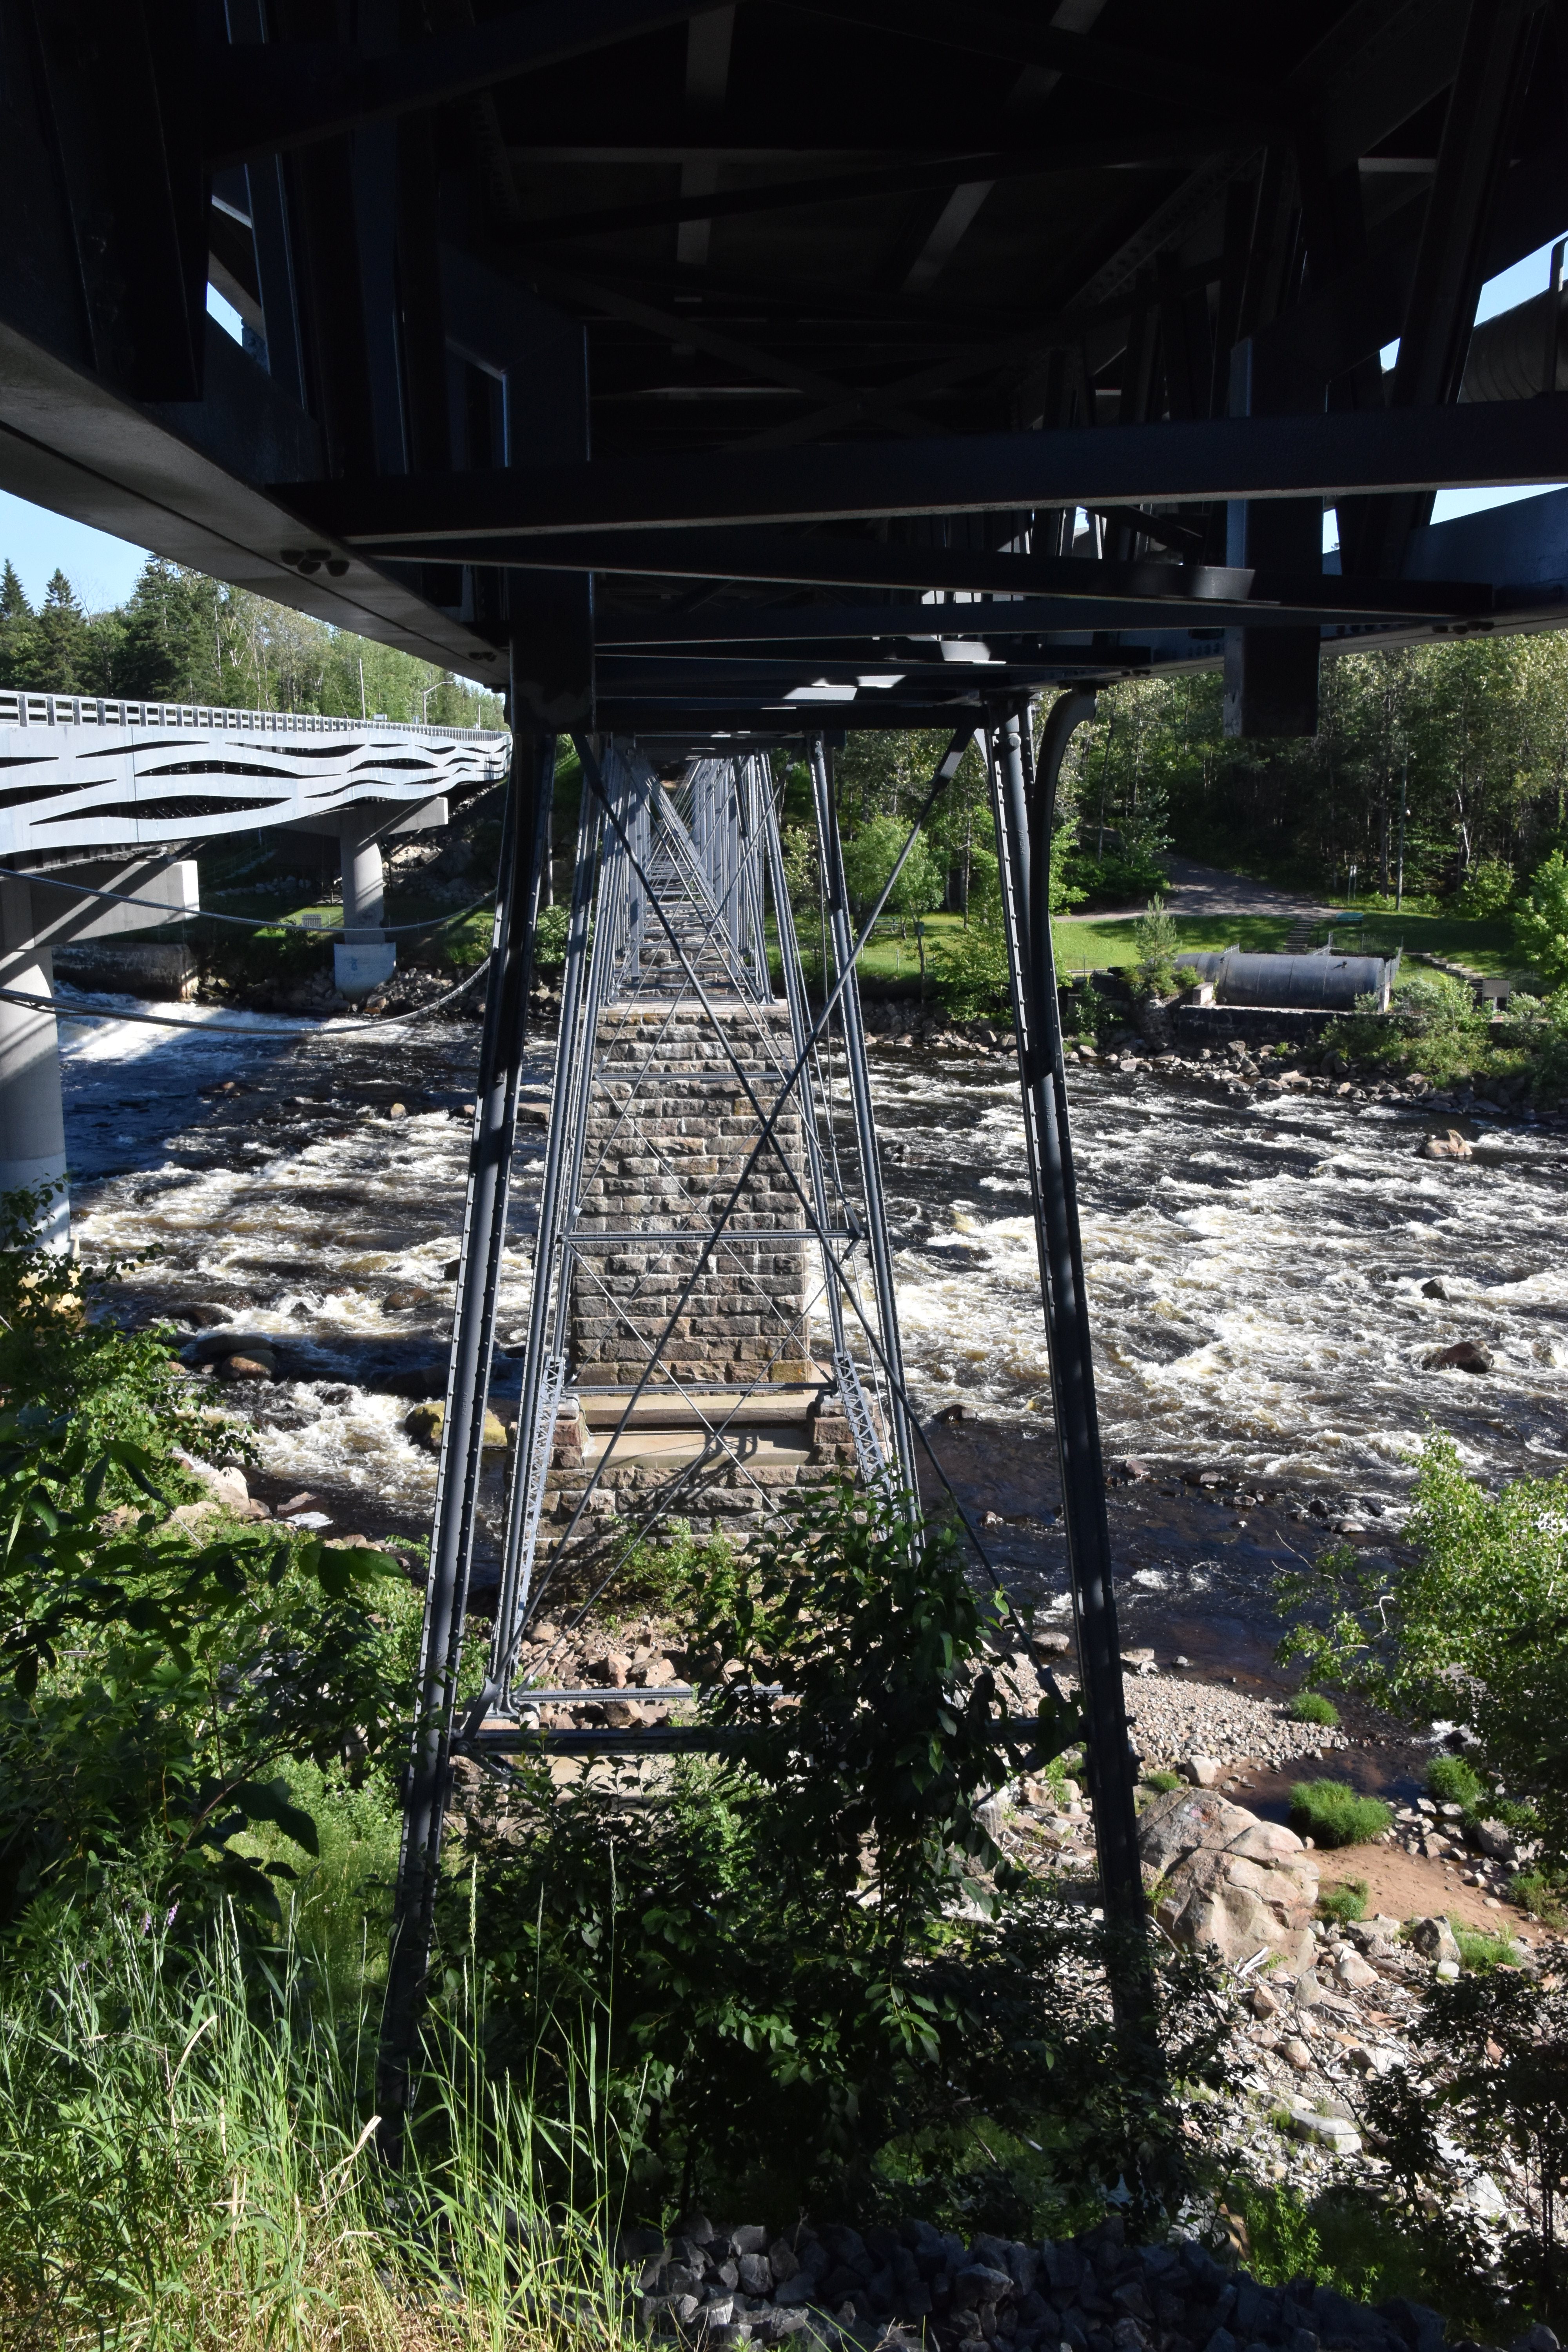
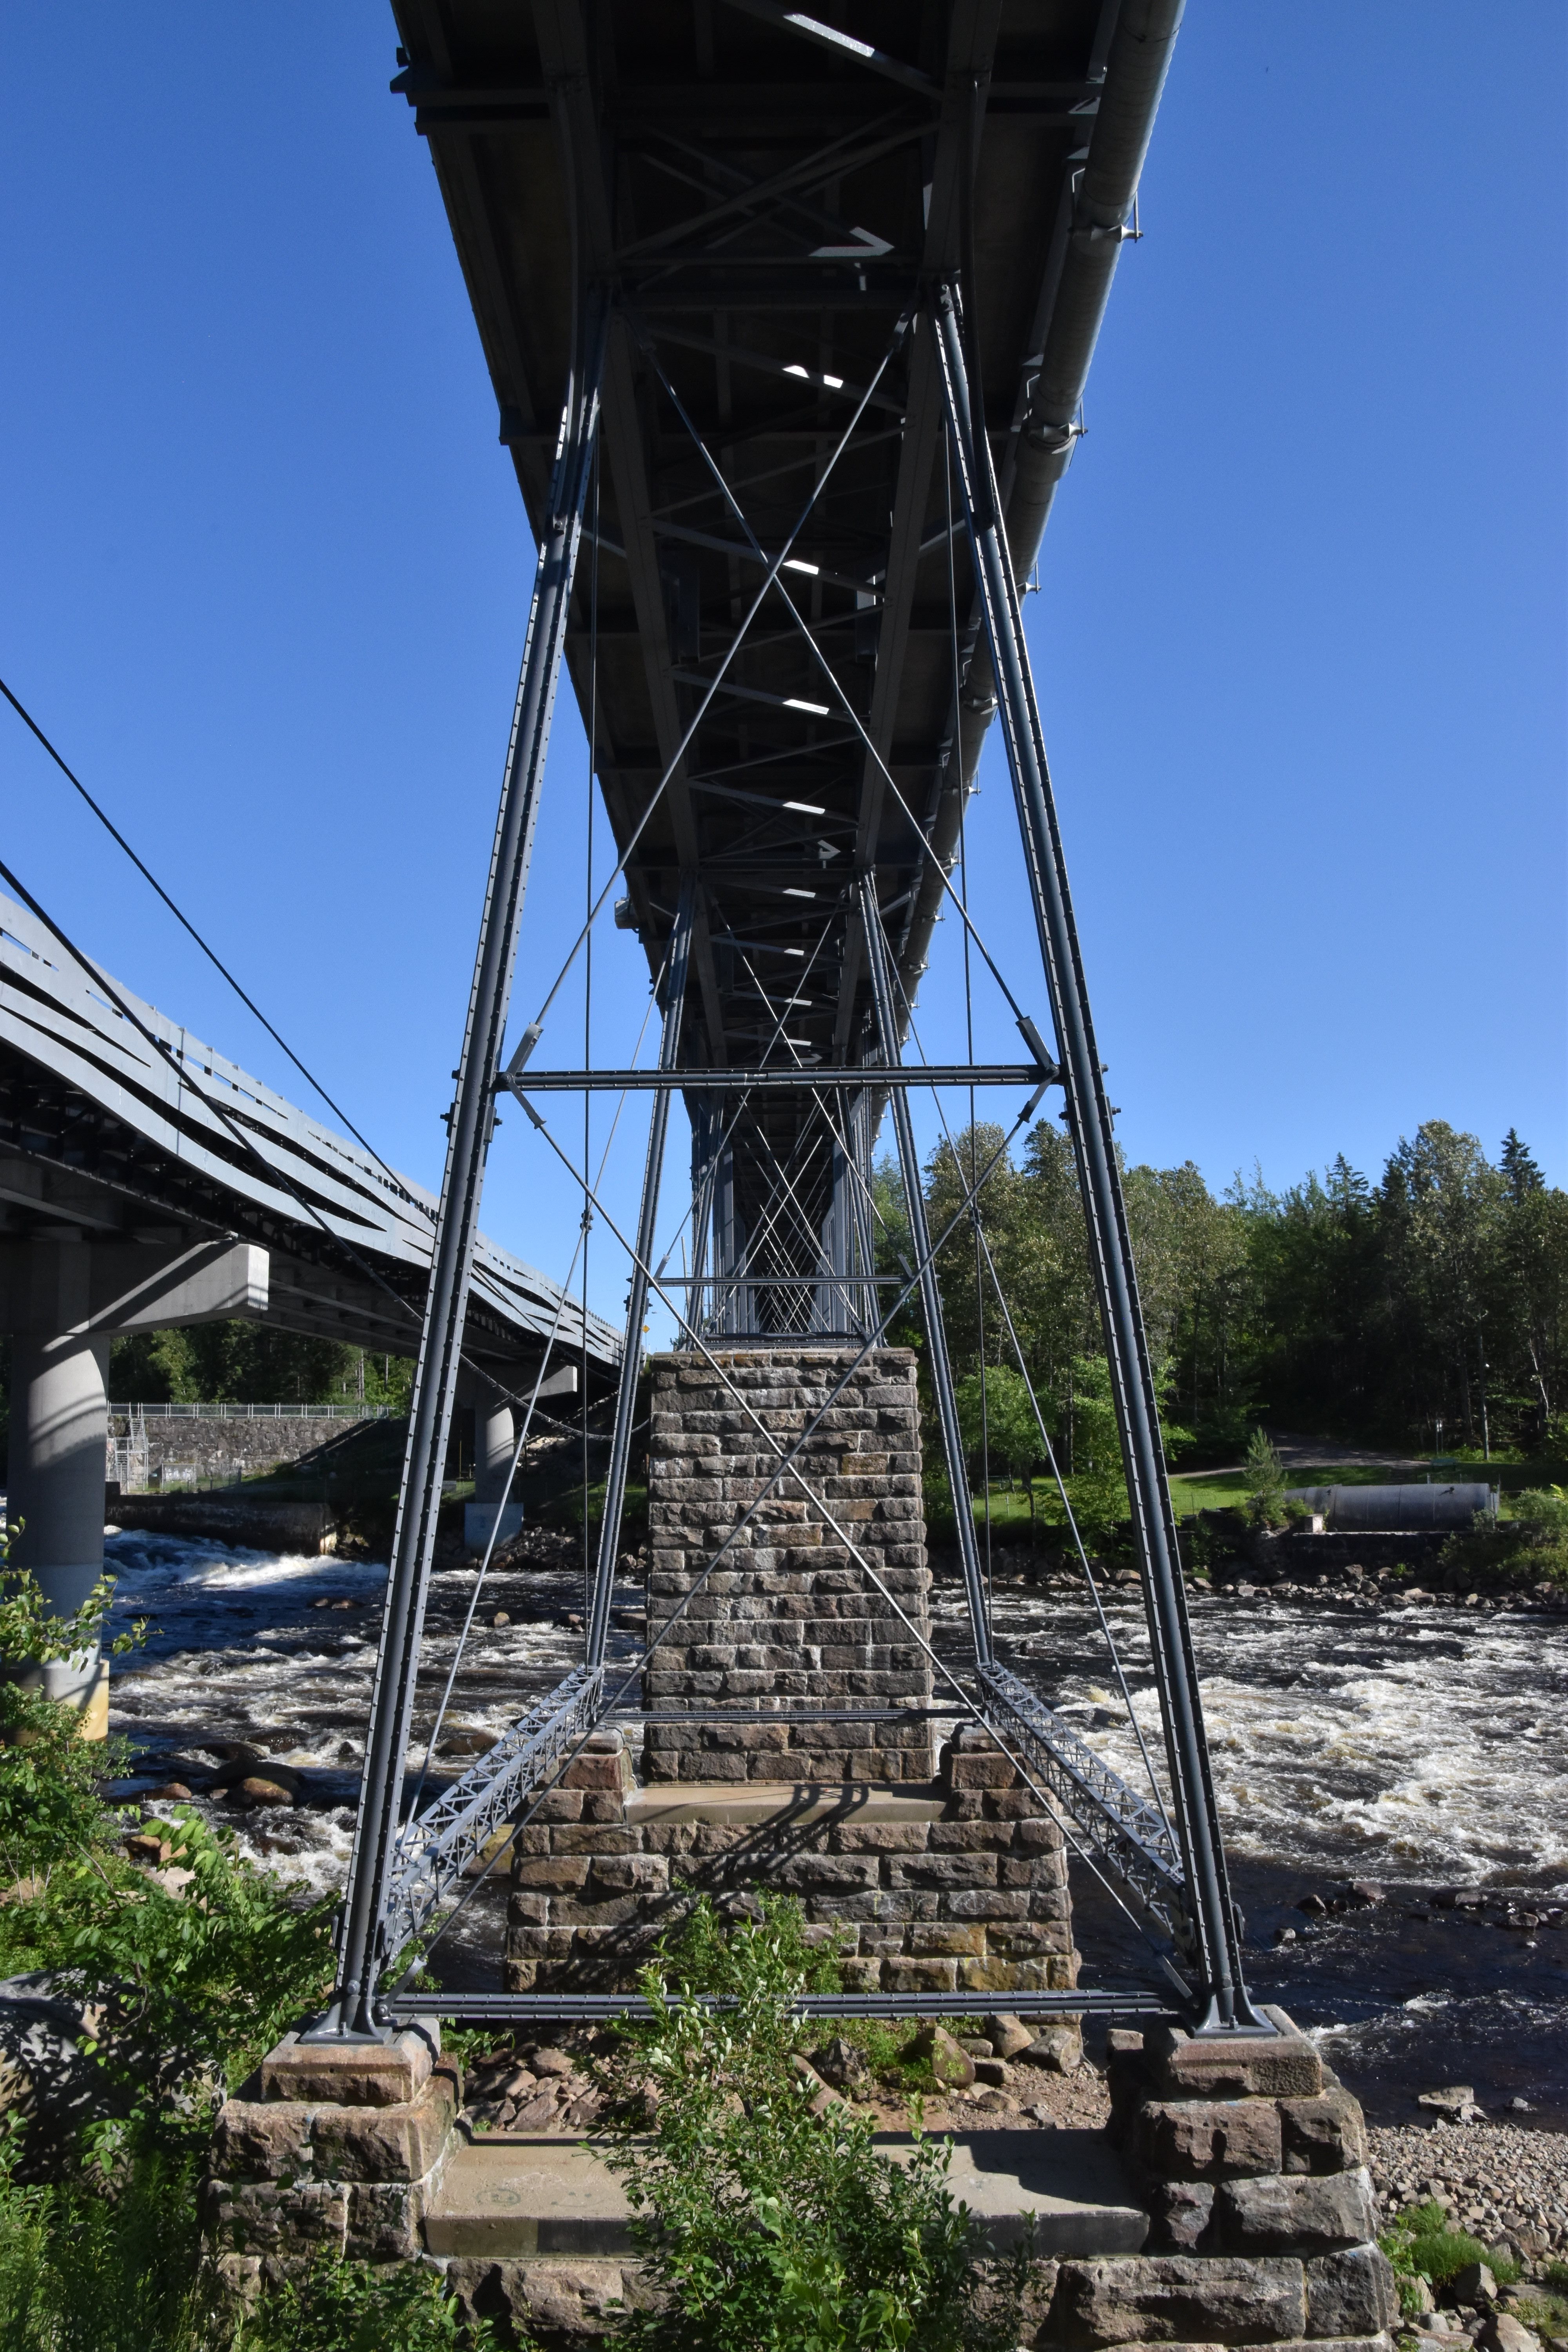
Piers.
![]()


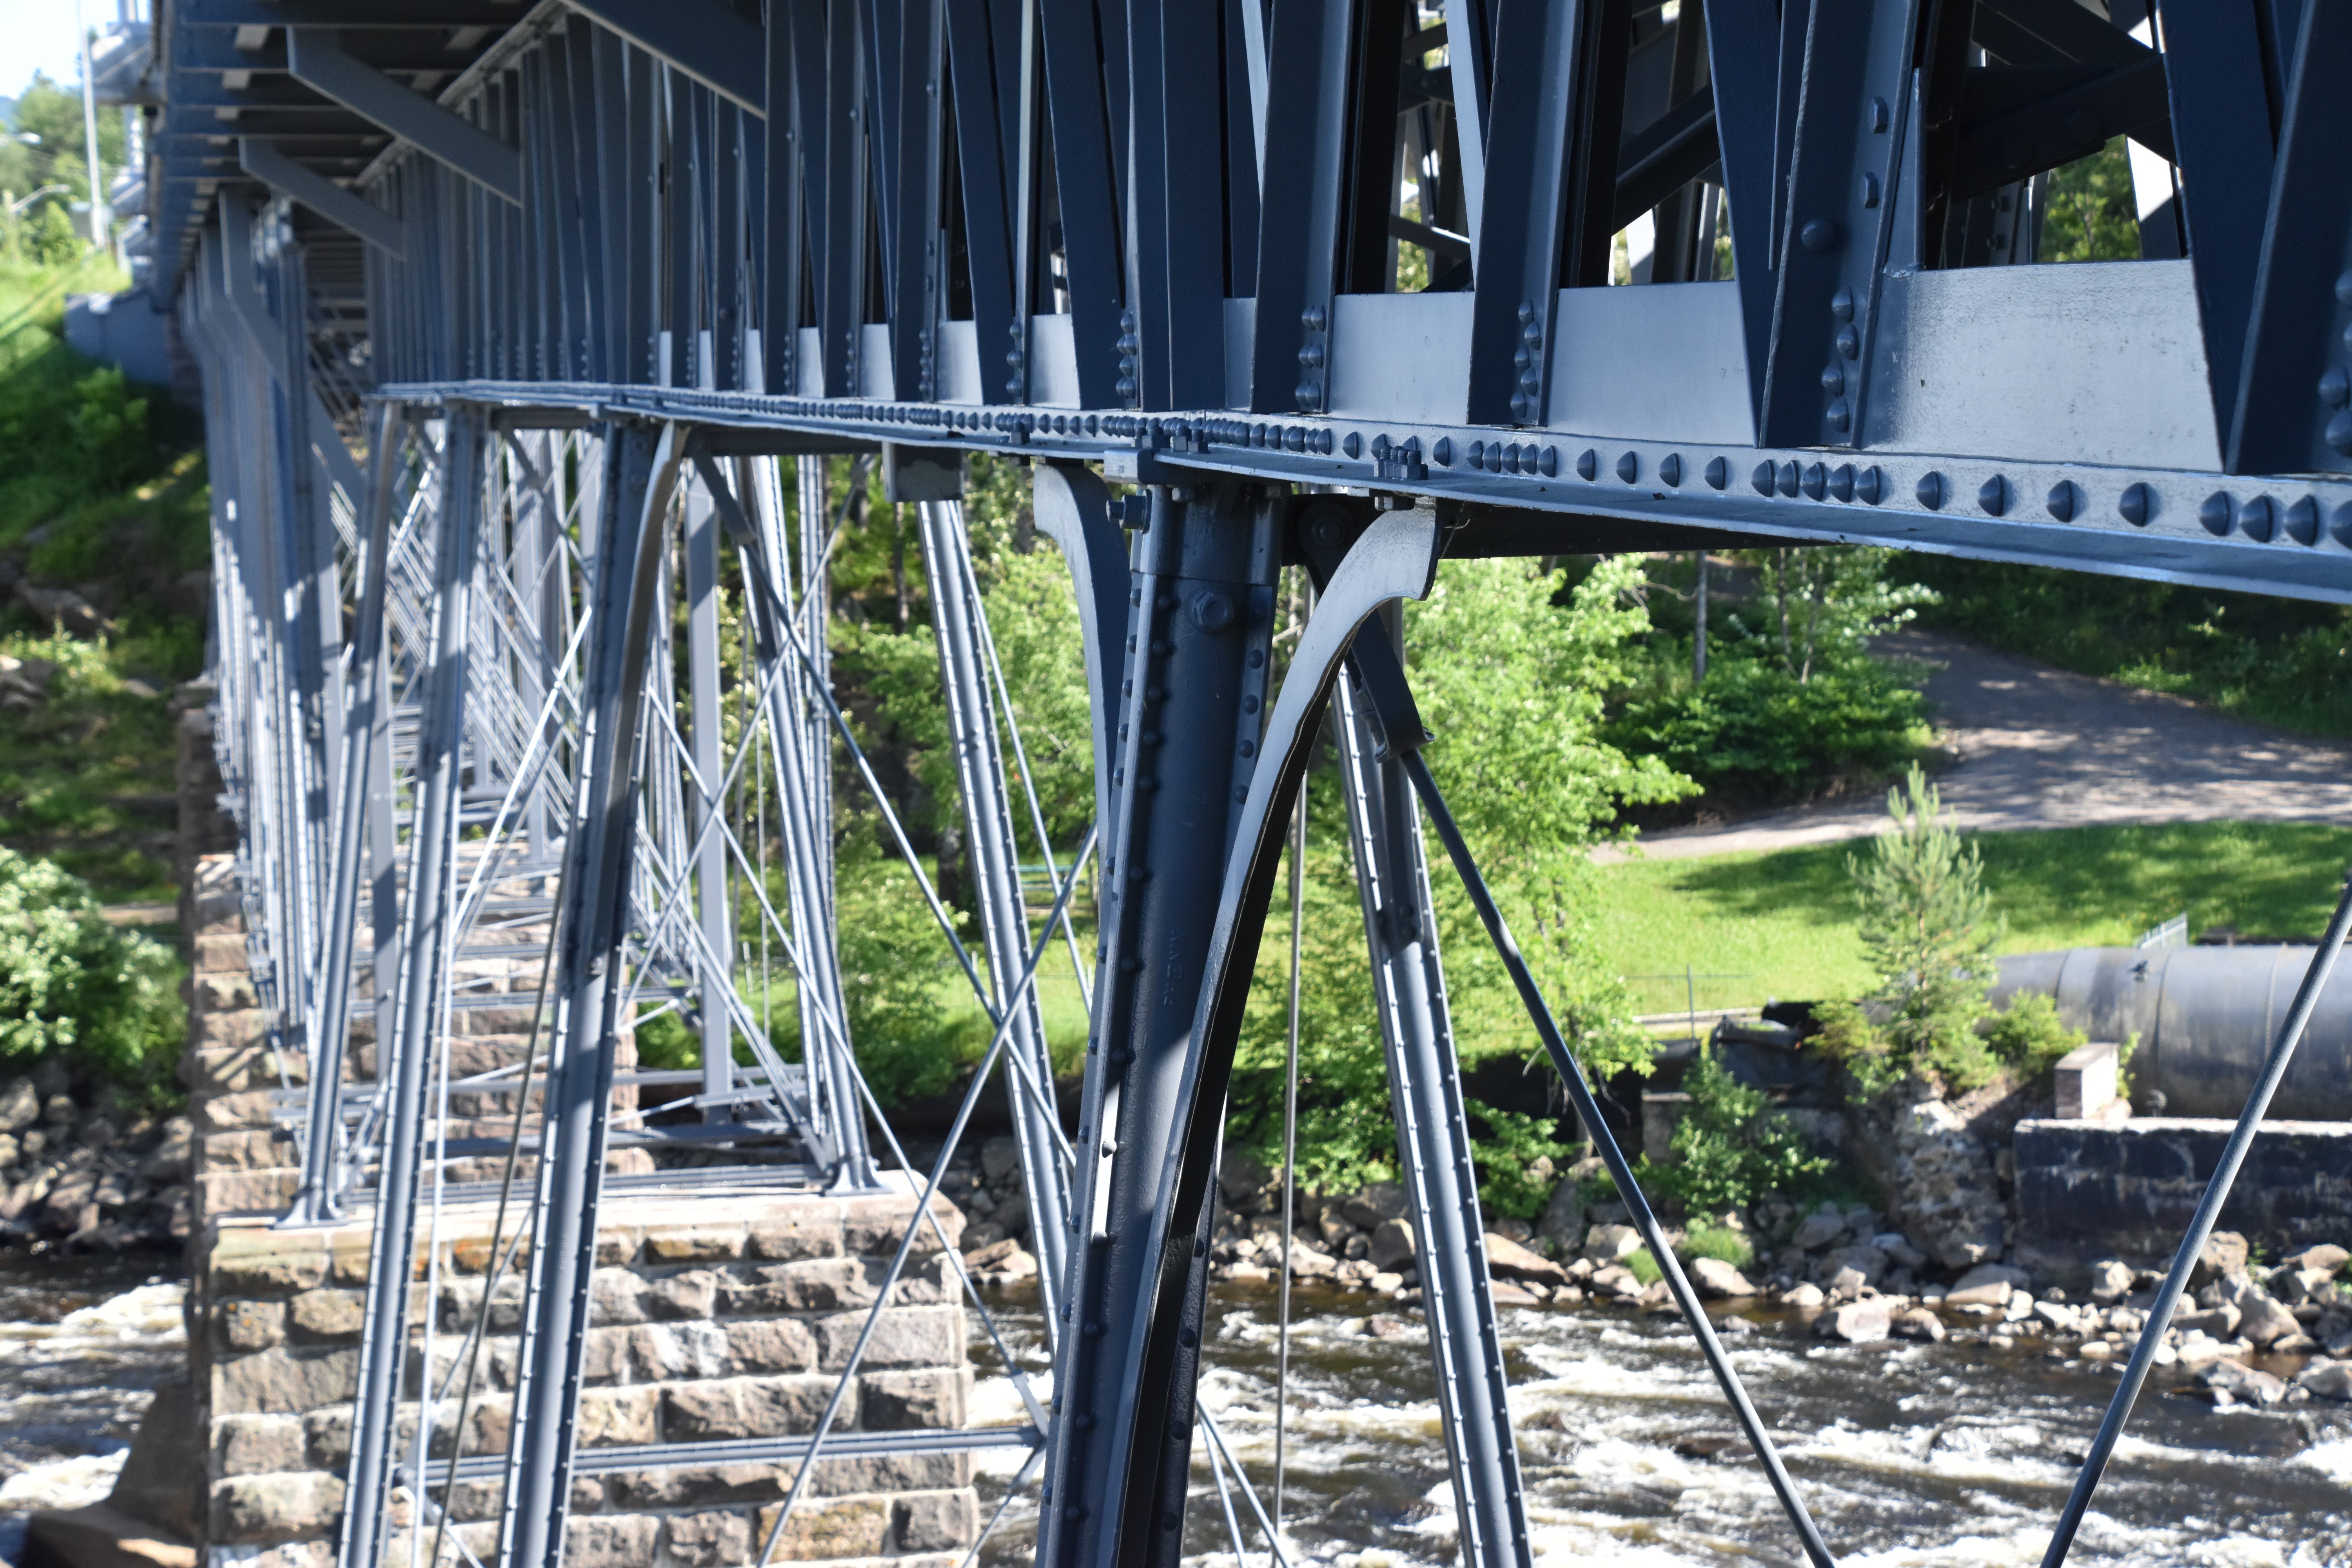
Approach bents.
![]()
Details of bents.
![]()


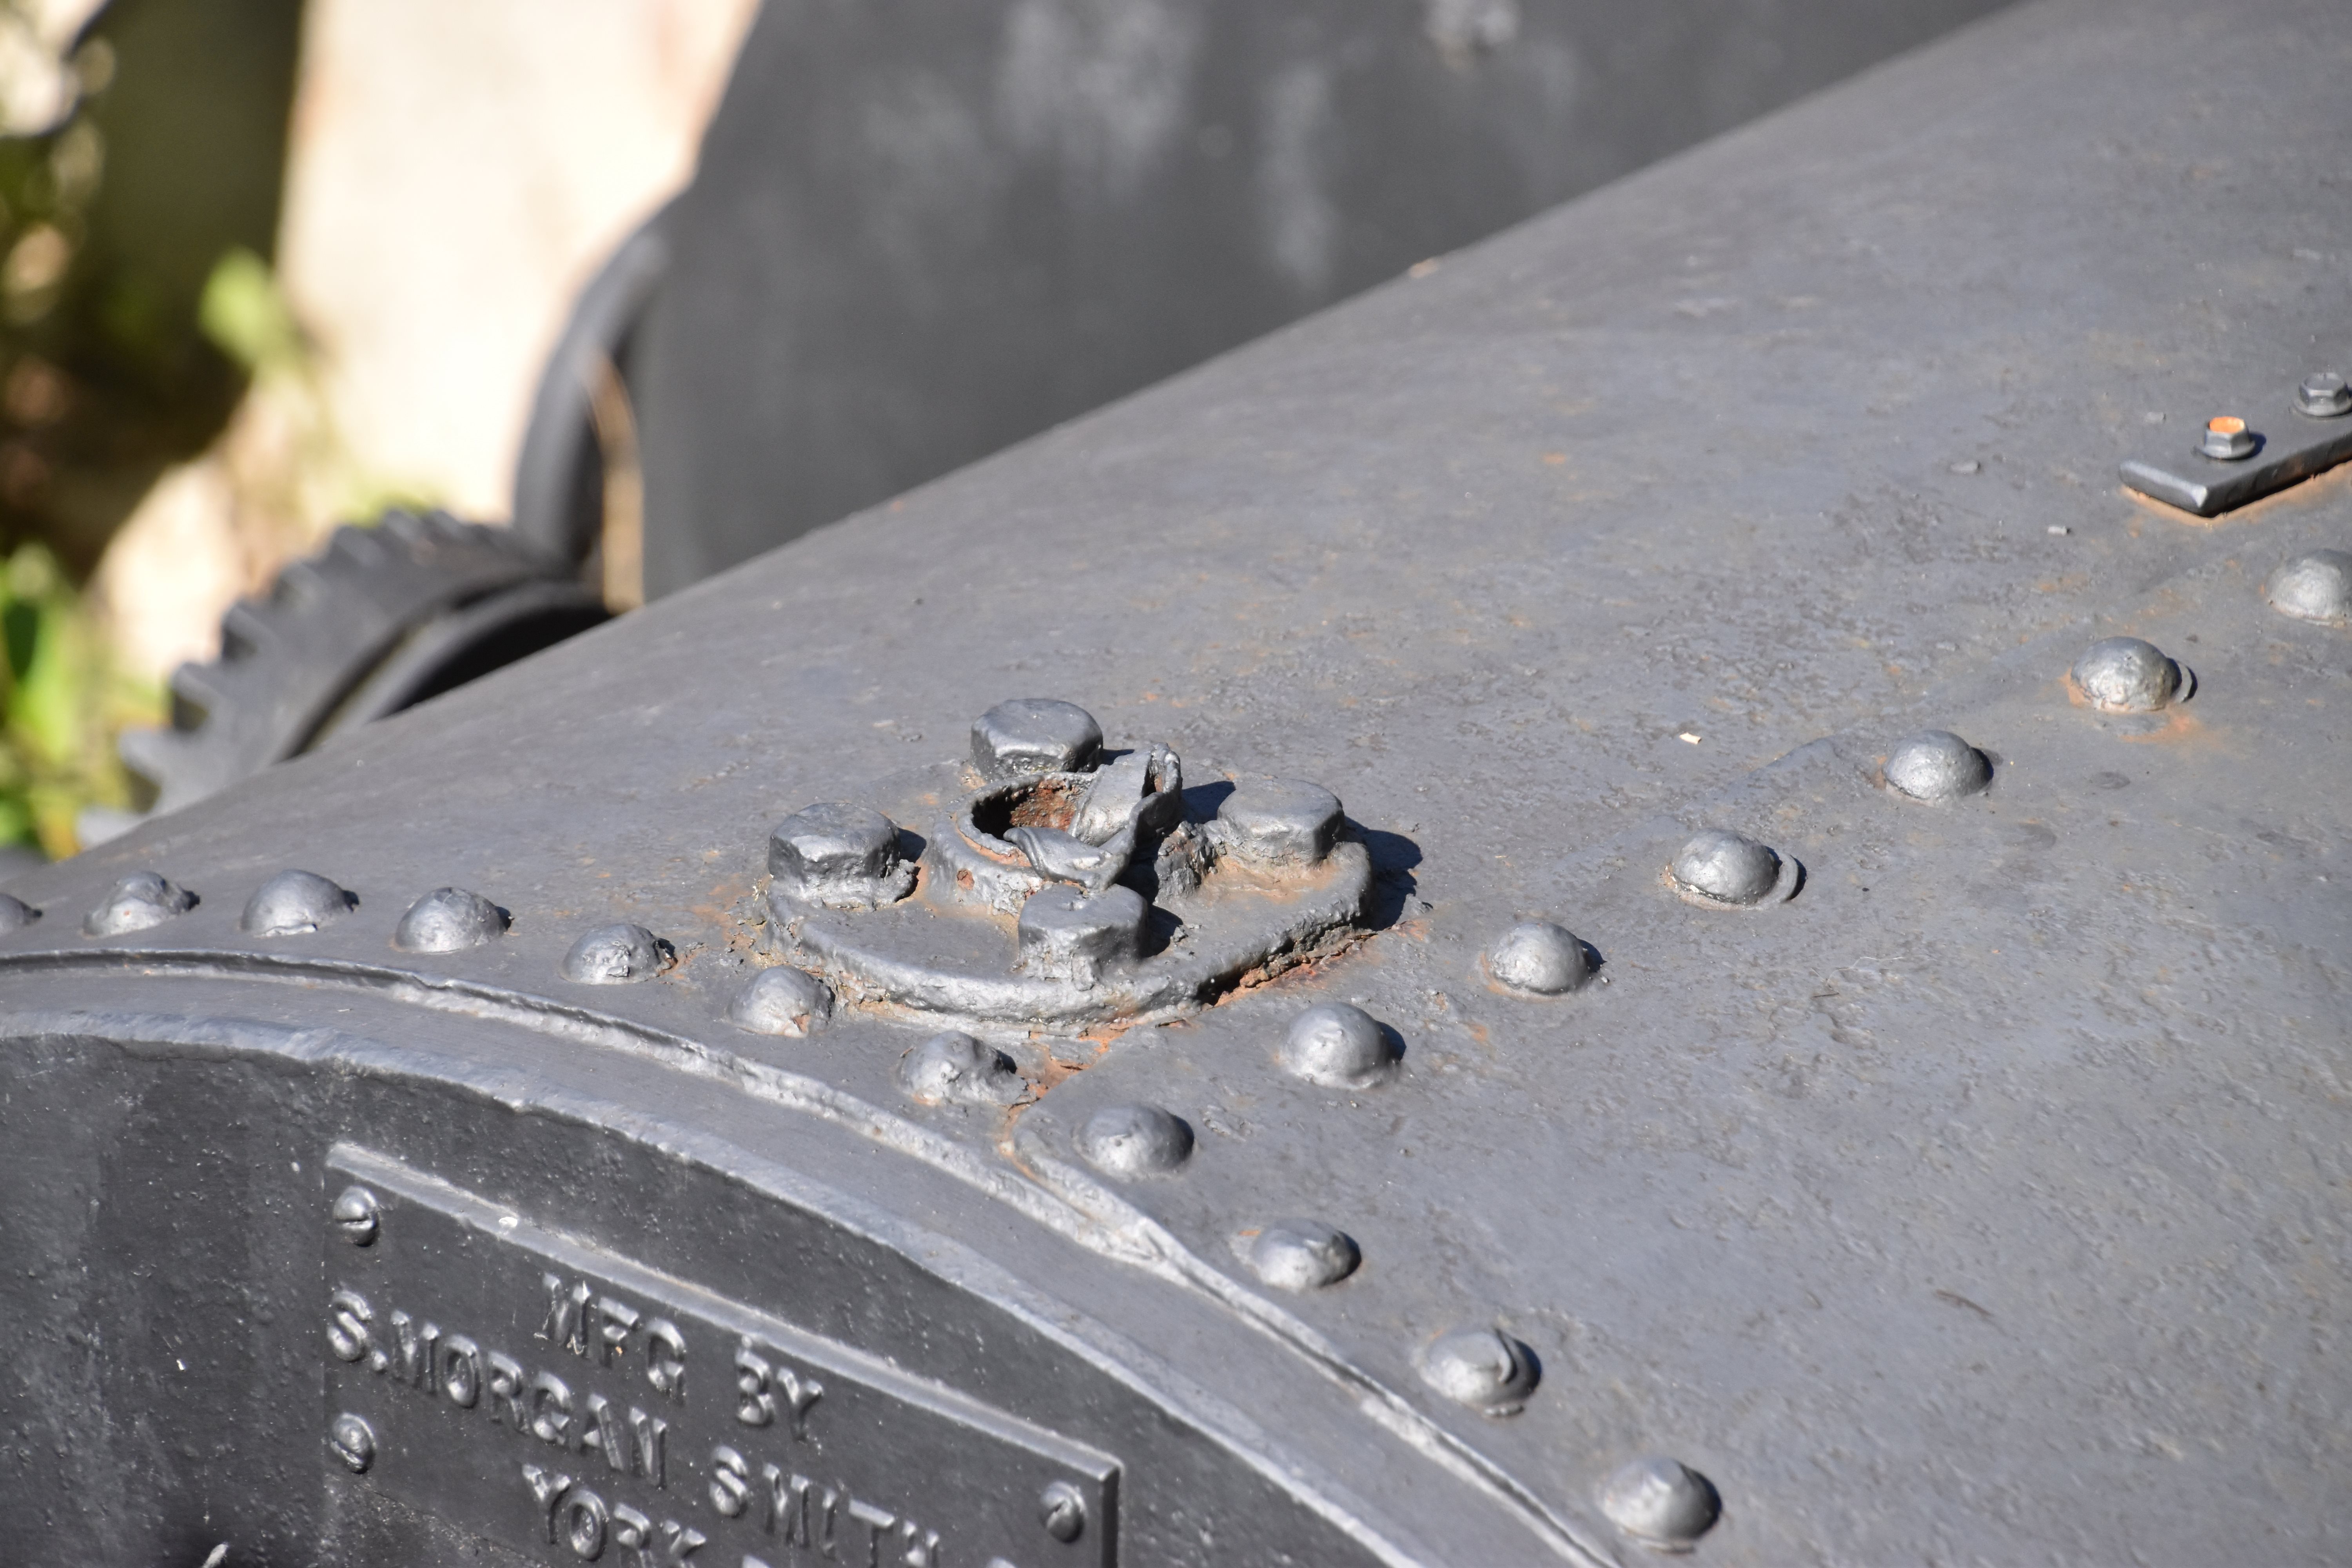

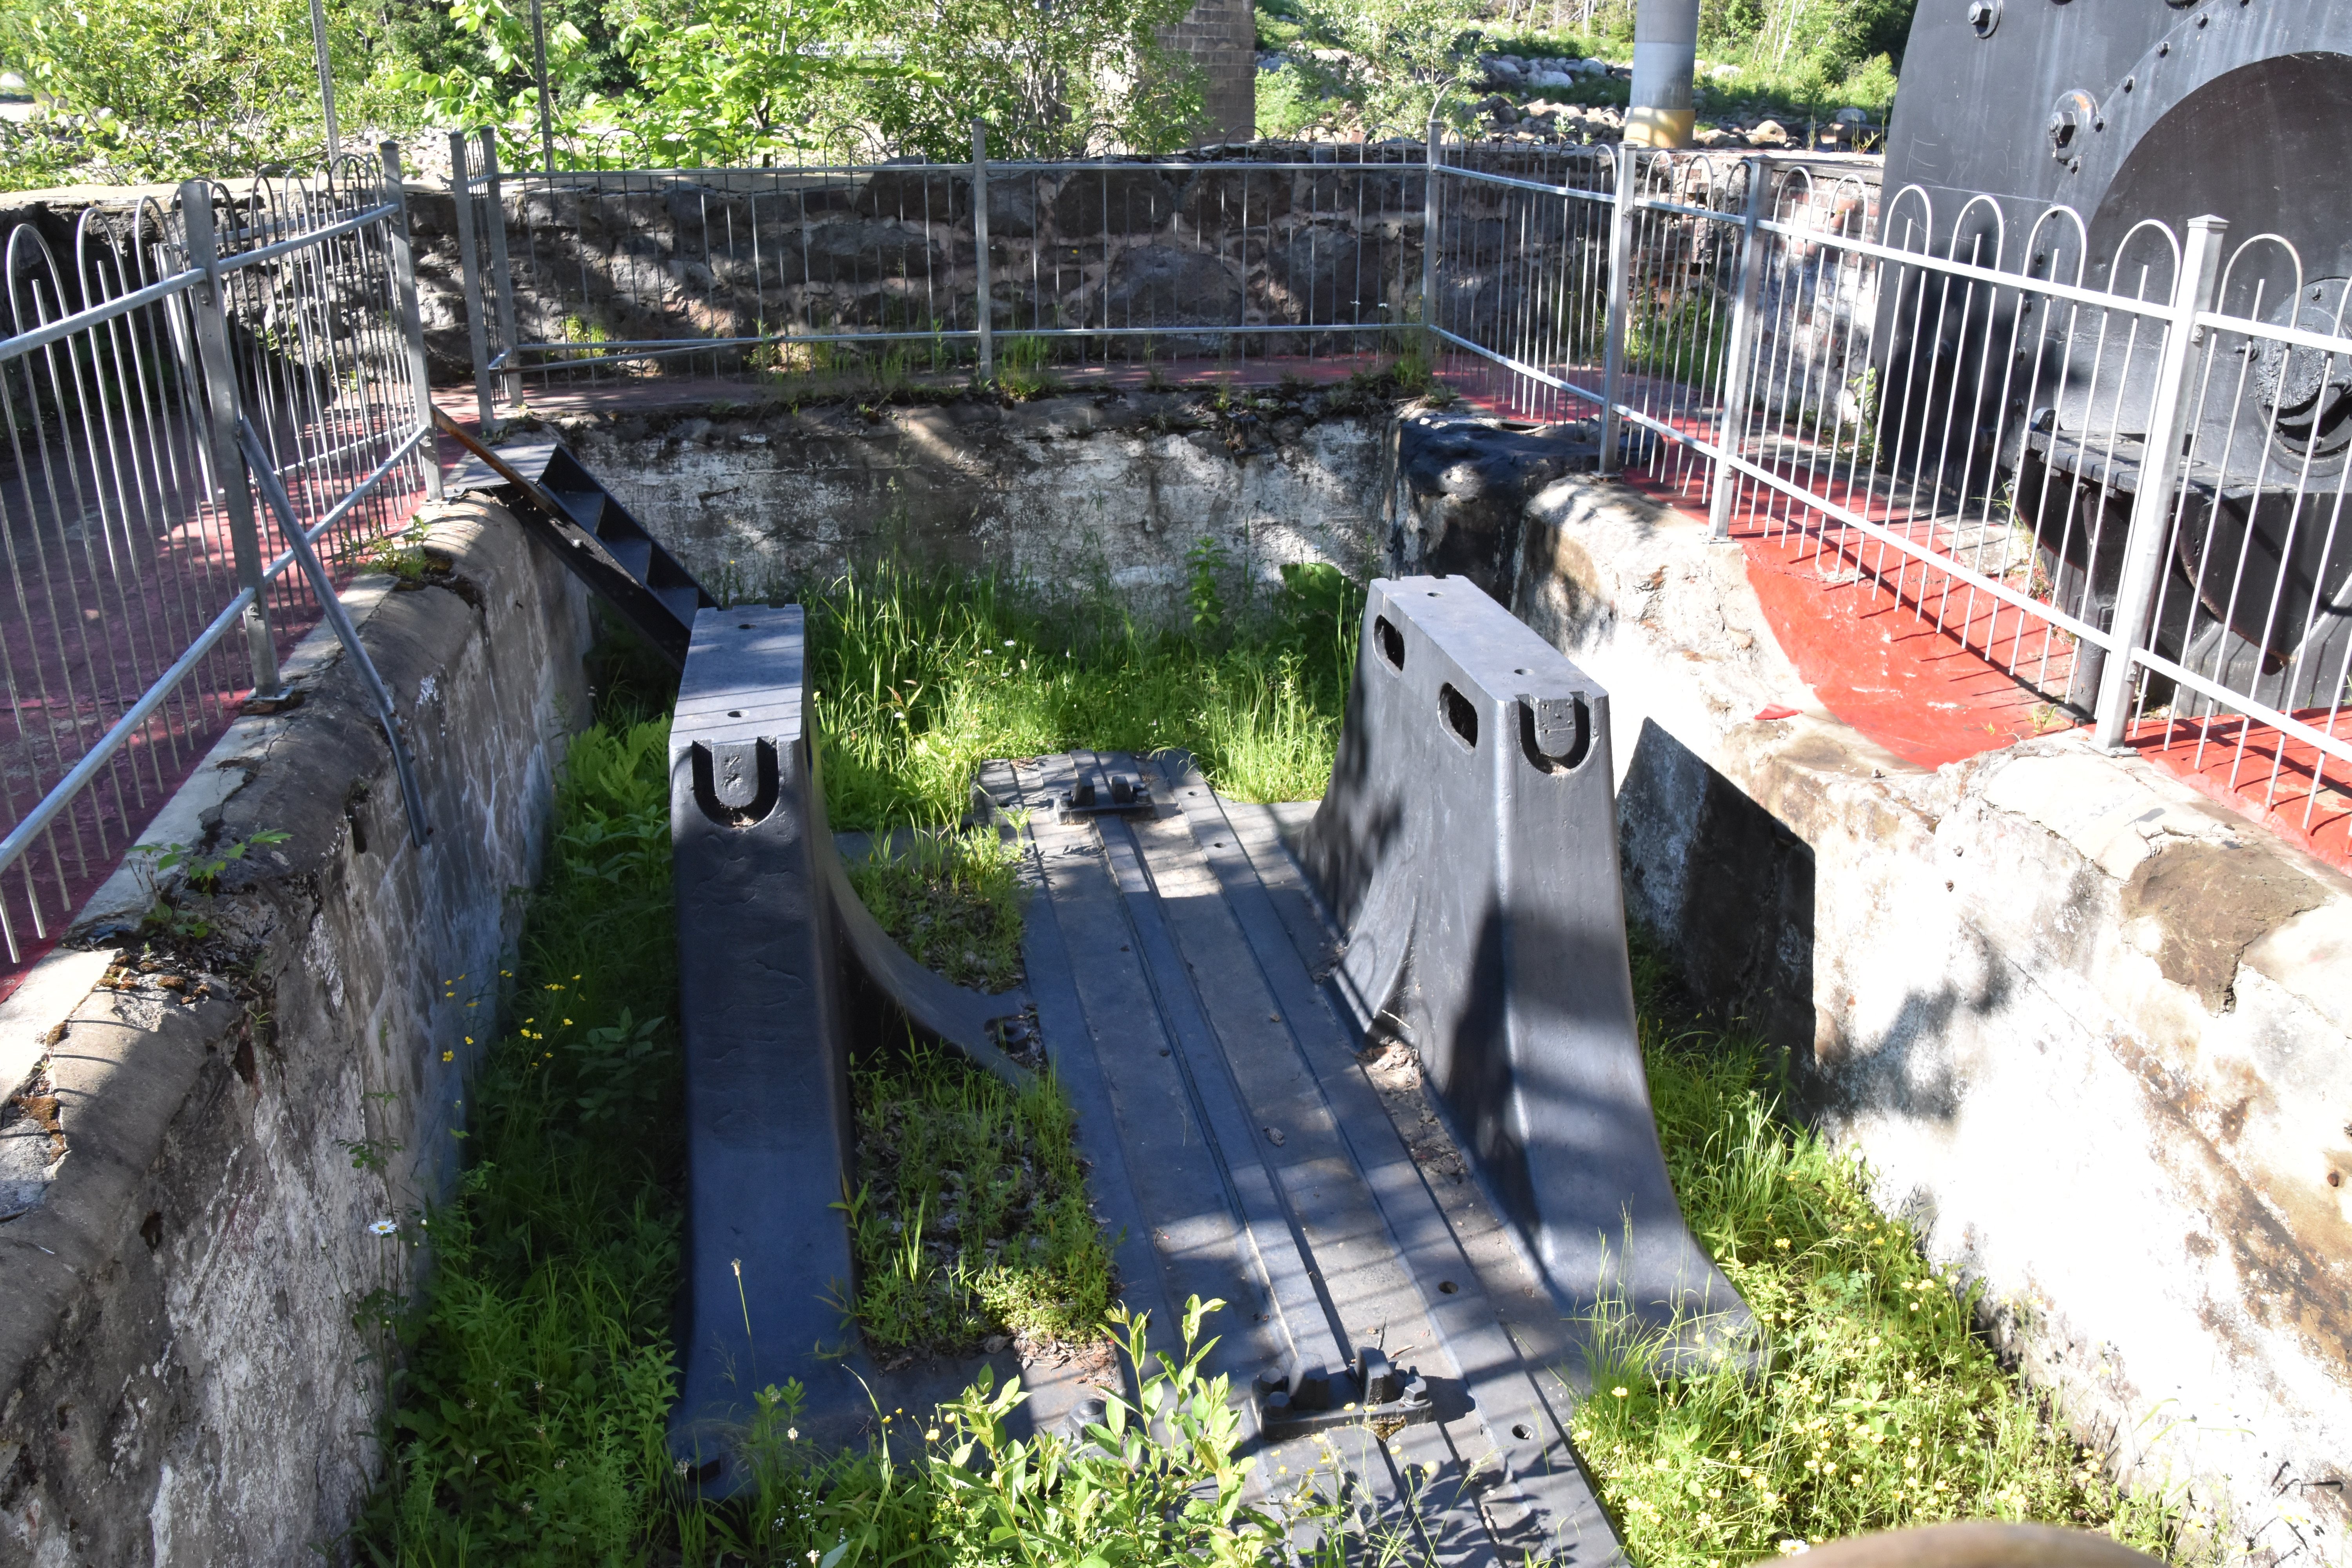


Powerhouse ruins next to bridge.
![]()


Powerhouse interpretive signage.
![]()

Scenery at bridge.
![]()
![]()
| Back |
| Home |
| Top |

![]()