Uncredited photos on this page taken by: Nathan Holth. Unless stated in a caption, all photos are Copyright with All Rights Reserved. Learn about reuse of our photos.
![]()

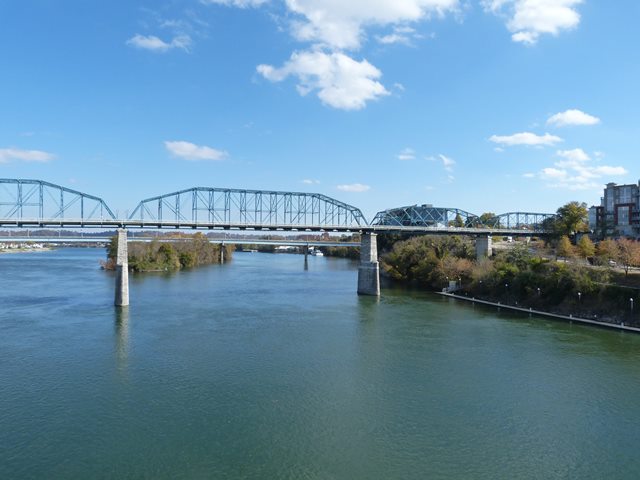

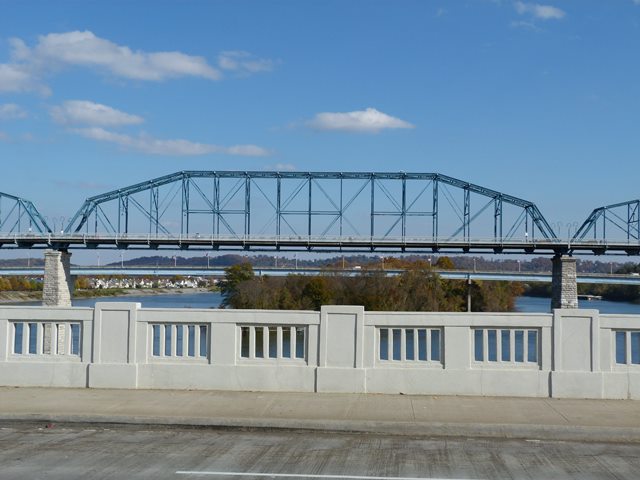
West elevation.
![]()
![]()
![]()
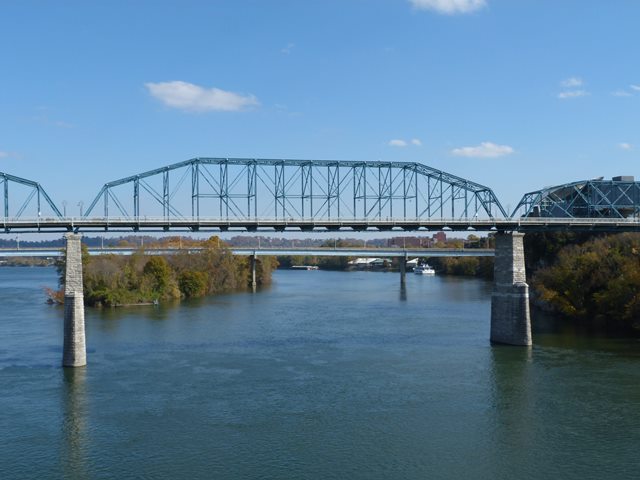
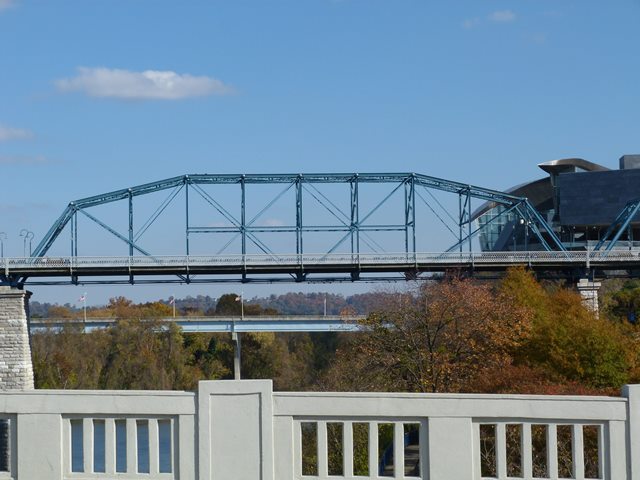
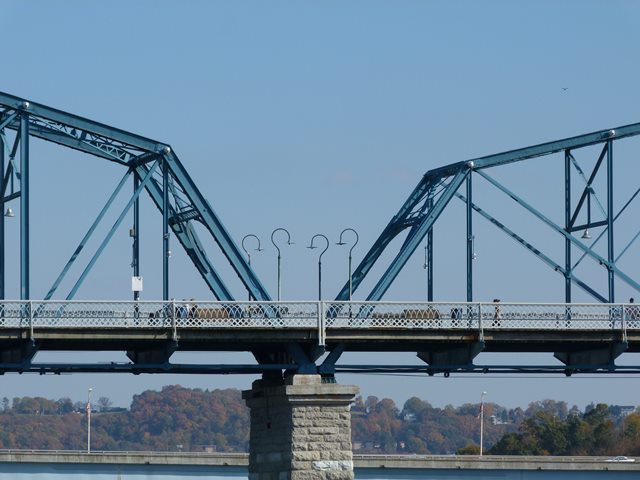
Panoramic west elevation.
![]()


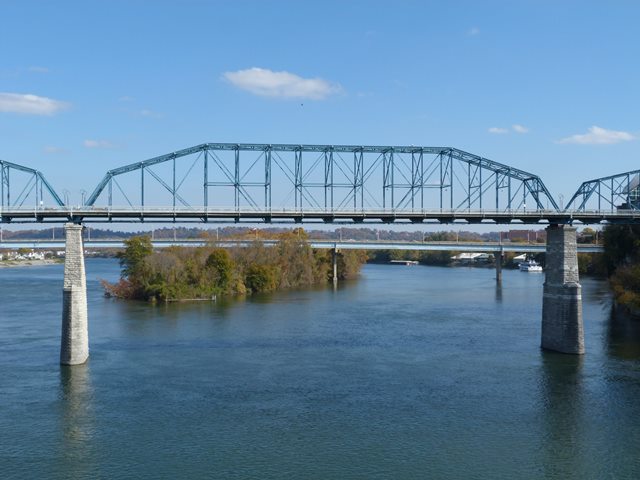


West elevation of individual spans.
![]()


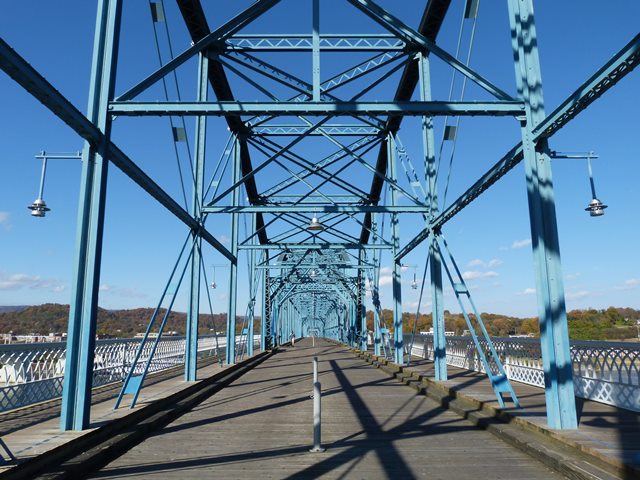
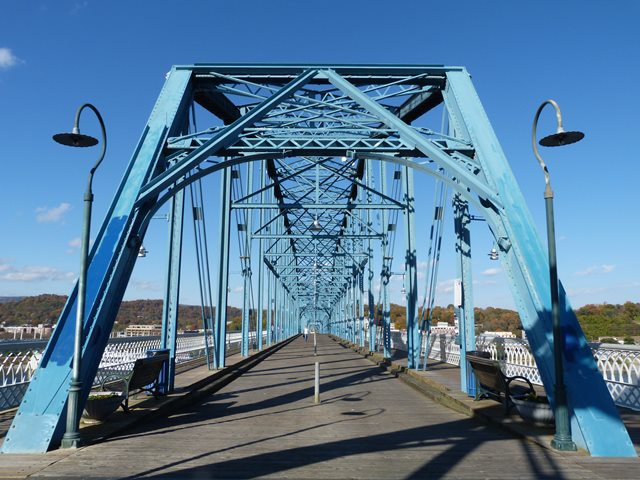
Portal views facing north.
![]()


Portal views on bridge in between truss spans facing north.
![]()
Portal views on truss spans facing north.
![]()
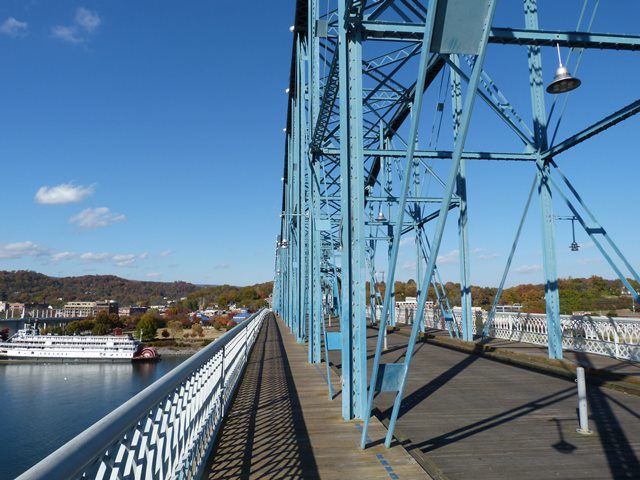

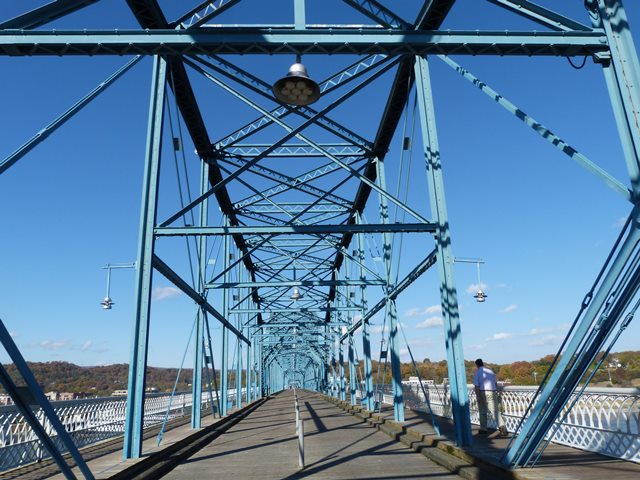
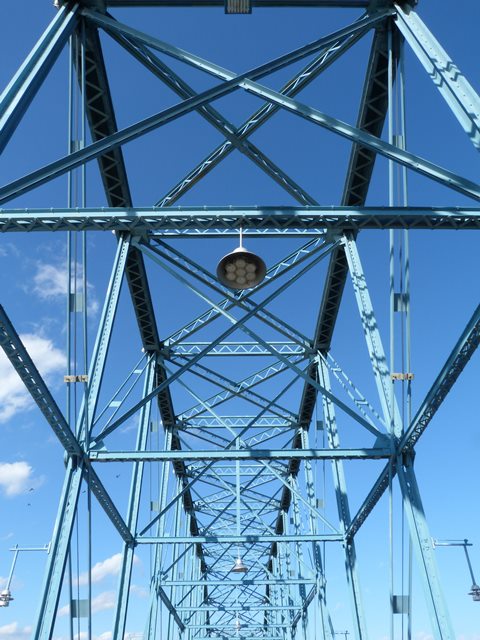
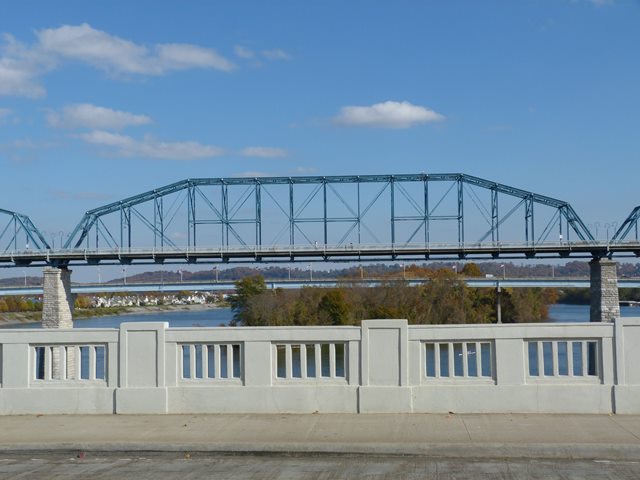
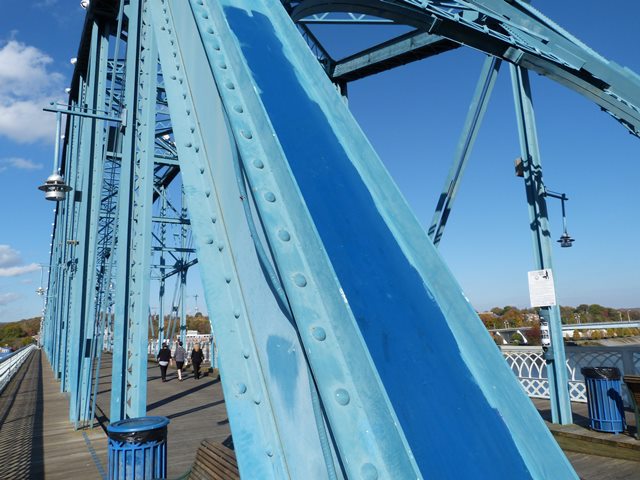
View on sidewalk facing north.
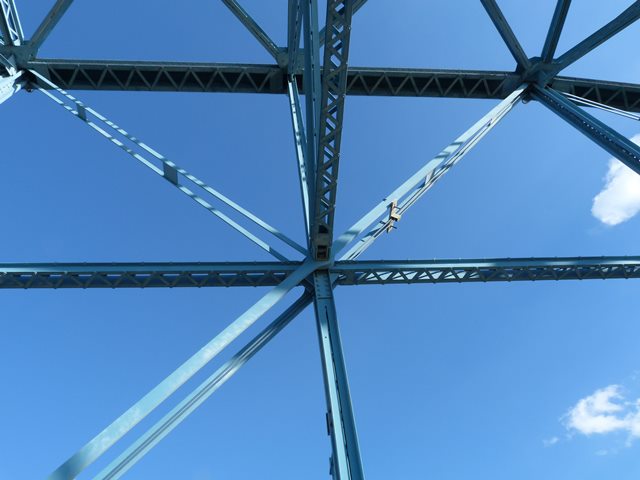
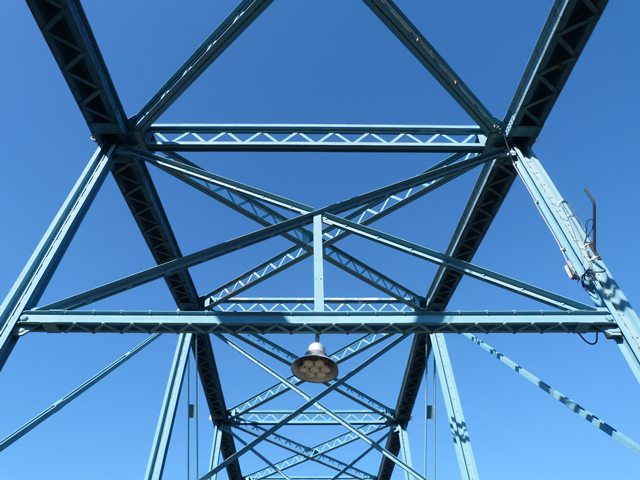
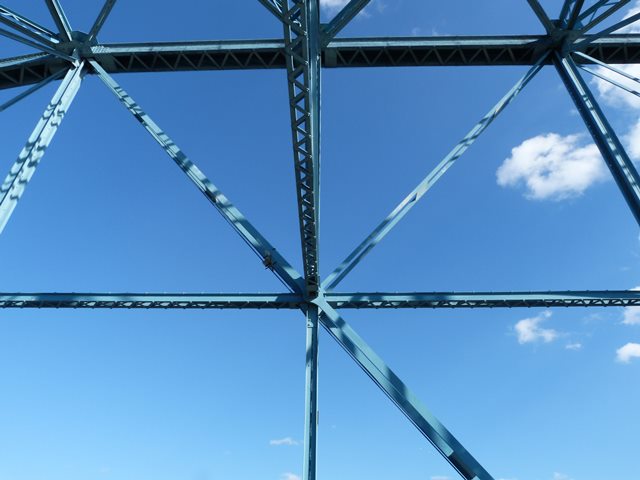
![]()
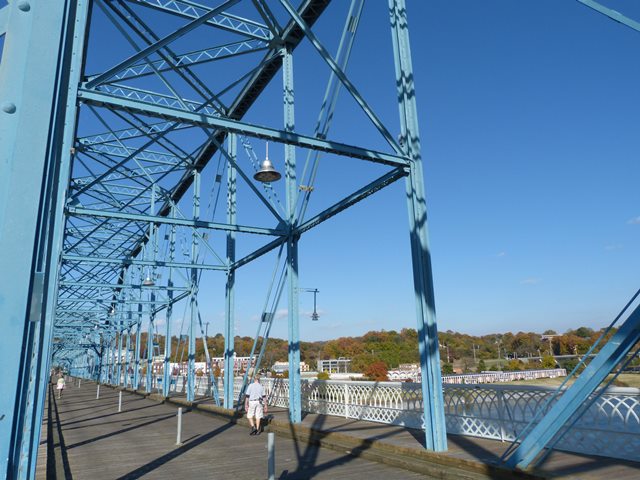
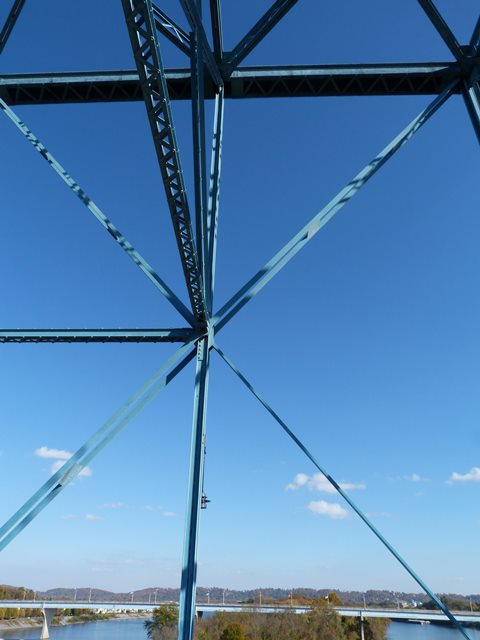
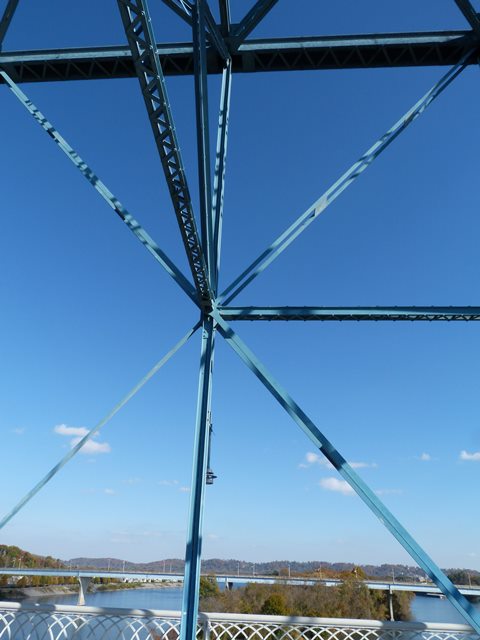
Views of truss web.
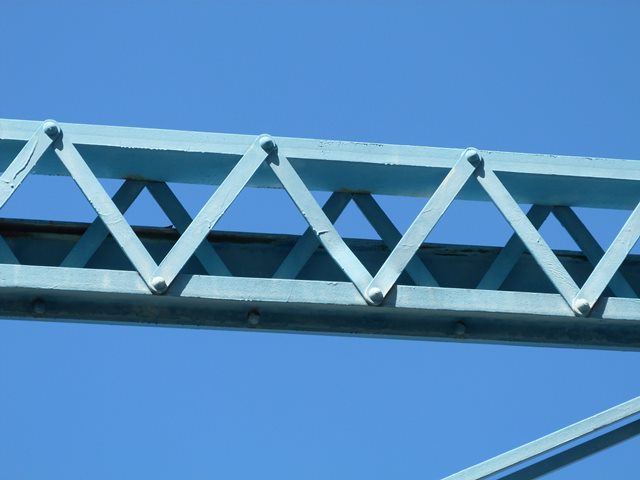
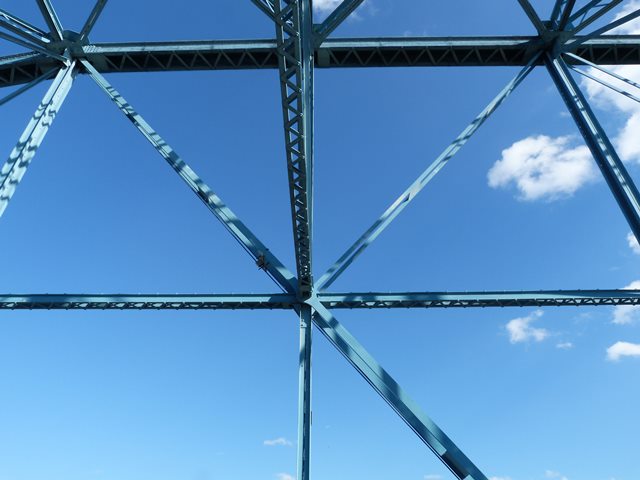
![]()


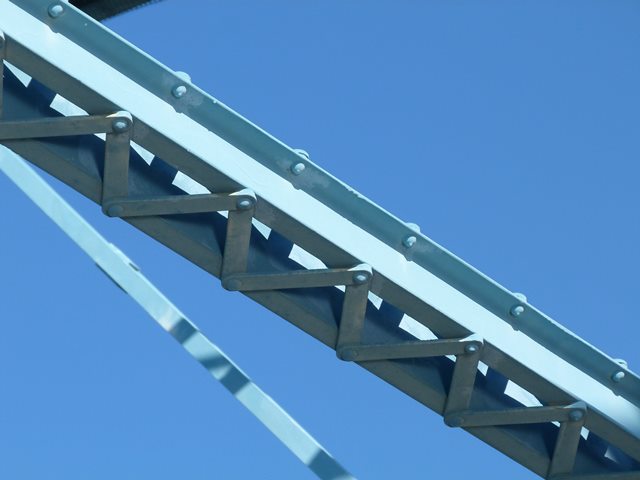
Truss panels as viewed from beside bridge.
![]()


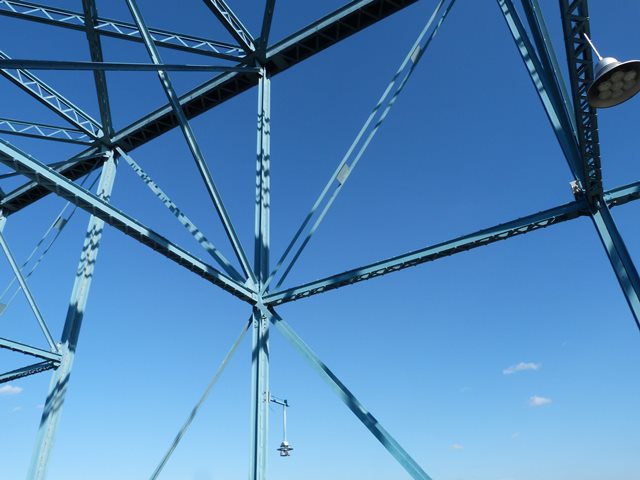


Truss panels as viewed from on bridge.
![]()
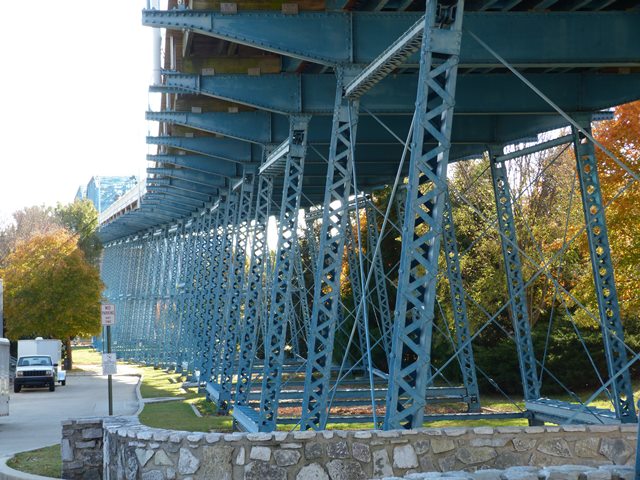
View beside approach spans from northeast quadrant.
![]()
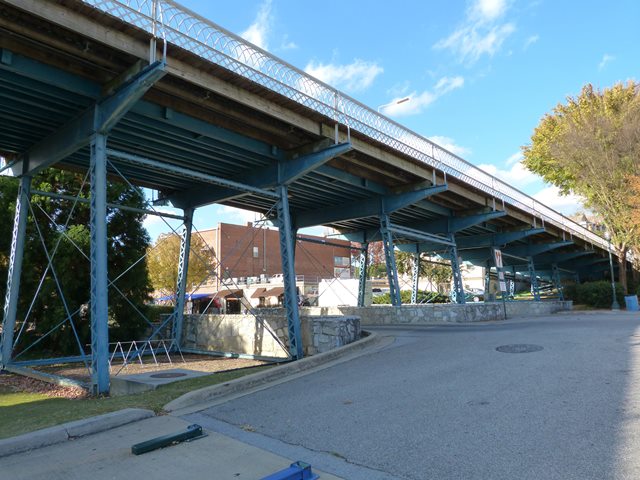
View beside approach spans from northwest quadrant.
![]()


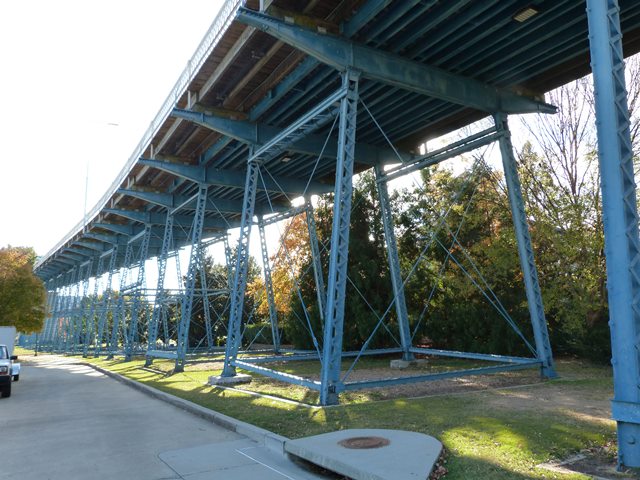
West elevation of northern approach spans.
![]()

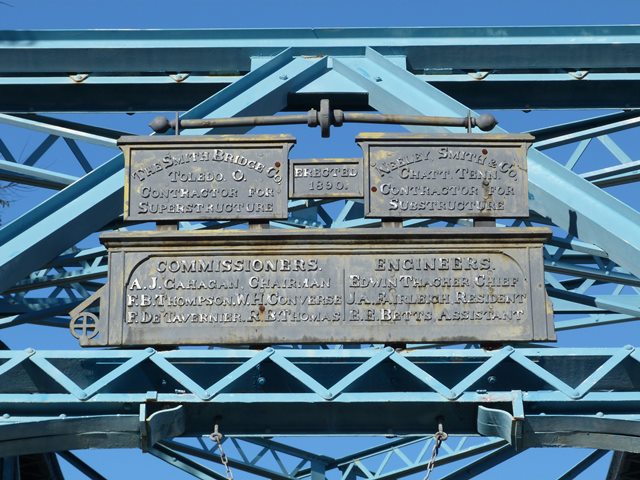
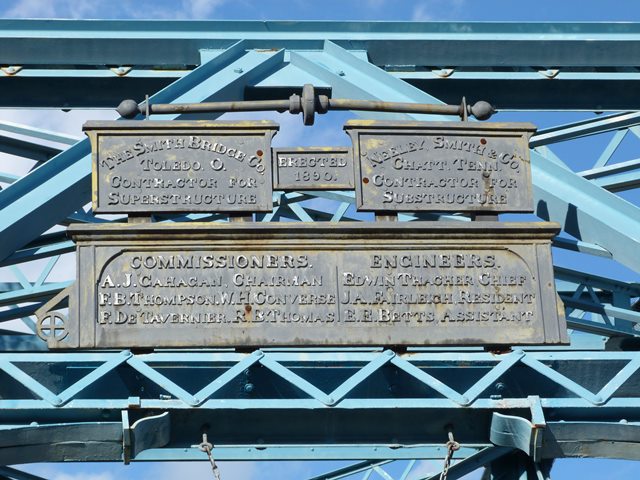
Plaques.
![]()
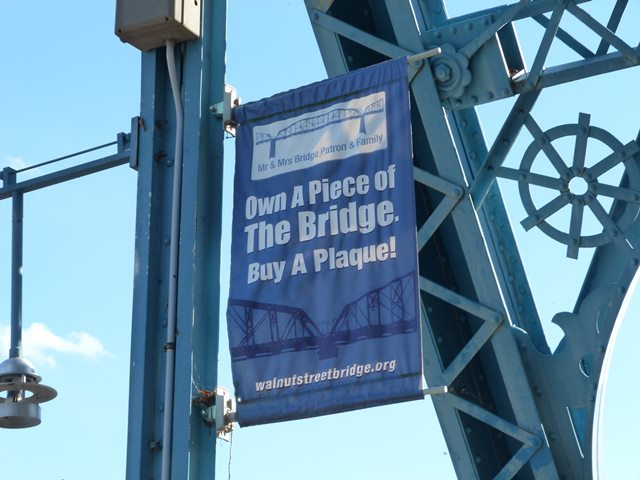
Banners on bridge.
![]()


Donation plaques.
![]()
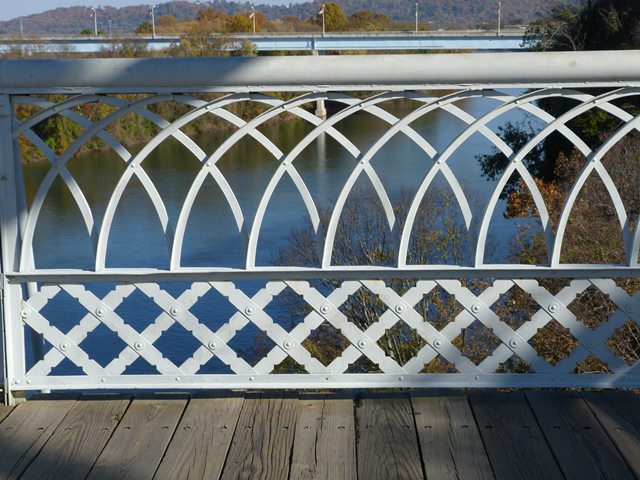
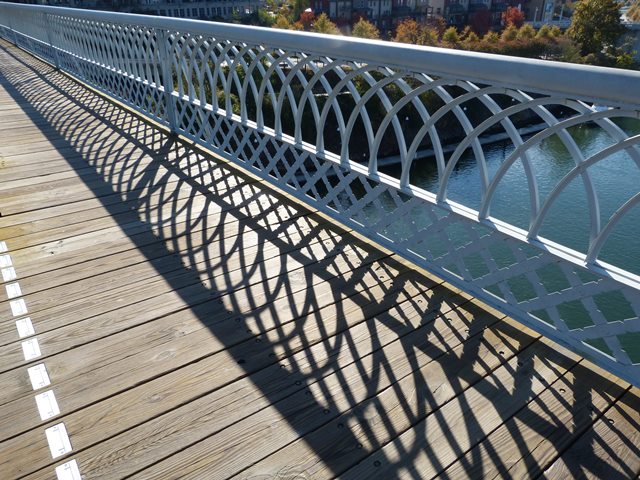
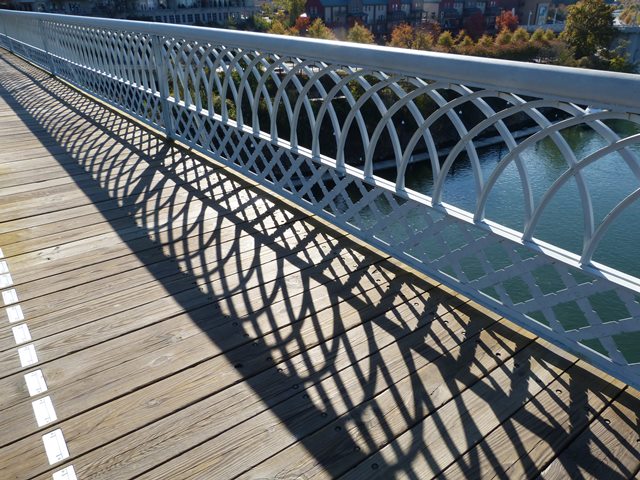
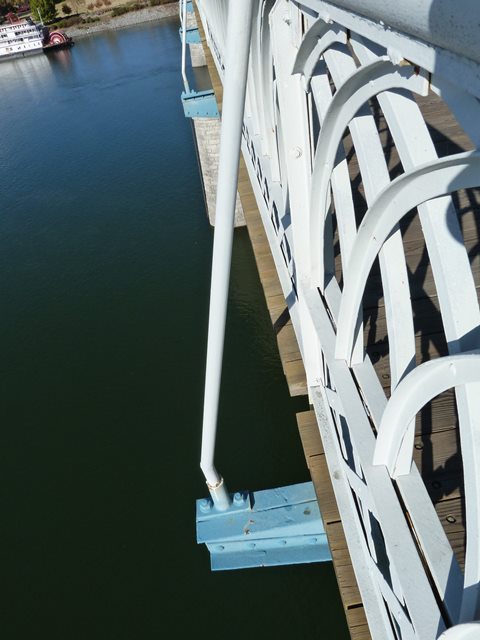
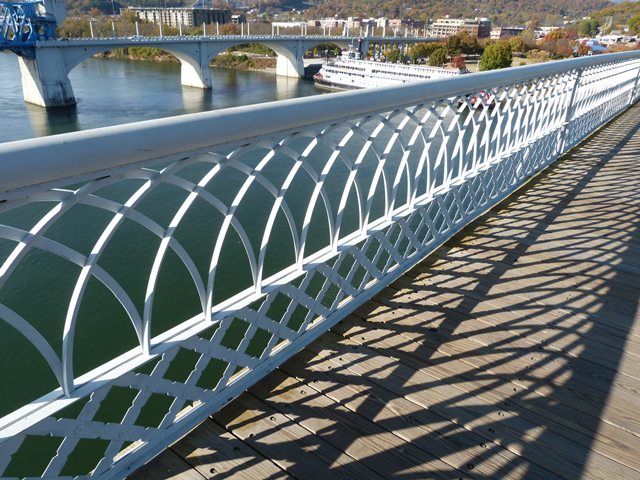
Railing.
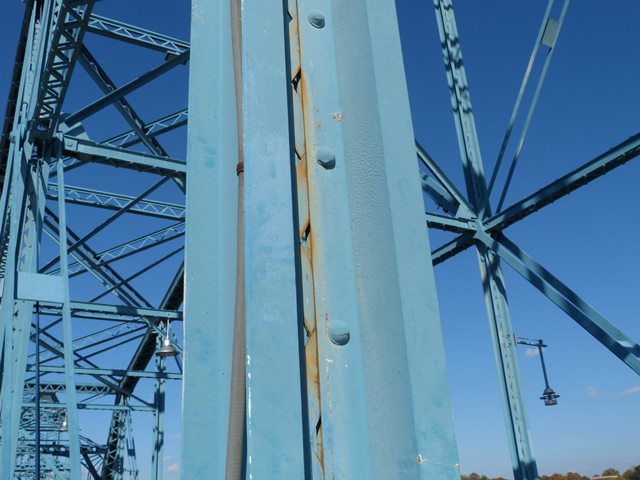
![]()
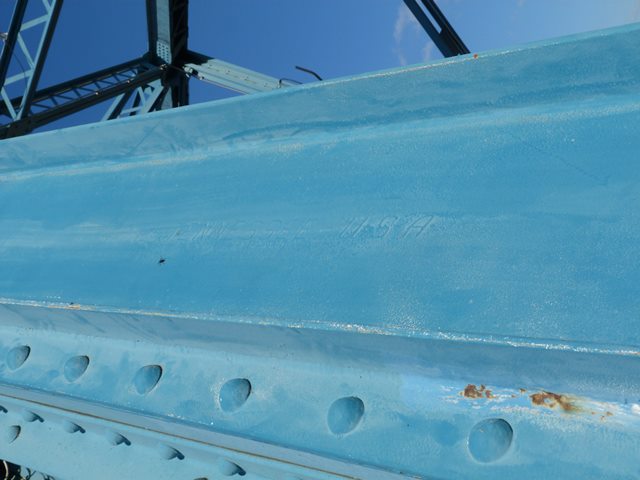
Tennessee brand. This steel is not original to the bridge, but is still fairly old.
![]()
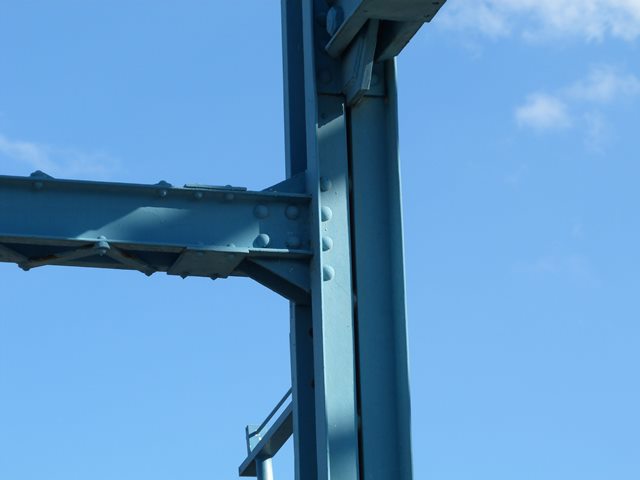
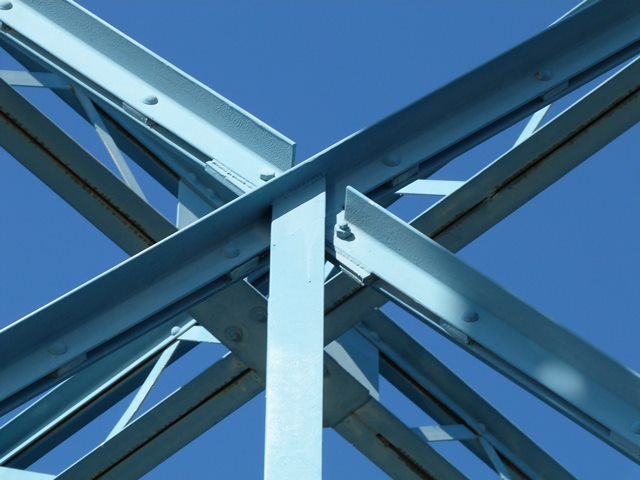
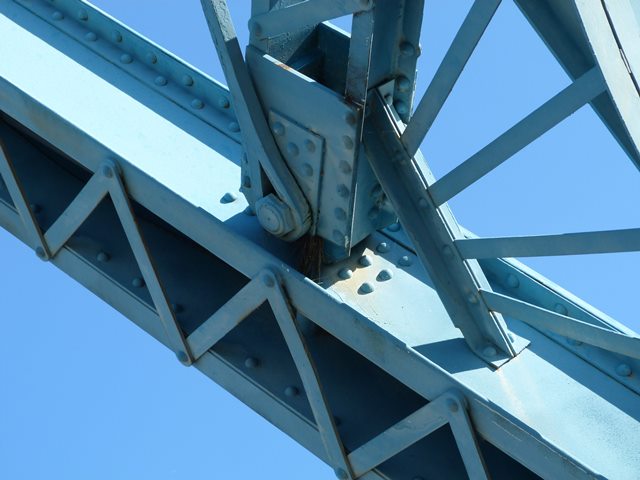
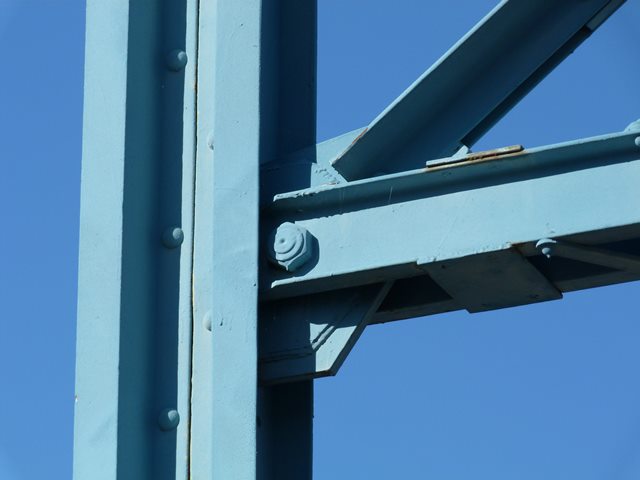
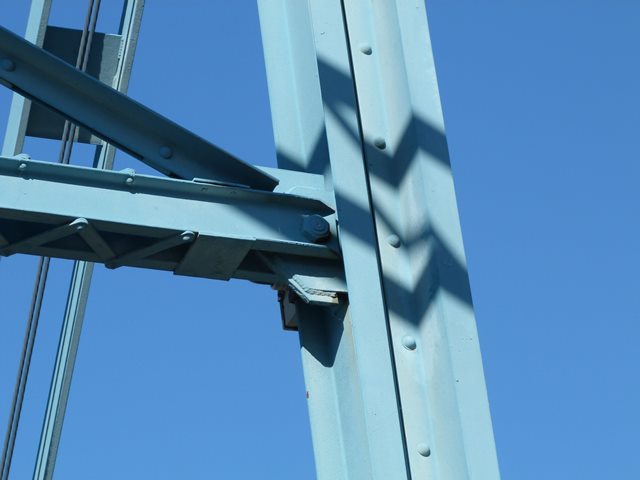
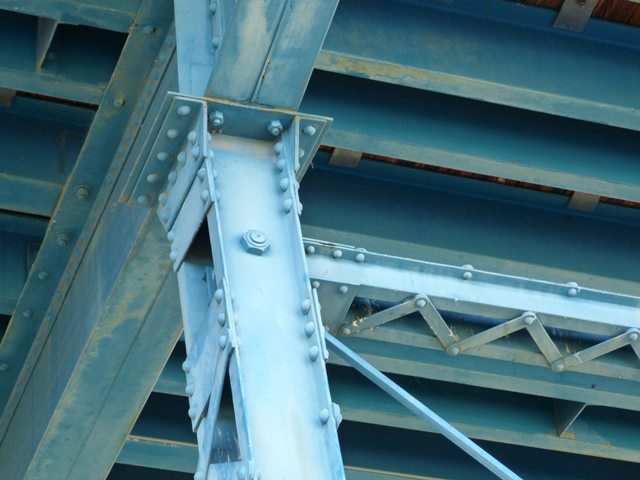
Top chord connections as viewed from on bridge.
![]()
Intermediate connections as viewed from on bridge.
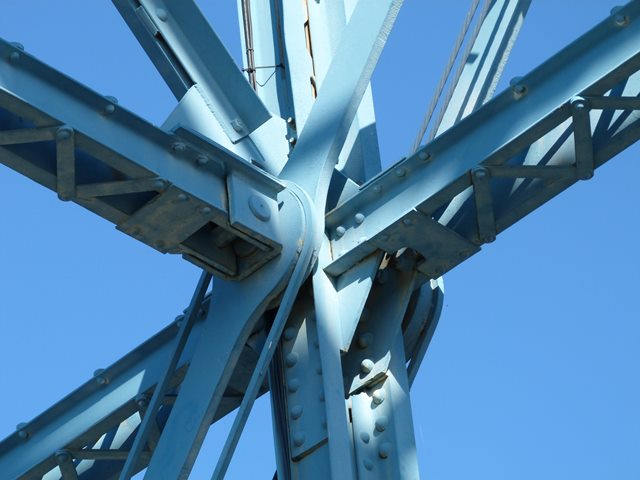
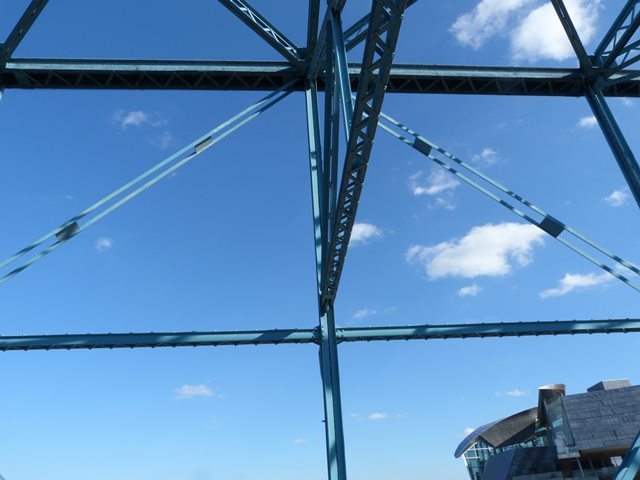
![]()
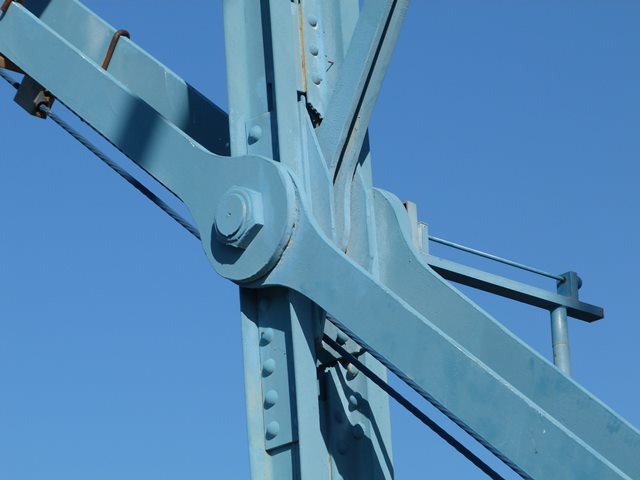
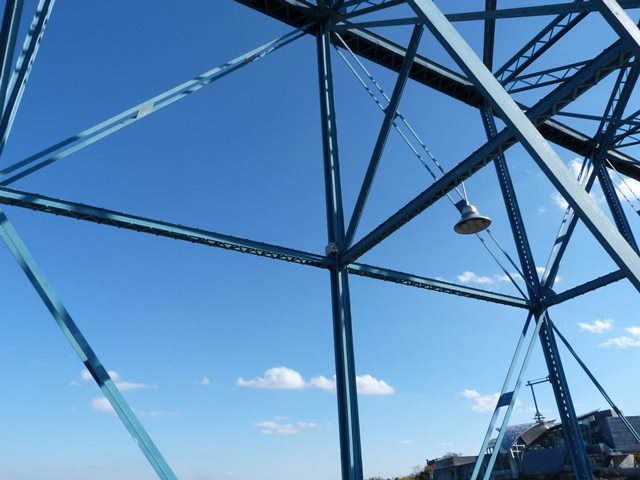
Portal bracing.
![]()
Portal bracing details.
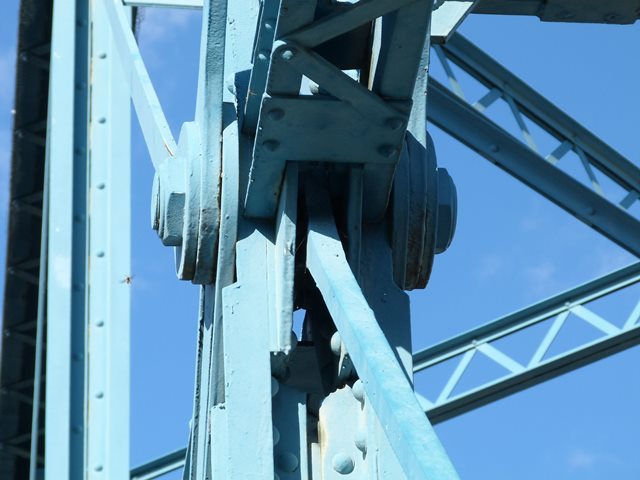
![]()

Portal bracing connection to end post.
![]()


Portal bracing pin connection on end post.
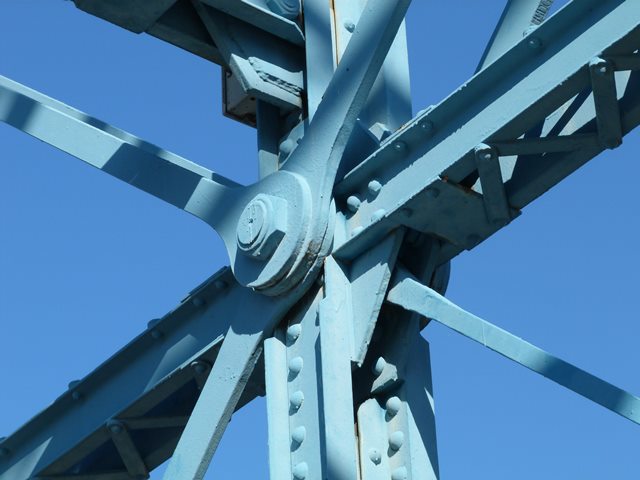
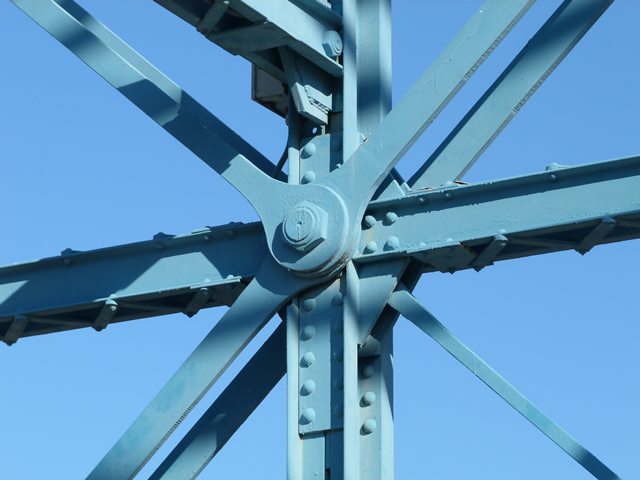
![]()
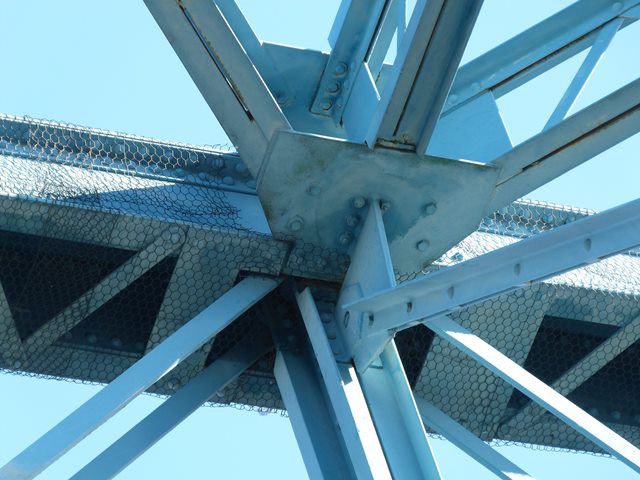
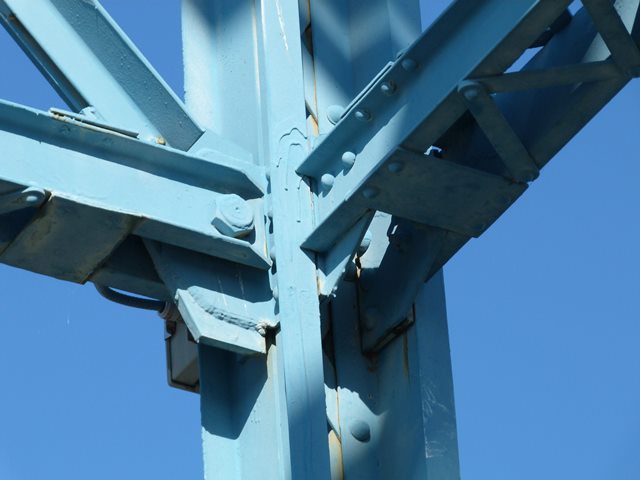
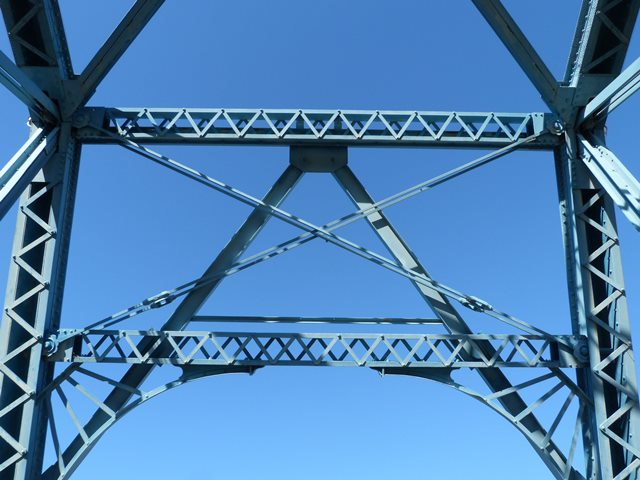
Sway bracing.
![]()
Sway bracing details.
![]()


Sway bracing connections at vertical members.
![]()
Lateral bracing.
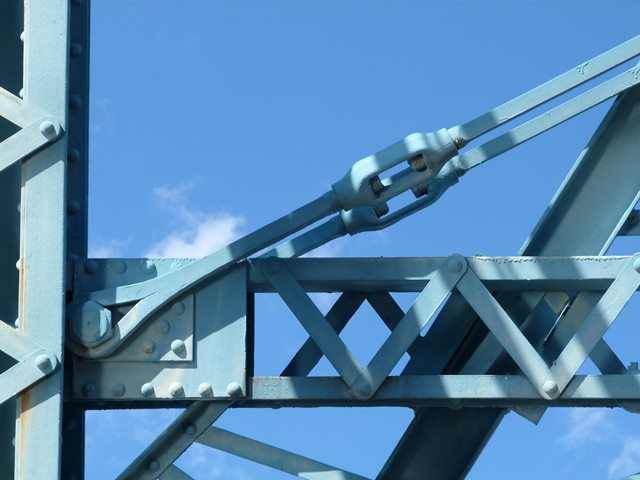
![]()
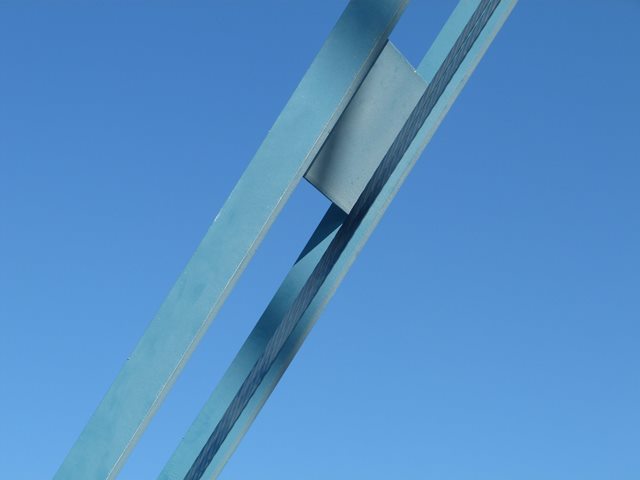
Turnbuckles on diagonal member.
![]()


End post.
![]()
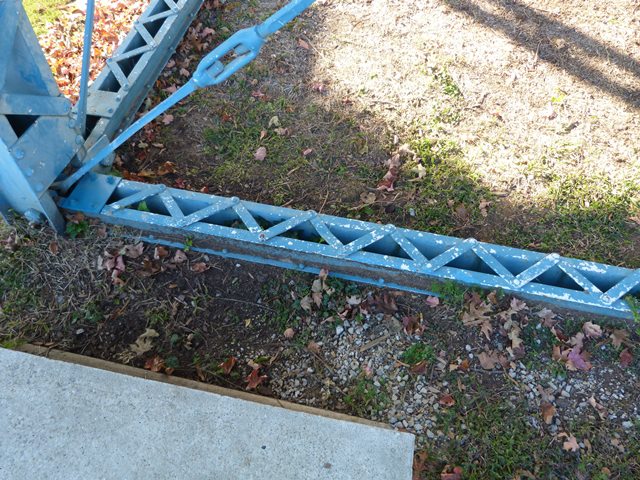
Replaced diagonal.
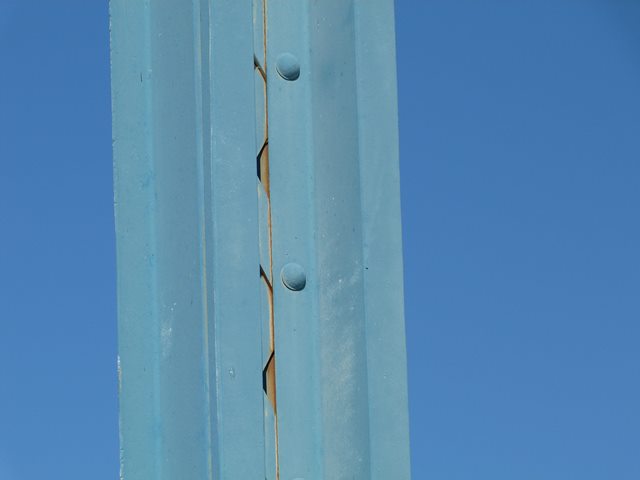
![]()
Vertical members.
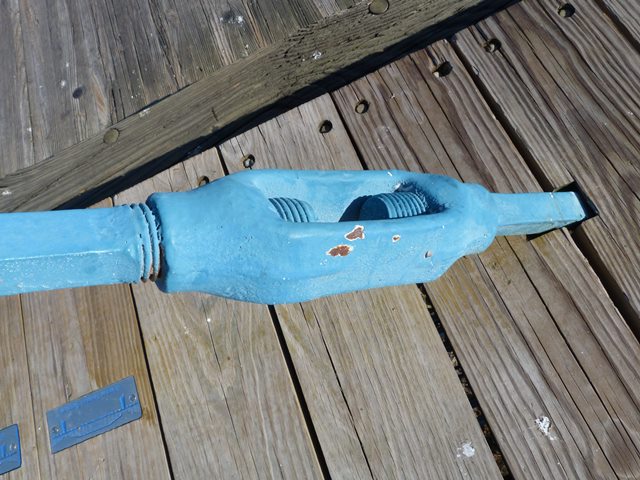
![]()
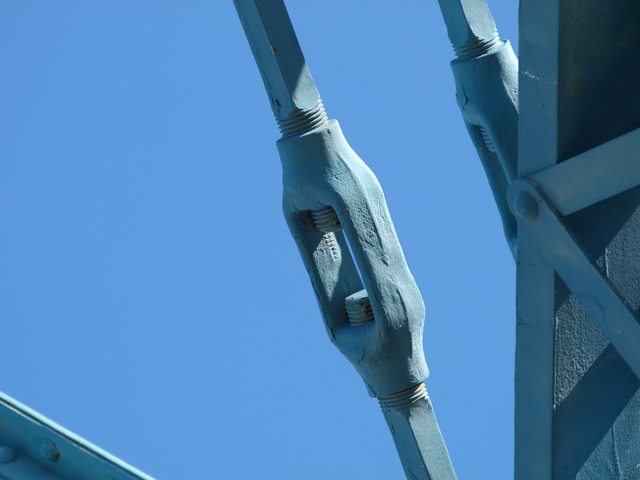
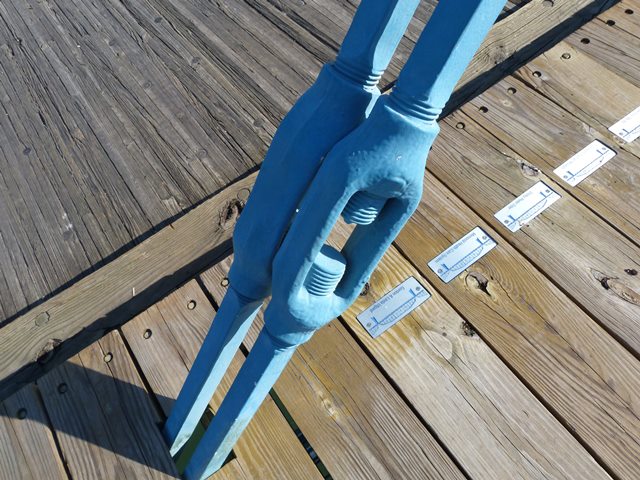
Turnbuckle detail.
![]()


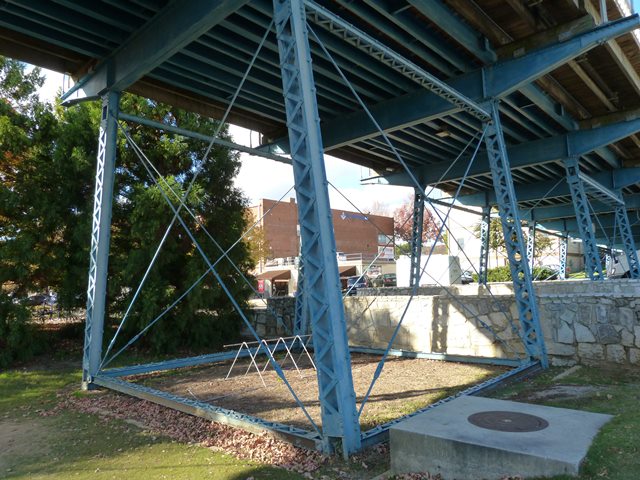


Approach span bents.
![]()


Looking through approach span bracing.
![]()


Approach floor beams.
![]()


Details of approach bents.
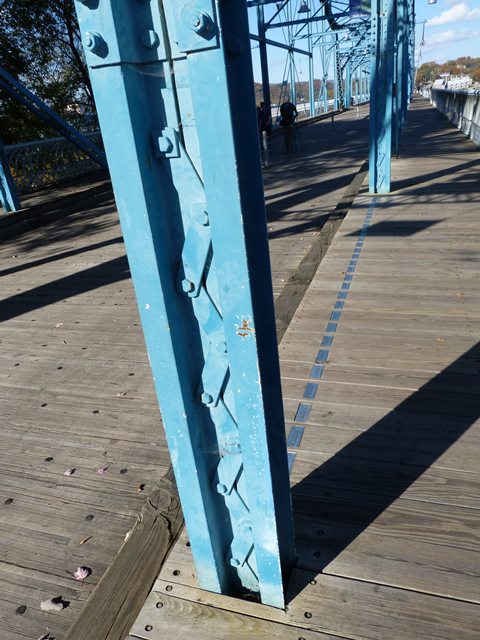
![]()

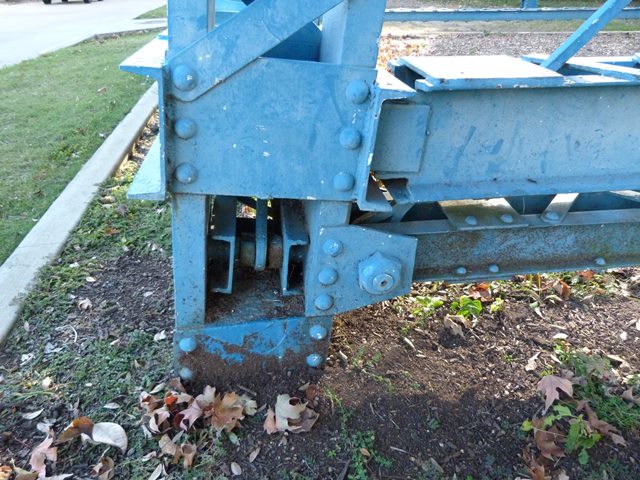


Connections on approach bents.
![]()
![]()
| Back |
| Home |
| Top |

![]()