Uncredited photos on this page taken by: Nathan Holth. Unless stated in a caption, all photos are Copyright with All Rights Reserved. Learn about reuse of our photos.
![]()

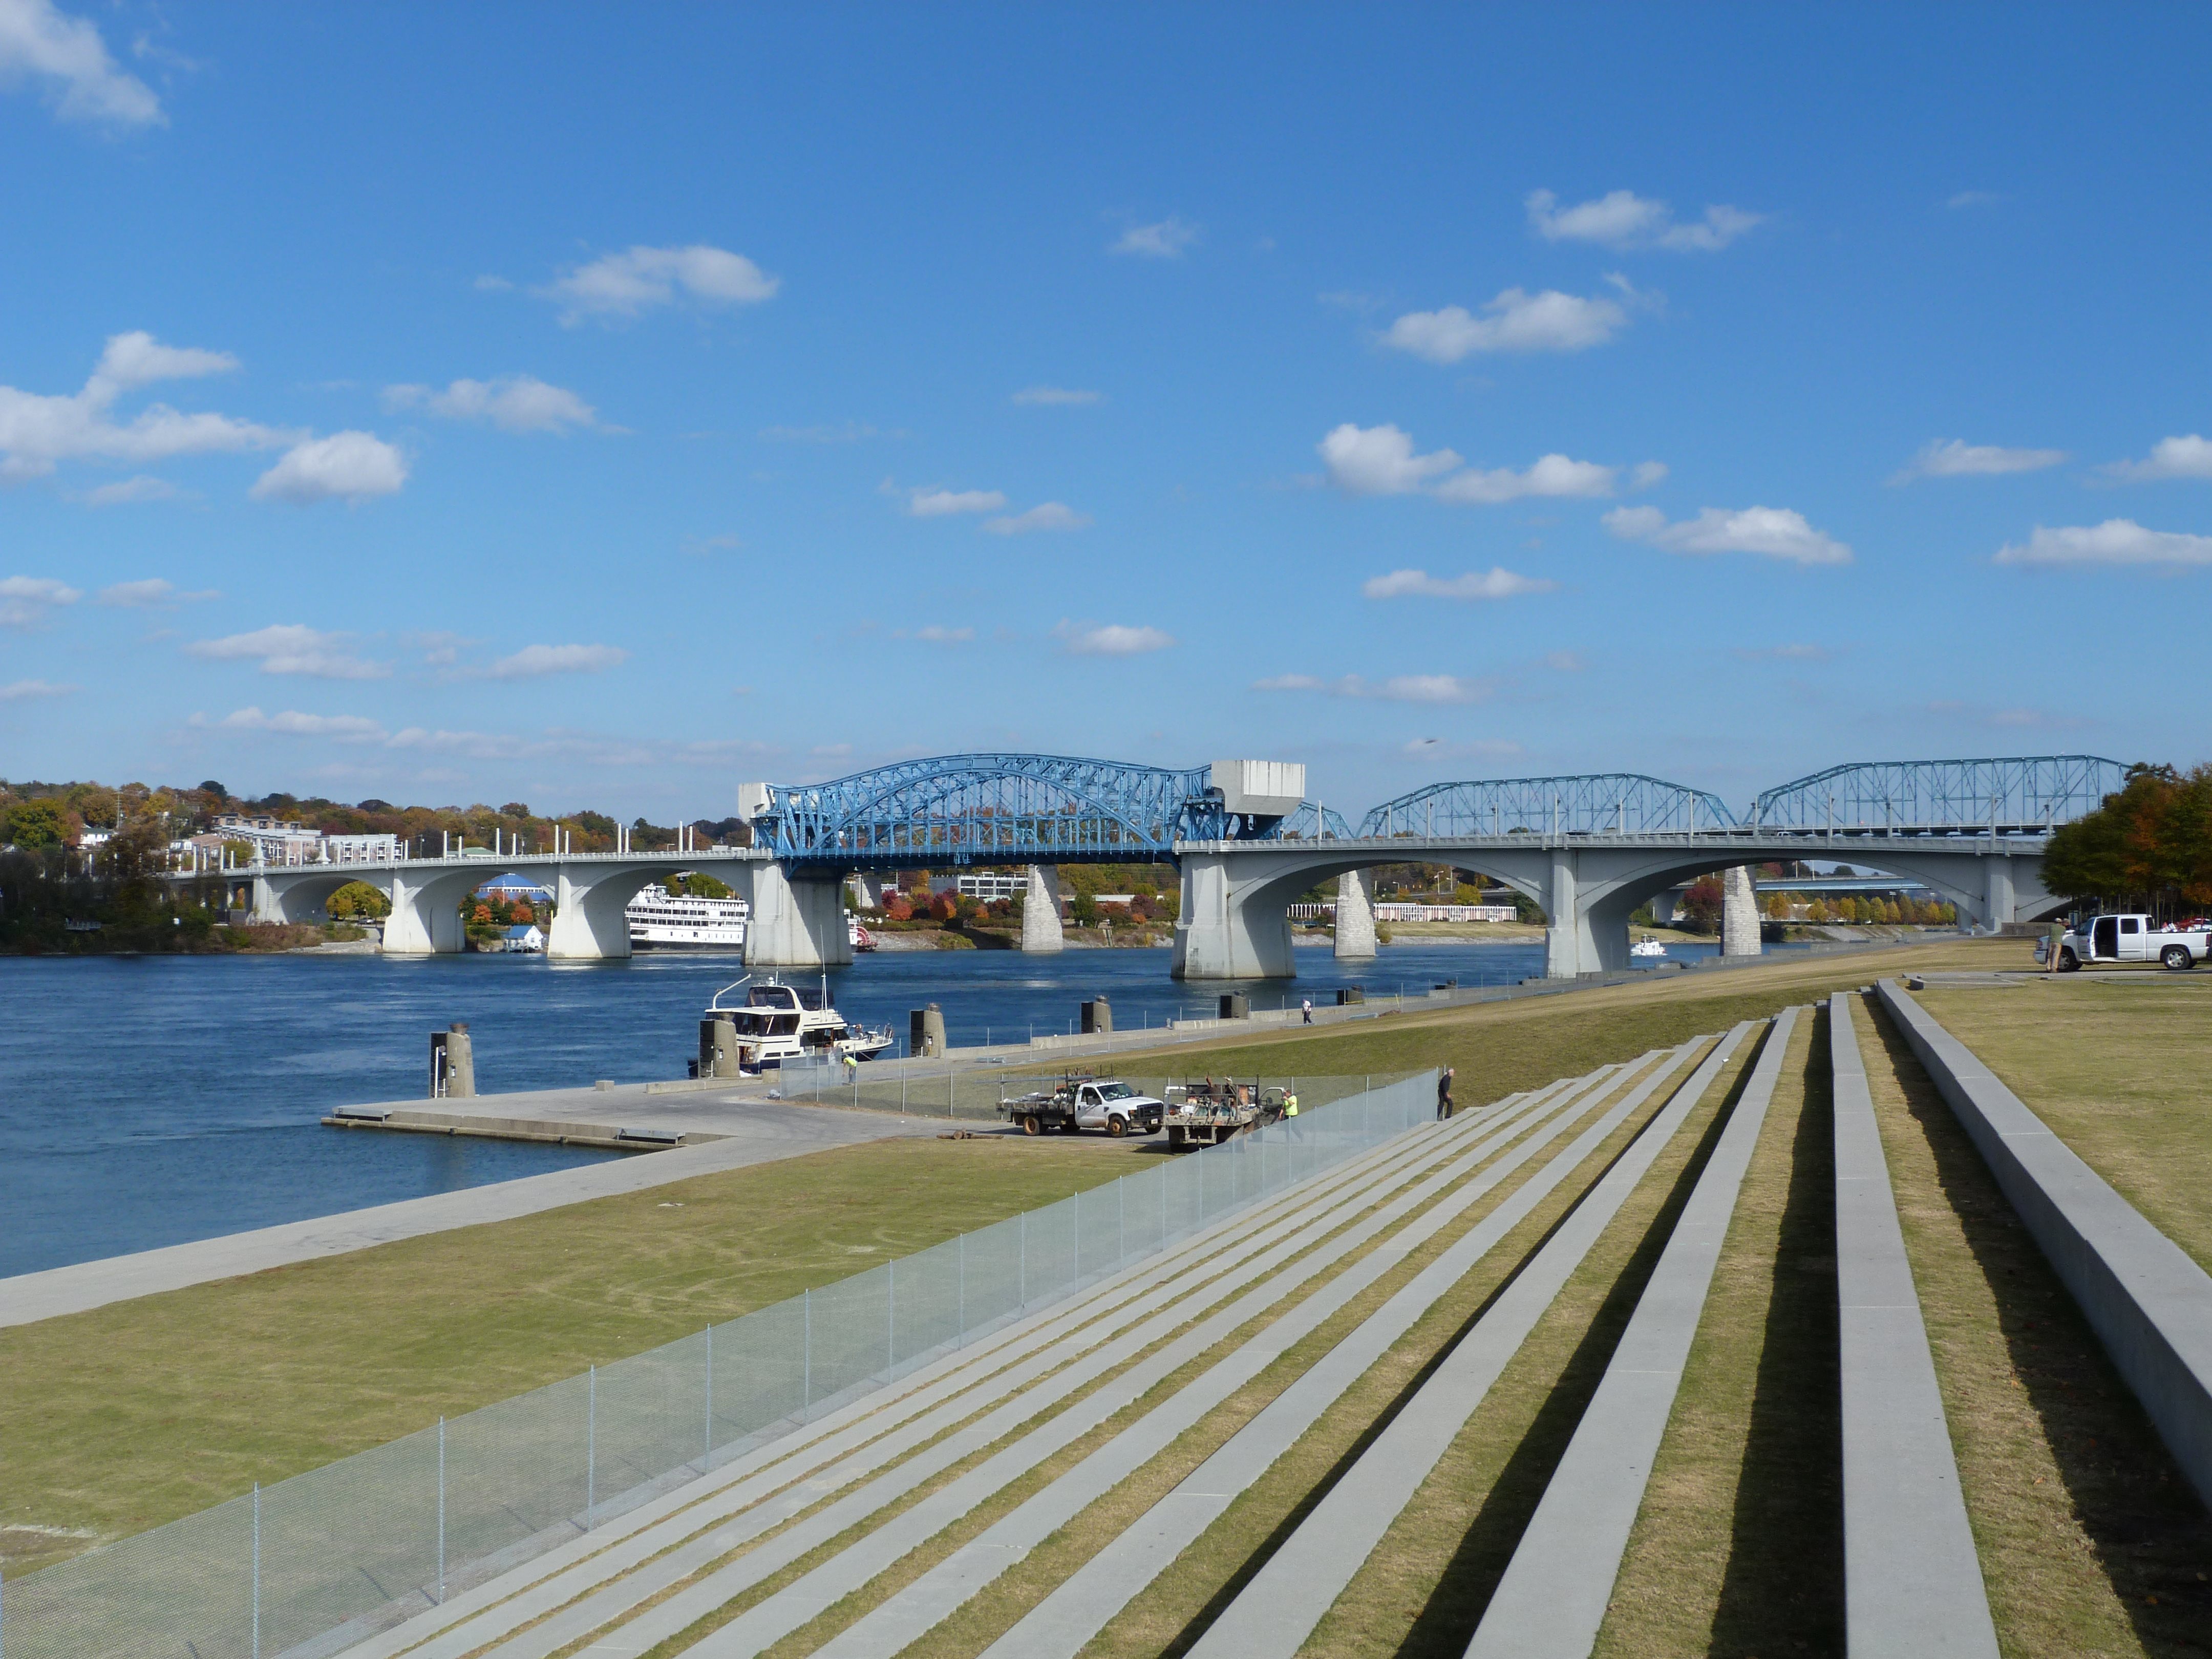

Elevation from southwest quadrant.
![]()

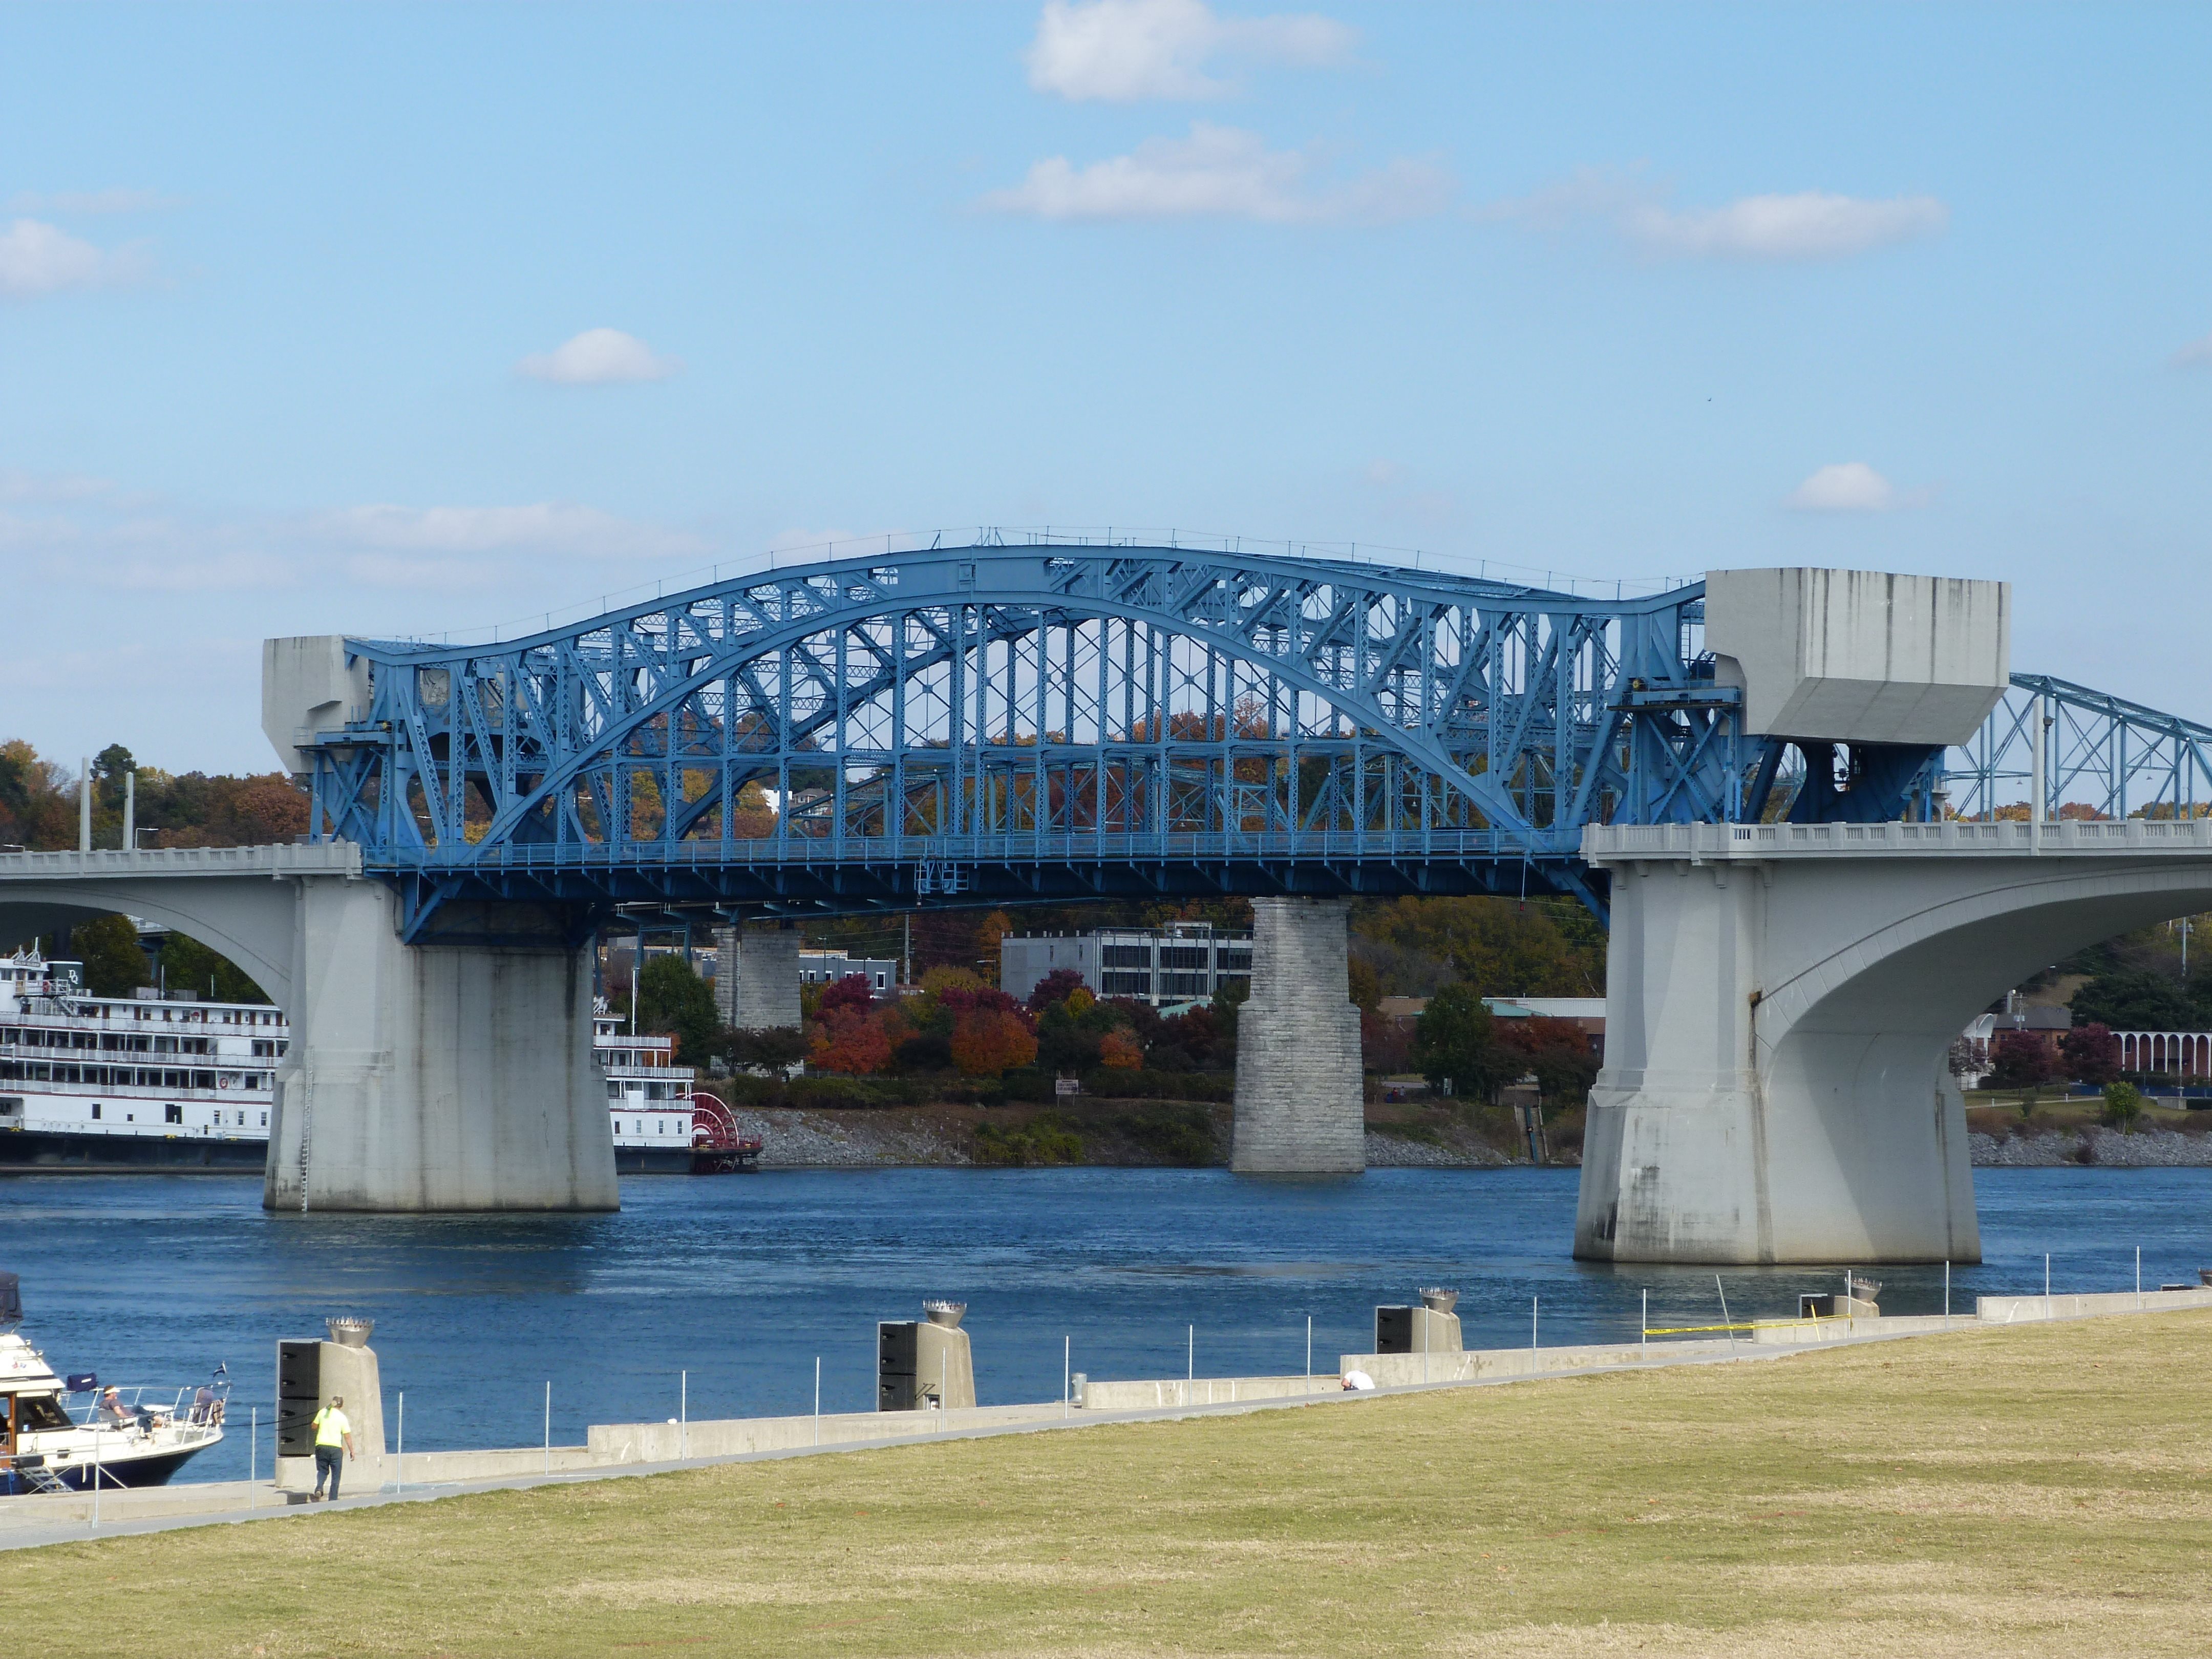


Elevation of bascule span from southwest quadrant.
![]()


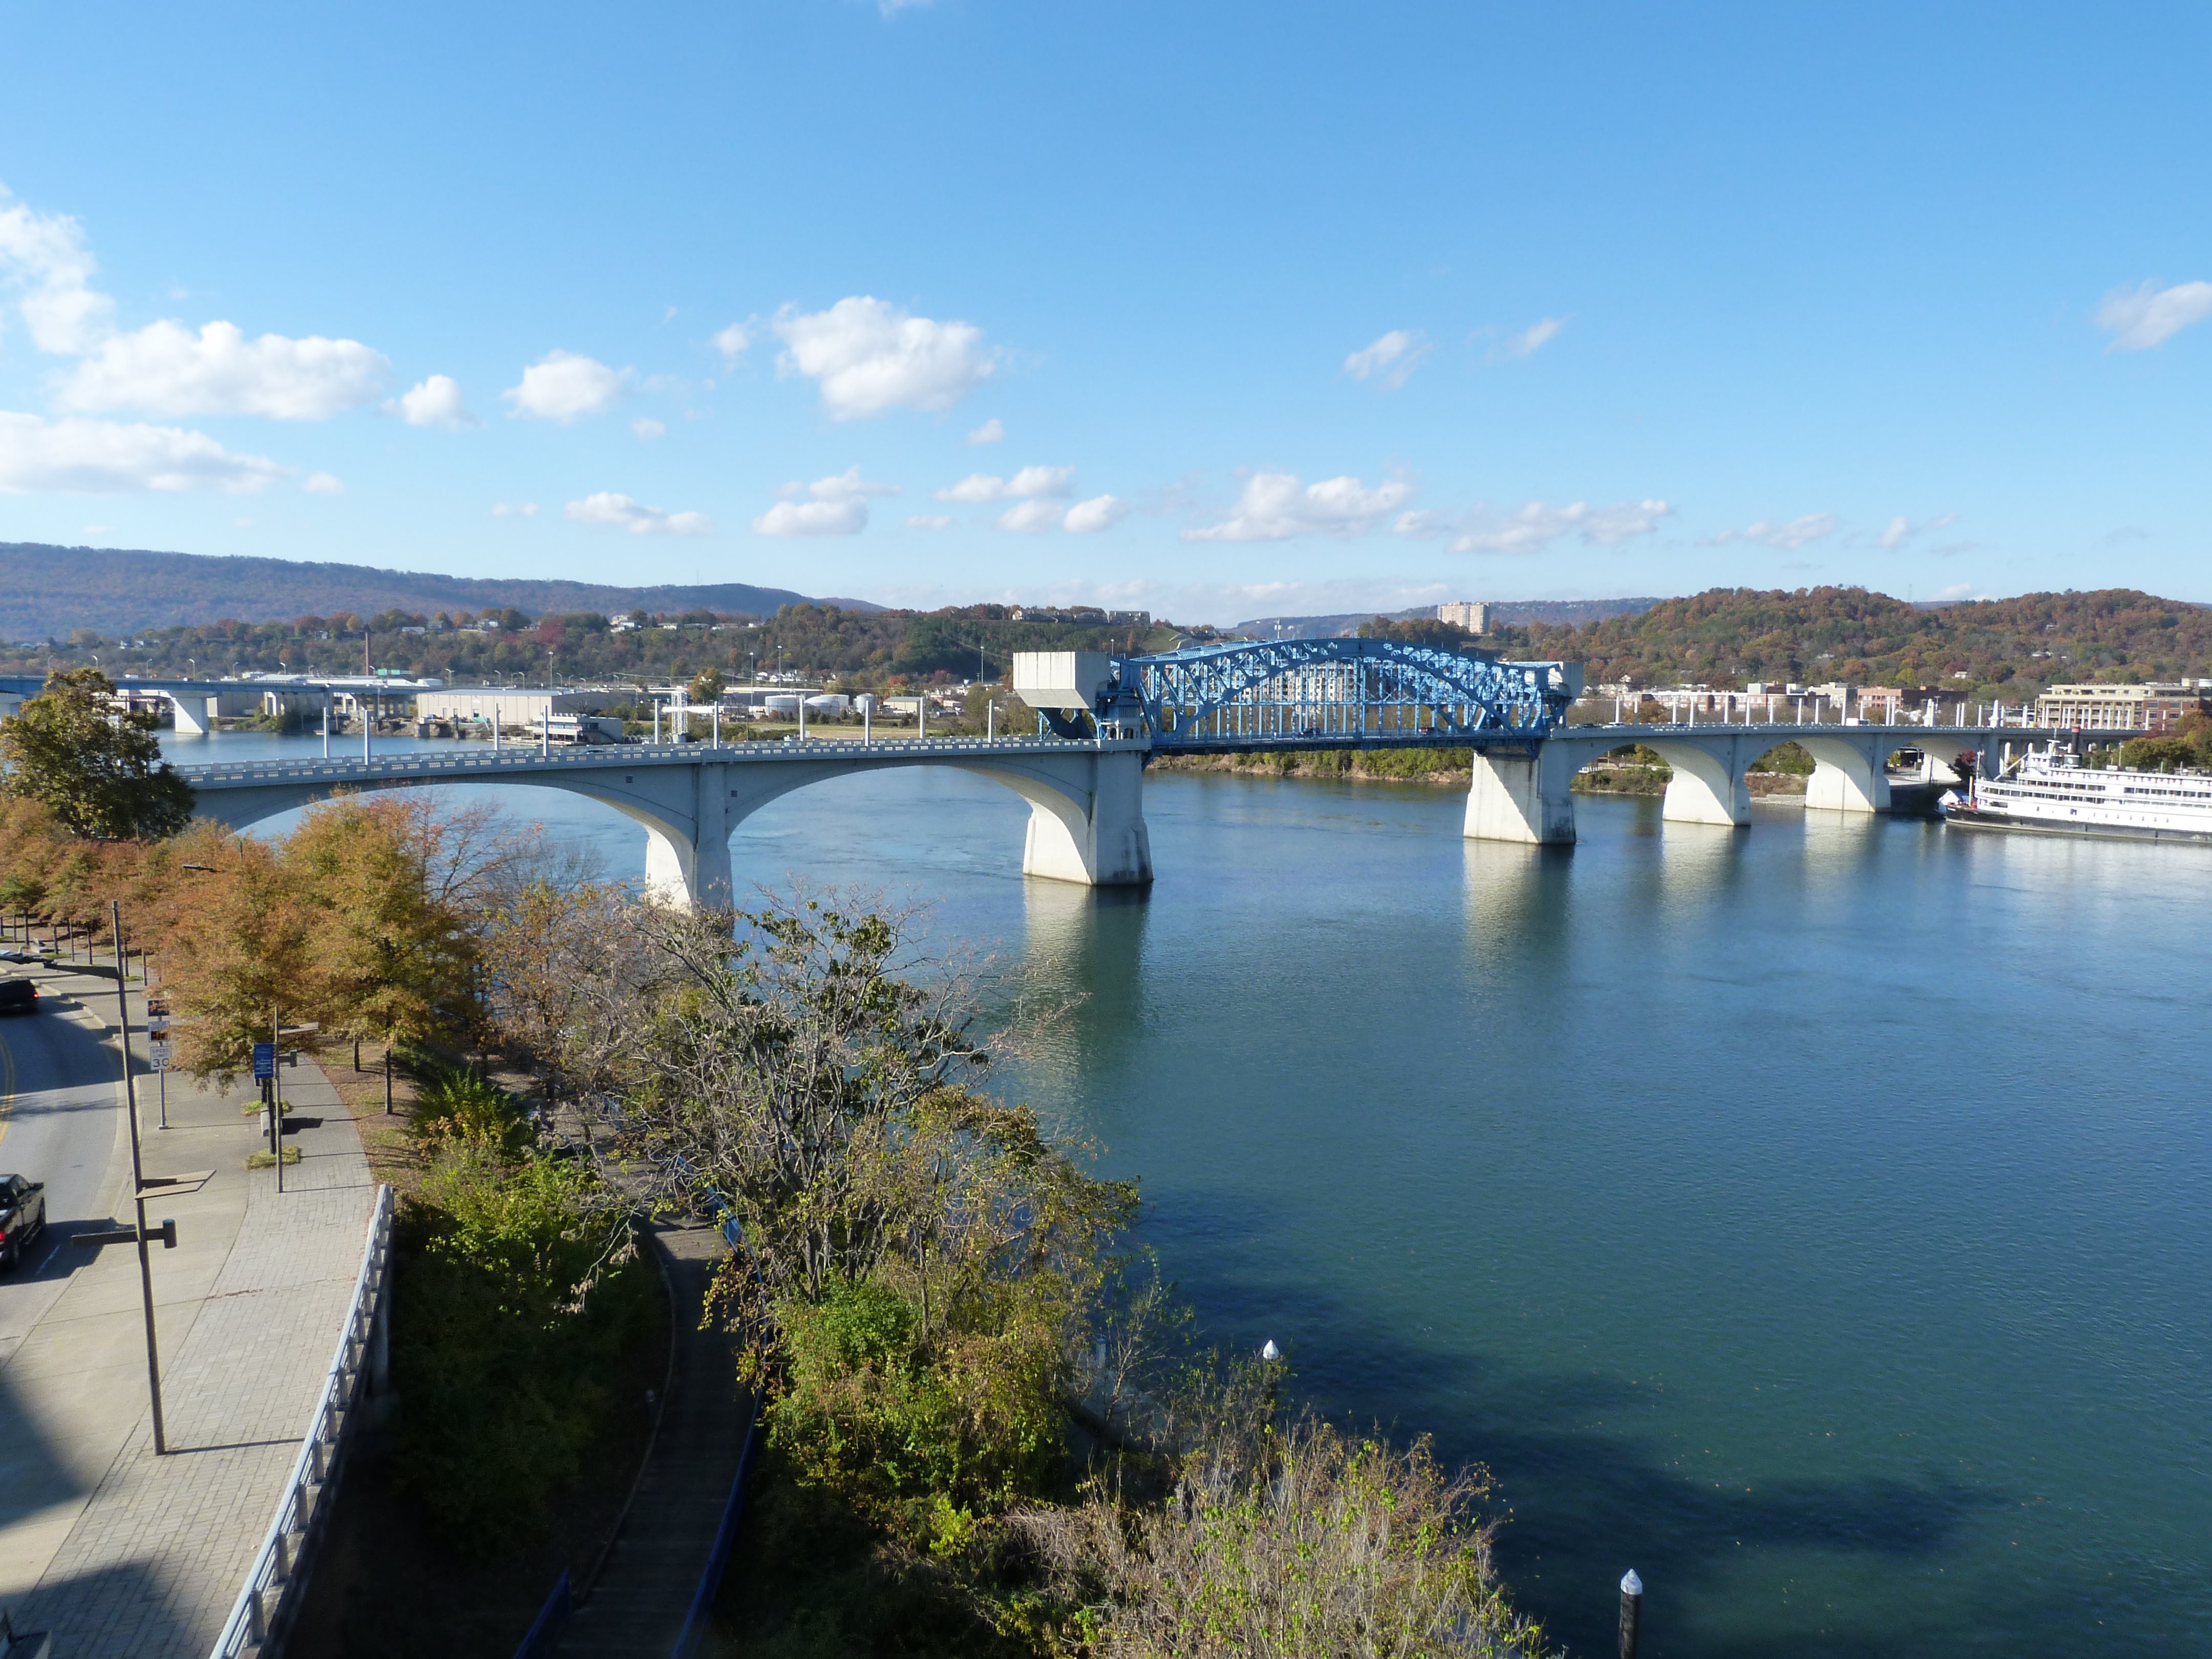
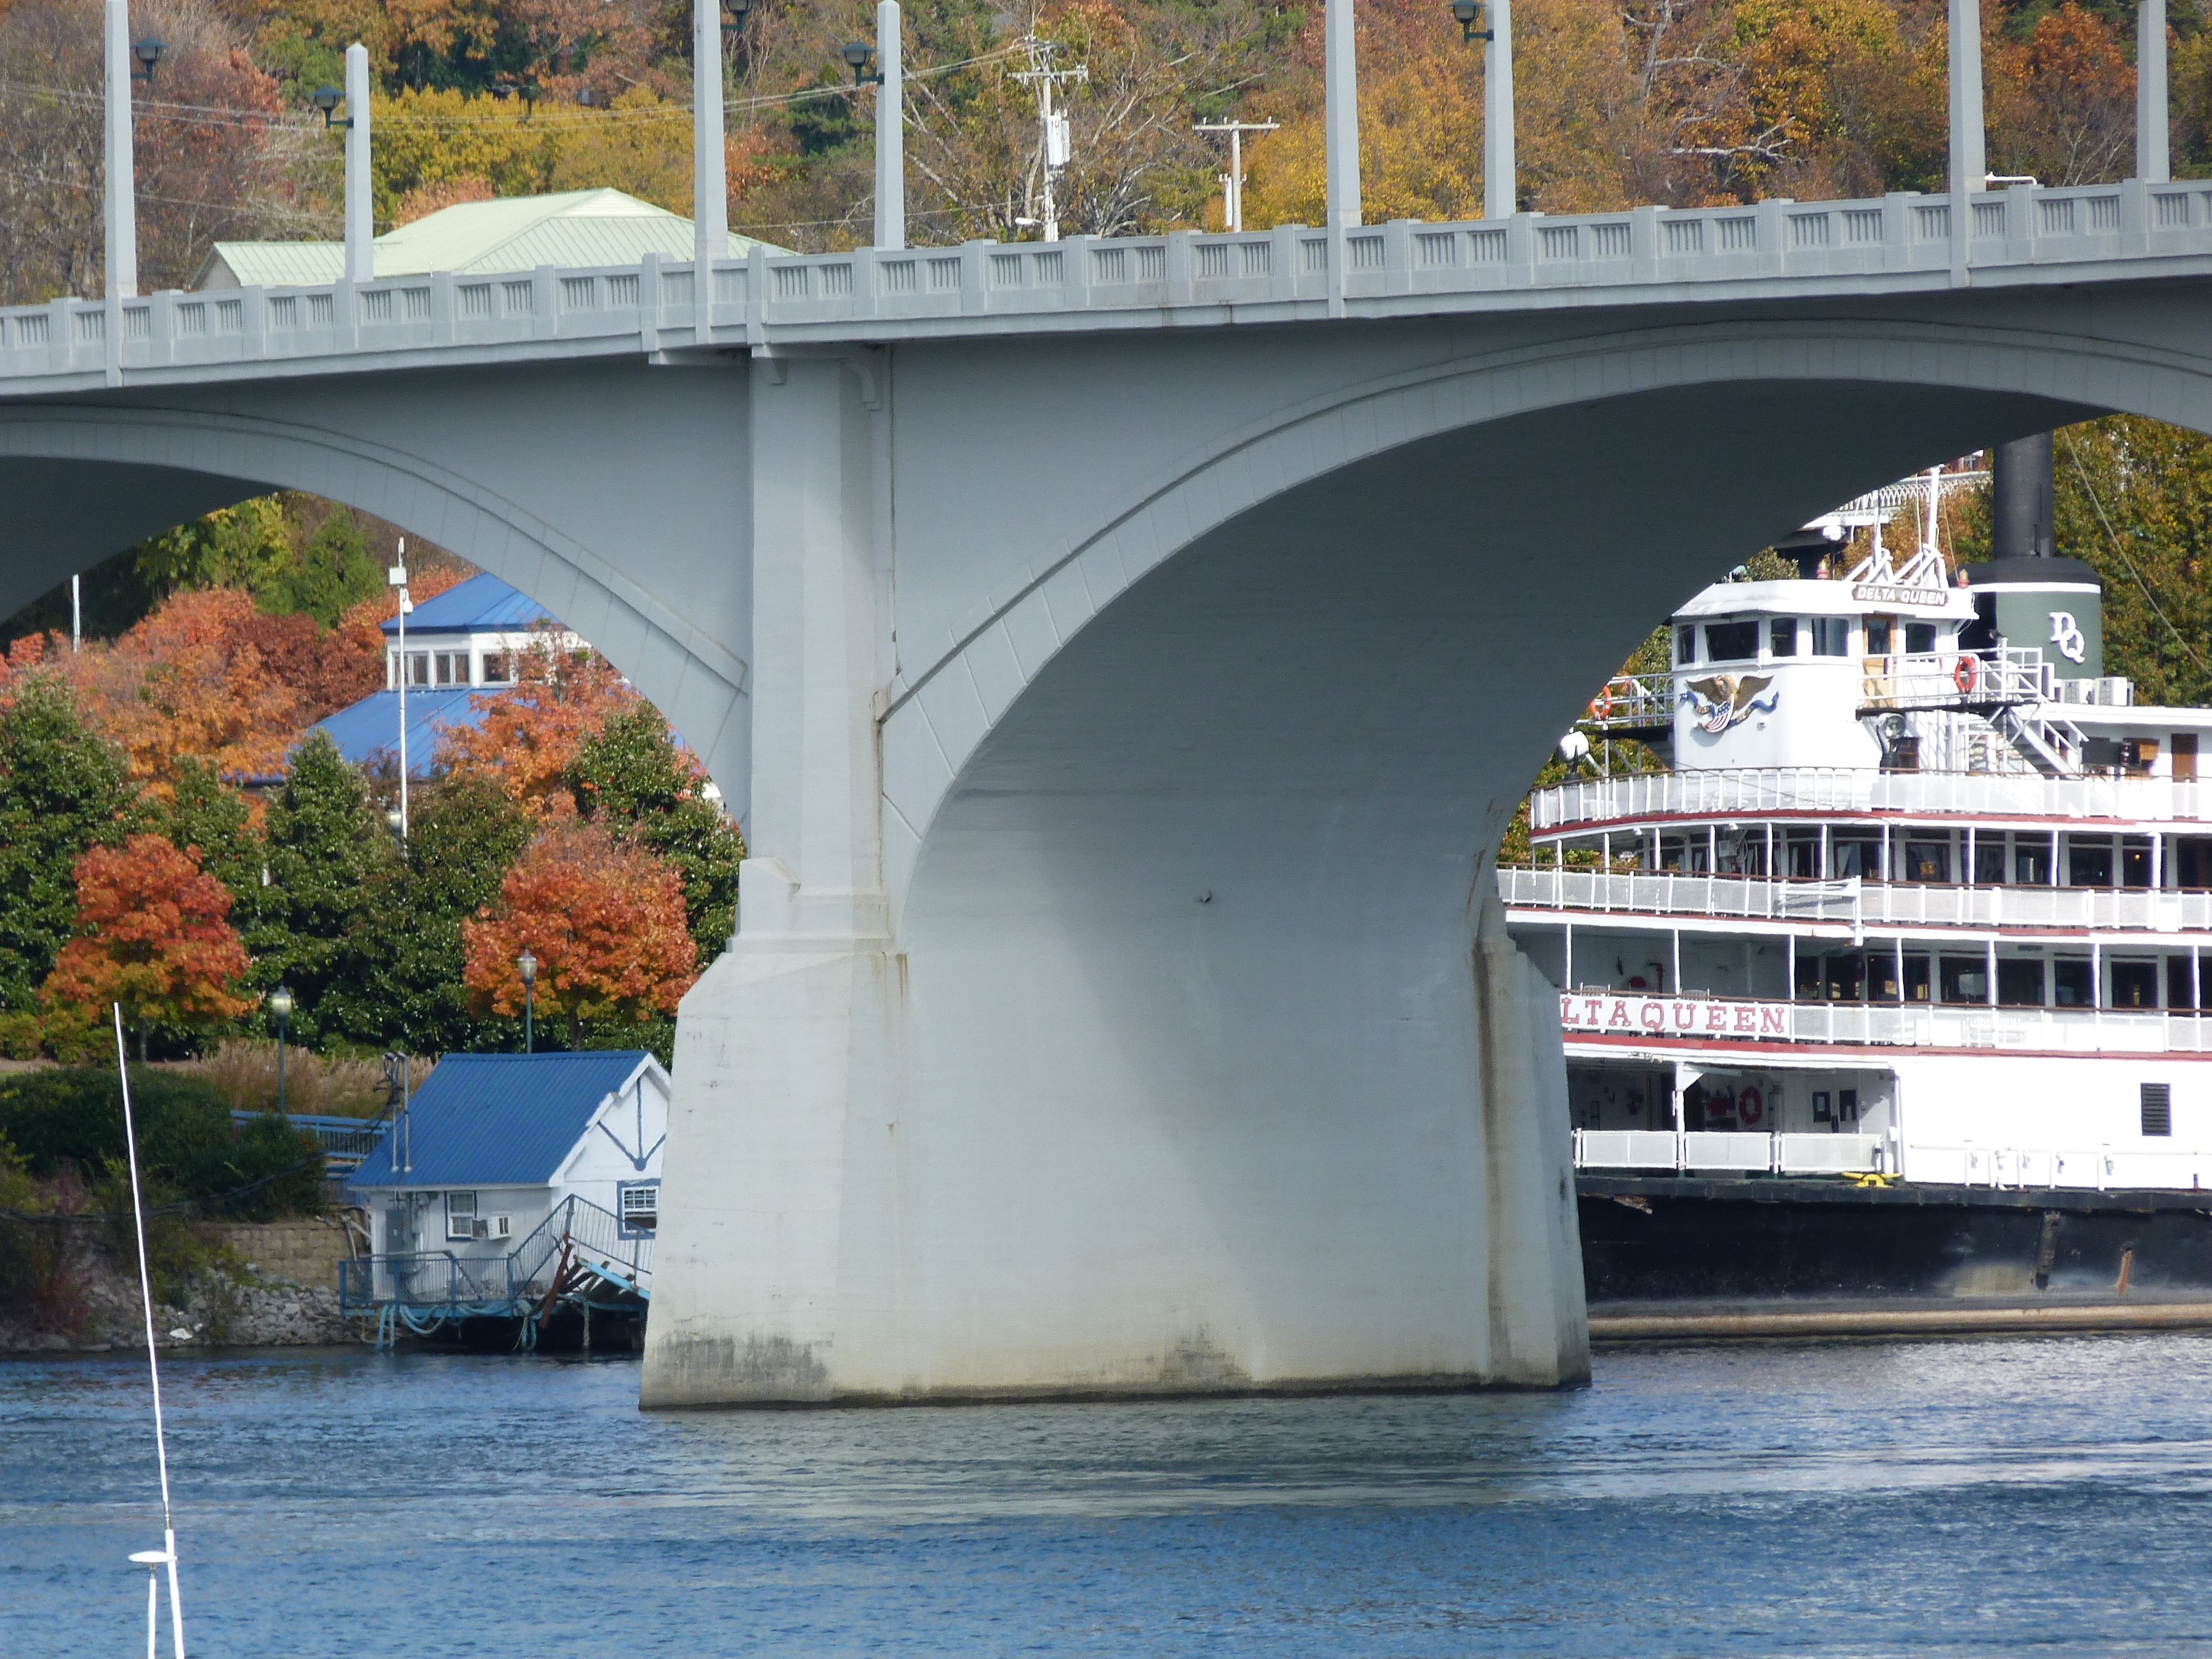
Elevation of approach spans from southwest quadrant.
![]()

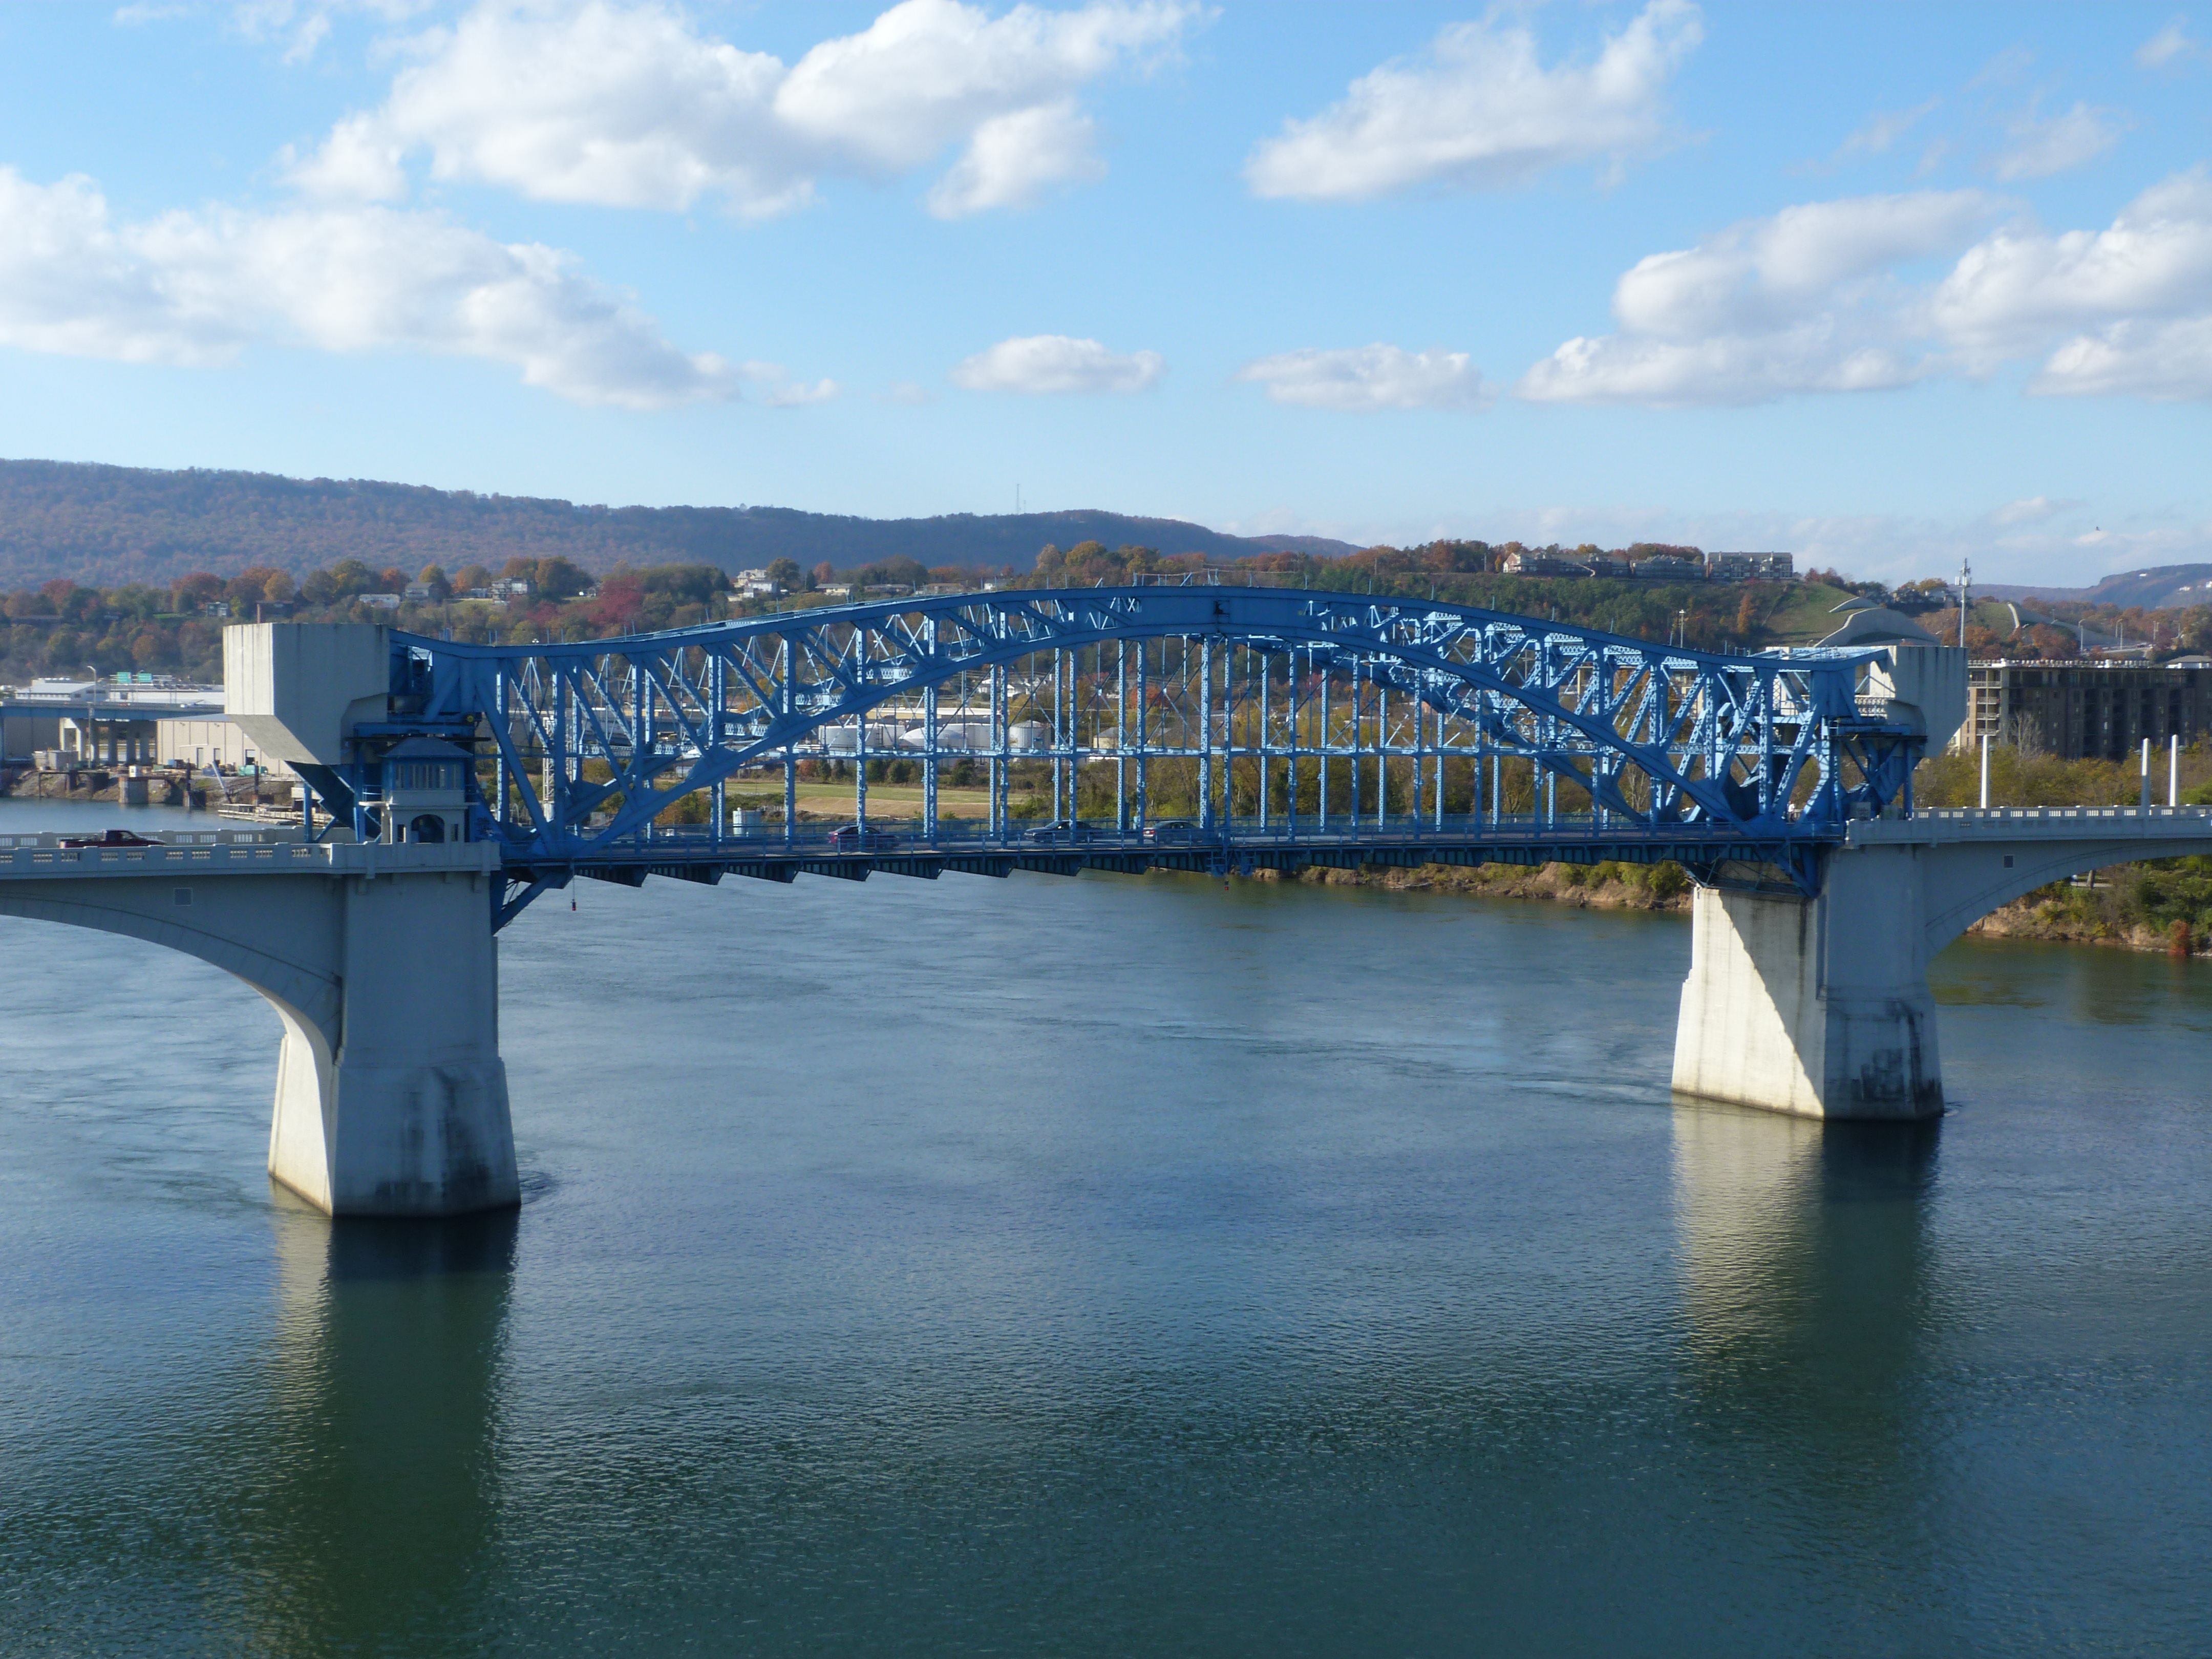
Elevation from southeast quadrant.
![]()


Elevation of bascule span from southeast quadrant.
![]()

Elevation of approach span from southeast quadrant.
![]()


Portal views facing north.
![]()


Portal views of bascule facing north.
![]()
Portal views of bascule arch facing north.
![]()


Portal views on bascule arch facing north.
![]()
Portal views on bascule arch facing south.
![]()

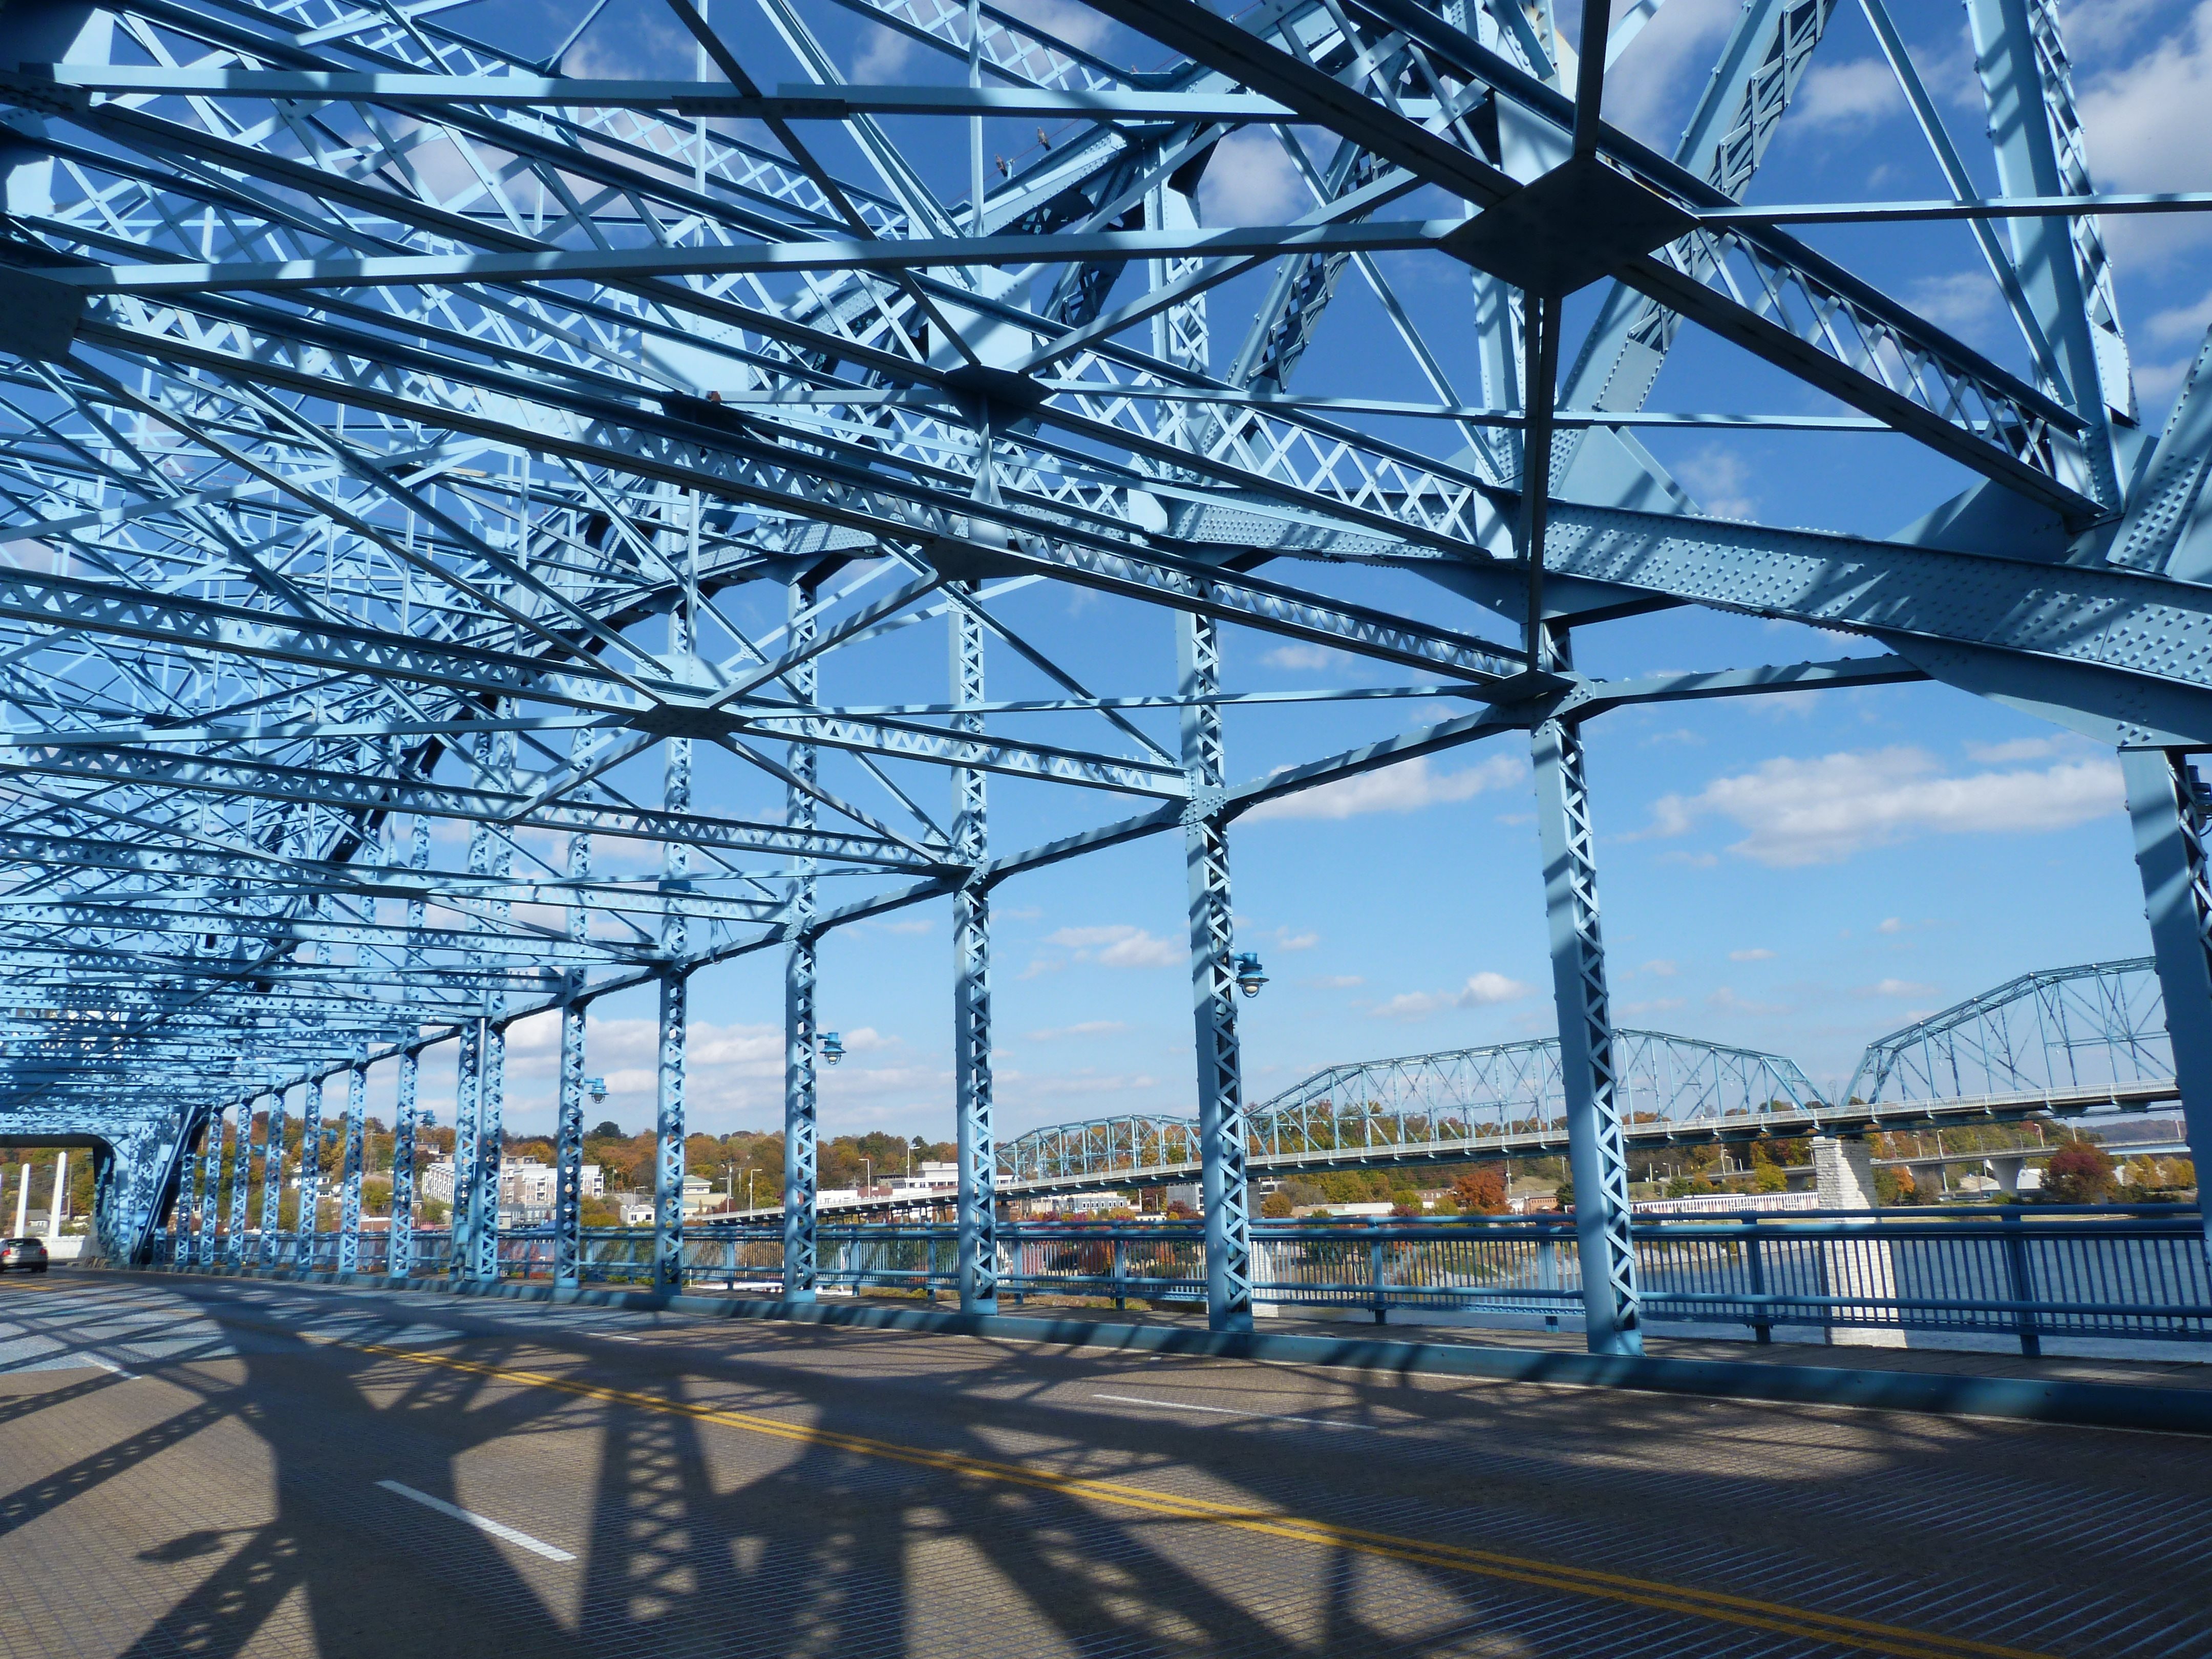
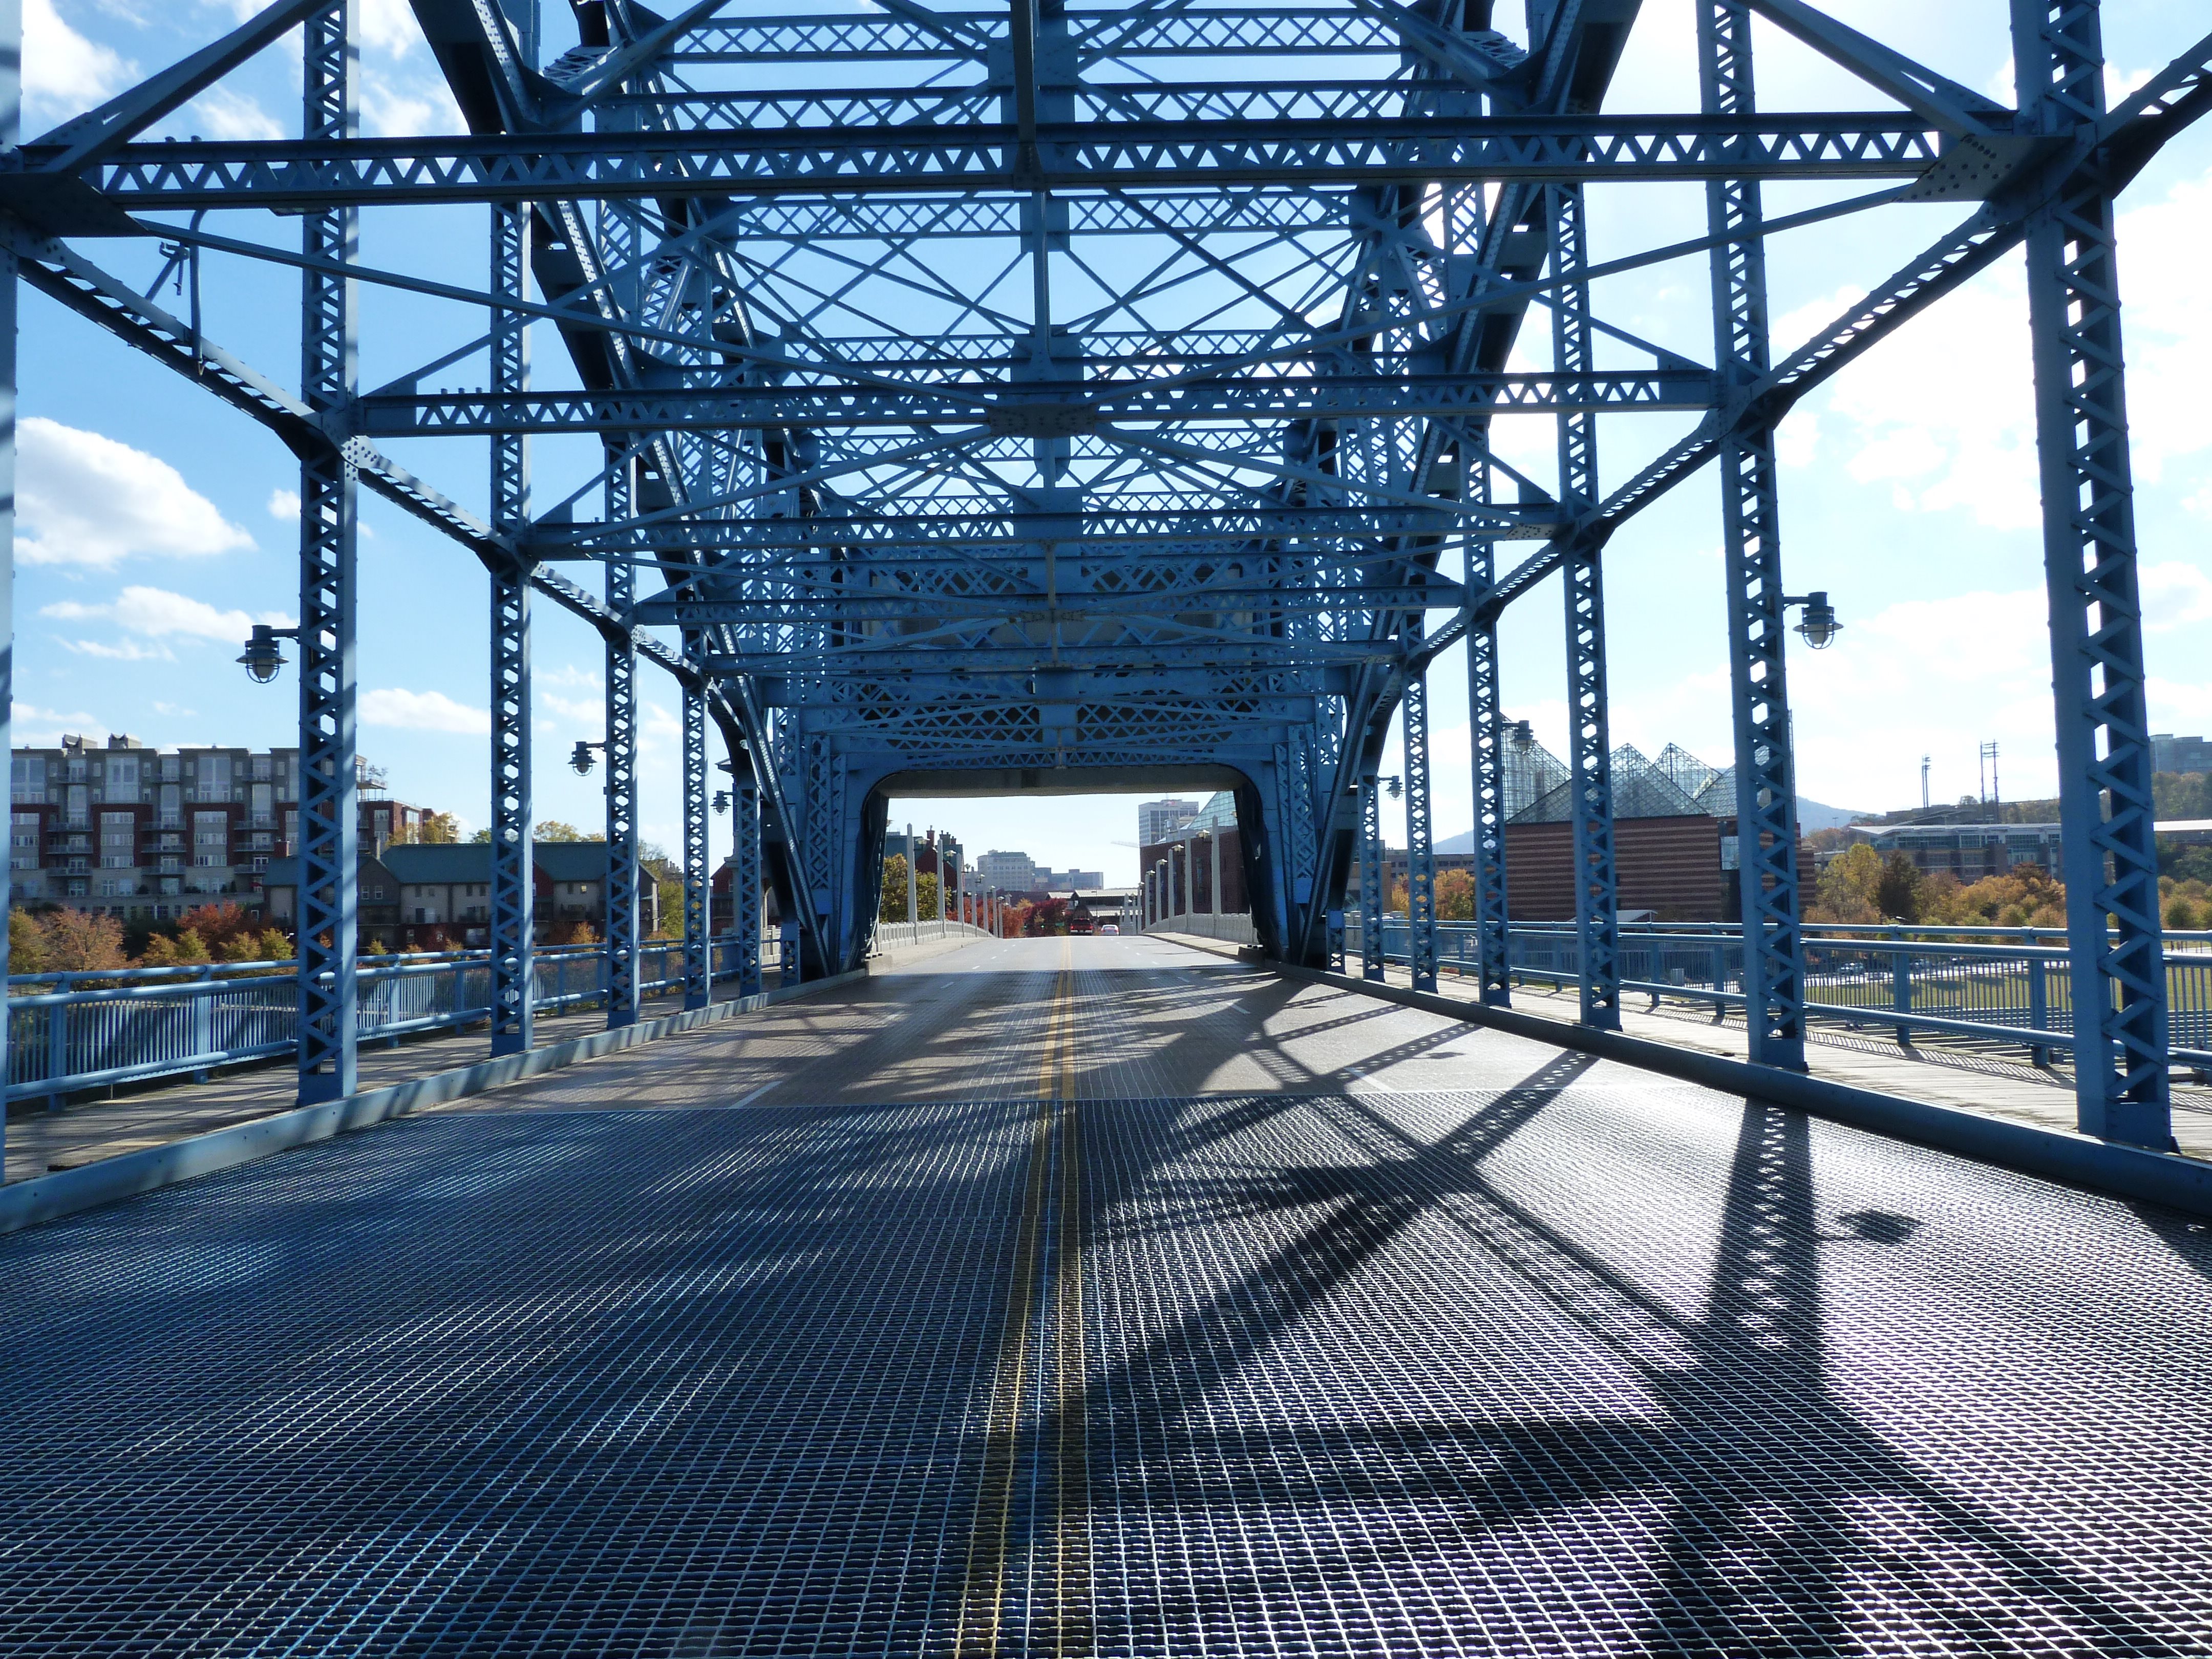
View of bascule sidewalk facing north.
![]()
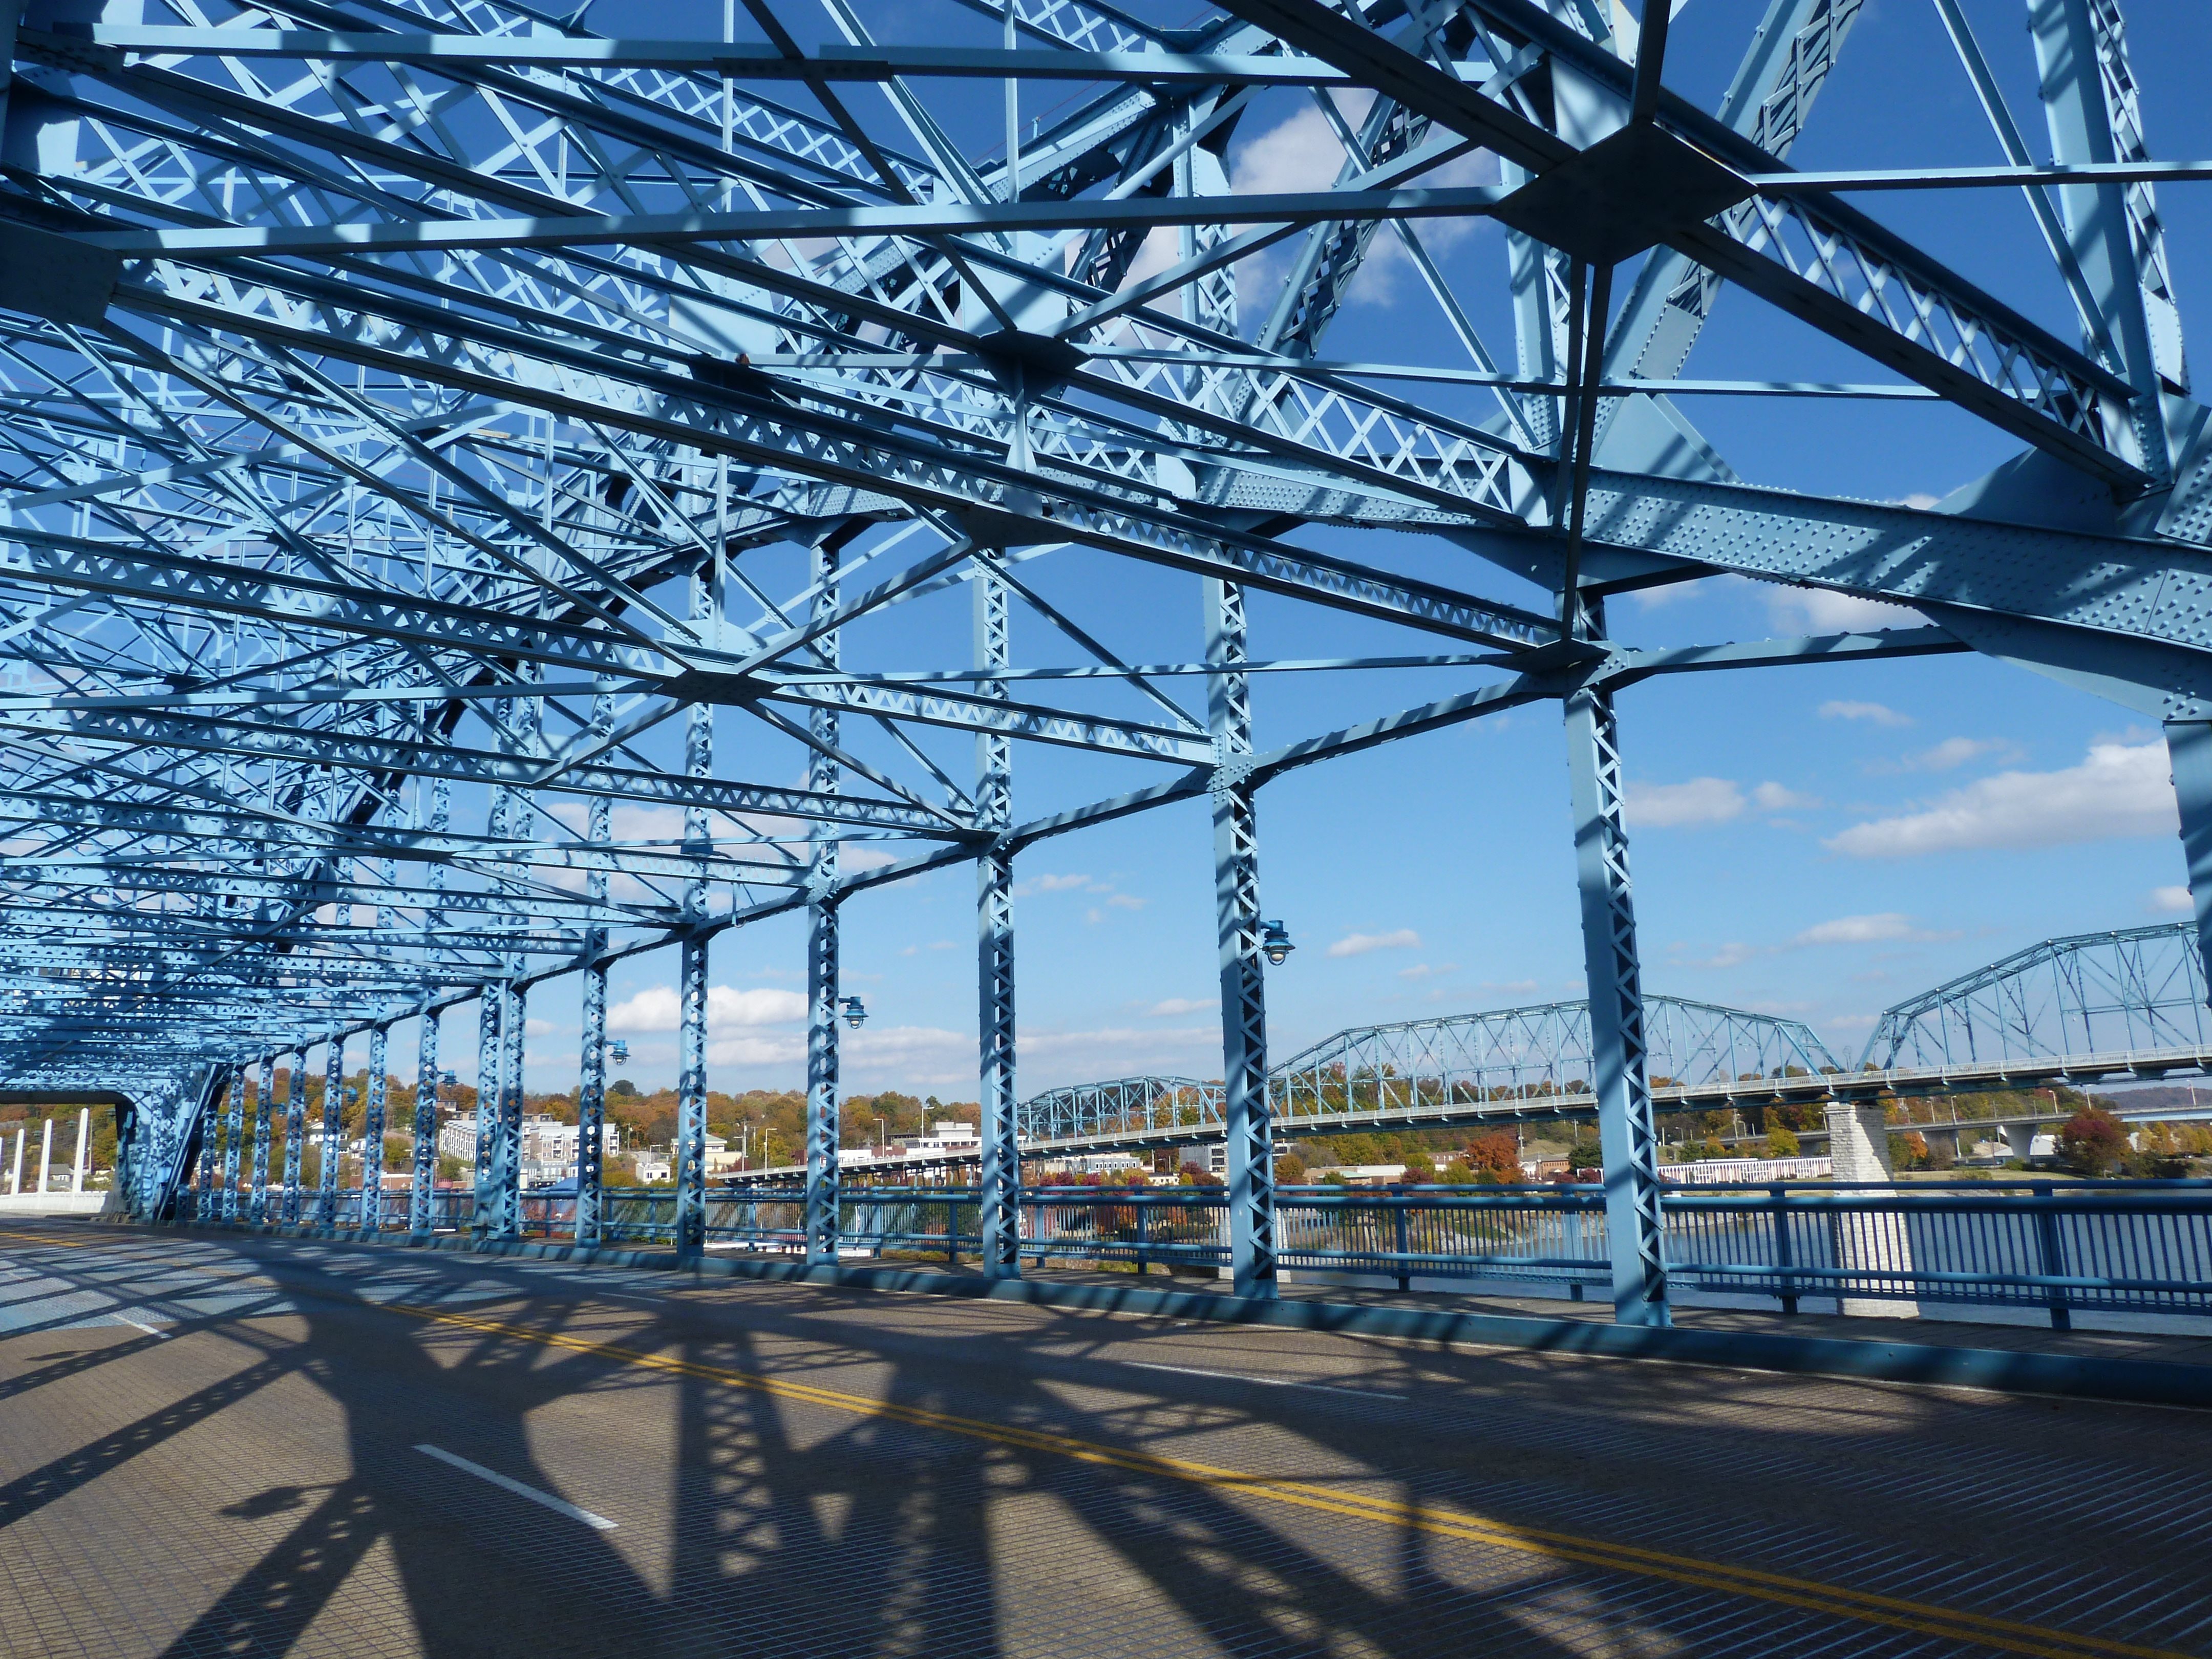
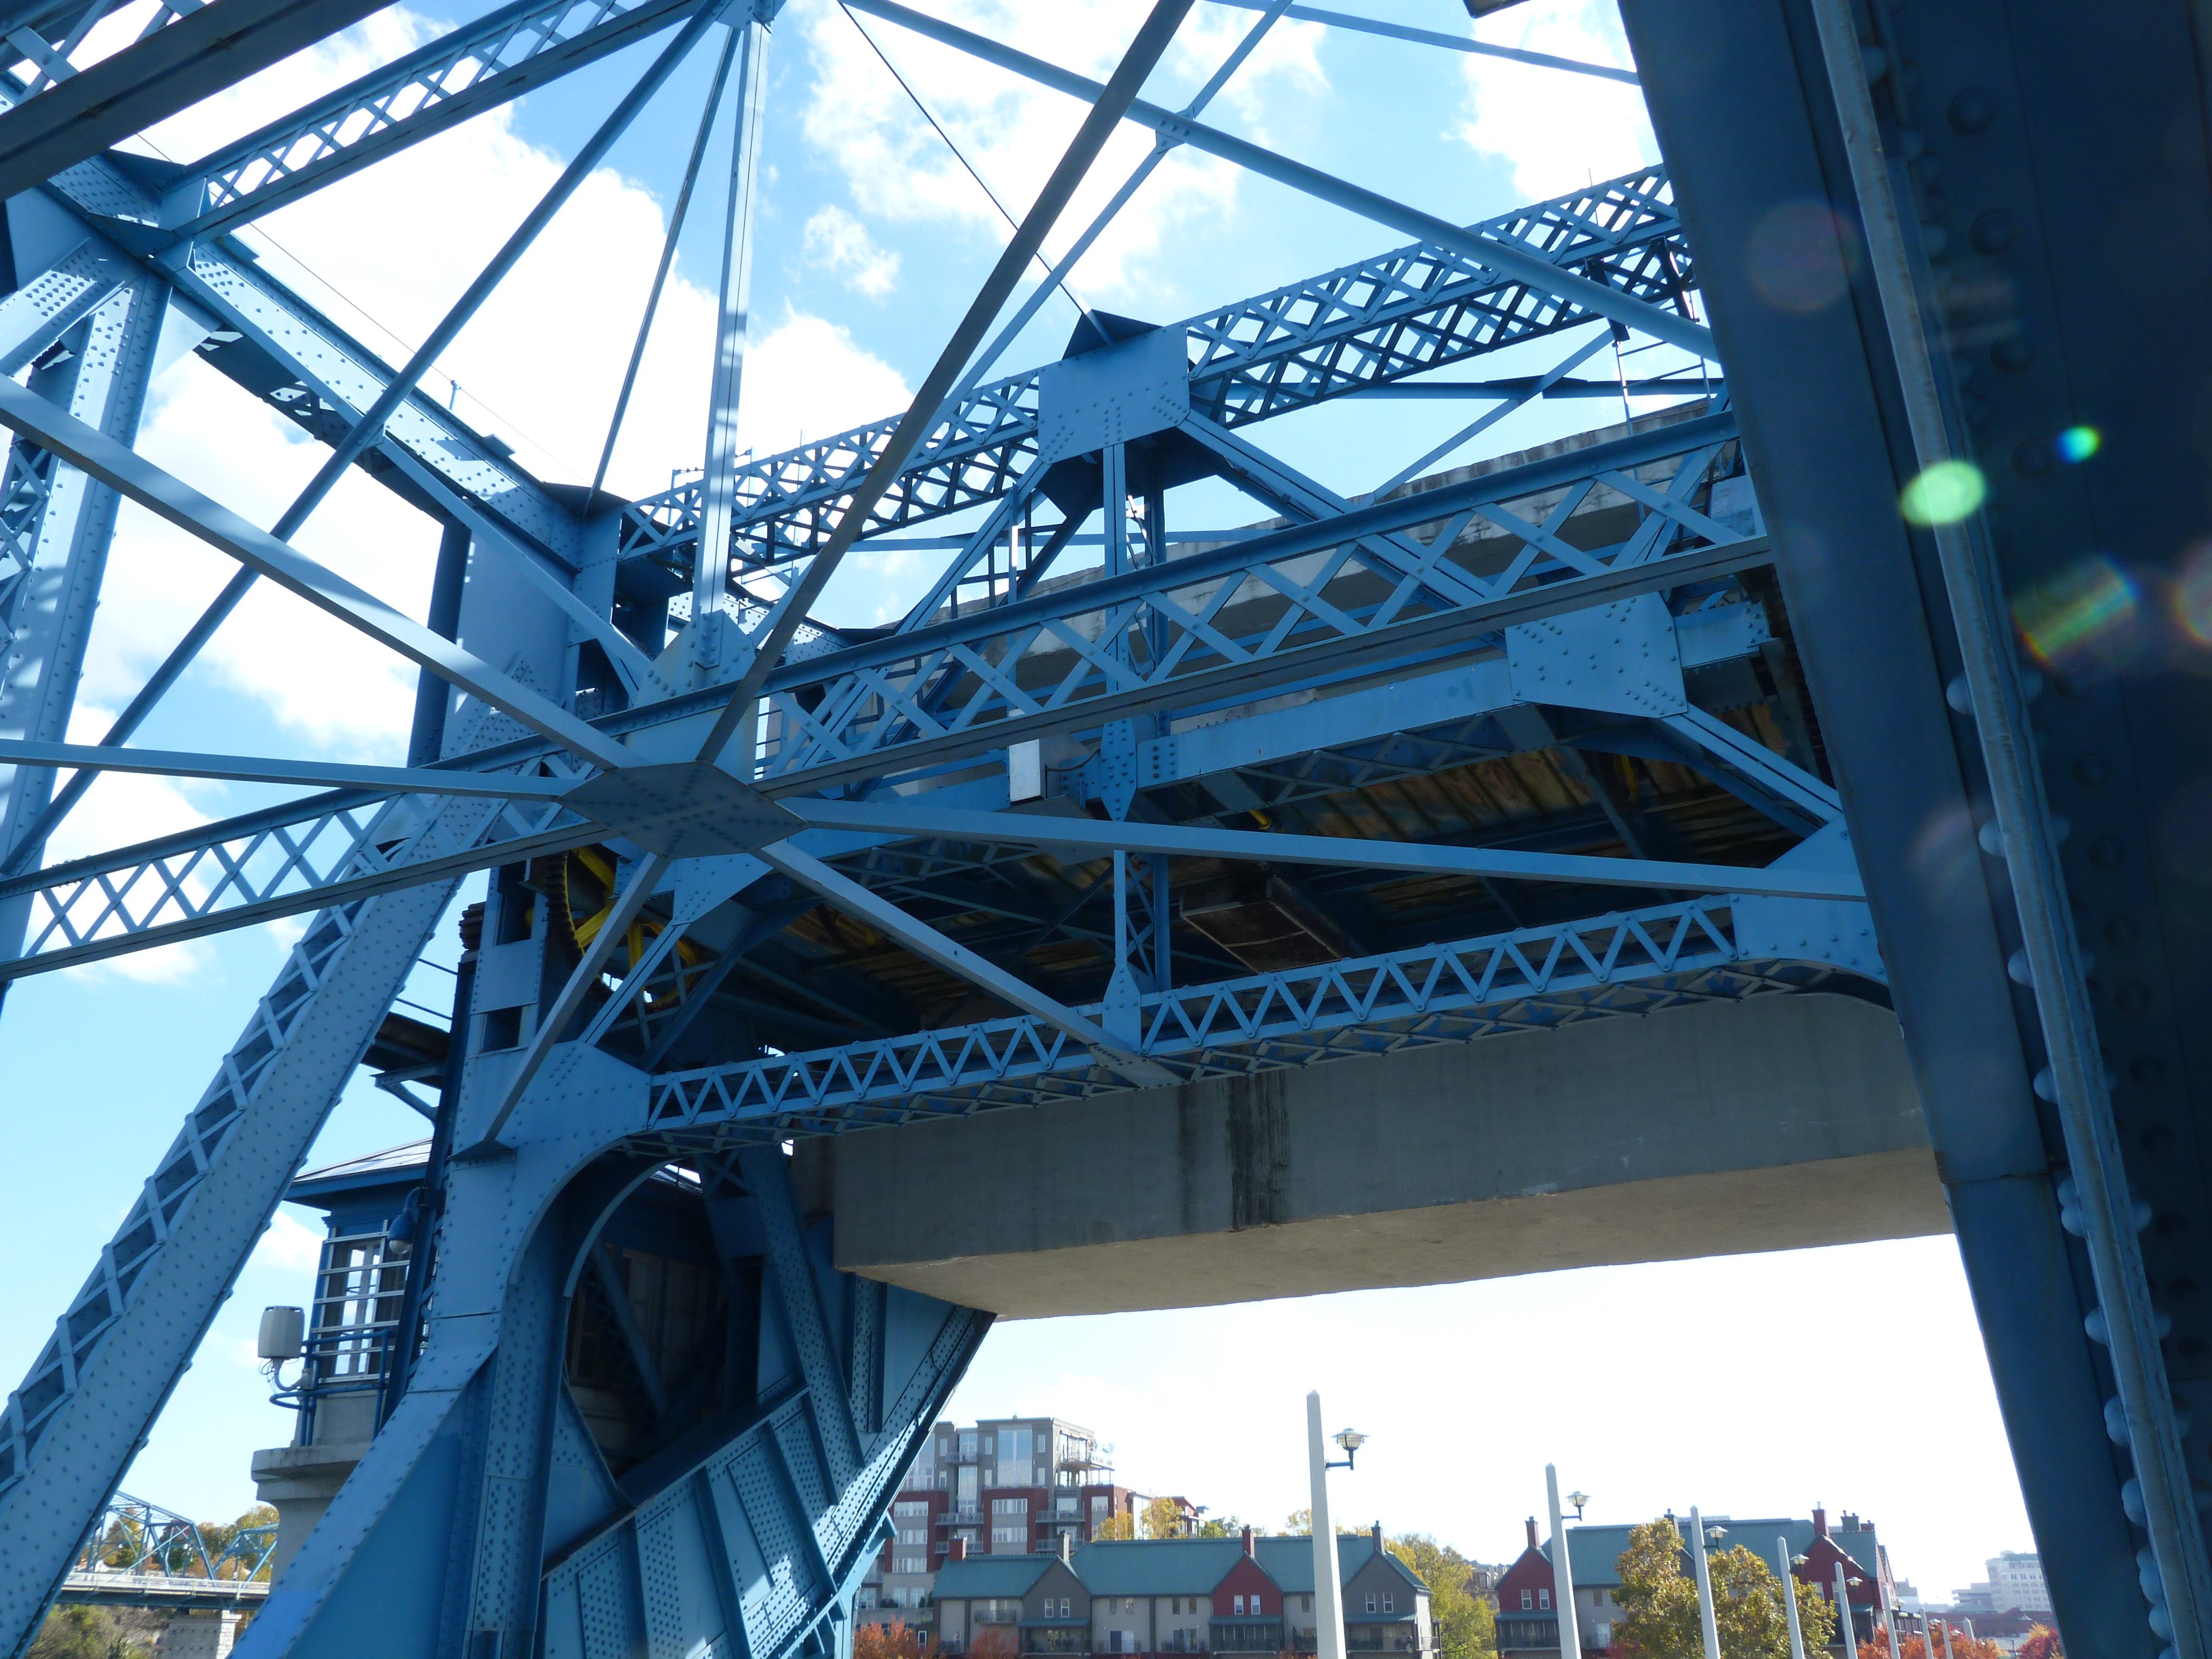
Views of bascule arch and hanger system.
![]()


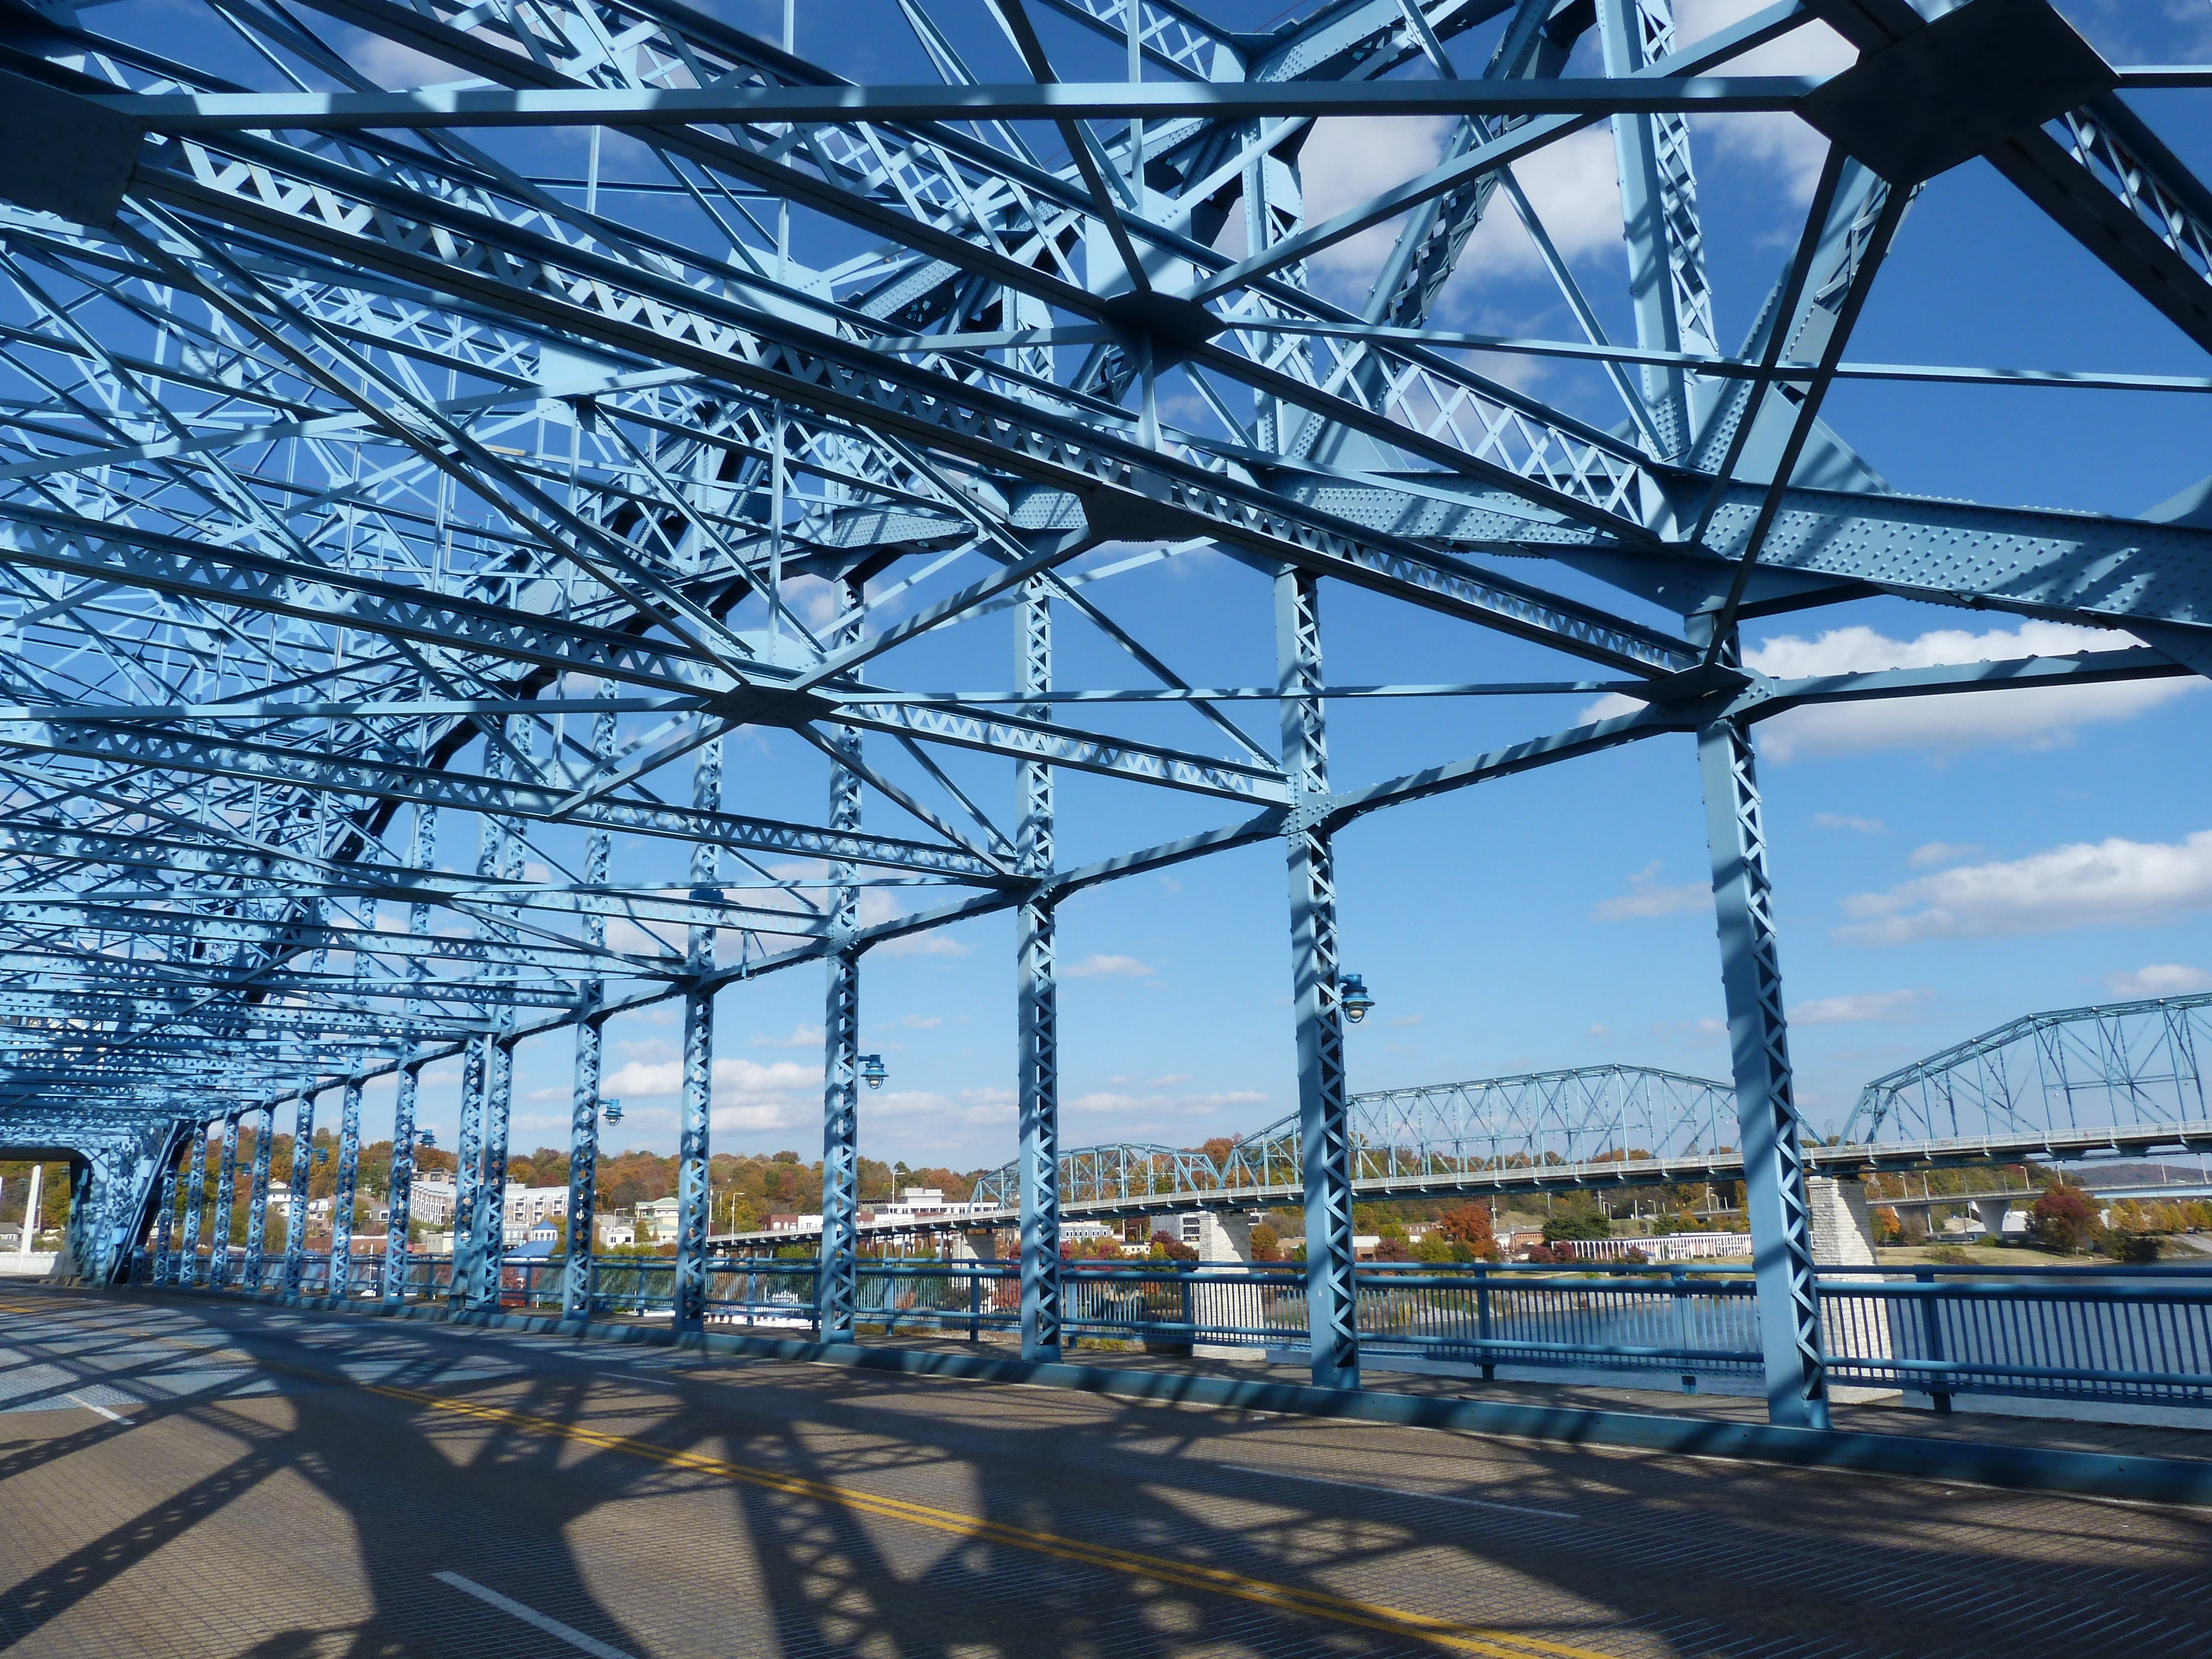
Partial views of bascule arch and hanger system.
![]()
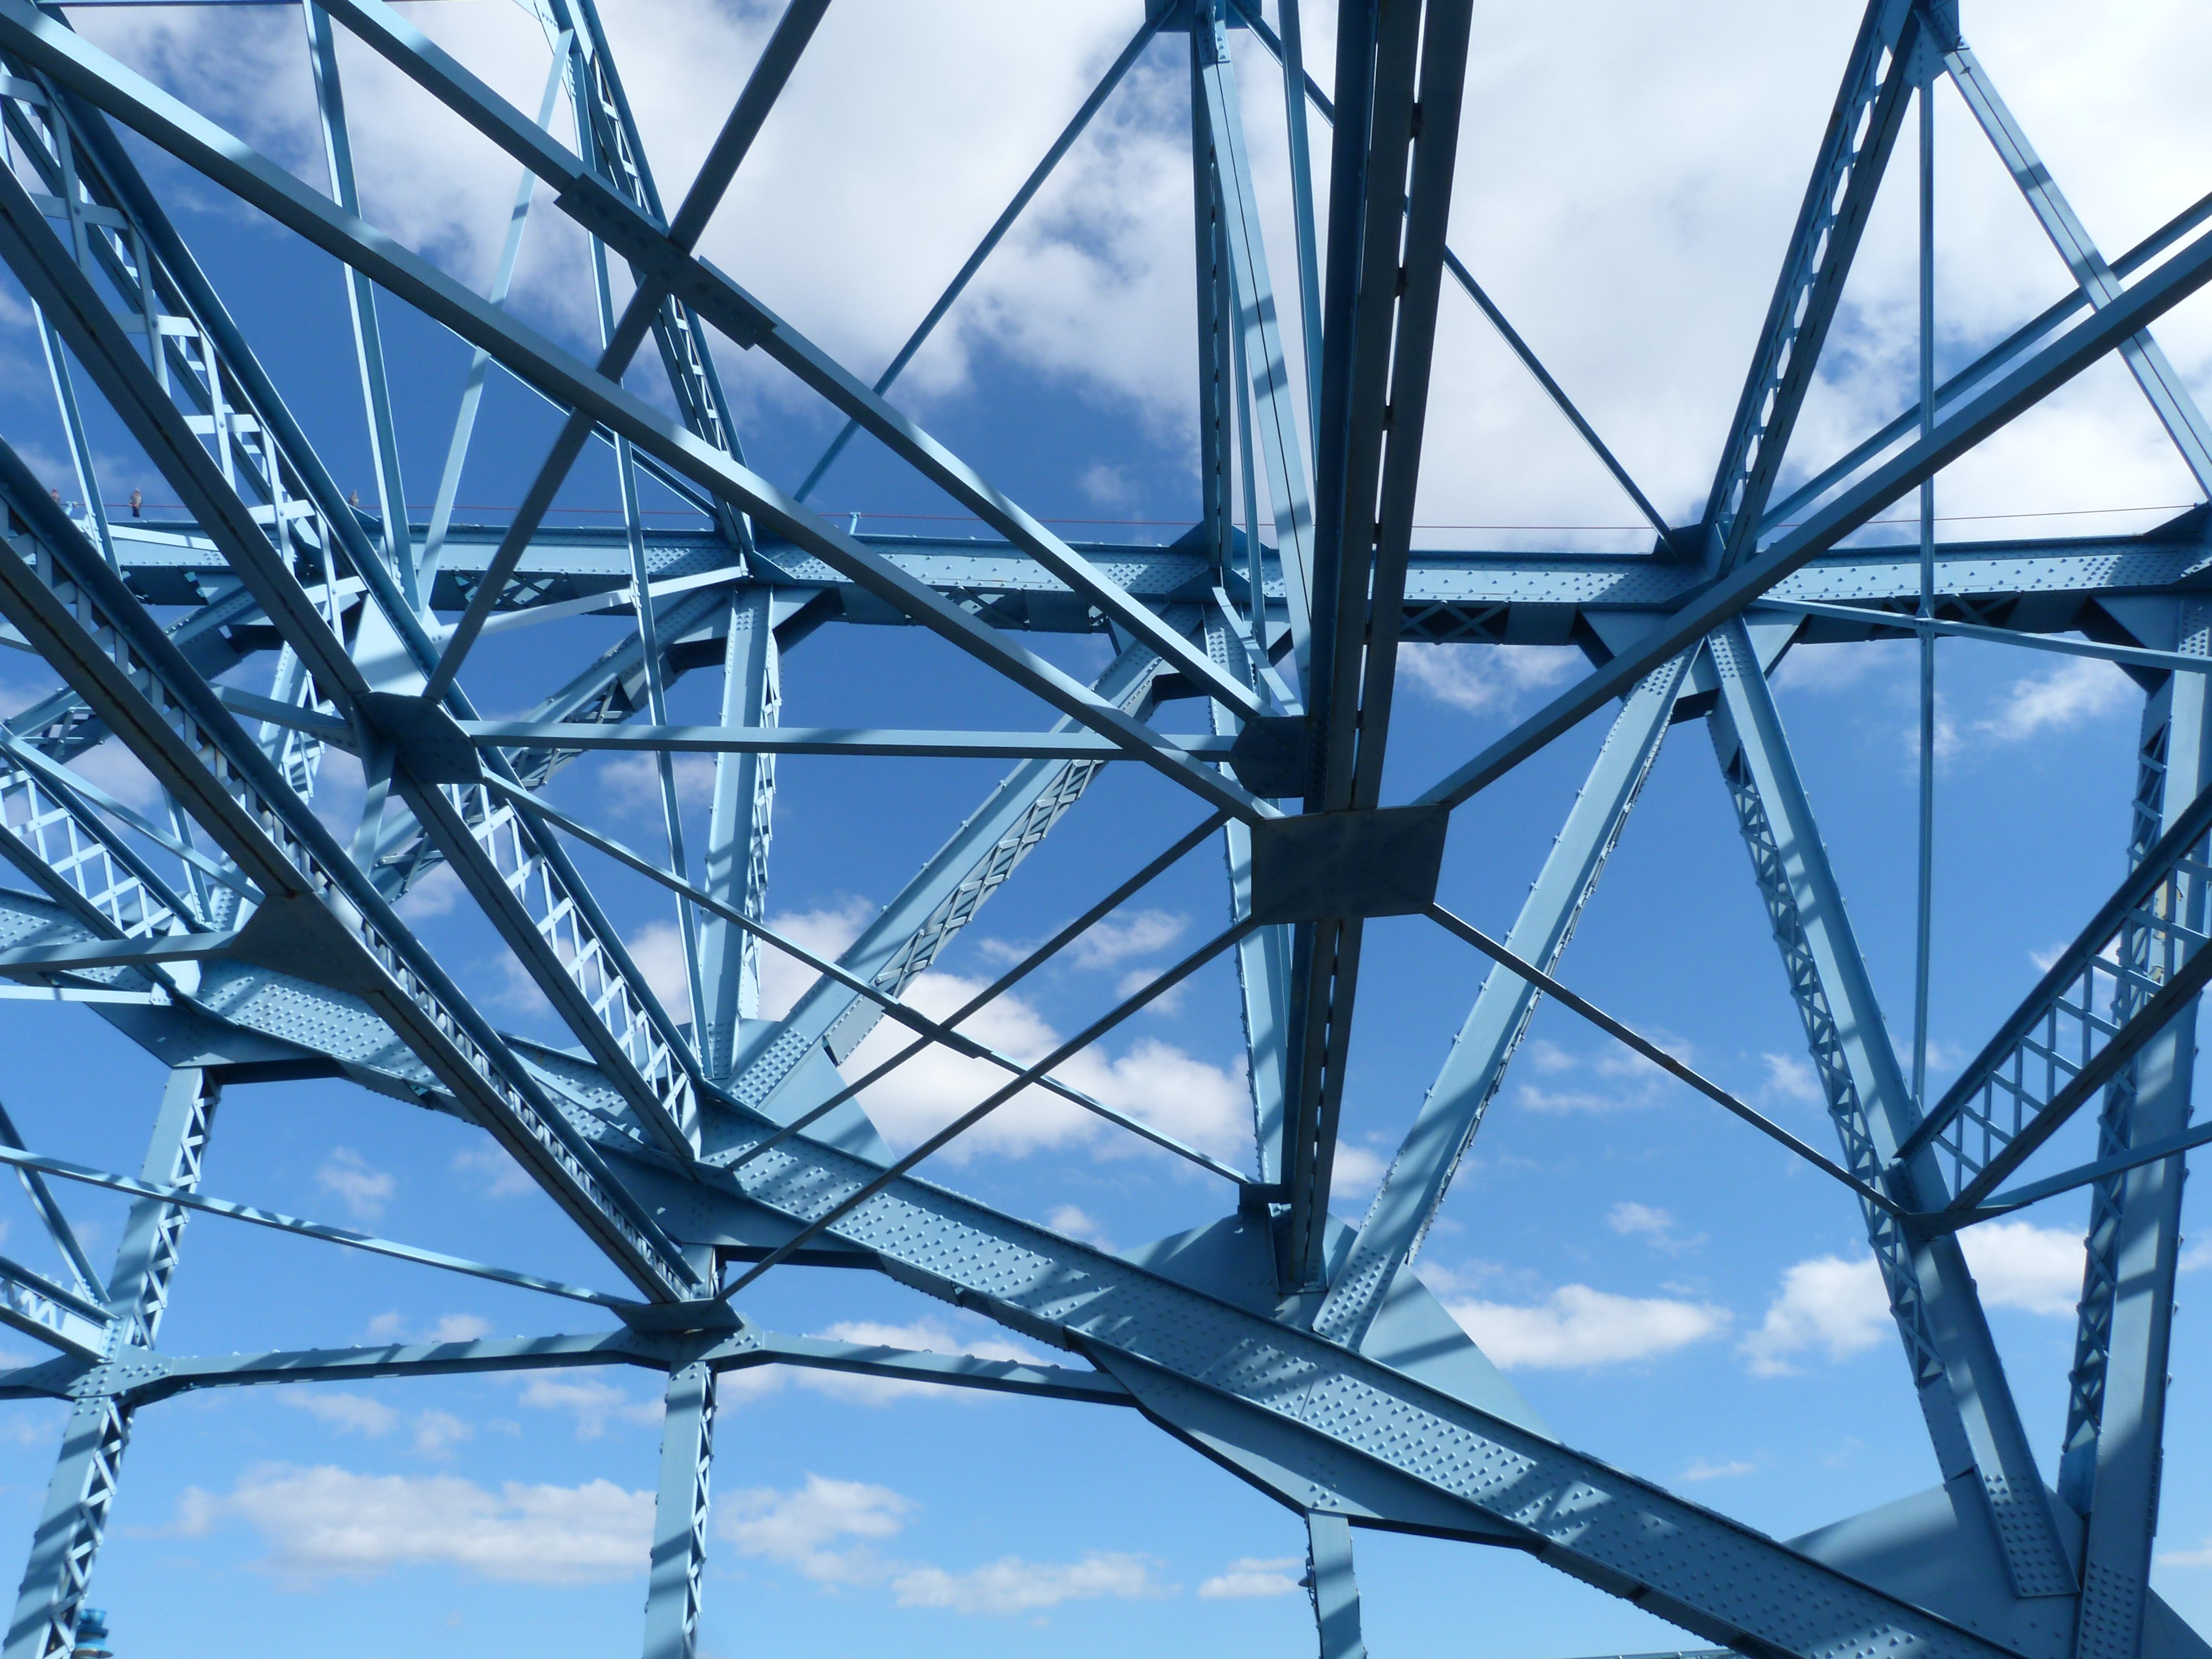
Partial views of the bascule arch itself.
![]()


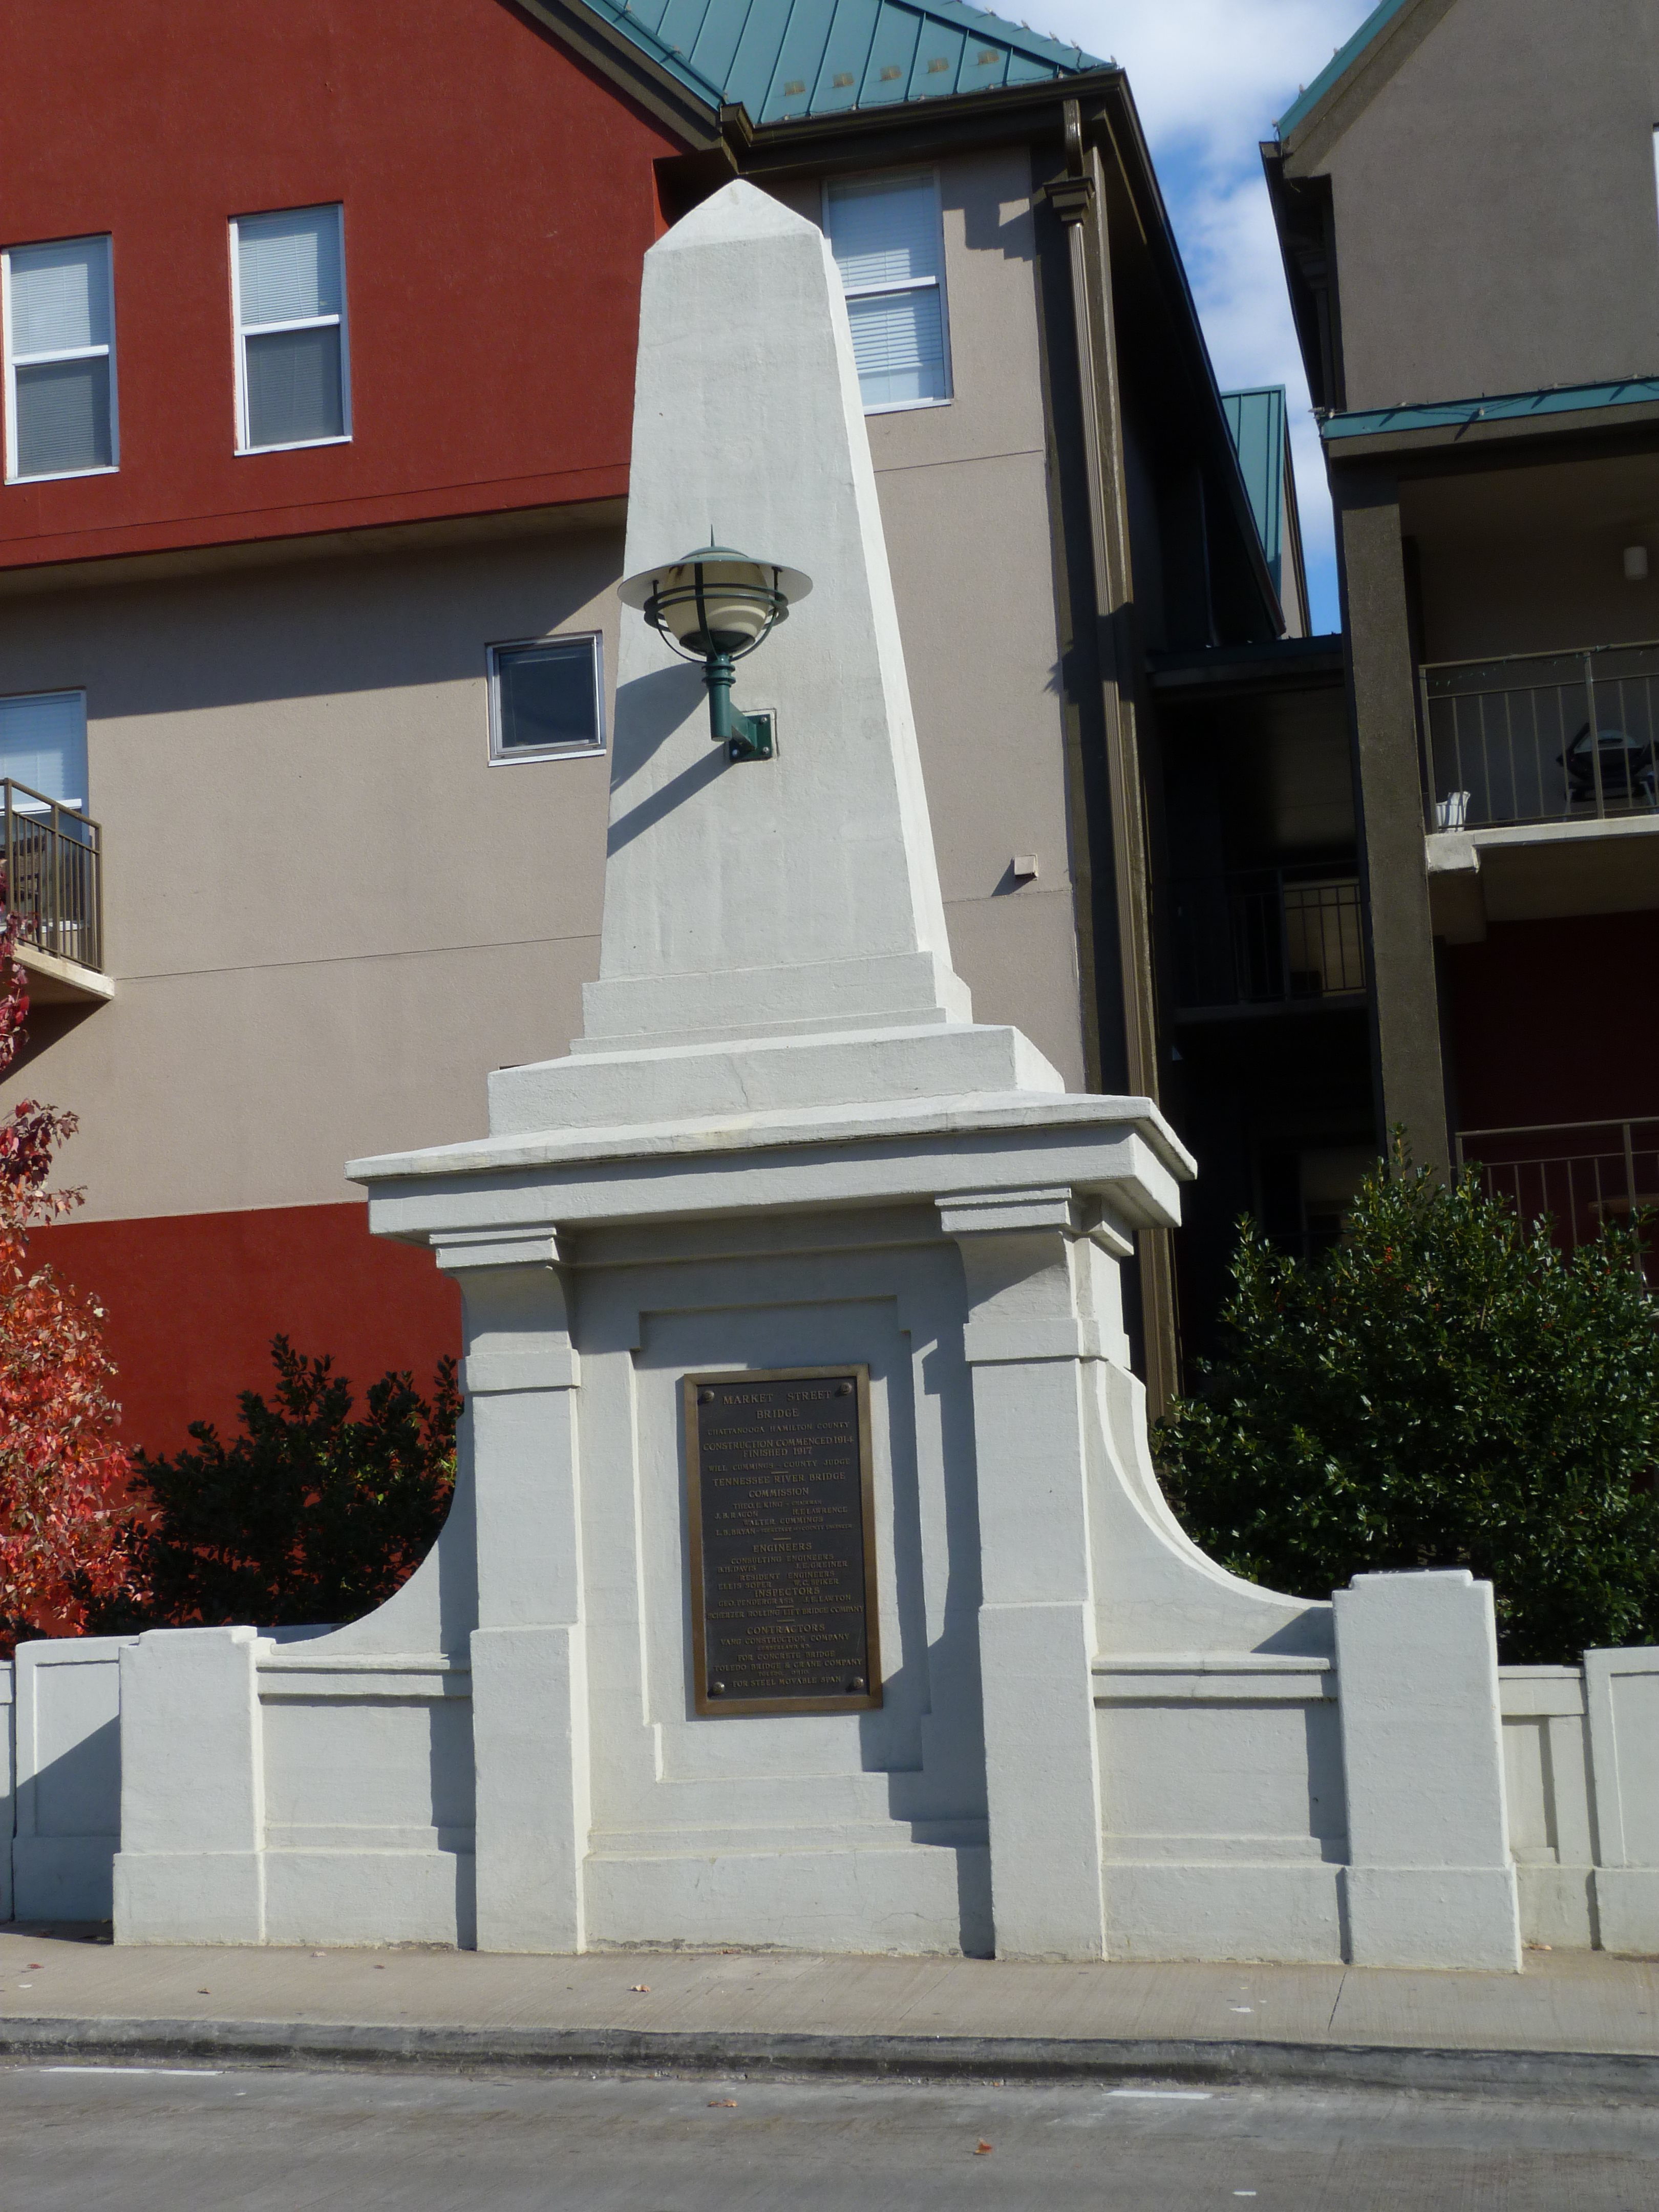
Plaque pillar.
![]()


Main plaque.
![]()

Ross Landing plaque.
![]()


Cambria brand.
![]()

Lackawanna brand.
![]()


View of center of bascule arch as seen from on bridge.
![]()

View of center of bascule arch as seen from beside bridge.
![]()


Crown hinge as viewed from beside bridge.
![]()


Crown hinge as viewed from on bridge.
![]()

View at center of bascule showing removable balance weights.
![]()
Bridge tender house.
![]()
Bridge tender house supports.
![]()


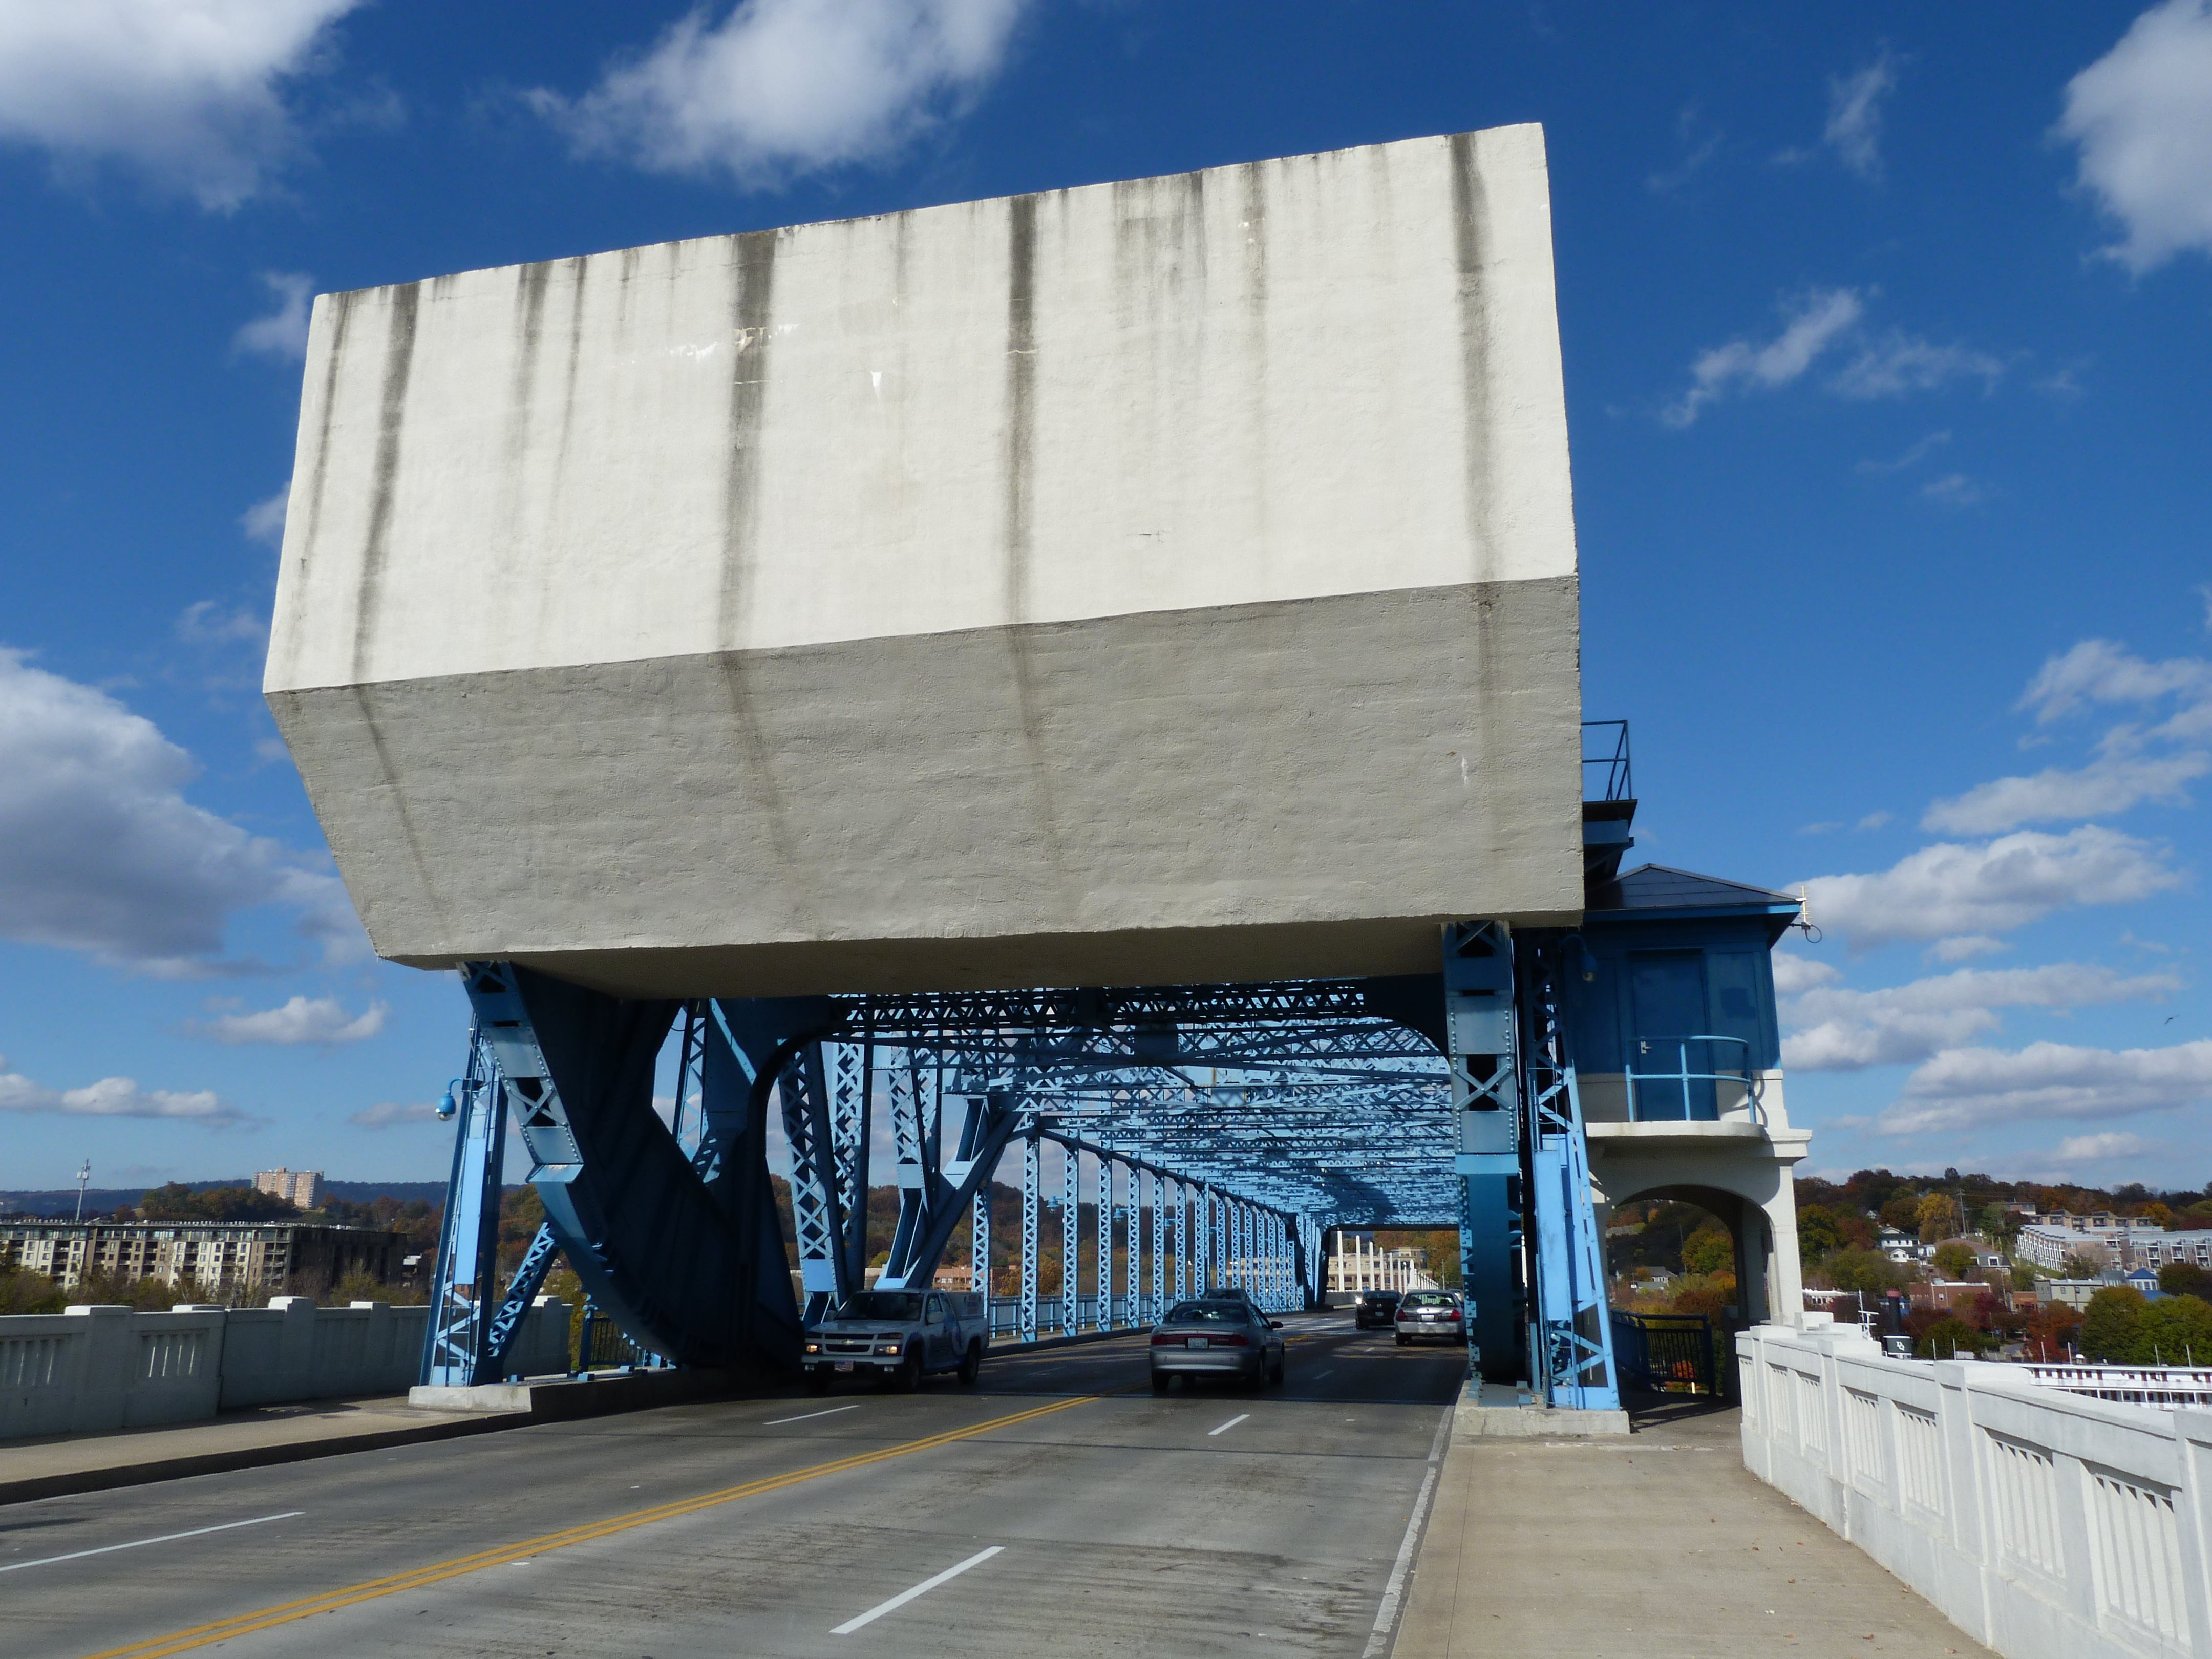
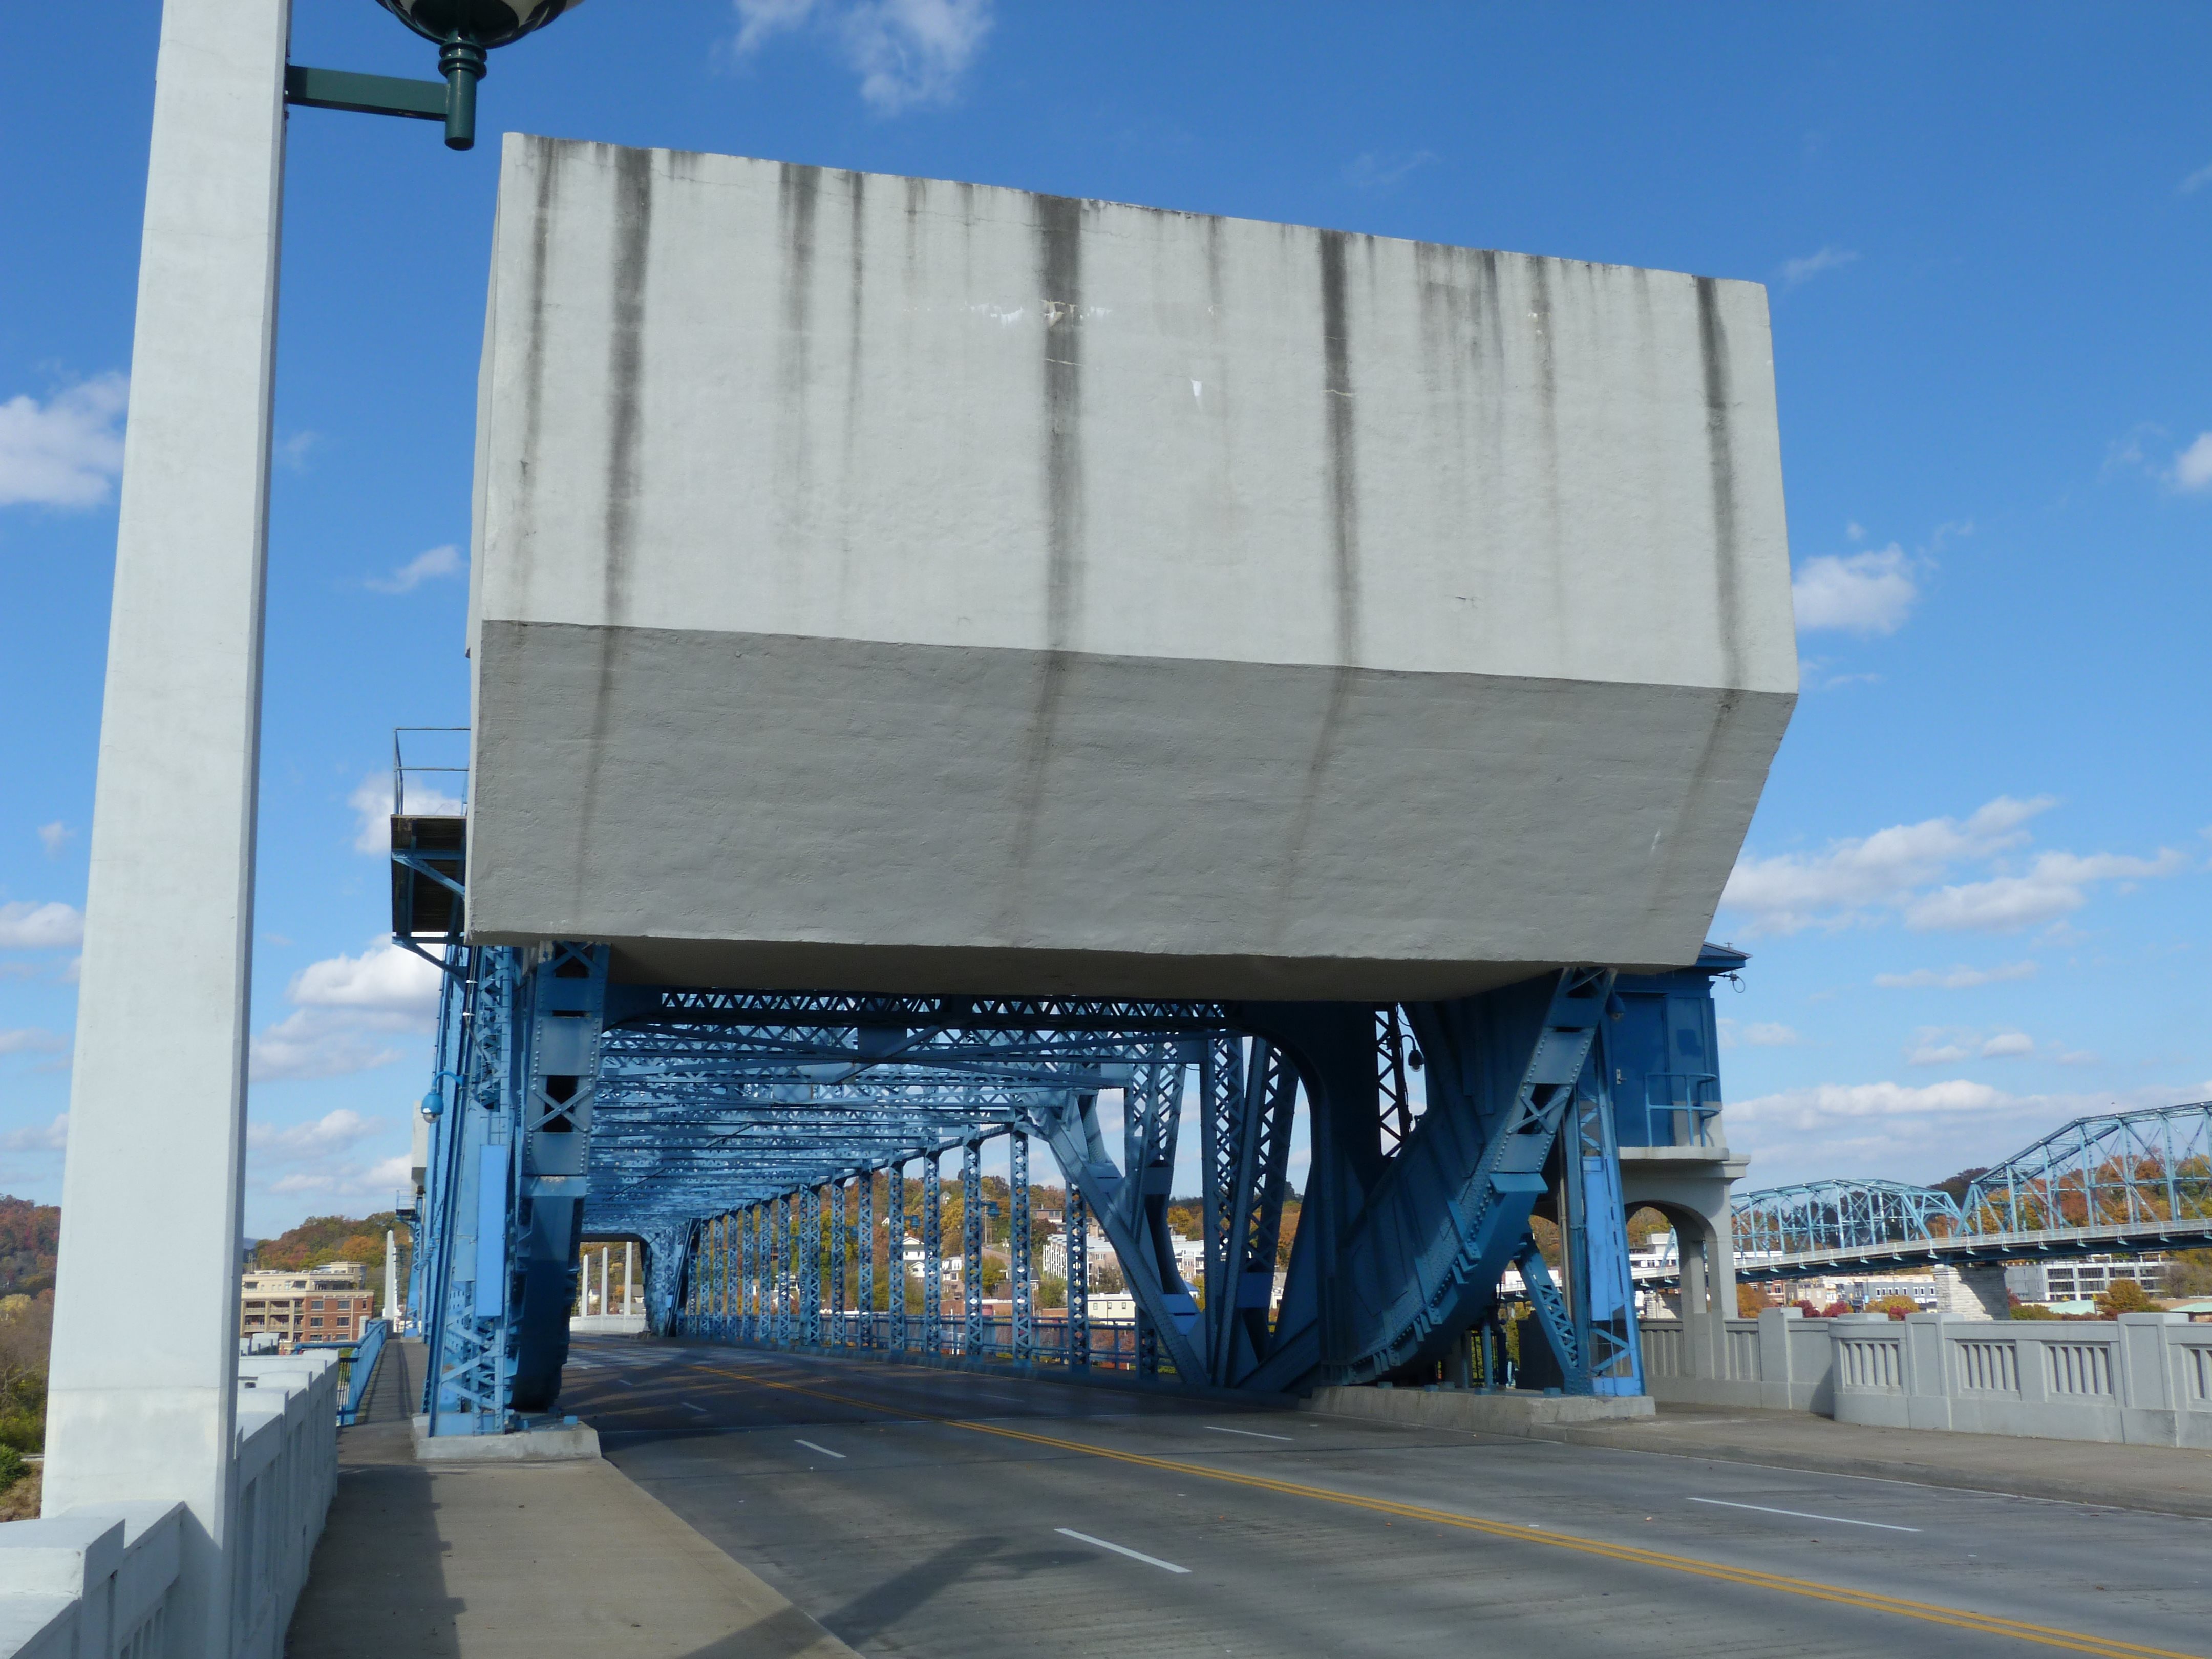
Counterweight as viewed from beside bridge. The rack and pinion system is also visible in these photos.
![]()
Counterweight as viewed from on bridge.
![]()

View showing rack and pinion.
![]()

Pinion.
![]()


Gears.
![]()


Roller.
![]()
Roller details.
![]()
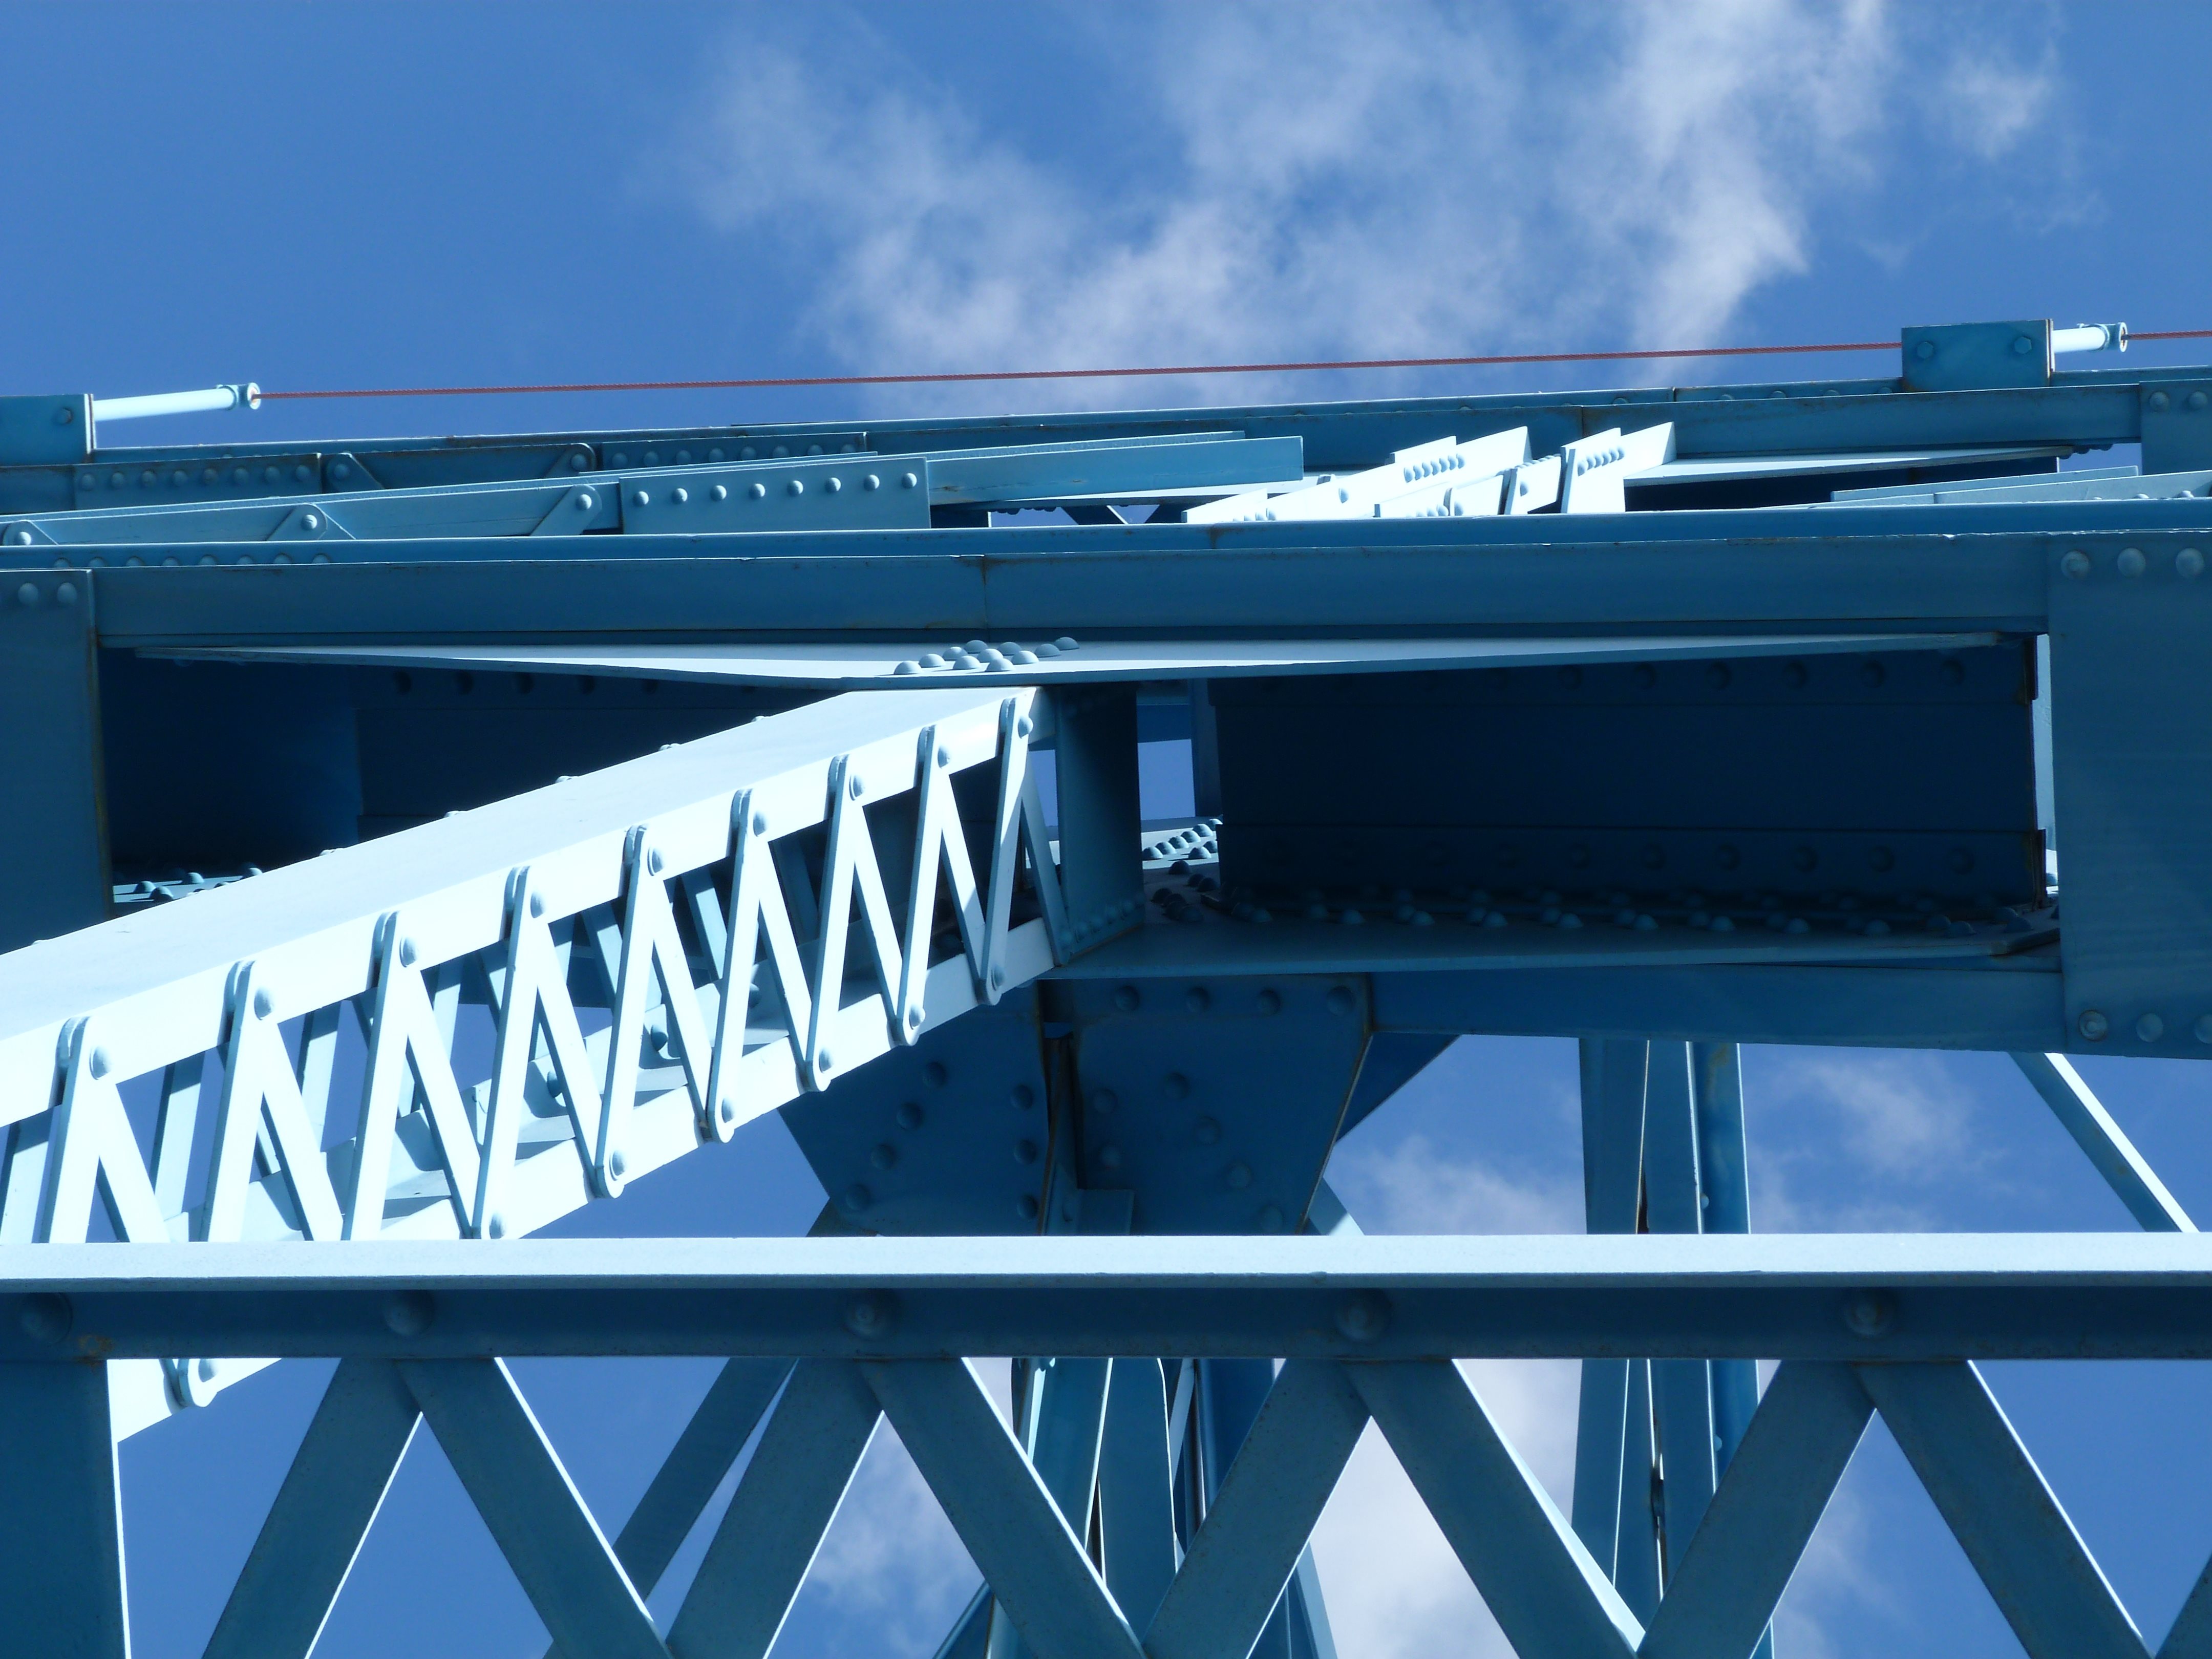
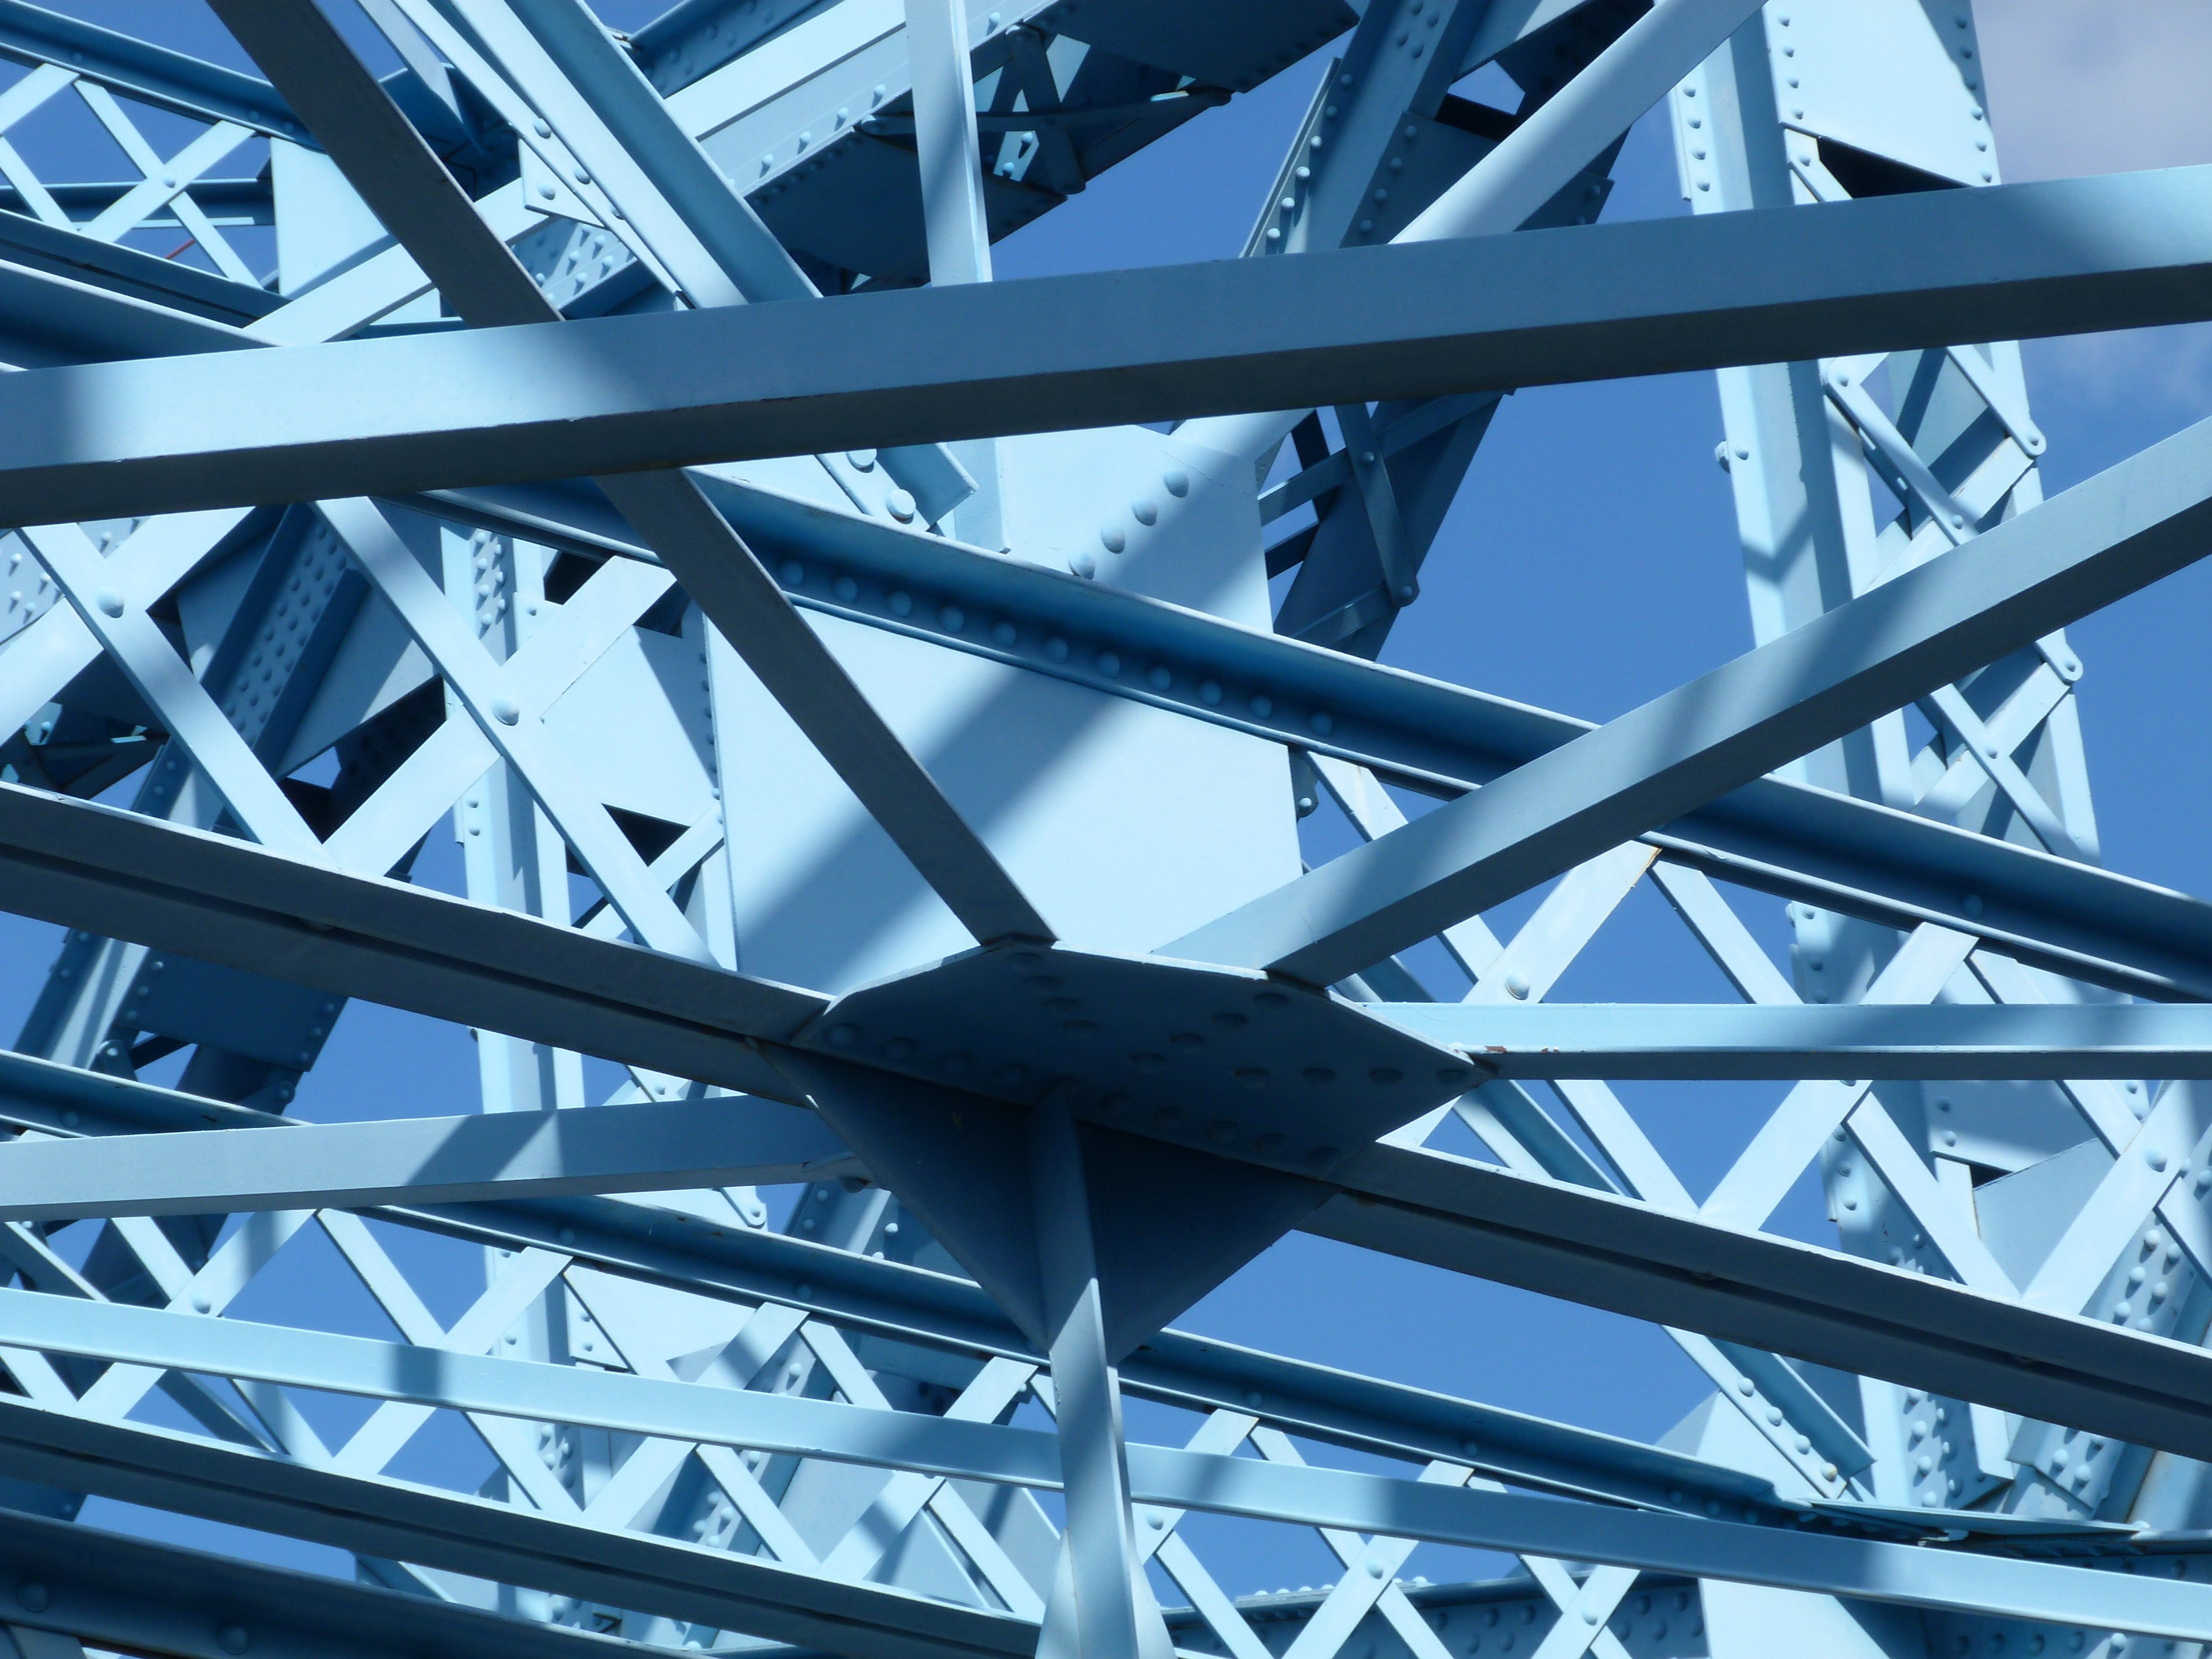
Arch top chord connections as viewed from on bridge.
![]()
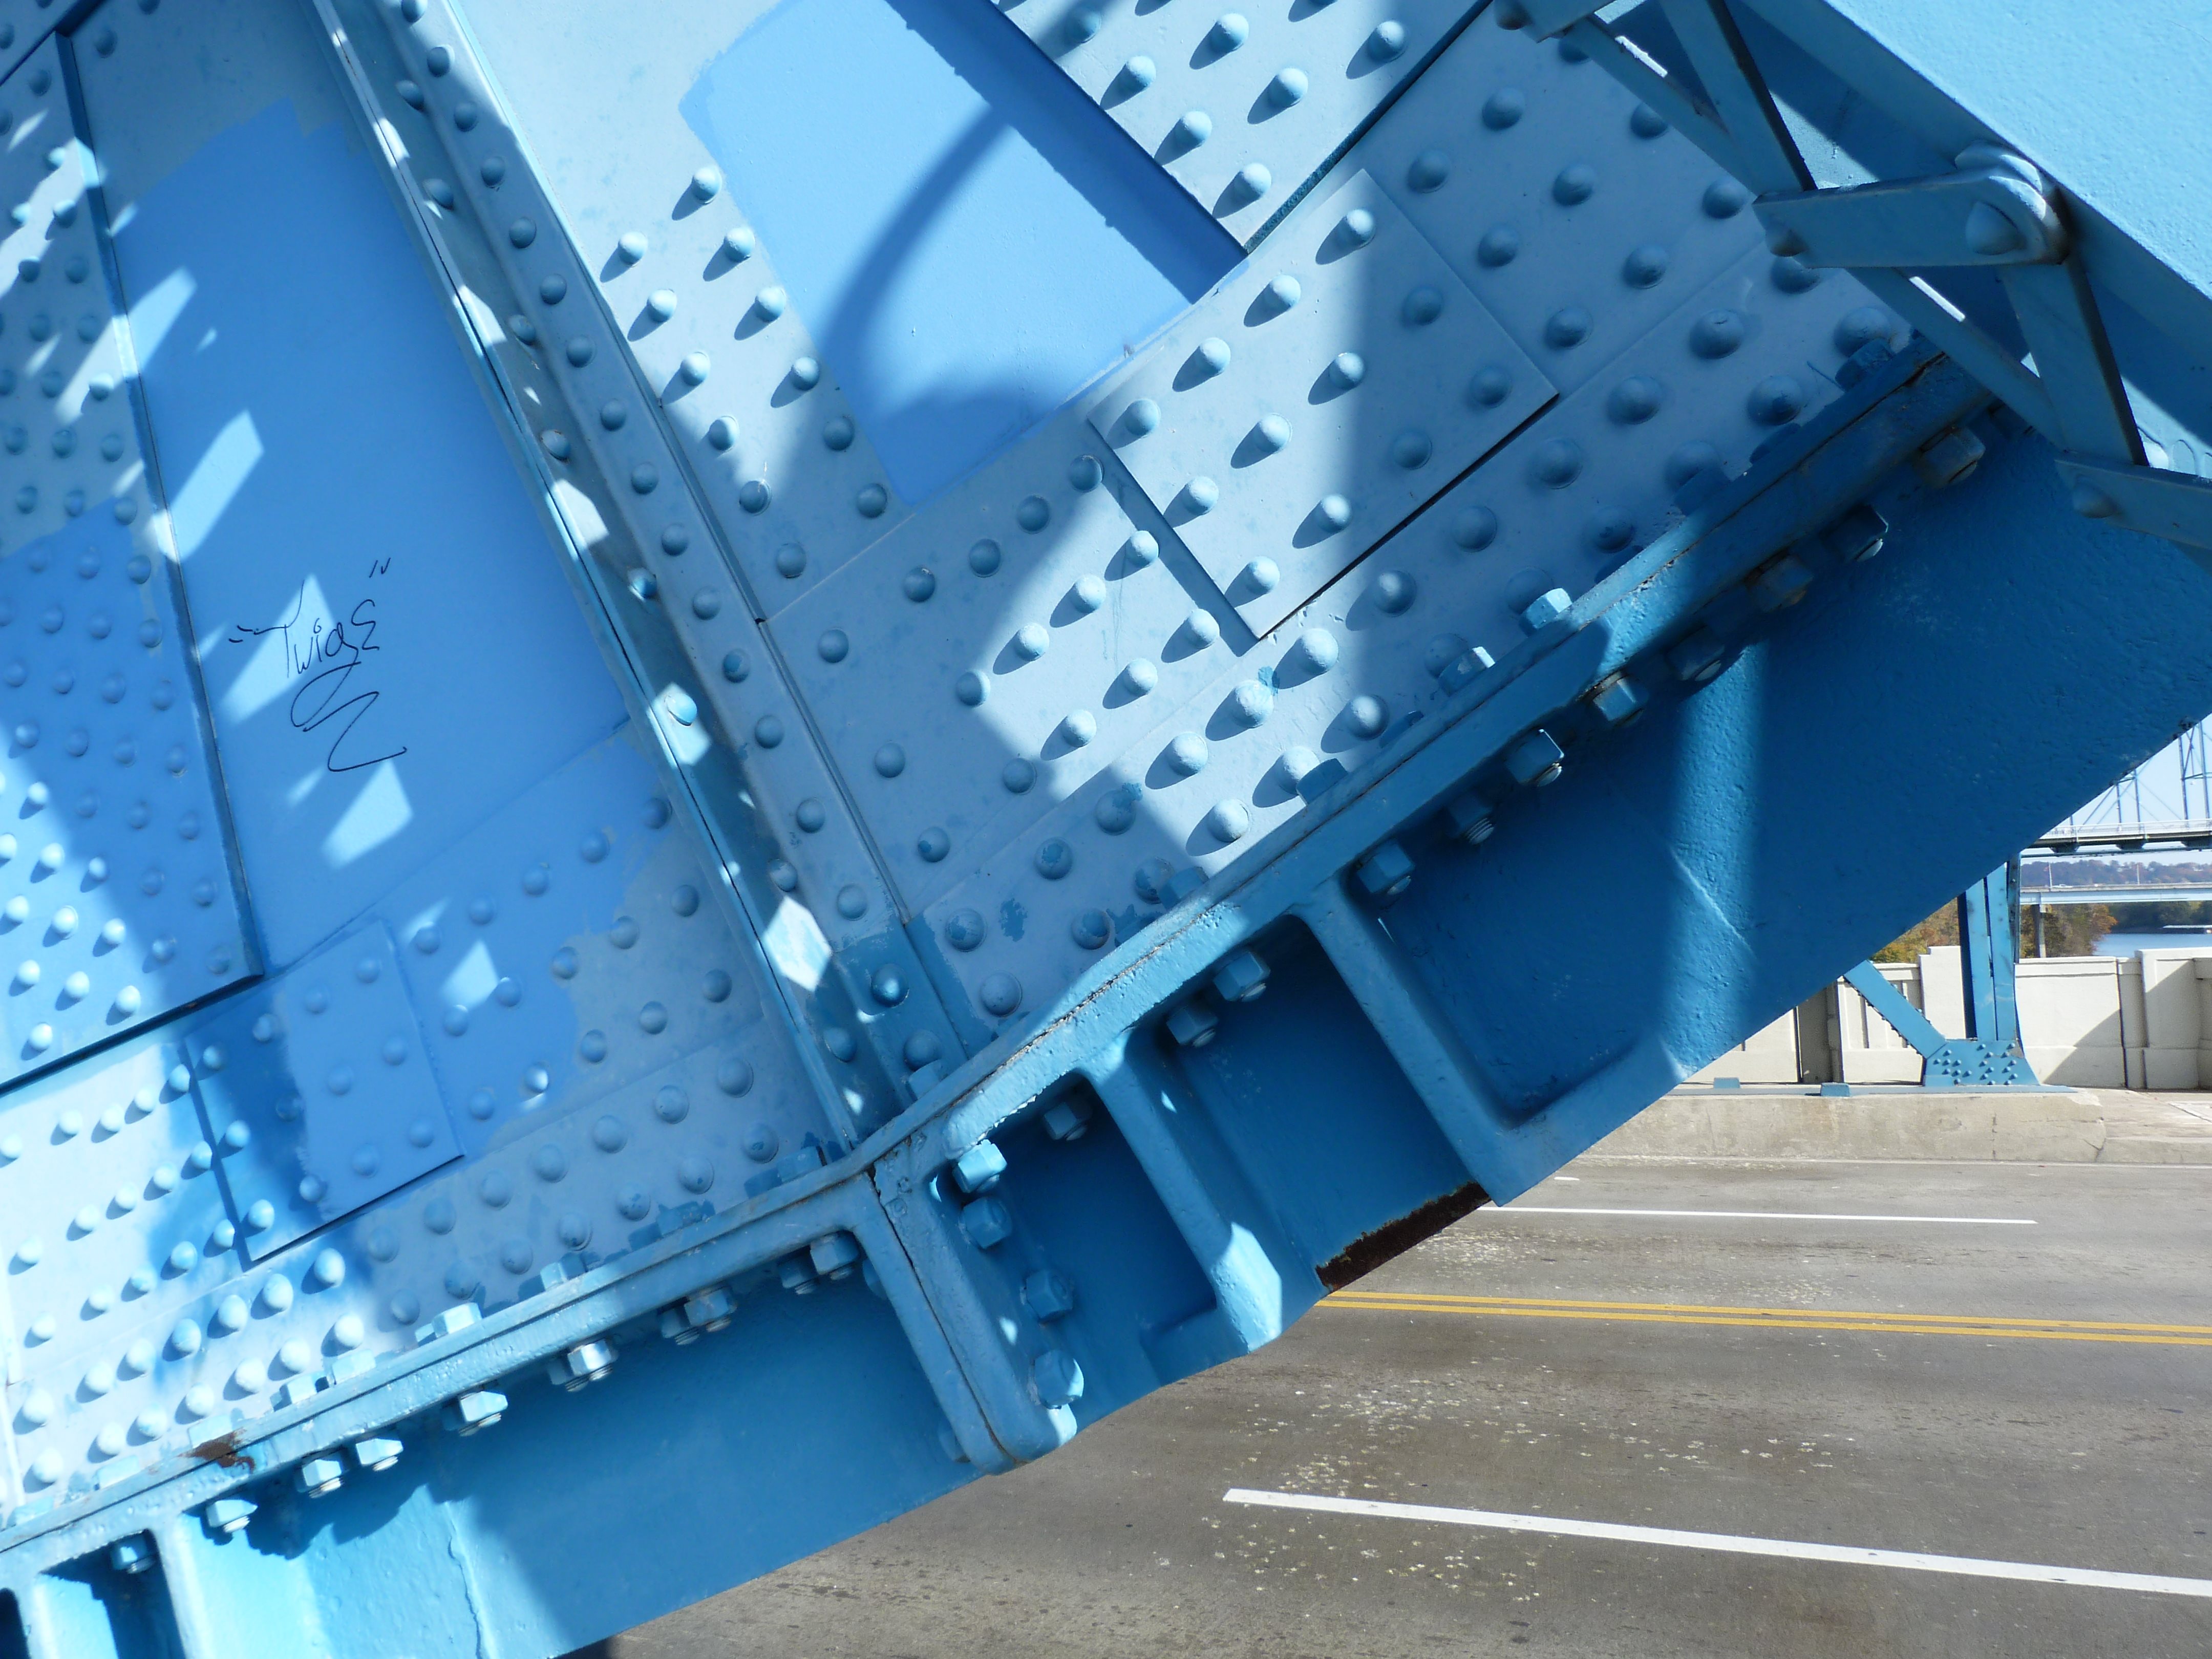
Arch bottom chord connections as viewed from on bridge.
![]()
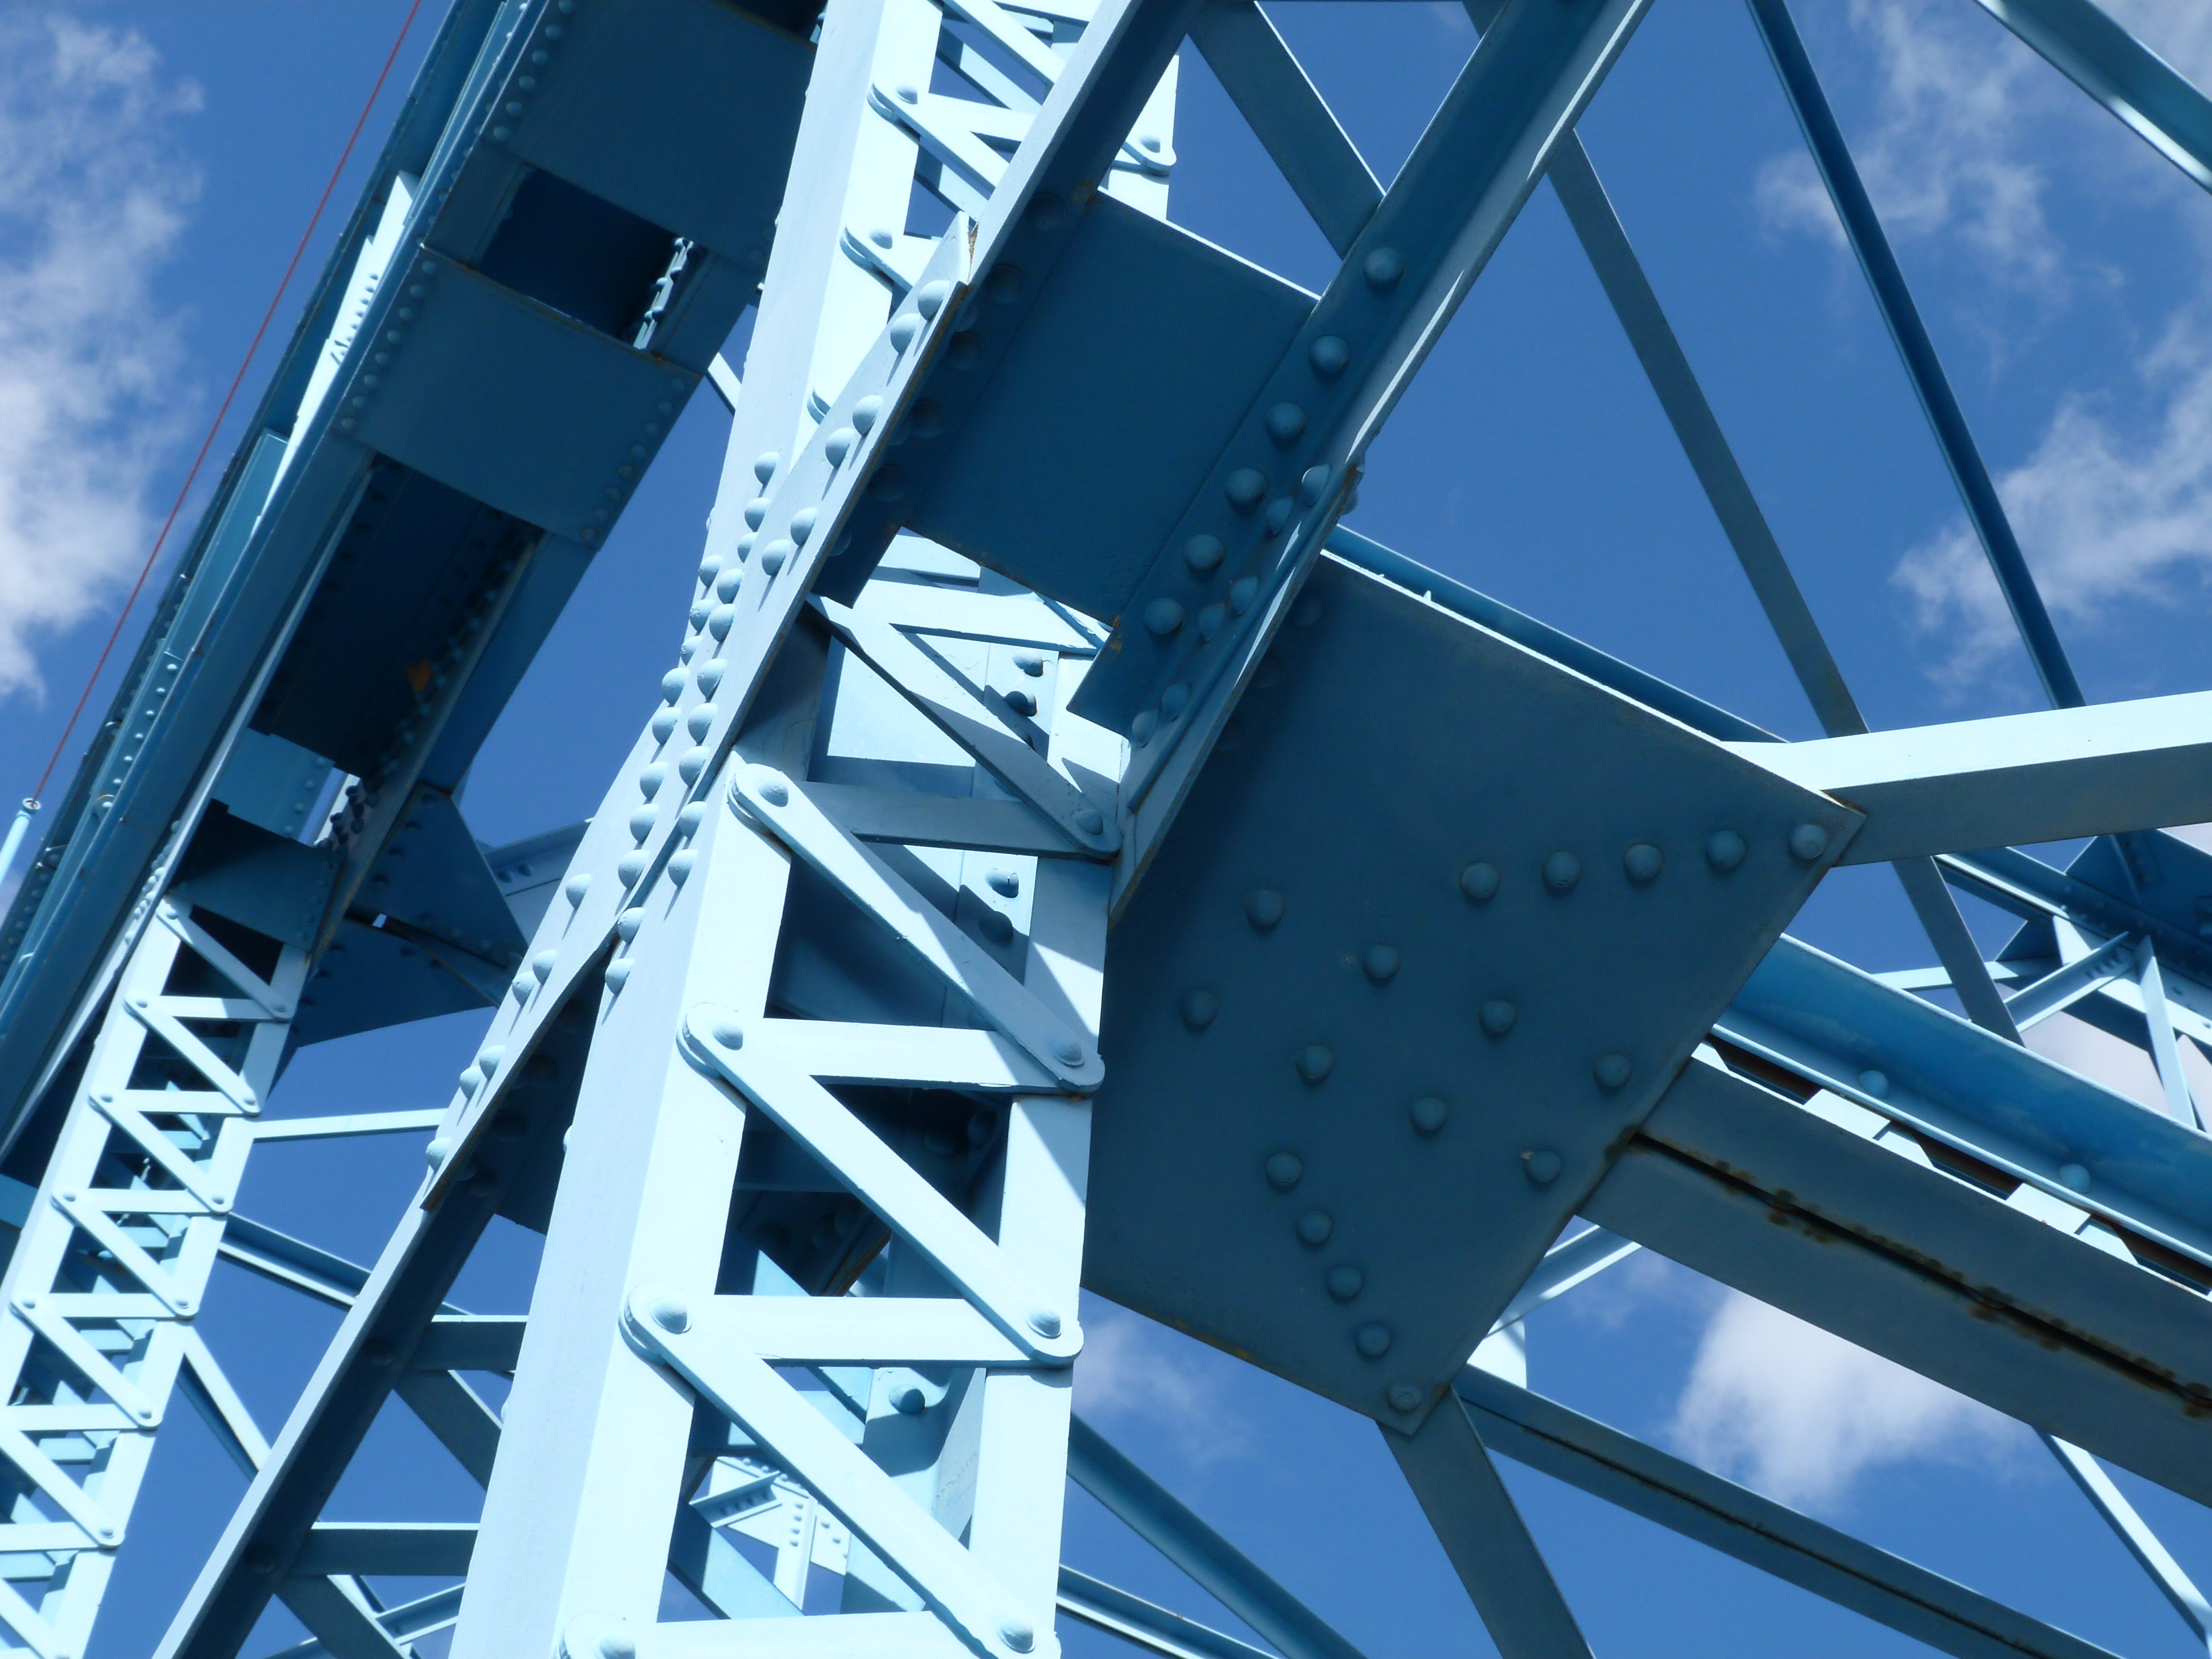
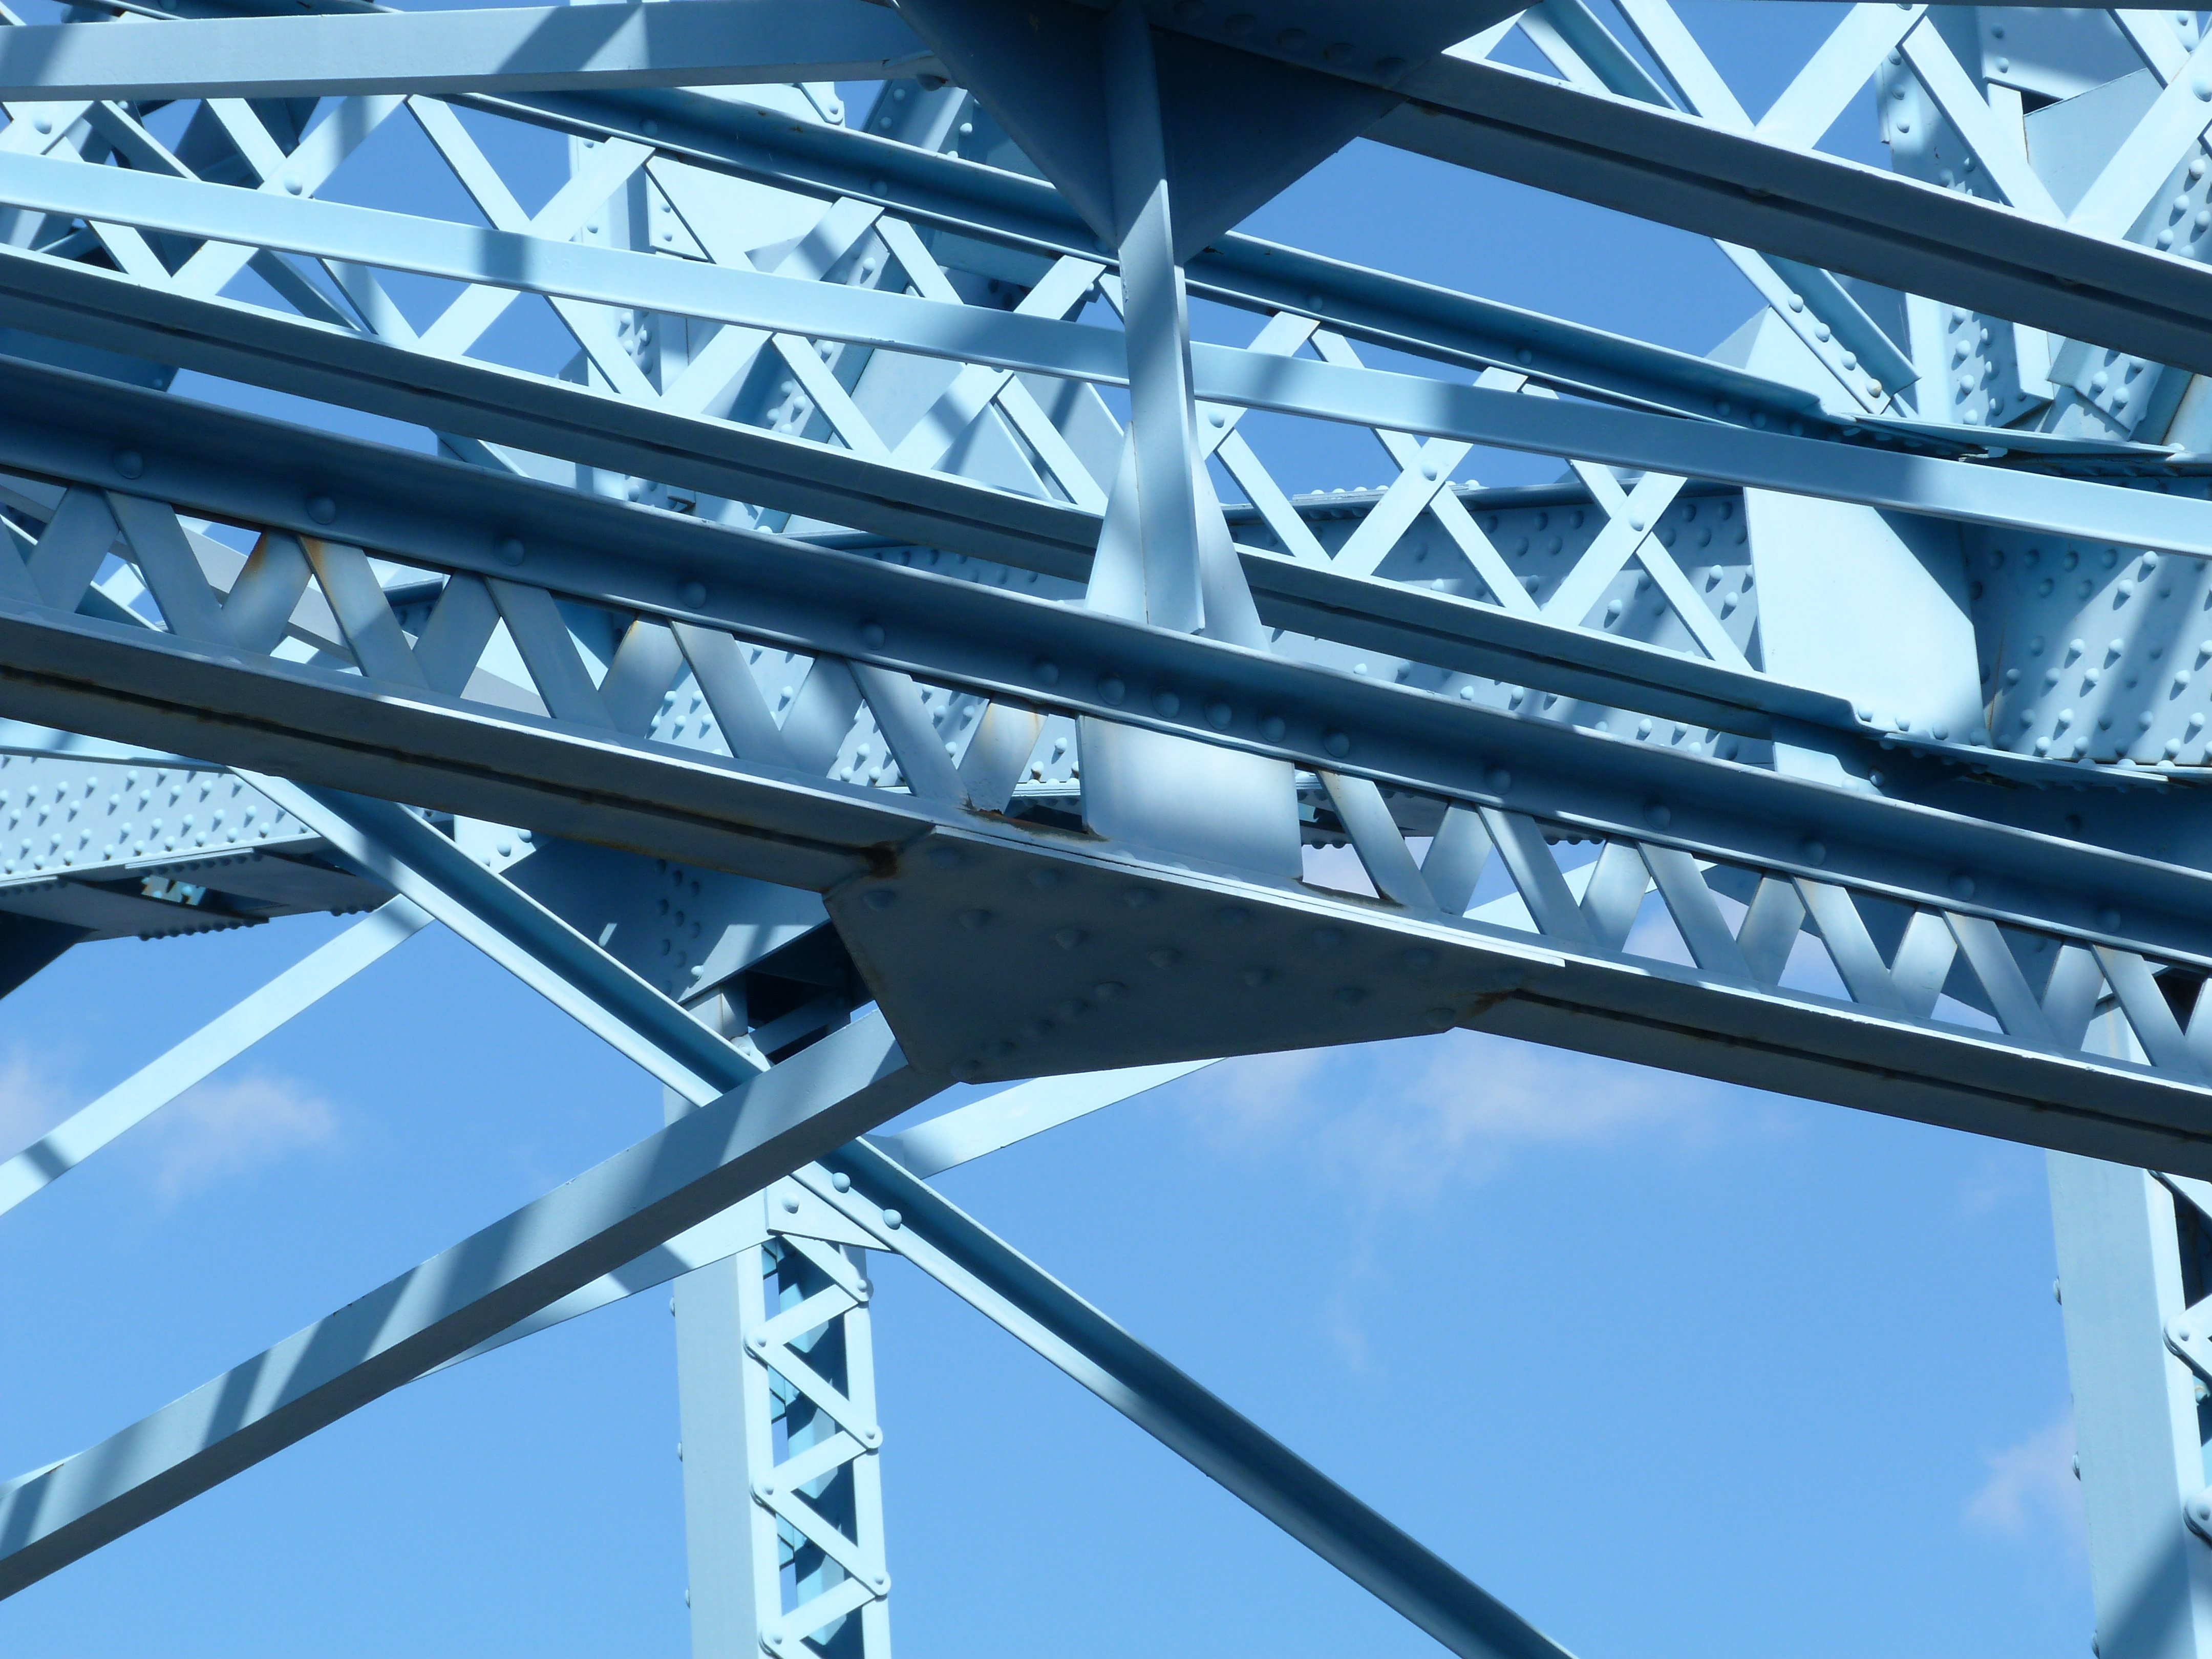
Longitudinal member connections with arch hangers.
![]()
Arch bottom chord.
![]()

Arch vertical member.
![]()
Arch hangers.
![]()
Sway bracing.
![]()


Sway bracing detail.
![]()
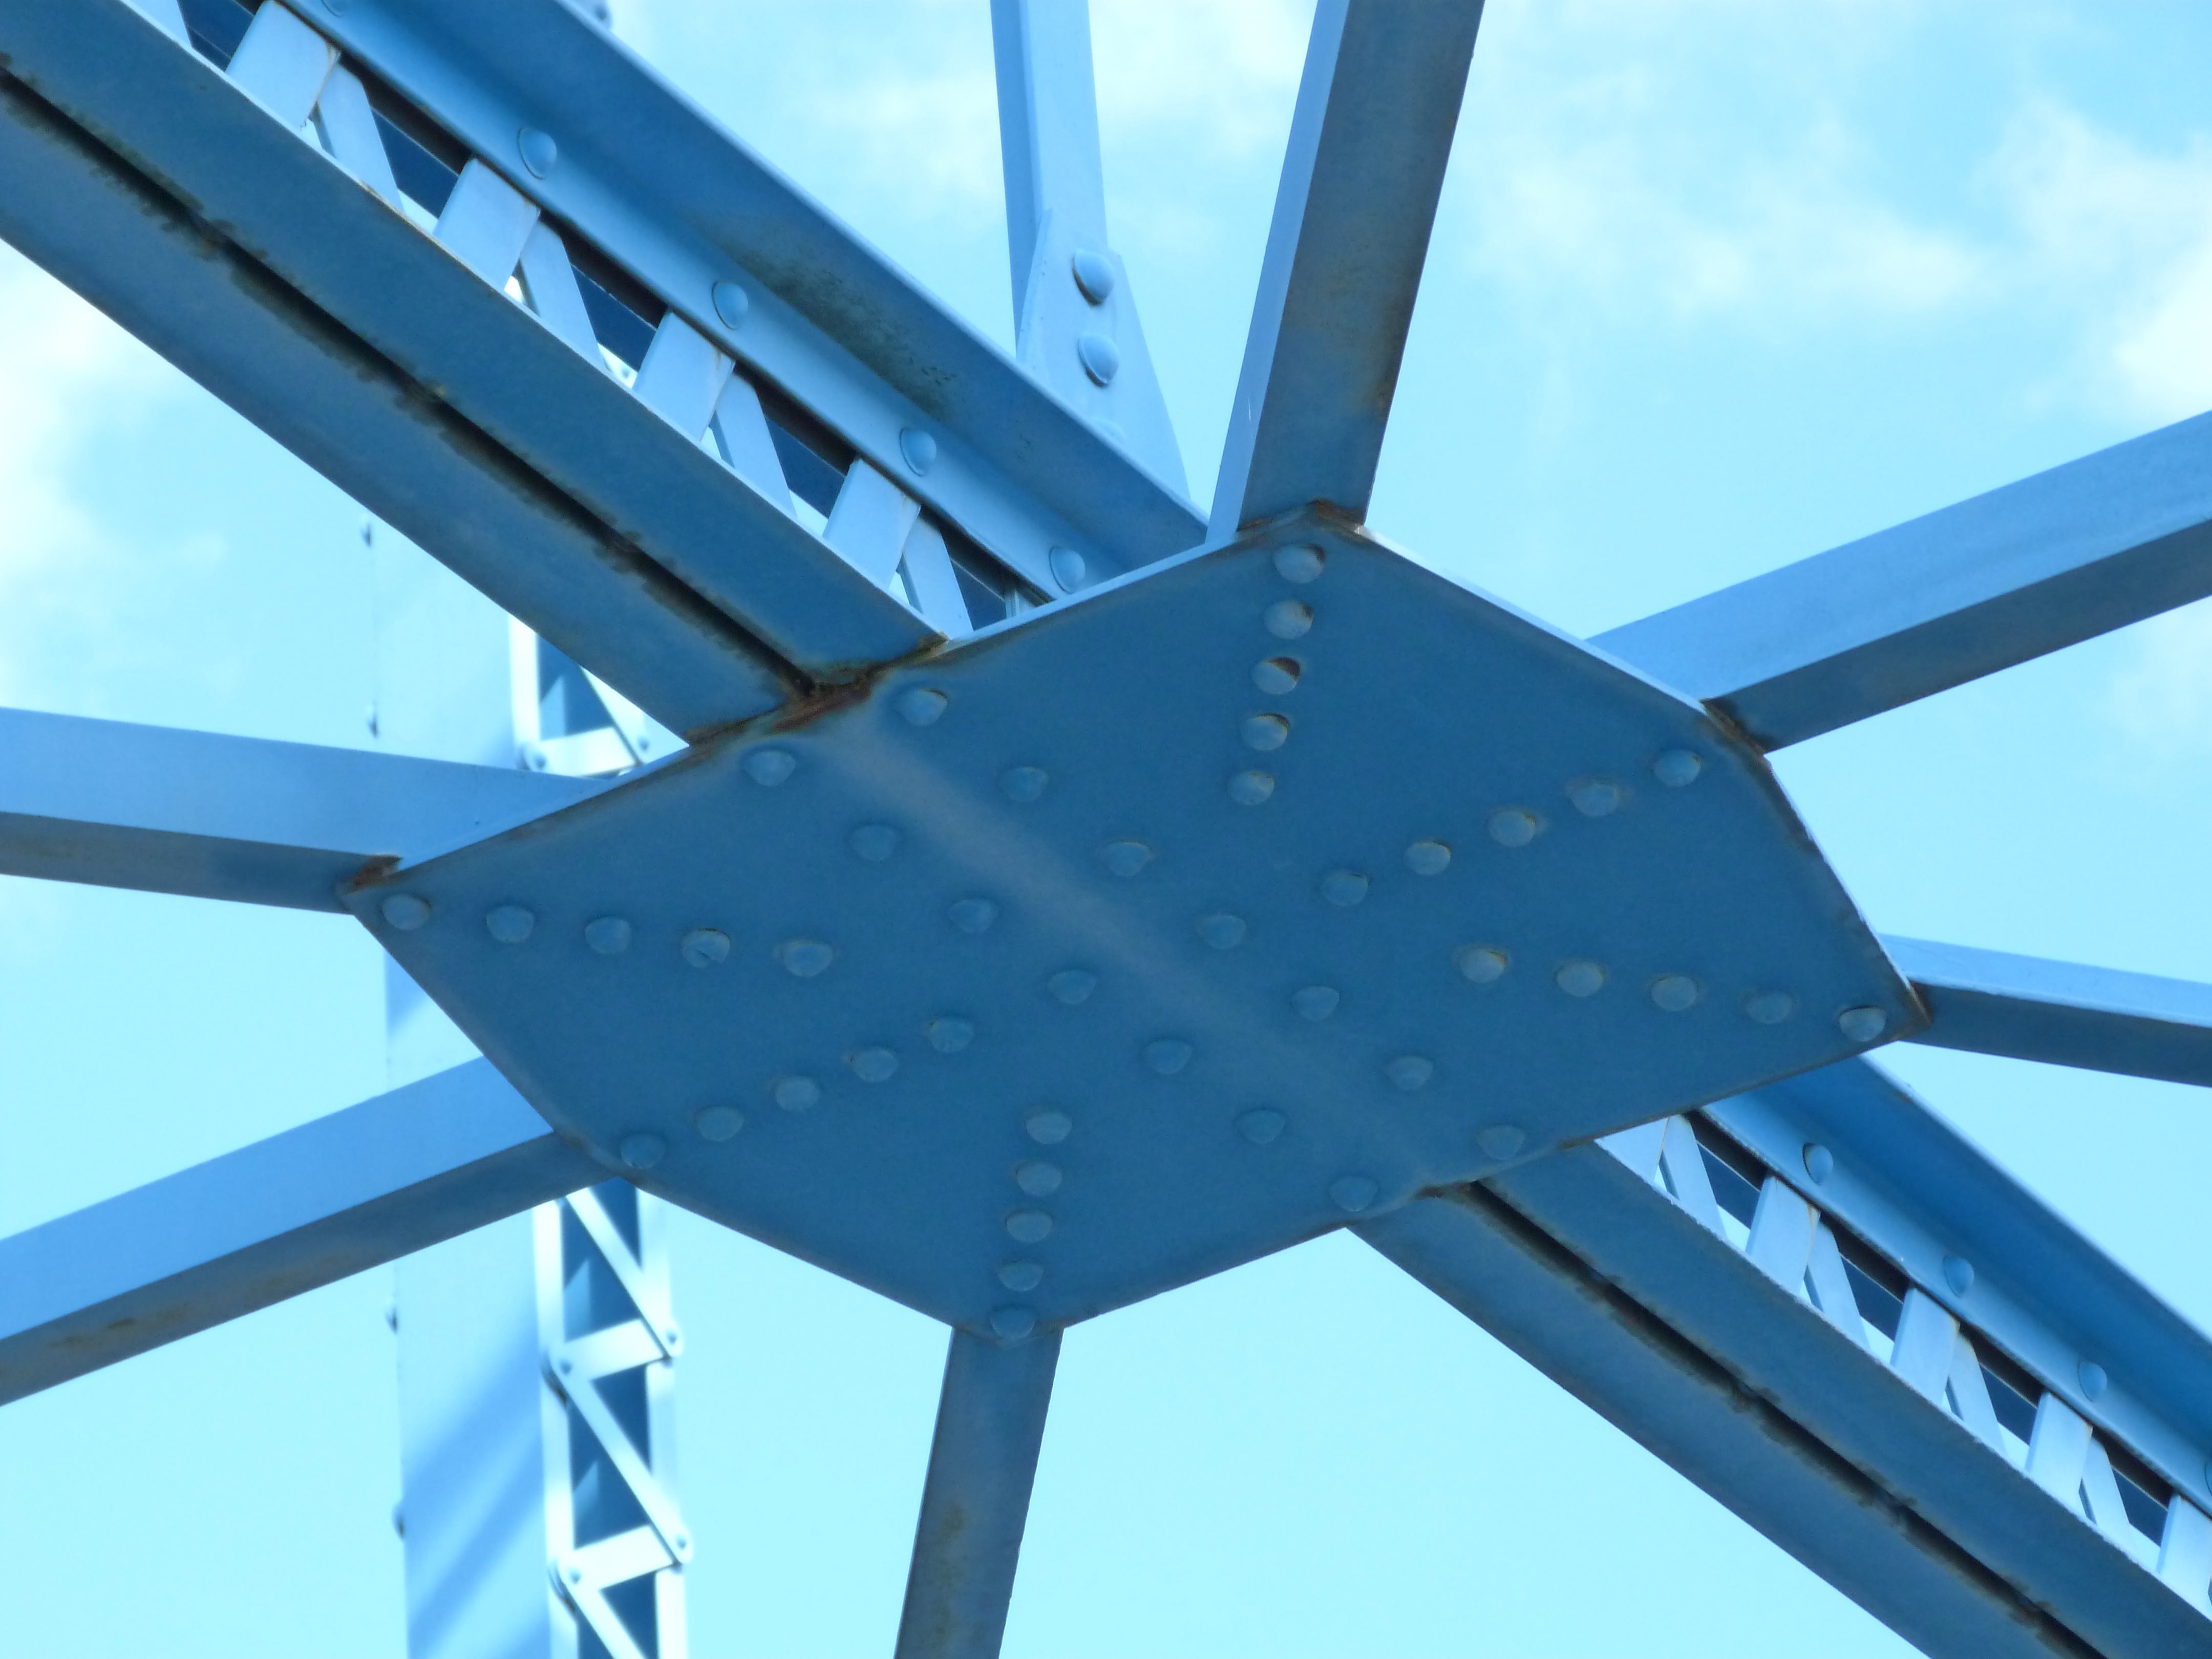
Sway bracing connections.
![]()
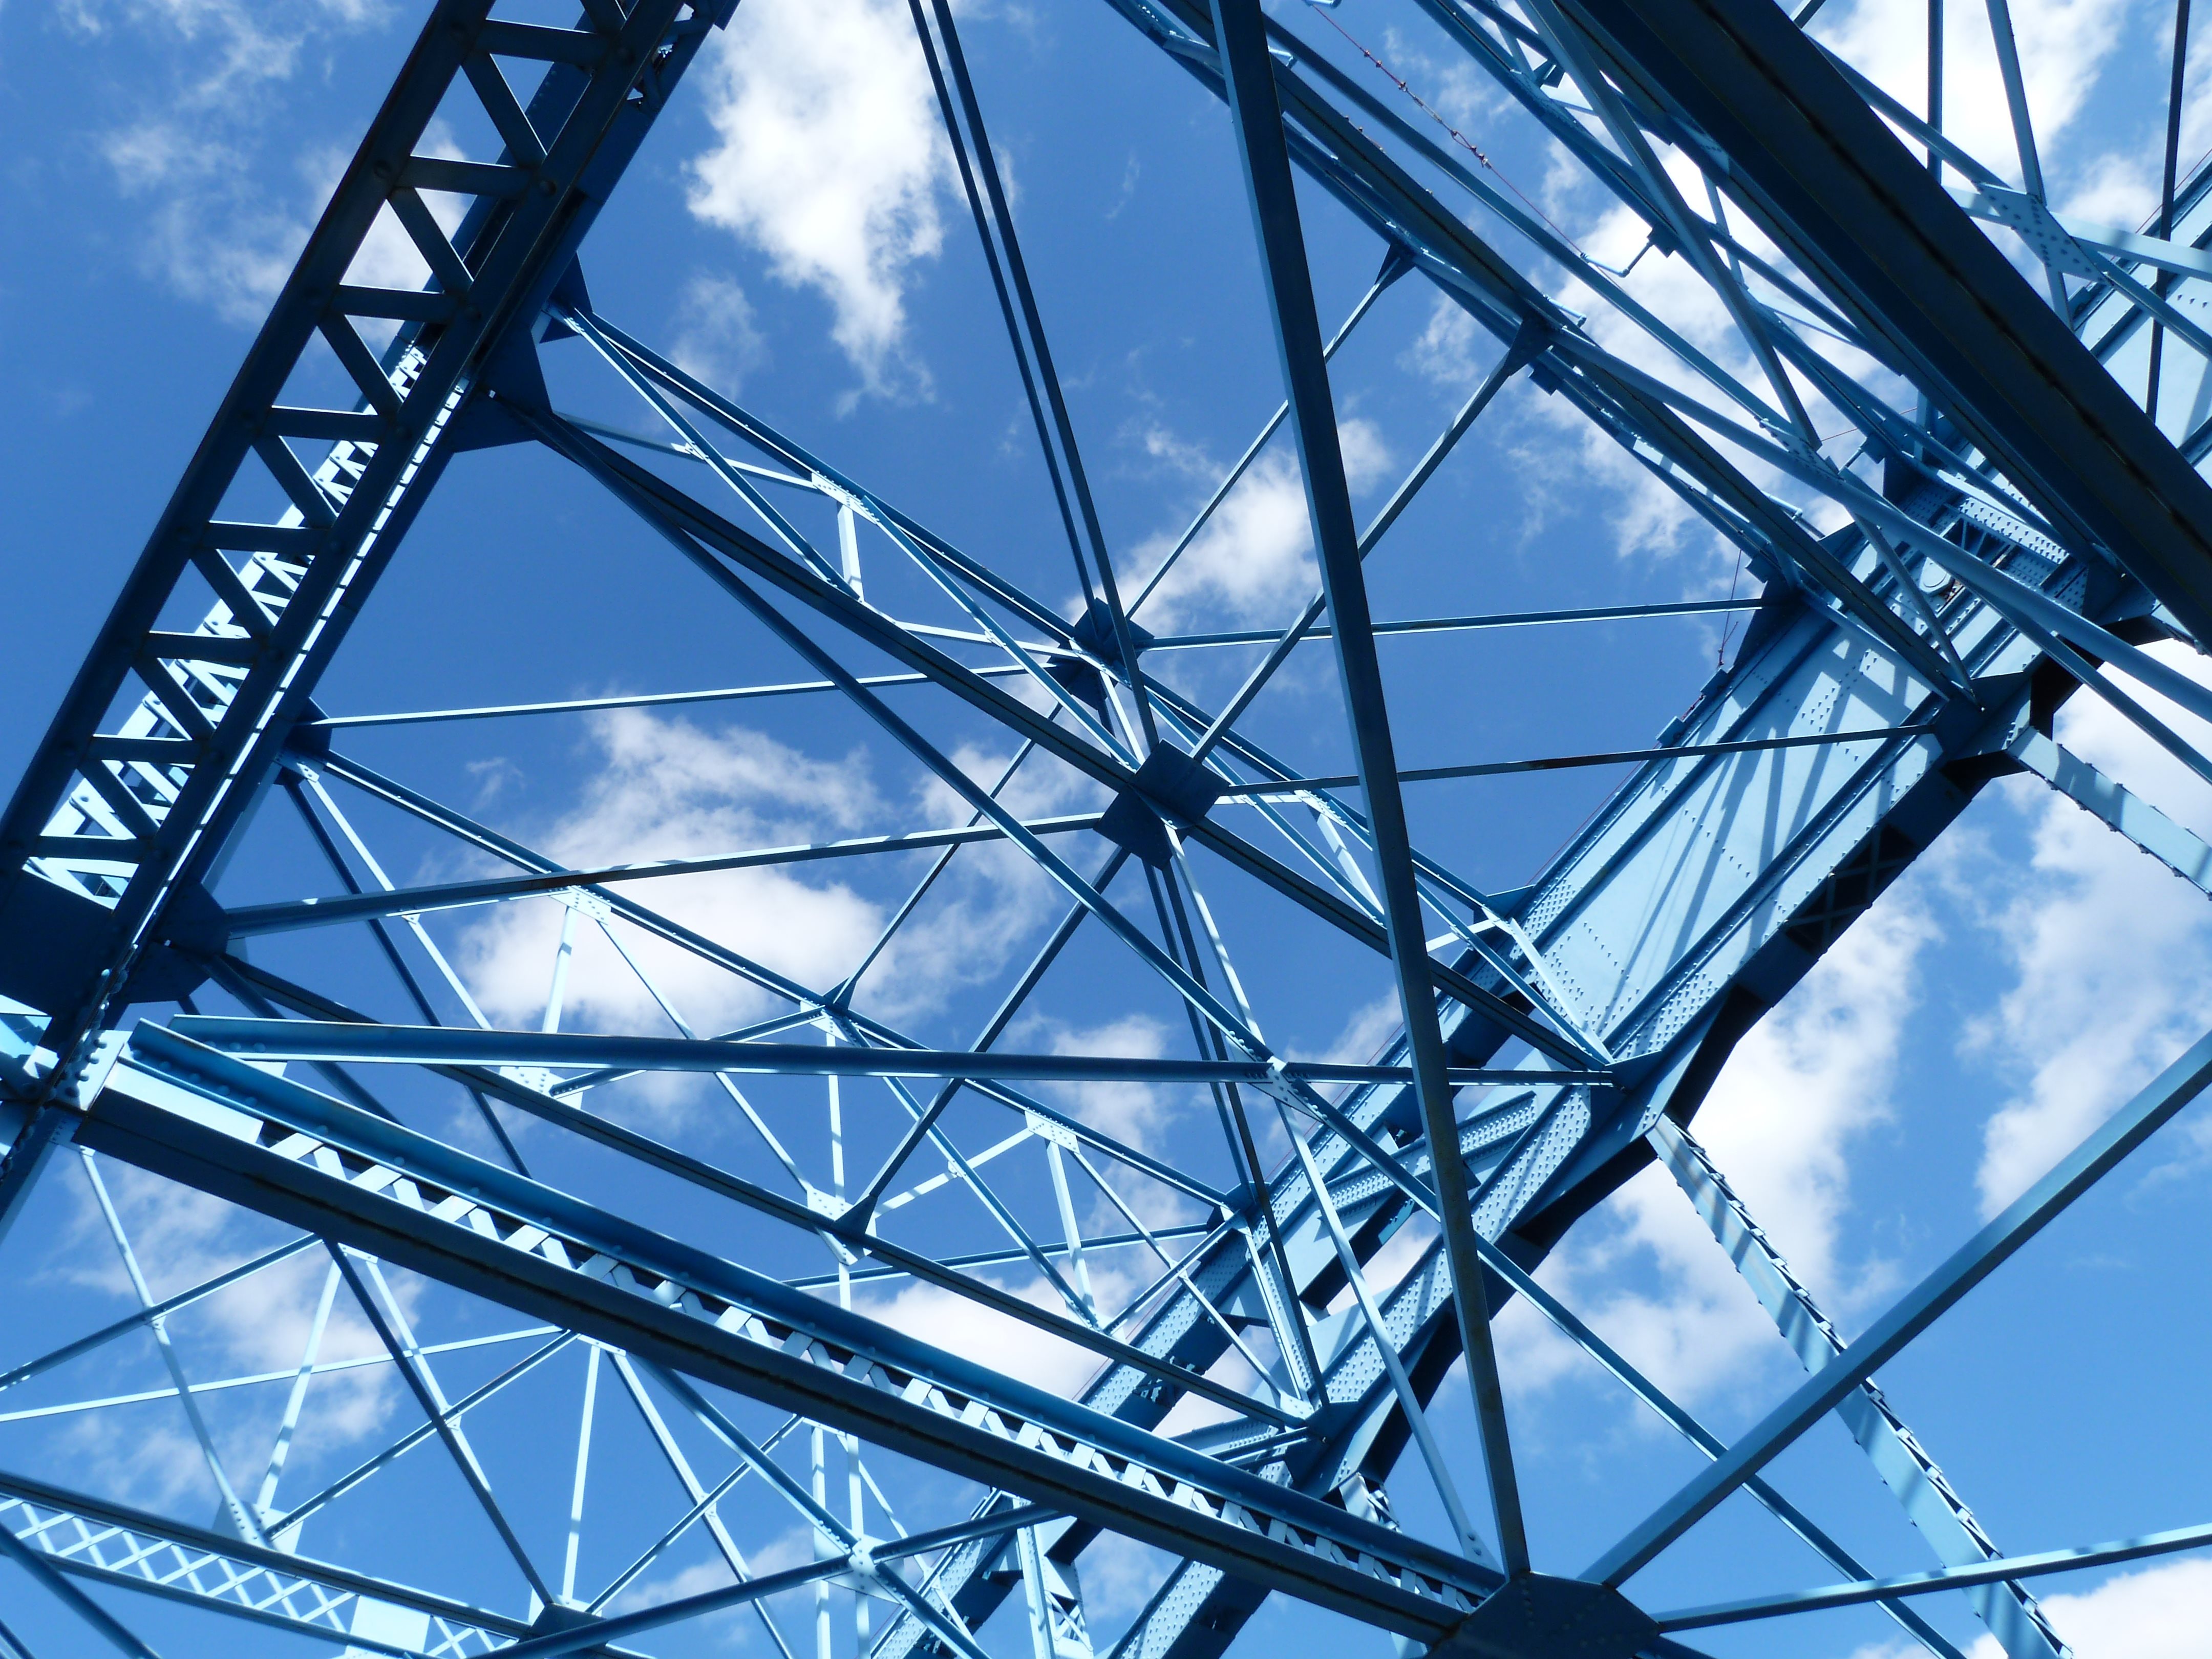

Looking up at lateral bracing.
![]()

Lateral bracing connection.
![]()


Counterweight frame members.
![]()

View toward counterweight frame bracing.
![]()


Piers.
![]()

Detail of bascule pier.
![]()


Approach railing.
![]()


Bascule railing.
![]()
![]()
| Back |
| Home |
| Top |

![]()