
Uncredited photos on this page taken by: Nathan Holth. Unless stated in a caption, all photos are Copyright with All Rights Reserved. Learn about reuse of our photos.
![]()

Original / Full Size
A view of the fallen truss bridge.
![]()

Original / Full Size
A view of the fallen truss bridge.
![]()

Original / Full Size
A view of the middle steel stringer bridge.
![]()

Original / Full Size
A view of the small steel stringer bridge.
![]()


Original / Full Size
Photo Credit: Robert Mahu
2010 Portal view of truss bridge.
![]()


Original / Full Size
Photo Credit: Robert Mahu
2011 view of truss bridge with the bridge wreckage removed.
![]()


Original / Full Size
Photo Credit: Robert Mahu
2011 view of abutments from a tiny "fourth" bridge that was about 10 years from the truss bridge.
![]()

Original / Full Size
Photo Credit: Robert Mahu
2010 Portal view of the Middle Bridge.
![]()

Original / Full Size
Photo Credit: Robert Mahu
Views of the Middle Bridge.
![]()

Original / Full Size
Photo Credit: Robert Mahu
2011 Portal view of the Middle Bridge with the bridge wreckage removed.
![]()

Original / Full Size
Photo Credit: Robert Mahu
2011 view of the Small Steel Stringer Bridge with the bridge wreckage removed.
![]()
This group of pictures features views of the truss bridge.
![]()
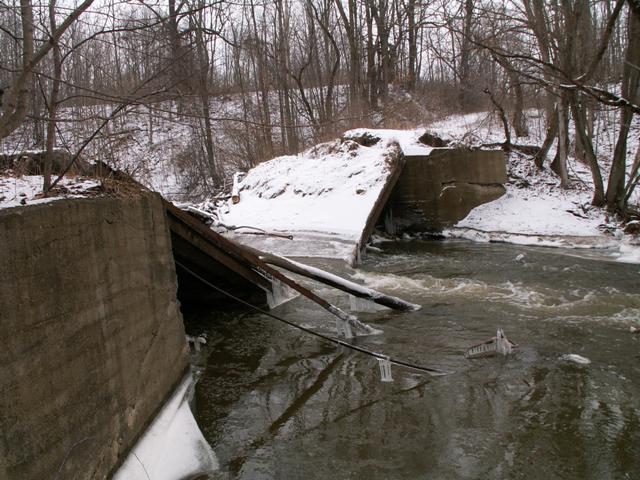
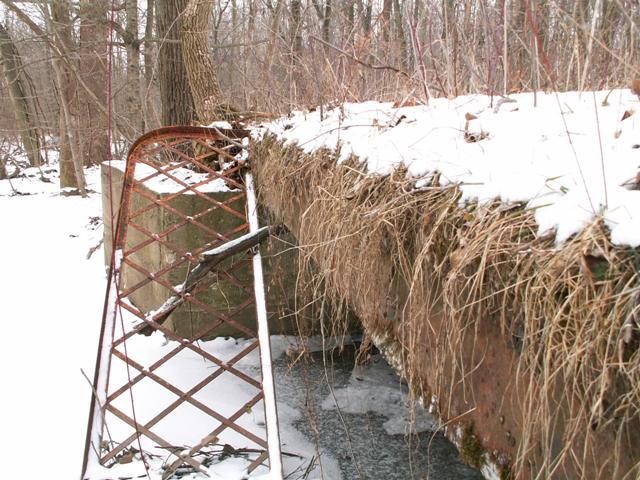
View beside bridge.
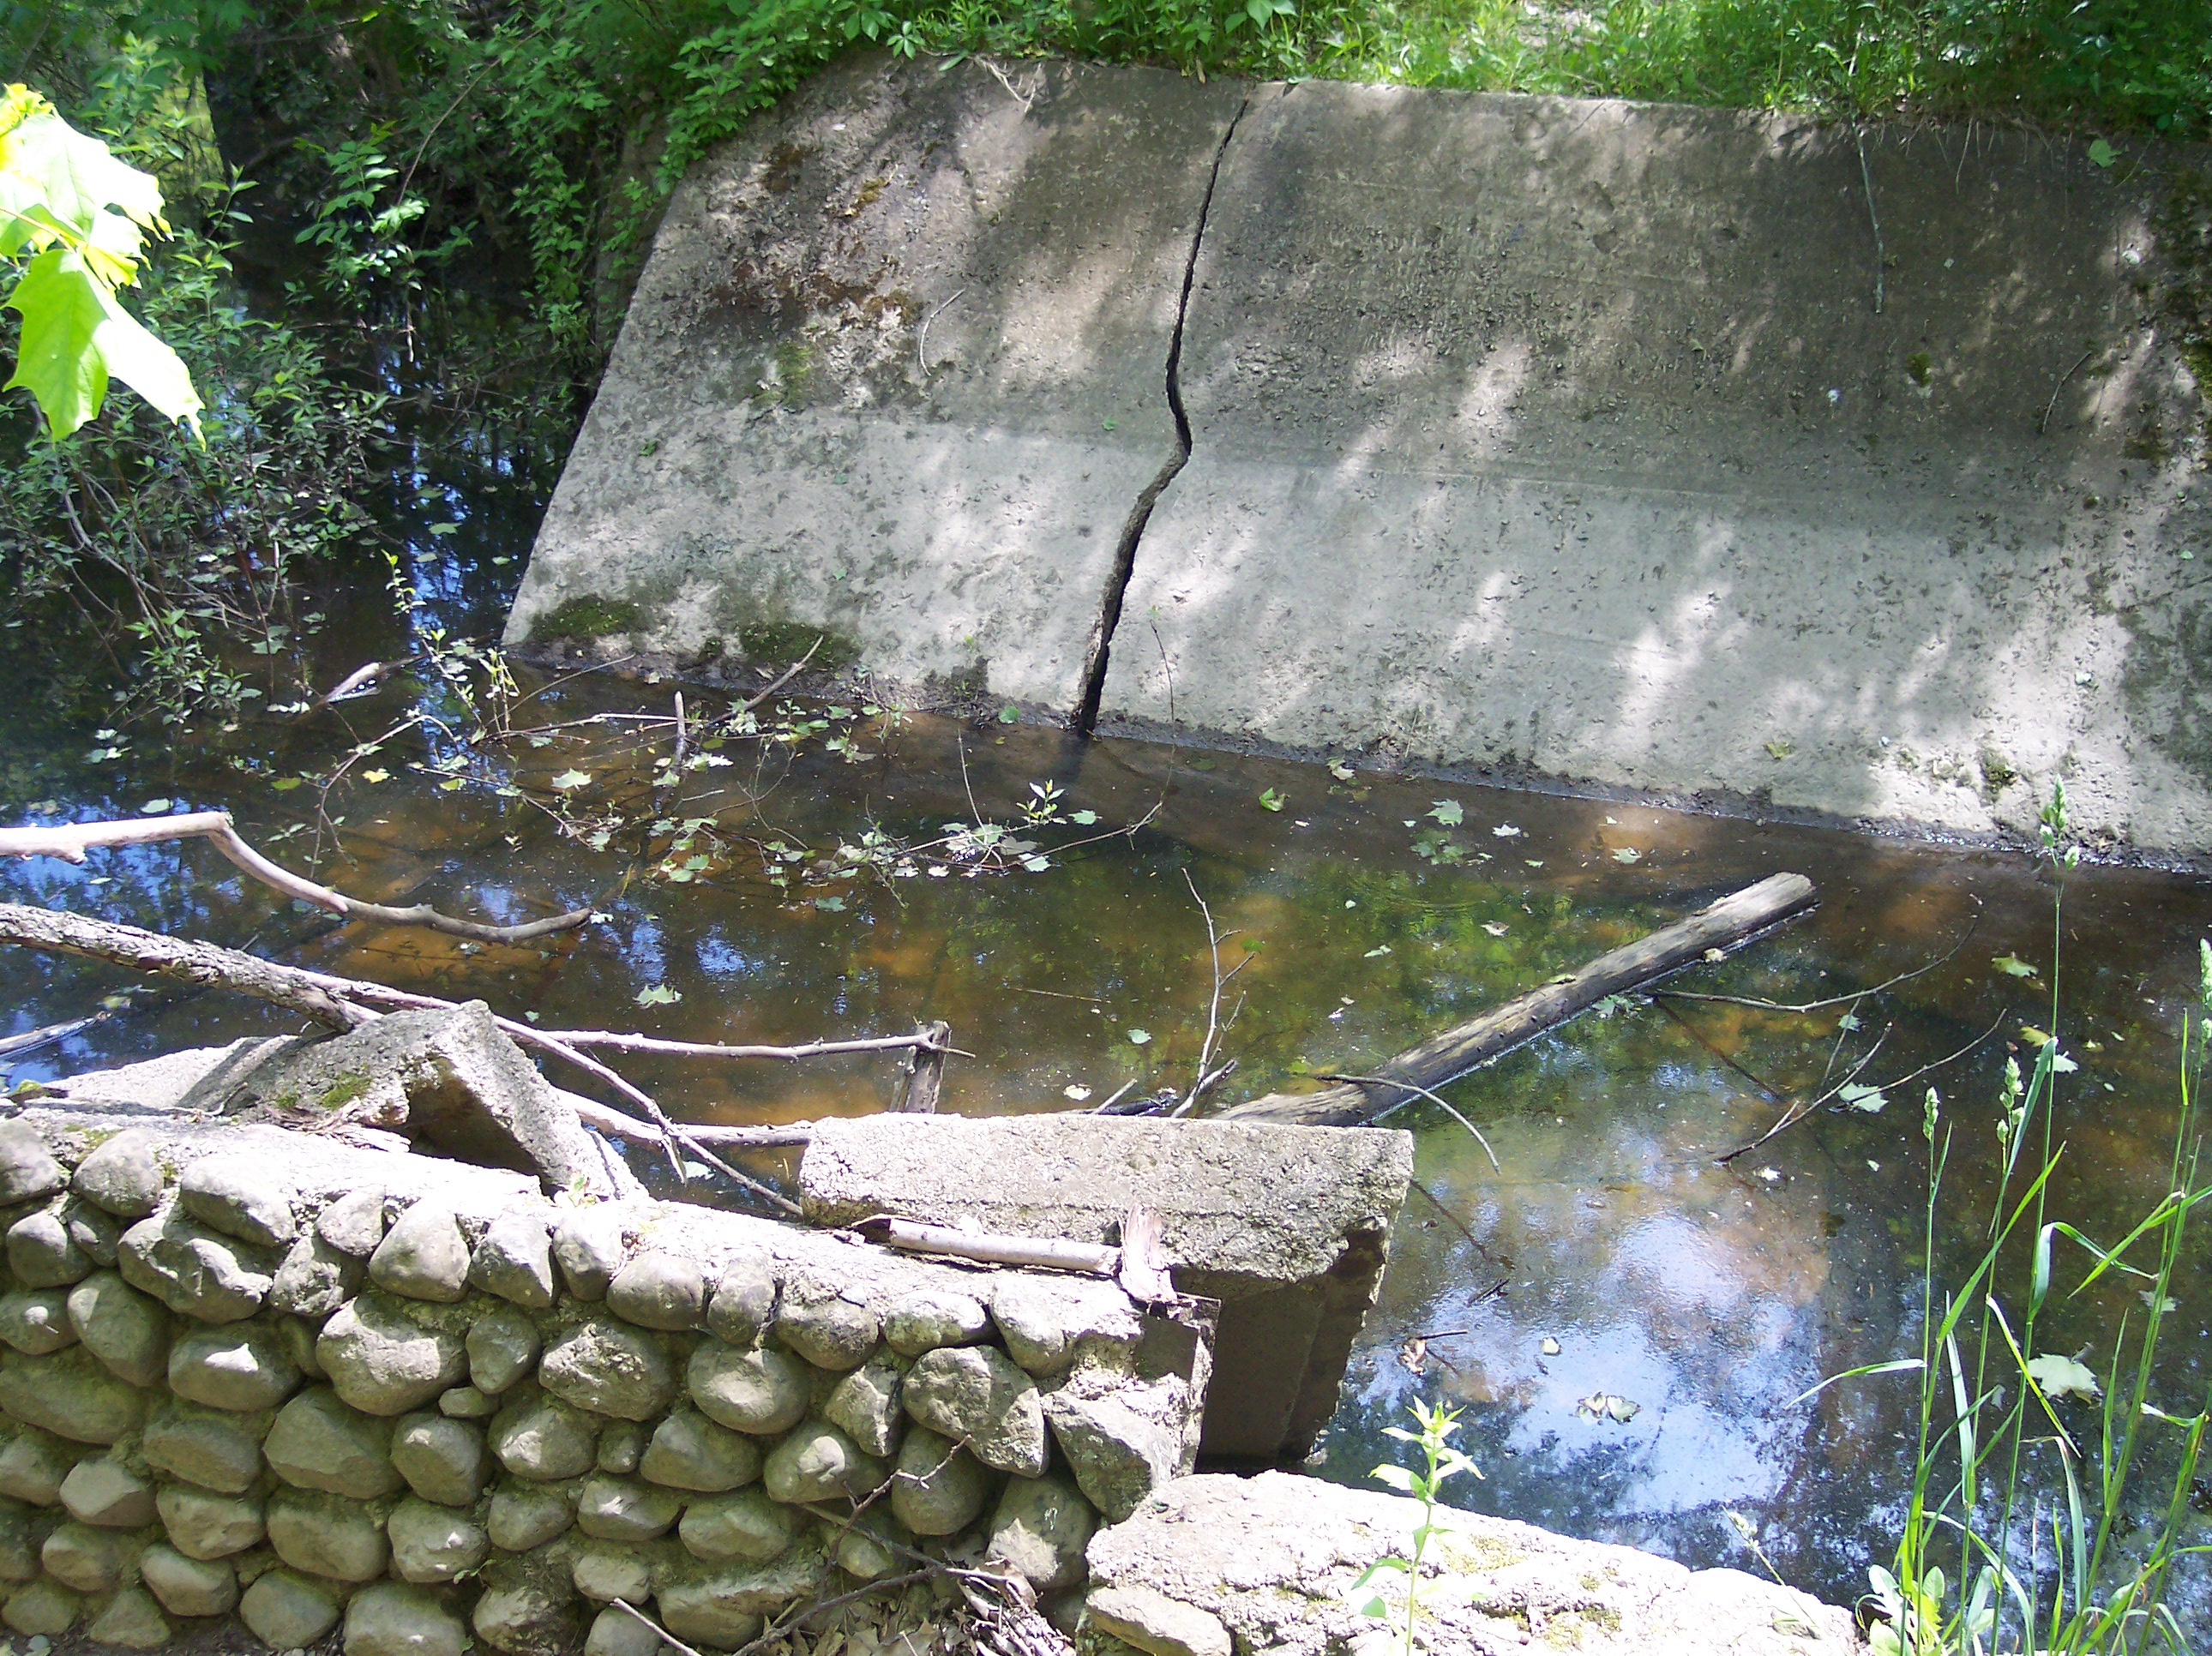
![]()

Abutment.
![]()


Deck.
![]()

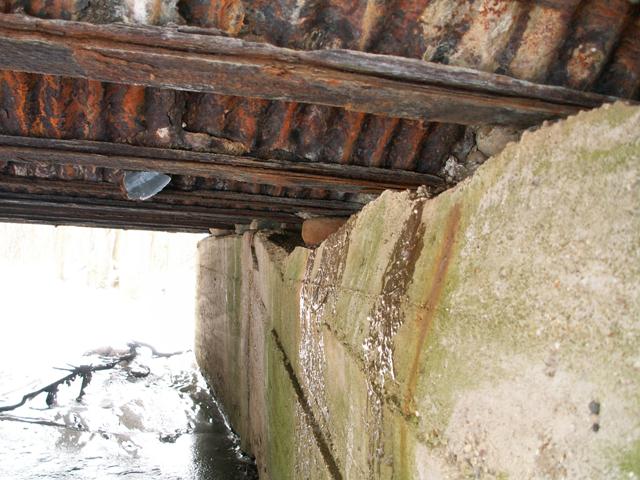
Deck underside.
![]()


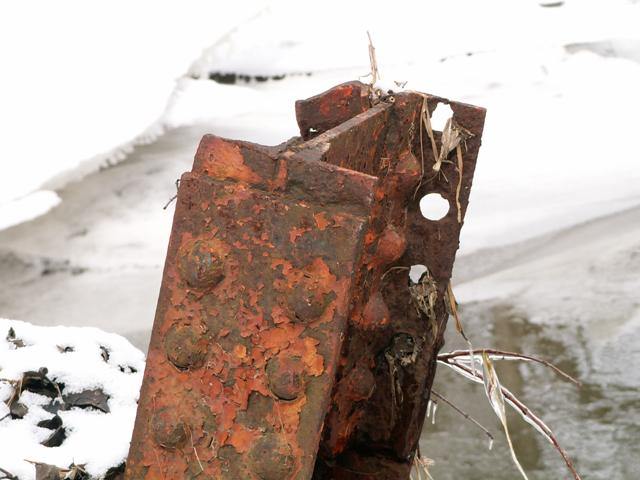
Various truss parts.
![]()


Top chord / end post.
![]()

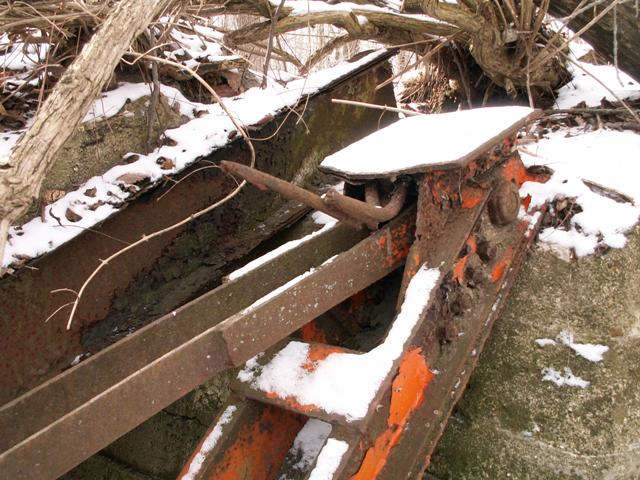
Bearing, somehow flipped upside down.
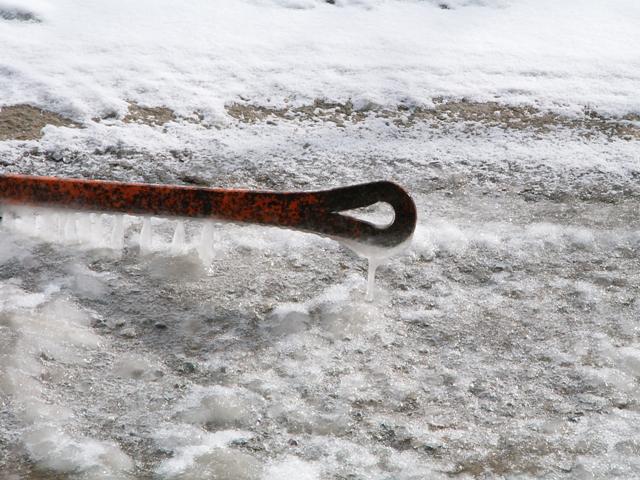
![]()

Ice.
![]()


Photo Credit: Robert Mahu
2010 Portal view of truss bridge.
![]()


Photo Credit: Robert Mahu
2011 view of truss bridge with the bridge wreckage removed.
![]()


Photo Credit: Robert Mahu
2011 view of abutments from a tiny "fourth" bridge that was about 10 years from the truss bridge.
![]()
This group of pictures features views of the middle steel stringer bridge.
![]()

Portal view.
![]()


Railing.
![]()


Portal views.
![]()

Abutment.
![]()

Railing.
![]()

Photo Credit: Robert Mahu
2010 Portal view of the Middle Bridge.
![]()


Photo Credit: Robert Mahu
Views of the Middle Bridge.
![]()
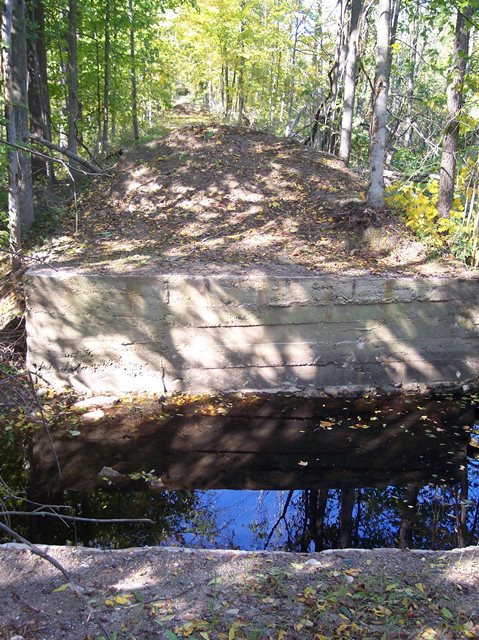
Photo Credit: Robert Mahu
2011 Portal view of the Middle Bridge with the bridge wreckage removed.
![]()
This group of pictures features views of the small steel stringer bridge.
![]()

View on bridge.
![]()
View beside bridge.
![]()


Railing.
![]()


Views under bridge.
![]()

Photo Credit: Robert Mahu
2011 view of the Small Steel Stringer Bridge with the bridge wreckage removed.
![]()
![]()
| Back |
| Home |
| Top |

![]()