Uncredited photos on this page taken by: Nathan Holth and Rick McOmber. Unless stated in a caption, all photos are Copyright with All Rights Reserved. Learn about reuse of our photos.
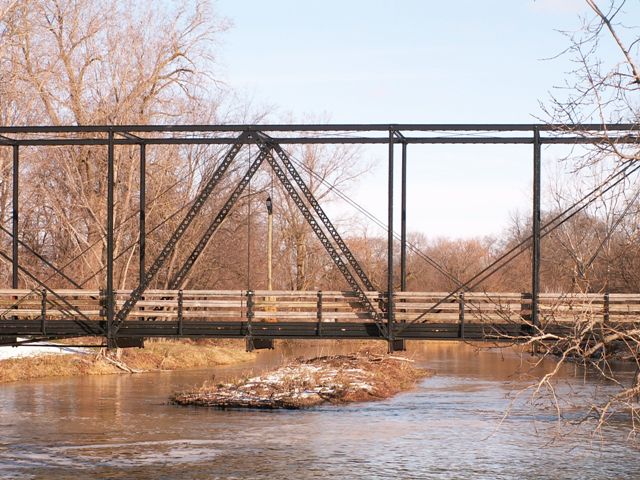
![]()
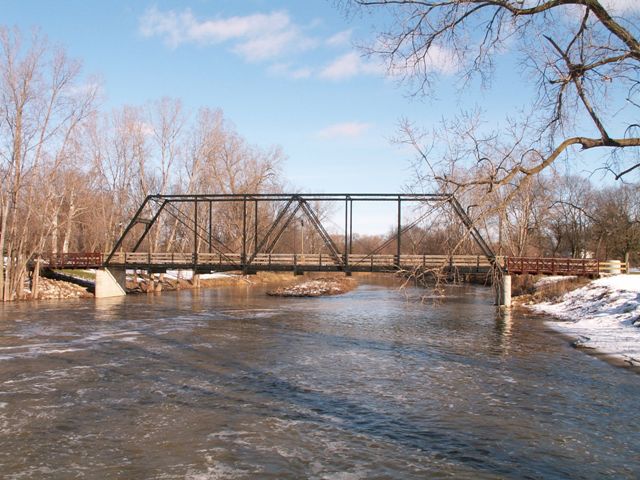
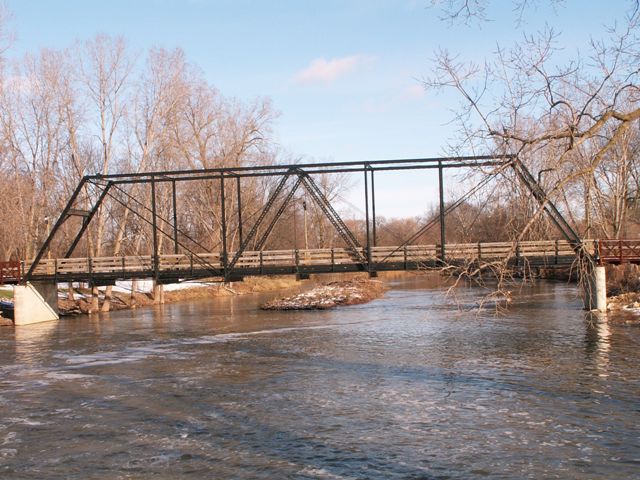
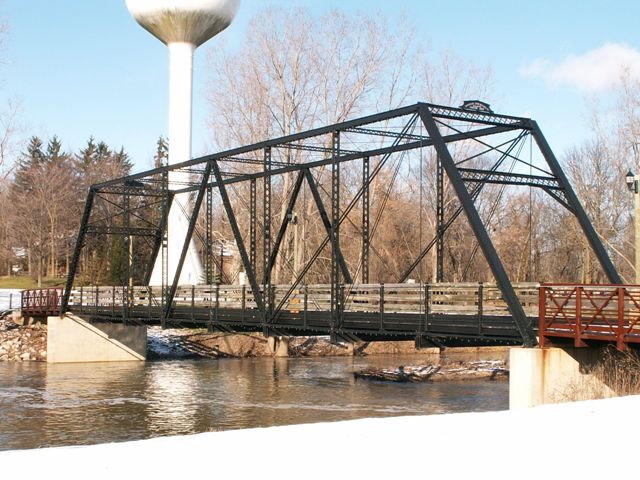
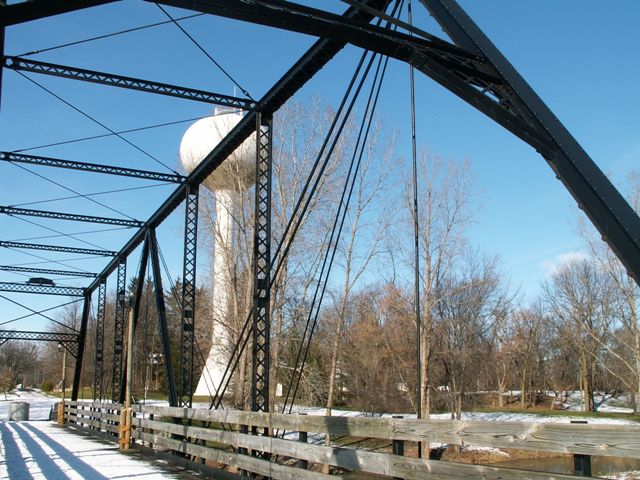
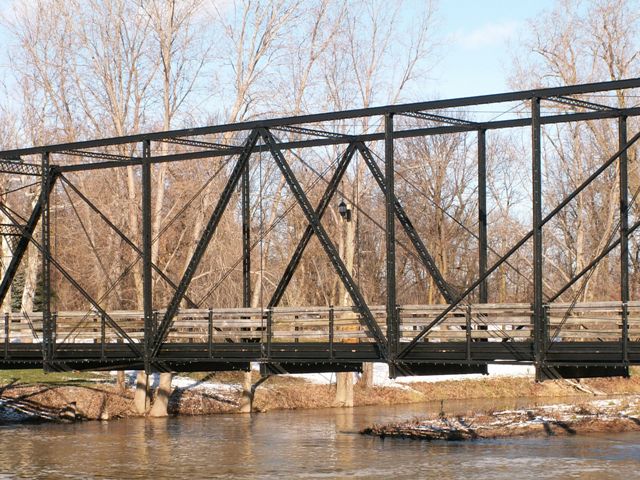
North elevation, winter views.
![]()
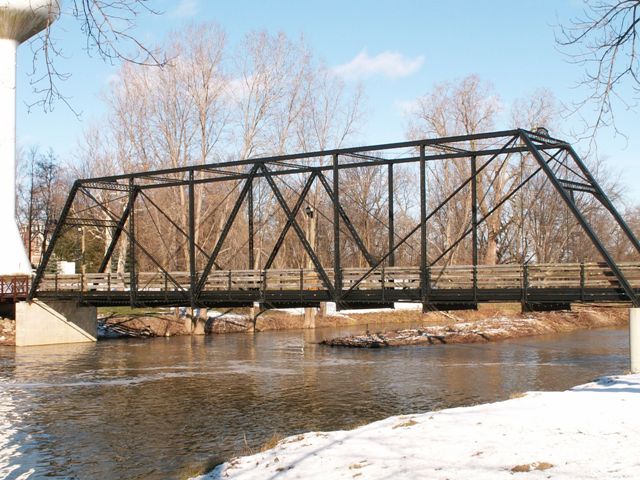
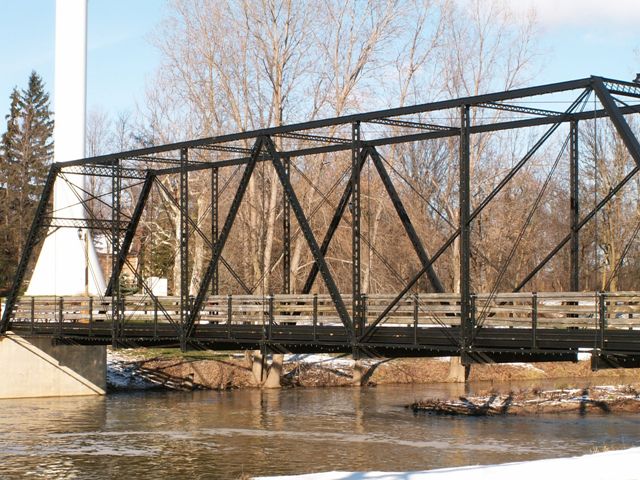
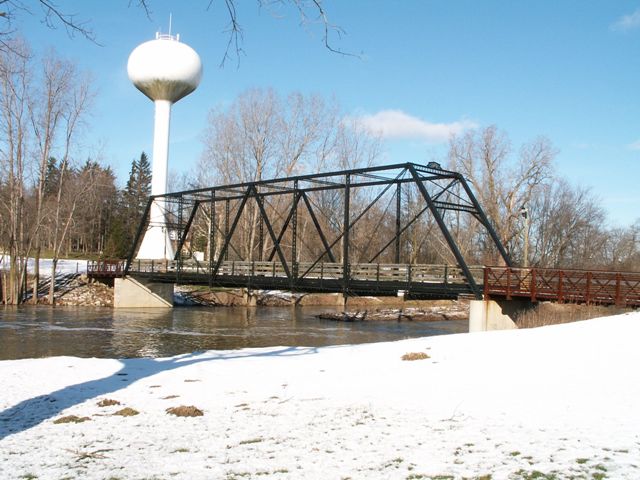
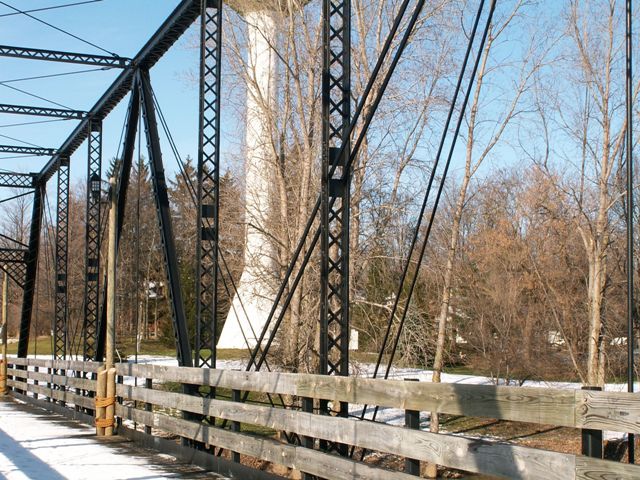
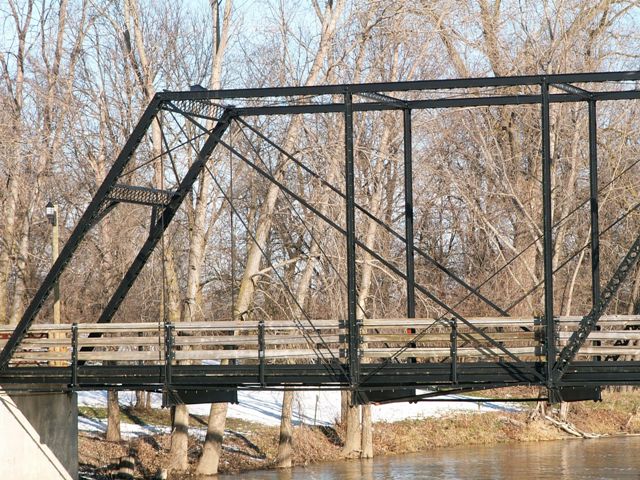
Views beside bridge from southeast quadrant, winter views.
![]()

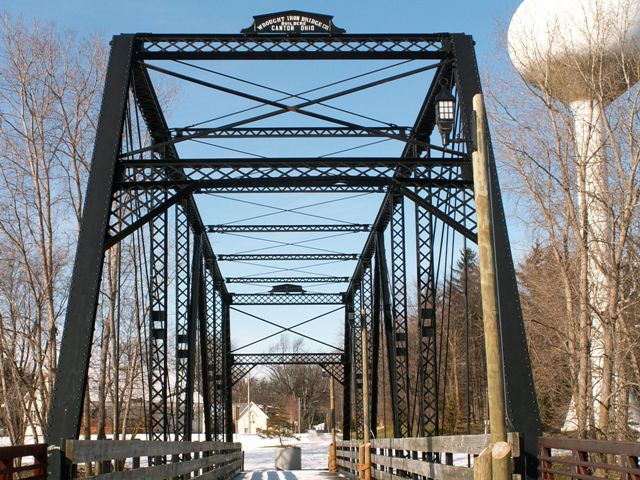
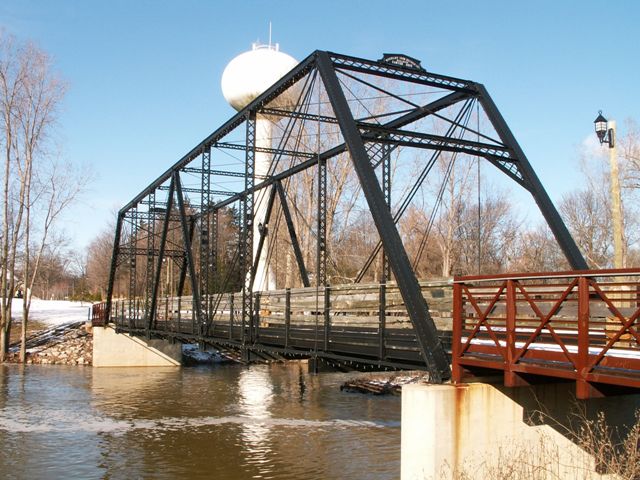
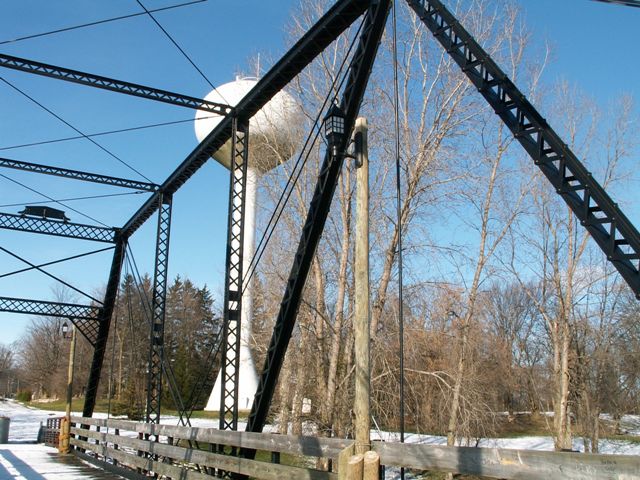
Portal views facing west, winter views.
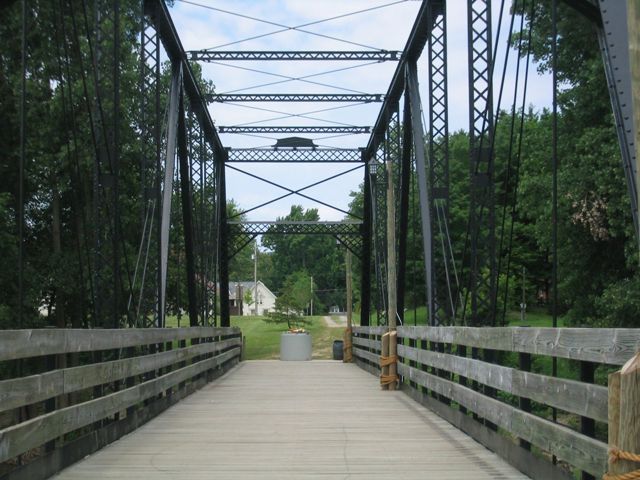
![]()
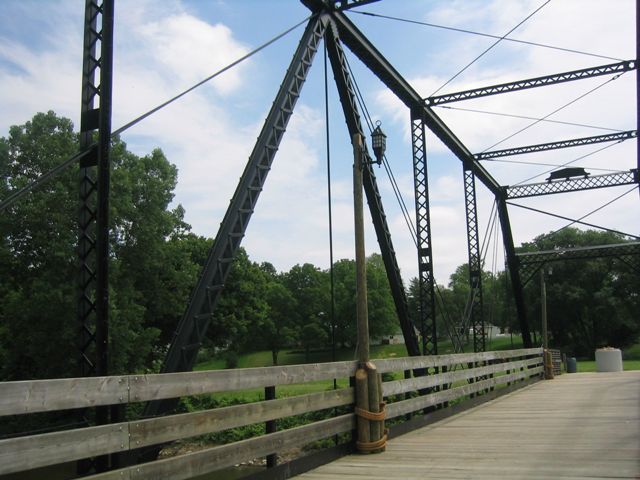
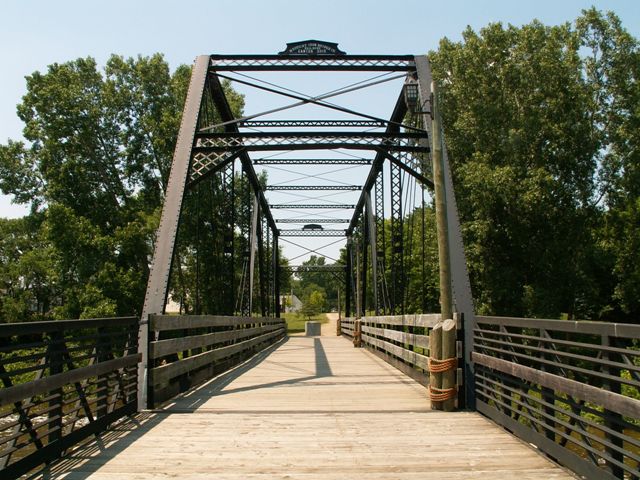
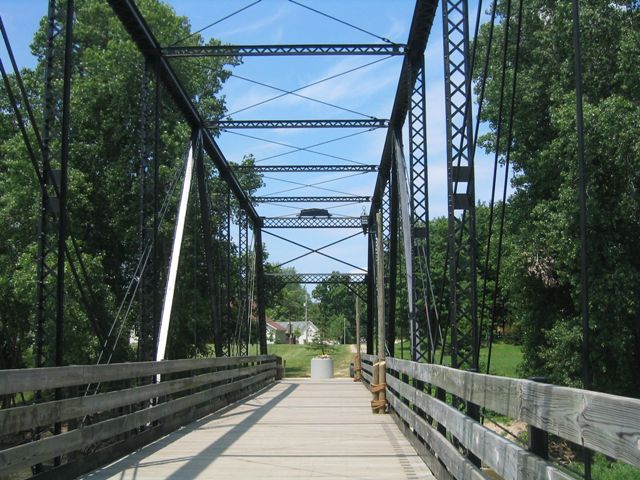
Portal views on bridge facing west, winter views.
![]()


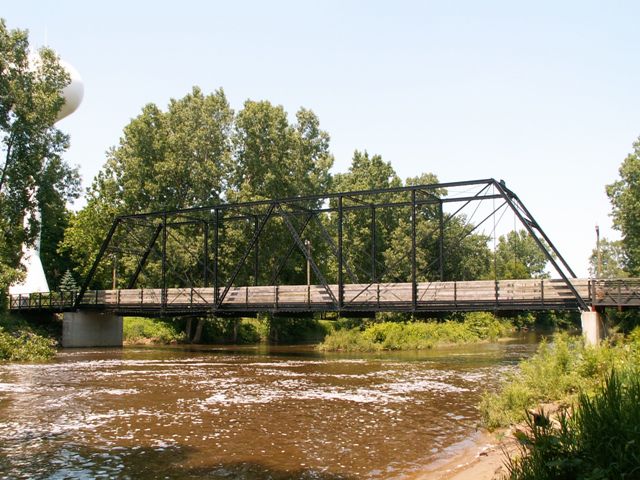
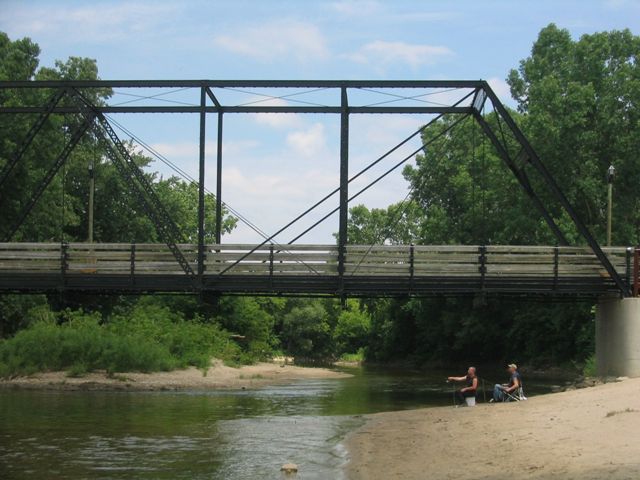
Overview of bridge location, summer views.
![]()
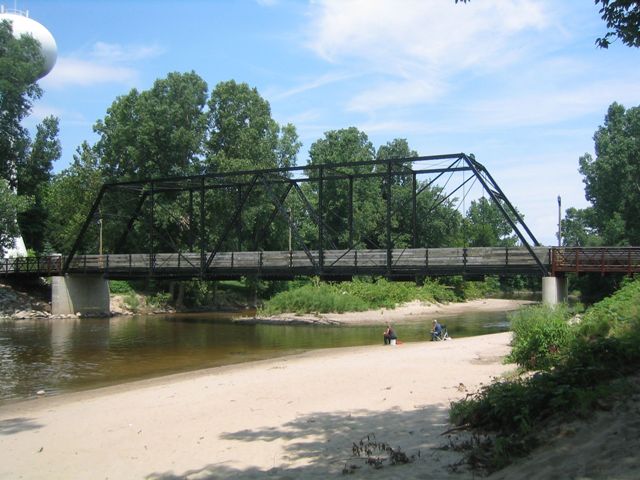
Views from southeast quadrant, summer views.
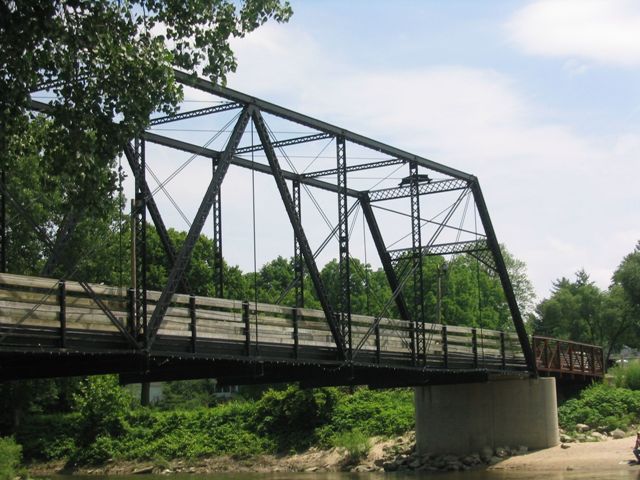
![]()
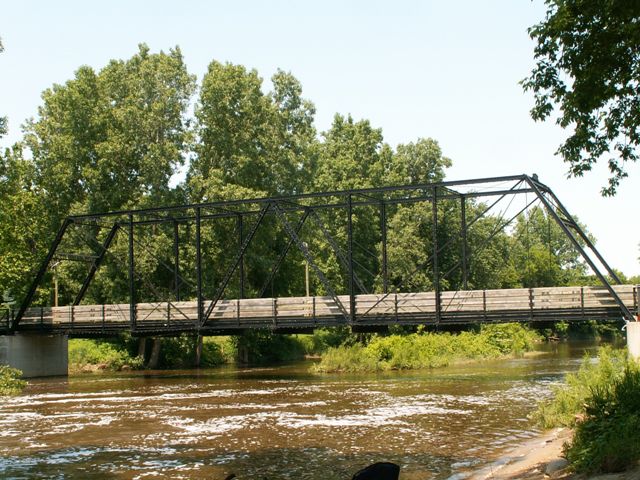
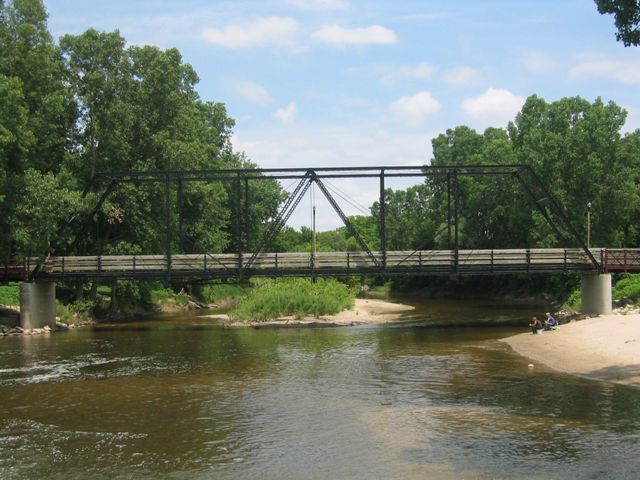
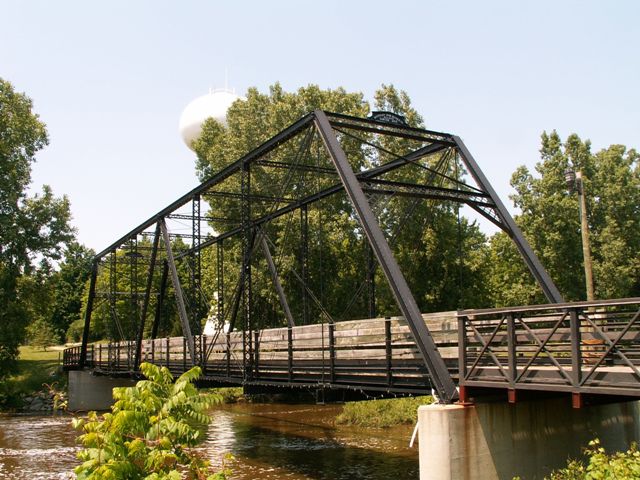
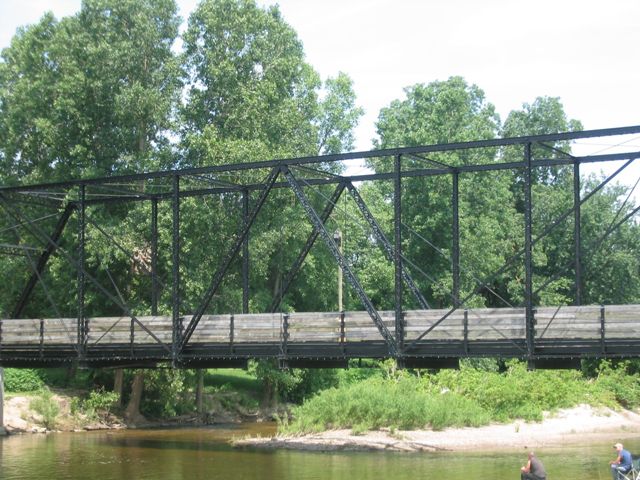
North elevation, summer views.
![]()


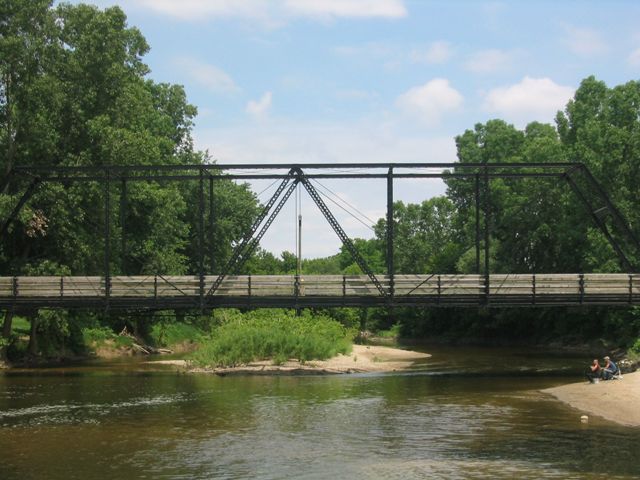
Views beside bridge, summer views.
![]()


Portal views facing west.
![]()
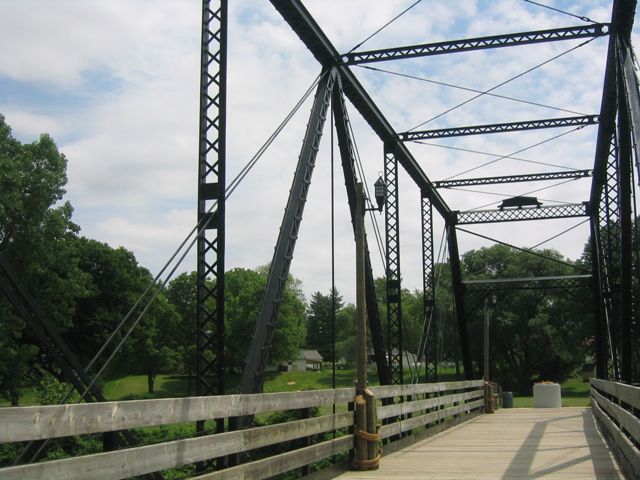
Portal views on bridge facing west.
![]()


Views from southwest quadrant.
![]()


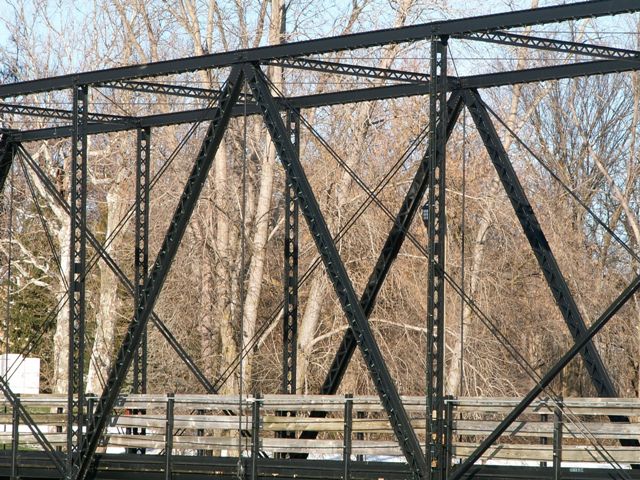


Views of the central panels.
![]()


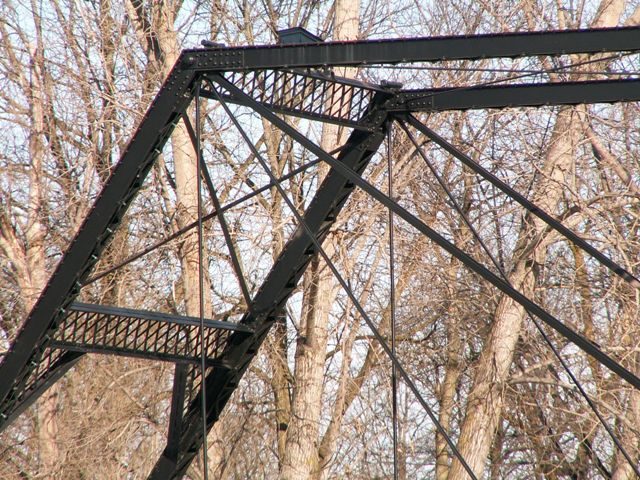
Views of the outer panels.
![]()
Views of the truss web.
![]()

Truss collage.
![]()
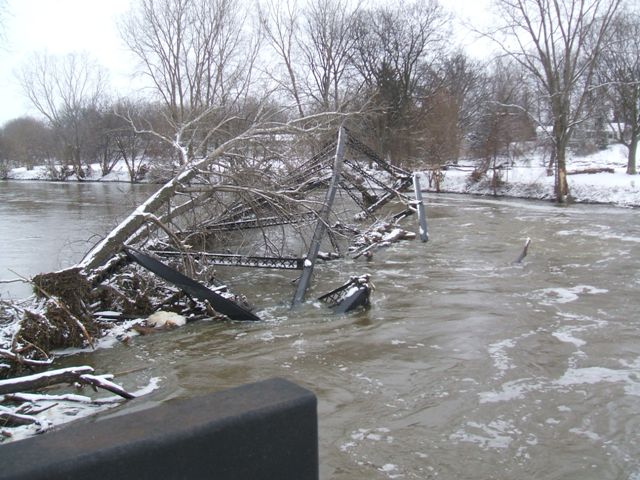
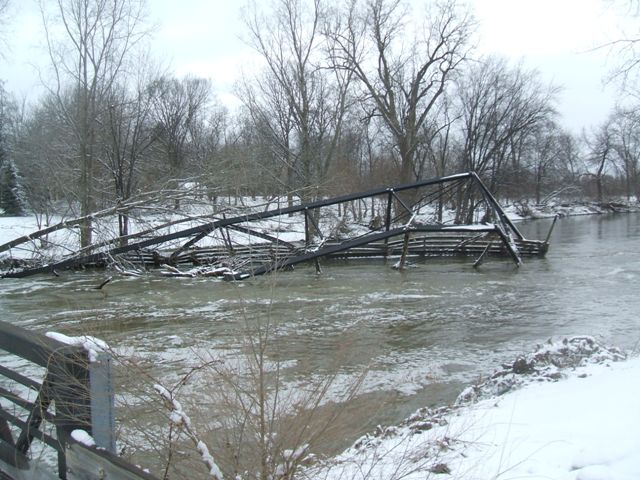

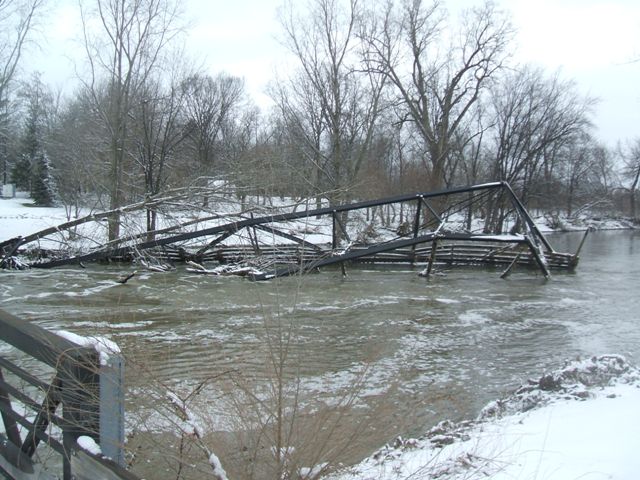

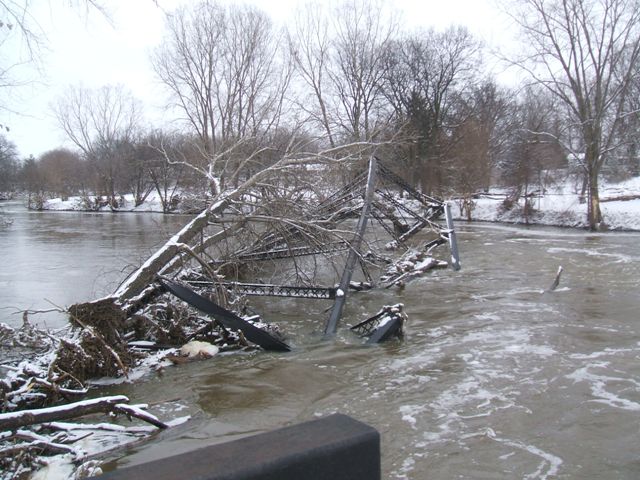
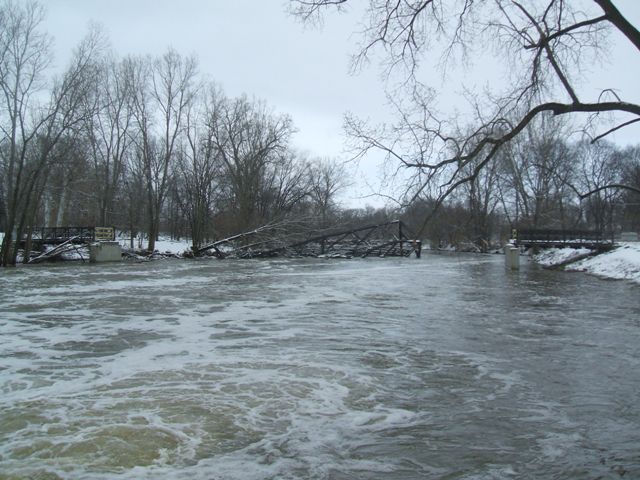

Photo Credit: David Garvin
Collapse: Photos of the bridge taken after the water had gone back down.
![]()

Photo Credit: David Garvin
Collapse: Scrapes on the tree show how high the water was.
![]()
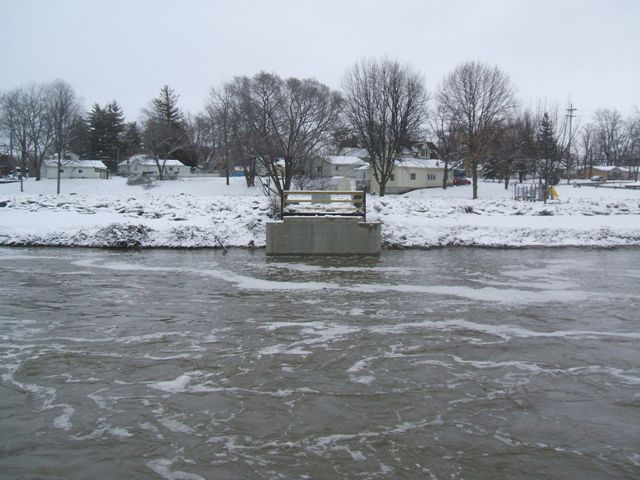


Photo Credit: David Garvin
Collapse: views of the empty abutments.
![]()
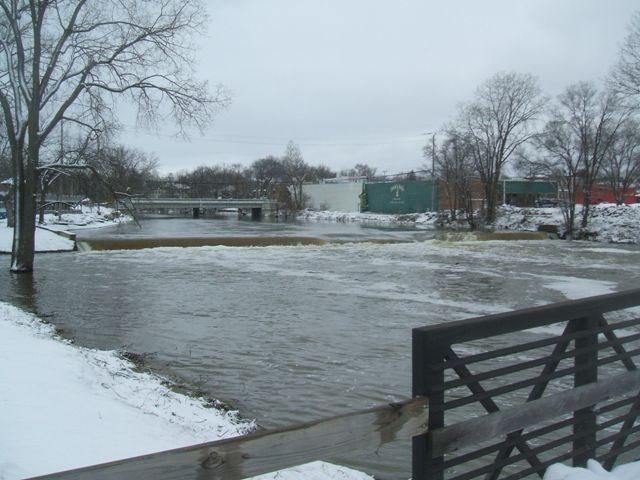
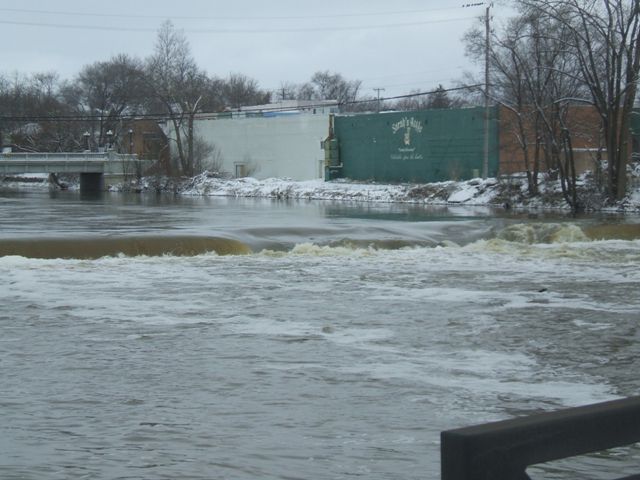
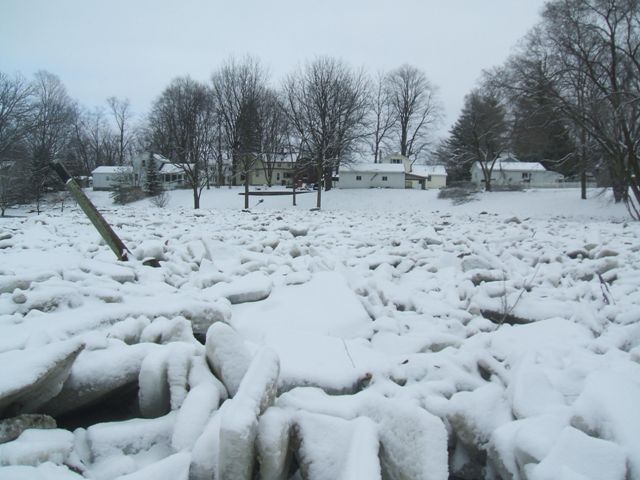


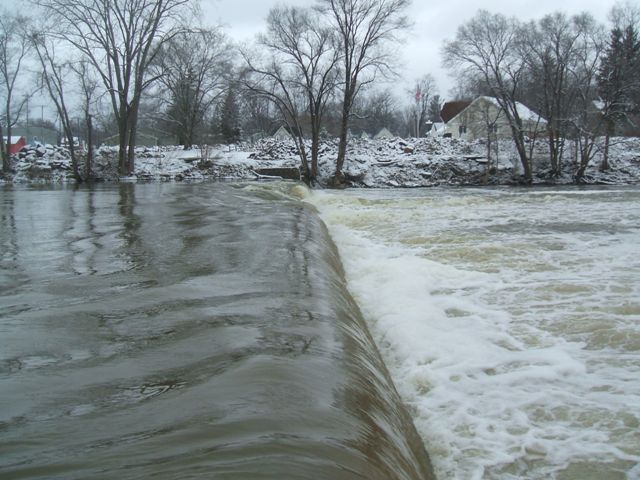
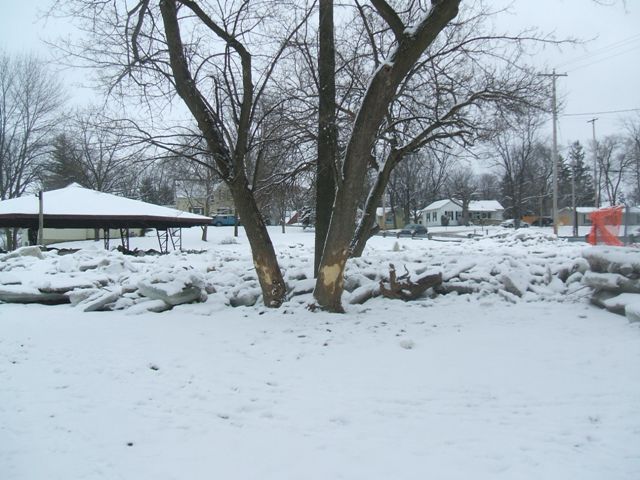

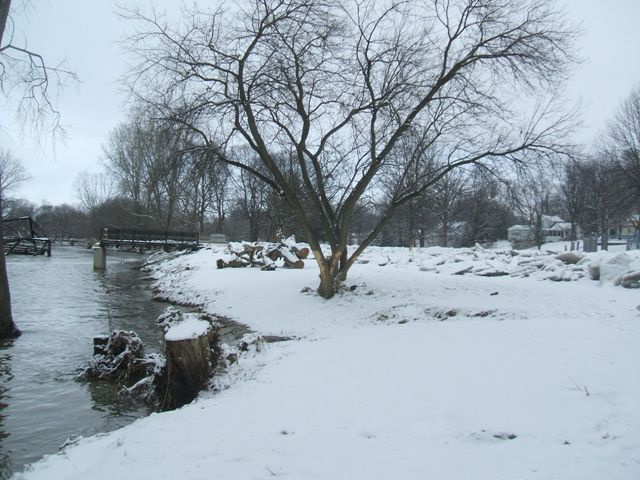


Photo Credit: David Garvin
Collapse: views of the surrounding area.
![]()


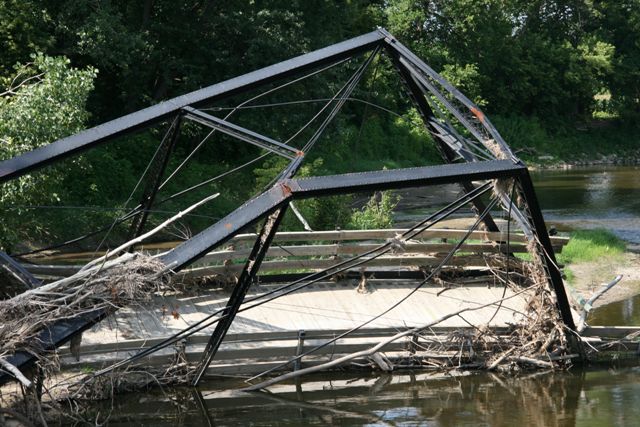
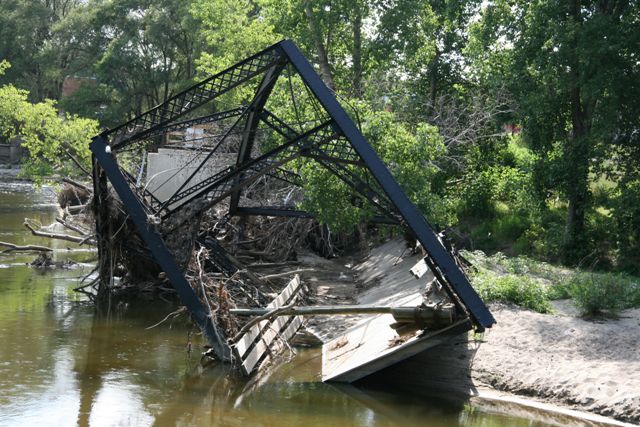
Collapse: photos of the bridge the summer after having been destroyed.
![]()
![]()
| Back |
| Home |
| Top |

![]()