Uncredited photos on this page taken by: Nathan Holth. Unless stated in a caption, all photos are Copyright with All Rights Reserved. Learn about reuse of our photos.
![]()


Elevation from southeast quadrant.
![]()


South elevation from river.
![]()
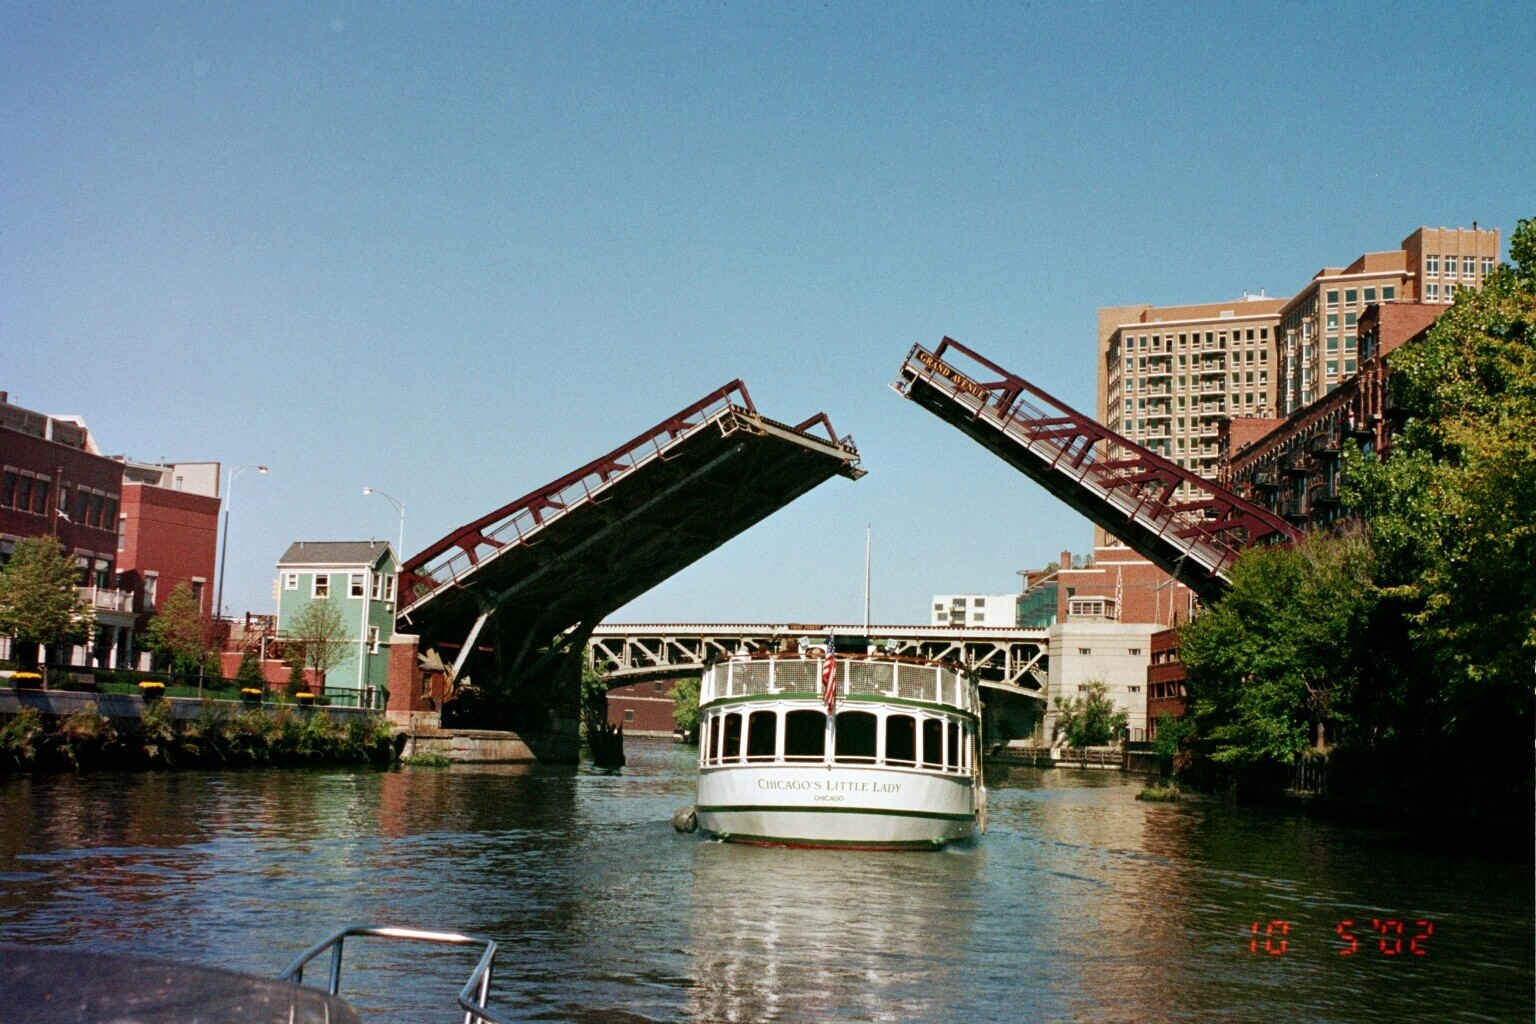
Photo Credit: Patrick Hynes
South elevation, bridge in raised position.
![]()
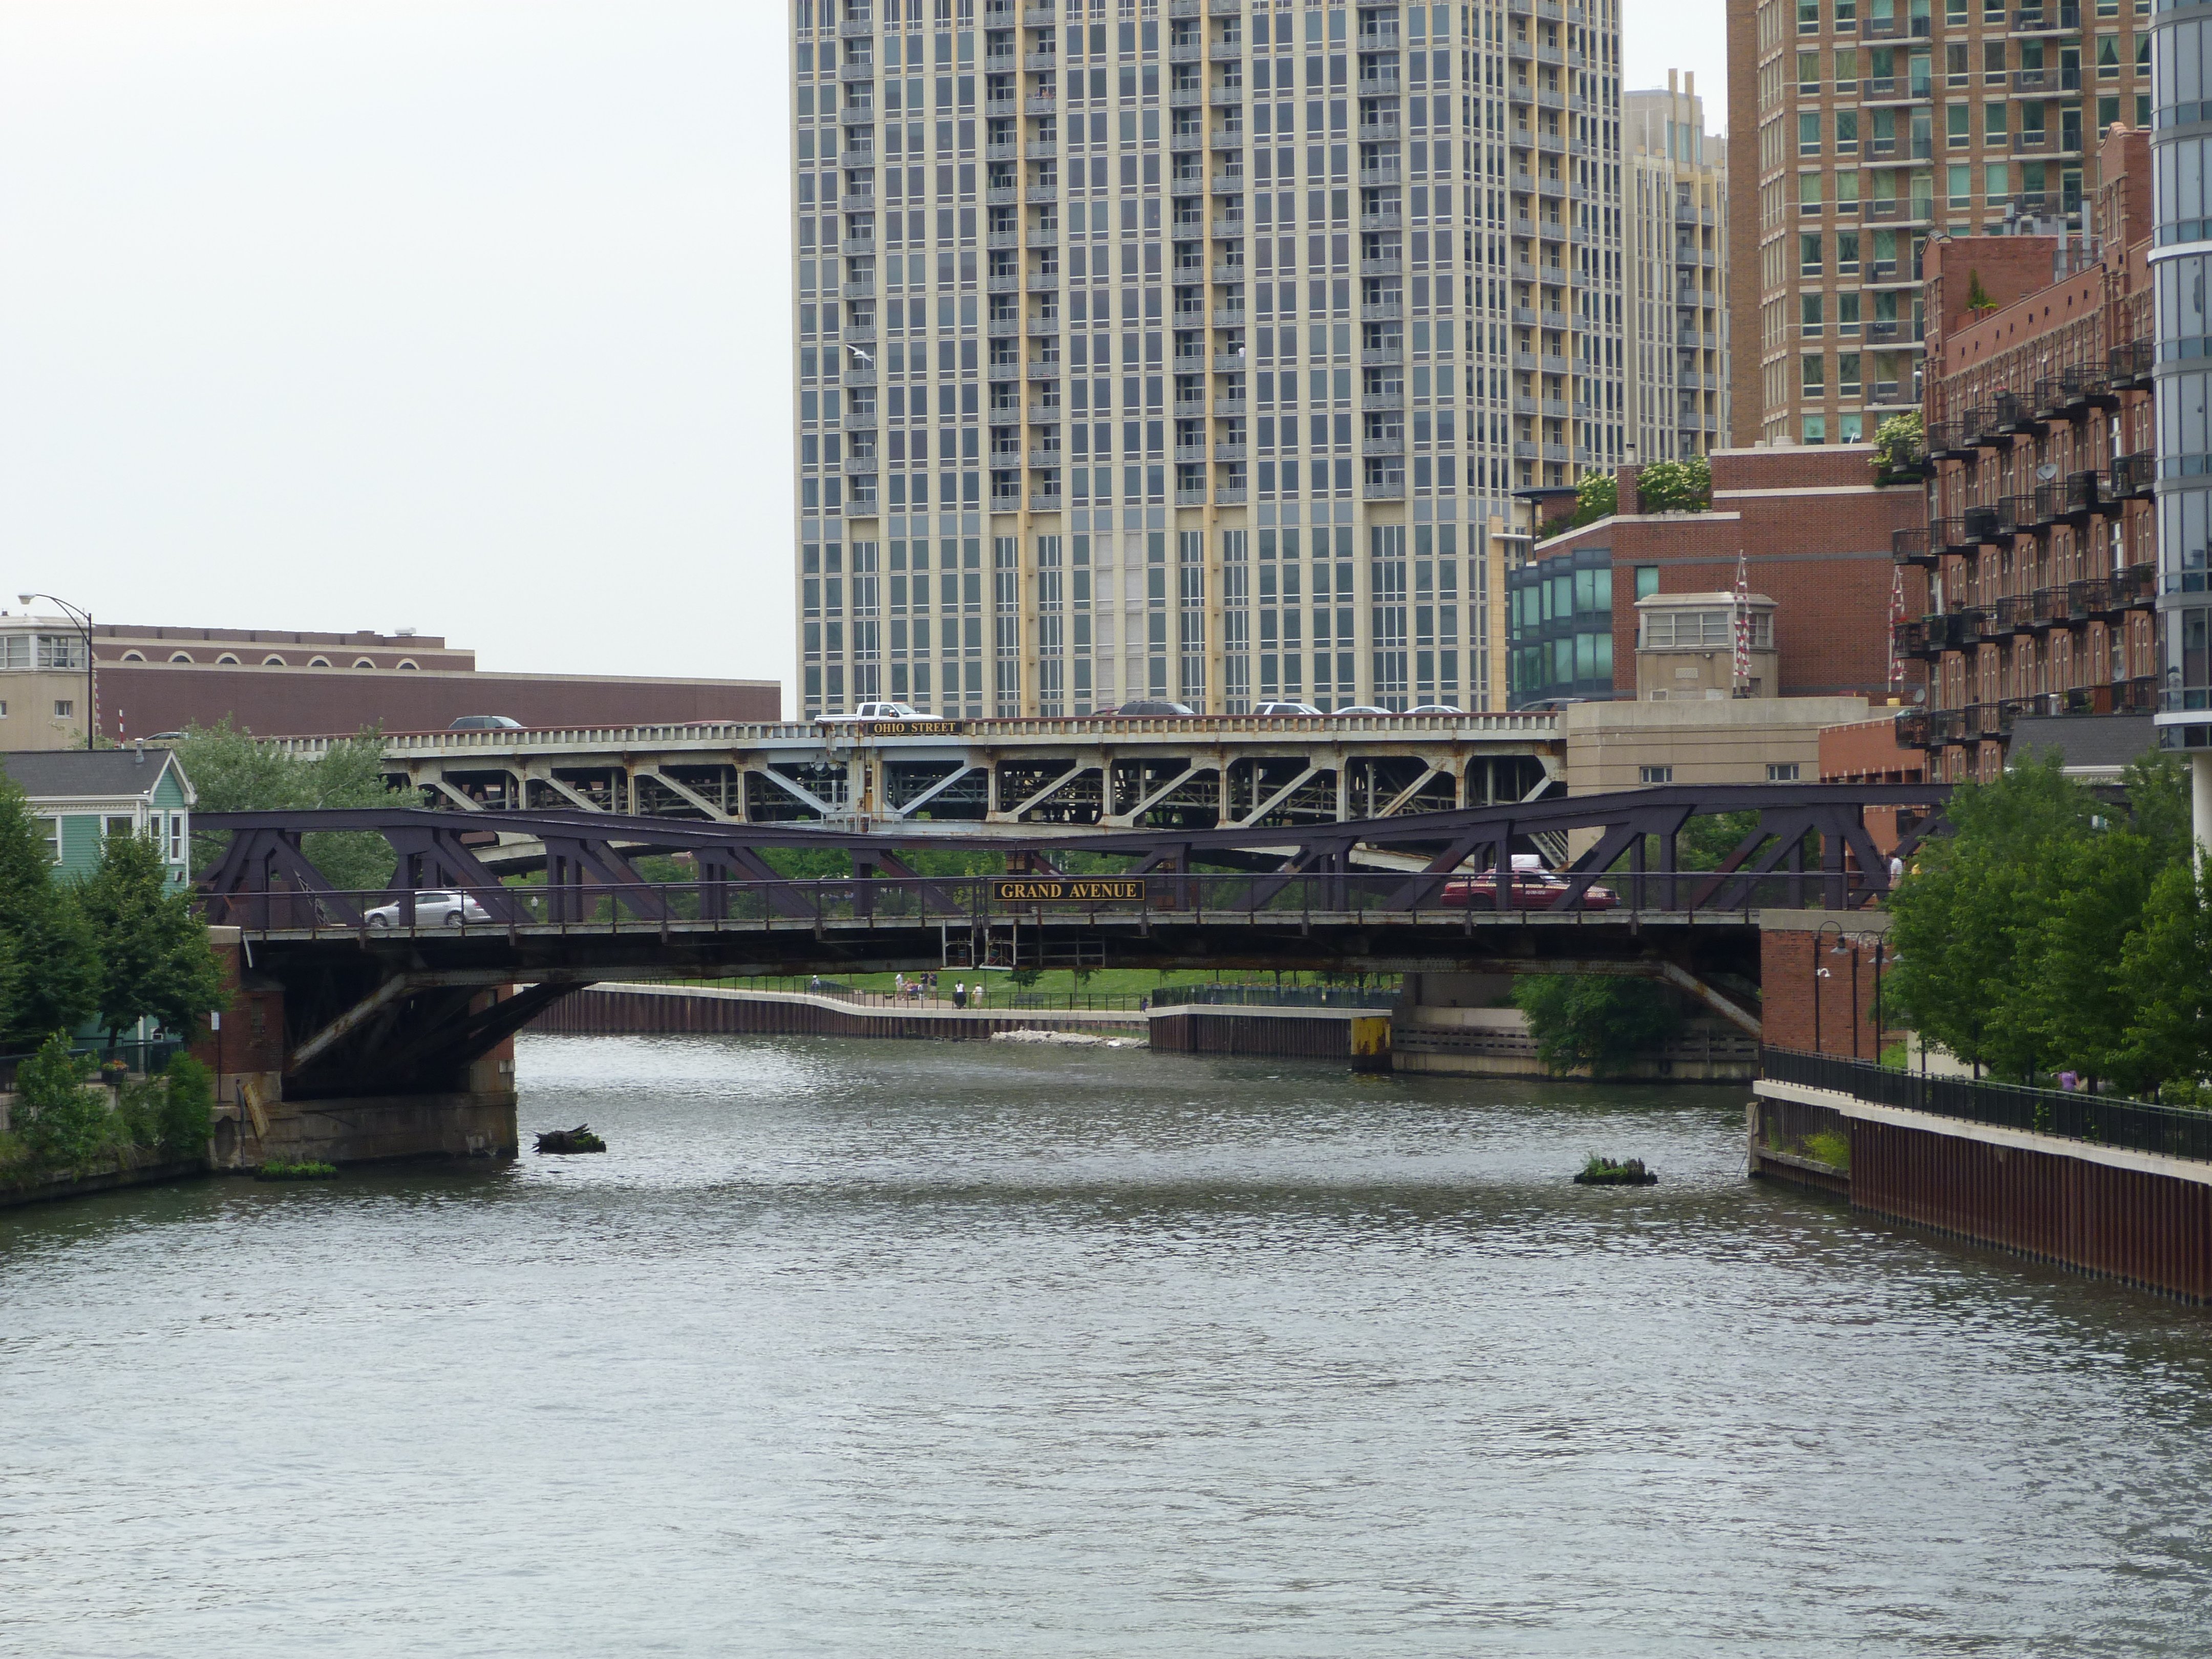
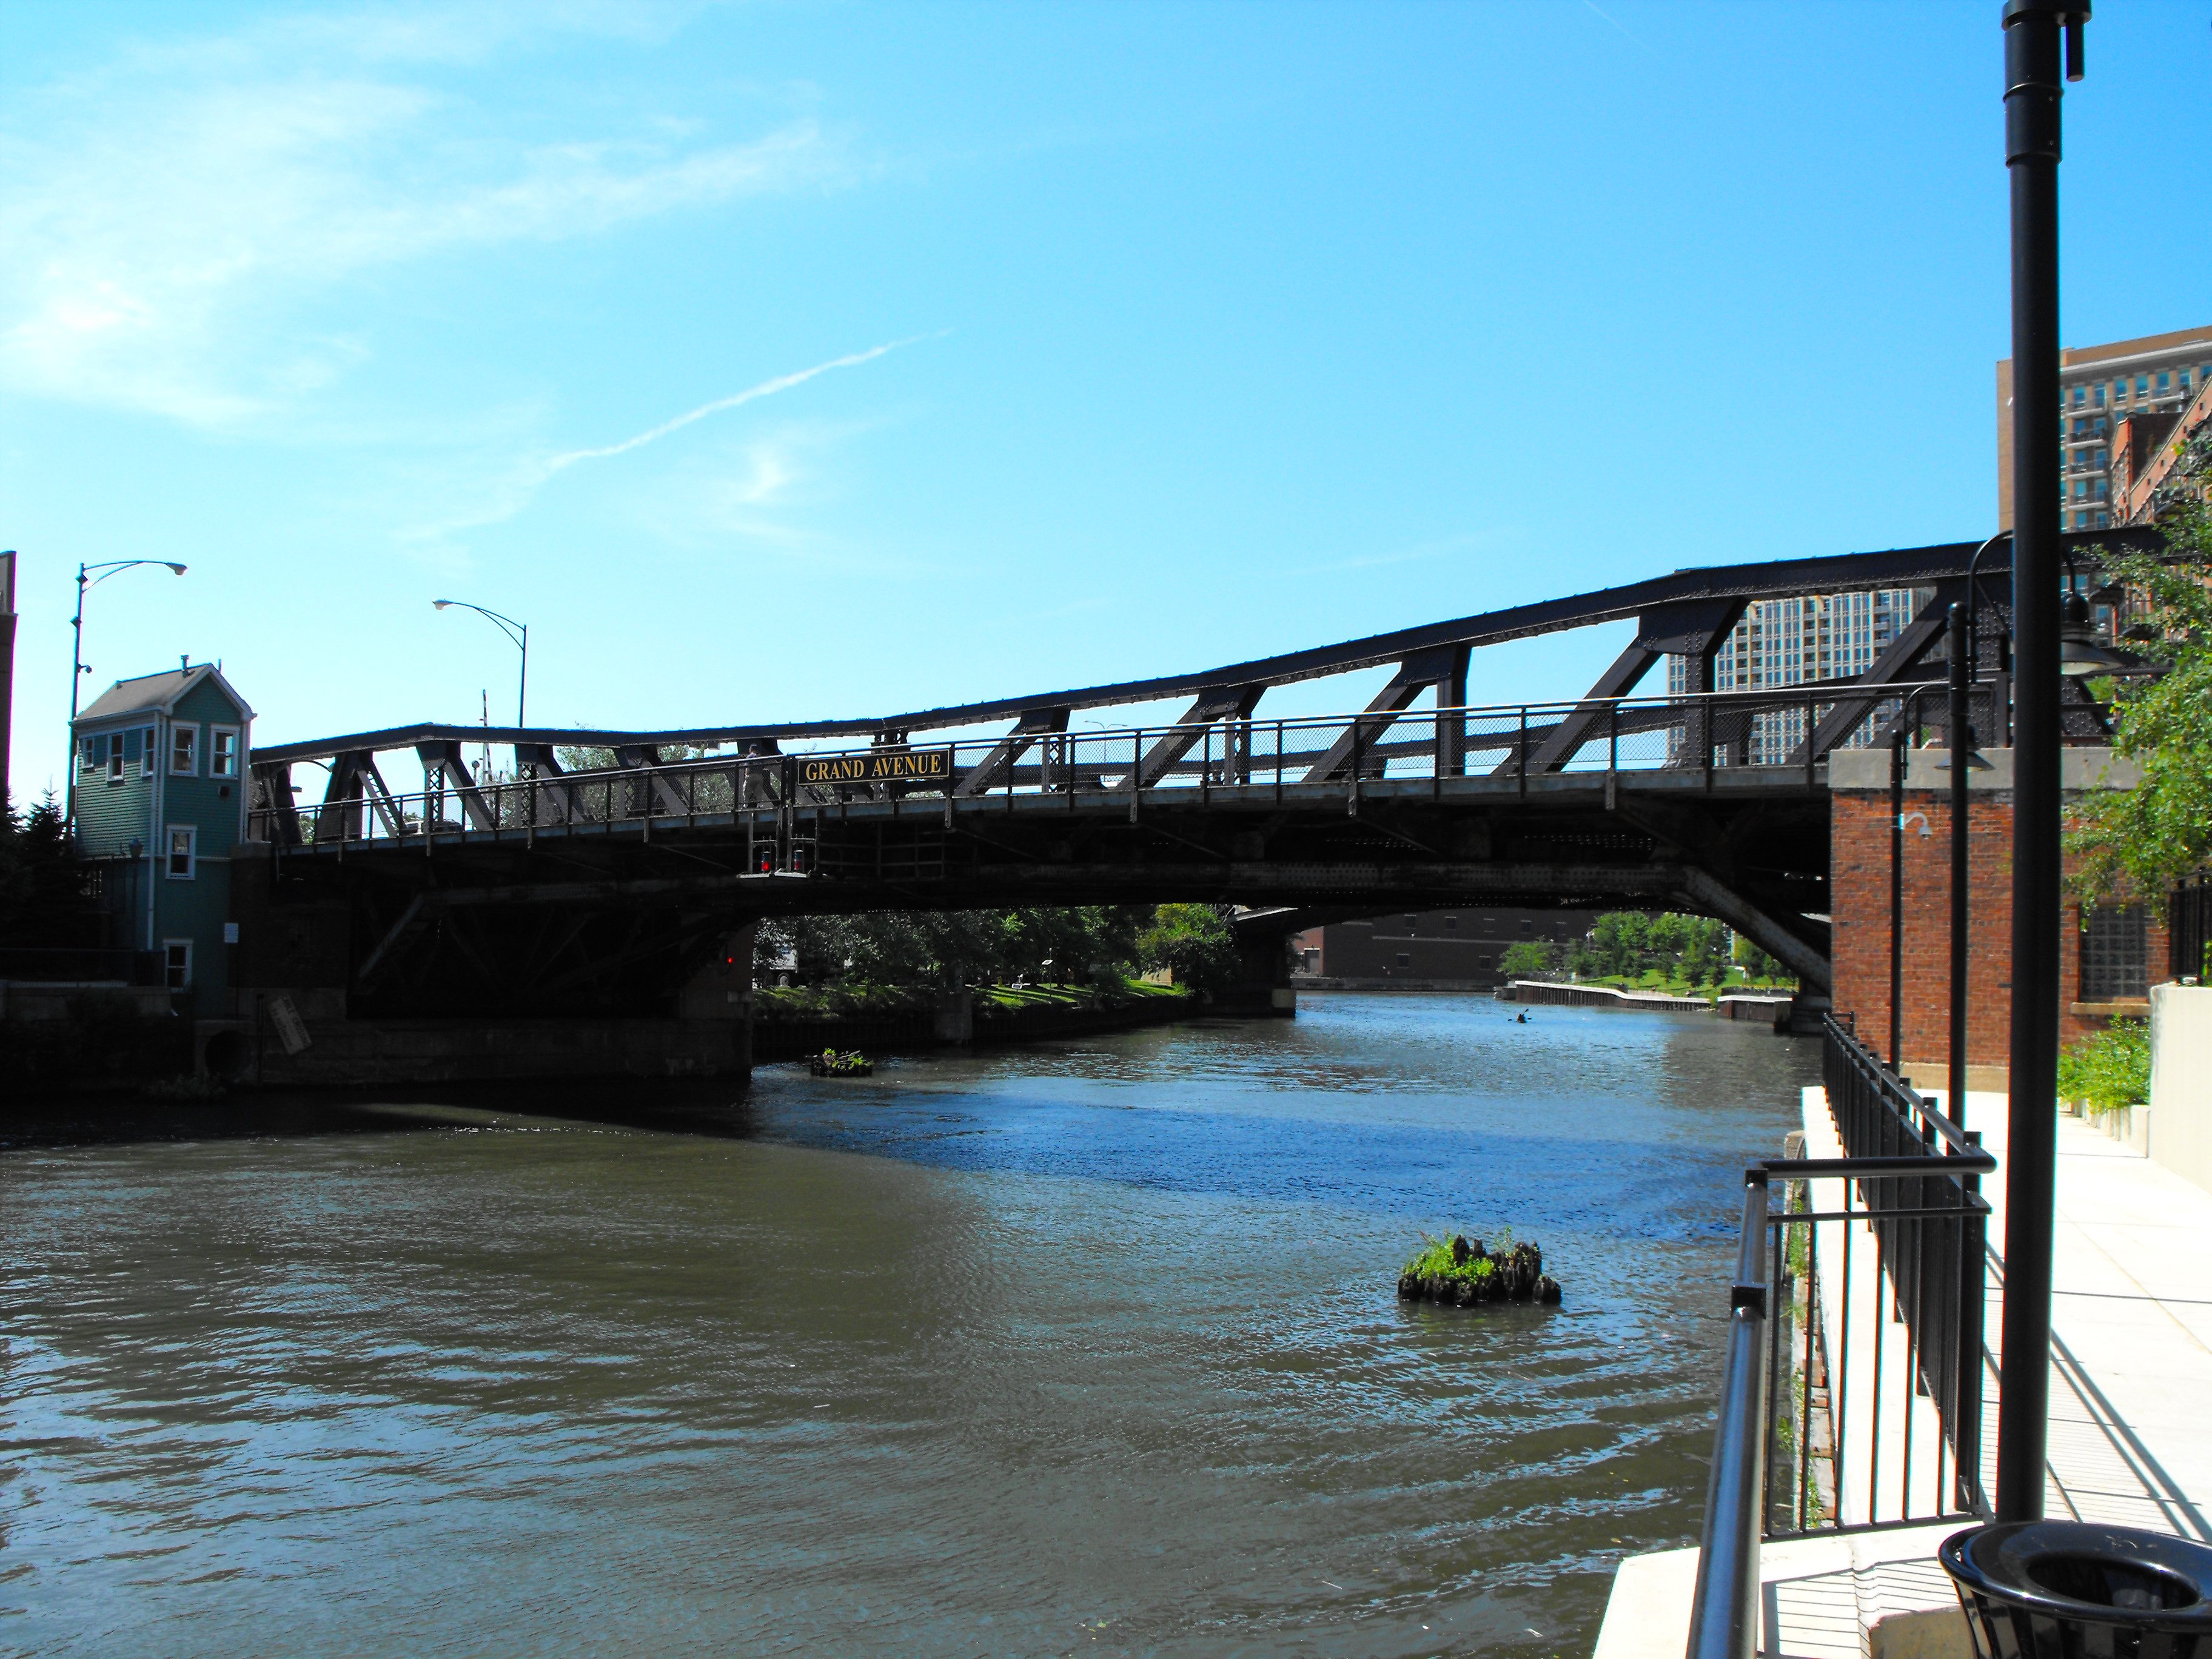
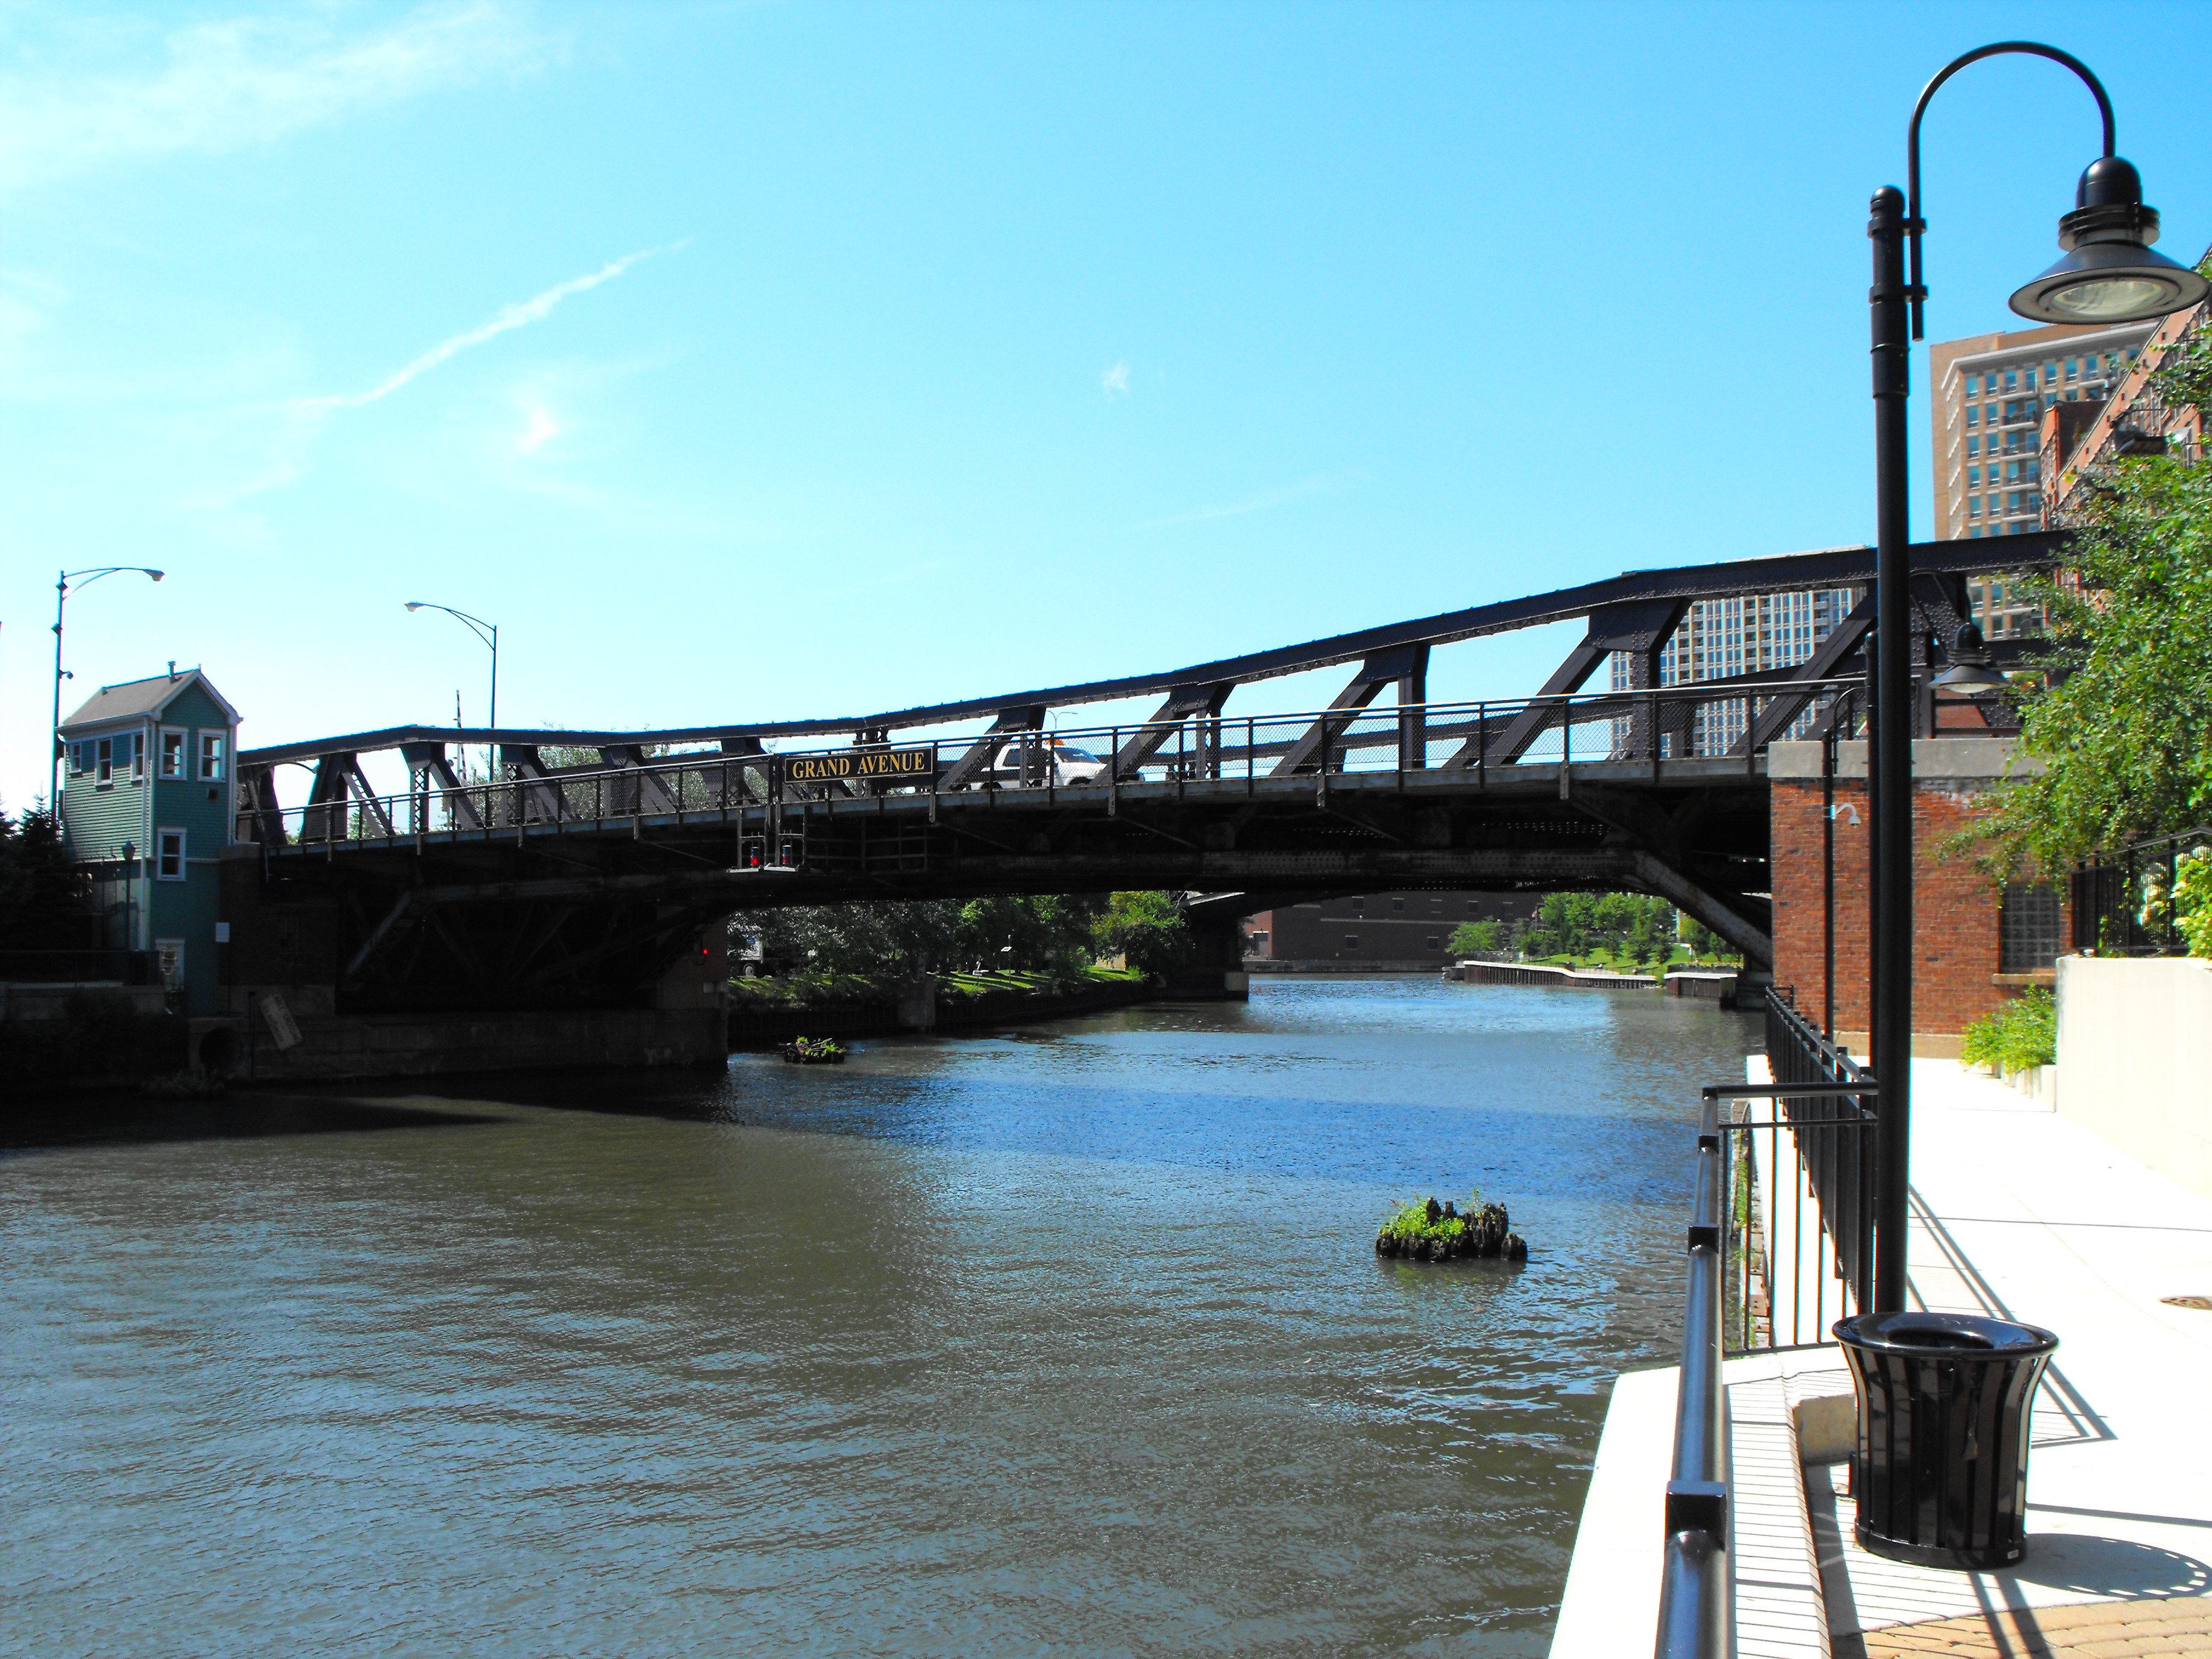
South elevation.
![]()
Portal views facing east.
![]()

Oblique view from northwest quadrant.
![]()
Oblique view from southwest quadrant.
![]()

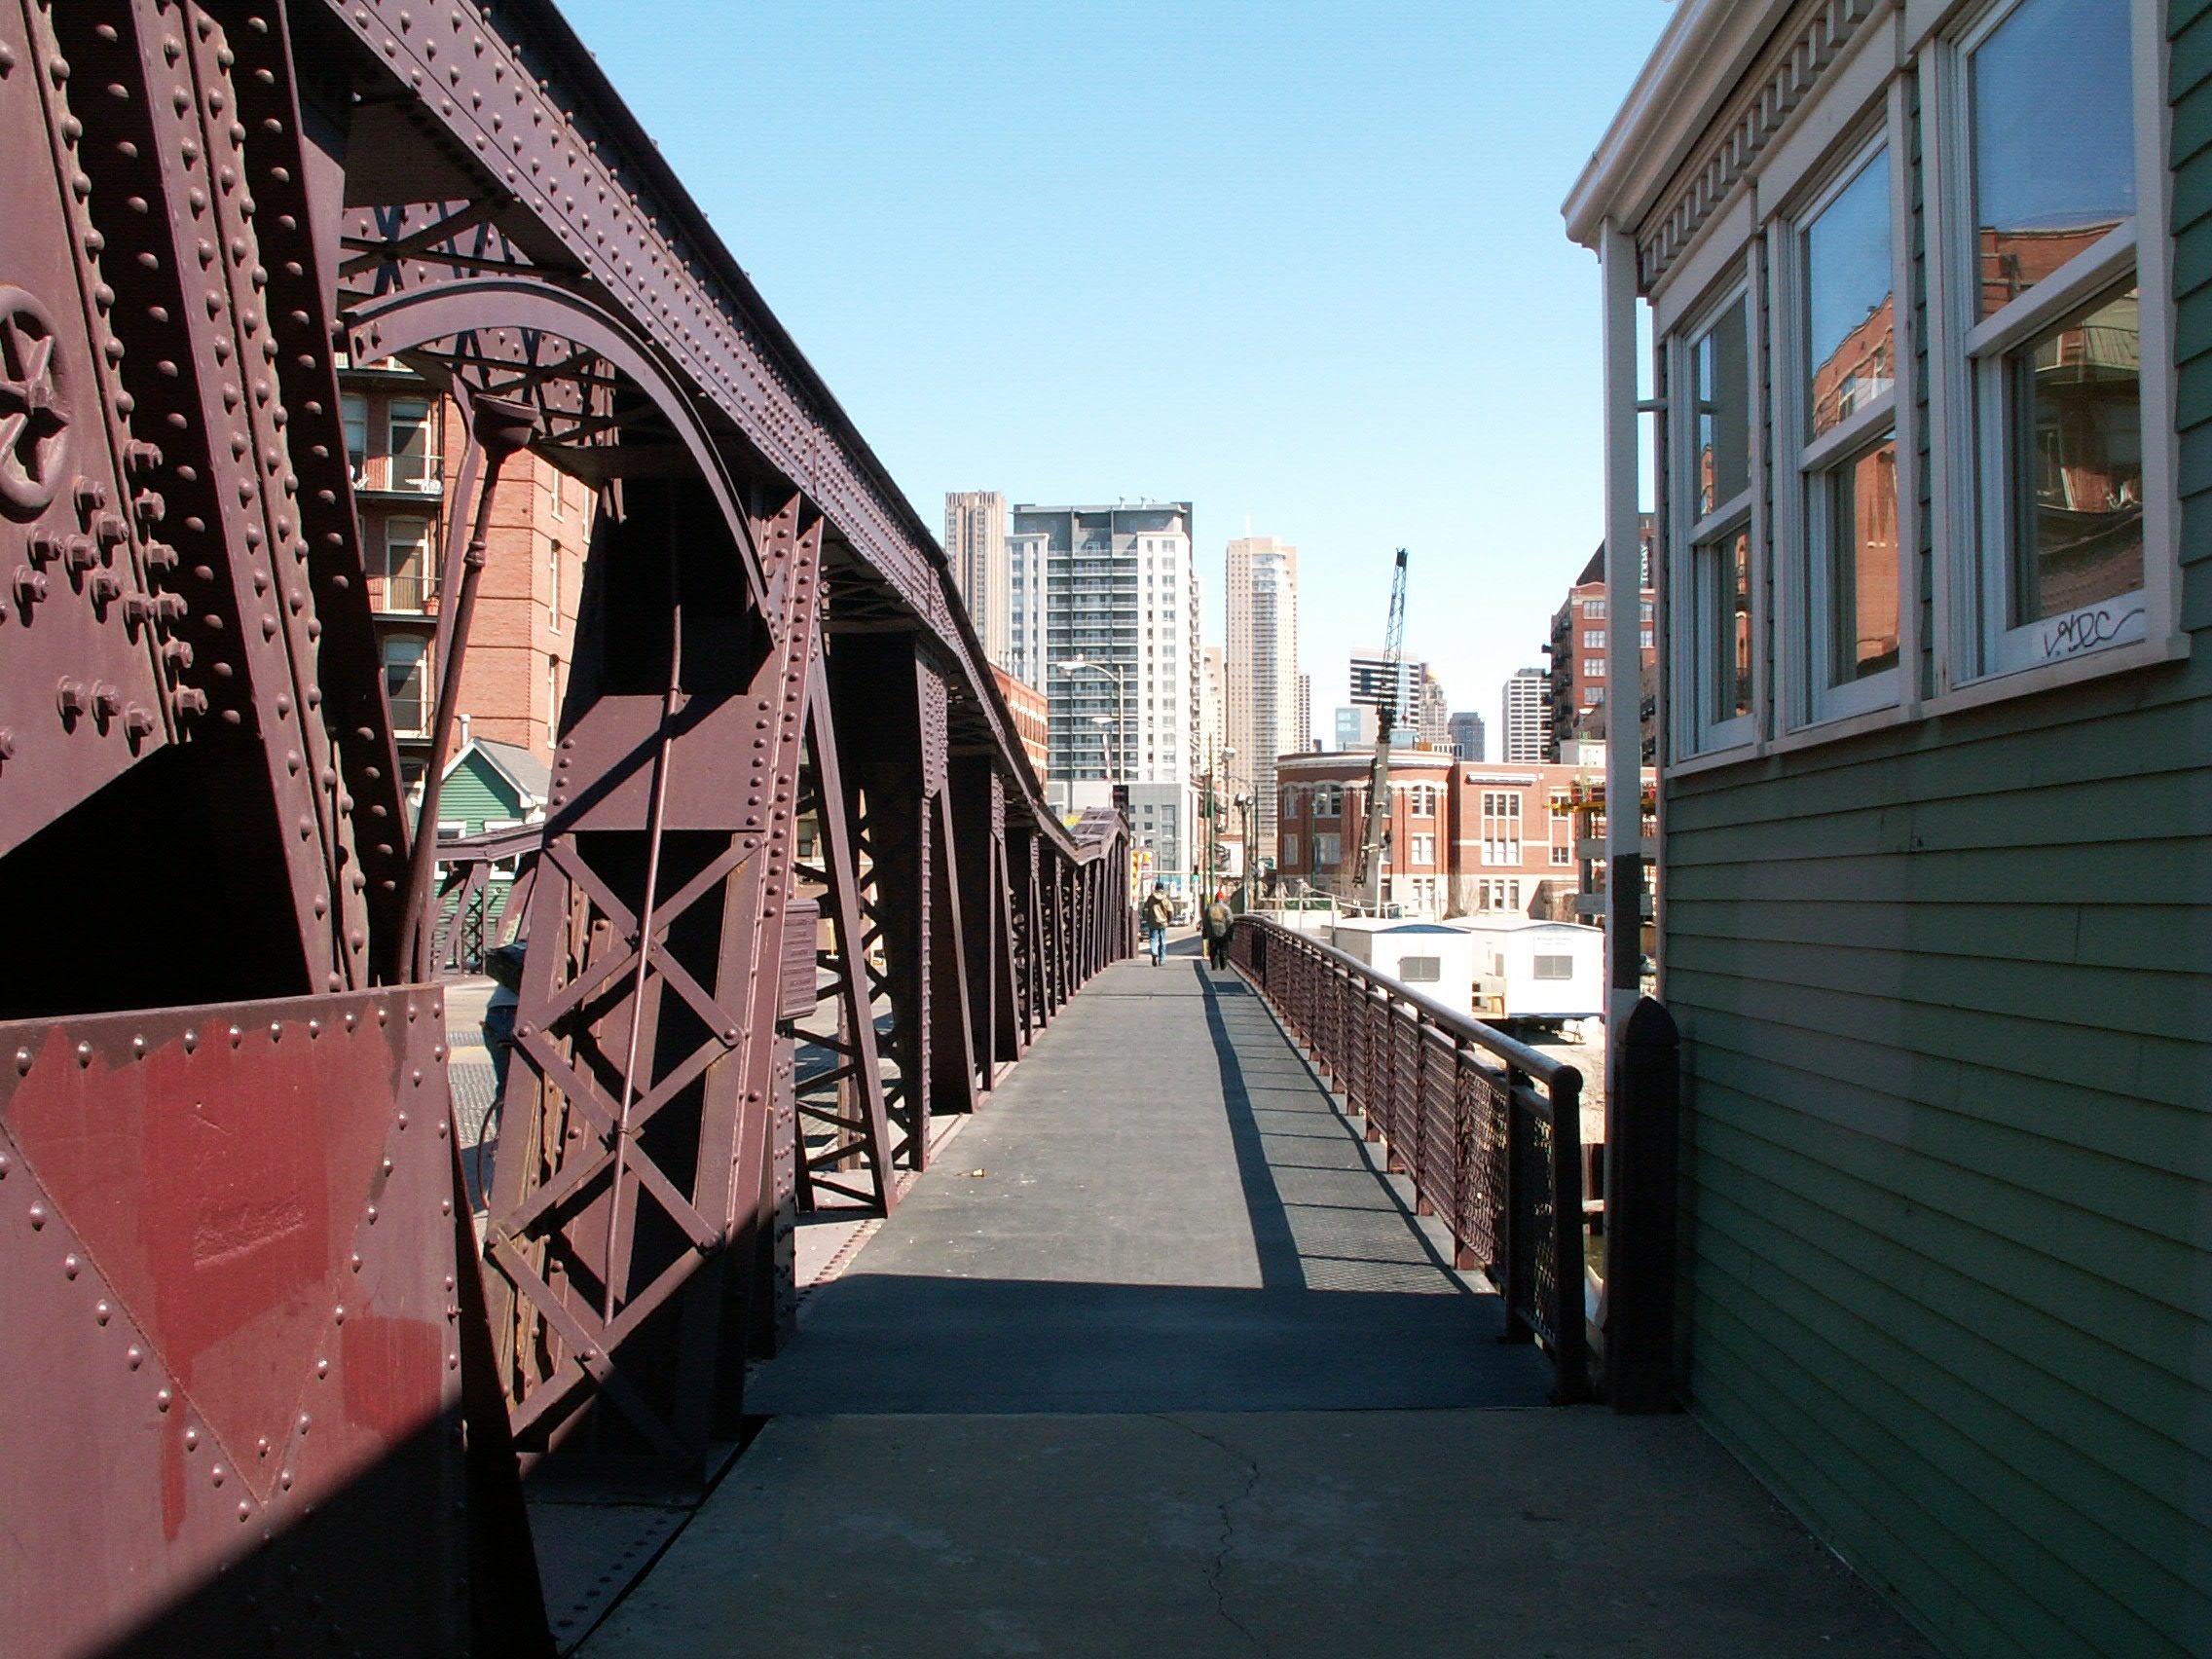
View on north sidewalk facing east.
![]()
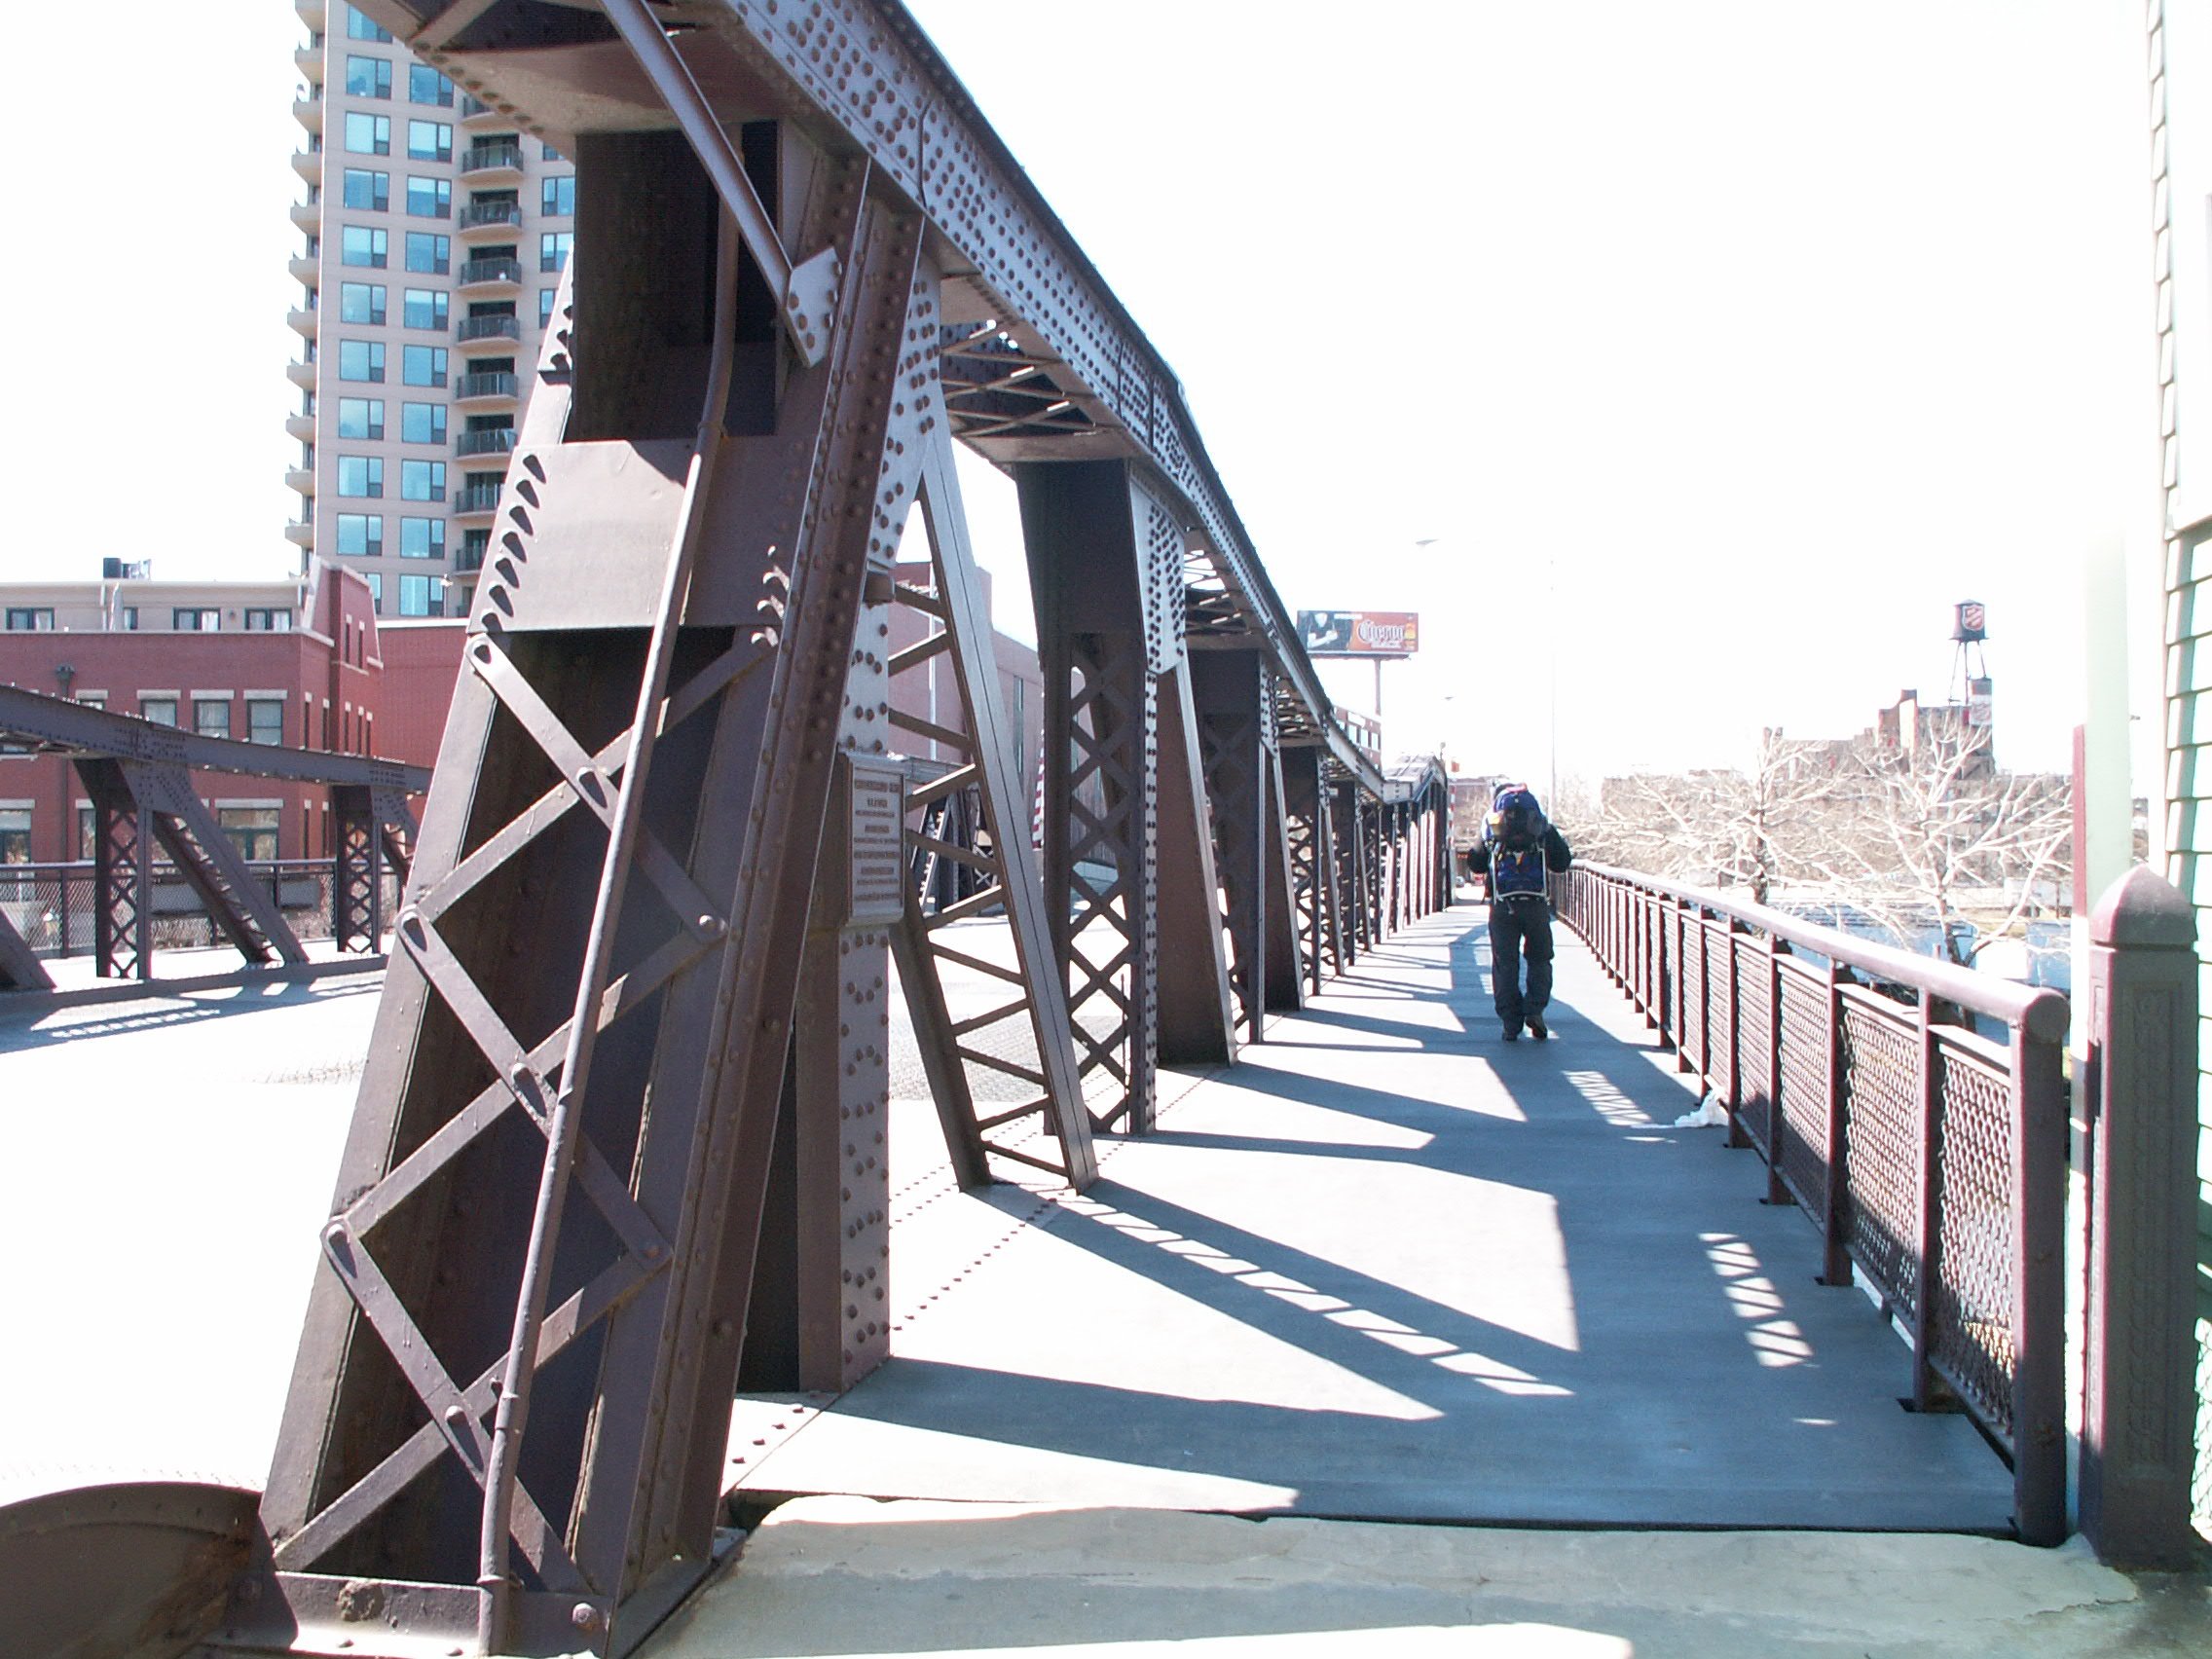
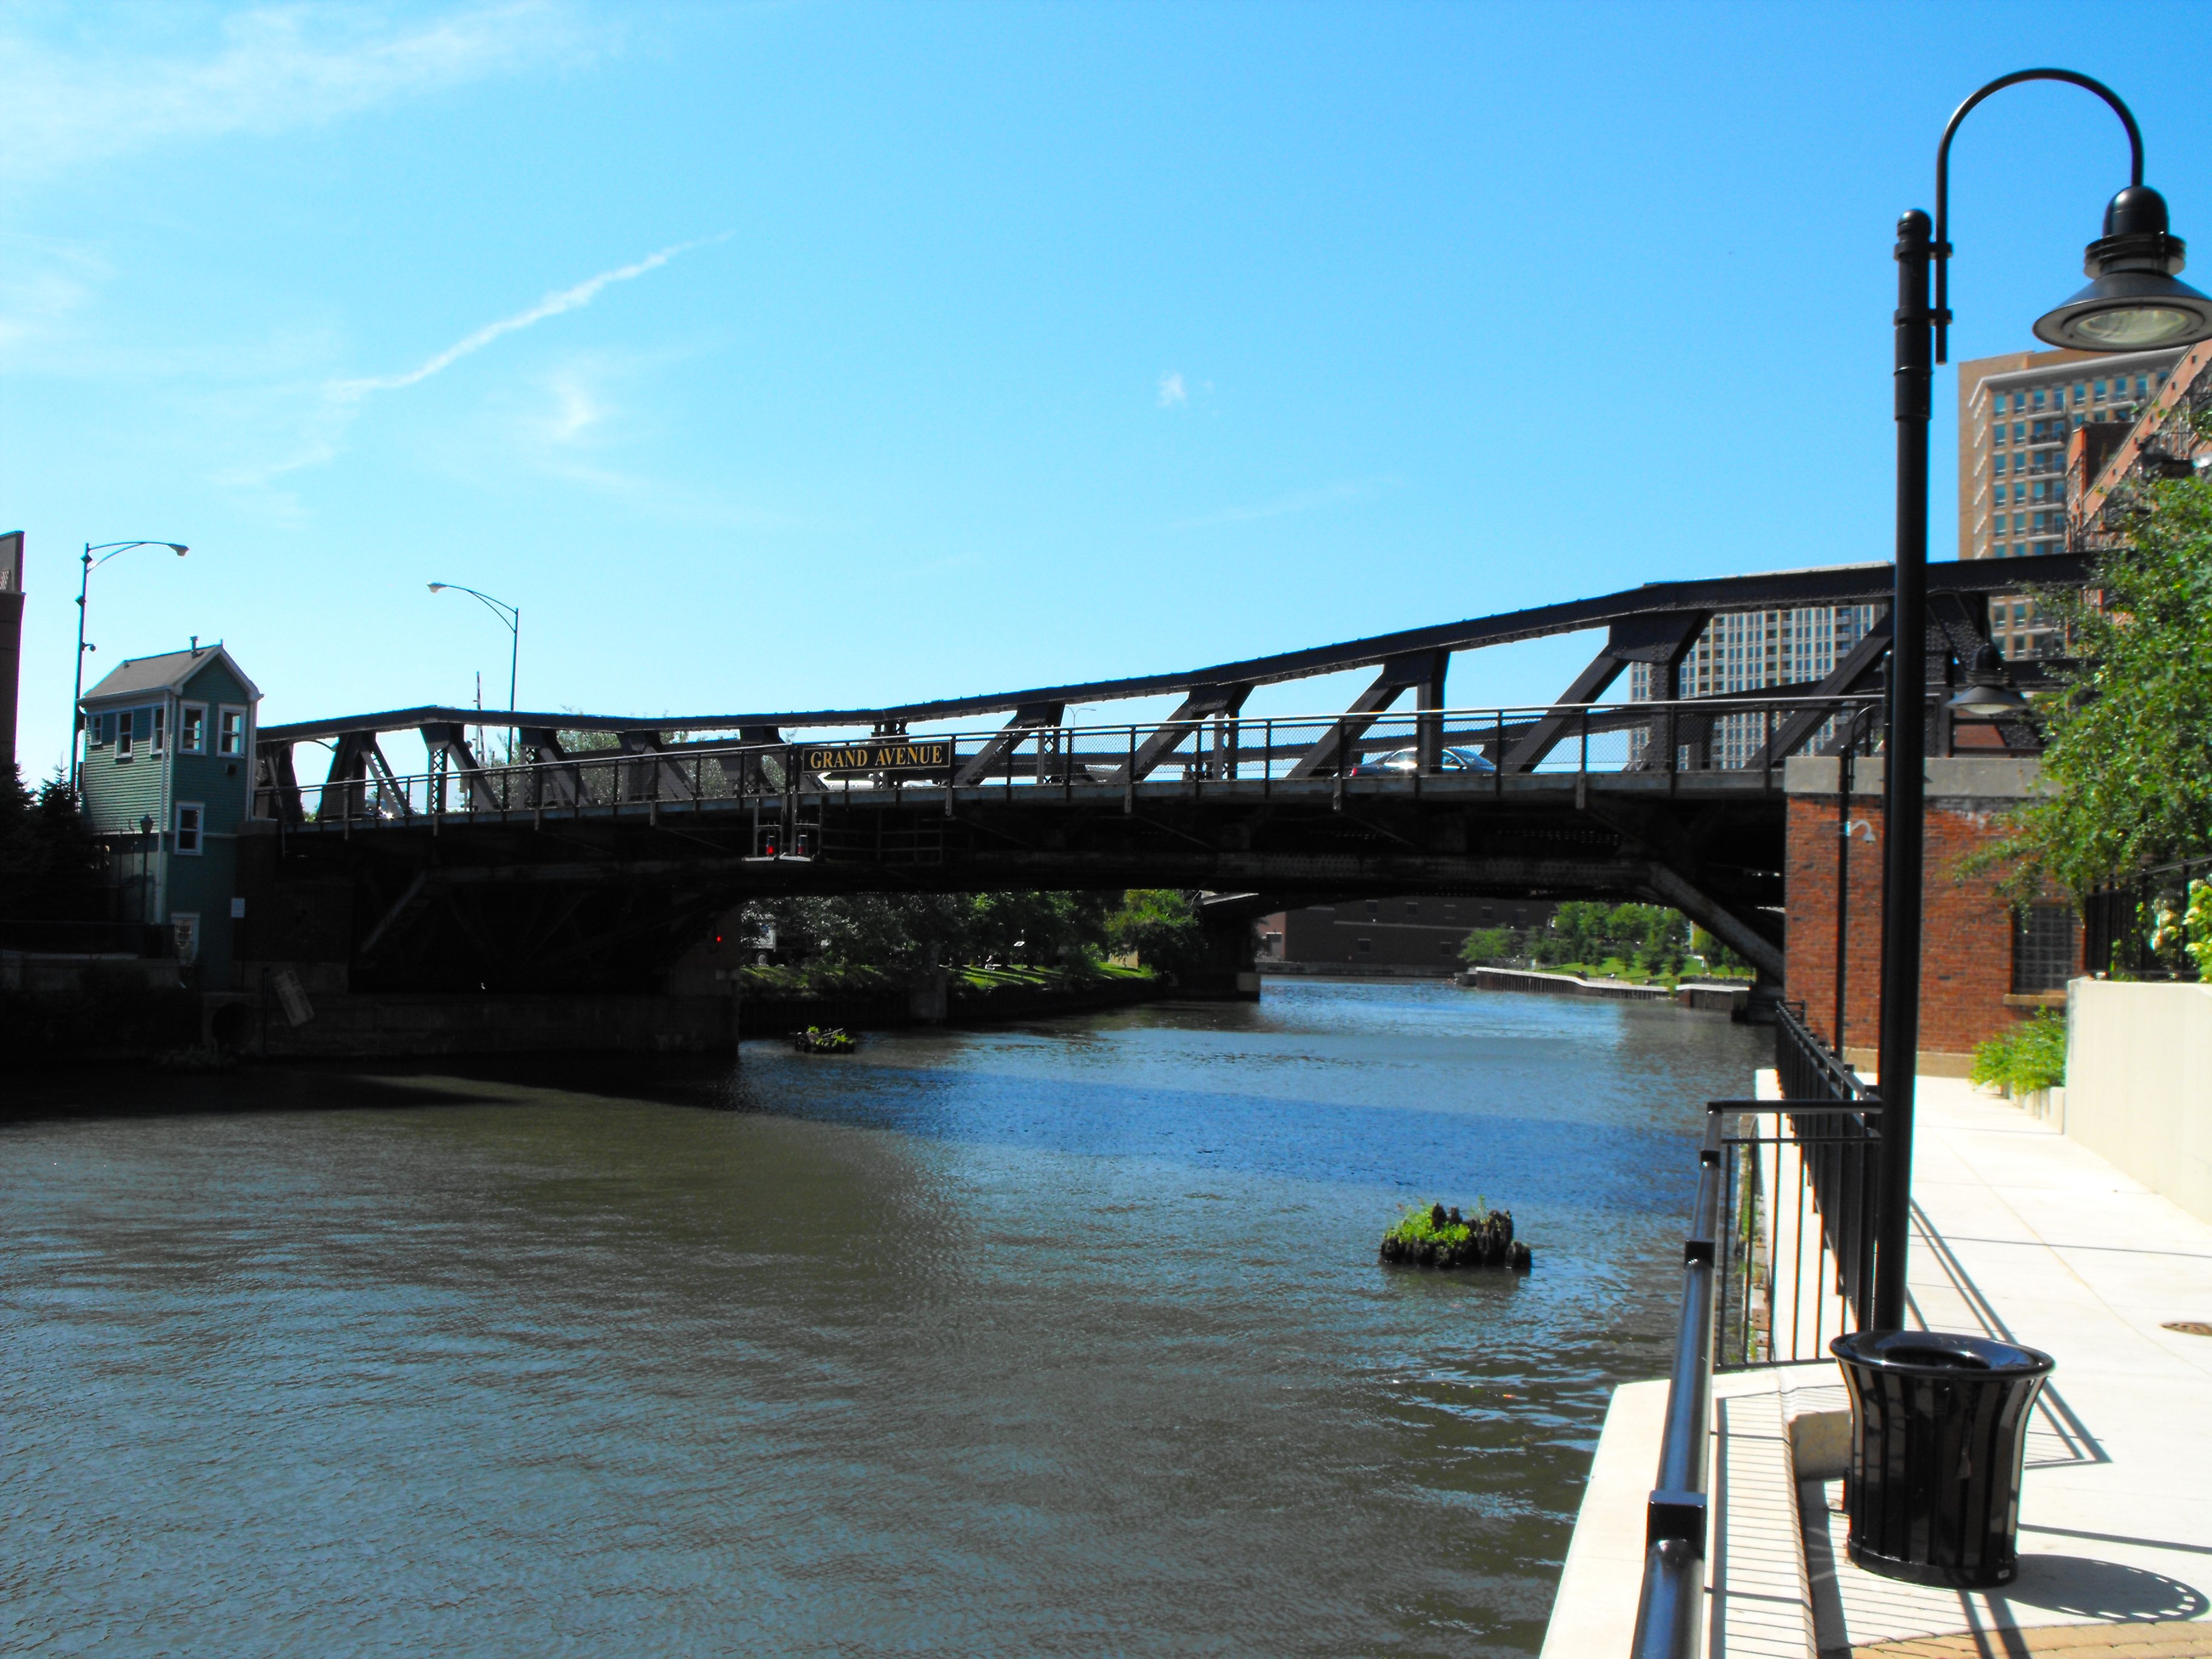
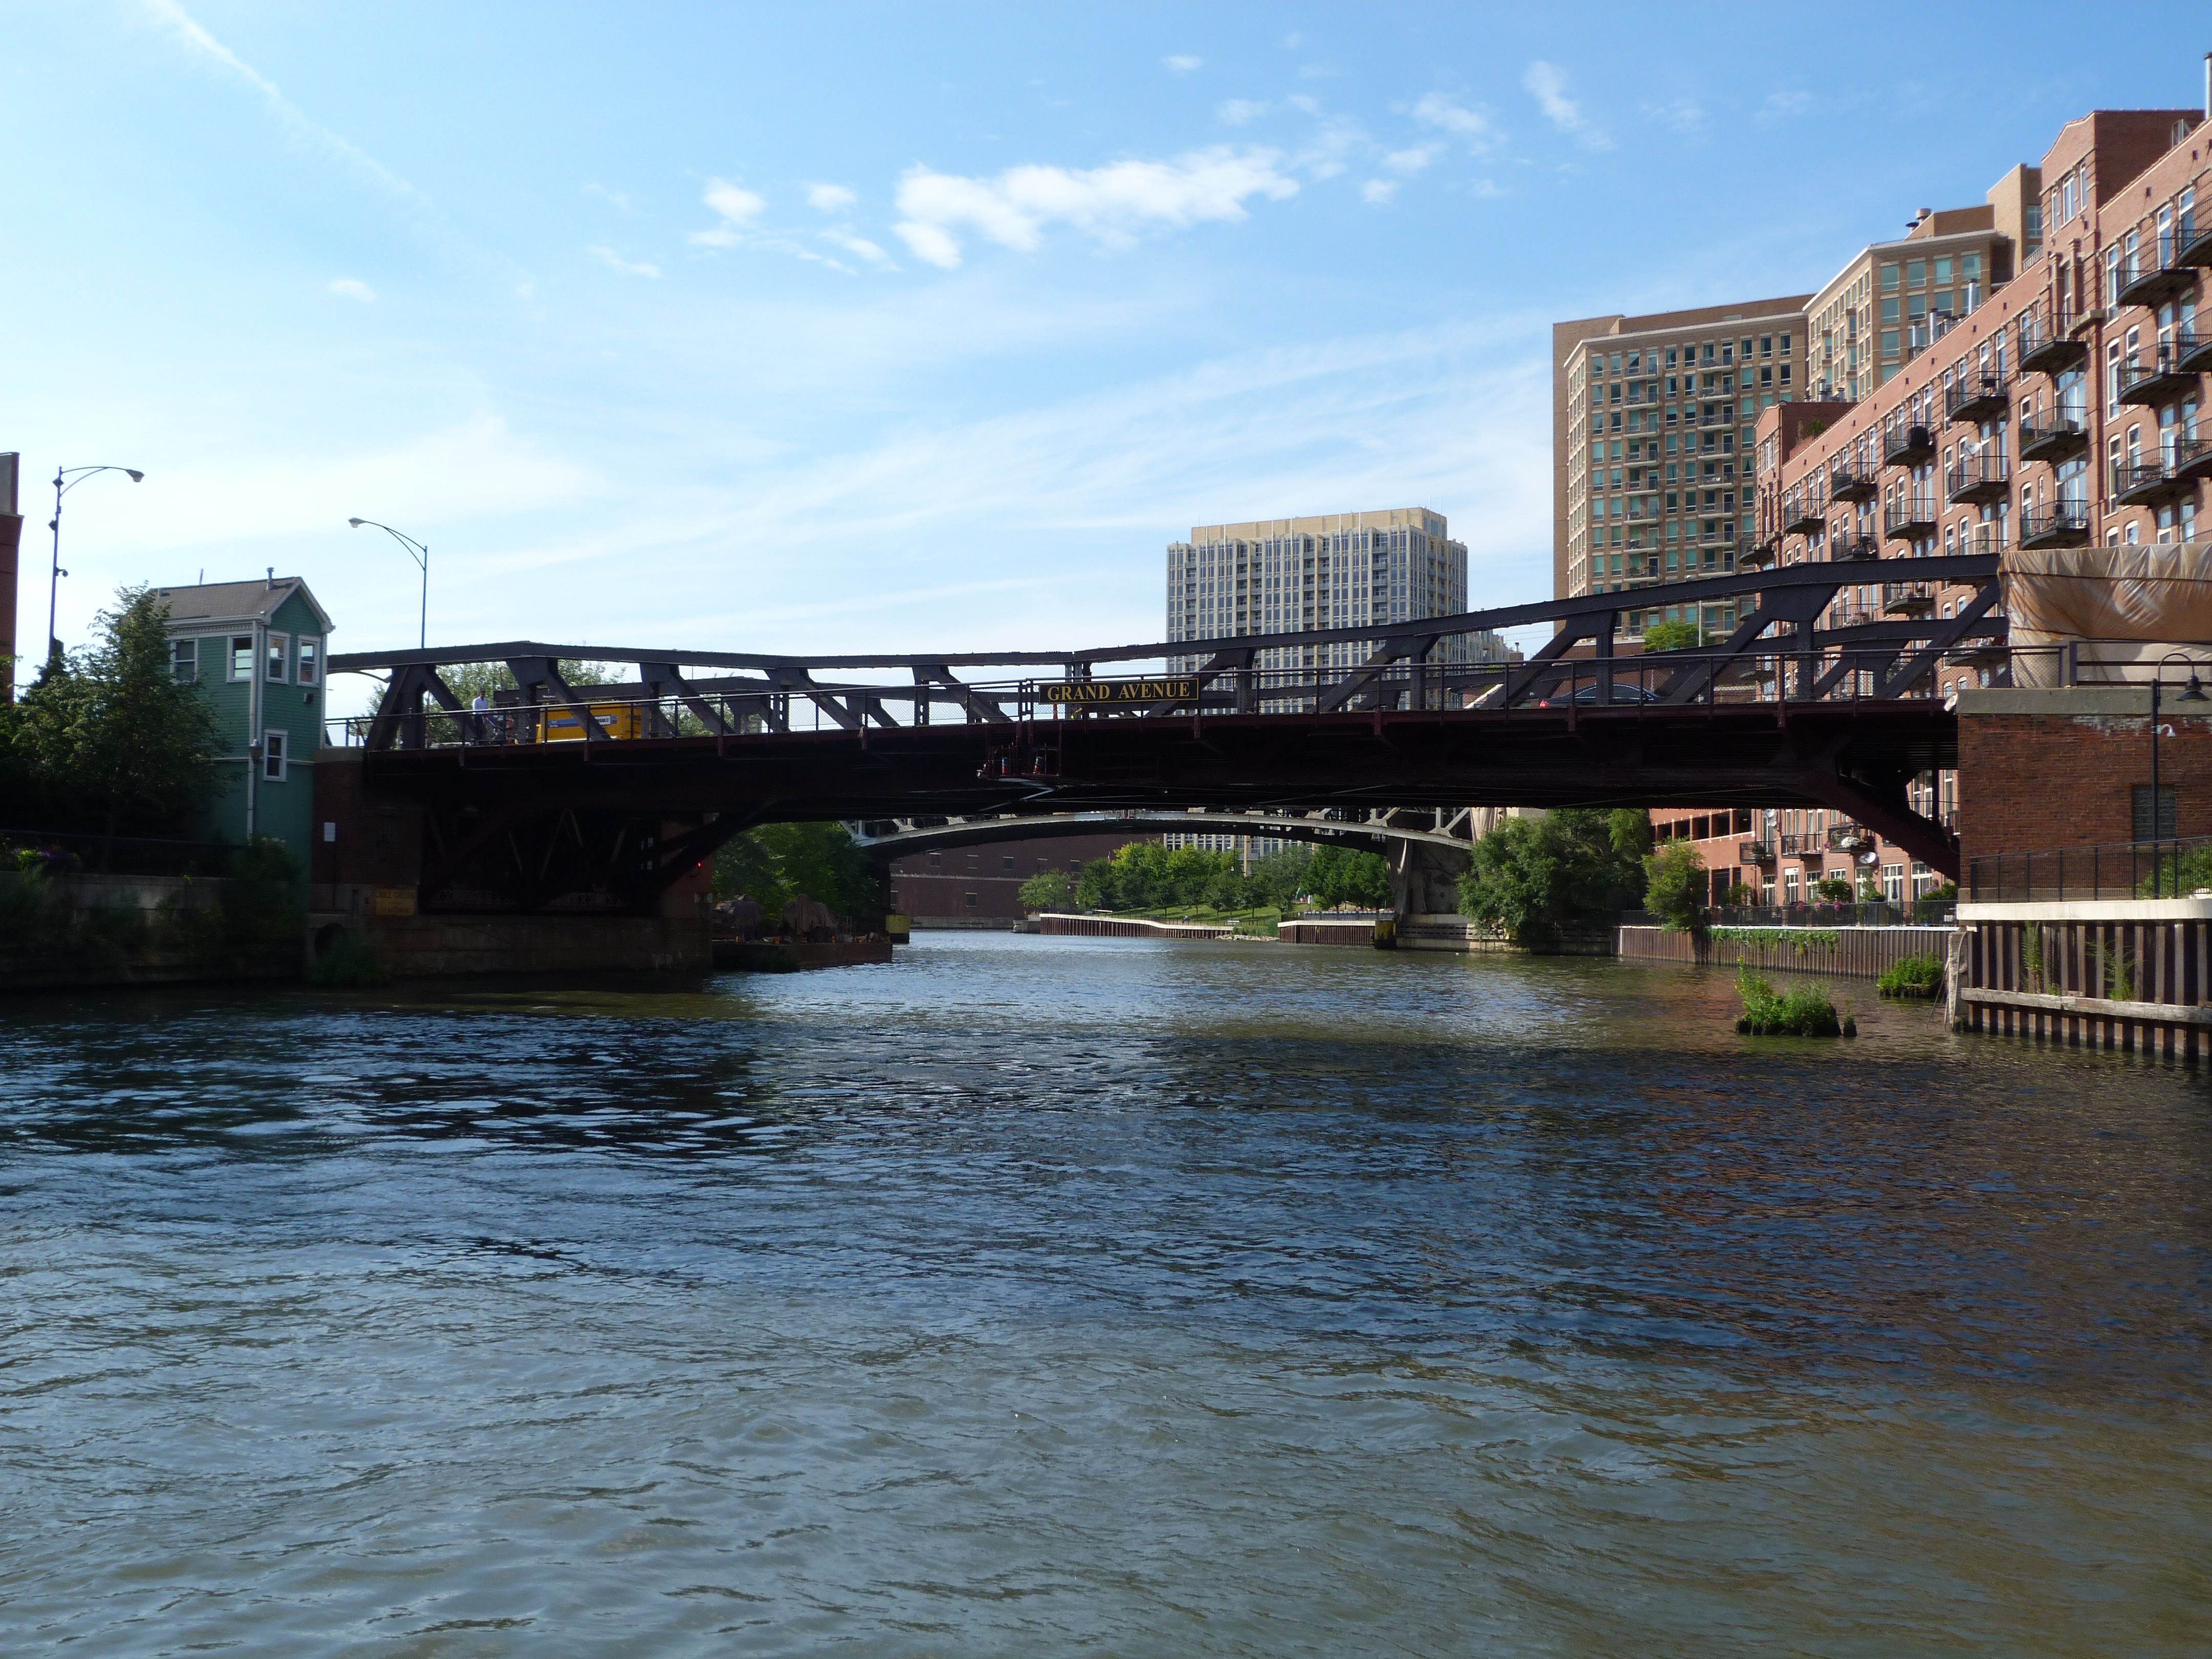
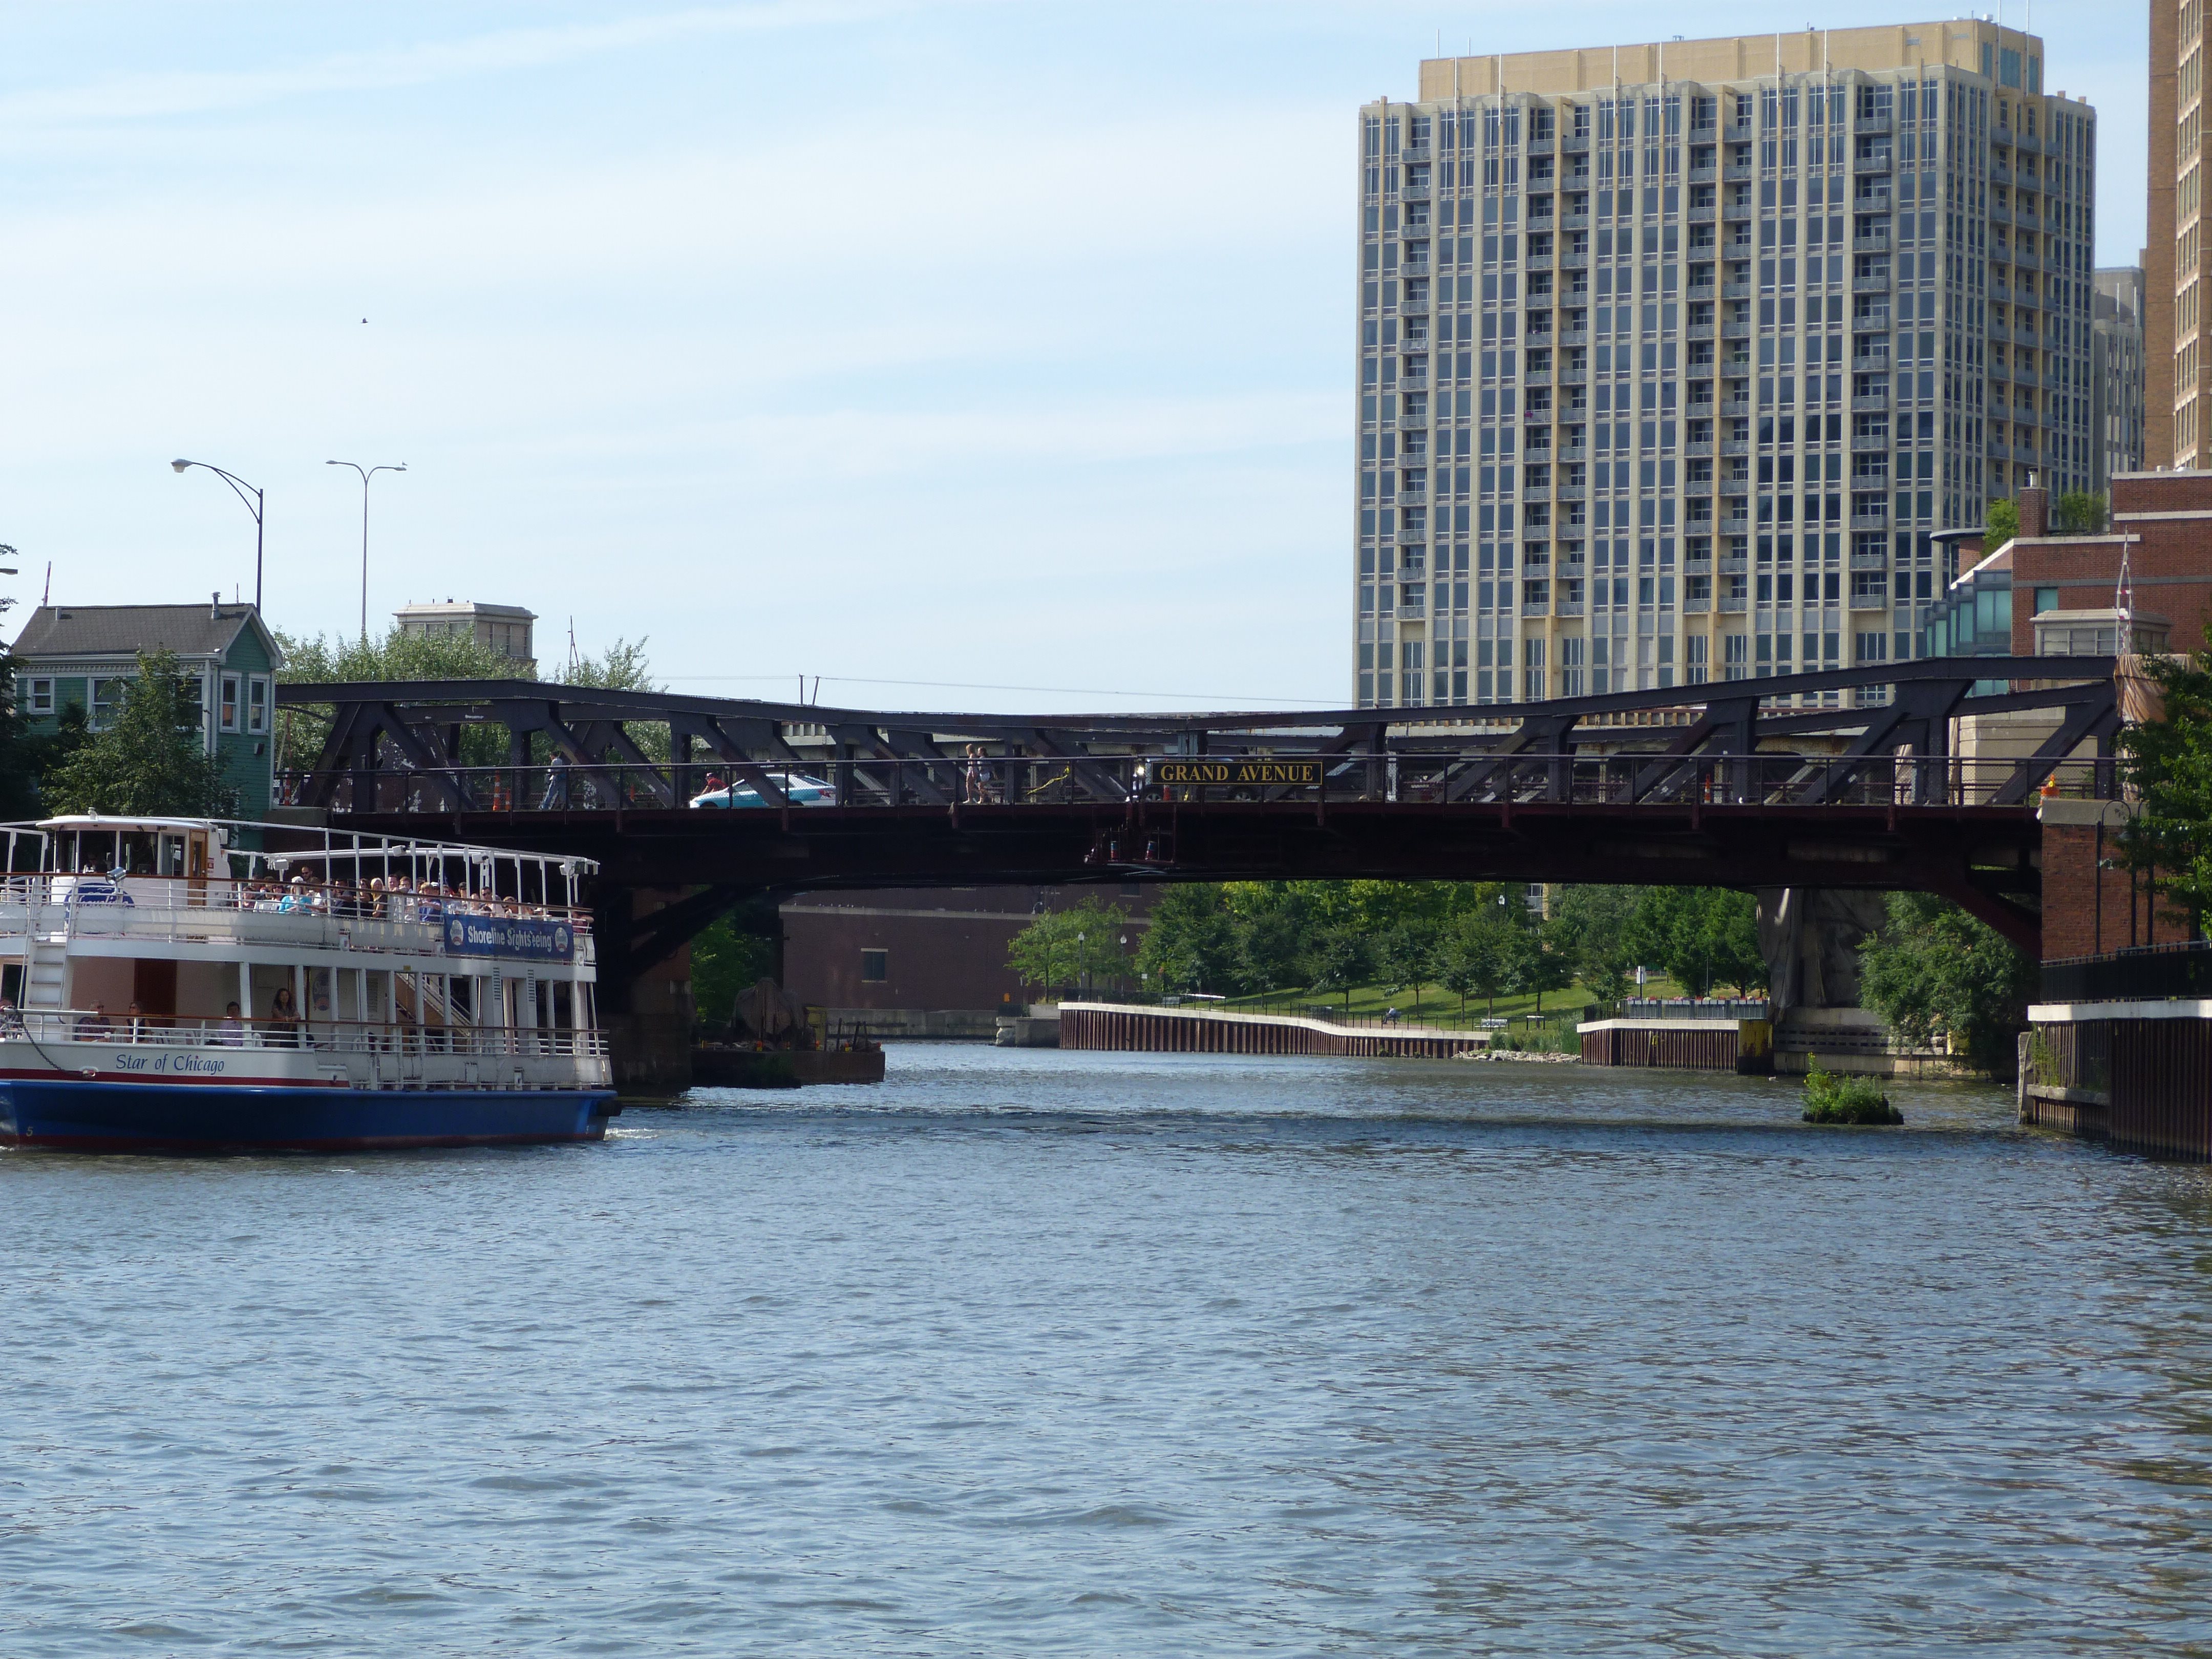
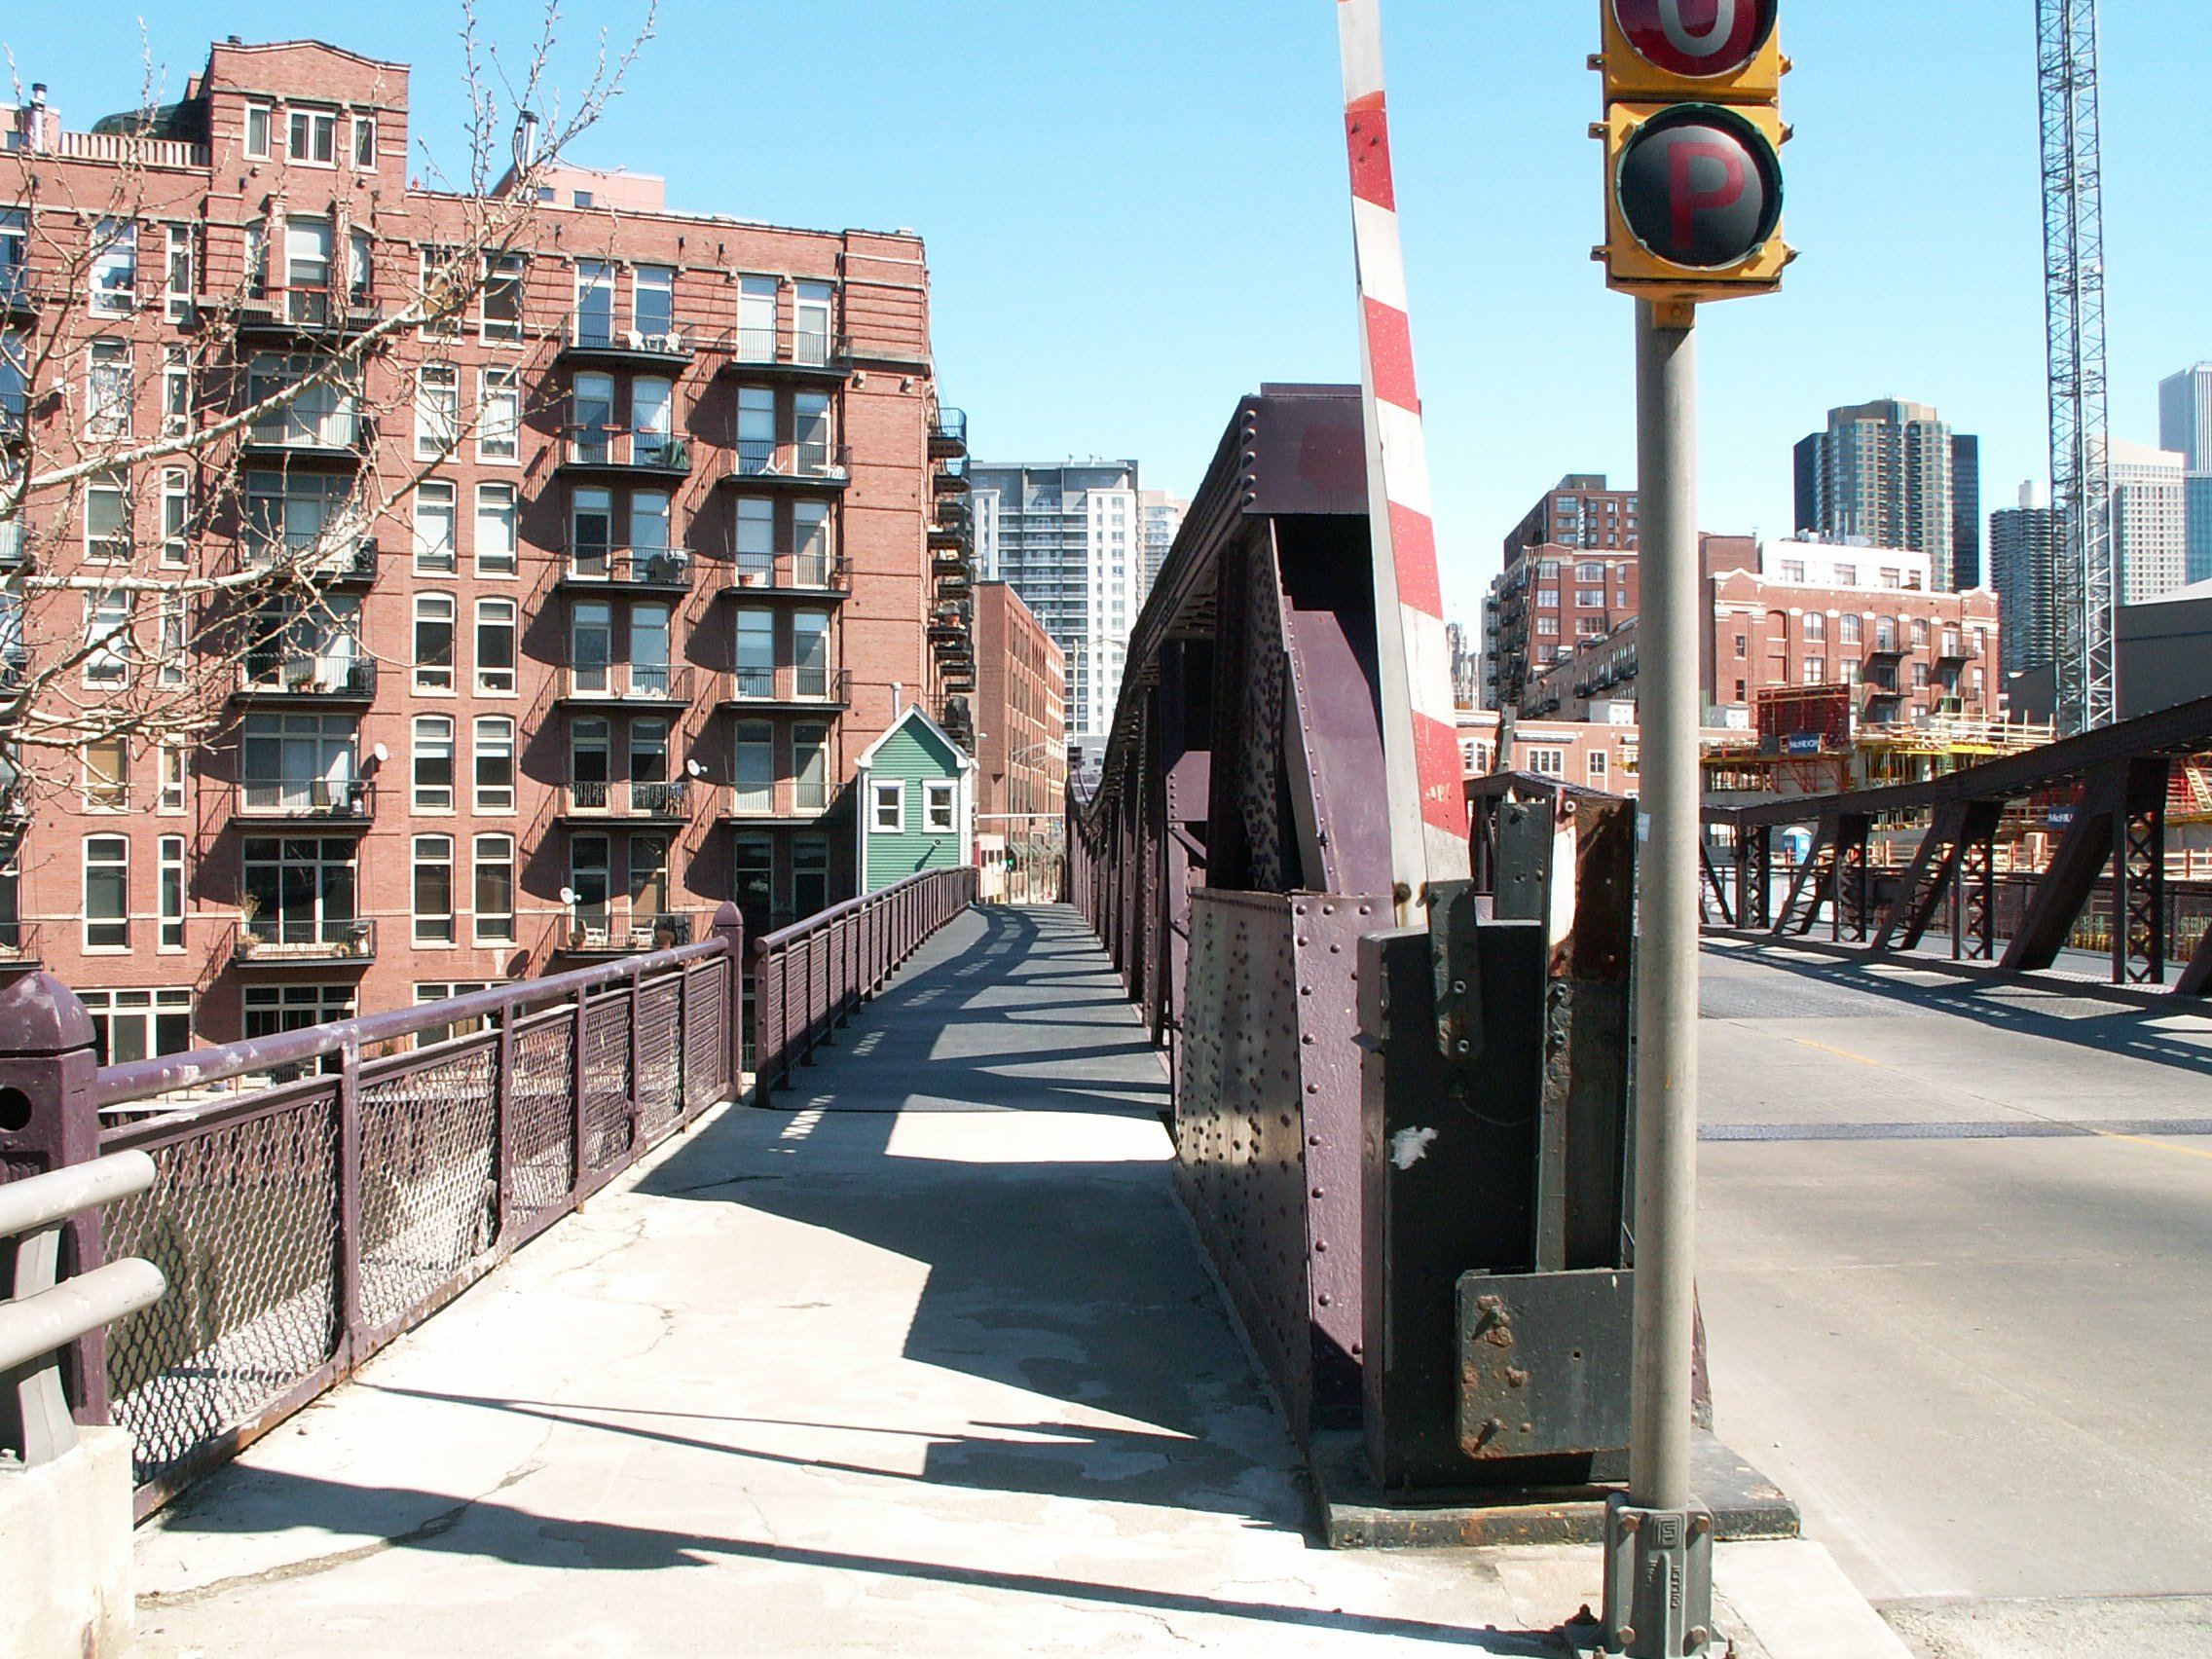
Additional views on sidewalks.
![]()
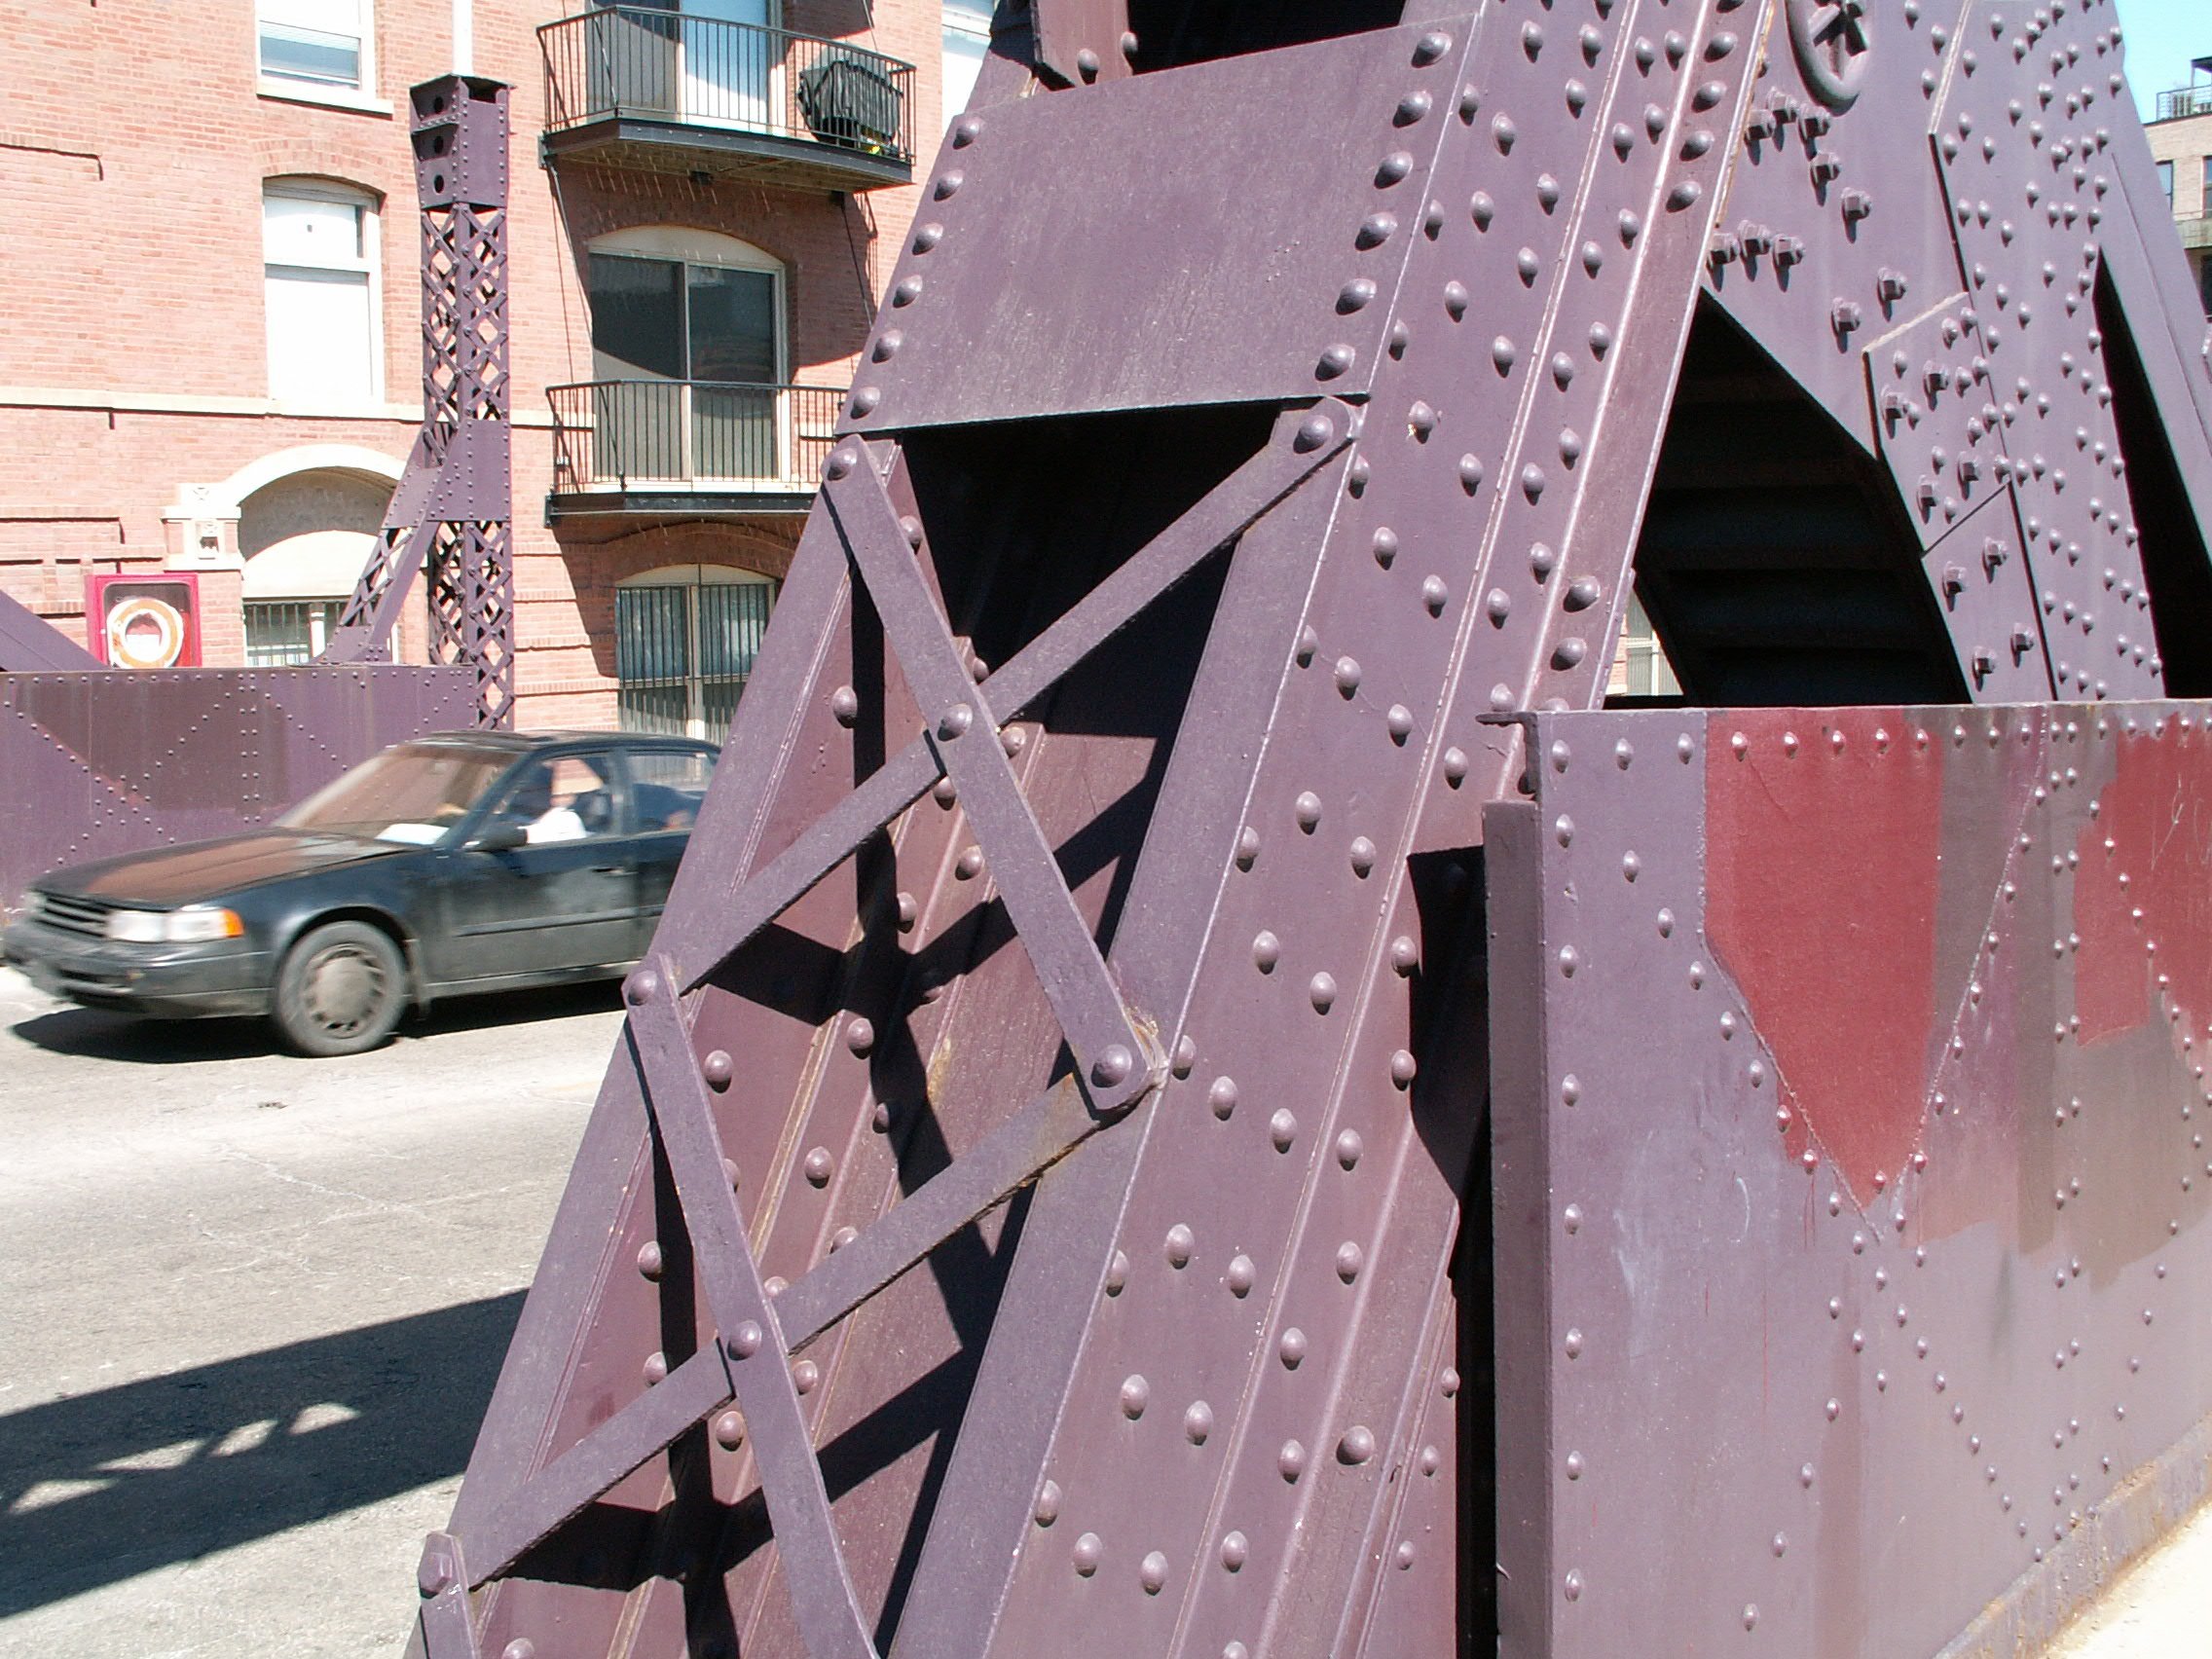
Views of truss web.
![]()

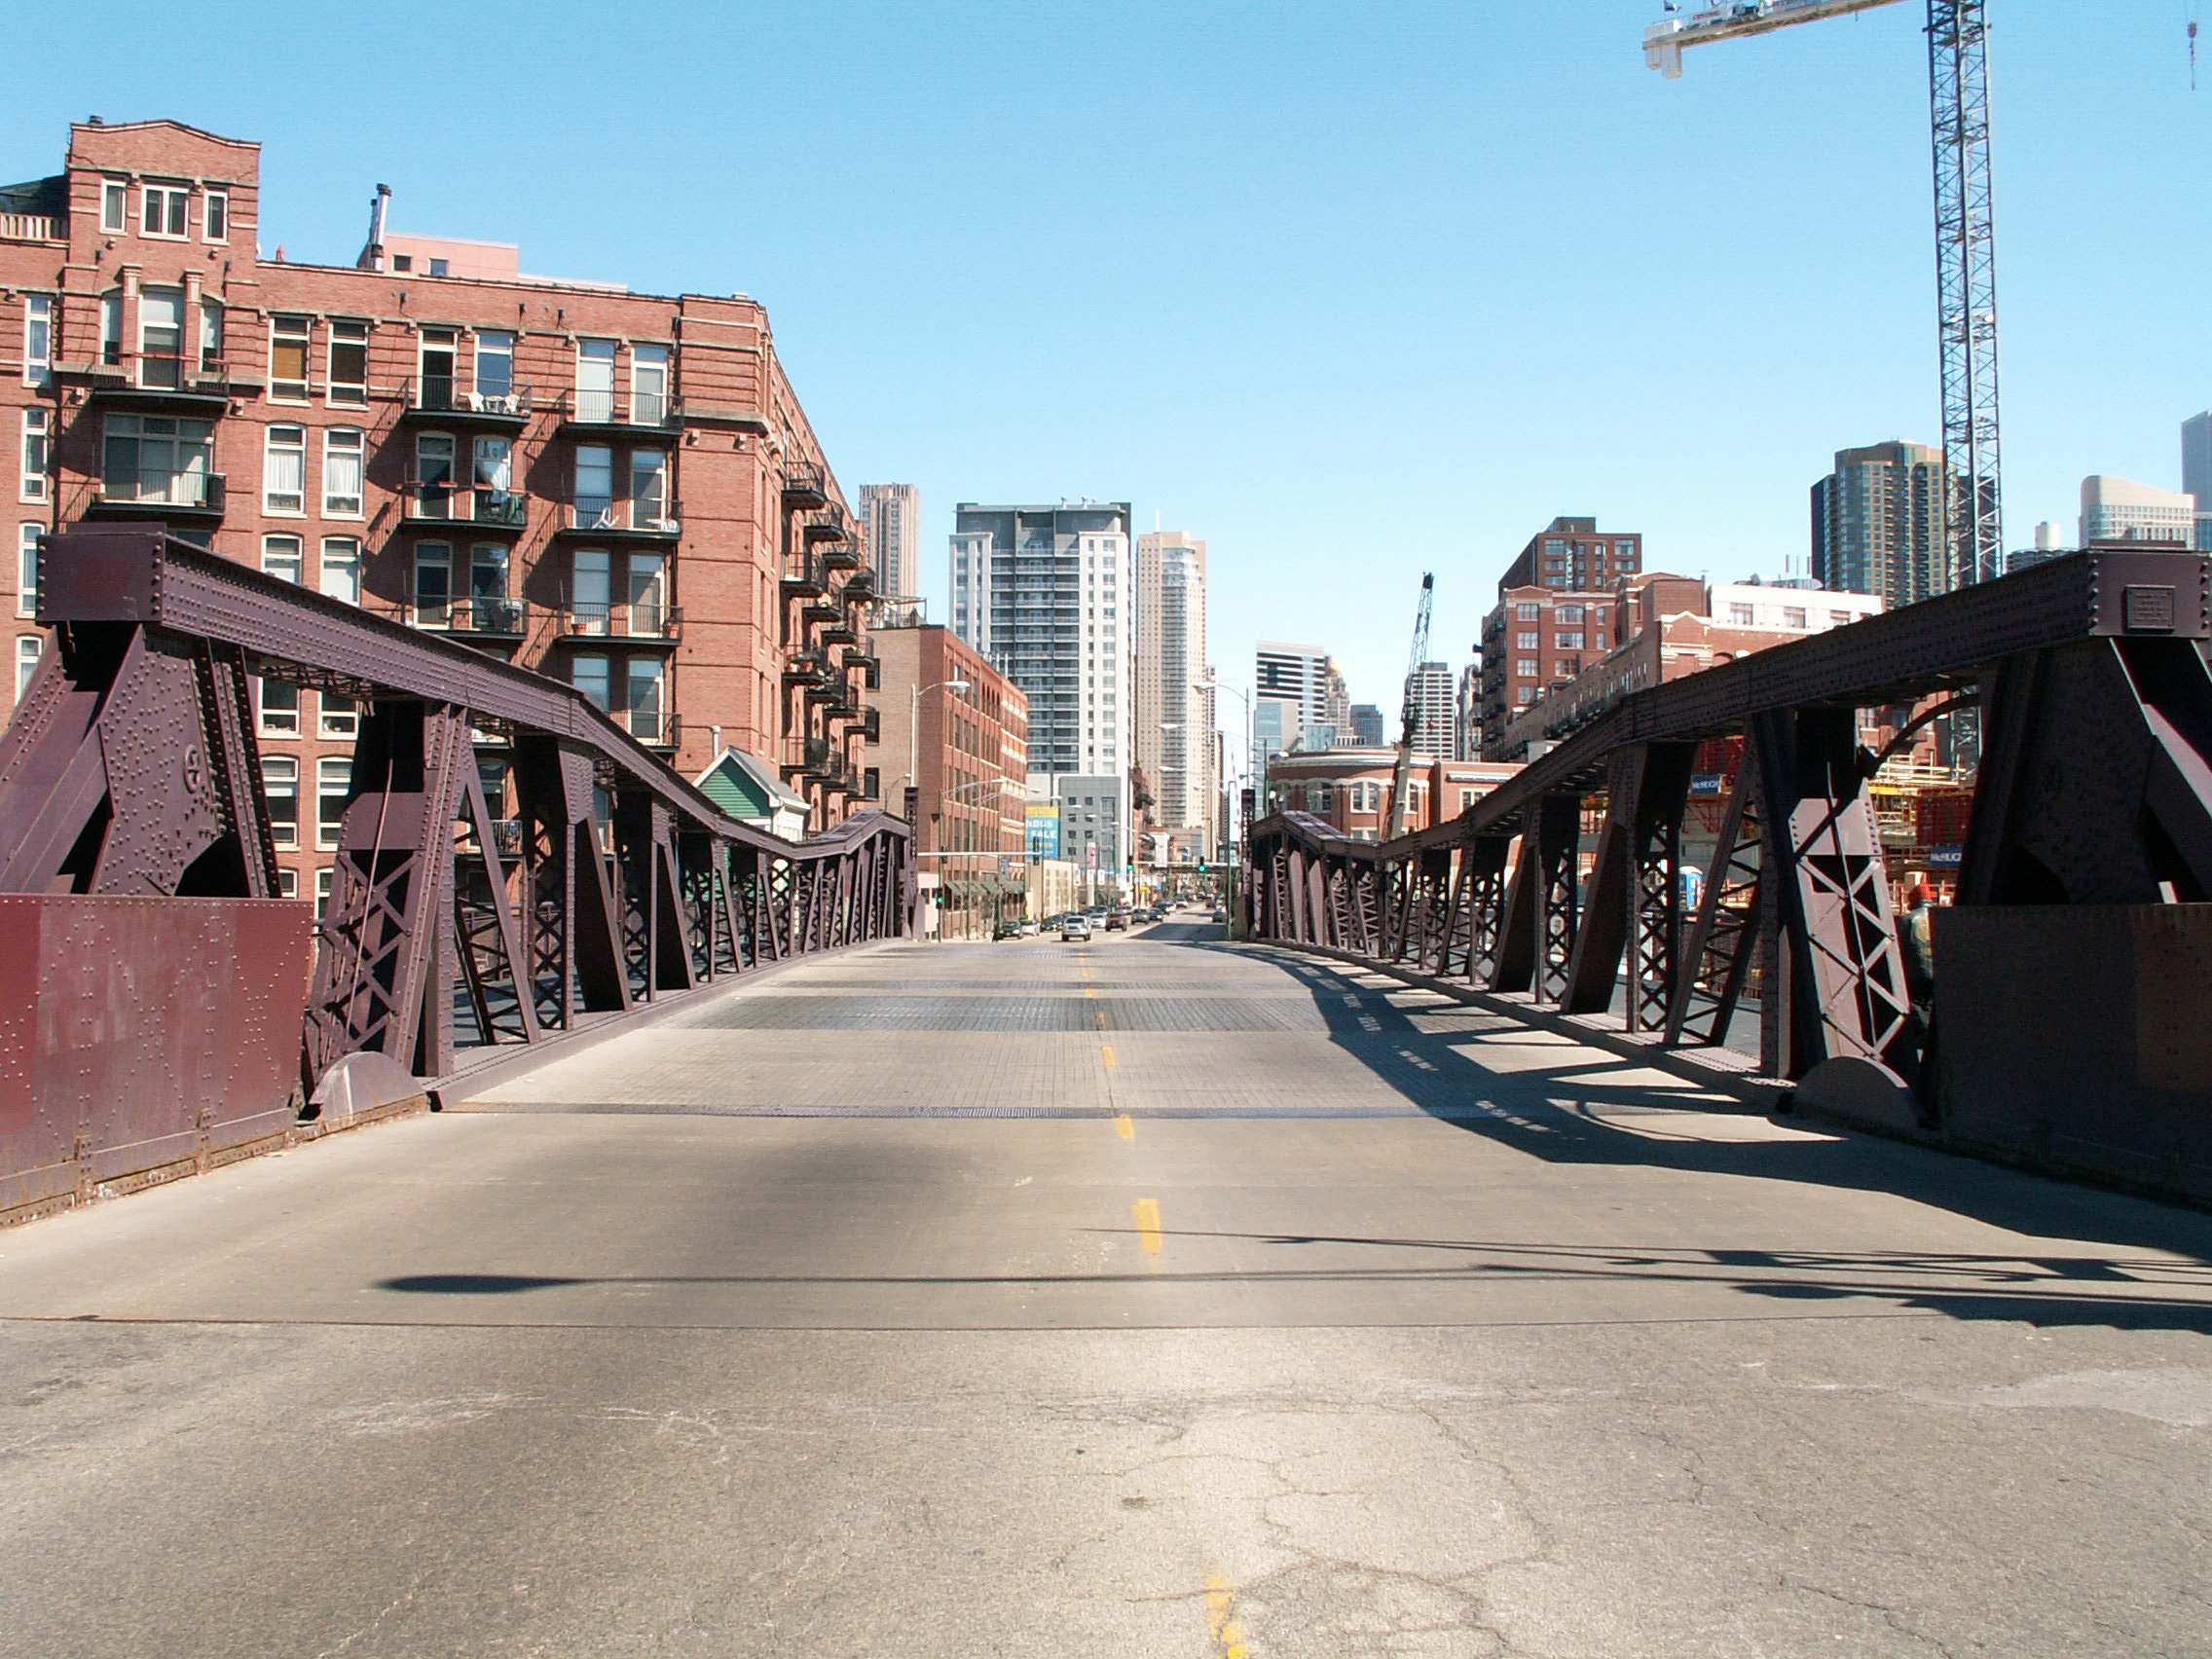
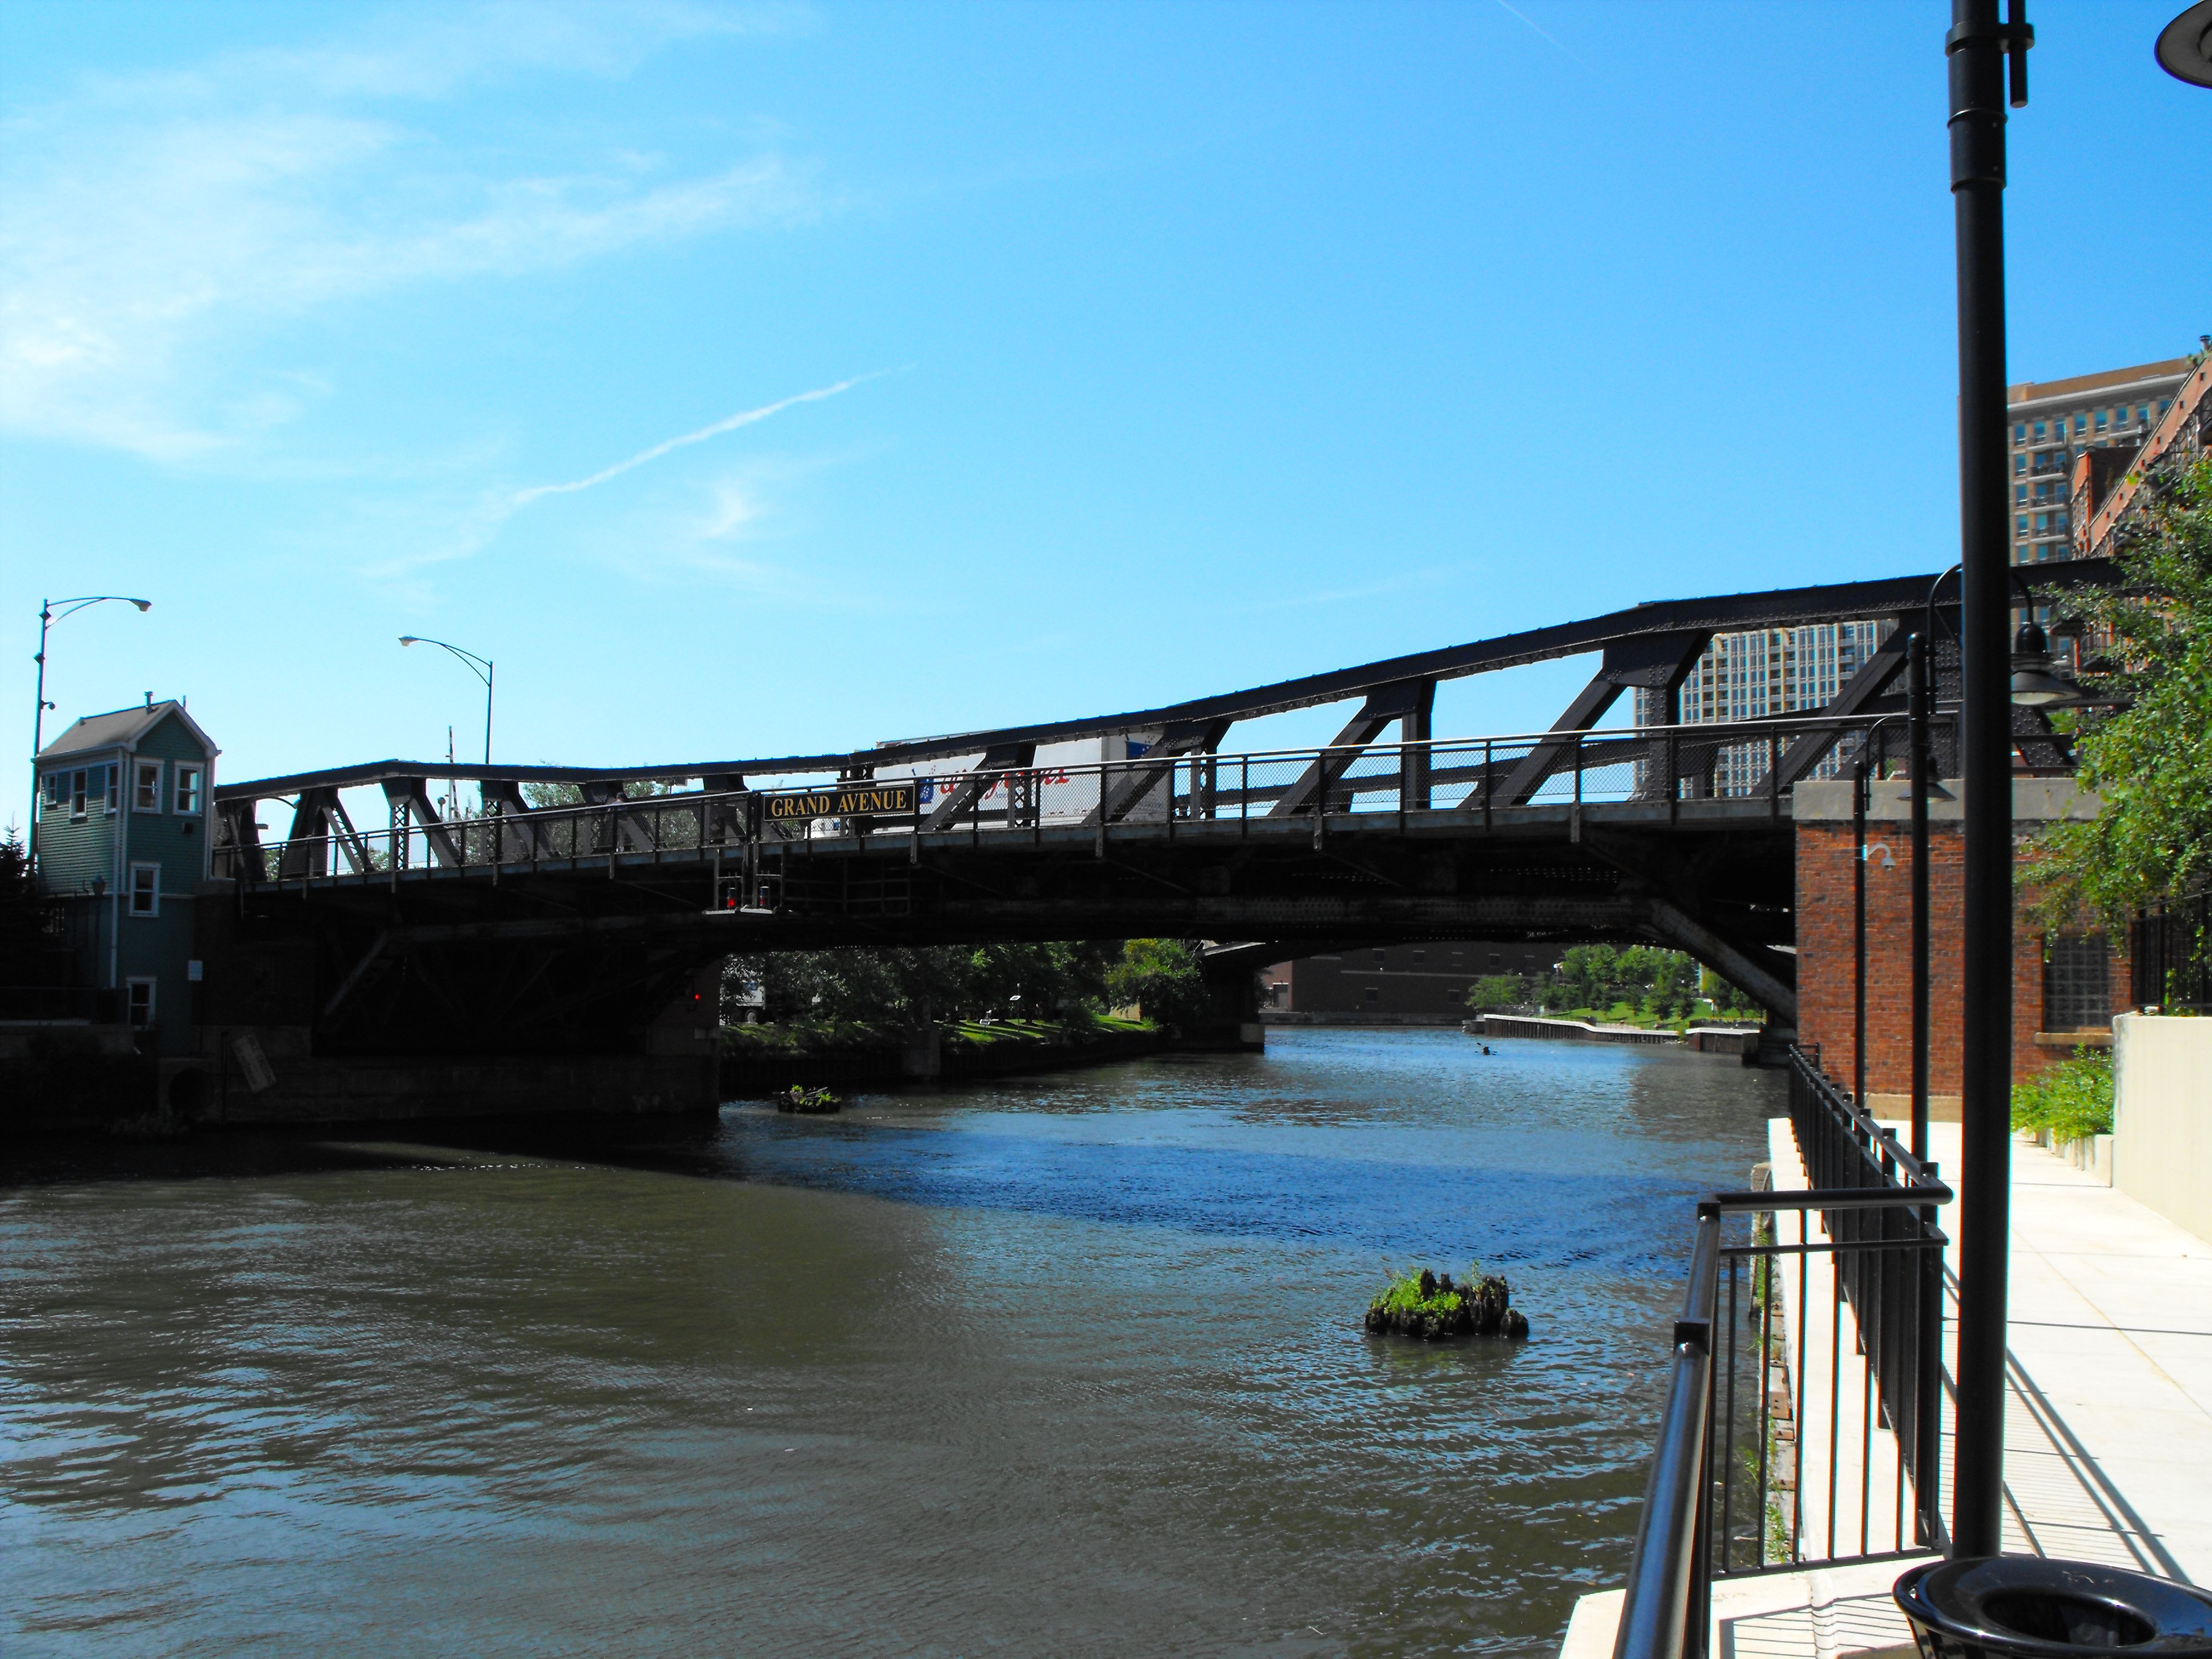
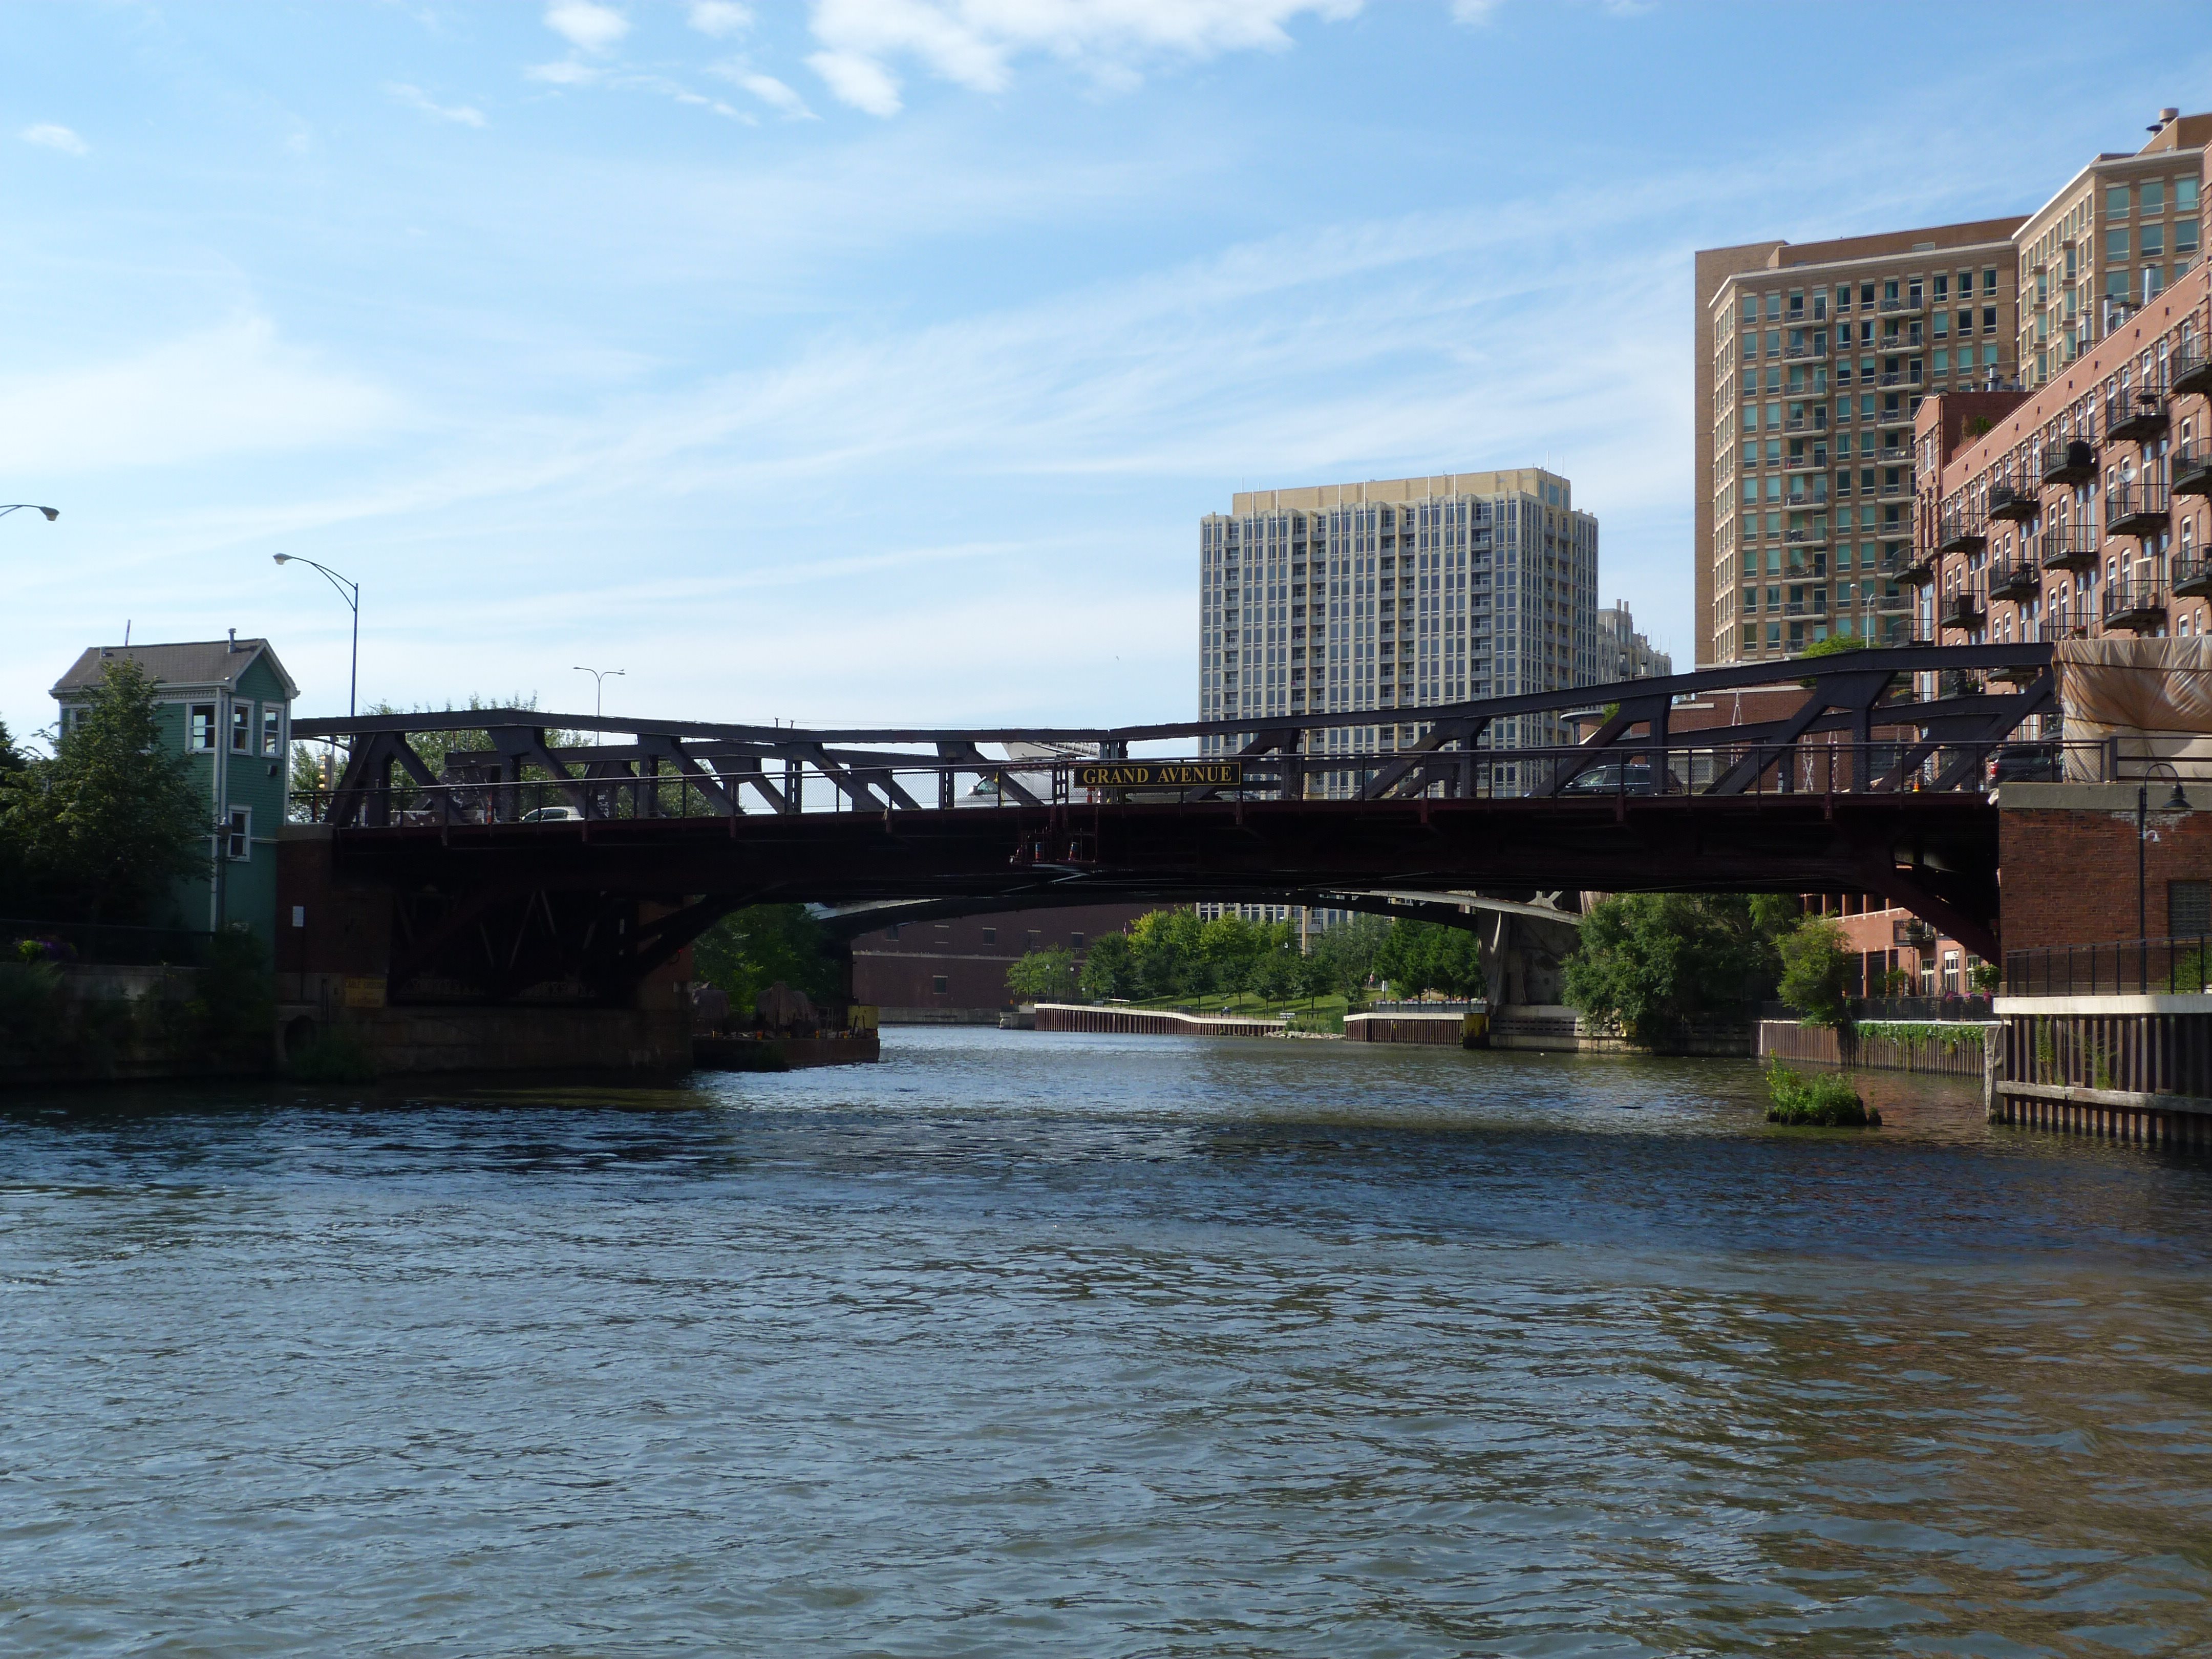
Approach to bridge.
![]()


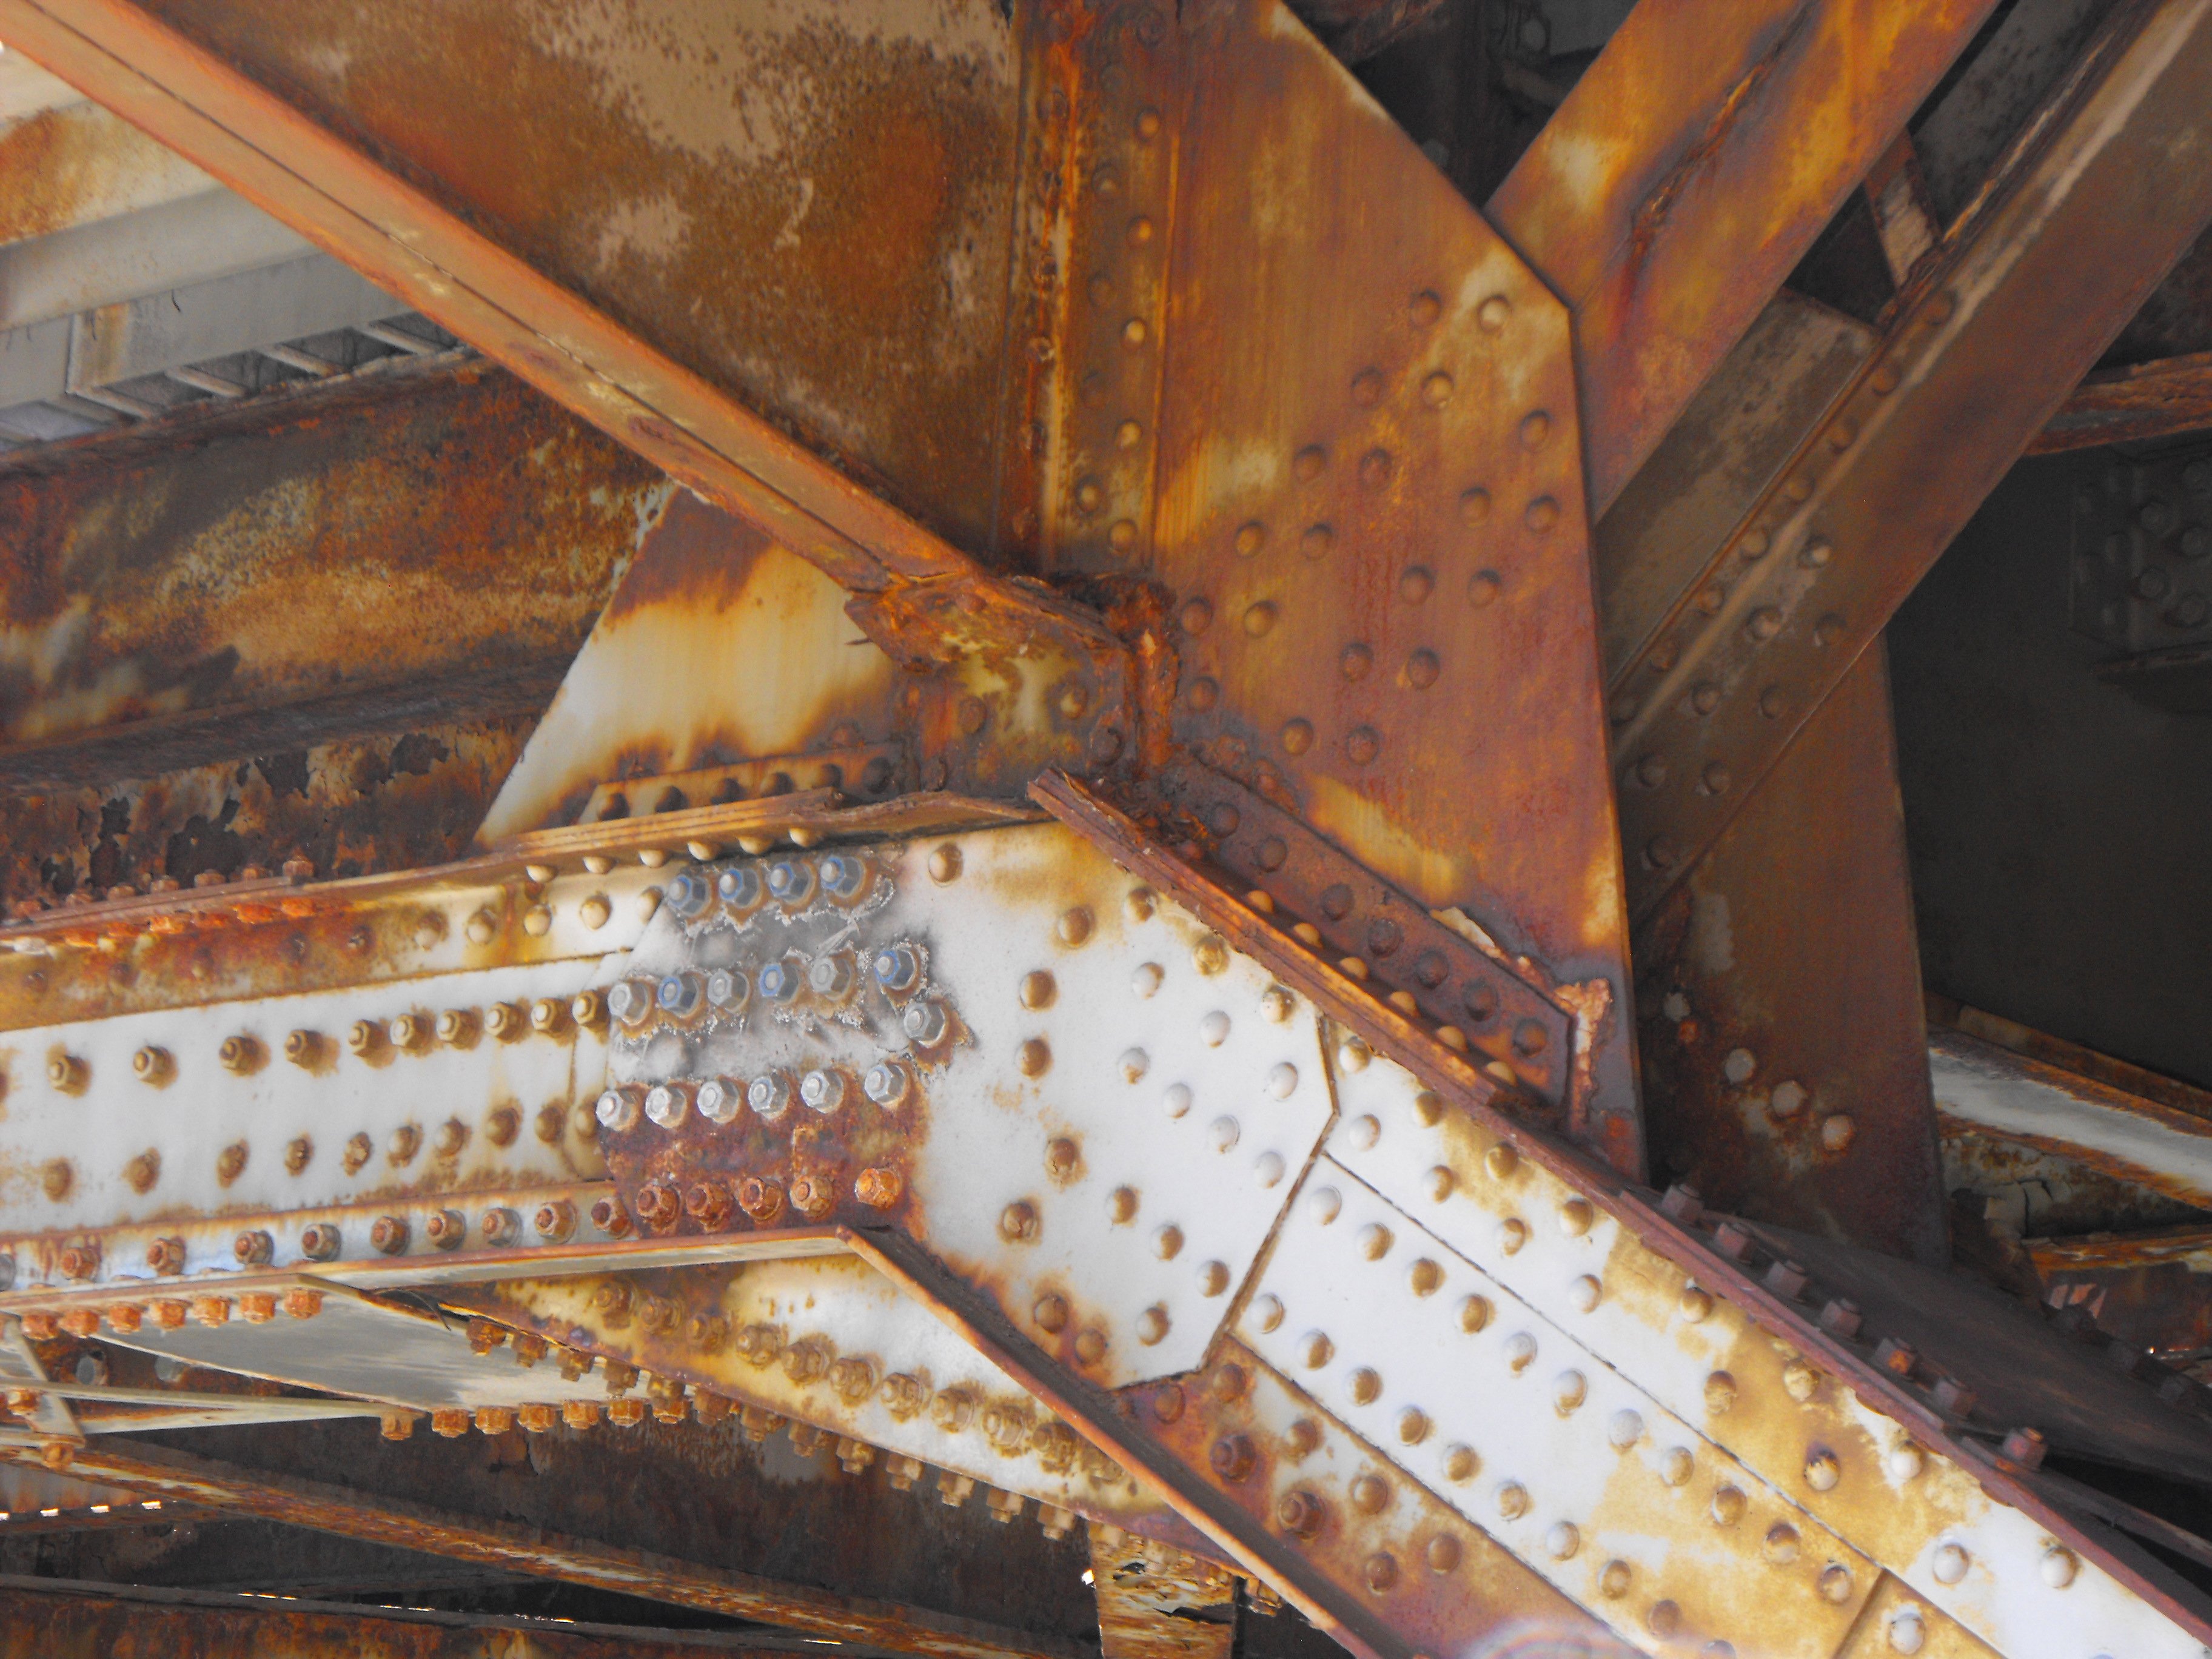
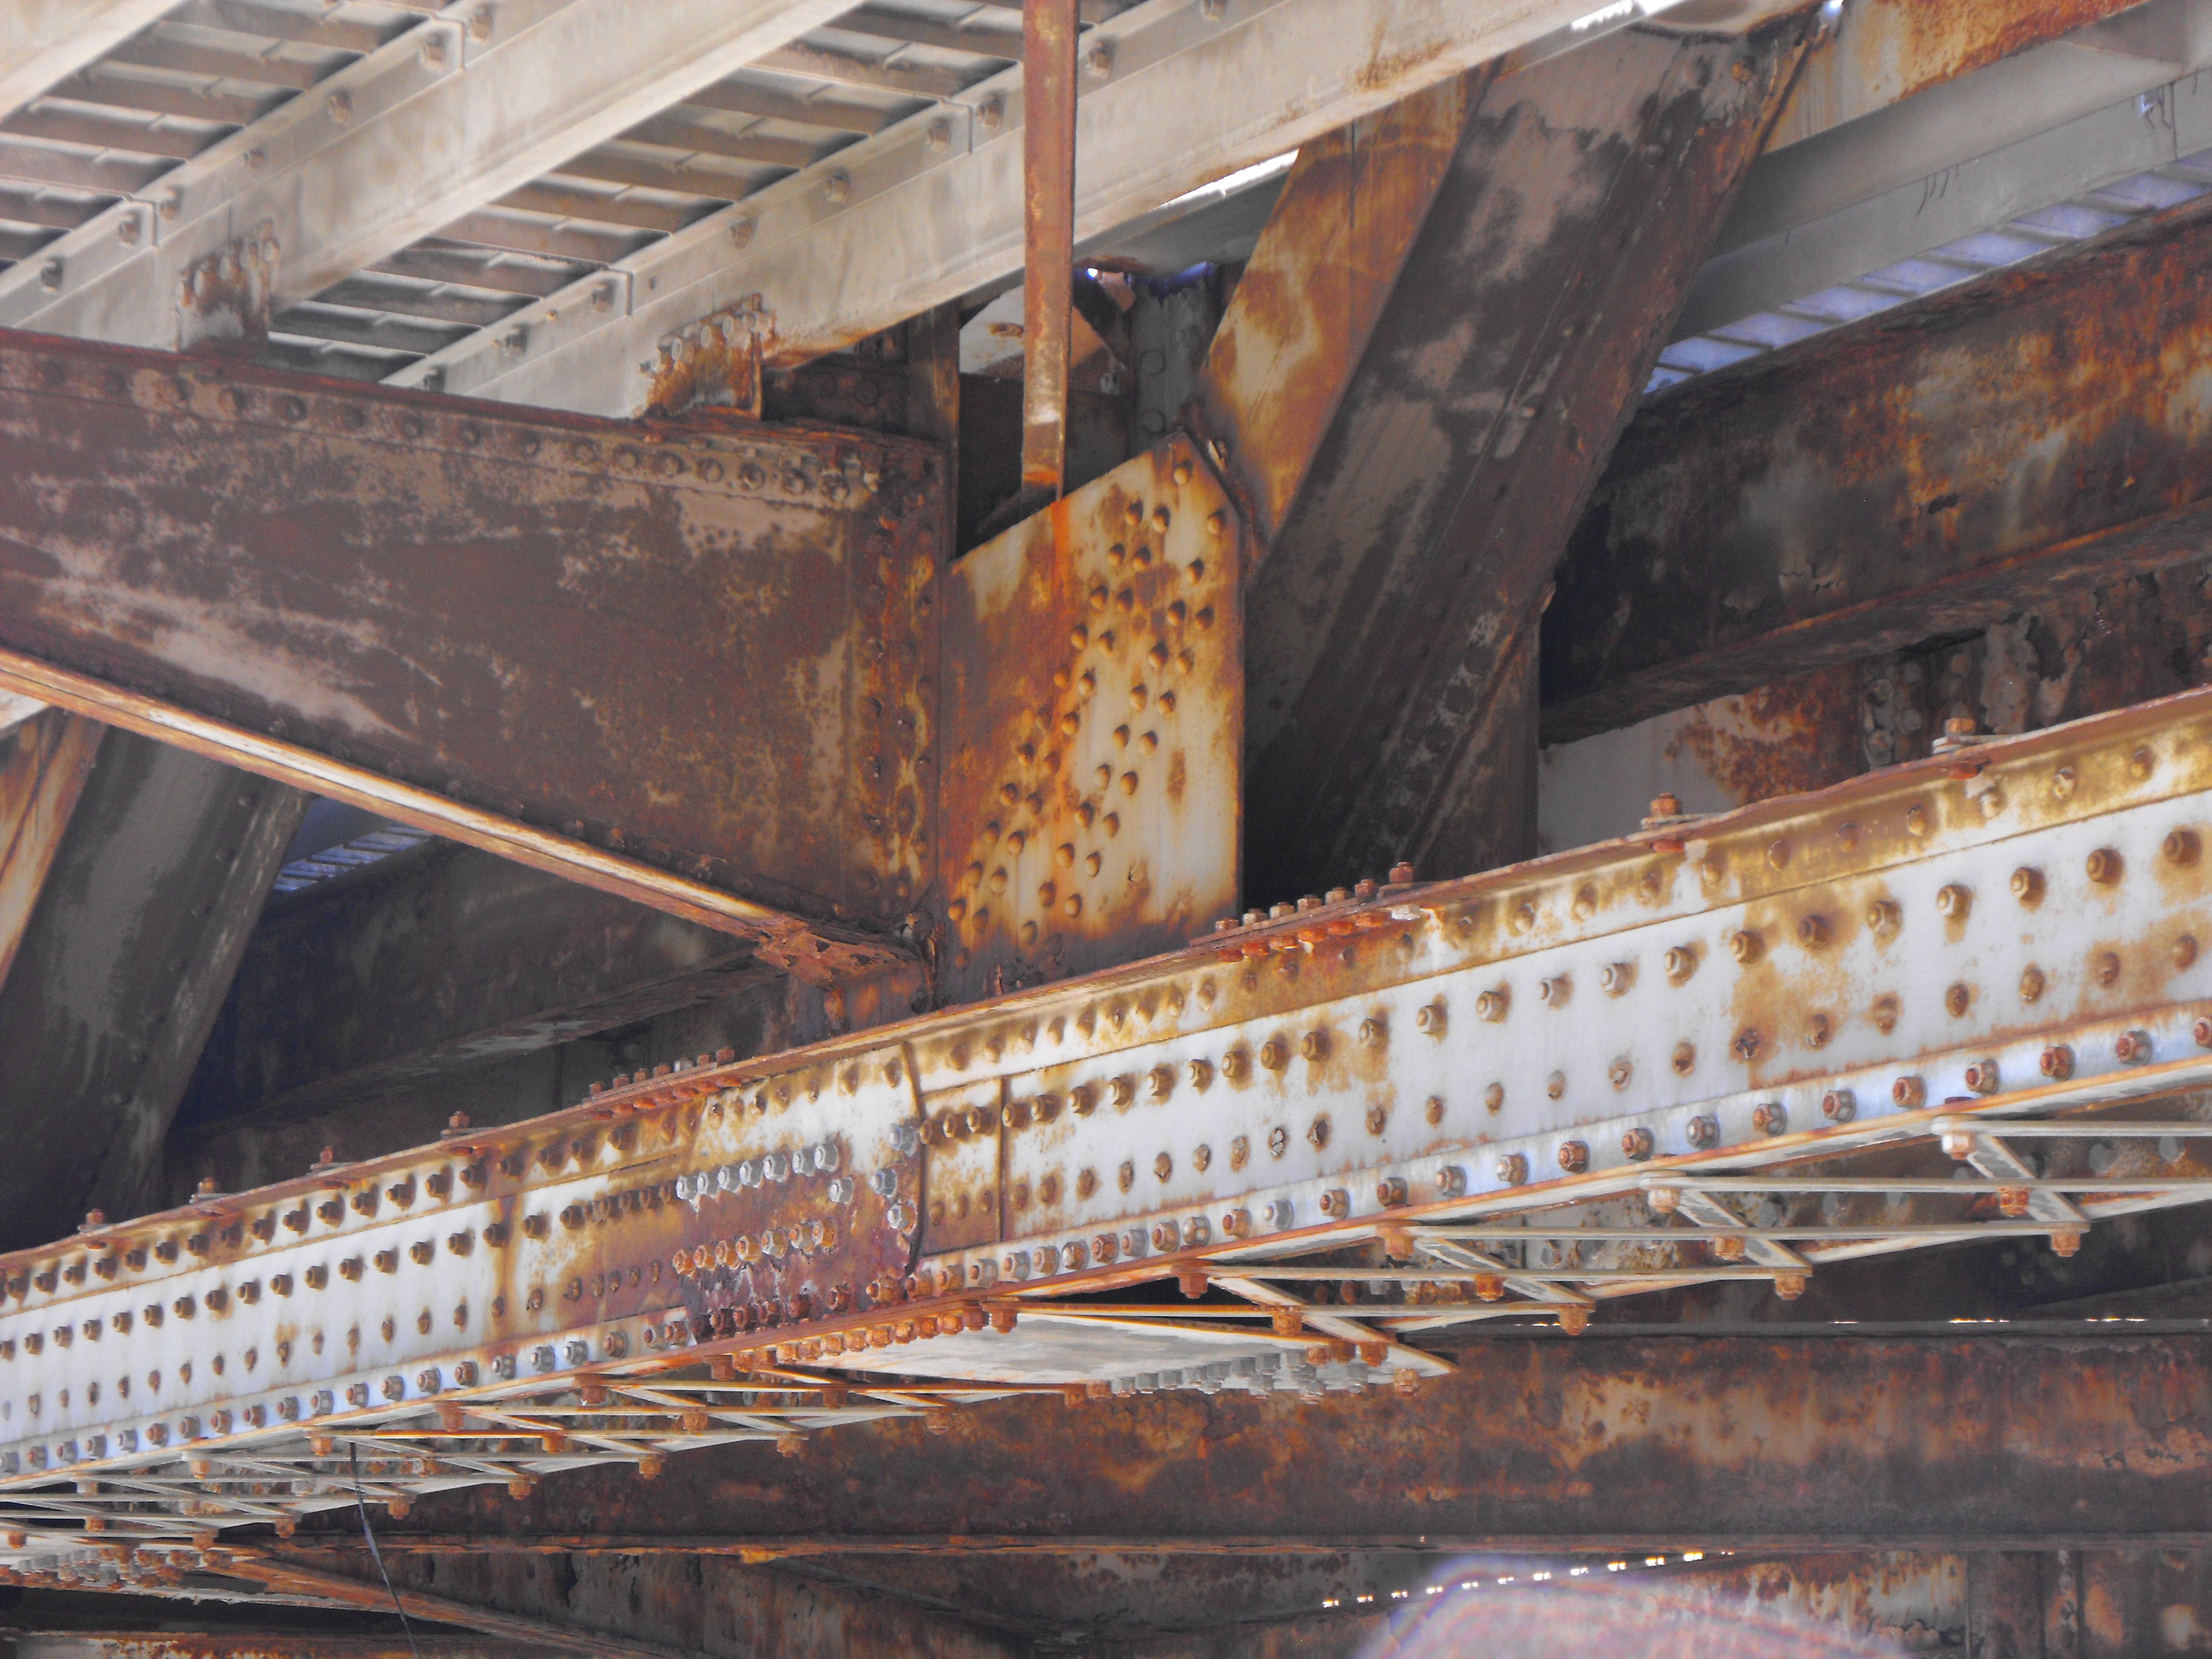
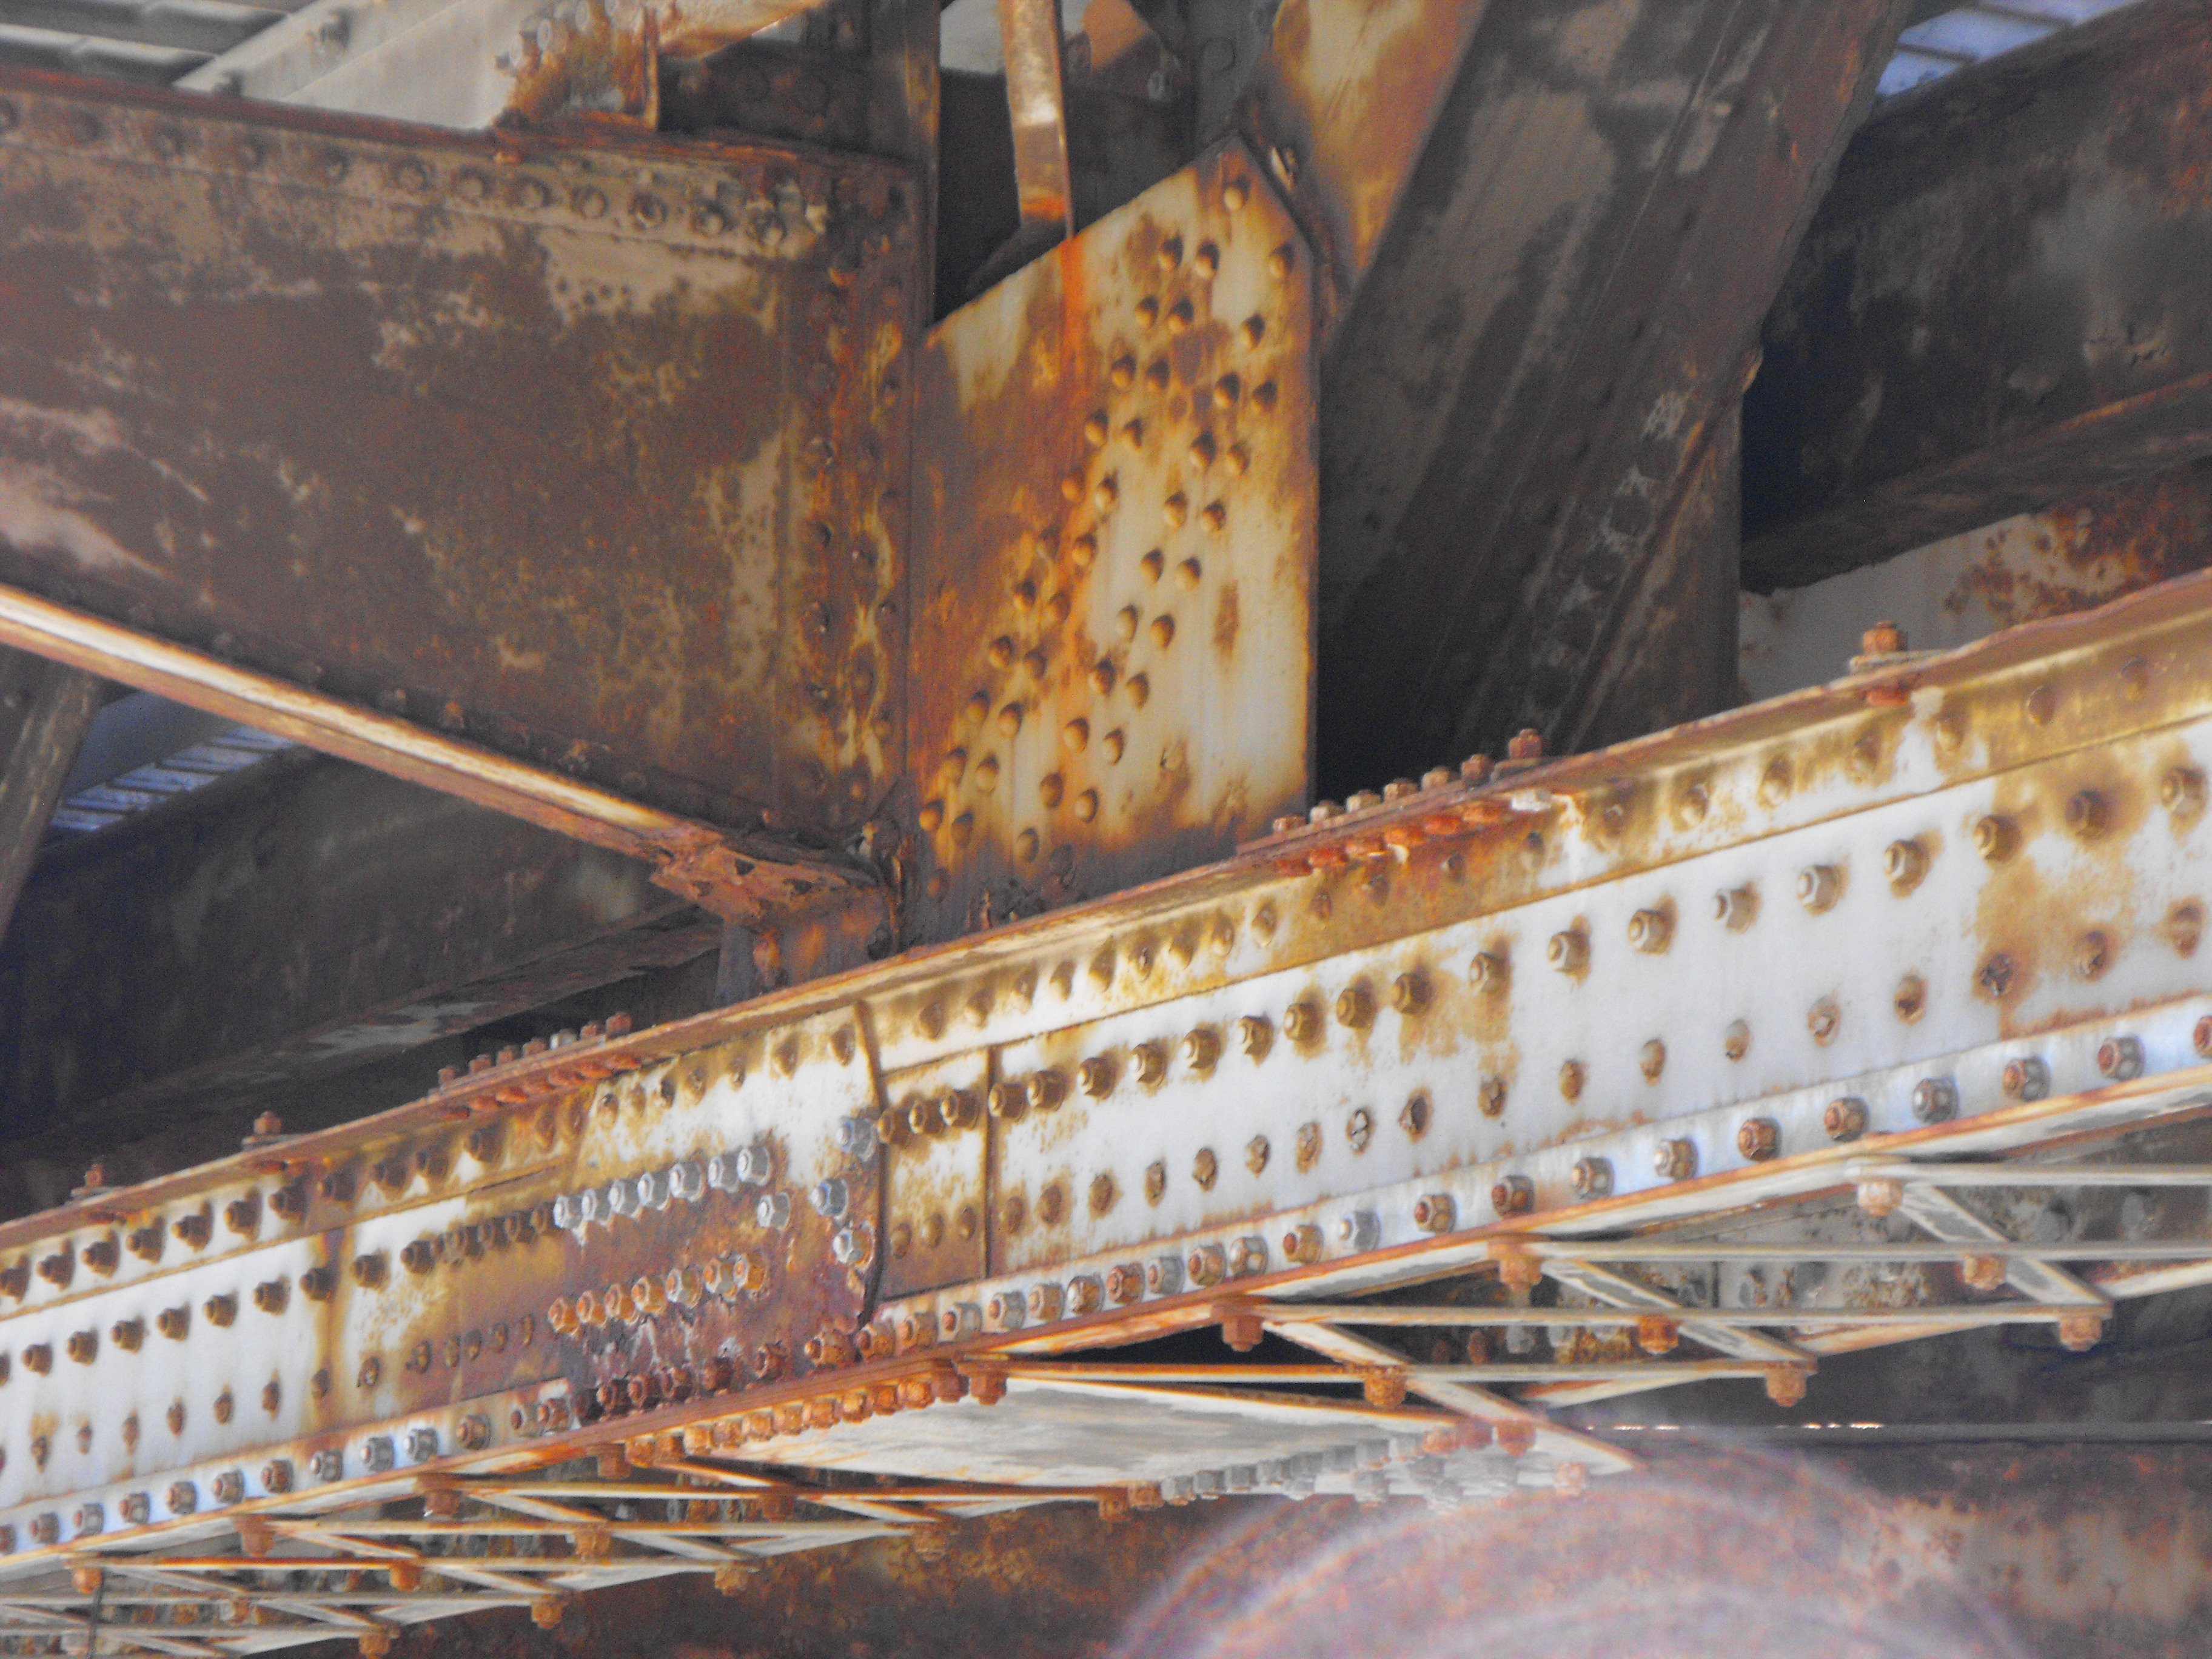
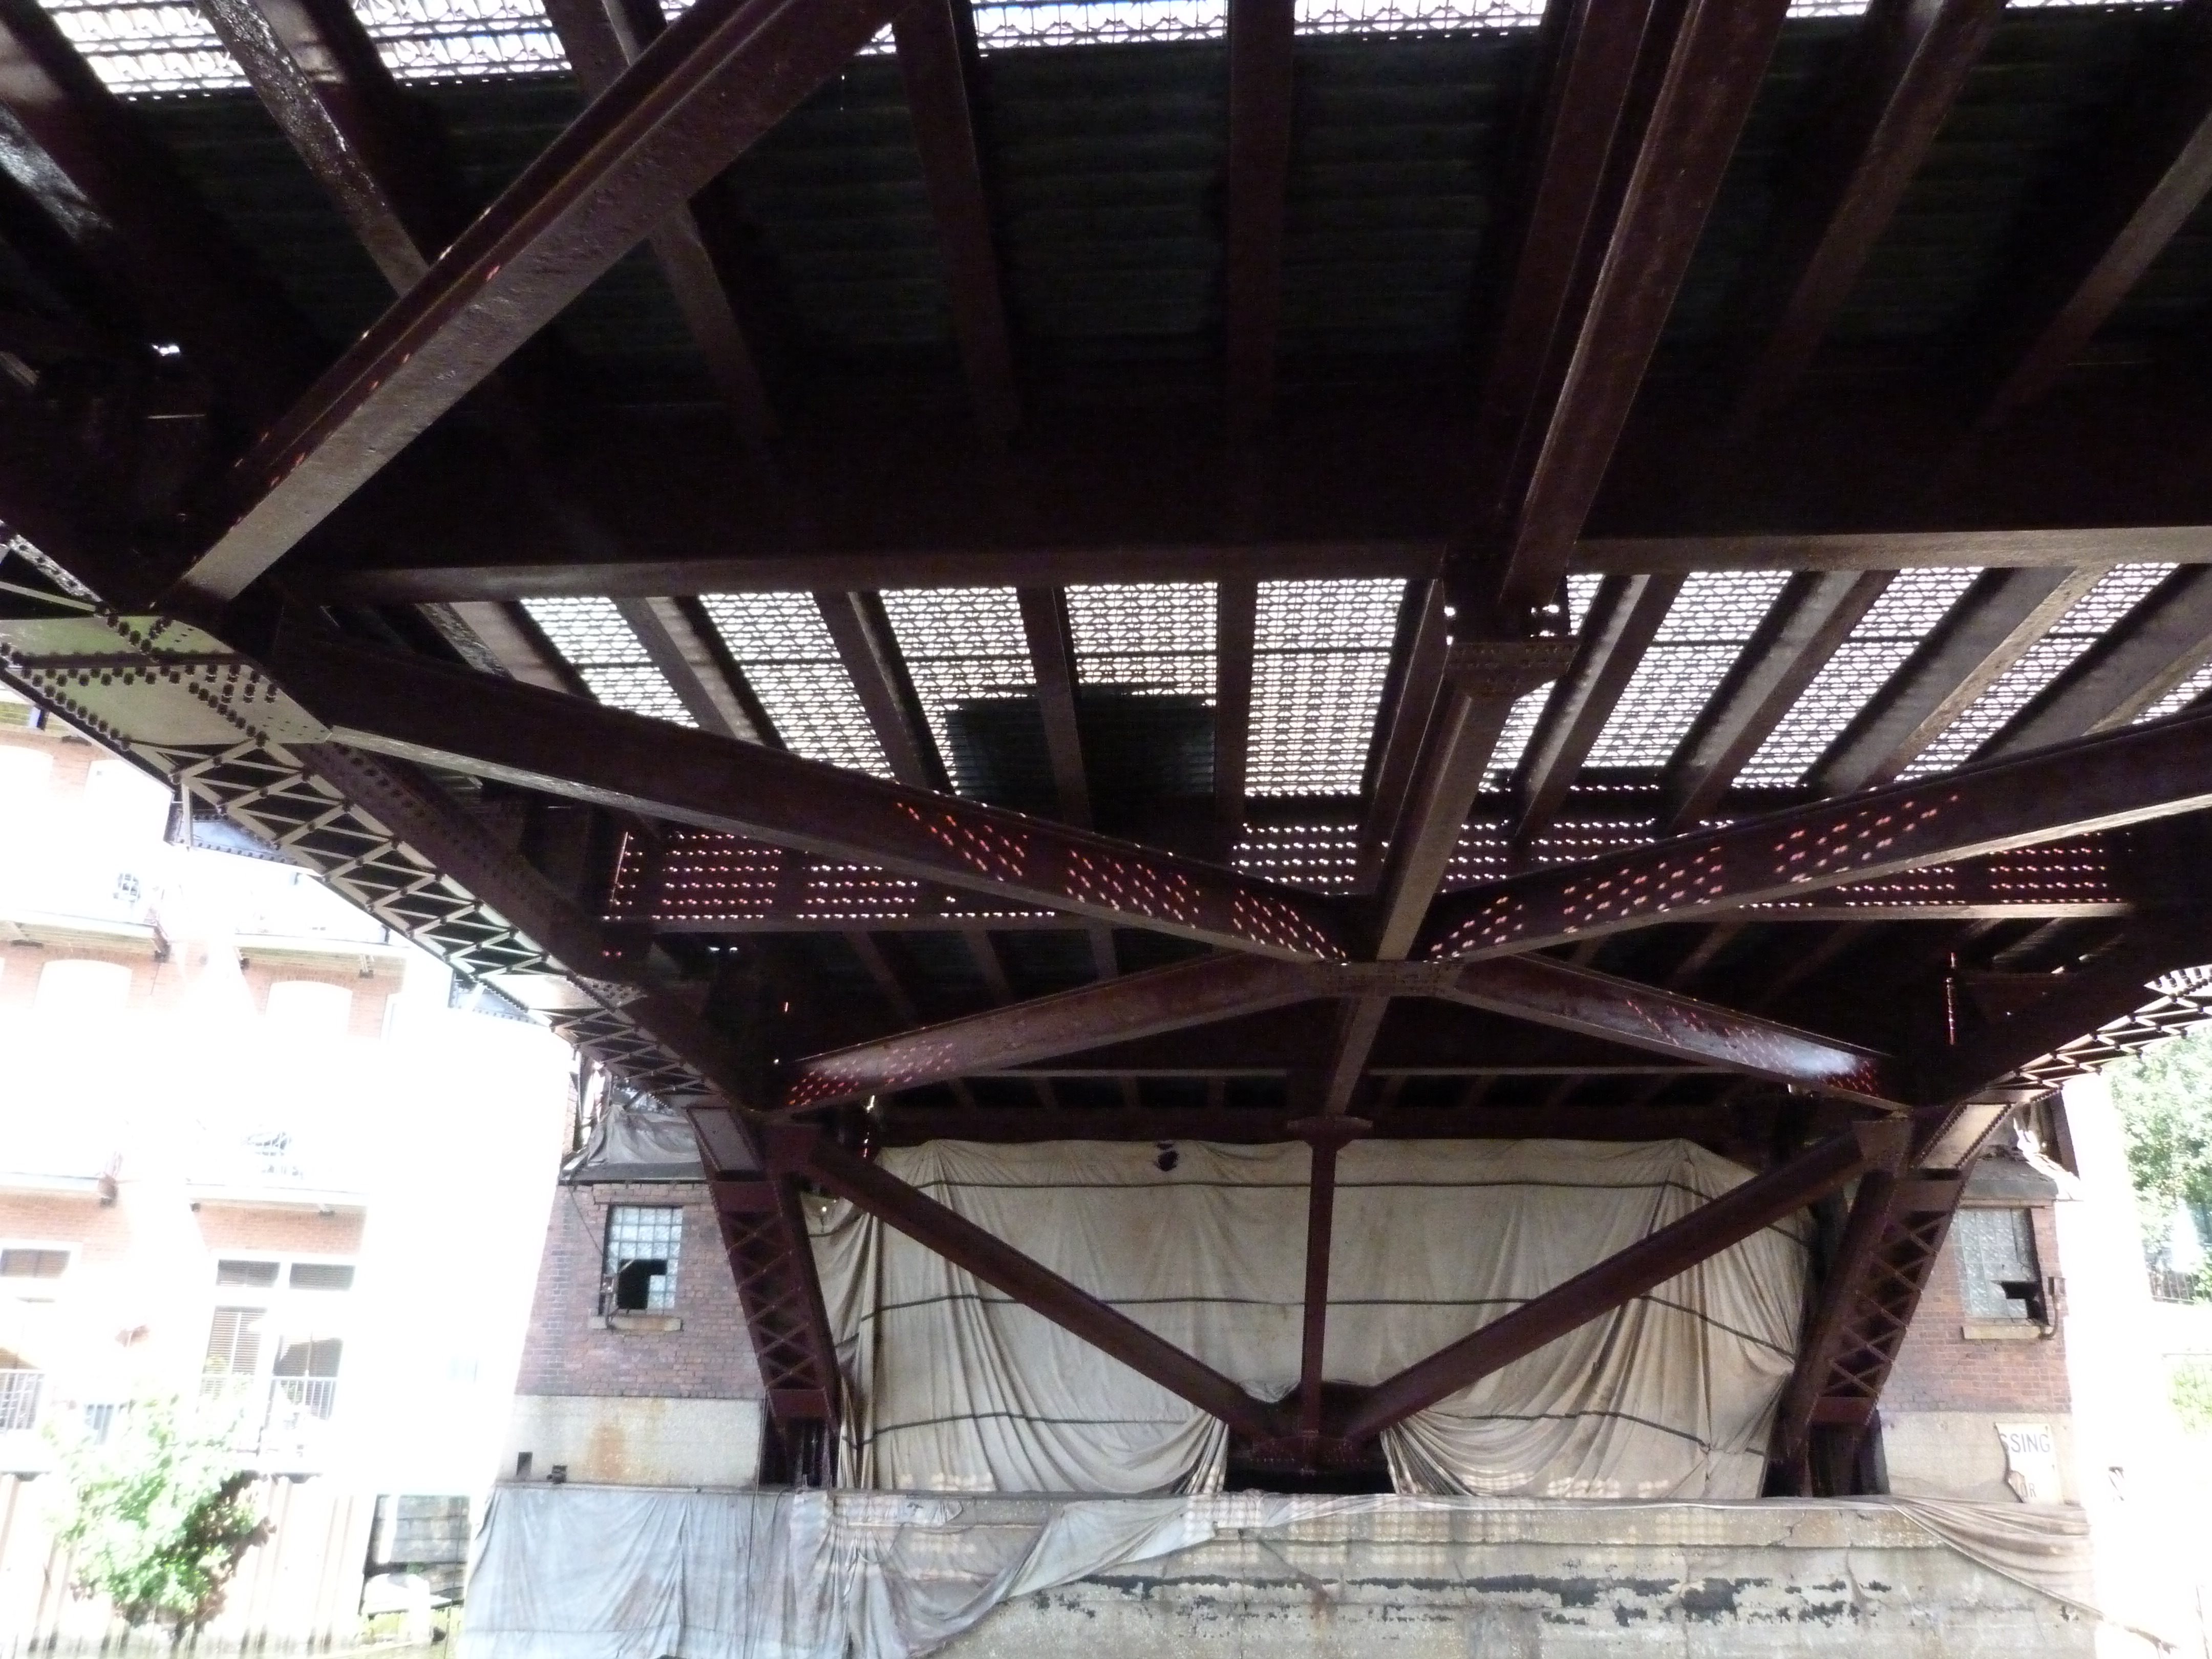
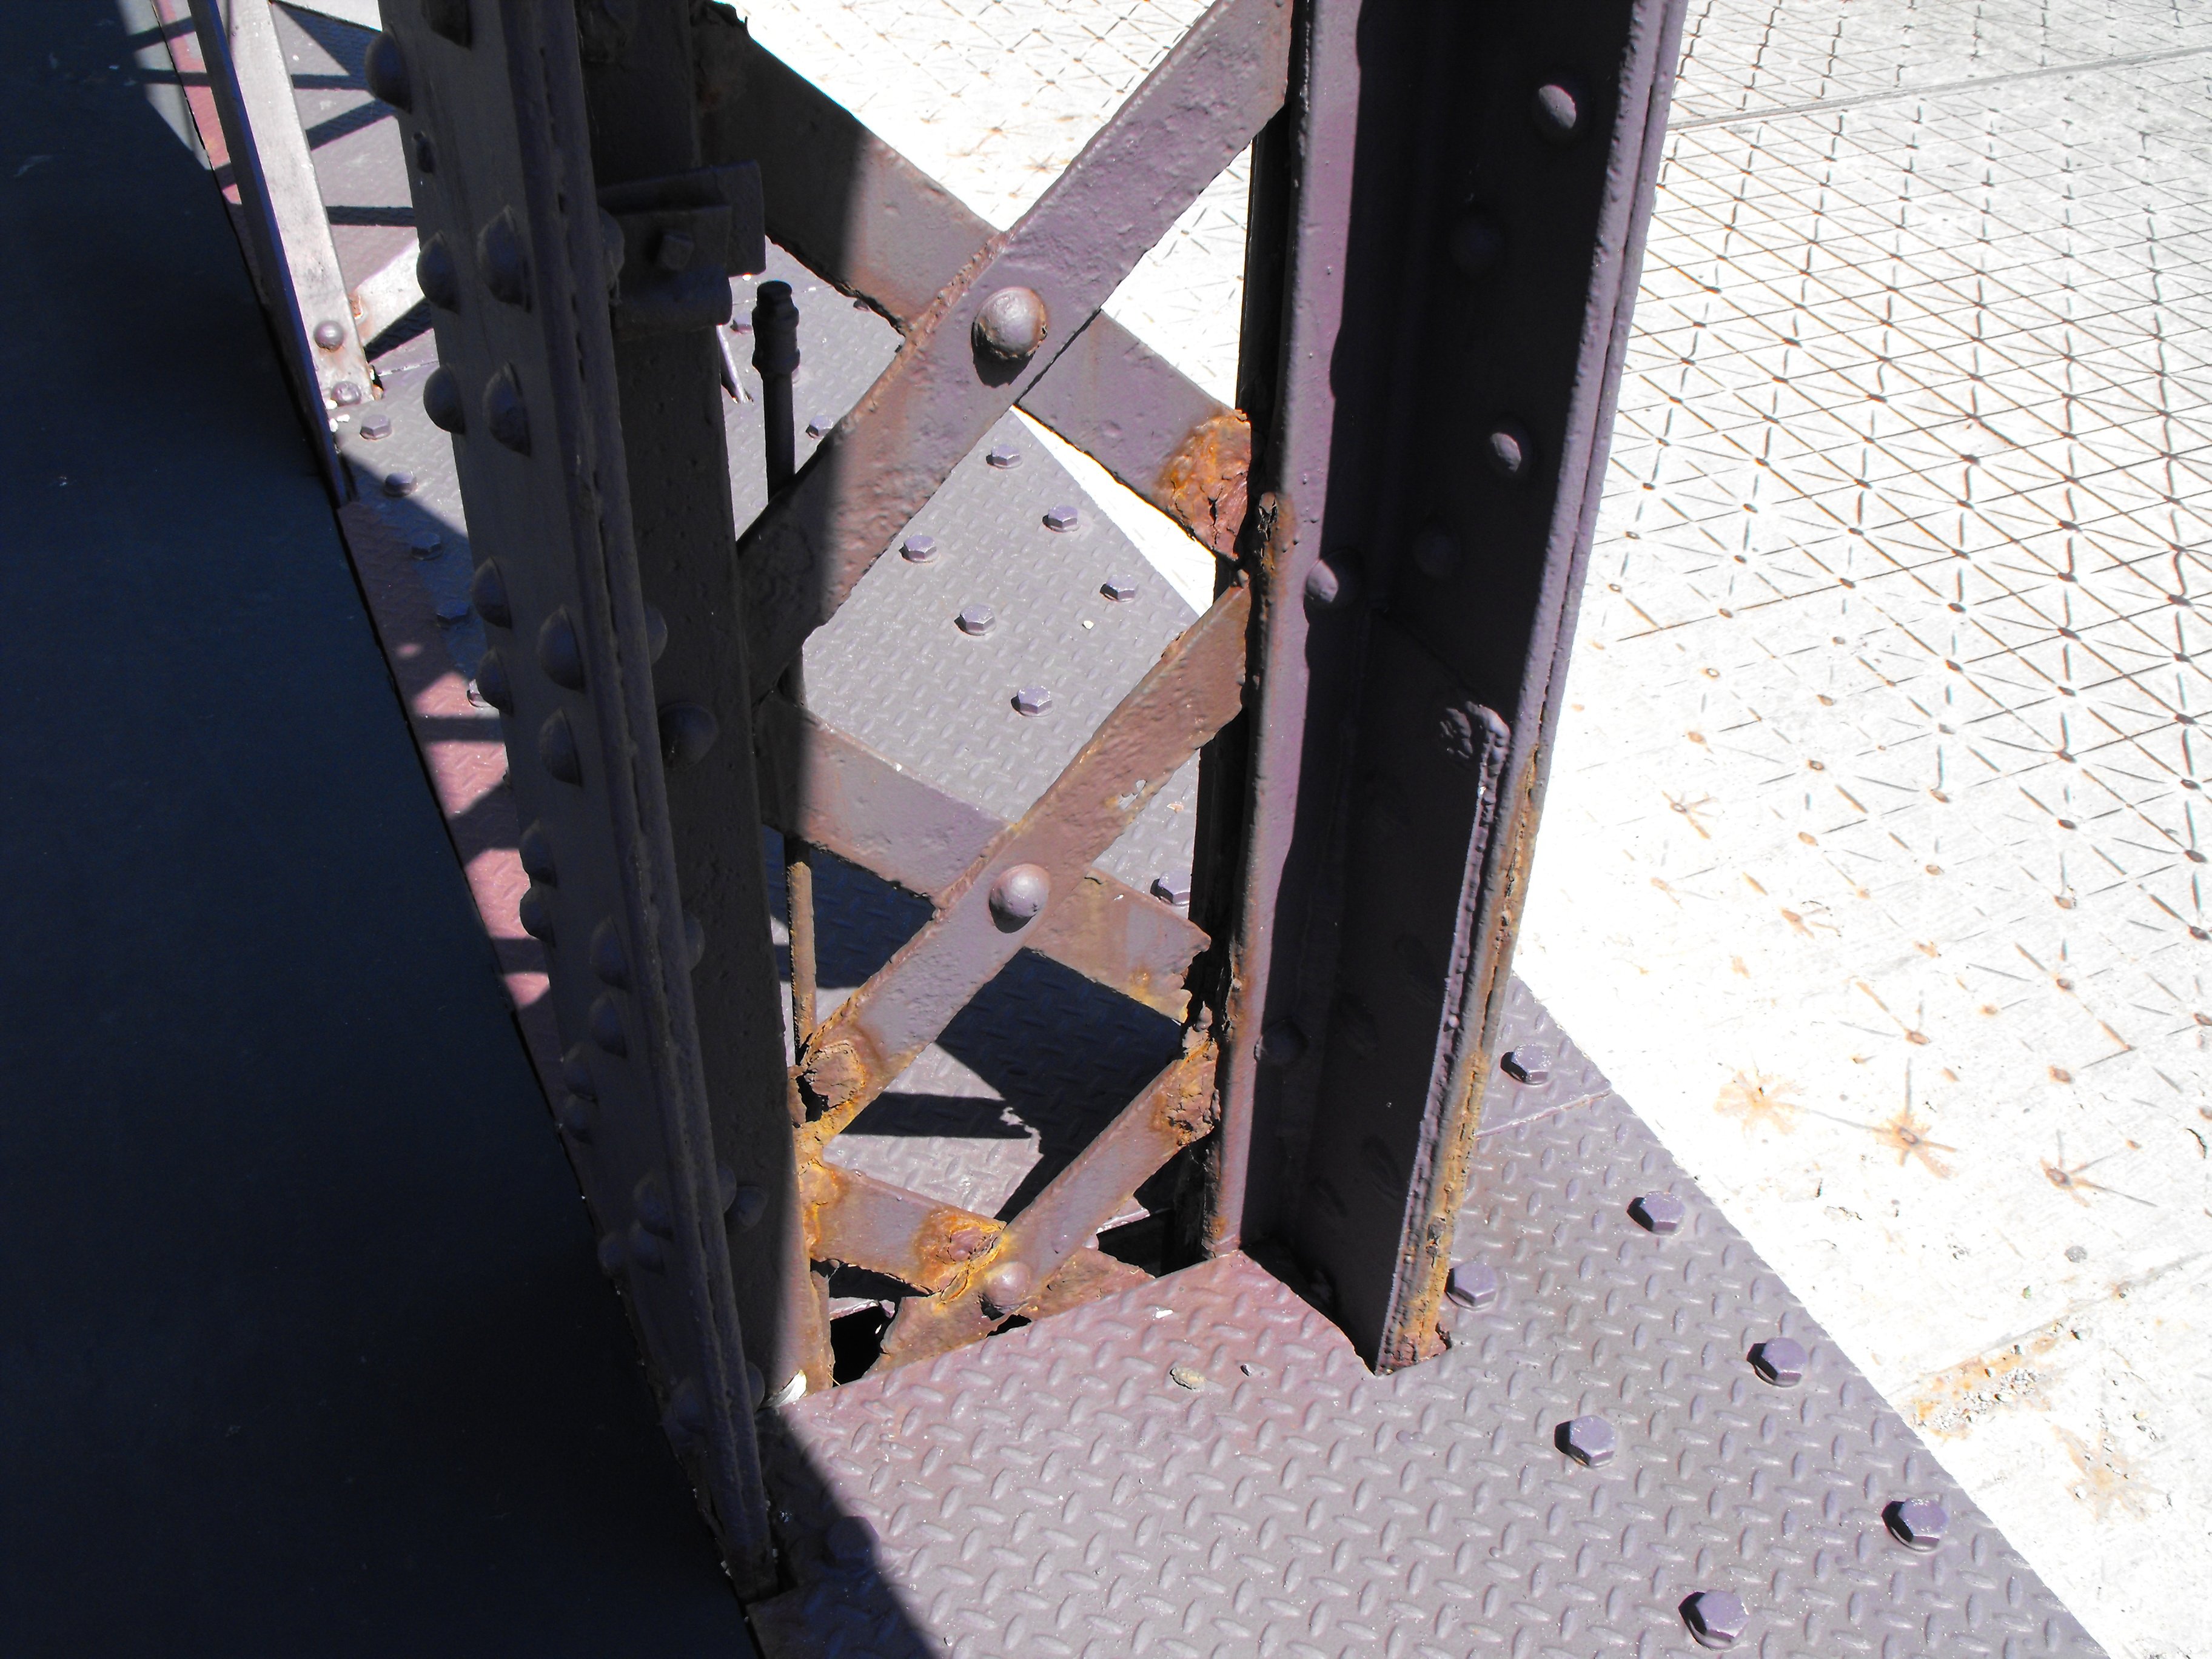
Bottom chord and views under bridge.
![]()

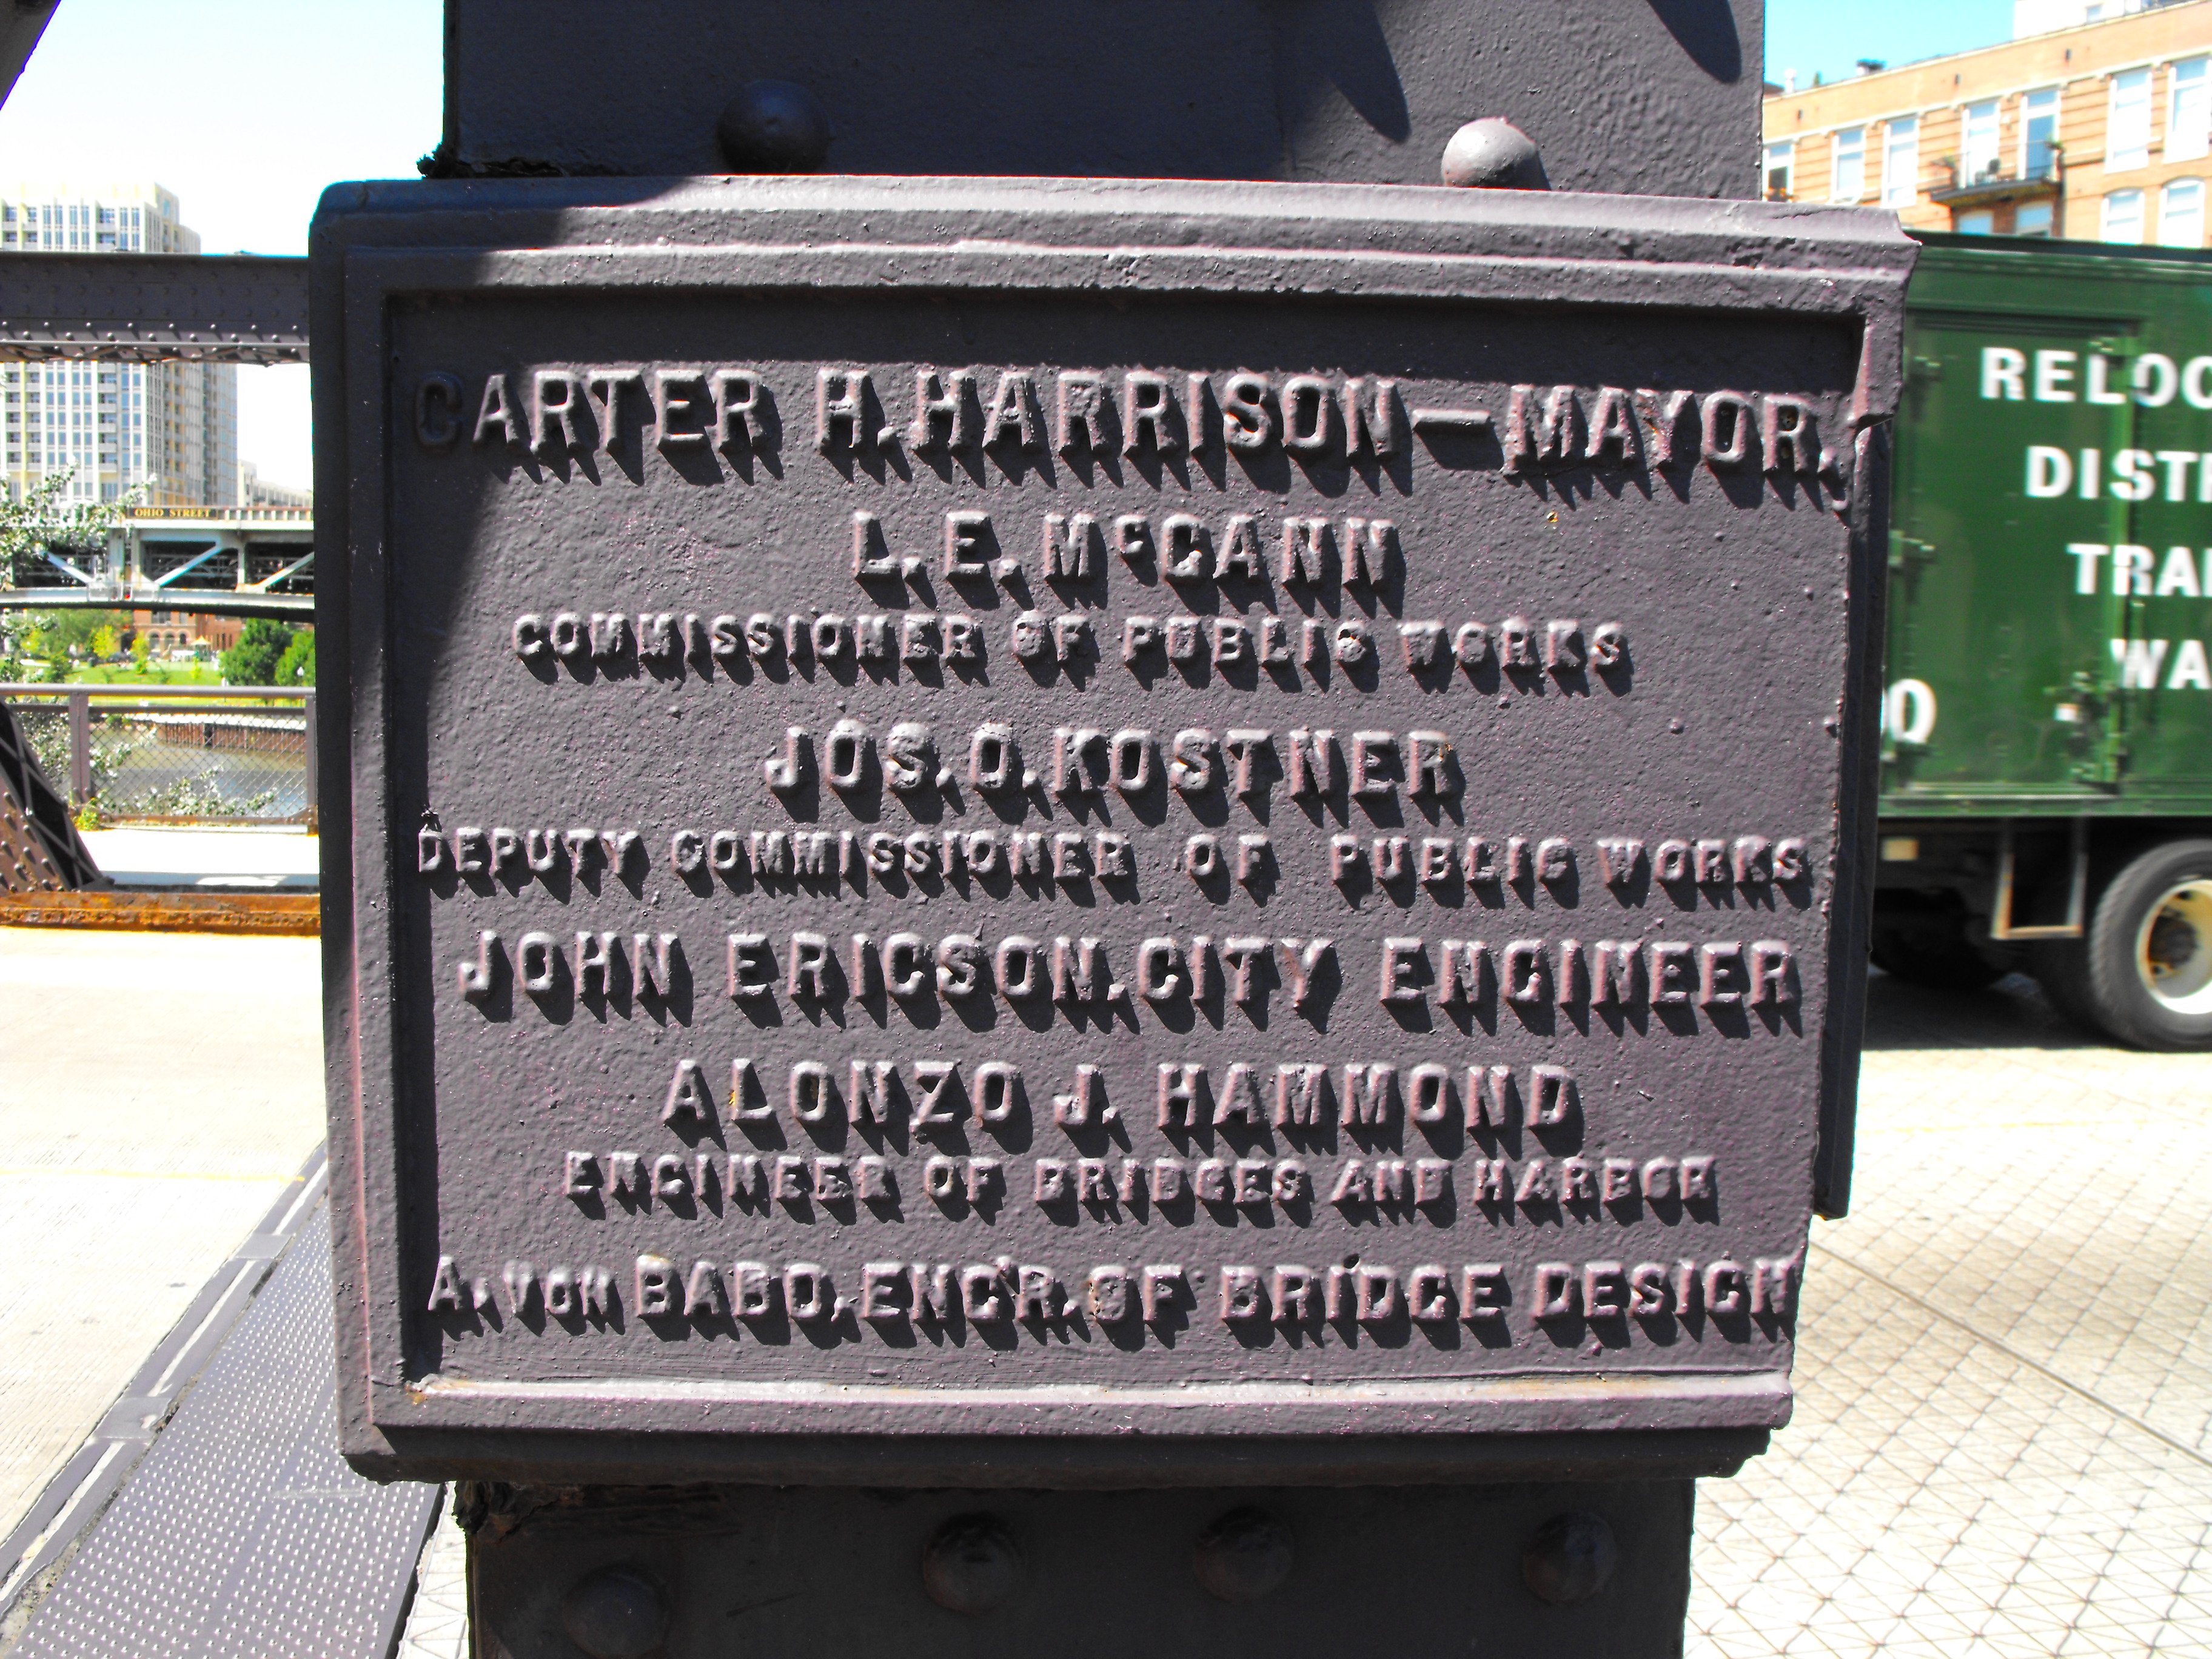

City plaque.
![]()

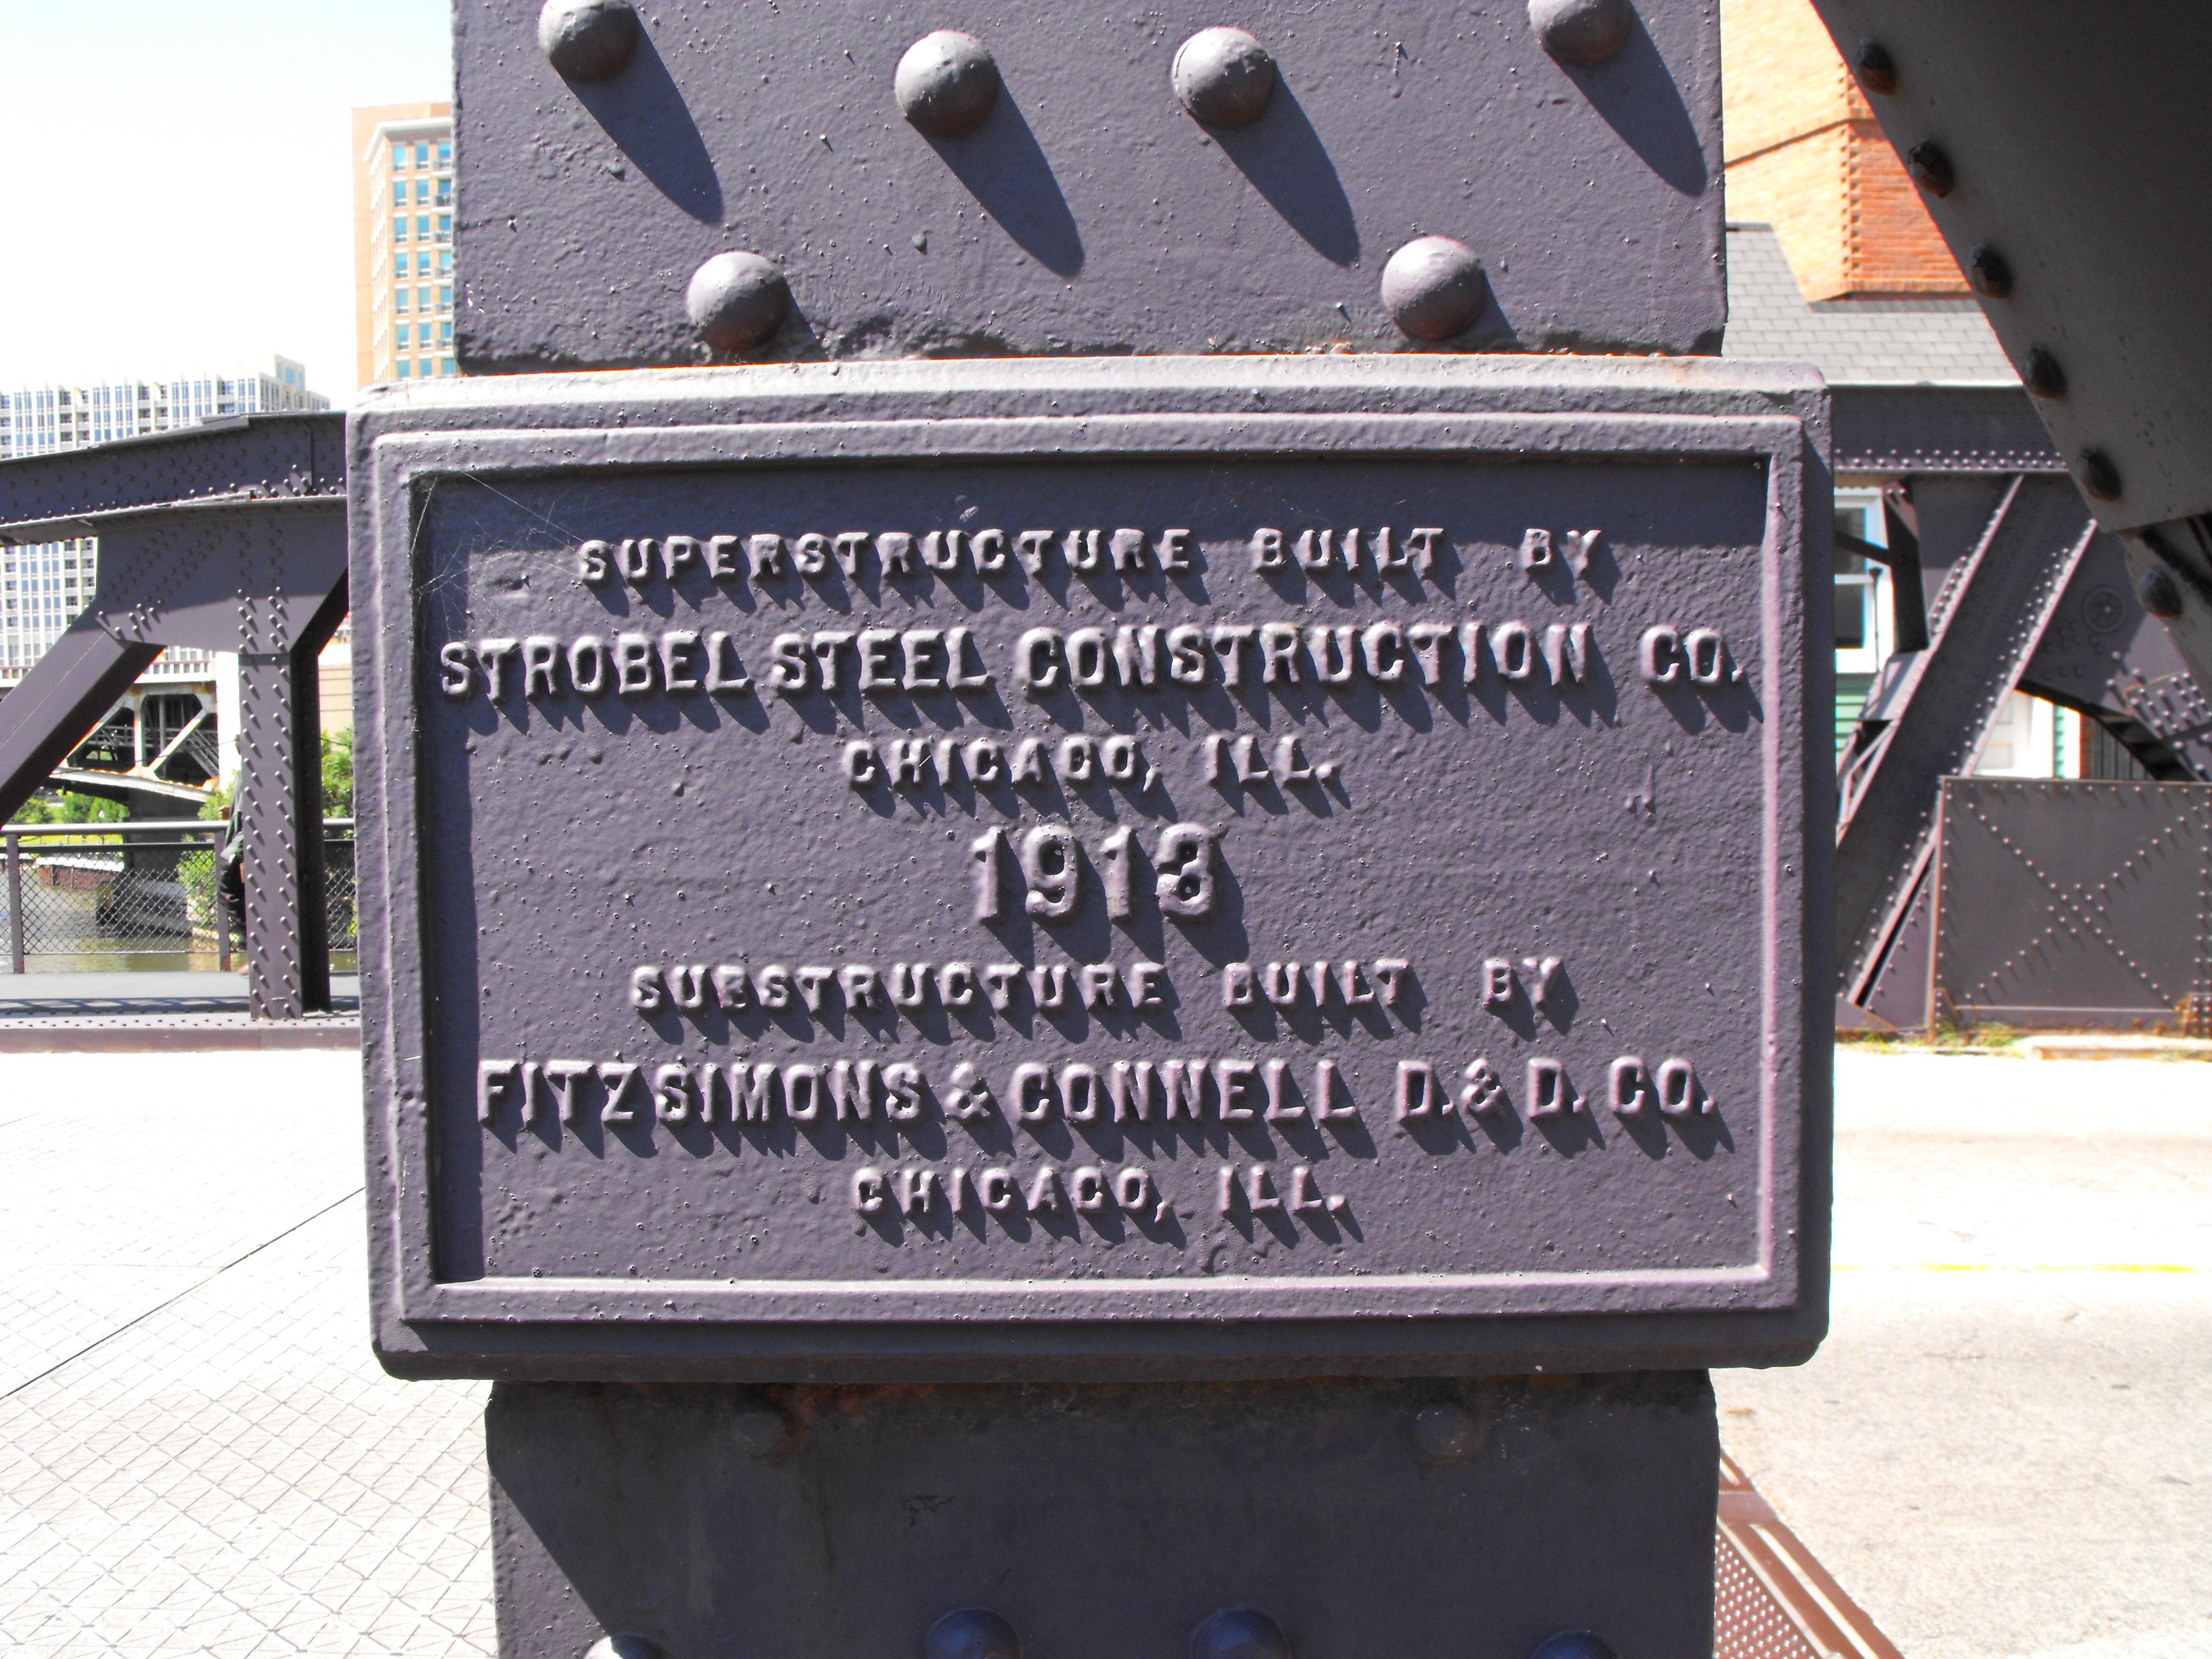
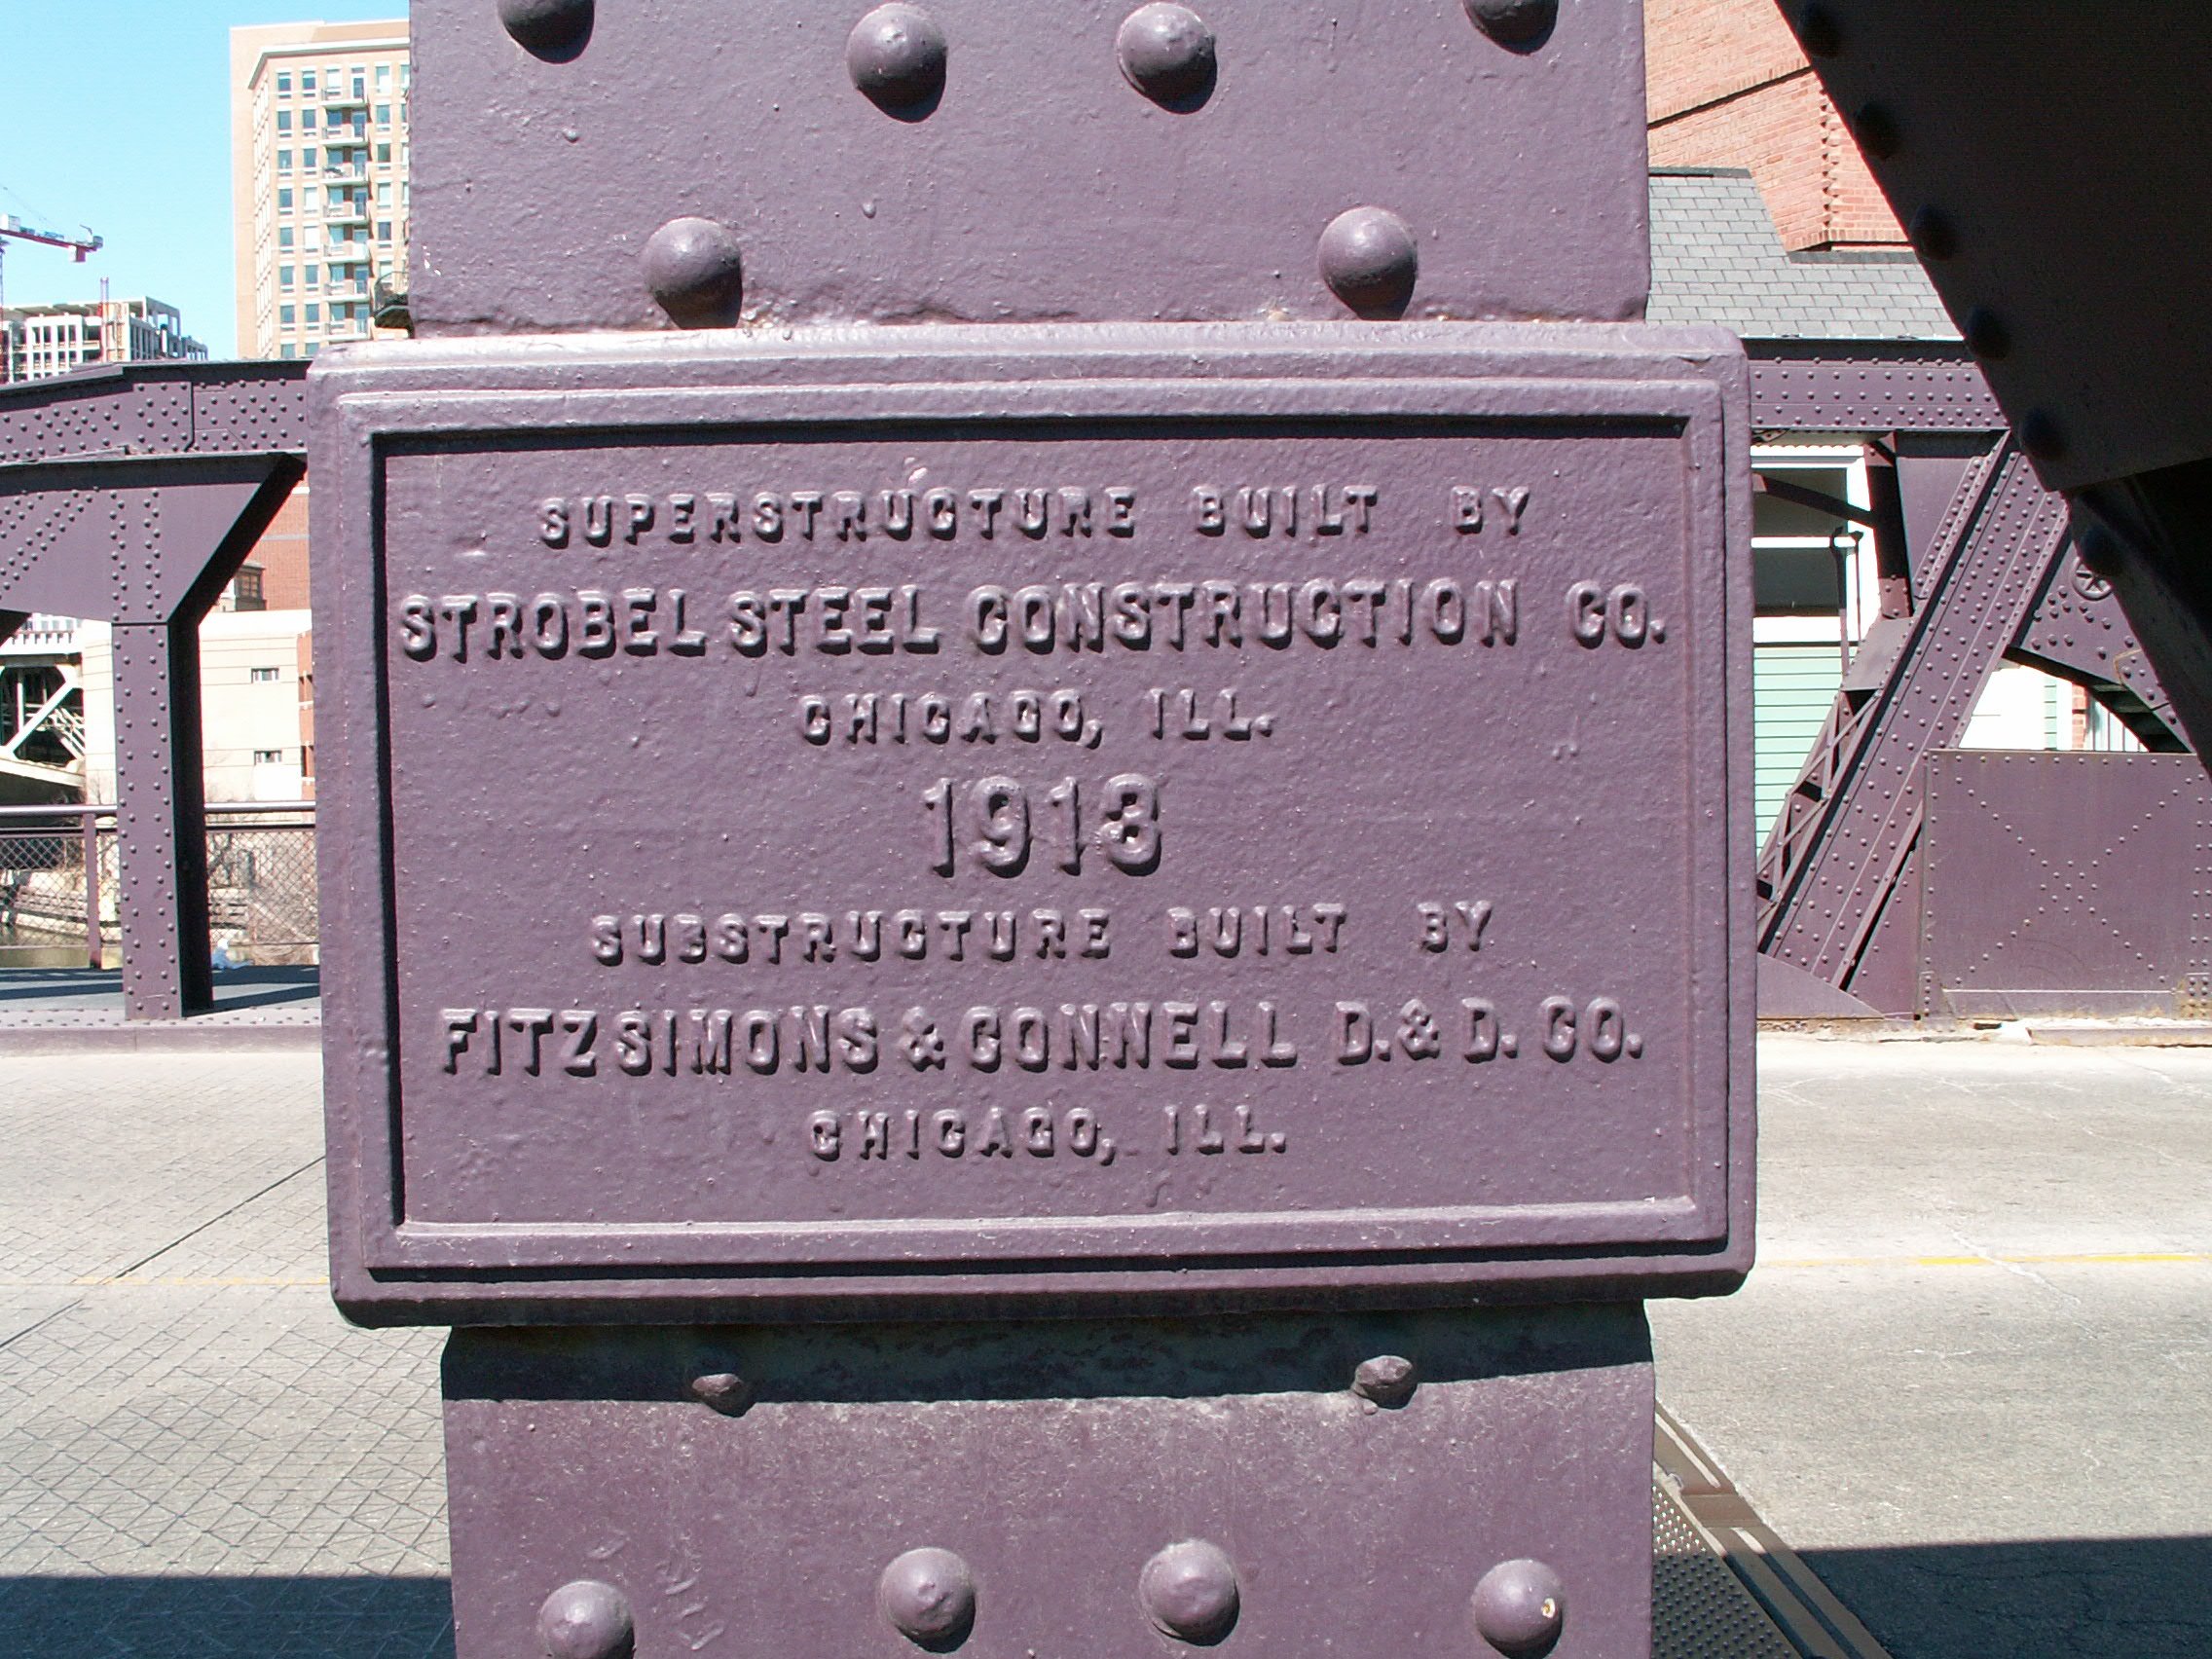
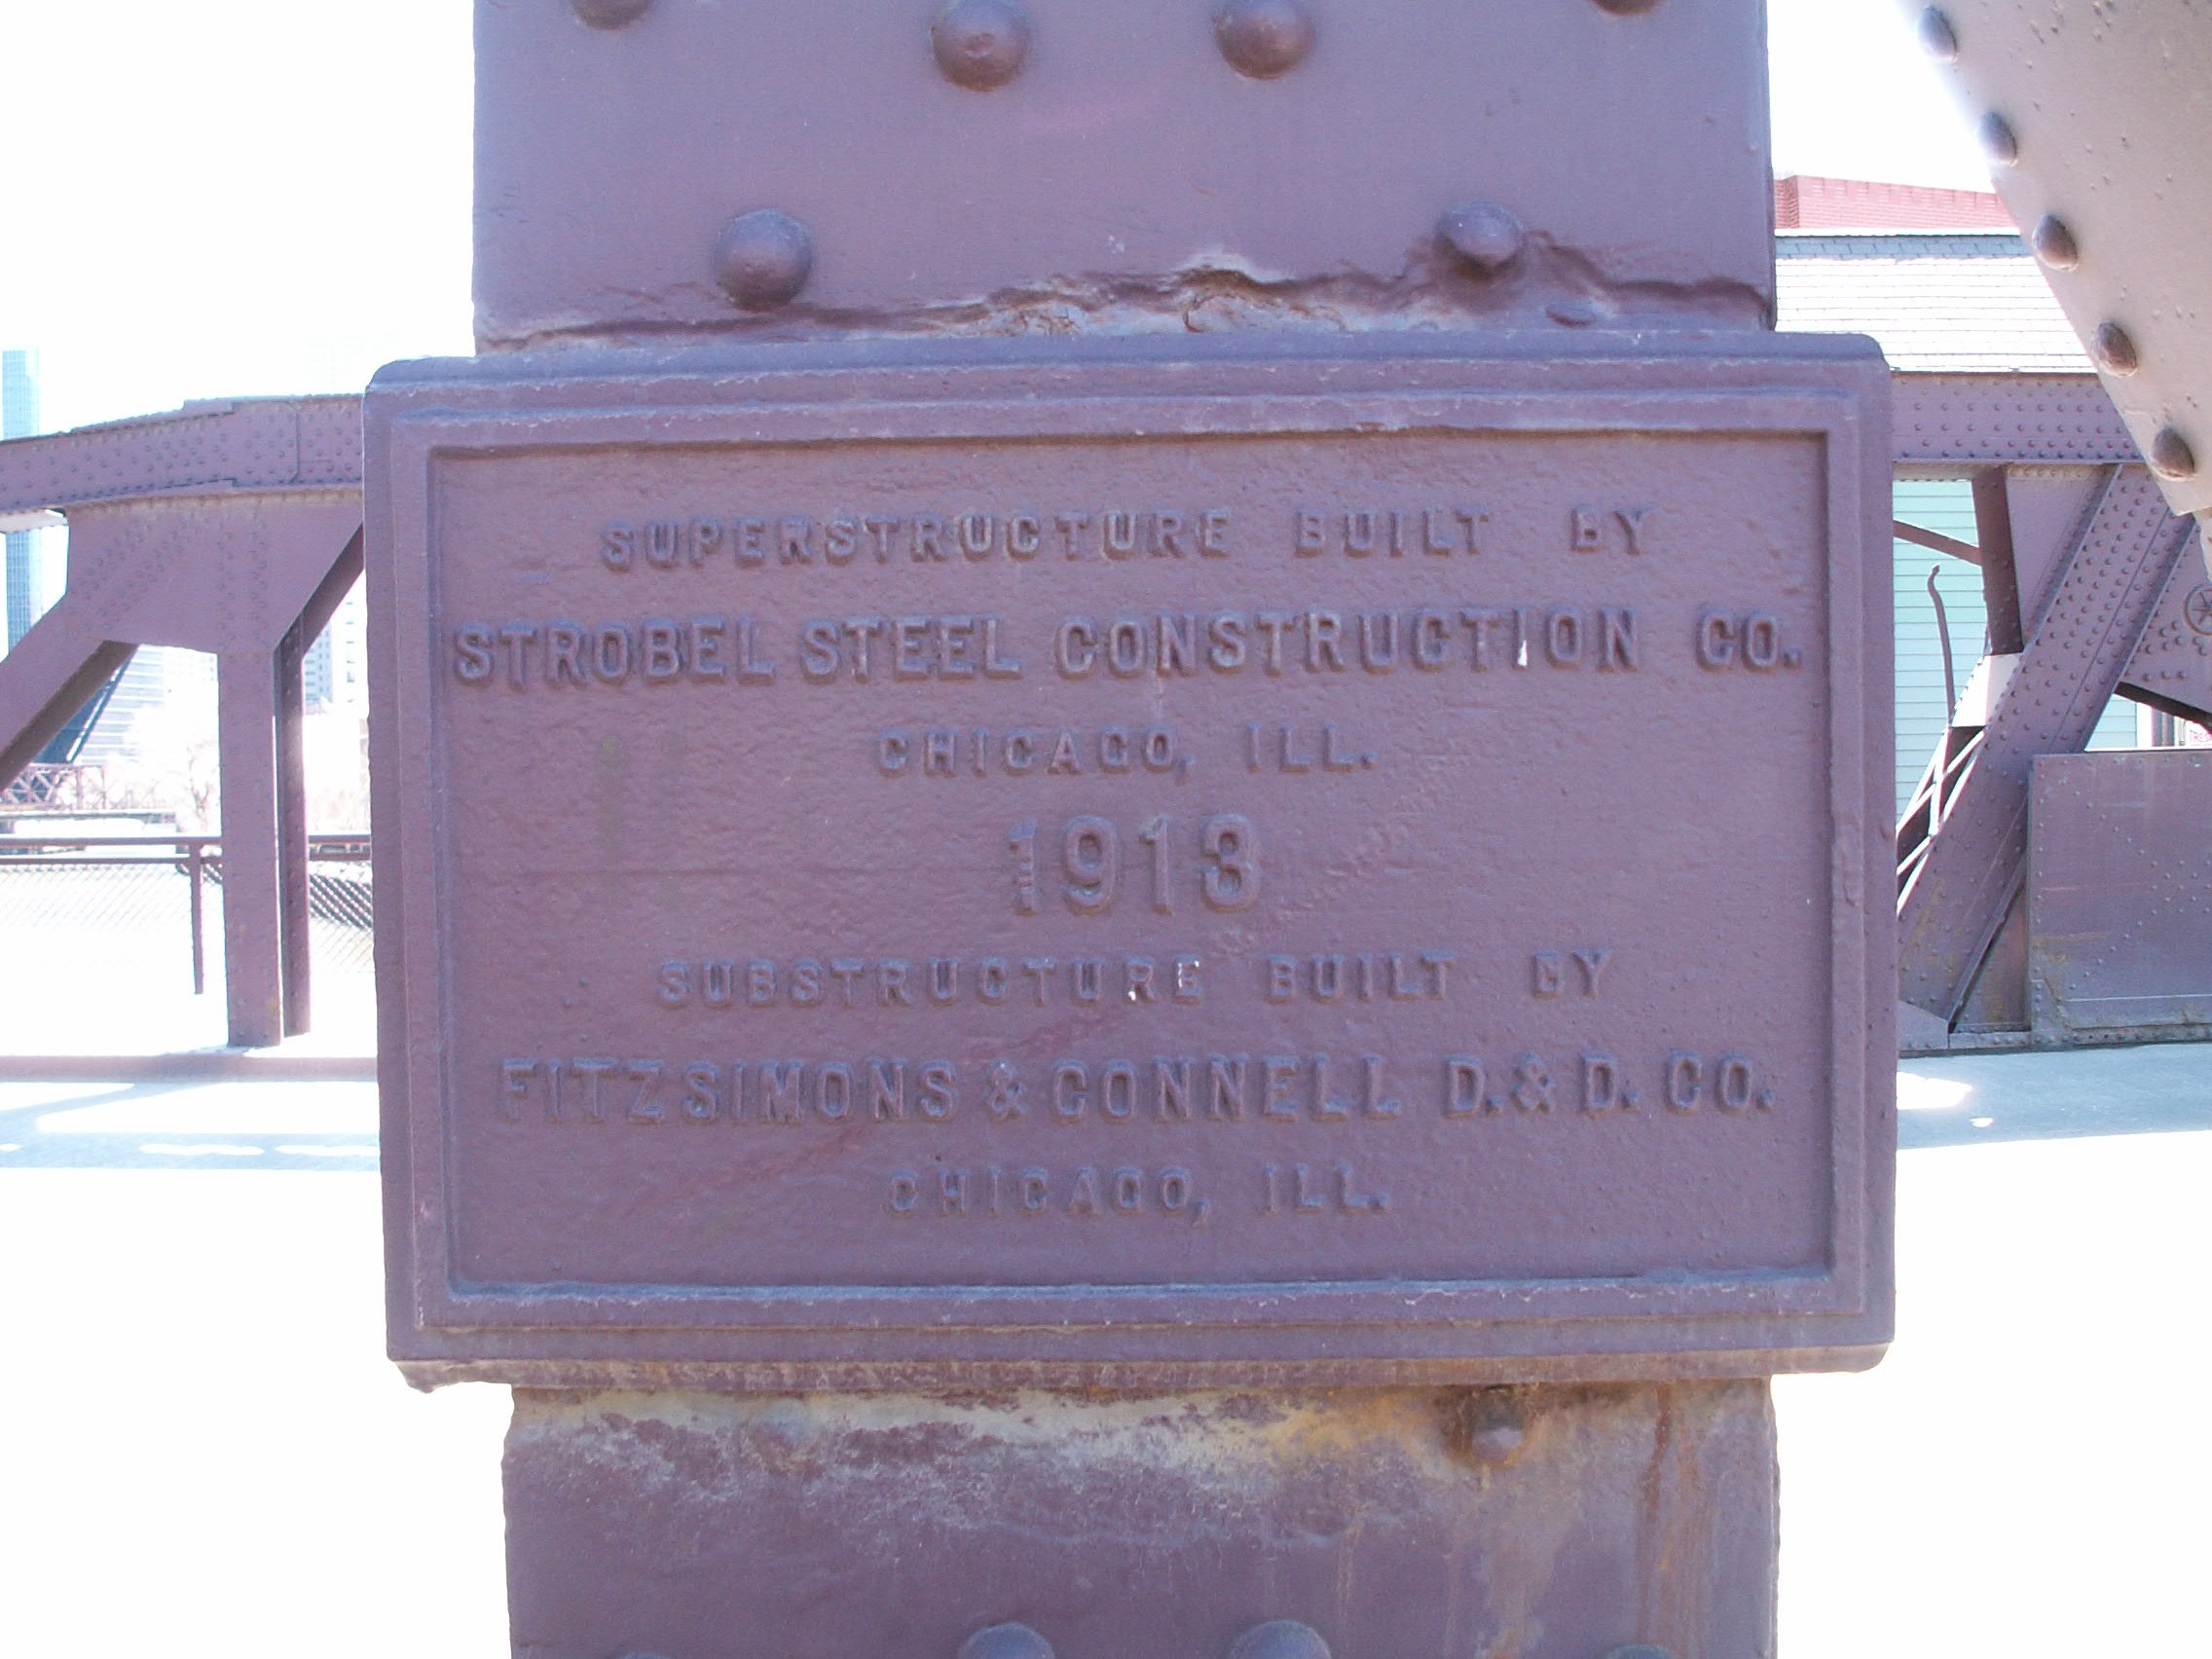
Builder plaque.
![]()
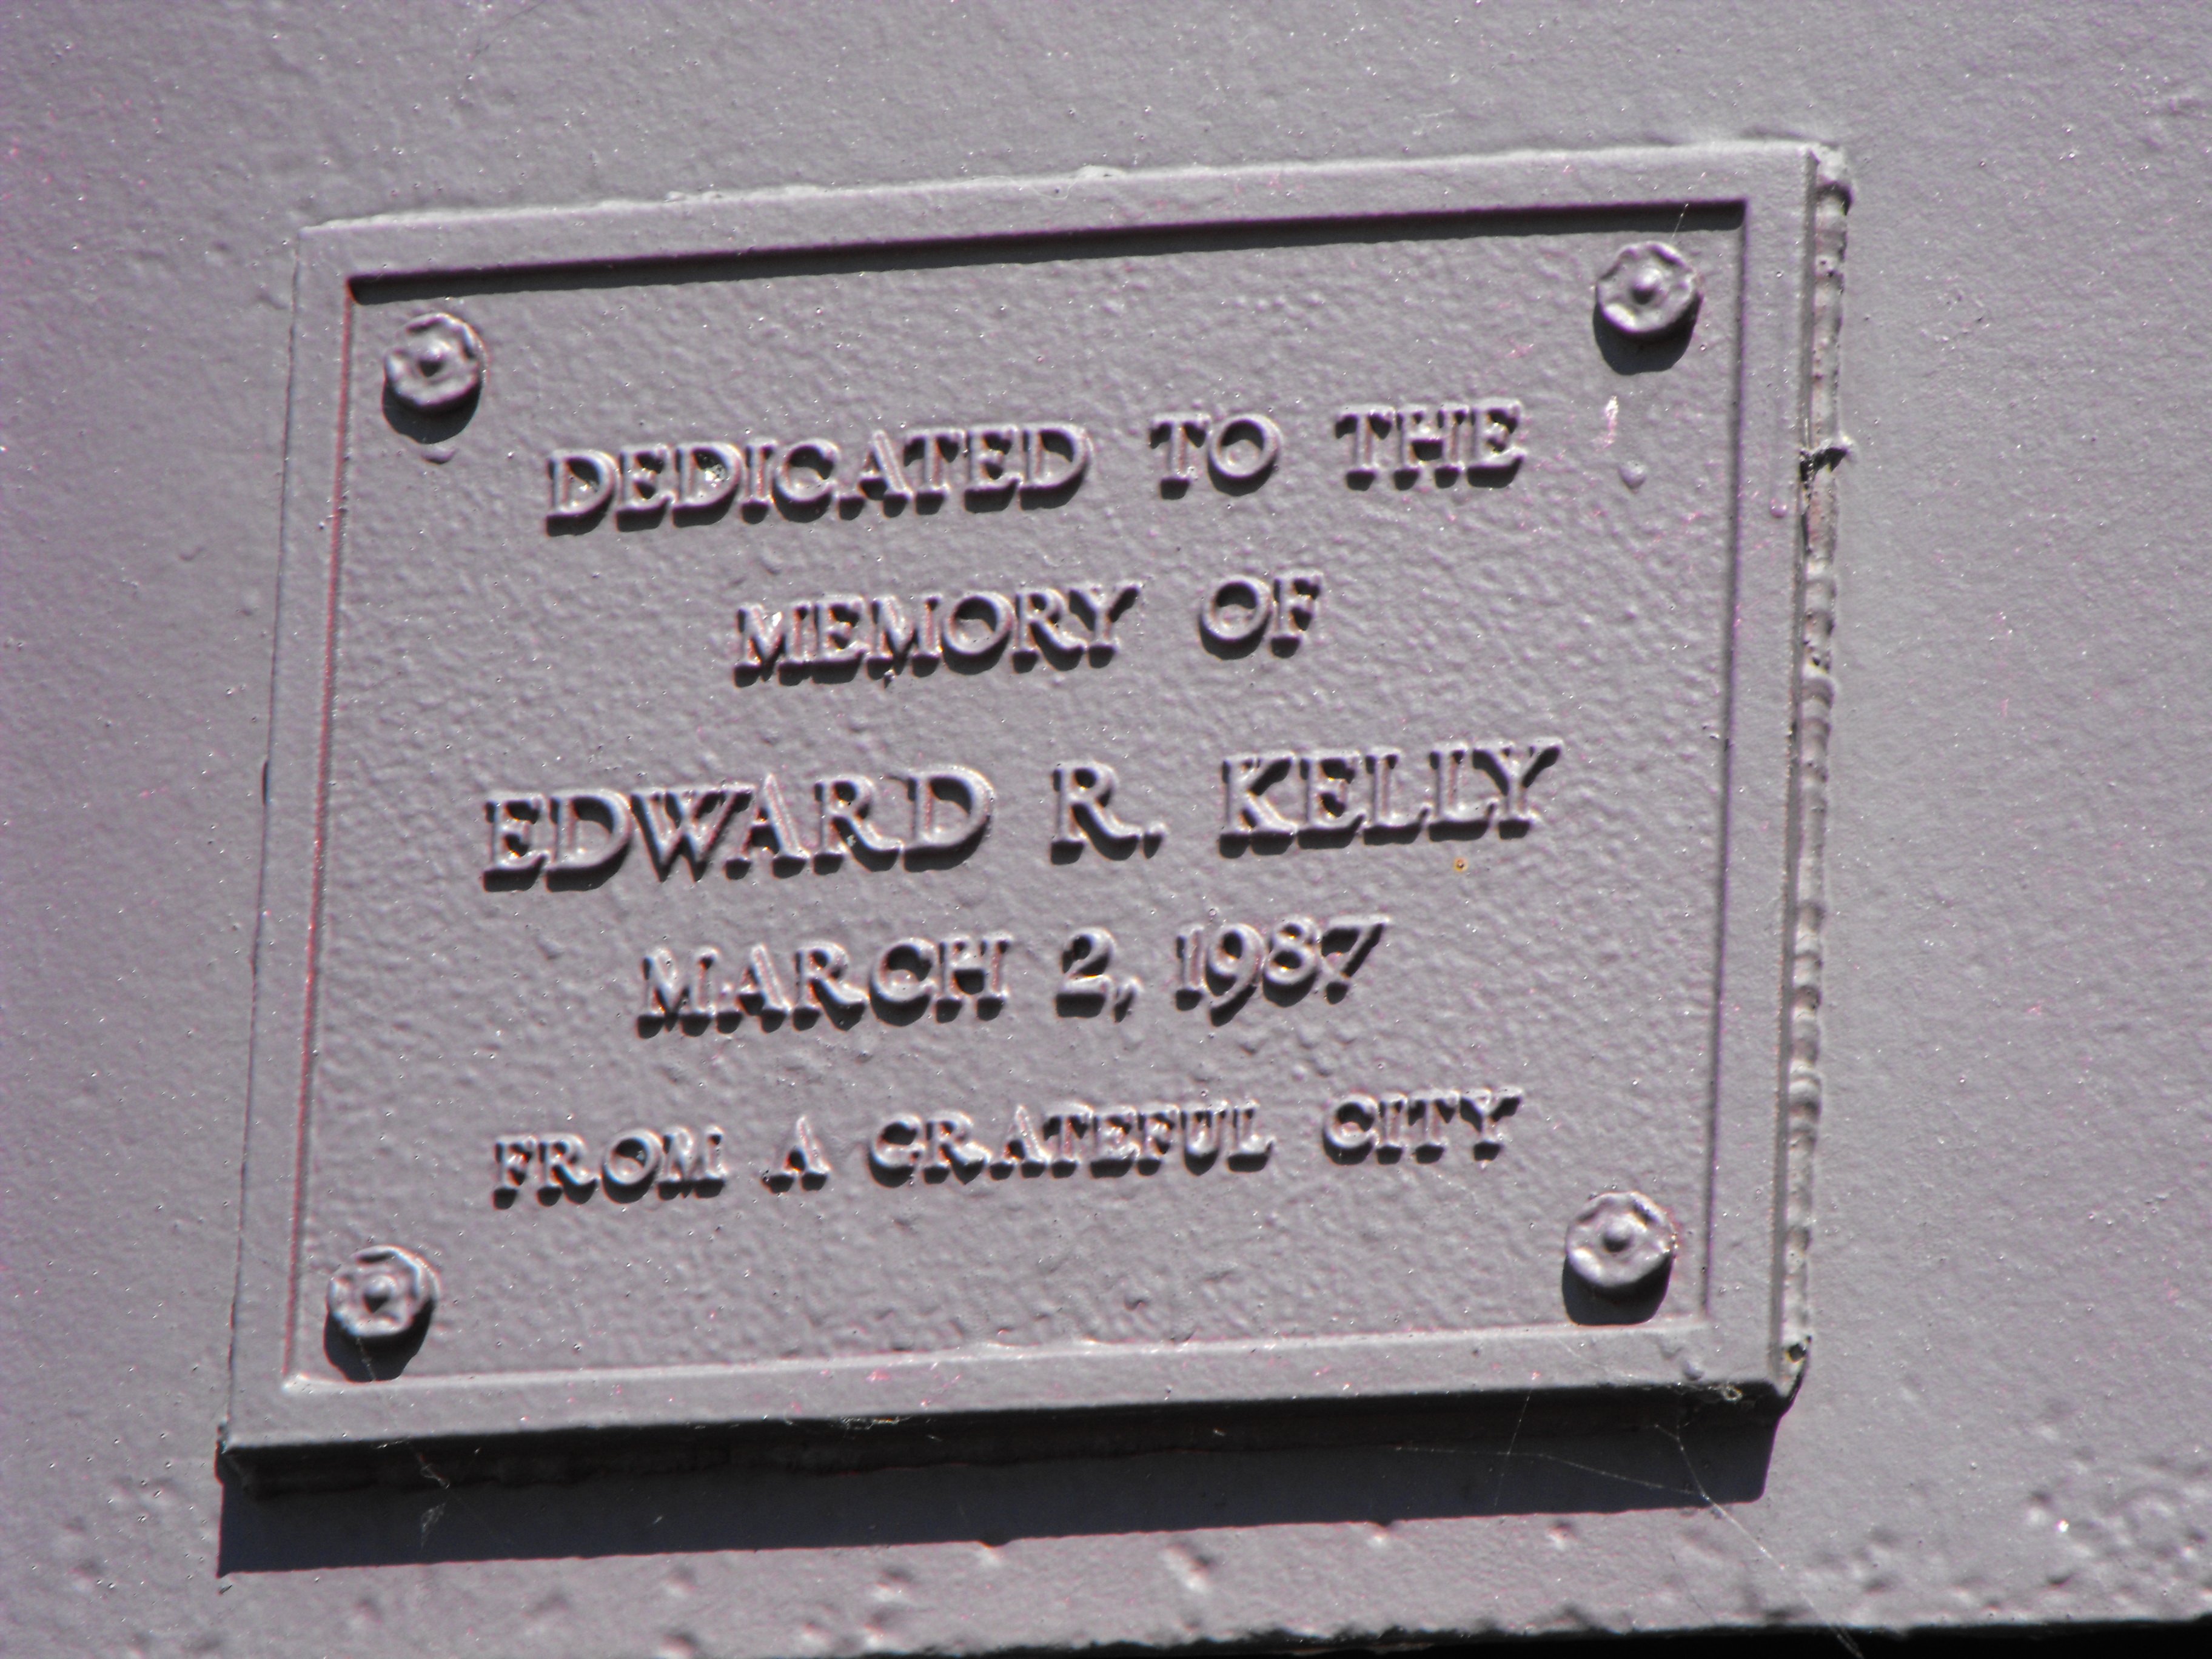


Dedication plaque.
![]()

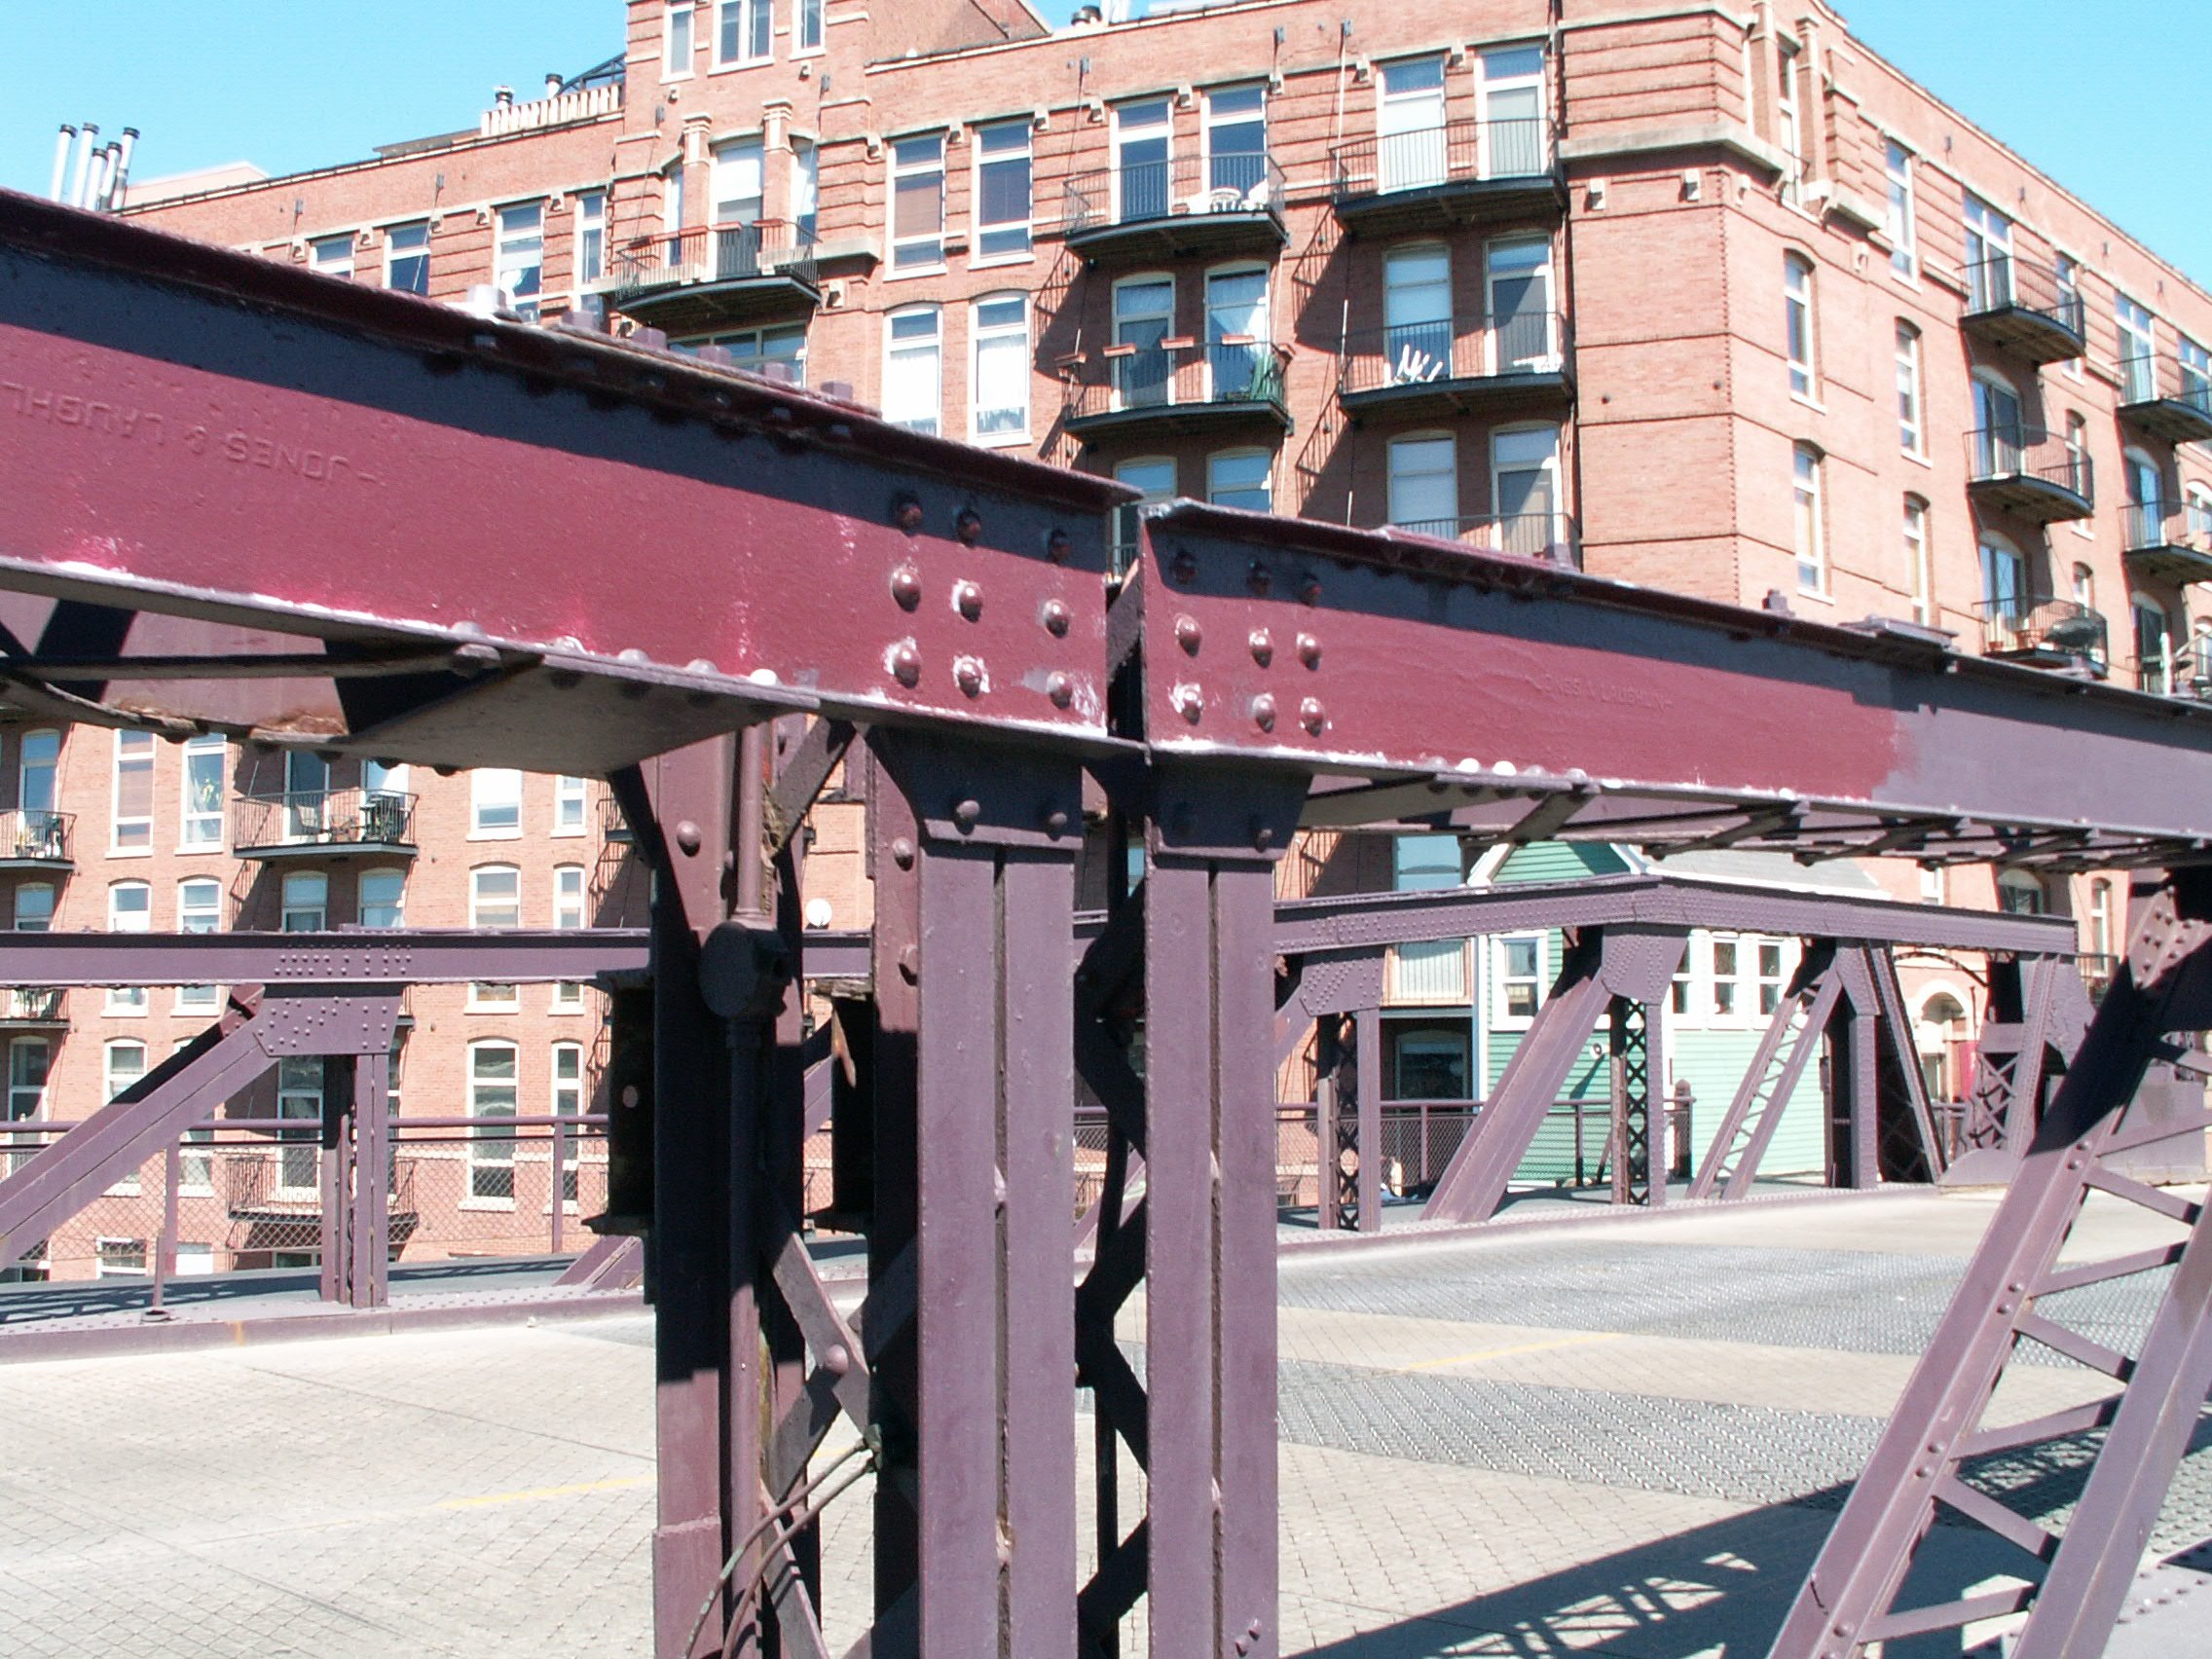
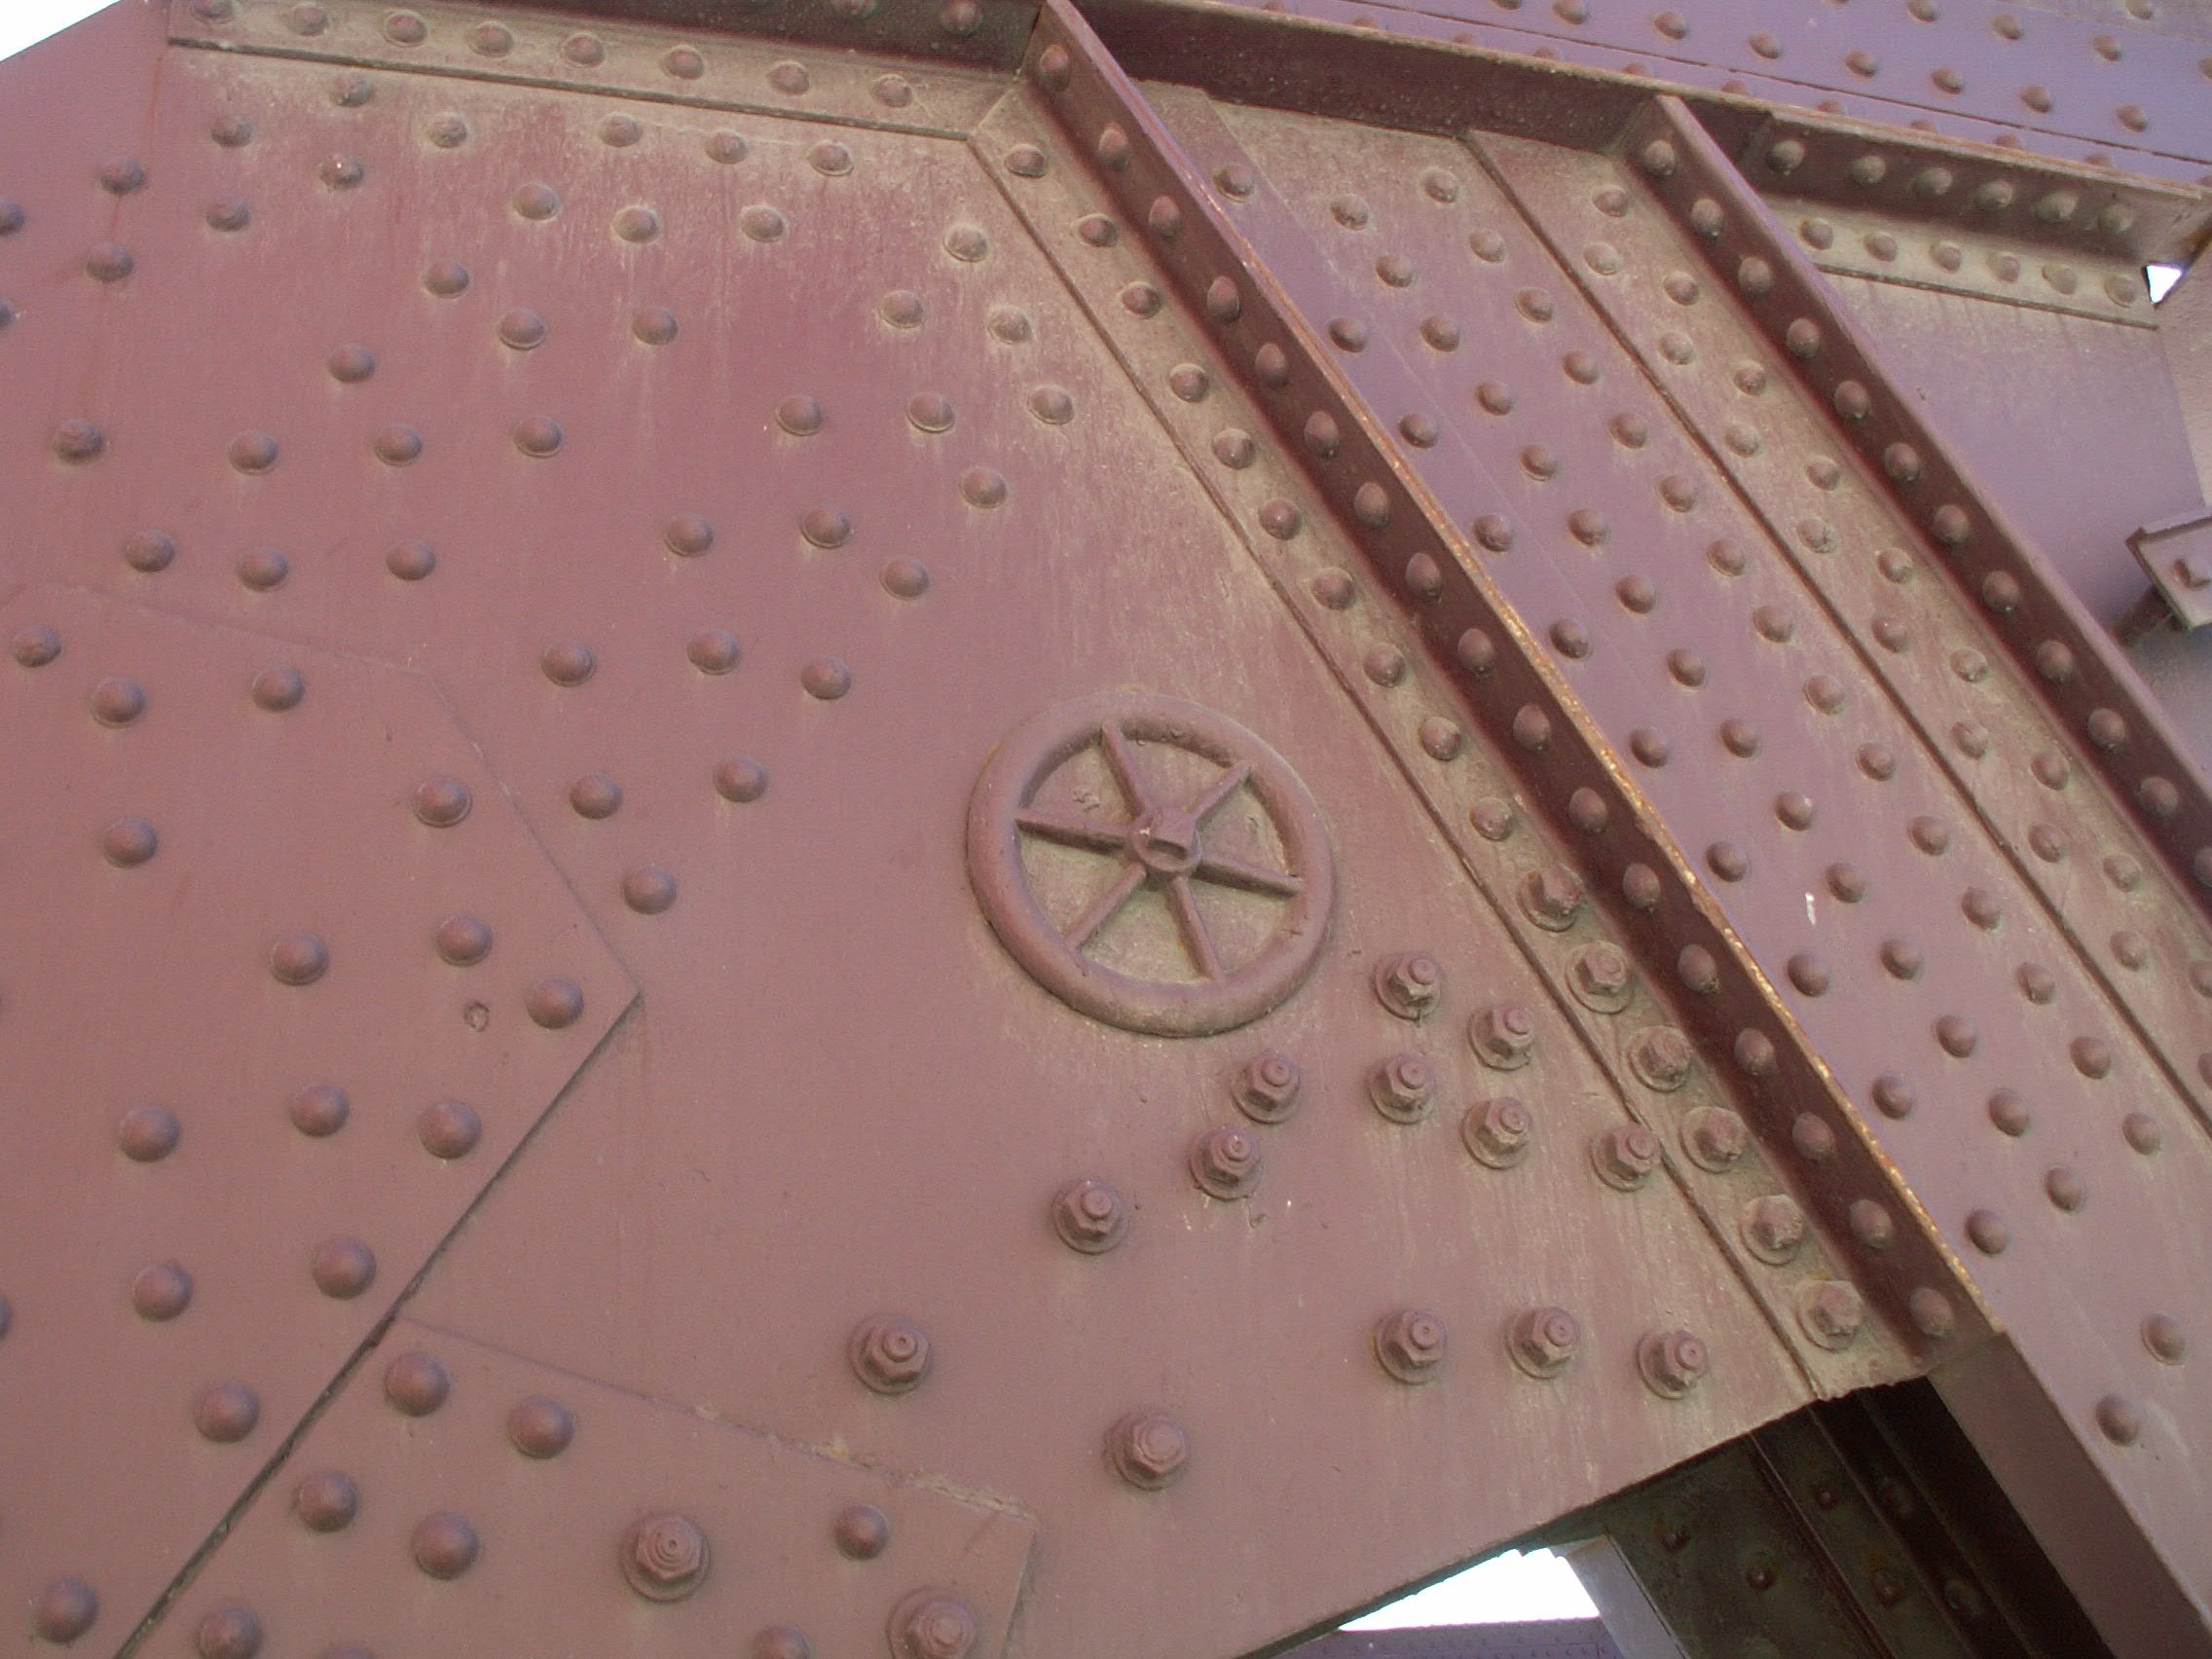
Jones and Laughlin brand.
![]()
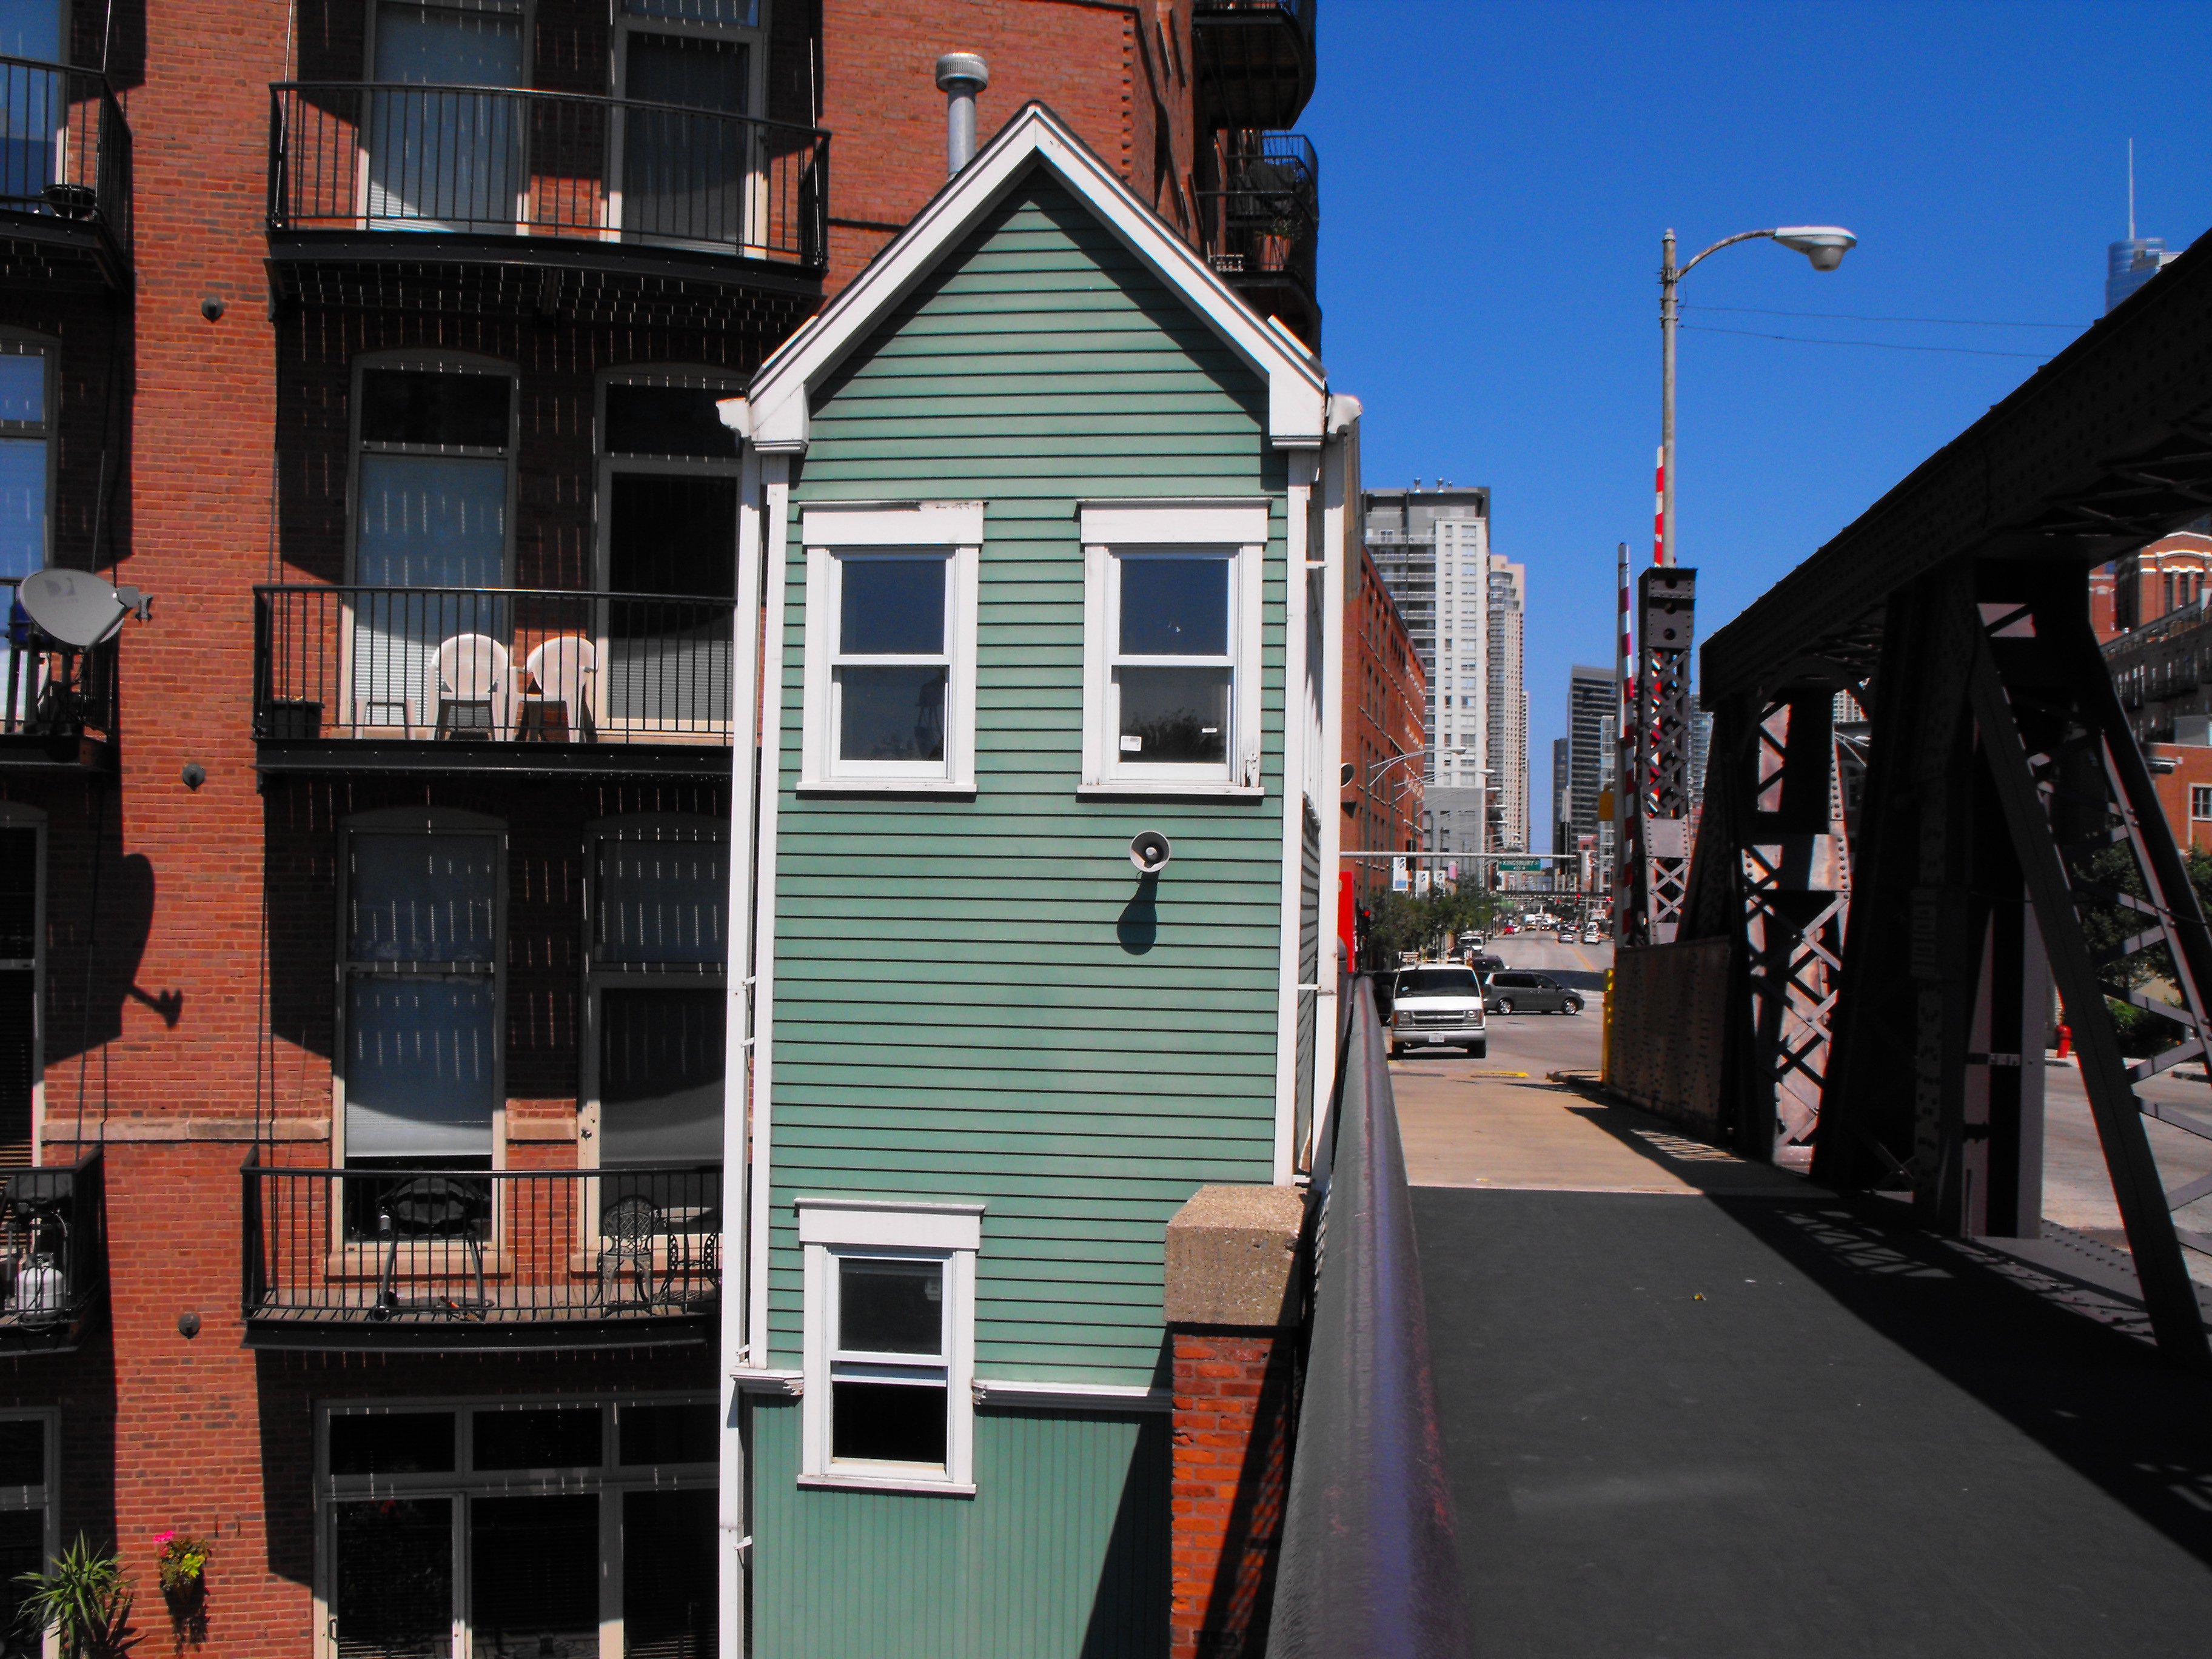
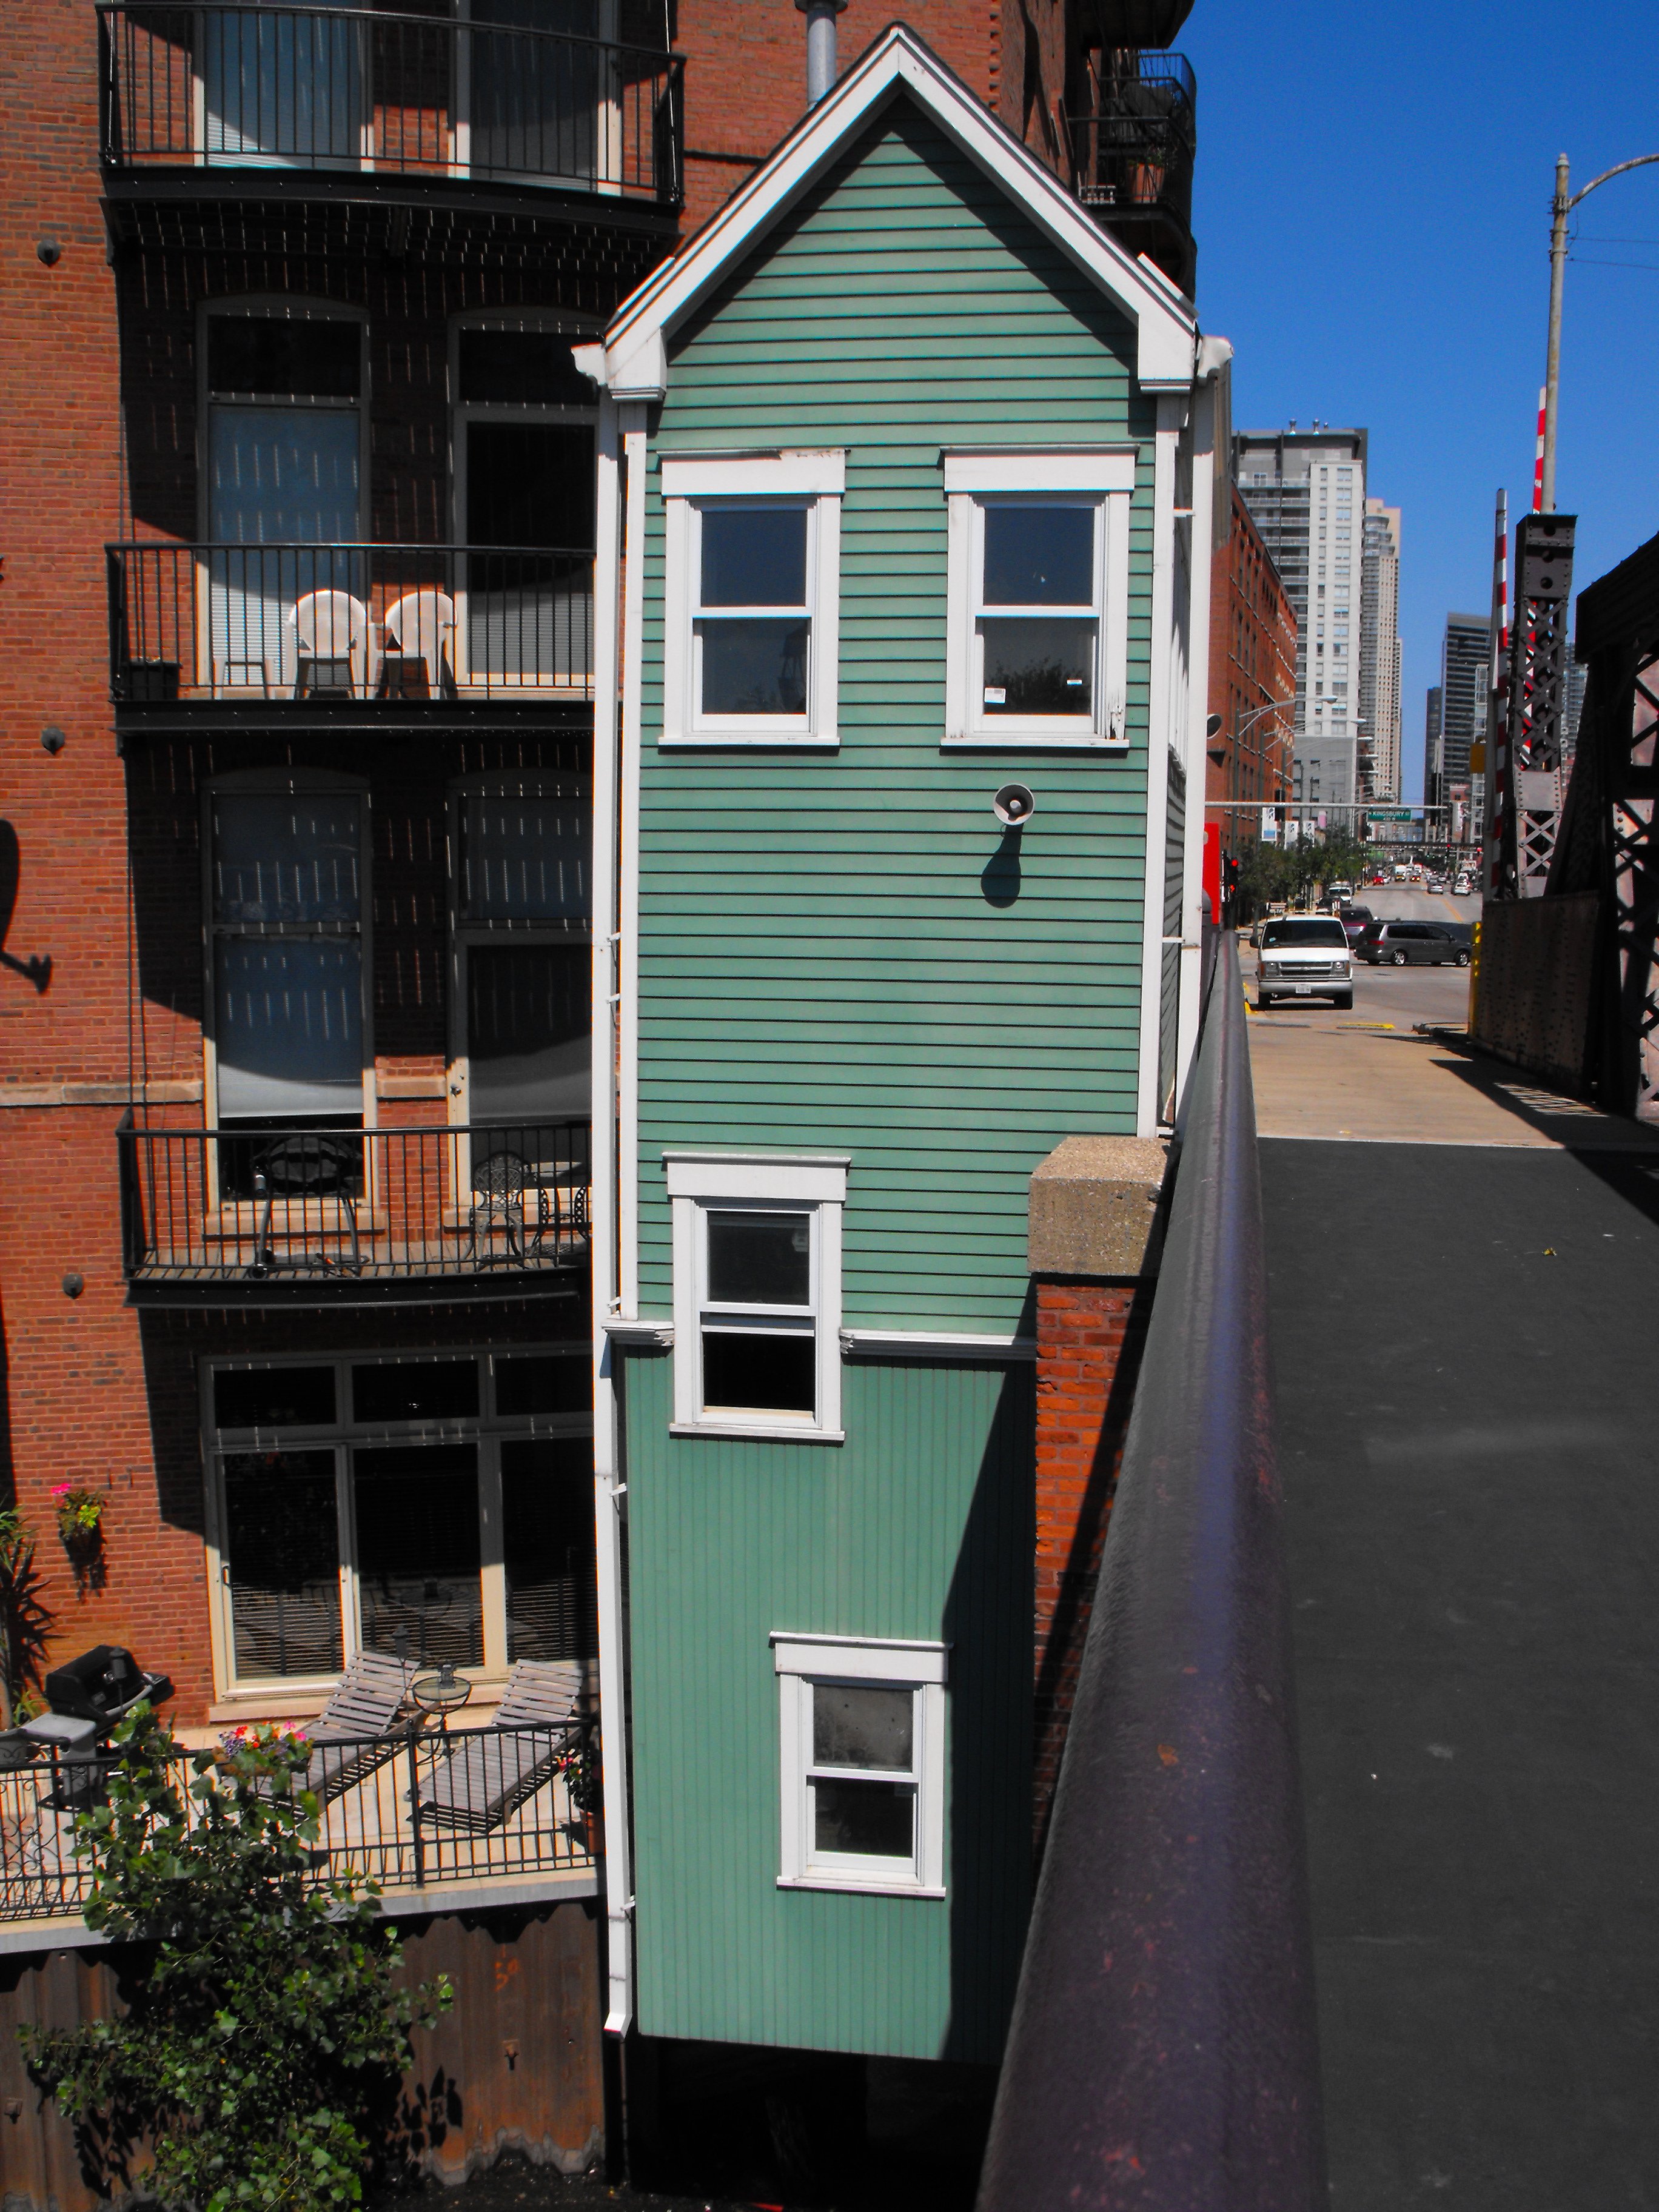
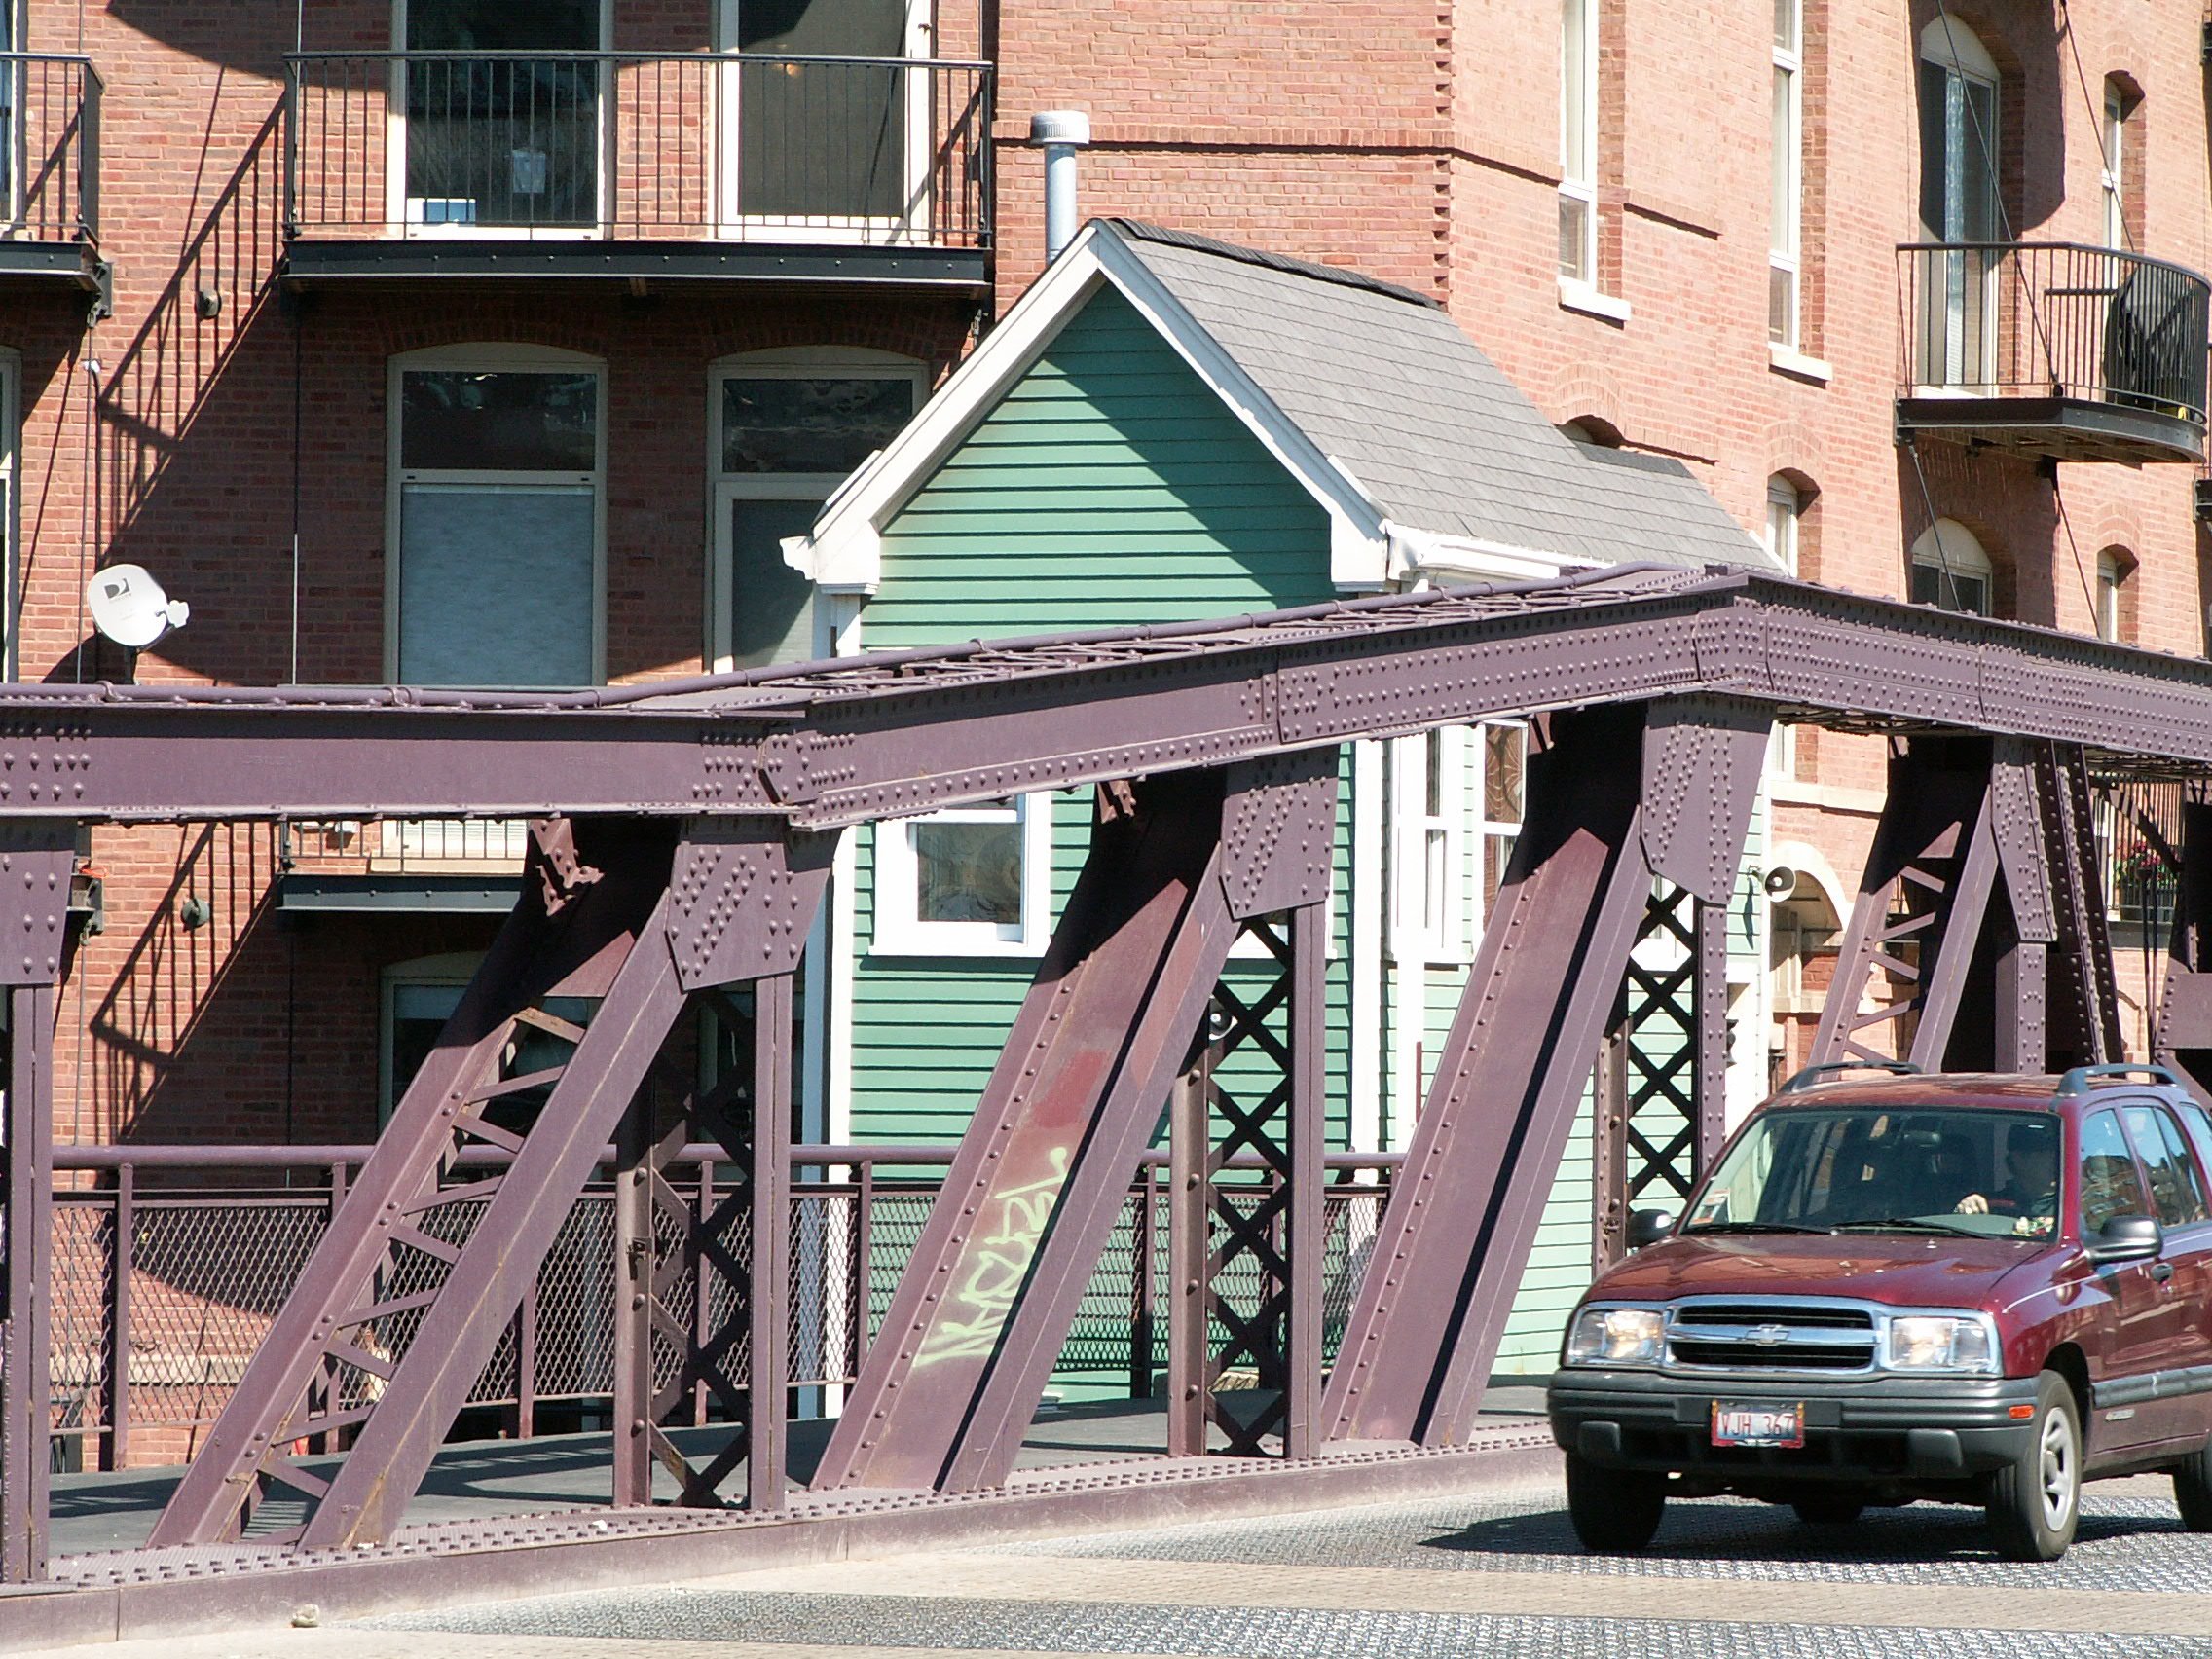
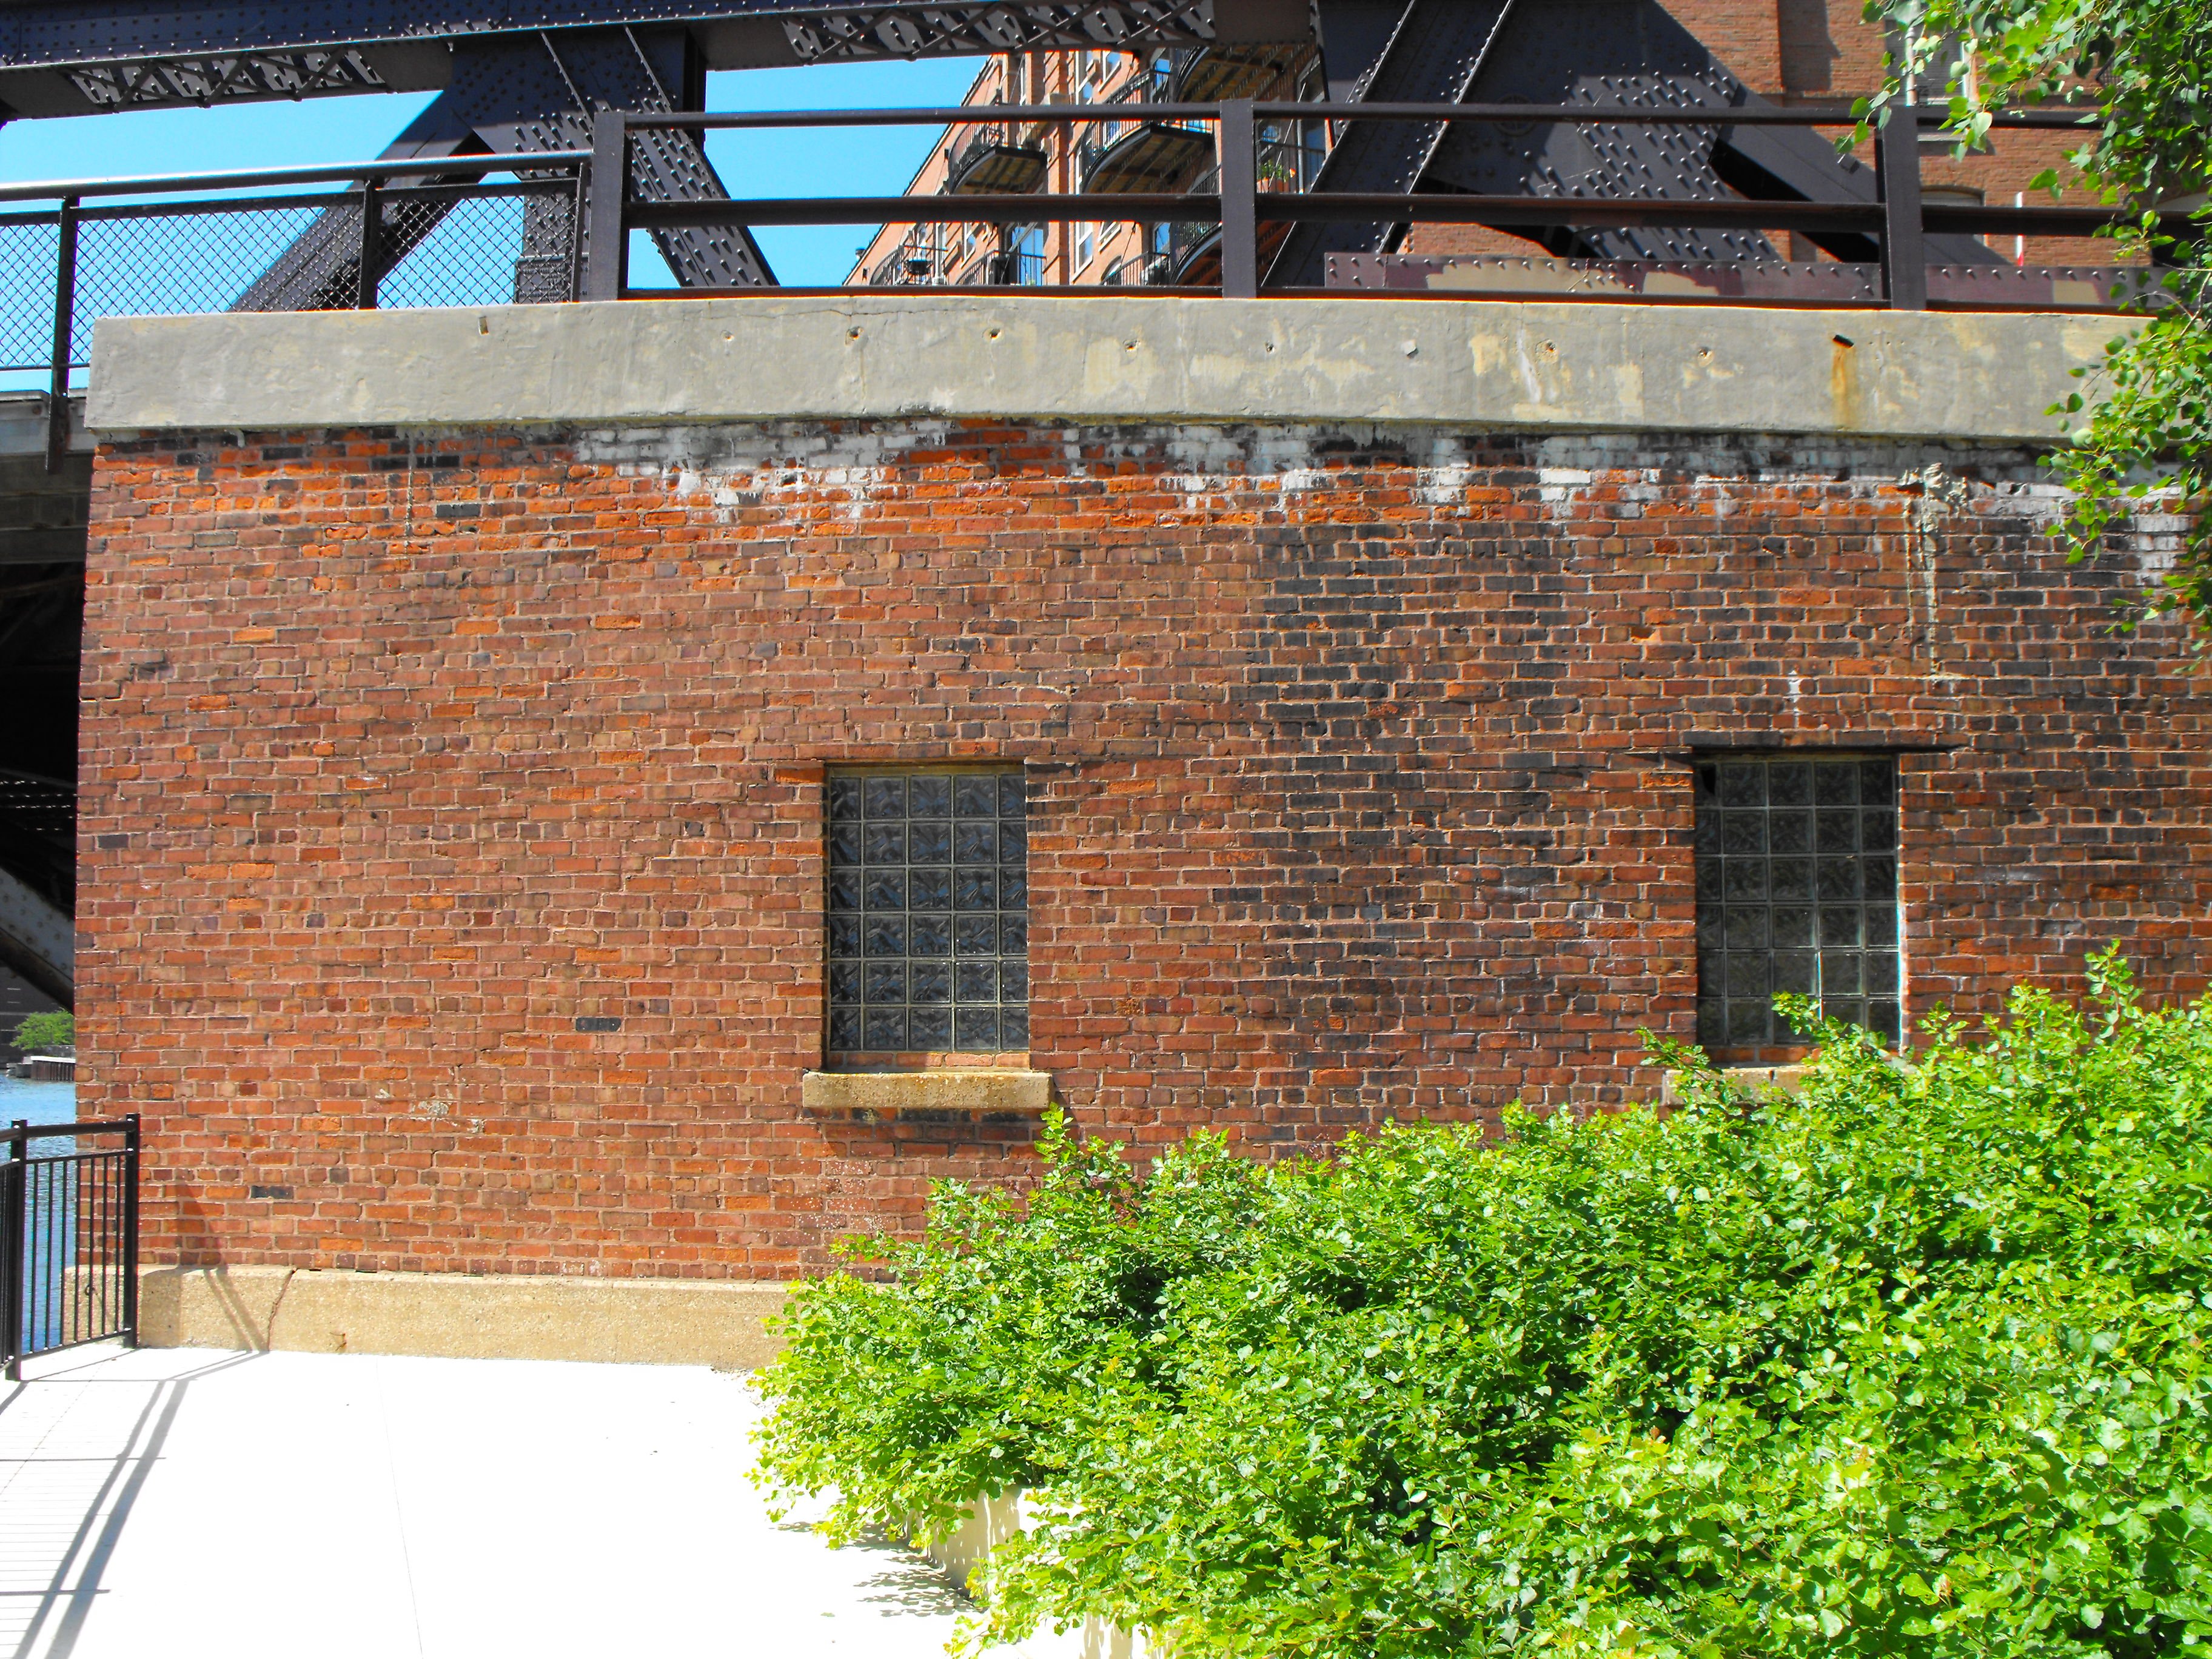
Bridgetender building.
![]()

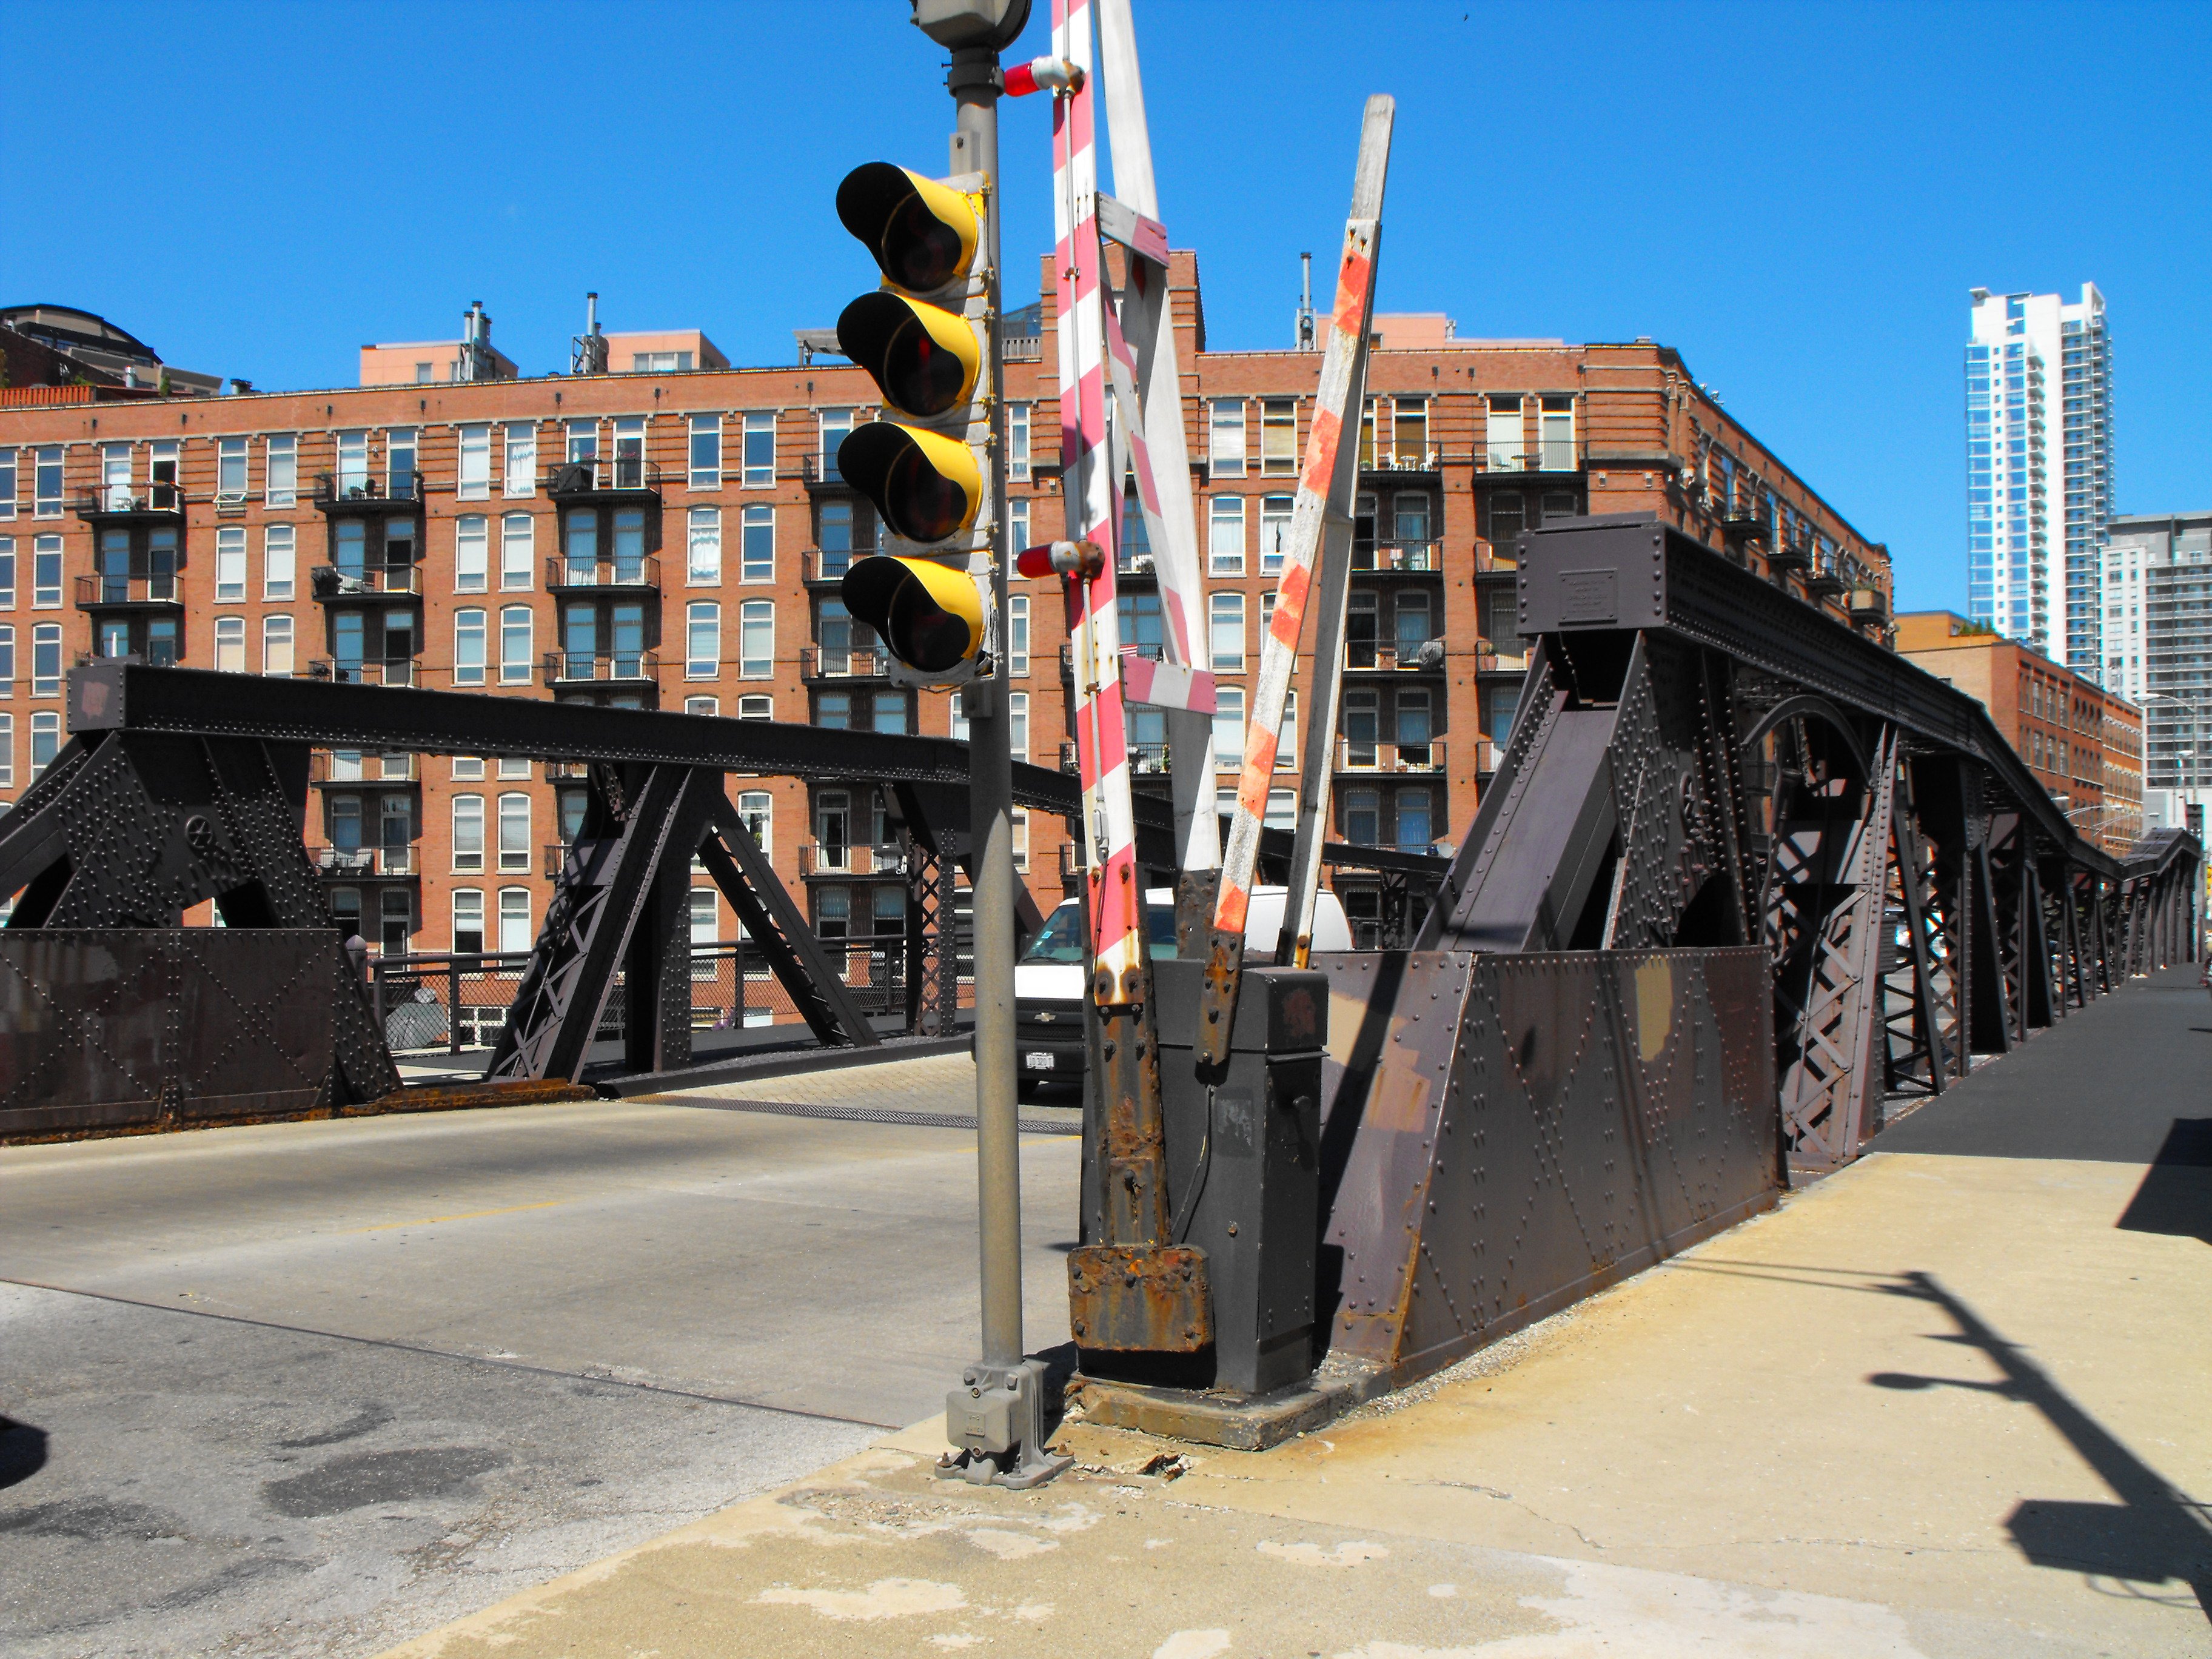
Post at end of bridge.
![]()

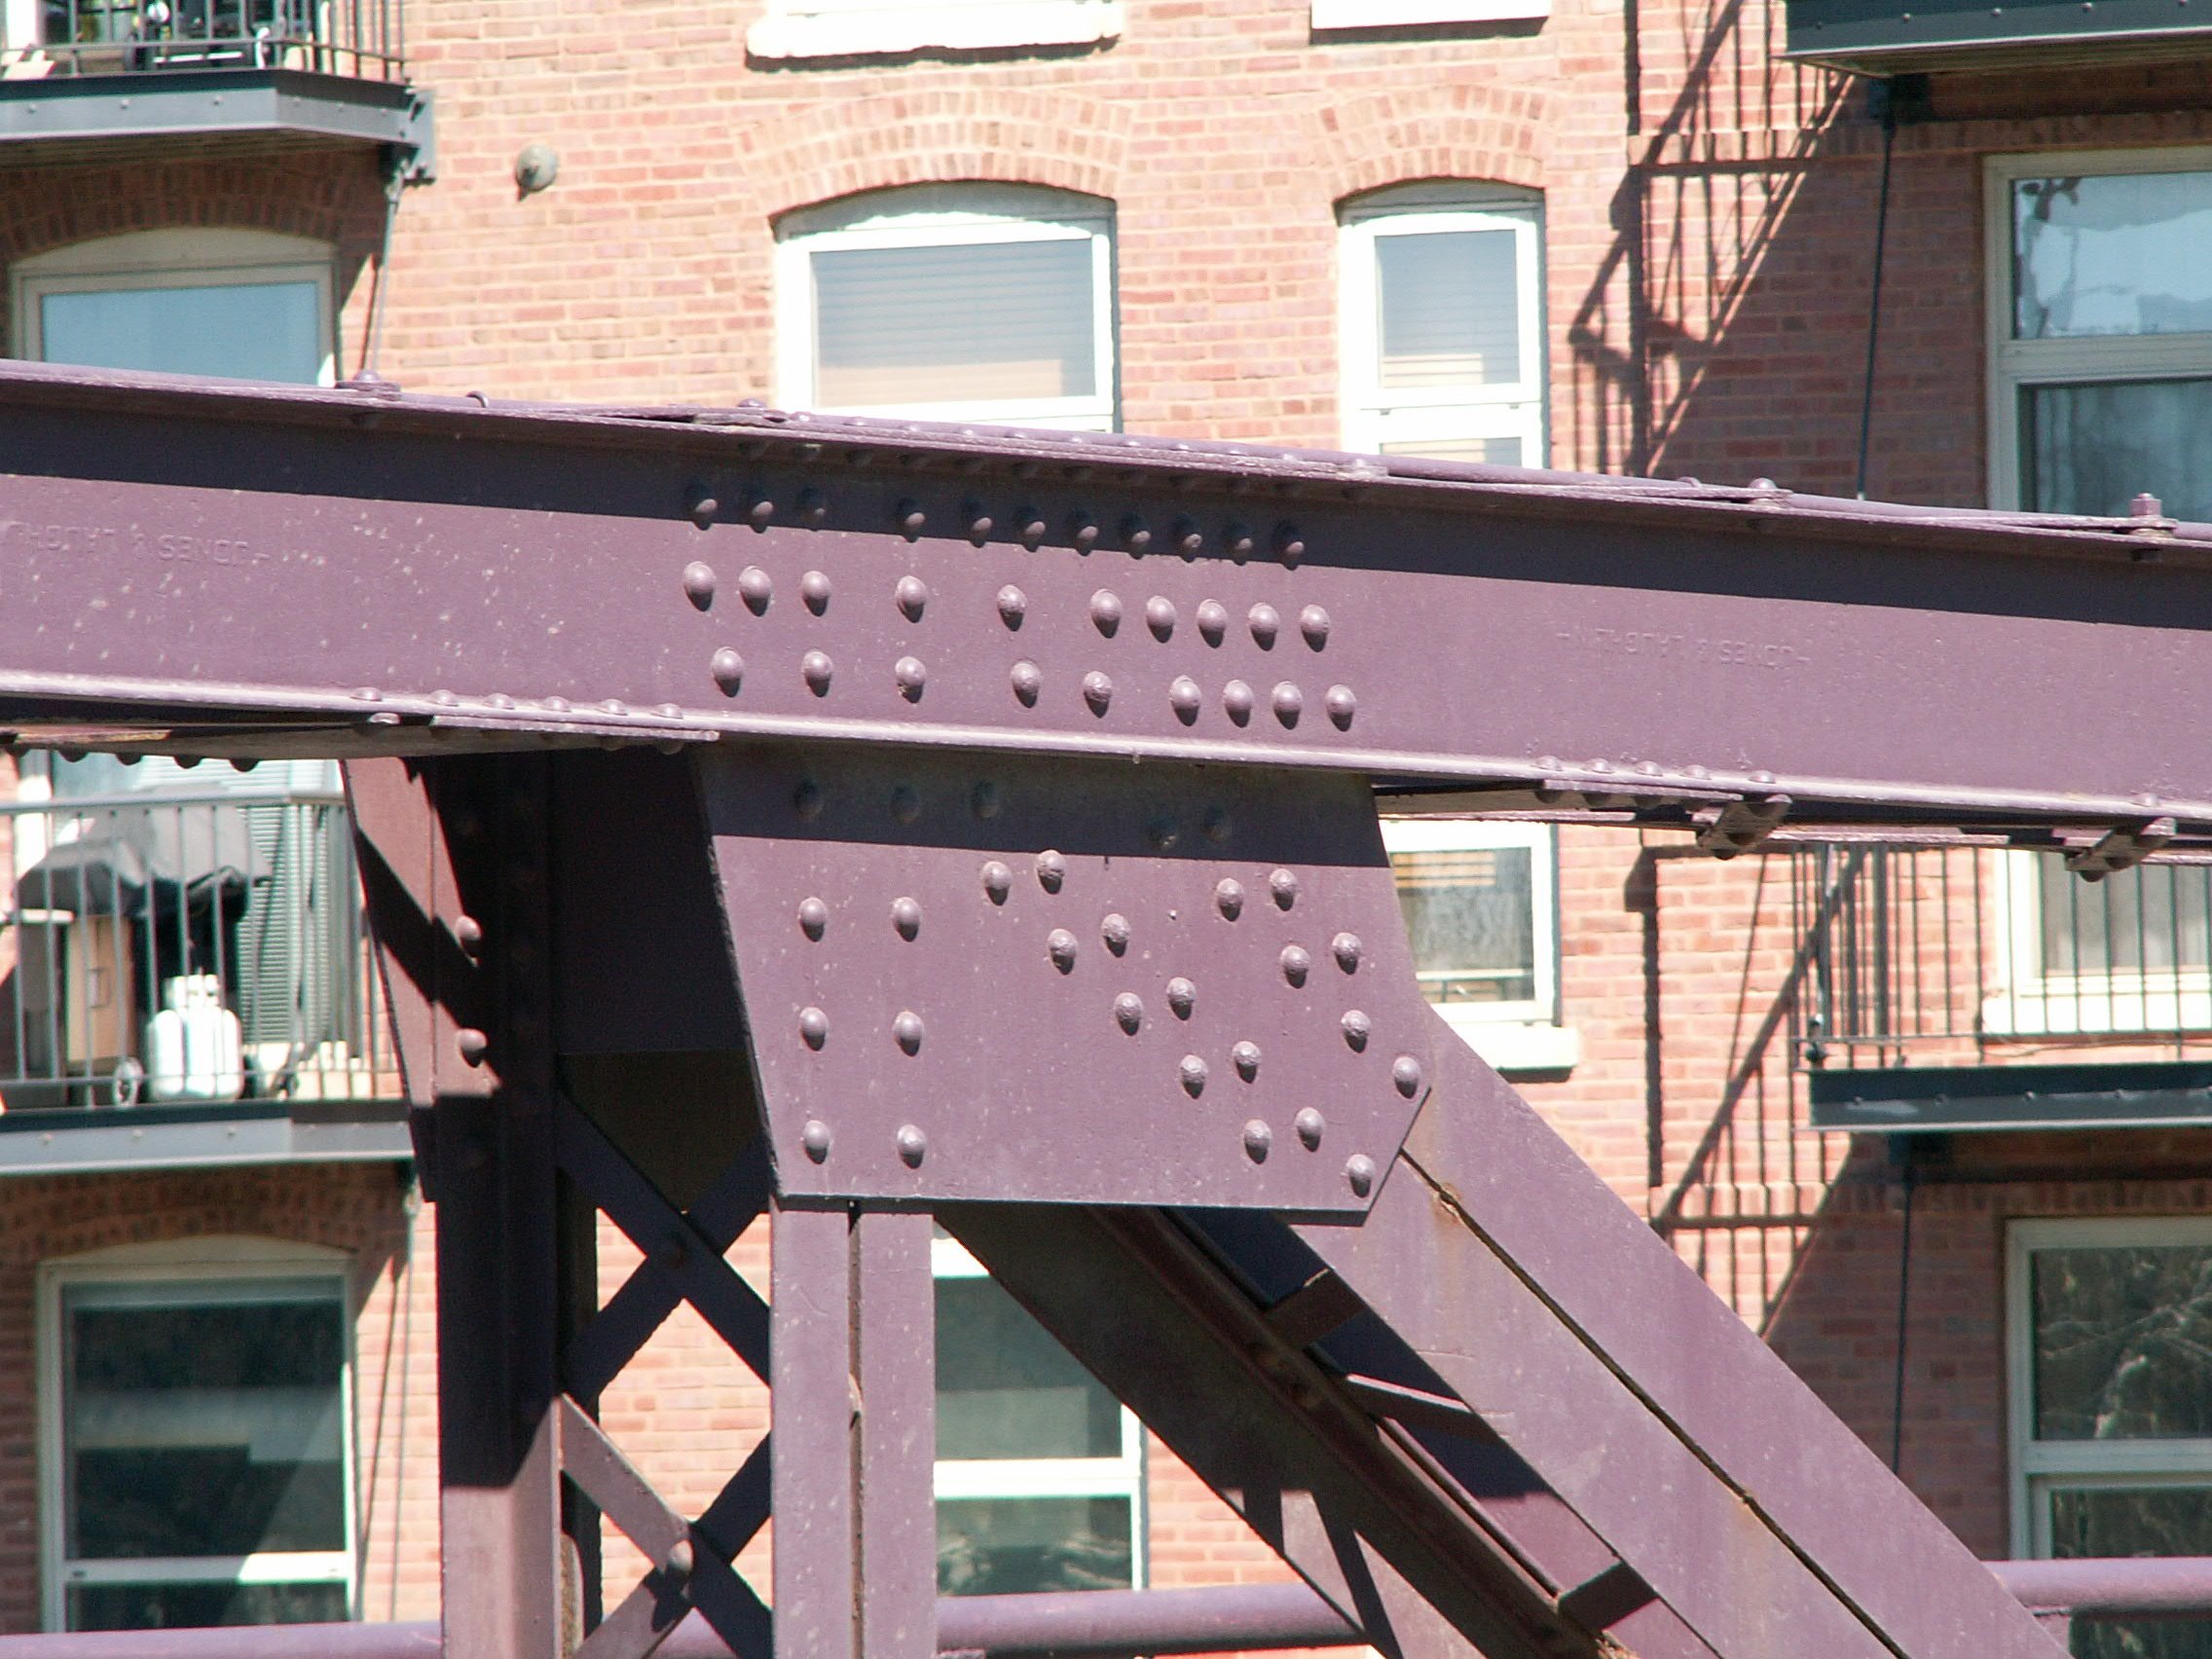


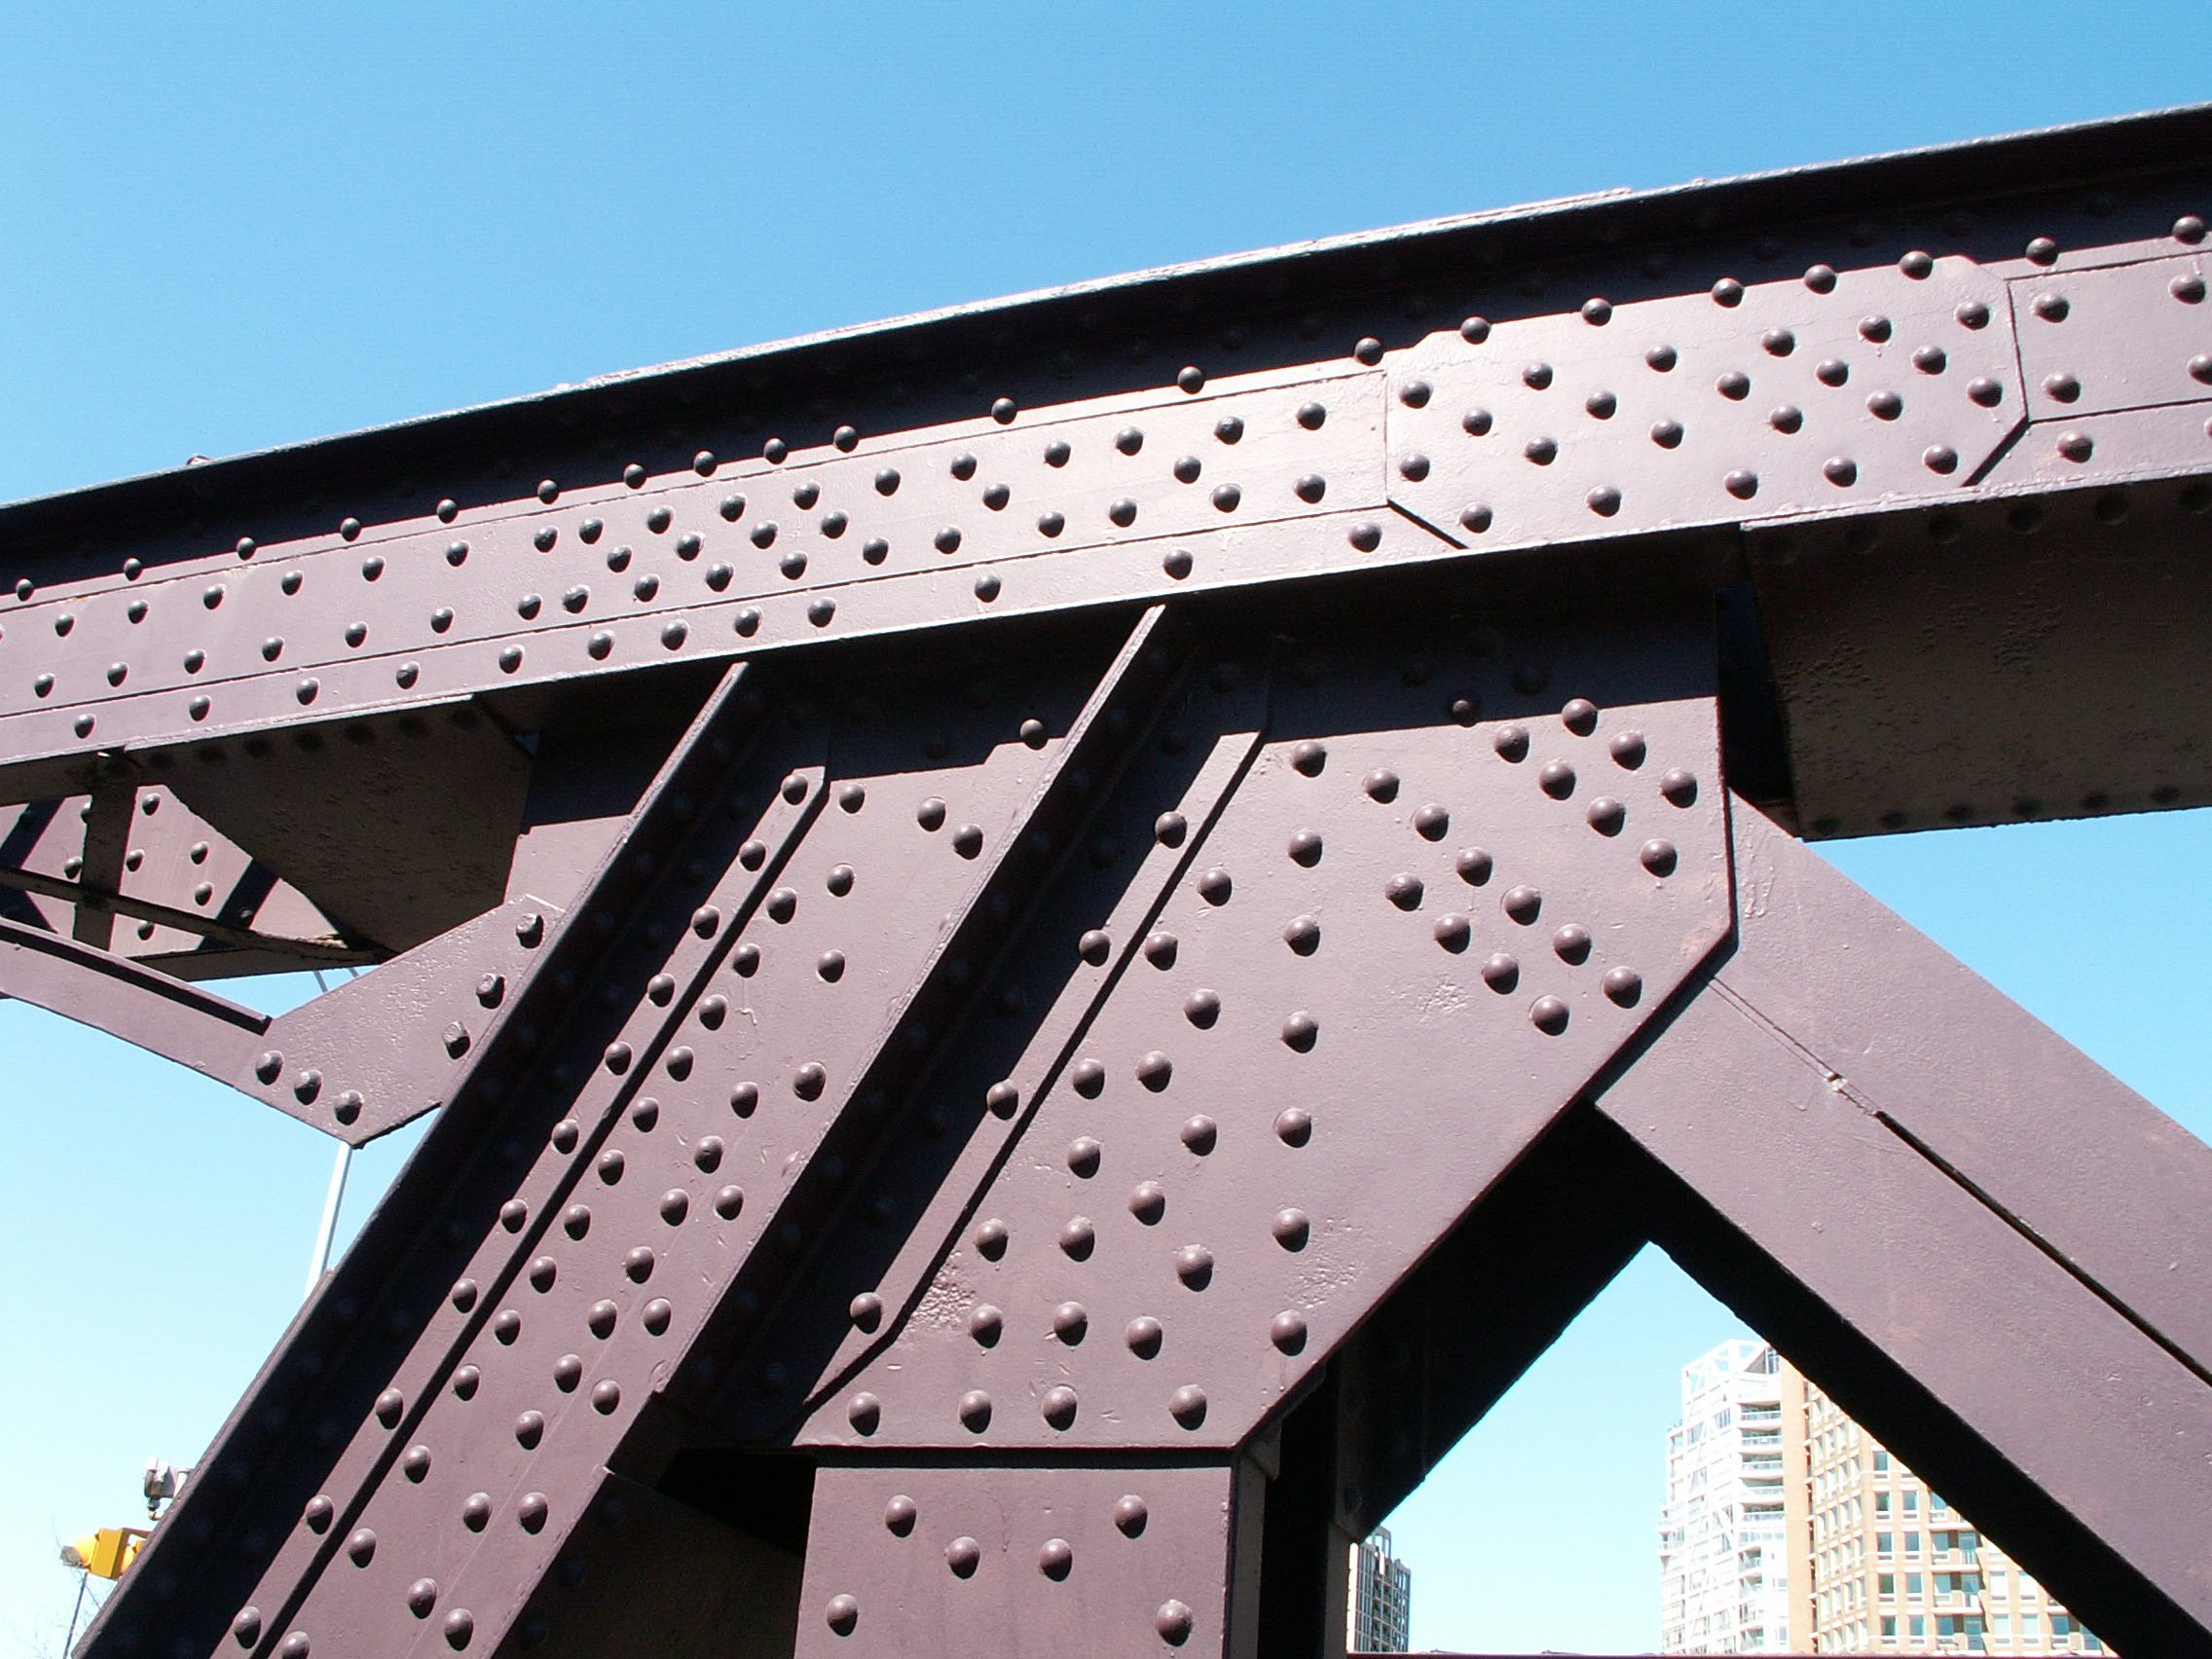
Top chord connections.
![]()


Bottom chord connections.
![]()

Top chord.
![]()

Bottom chord.
![]()

Abutment.
![]()

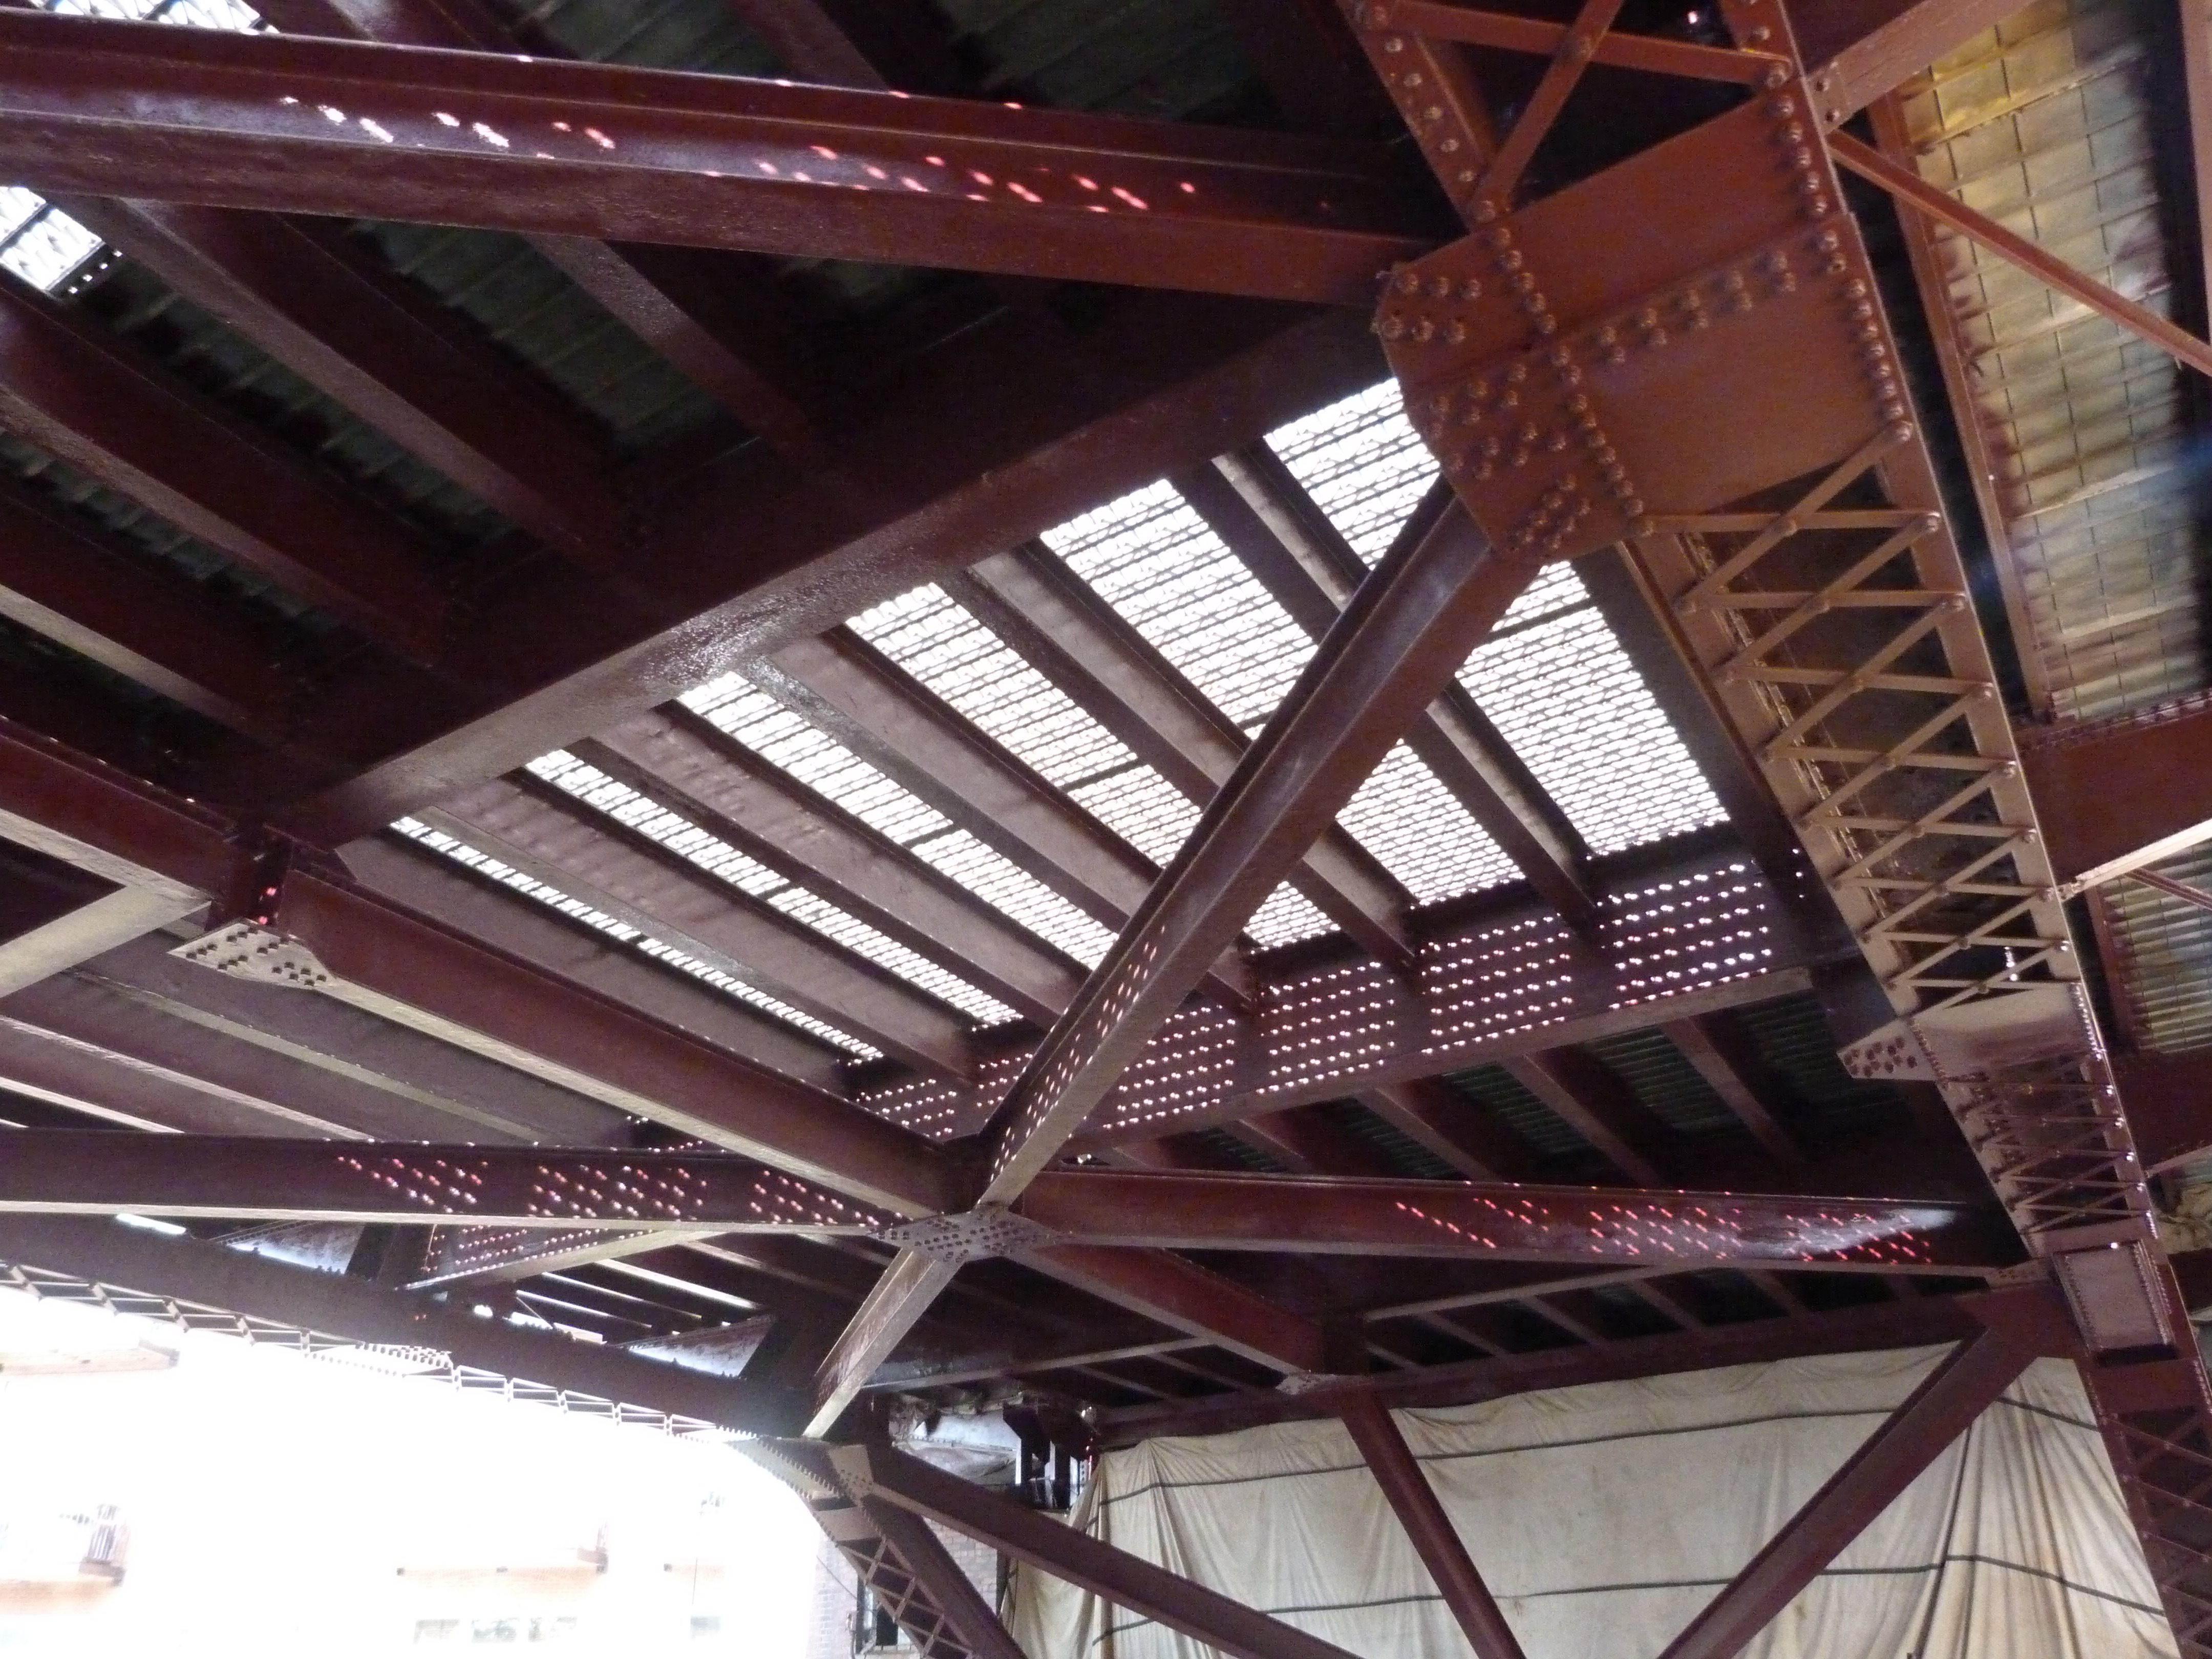
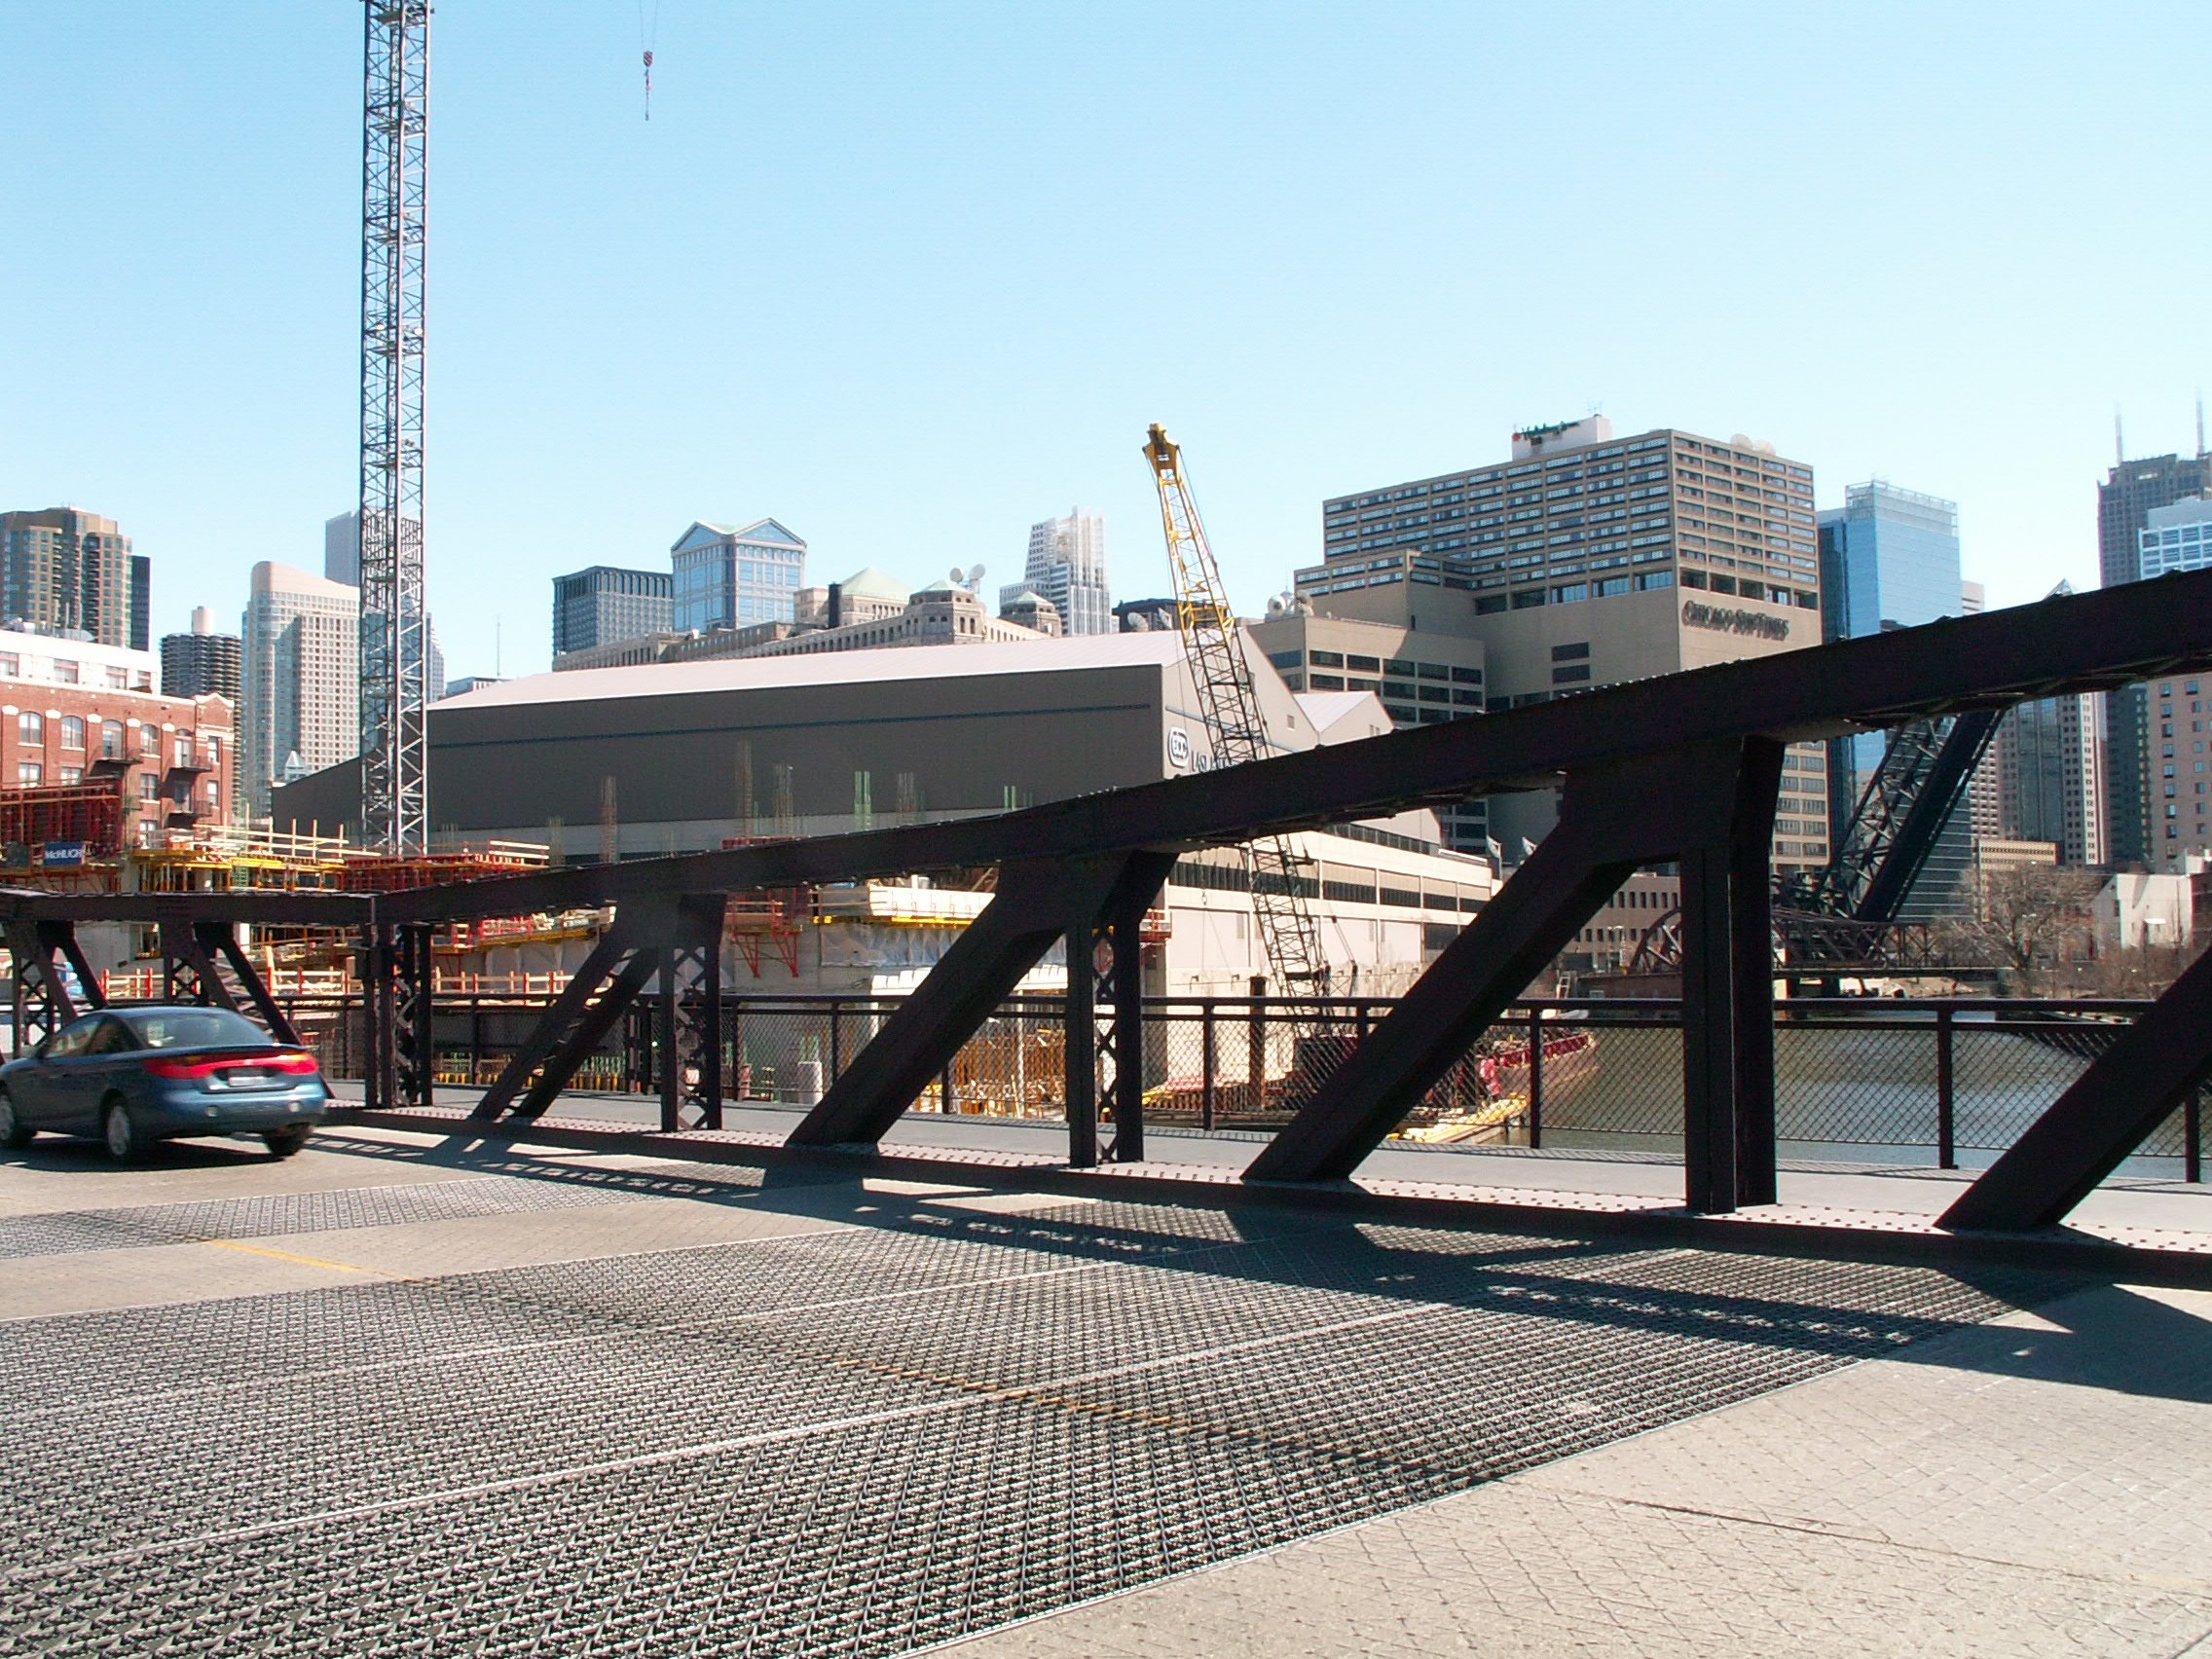
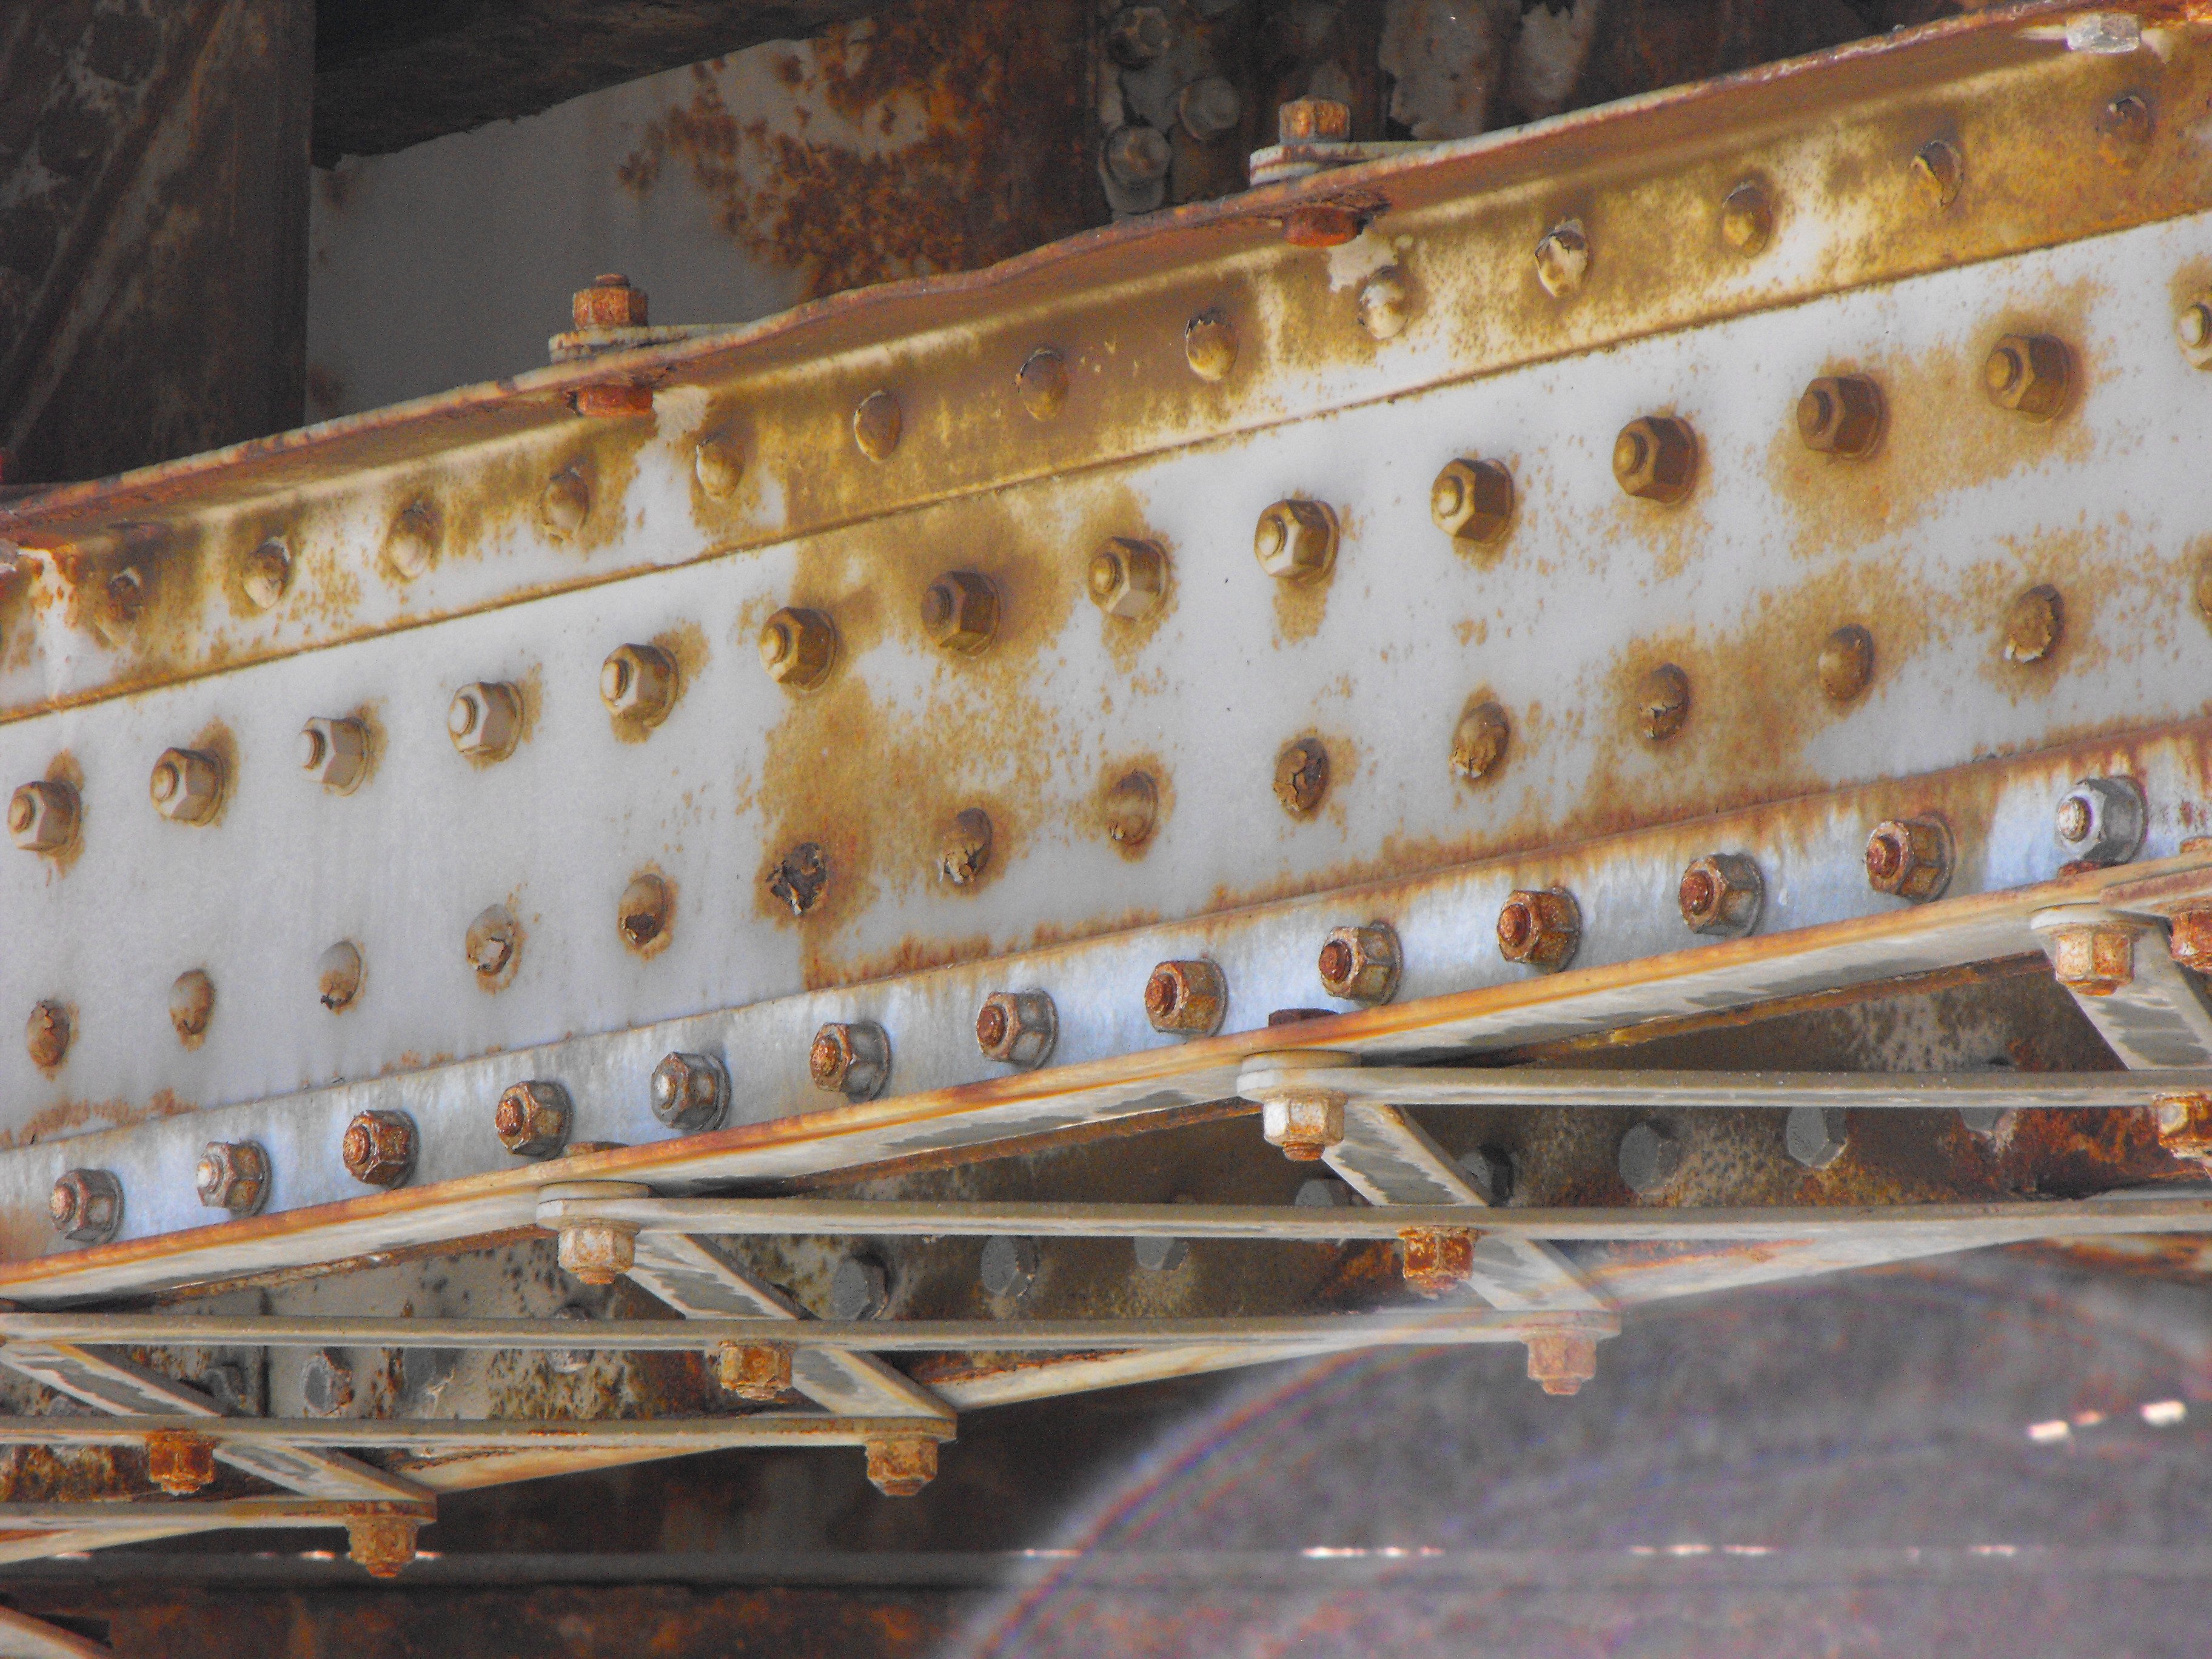
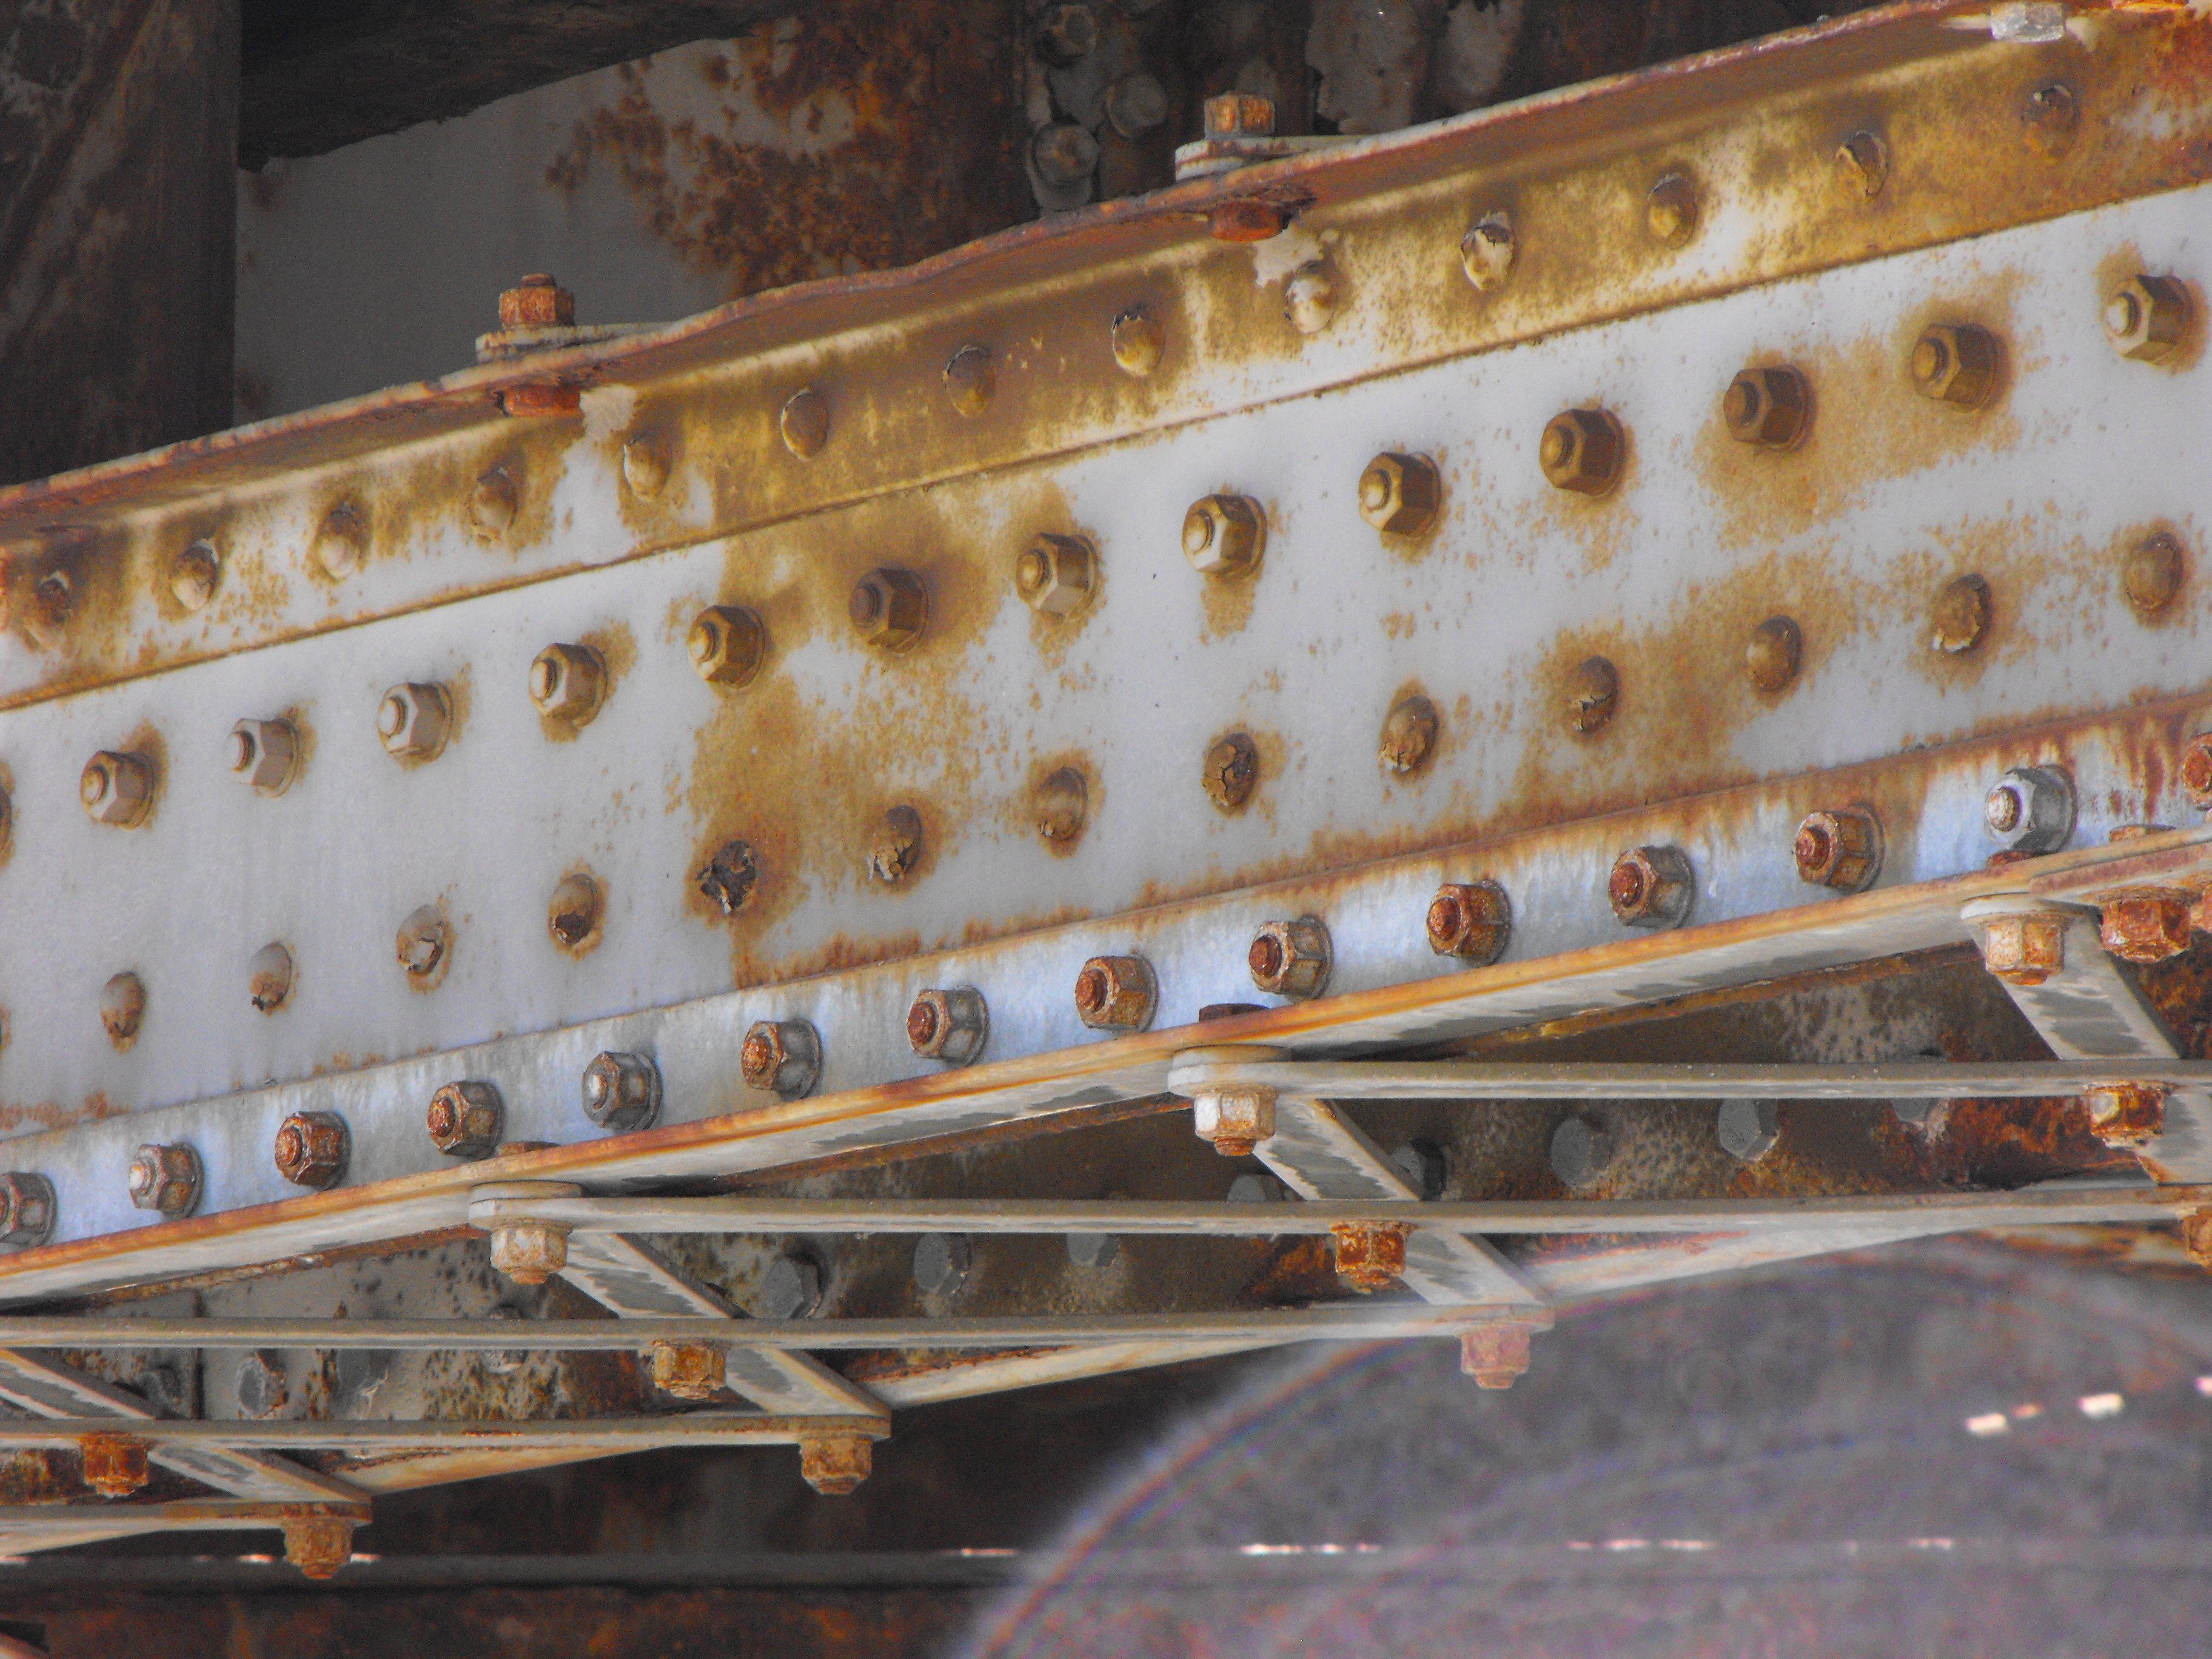
Views under bridge.
![]()

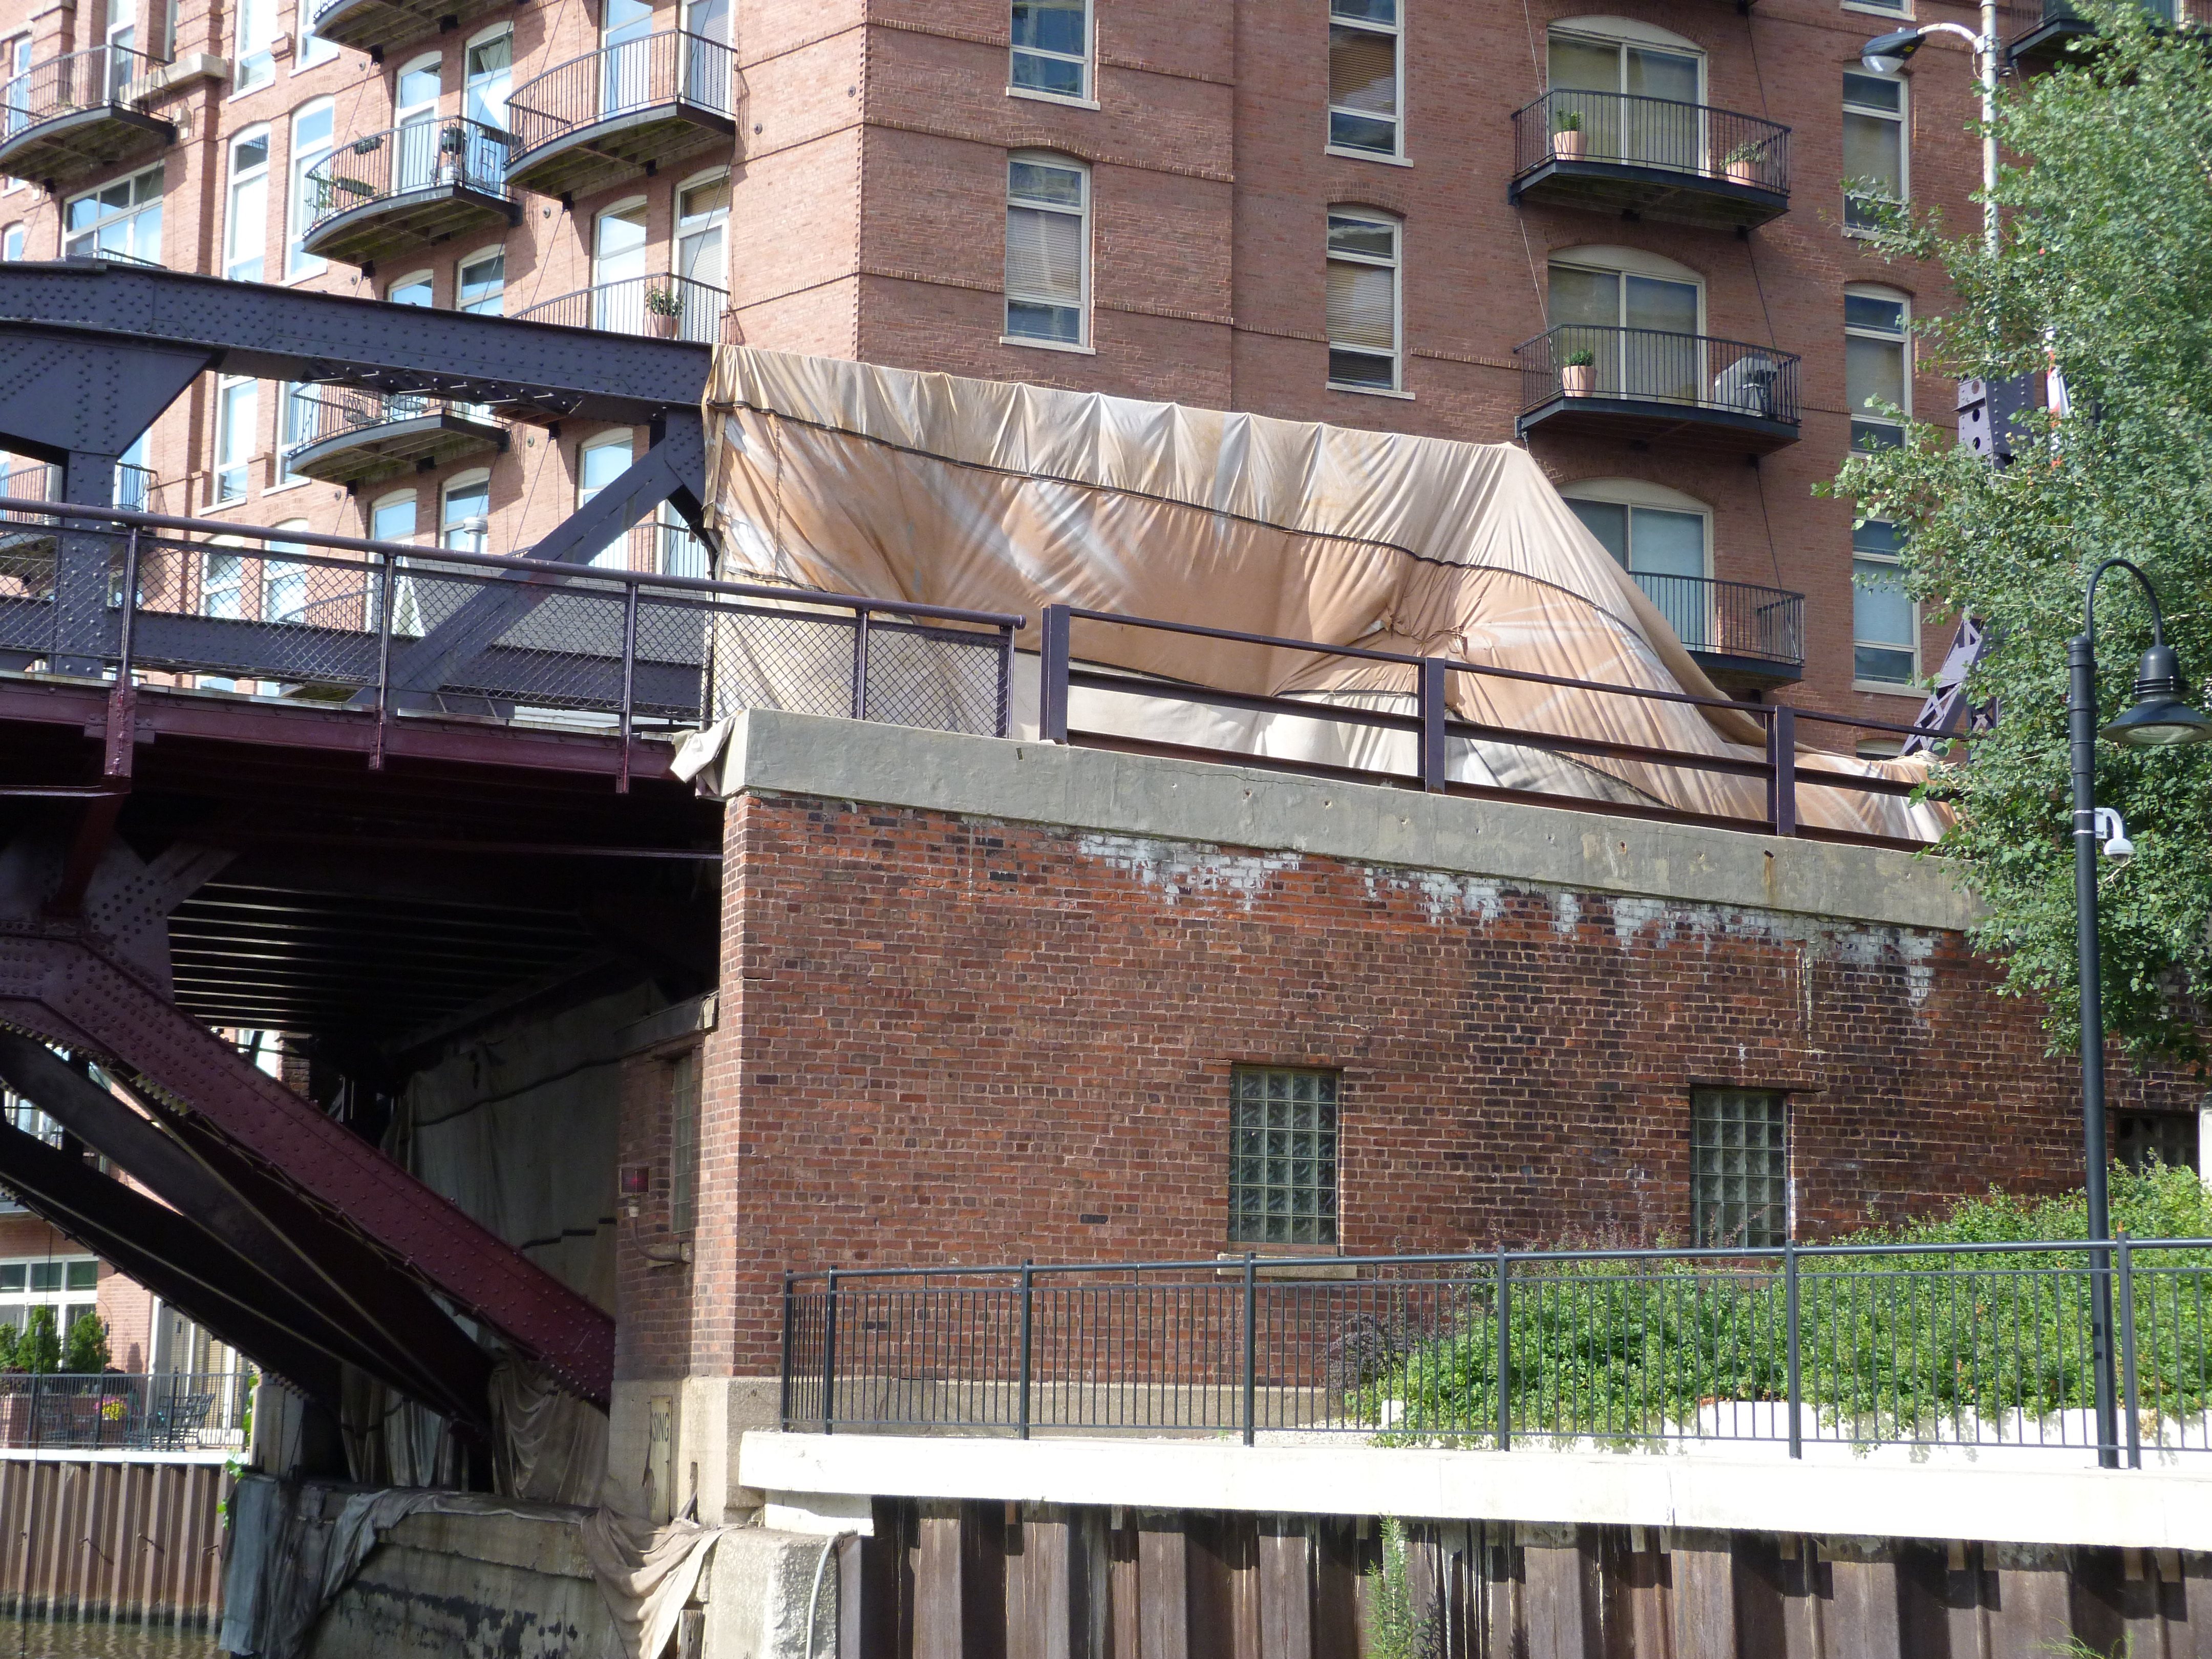

East abutment in August 2013 with containment for painting visible.
![]()
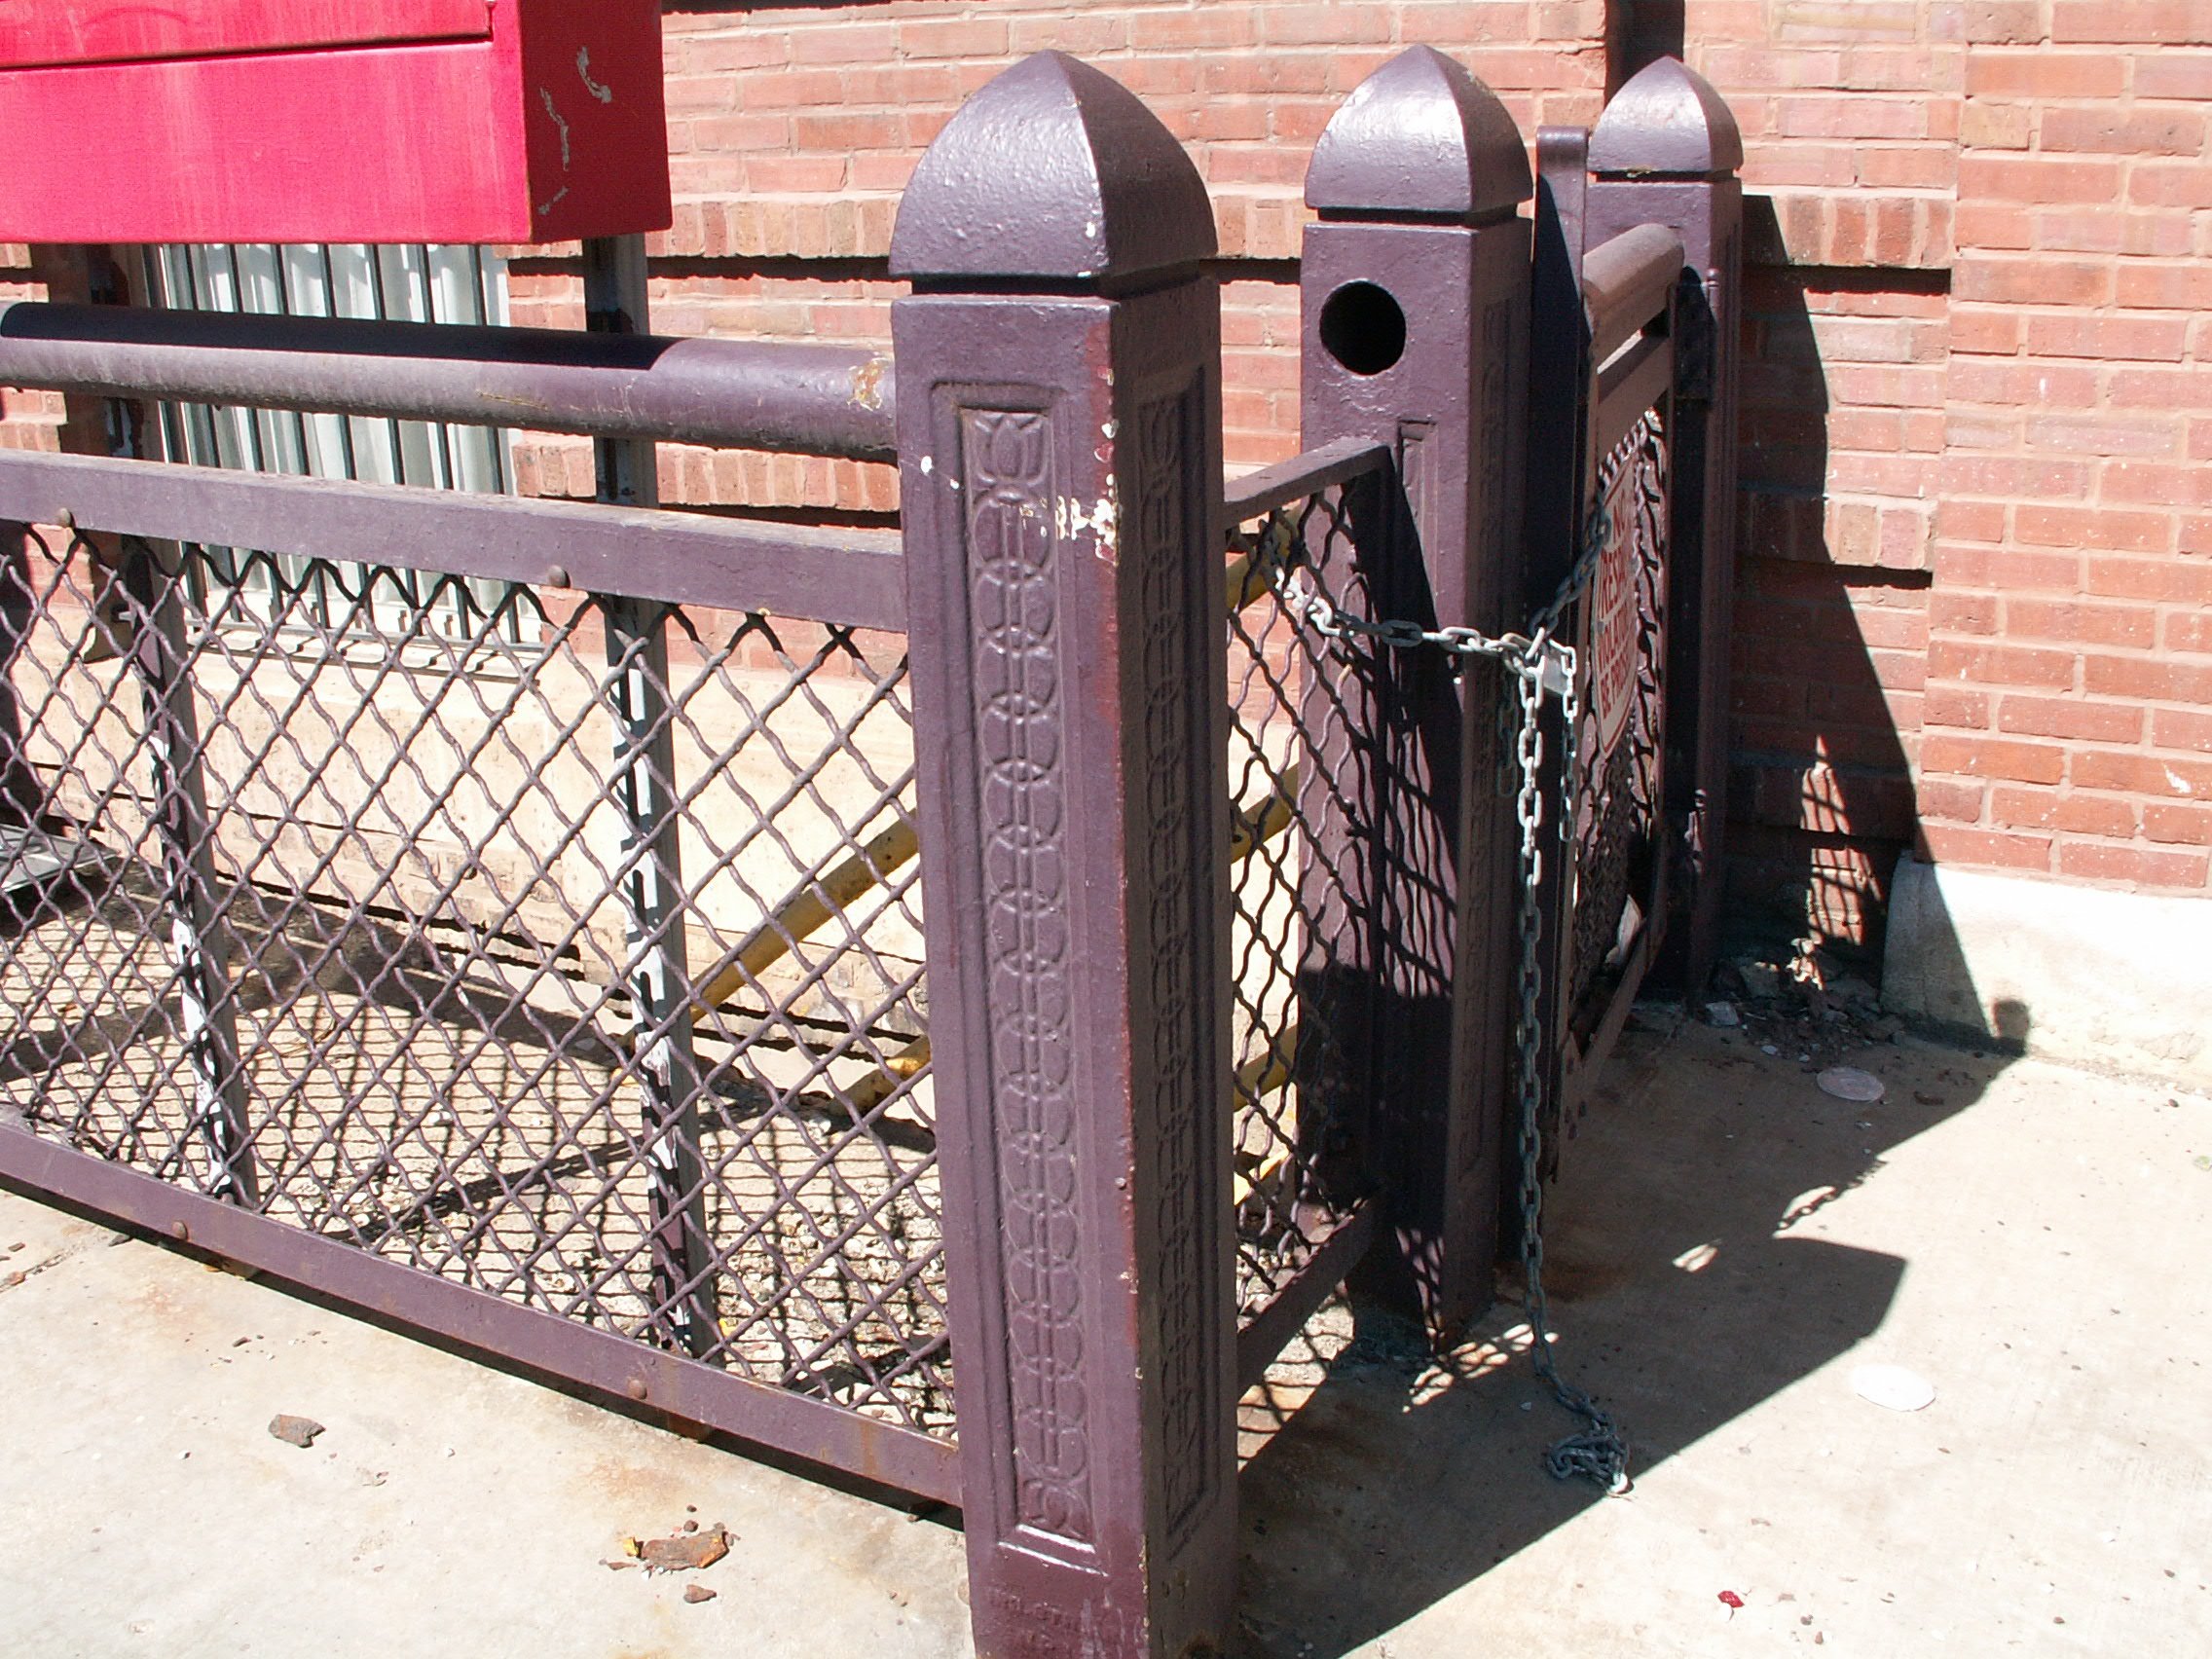


Railing.
![]()


Vertical members.
![]()


Diagonal members.
![]()
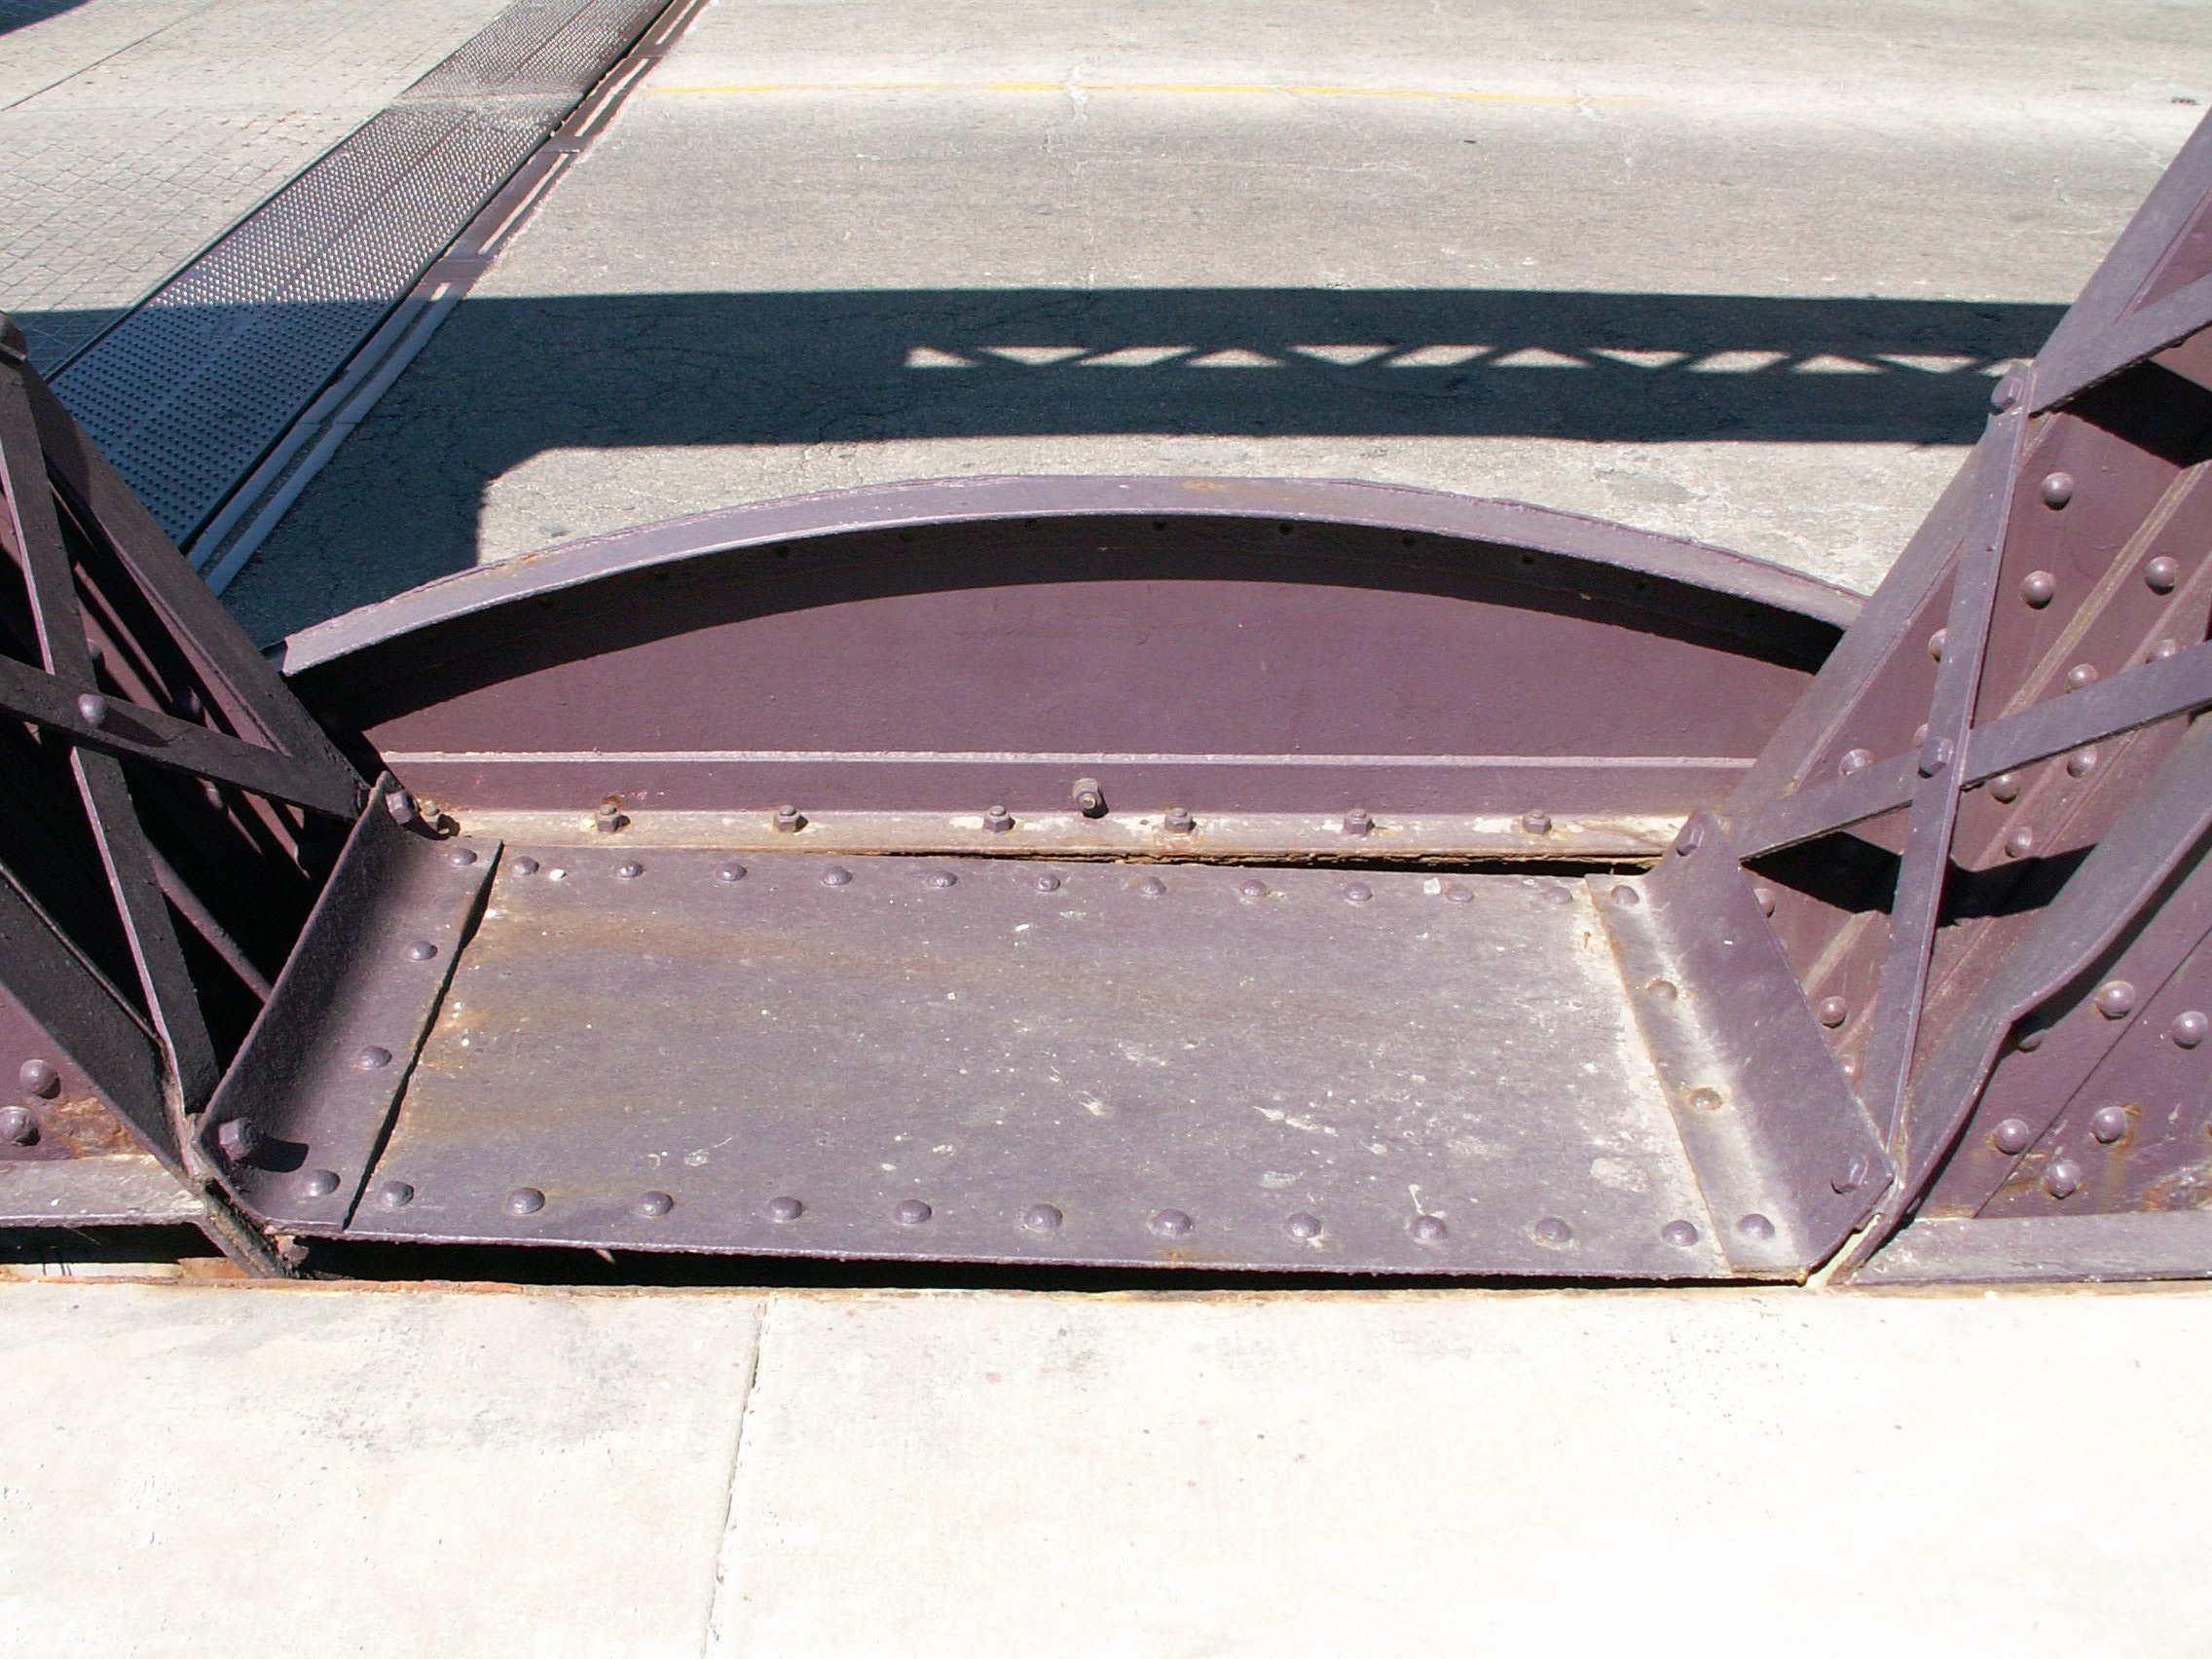
Detail at end of truss.
![]()
Part of what was once presumably the position indicator for the bridge.
![]()
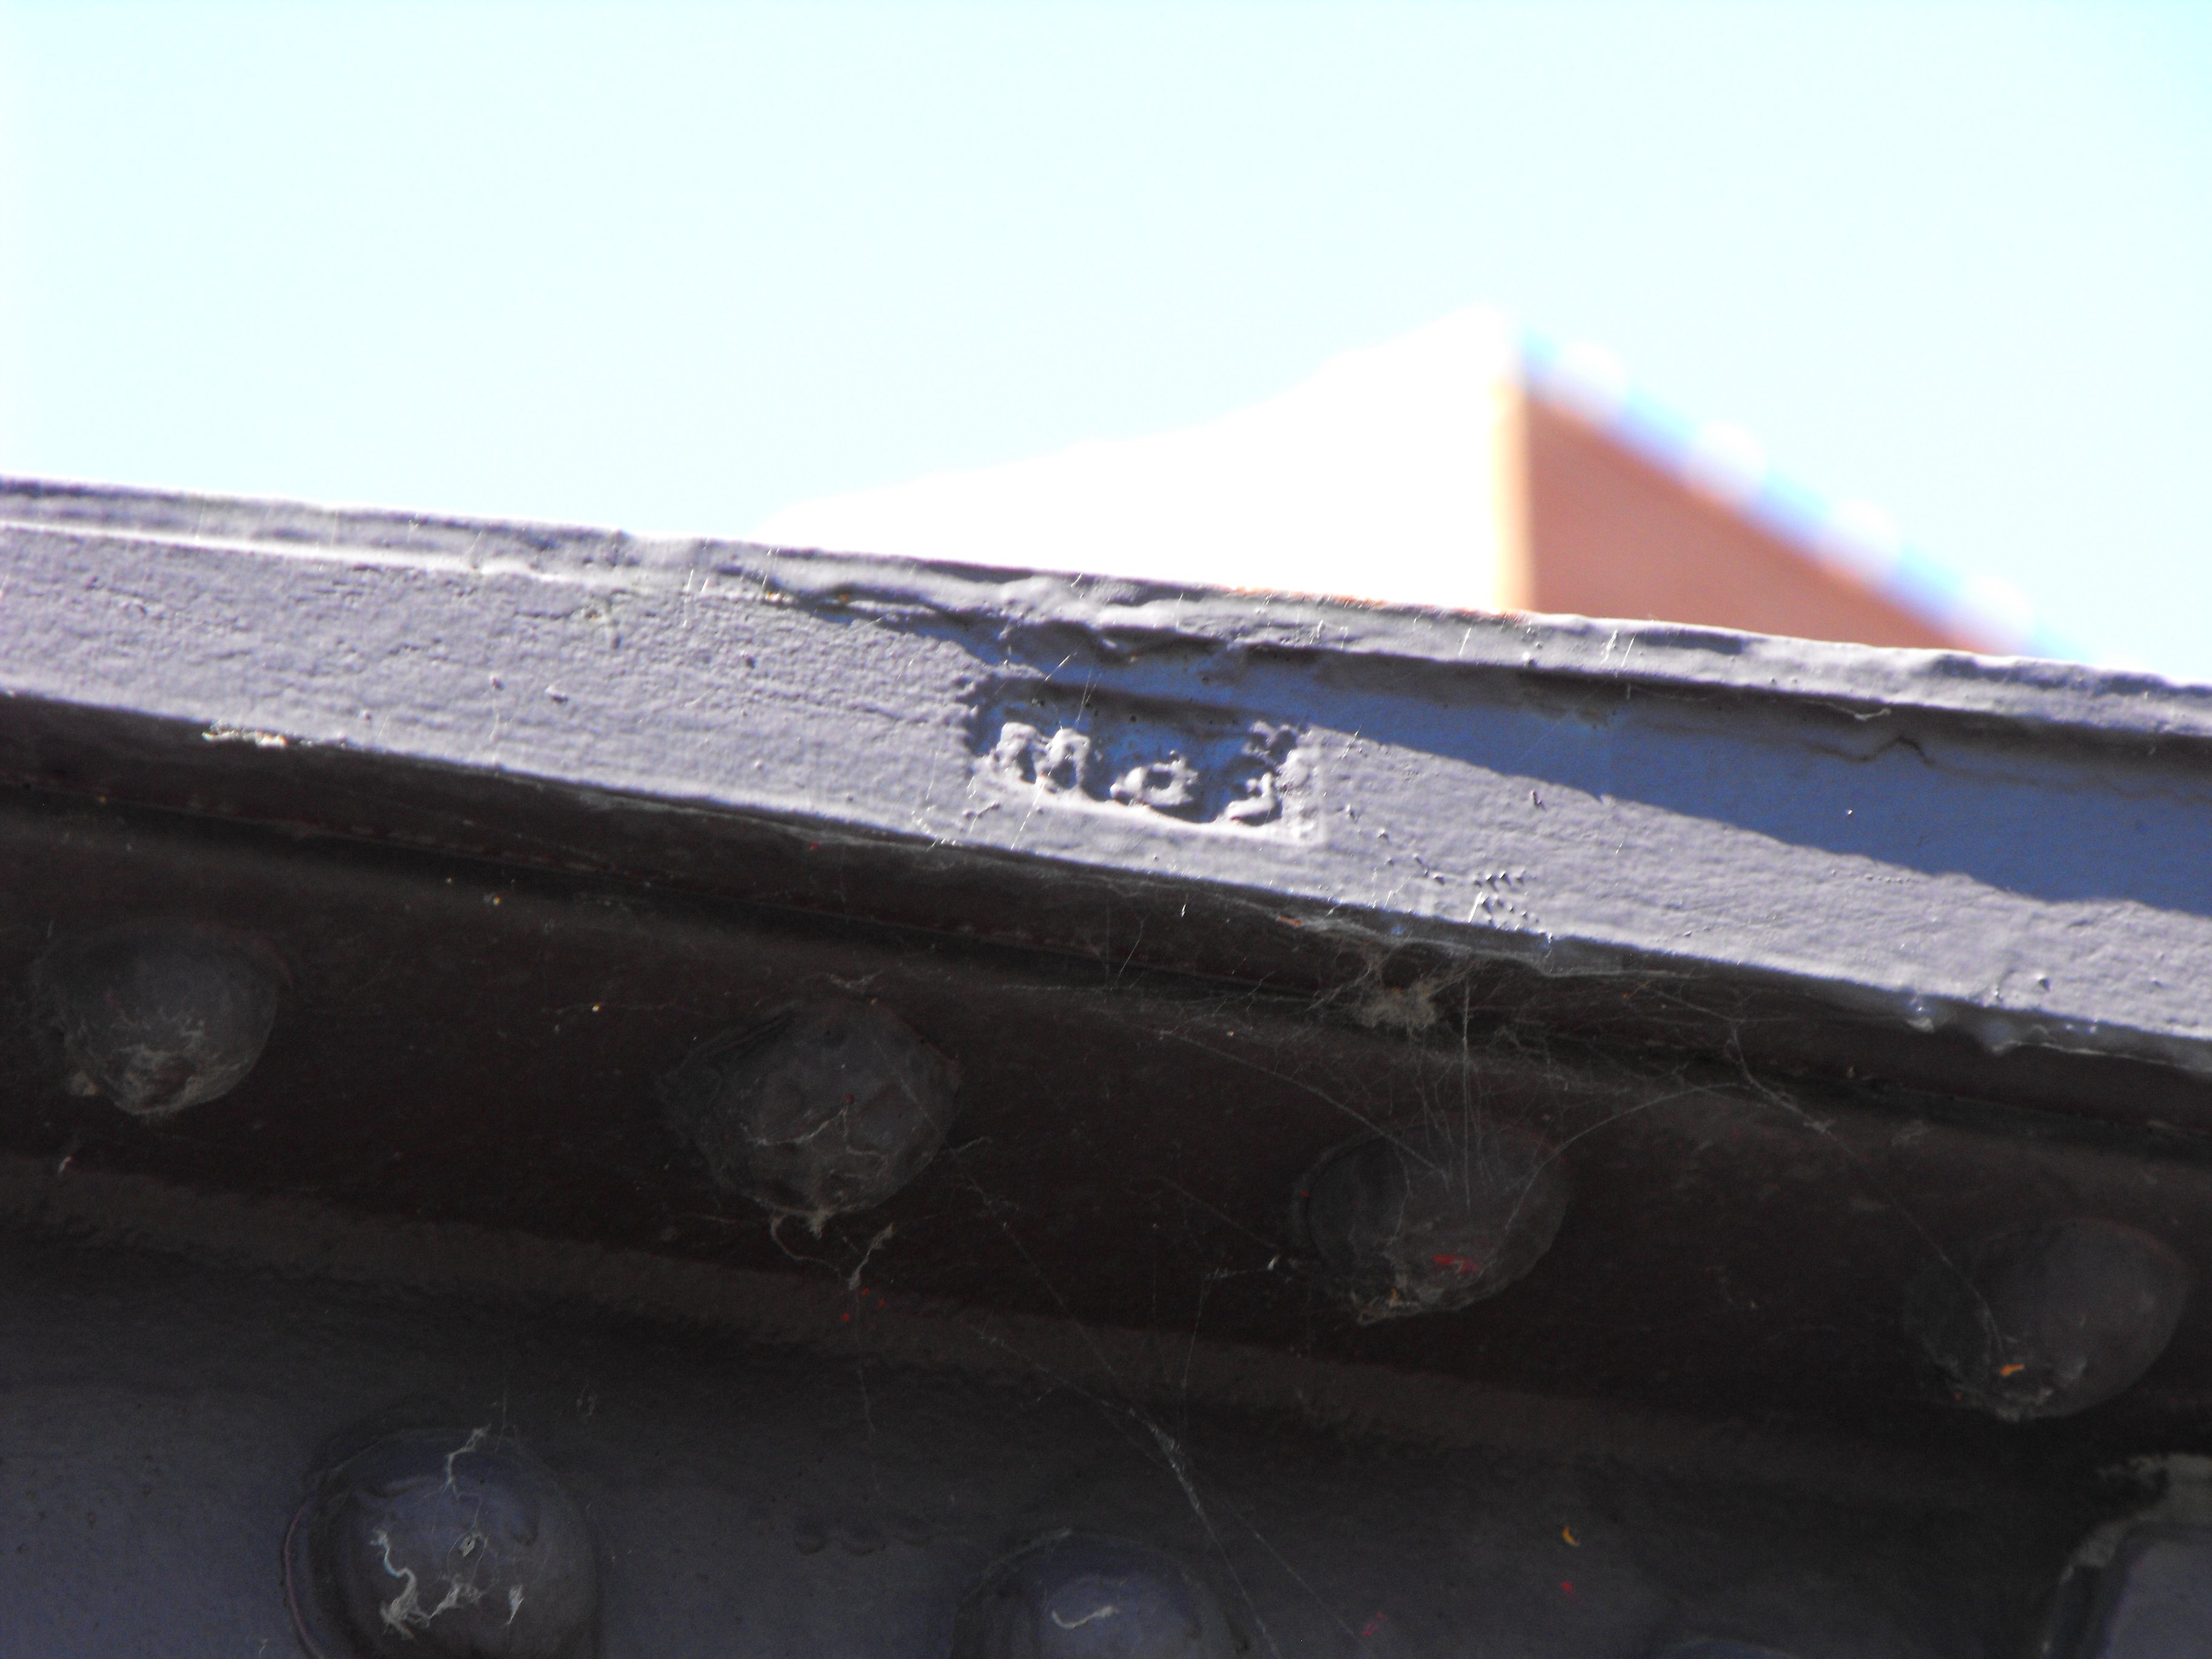
Unknown mark on bridge.
![]()
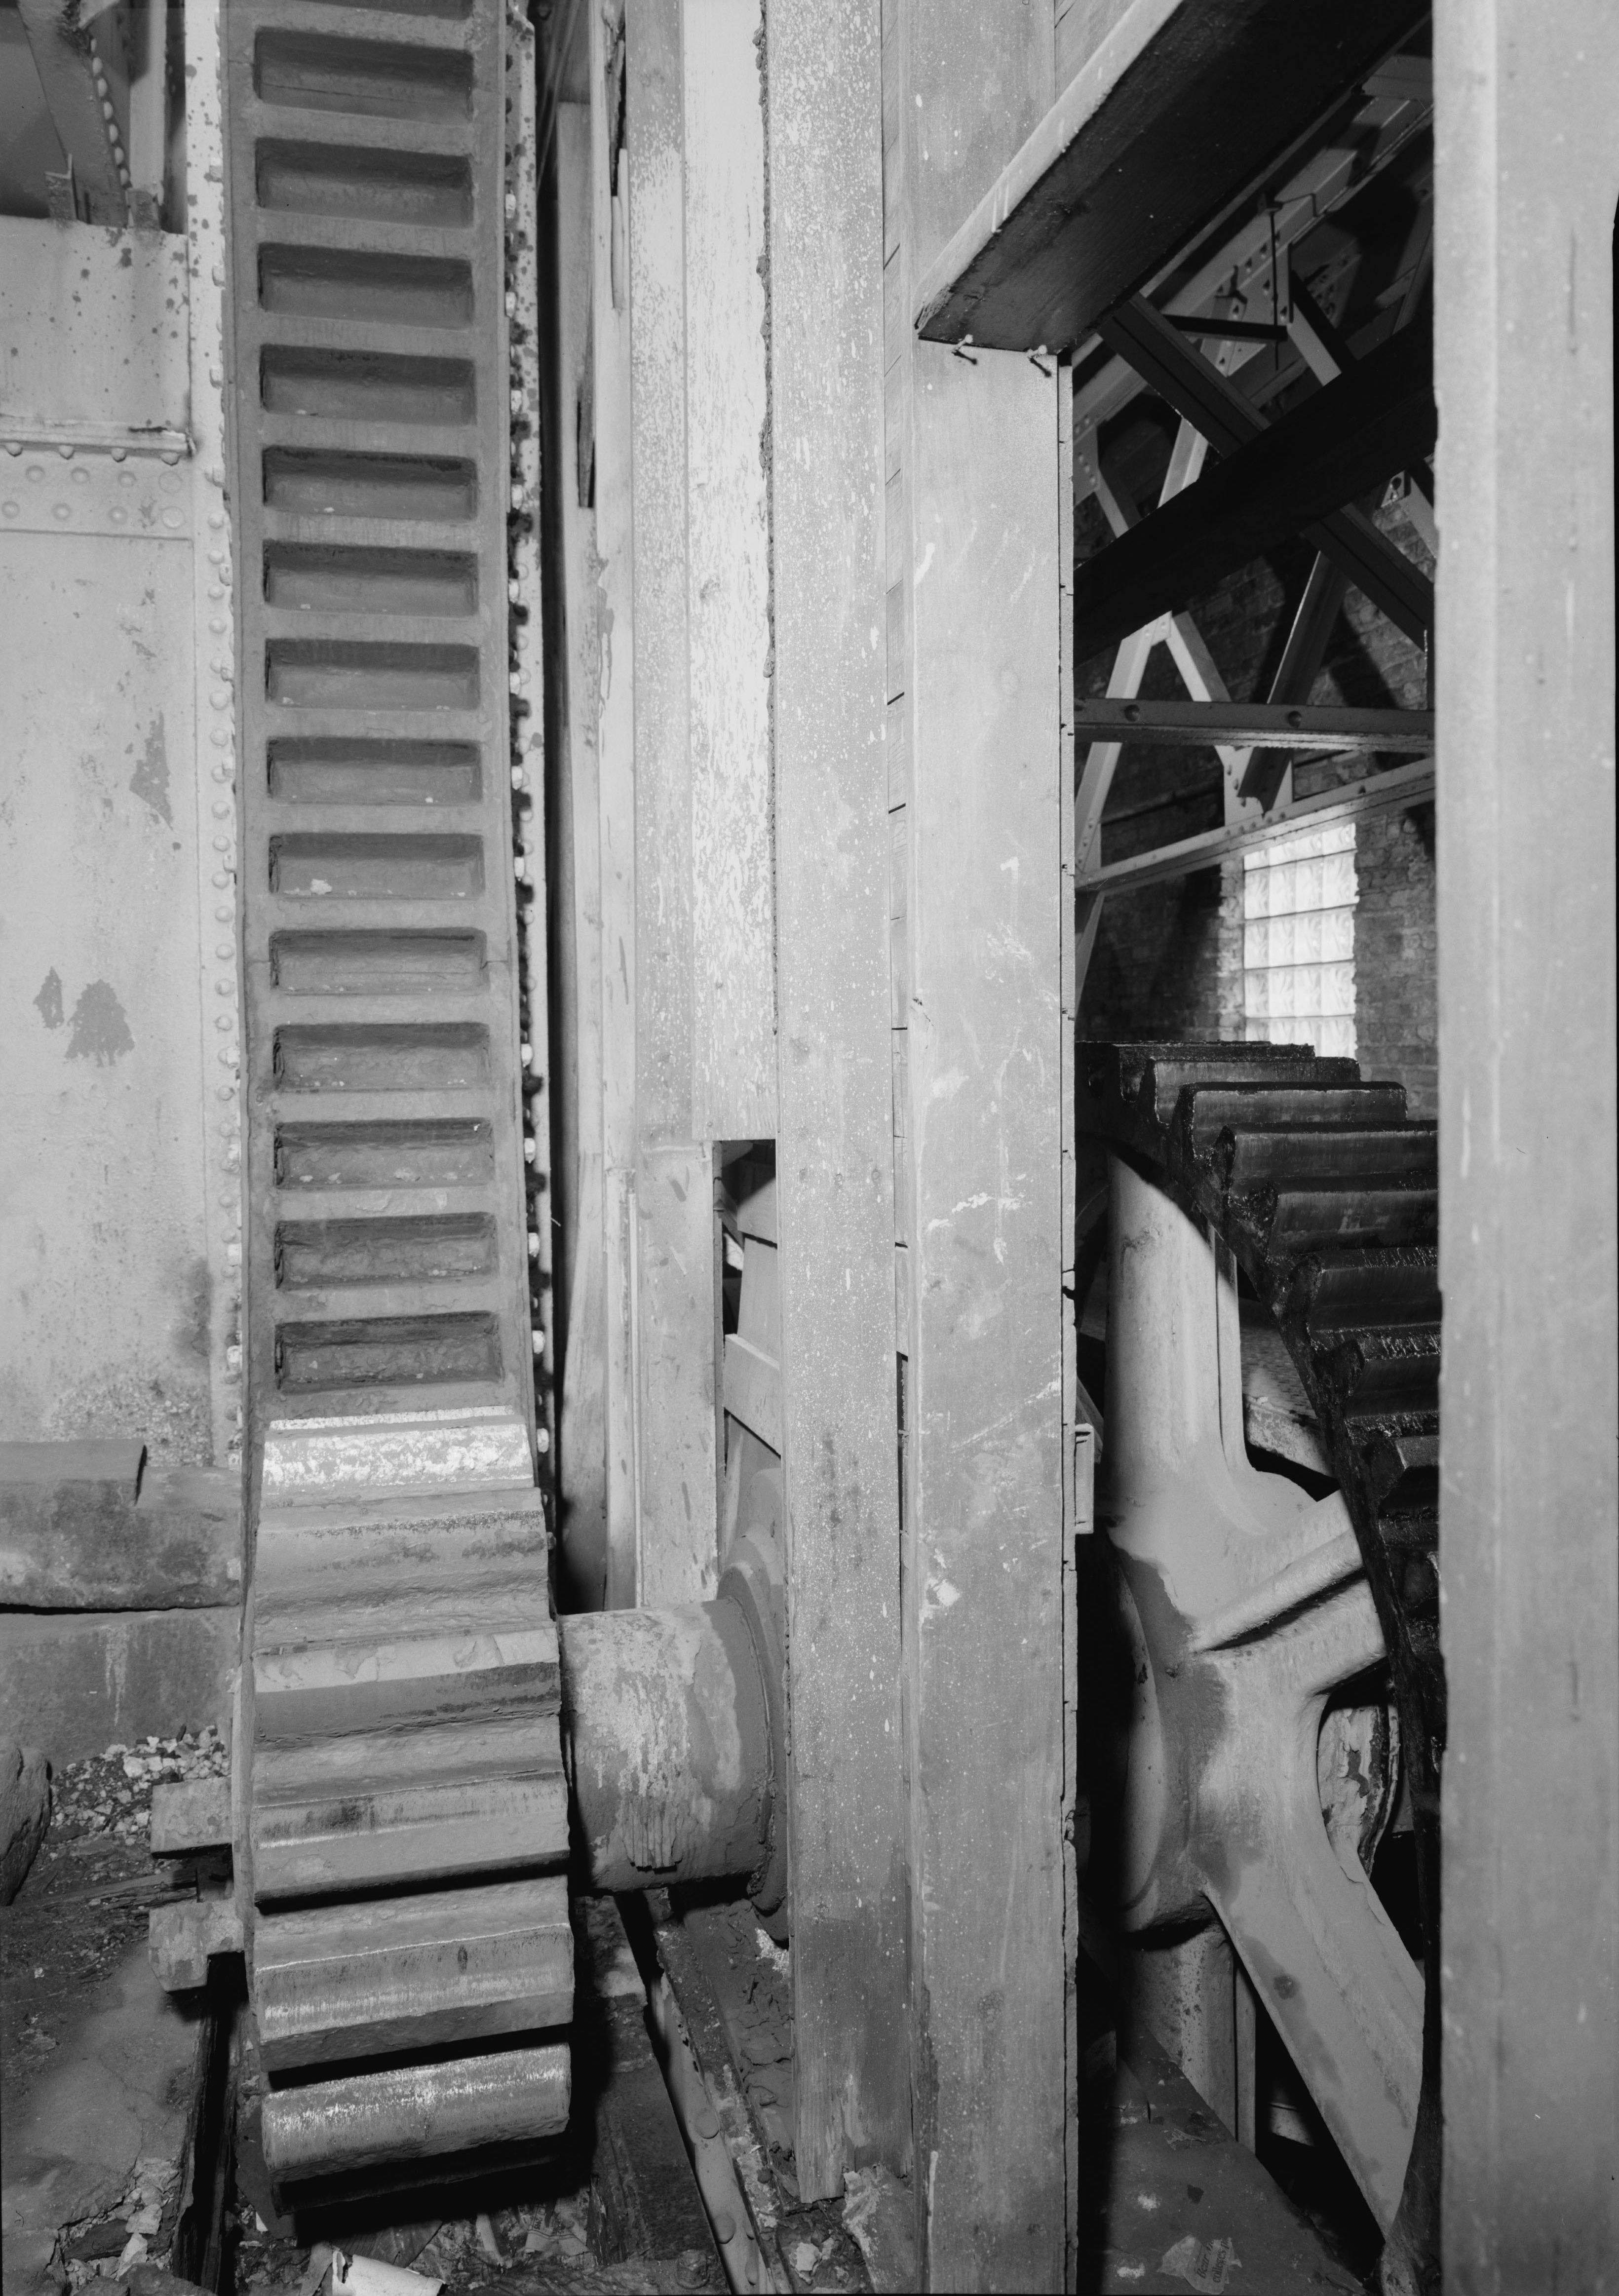
Photo Credit: Historic American Engineering Record
Rack and pinion.
![]()
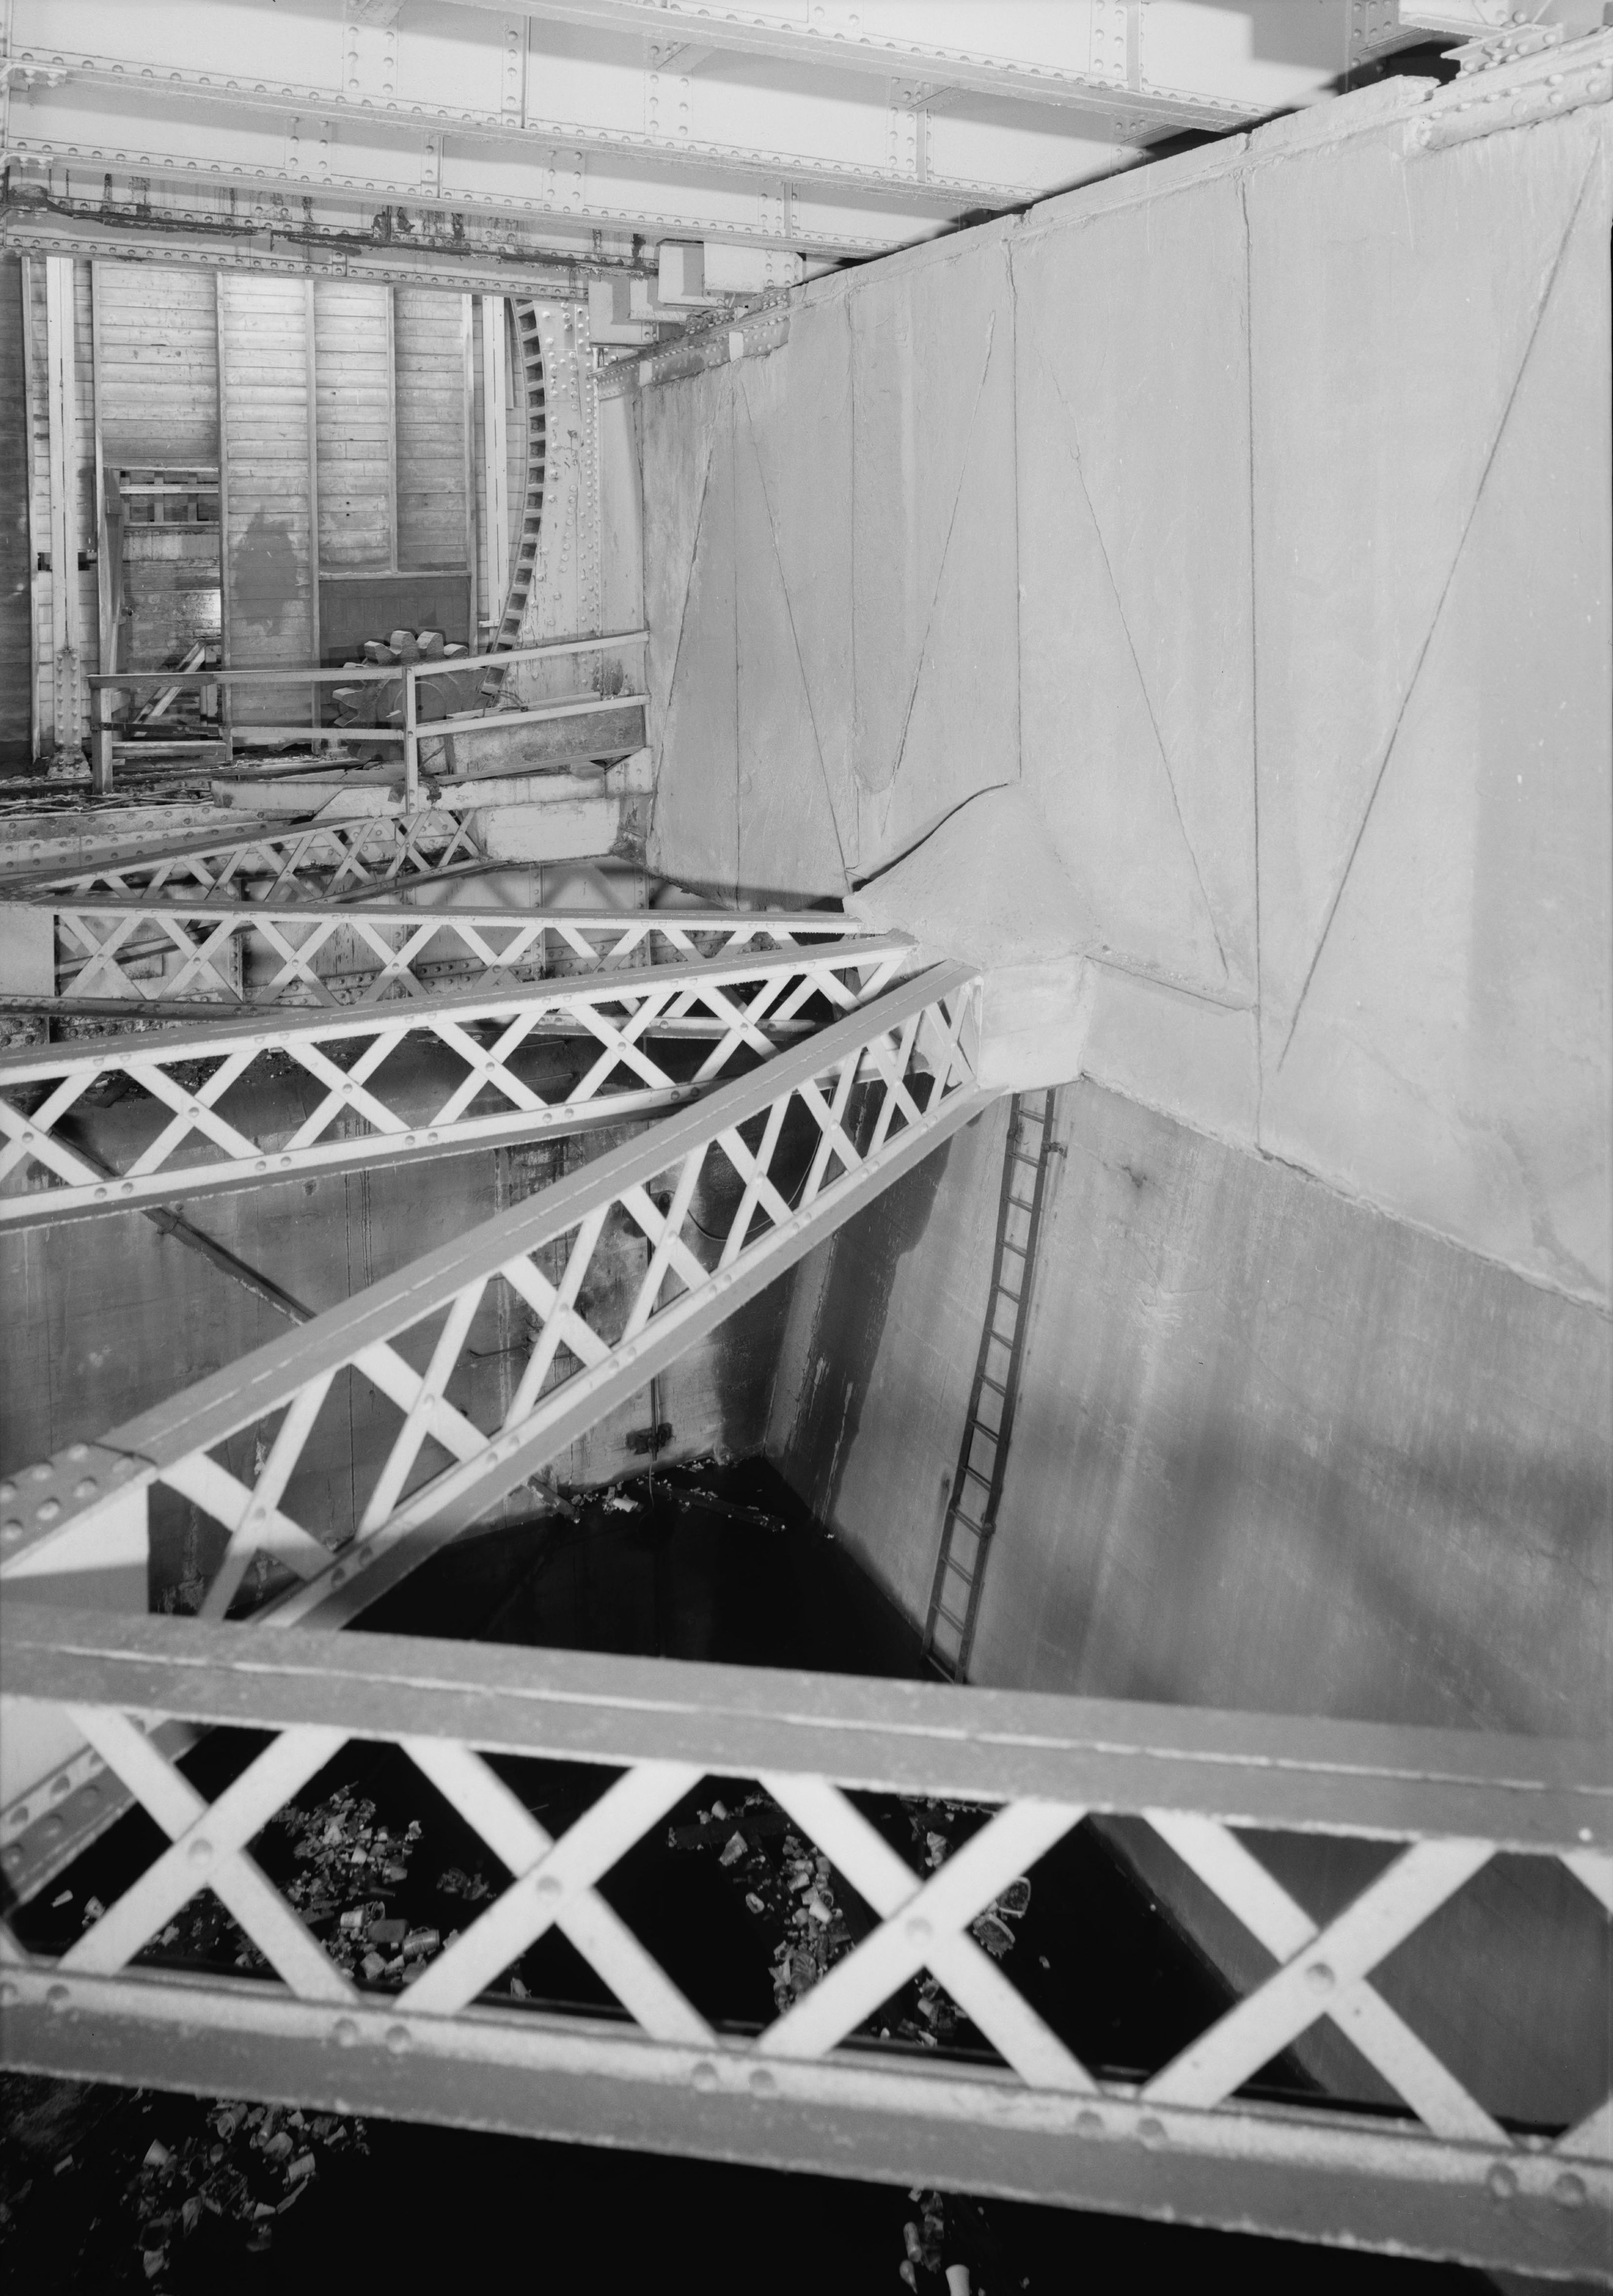
Photo Credit: Historic American Engineering Record
Counterweight and counterweight pit.
![]()
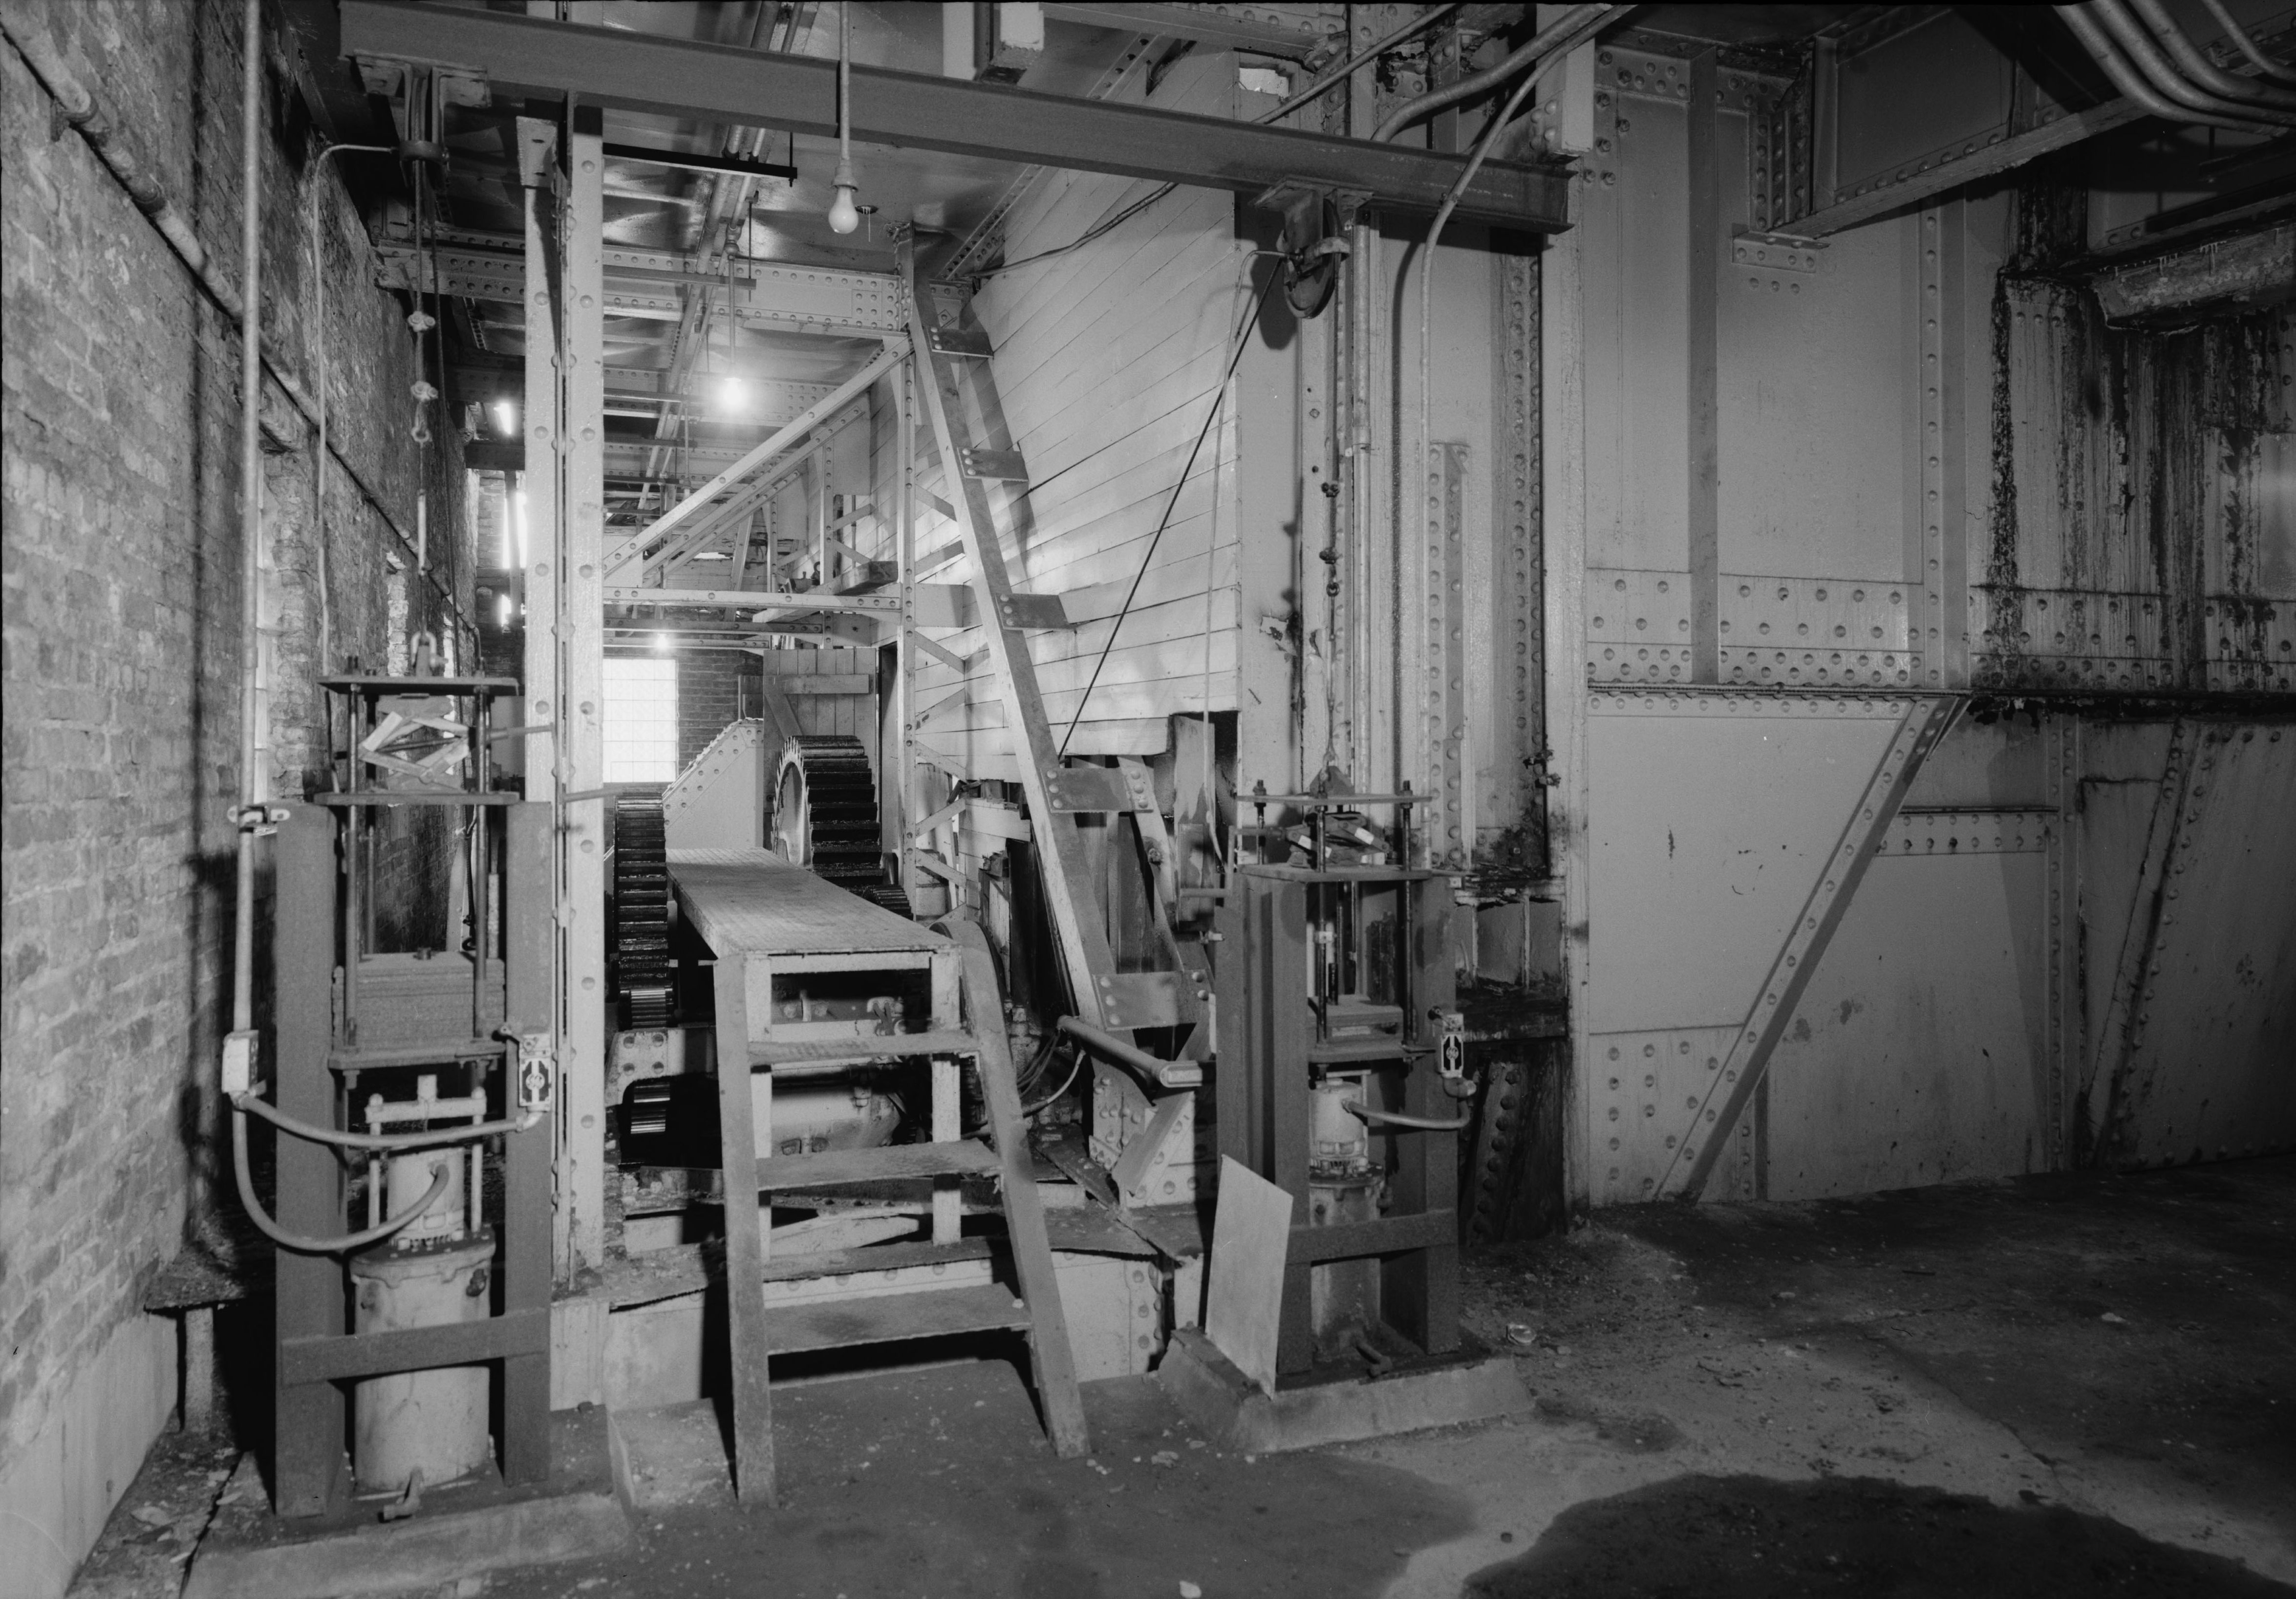
Photo Credit: Historic American Engineering Record
Machinery room.
![]()

Photo Credit: Historic American Engineering Record
Bridge tender house control room.
![]()
![]()
| Back |
| Home |
| Top |

![]()