
Uncredited photos on this page taken by: Nathan Holth and Rick McOmber. Unless stated in a caption, all photos are Copyright with All Rights Reserved. Learn about reuse of our photos.
![]()


Original / Full Size
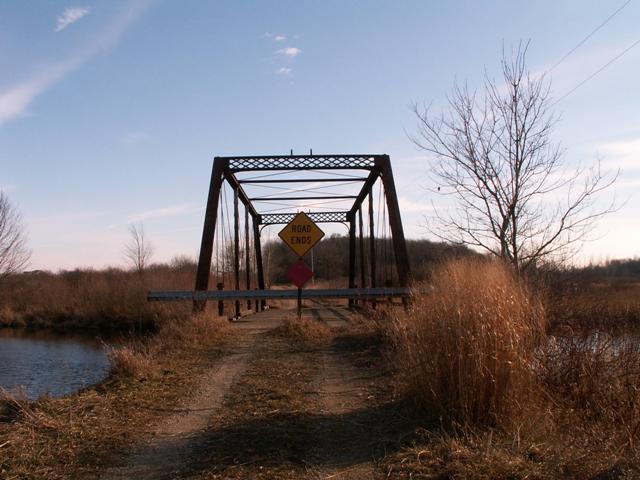
Portal views looking north.
![]()


Original / Full Size
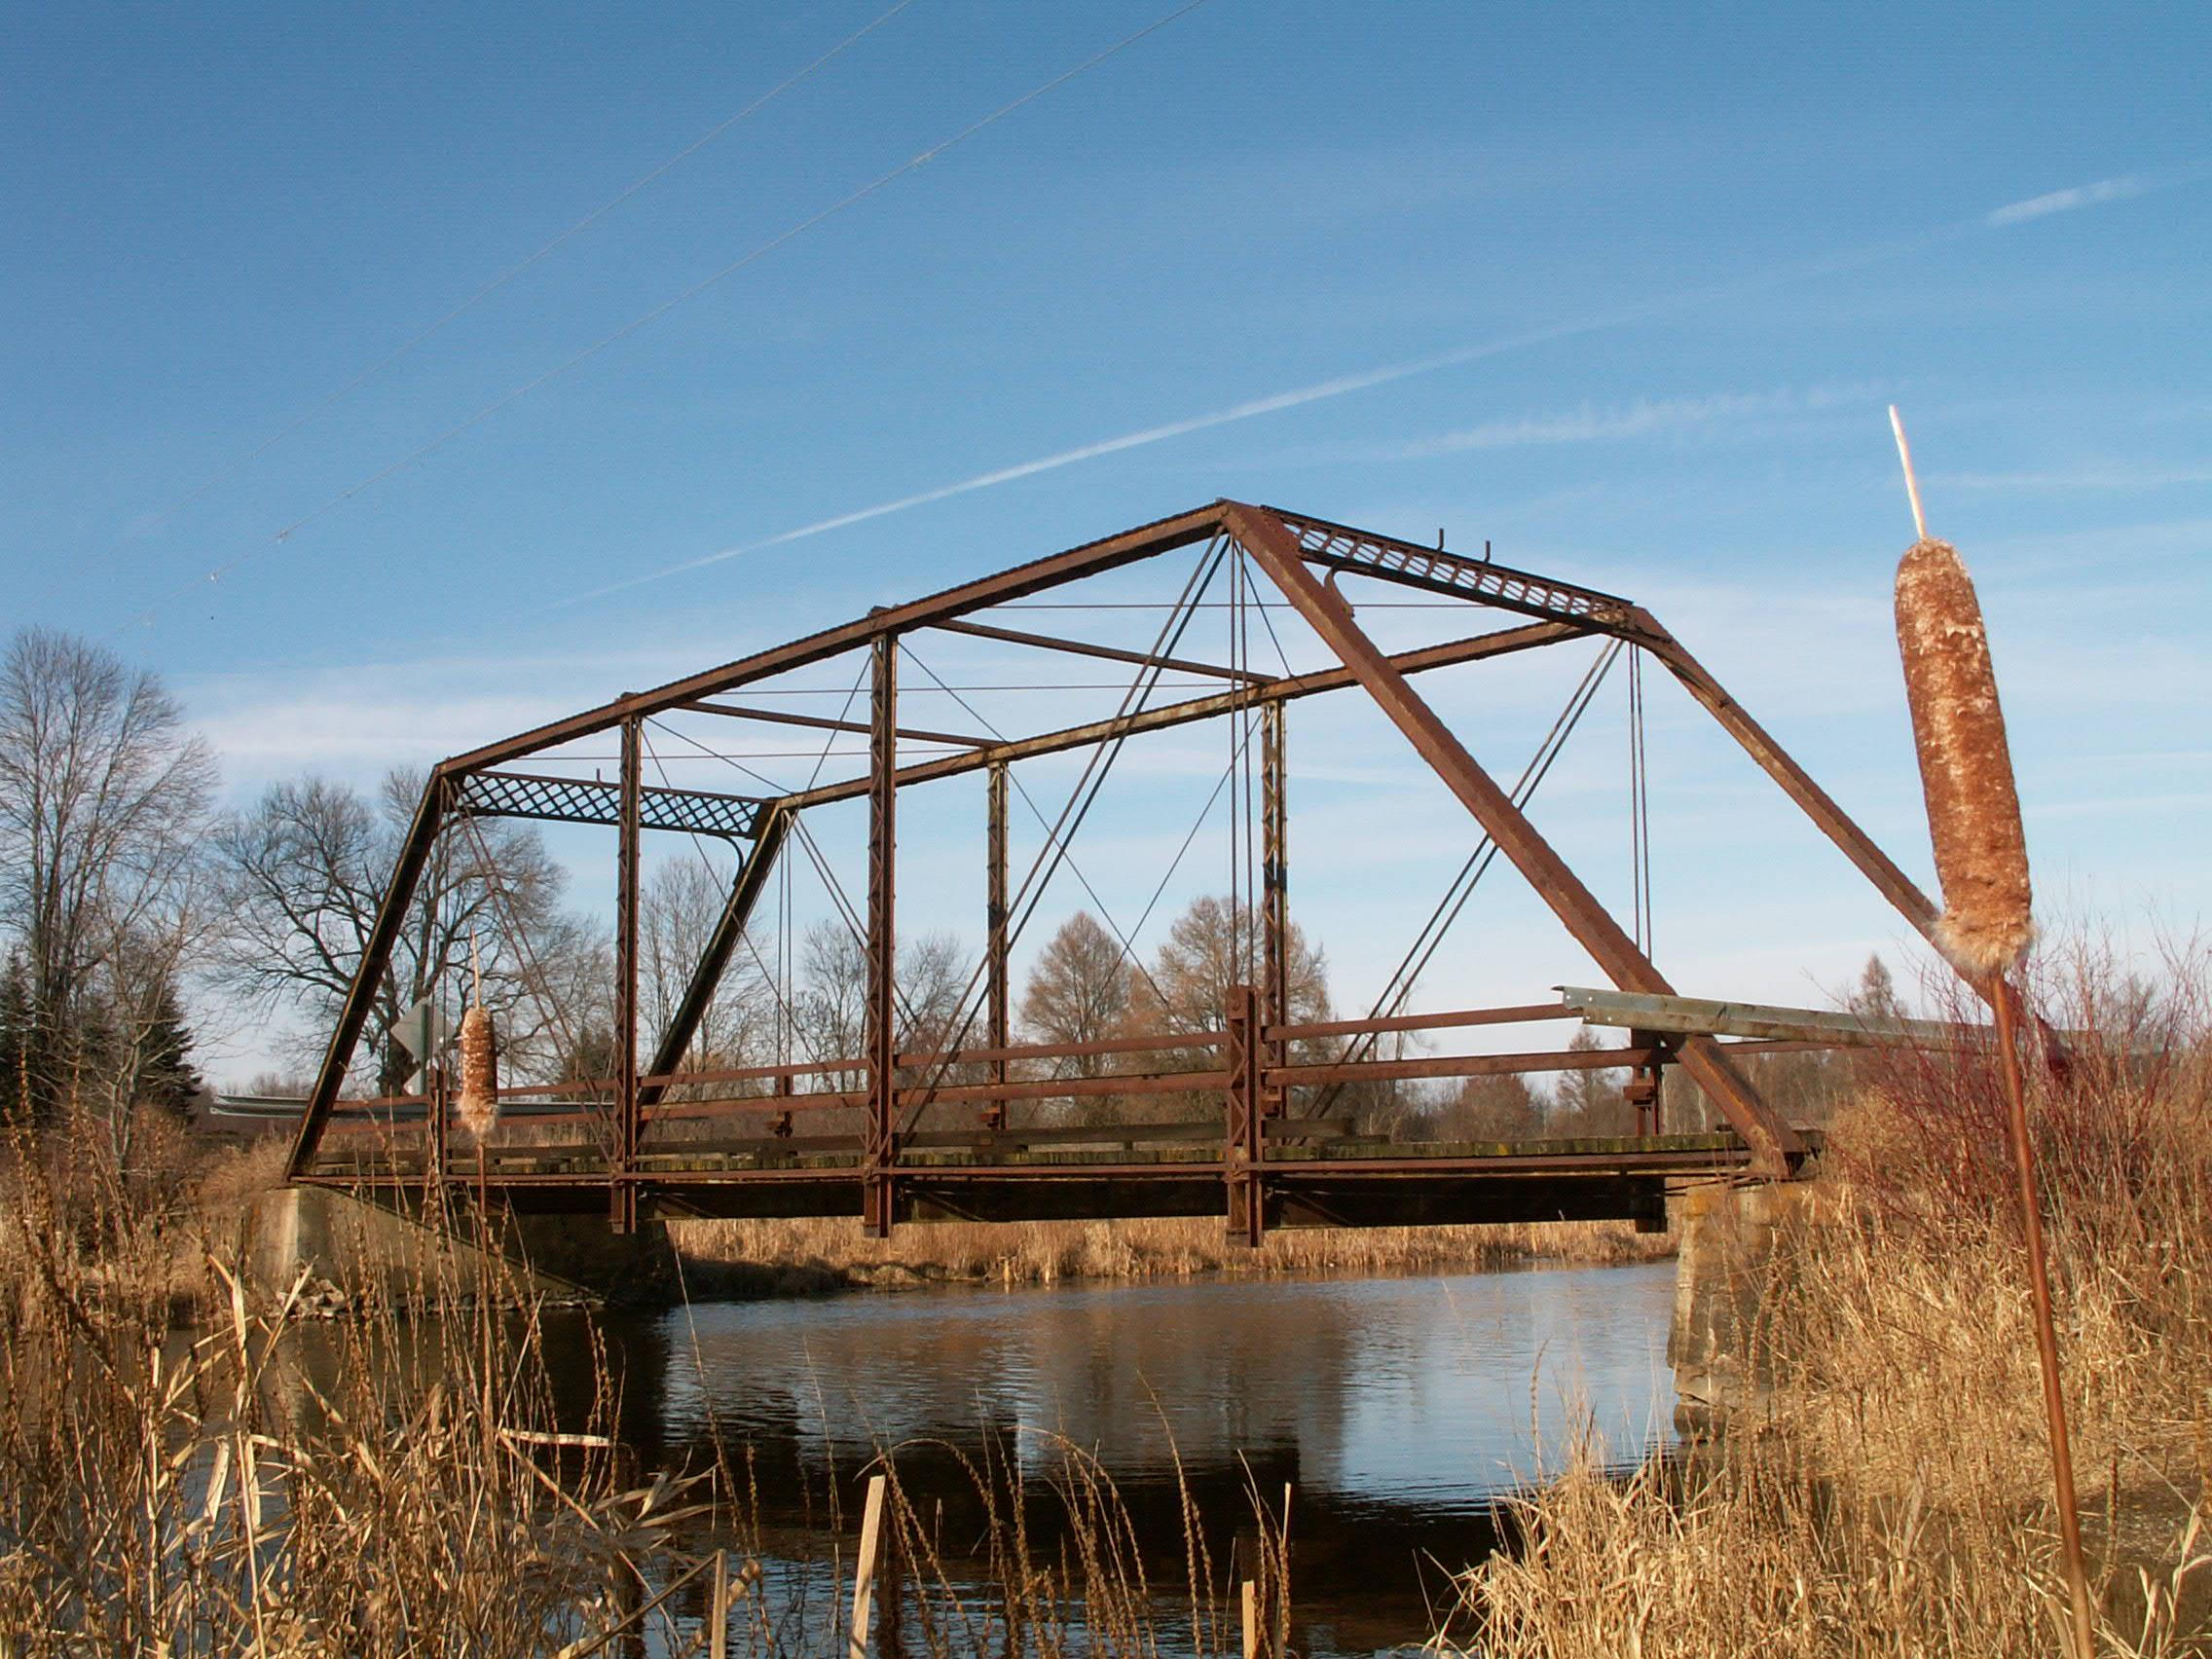
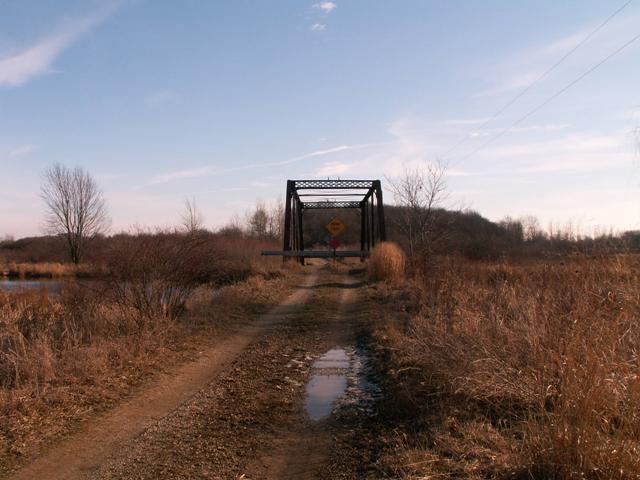
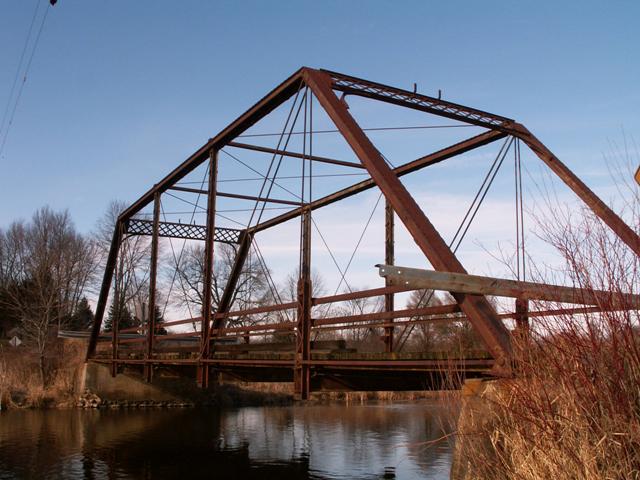
Oblique views of the bridge taken from the southwest quadrant.
![]()

Original / Full Size
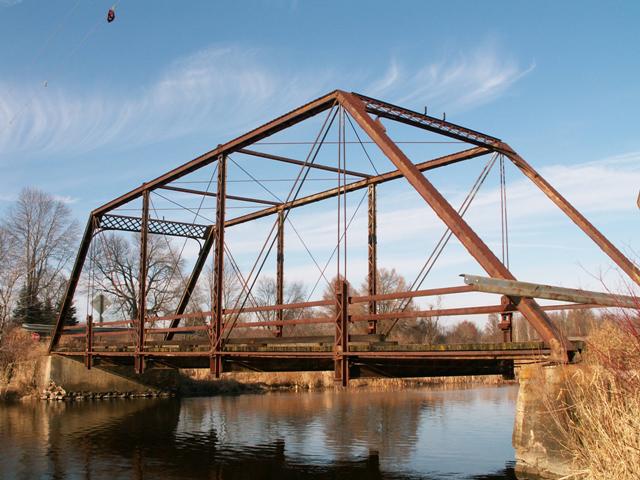
An oblique view of the bridge taken from the southwest quadrant. Although we usually don't like to digitally alter photos (so you see it the way it was) but we also included a version of this photo with the annoying junk hanging on the power line removed. See the below thumbnail.
![]()
Original / Full Size
An oblique view of the bridge taken from the southwest quadrant, with some digital touchup.
![]()

Original / Full Size
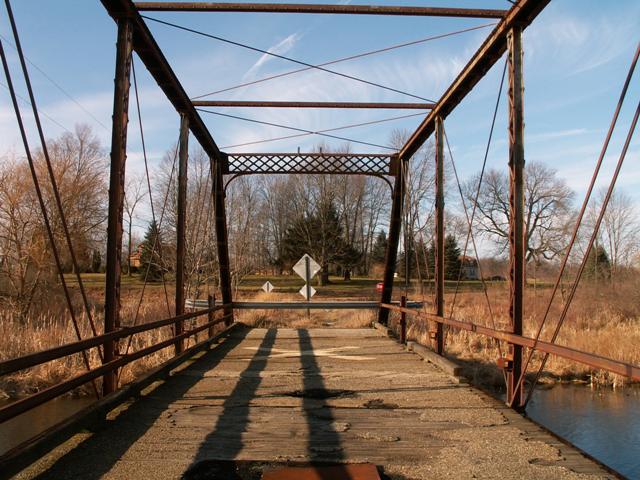
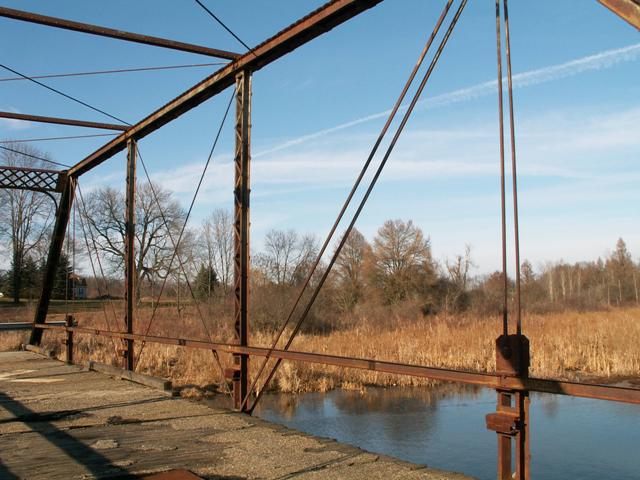
View on bridge.
![]()

Original / Full Size
Side view of bridge from the northwest quadrant.
![]()

Original / Full Size
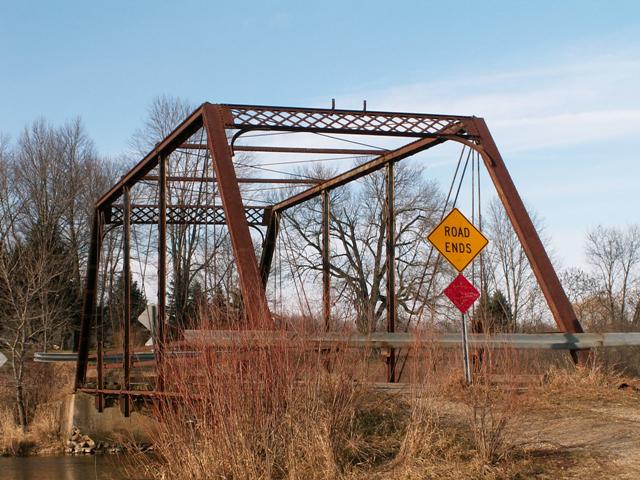
View near the bridge from the southwest quadrant.
![]()

Original / Full Size
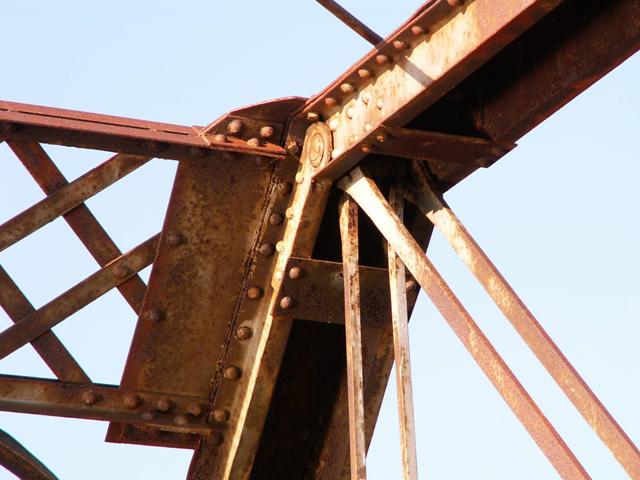
This photo was shot while photographing the sway bracing connections. It is a perspective from the top of the vertical.
![]()


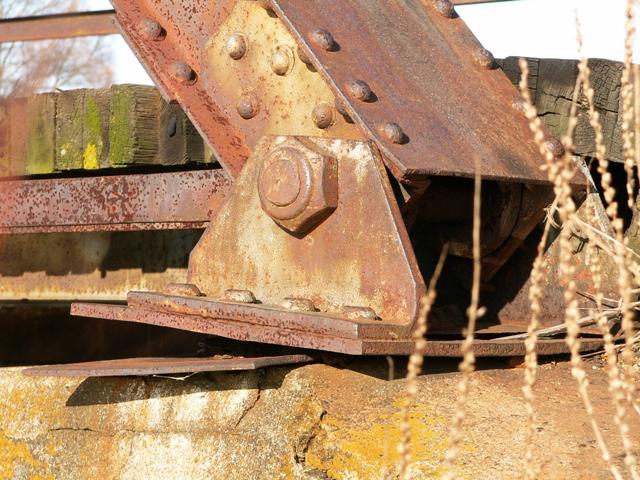

View of the bridge foot at south abutment. The south abutment is slowly tipping over, resulting in the foot being twiststed.
![]()

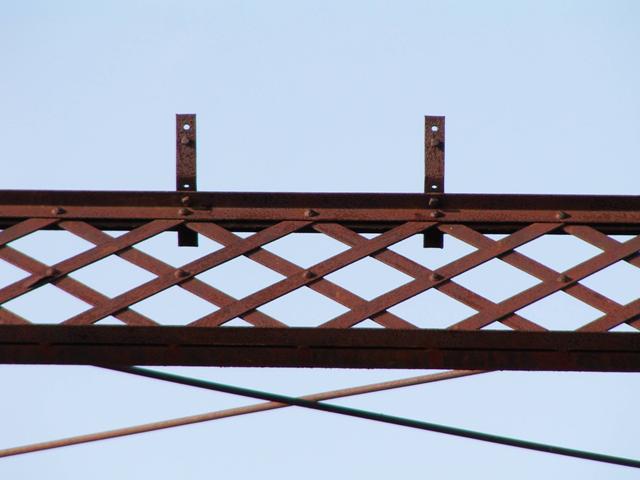
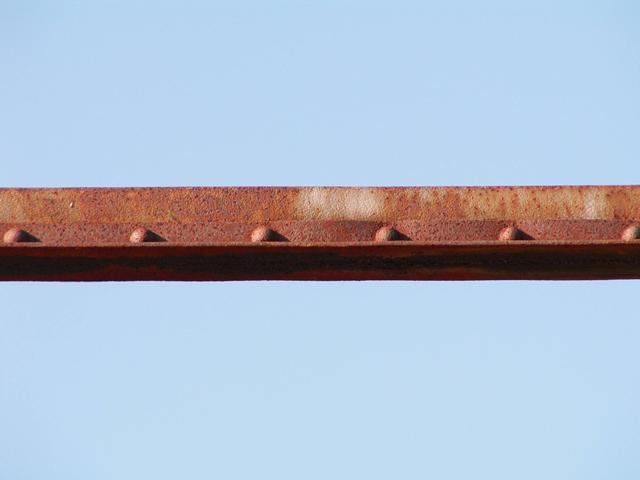
Overviews of top chord and end post.
![]()
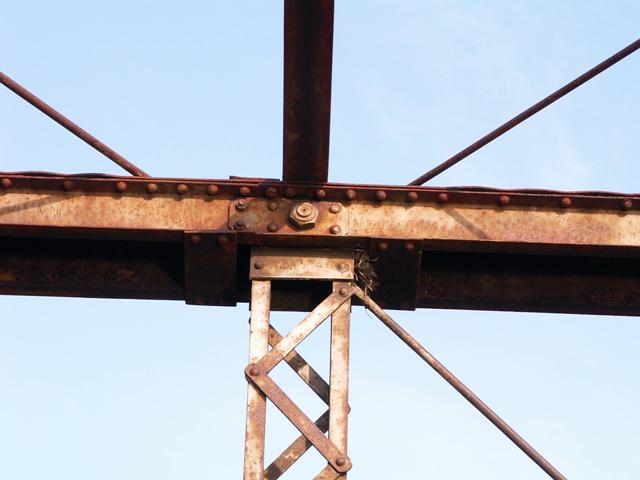


Top chord connection details.
![]()


Vertical members.
![]()


Portal bracing details.
![]()
Sway bracing.
![]()


Overhead lateral bracing and its connection detail.
![]()

Lateral bracing connection between floorbeams.
![]()

Turnbuckle.
![]()
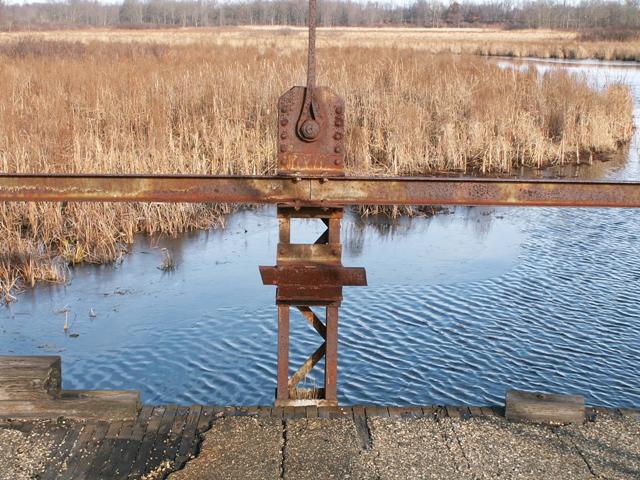


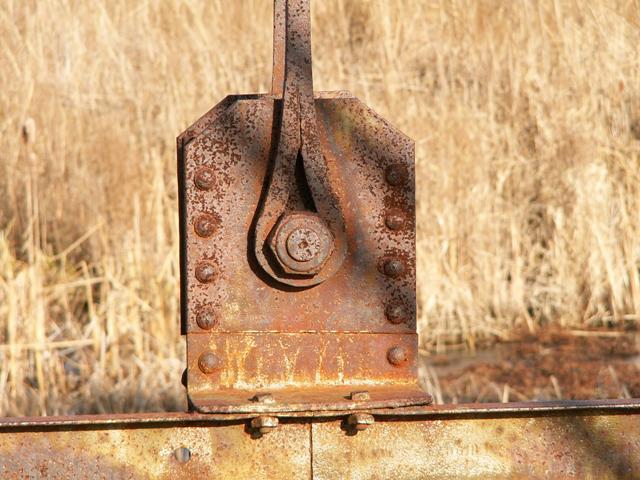
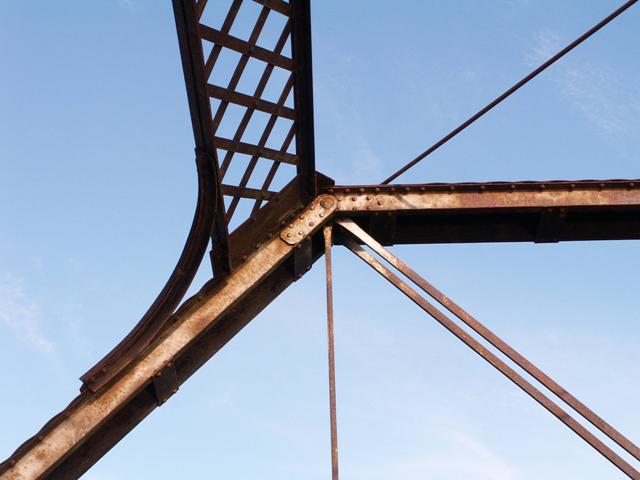
Details of the hip vertical configuration.
![]()


End post and details.
![]()
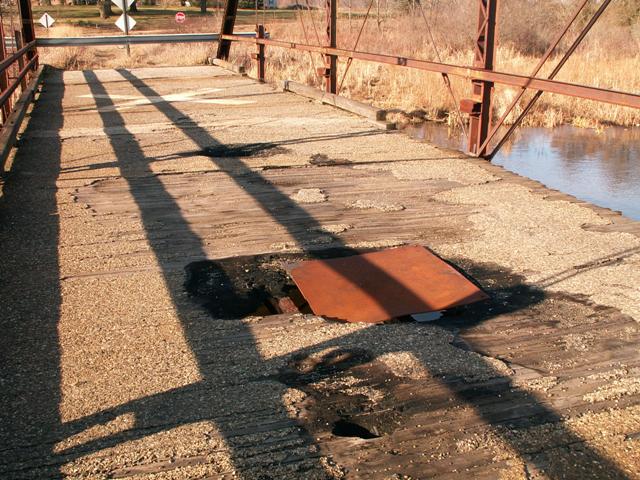
View of damaged deck.
![]()
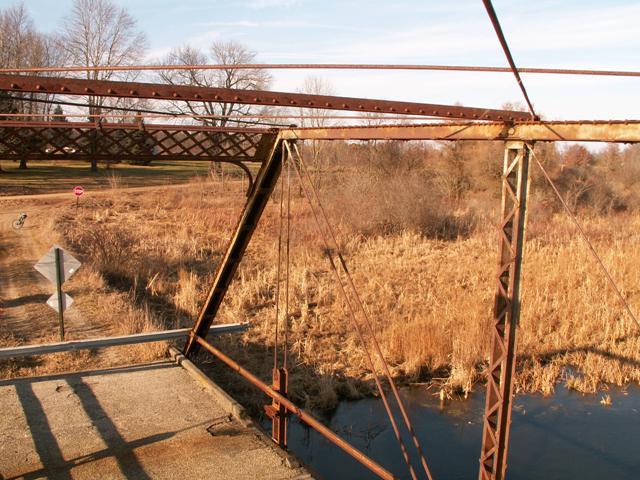

These photos were shot while photographing the sway bracing connections. They are a perspective from the top of the vertical.
![]()


Portal view looking north.
![]()


Portal views looking south.
![]()


Views of bridge from the northwest quadrant.
![]()


Views of the bridge taken from the southwest quadrant.
![]()


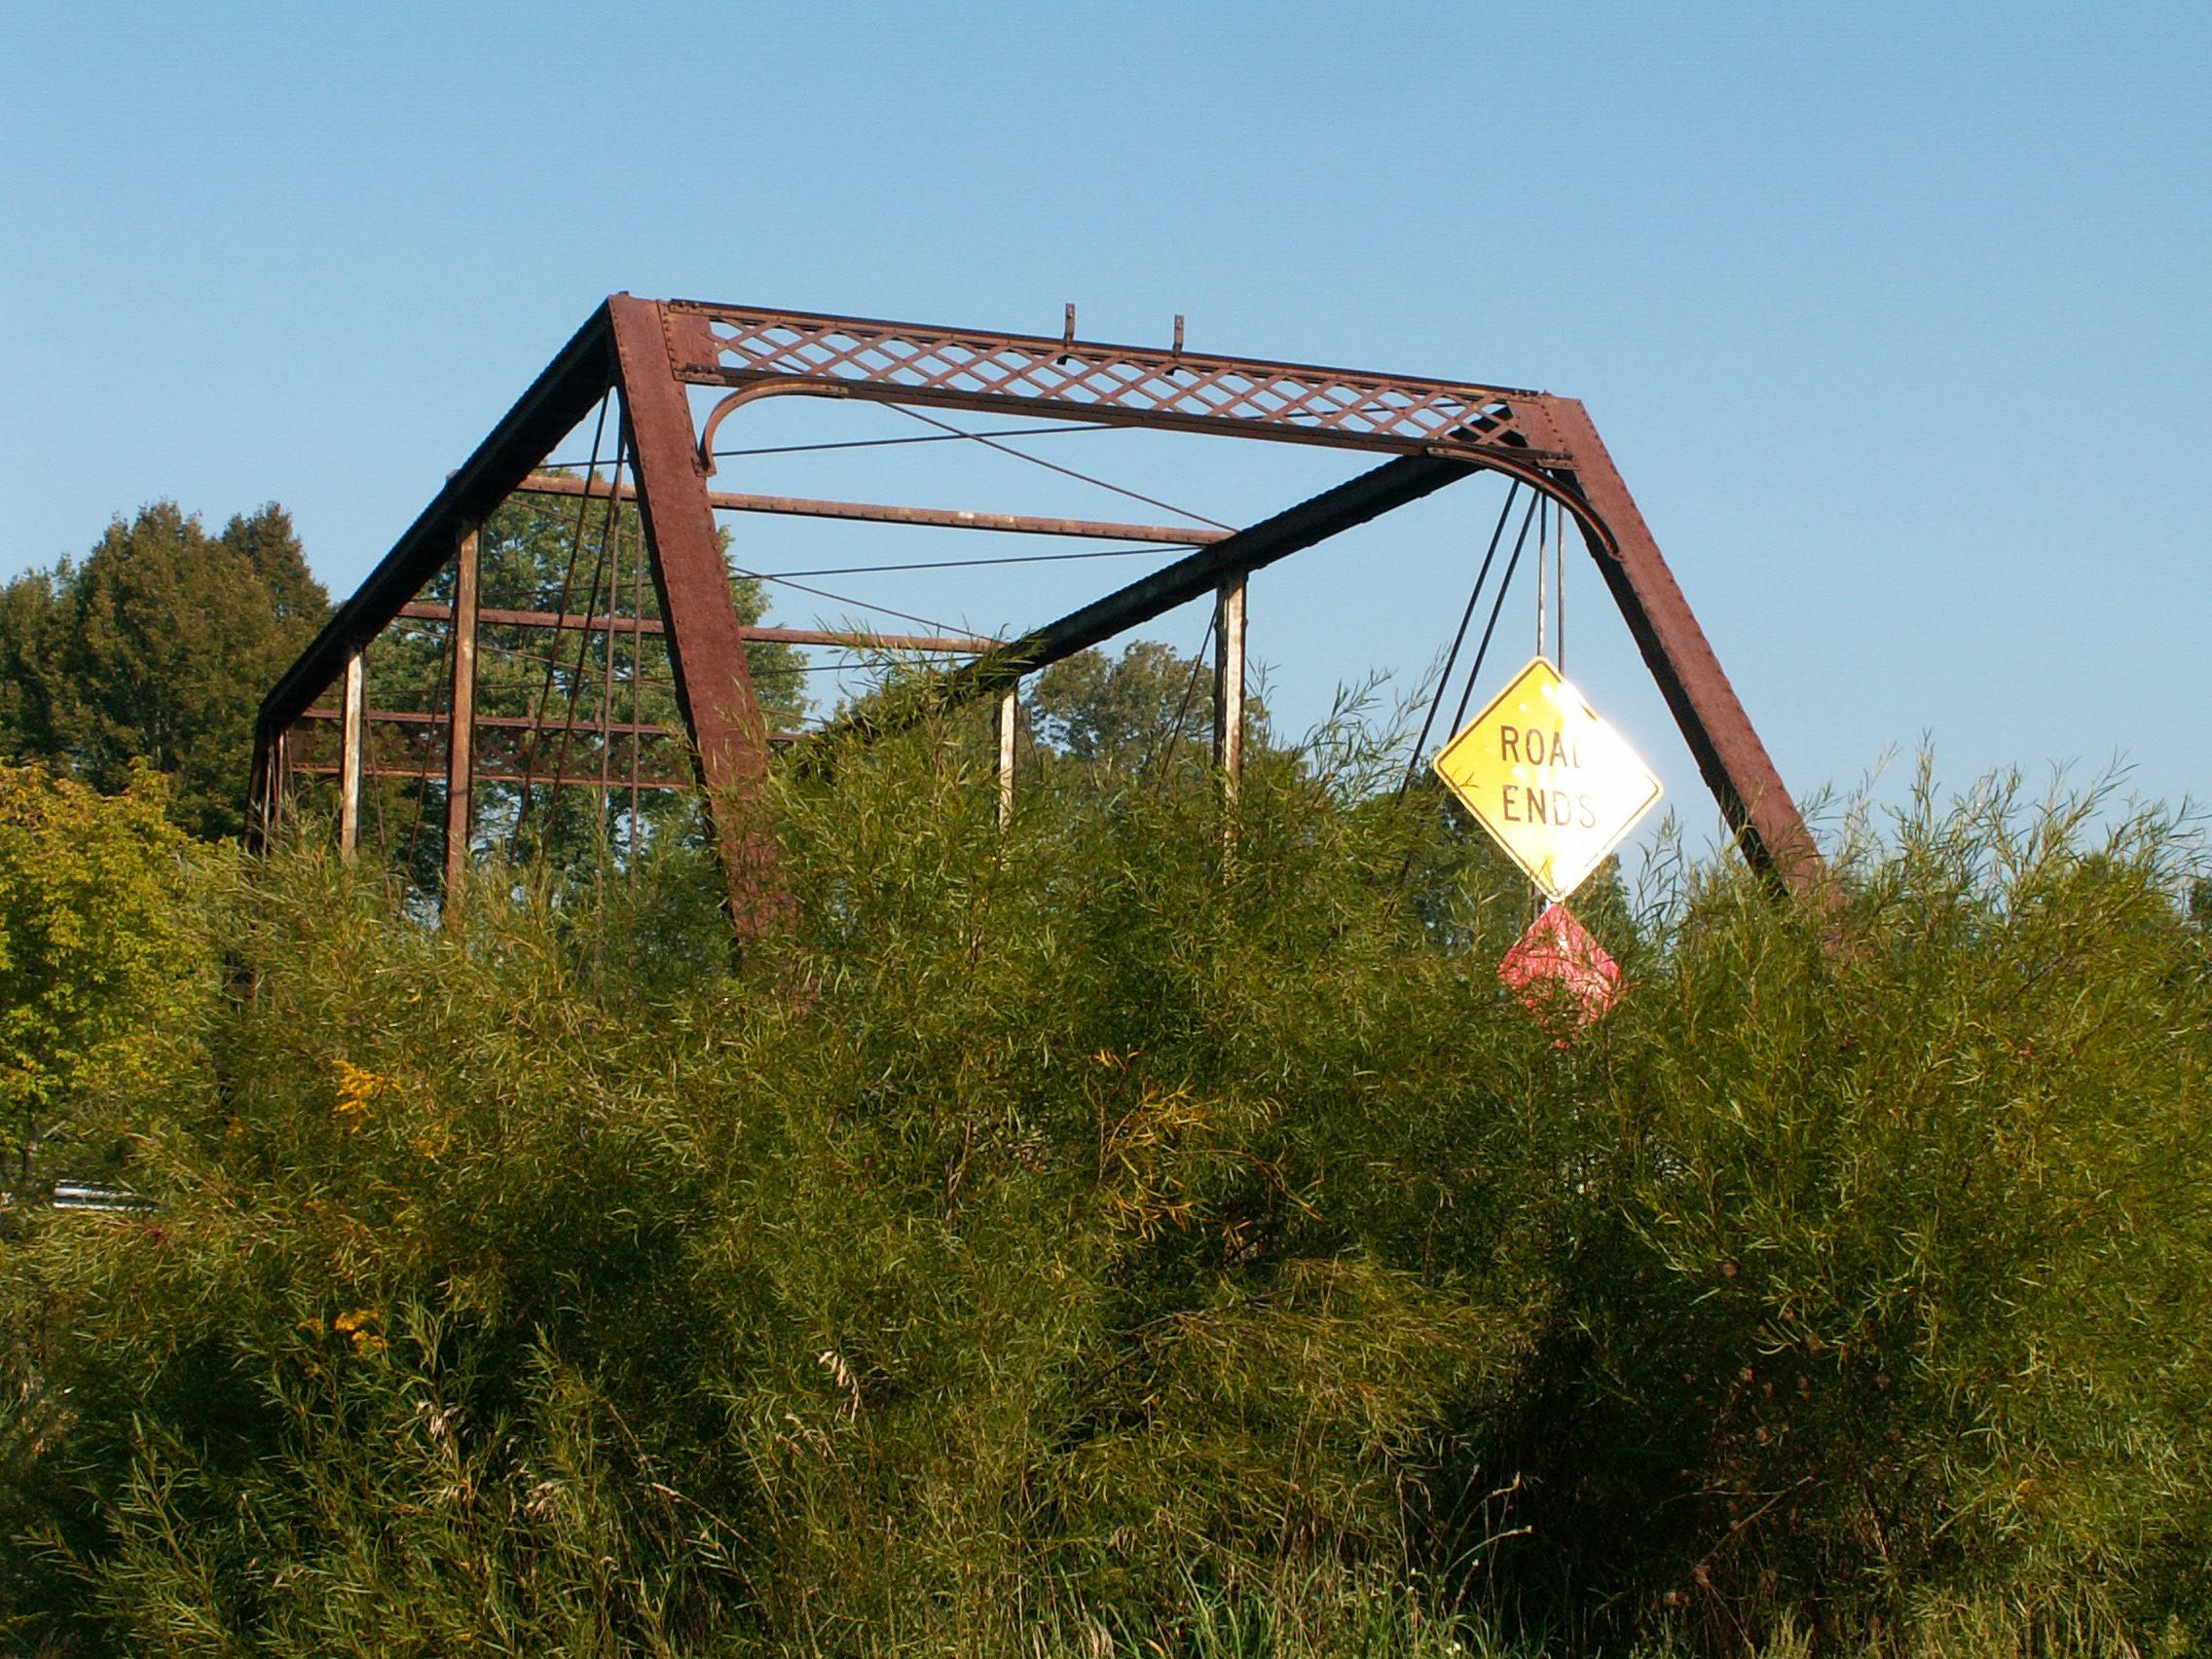
Views of the bridge taken from the southwest quadrant during late summer.
![]()
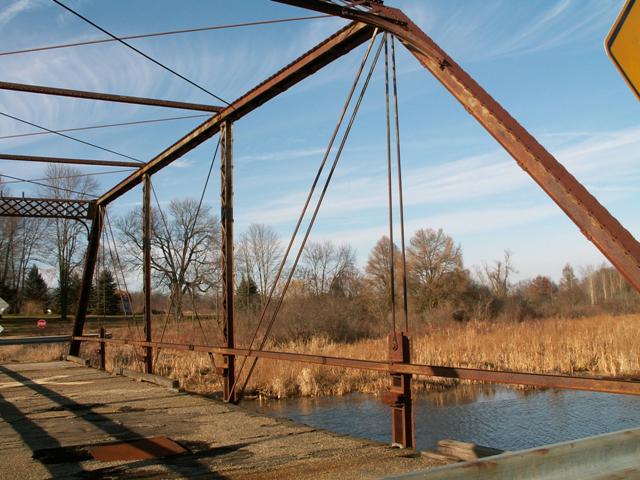
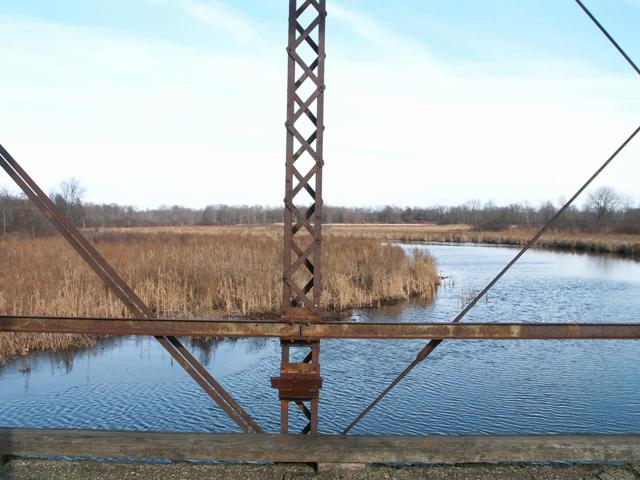
Views from on the bridge.
![]()

Overview of bridge location.
![]()
![]()
| Back |
| Home |
| Top |

![]()