
Uncredited photos on this page taken by: Nathan Holth. Unless stated in a caption, all photos are Copyright with All Rights Reserved. Learn about reuse of our photos.
![]()
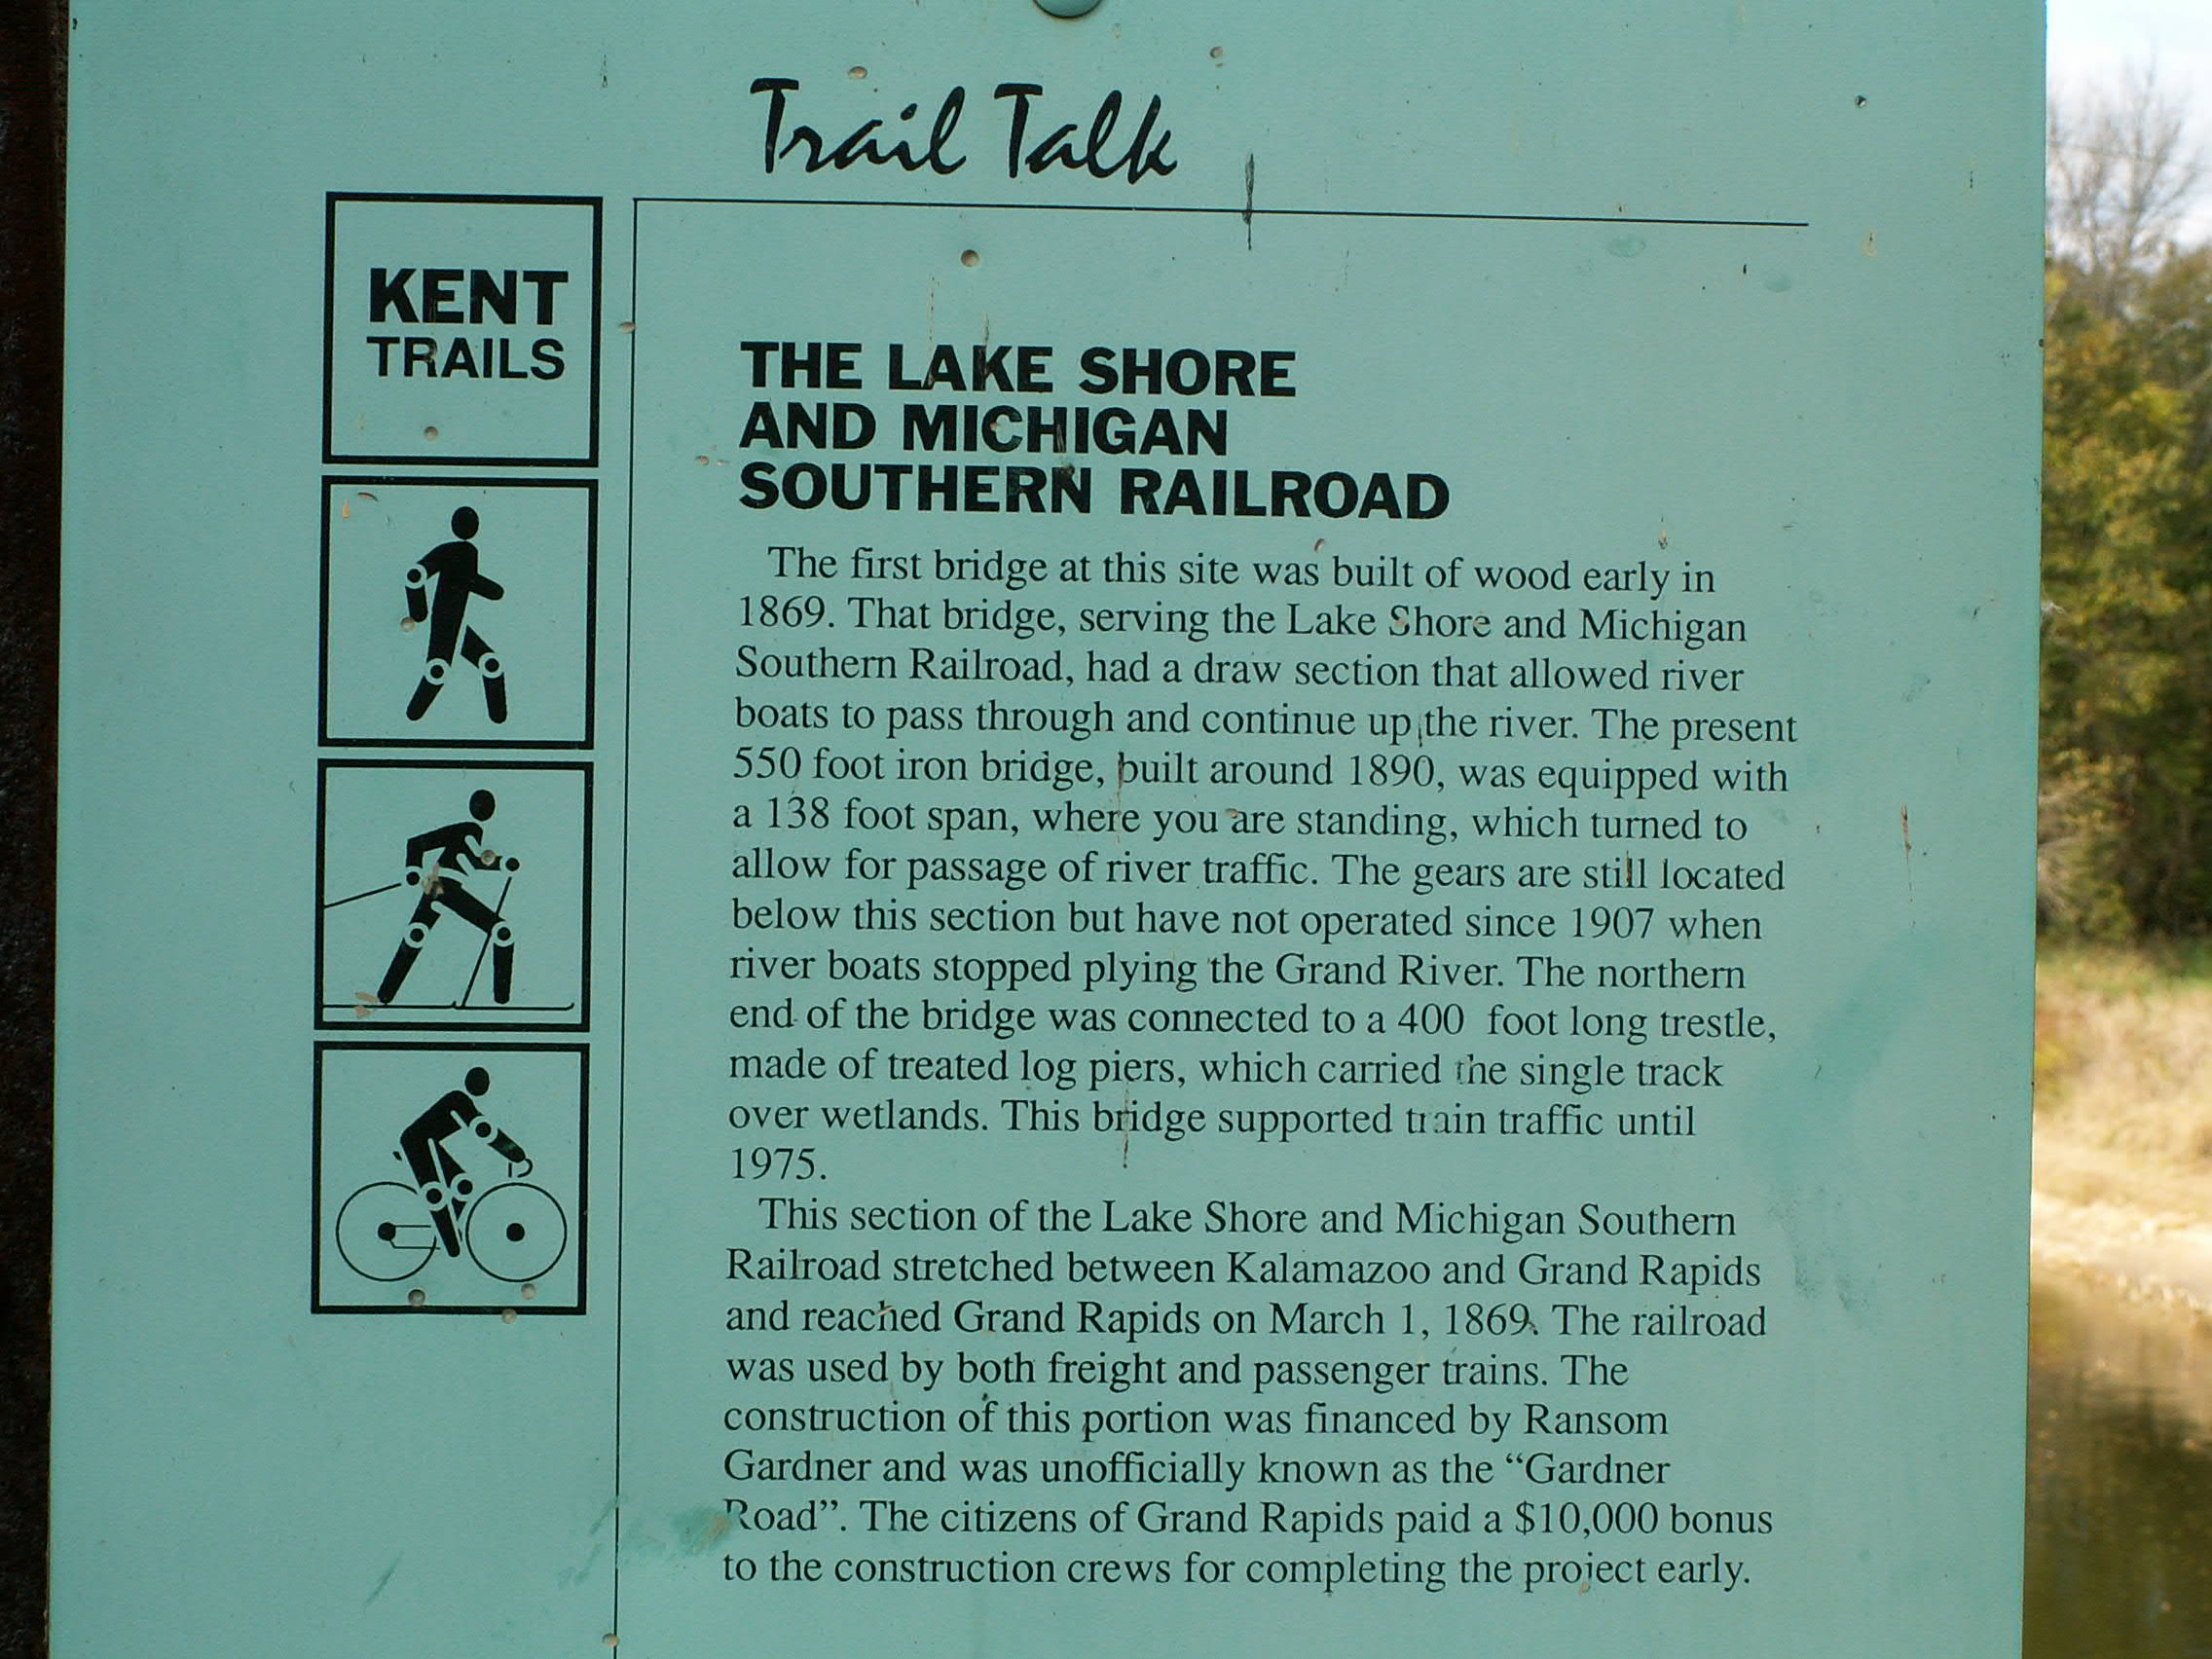
Interpretive sign.
![]()
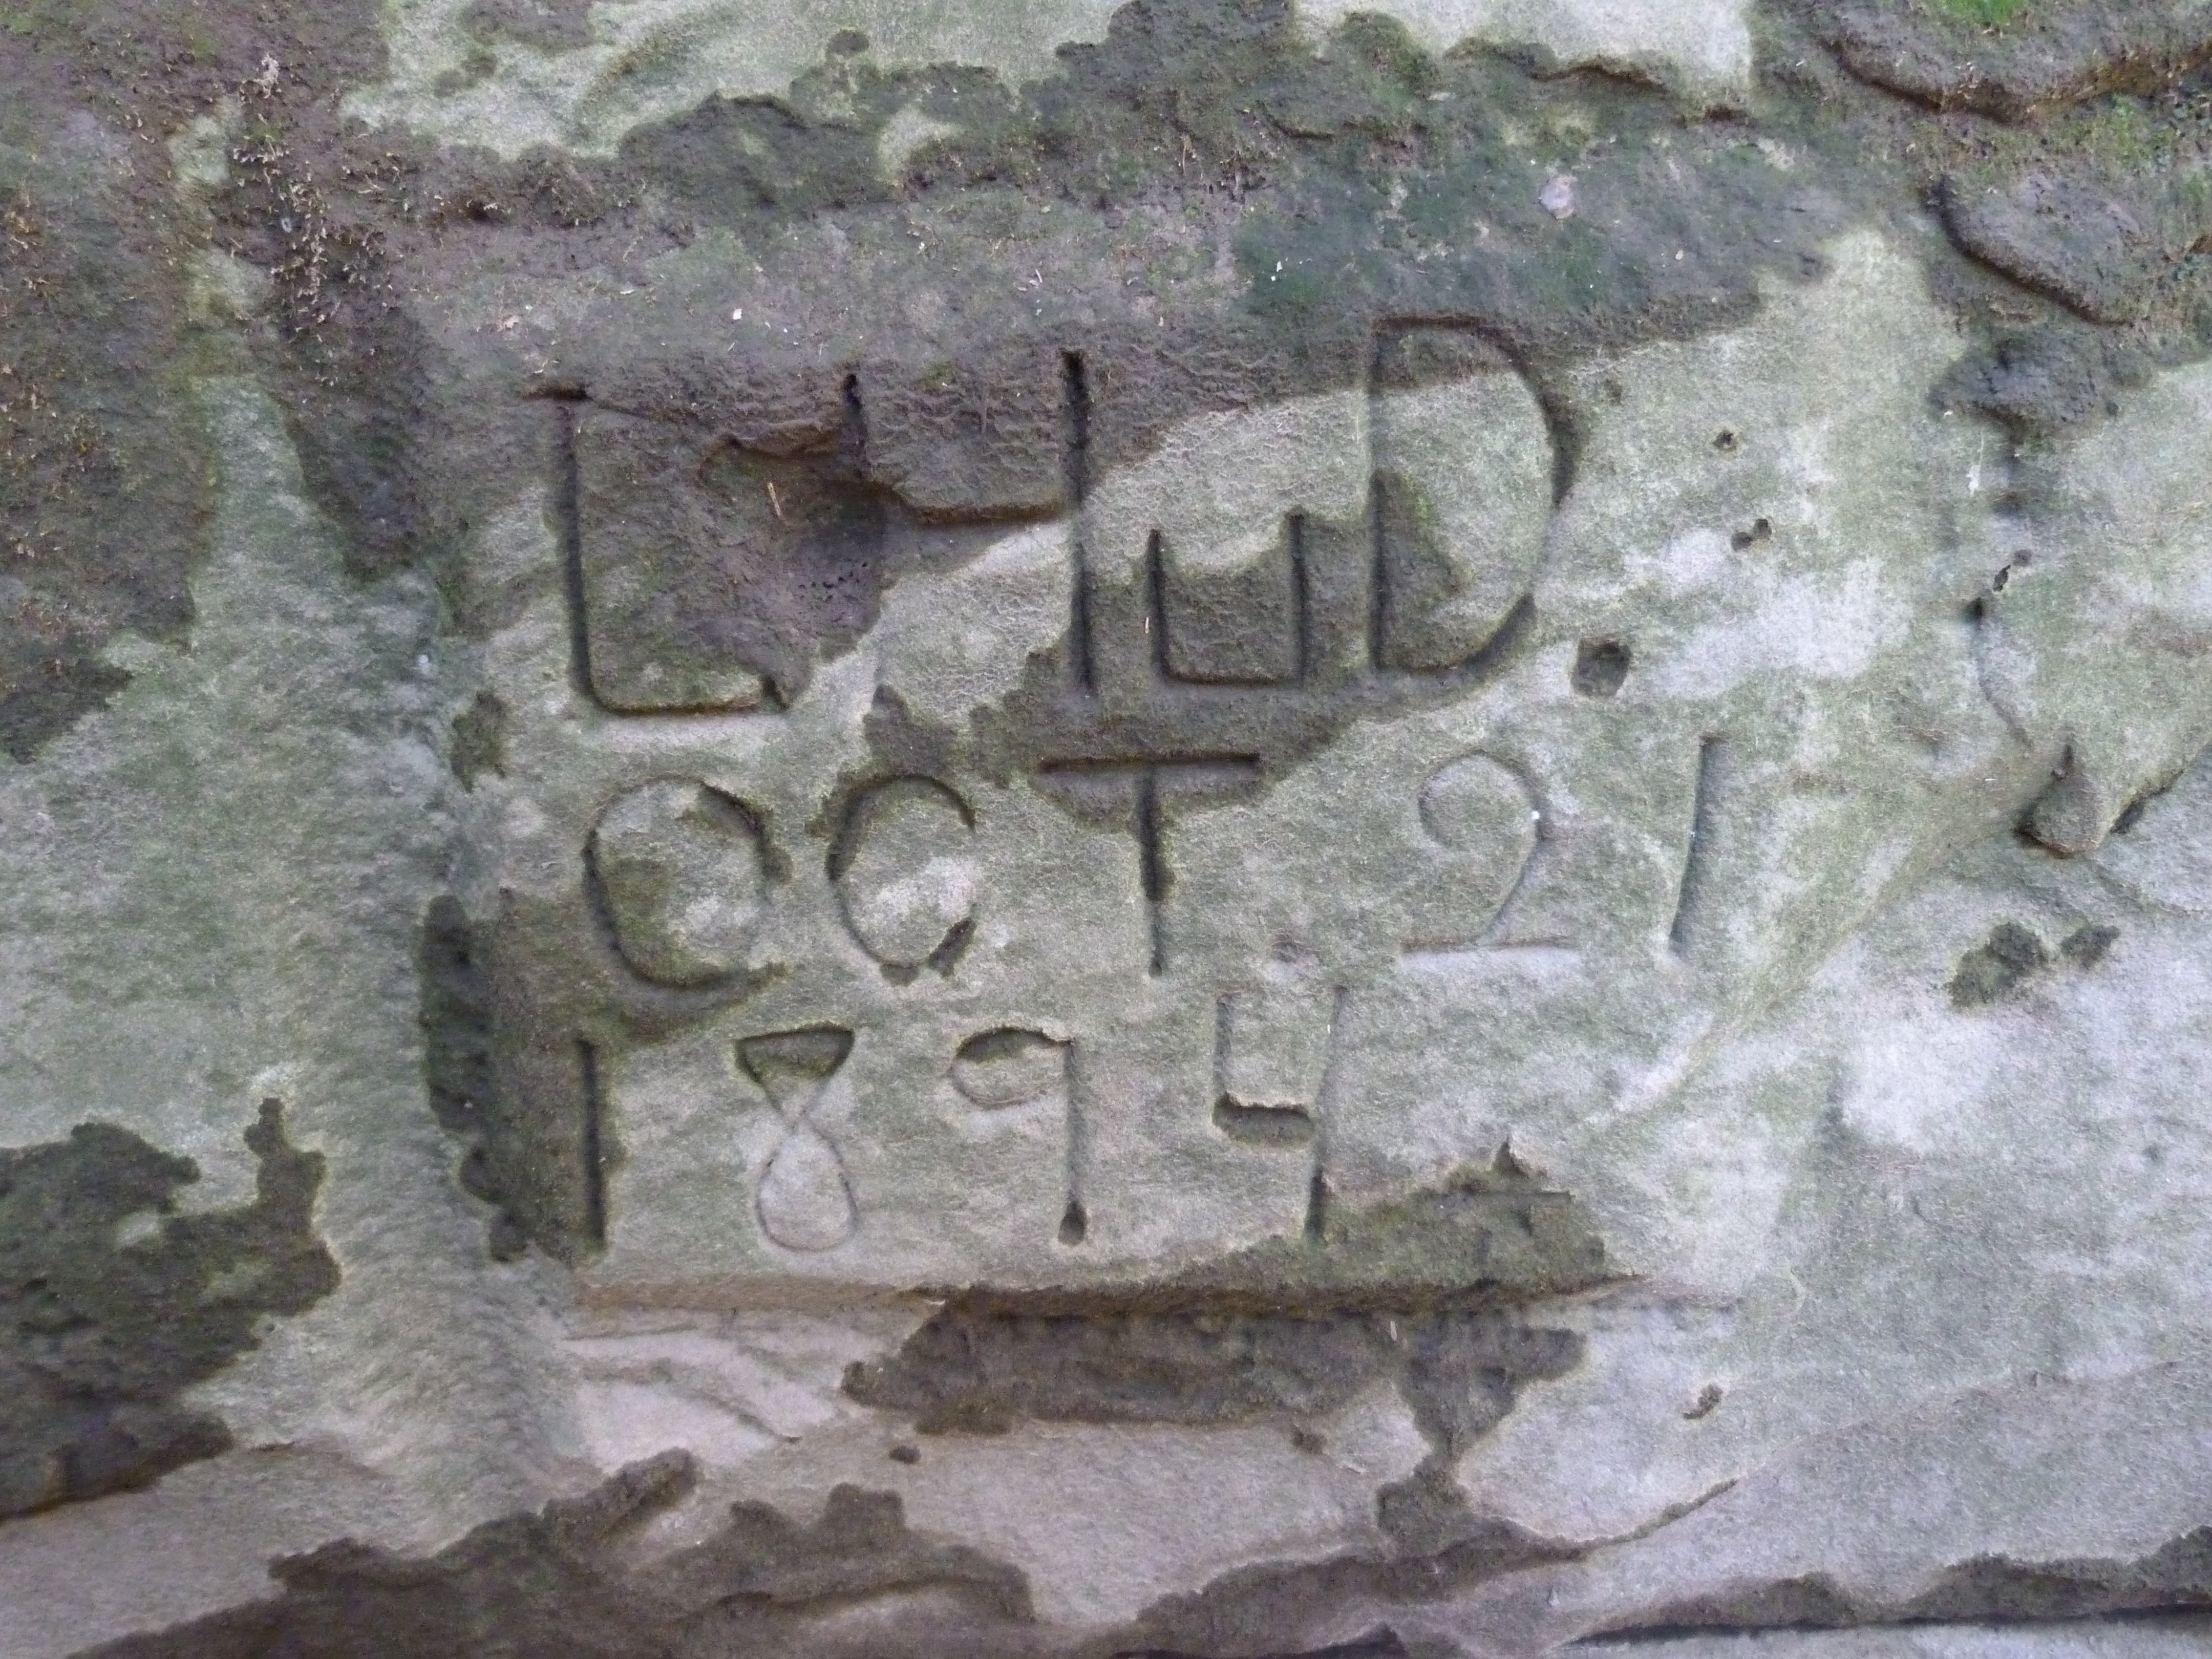
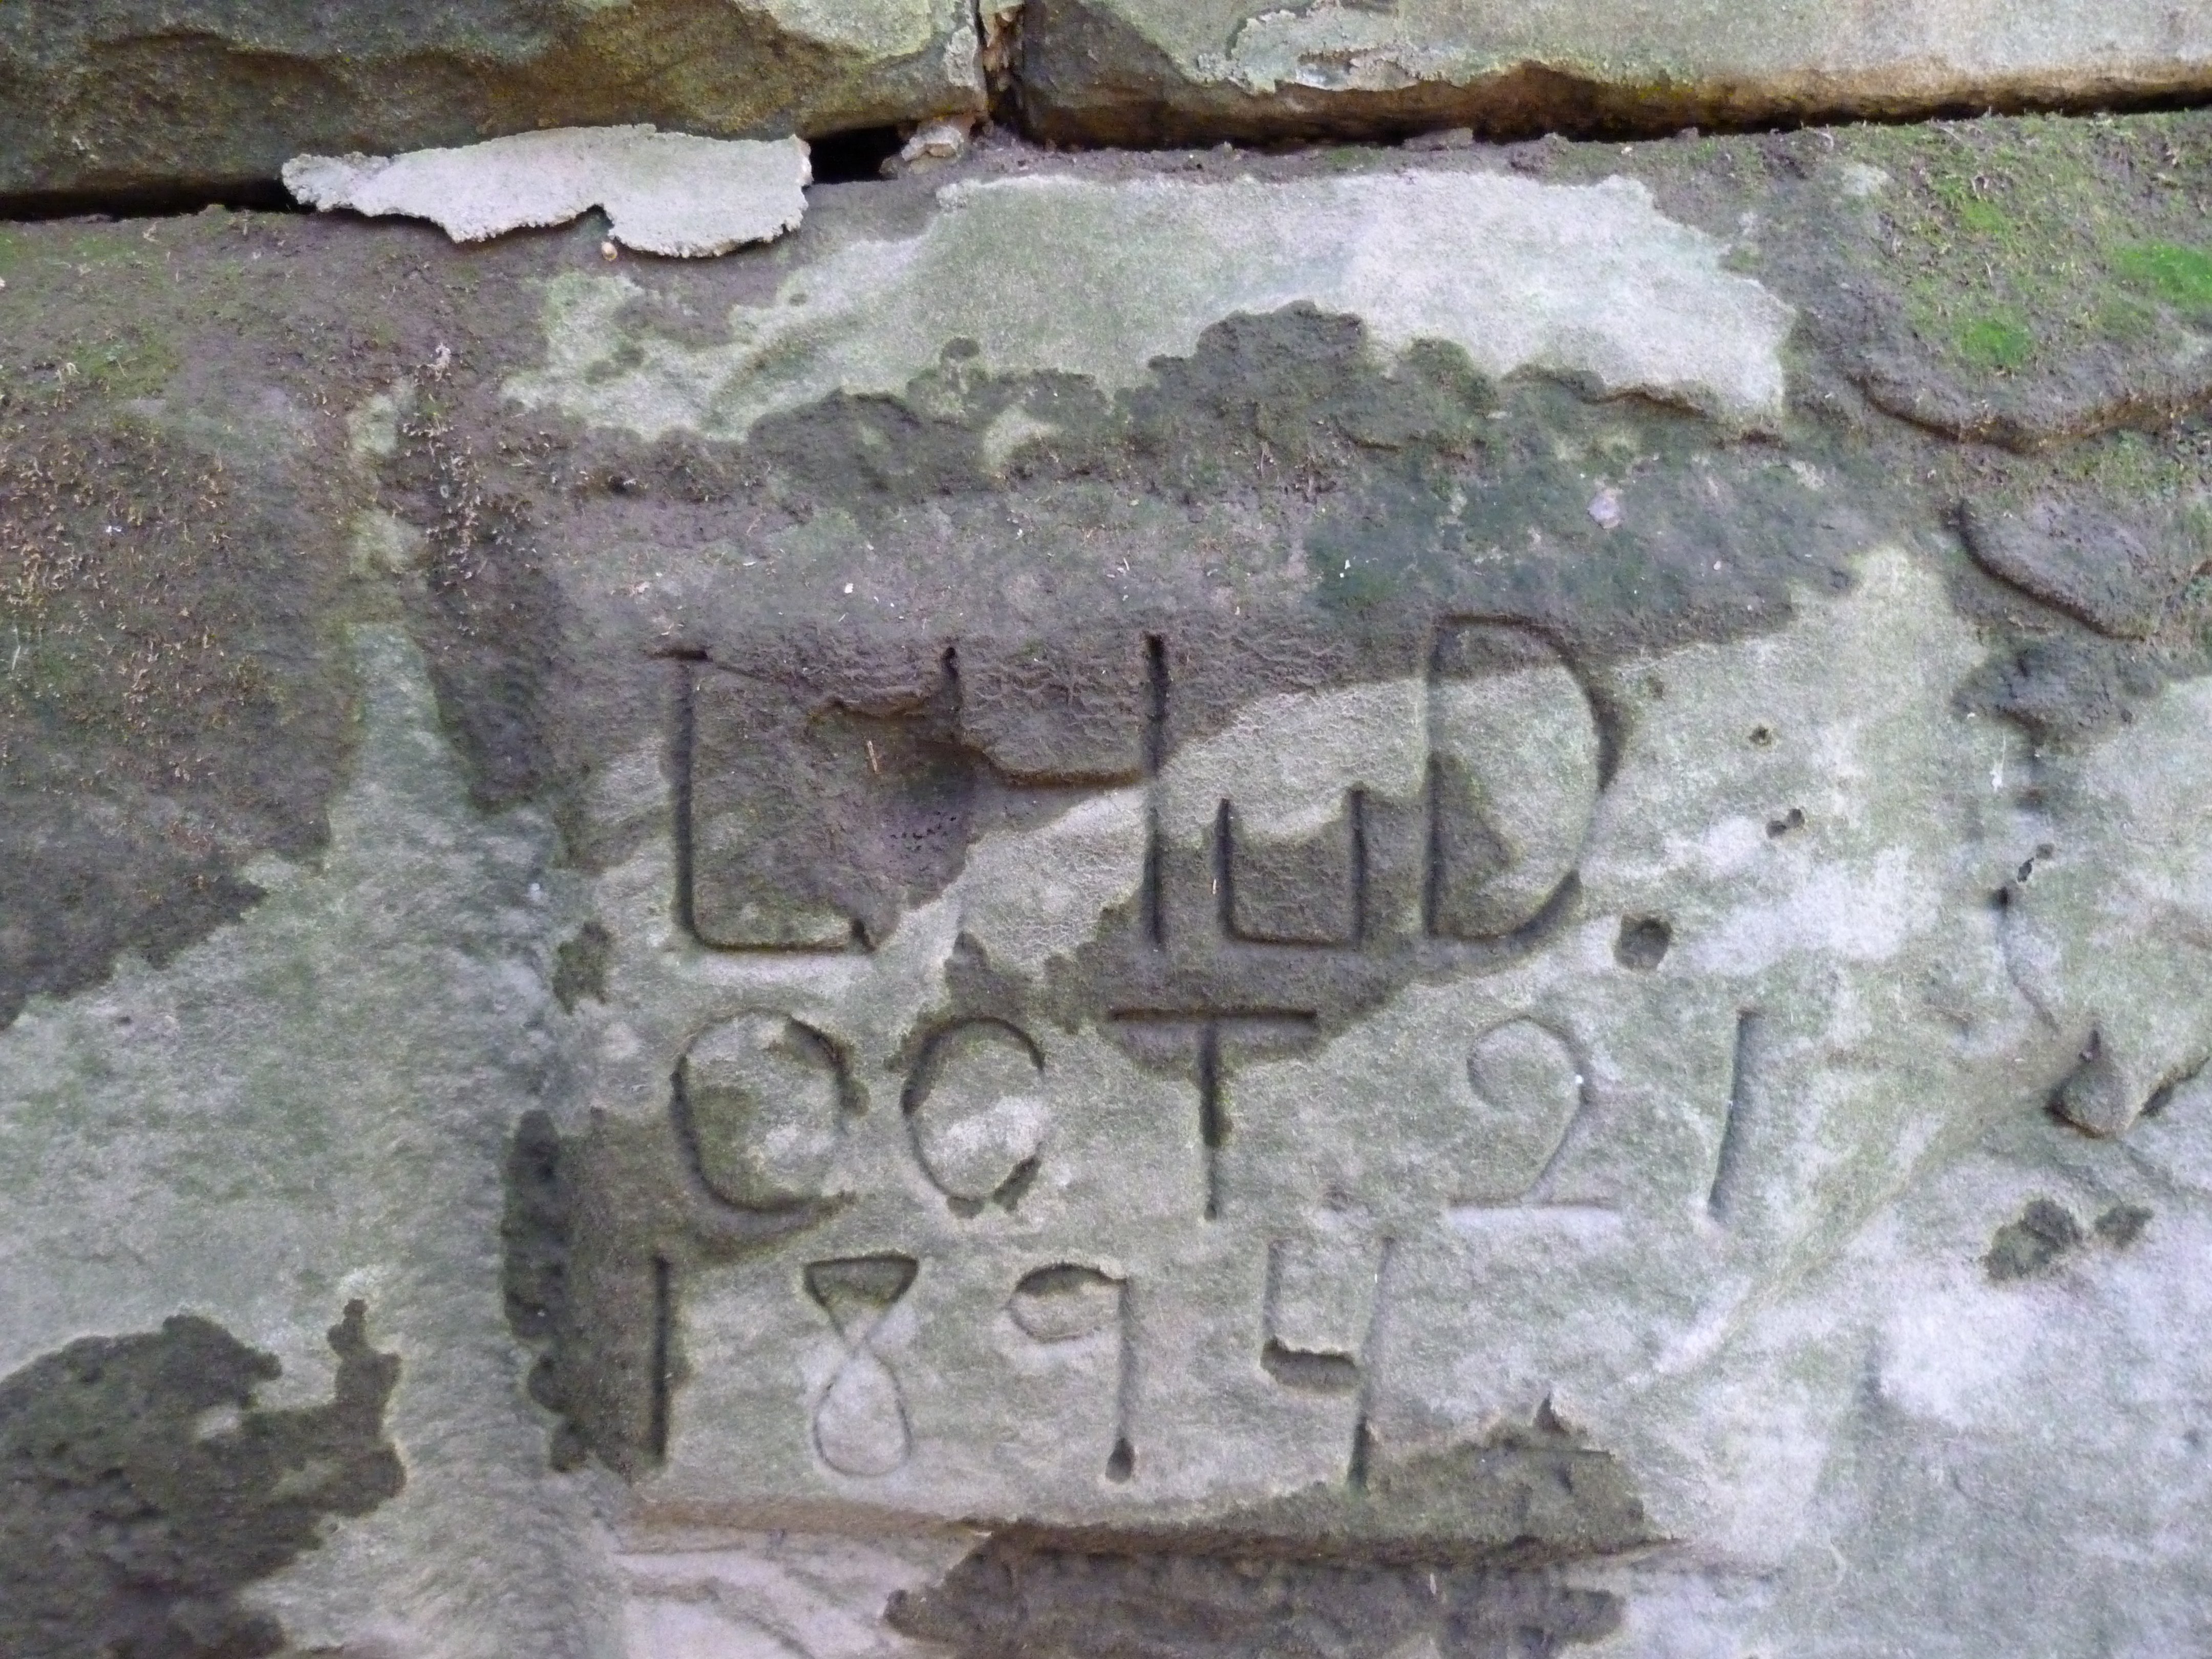
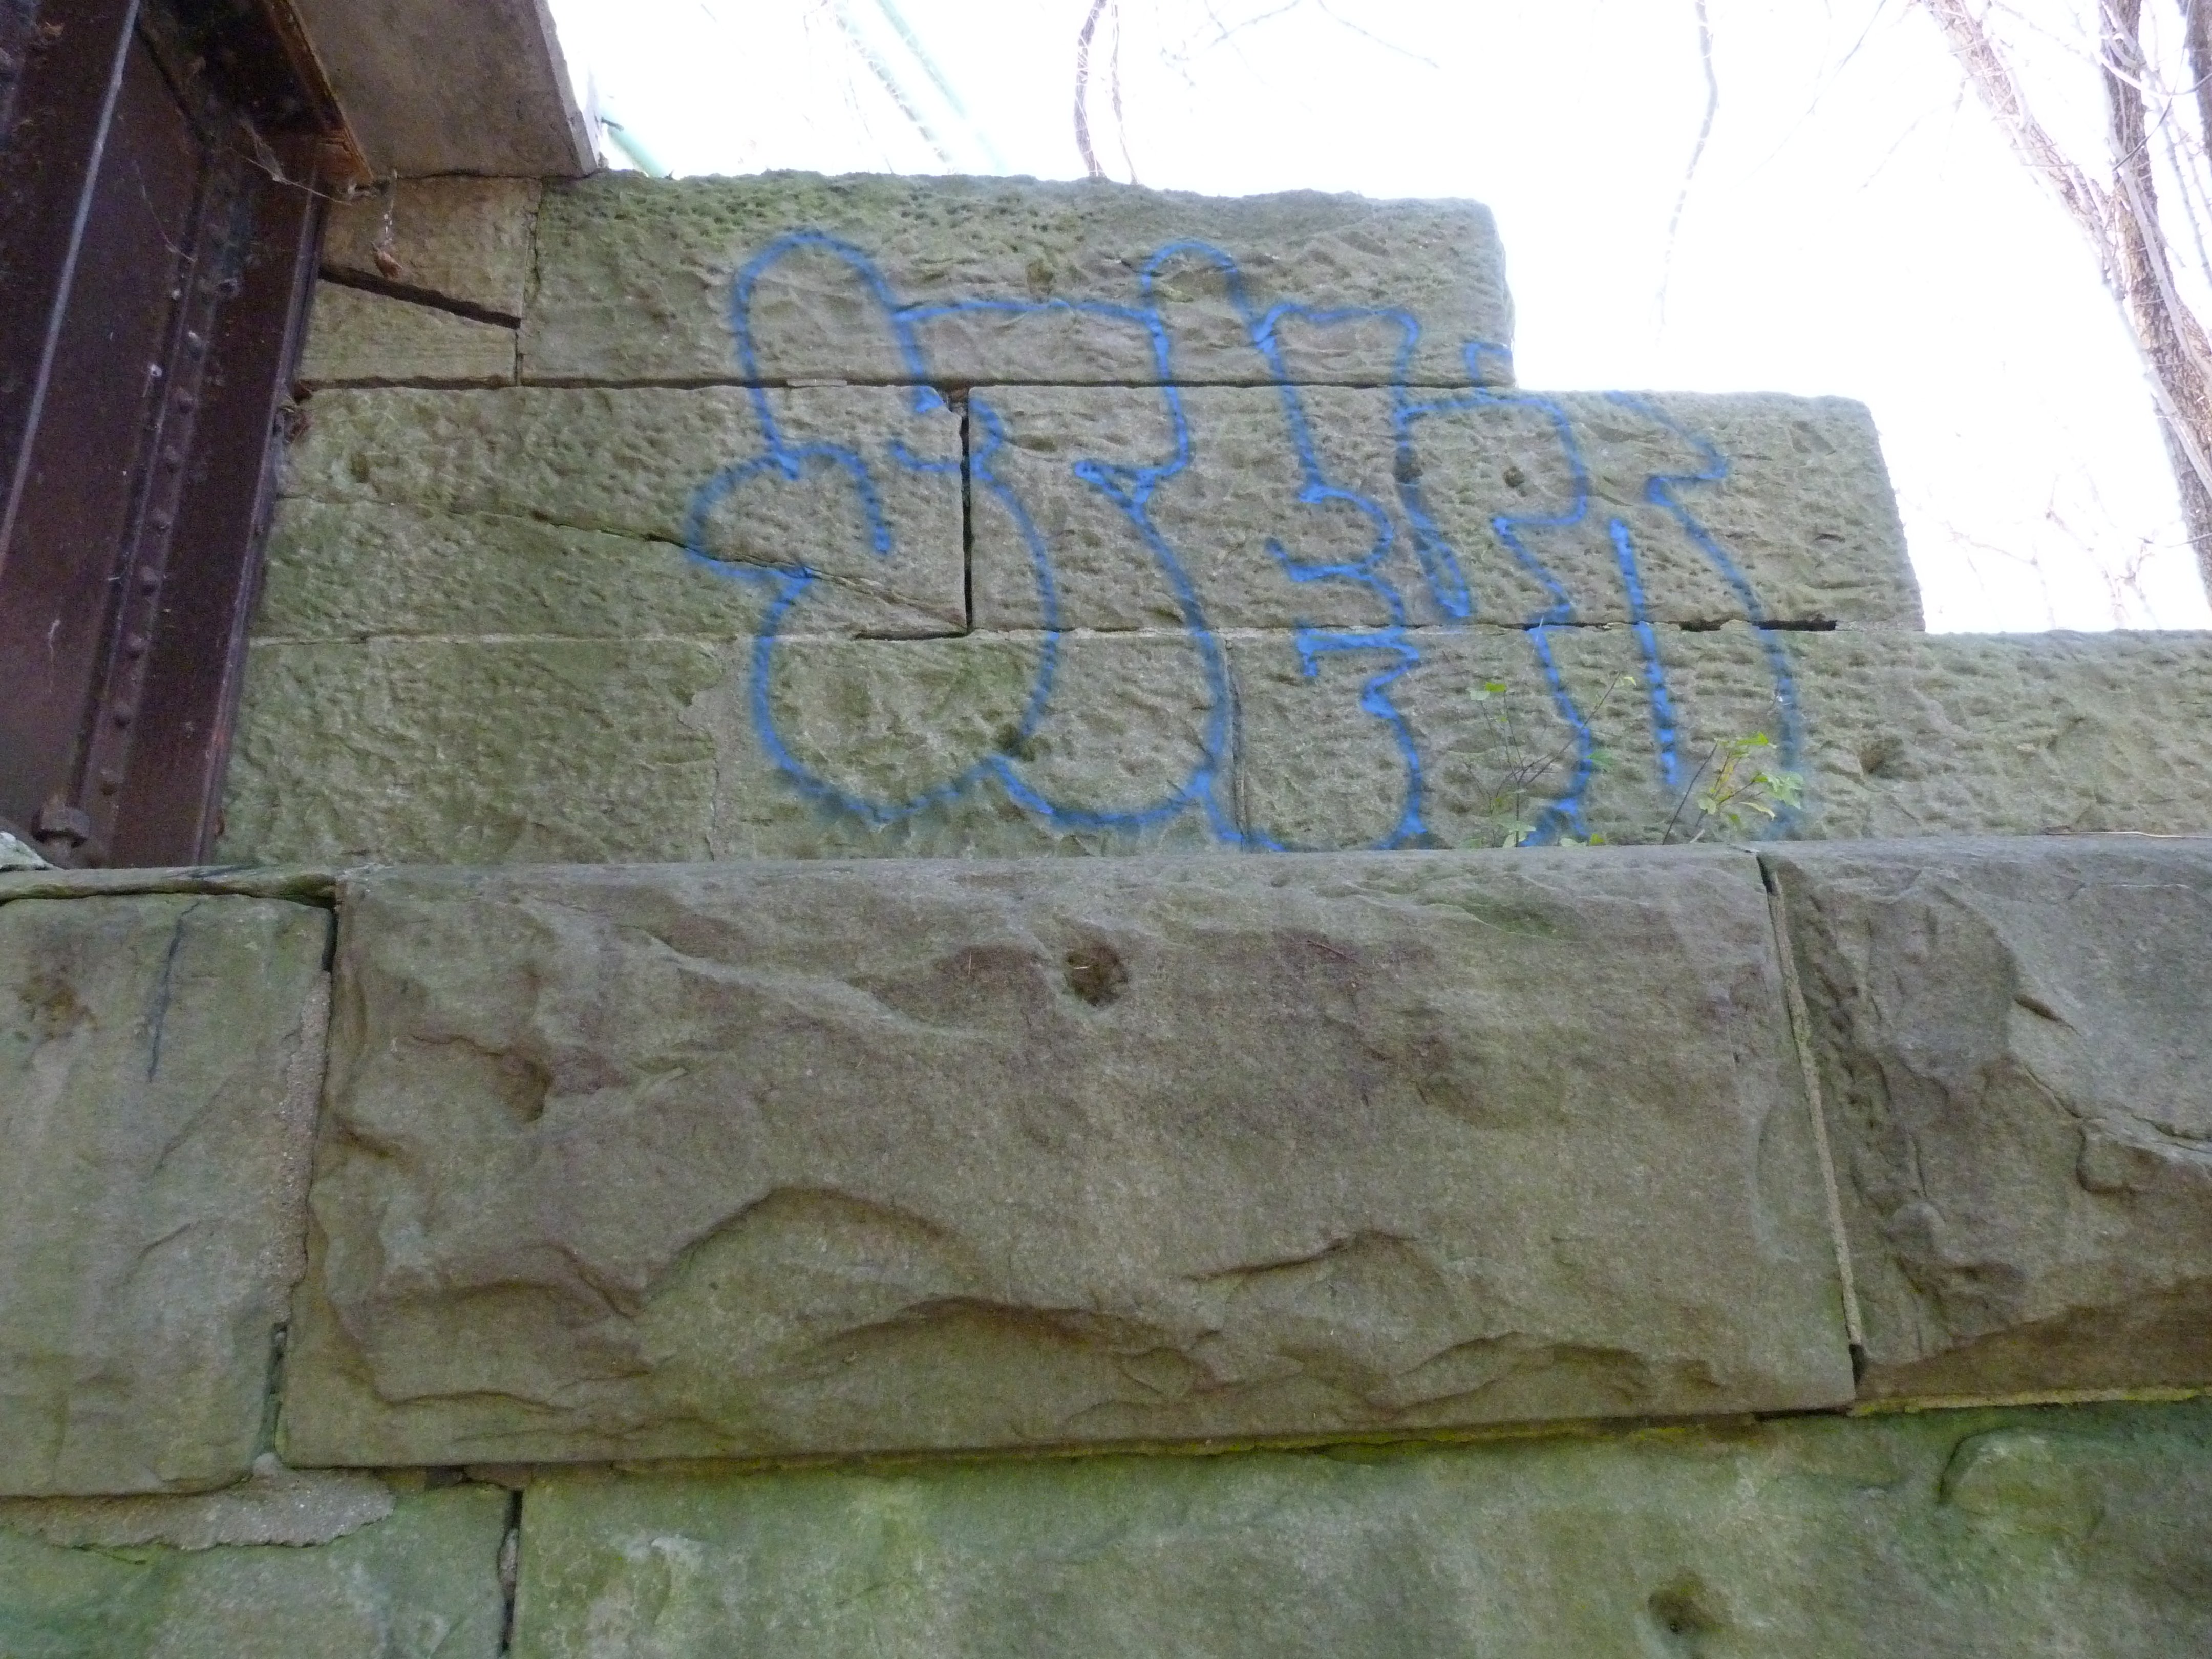
Many of the stones of the substructure have graffiti from people carving useless junk into them. However, one carving stuck out as something that might not be graffiti. This stone block appears to have been sculpted to produced a raised square section on the stone. Within this stone the text L H u D. OCT. 21 1894 is visible. This may be the initials of the stone mason and the date of their construction.
![]()
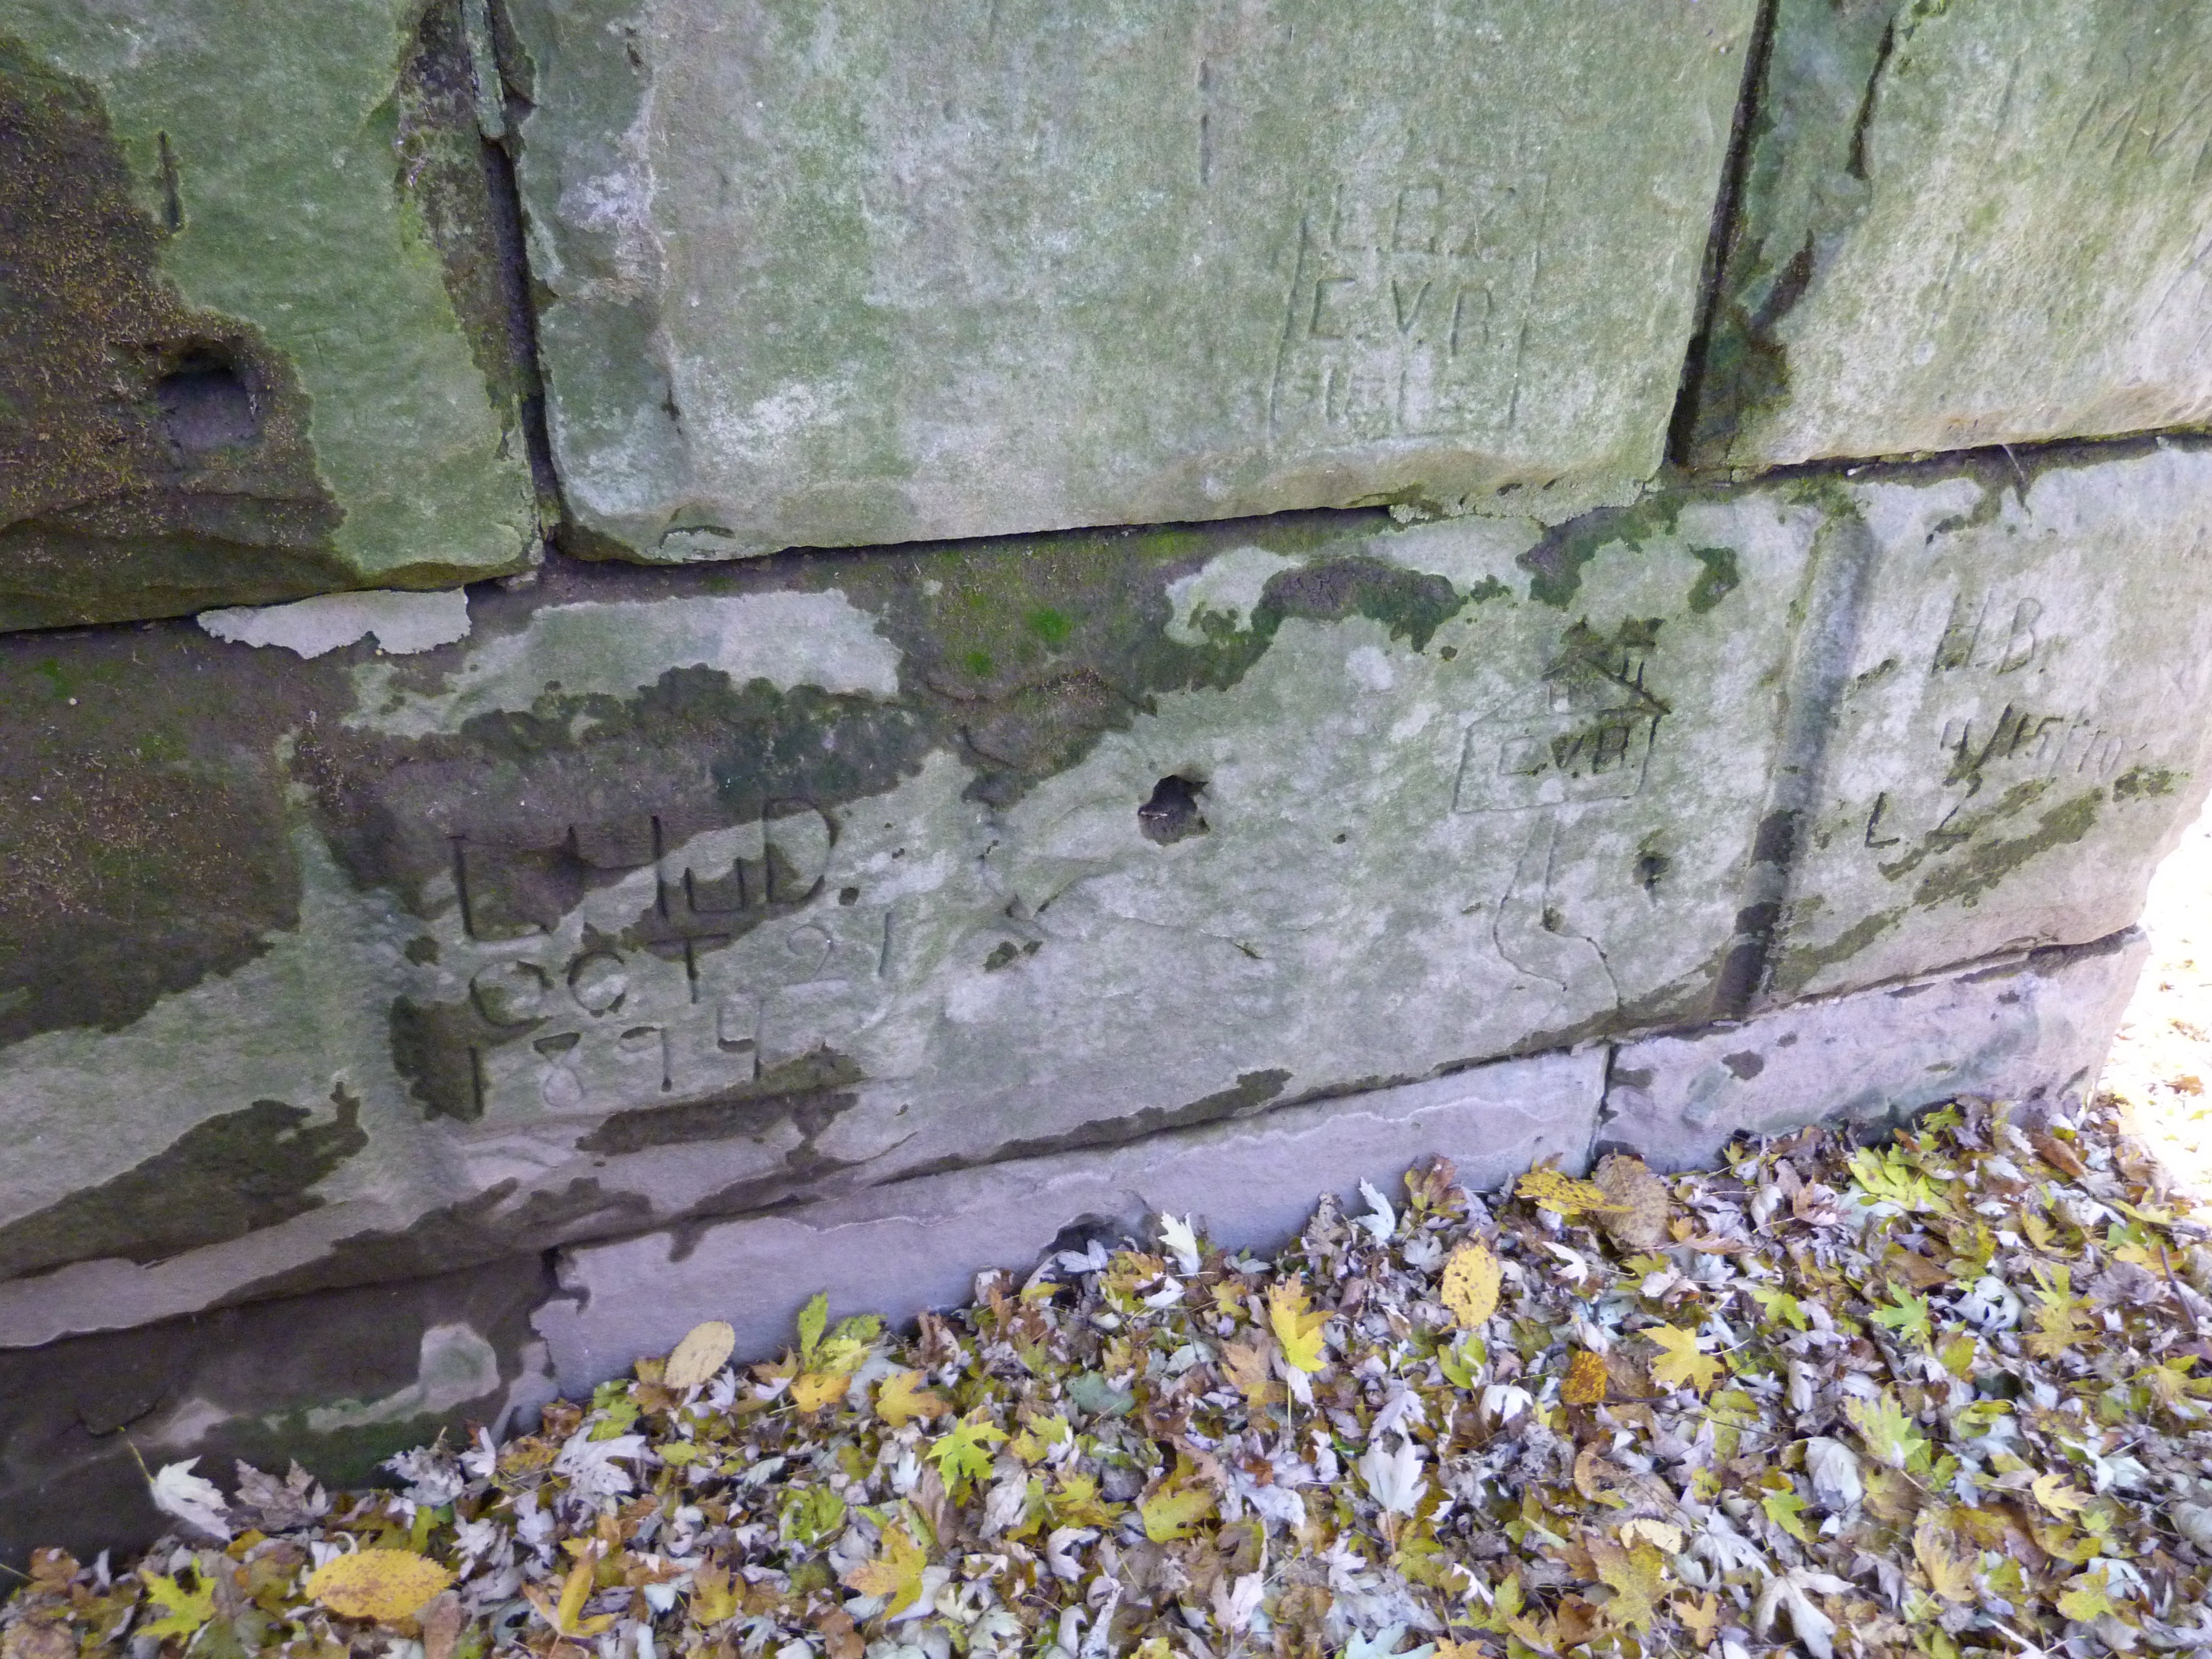
An overview of the stone block with the 1894 carving.
![]()
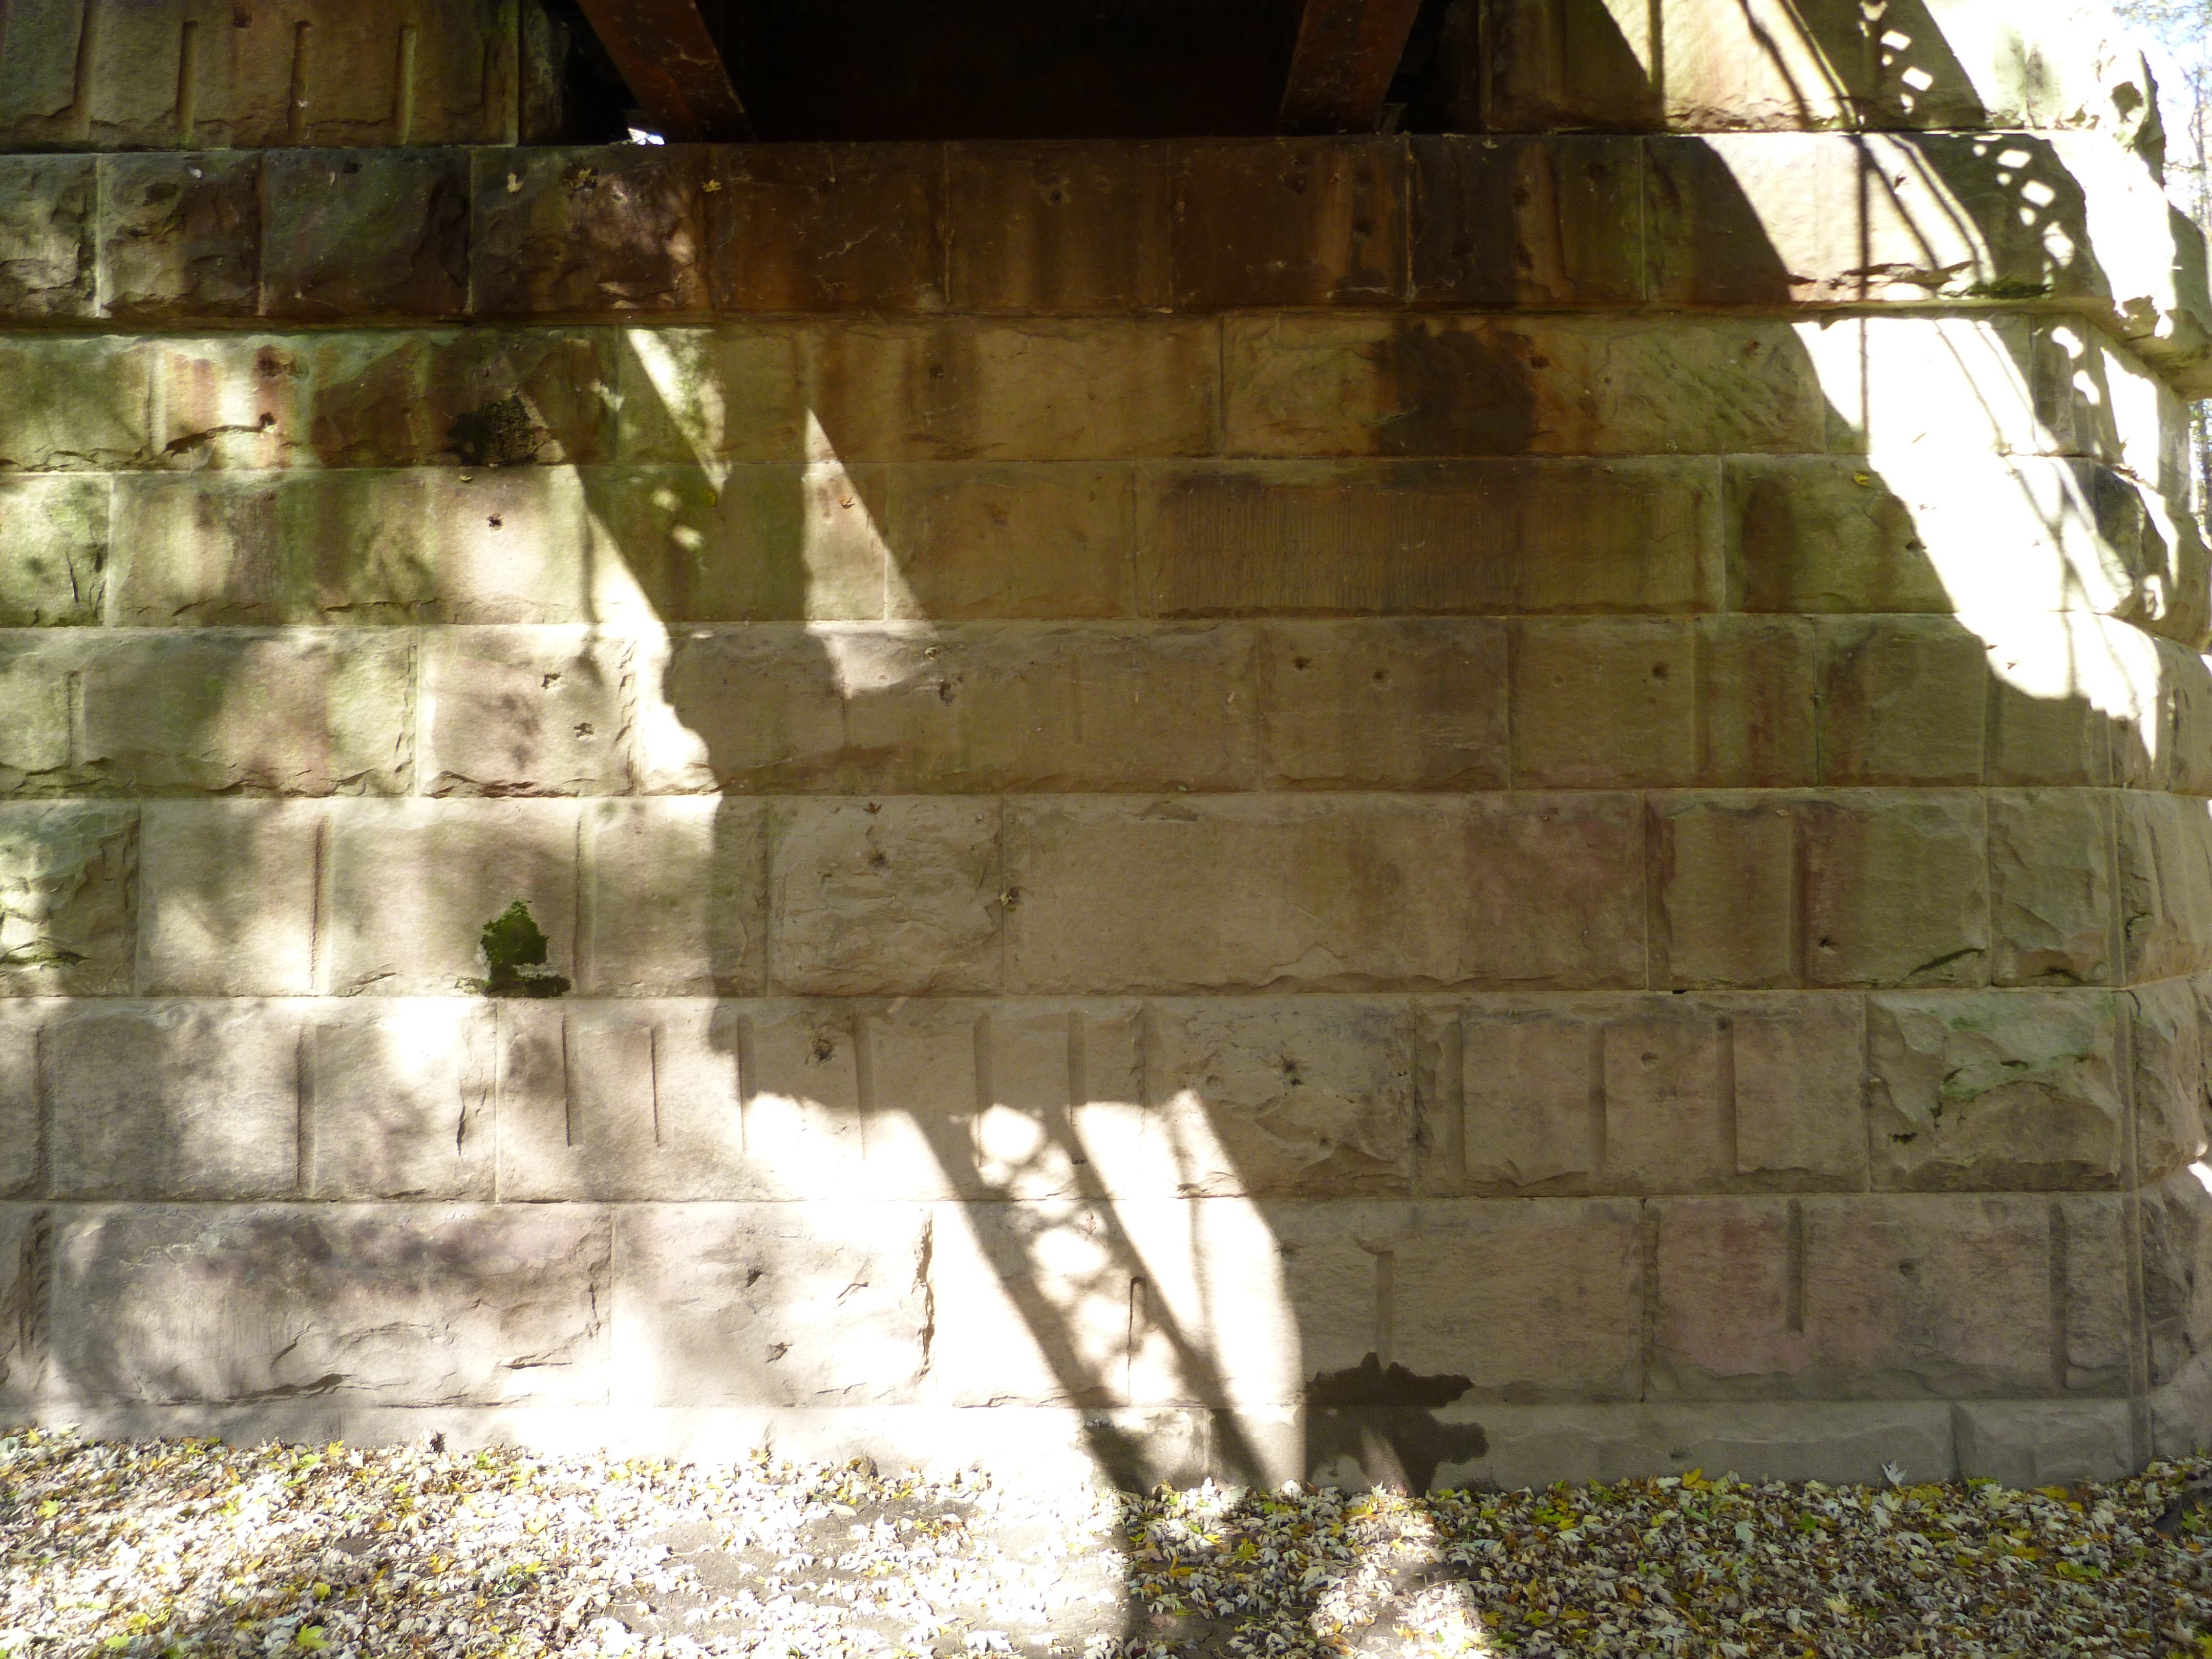

Abutments.
![]()

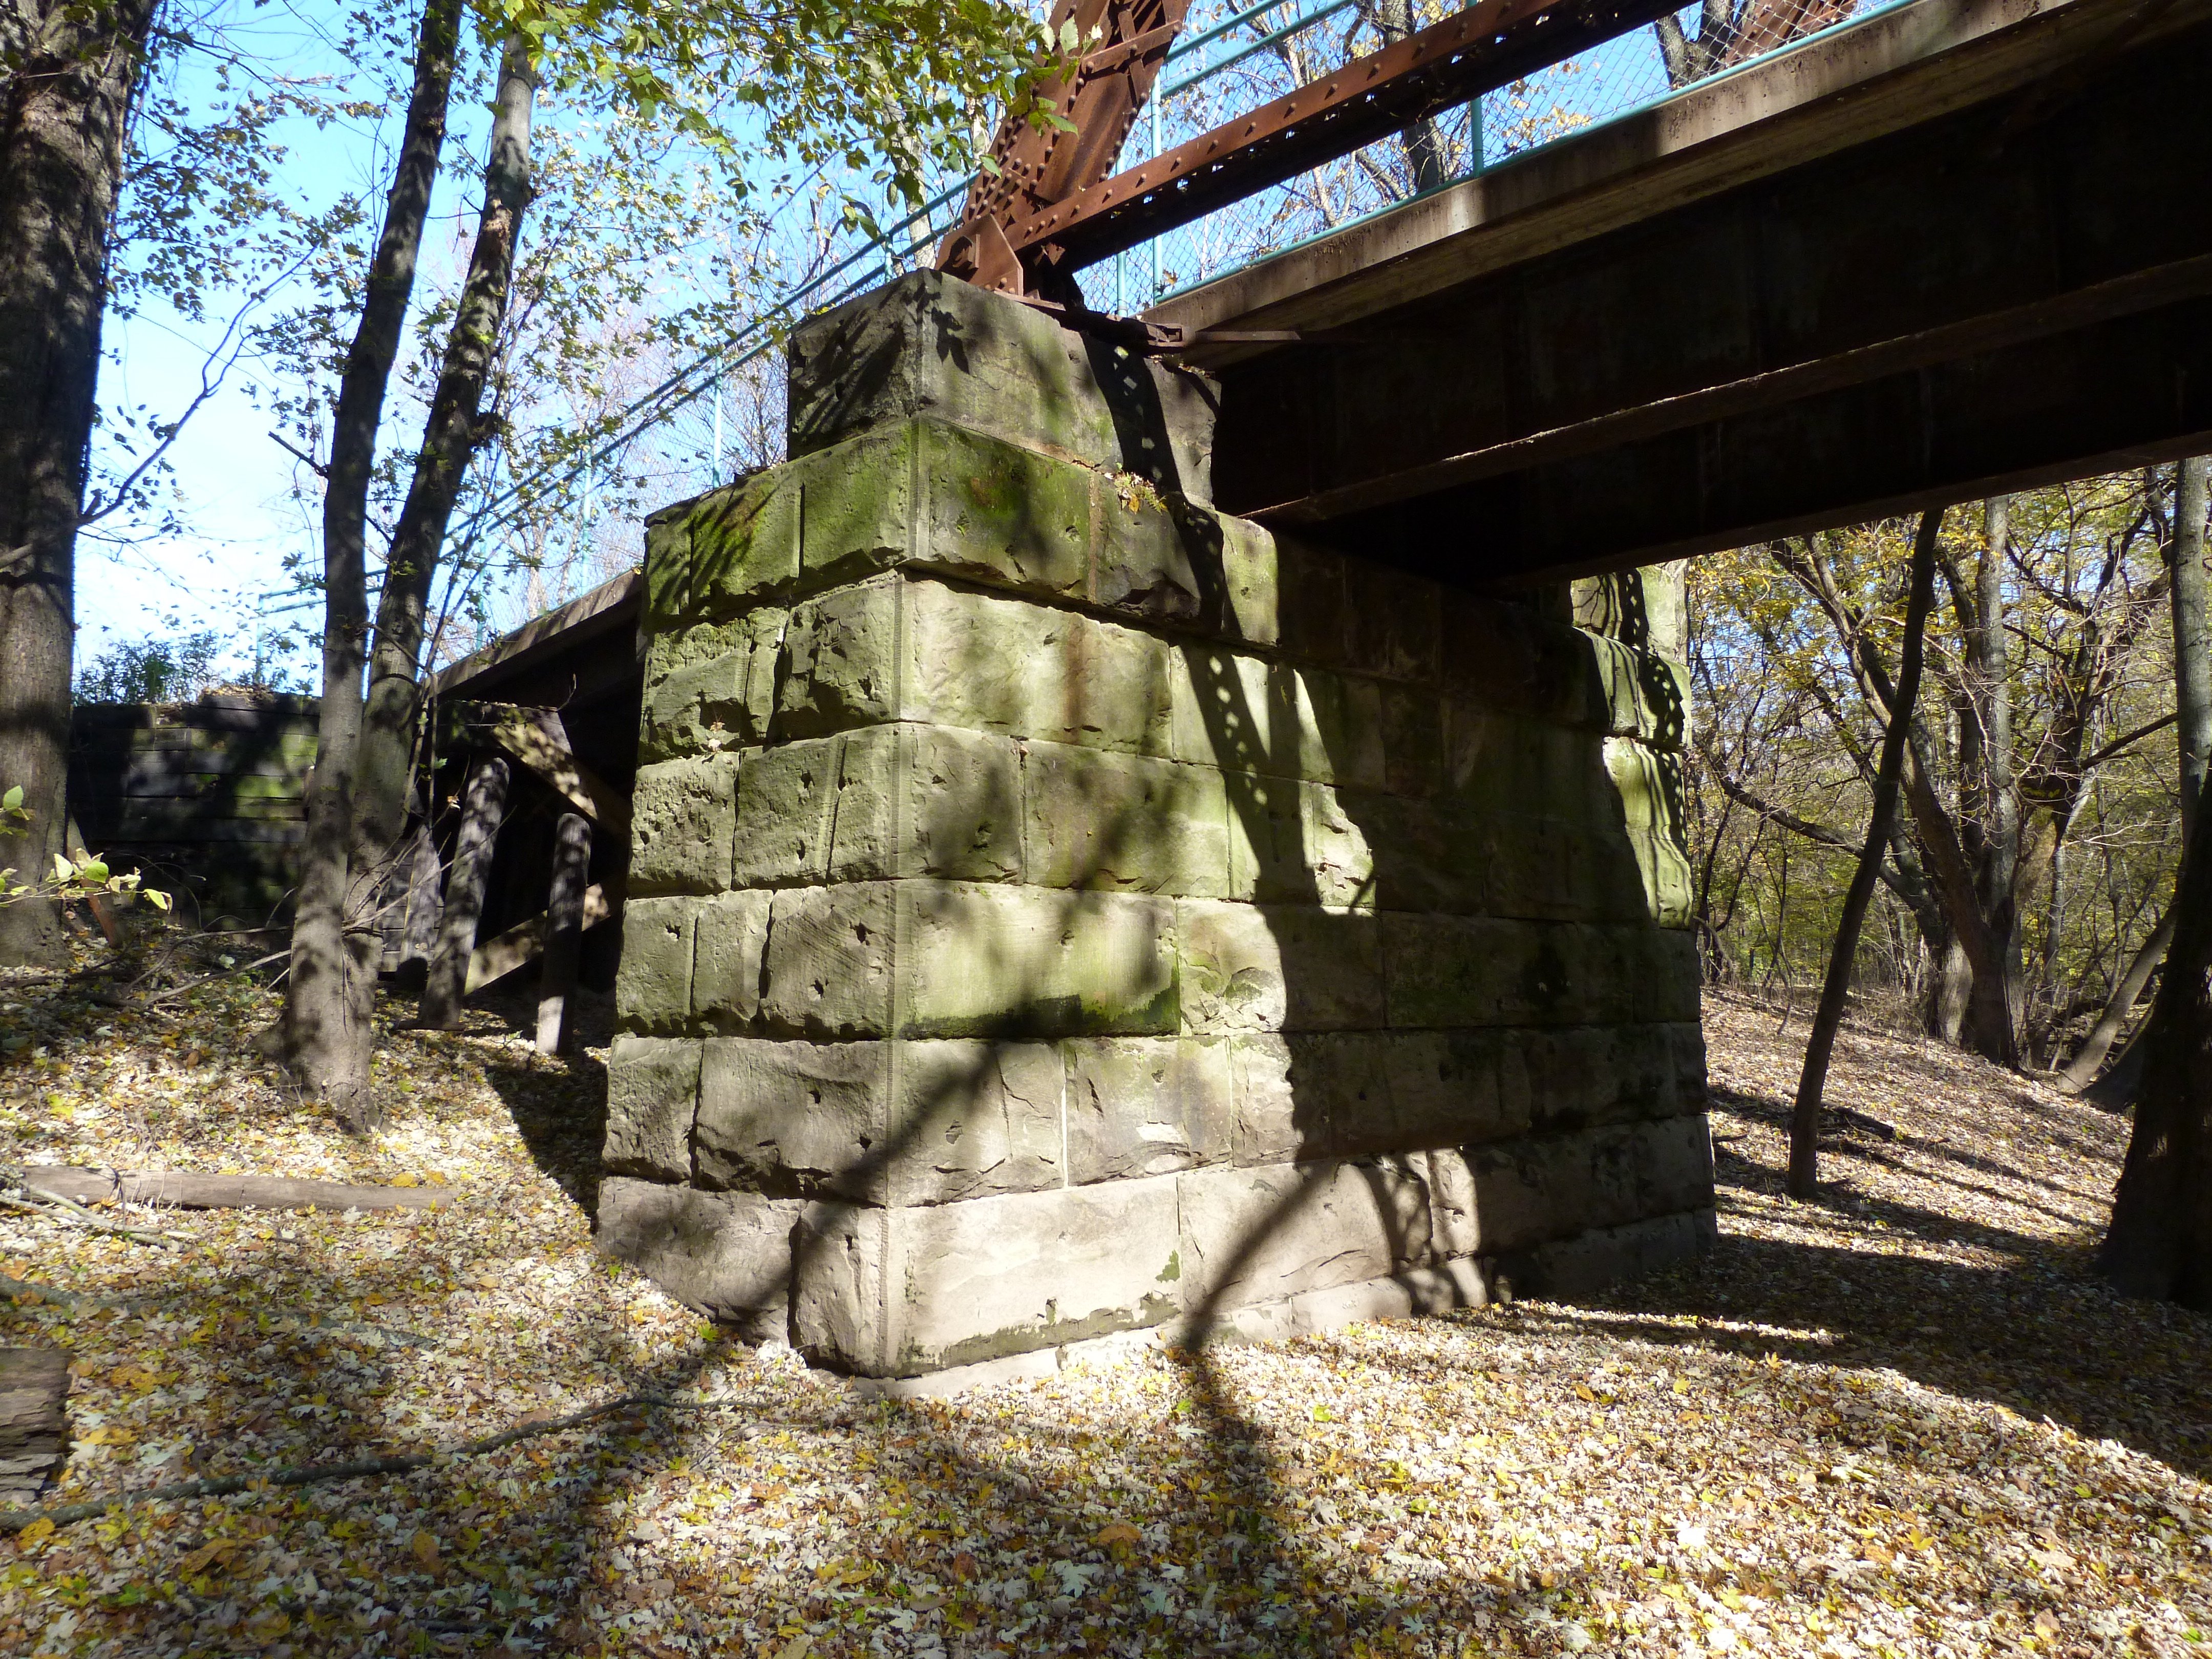
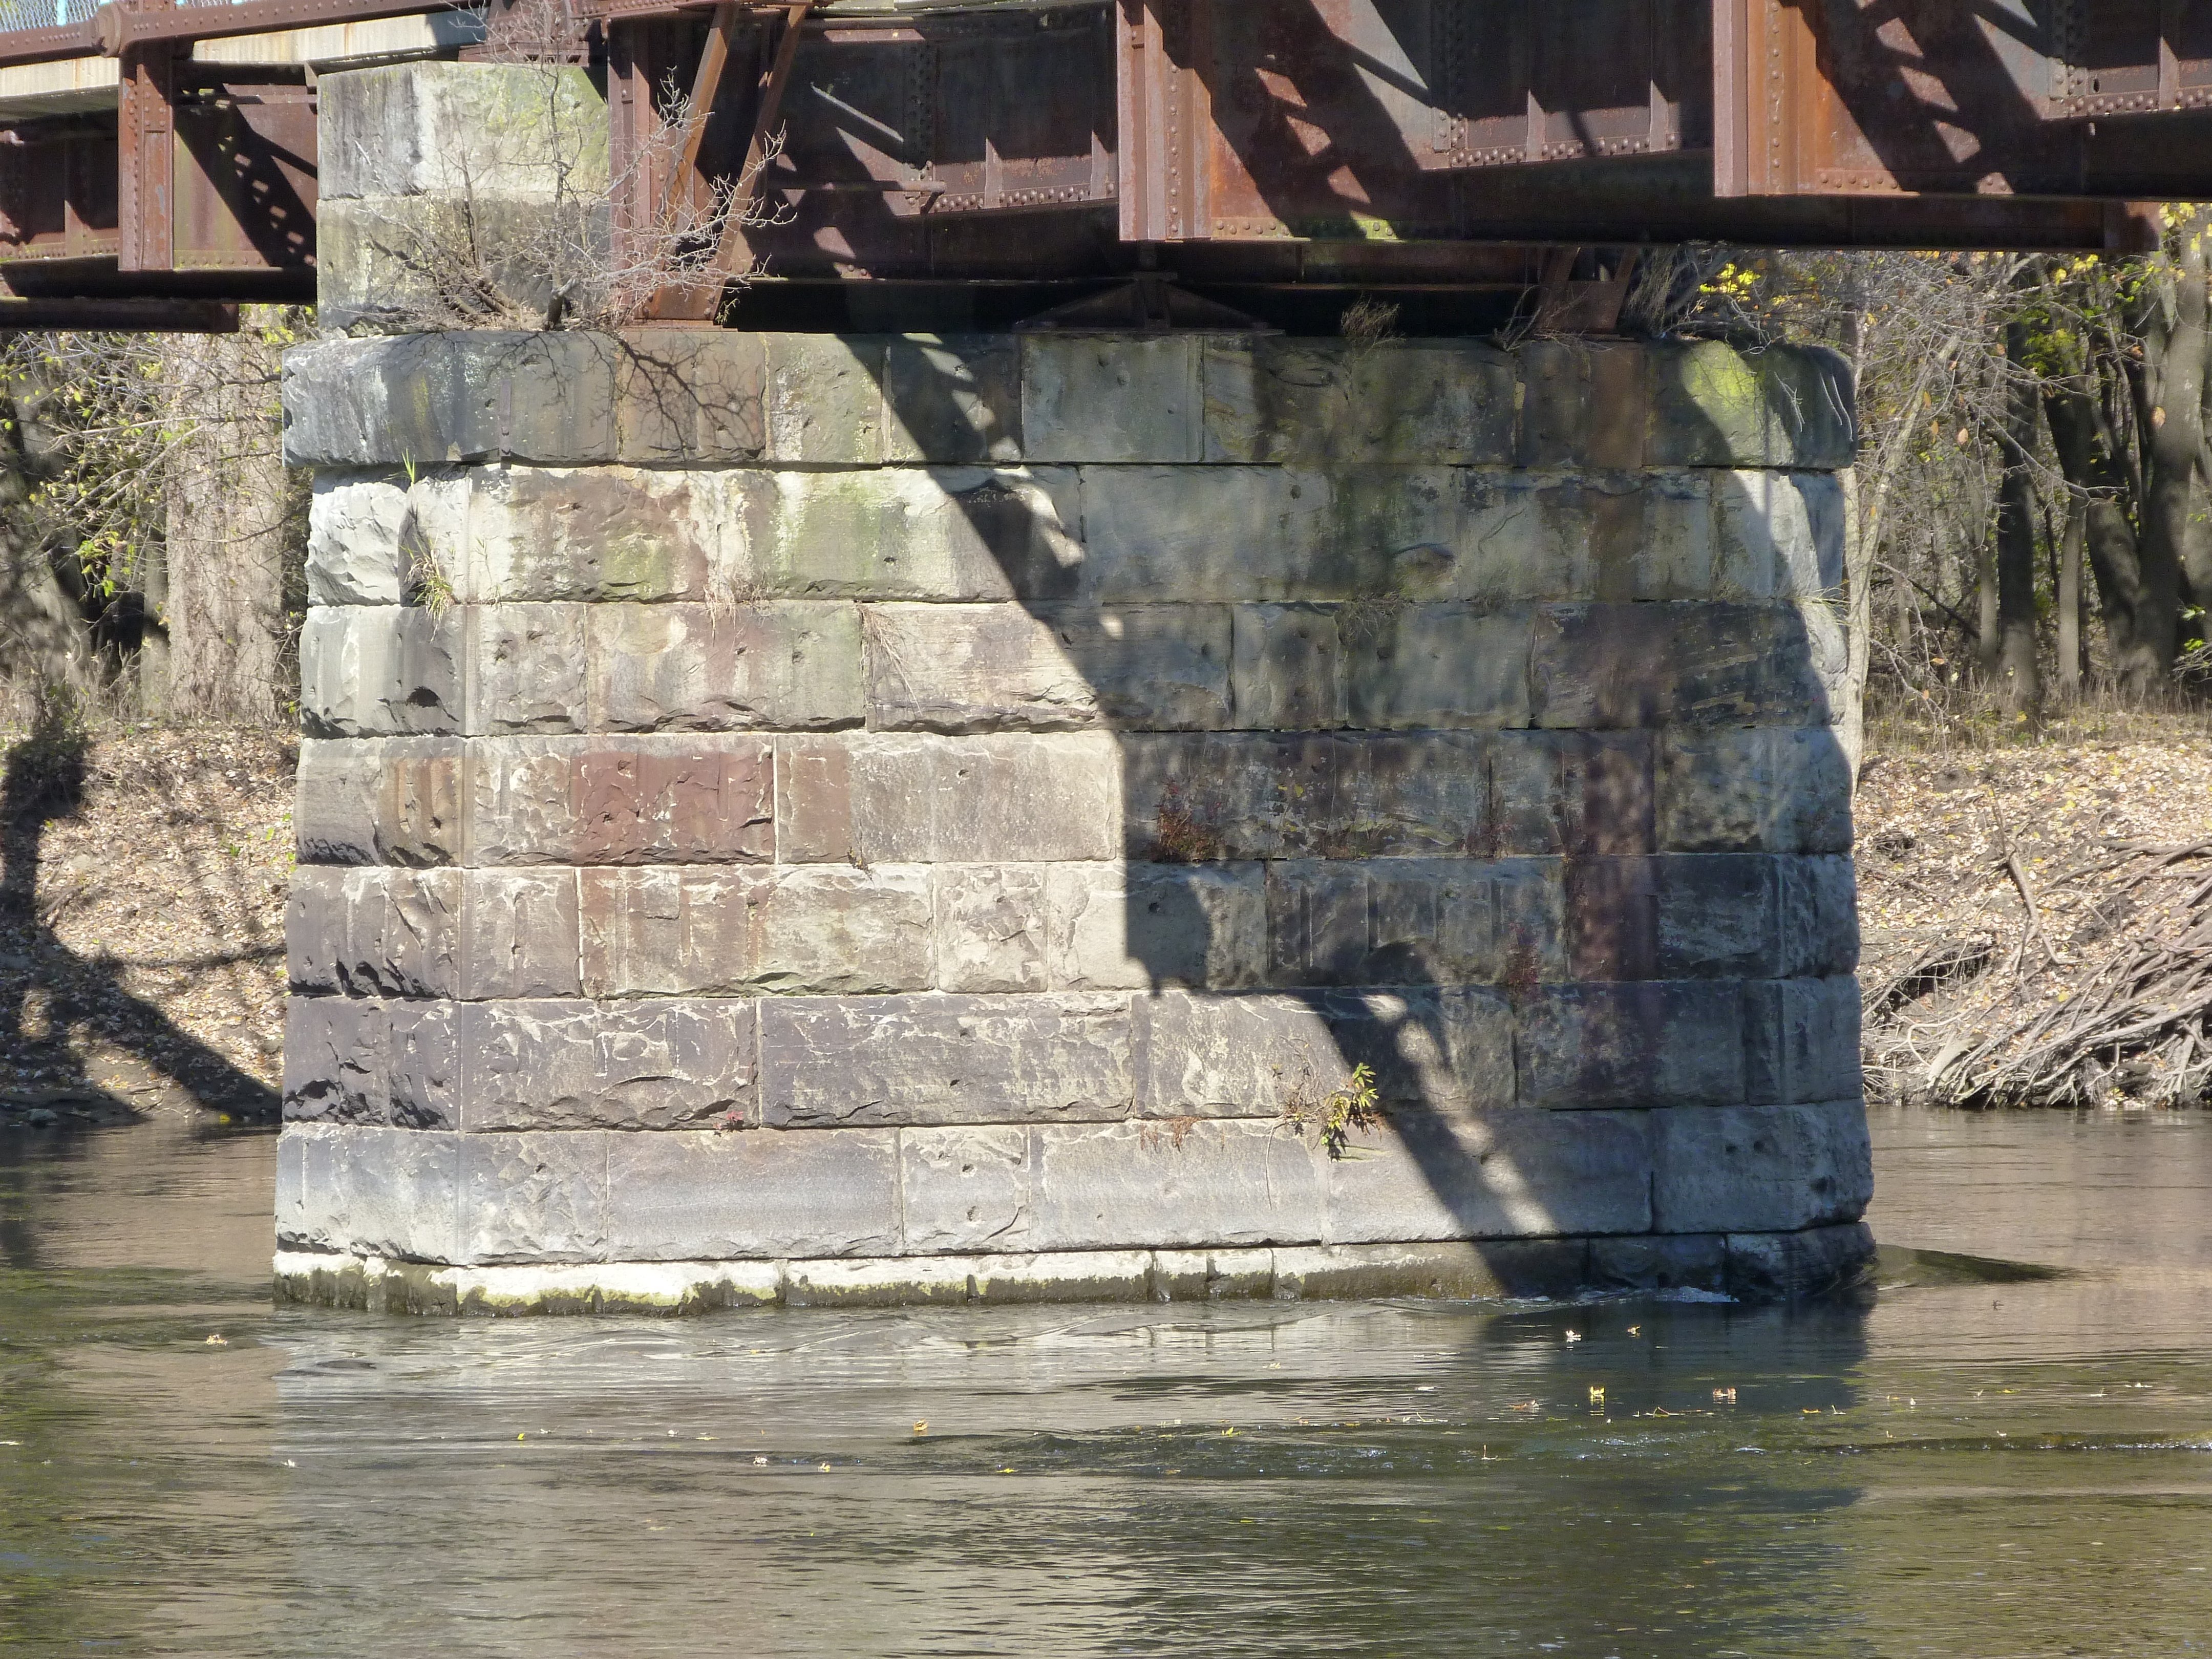
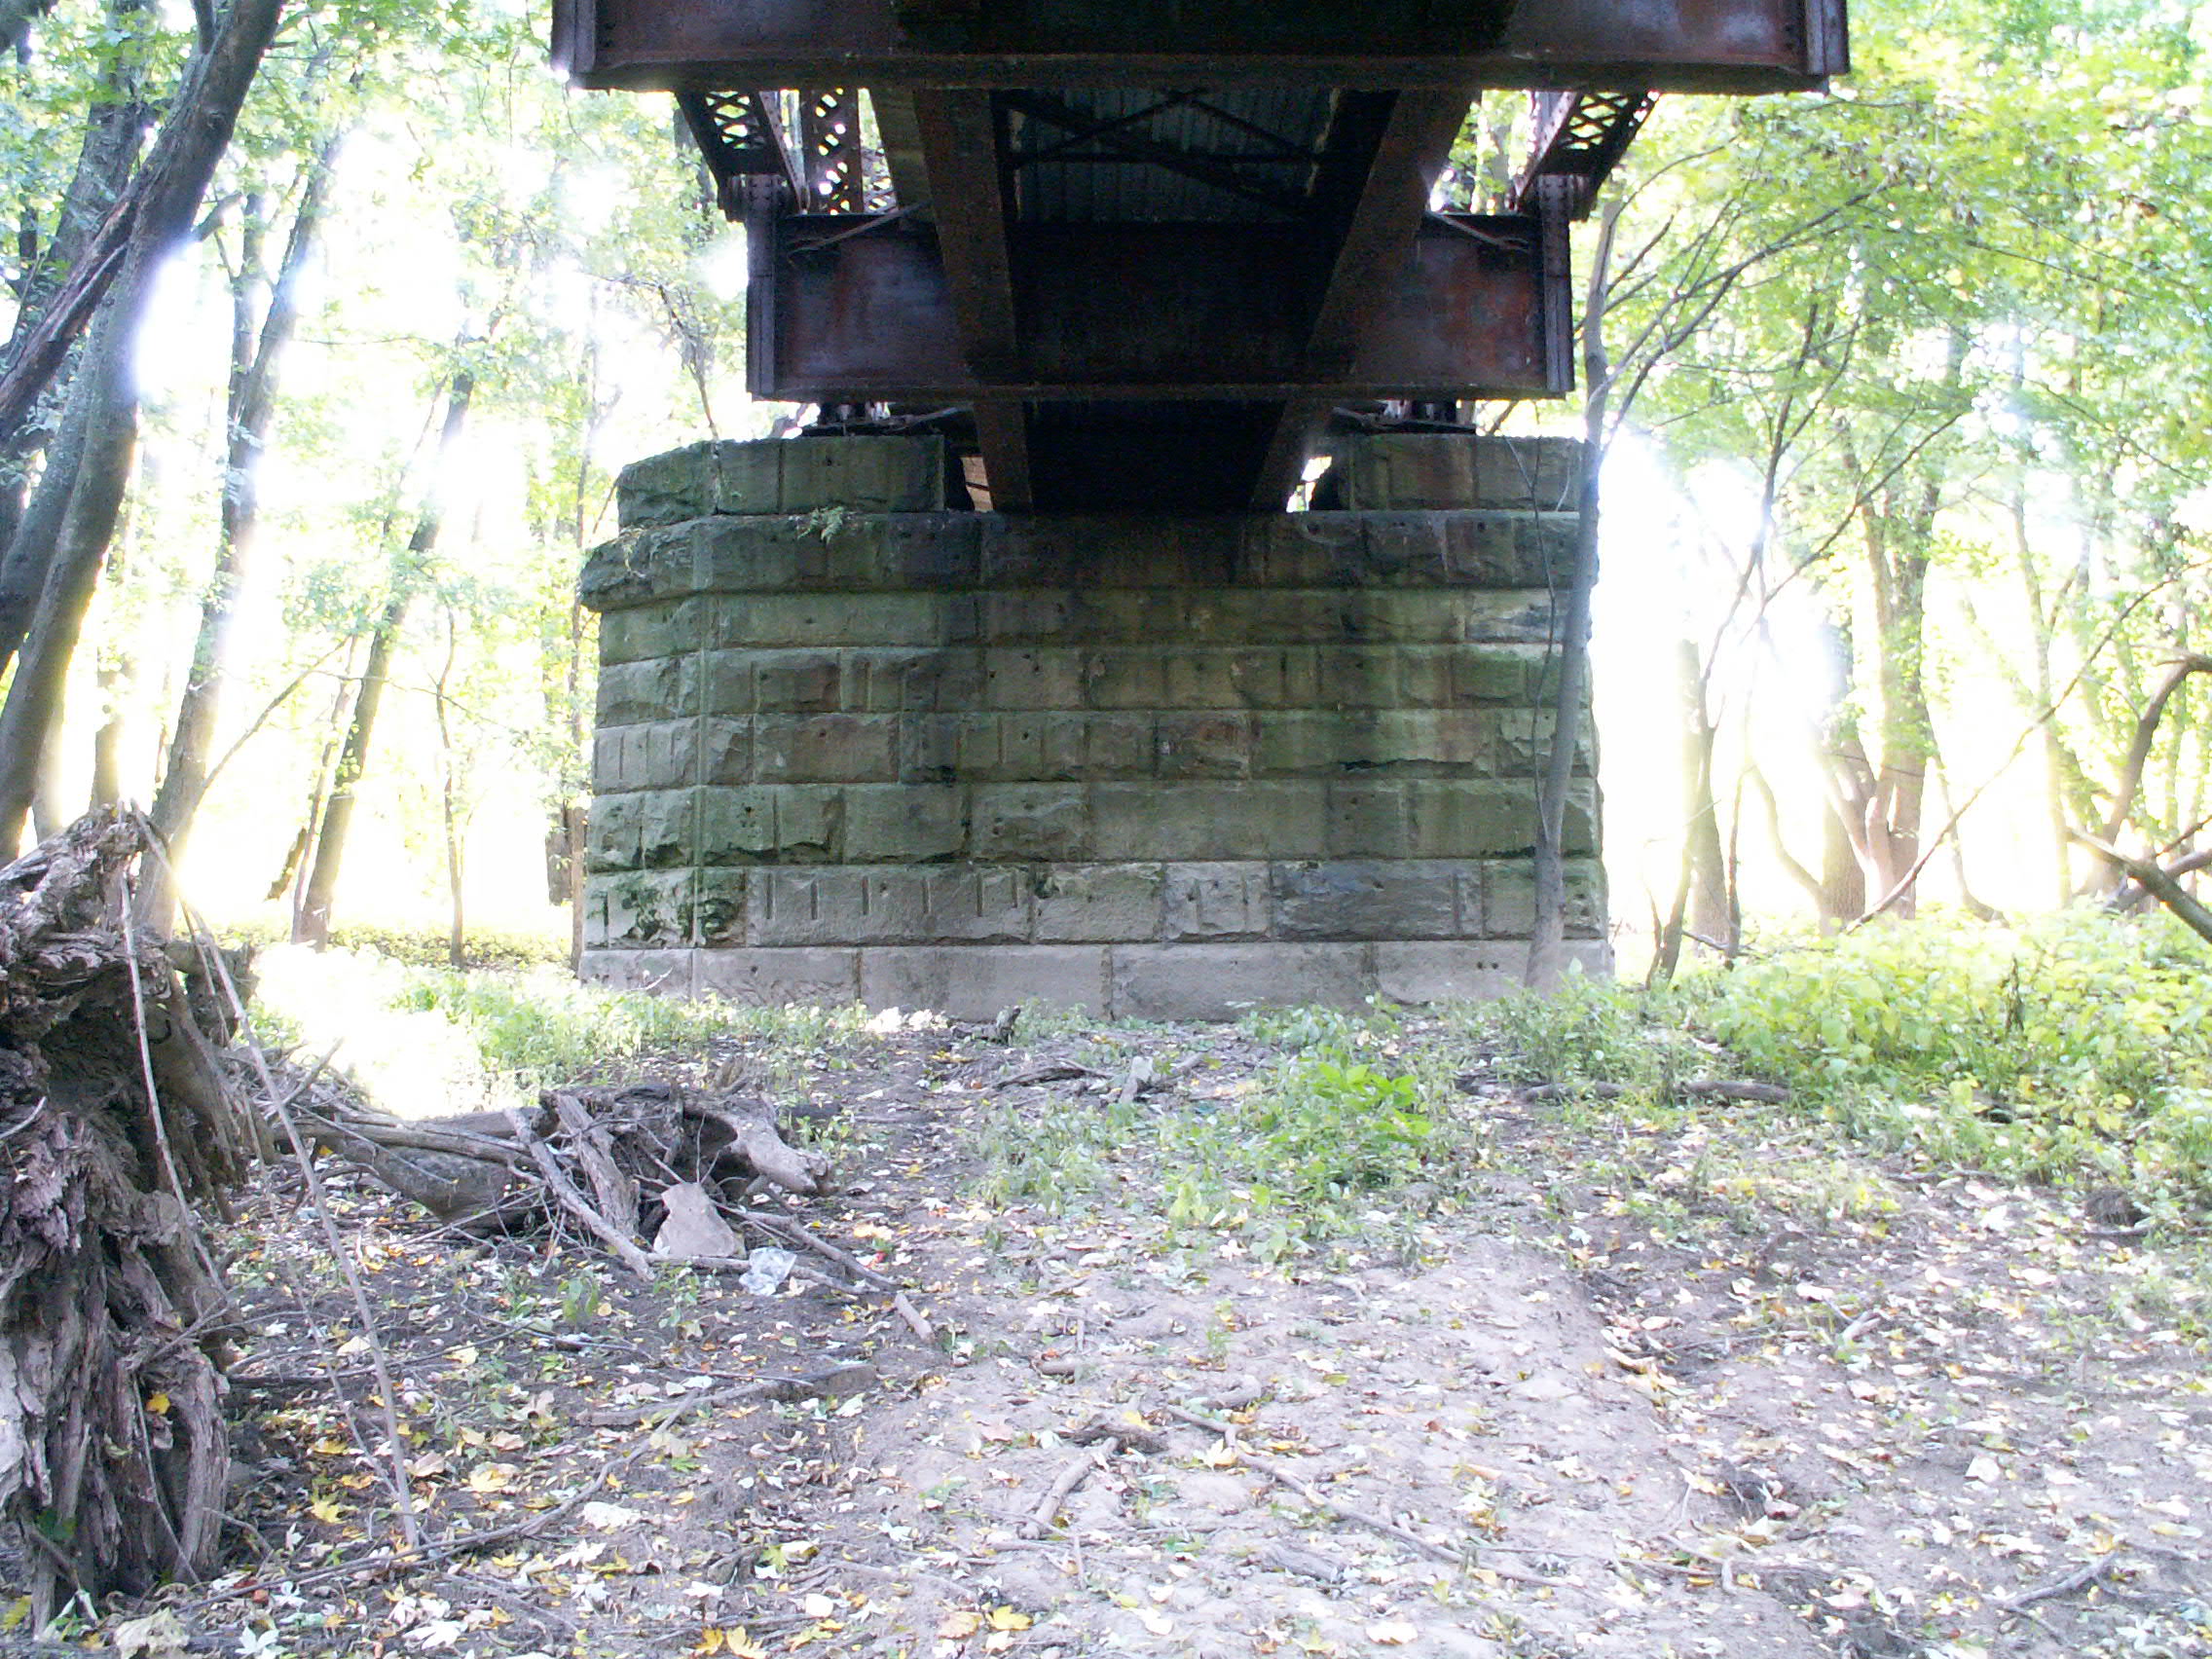
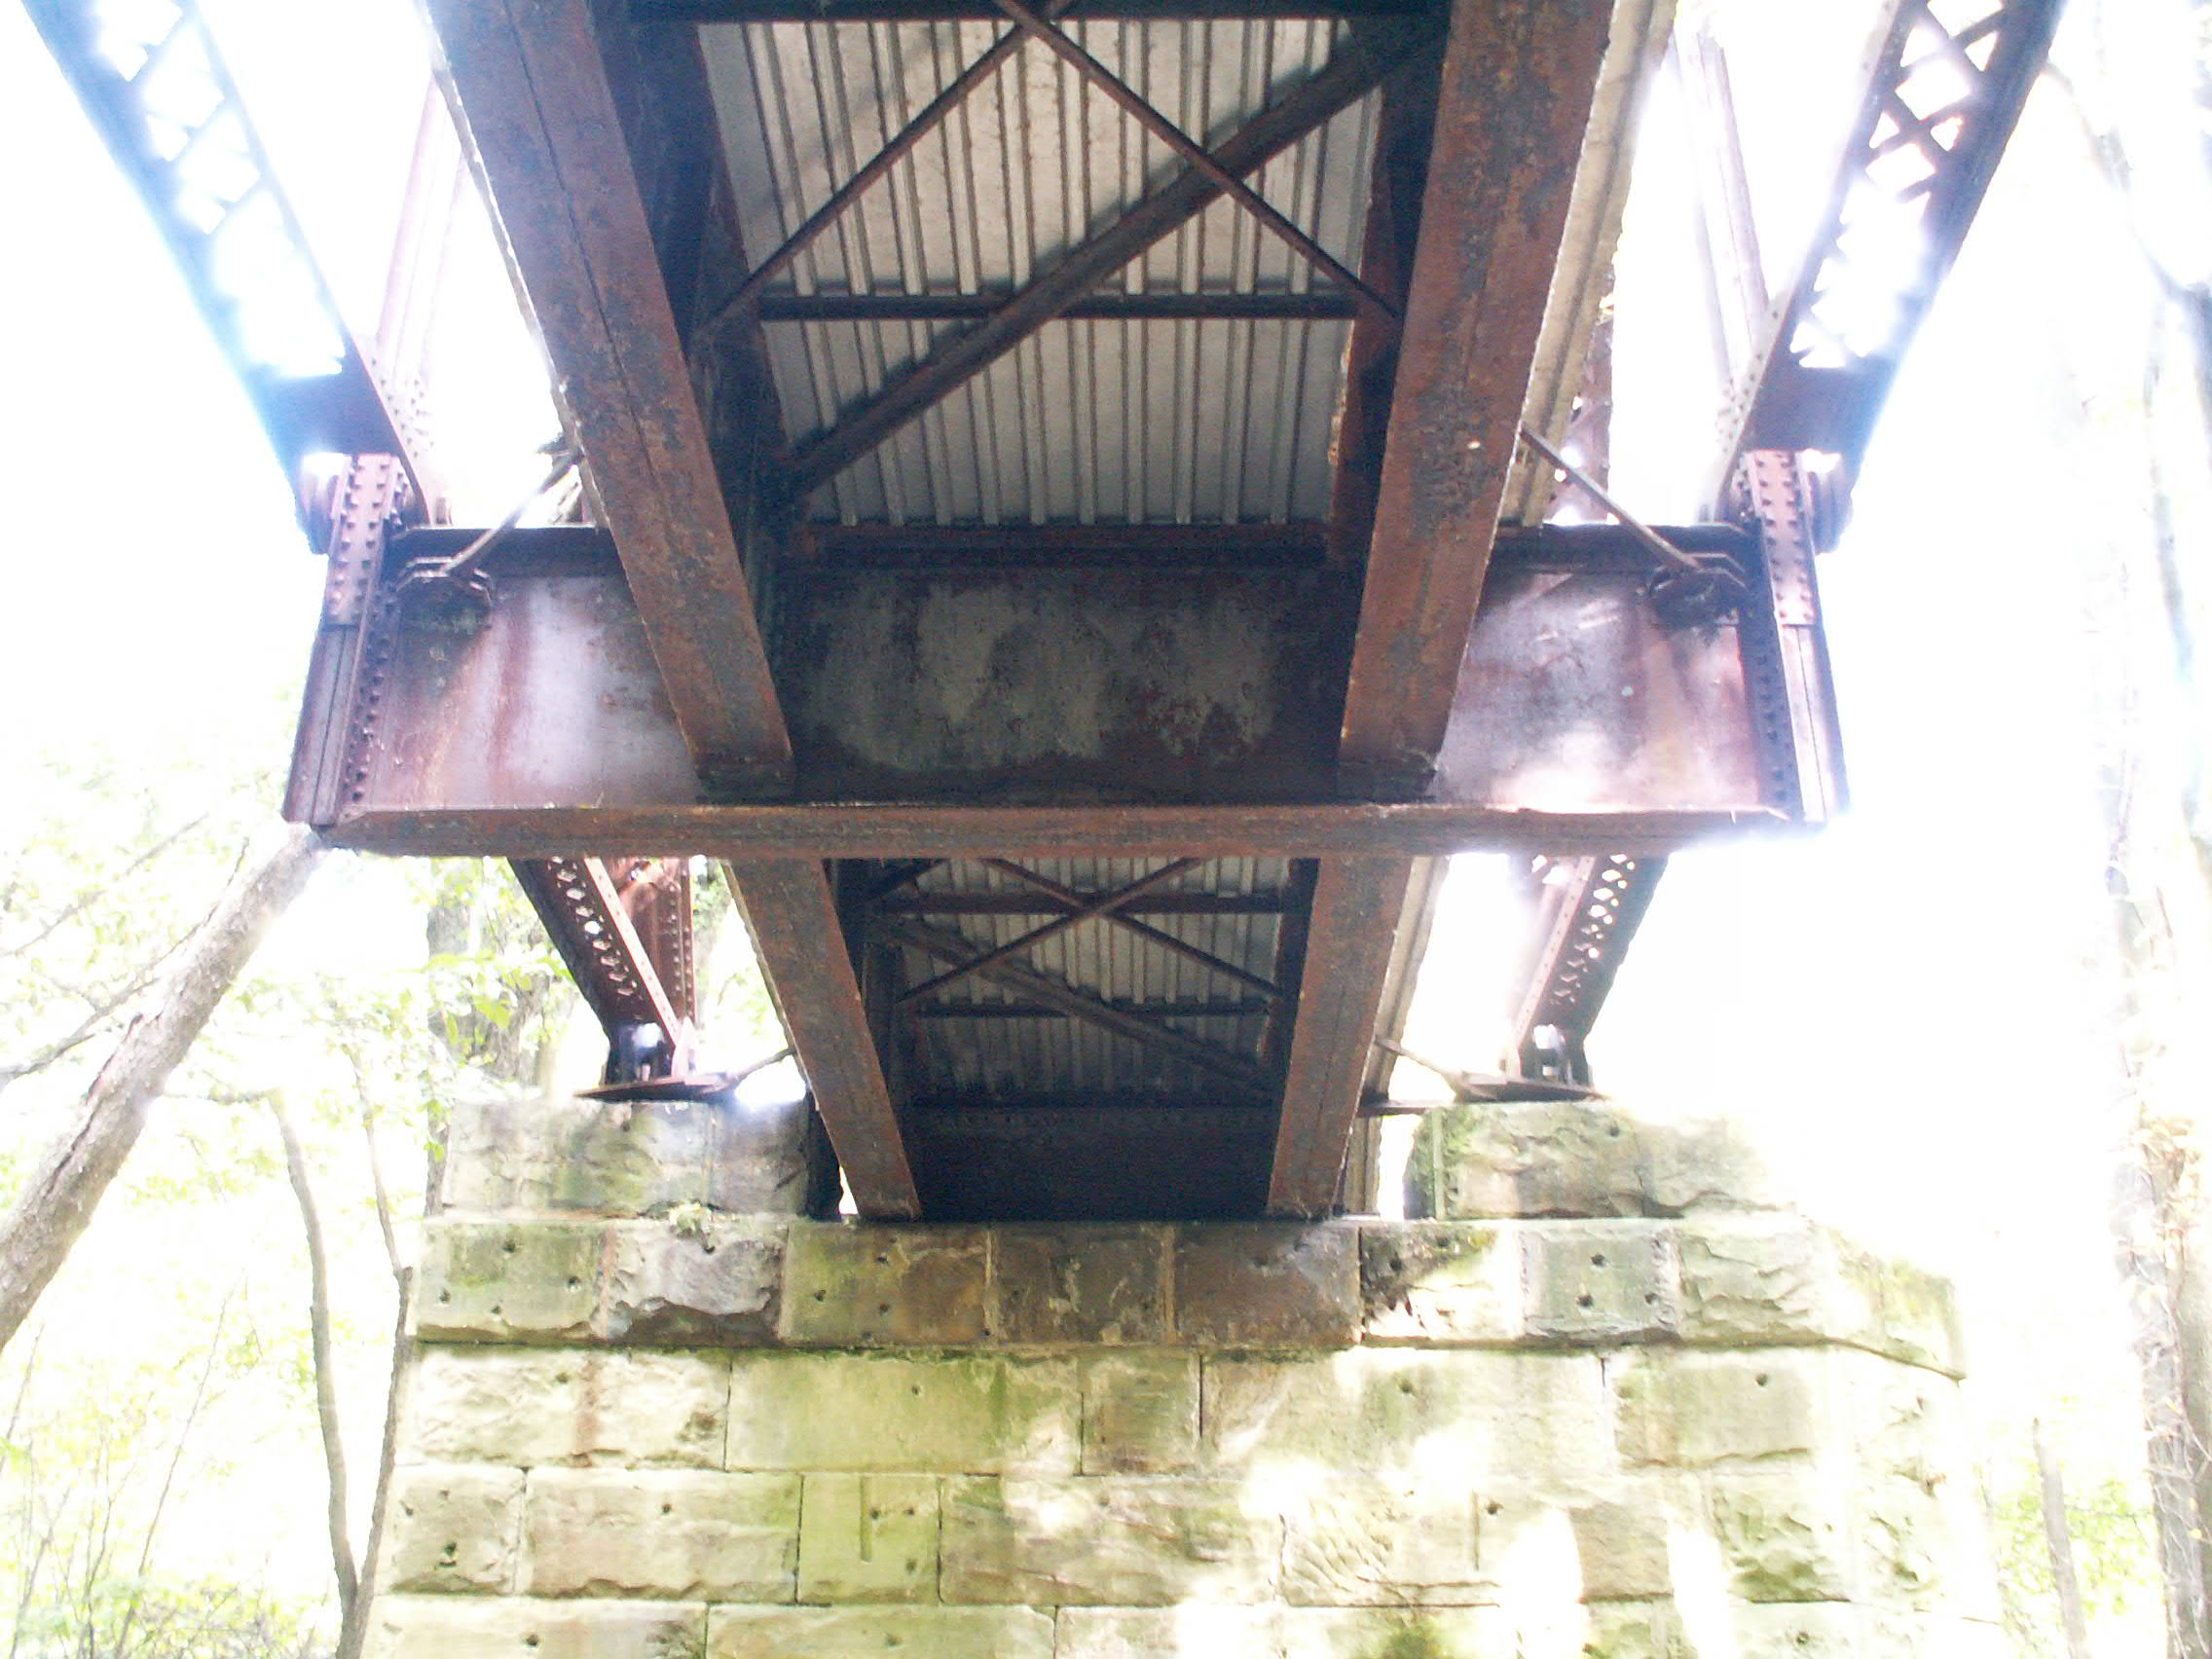
Piers.
![]()
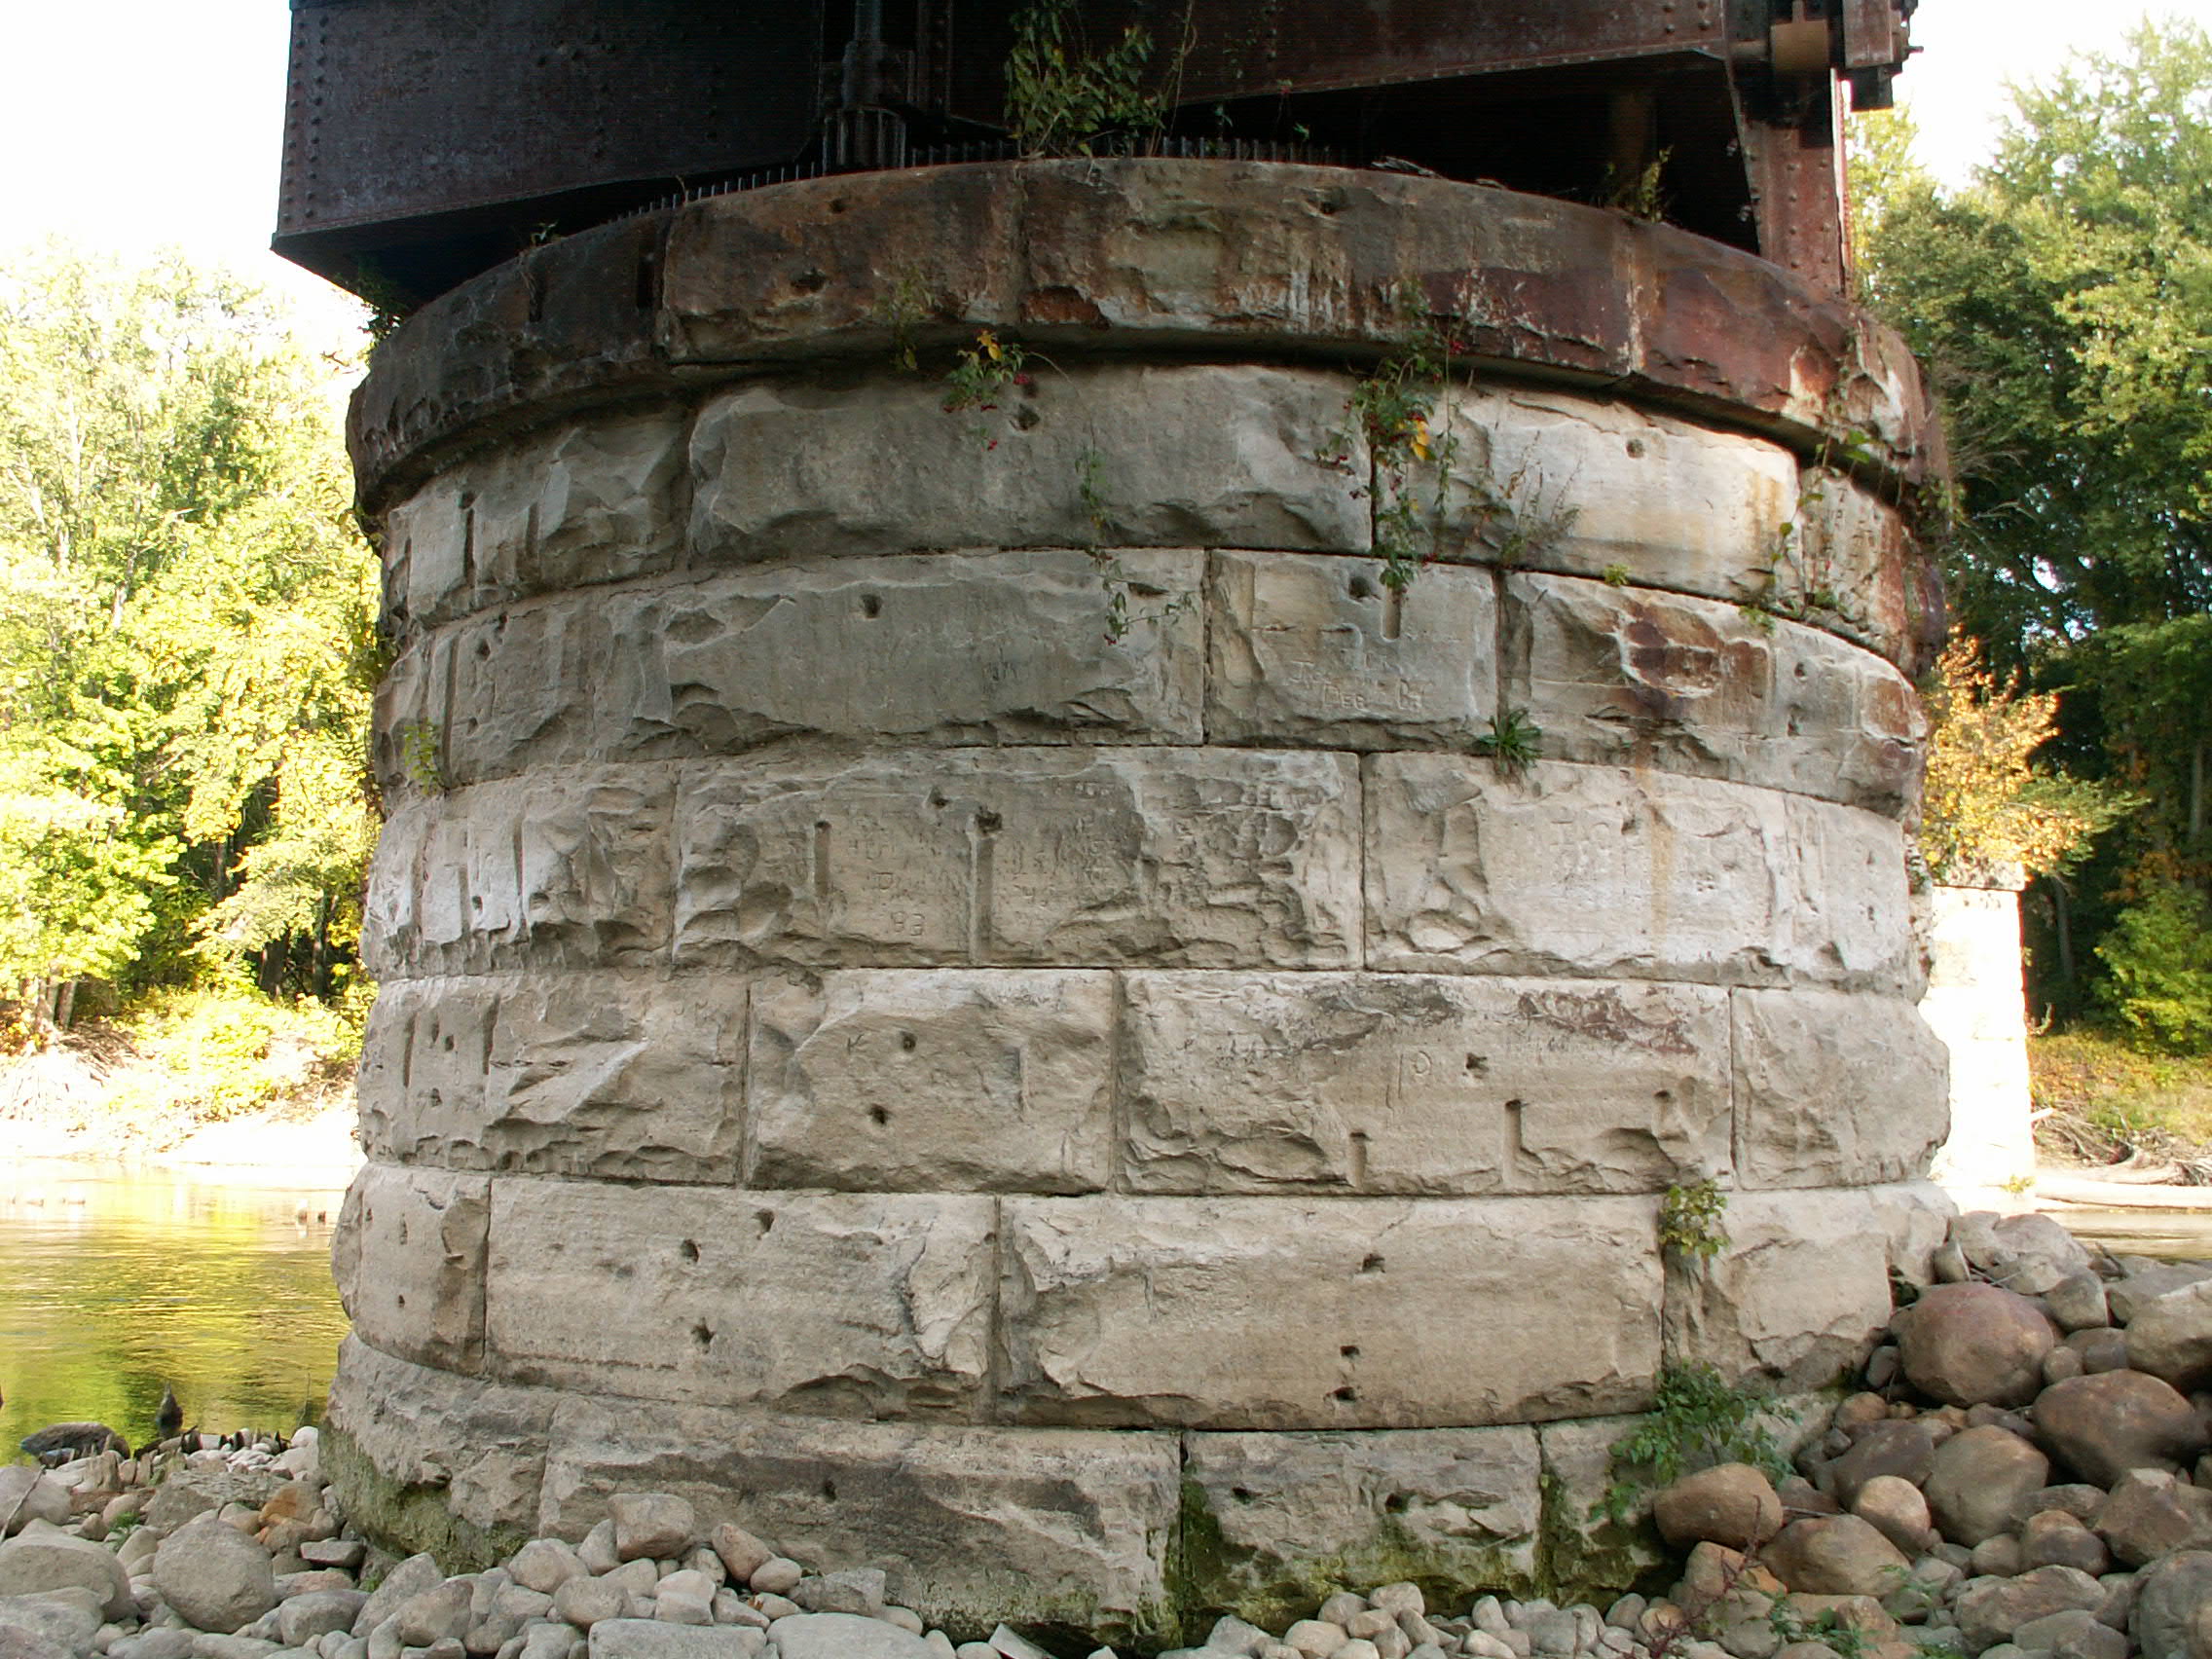

Swing pier.
![]()

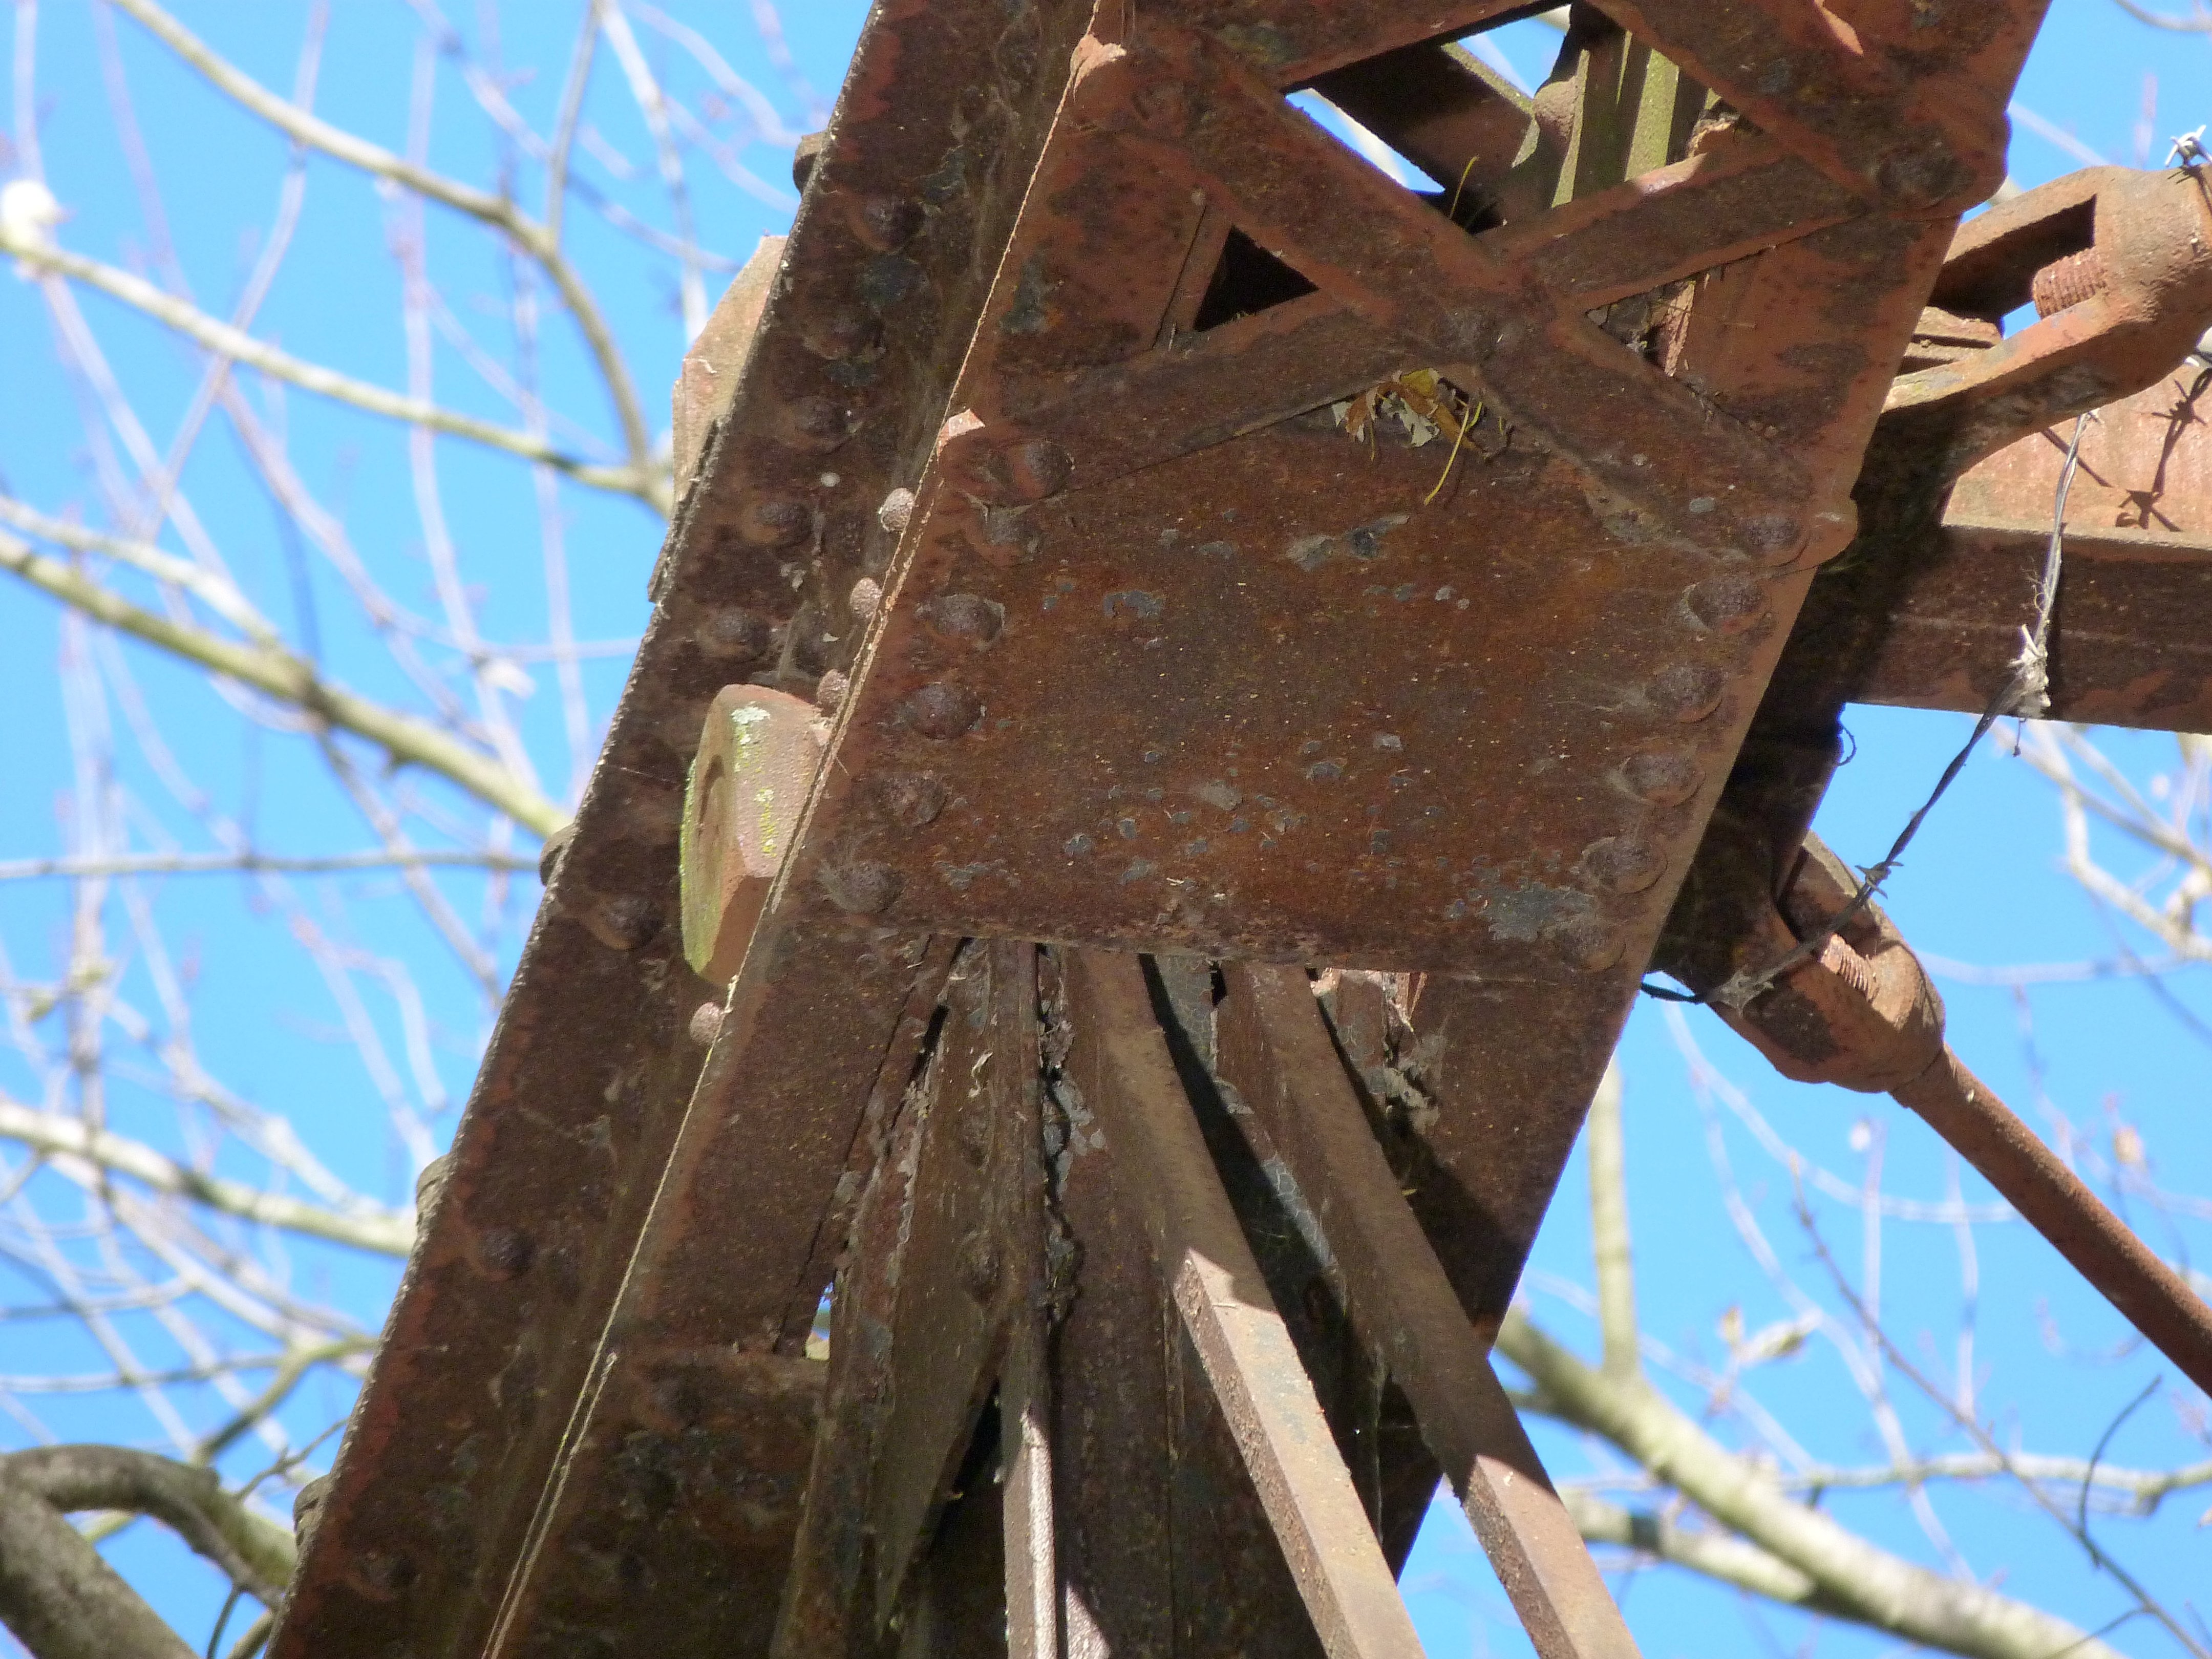
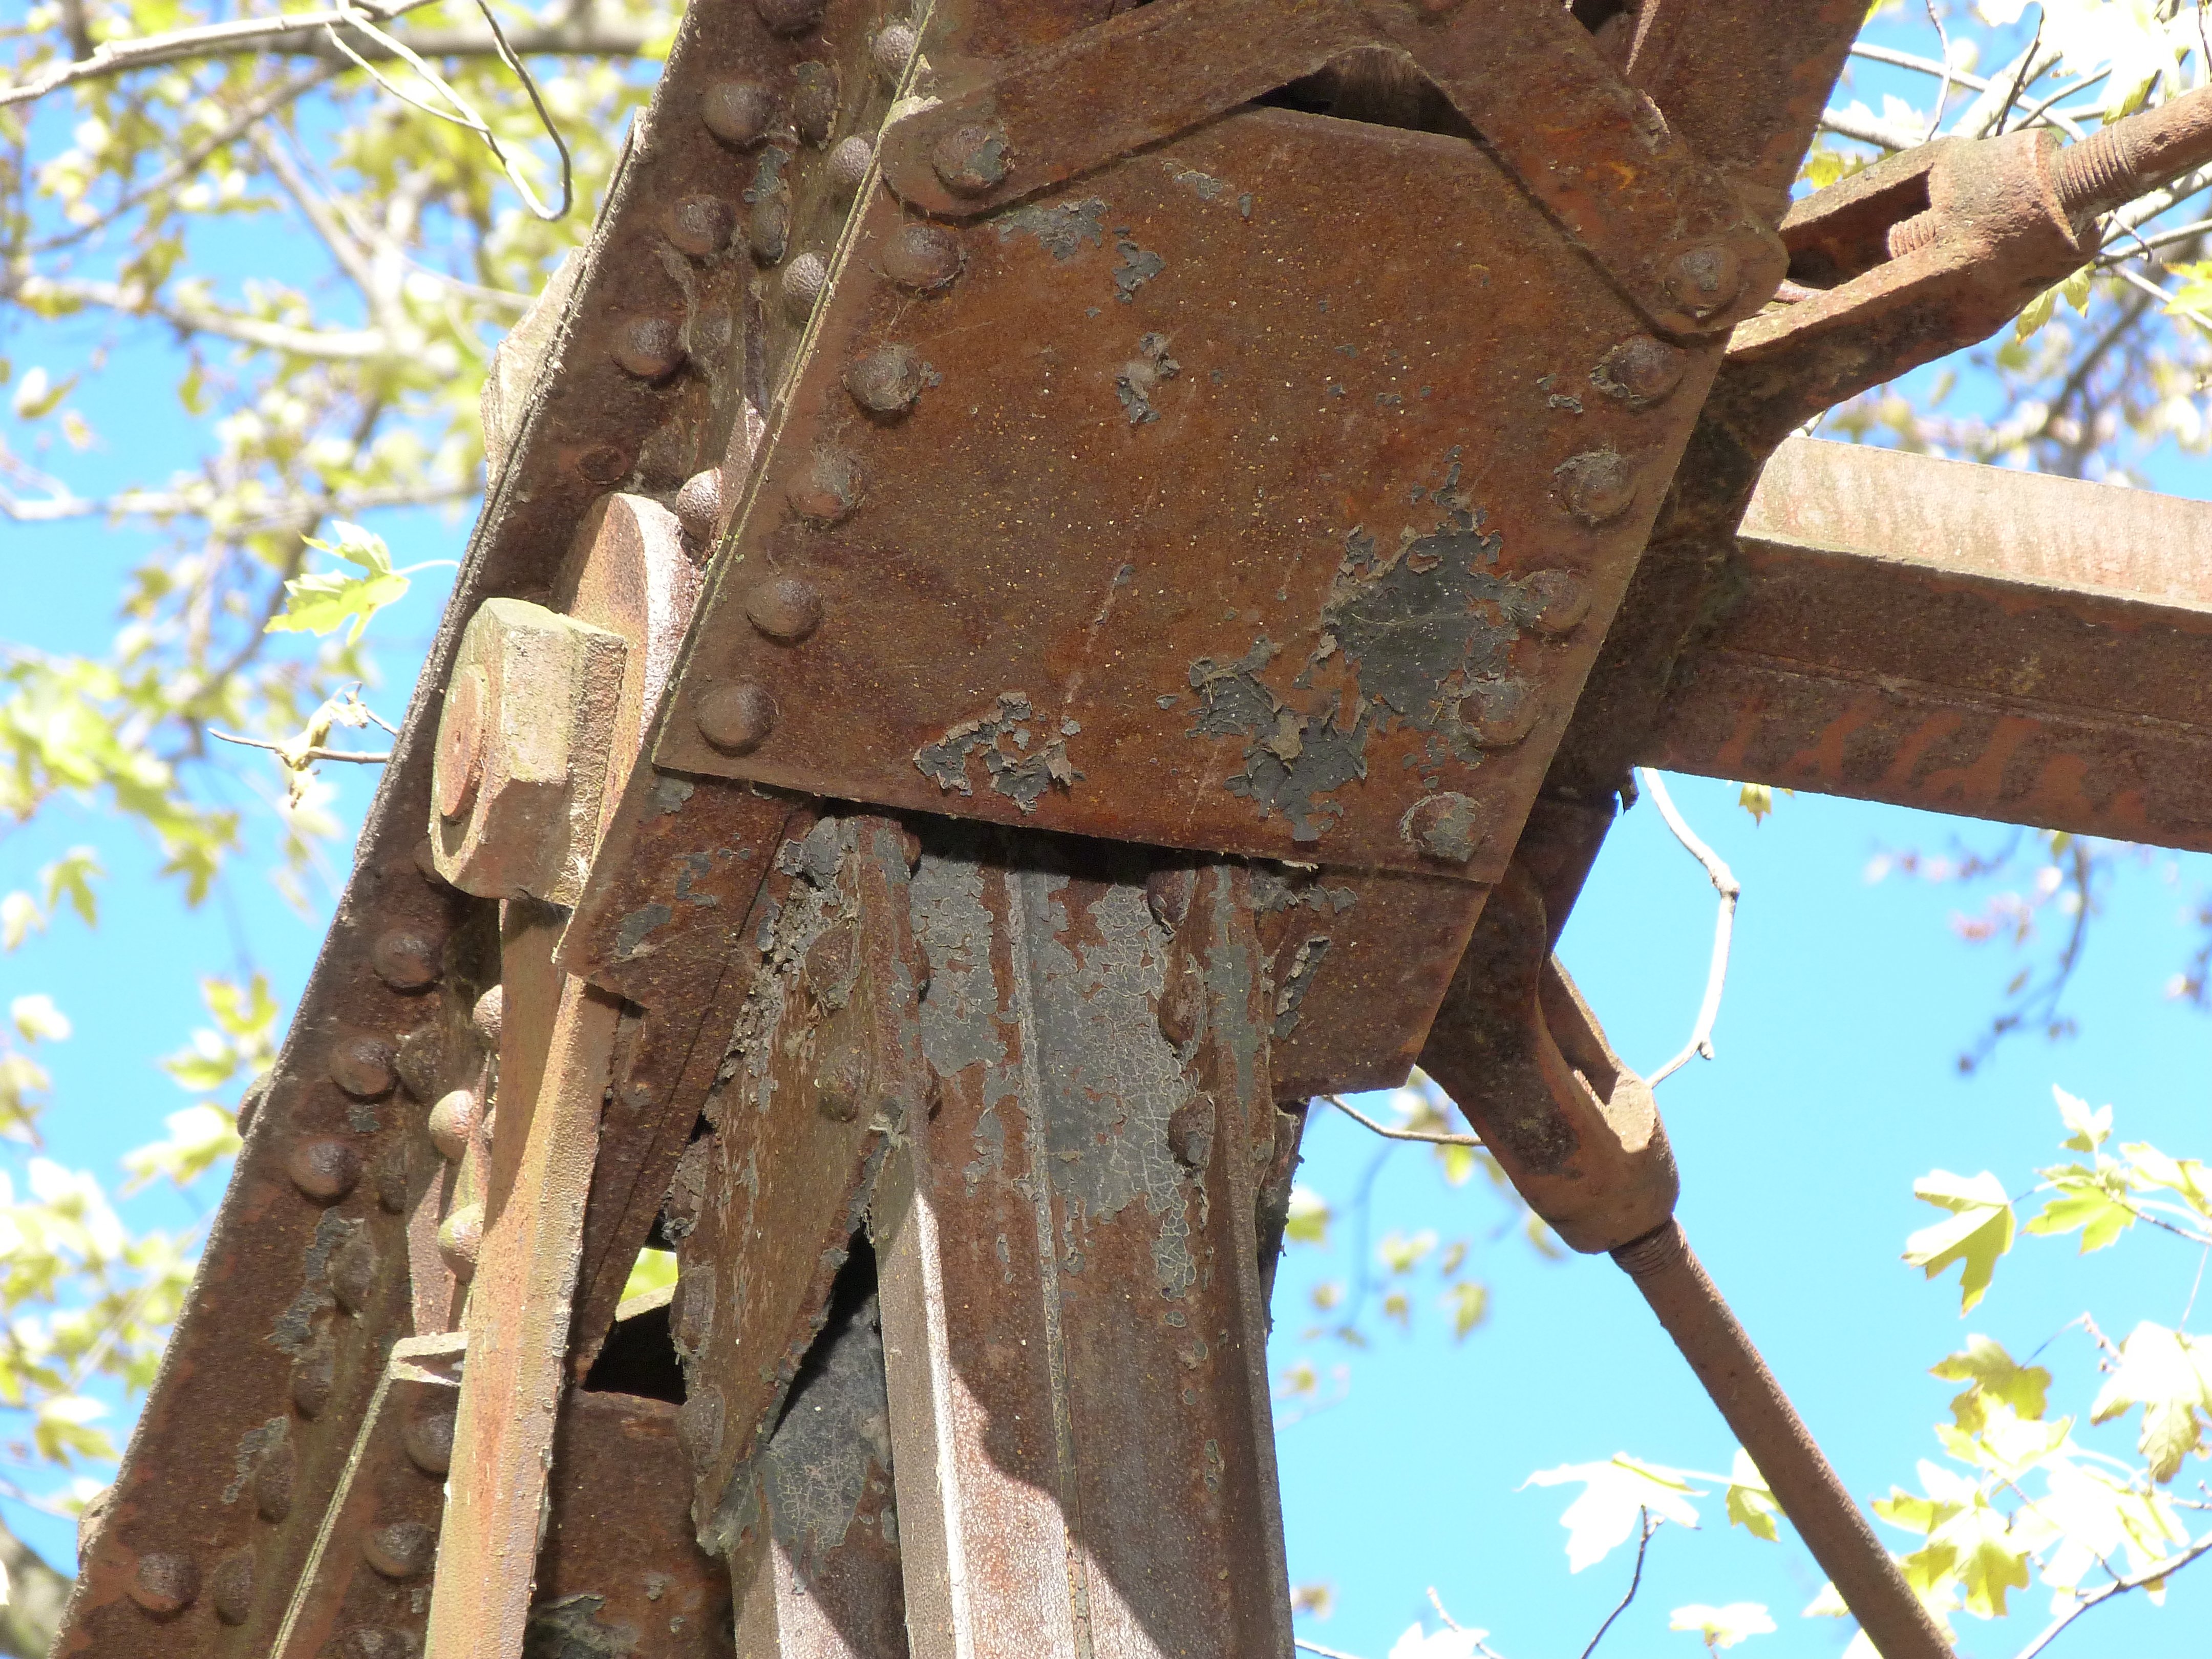


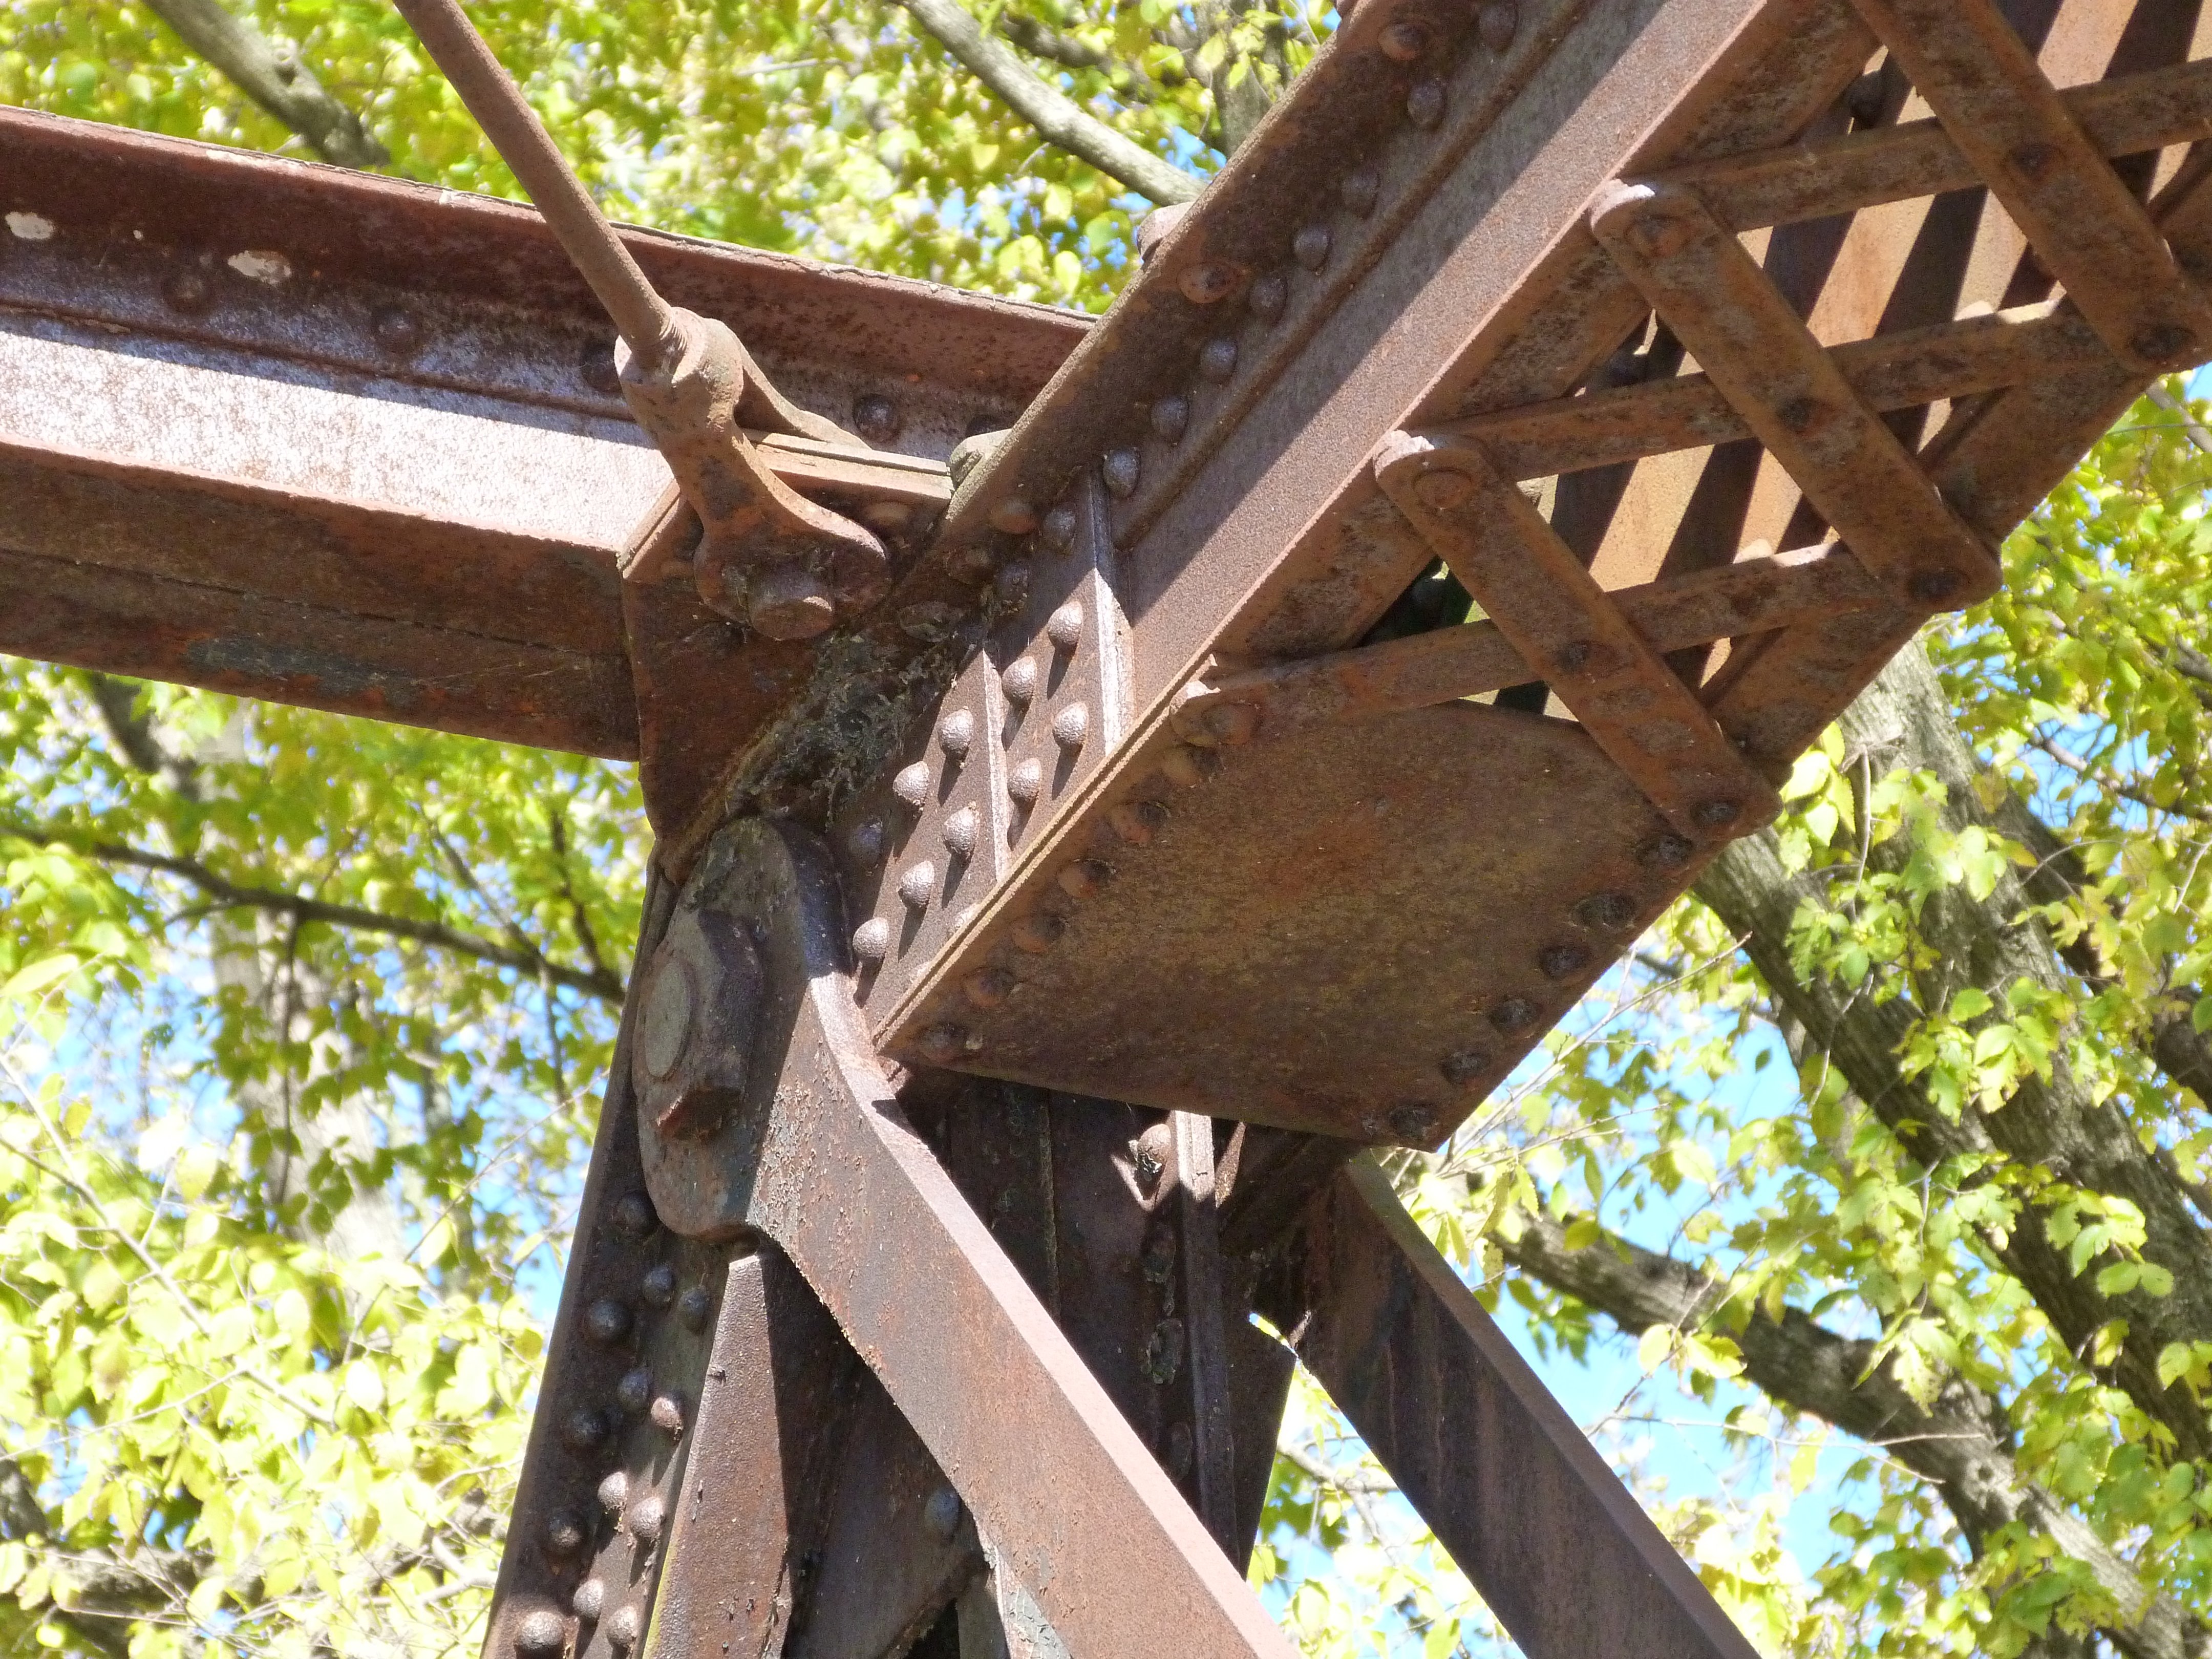
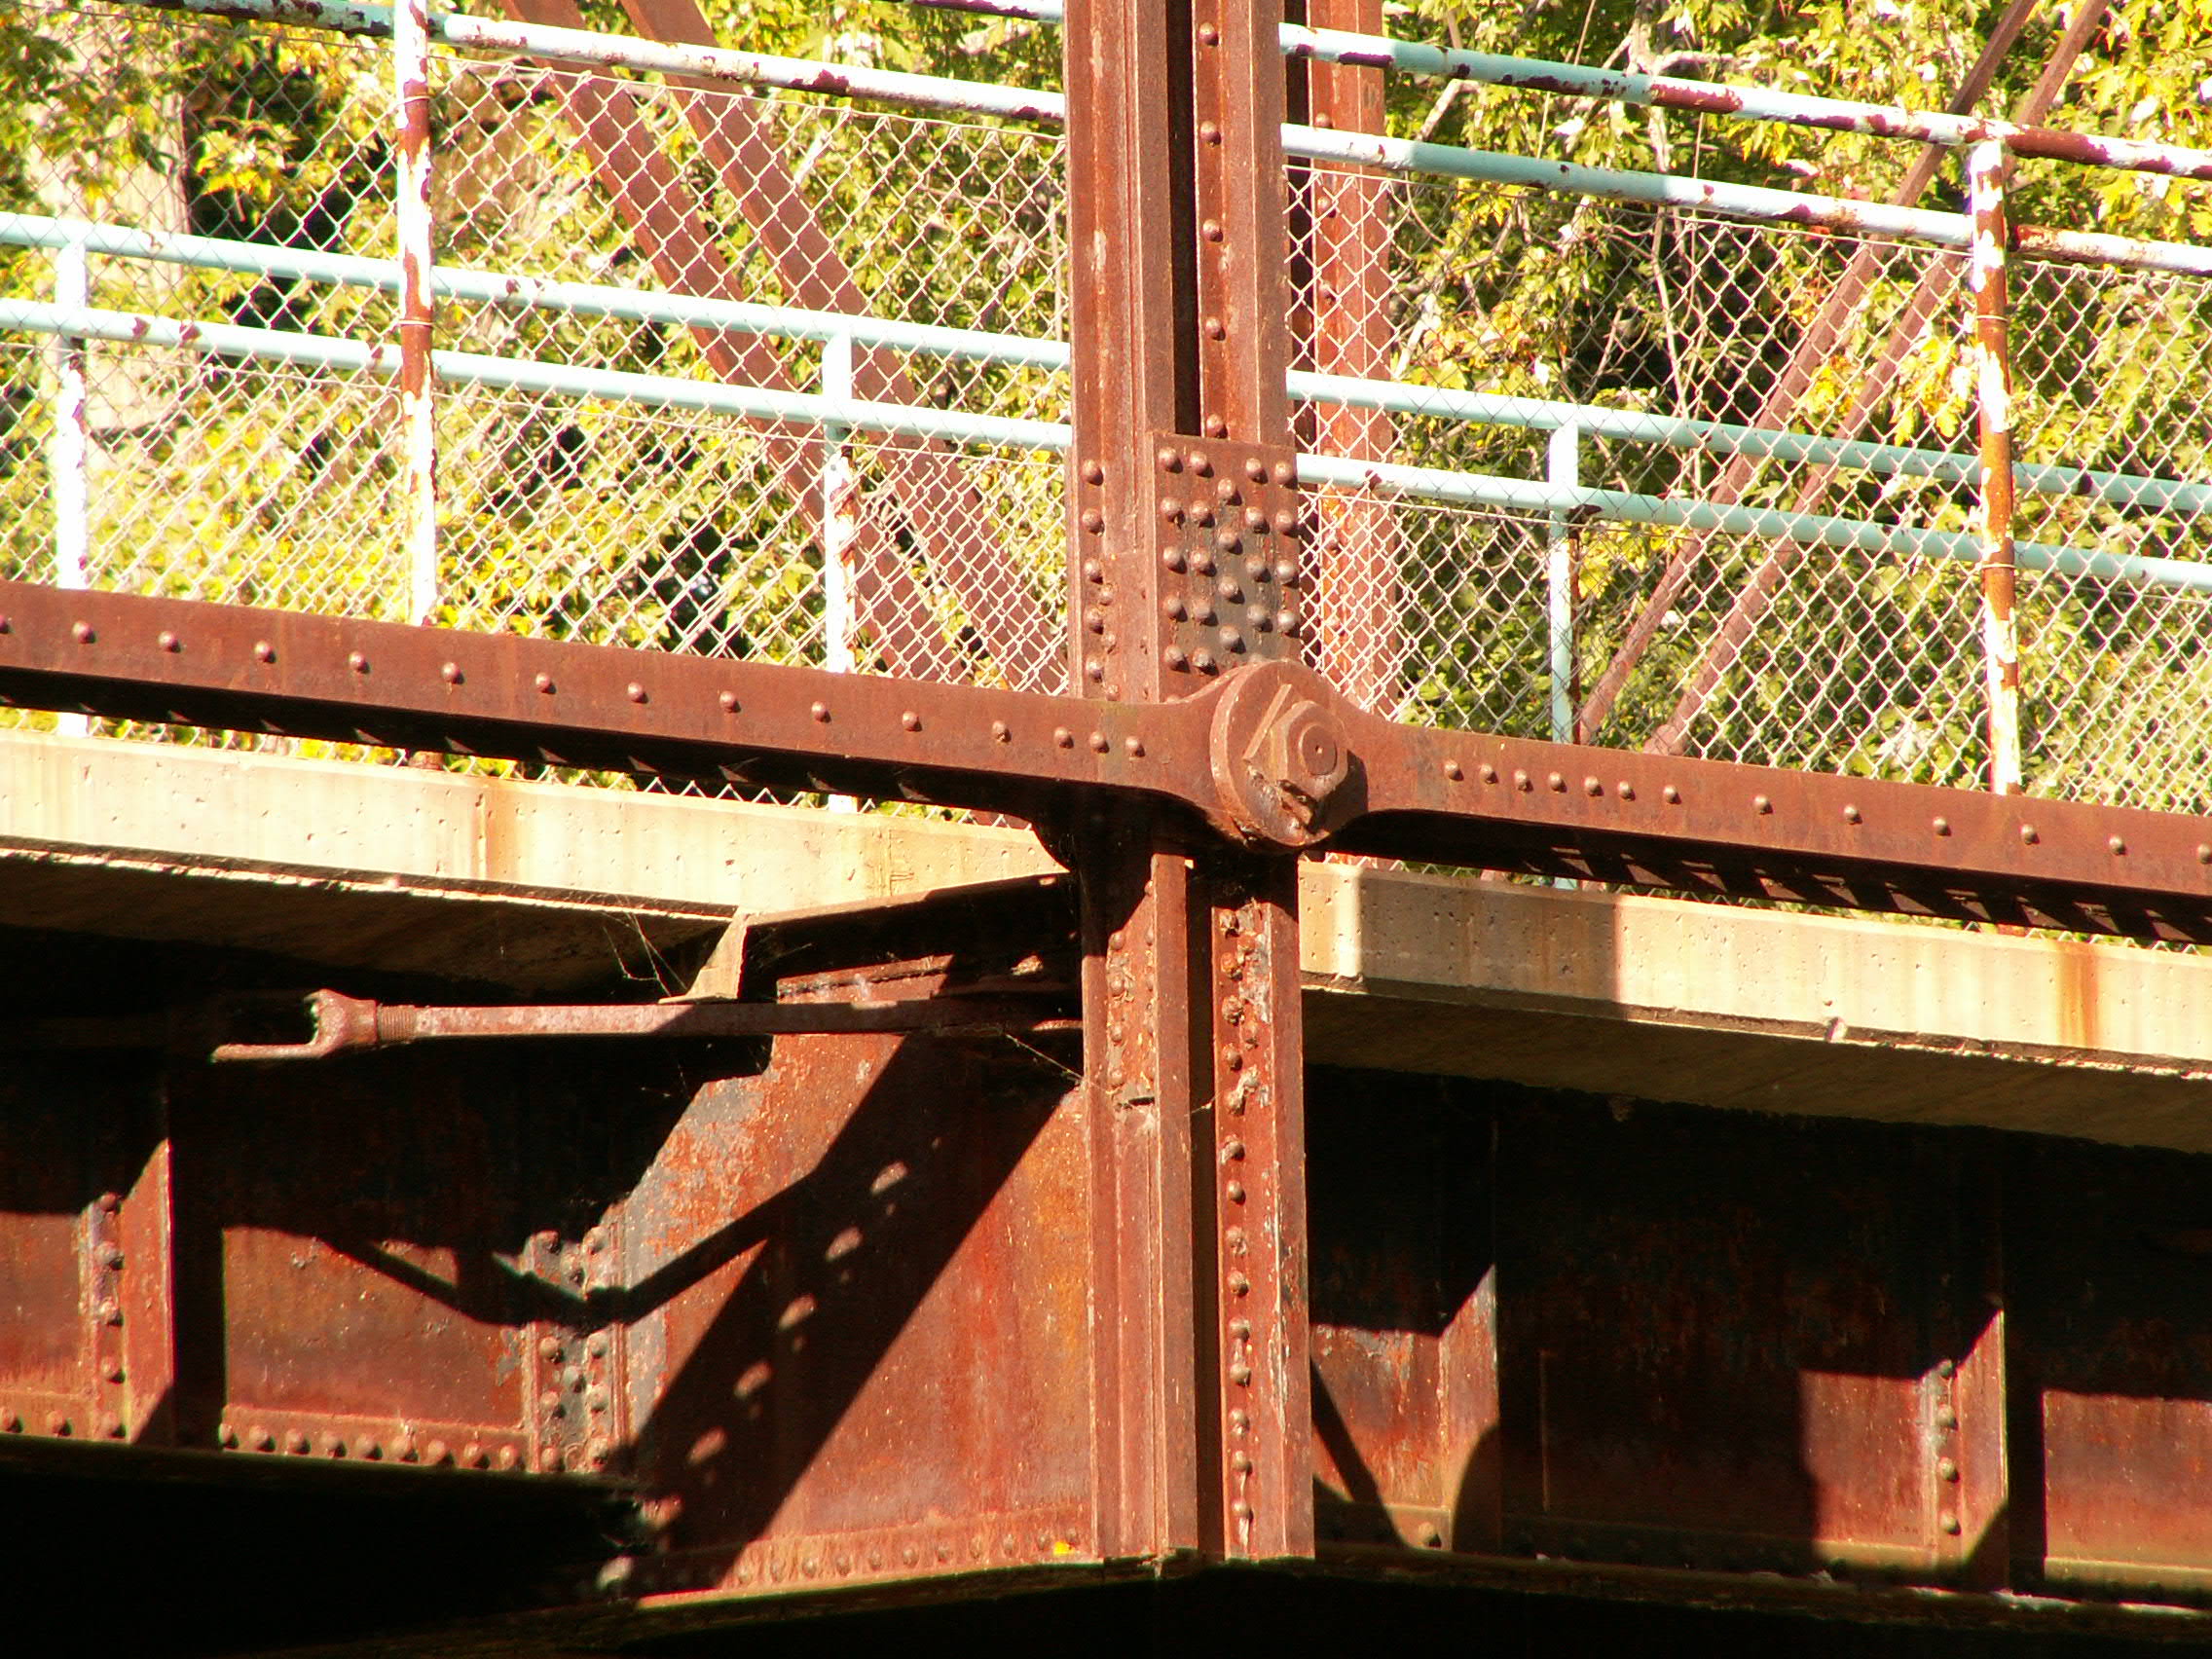
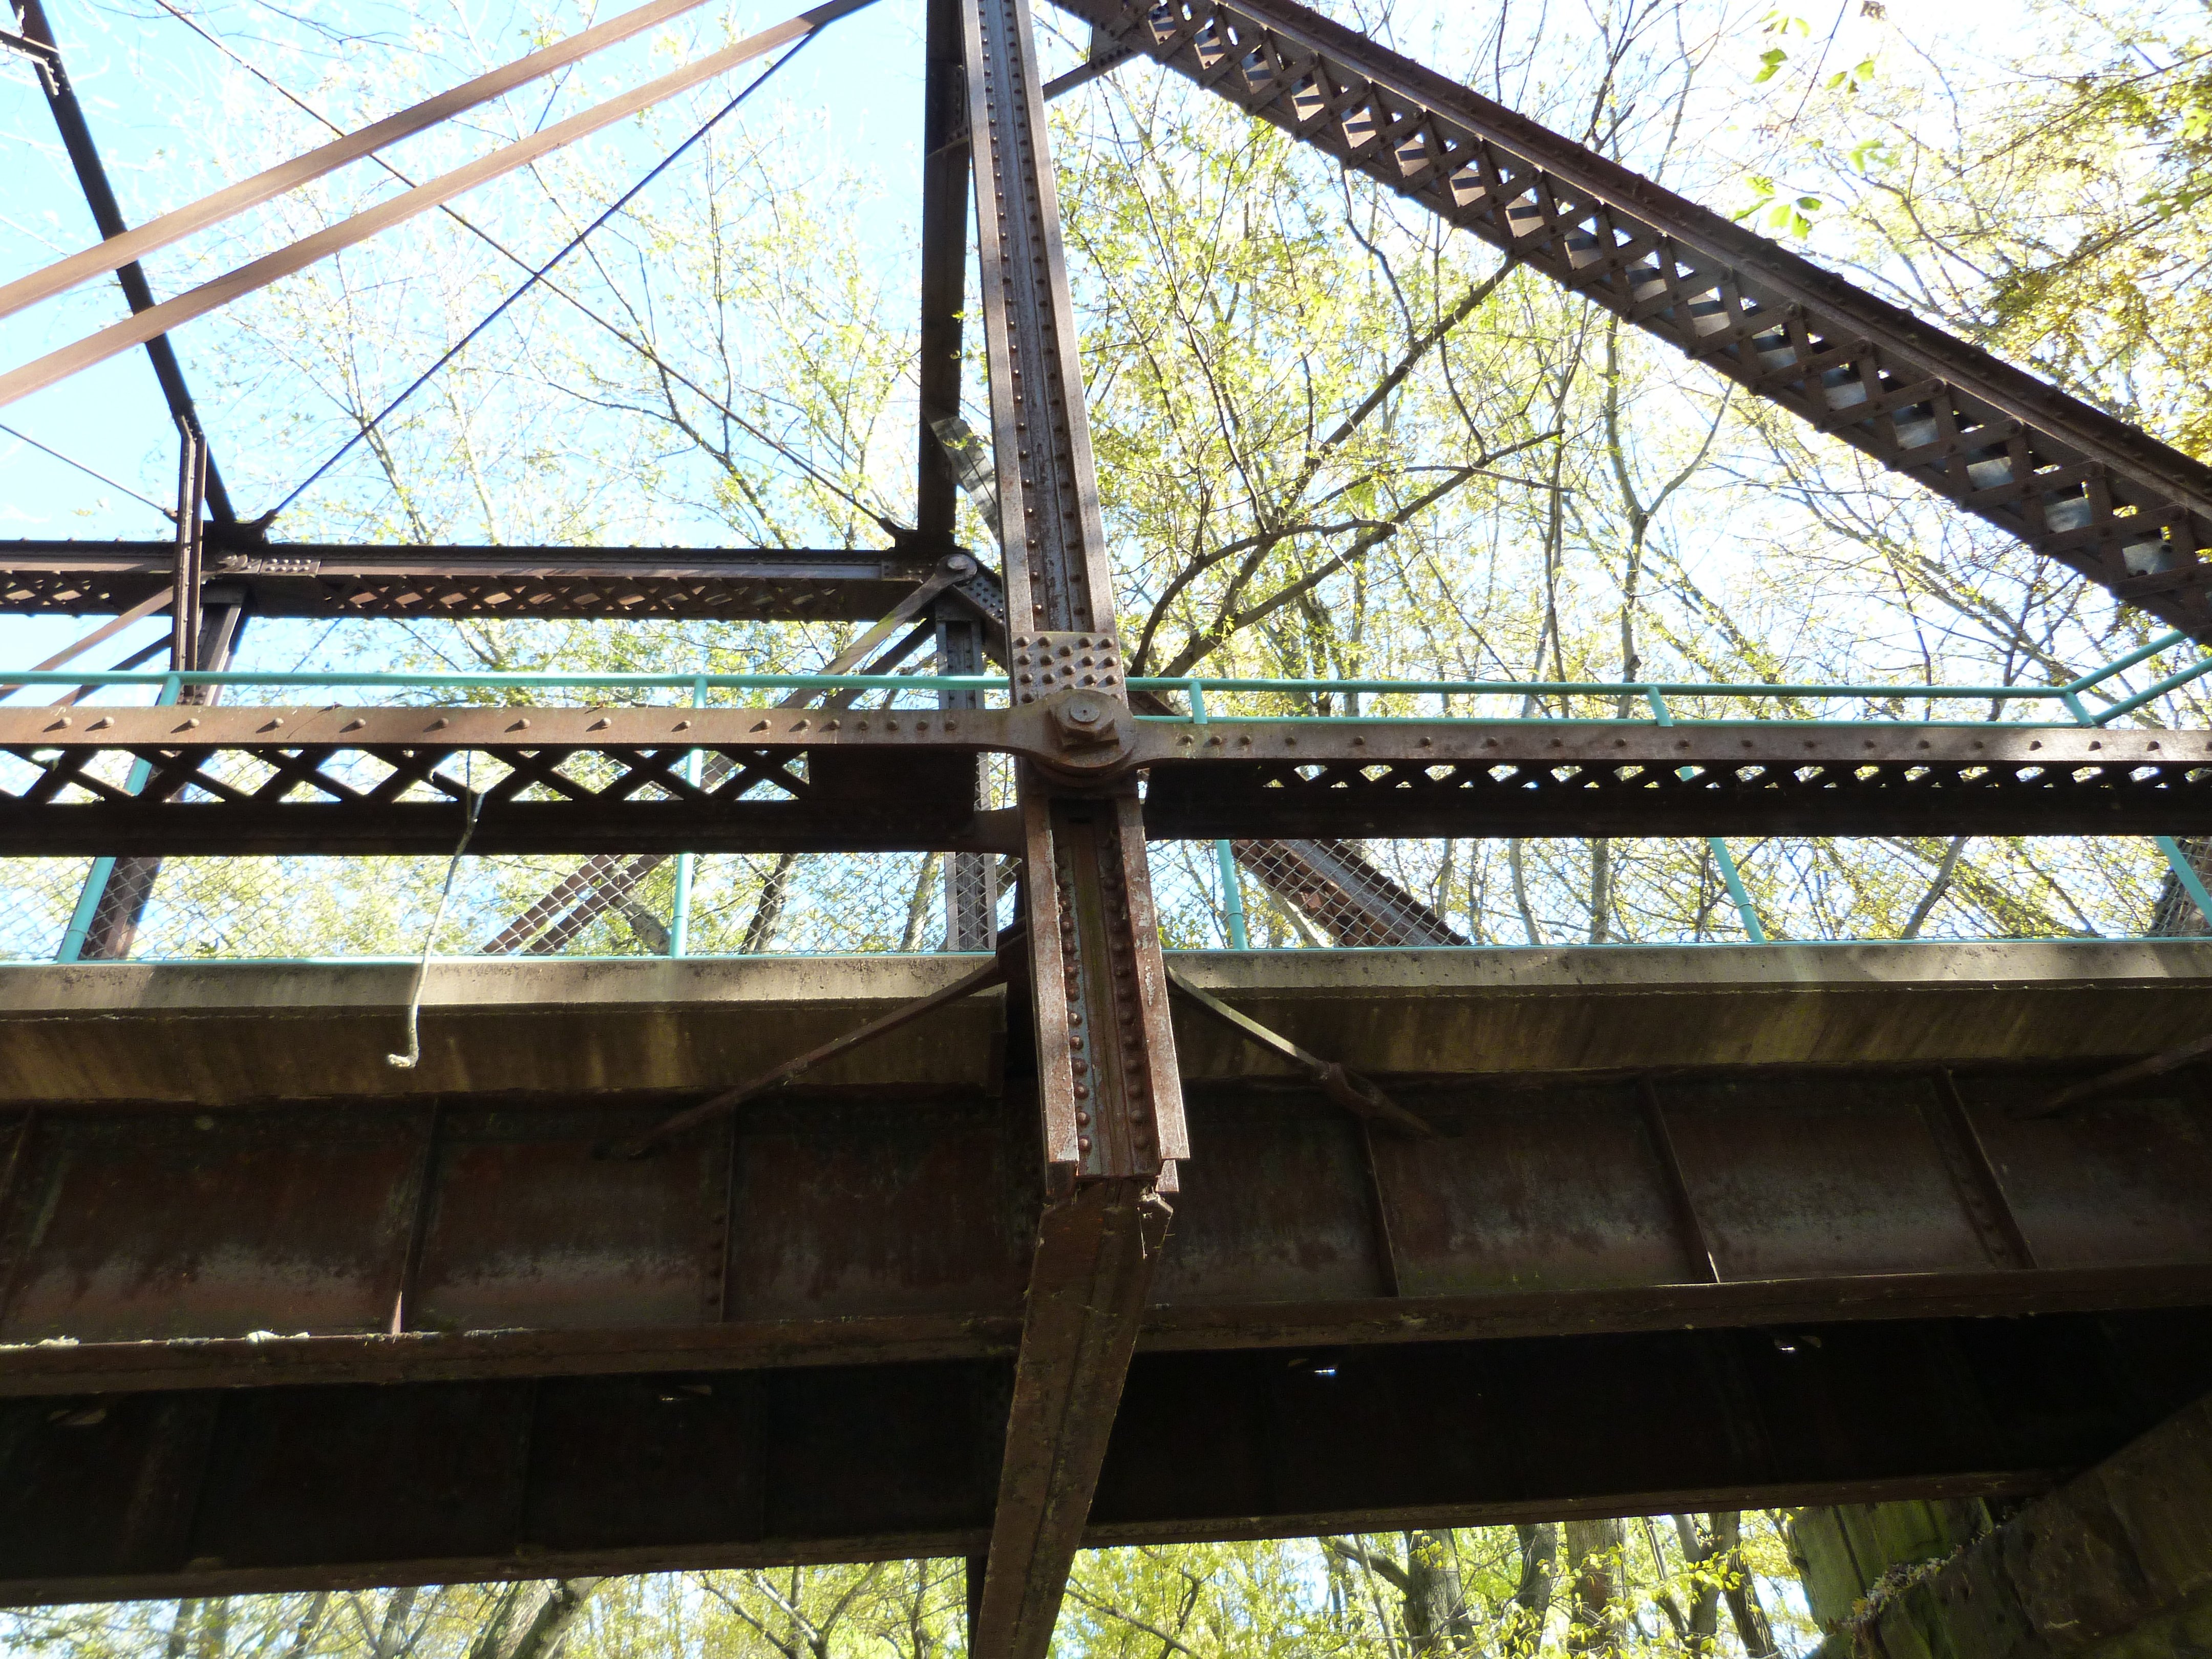
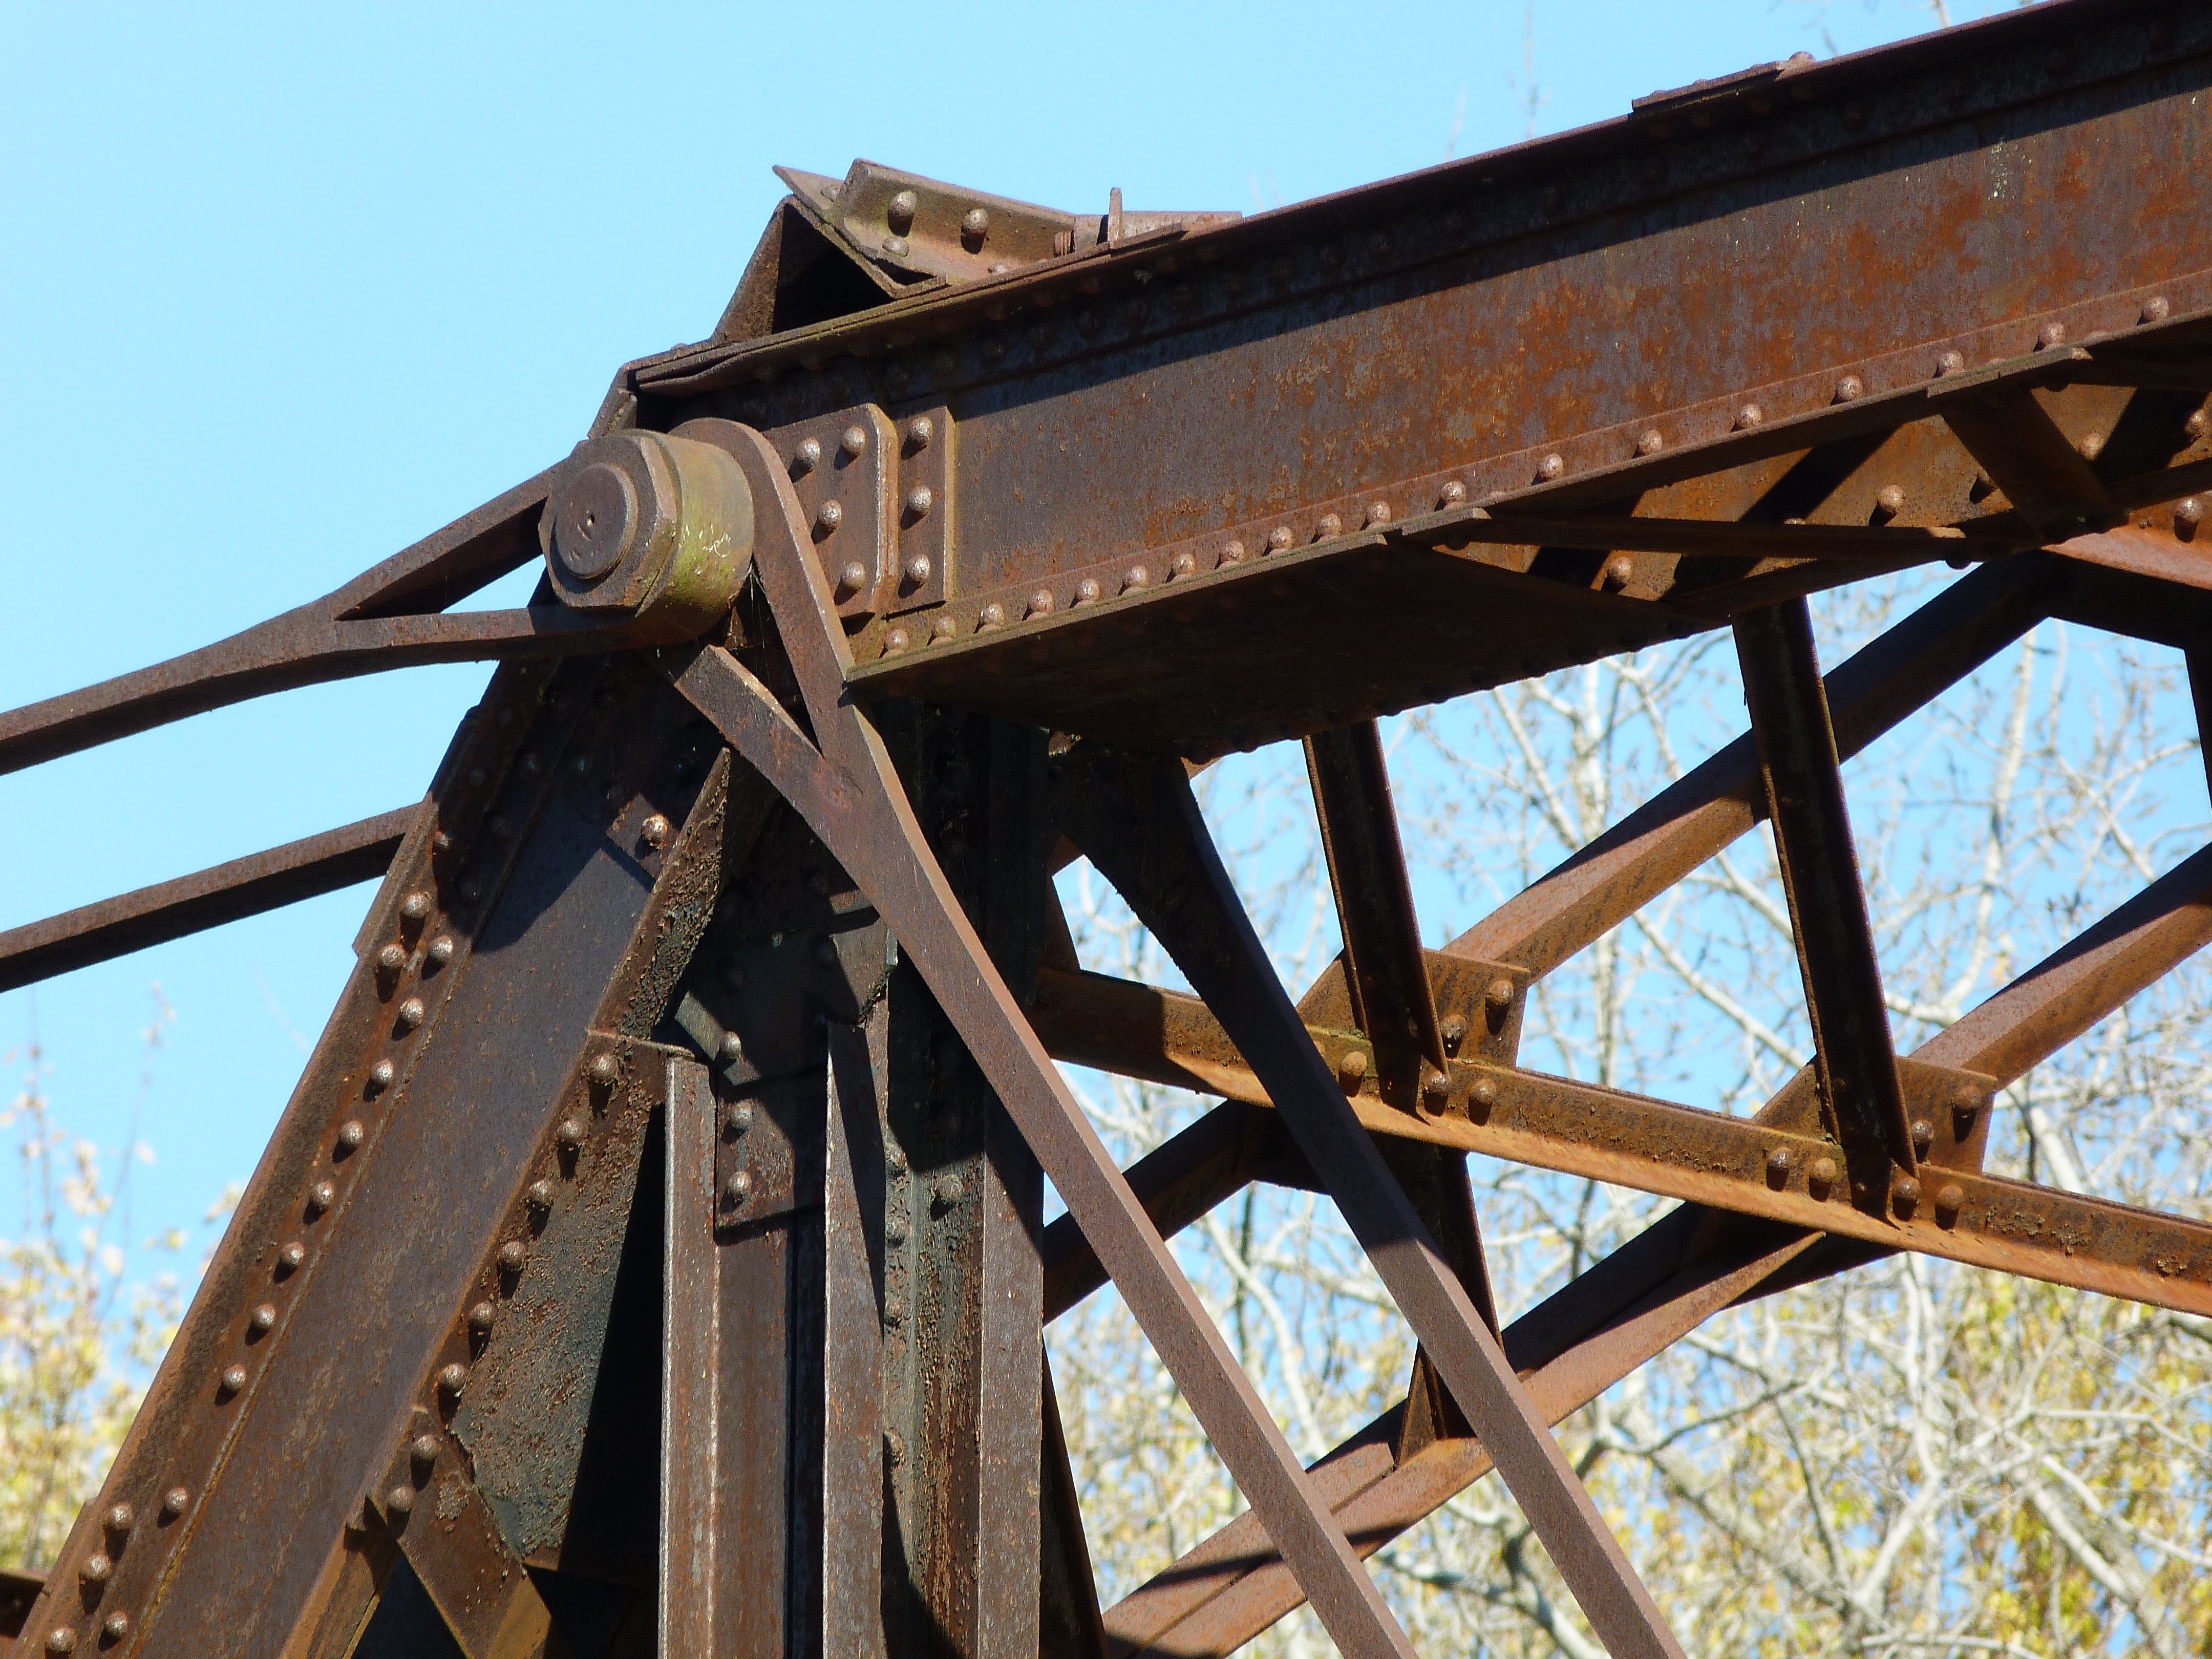
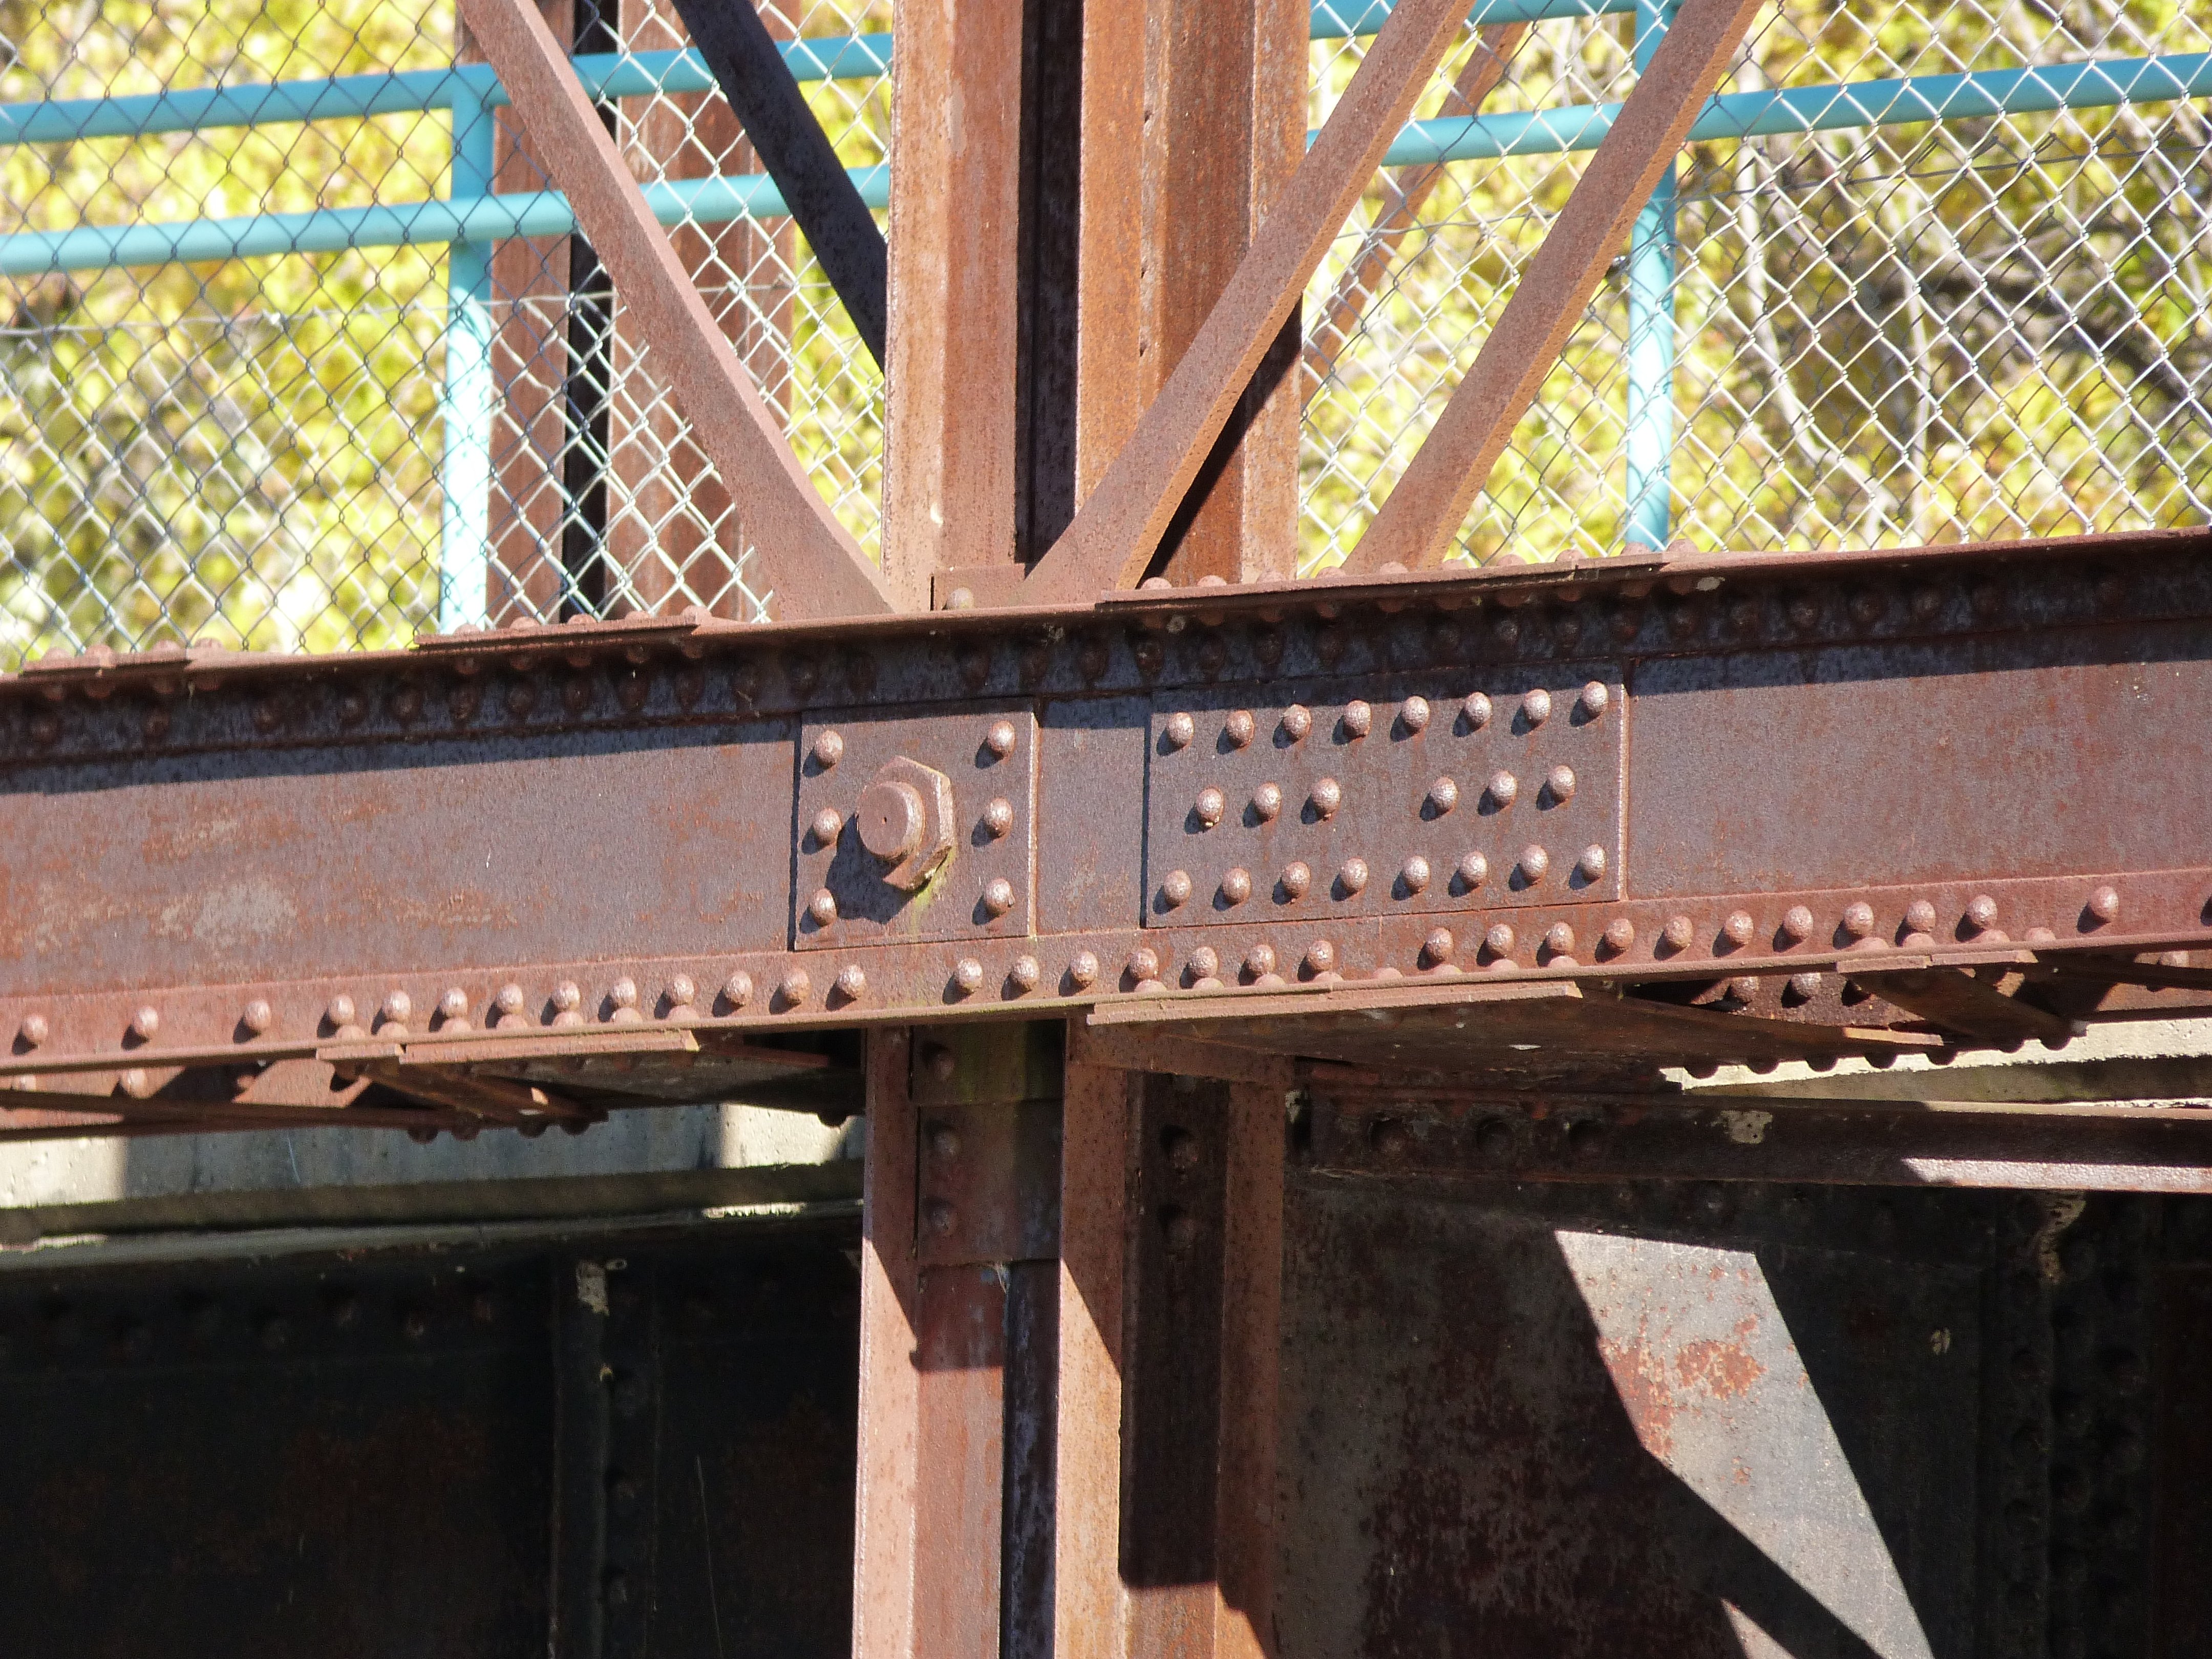
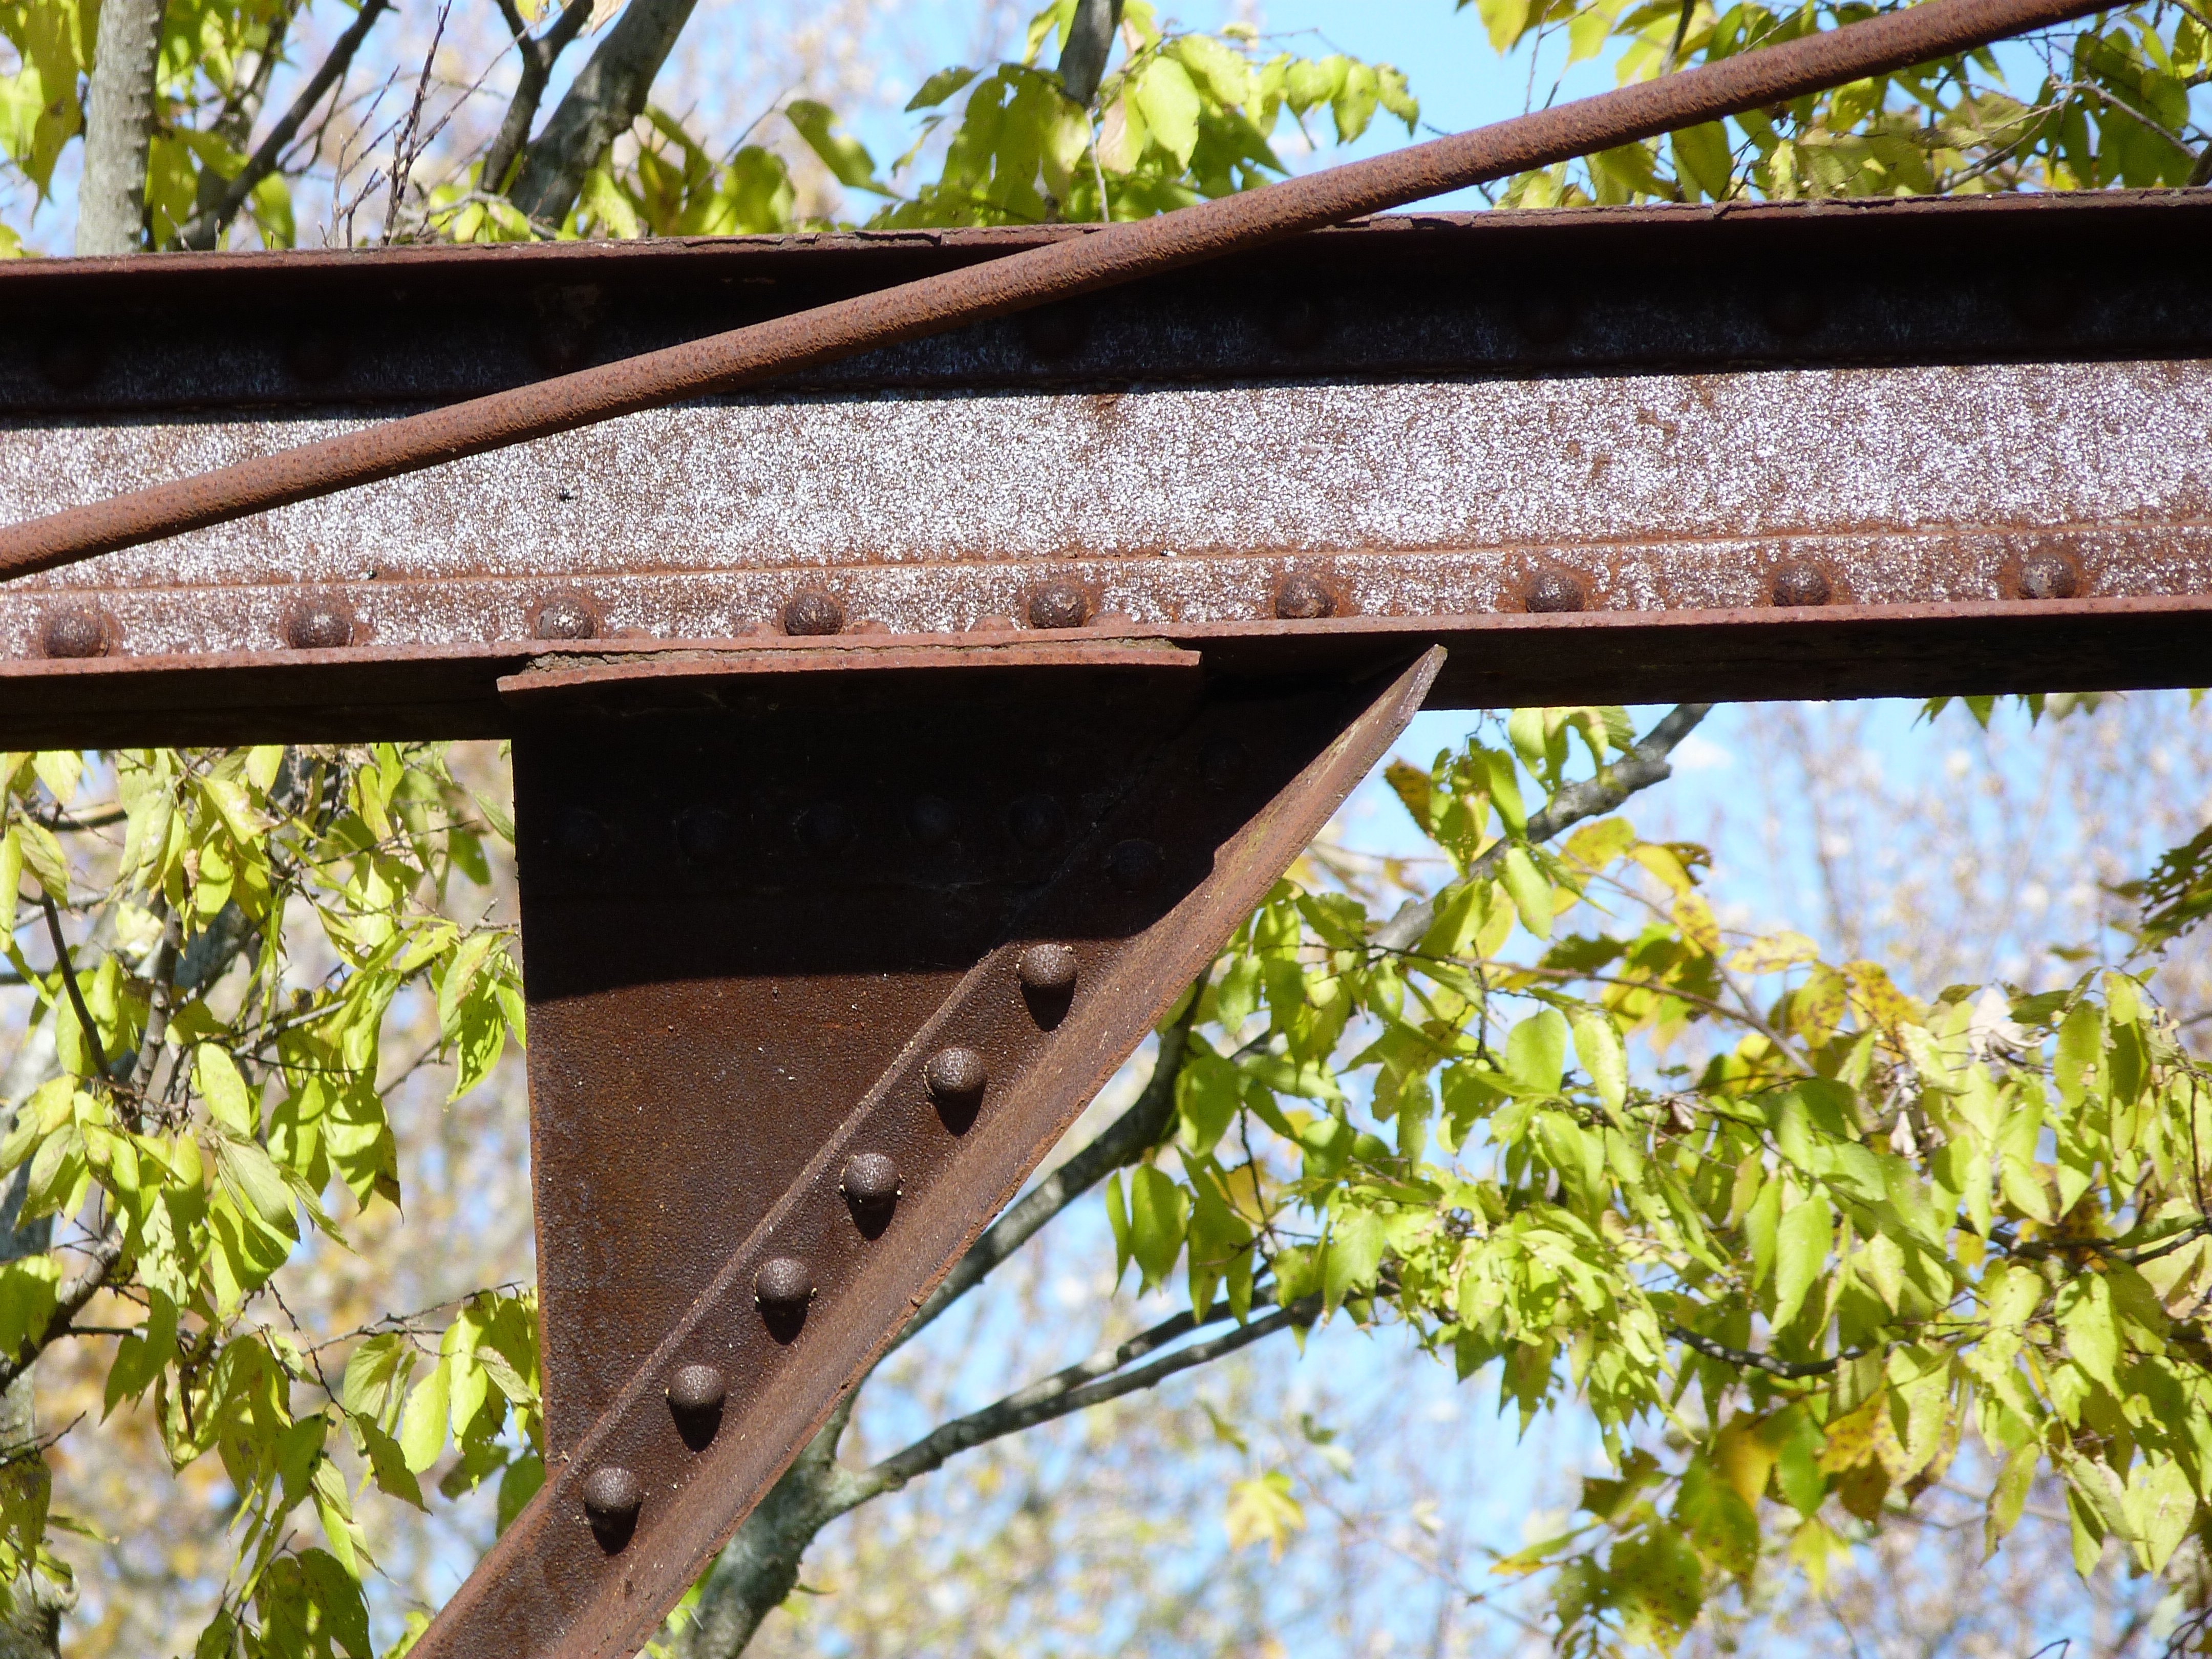
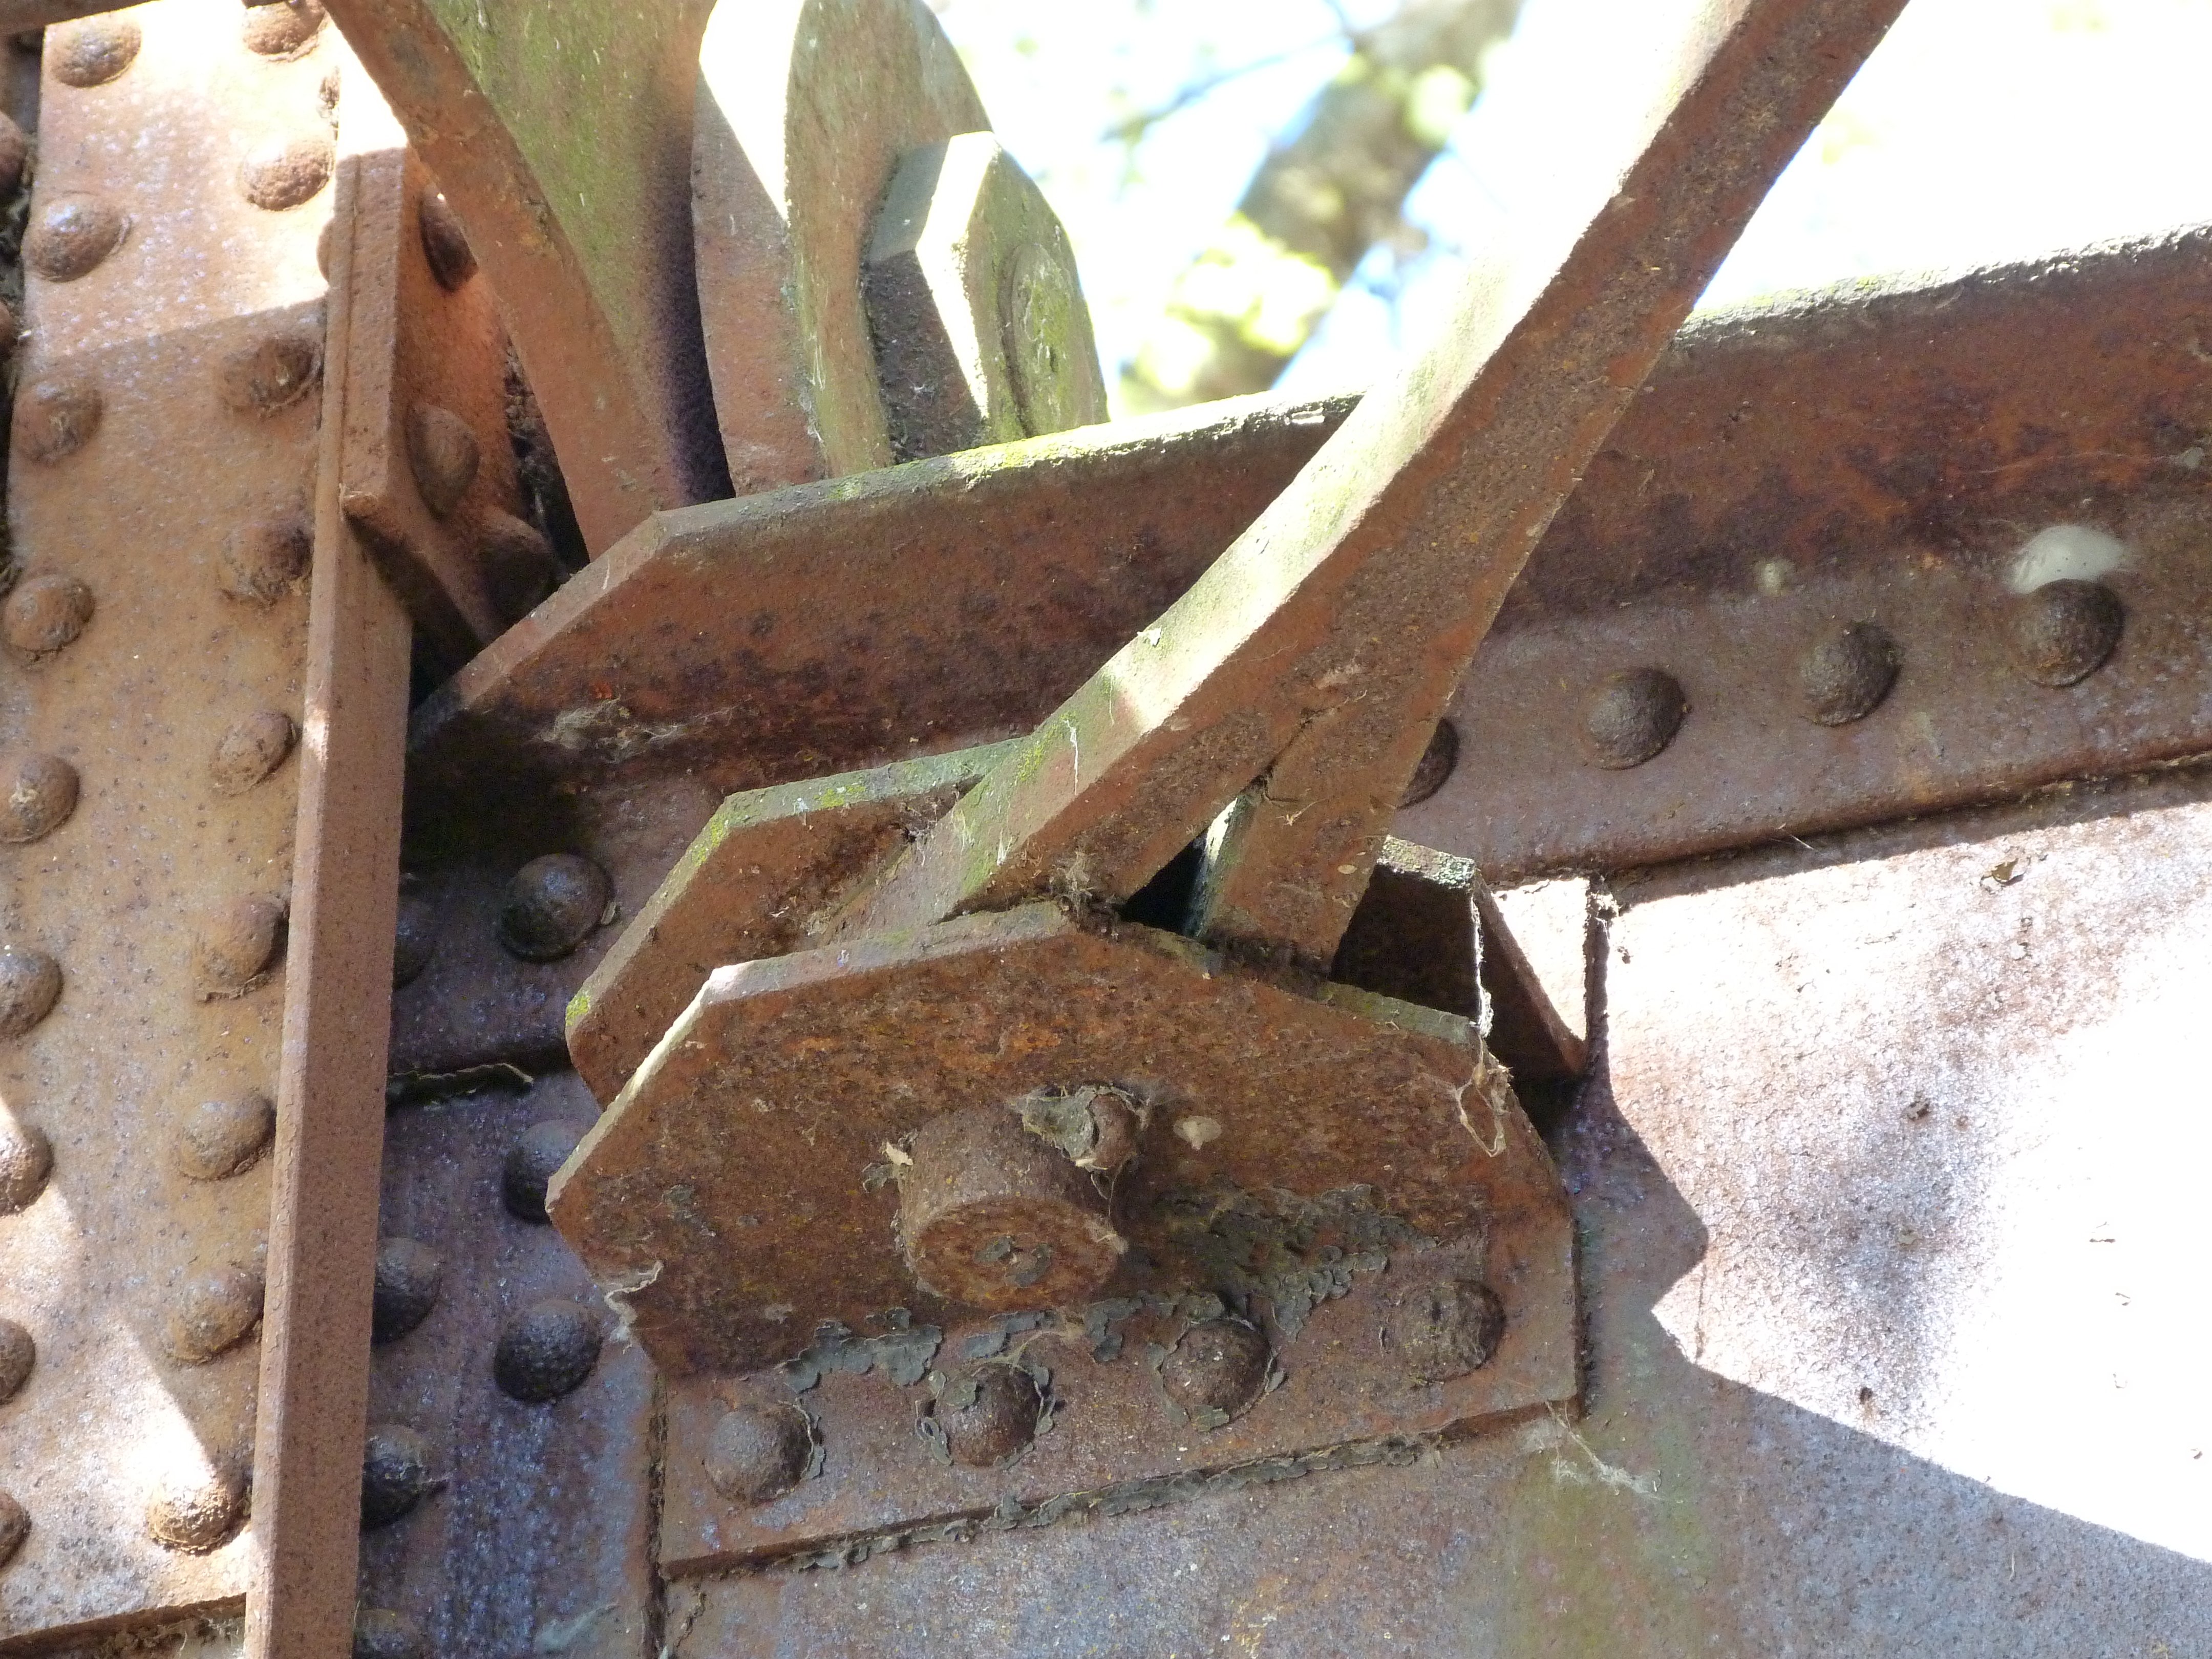
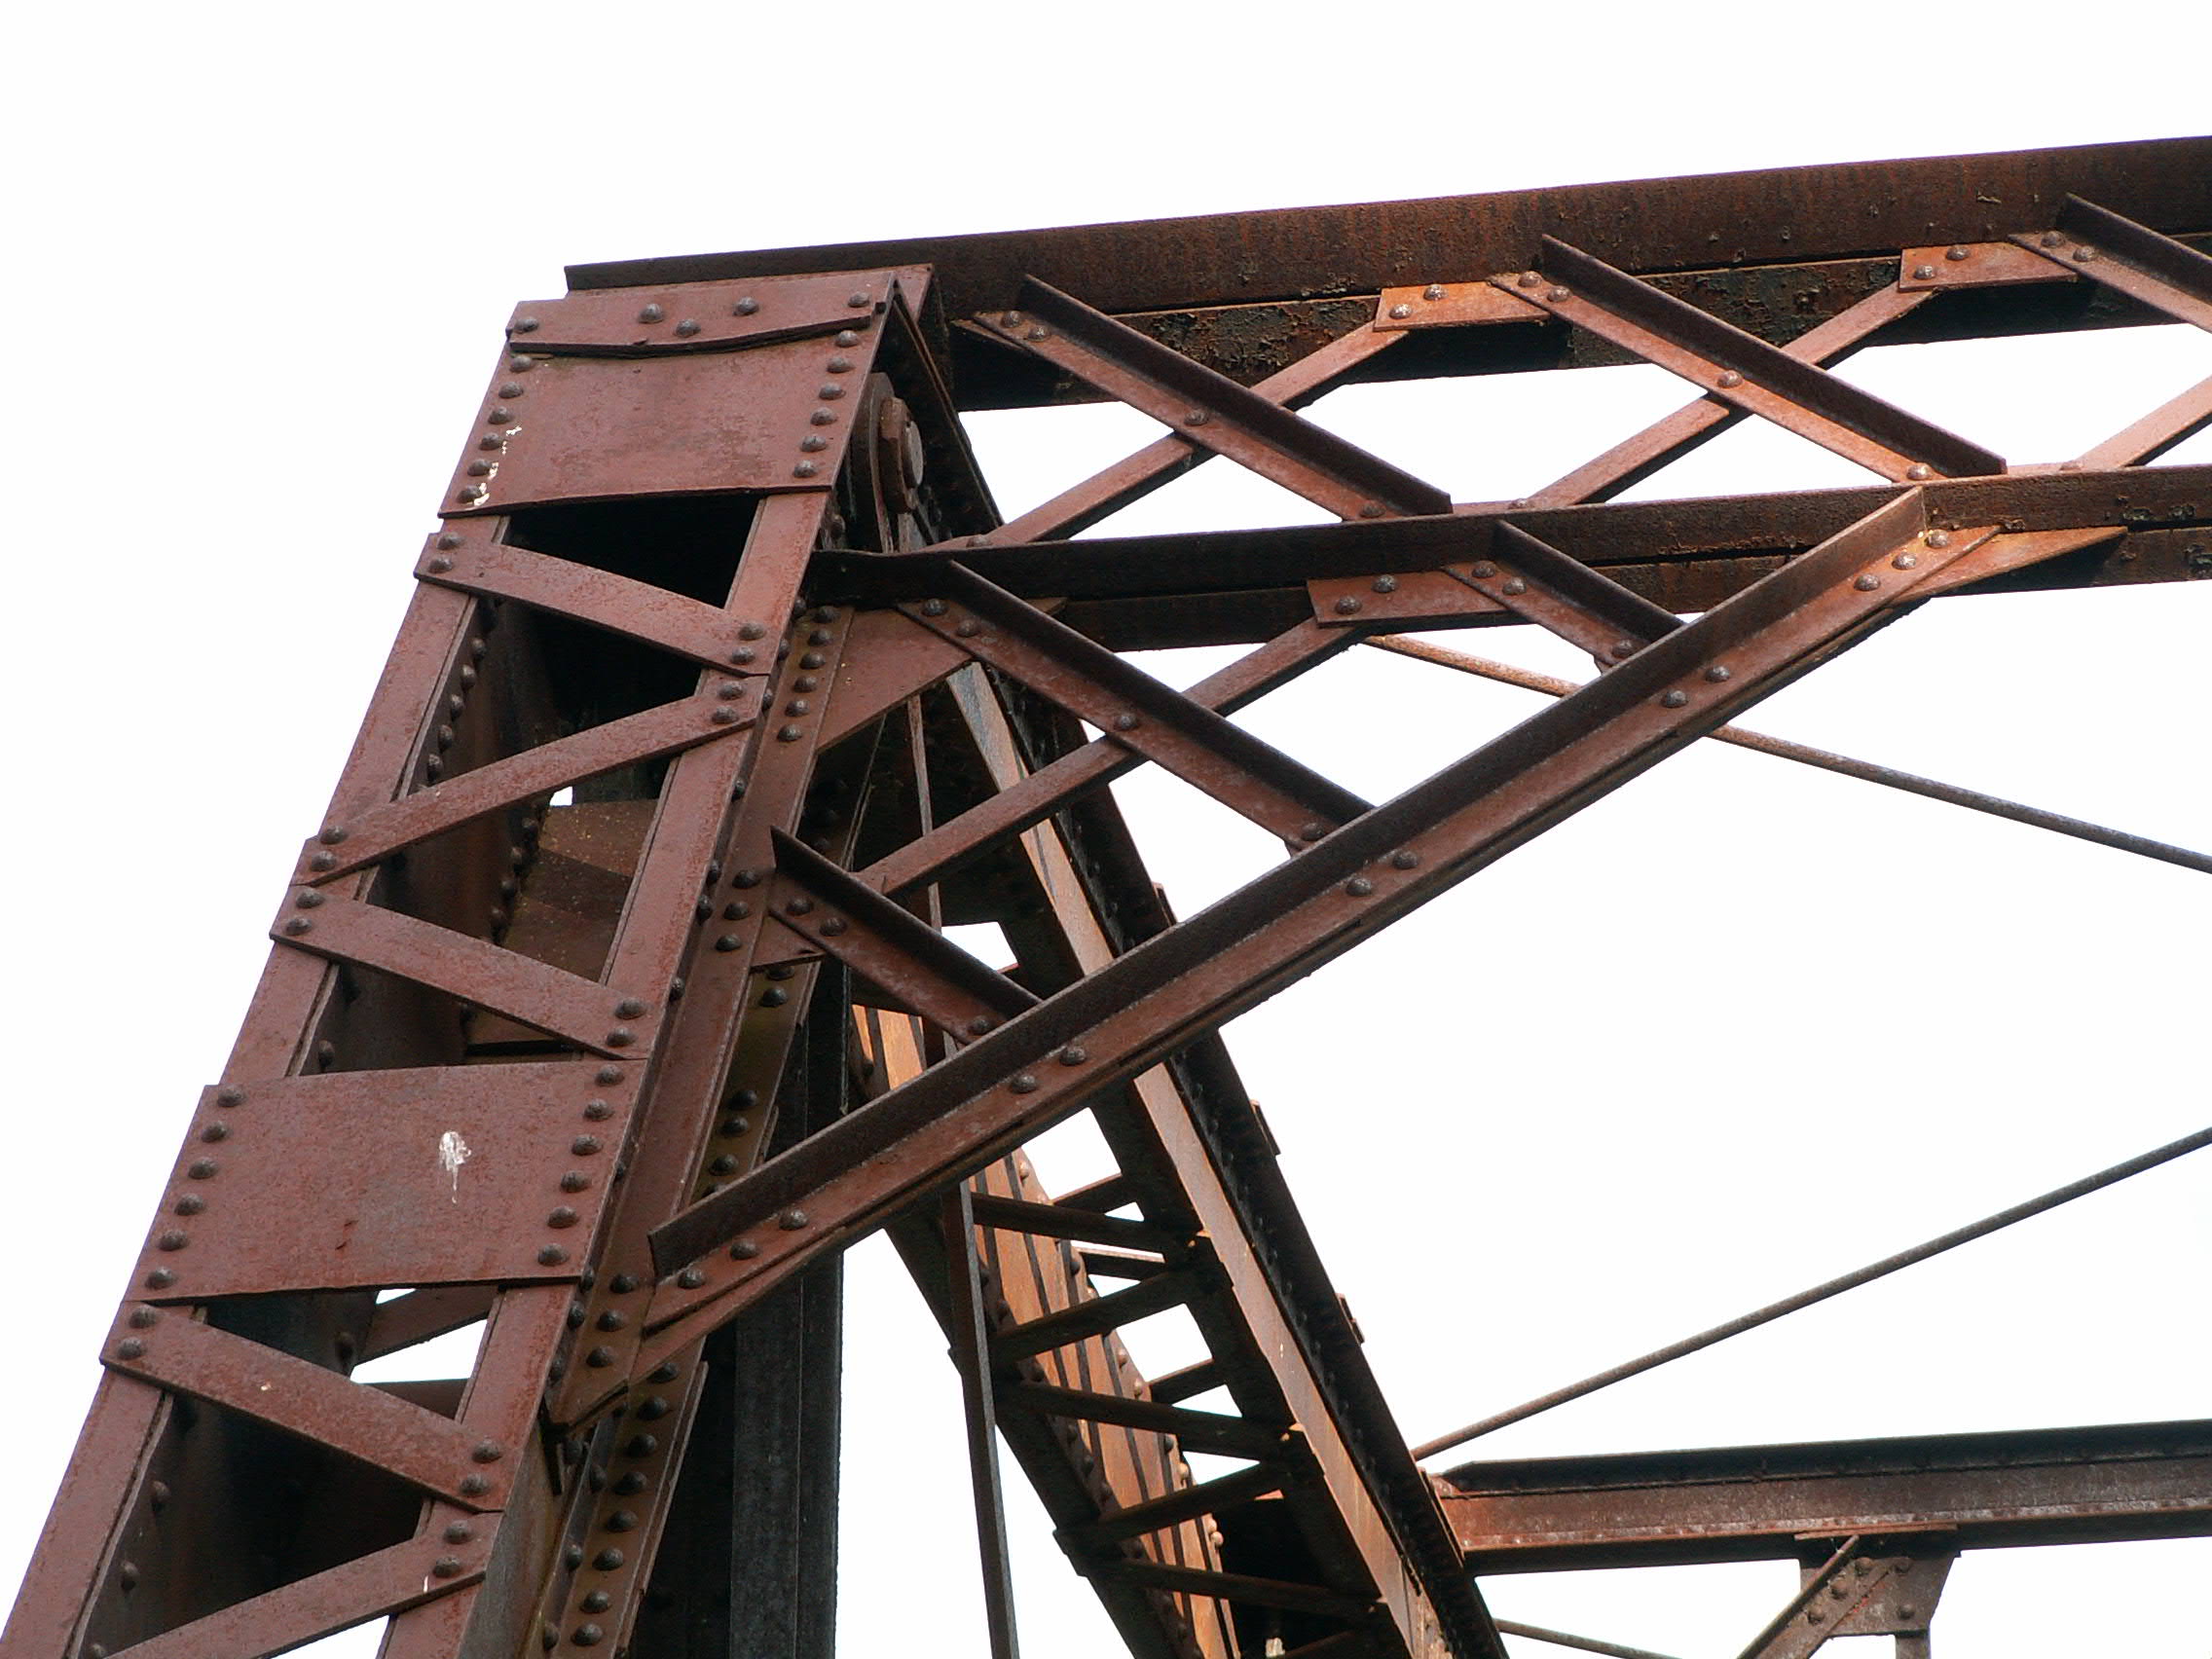
Fixed approach truss span top chord connections as viewed from beside bridge.
![]()
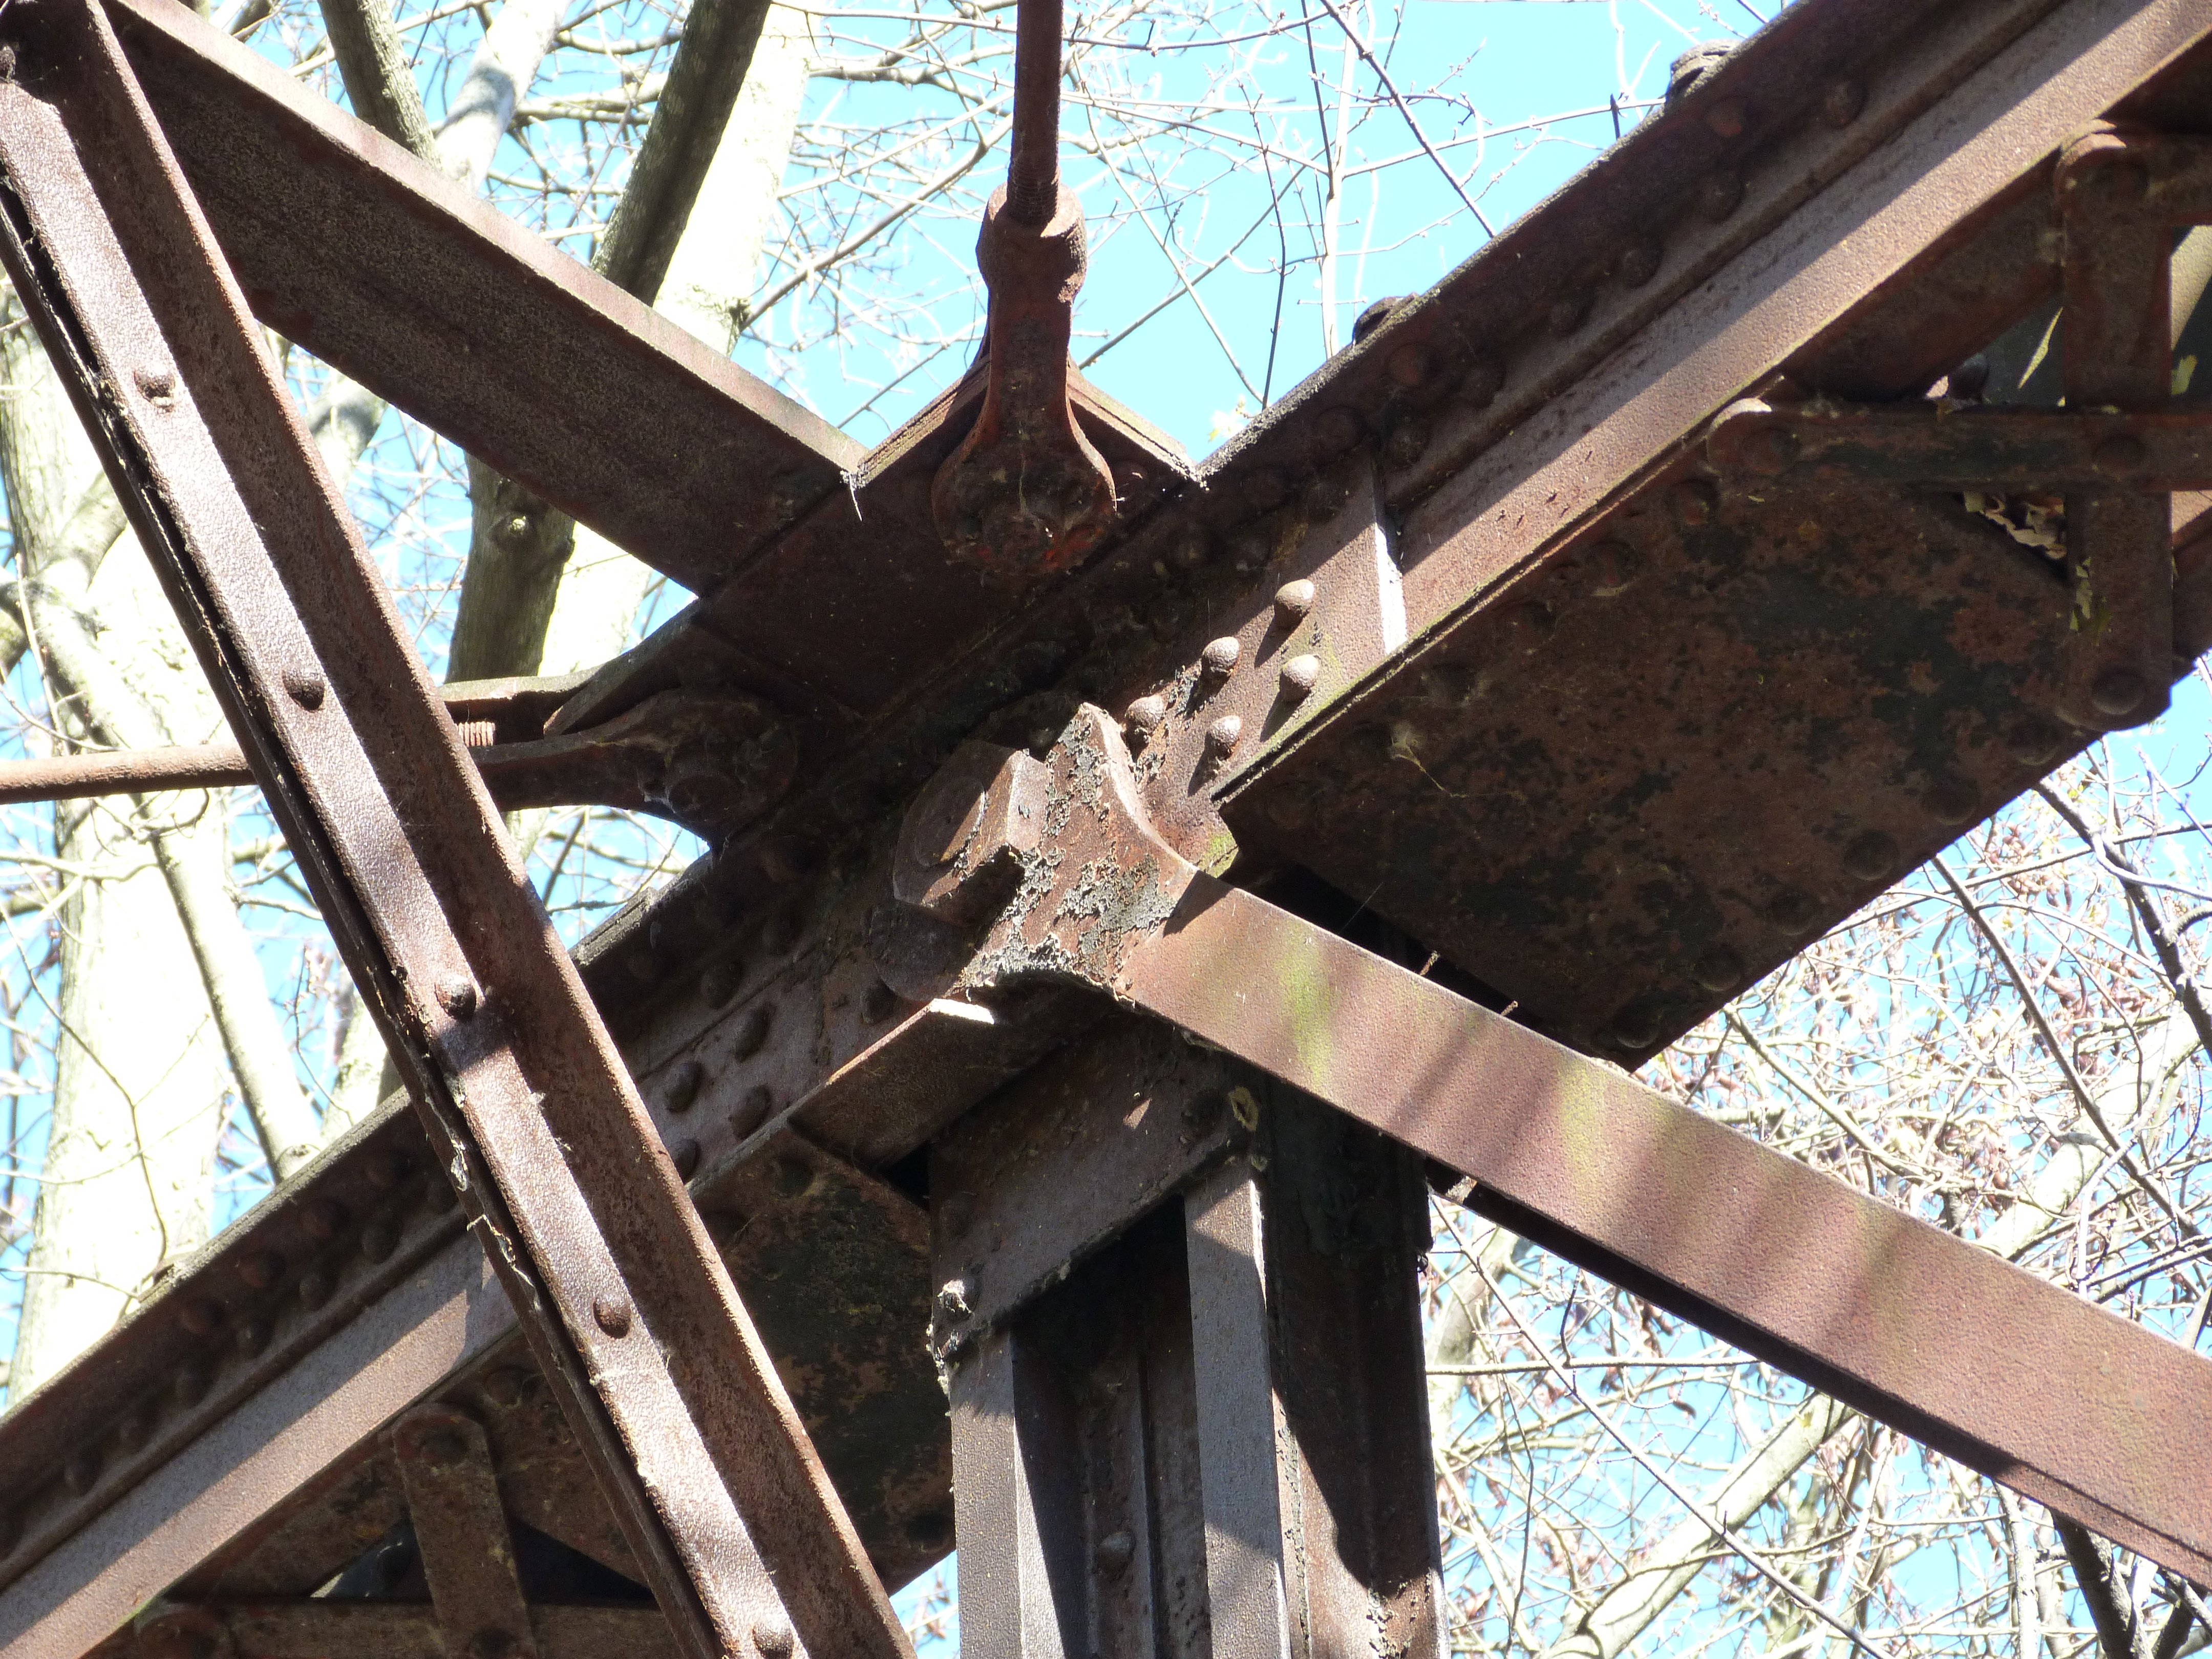


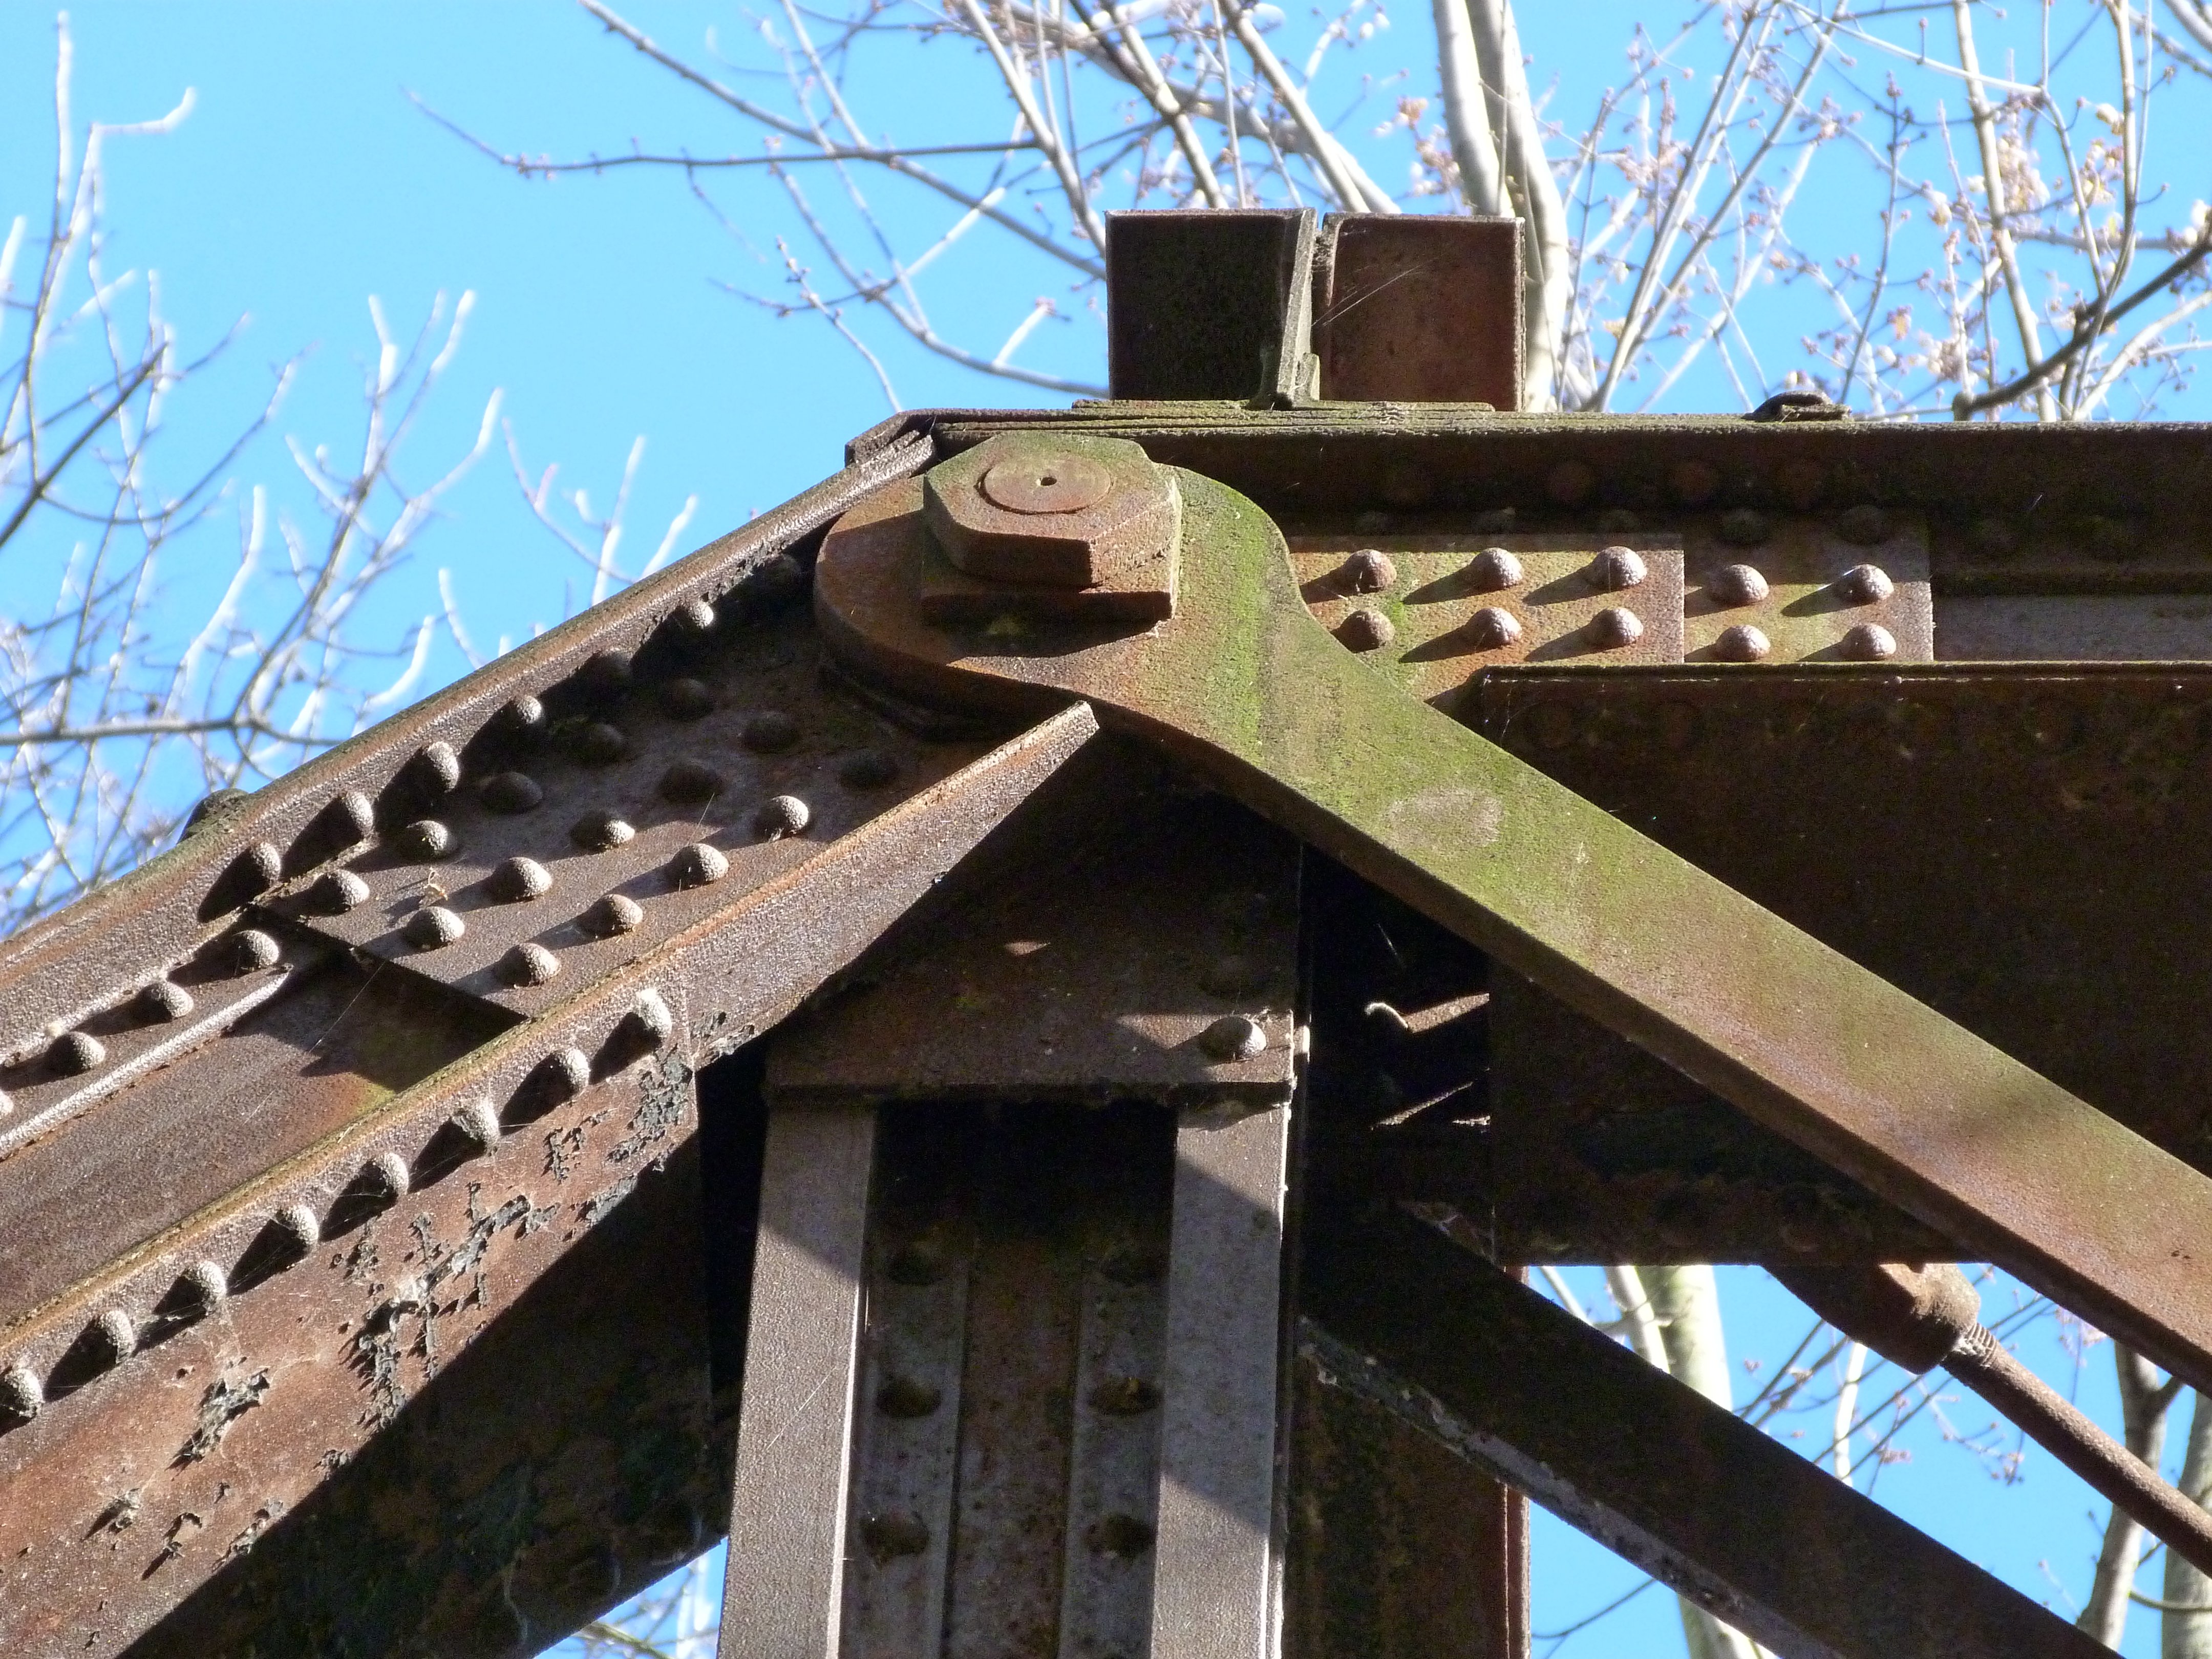
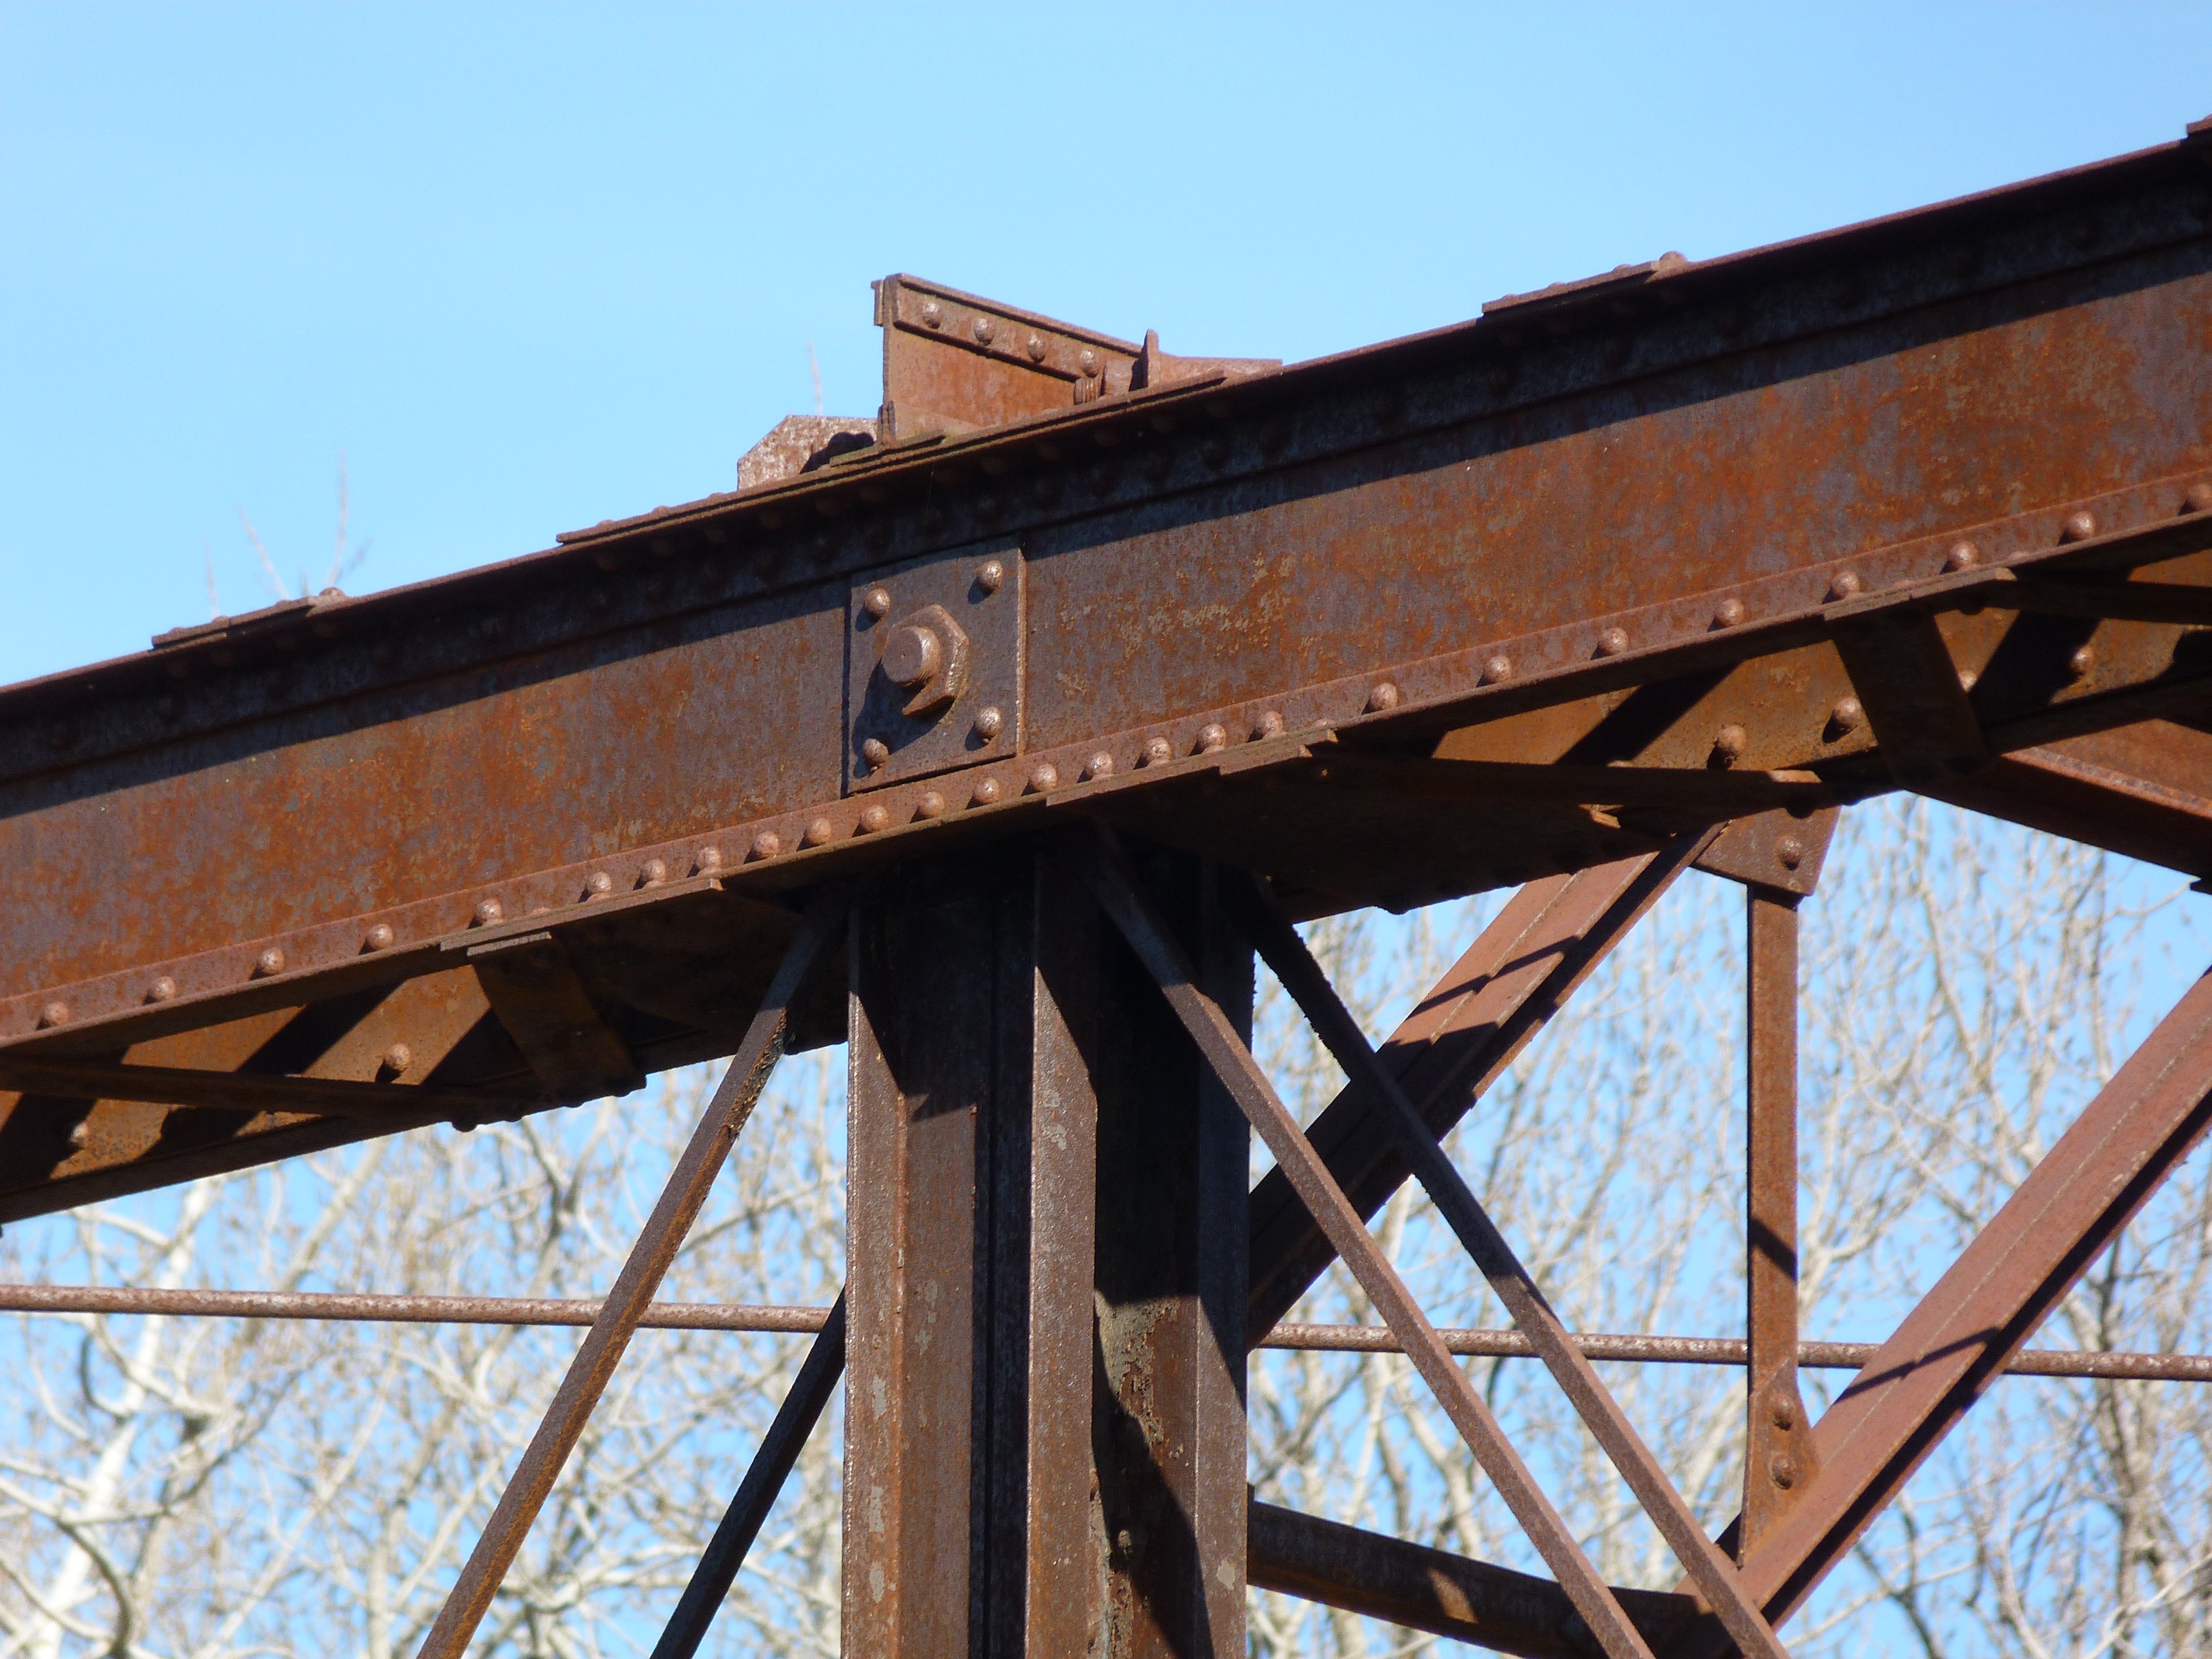
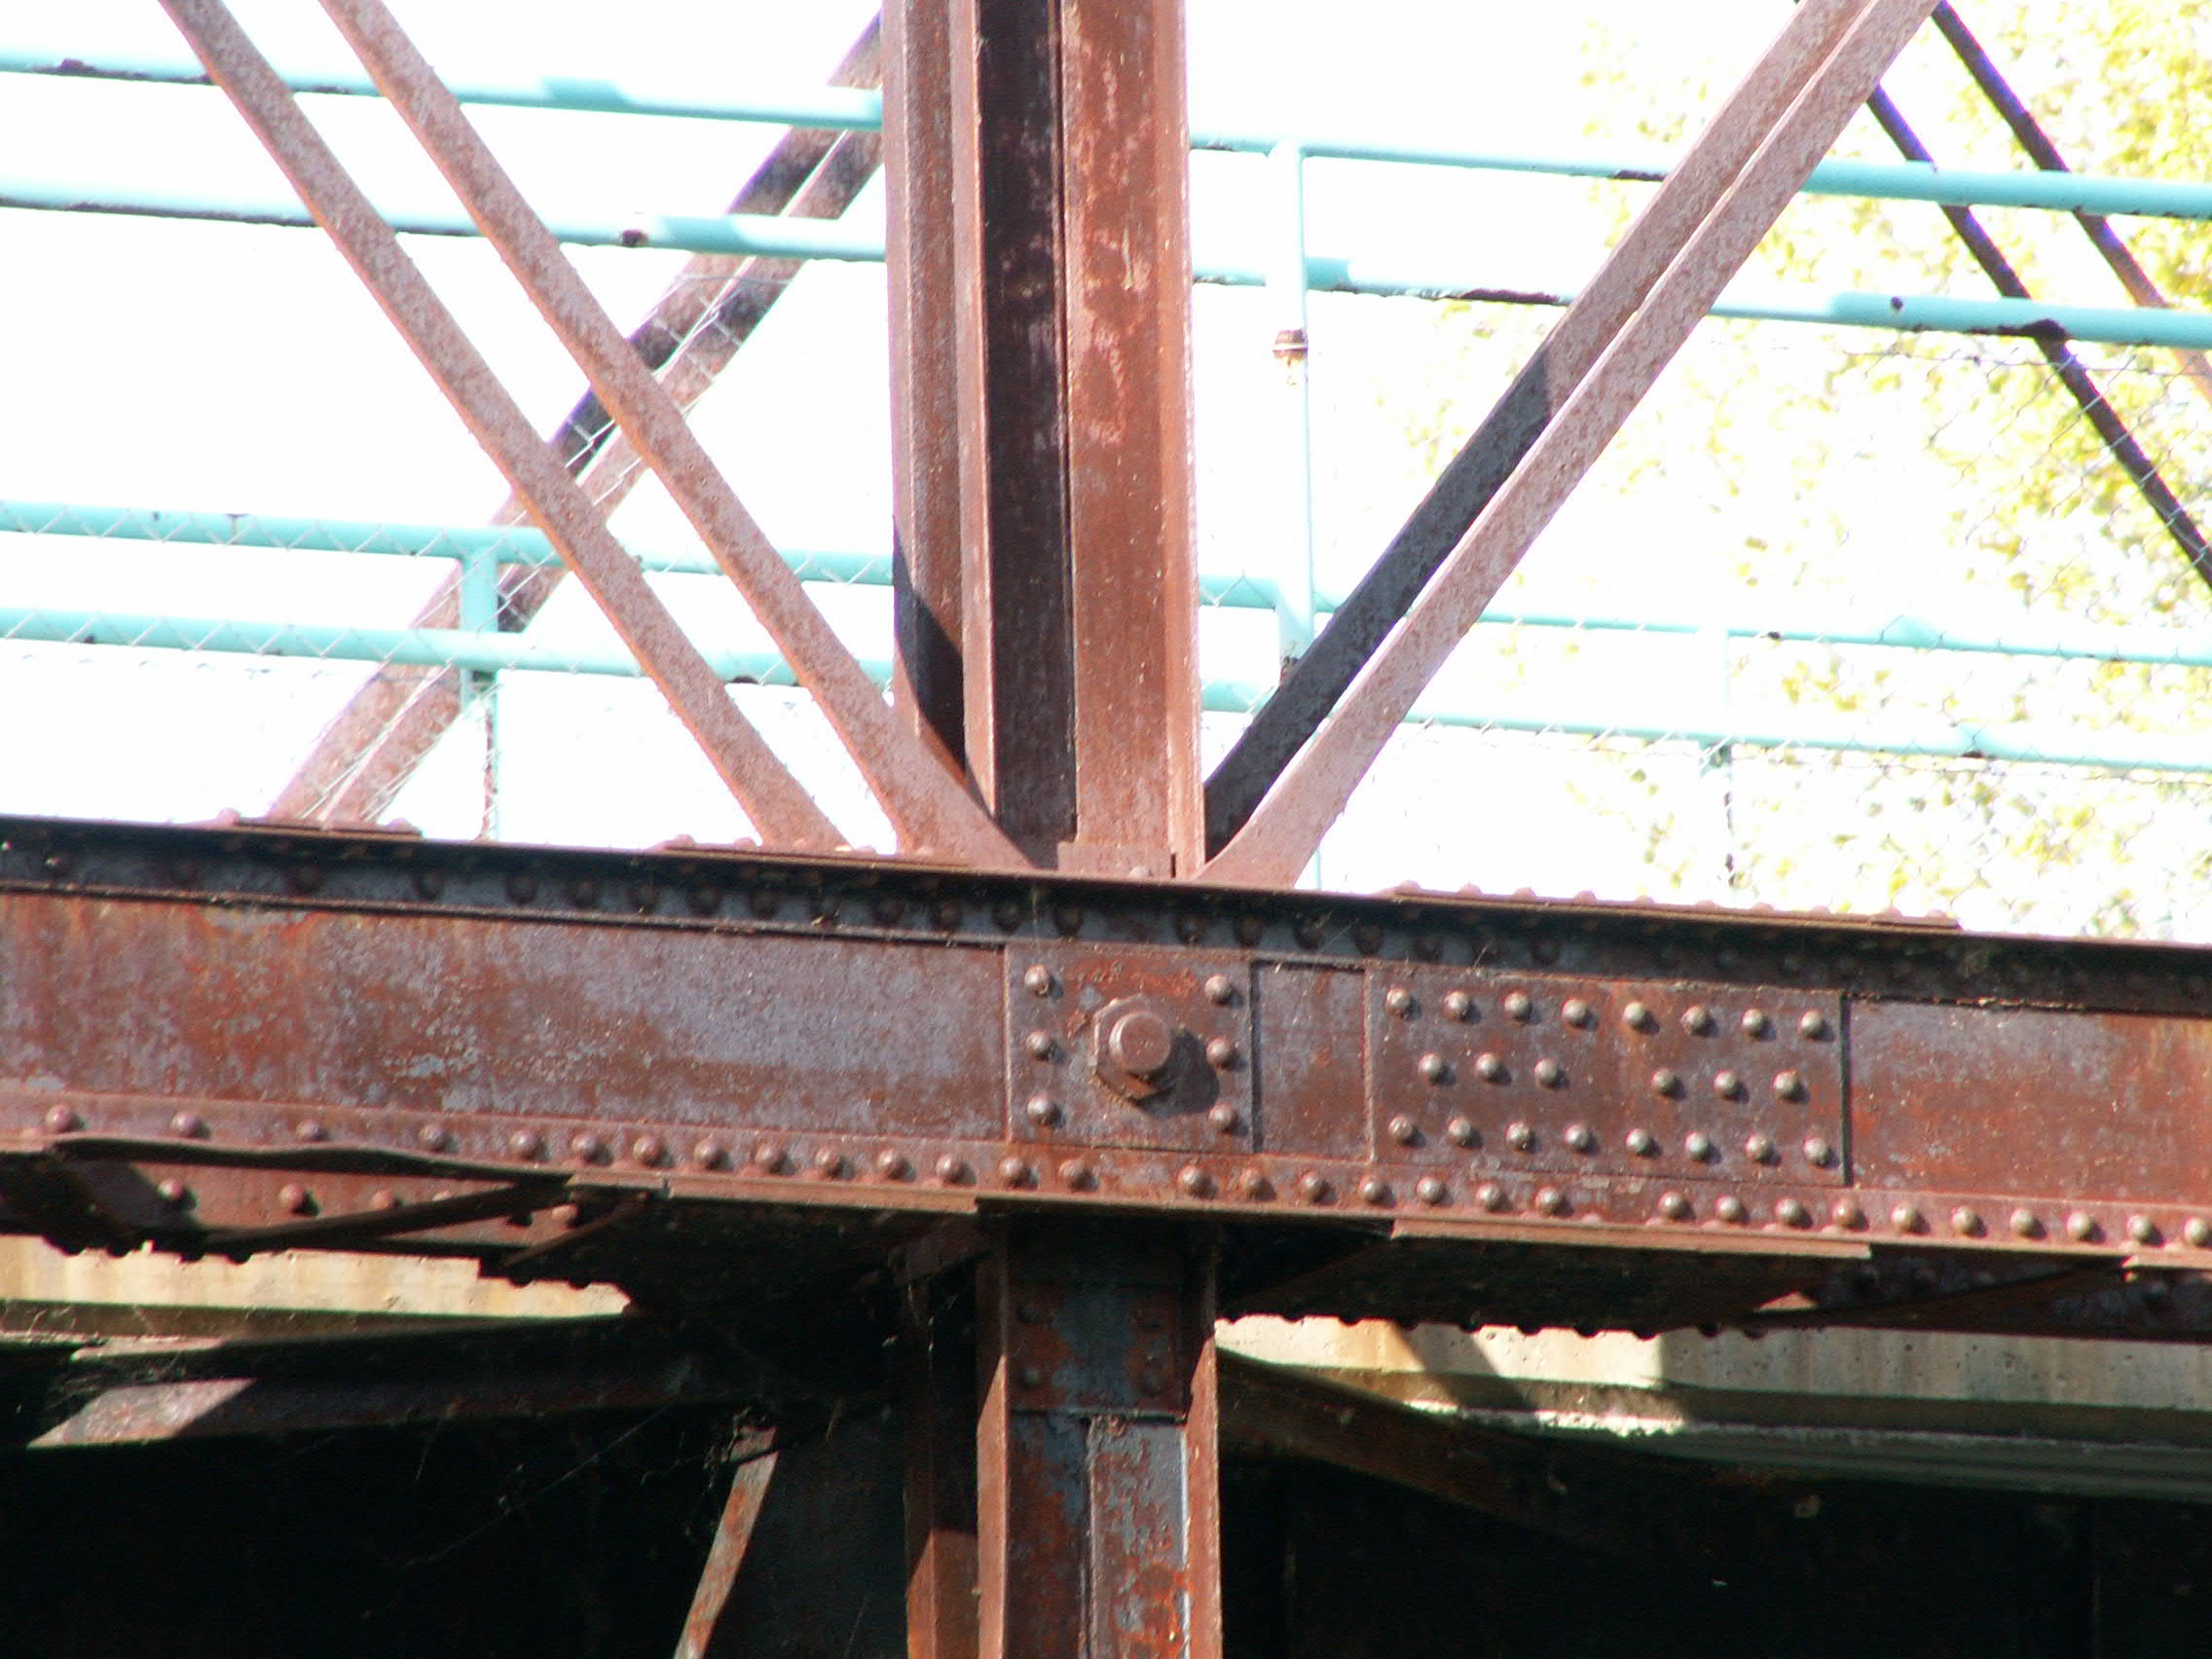
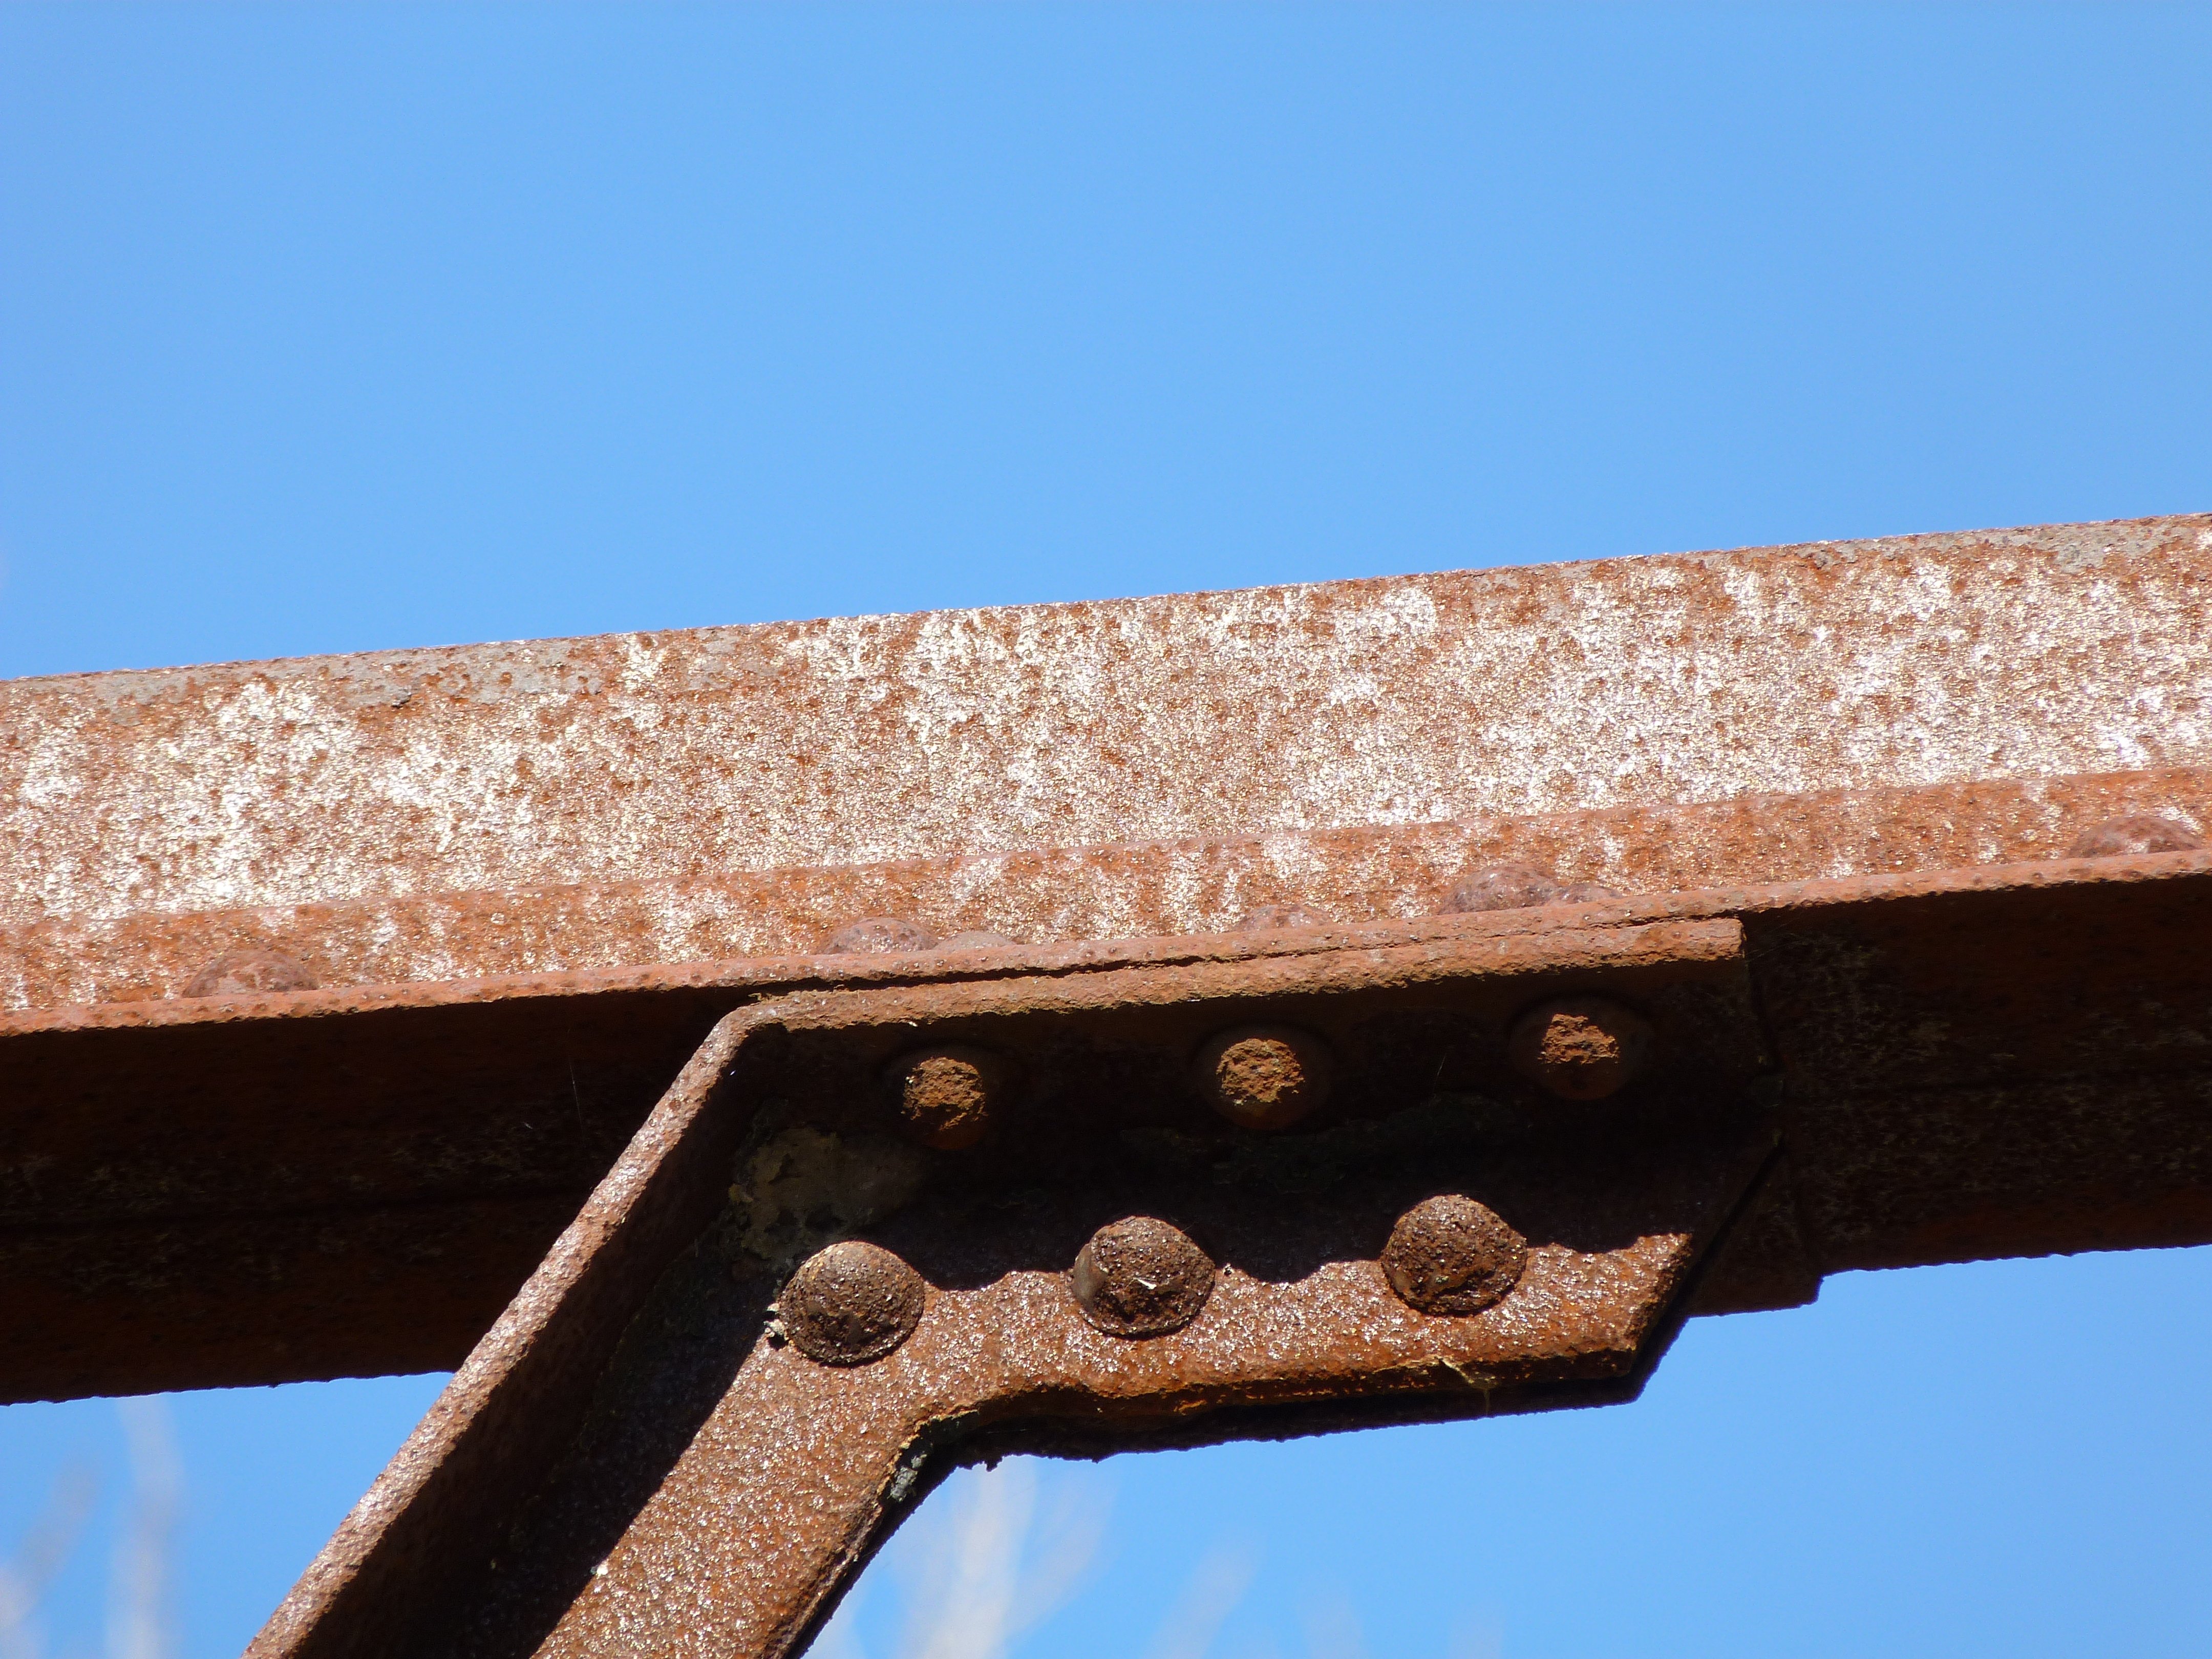
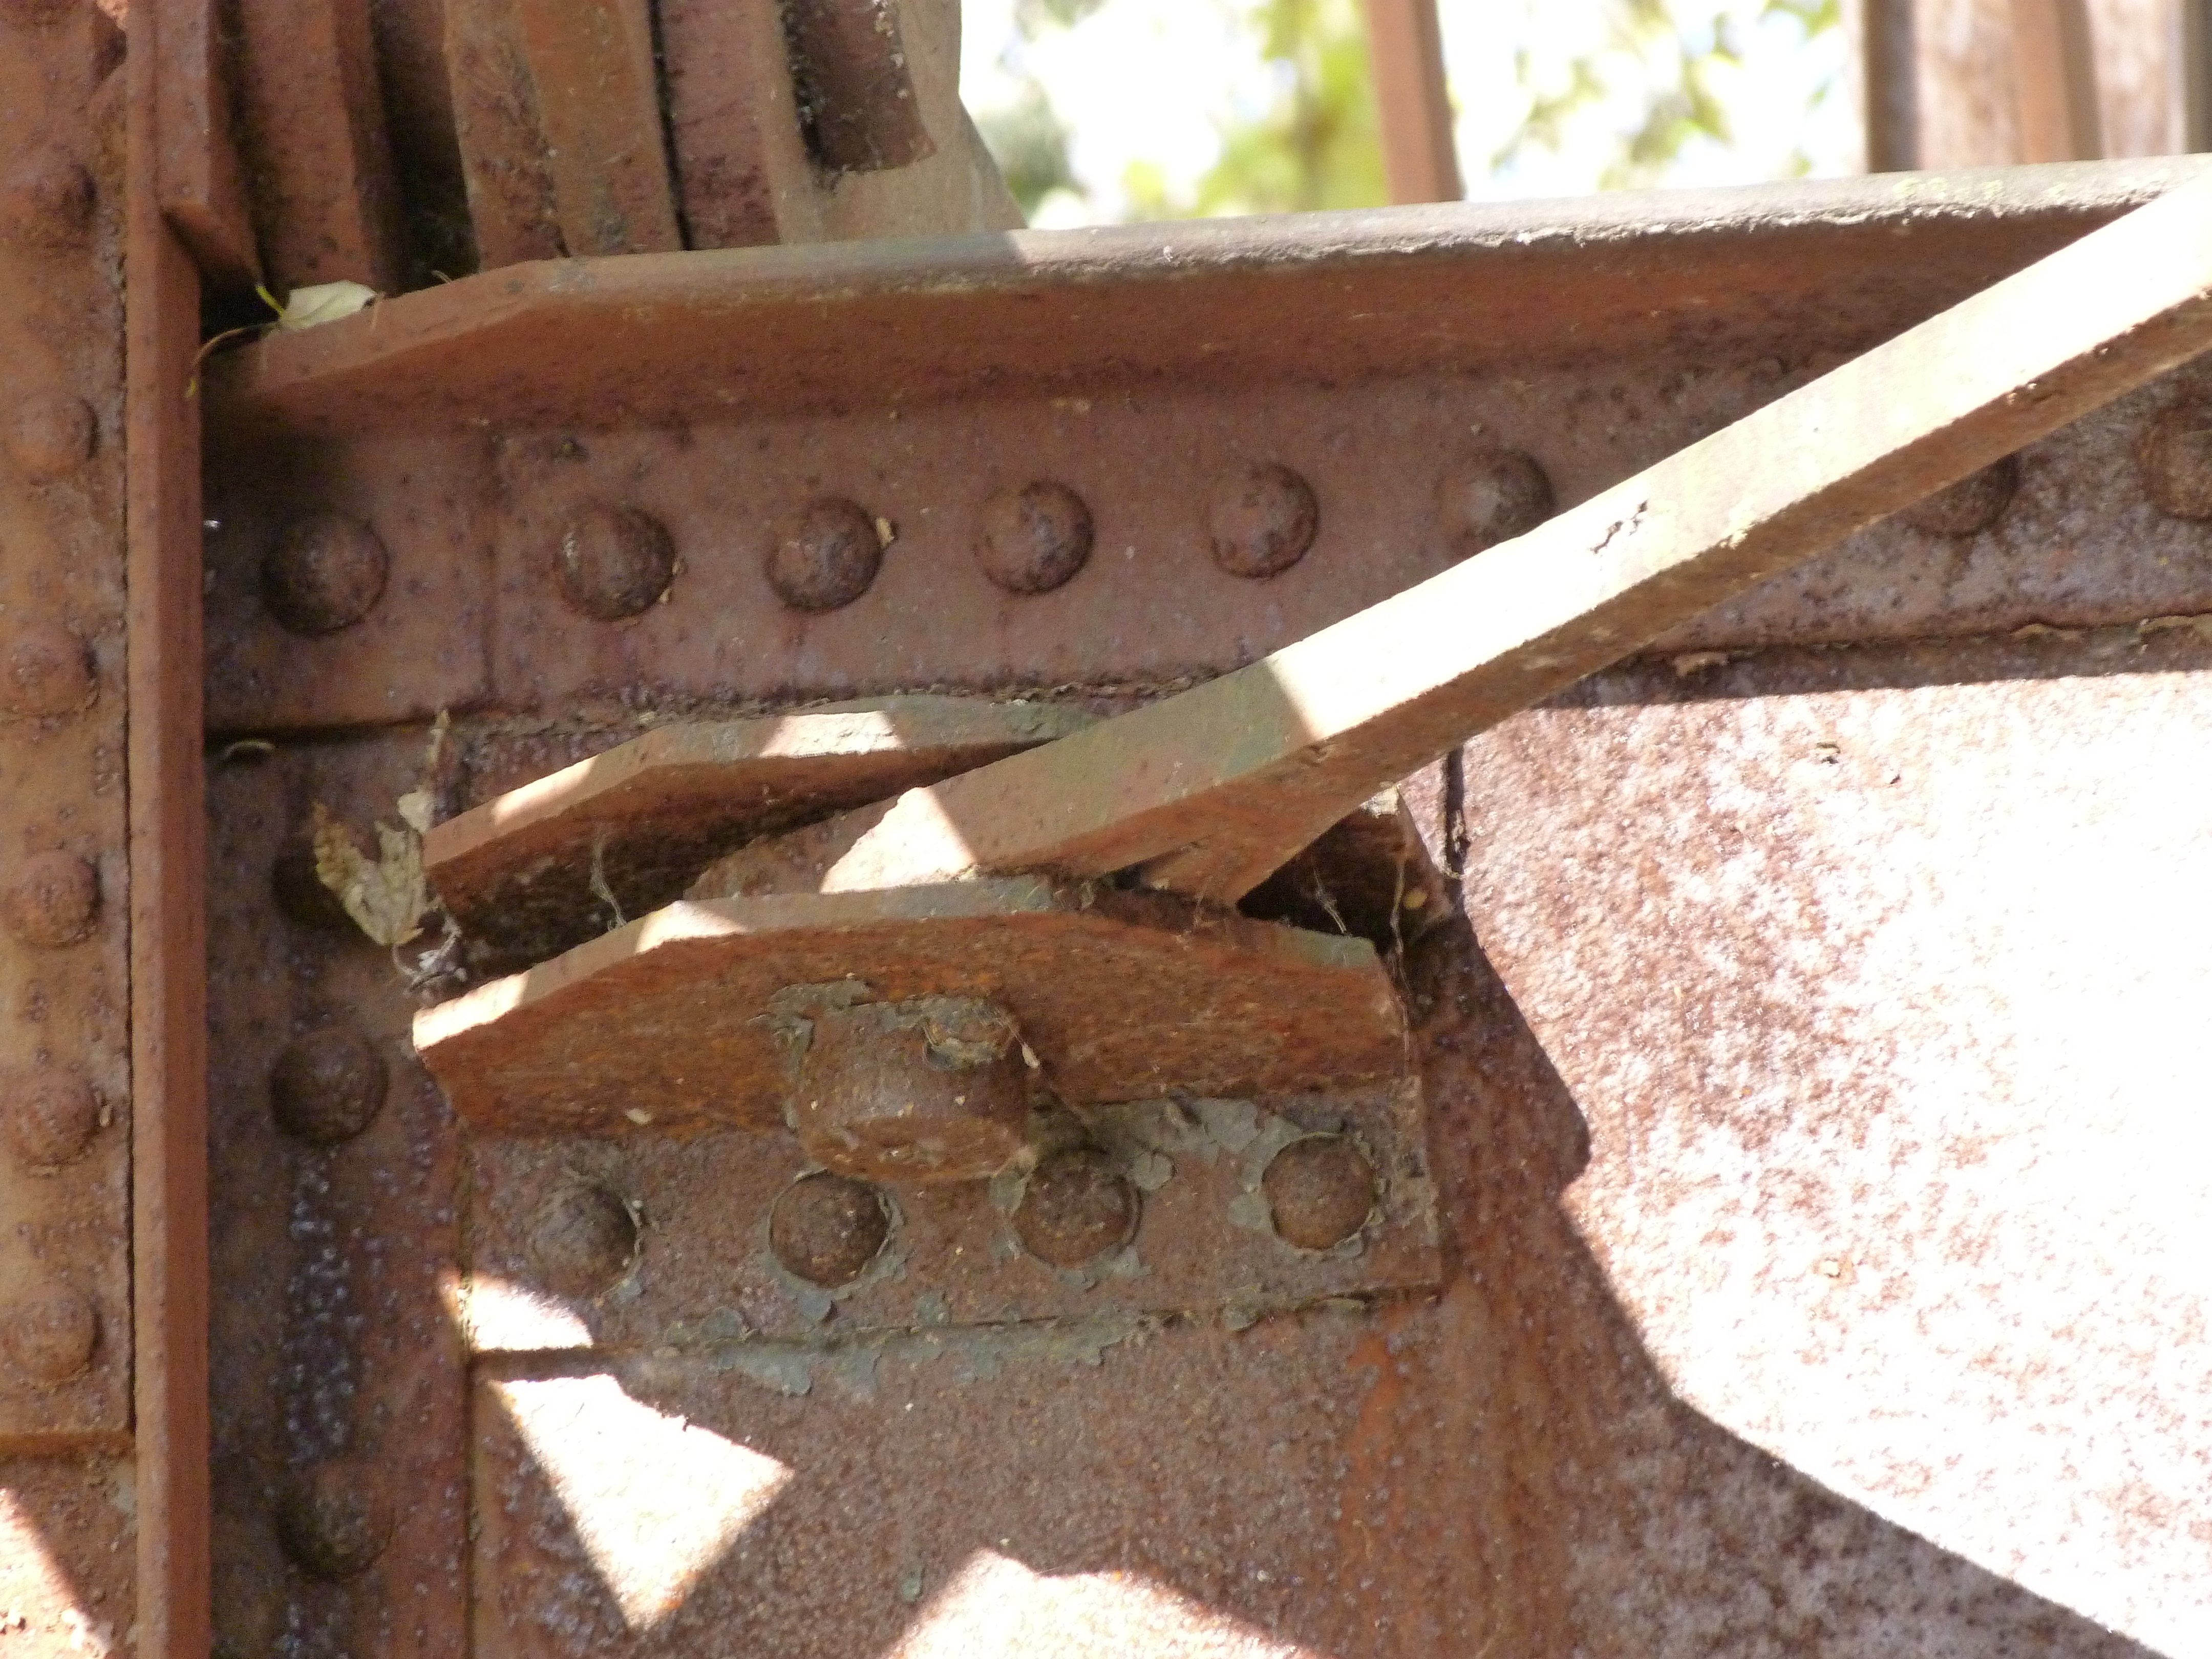
Fixed approach truss span top chord connections as viewed from on bridge.
![]()

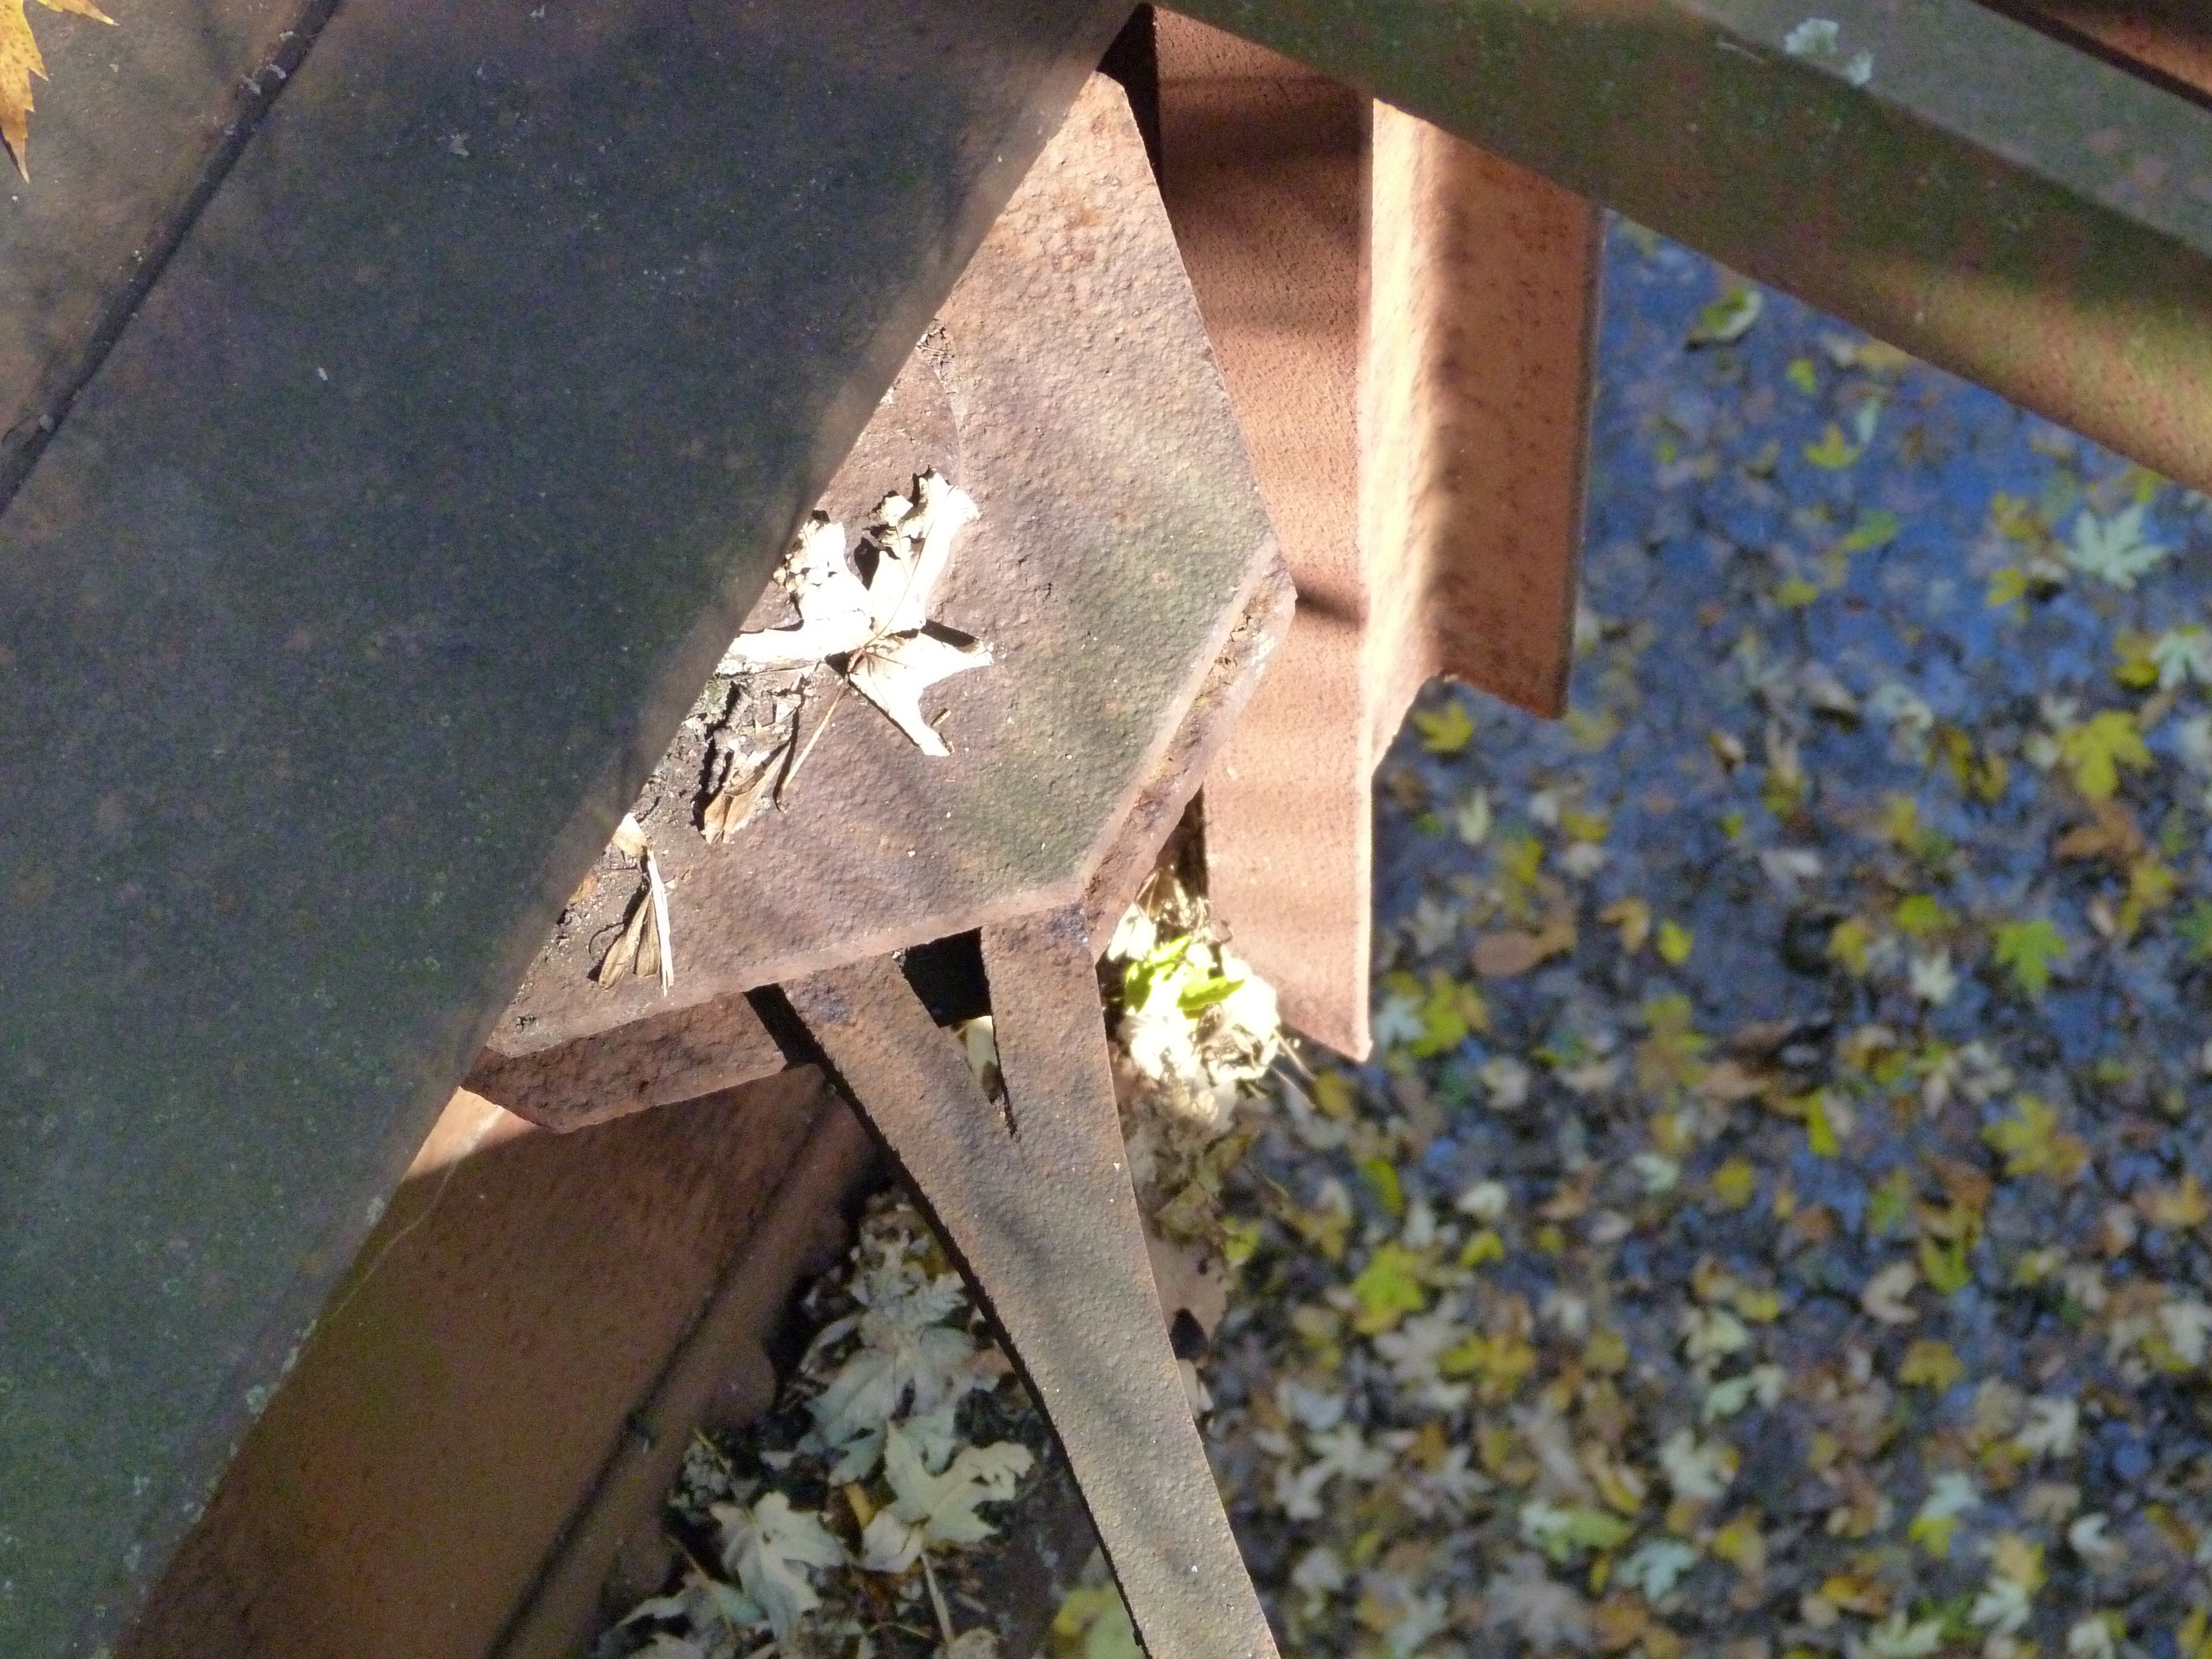
Fixed approach truss span bottom chord connections as viewed from beside bridge.
![]()


Fixed approach truss span bottom chord connections as viewed from on bridge.
![]()


Bearings for fixed approach truss spans.
![]()
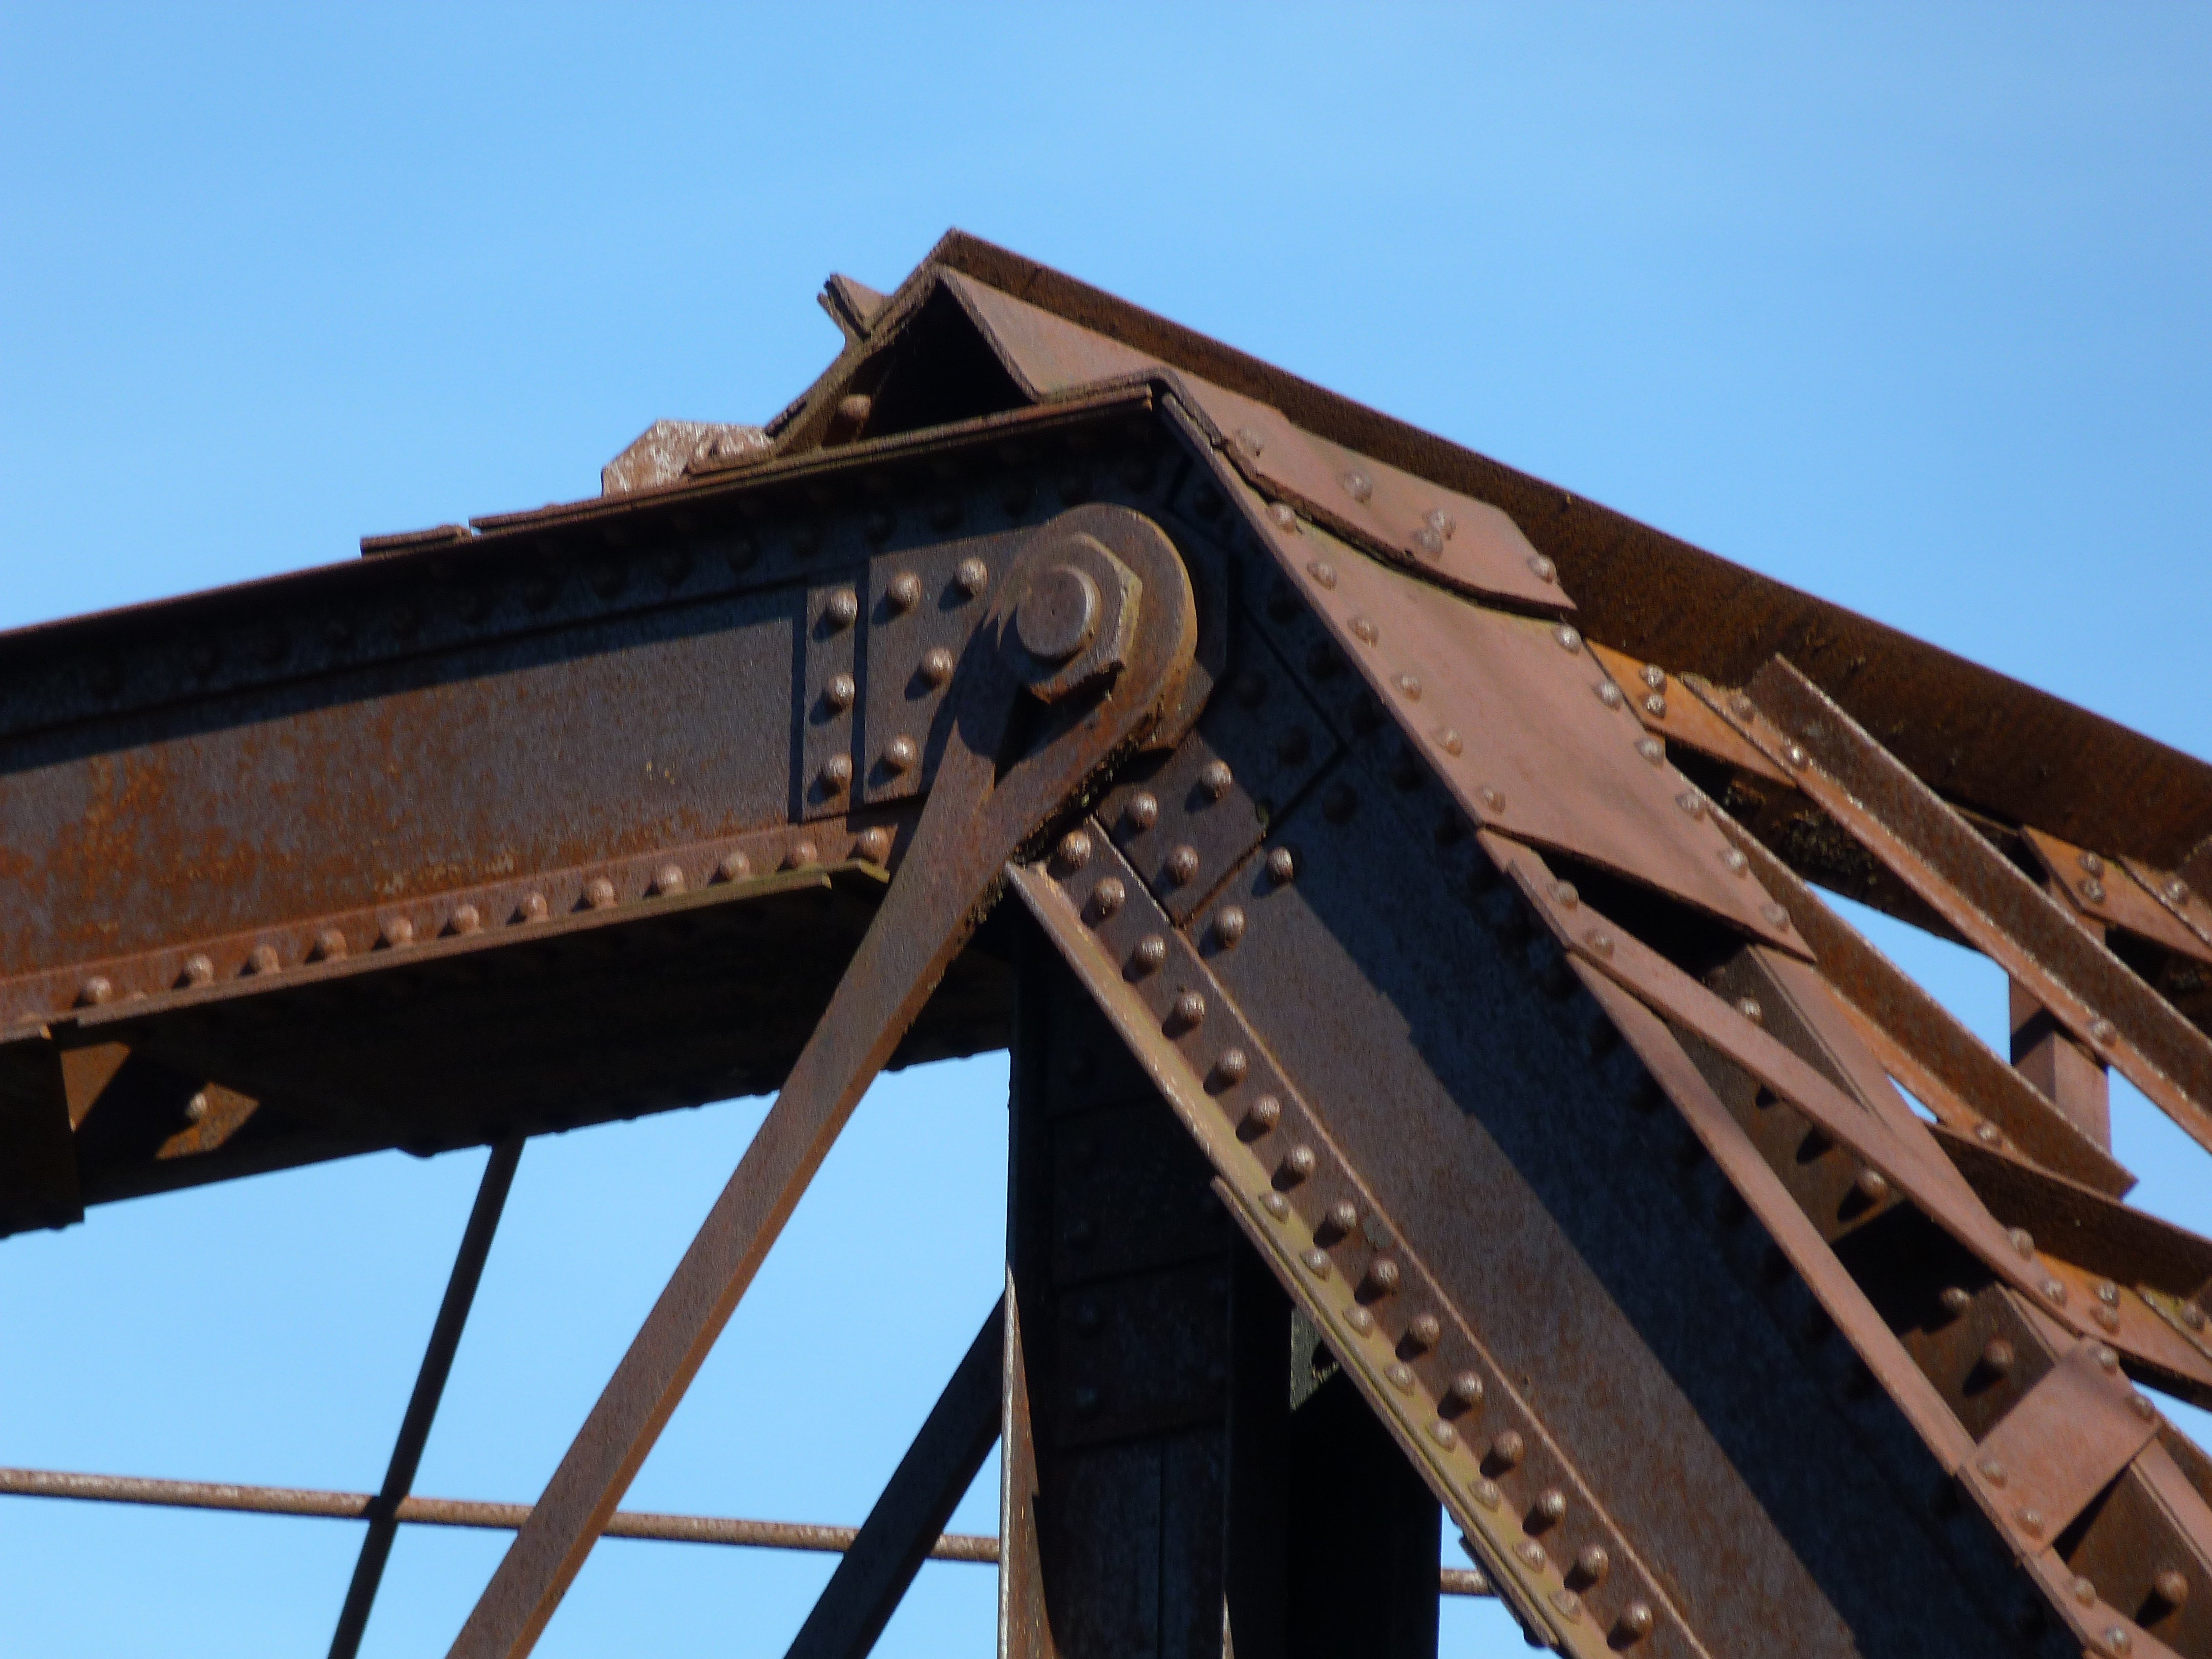

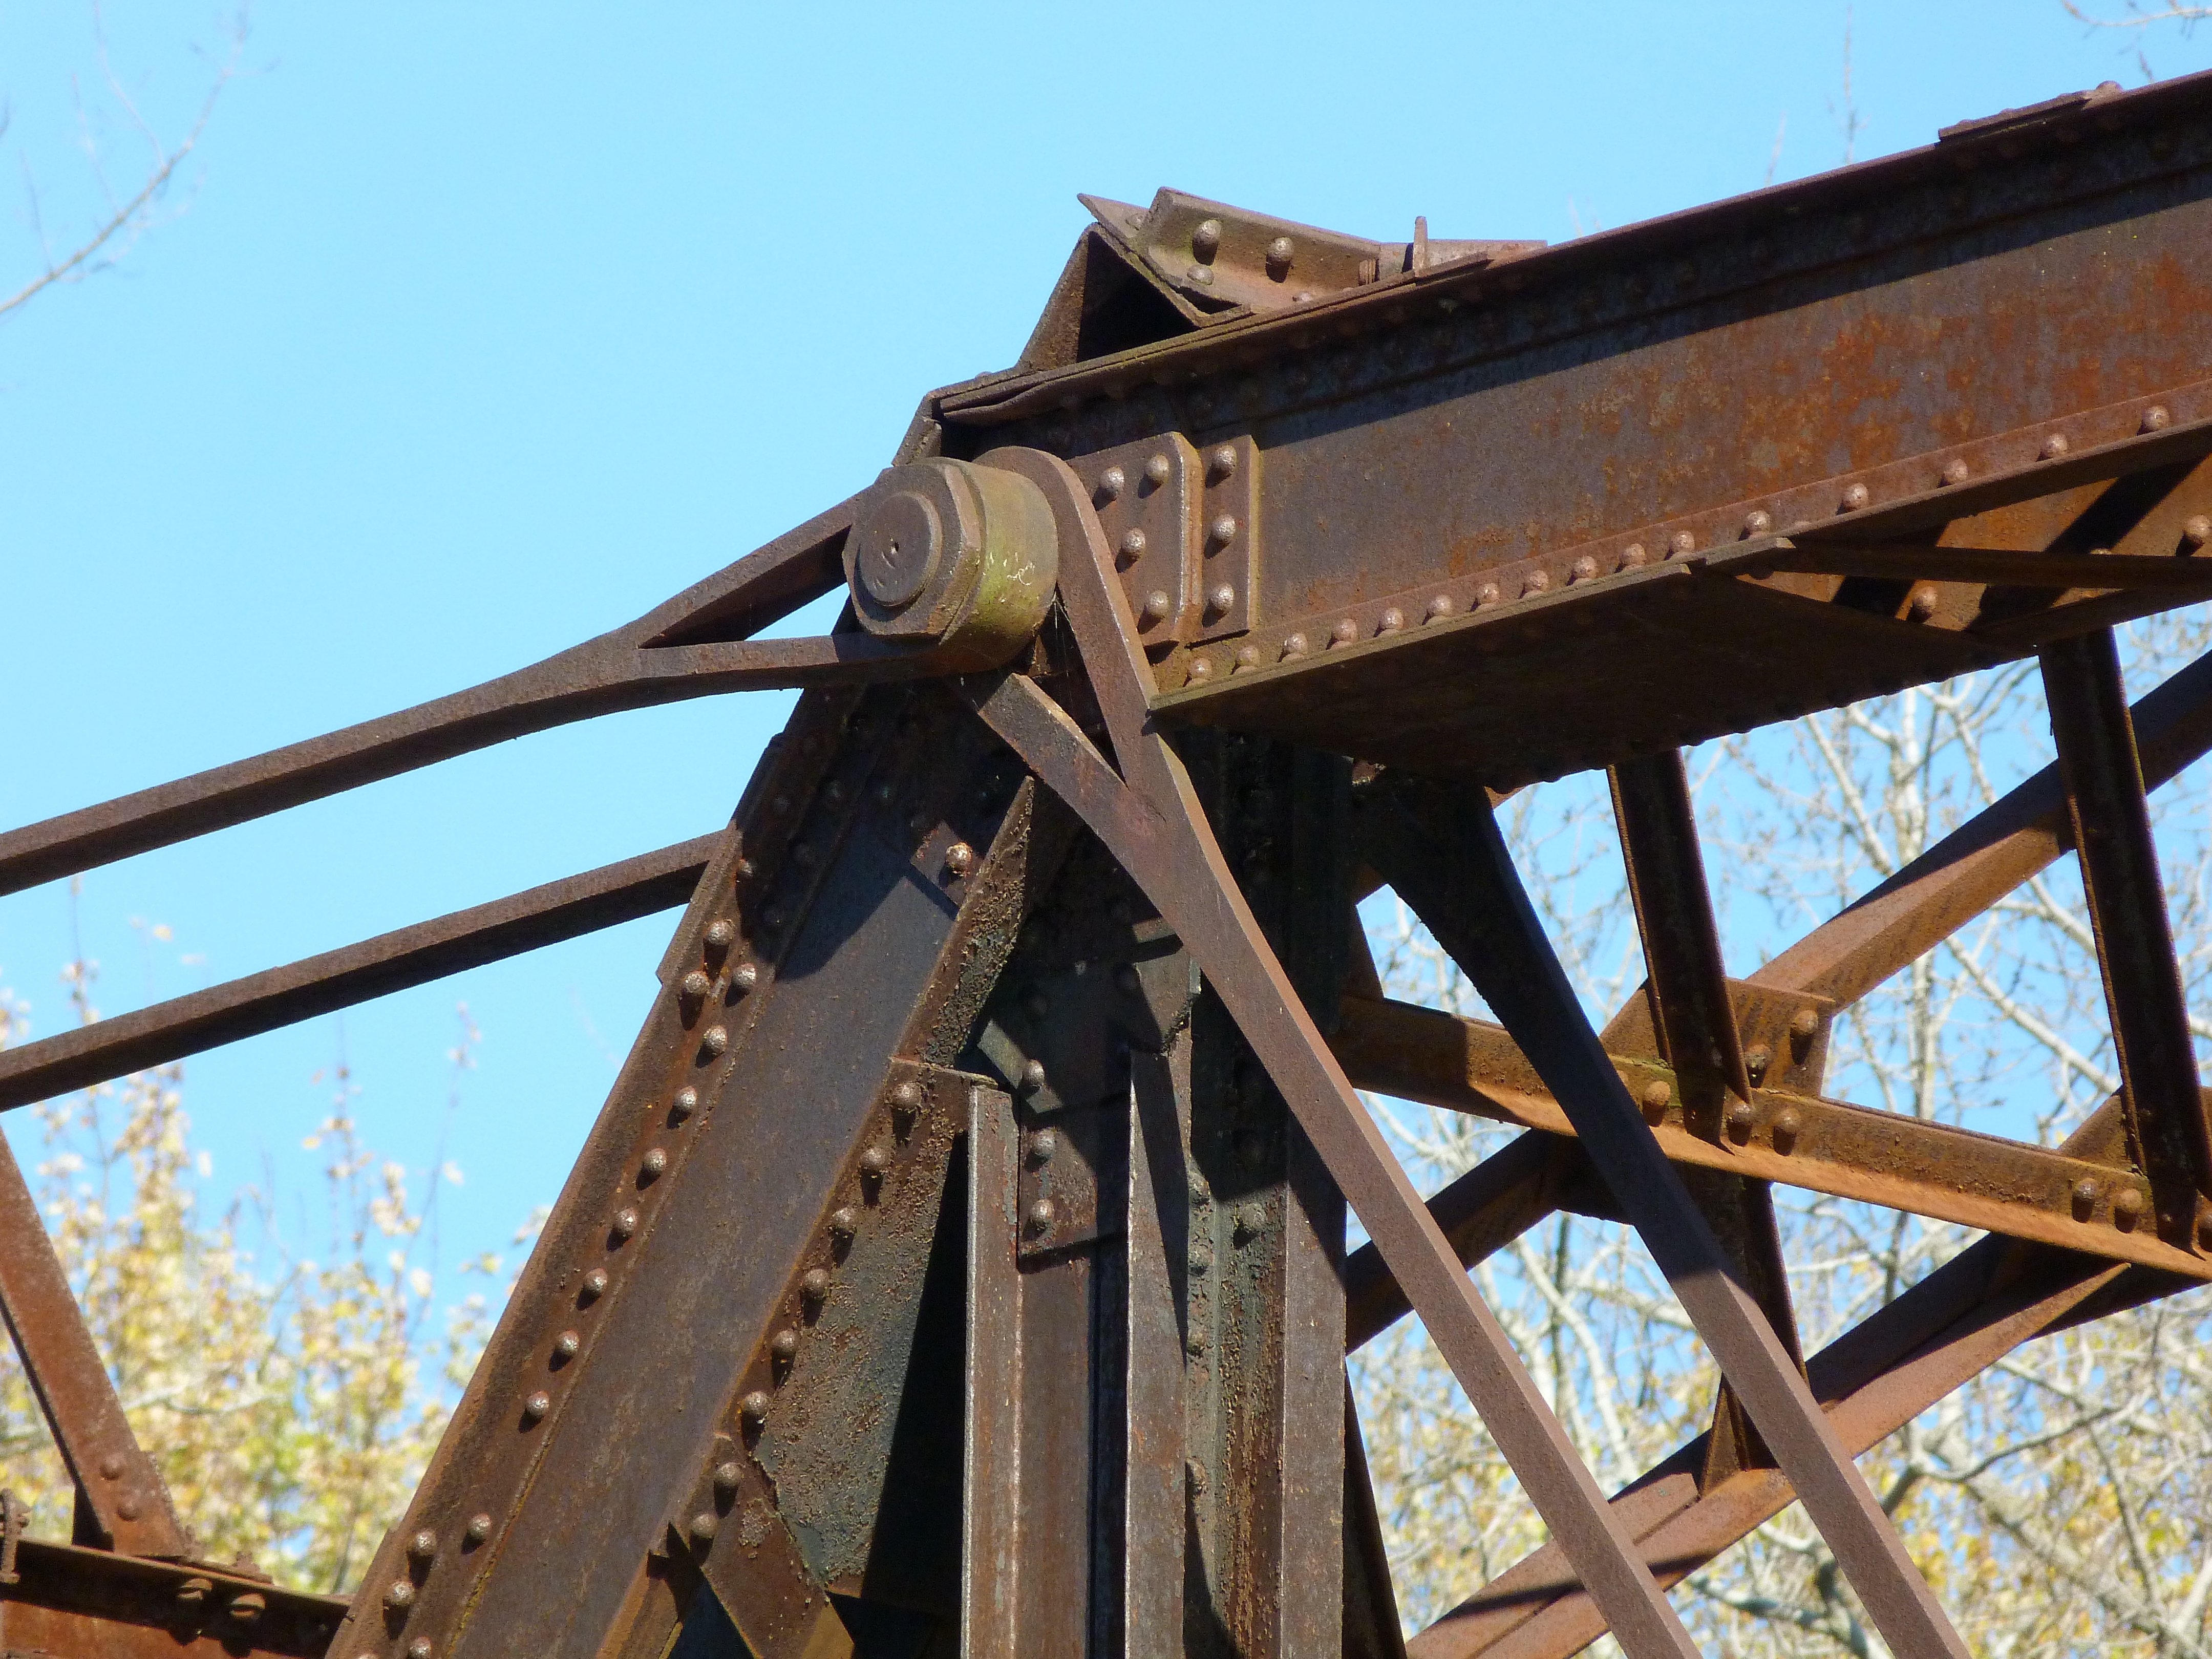
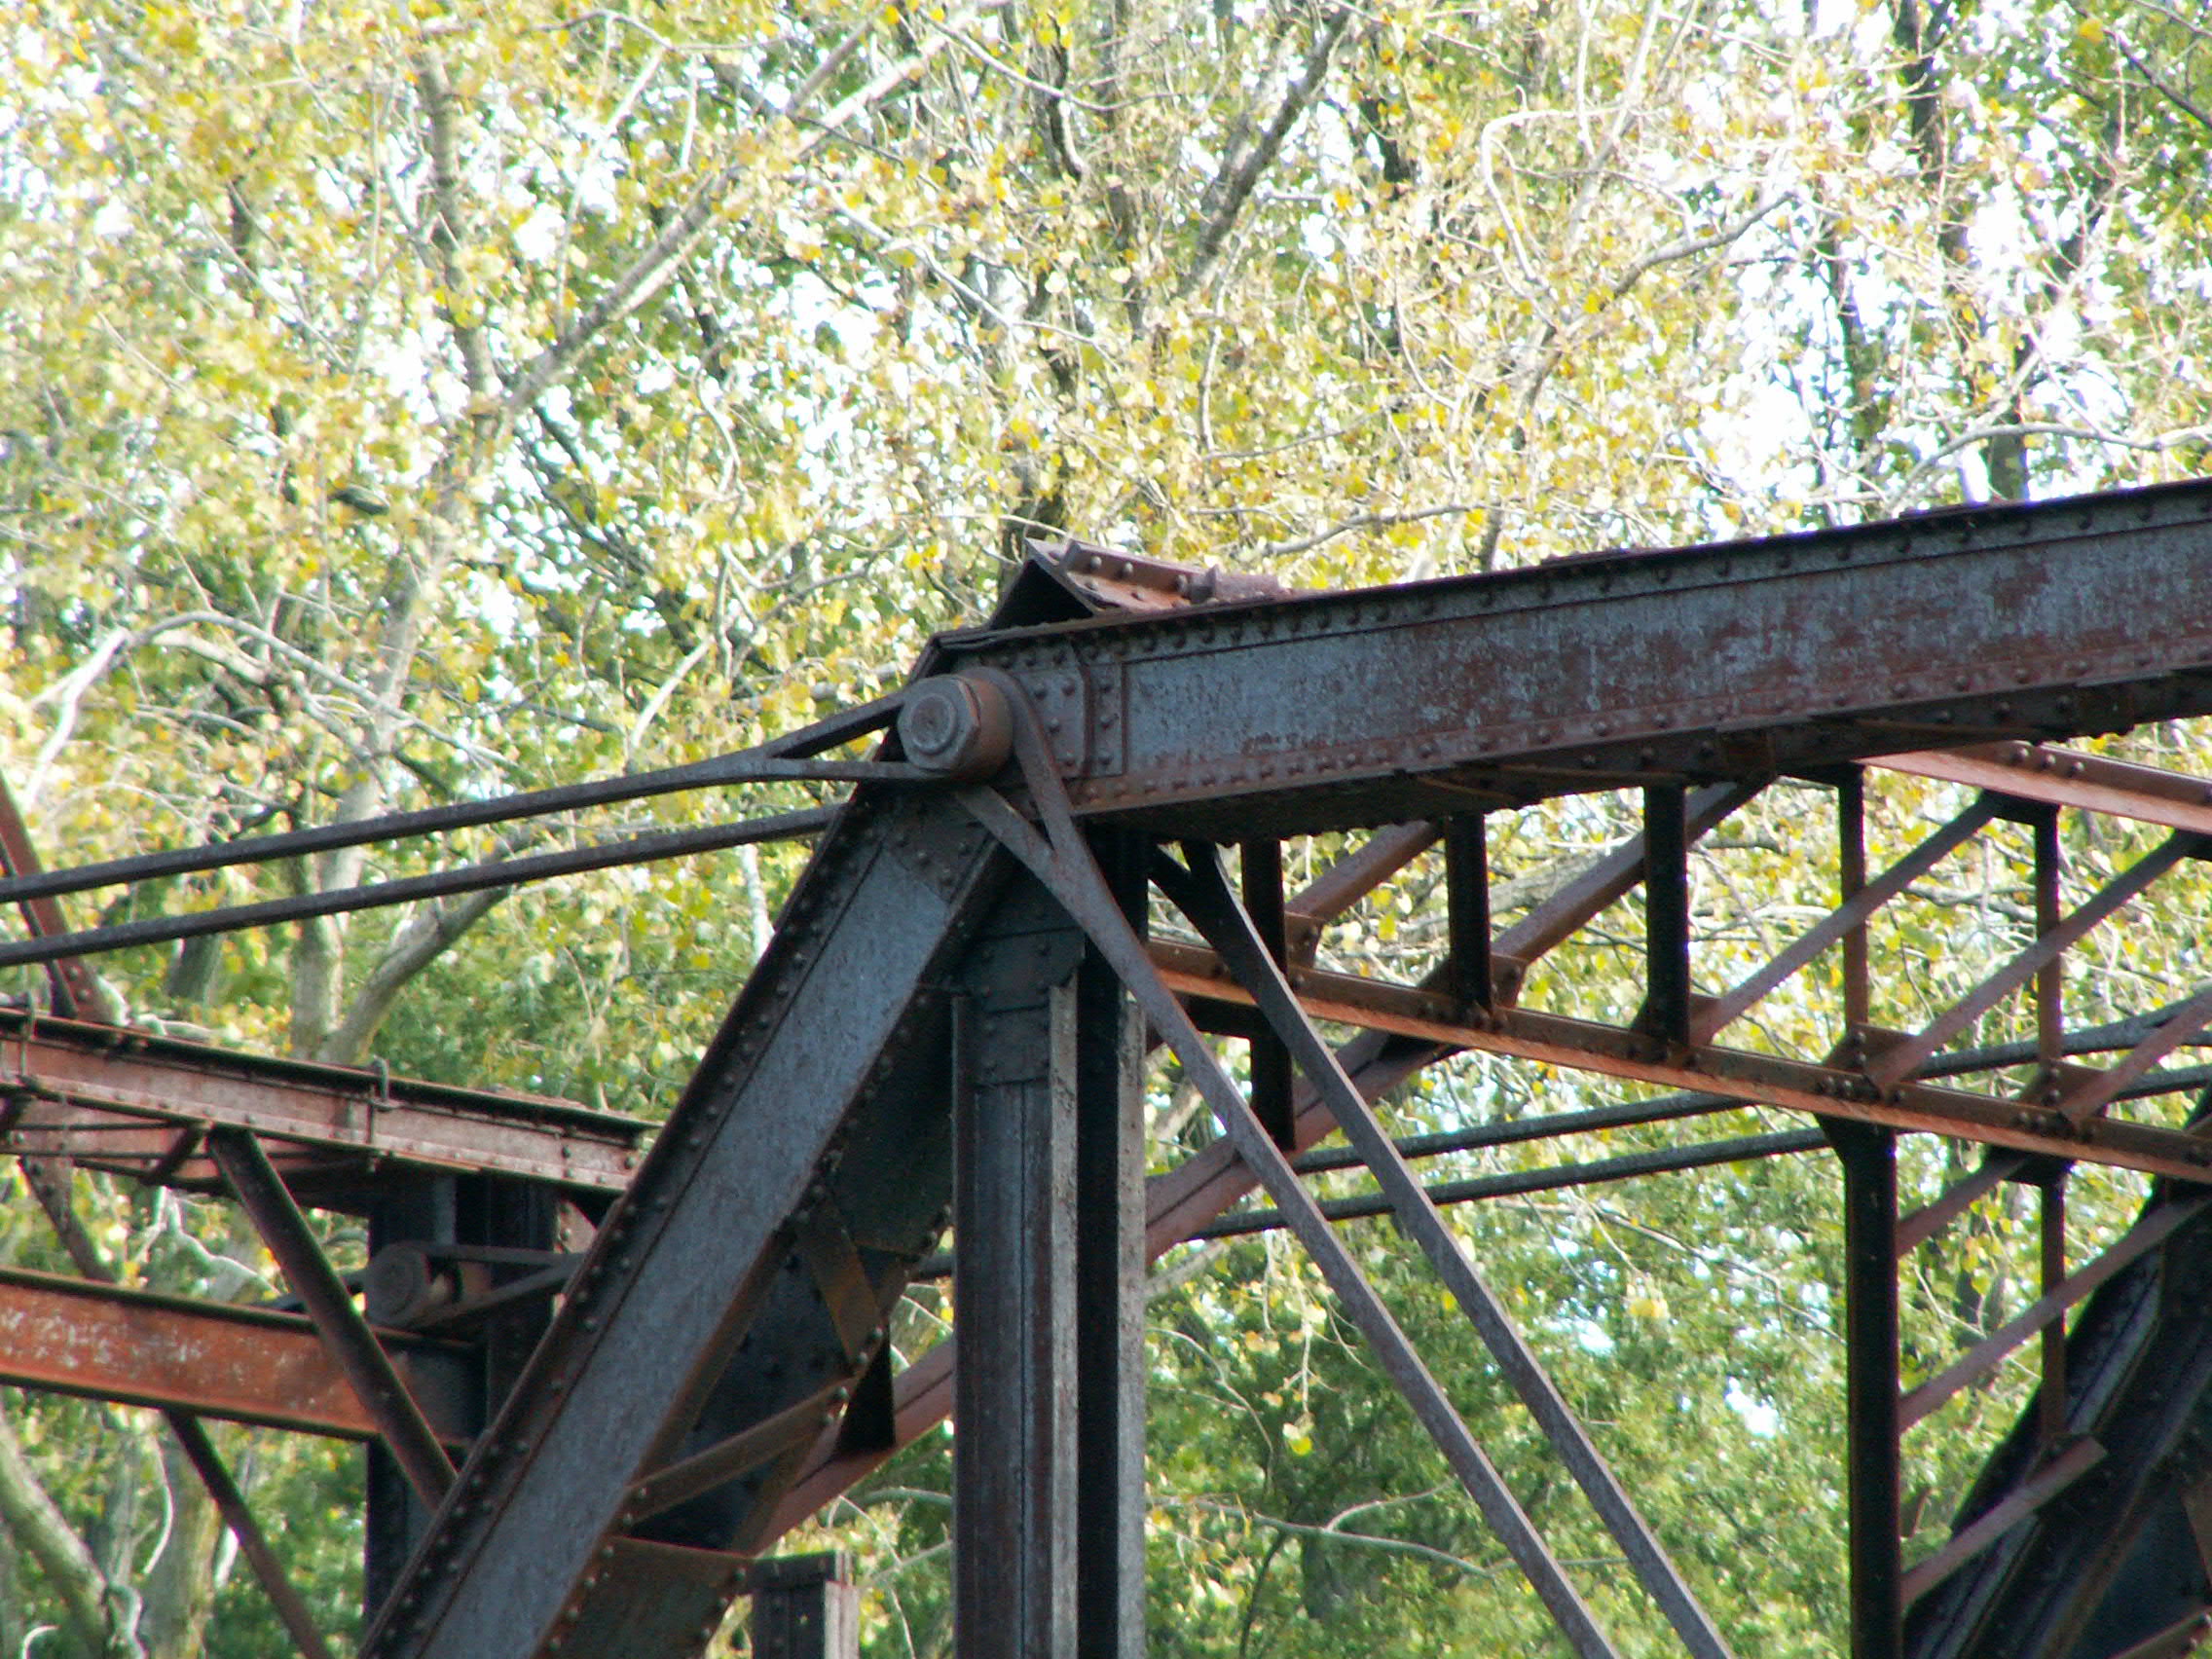


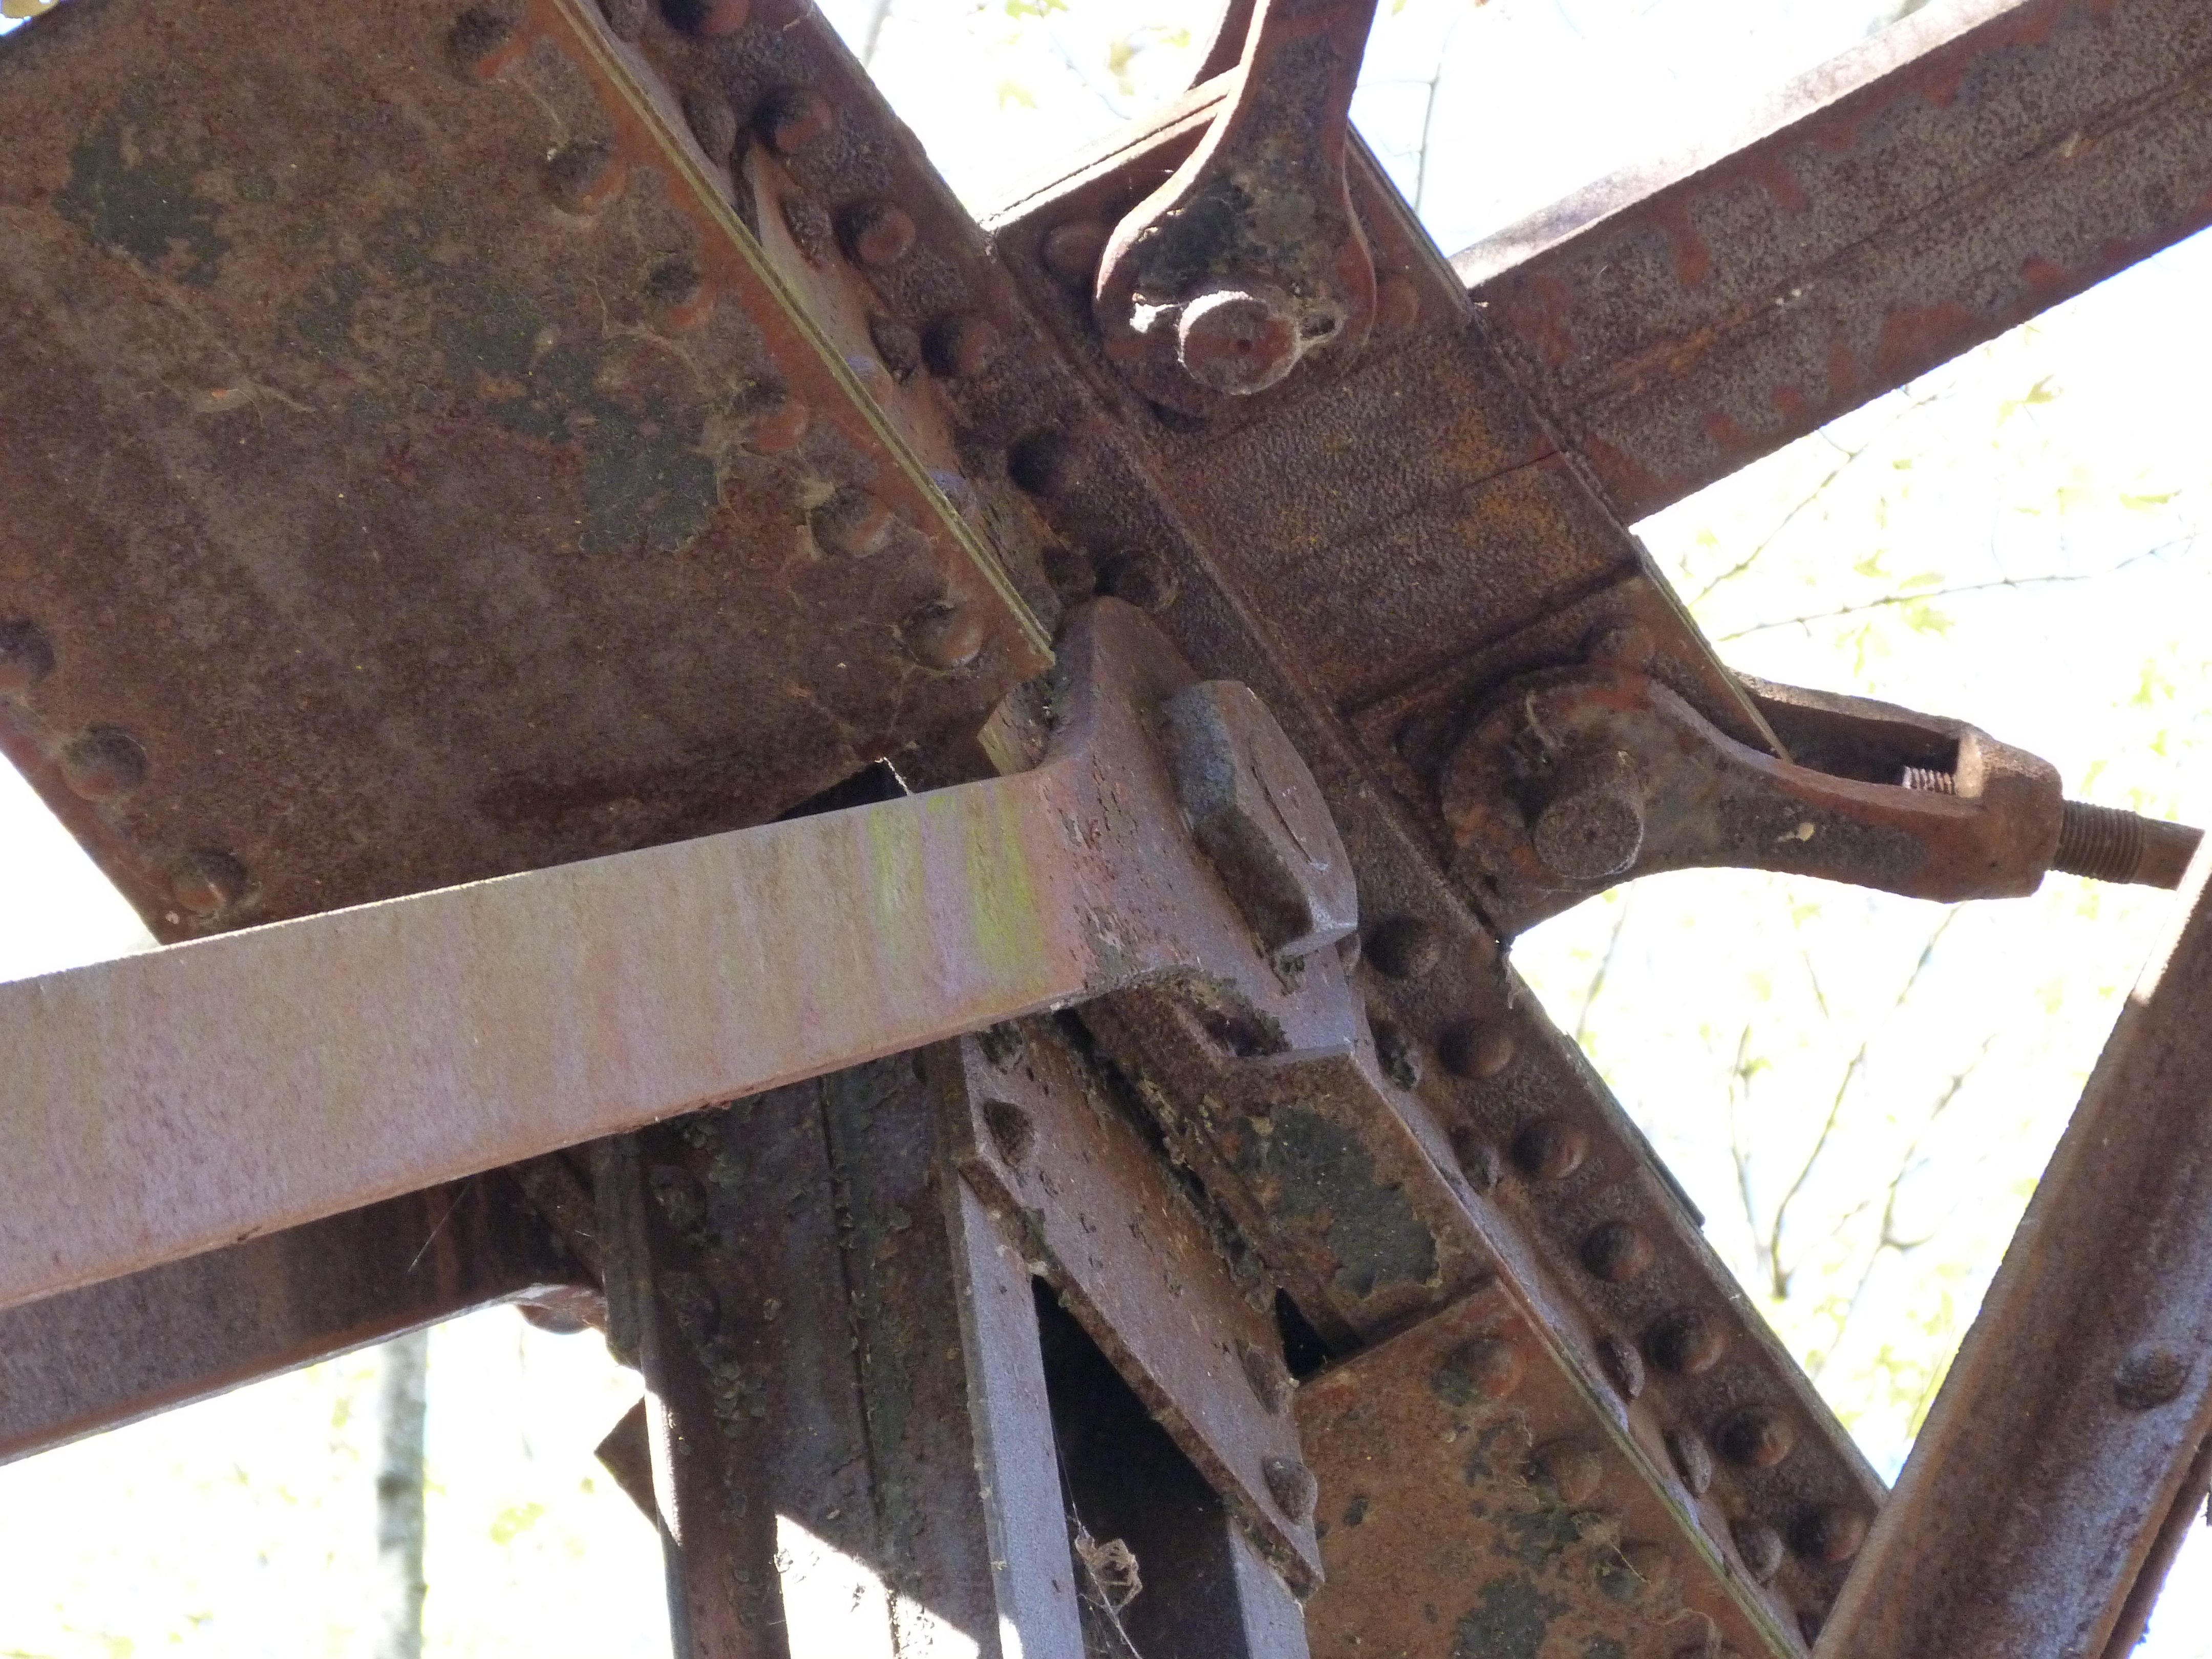
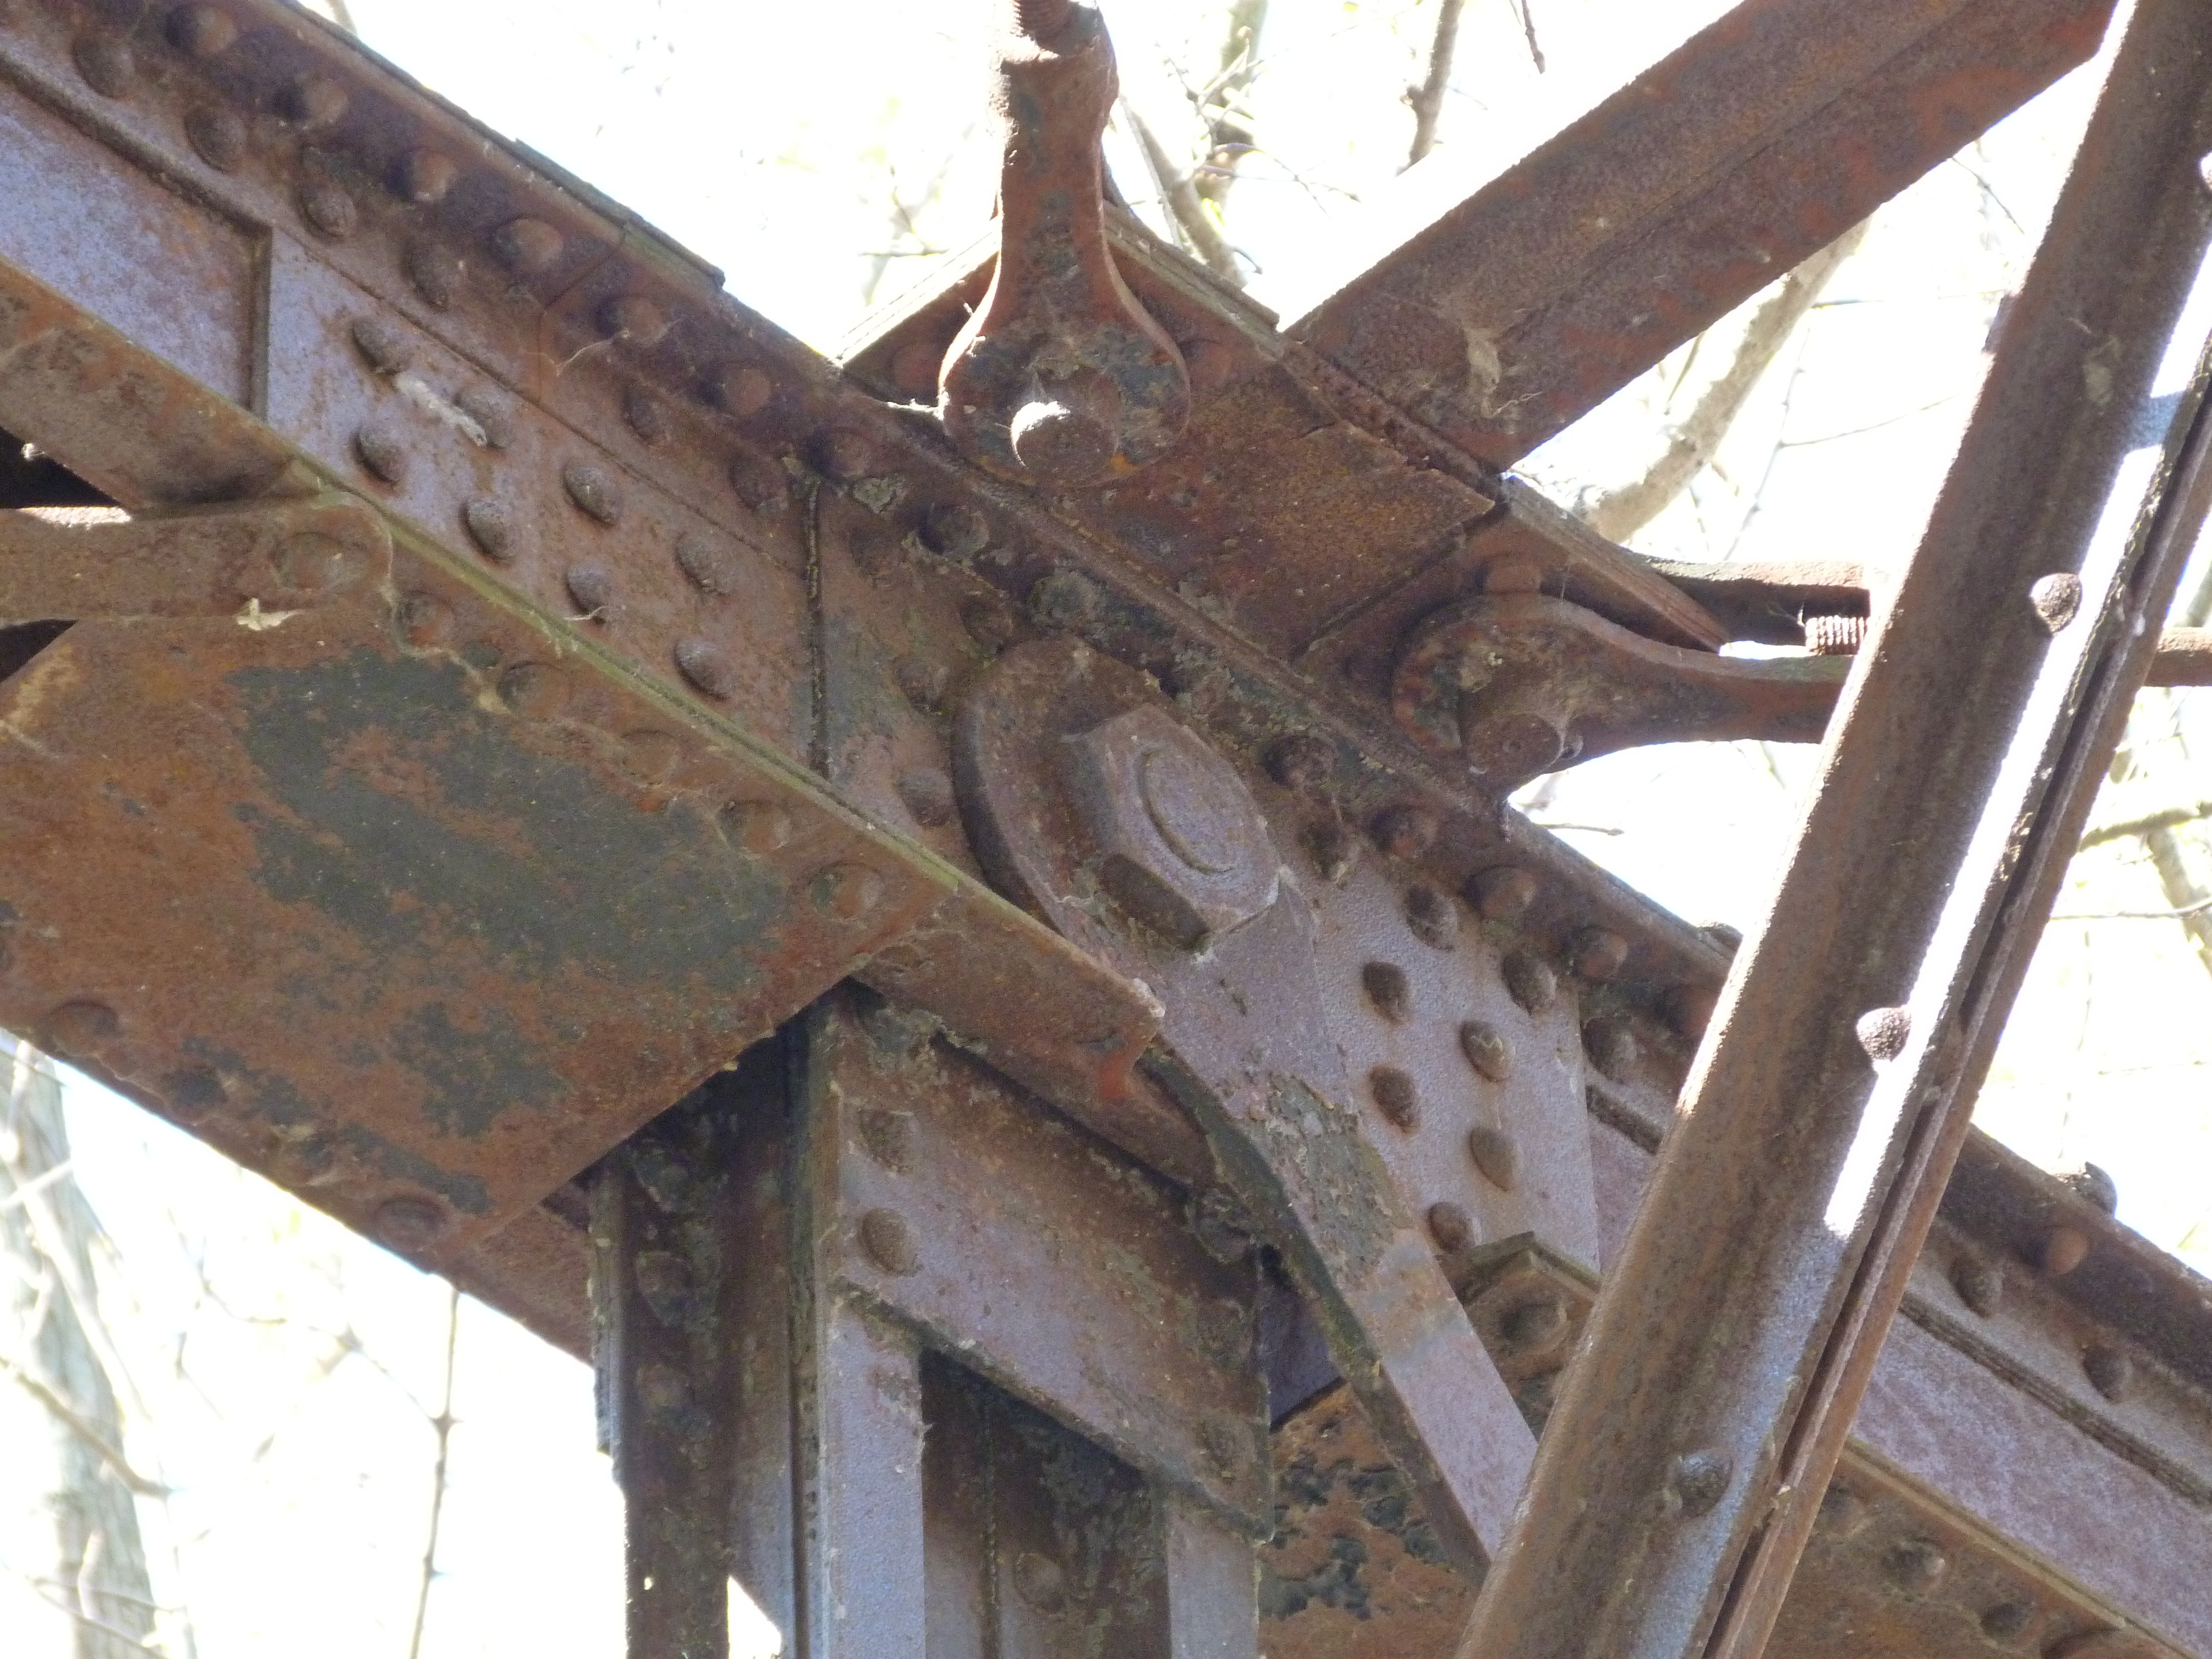
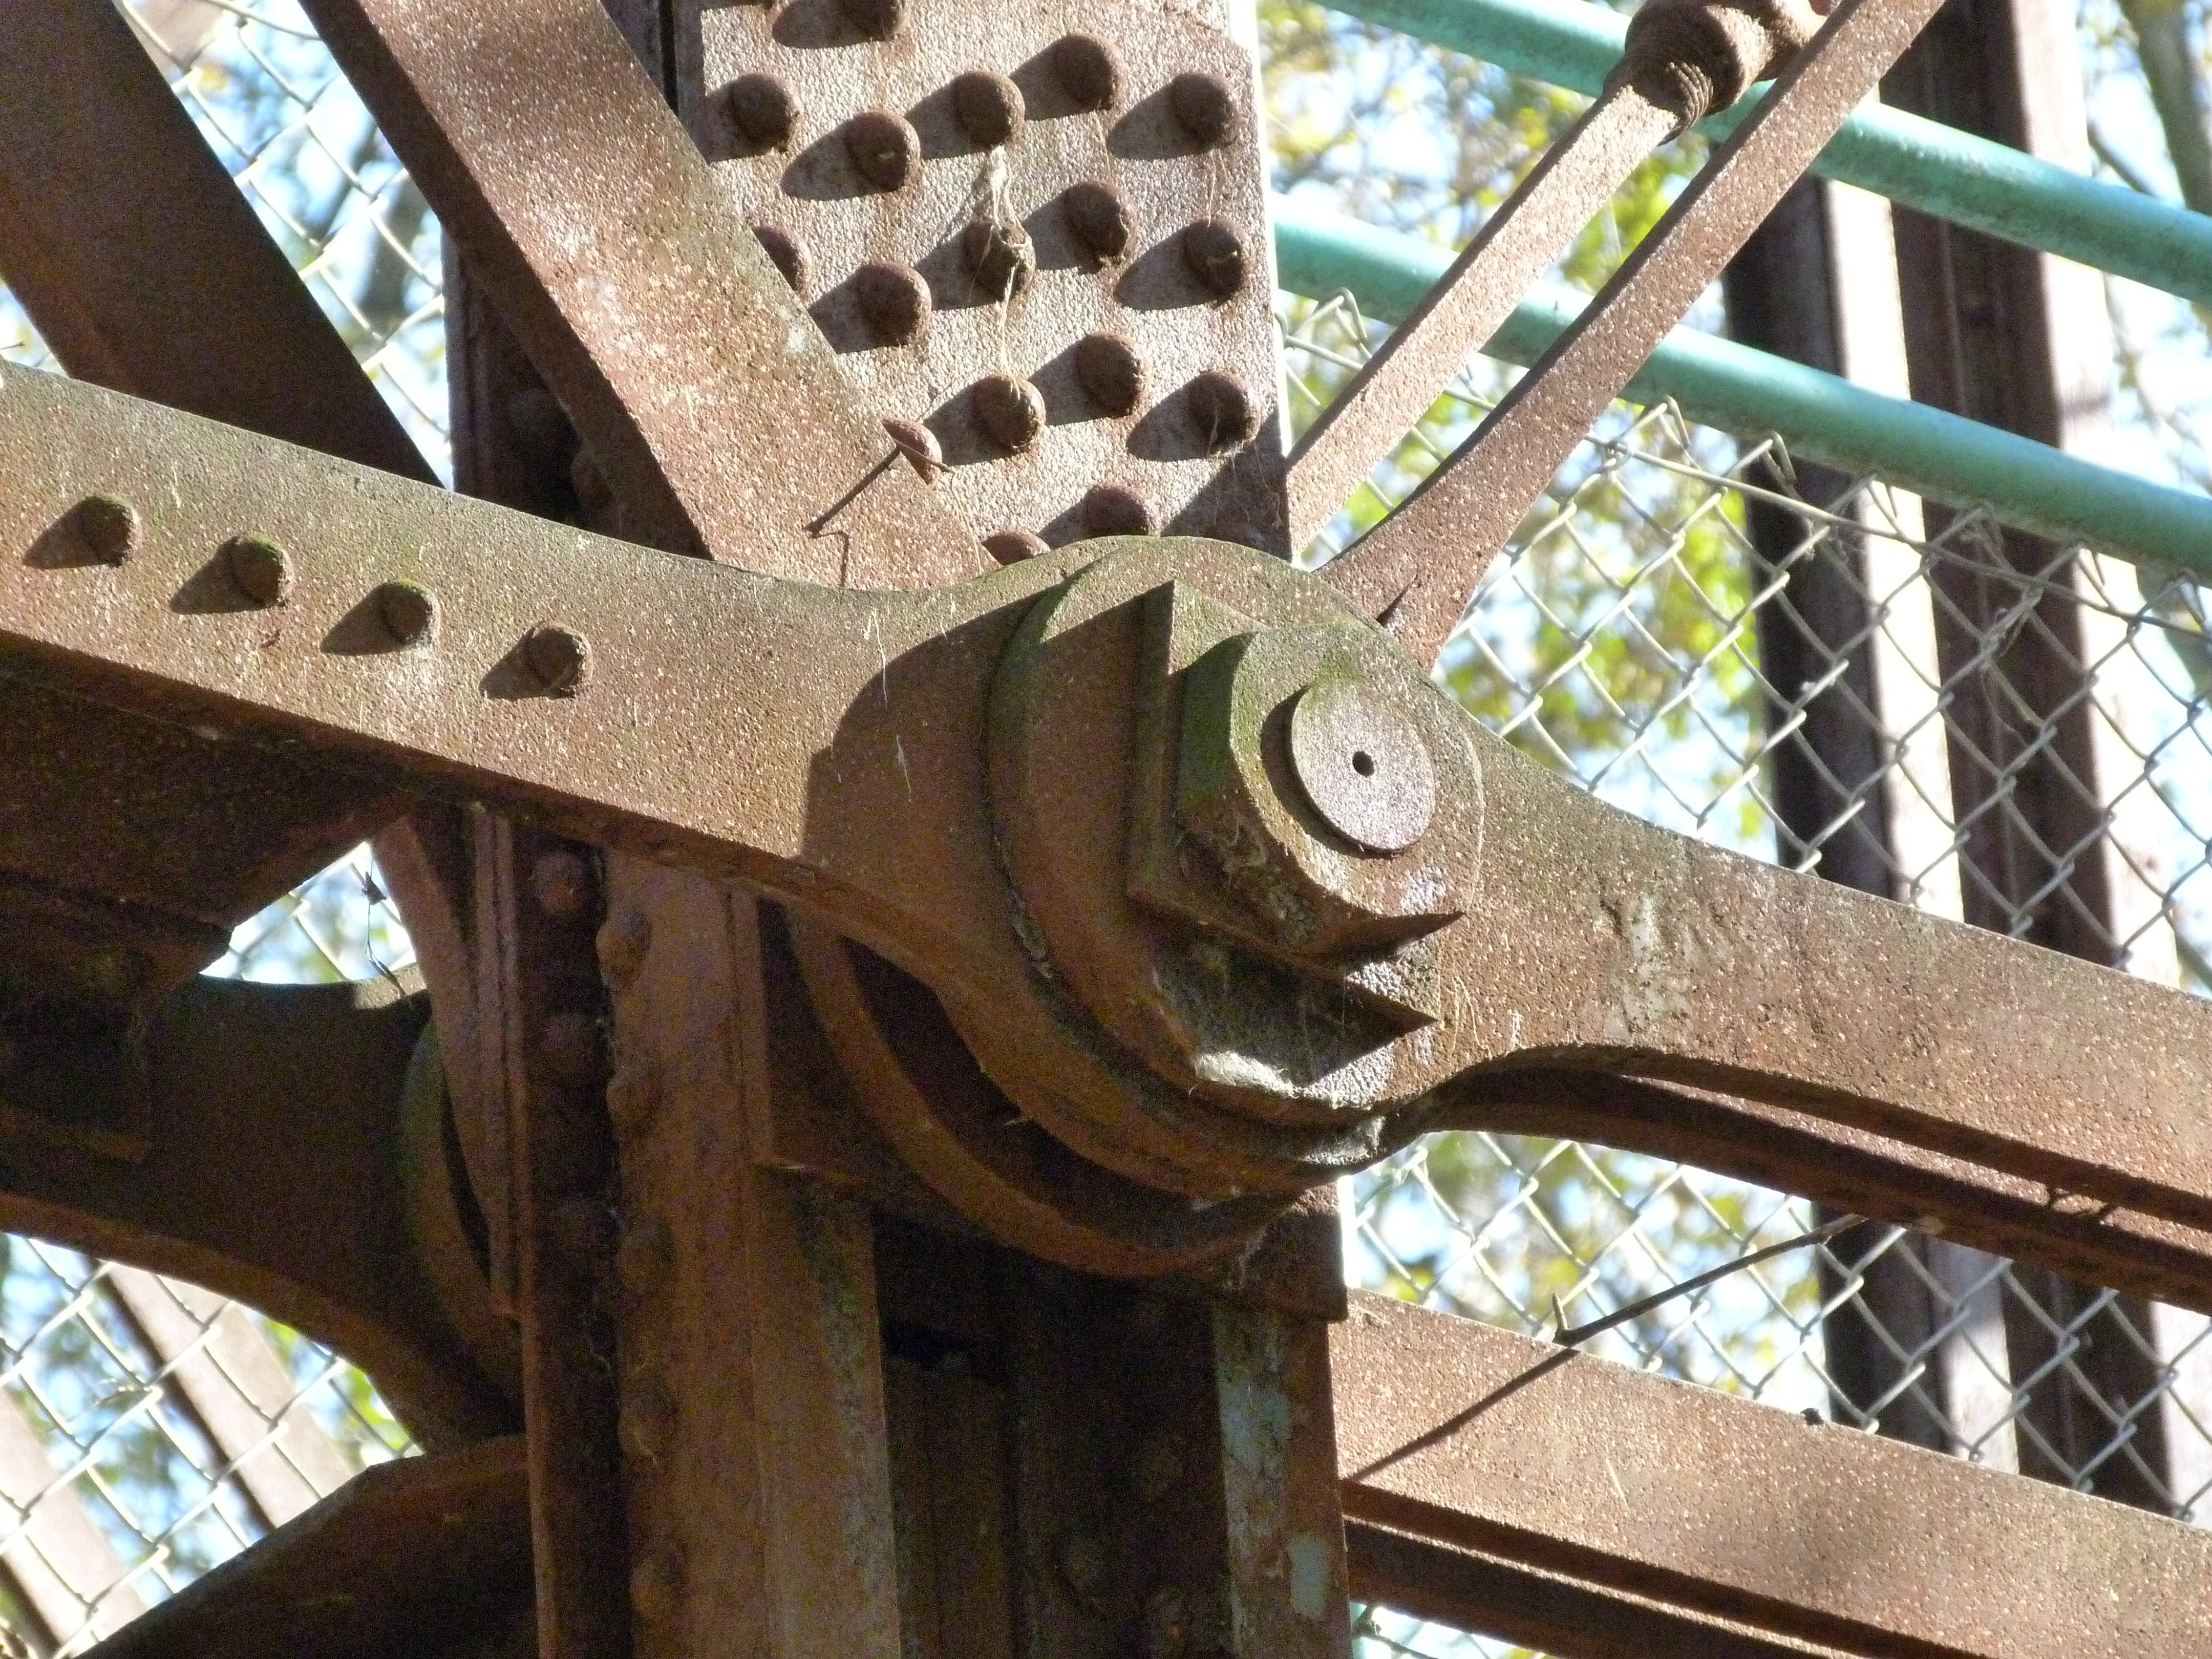
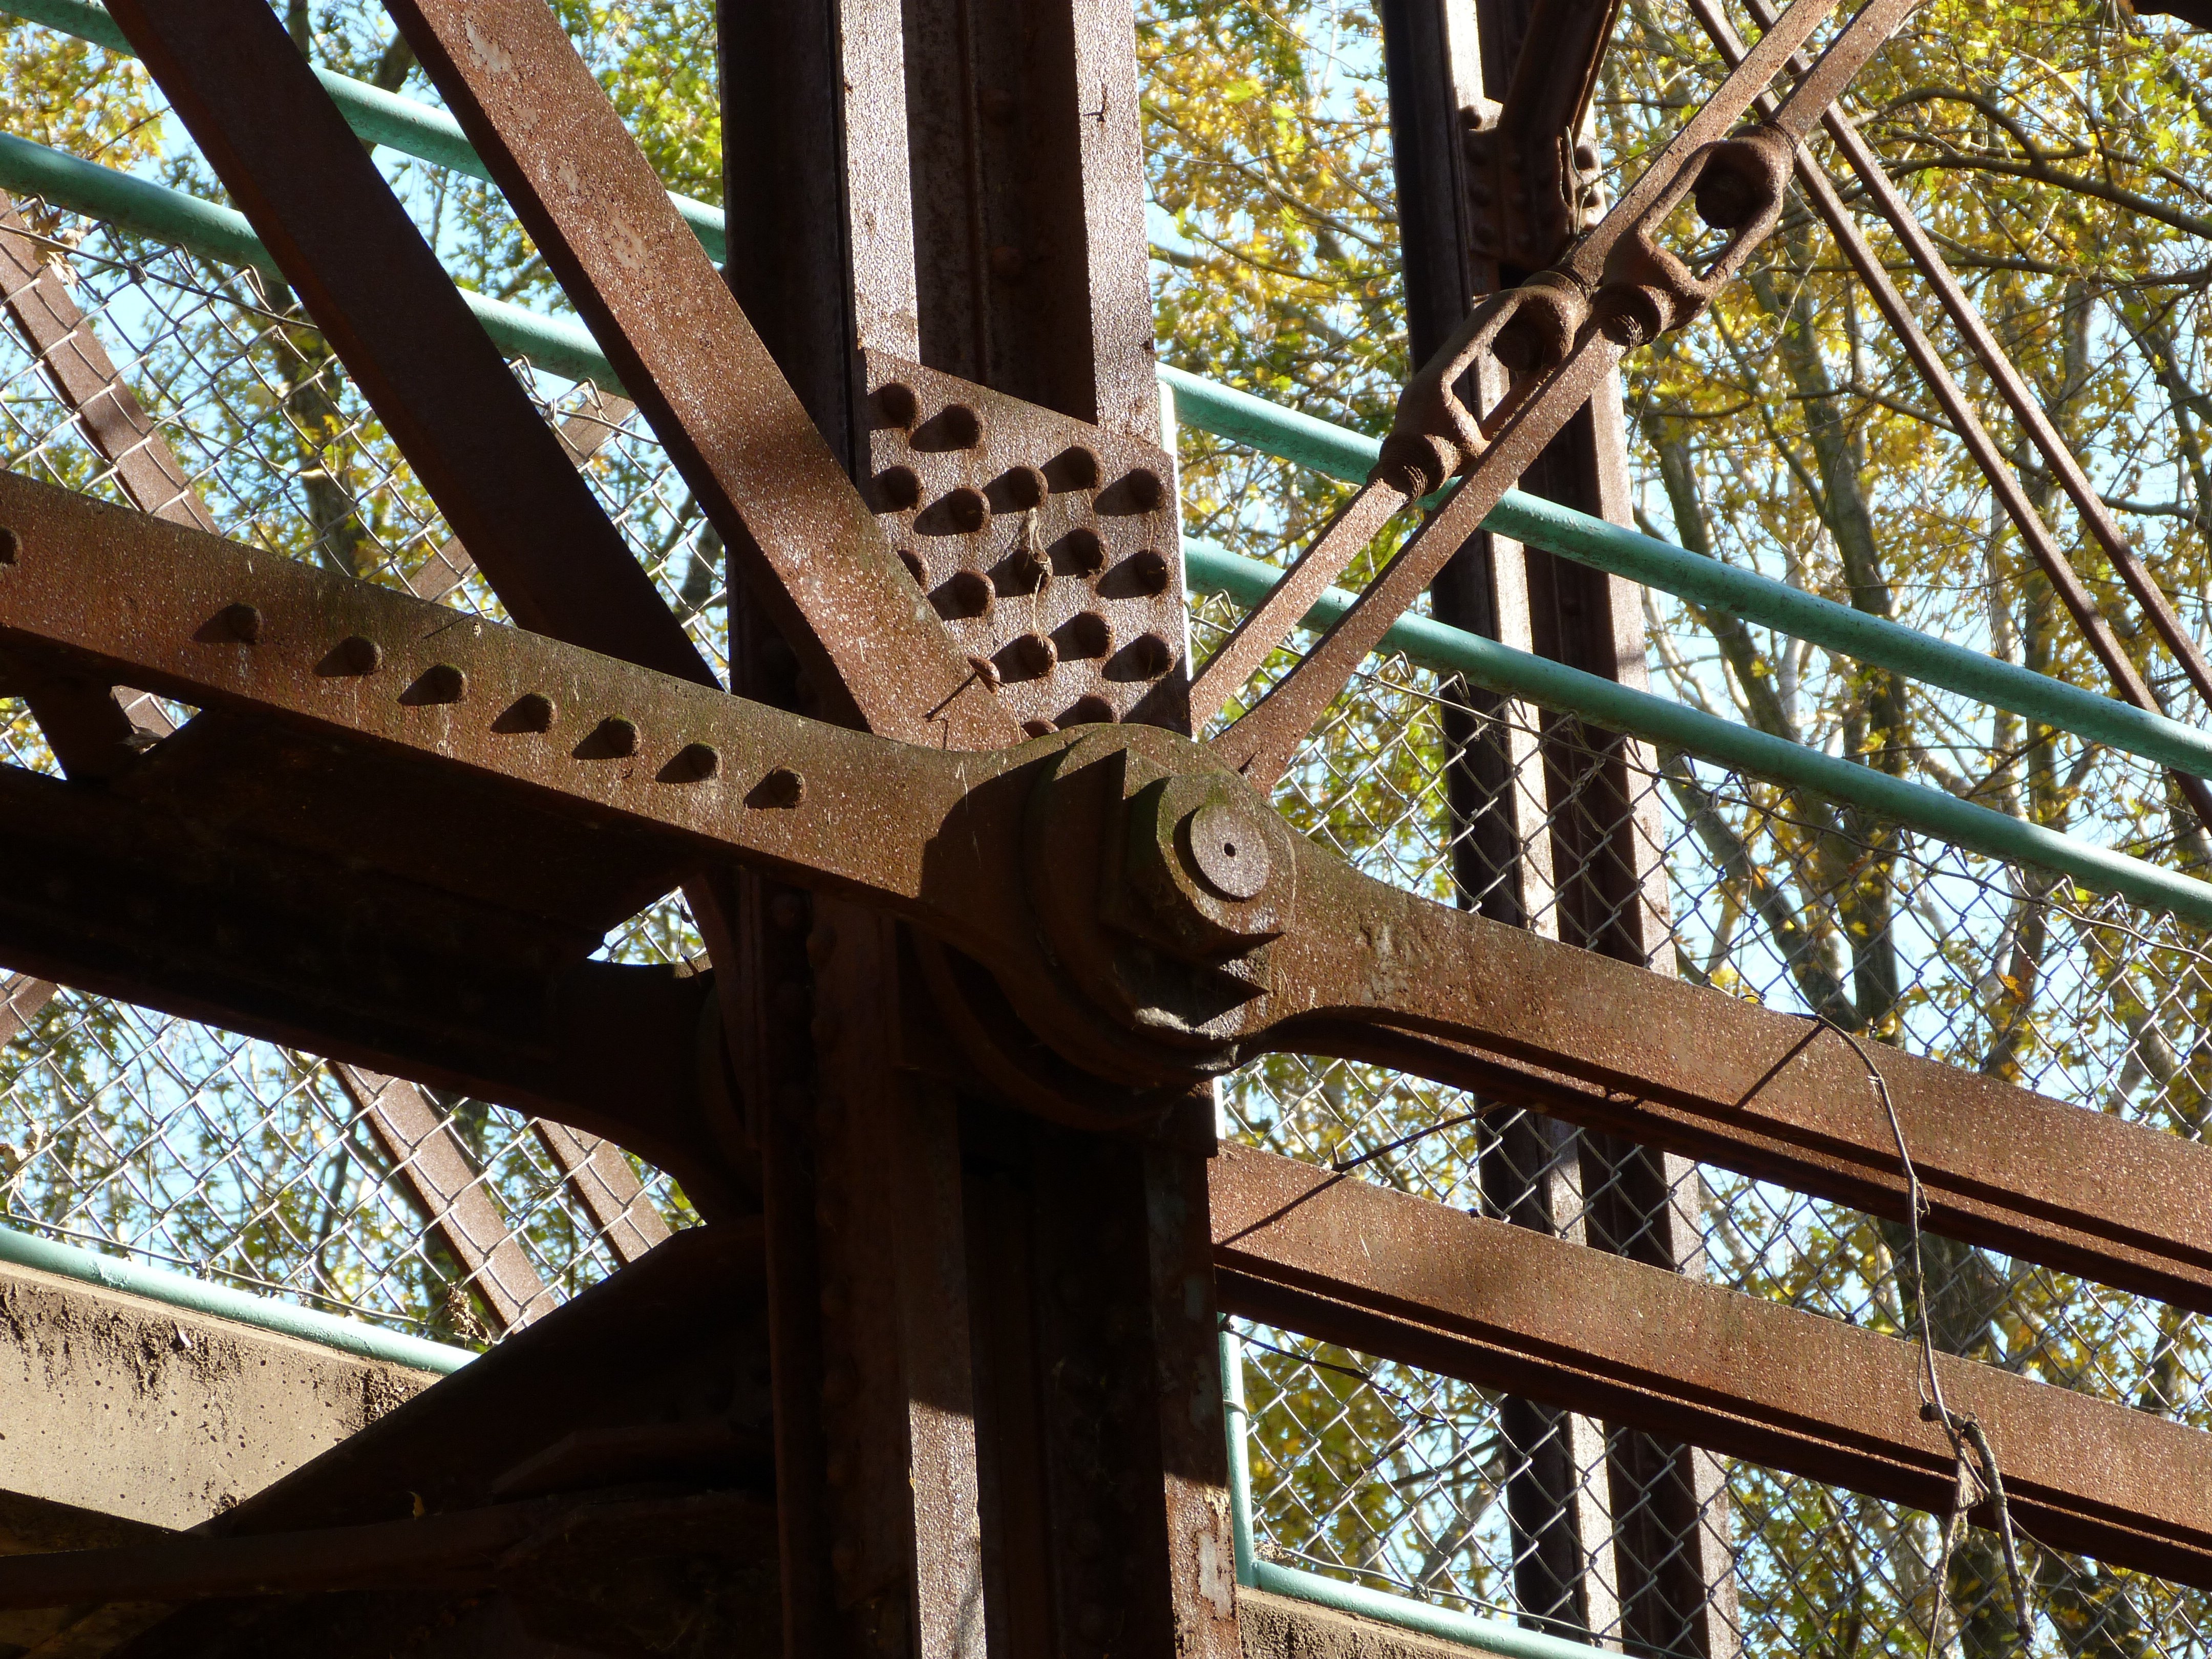
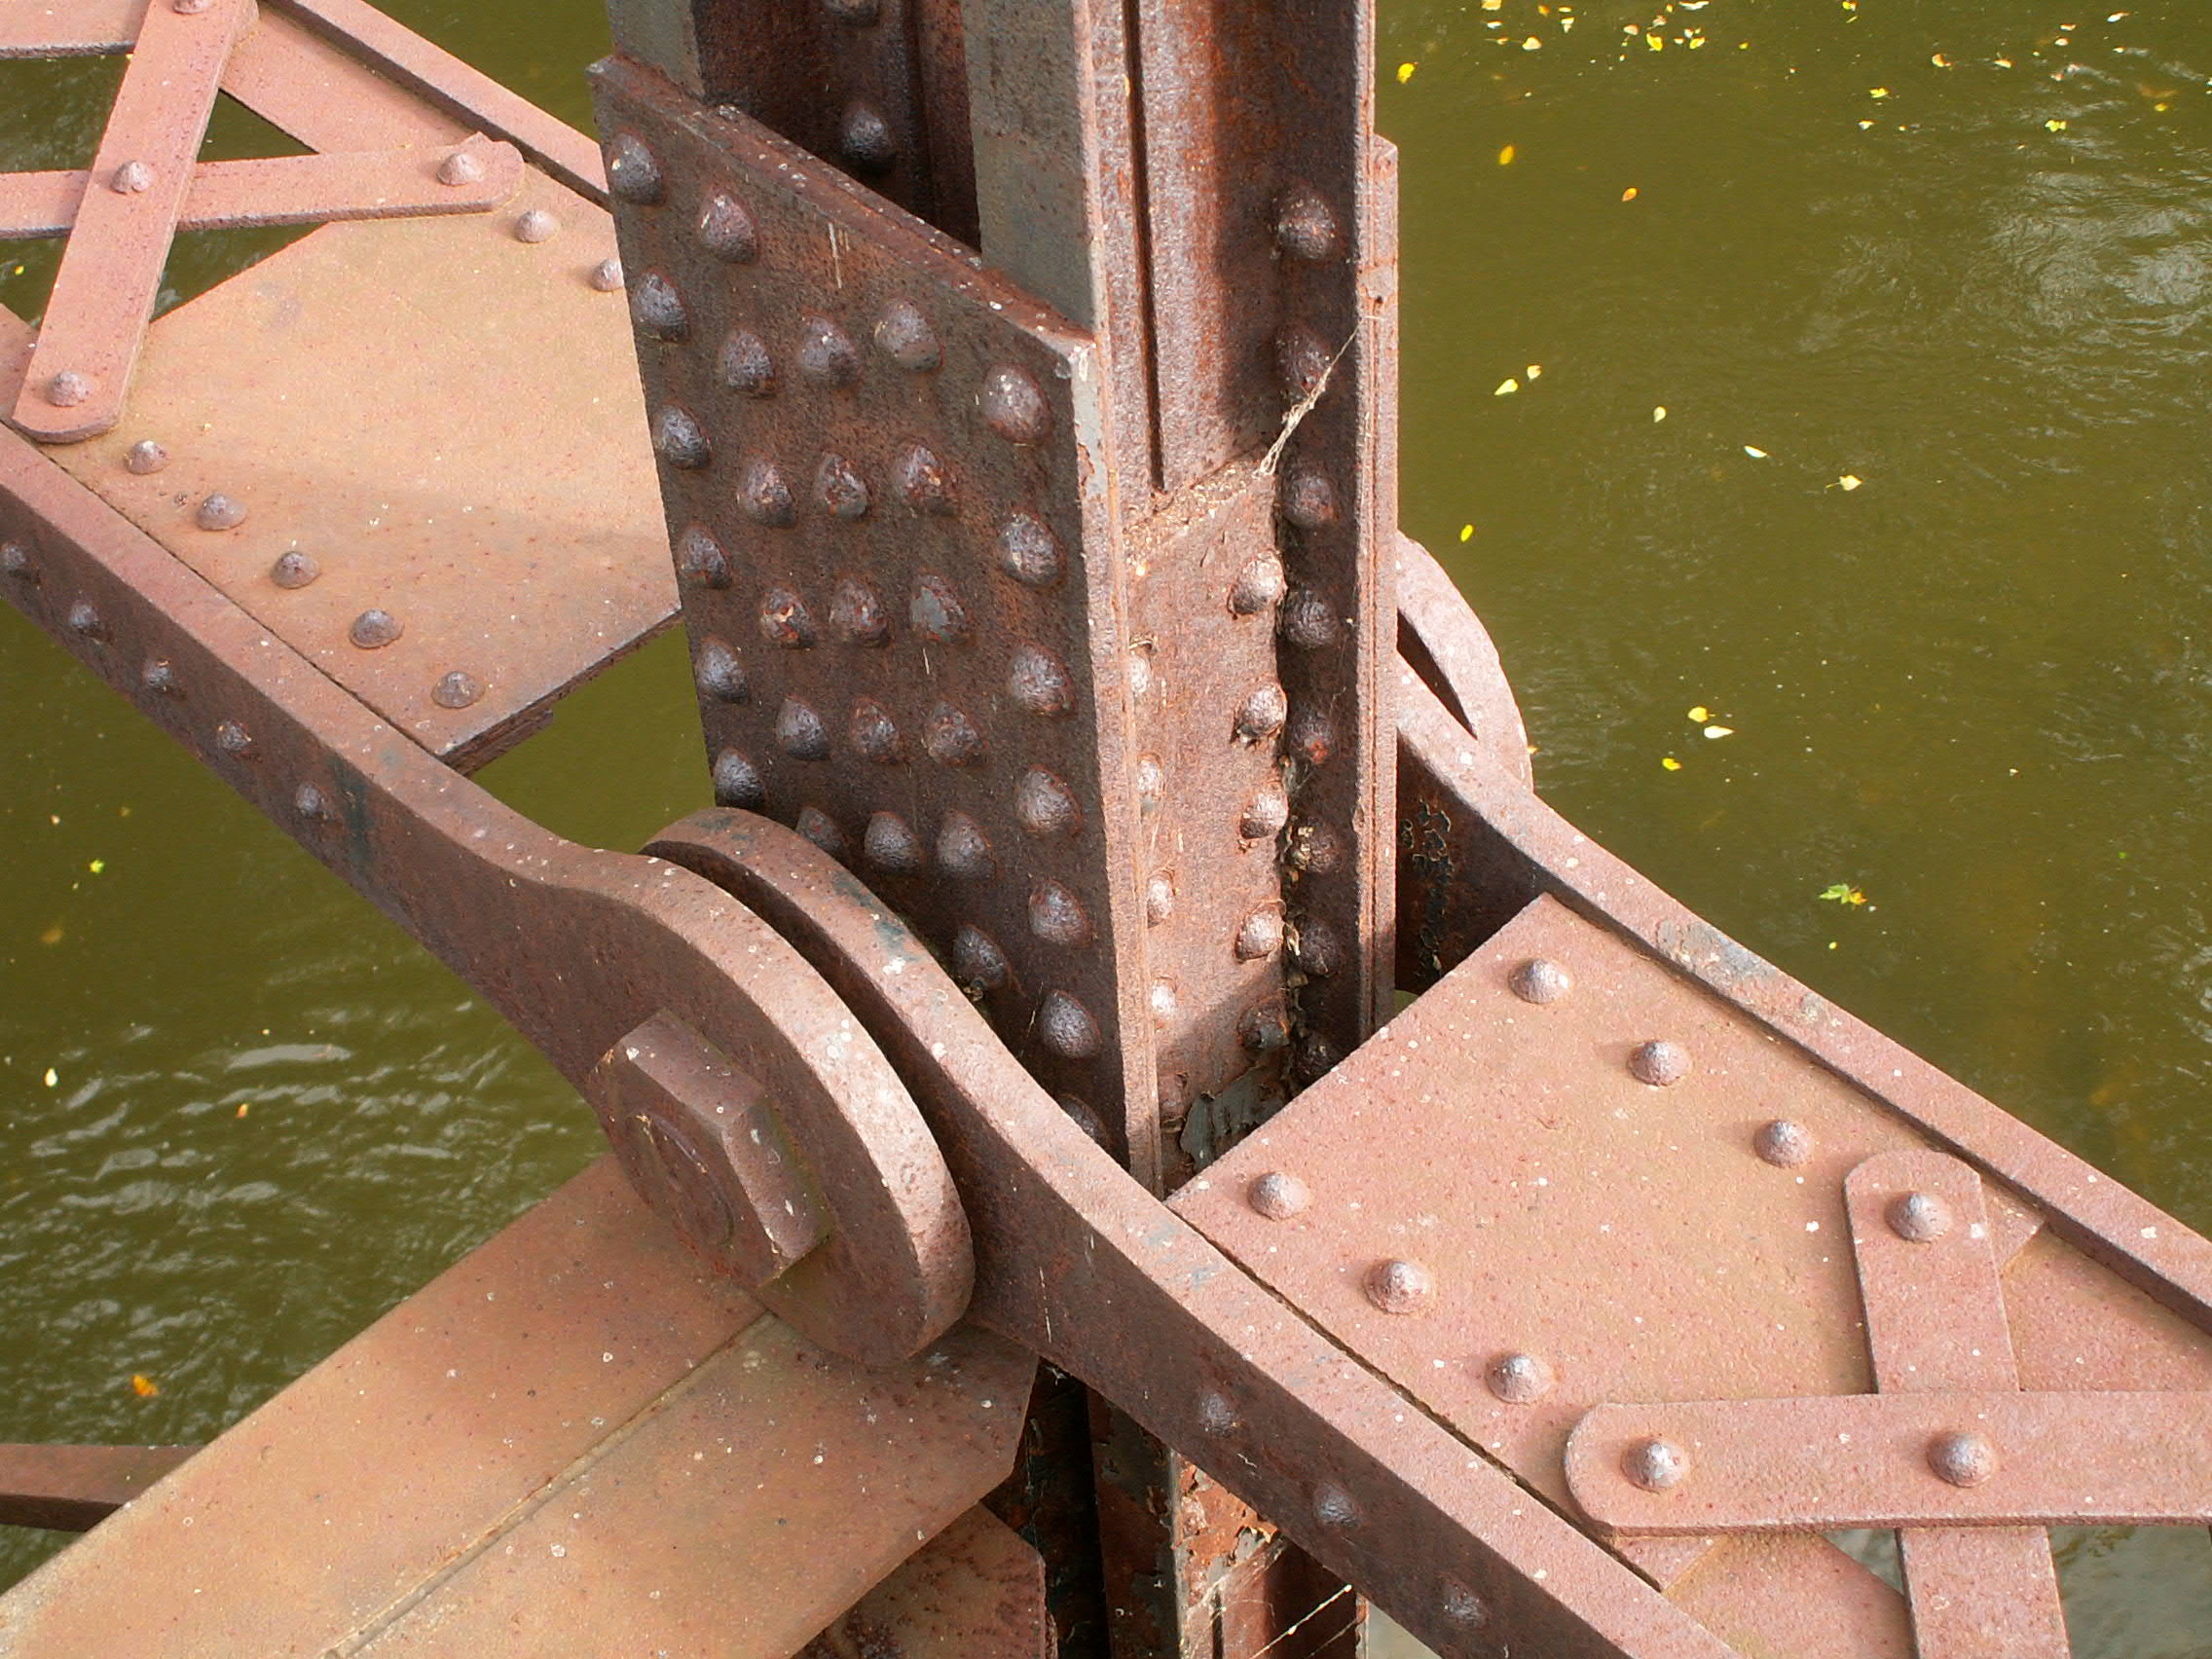
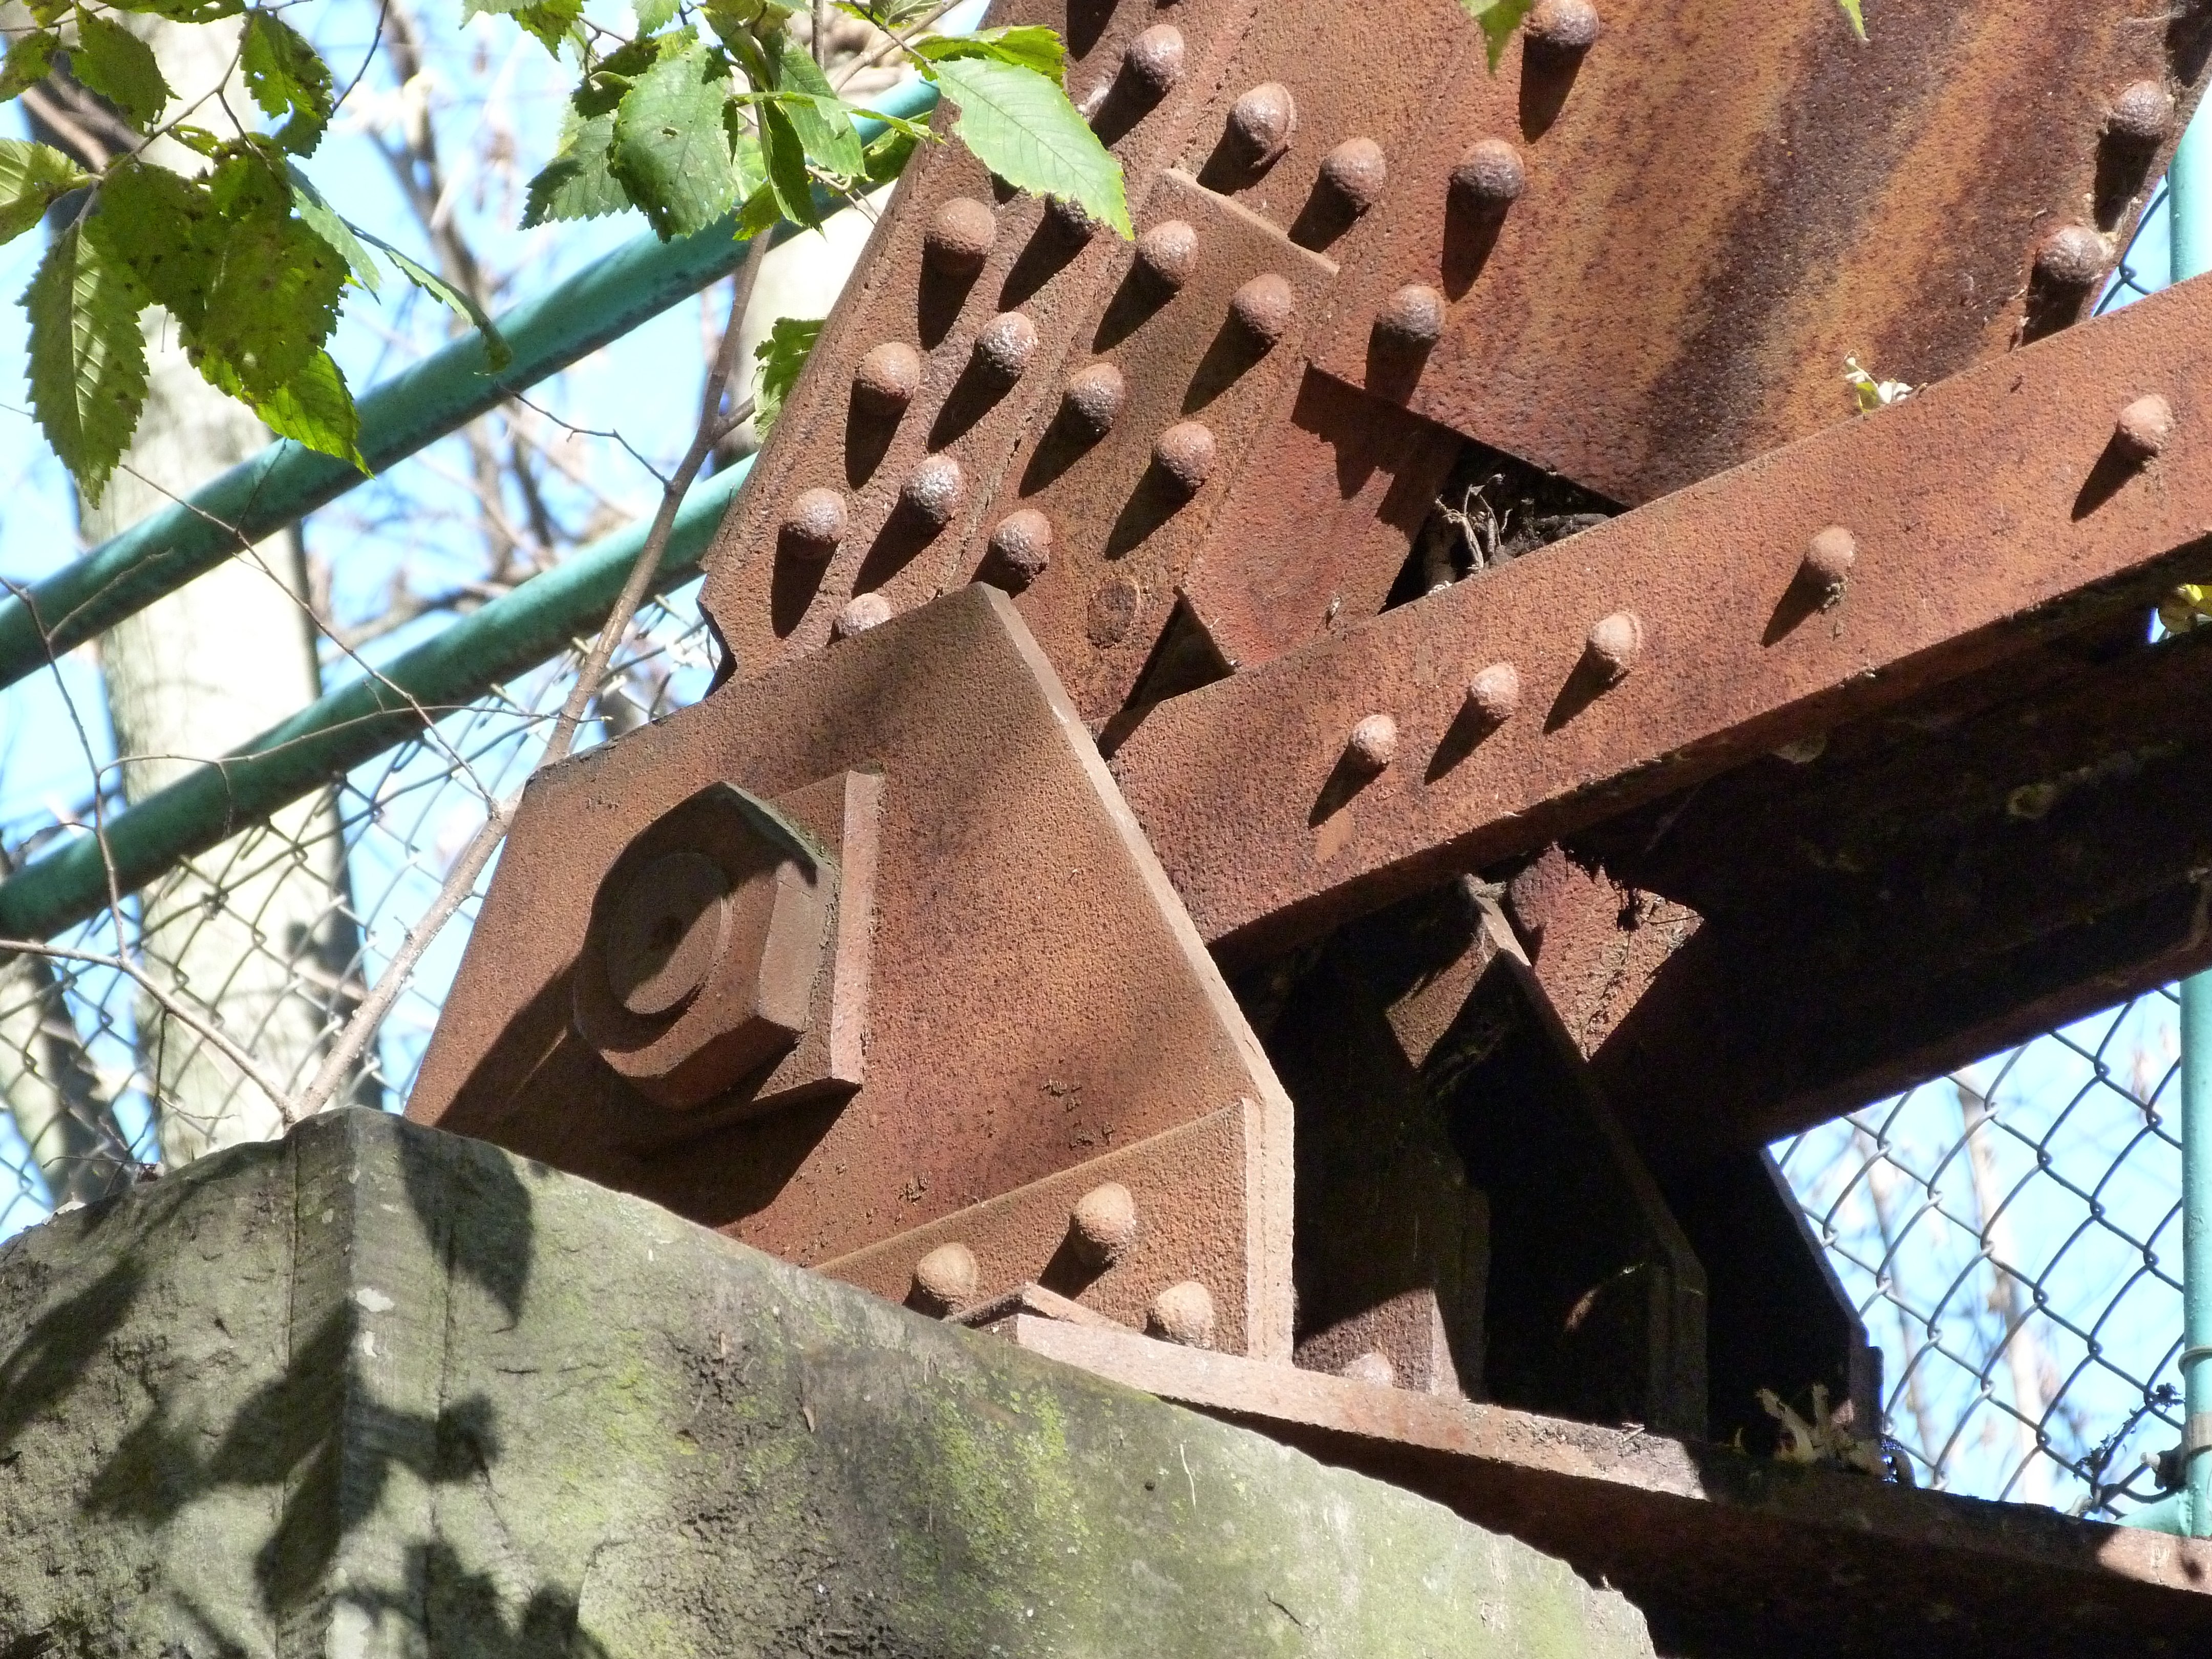
Swing span top chord connections as viewed from beside bridge.
![]()
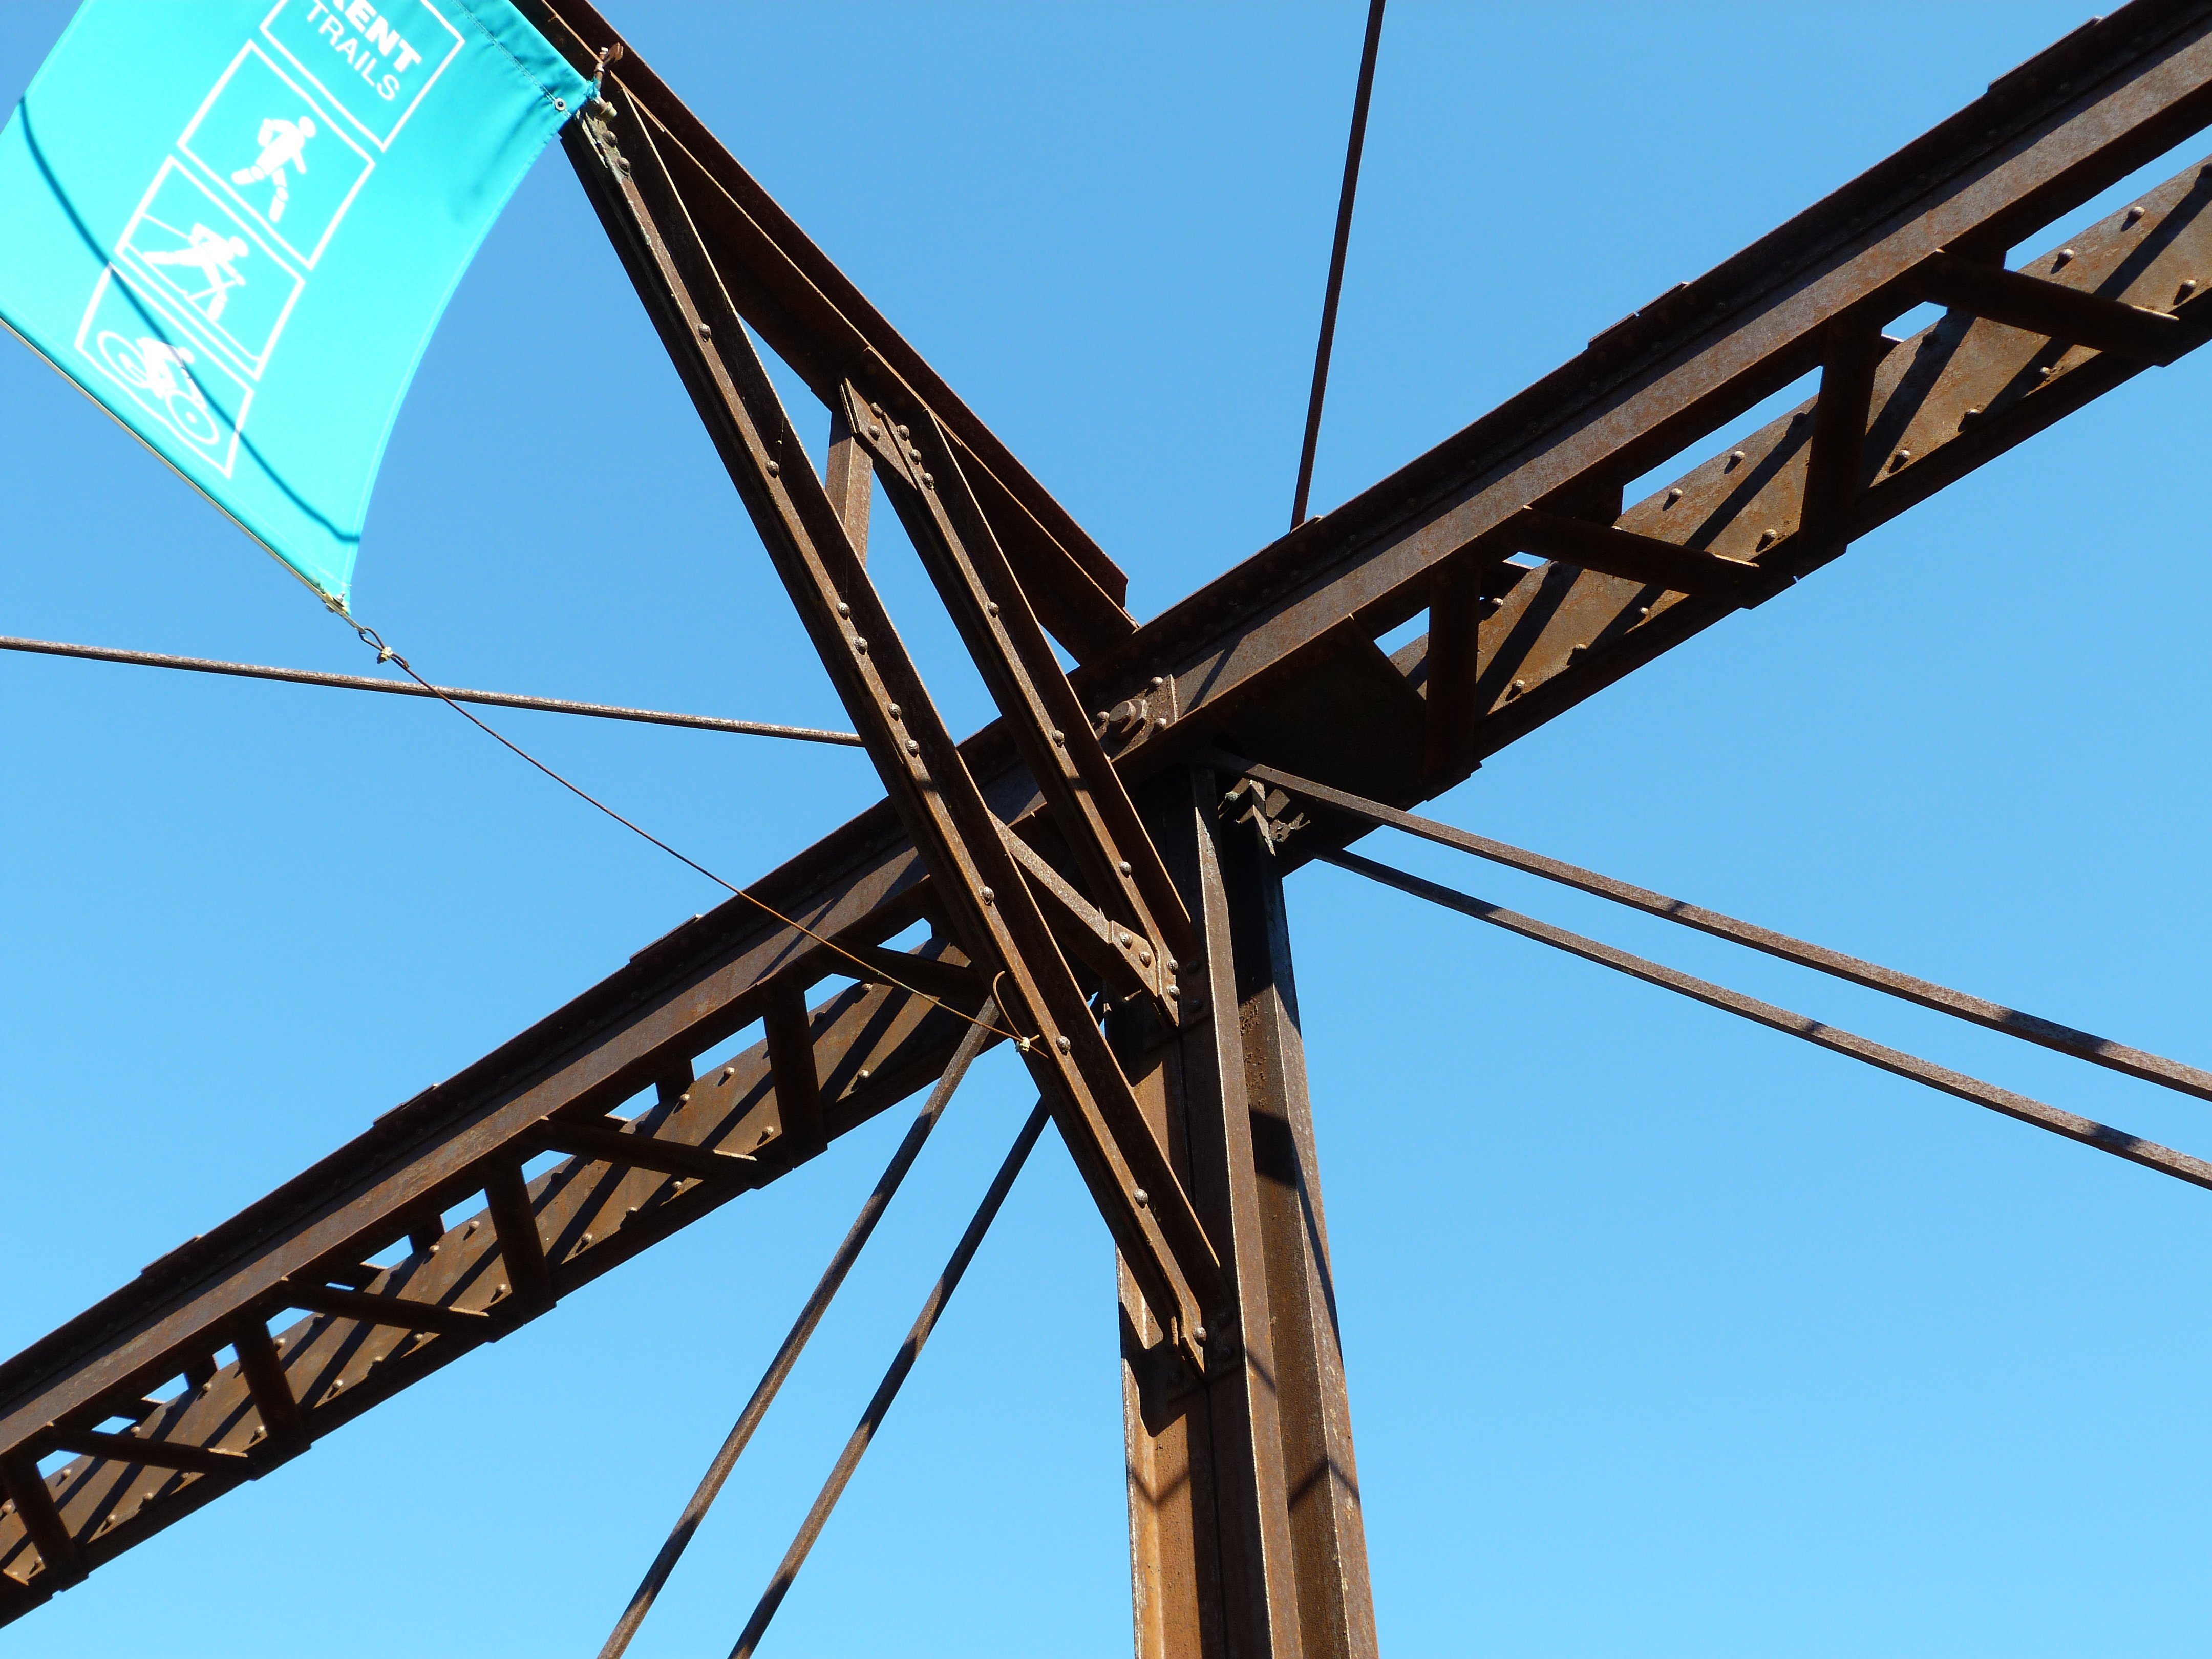
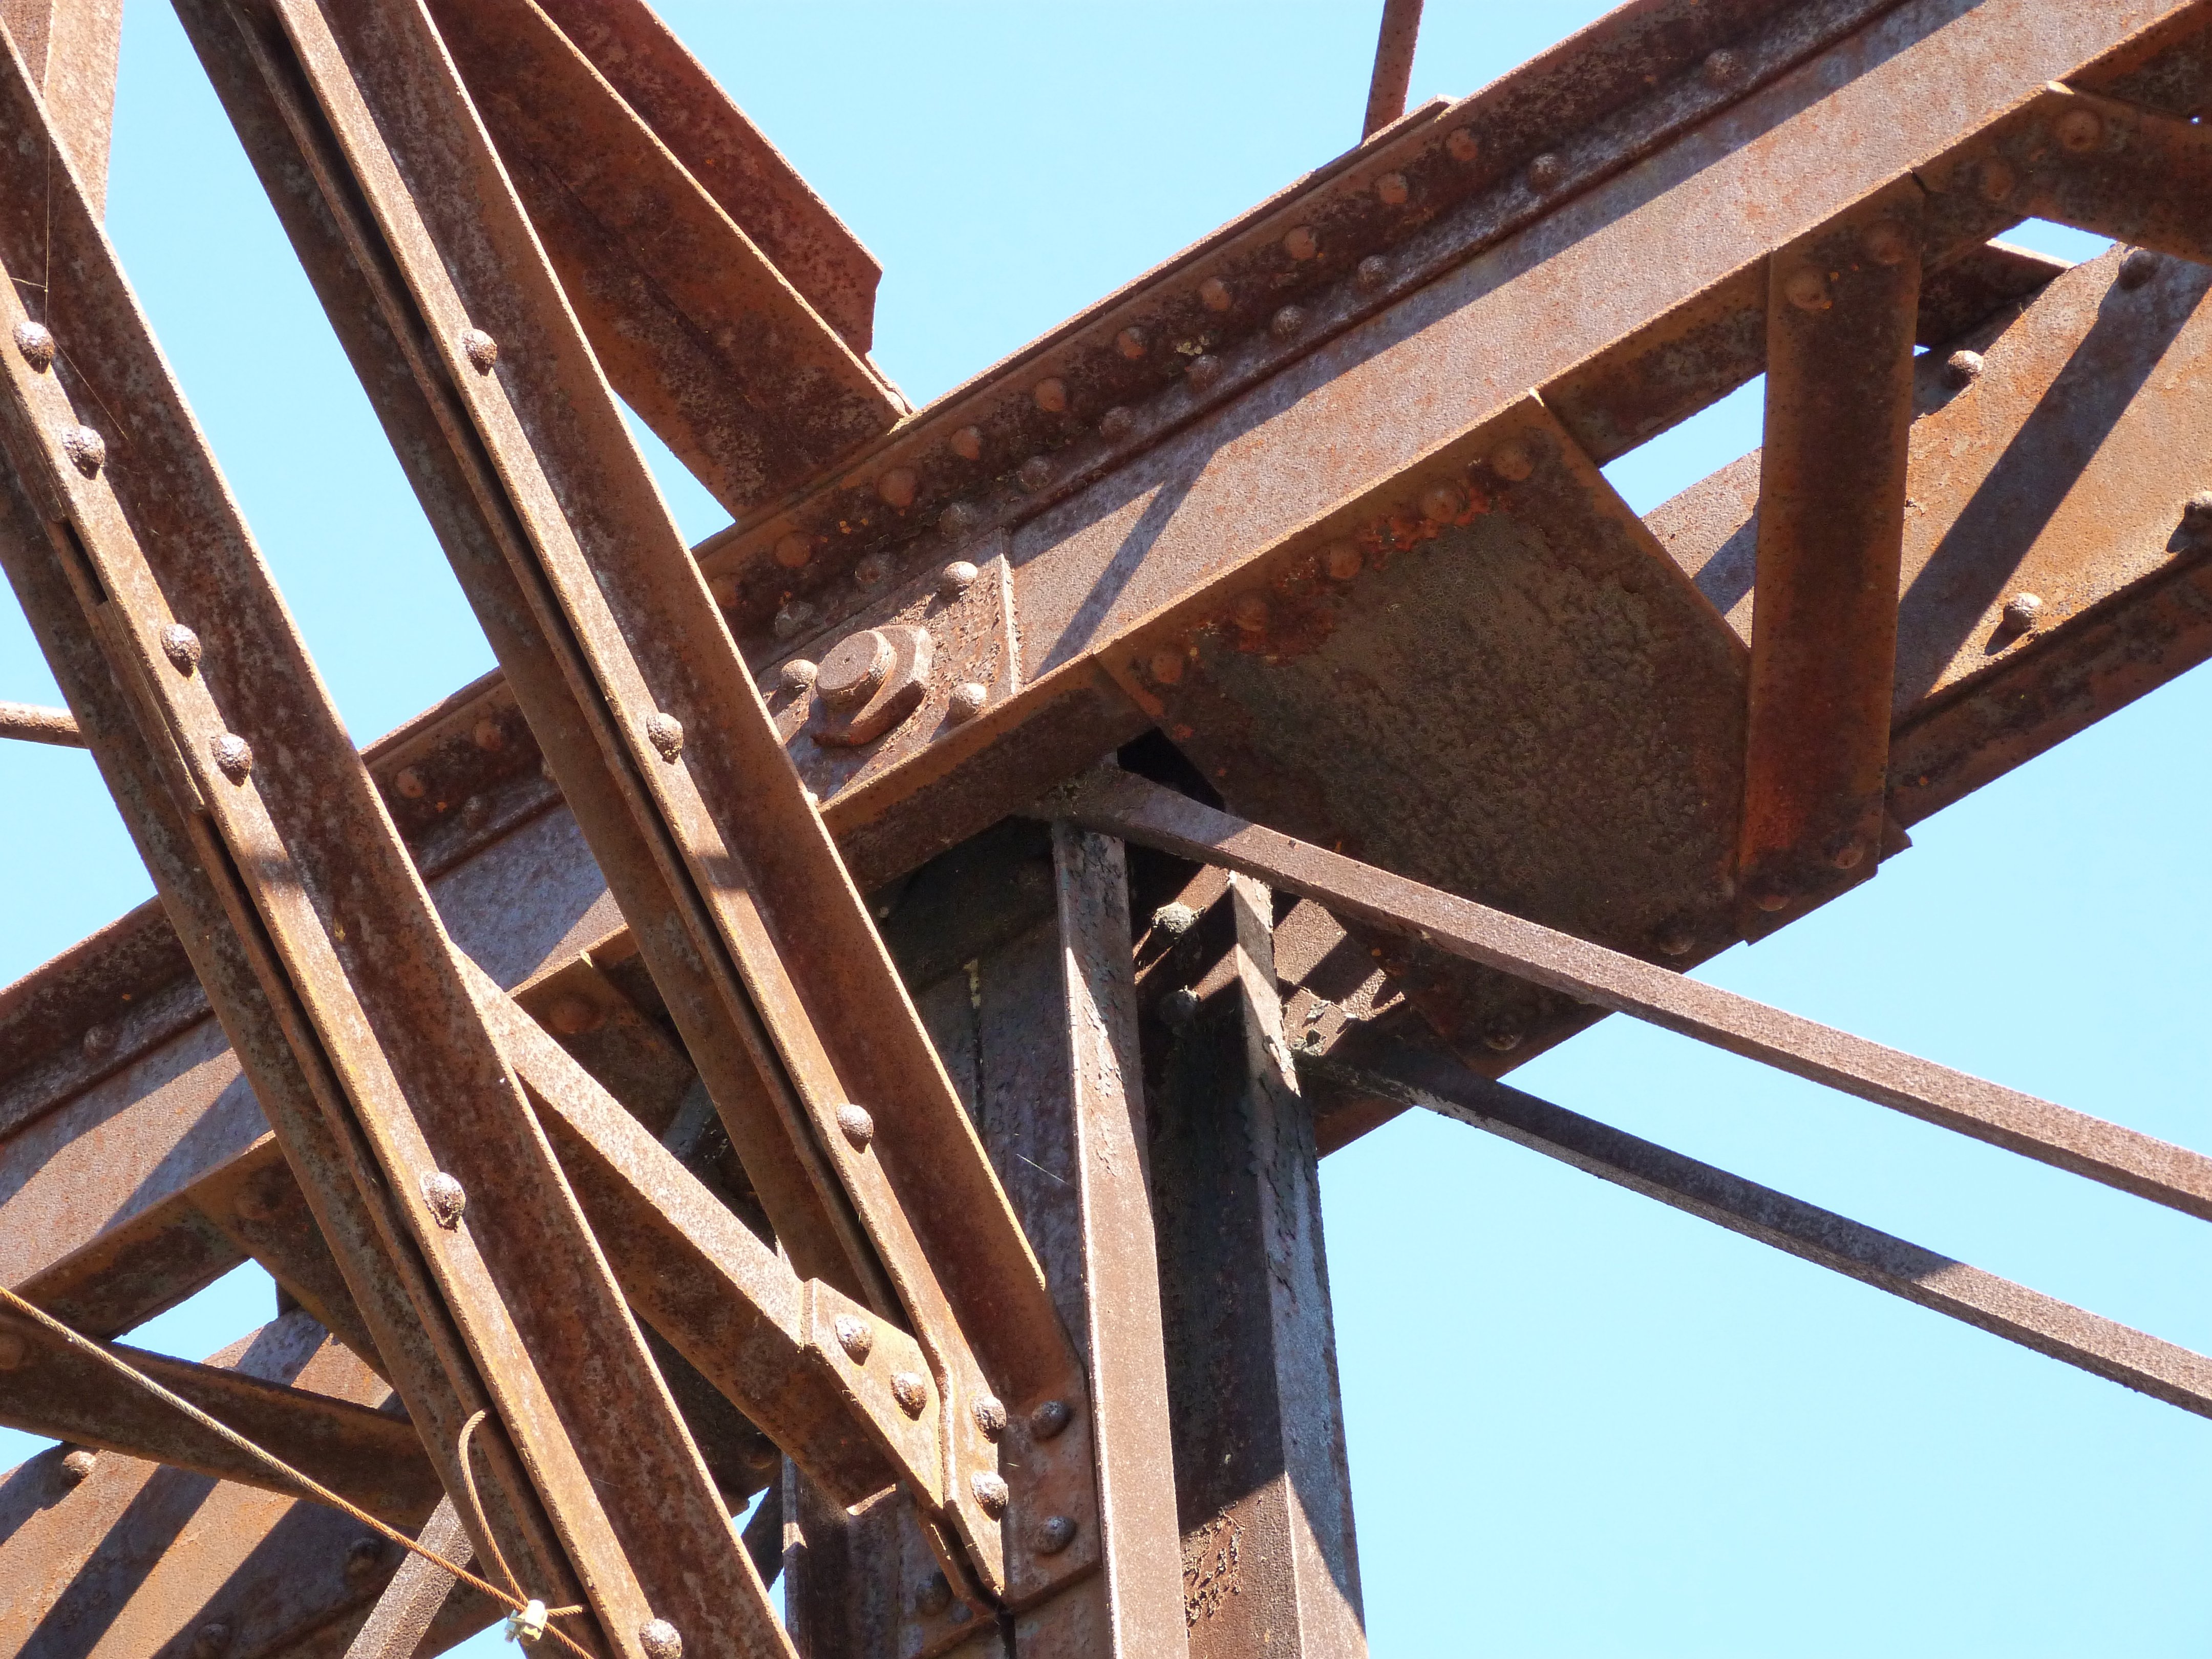


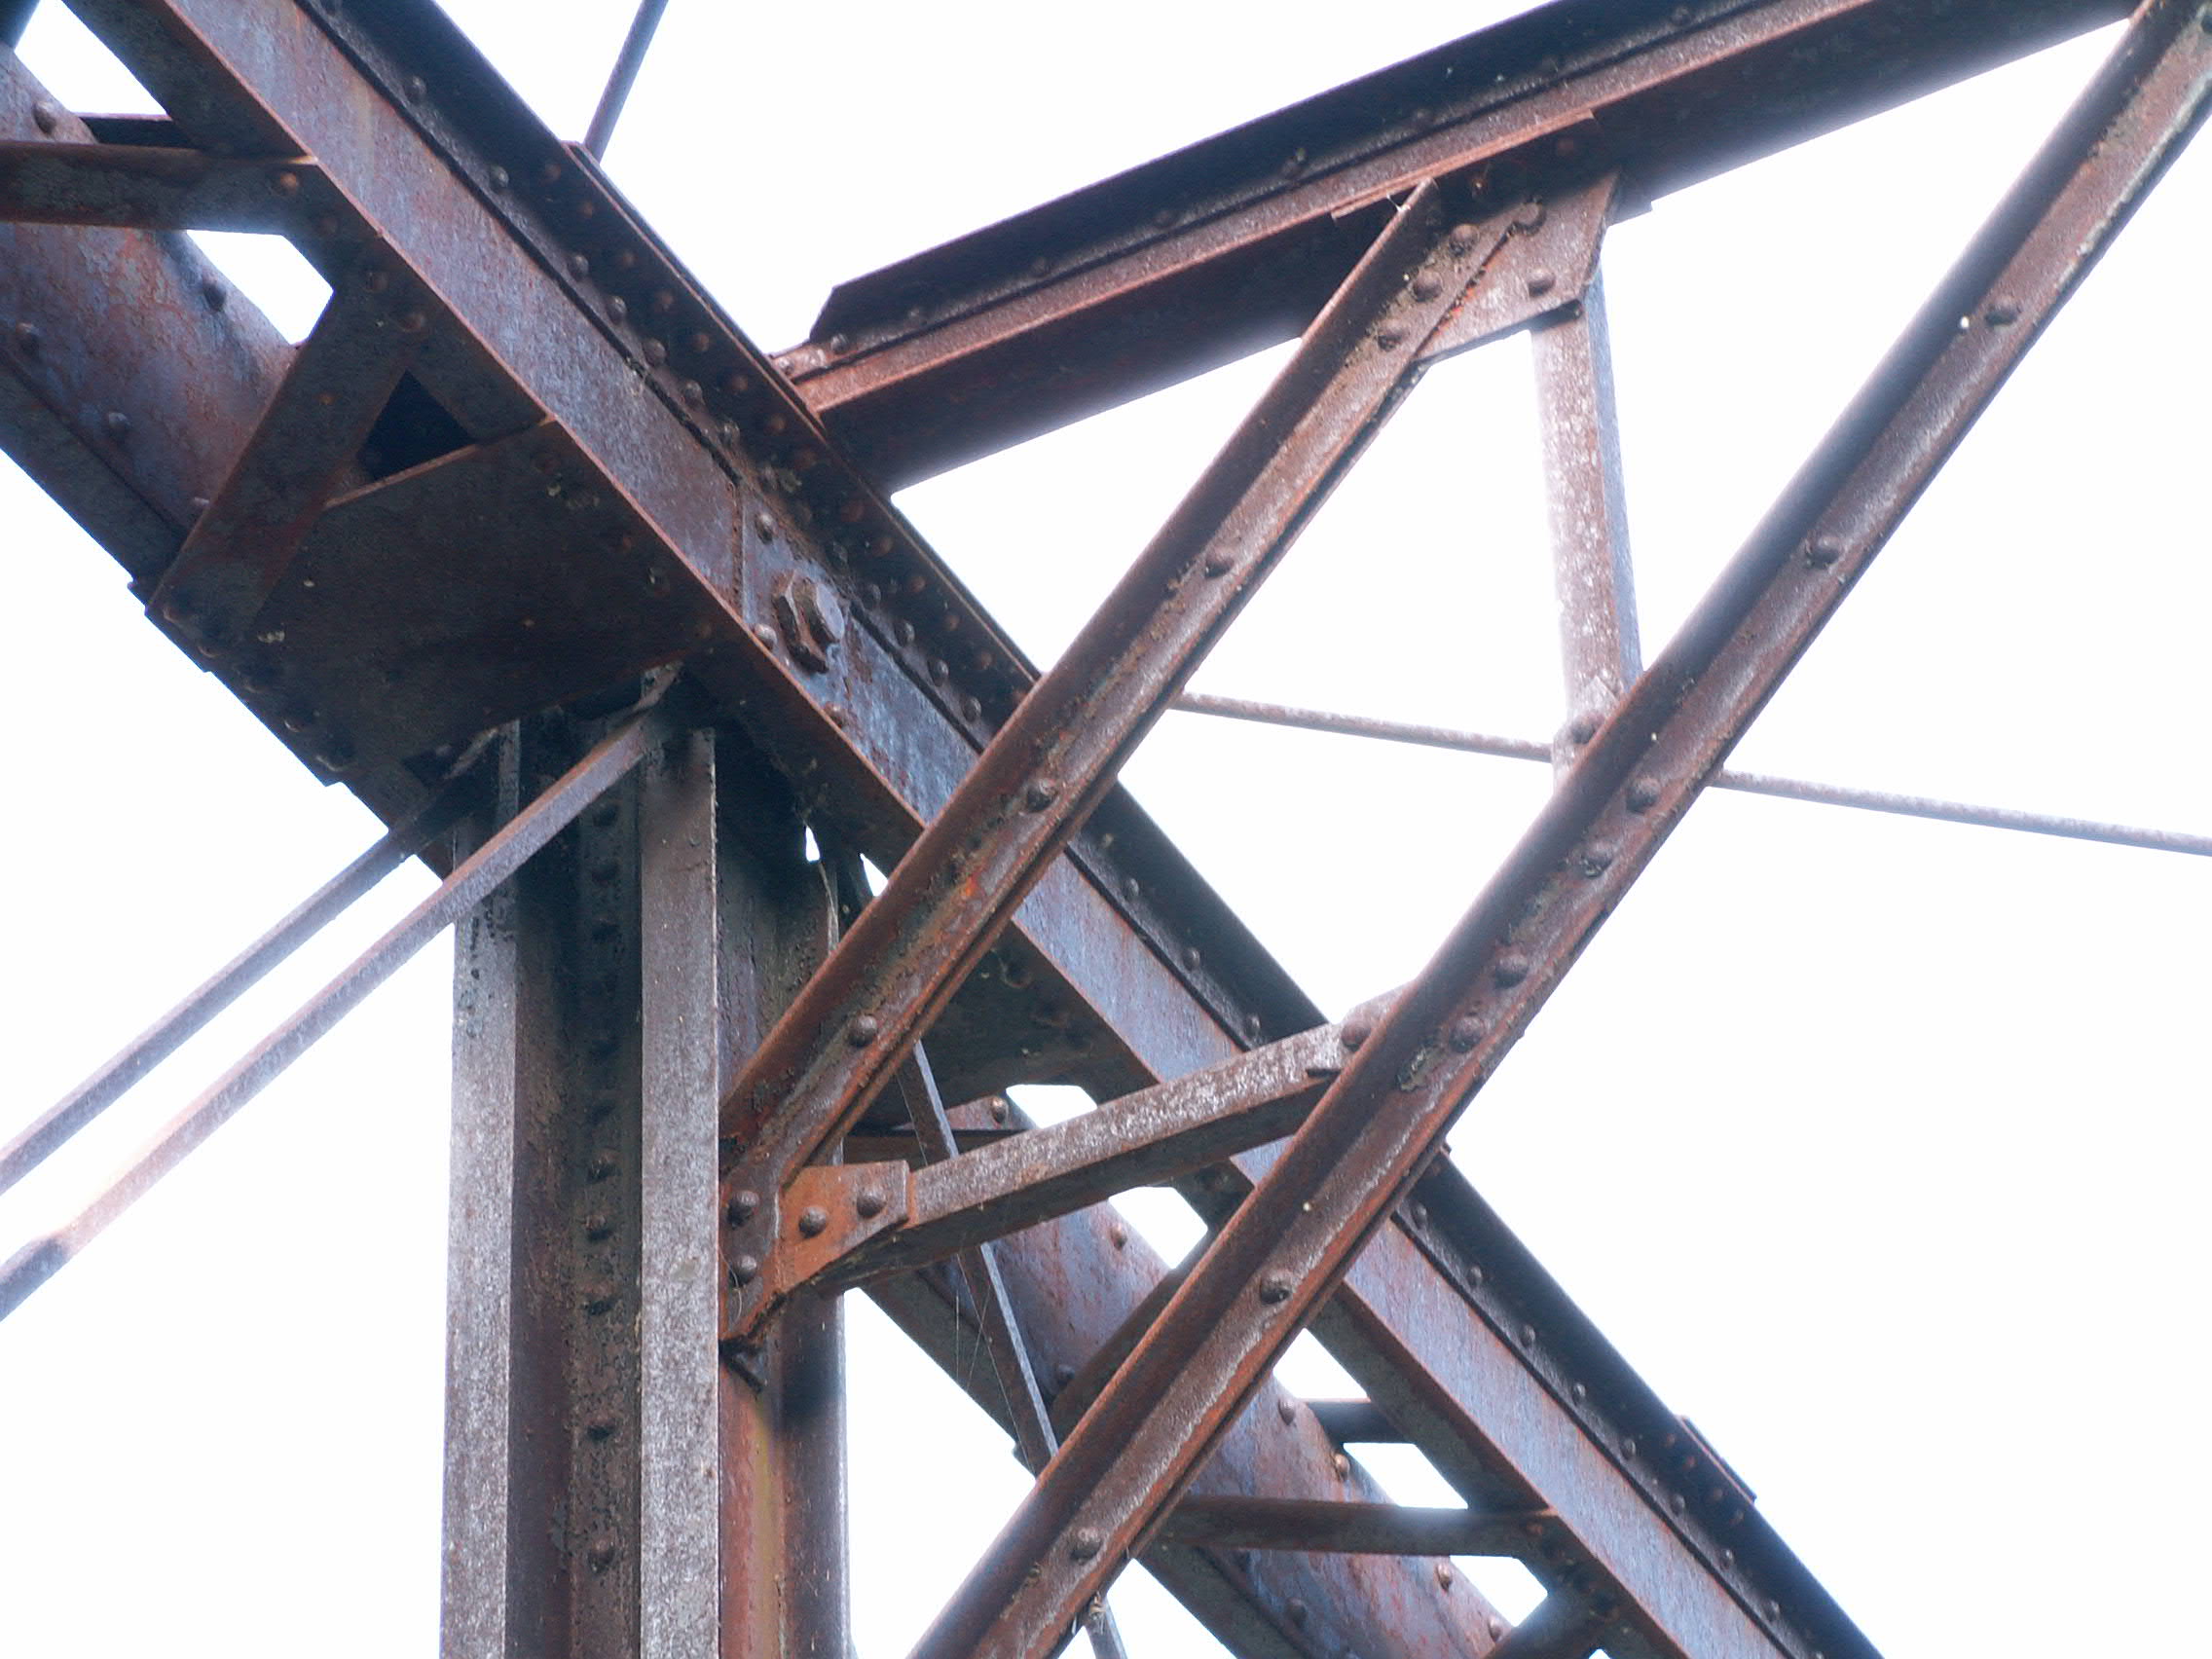
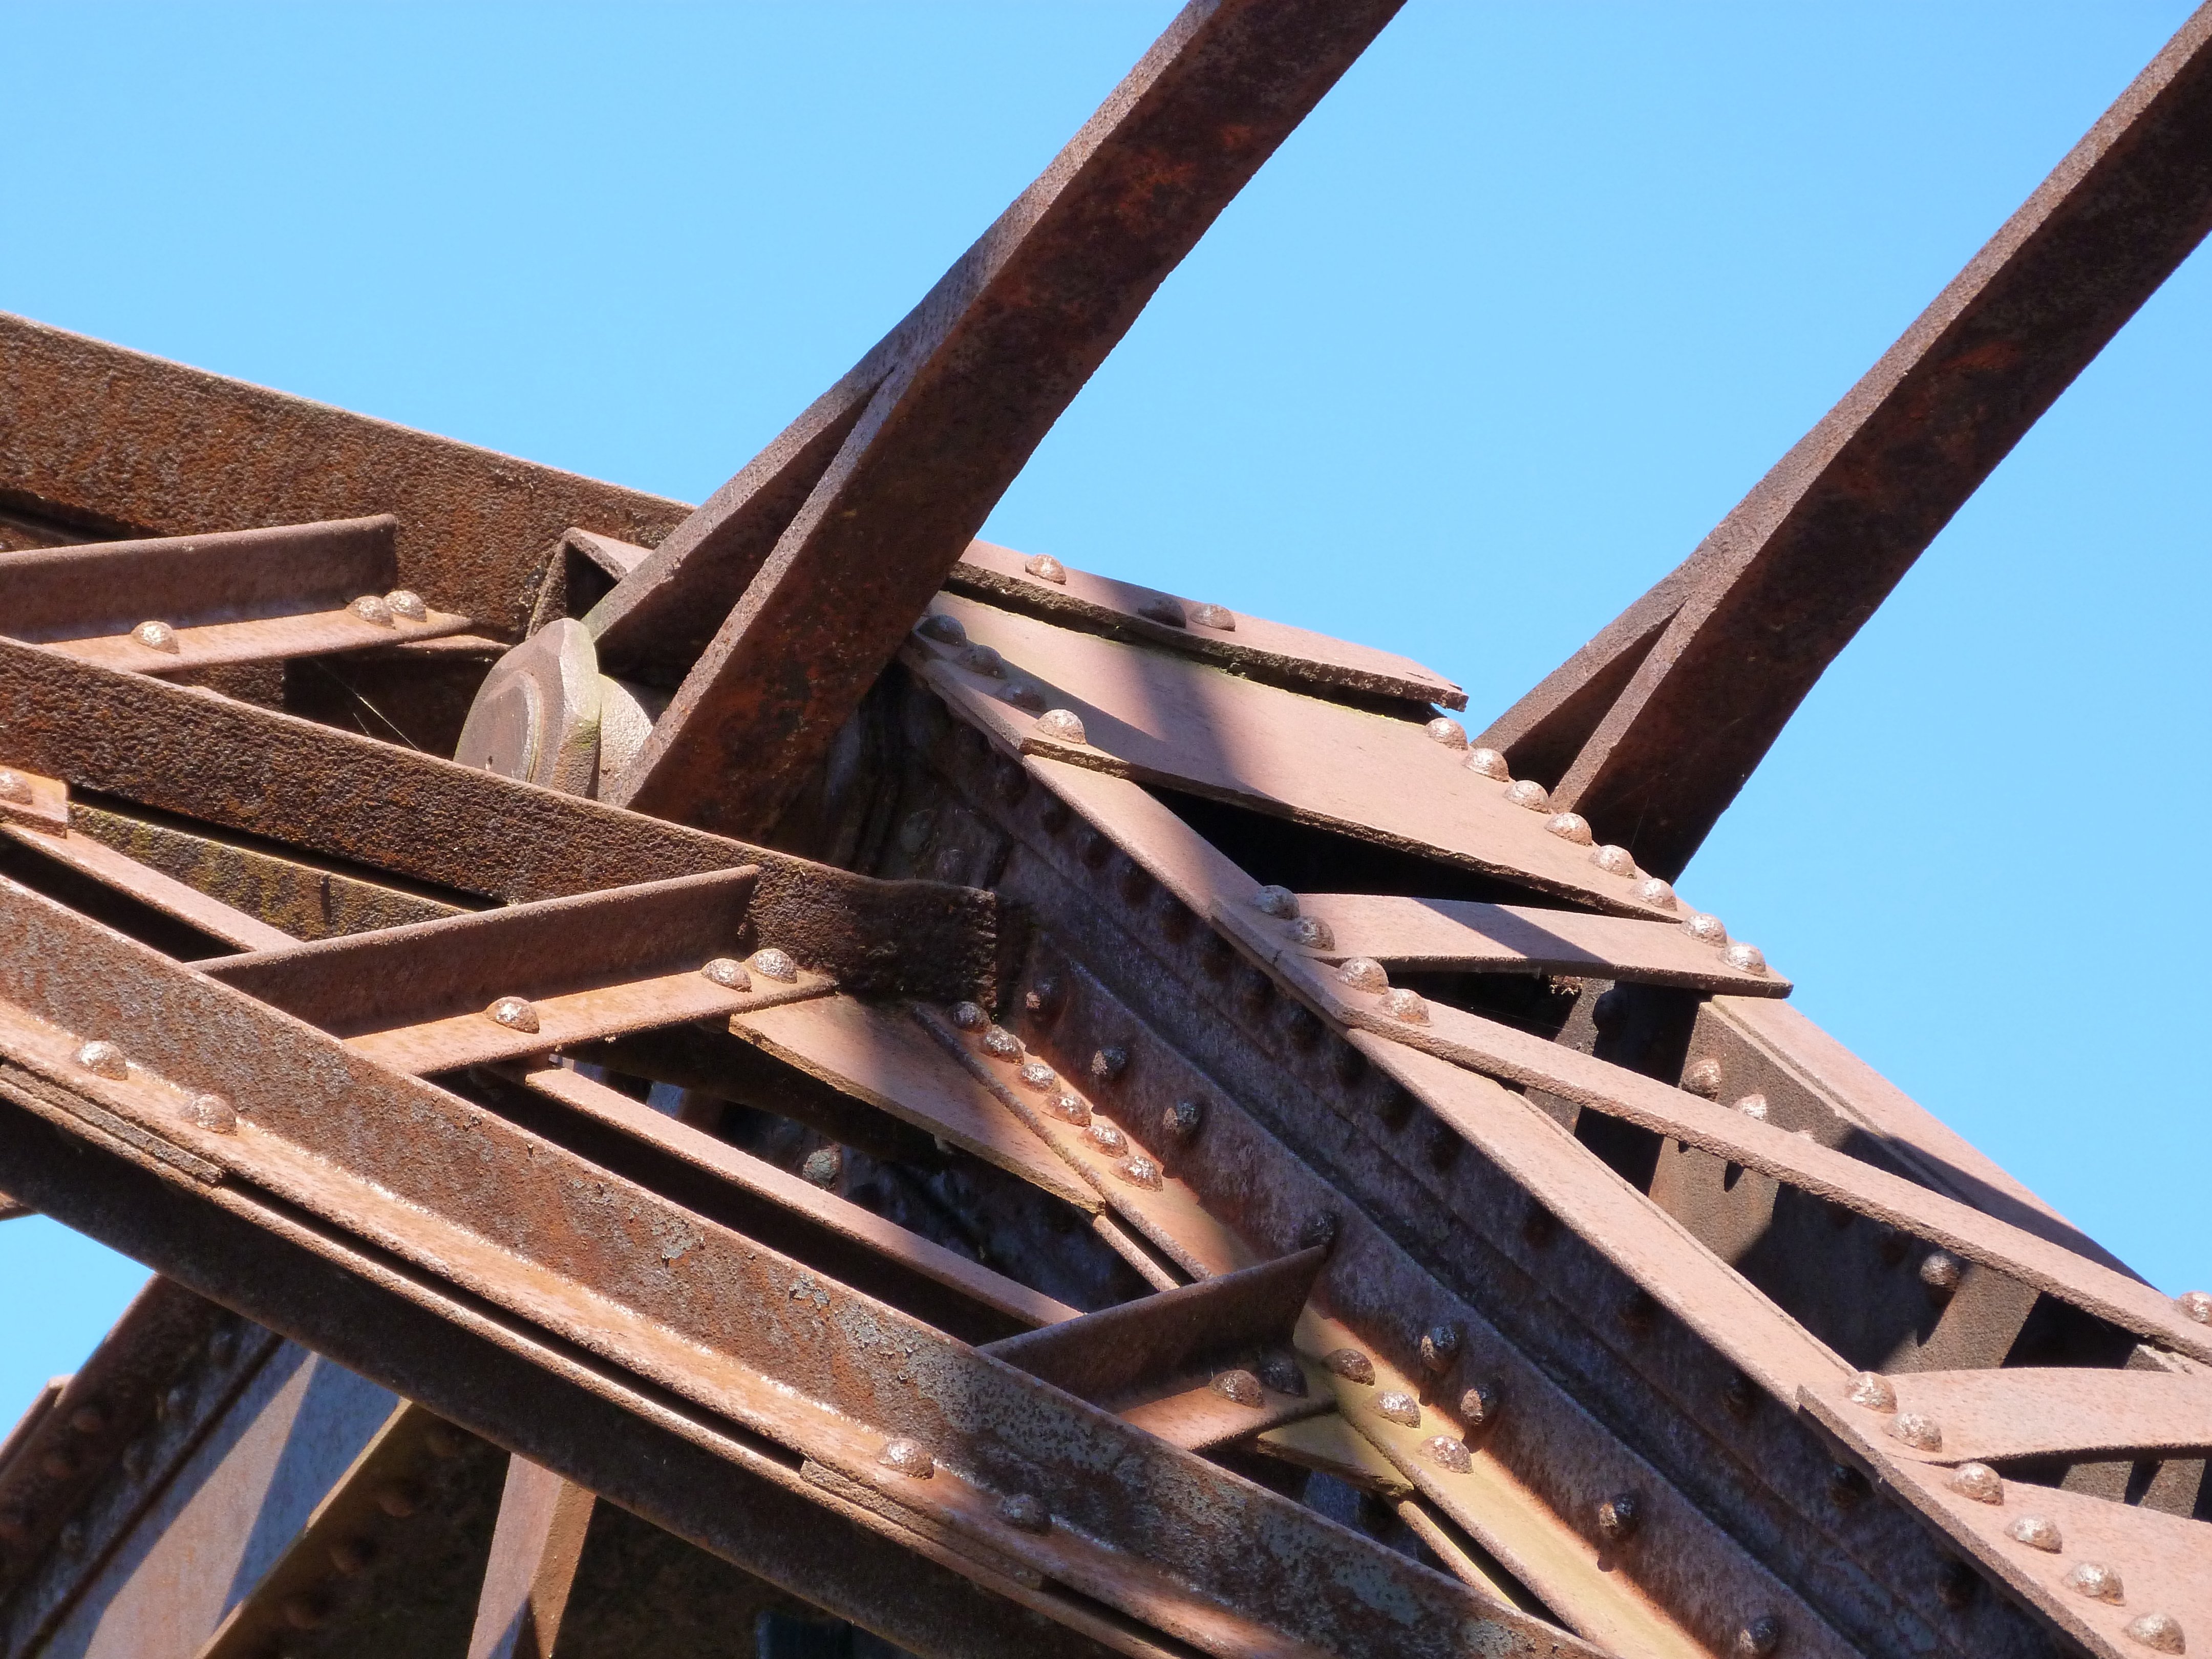
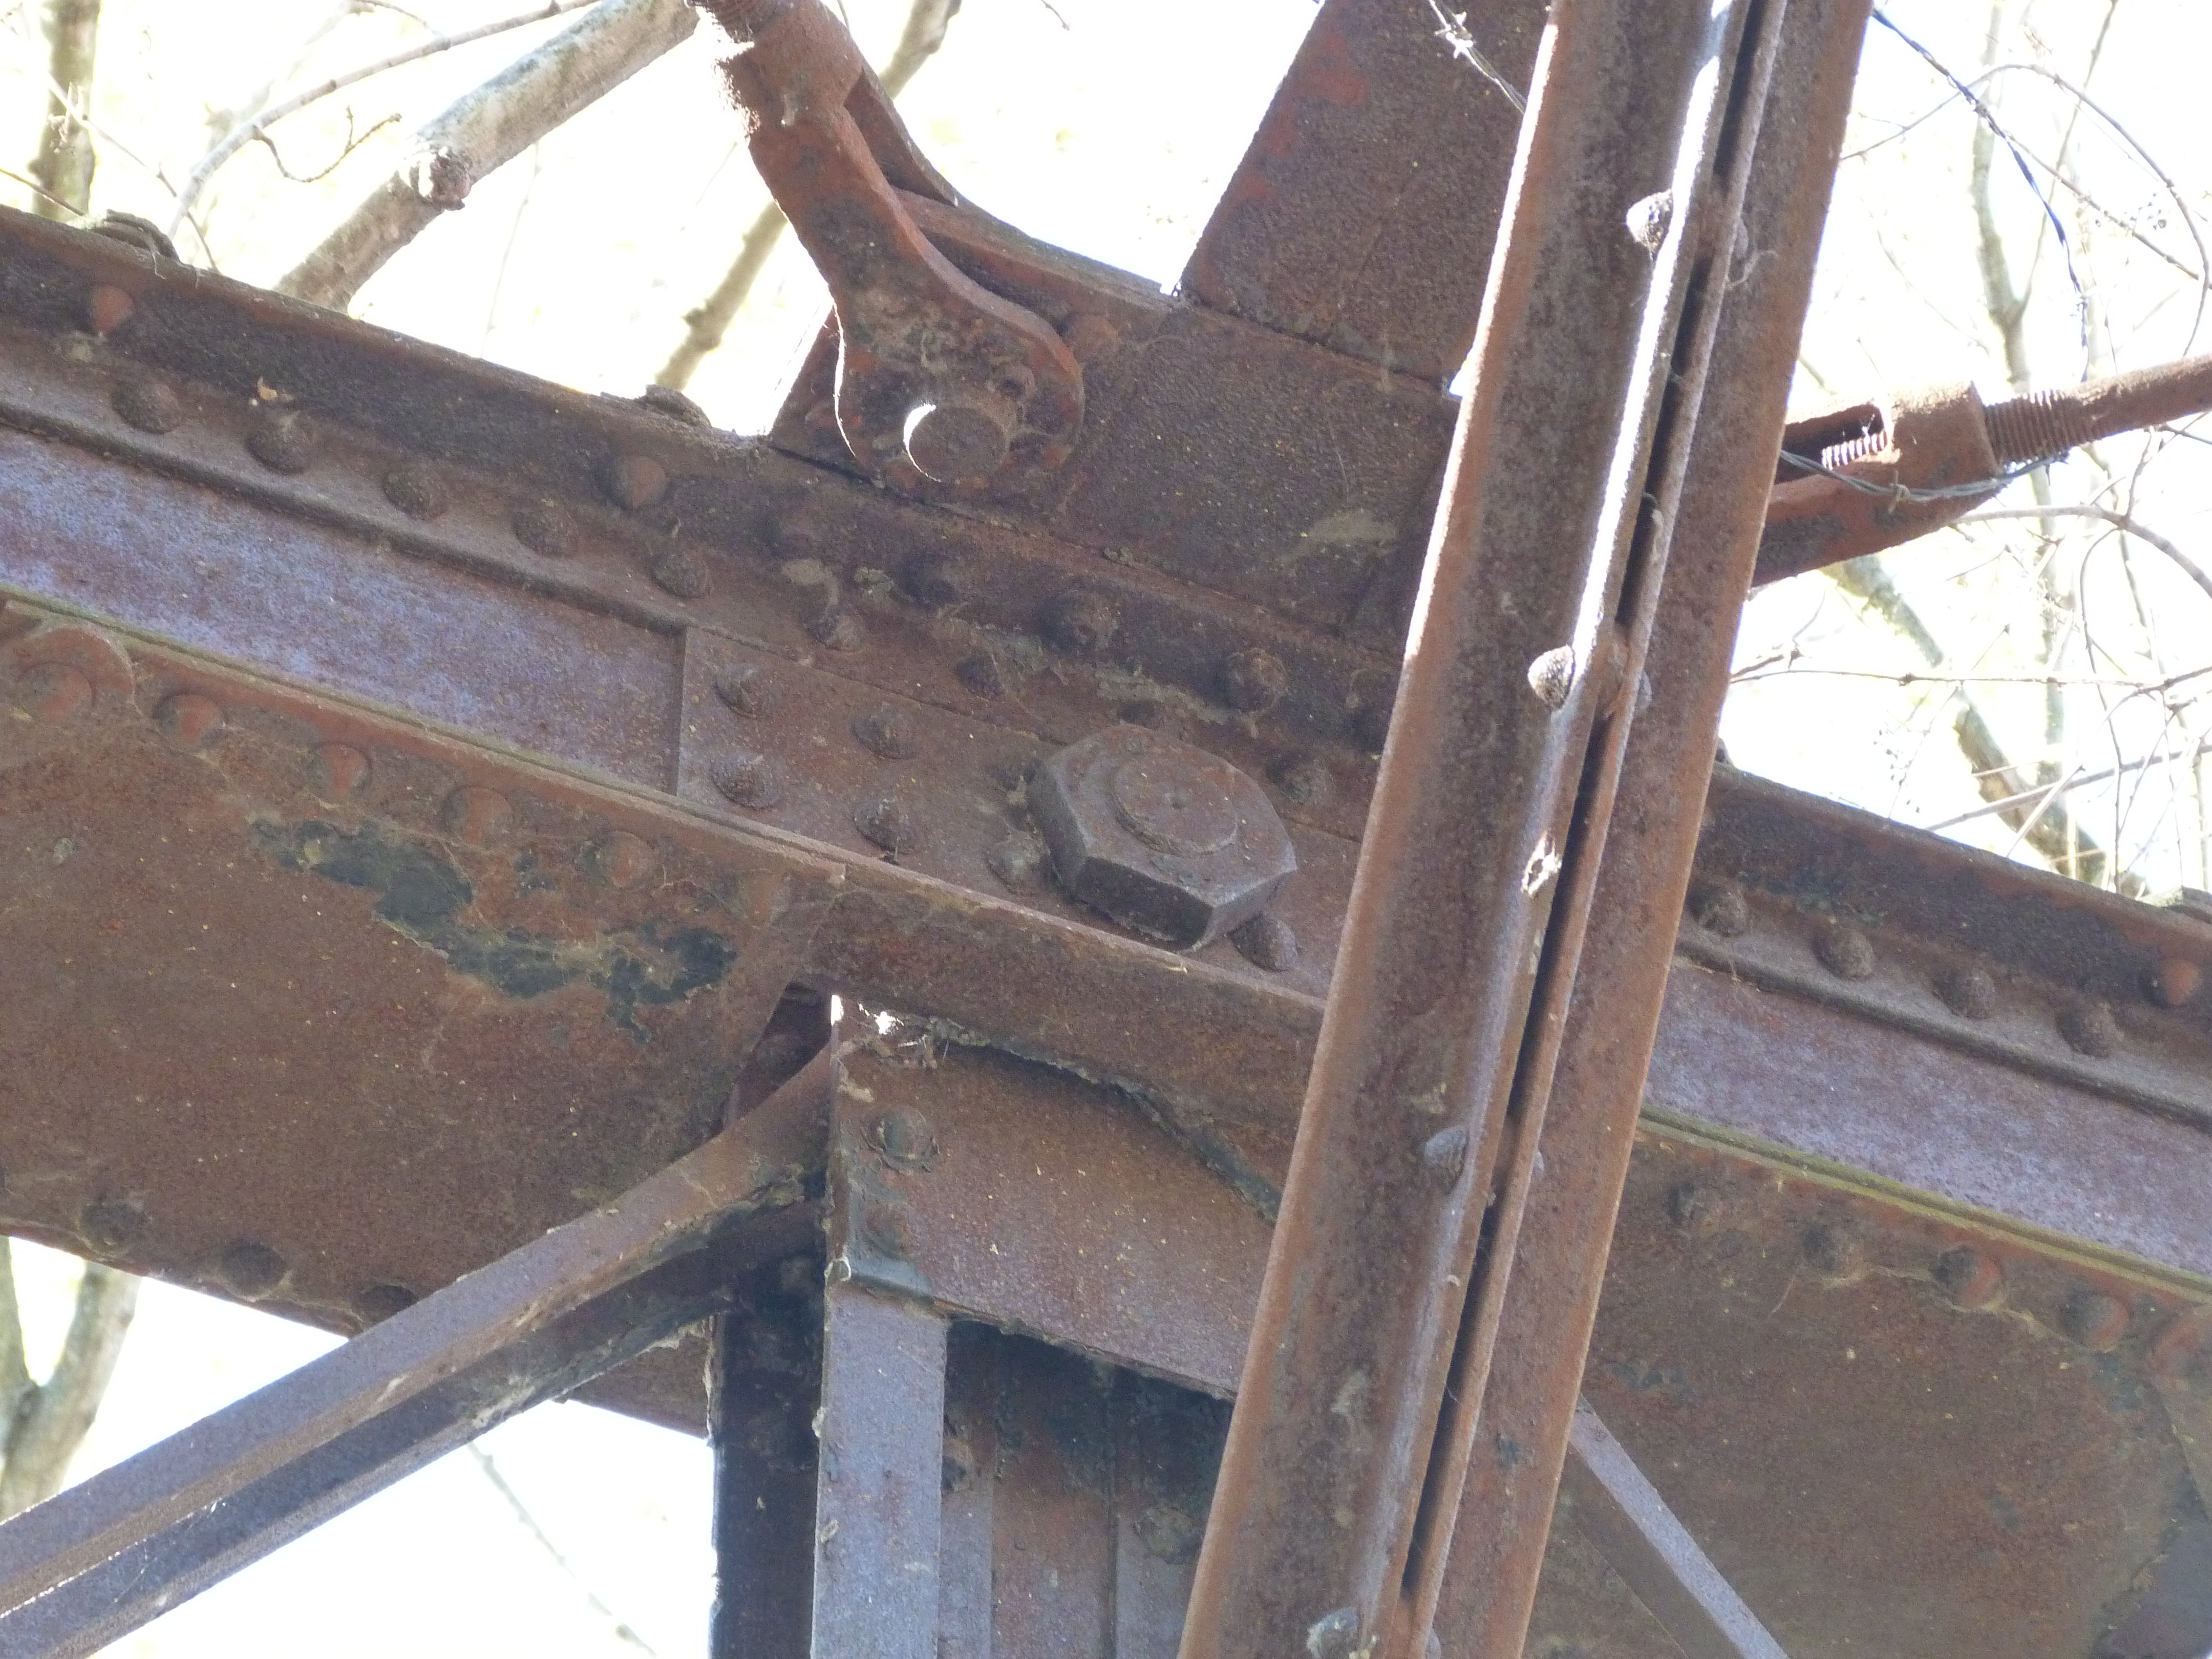
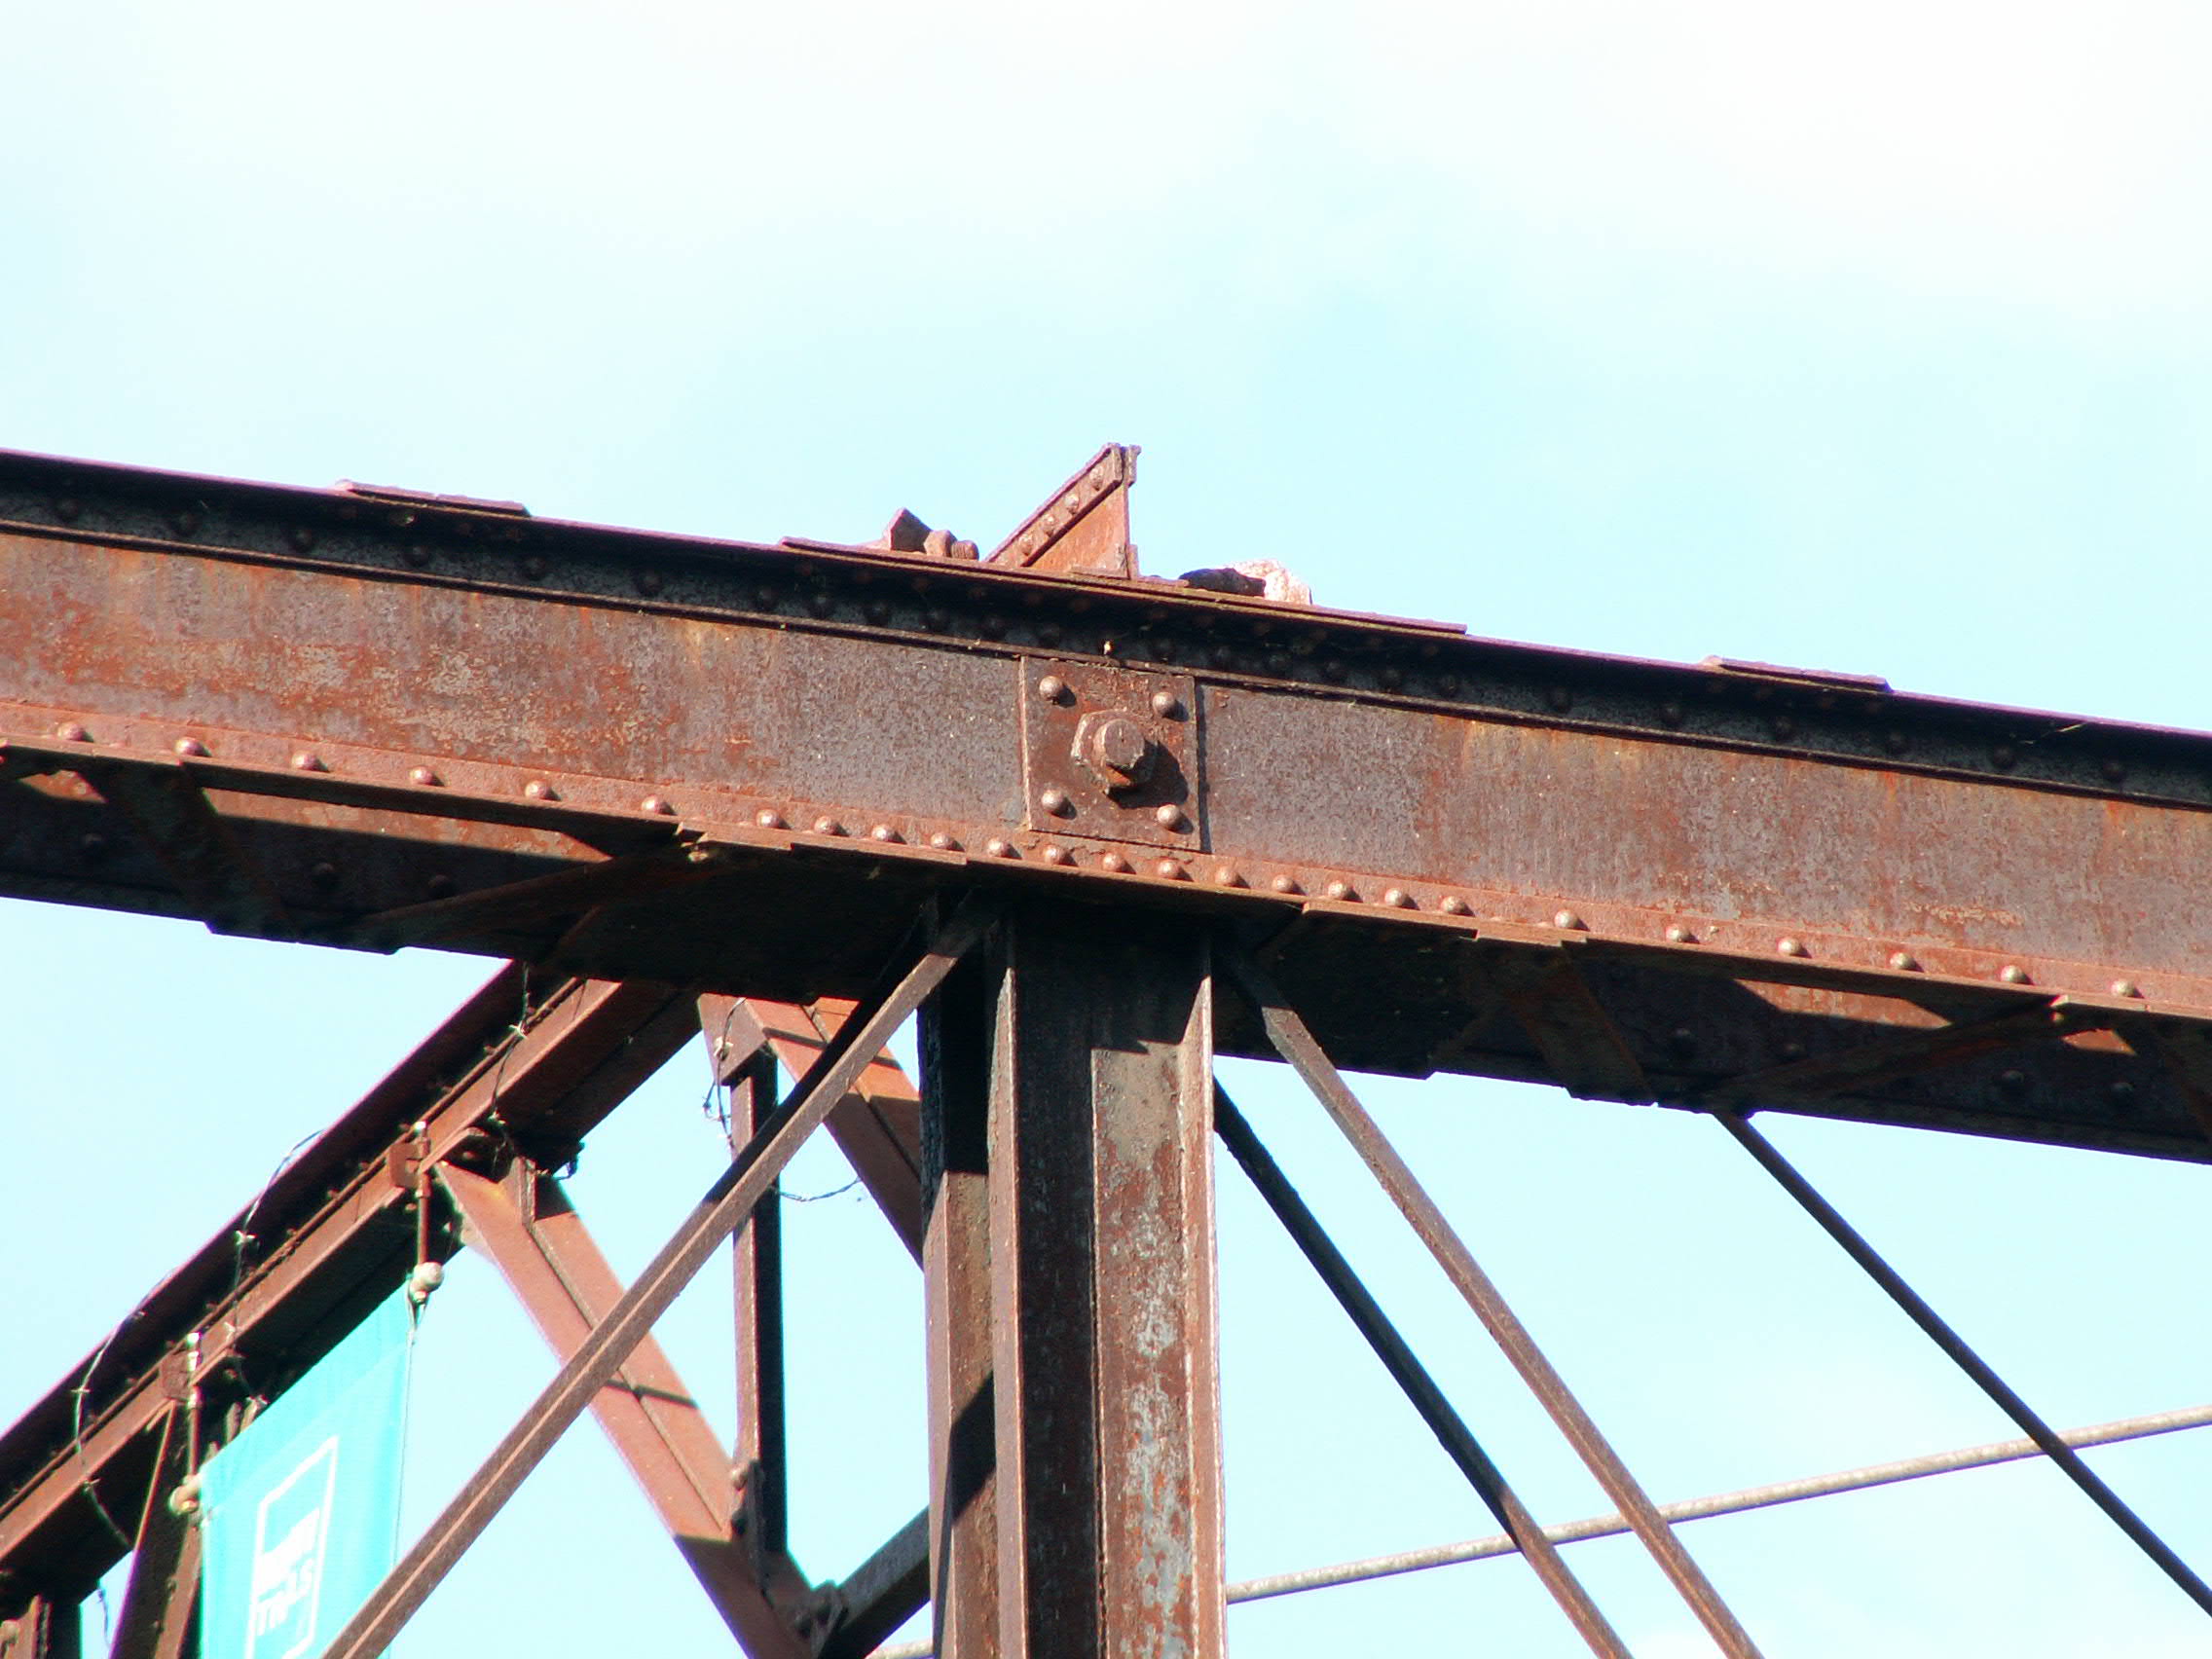
Swing span top chord connections as viewed from on bridge.
![]()

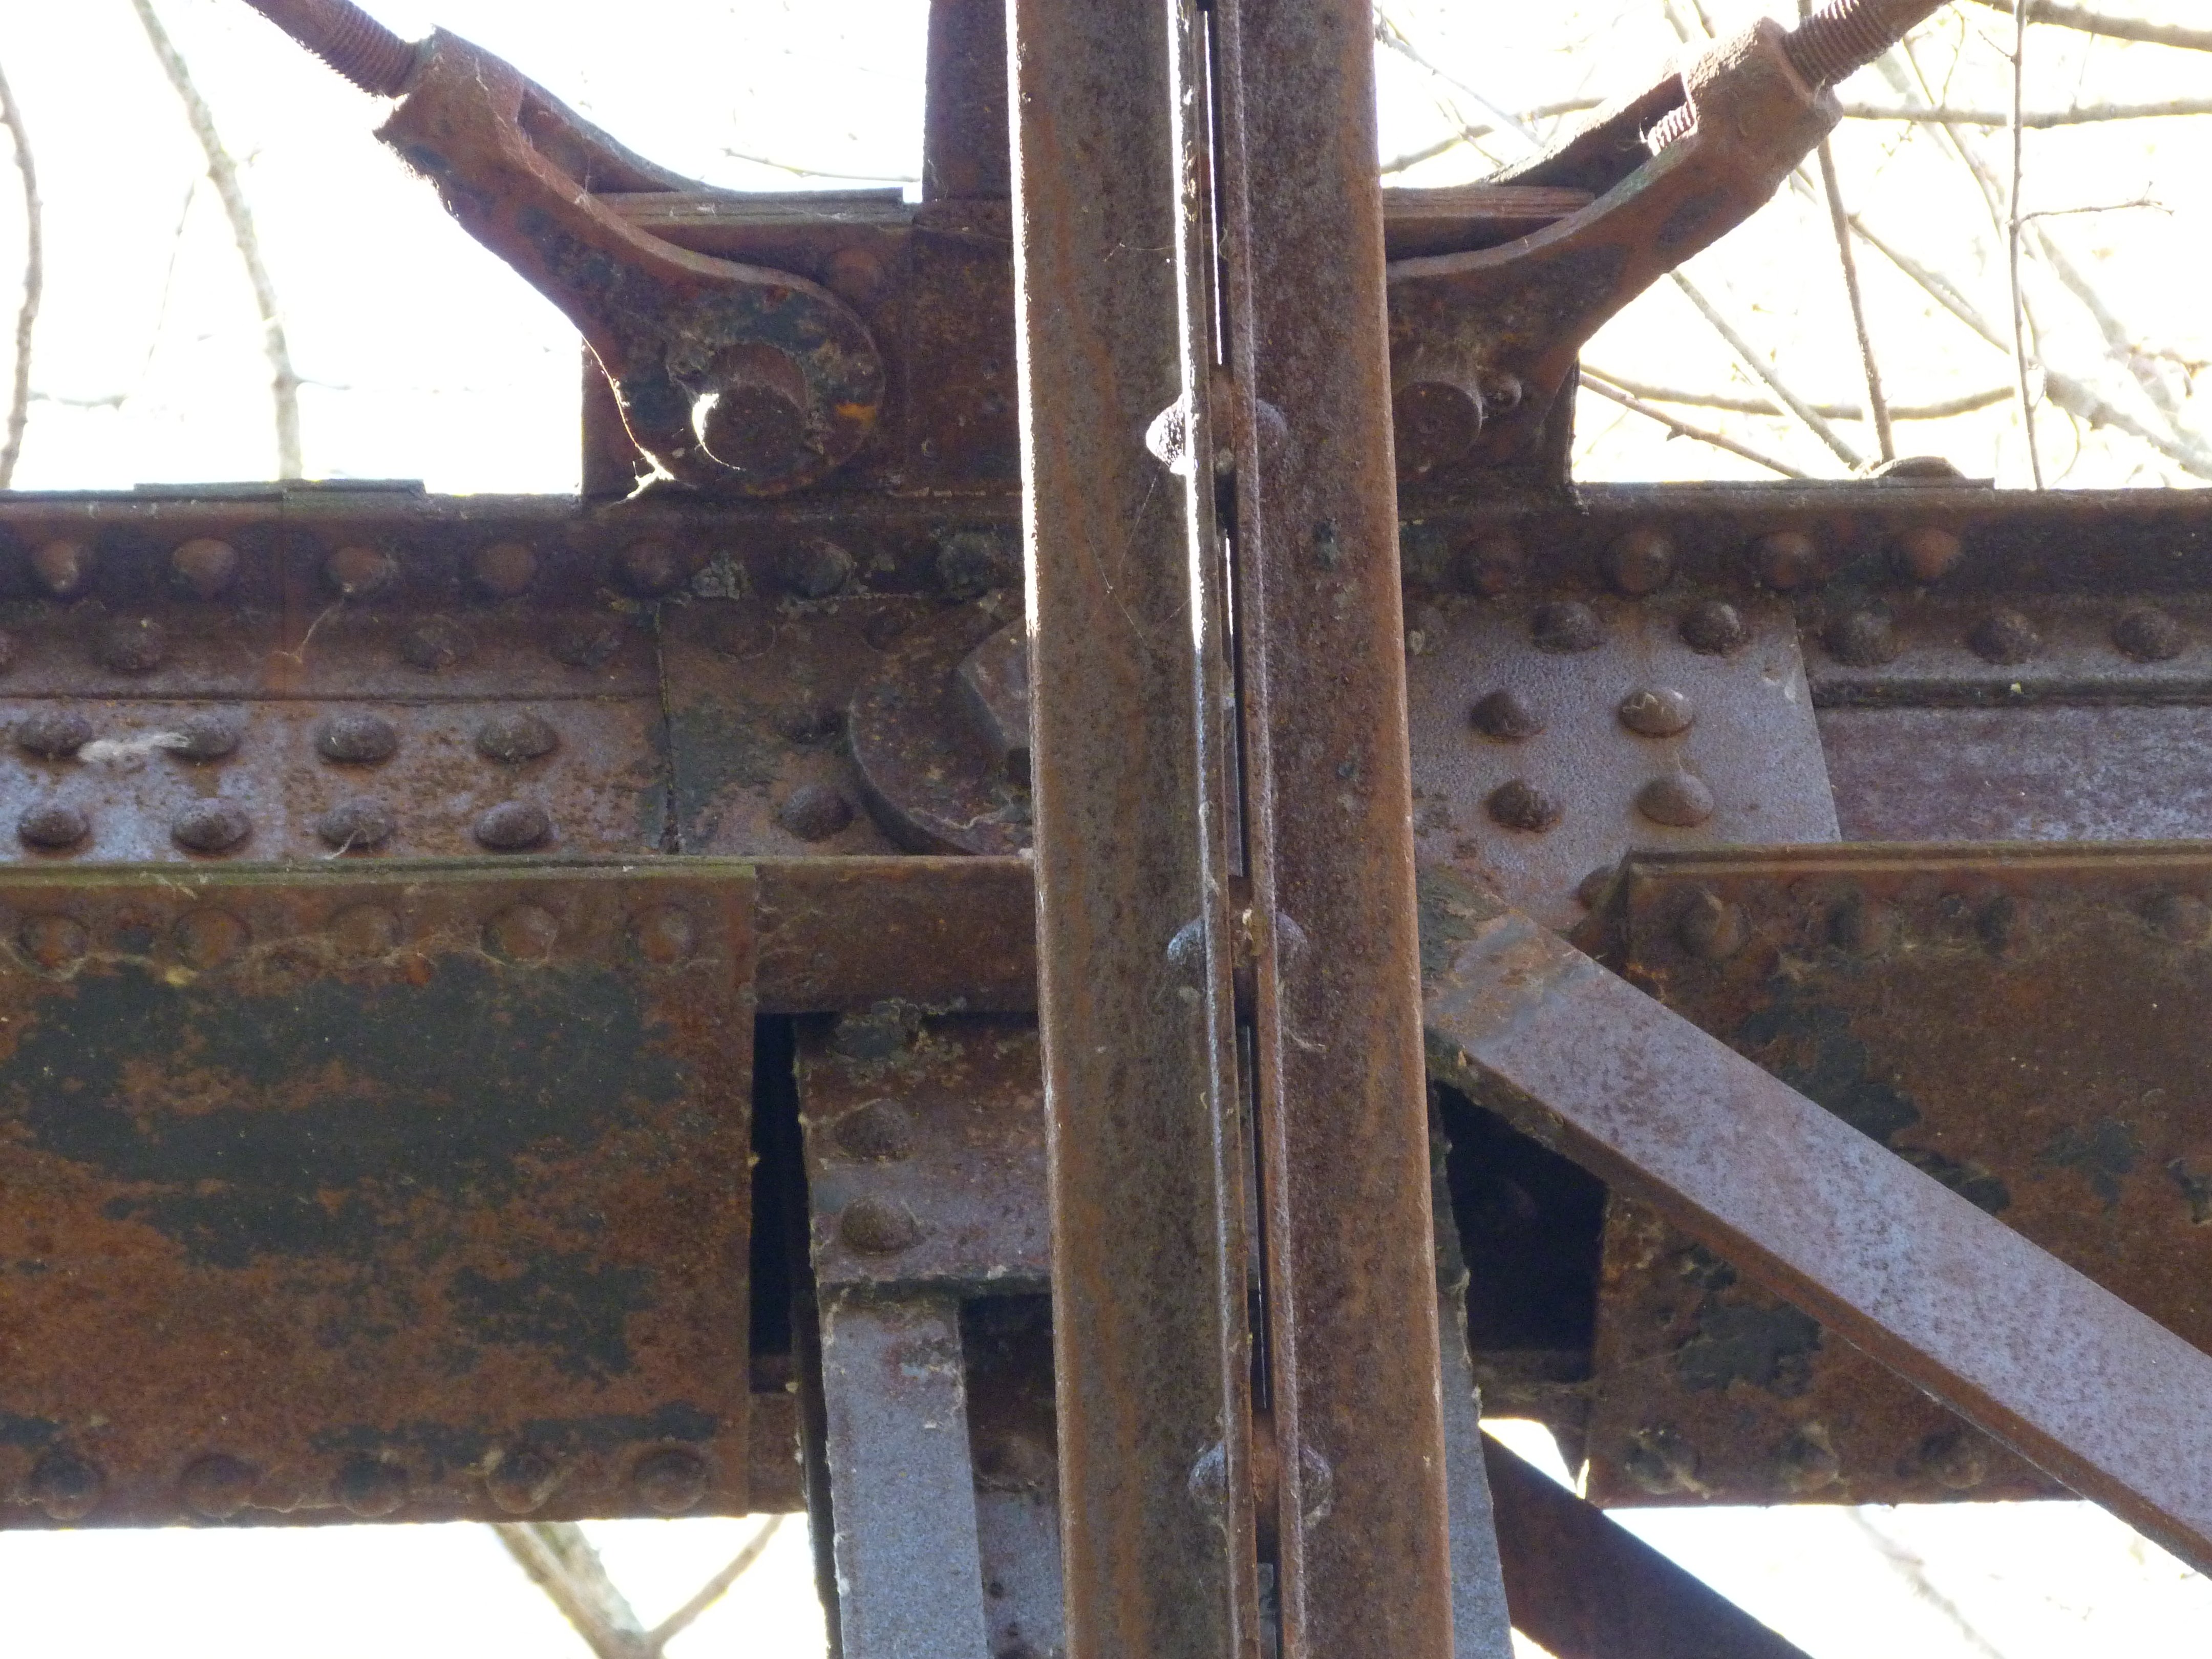
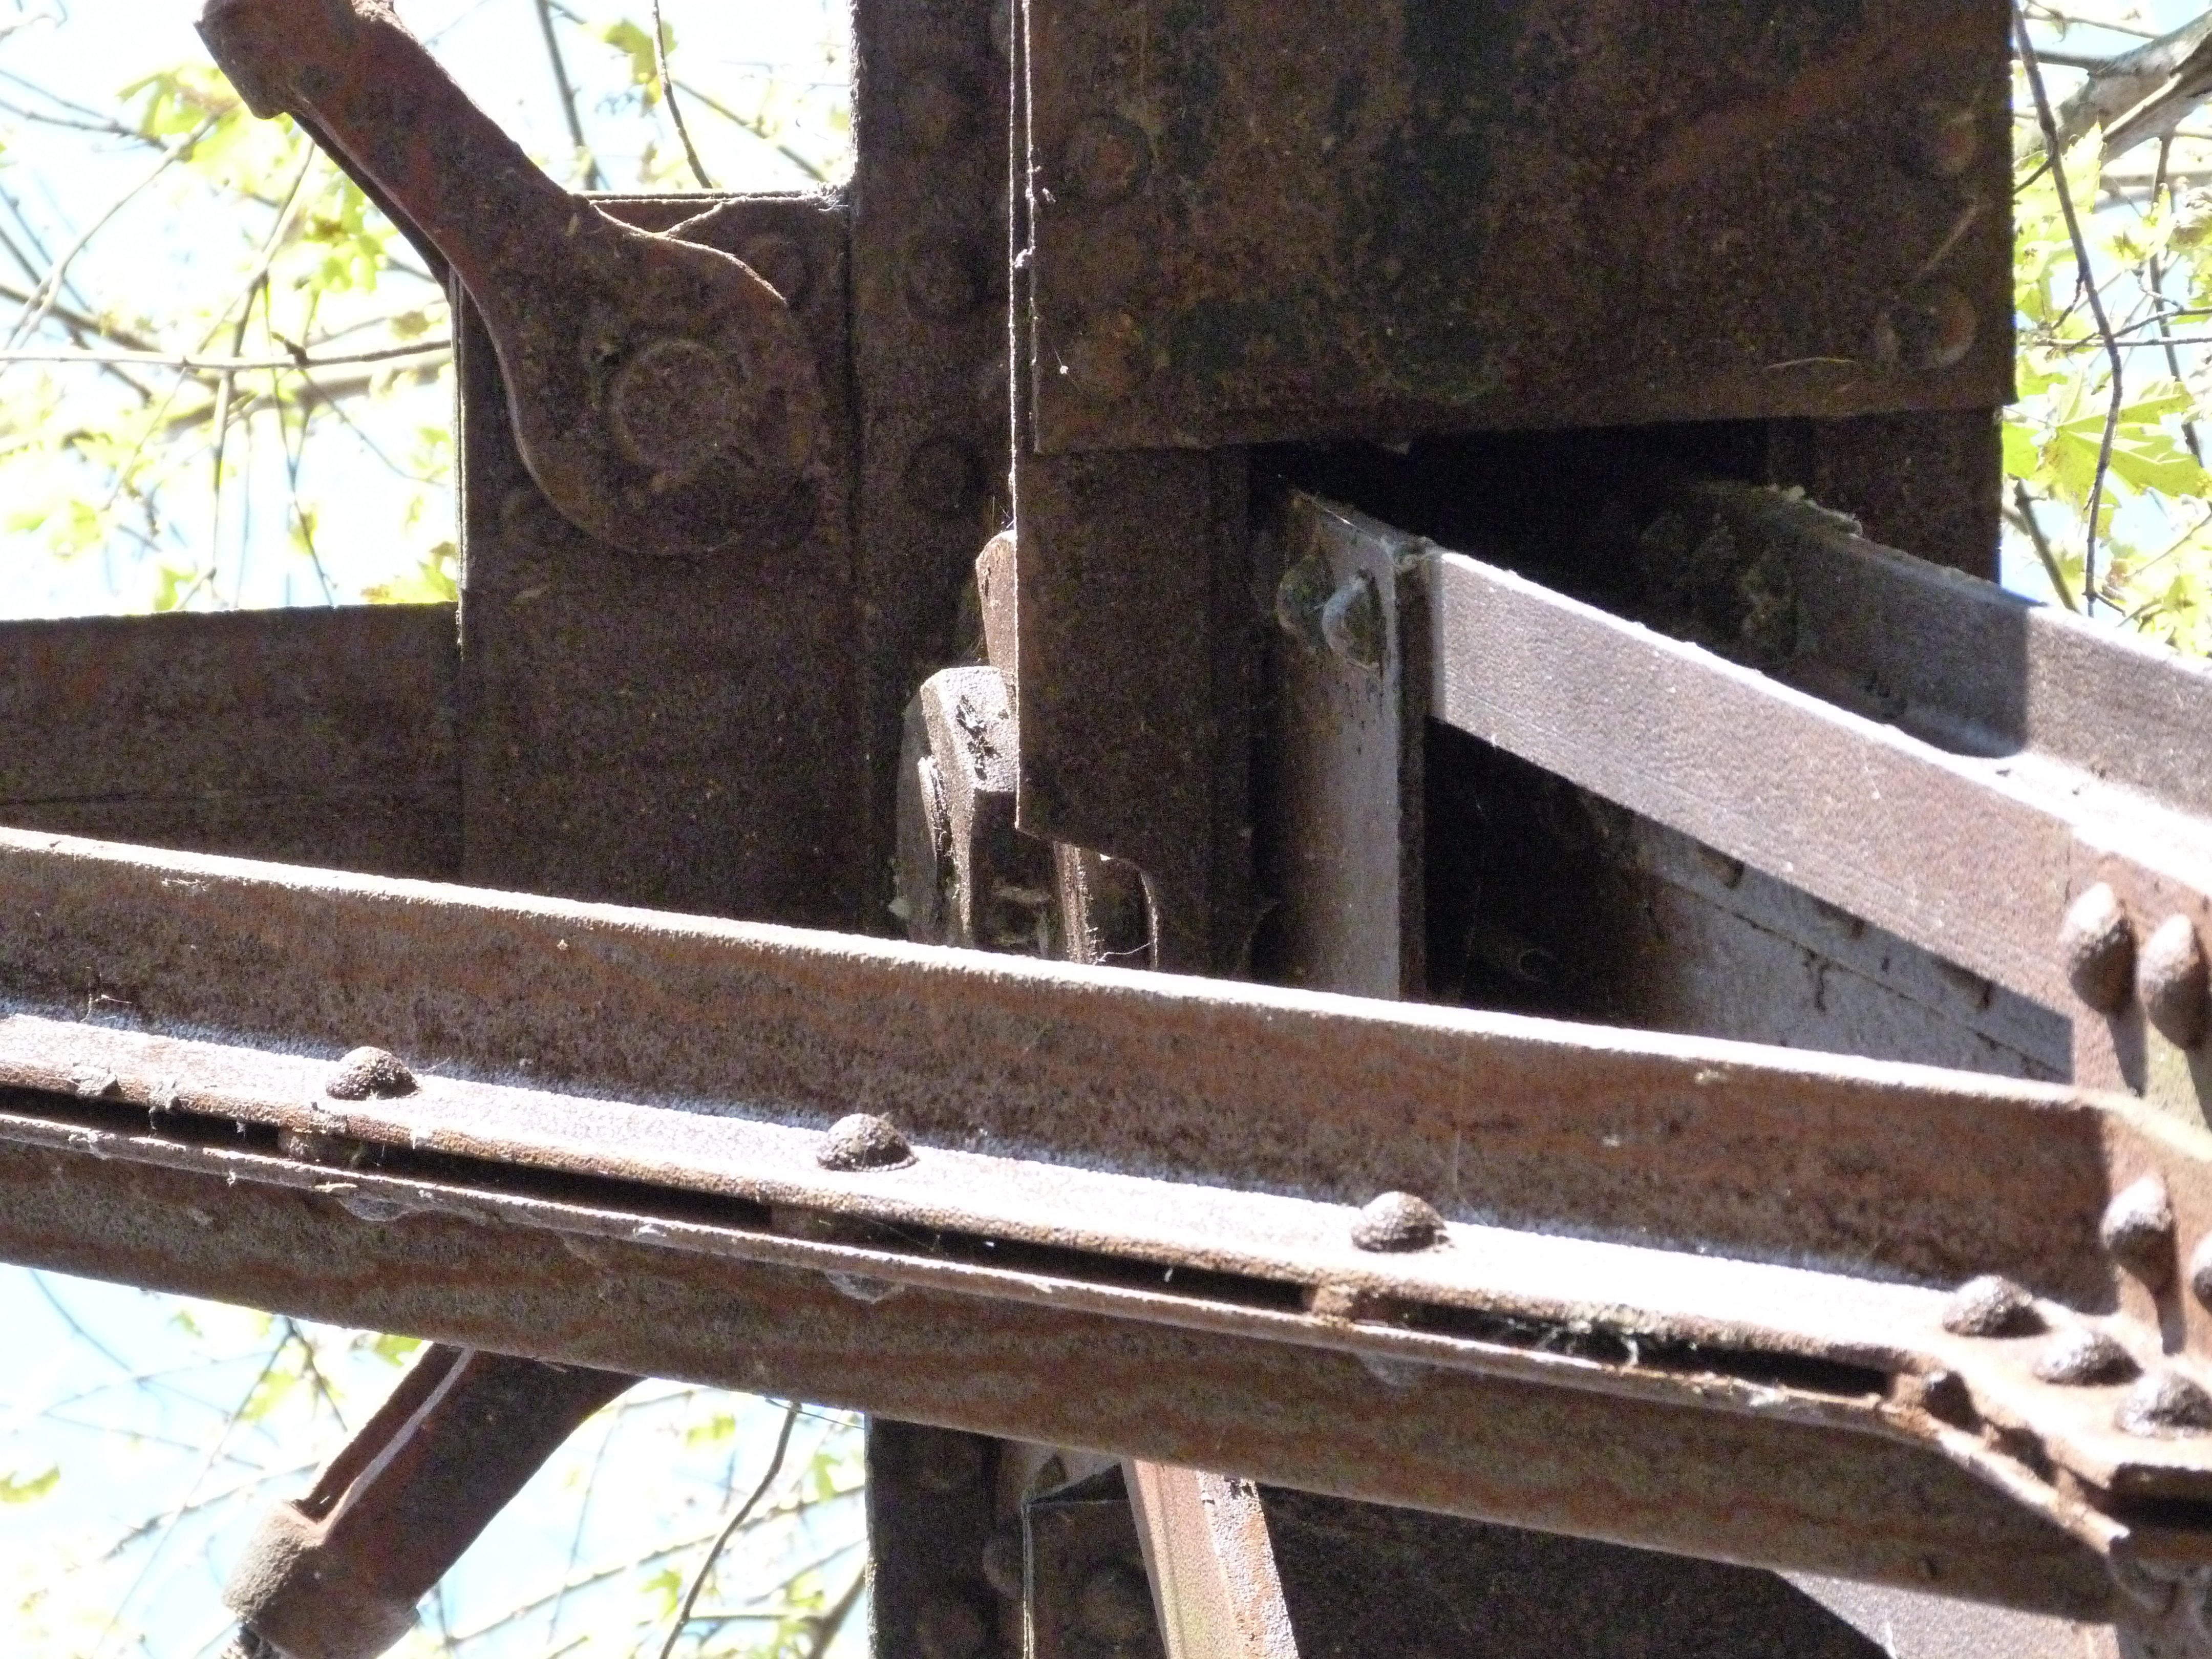
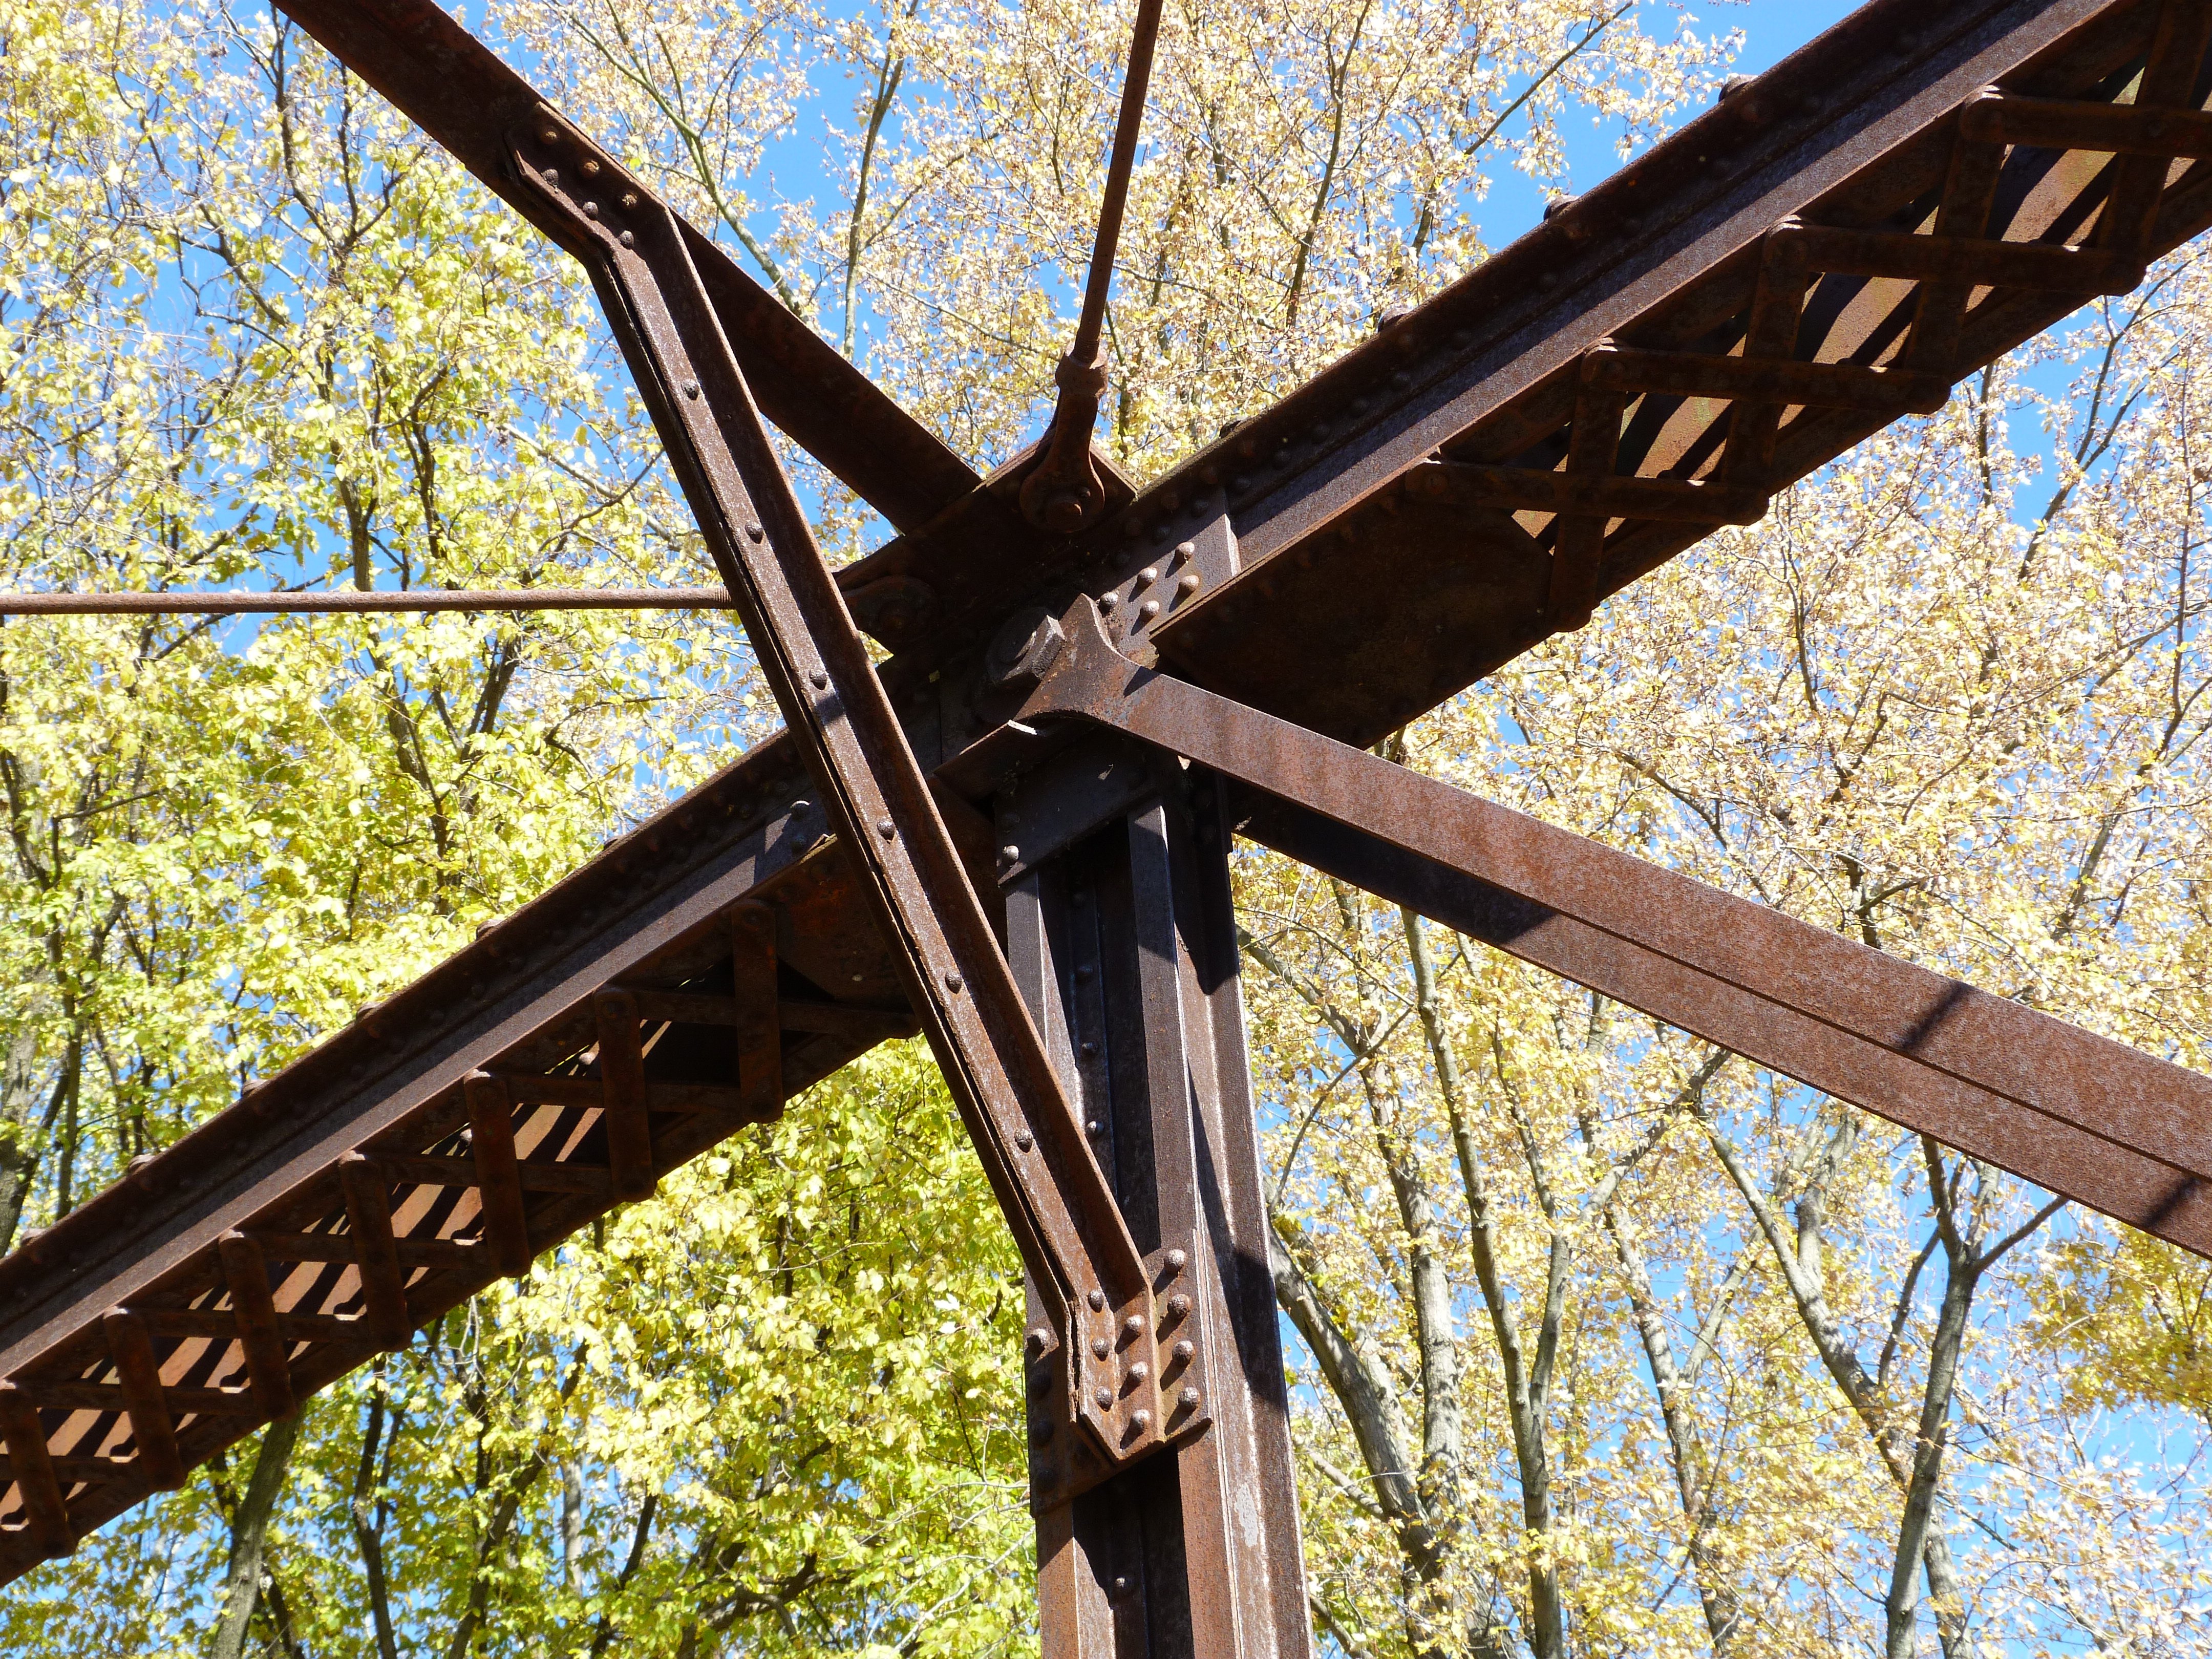
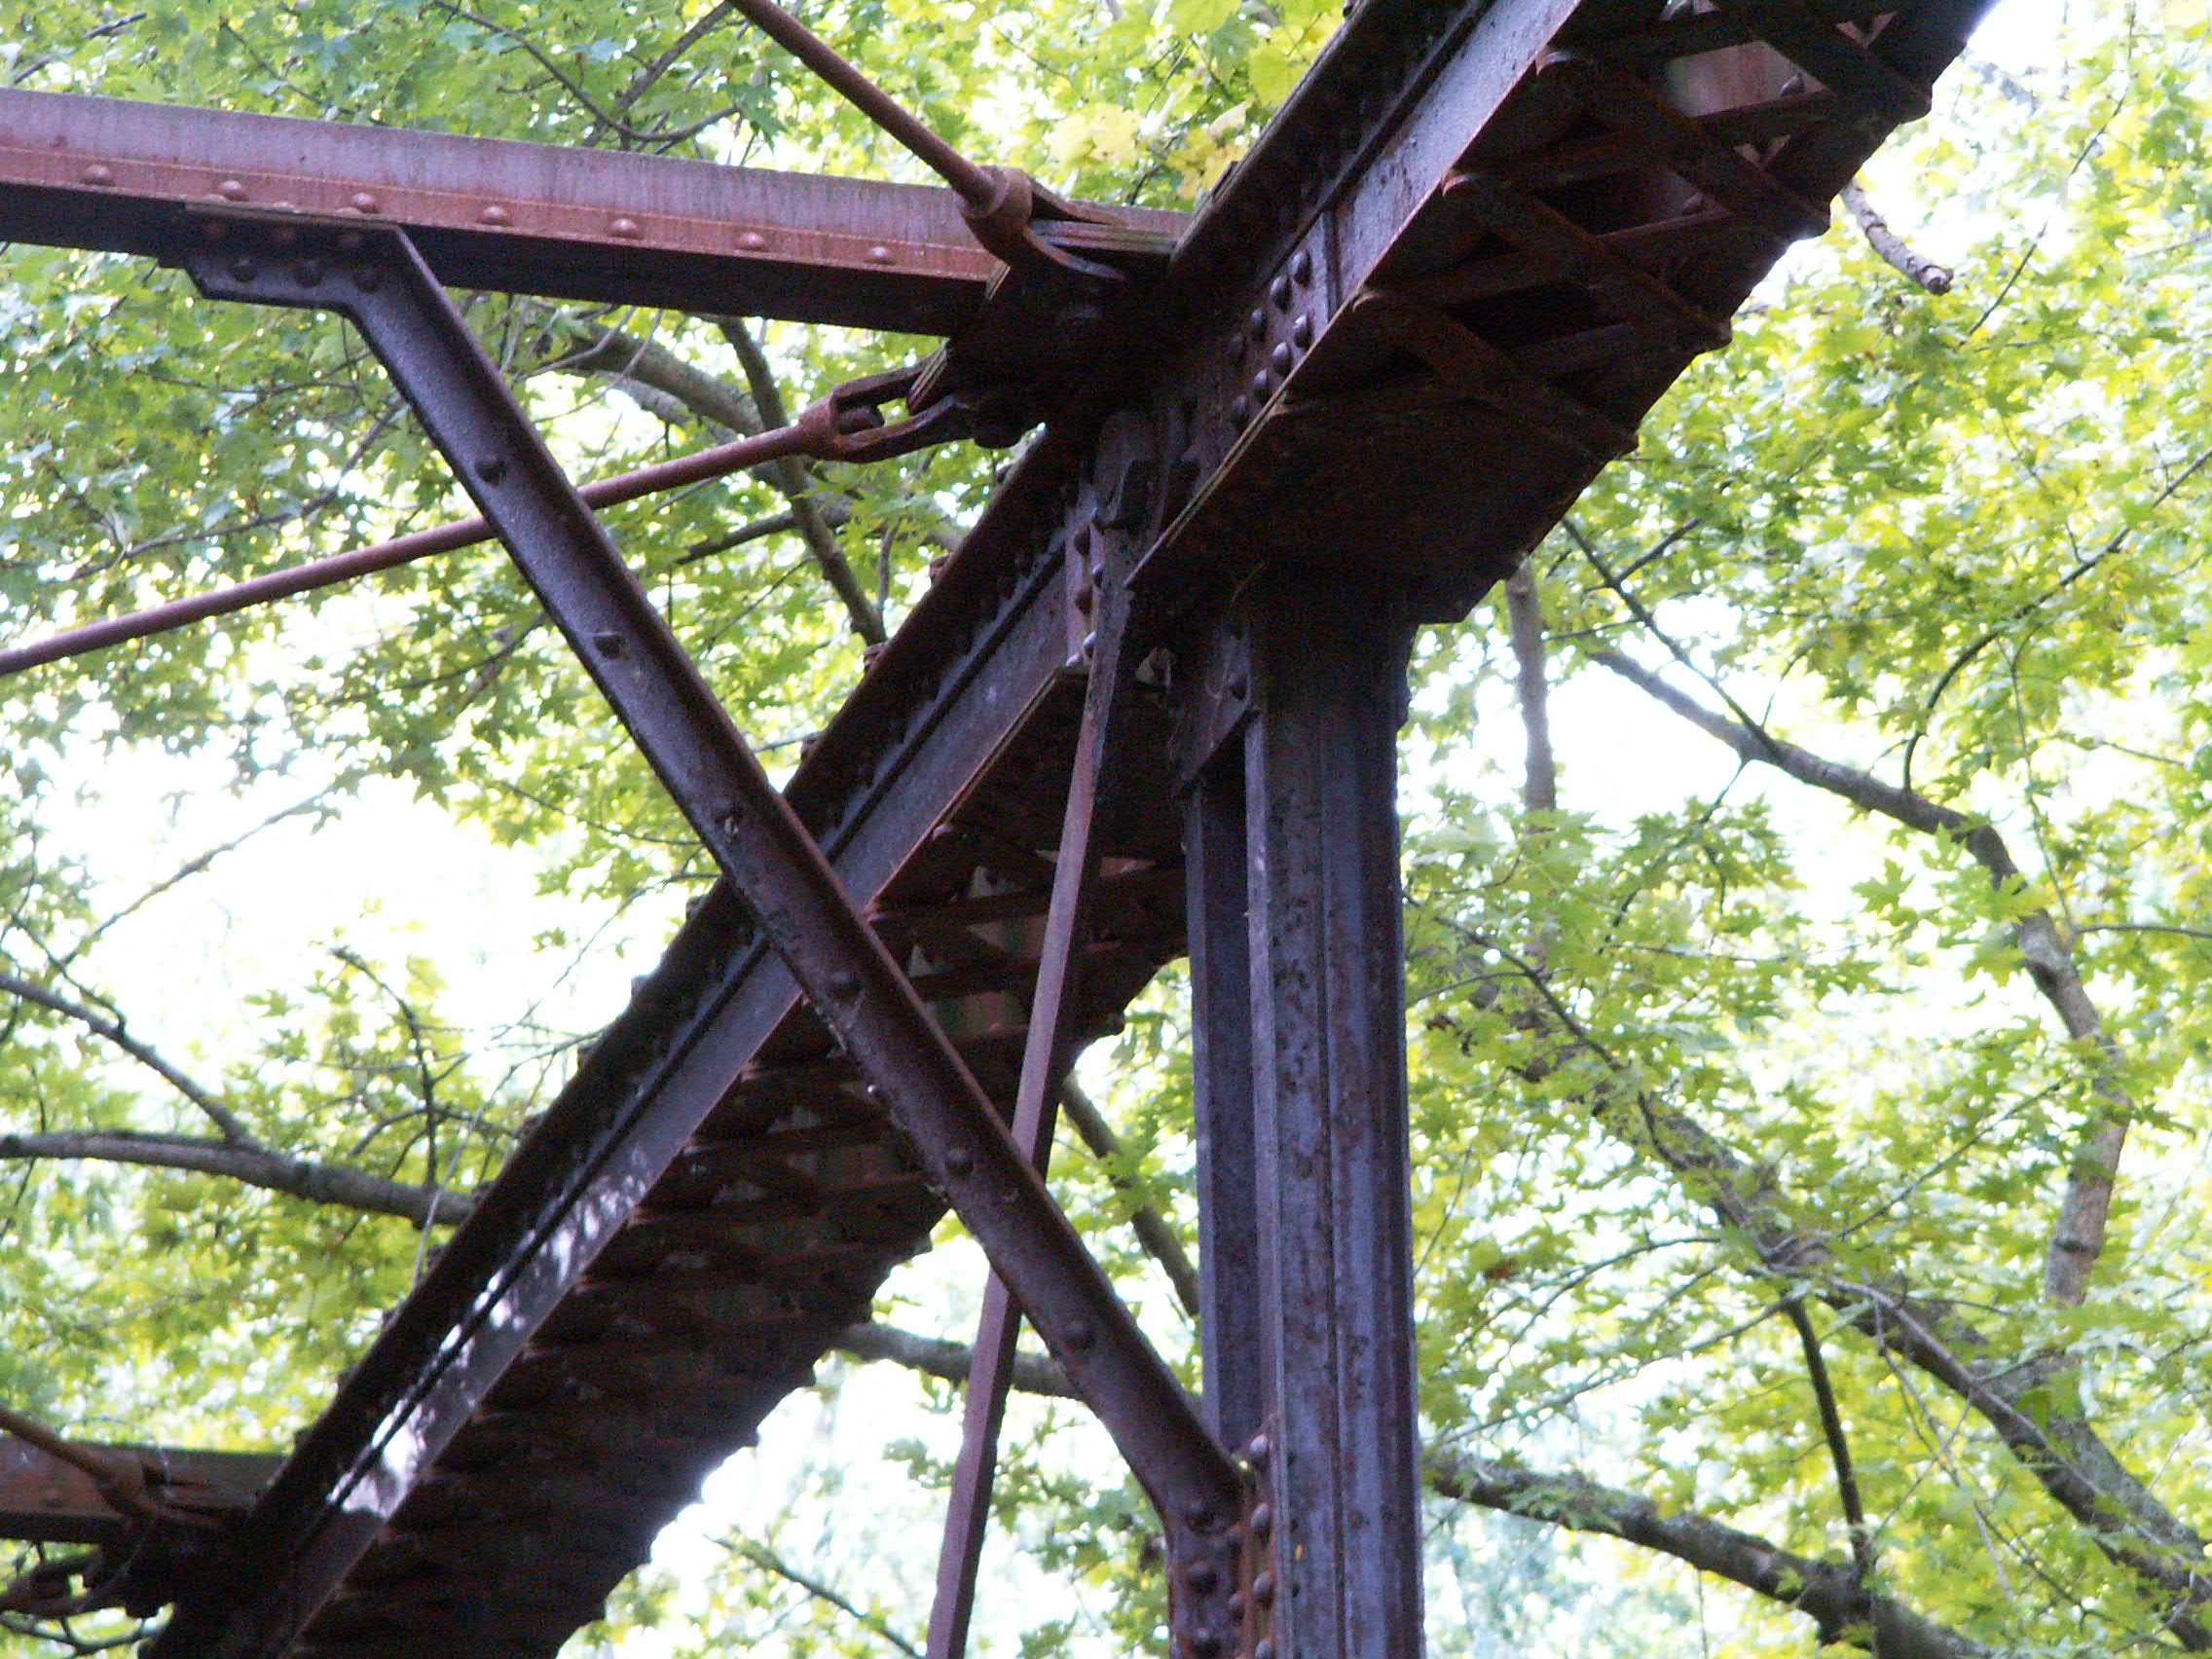
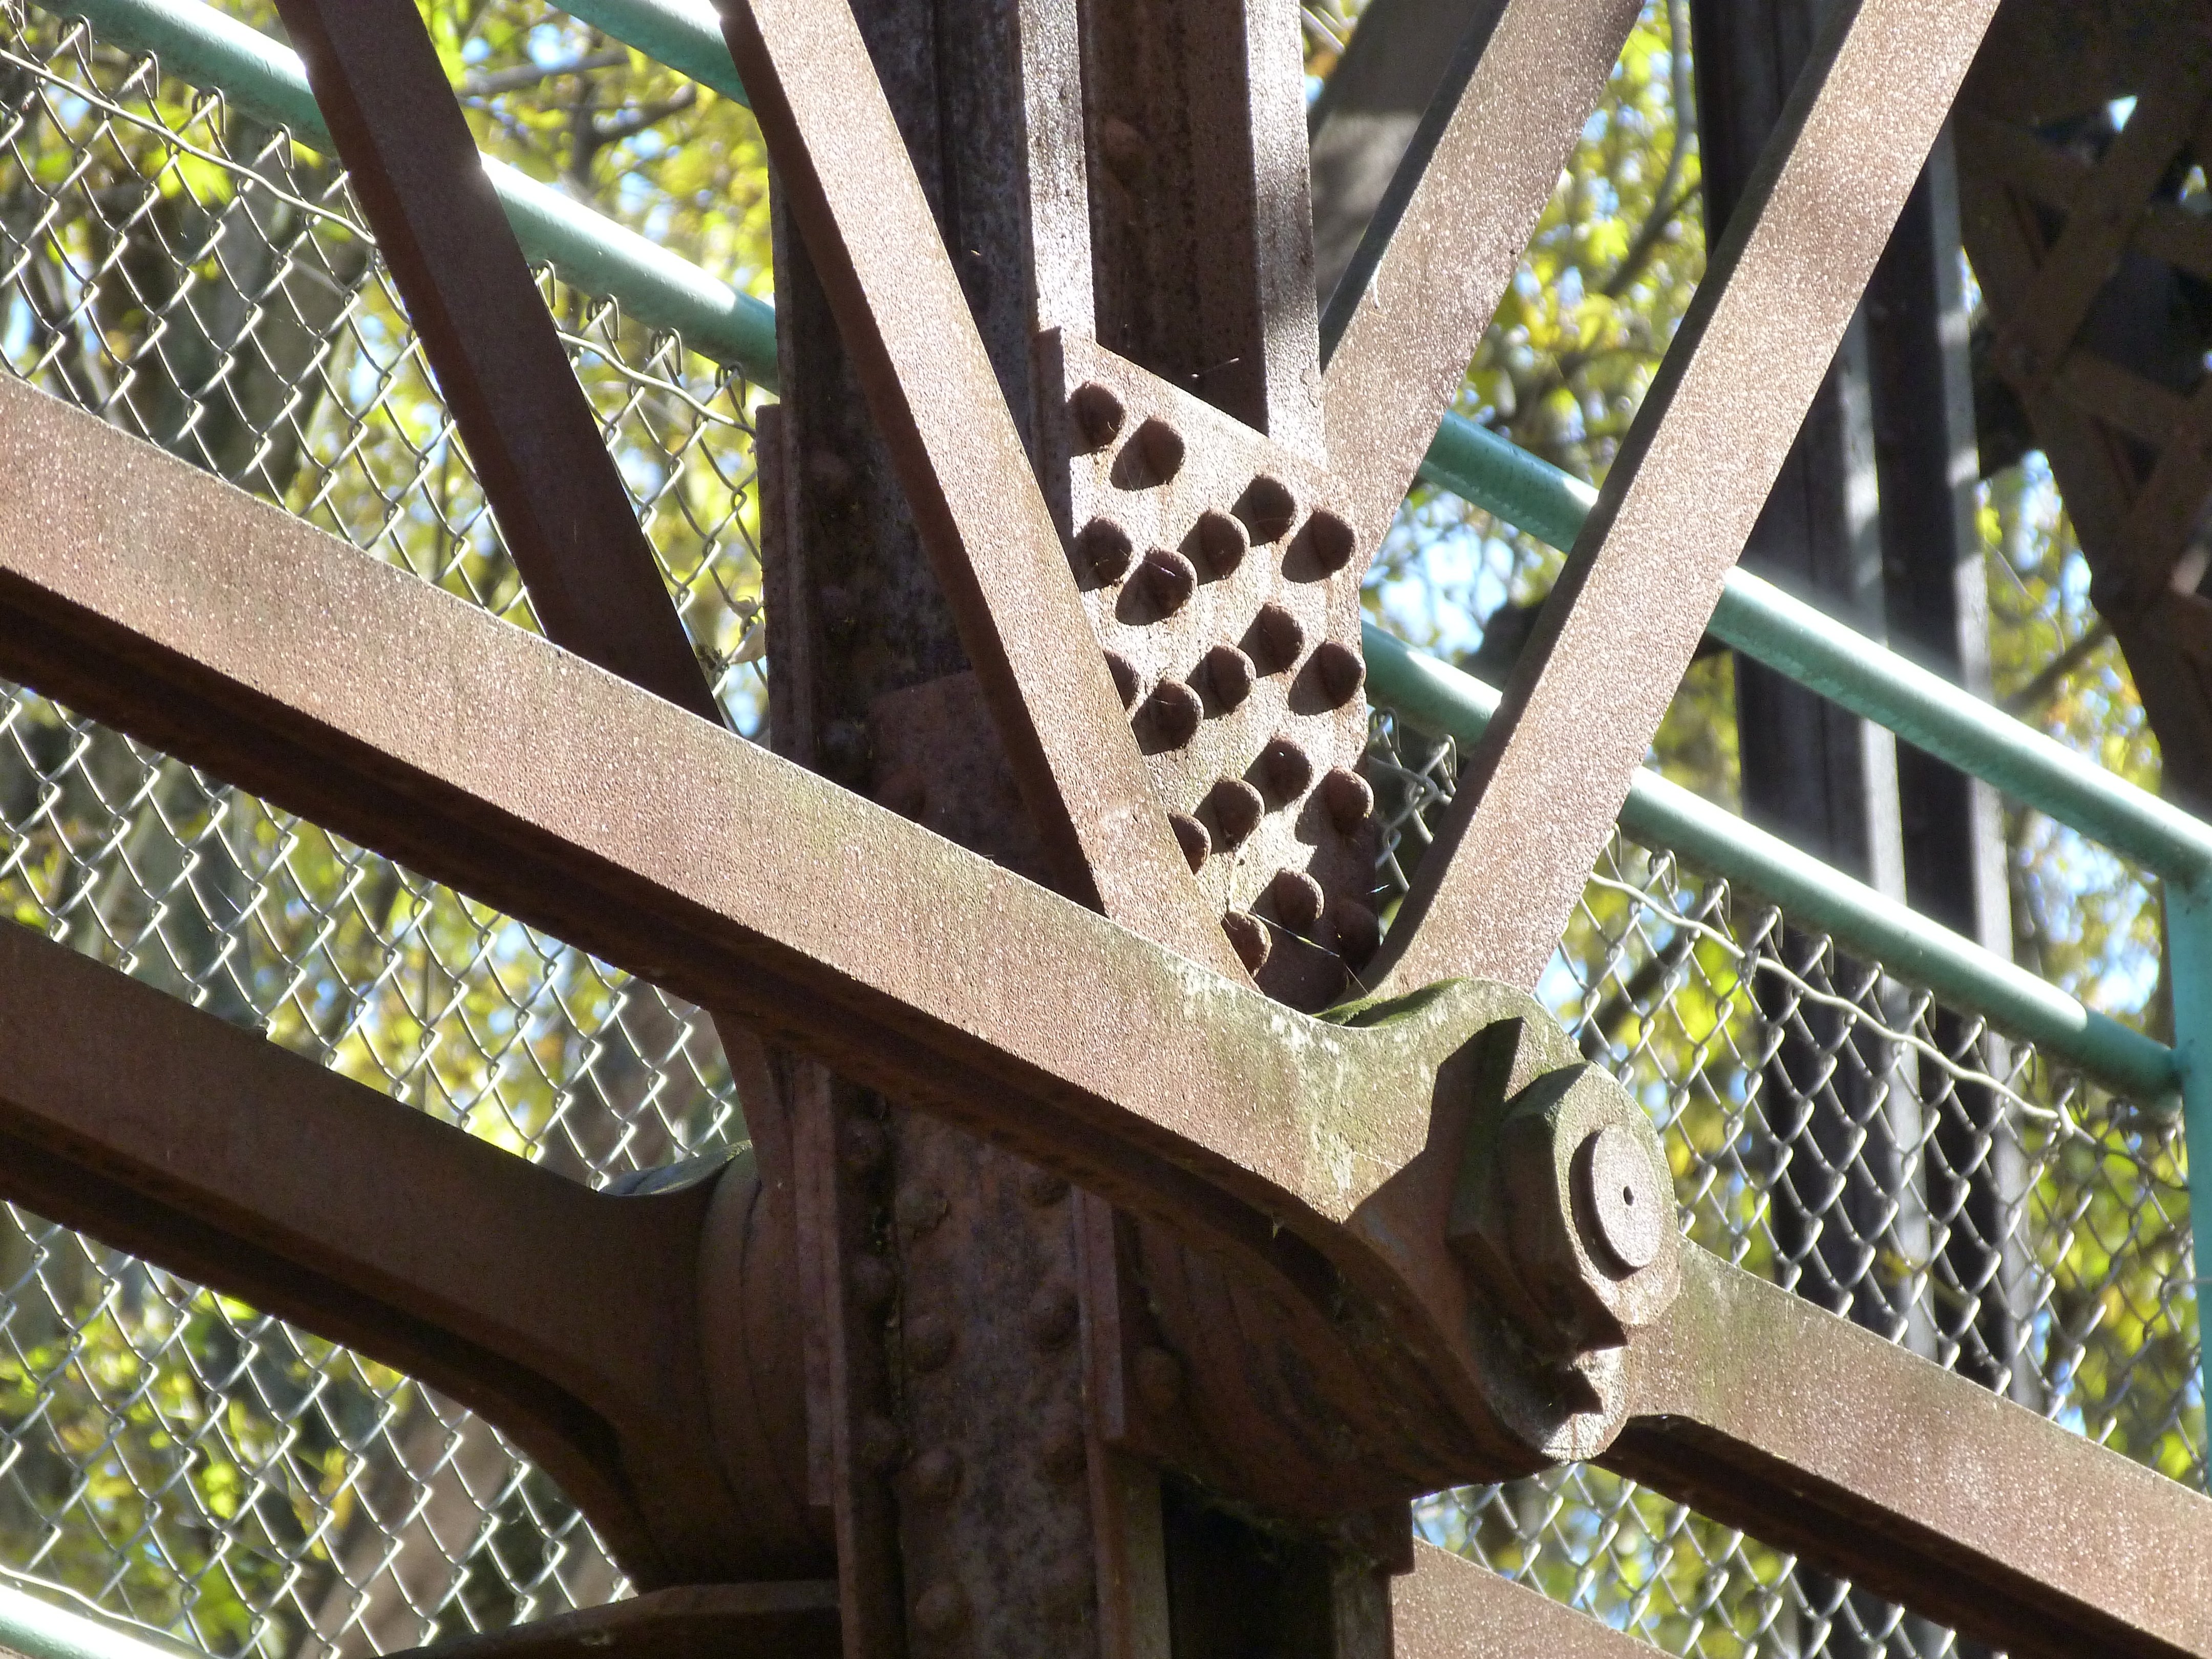
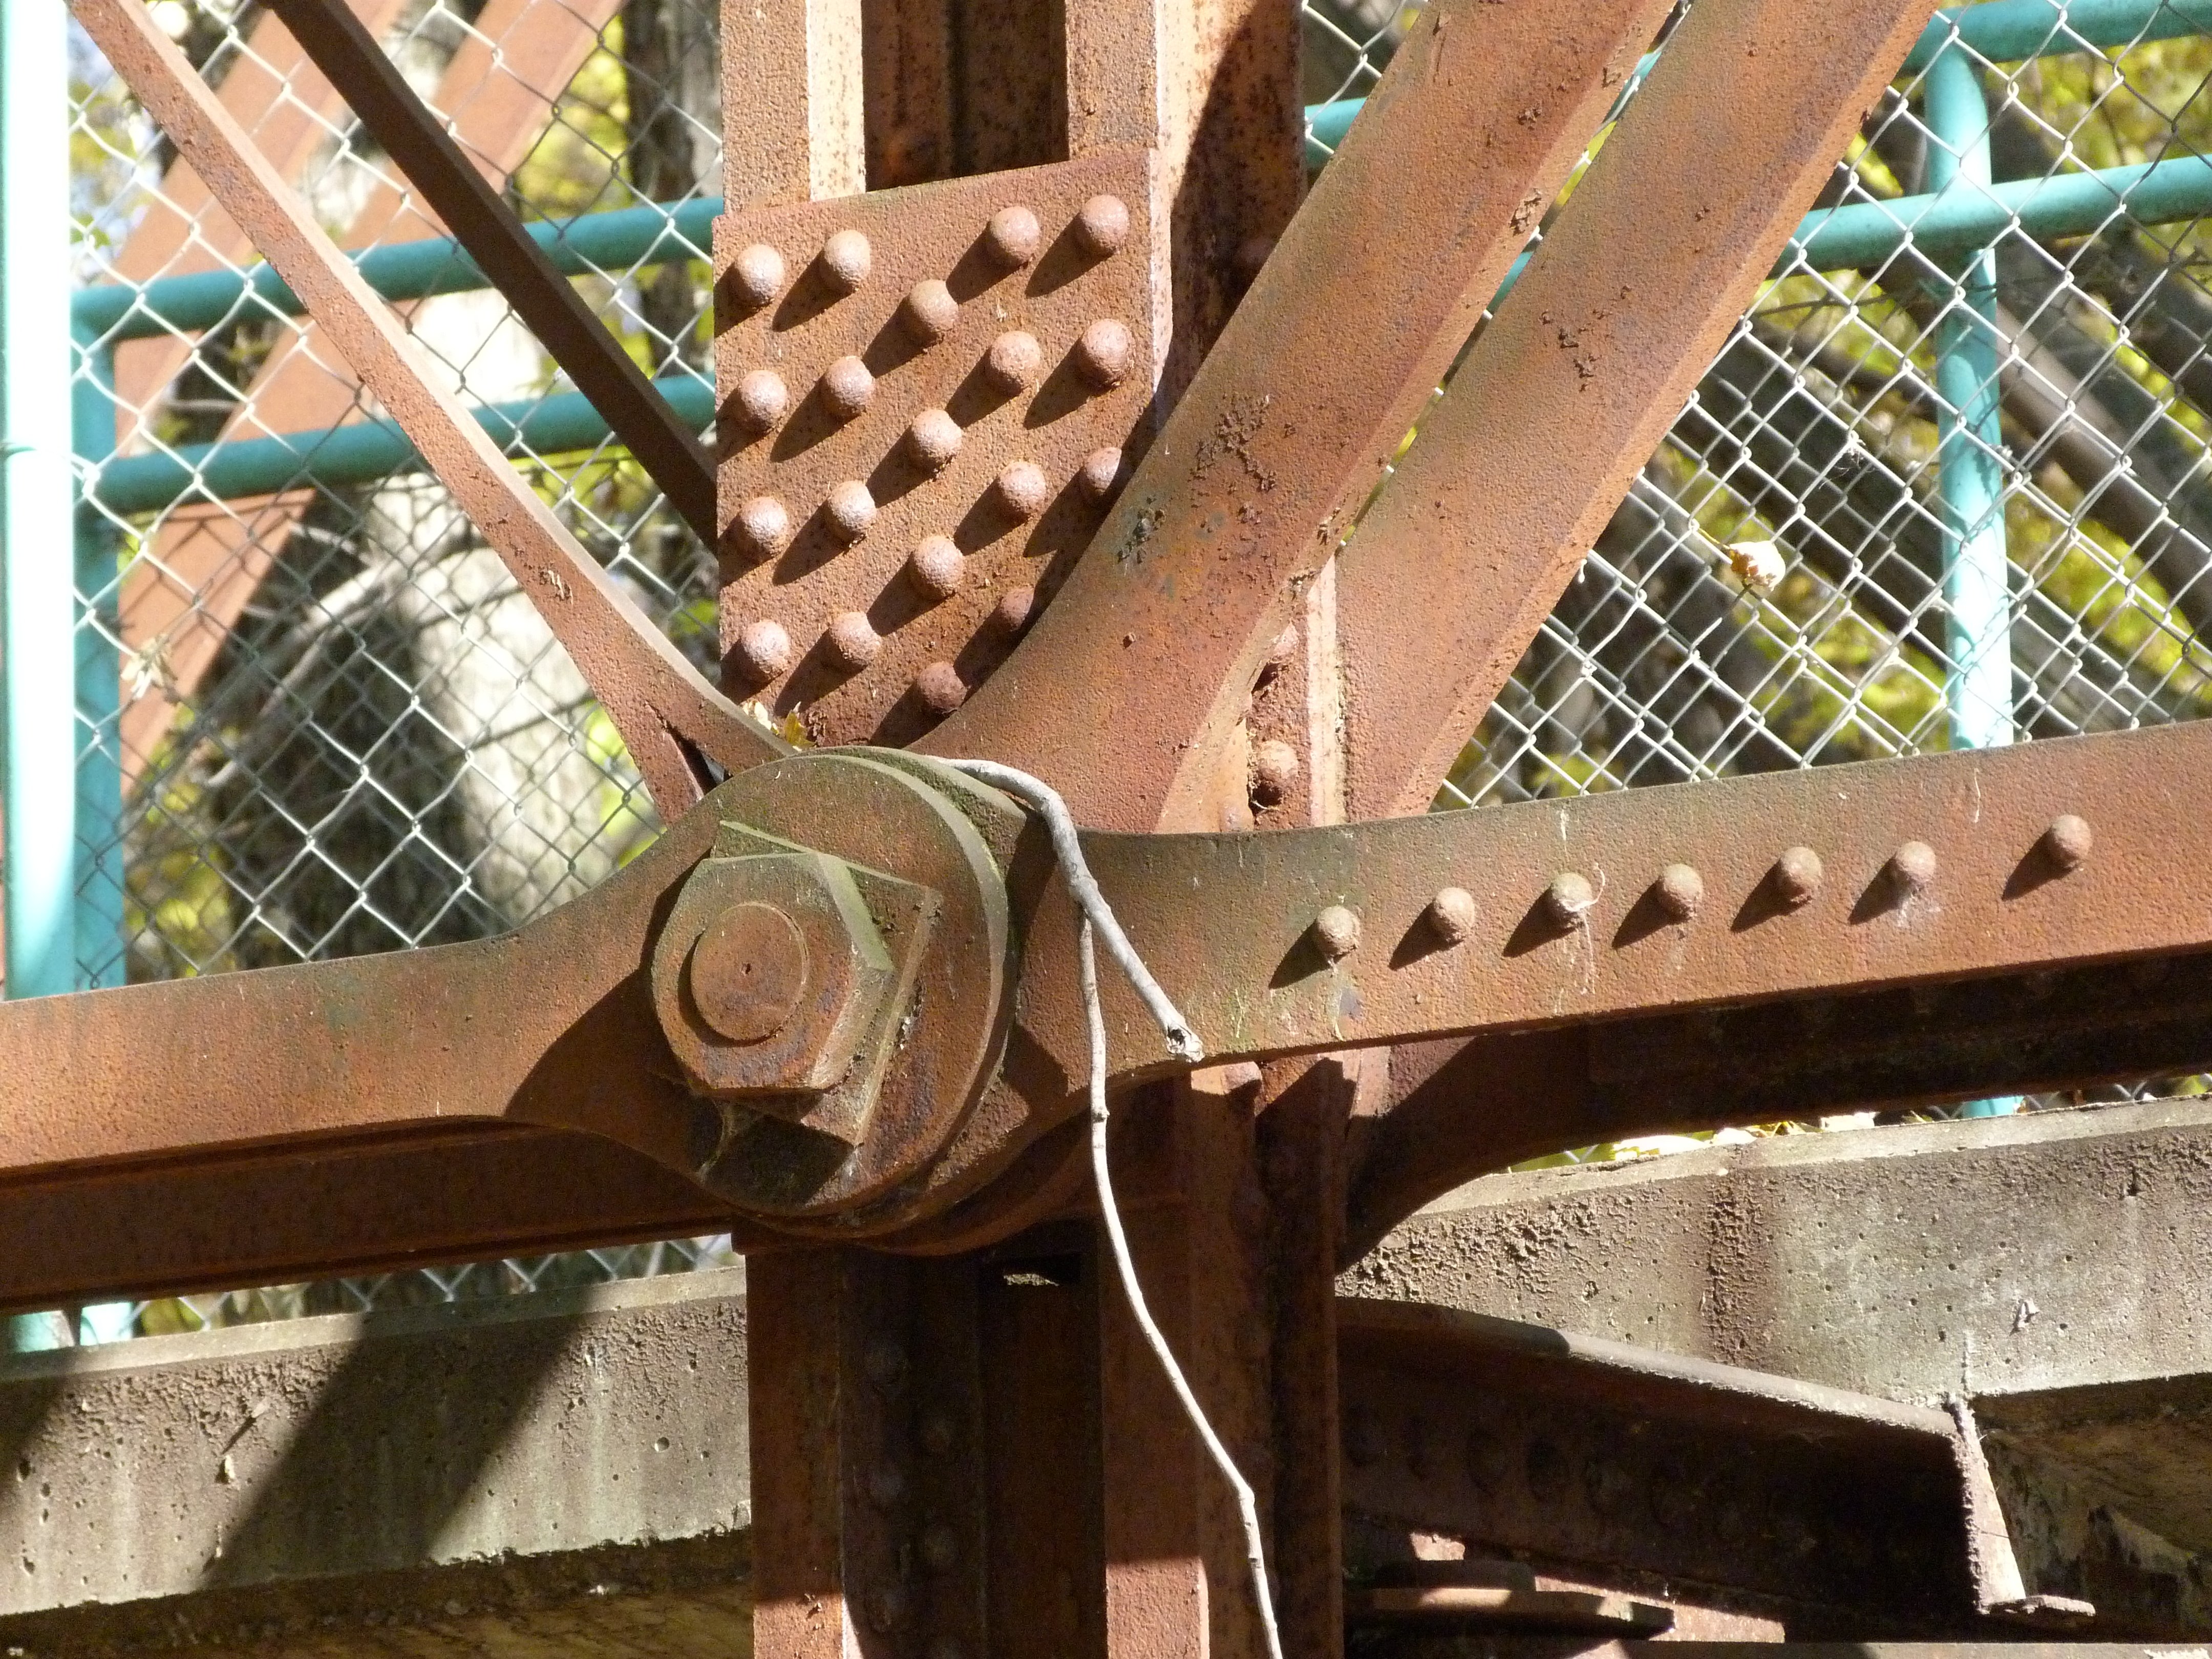
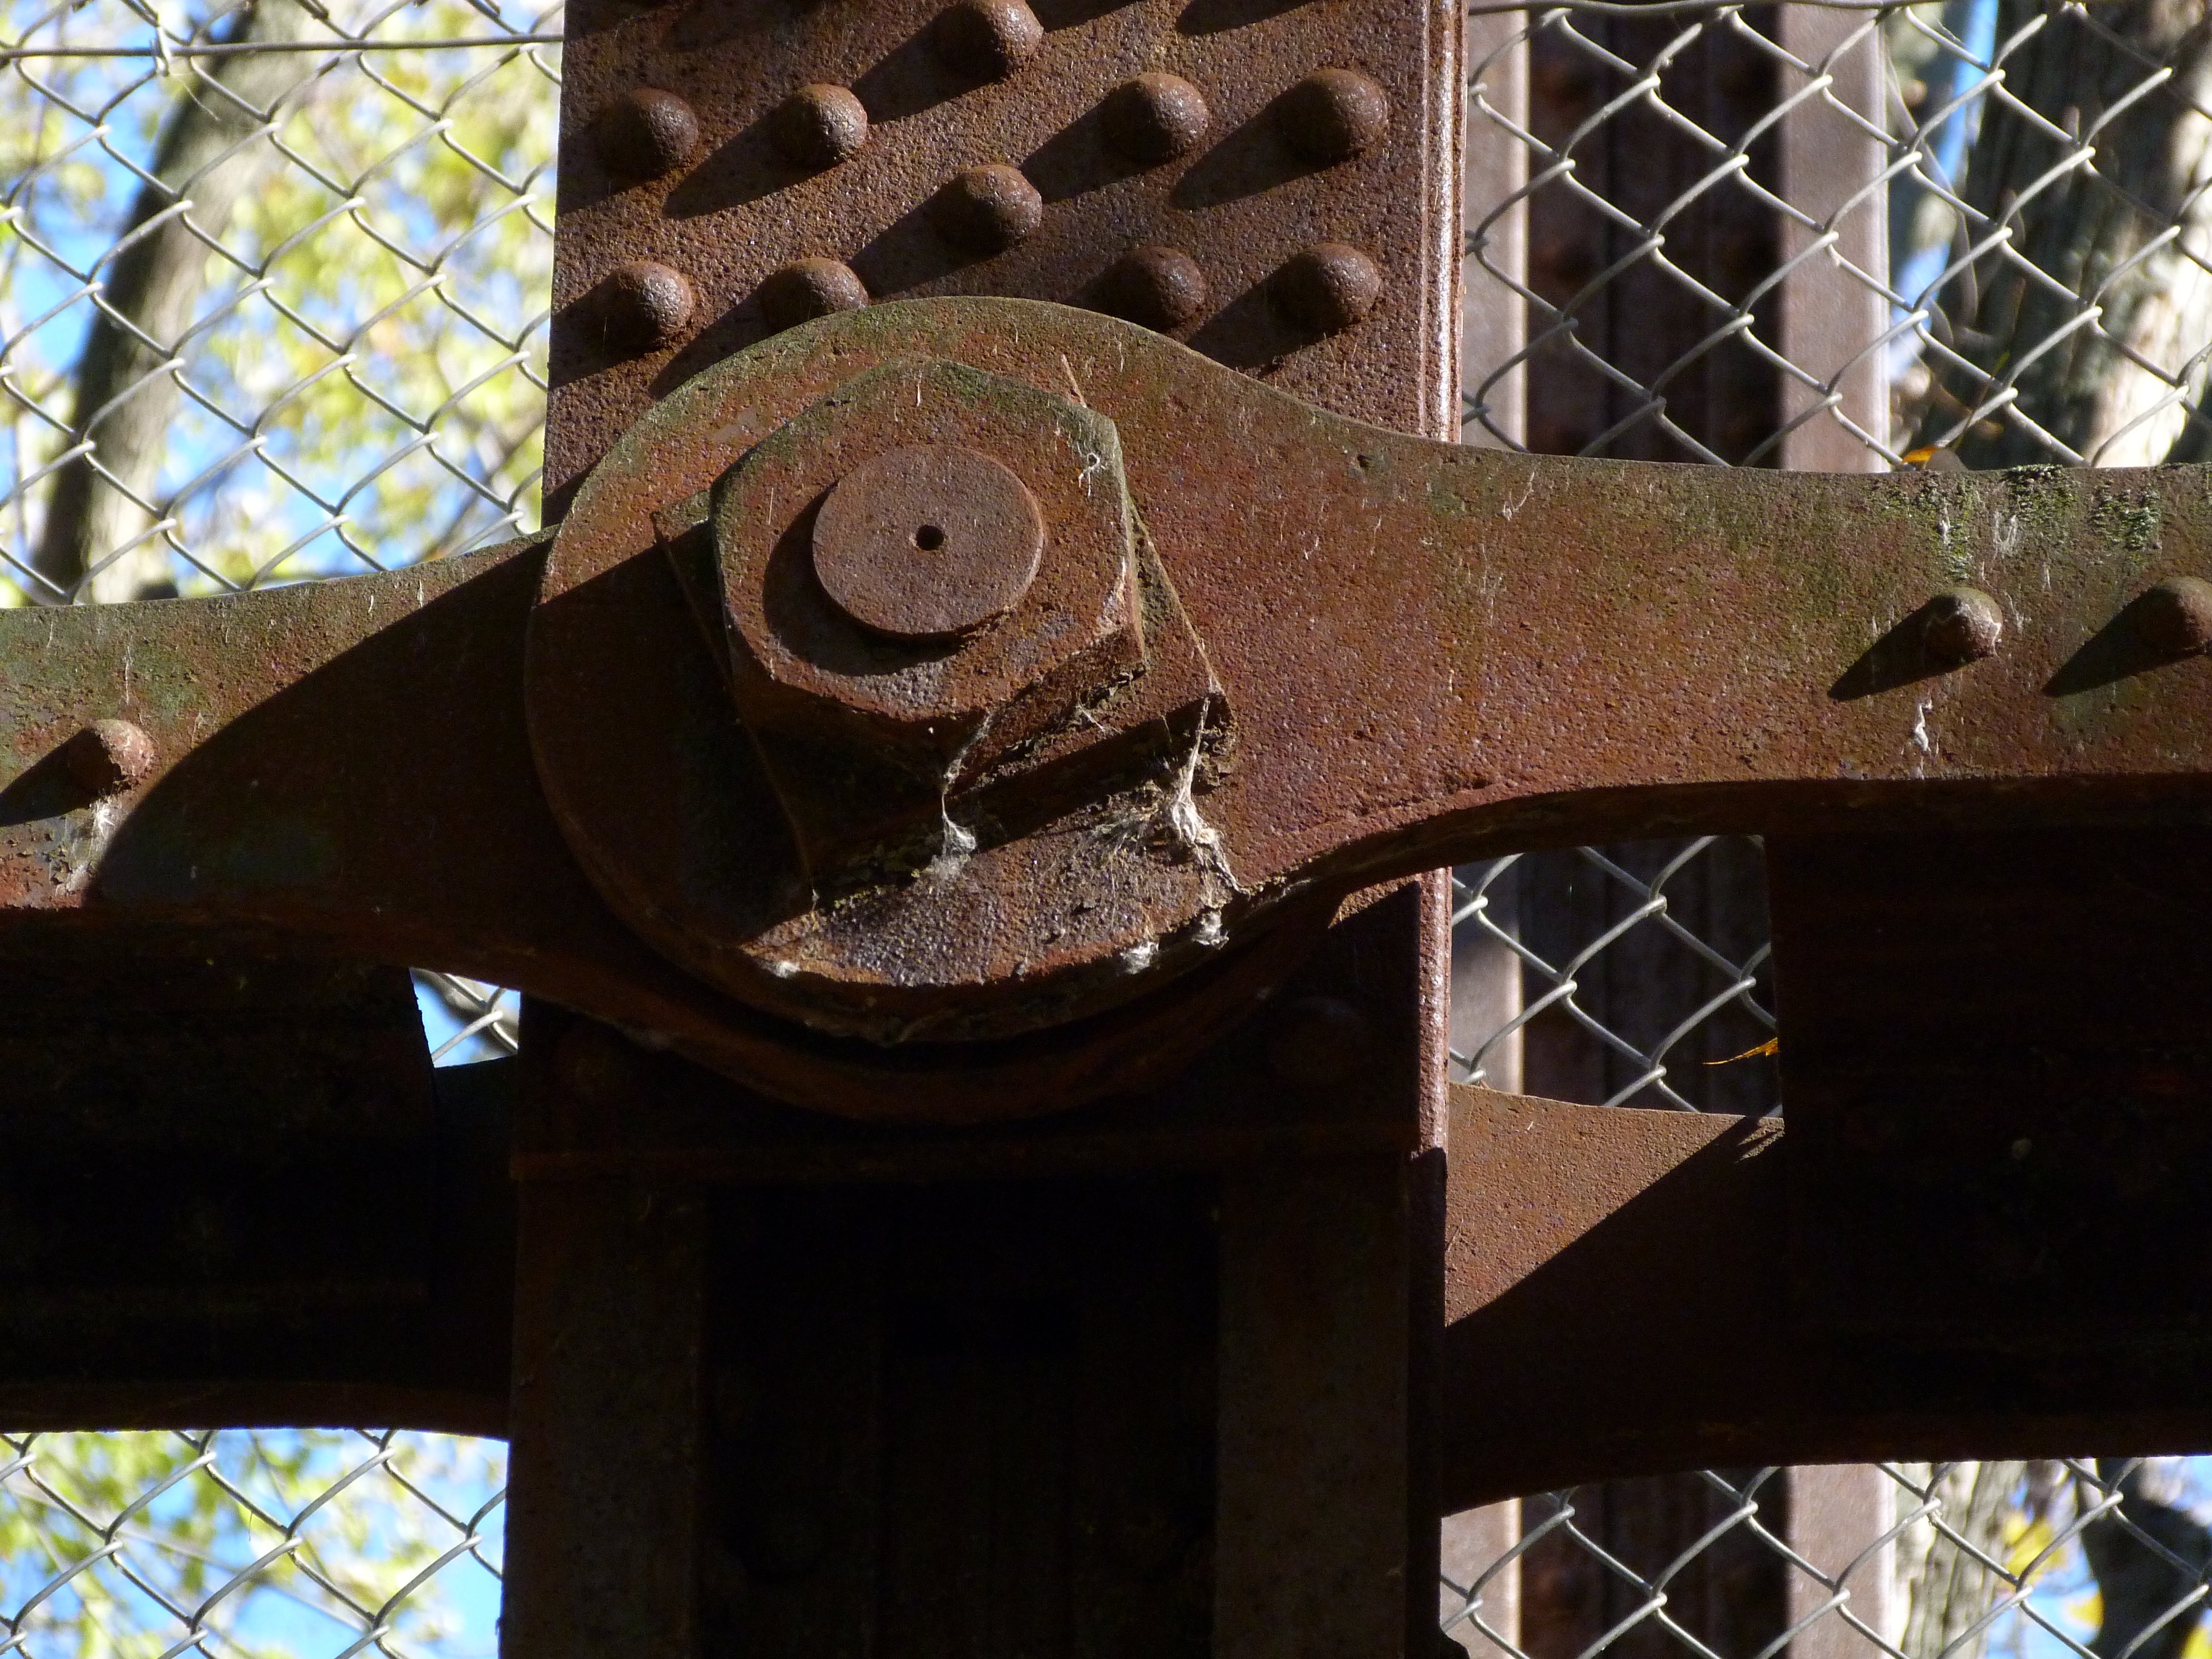
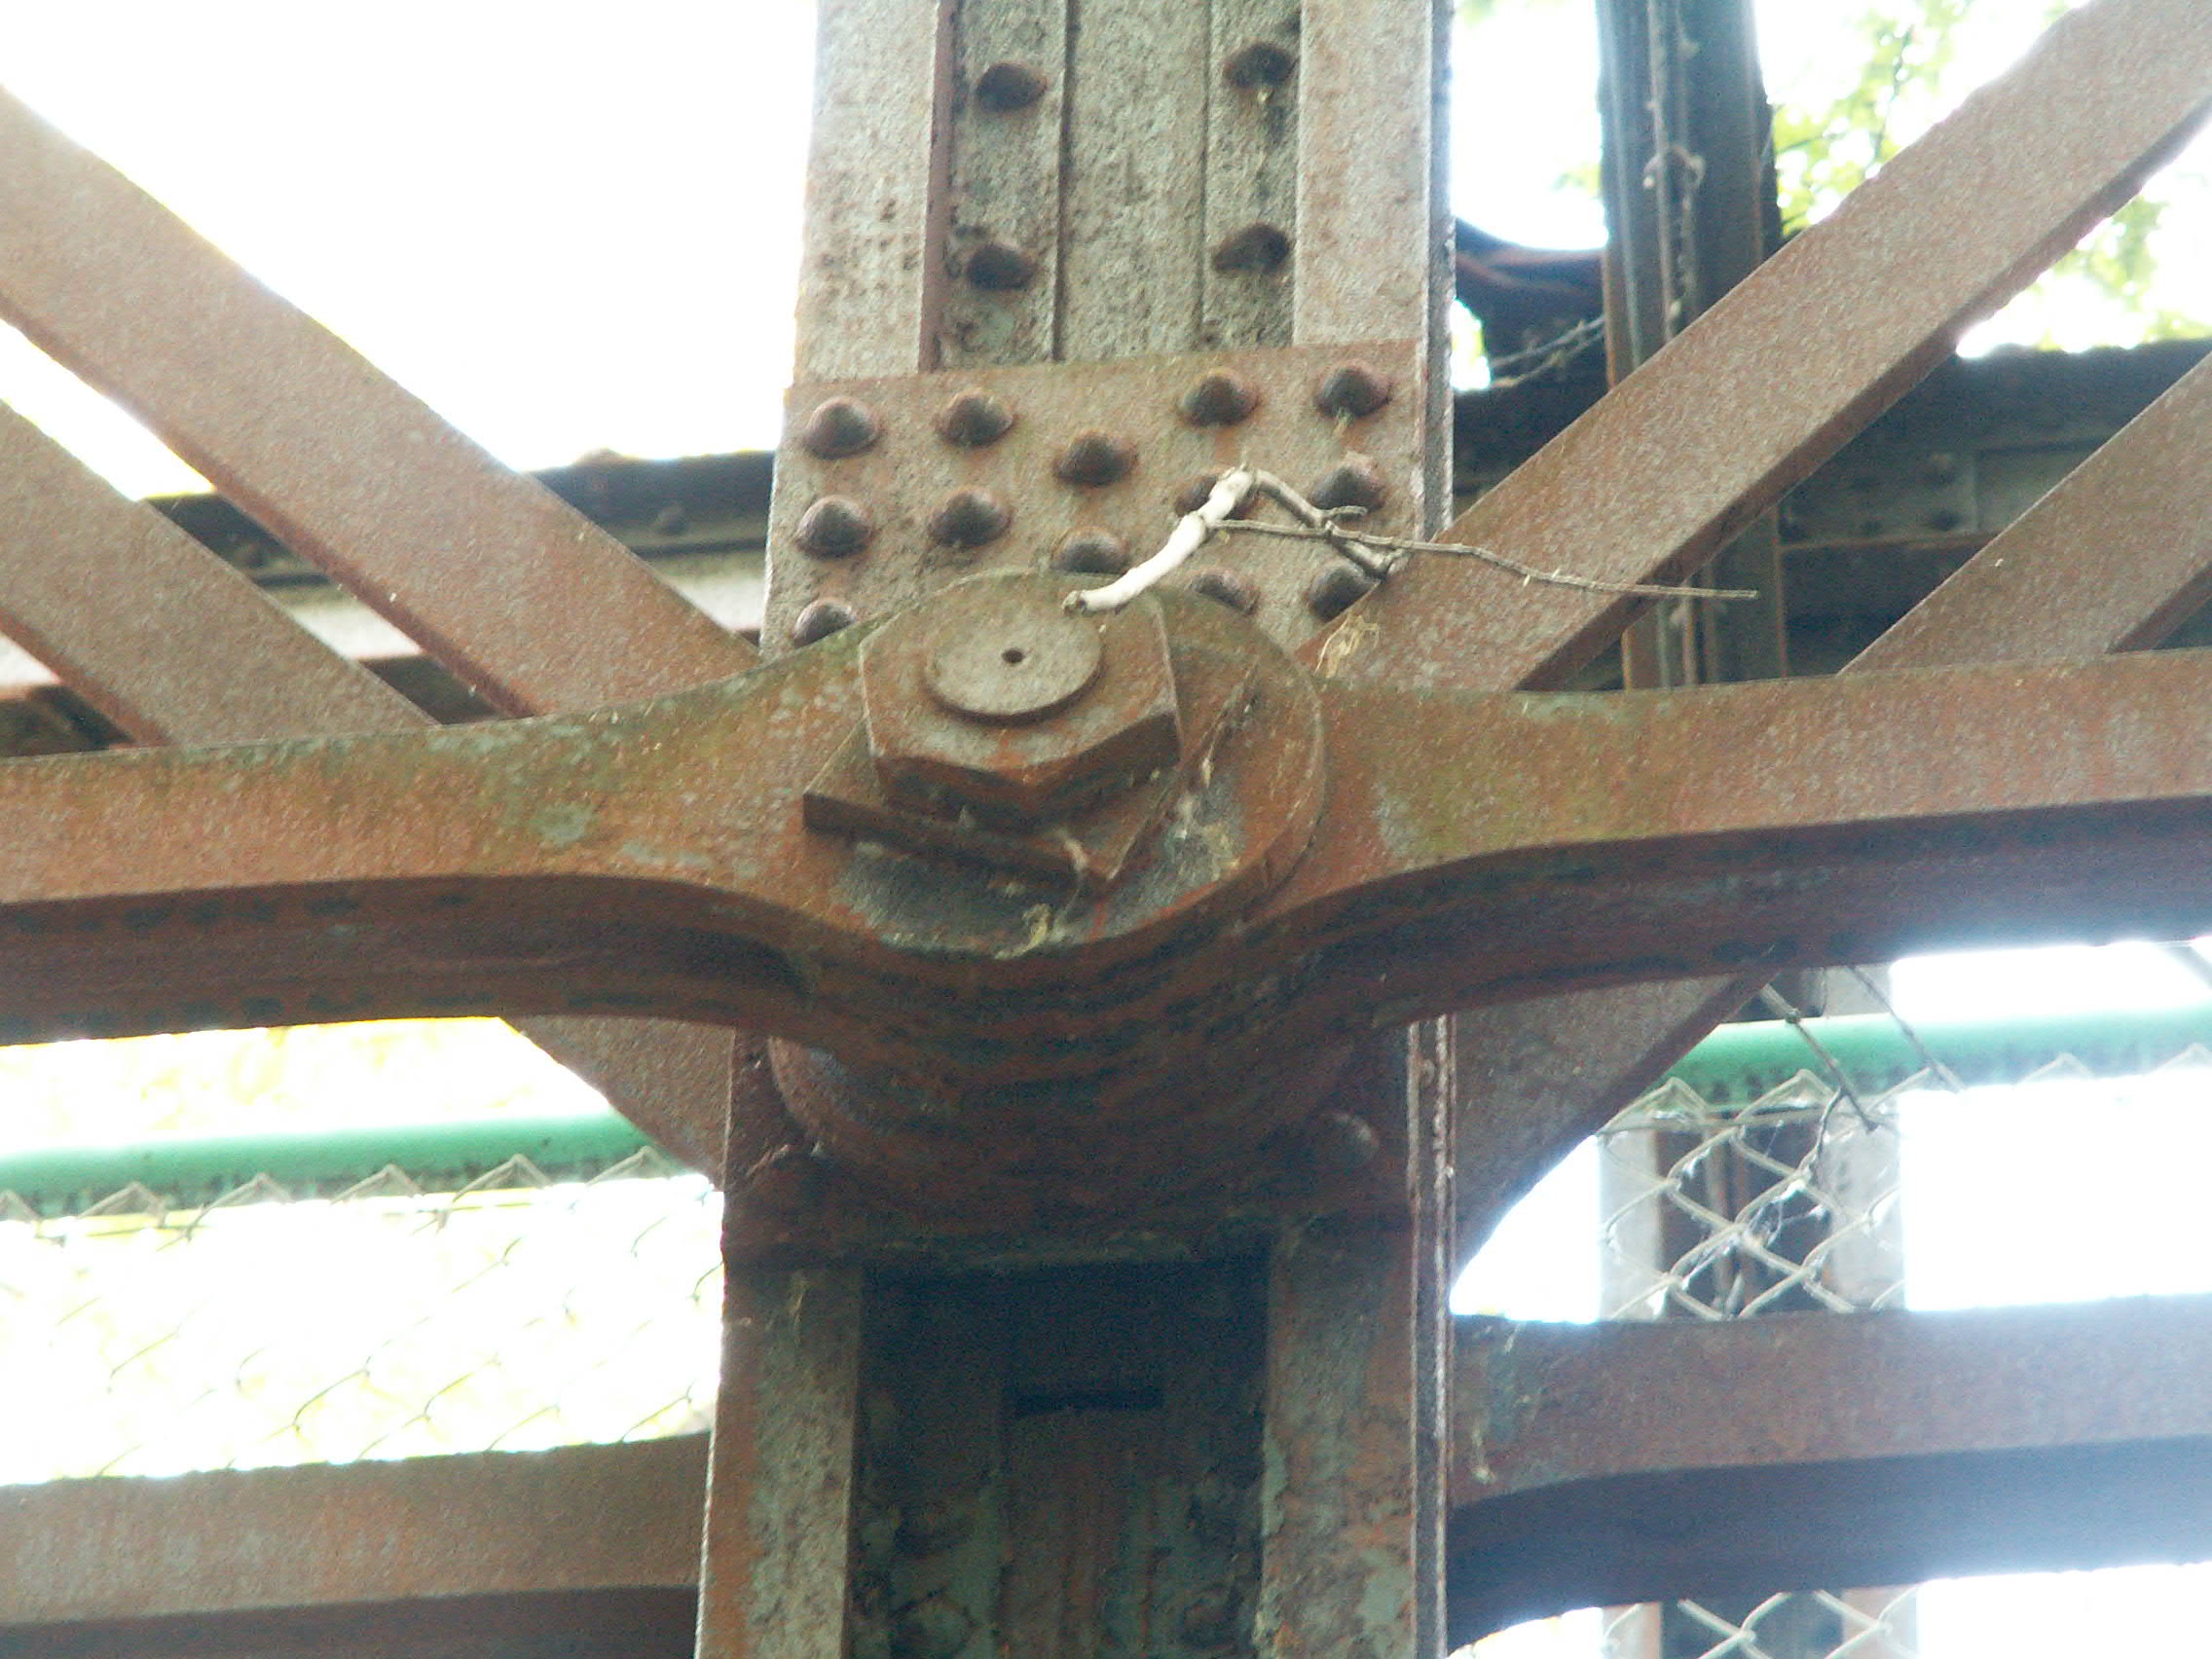
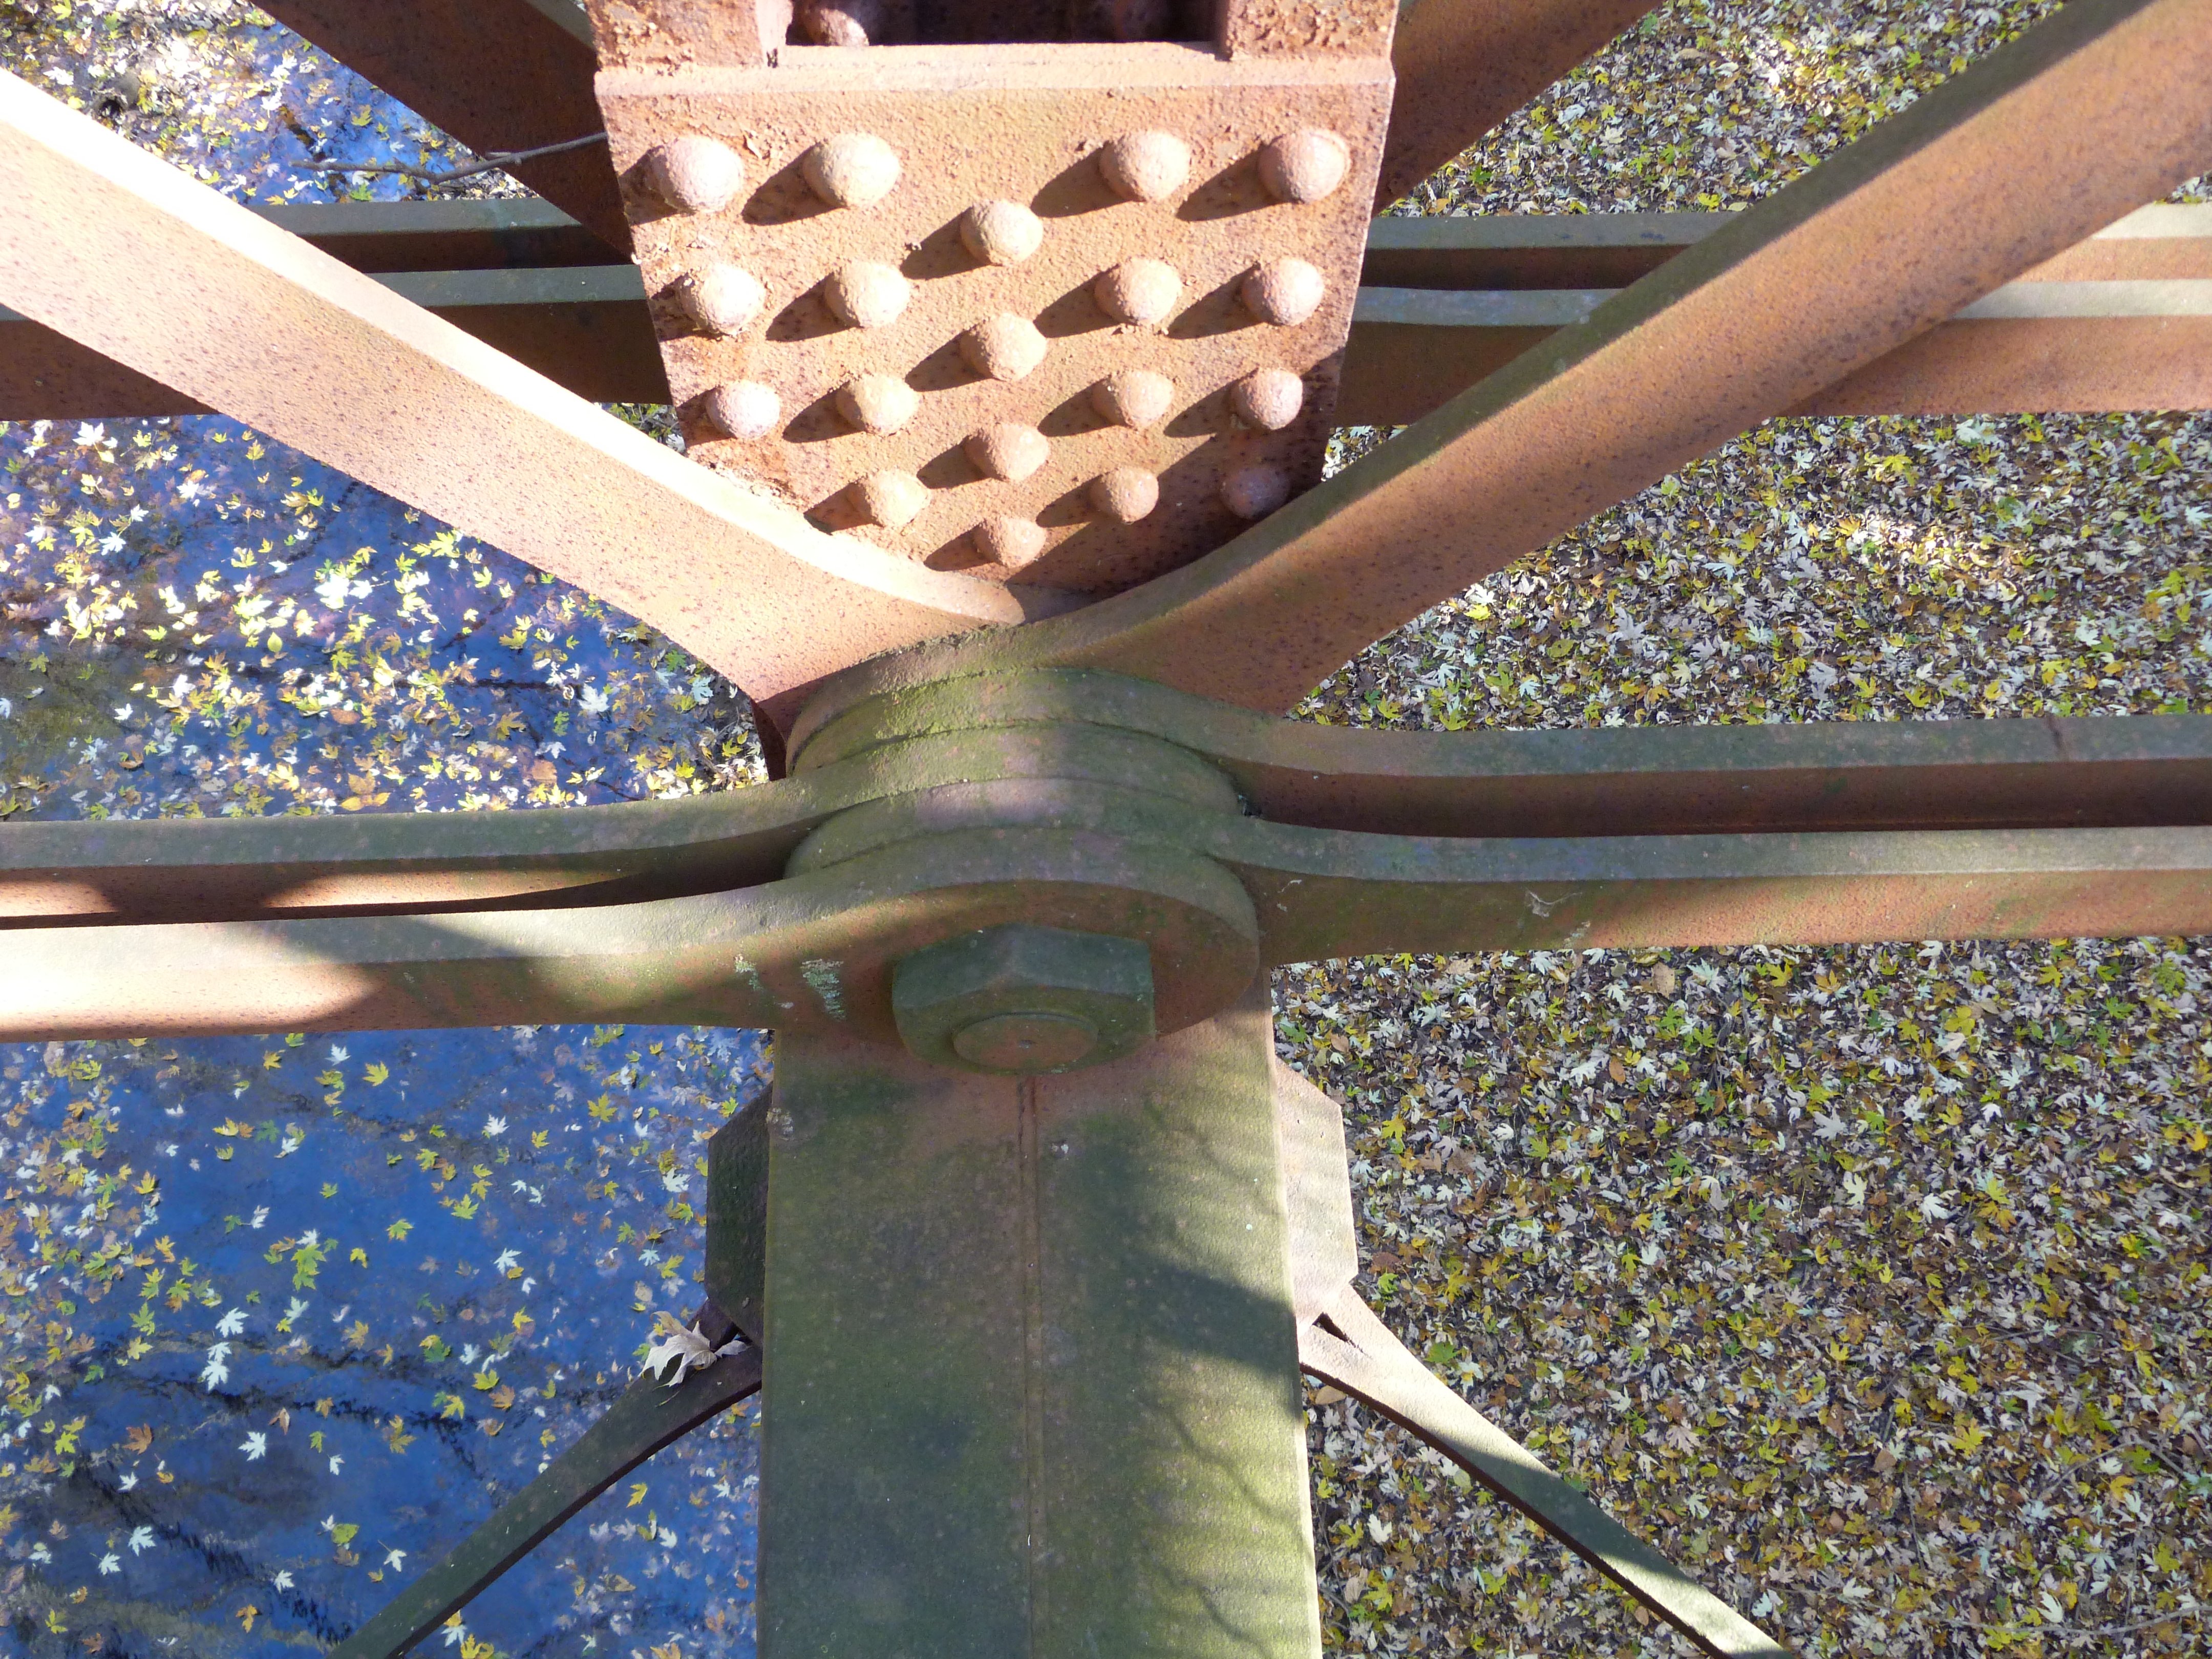
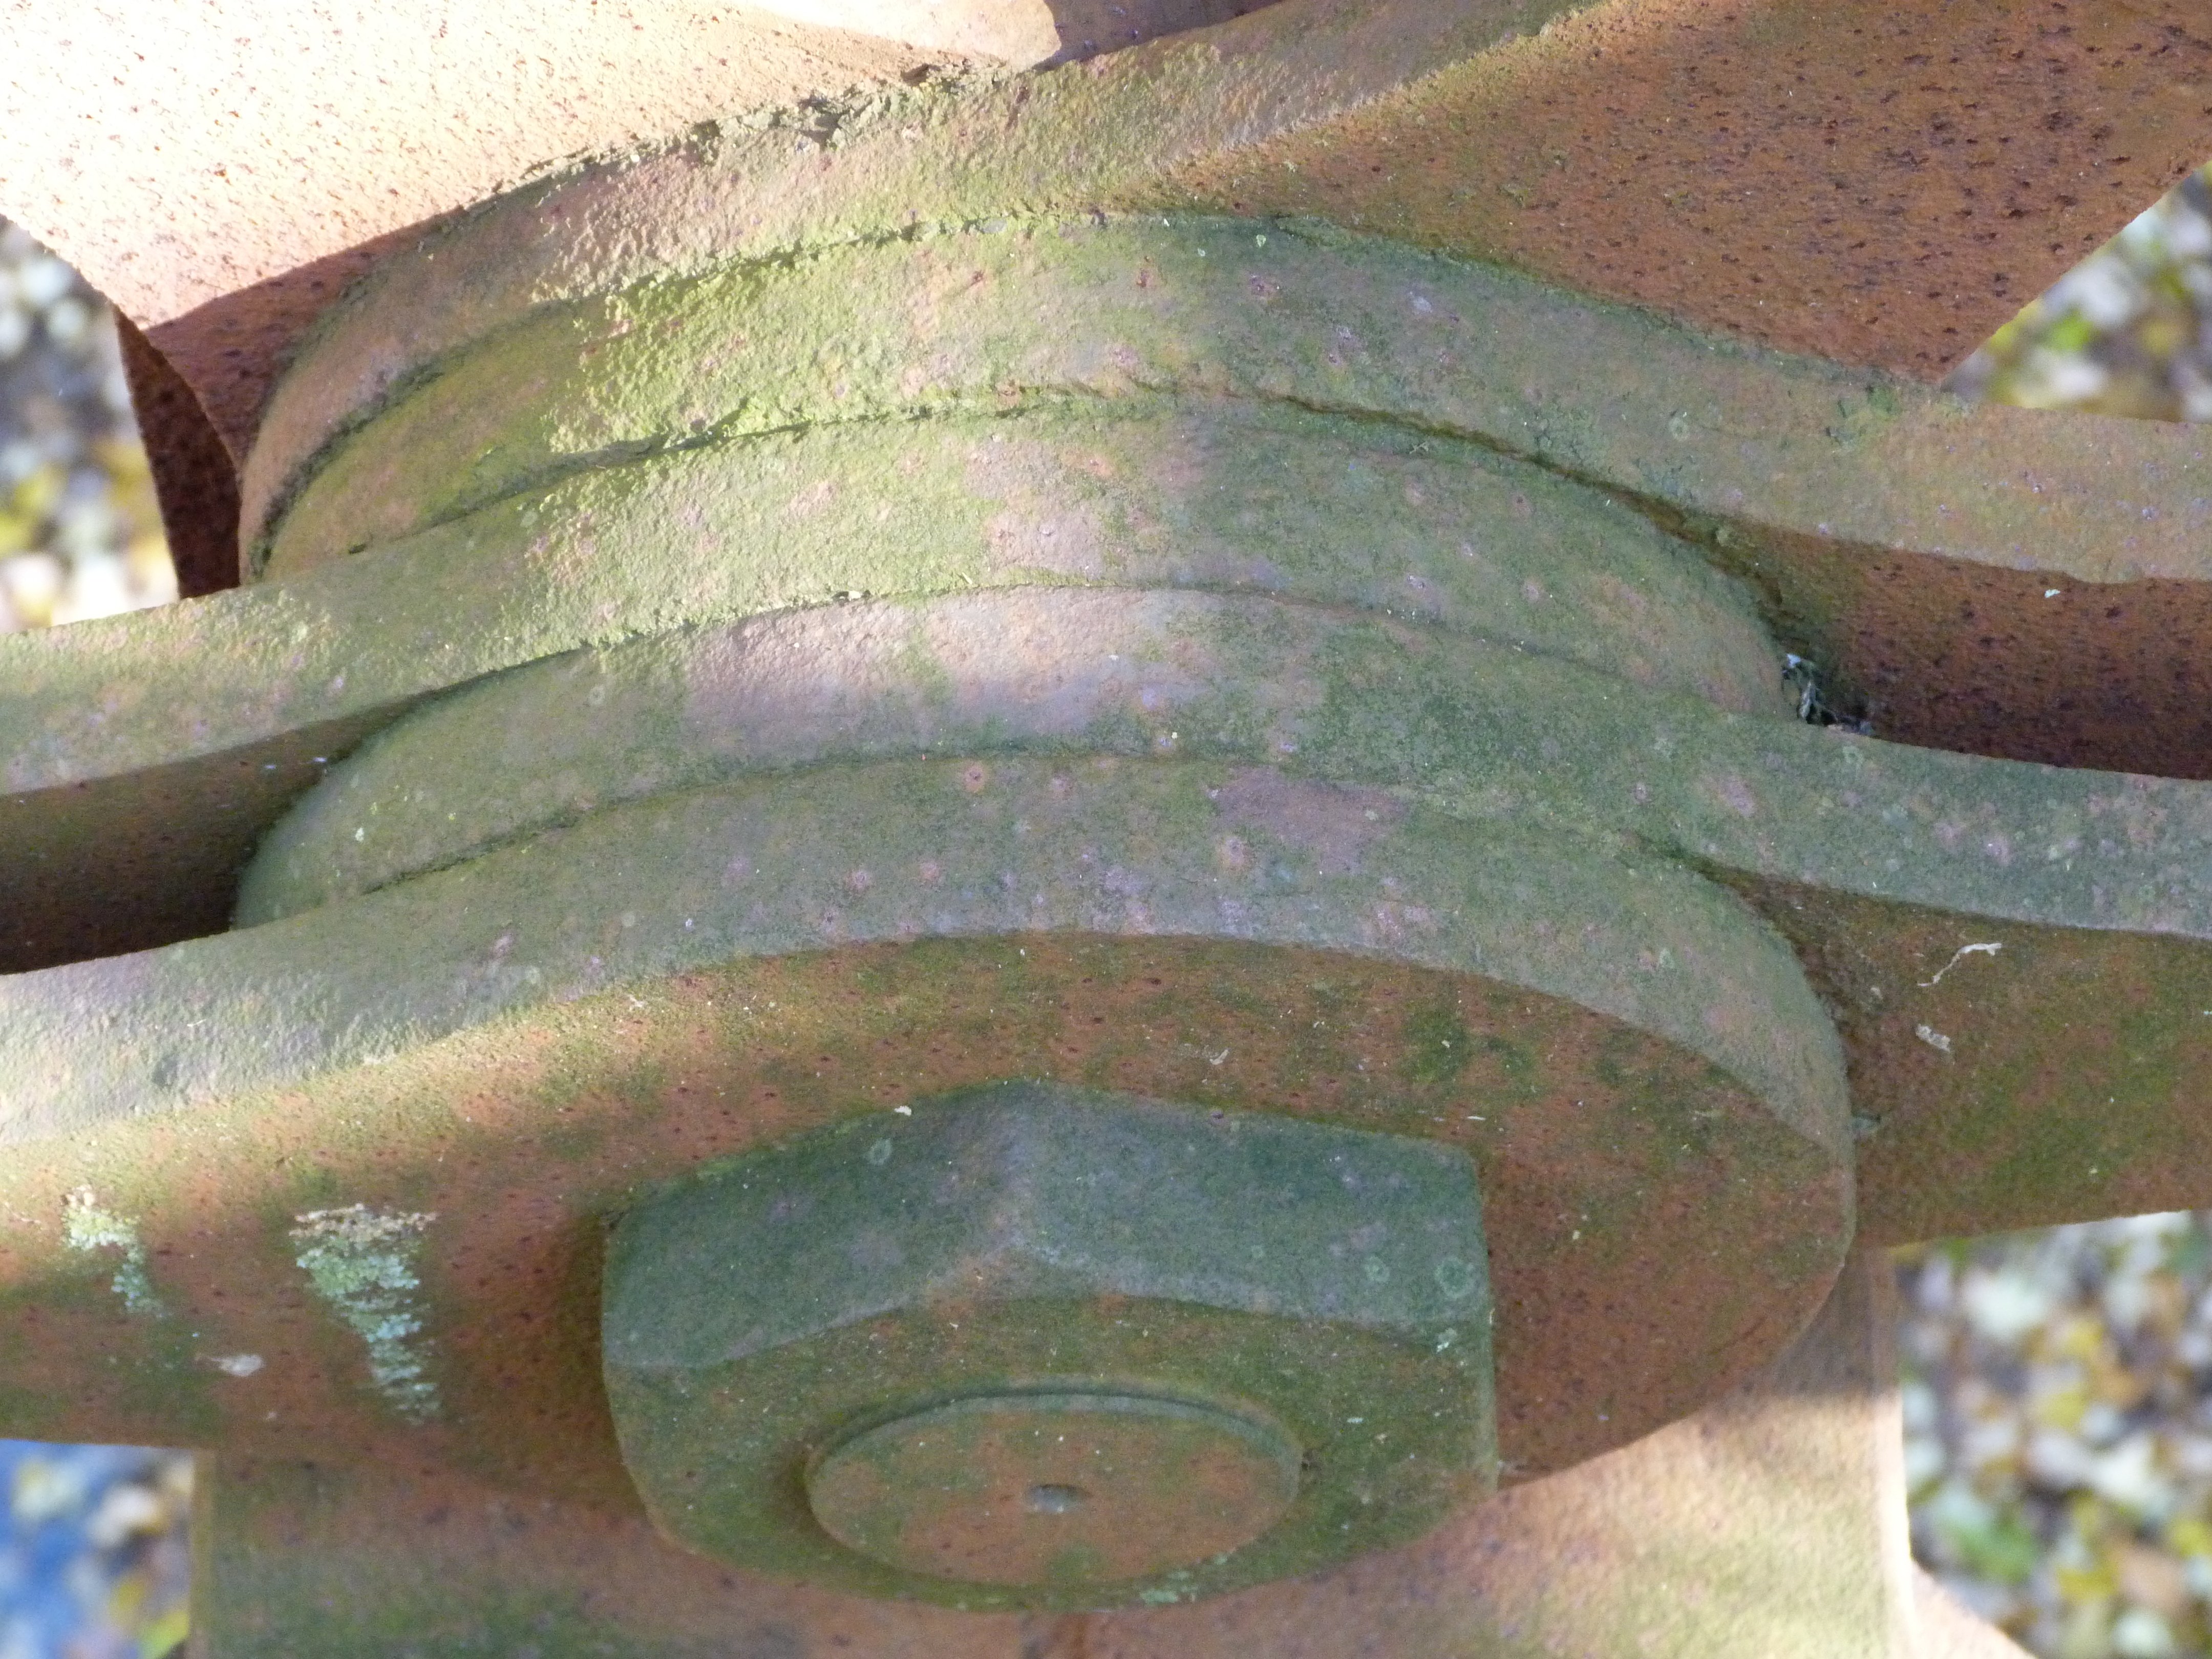
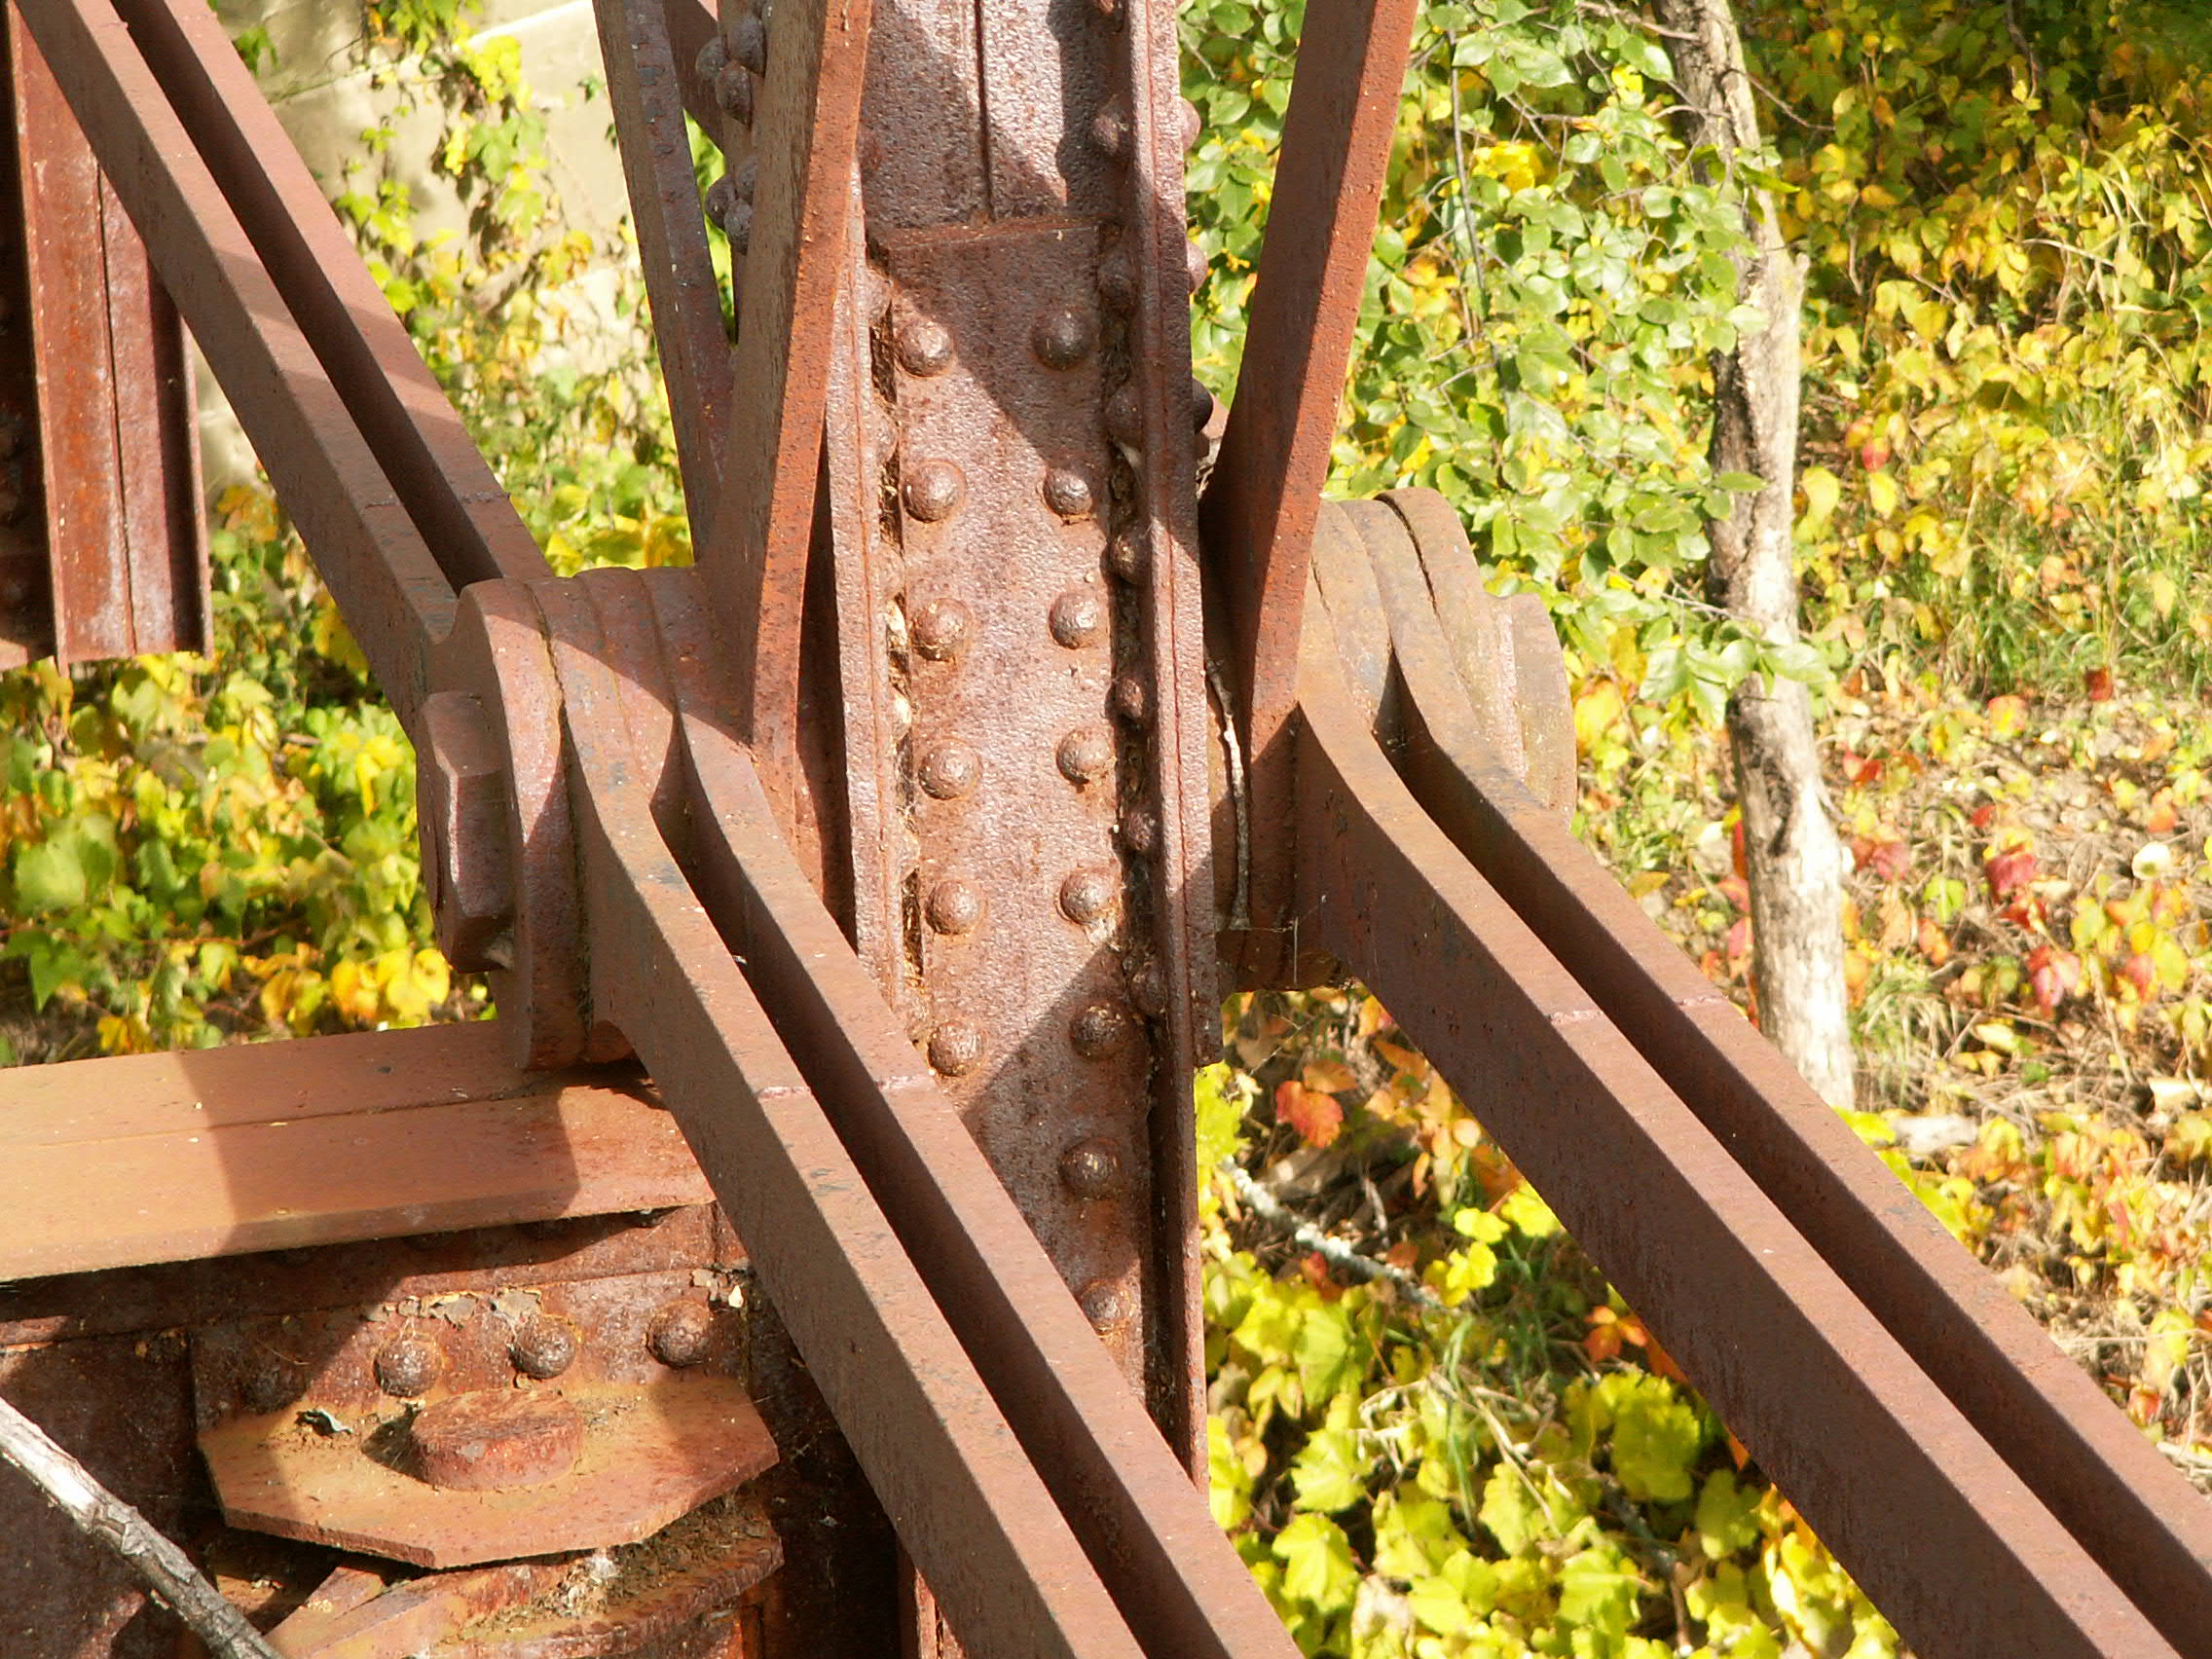
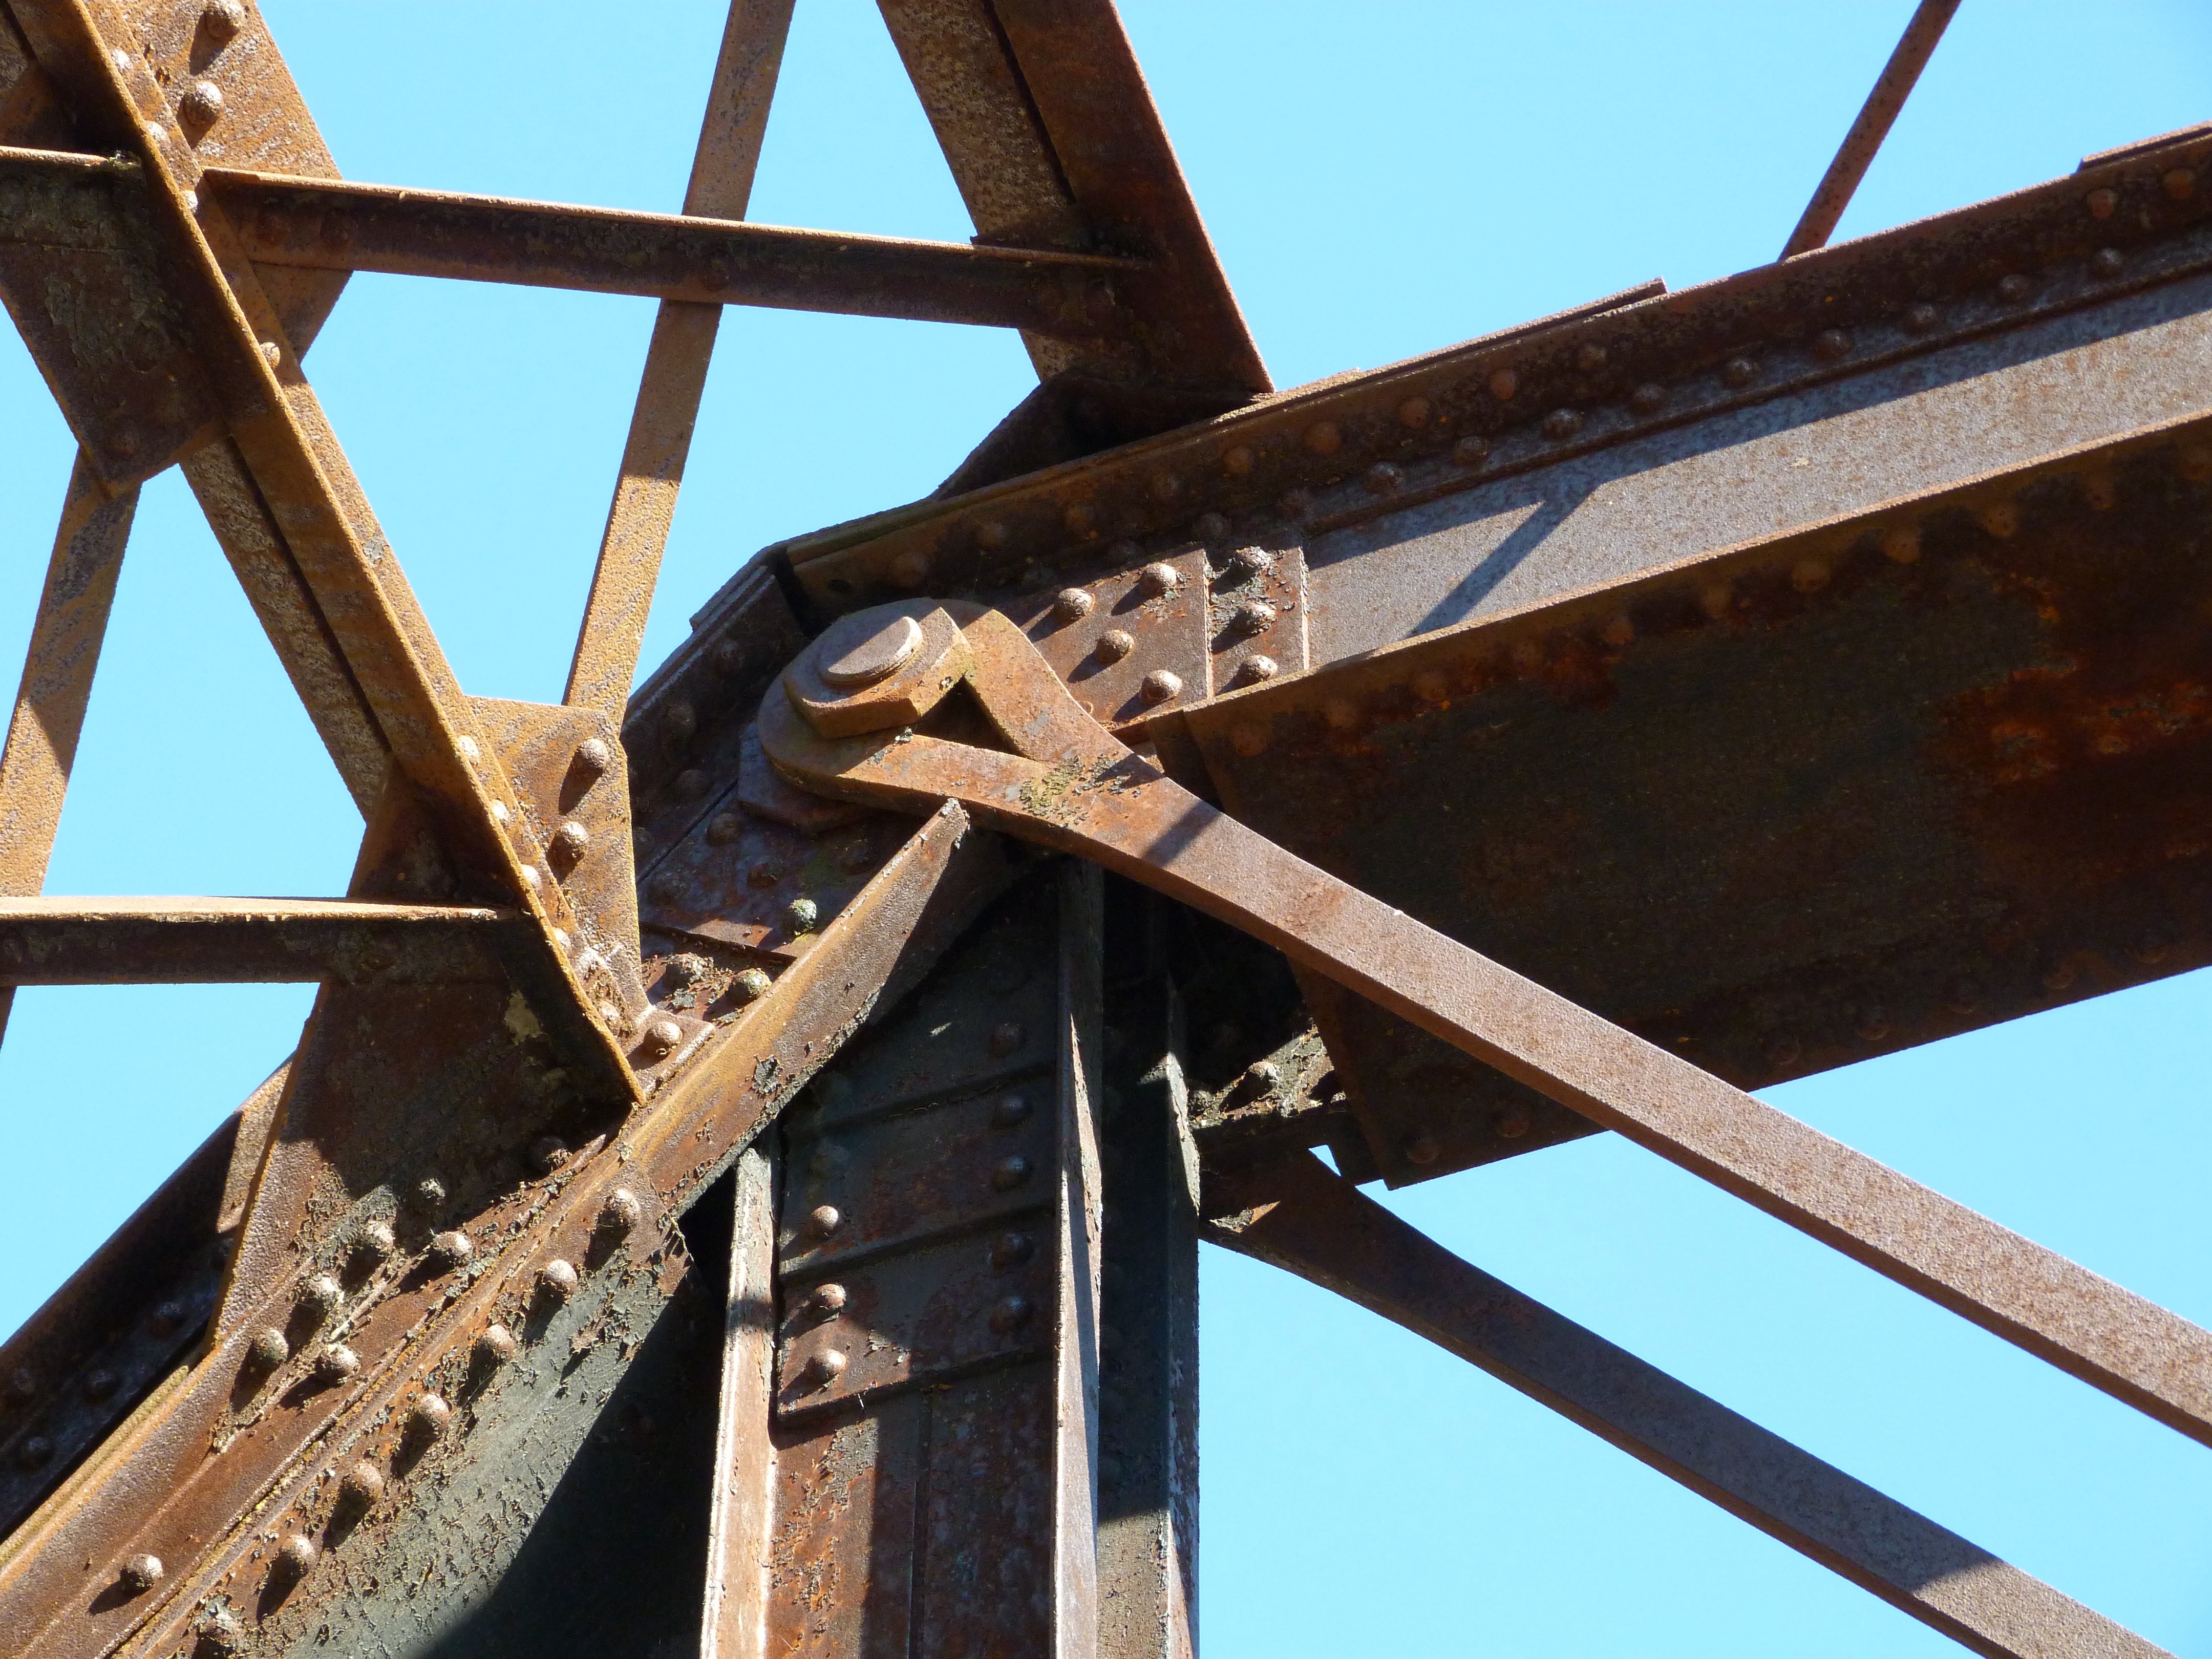
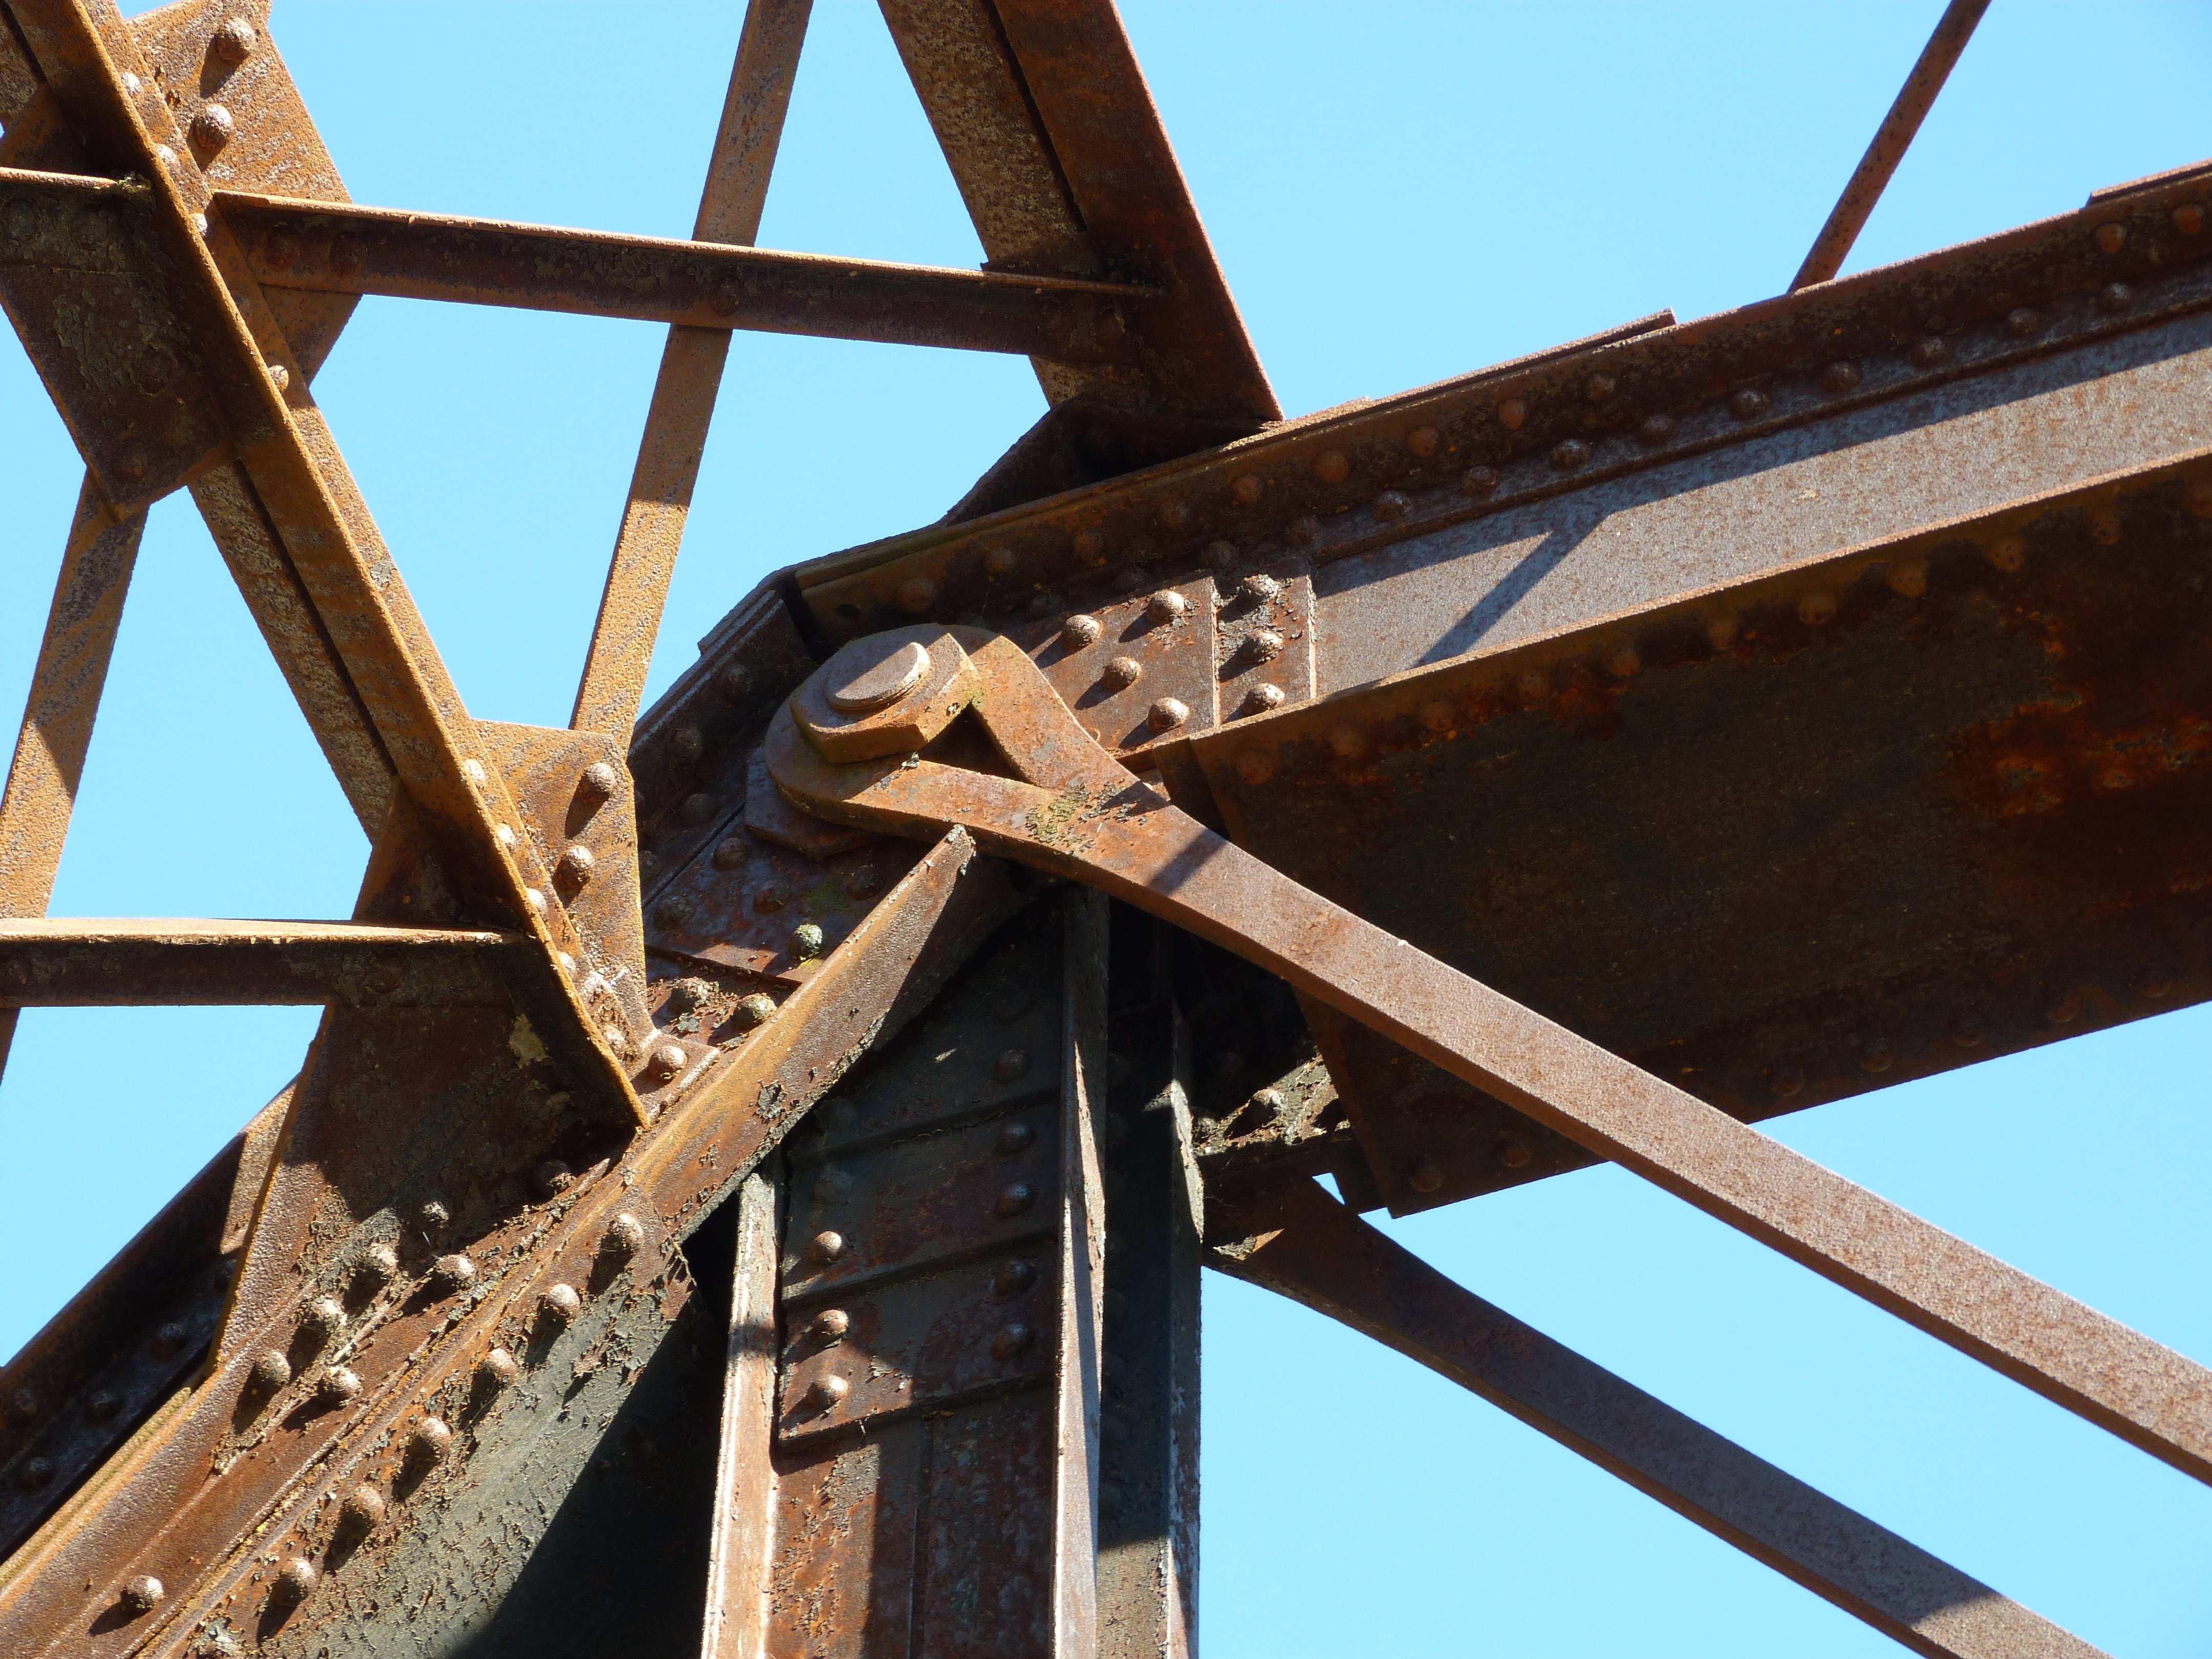
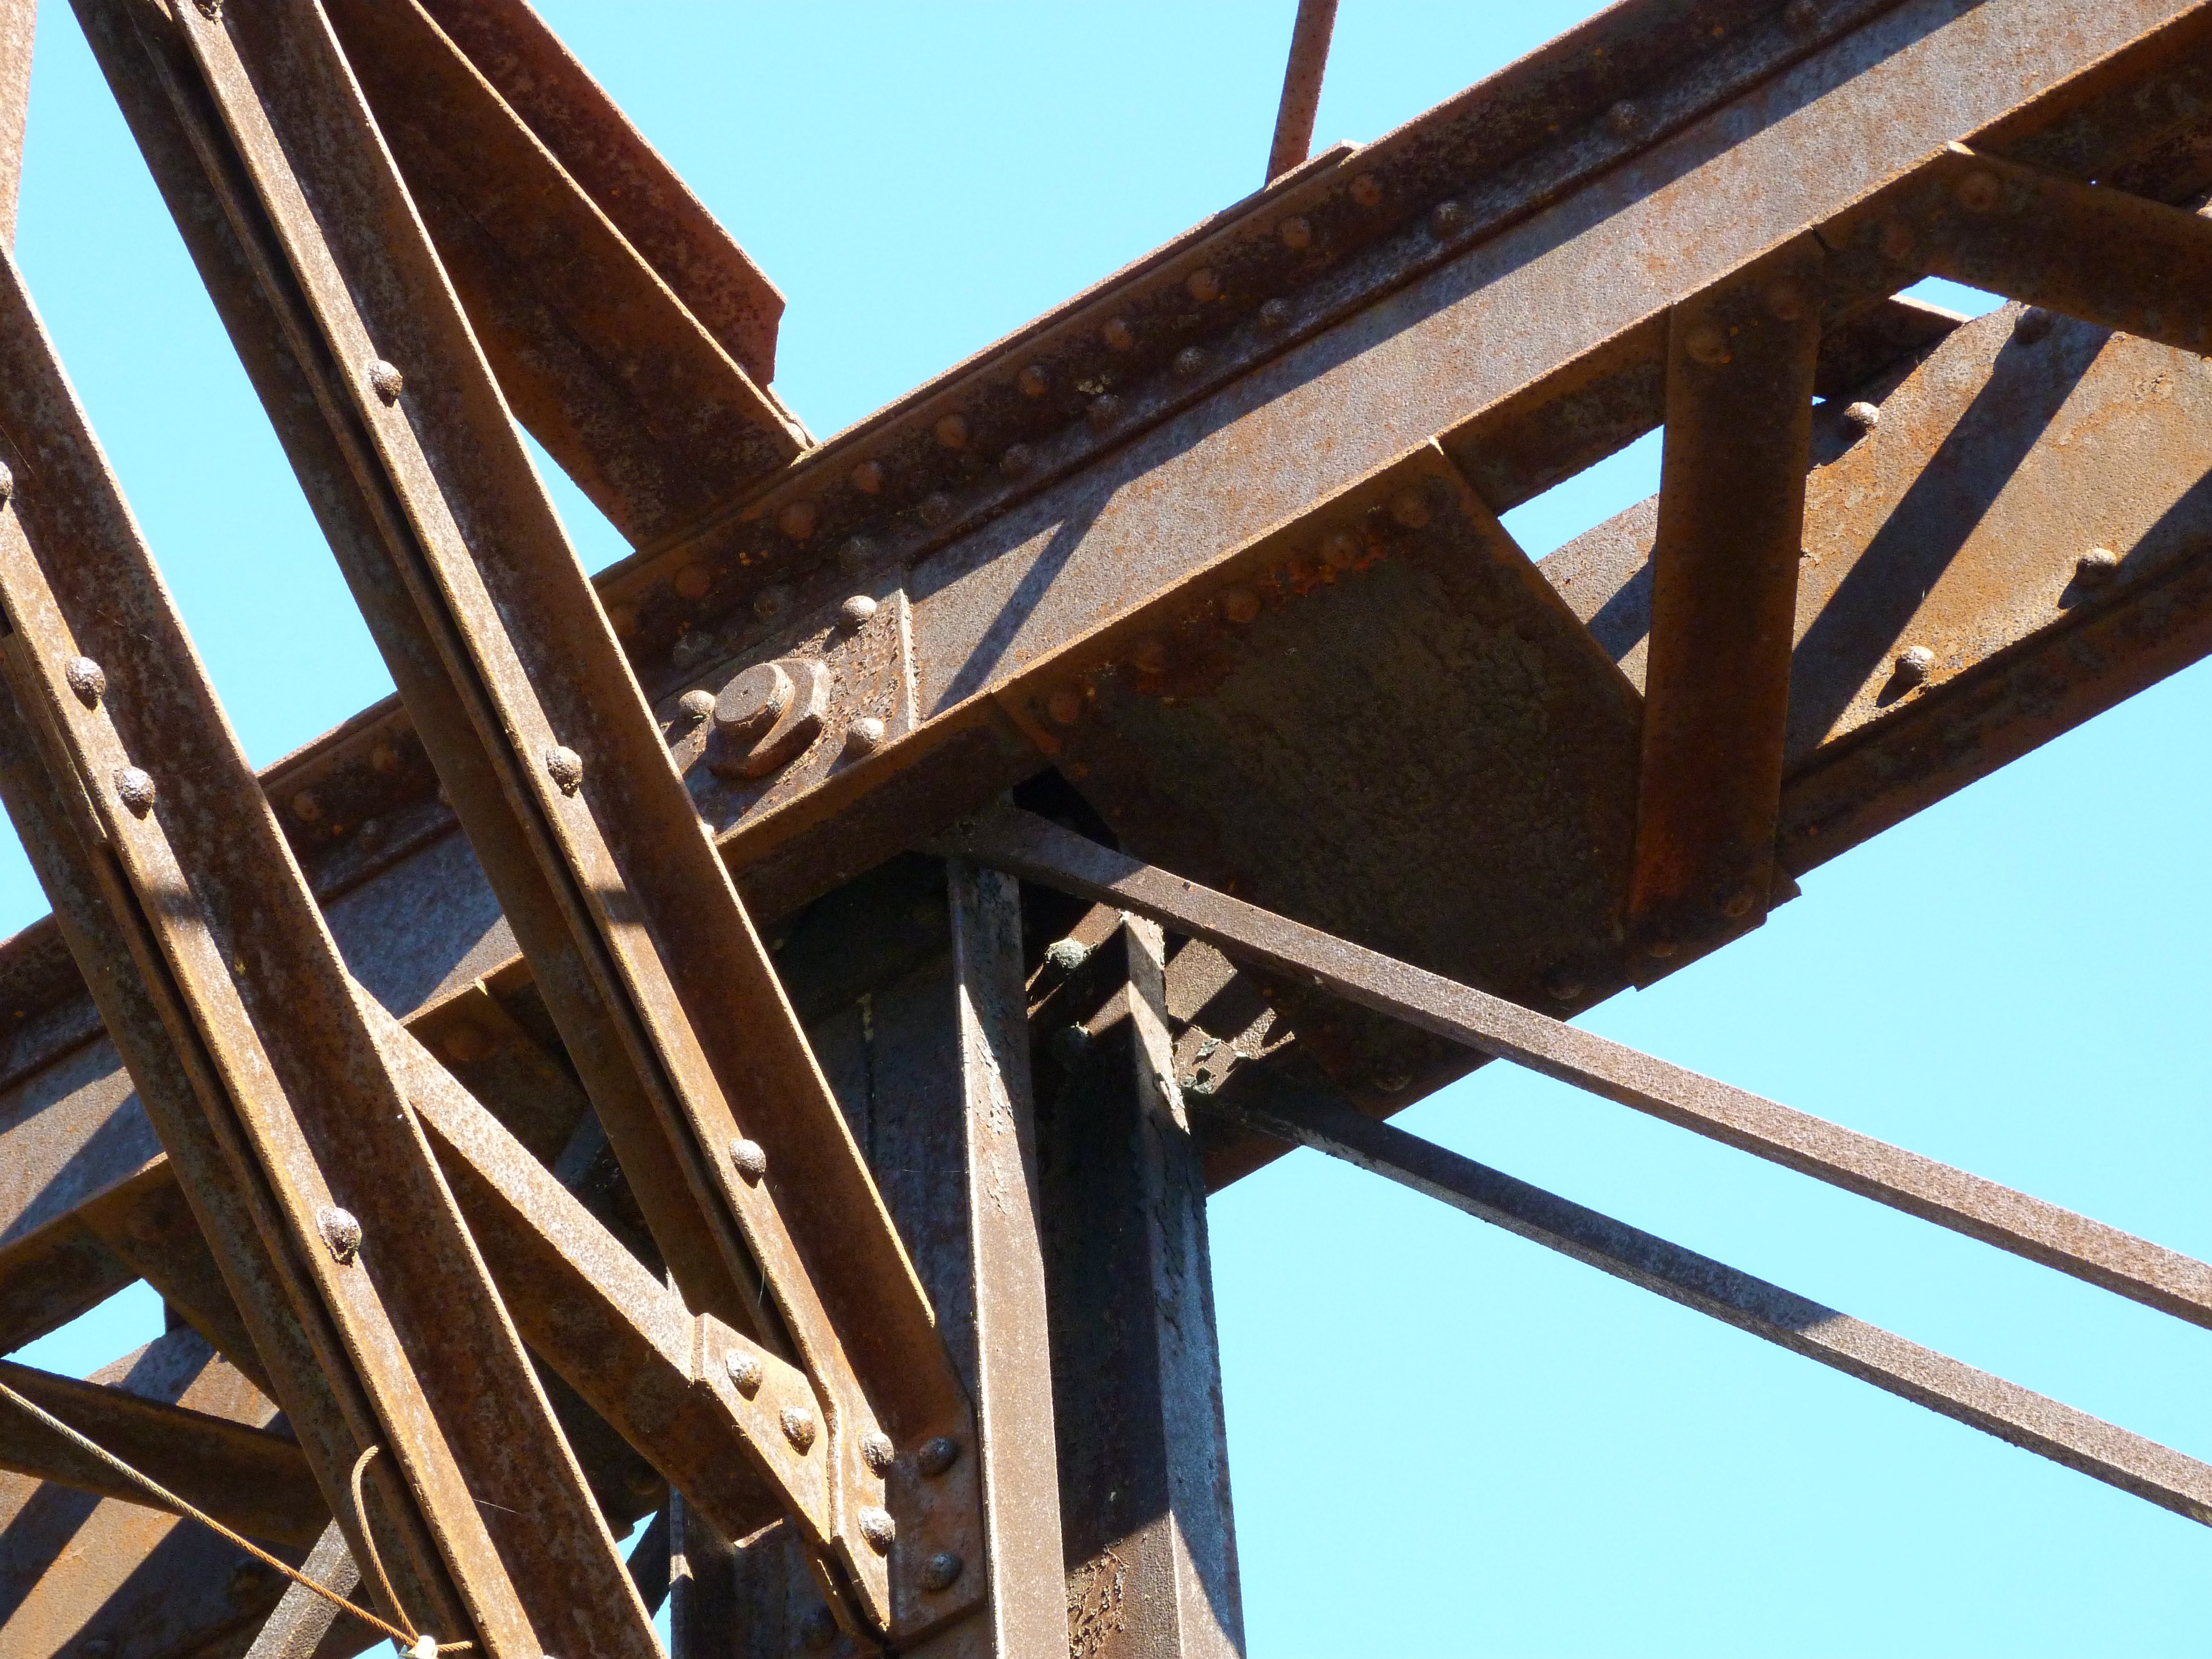
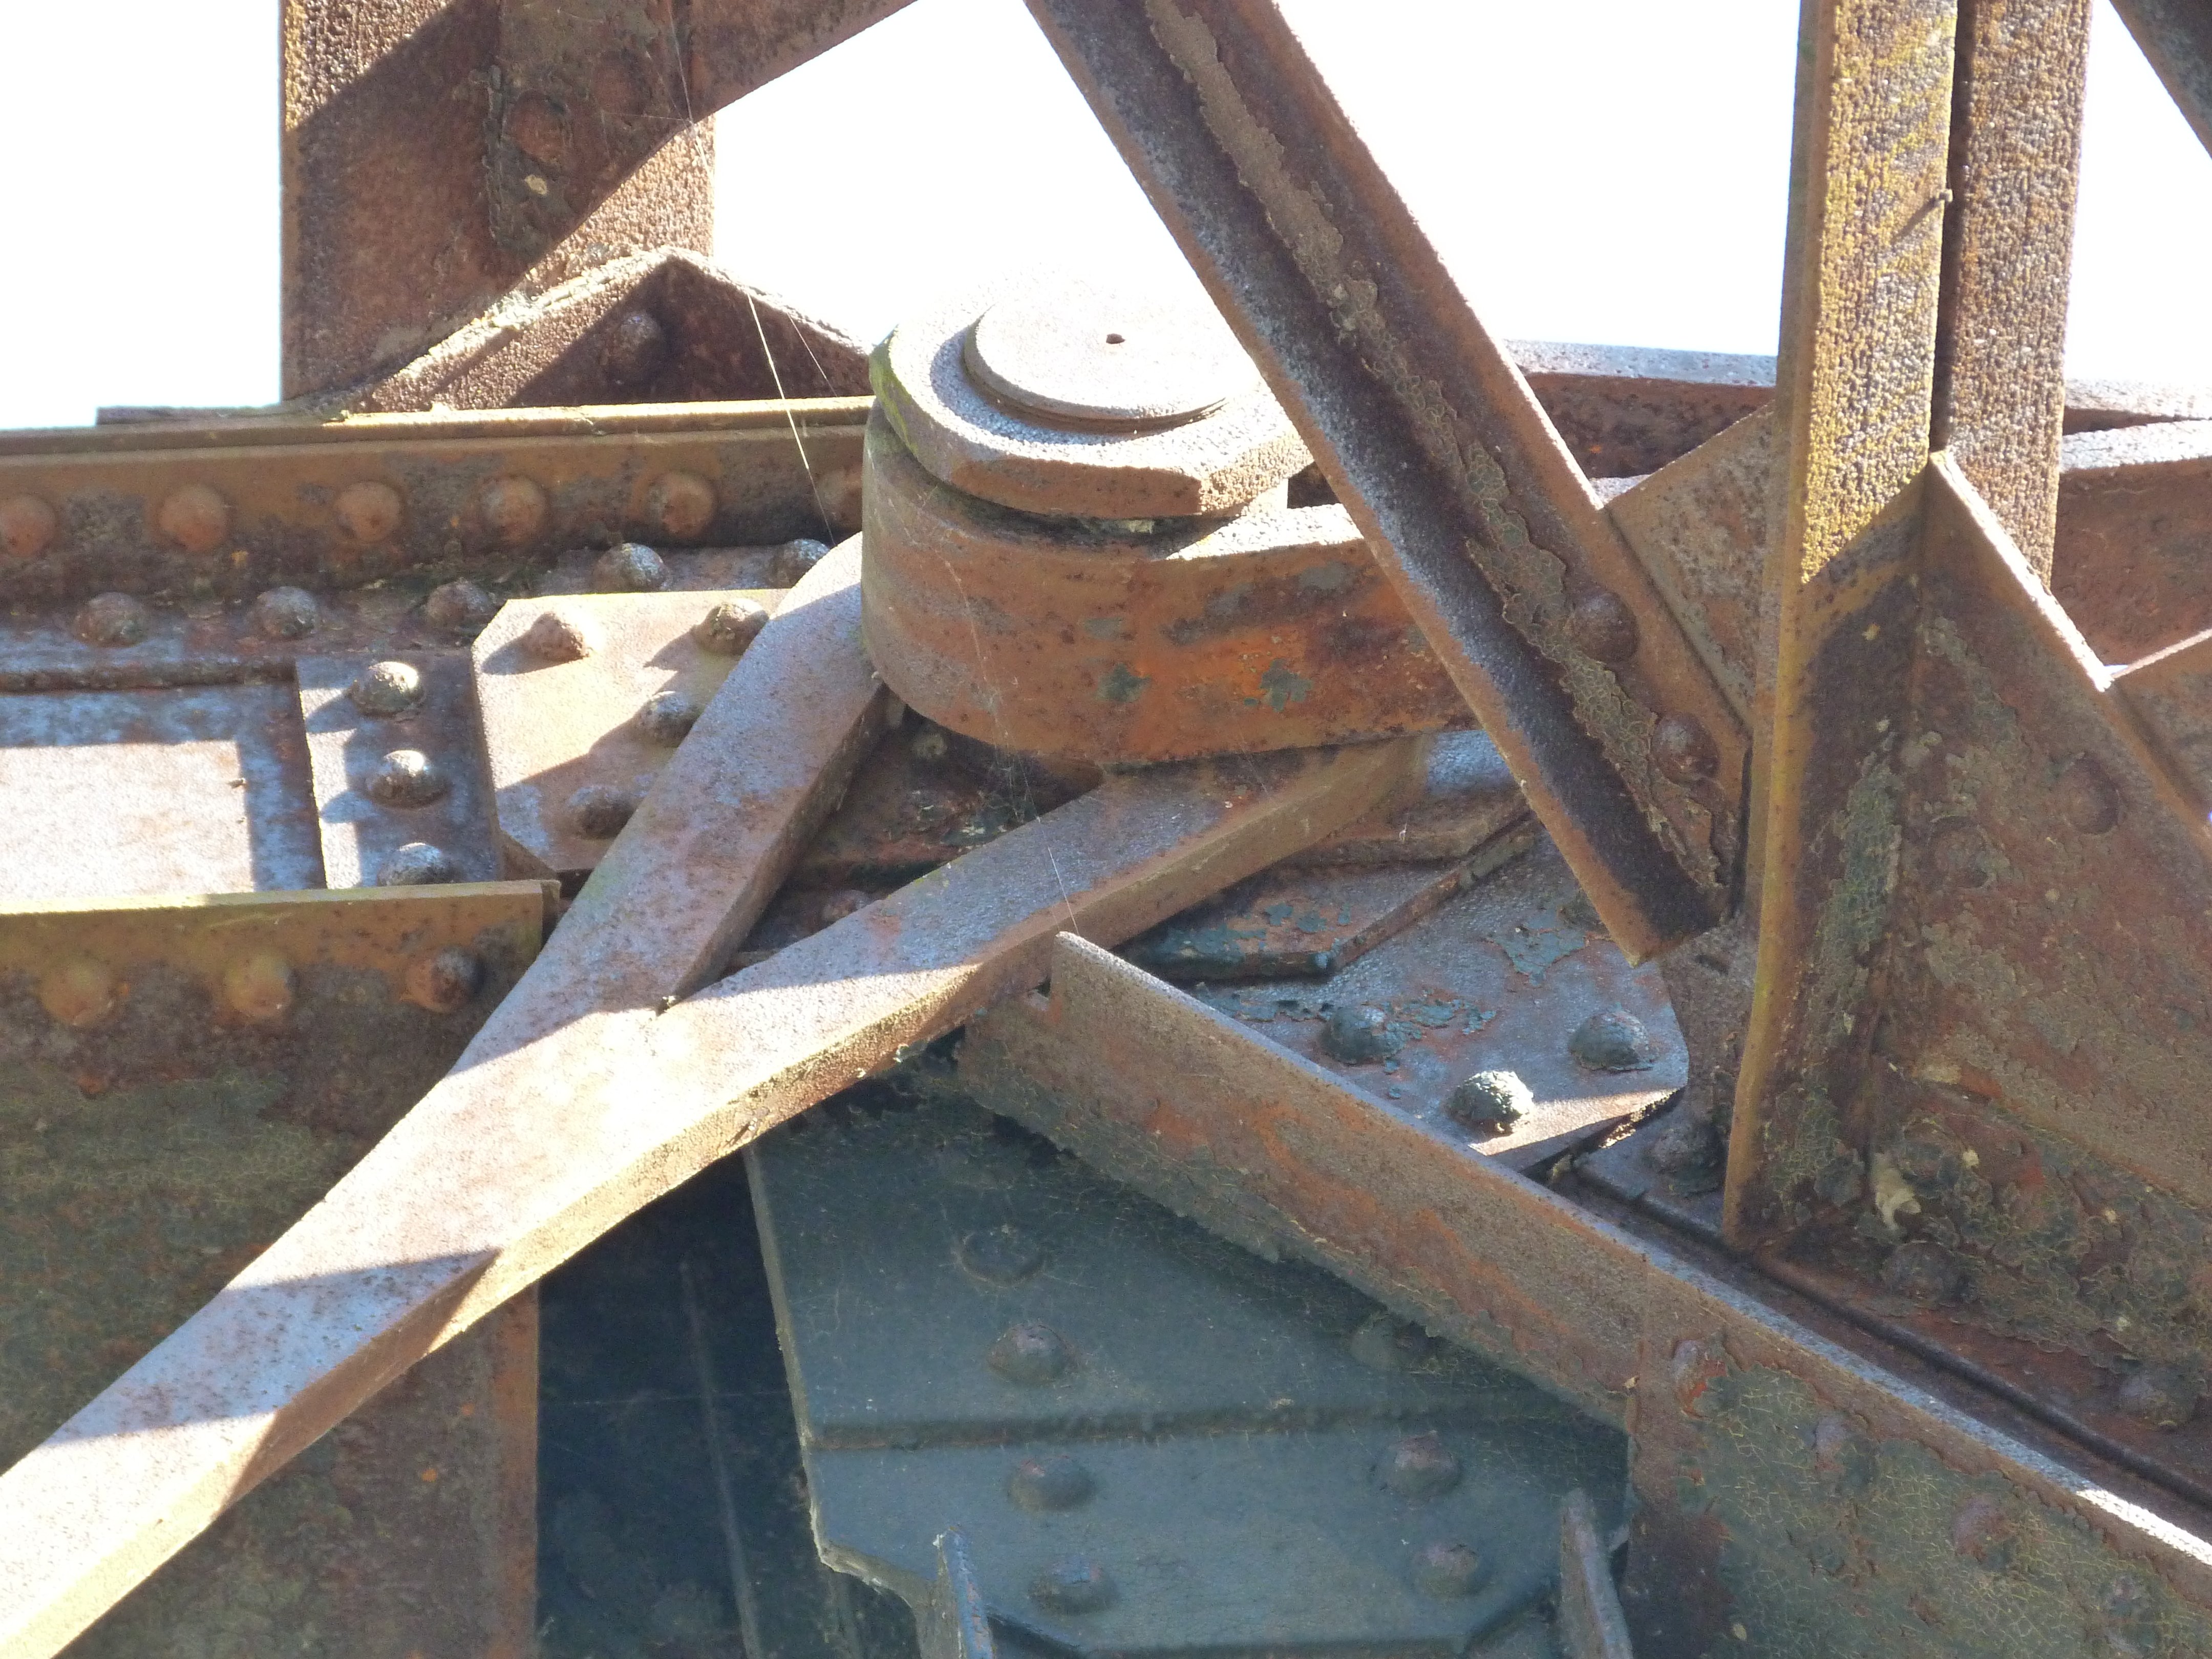
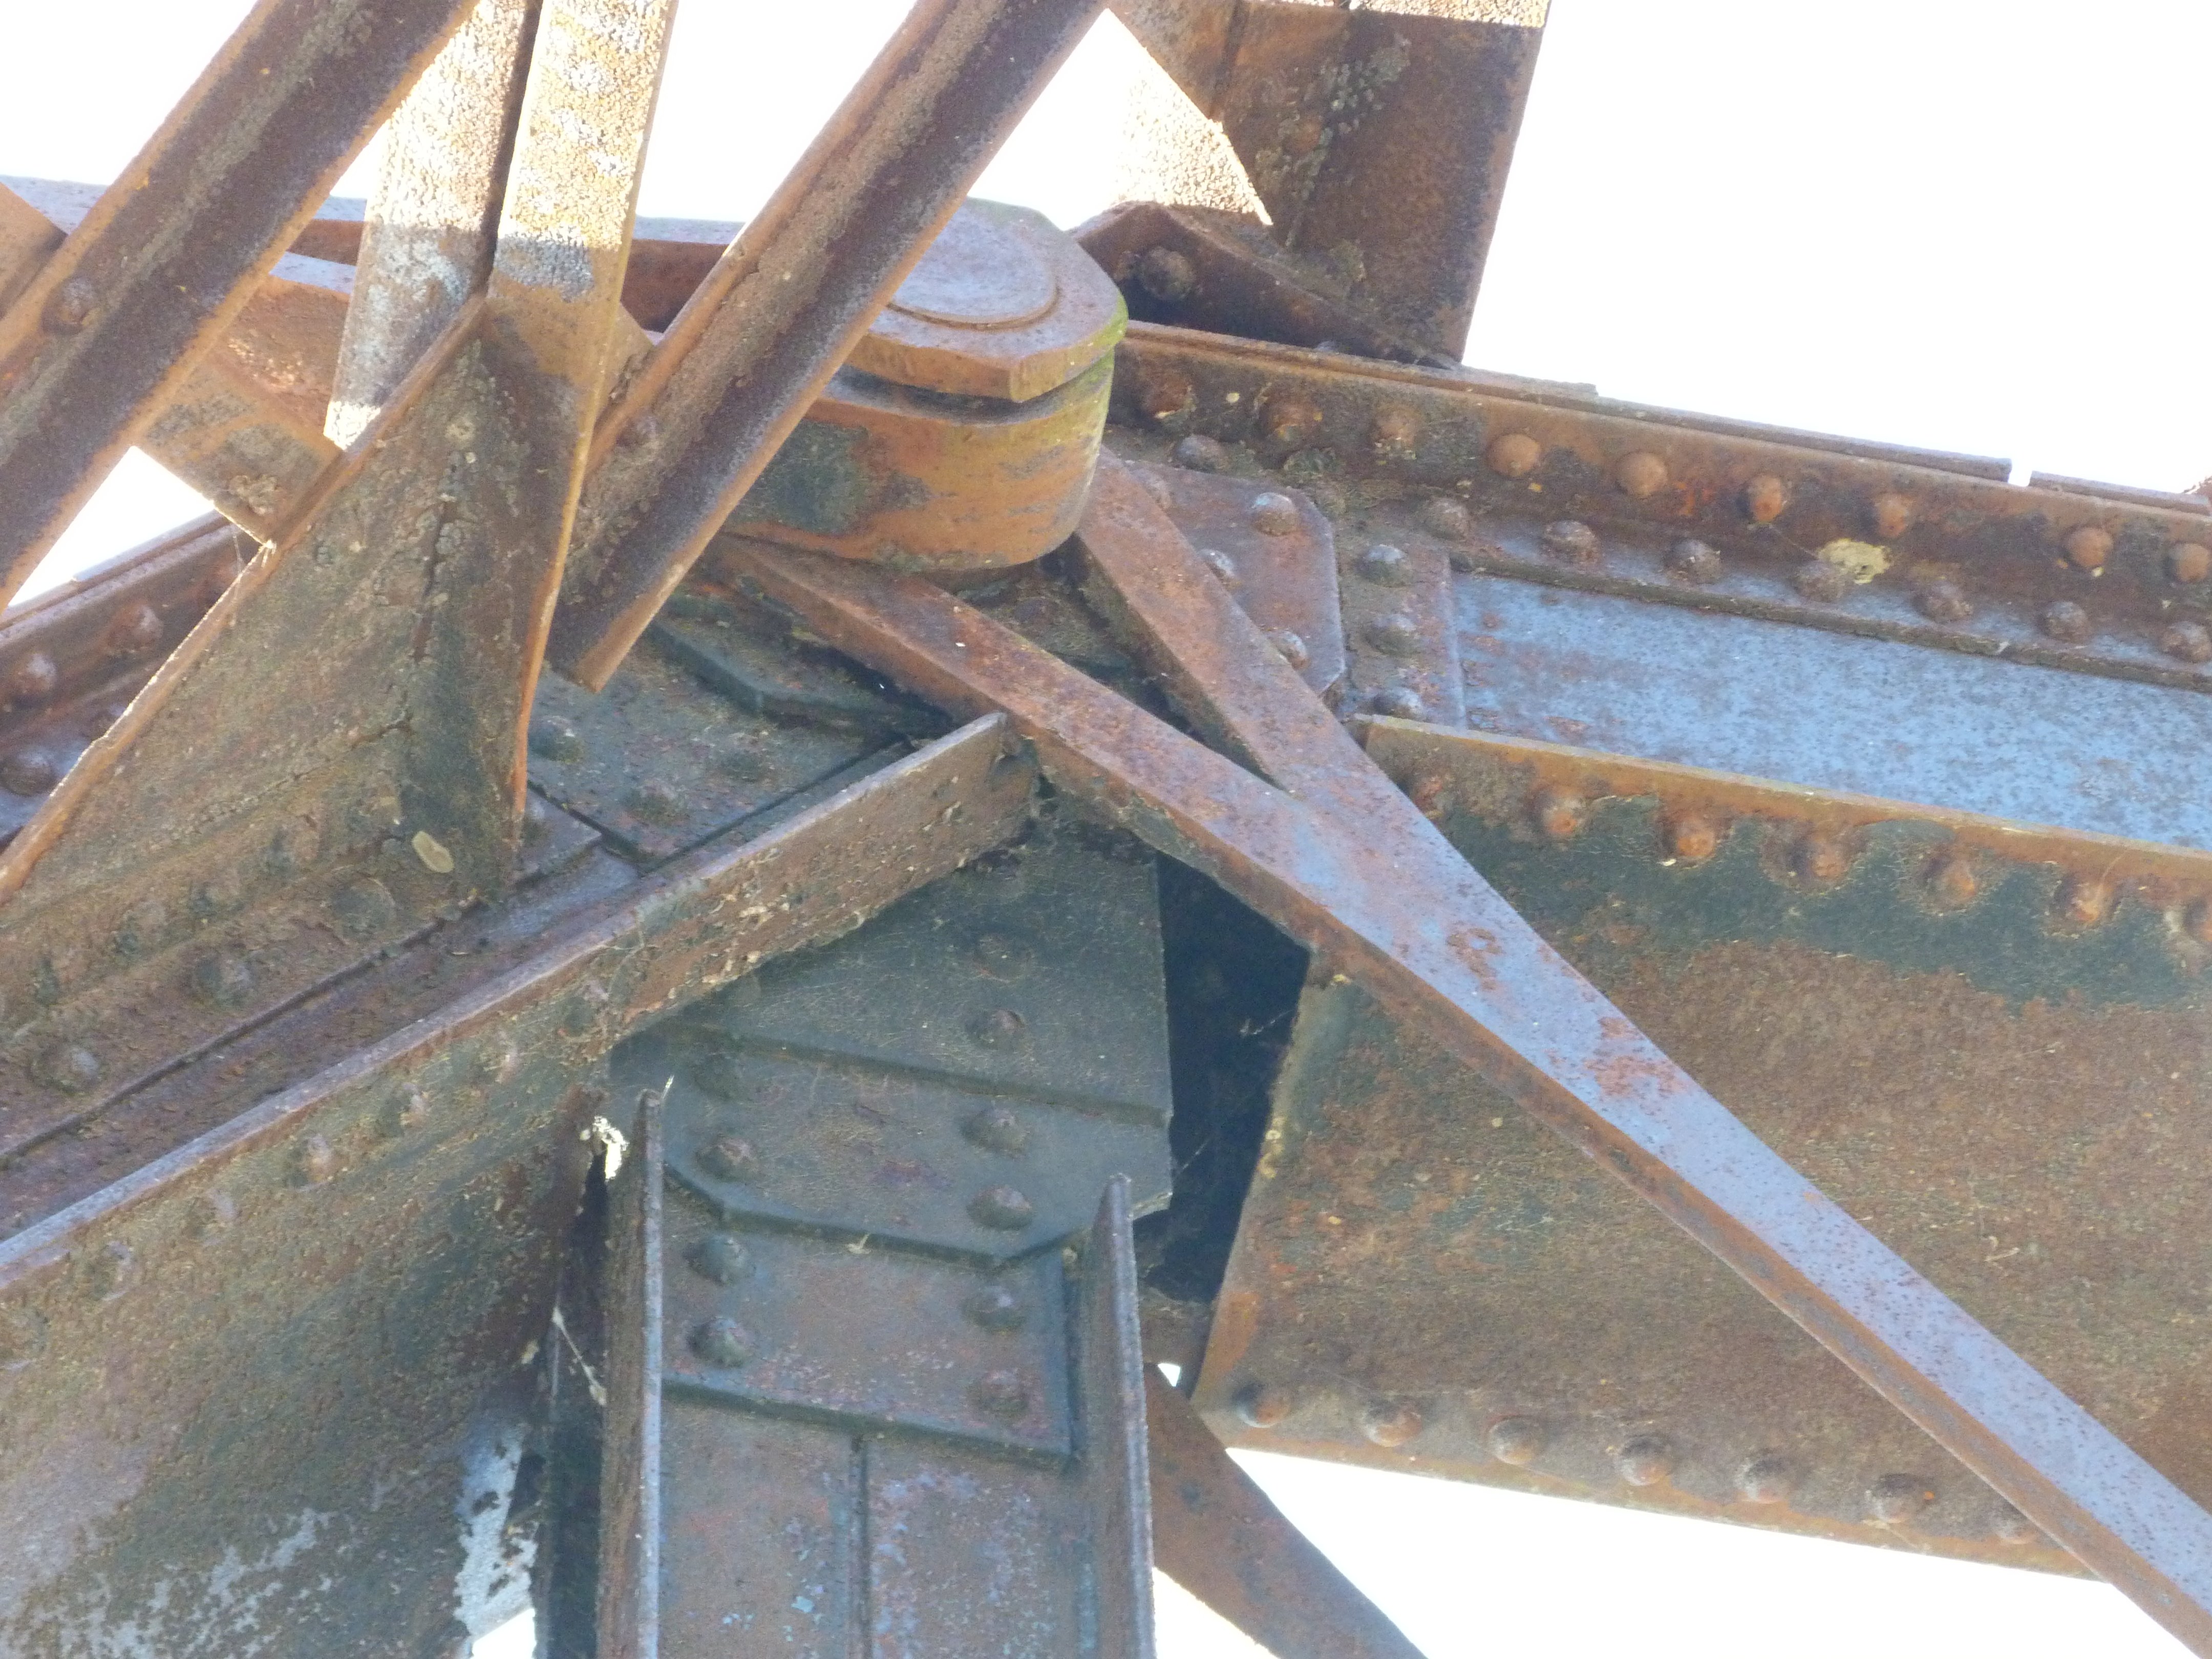
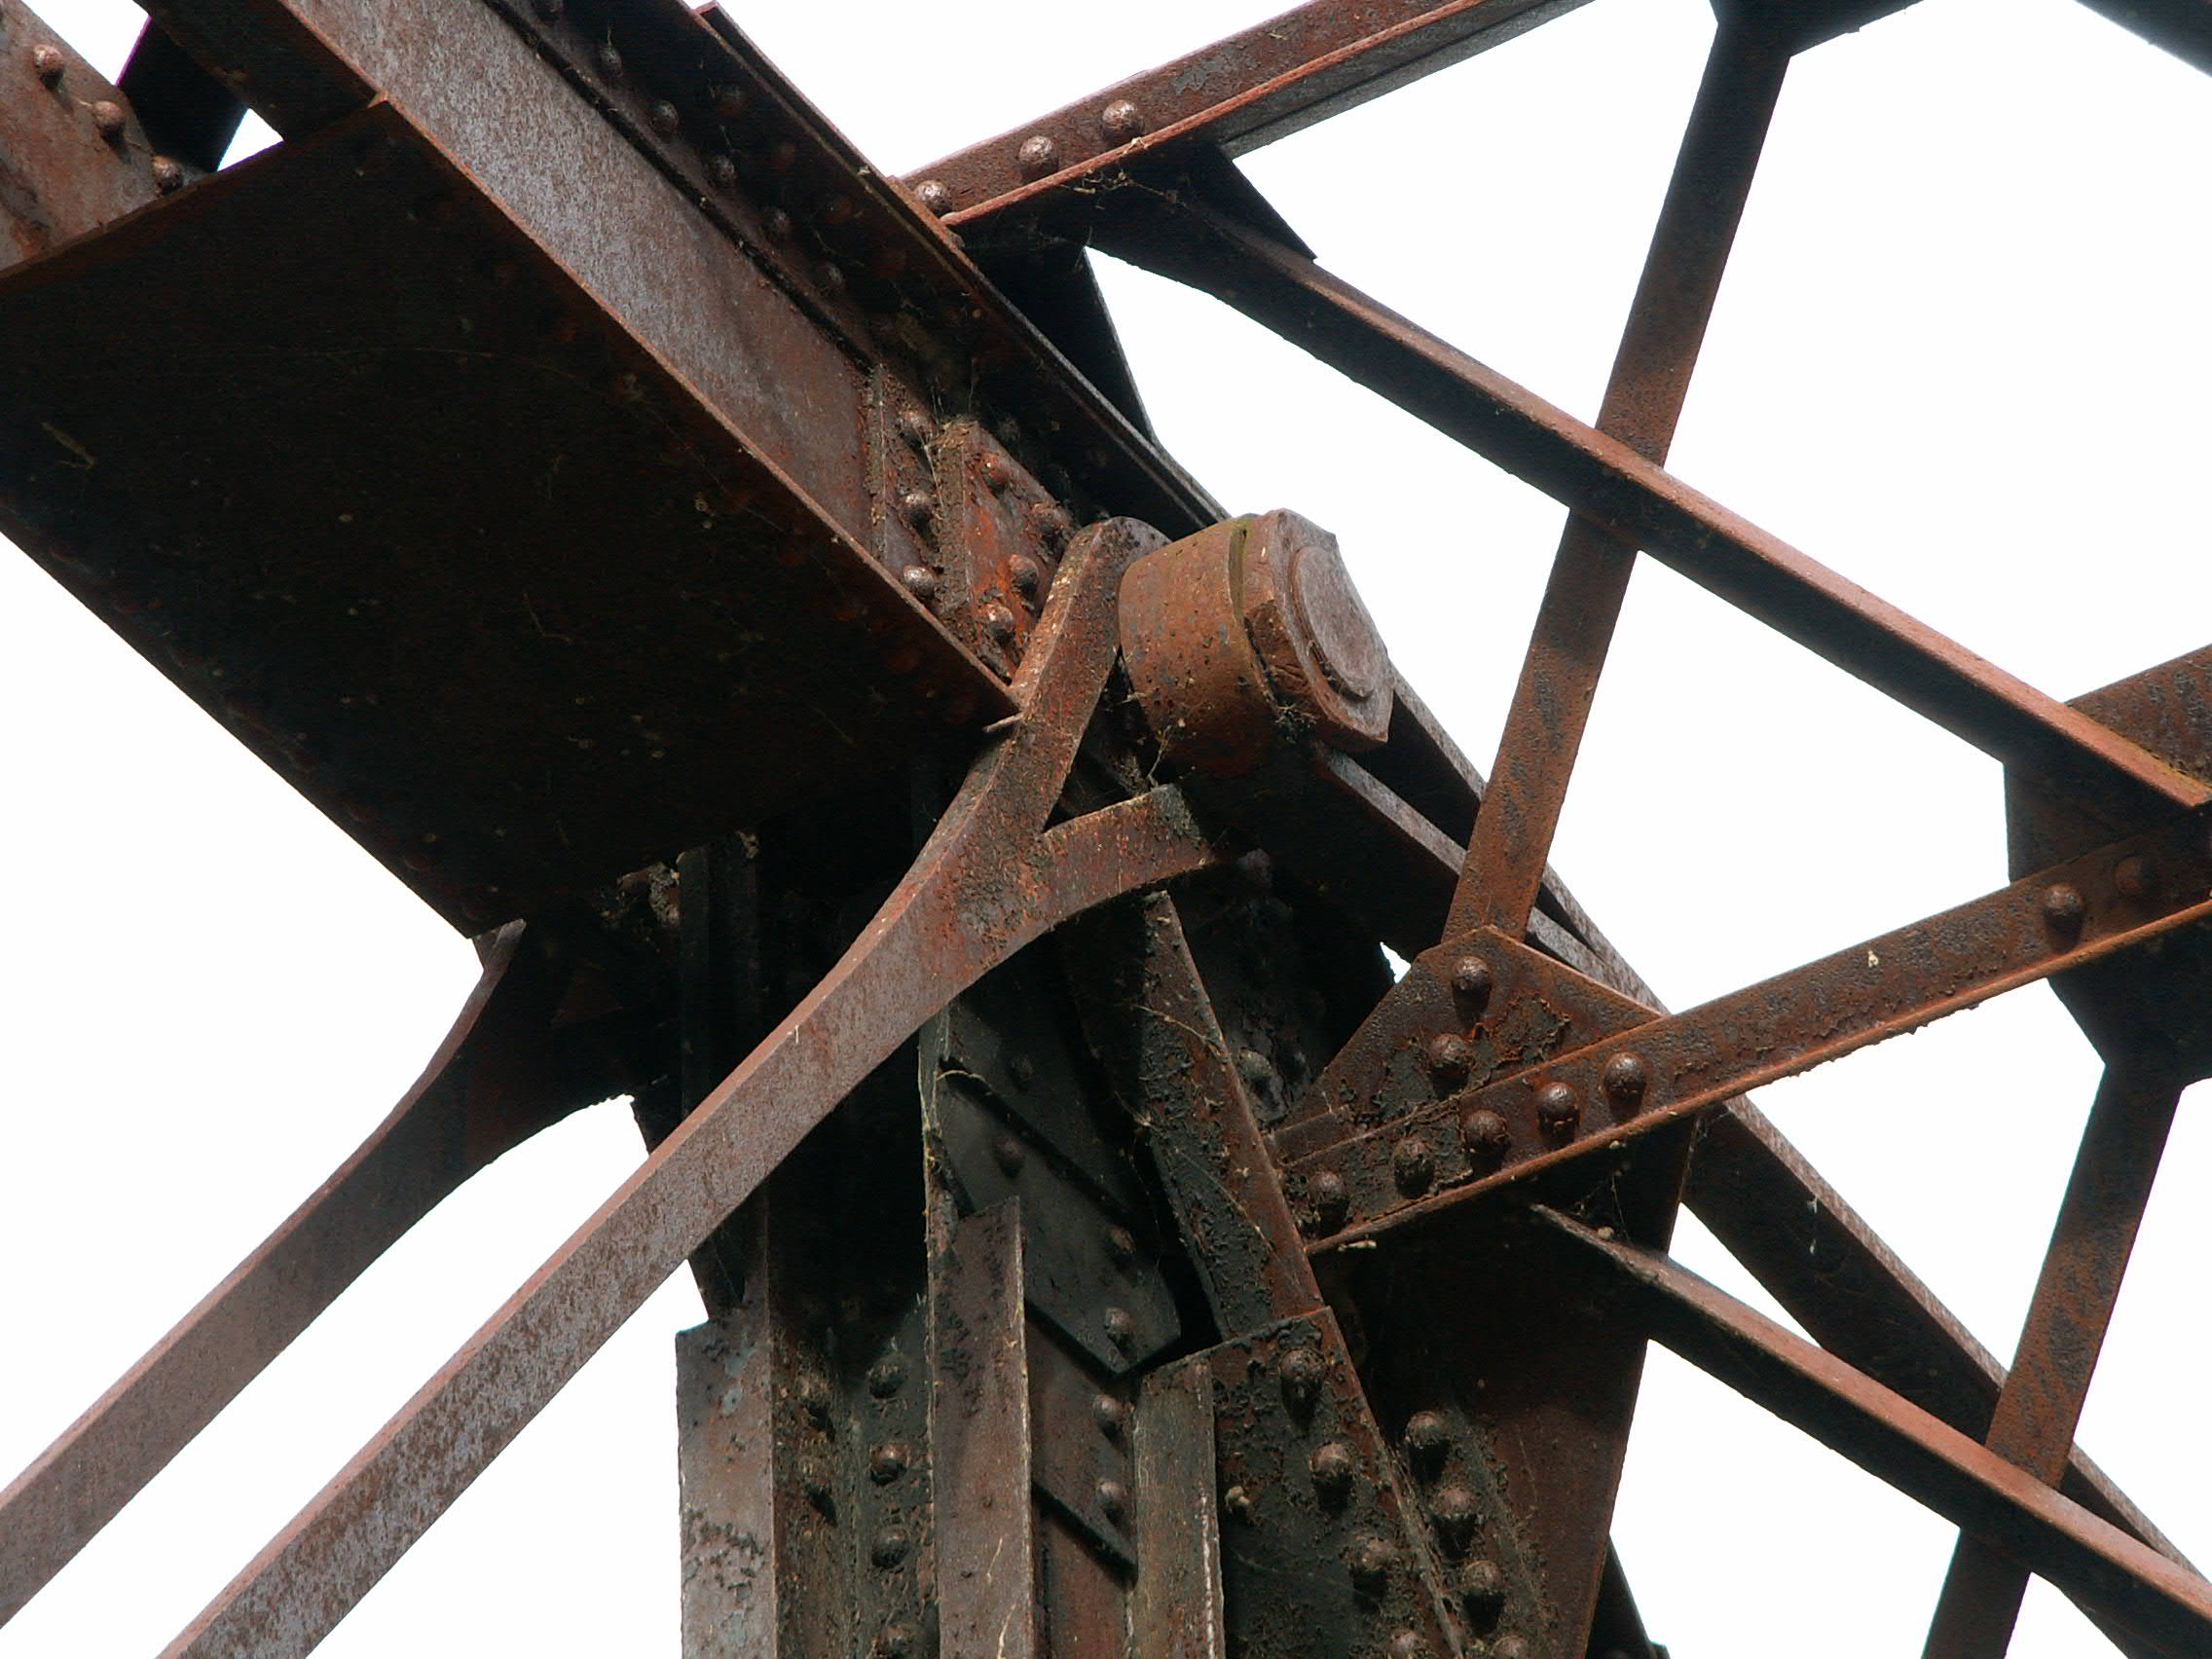
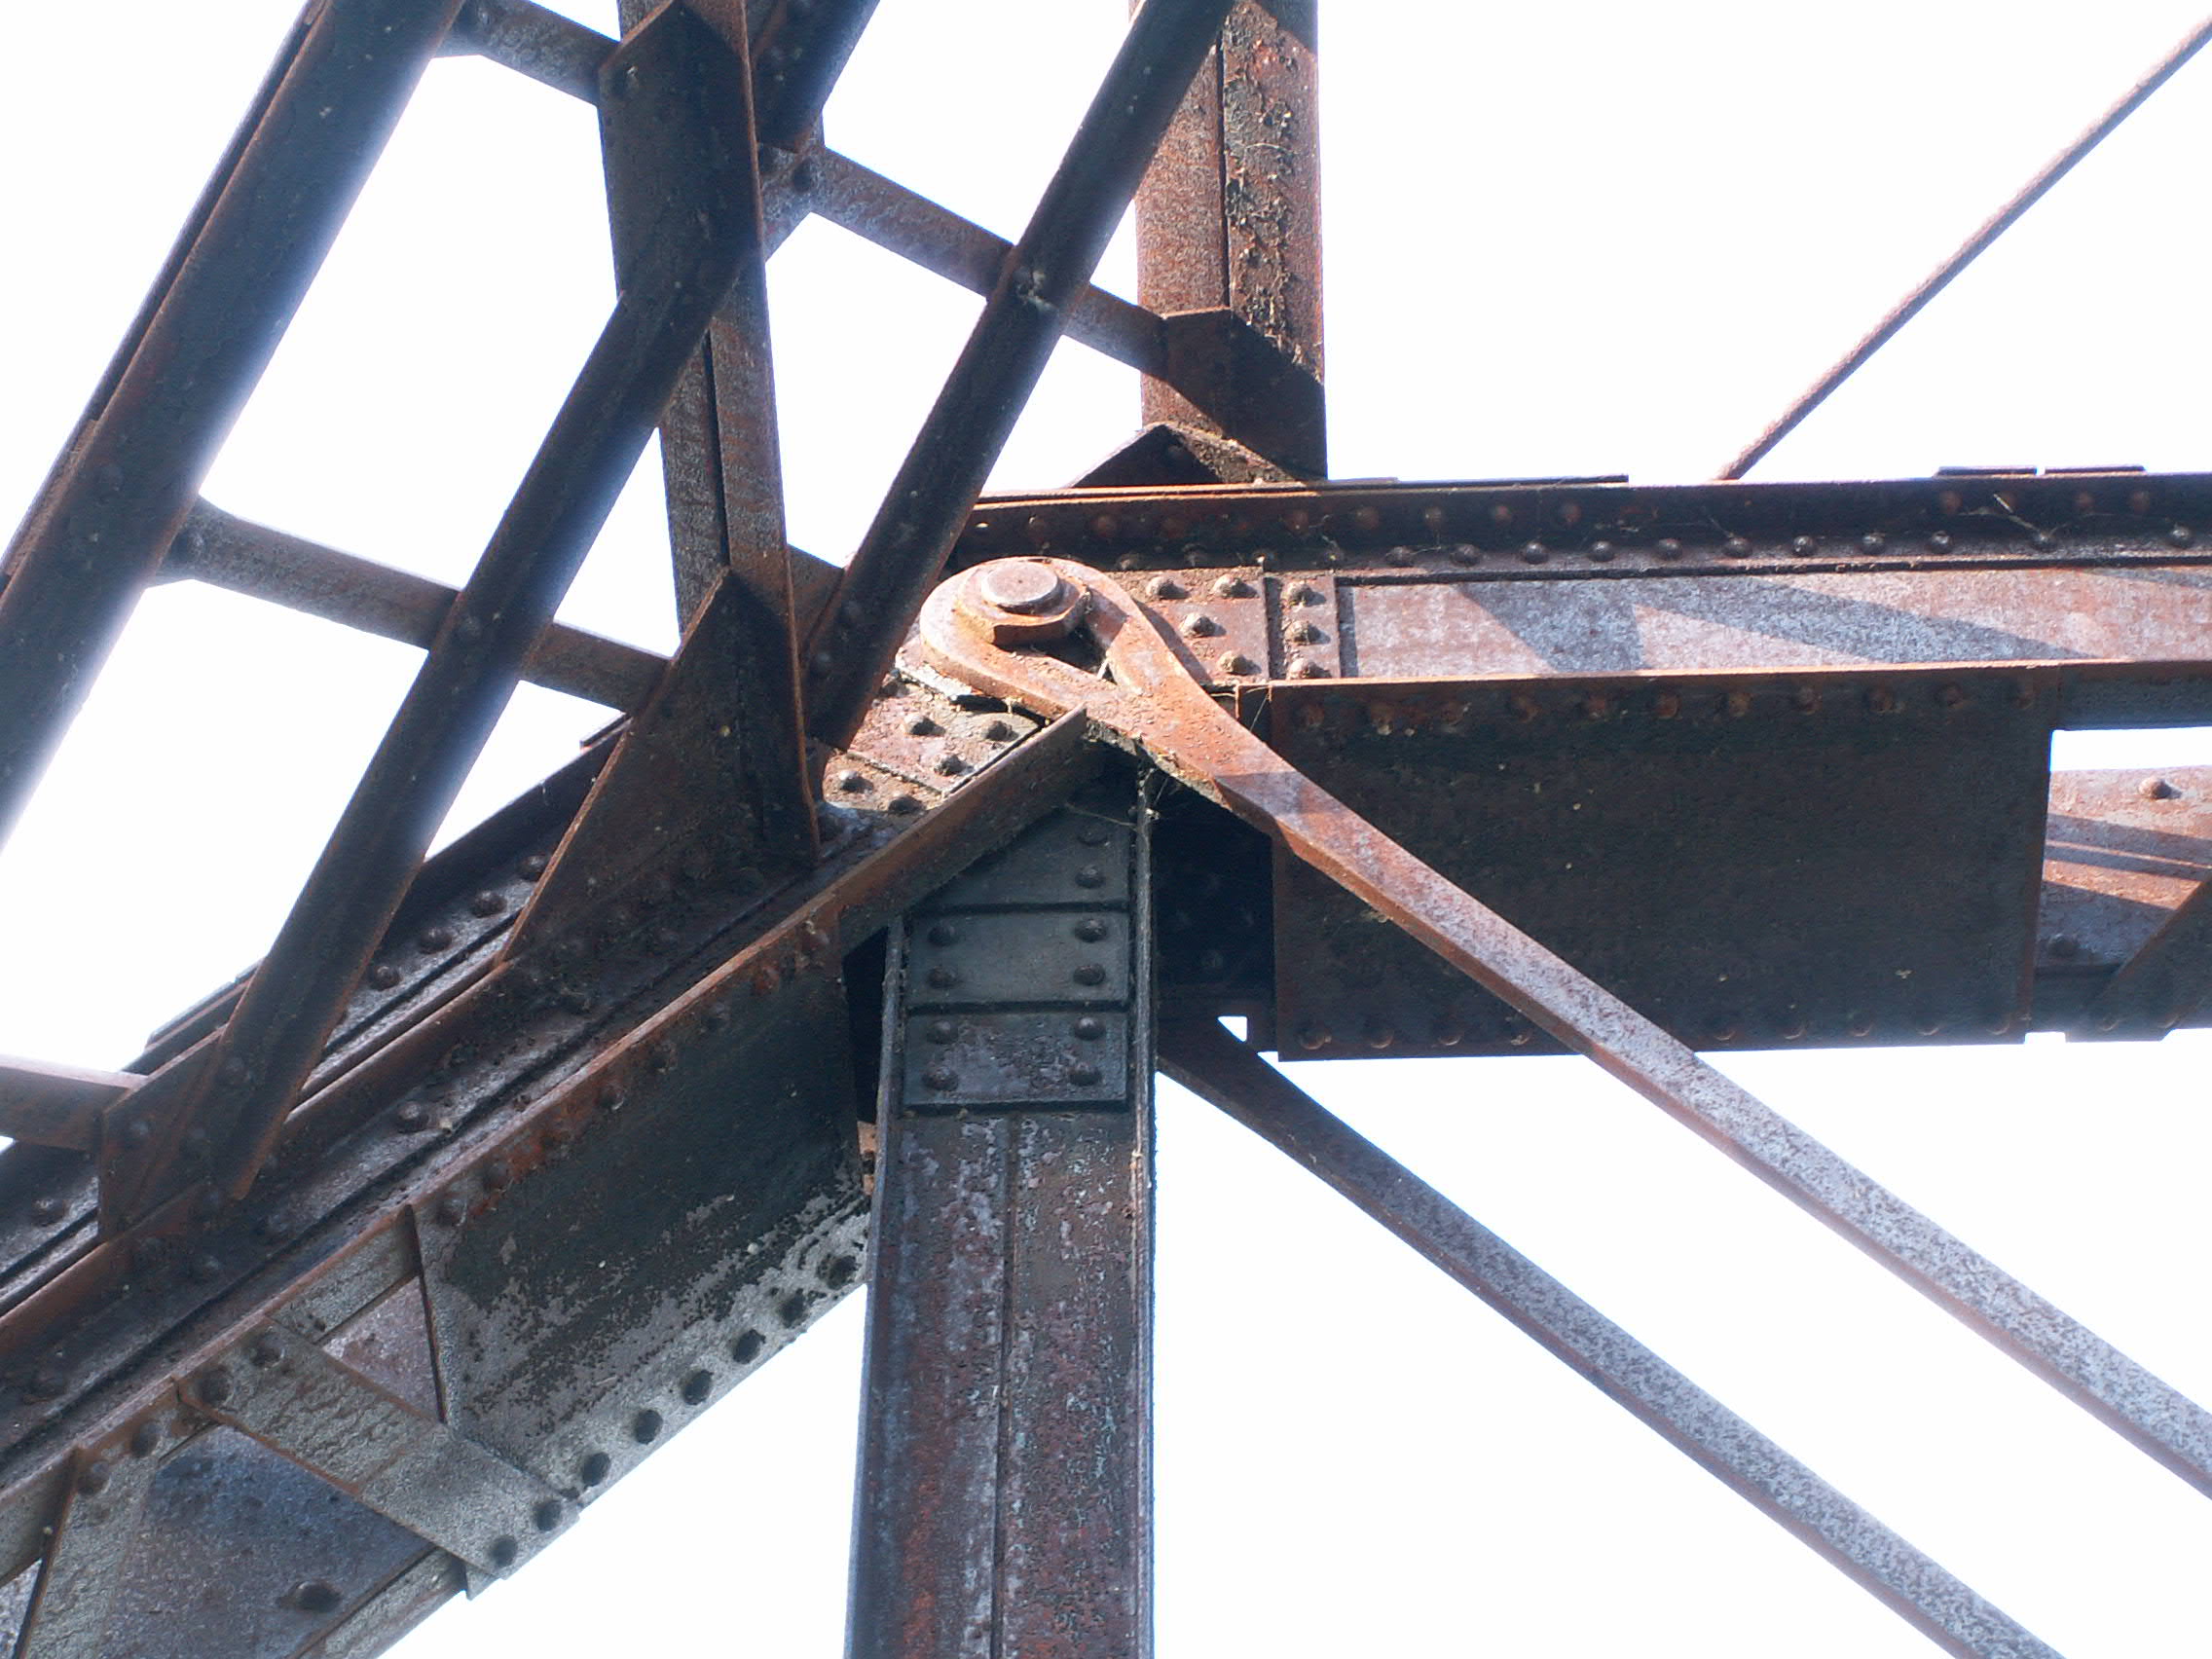
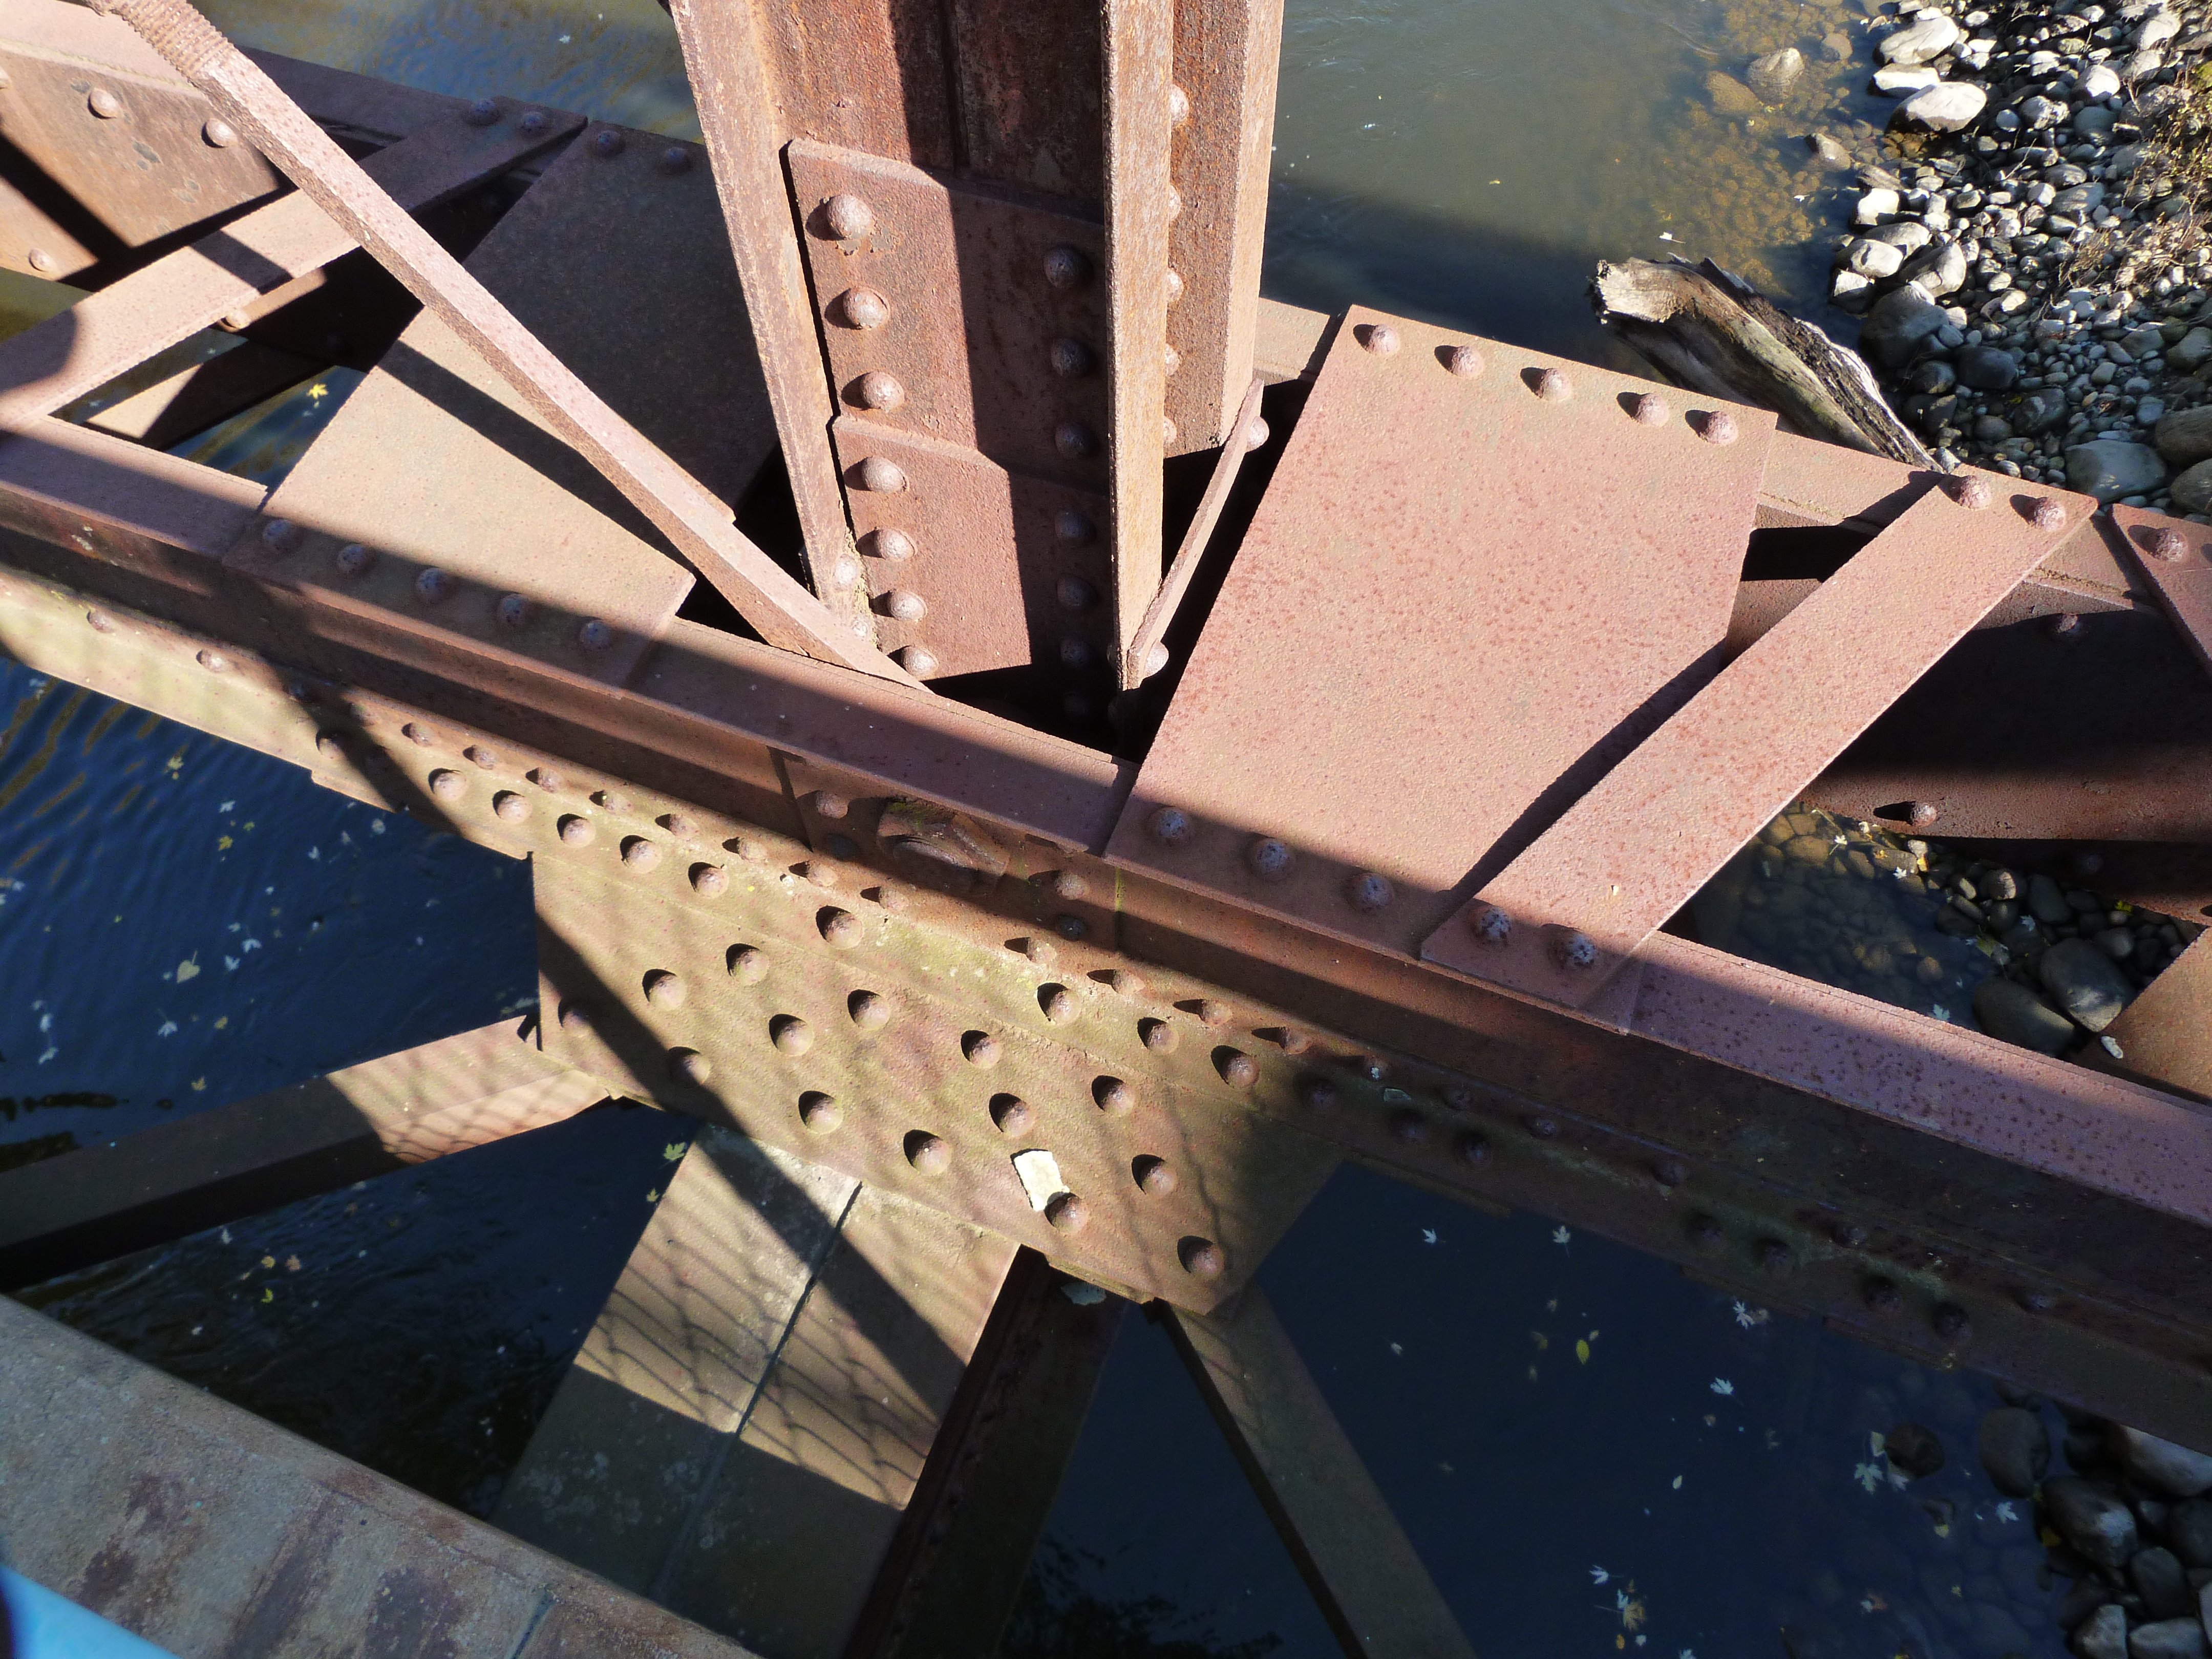
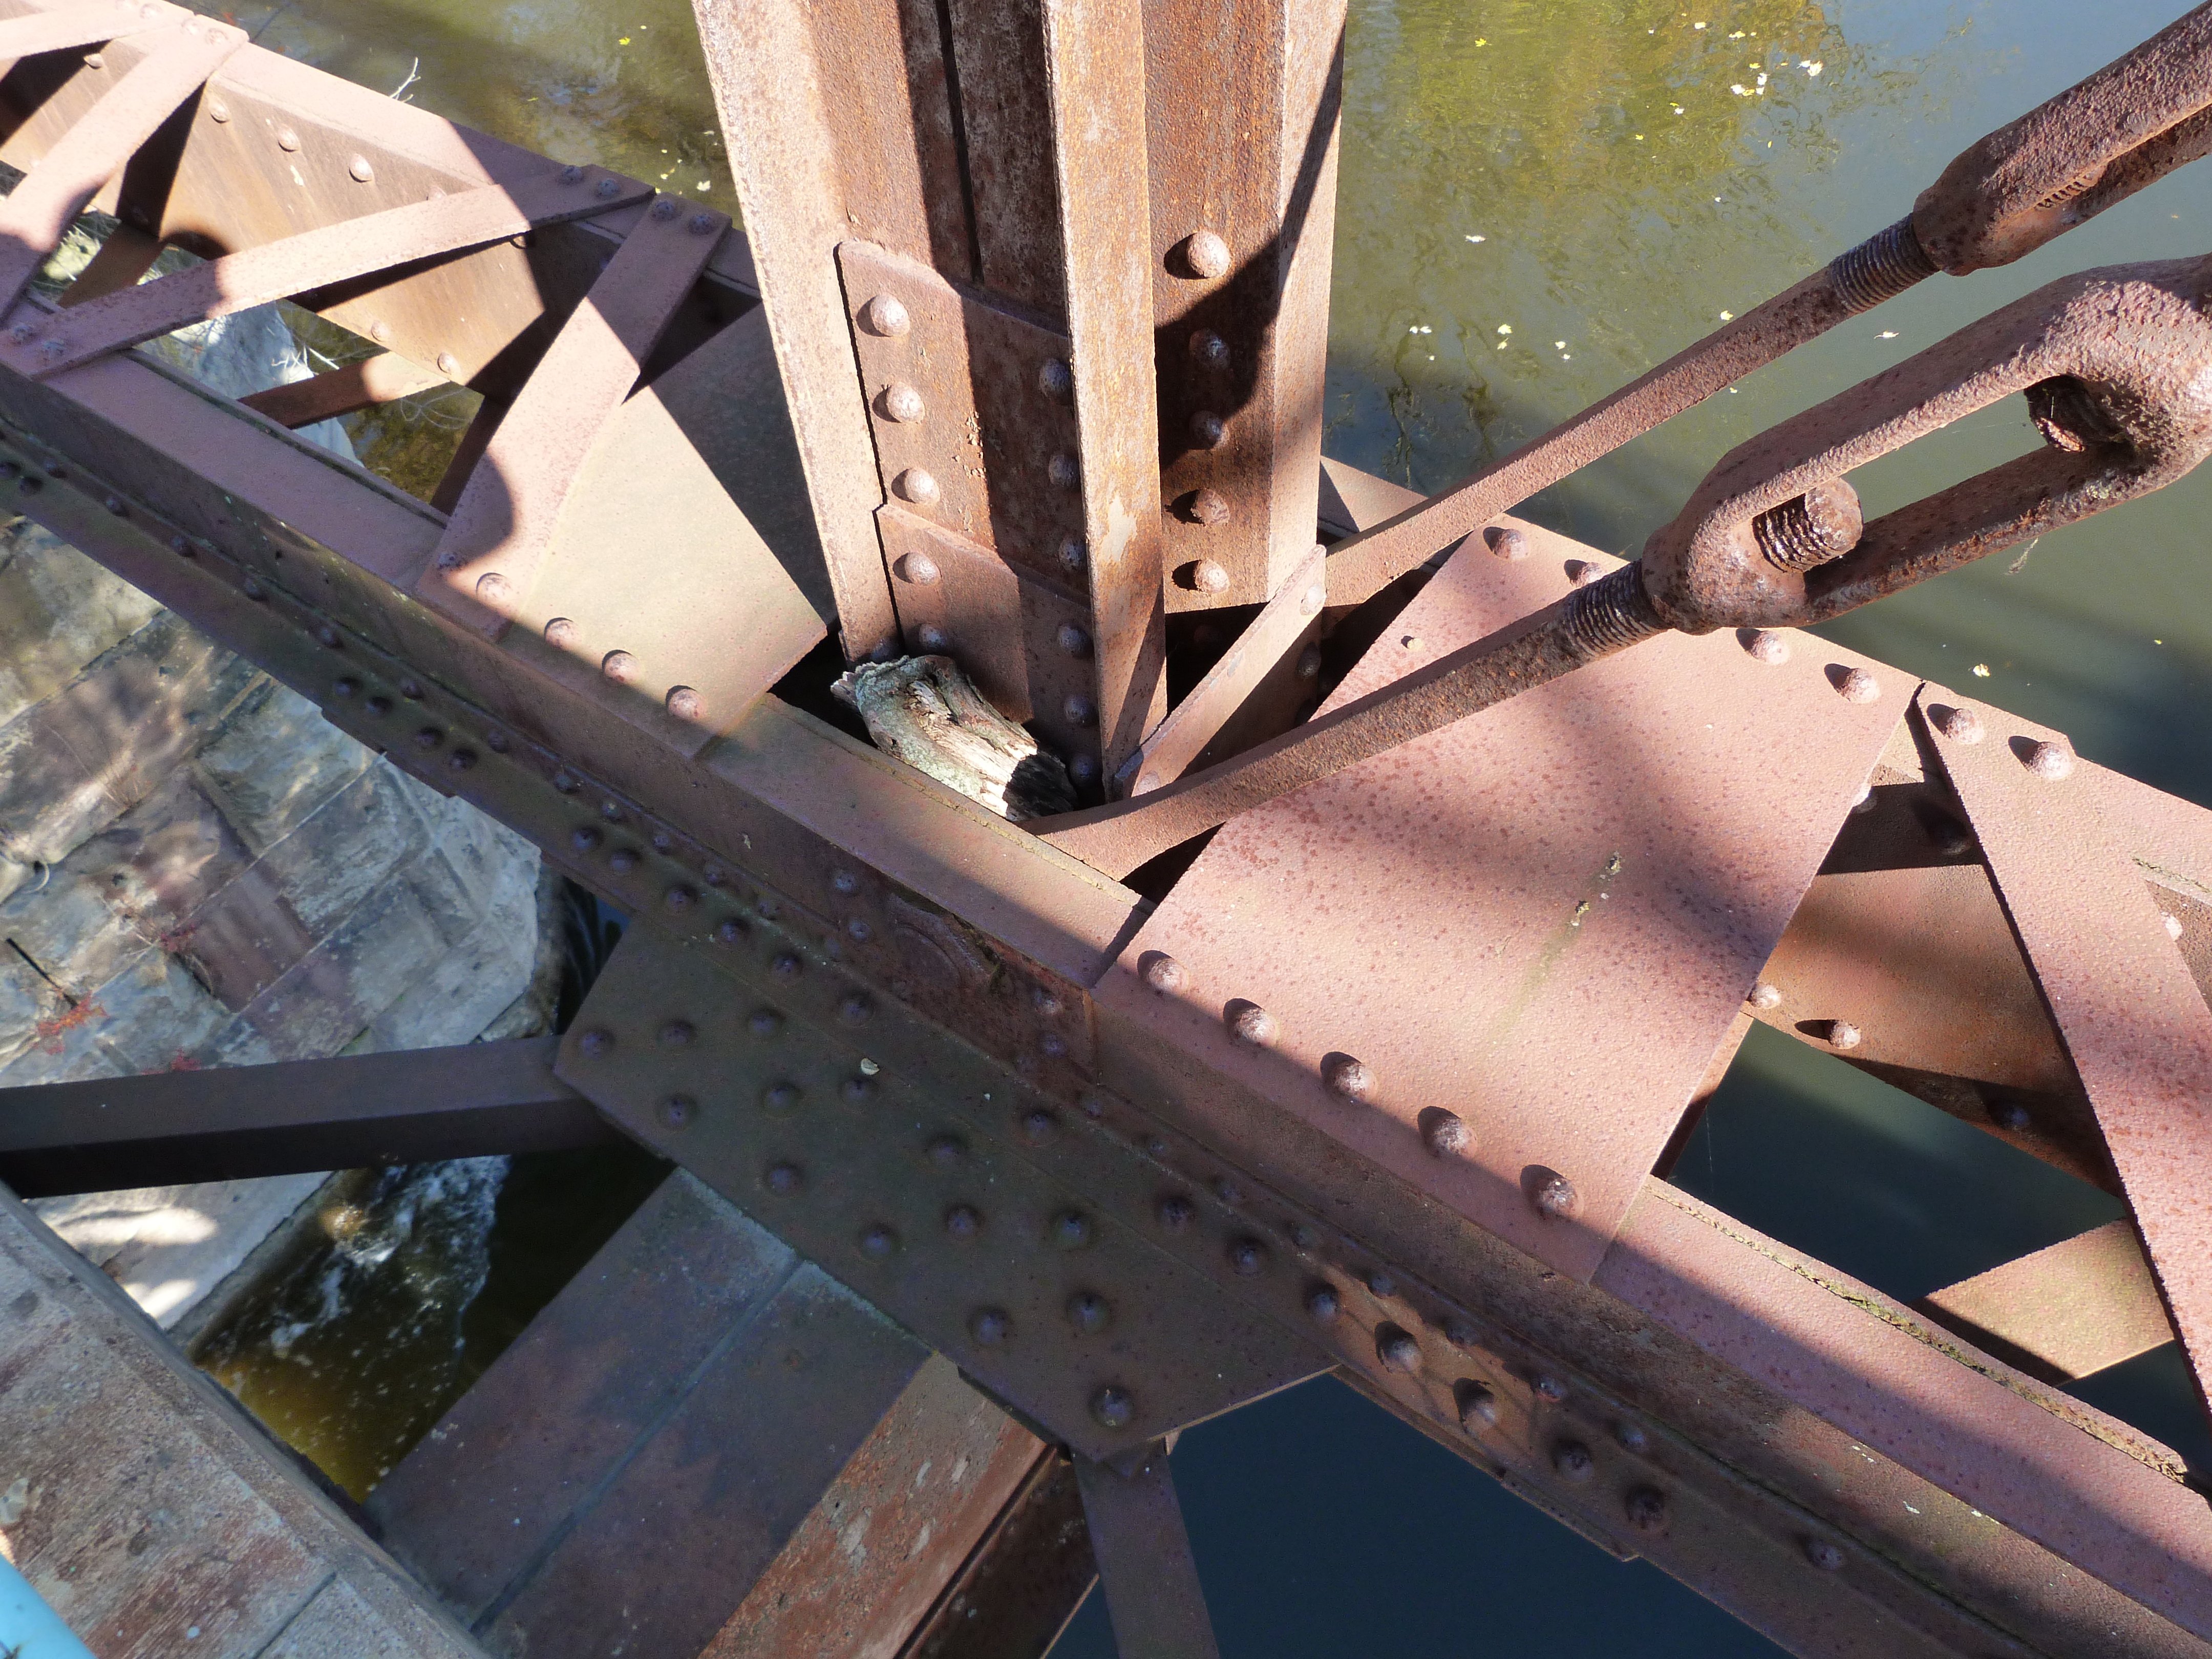
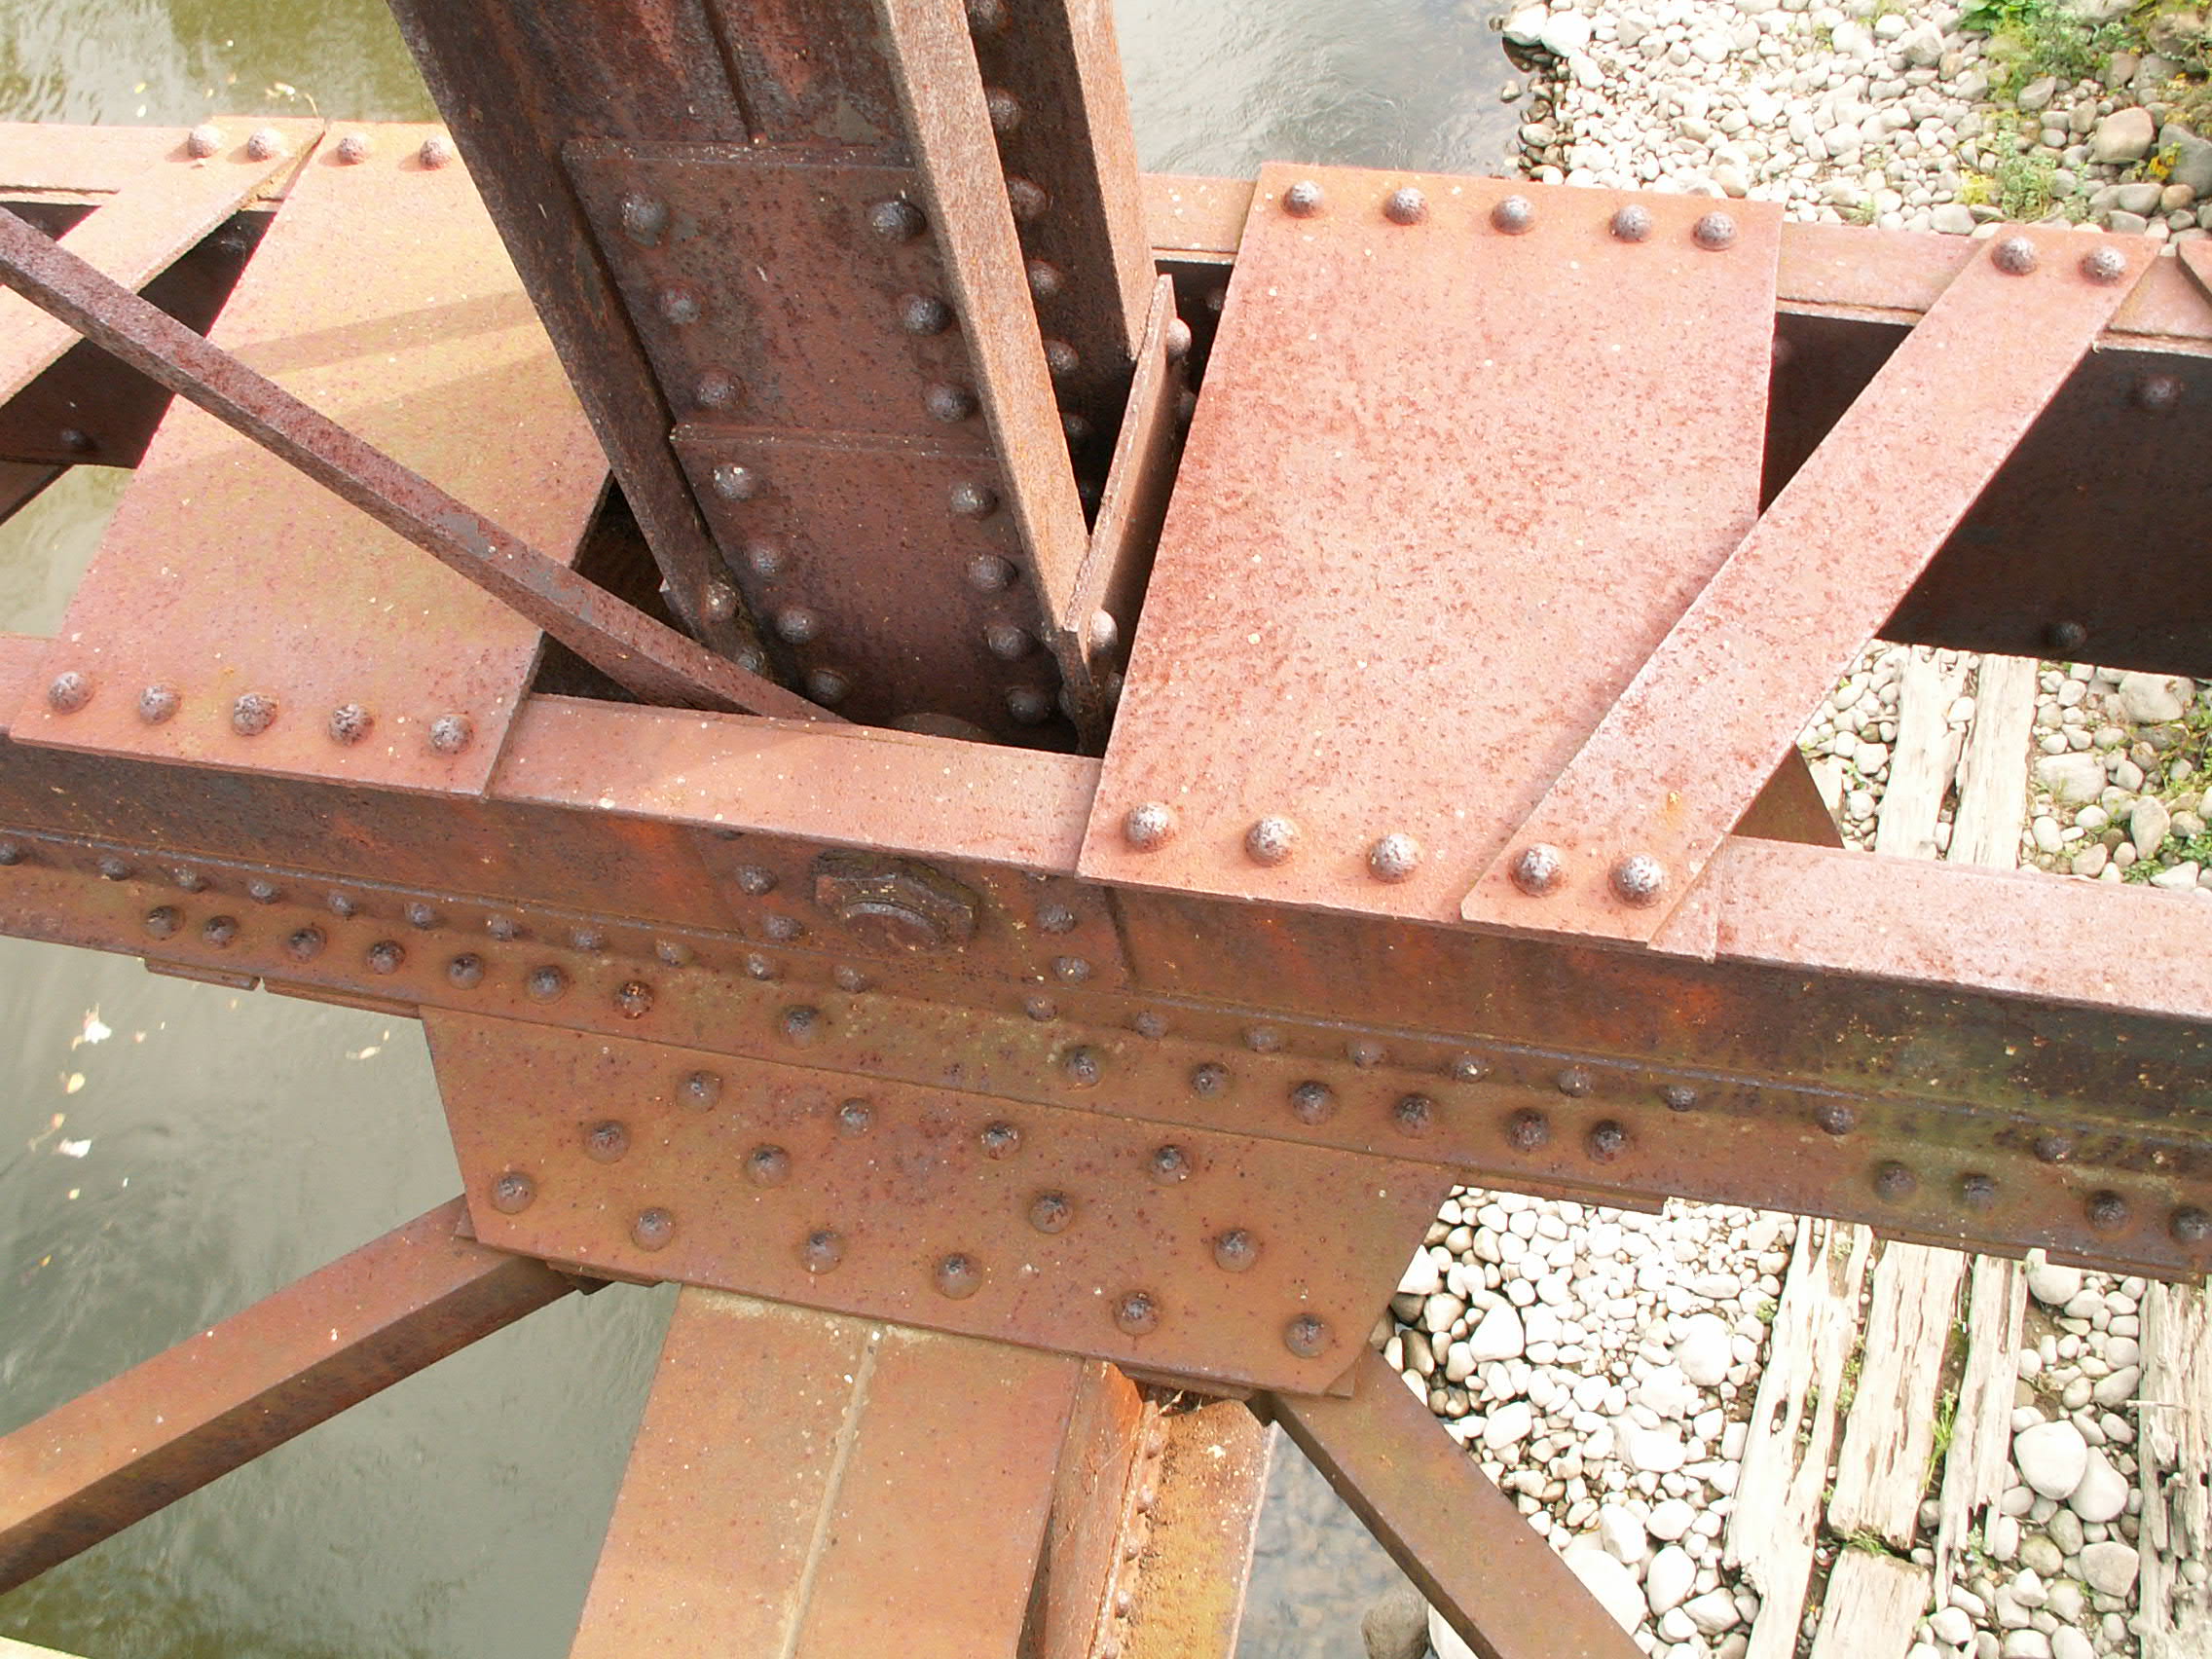
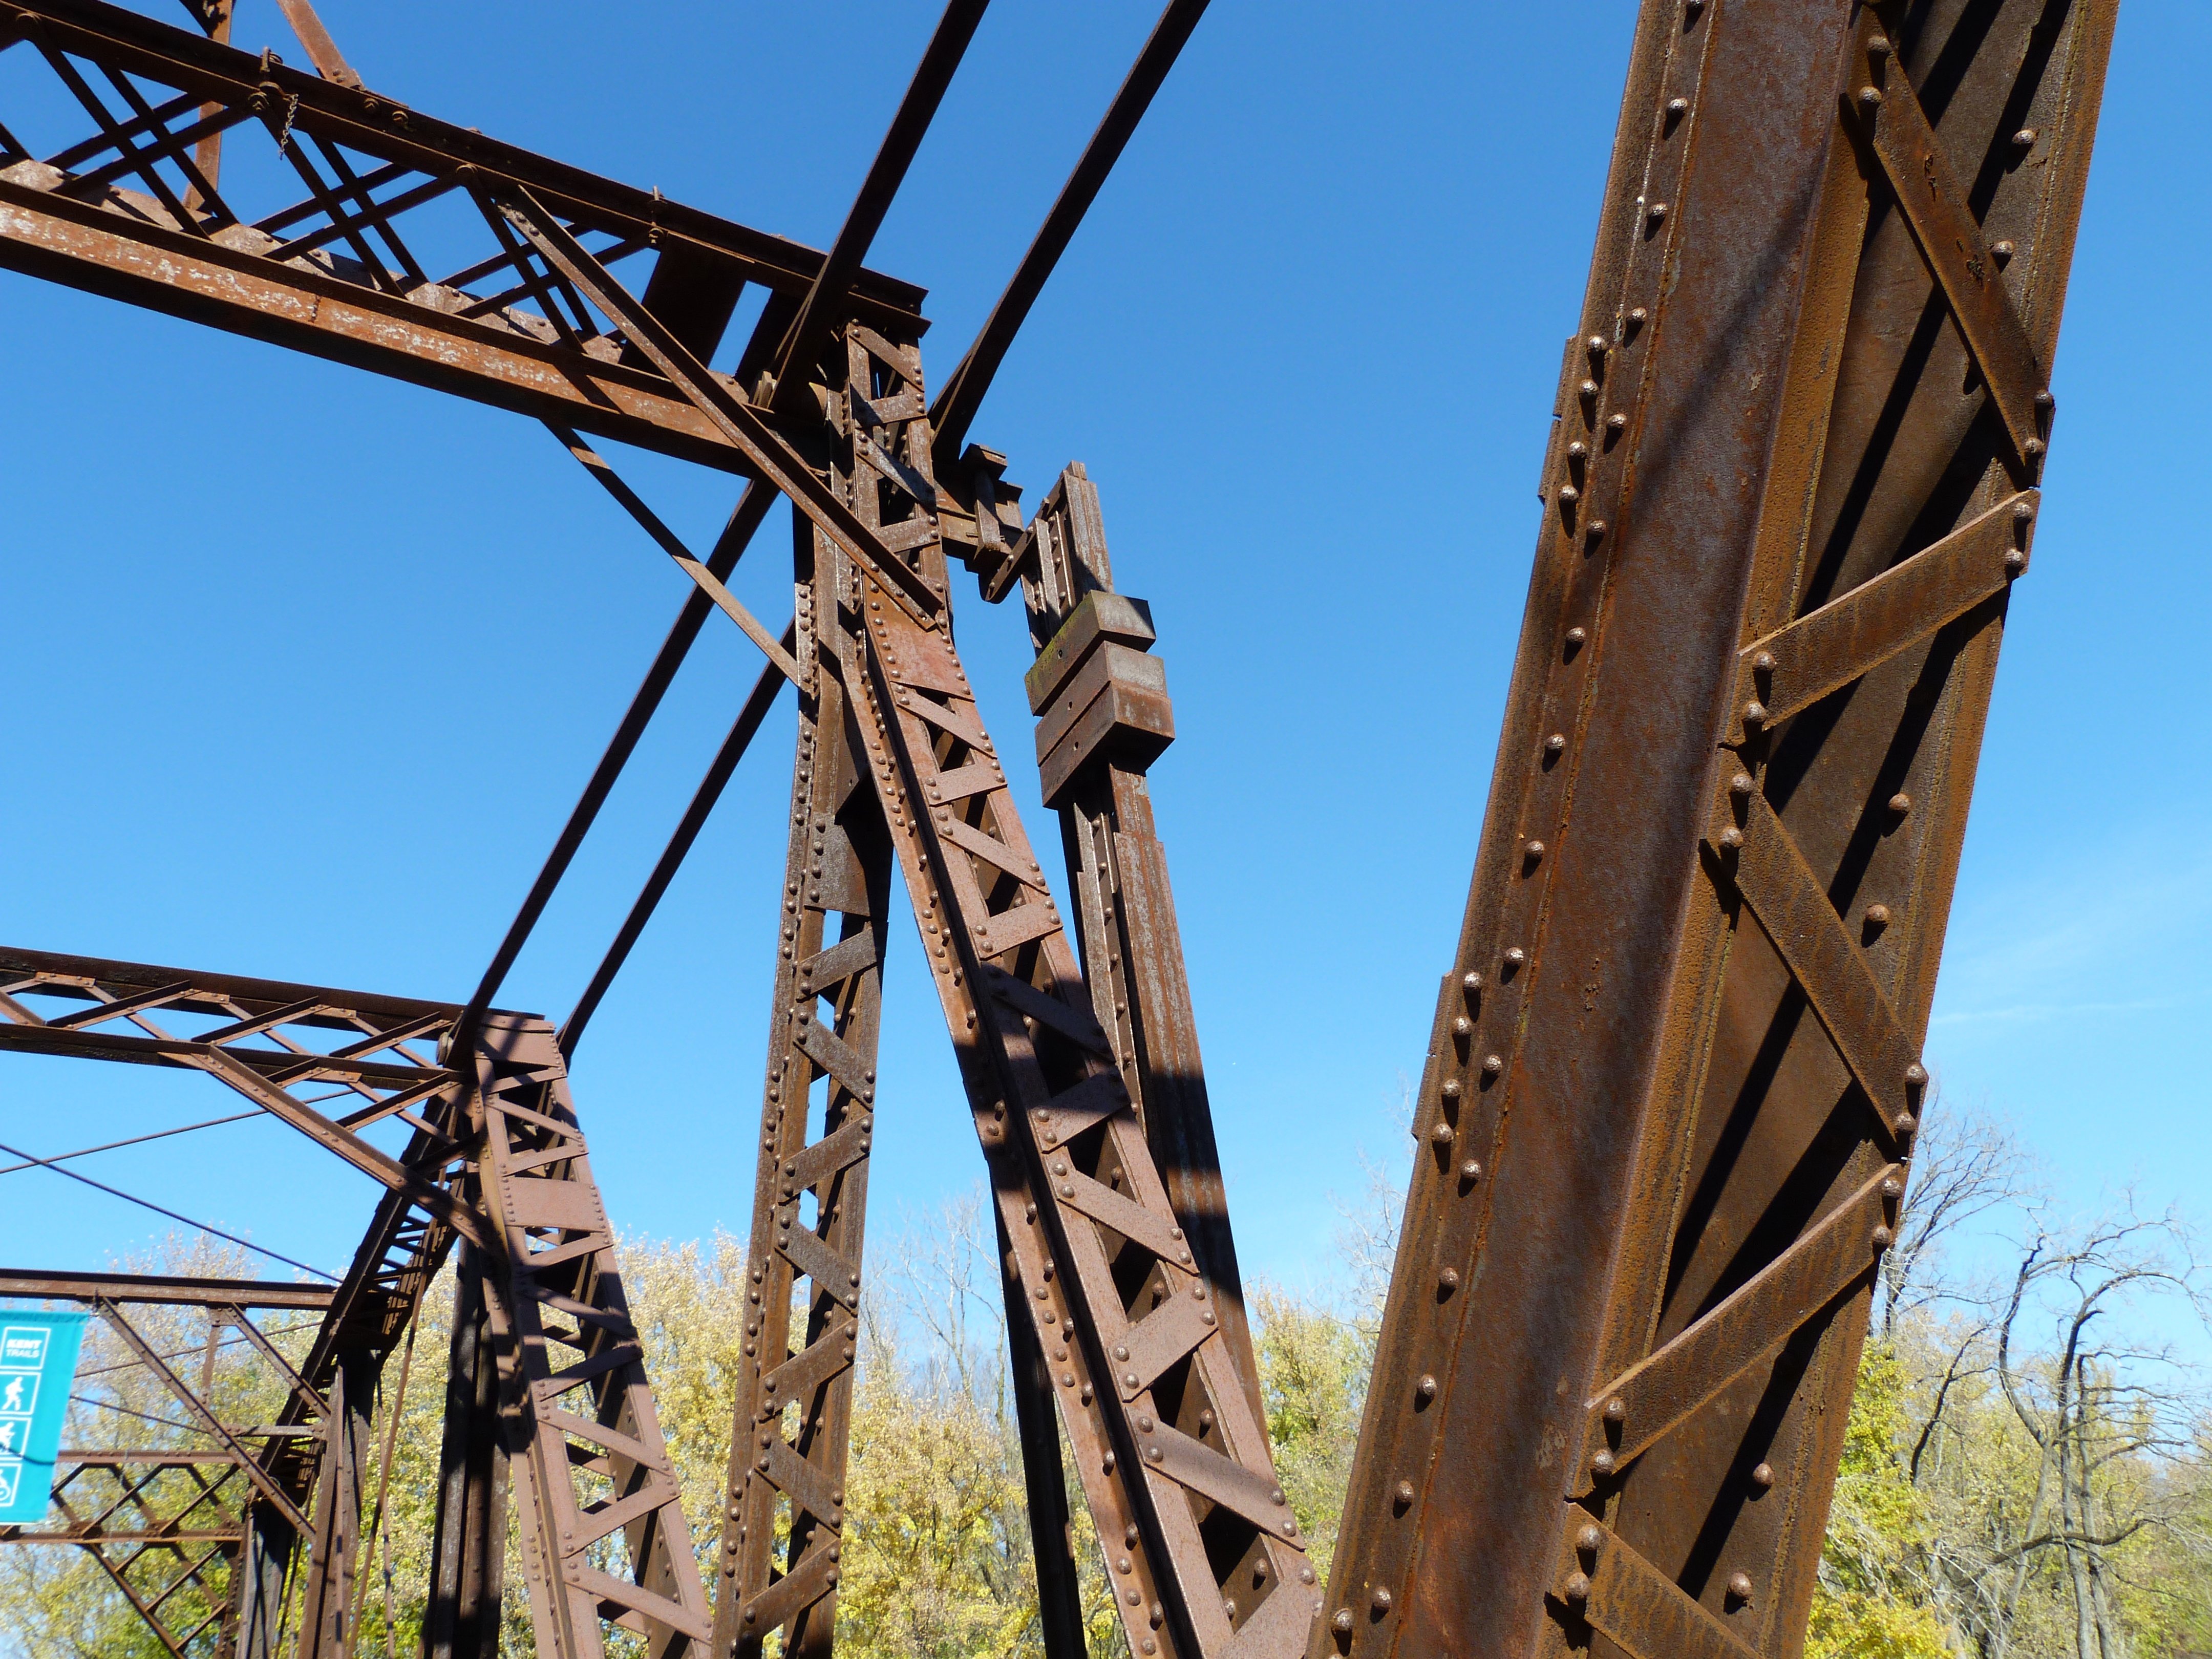
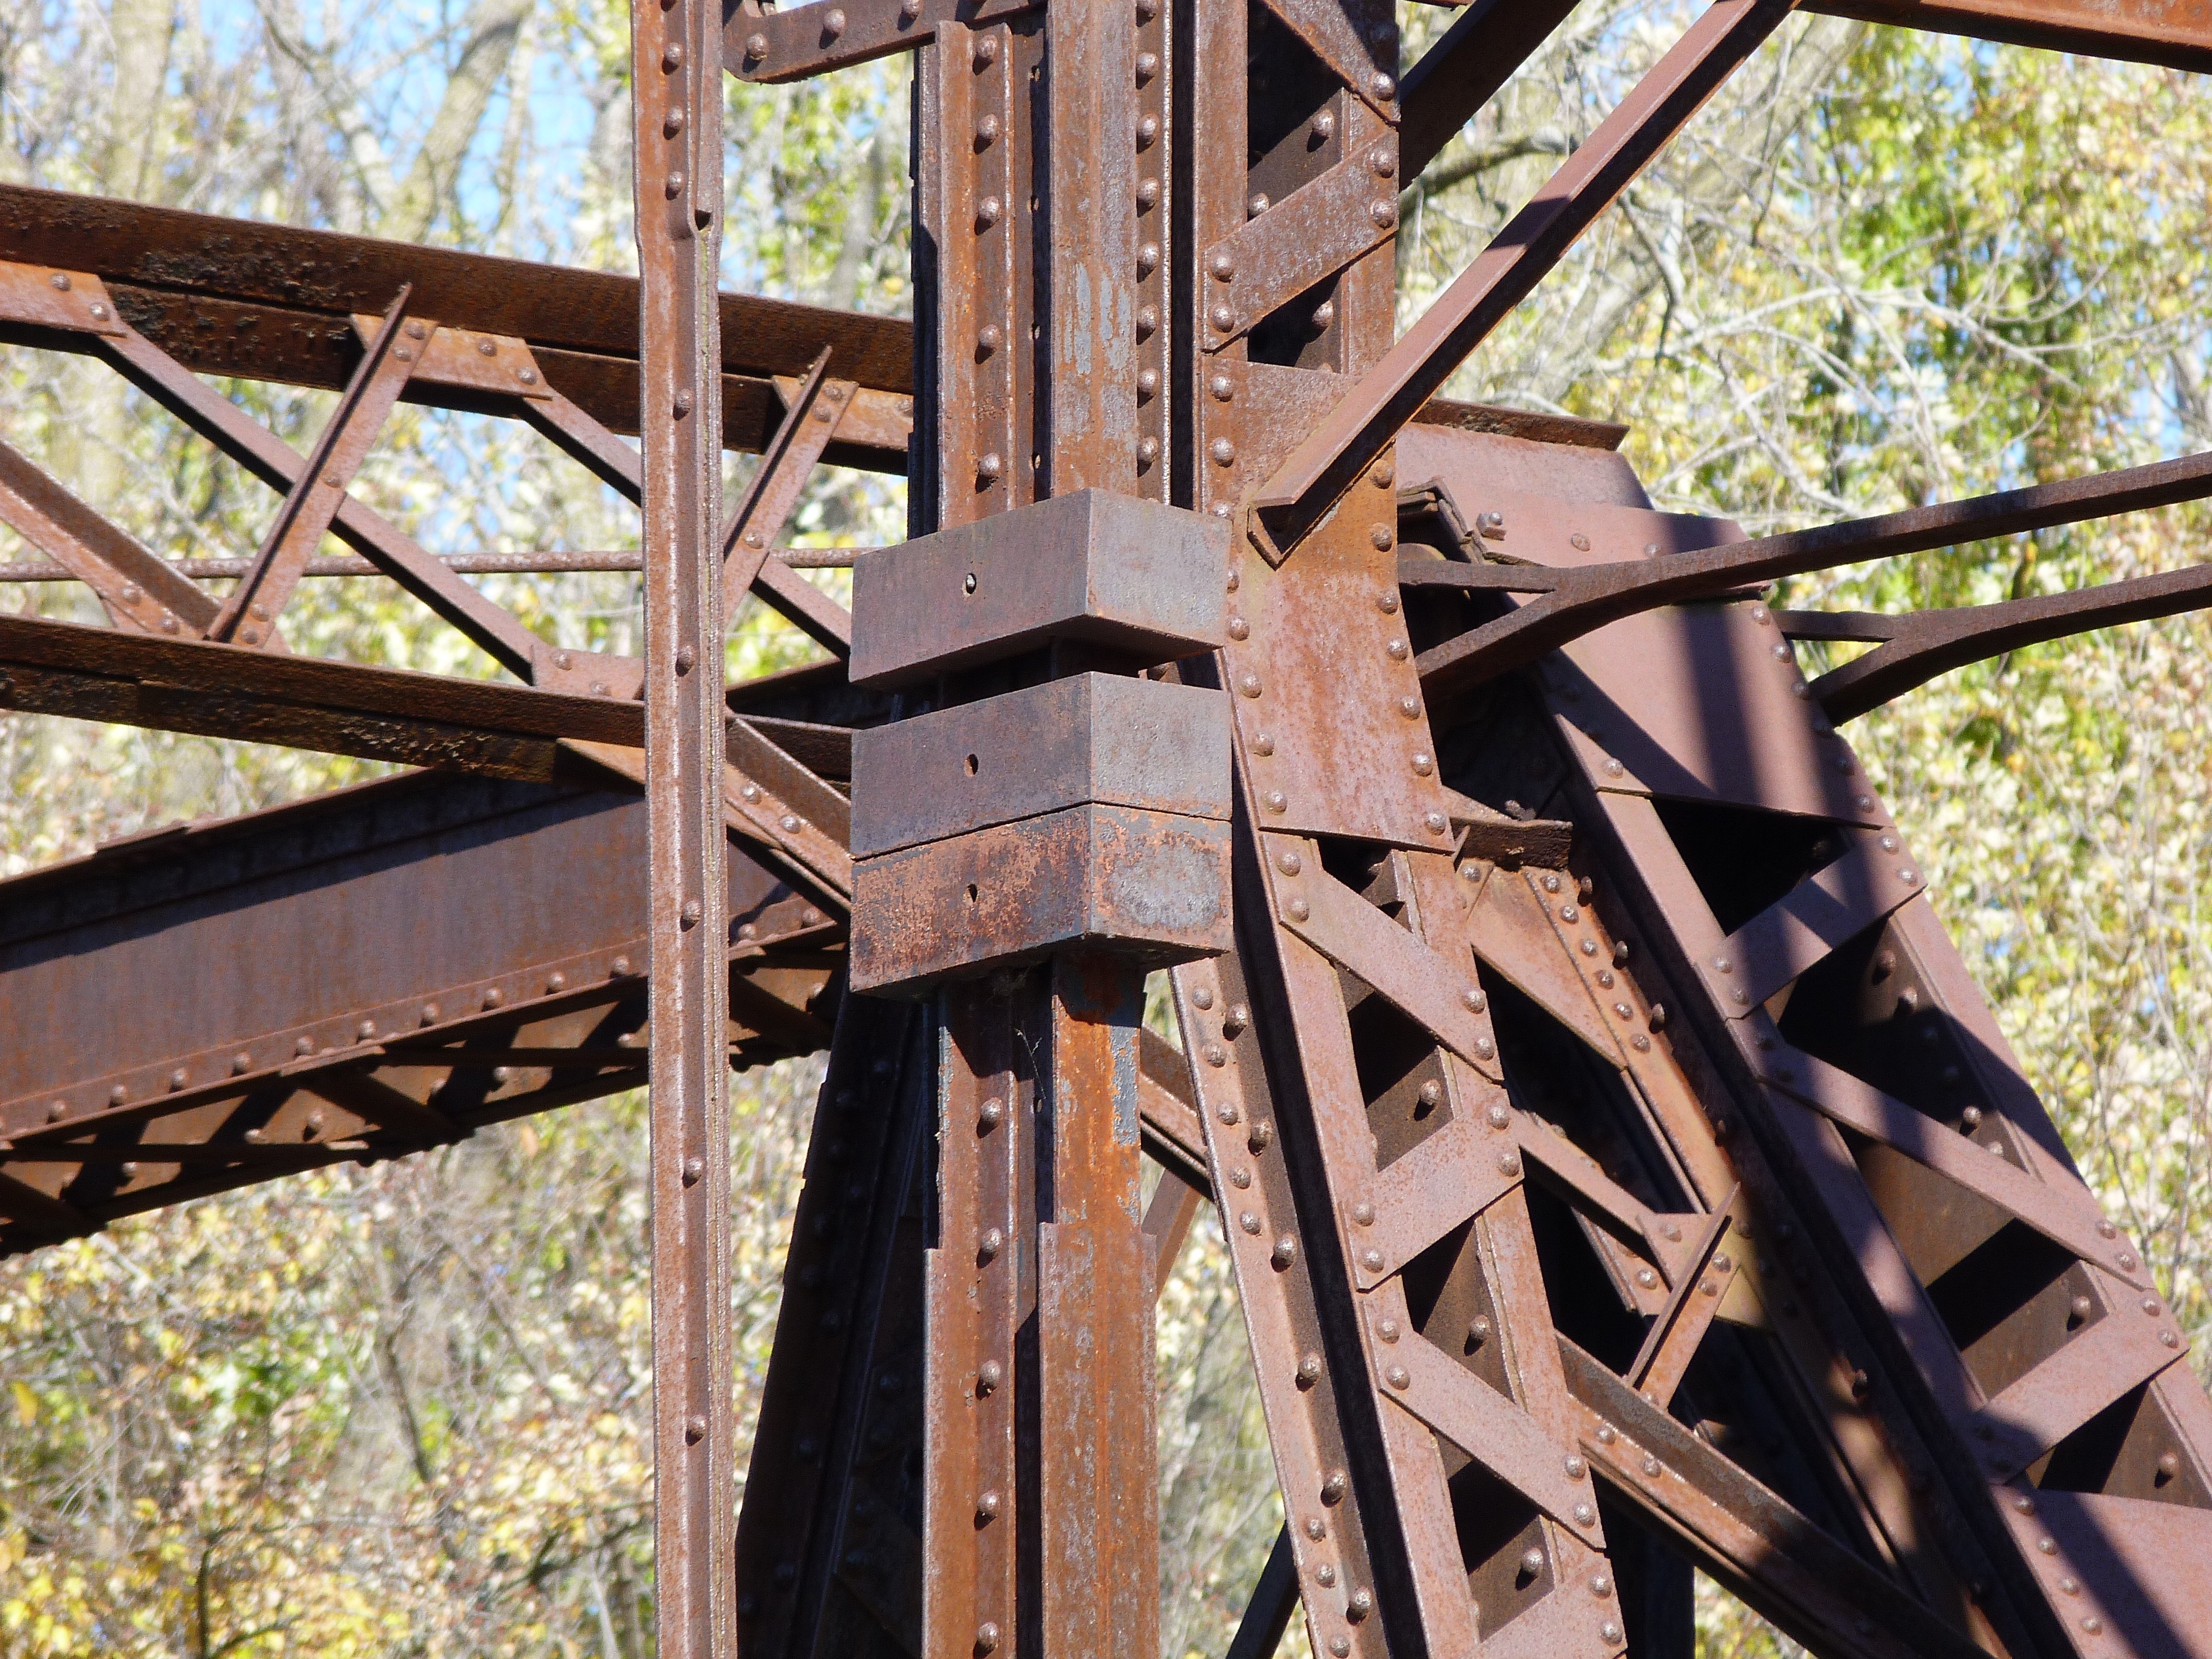
Swing span connection at top of main (center) post as viewed from on bridge.
![]()

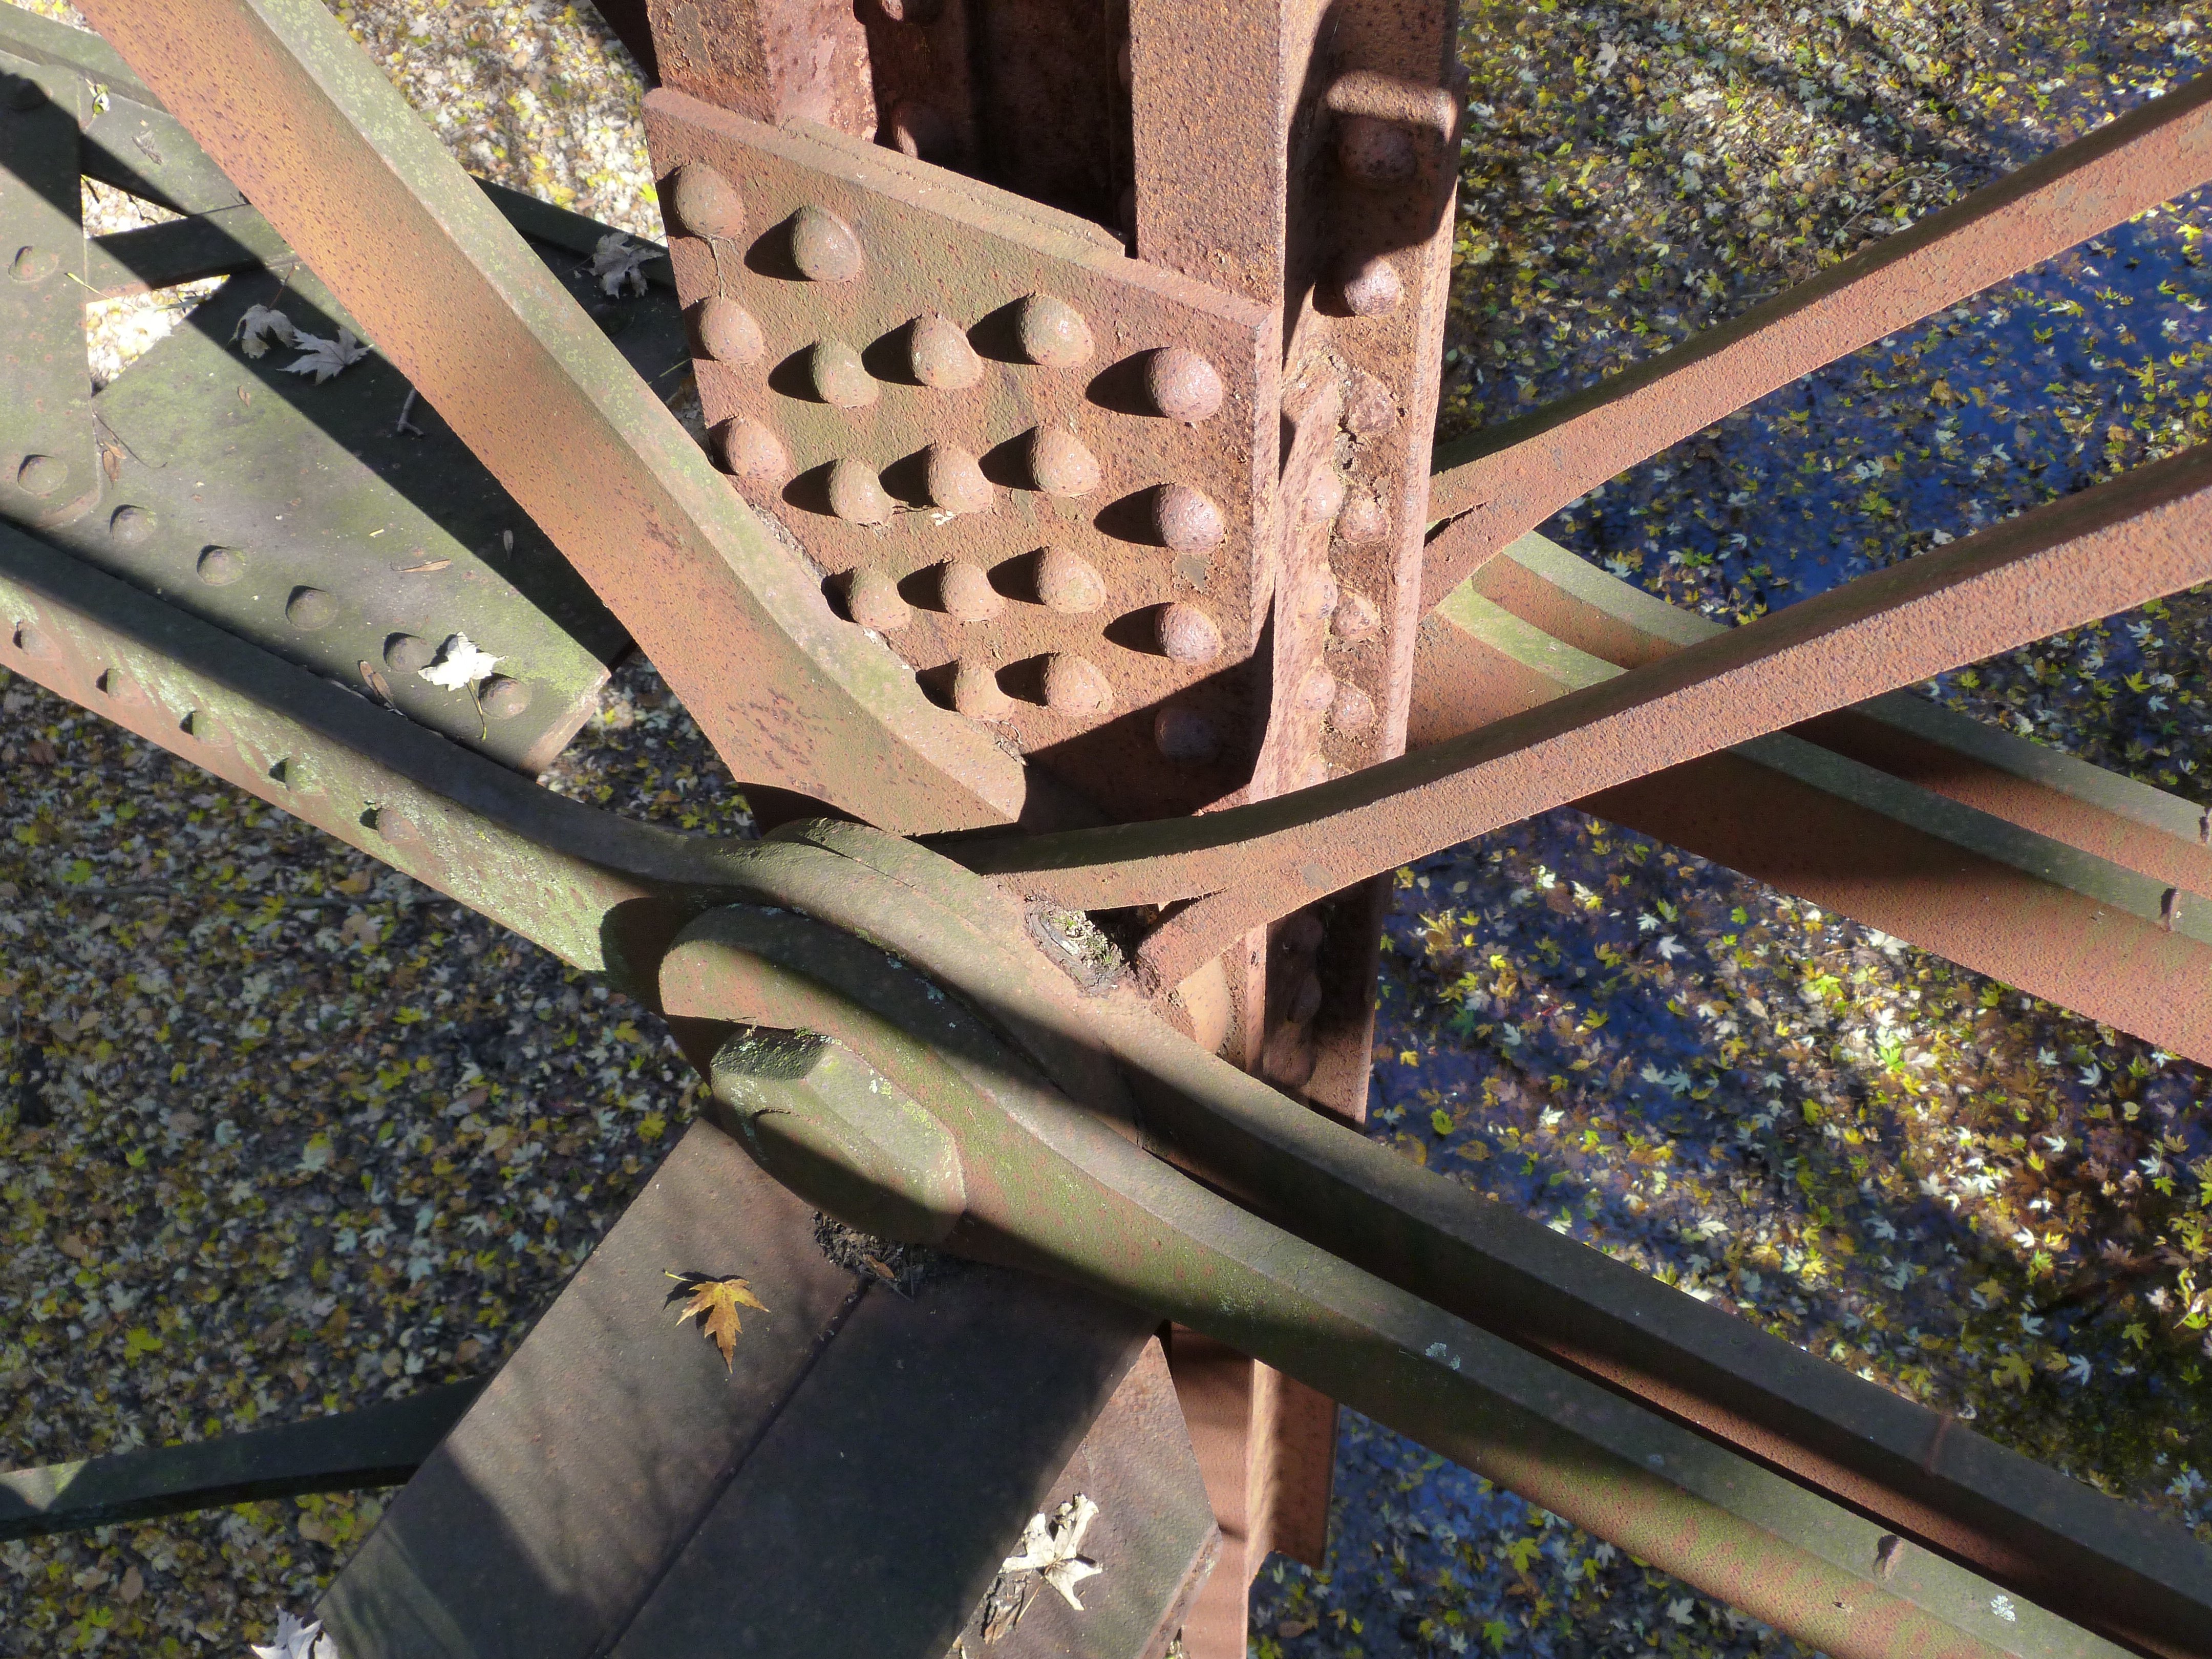
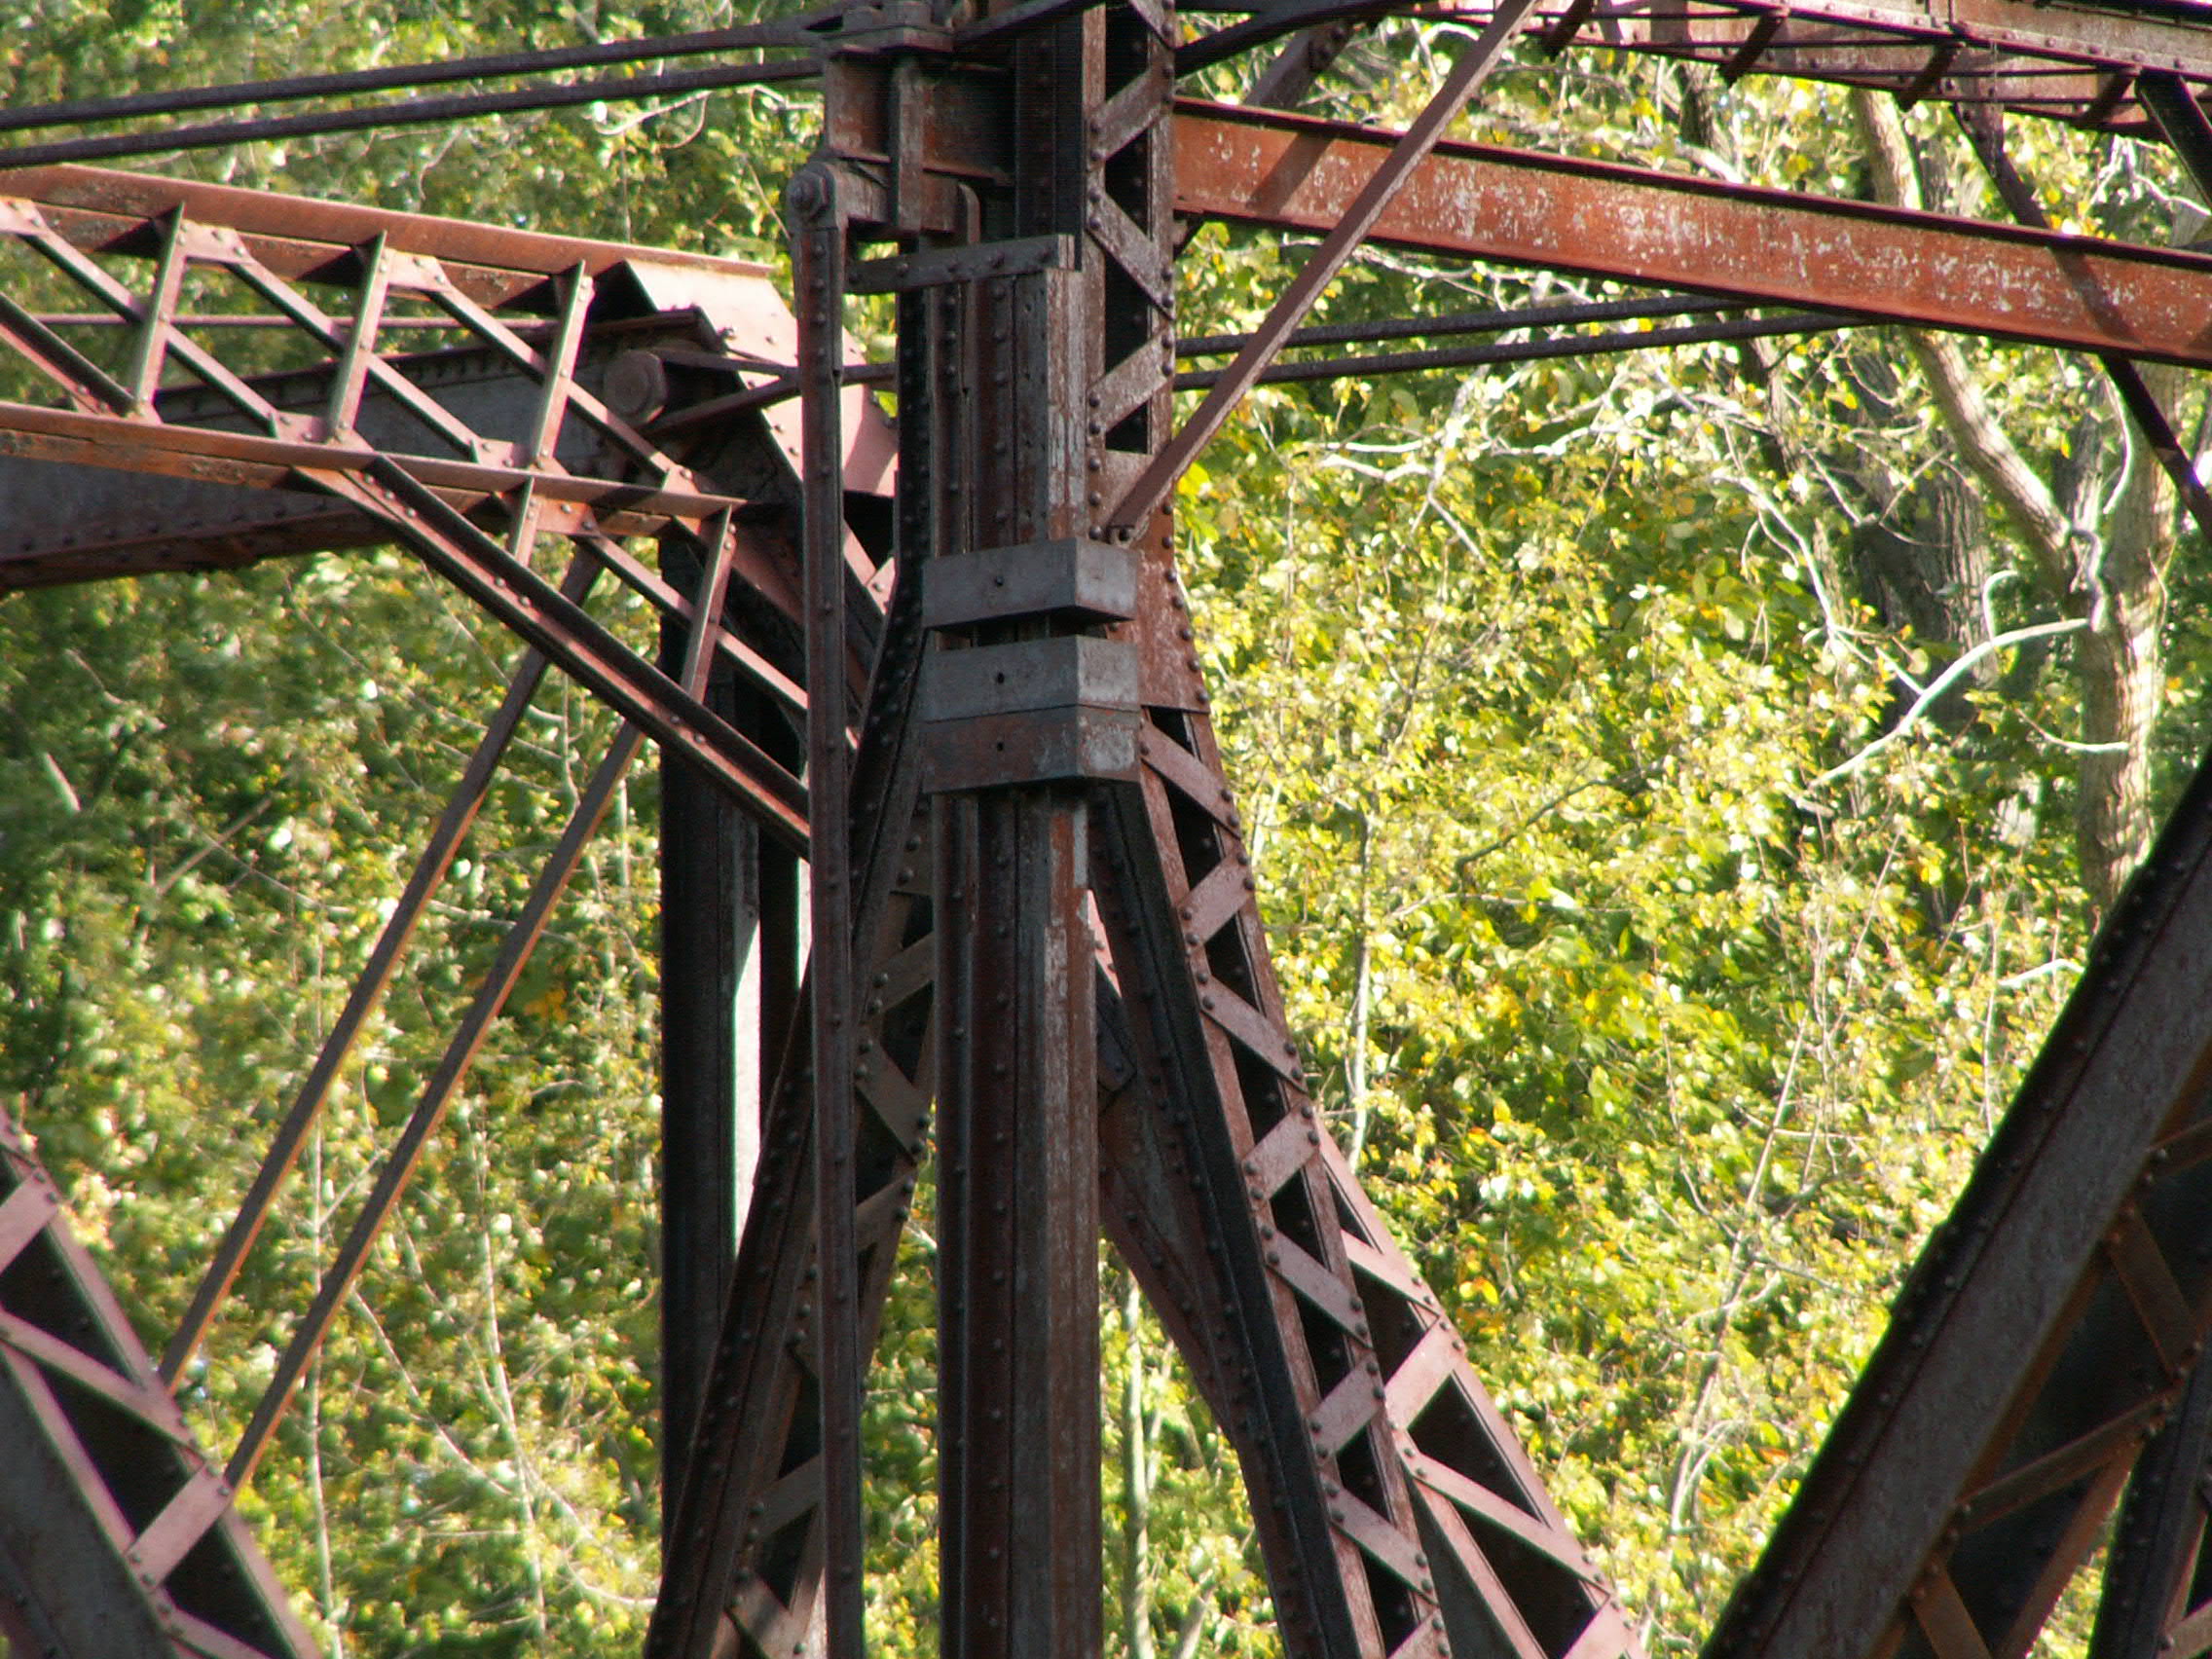
Swing span connection at top of main (center) post as viewed from beside bridge.
![]()


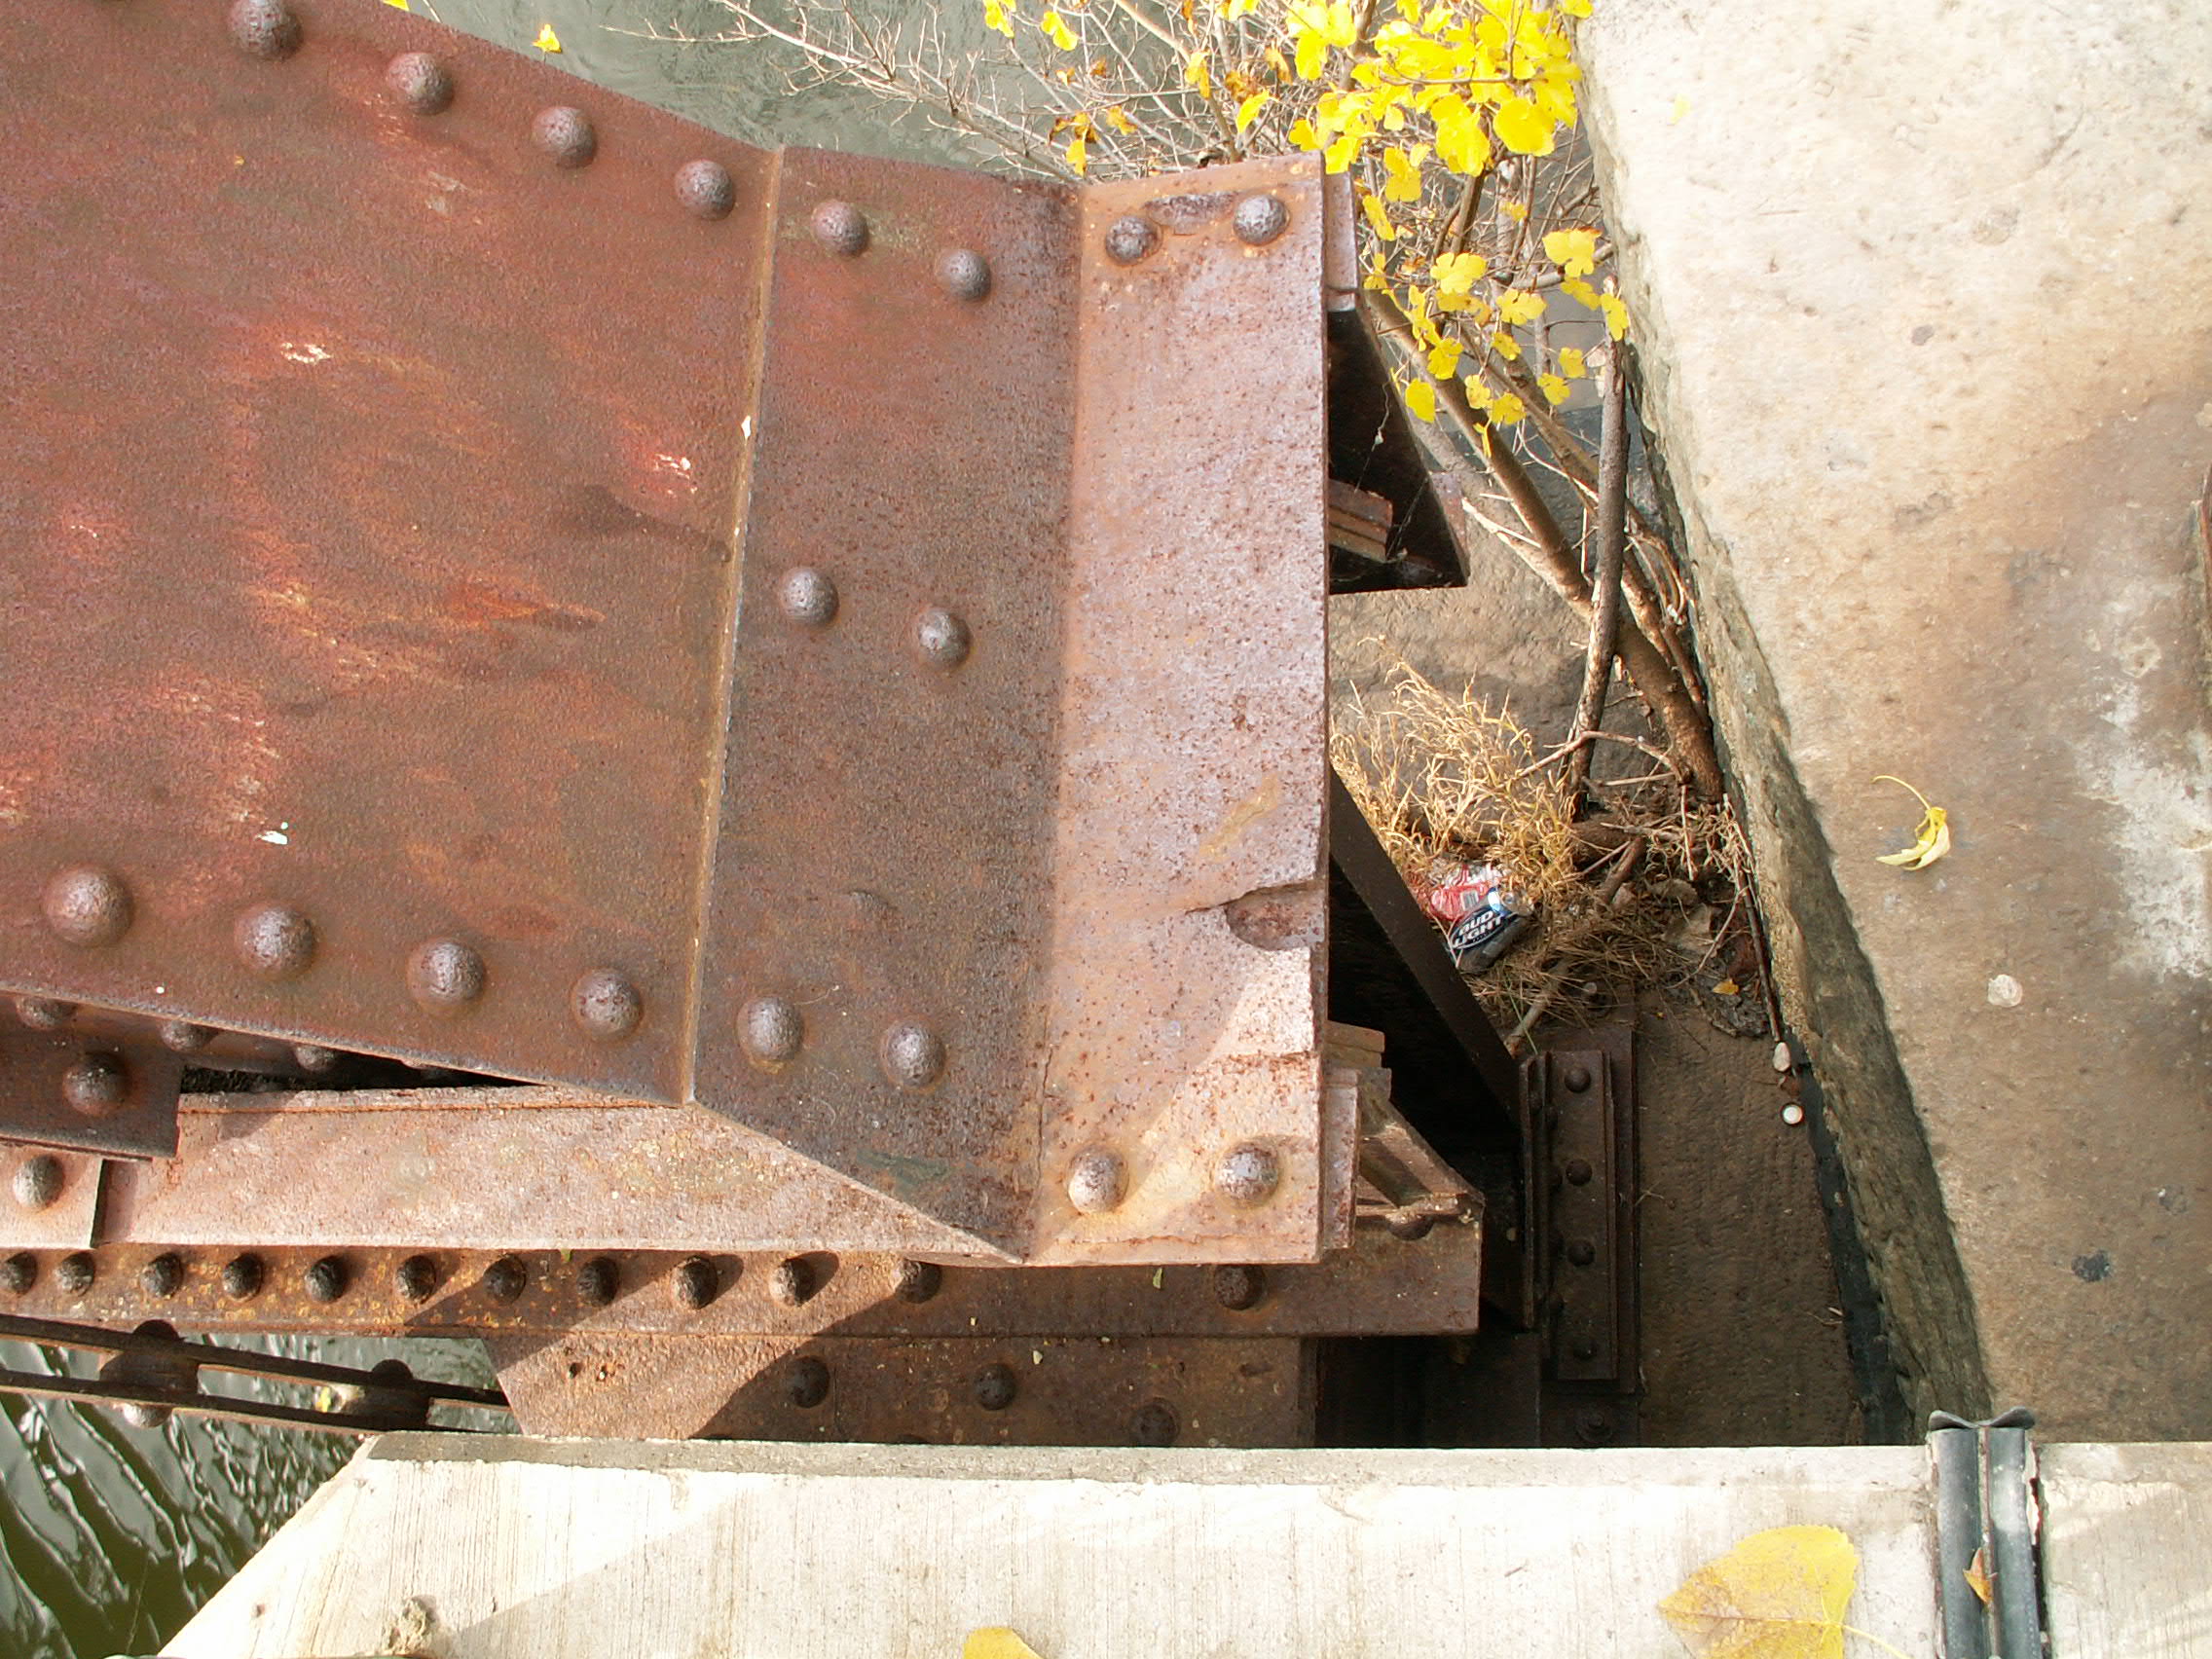
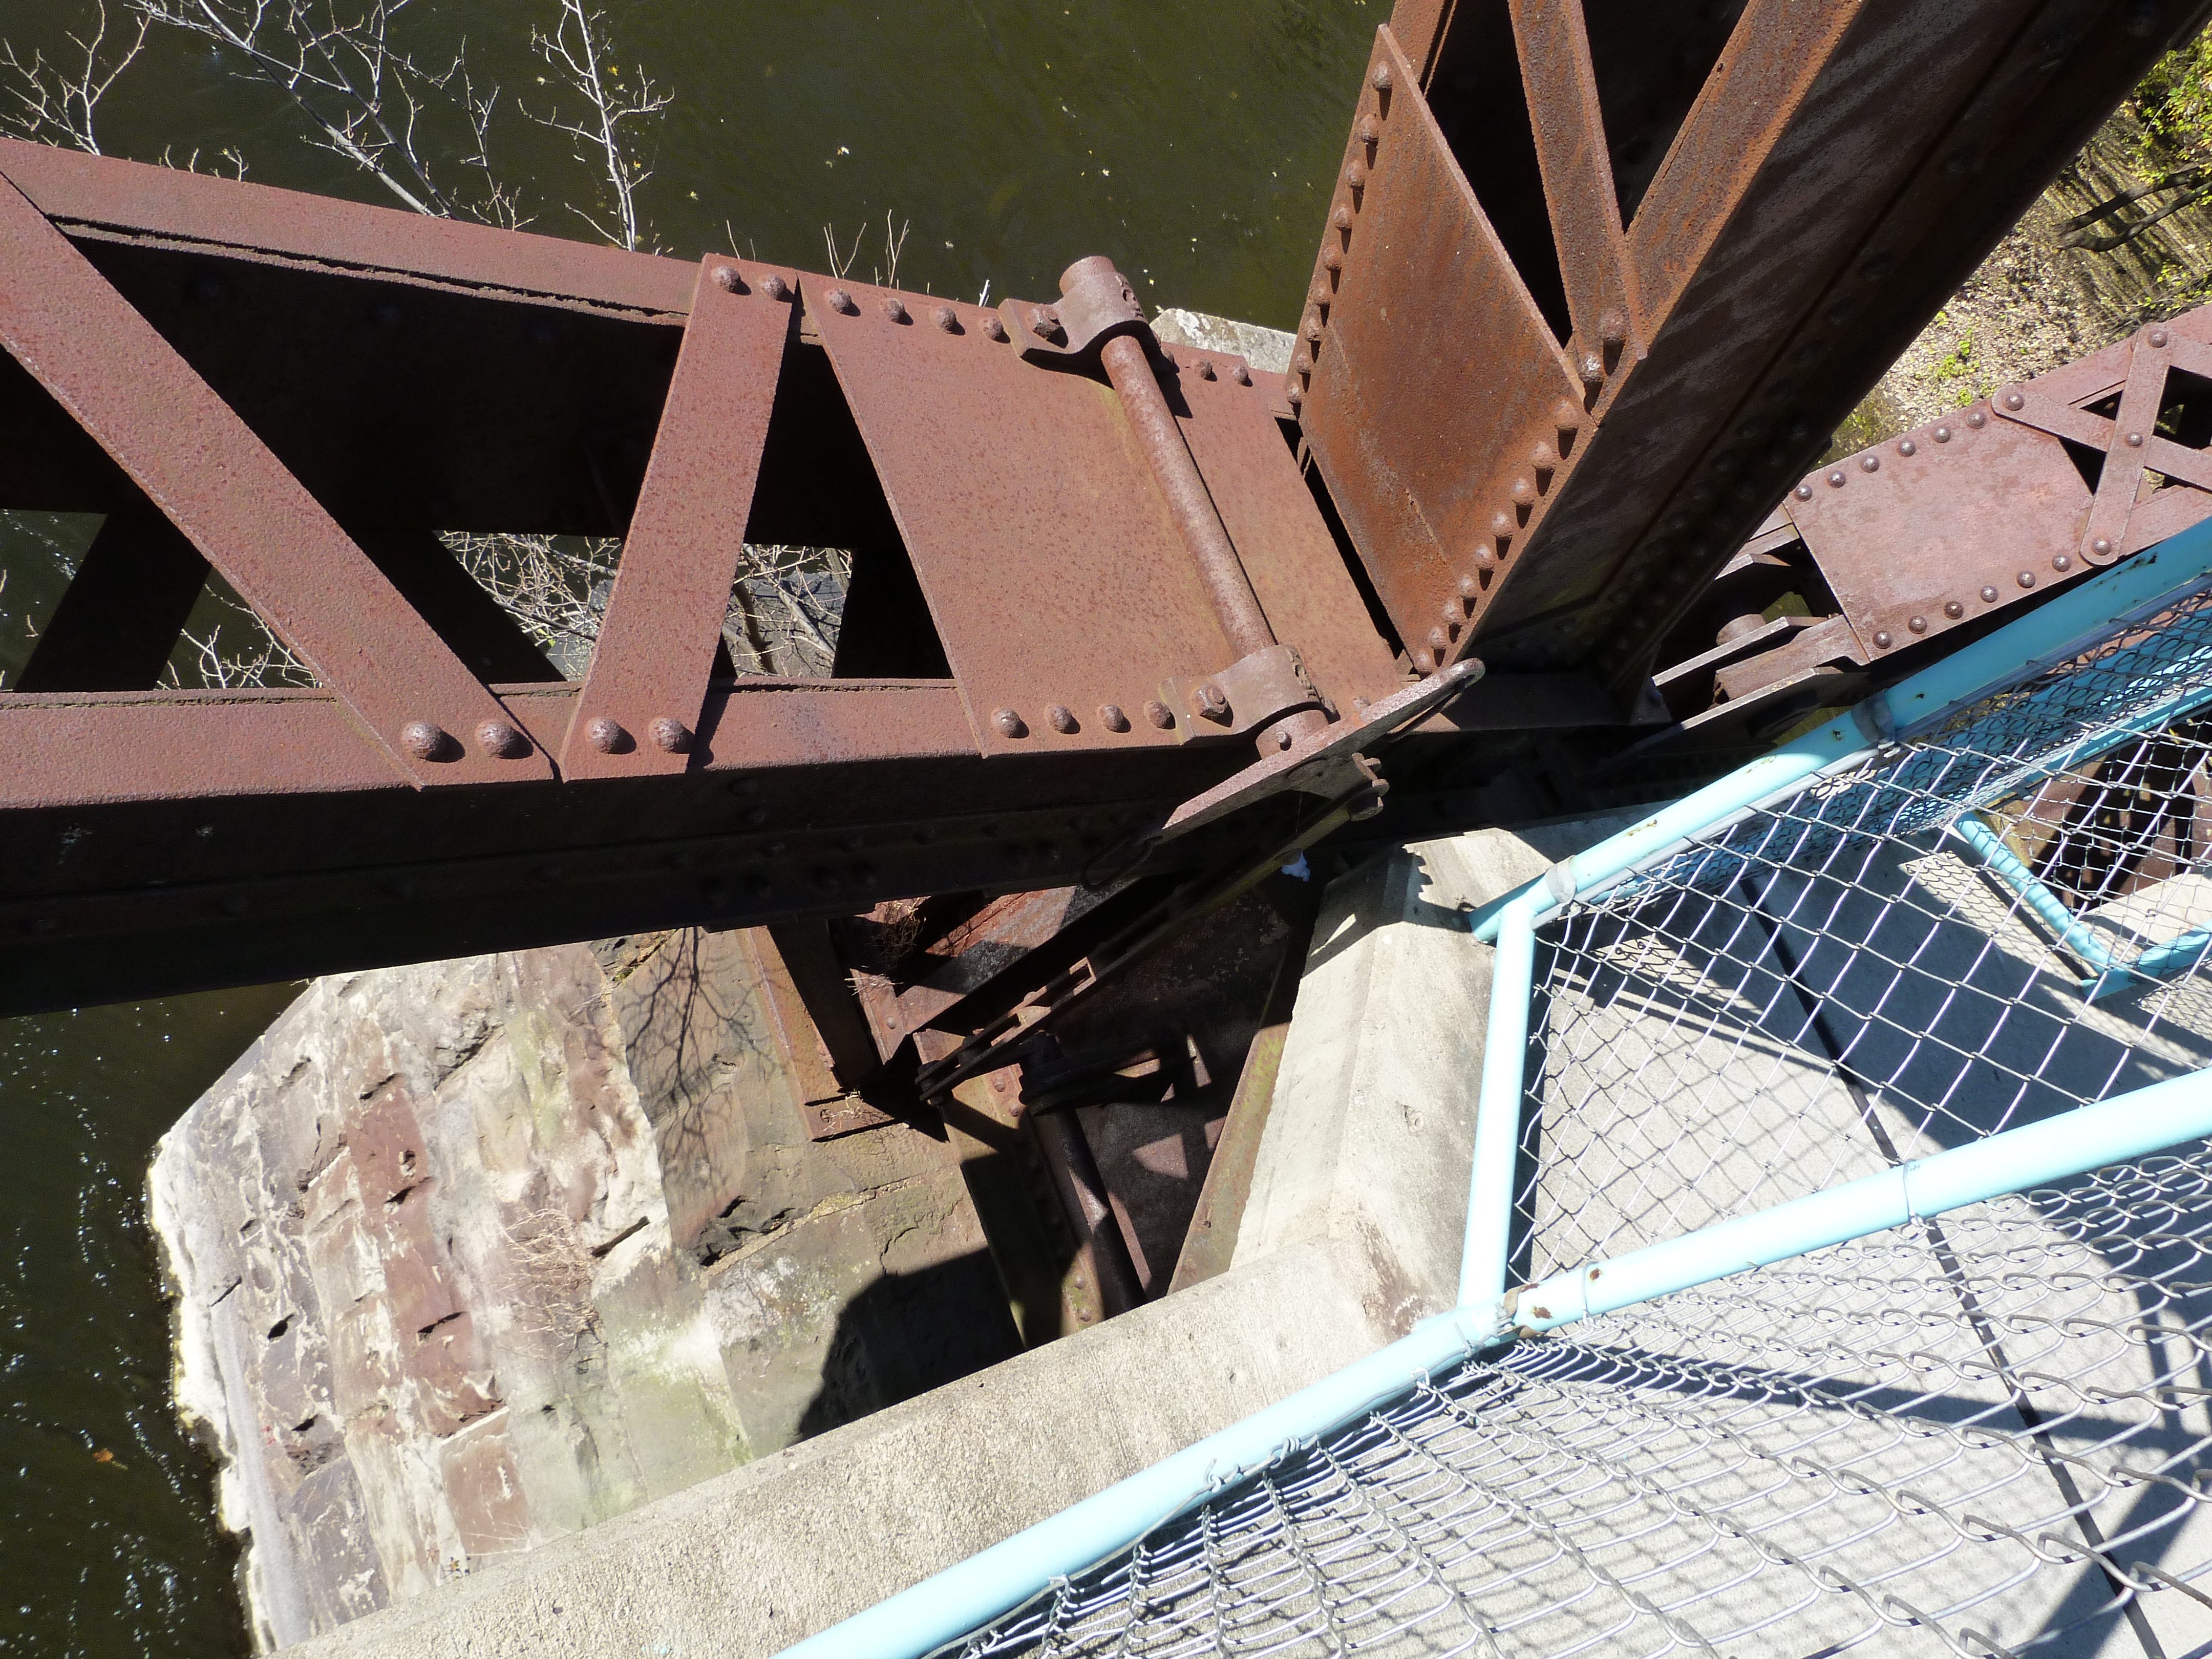
Swing span bottom chord connections as viewed from beside bridge.
![]()


Swing span bottom chord connections as viewed from on bridge.
![]()


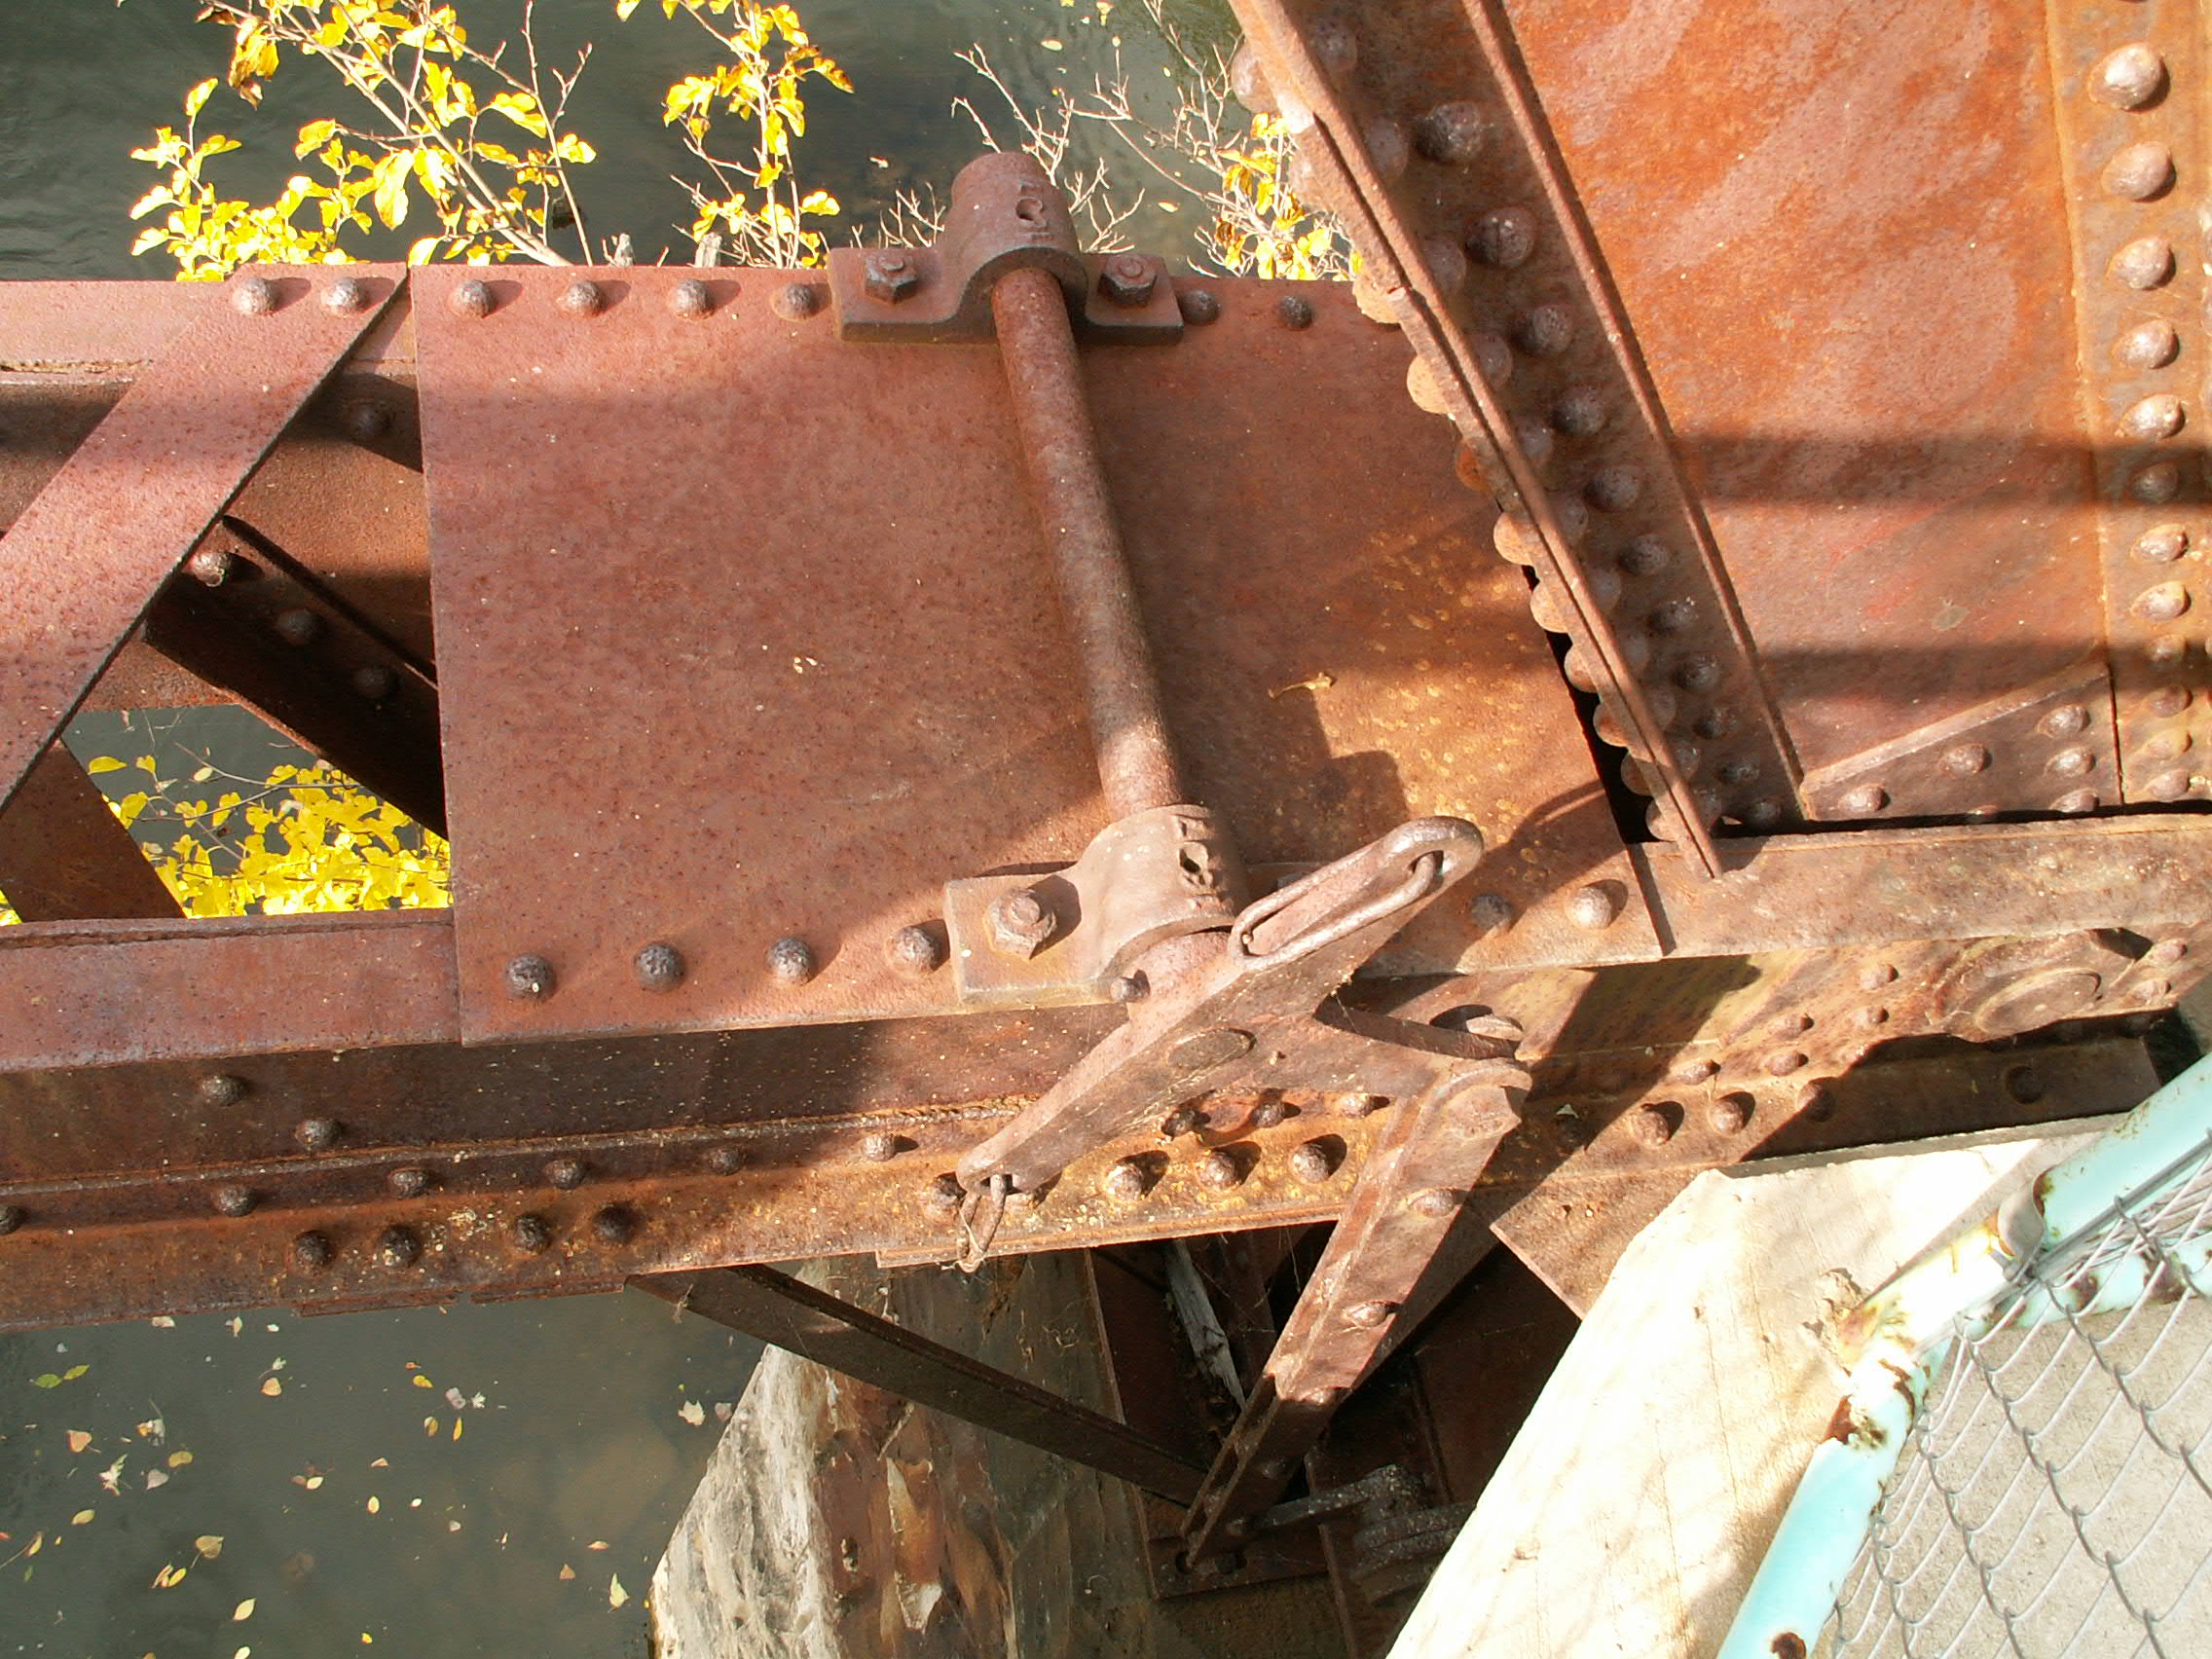

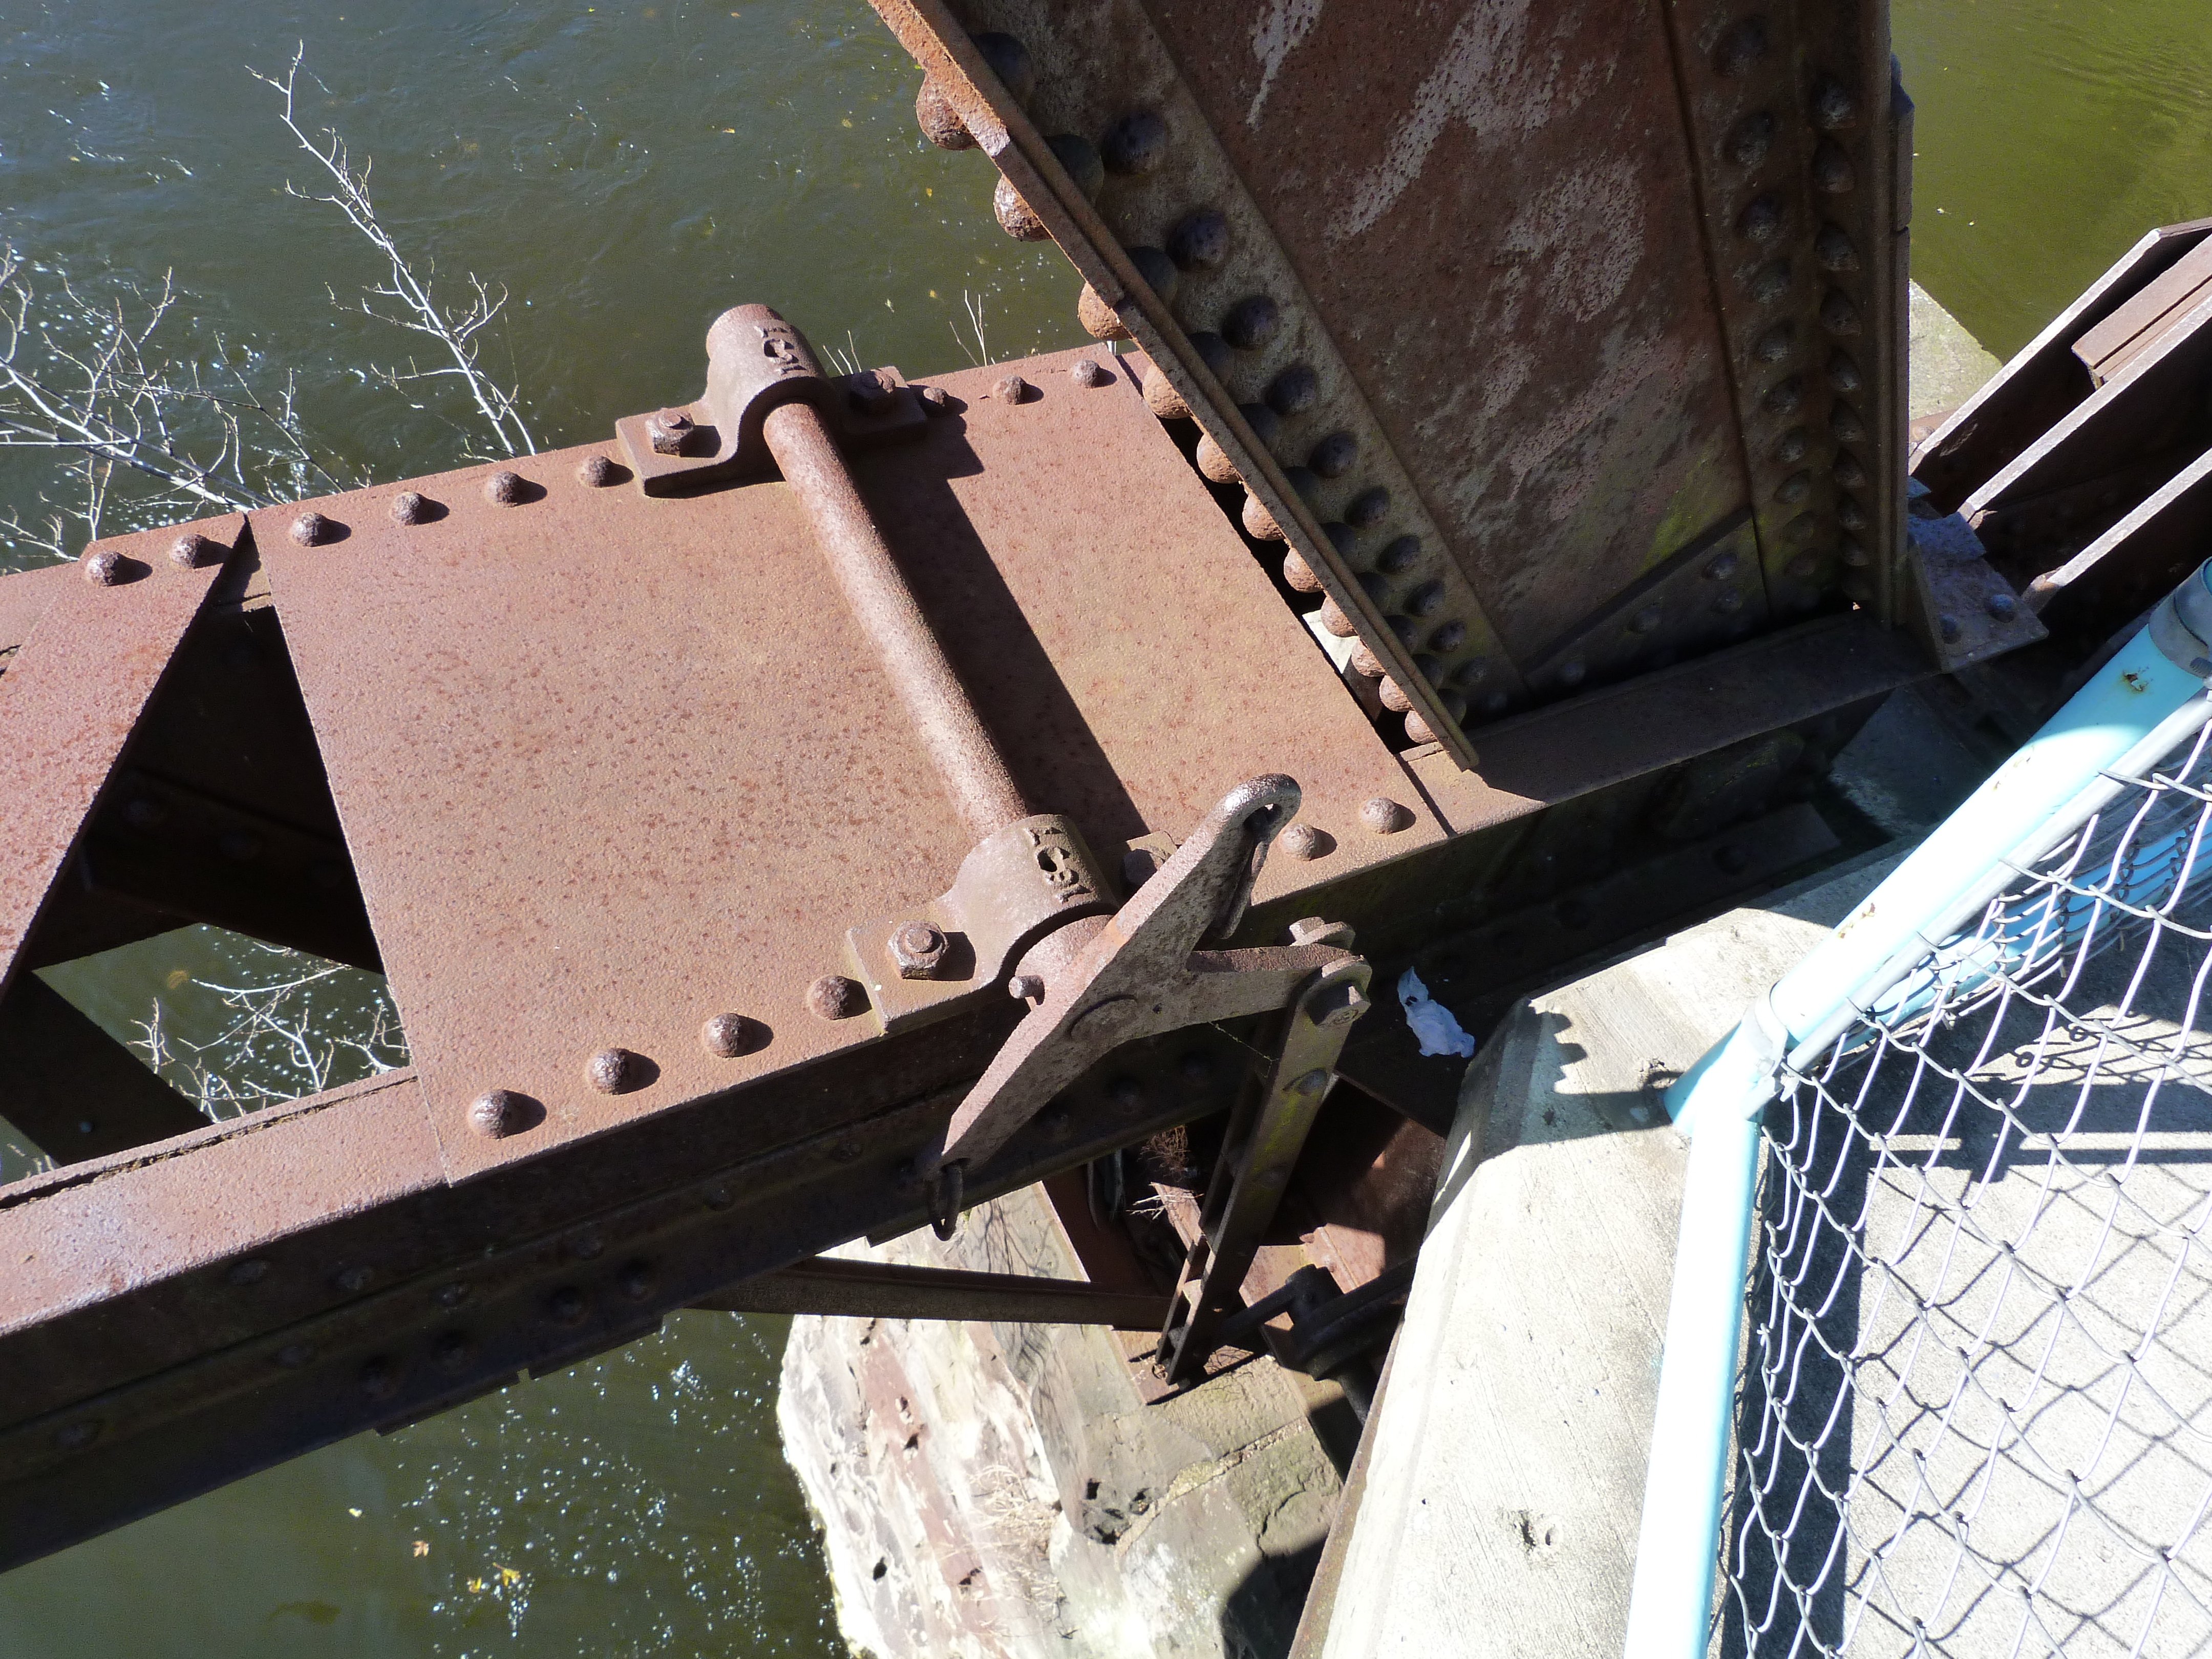

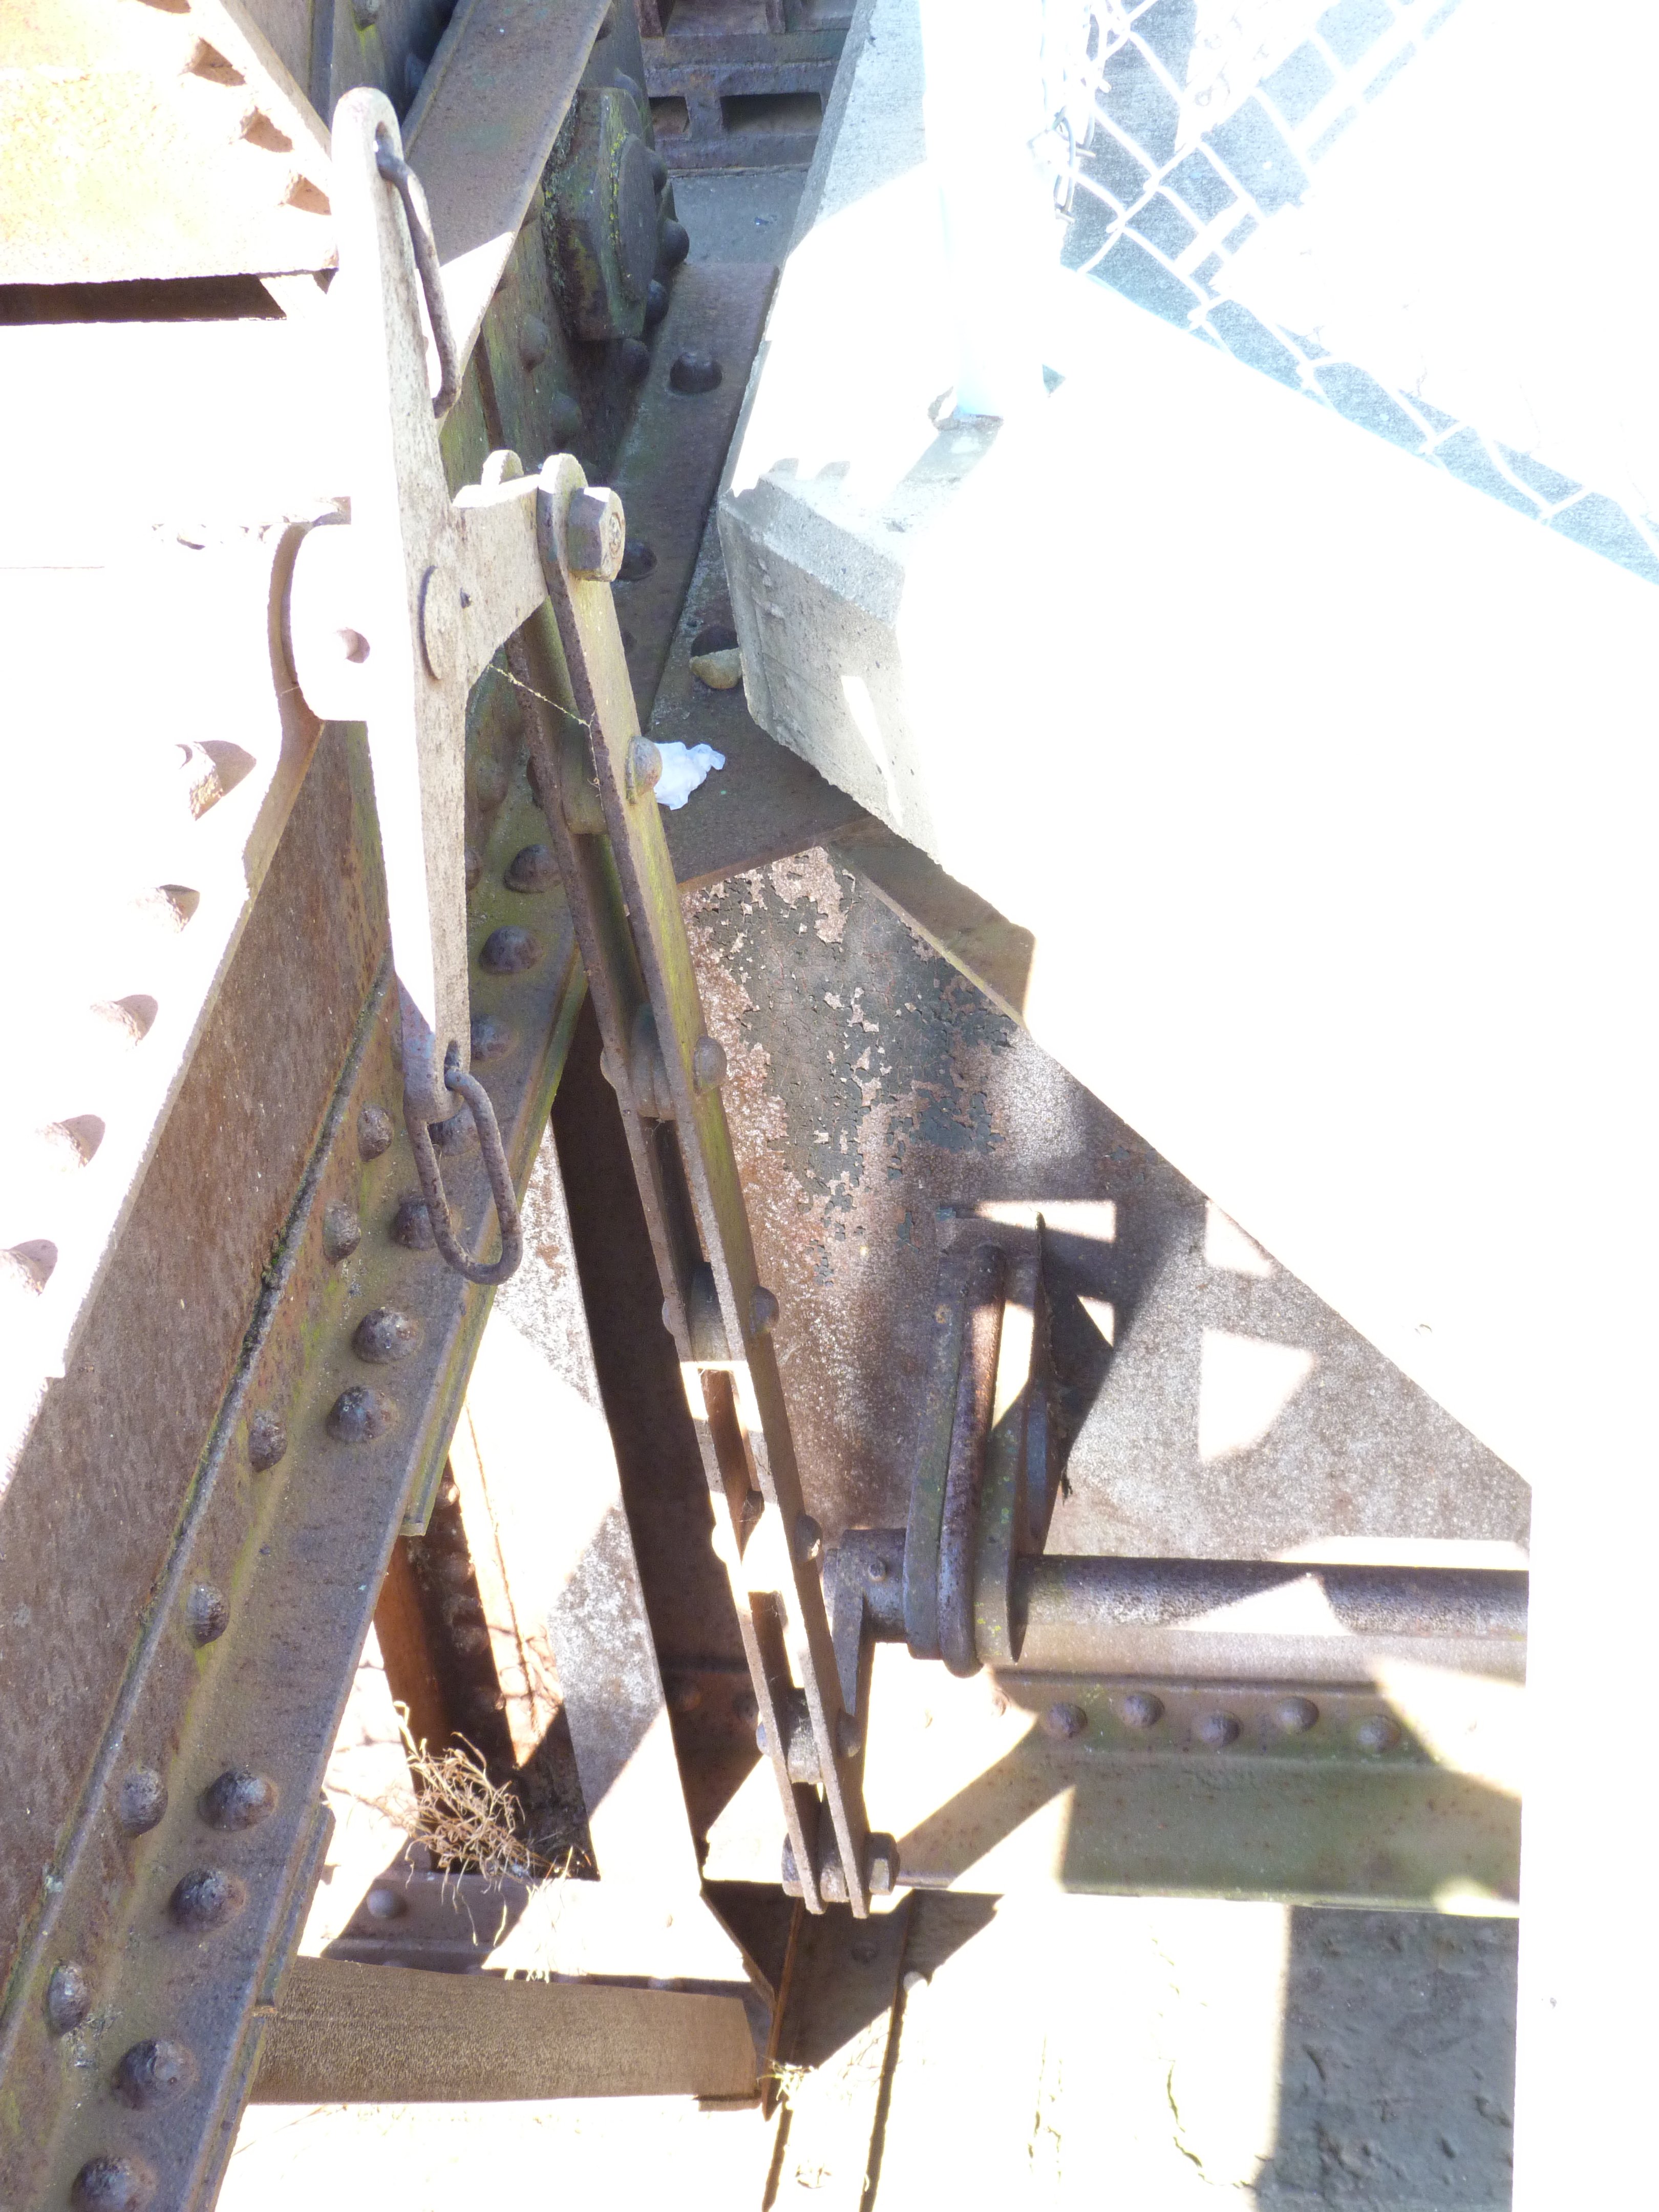
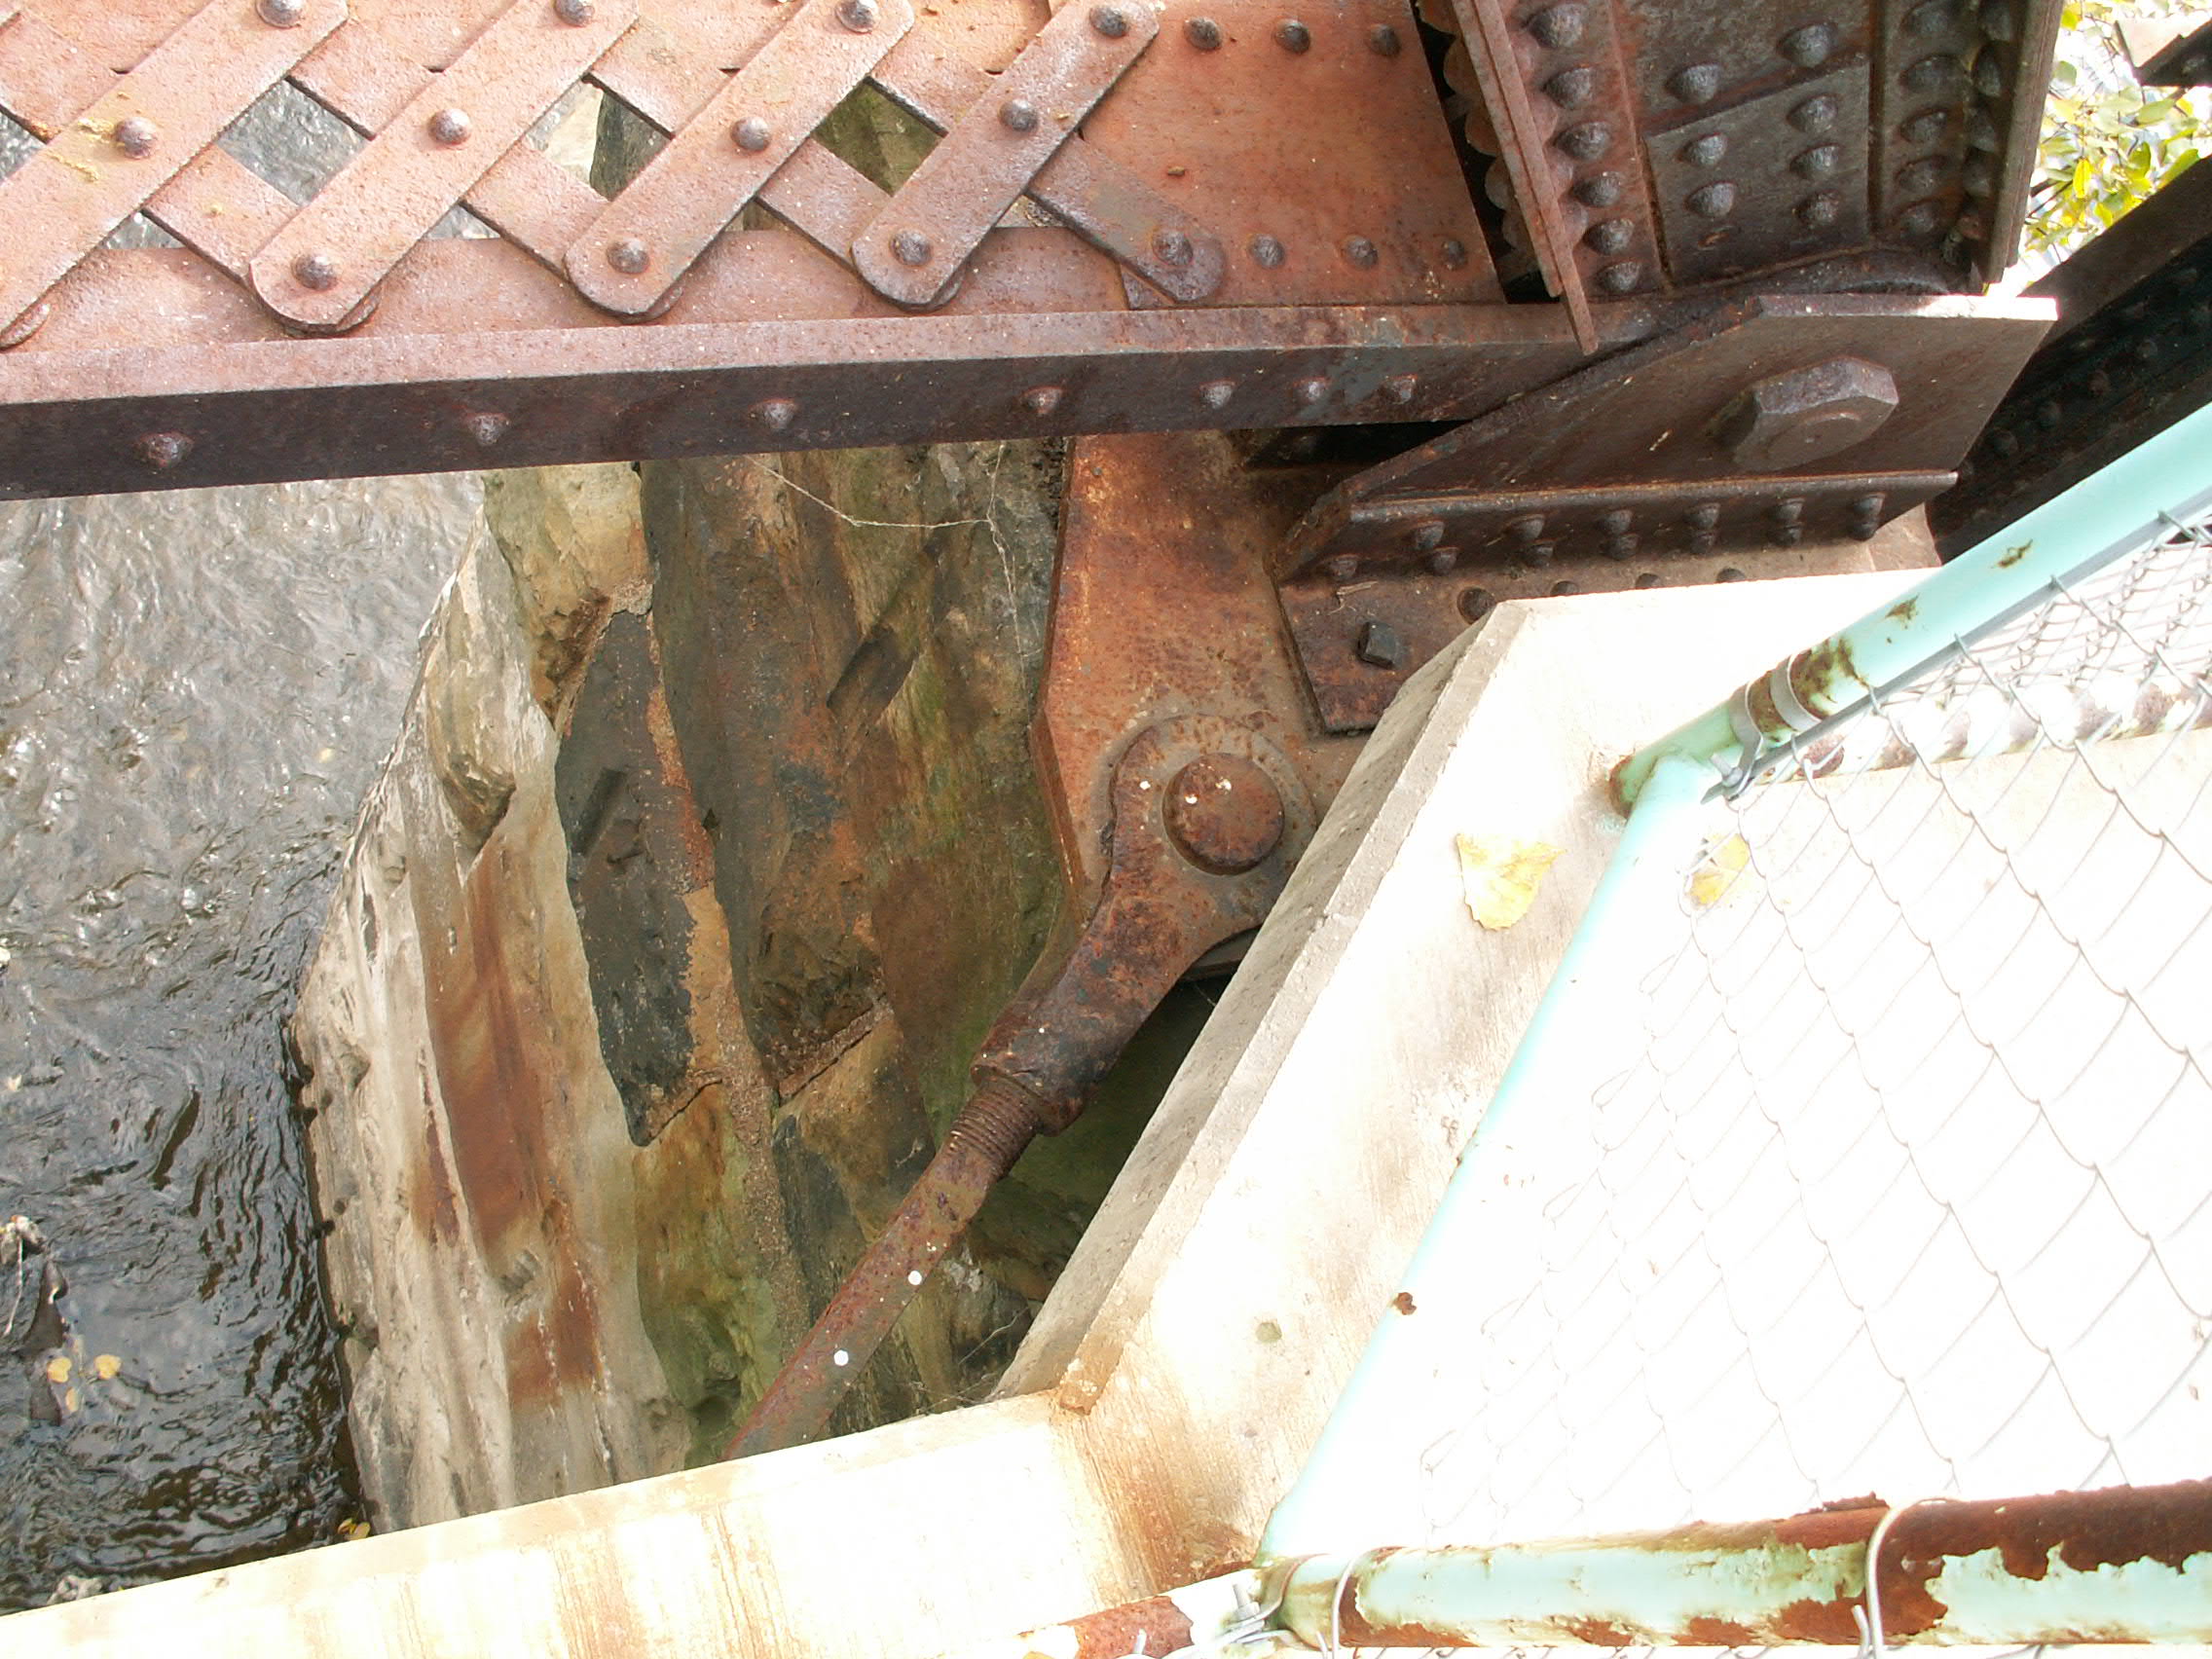
Bearings for end of swing span. The locking mechanism for the bridge can be seen in these photos.
![]()


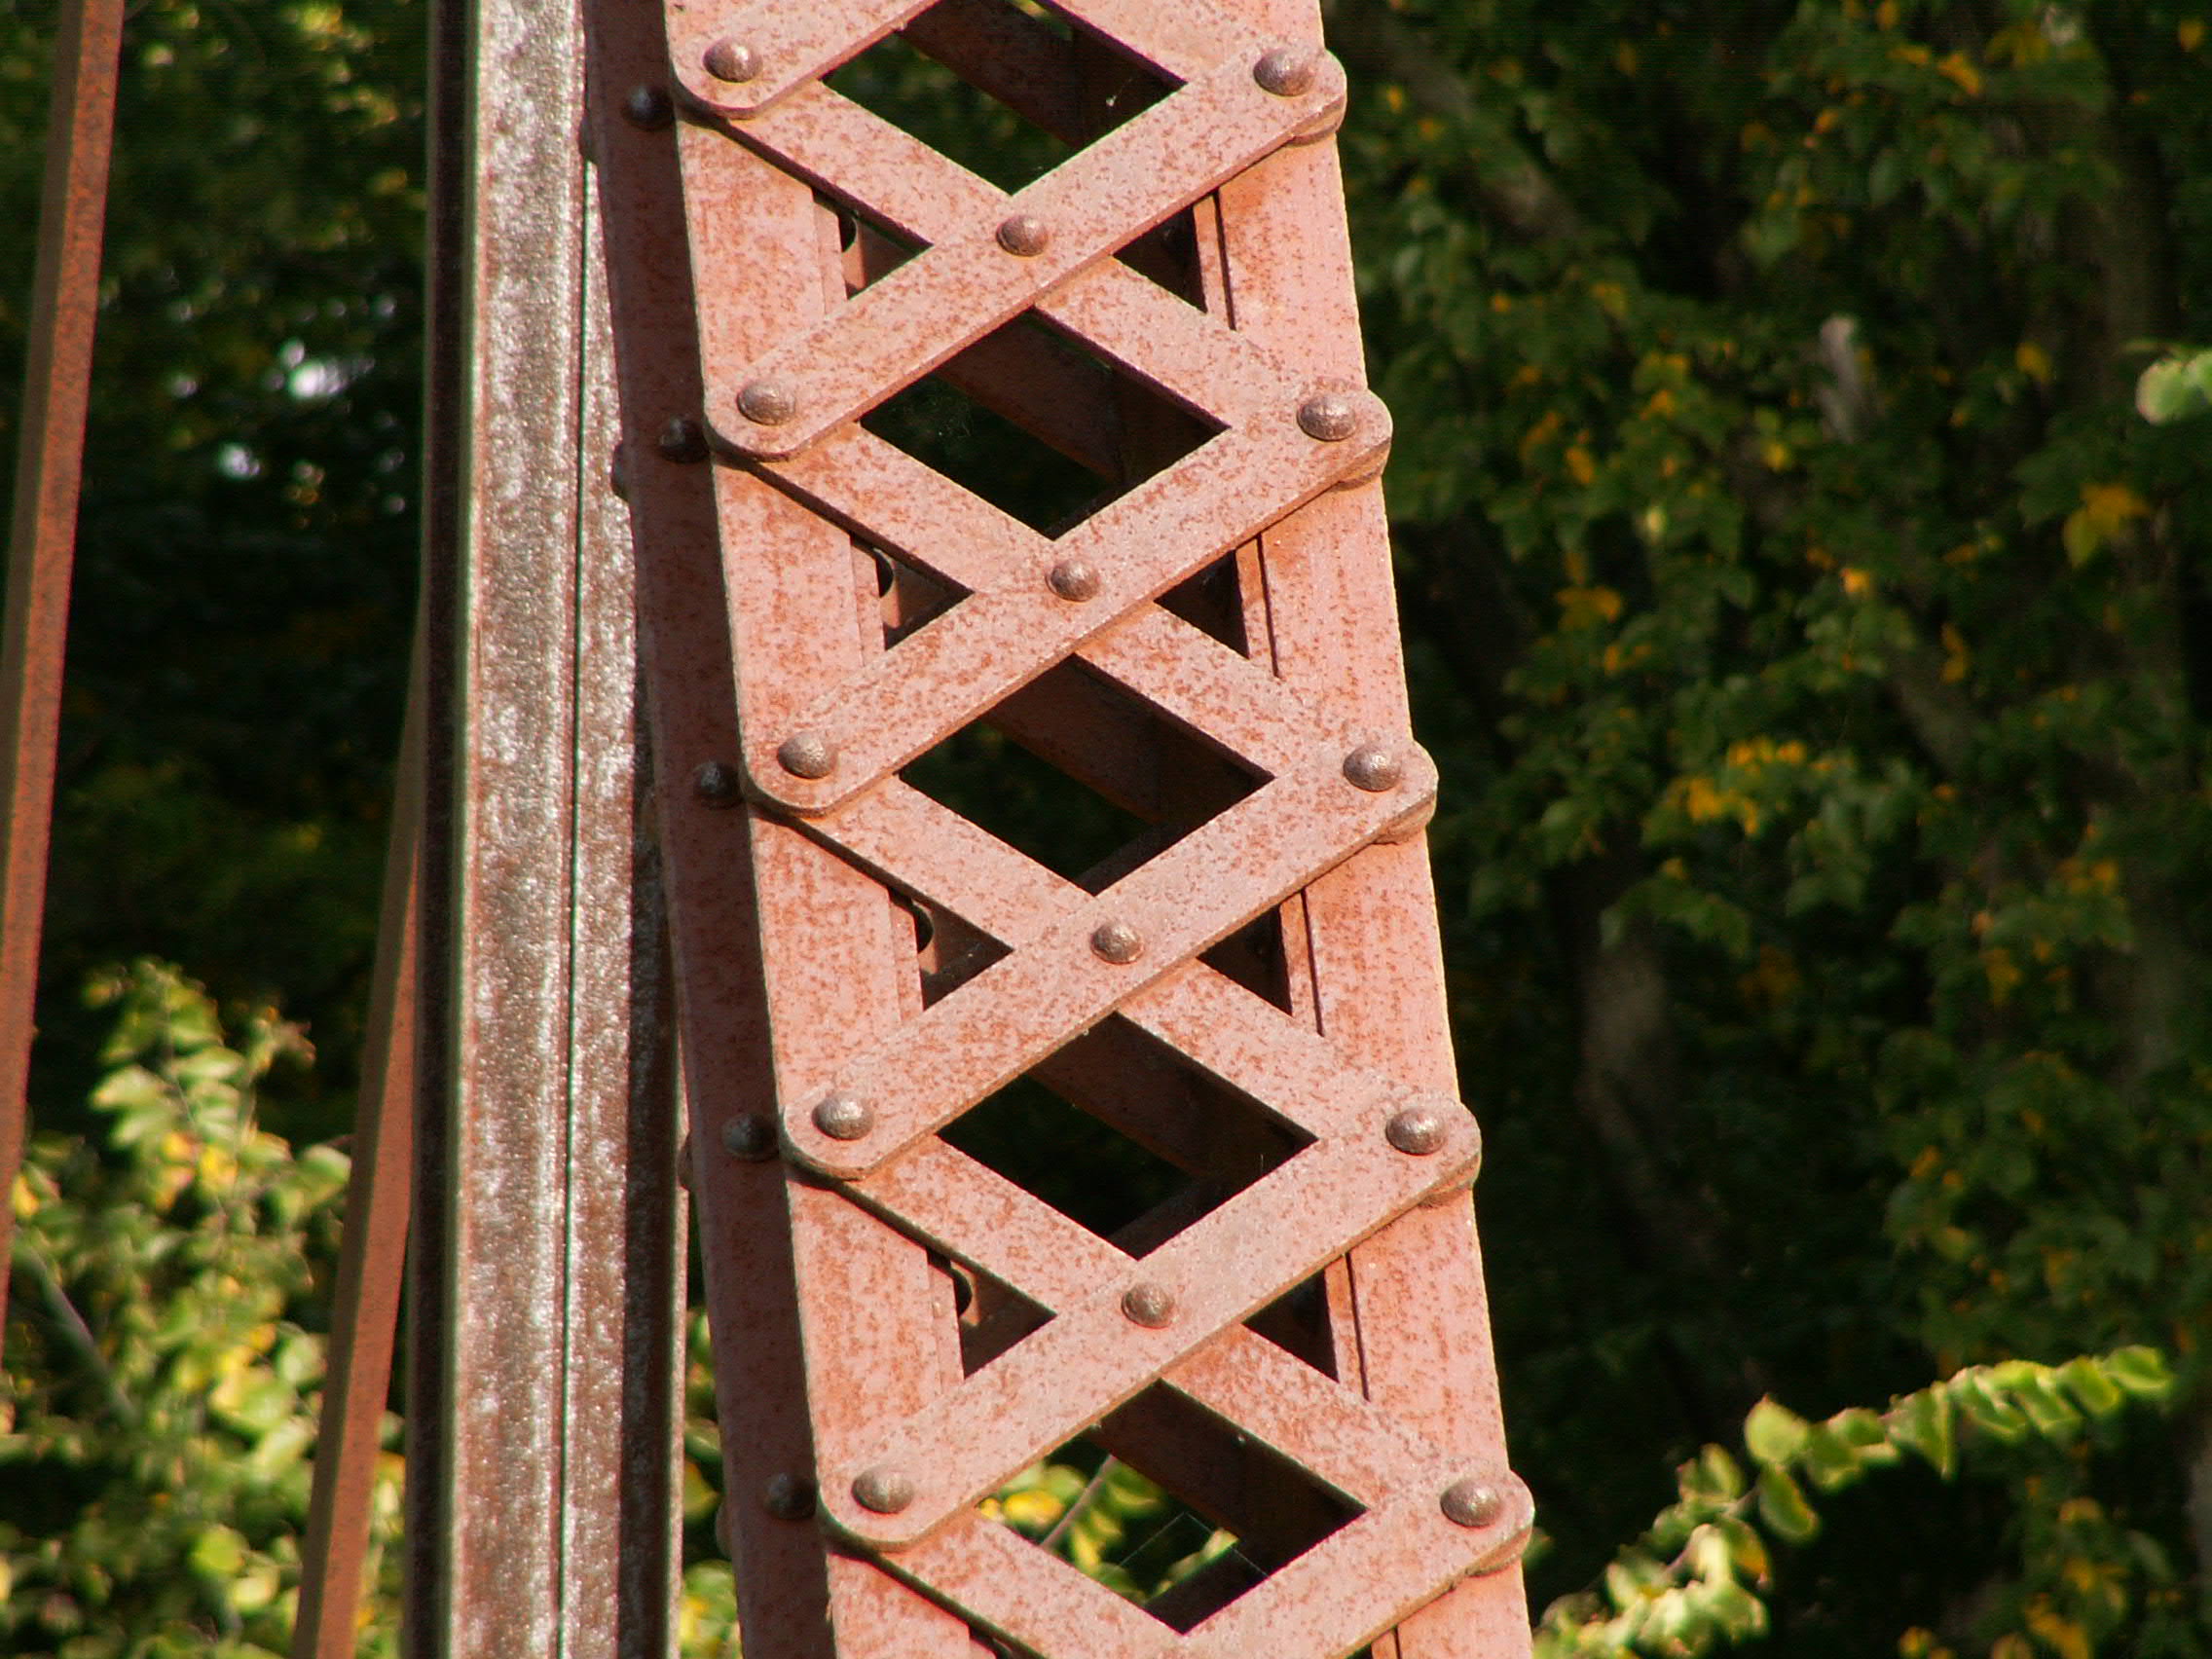
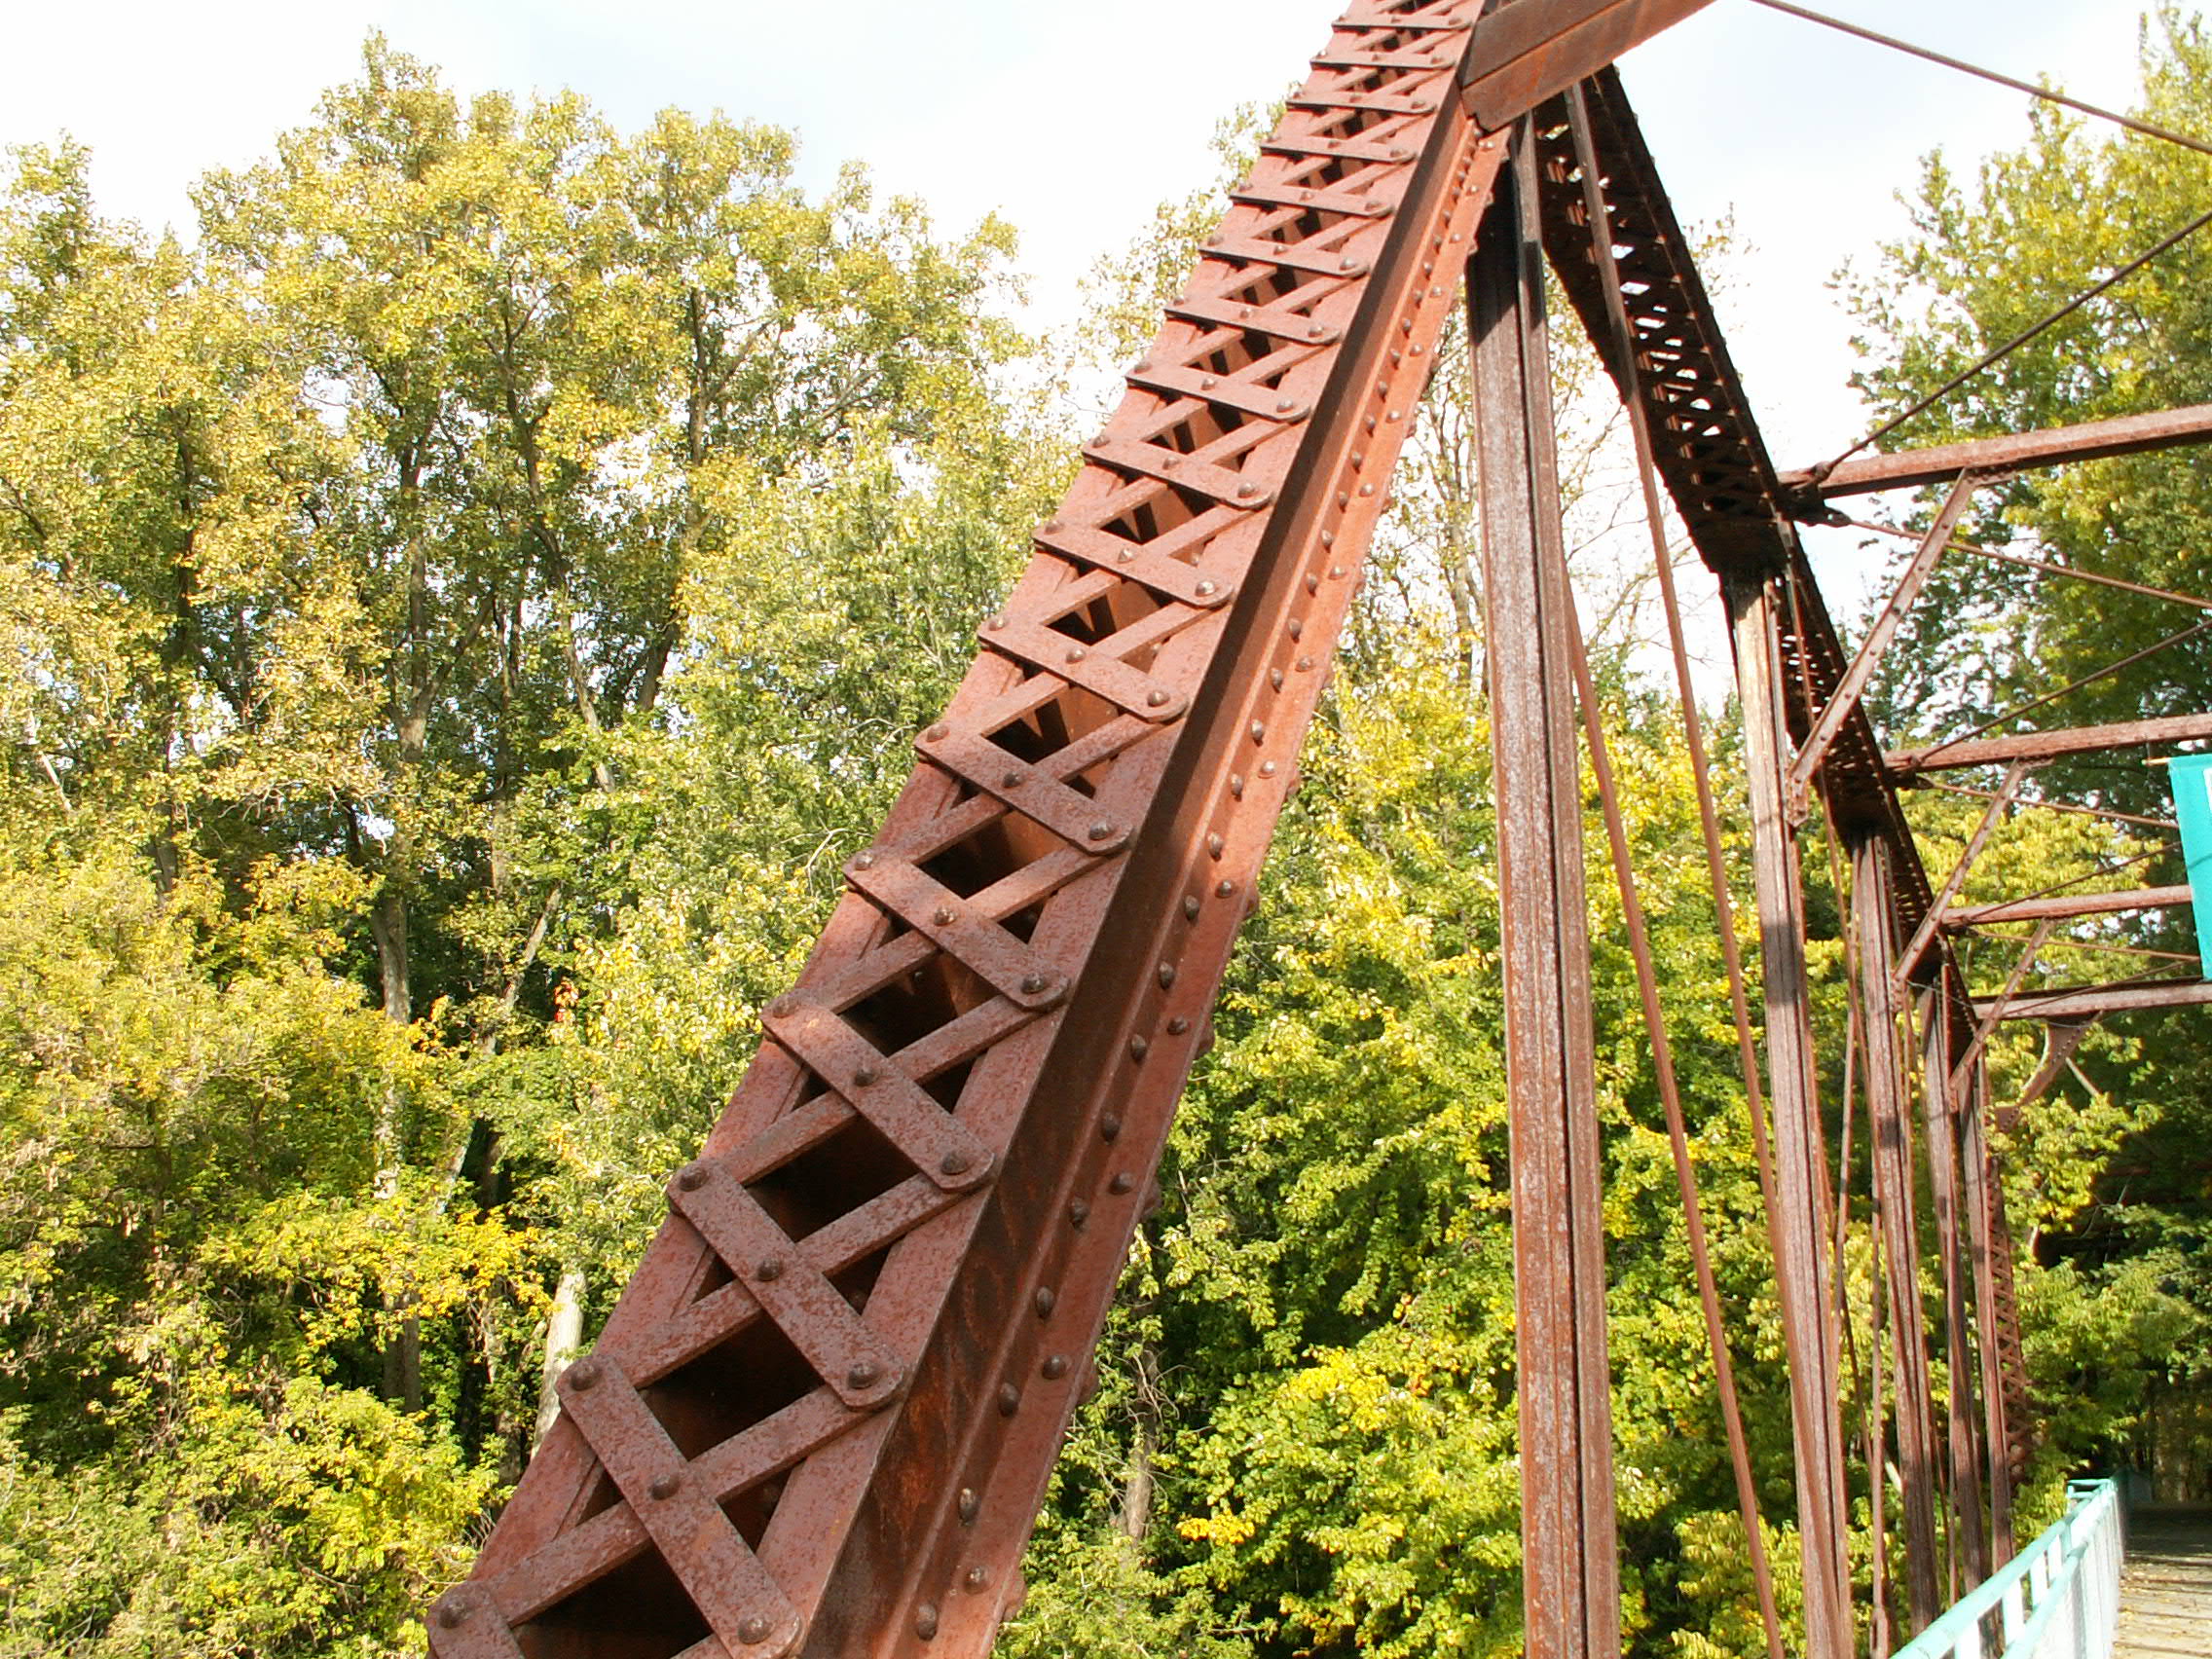

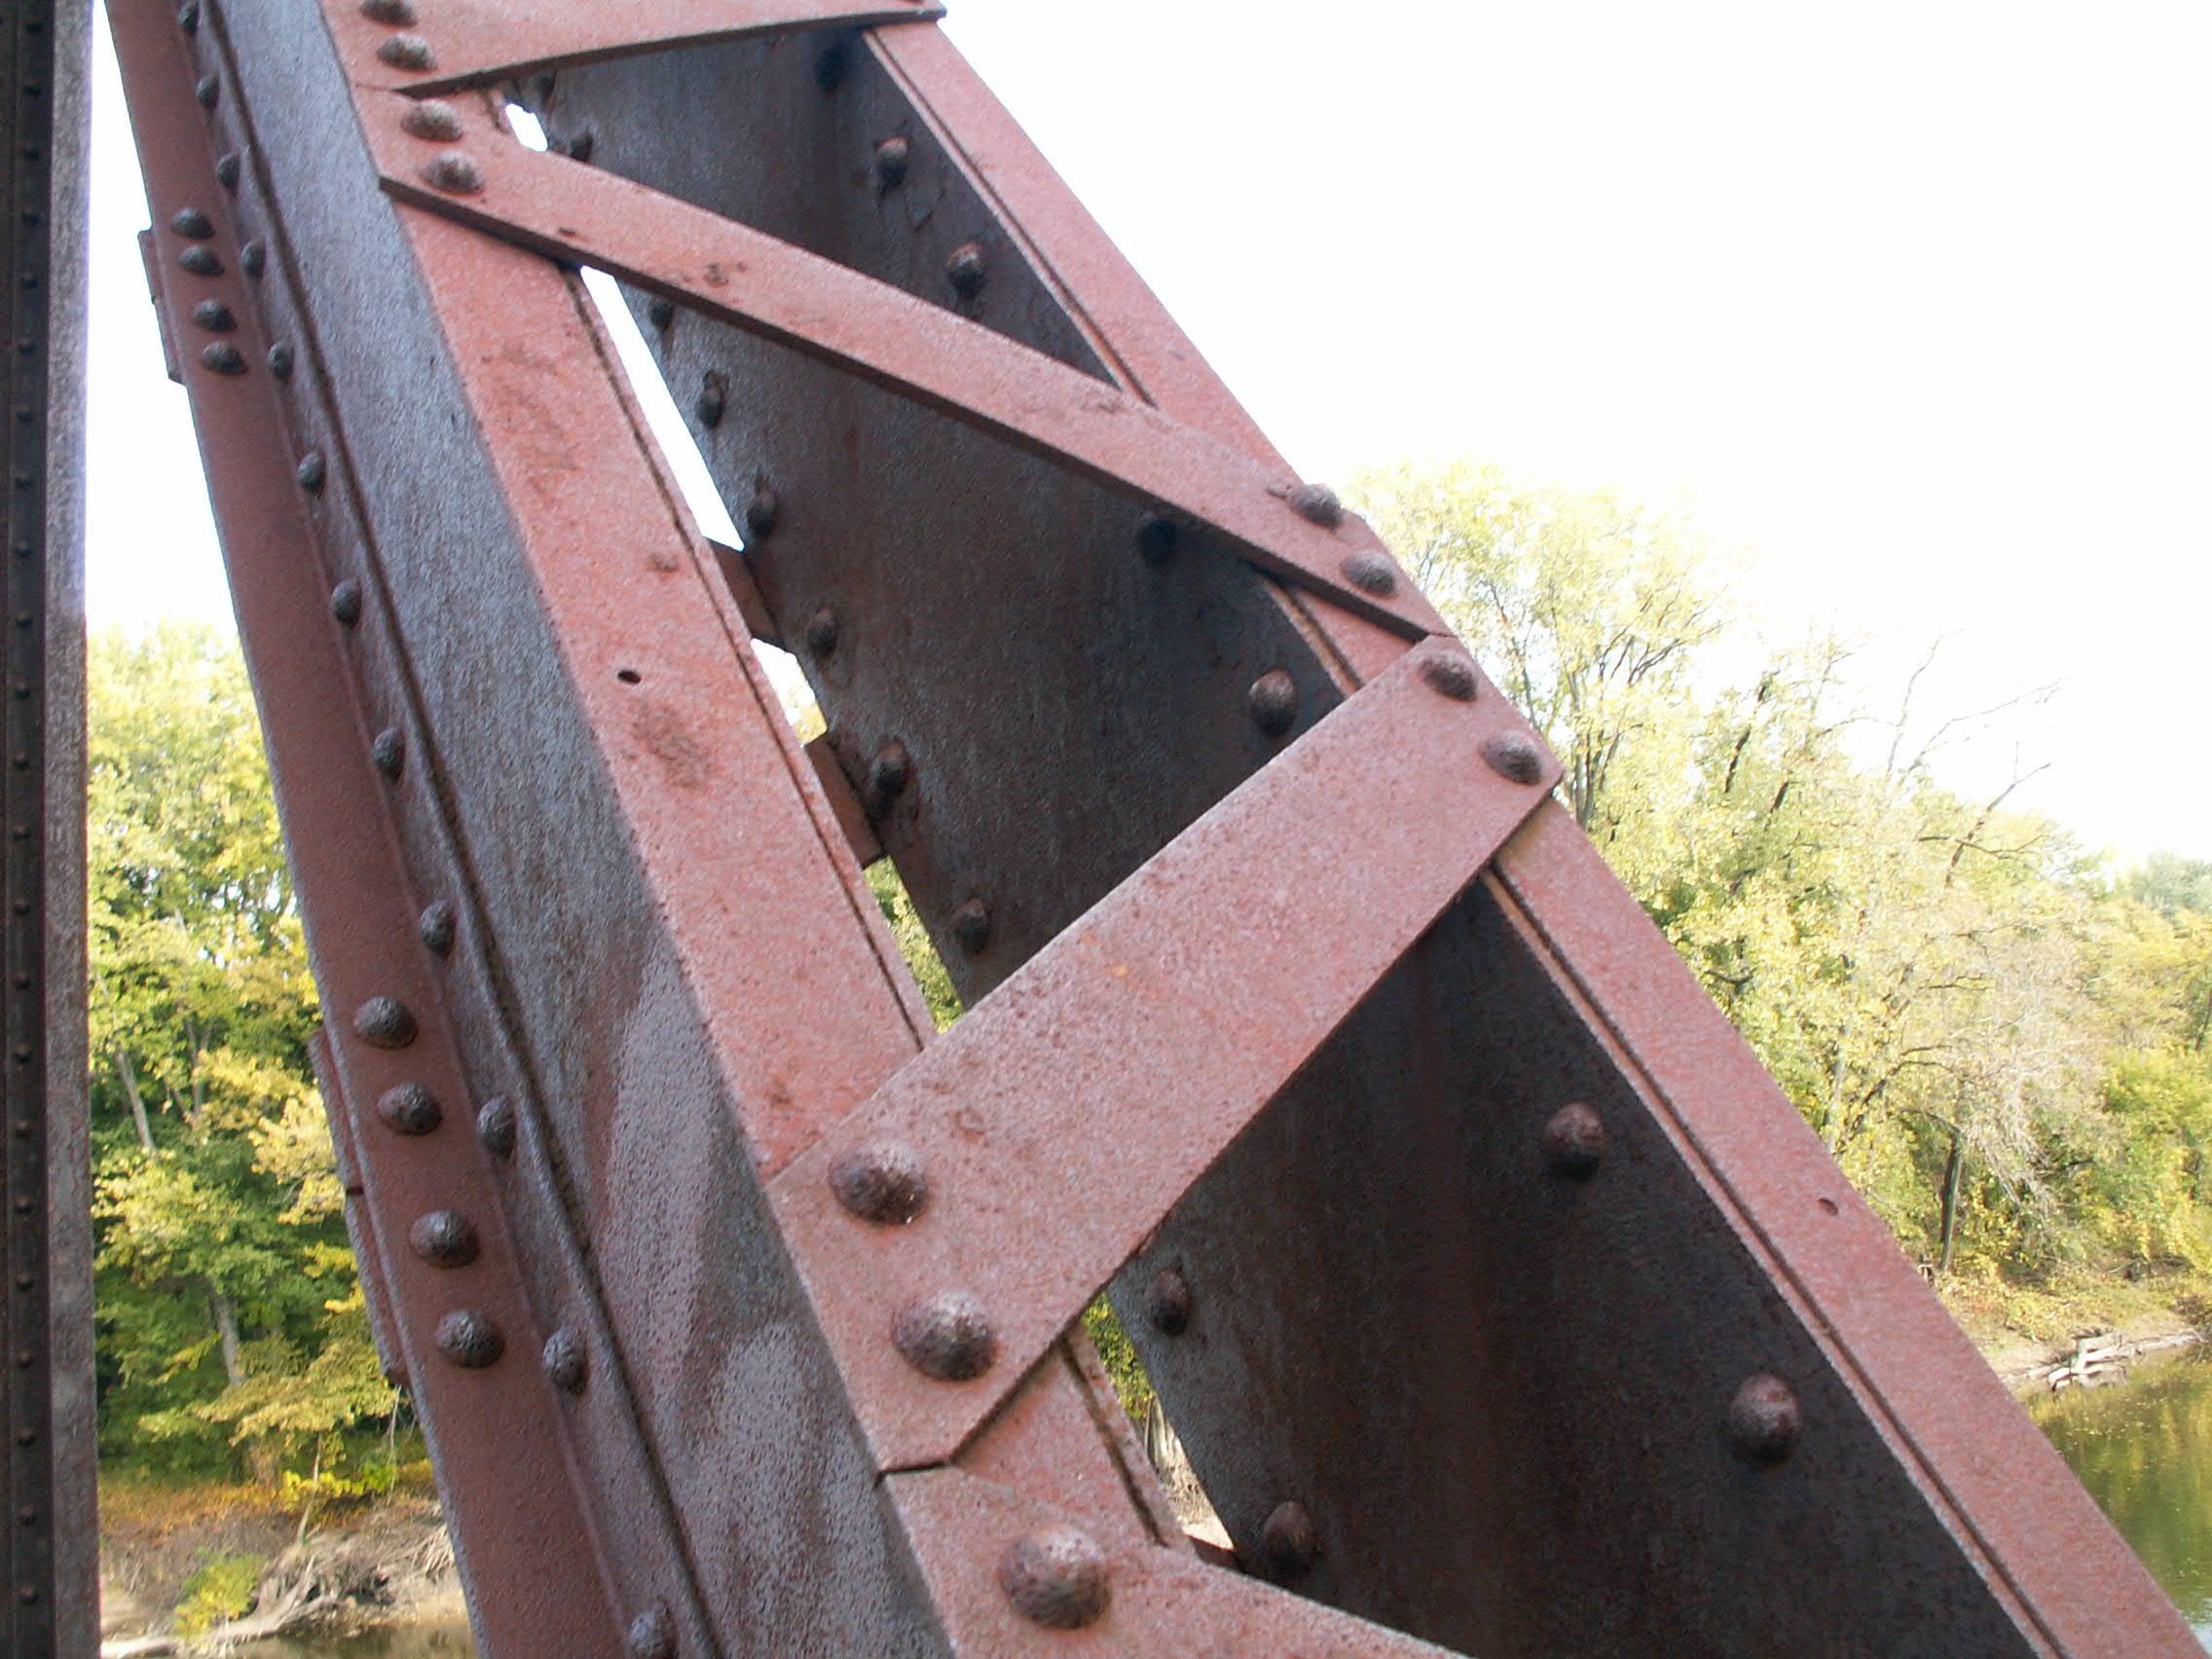
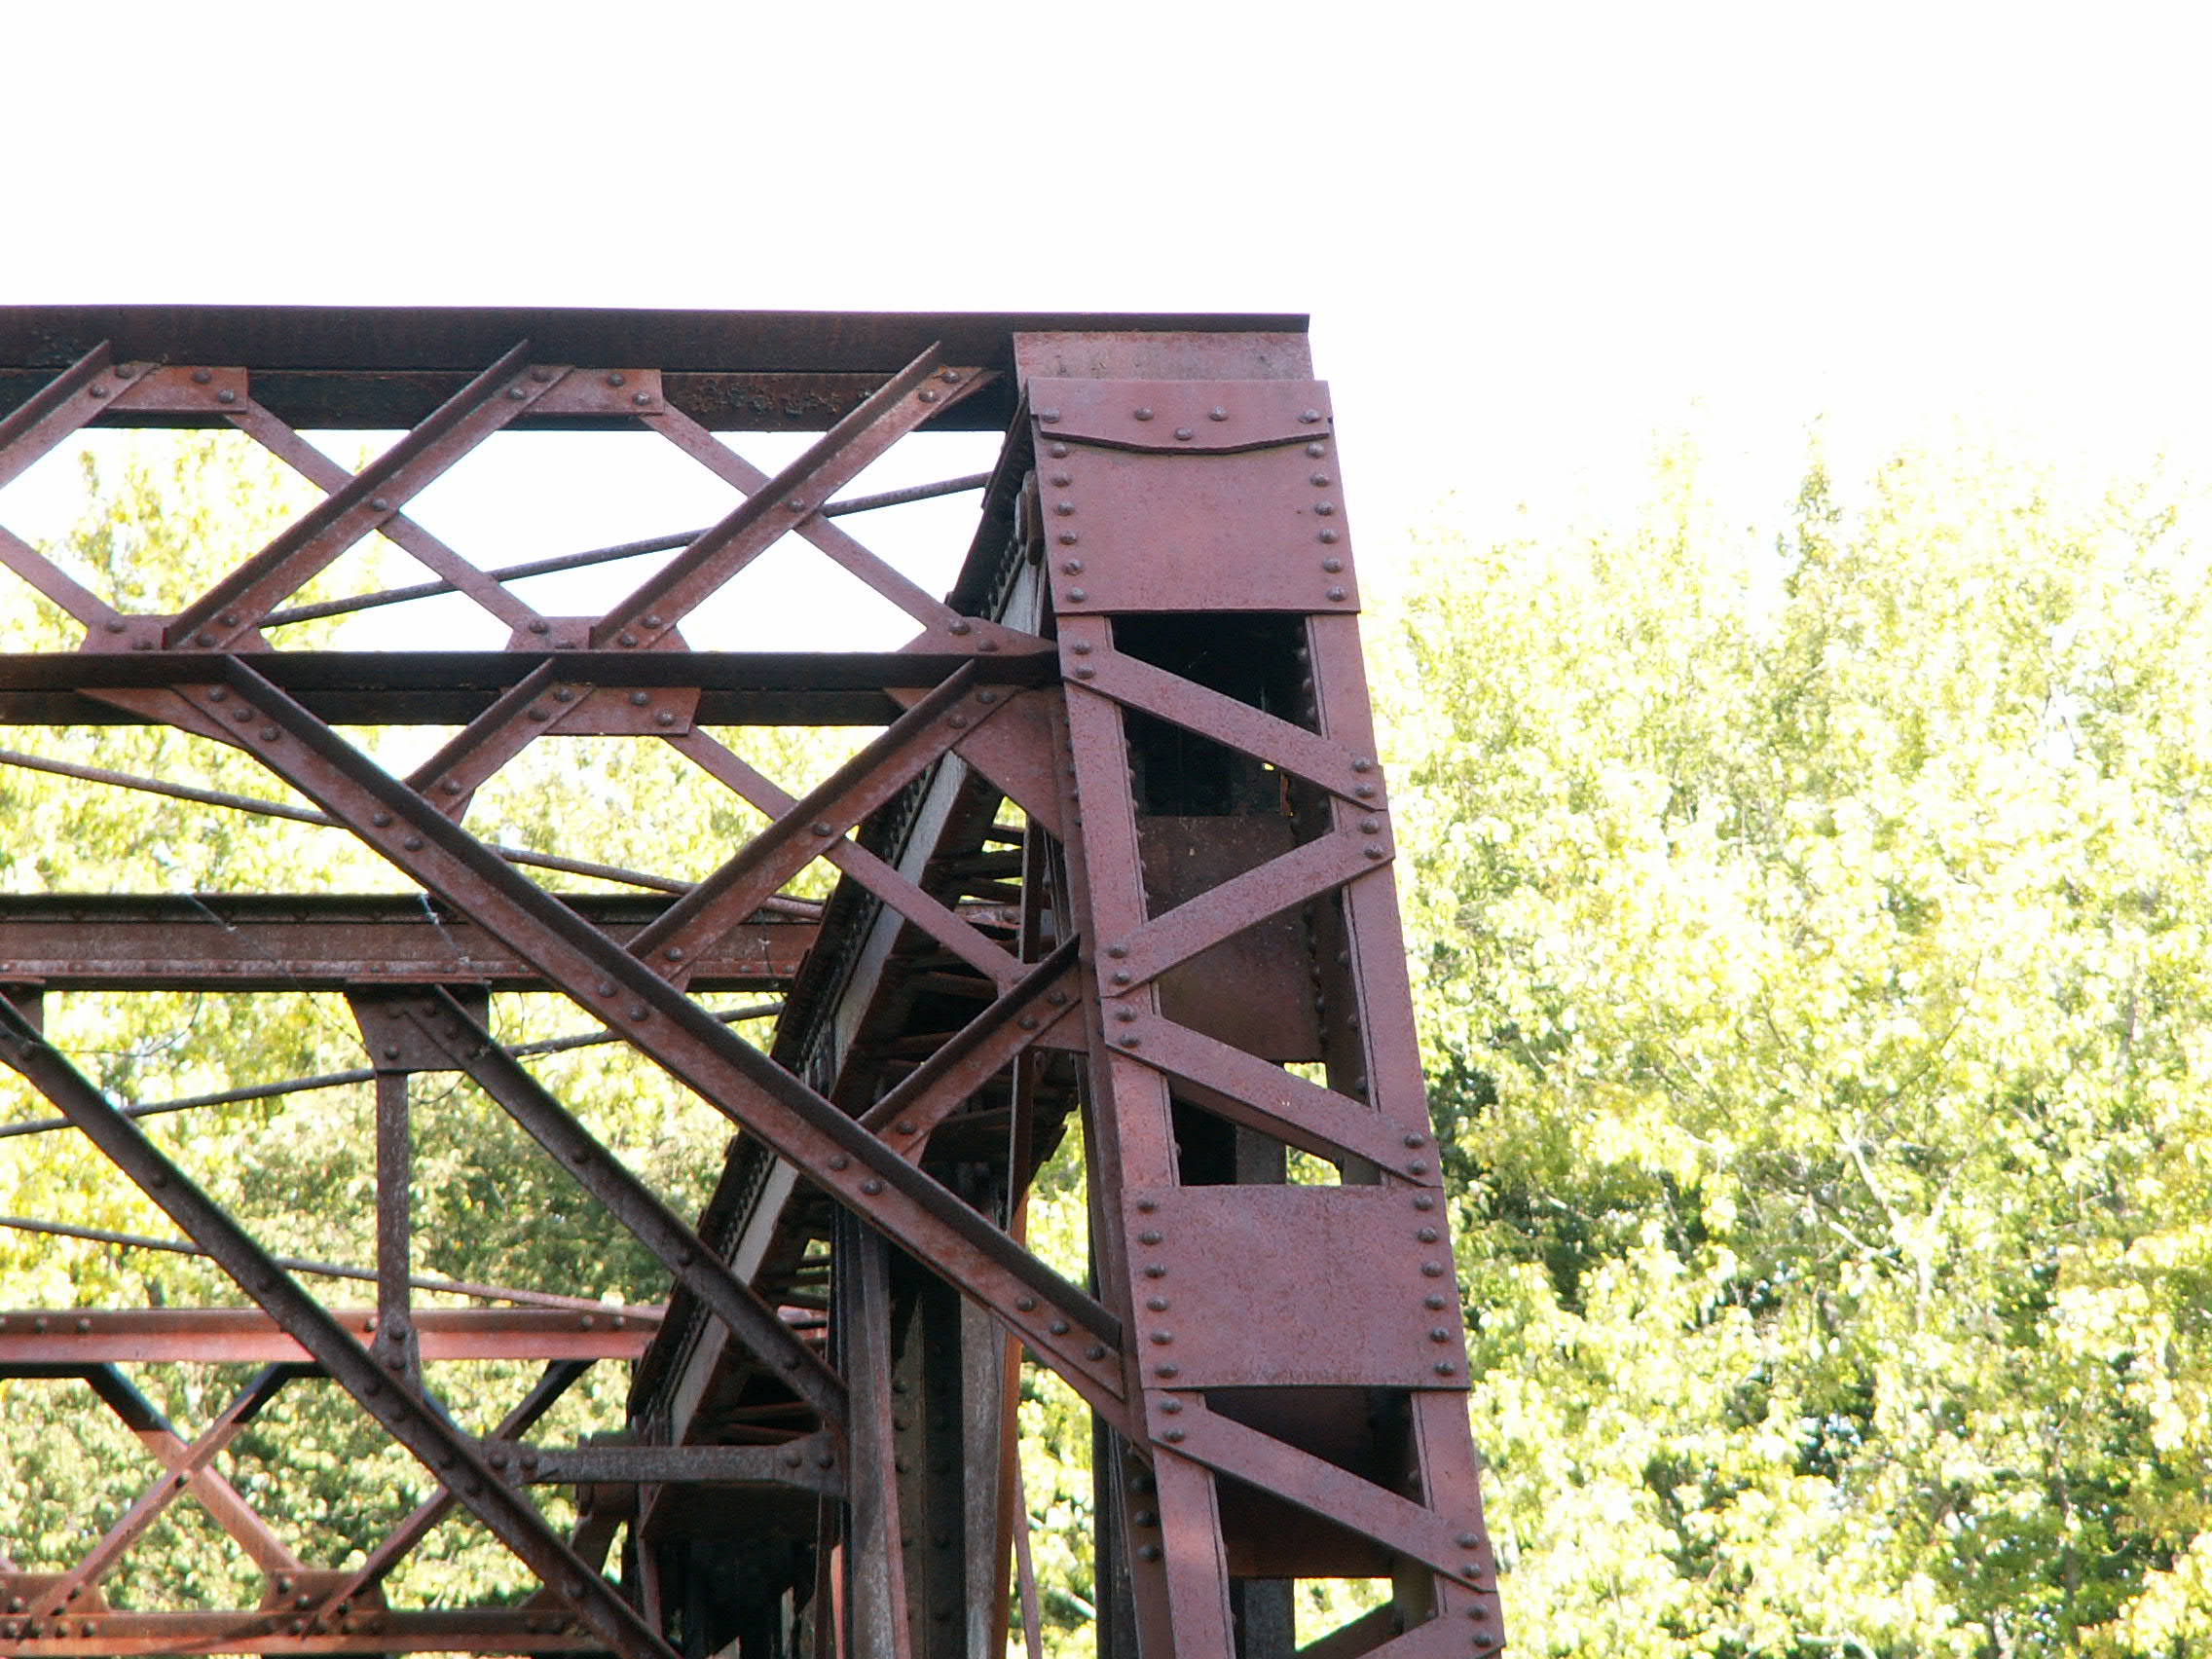
Fixed truss end post.
![]()


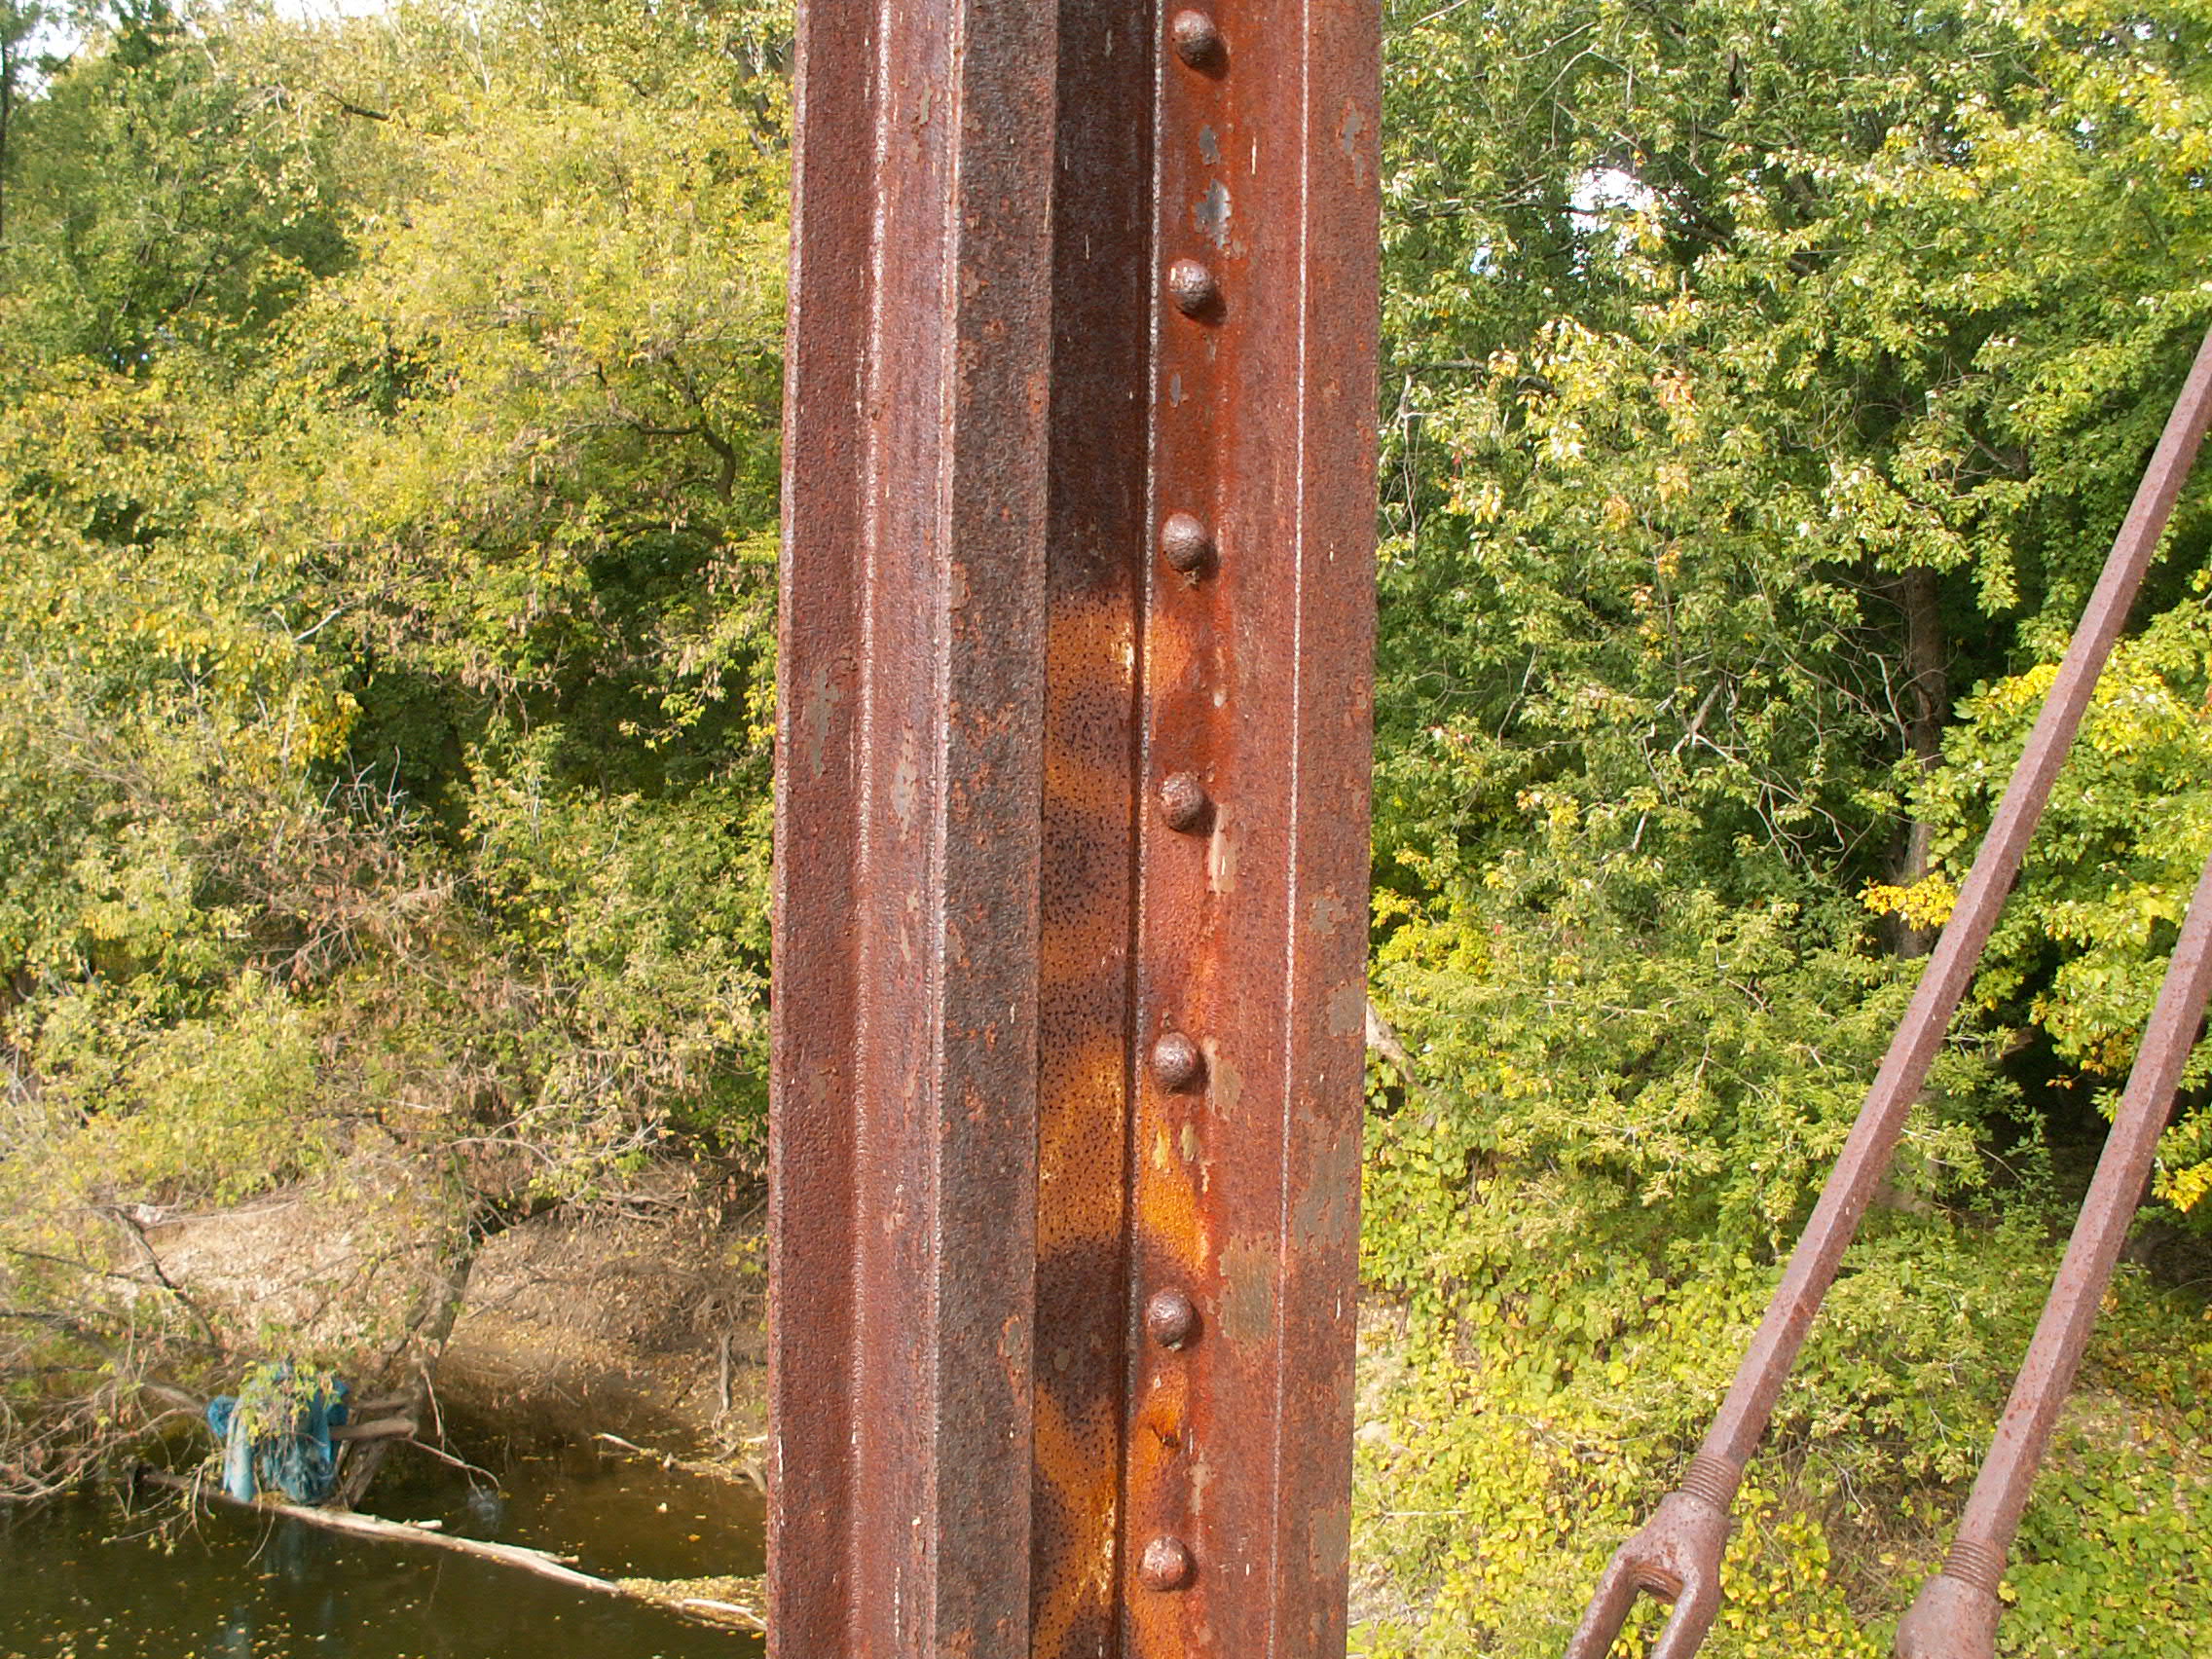
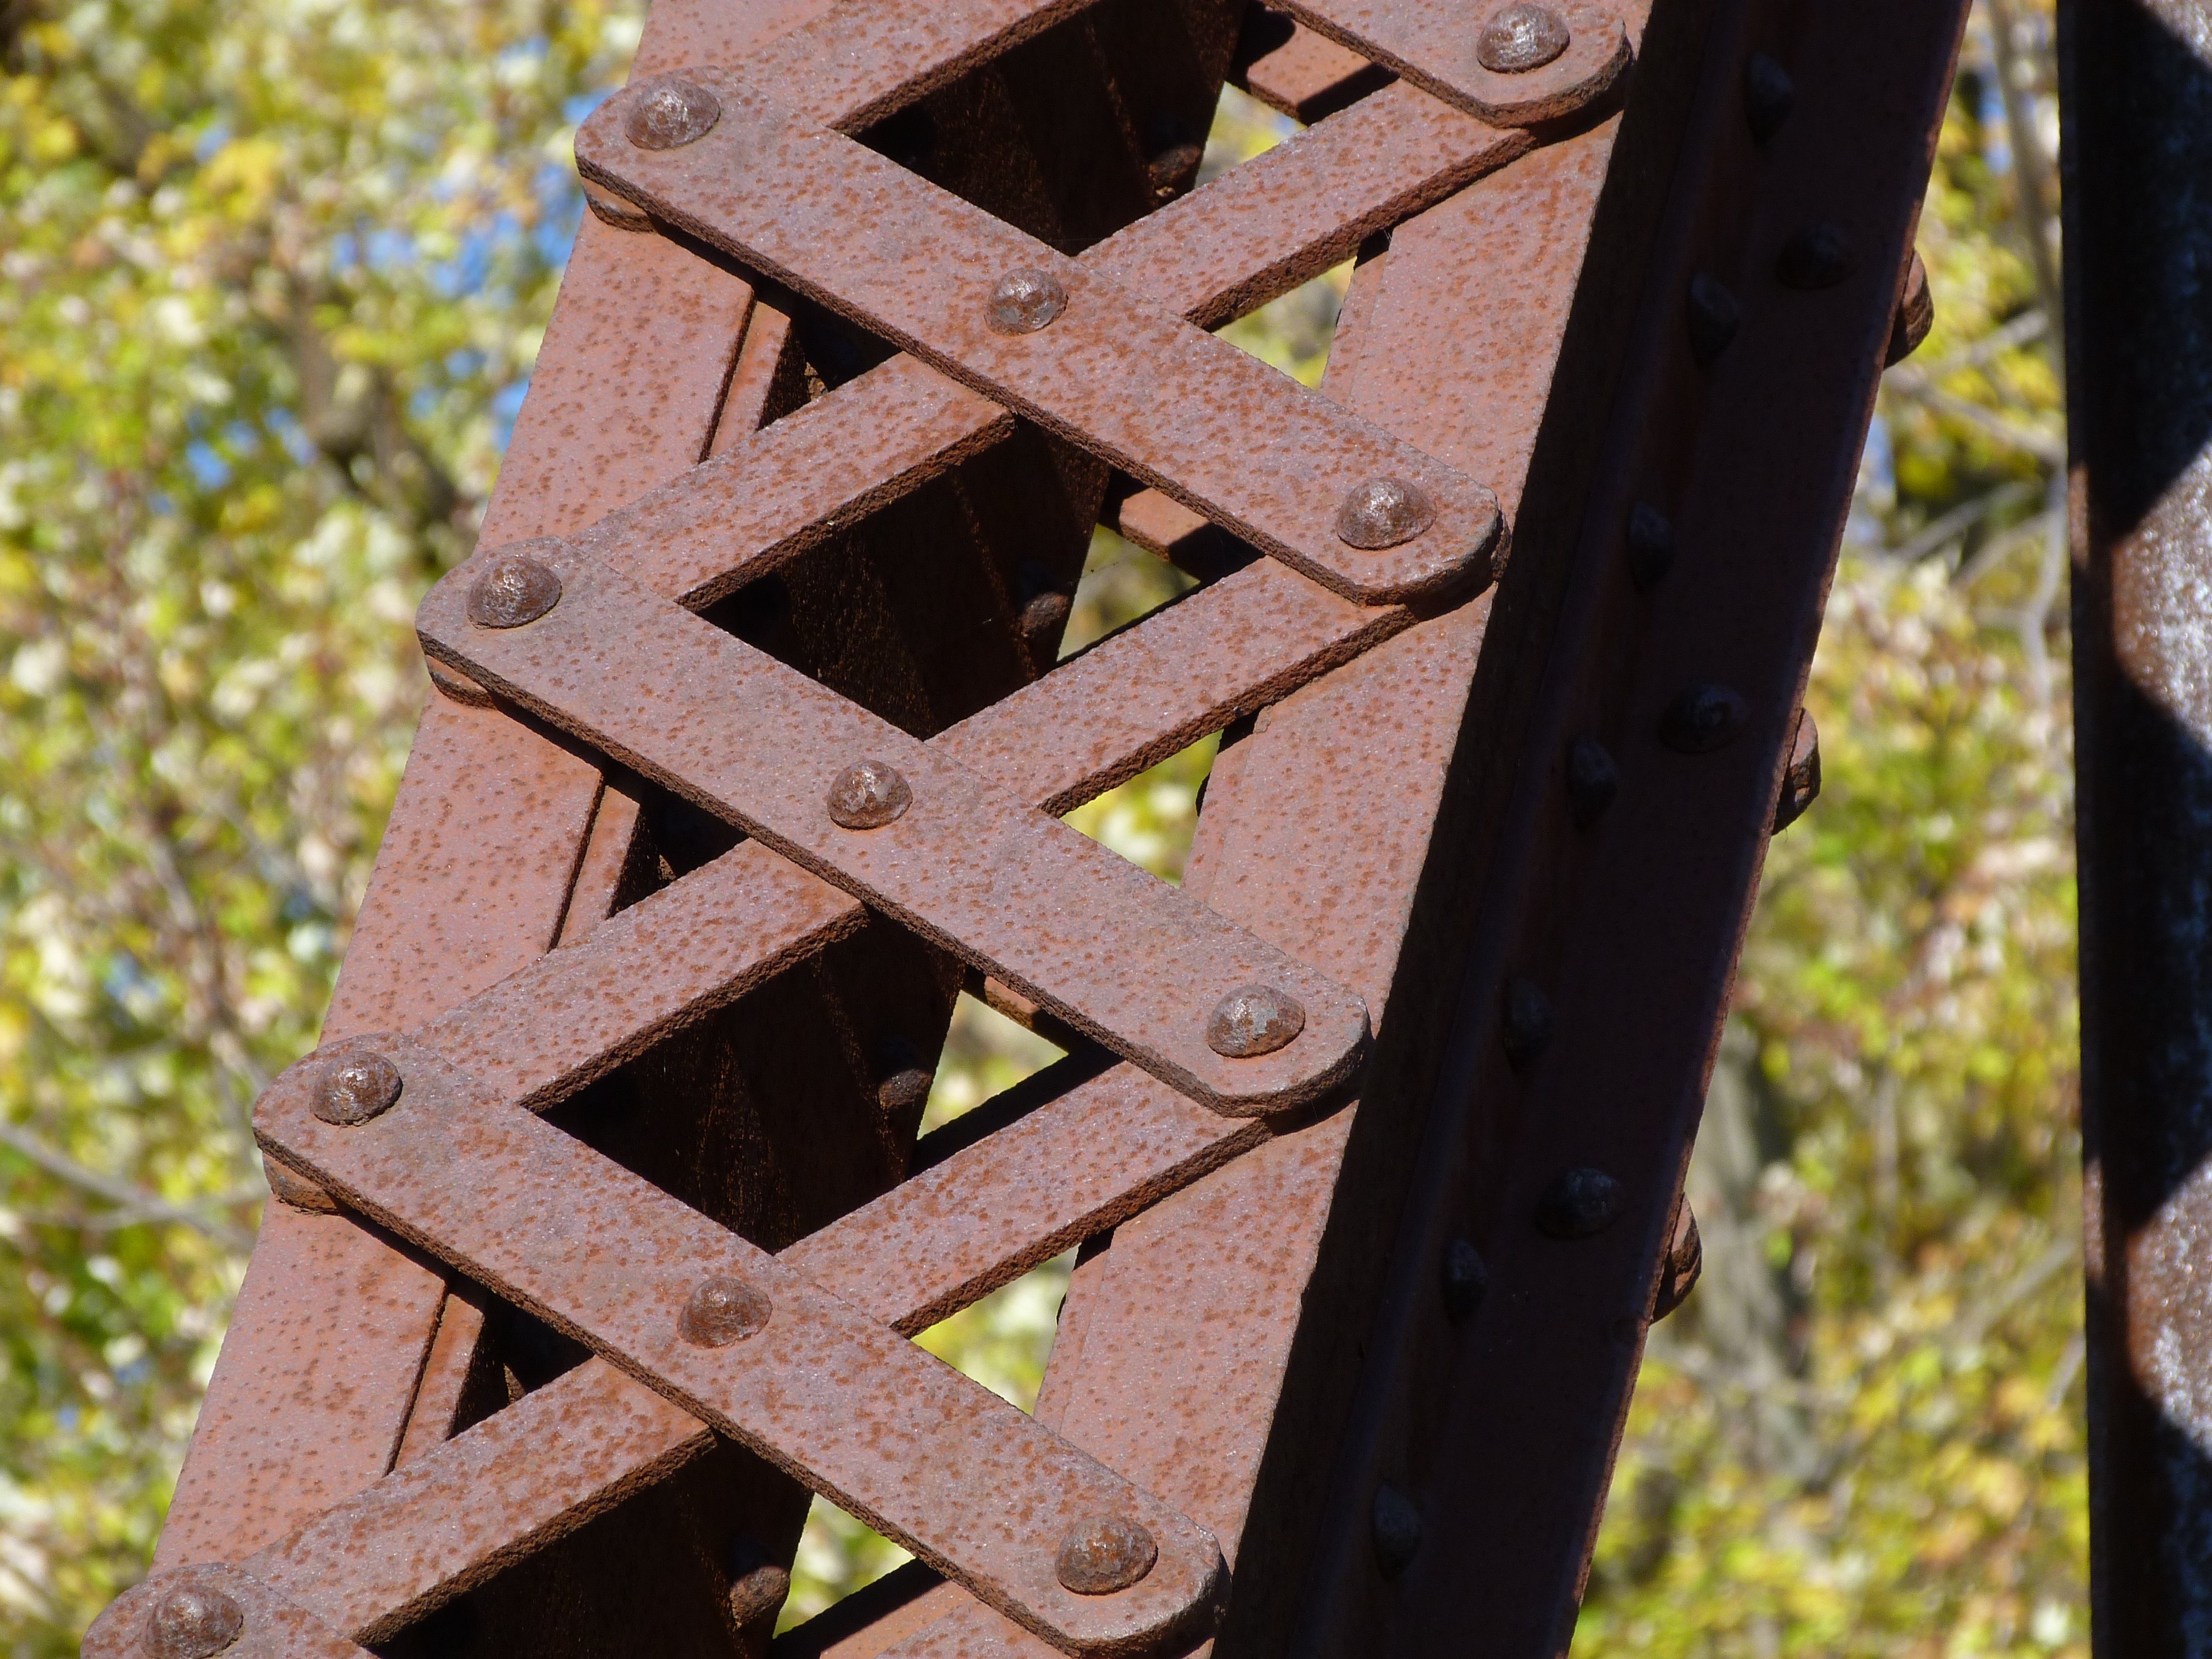
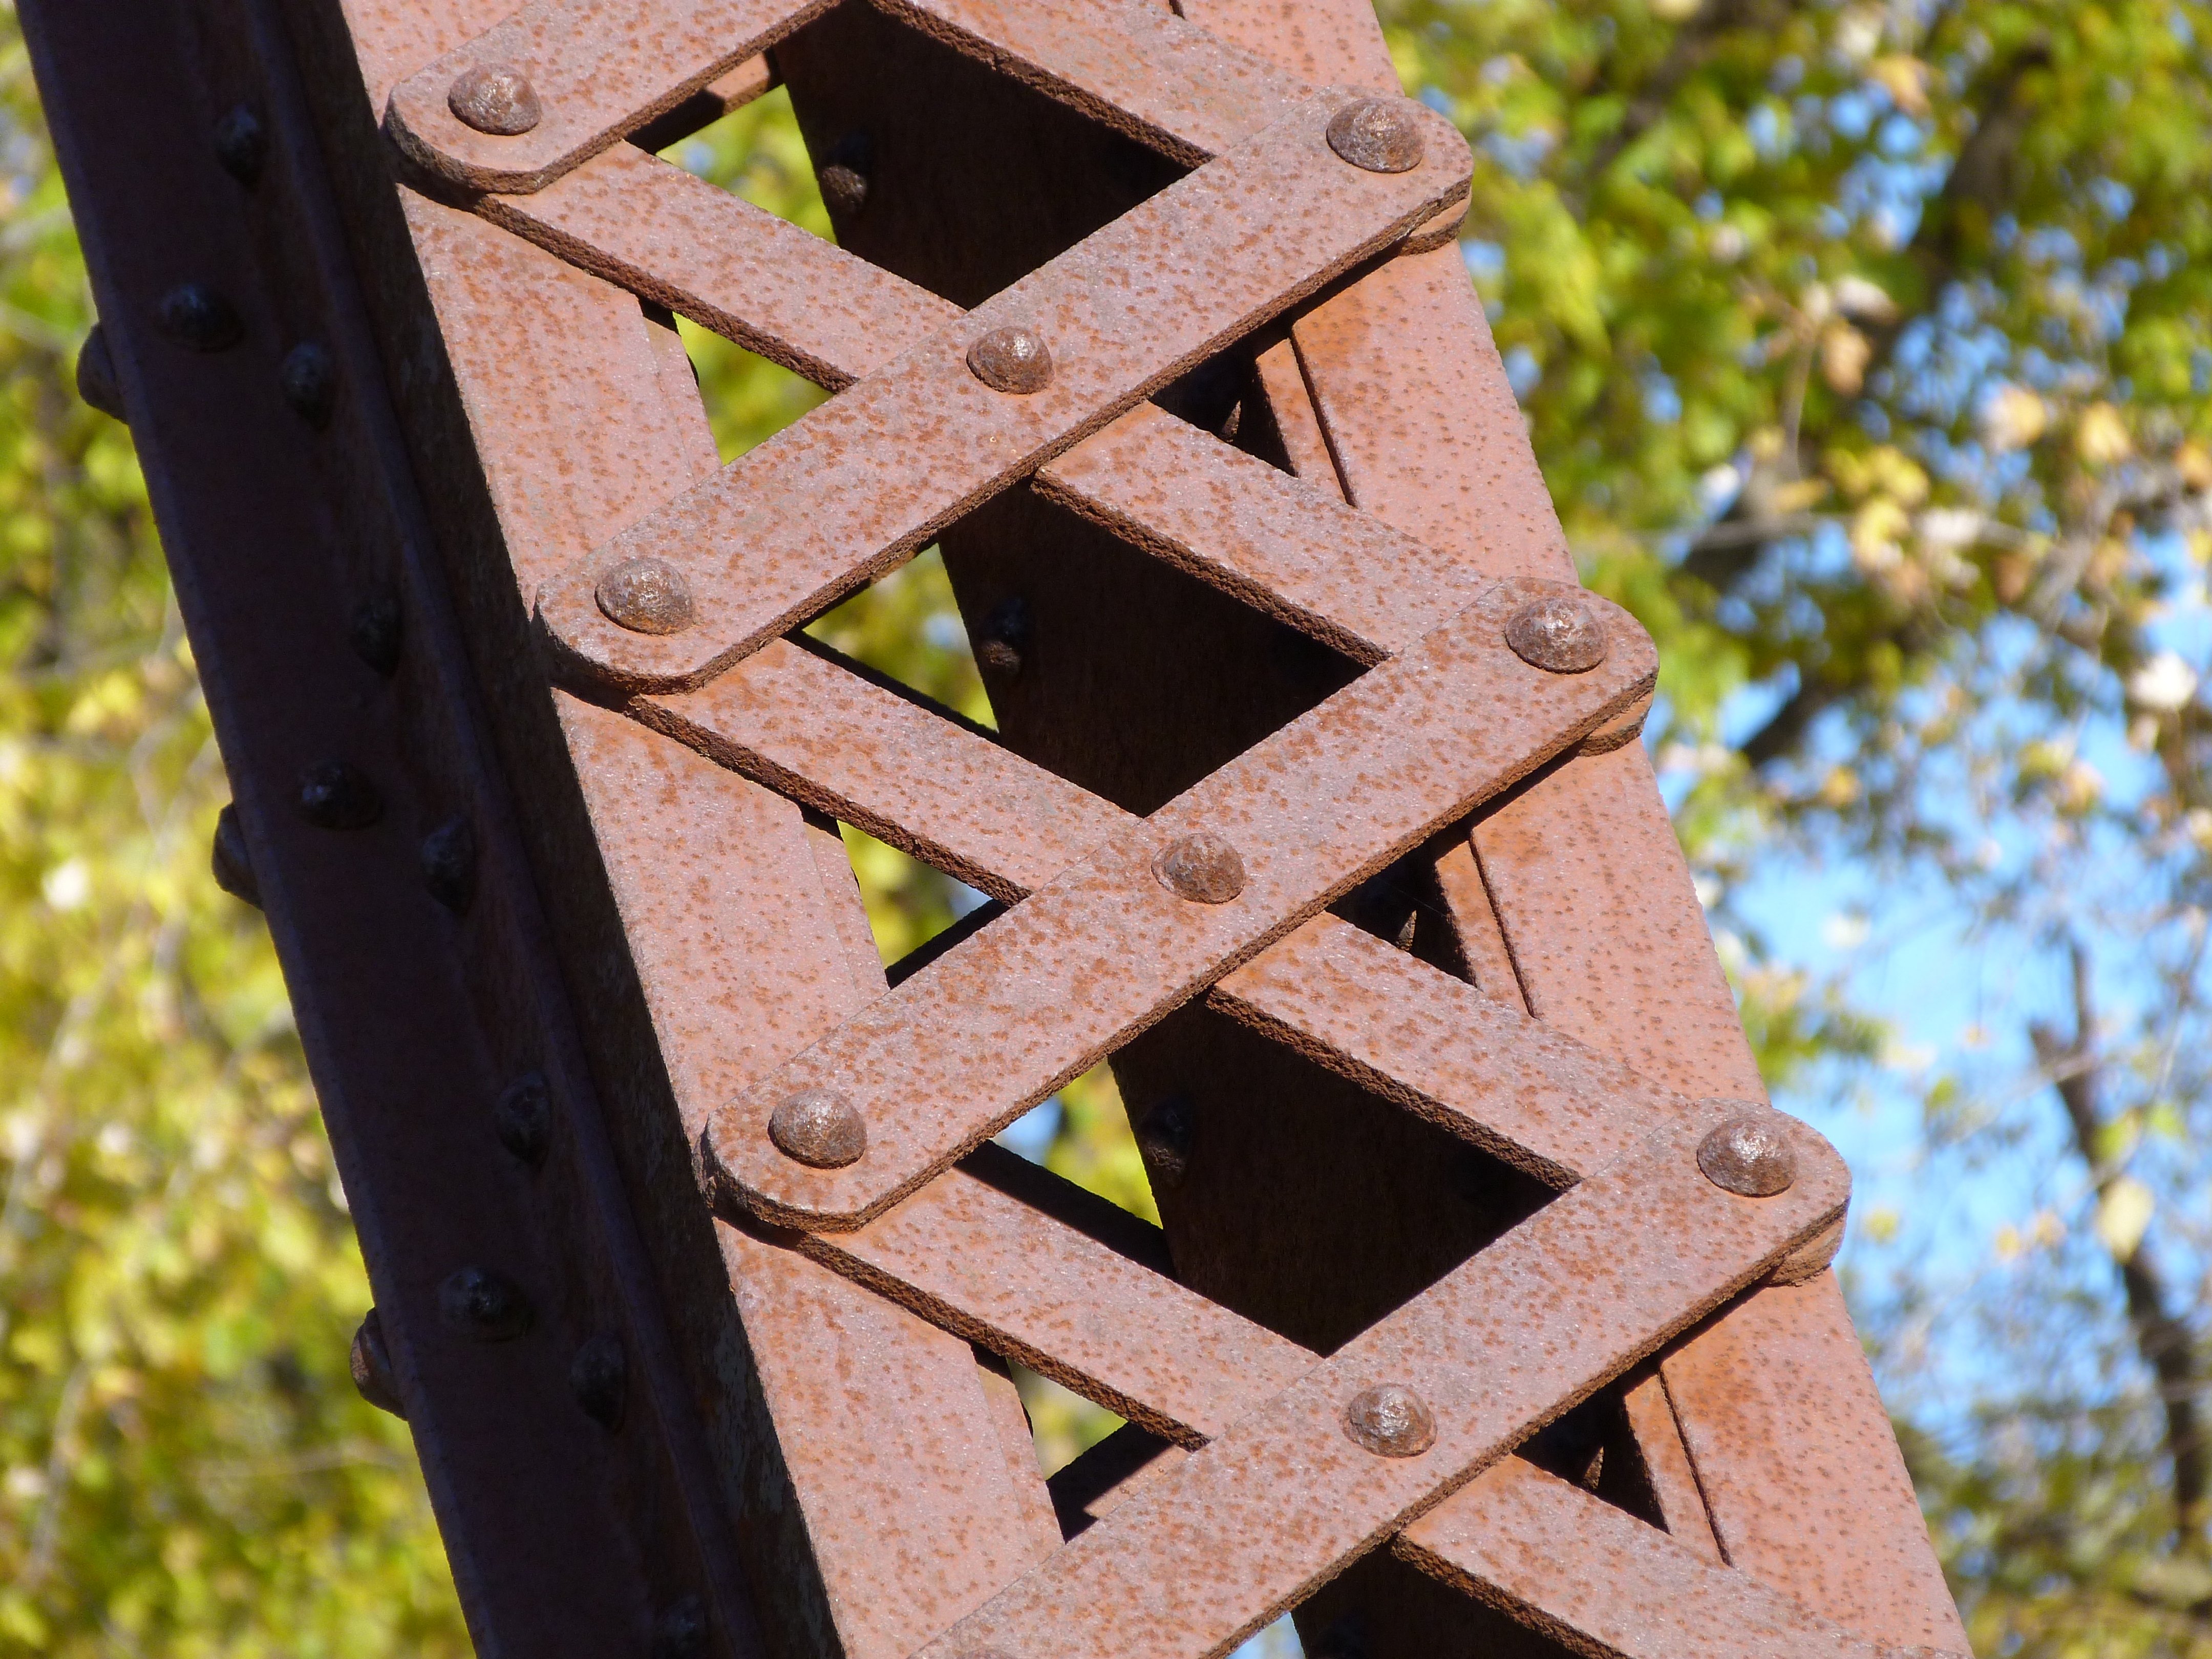
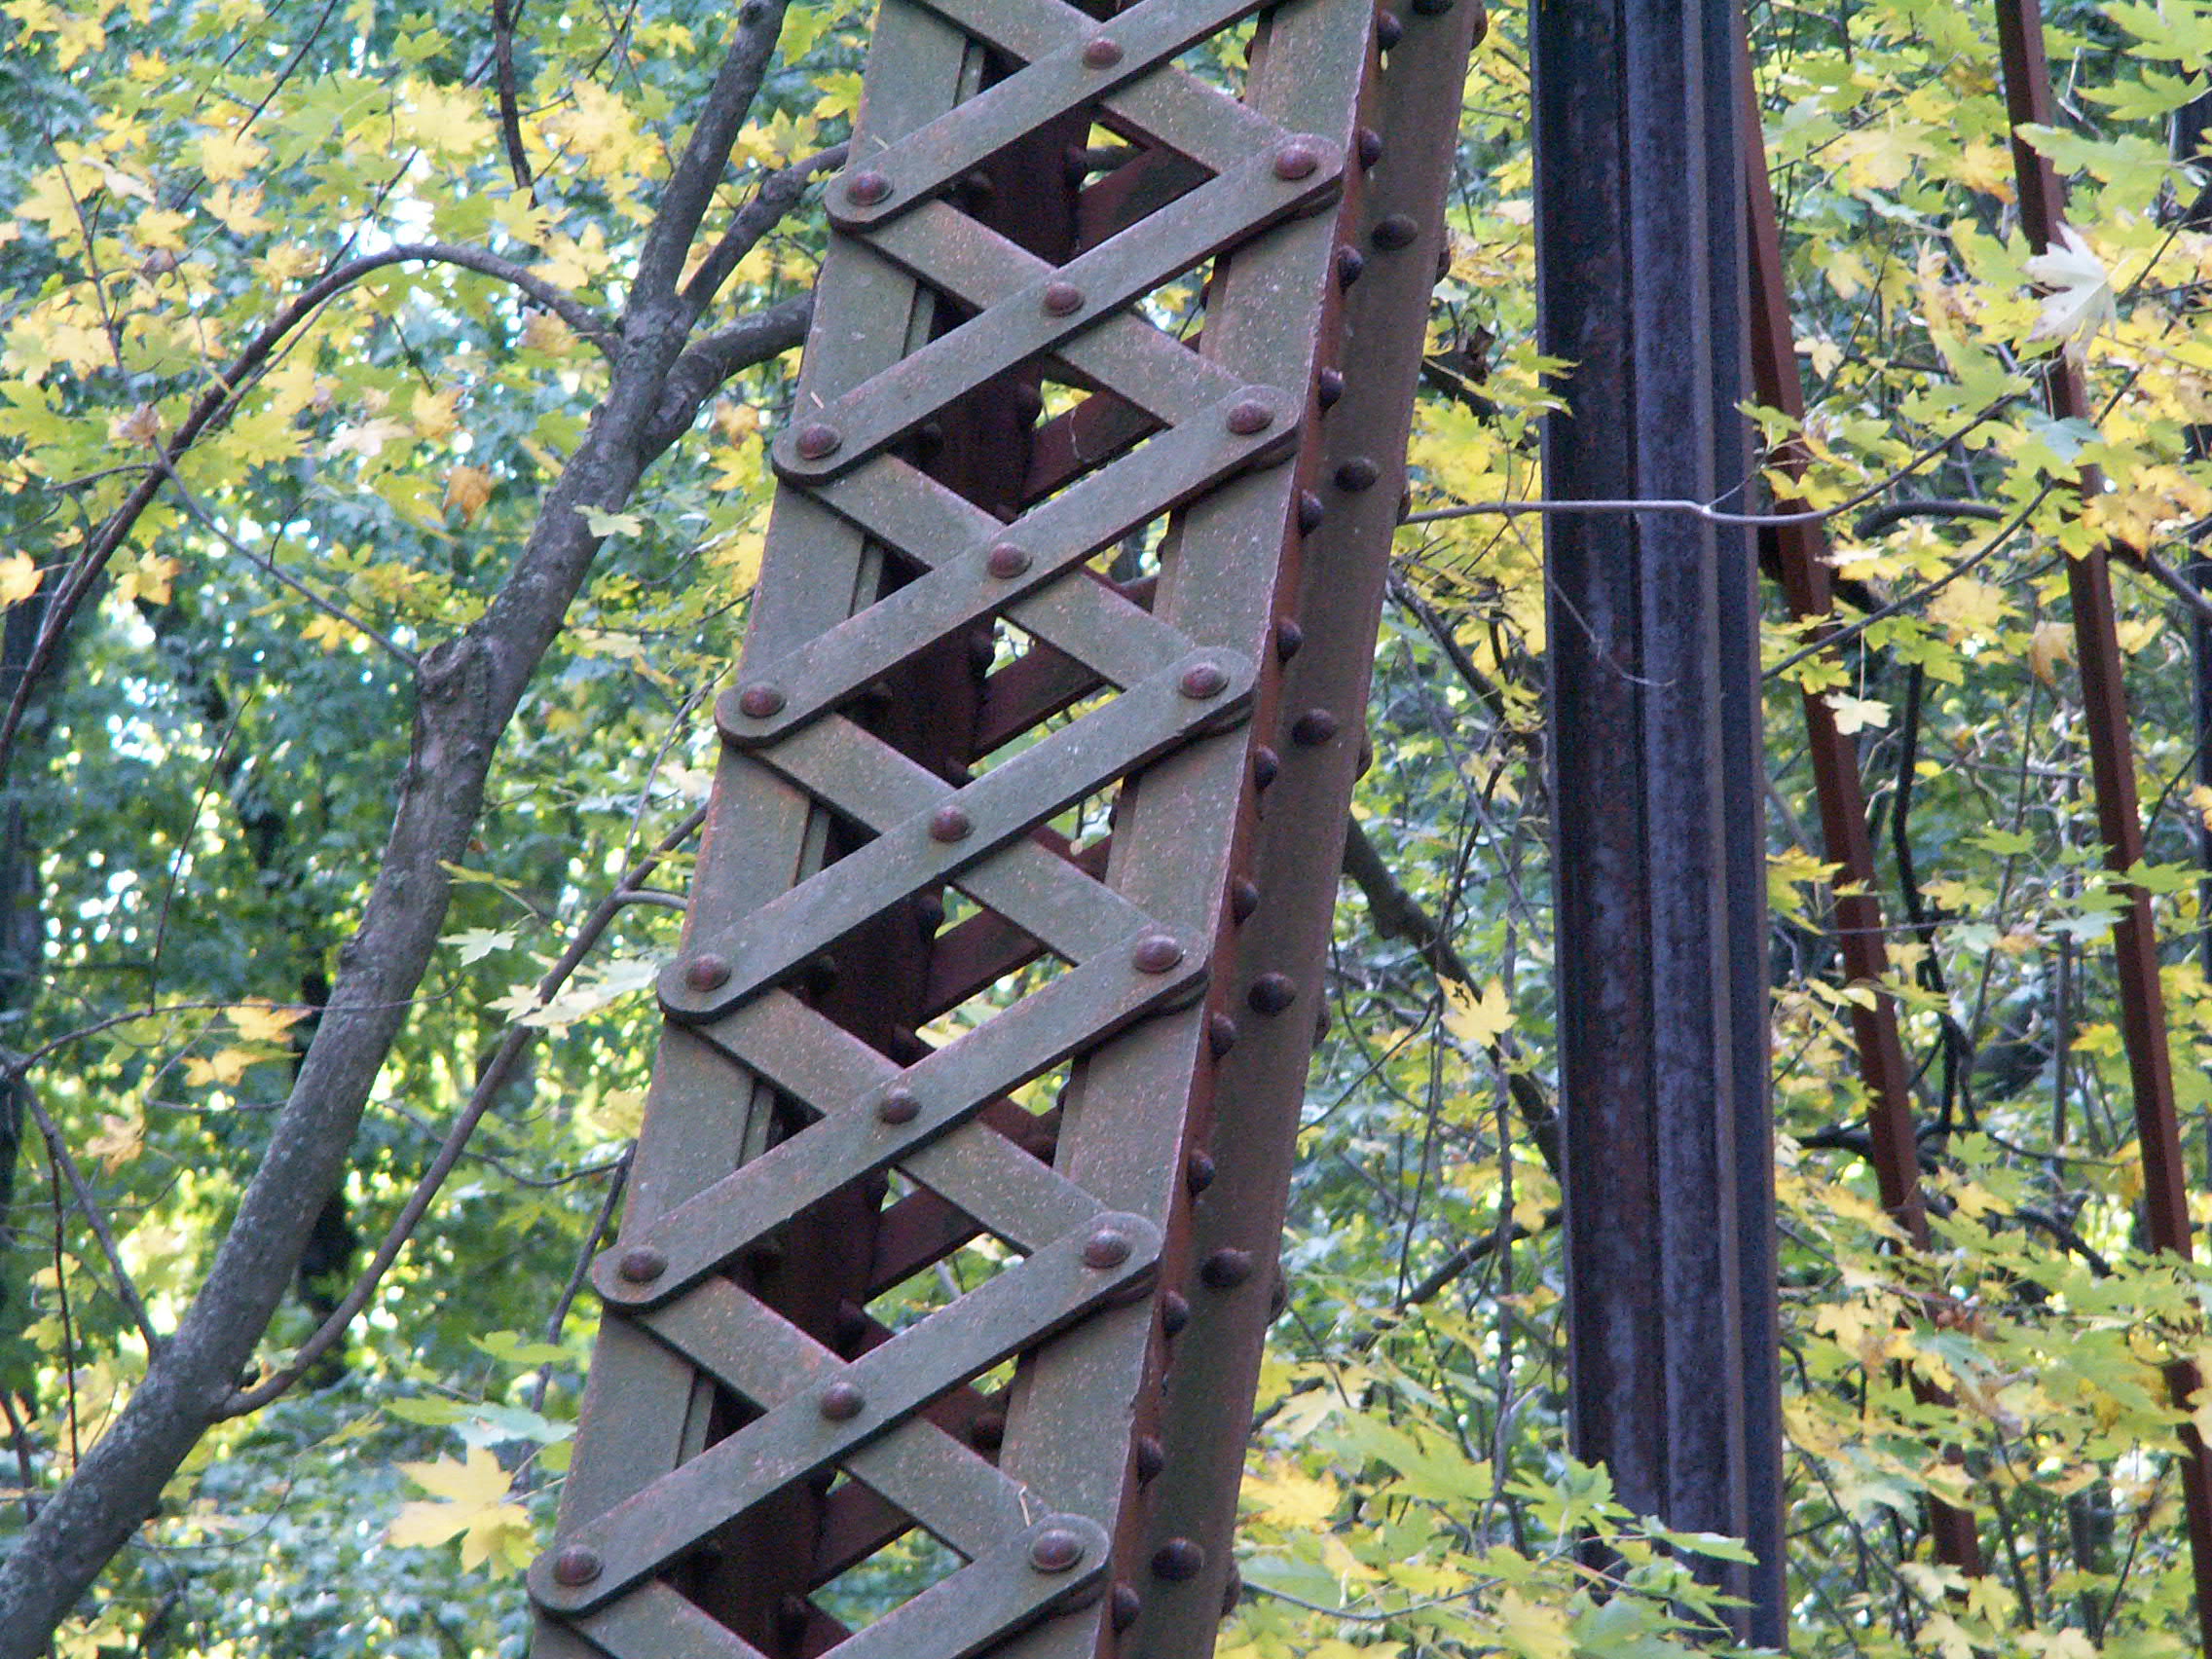
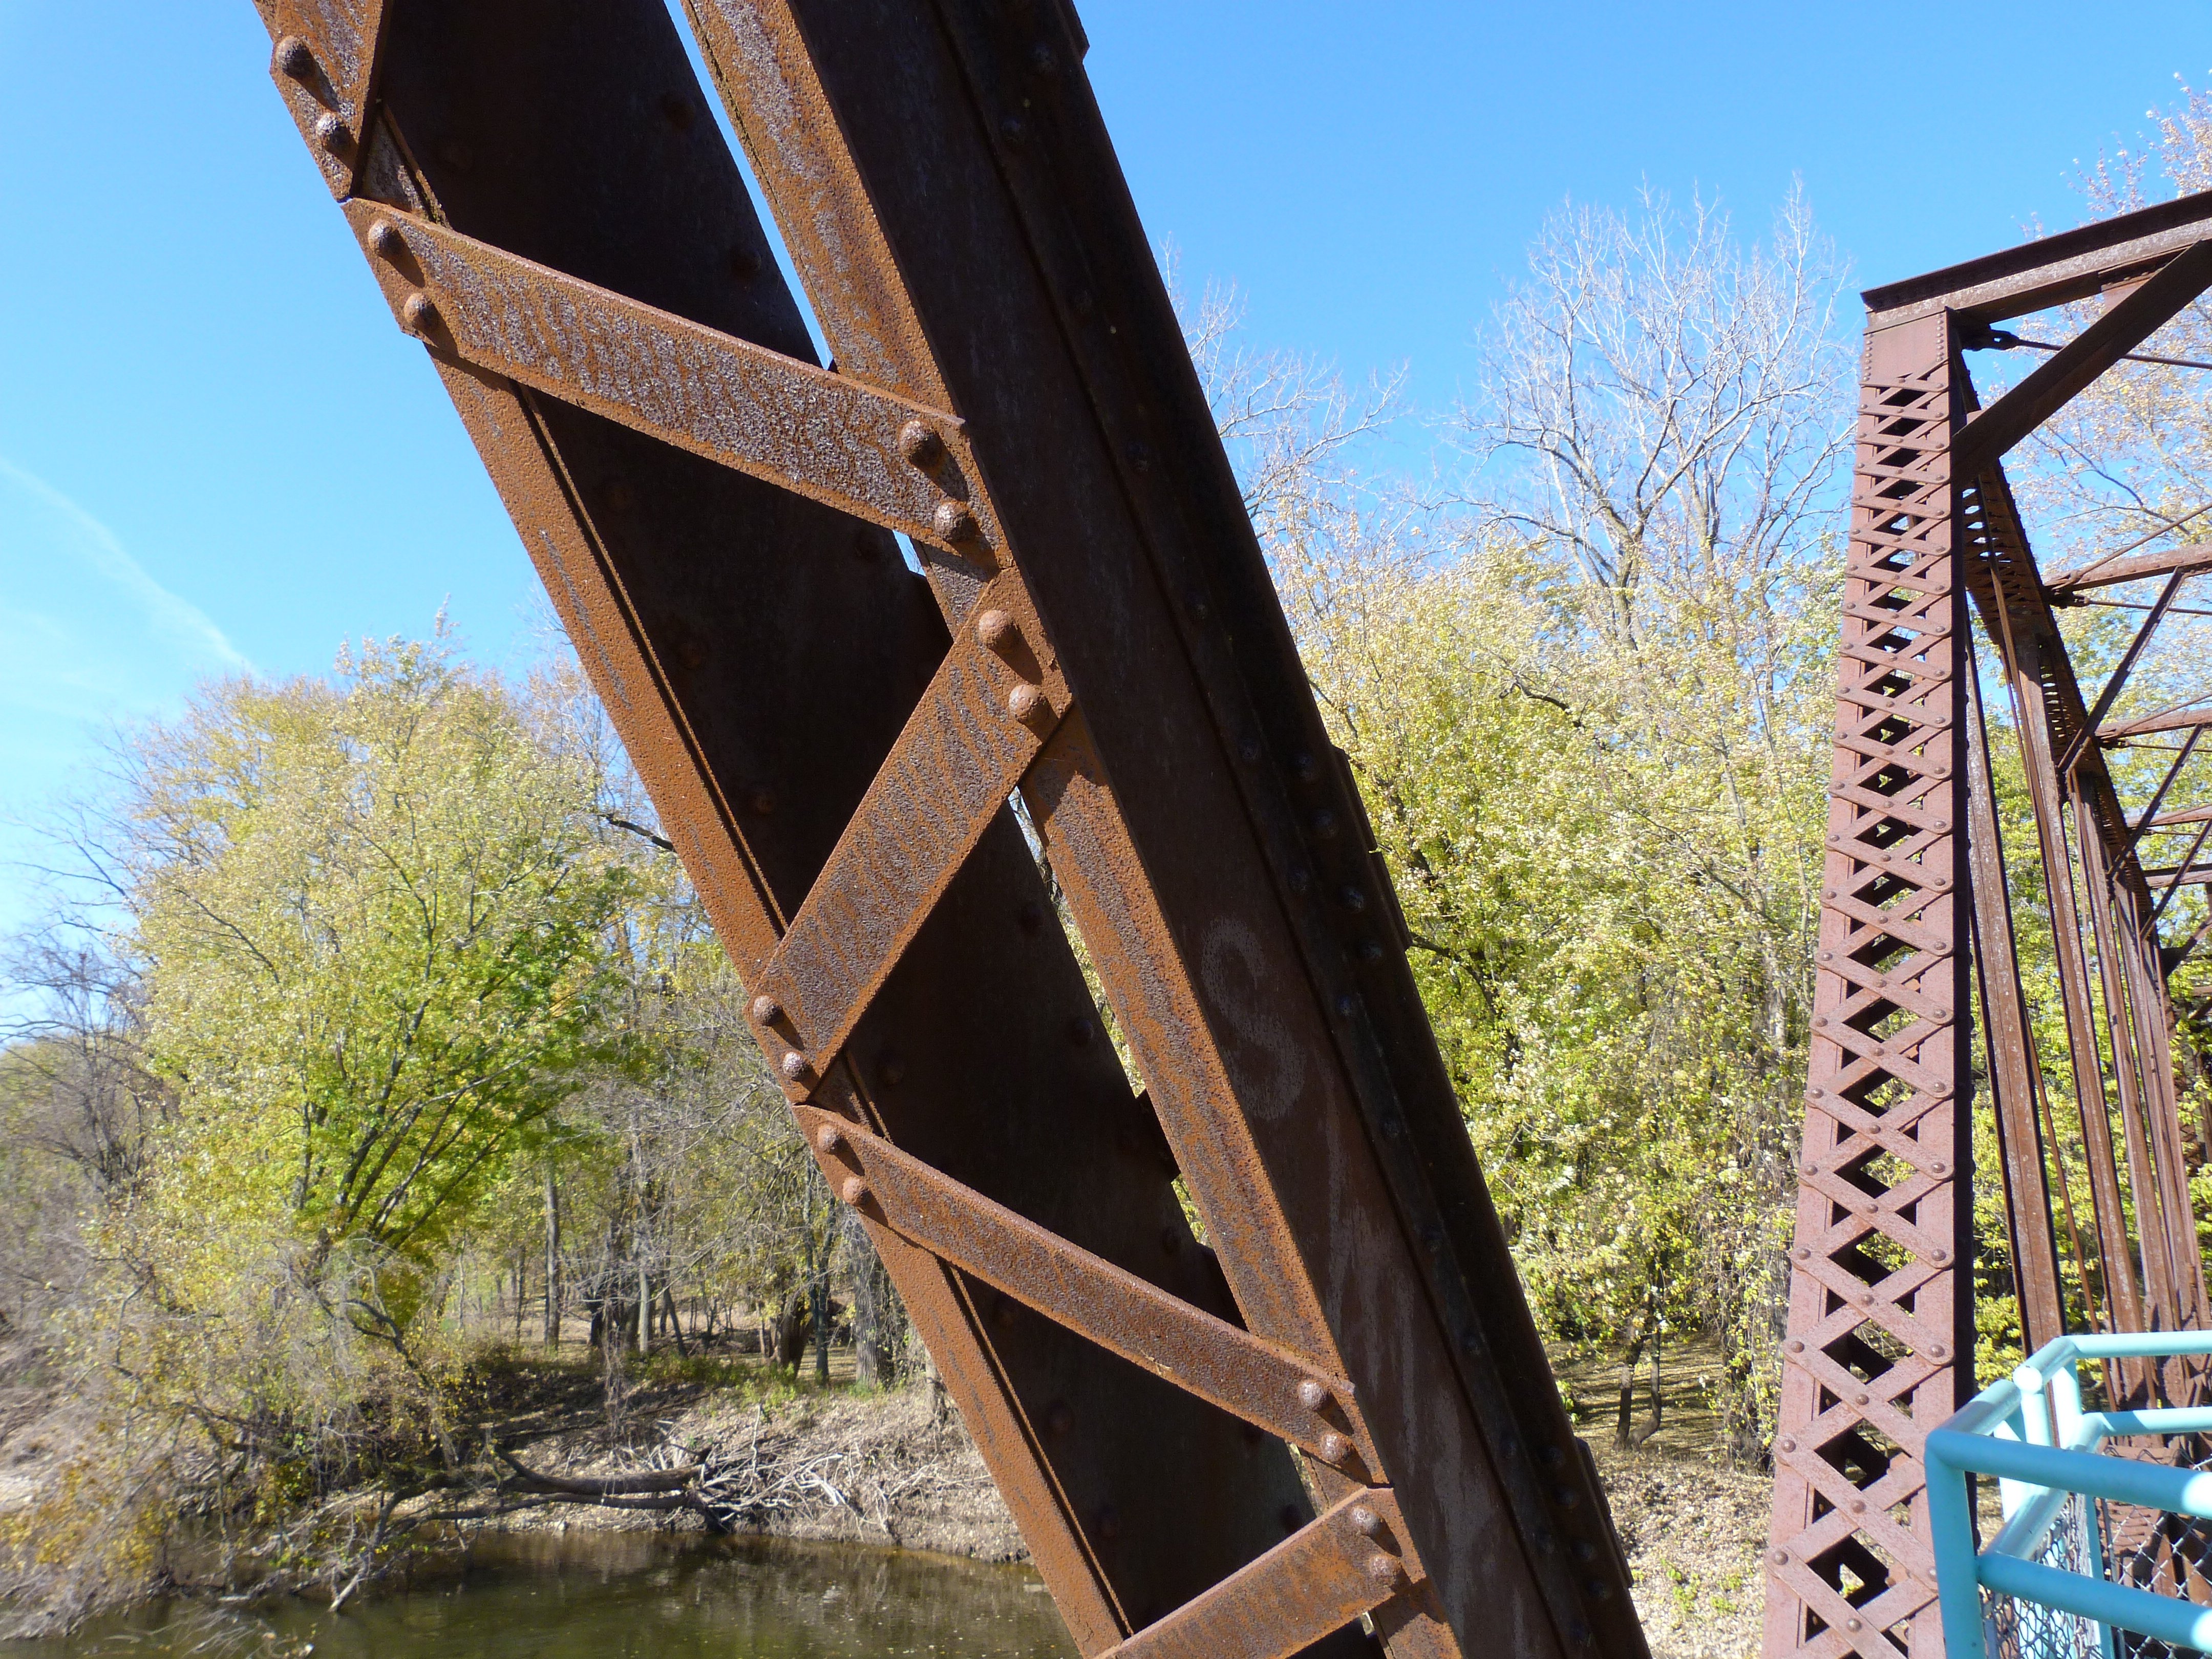
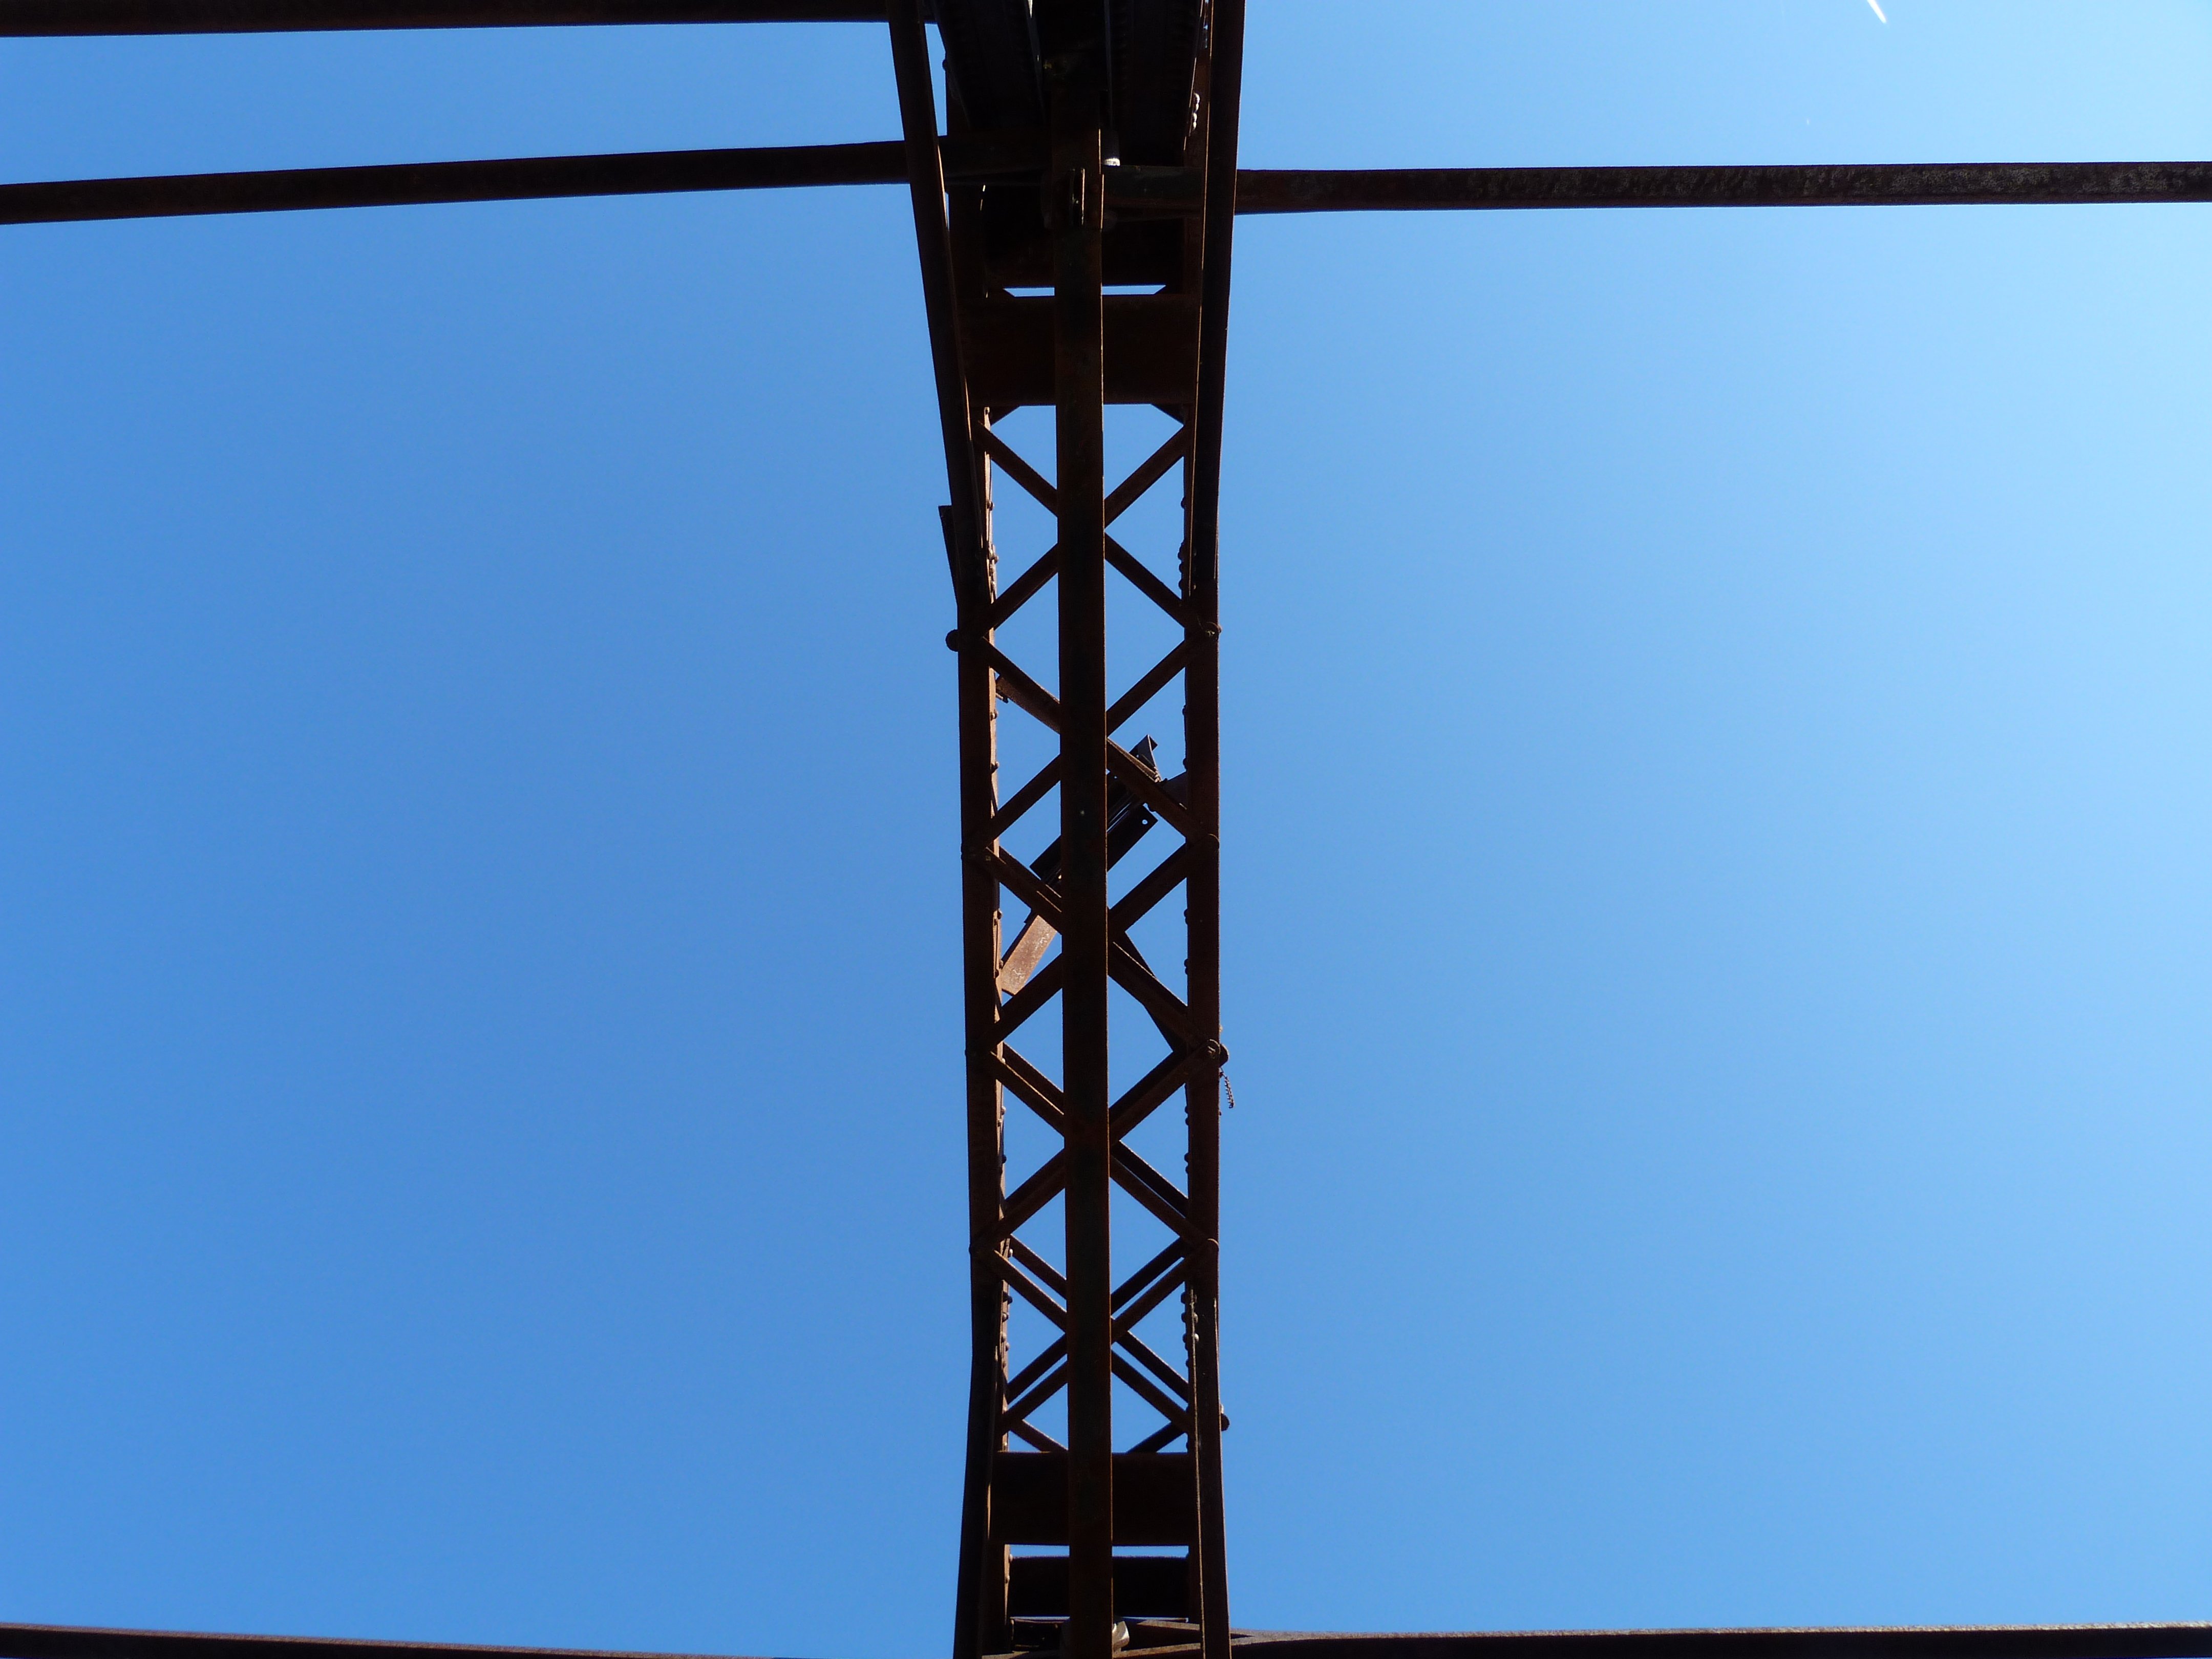
Fixed truss vertical members.
![]()


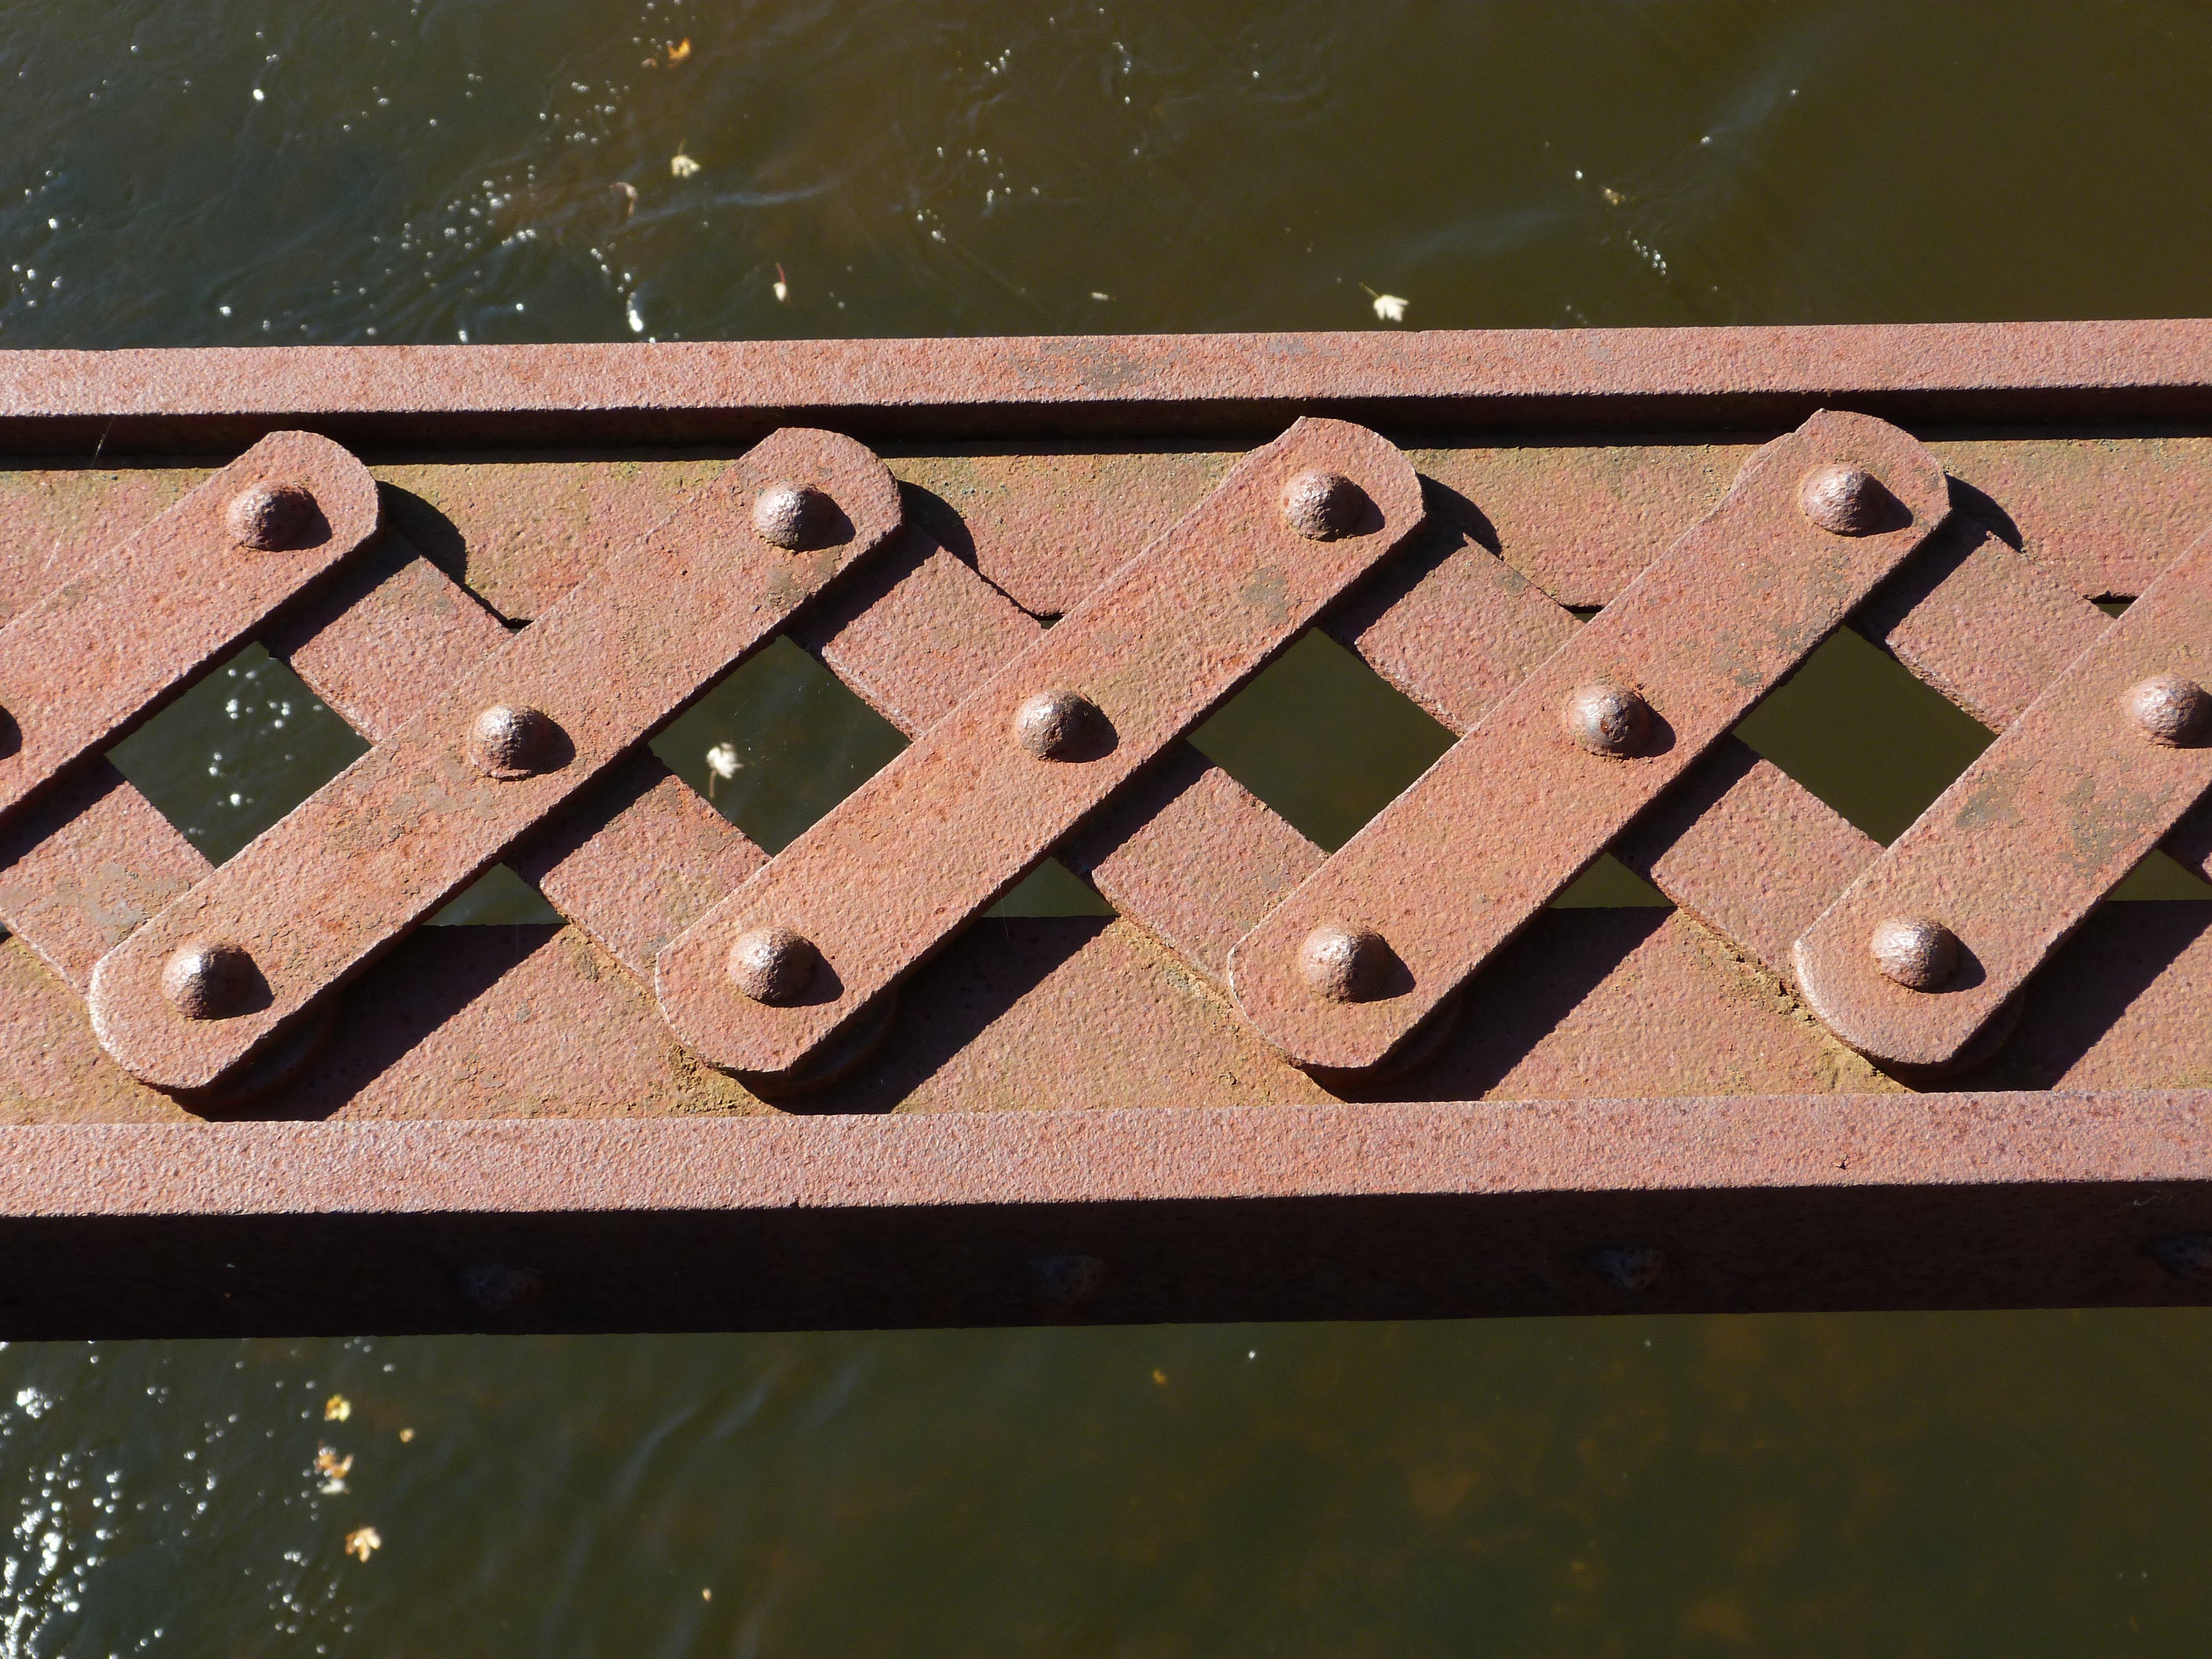

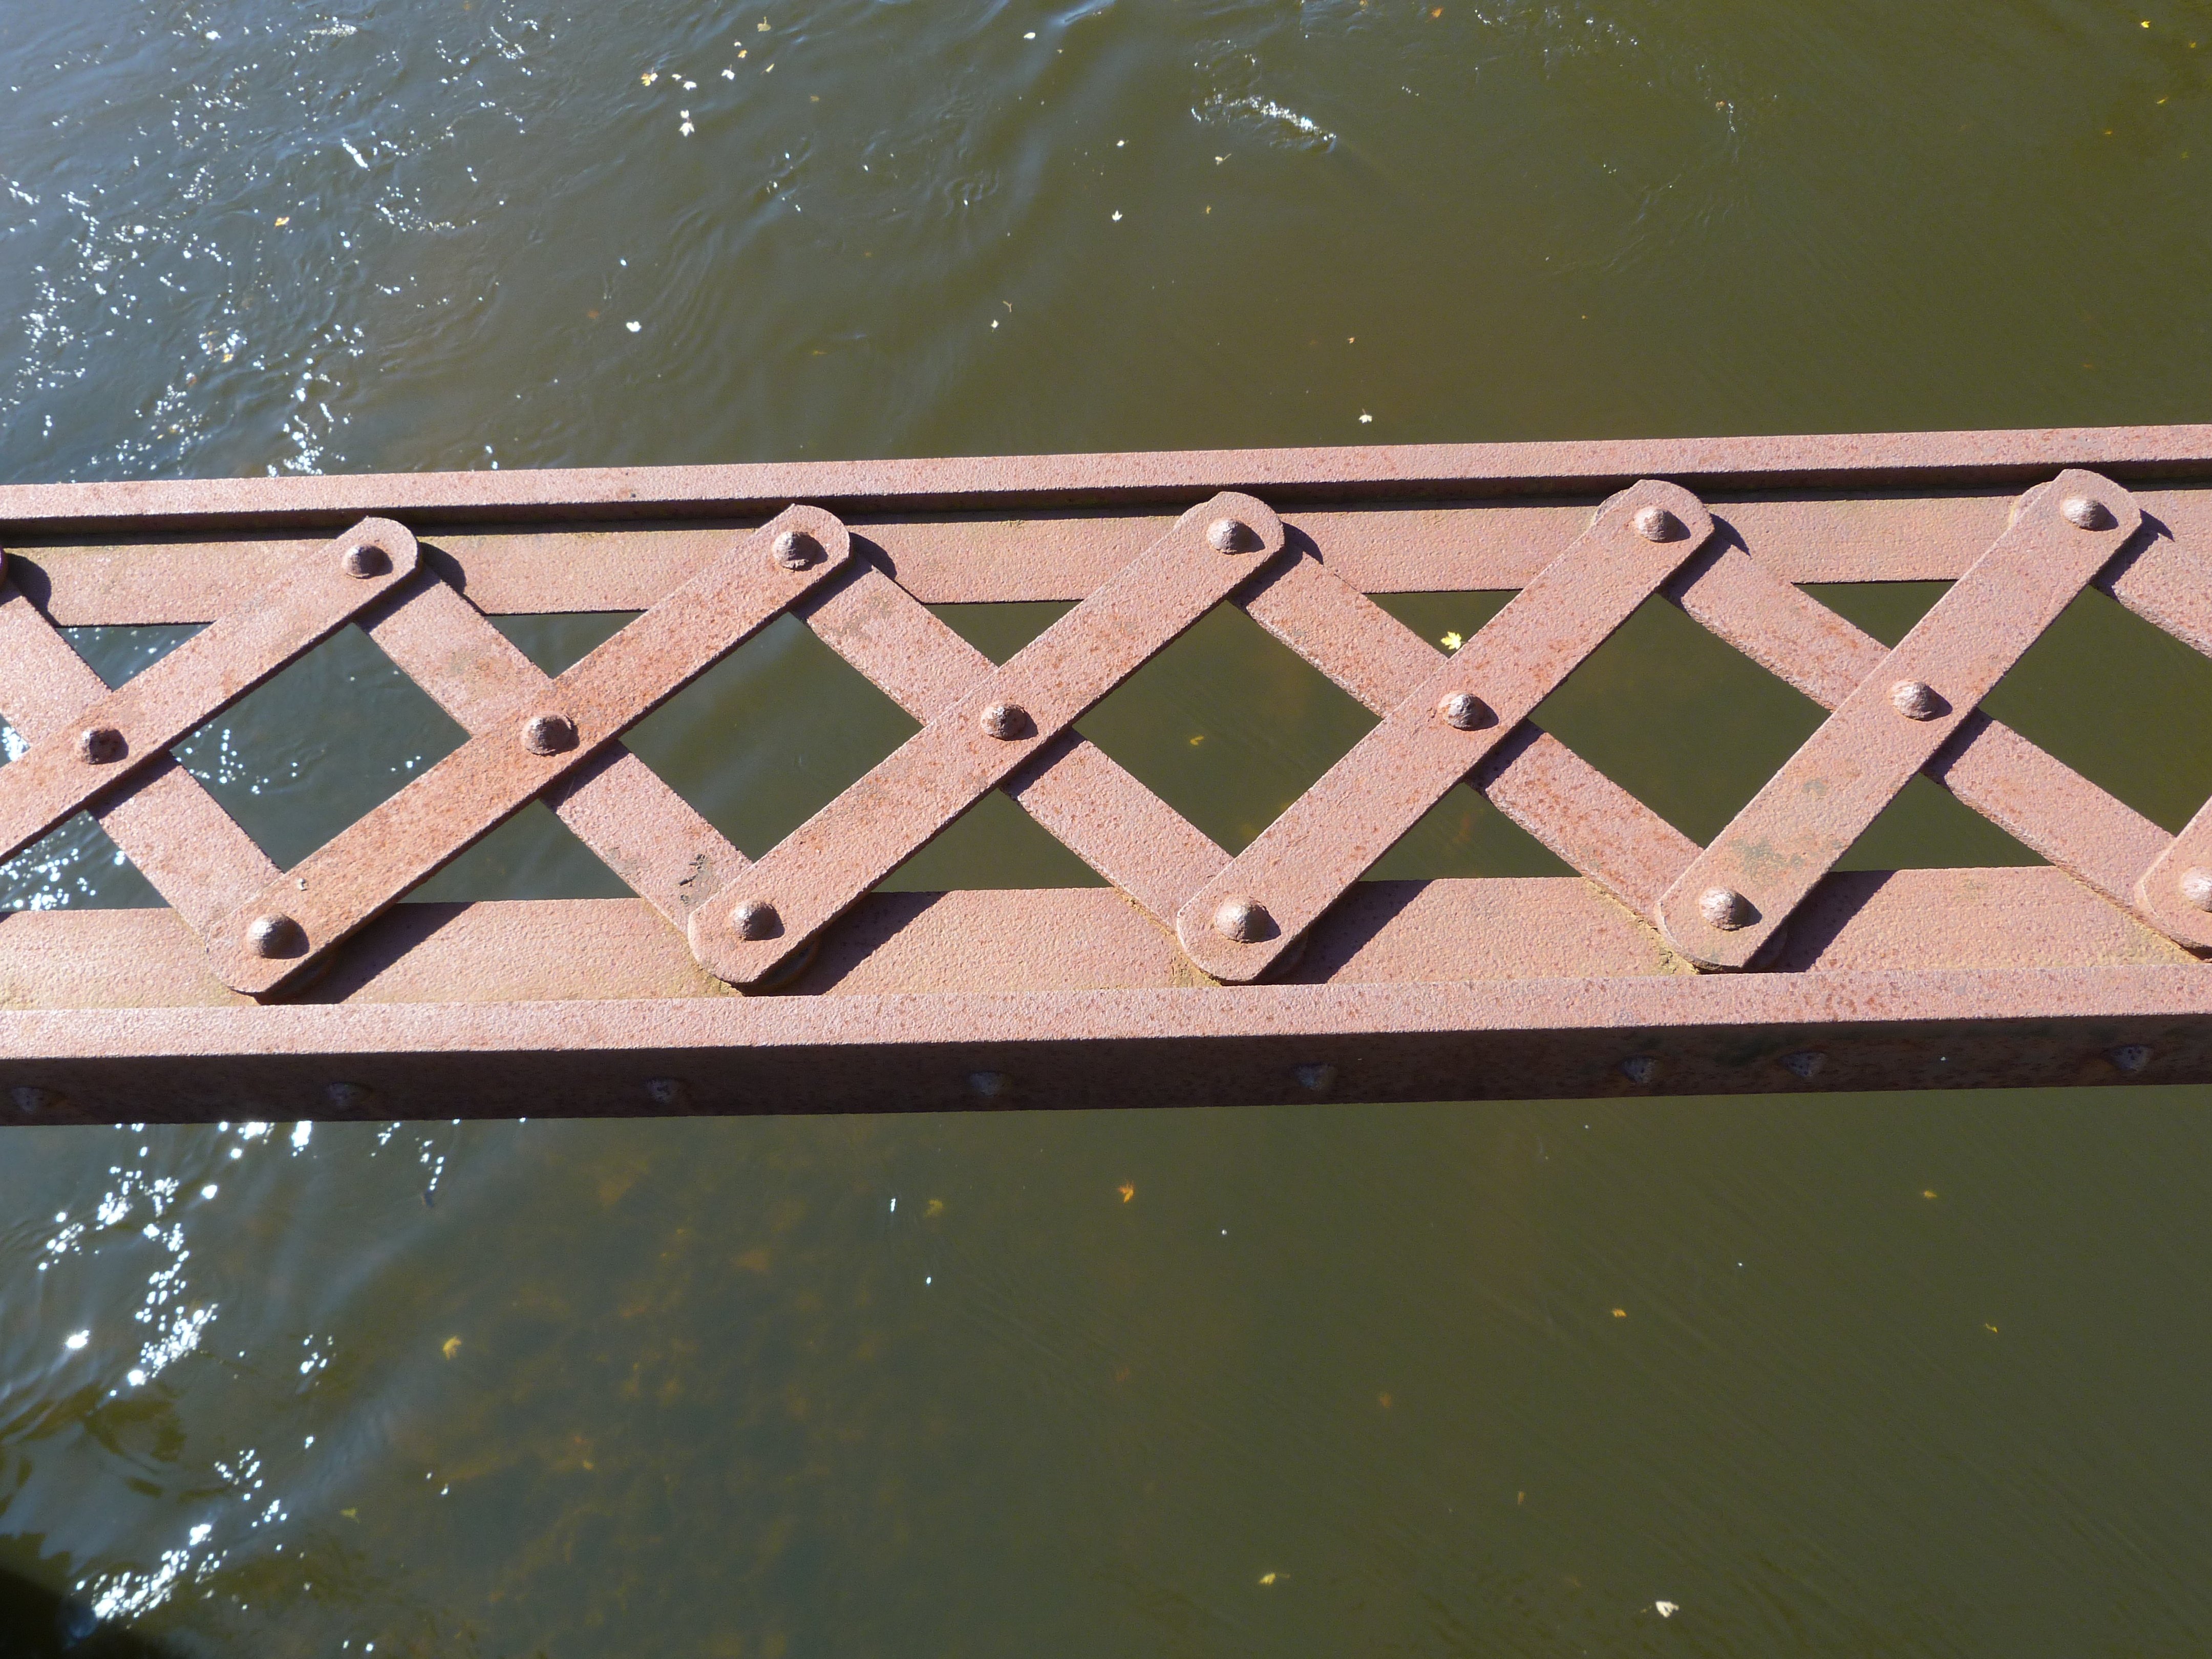


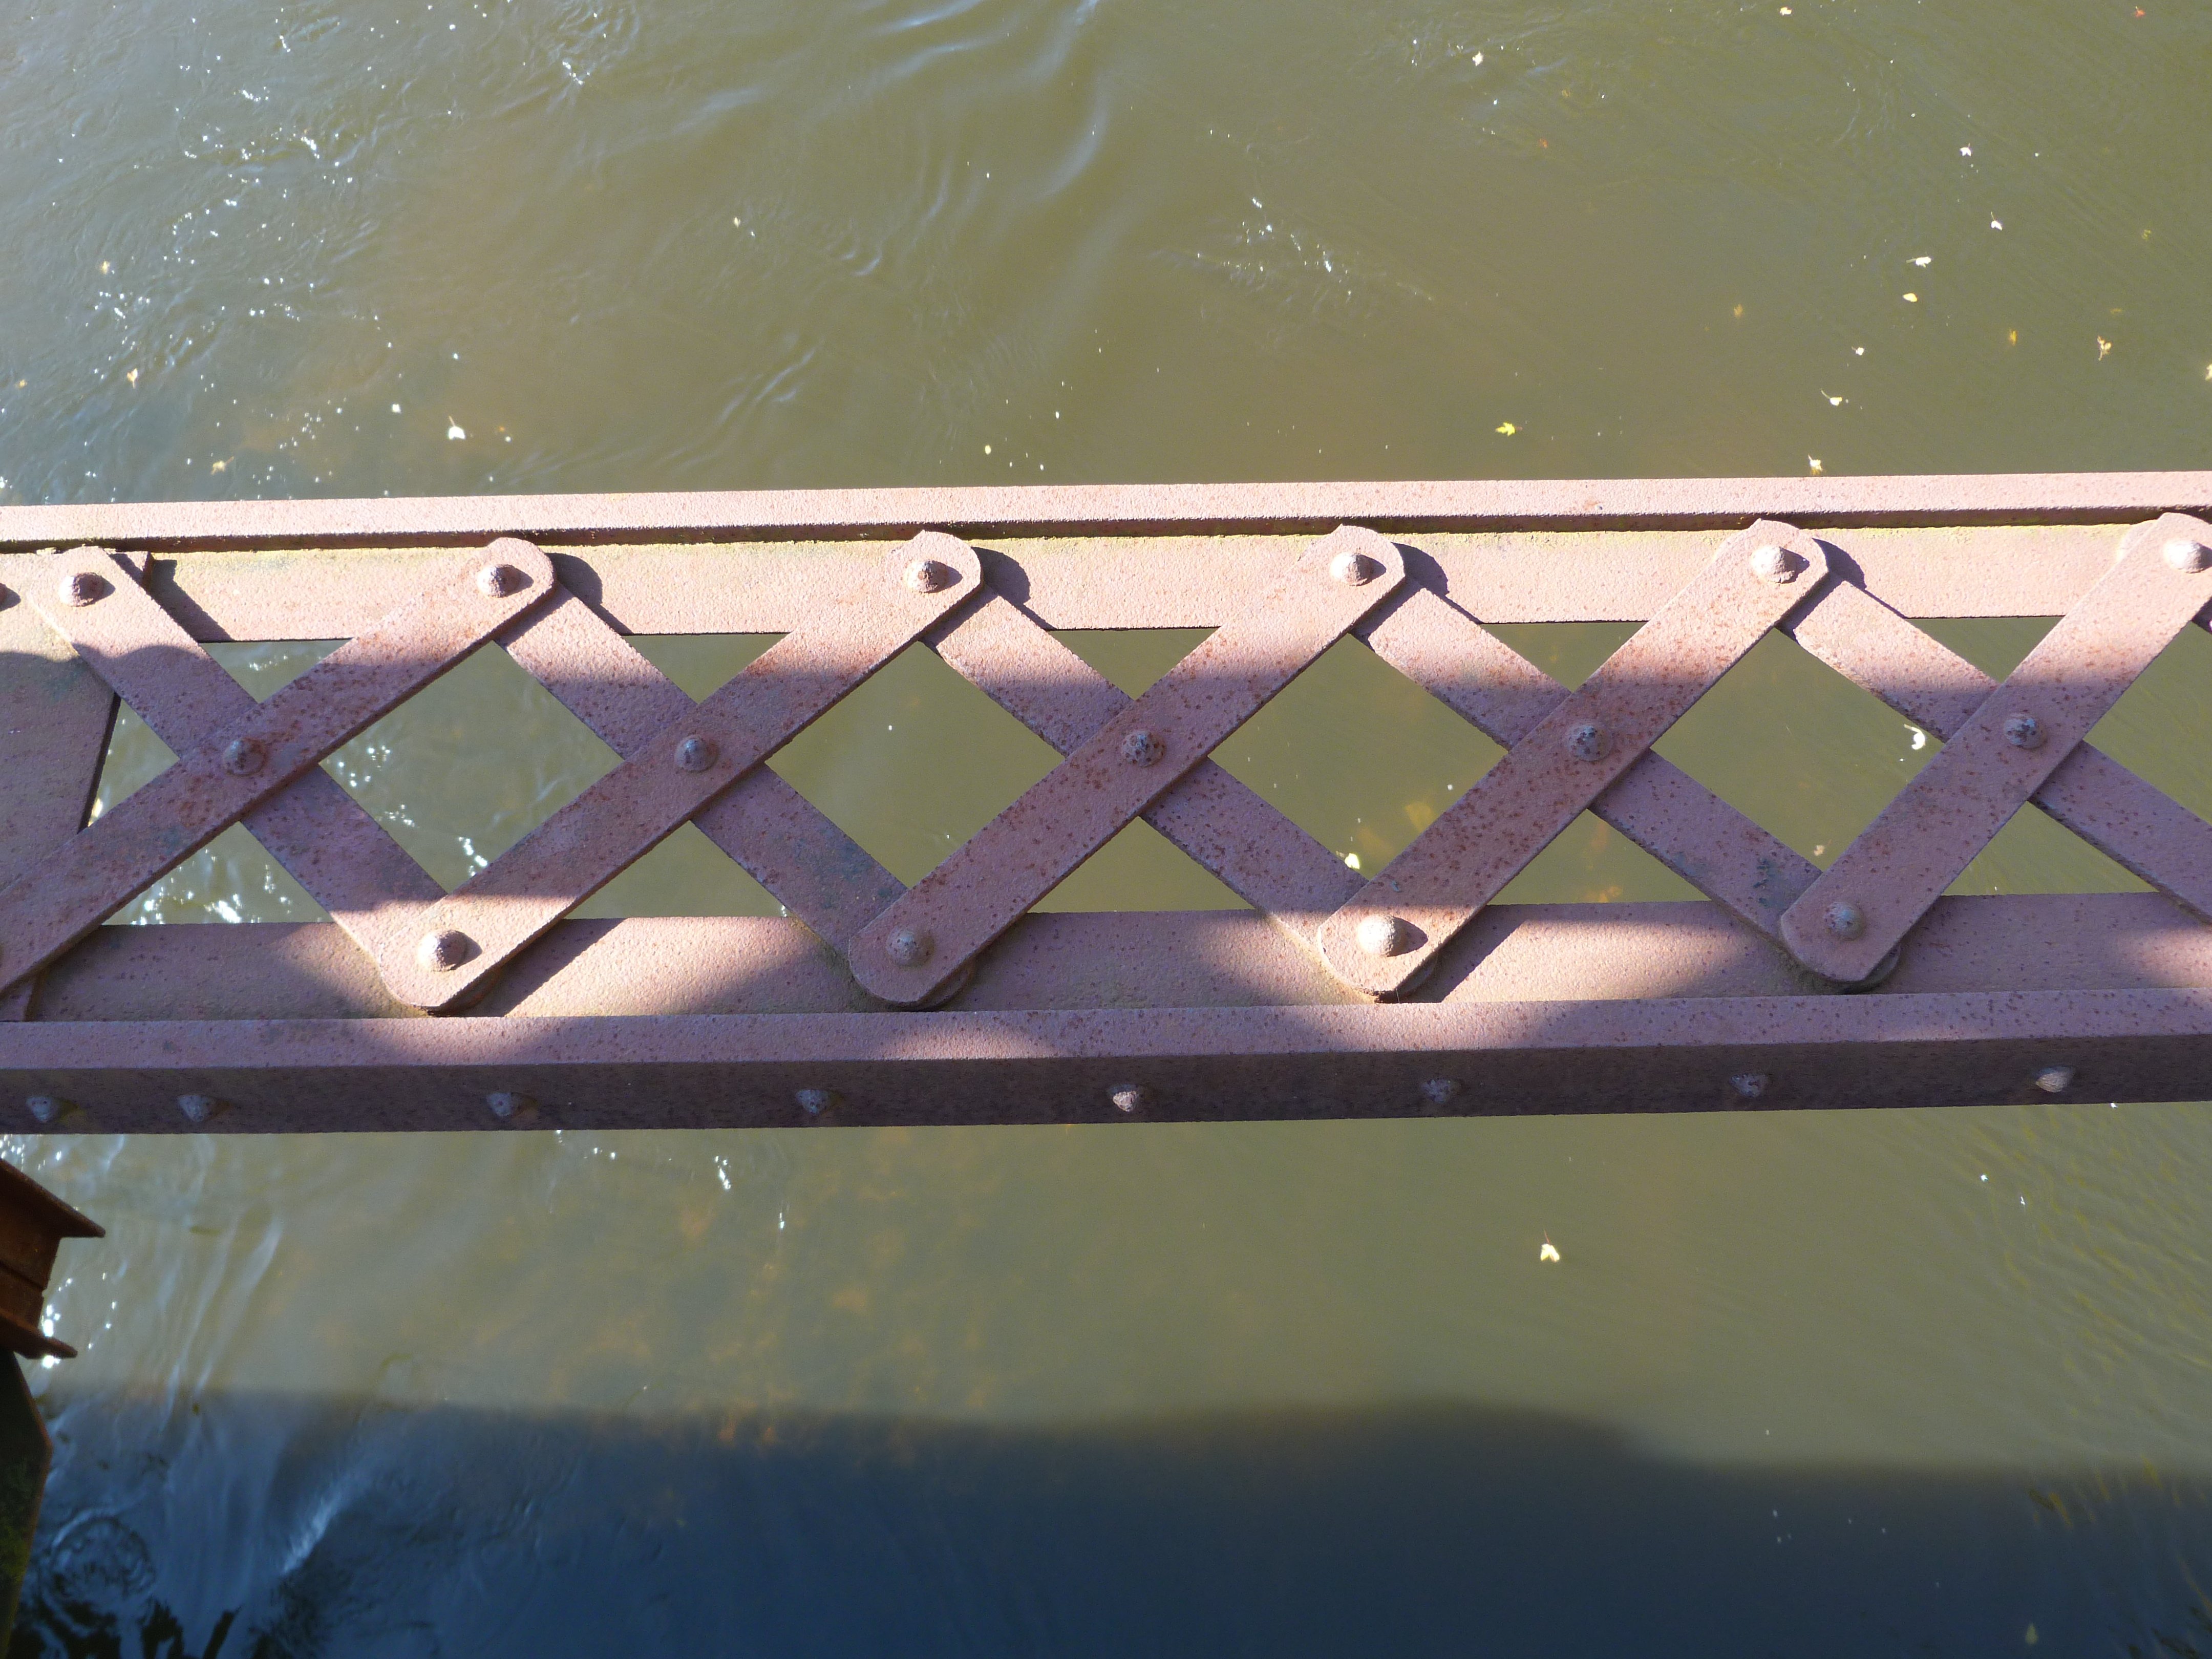
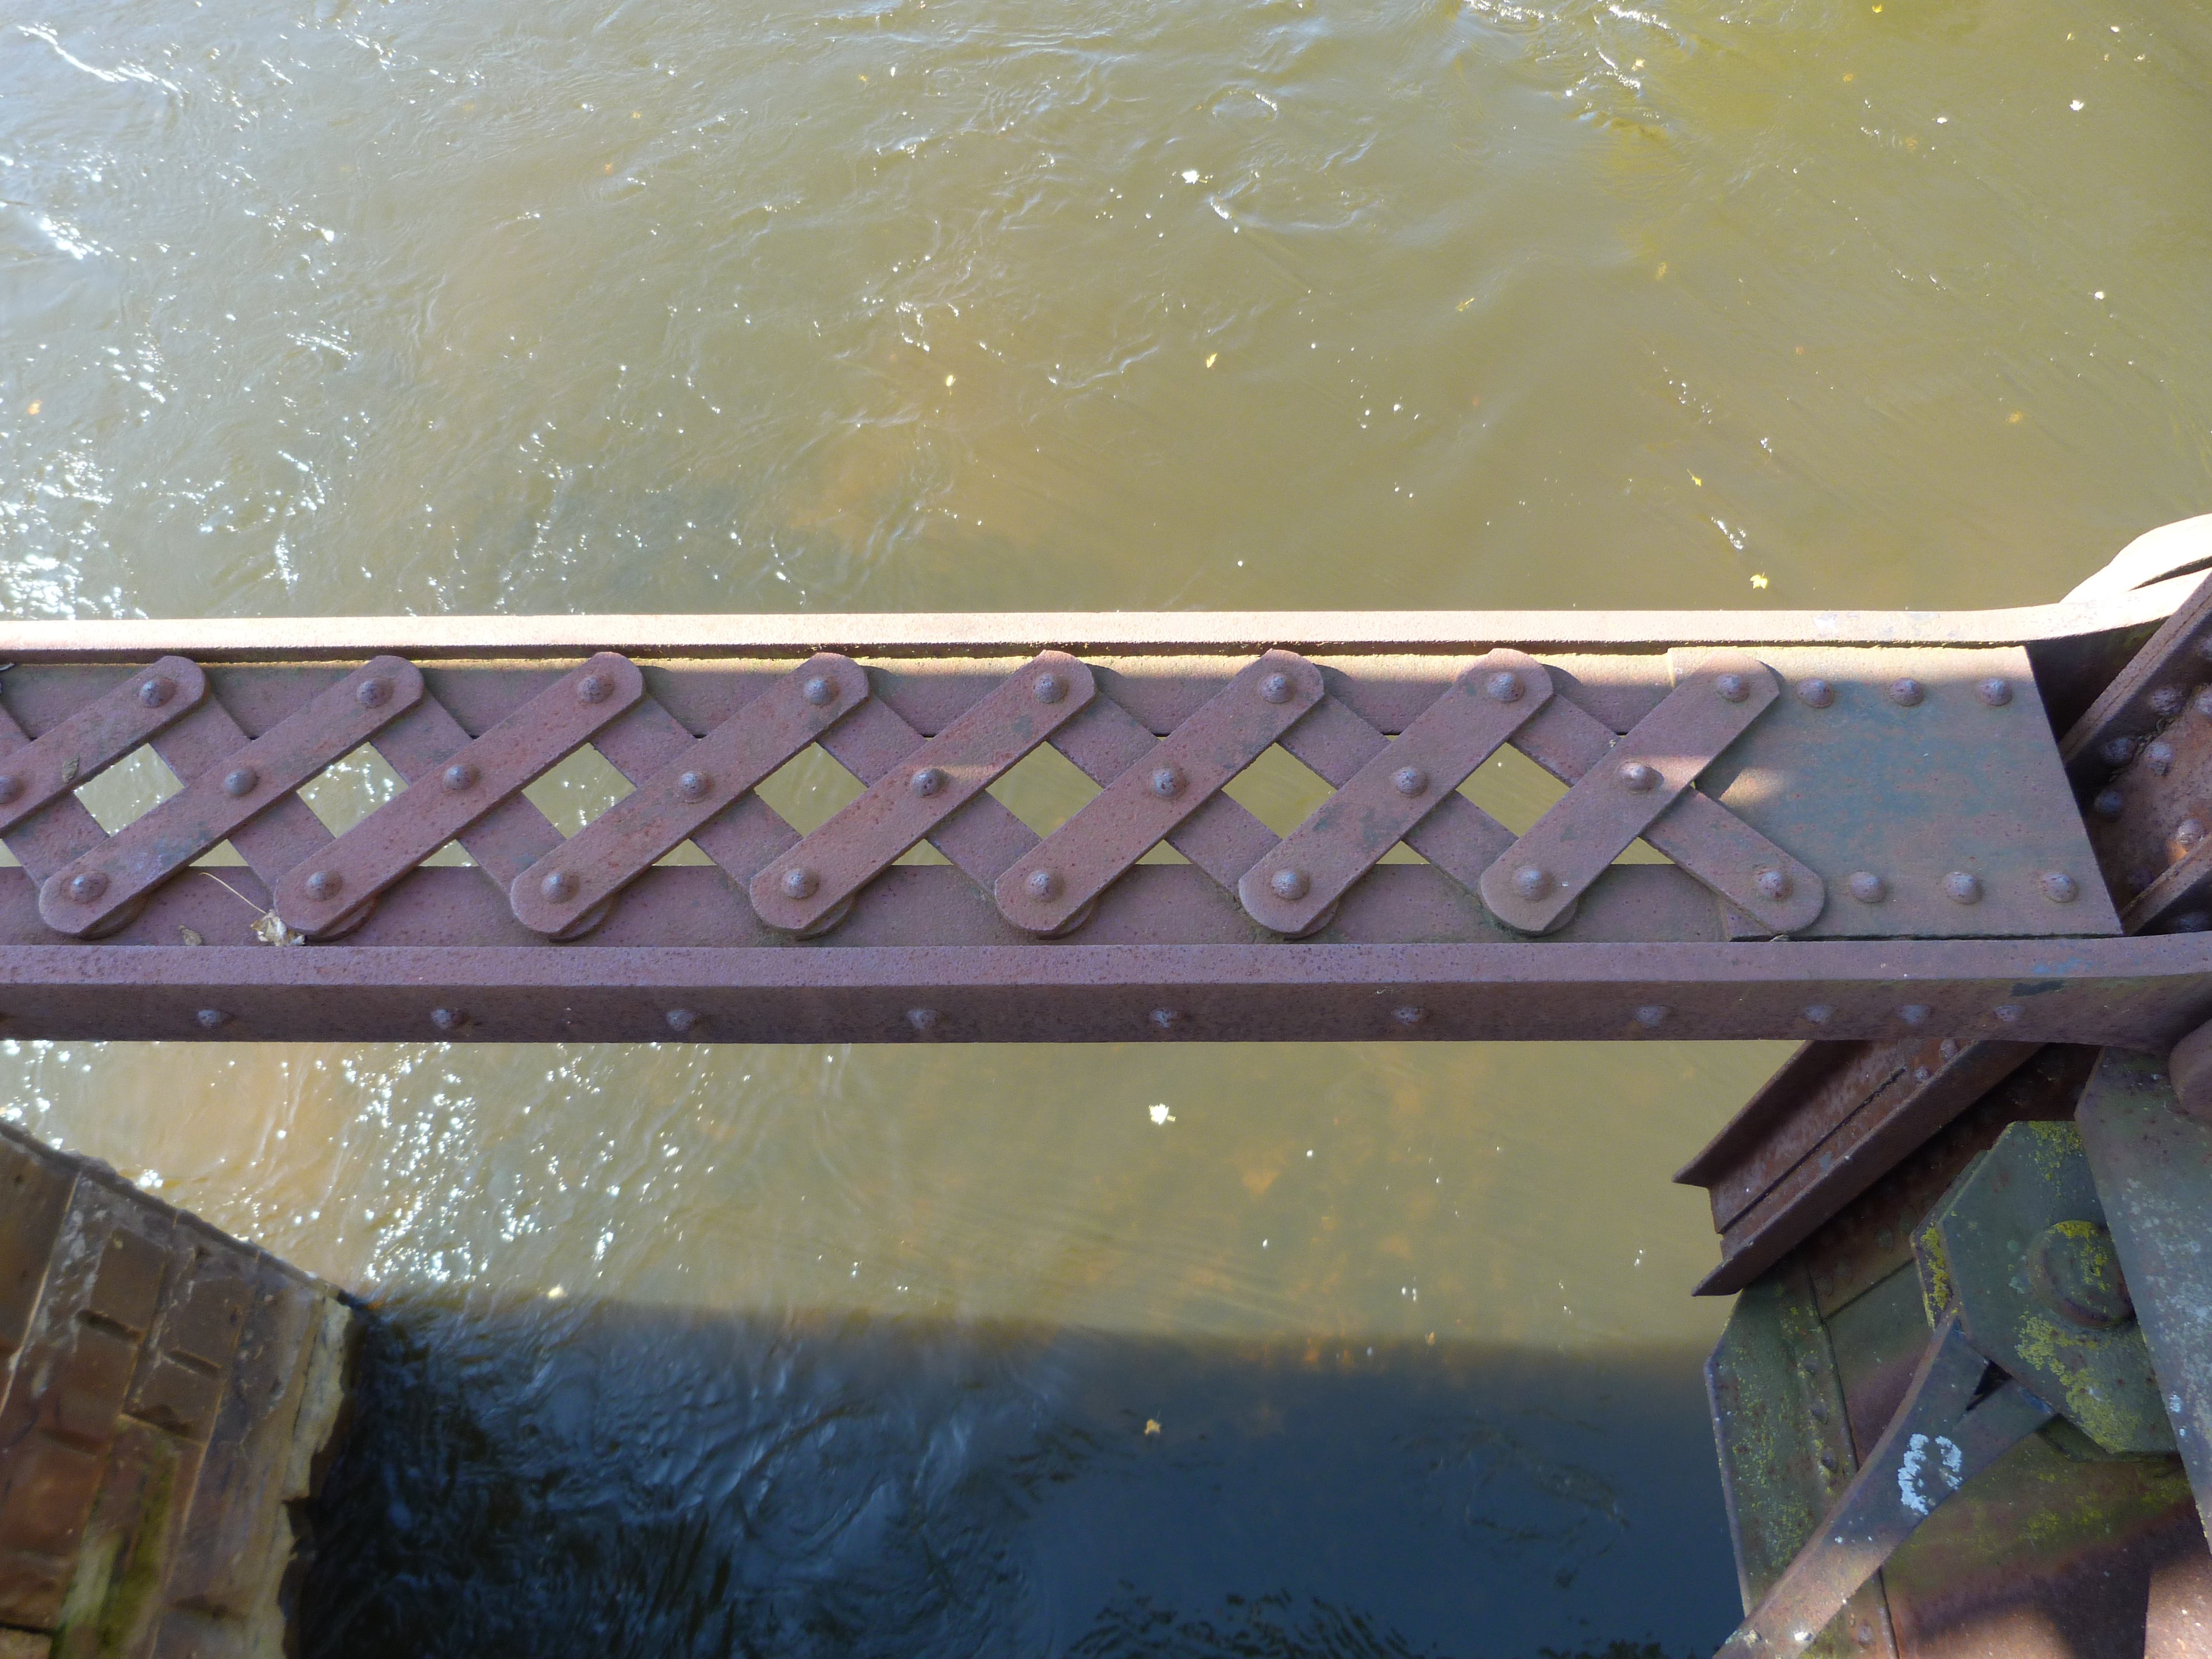
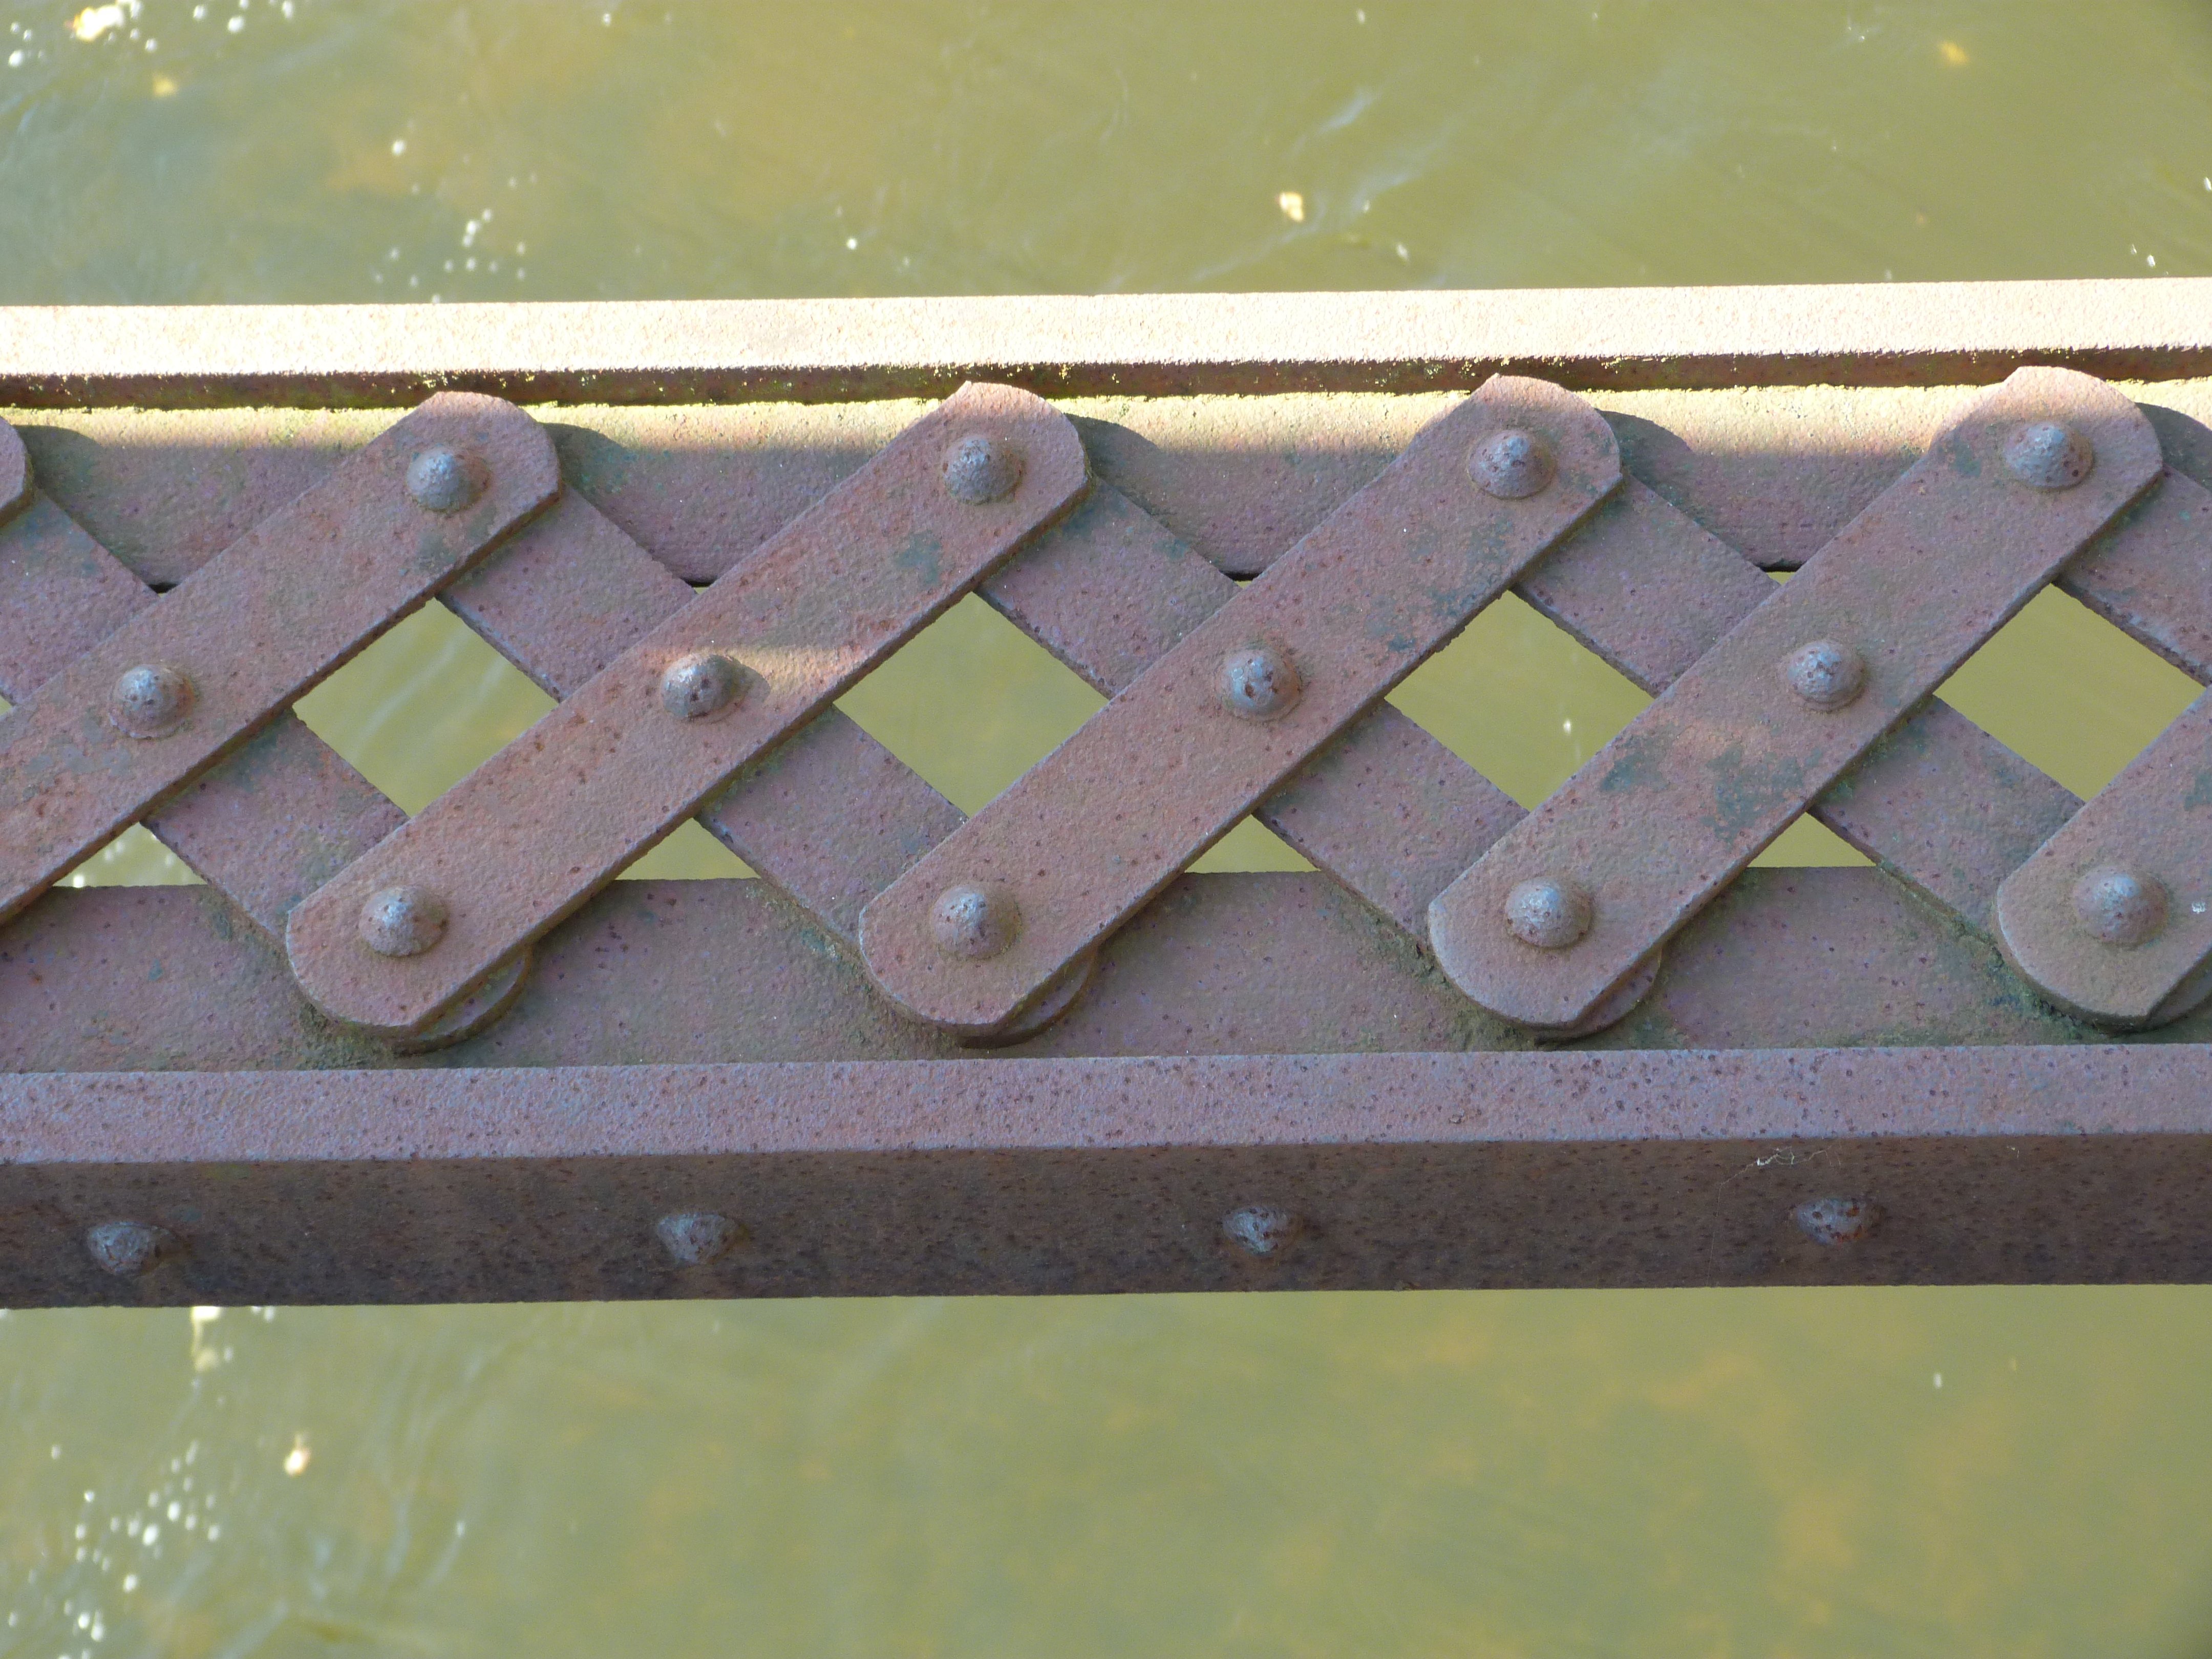
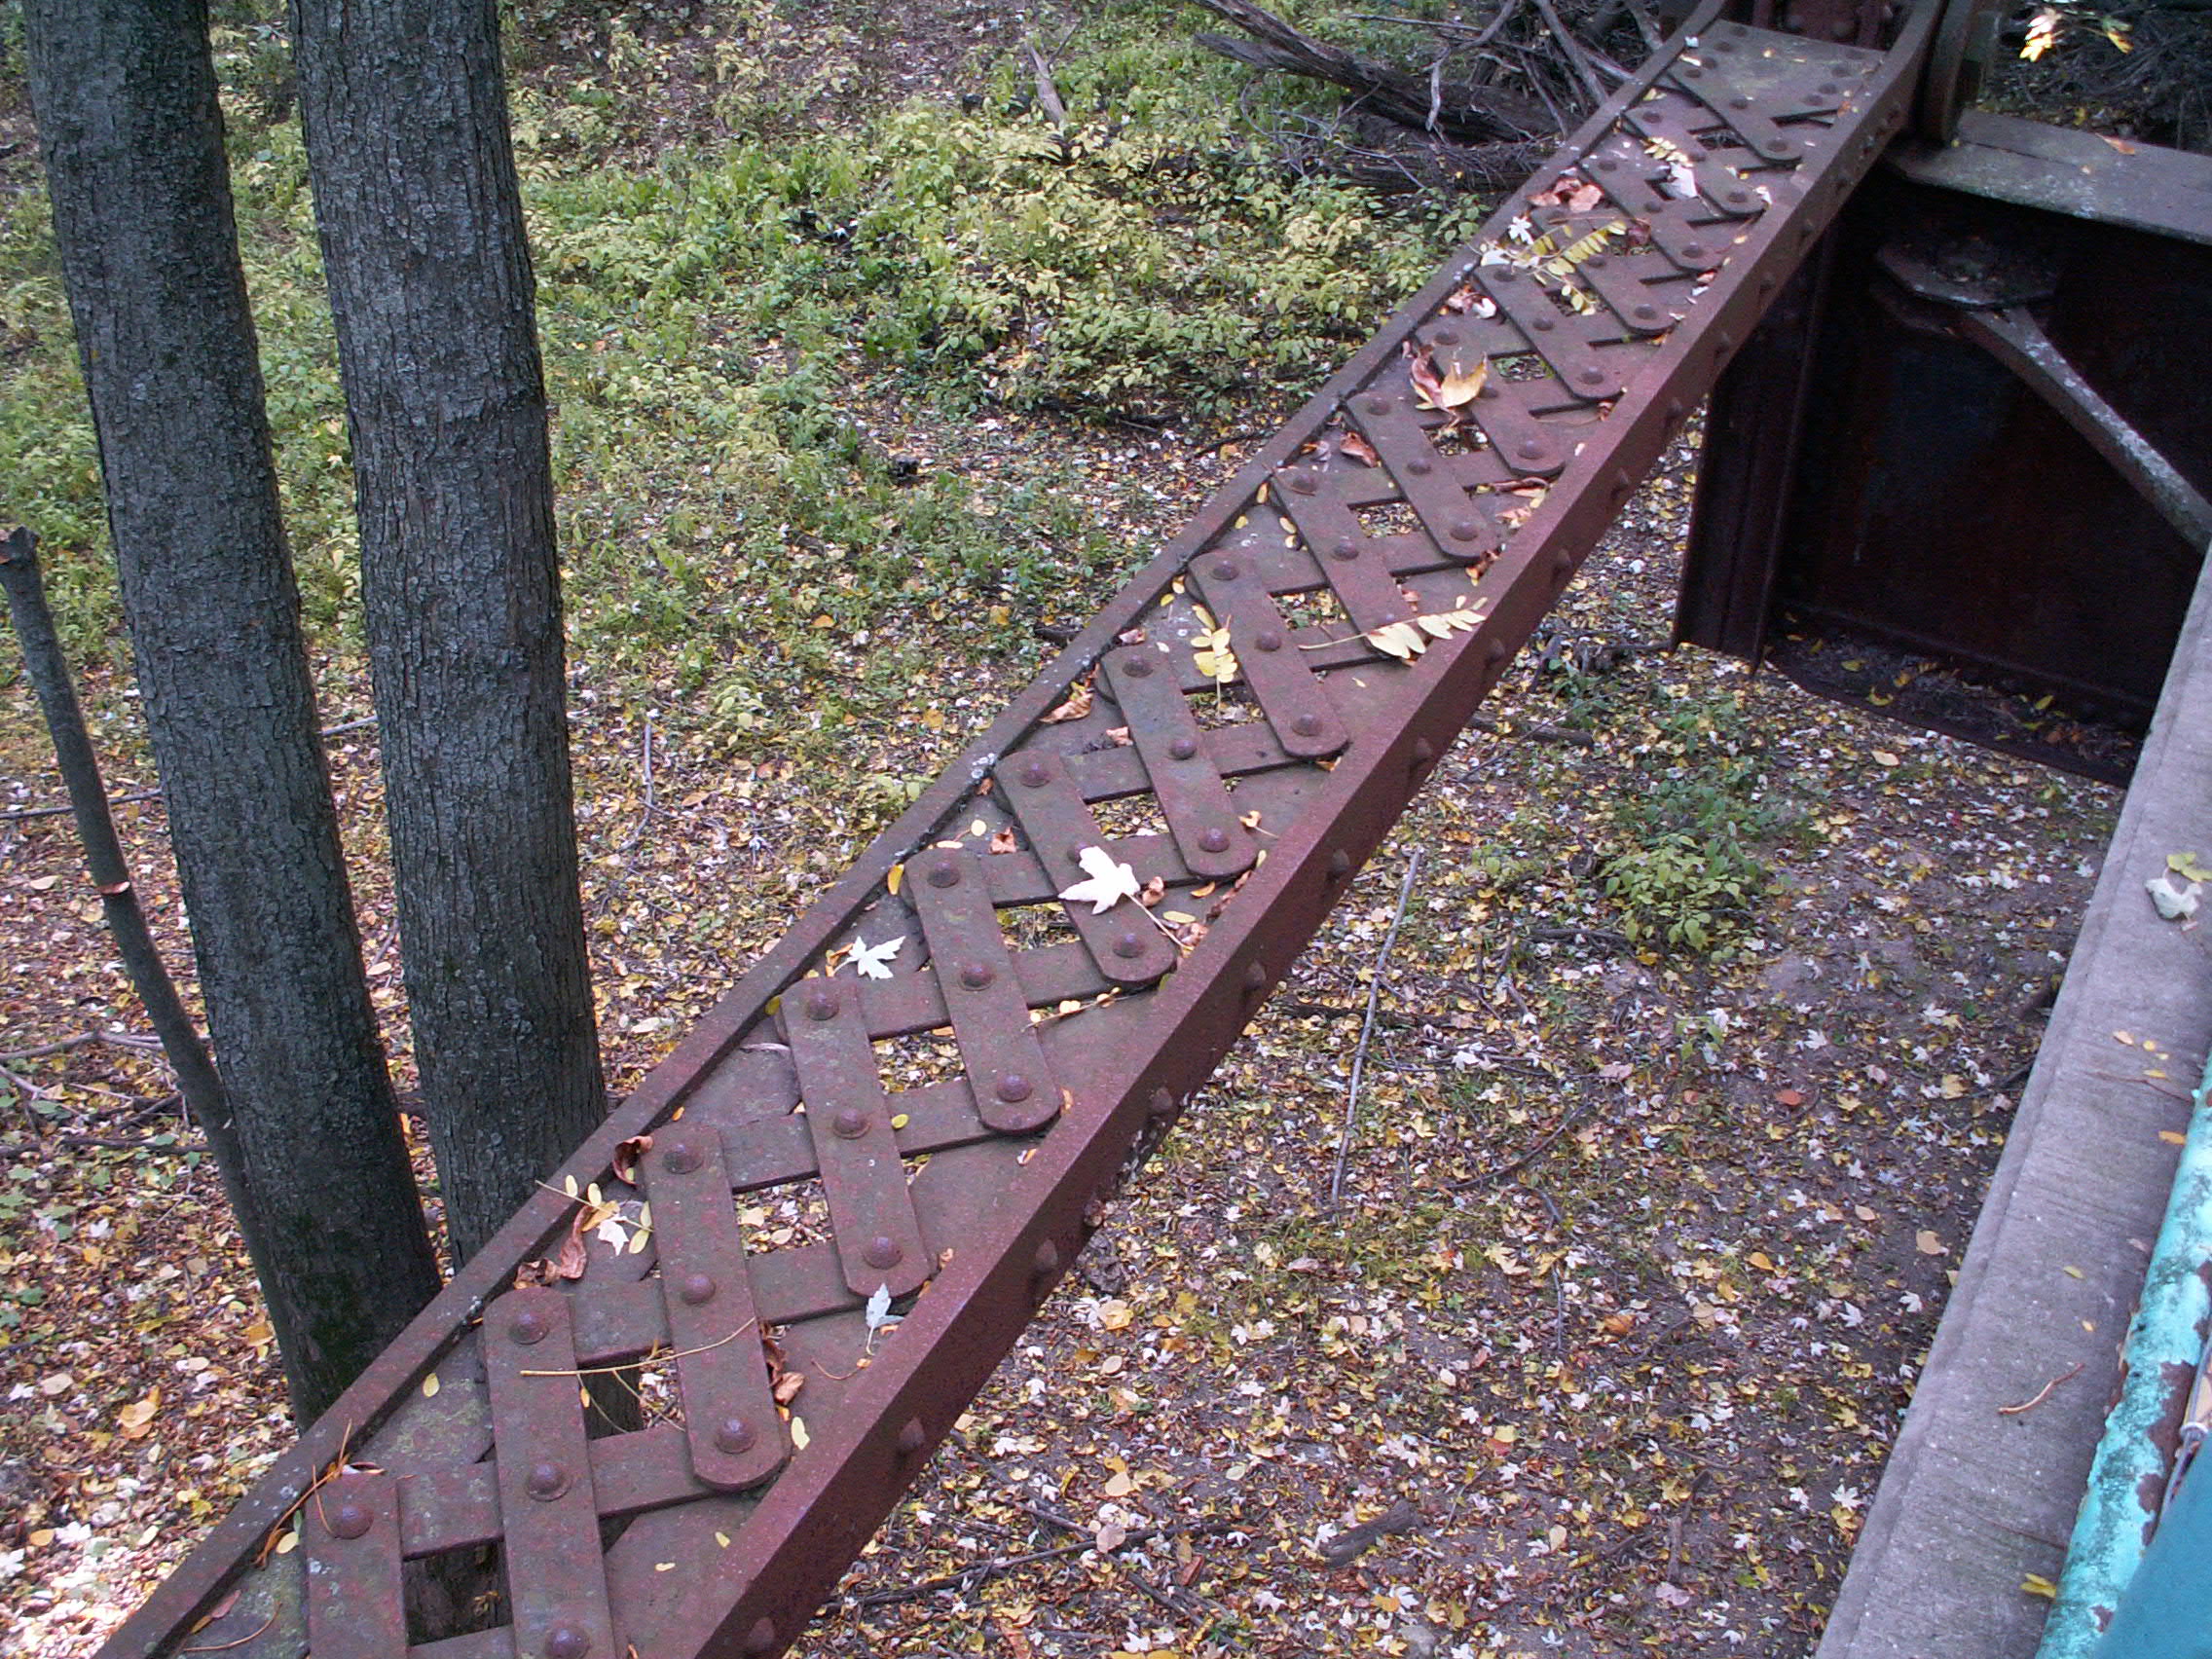

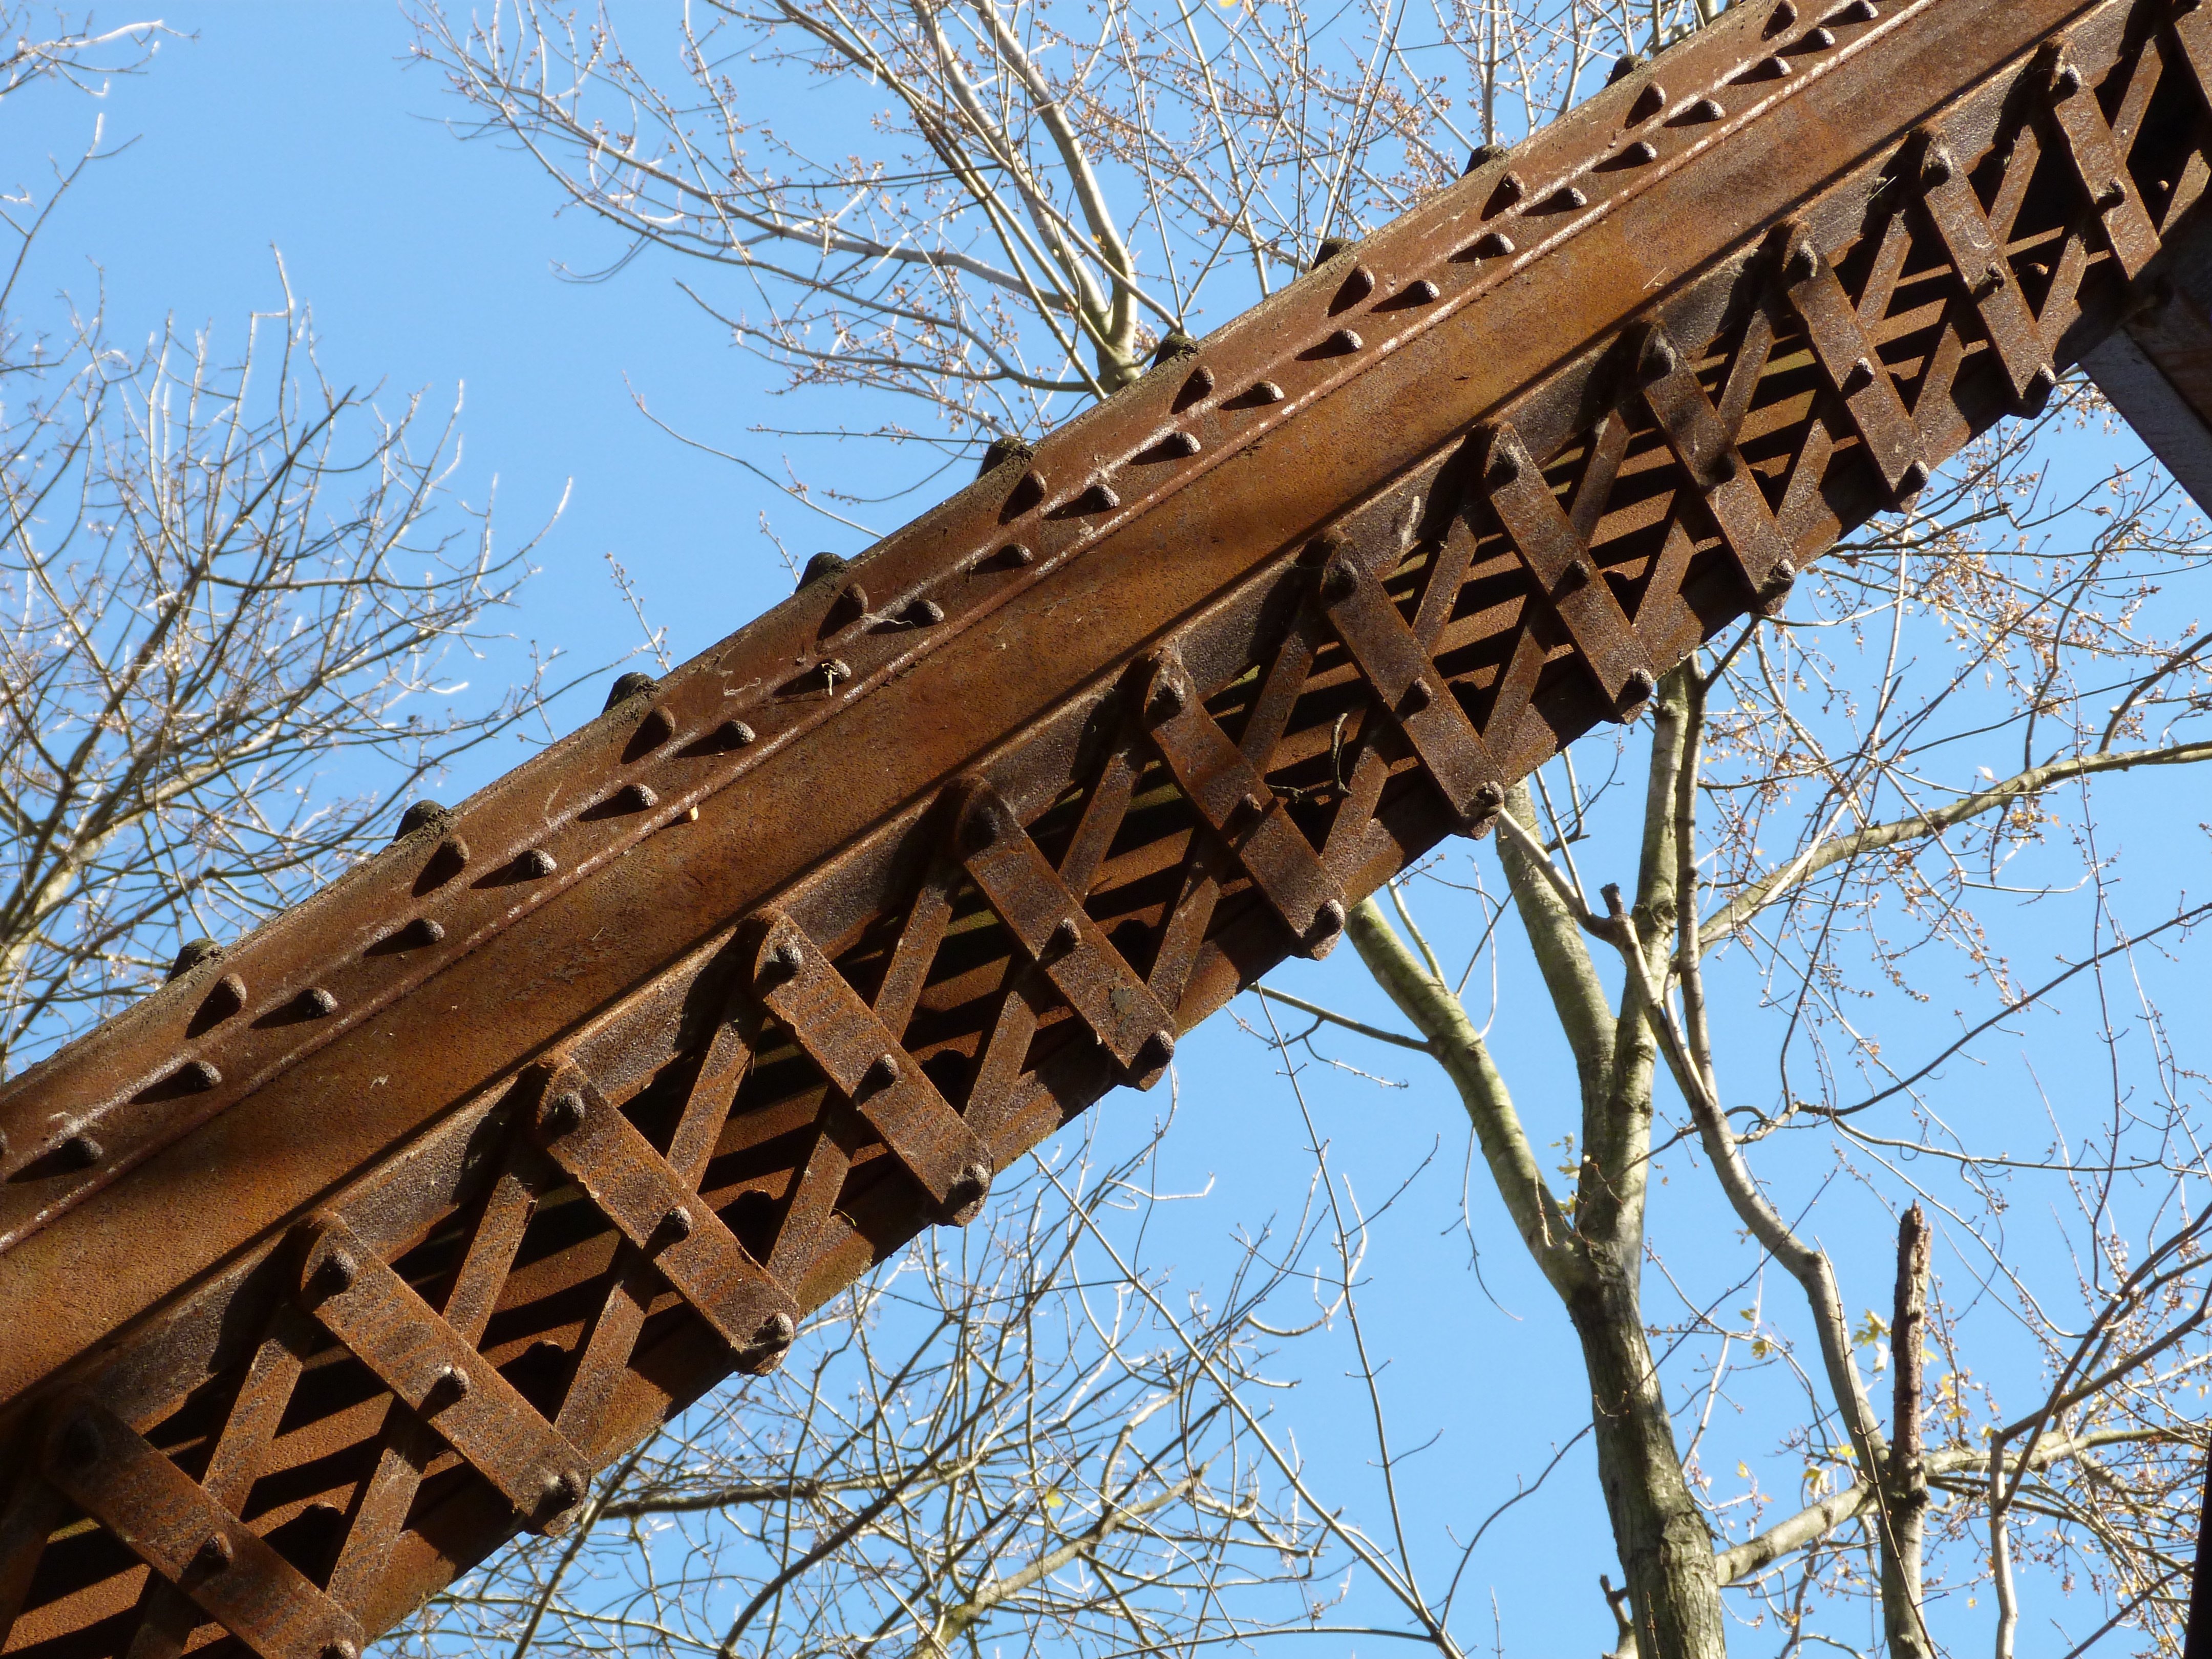
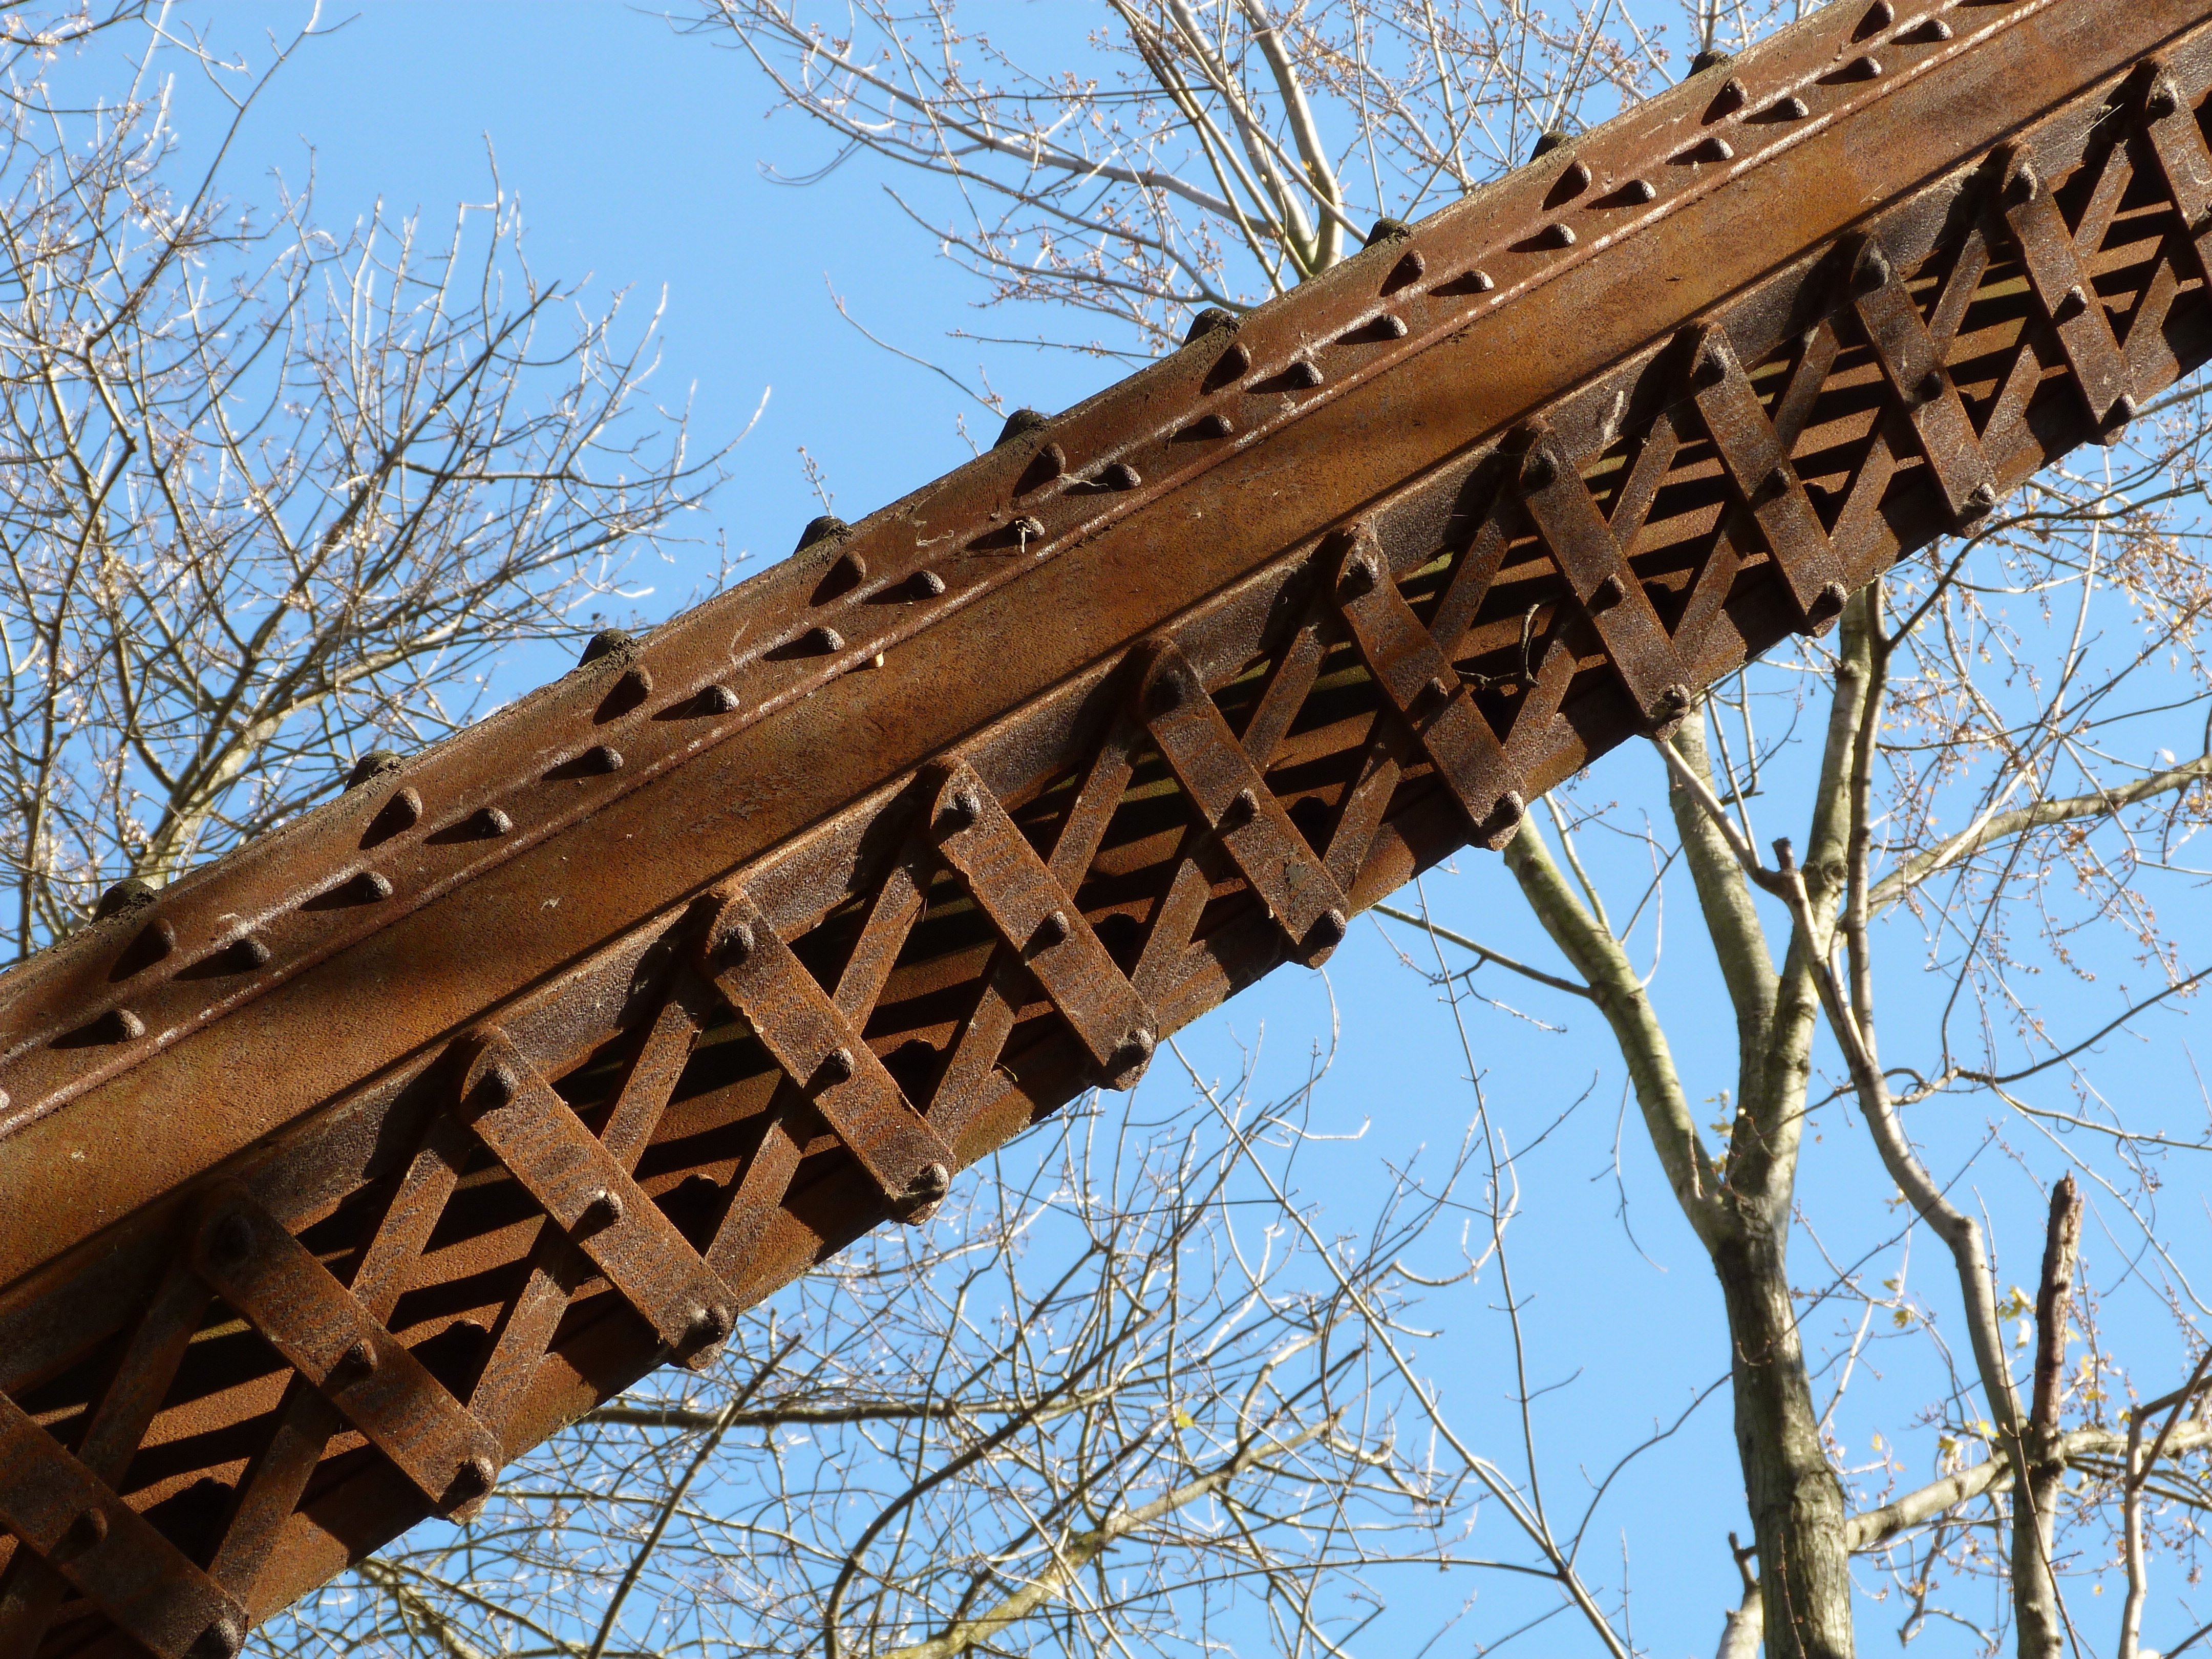
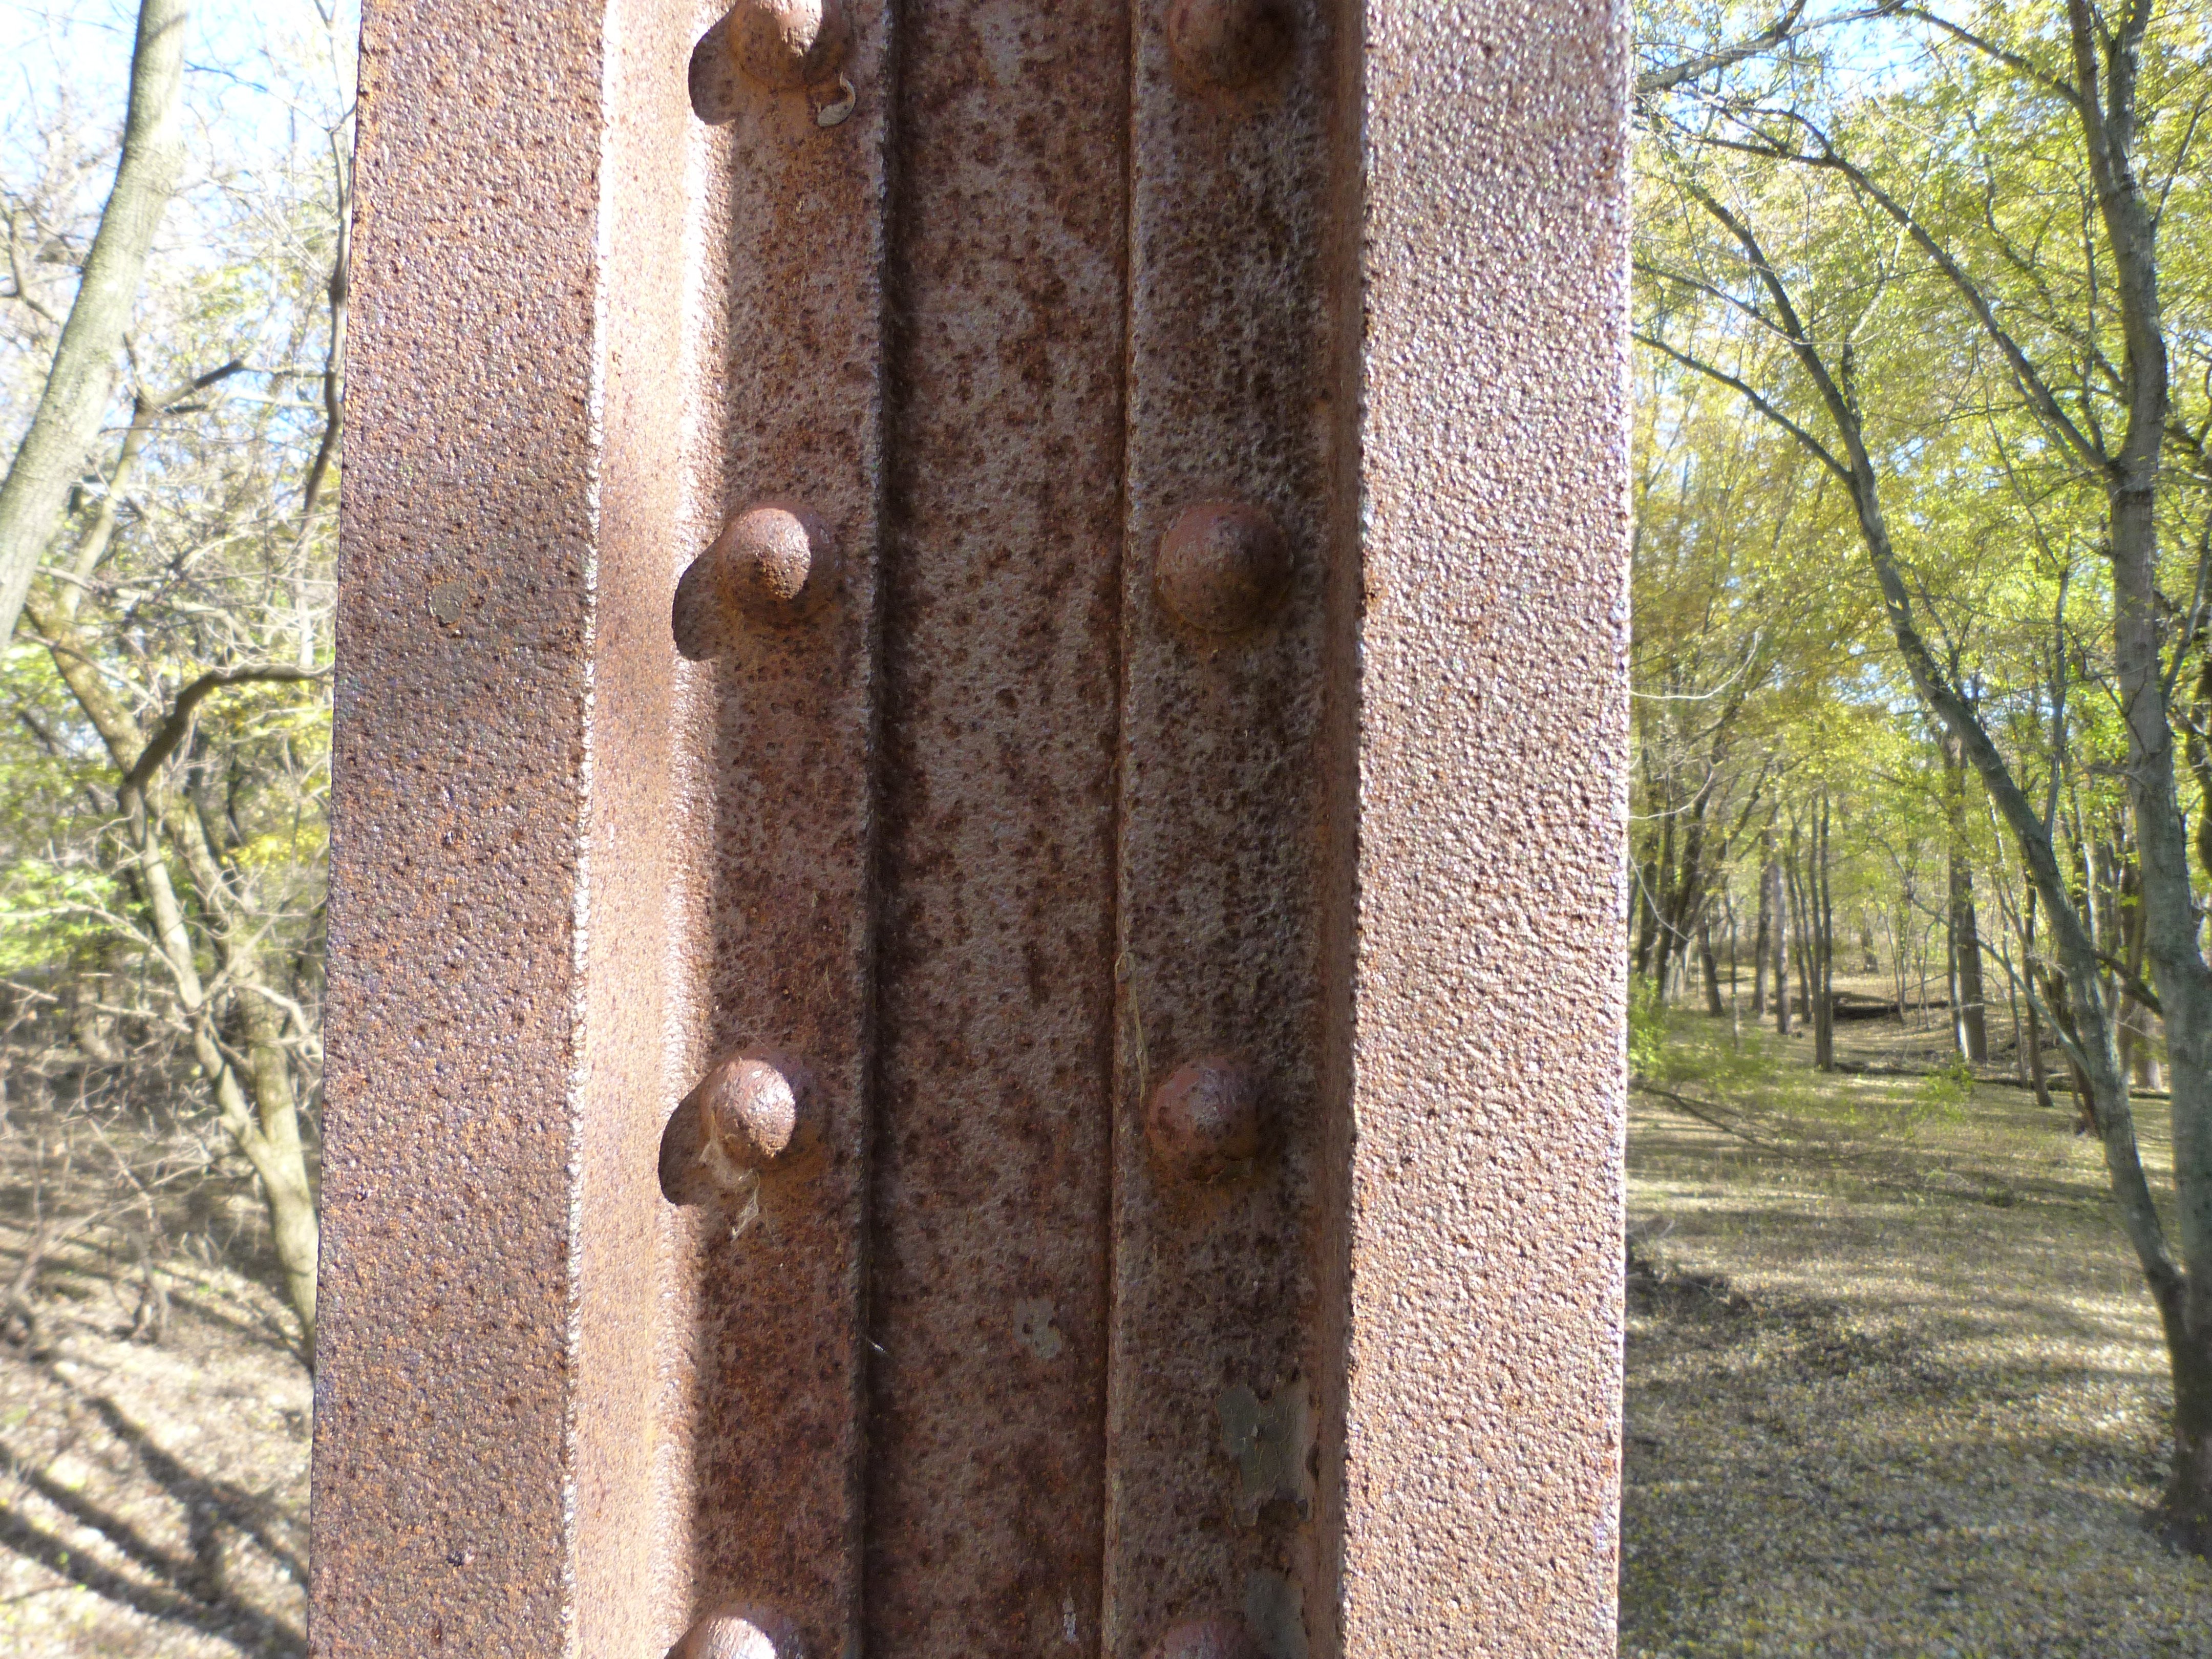
Fixed truss bottom chord, showing sections with eyebar riveted to angles with lattice.
![]()

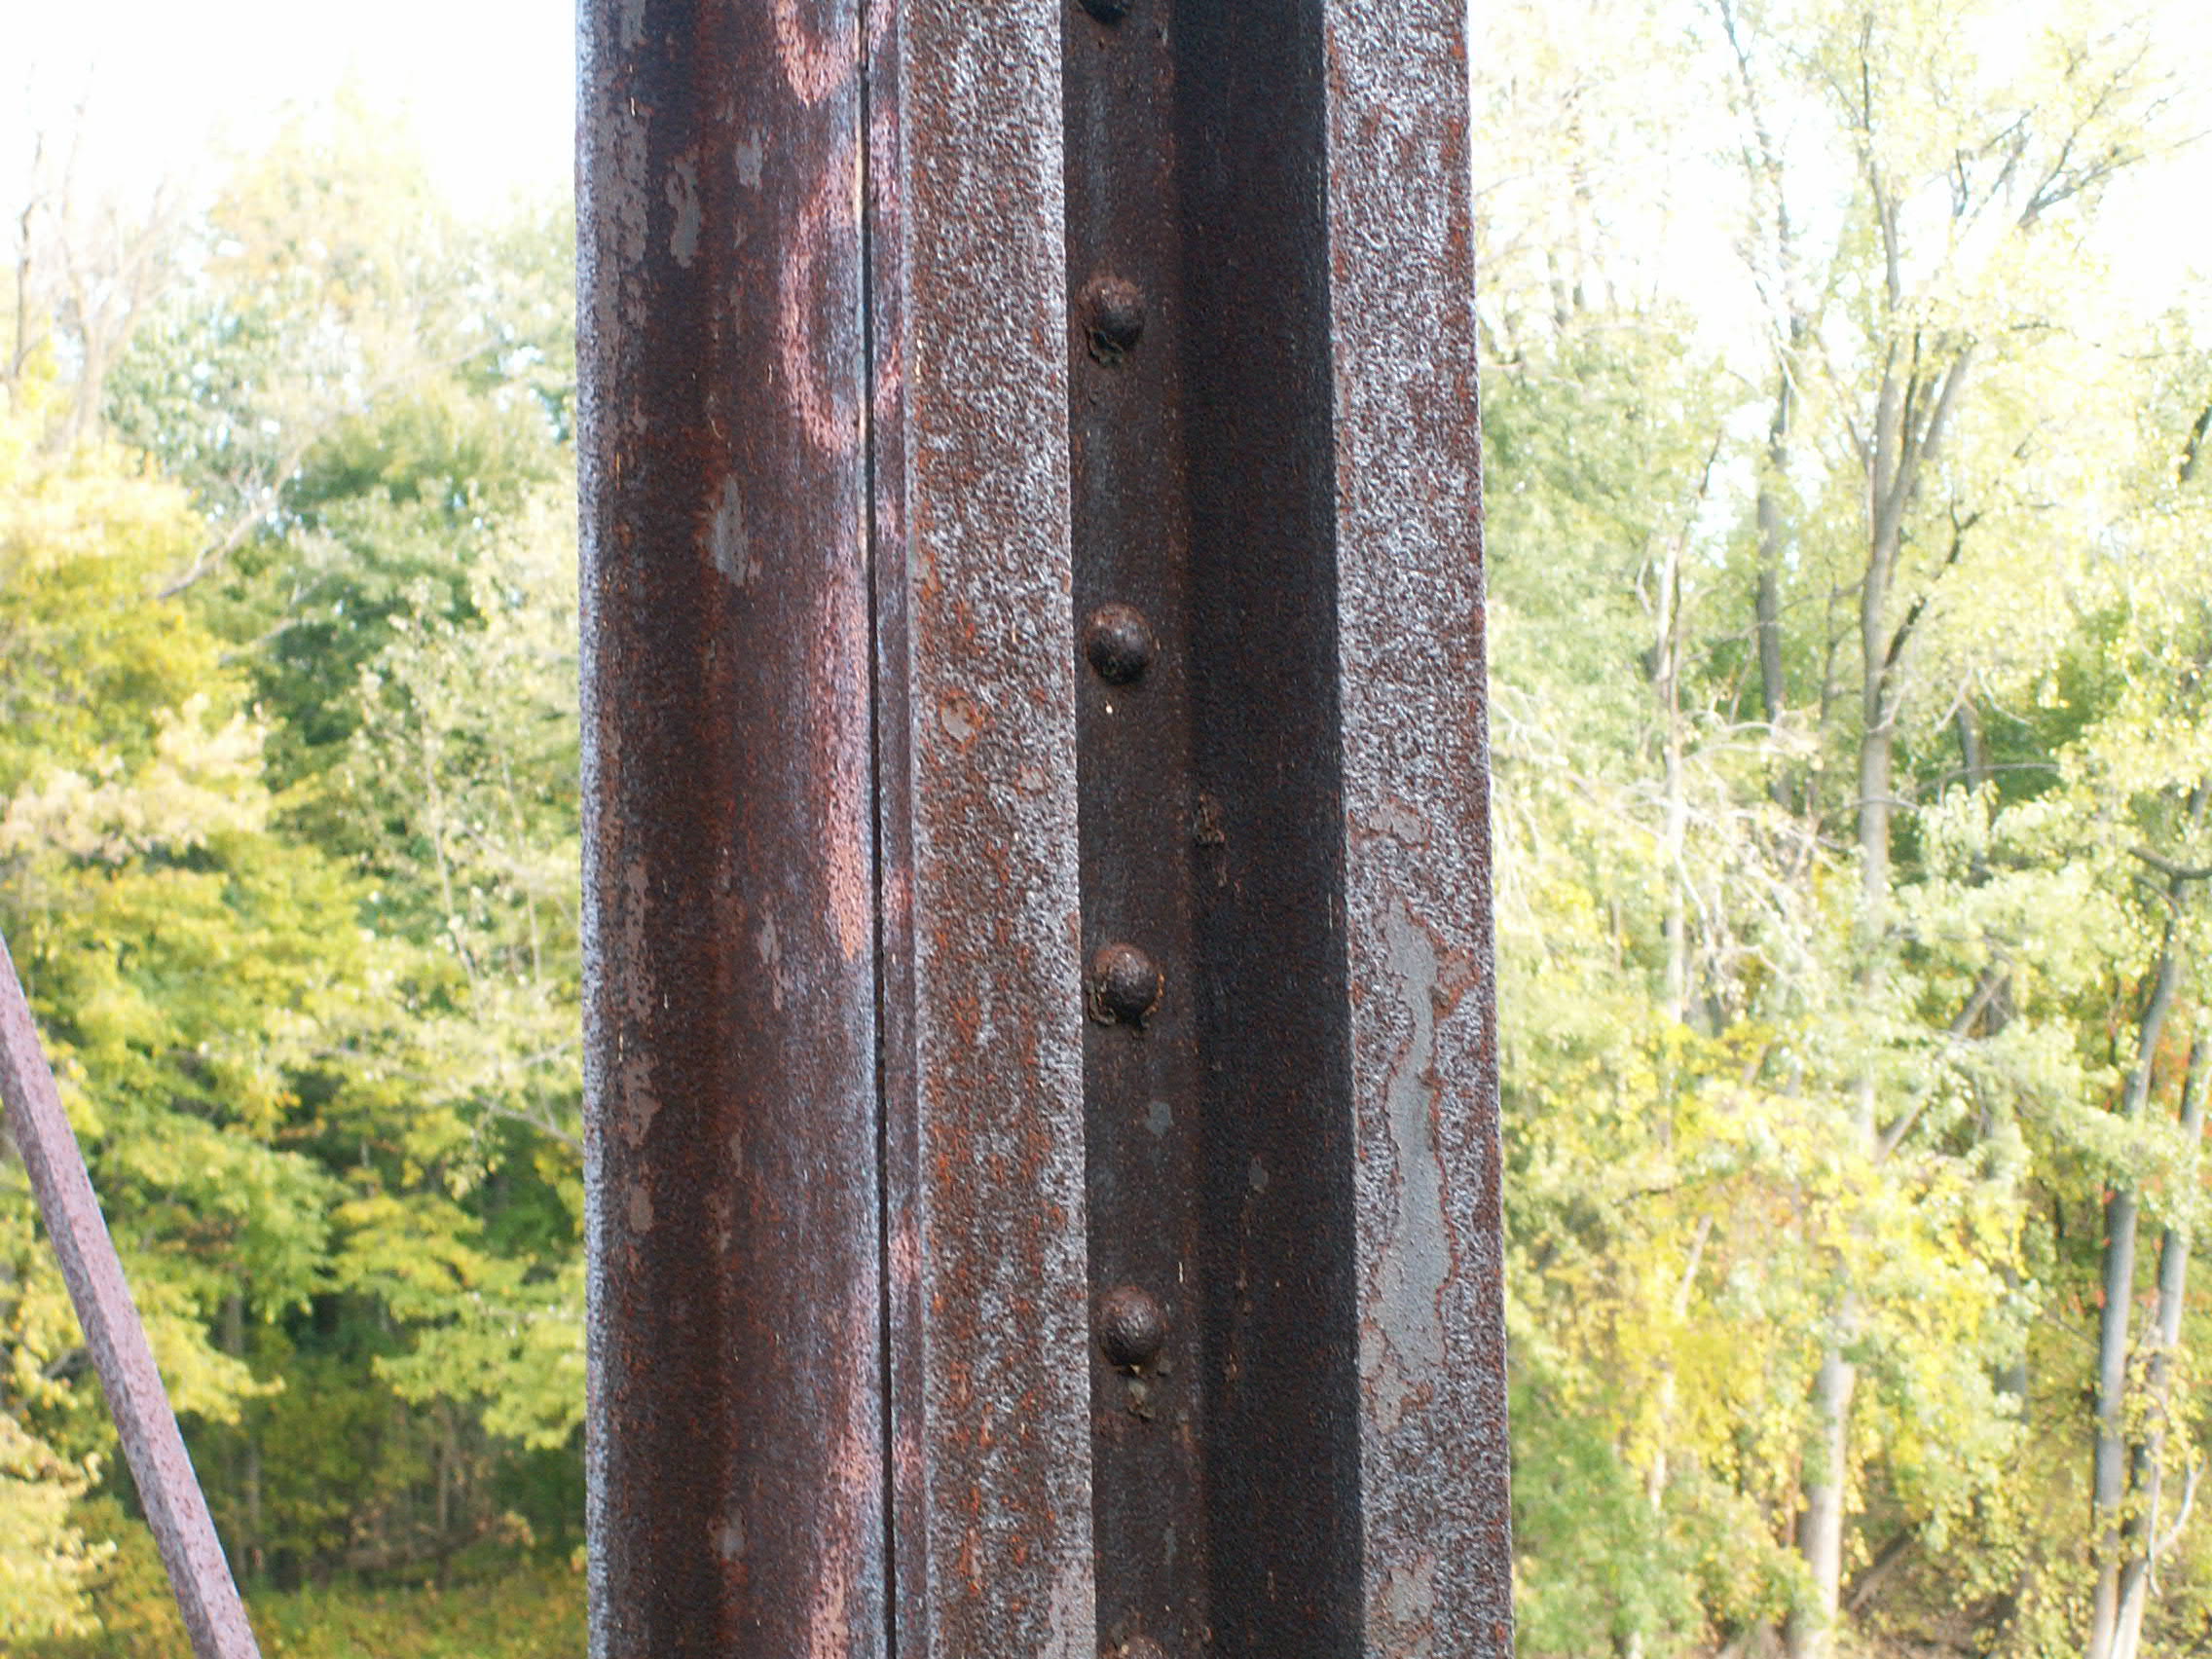
Fixed truss bottom chord near center of span where there are no attached angles or lattice.
![]()

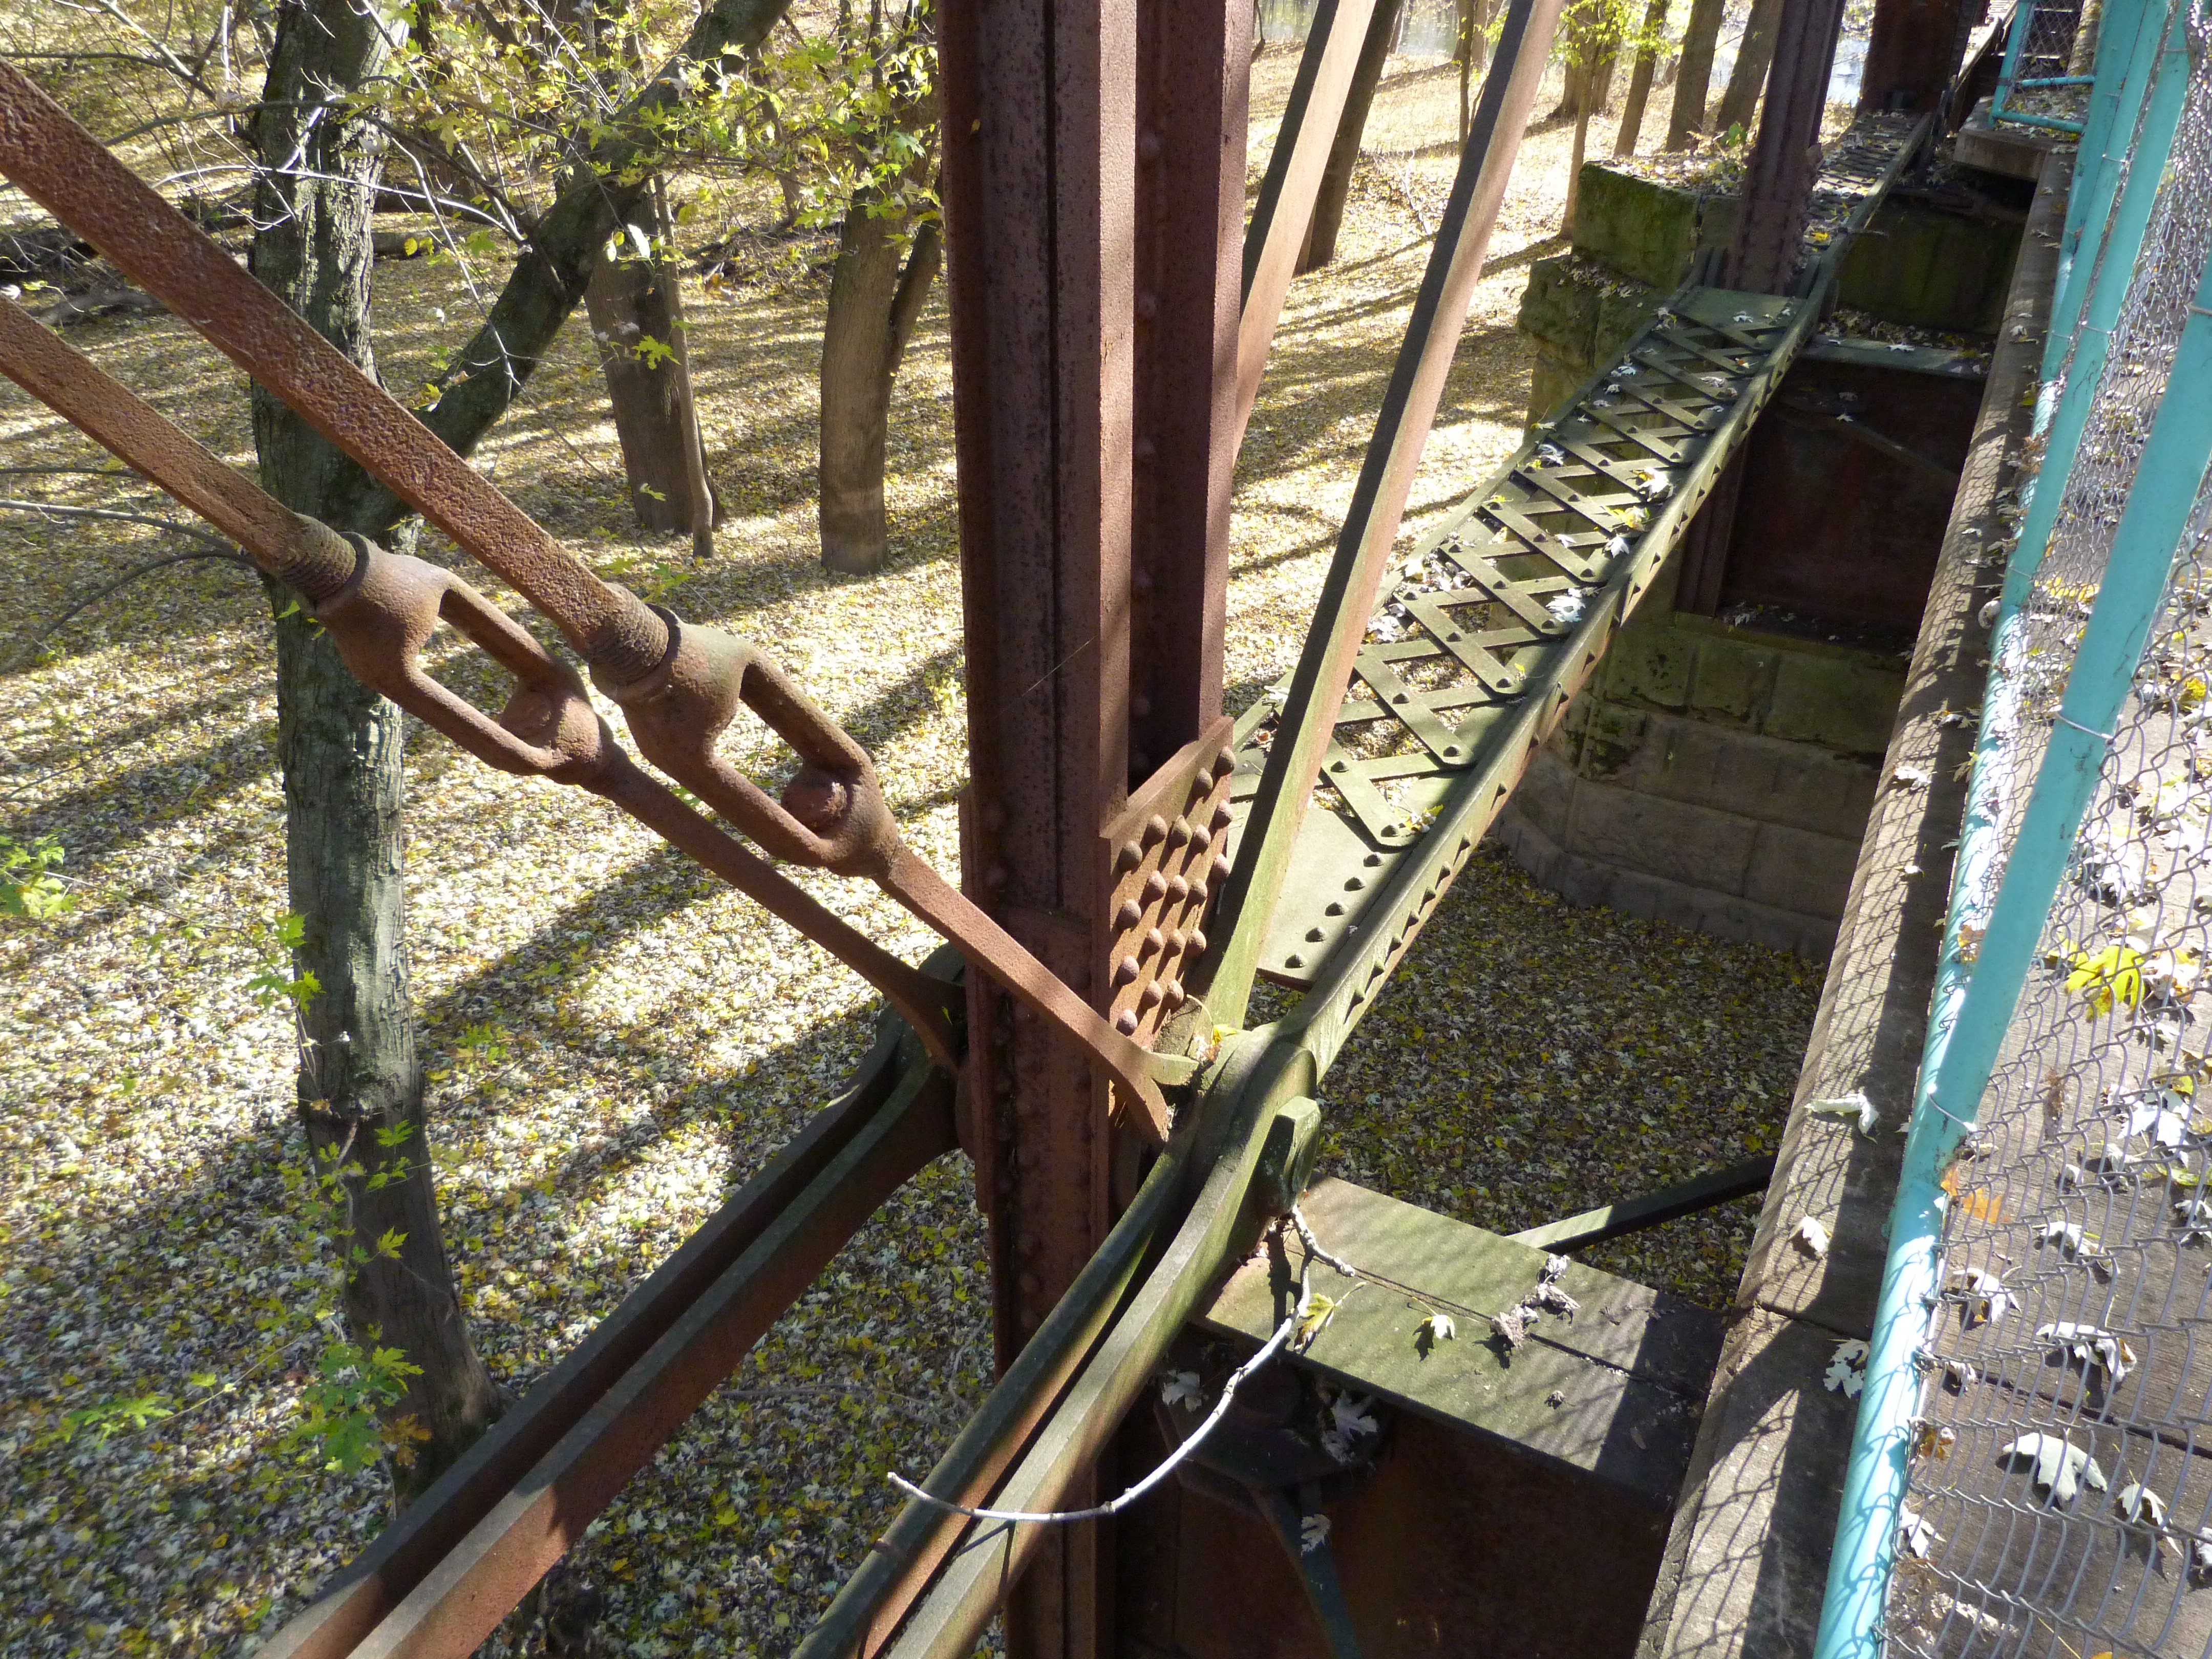
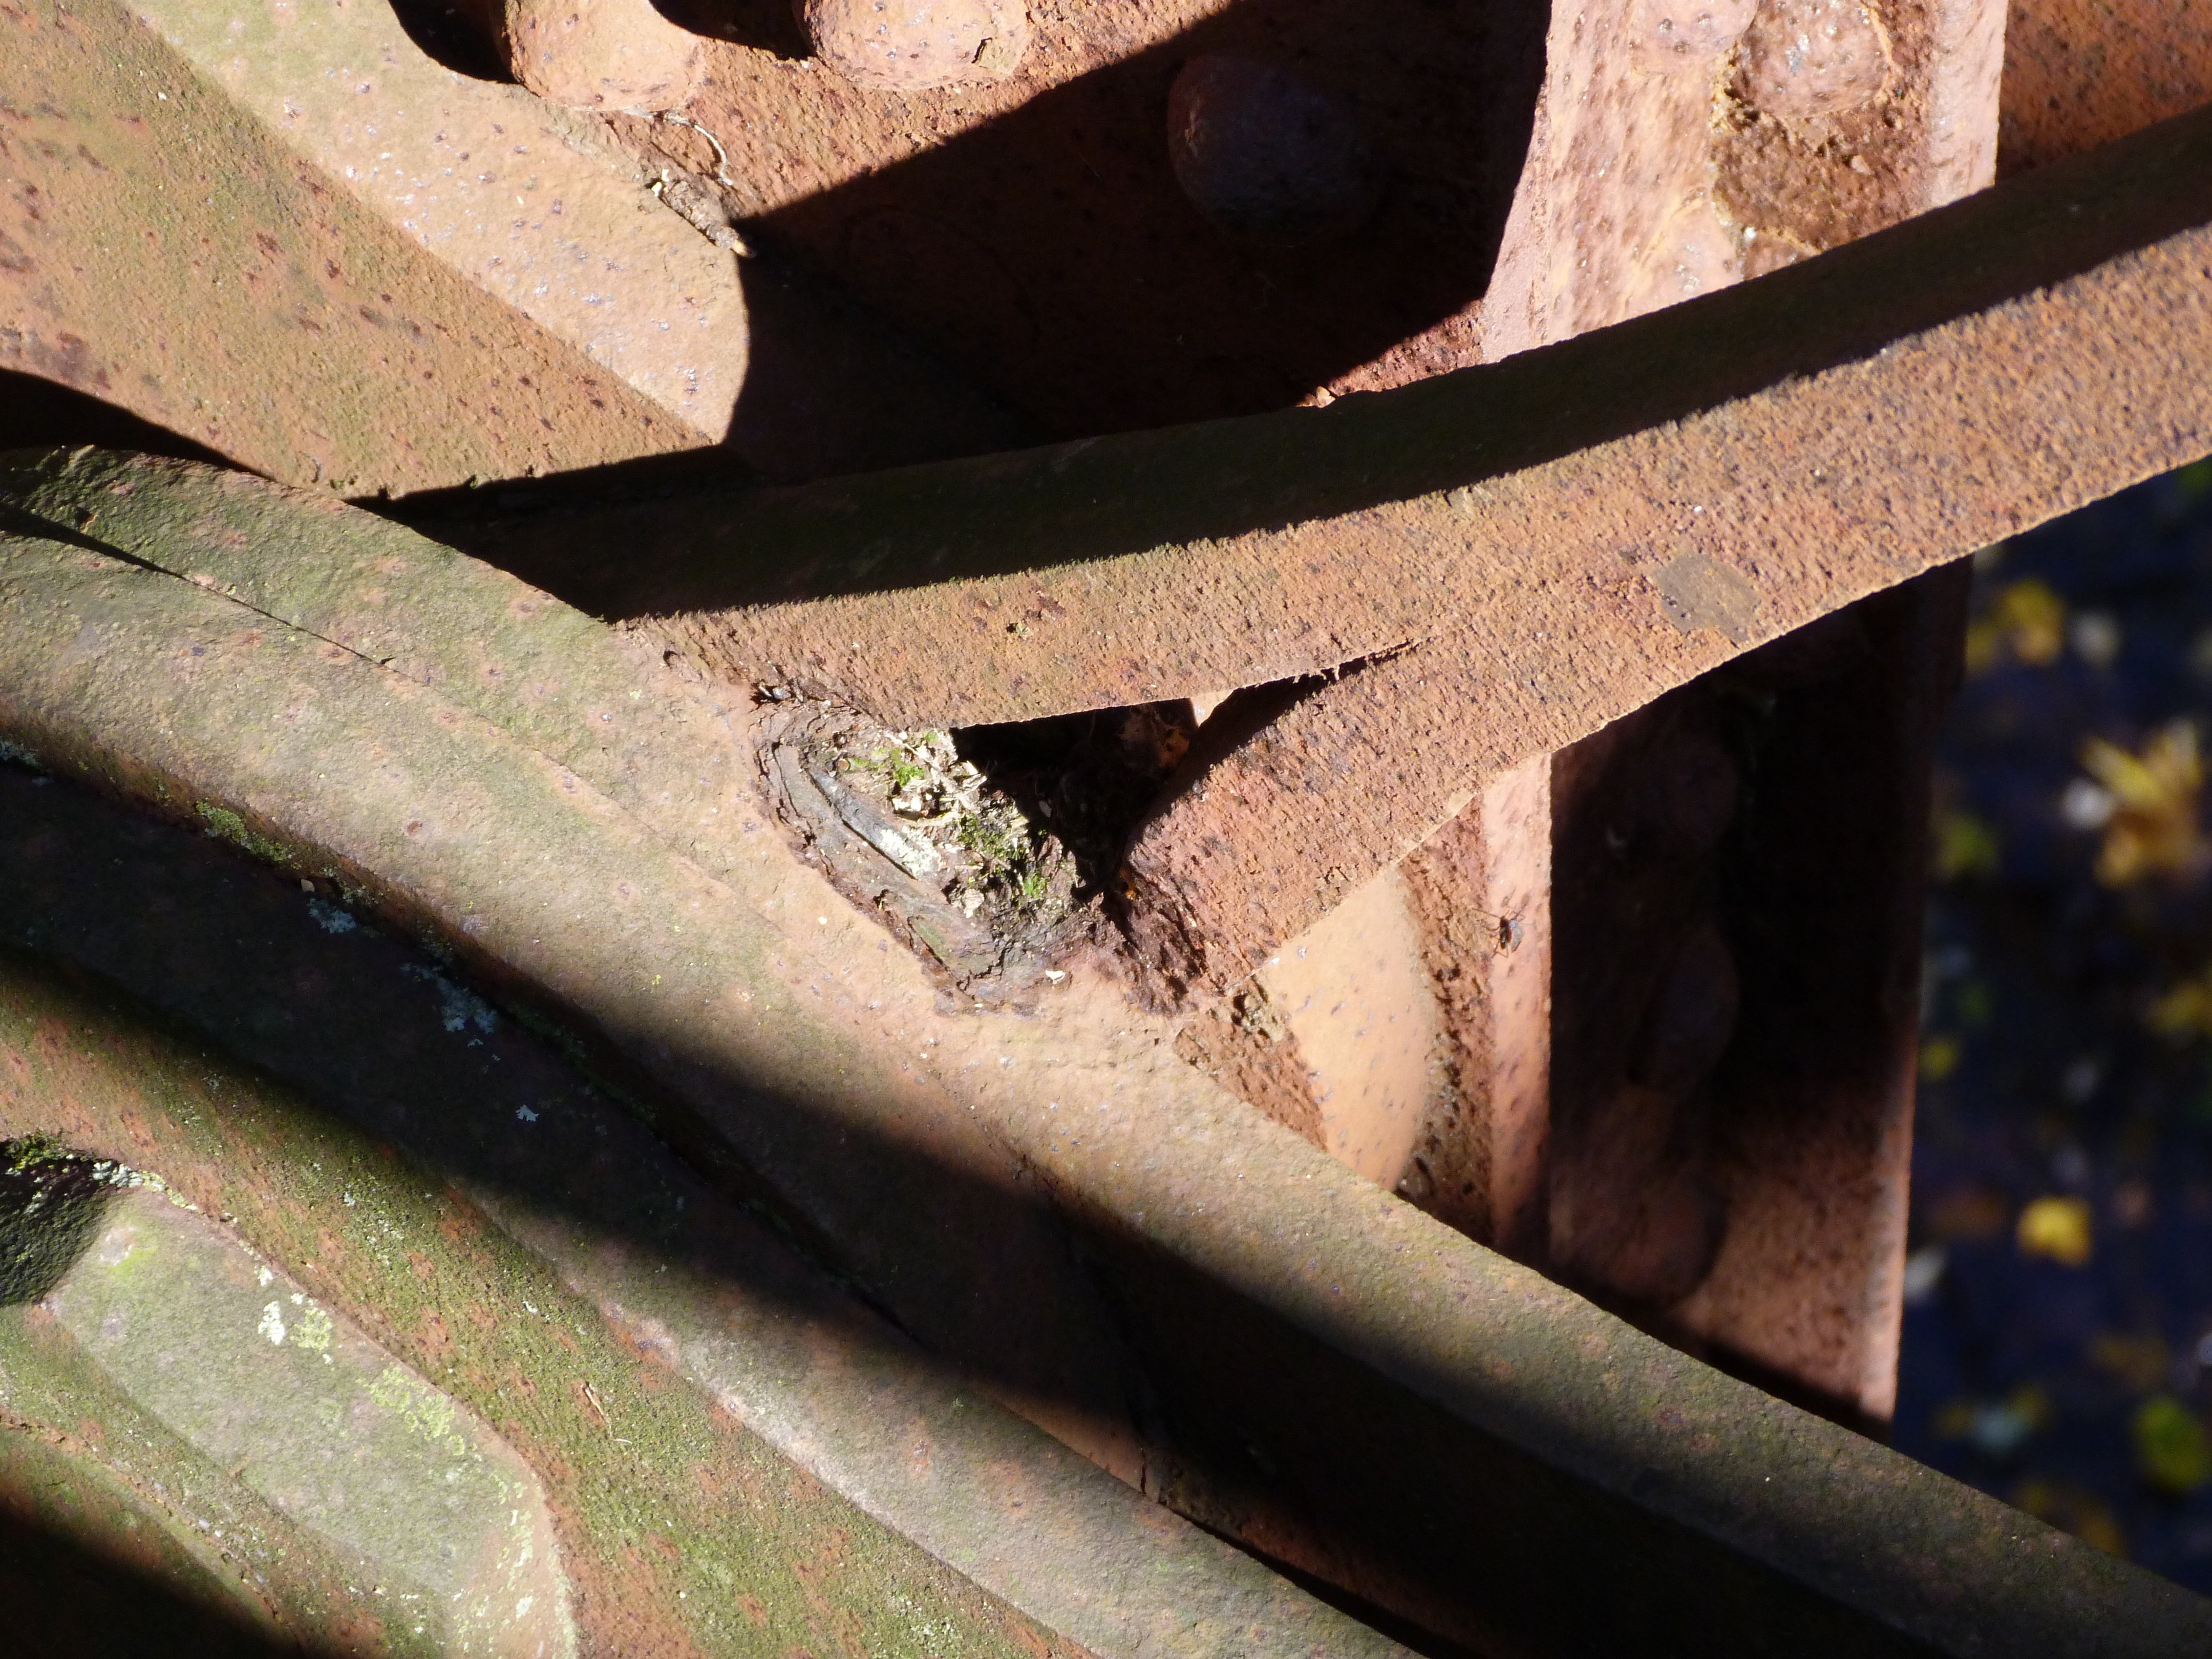
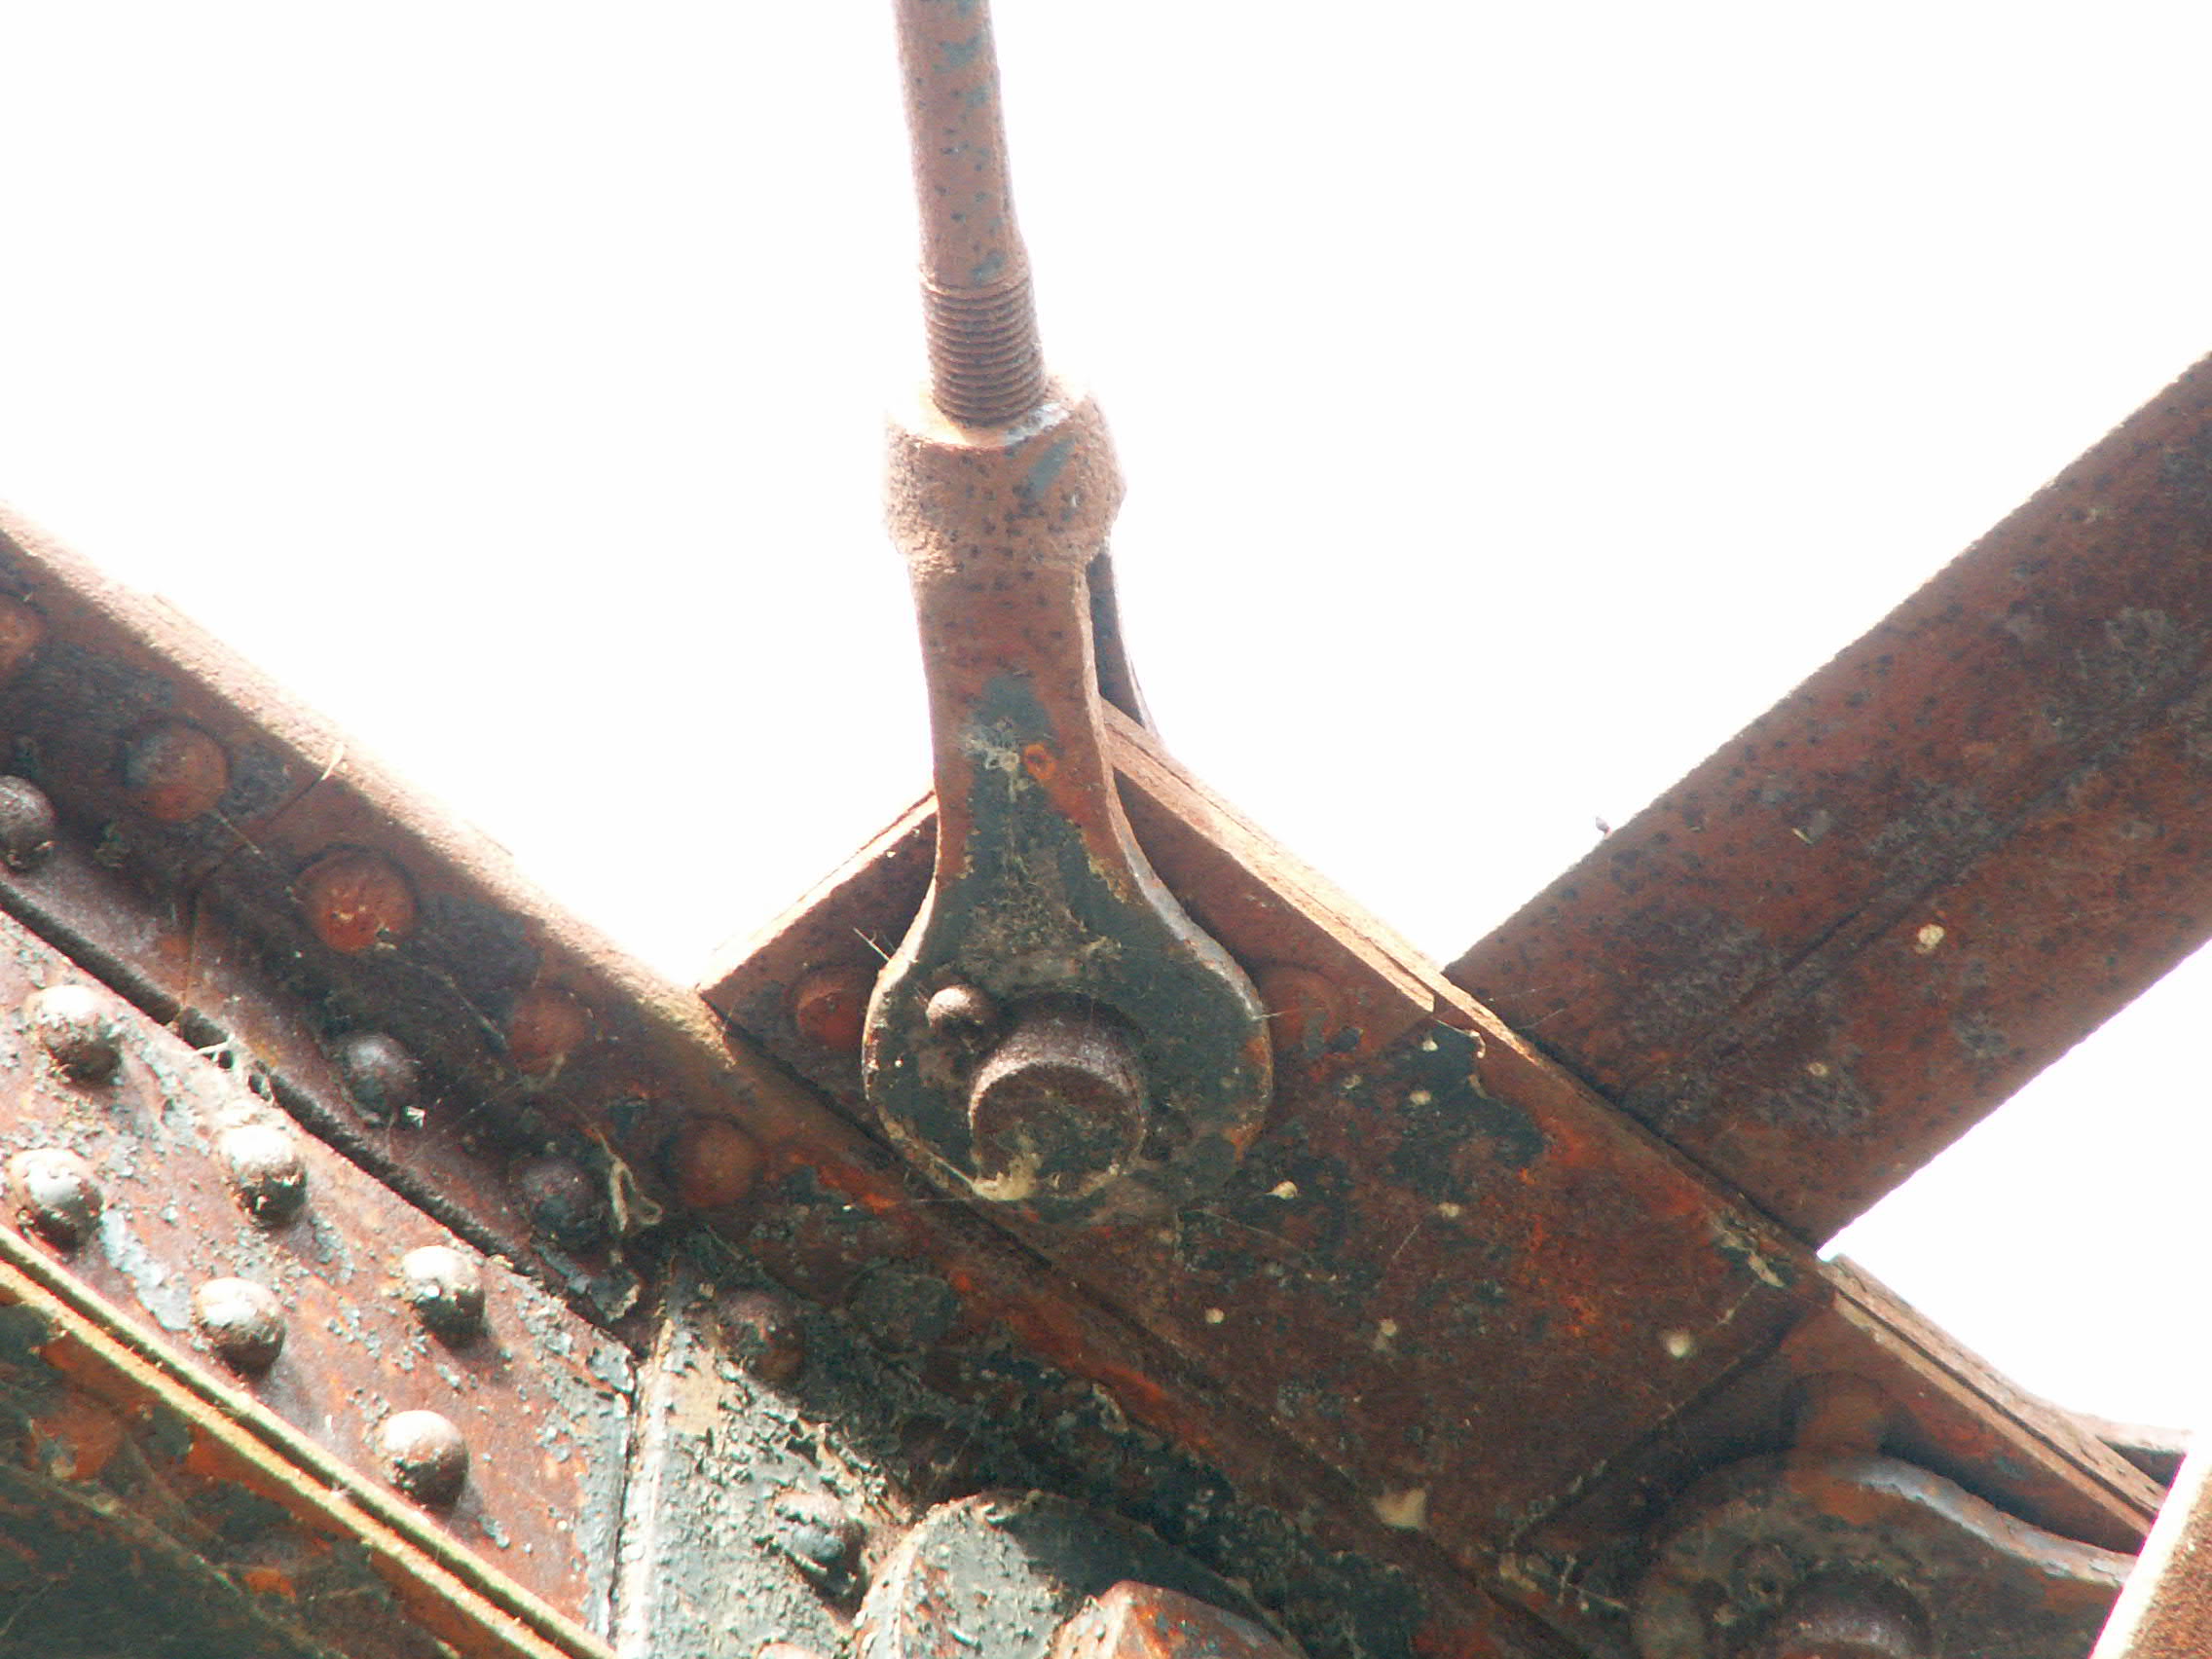
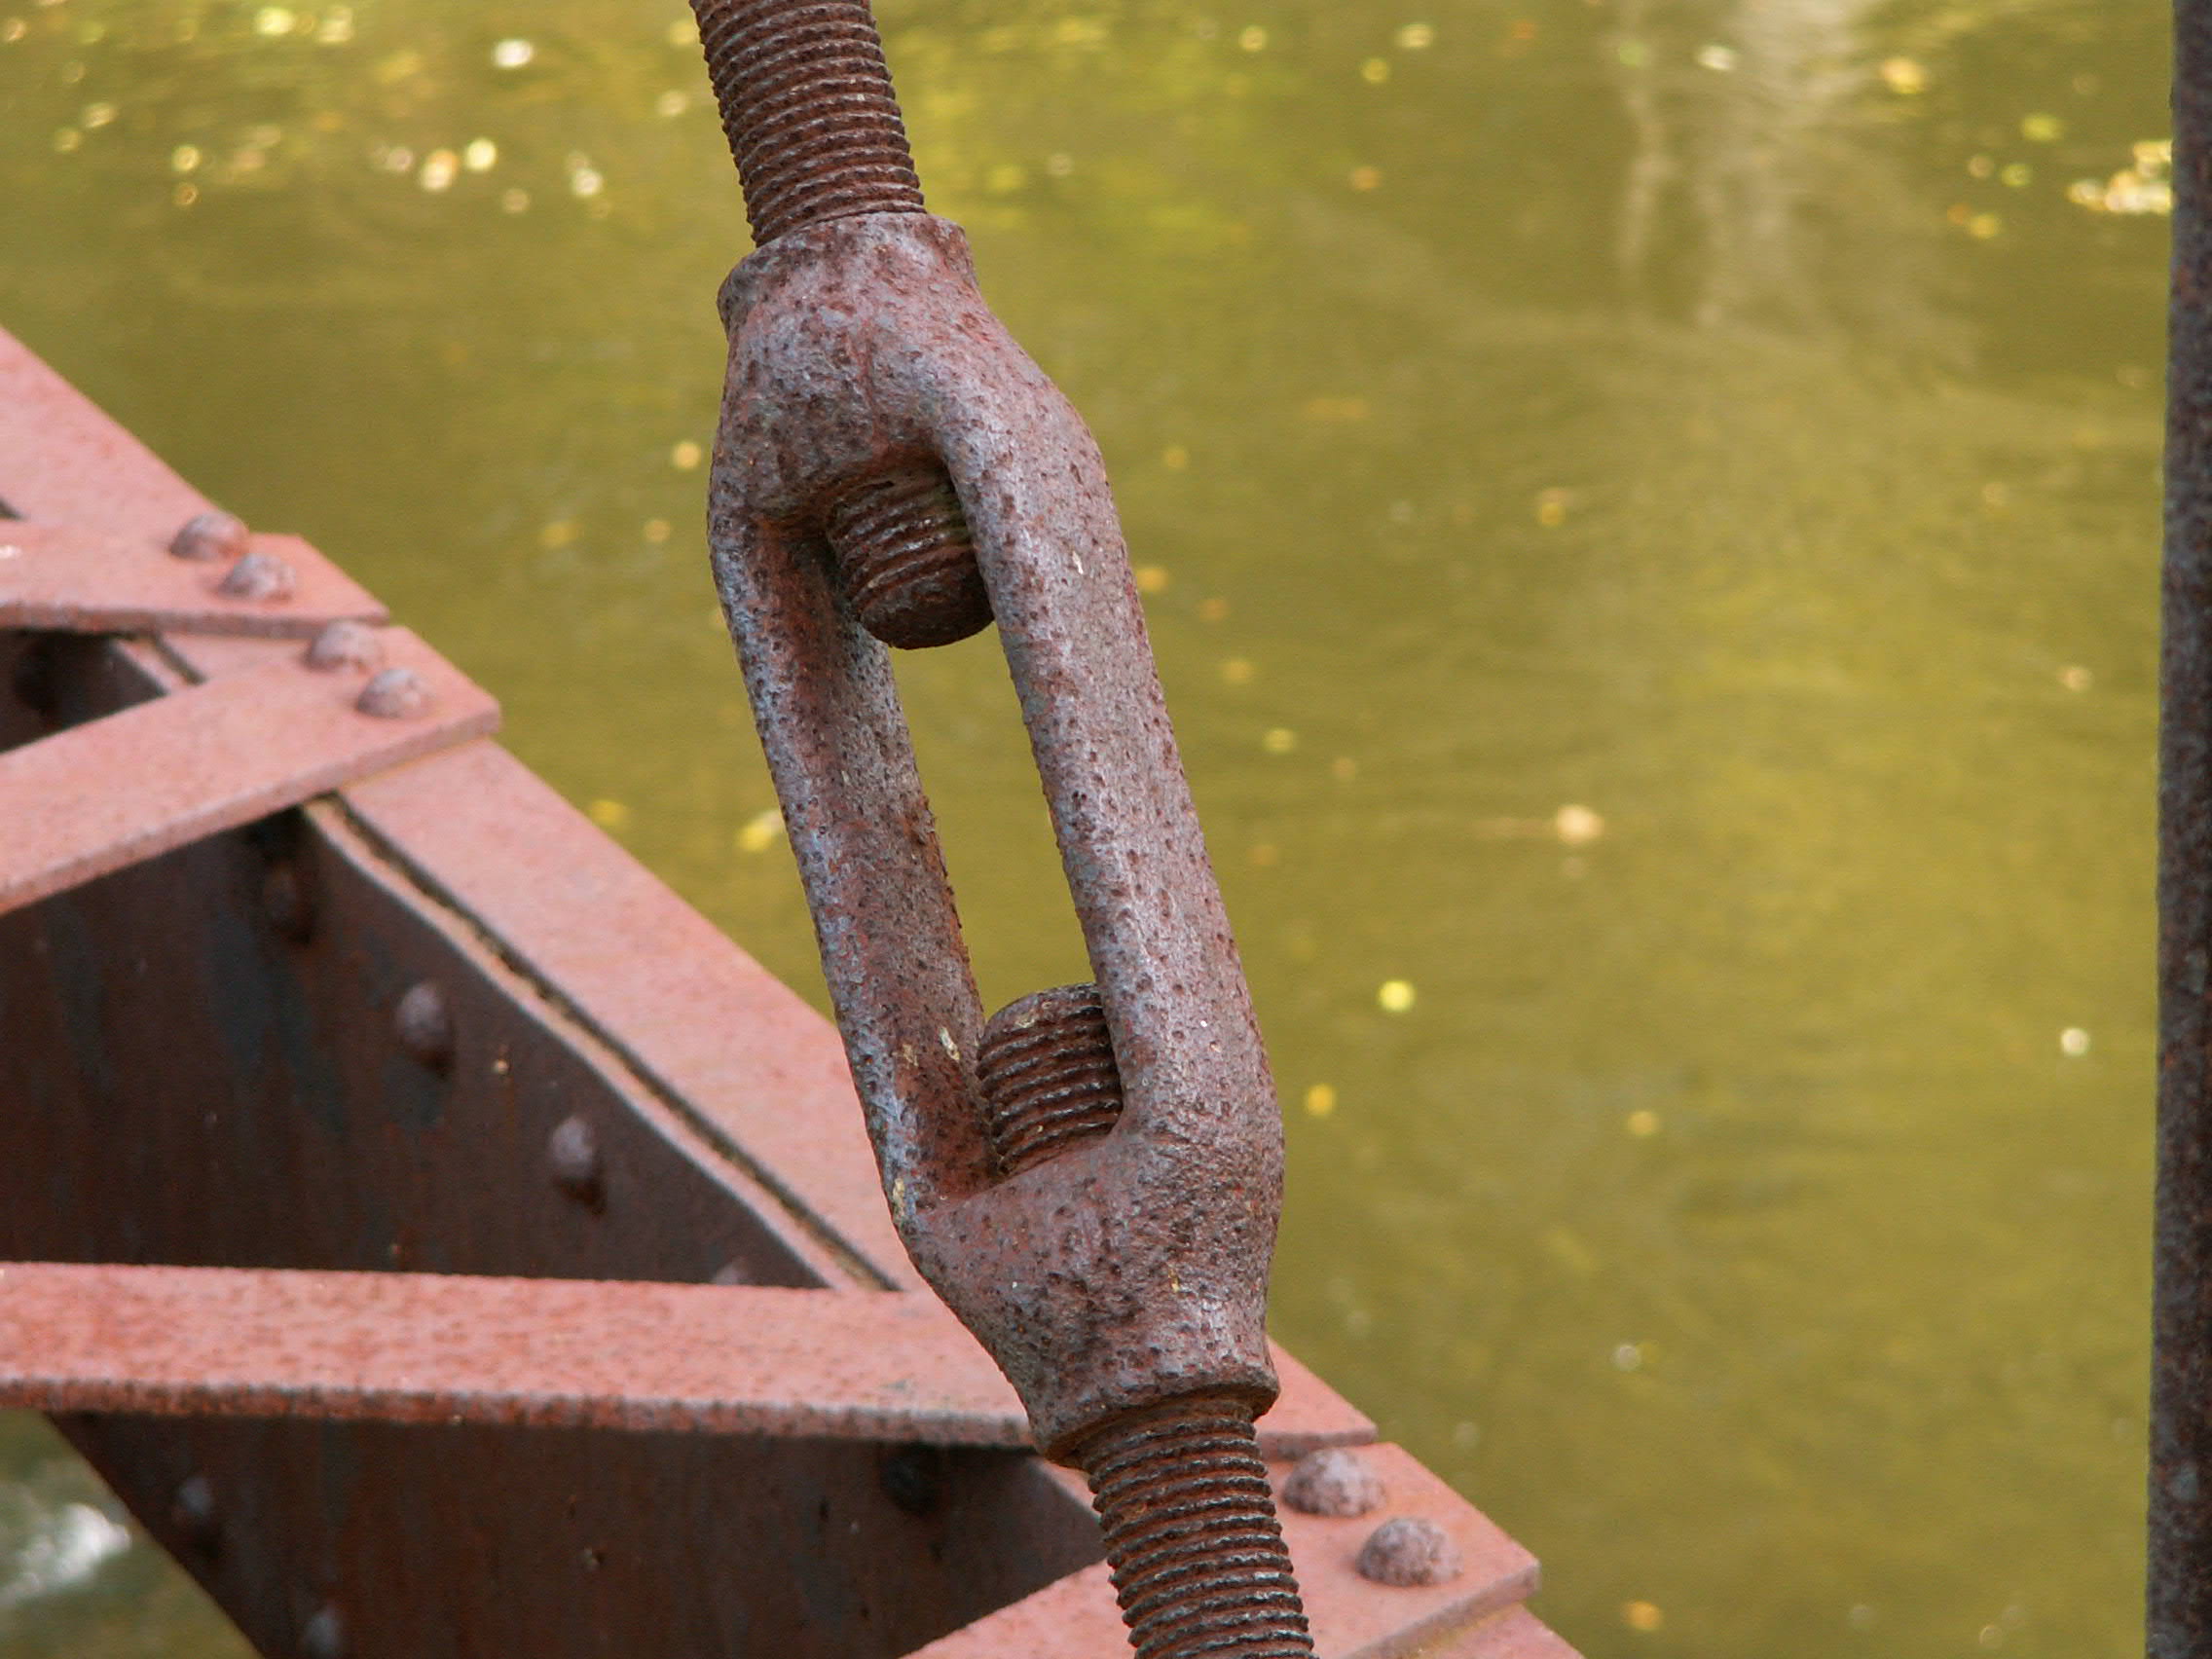
Fixed truss turnbuckles.
![]()
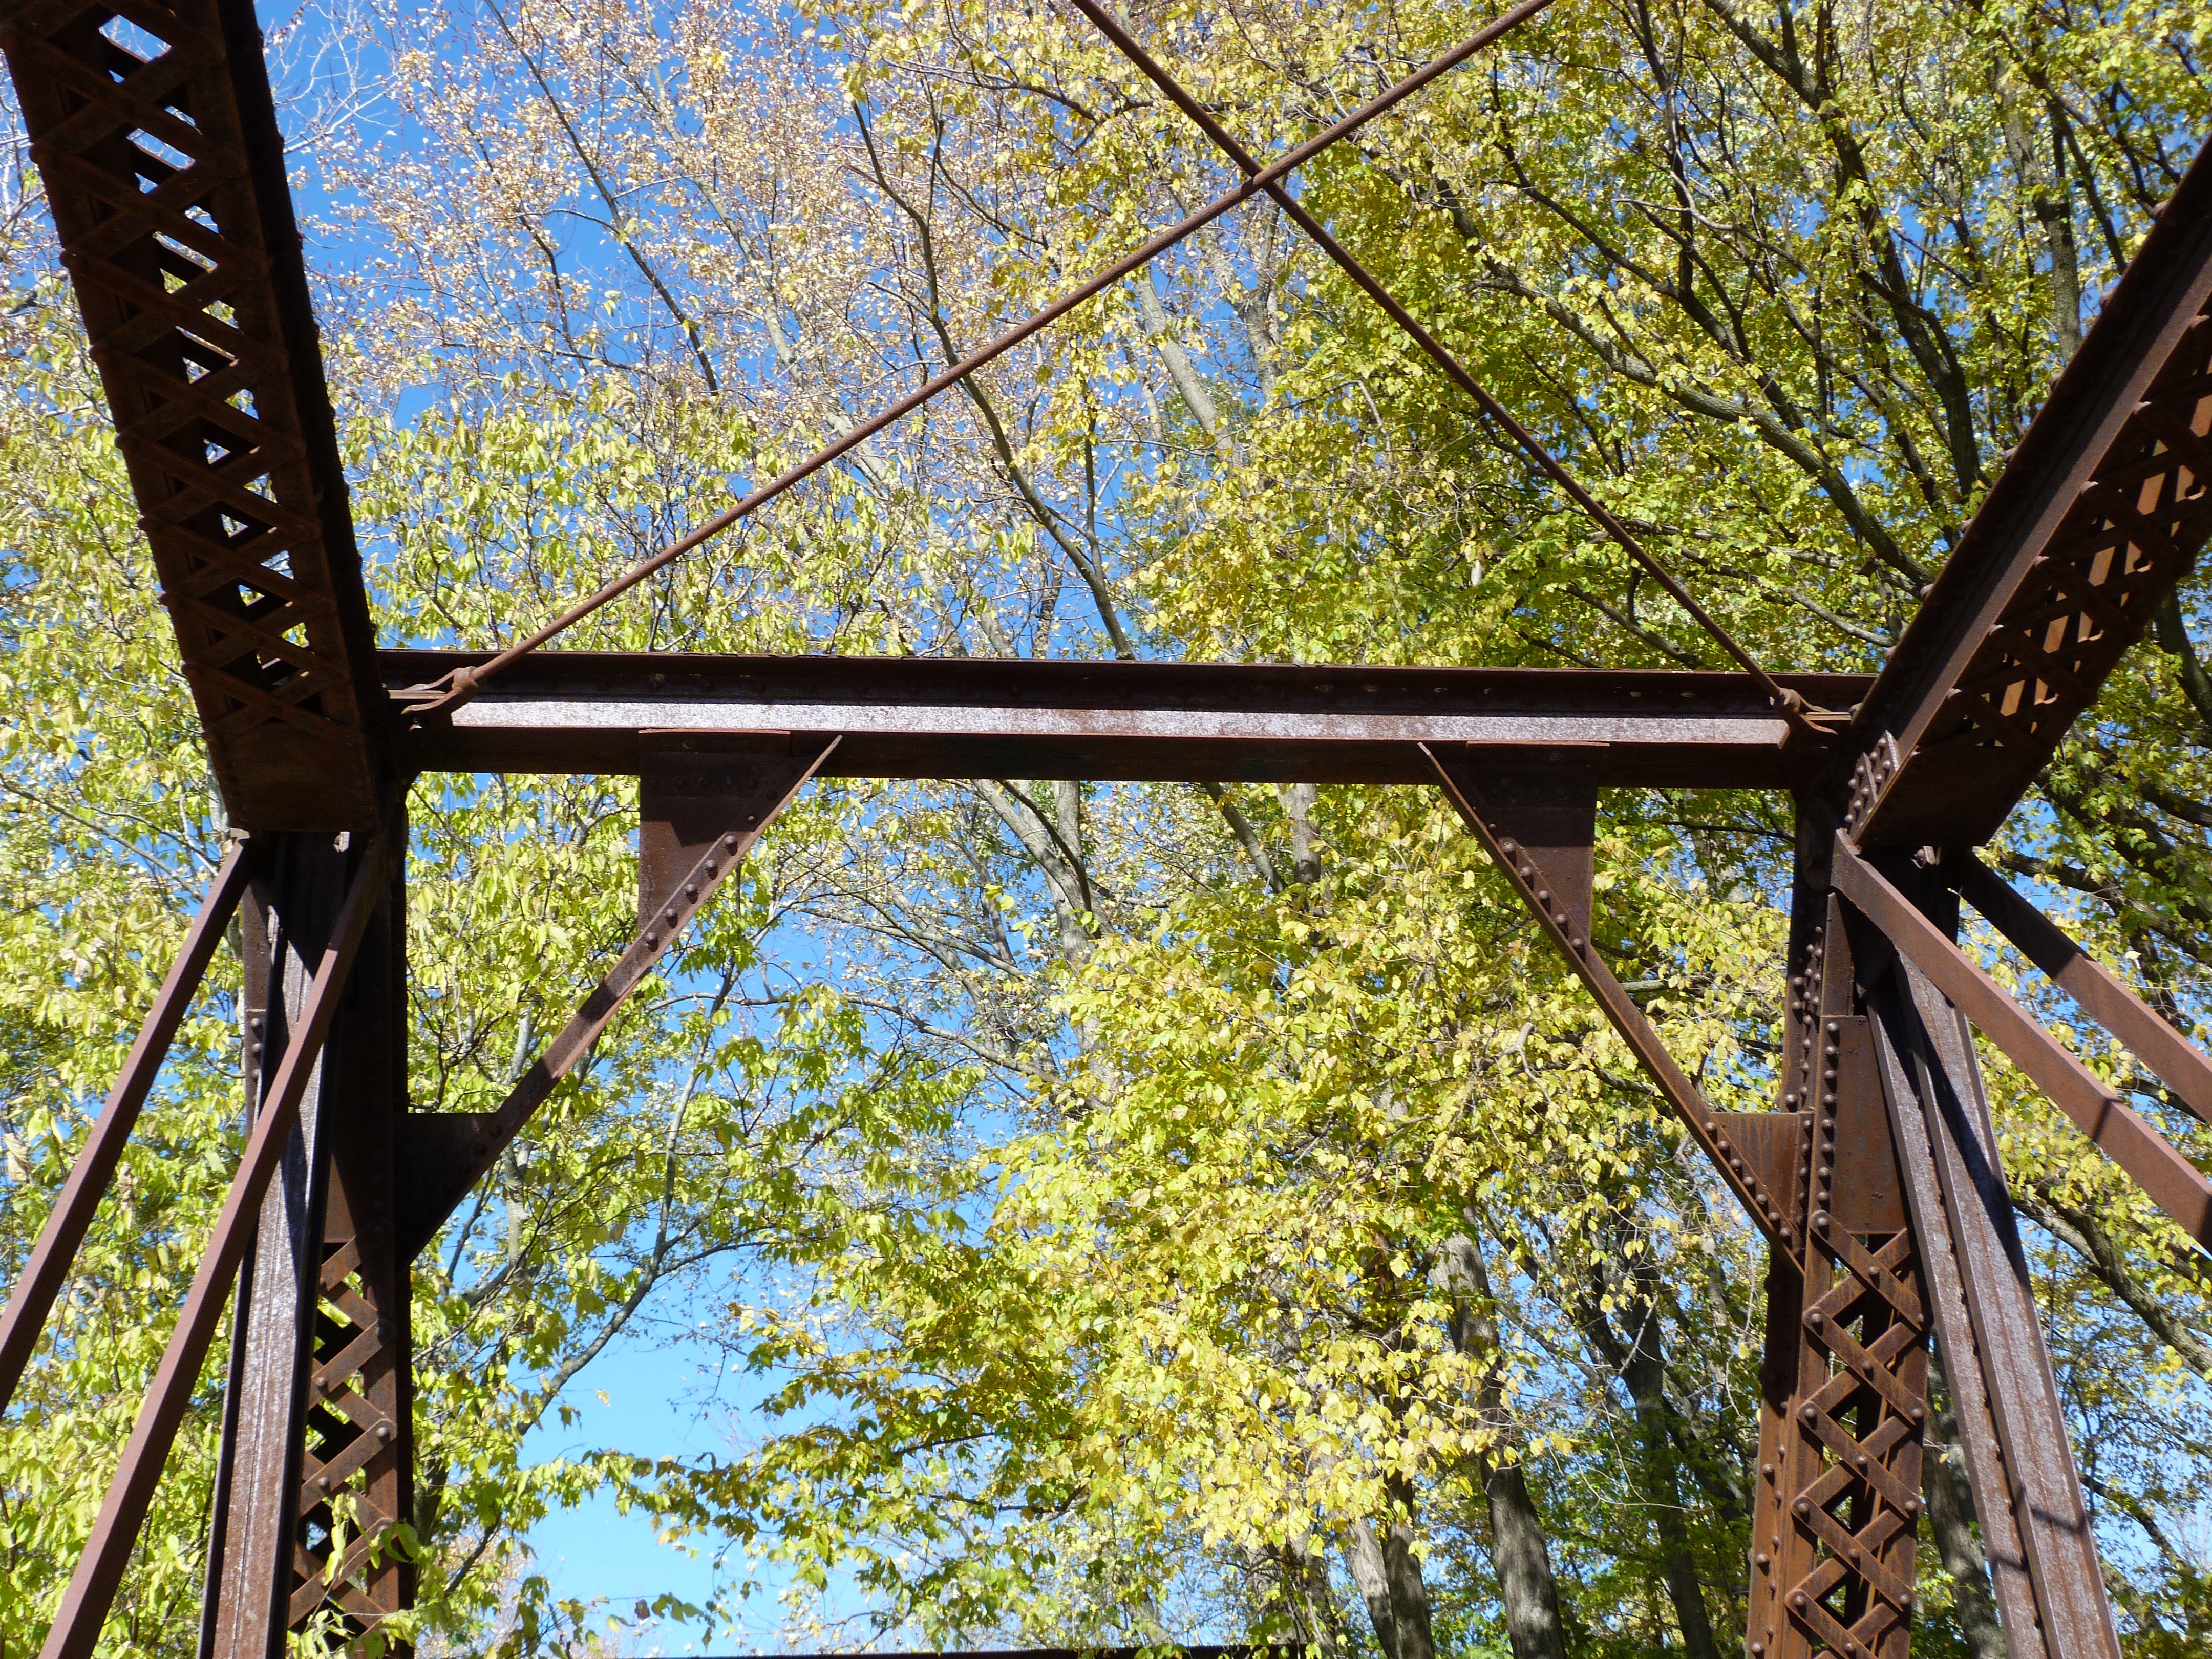

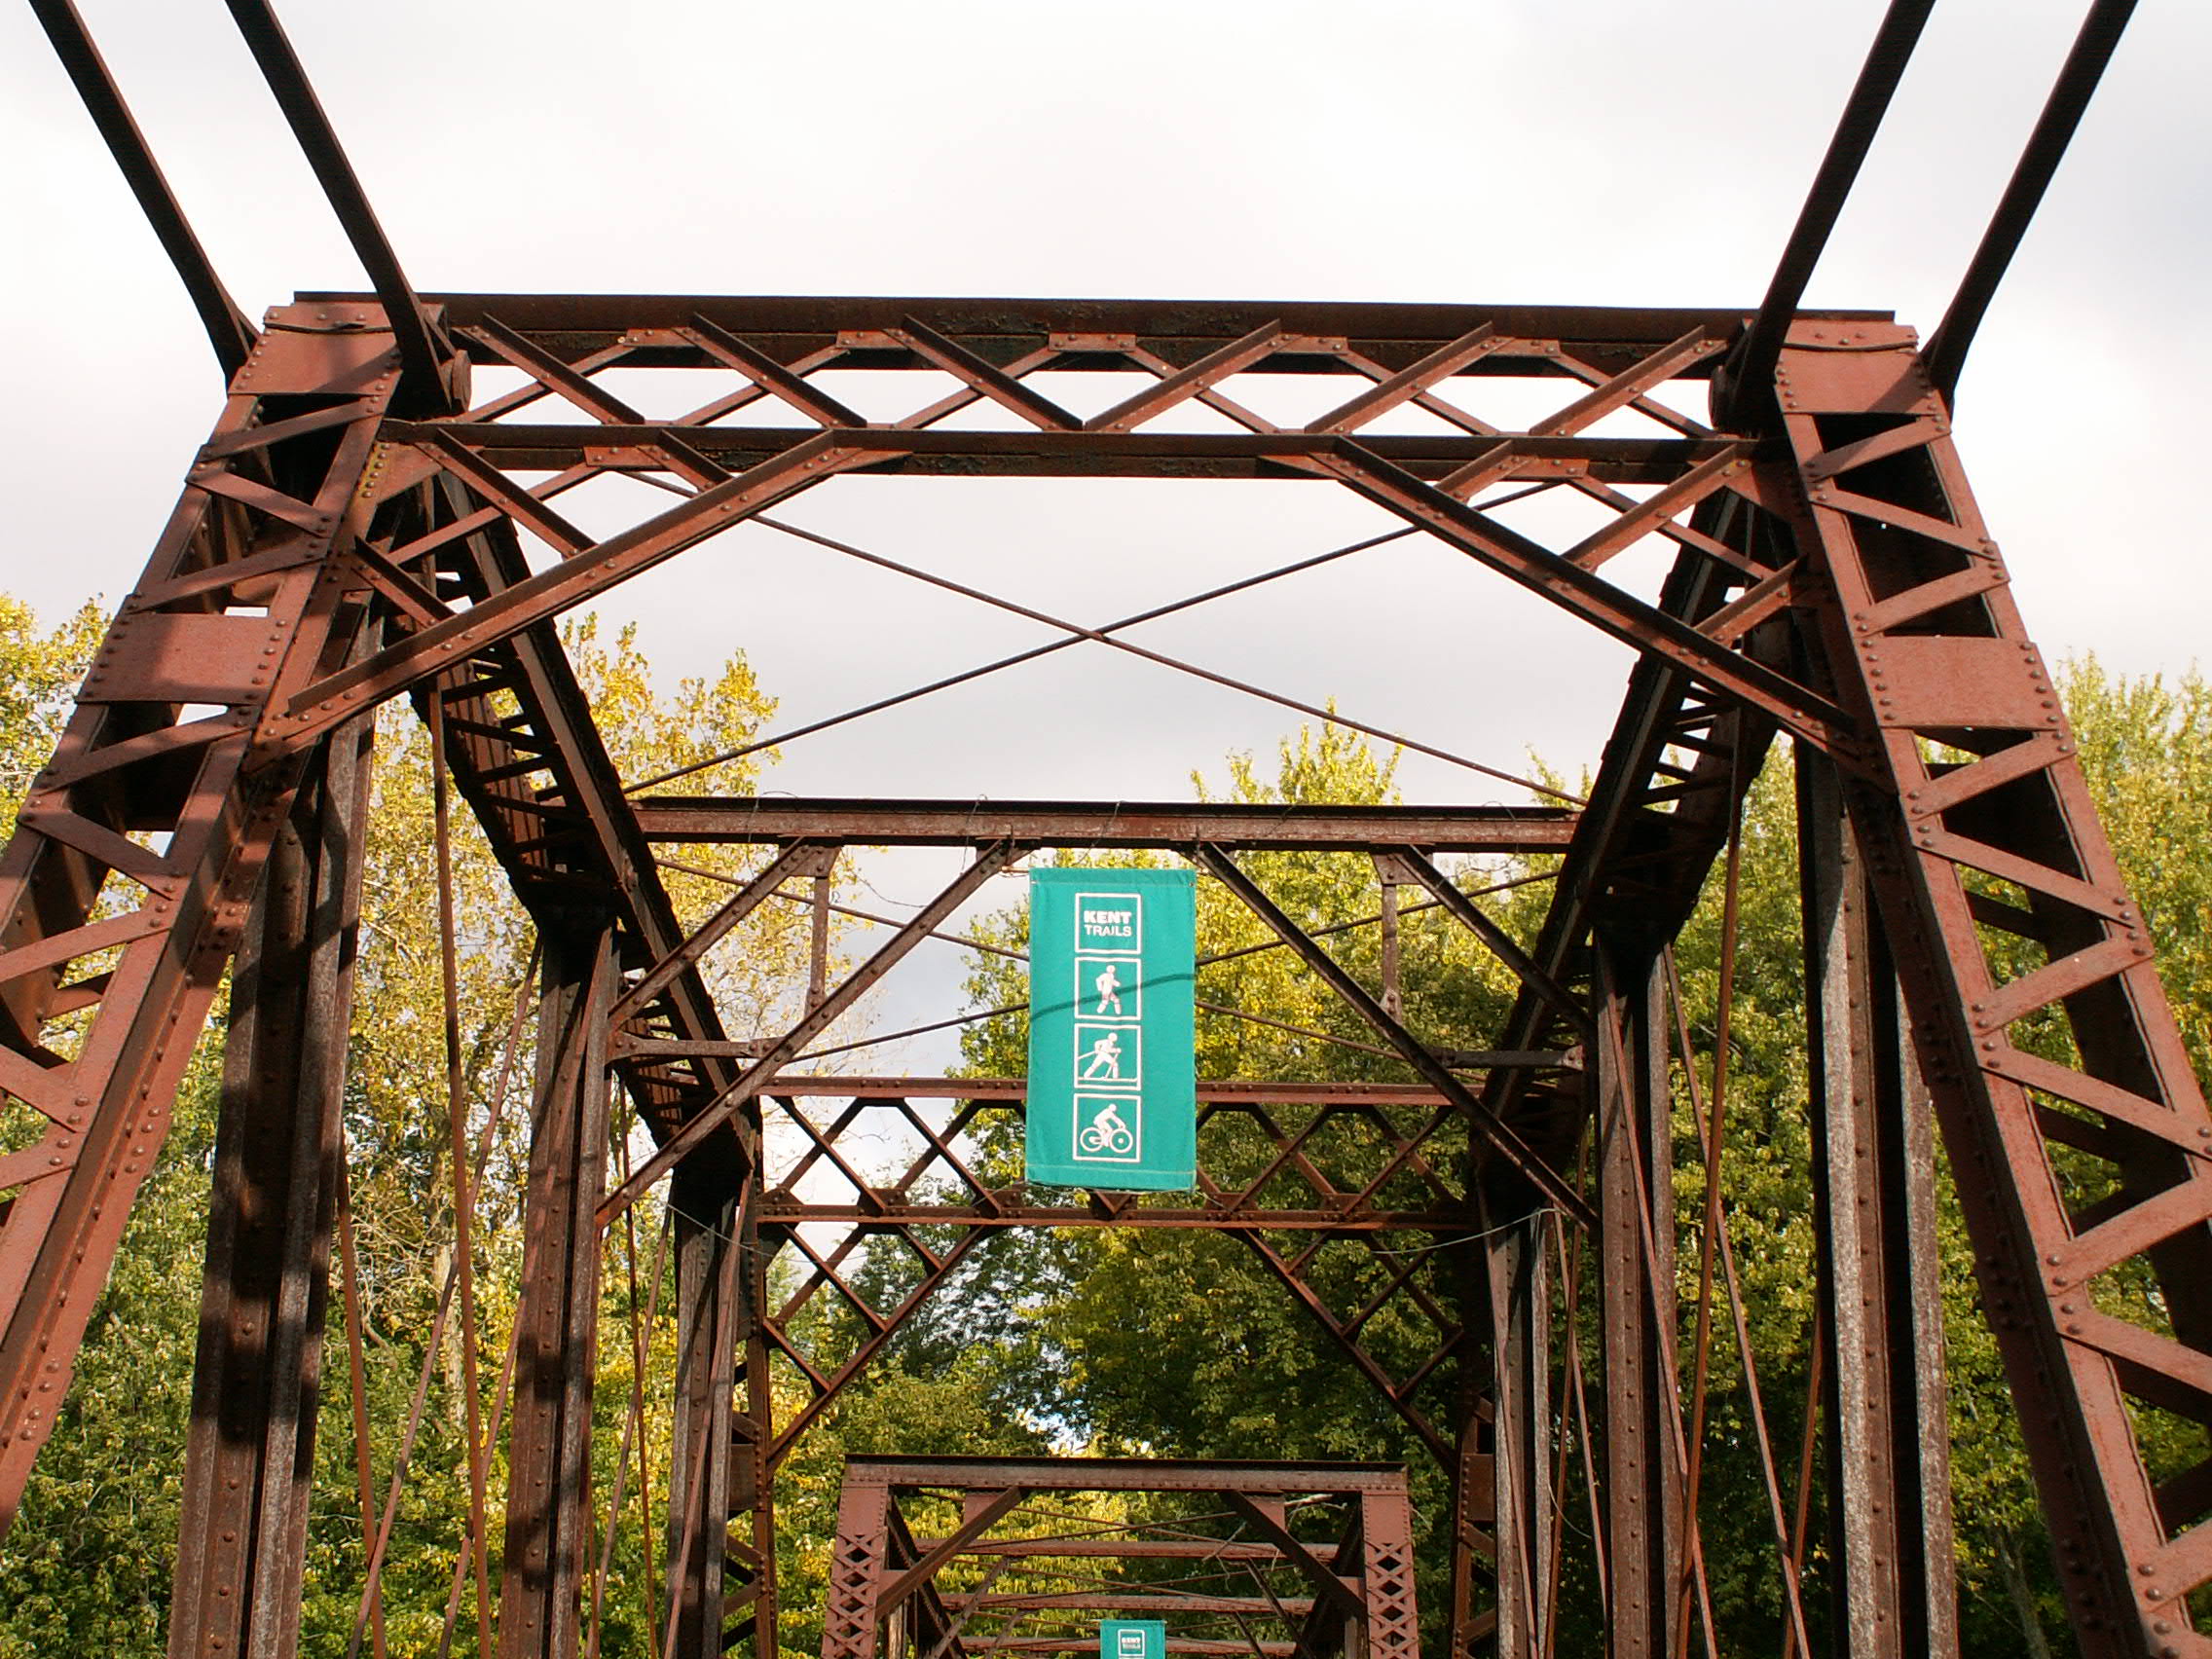
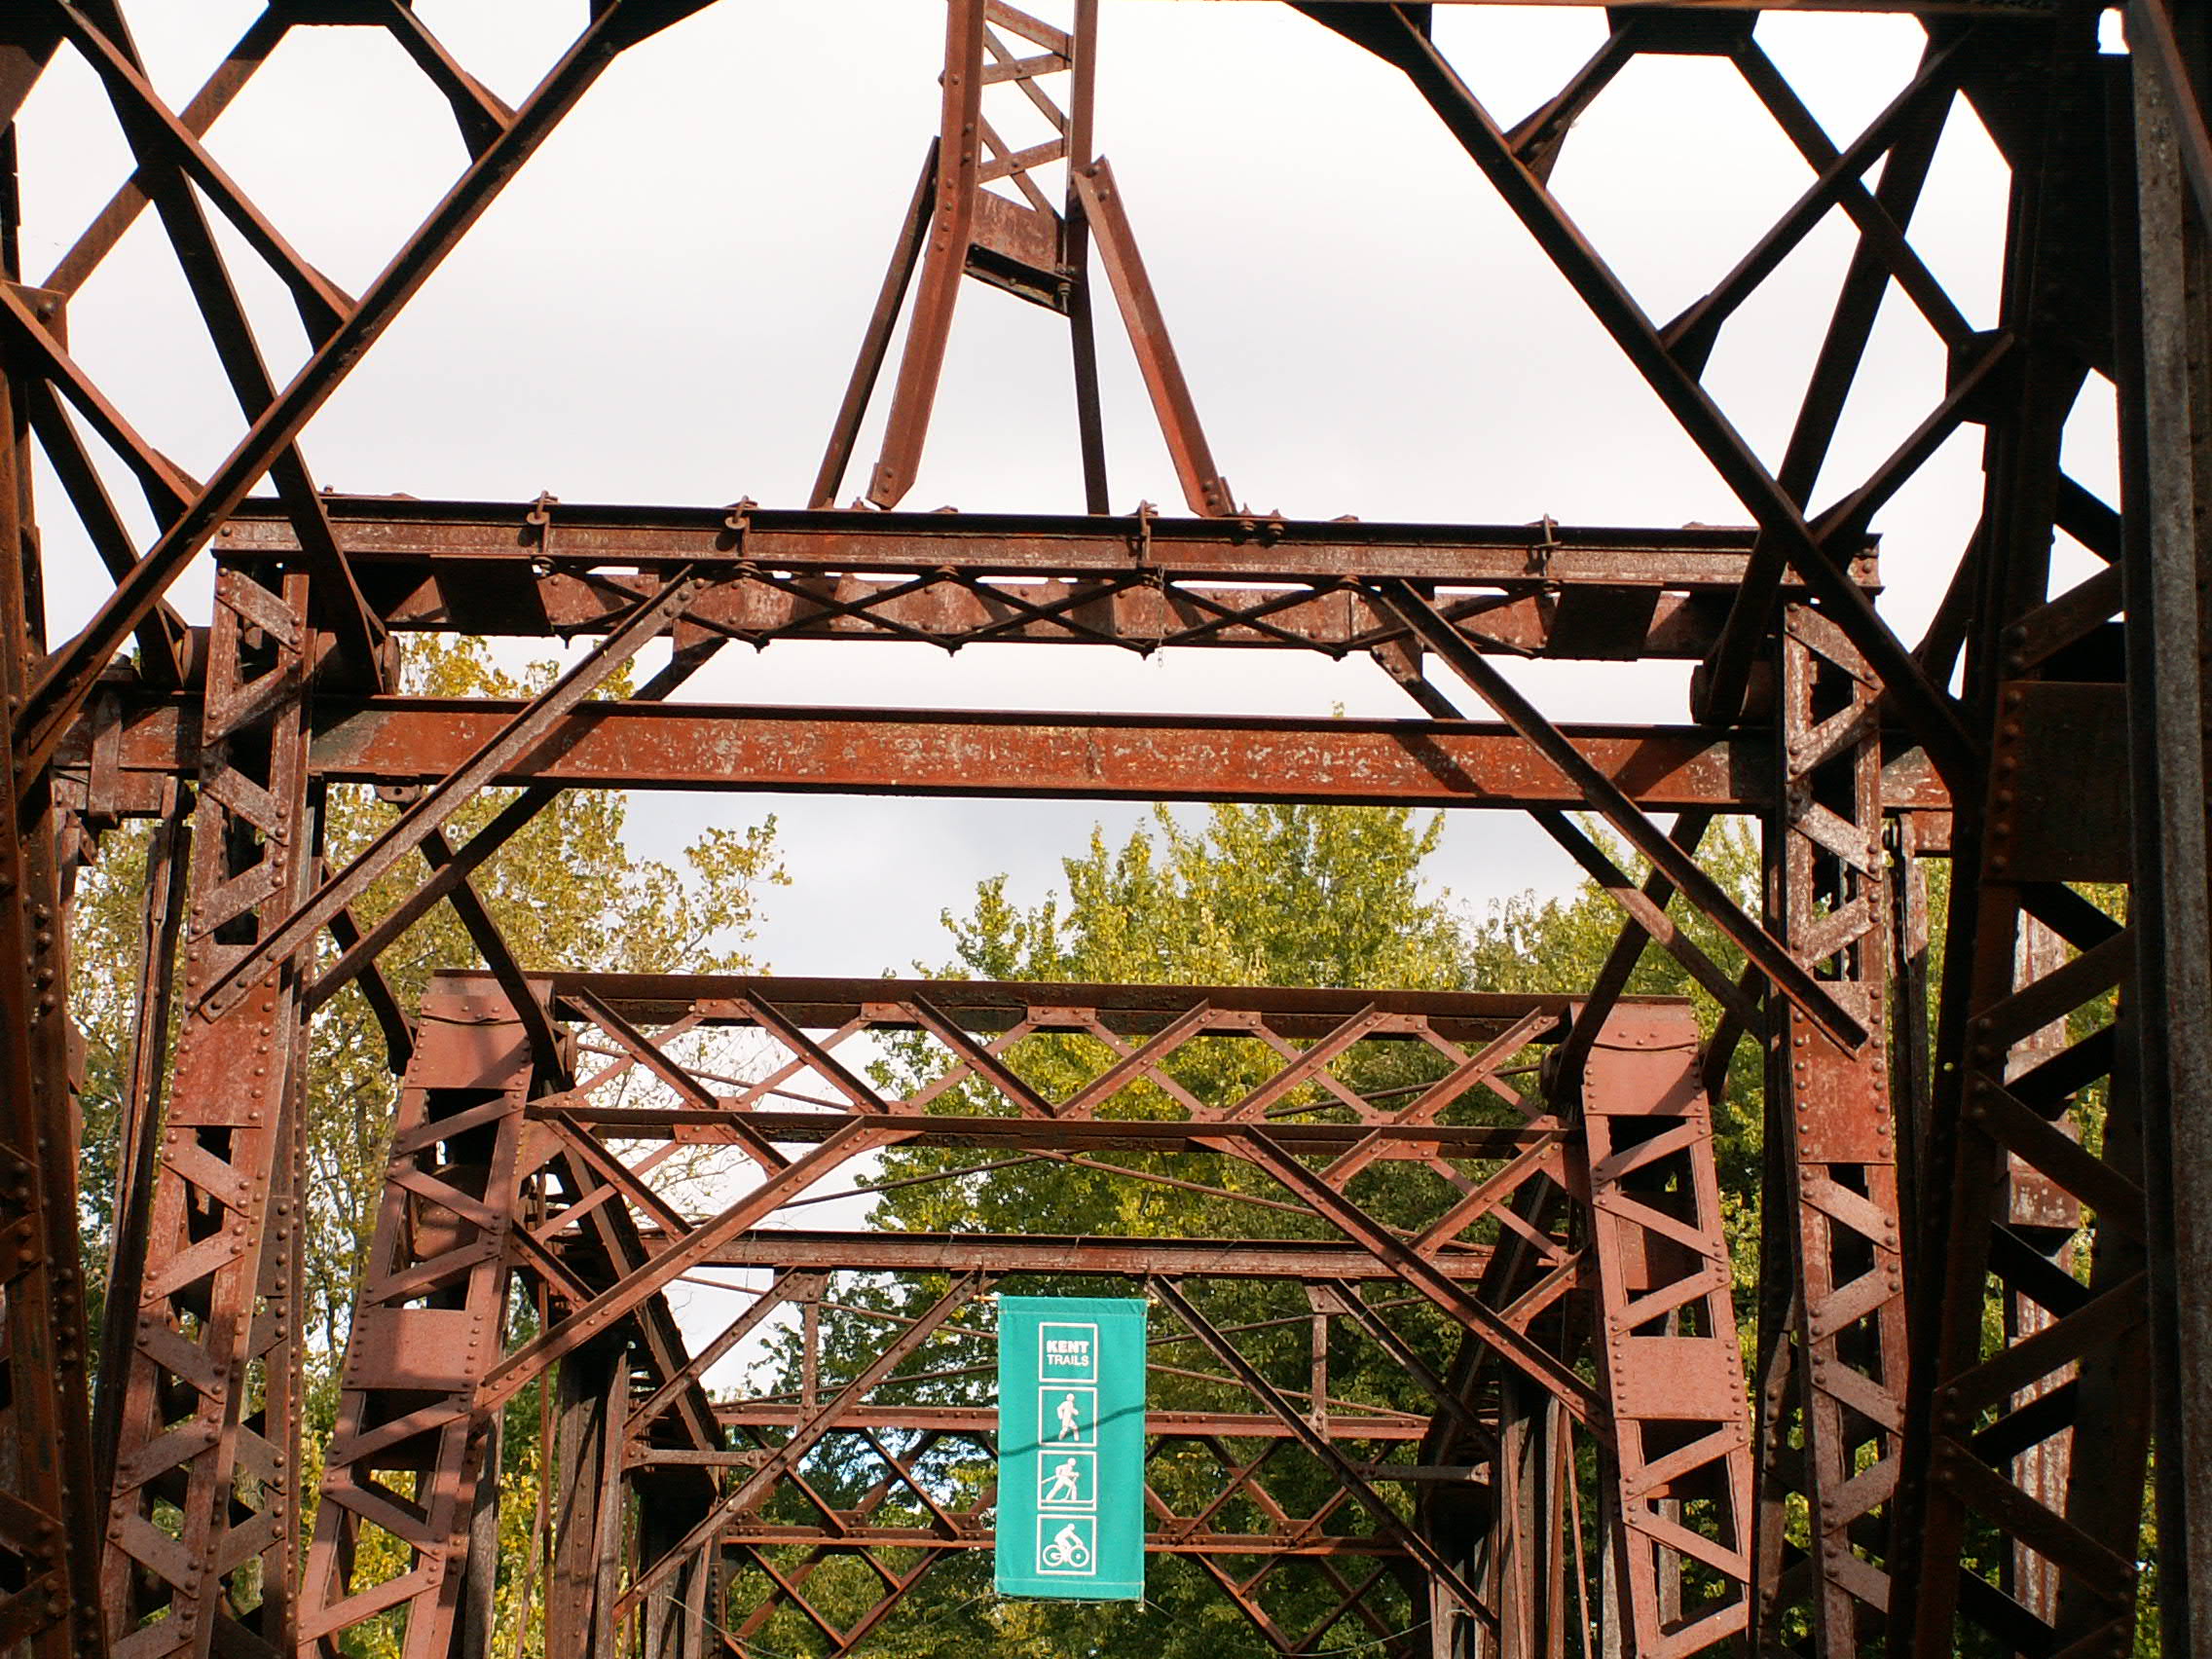
Fixed truss portal bracing.
![]()

Fixed truss struts.
![]()


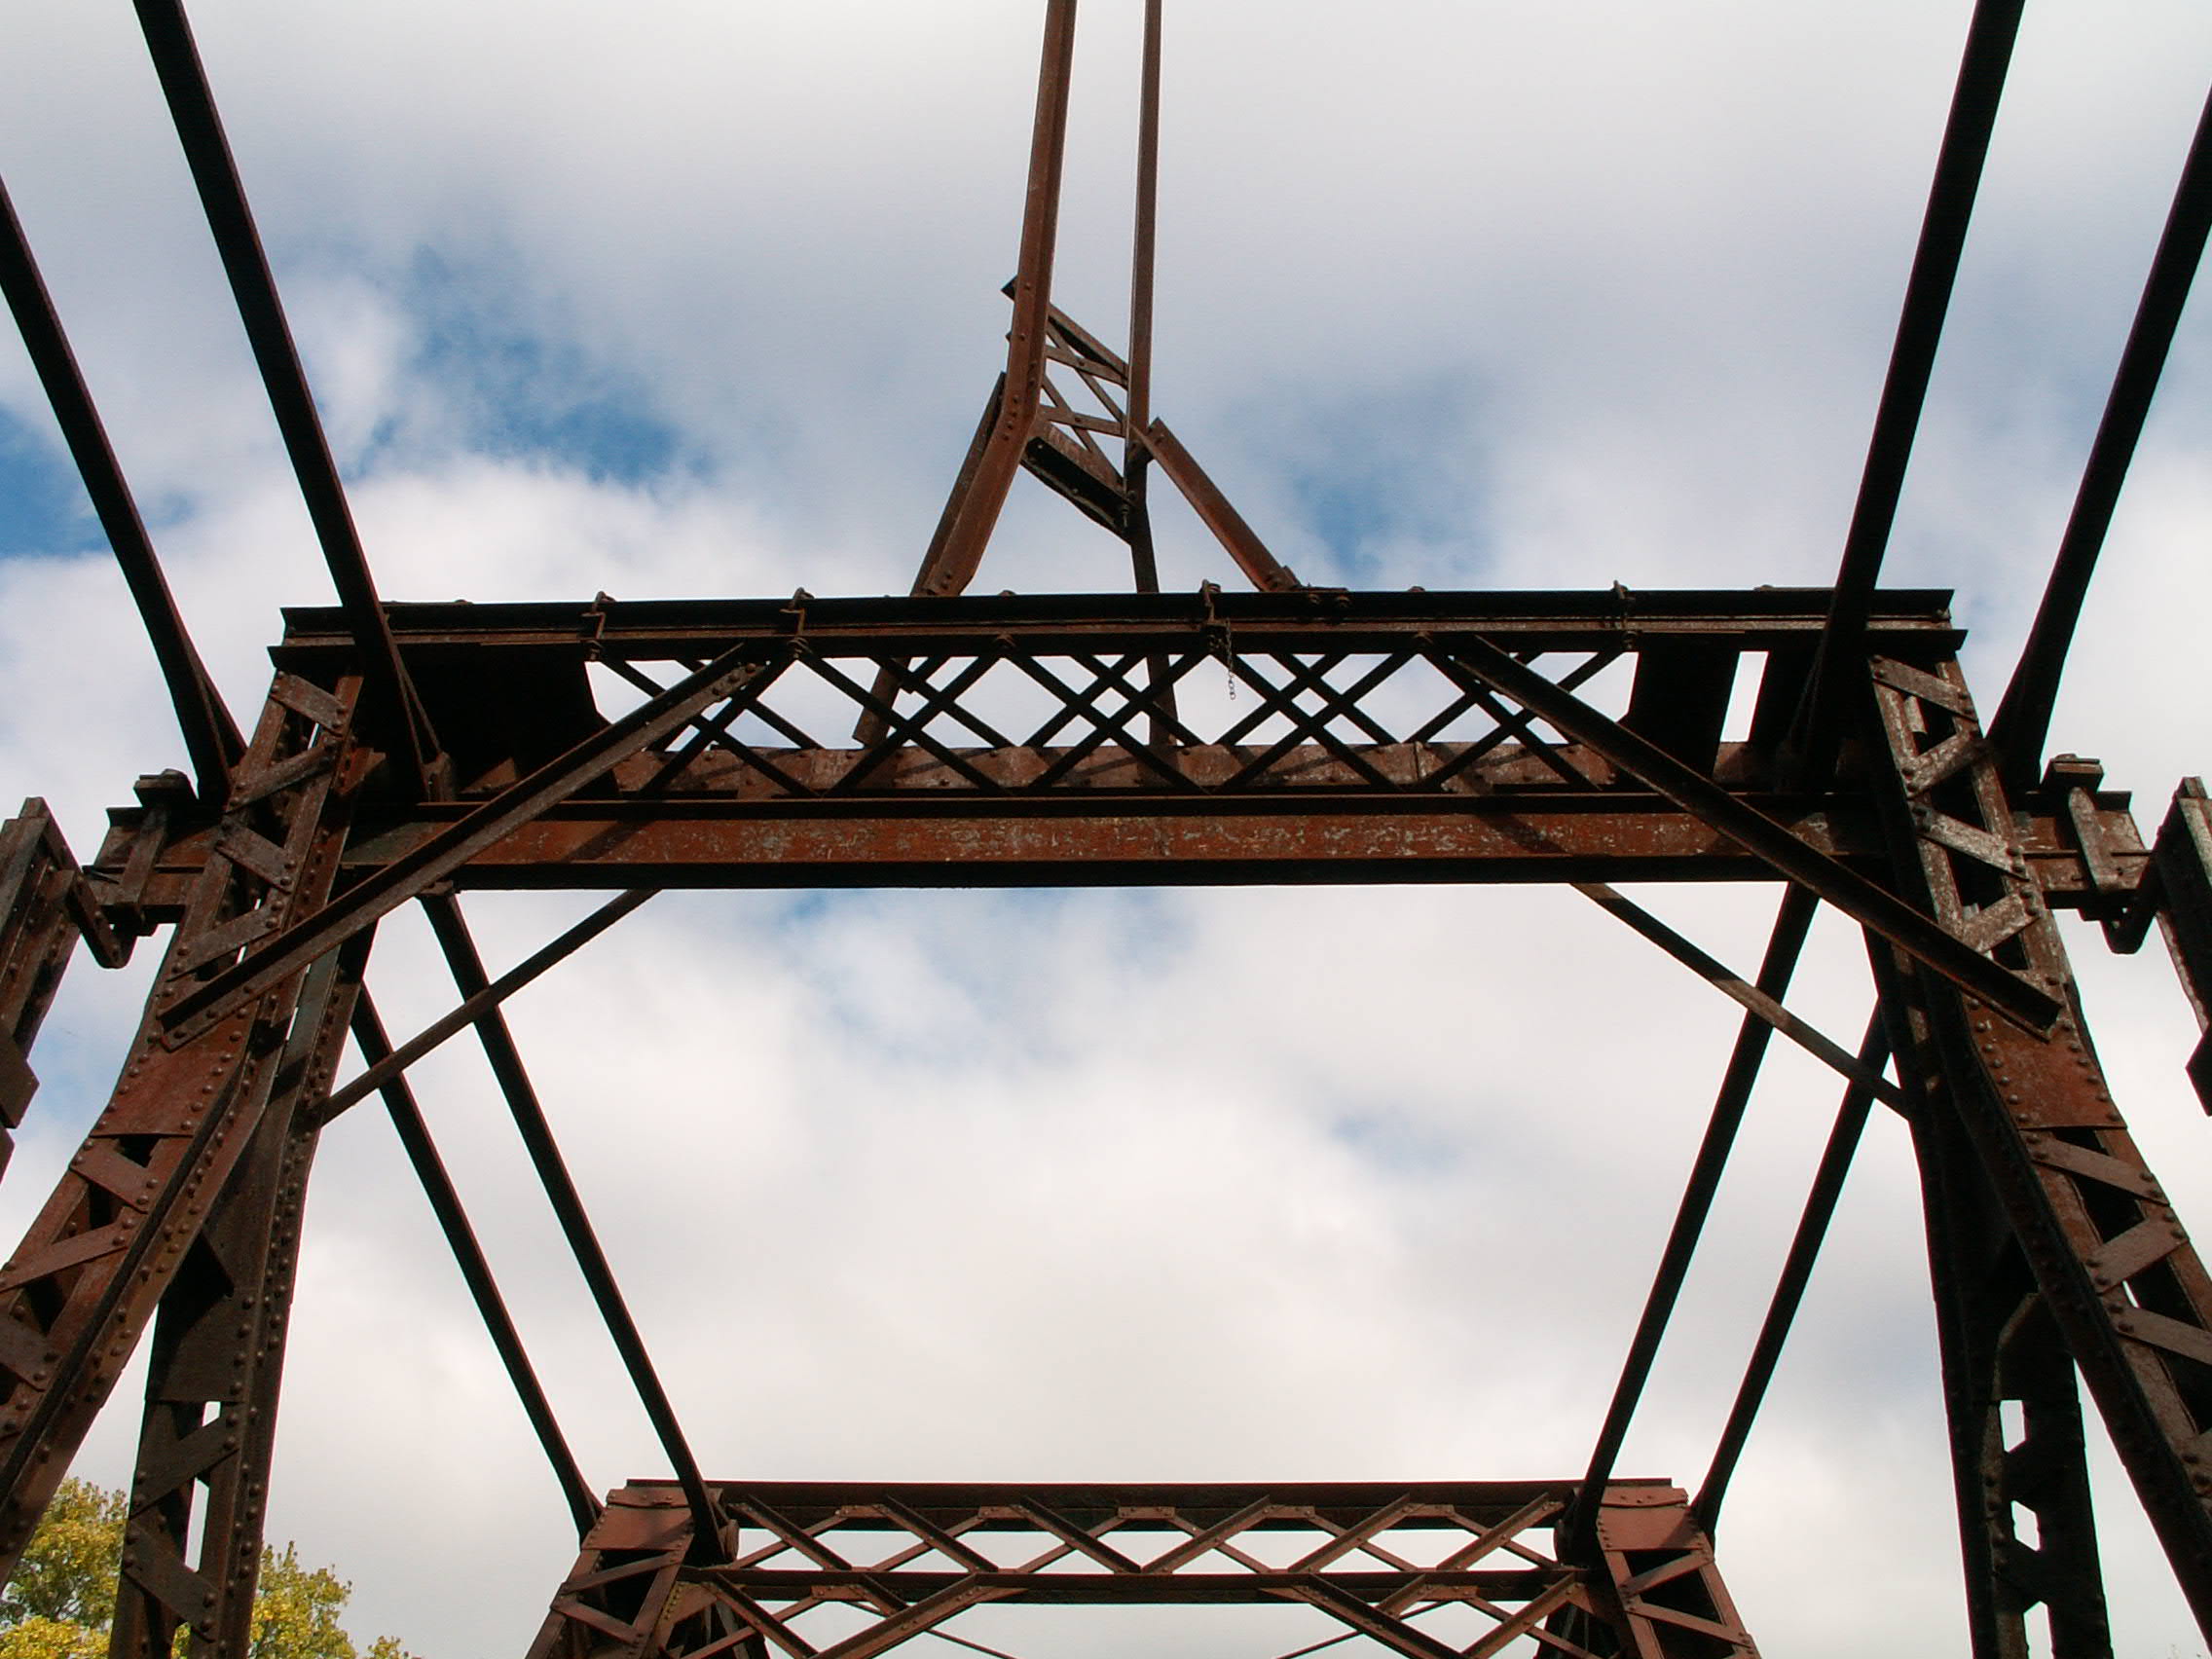
Fixed truss overhead lateral bracing connection.
![]()
Fixed truss lateral bracing connection under deck.
![]()

Lateral bracing under deck of fixed truss. Note how it passes through a special hole placed in the deck stringer.
![]()
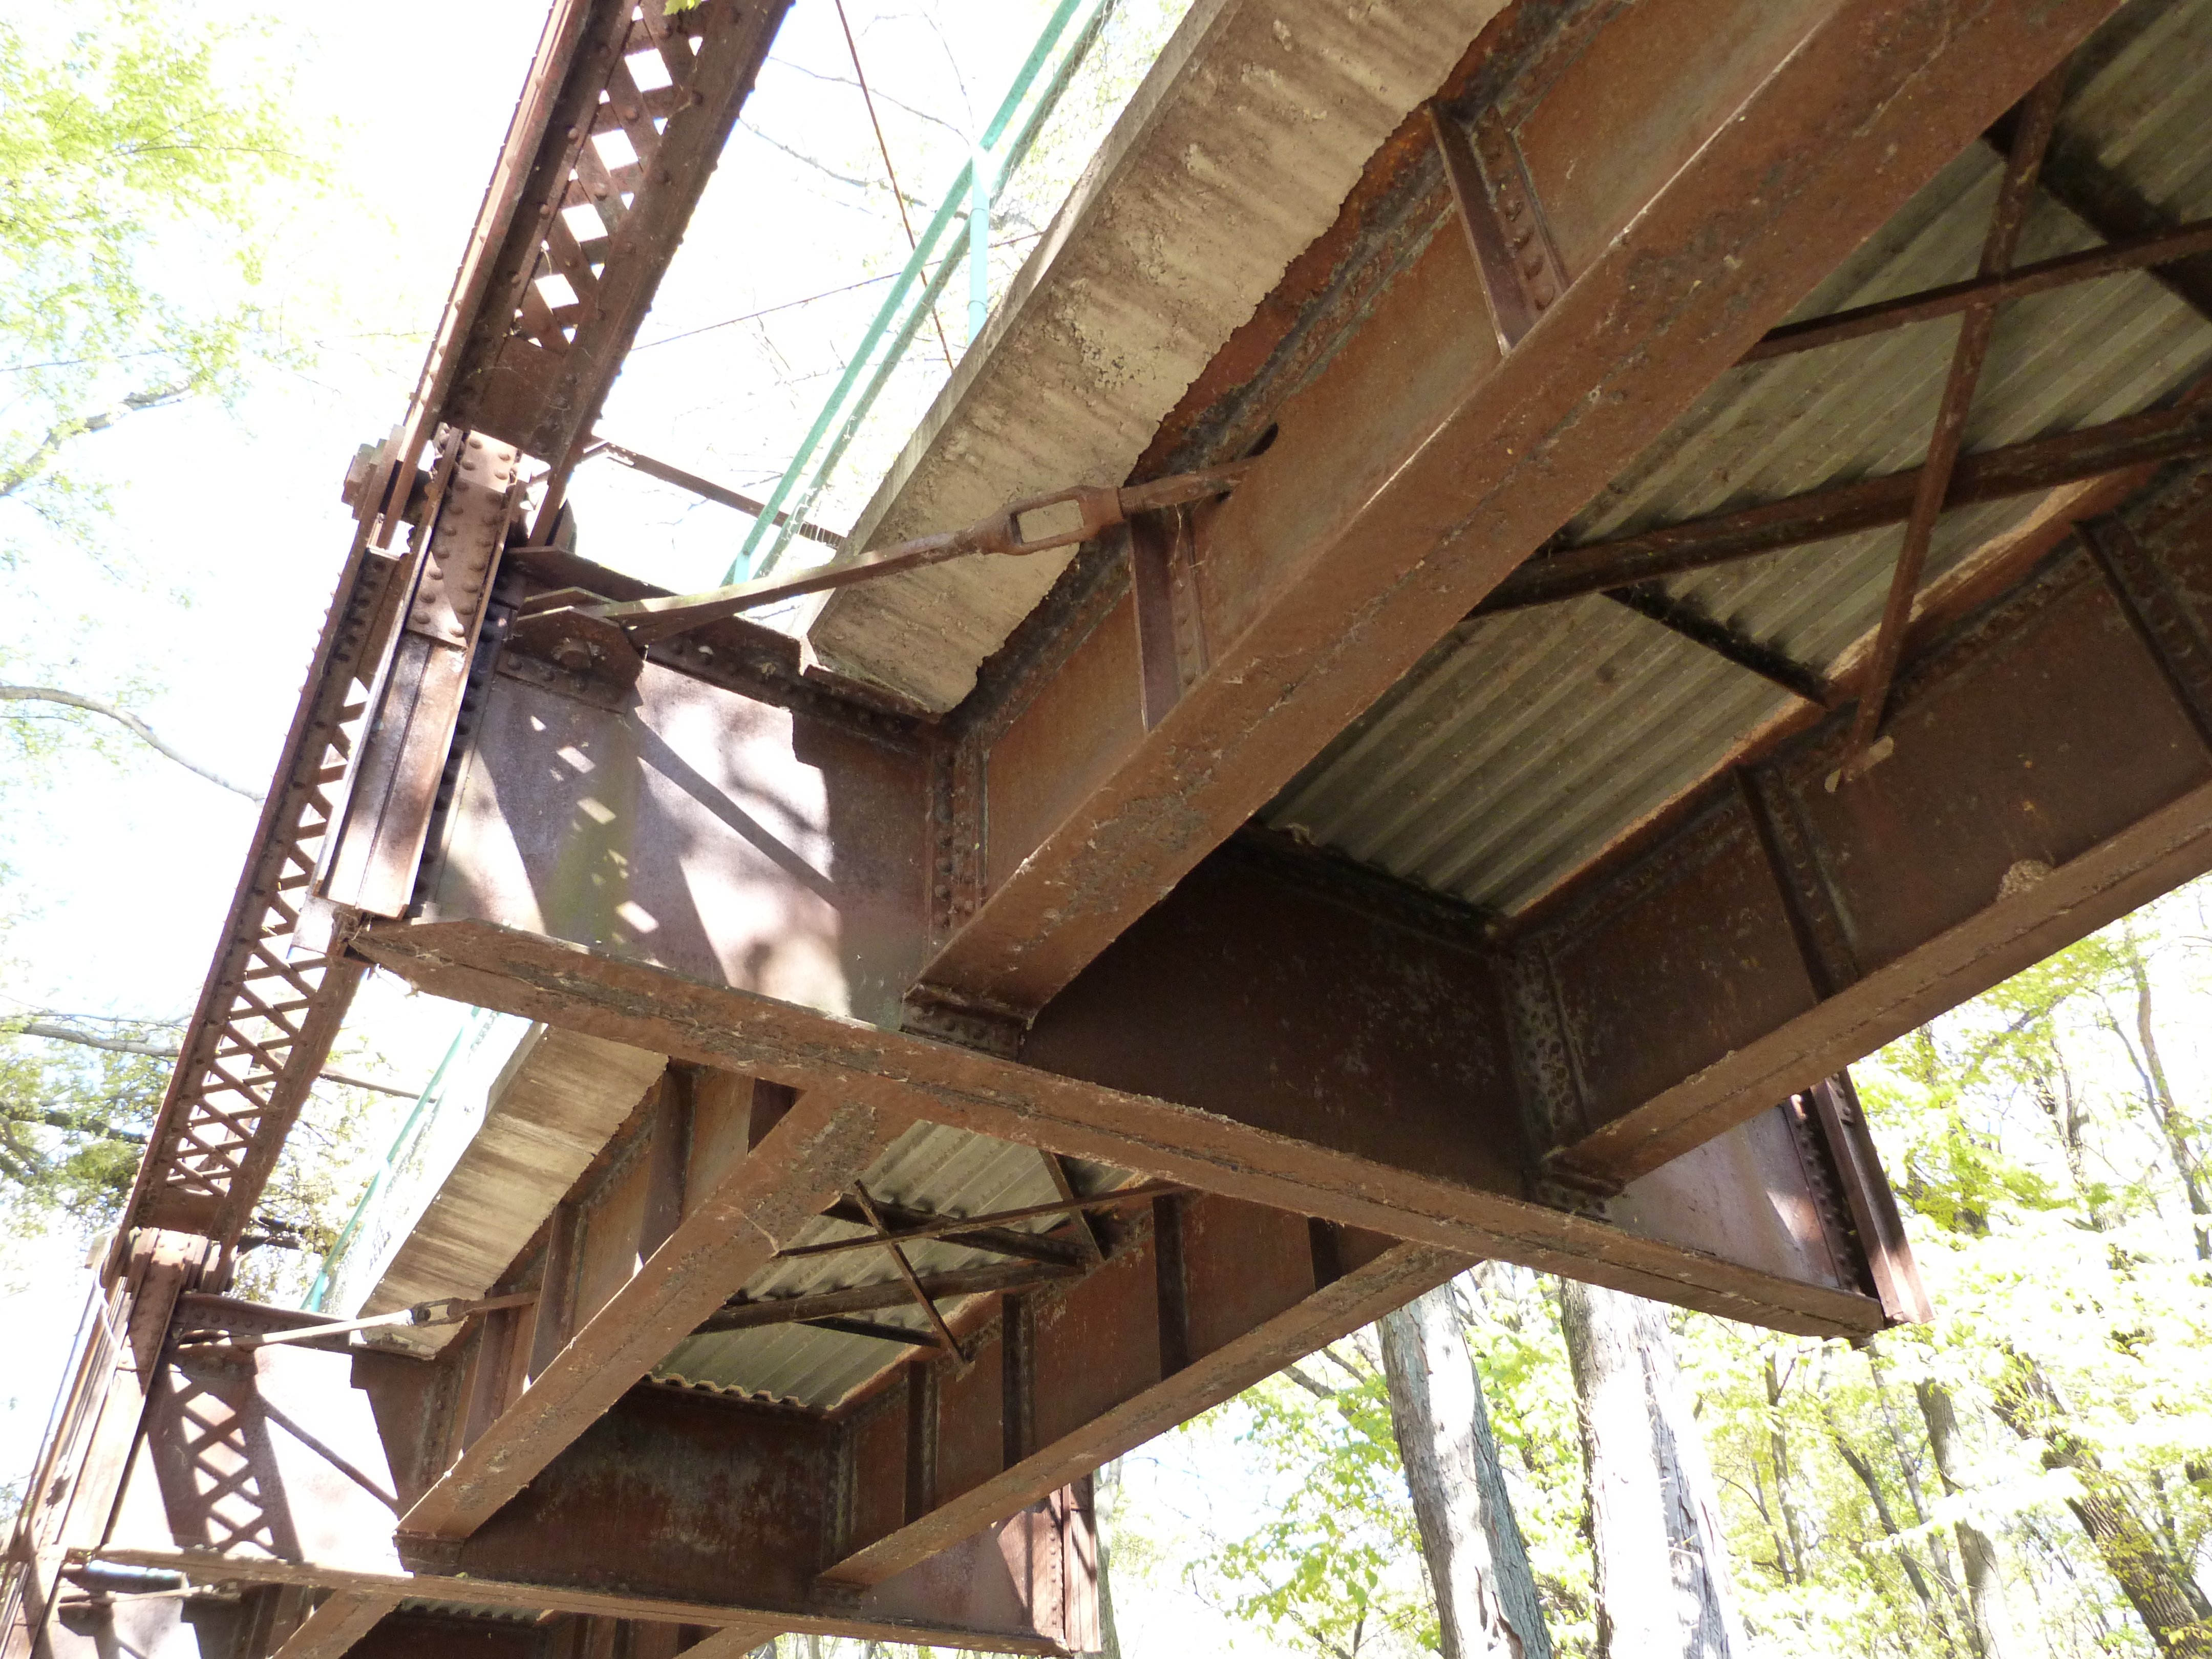
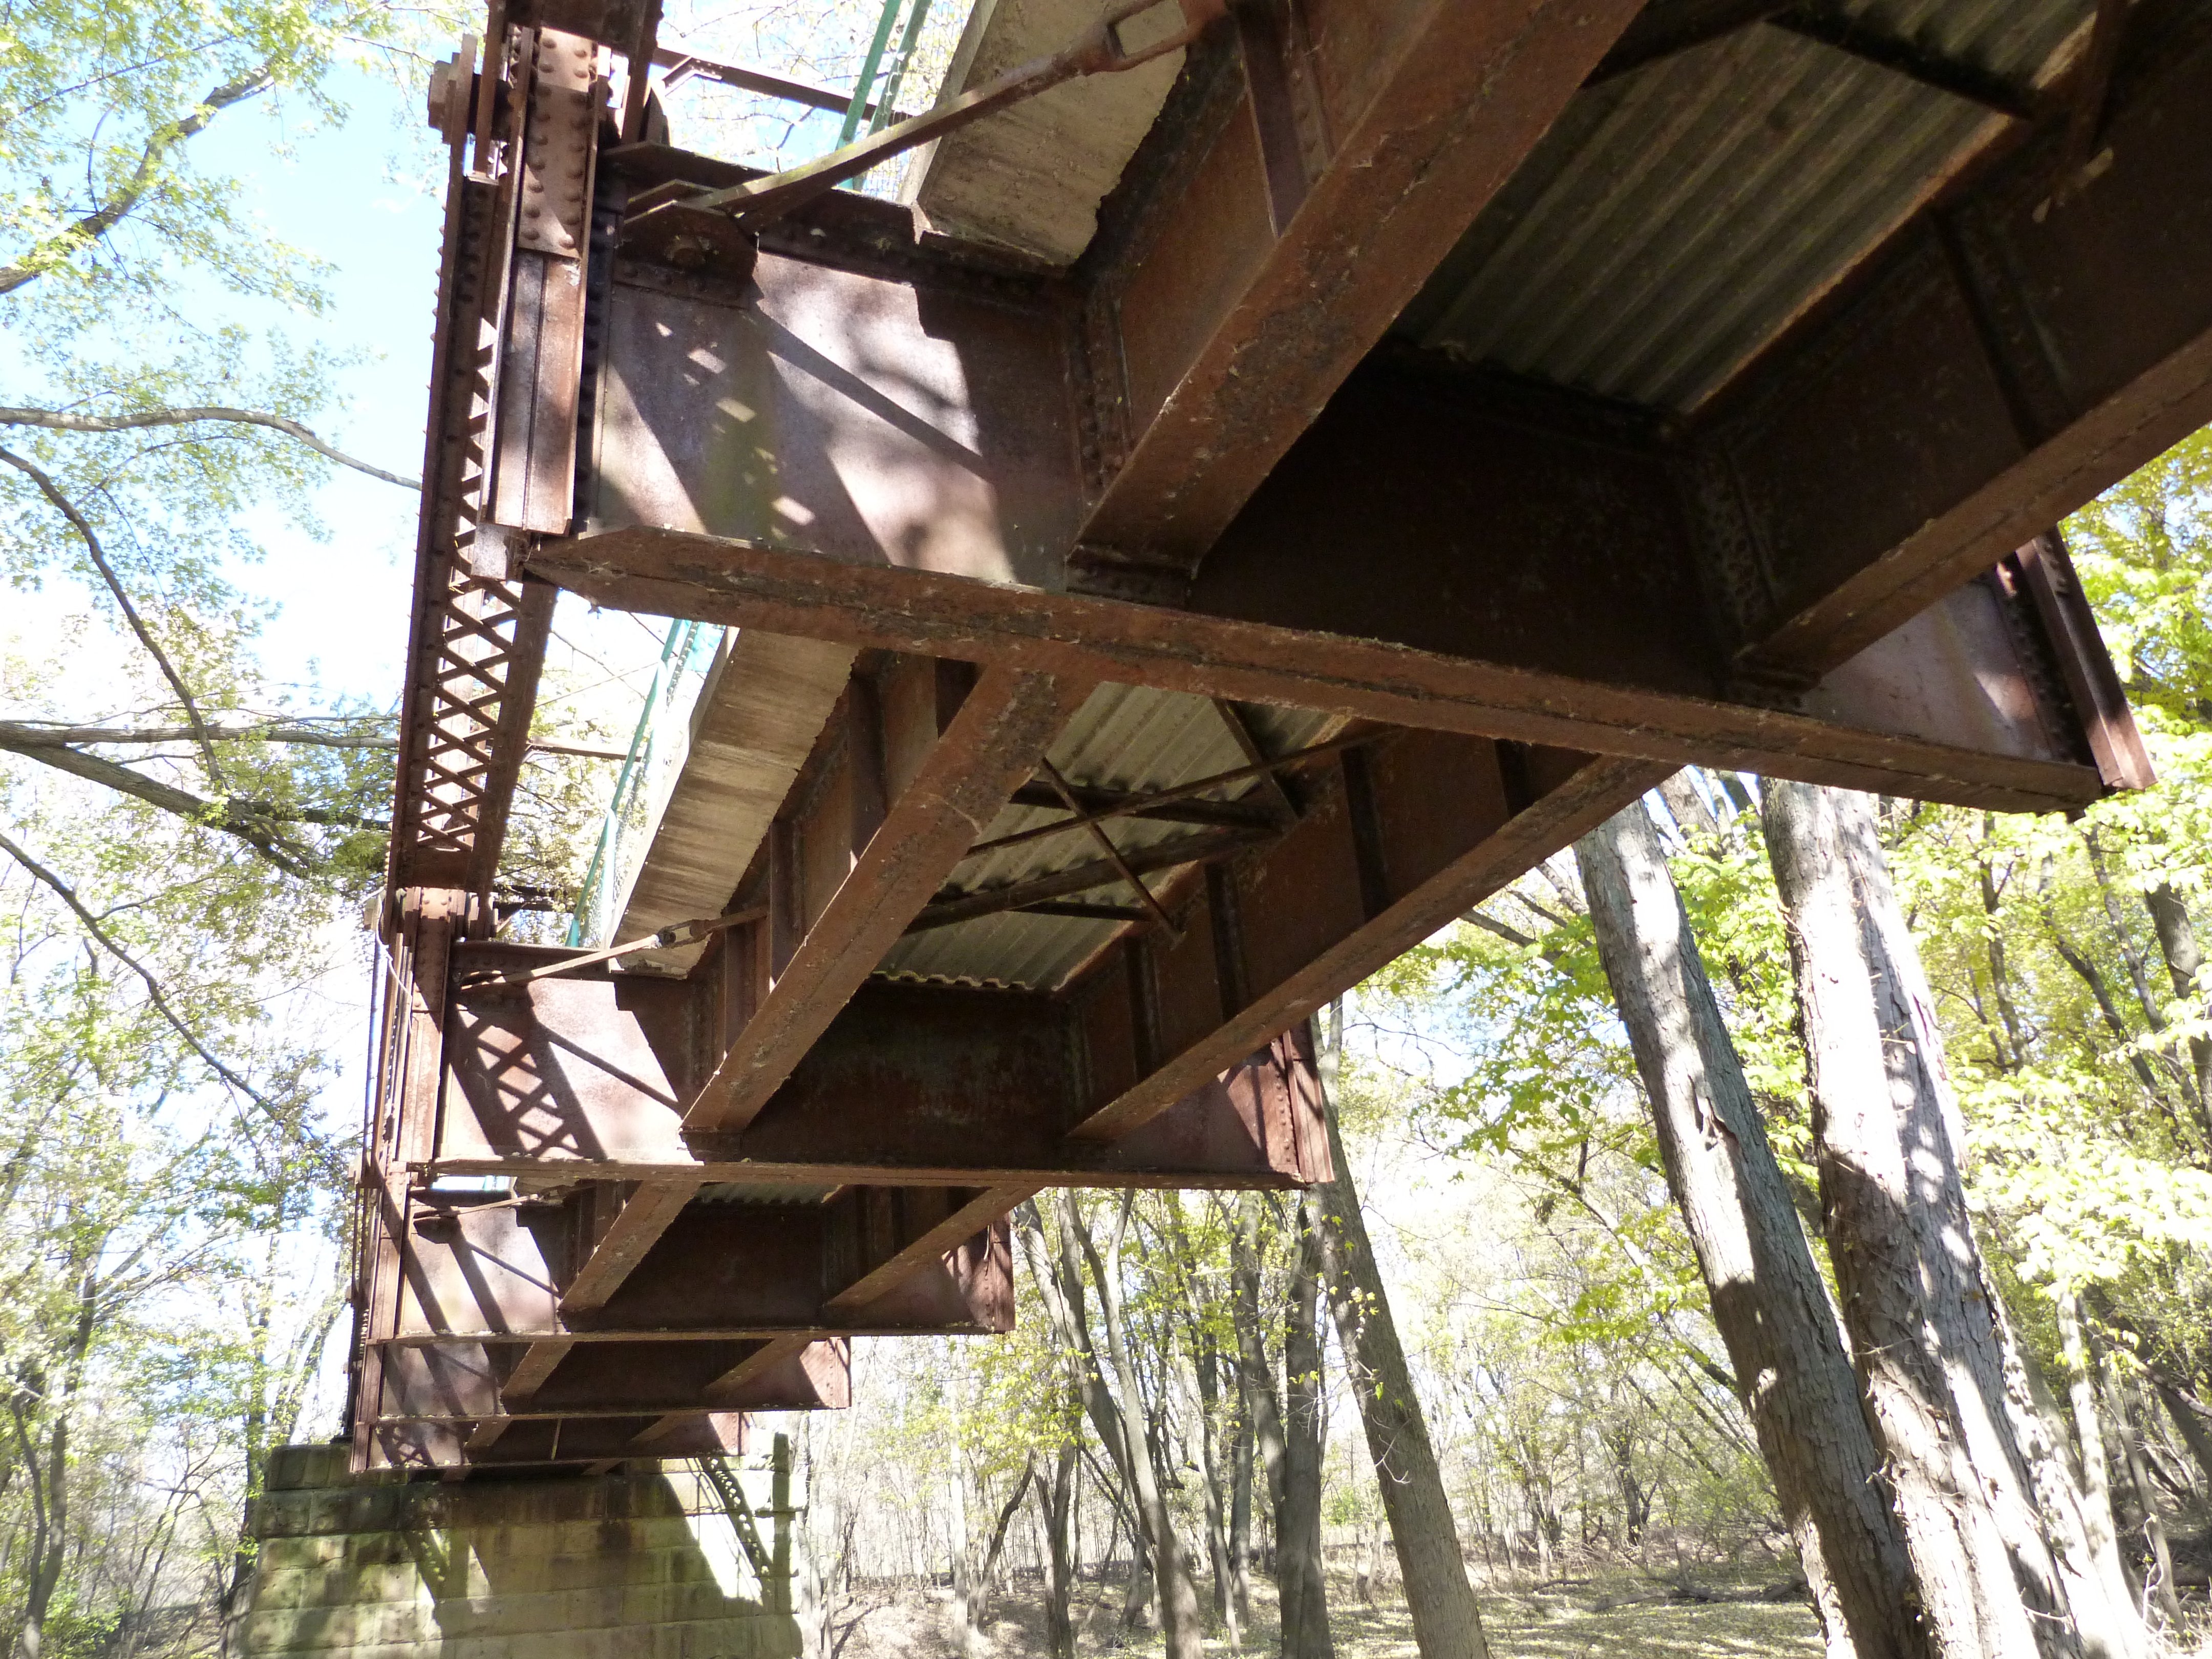
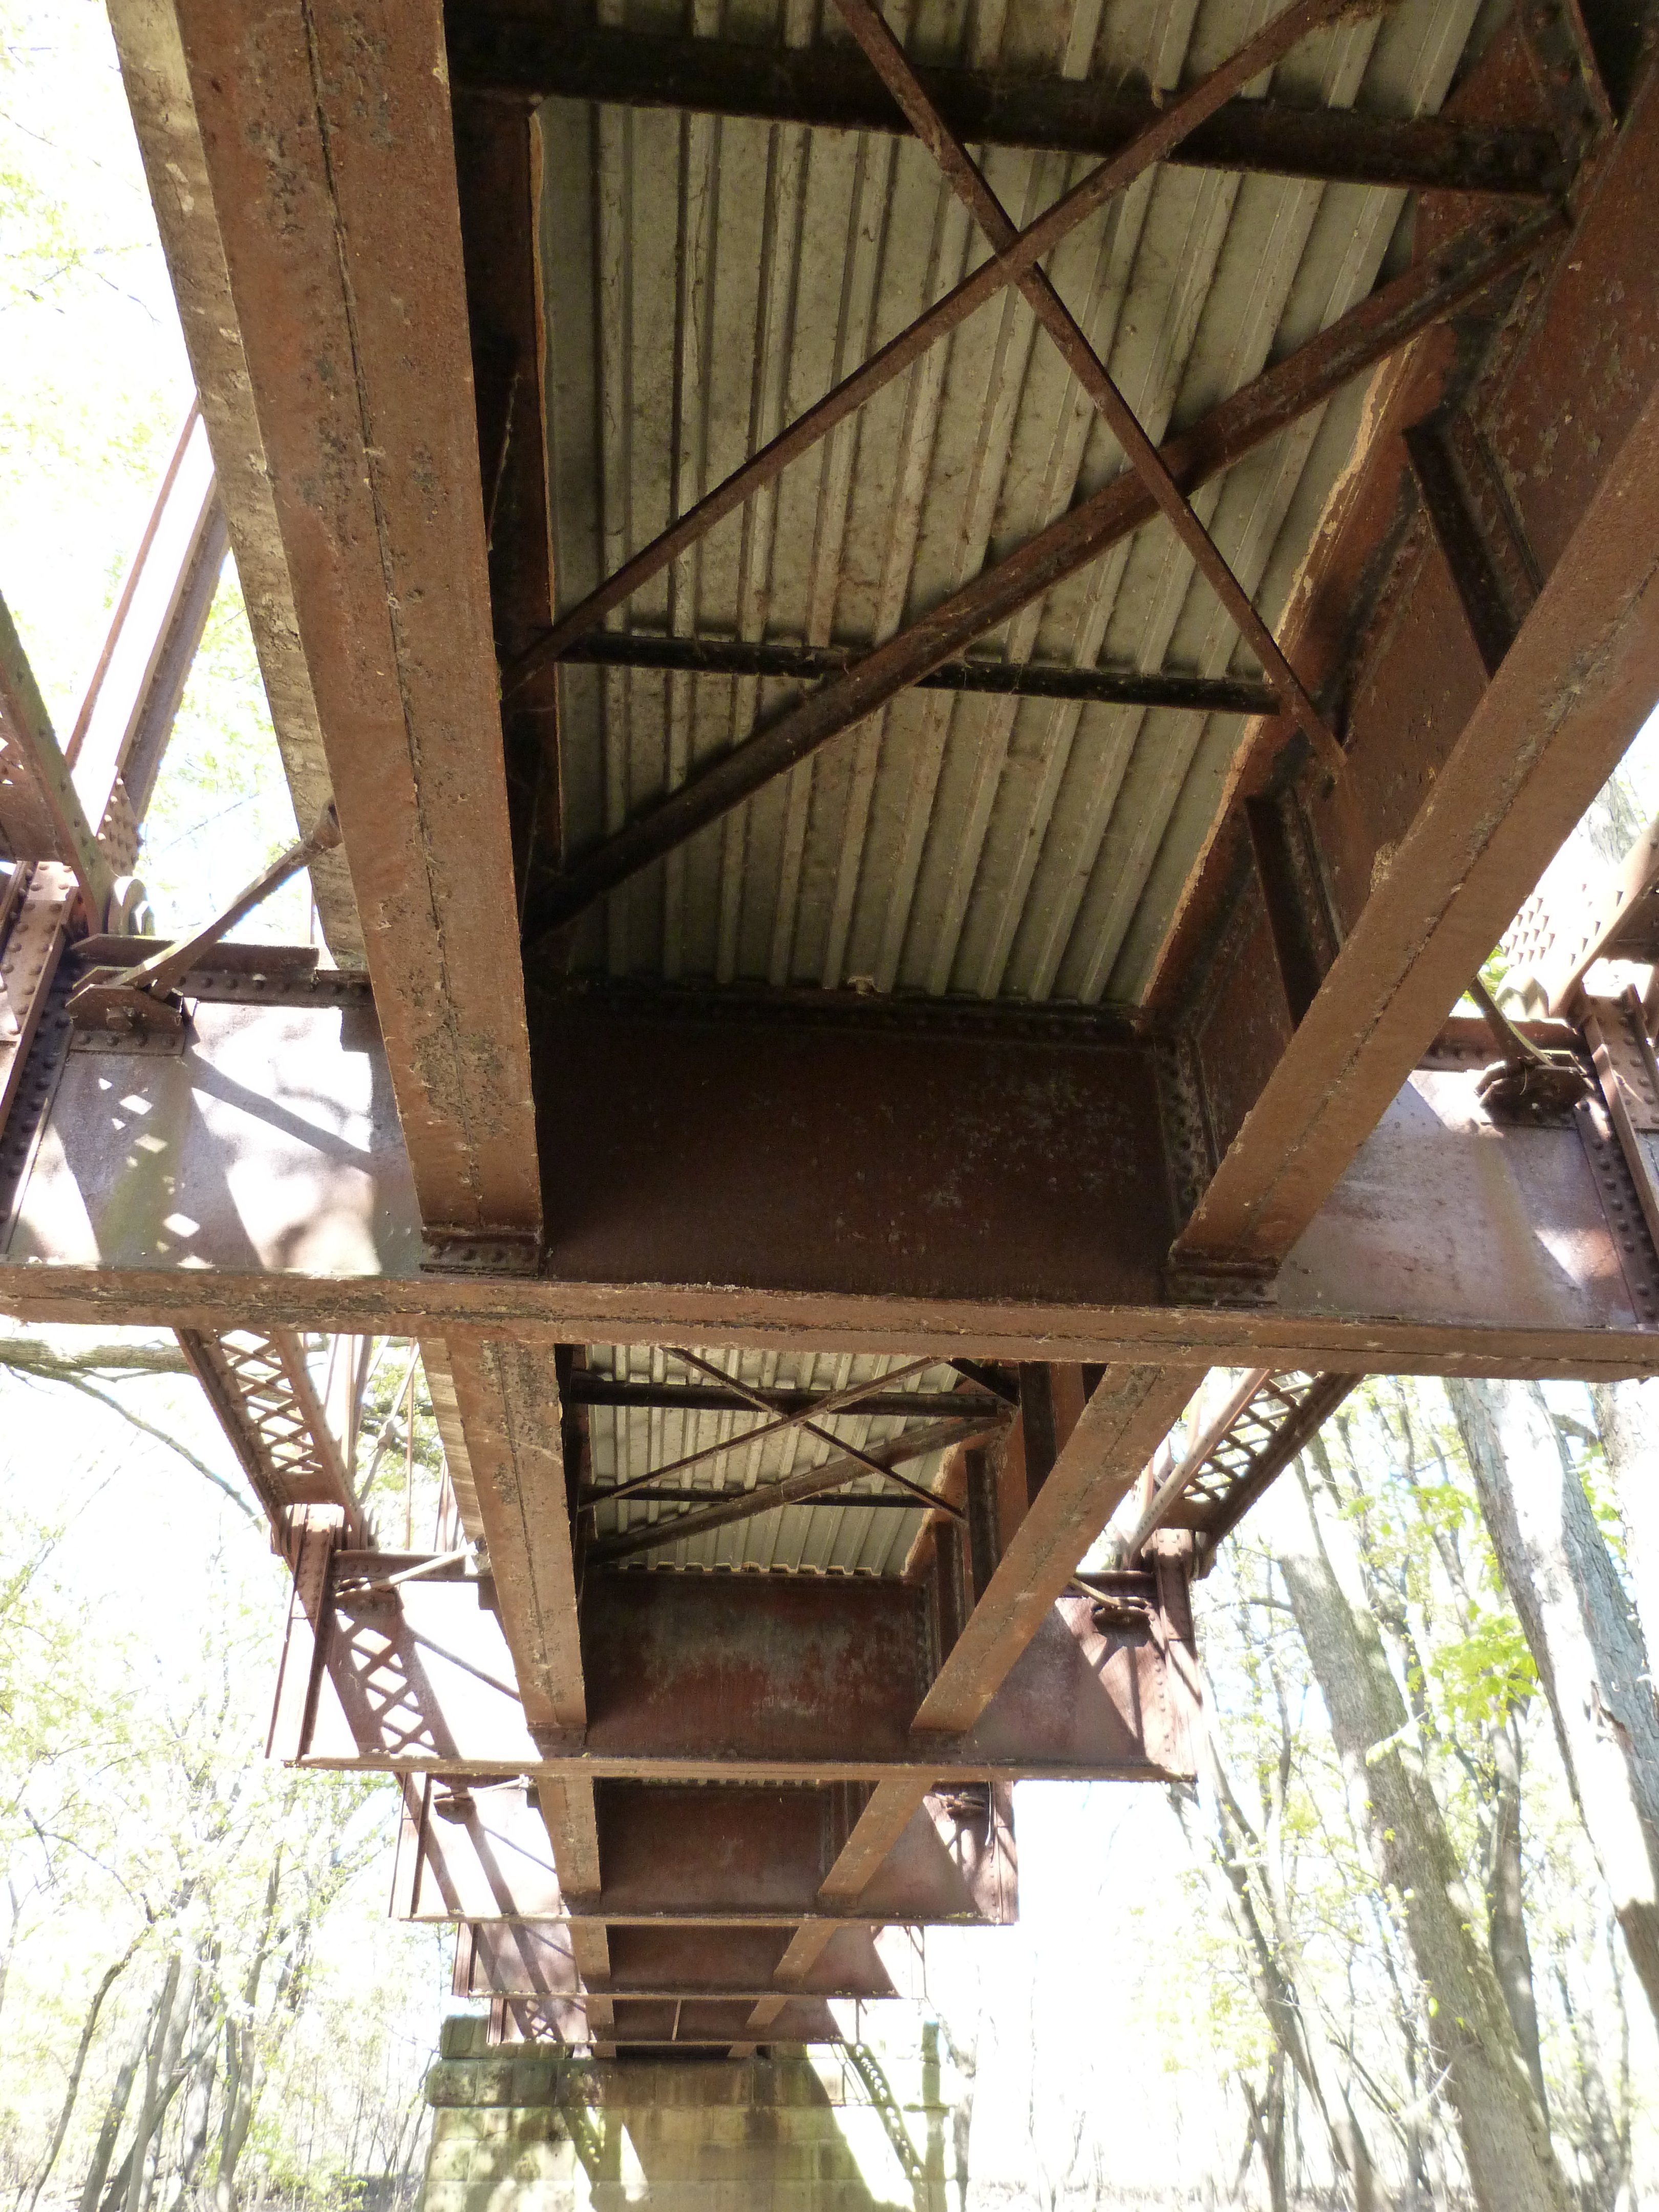
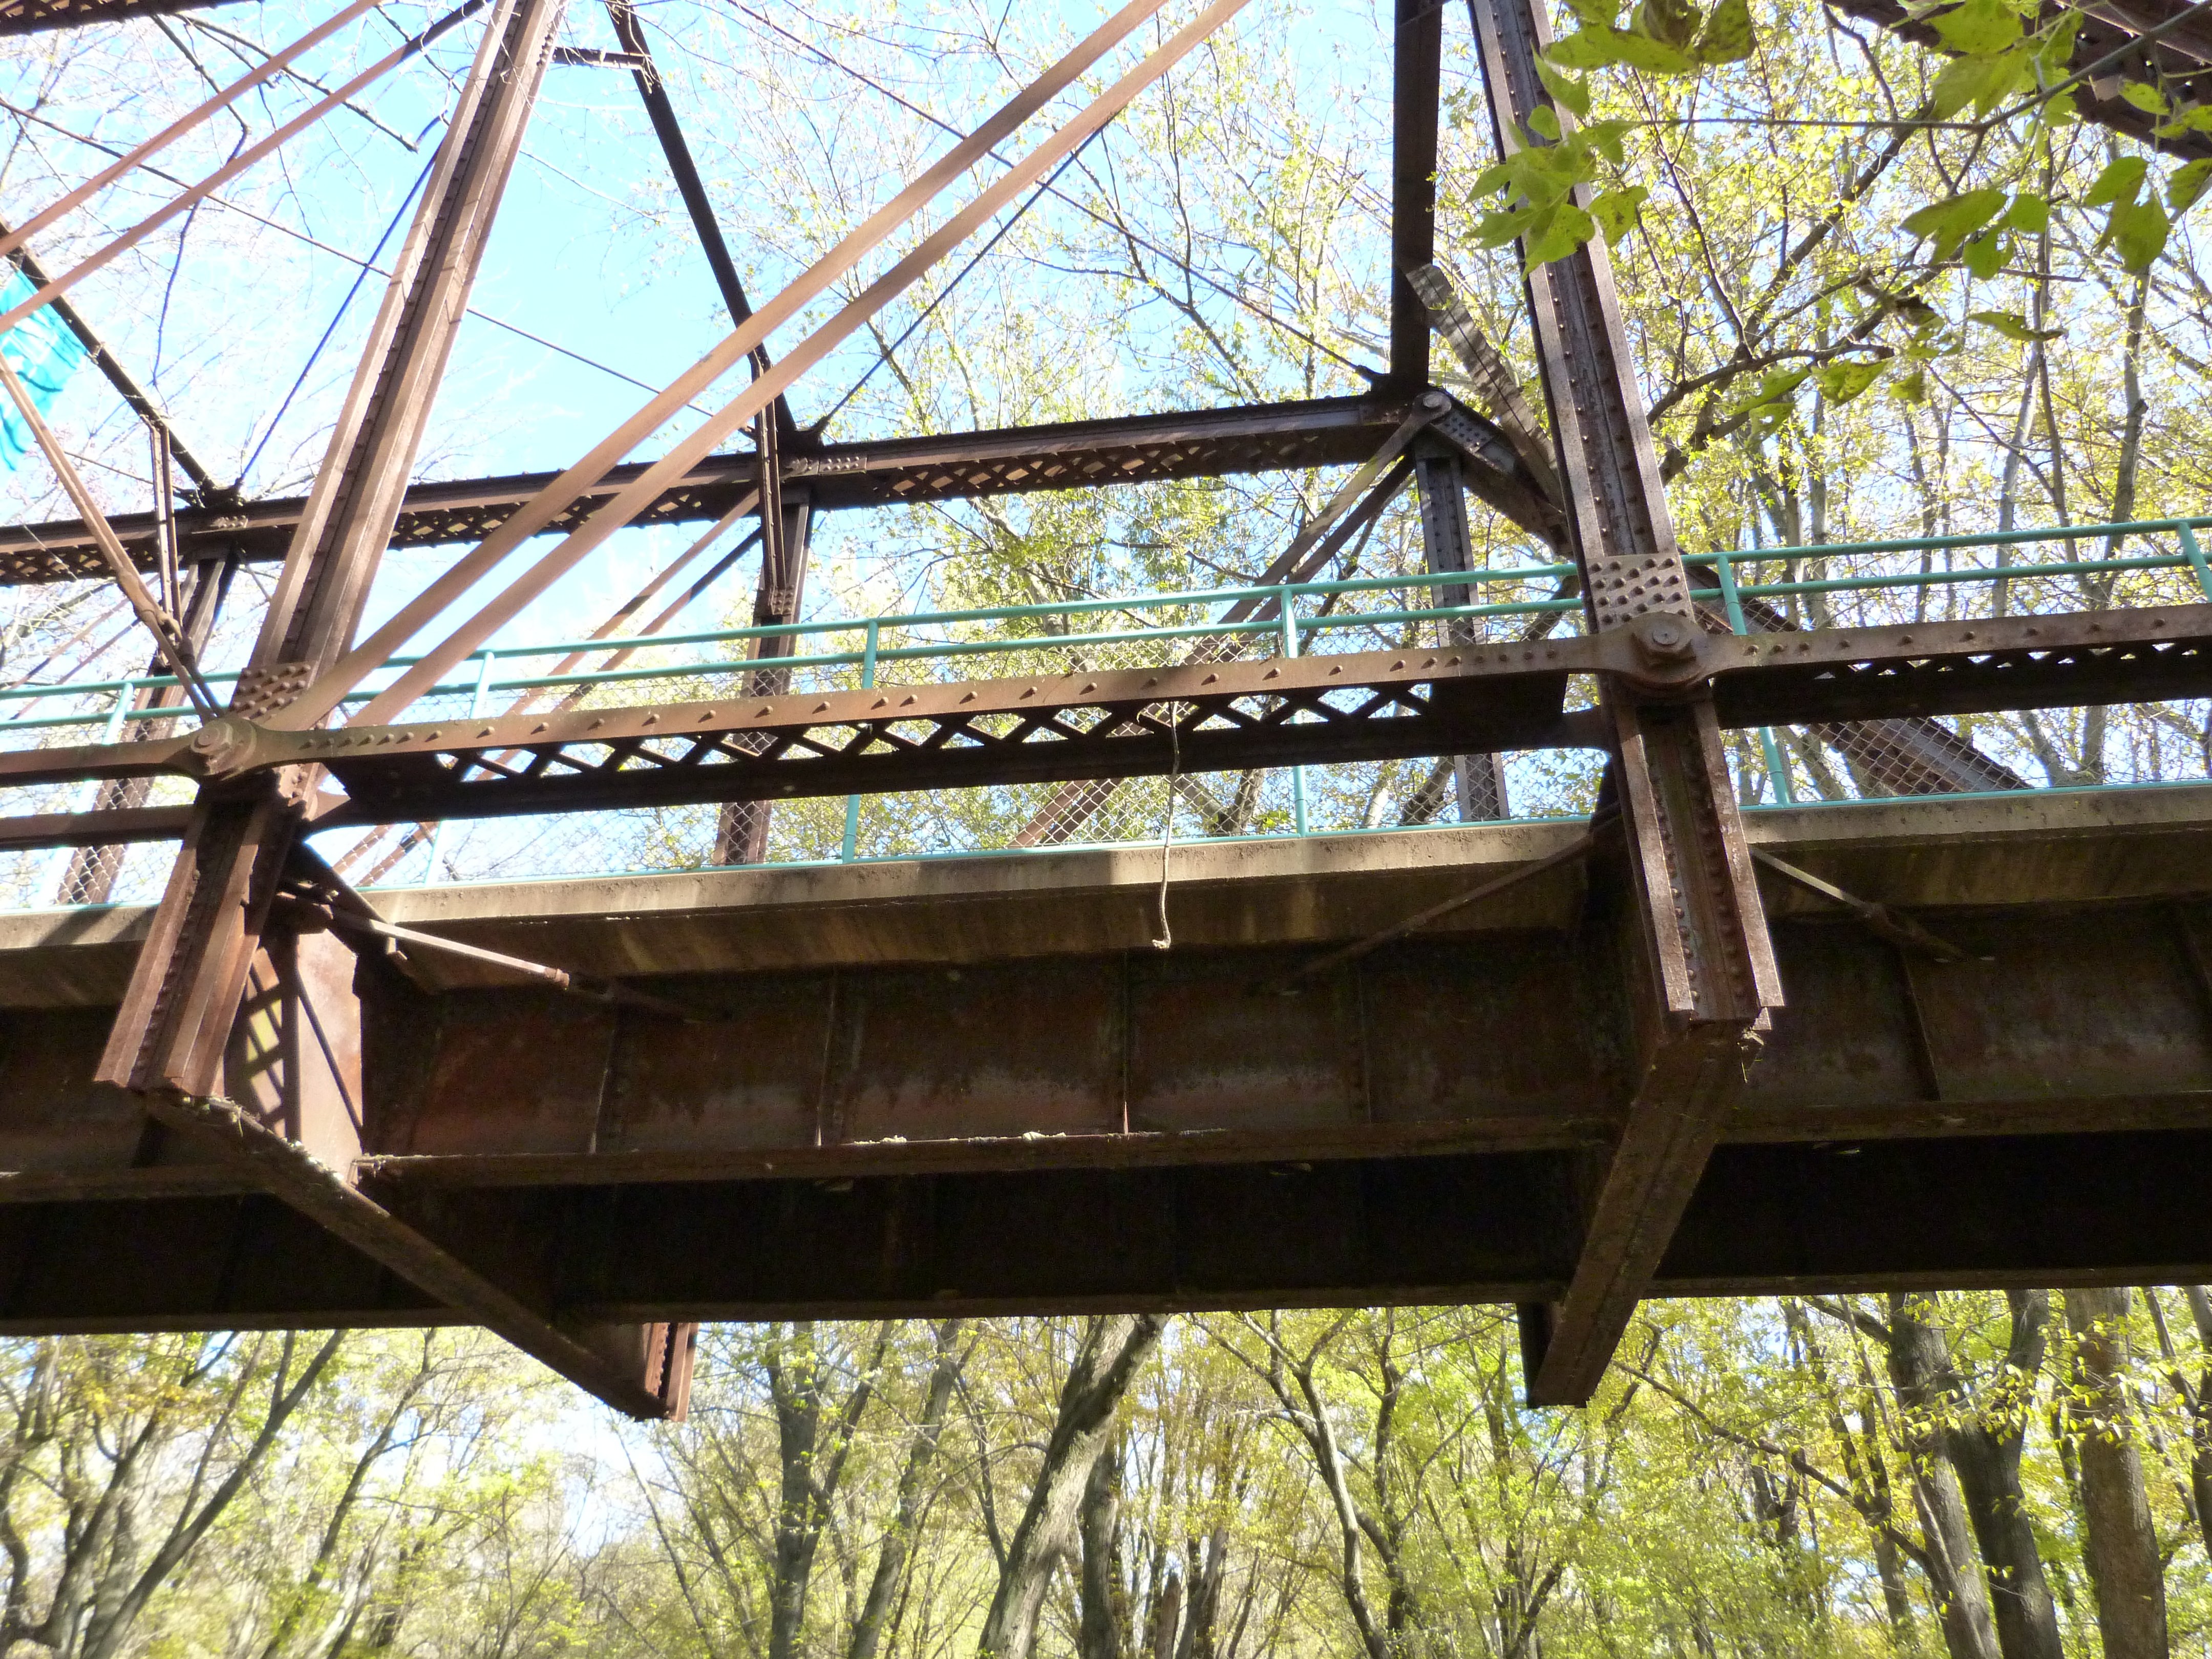
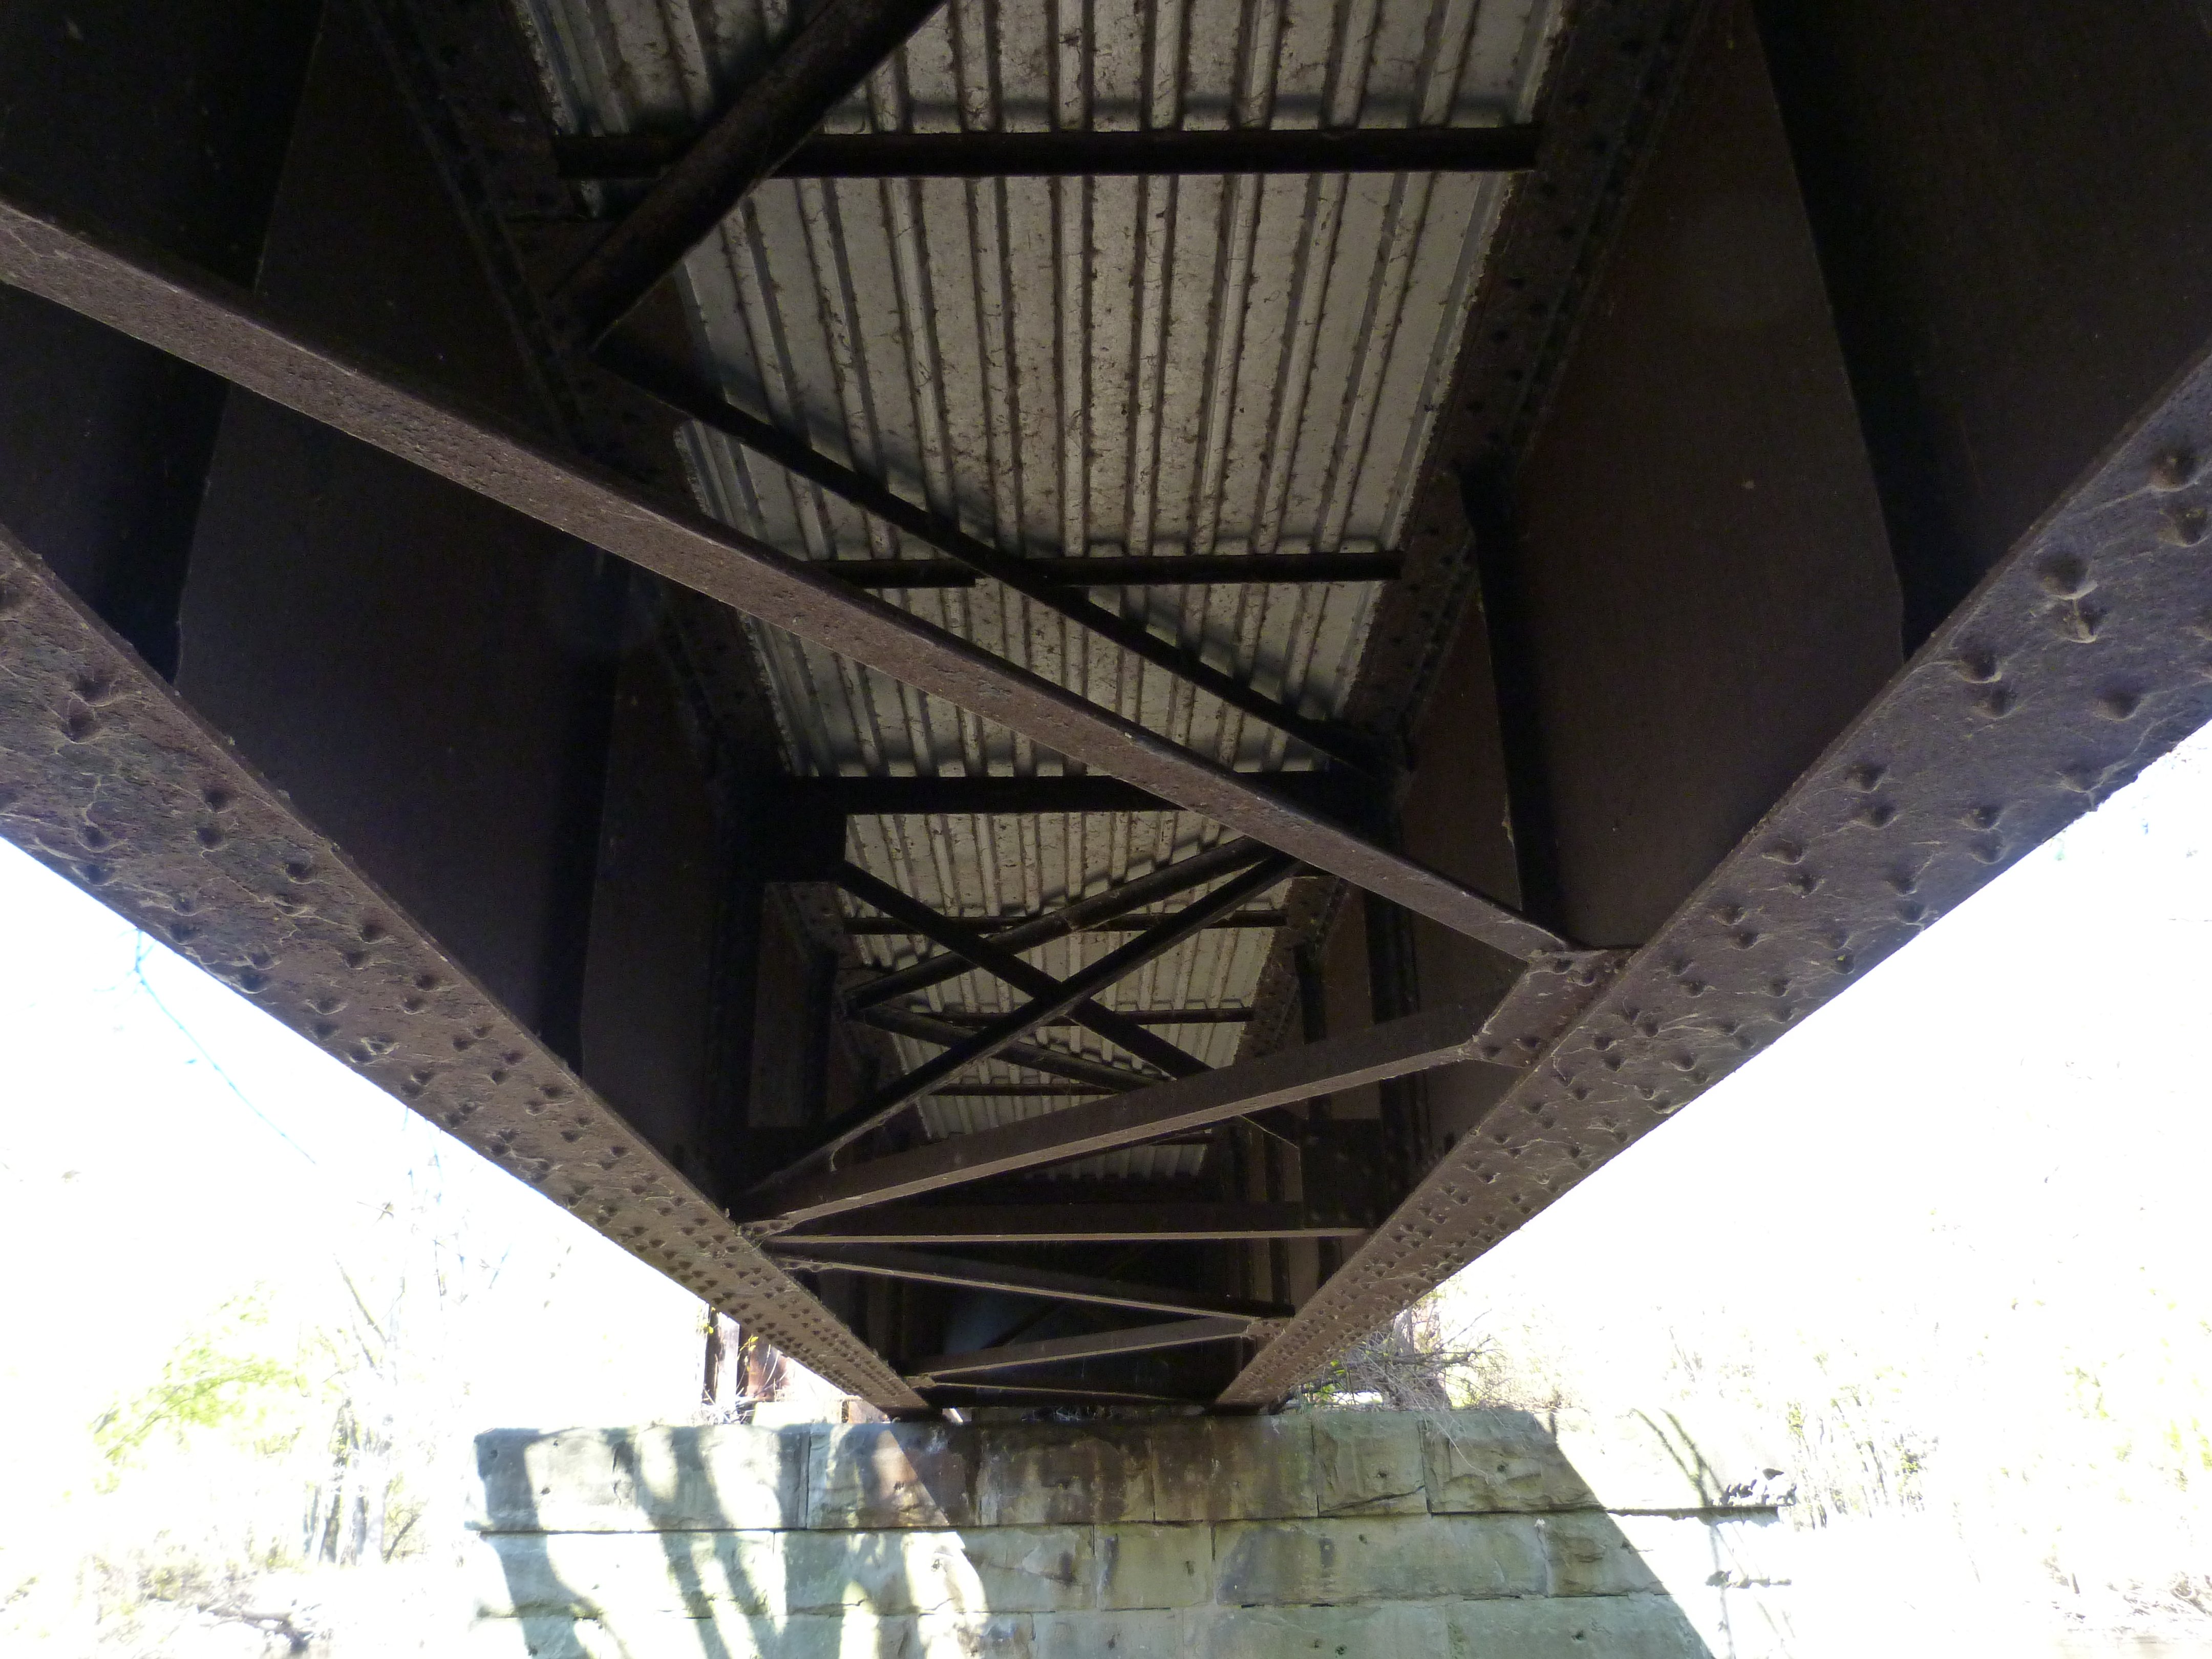
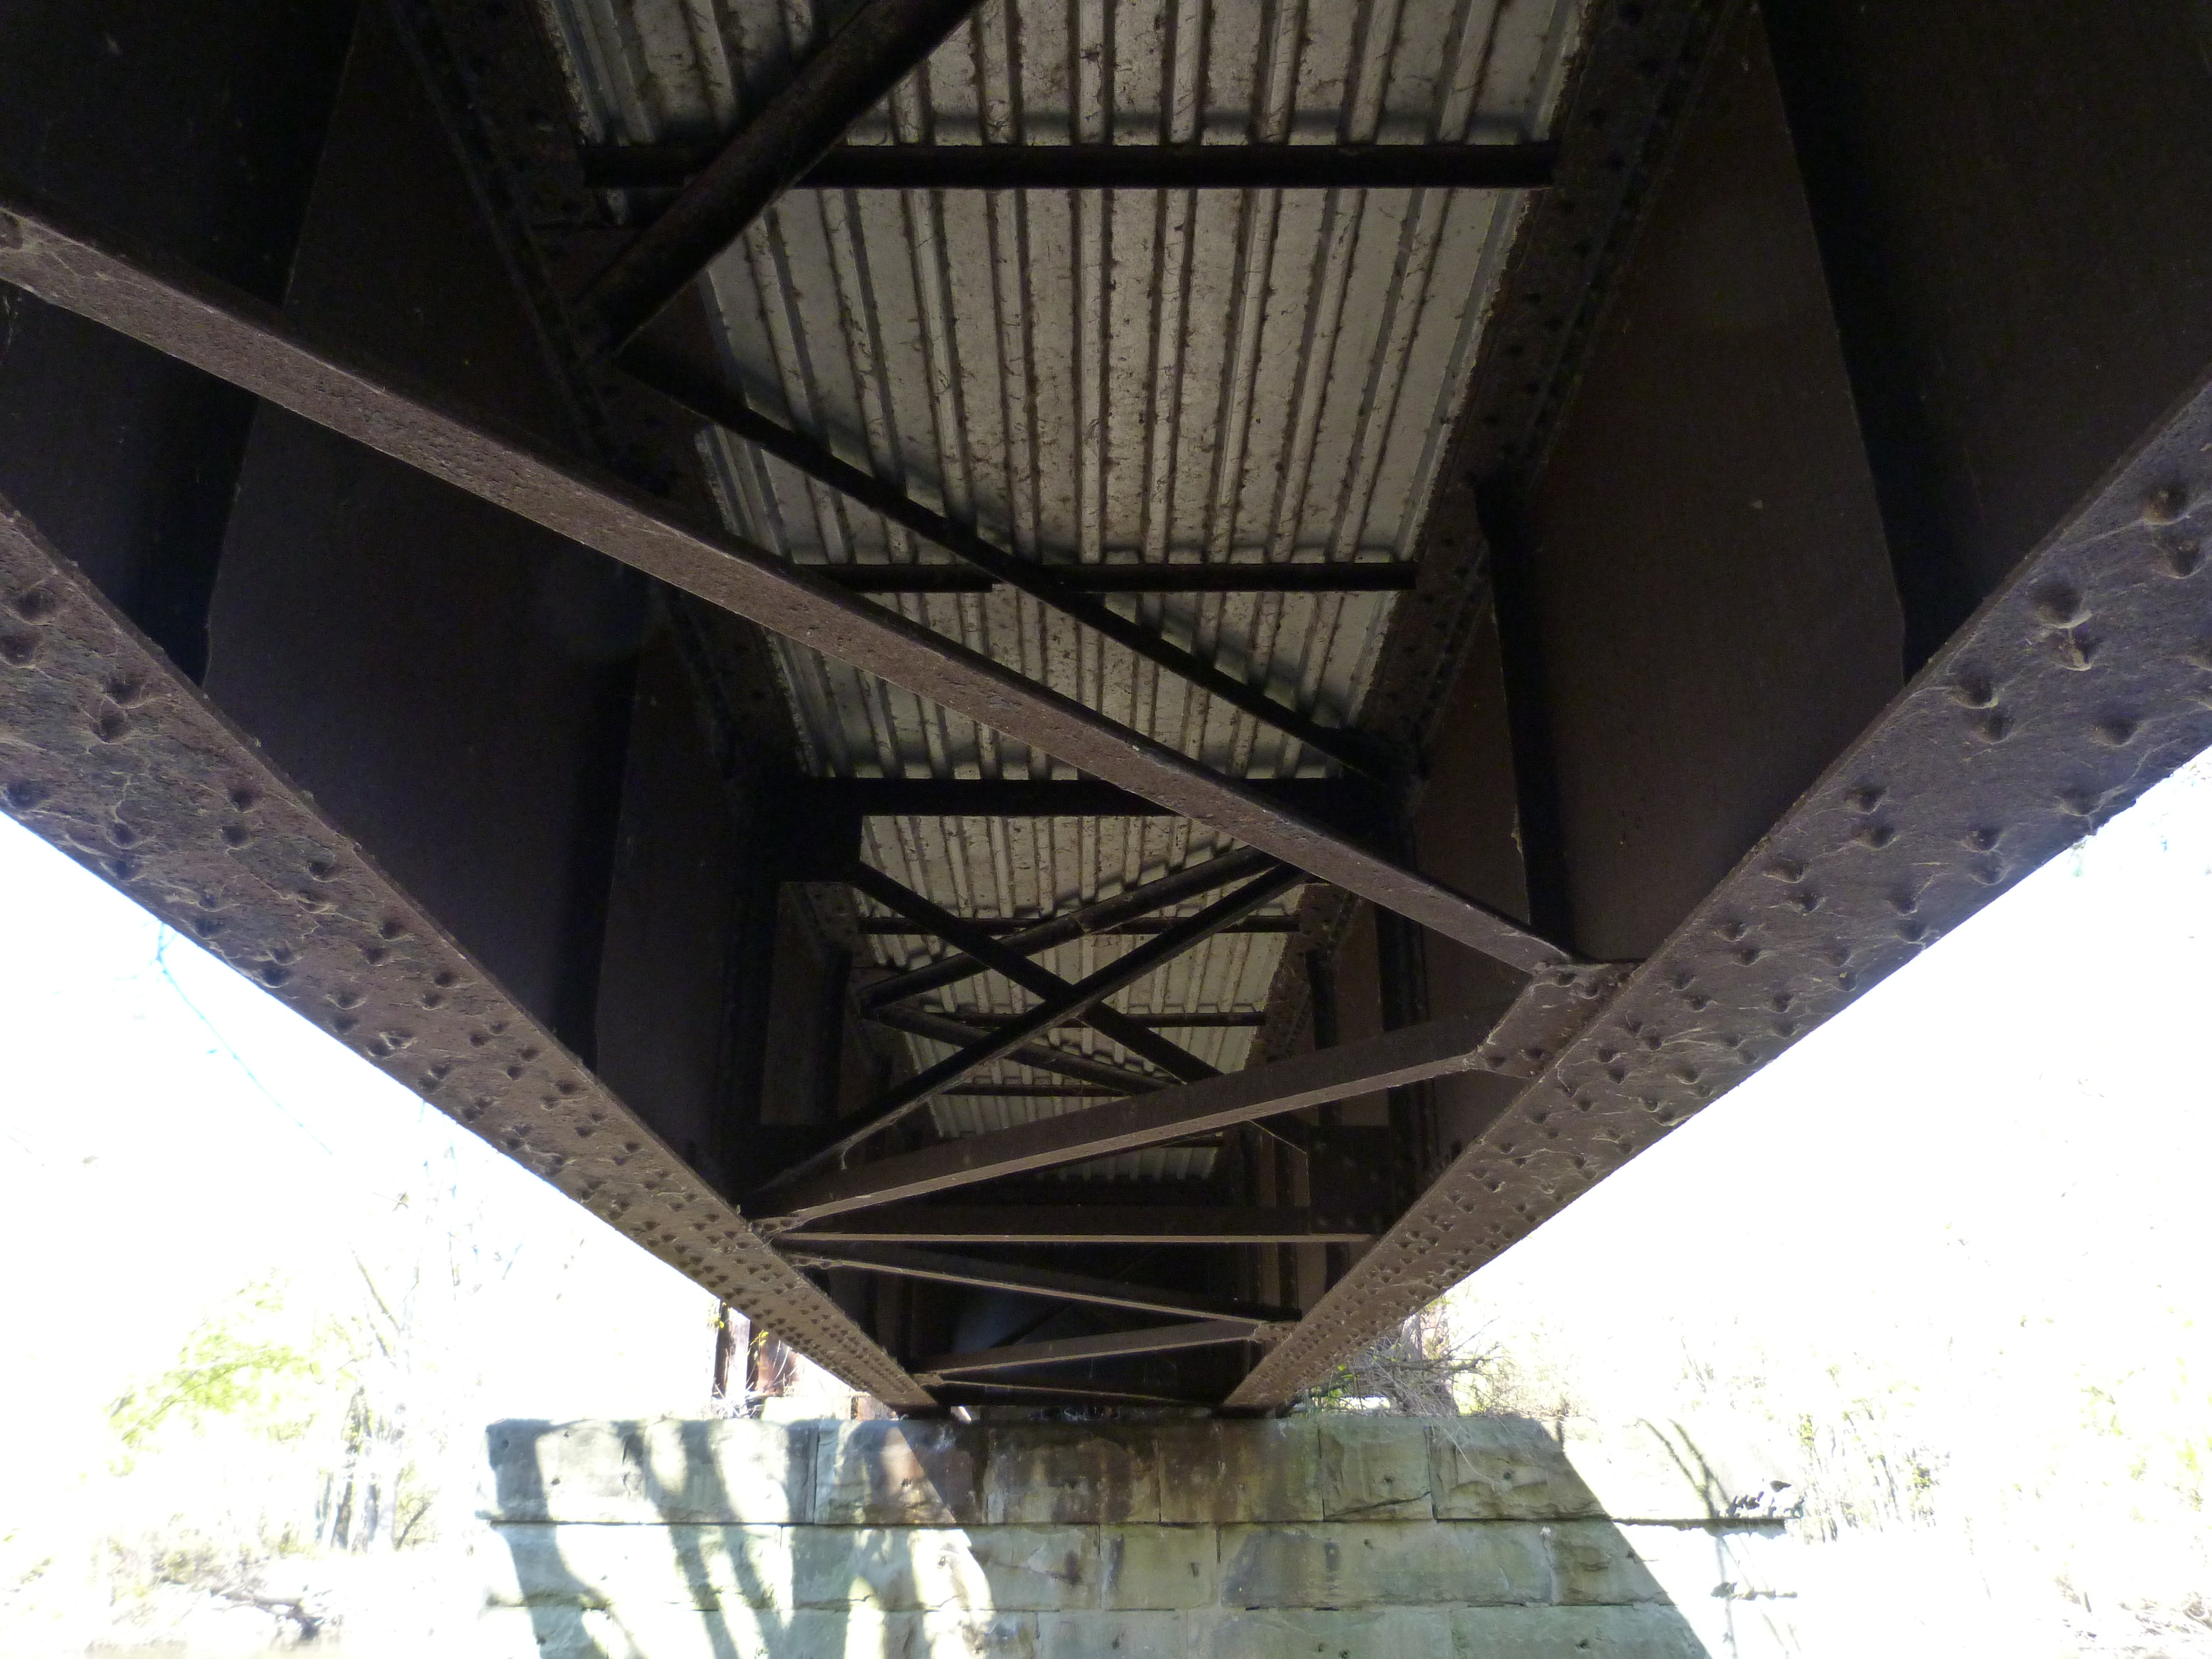
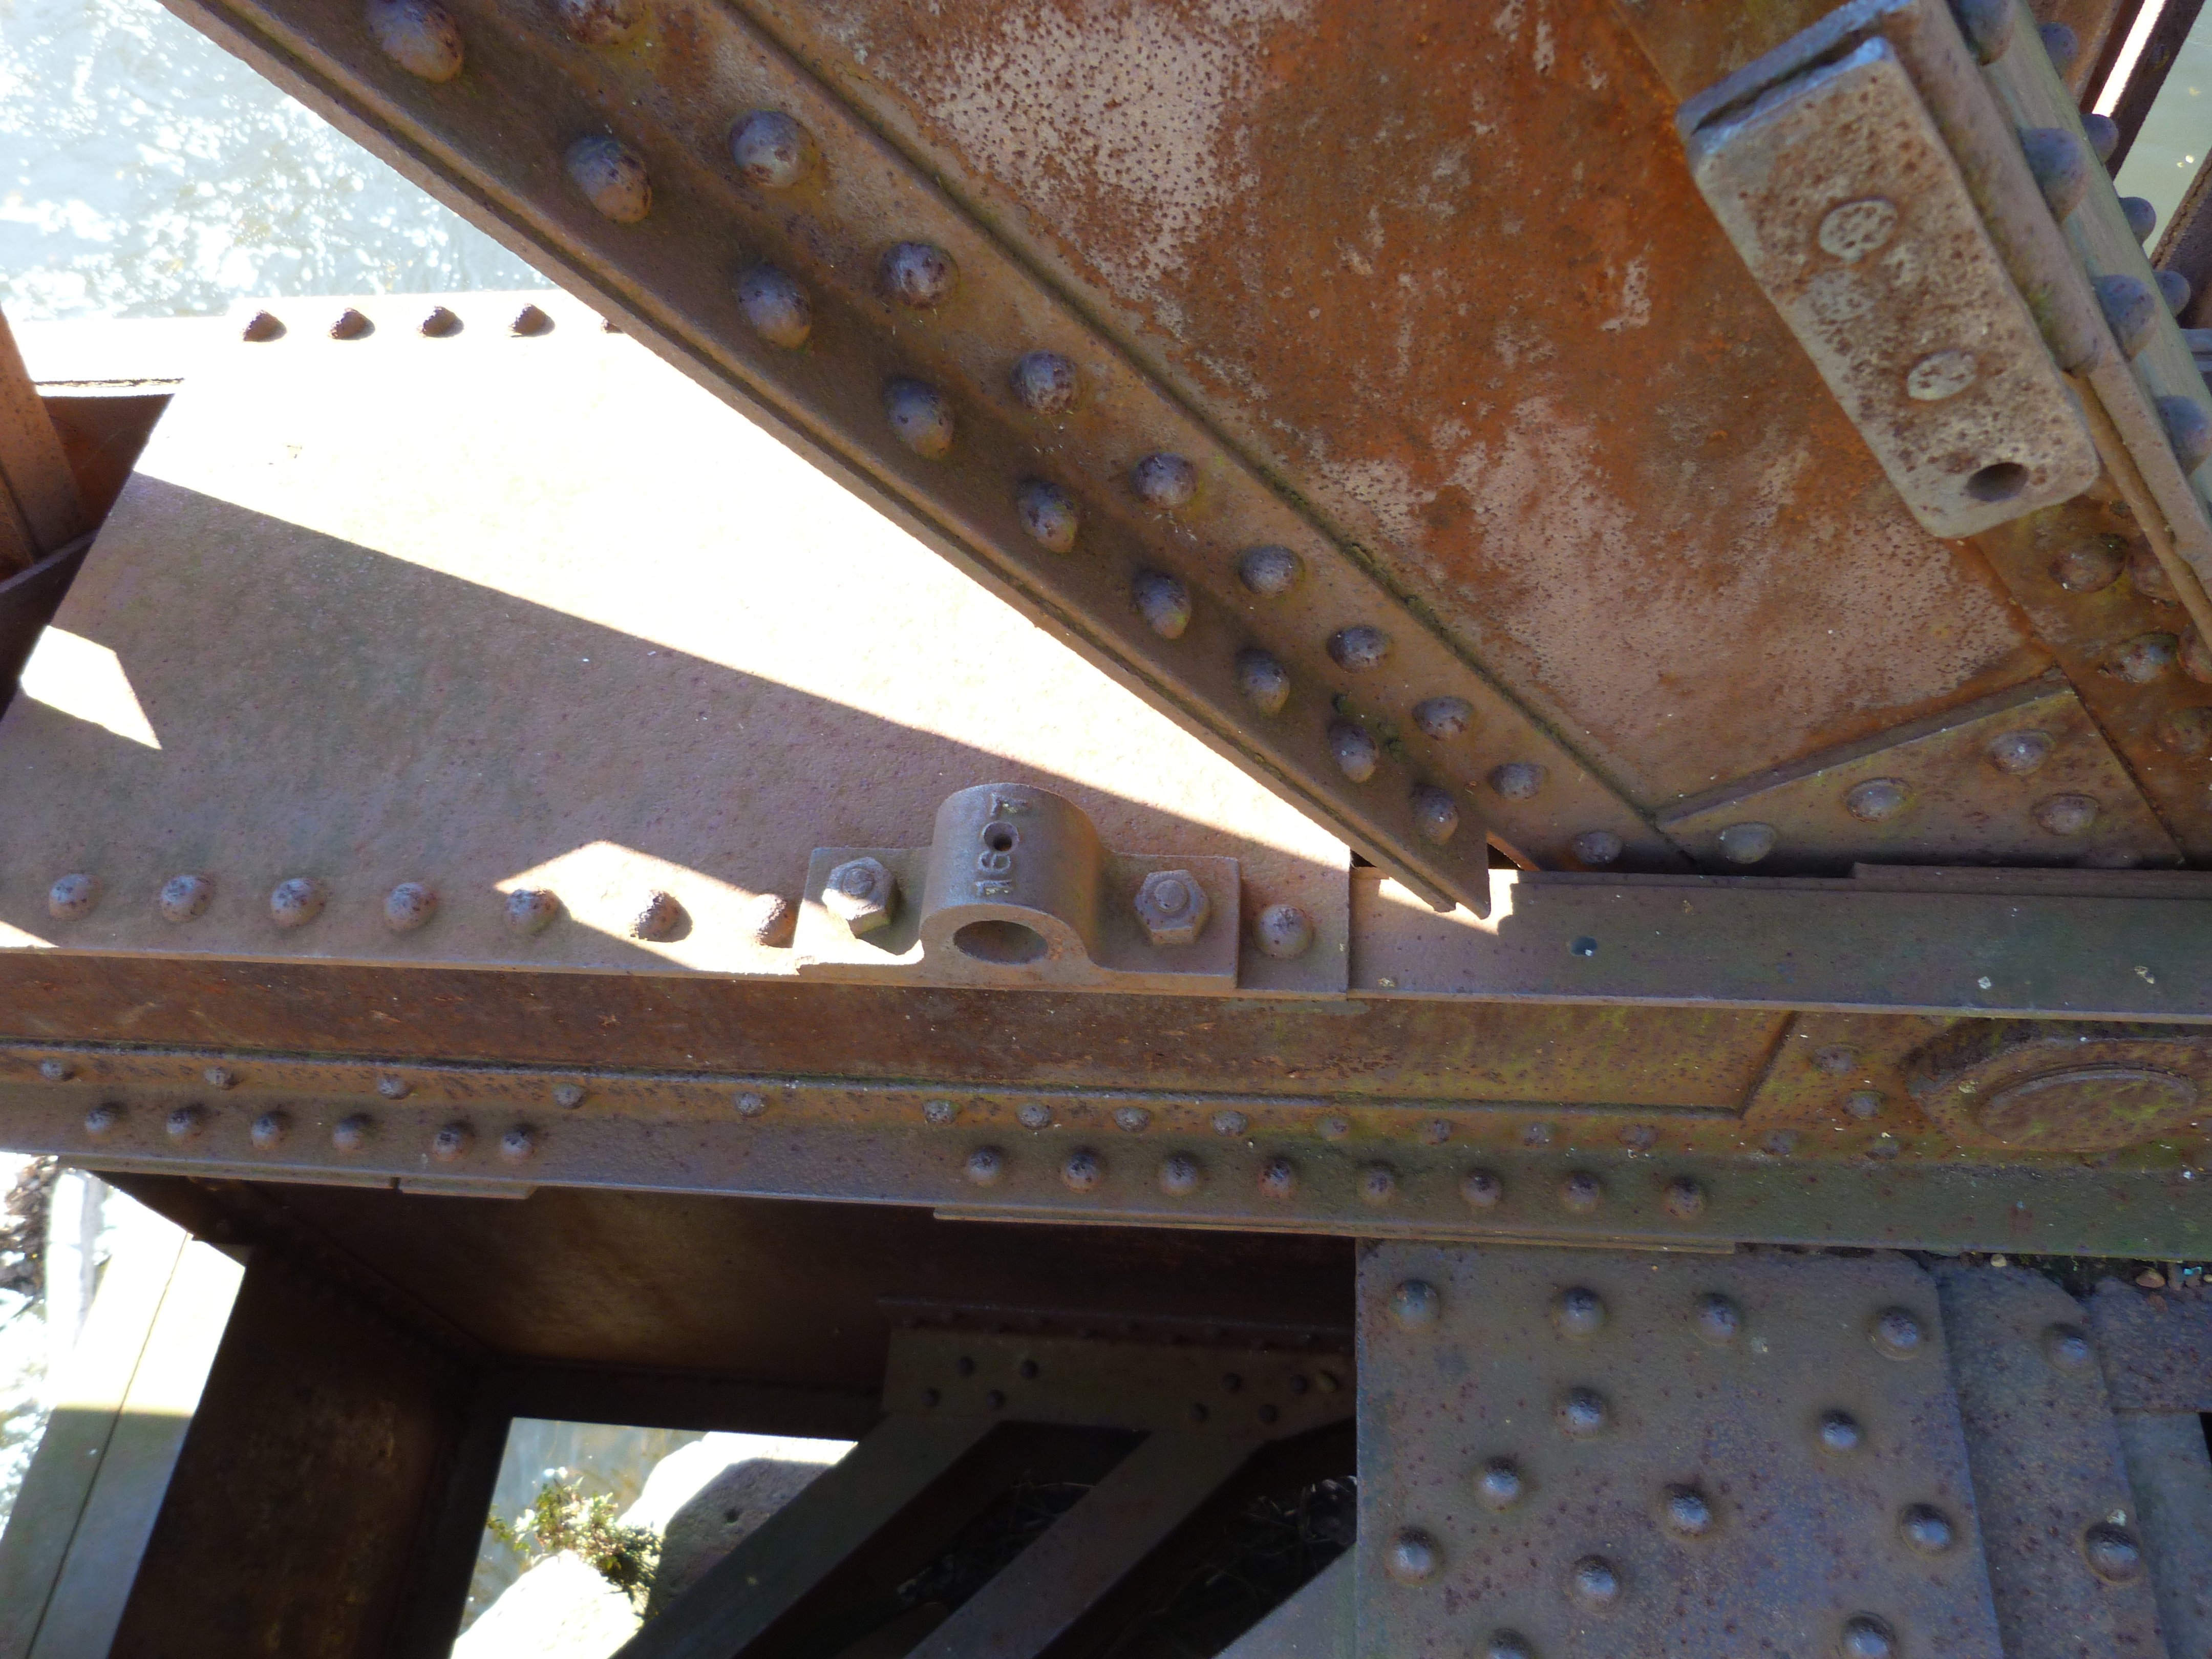
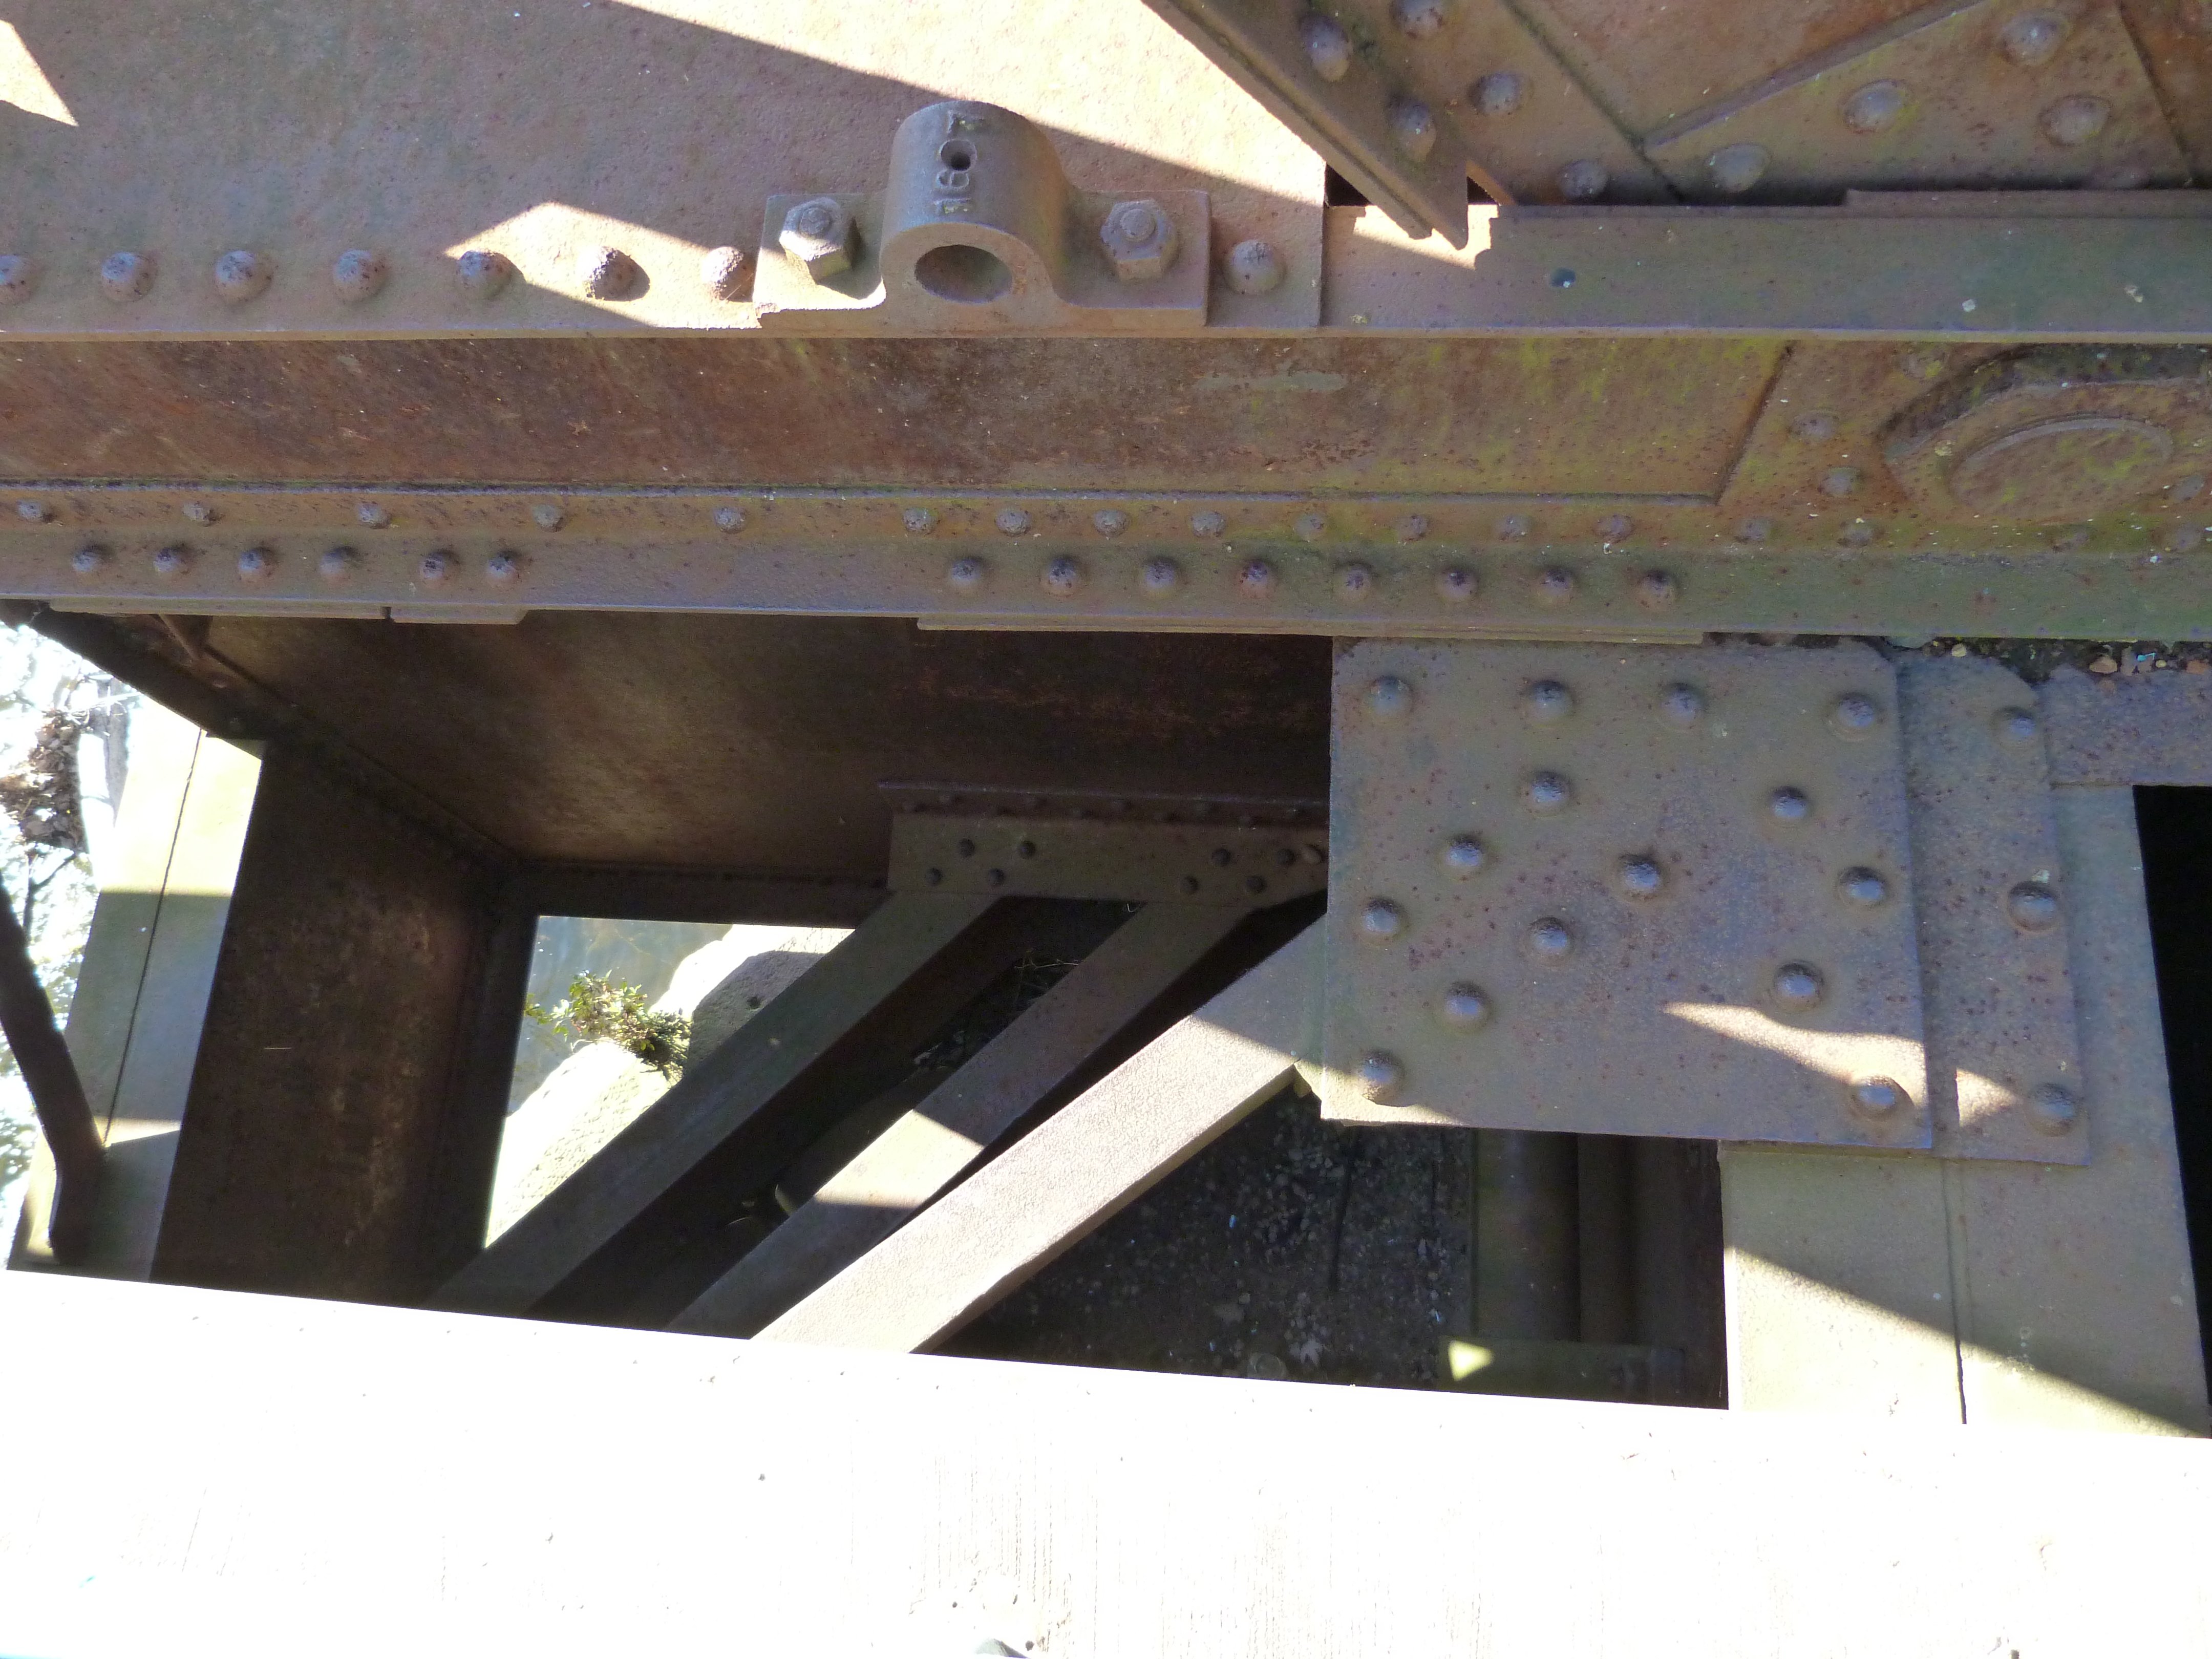
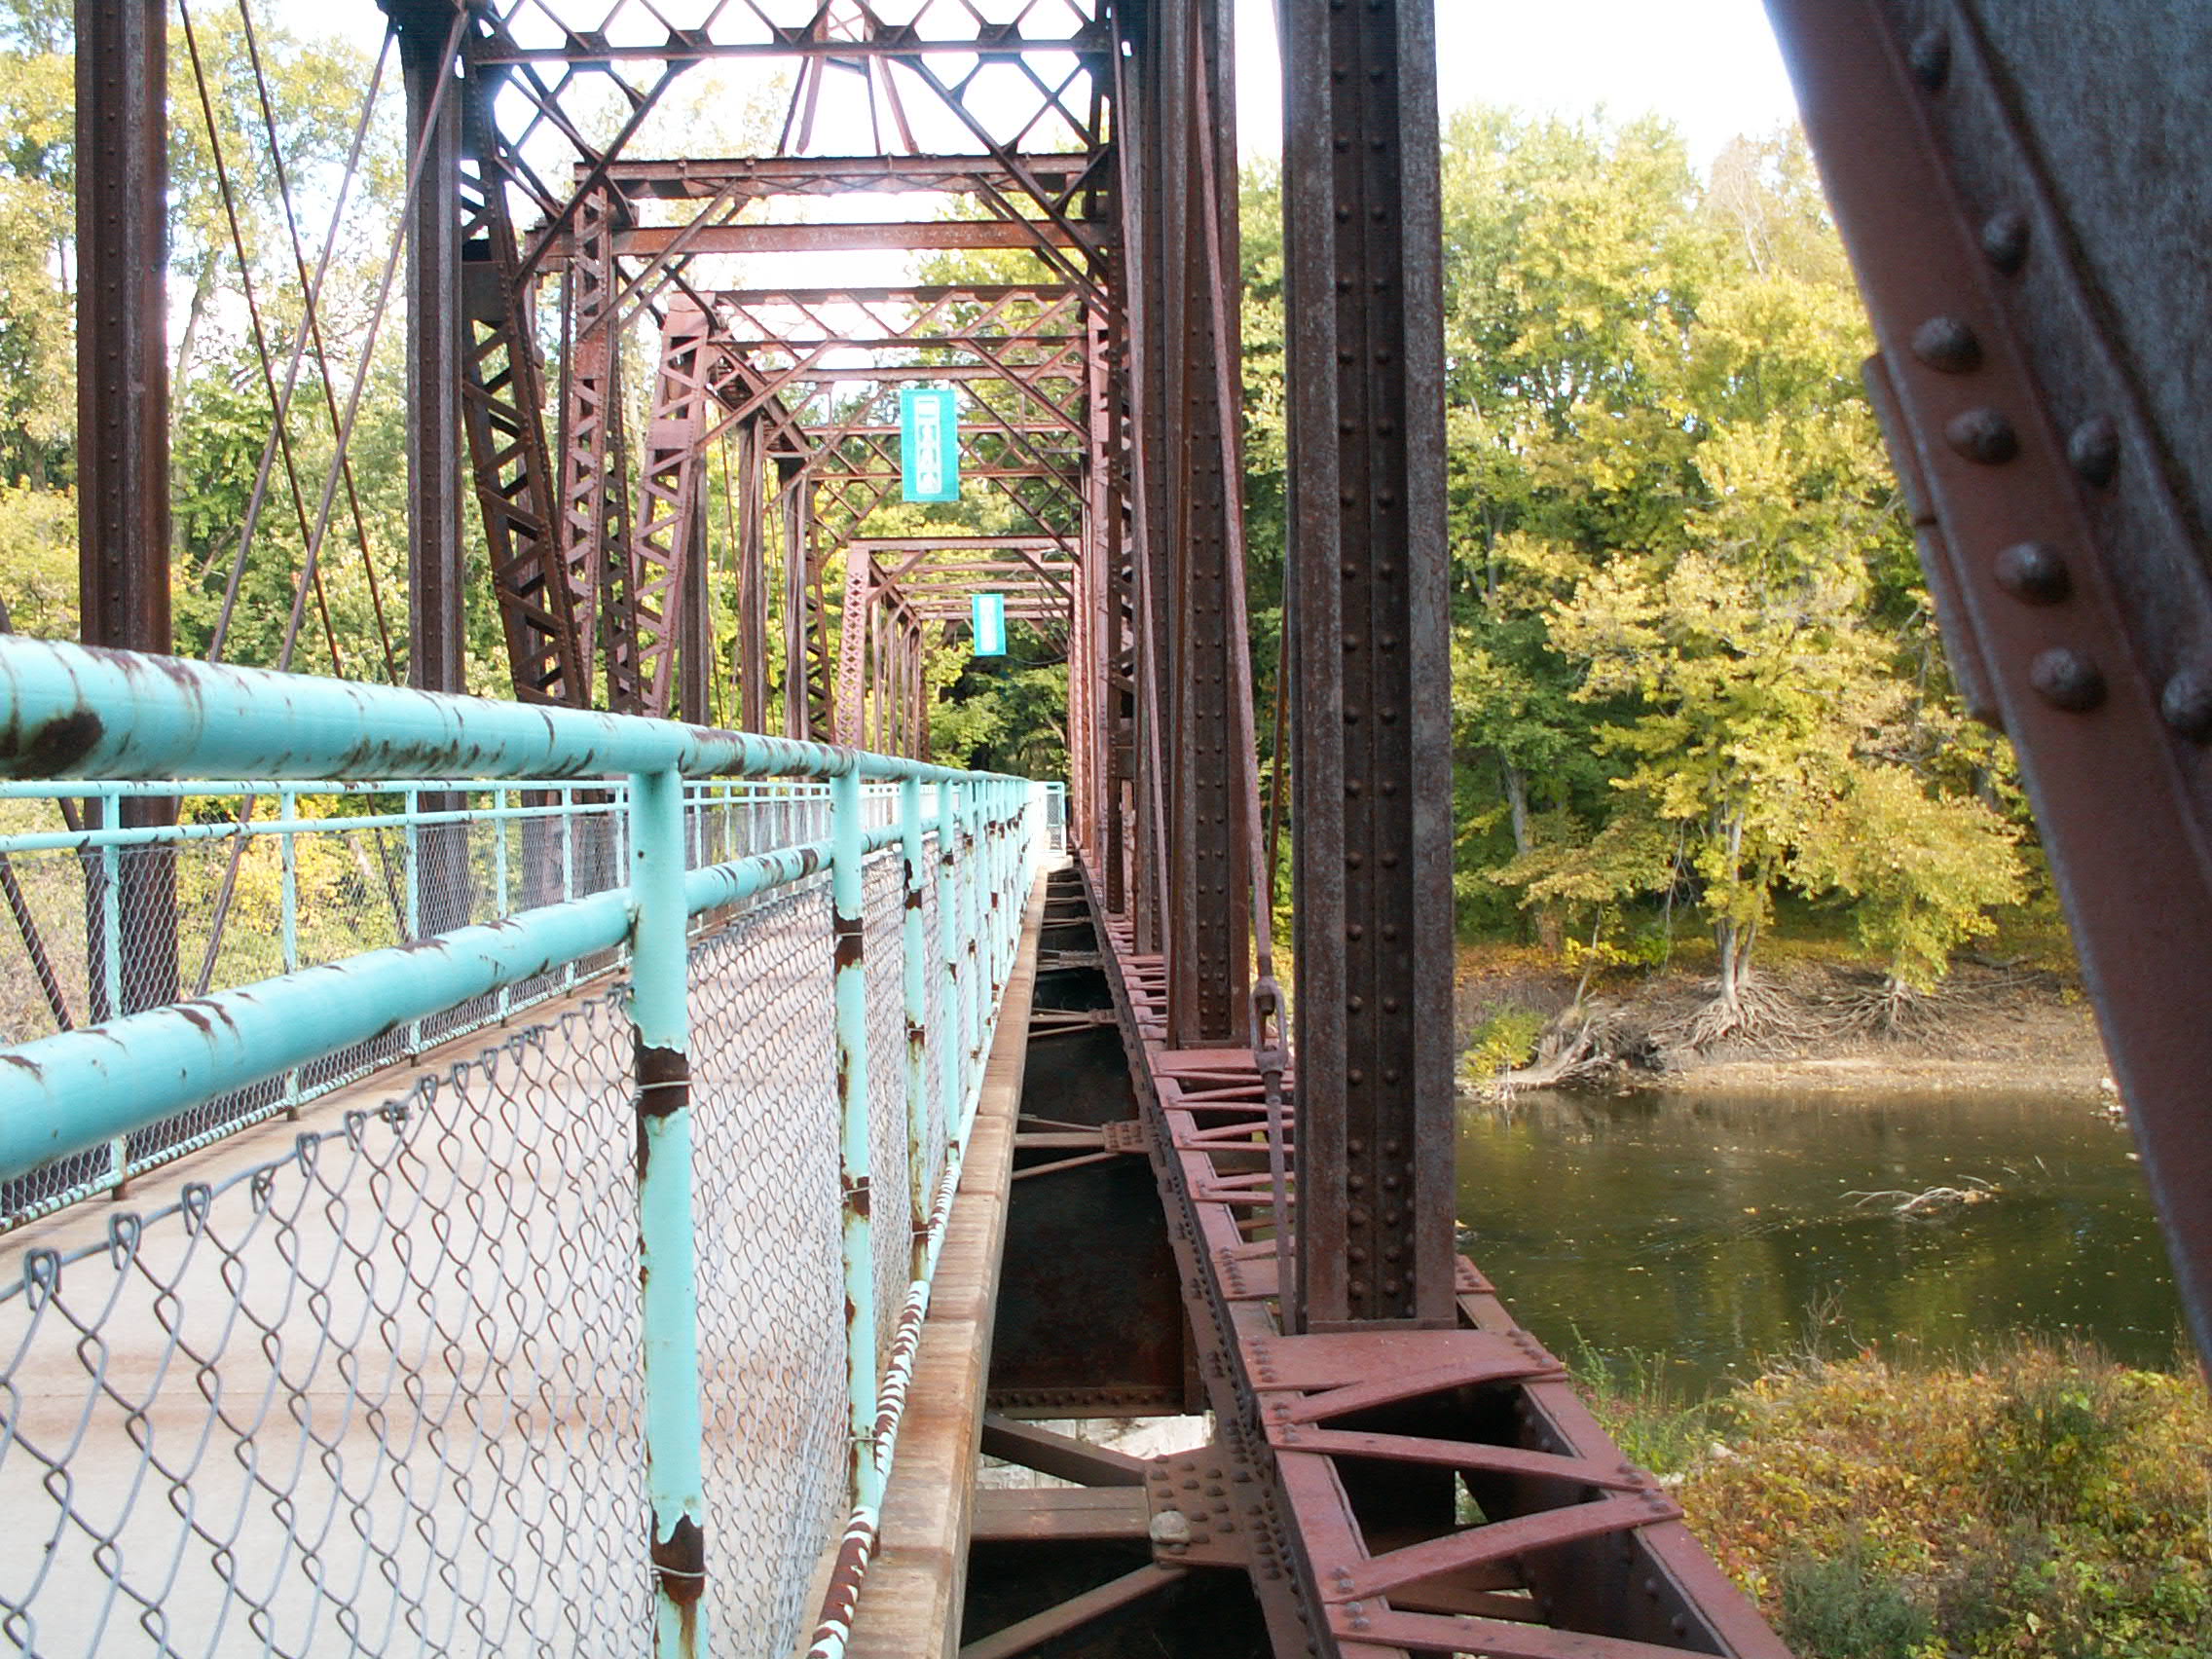
Views under fixed truss spans.
![]()
Detail of stringers for northern stringer approach spans.
![]()

Diaphragm for northern stringer approach spans.
![]()
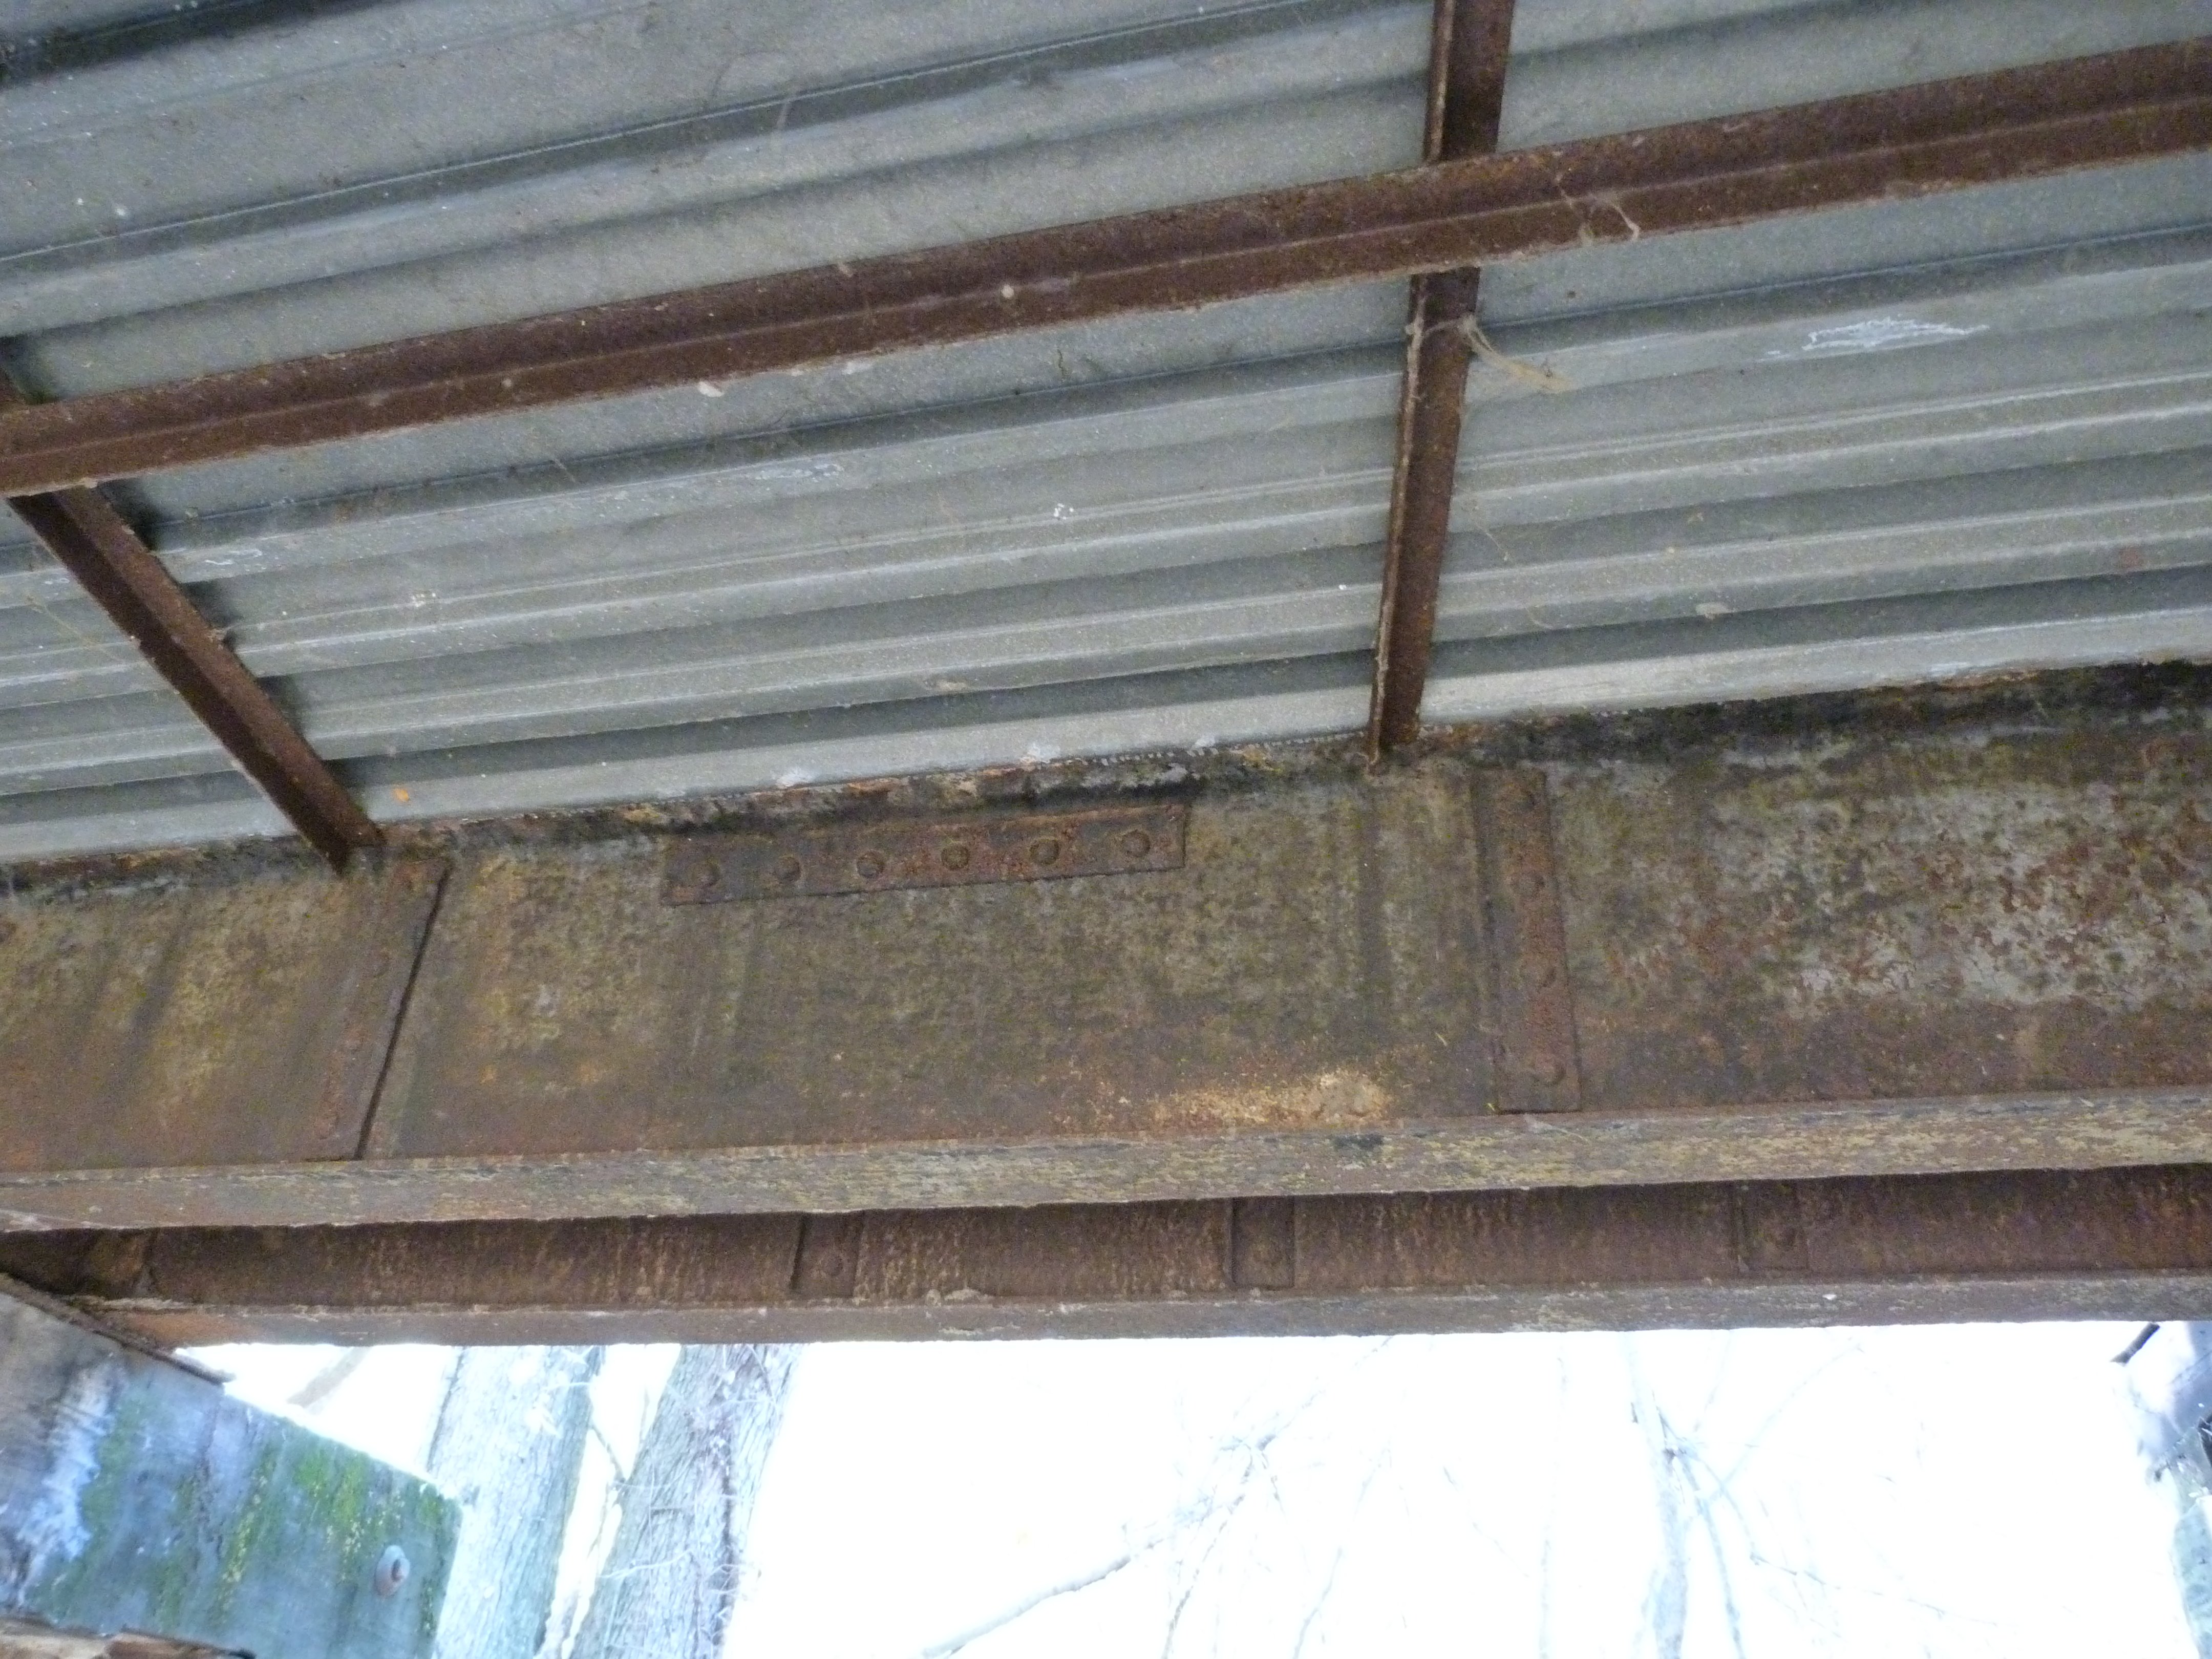
Views under deck plate girder approach span at southern end of bridge.
![]()
Swing span end post.
![]()


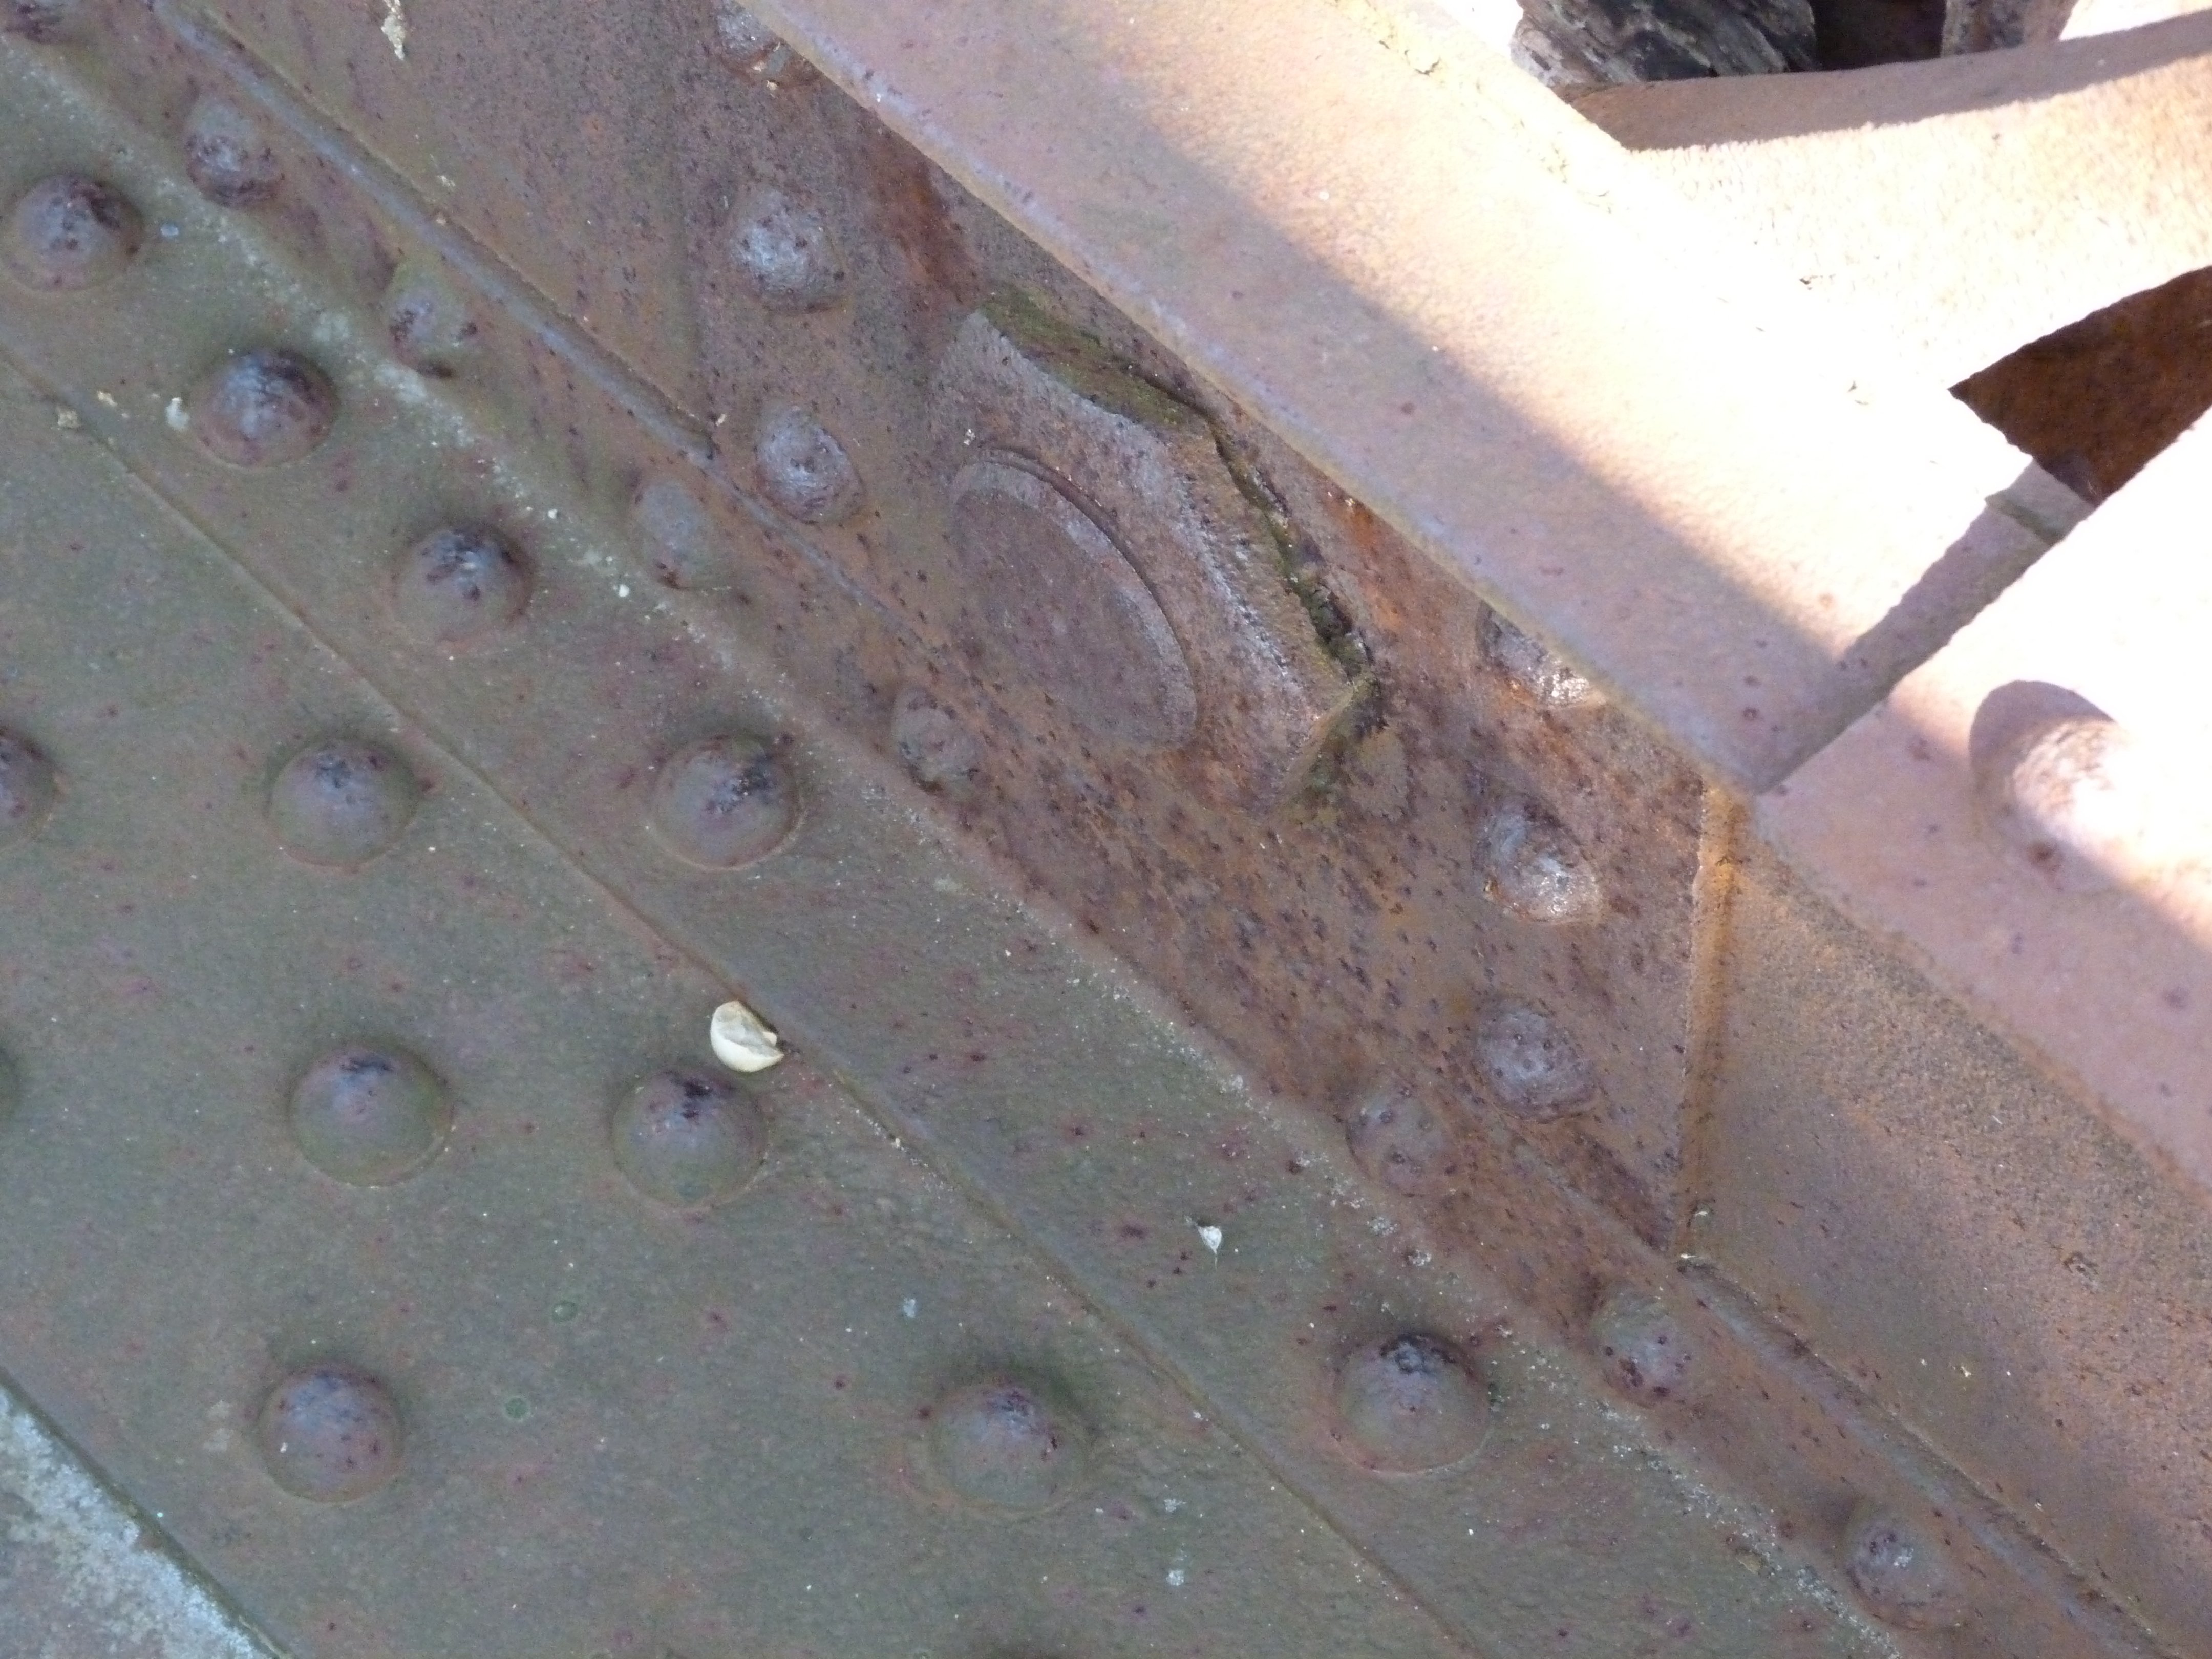
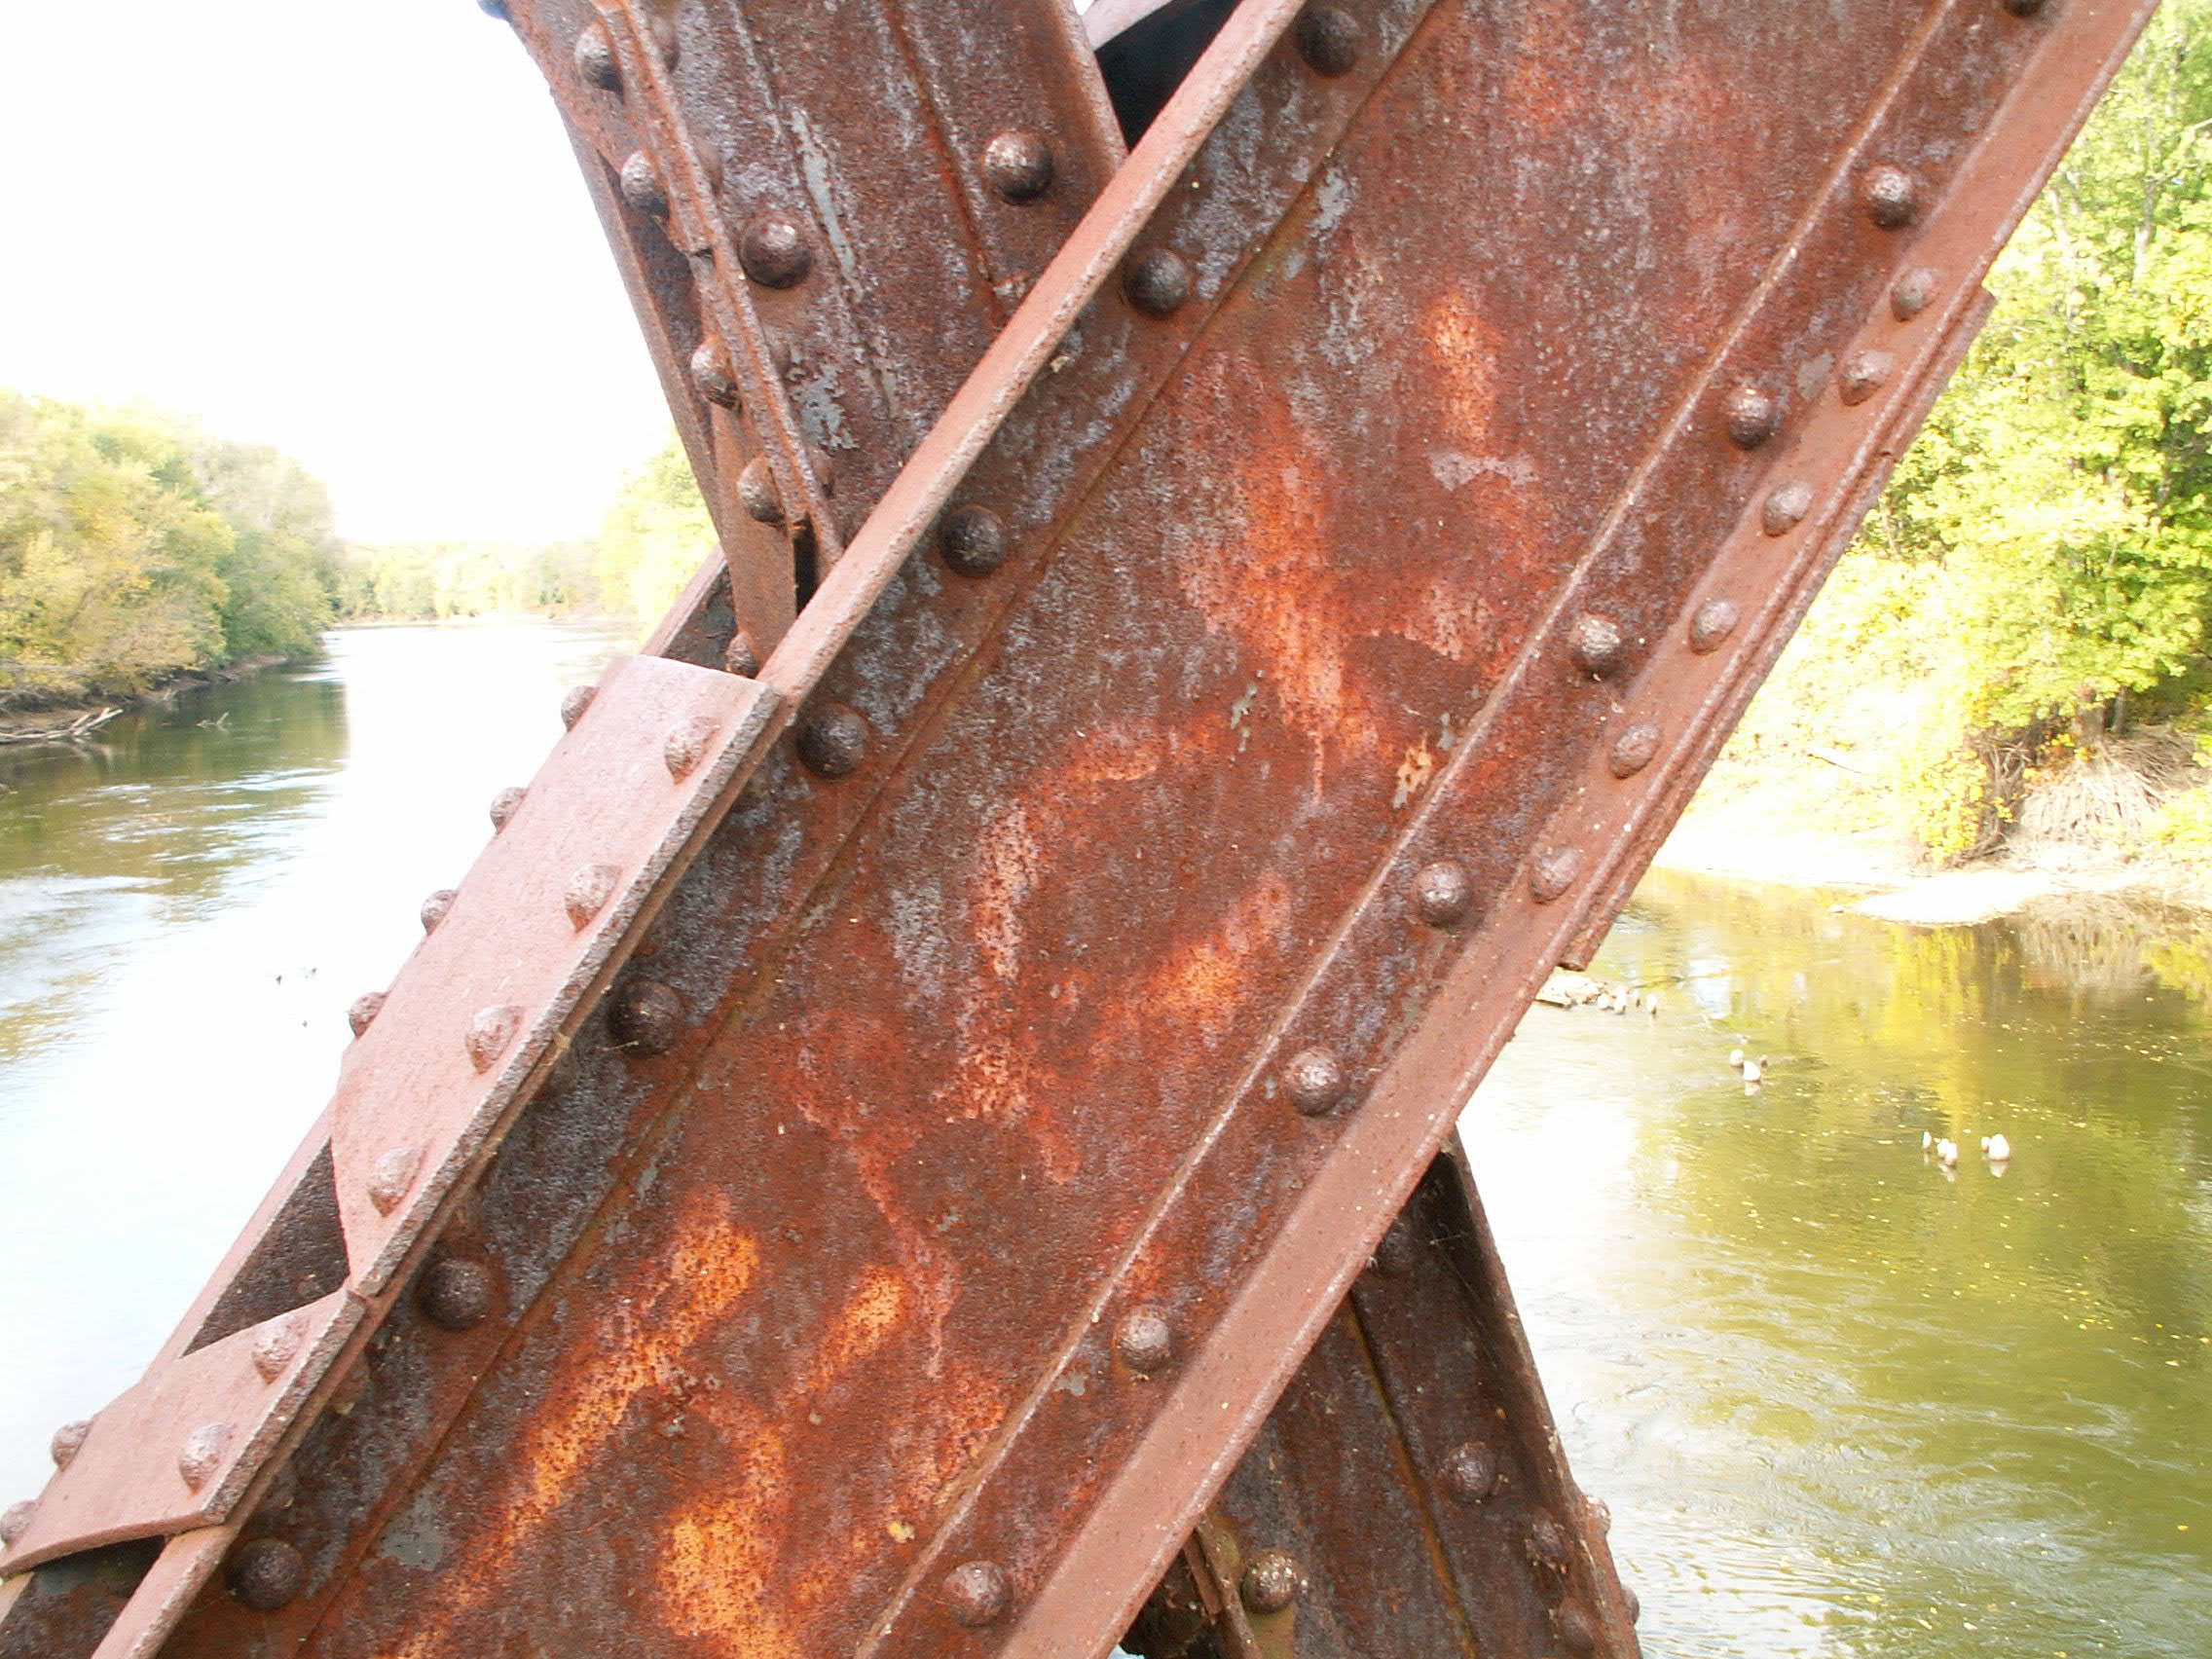
Swing span bottom chord.
![]()
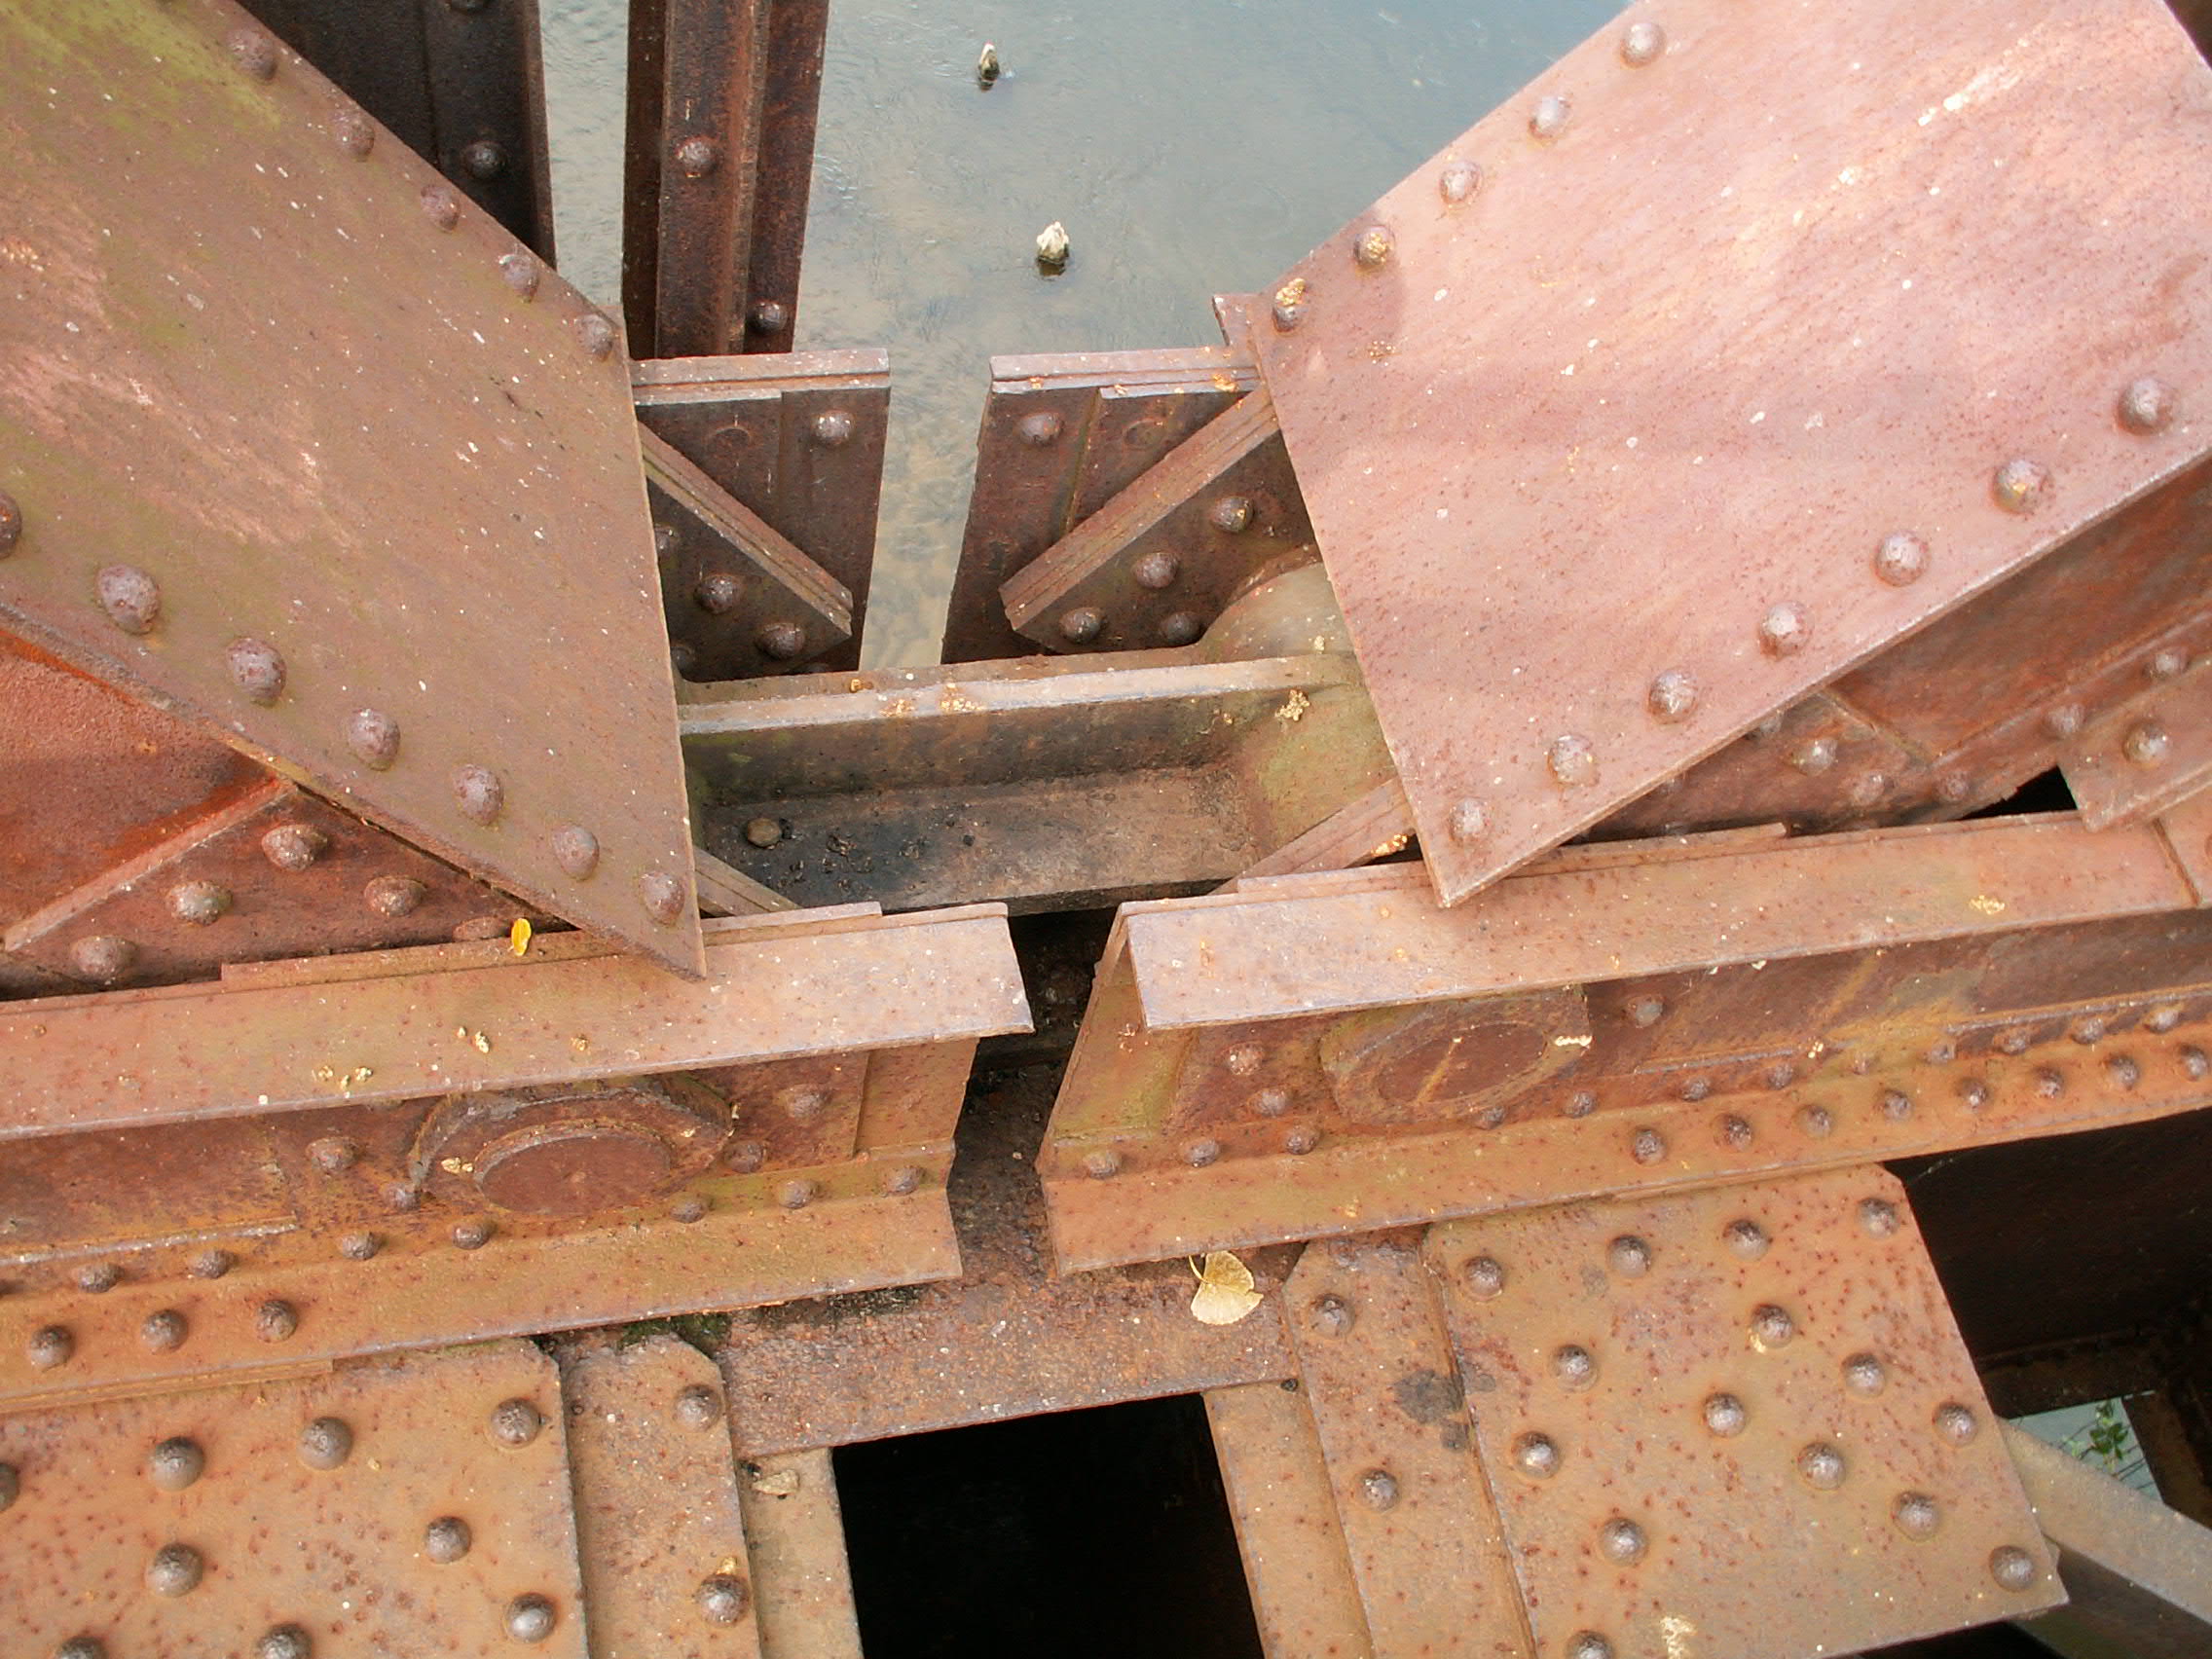


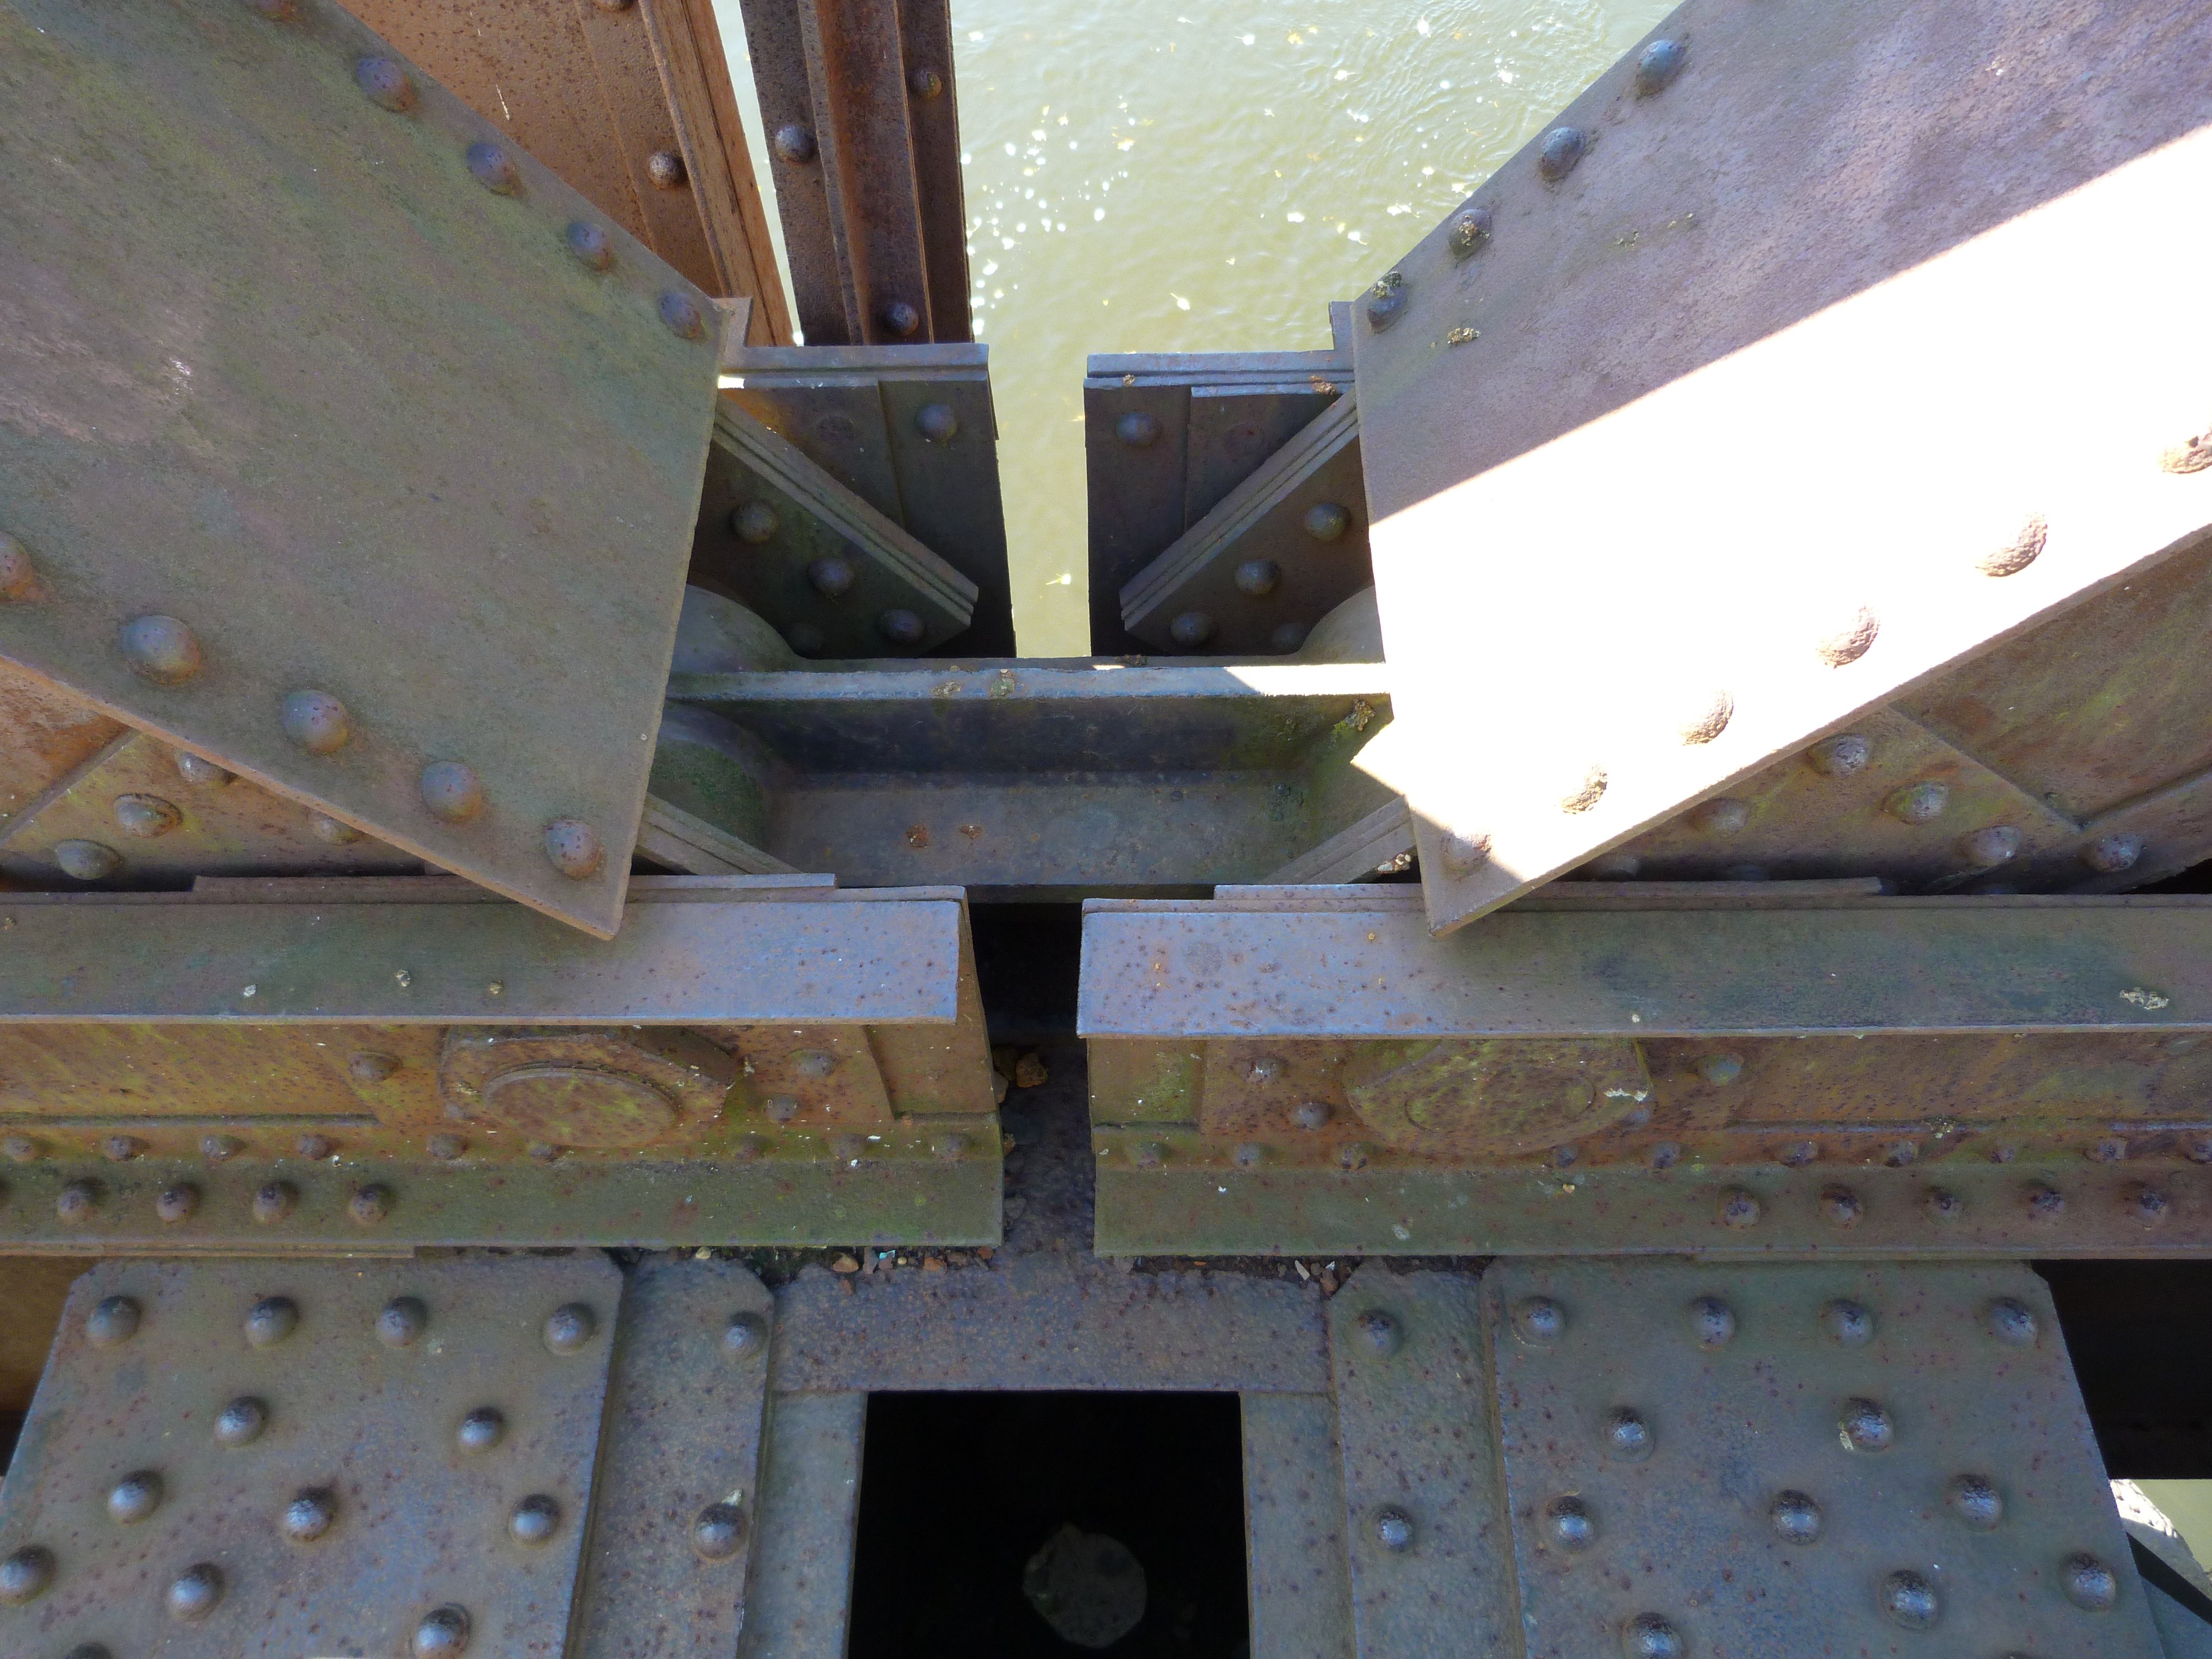

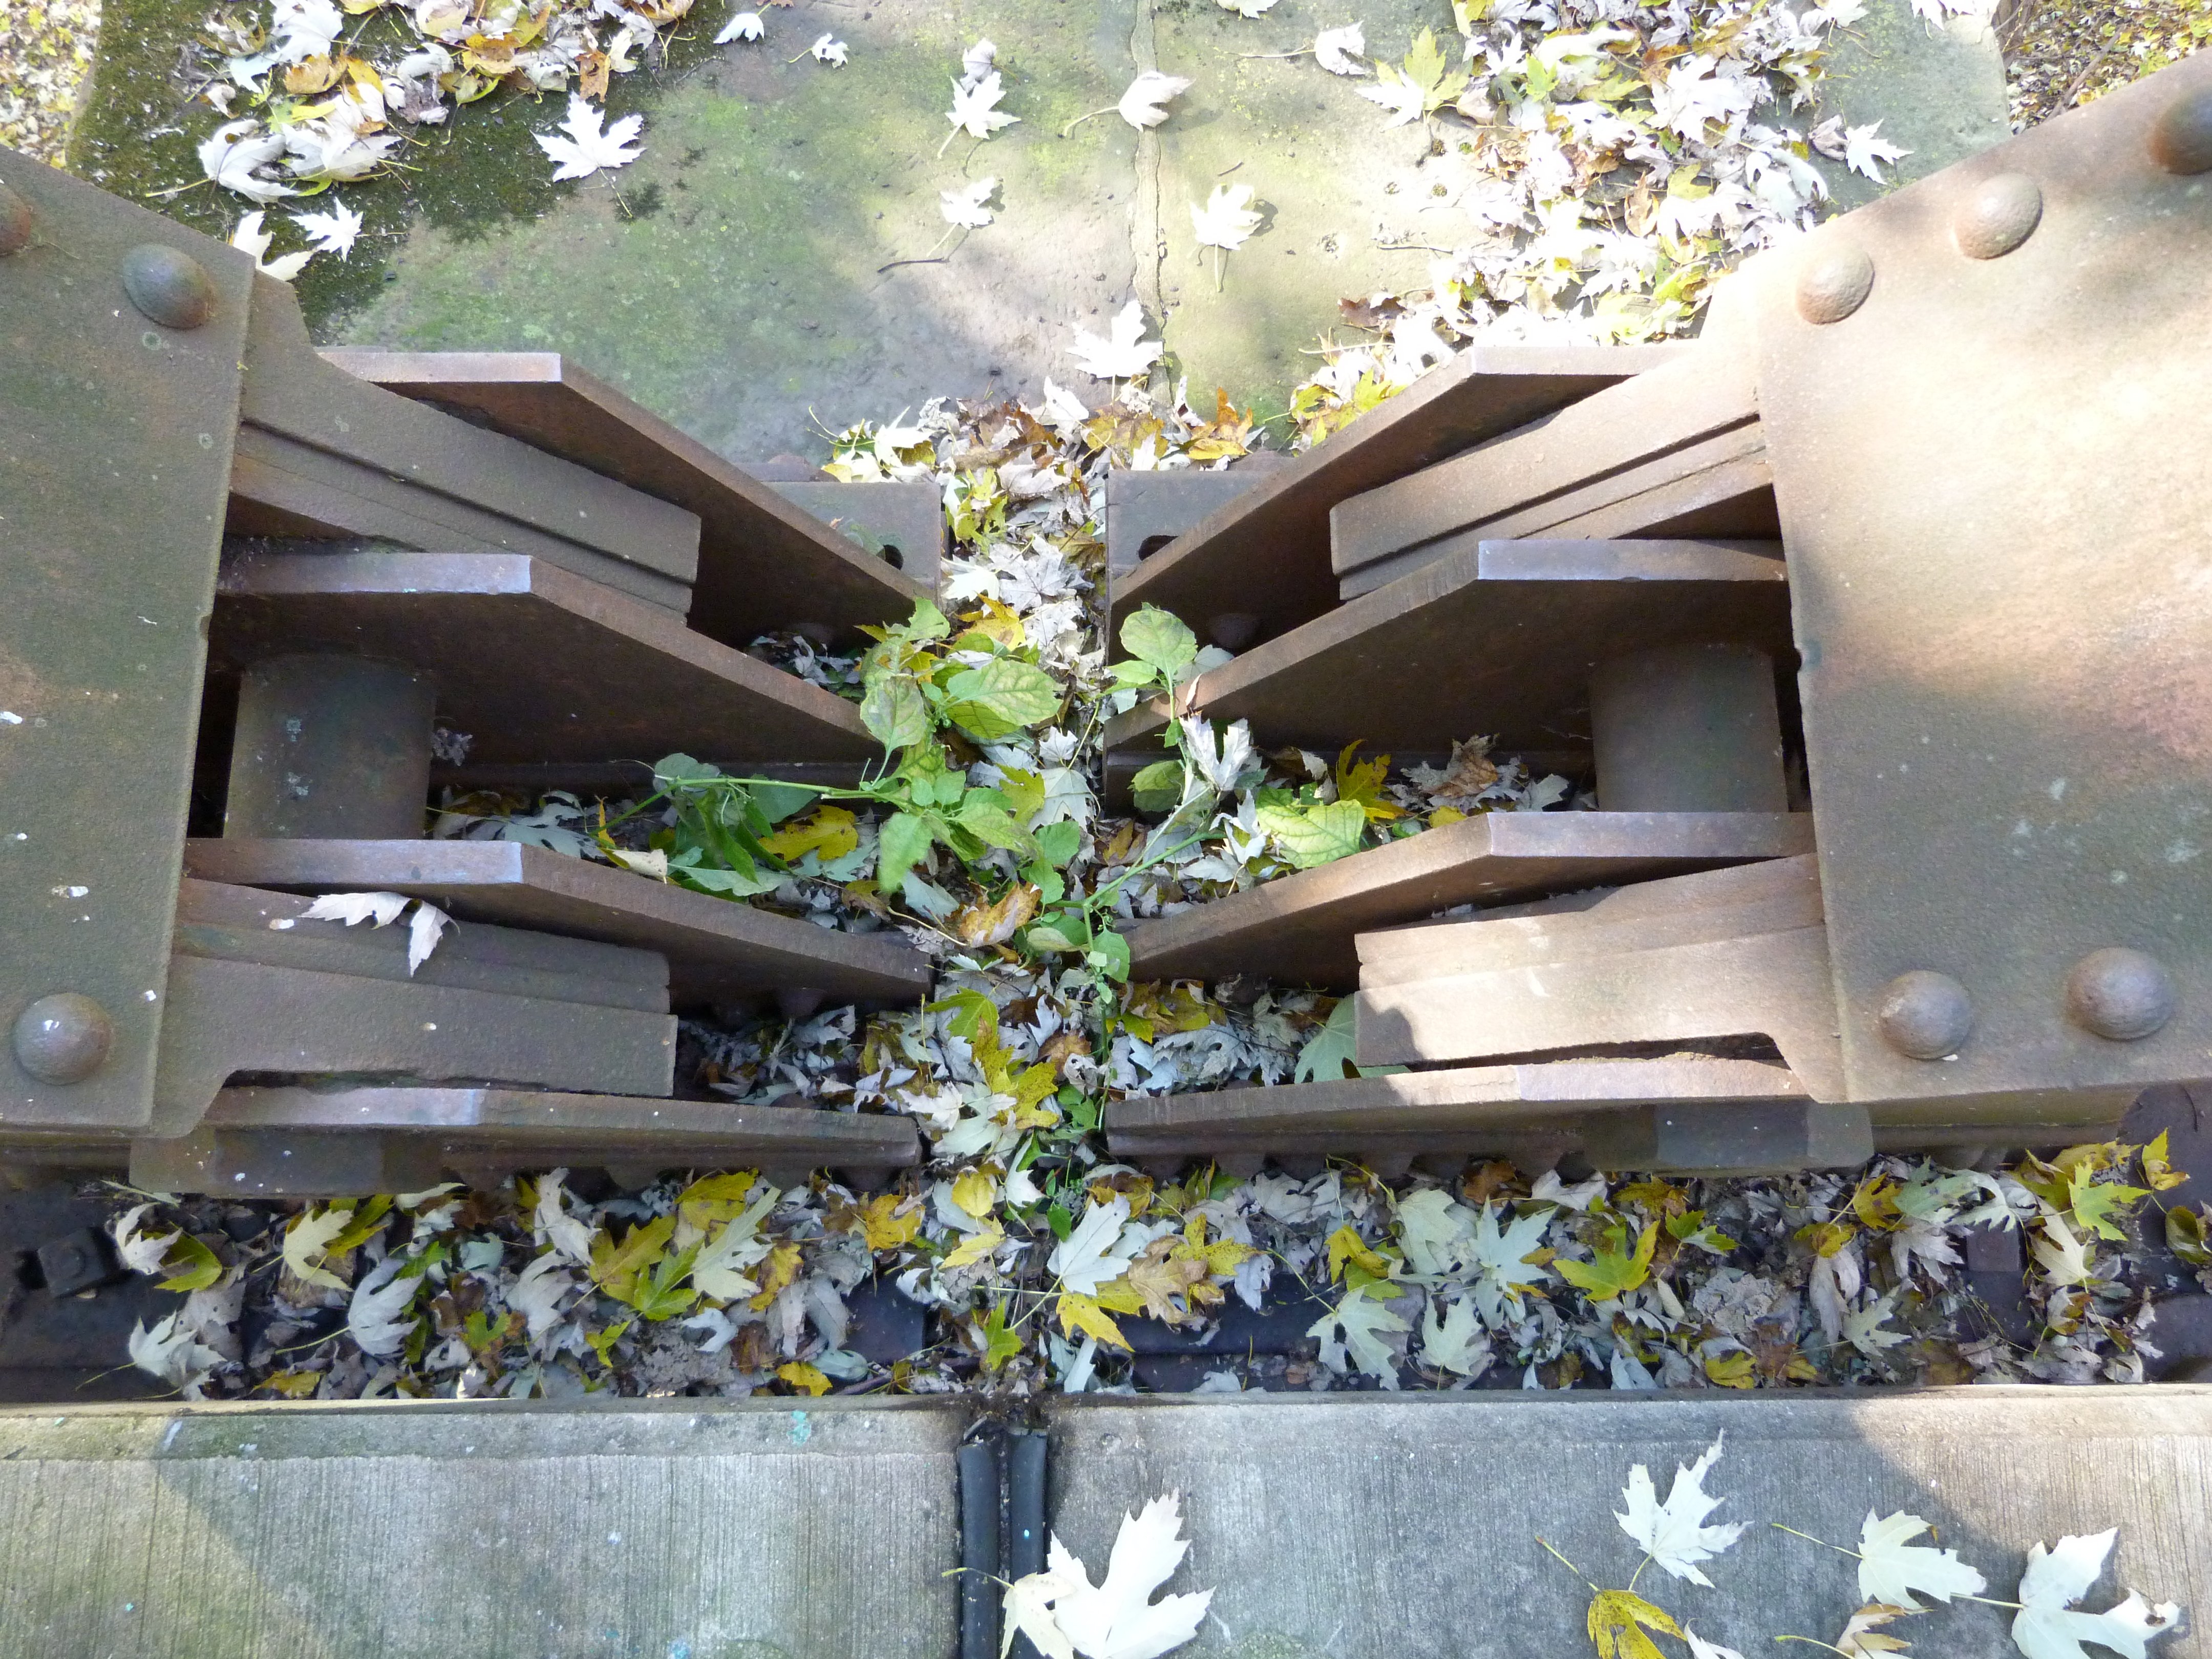
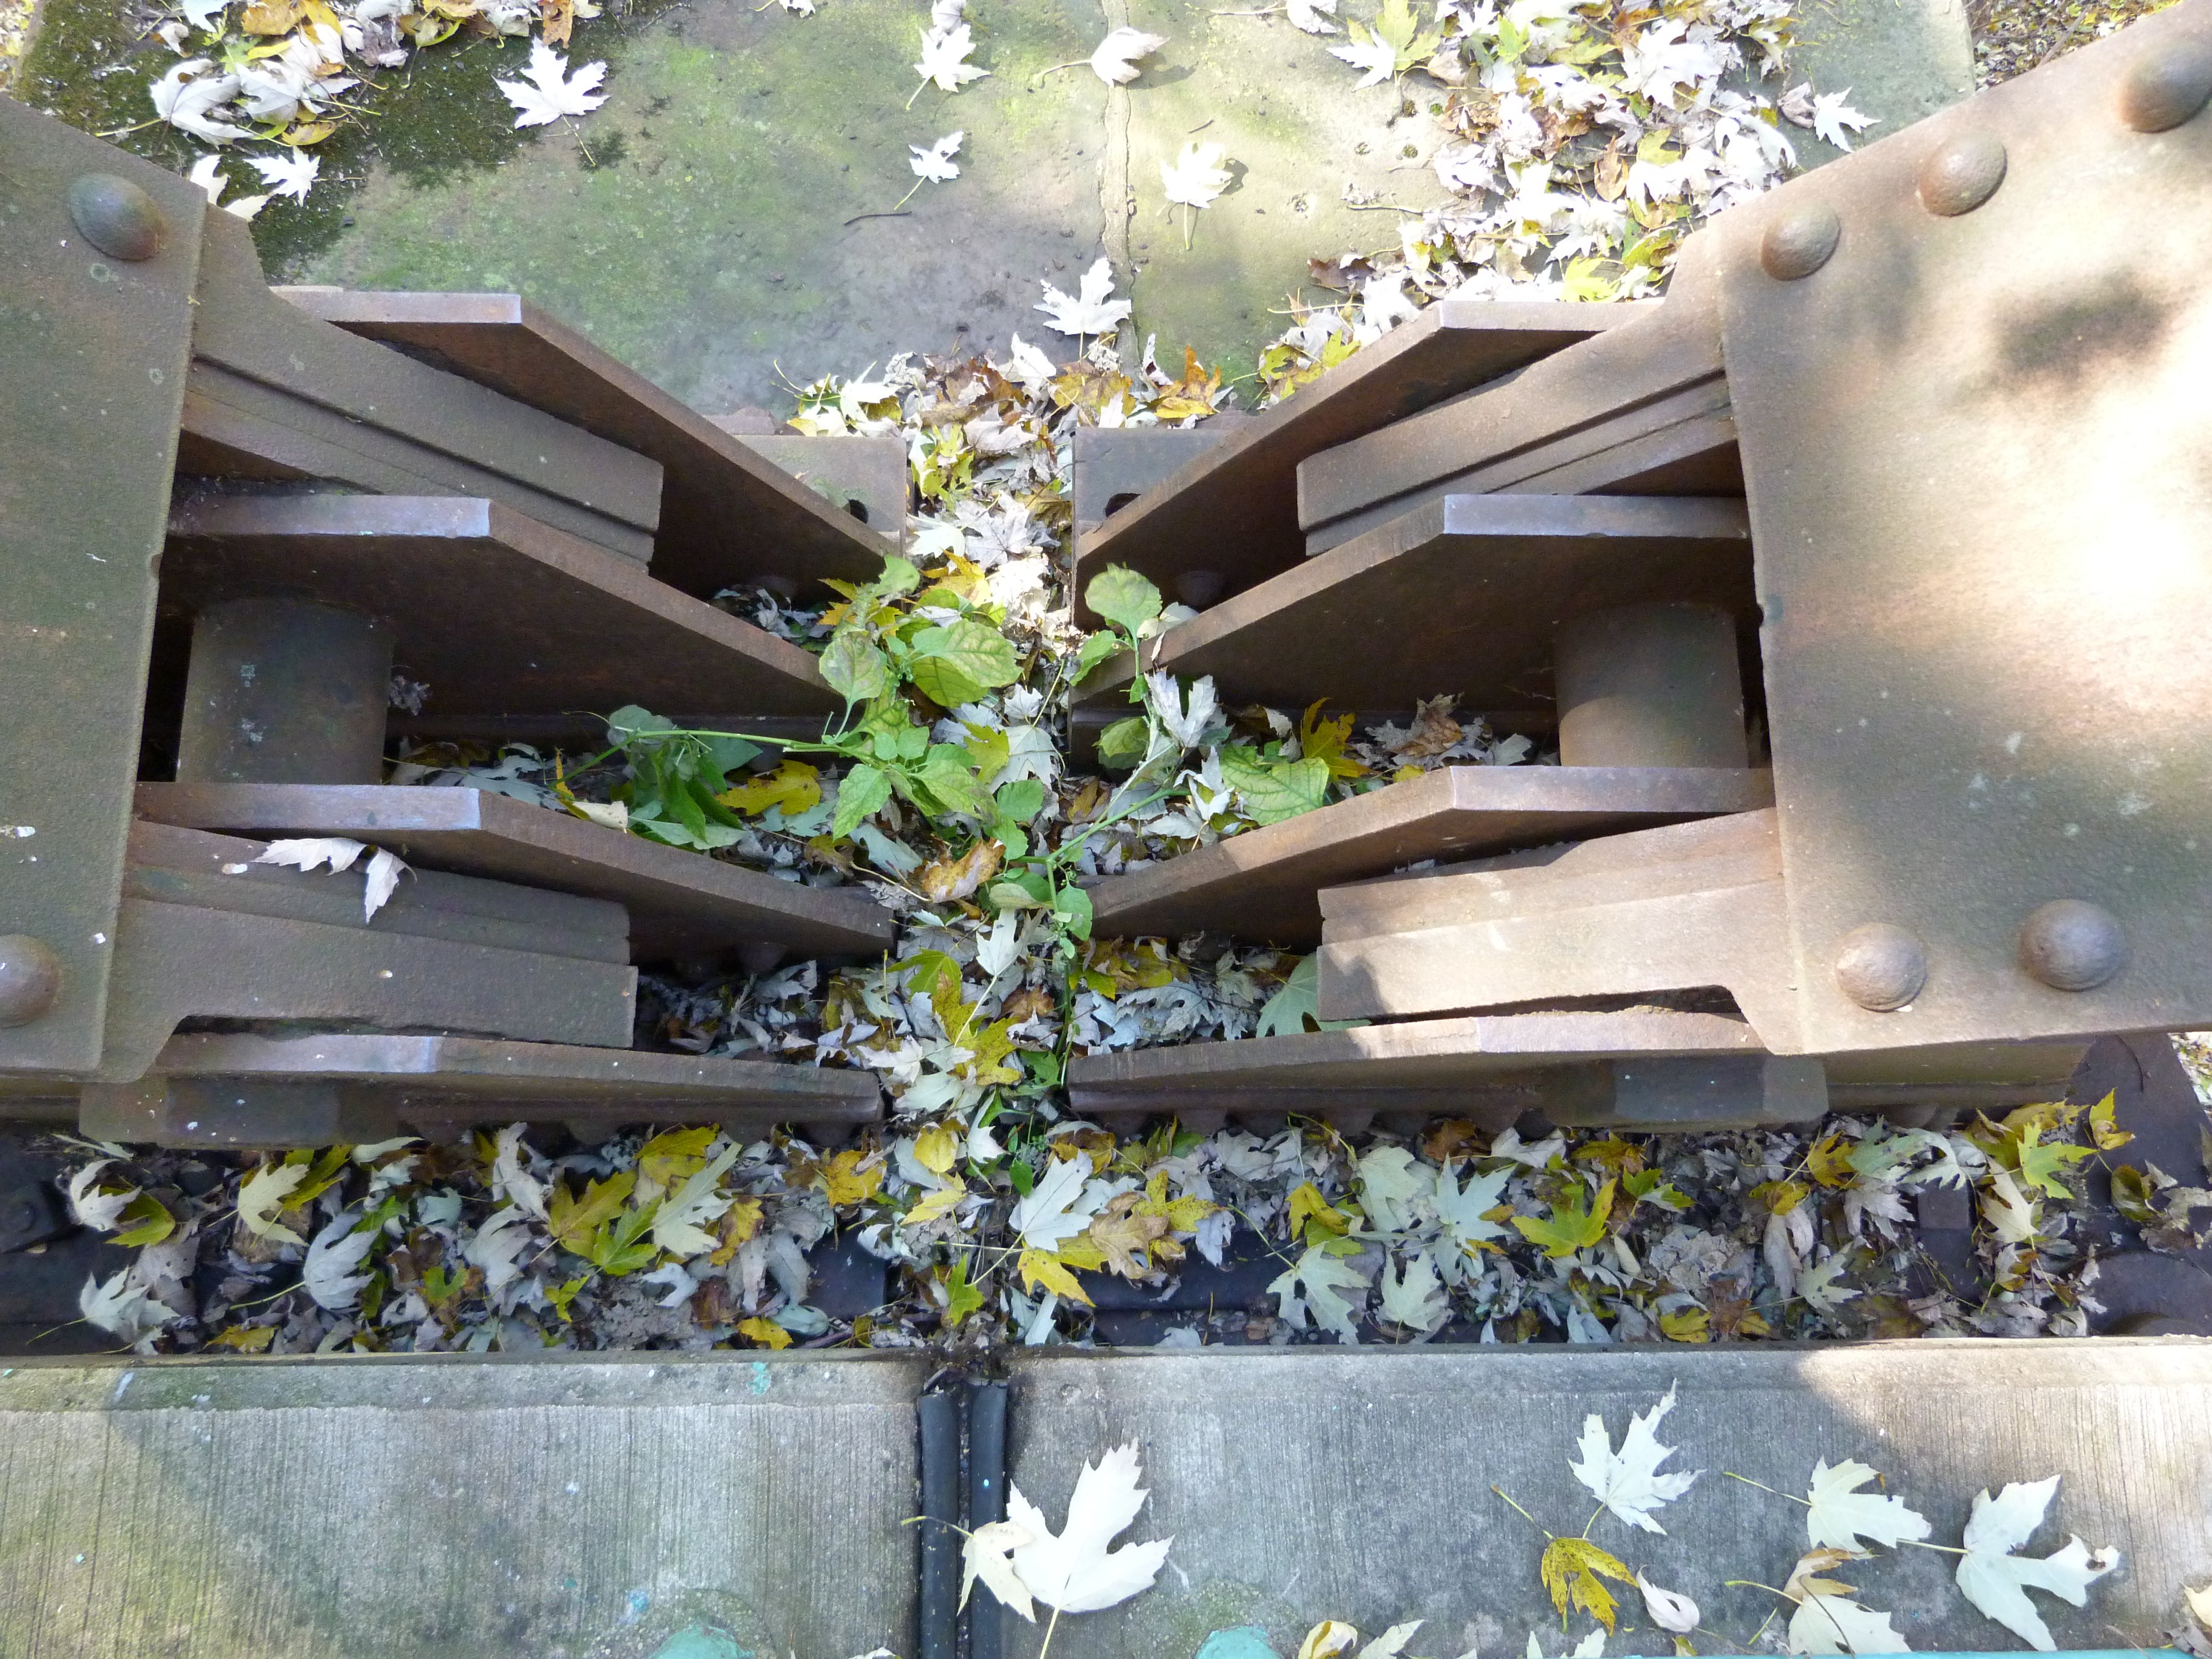
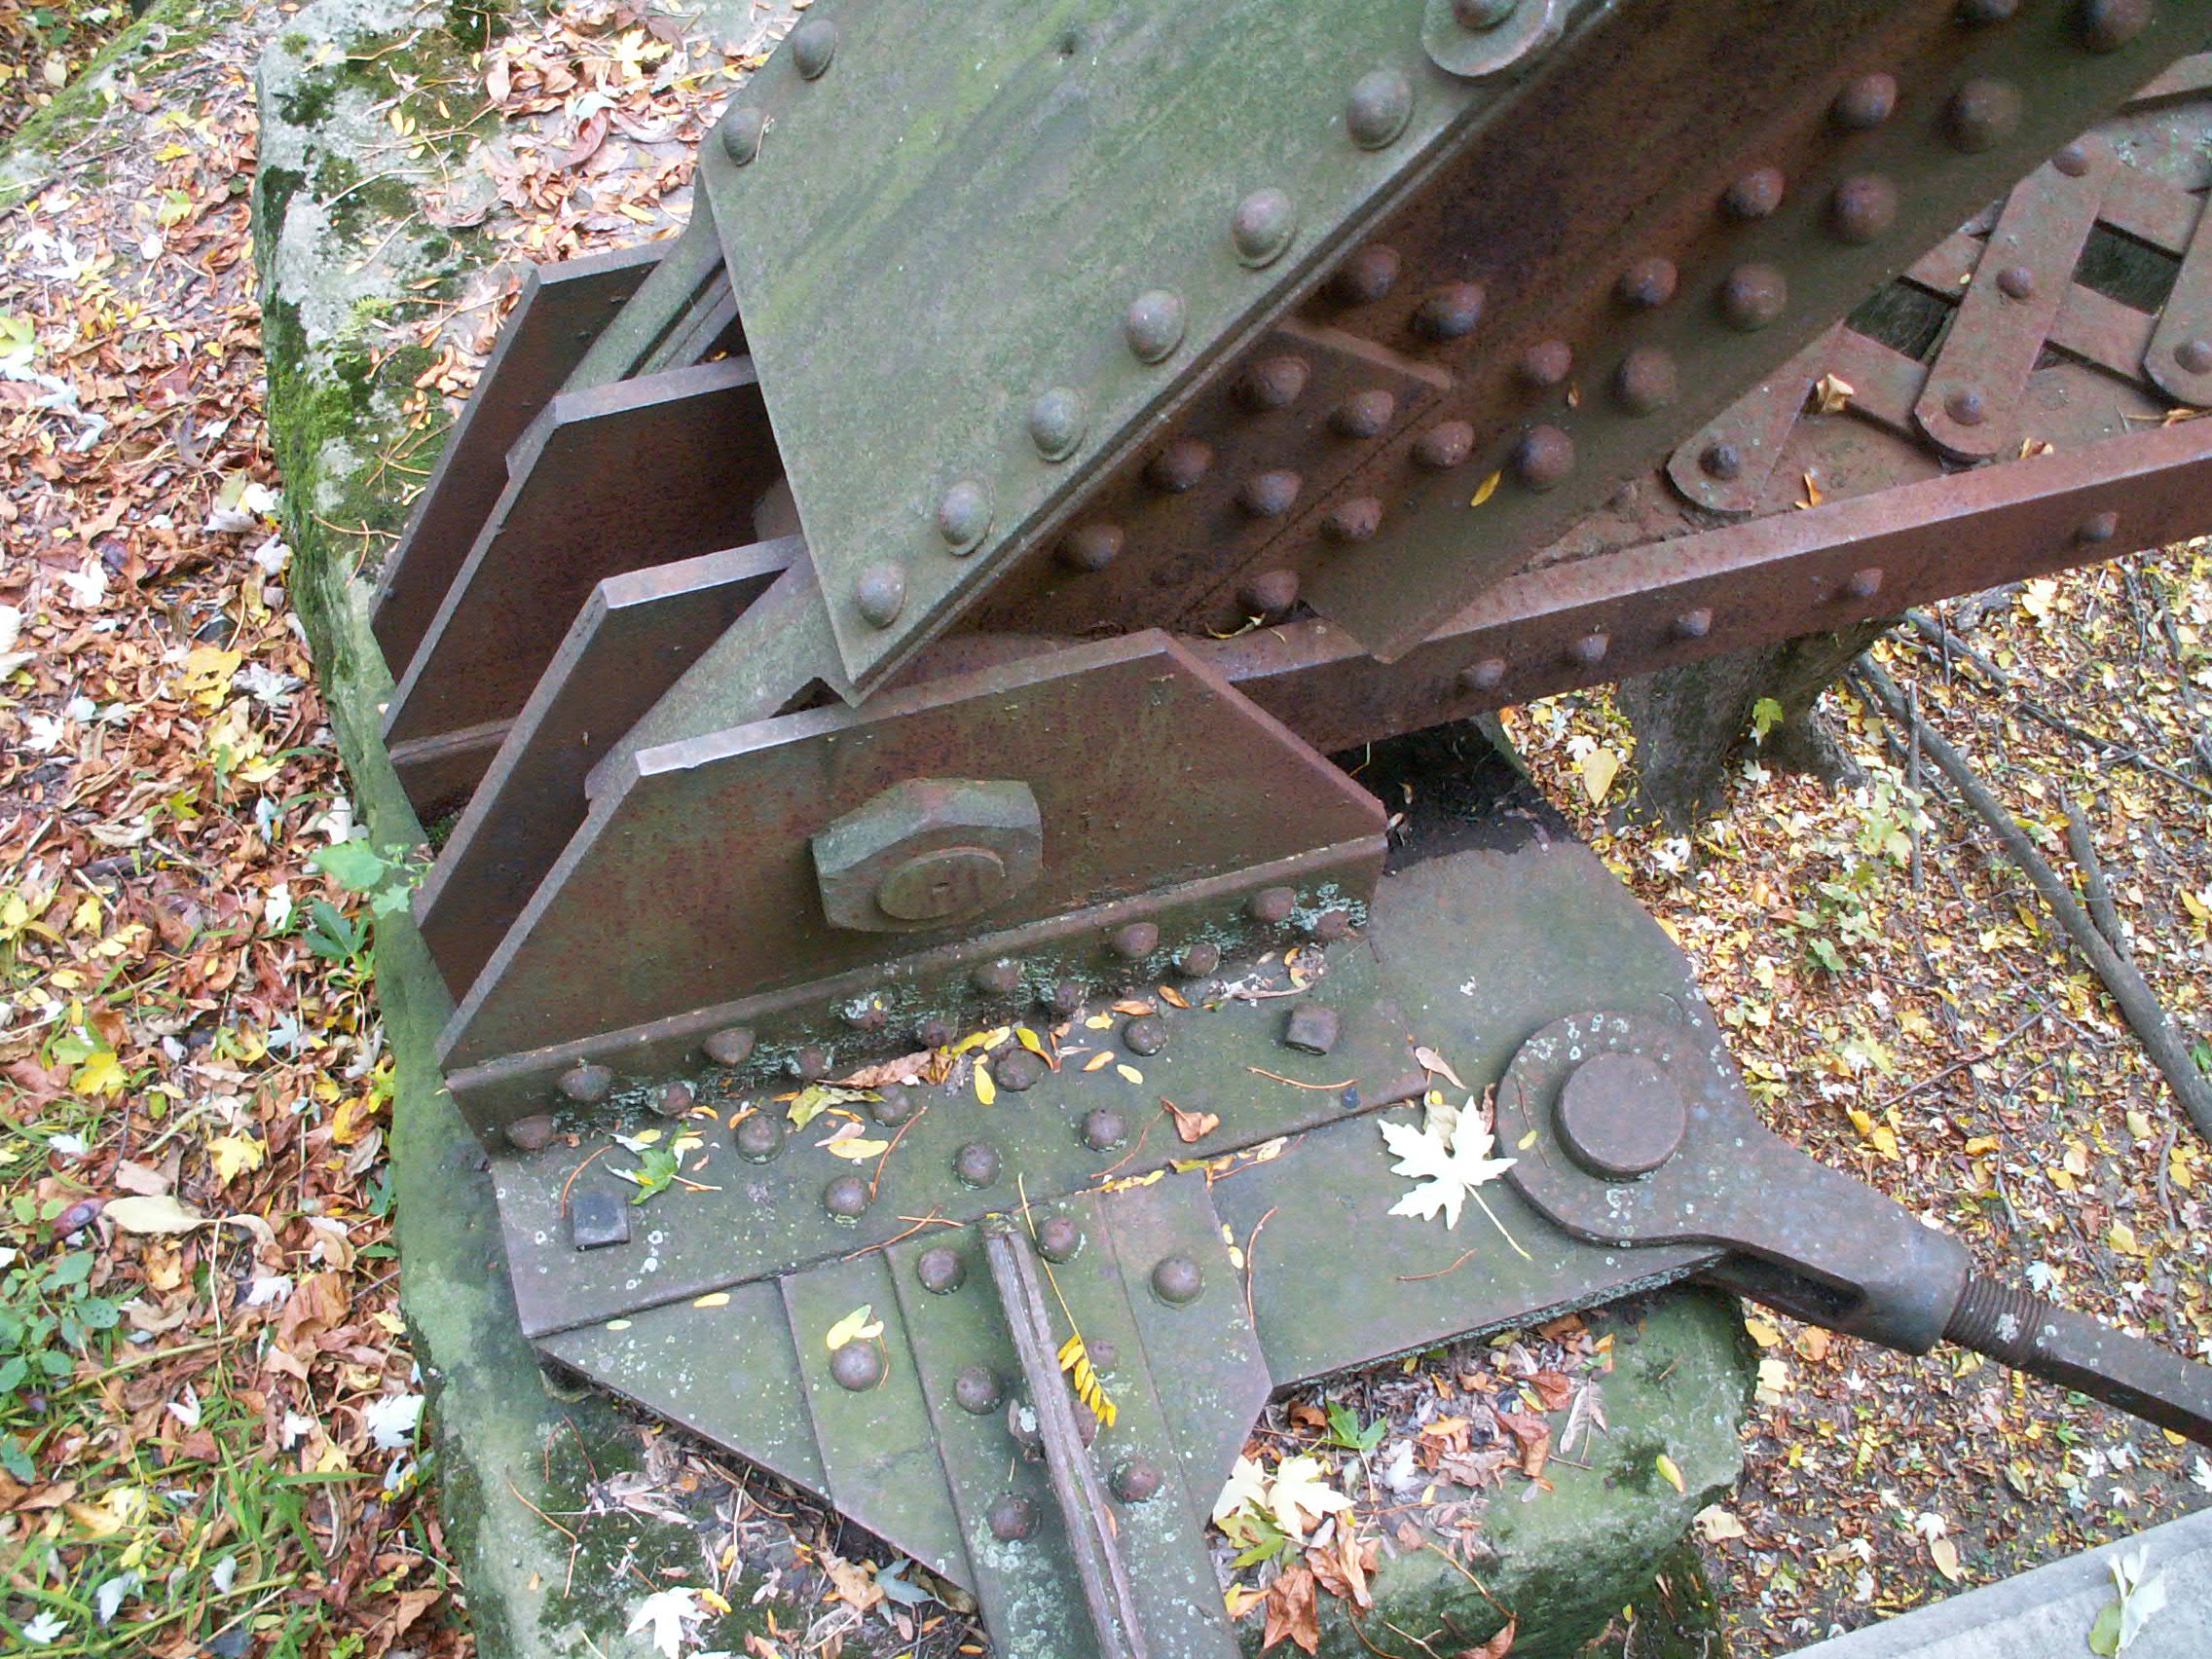
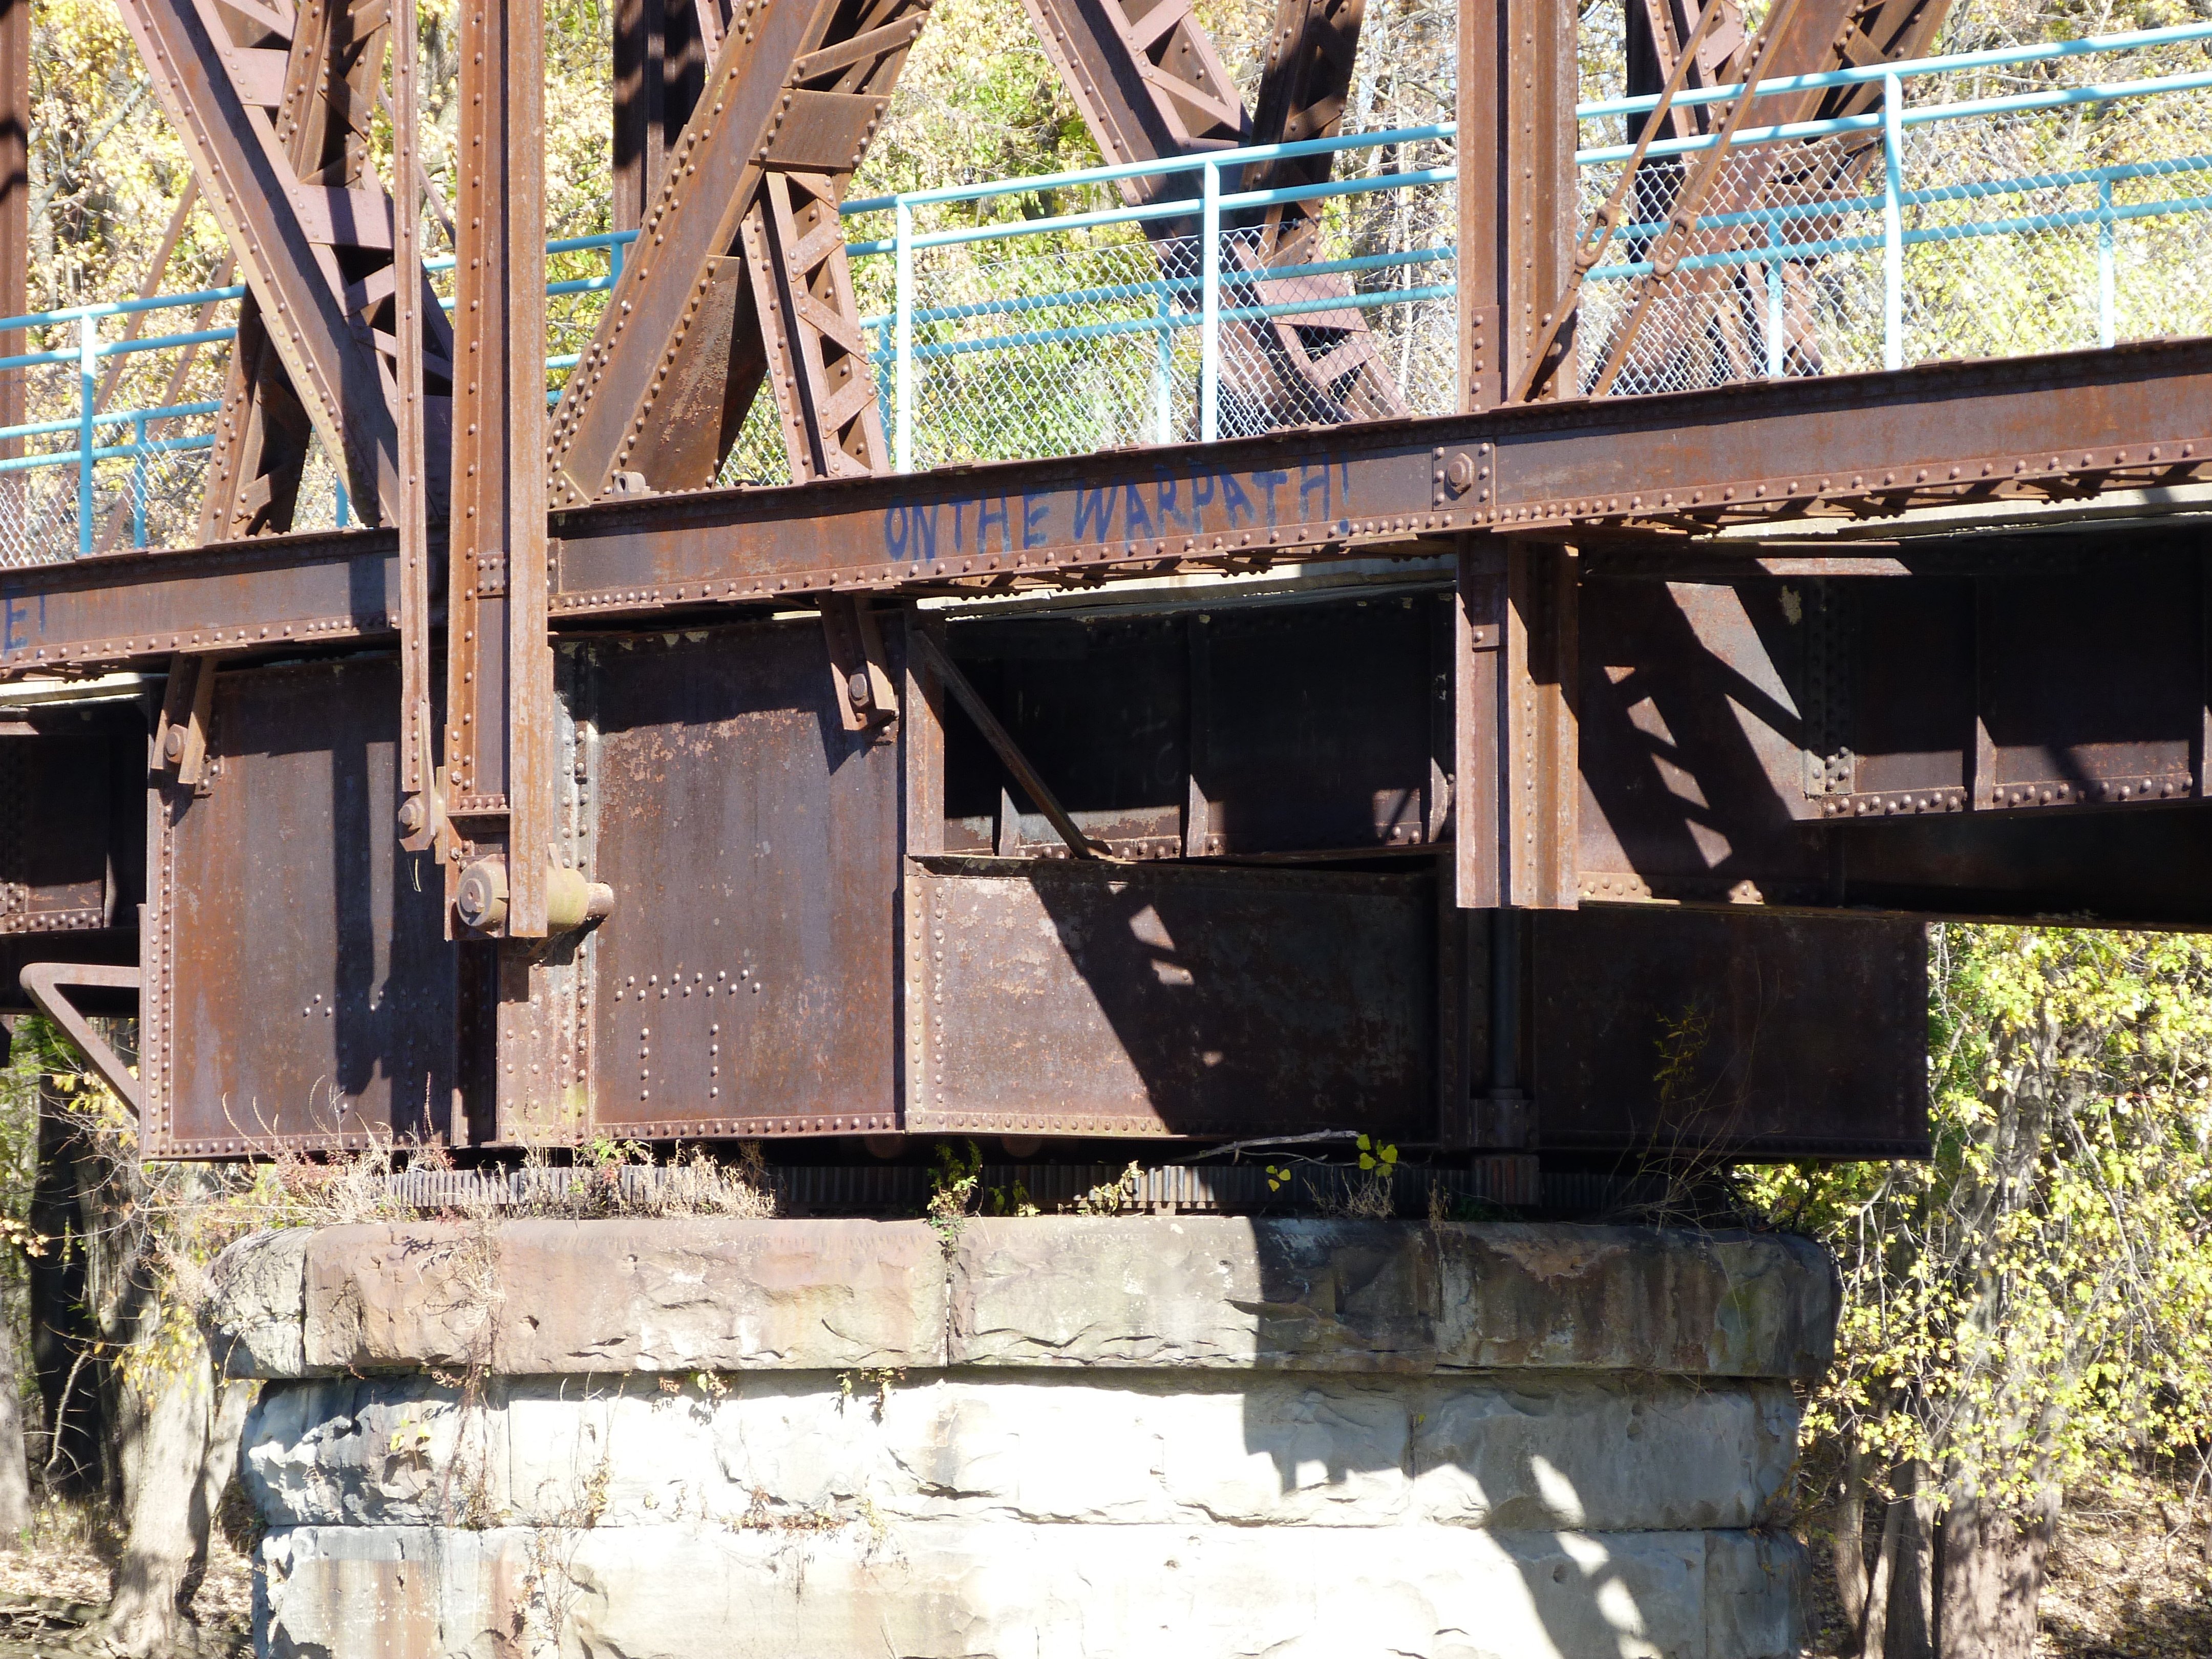
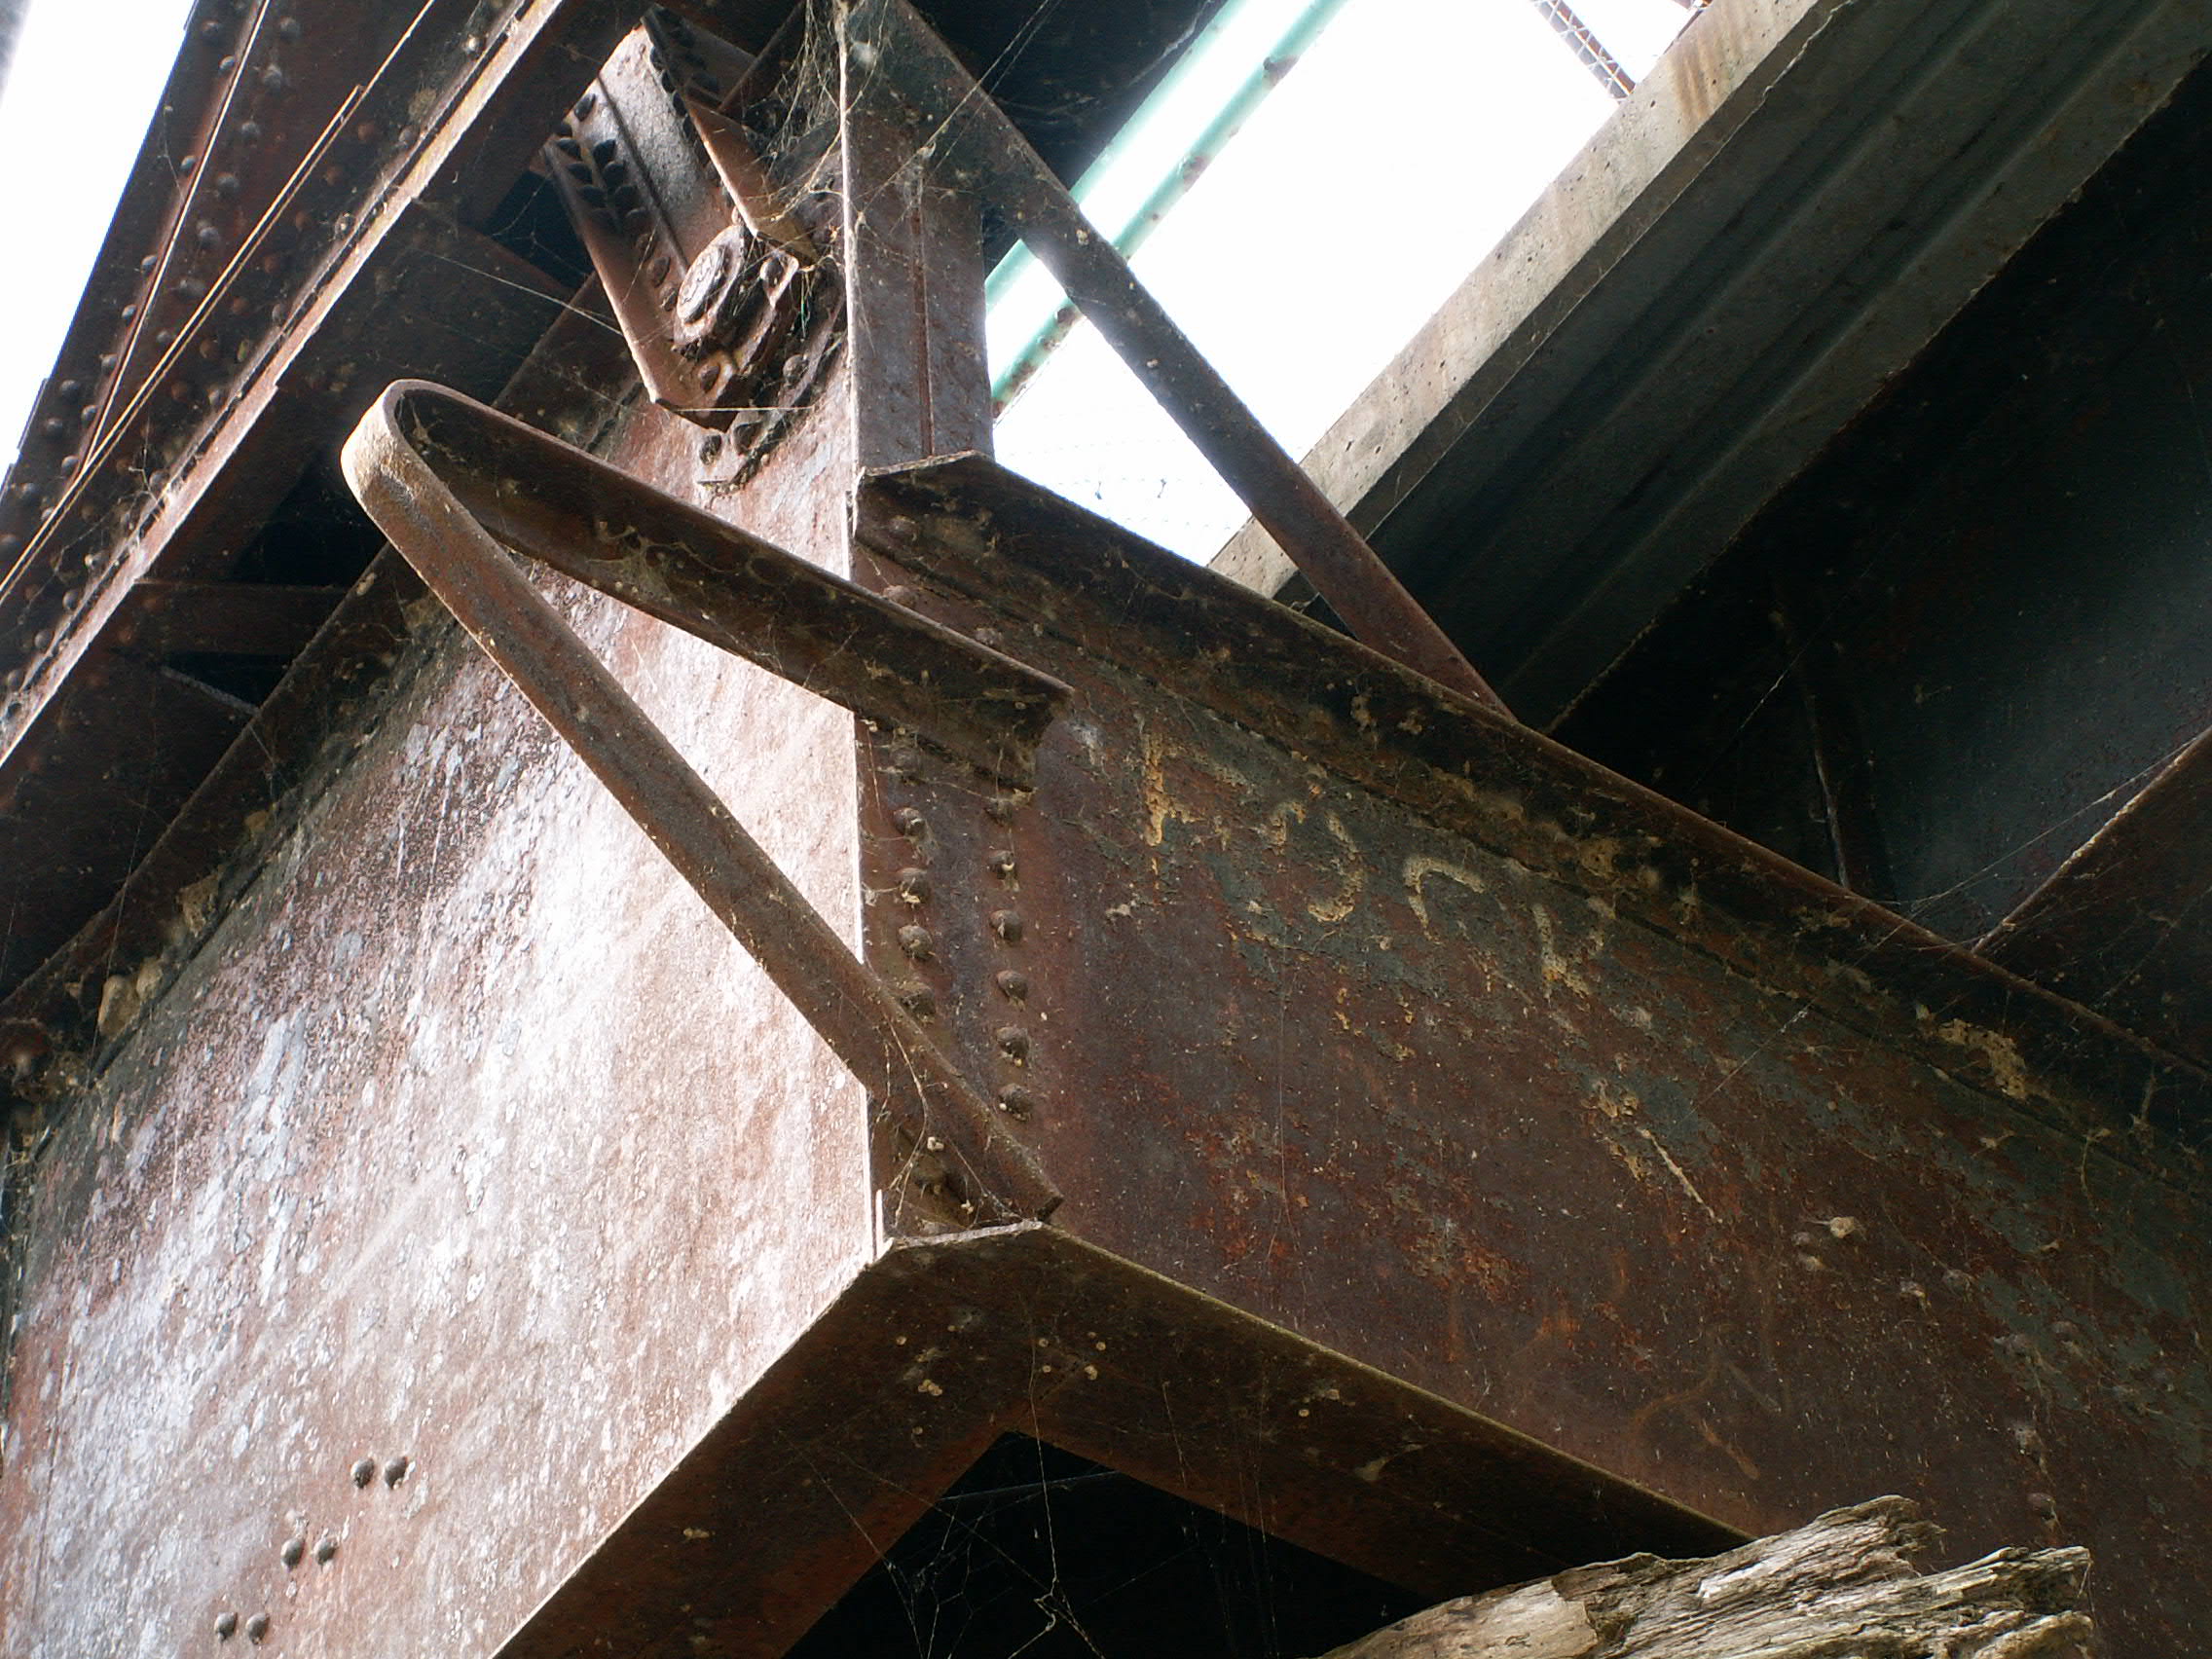
Bottom chord and connection details over swing pier.
![]()
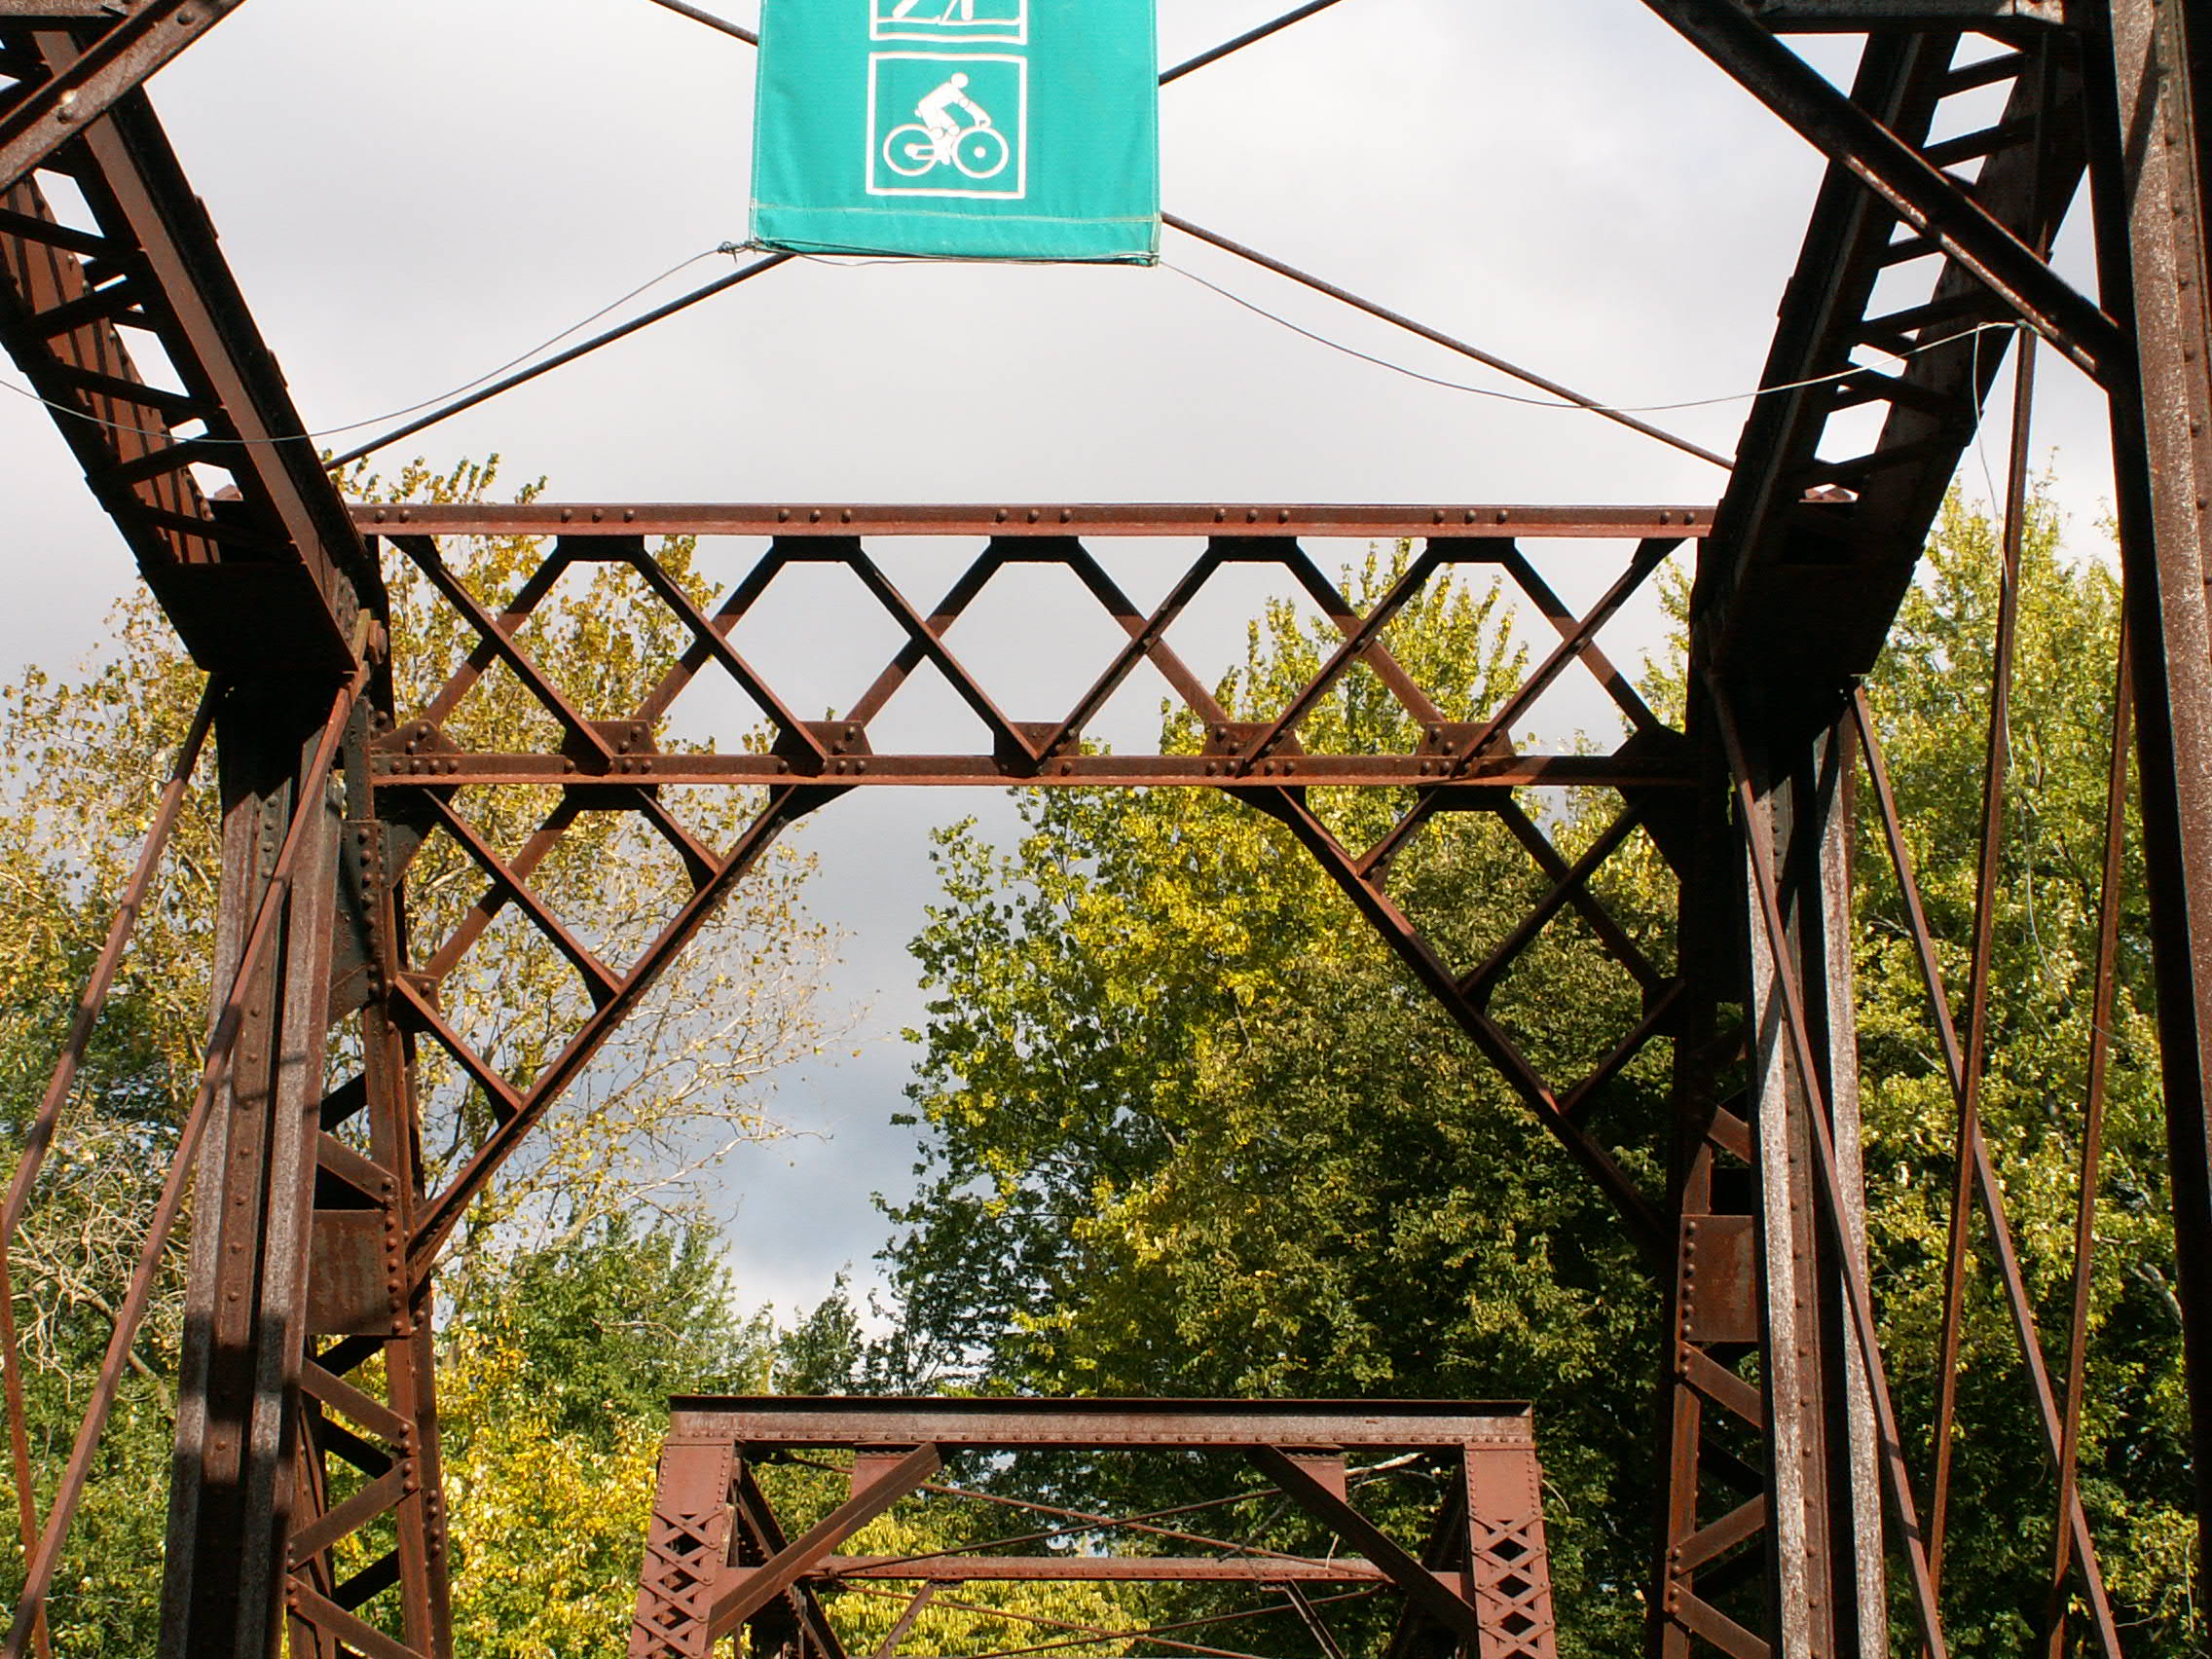
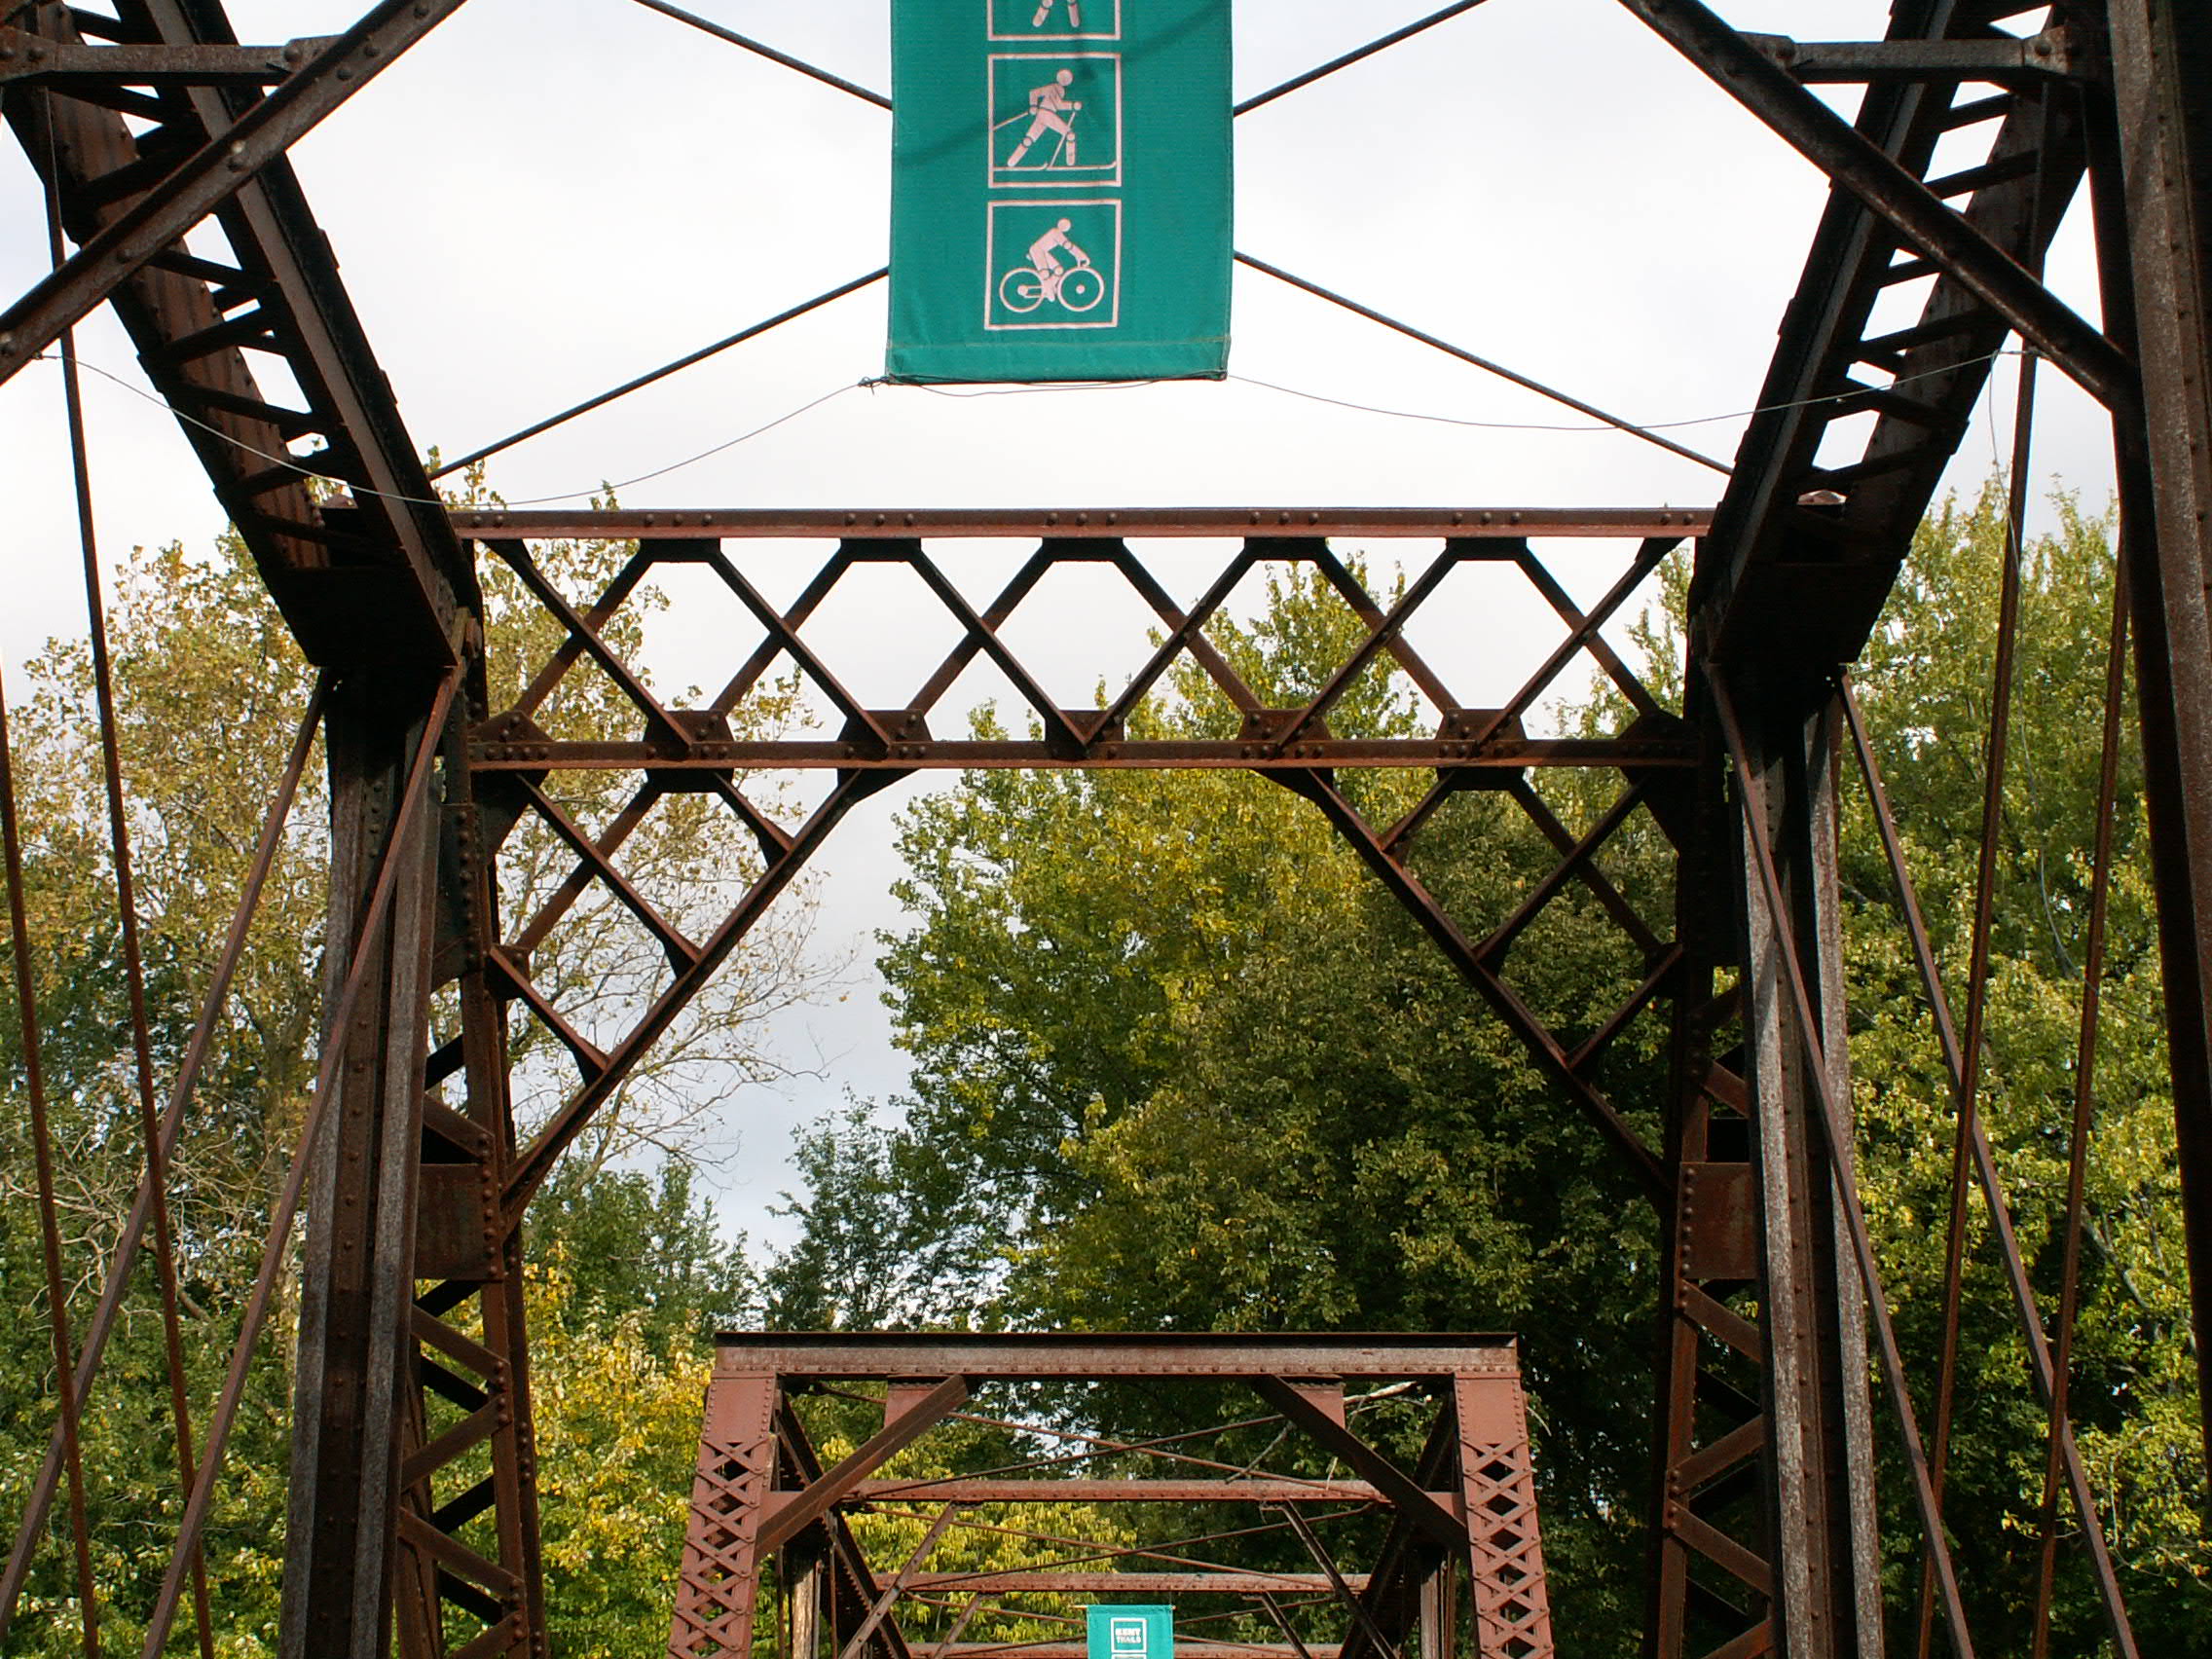

Swing span portal bracing.
![]()


Swing span struts / sway bracing.
![]()

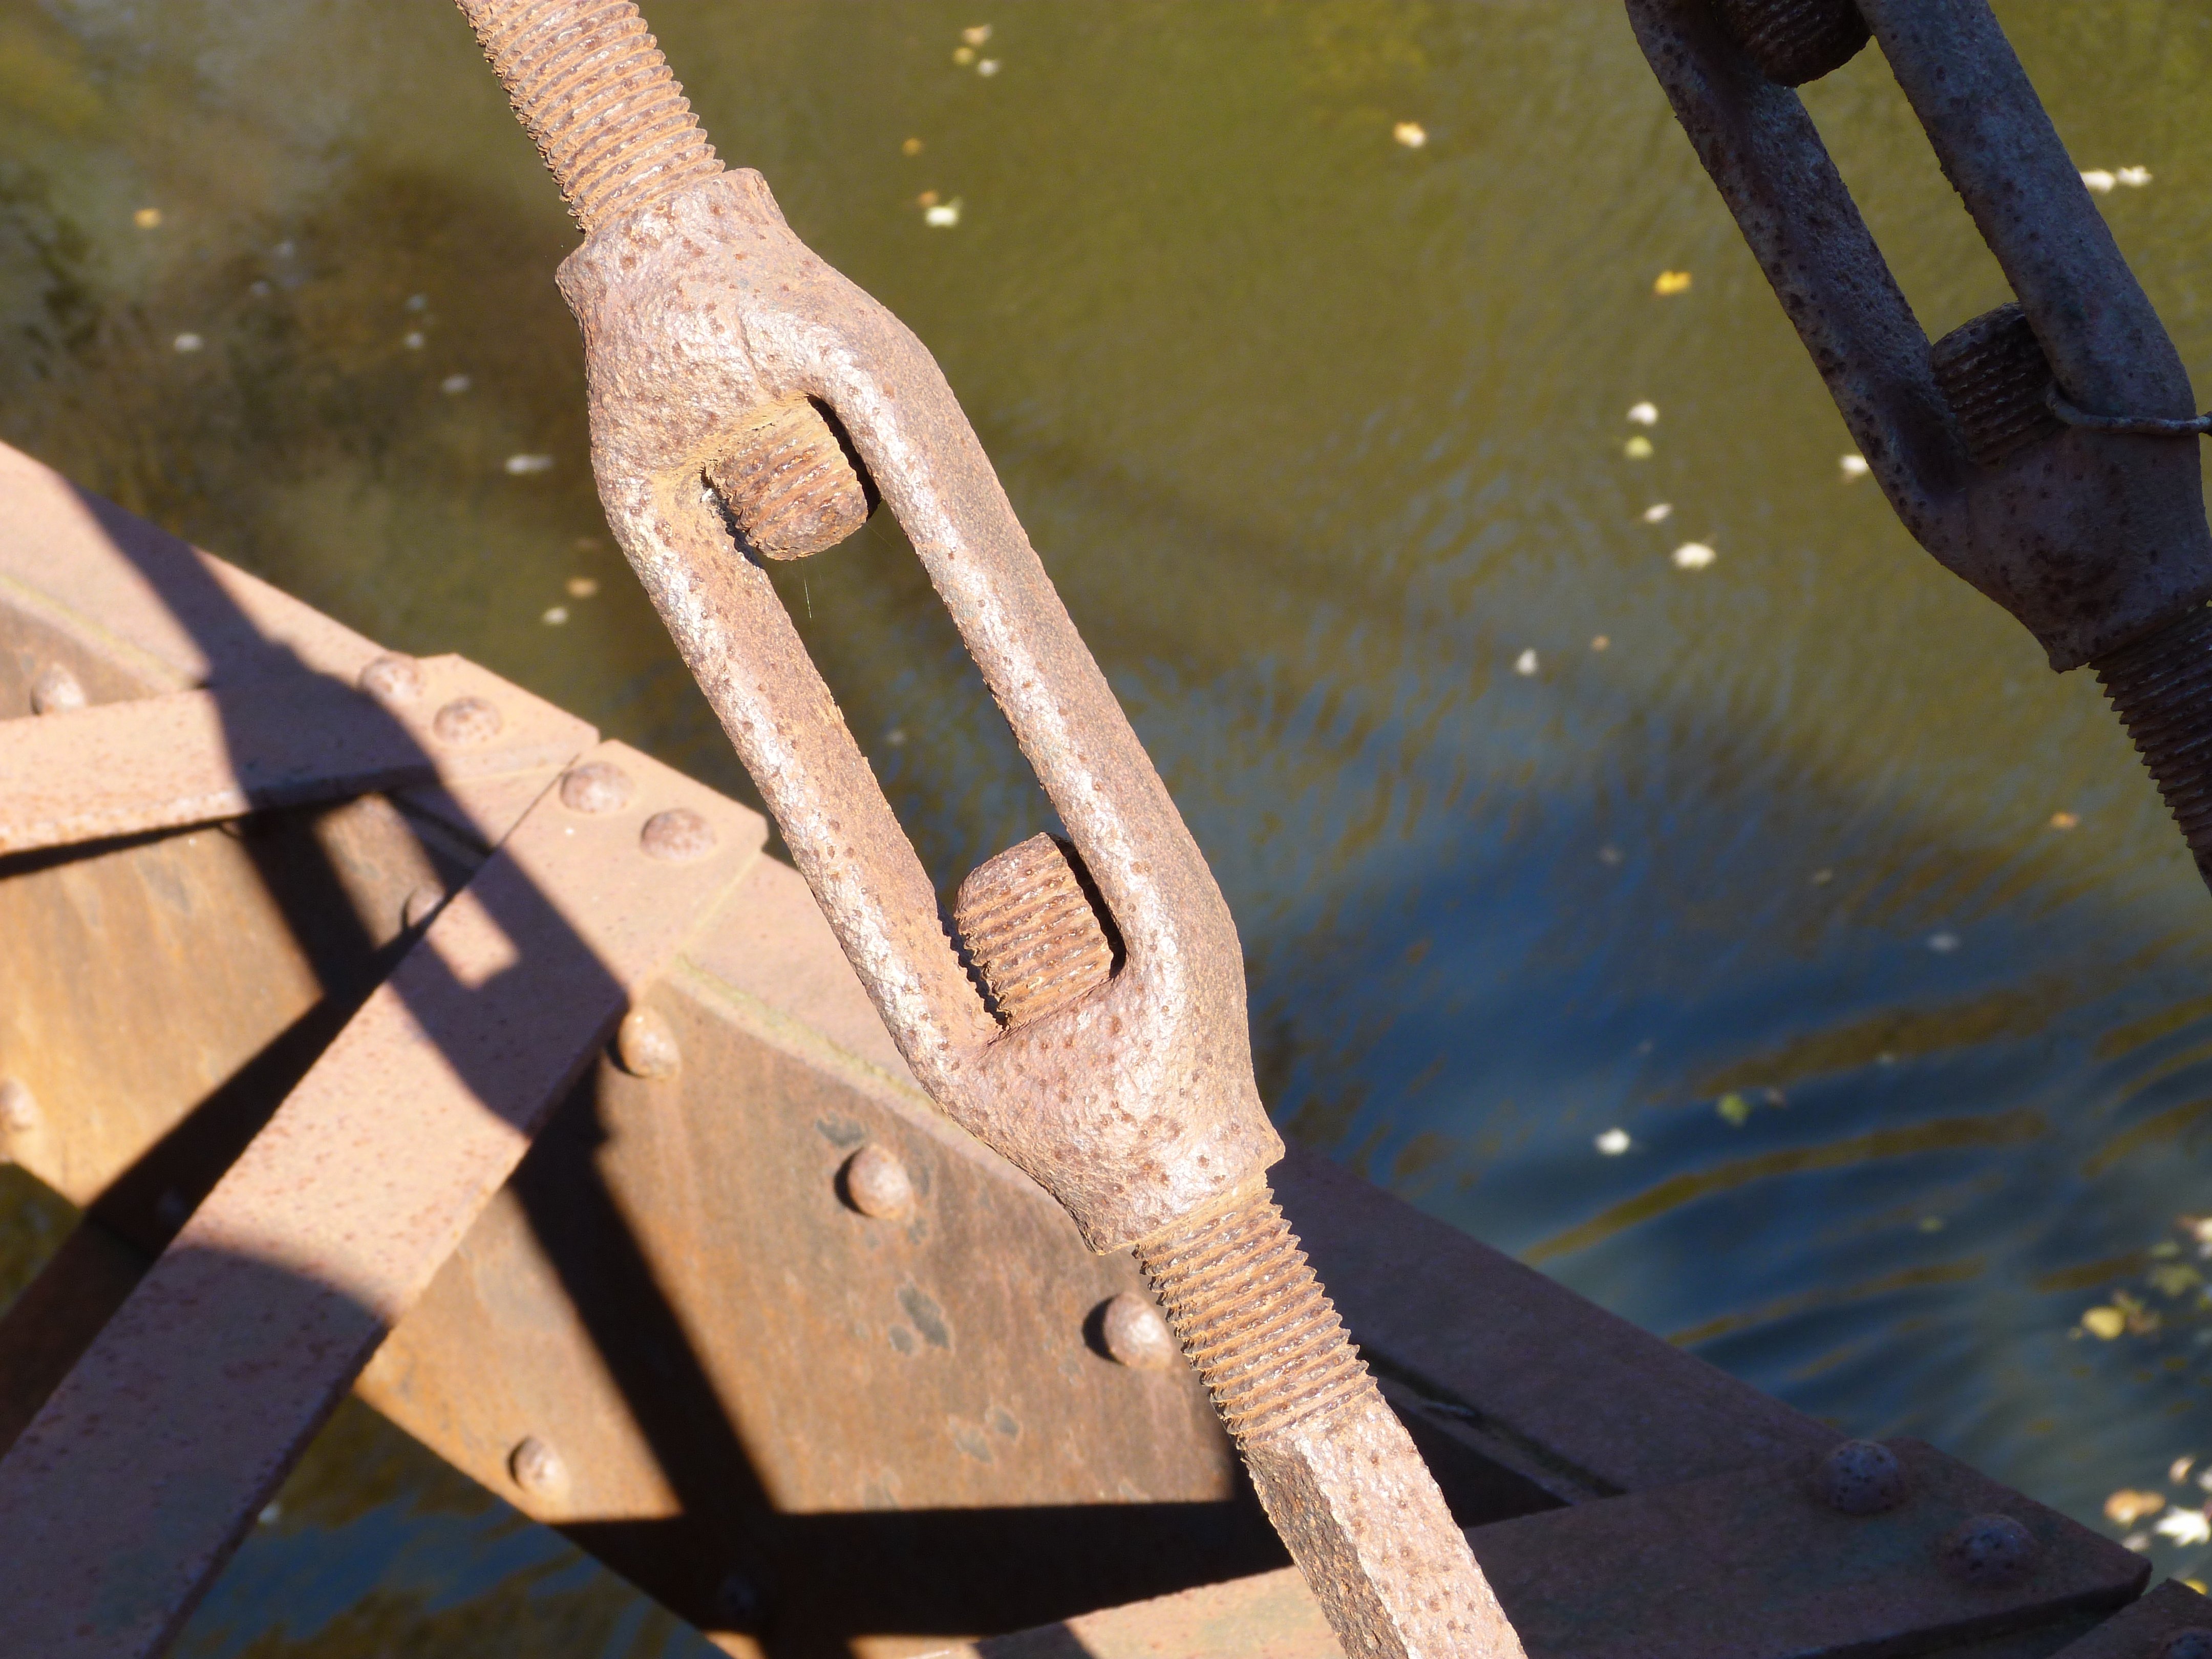
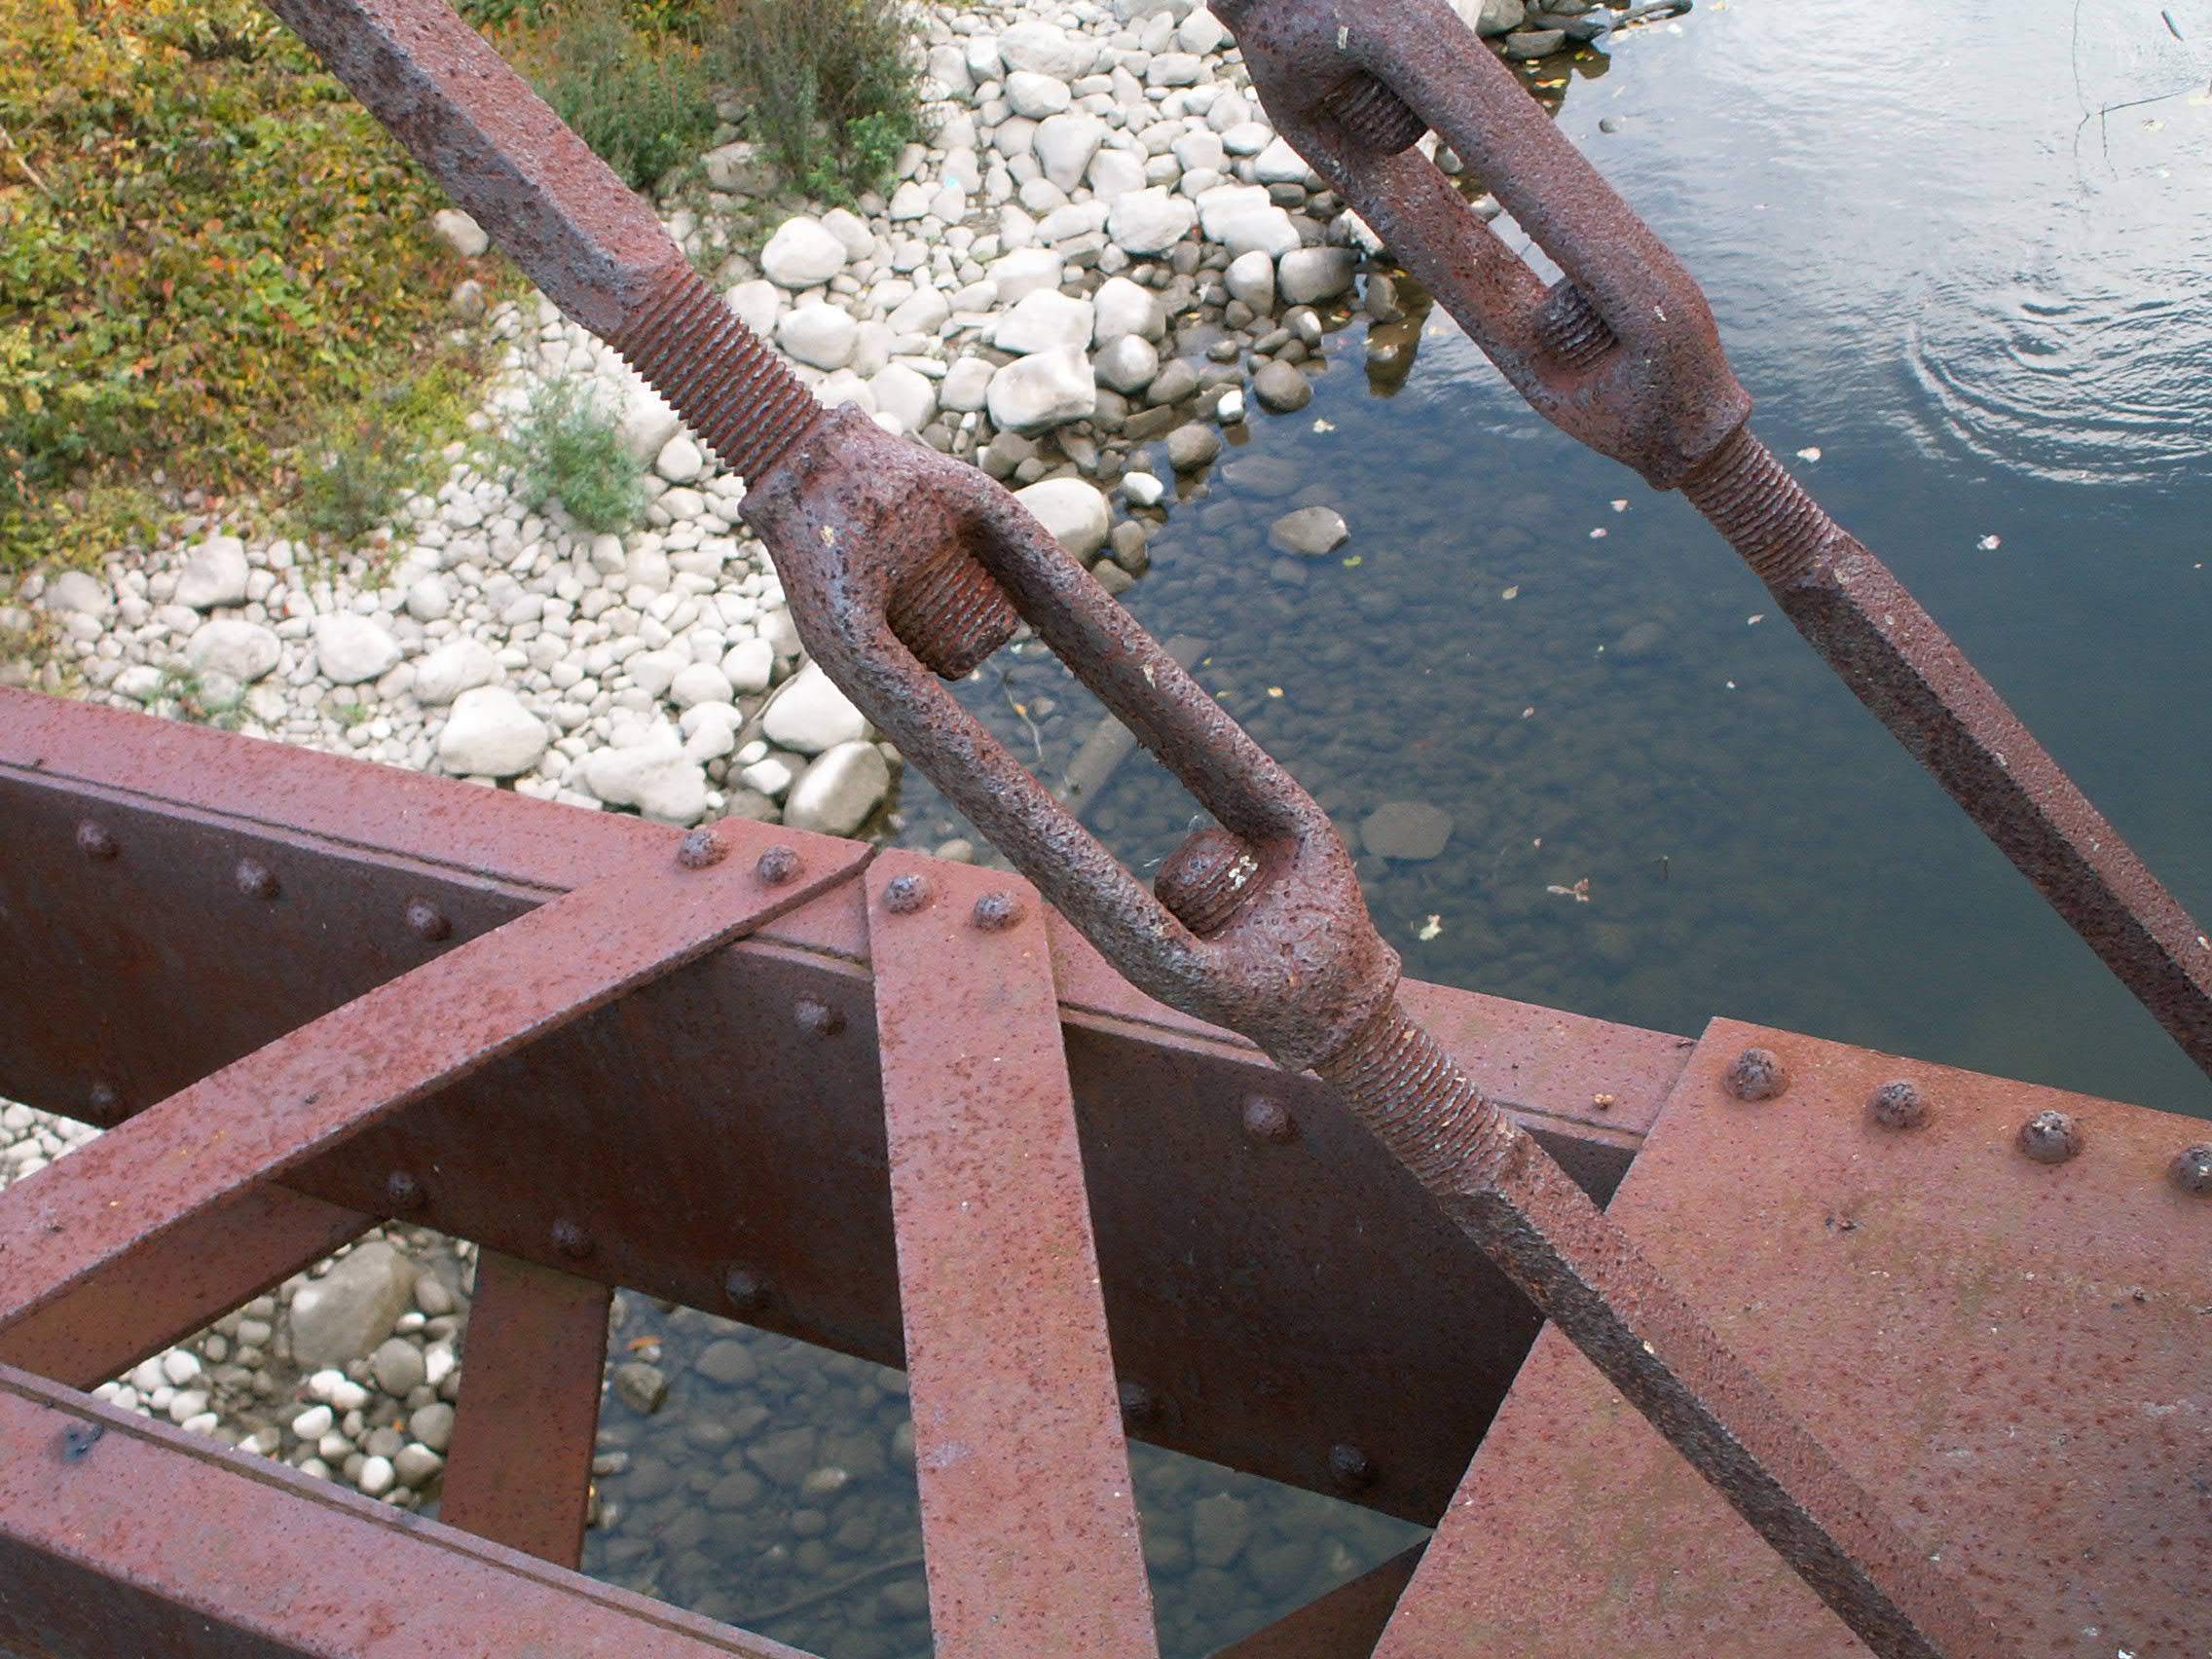
Swing span turnbuckles.
![]()
Vie showing gap between walkway railing and truss line.
![]()
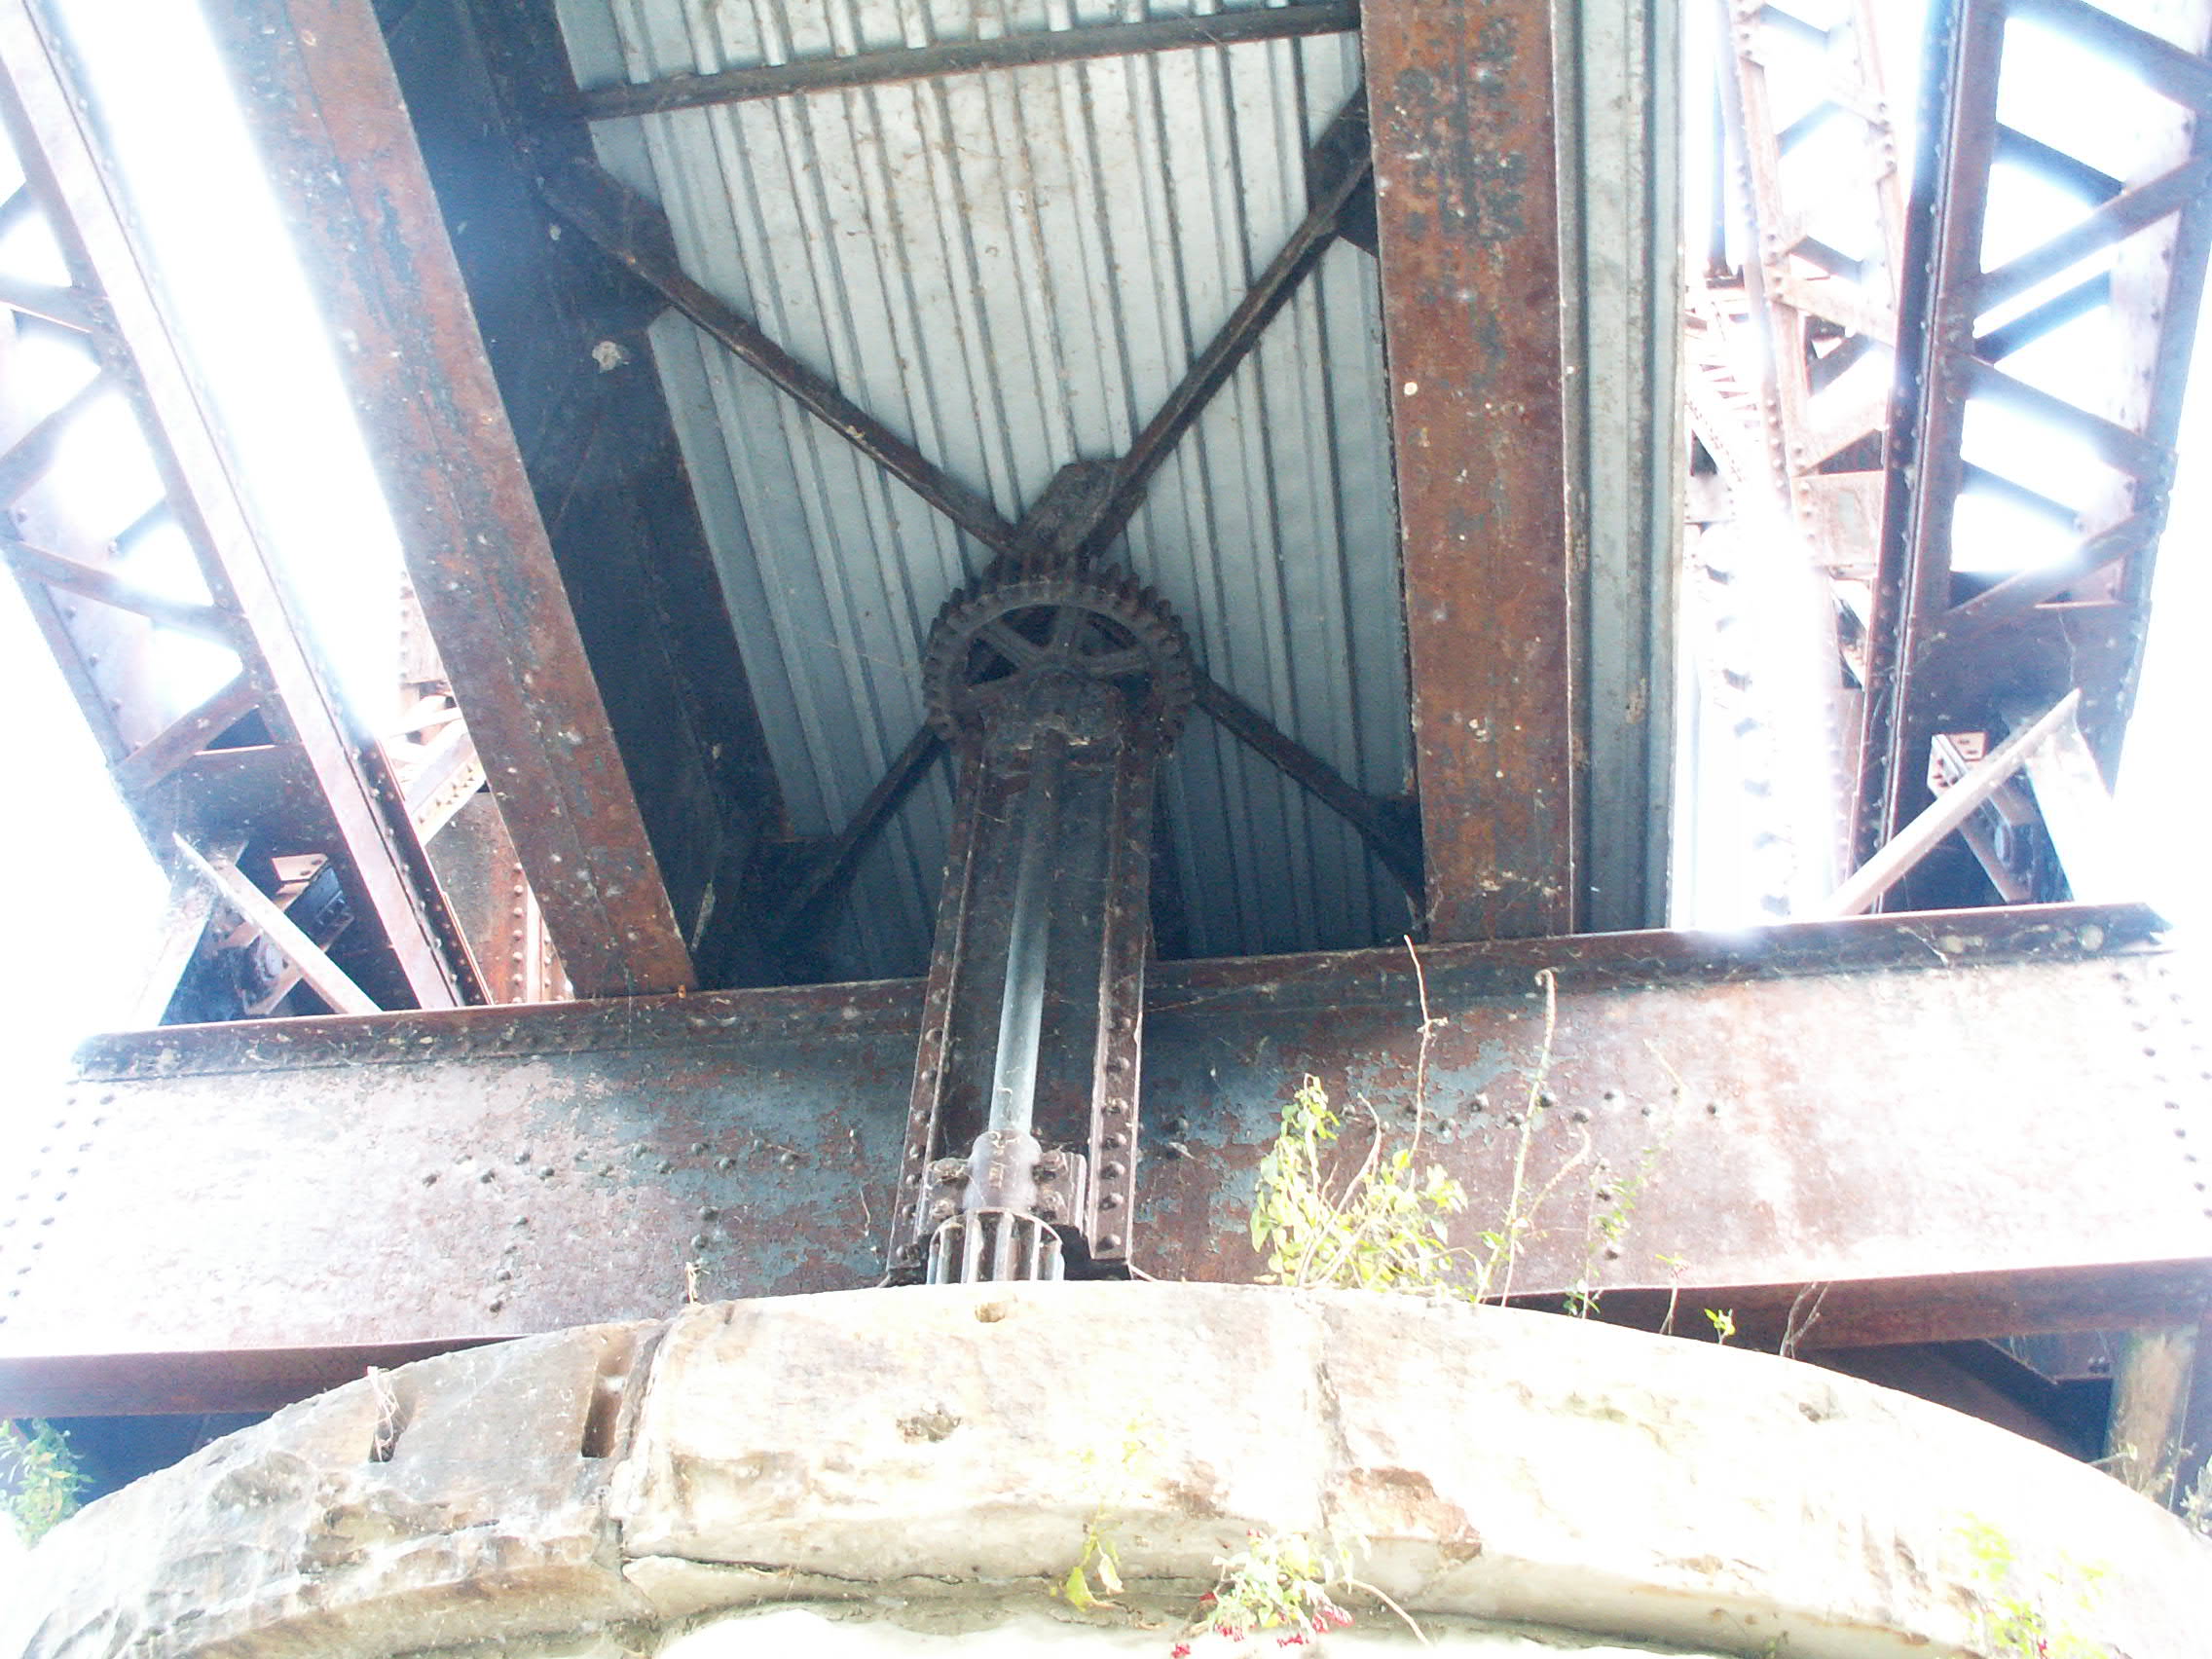

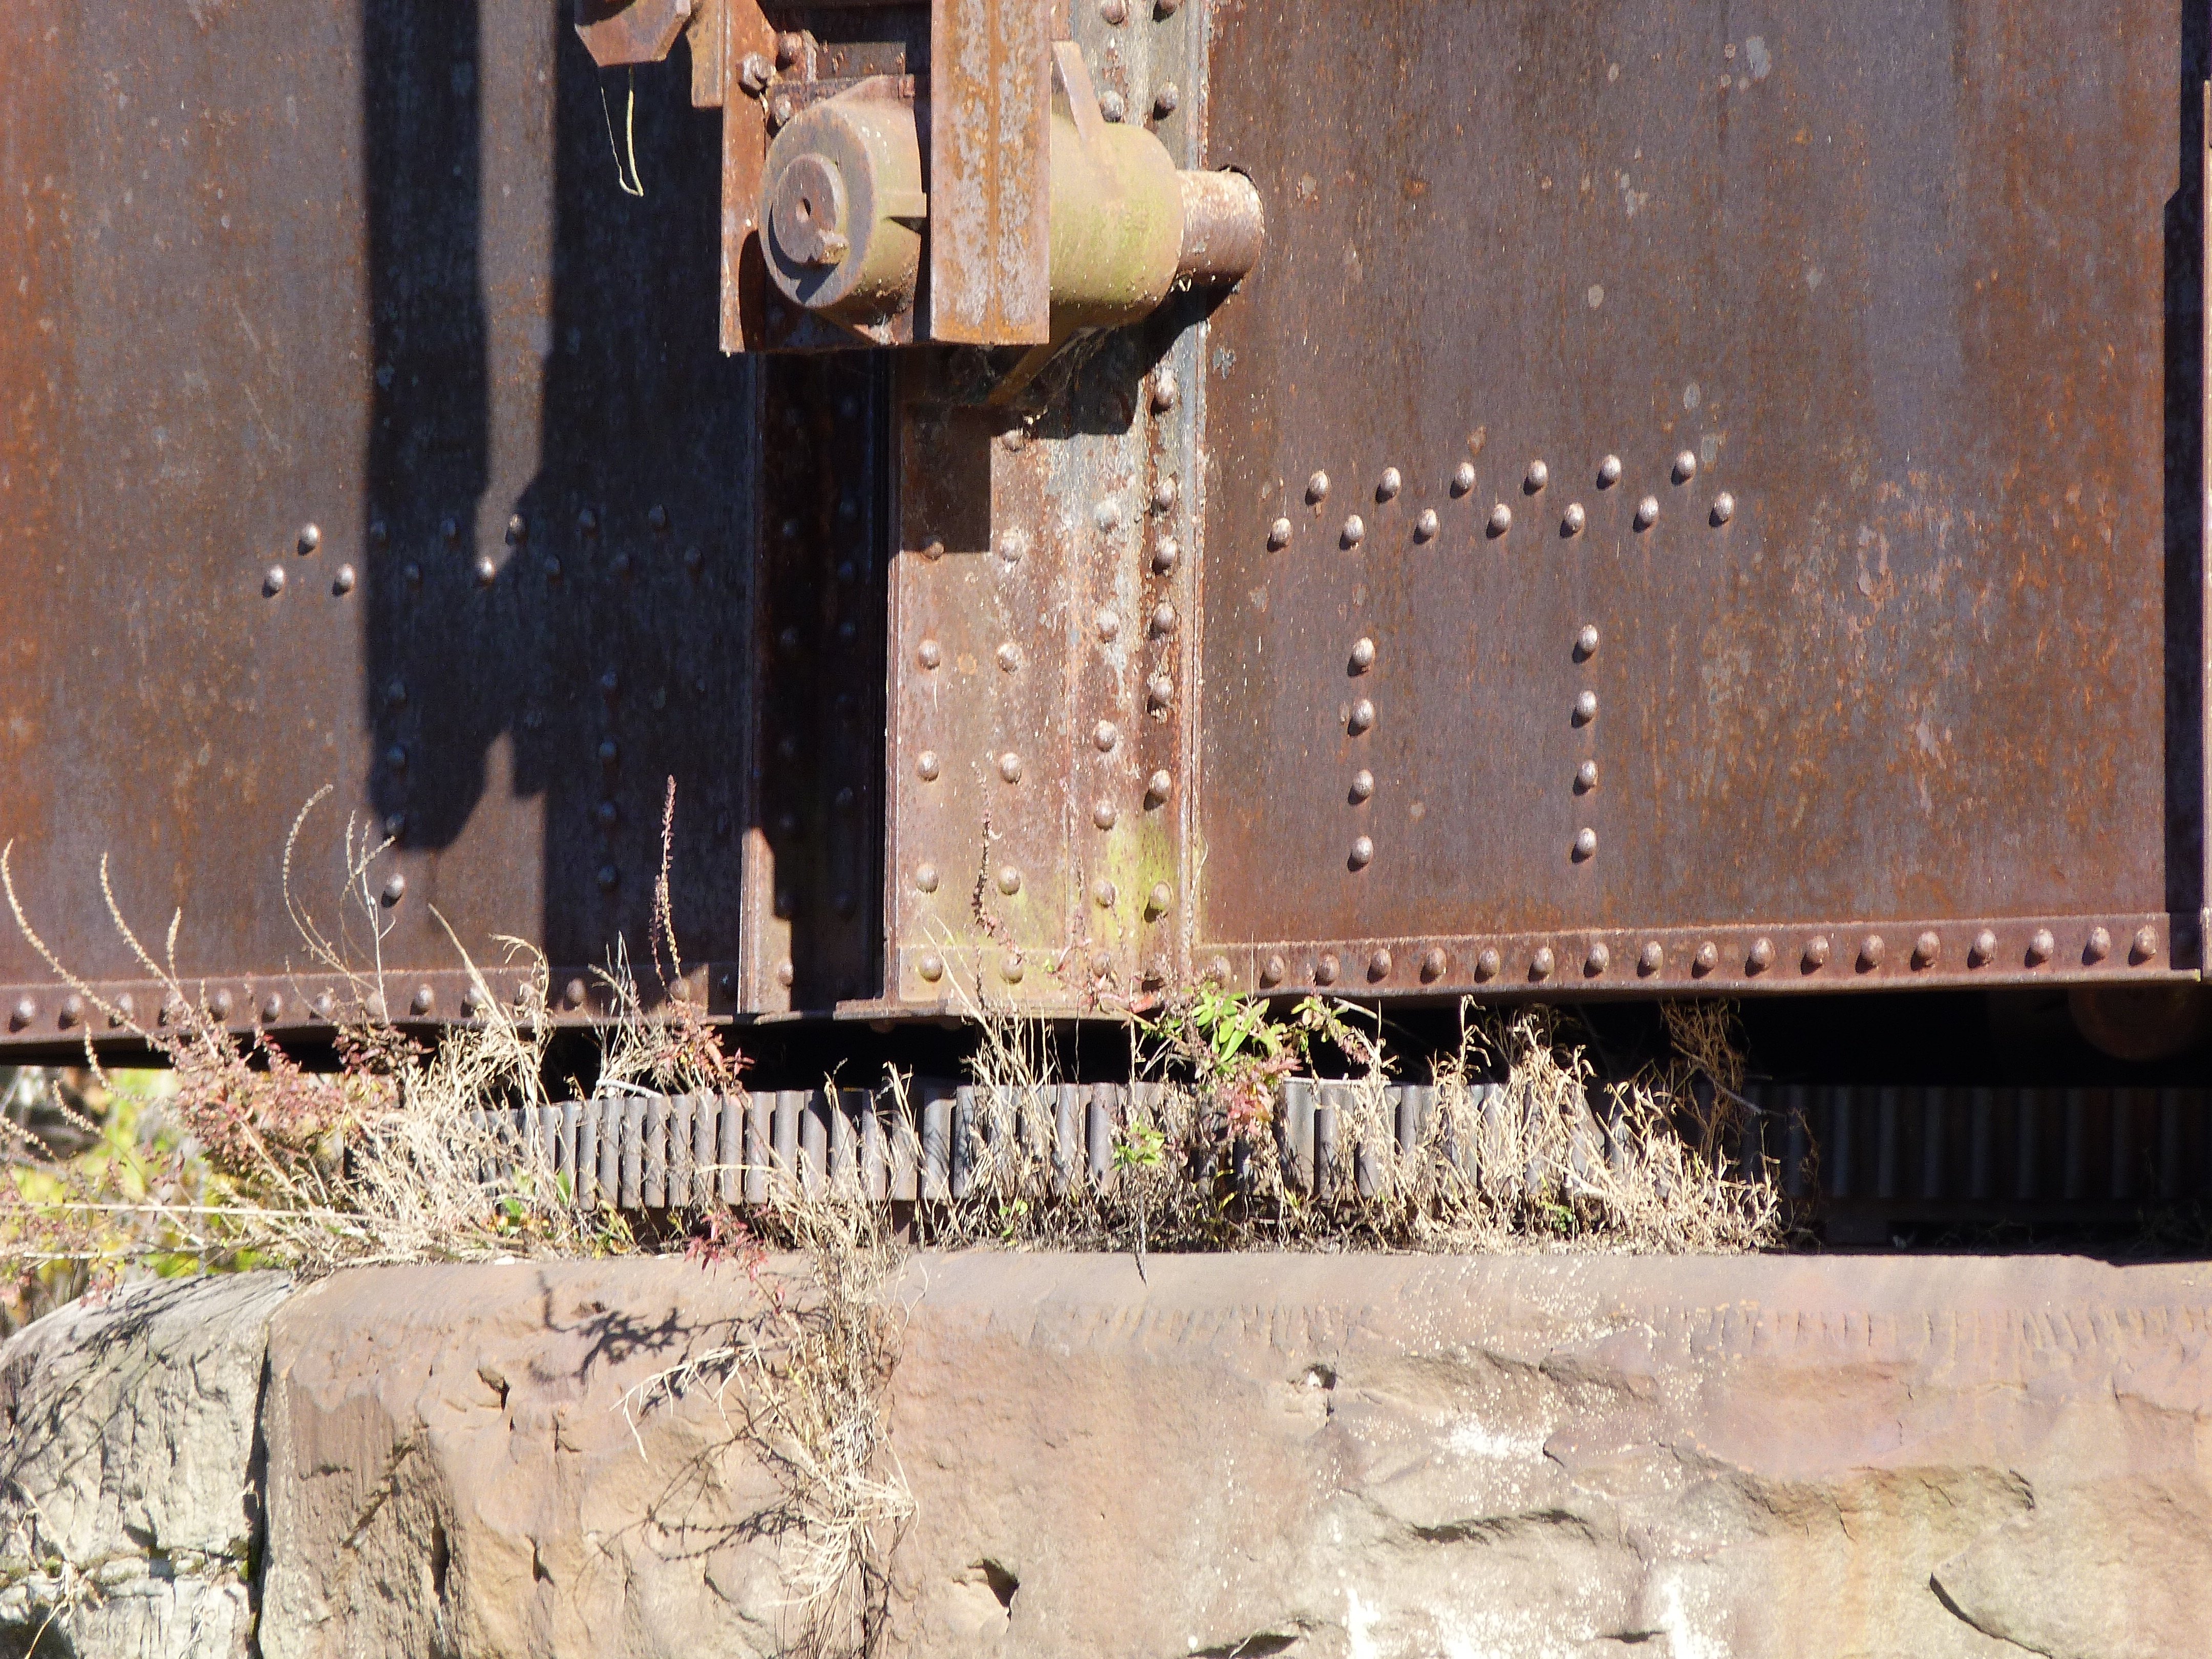
Pinion.
![]()

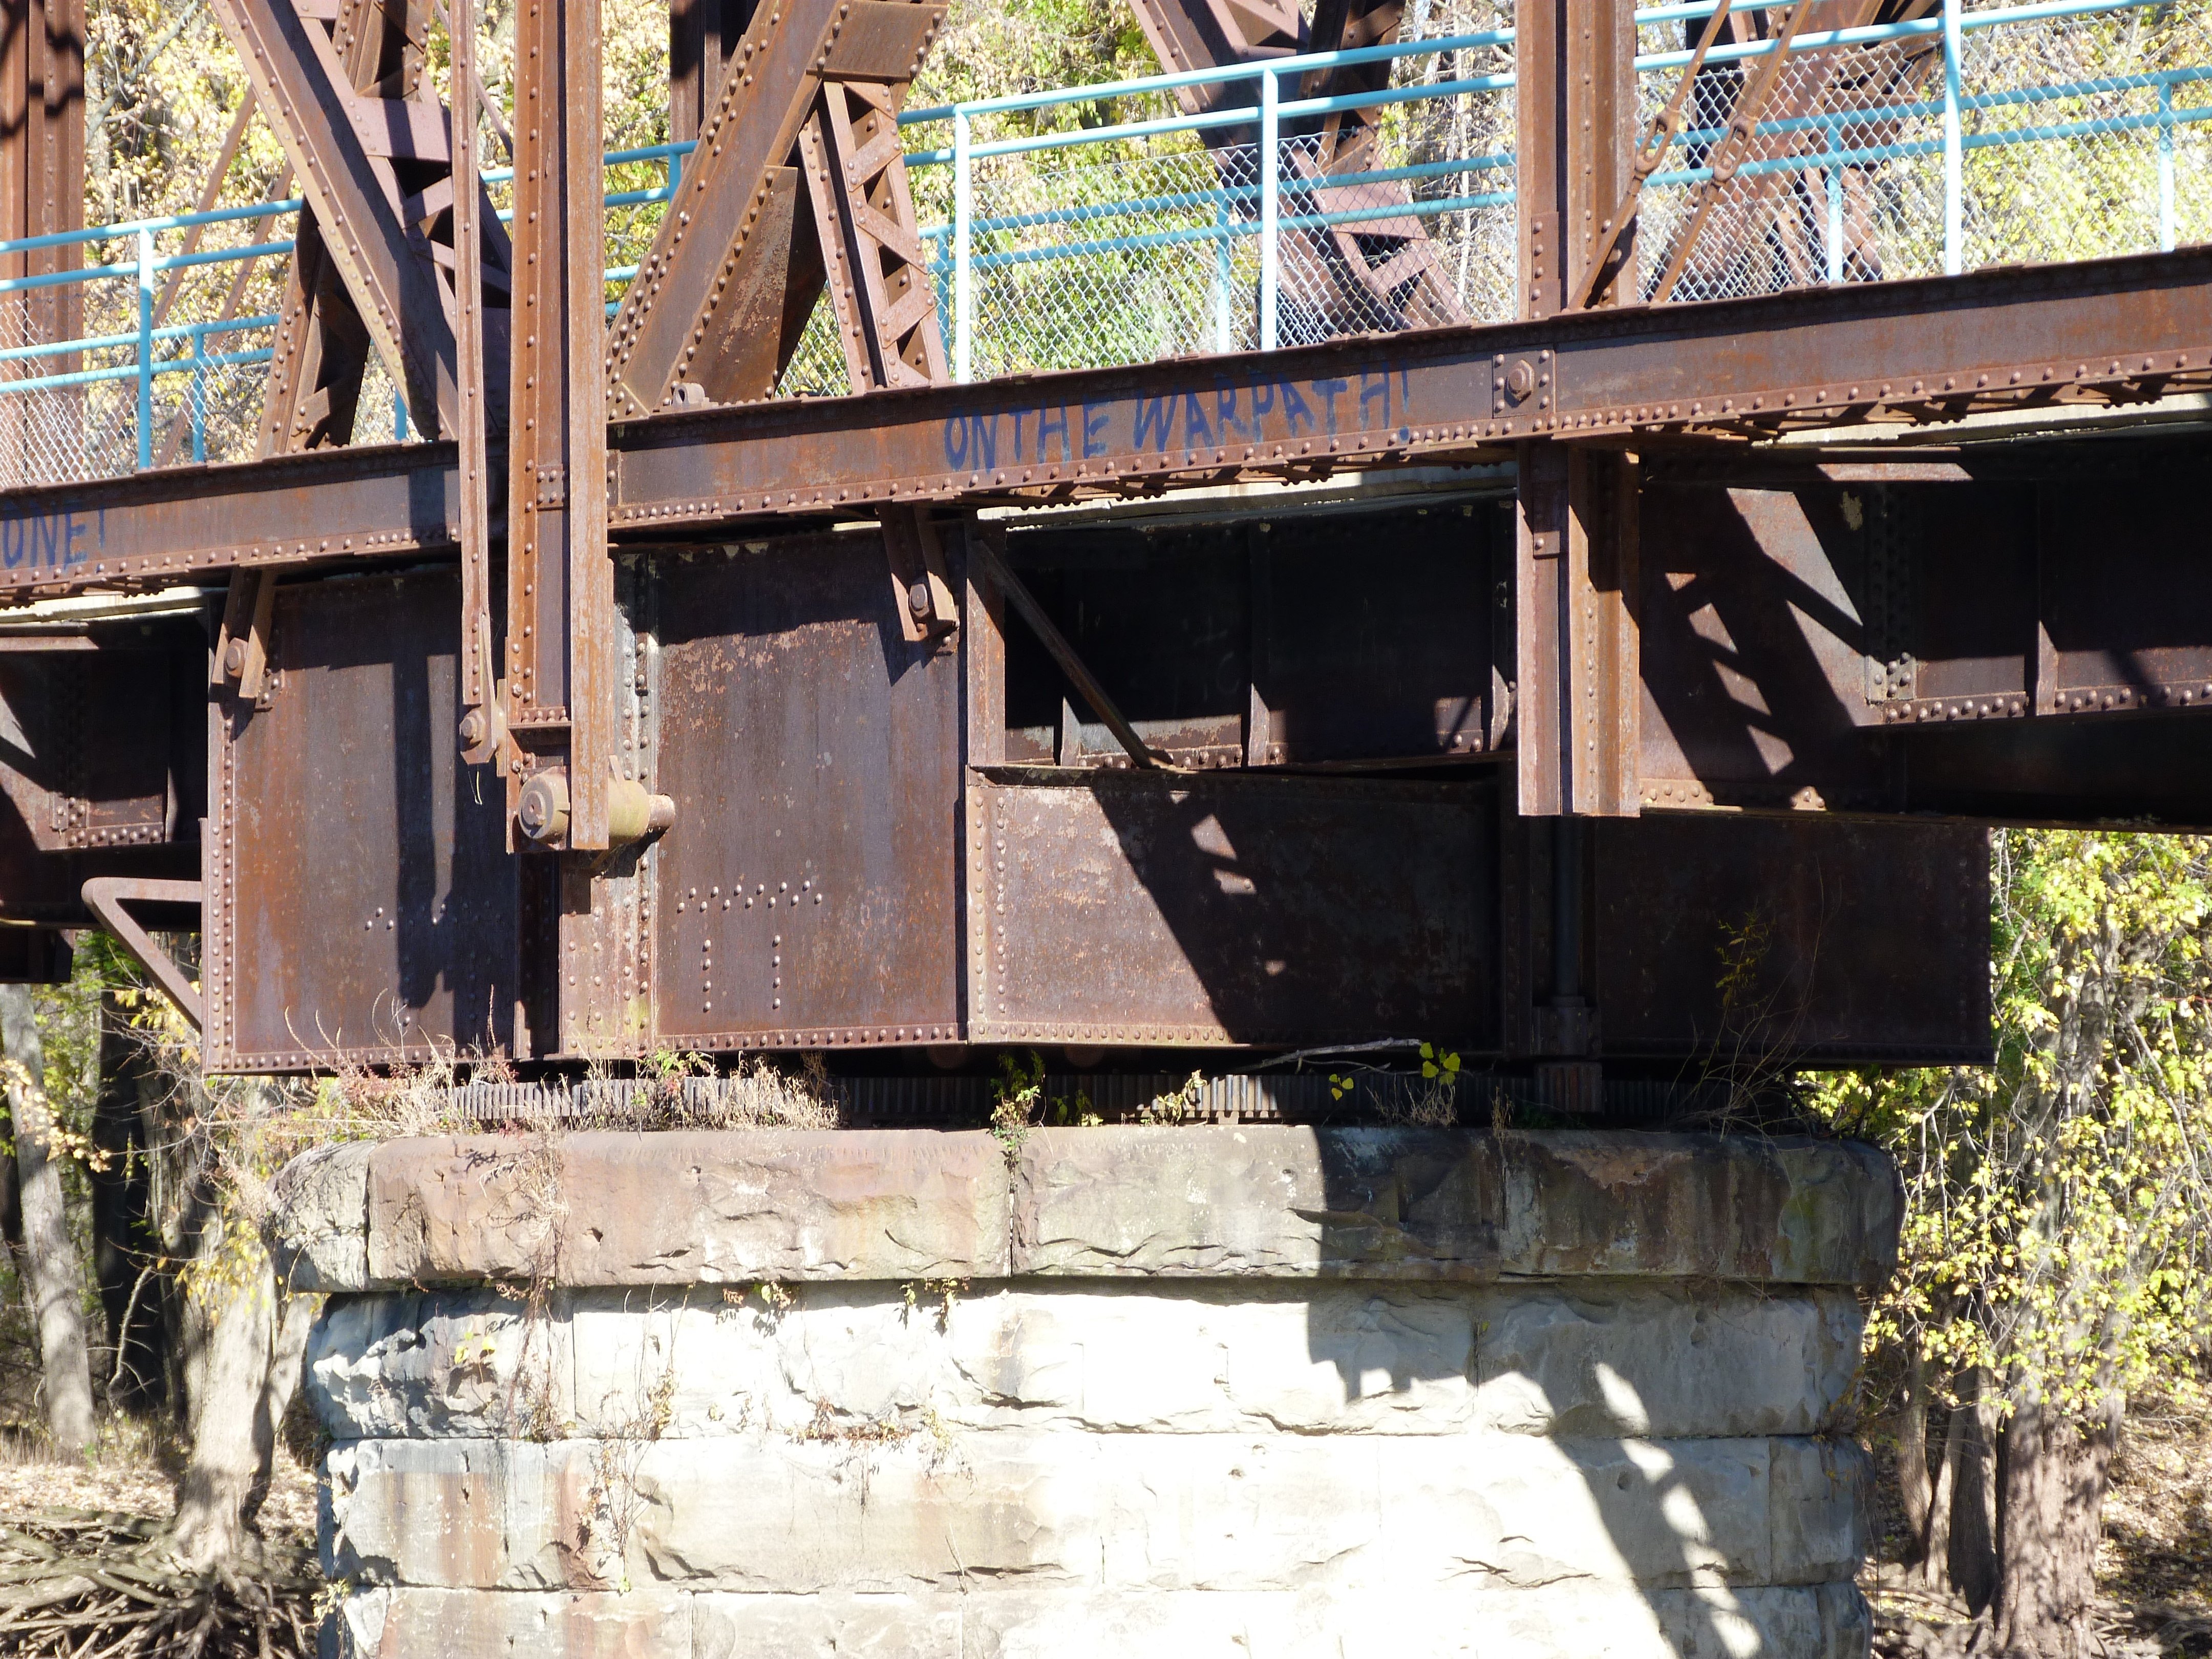
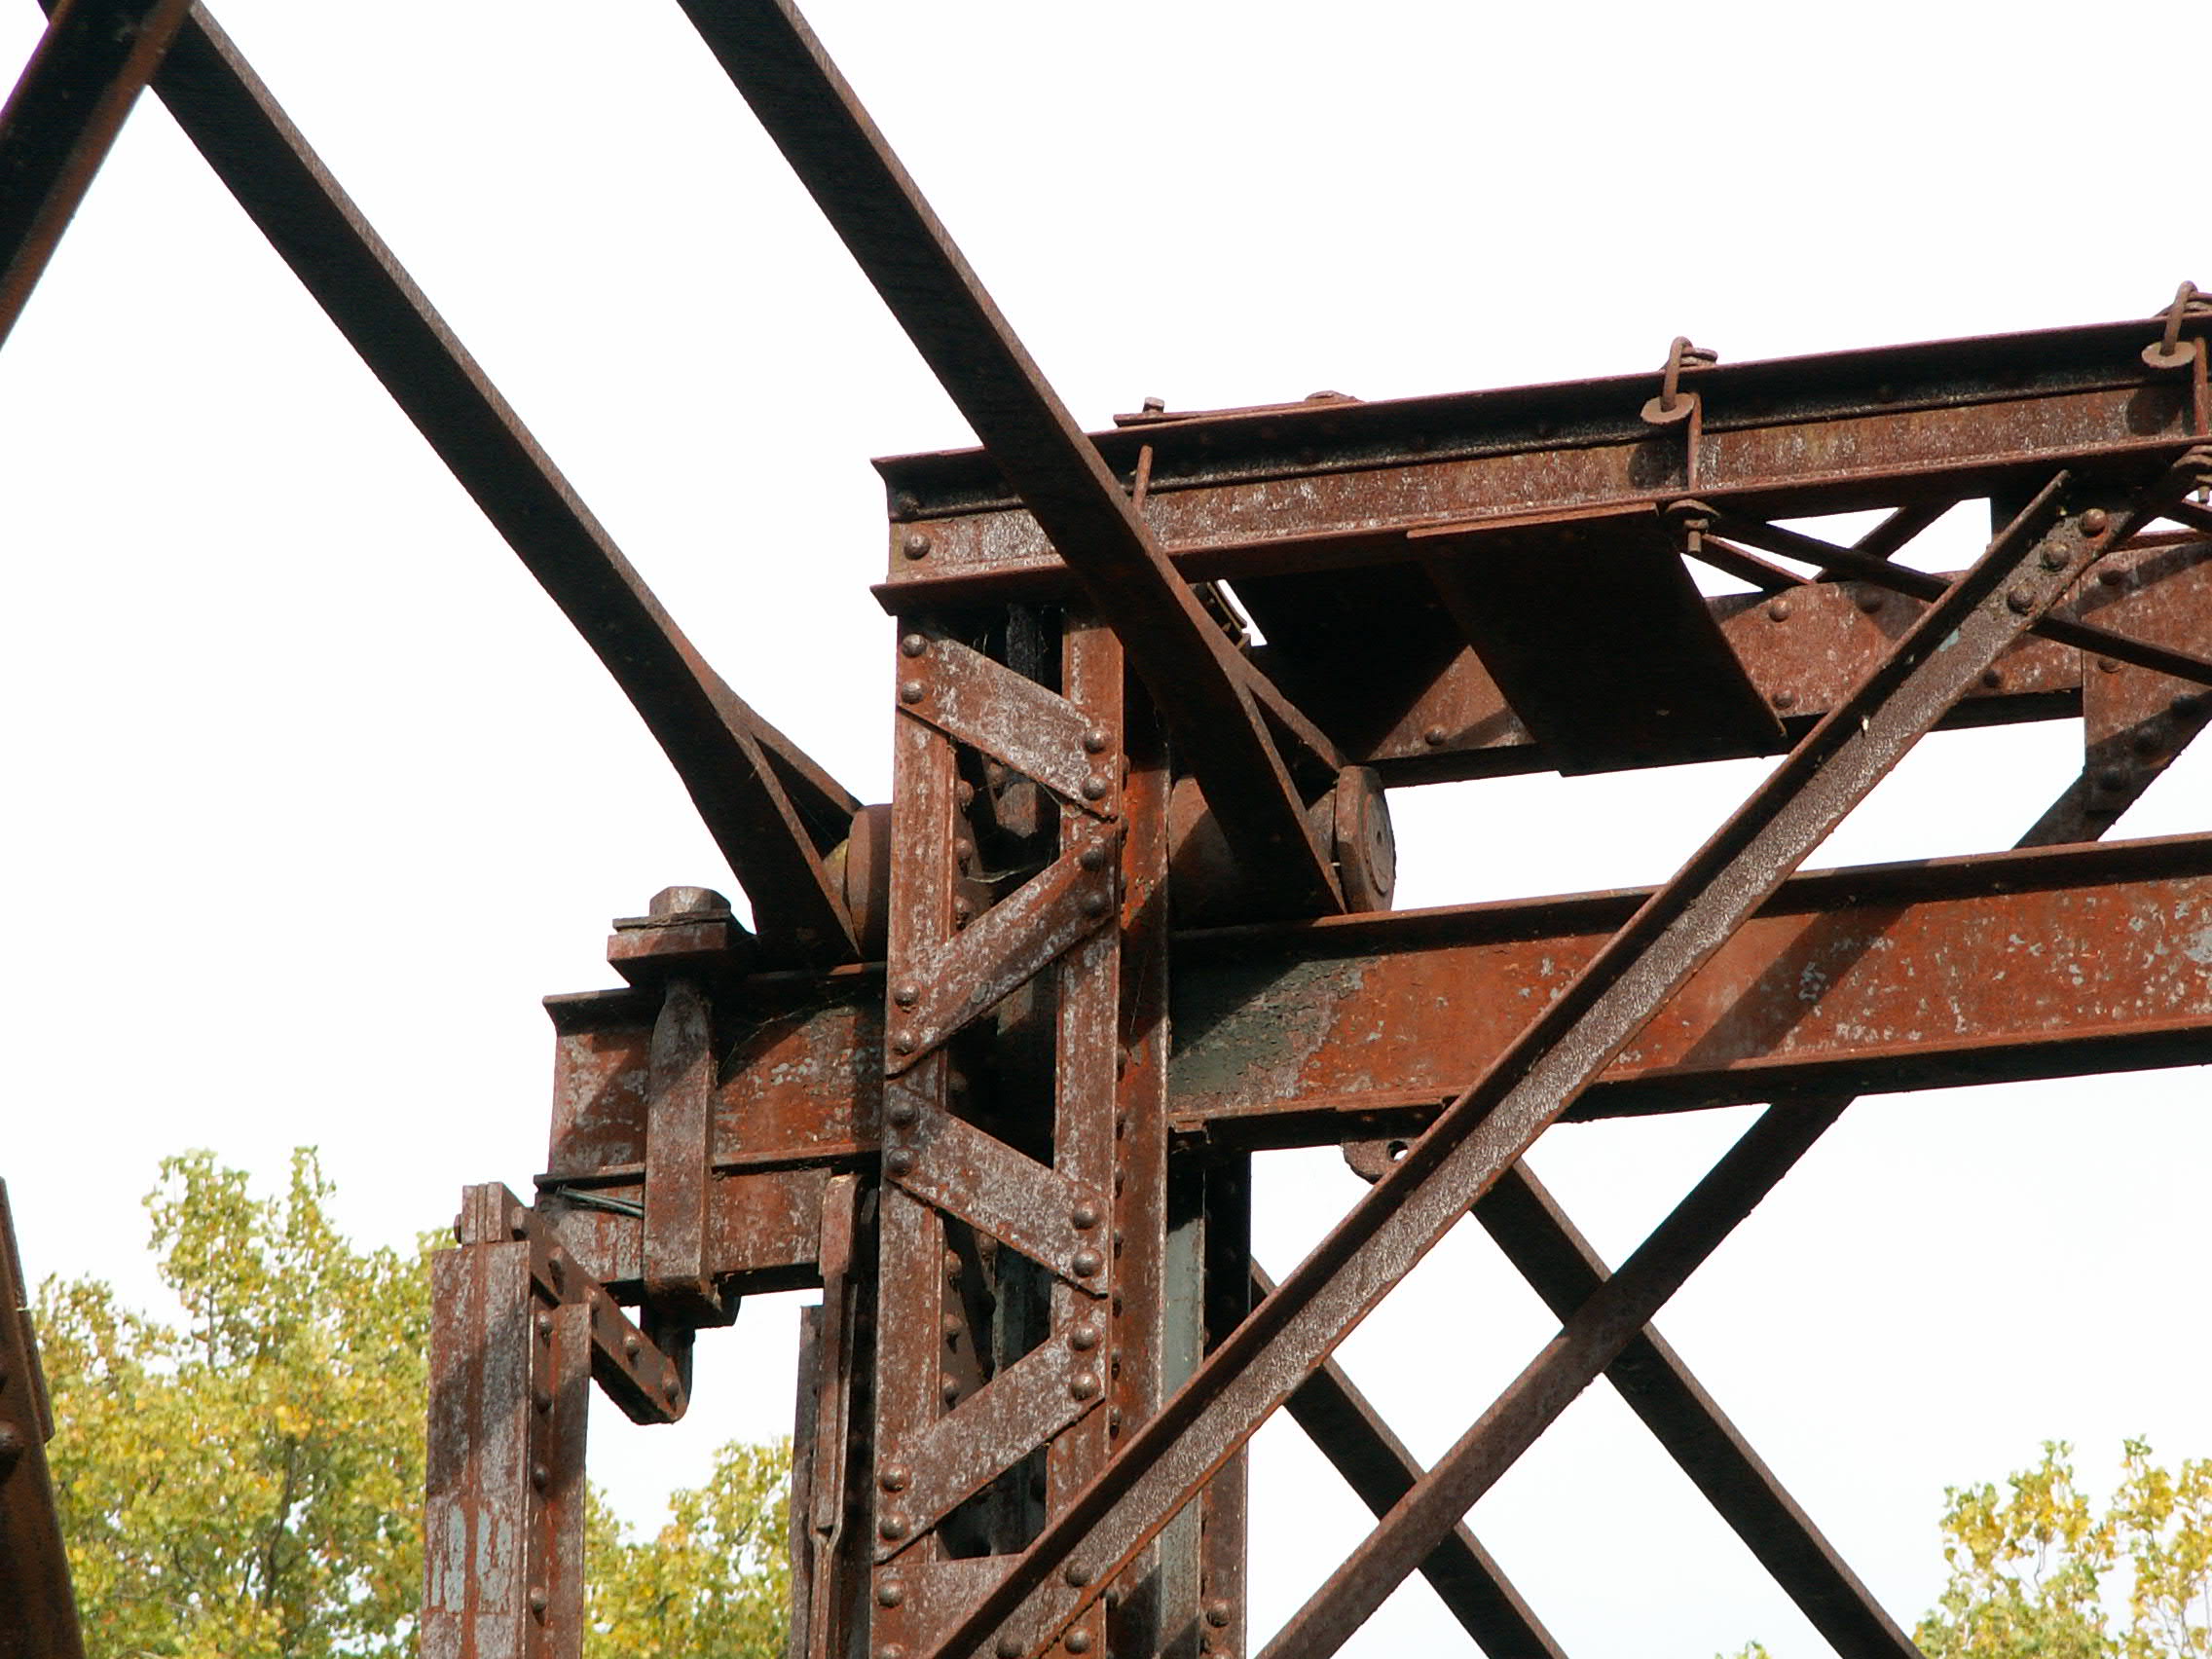
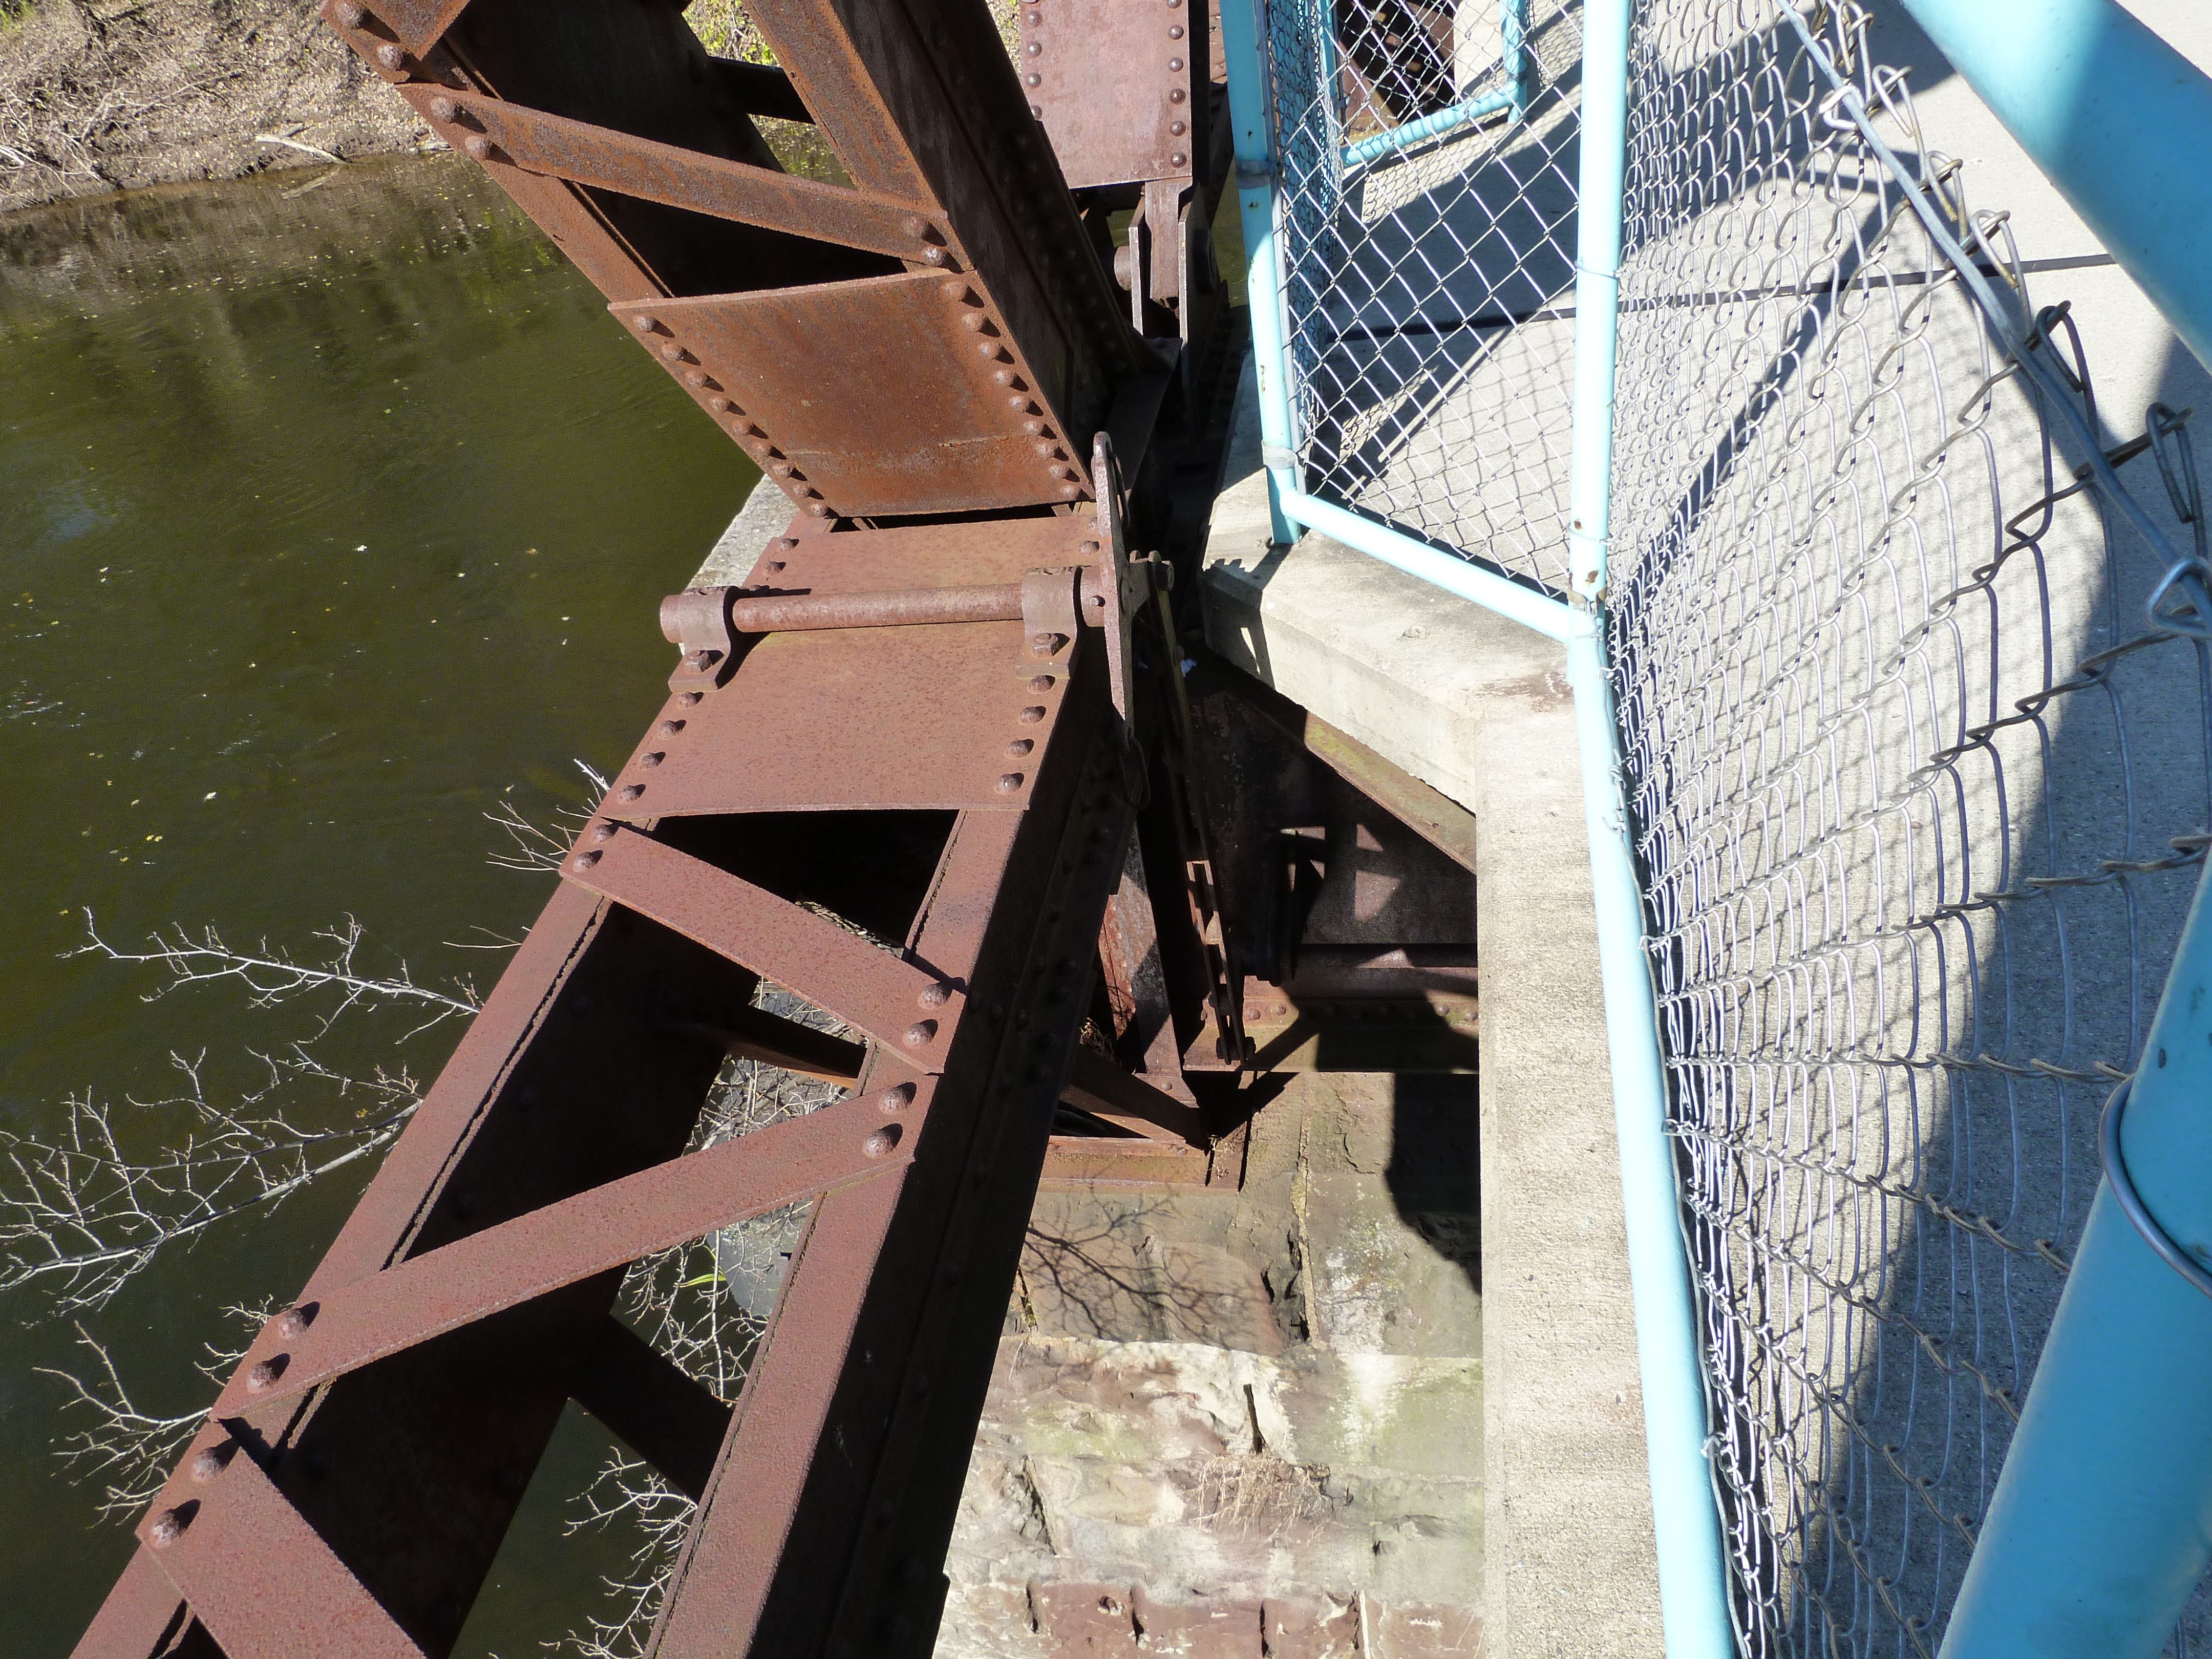
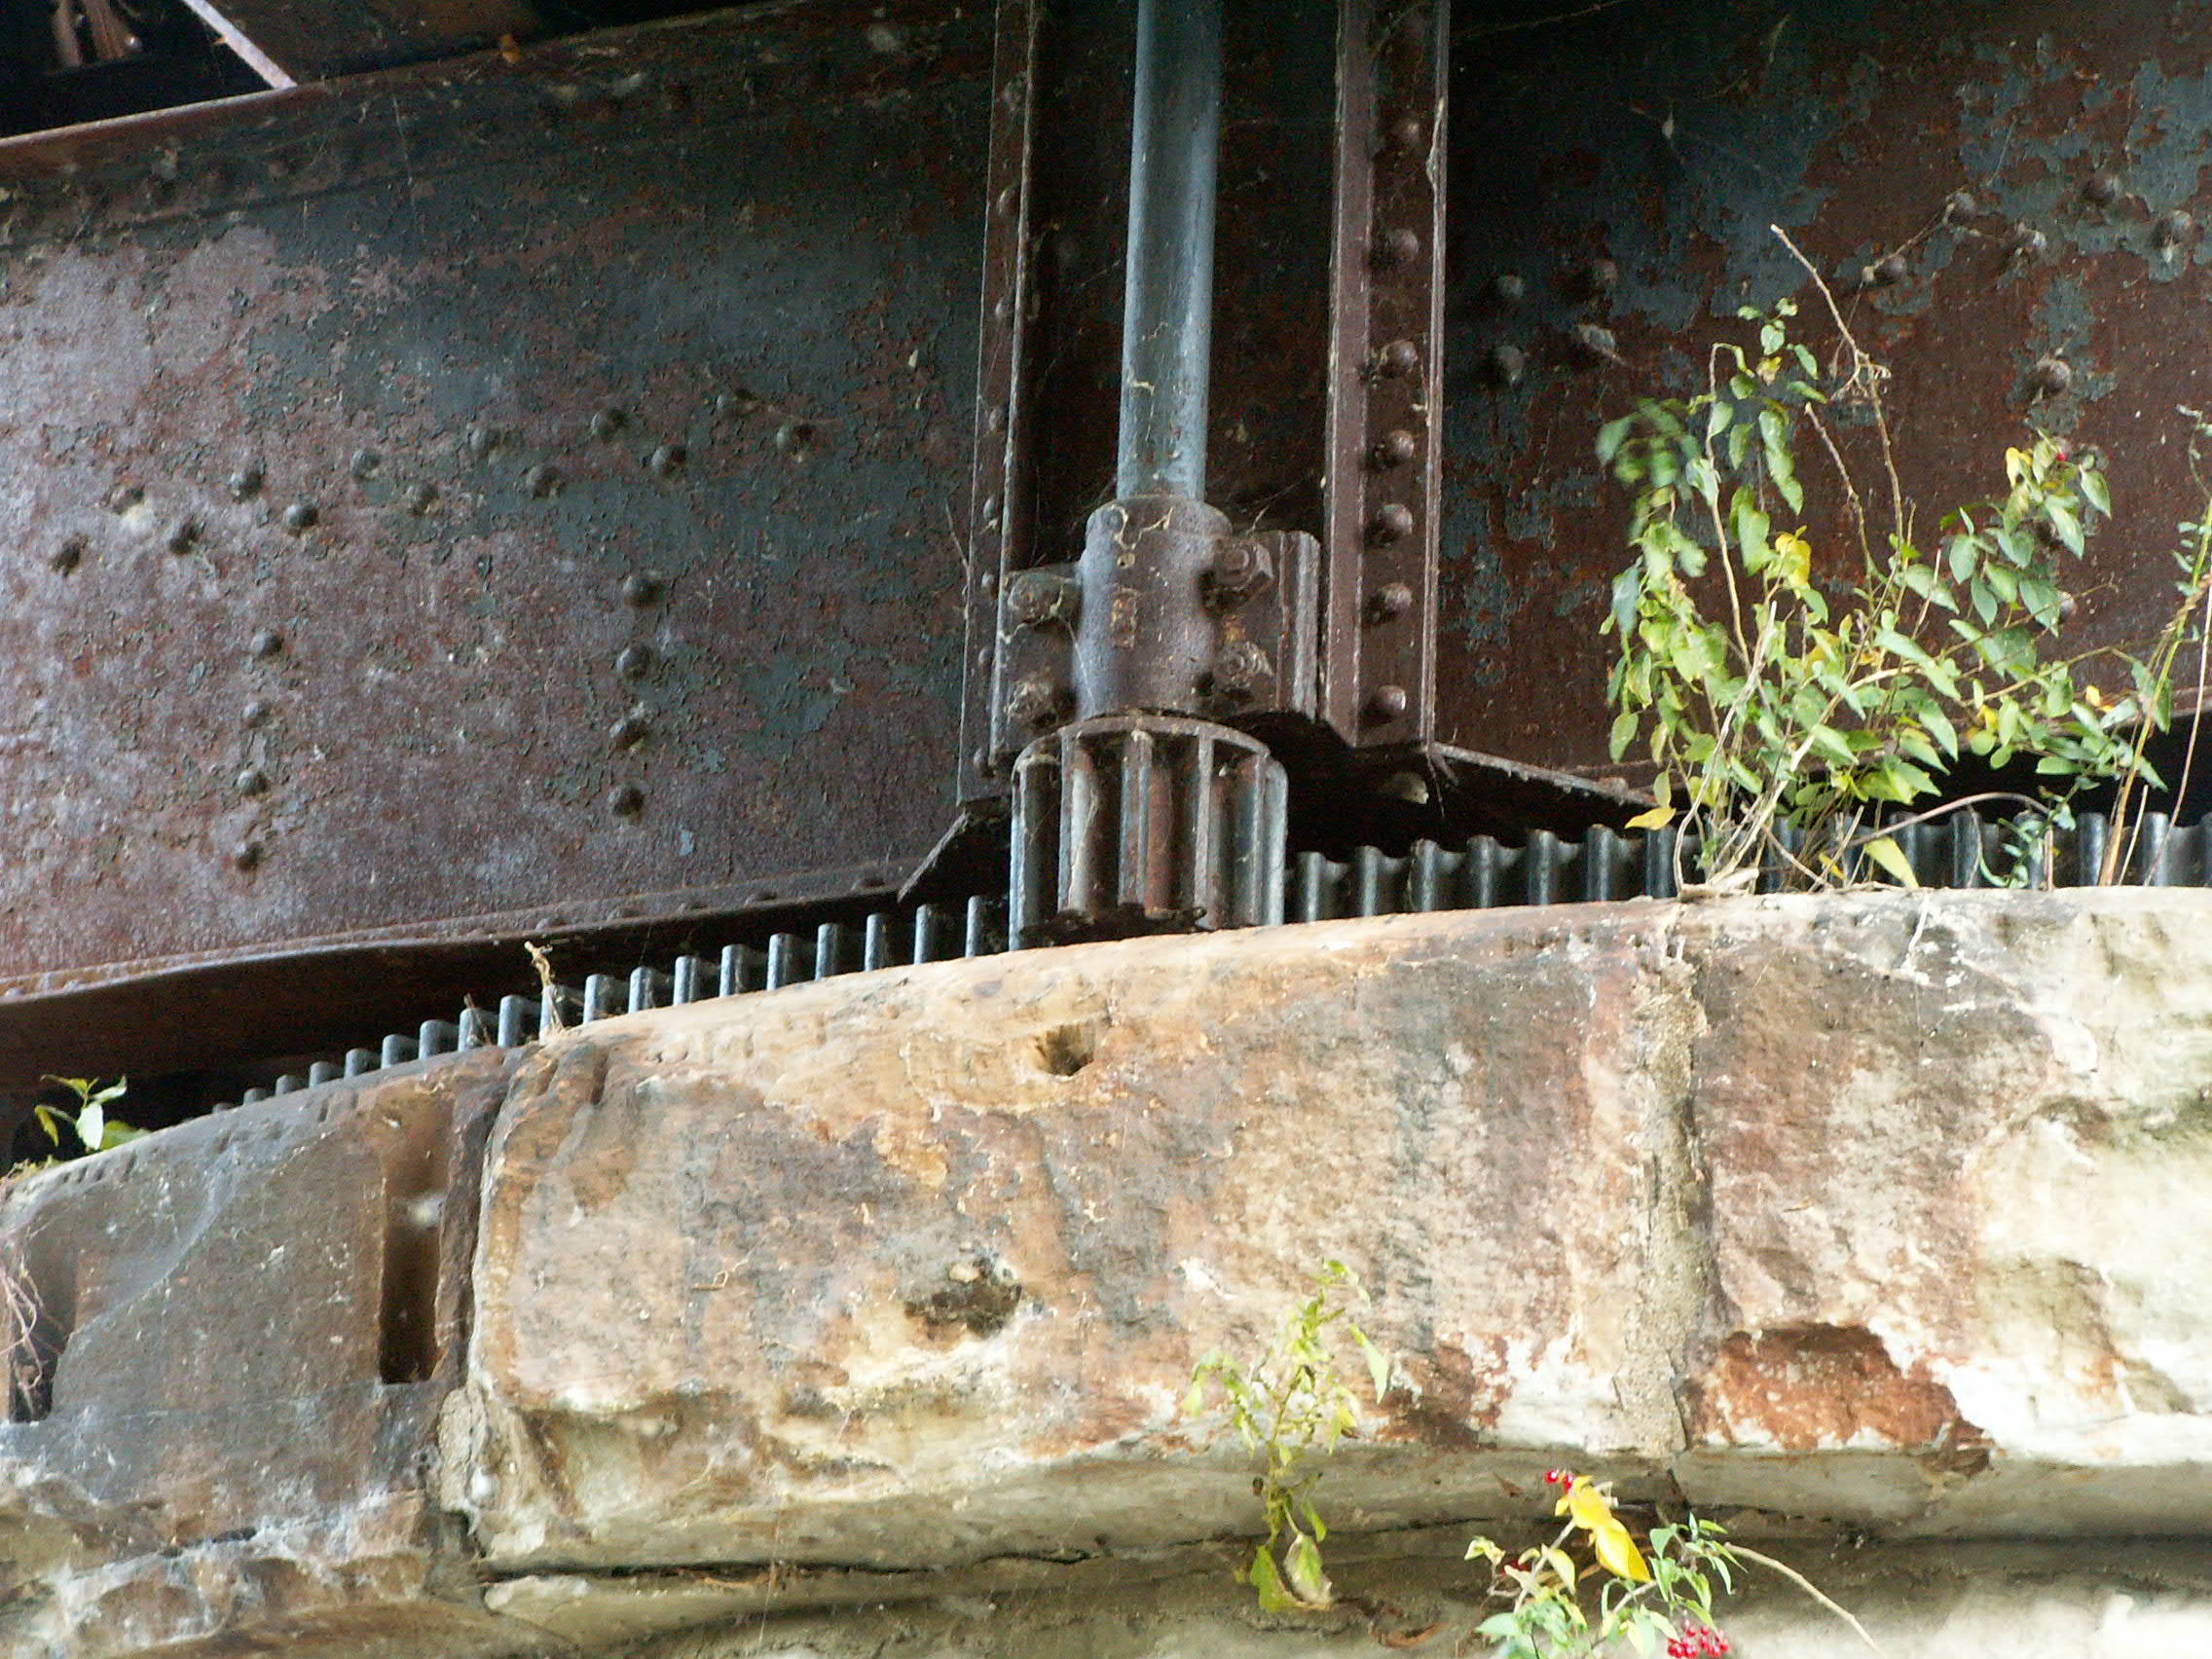
Box and gear on swing pier.
![]()


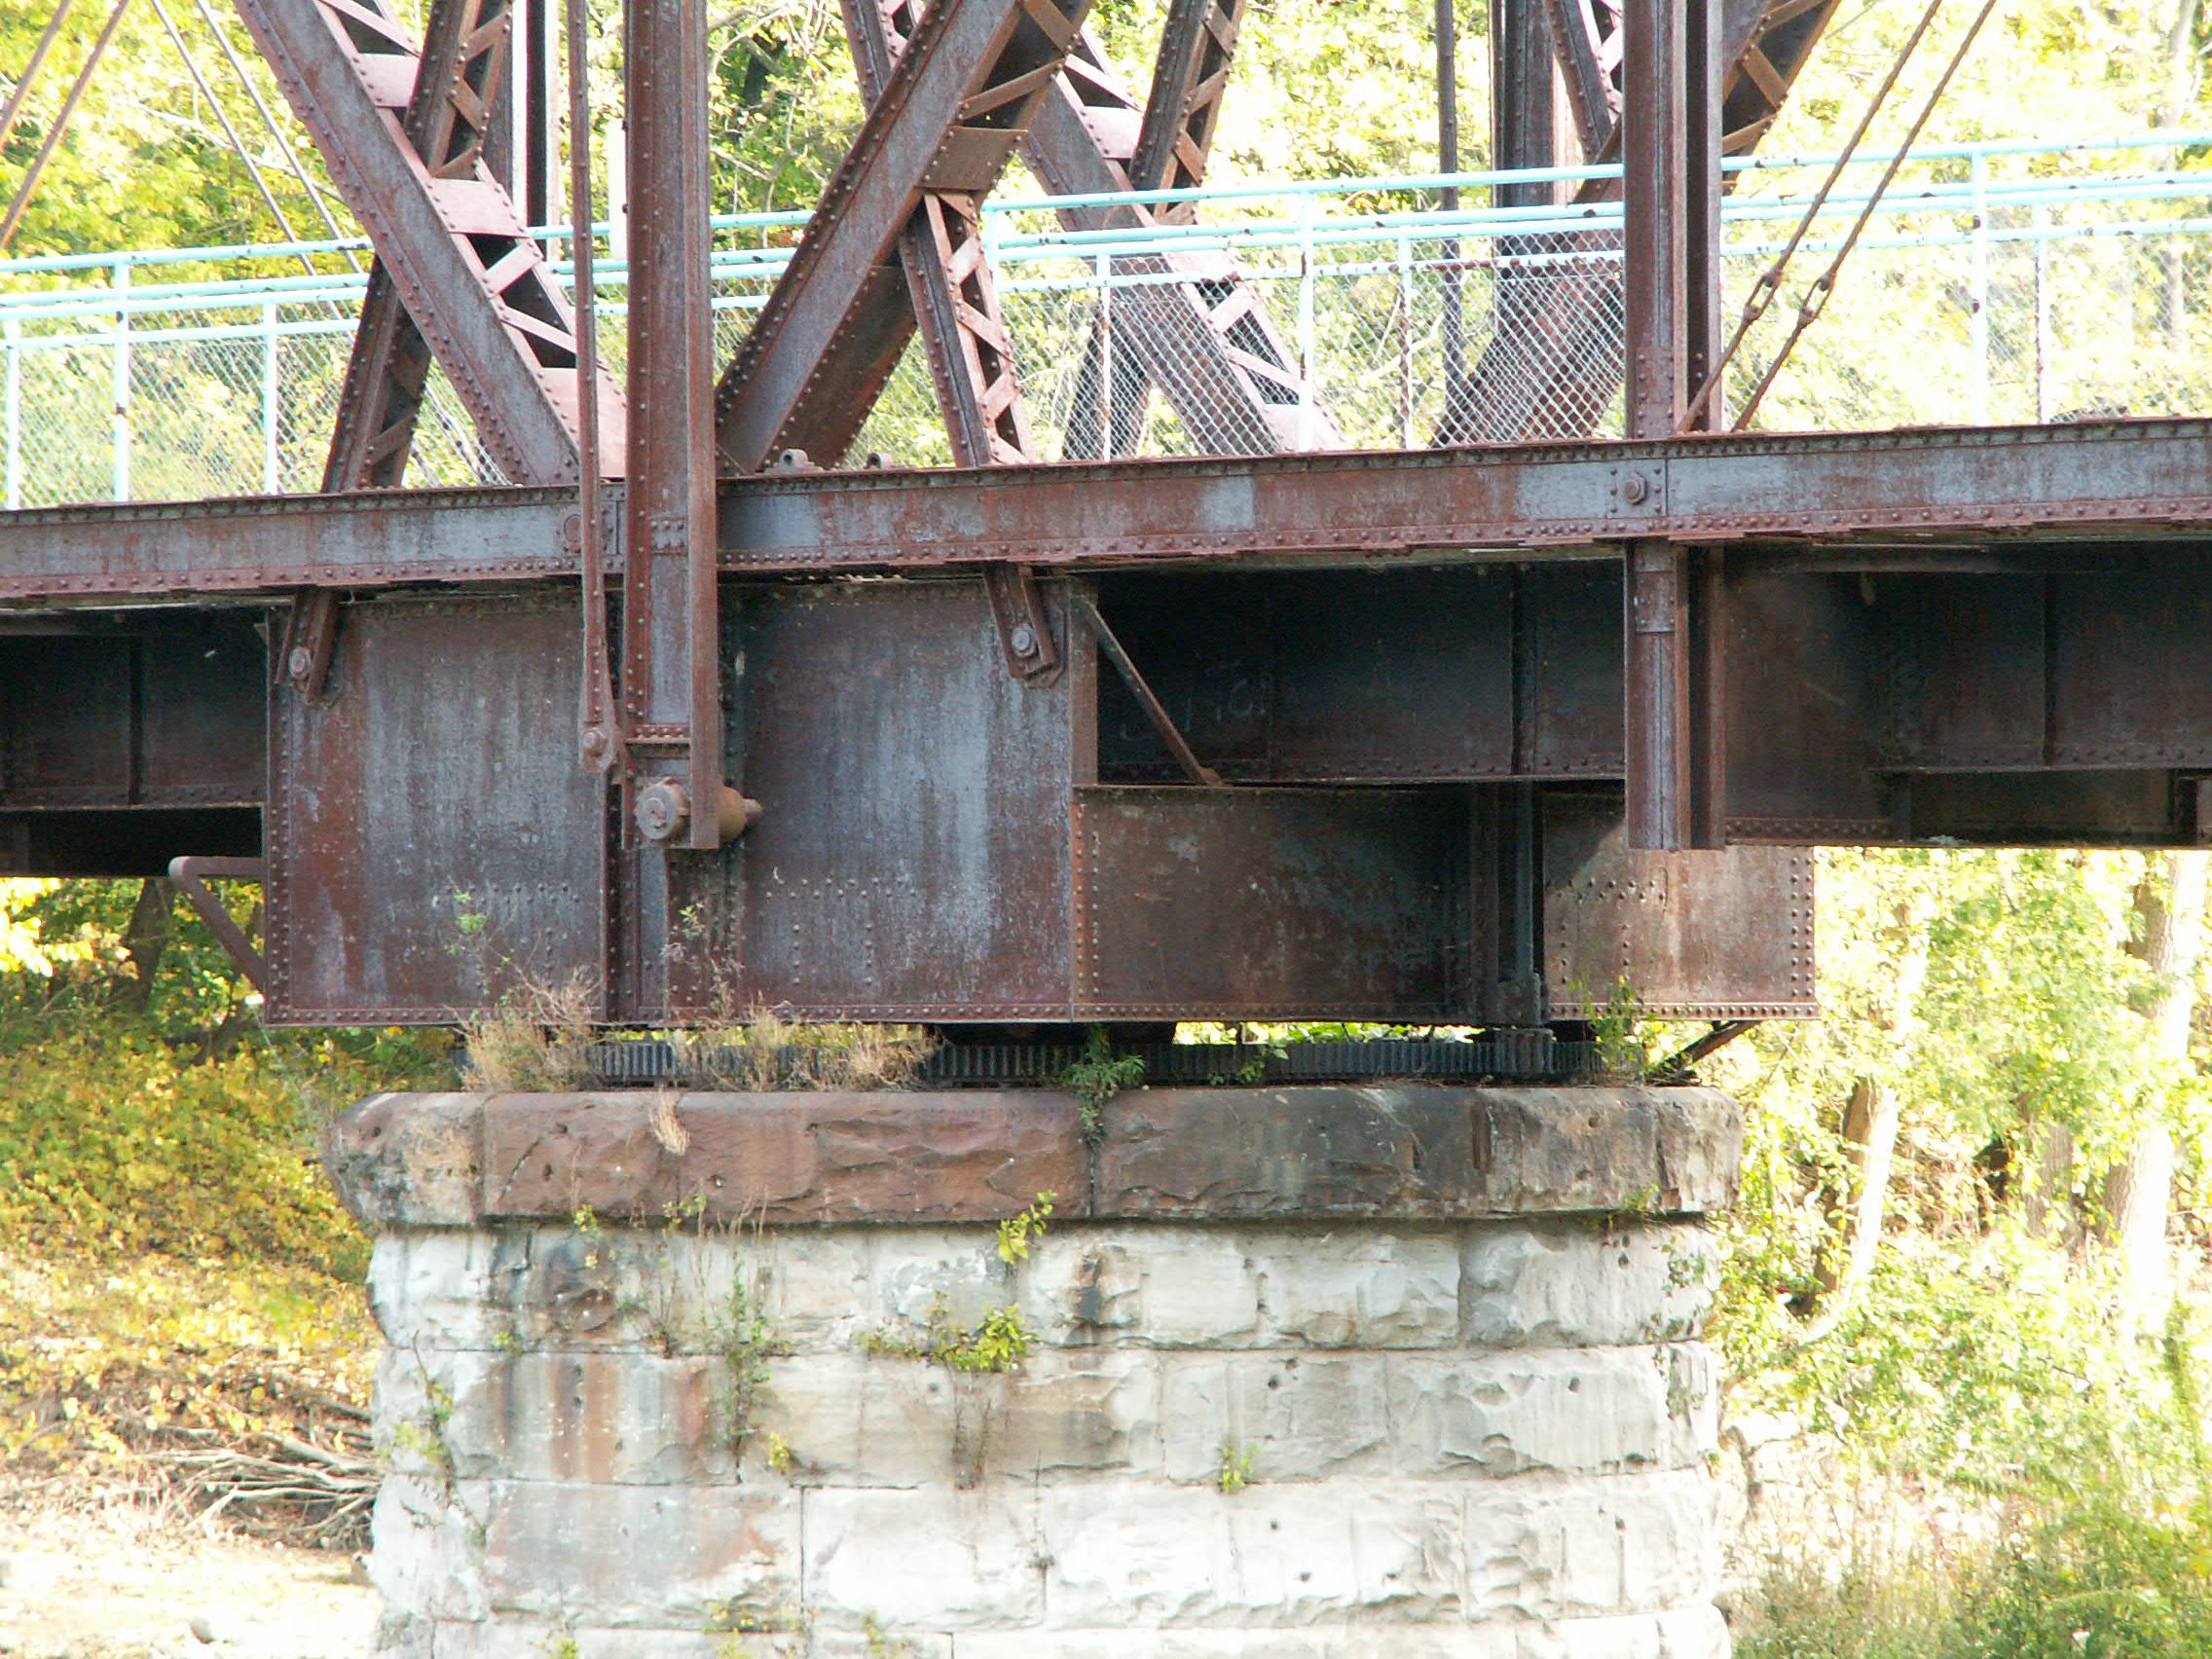
Box on swing pier, details.
![]()
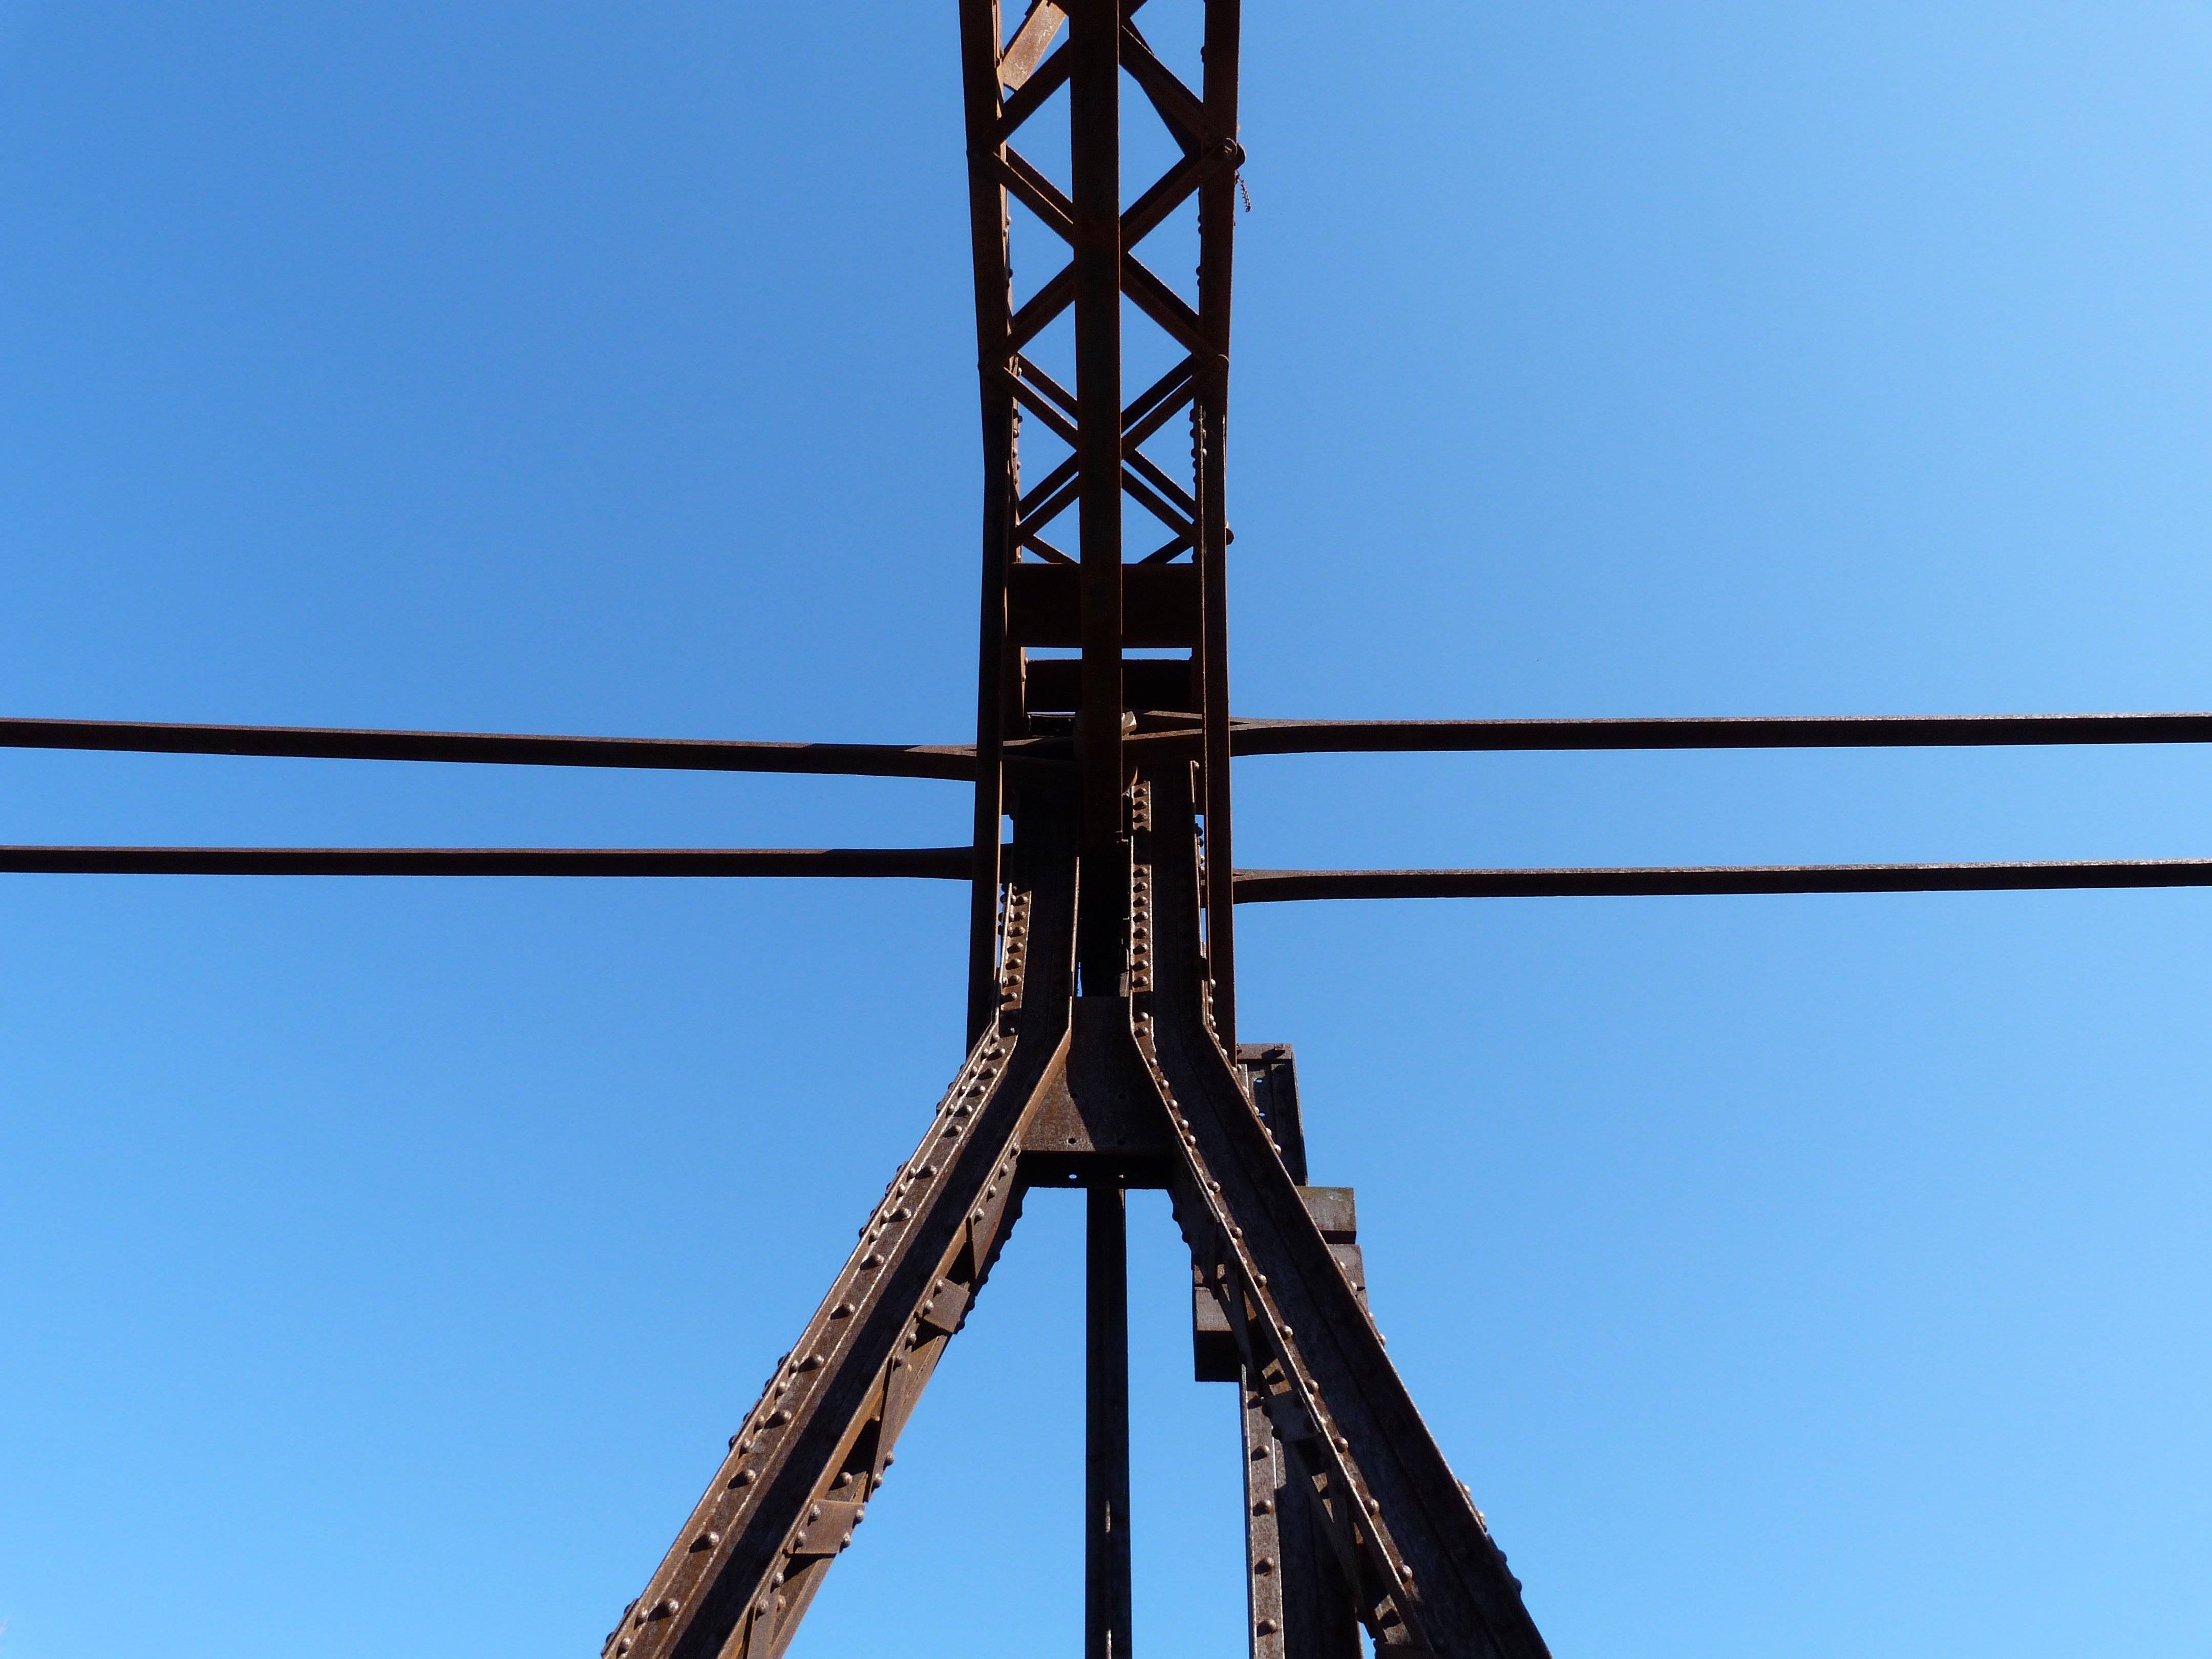


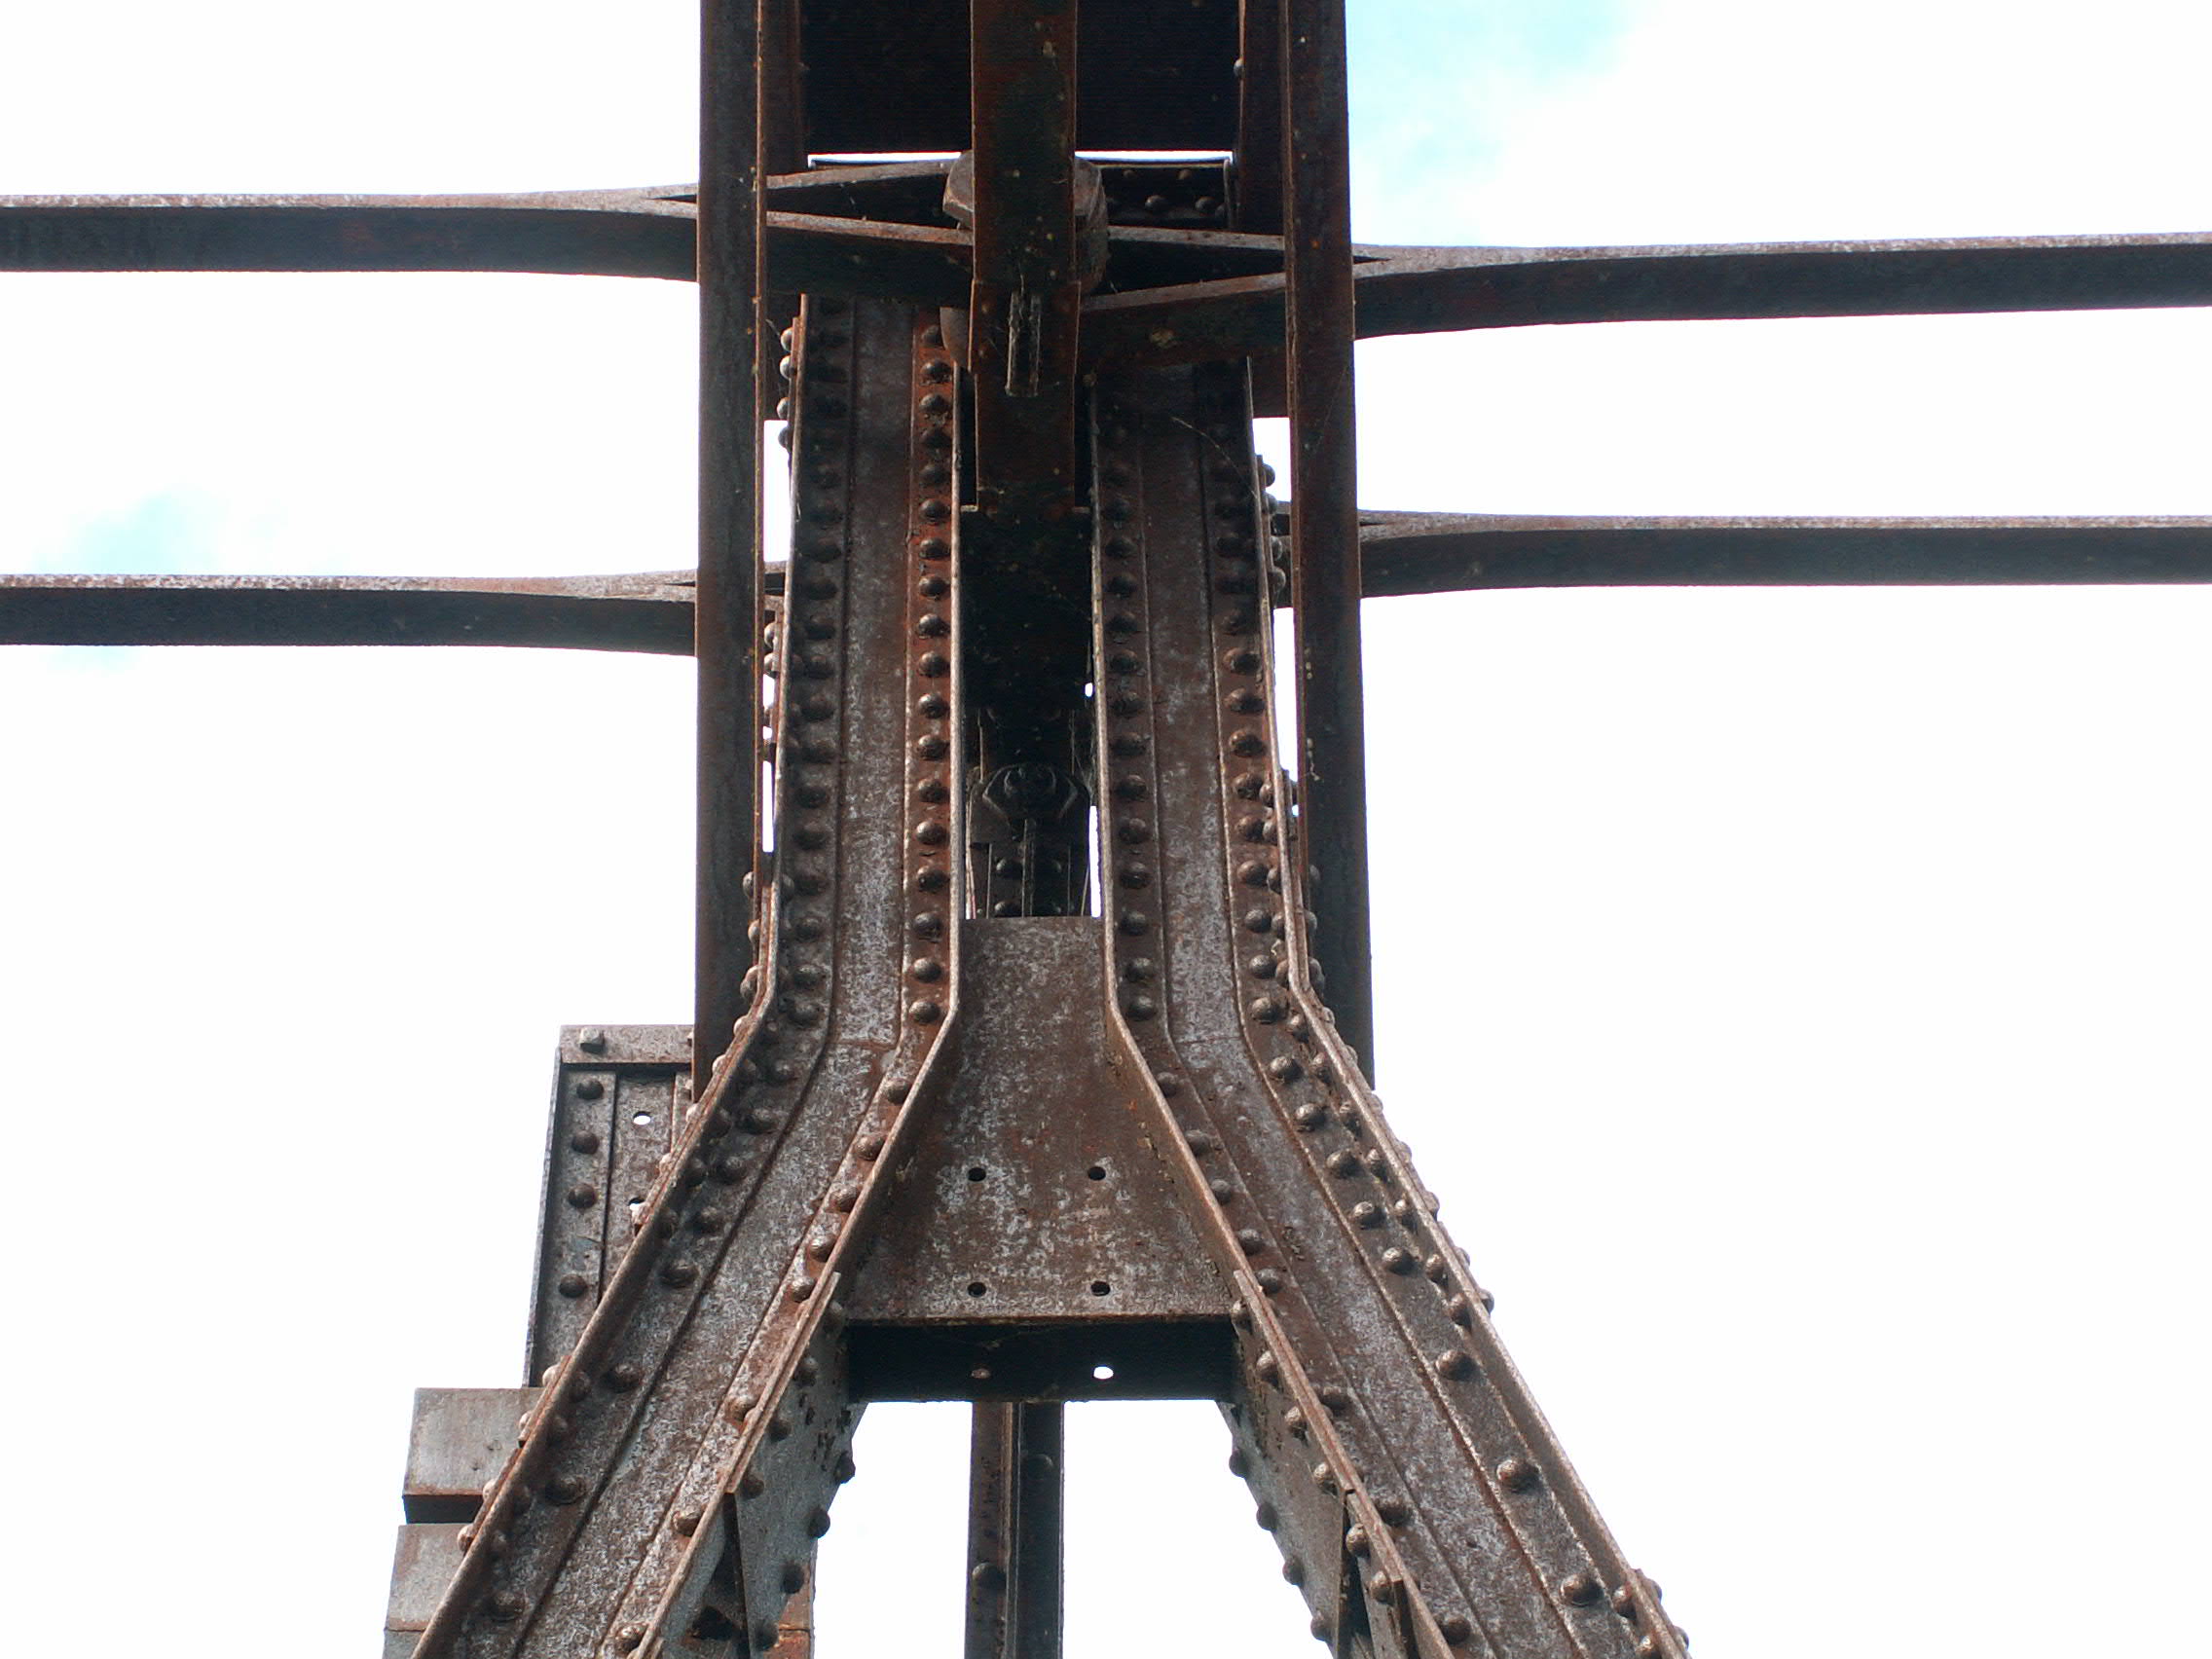

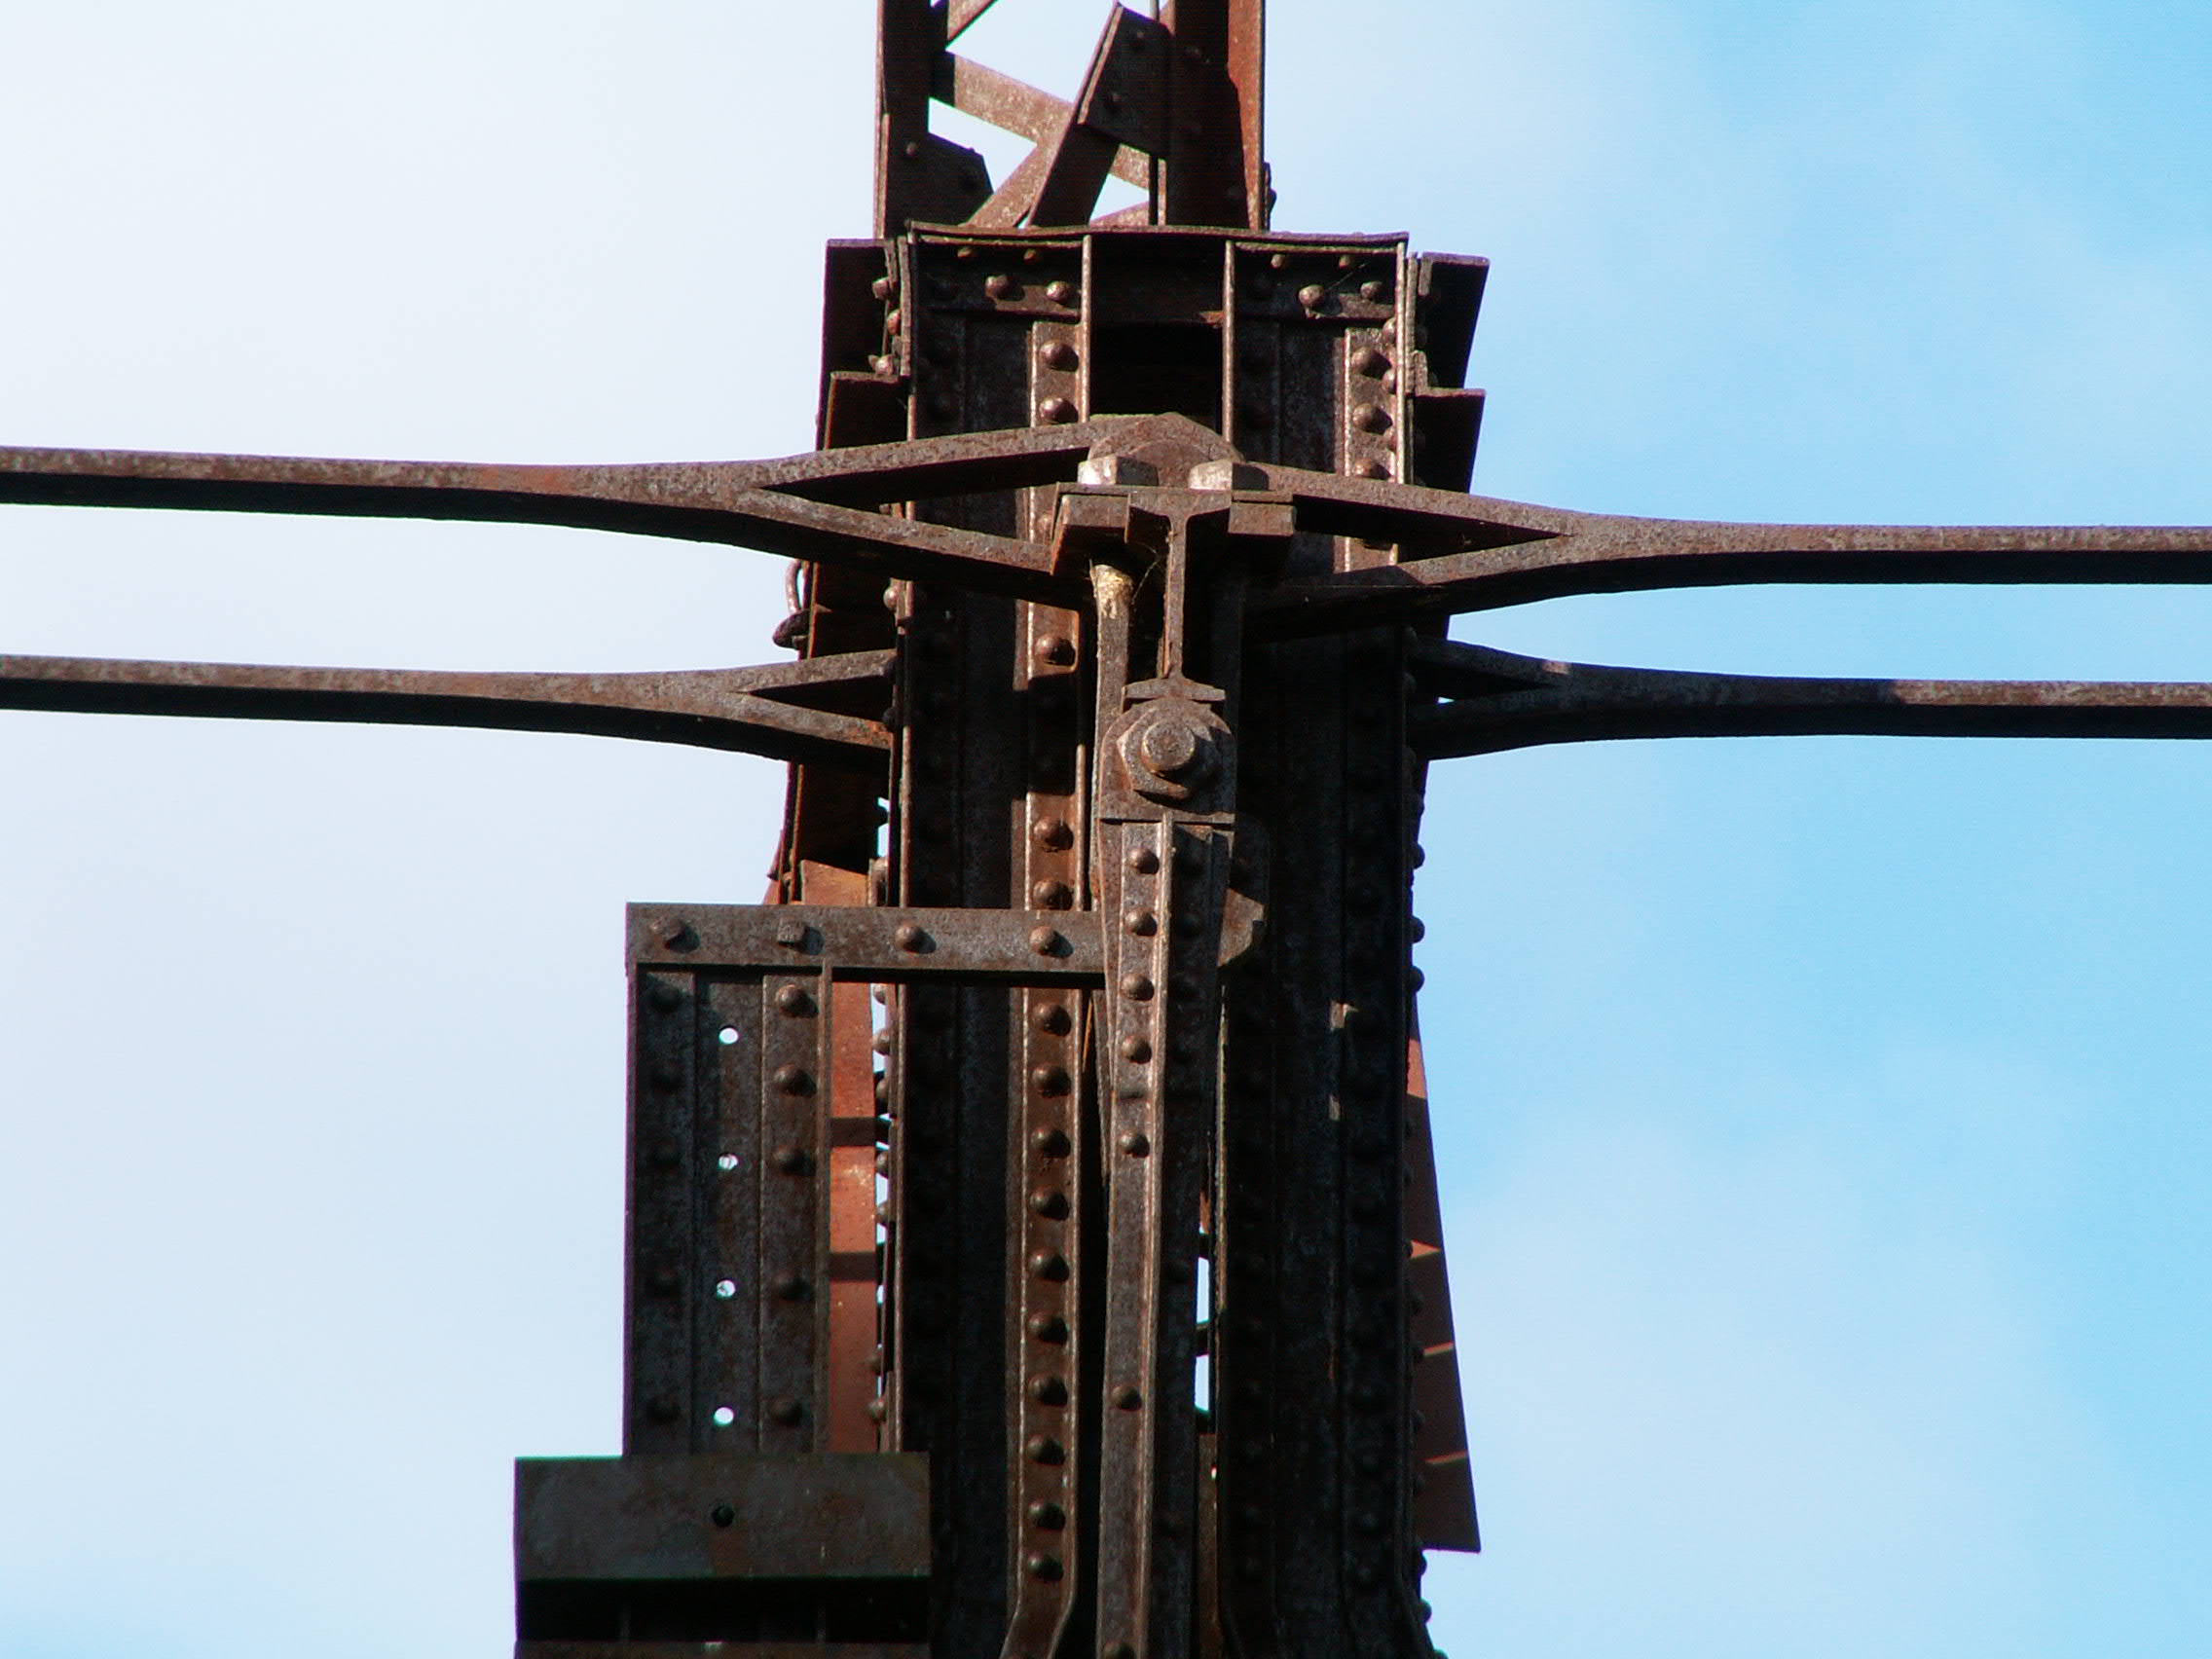

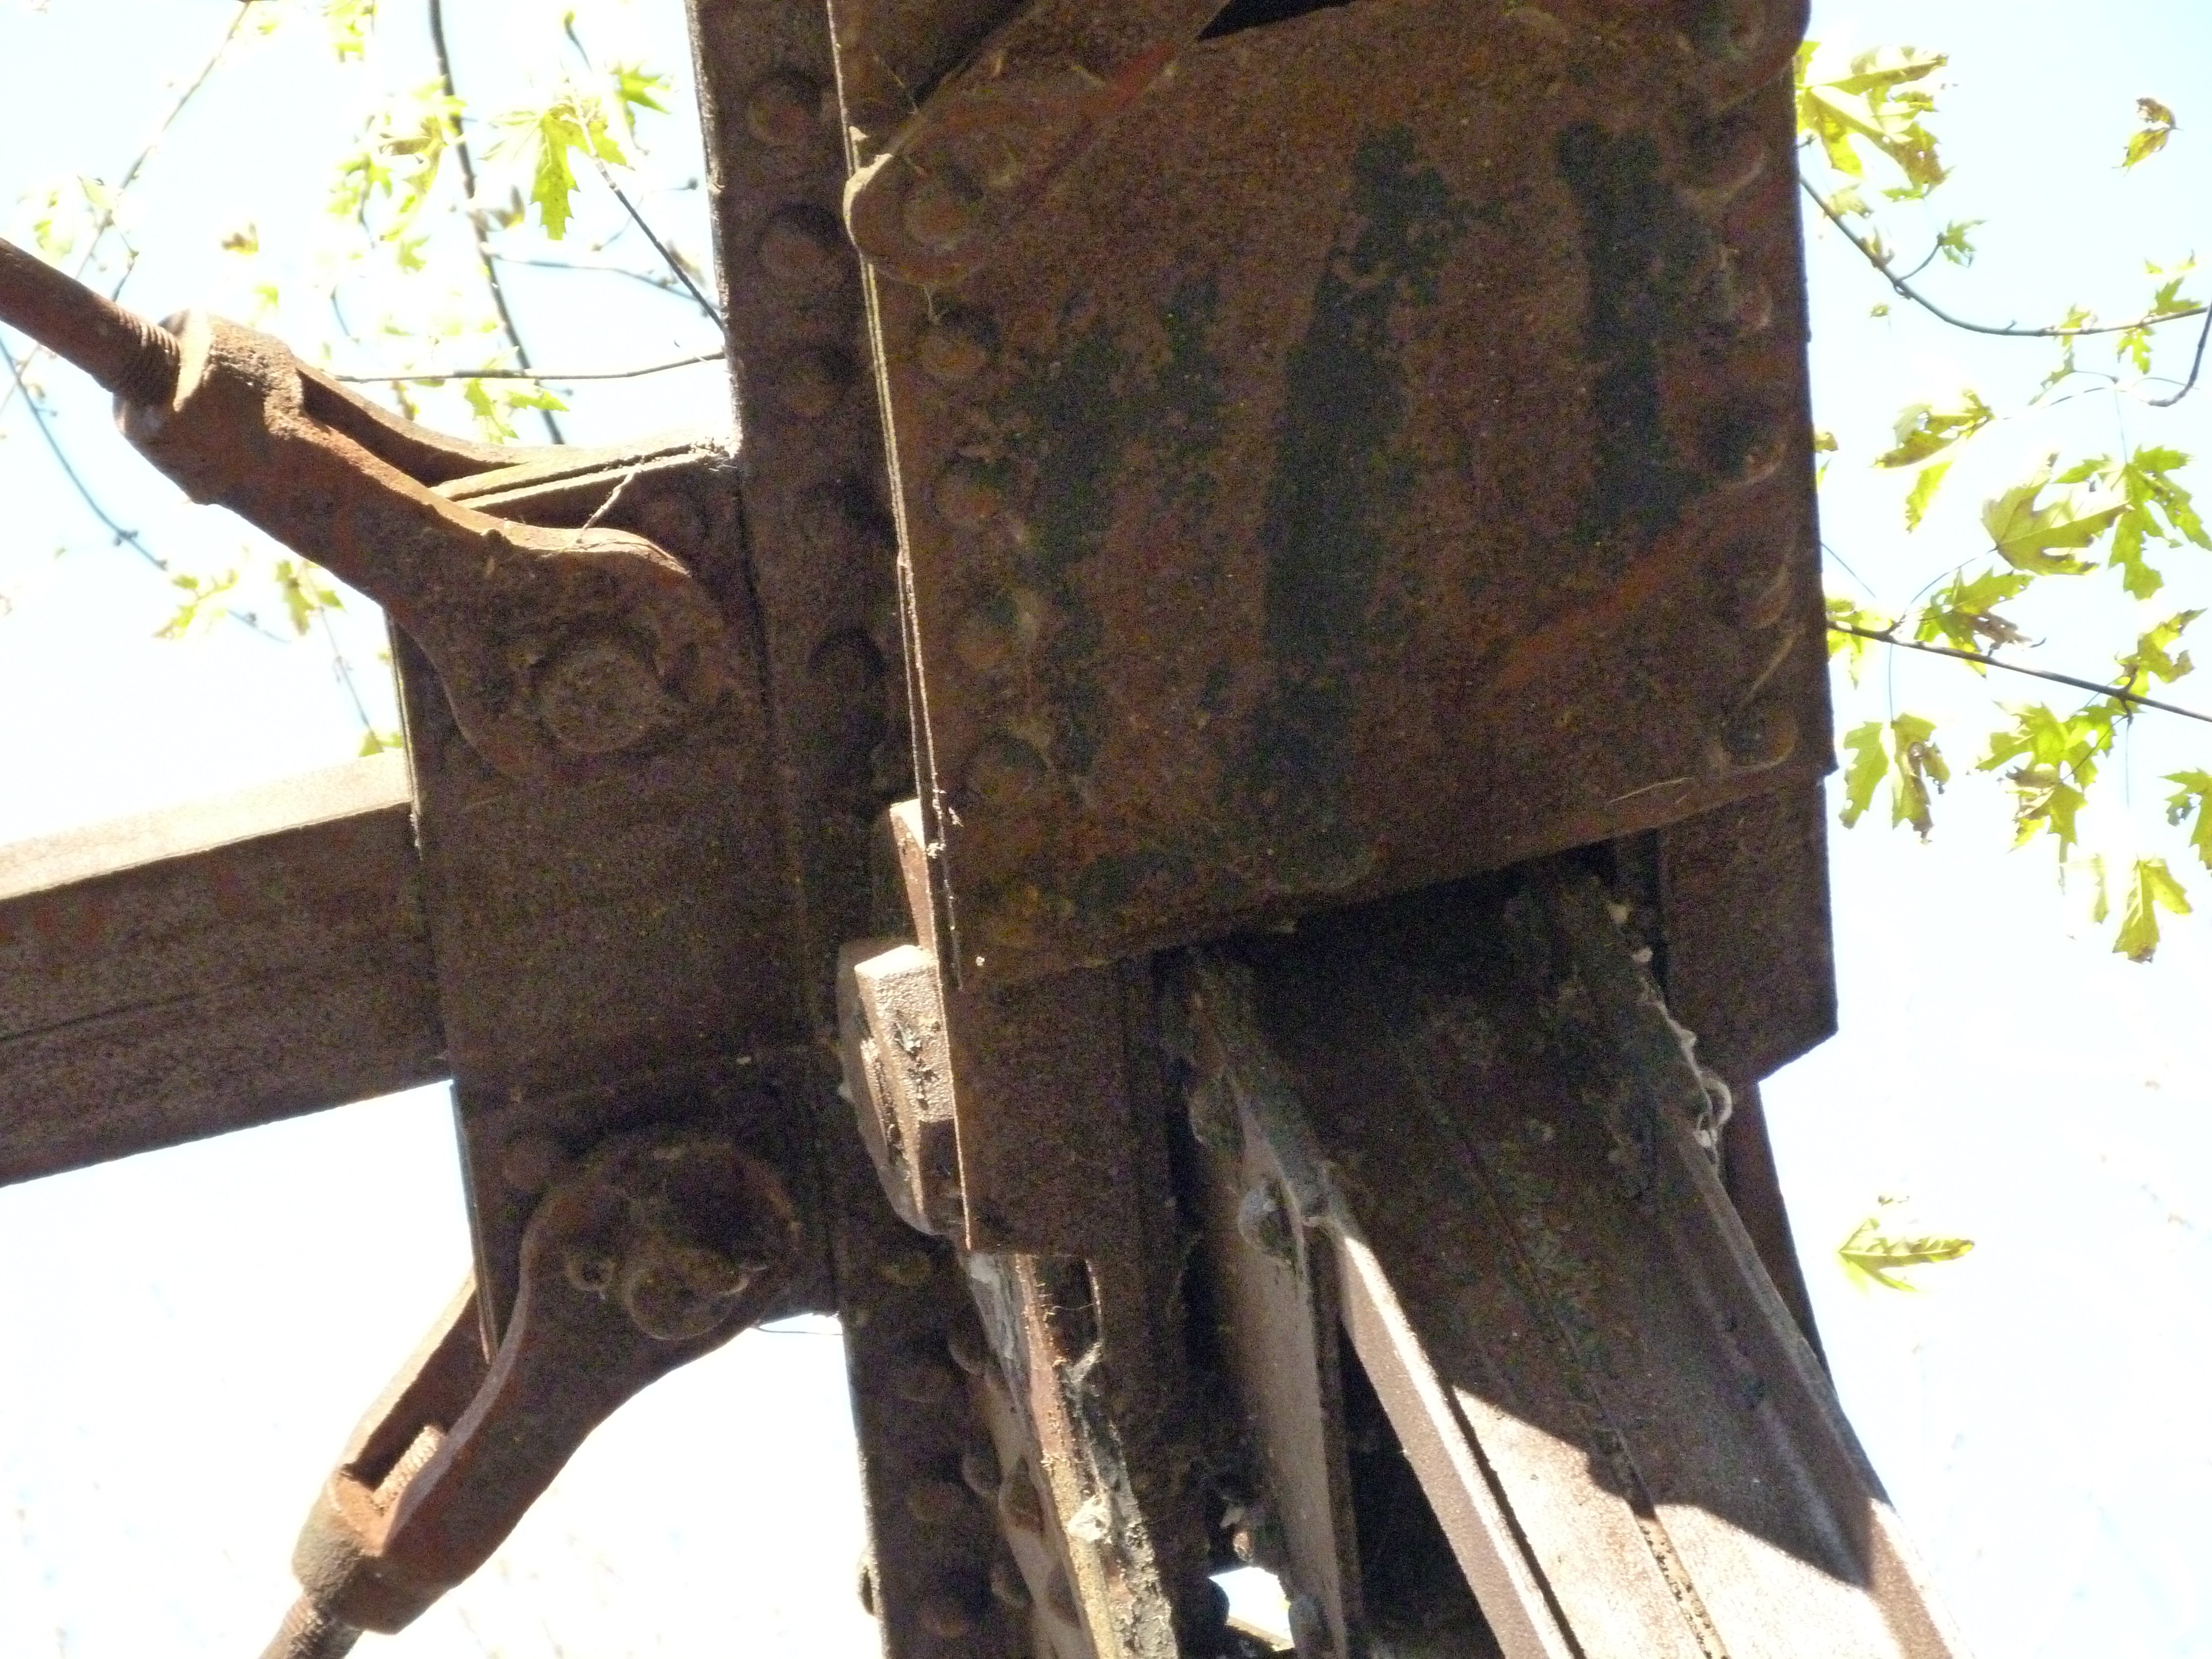
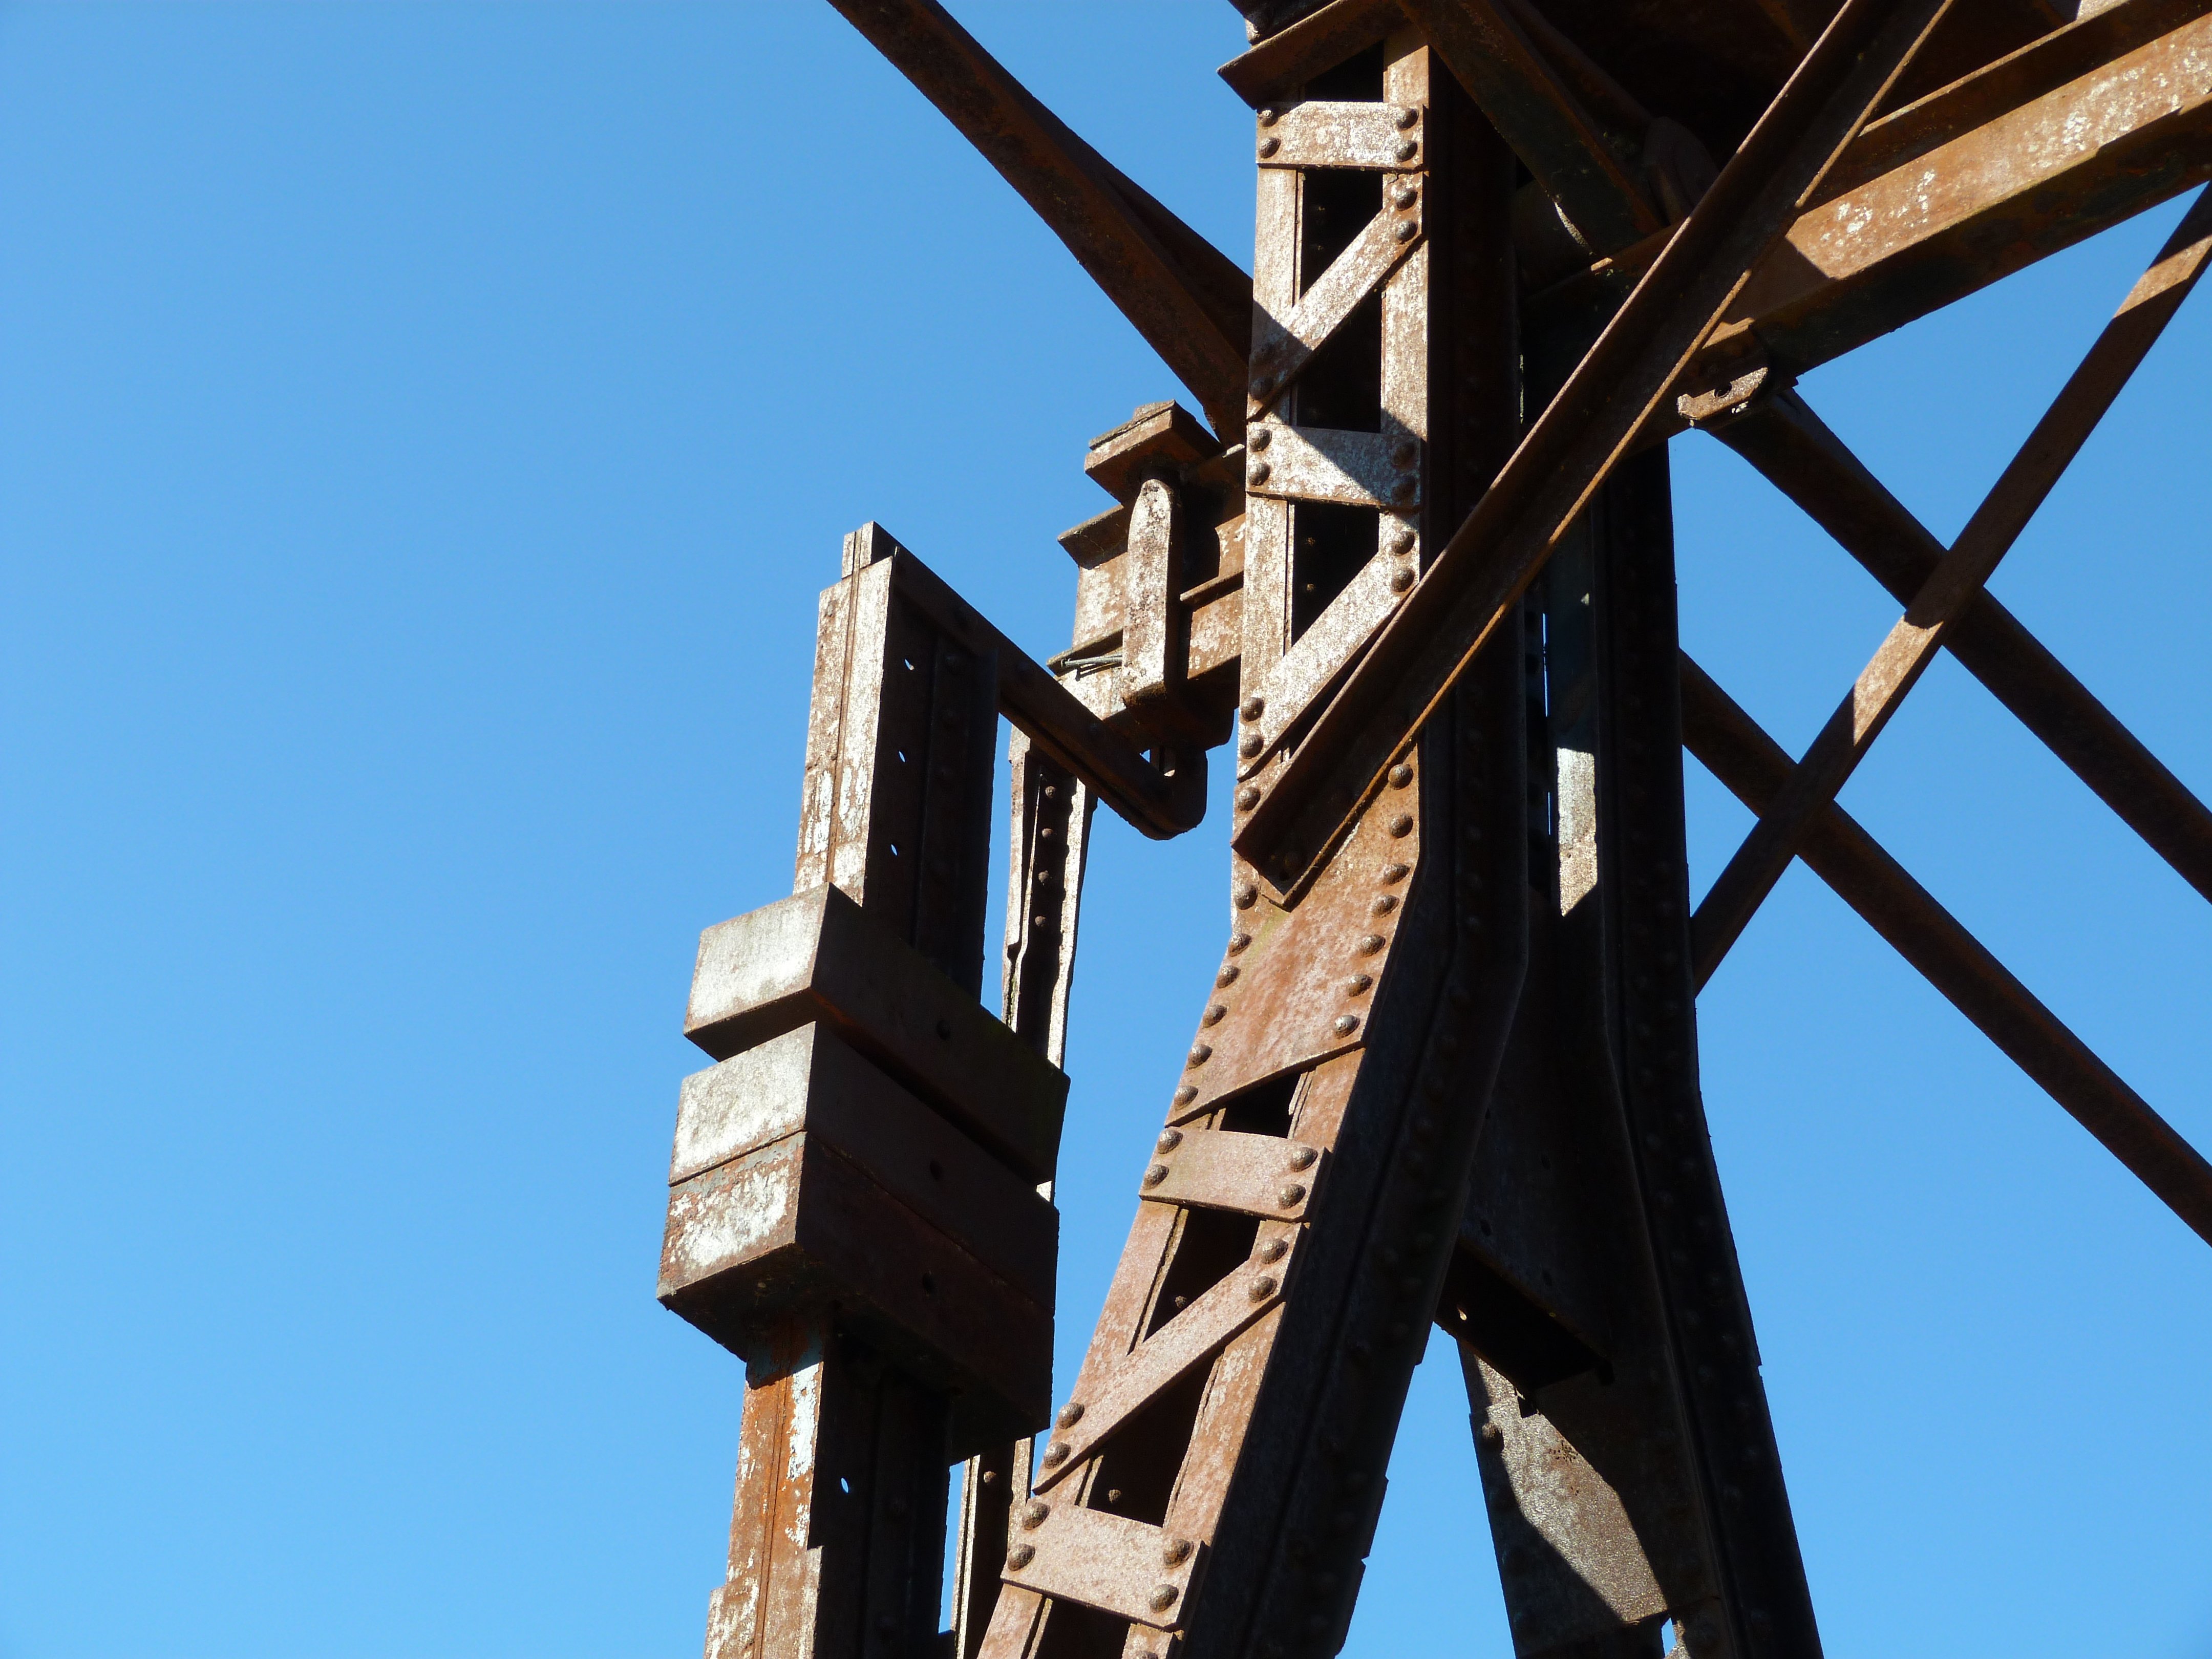
Details of main (center) post.
![]()
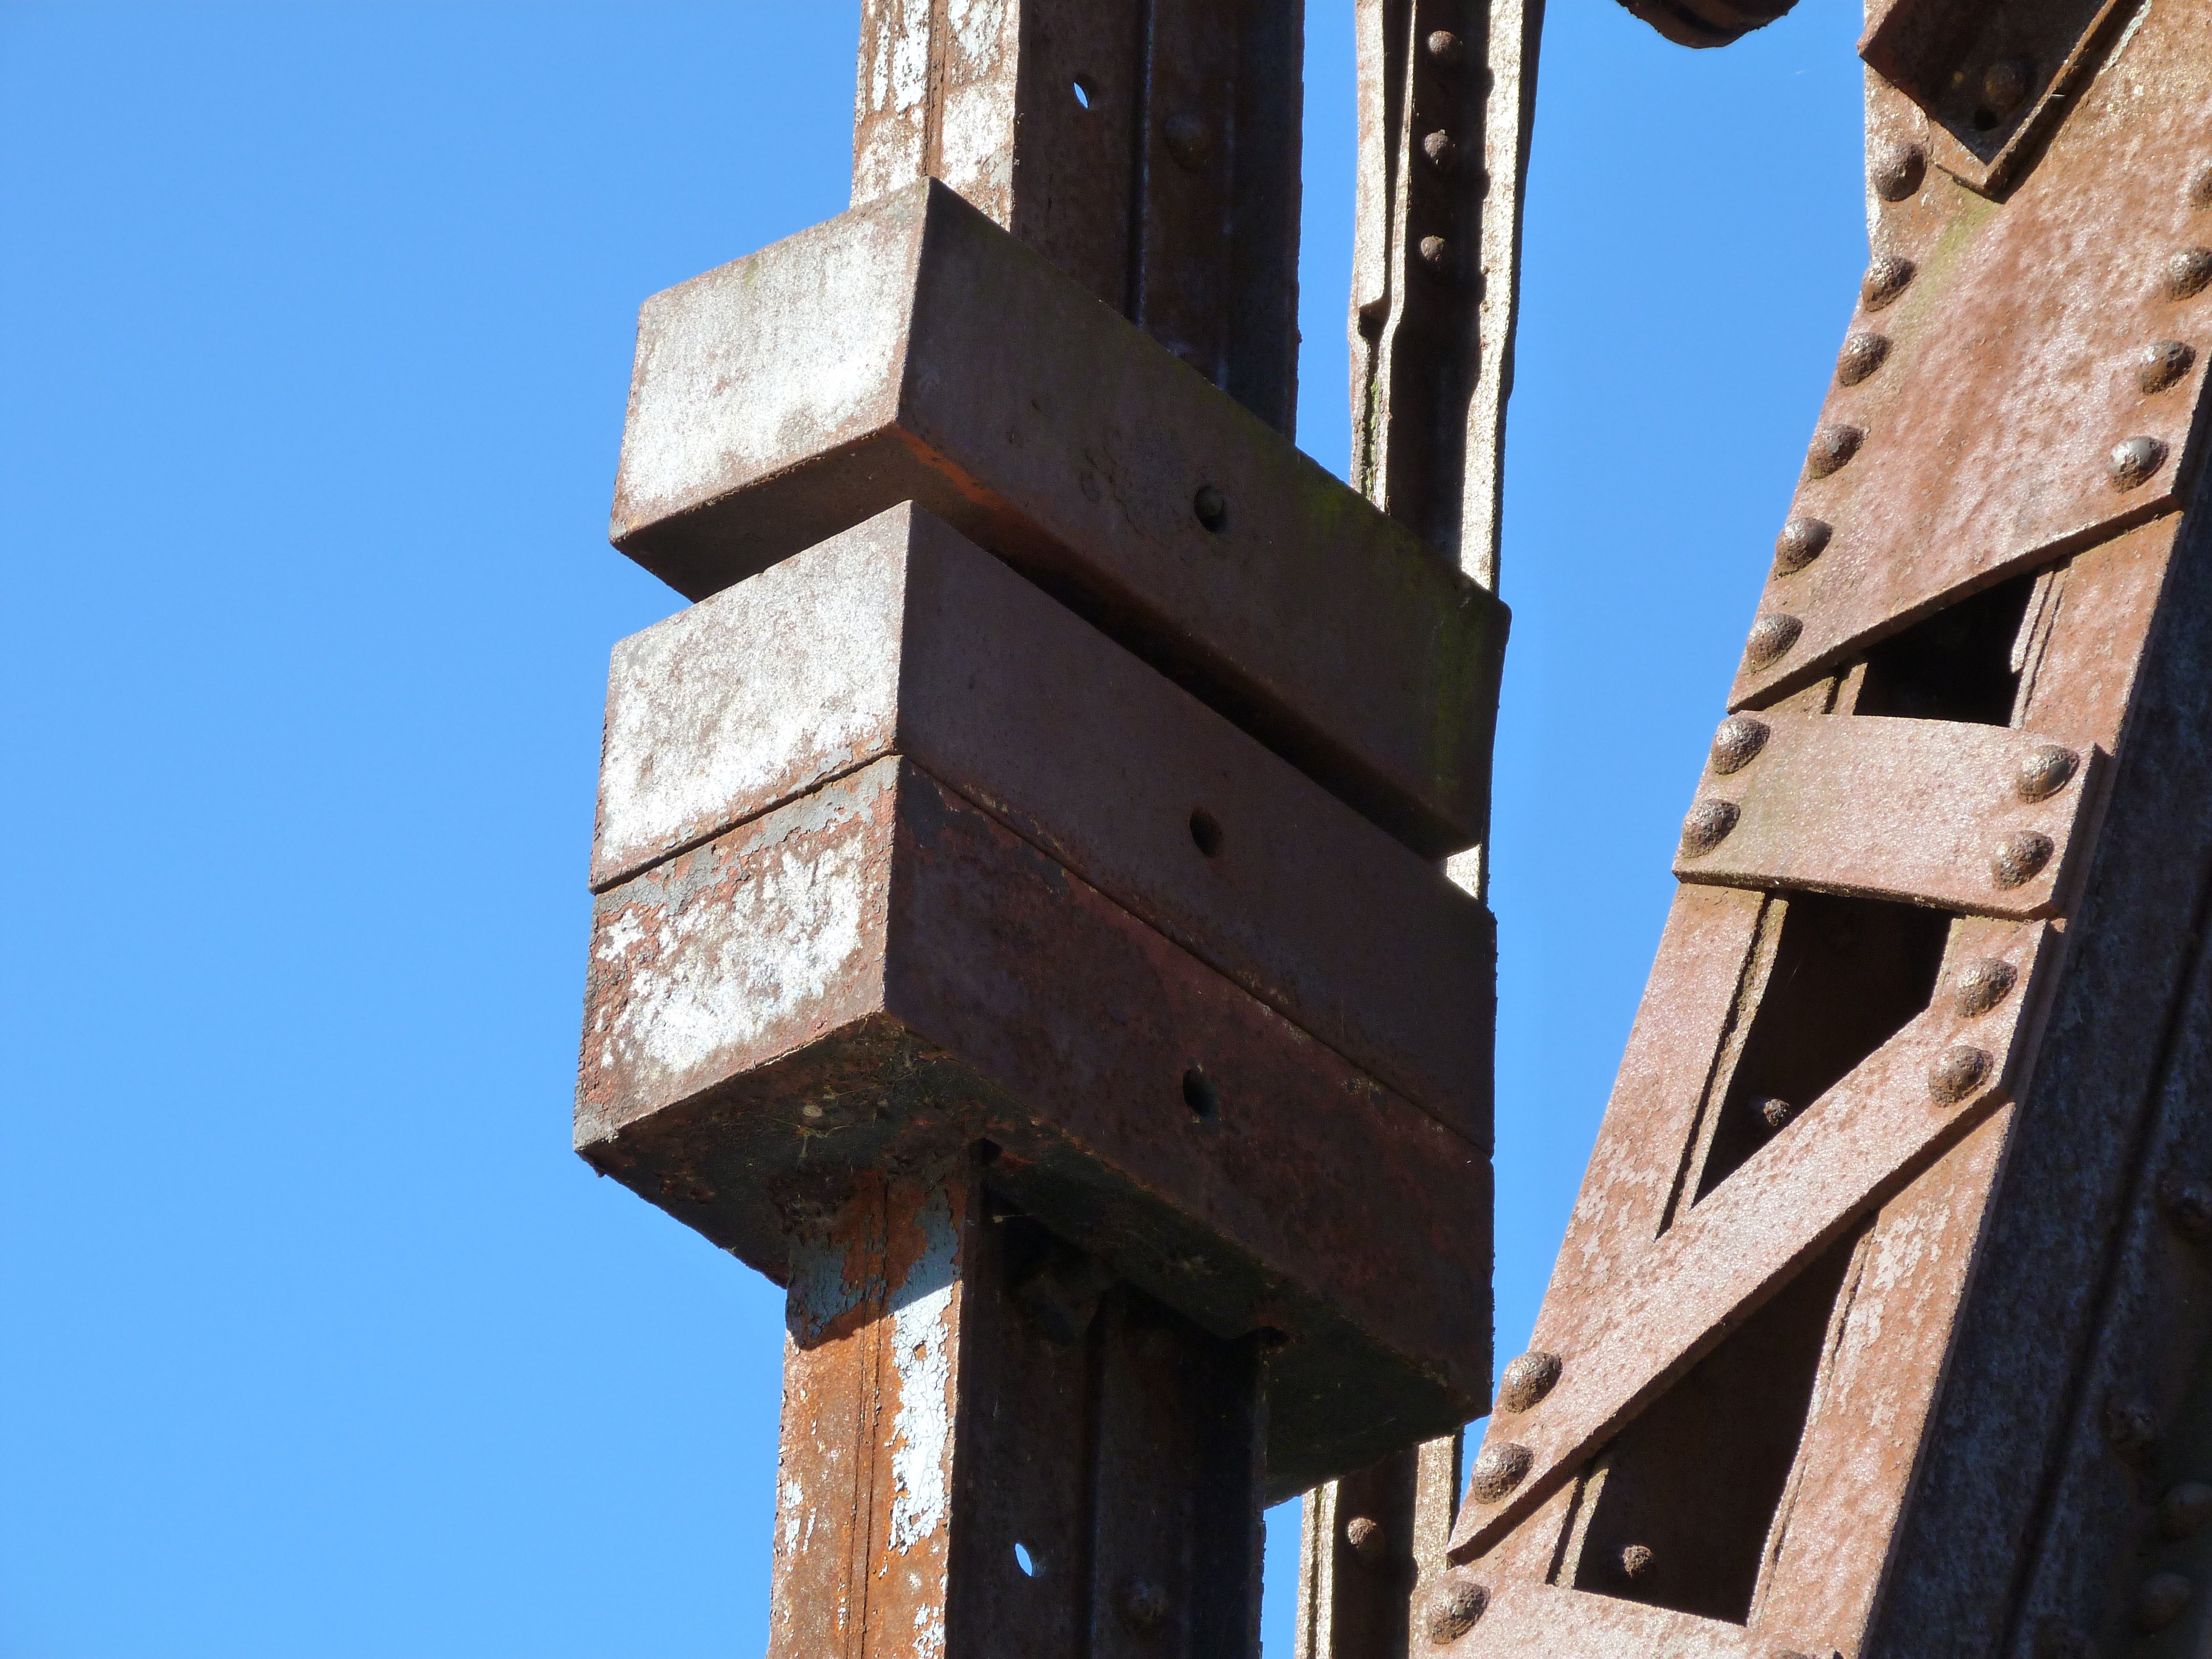
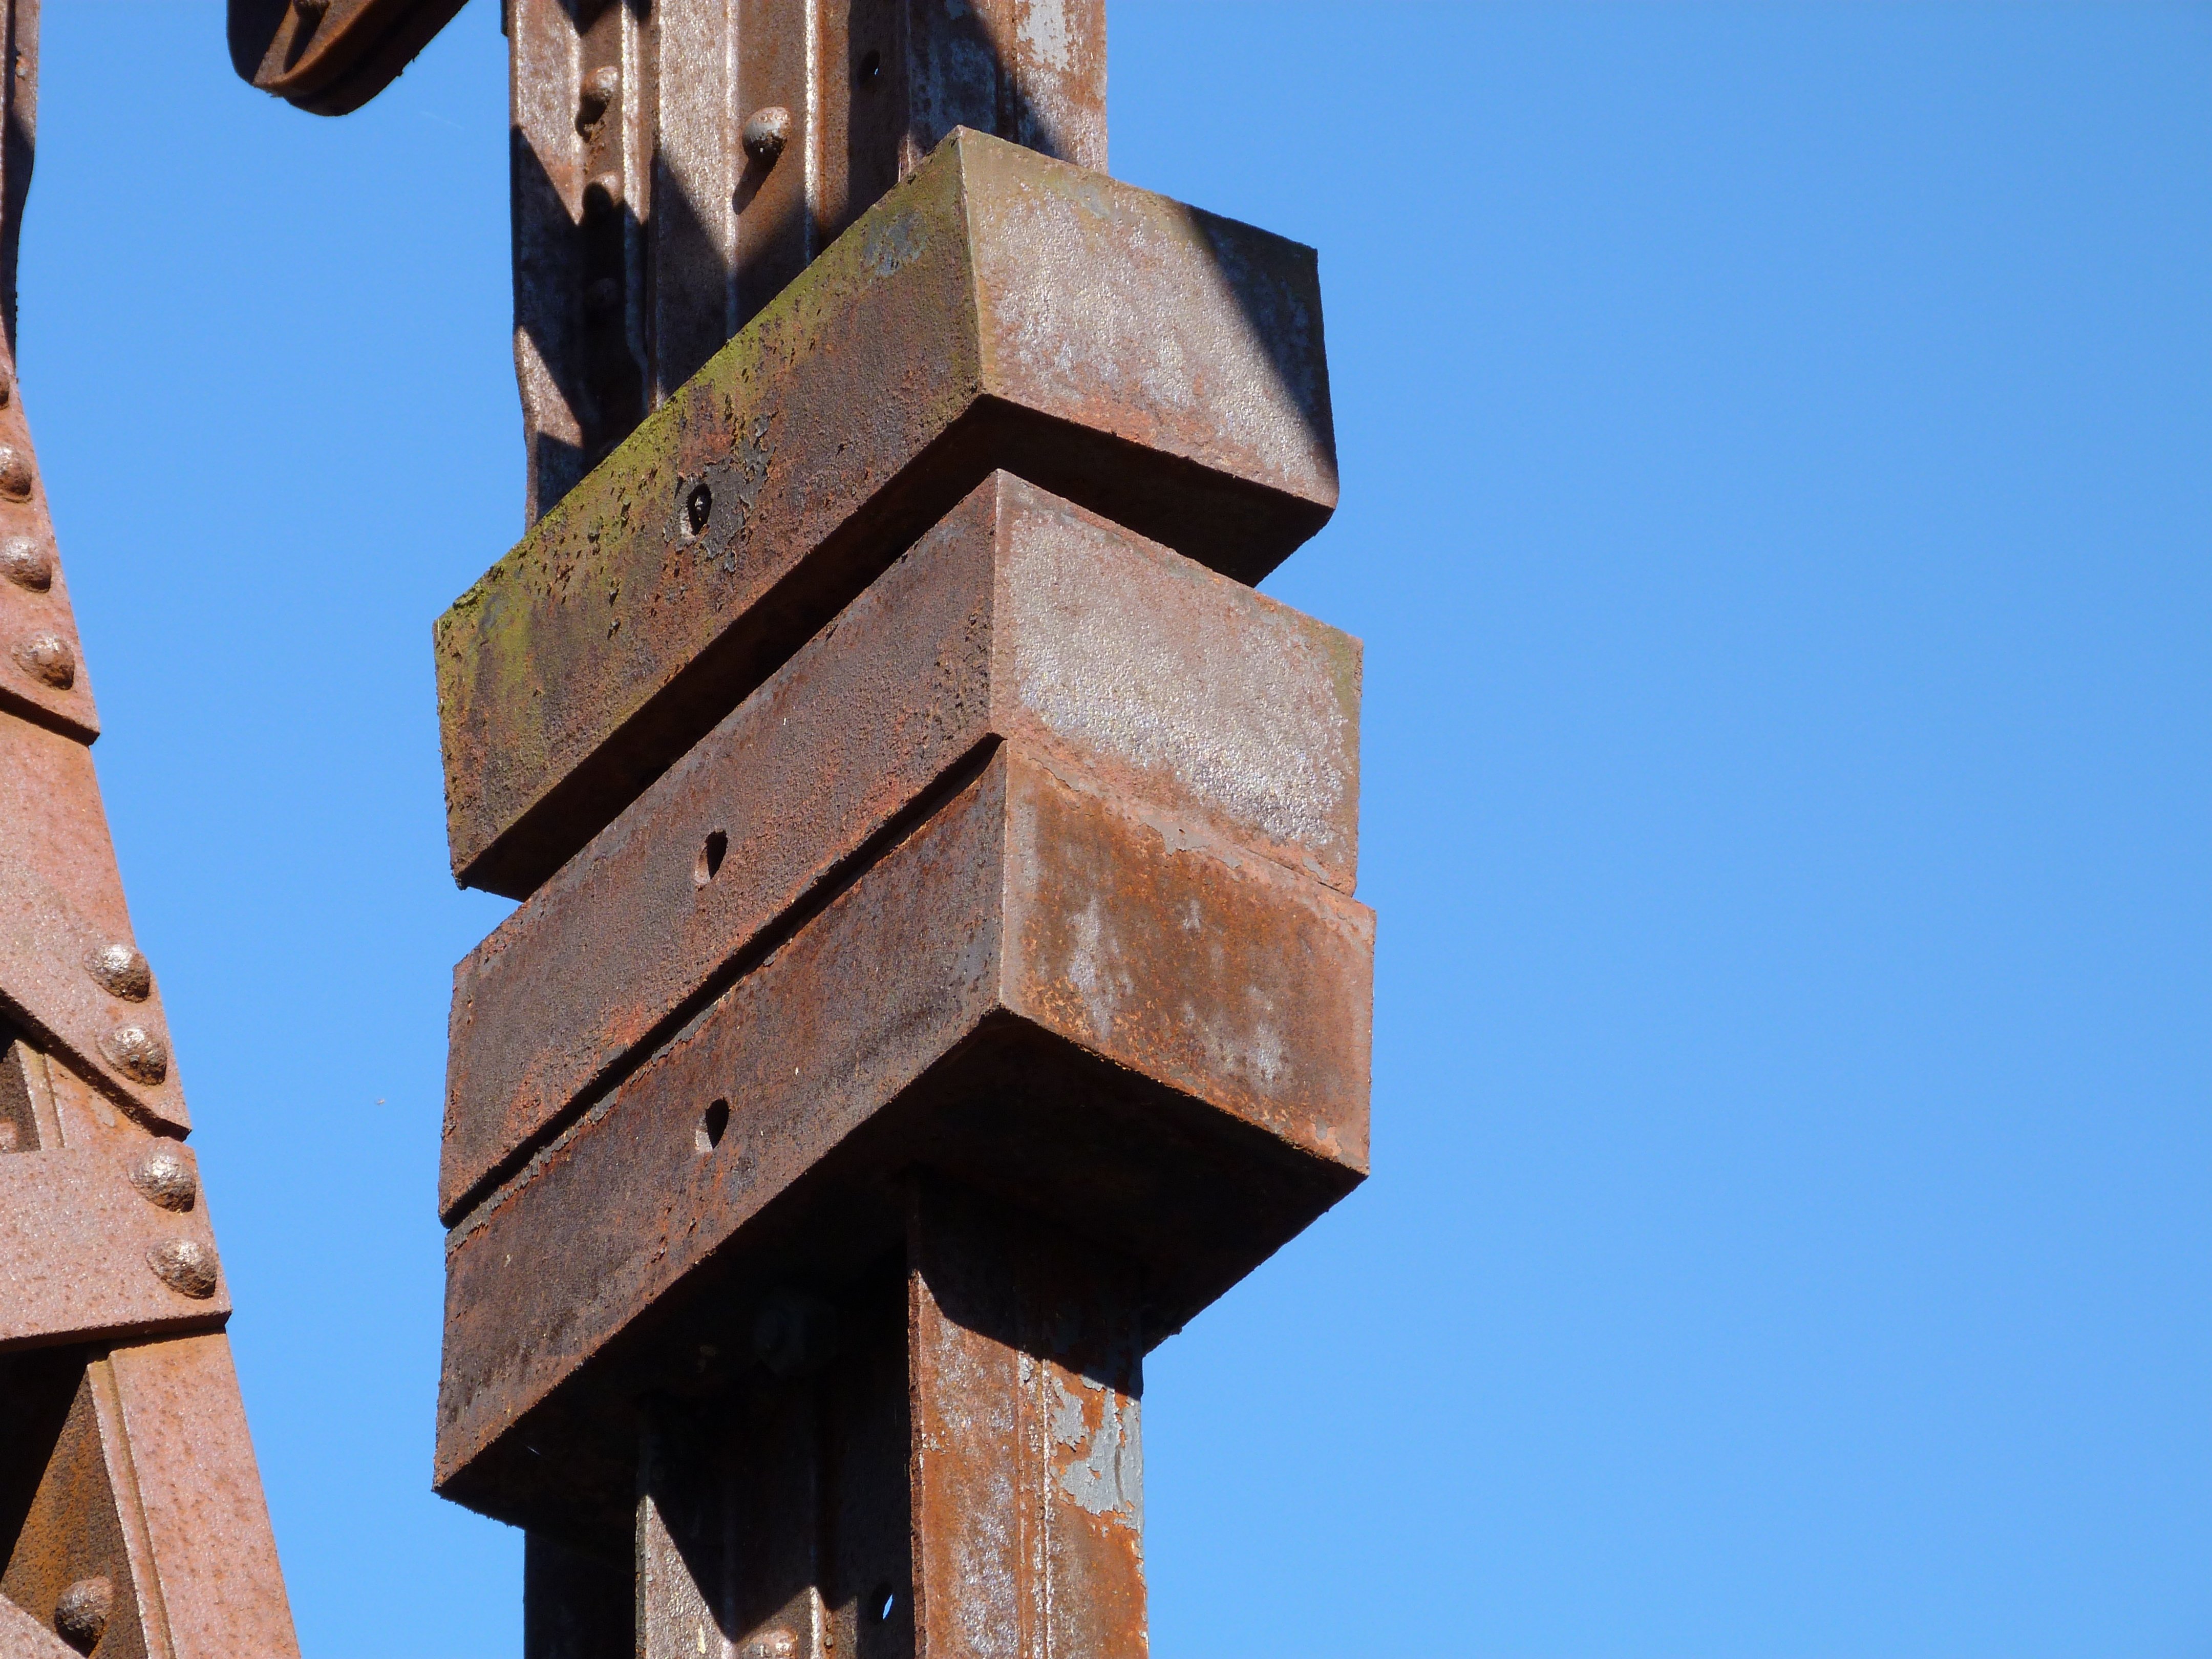
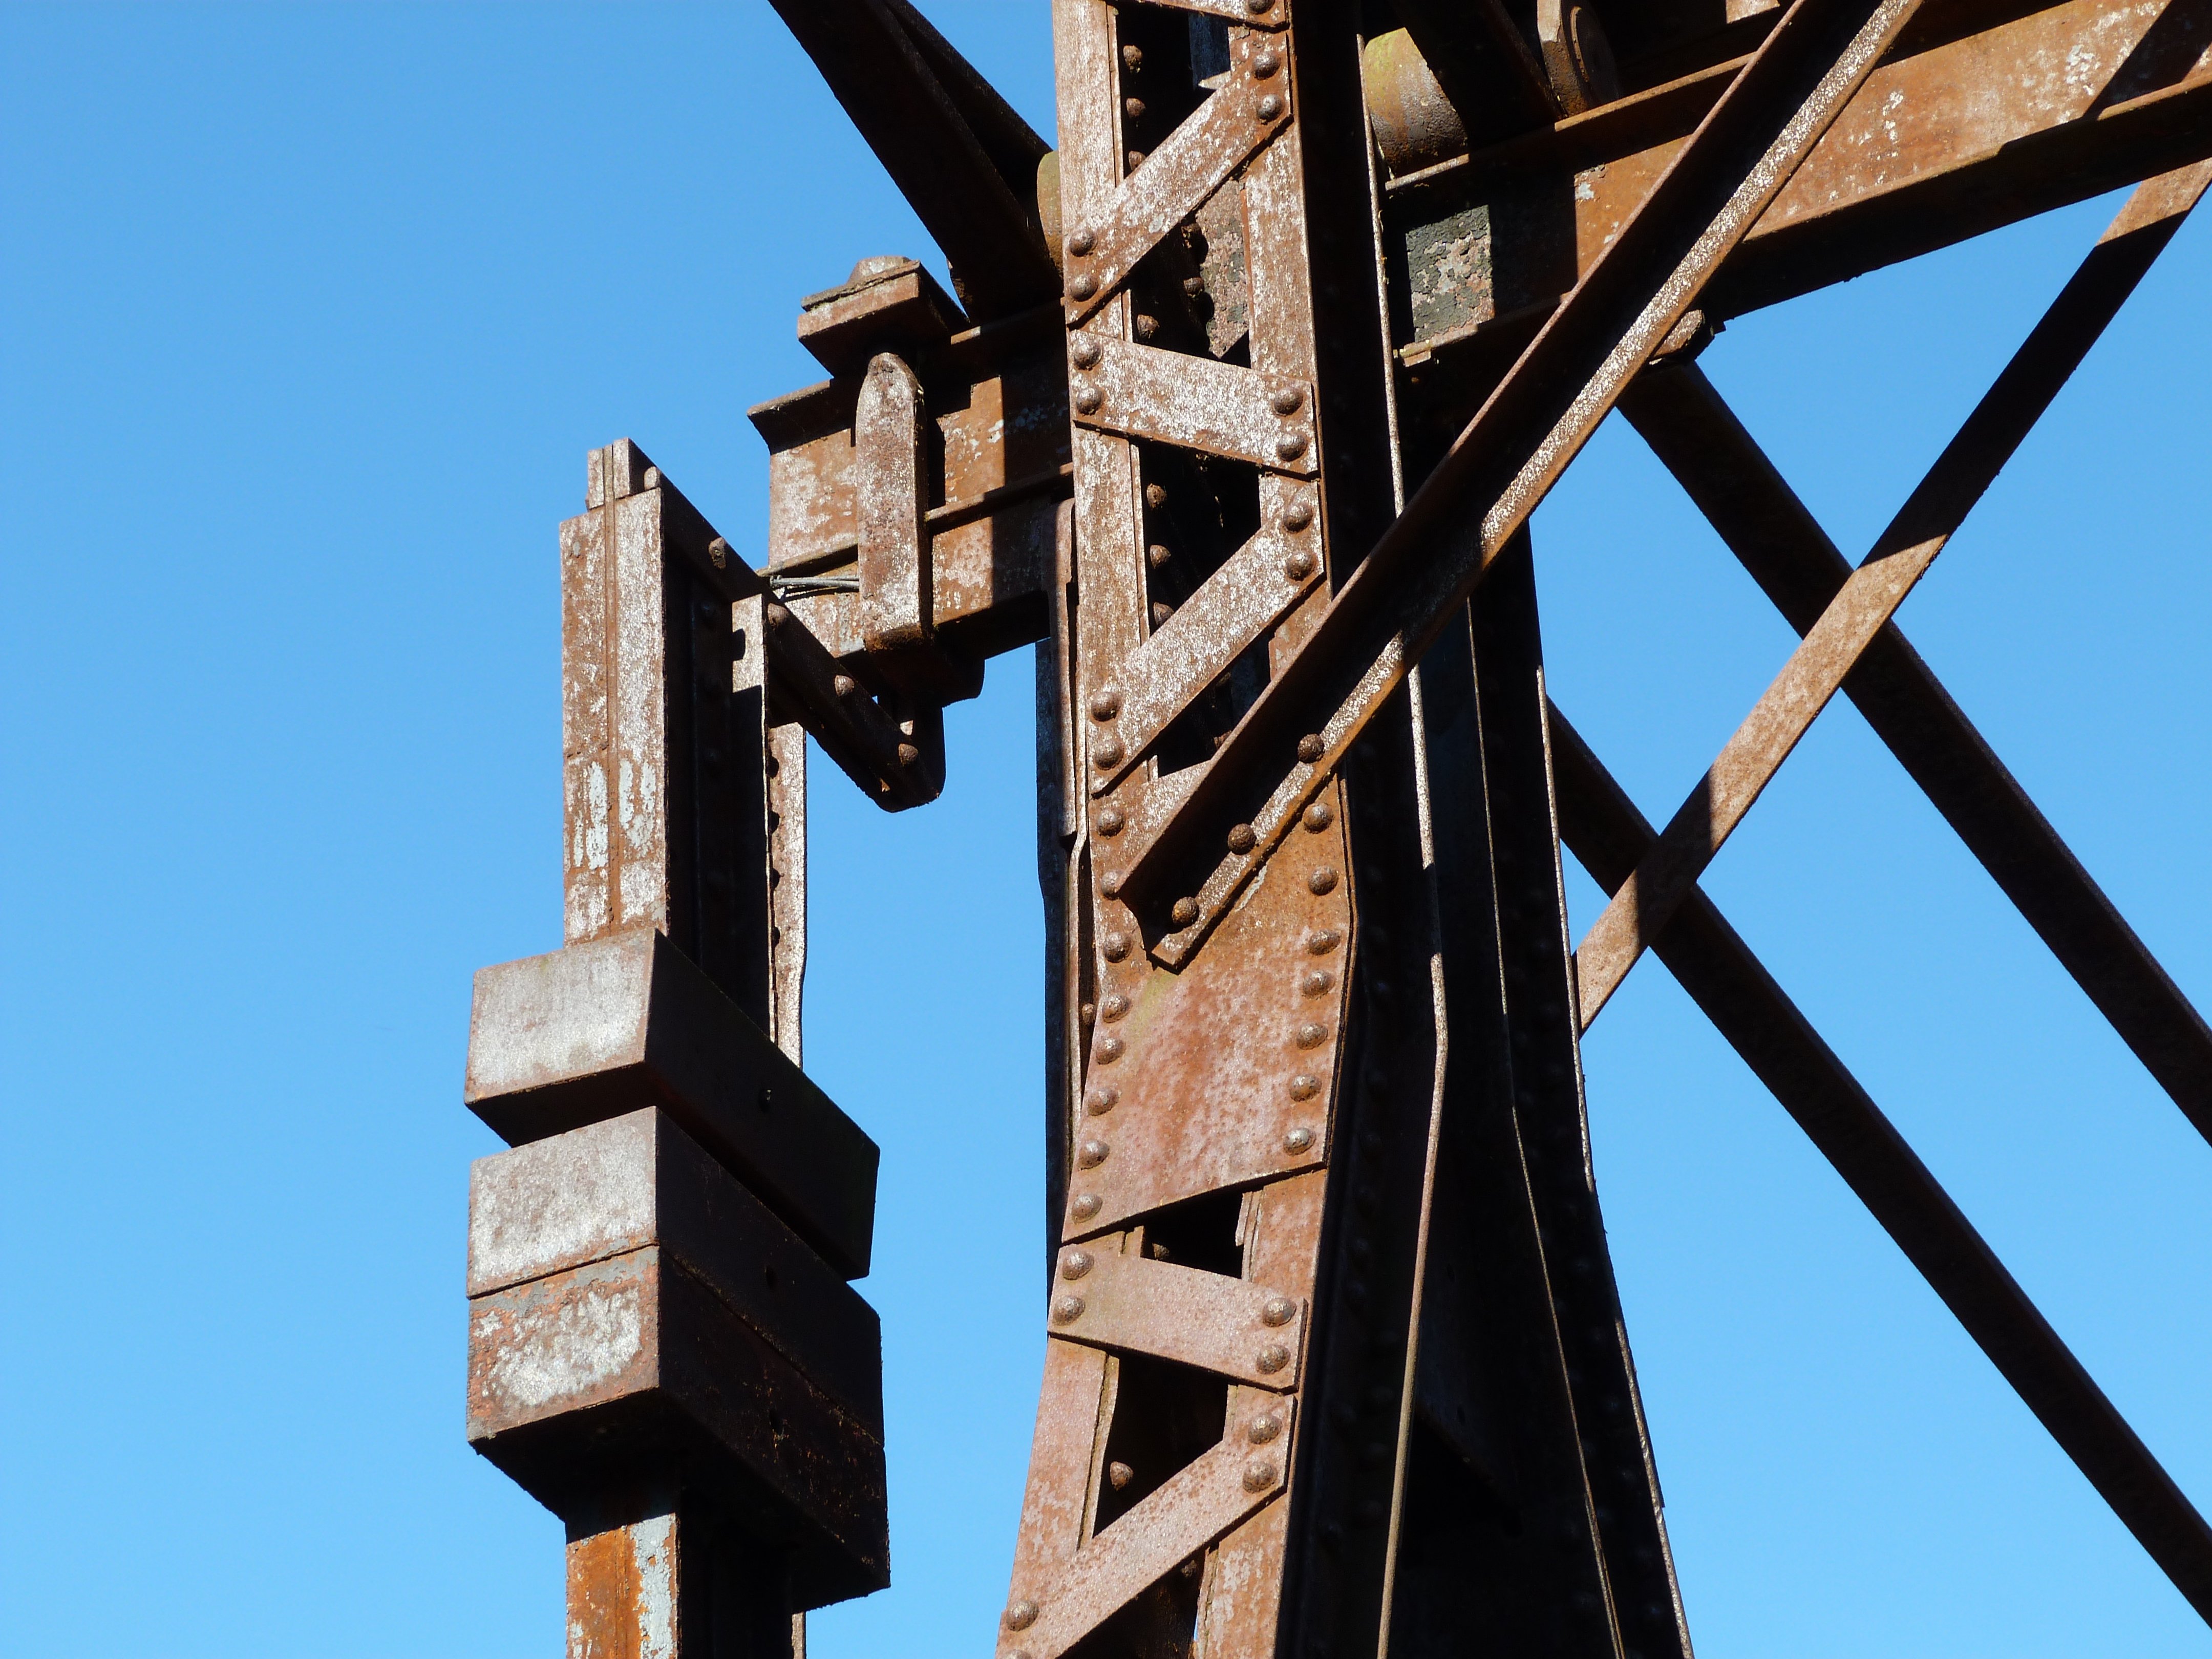
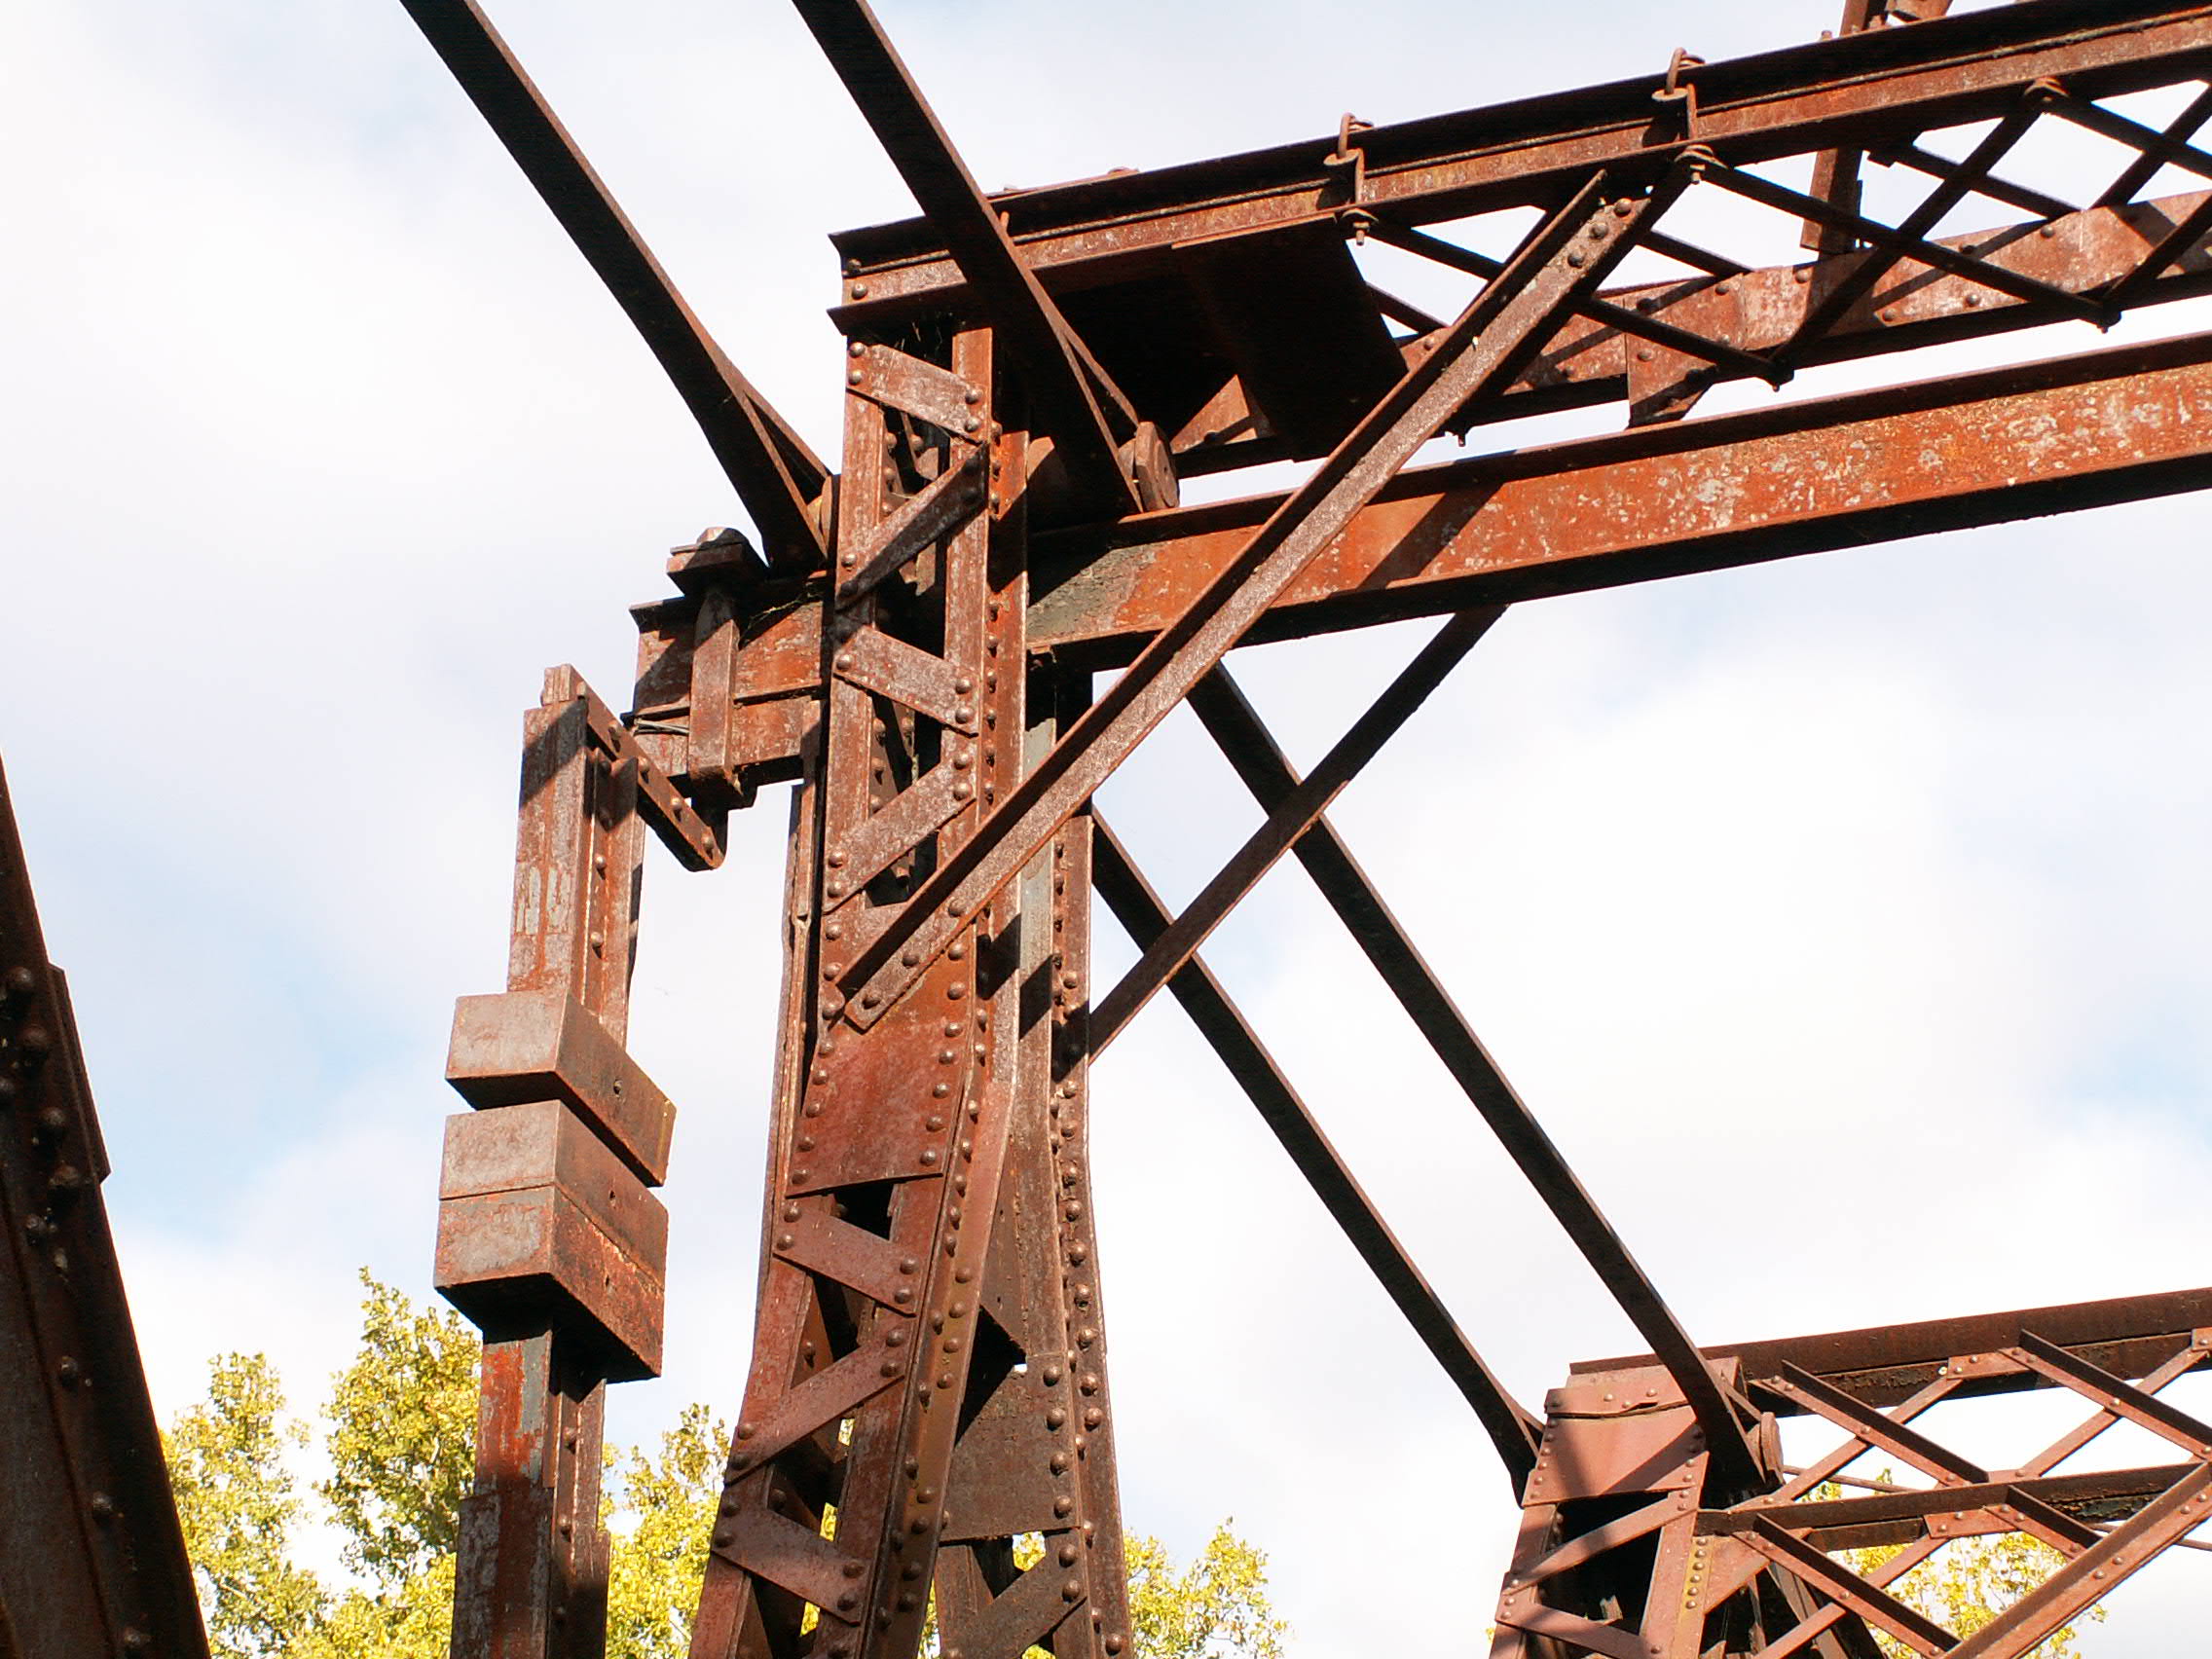
Weight blocks on main (center) post.
![]()
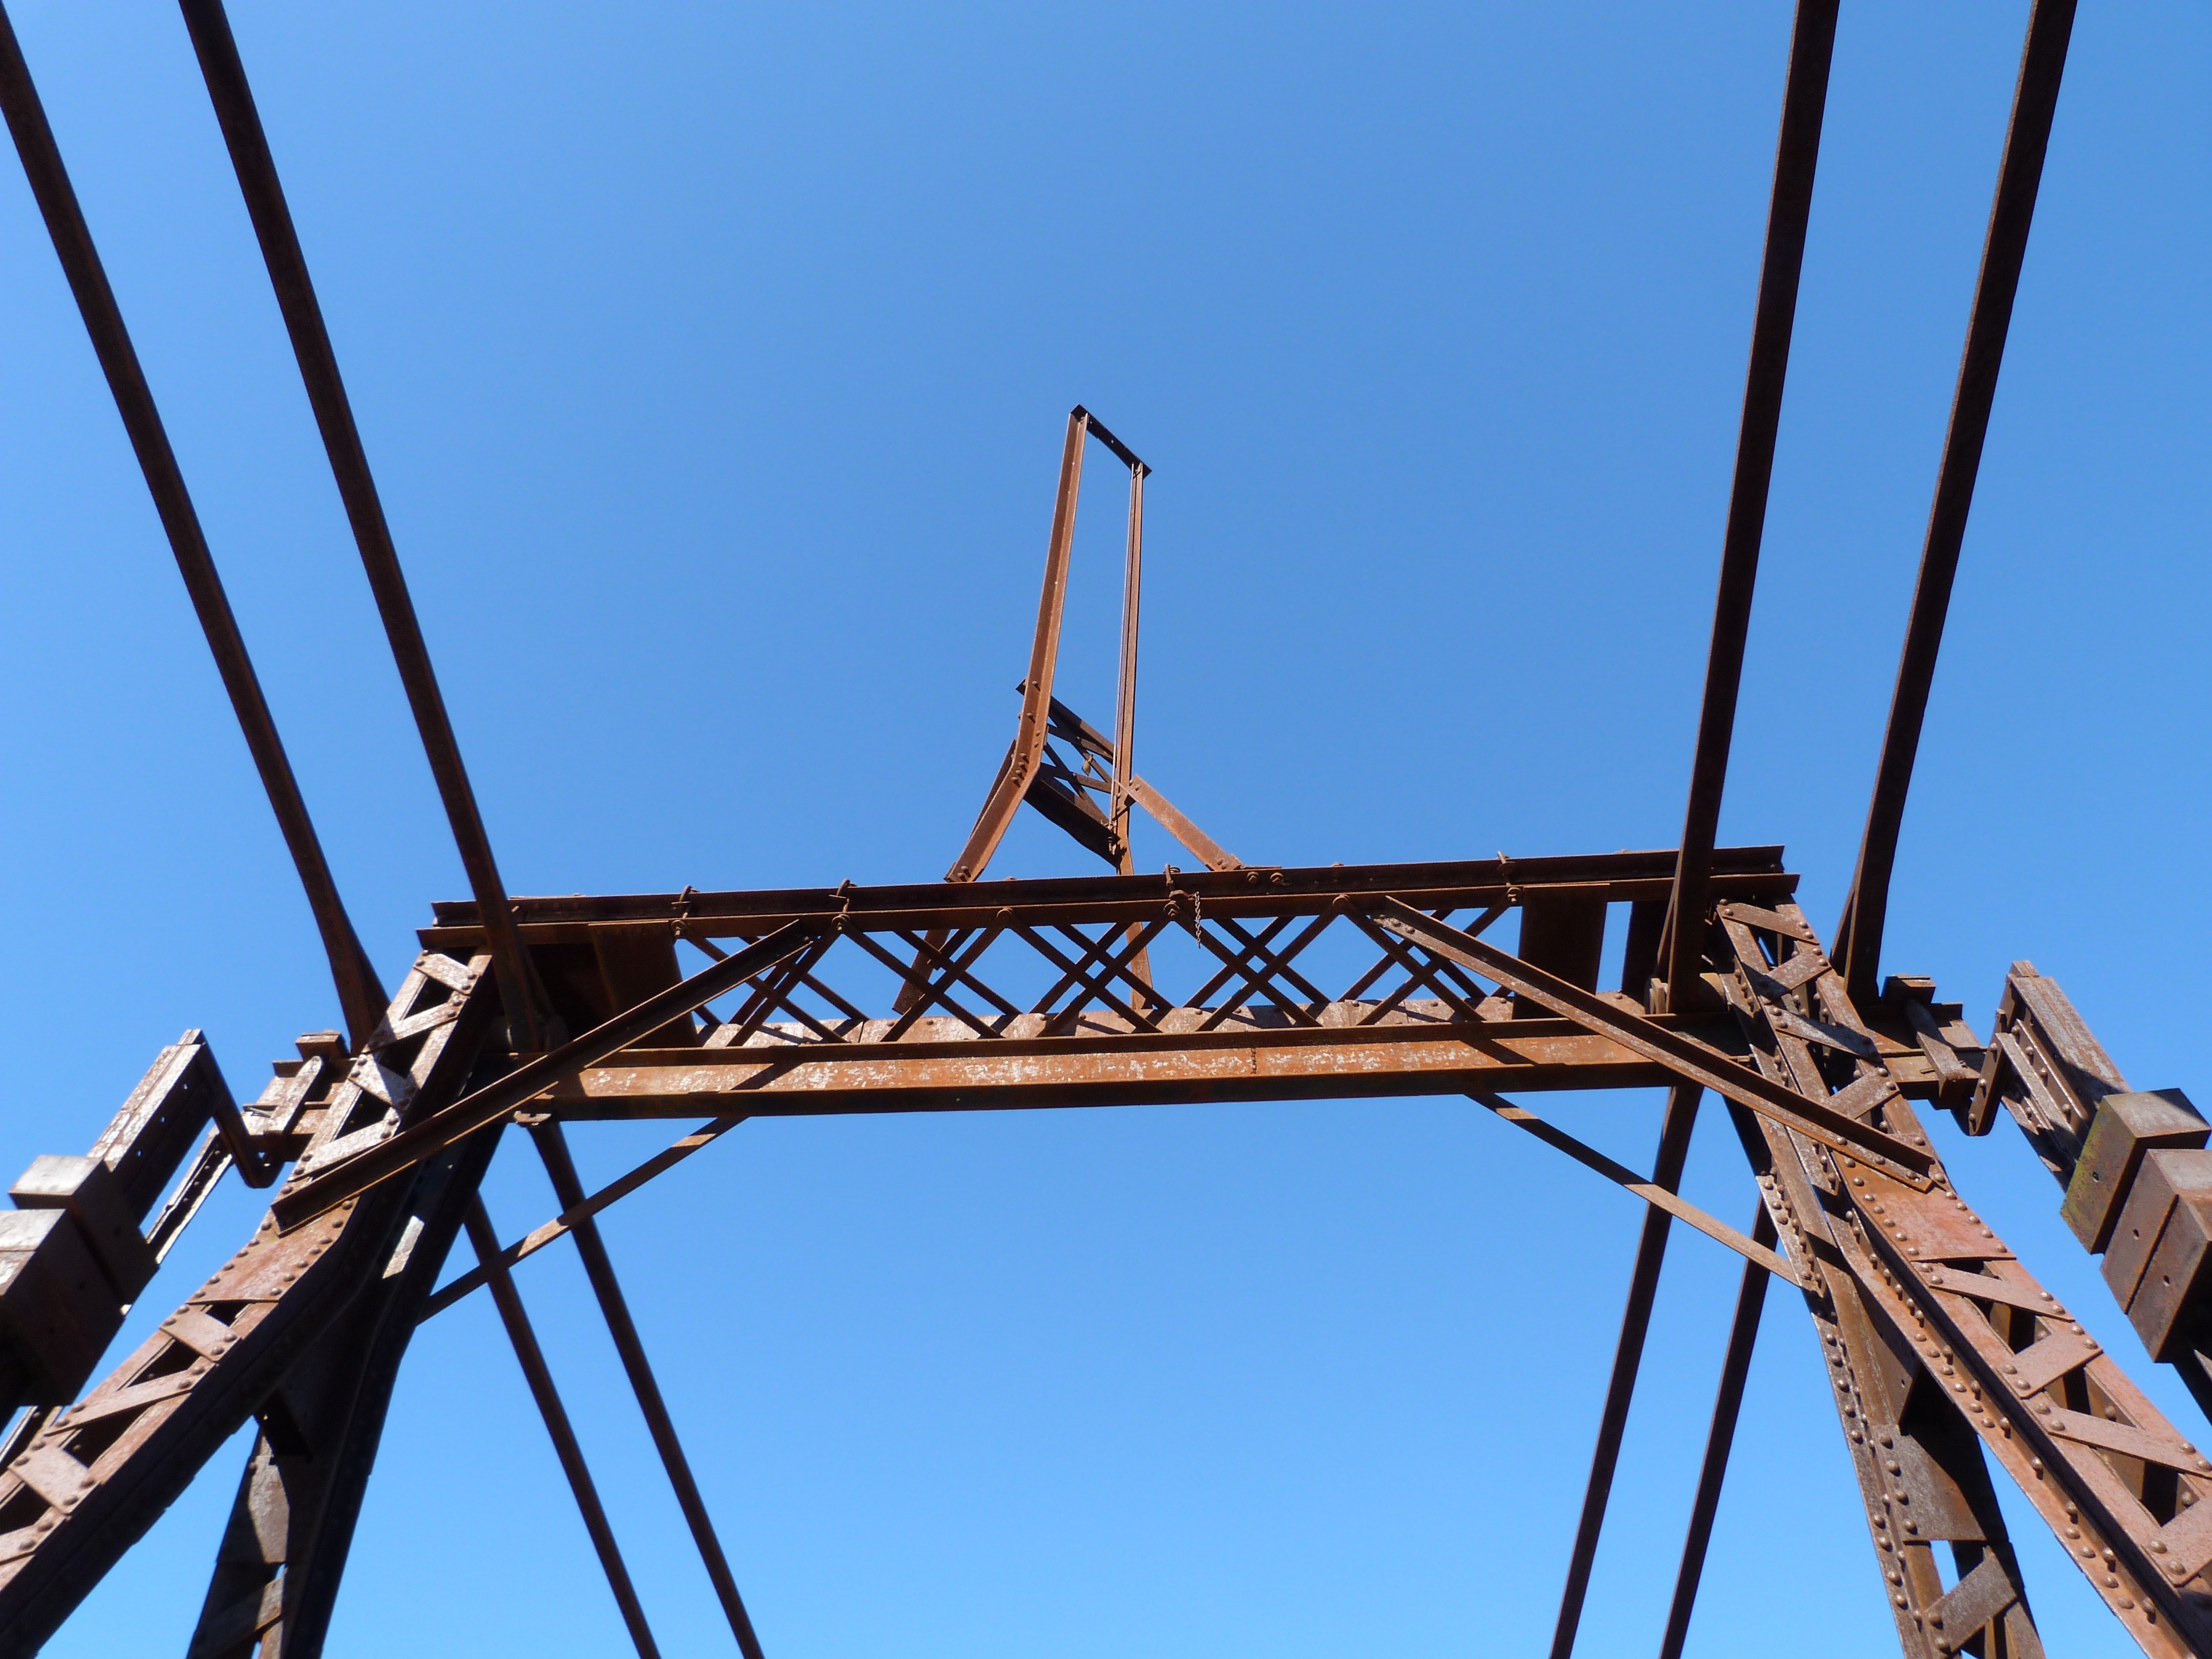
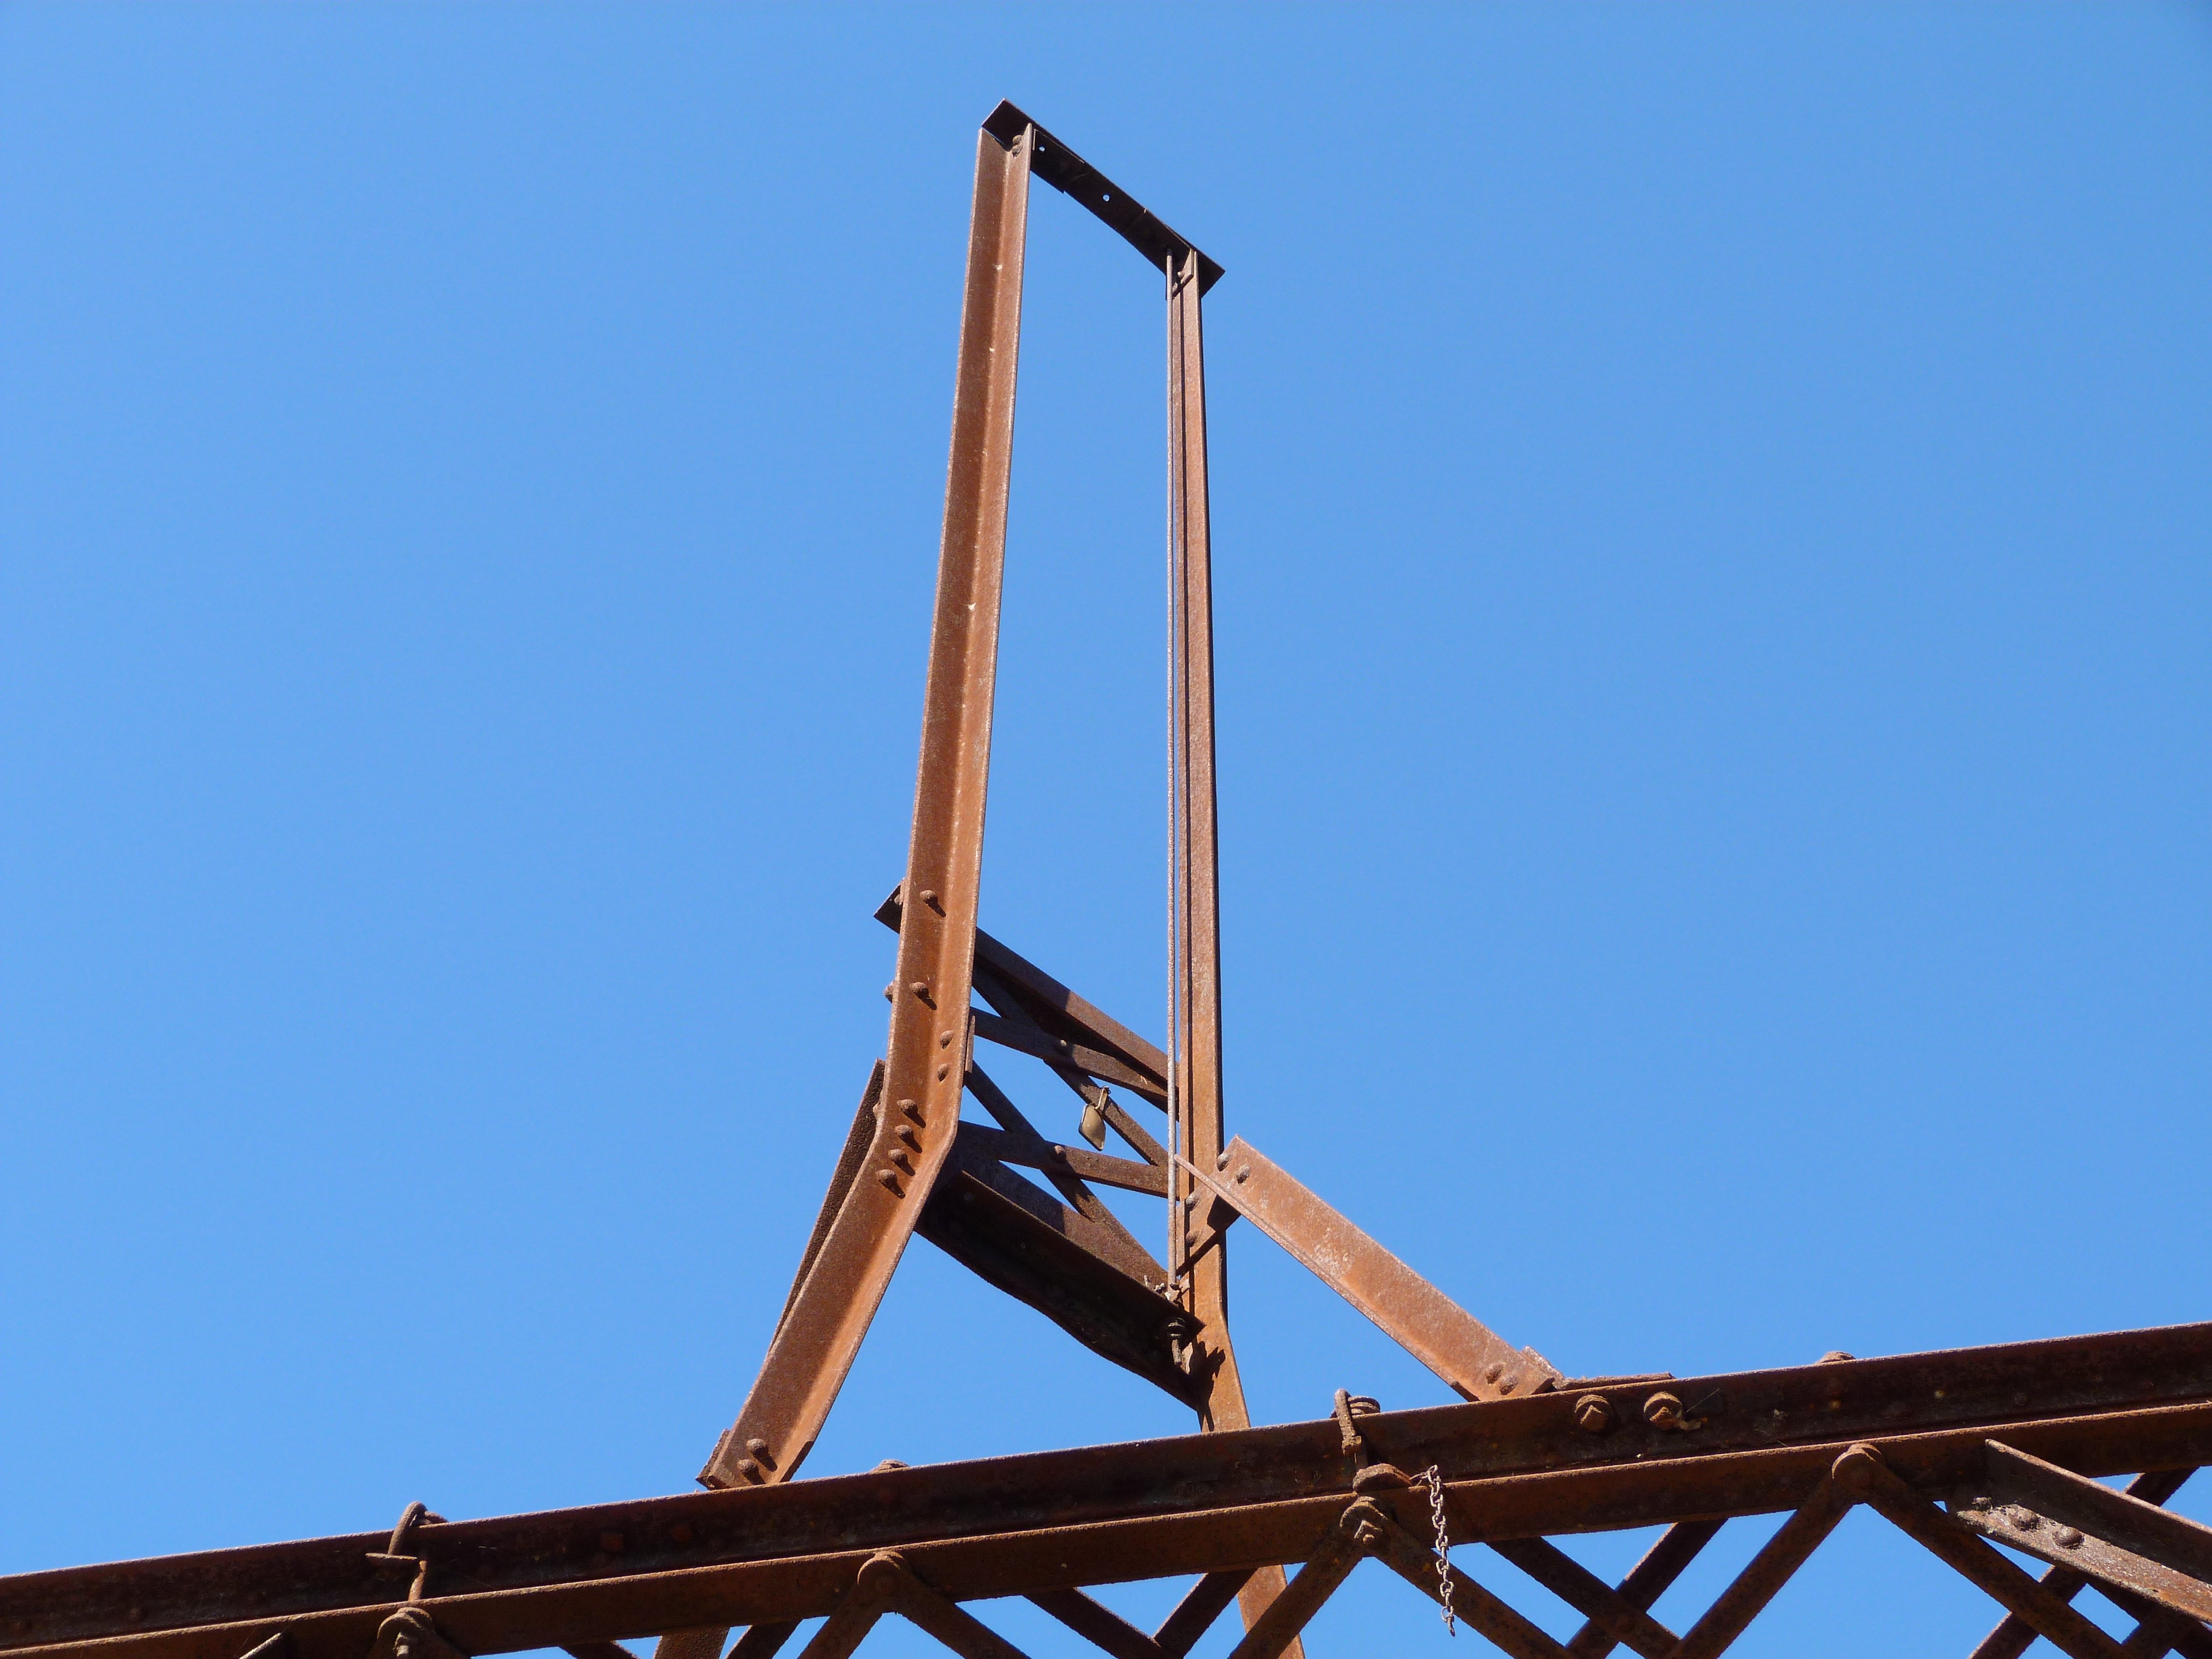
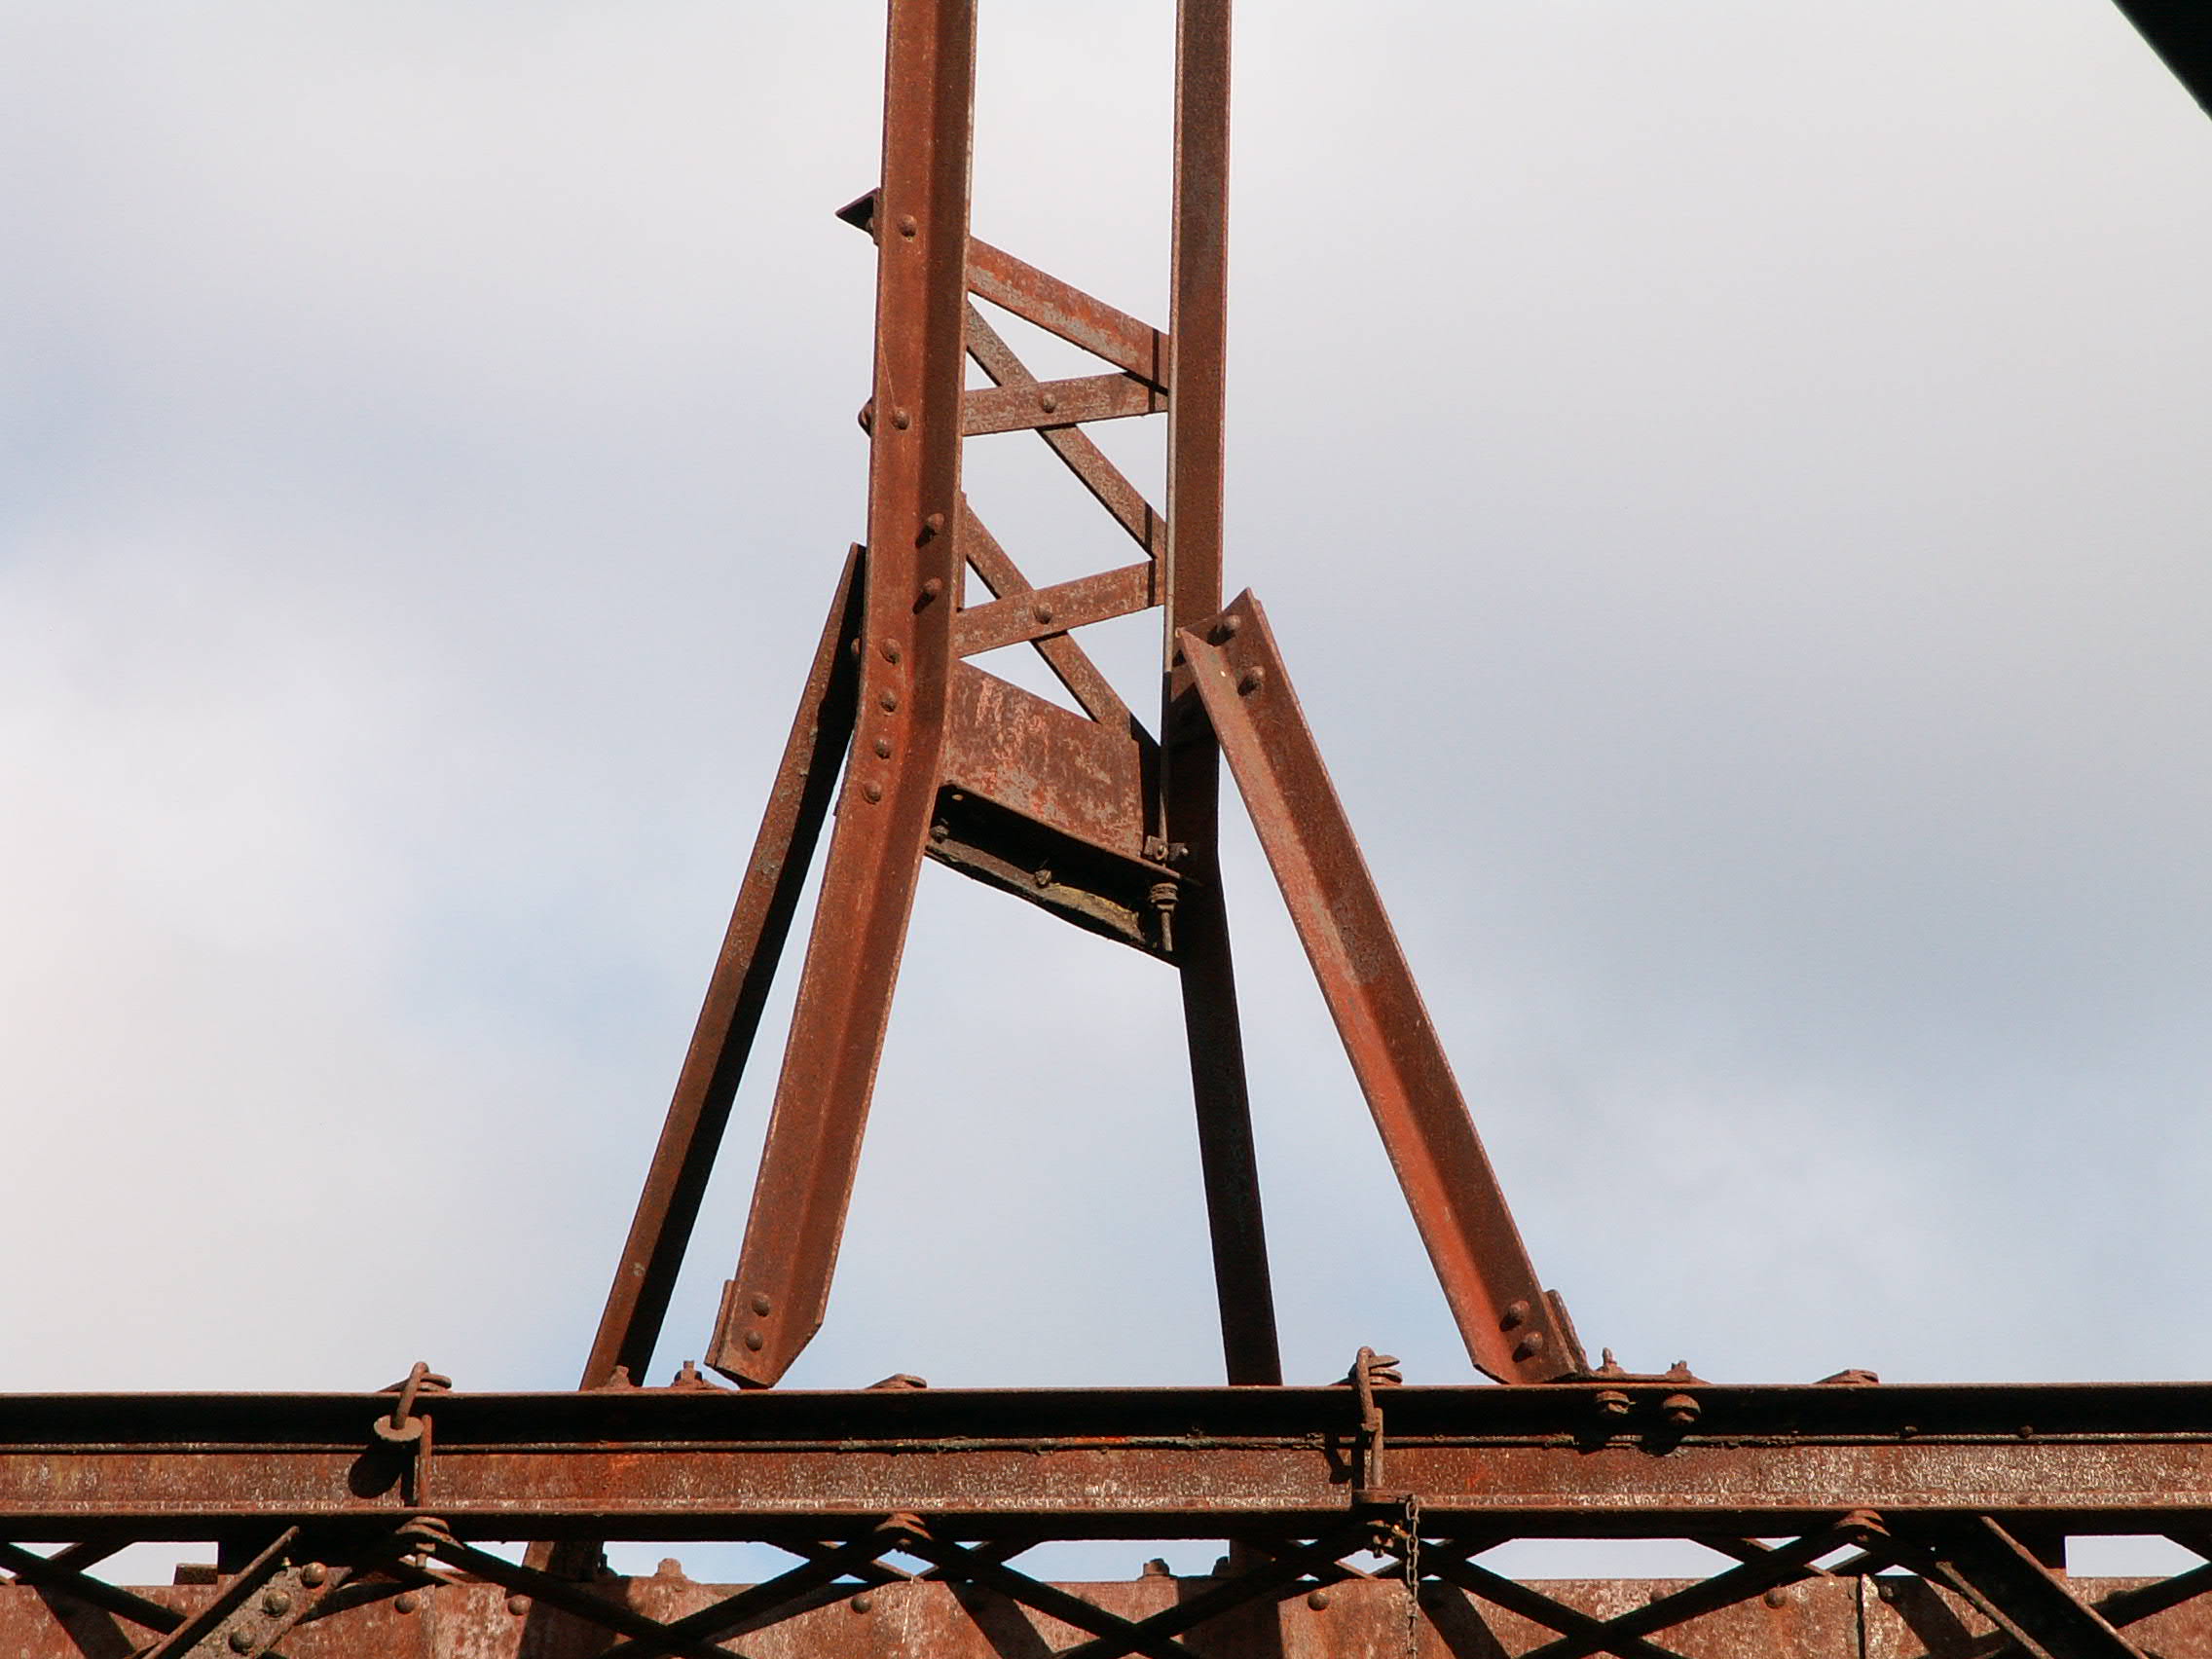
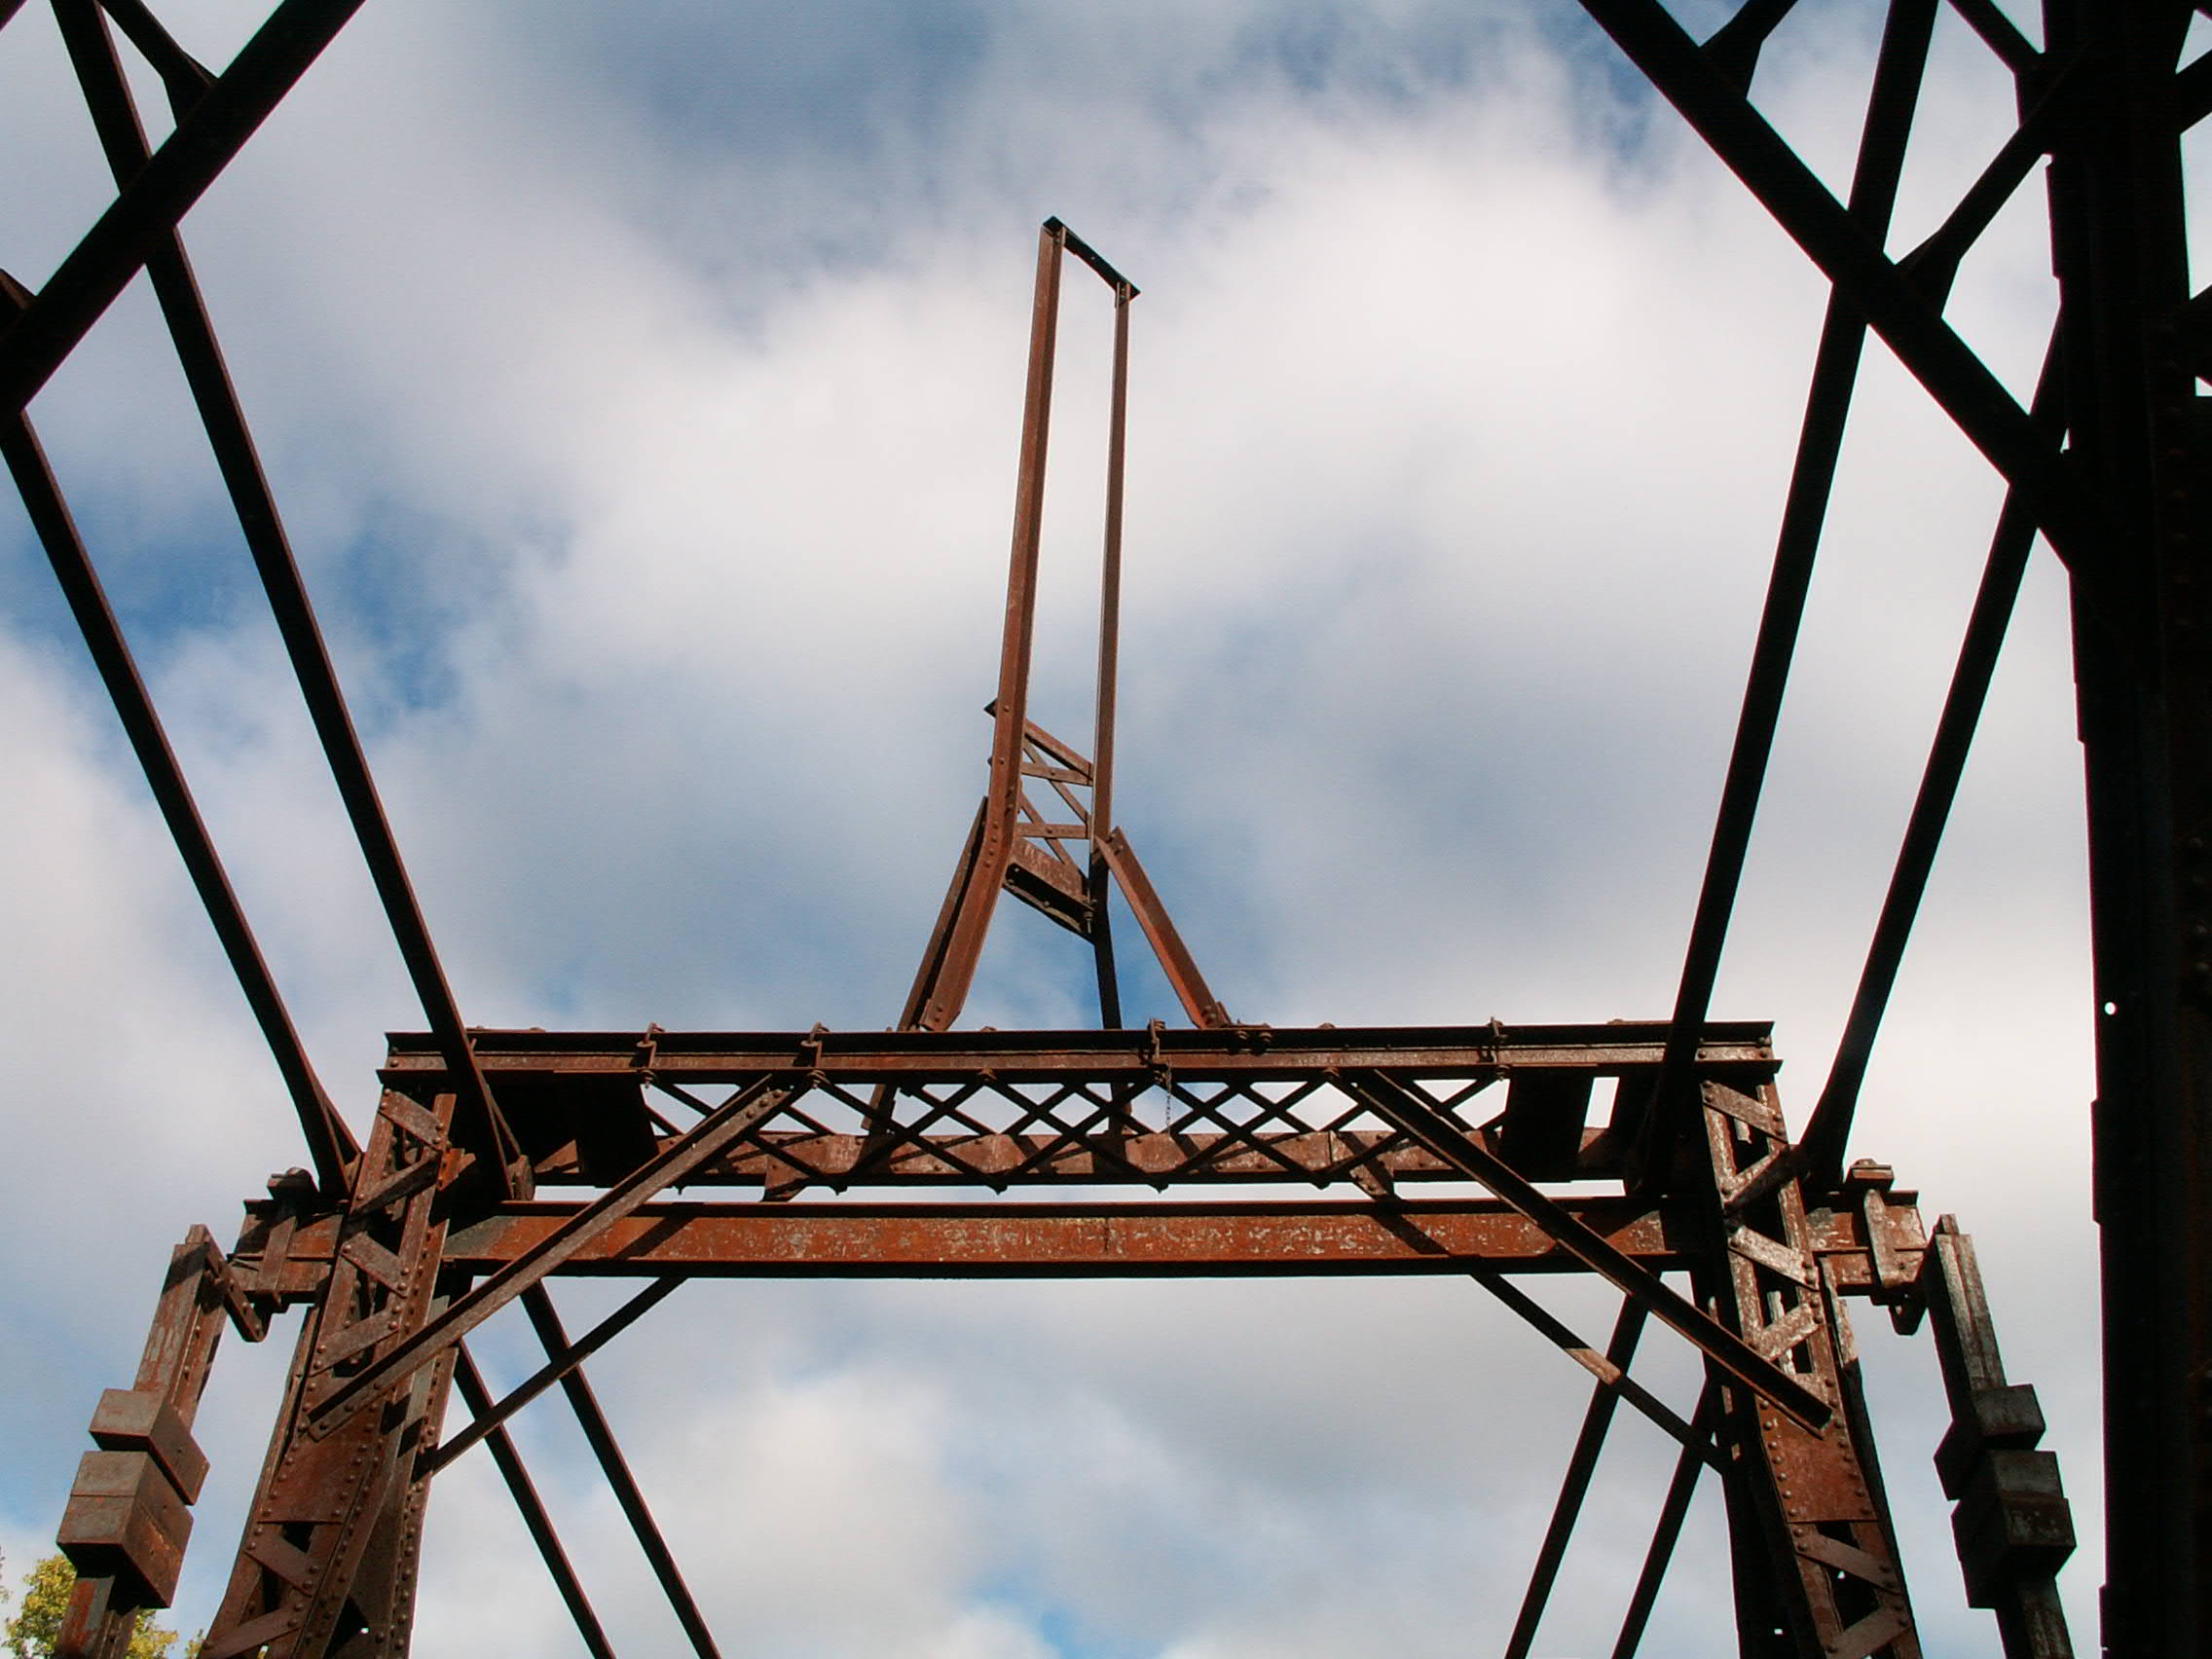
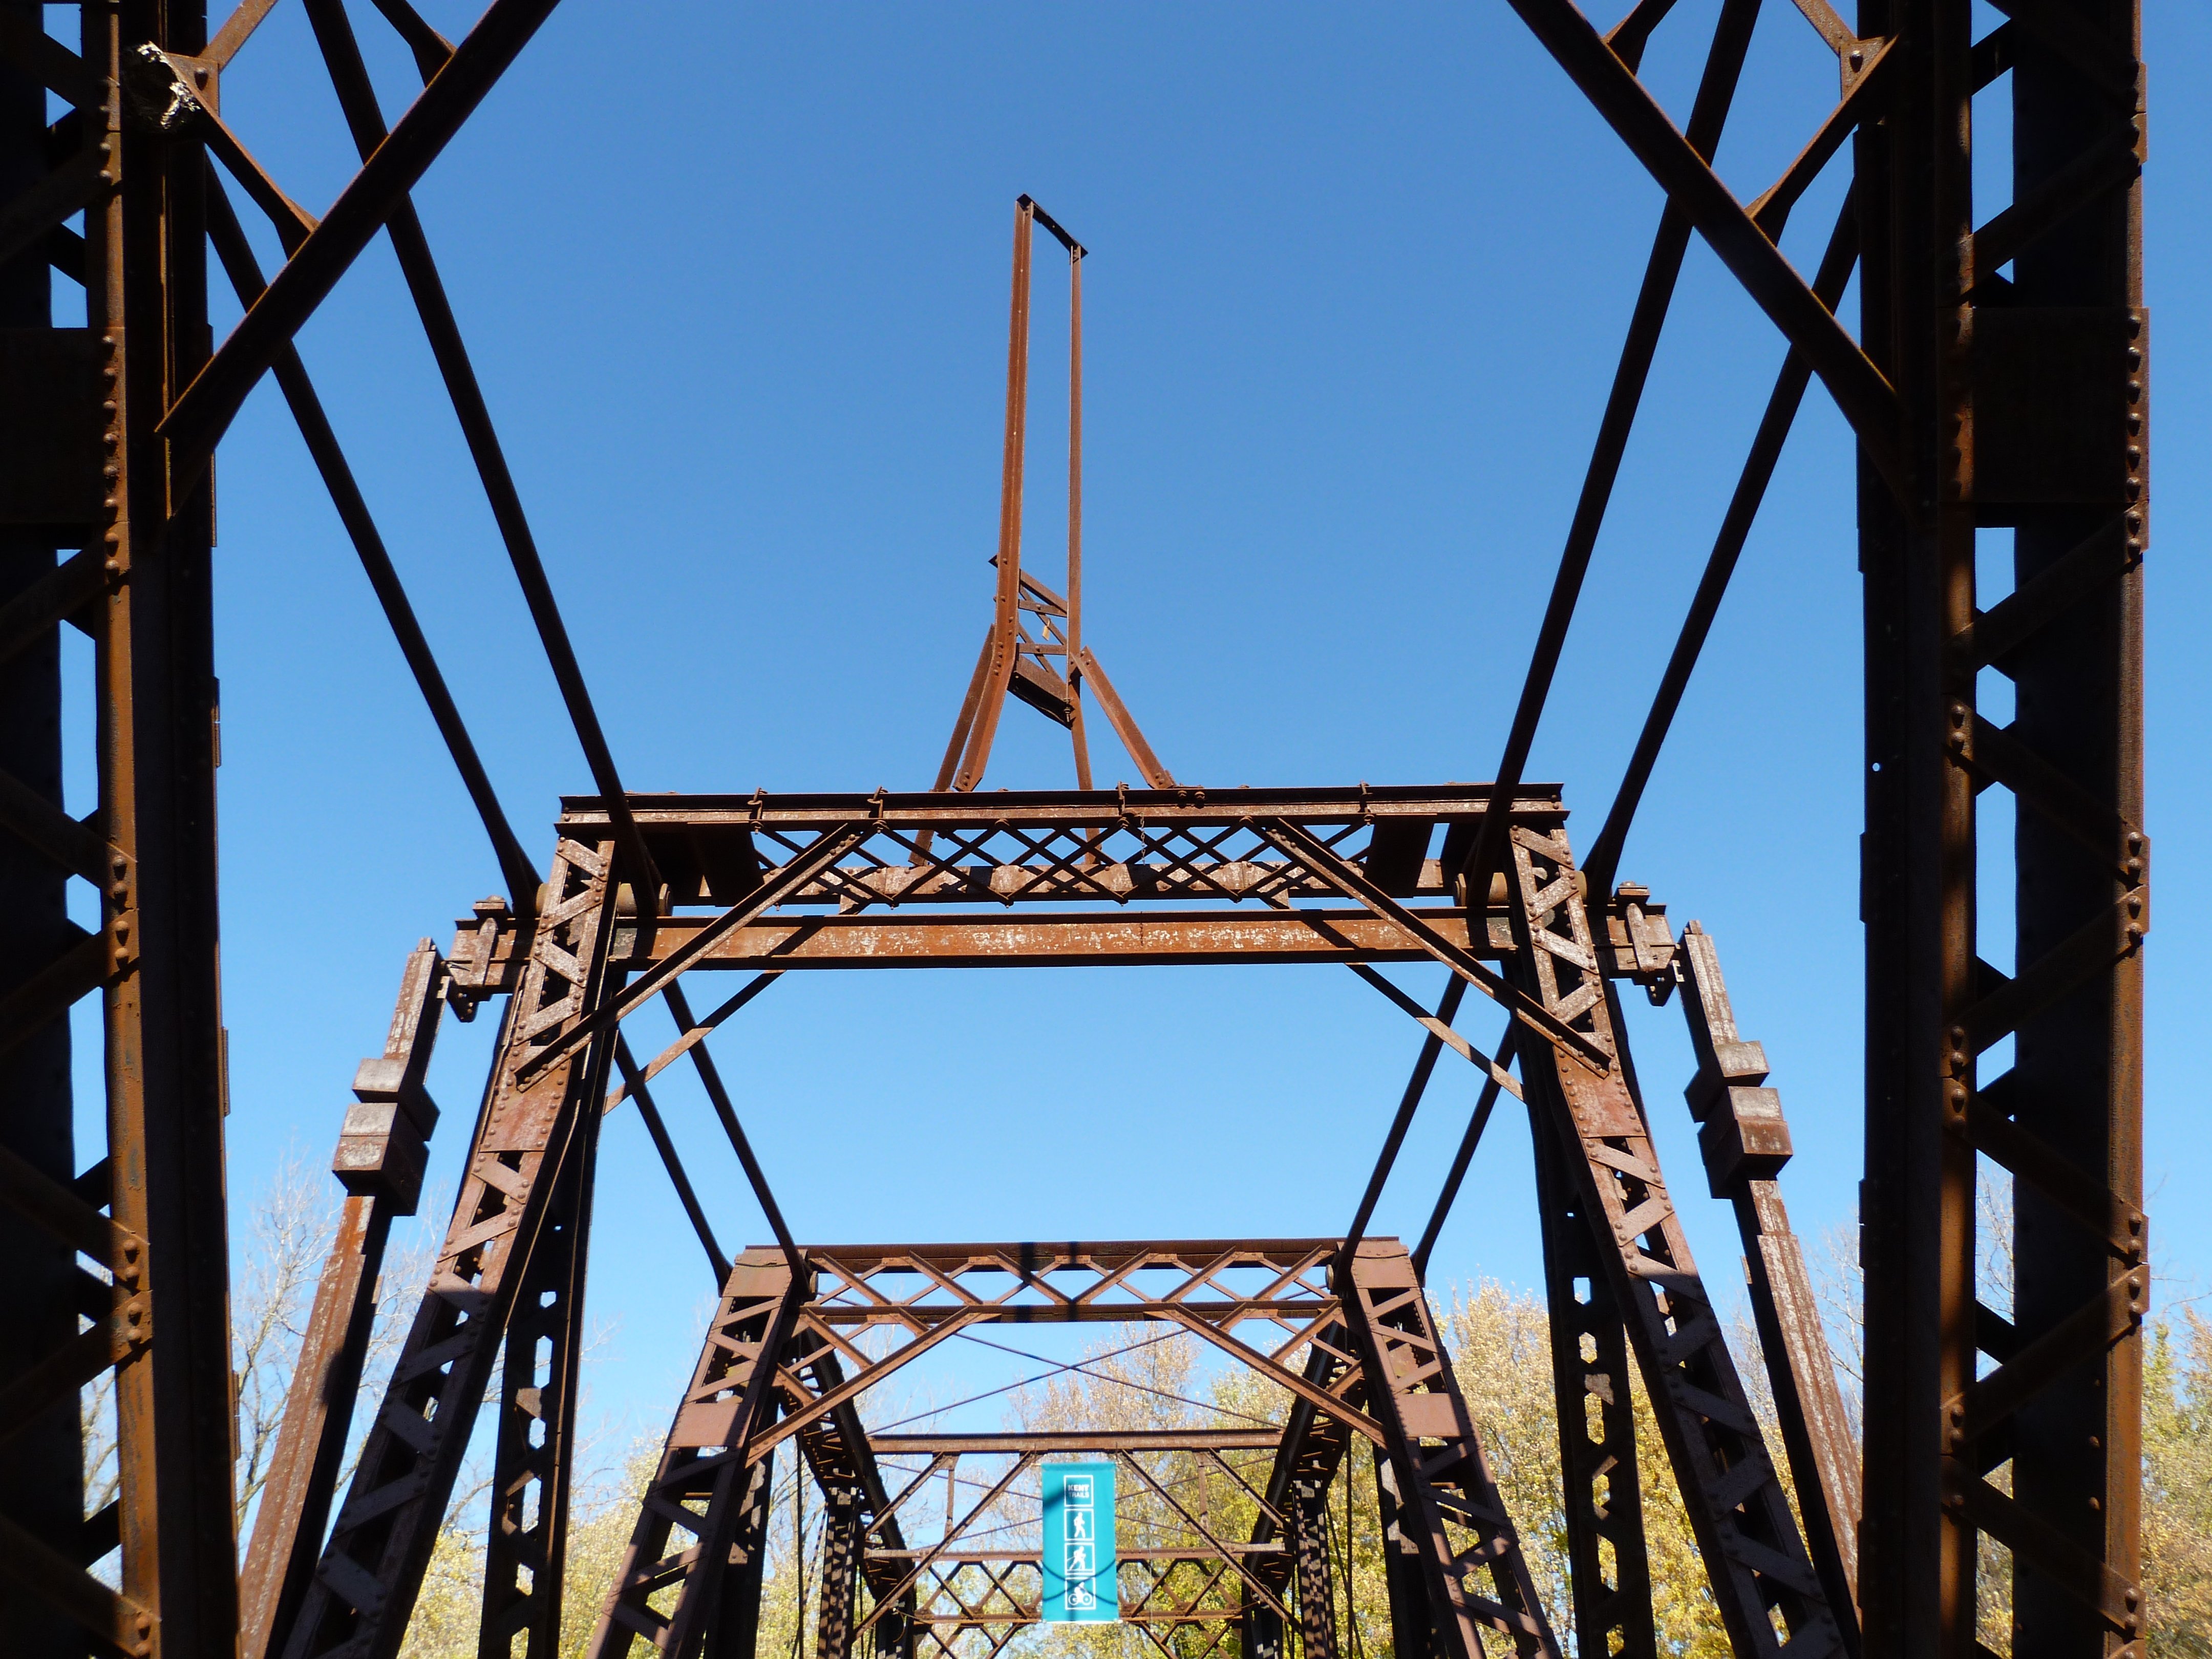
Structure, possibly for mounting a light, on top of main (center) post.
![]()
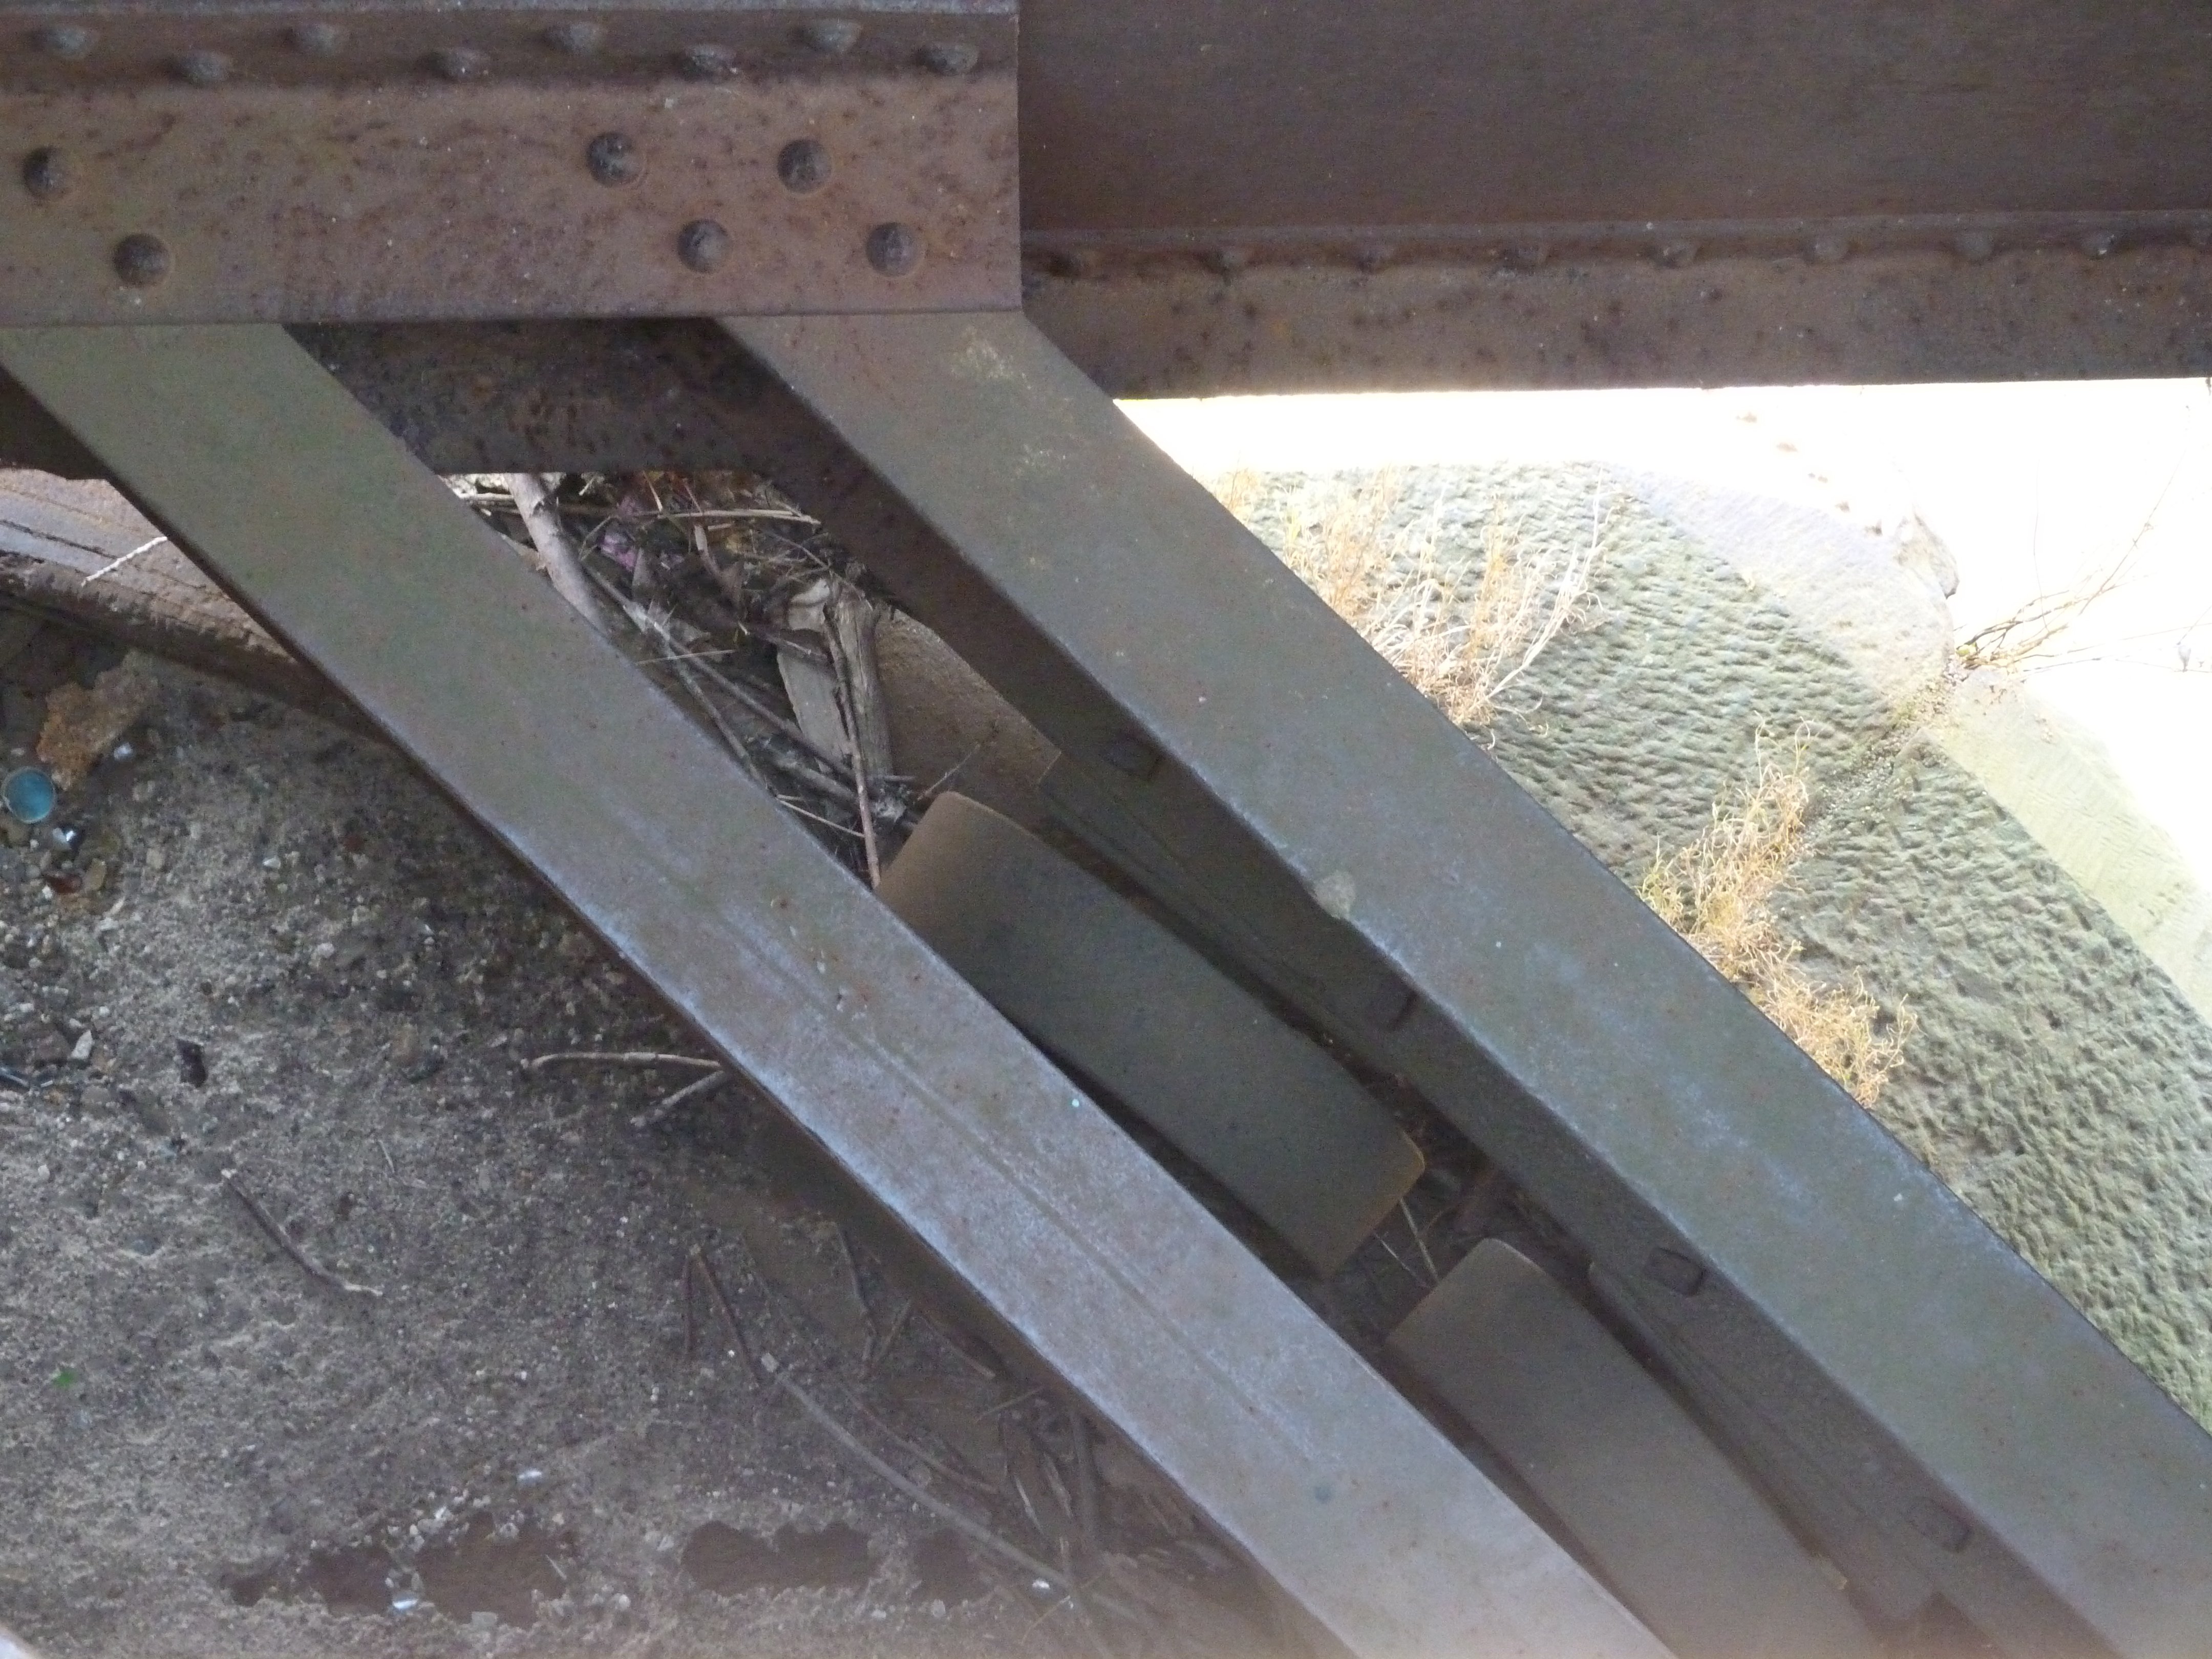

Swing rollers.
![]()
![]()

![]()