
Uncredited photos on this page taken by: Nathan Holth. Unless stated in a caption, all photos are Copyright with All Rights Reserved. Learn about reuse of our photos.
![]()
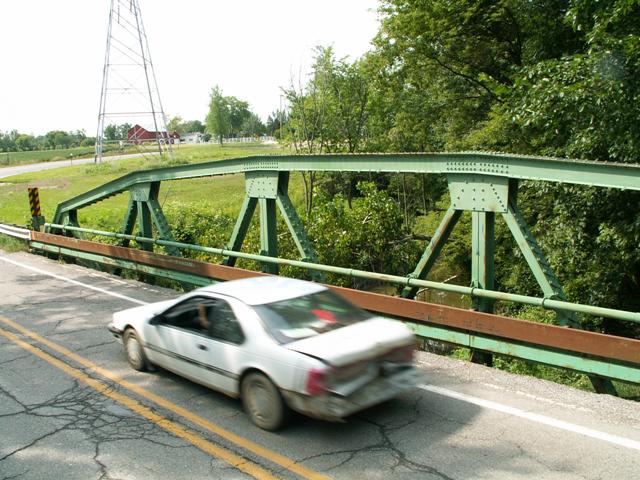

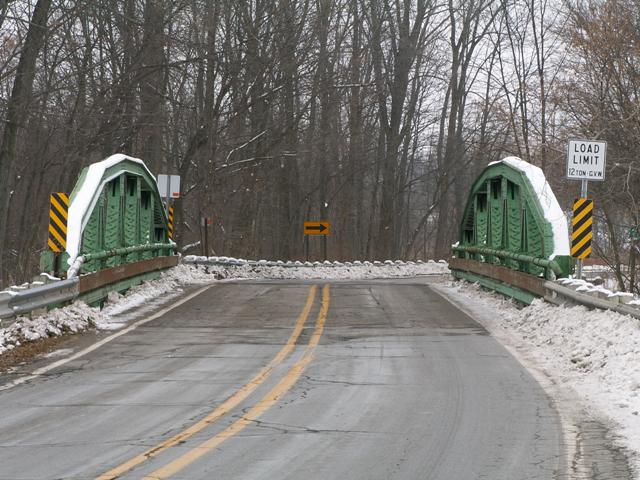
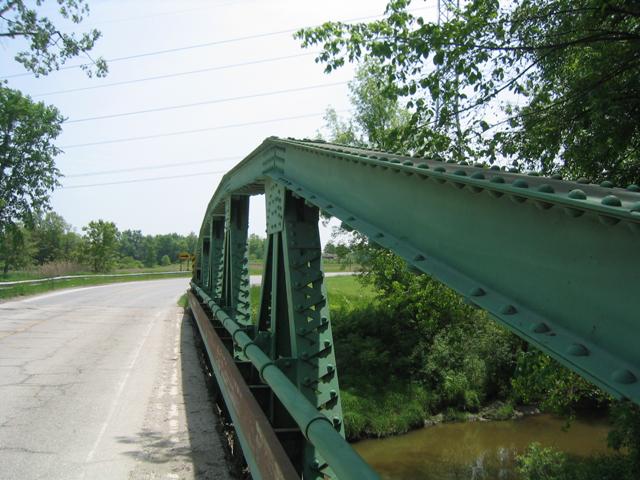
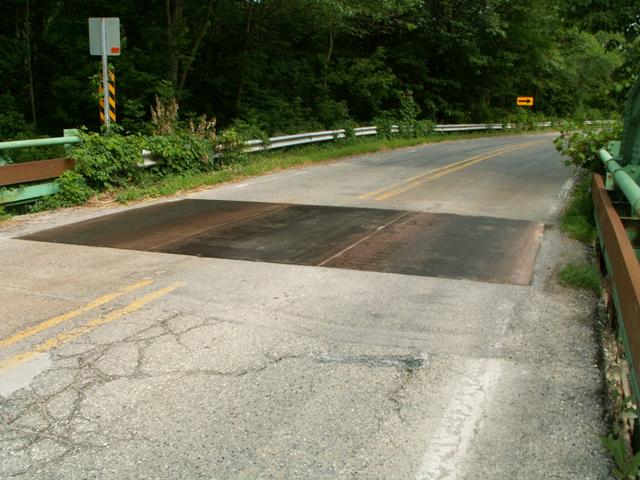
Views from on the top chord, showing the layout of the bridge deck, and the amount of room for traffic.
![]()


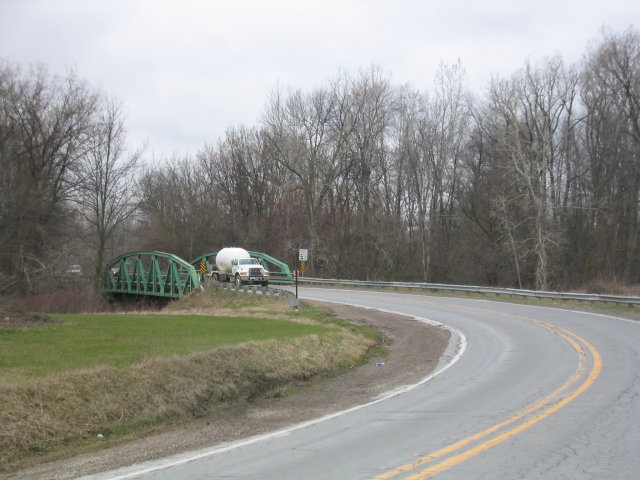
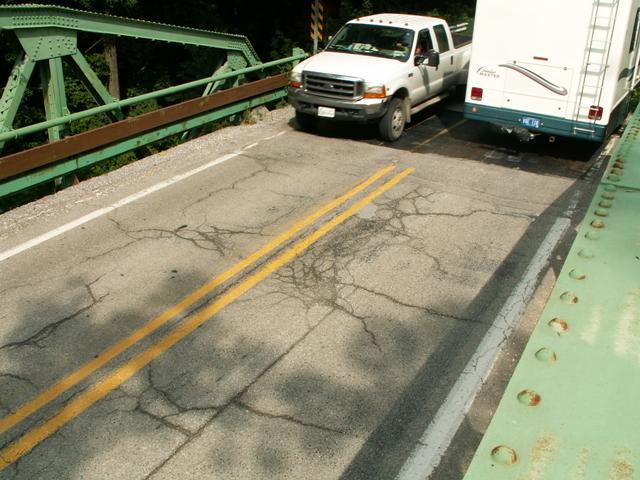
Other views of traffic on the bridge. The first photo is of a road commission truck.
![]()
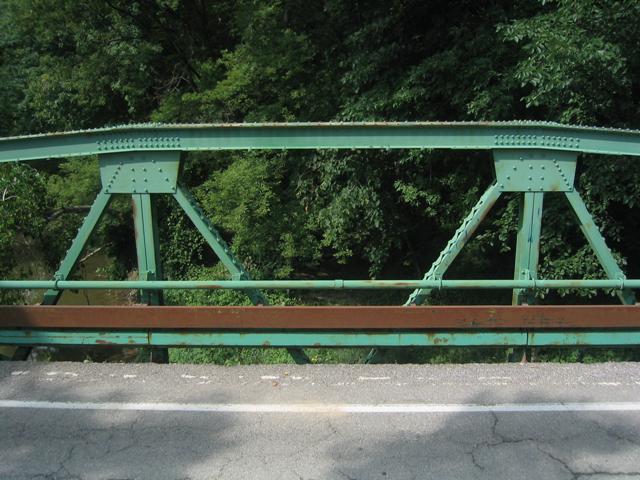


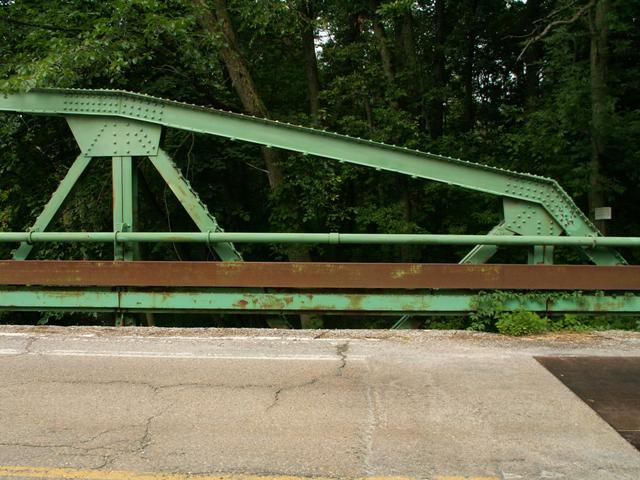
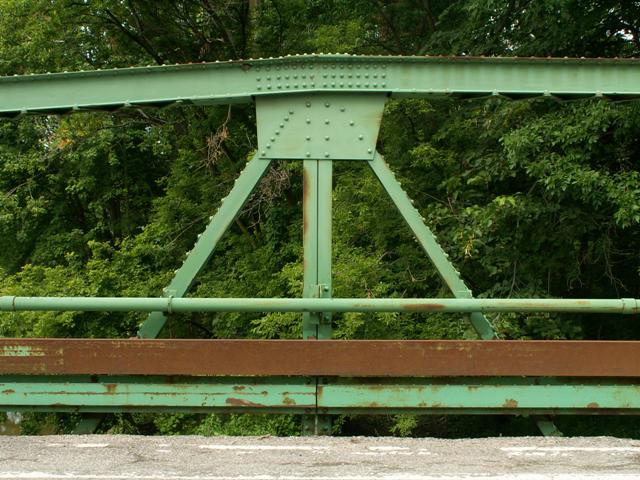
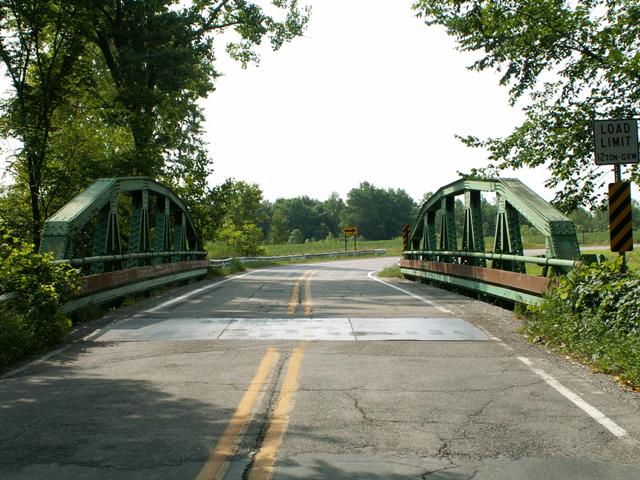
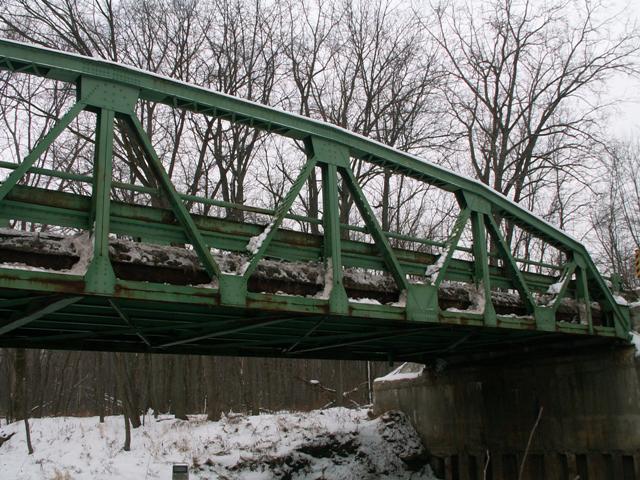
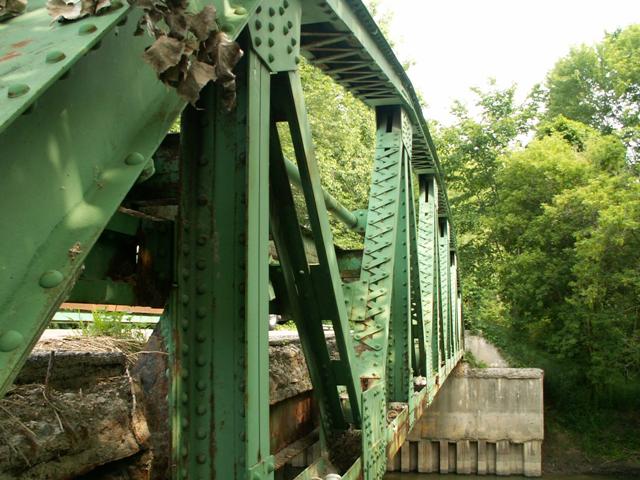
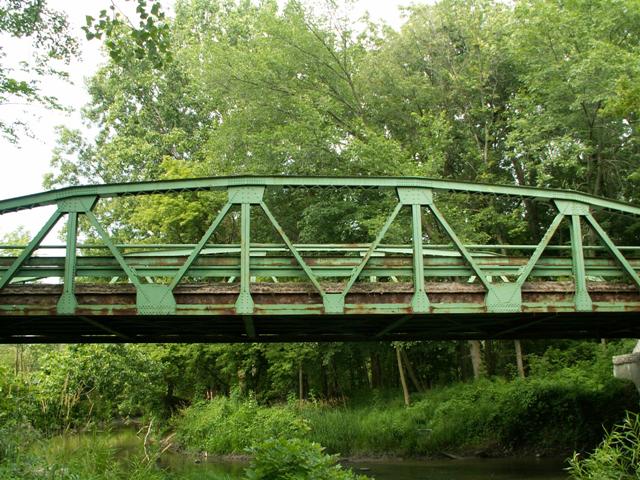
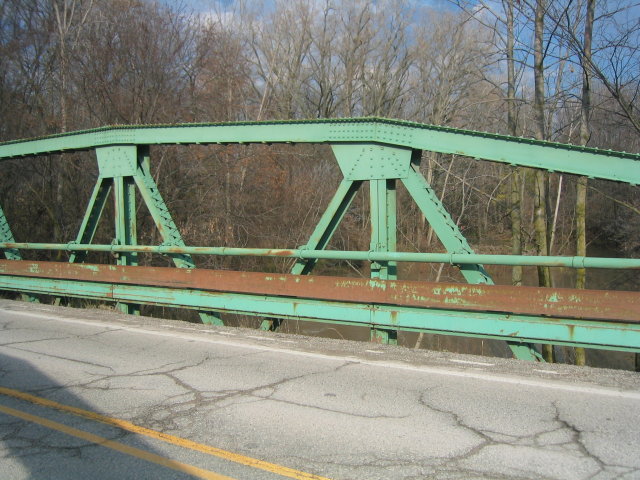
Views of sections of the truss.
![]()


Views of sections of the truss.
![]()

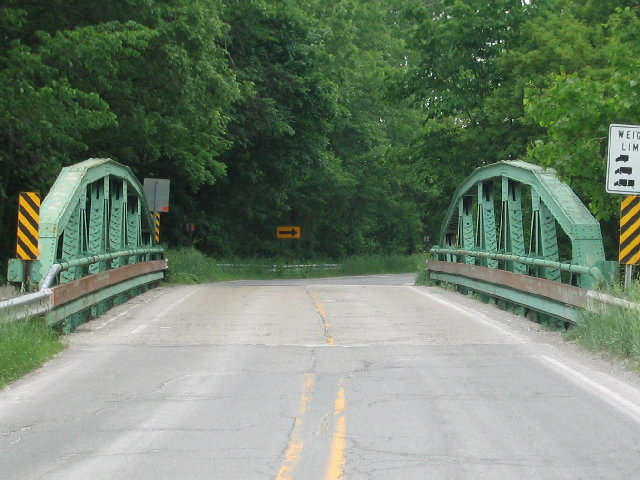
Views from on the top chord.
![]()
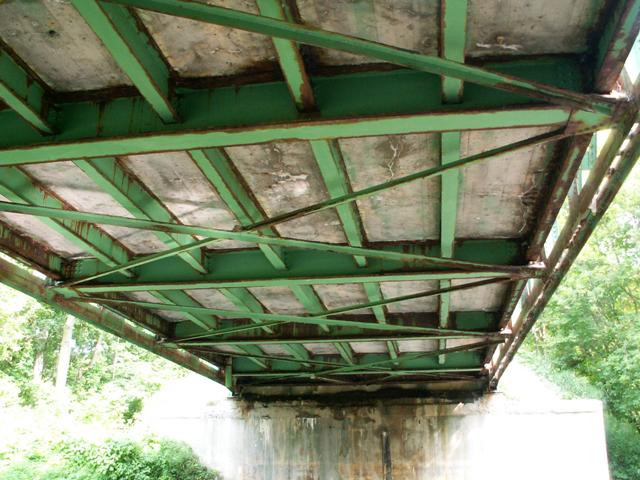

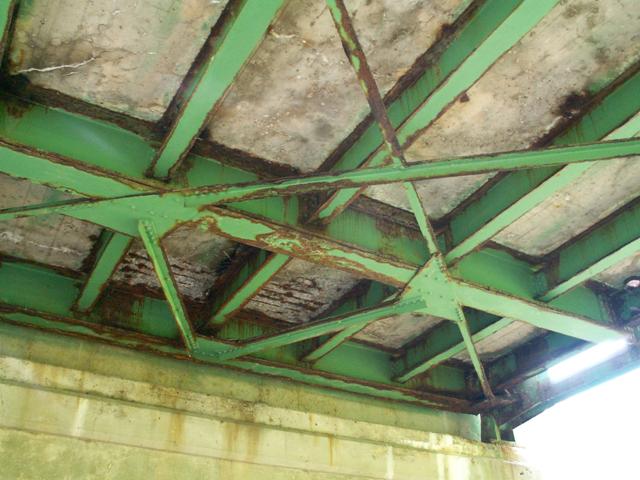


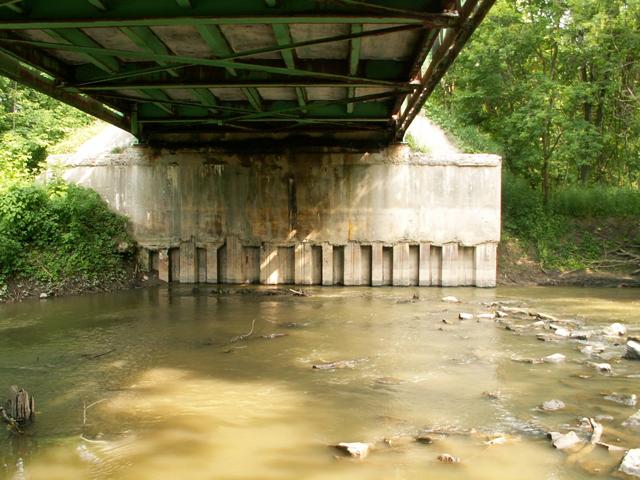
Views under the deck.
![]()
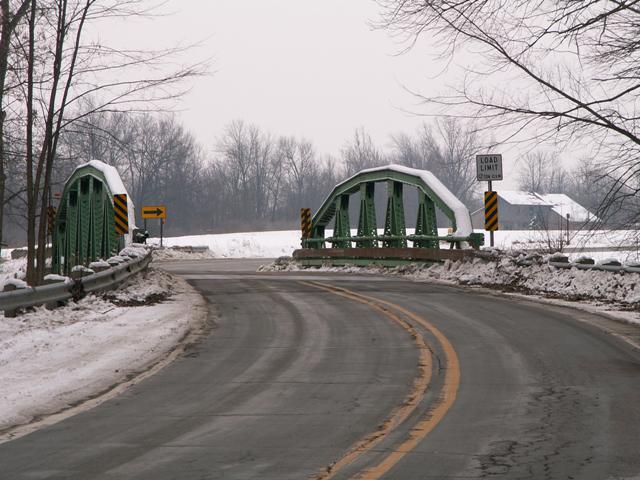
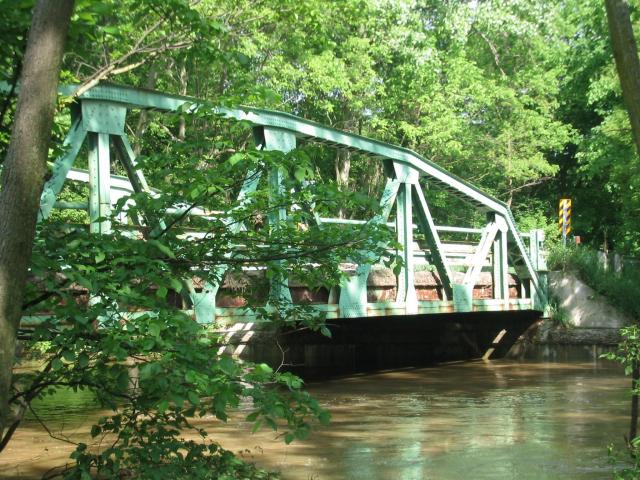
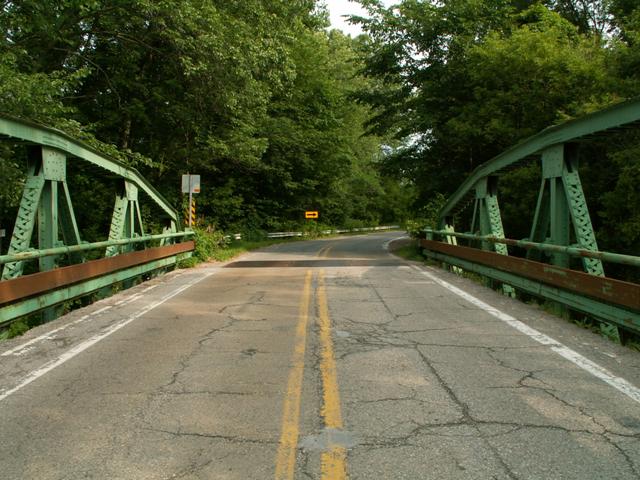
Views facing south.
![]()
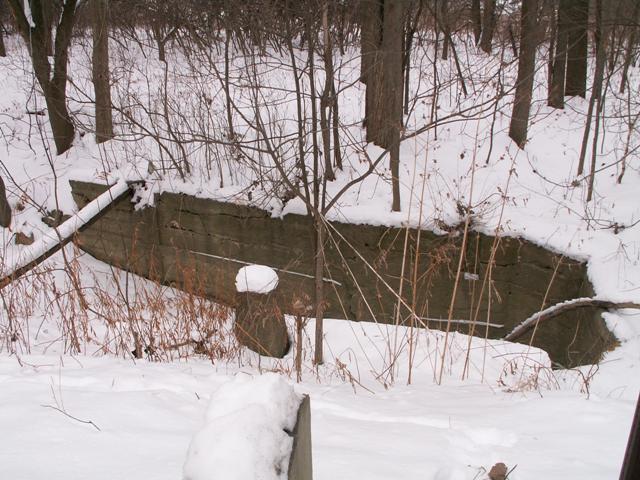
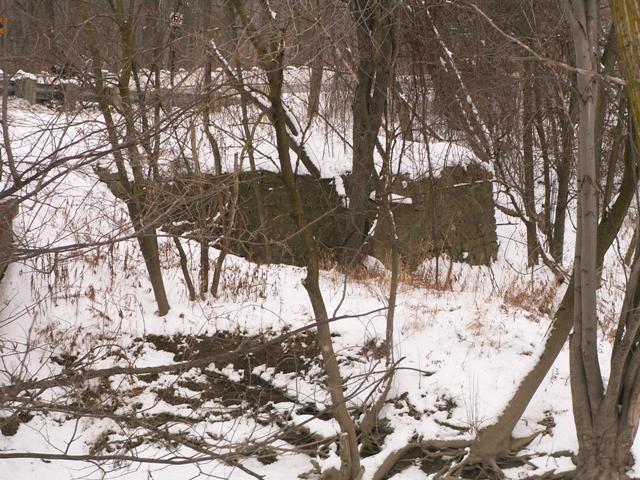
Remains of Radike Mills near the bridge.
![]()
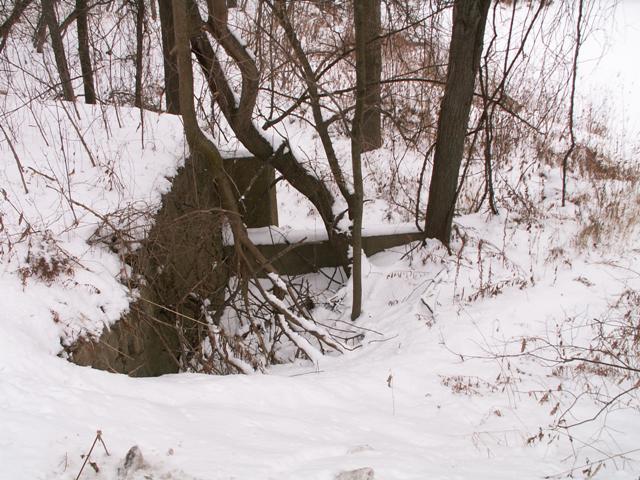

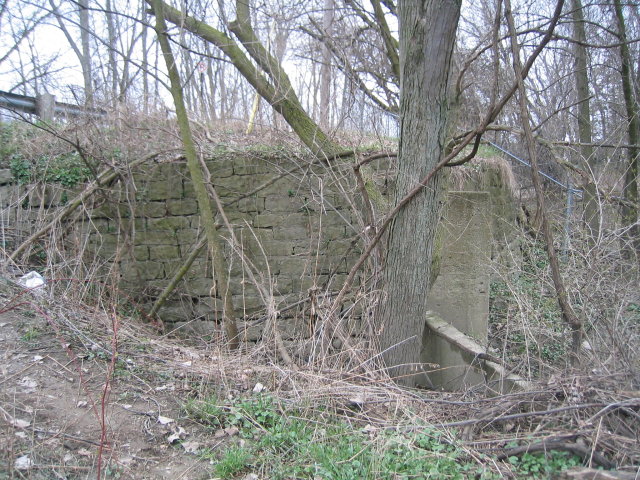
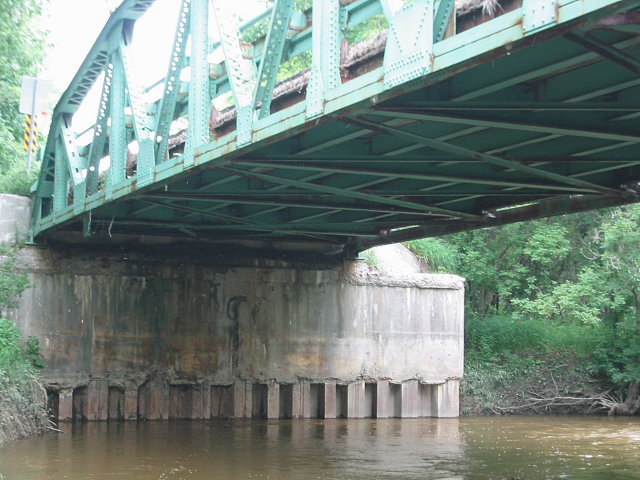
Views of the abutments from the preceding structure.
![]()

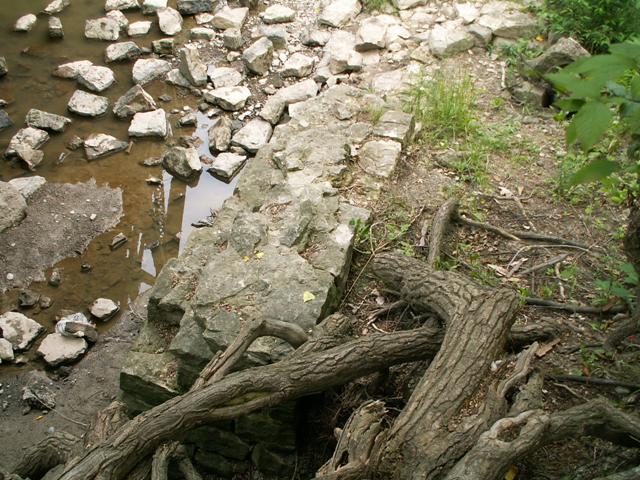
Views of the abutments.
![]()
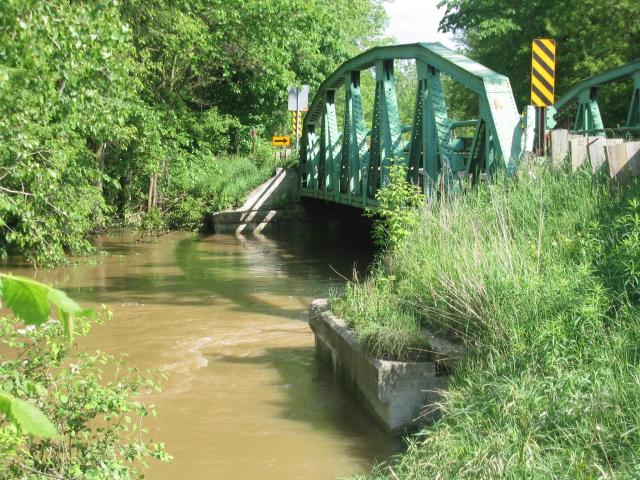
View of the bridge during a spring flood.
![]()


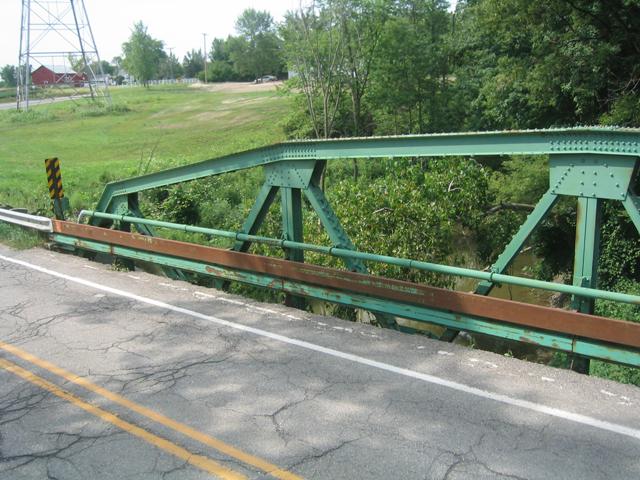
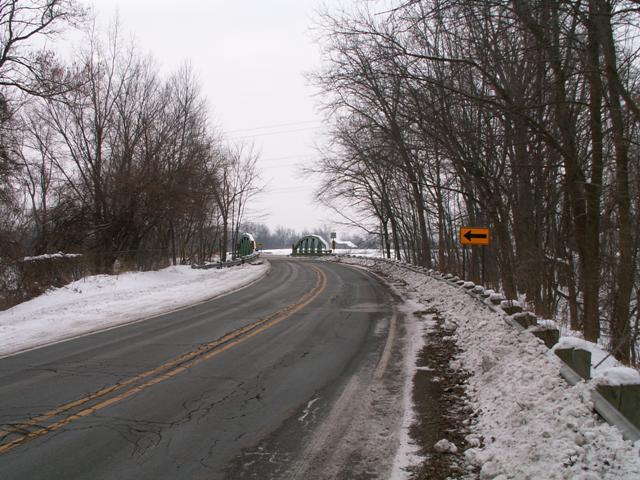
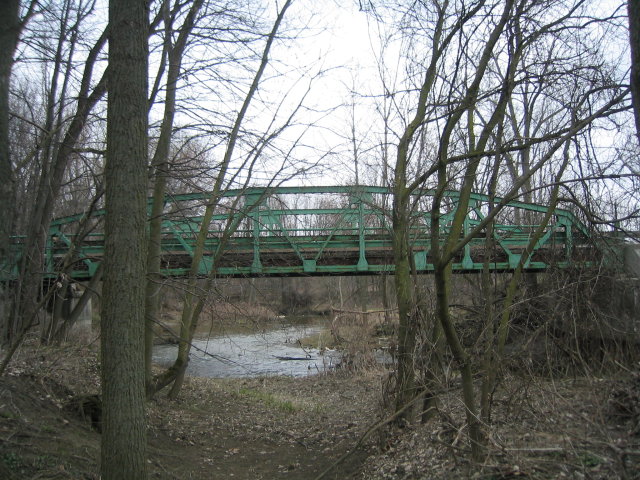
Views from southwest quadrant.
![]()


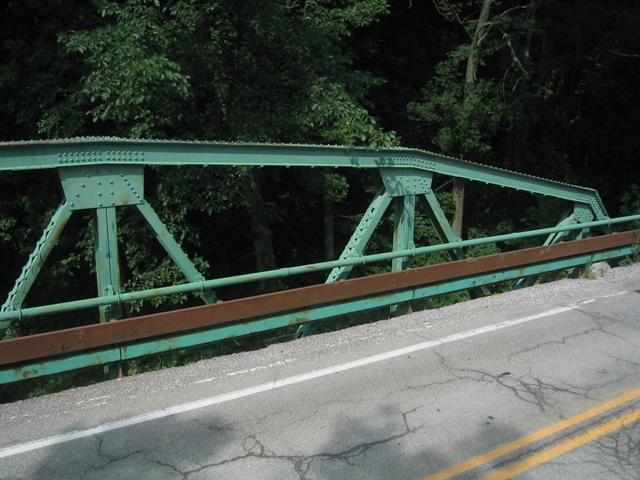
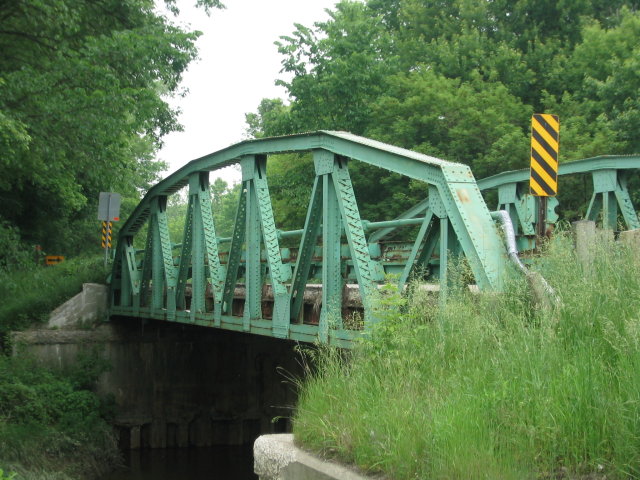
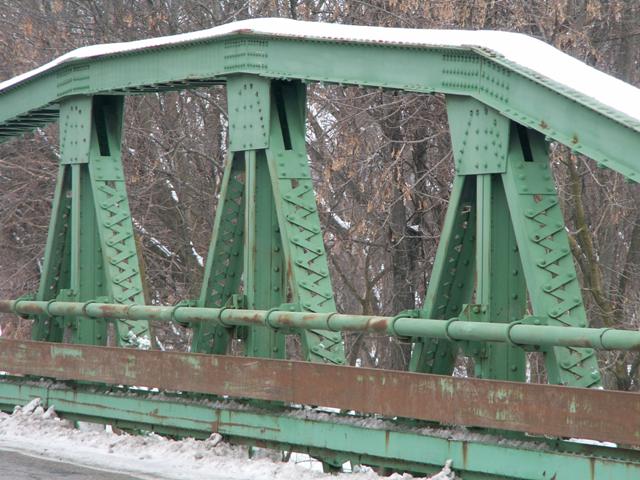
Various views of the trusses.
![]()

Portal views facing north.
![]()
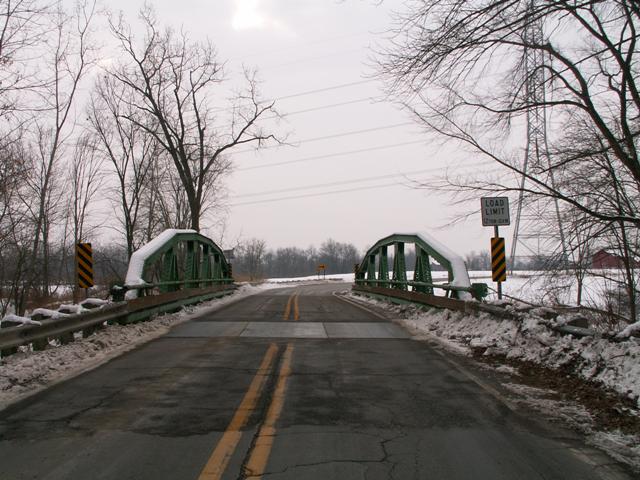
Portal views facing south.
![]()

Views from southeast quadrant.
![]()
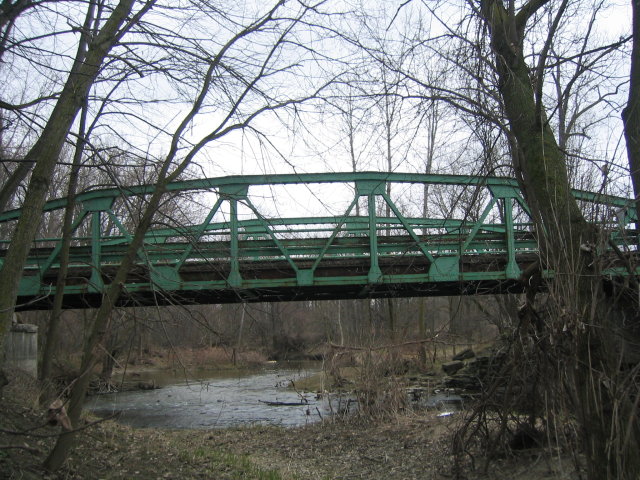
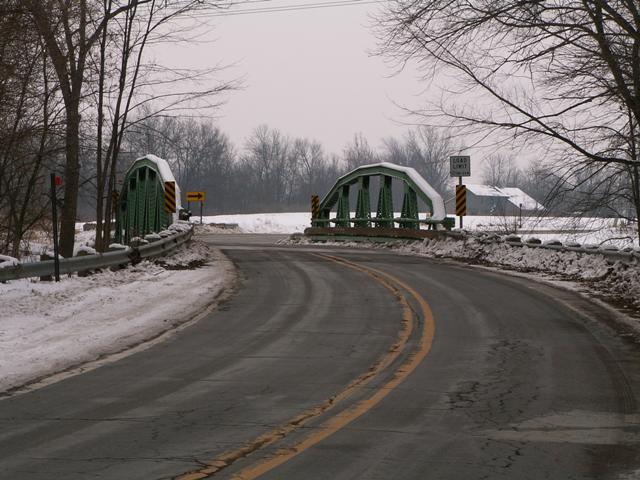
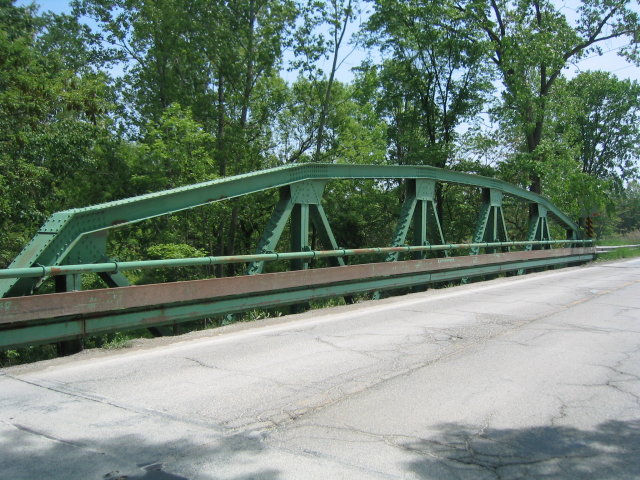
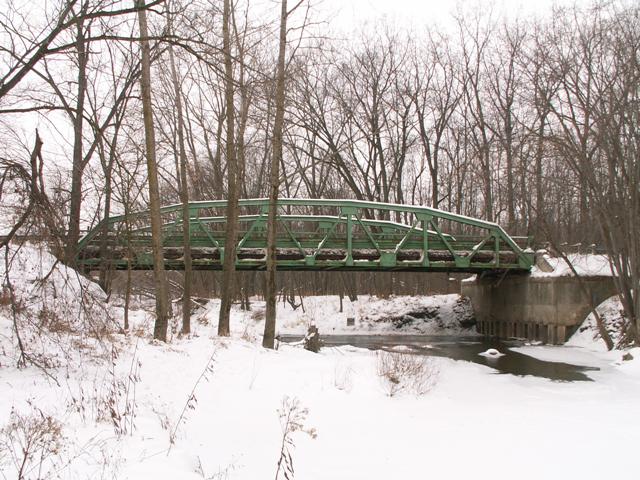
Elevation views from northwest quadrant.
![]()

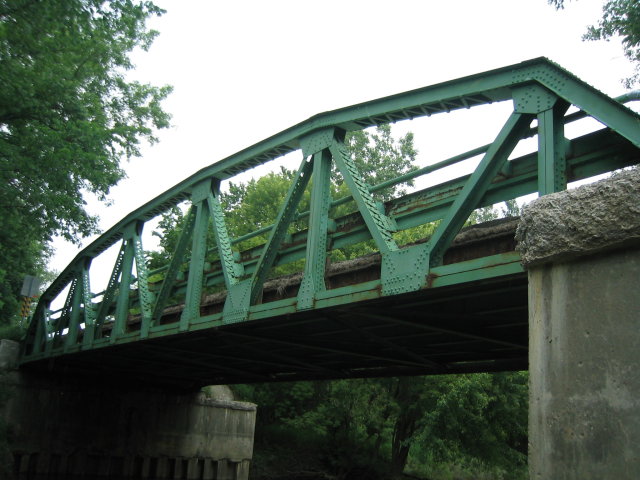
Elevation views from southeast quadrant.
![]()
View beside the trusses on the bridge.
![]()

Views of the center of the bridge from southeast quadrant.
![]()
View from southwest quadrant.
![]()
Night view of bridge. Short exposure with flash, the bridge is barely visible.
![]()


Miscellaneous views.
![]()
![]()
| Back |
| Home |
| Top |

![]()