
Uncredited photos on this page taken by: Nathan Holth and Luke Gordon. Unless stated in a caption, all photos are Copyright with All Rights Reserved. Learn about reuse of our photos.
![]()
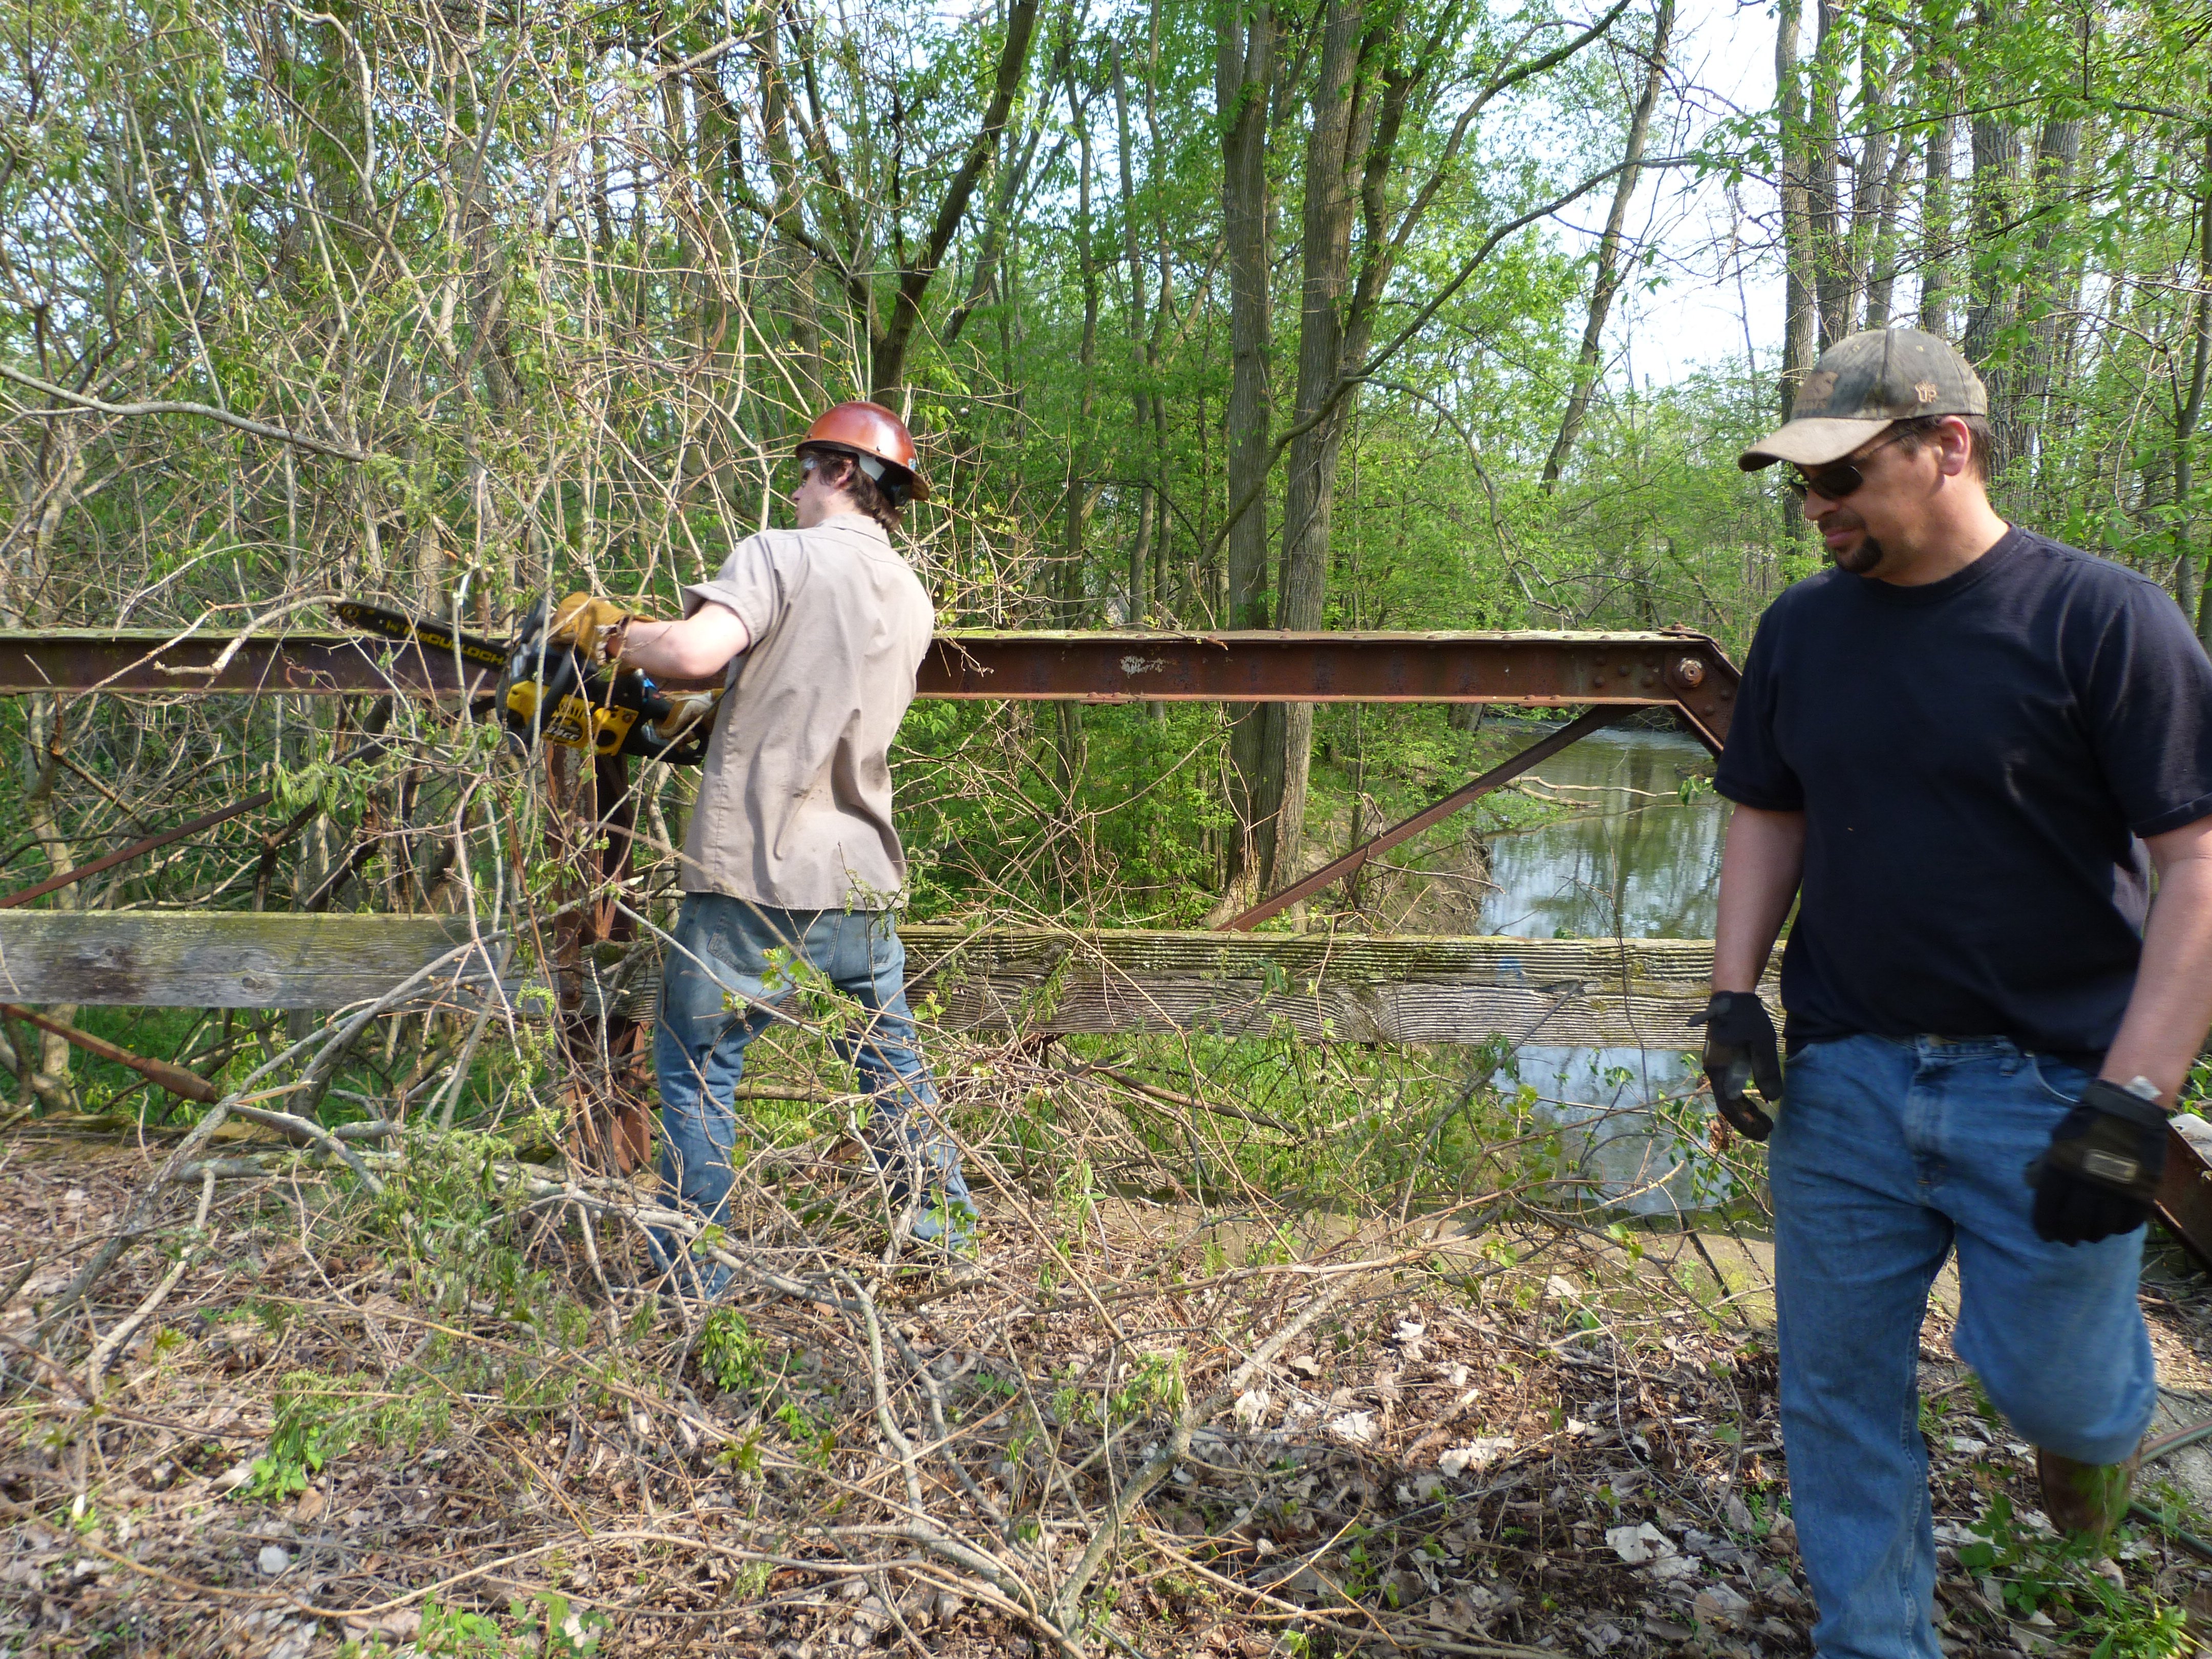
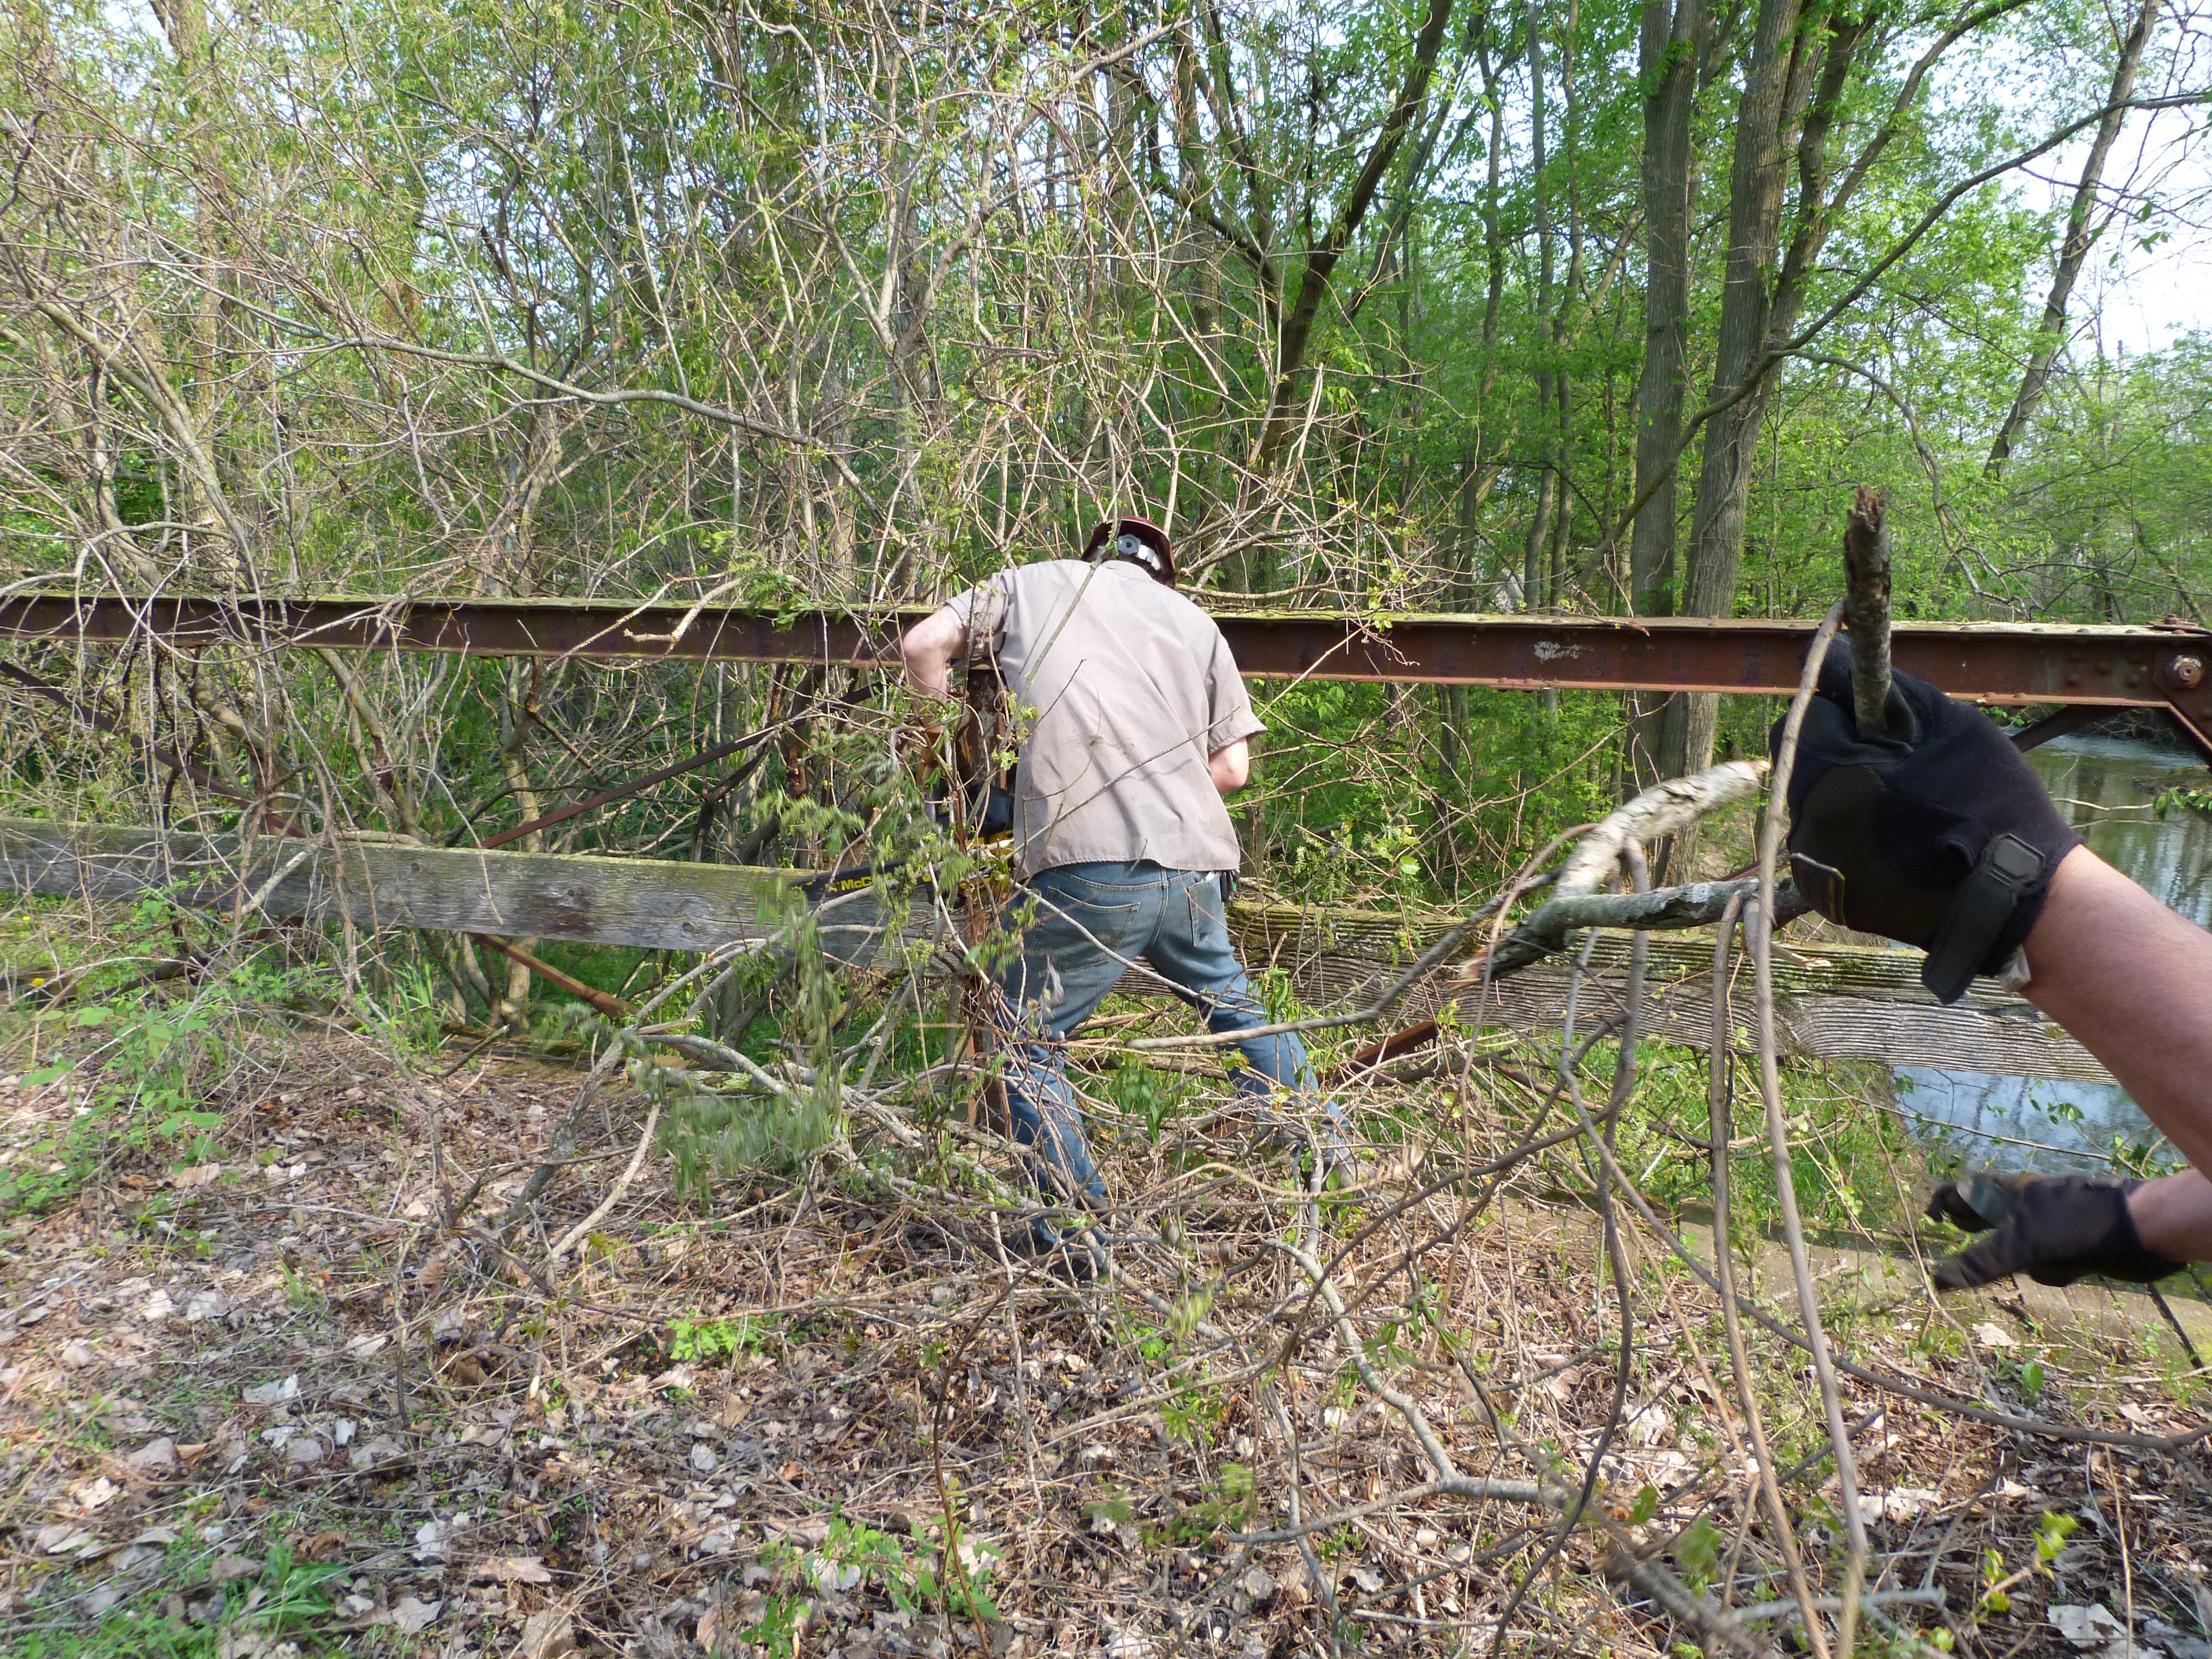
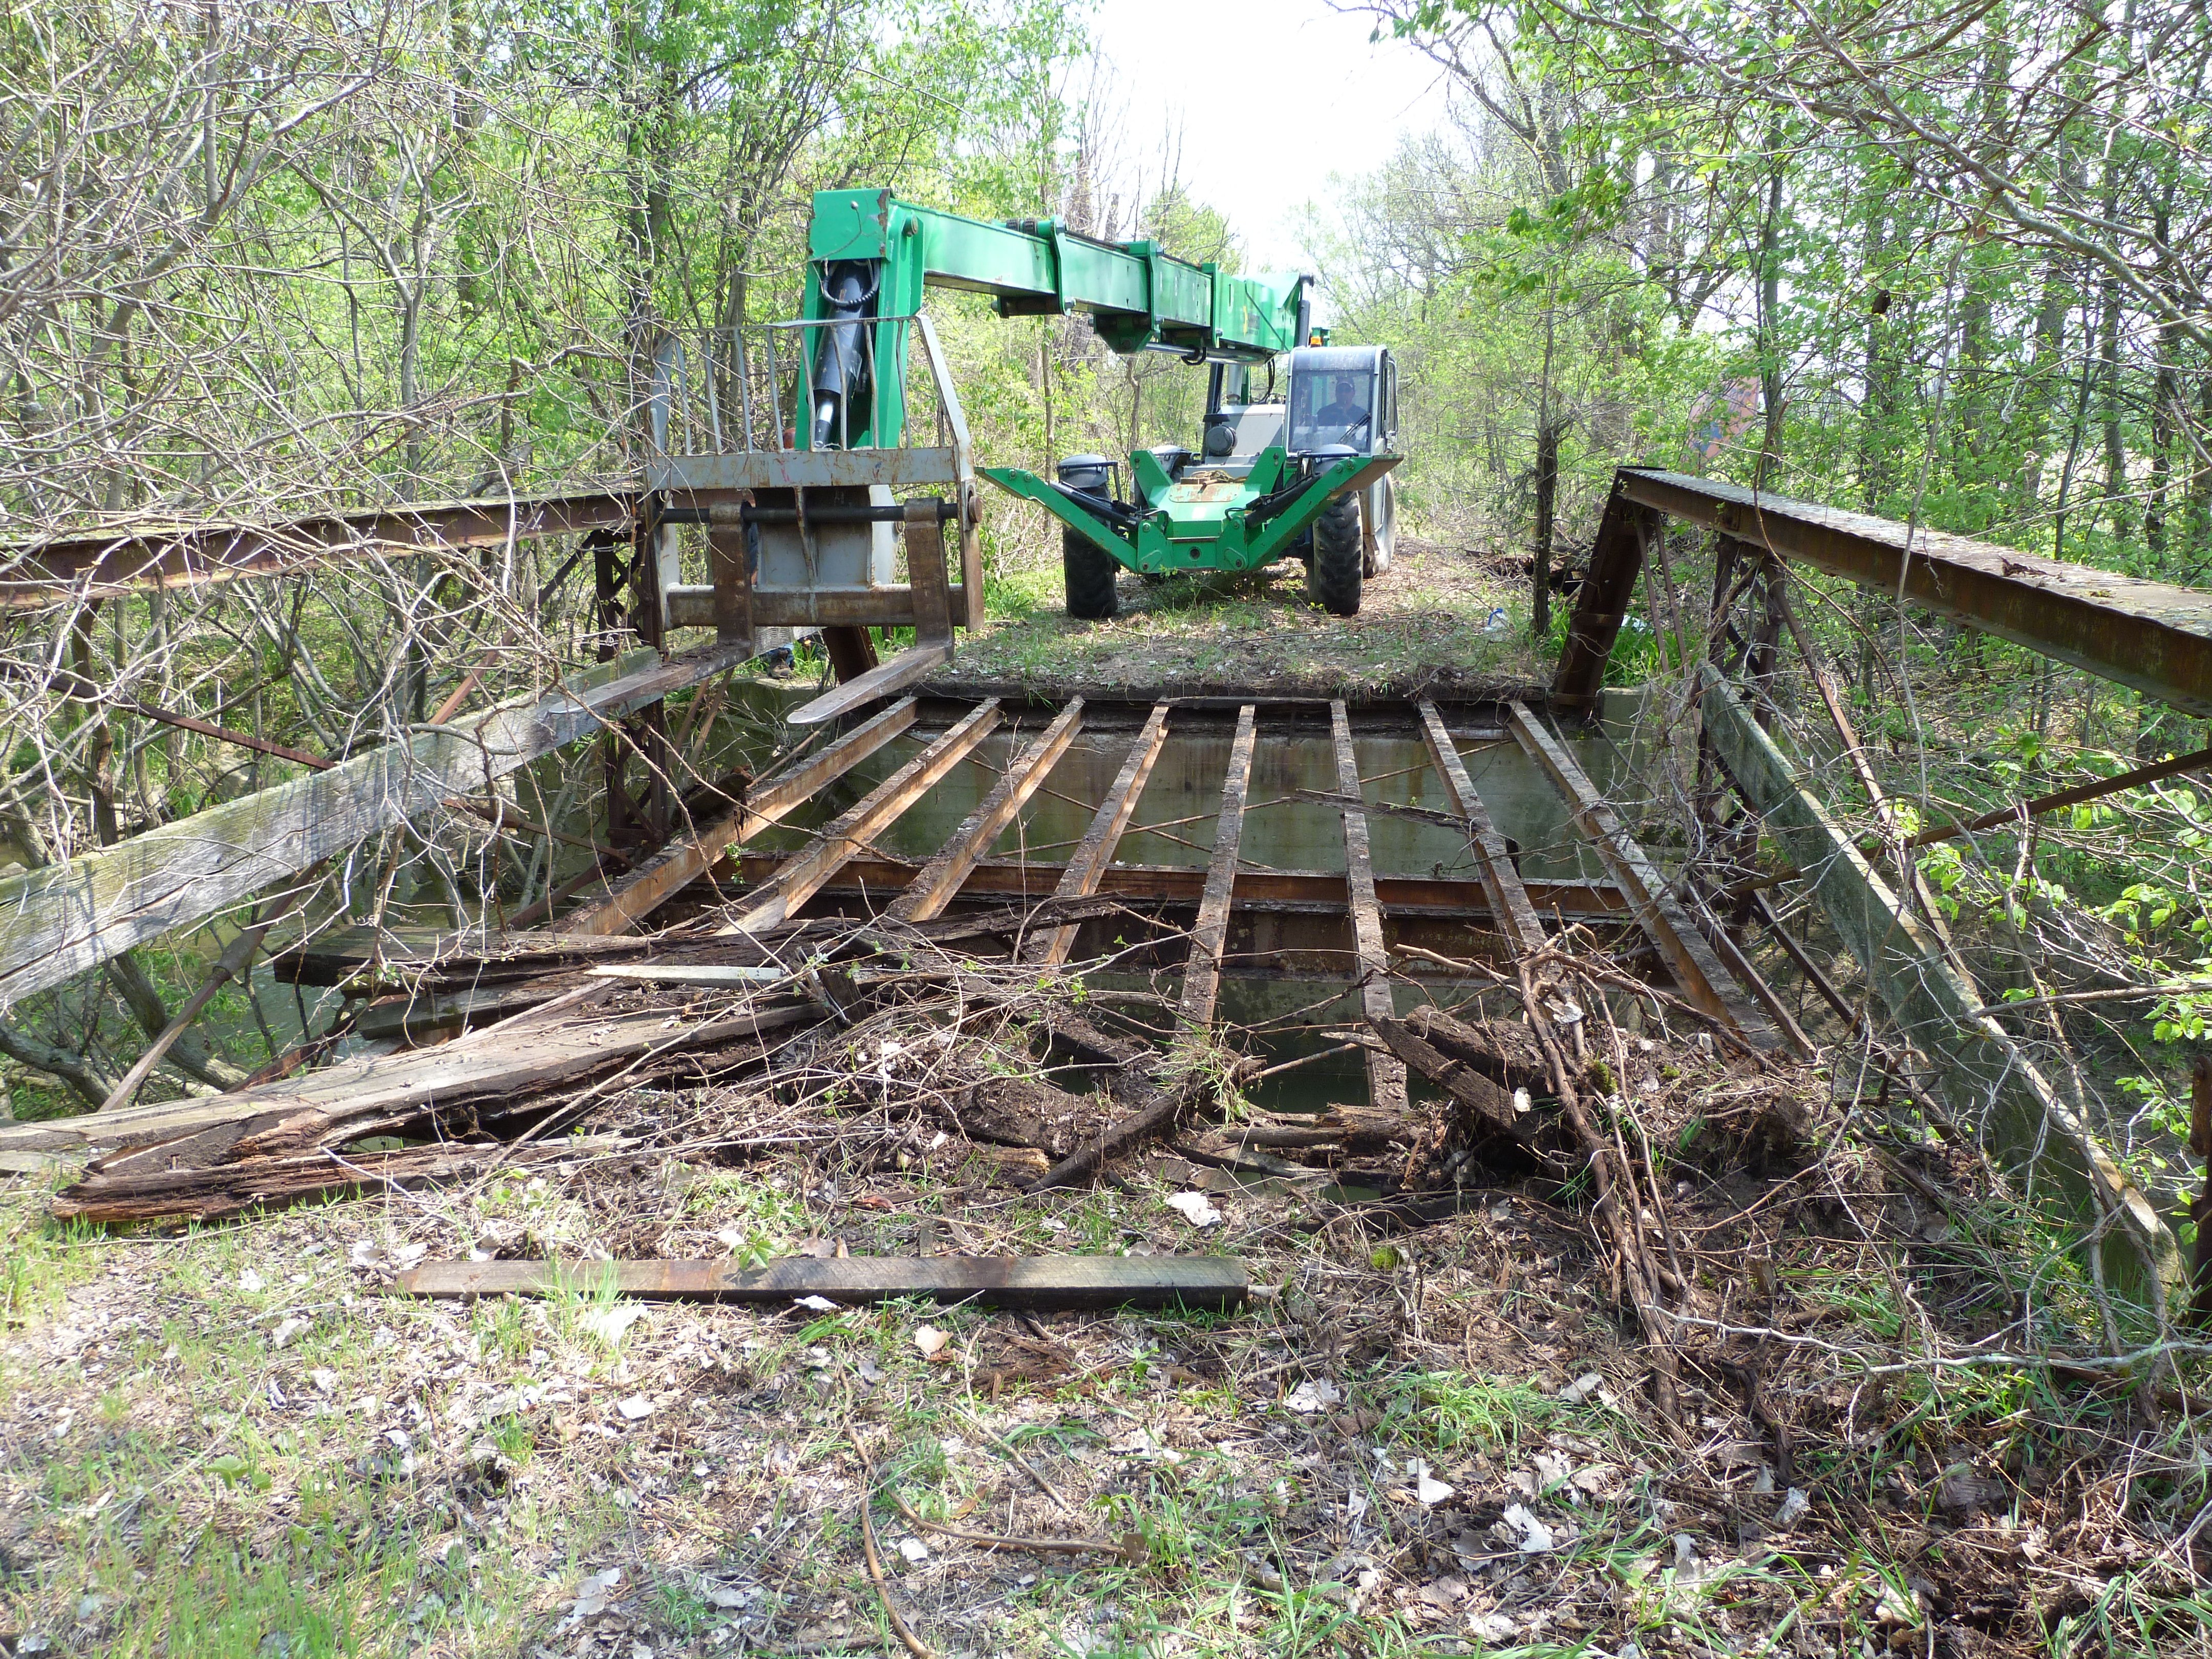
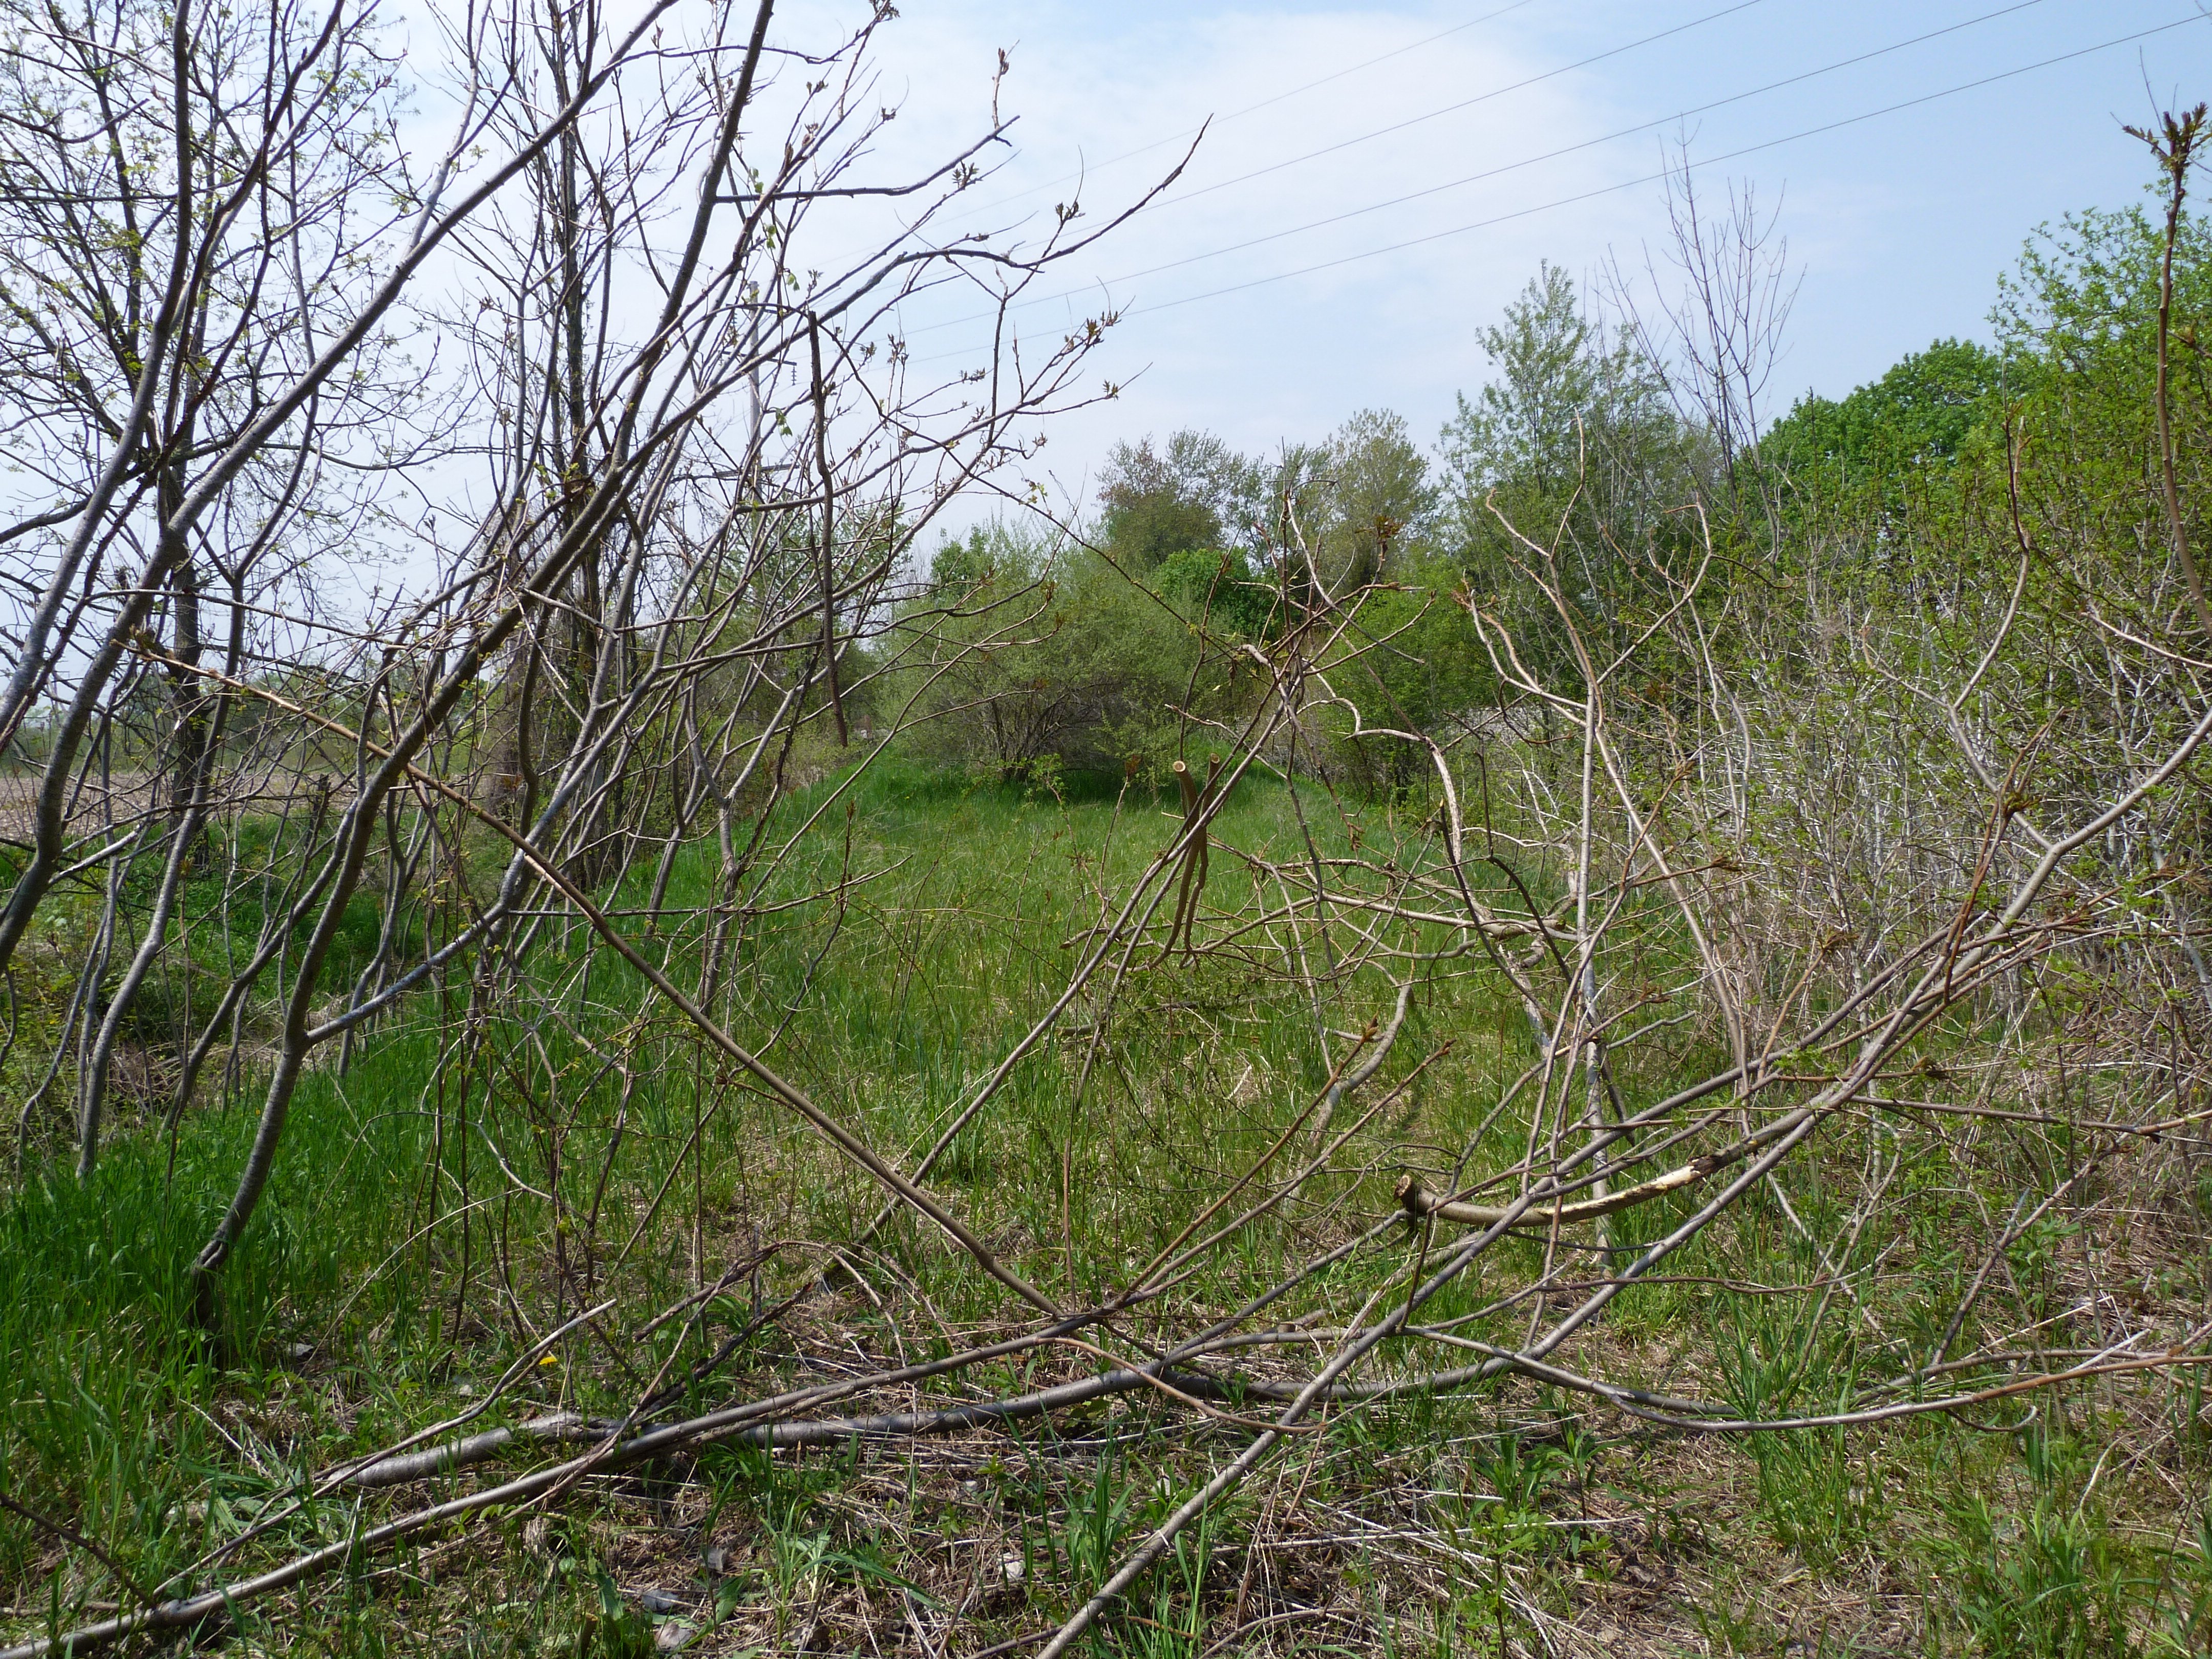
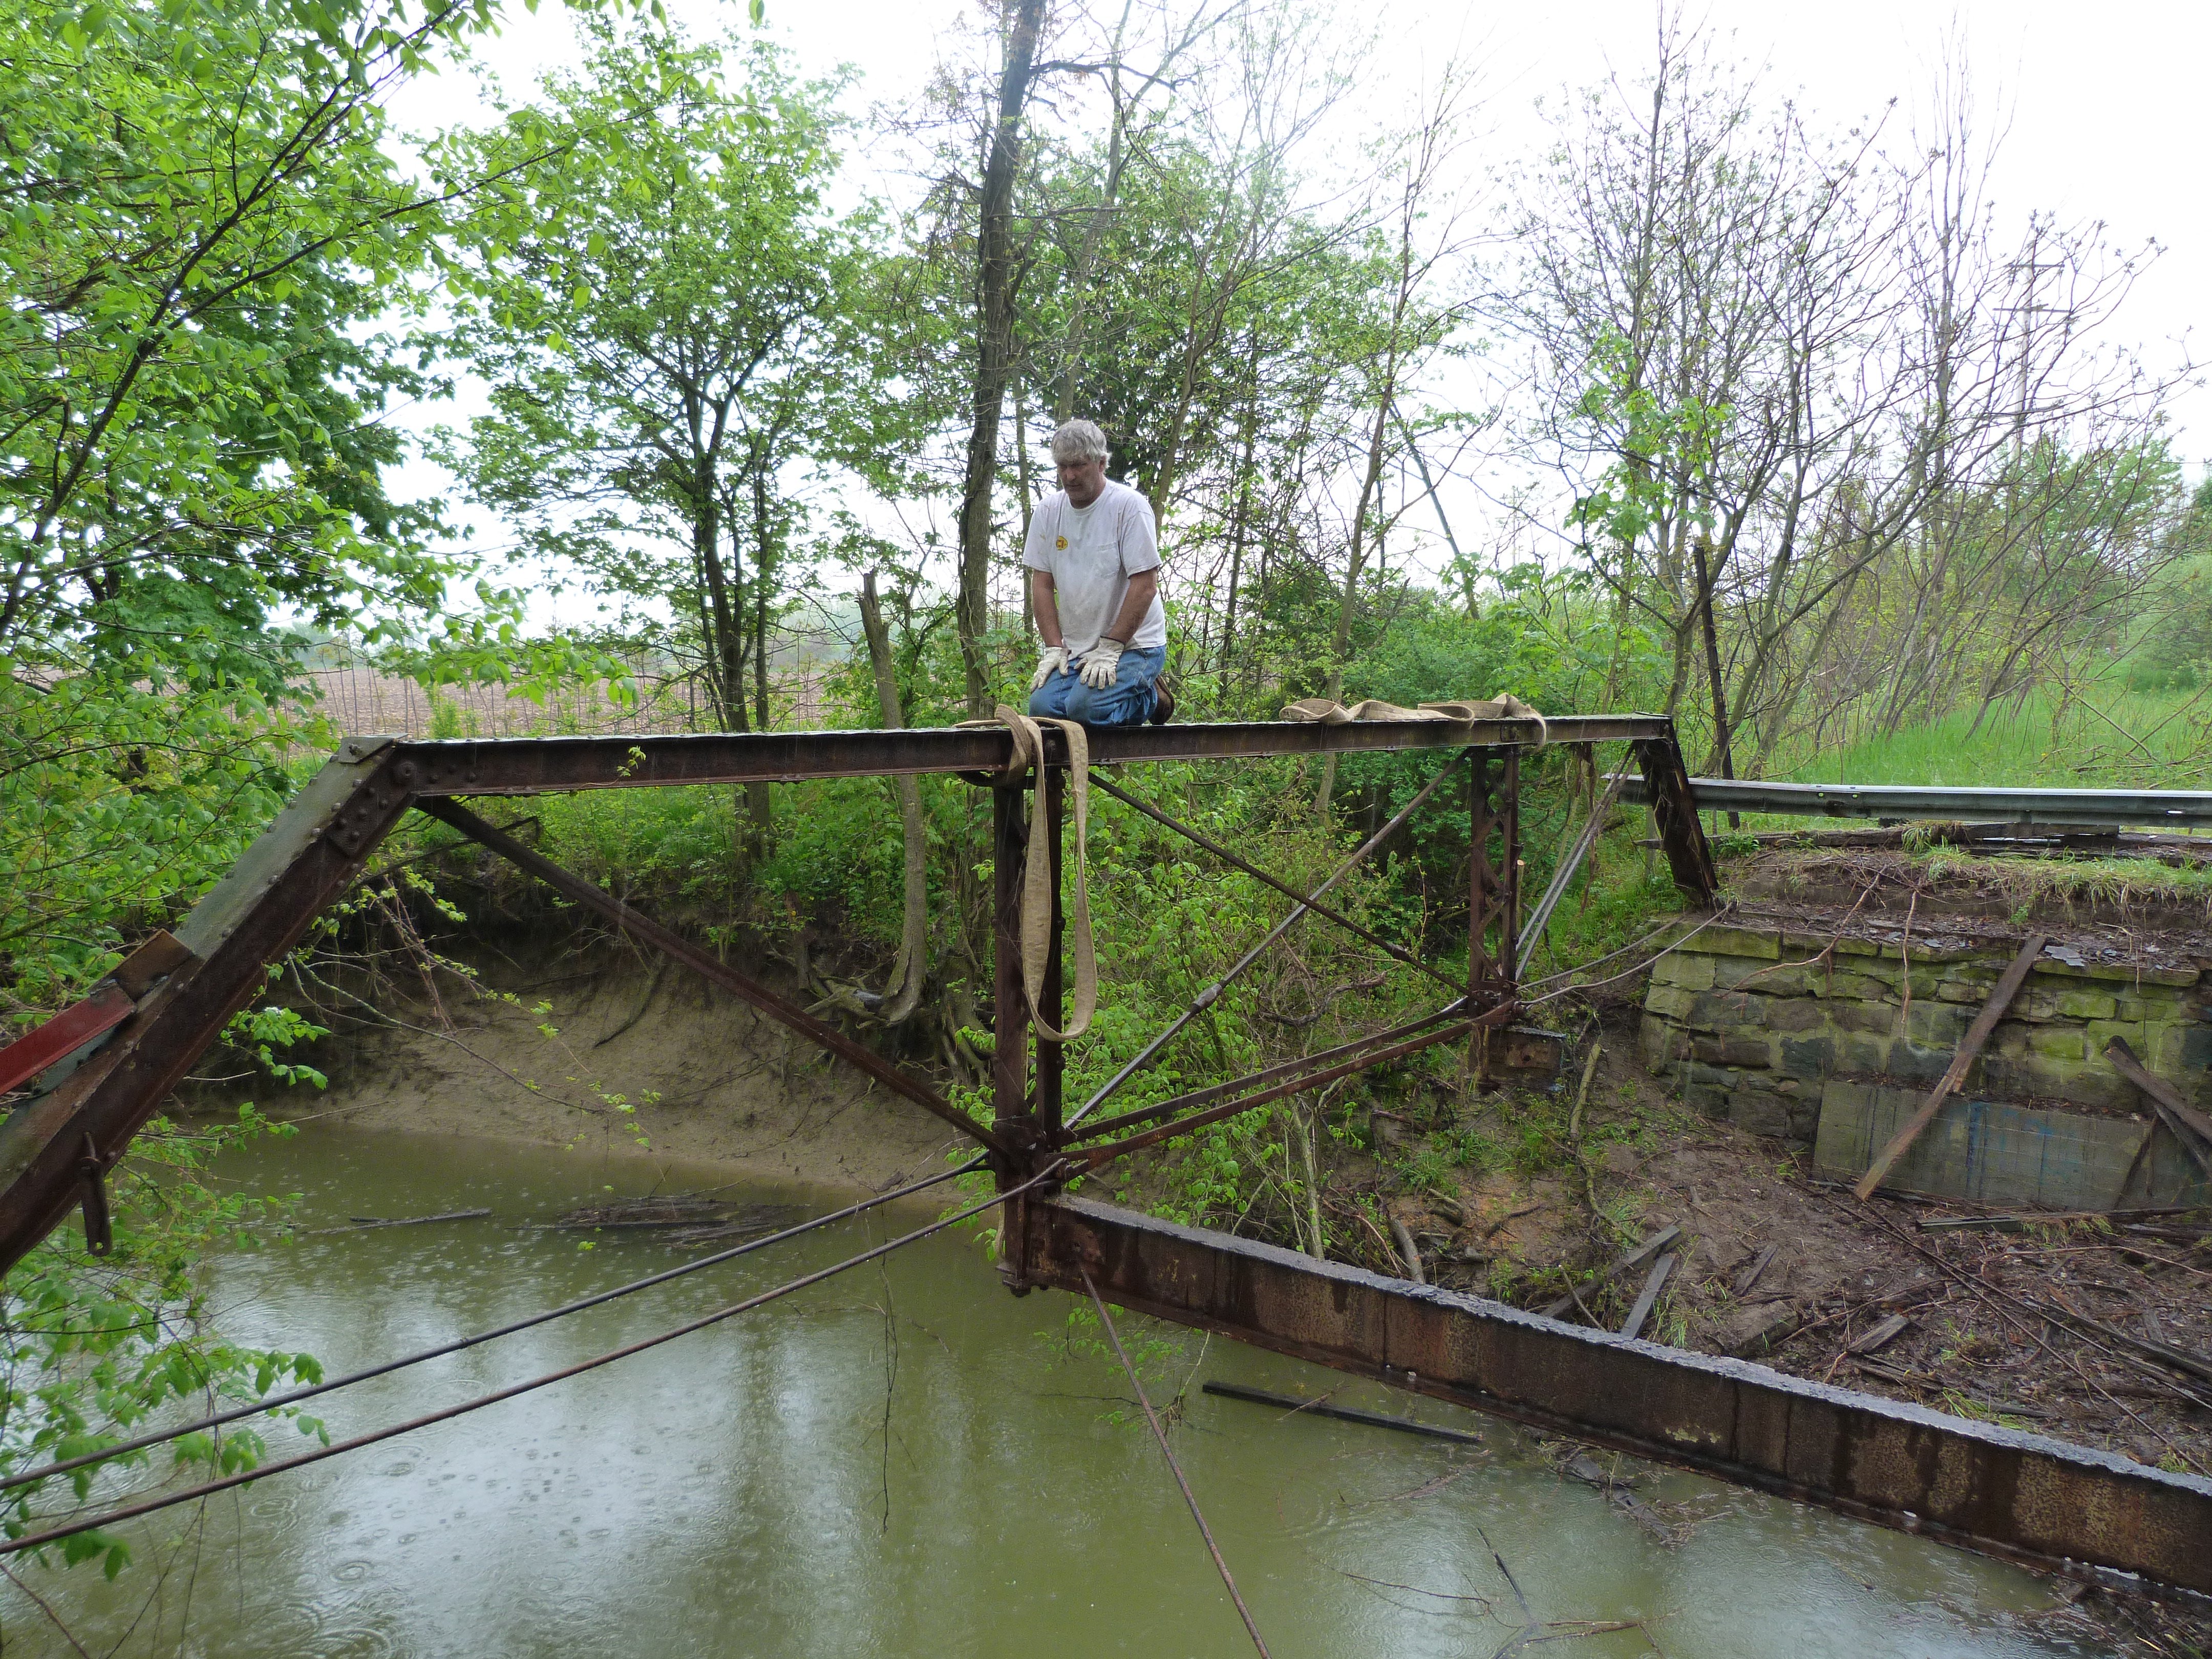
Clearing the overgrowth away from the bridge in preparation for deck removal.
![]()
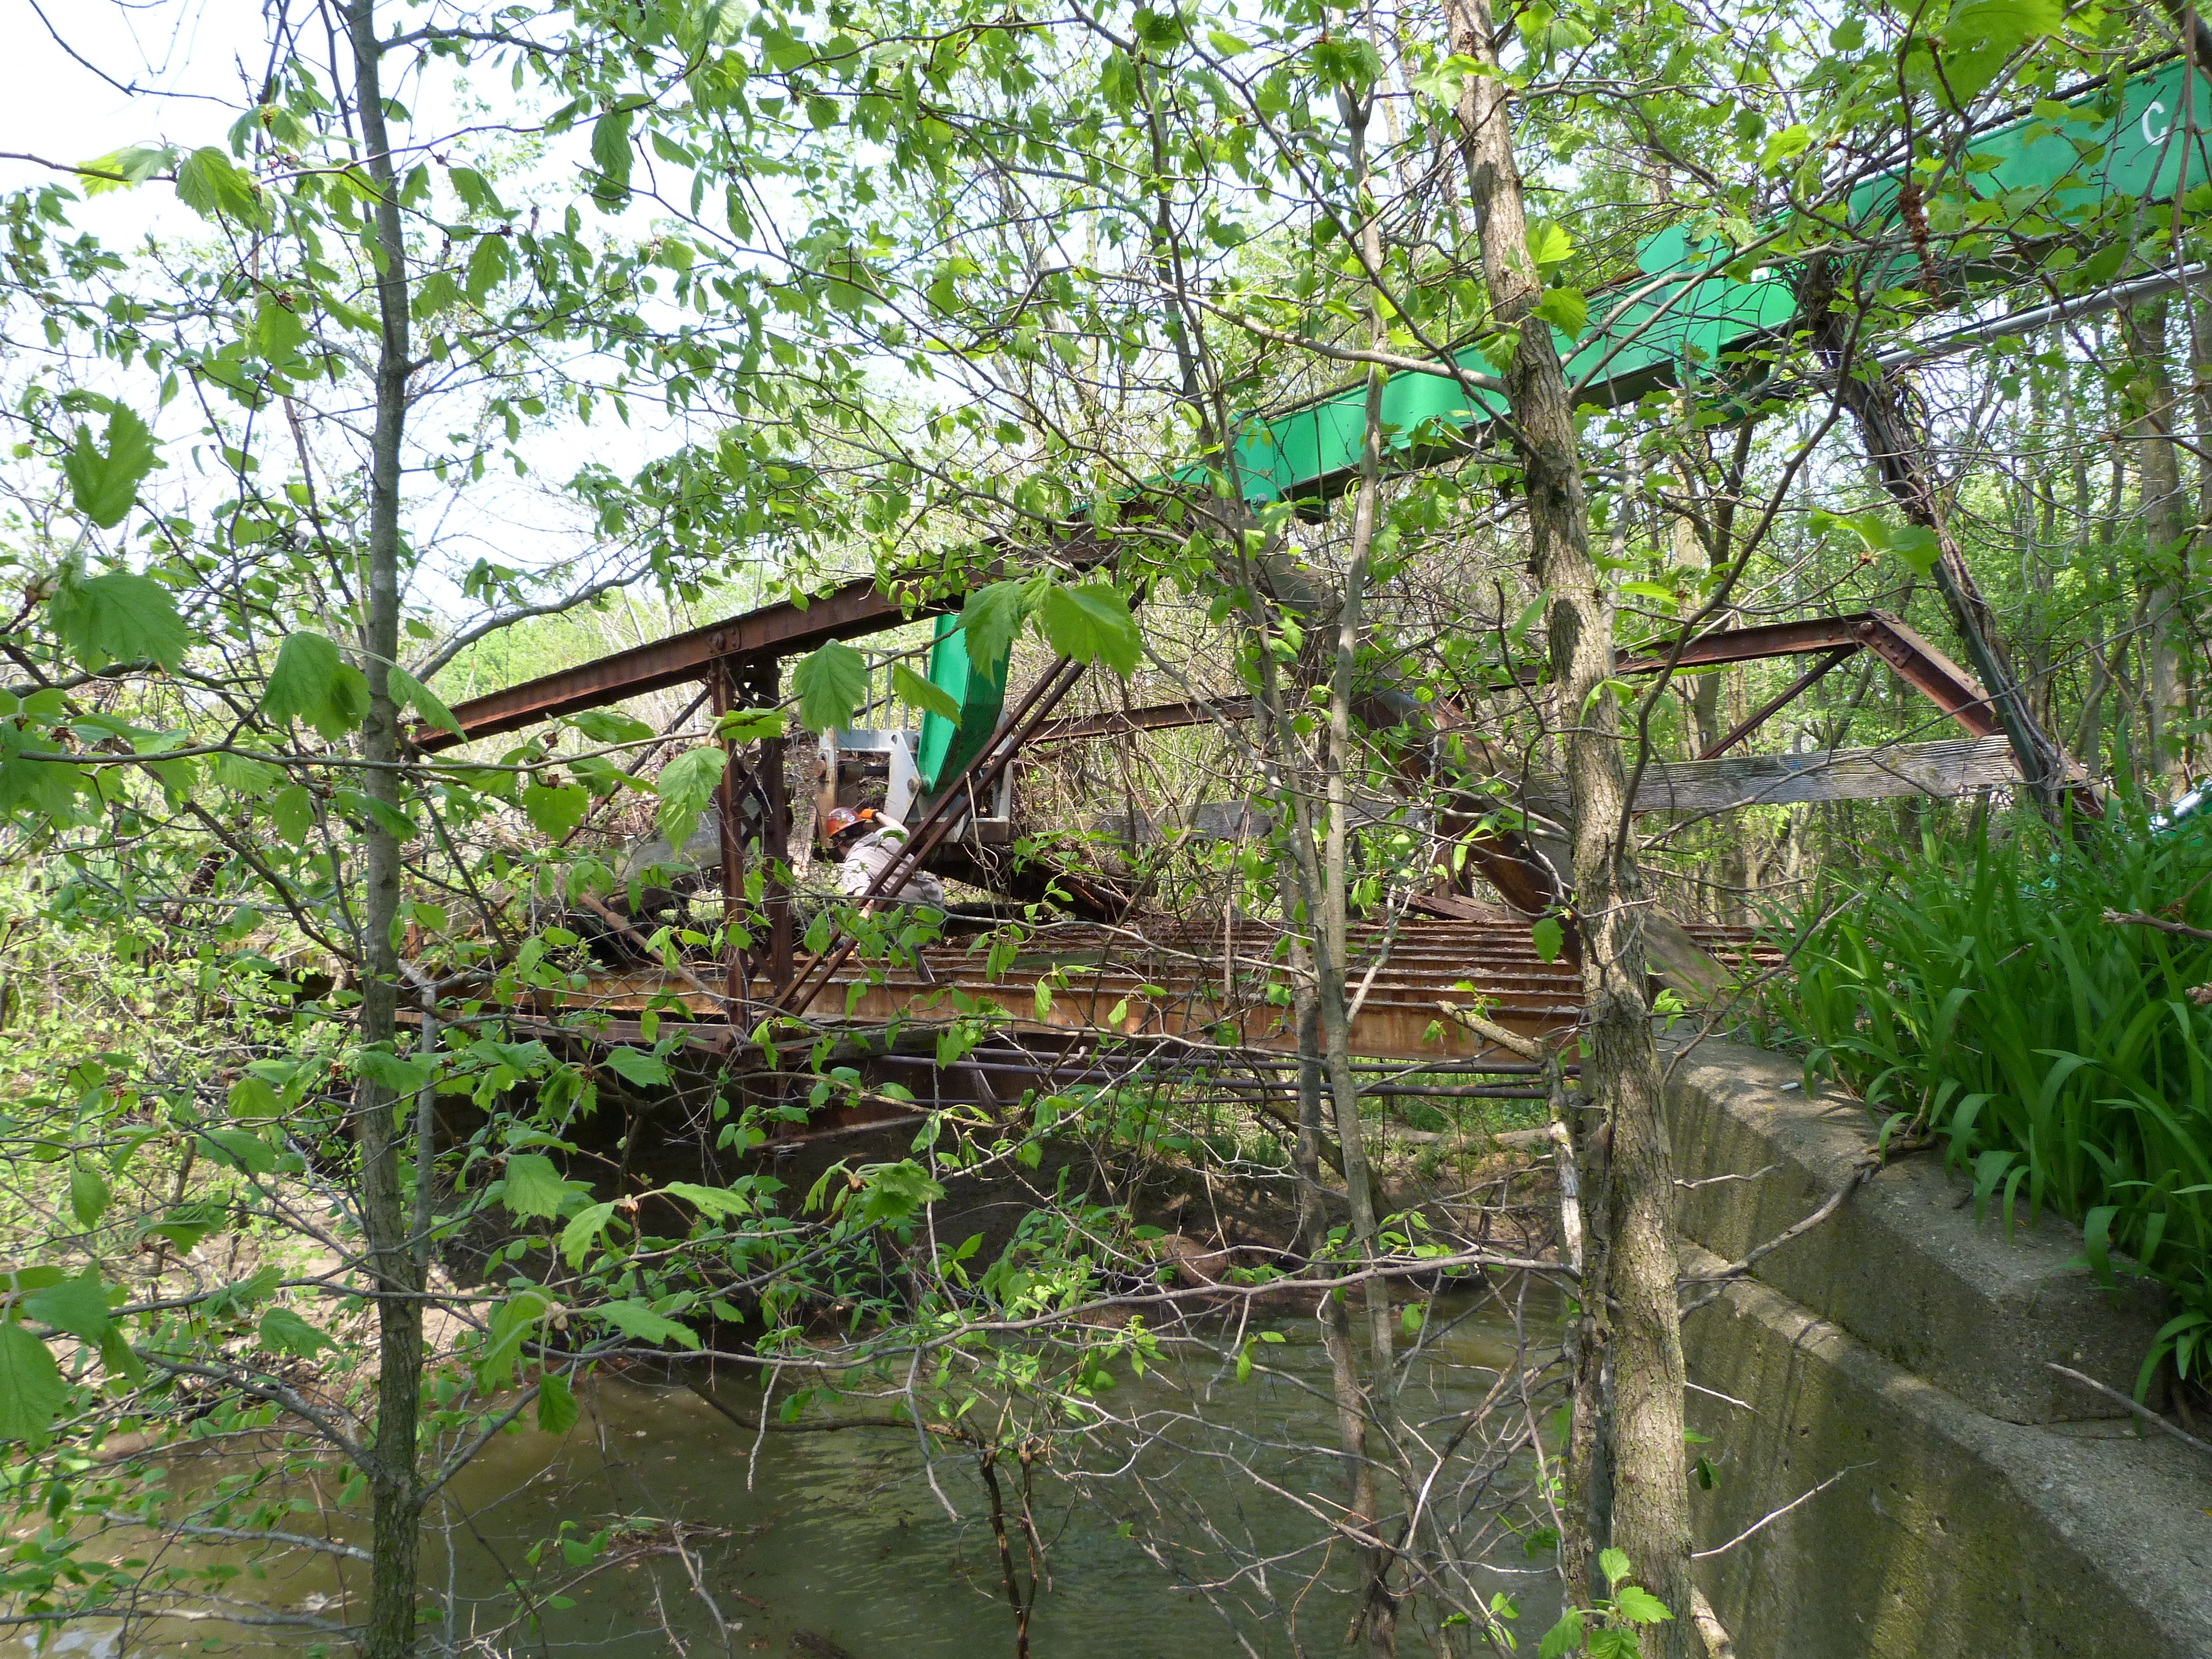
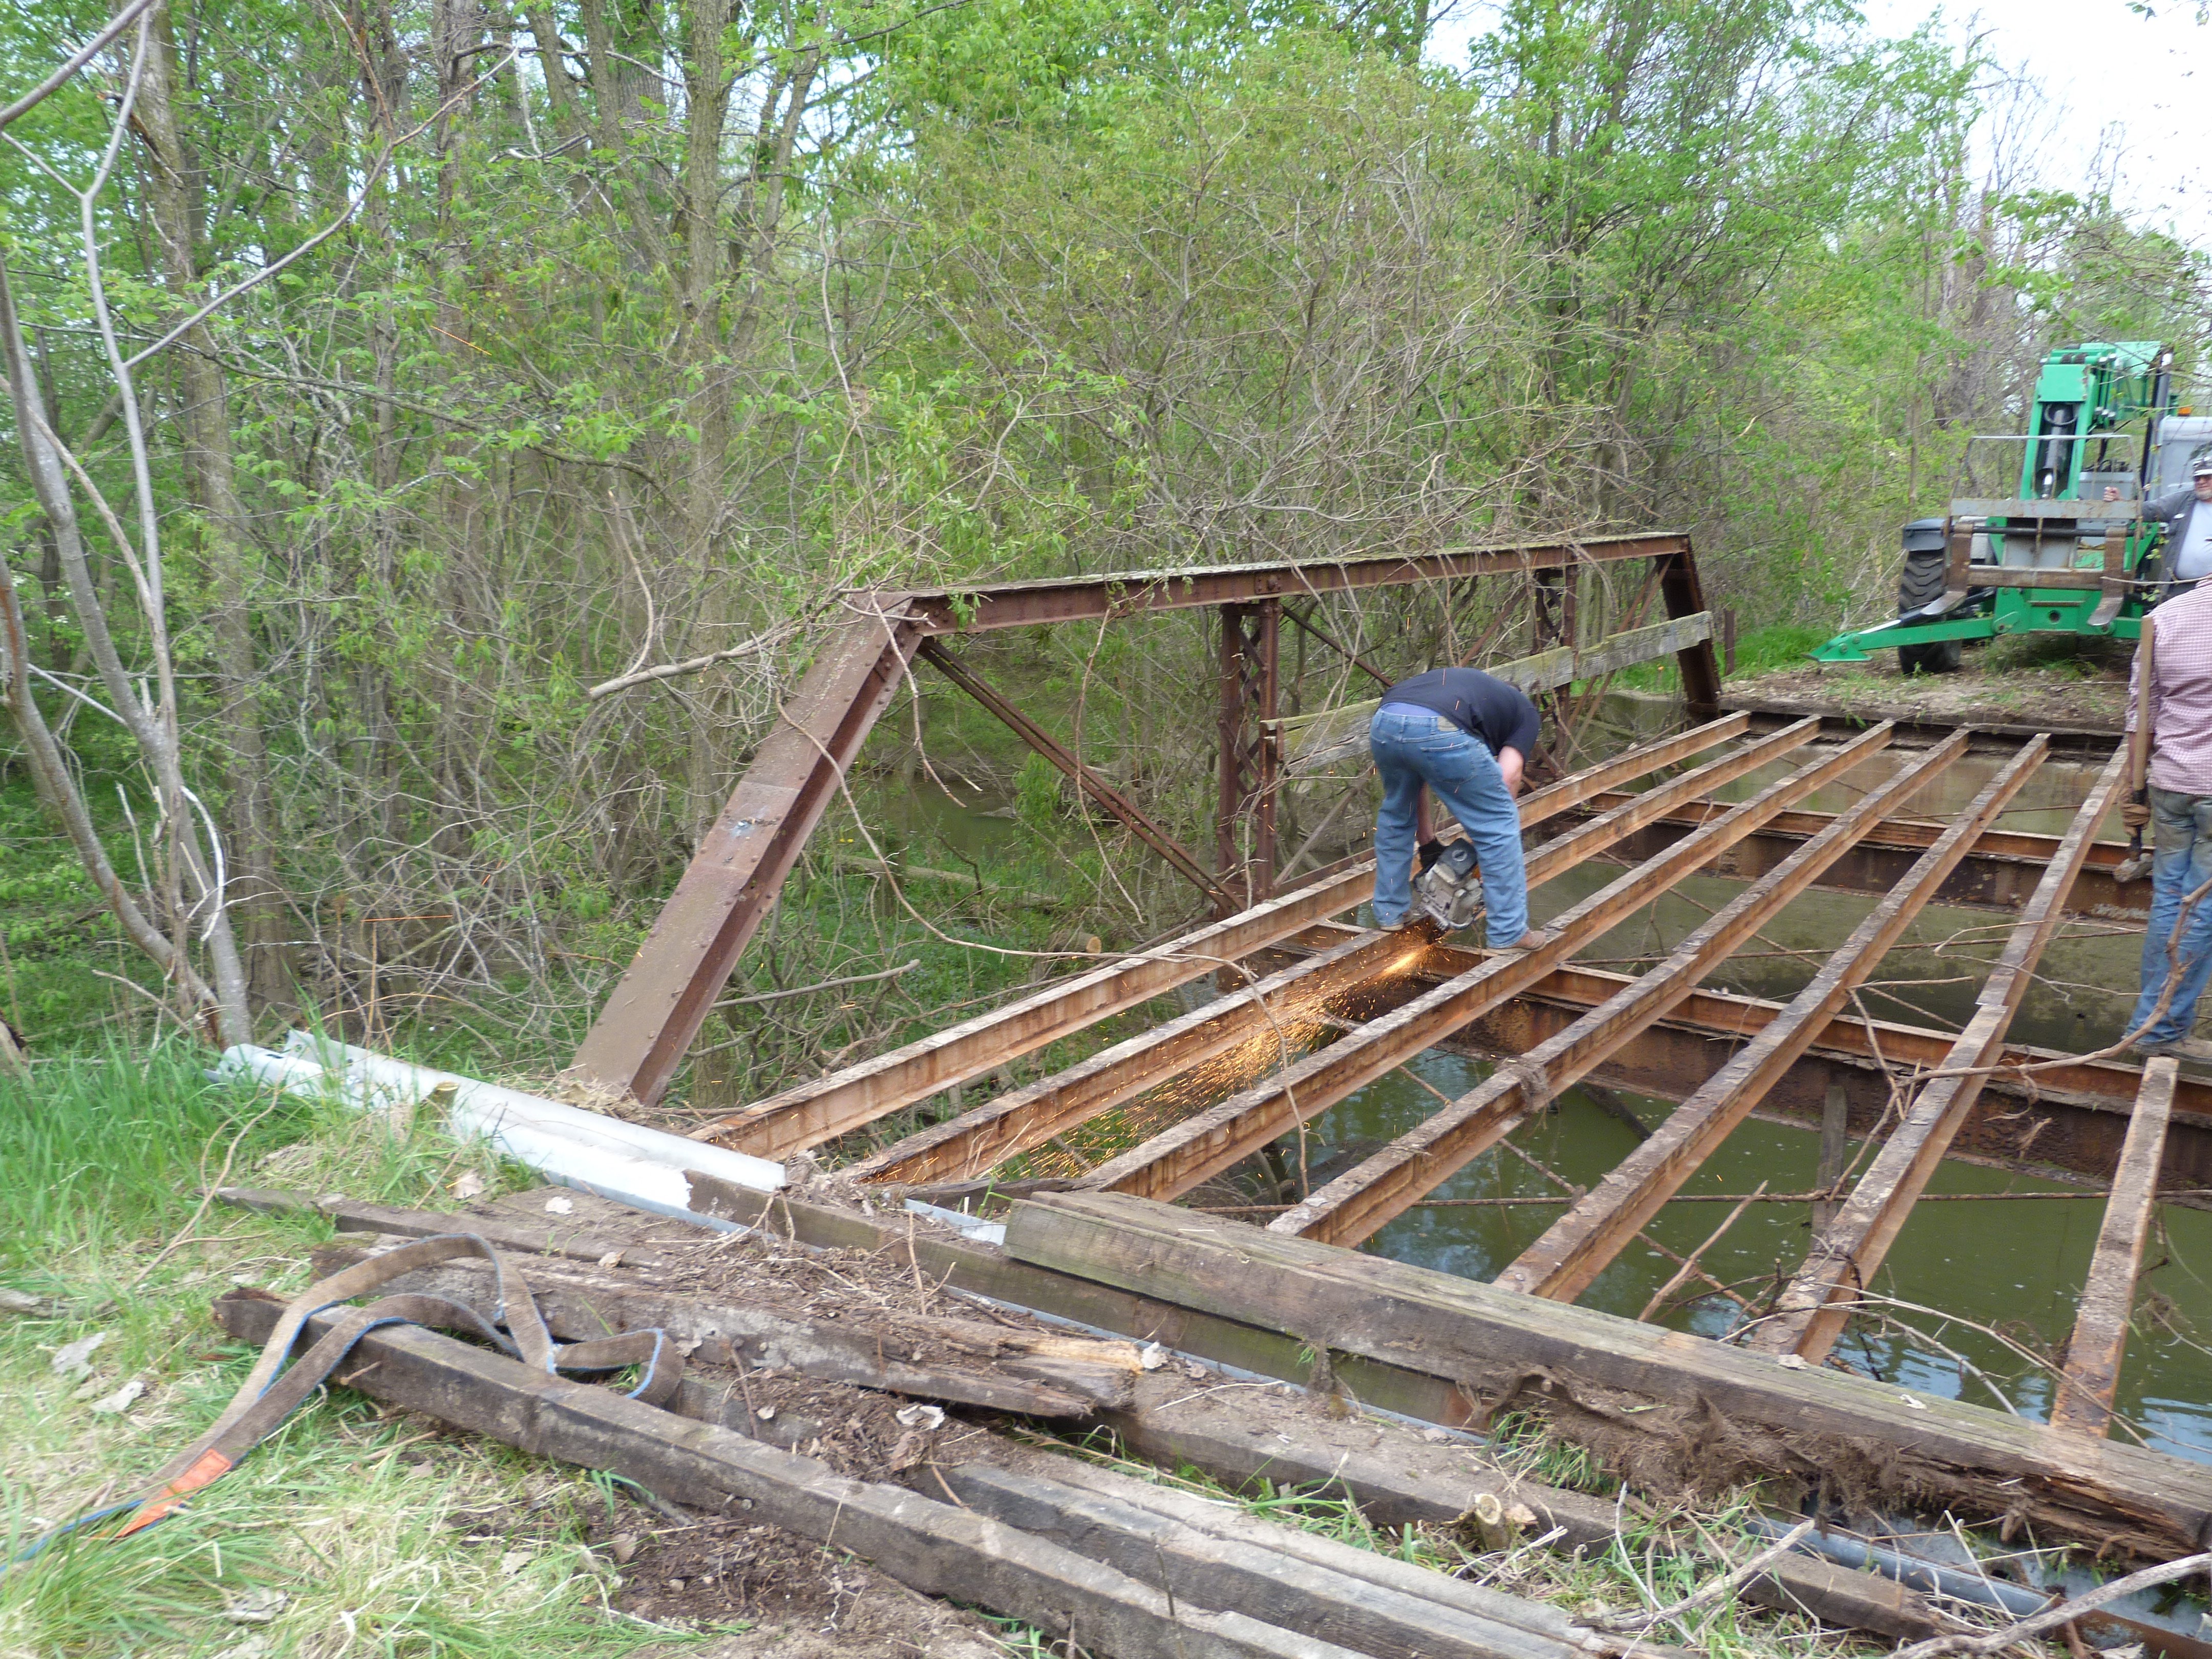
Deck removal in progress.
![]()

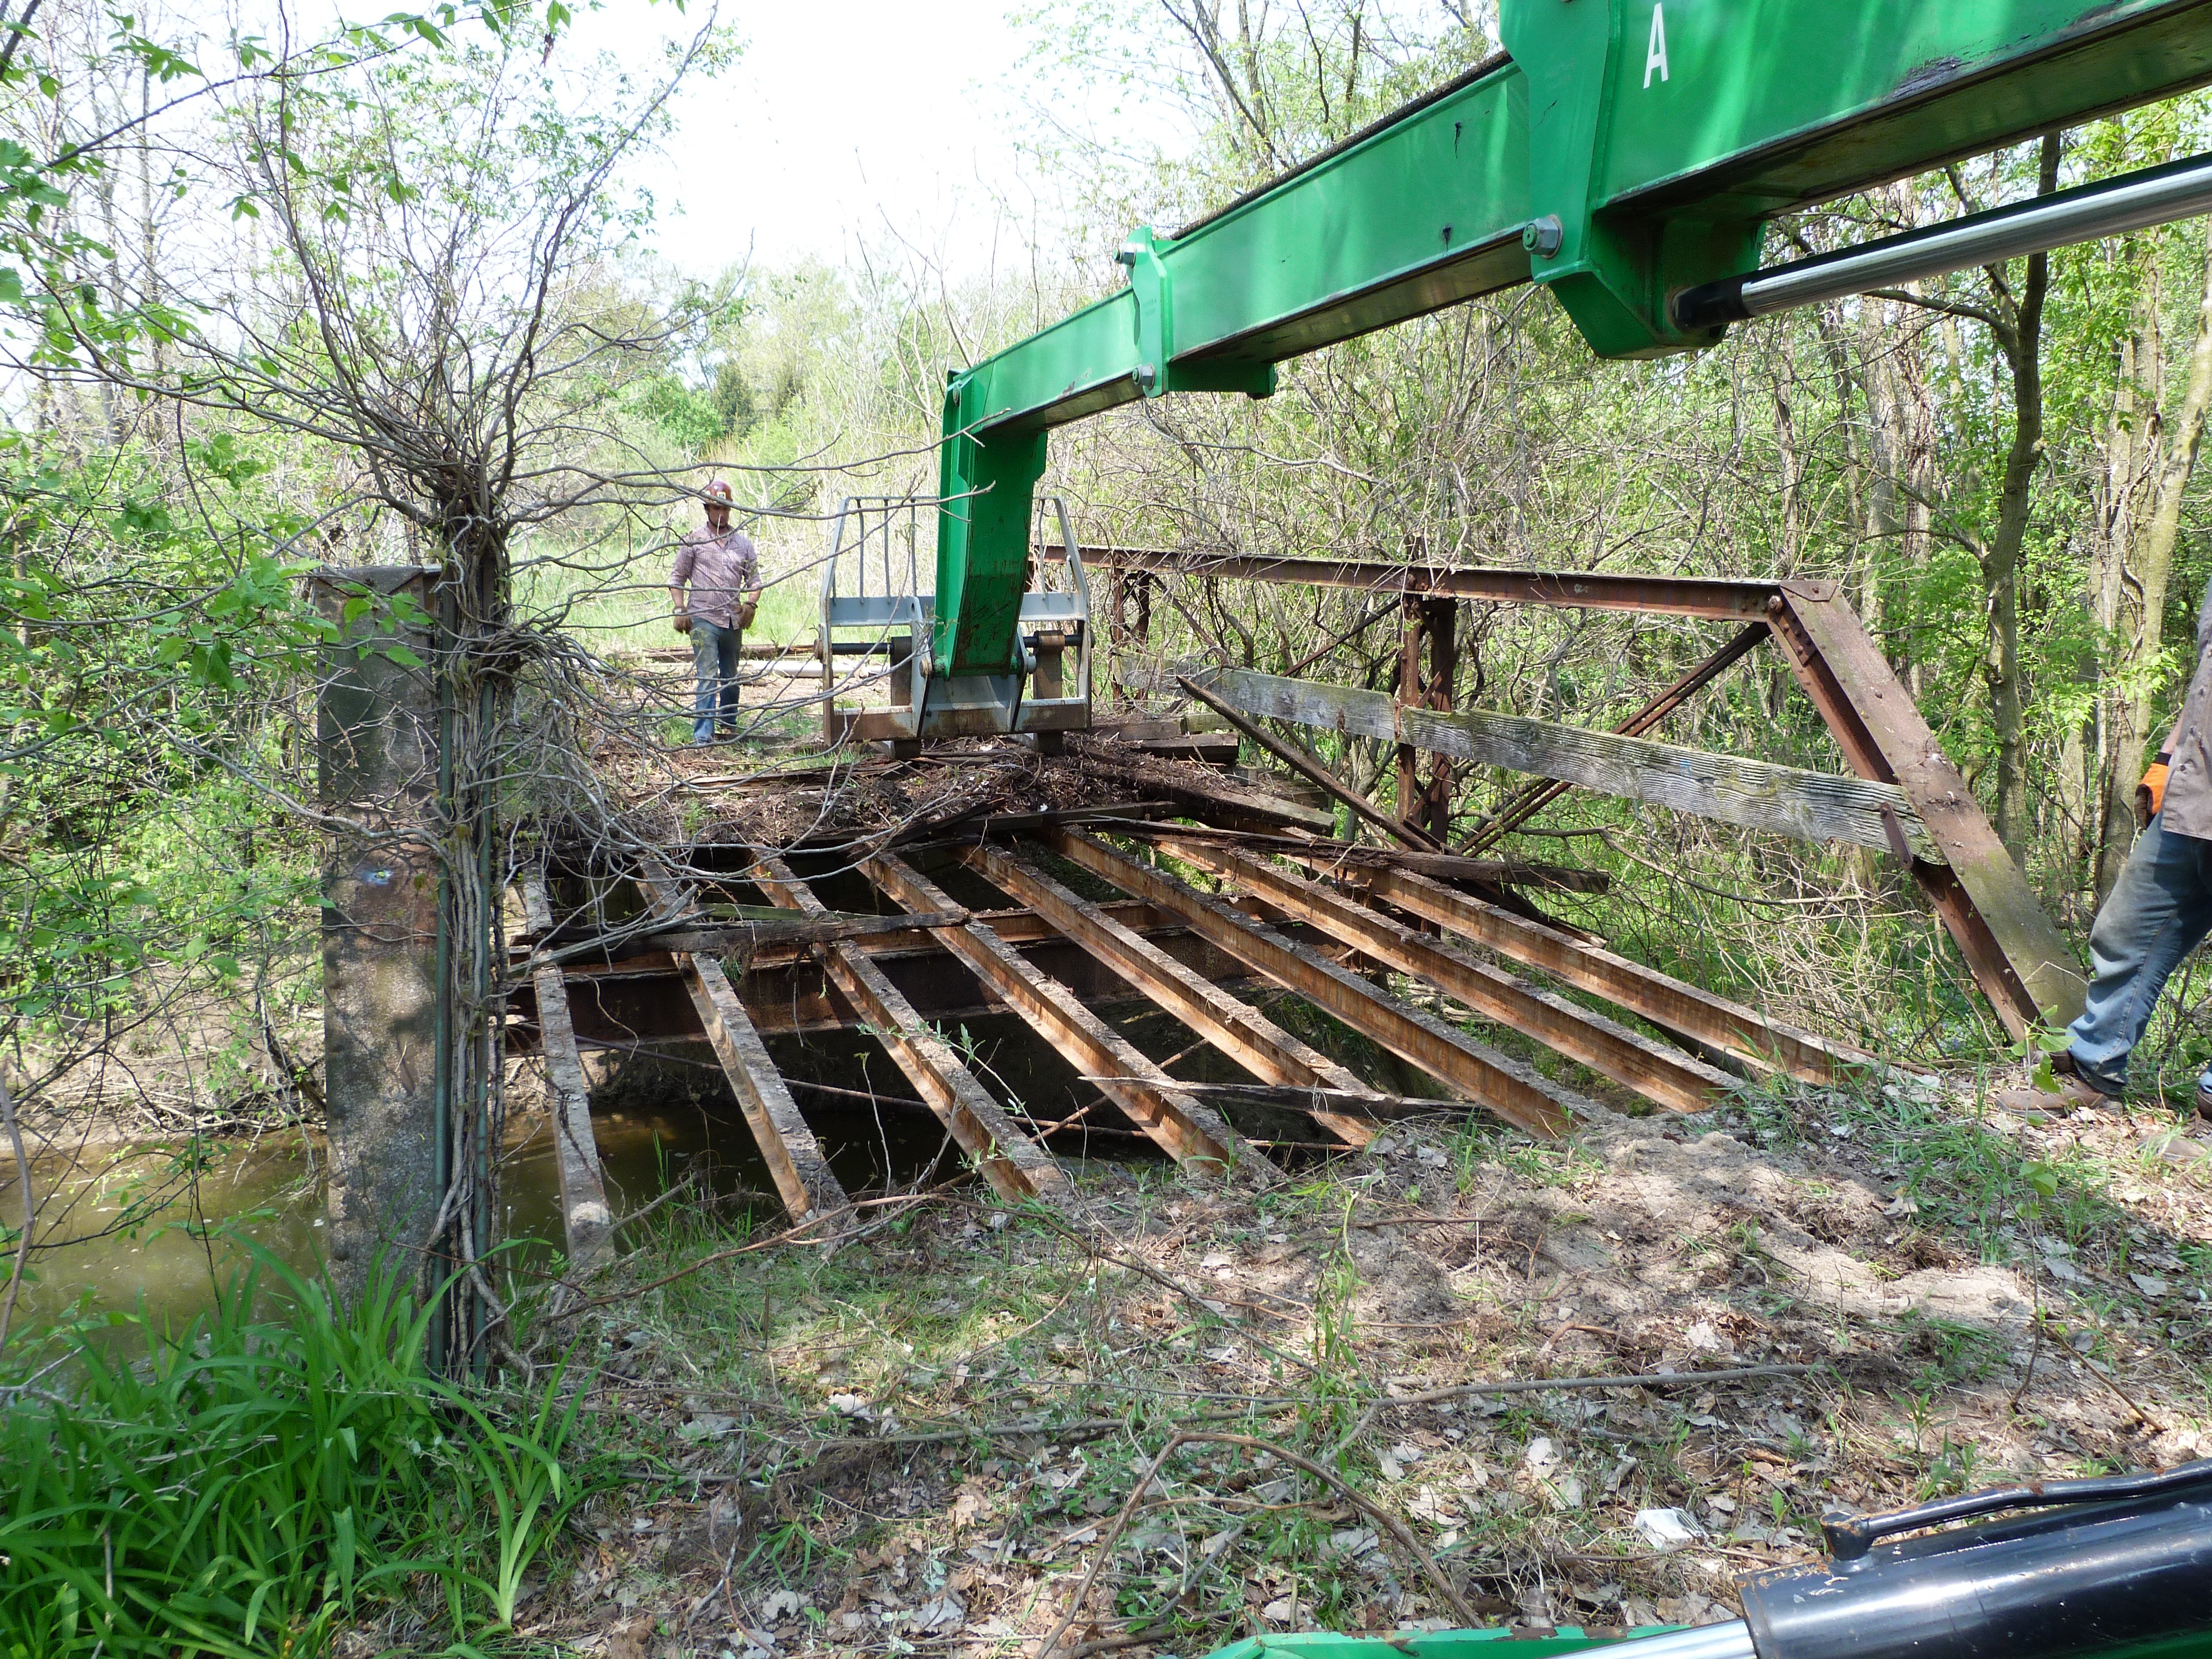


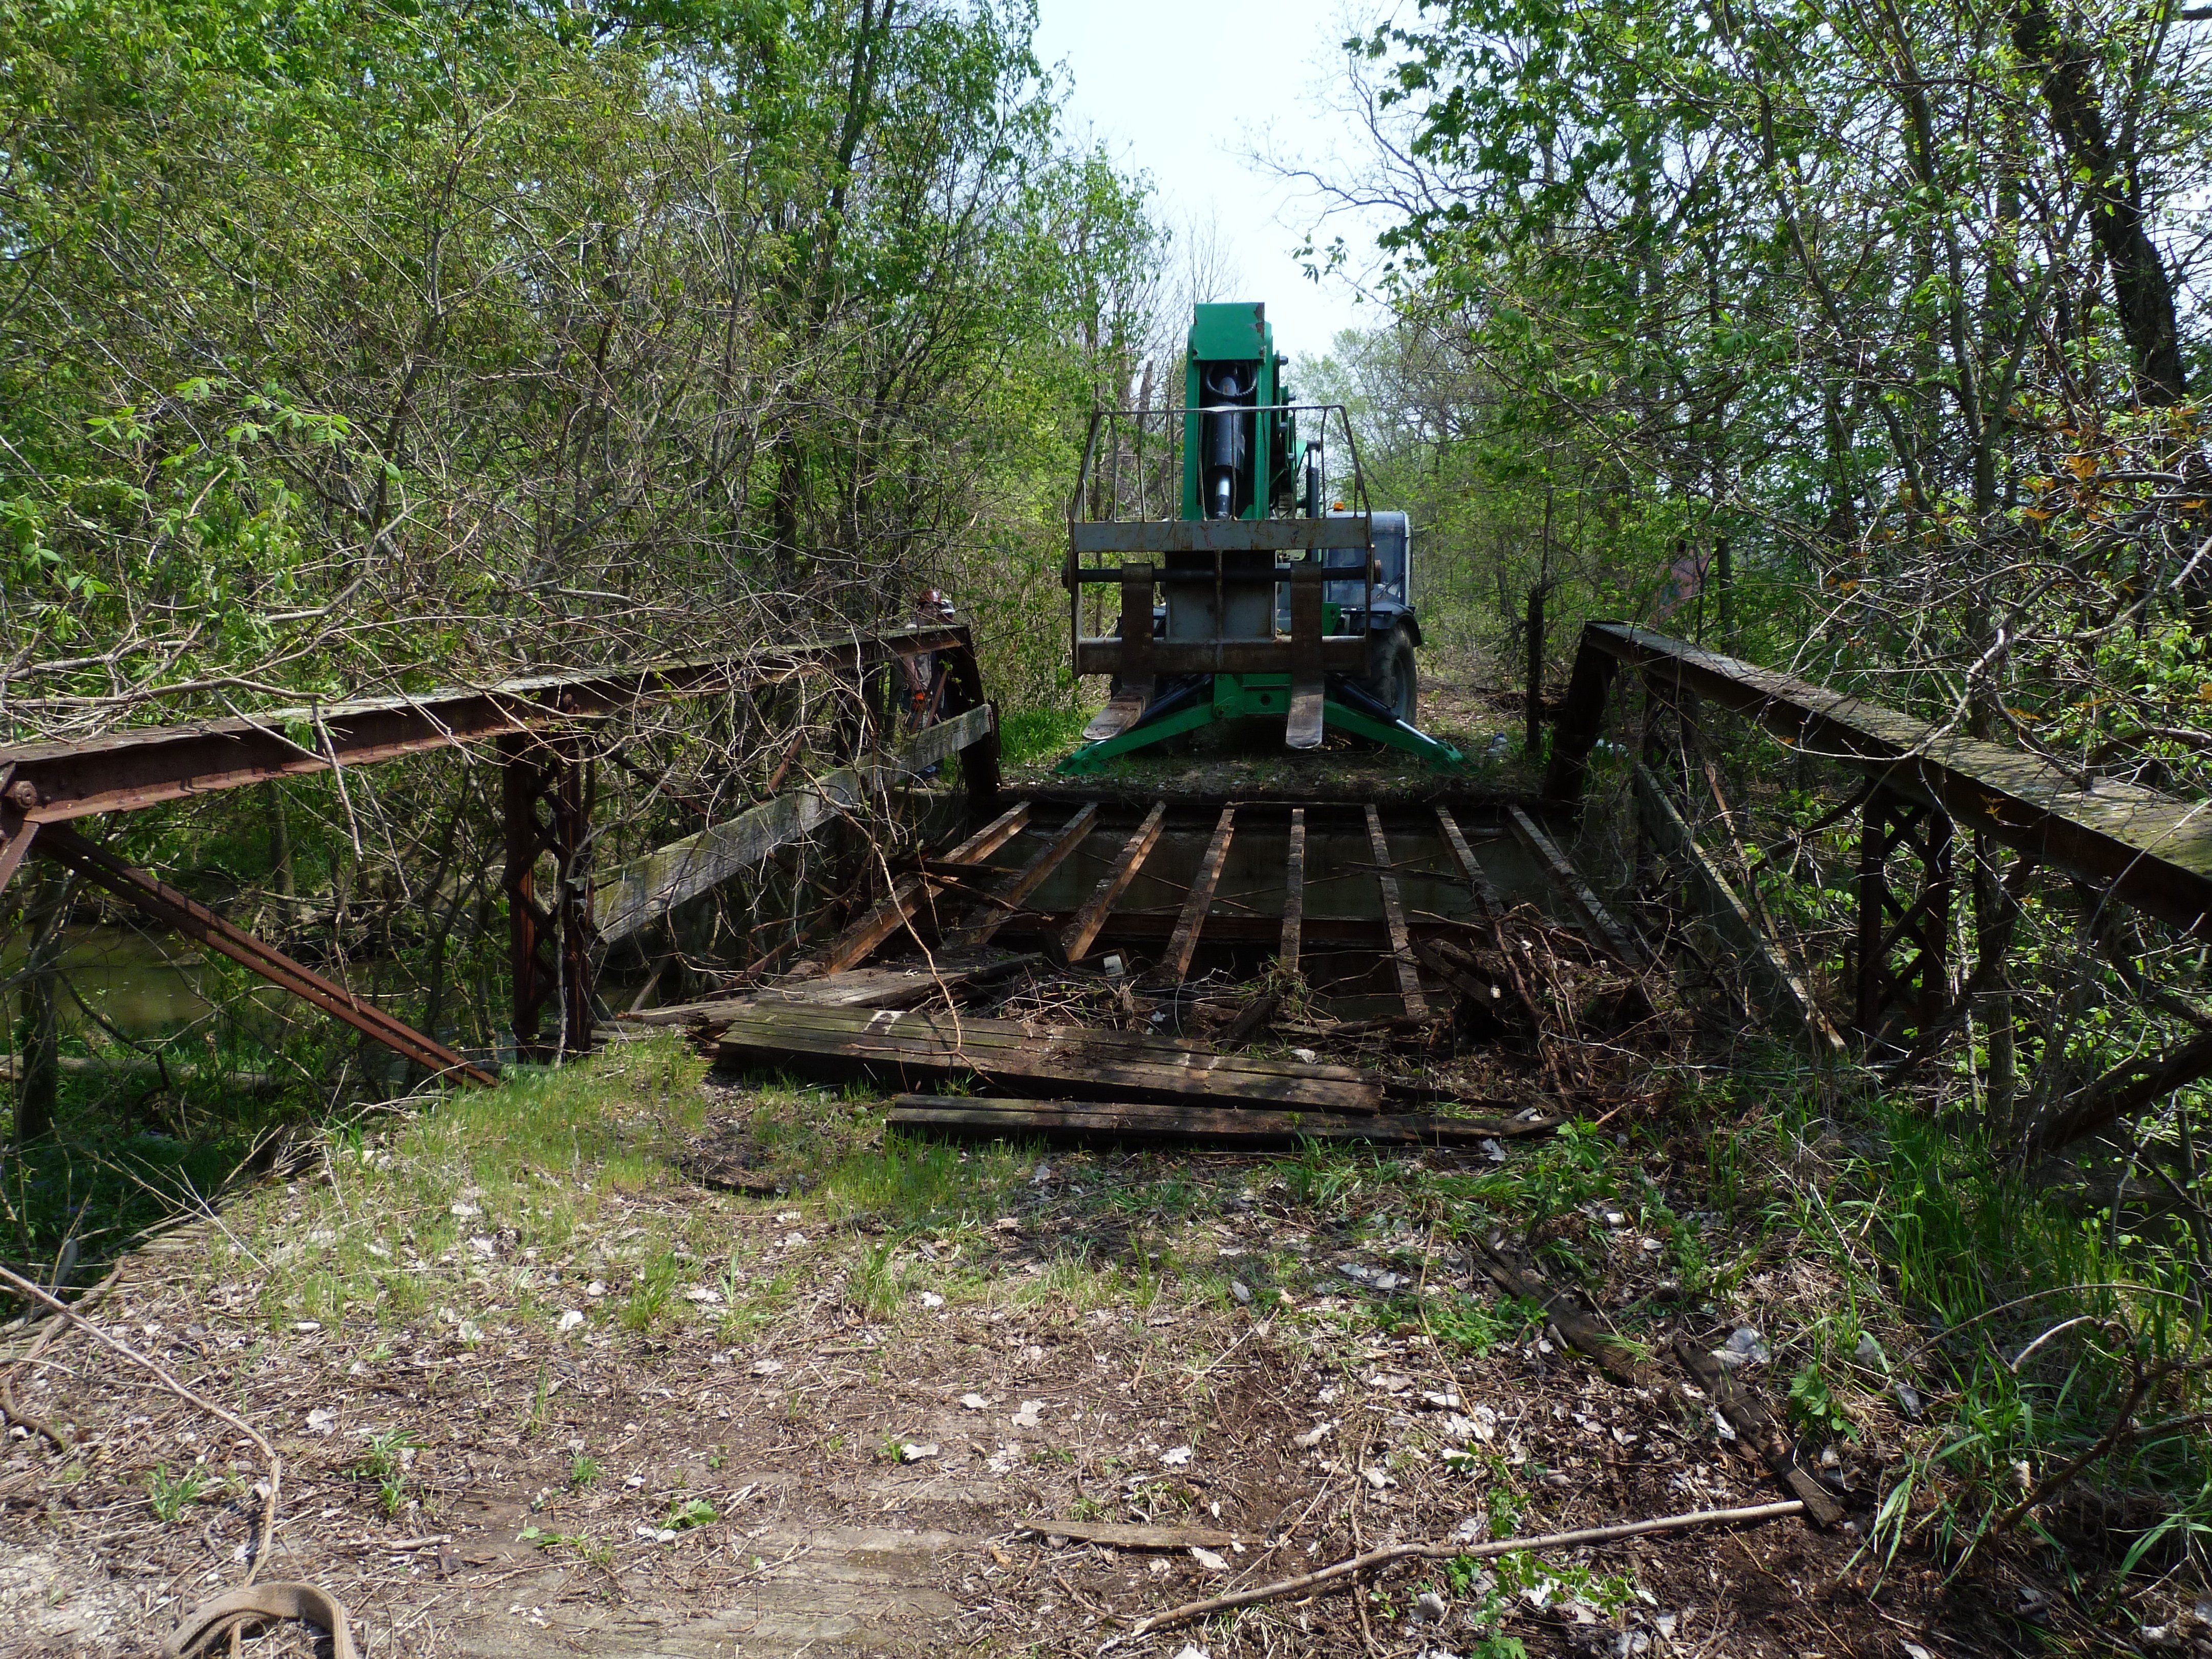


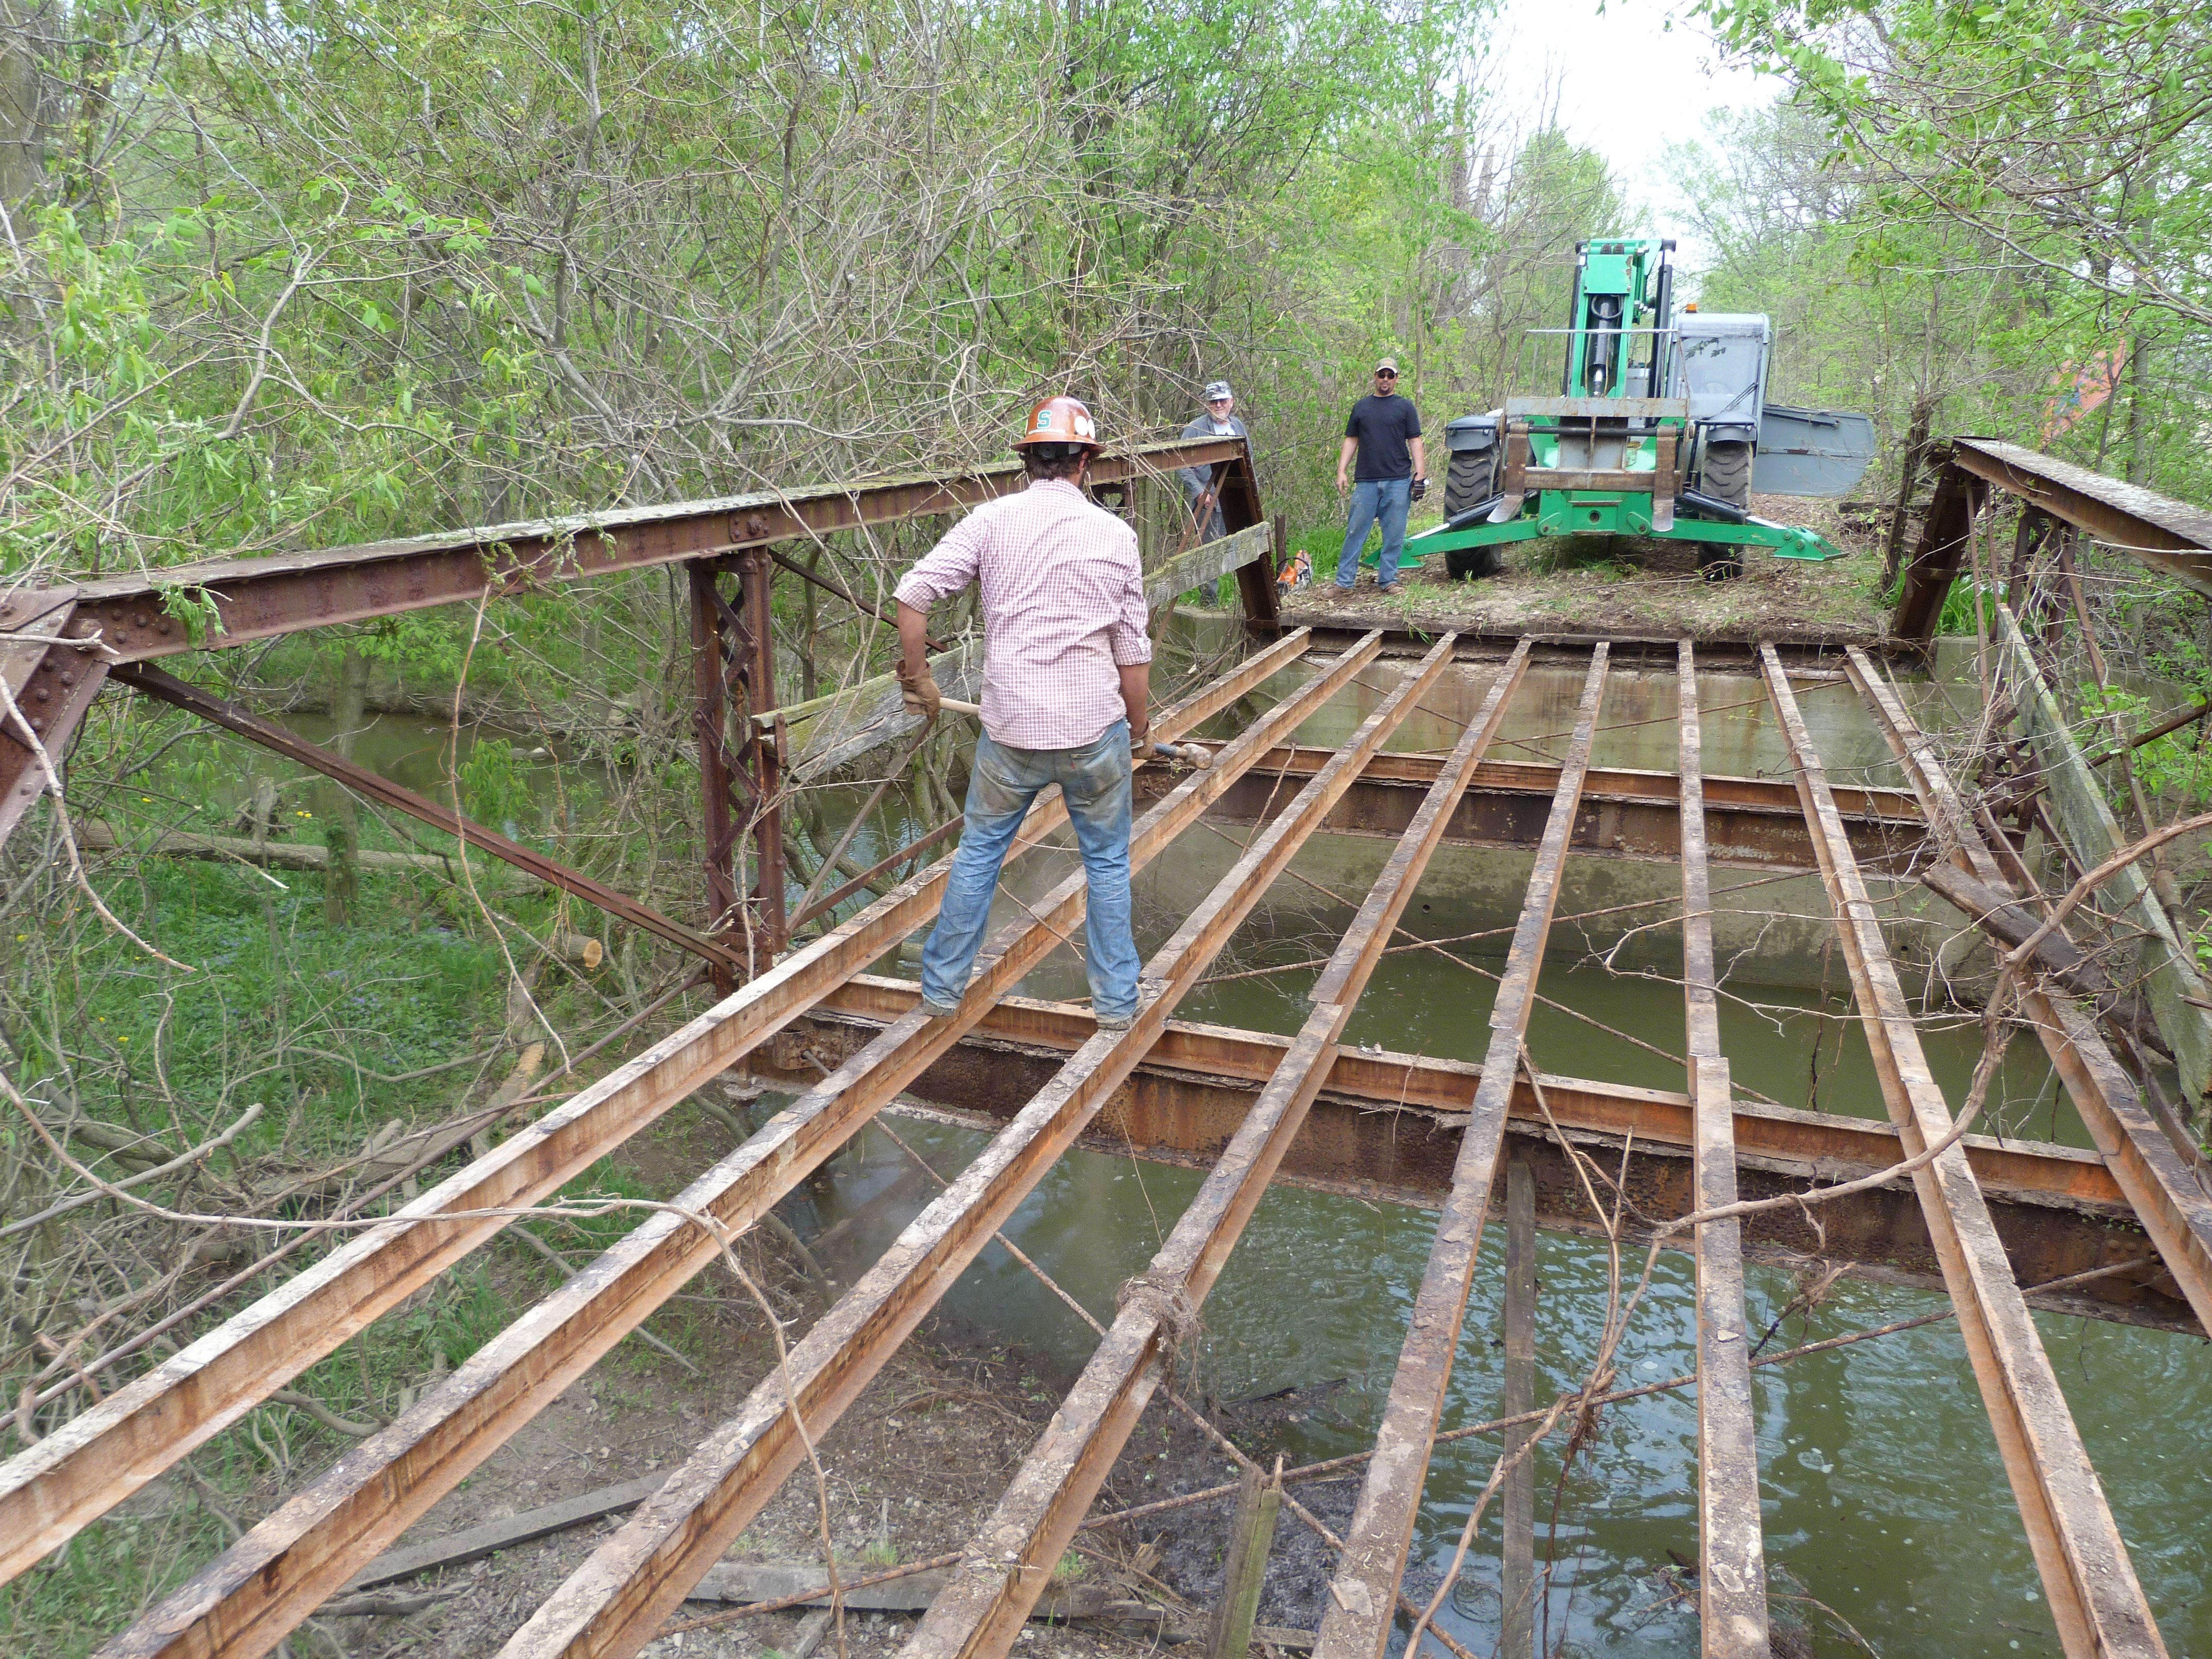
Bridge deck partially removed.
![]()


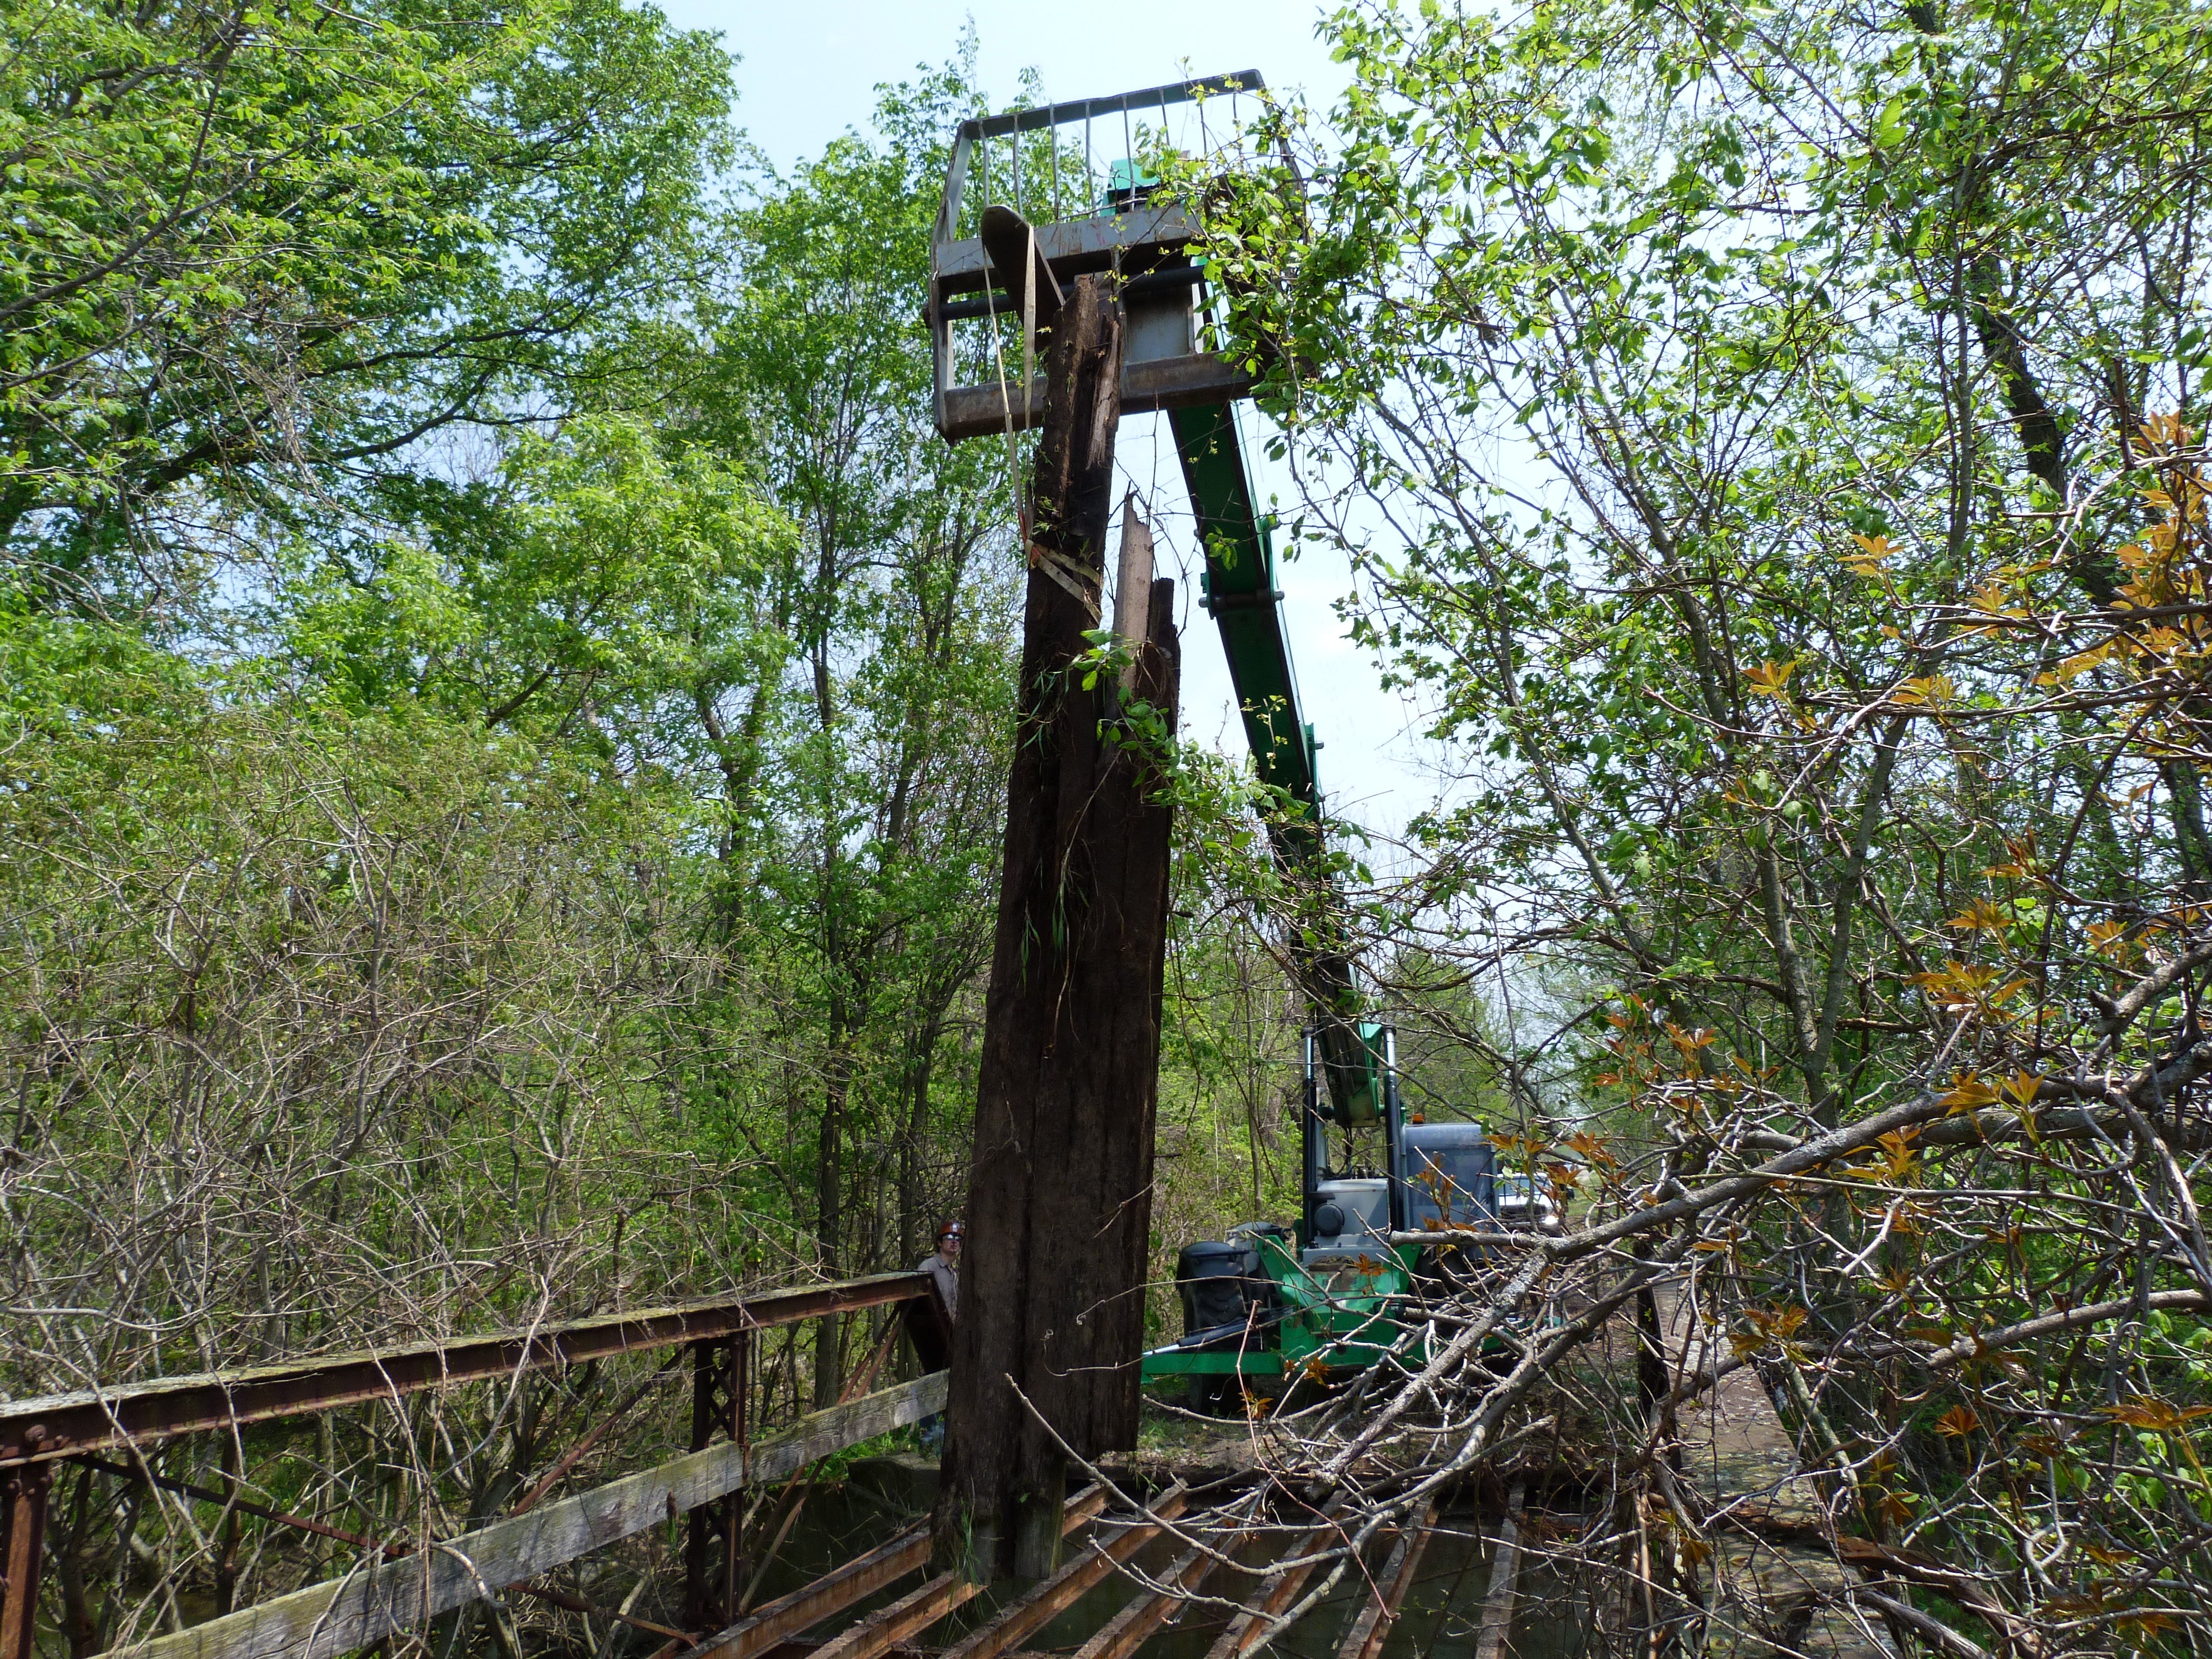


Picking pieces of the deck off the bridge with the crane.
![]()
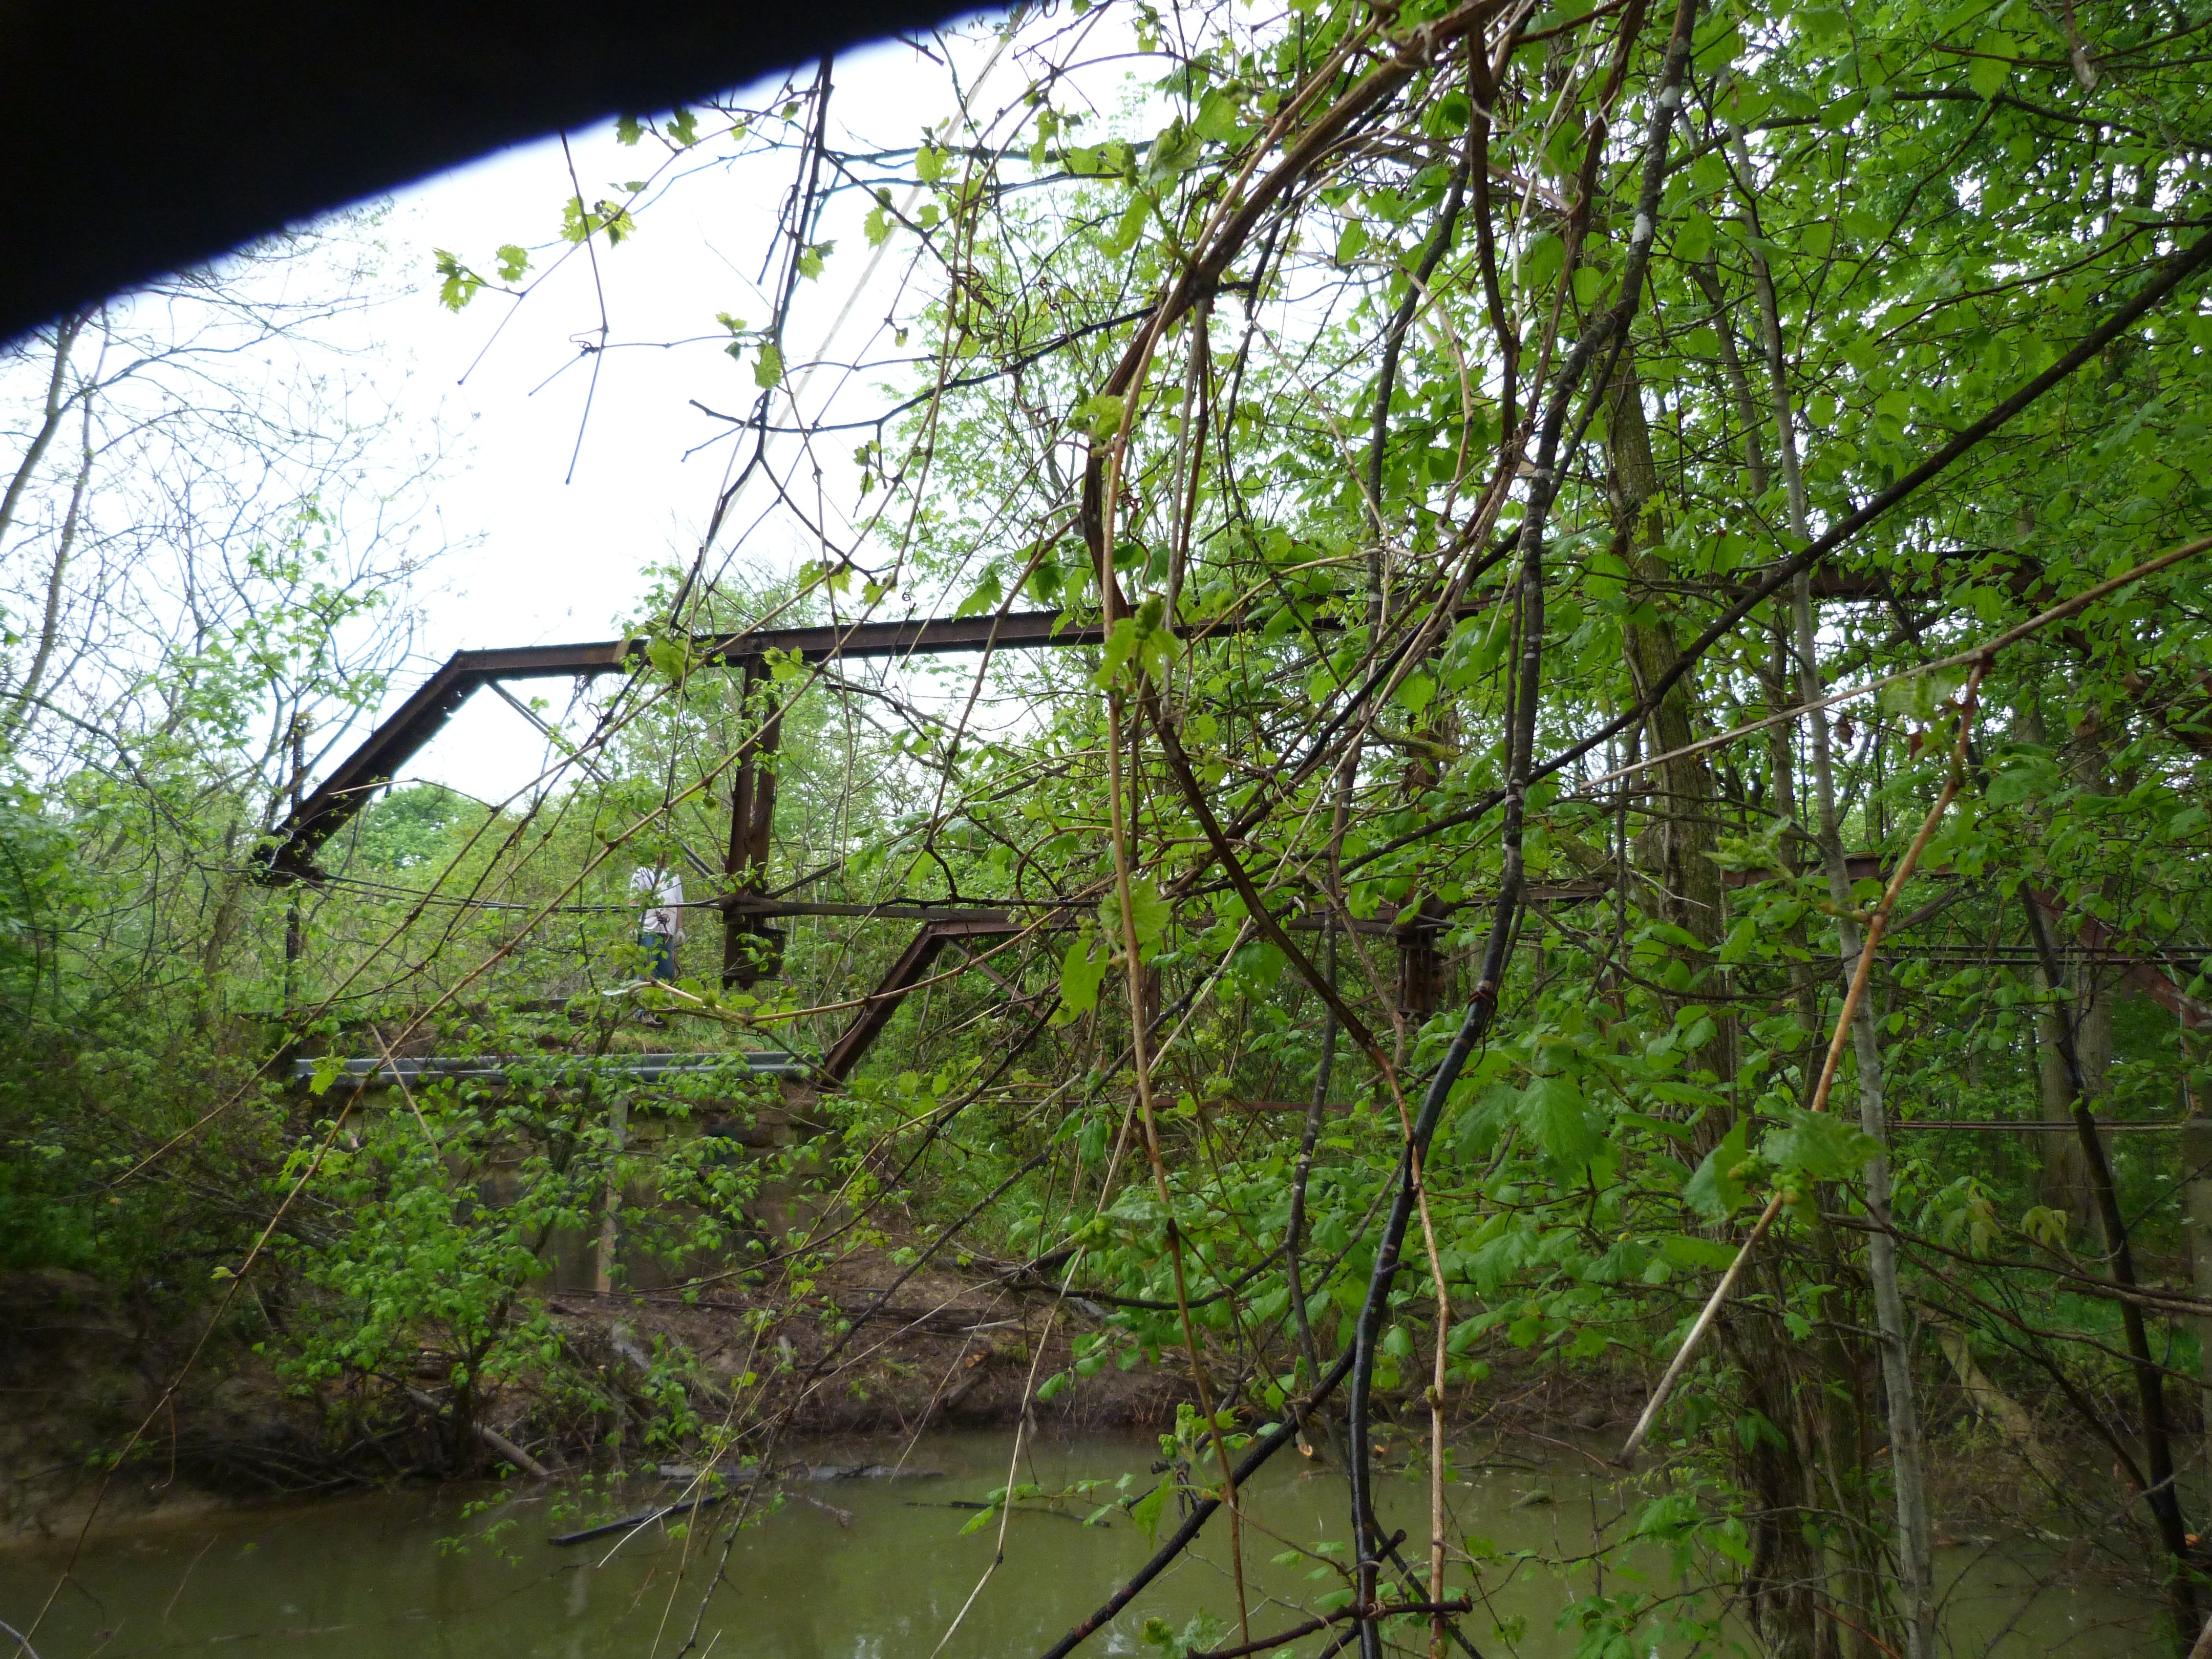
Looking west from the bridge.
![]()

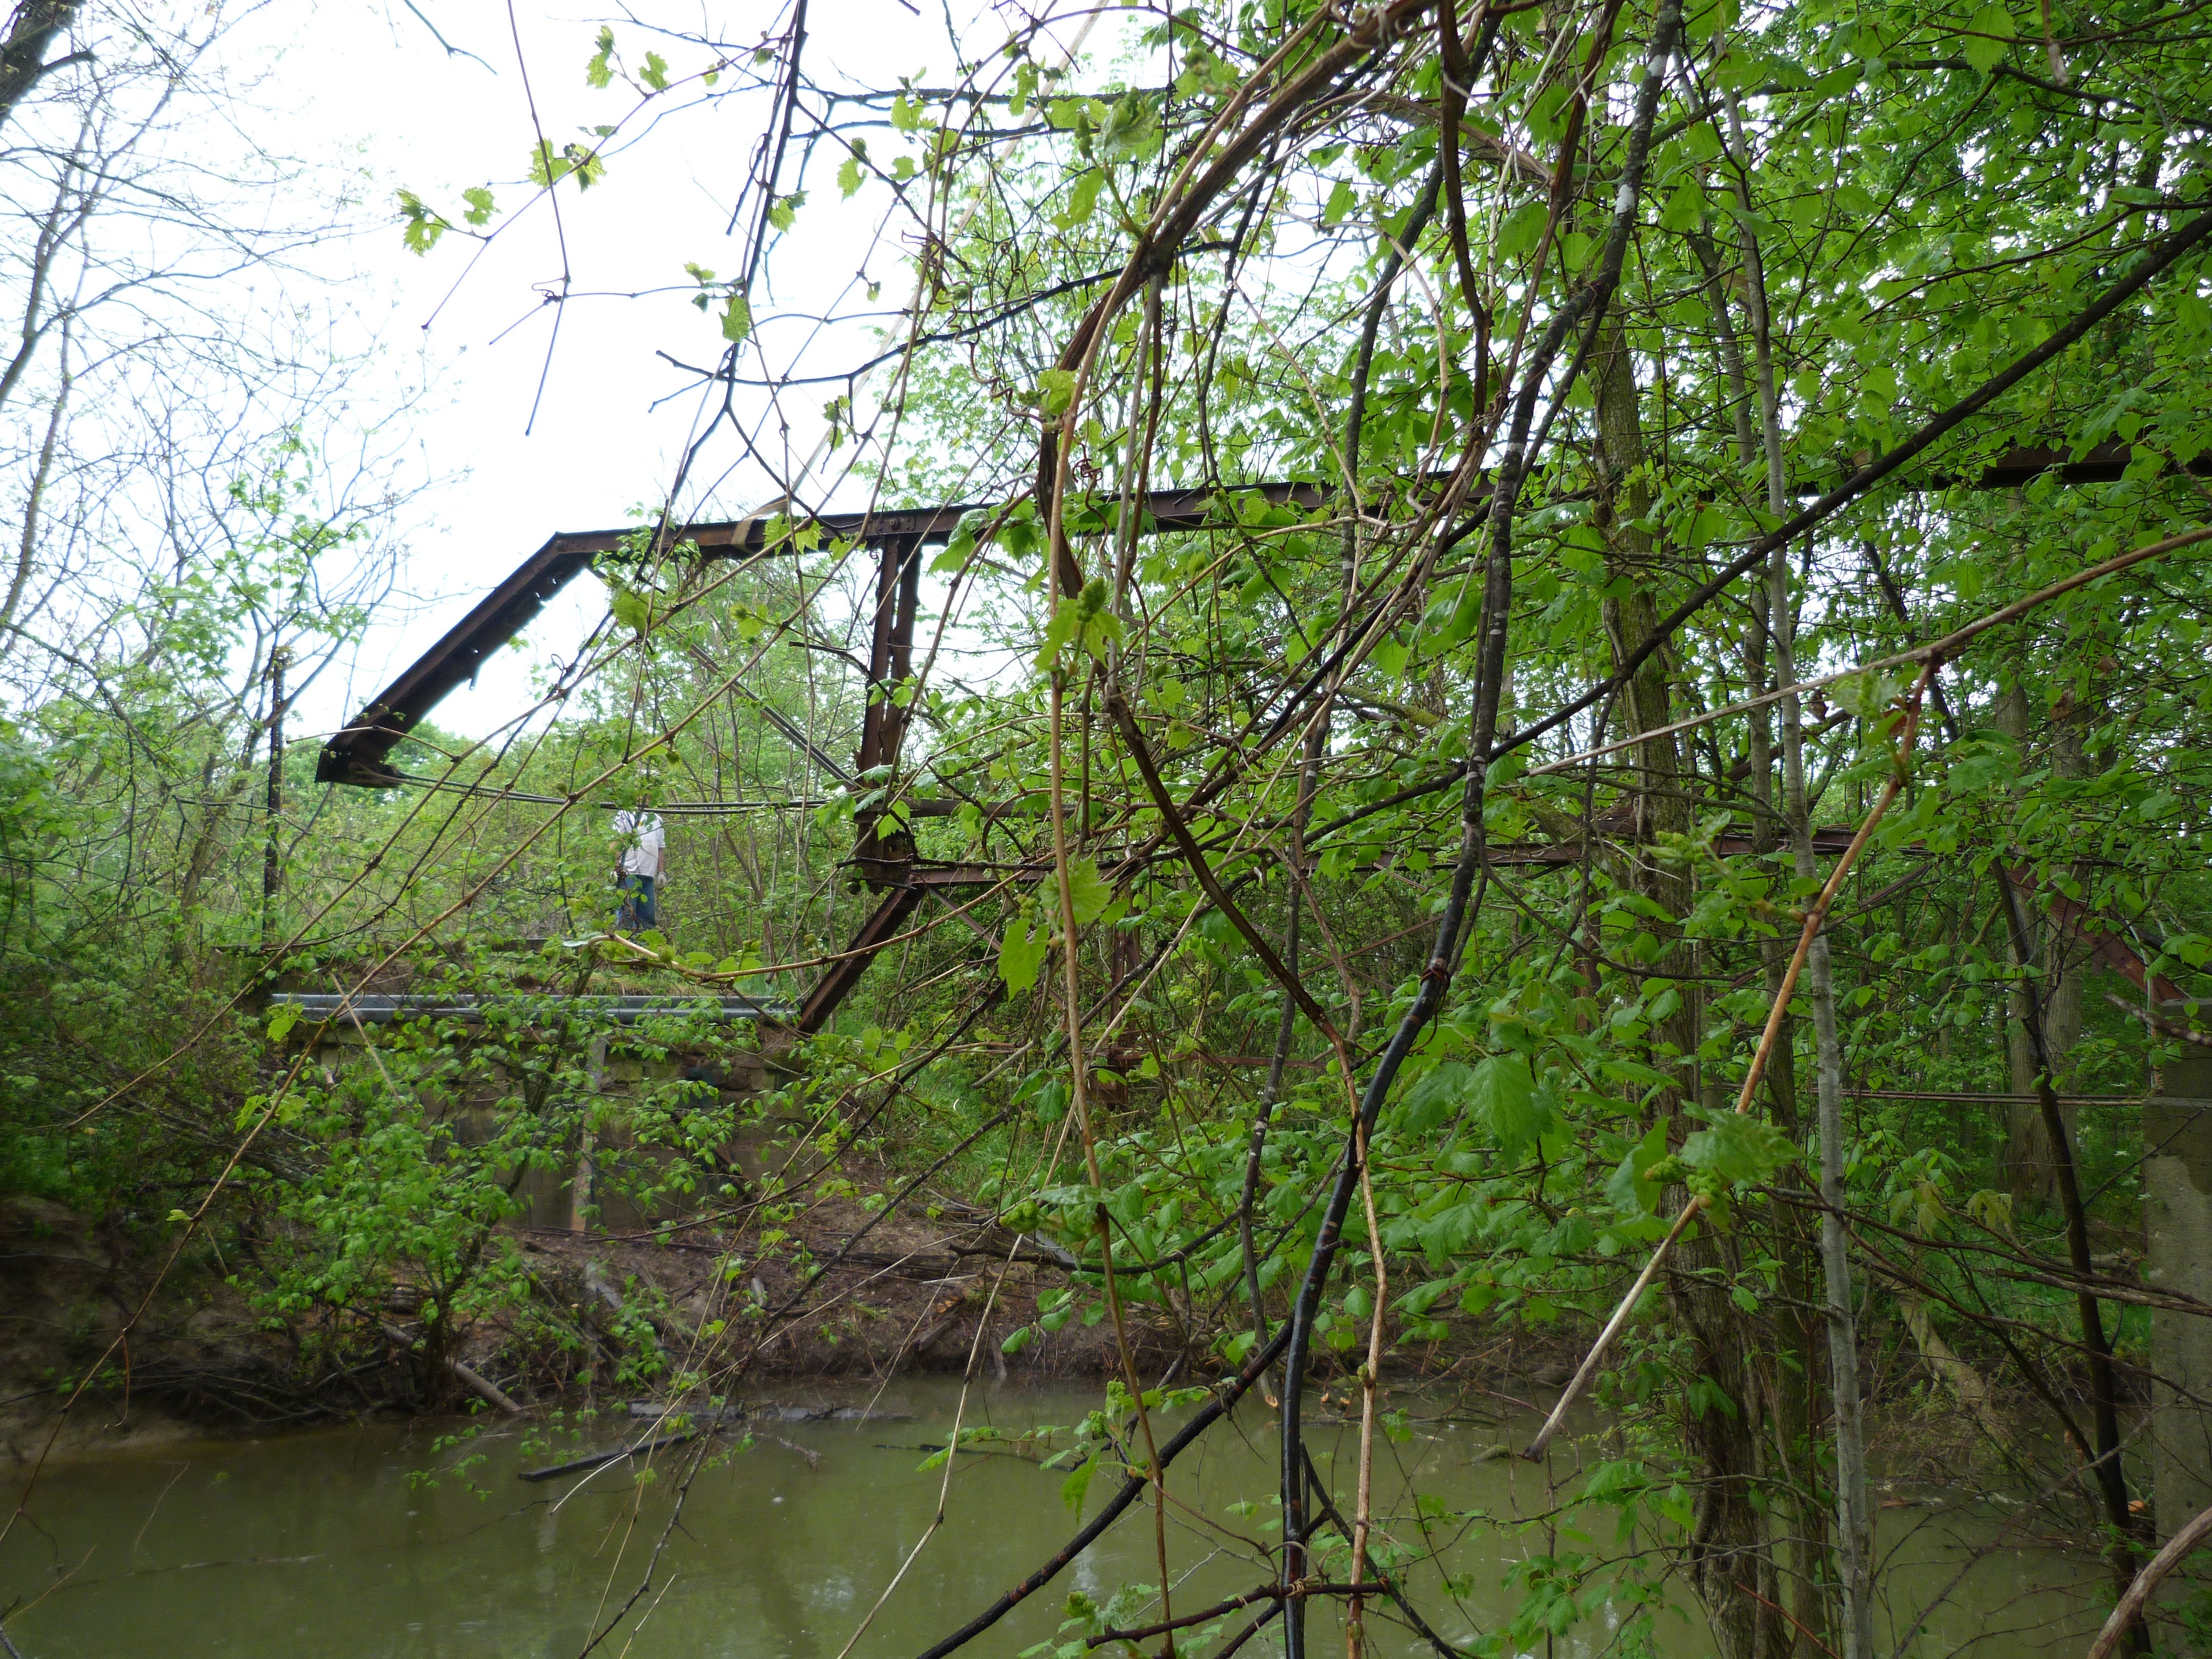
Looking east from the bridge.
![]()
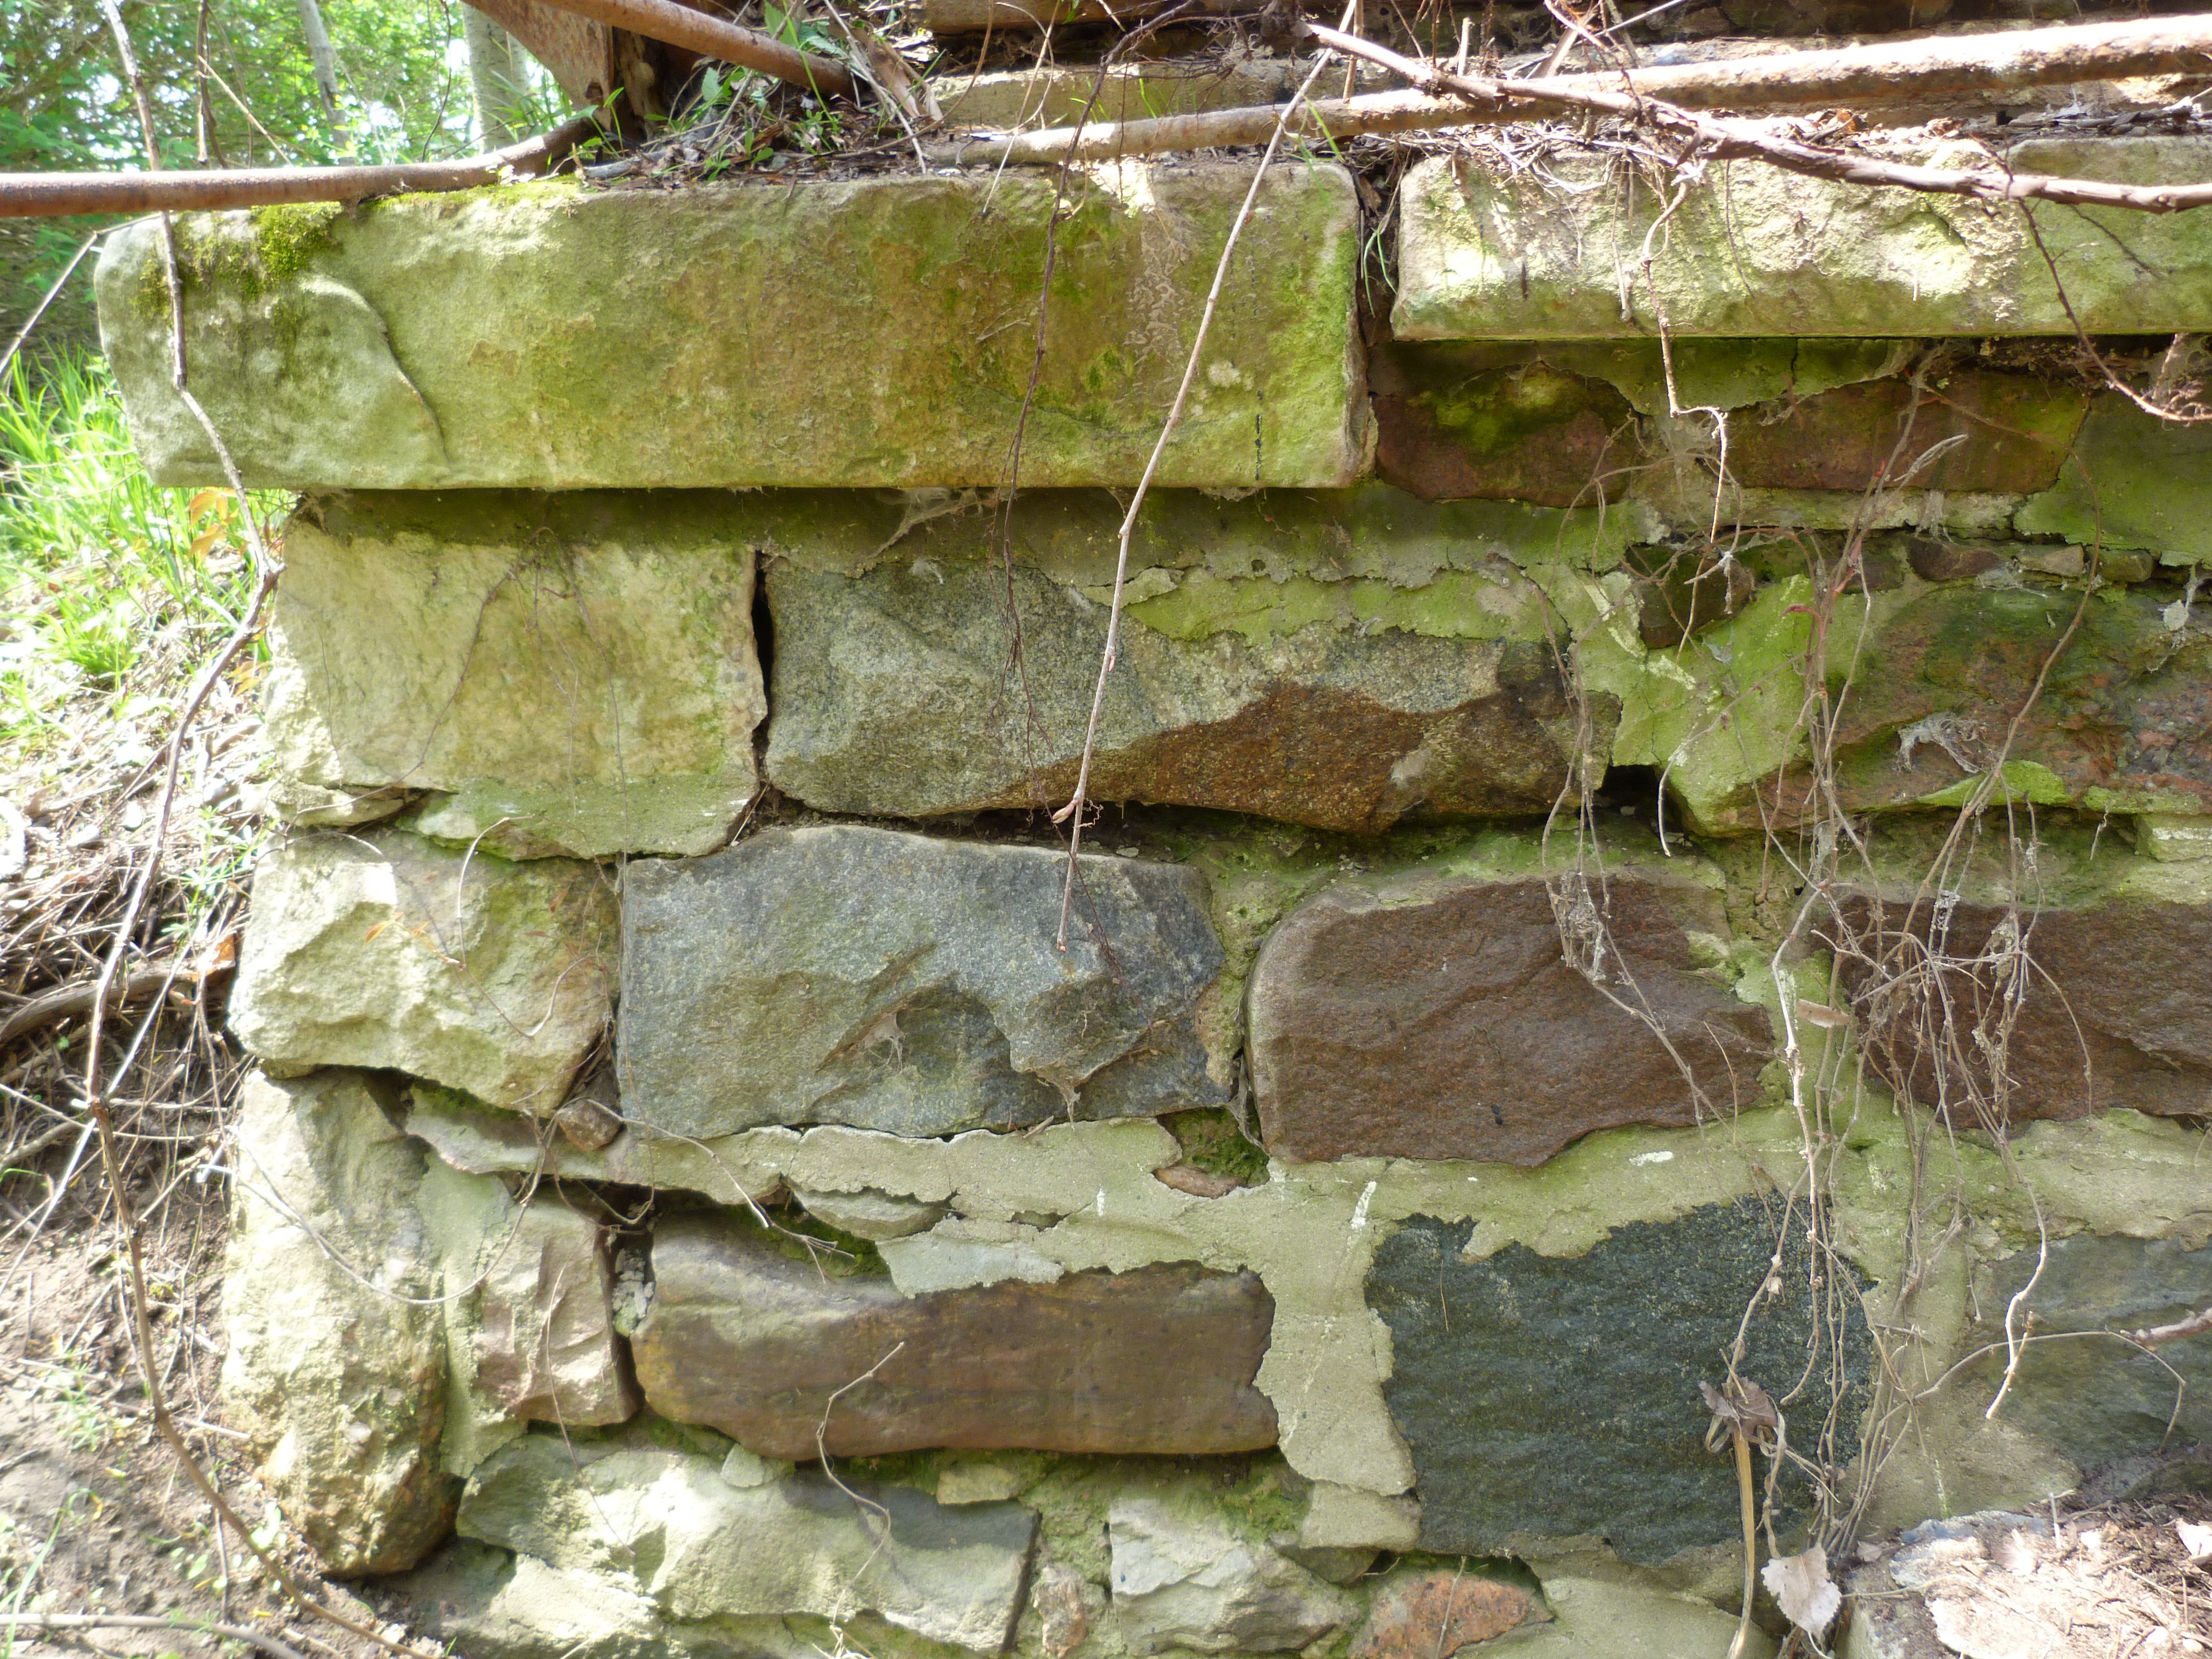
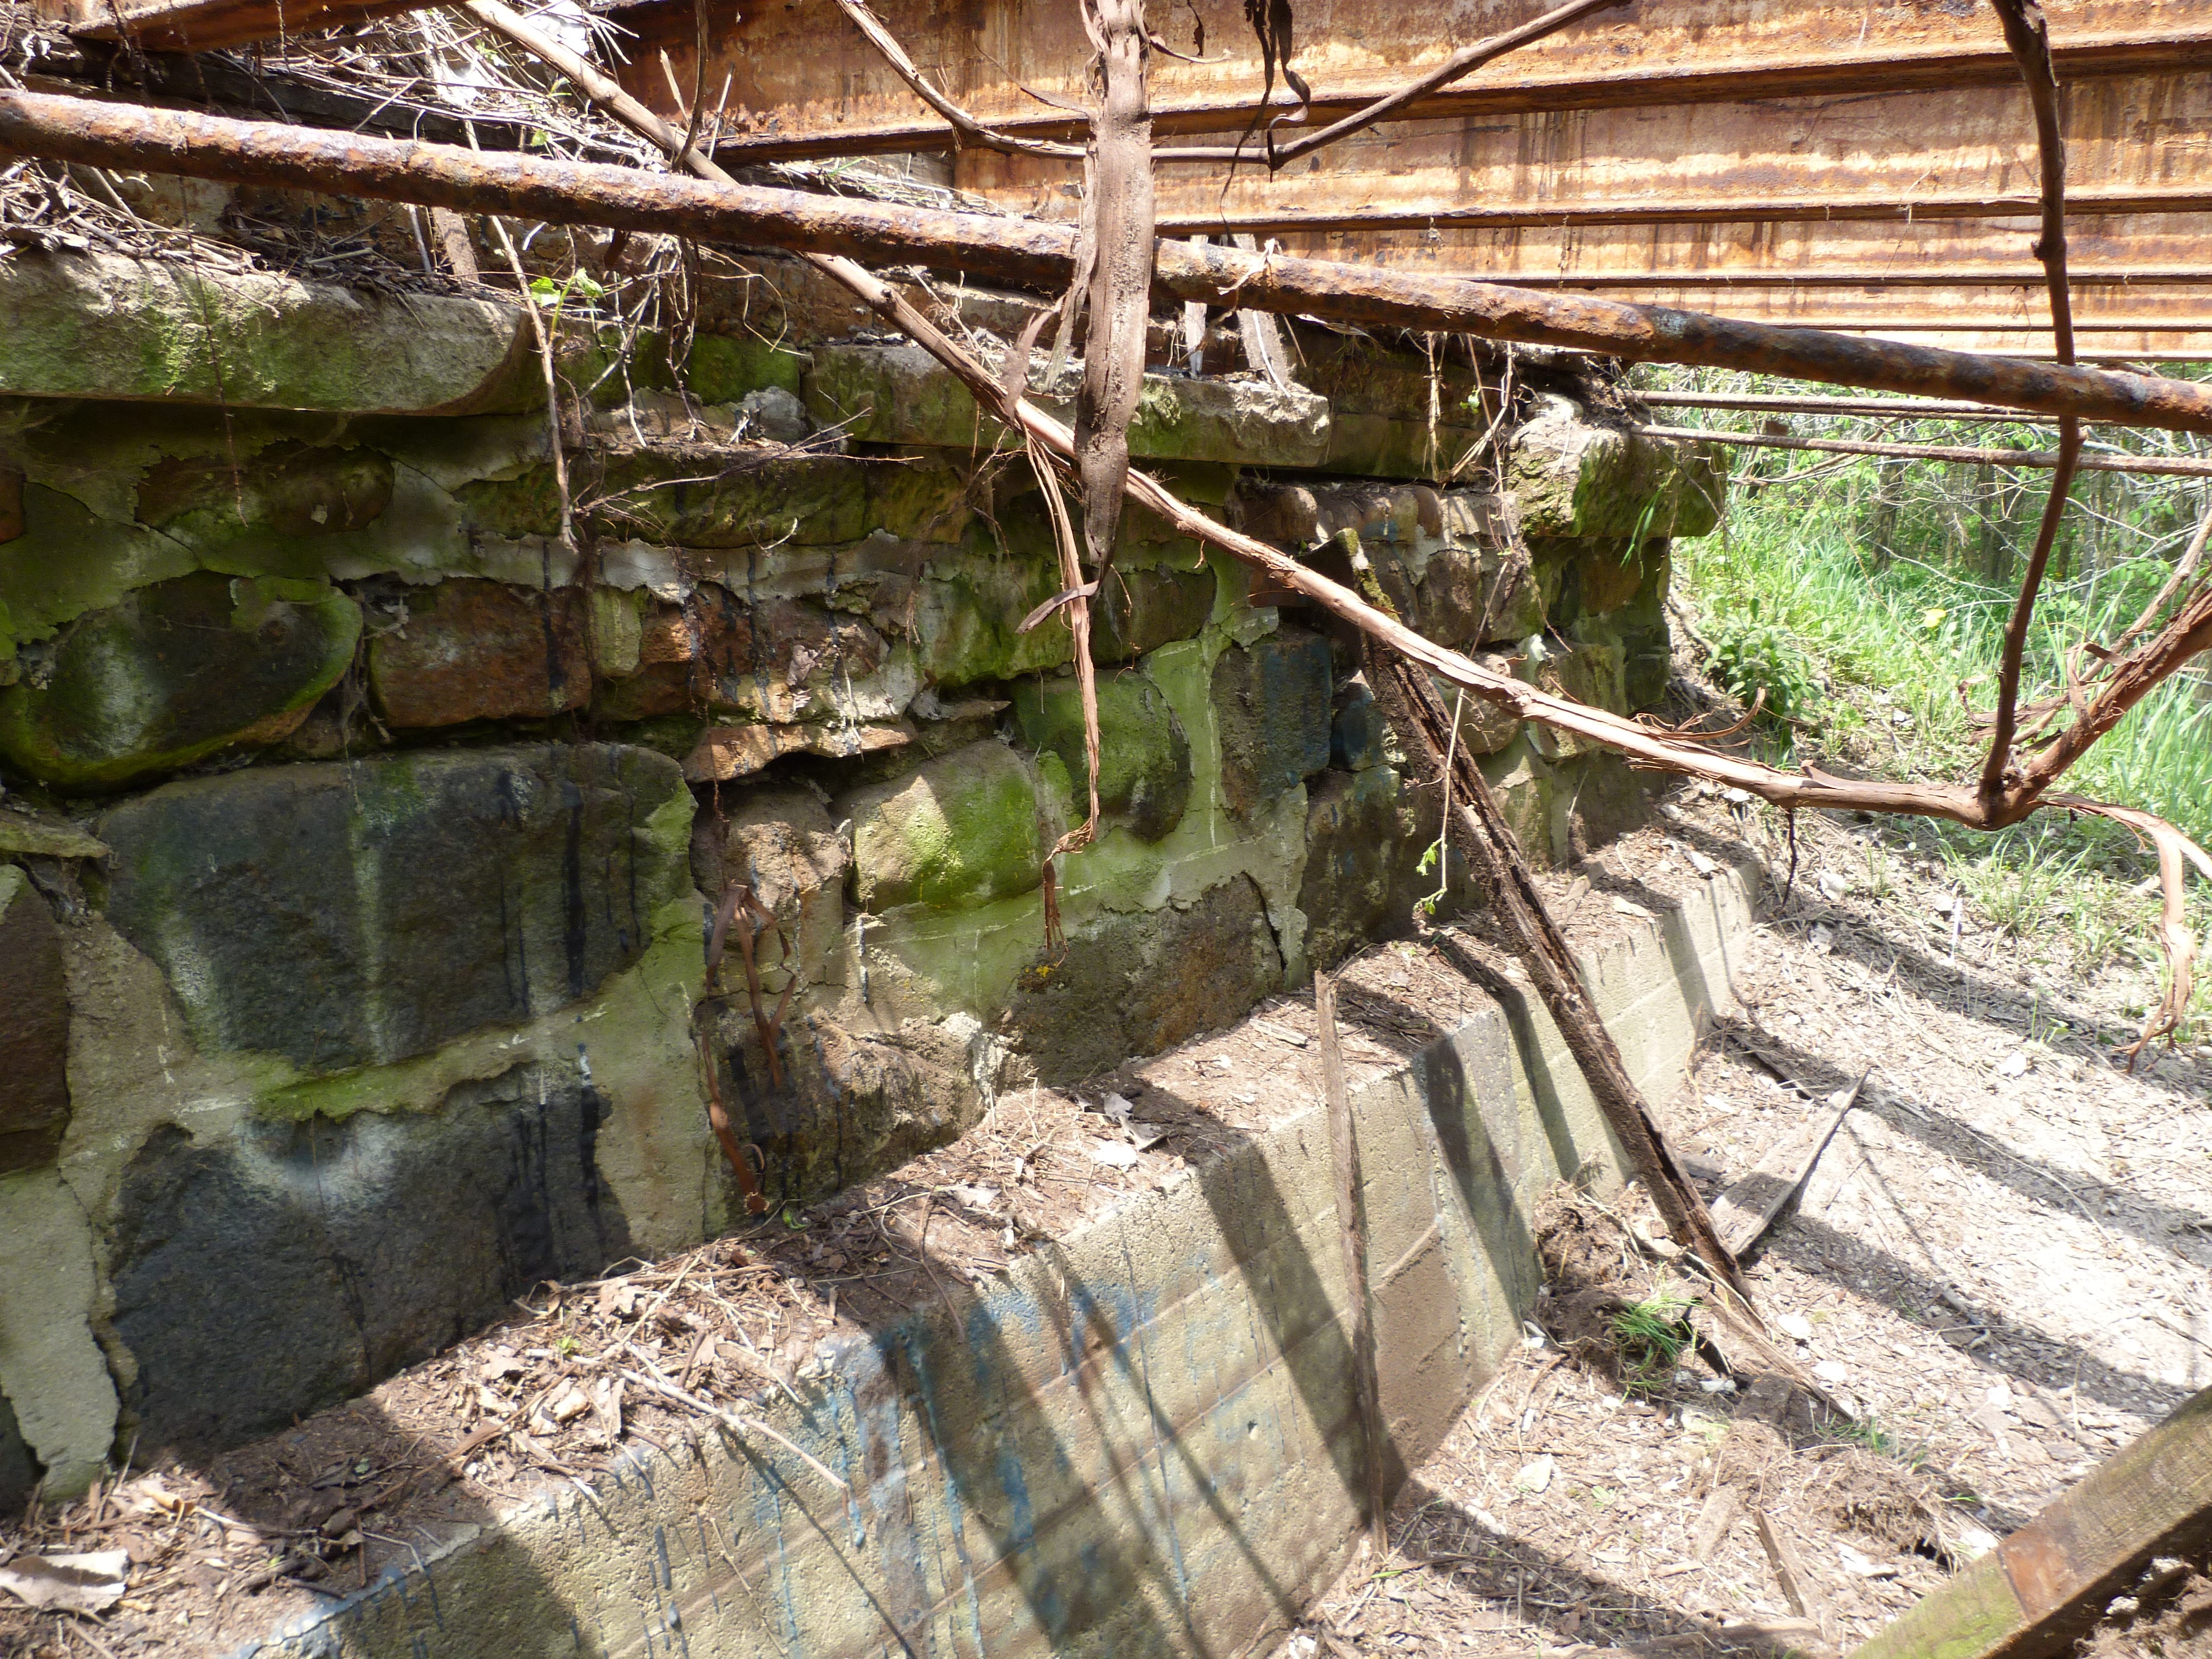
North abutment.
![]()

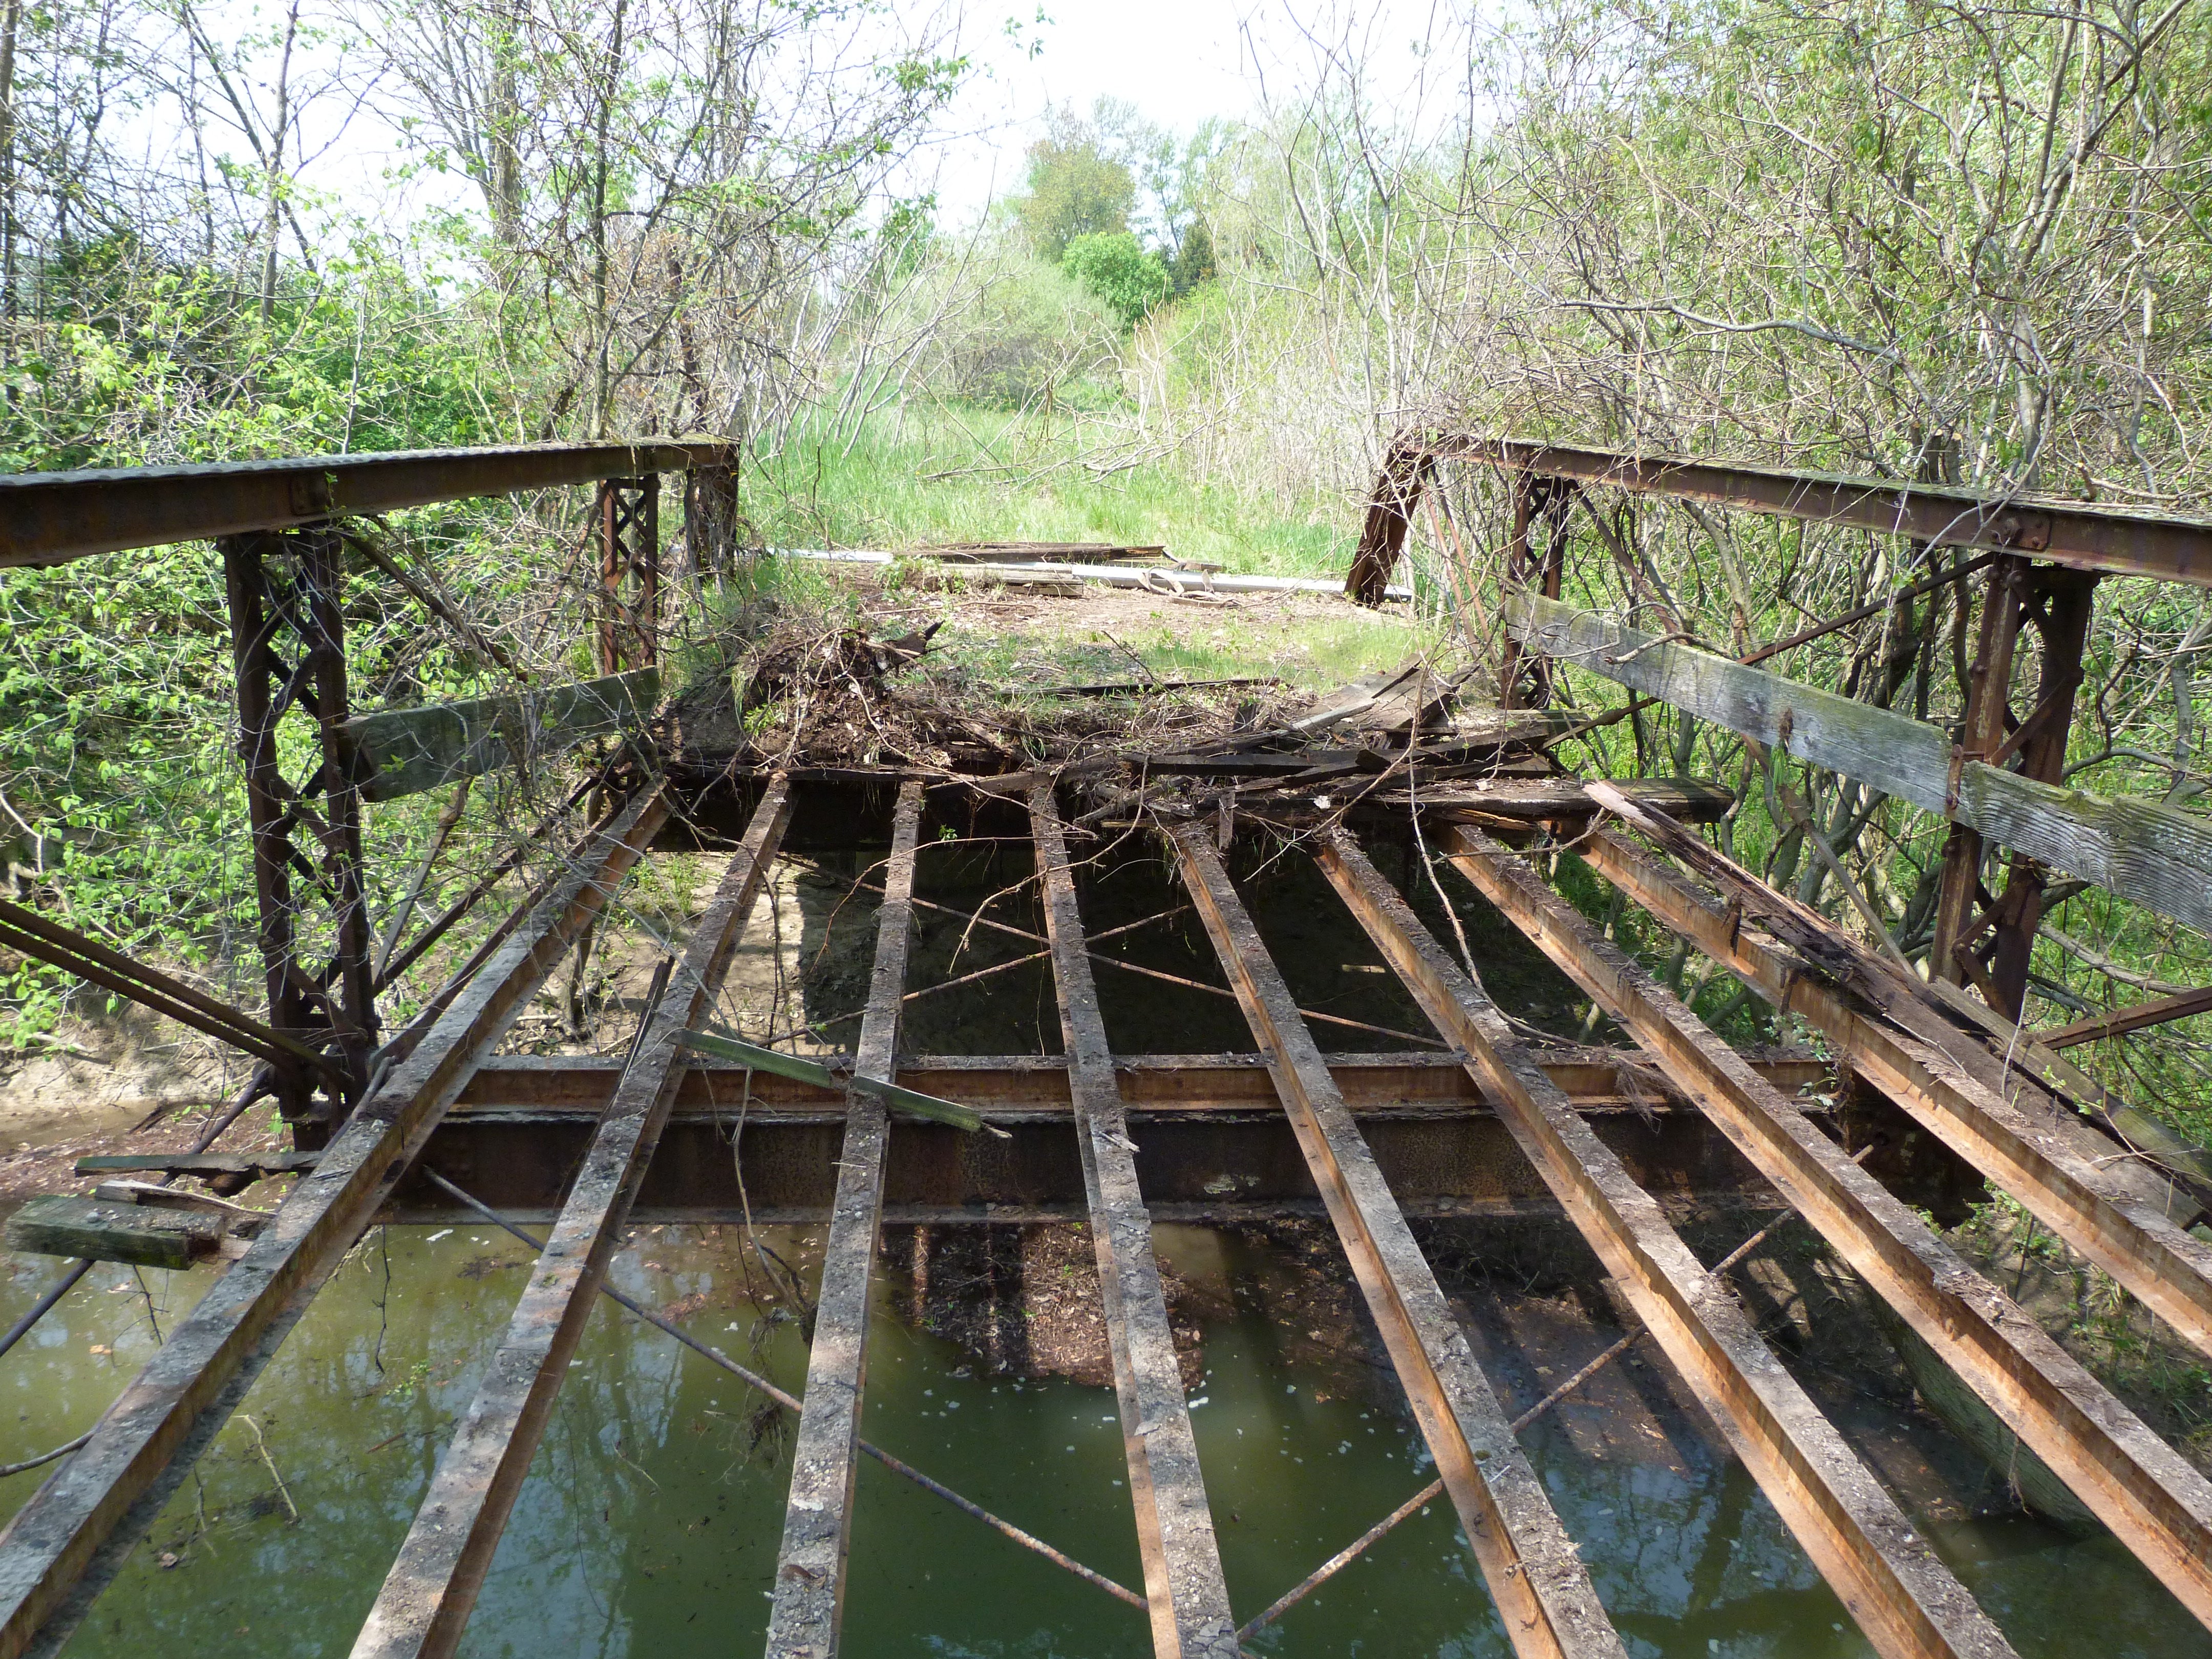
Bridge with deck removed.
![]()

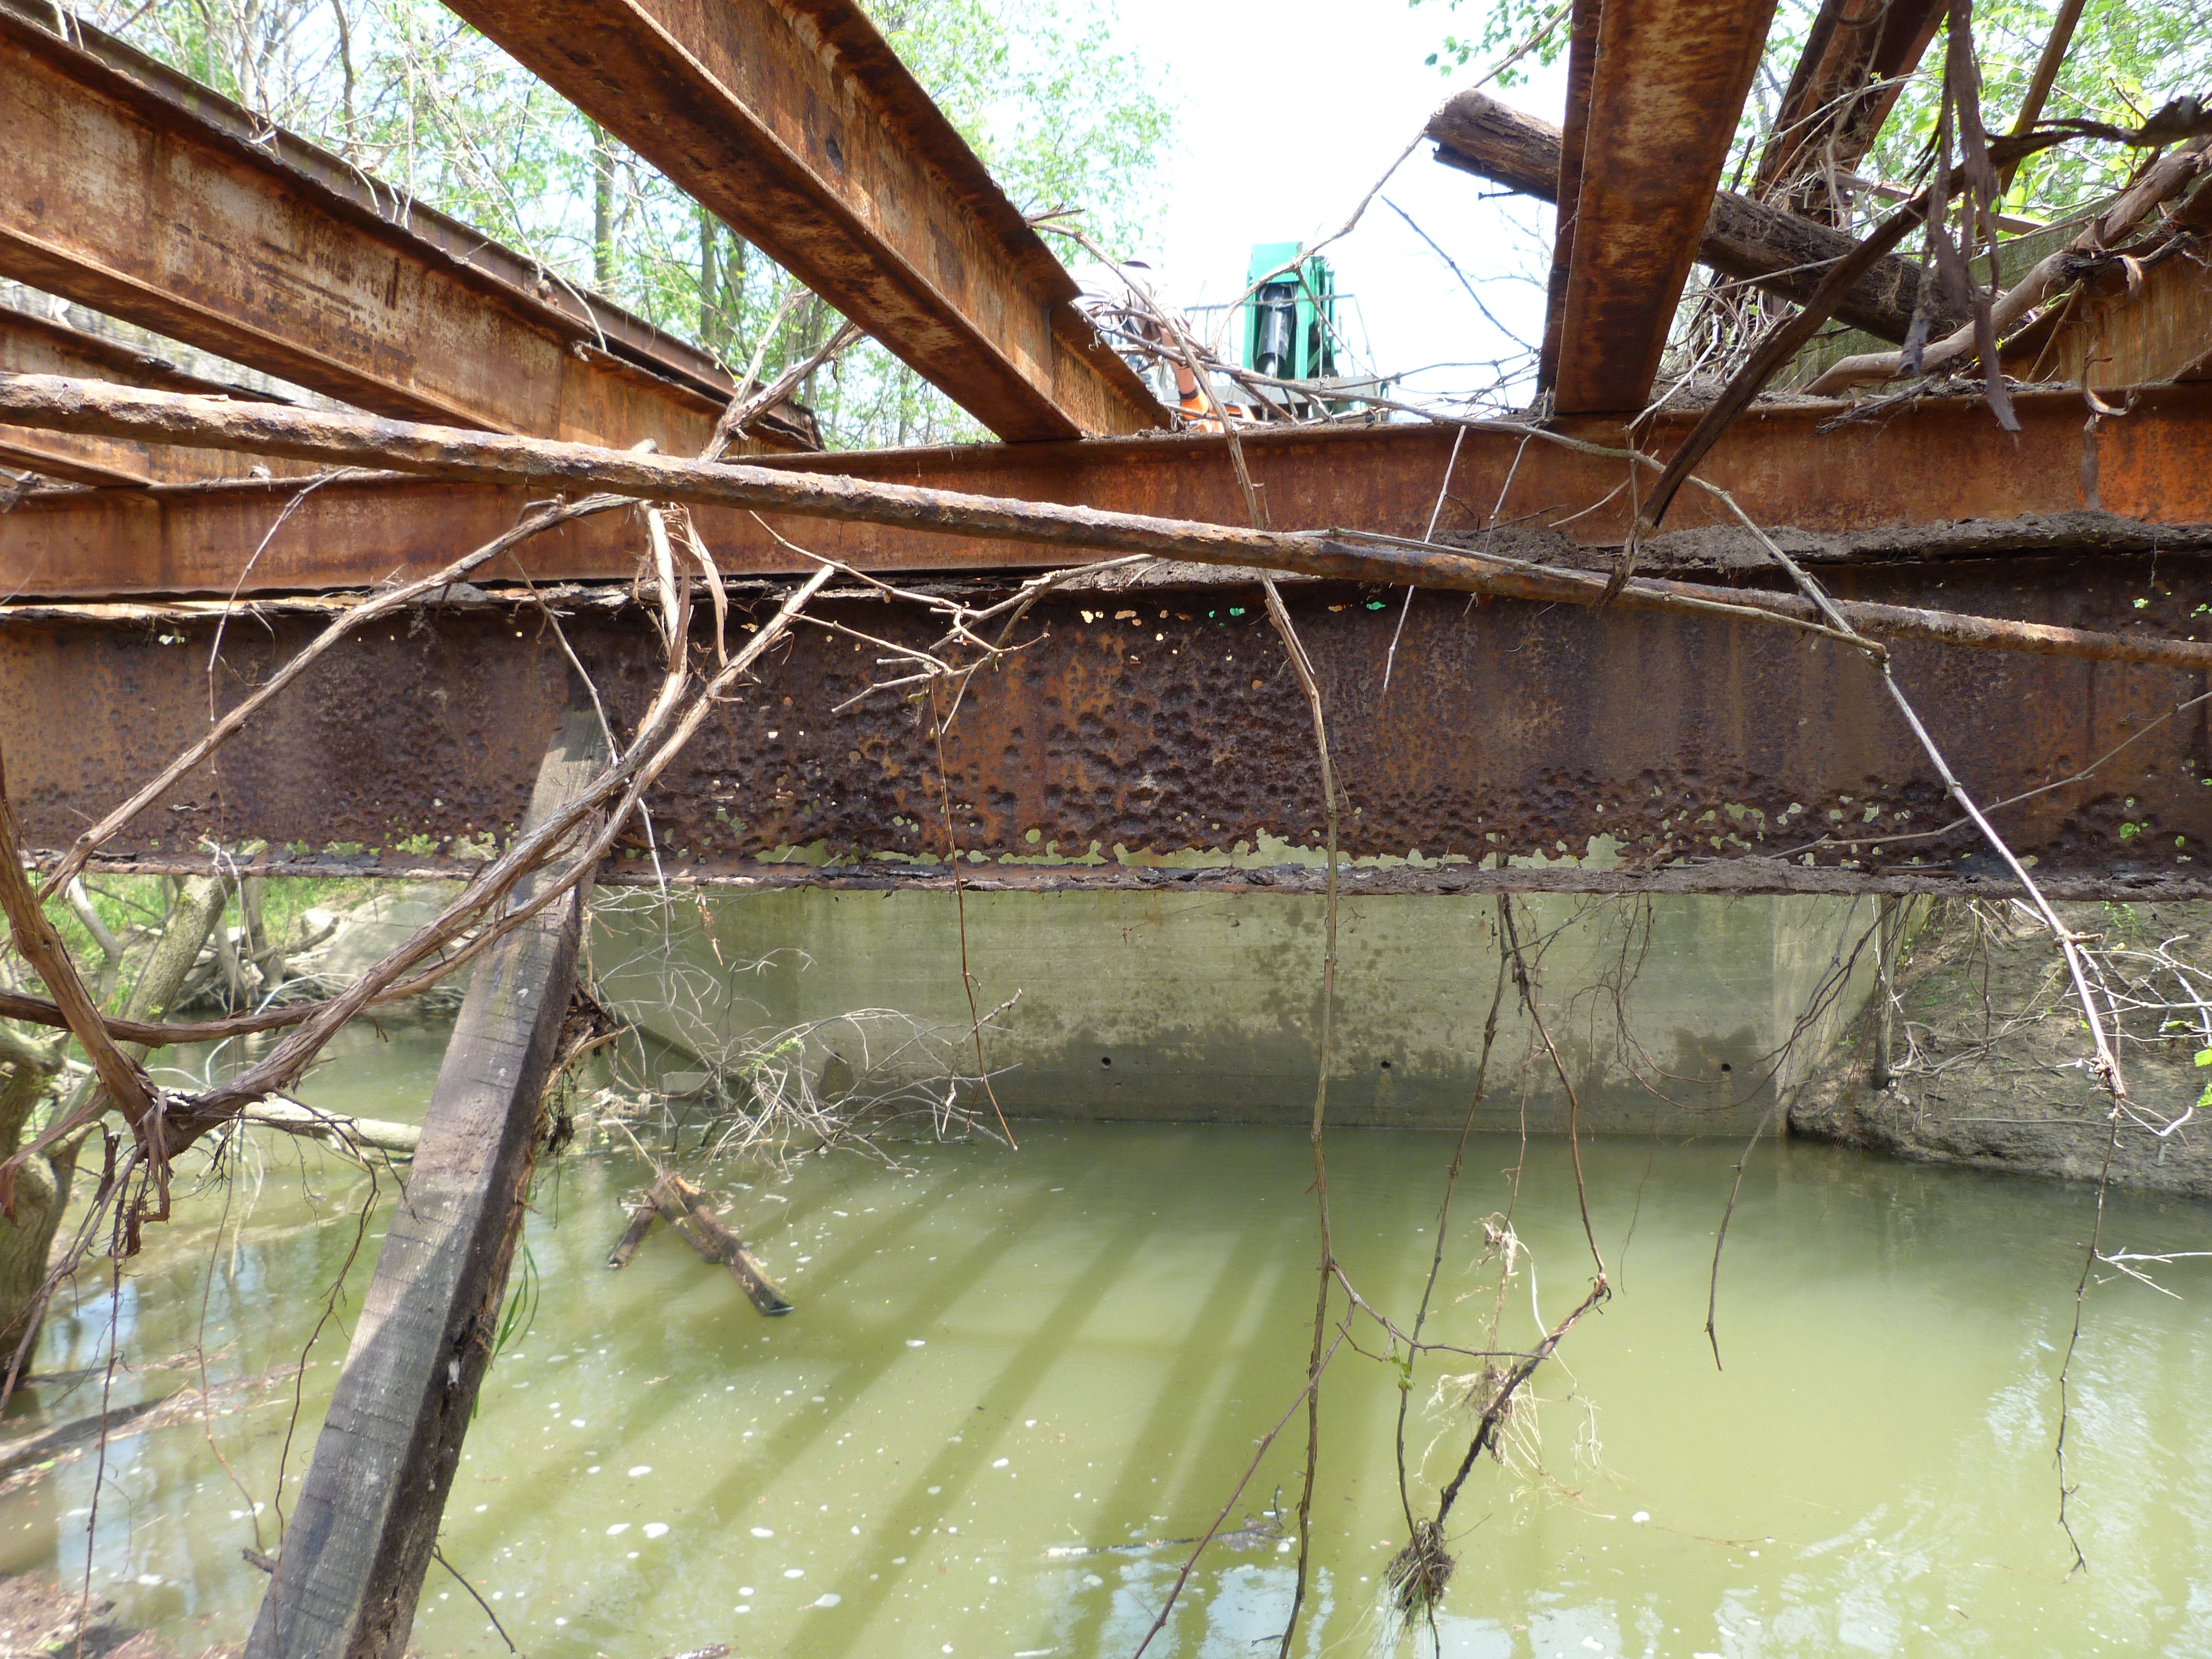
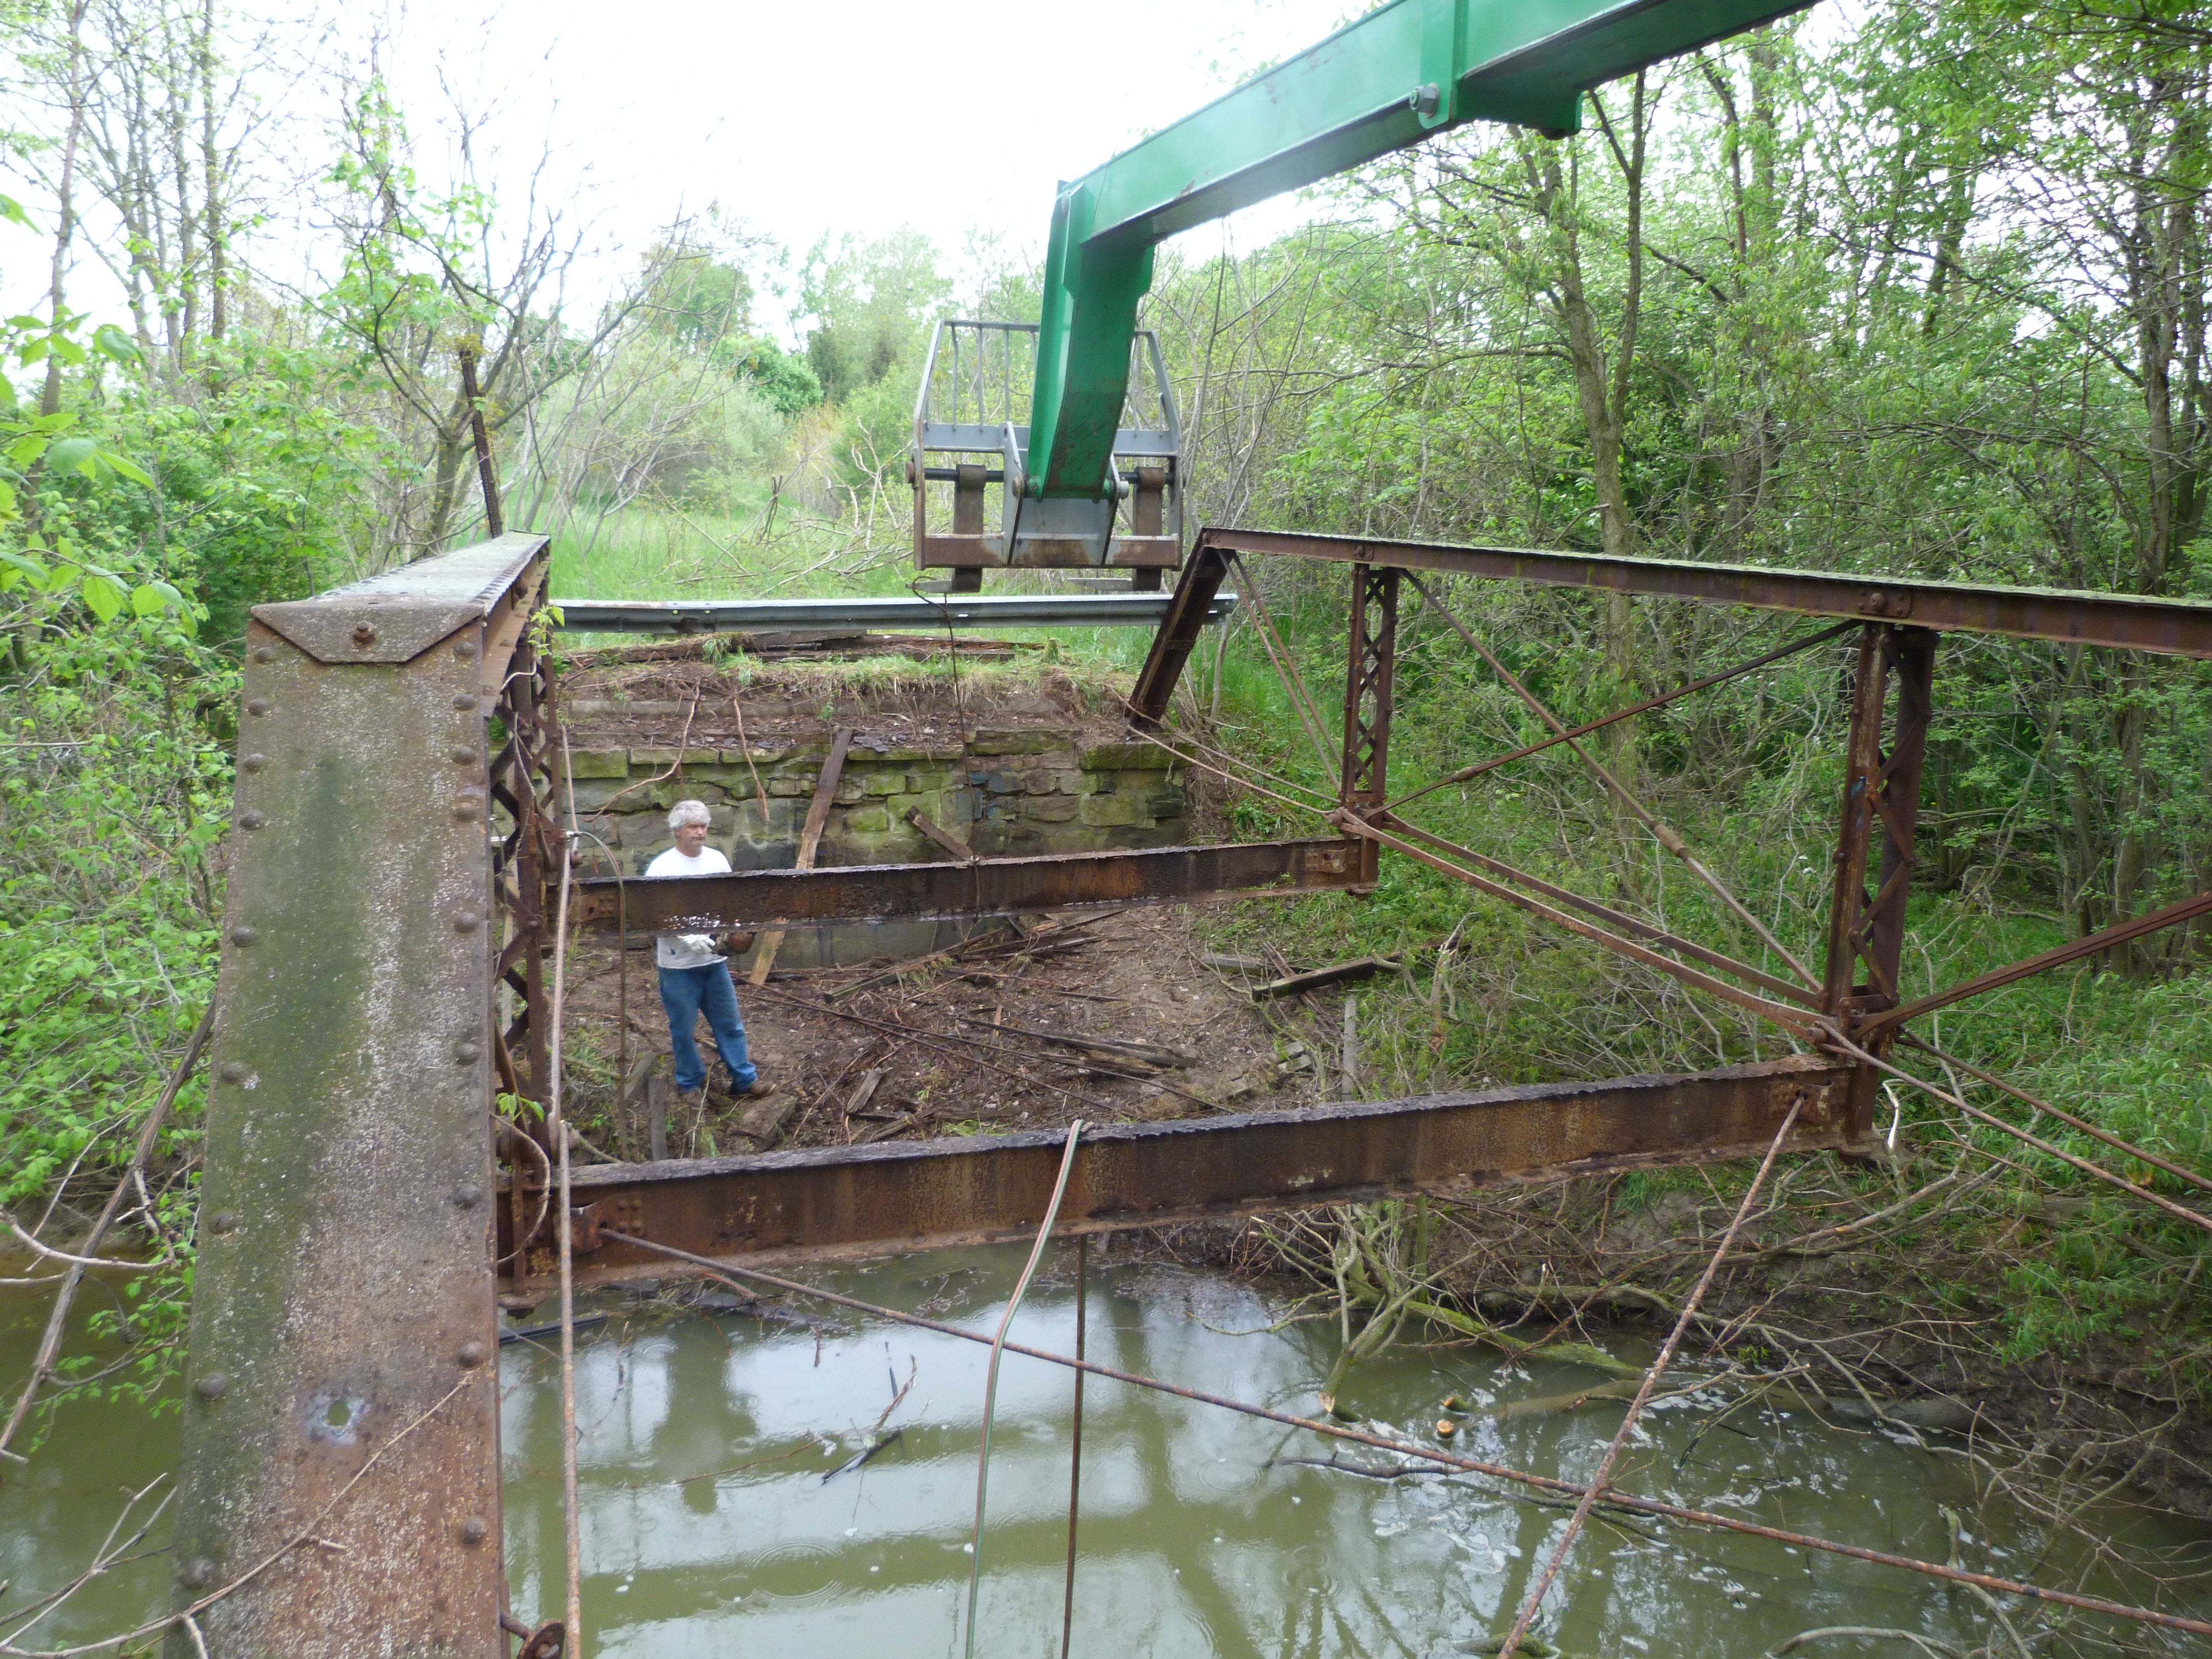
View under bridge after deck was removed.
![]()
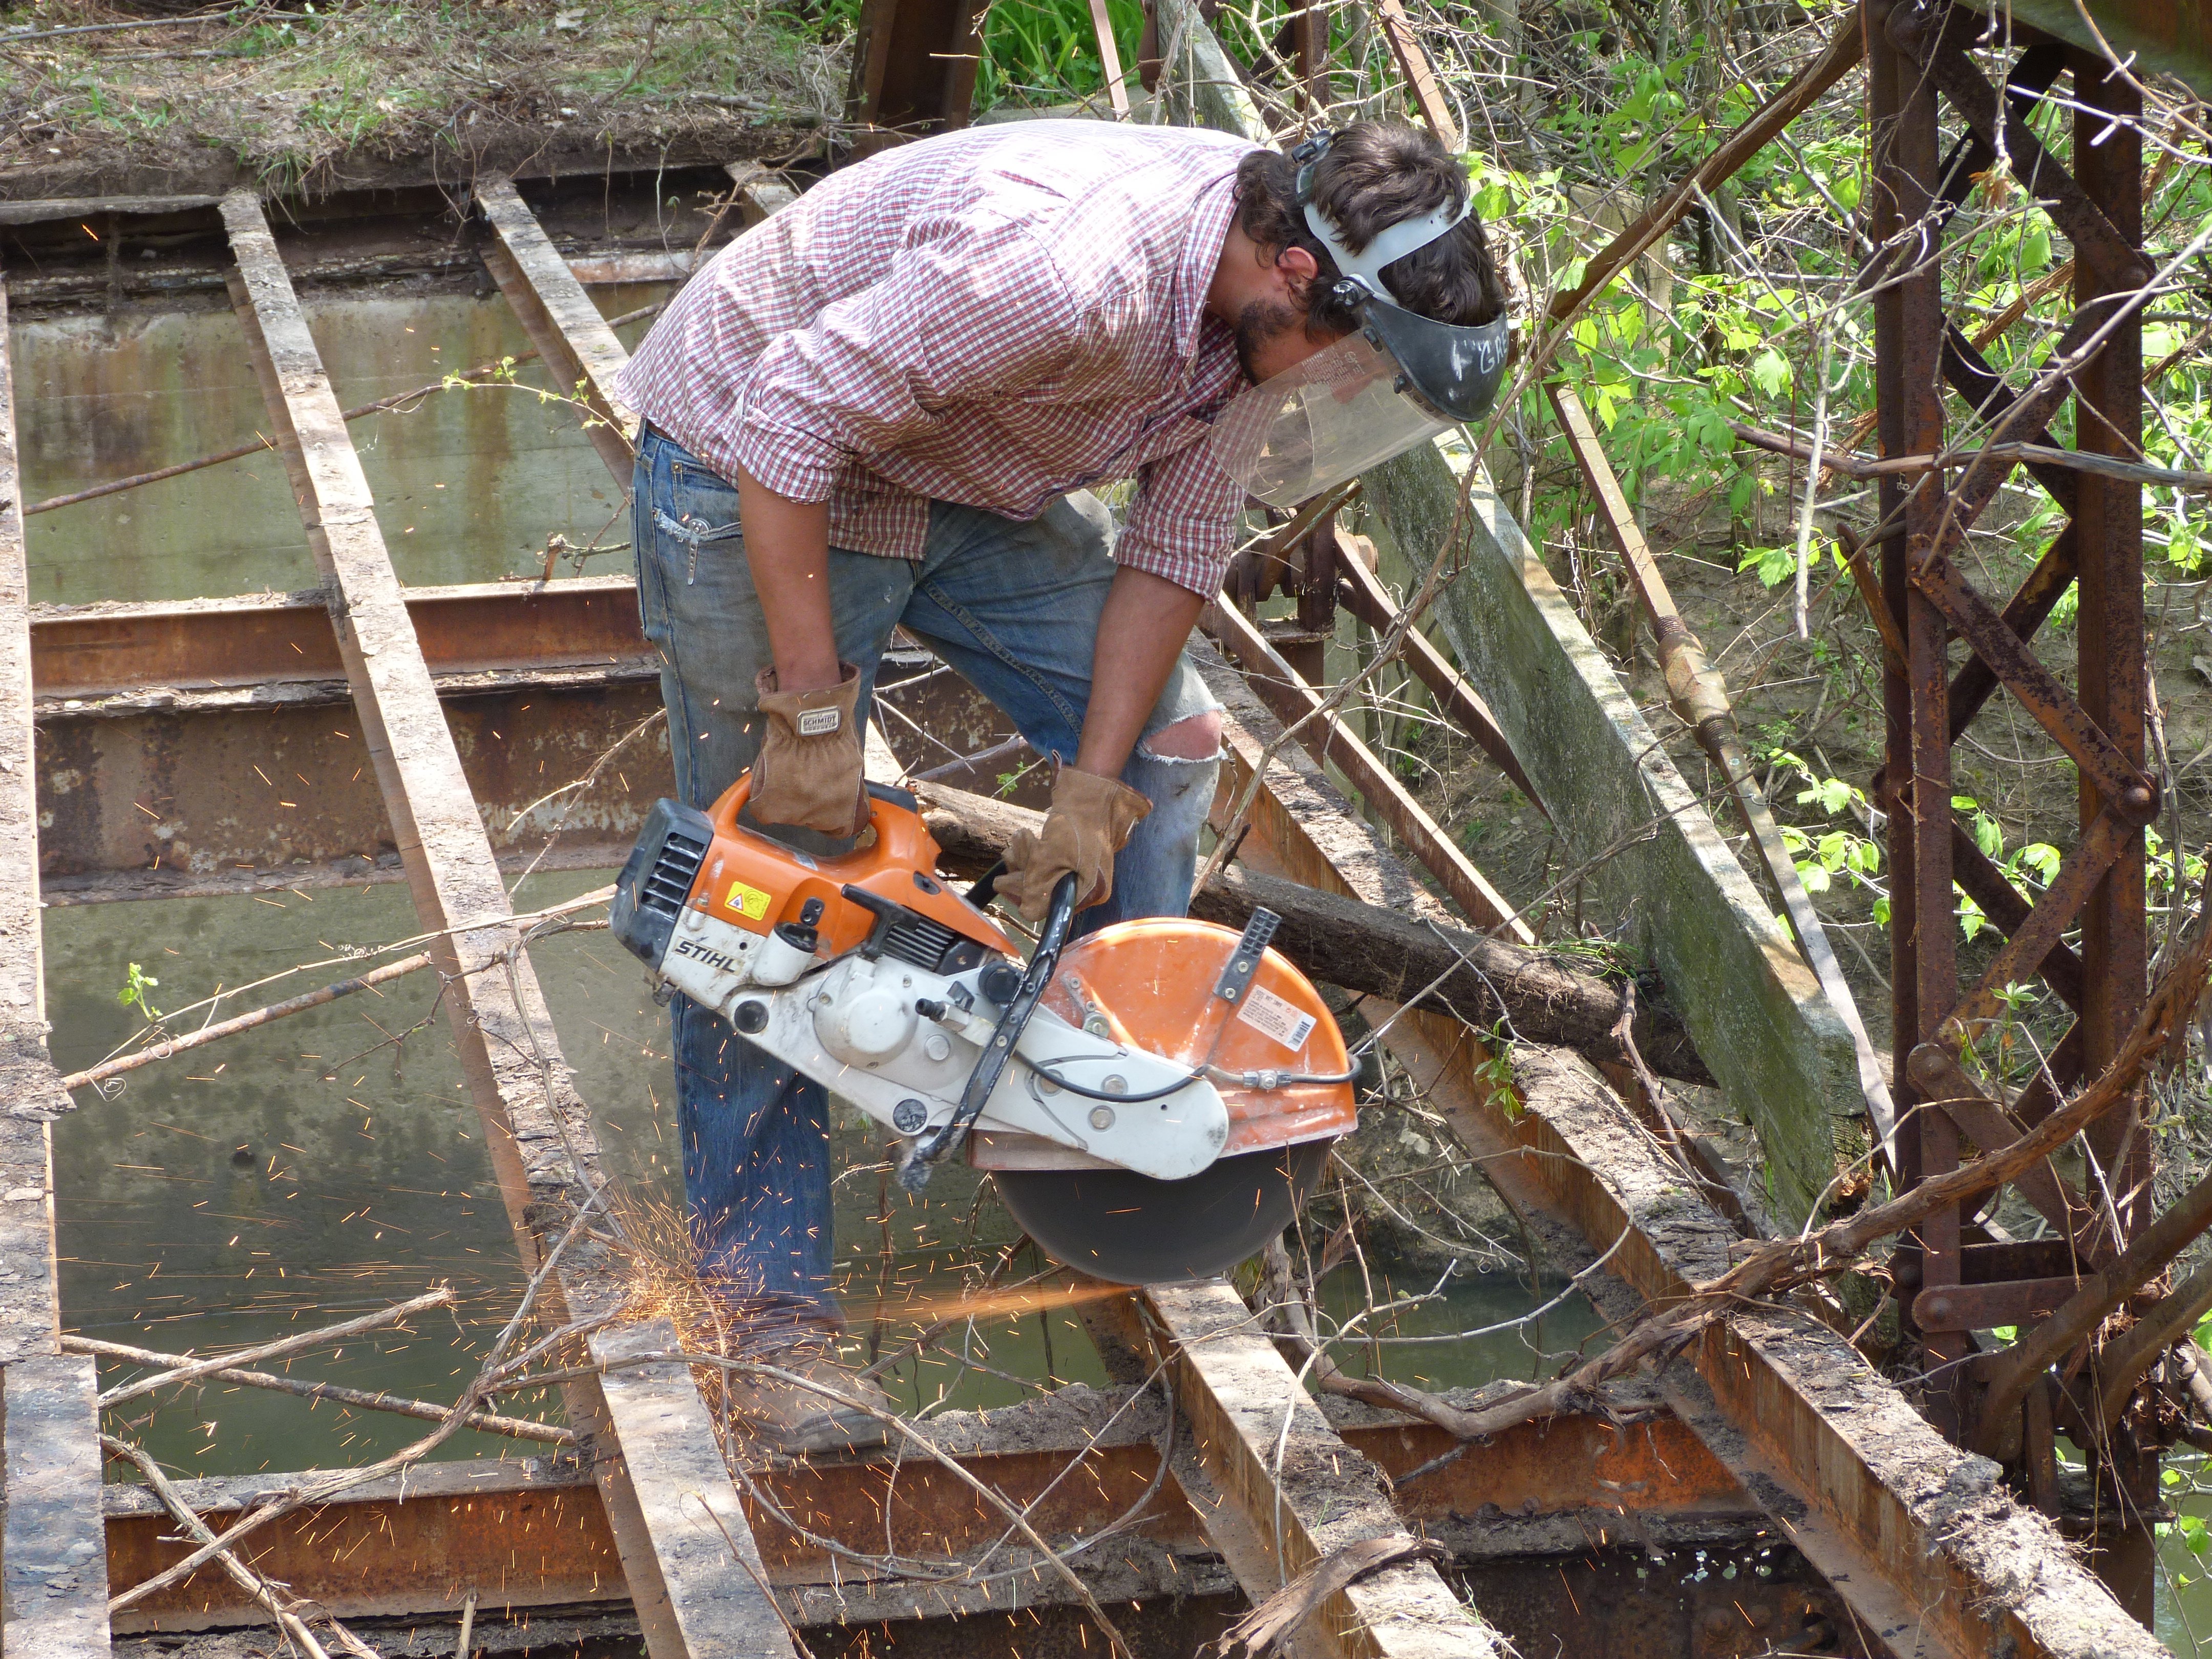


Cutting and breaking the deck stringers loose.
![]()


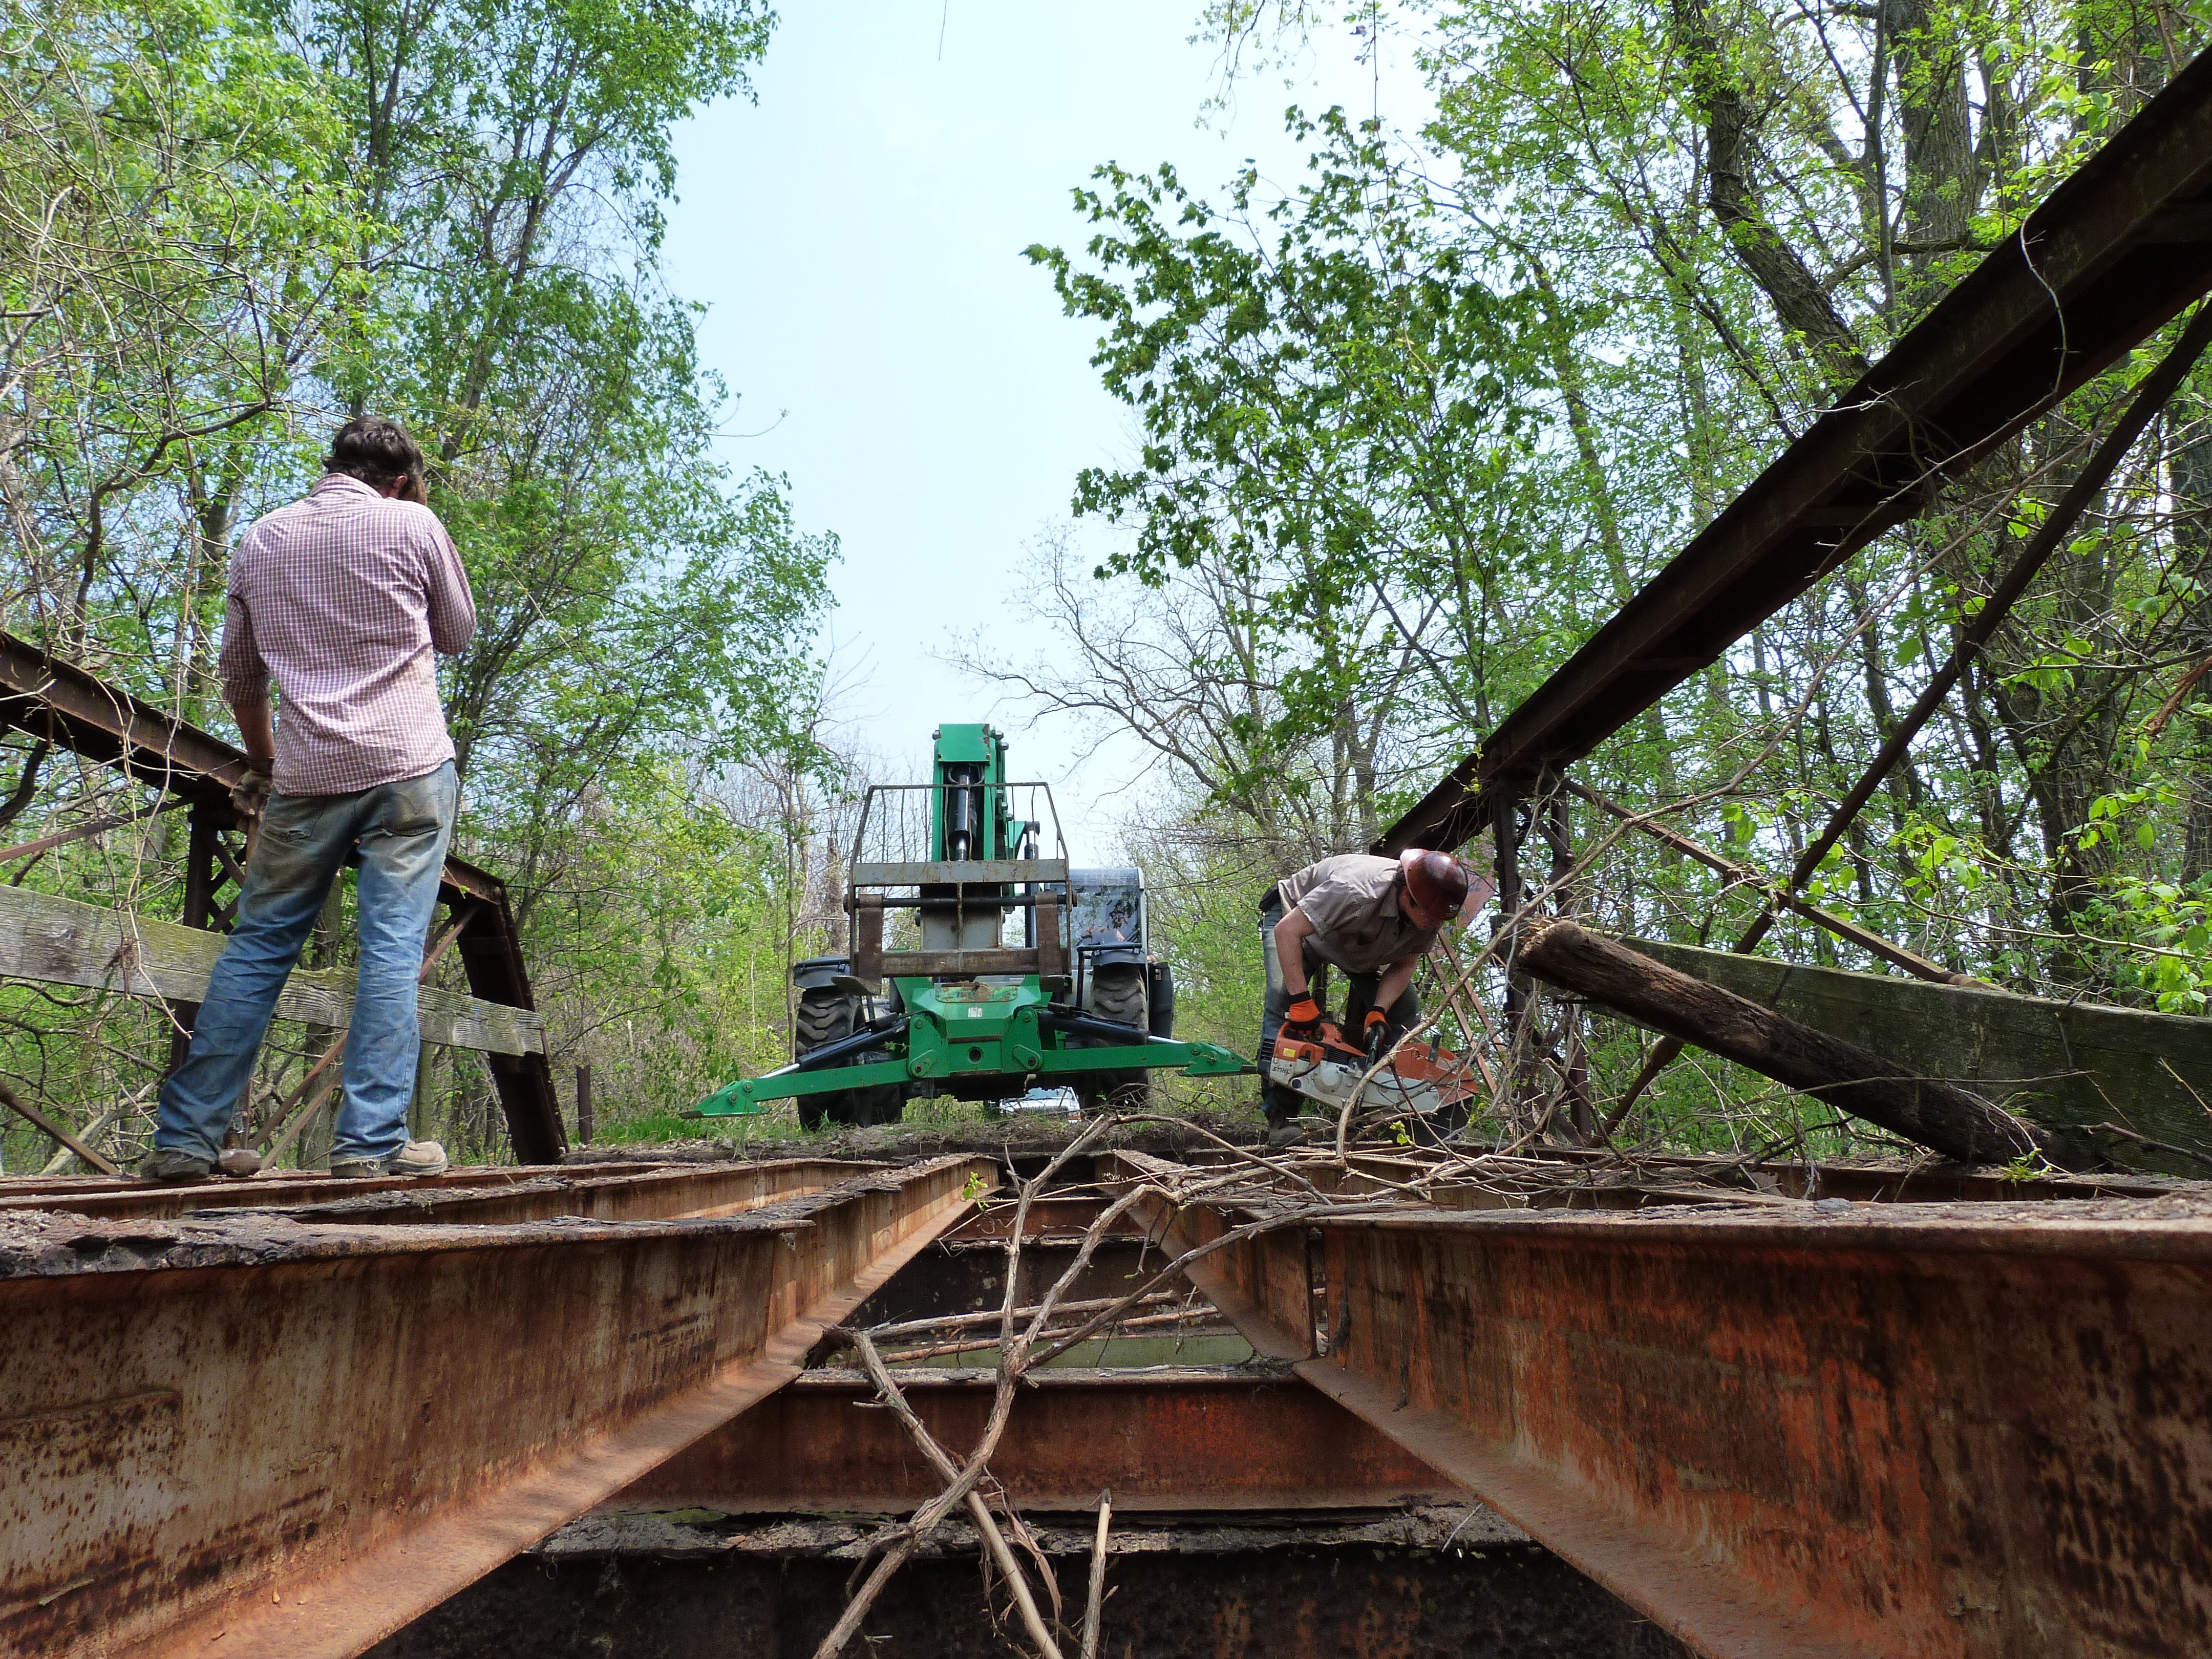
Looking at the bridge from between the deck stringers.
![]()

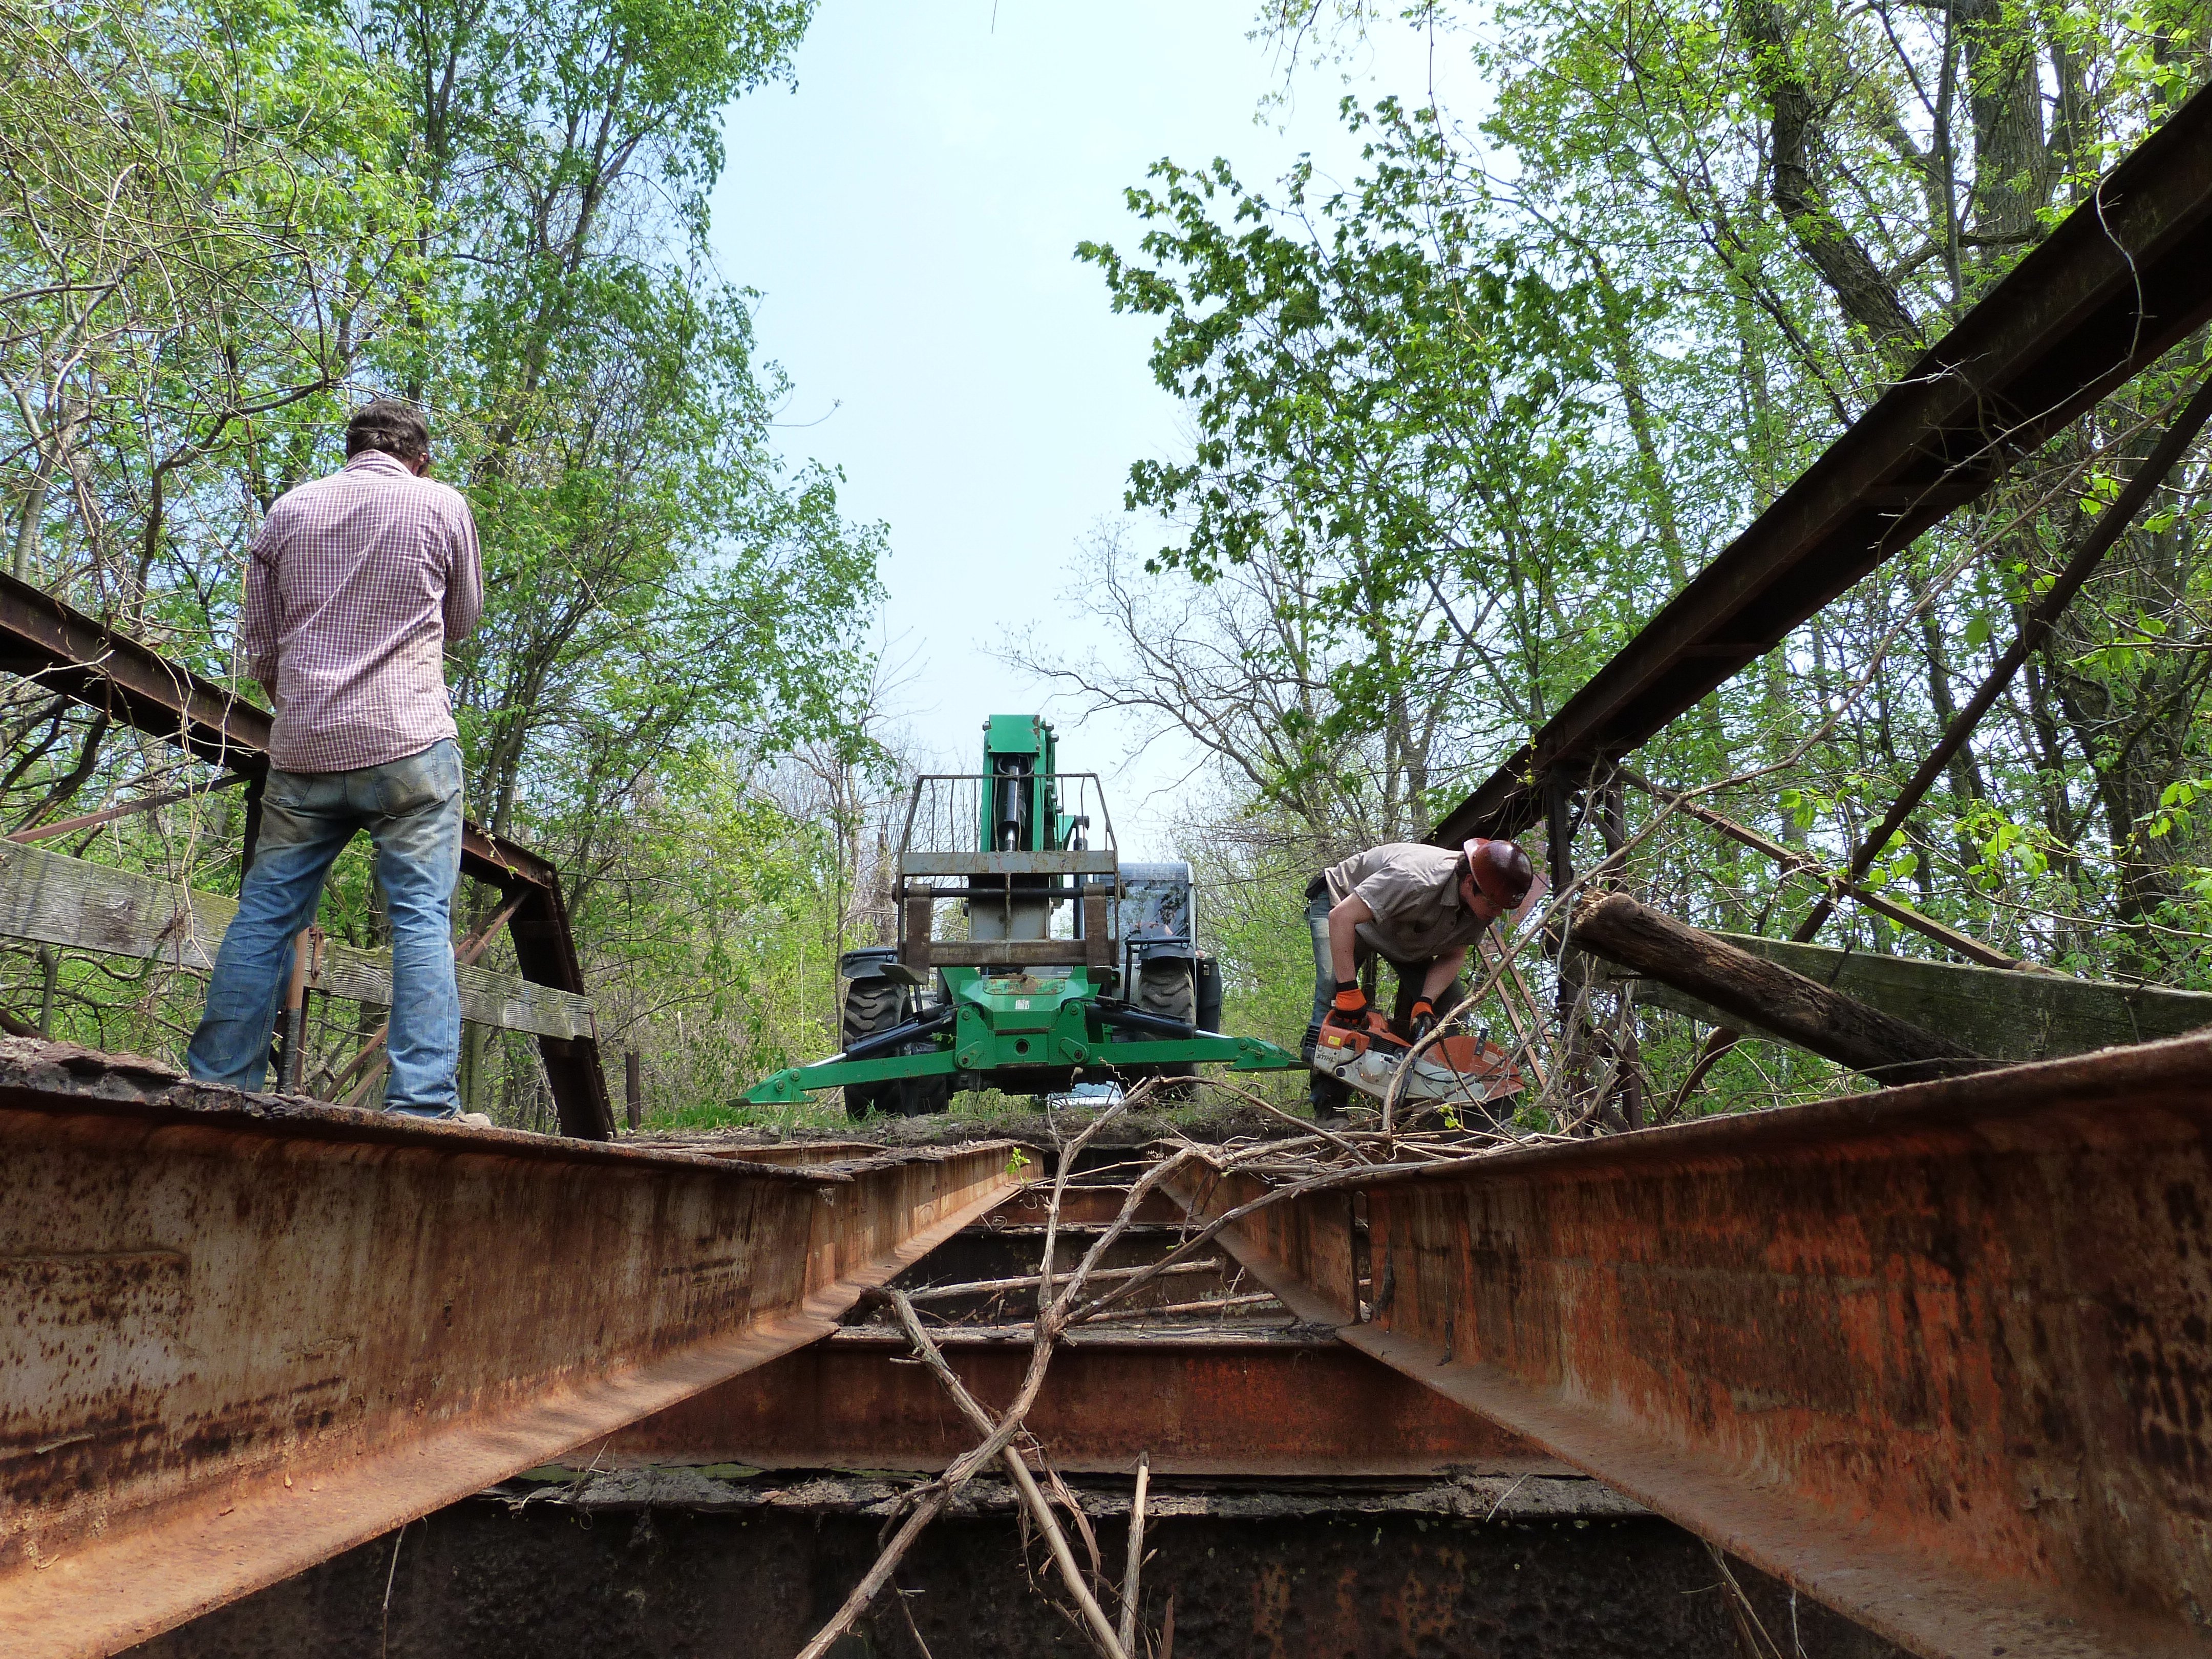
Preparing to remove deck stringers.
![]()


Deck stringers being removed.
![]()


View of bridges with deck stringers removed.
![]()


The non-historic deck stringers and other parts of the bridge beyond repair and requiring replication were loaded up and sent to the scrap year to help recoup the costs associated with rescuing Monroe County's historic truss bridges.
![]()


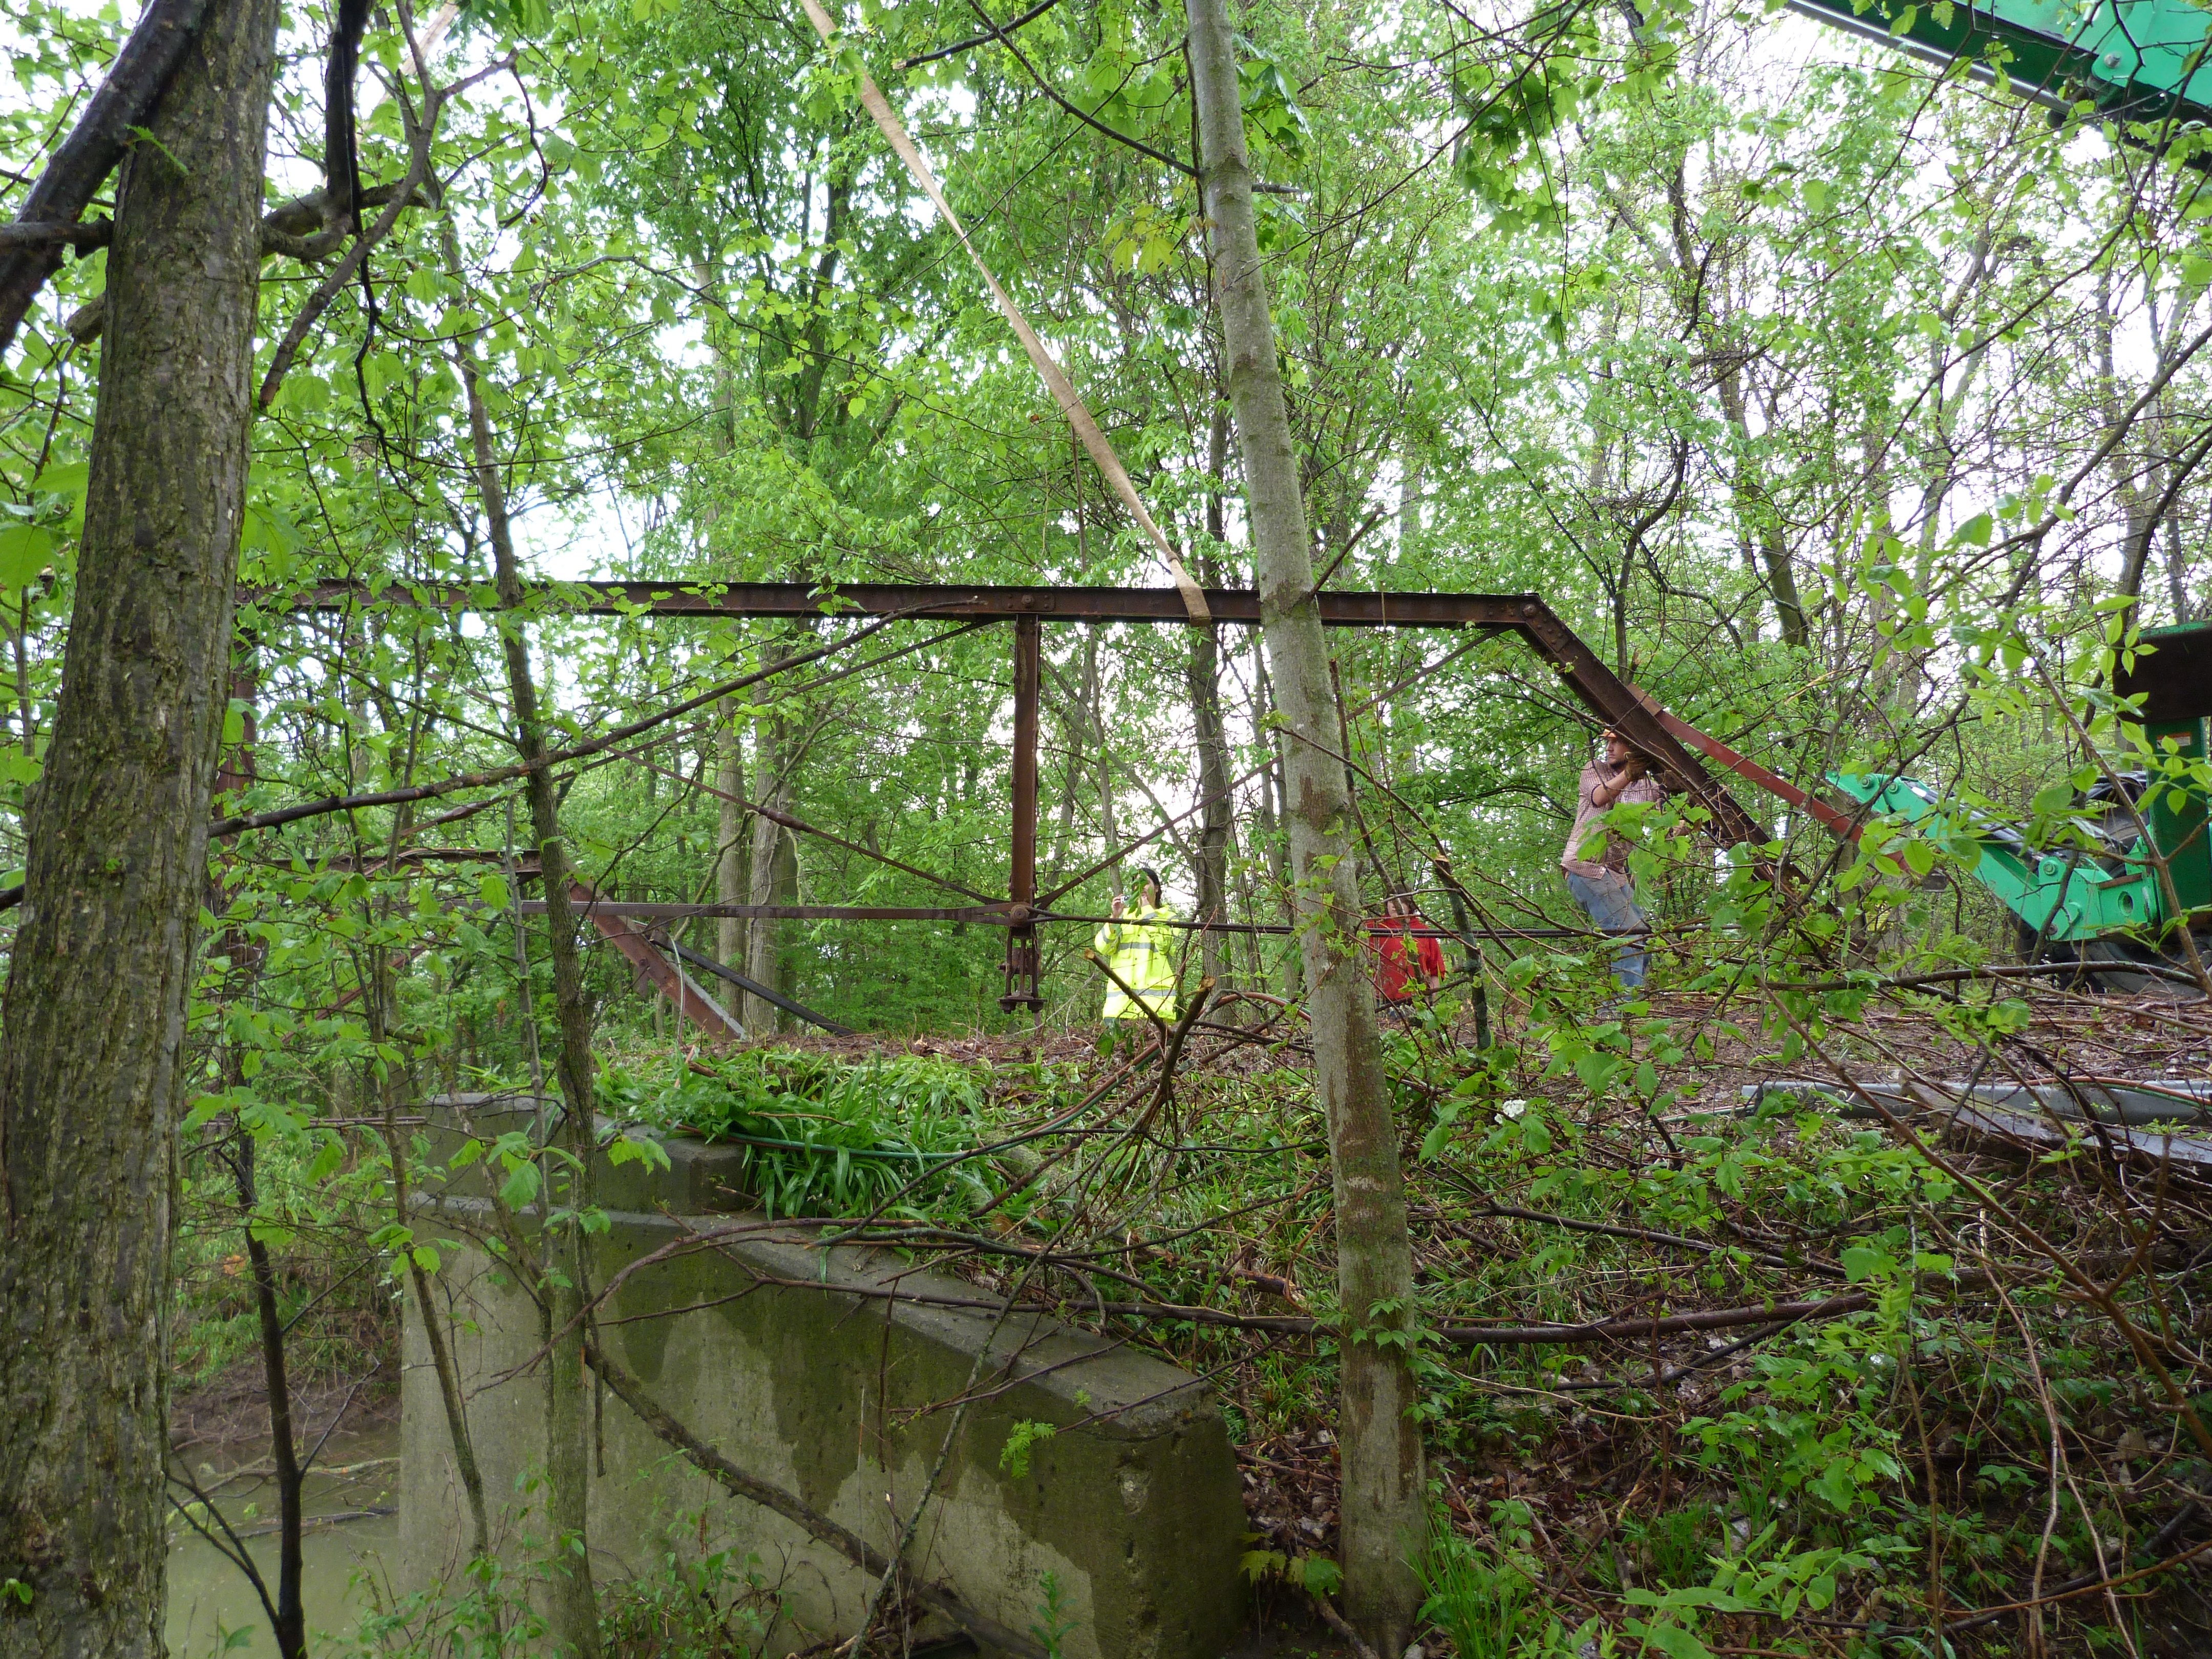
Some of the workers on the project.
![]()


Bridge with deck stringers removed.
![]()


Looking down at the bridge with deck stringers removed.
![]()

Looking down at a floor beam whose flanges have severe section loss.
![]()
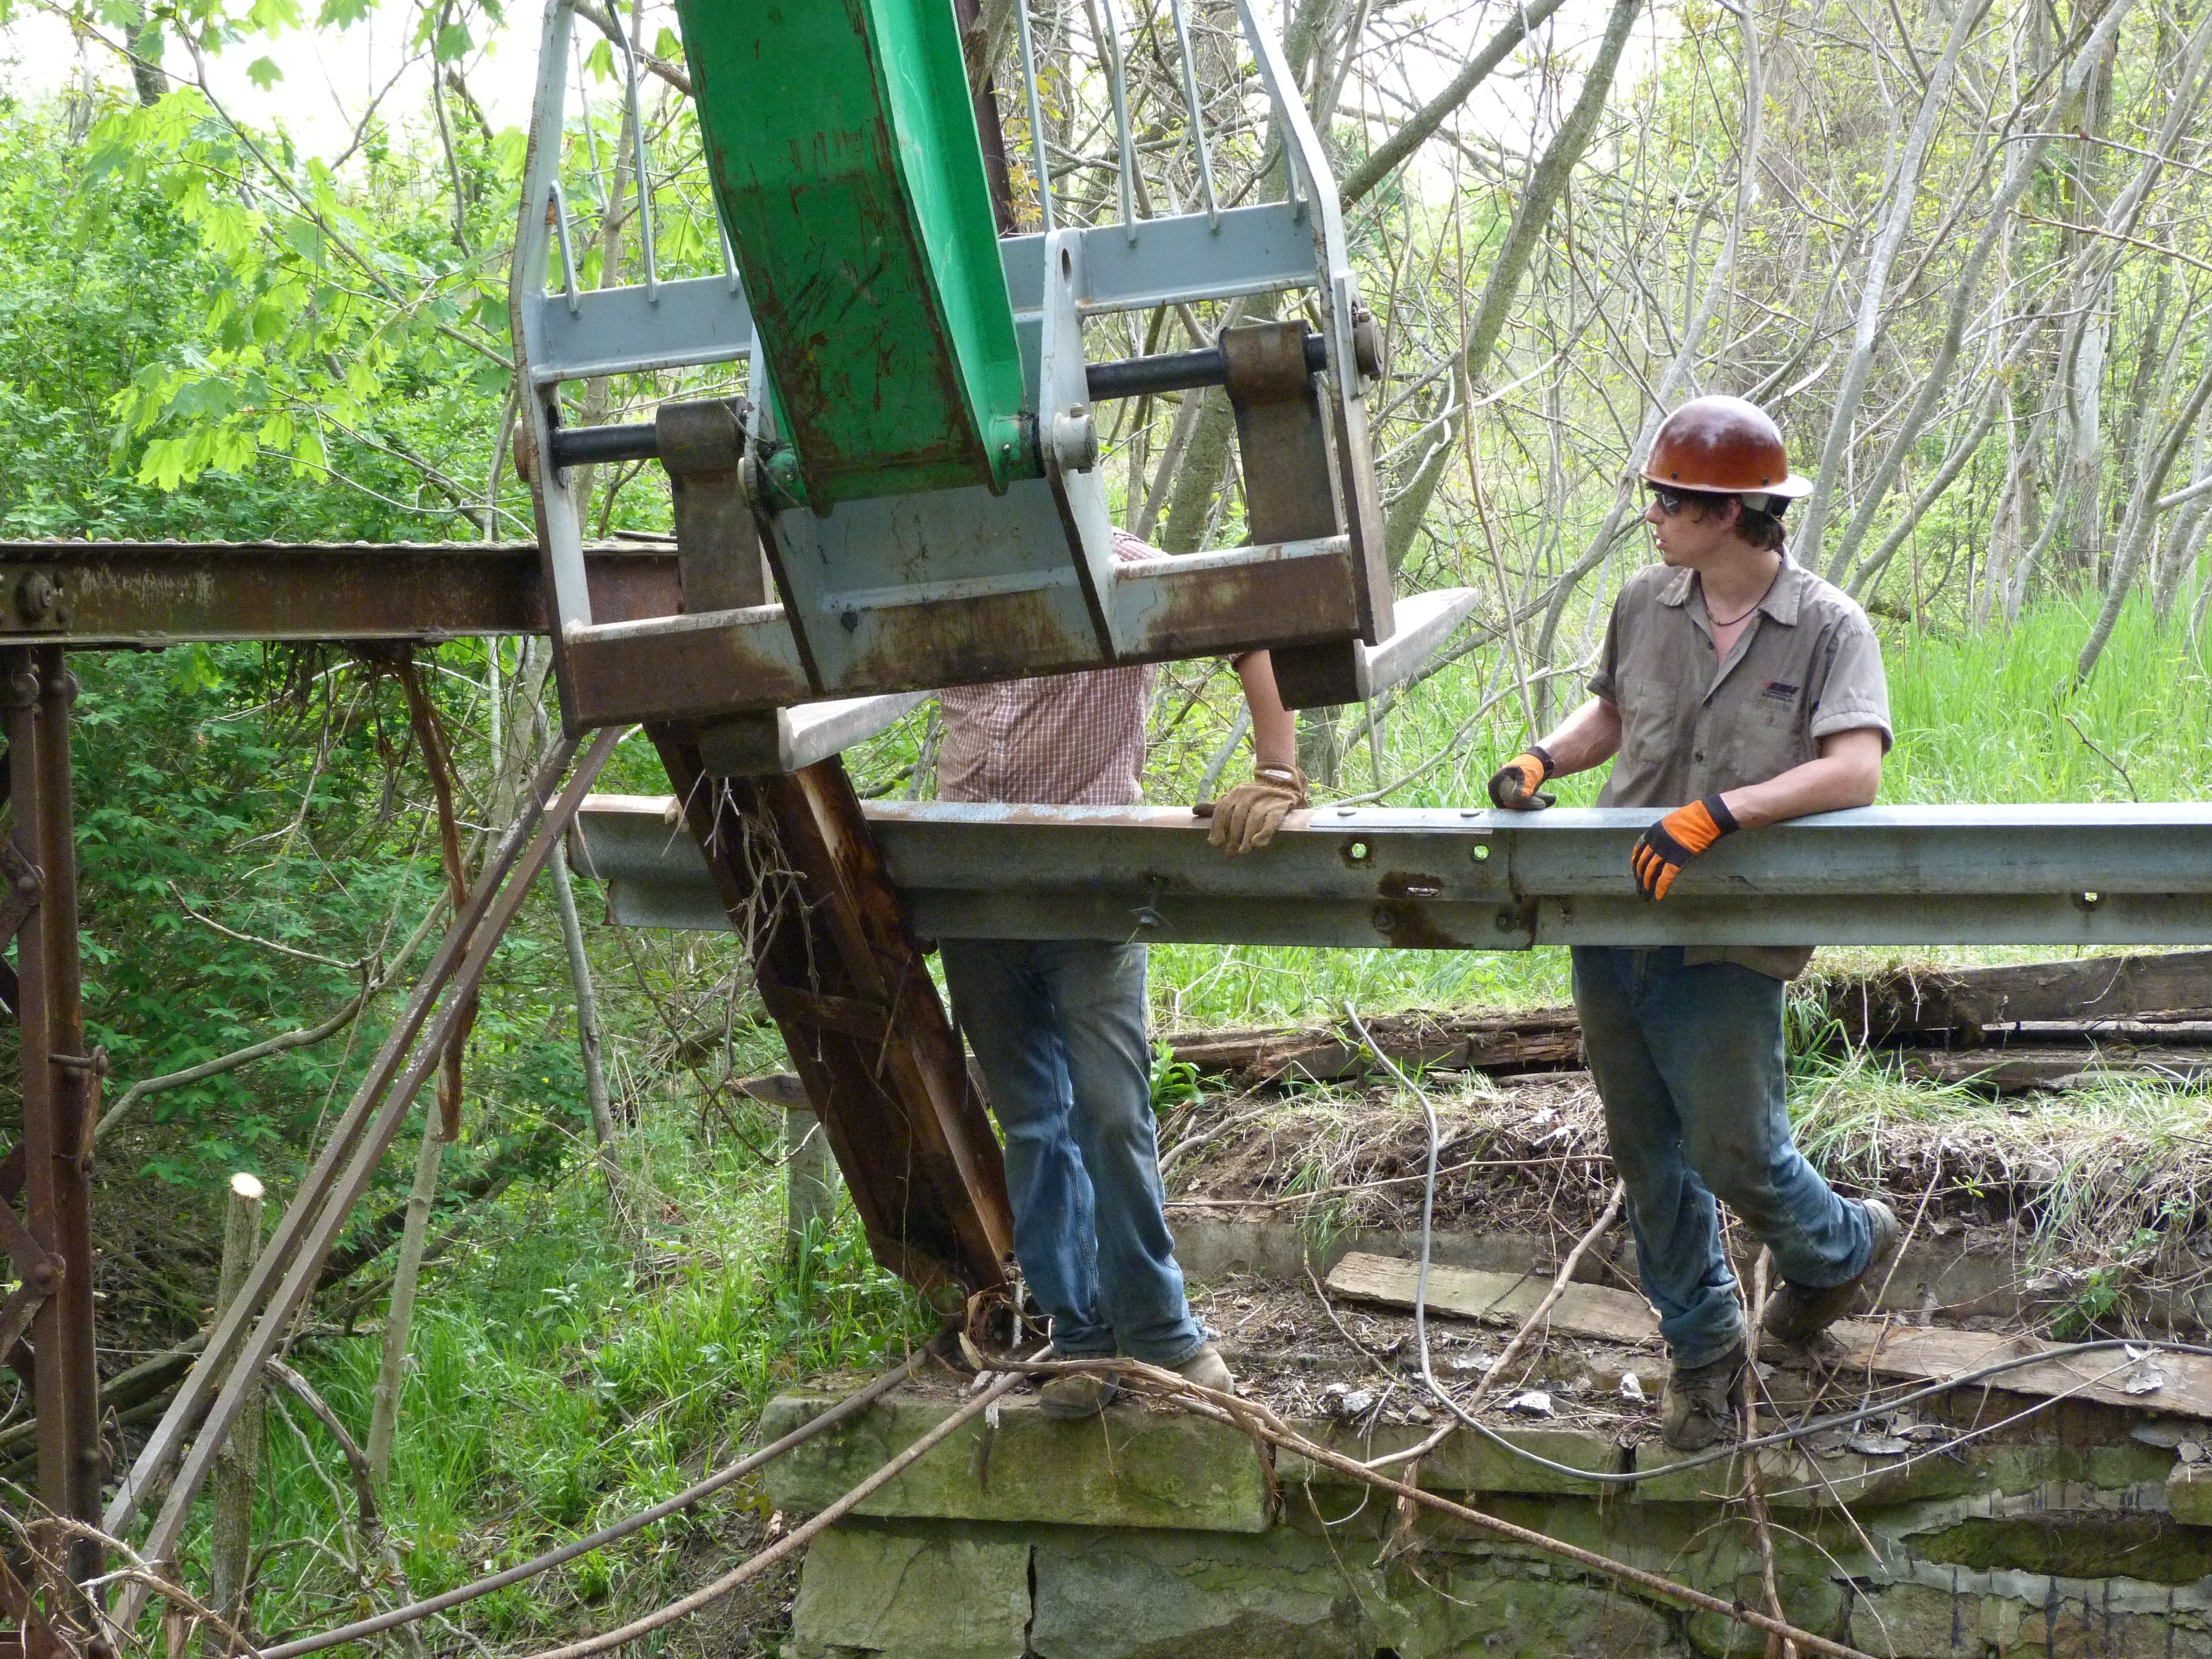
This guardrail was welded onto the bridge to help stabilize the bridge during floor beam removal.
![]()


Preparing to cut out the floor beam.
![]()
The first floor beam is being removed.
![]()
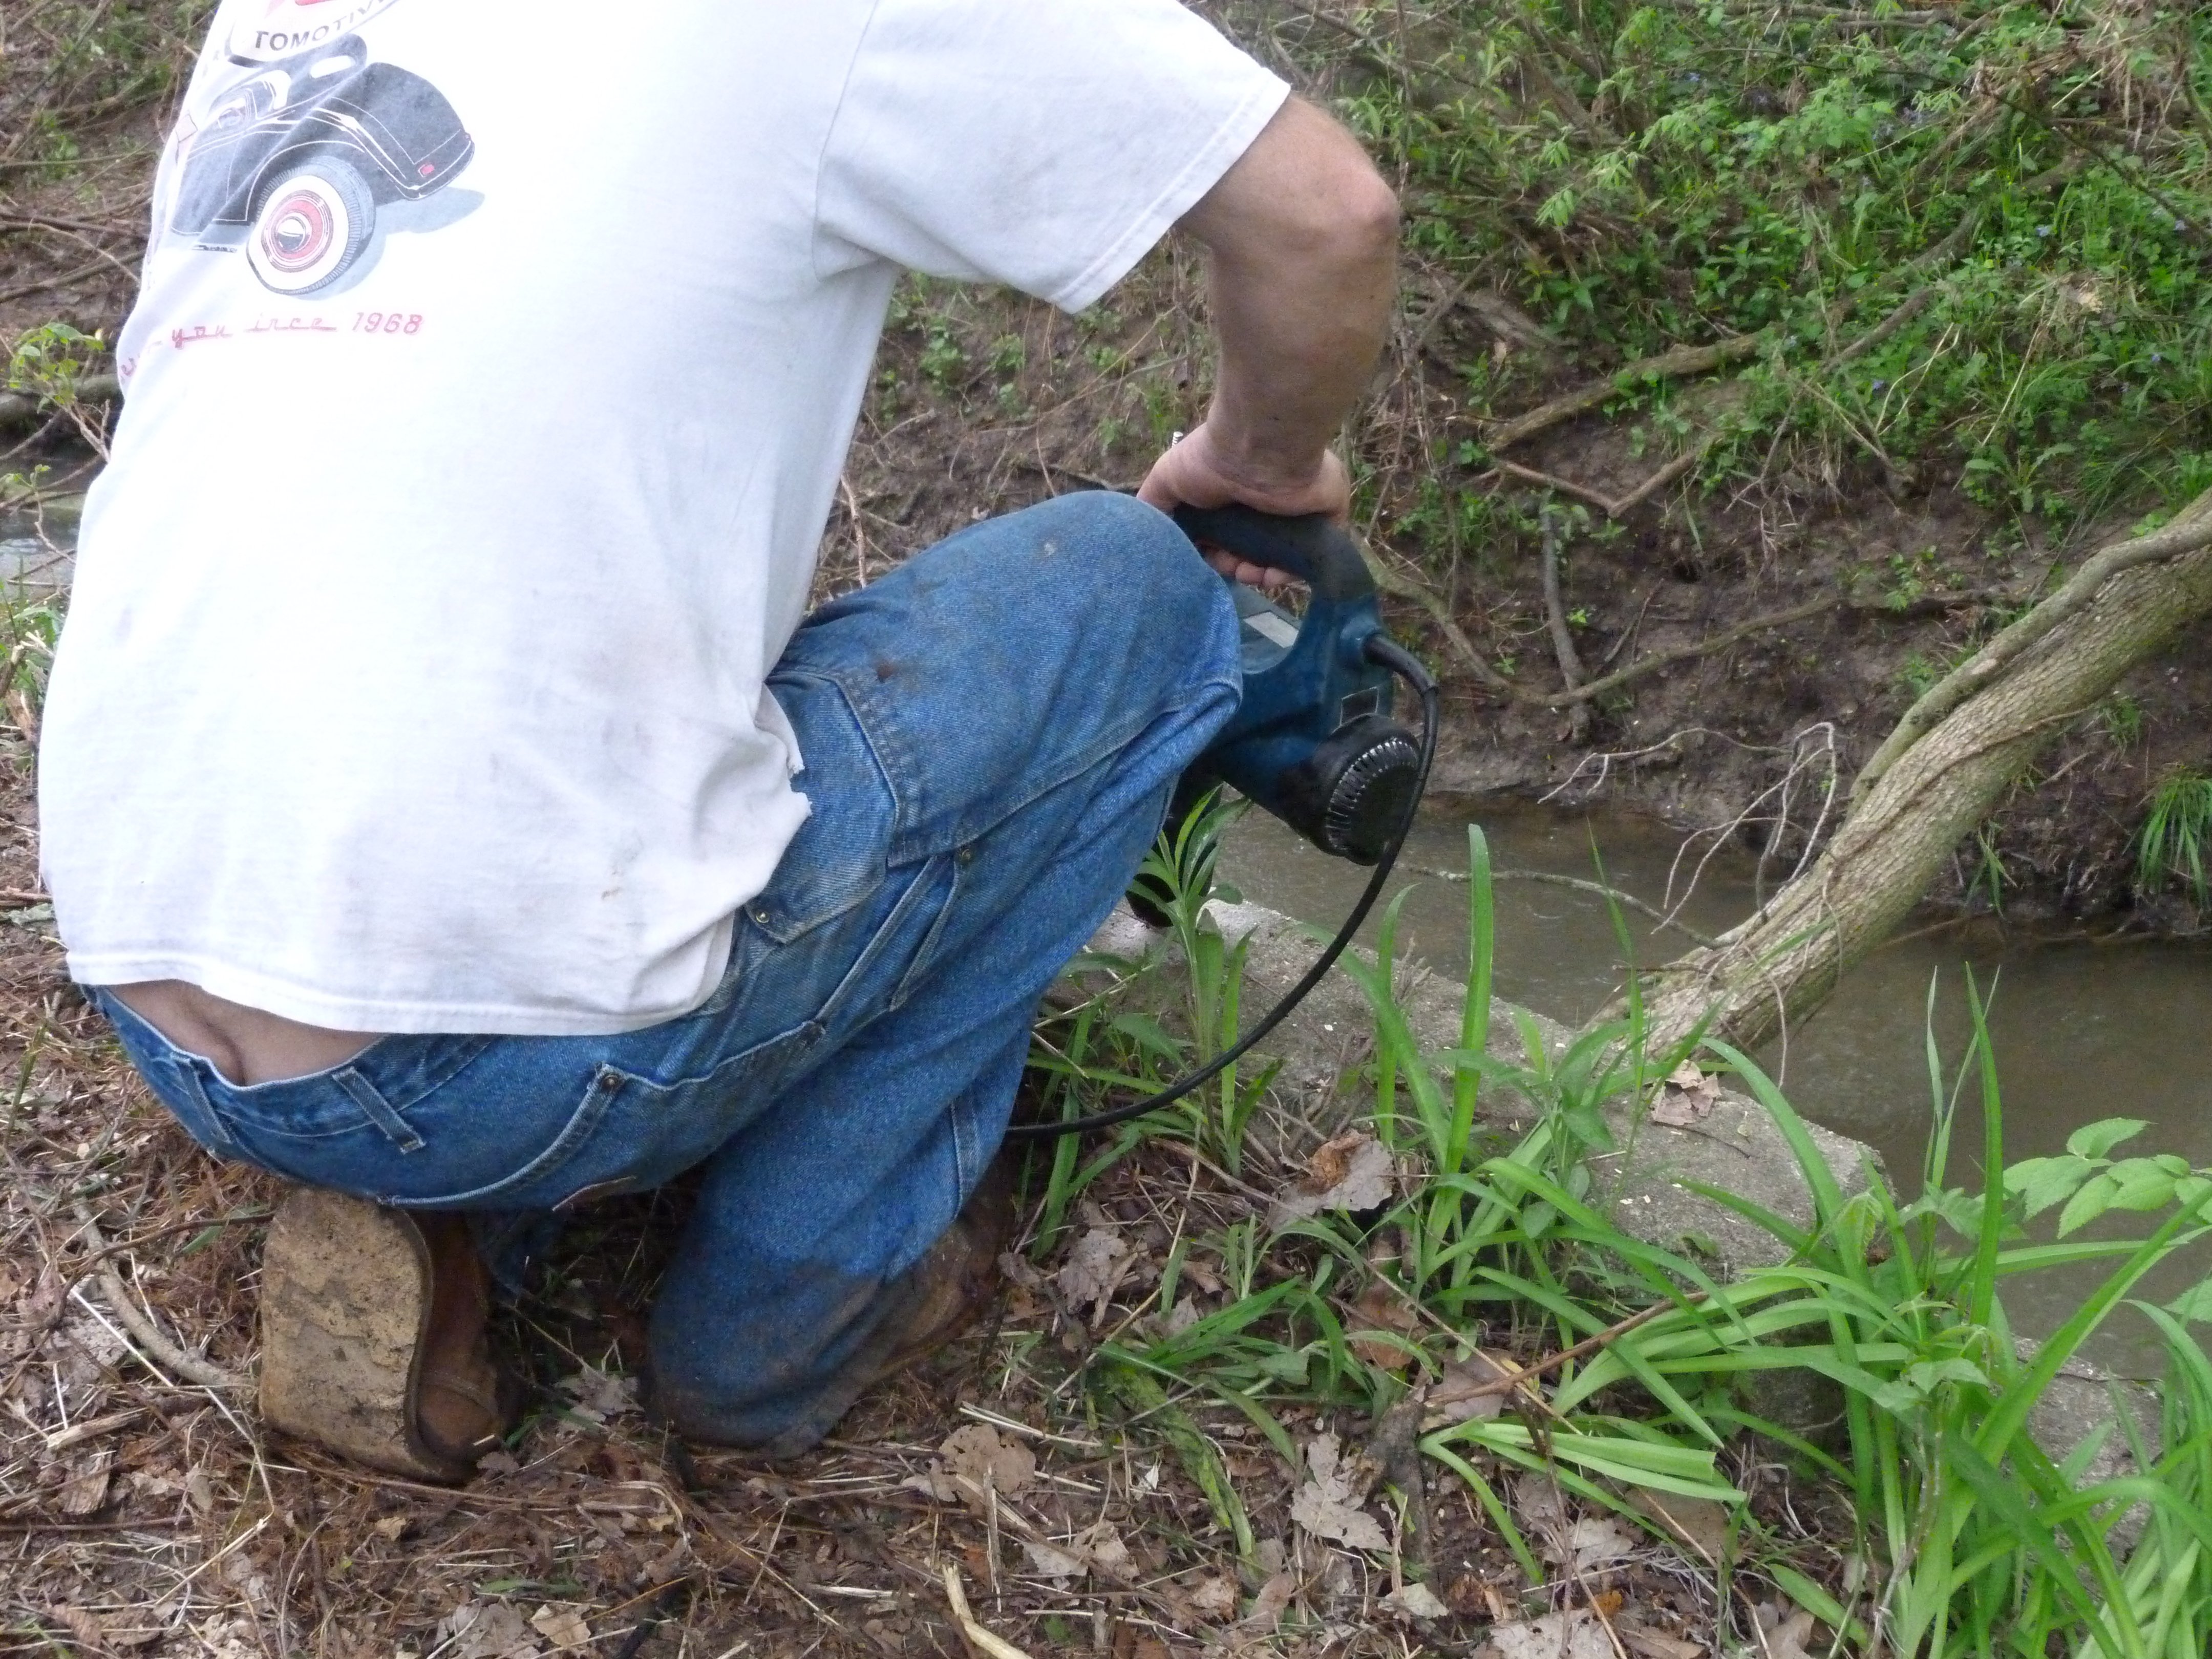

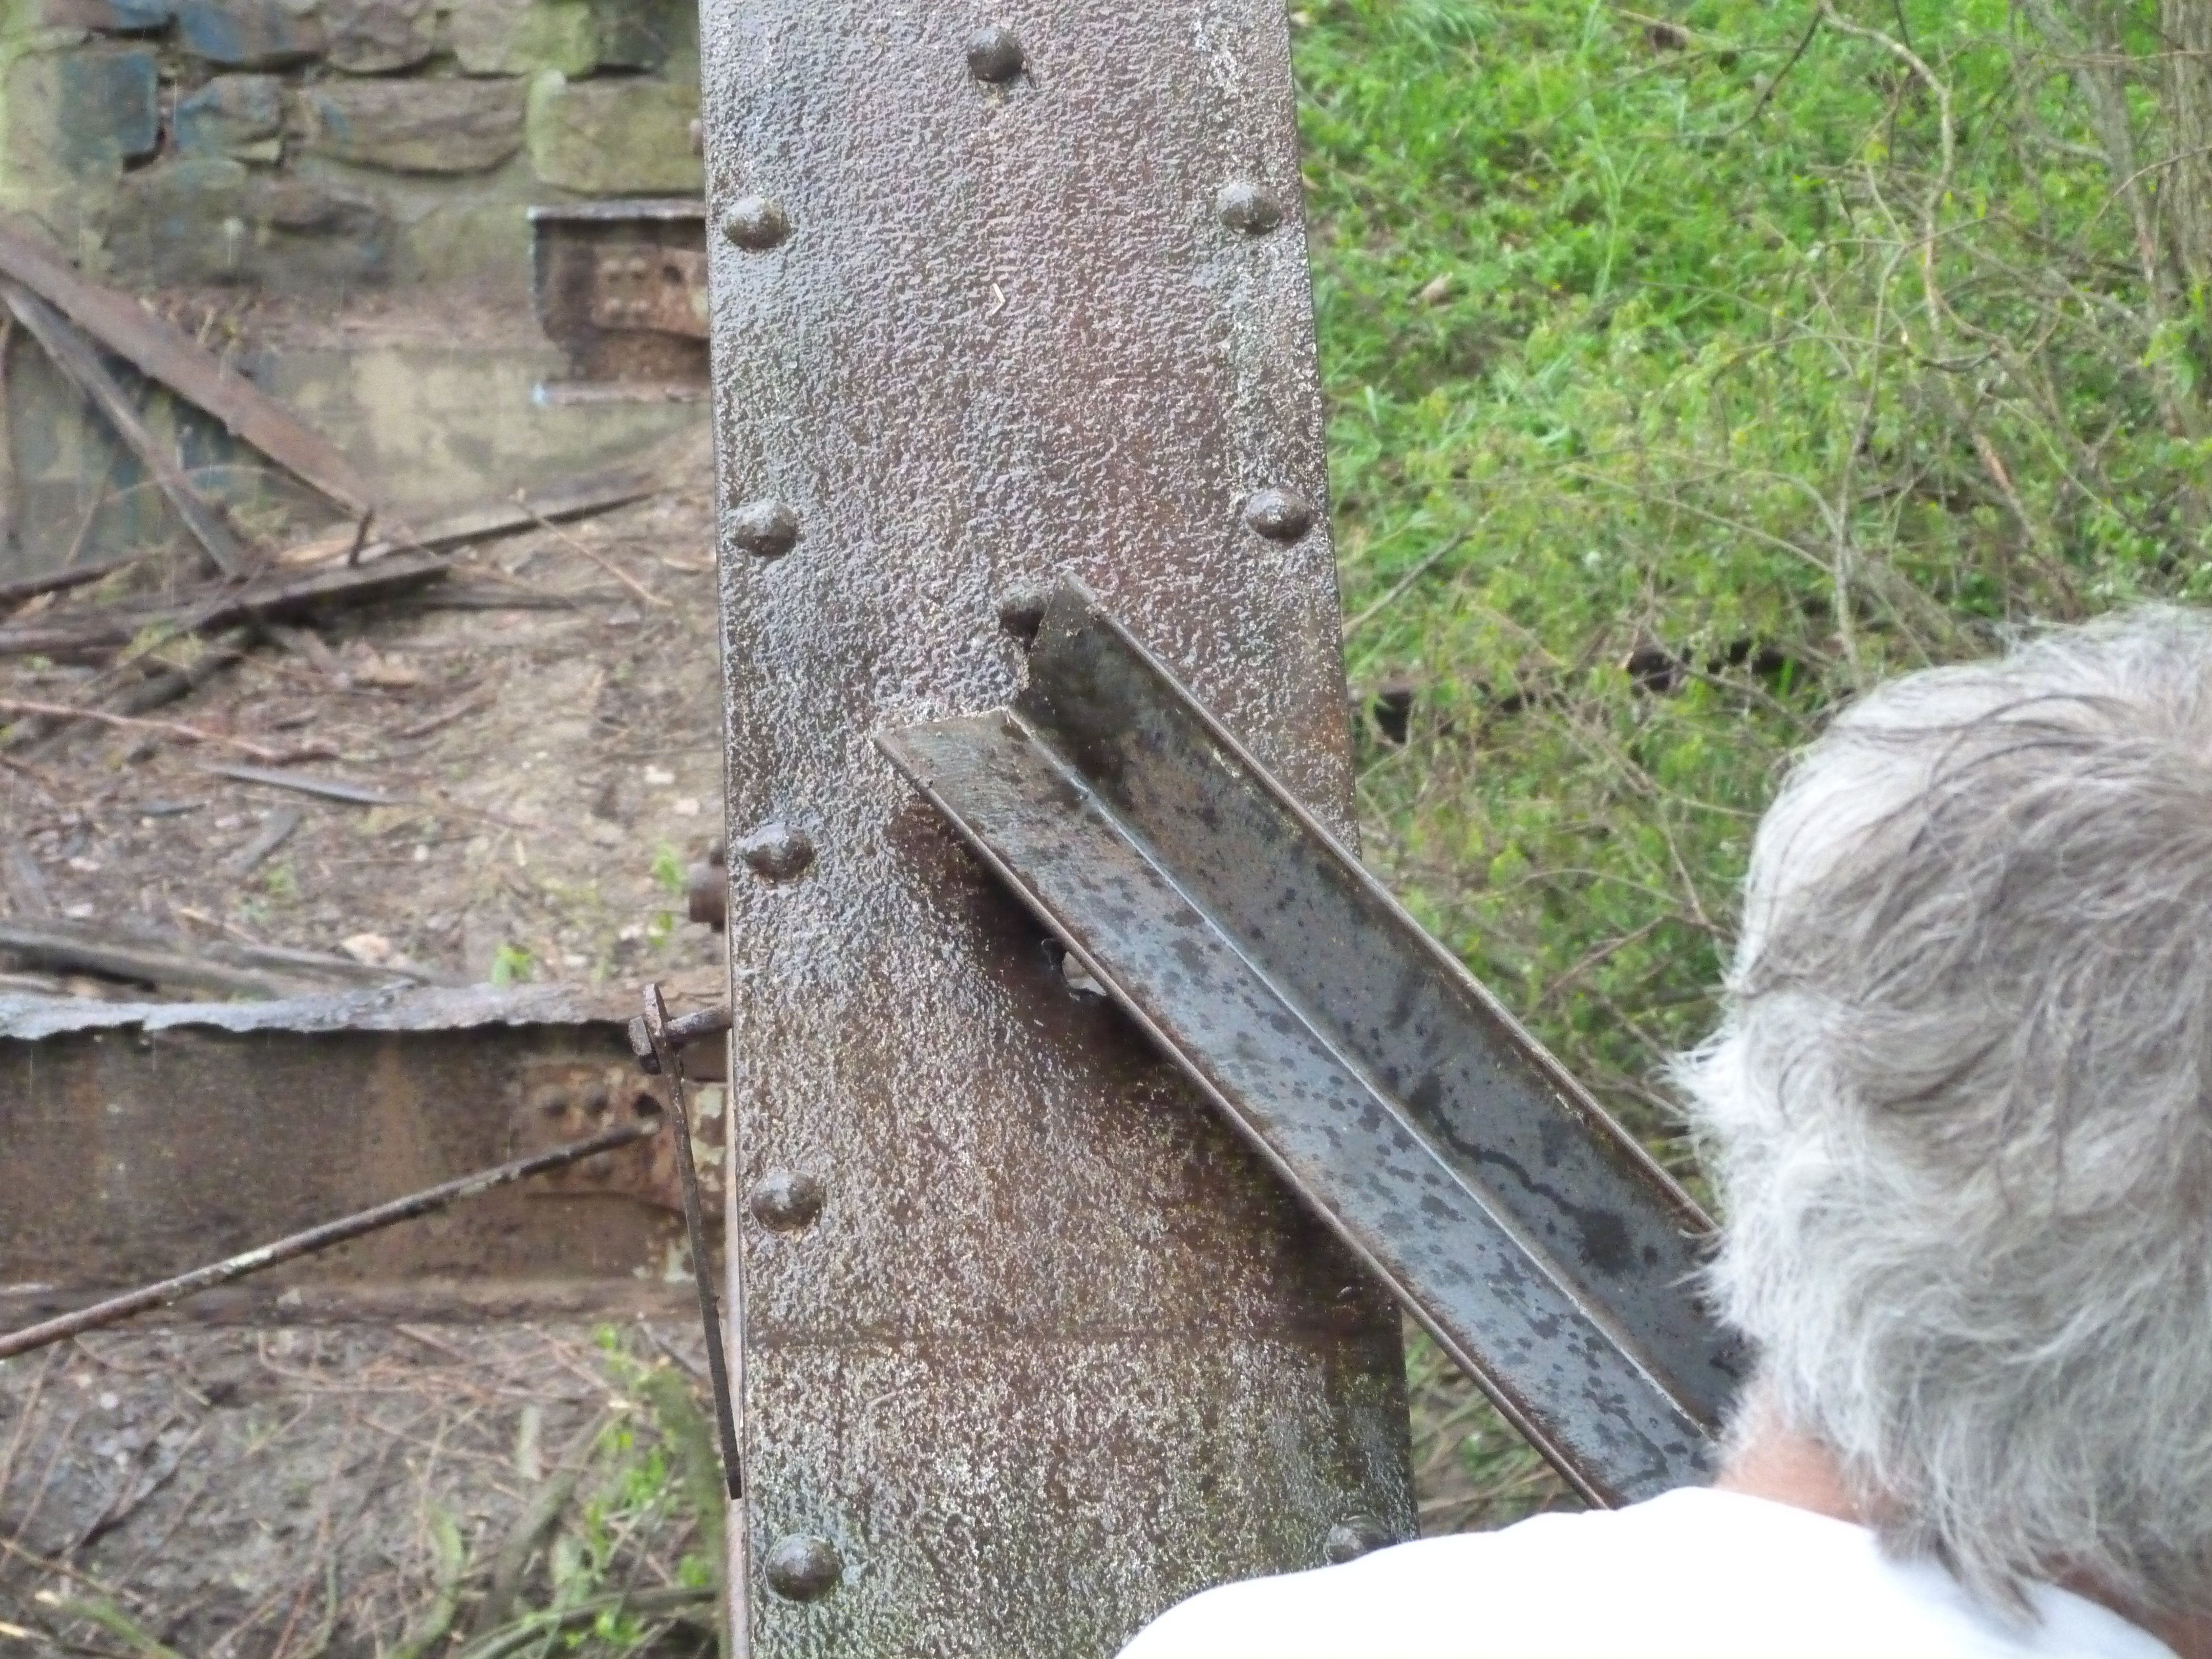
A hole is drilled into the abutment to allow for the installation of a piece of angle to which a larger length of angle will be attached, connecting the end post to the abutment and providing a brace to keep the truss stable after both floor beams are removed.
![]()


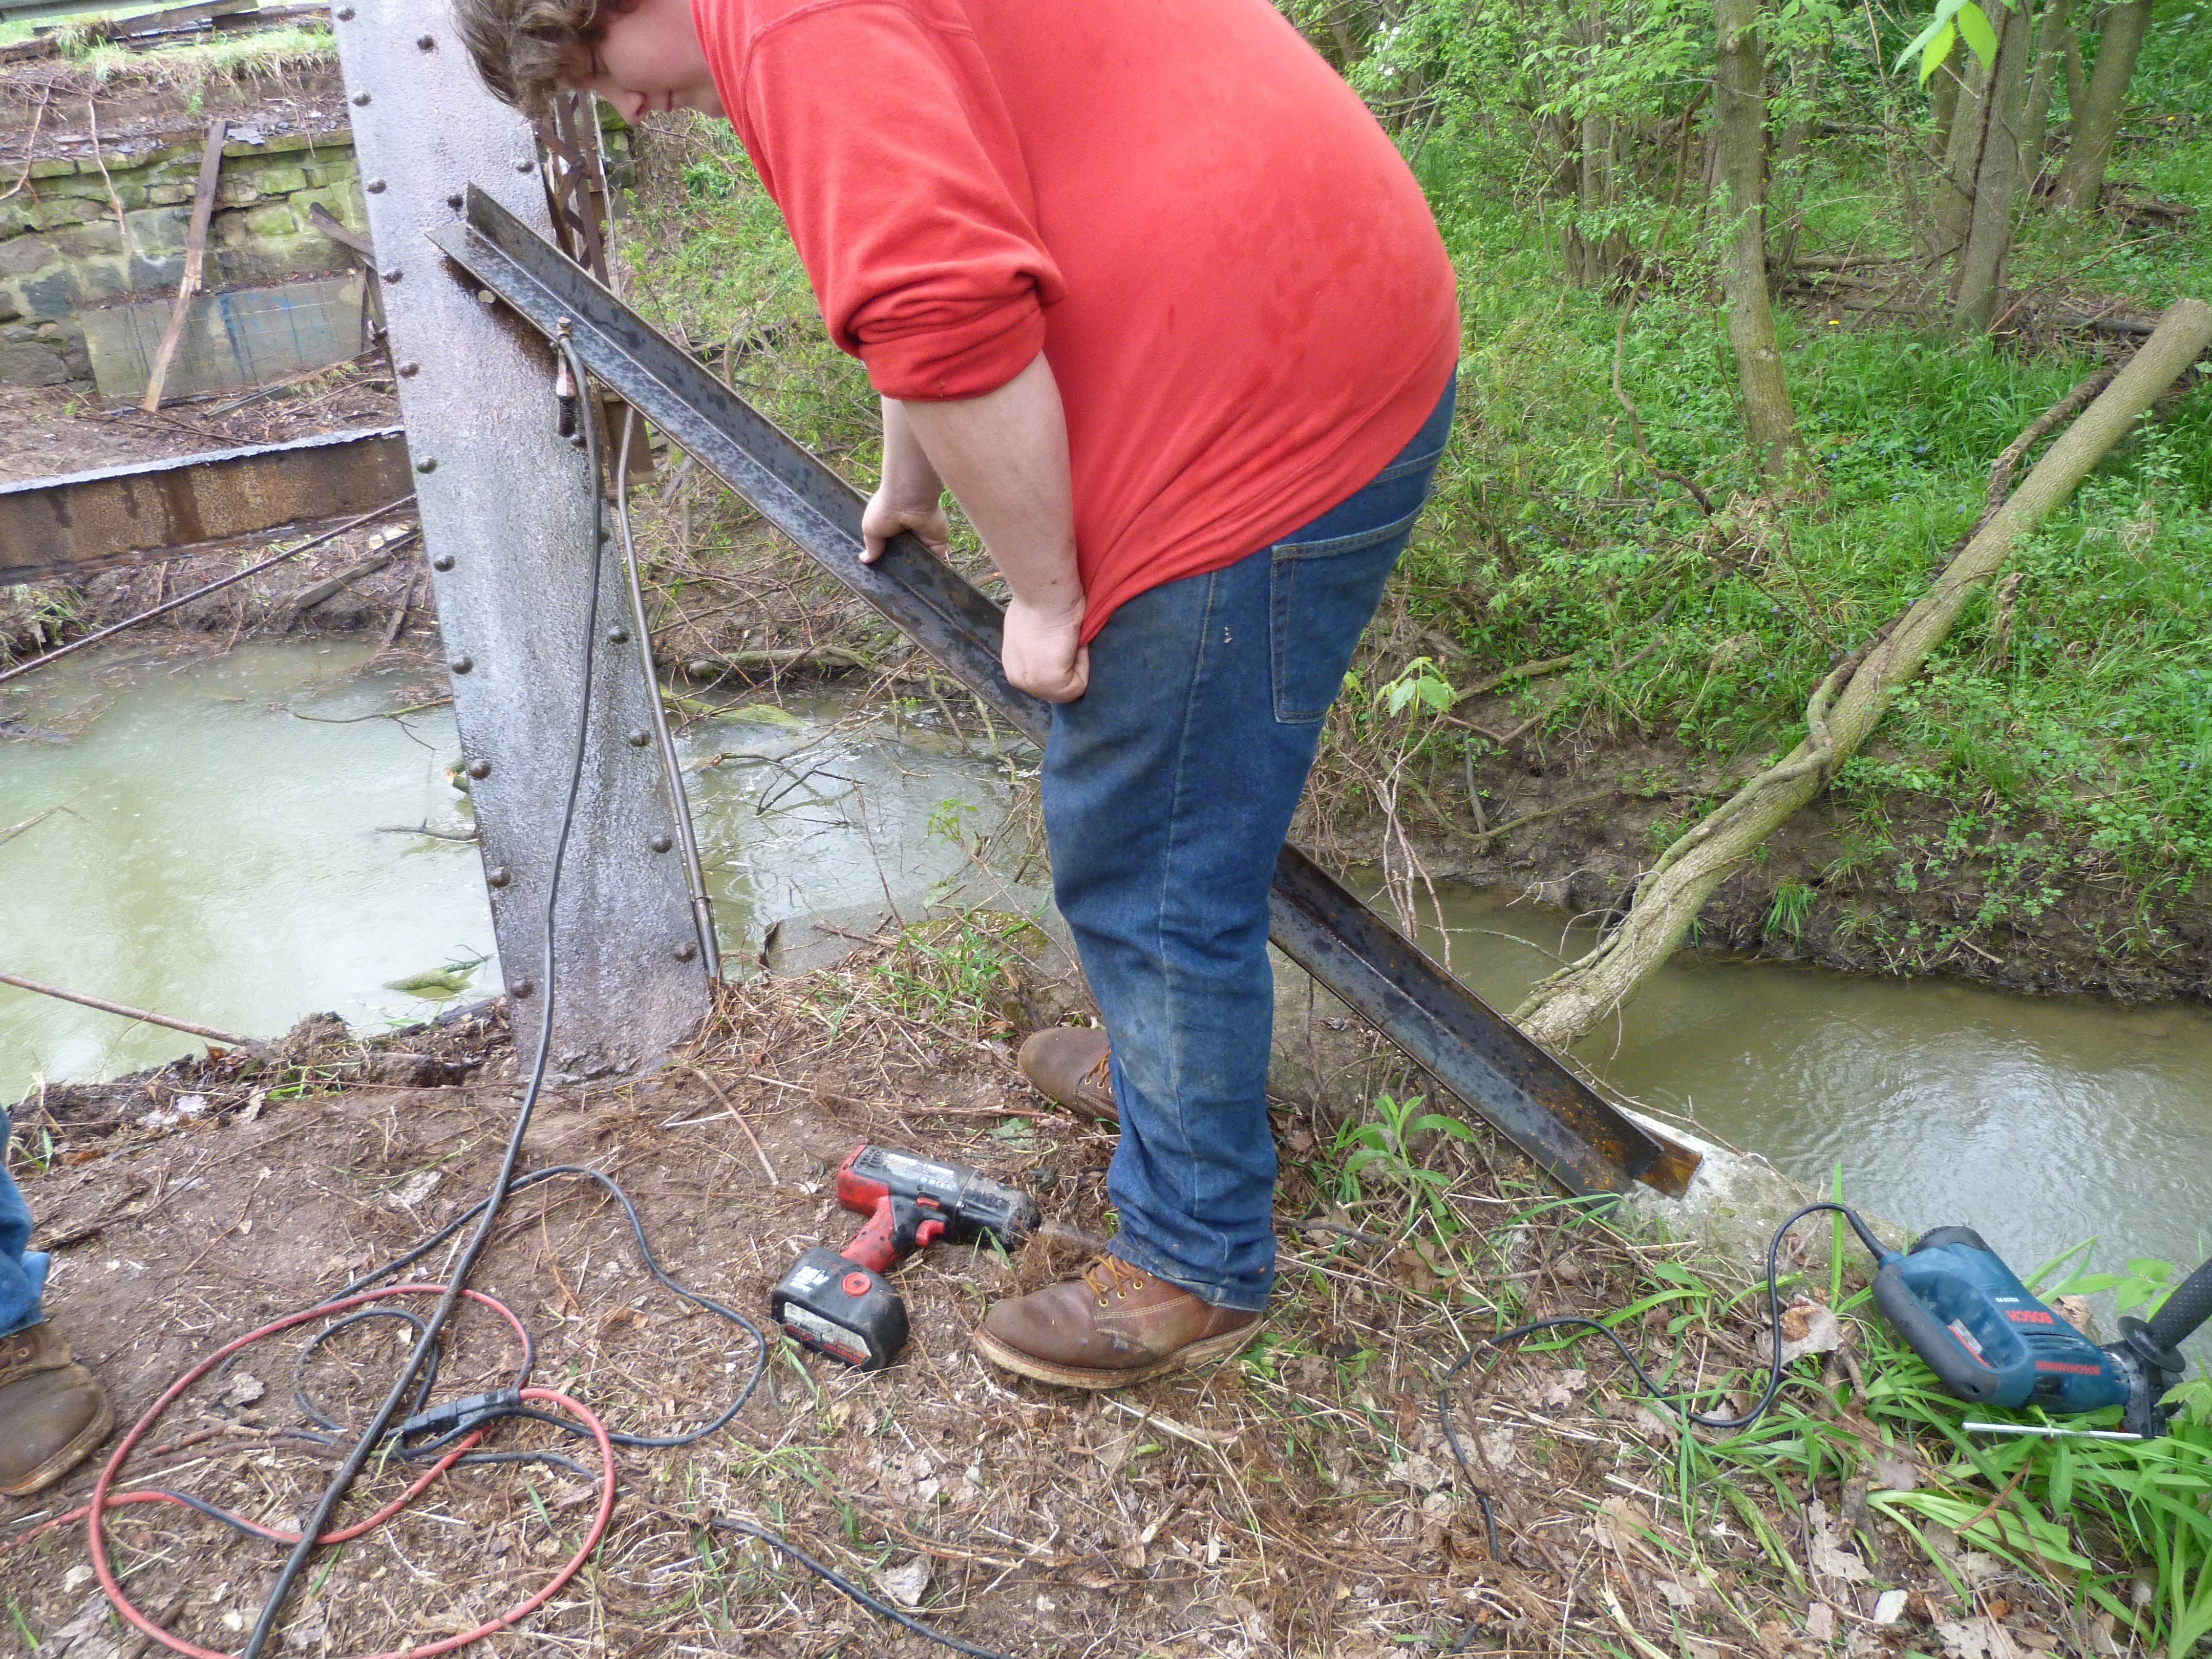

Putting brace into position.
![]()
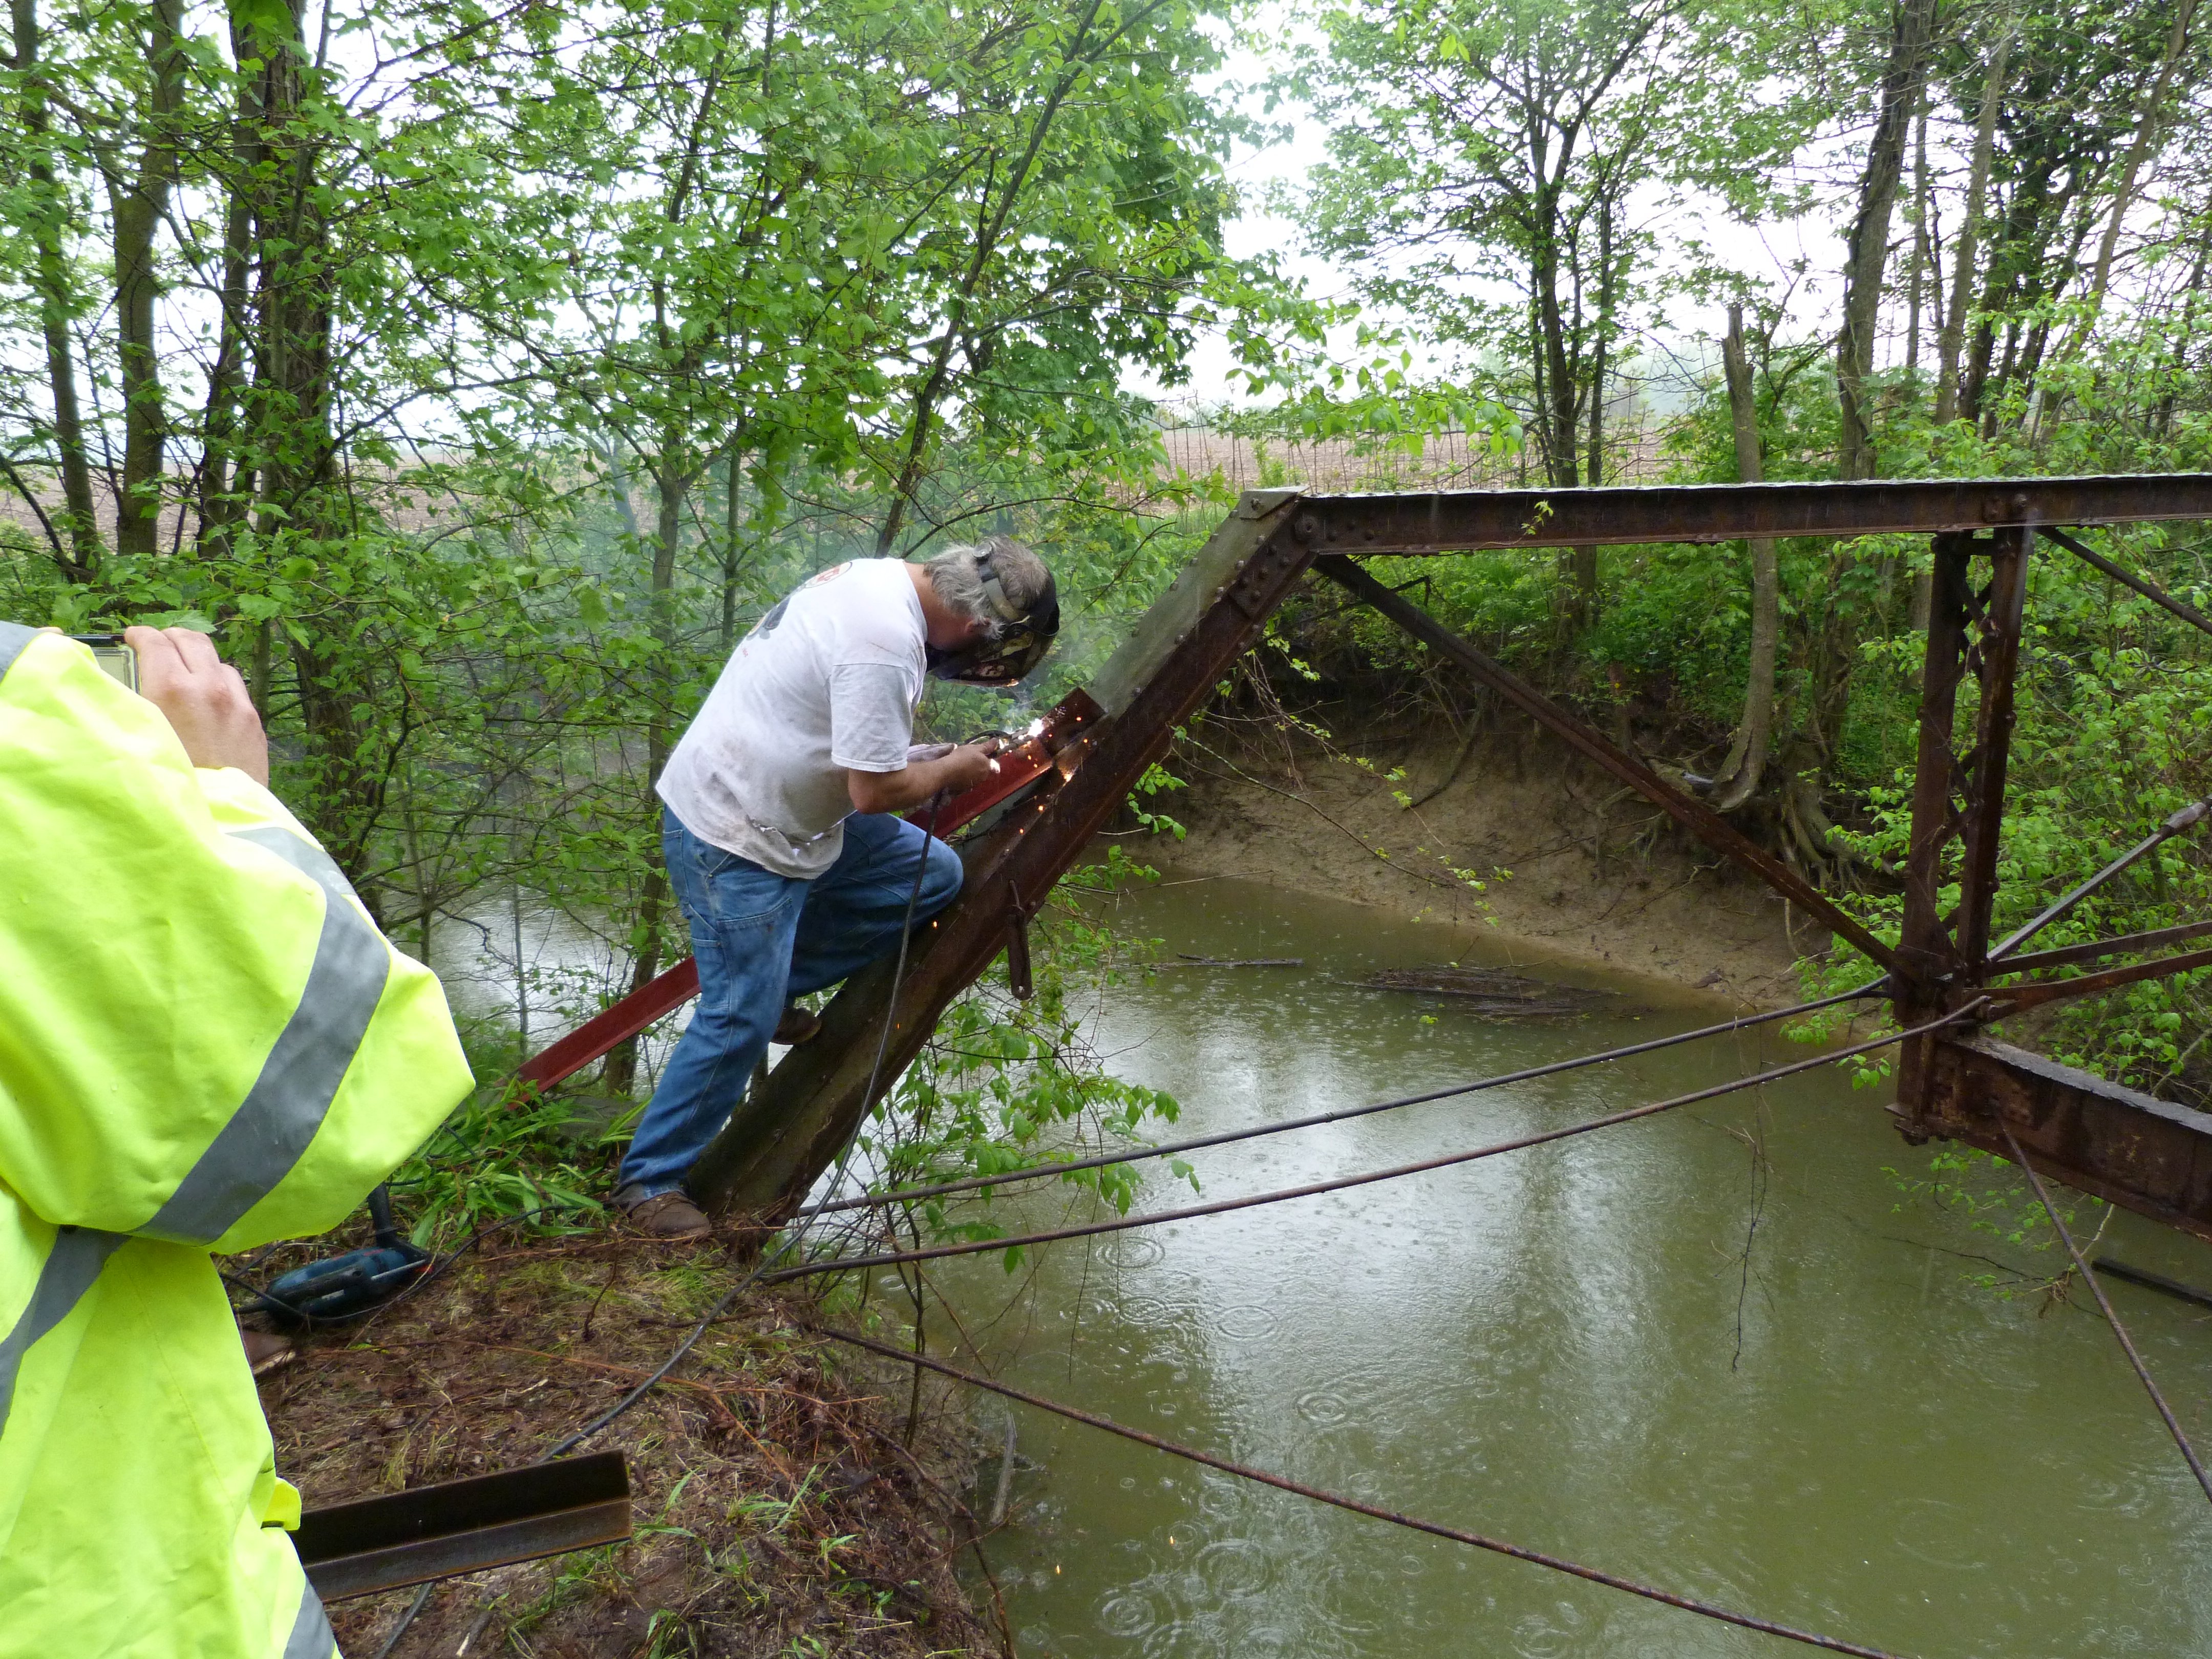
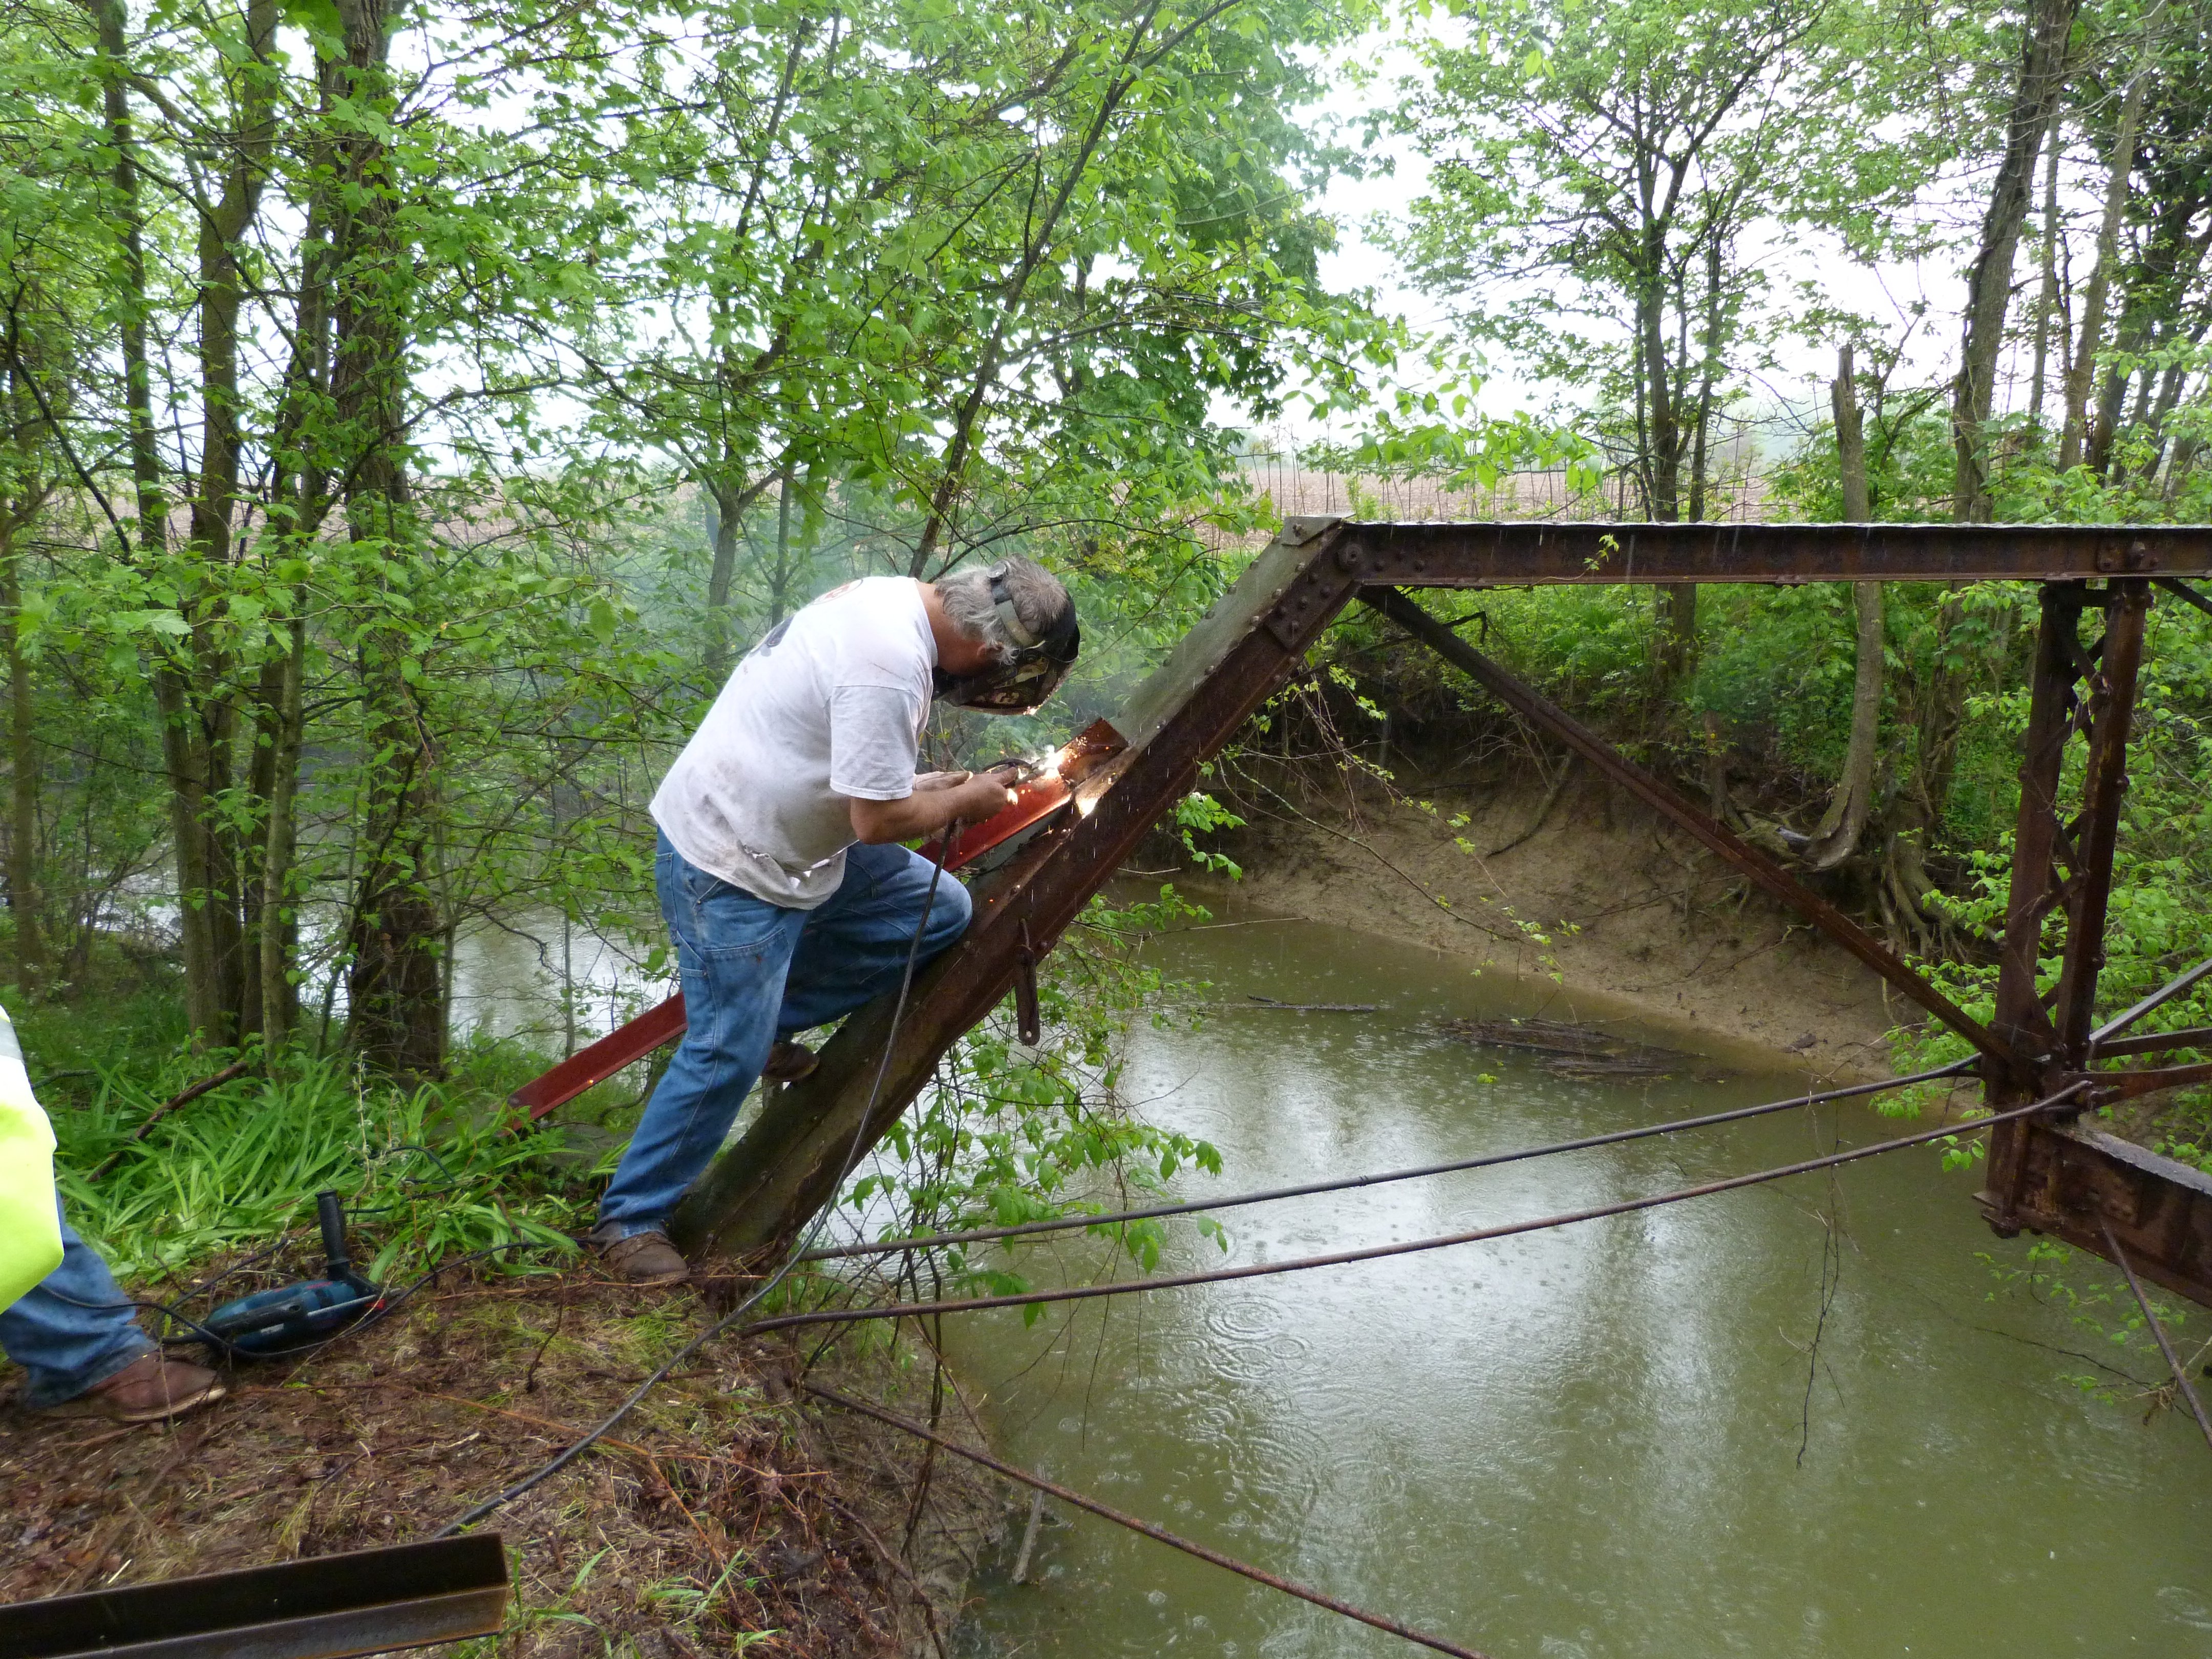
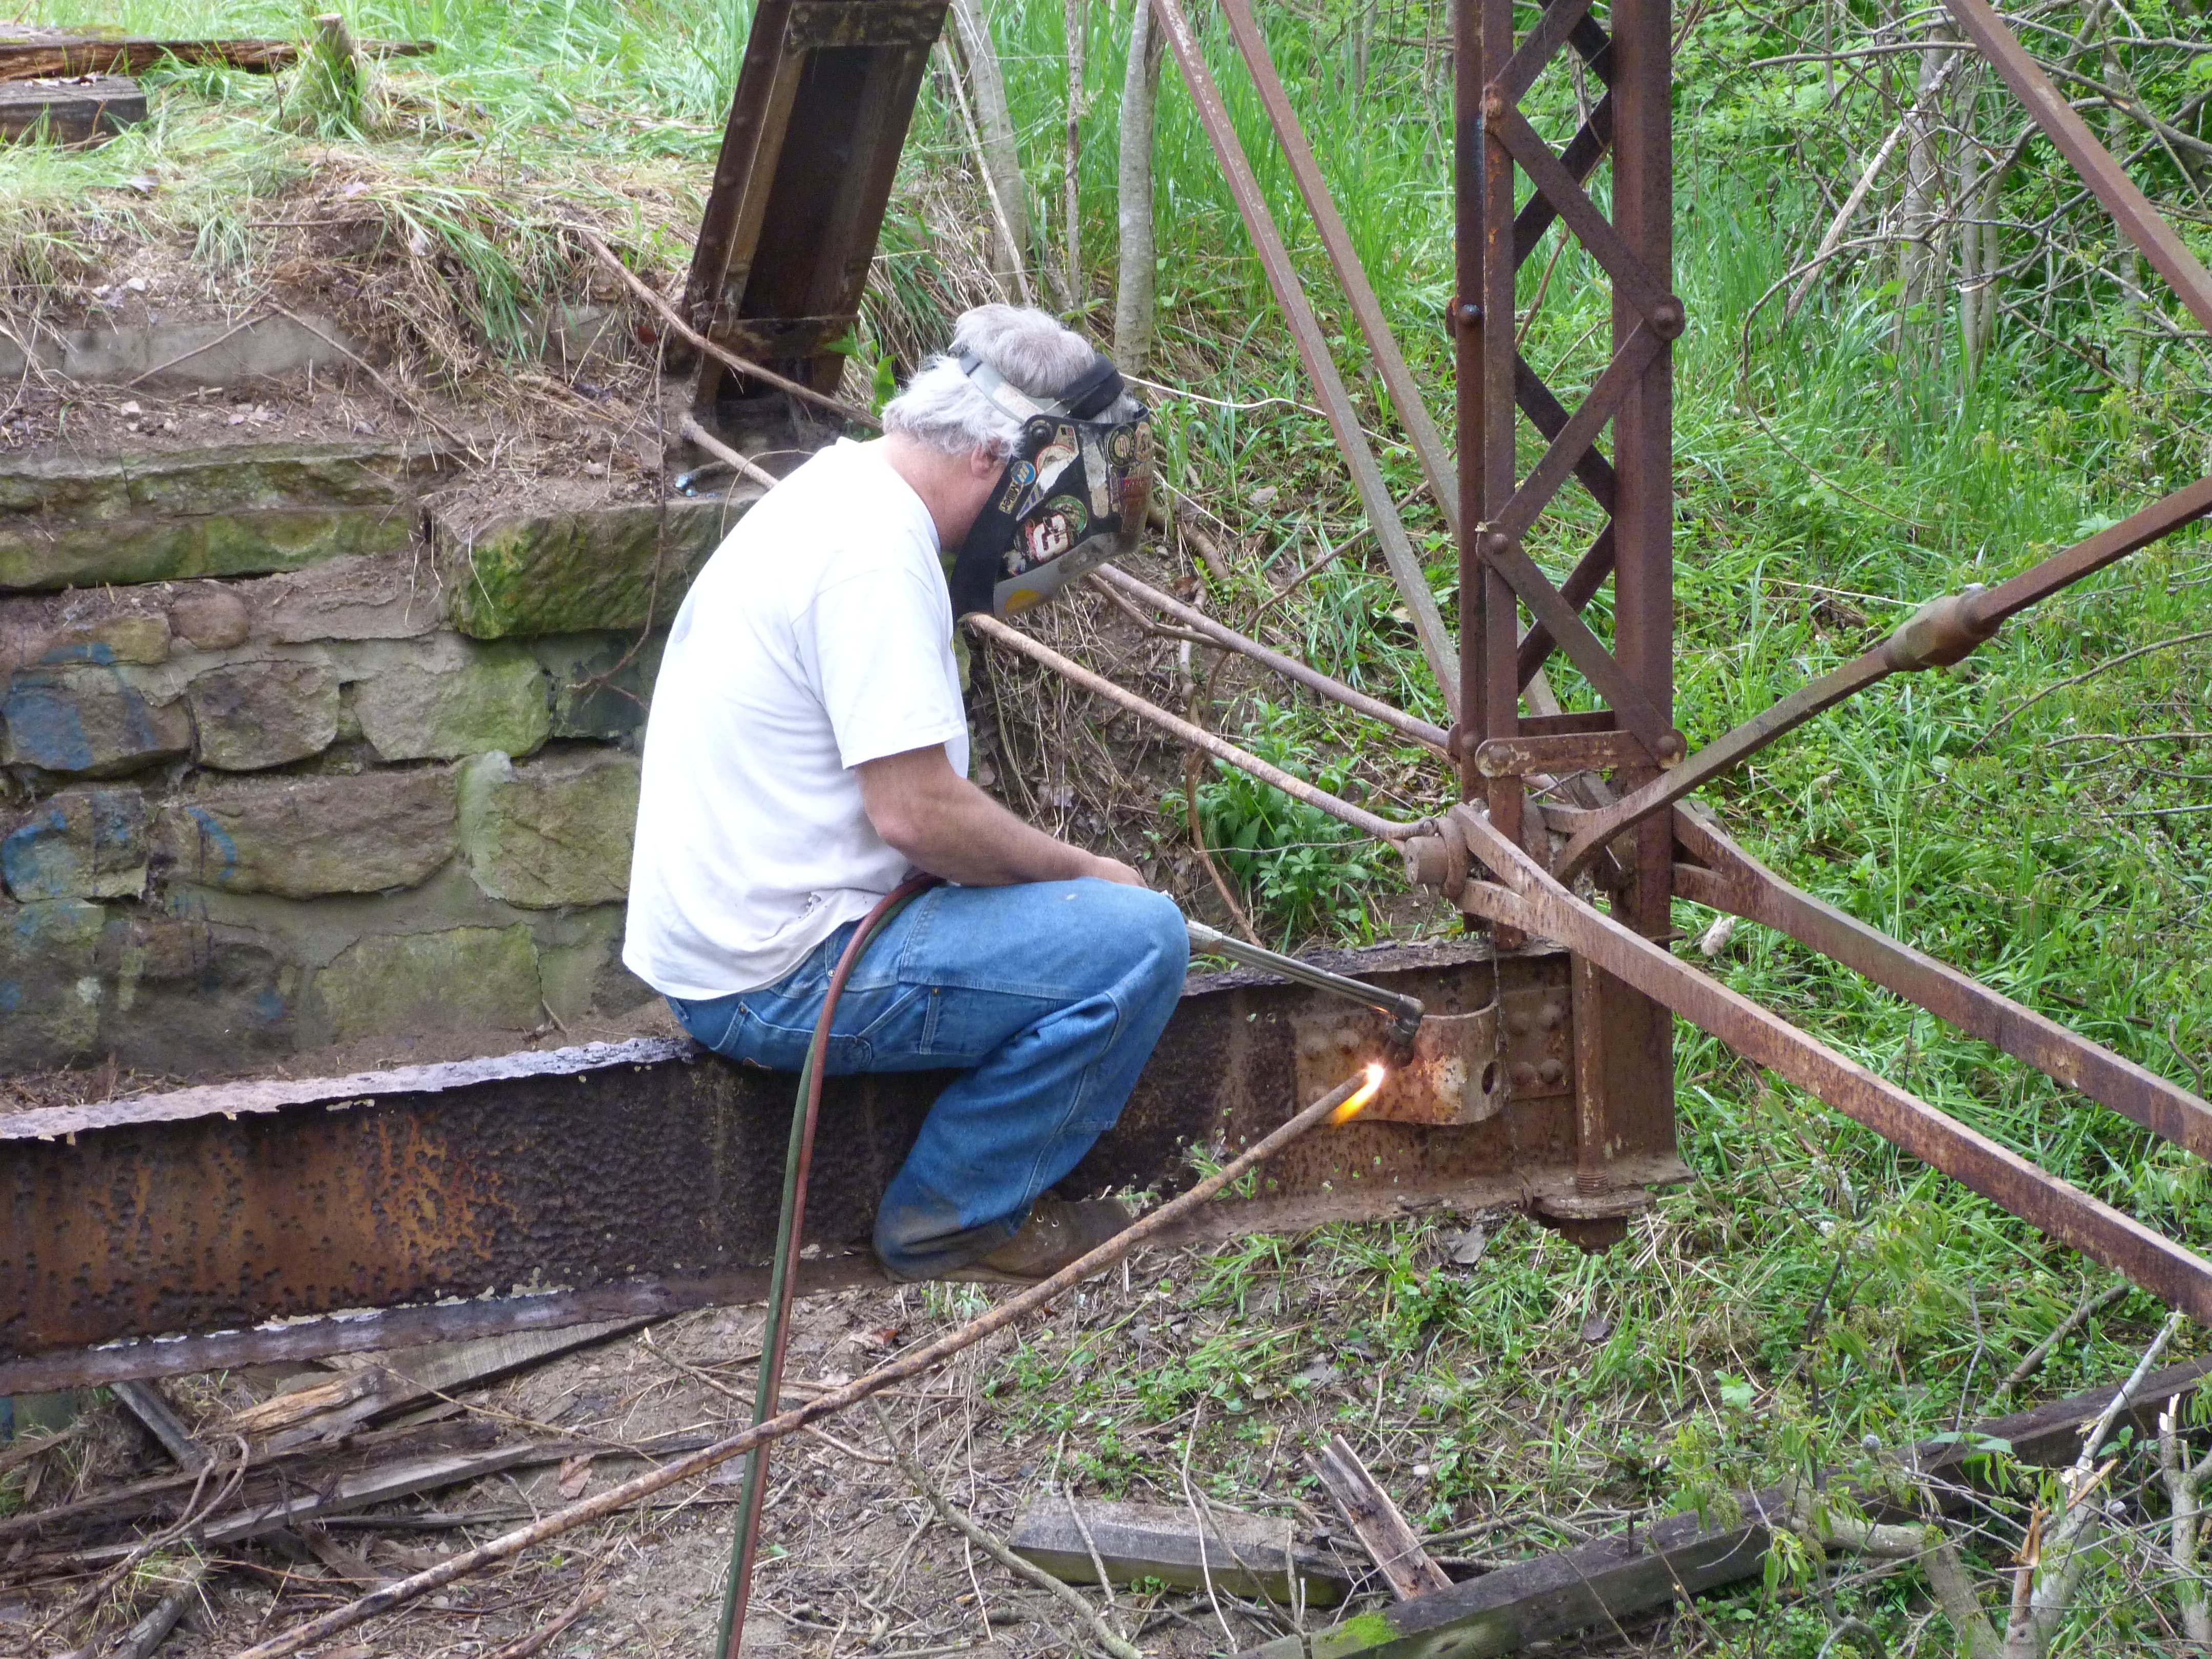
Welding the brace in place.
![]()
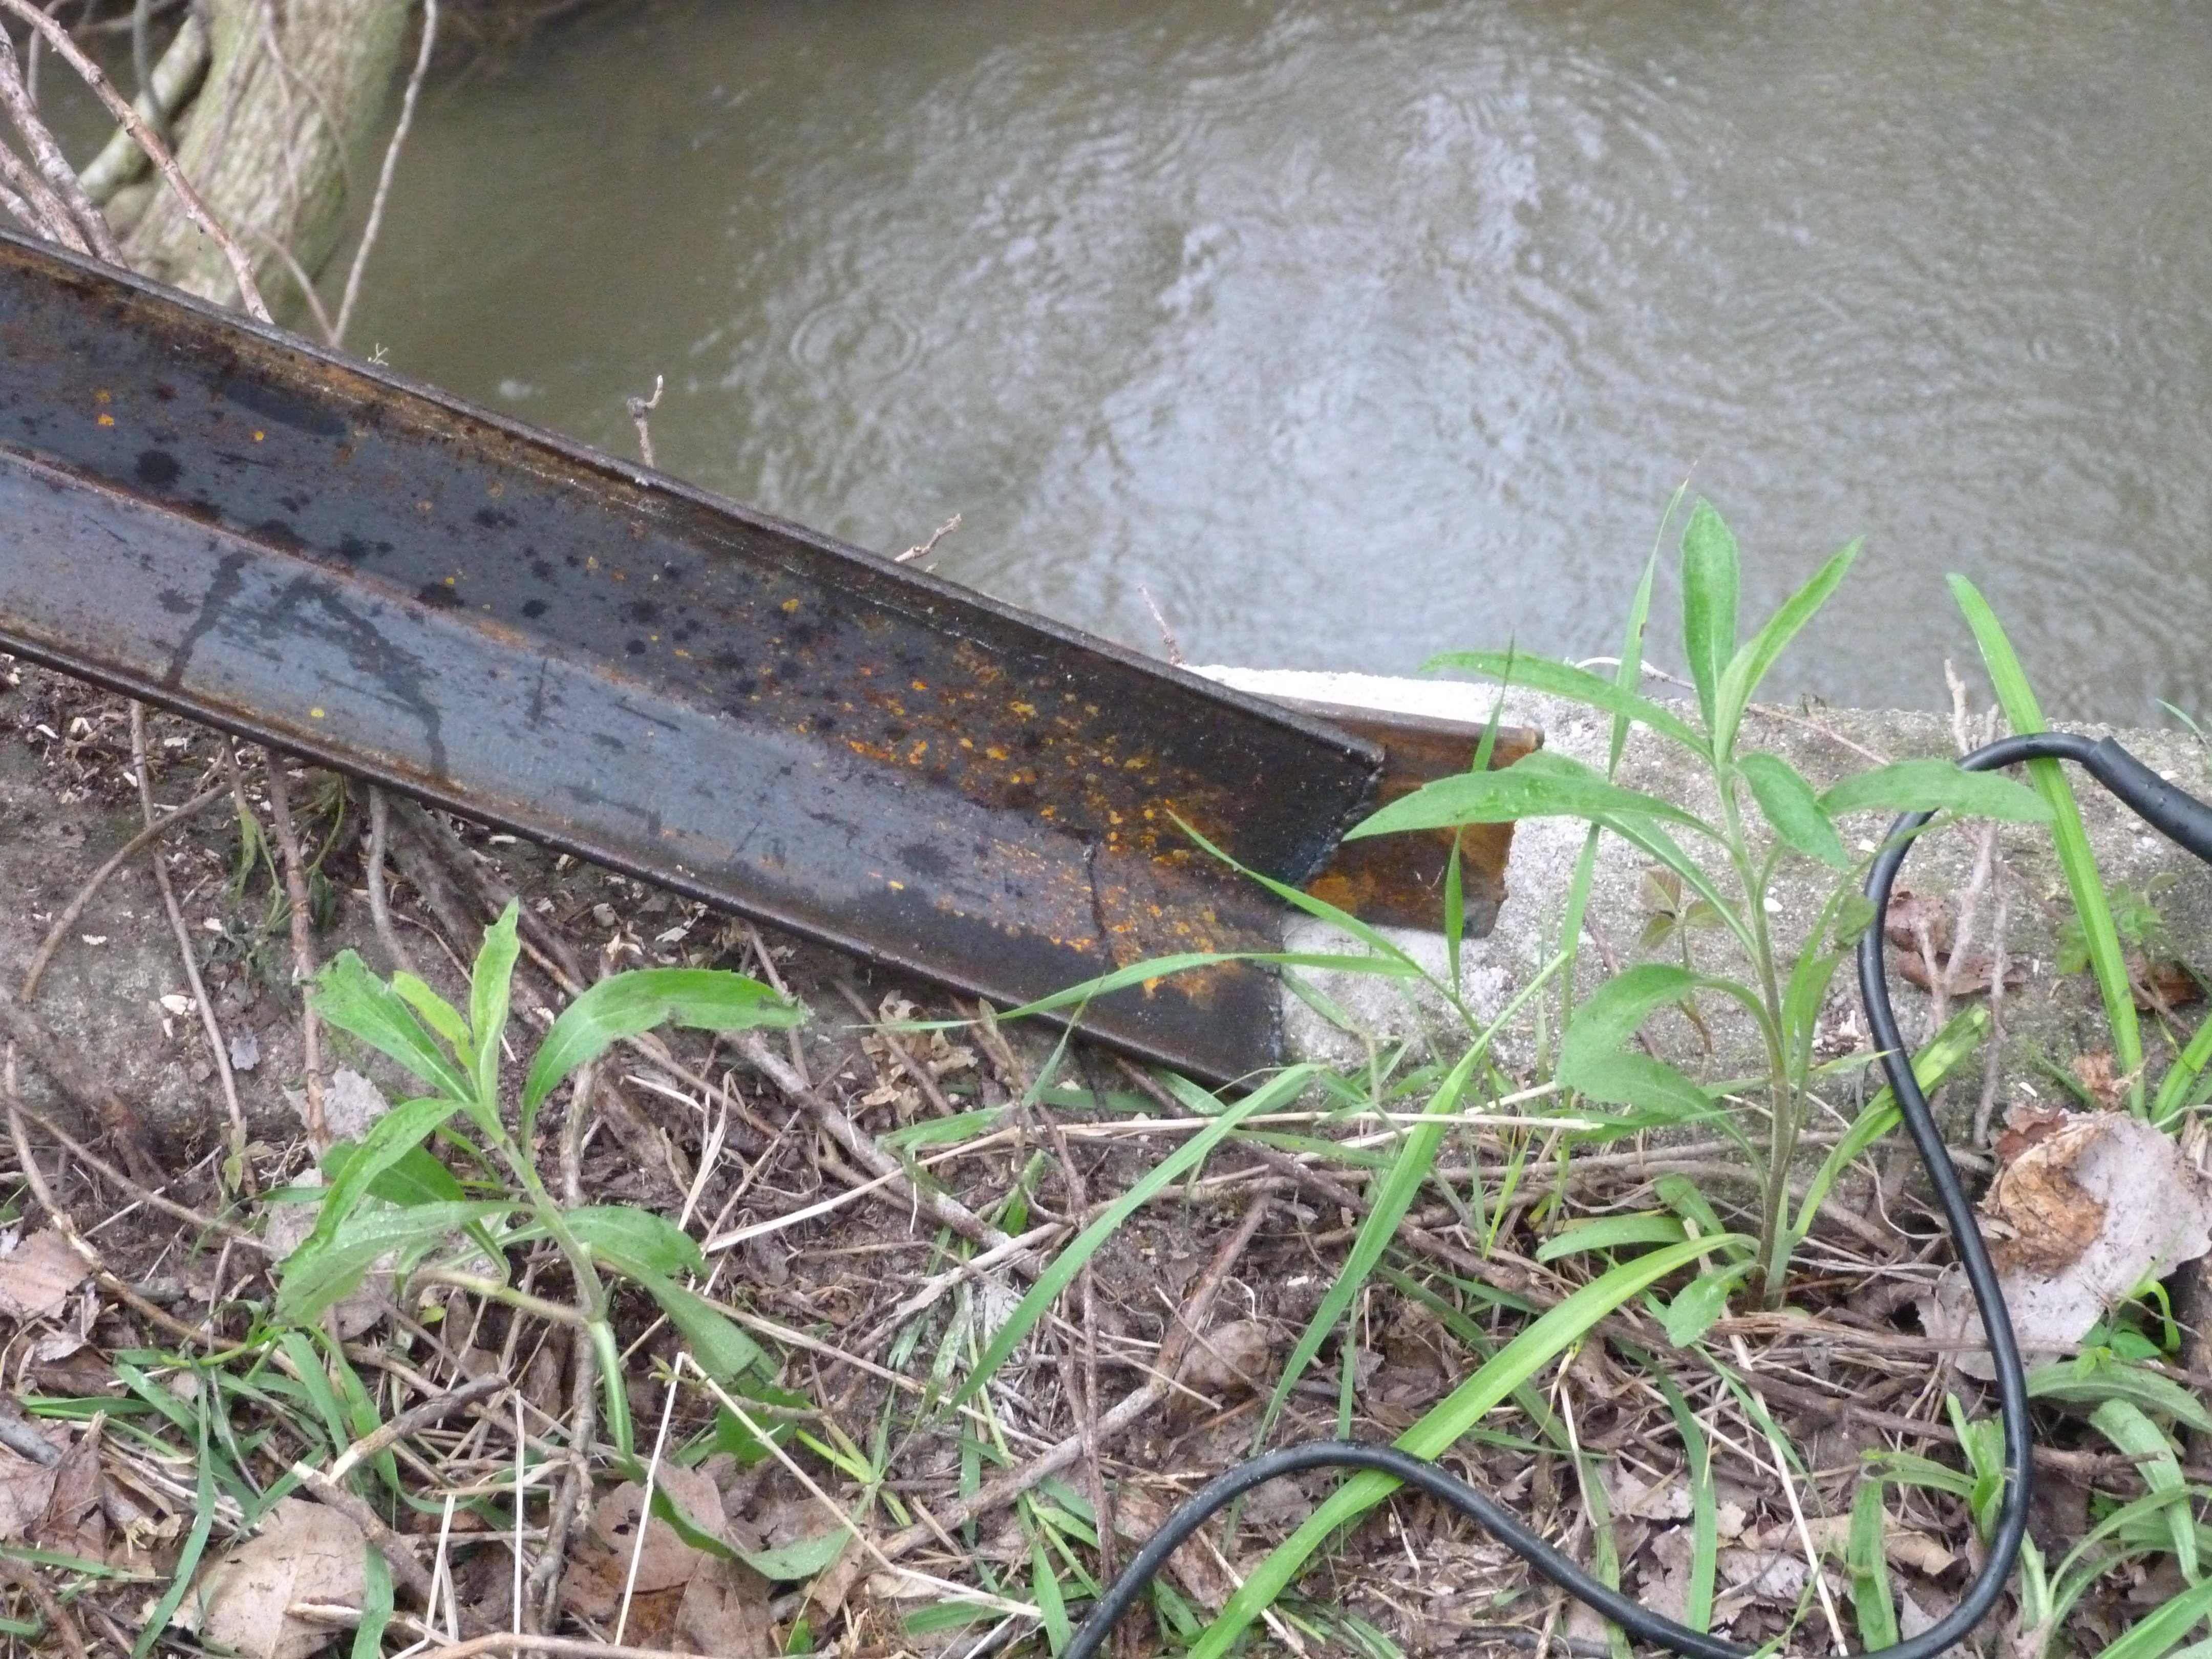
Brace details.
![]()
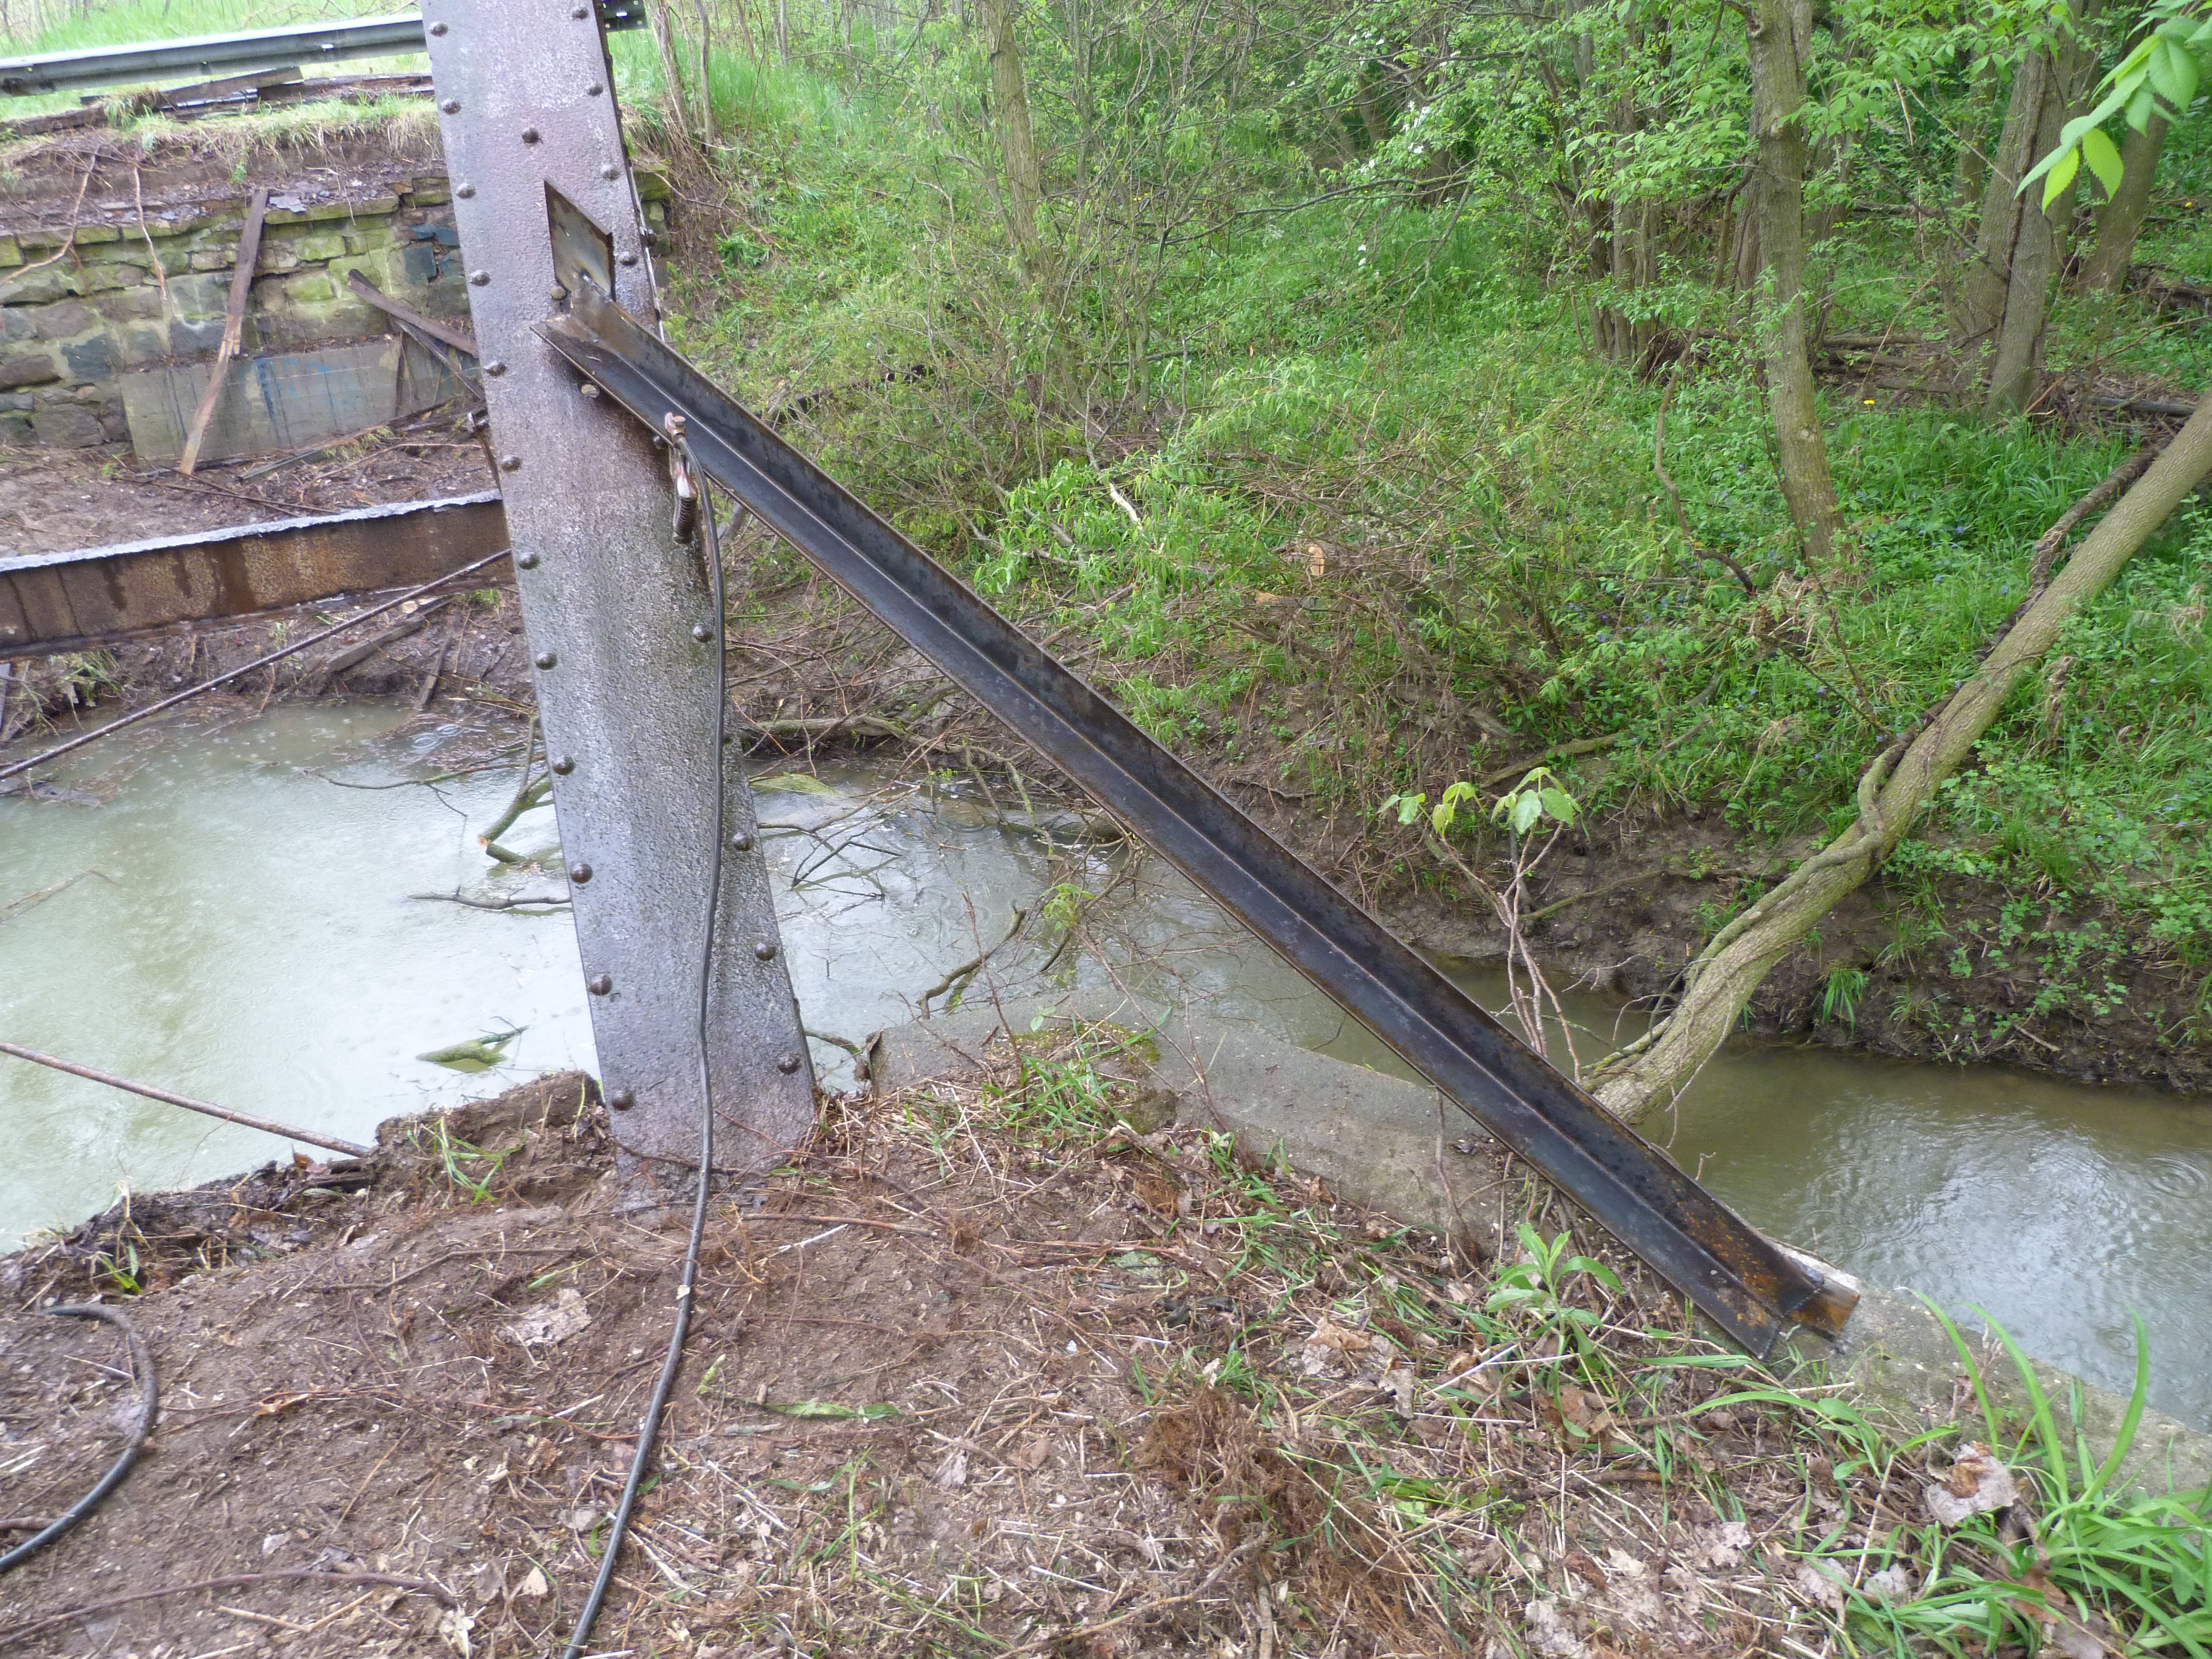
Completed brace.
![]()
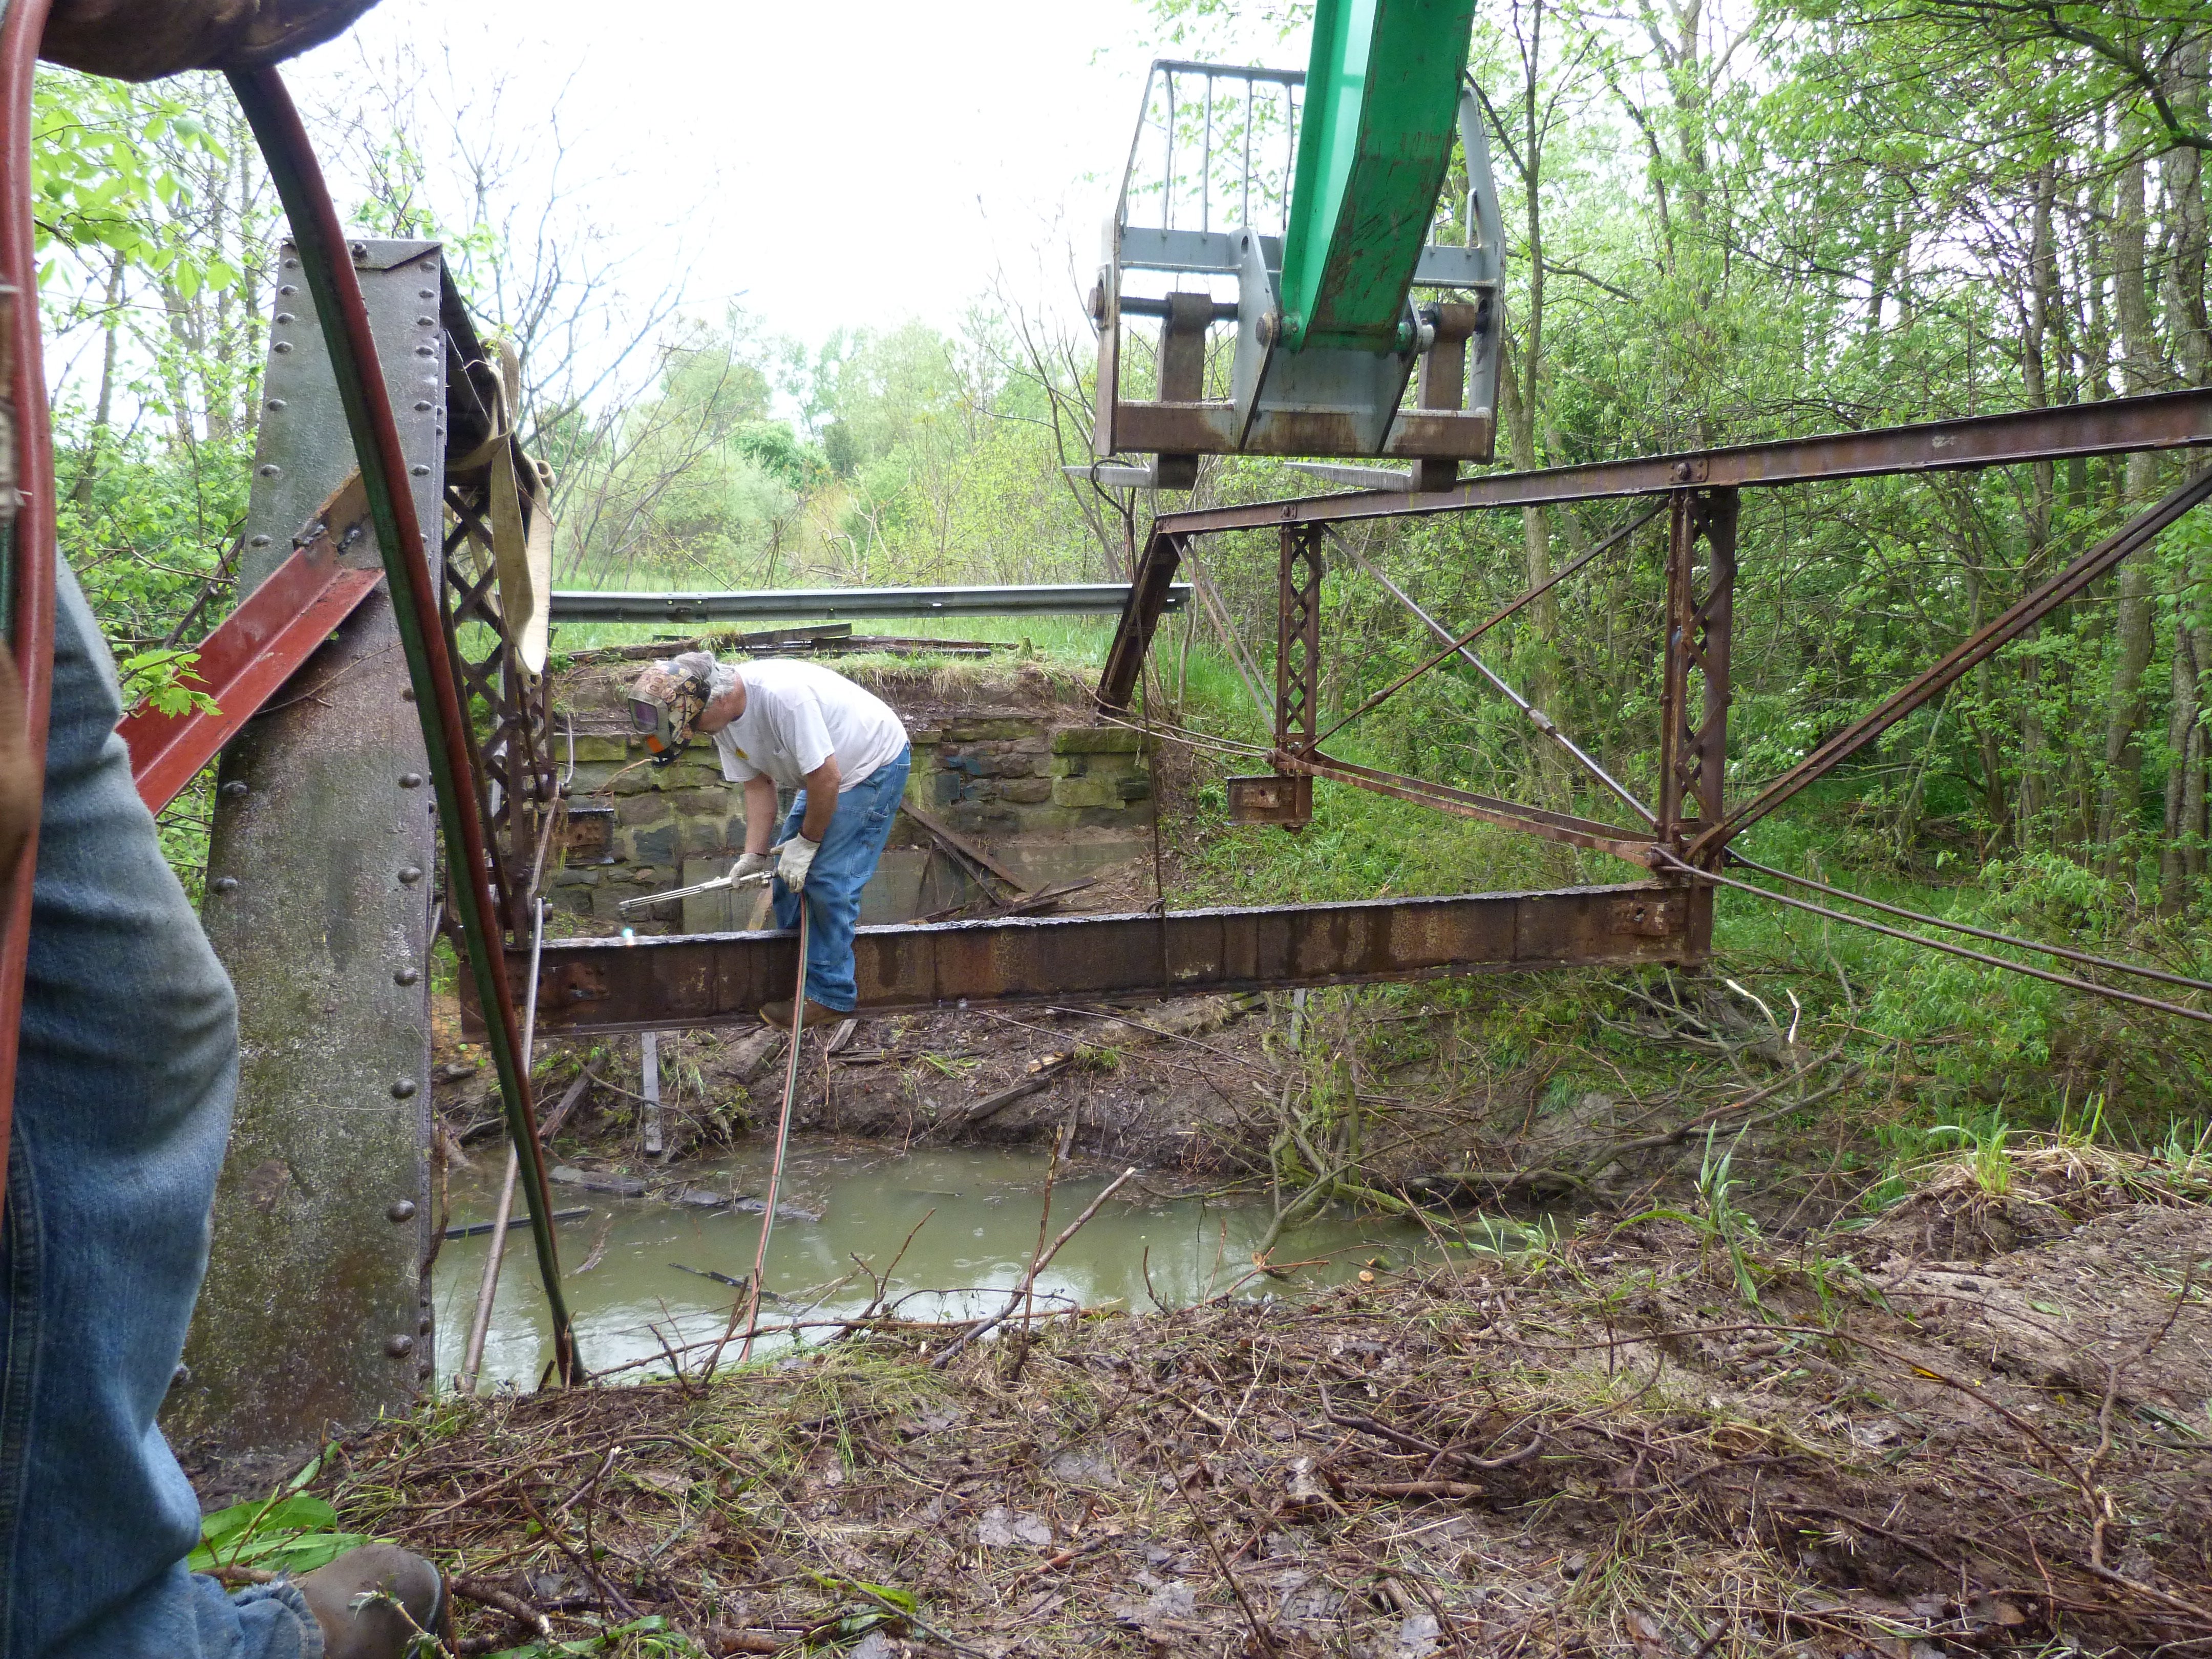
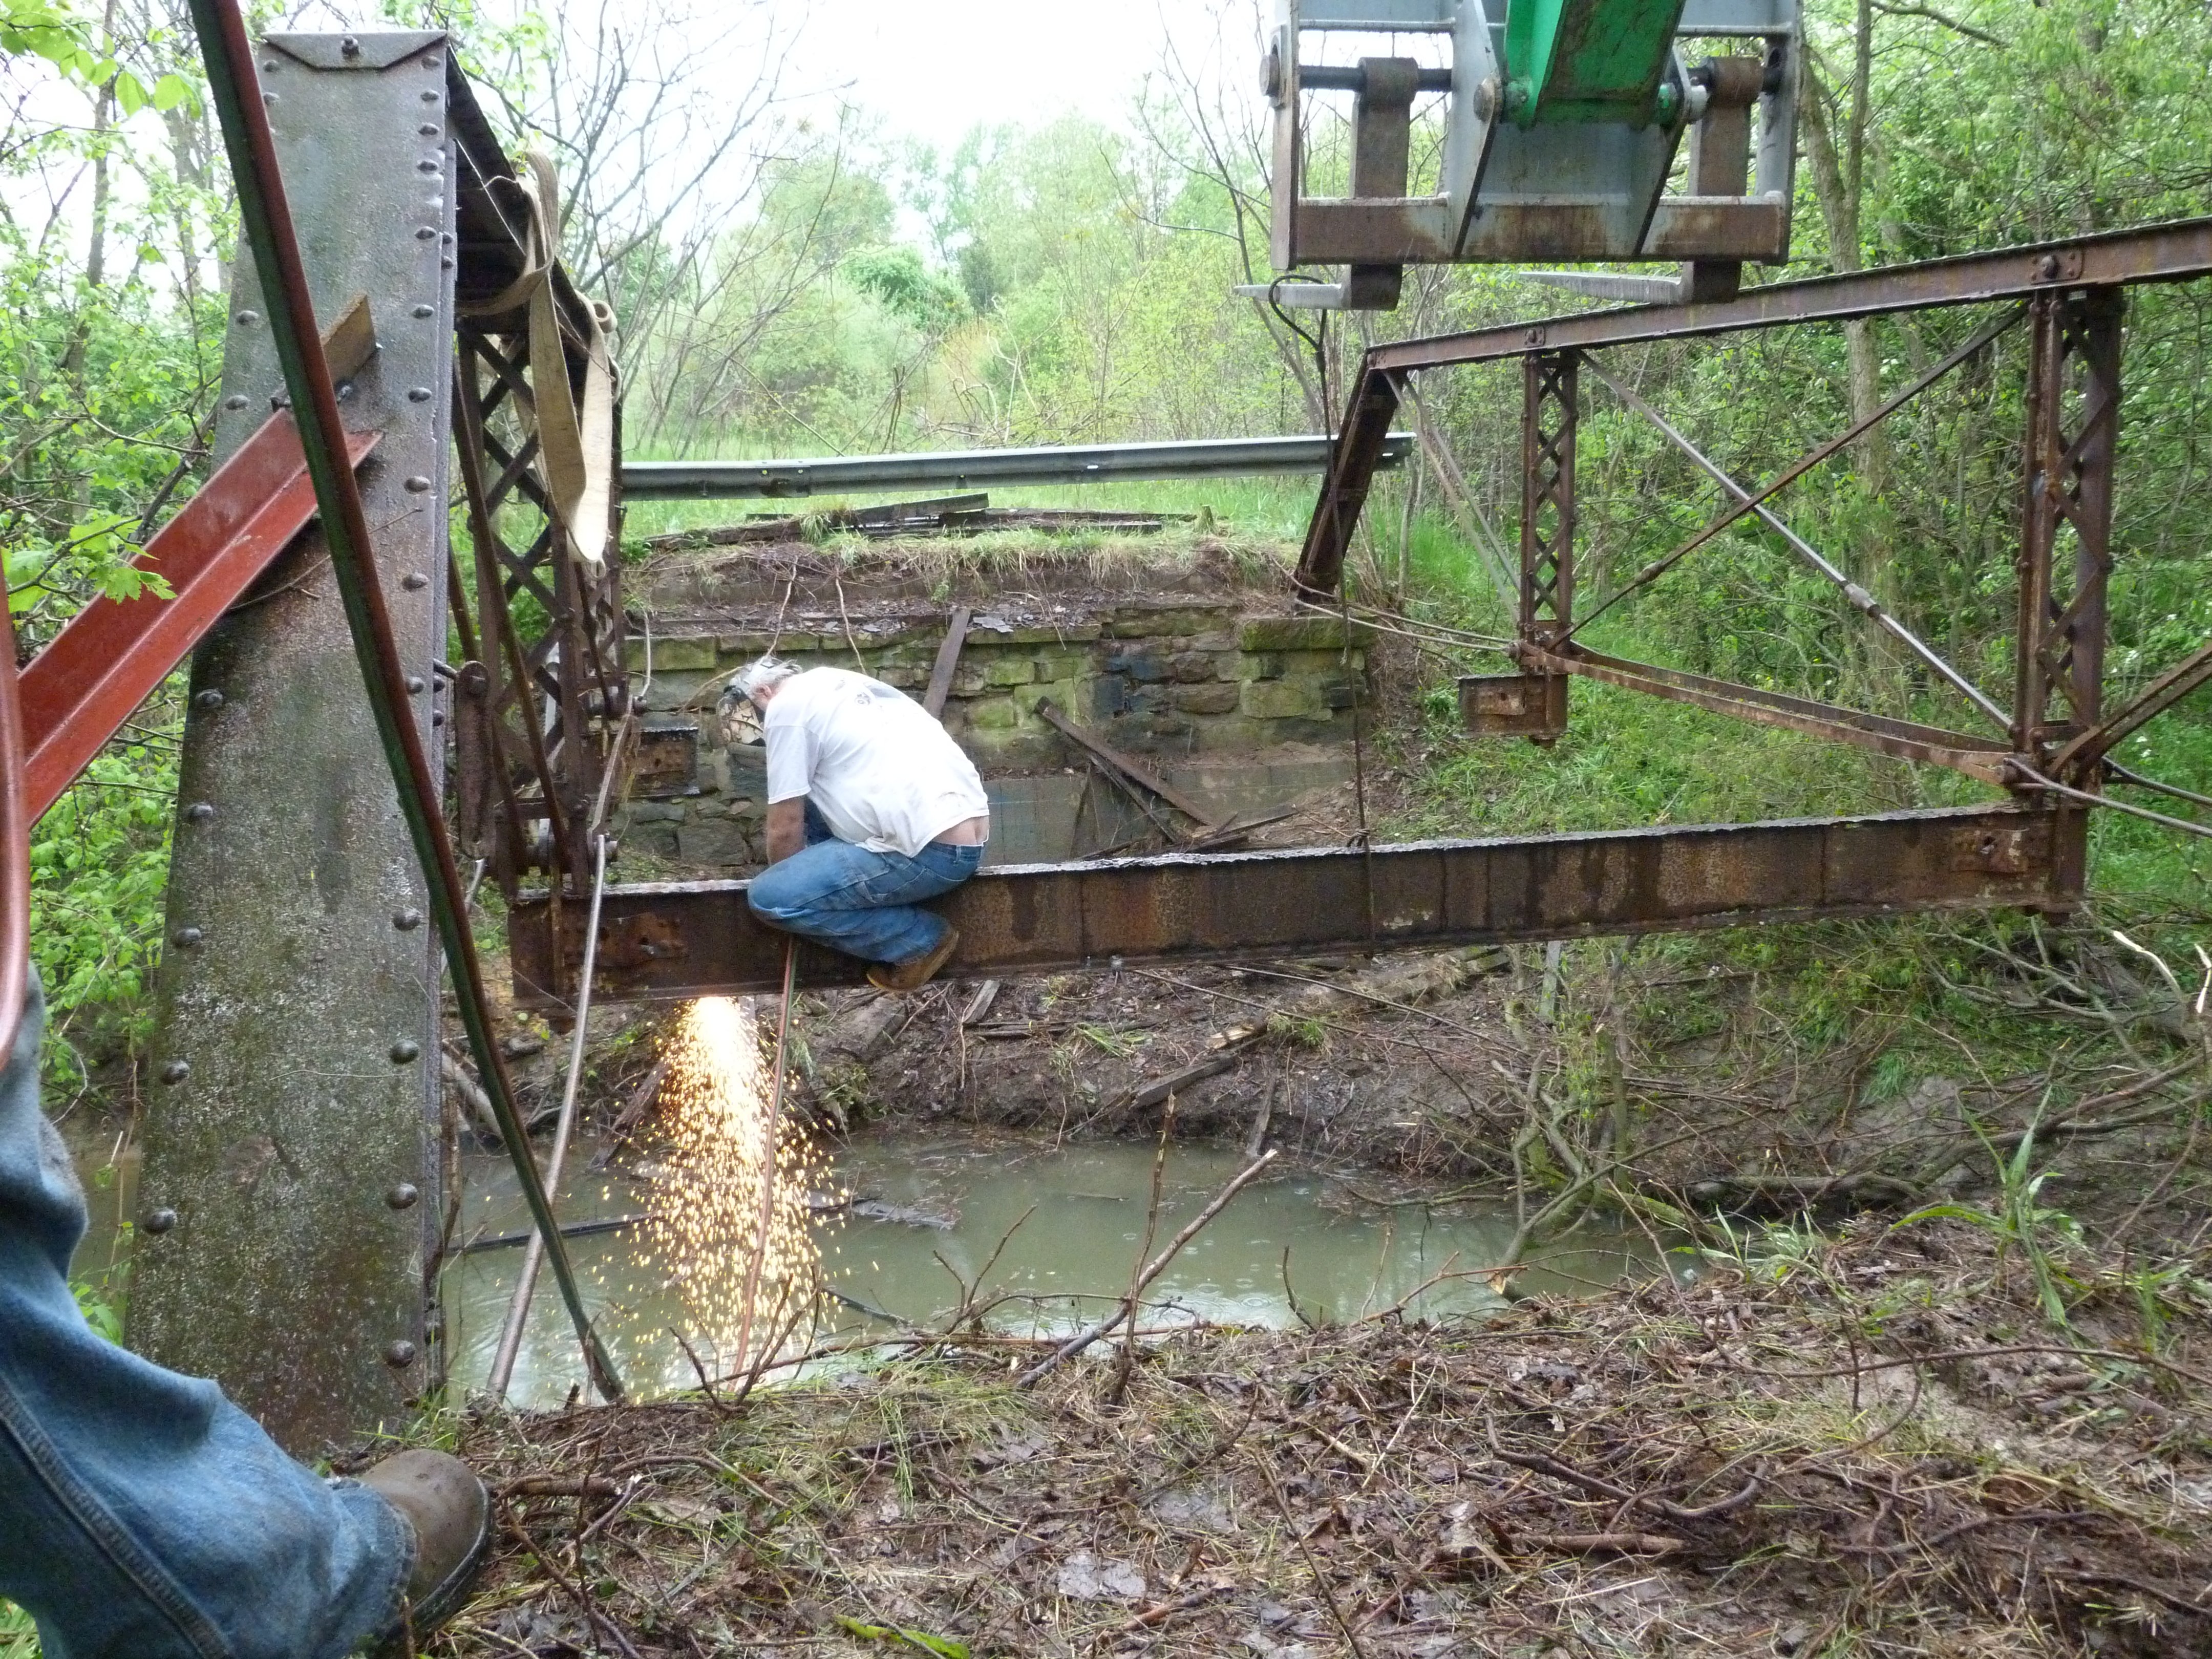


Cutting out the final floor beam.
![]()


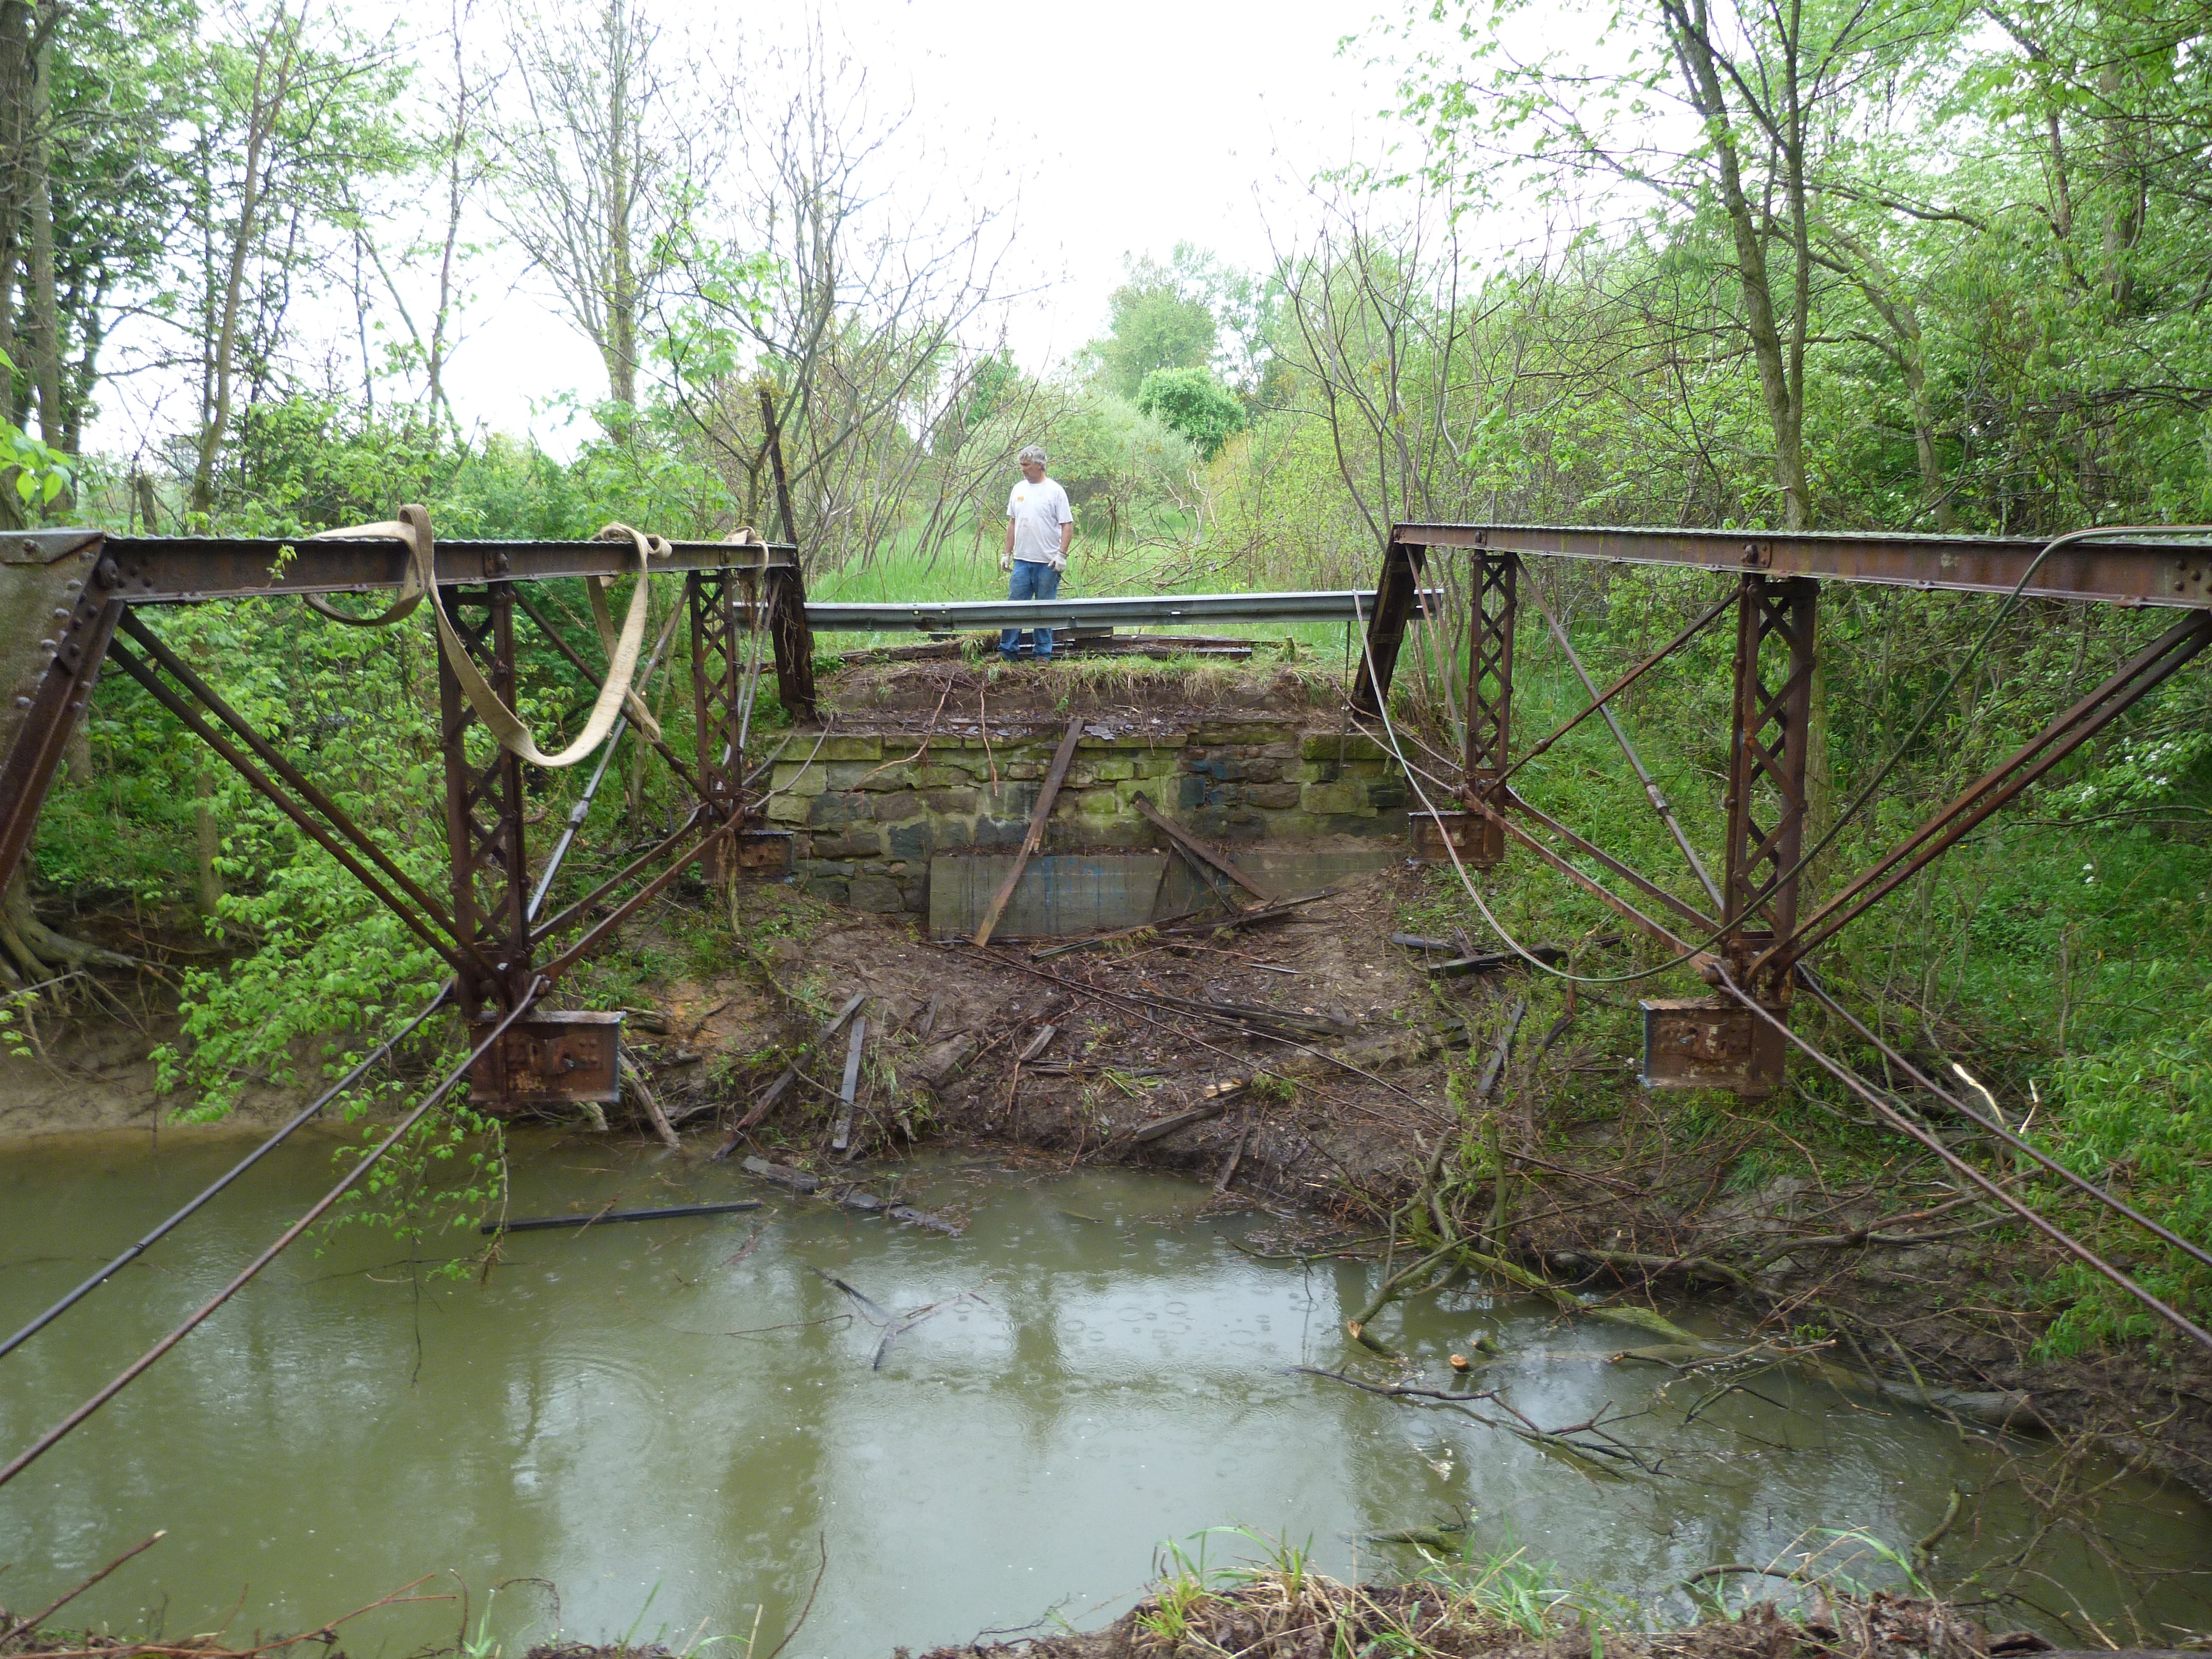
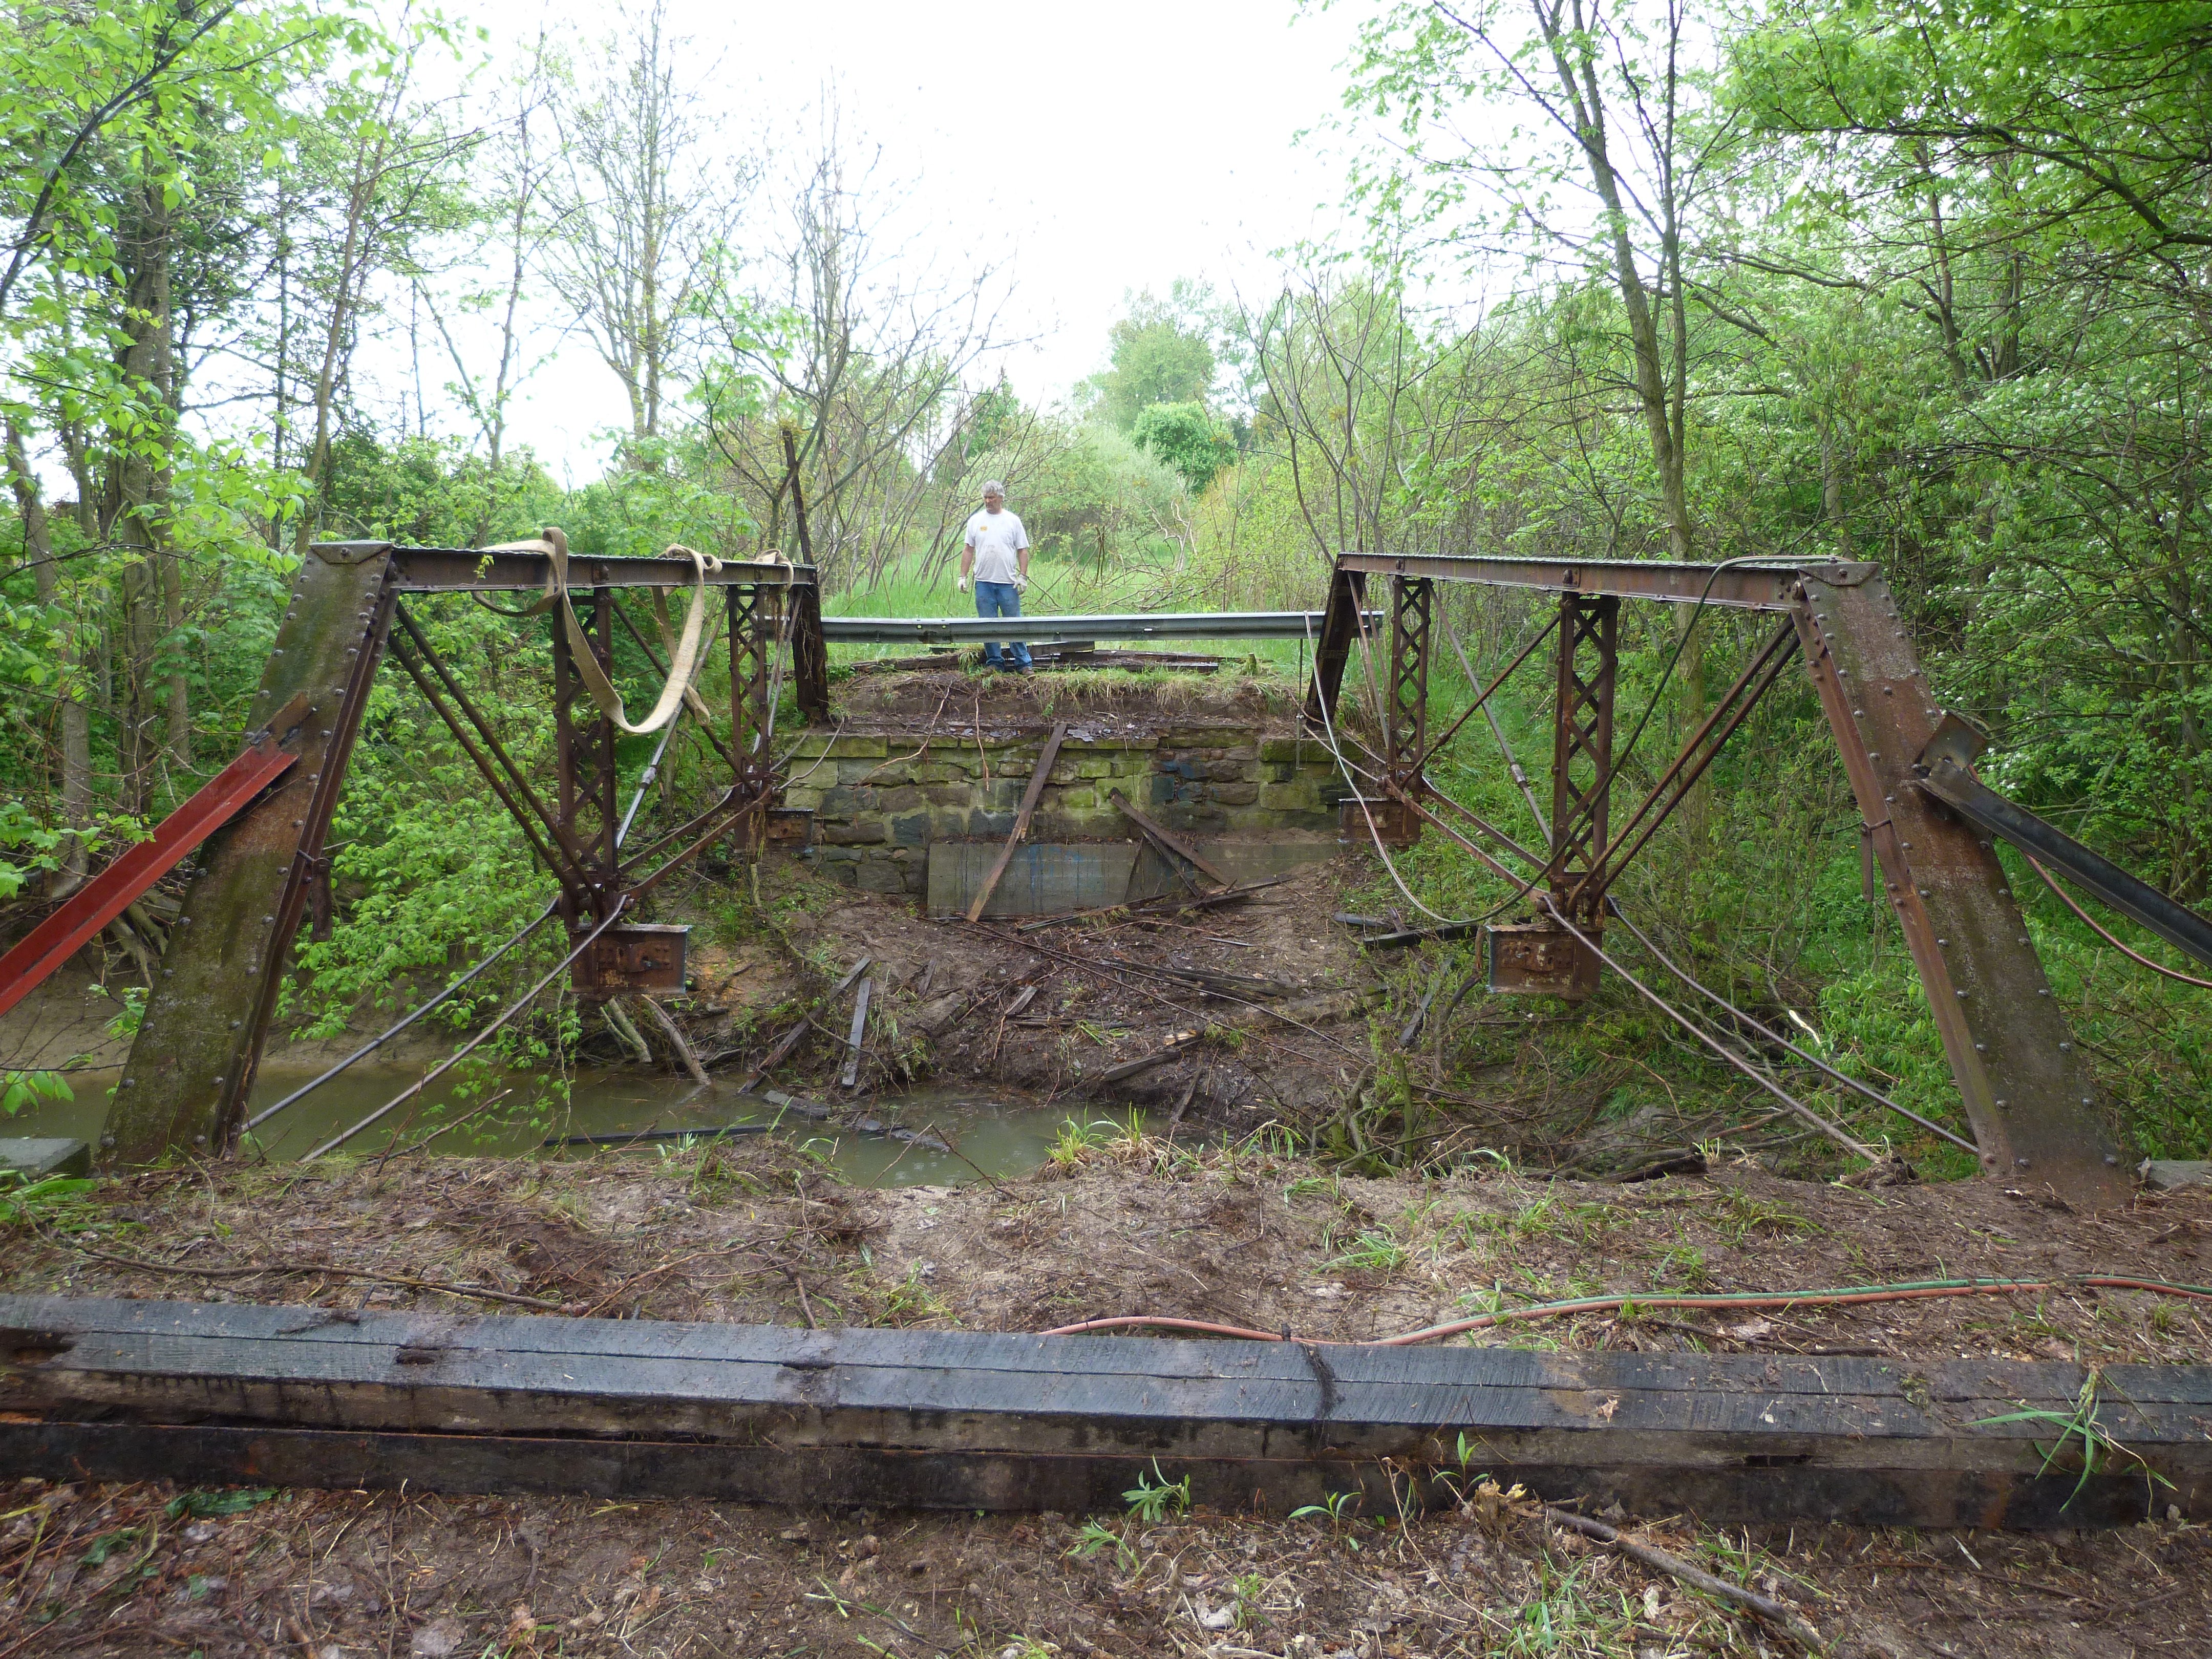
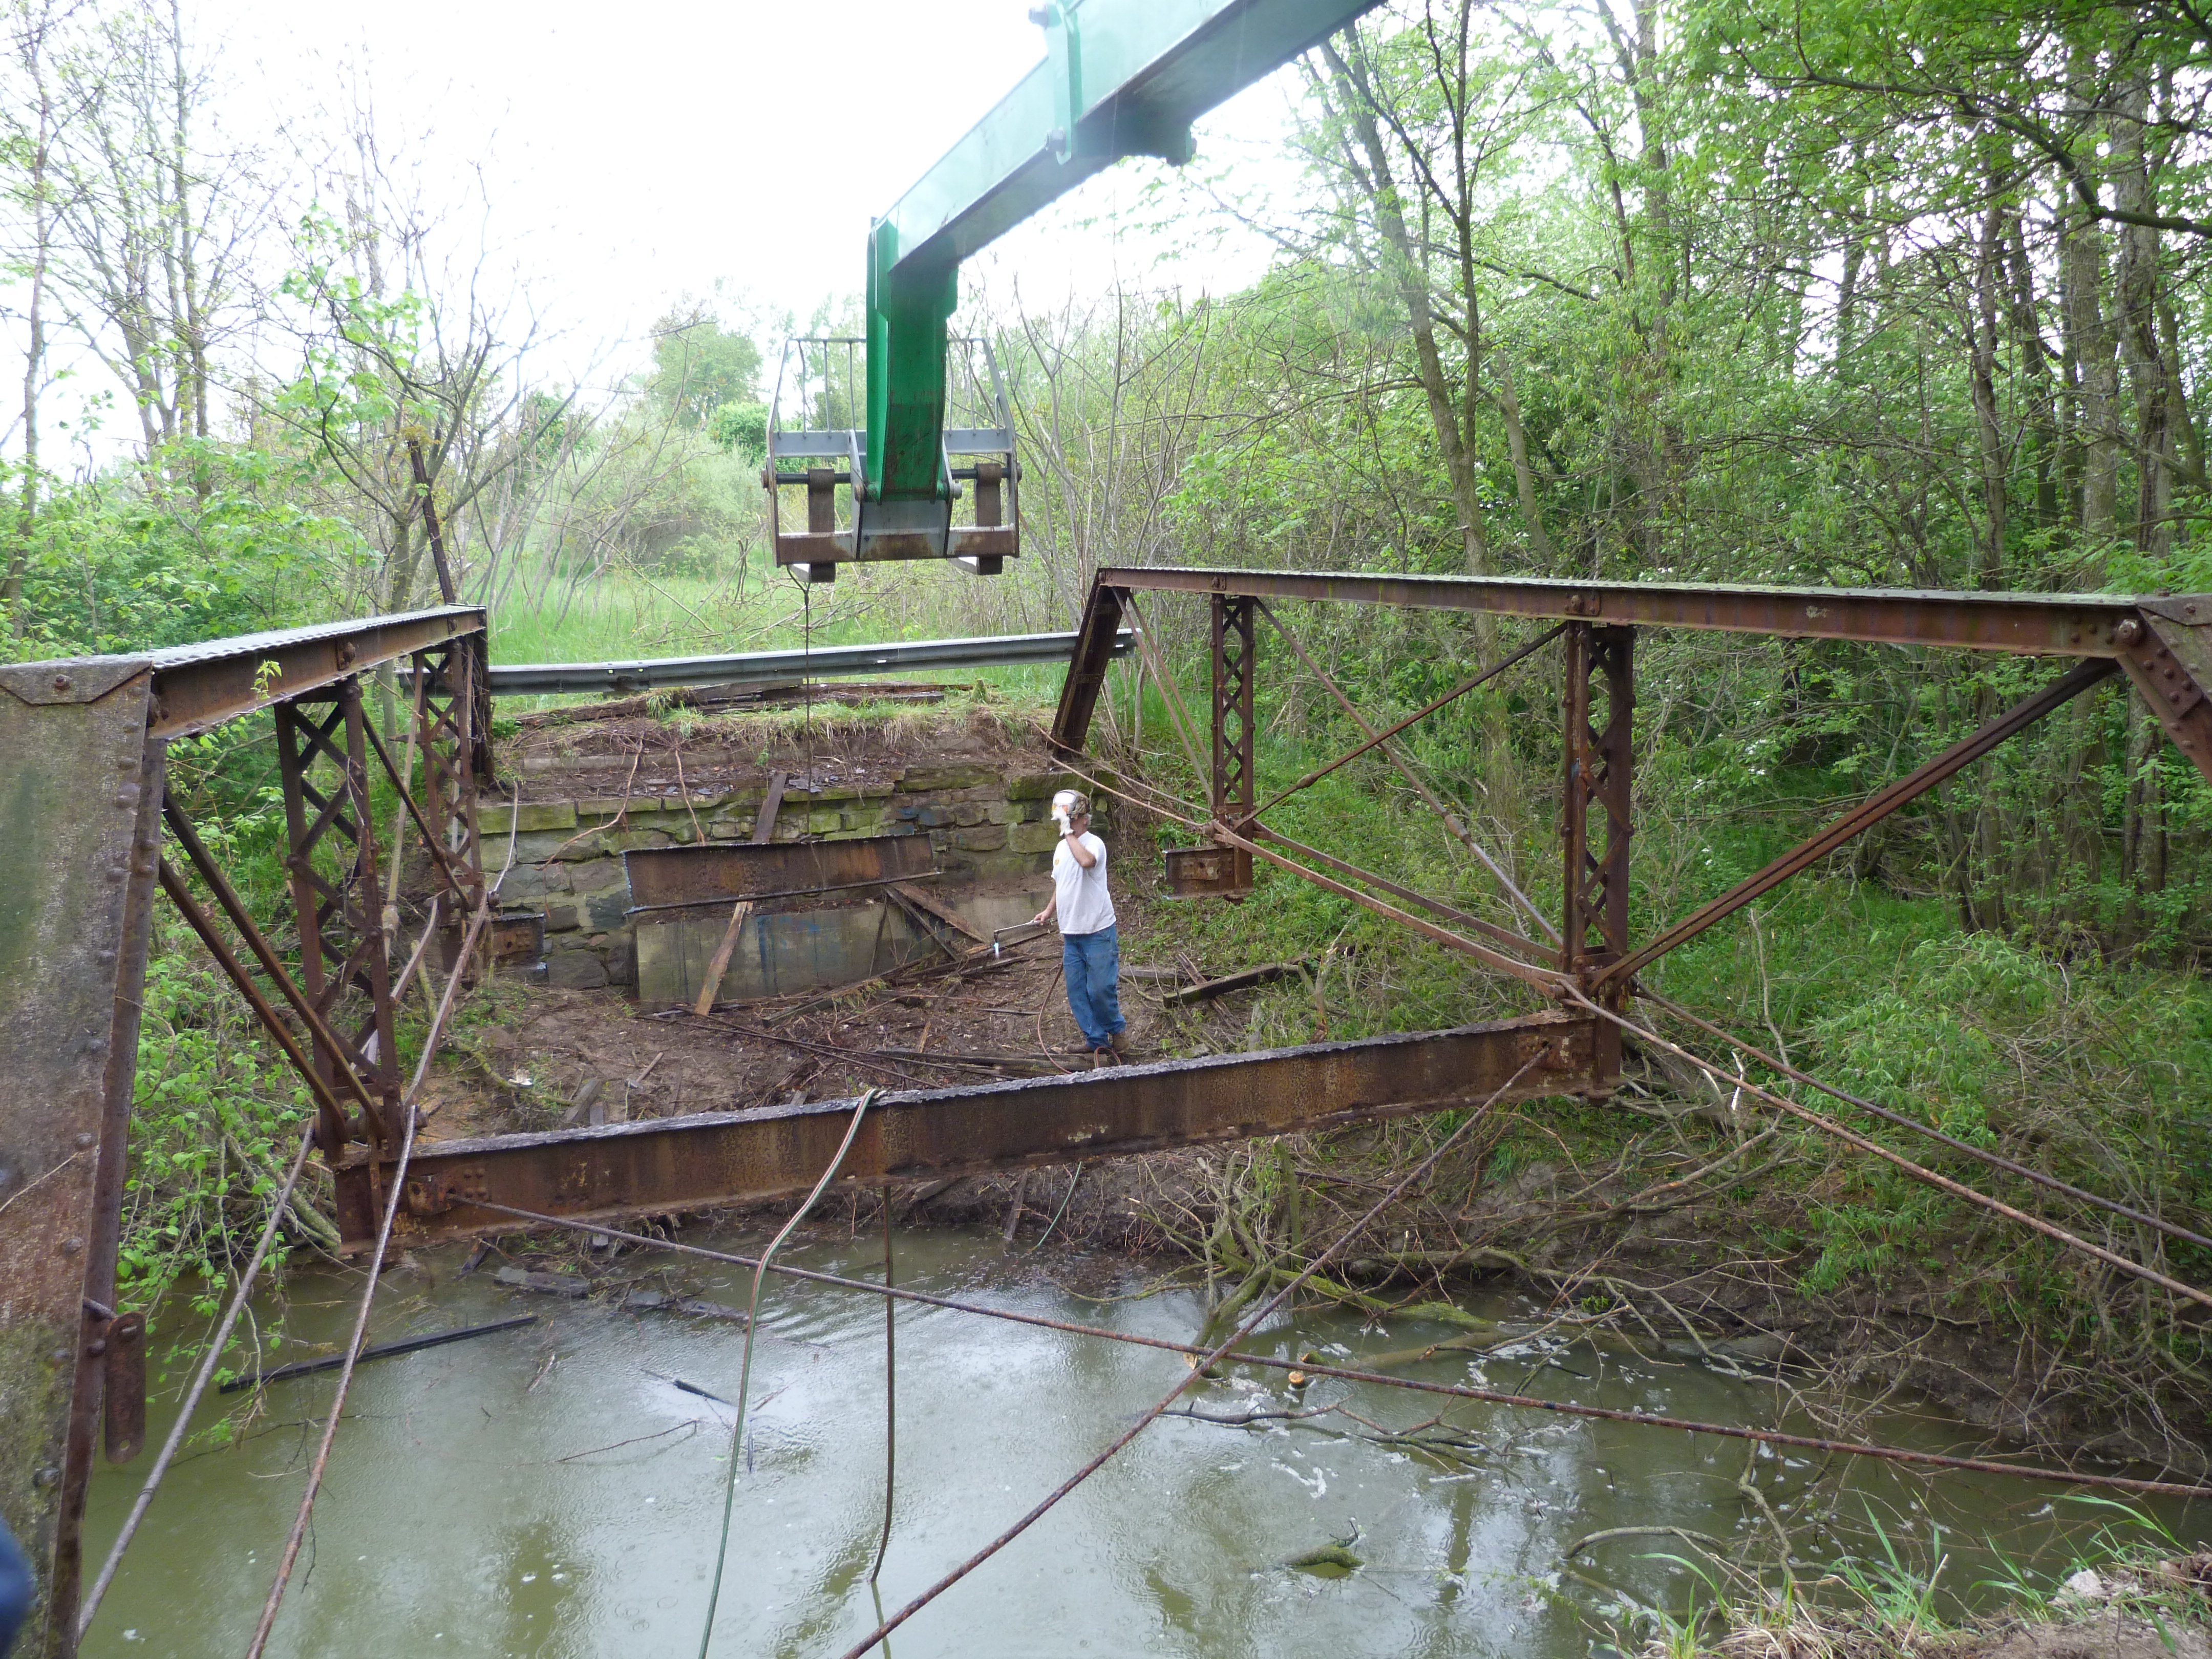
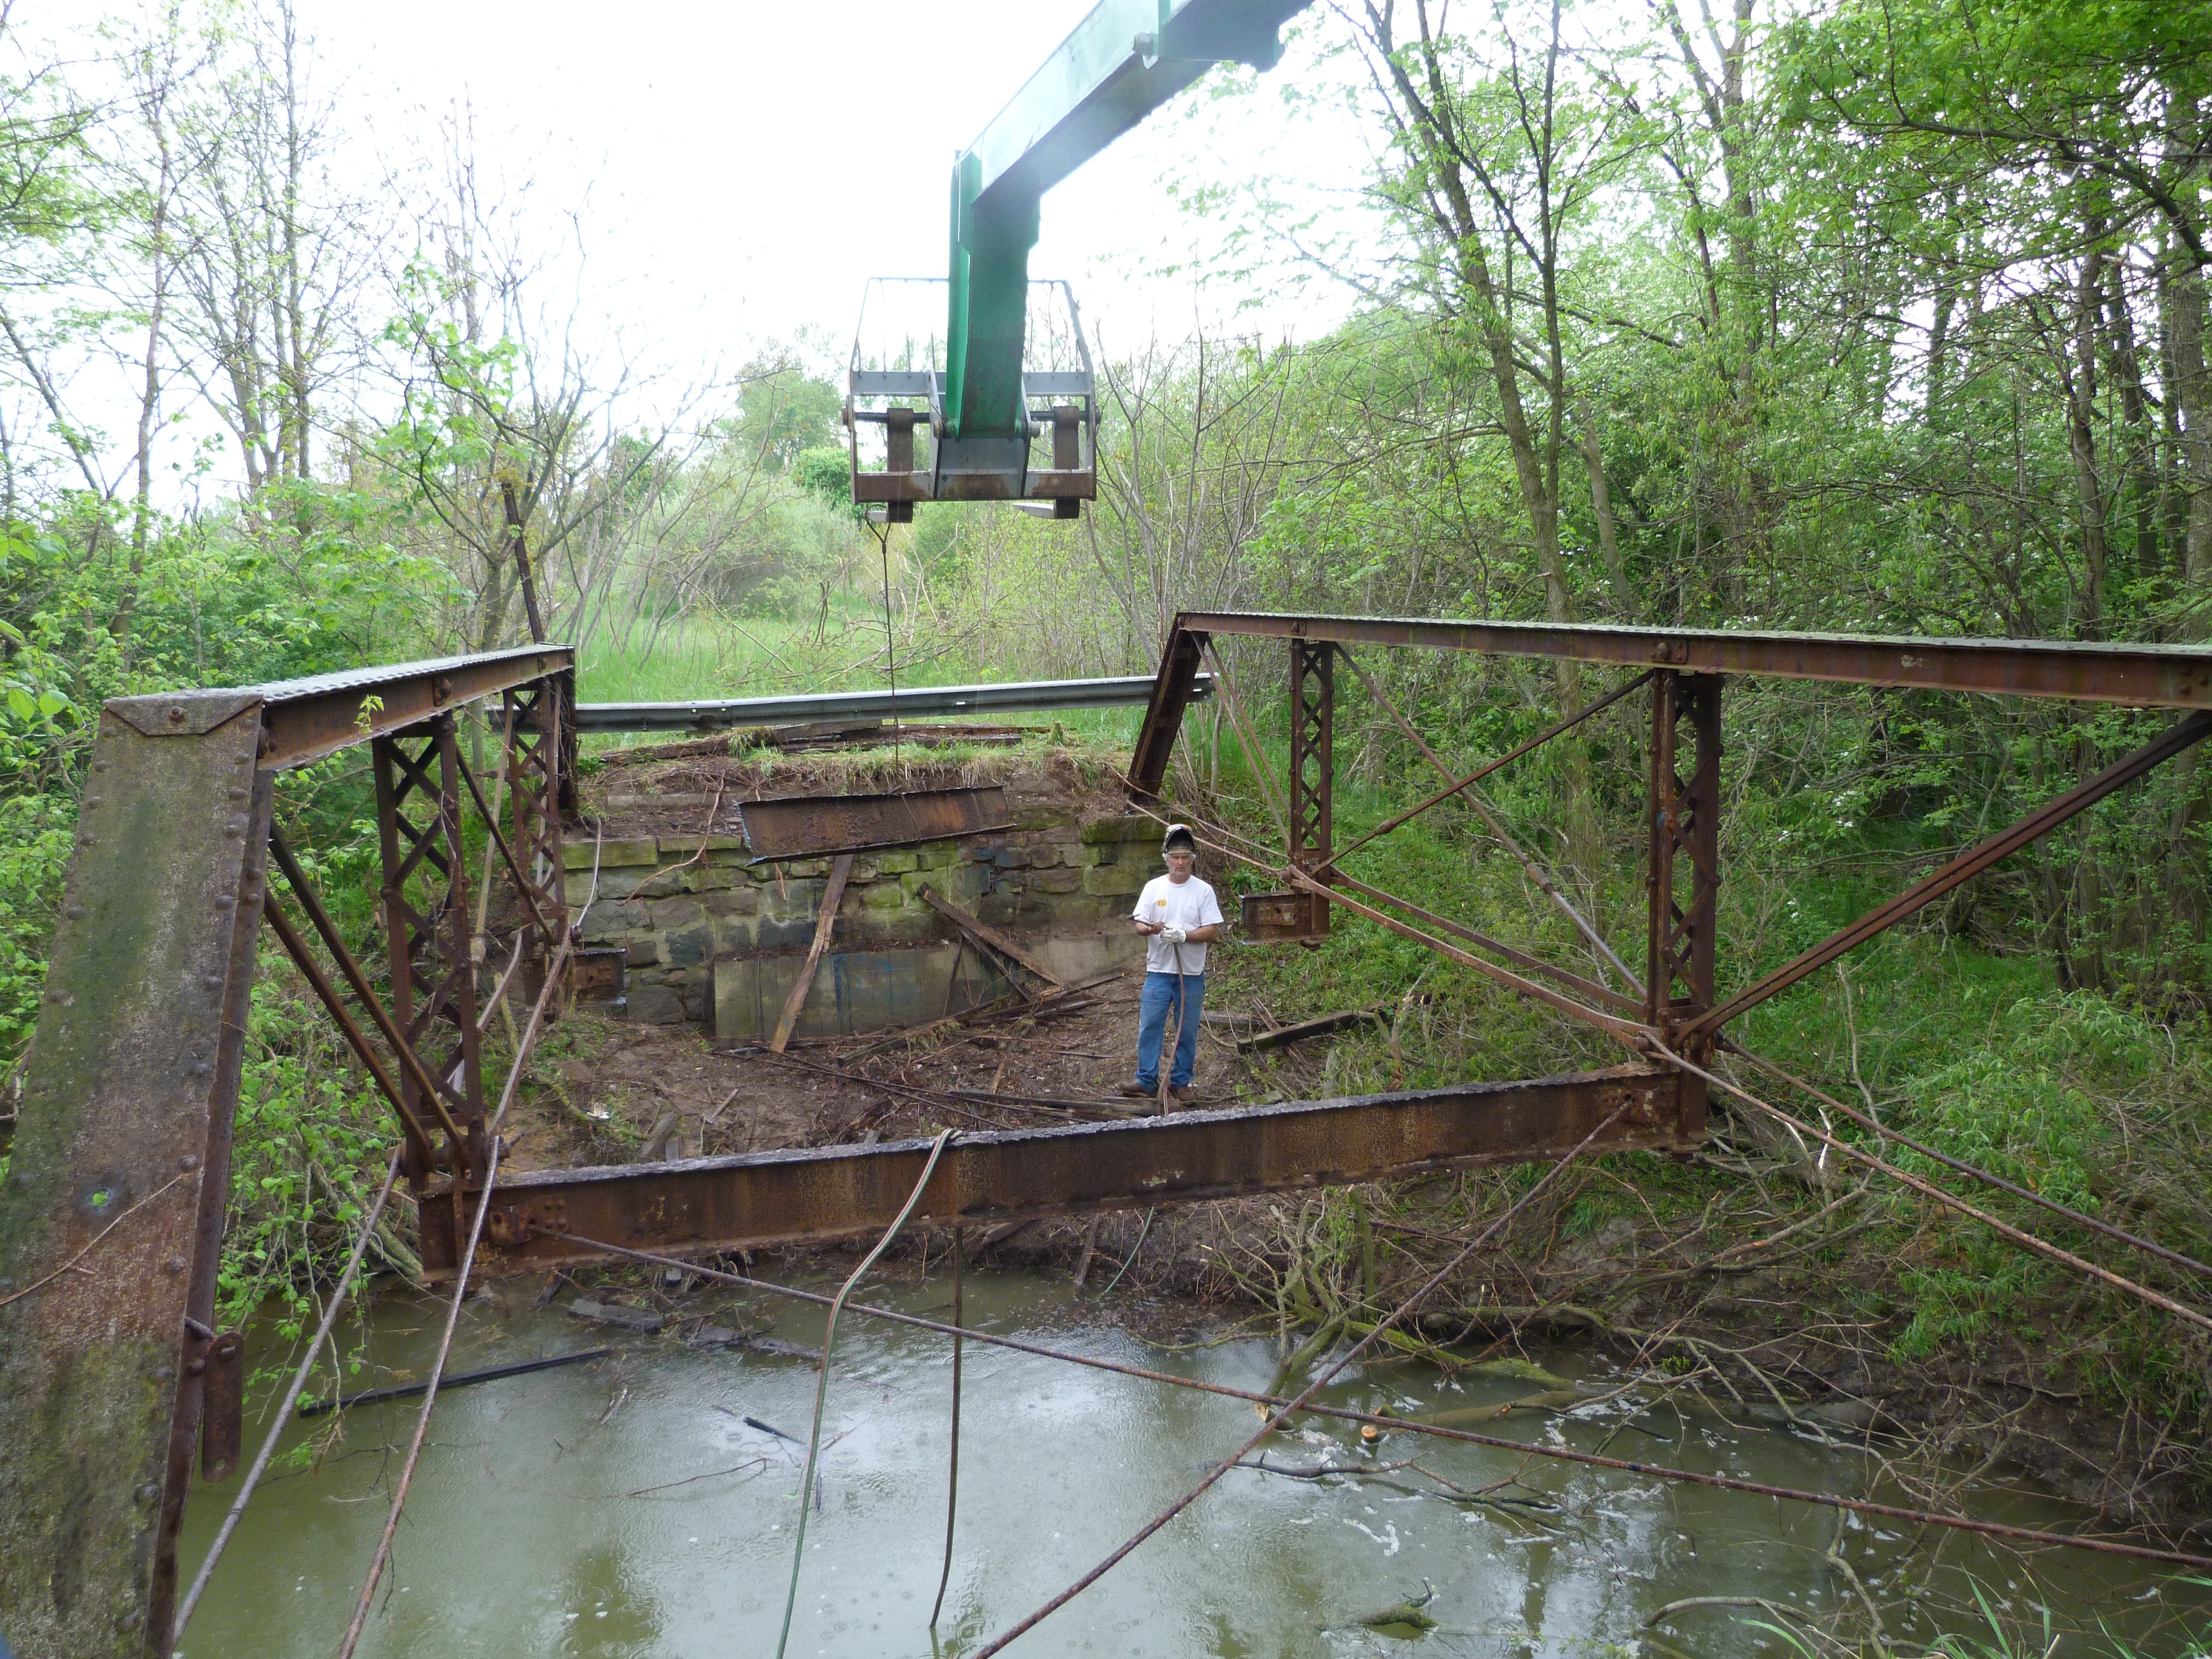
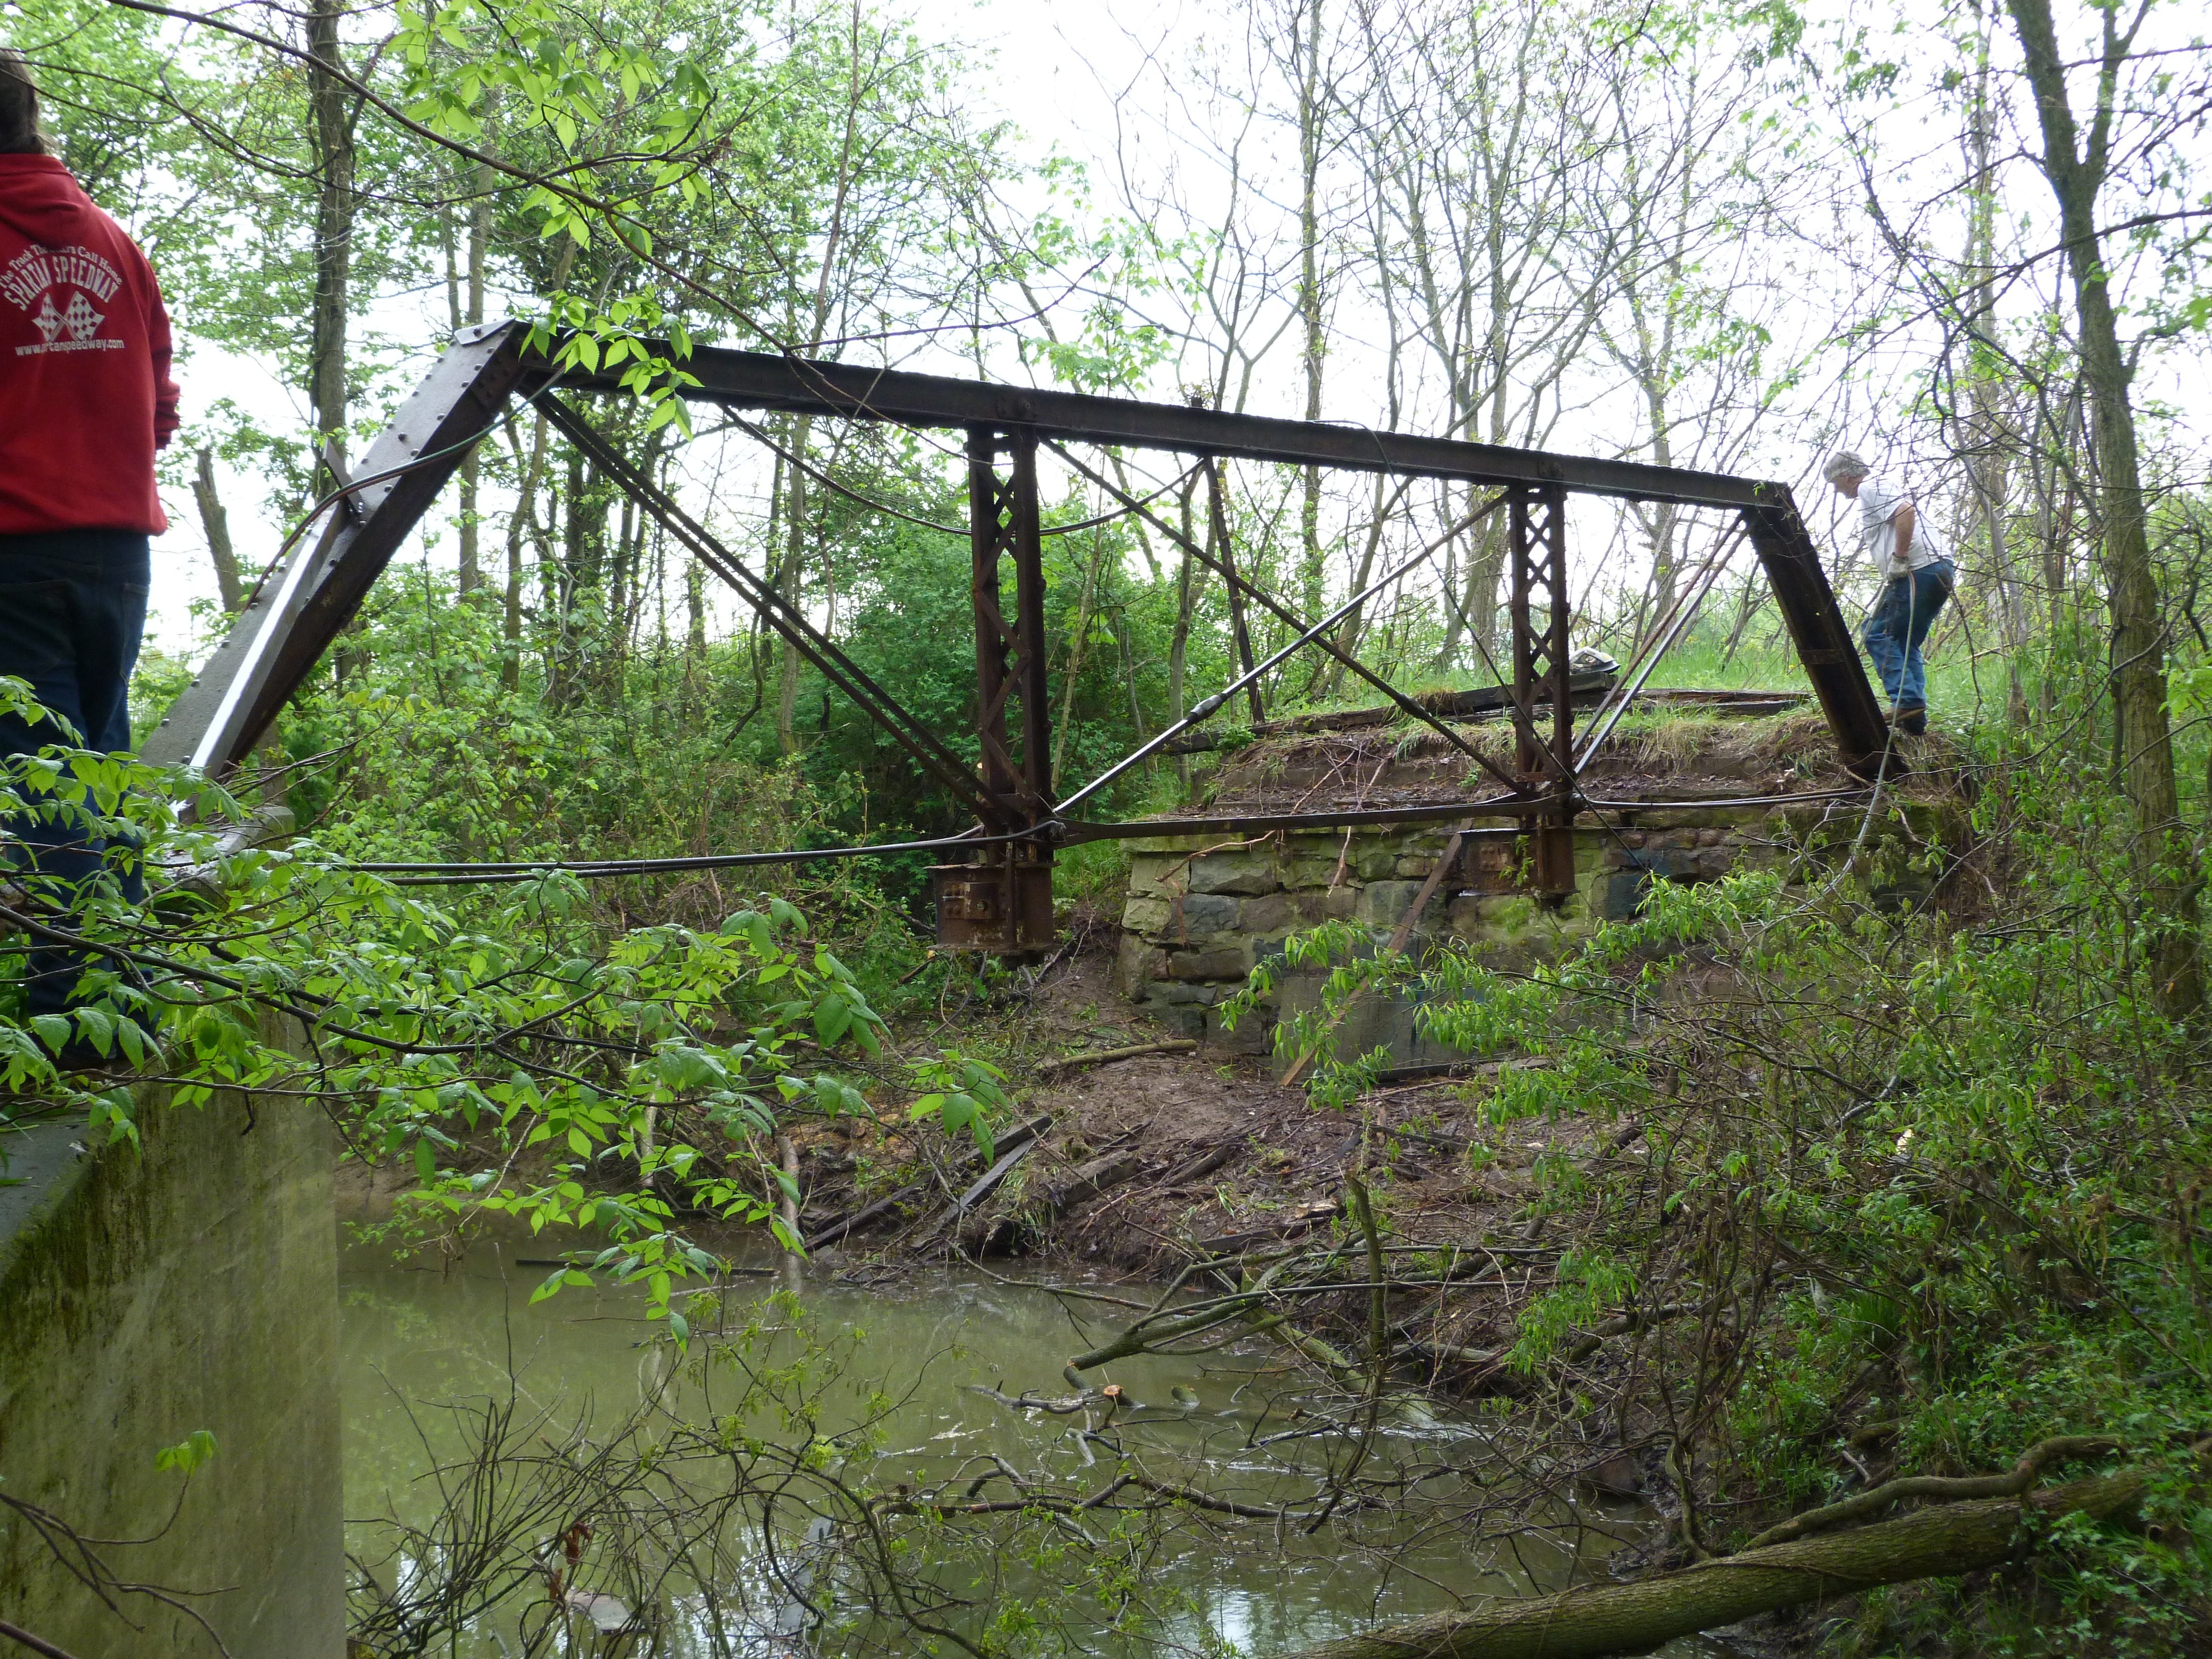
Views of the bridge with both floor beams removed.
![]()

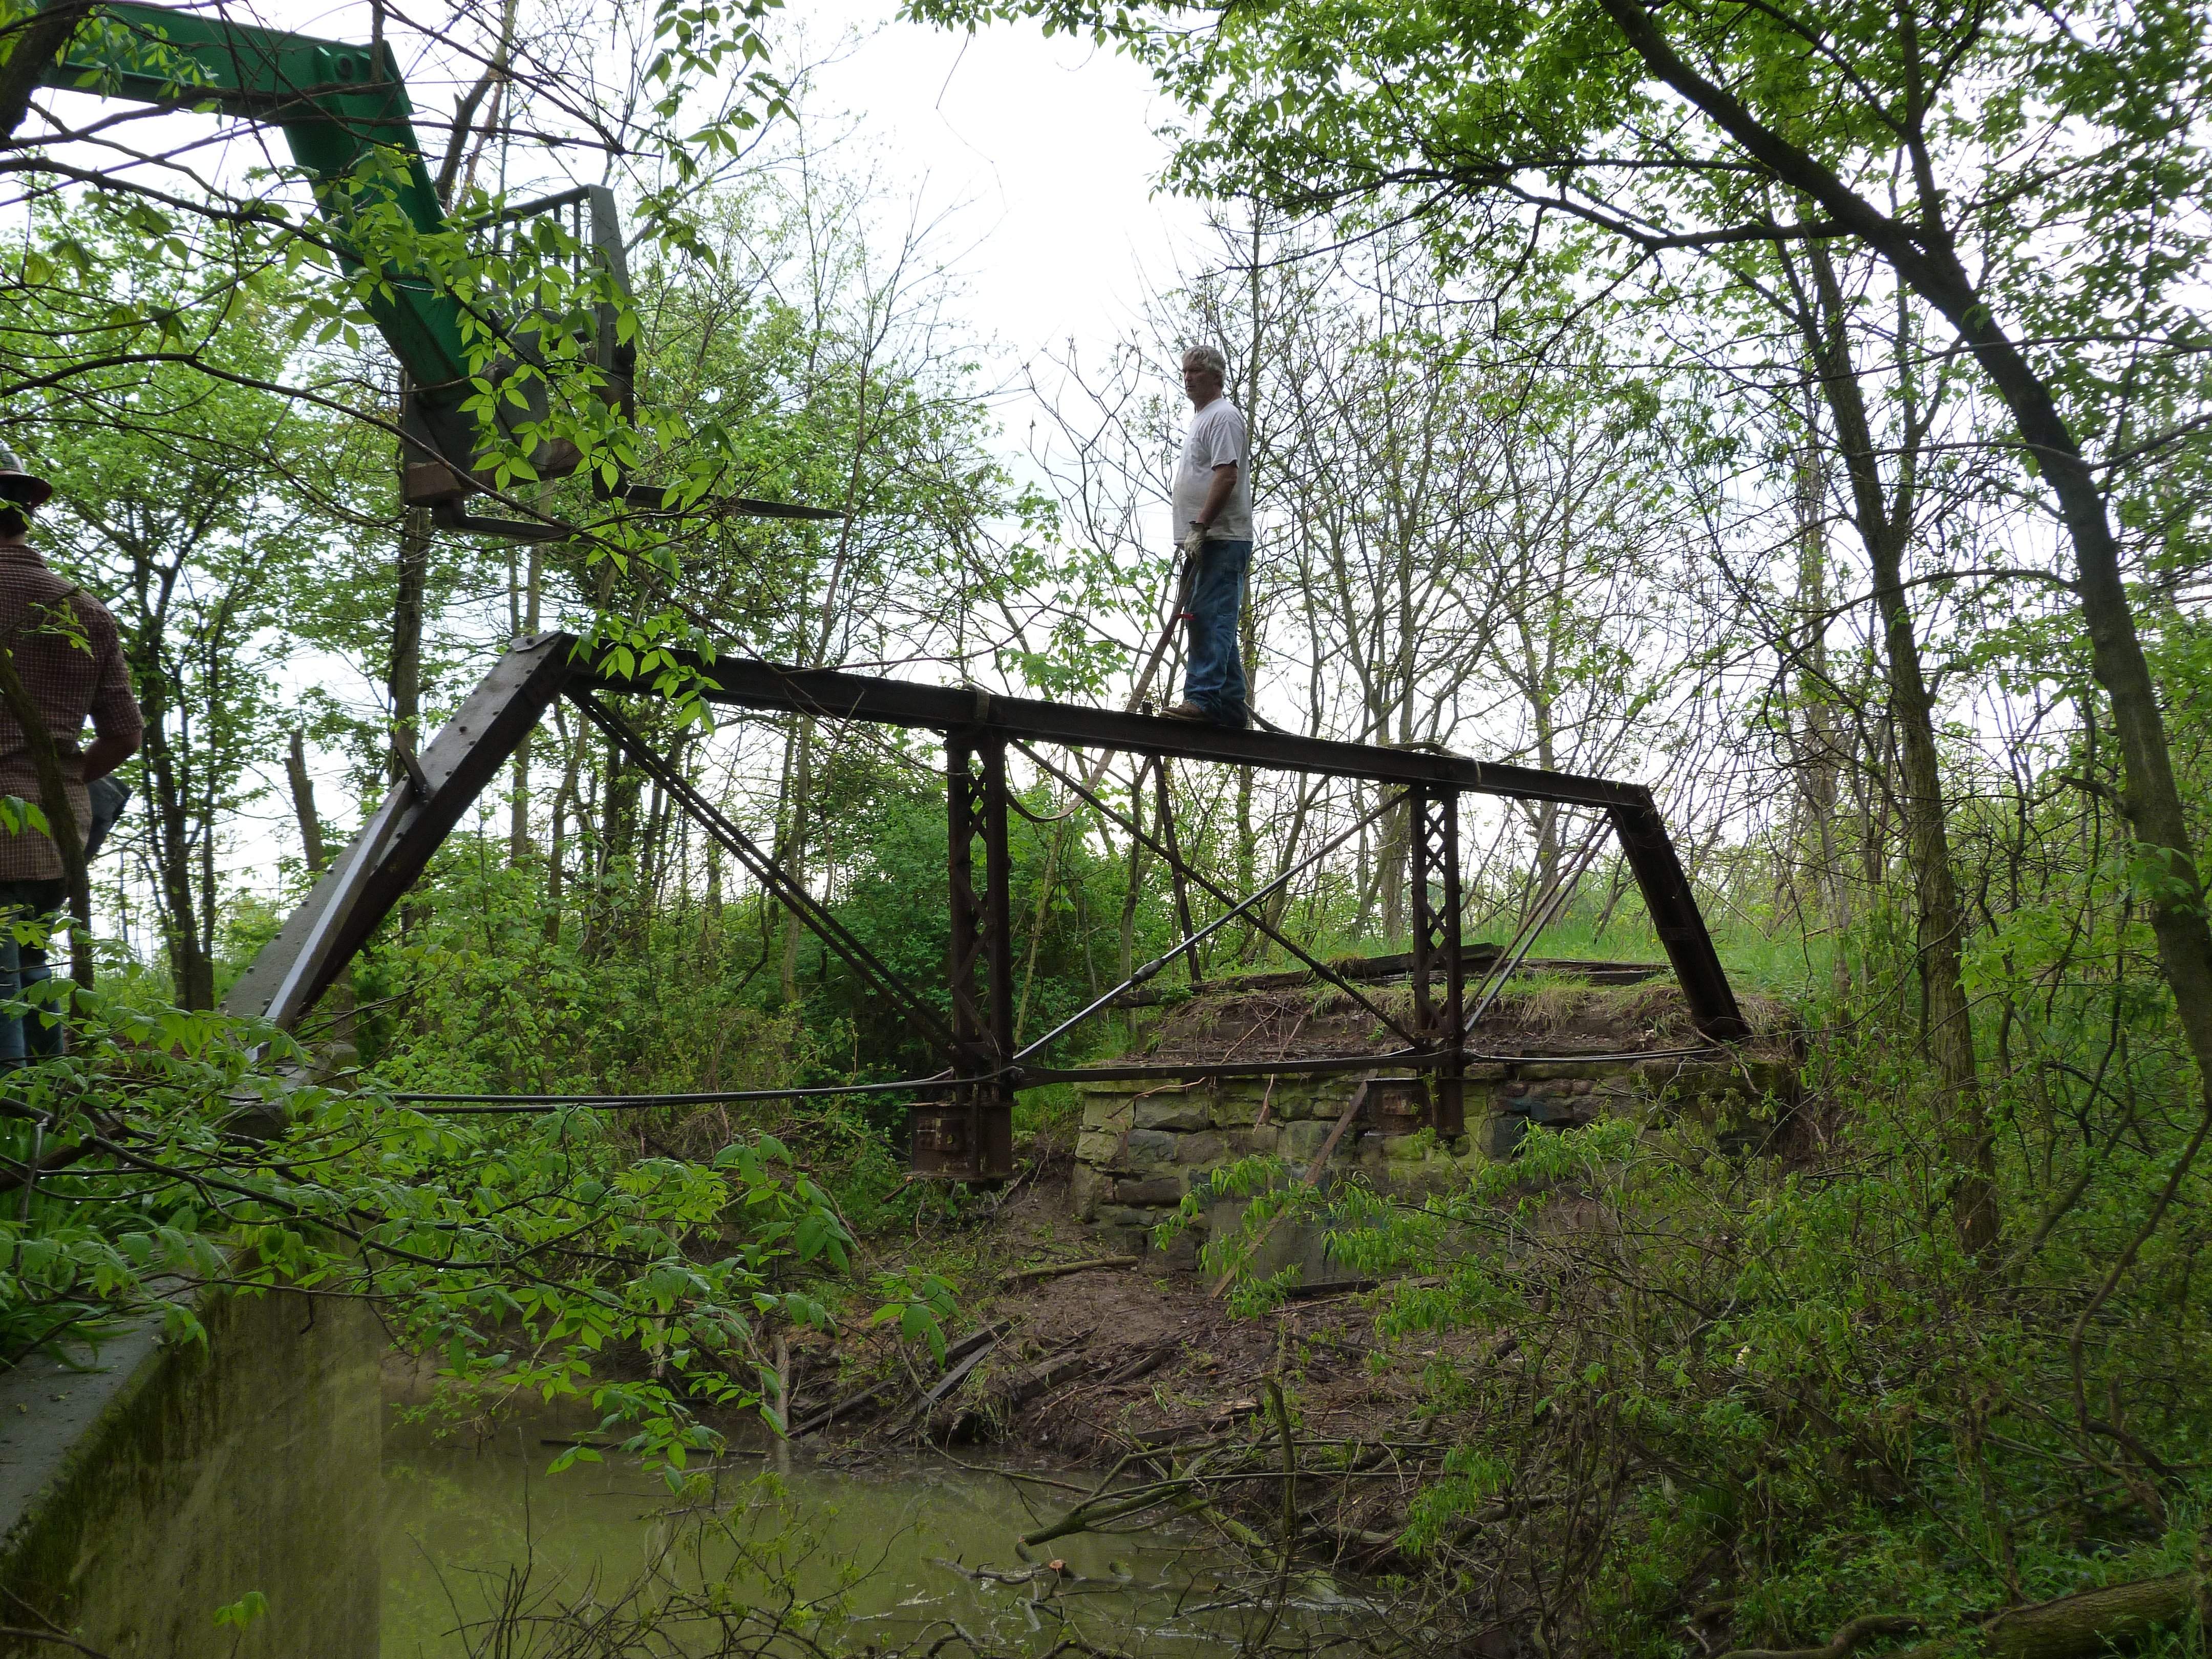
Preparing to pick the first truss.
![]()


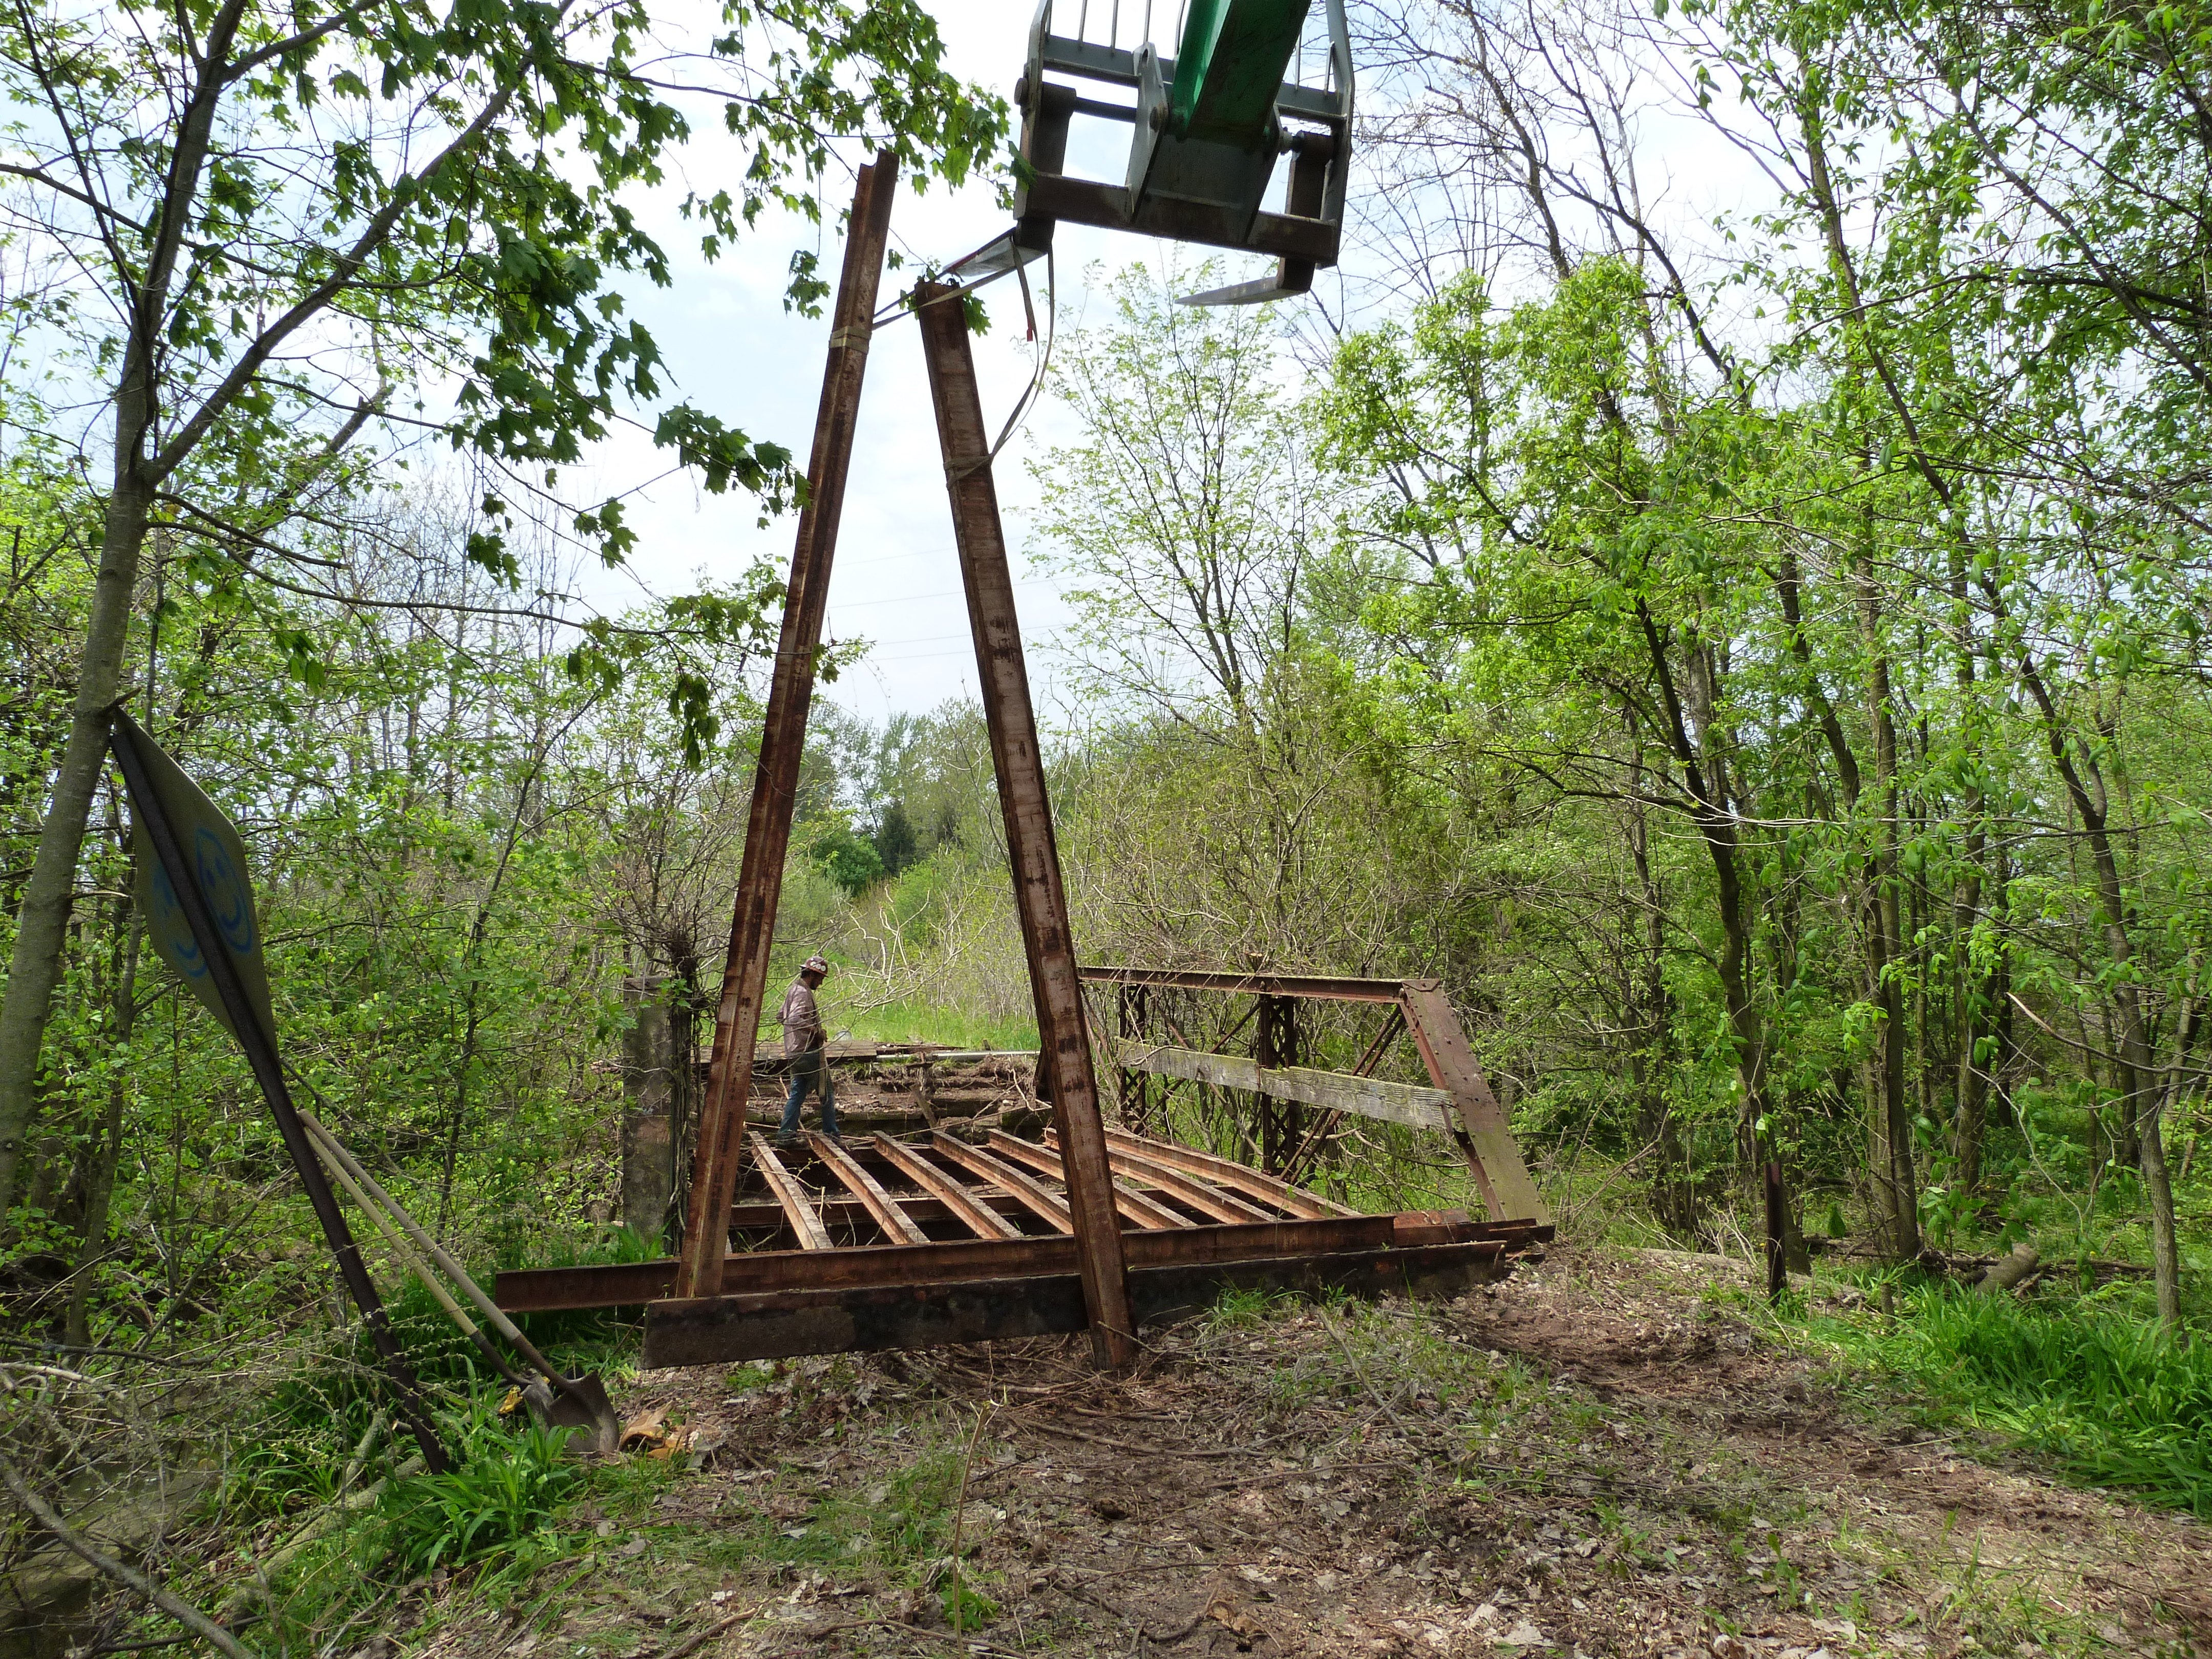
The first truss is lifted off its abutments.
![]()
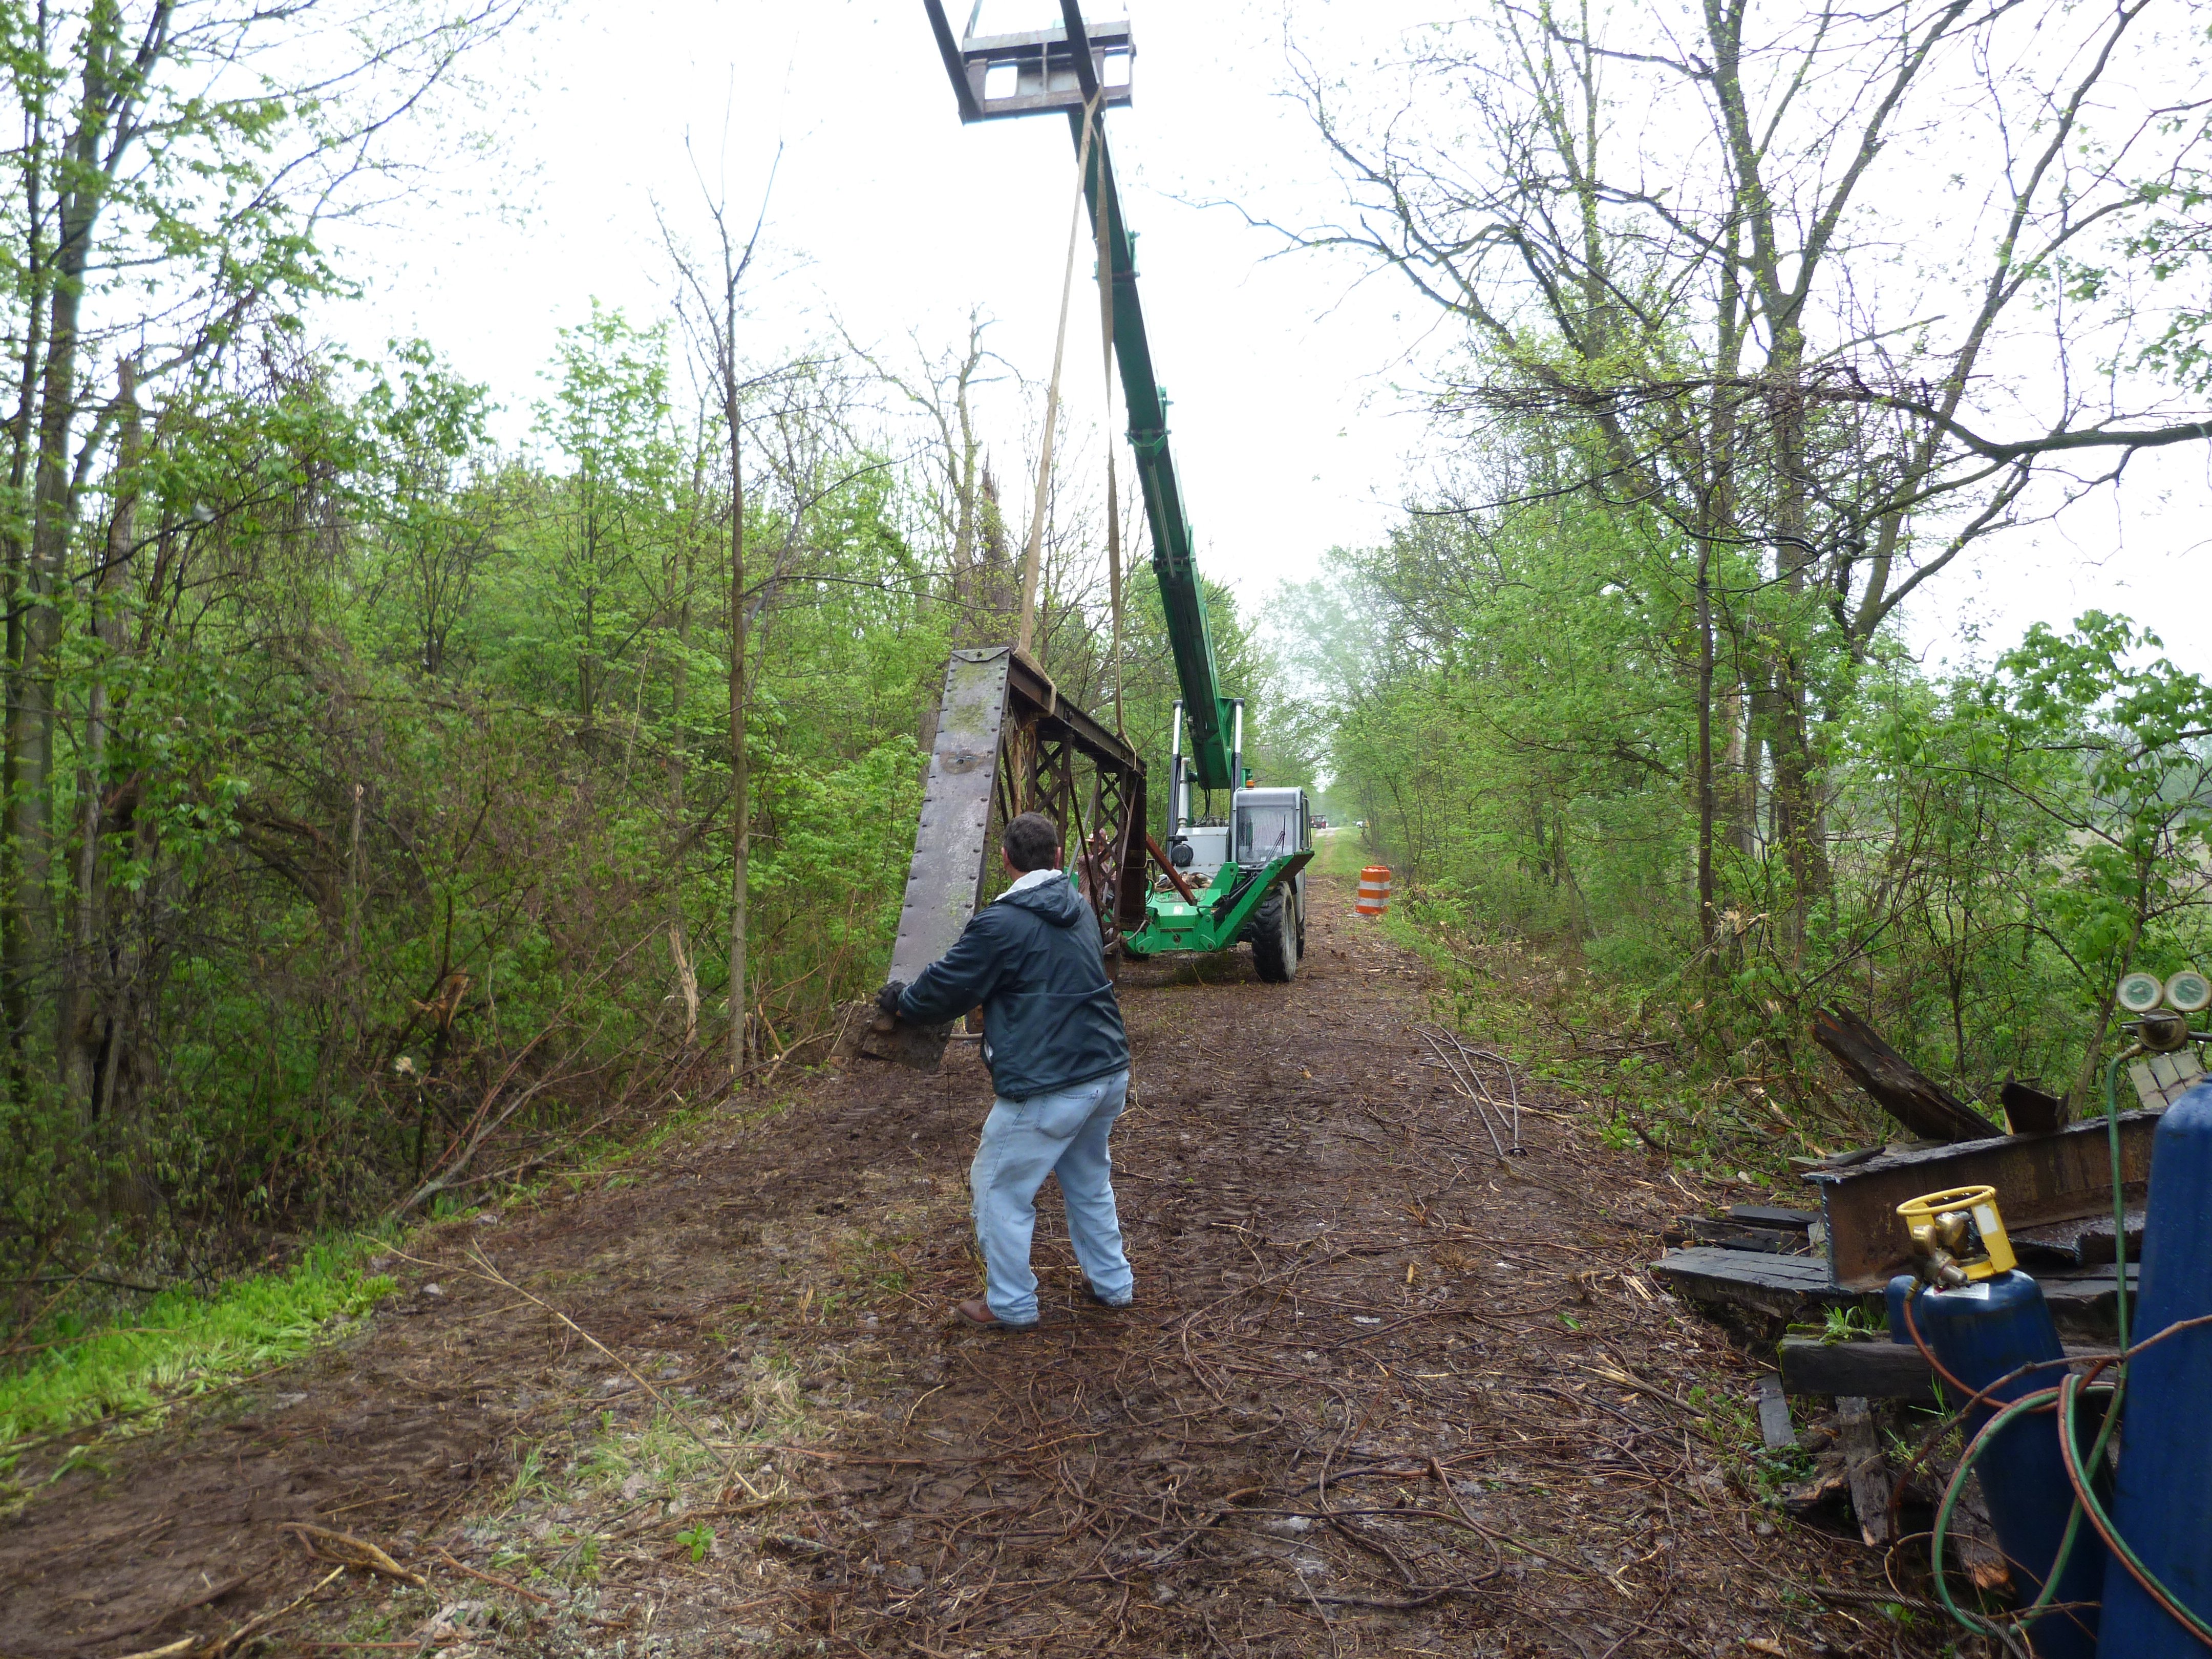


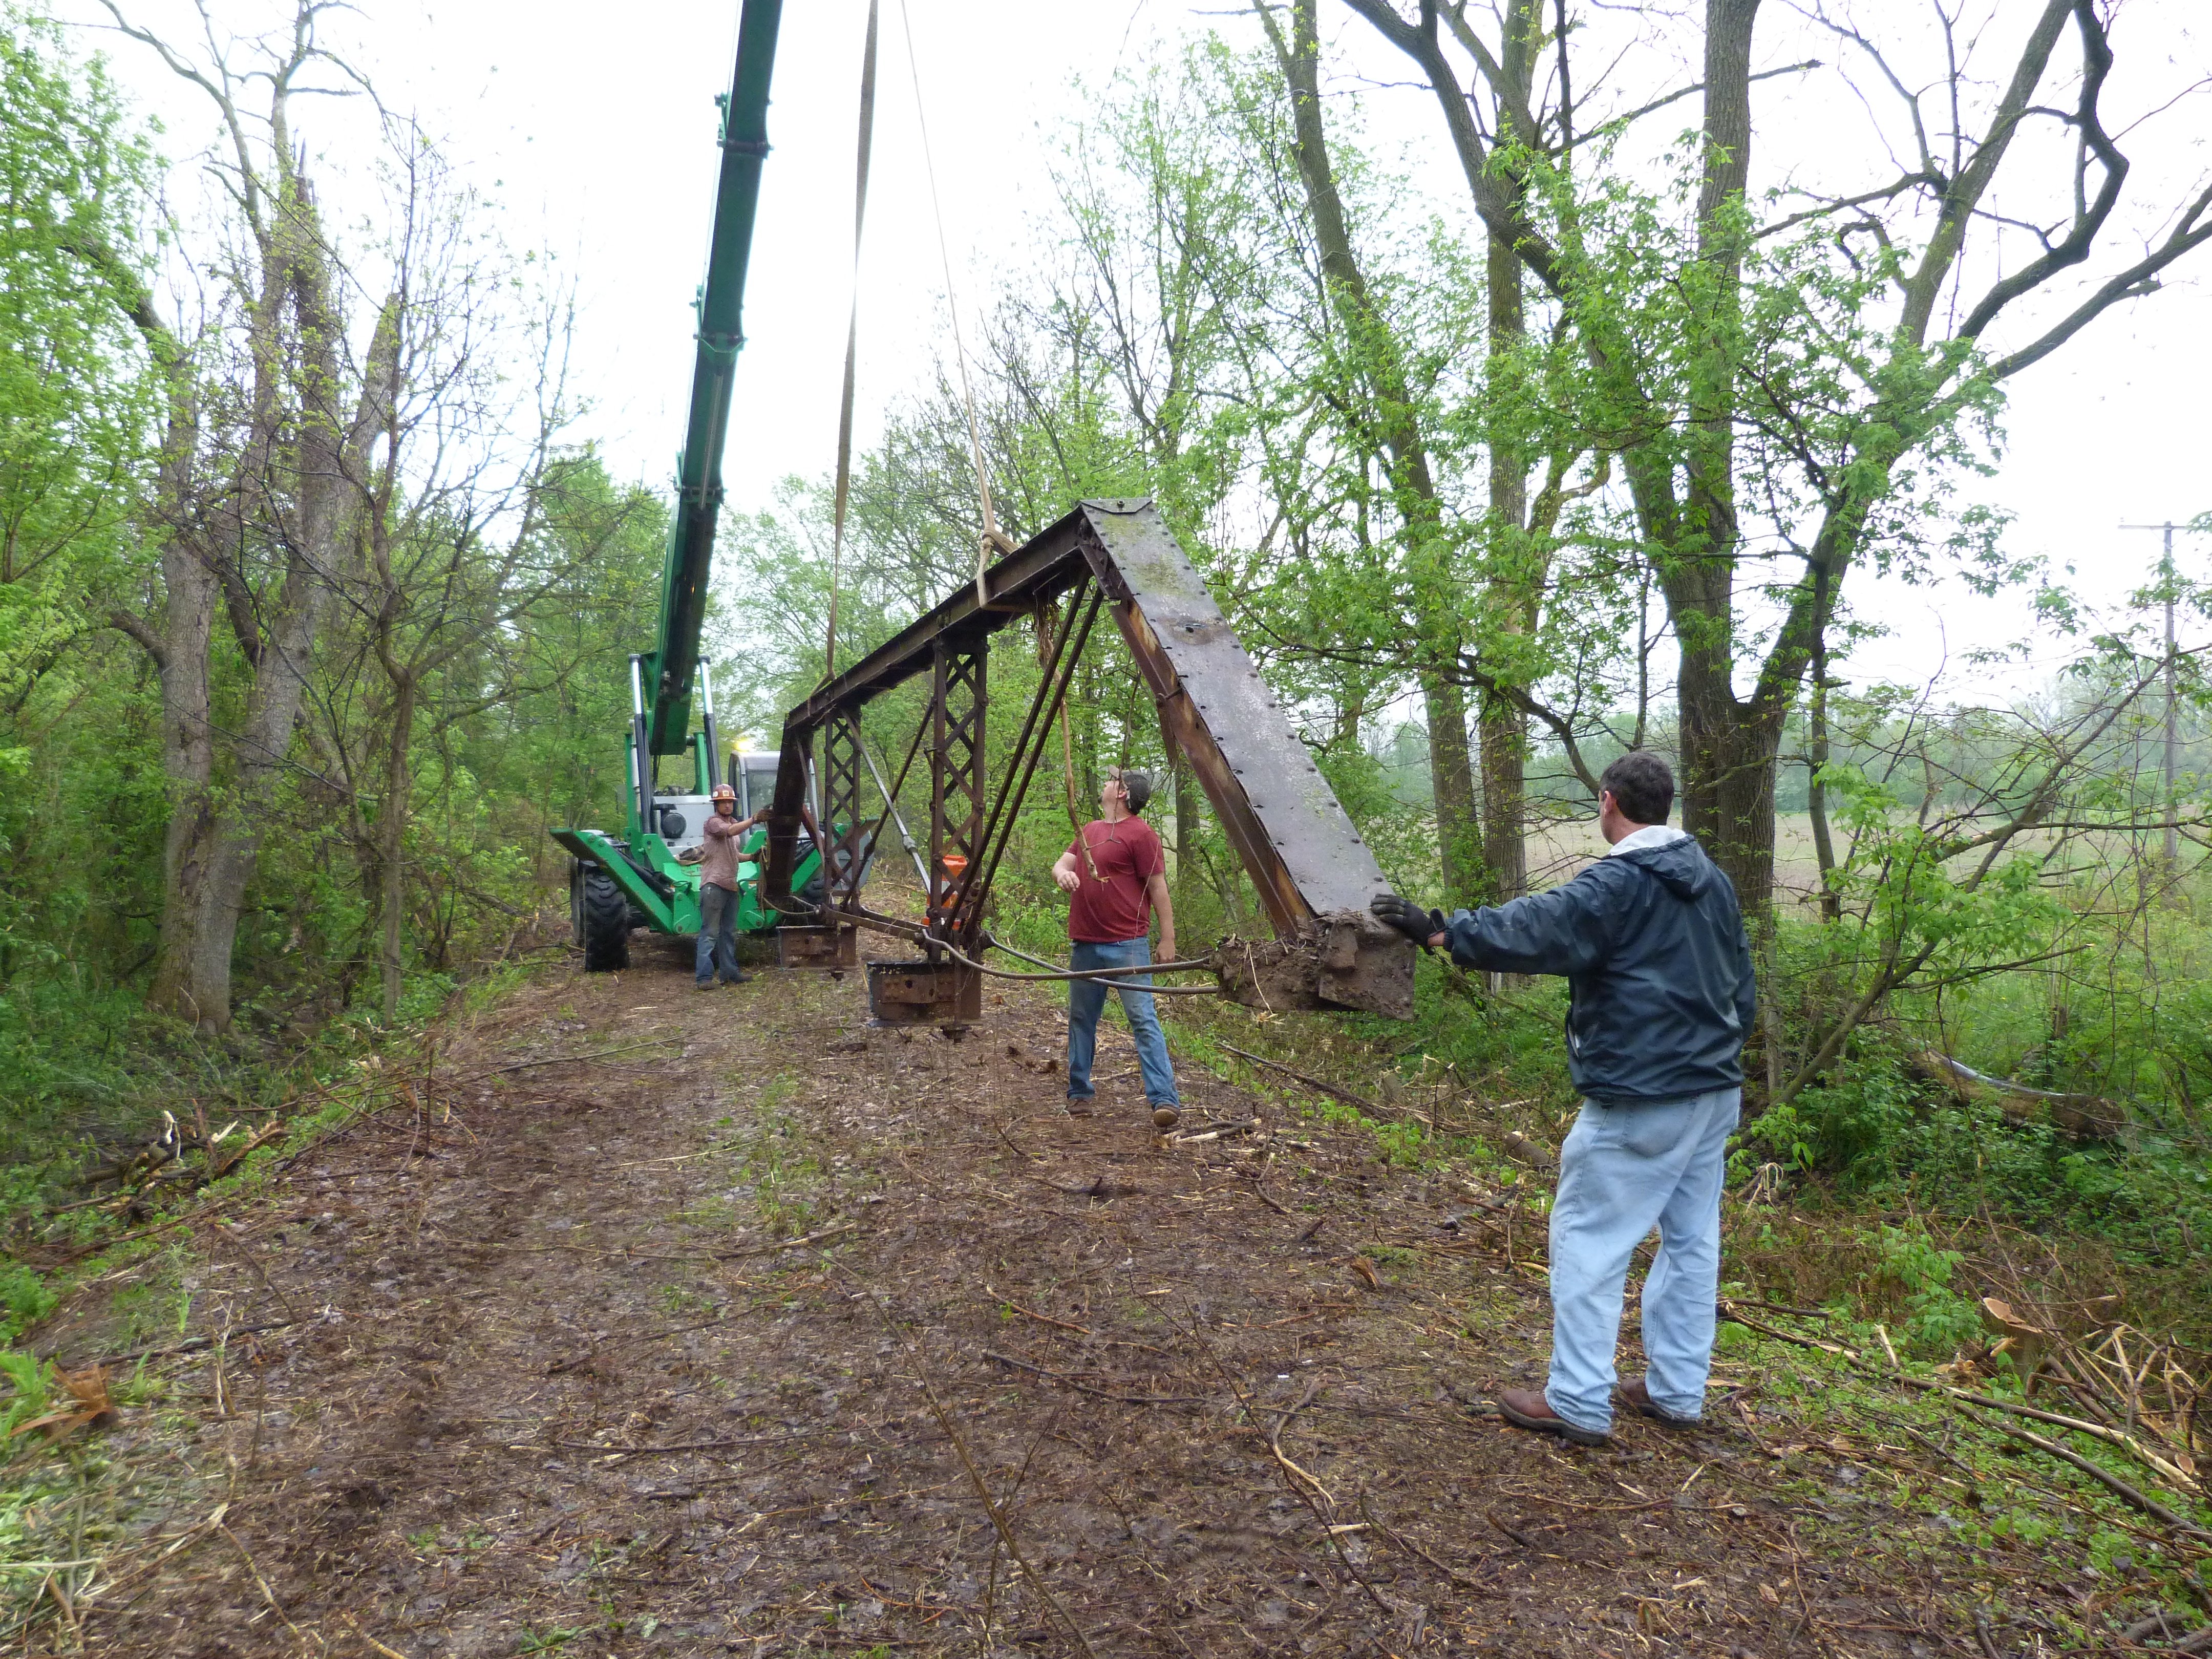


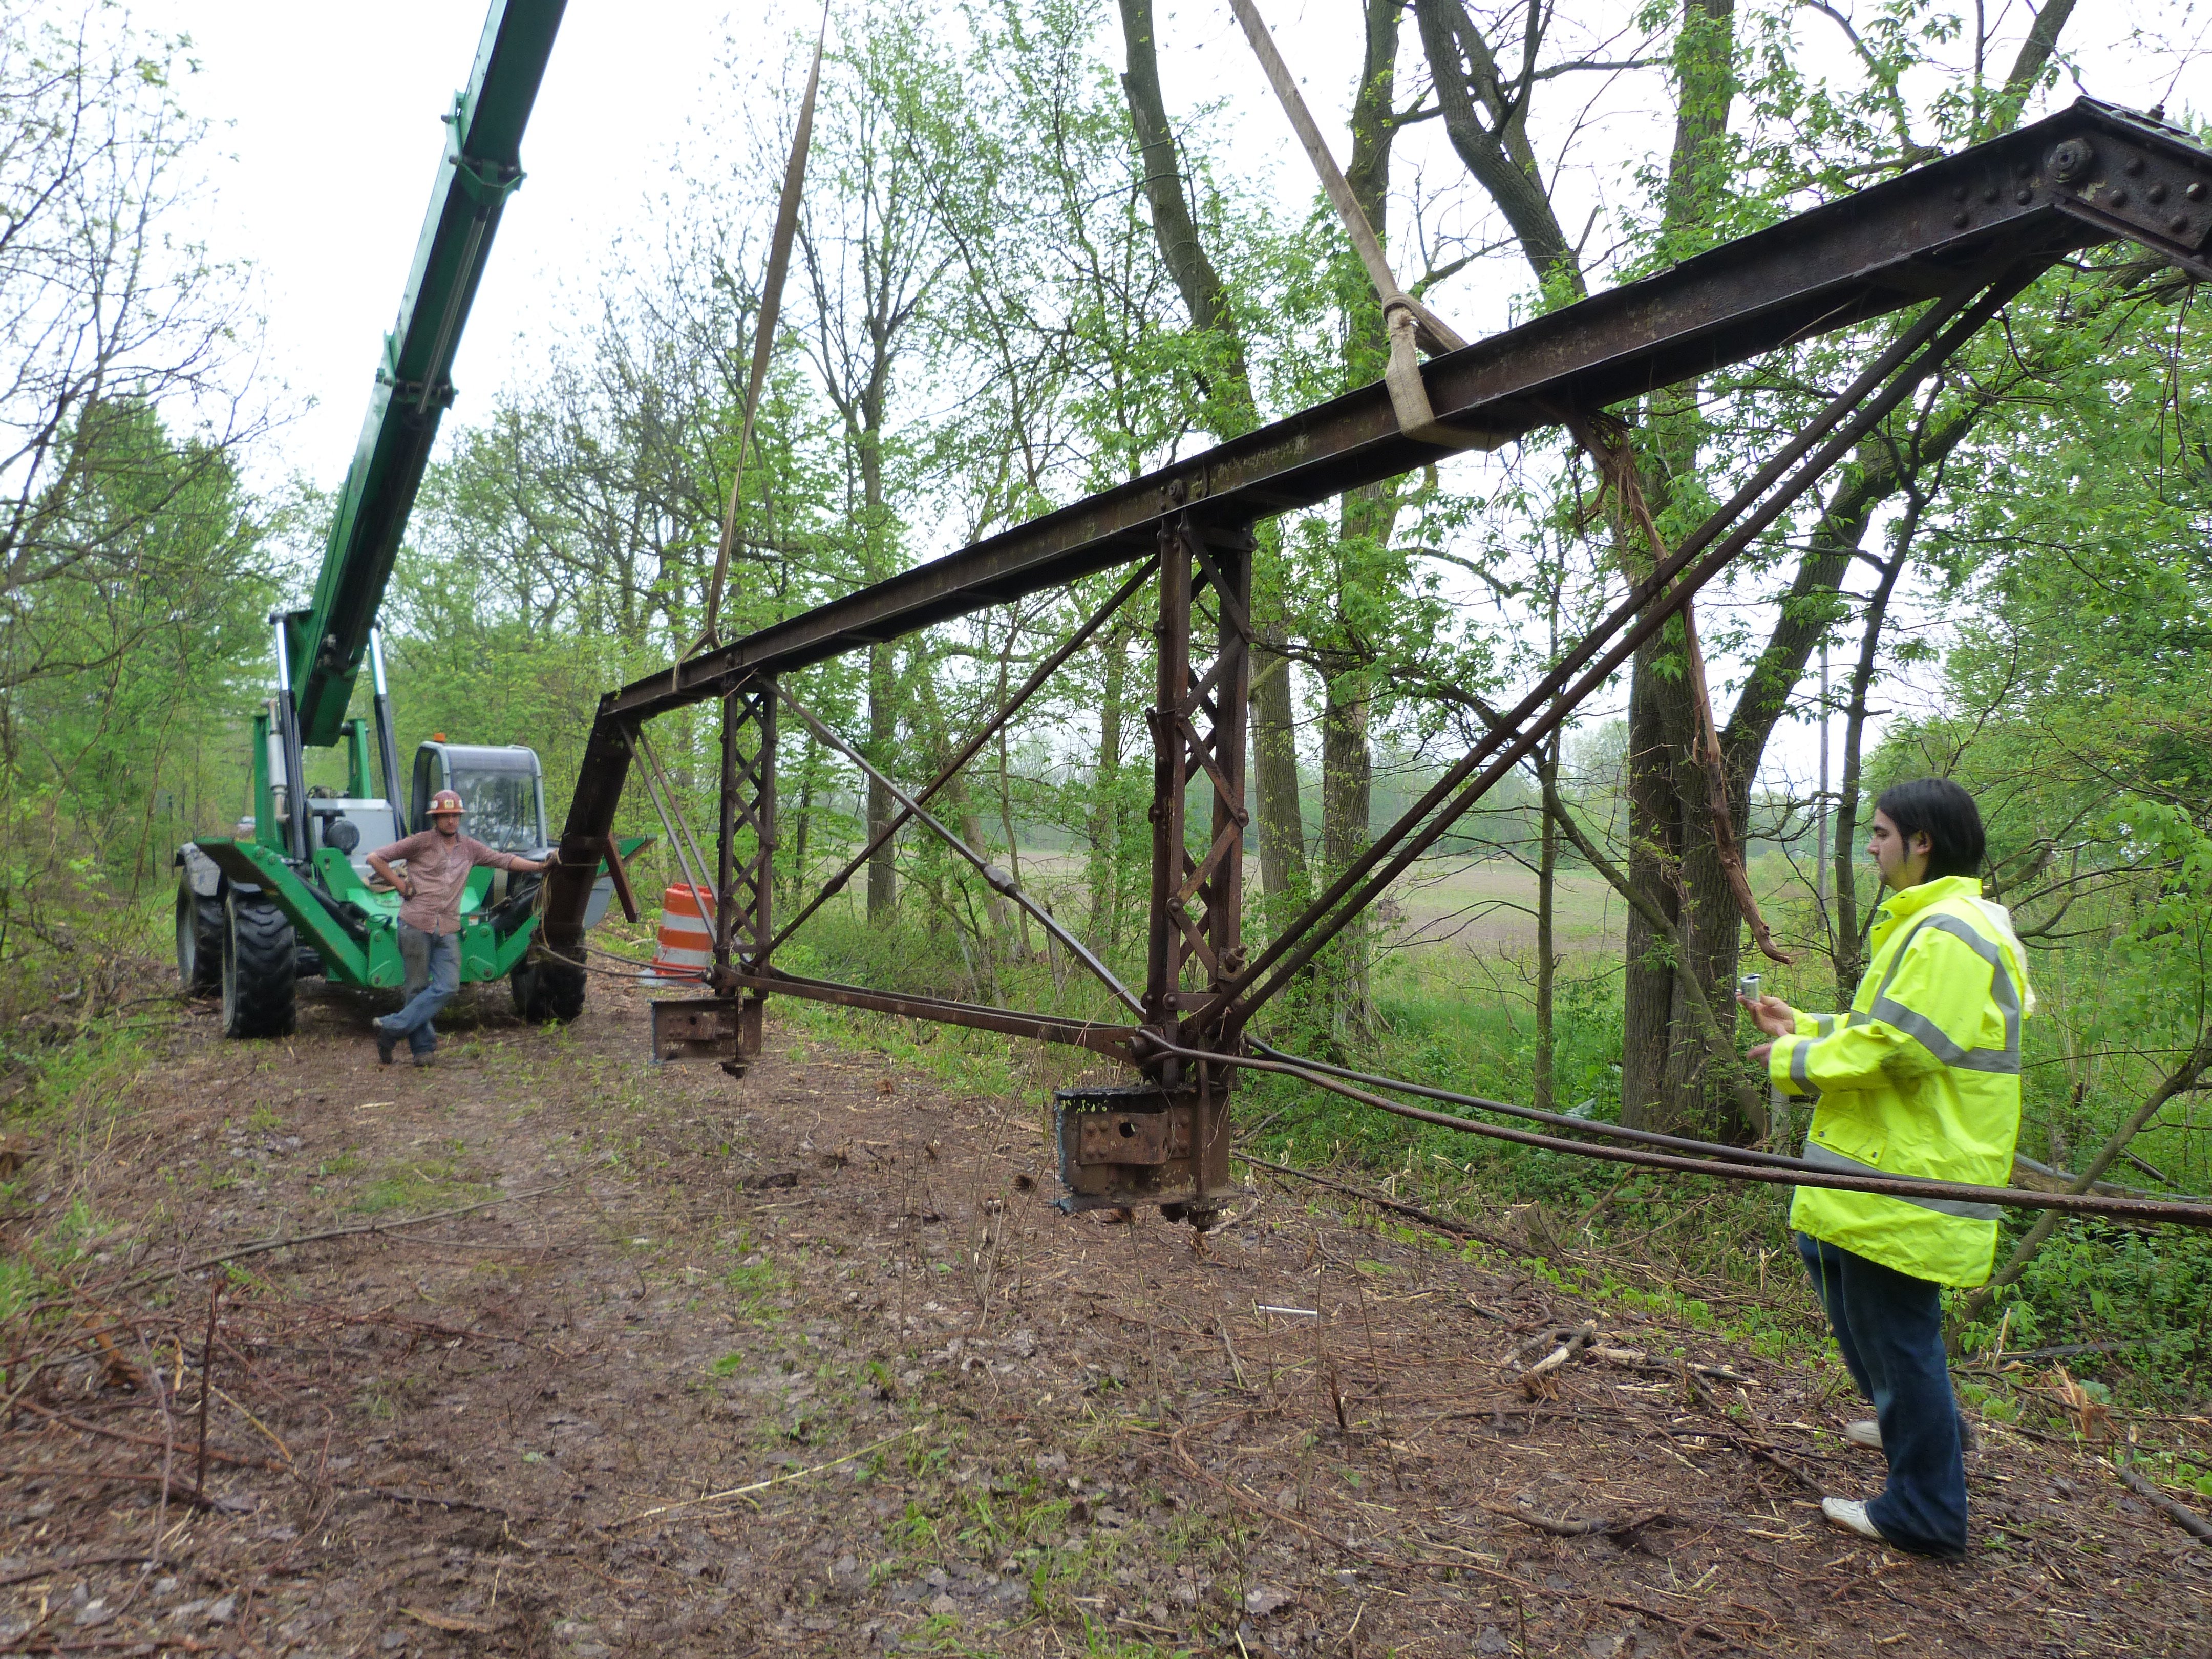
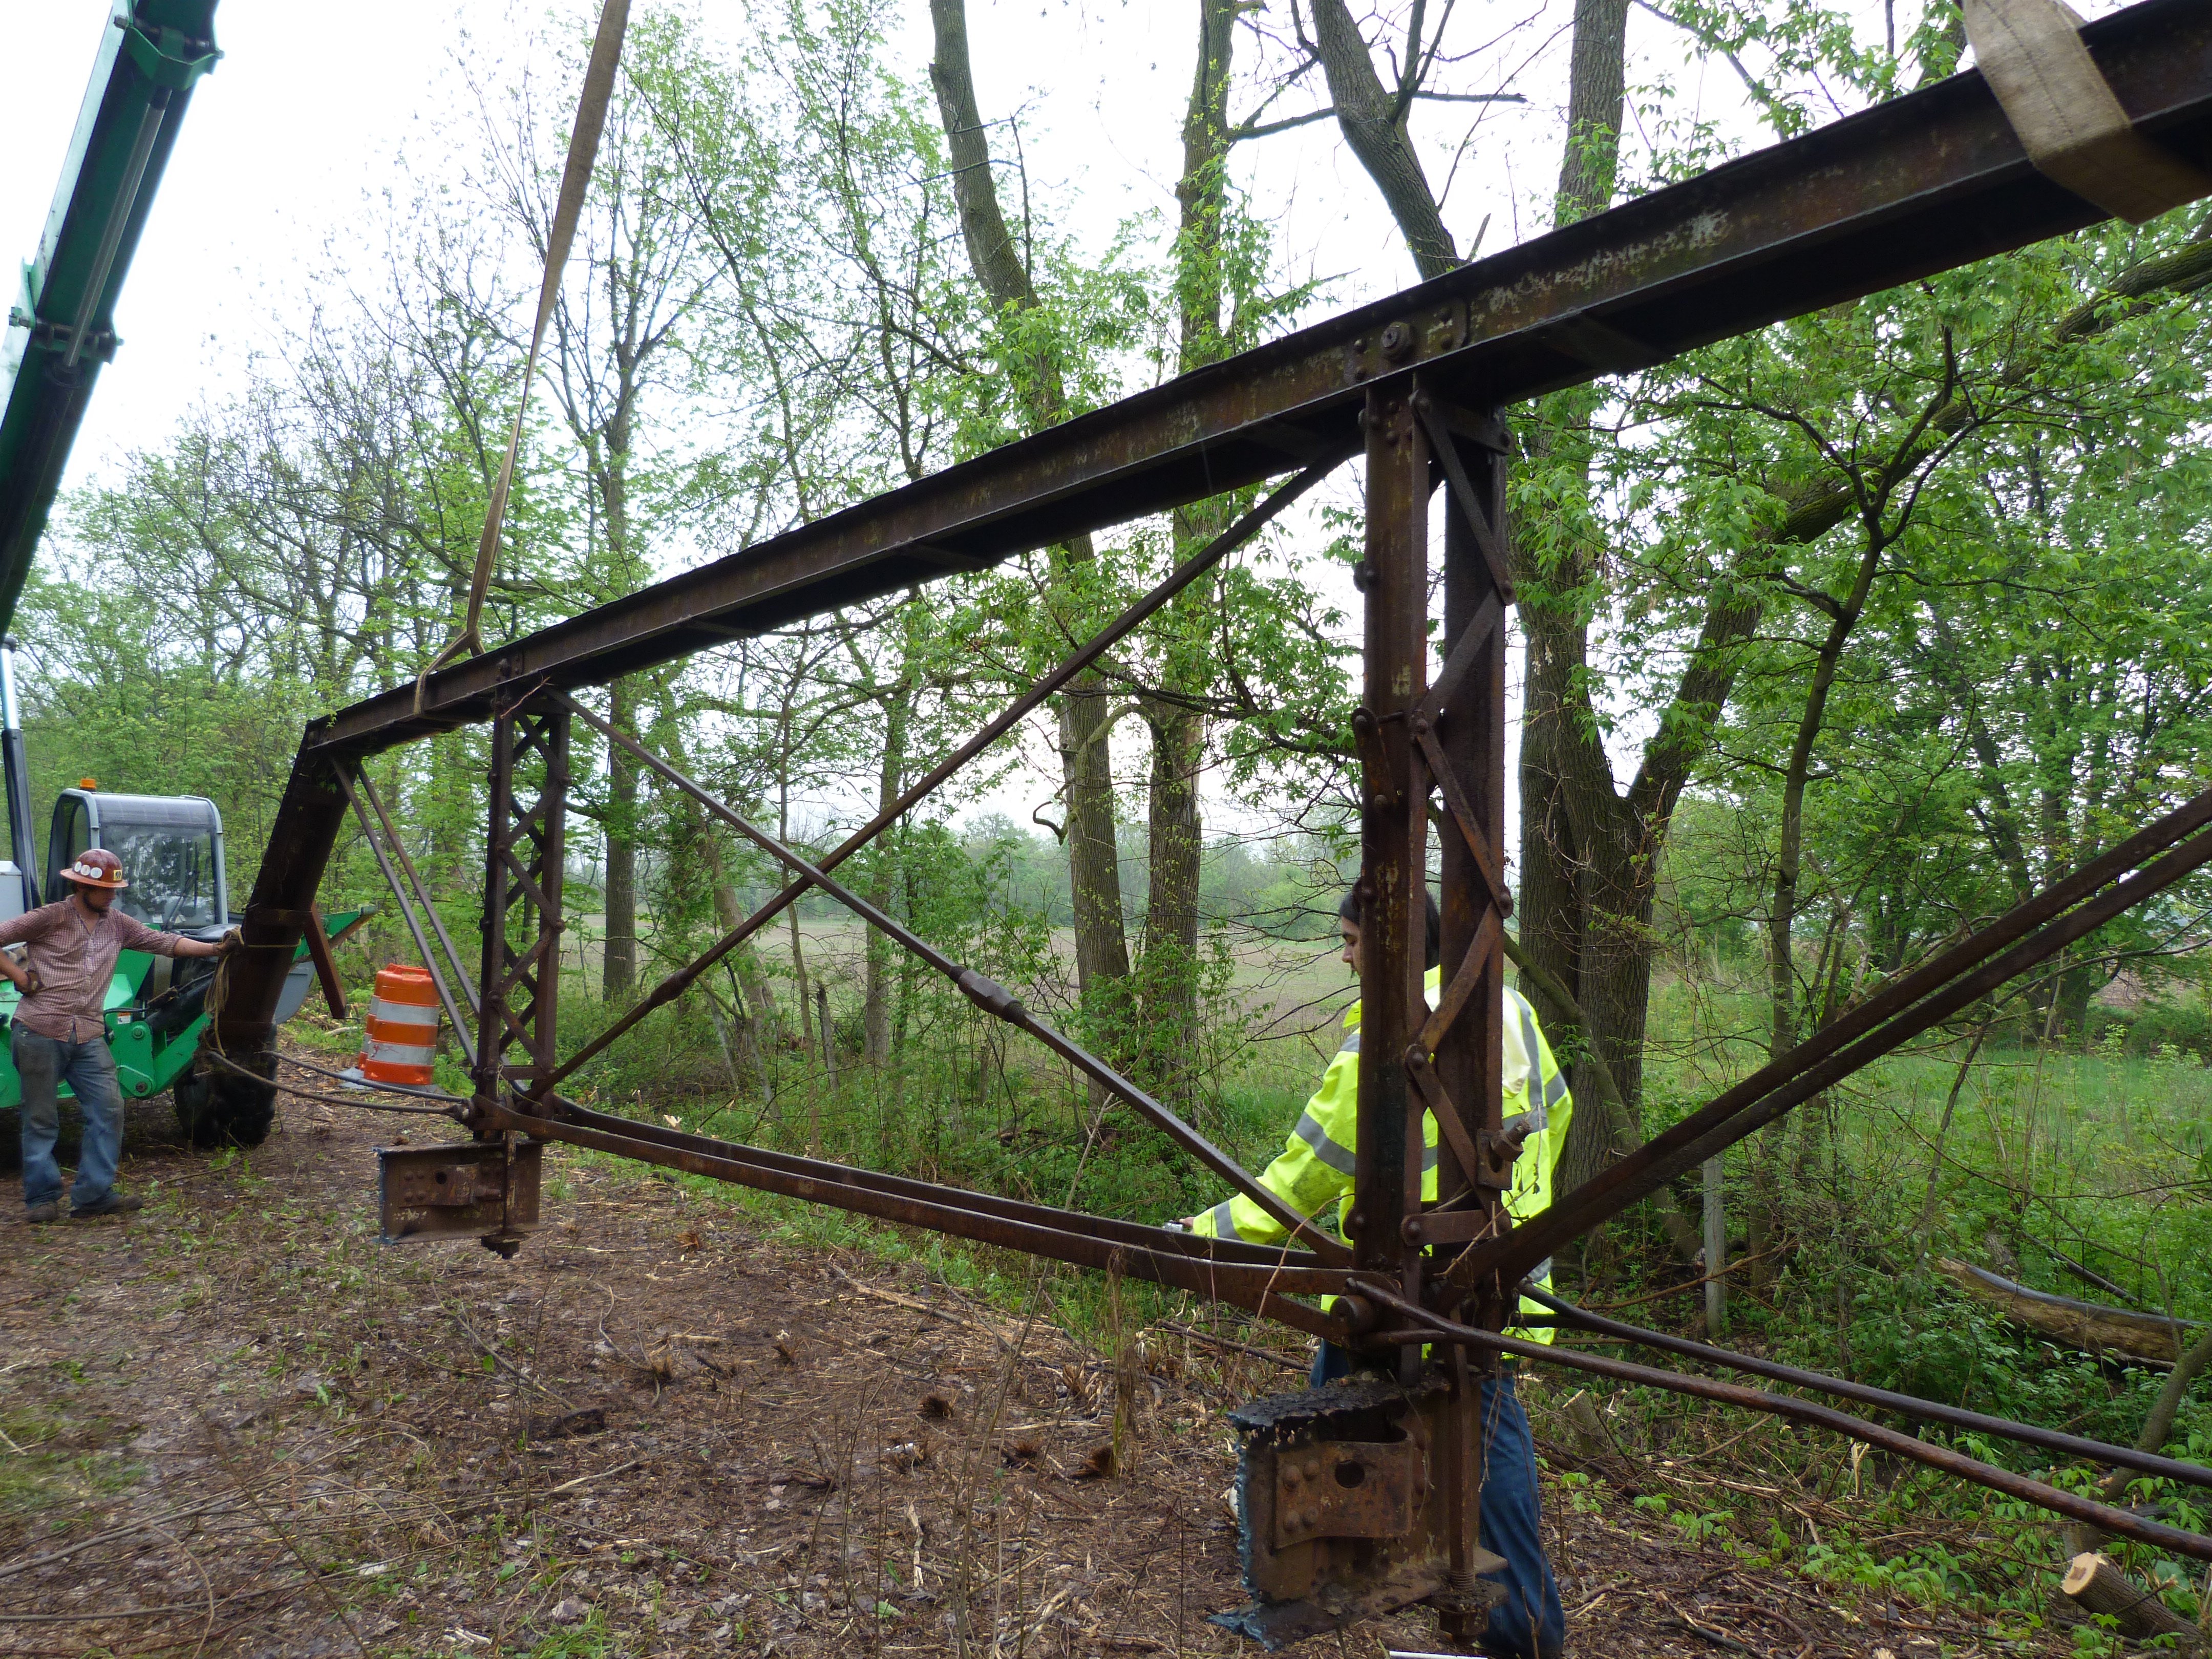
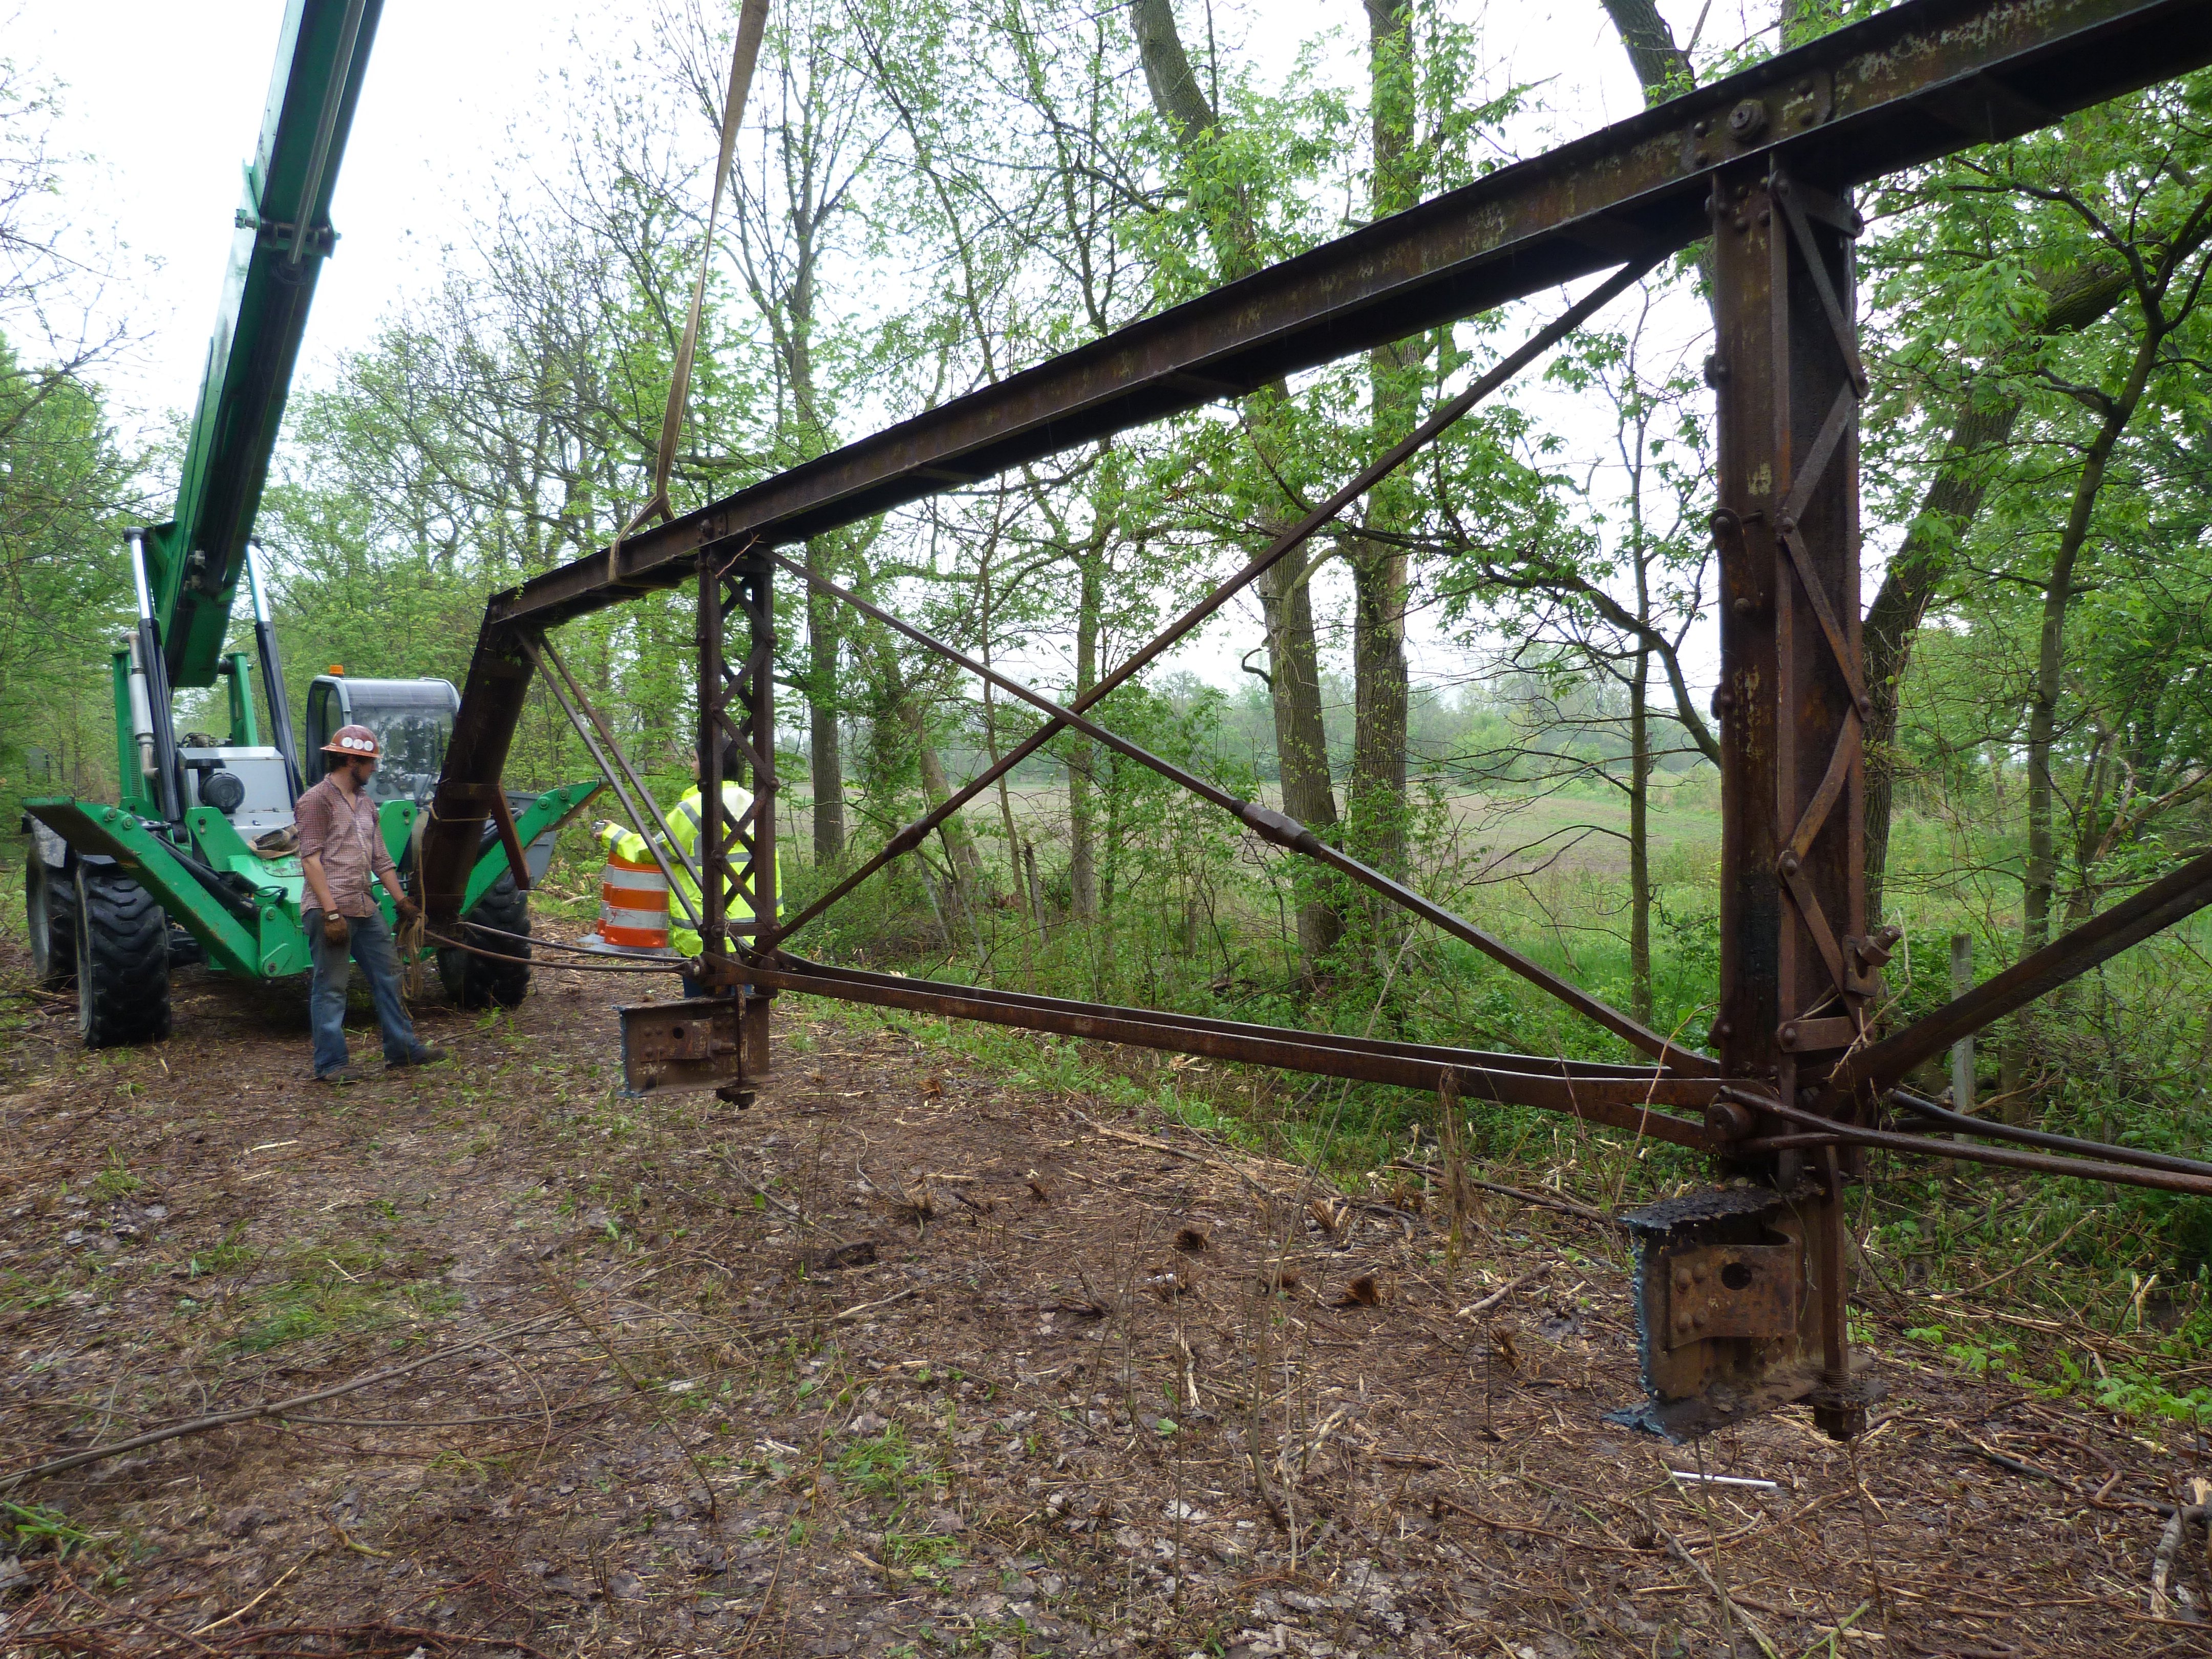

Walking the first truss back away from the creek.
![]()

Bridge site with the first truss removed.
![]()


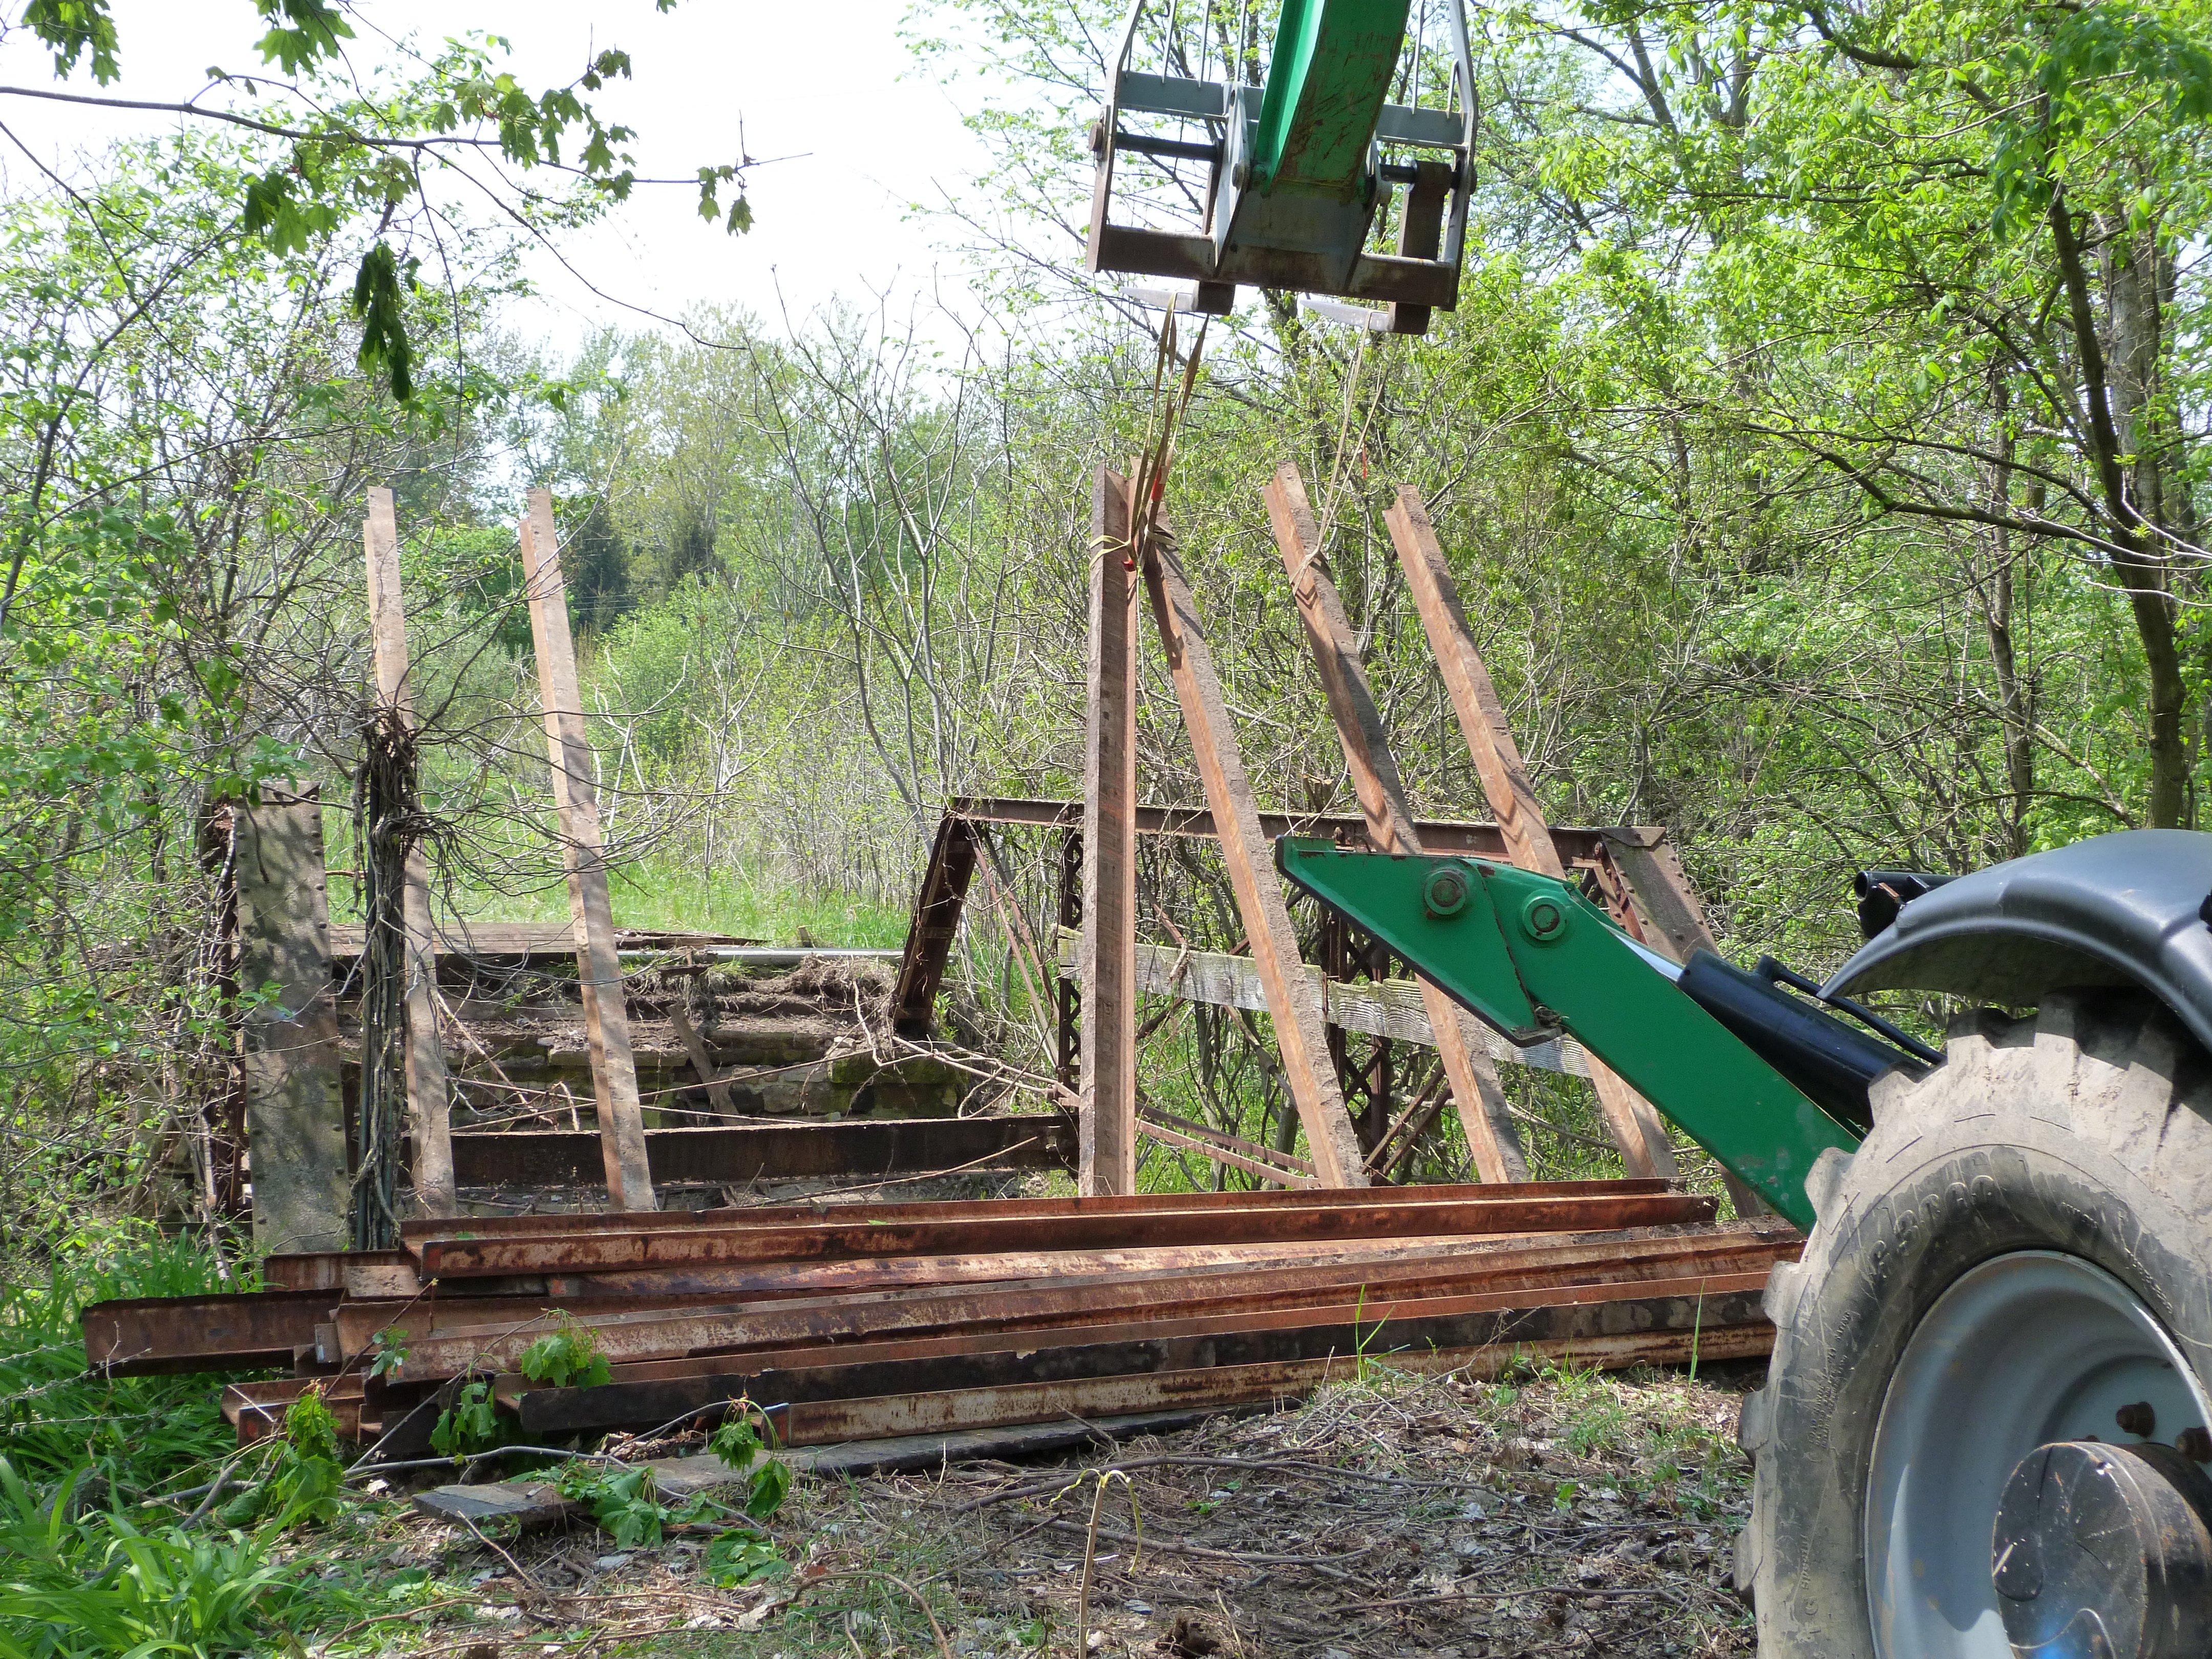
Preparing to pick the second truss.
![]()

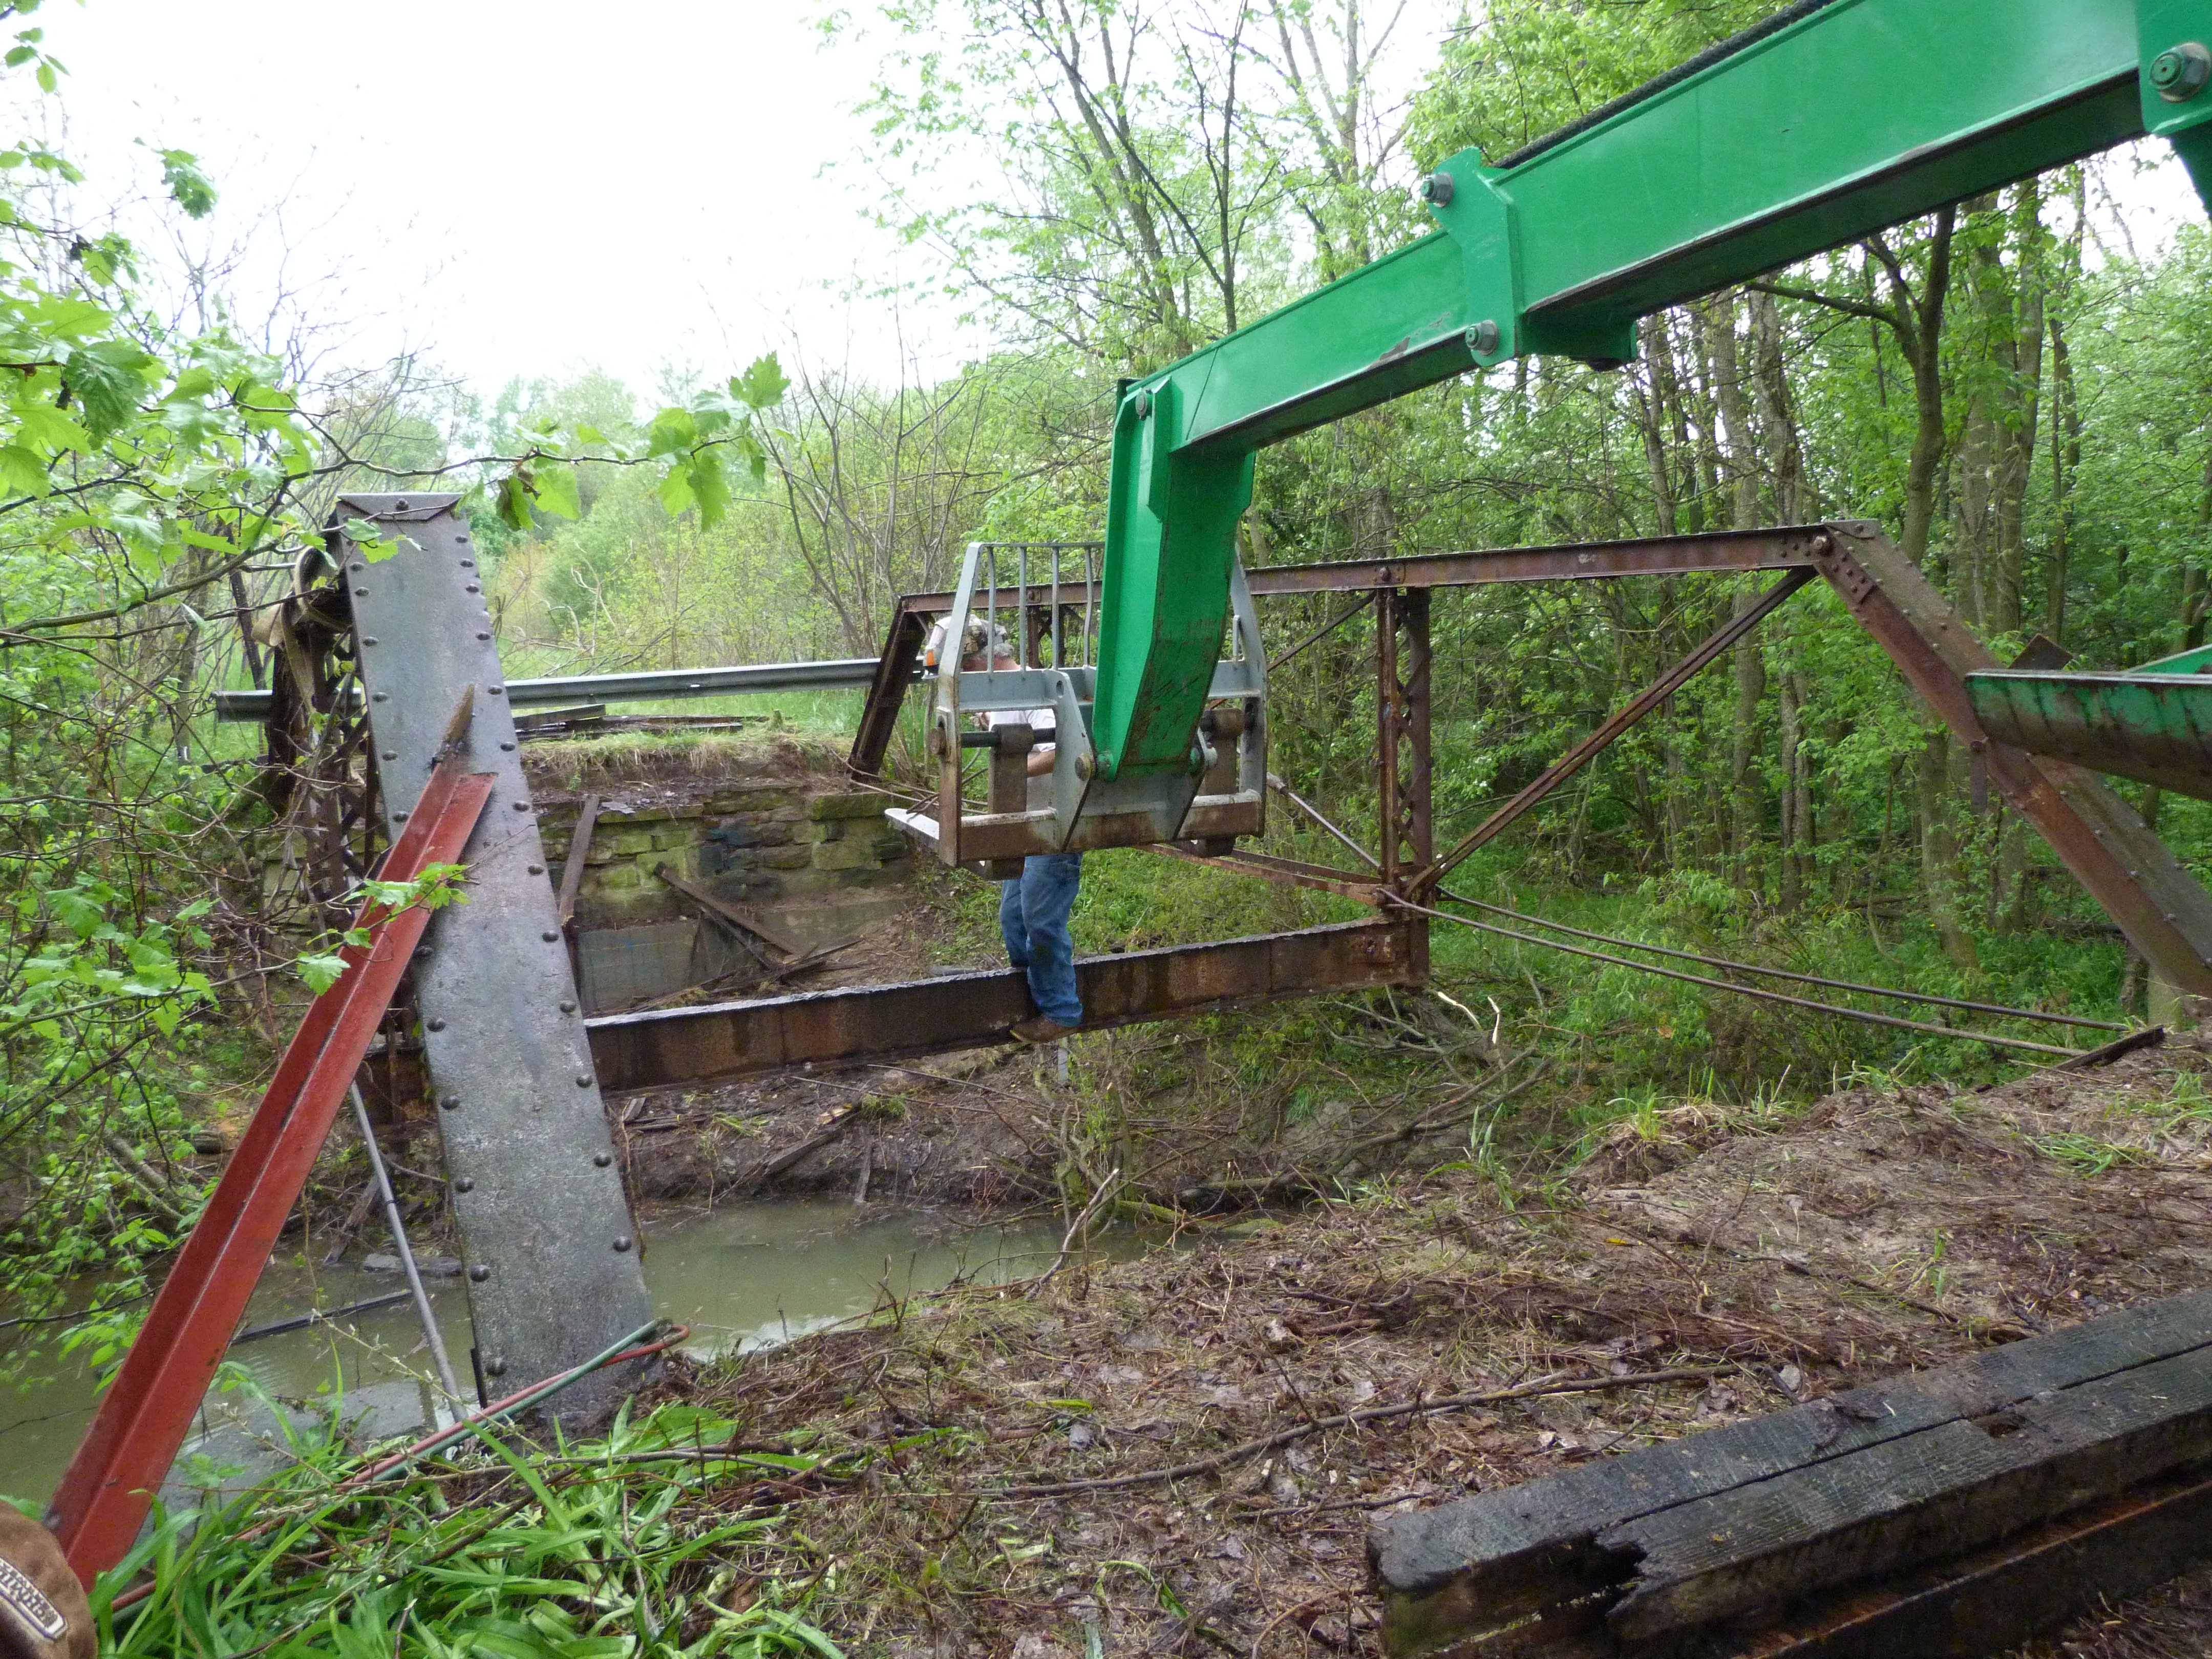
The crane begins to pull the truss up. Once the truss load is being fully held by the crane, the temporary brace is cut off as seen here.
![]()


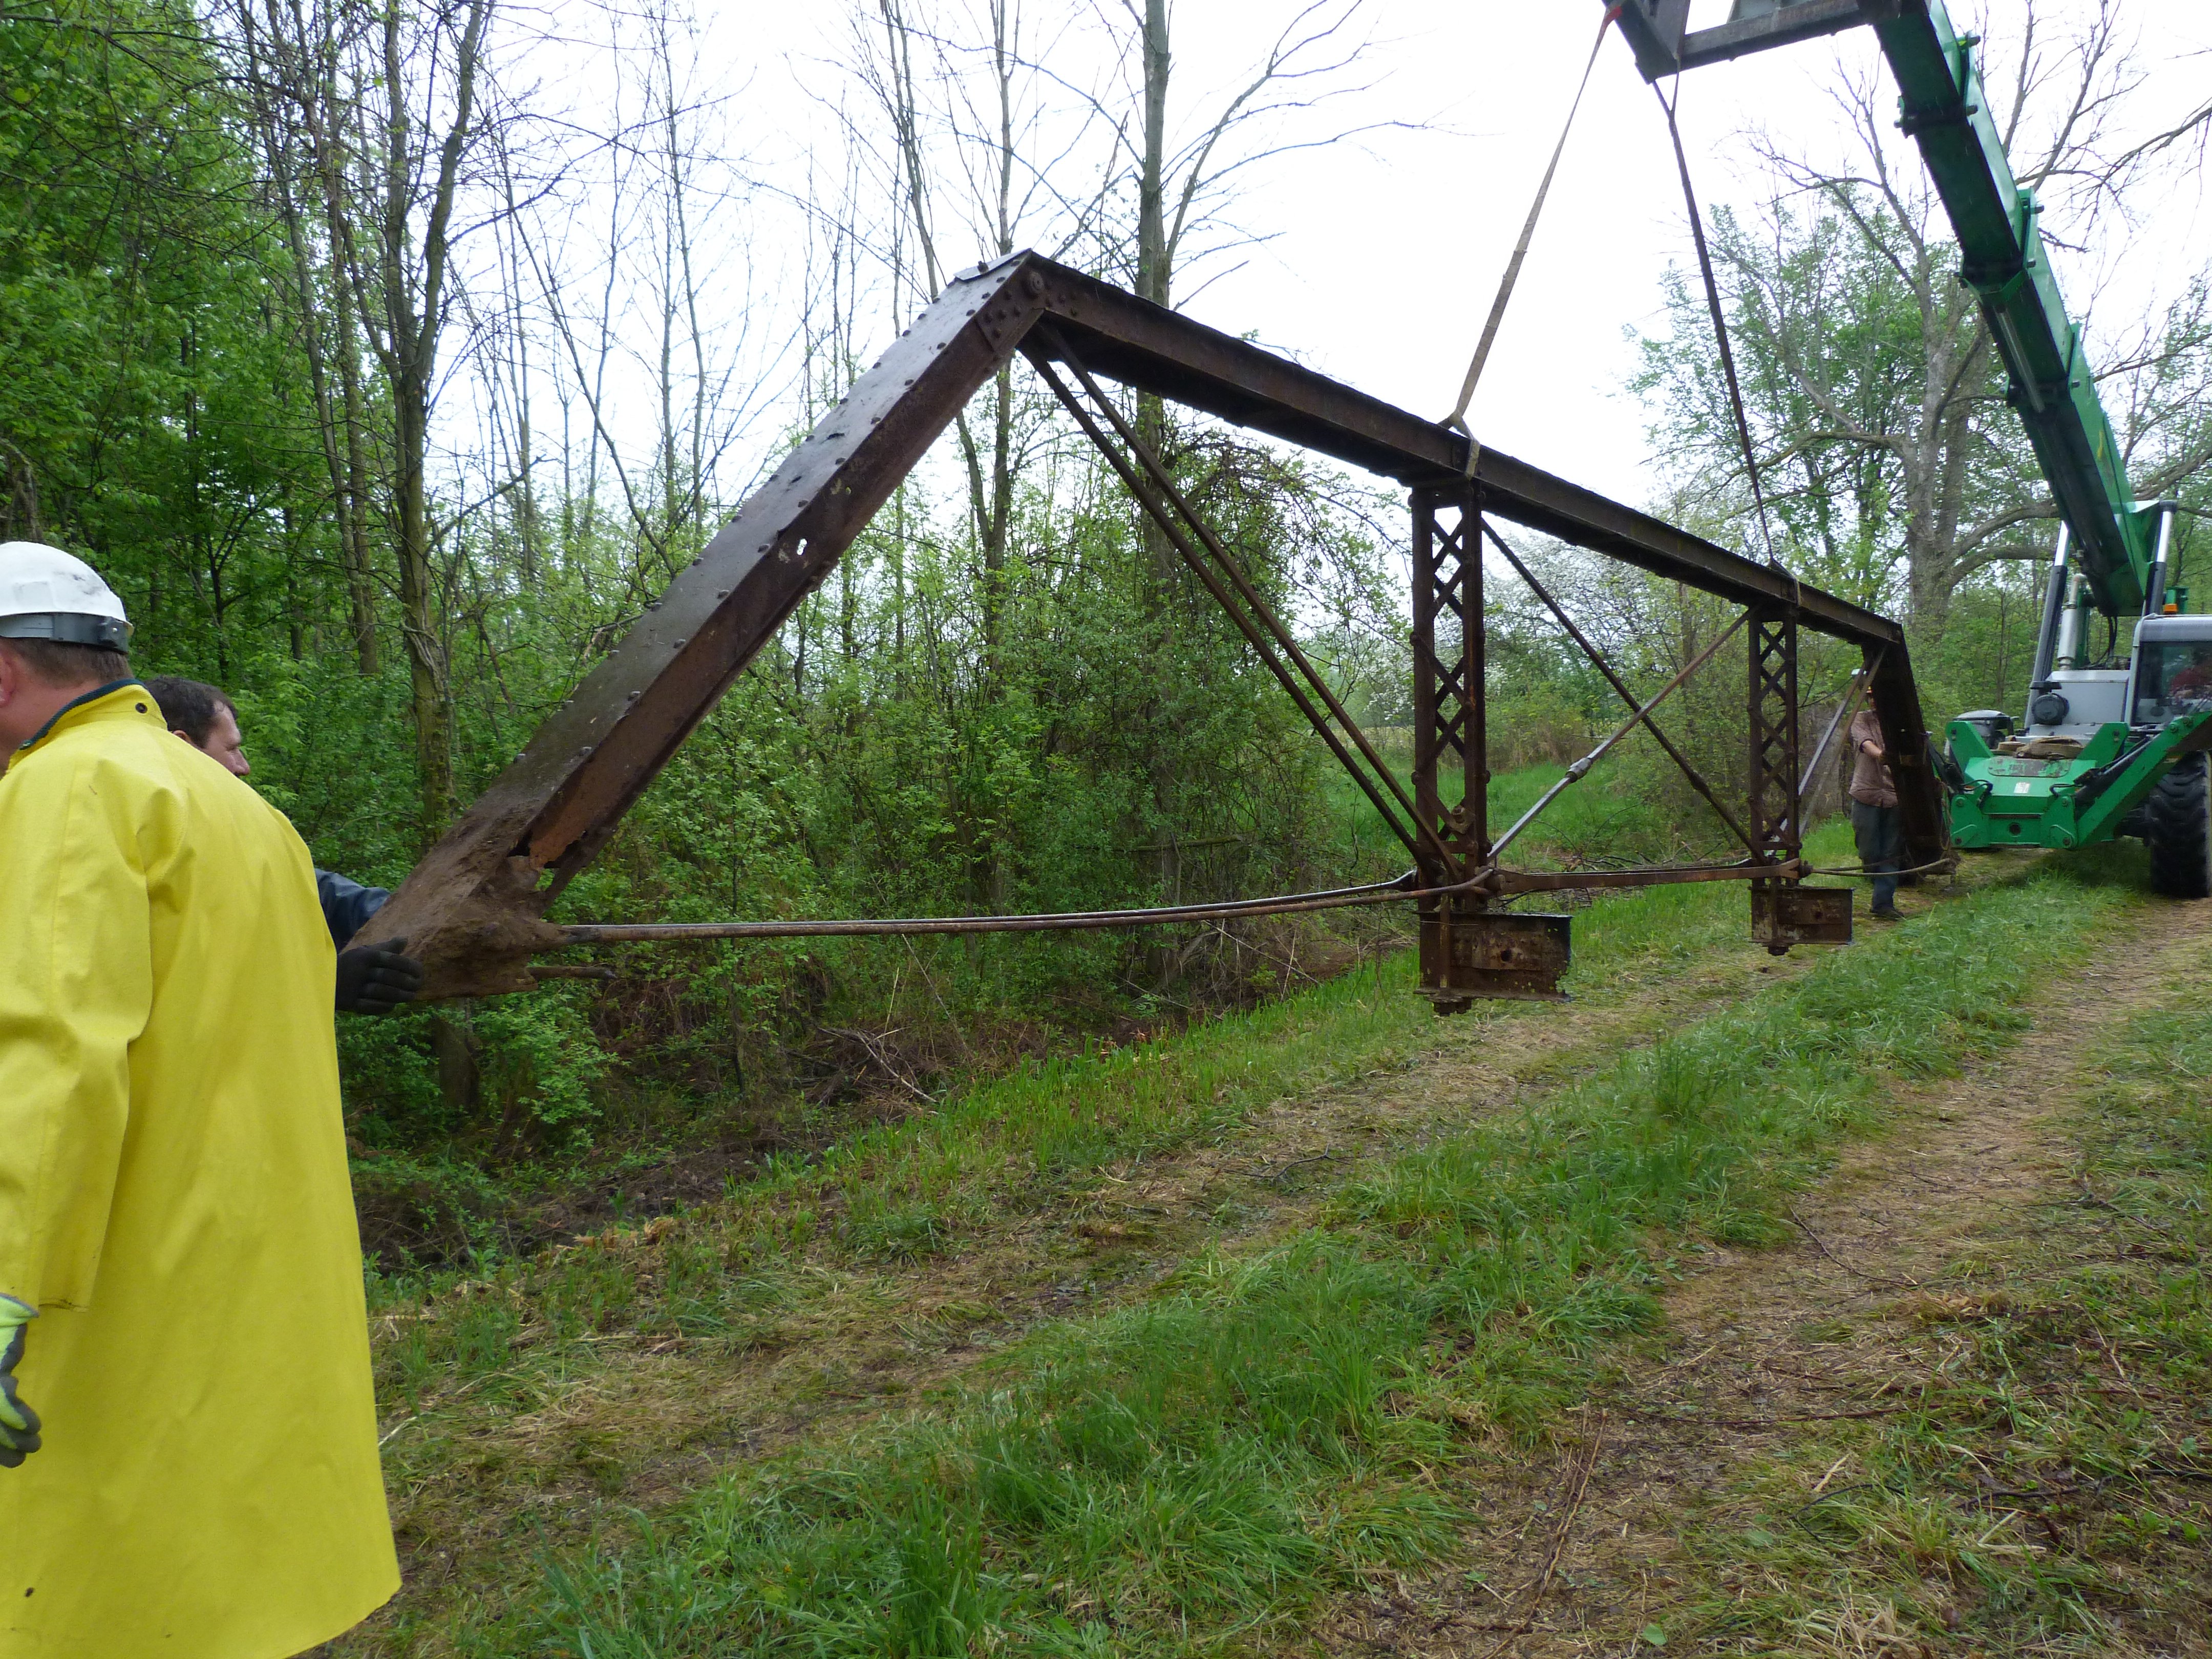


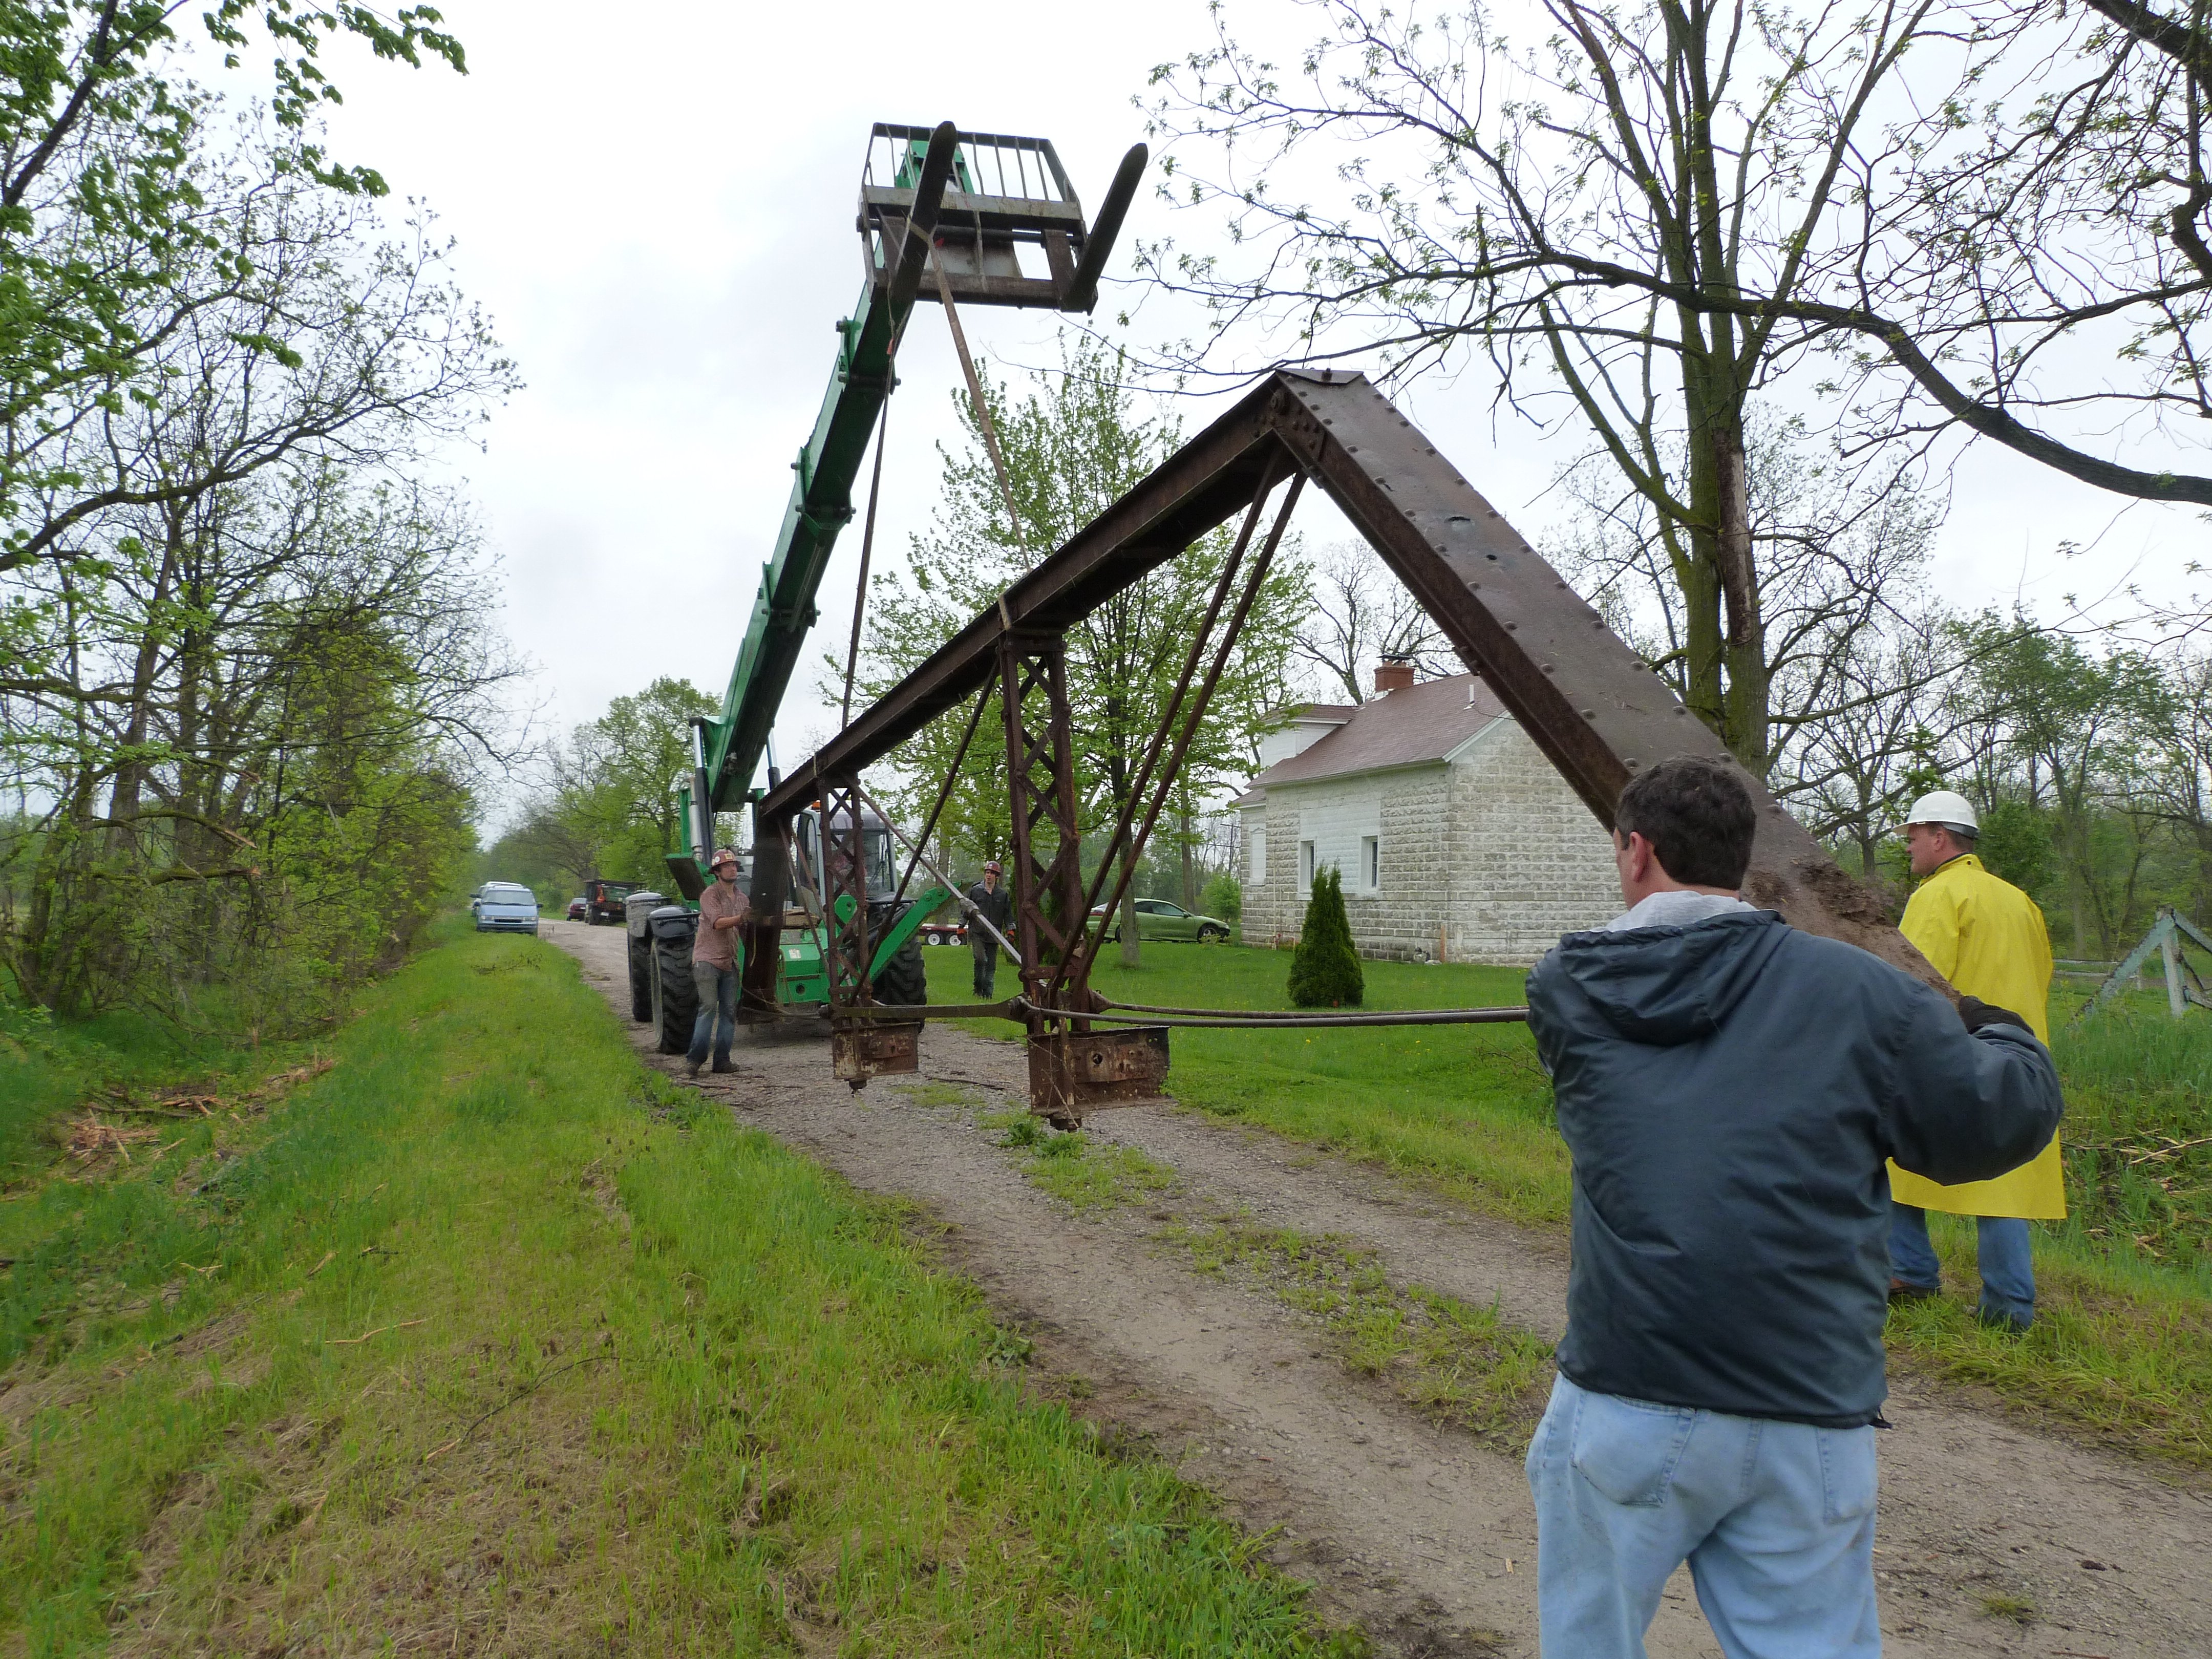

Walking the second truss back away from the creek.
![]()
![]()
| Back |
| Home |
| Top |

![]()