
Uncredited photos on this page taken by: Nathan Holth. Unless stated in a caption, all photos are Copyright with All Rights Reserved. Learn about reuse of our photos.
![]()


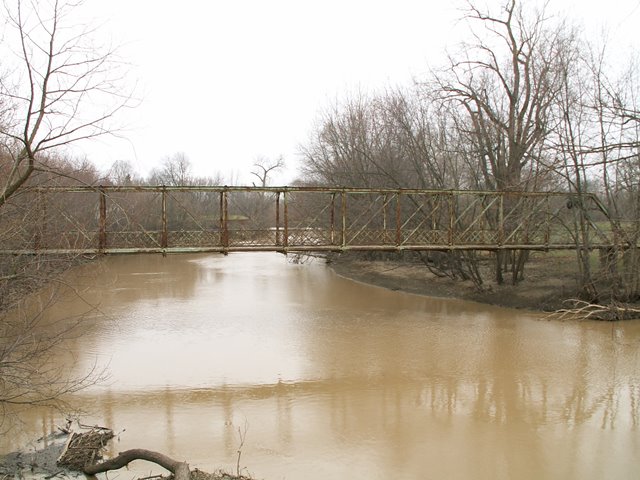
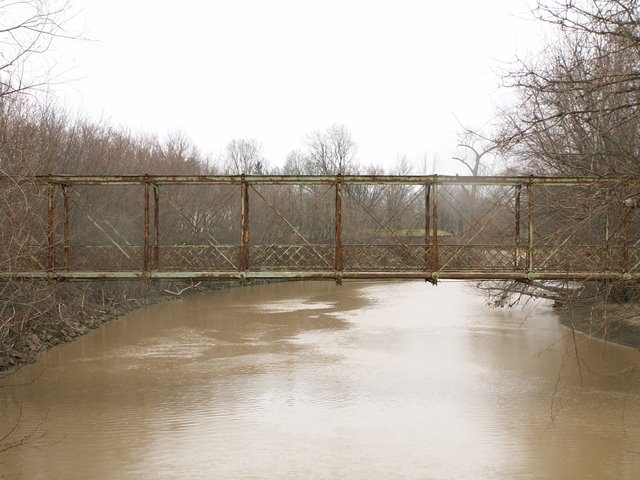
View beside bridge from southwest quadrant.
![]()


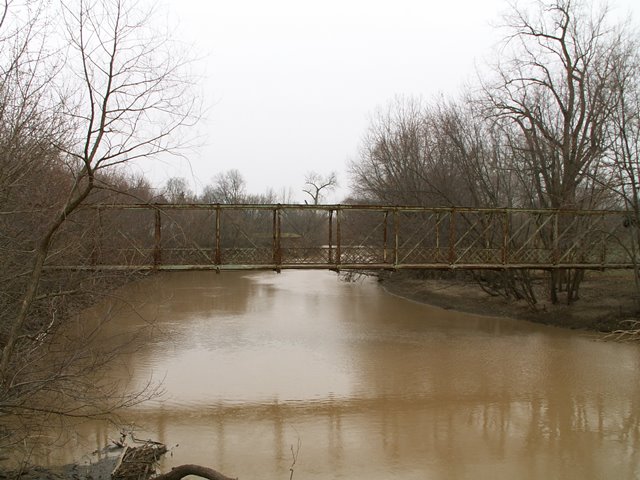
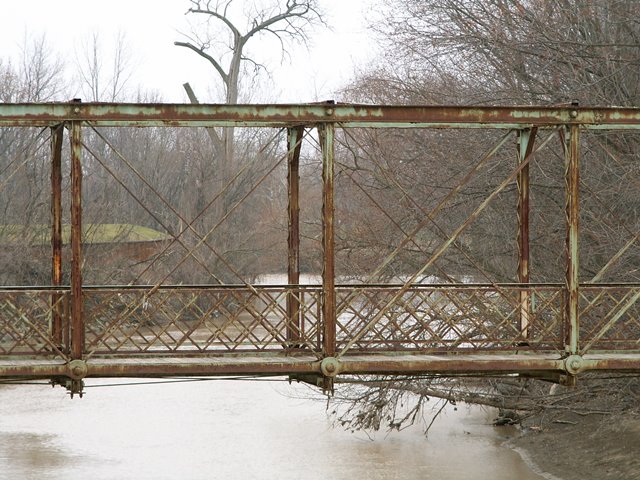
Elevation from southwest quadrant.
![]()

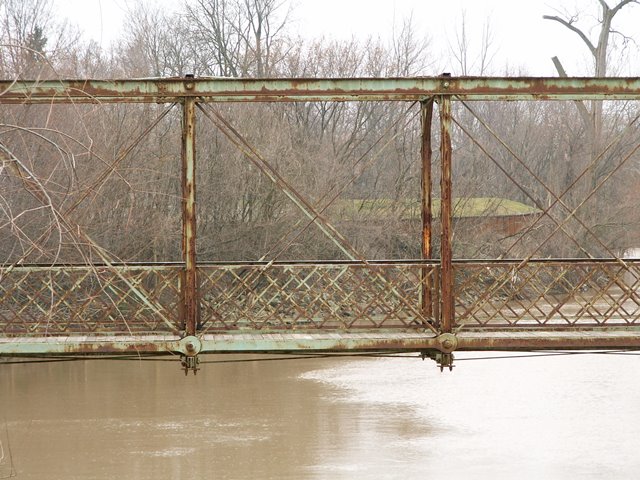
Elevation.
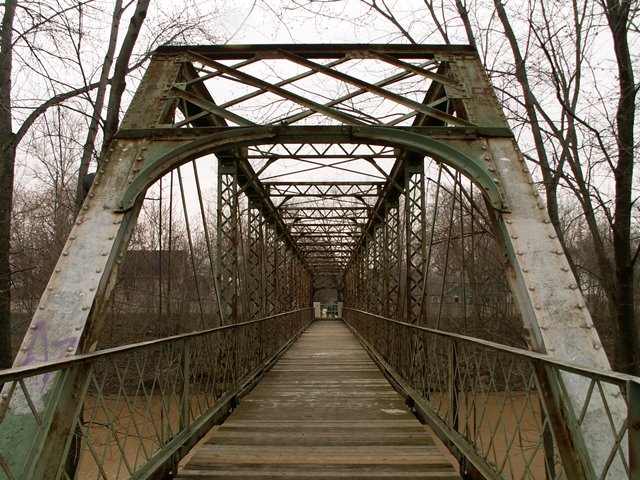
![]()


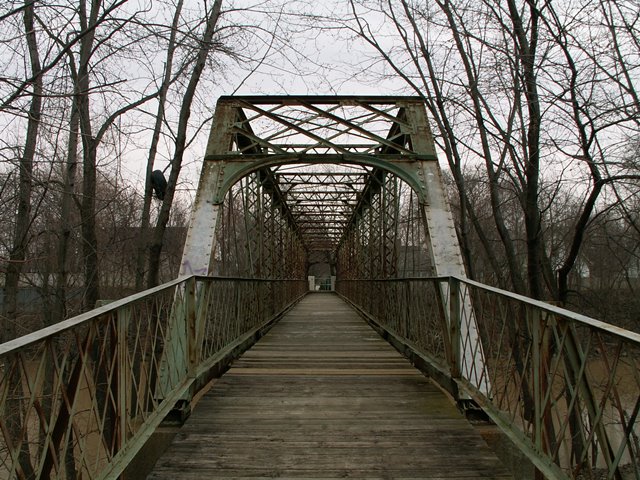
Portal views facing east.
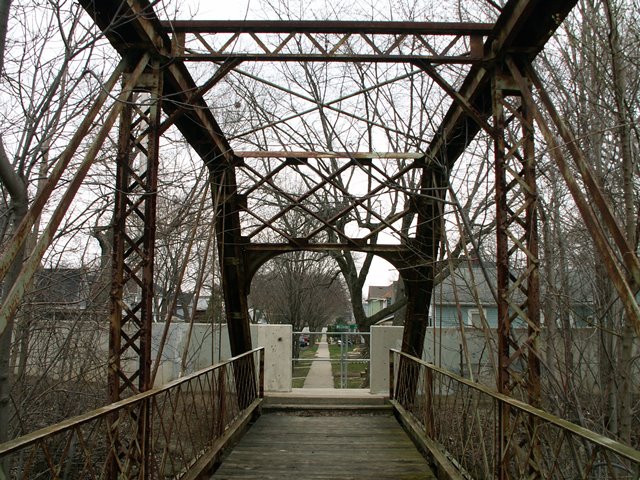
![]()


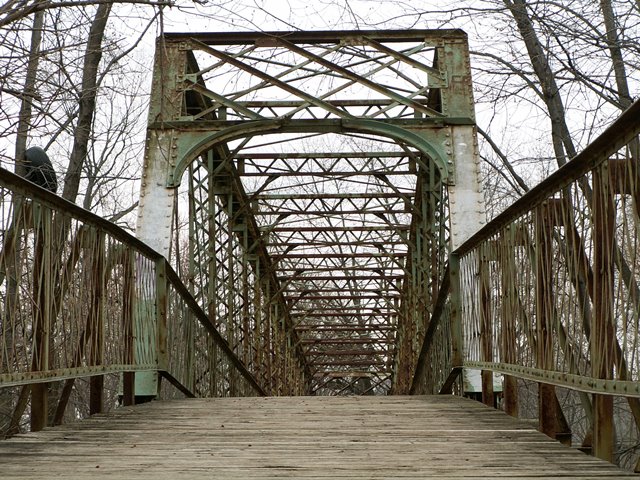


Portal views facing west.
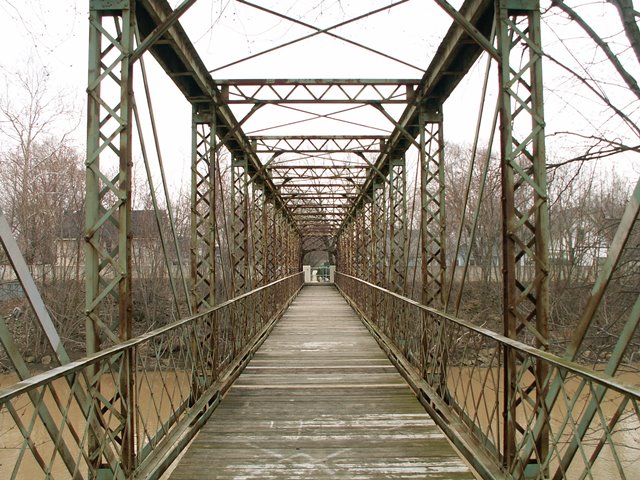
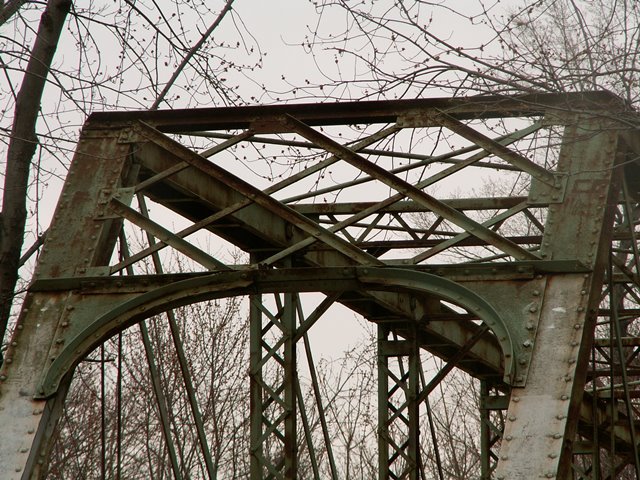
![]()

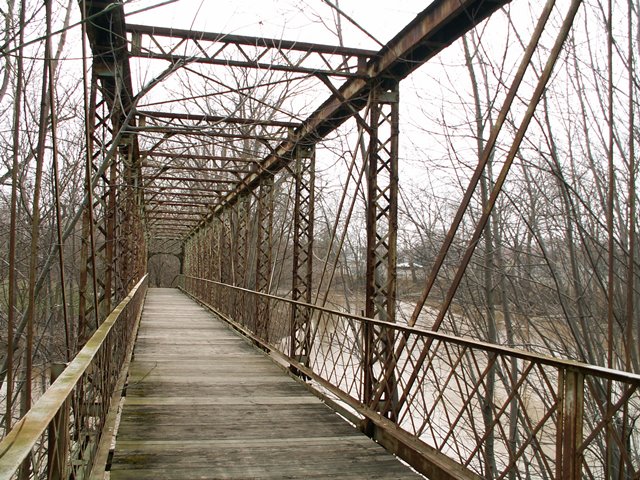
Portal views on bridge facing east.
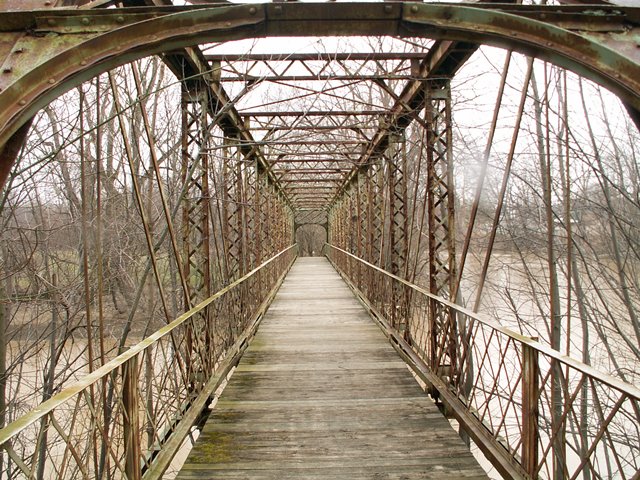
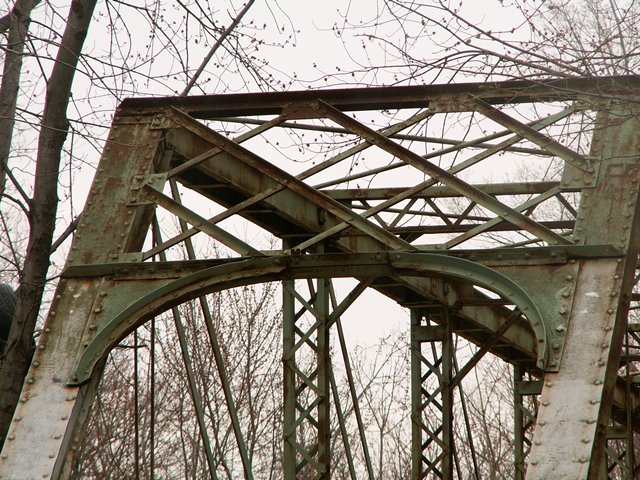
![]()
Portal views on bridge facing west.
![]()


Photo Credit: James L. Cooper
Views from Mechanic Street.
![]()
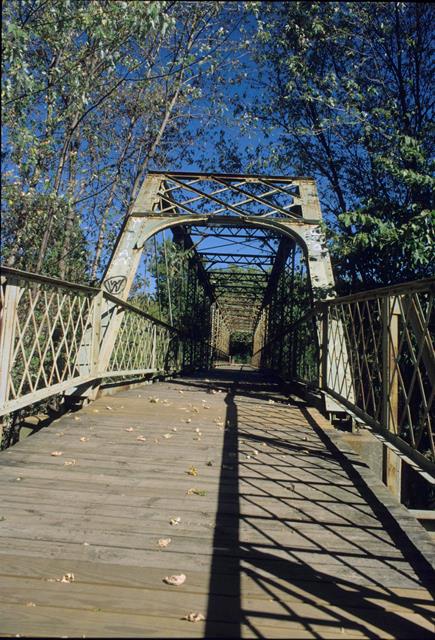
Photo Credit: James L. Cooper
Portal view.
![]()

Photo Credit: James L. Cooper
Portal view on bridge.
![]()

Photo Credit: James L. Cooper
Elevation.
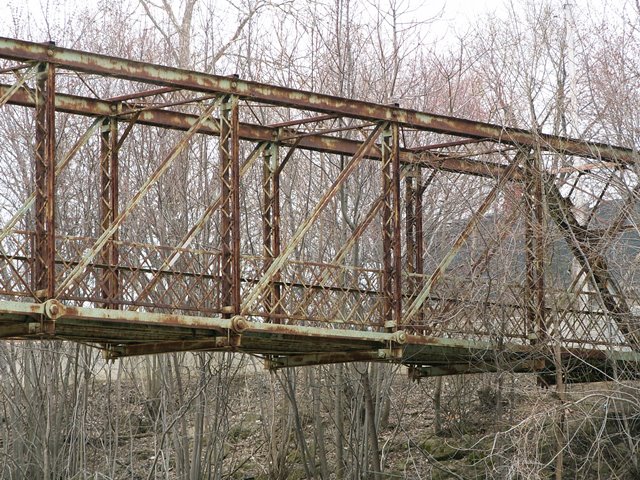
![]()


Approach spans.
![]()

View of bridge from Mechanic Street.
![]()


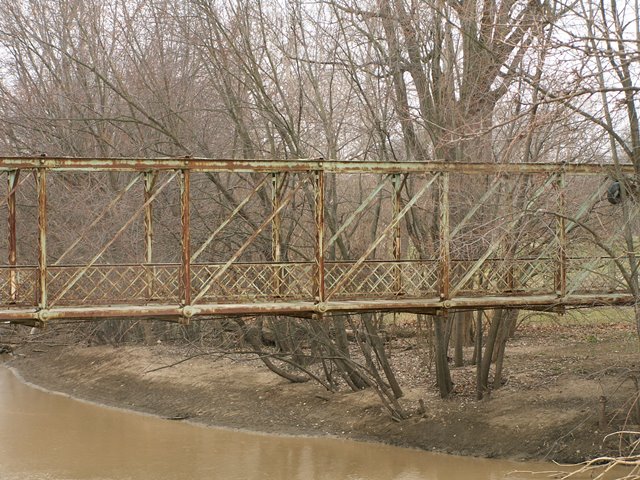
Views of truss web.
![]()

Truss panels.
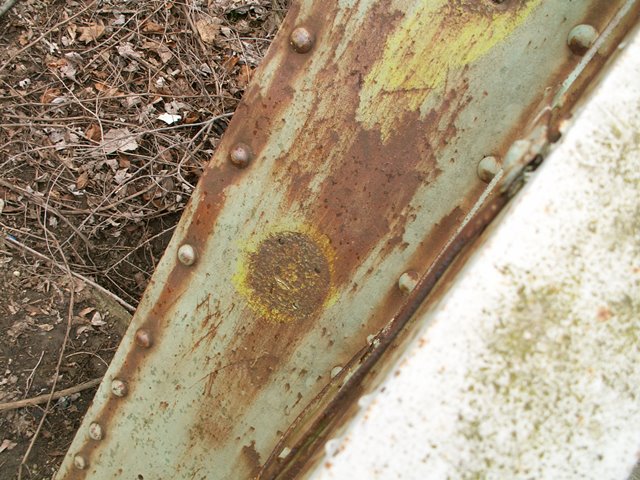
![]()

Carnegie brand.
![]()
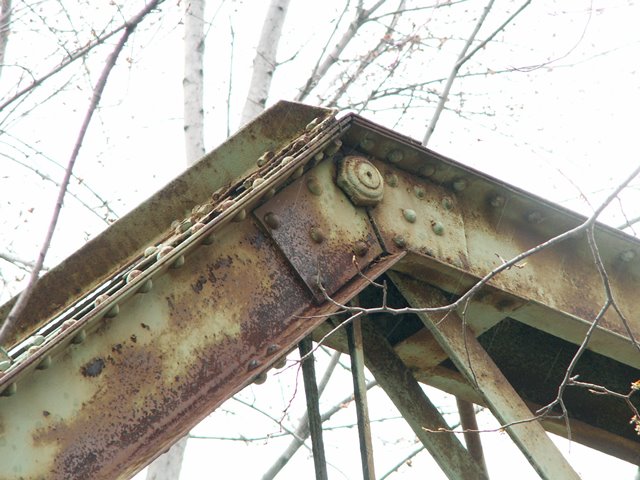

Top chord connections as viewed from beside bridge.
![]()


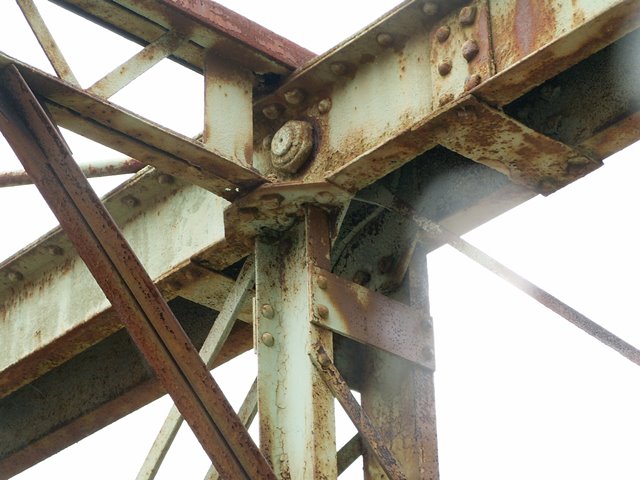

Top chord connections as viewed from on bridge.
![]()
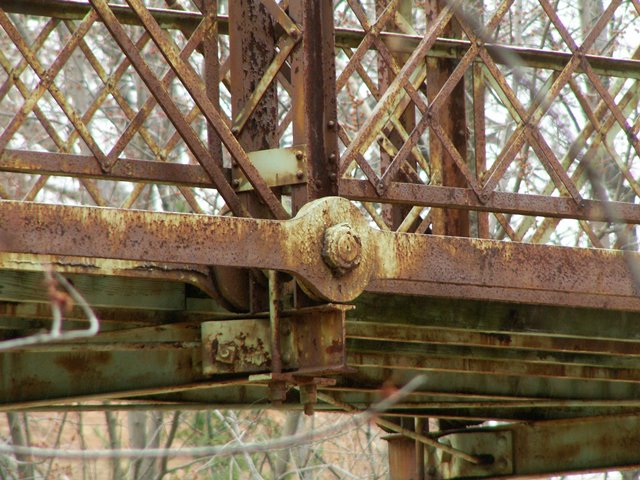


Bottom chord connections as viewed from beside bridge.
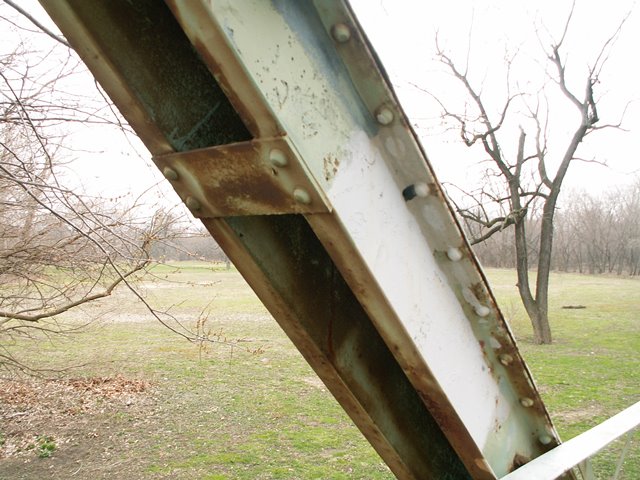
![]()


Bottom chord connections as viewed from on bridge.
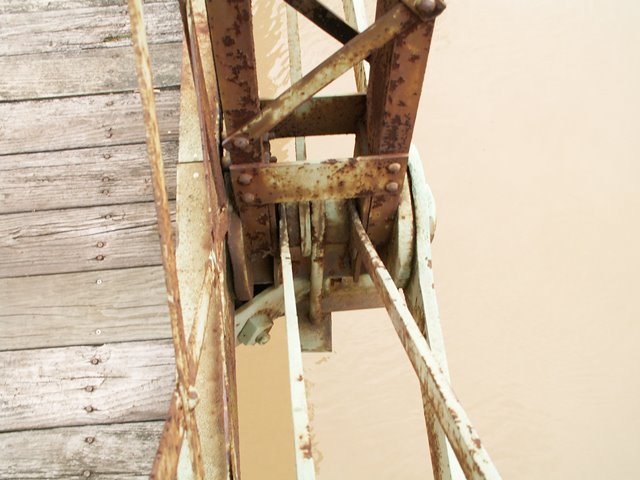
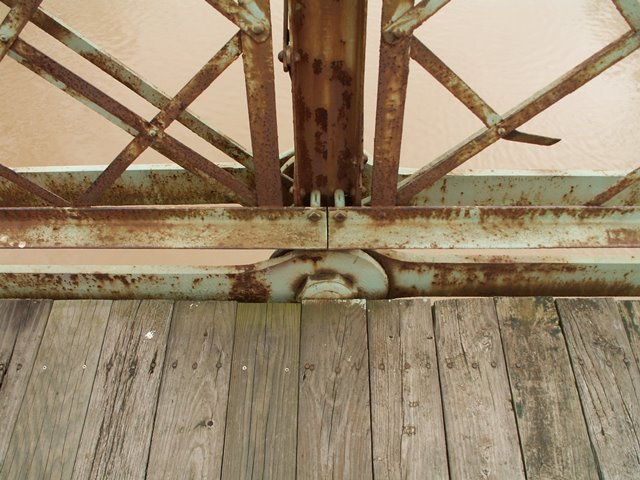
![]()


Bearings.
![]()
Portal bracing.
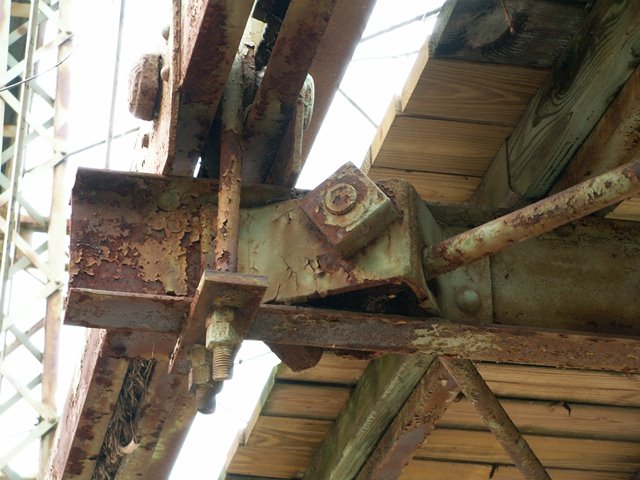
![]()


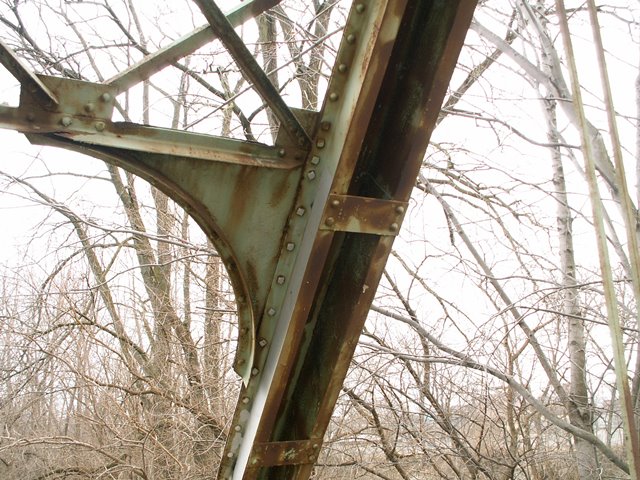
Portal bracing knees.
![]()

Turnbuckle on diagonal member.
![]()
End post.
![]()


Views under bridge.
![]()


Railing.
![]()

Approach span floor beam.
![]()

Detail of concrete piers for approach spans. Note the eyebar sticking out of the concrete suggesting these are original steel bents that were later encased in concrete.
![]()

Lateral bracing connection to floor beam.
![]()
![]()
| Back |
| Home |
| Top |

![]()