
Uncredited photos on this page taken by: Nathan Holth and Luke Gordon. Unless stated in a caption, all photos are Copyright with All Rights Reserved. Learn about reuse of our photos.
![]()

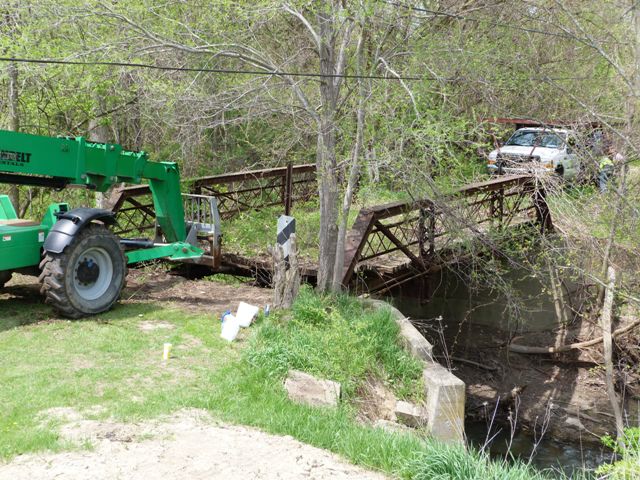
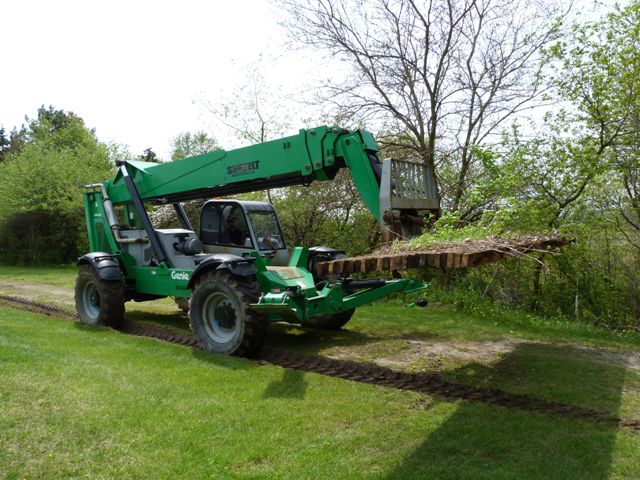
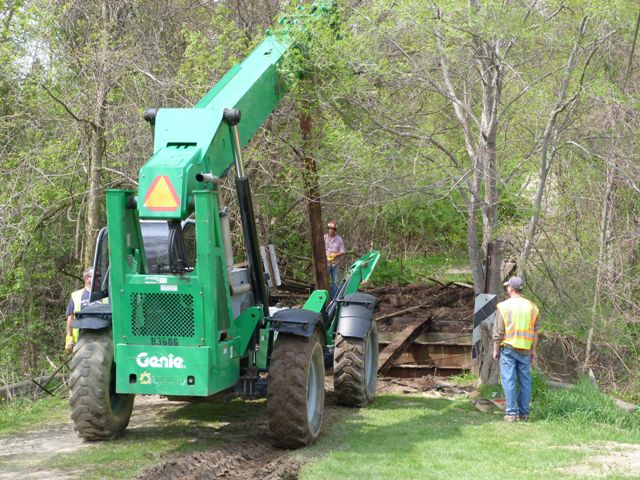
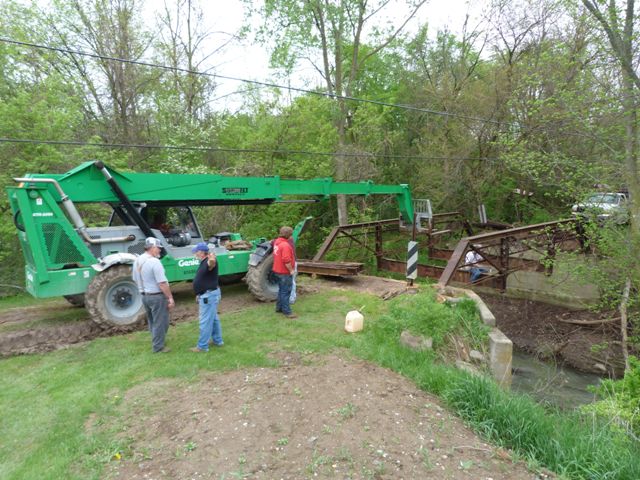
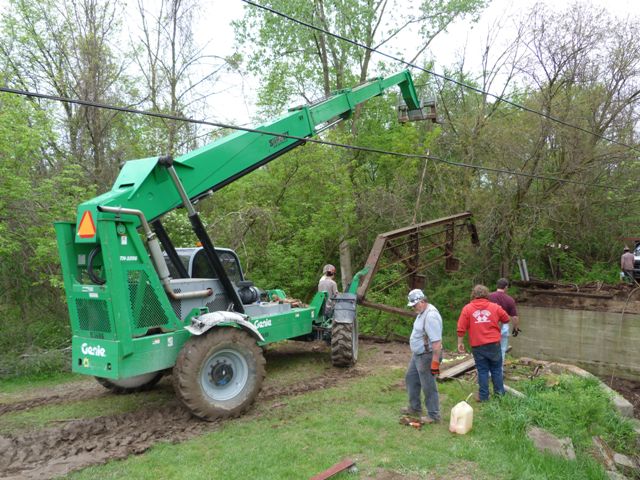
The work crew on the move to the bridge site.
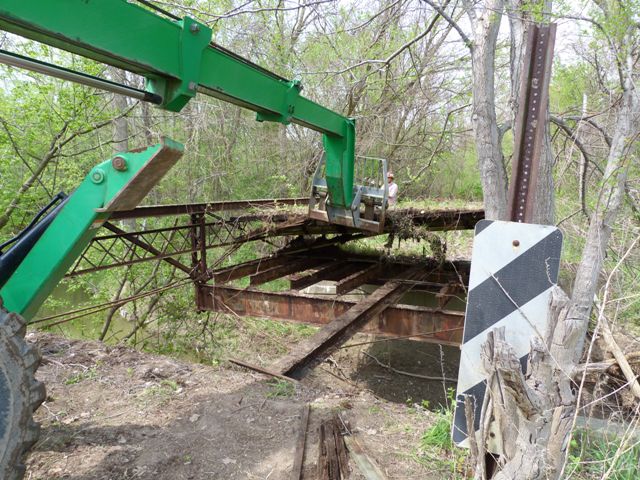
![]()
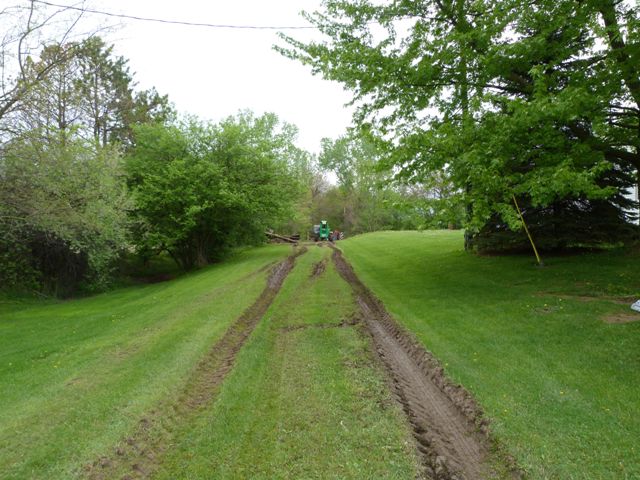
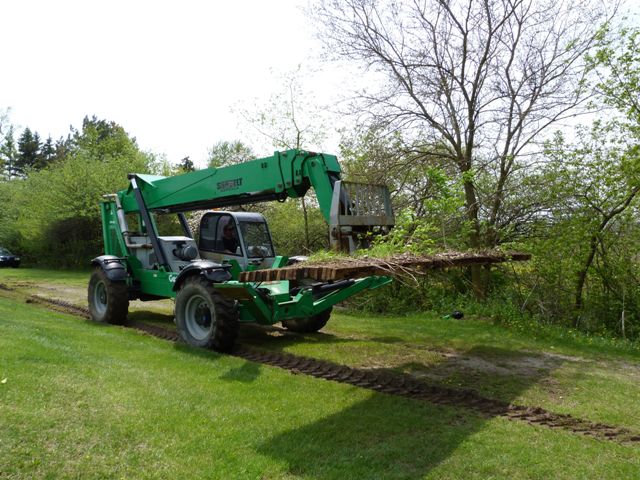
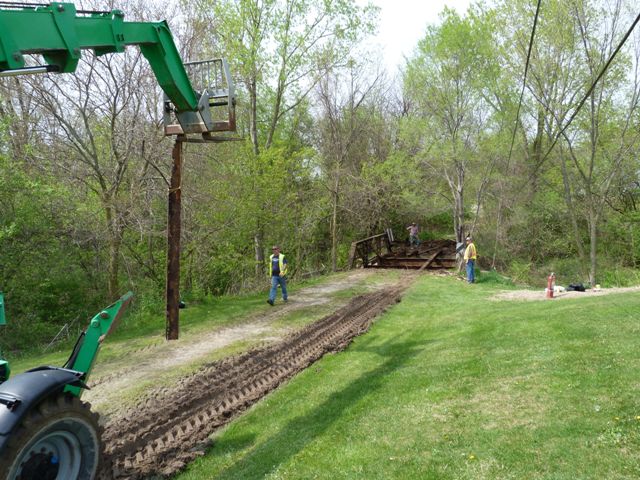
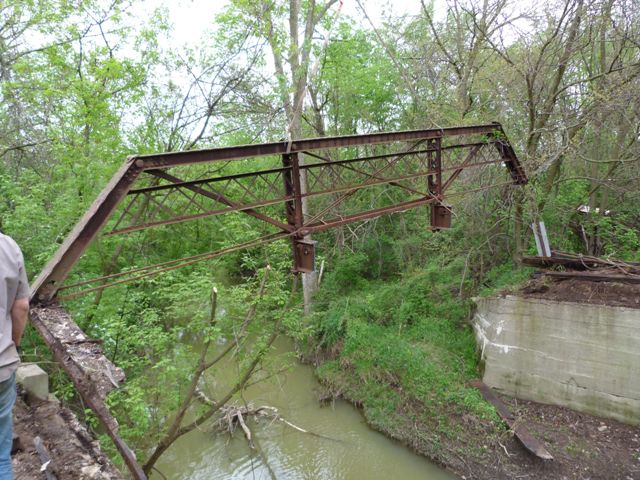
Approaching "roadway" south of bridge.
![]()


This fierce guard dog protected the work site.
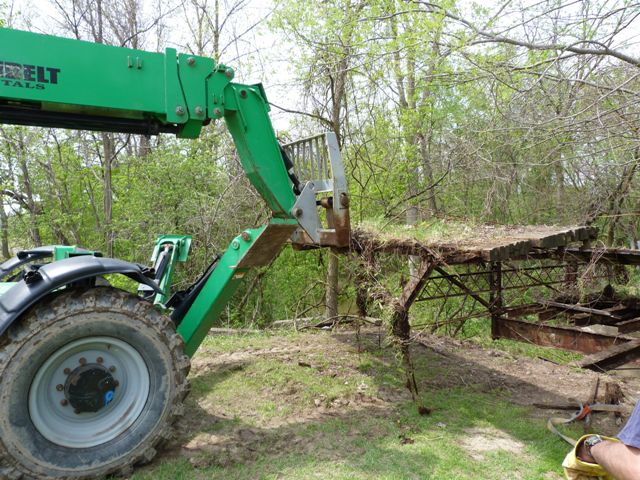
![]()


Beginning to remove the wooden deck.
![]()

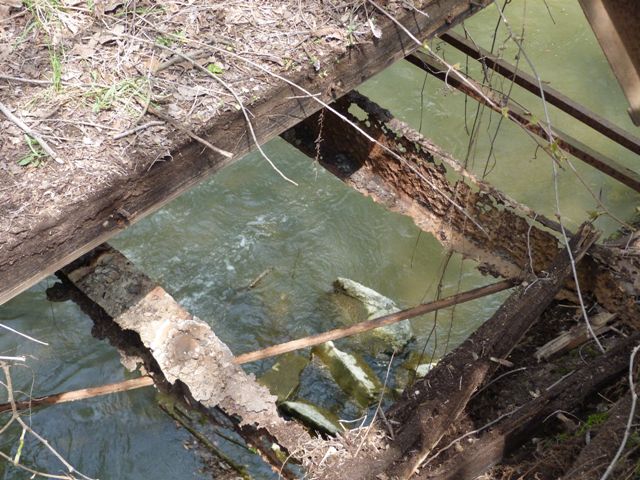
The first piece of removed deck reveals what little is left of the deck stringers.
![]()


To prevent having to remove the railings, some of the wooden planks that extended beyond the roadway and under the railing had to be cut back so they could be more easily lifted out.
![]()

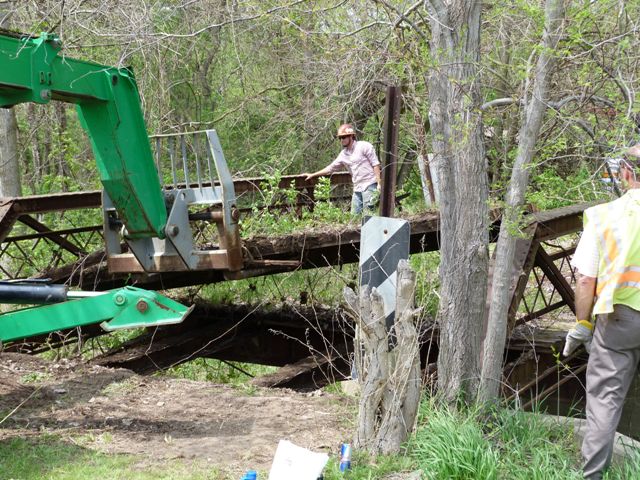


Continuing to remove the deck.
![]()

Preparing to remove a deck stringer.
![]()


Some of the deck stringers are removed.
![]()

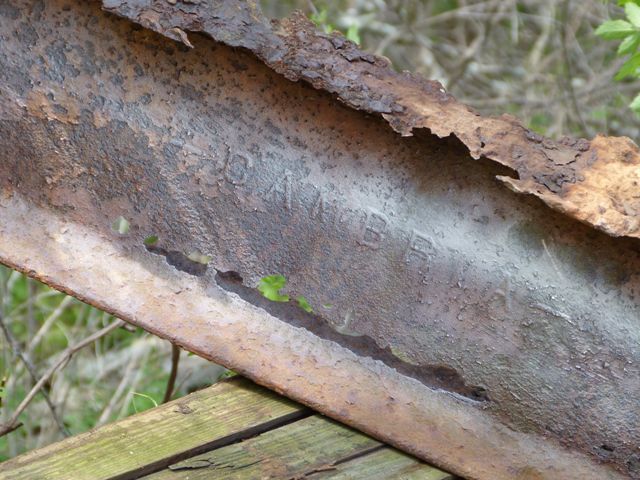
Despite the level of deterioration on the deck stringers, a readable Cambria name was found on one of the deck stringers.
![]()


Continuing to remove the deck.
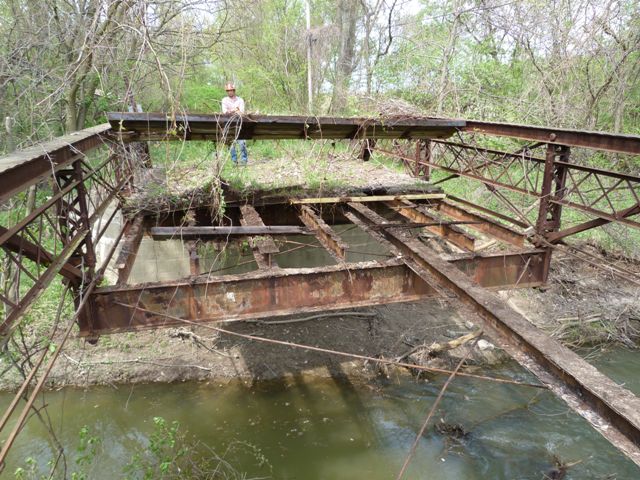
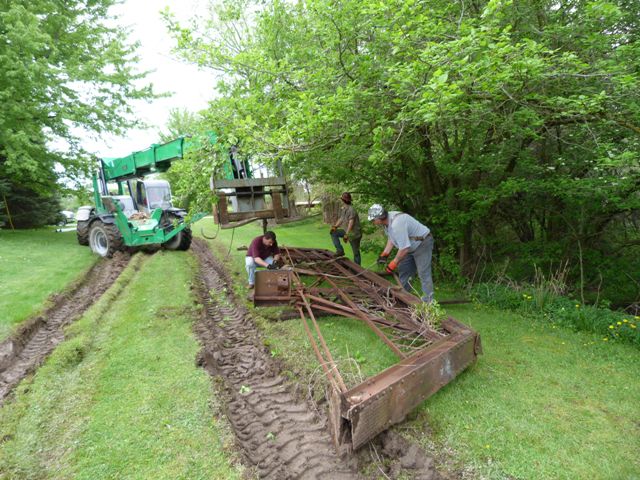
![]()

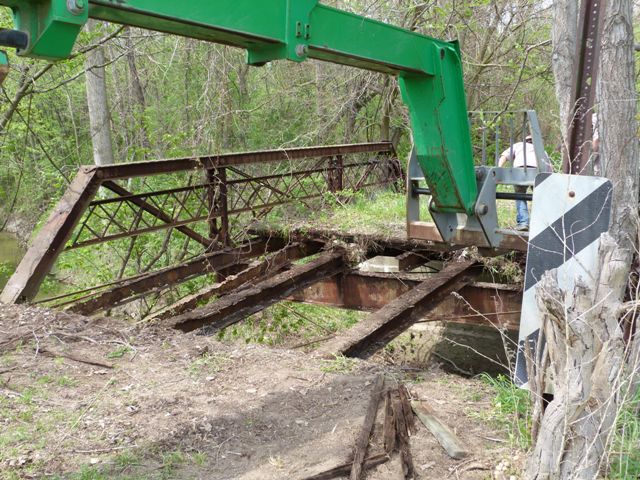
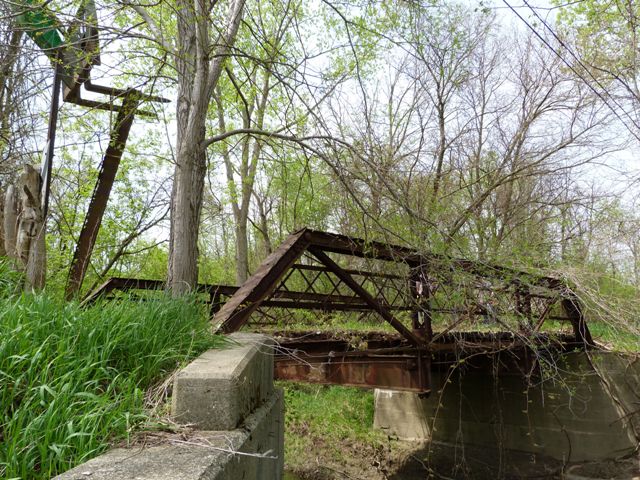
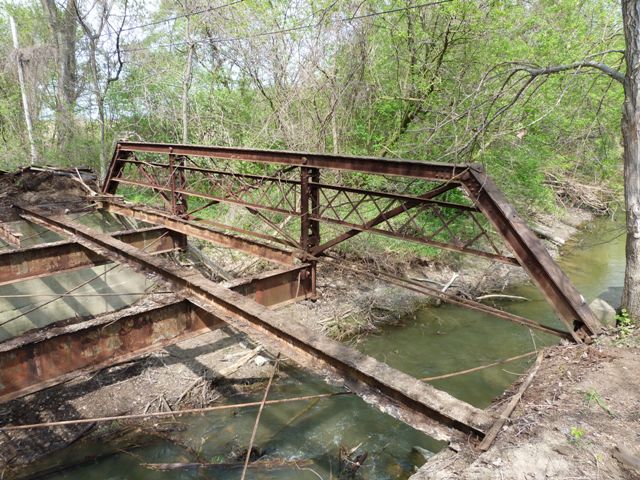
Bridge with most of the deck removed.
![]()

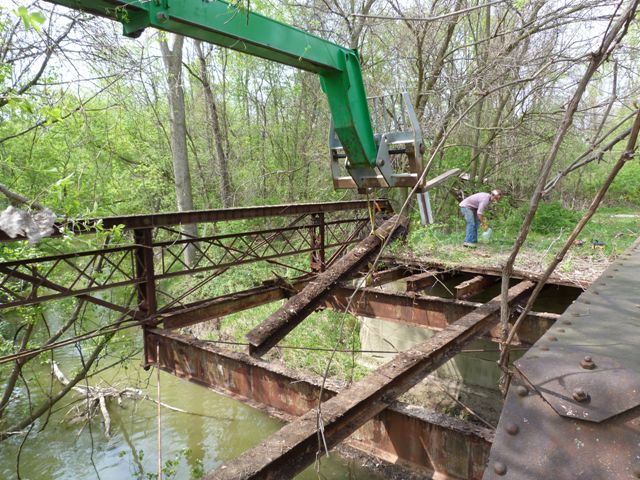
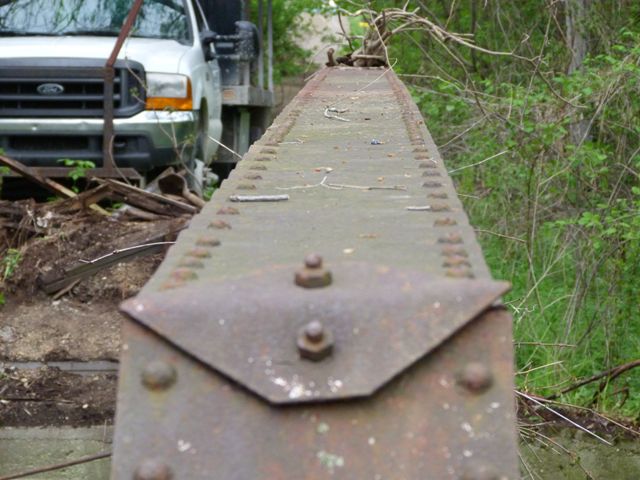
Bottom chord connection.
![]()


Continuing to remove deck stringers.
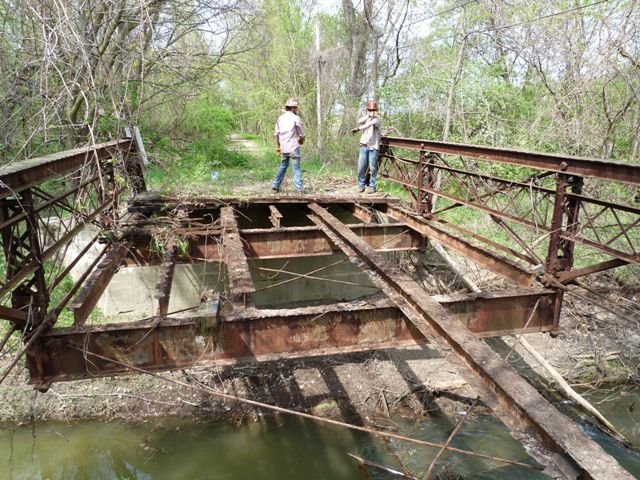
![]()


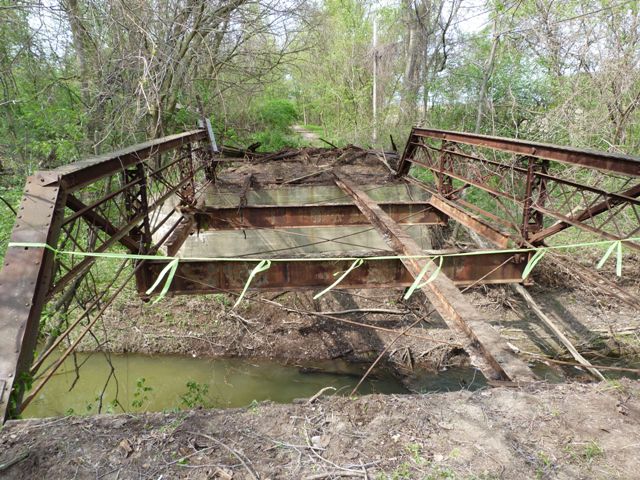


Bridge with deck and most deck stringers removed.
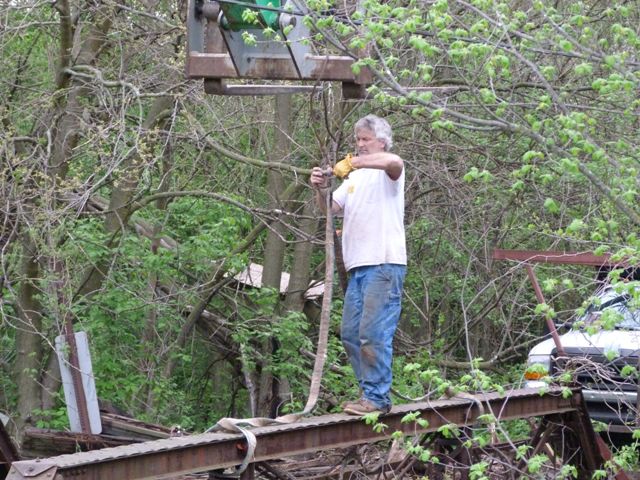
![]()


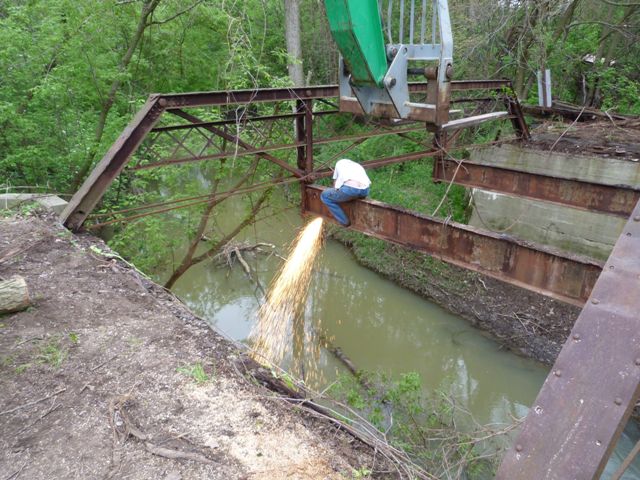
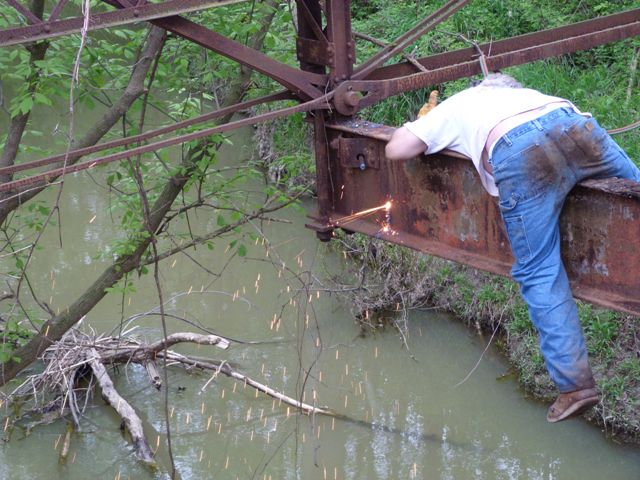
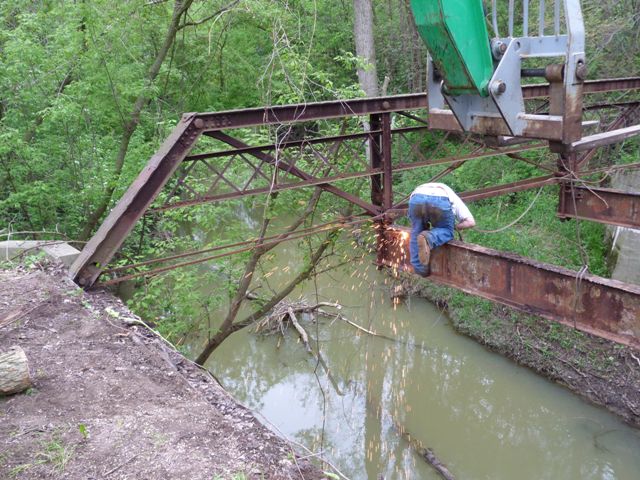
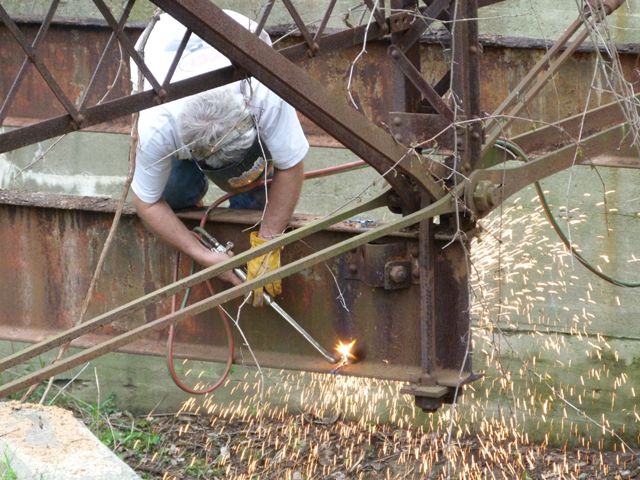
Cutting lateral bracing out.
![]()


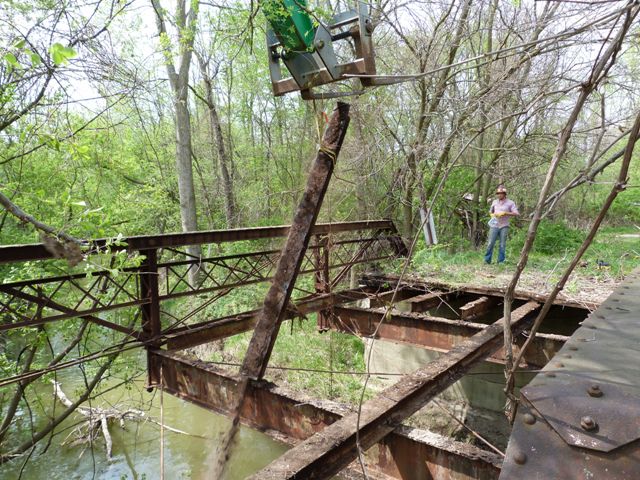
The few remaining deck stringers had functioning welds to the bridge and required some cutting and hammering to break them free for removal.
![]()

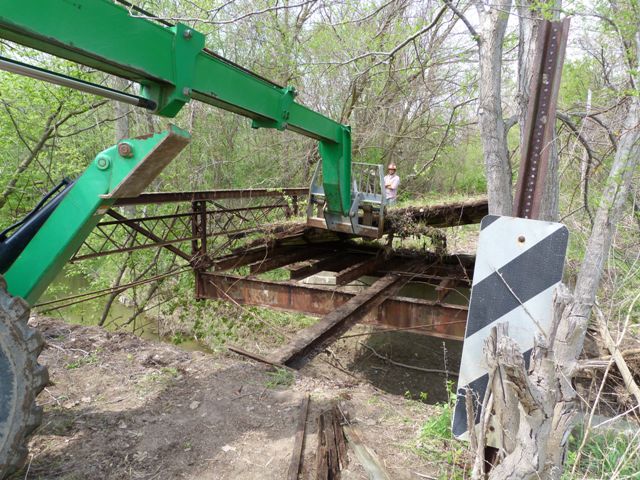
Preparing to pick one of the deck stringers.
![]()
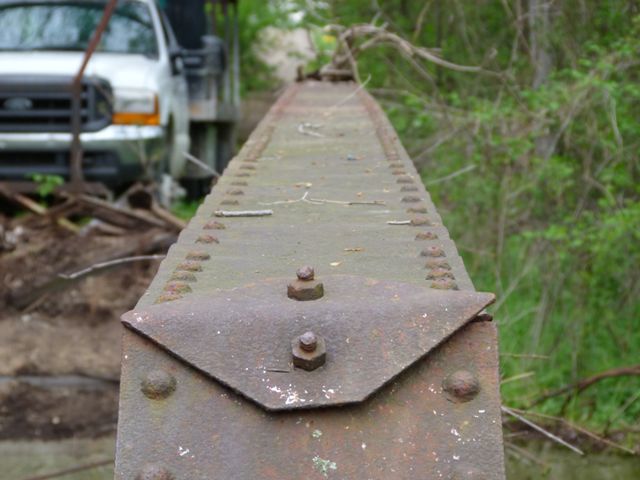
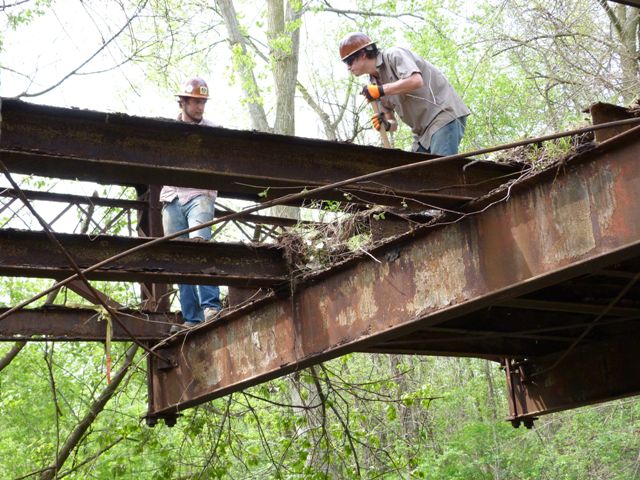
Top chord.
![]()


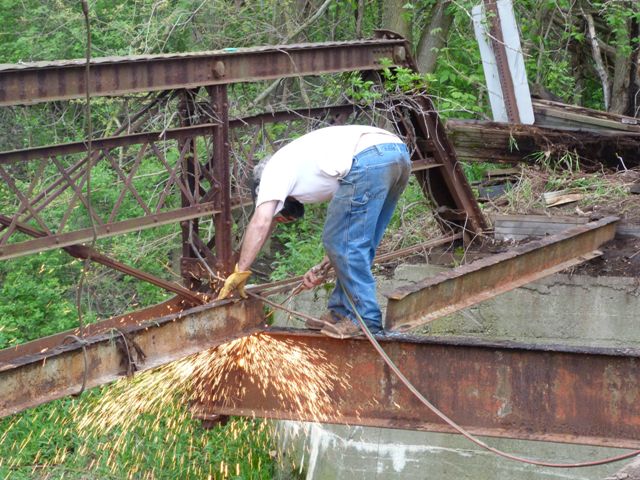
Cutting the southern floor beam out for removal.
![]()


Removing the southern floor beam.
![]()


Cutting the northern floor beam out for removal.
![]()


Removing the northern floor beam.
![]()


Bridge with floor beams removed.
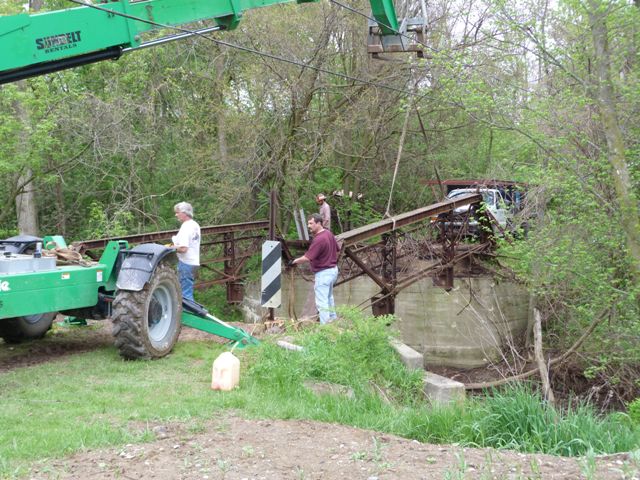
![]()


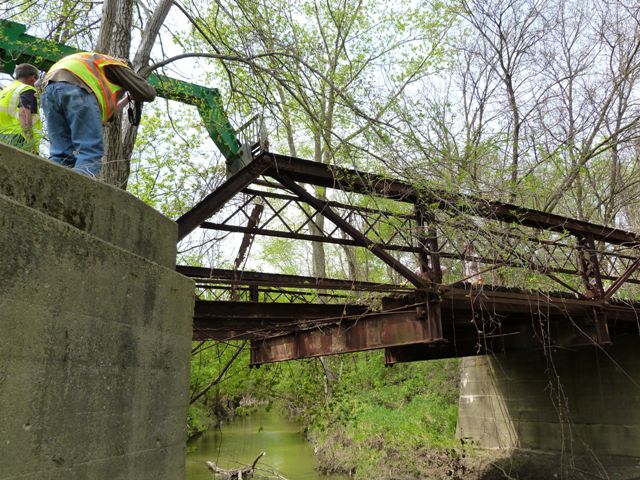
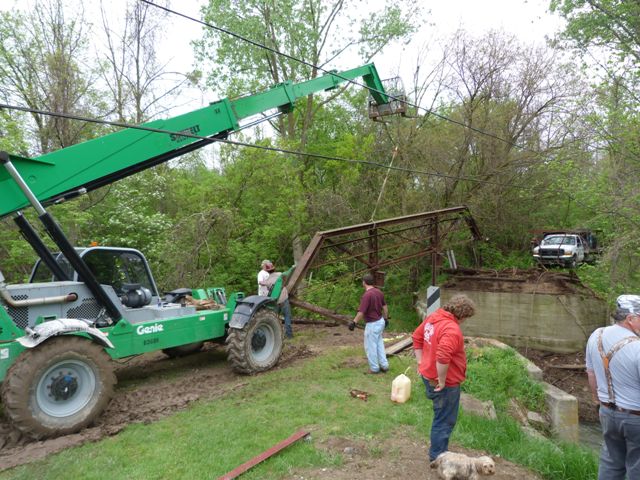
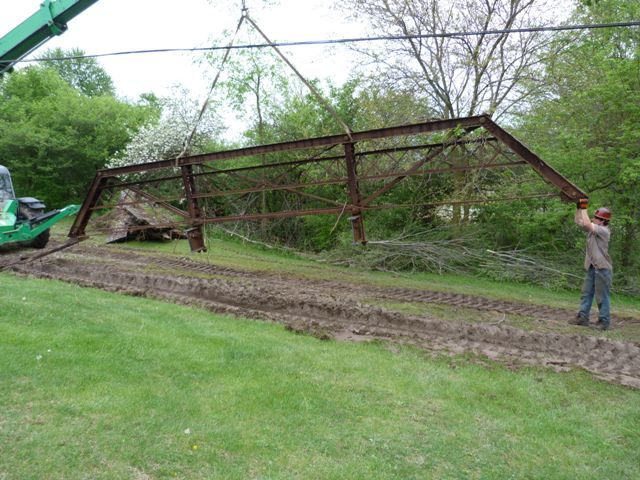
Preparing to pick the eastern truss.
![]()

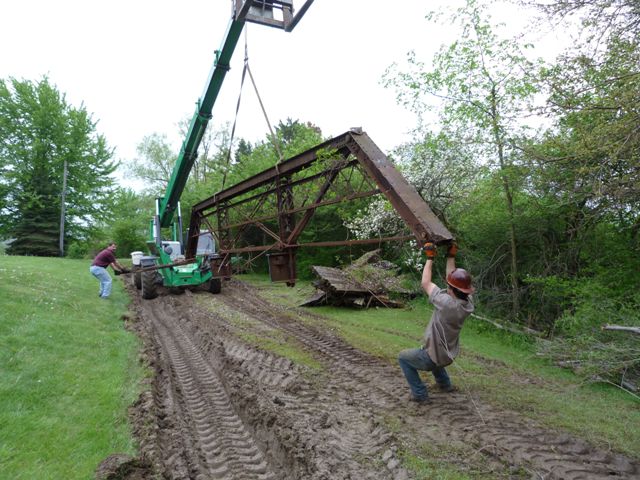
Lifting the eastern truss off the abutments.
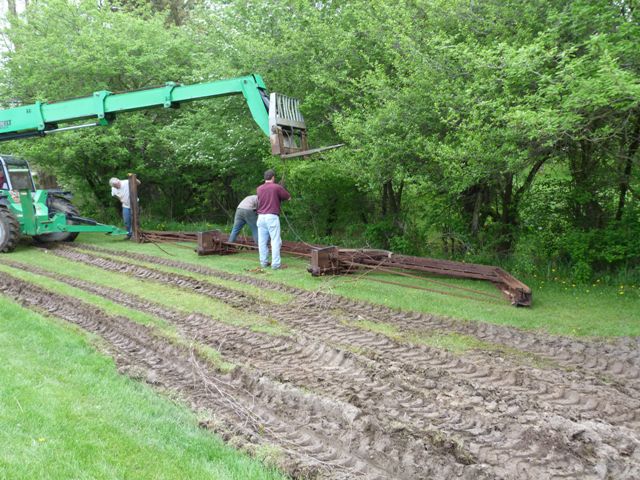
![]()


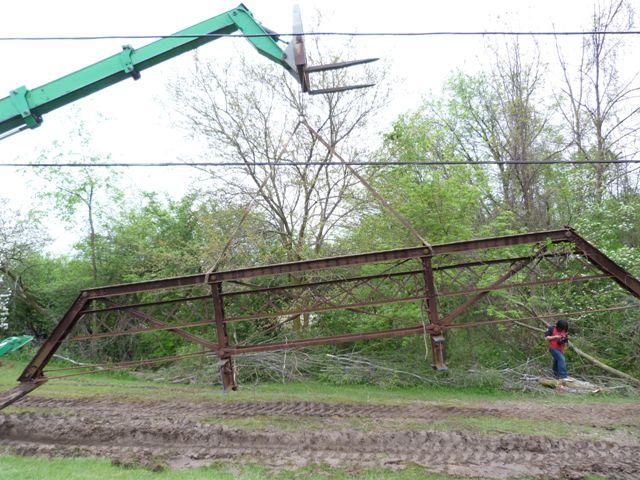
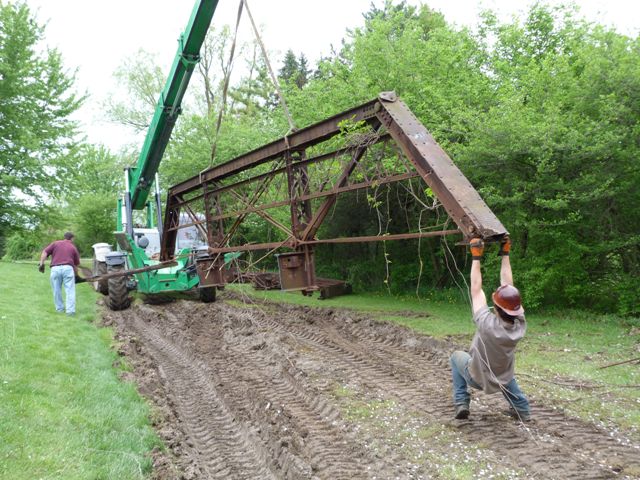
Moving the eastern truss back away from the creek.
![]()


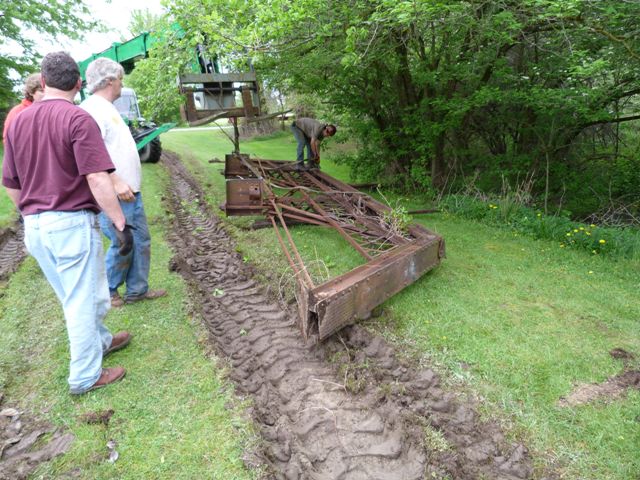
The eastern truss is placed on the ground.
![]()


Views of the bridge with the eastern truss removed.
![]()

When first starting to lift the western truss, an unknown piece of the deck attached to both the truss and abutment was discovered and had to be removed.
![]()


Lifting the western truss off the abutments.
![]()


Moving the western truss back away from the creek.
![]()


Initially, the western truss was placed in front of the eastern truss.
![]()


It was then decided to move it so it sat beside the eastern truss.
![]()
The western truss sits on the ground.
![]()
Both of the trusses on the ground.
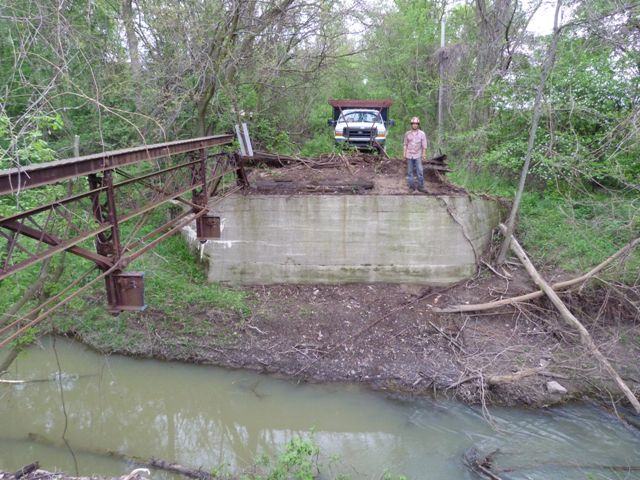
![]()


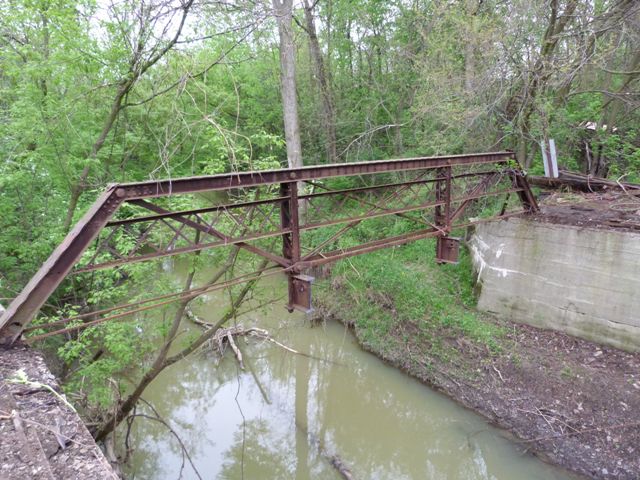
View of the bridge site with the bridge removed.
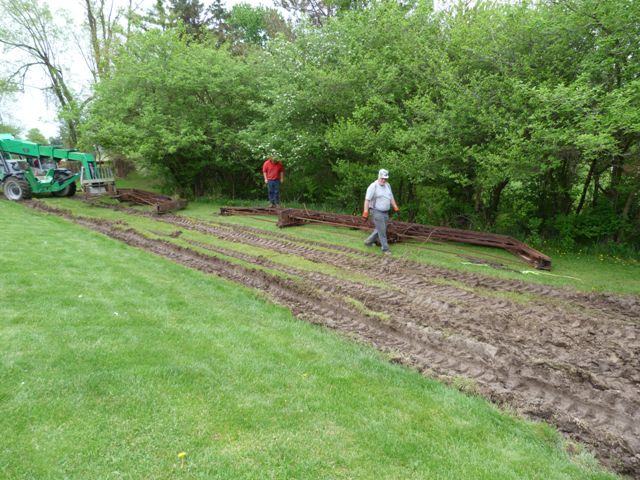
![]()


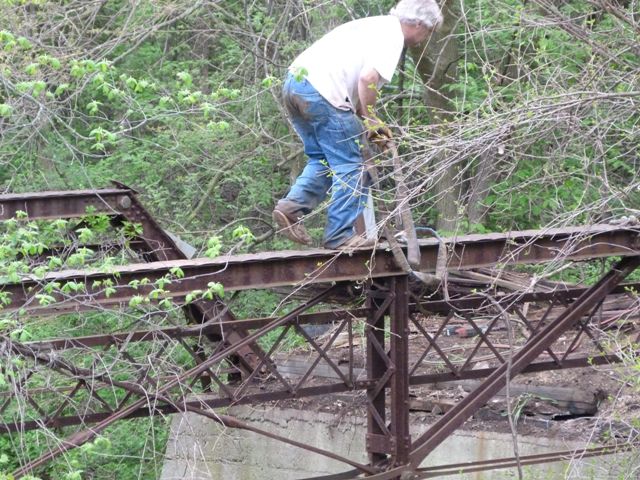
Retrieving some lateral bracing that fell.
![]()

Retrieving some deck stringers that fell.
![]()
![]()

![]()