Uncredited photos on this page taken by: Nathan Holth and Rick McOmber. Unless stated in a caption, all photos are Copyright with All Rights Reserved. Learn about reuse of our photos.
![]()
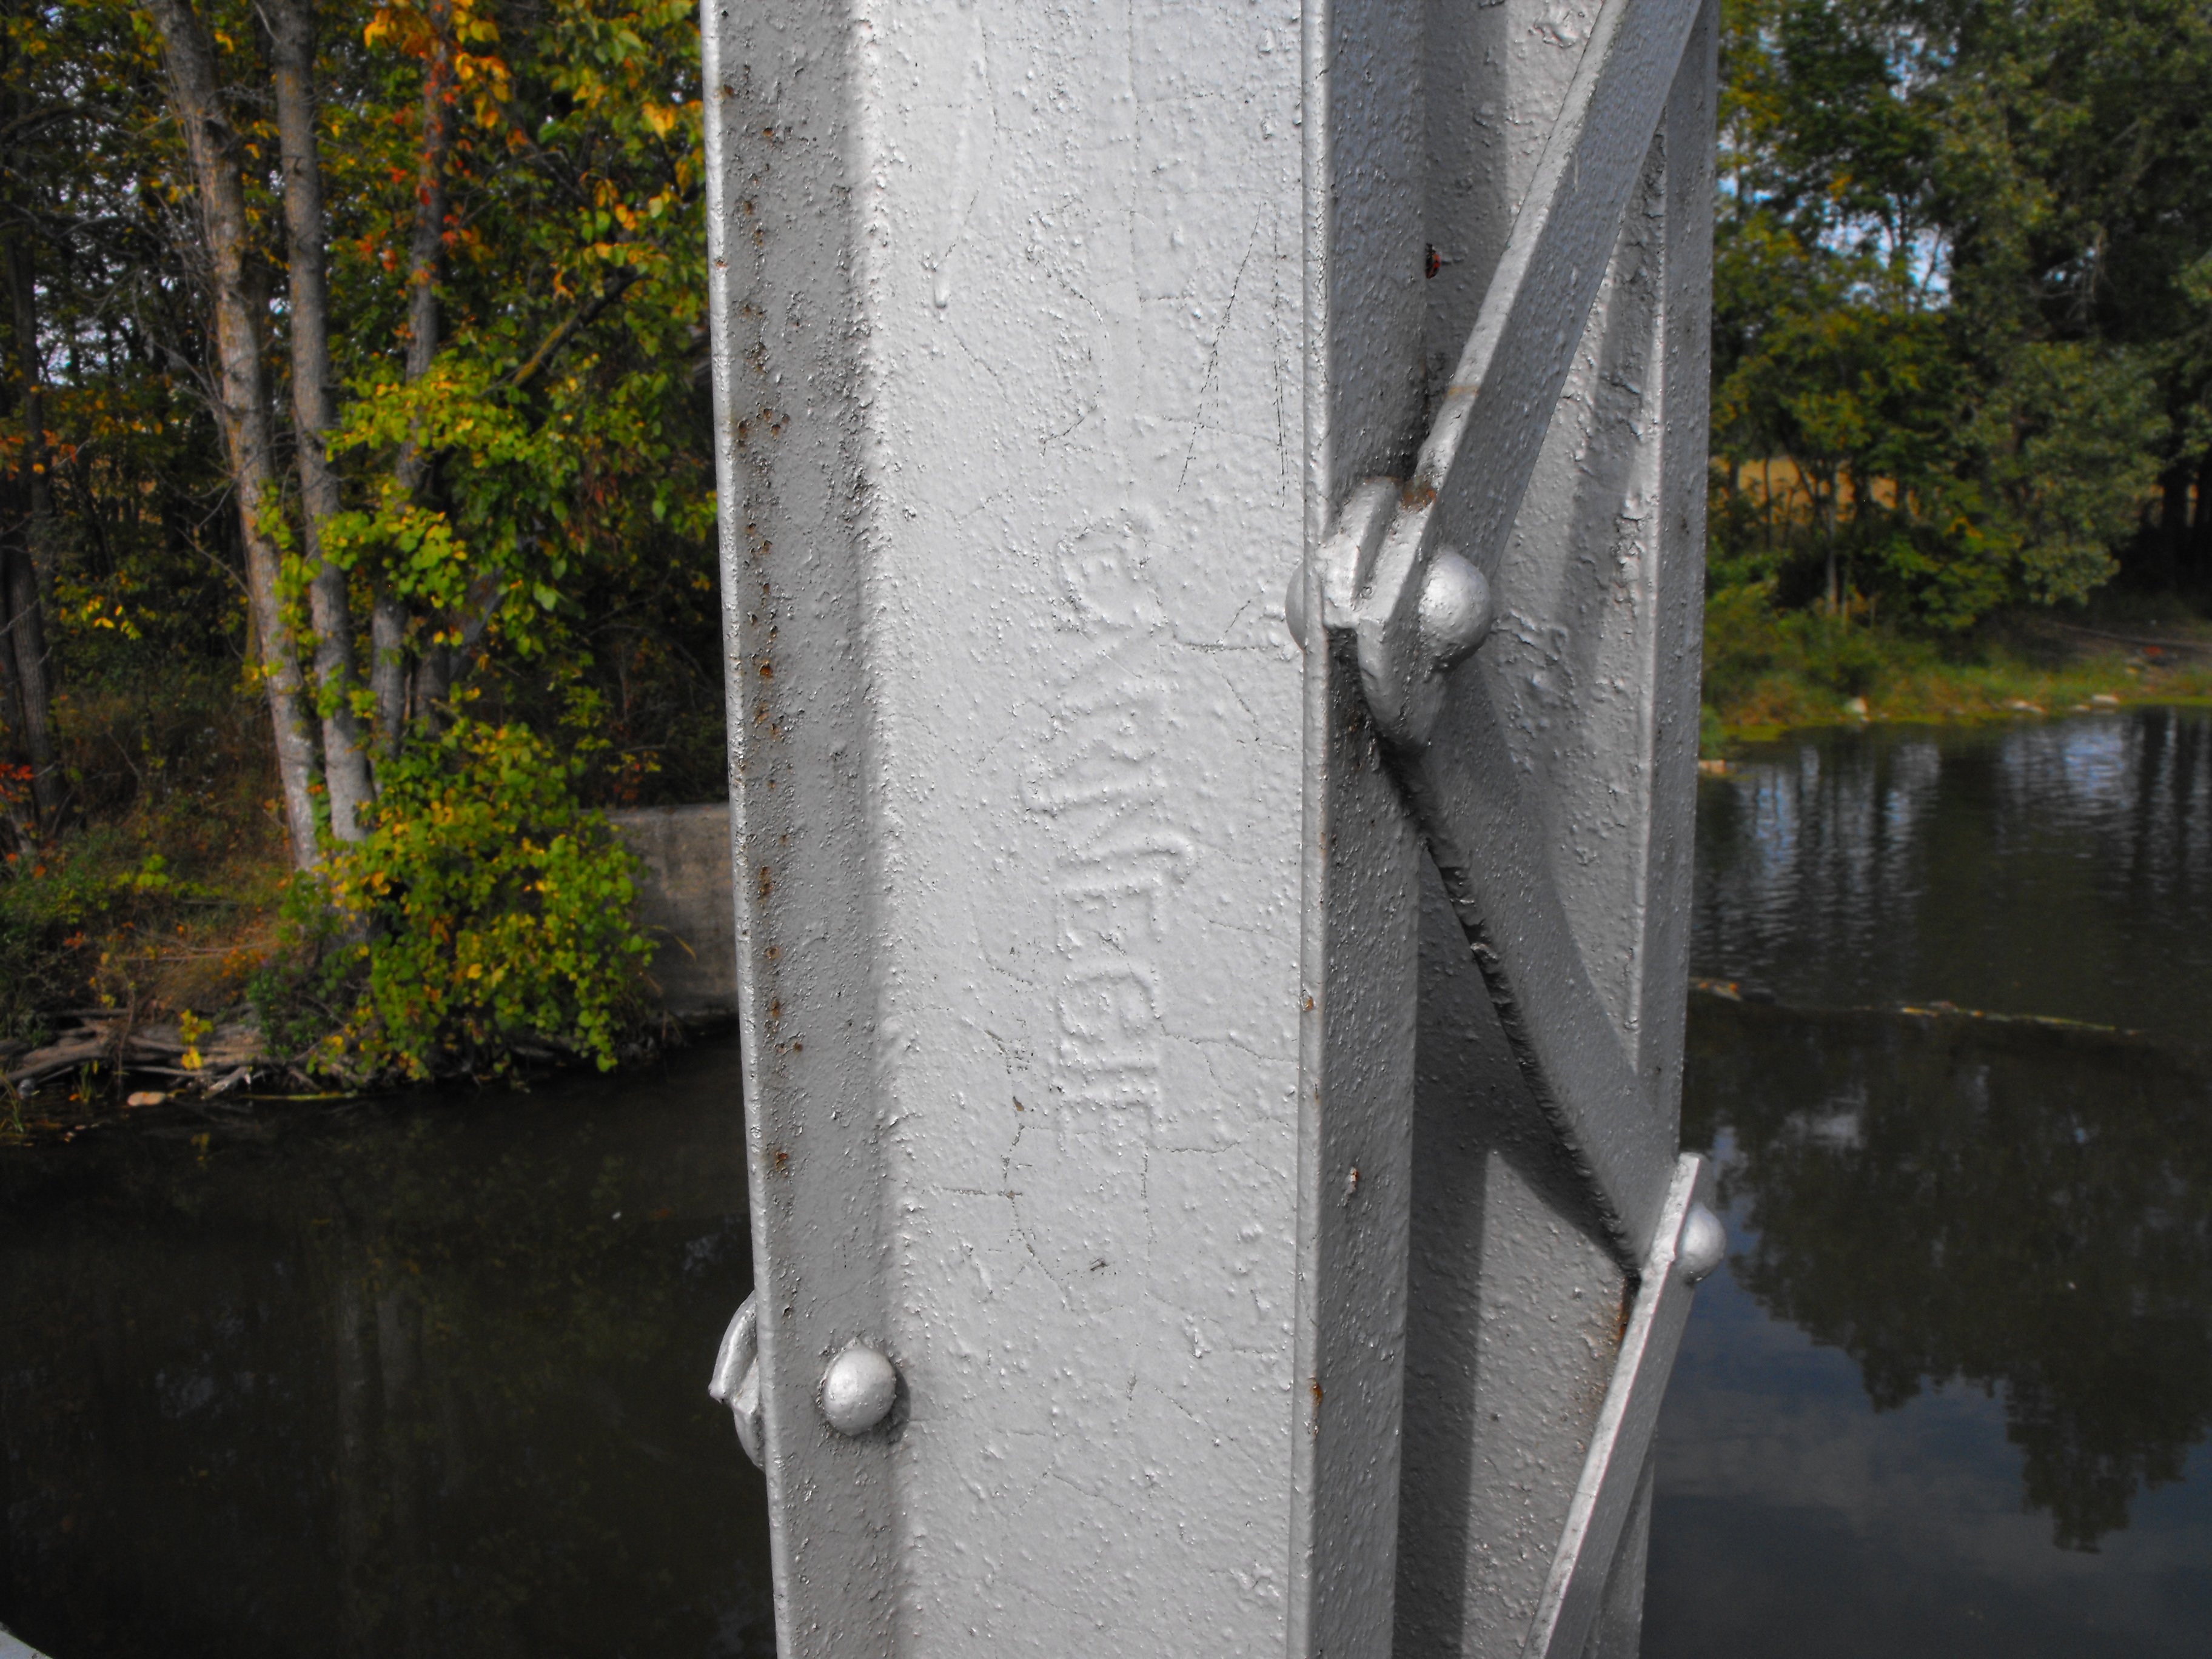
Carnegie brand on vertical member.
![]()


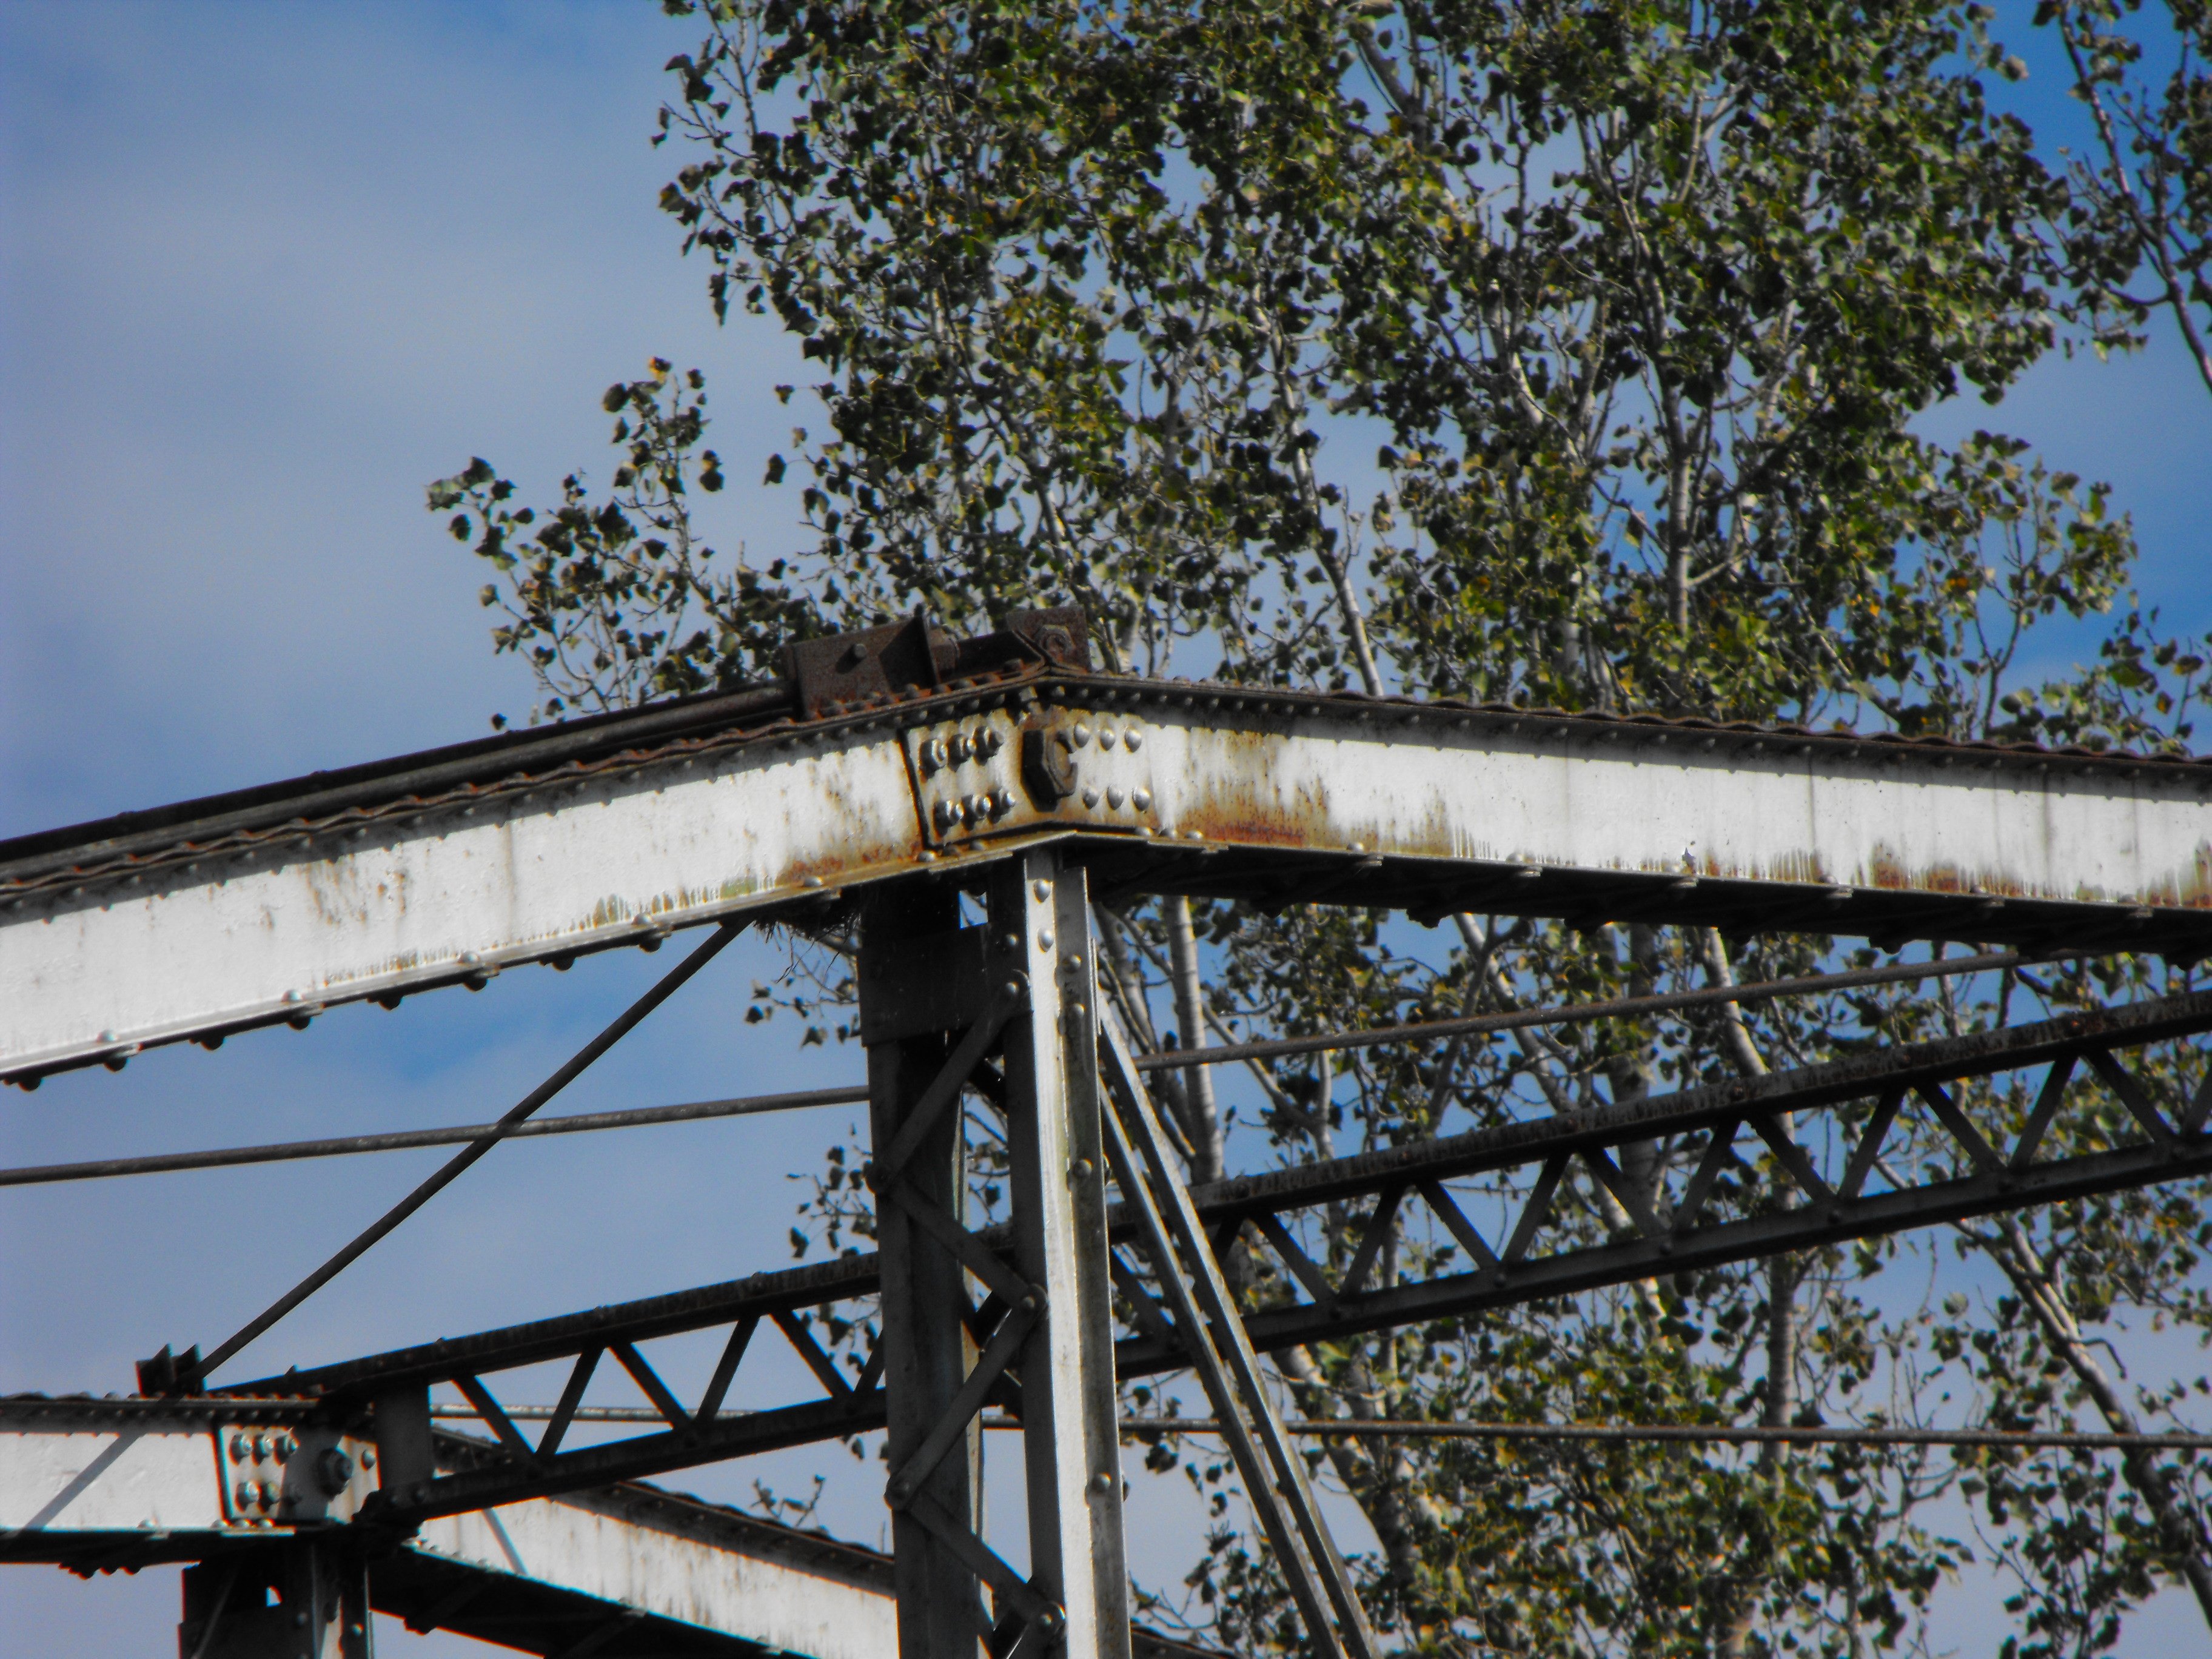

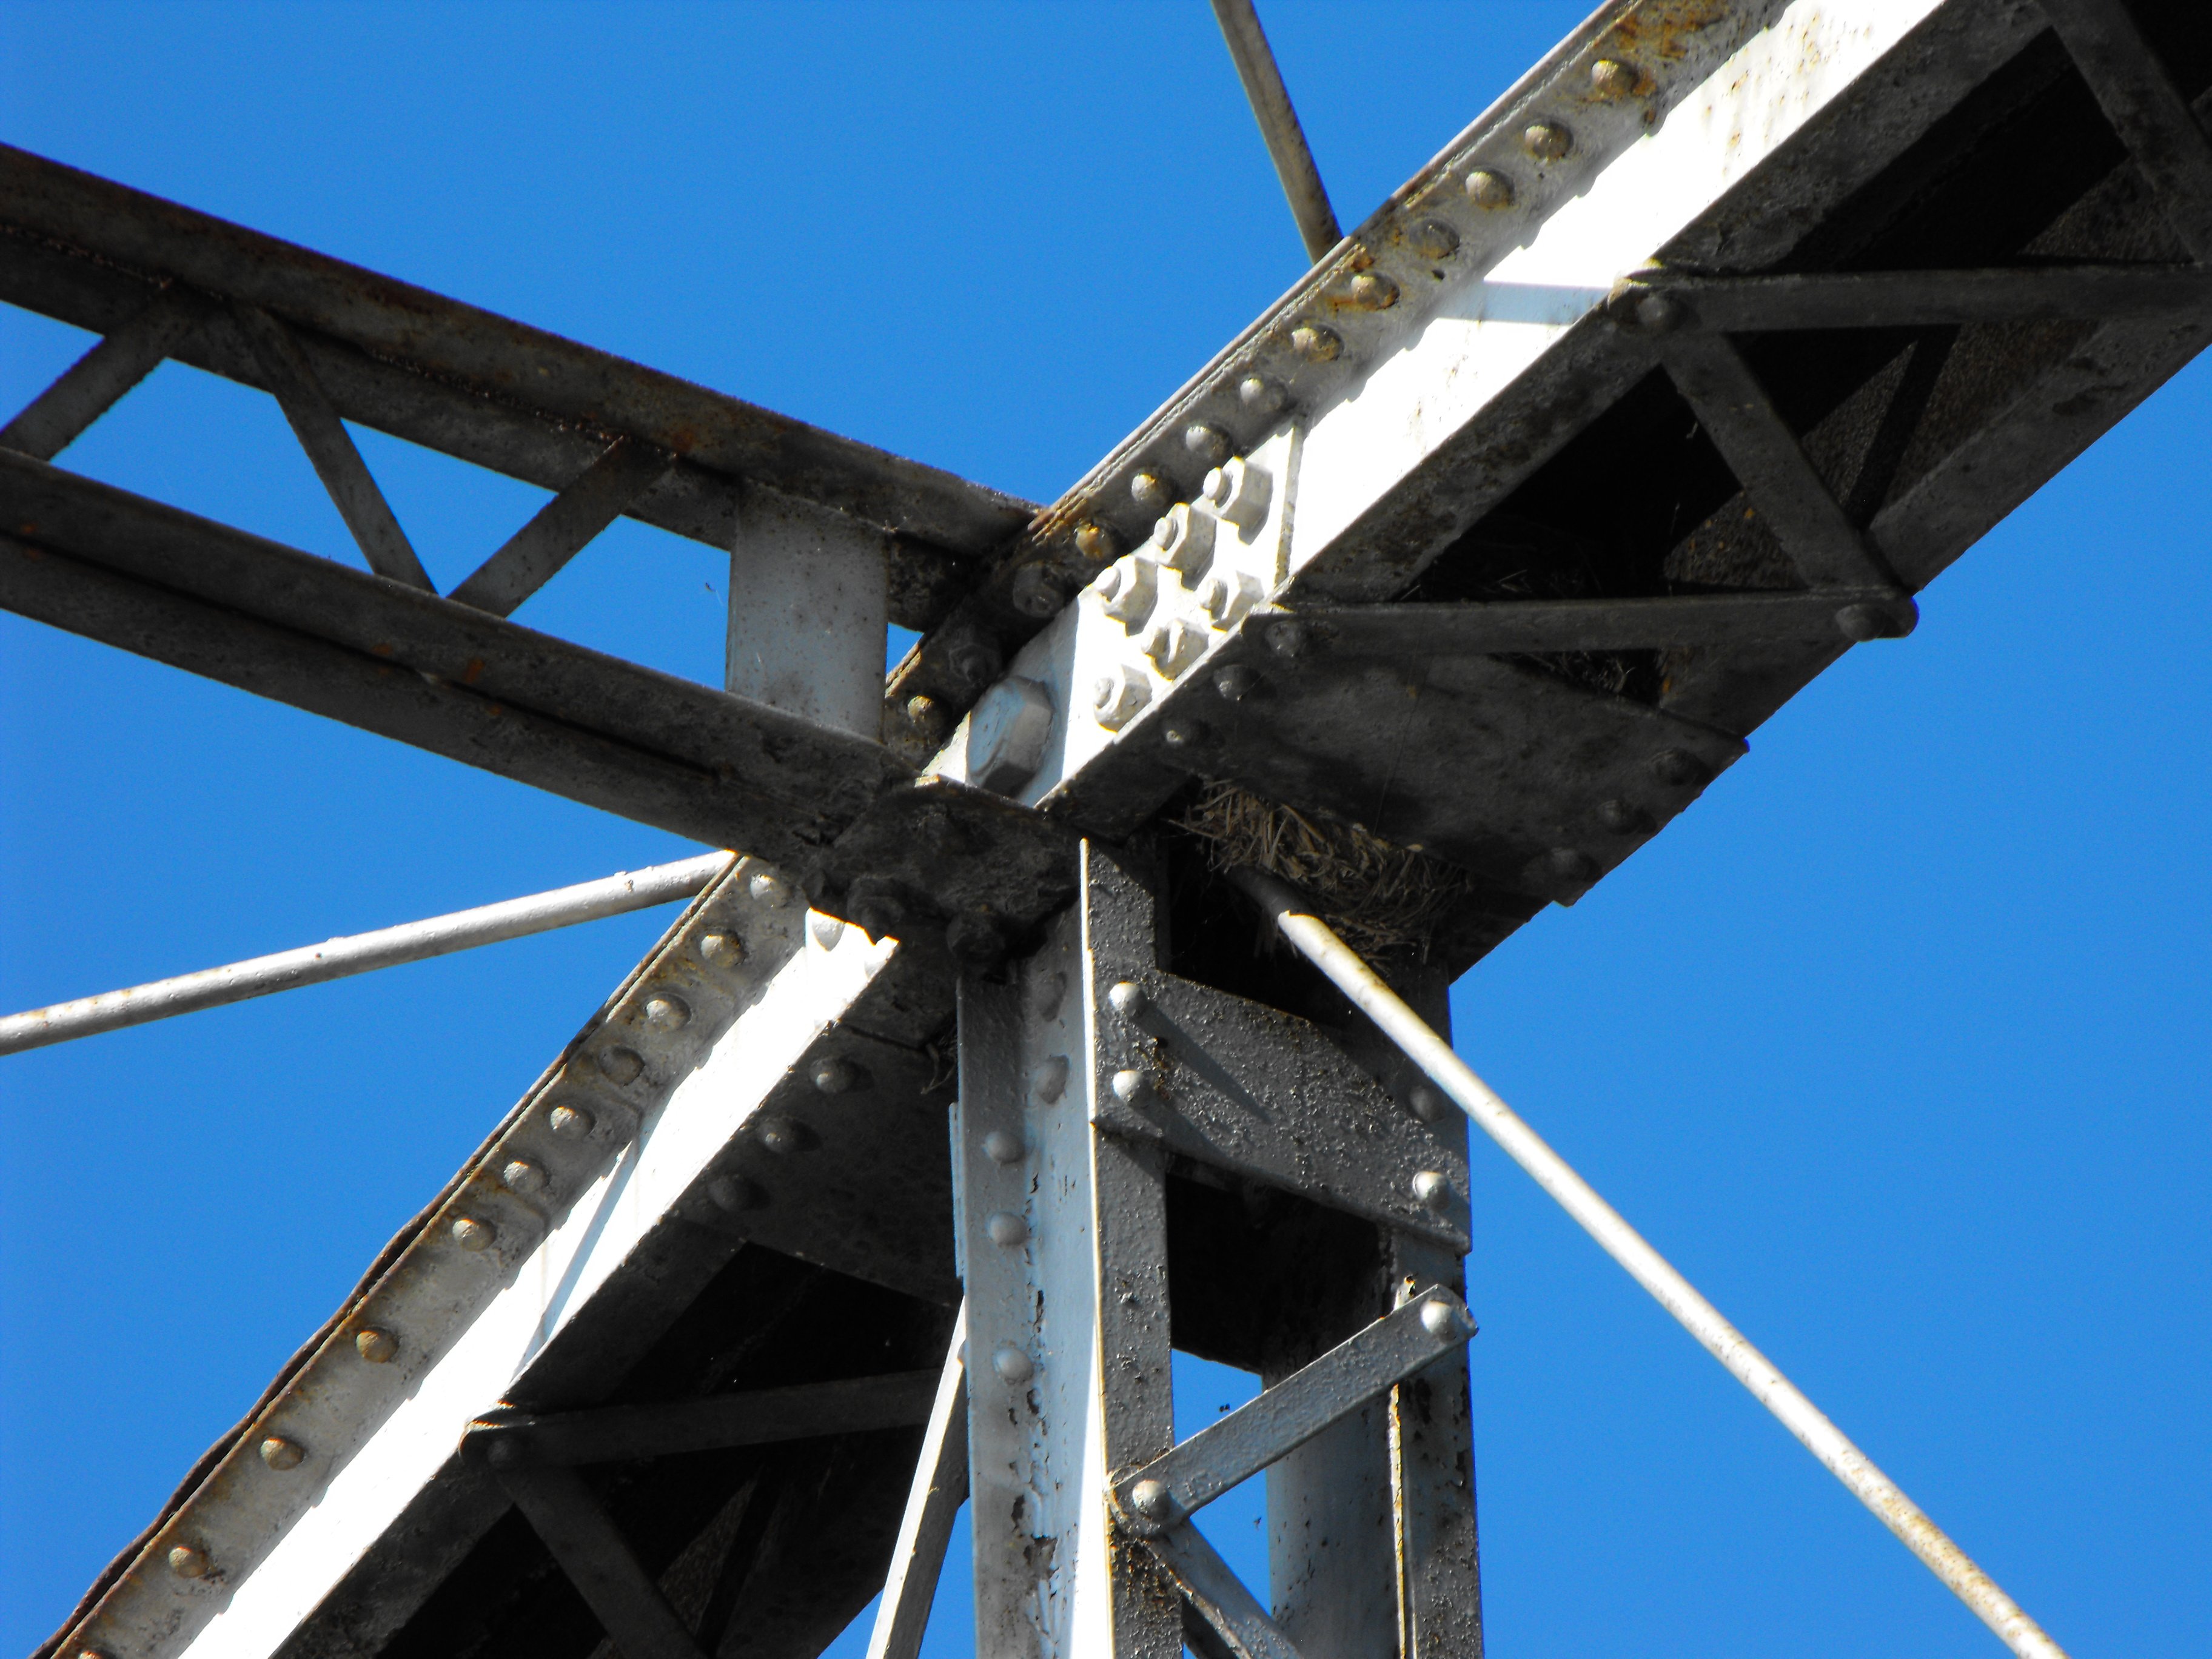
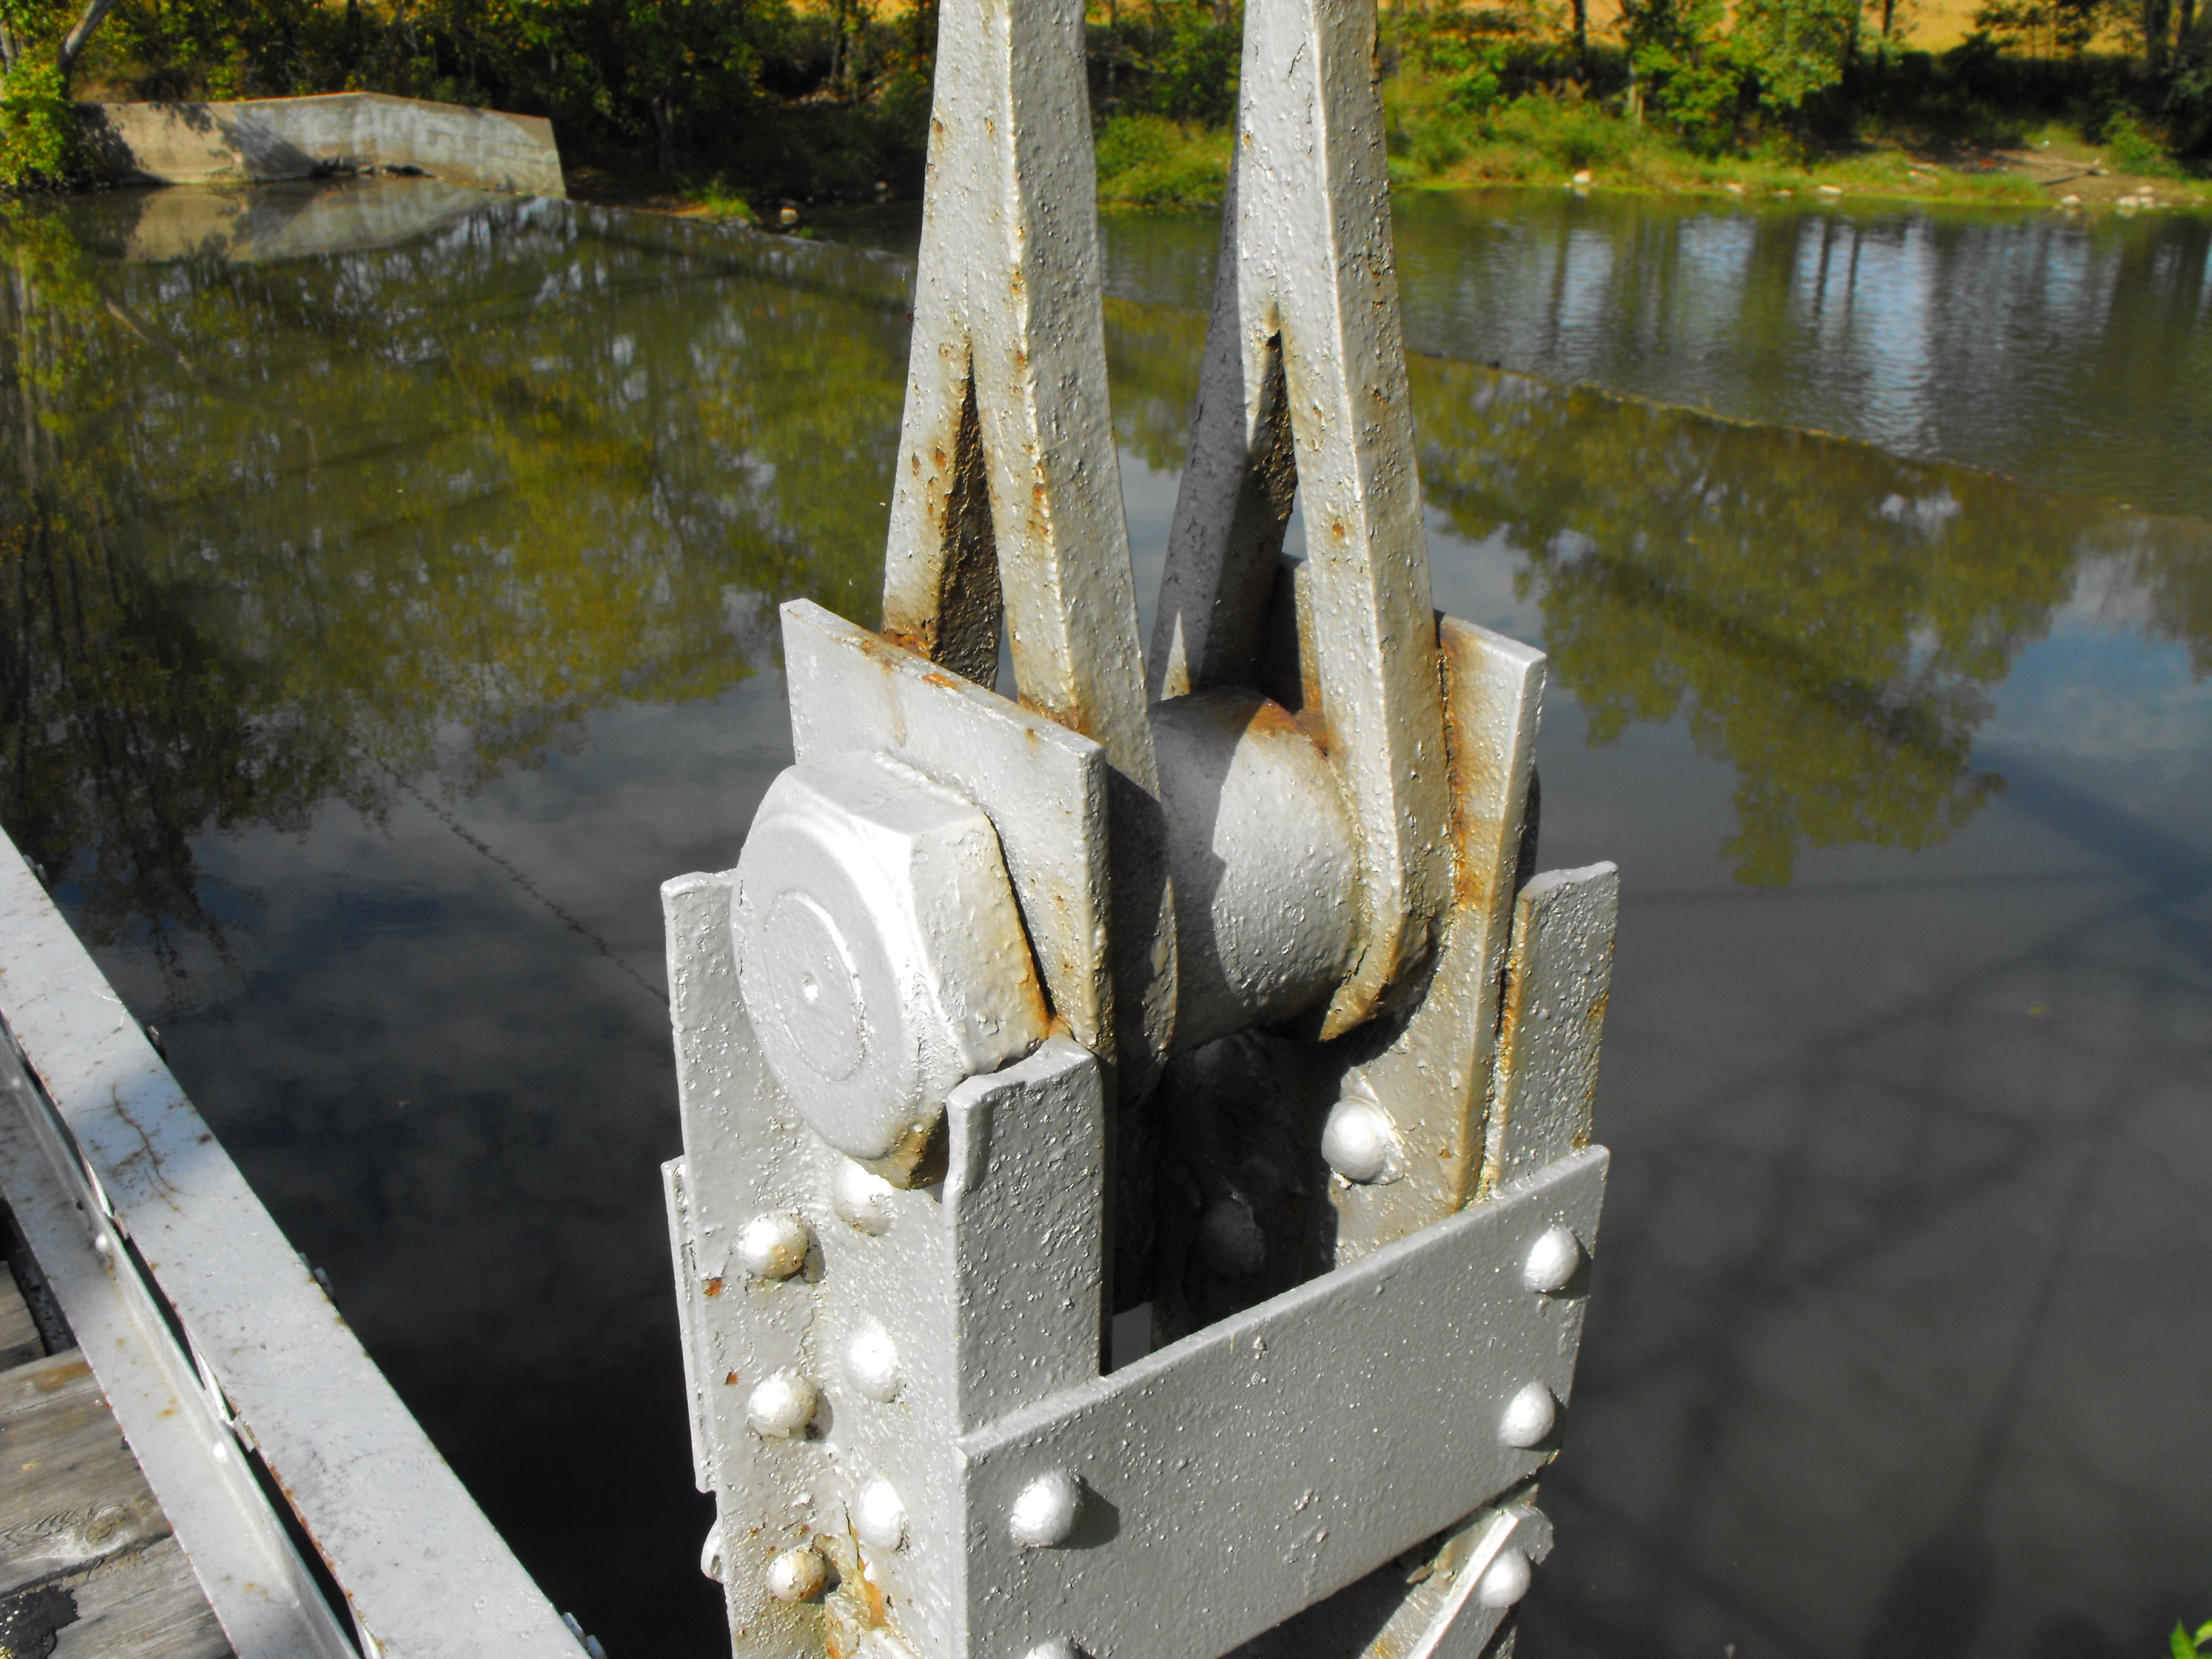
Top chord connections as viewed from beside bridge.
![]()


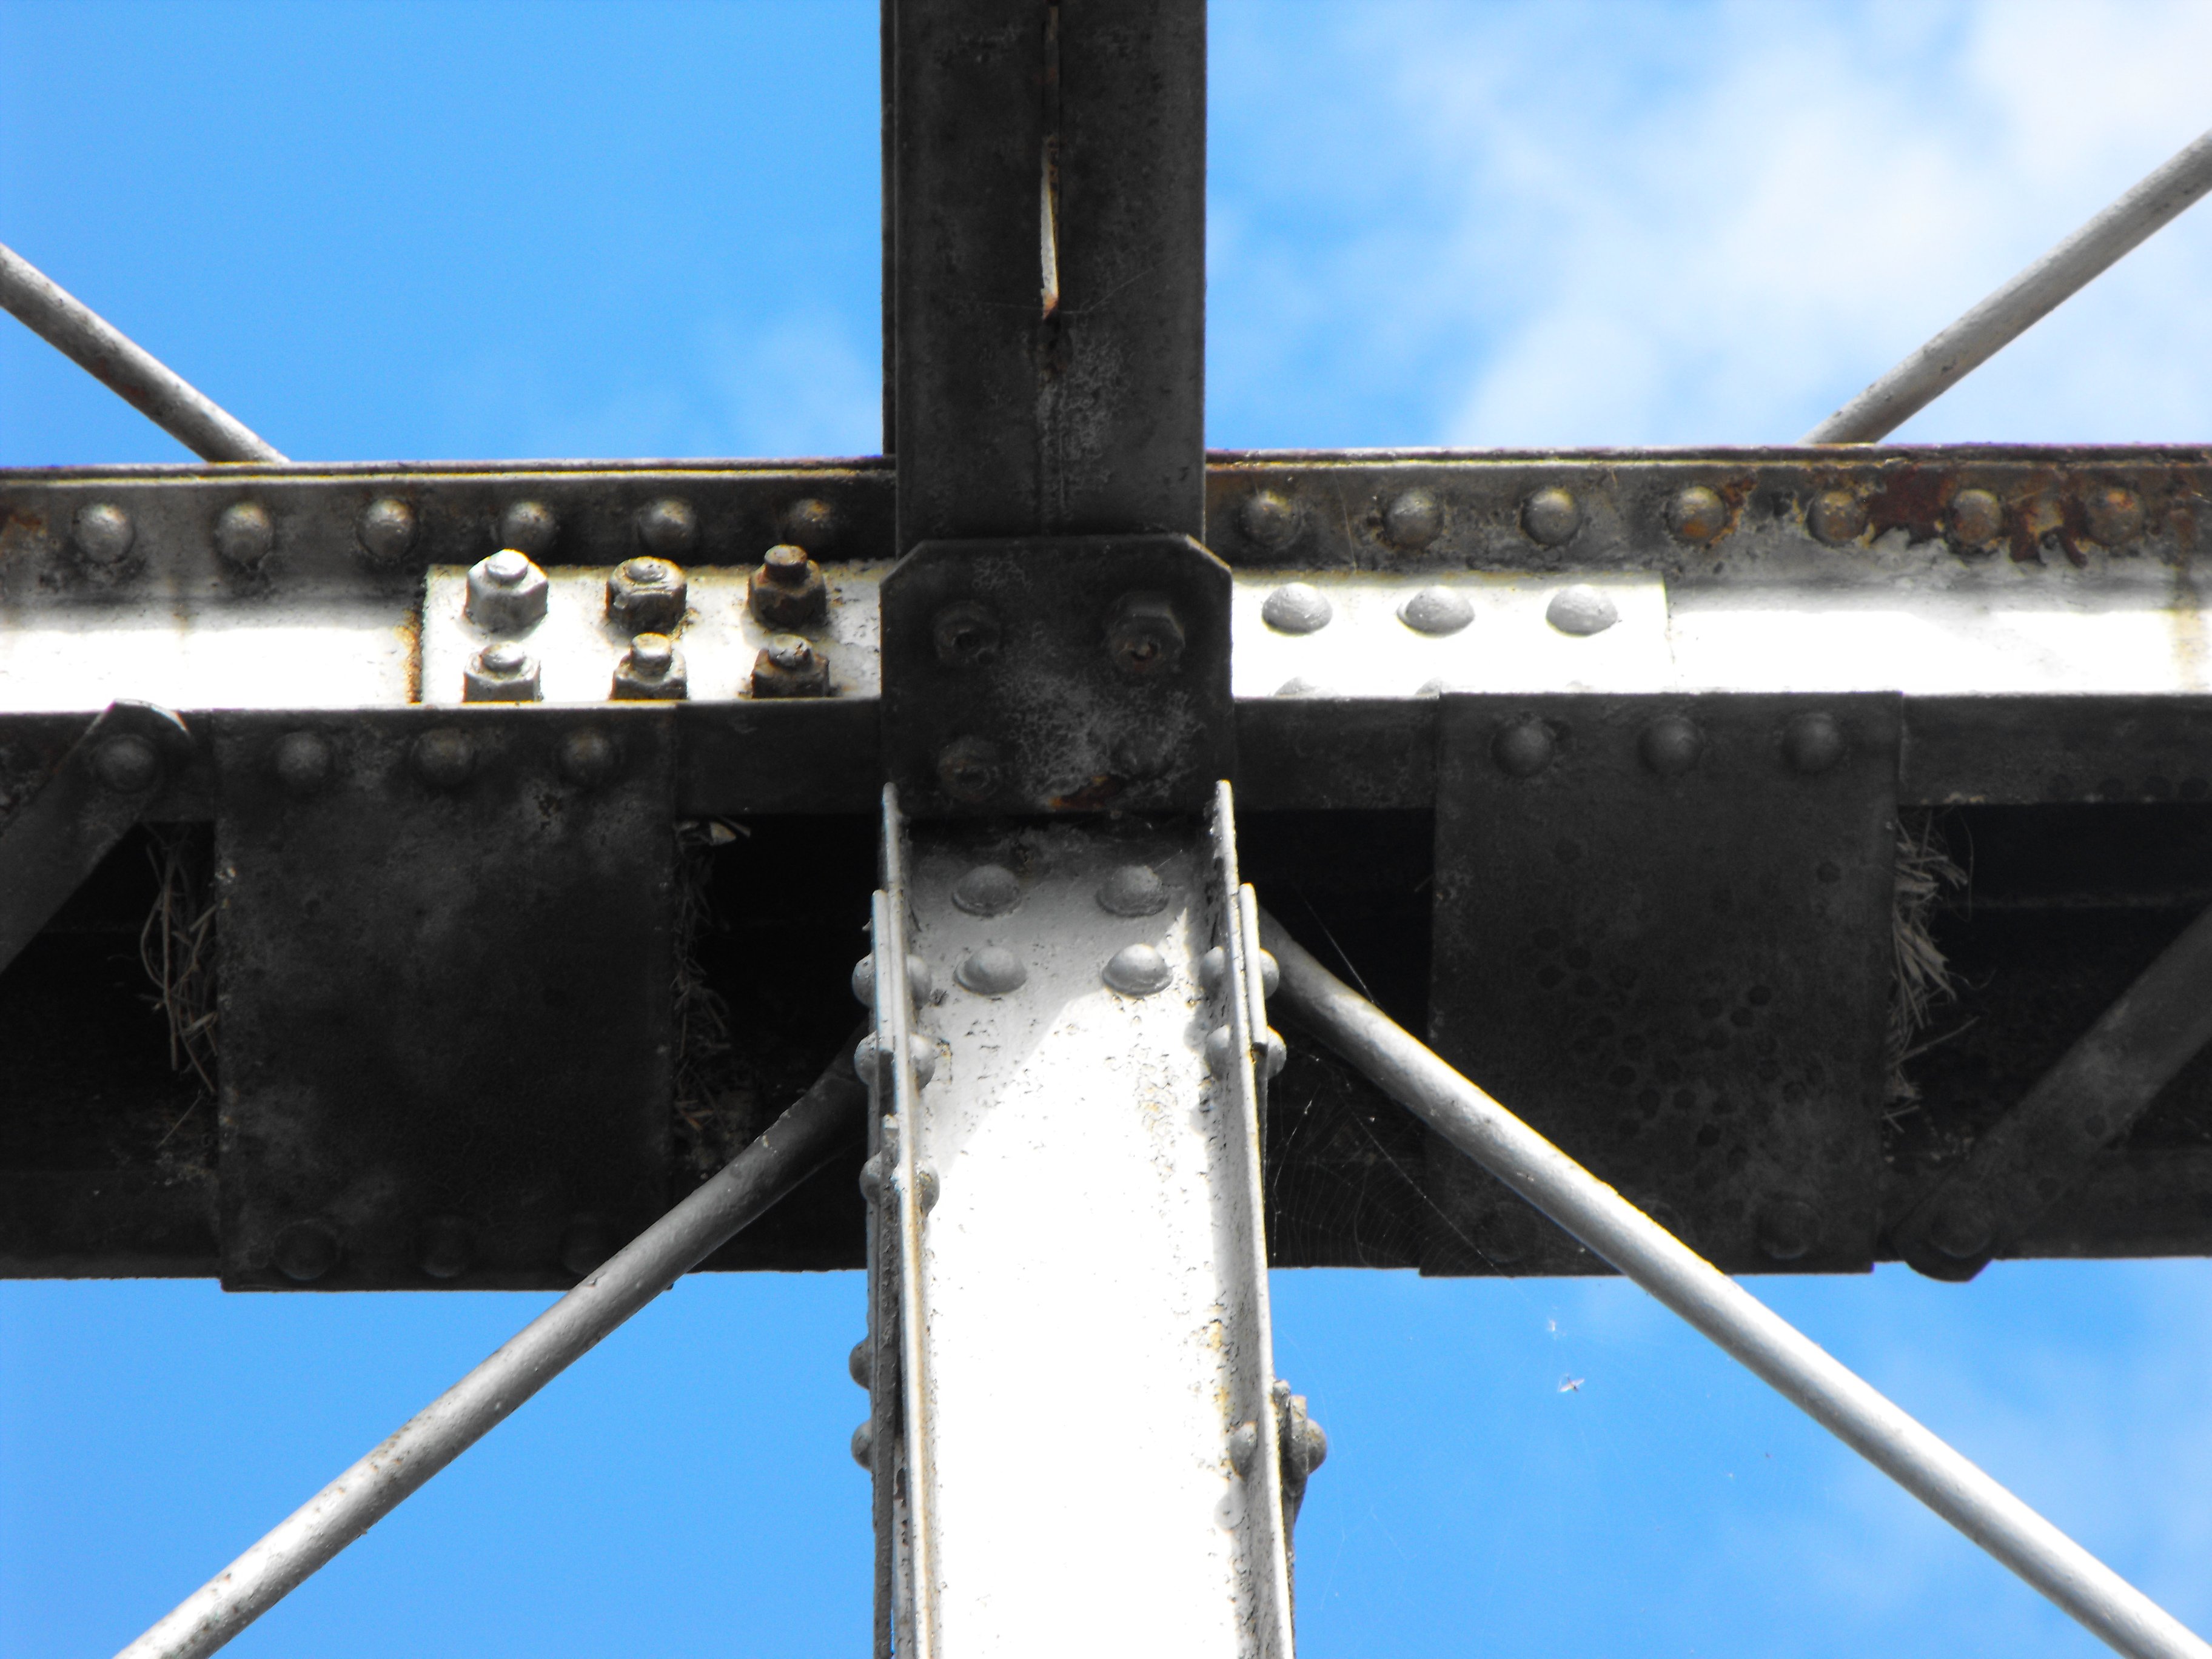

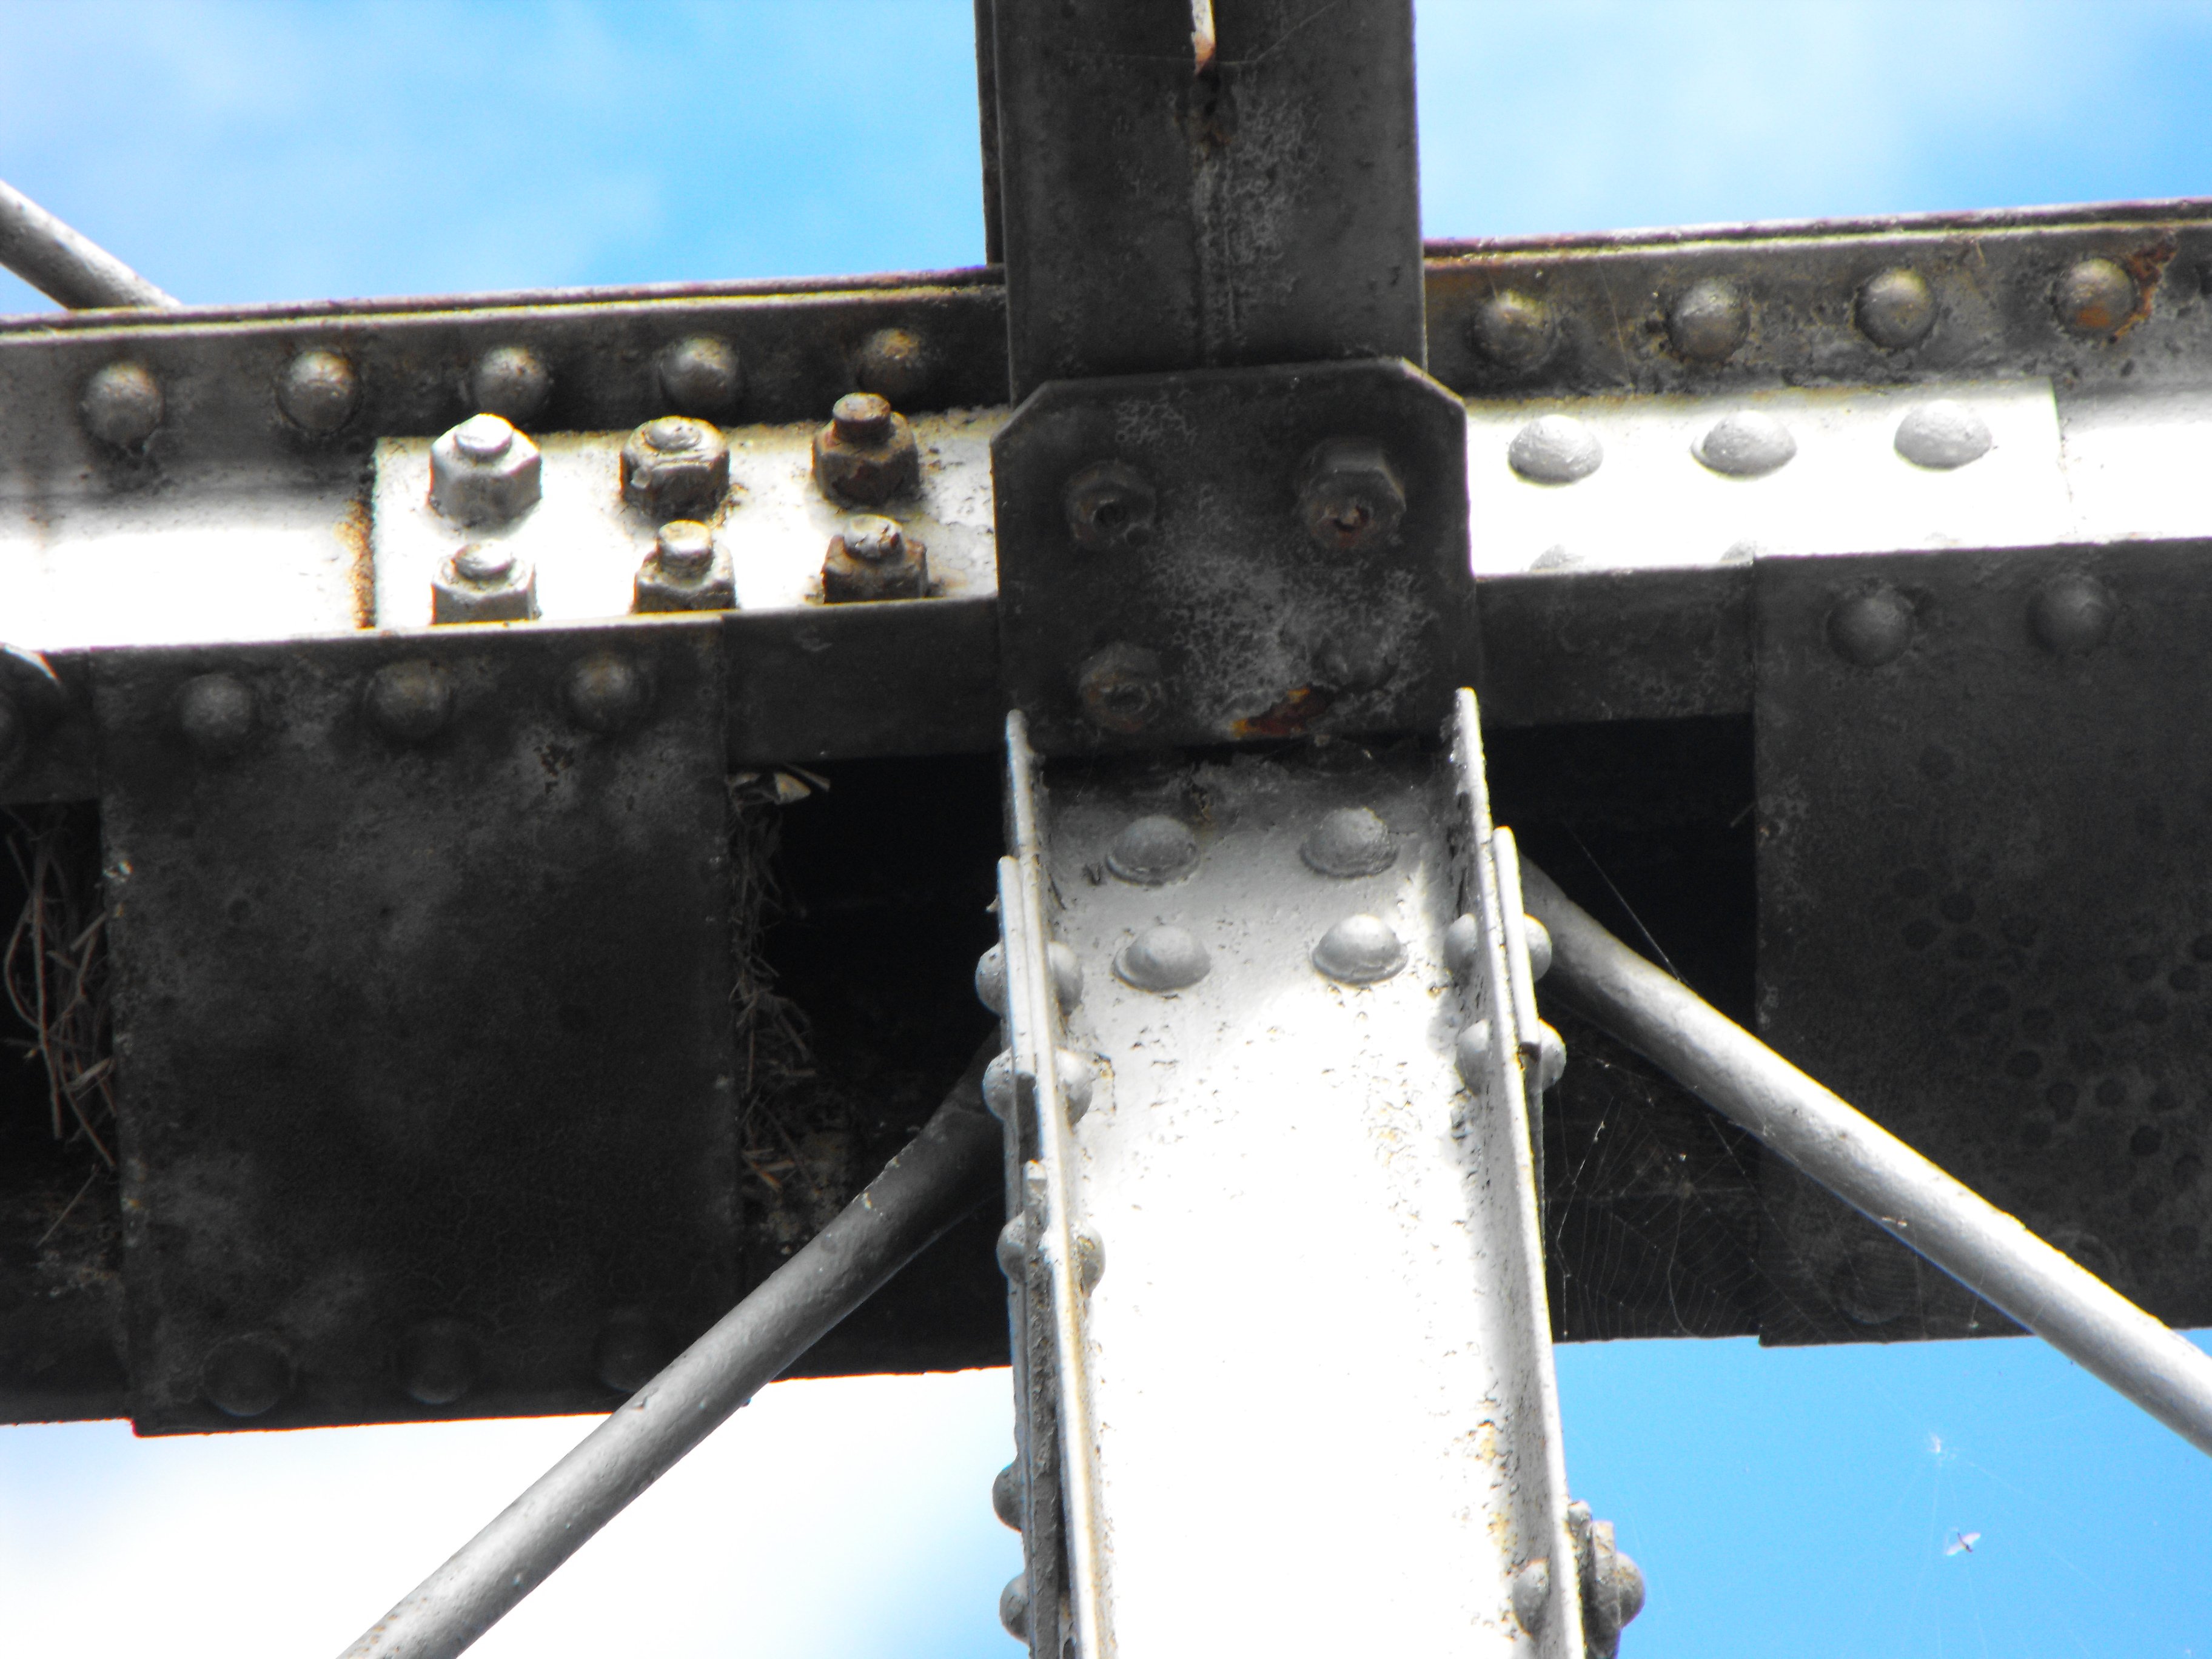
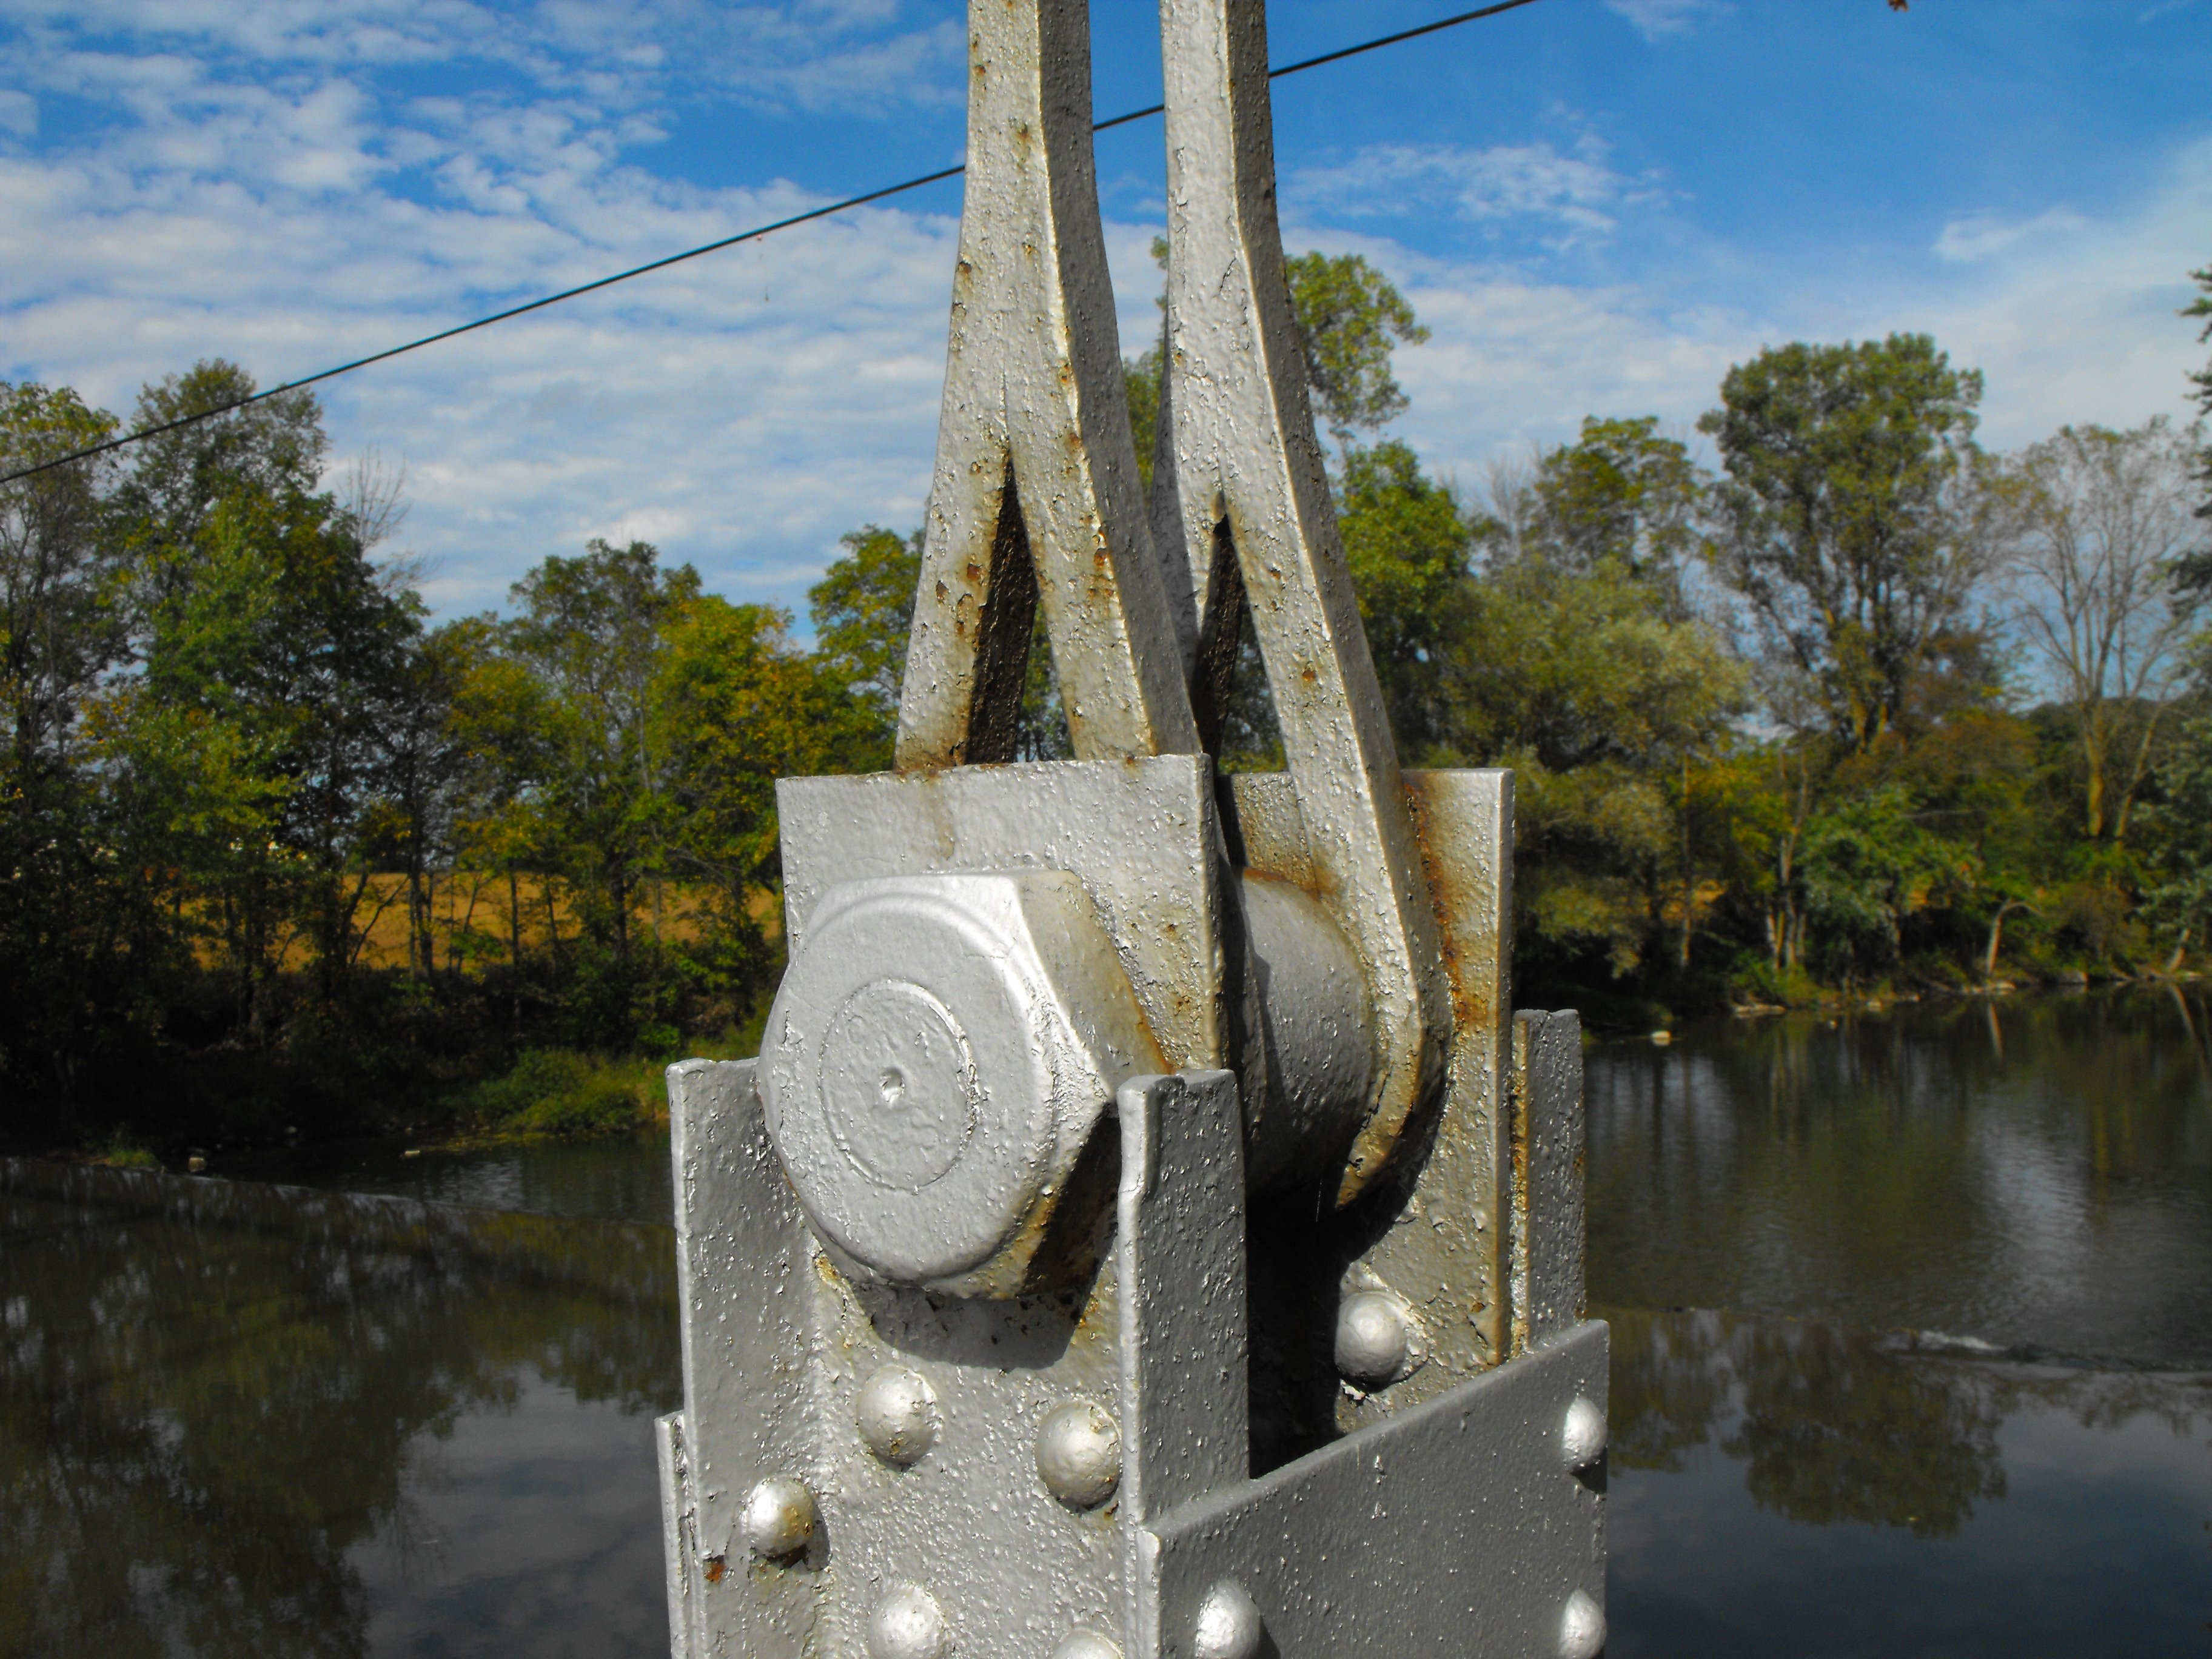
Top chord connections as viewed from on bridge.
![]()


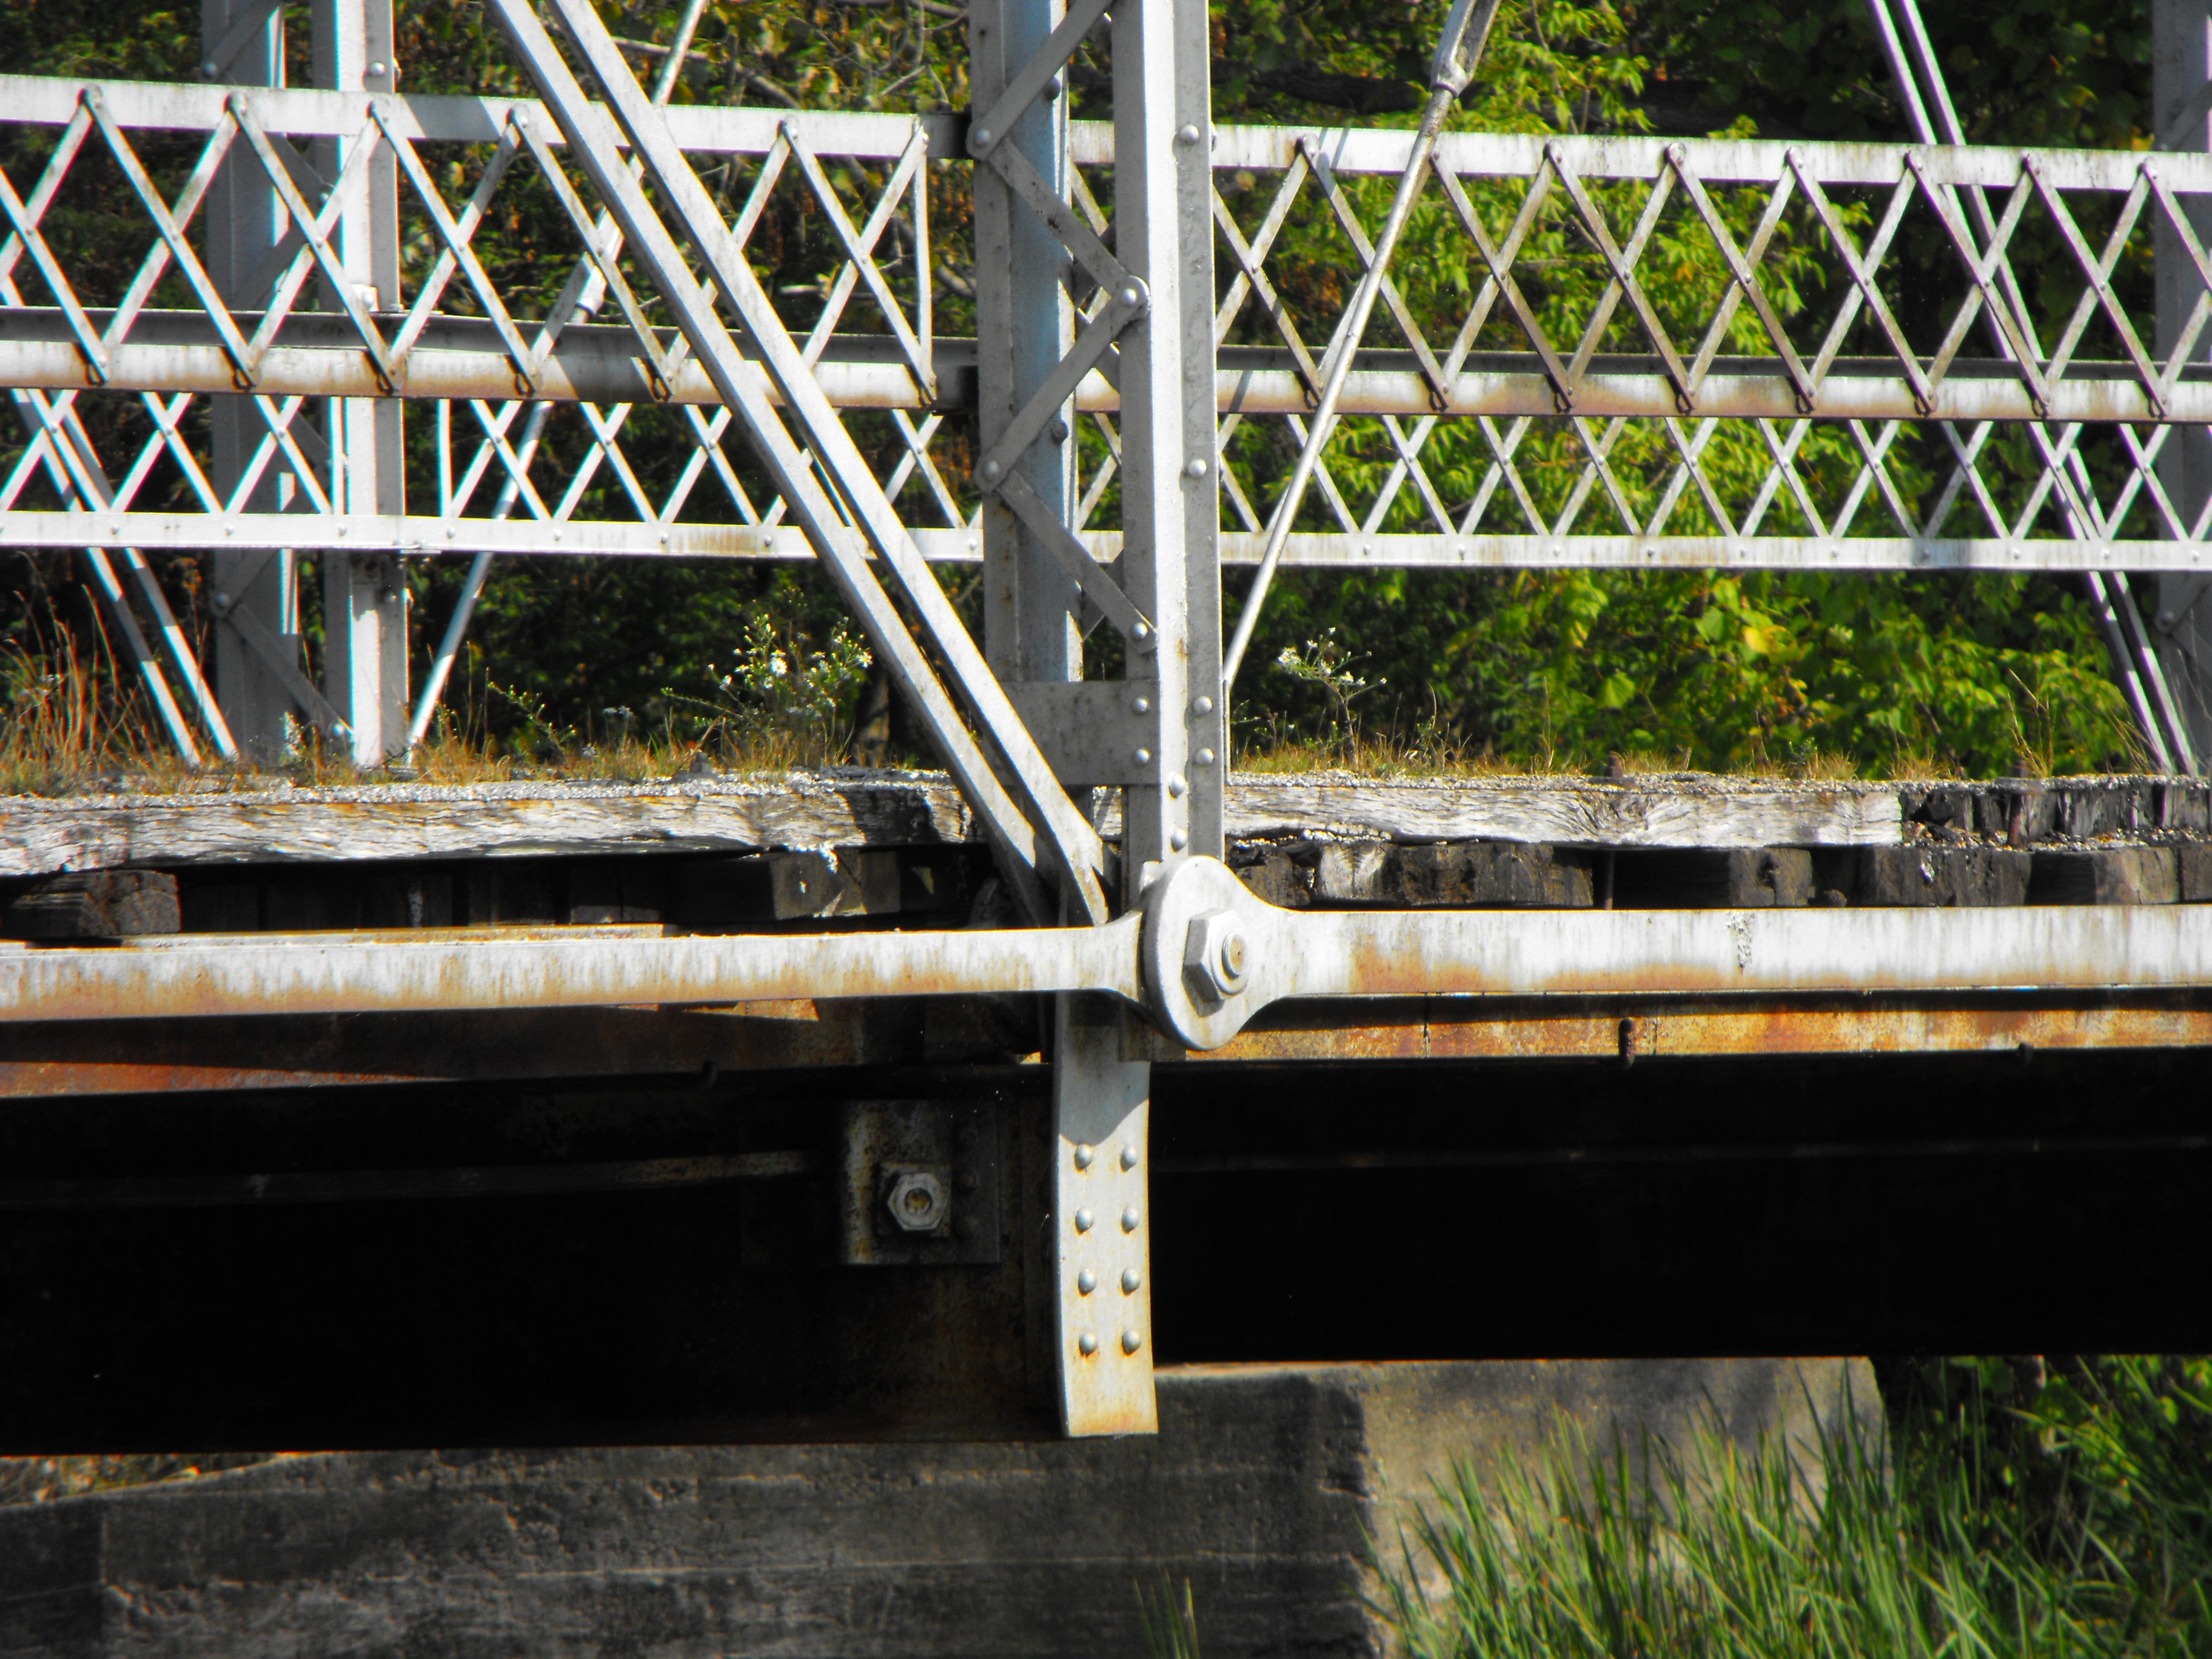

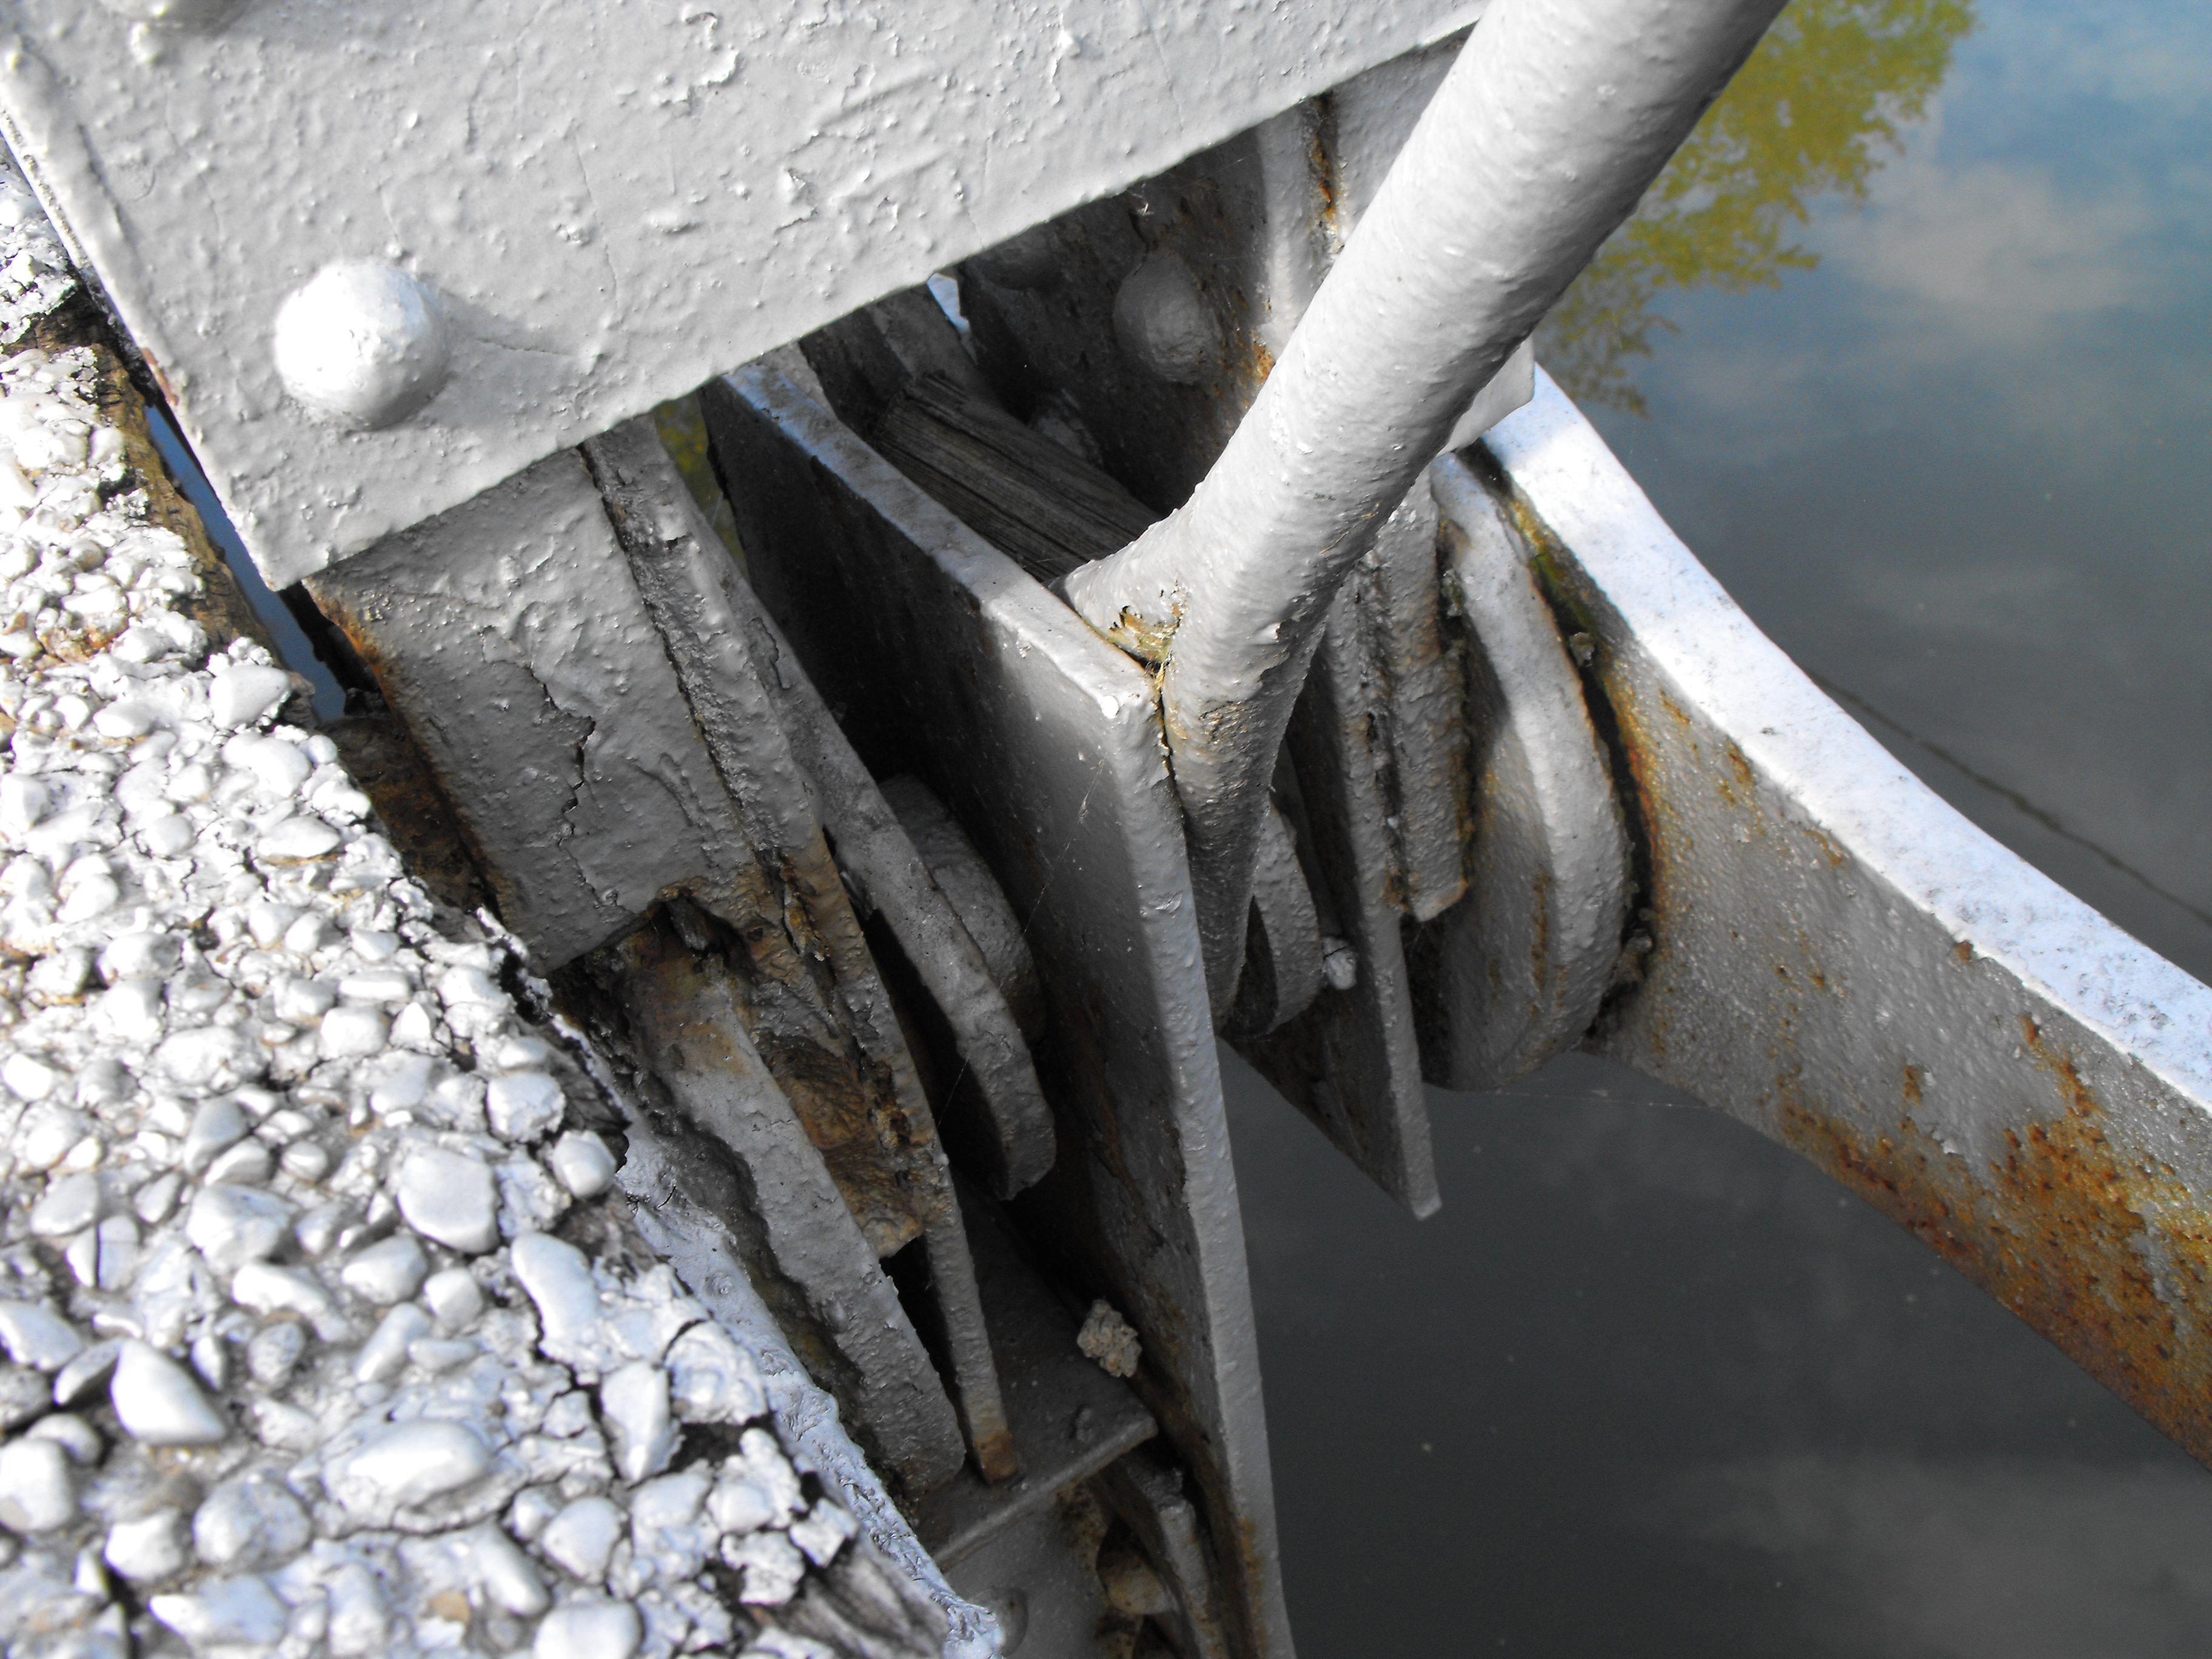
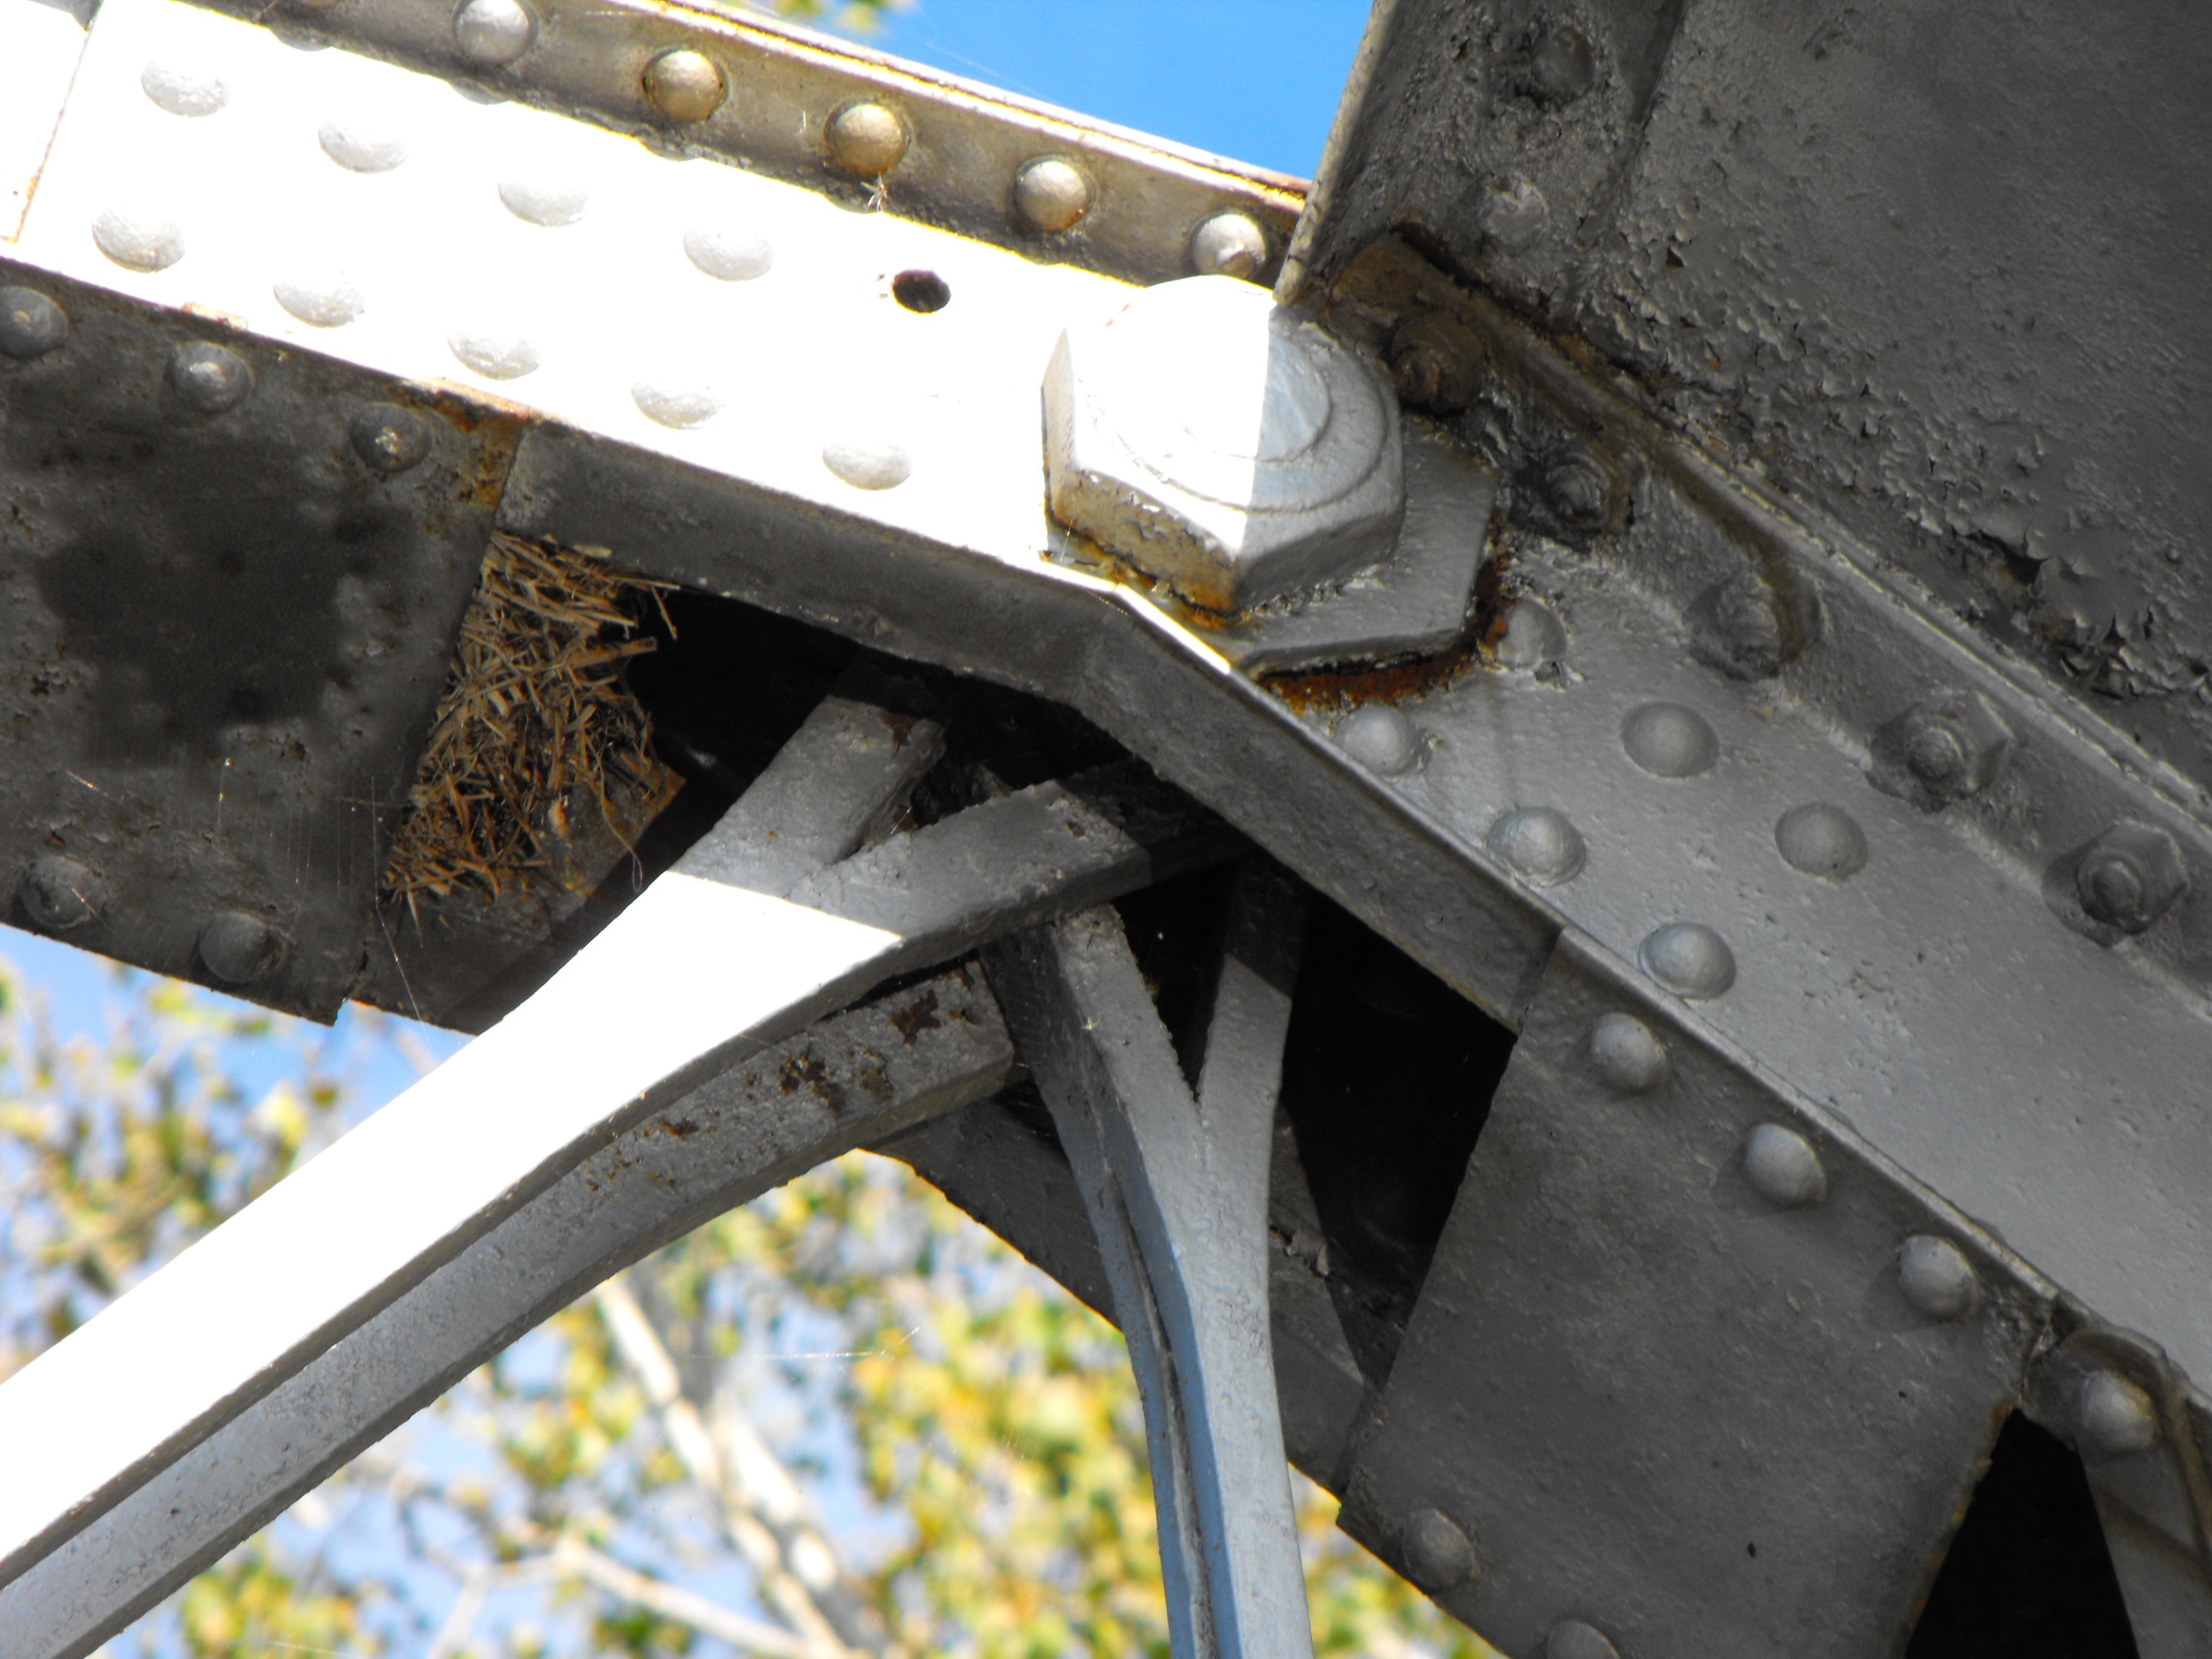
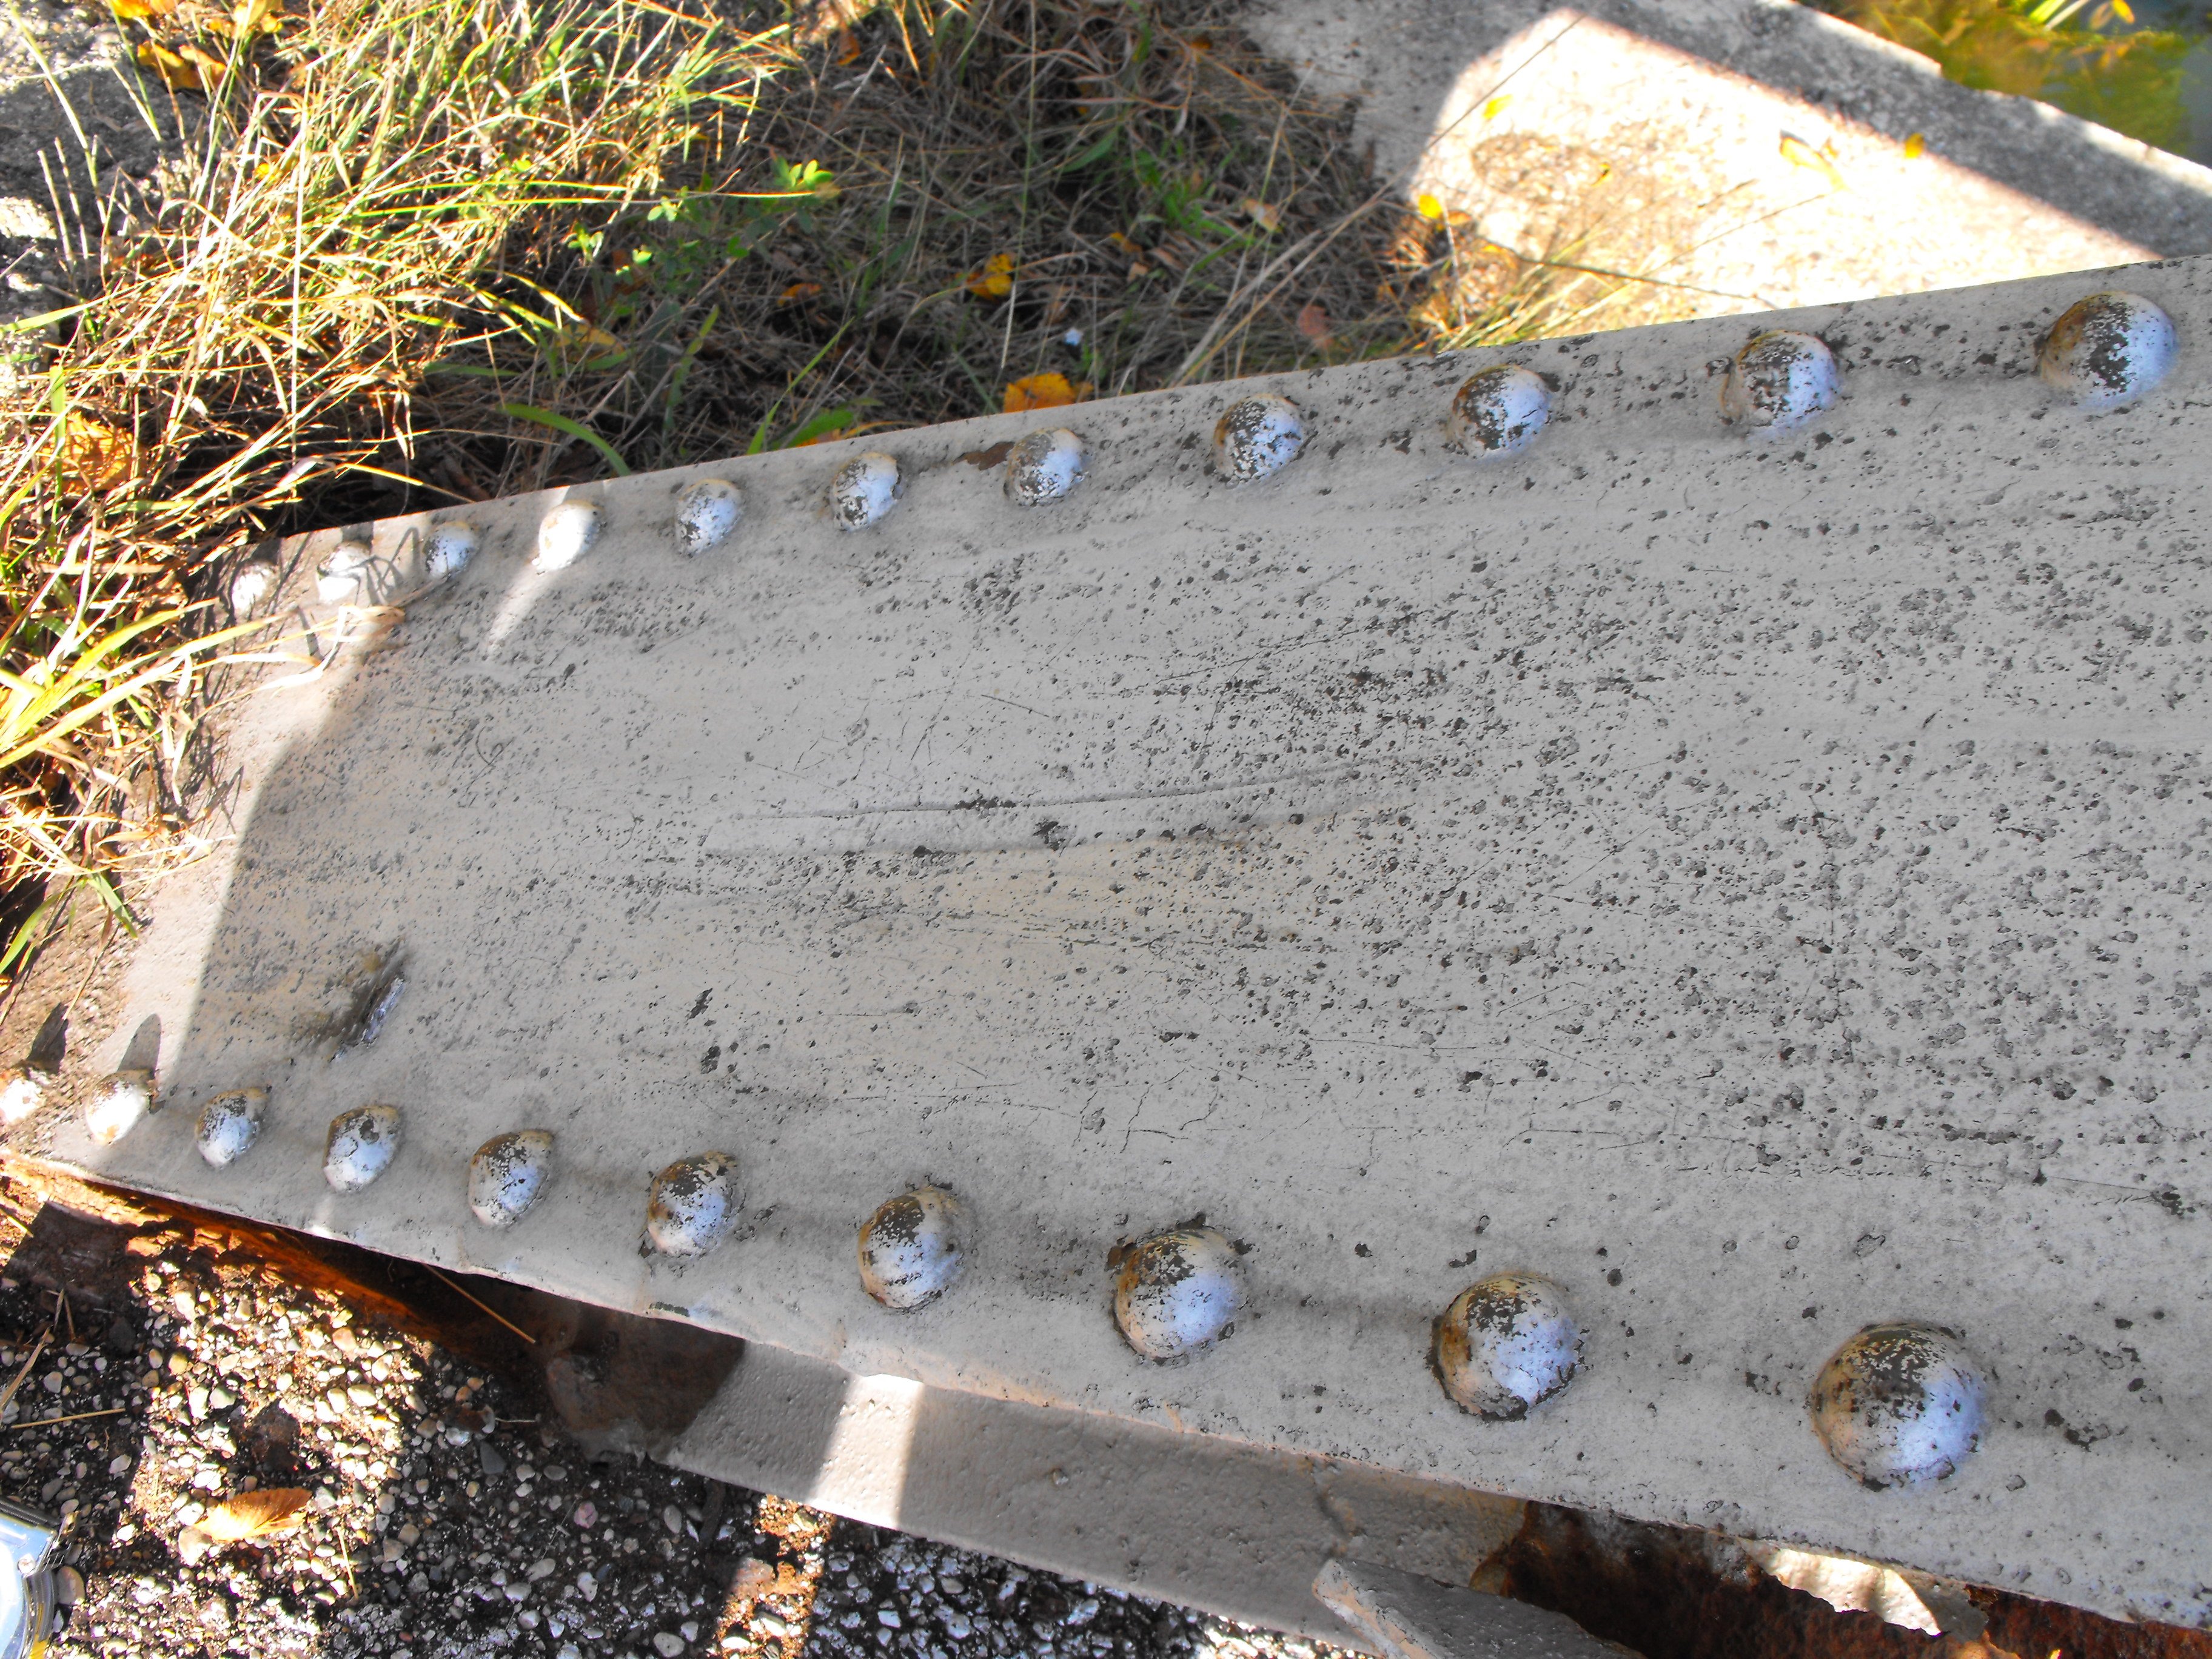
Bottom chord connections as viewed from beside bridge.
![]()
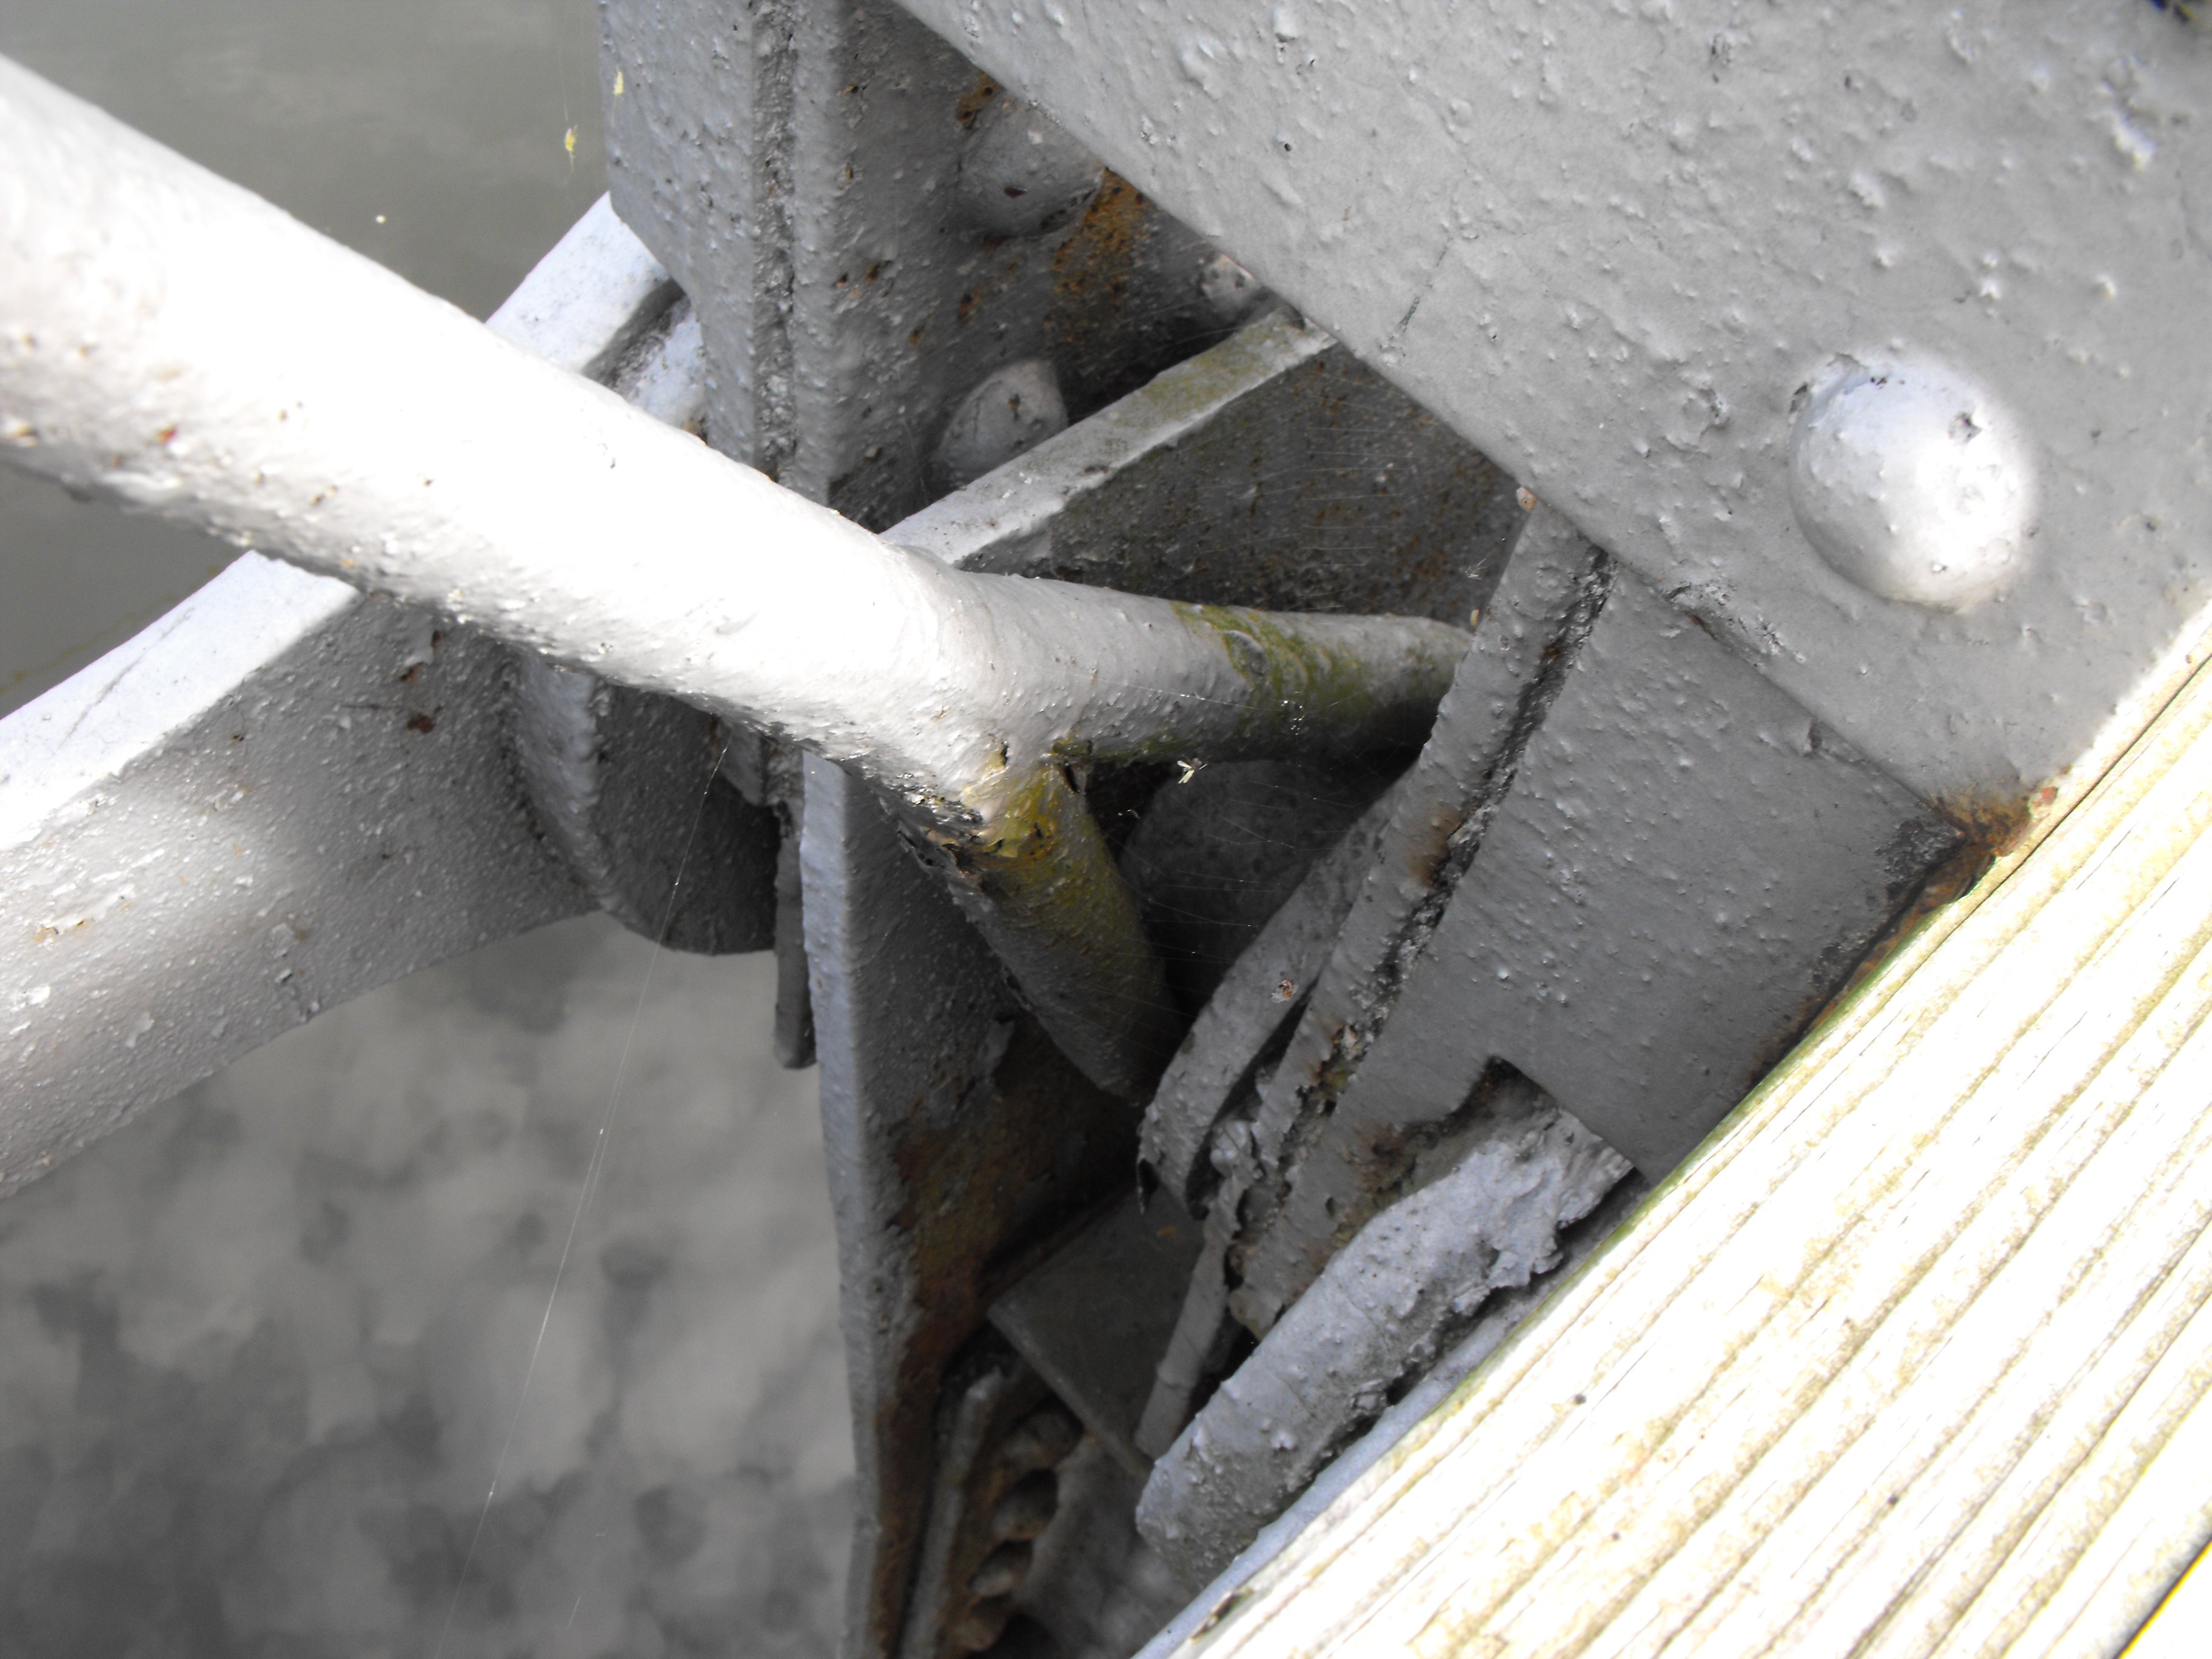
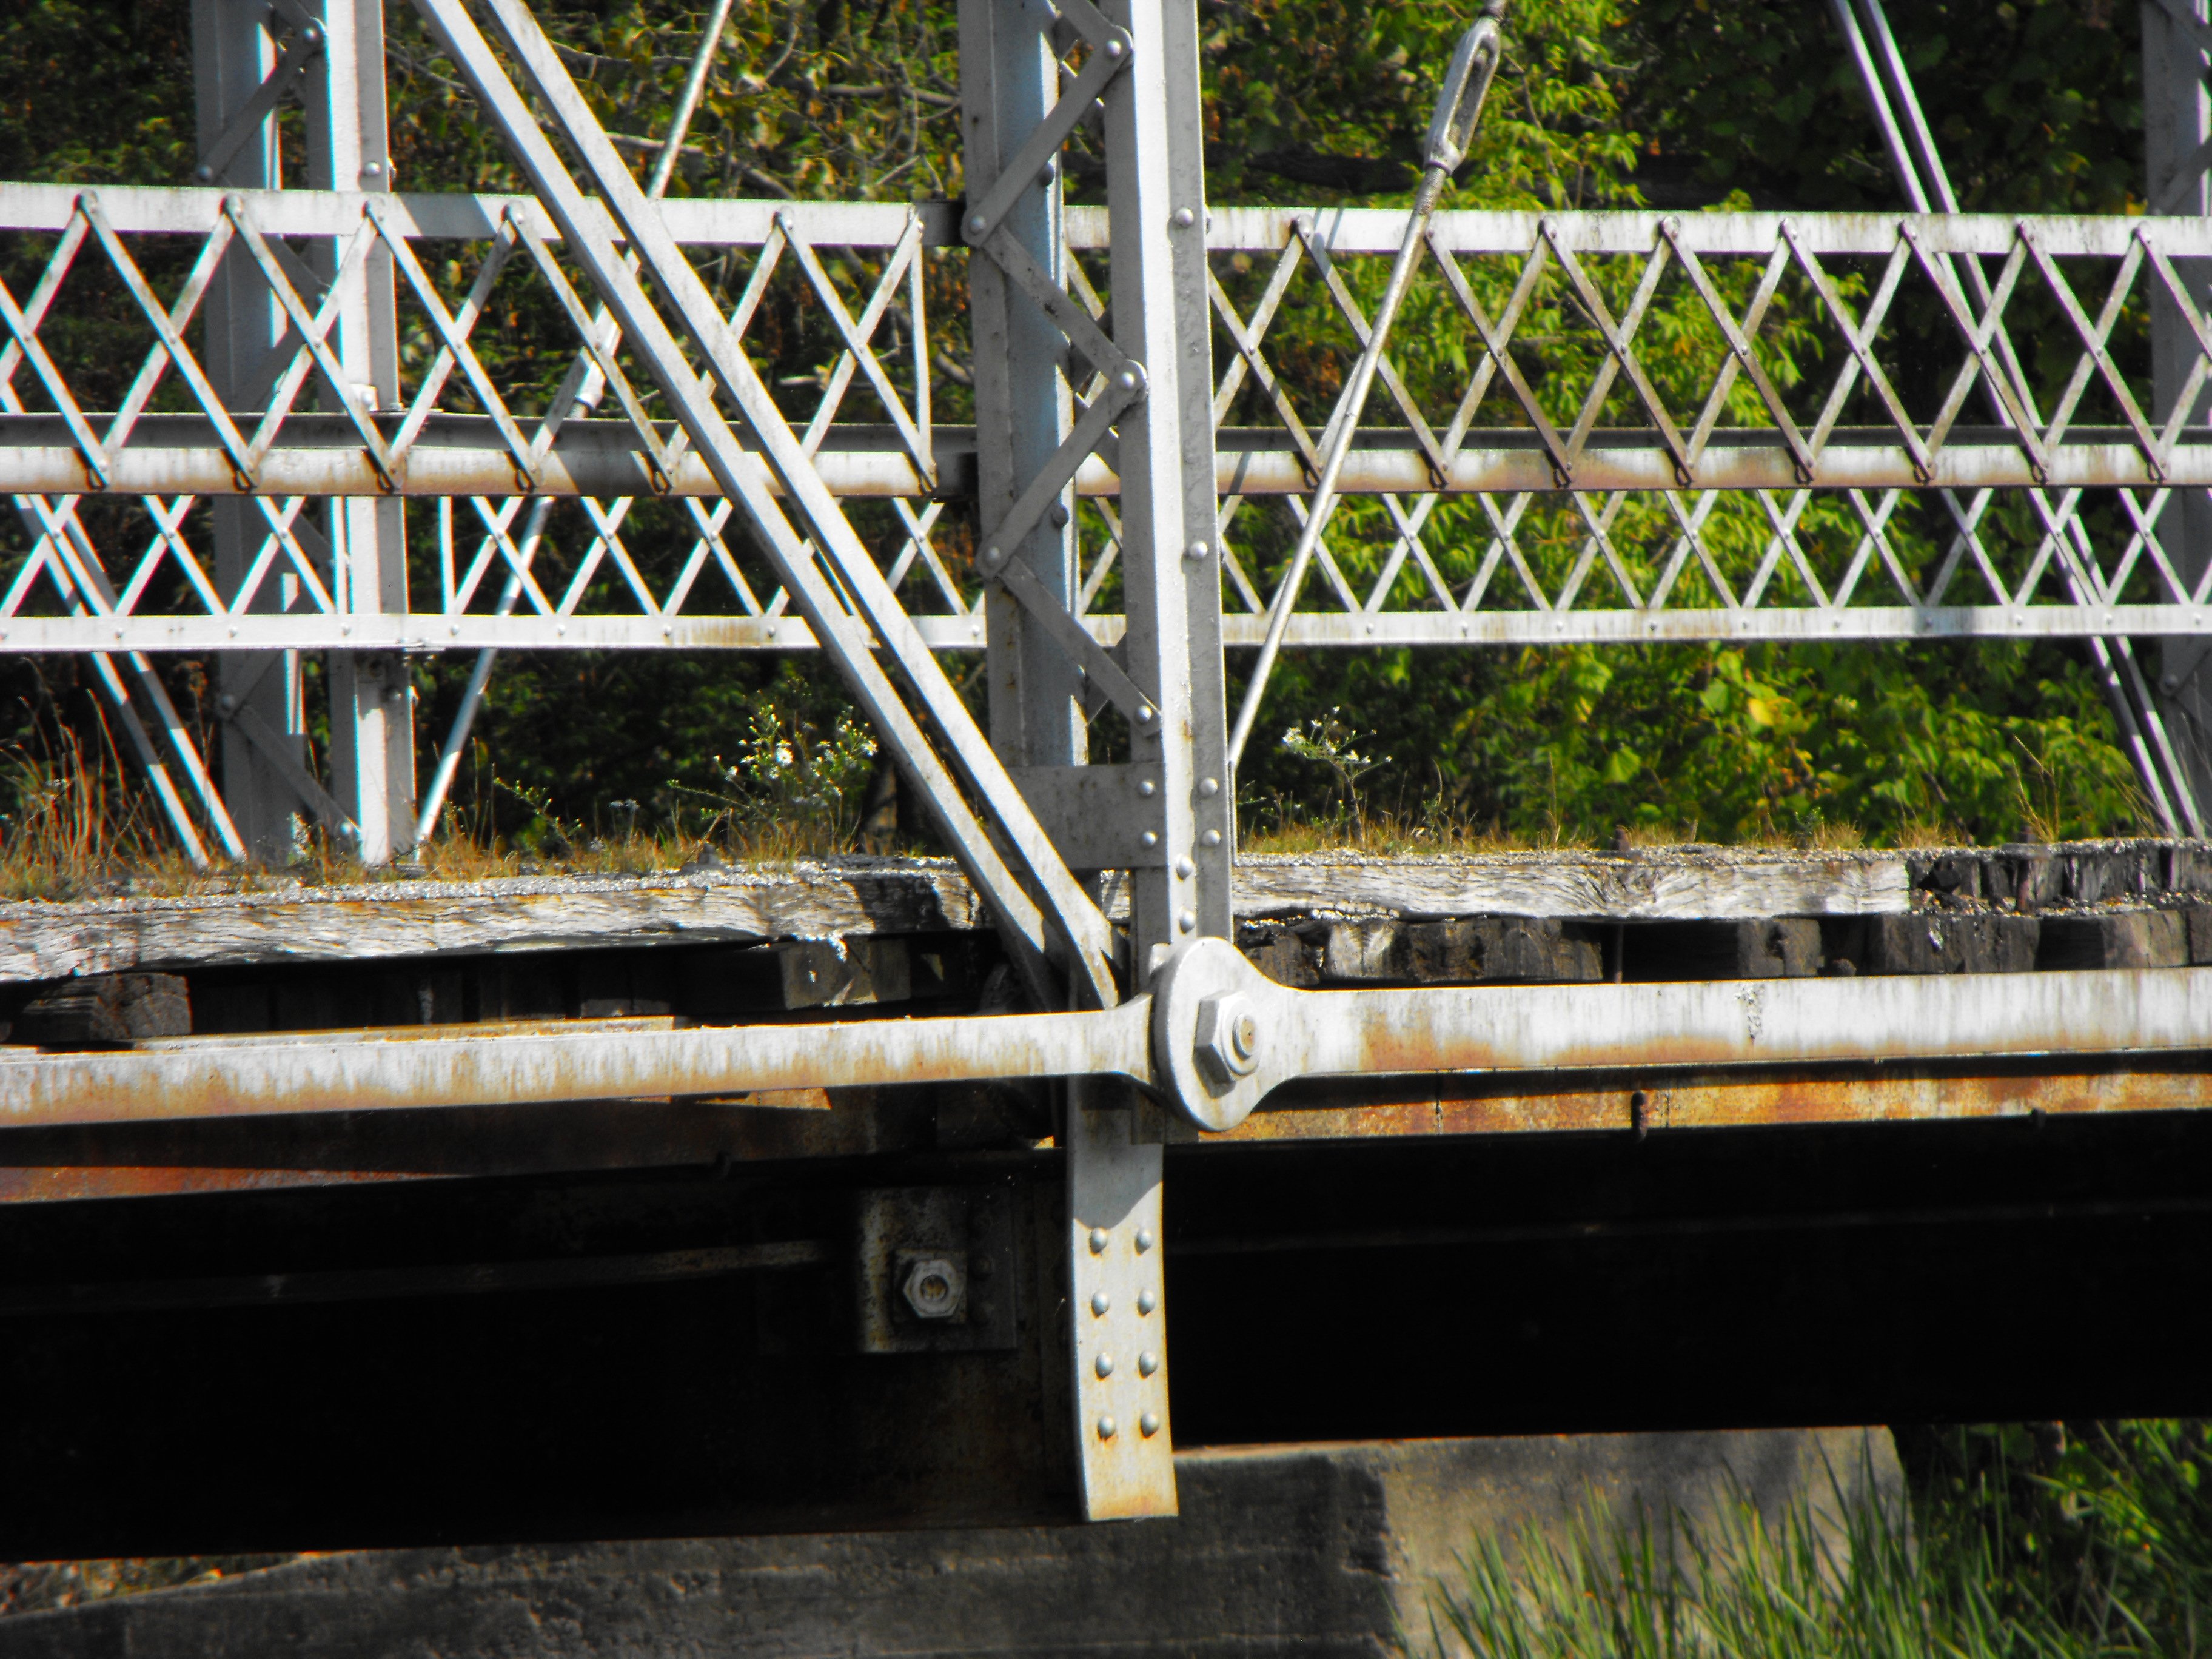
Bottom chord connections as viewed from on bridge.
![]()


Bottom chord connections as viewed from abutment.
![]()

Intermediate connection on hip vertical member.
![]()

Portal bracing detail showing field bolted attachment to end post.
![]()
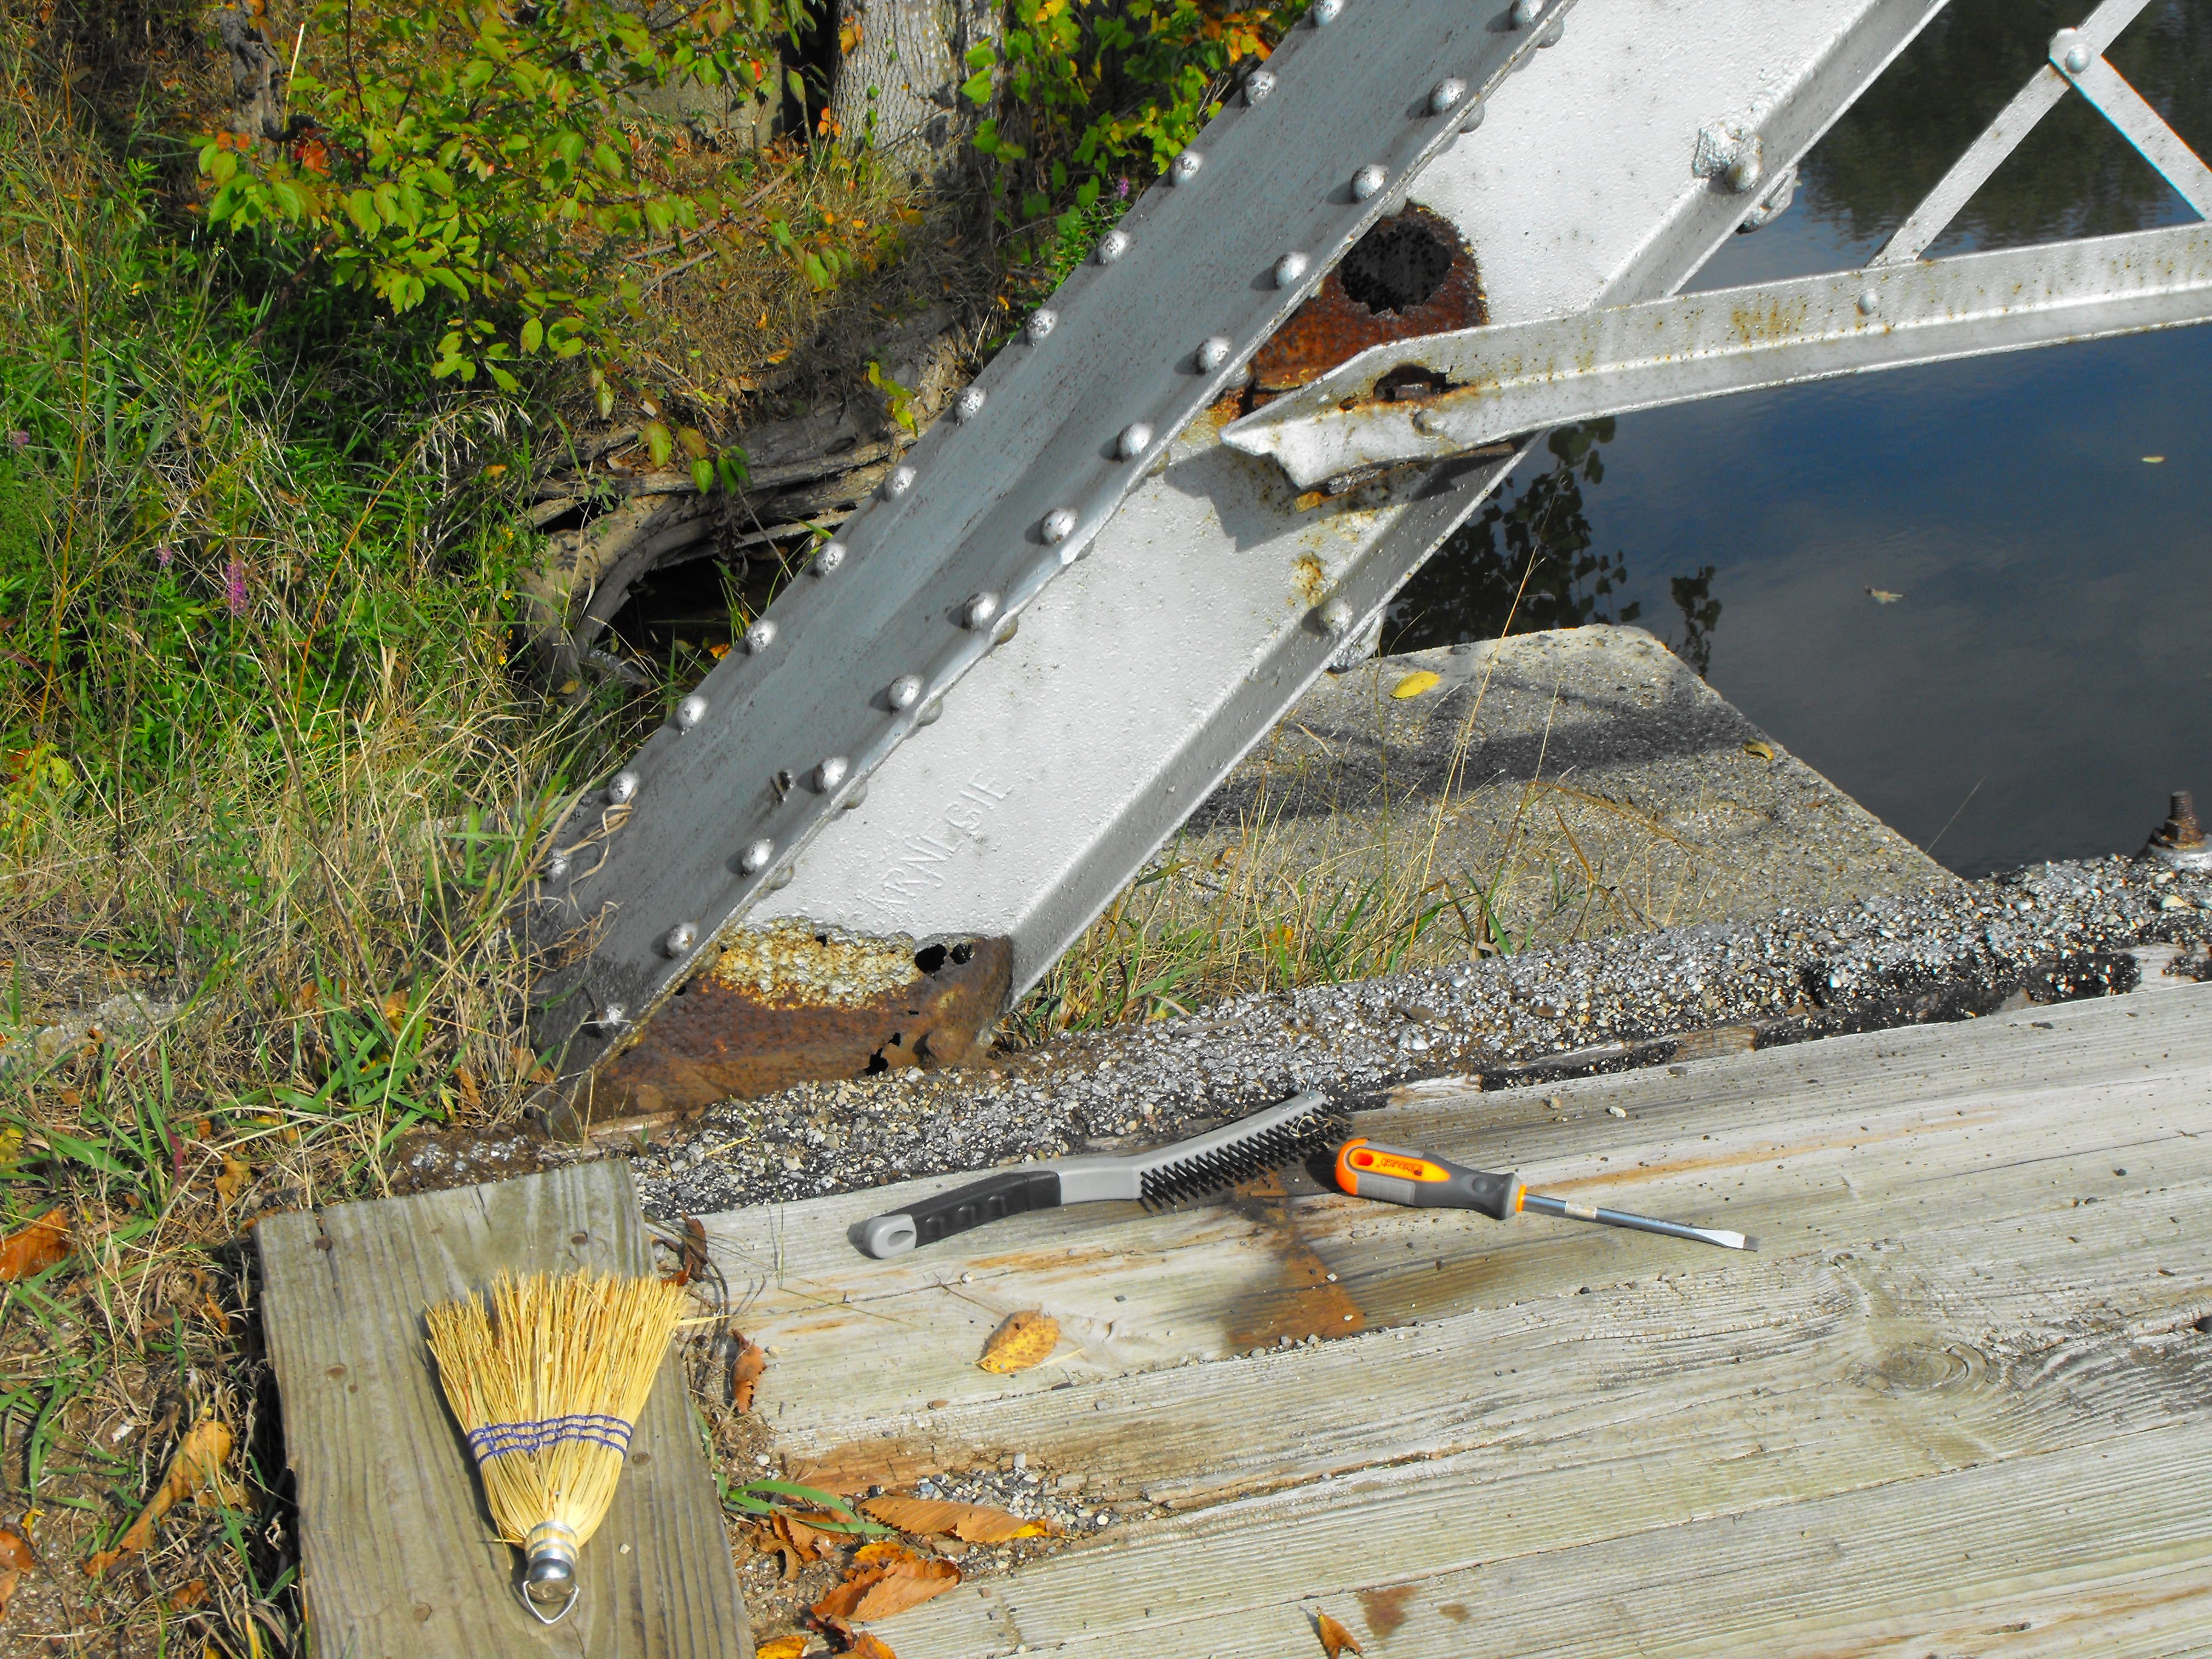

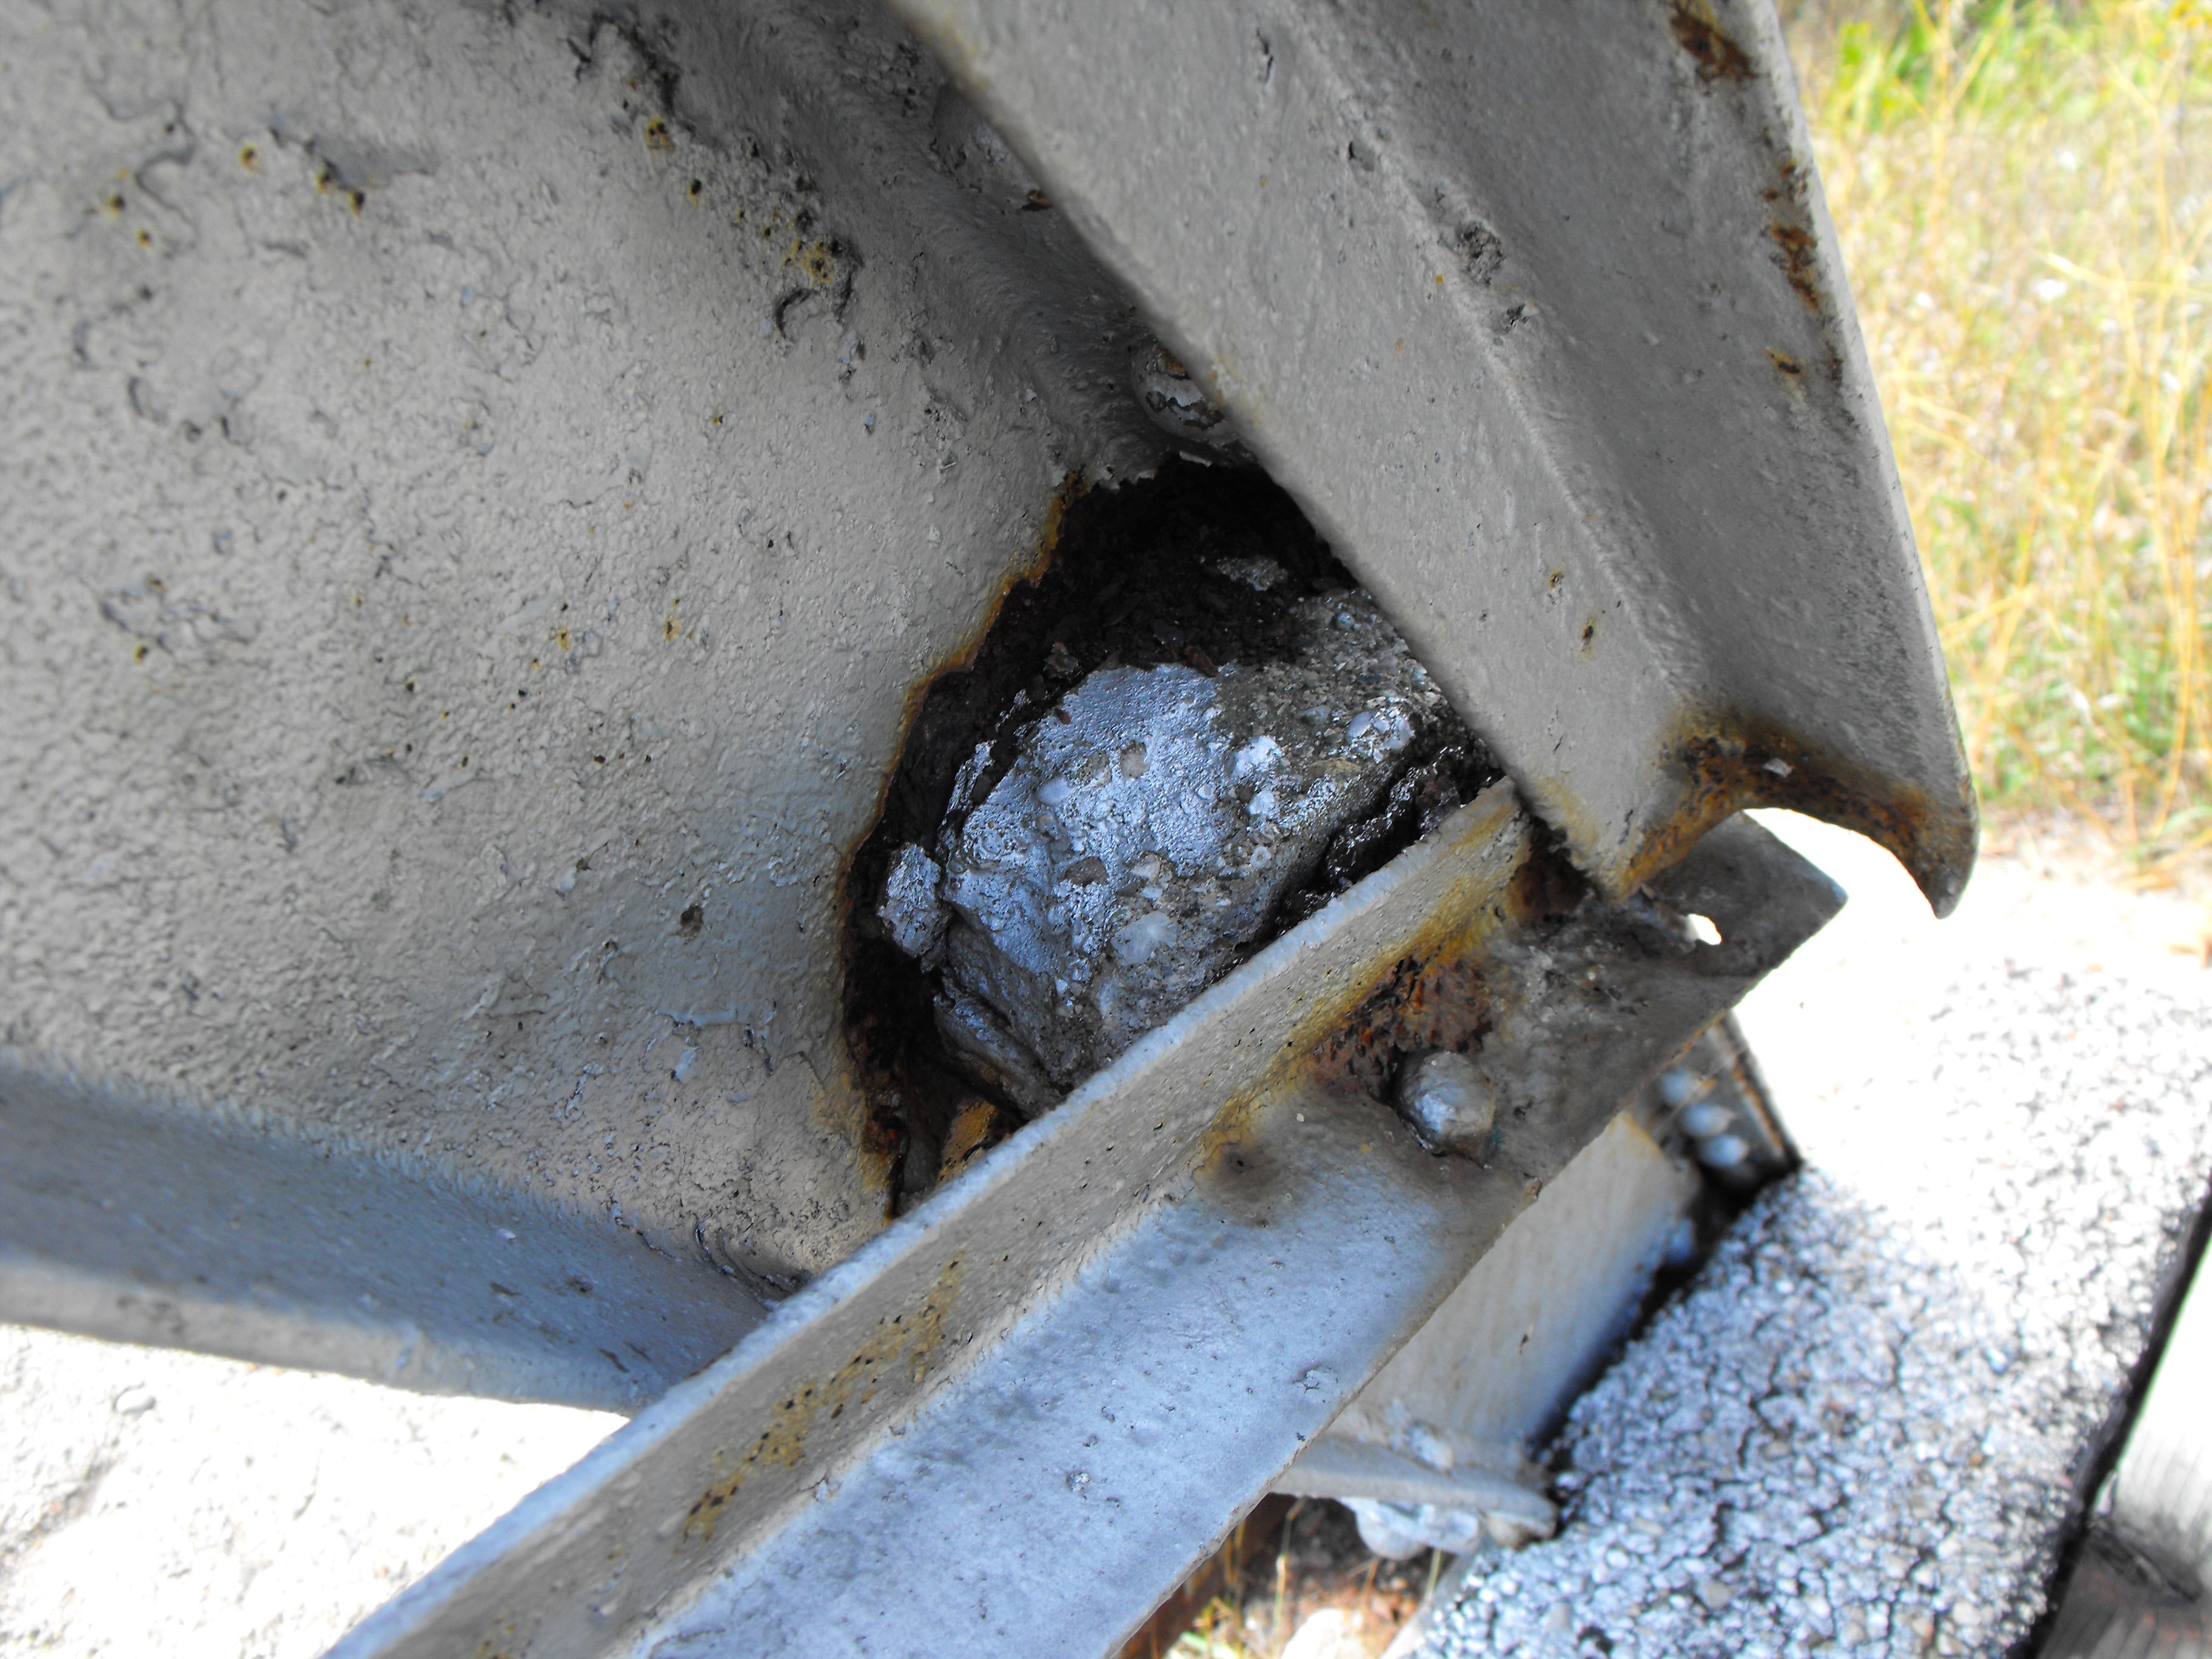
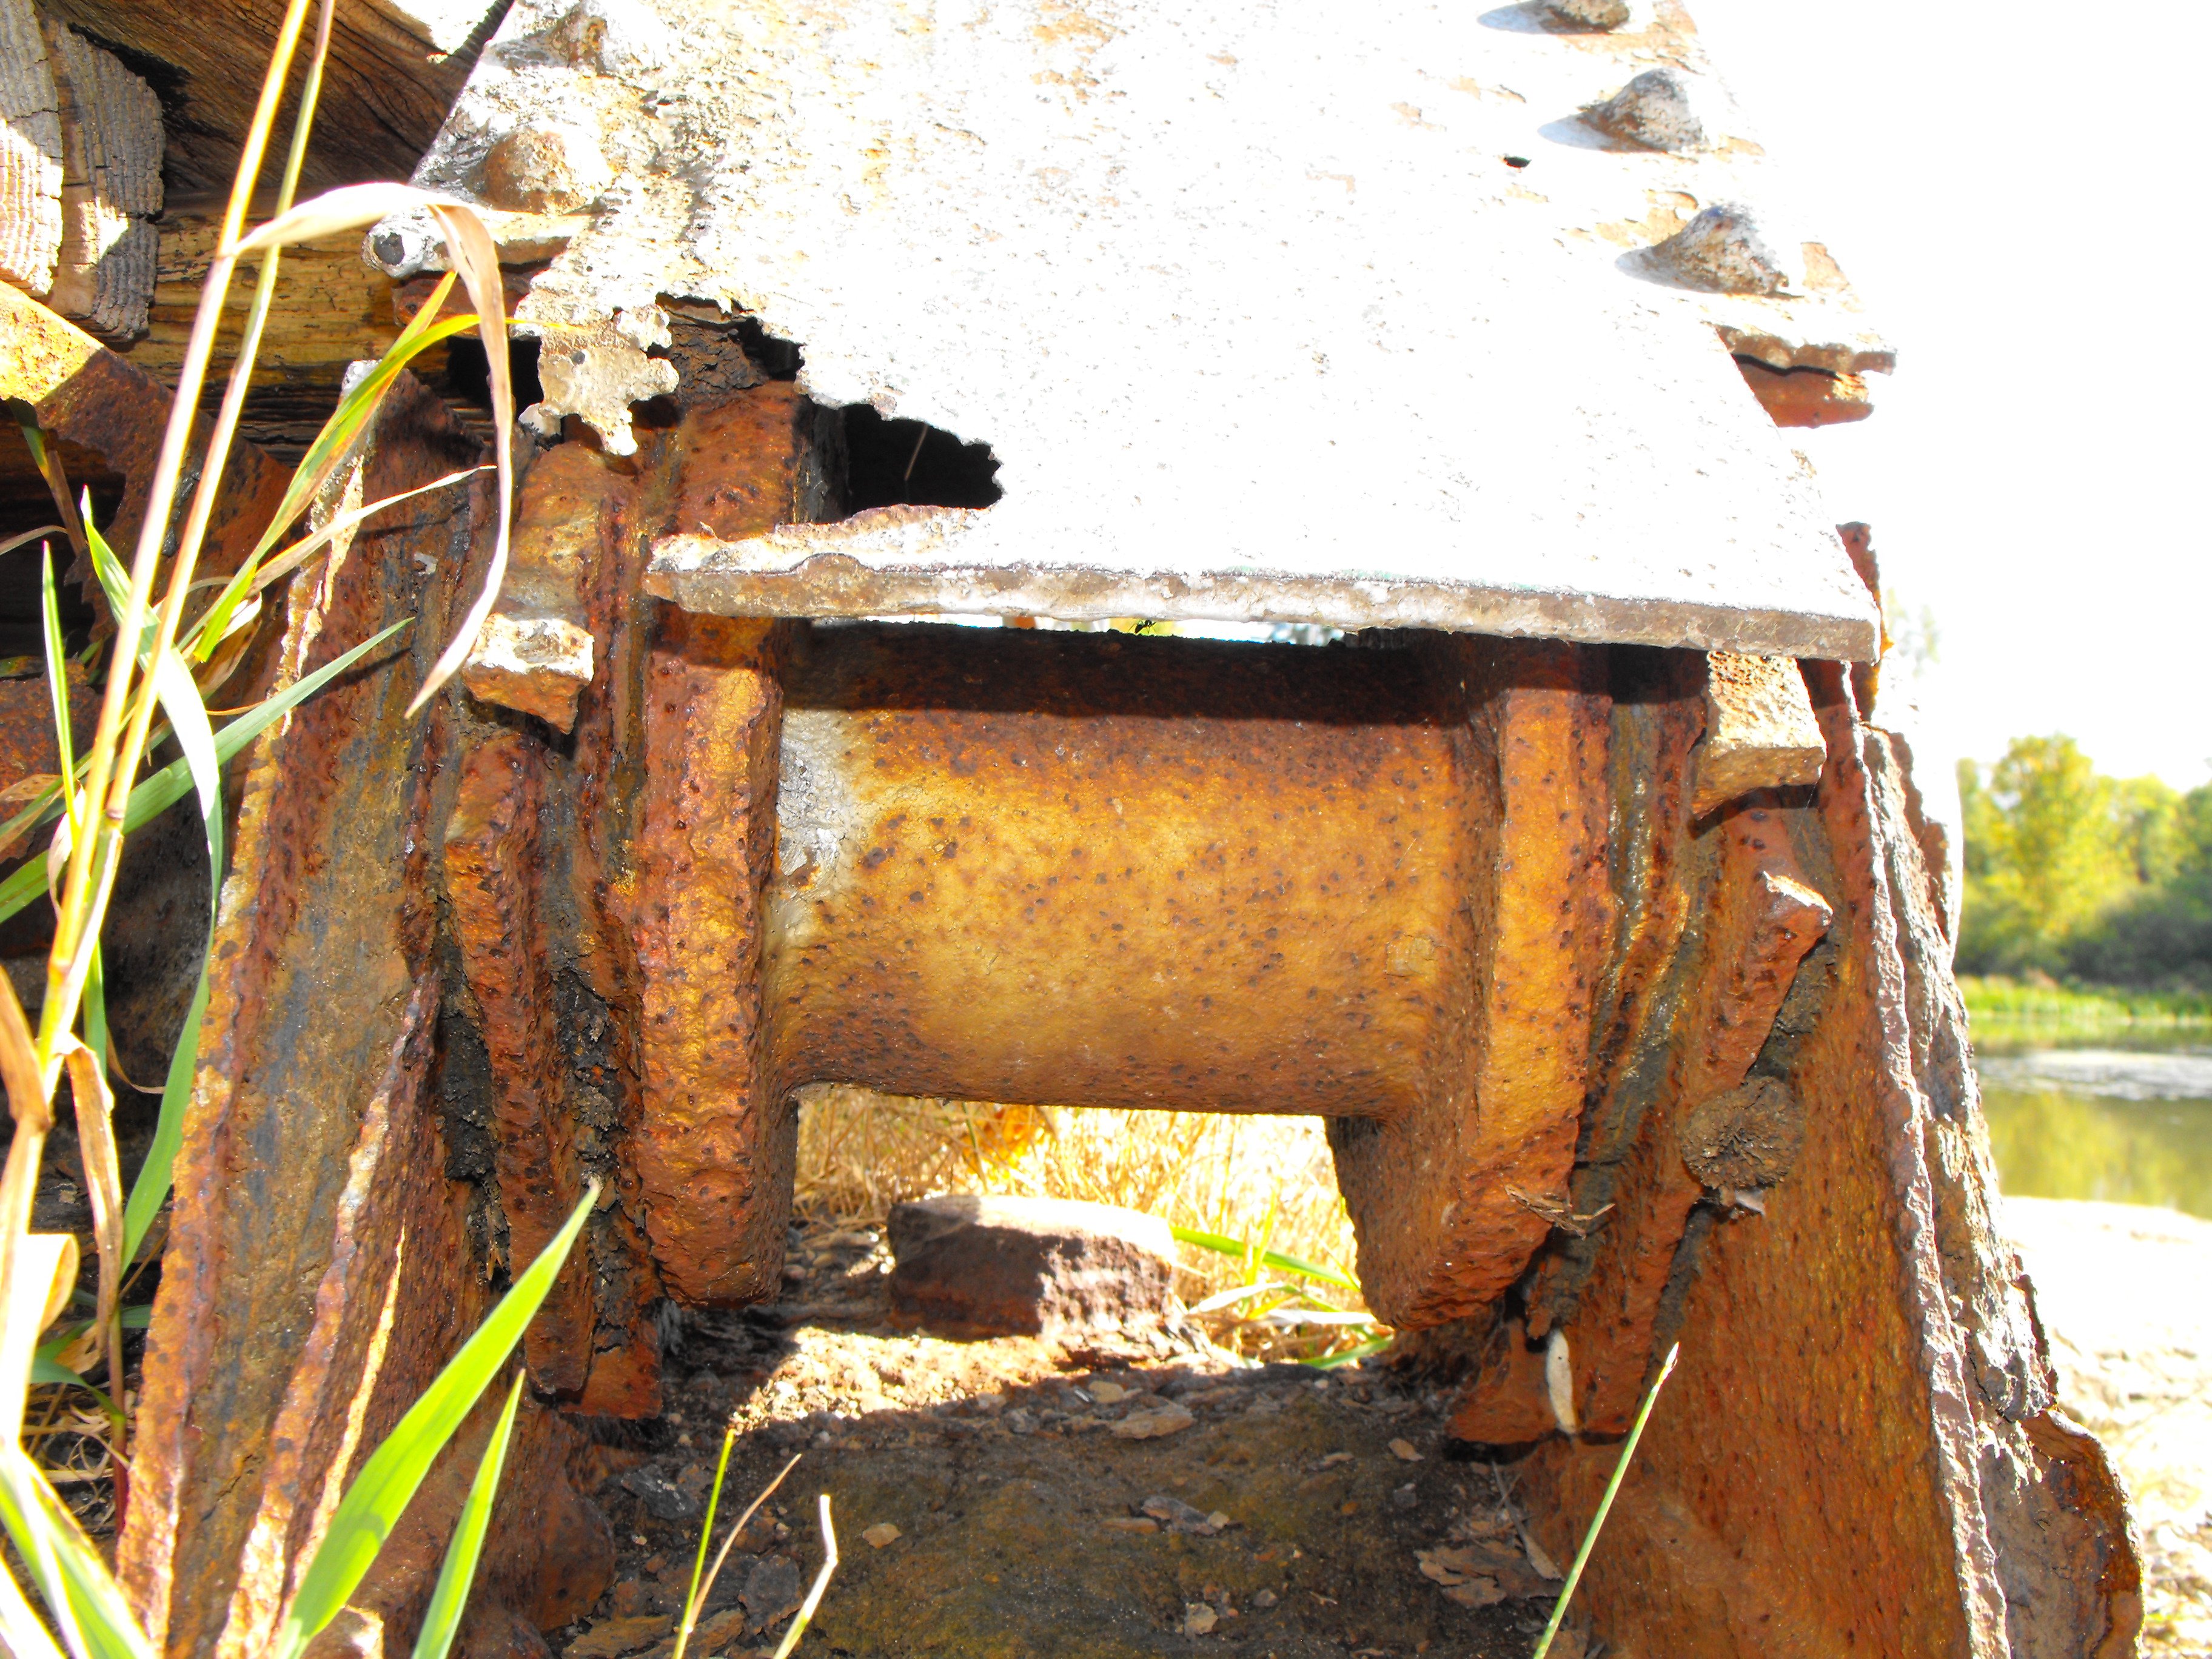
Overview of section loss at northeast end post.
![]()

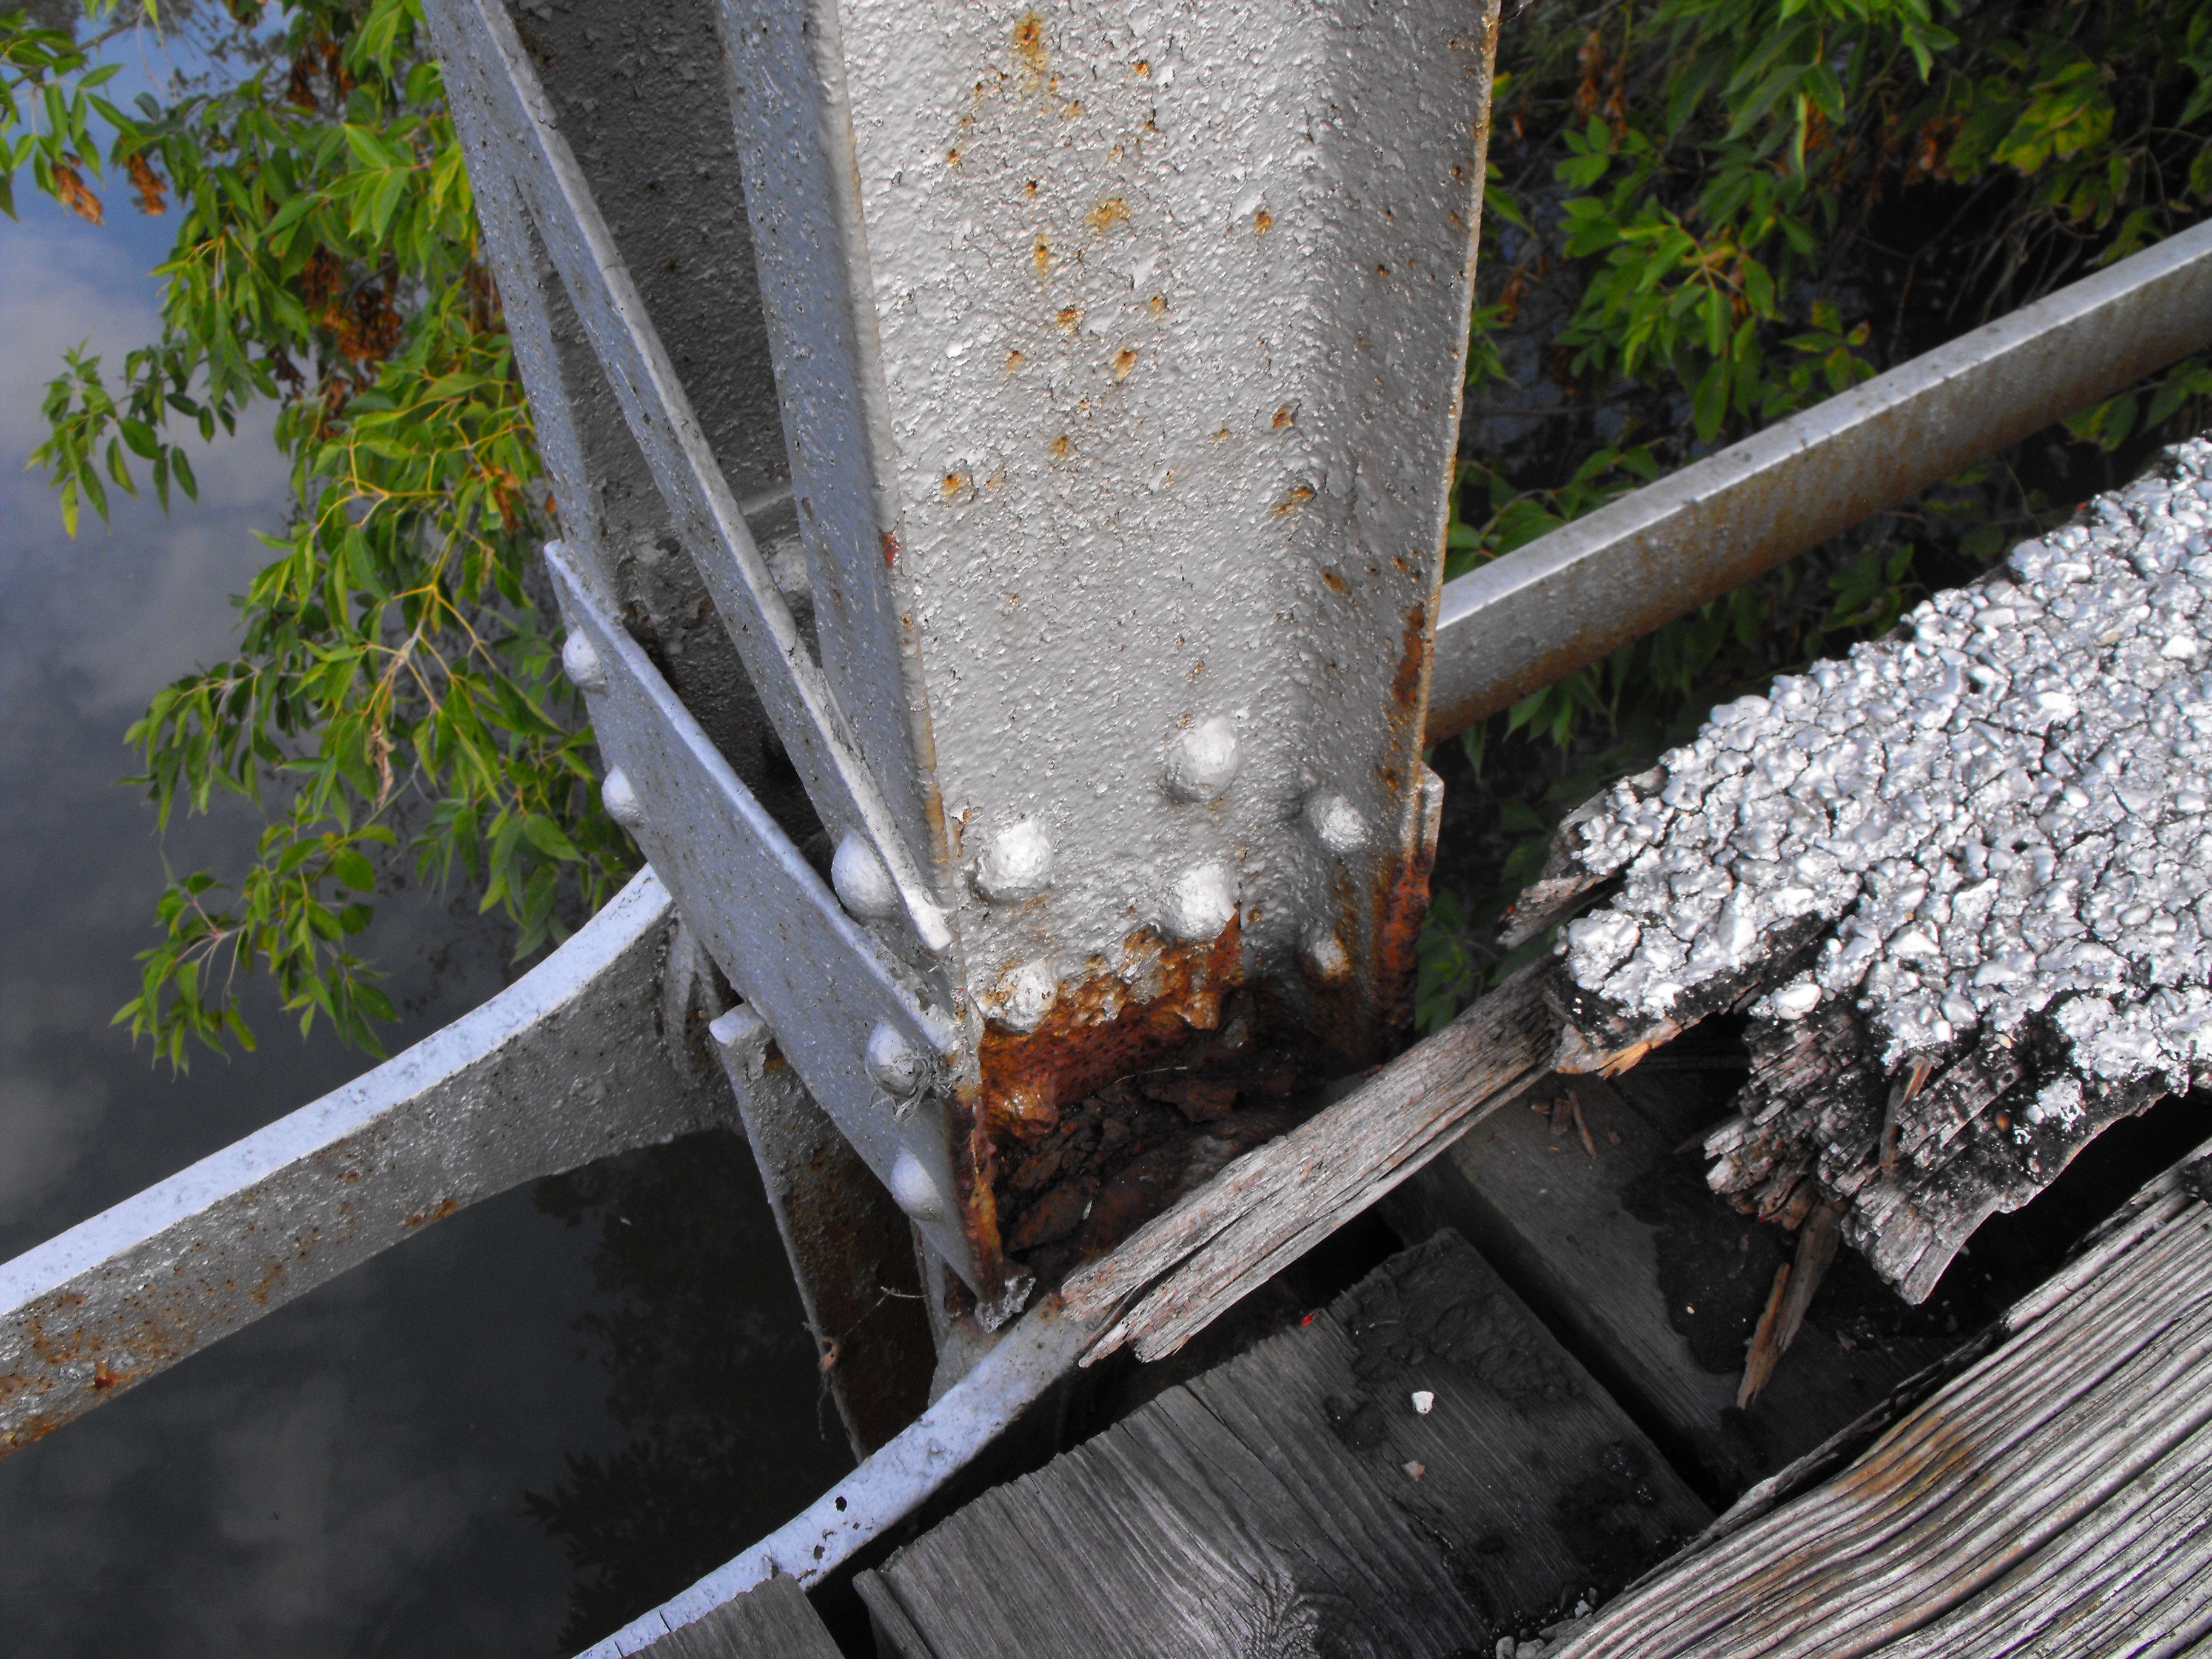
Section loss at bottom of vertical member.
![]()


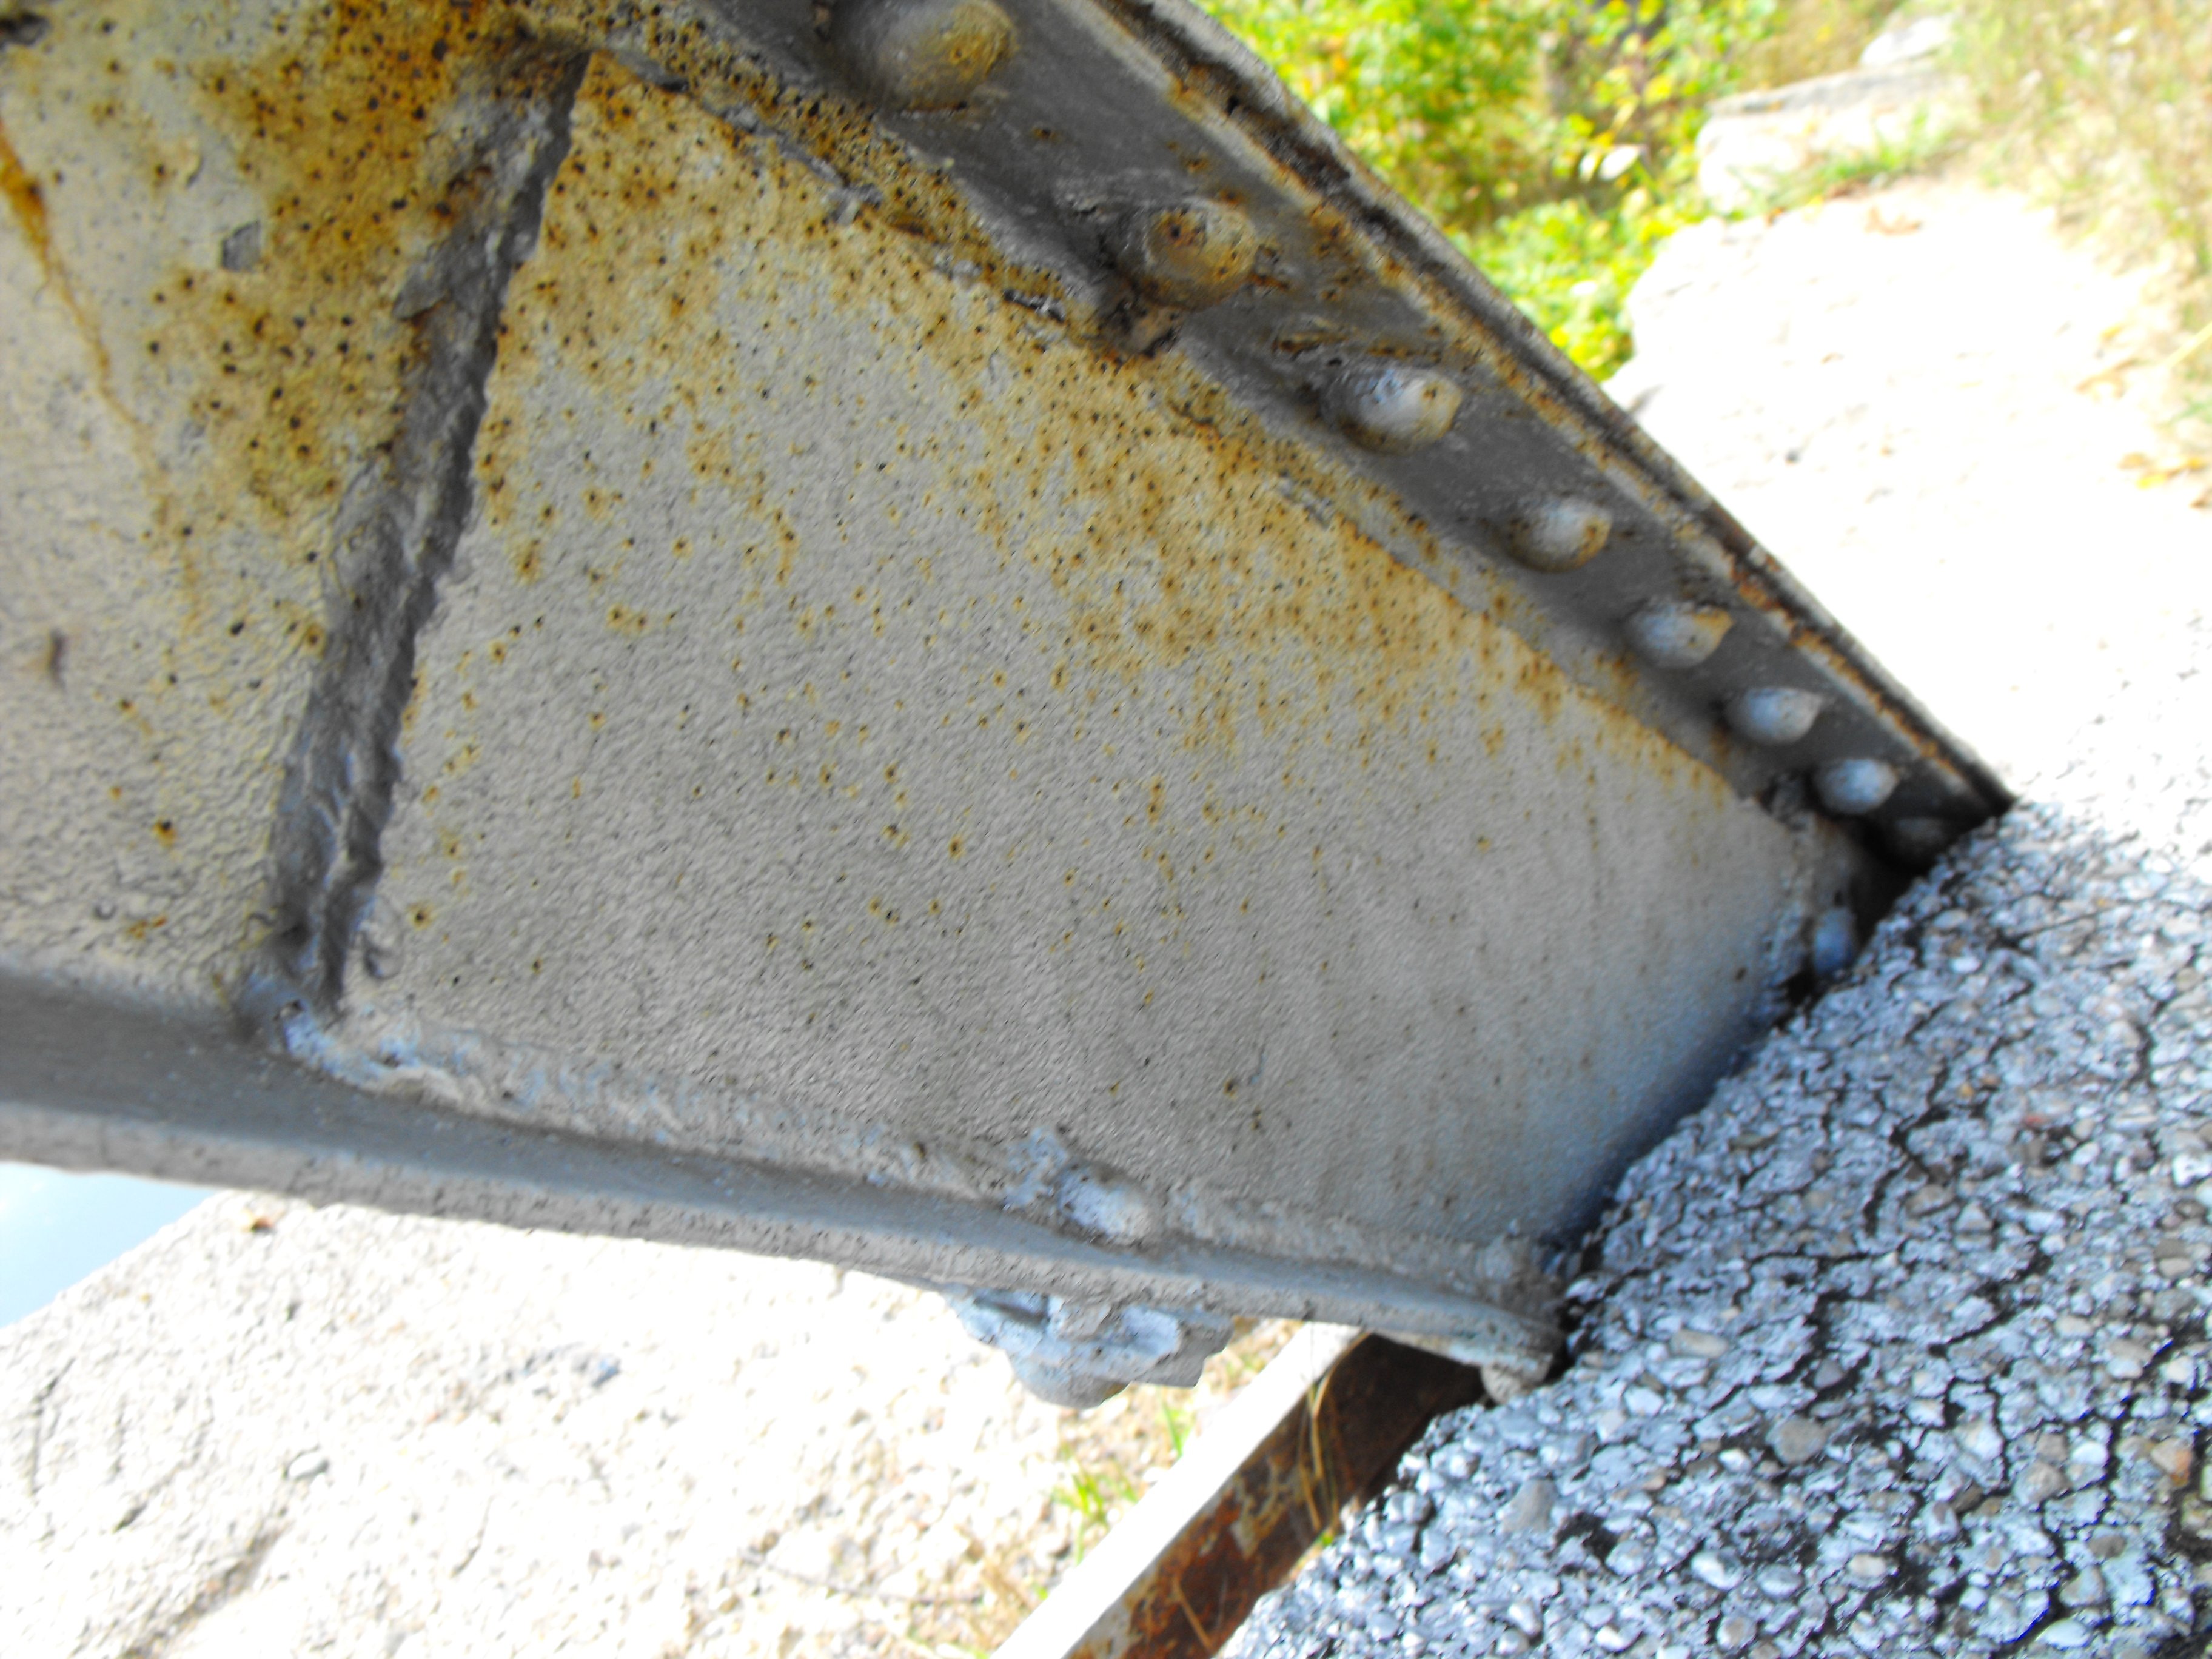
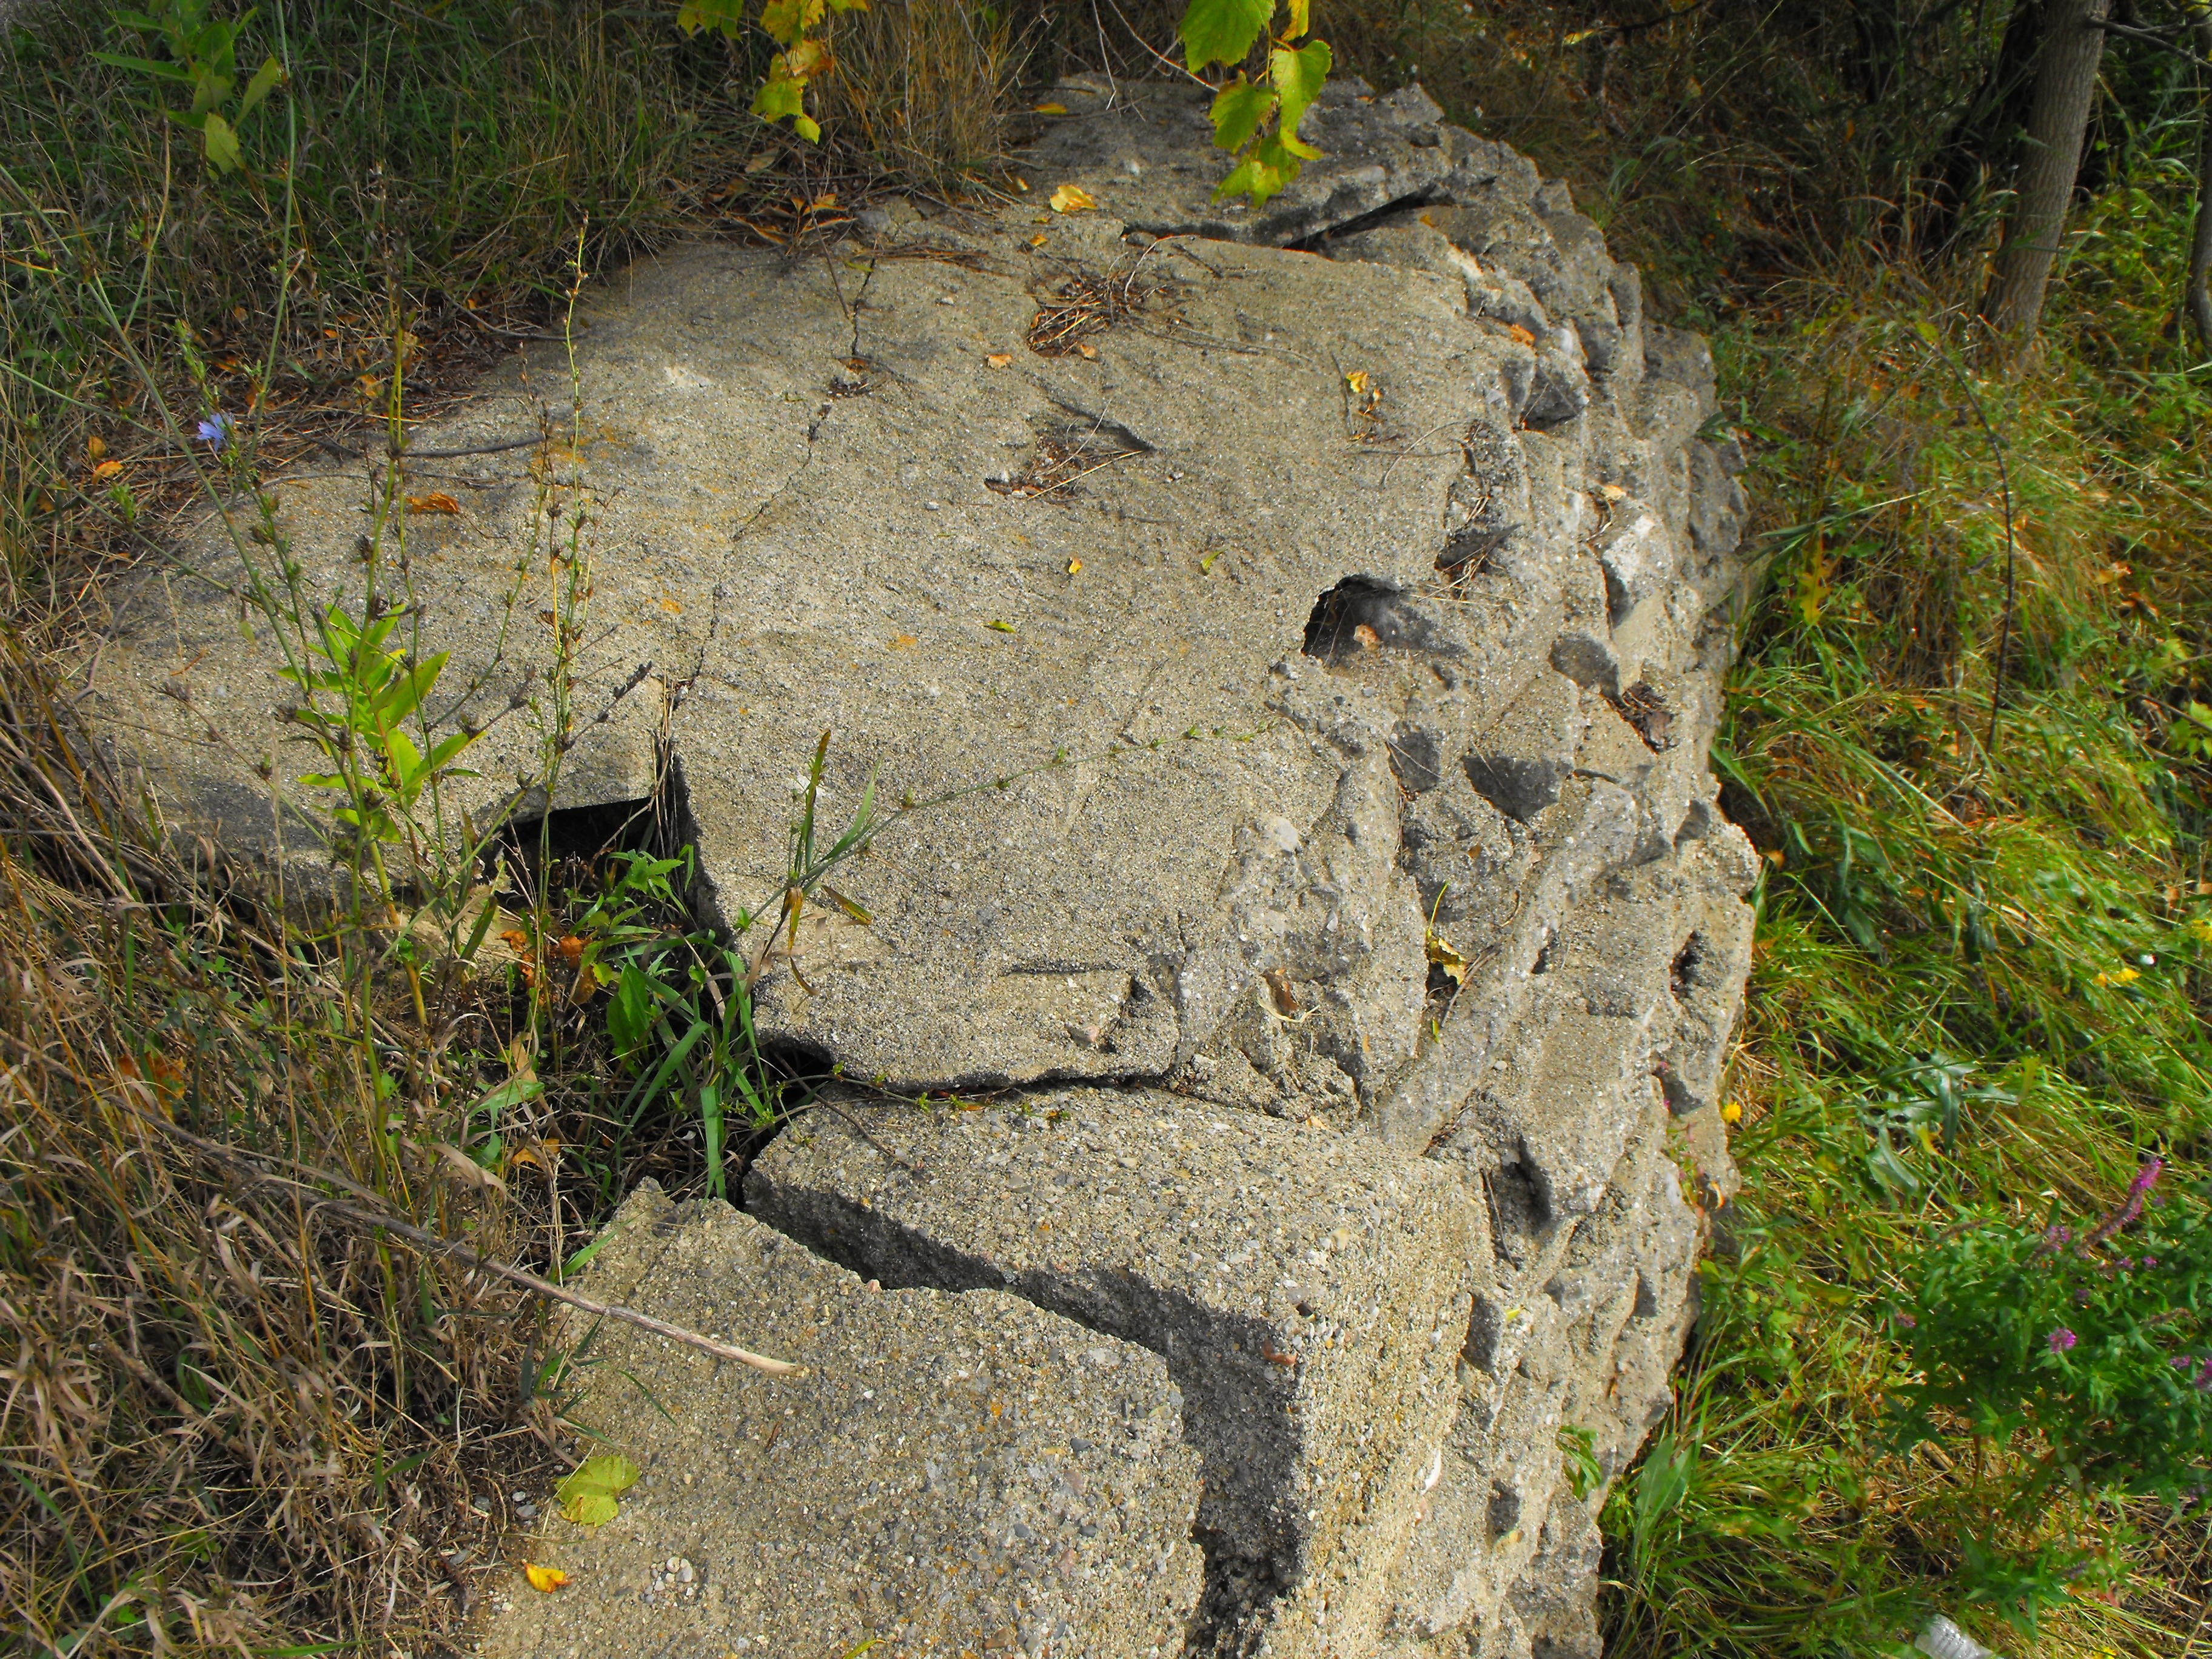
Concrete on bottom chord at southwest quadrant causing section loss.
![]()
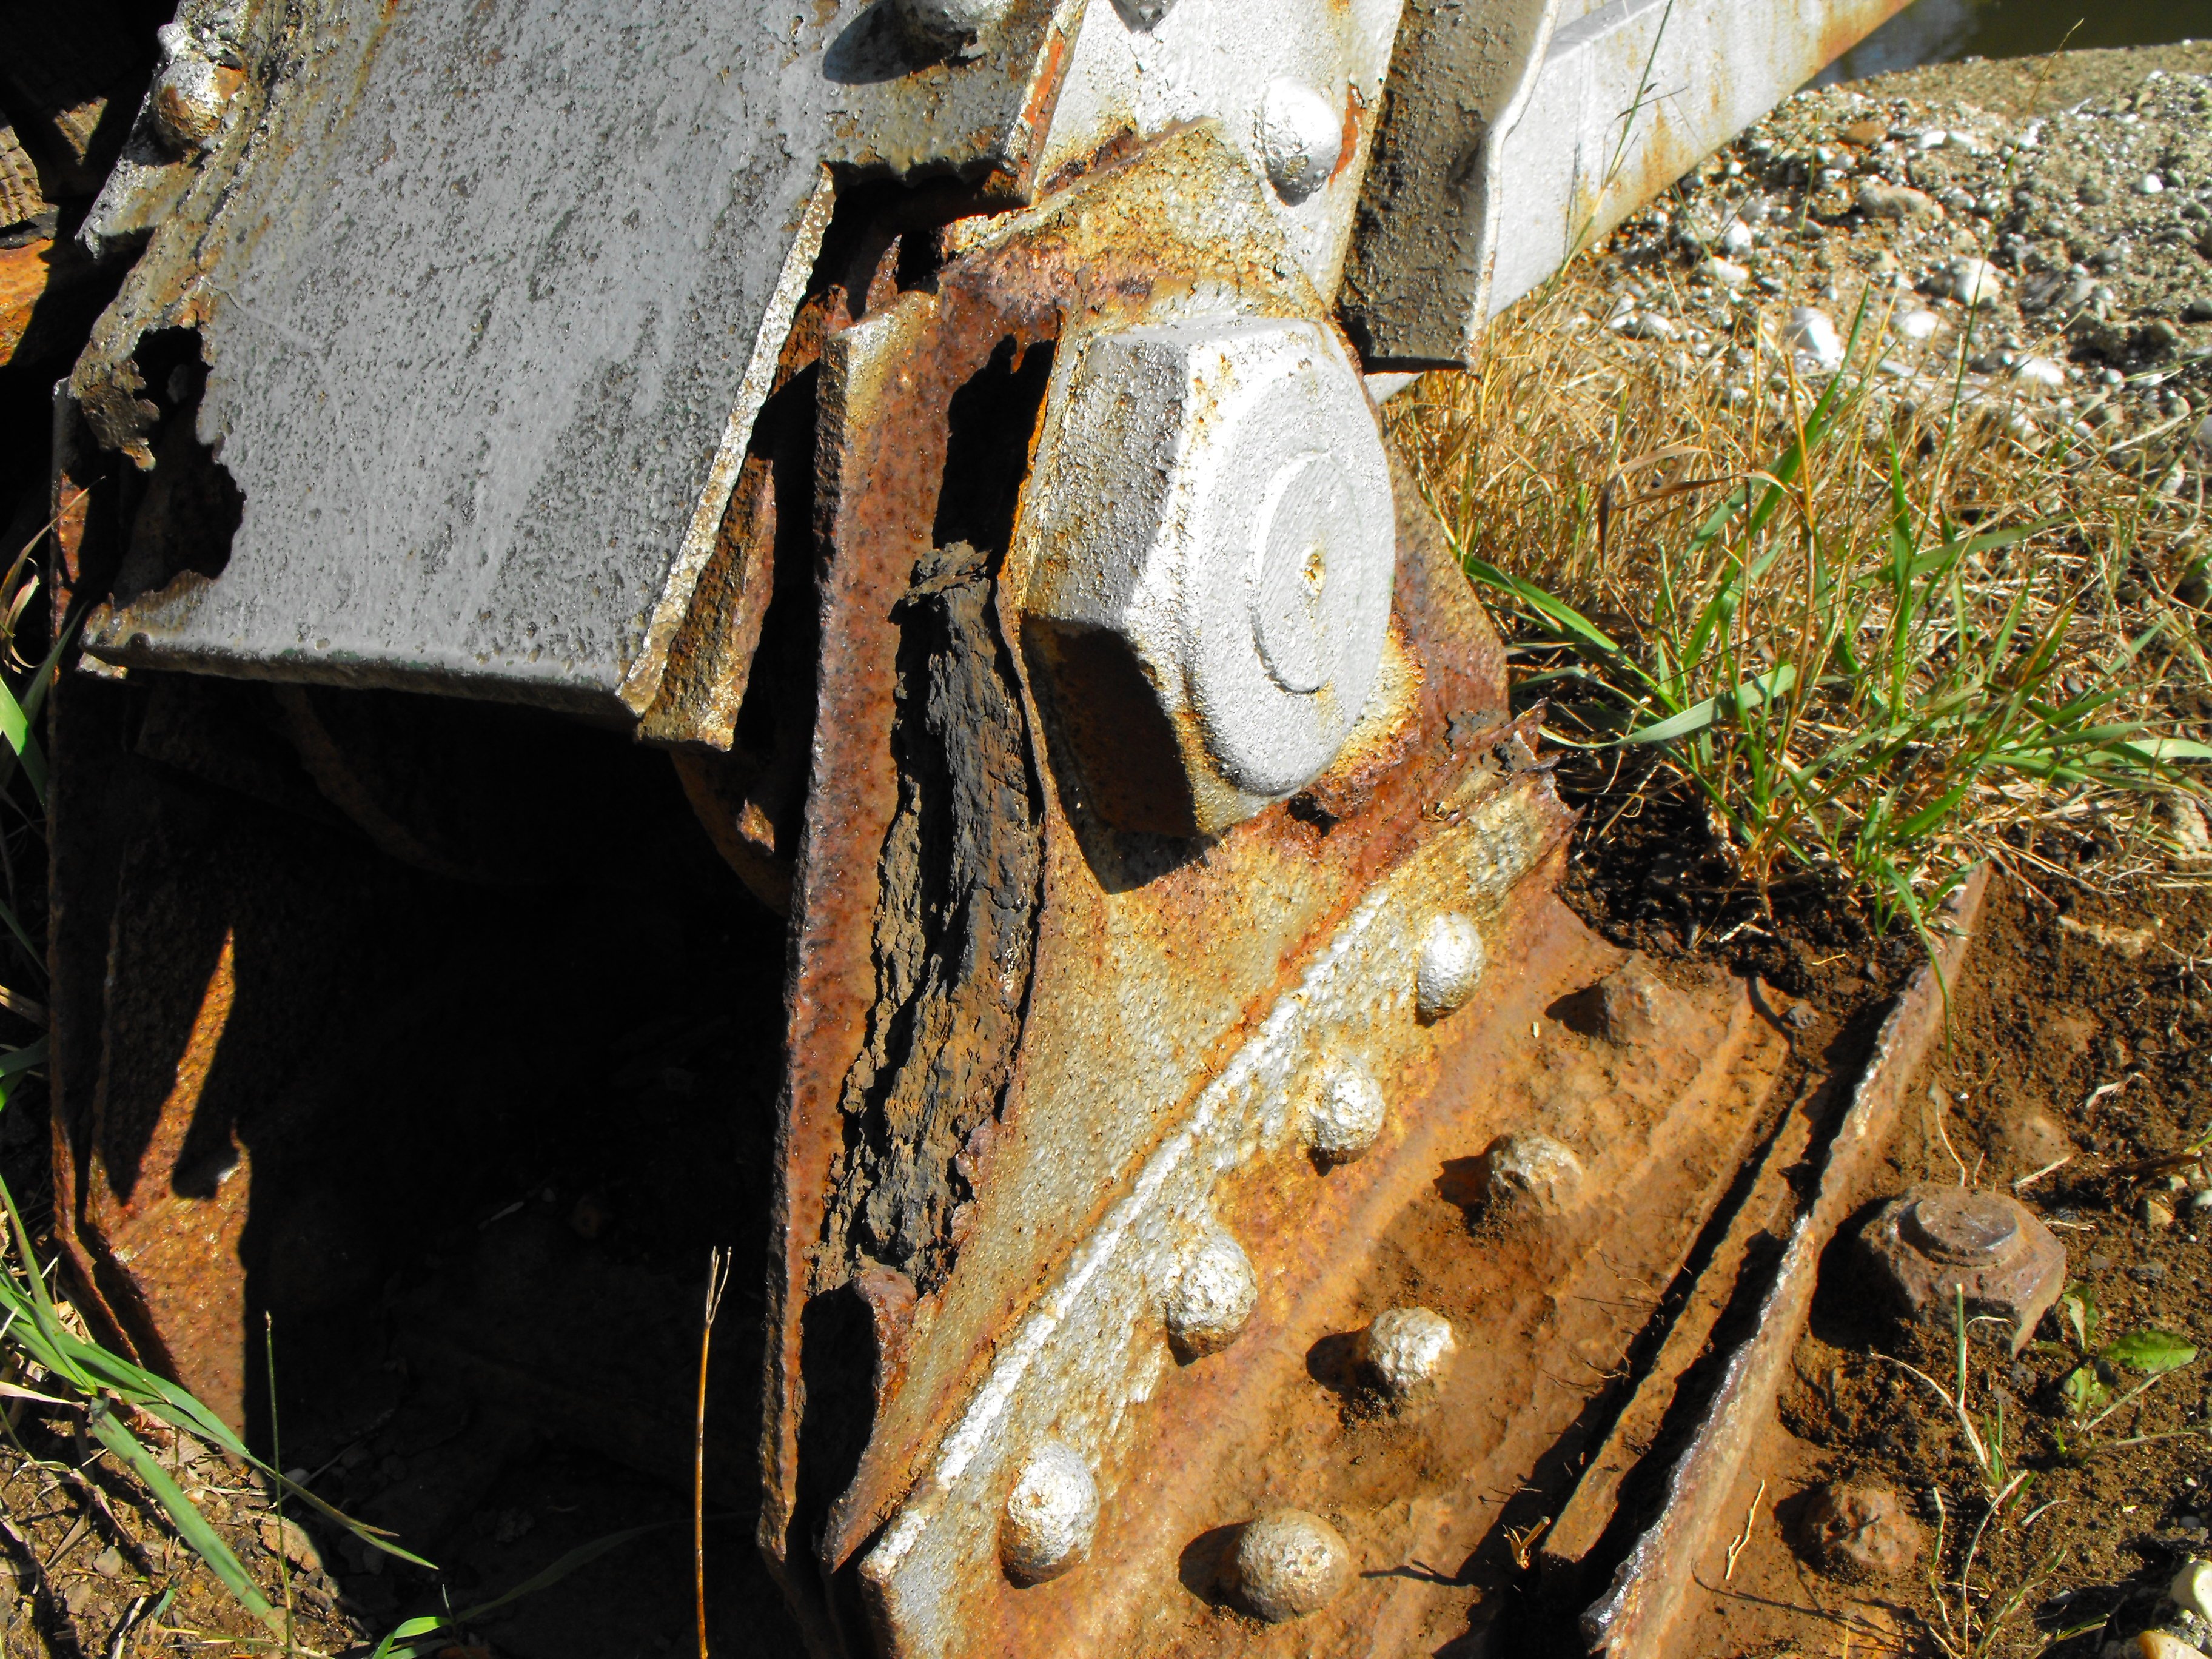
Section loss on end post at southeast quadrant.
![]()


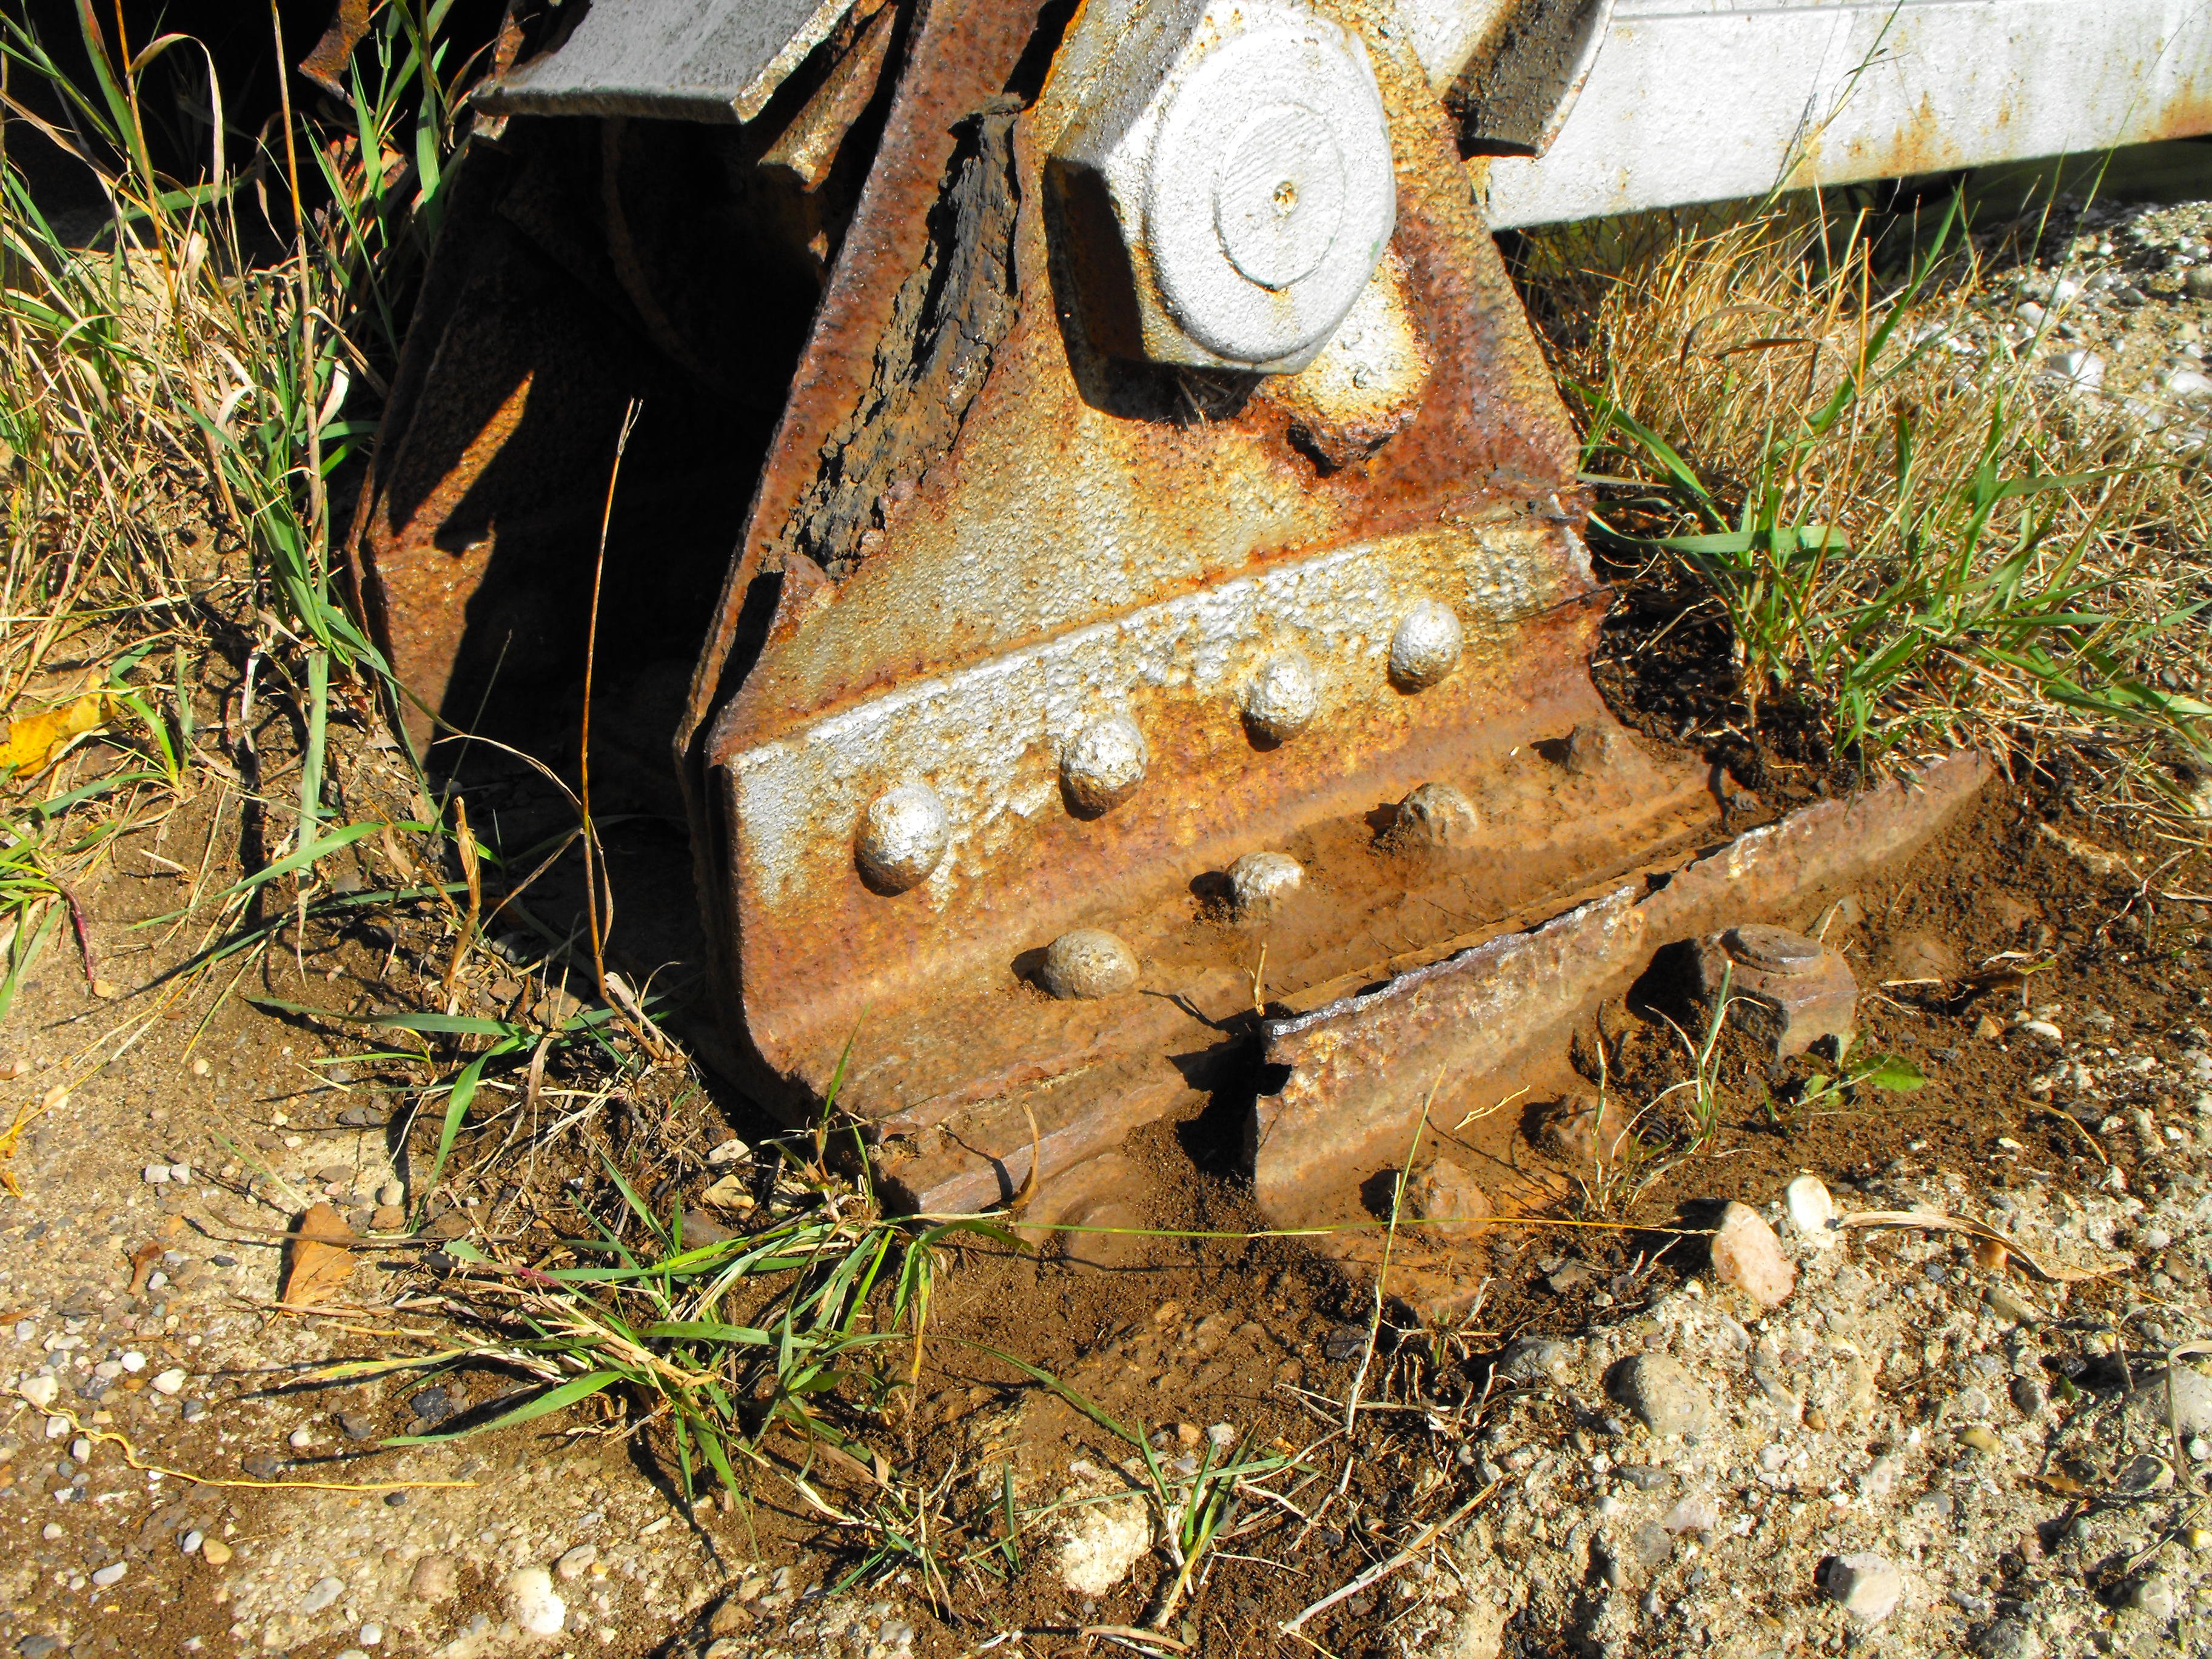
Section loss on base of end post at southeast quadrant.
![]()

Concrete on end post at southwest quadrant causing section loss.
![]()

Concrete on end post at northwest quadrant causing section loss.
![]()

Welded plate at base of northwest end post.
![]()


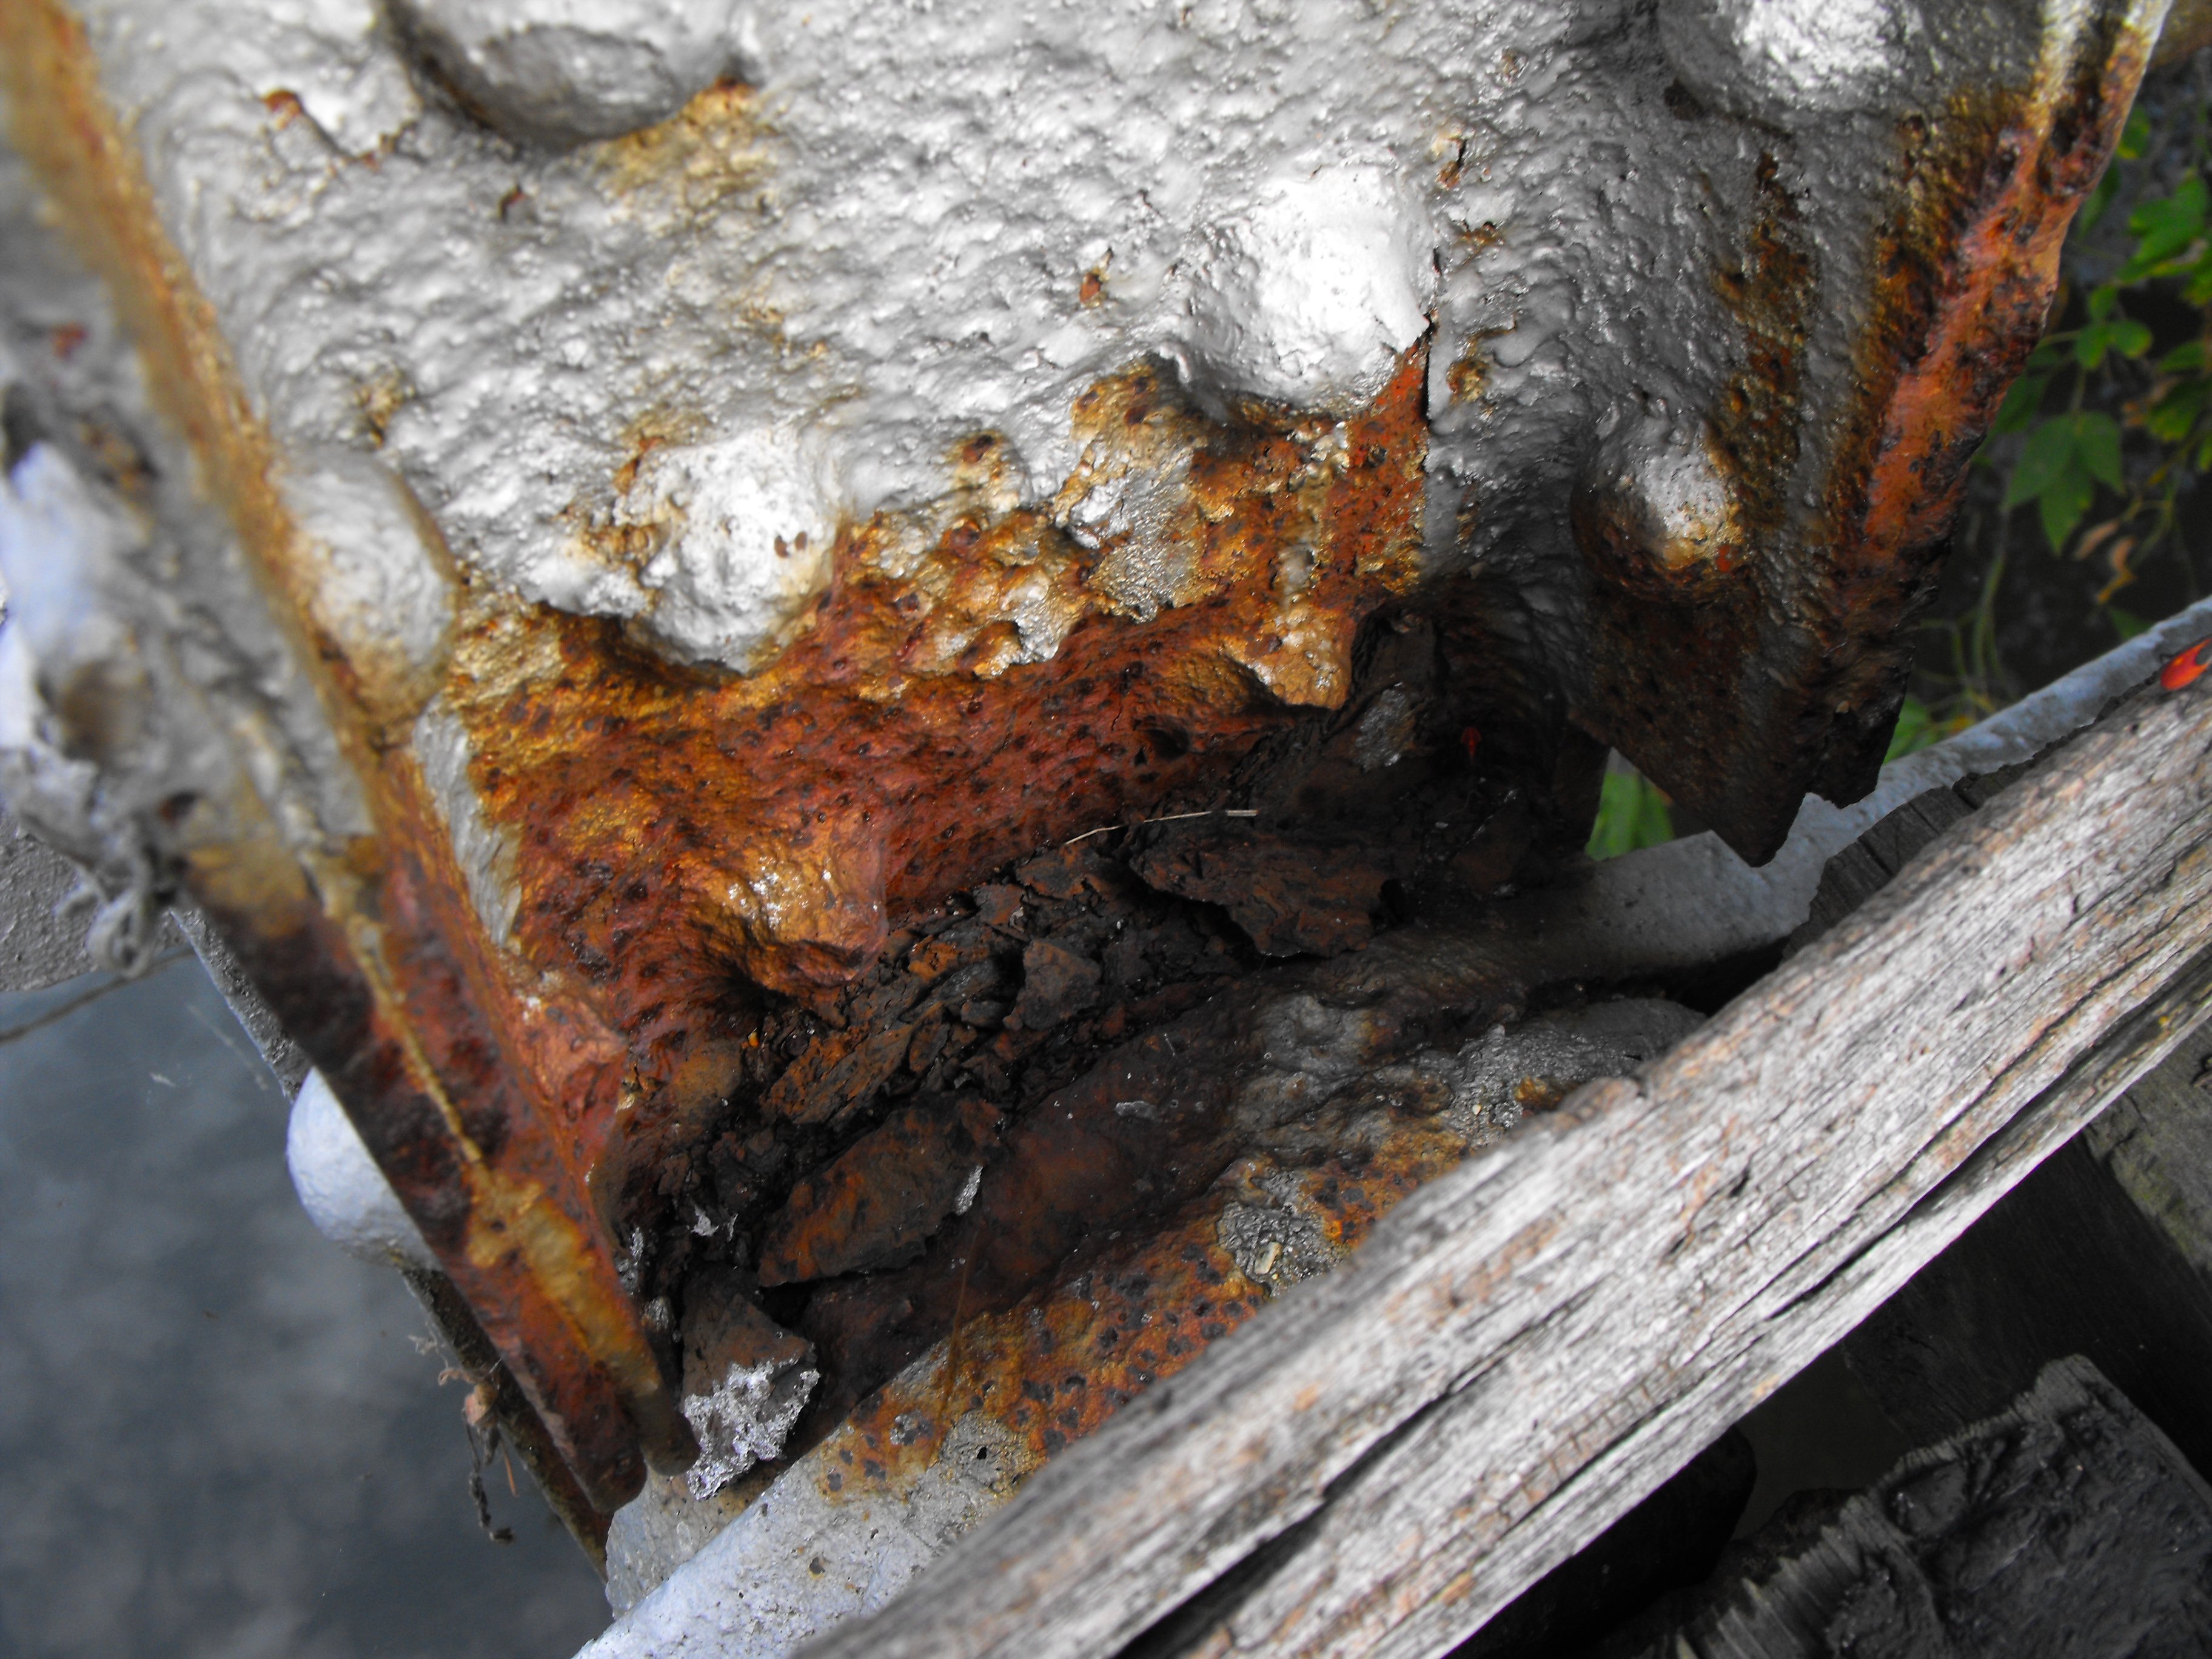
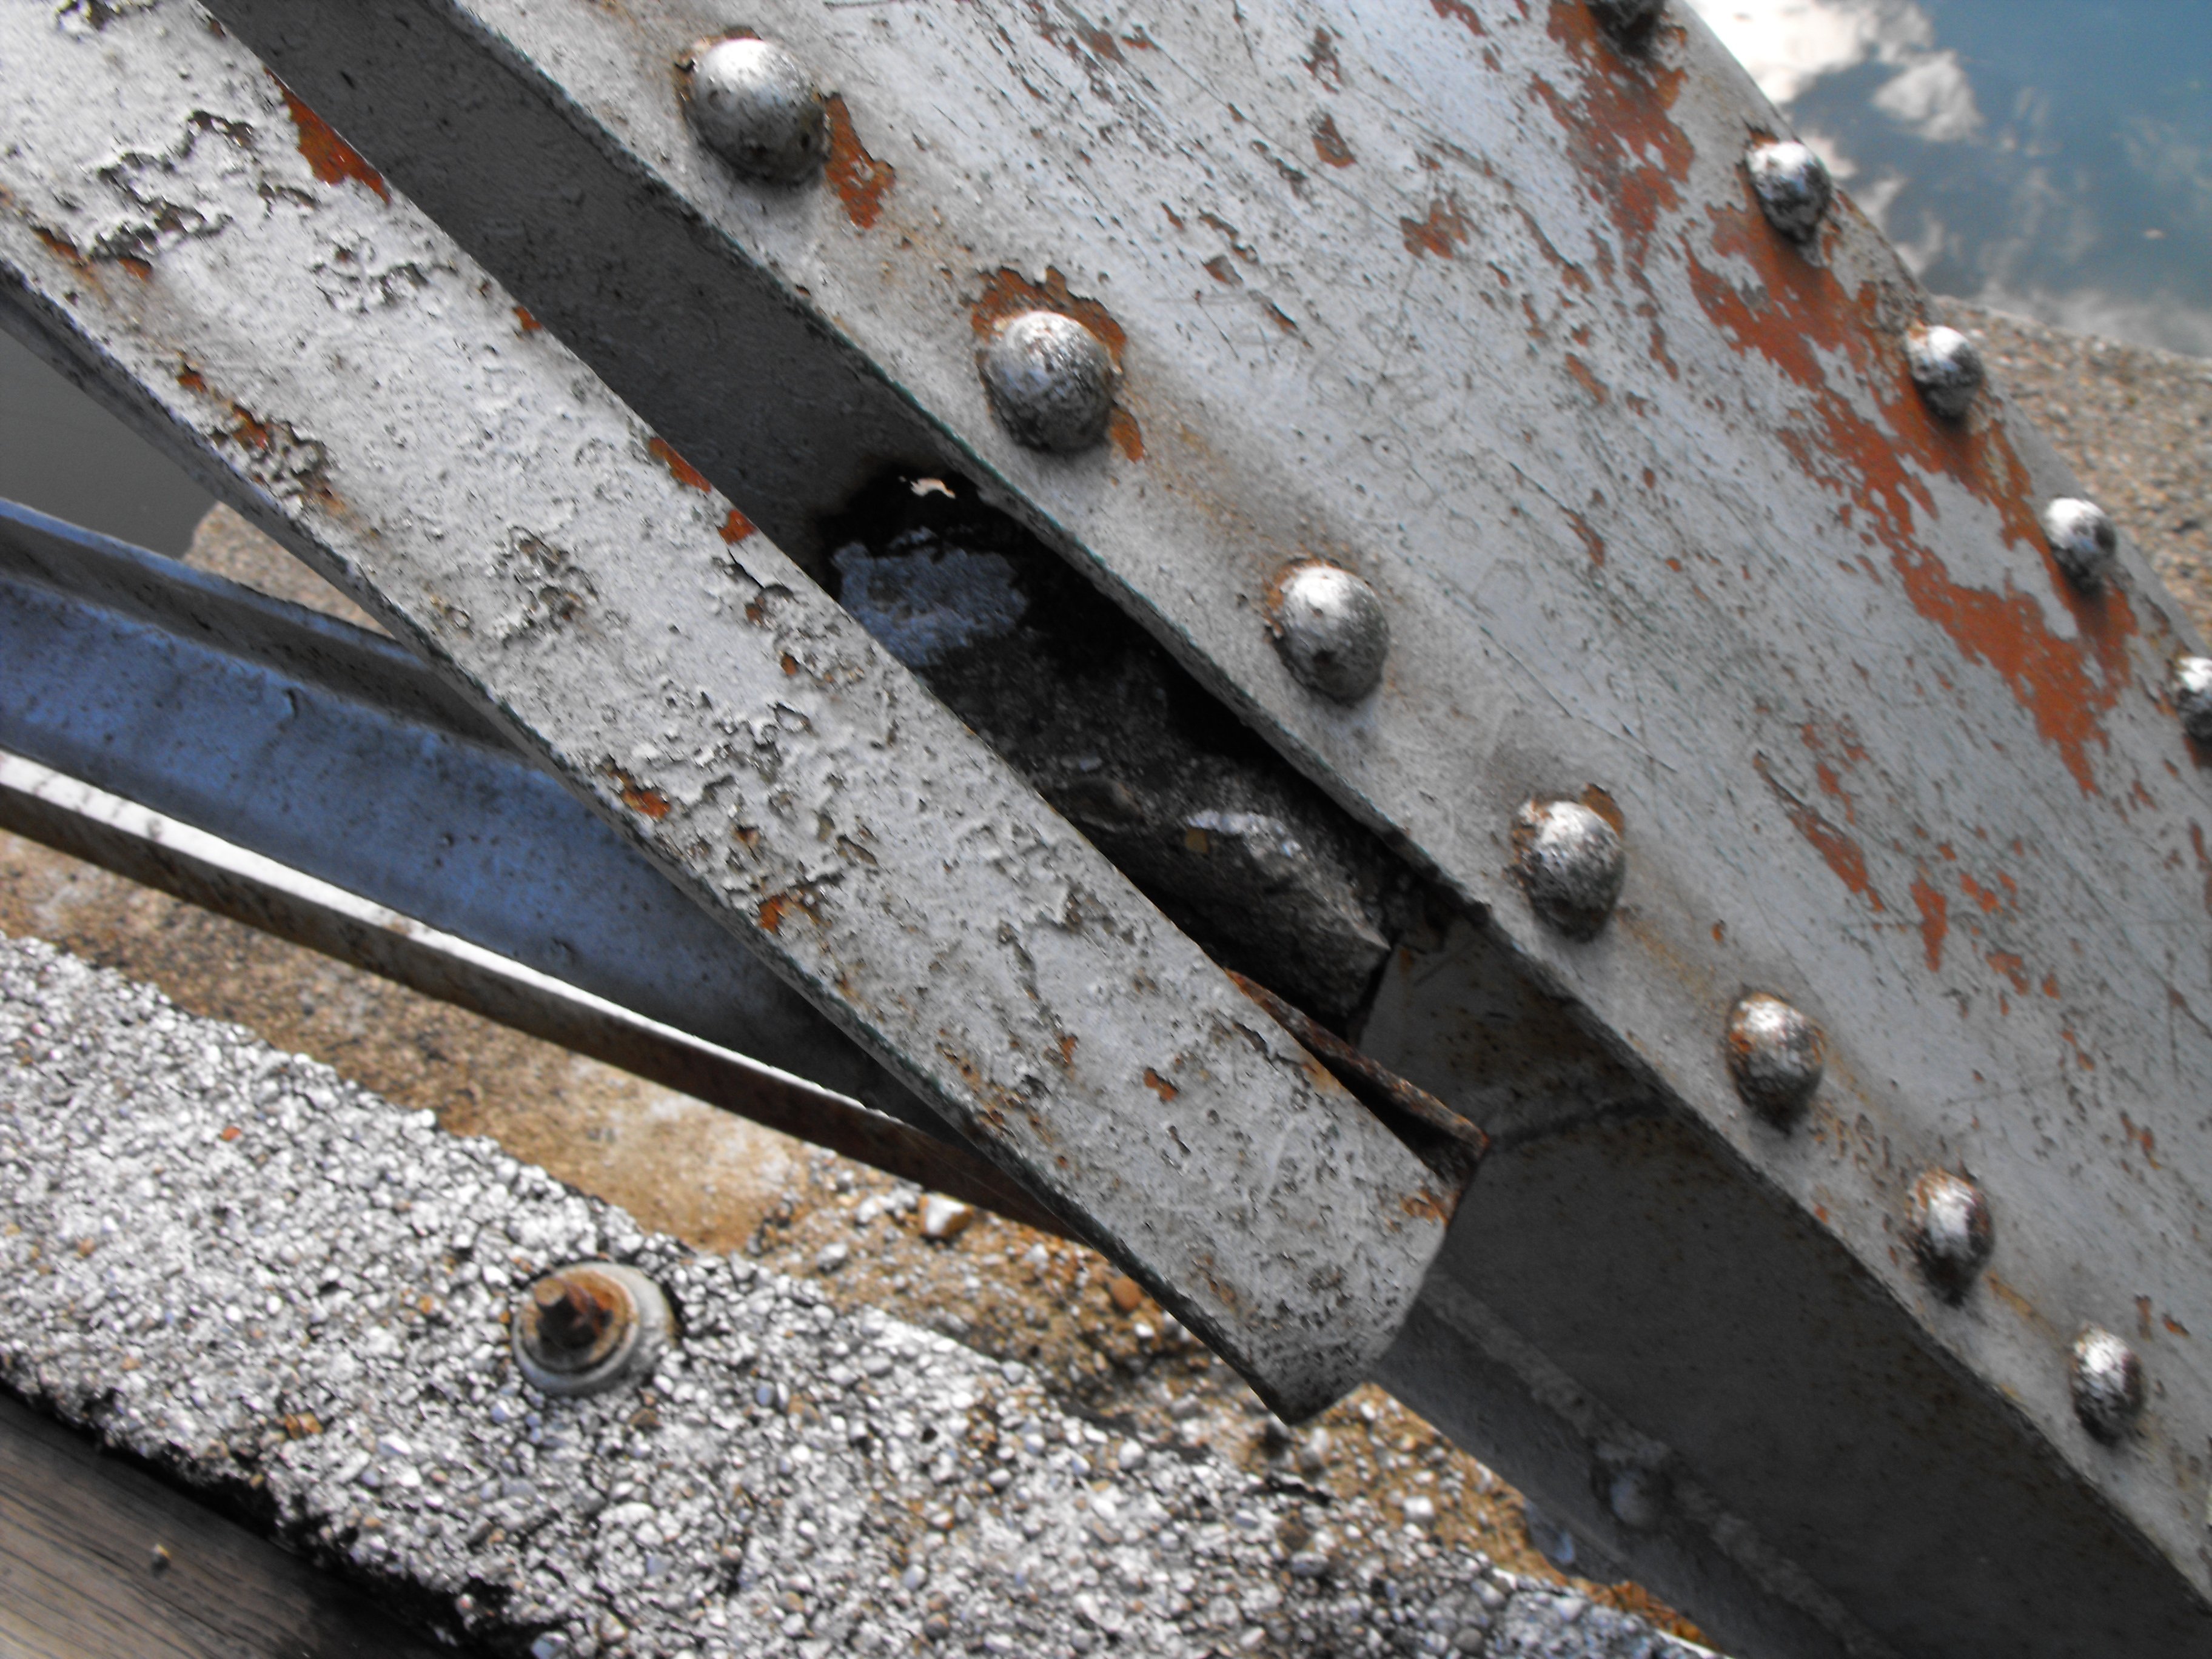
Section loss at base of northeast end post.
![]()

Section loss on end post at northeast quadrant.
![]()


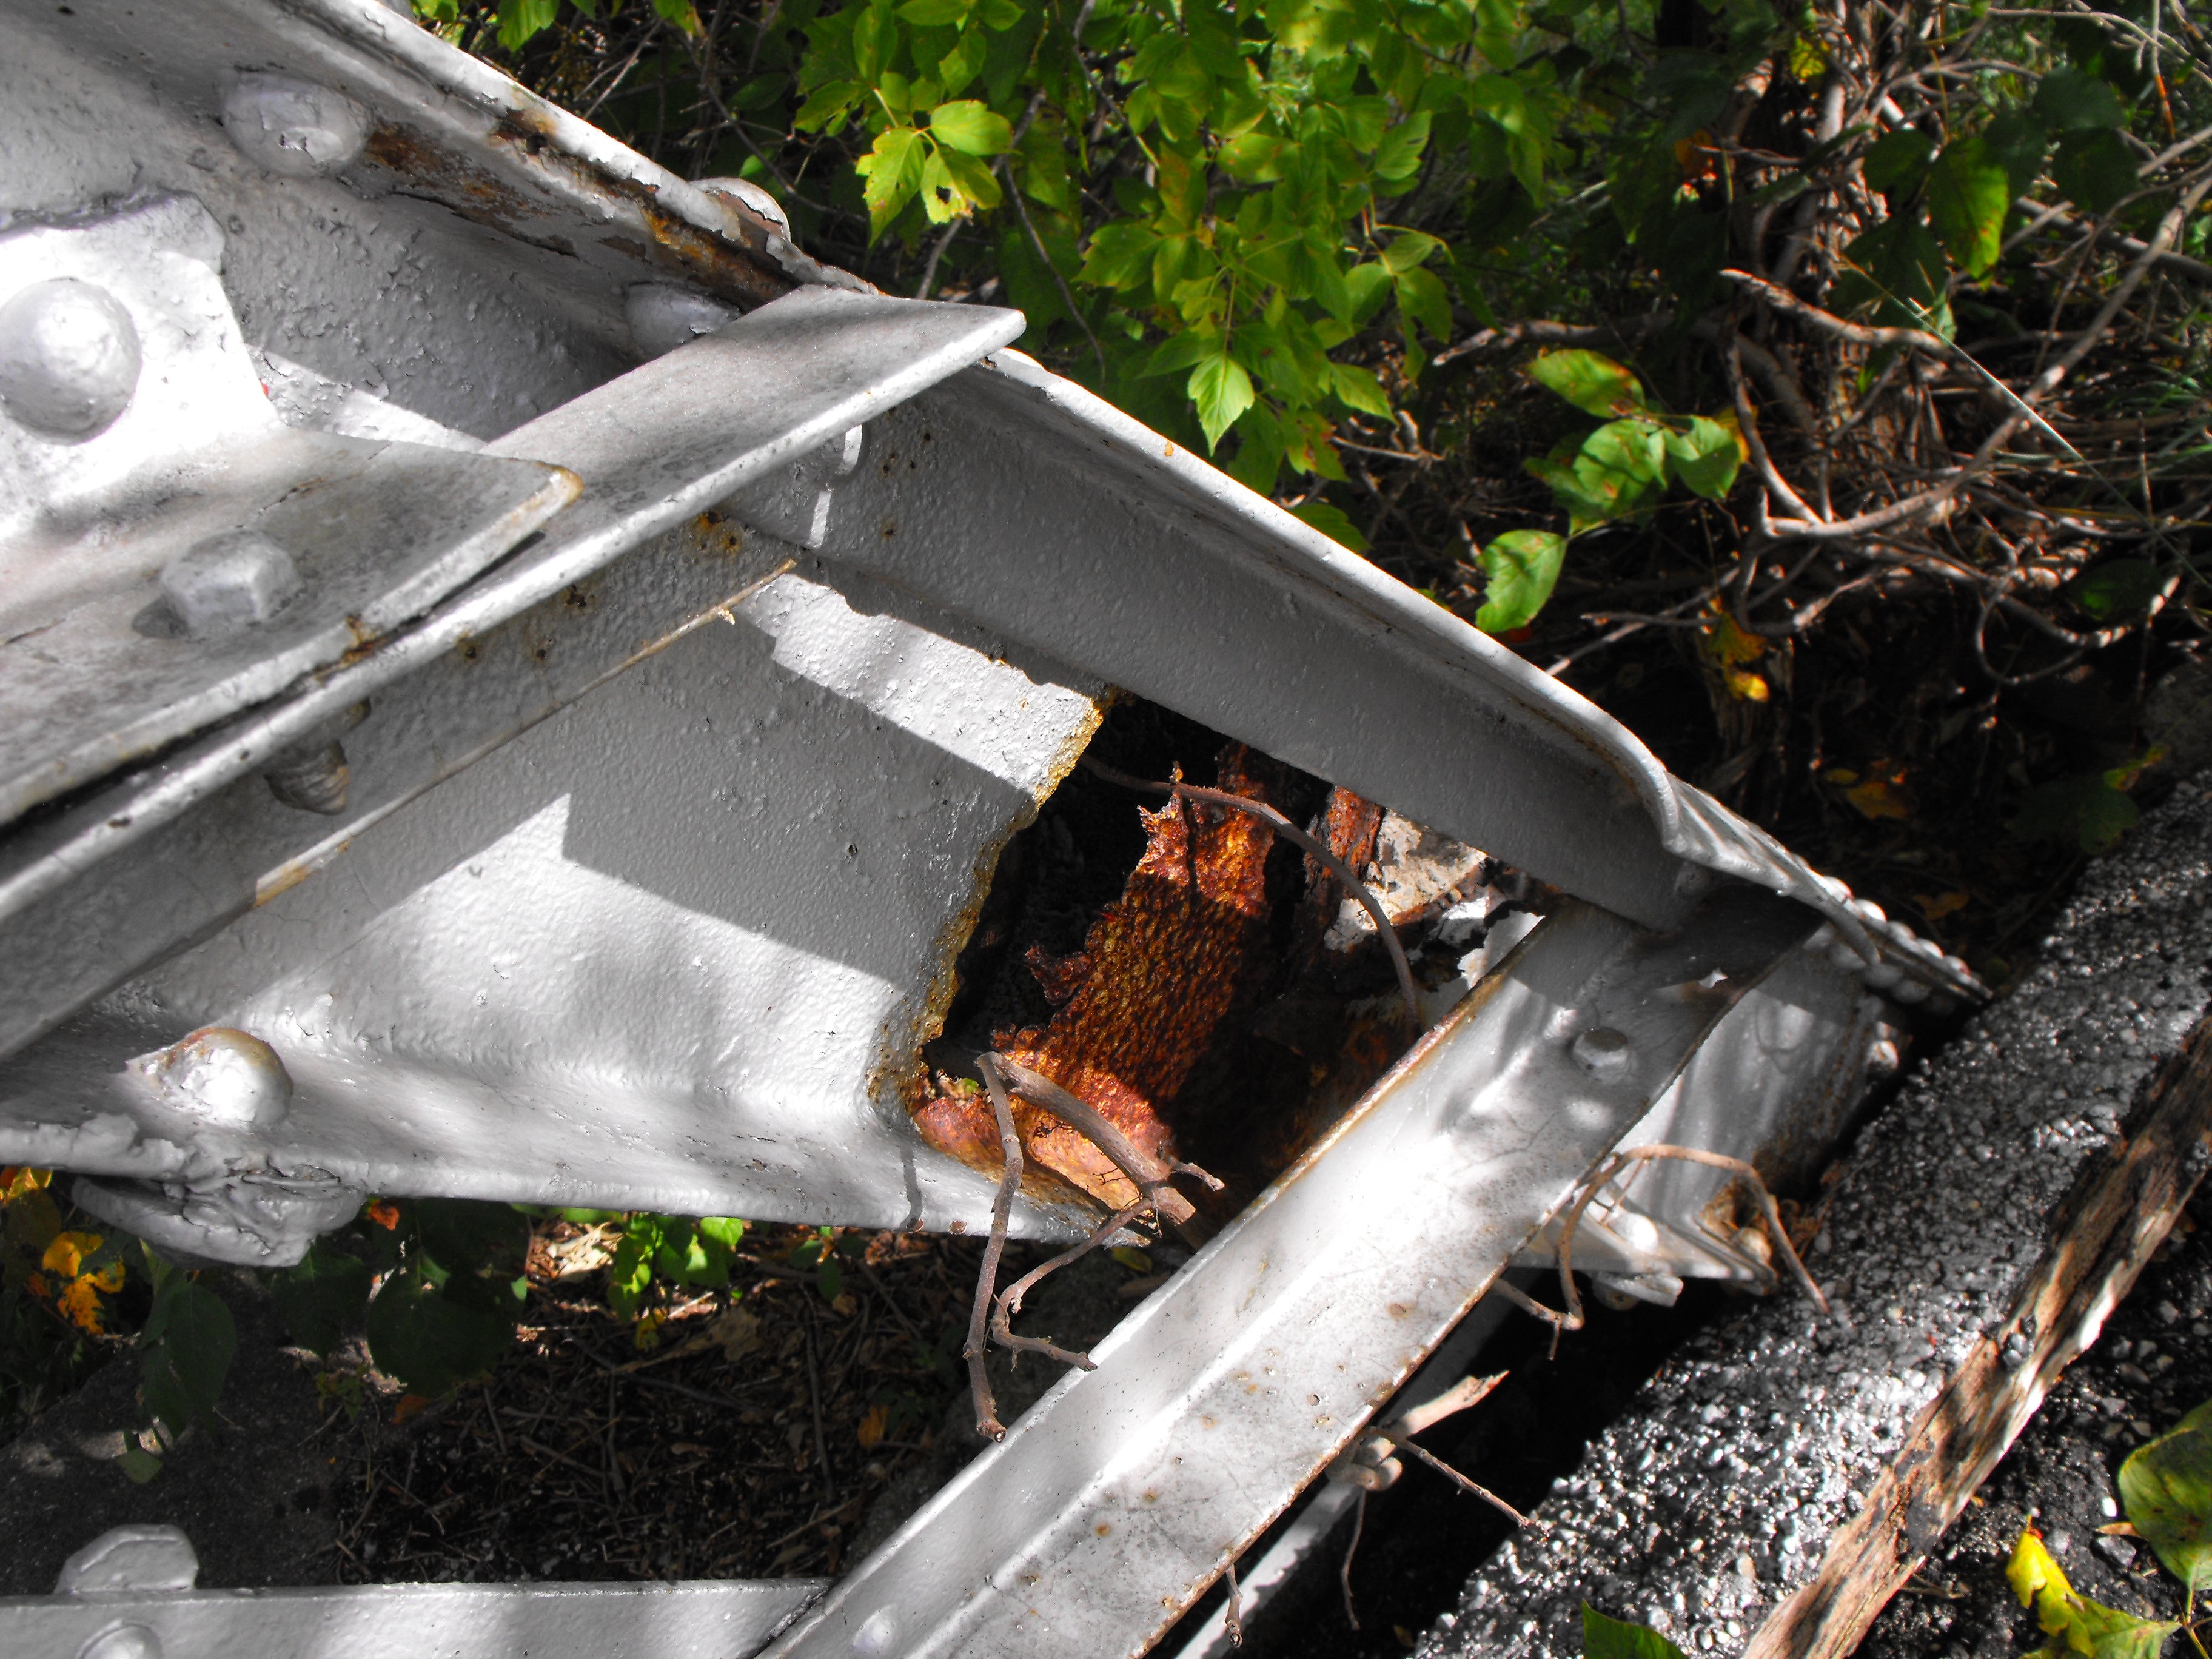
Views inside northeast end post.
![]()


Vertical members.
![]()


Hip vertical member.
![]()


Turnbuckles on diagonal members.
![]()


End post.
![]()


Railing overview.
![]()

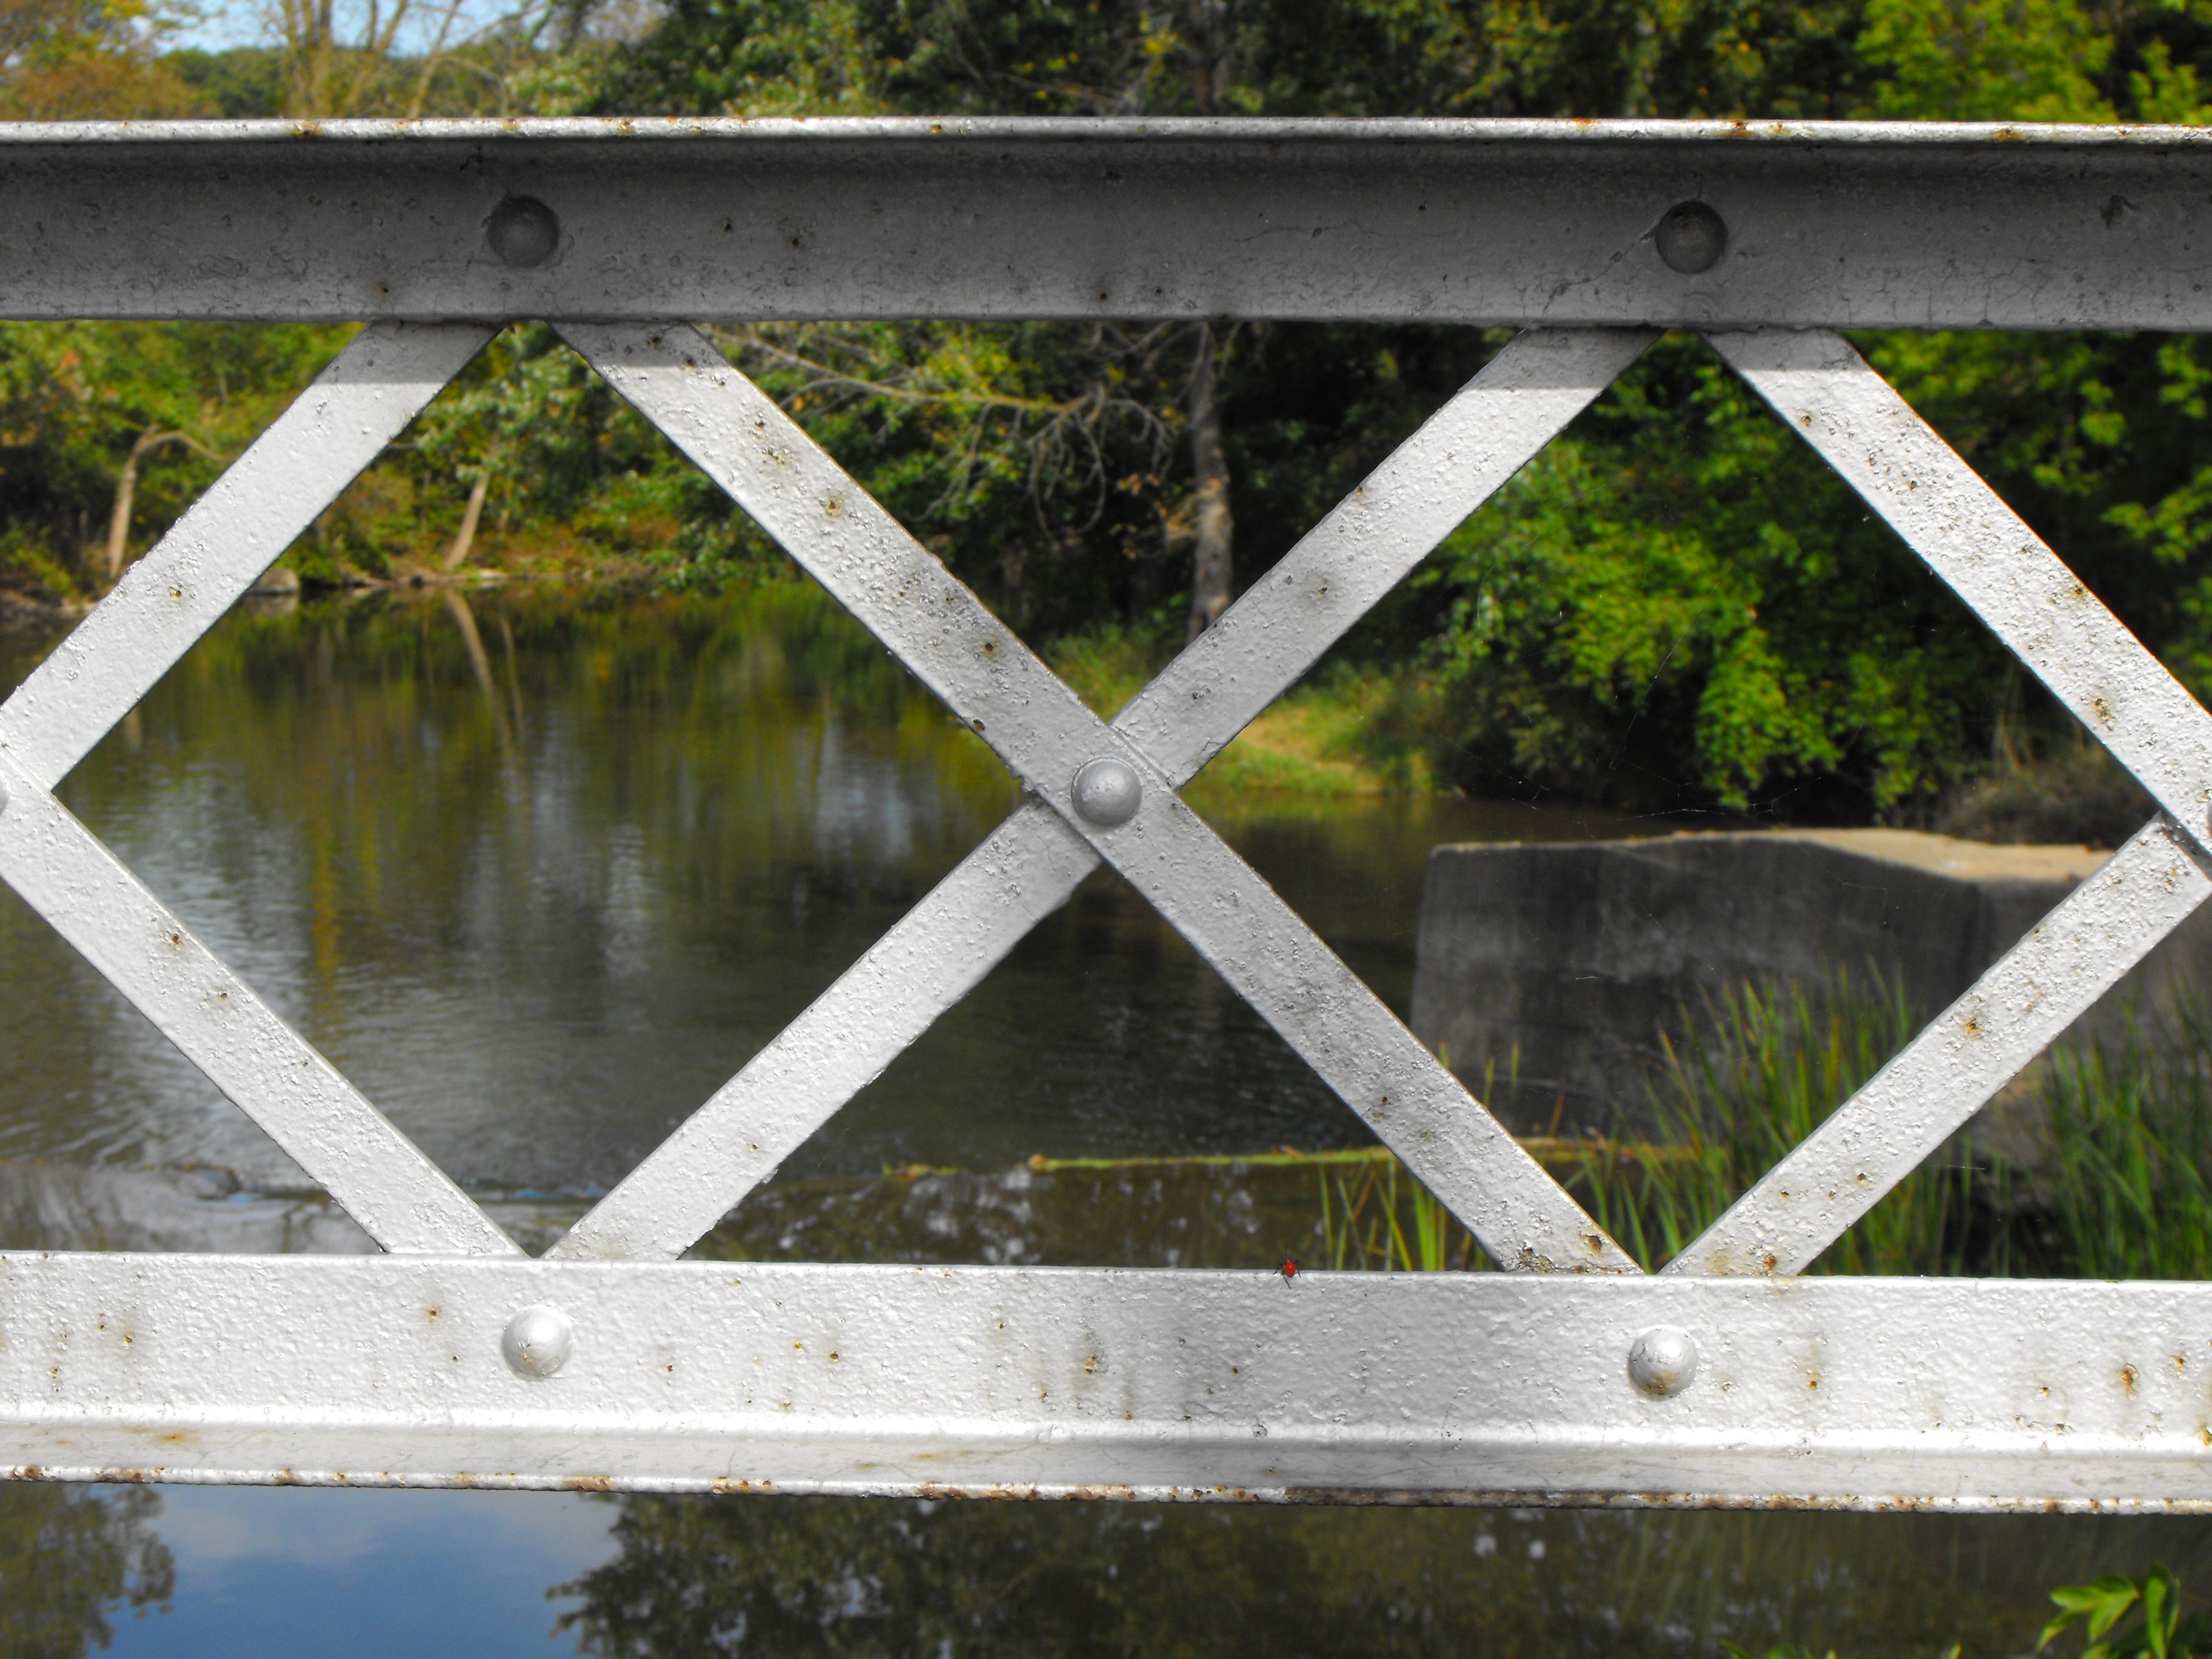
Railing detail.
![]()


Bottom chord, endpost, and bearing all buried in dirt at northeast quadrant.
![]()


Top chord.
![]()

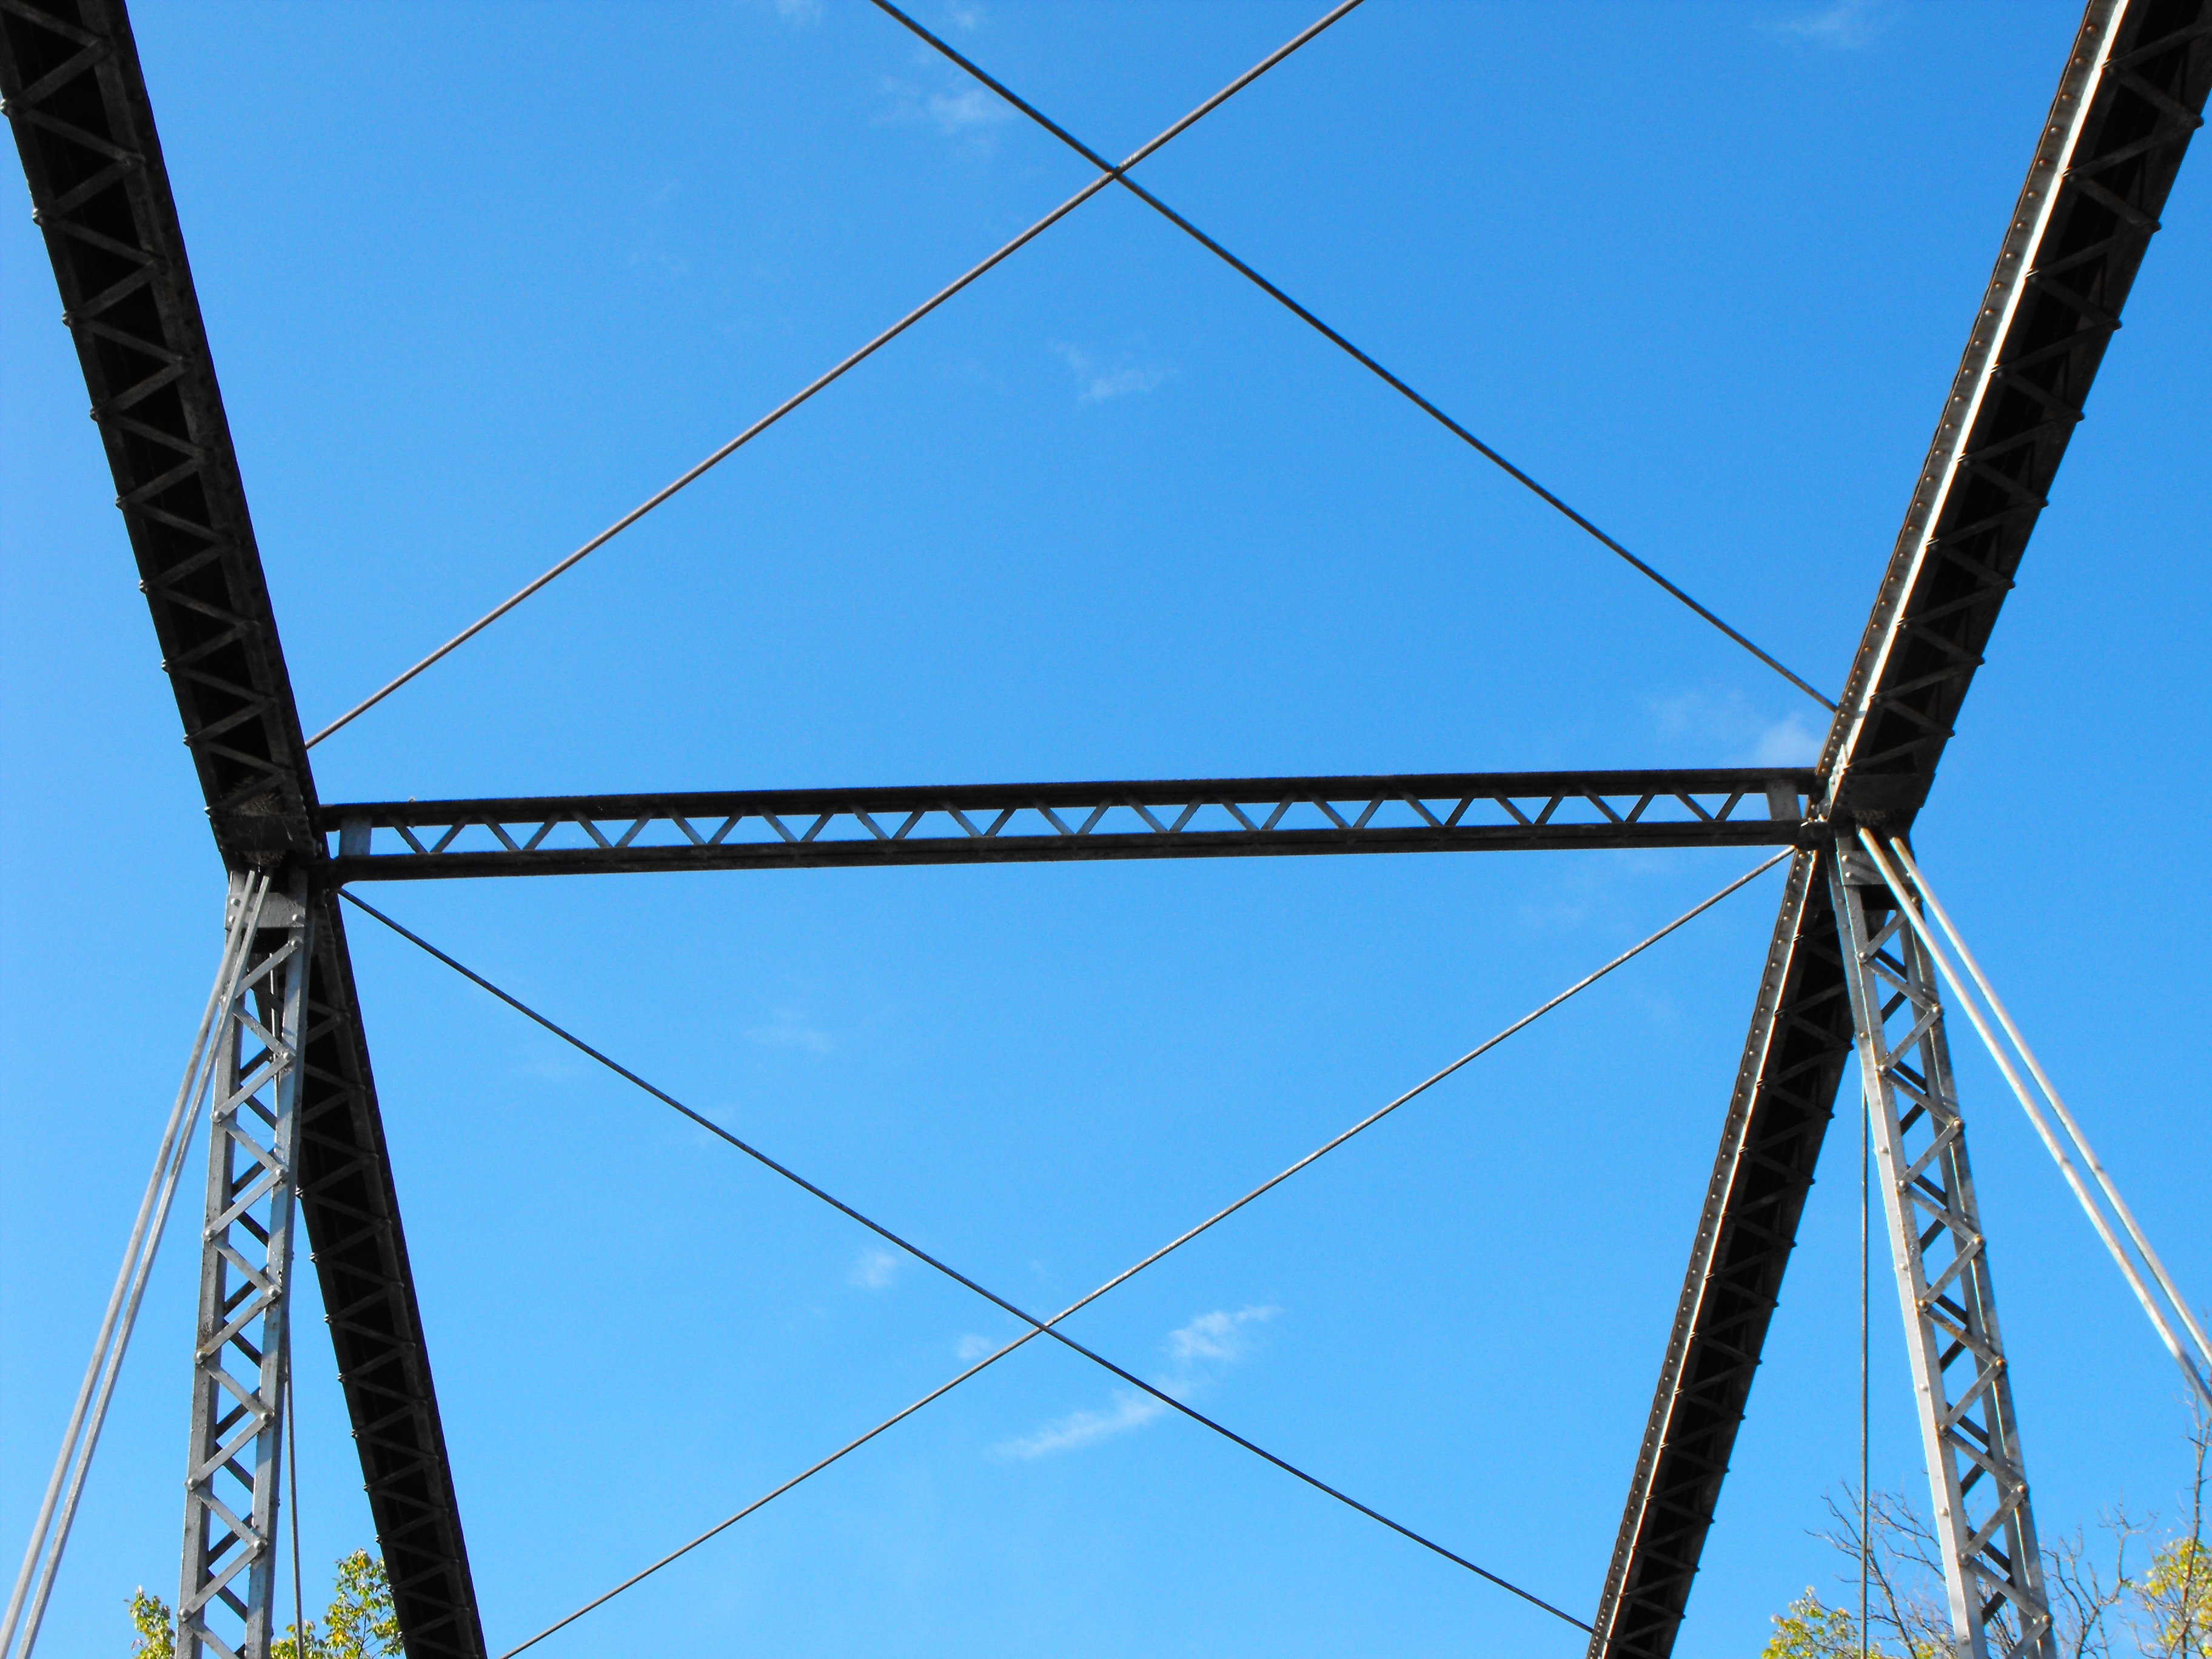
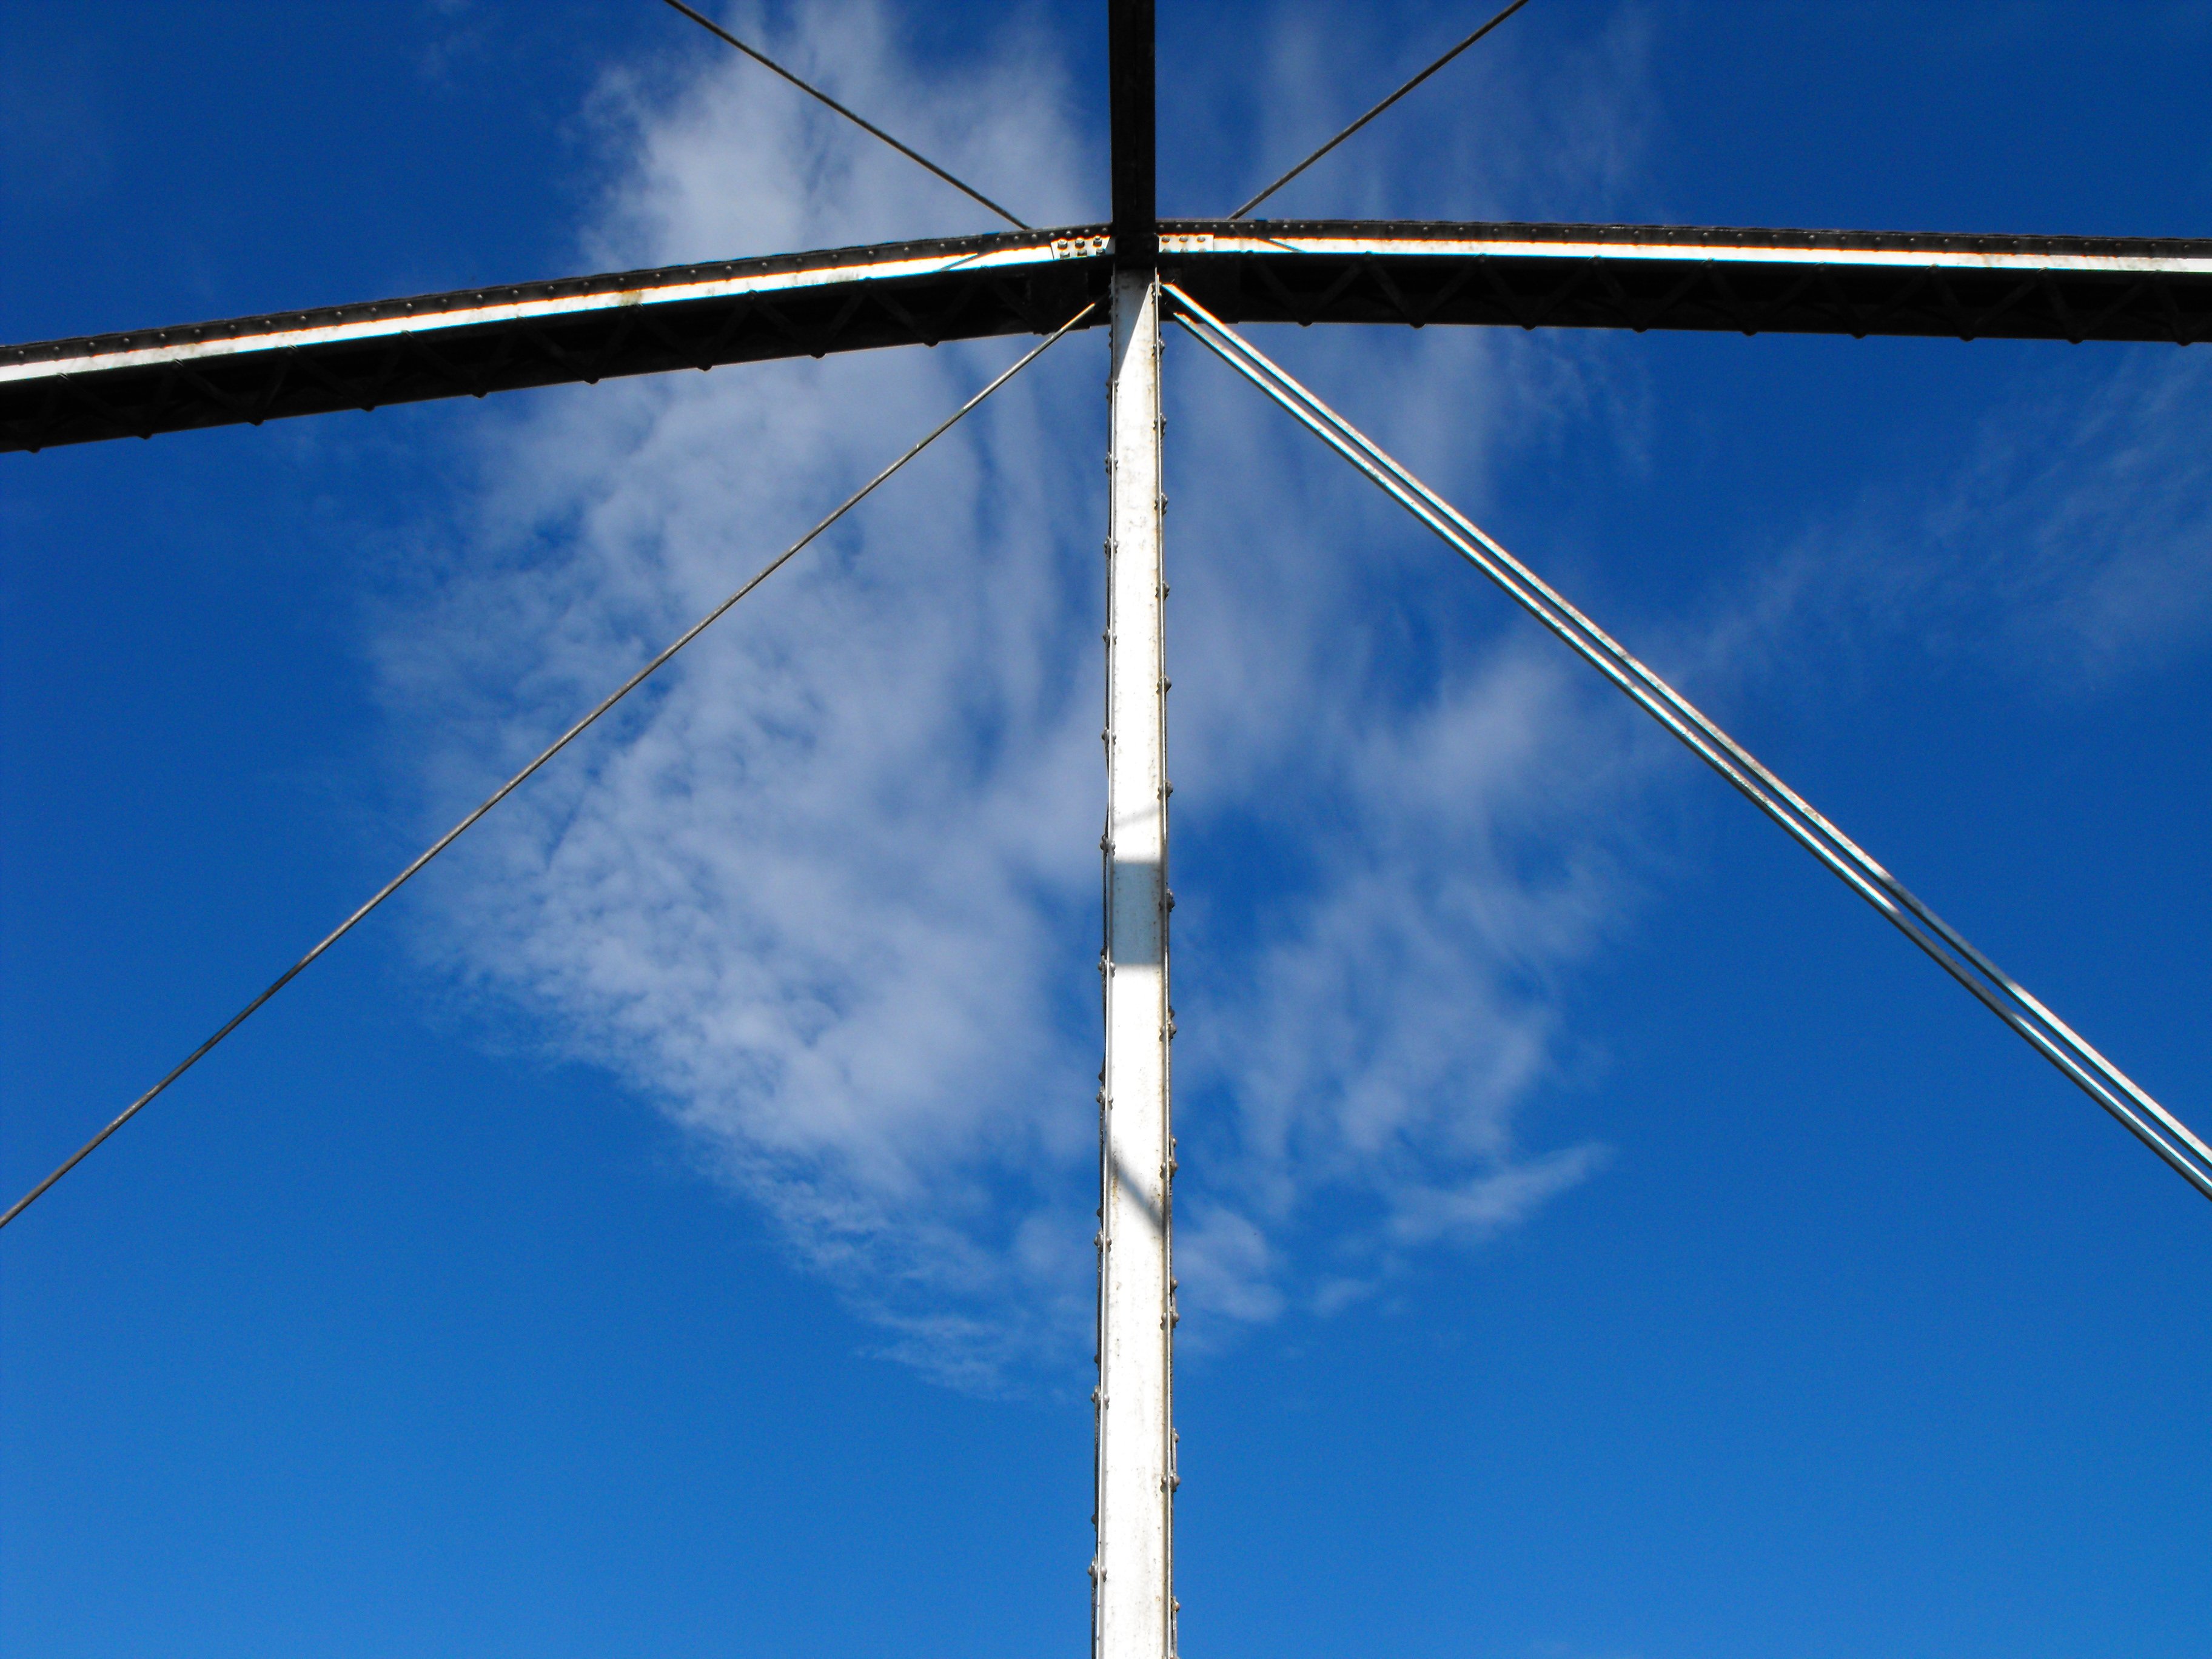
Sway bracing.
![]()

Portal bracing.
![]()


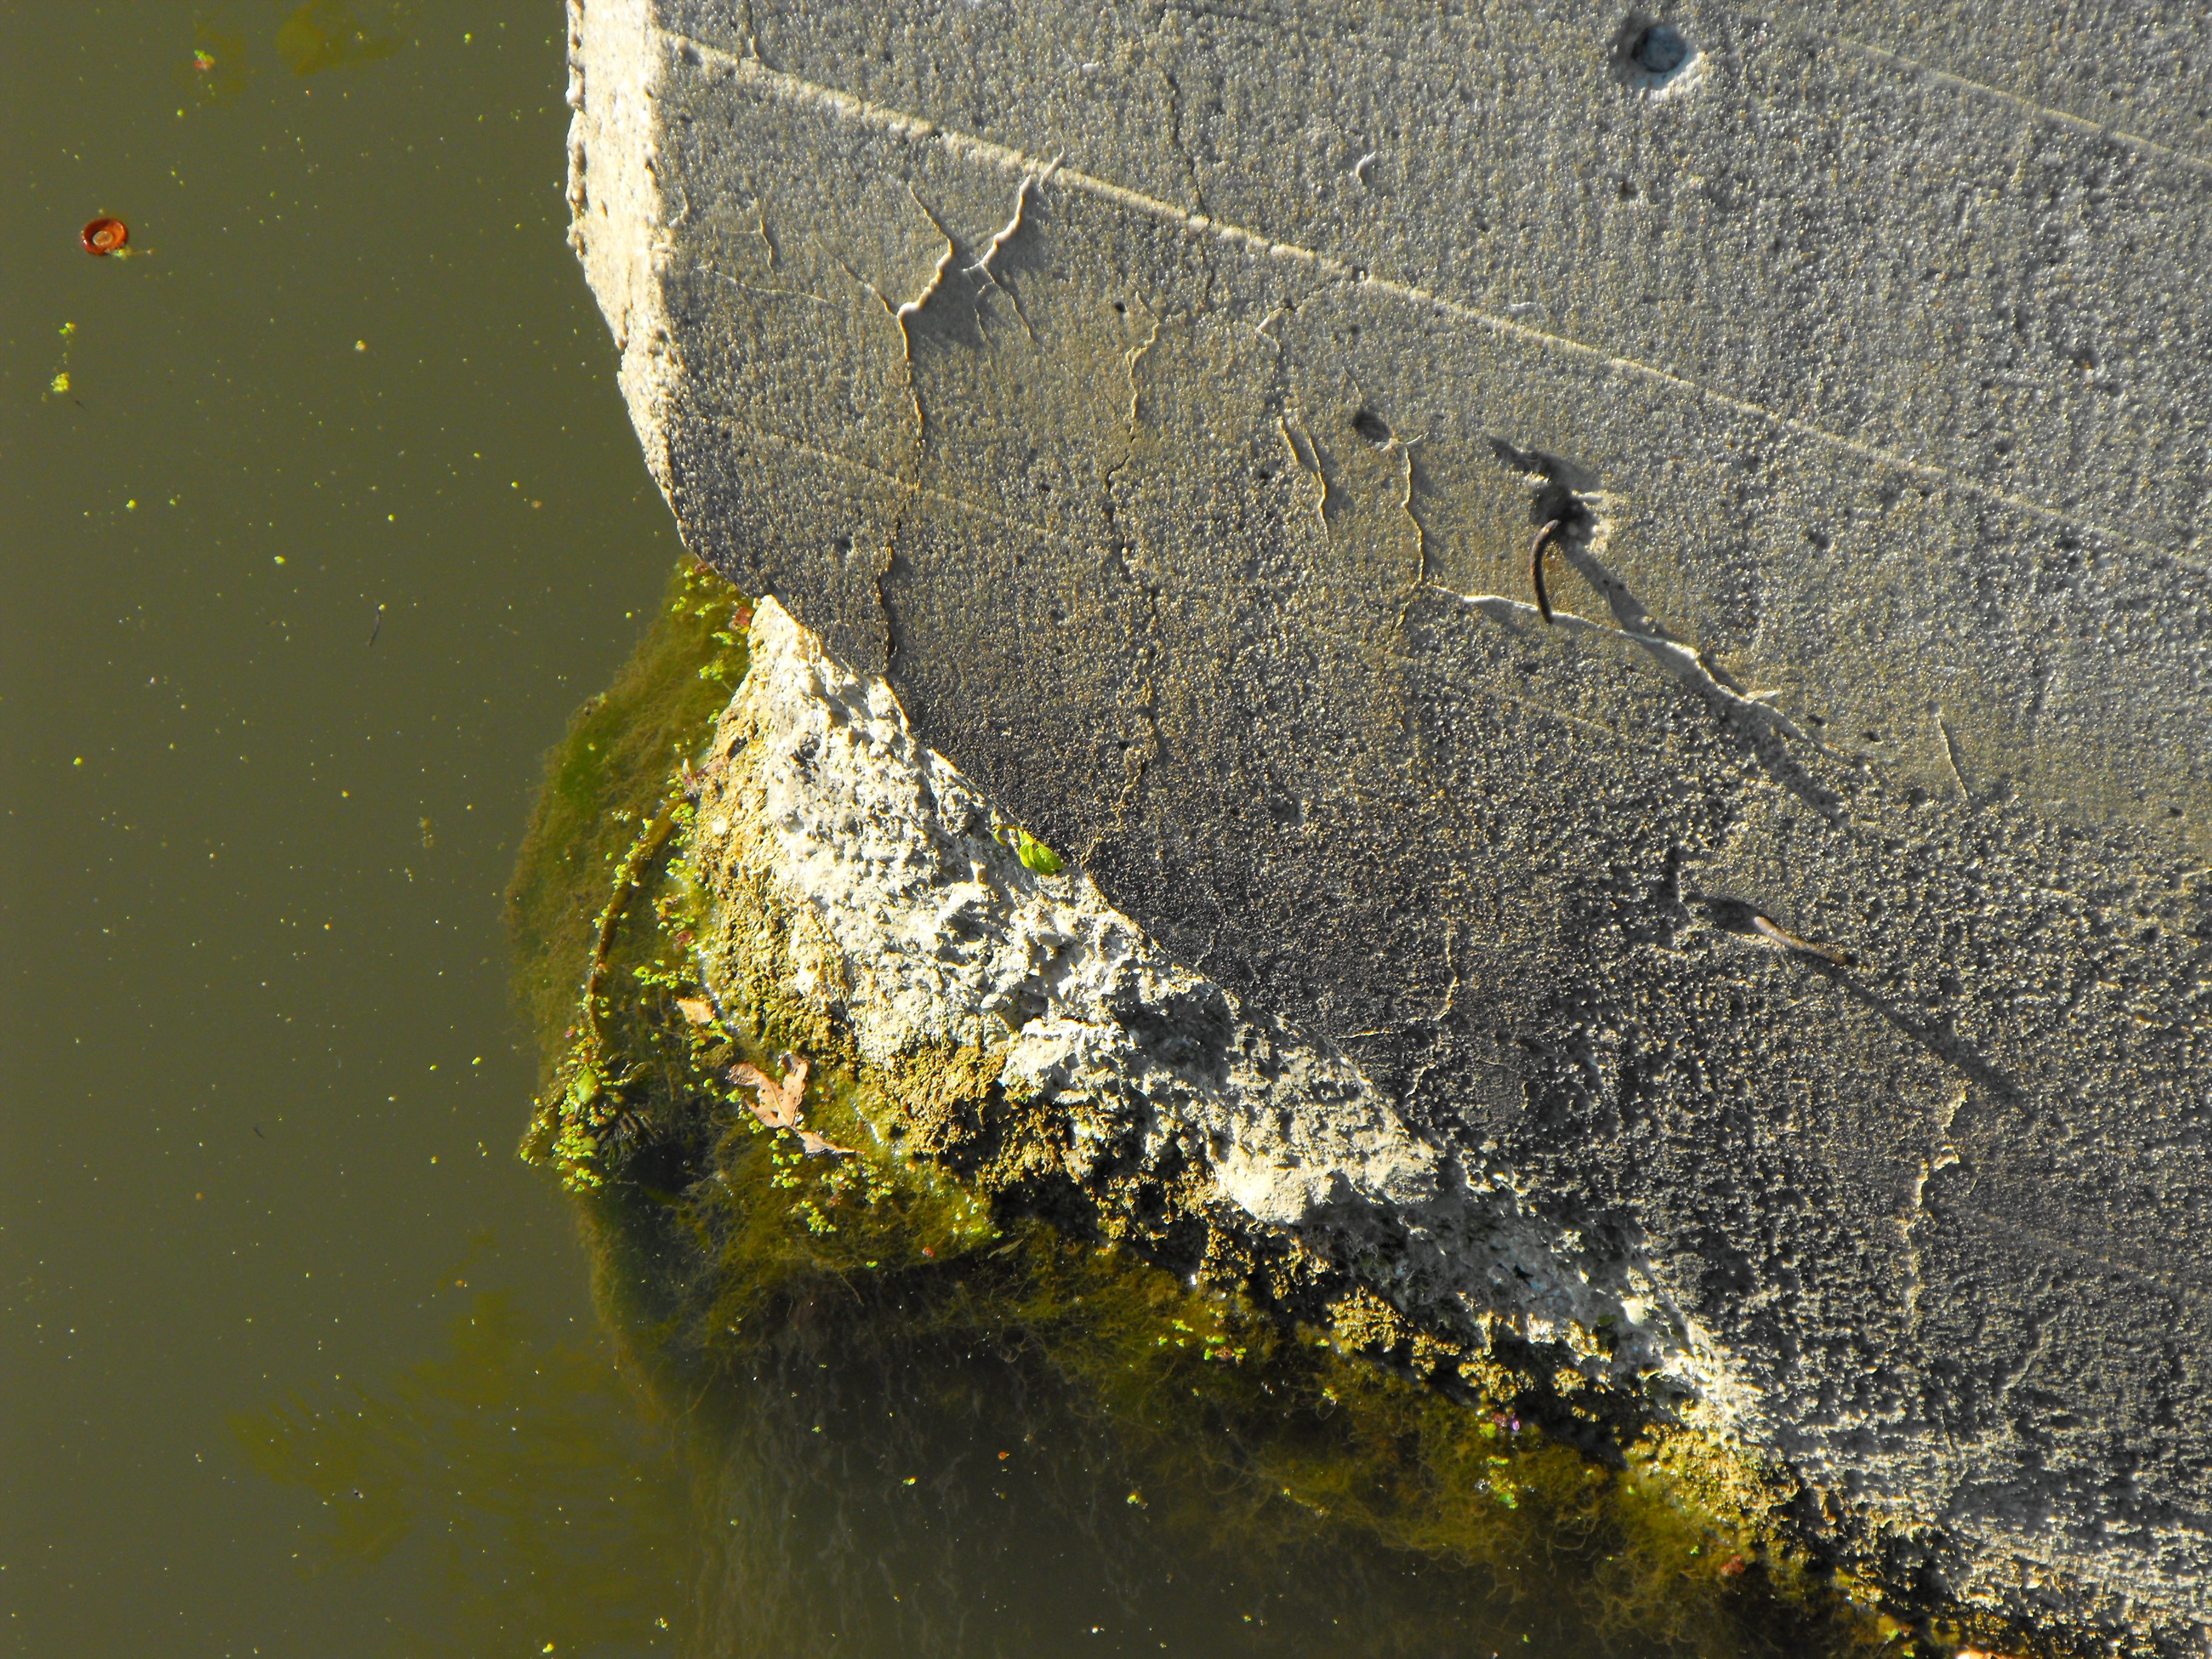
Northwest abutment corner.
![]()

Northeast abutment corner.
![]()


Southwest abutment corner.
![]()

Southeast abutment corner.
![]()


Views under bridge showing floorbeam and deck stringers.
![]()


Floorbeams and lateral bracing connection.
![]()


Deck stringers. Some have significant section loss on the top flange.
![]()


Bearing shoe and connection assembly at northwest corner.
![]()

Roller bearing nest at northwest corner.
![]()

Fixed bearing at southwest corner.
![]()

Fixed bearing at southeast corner.
![]()

Later bracing connection at northwest corner.
![]()


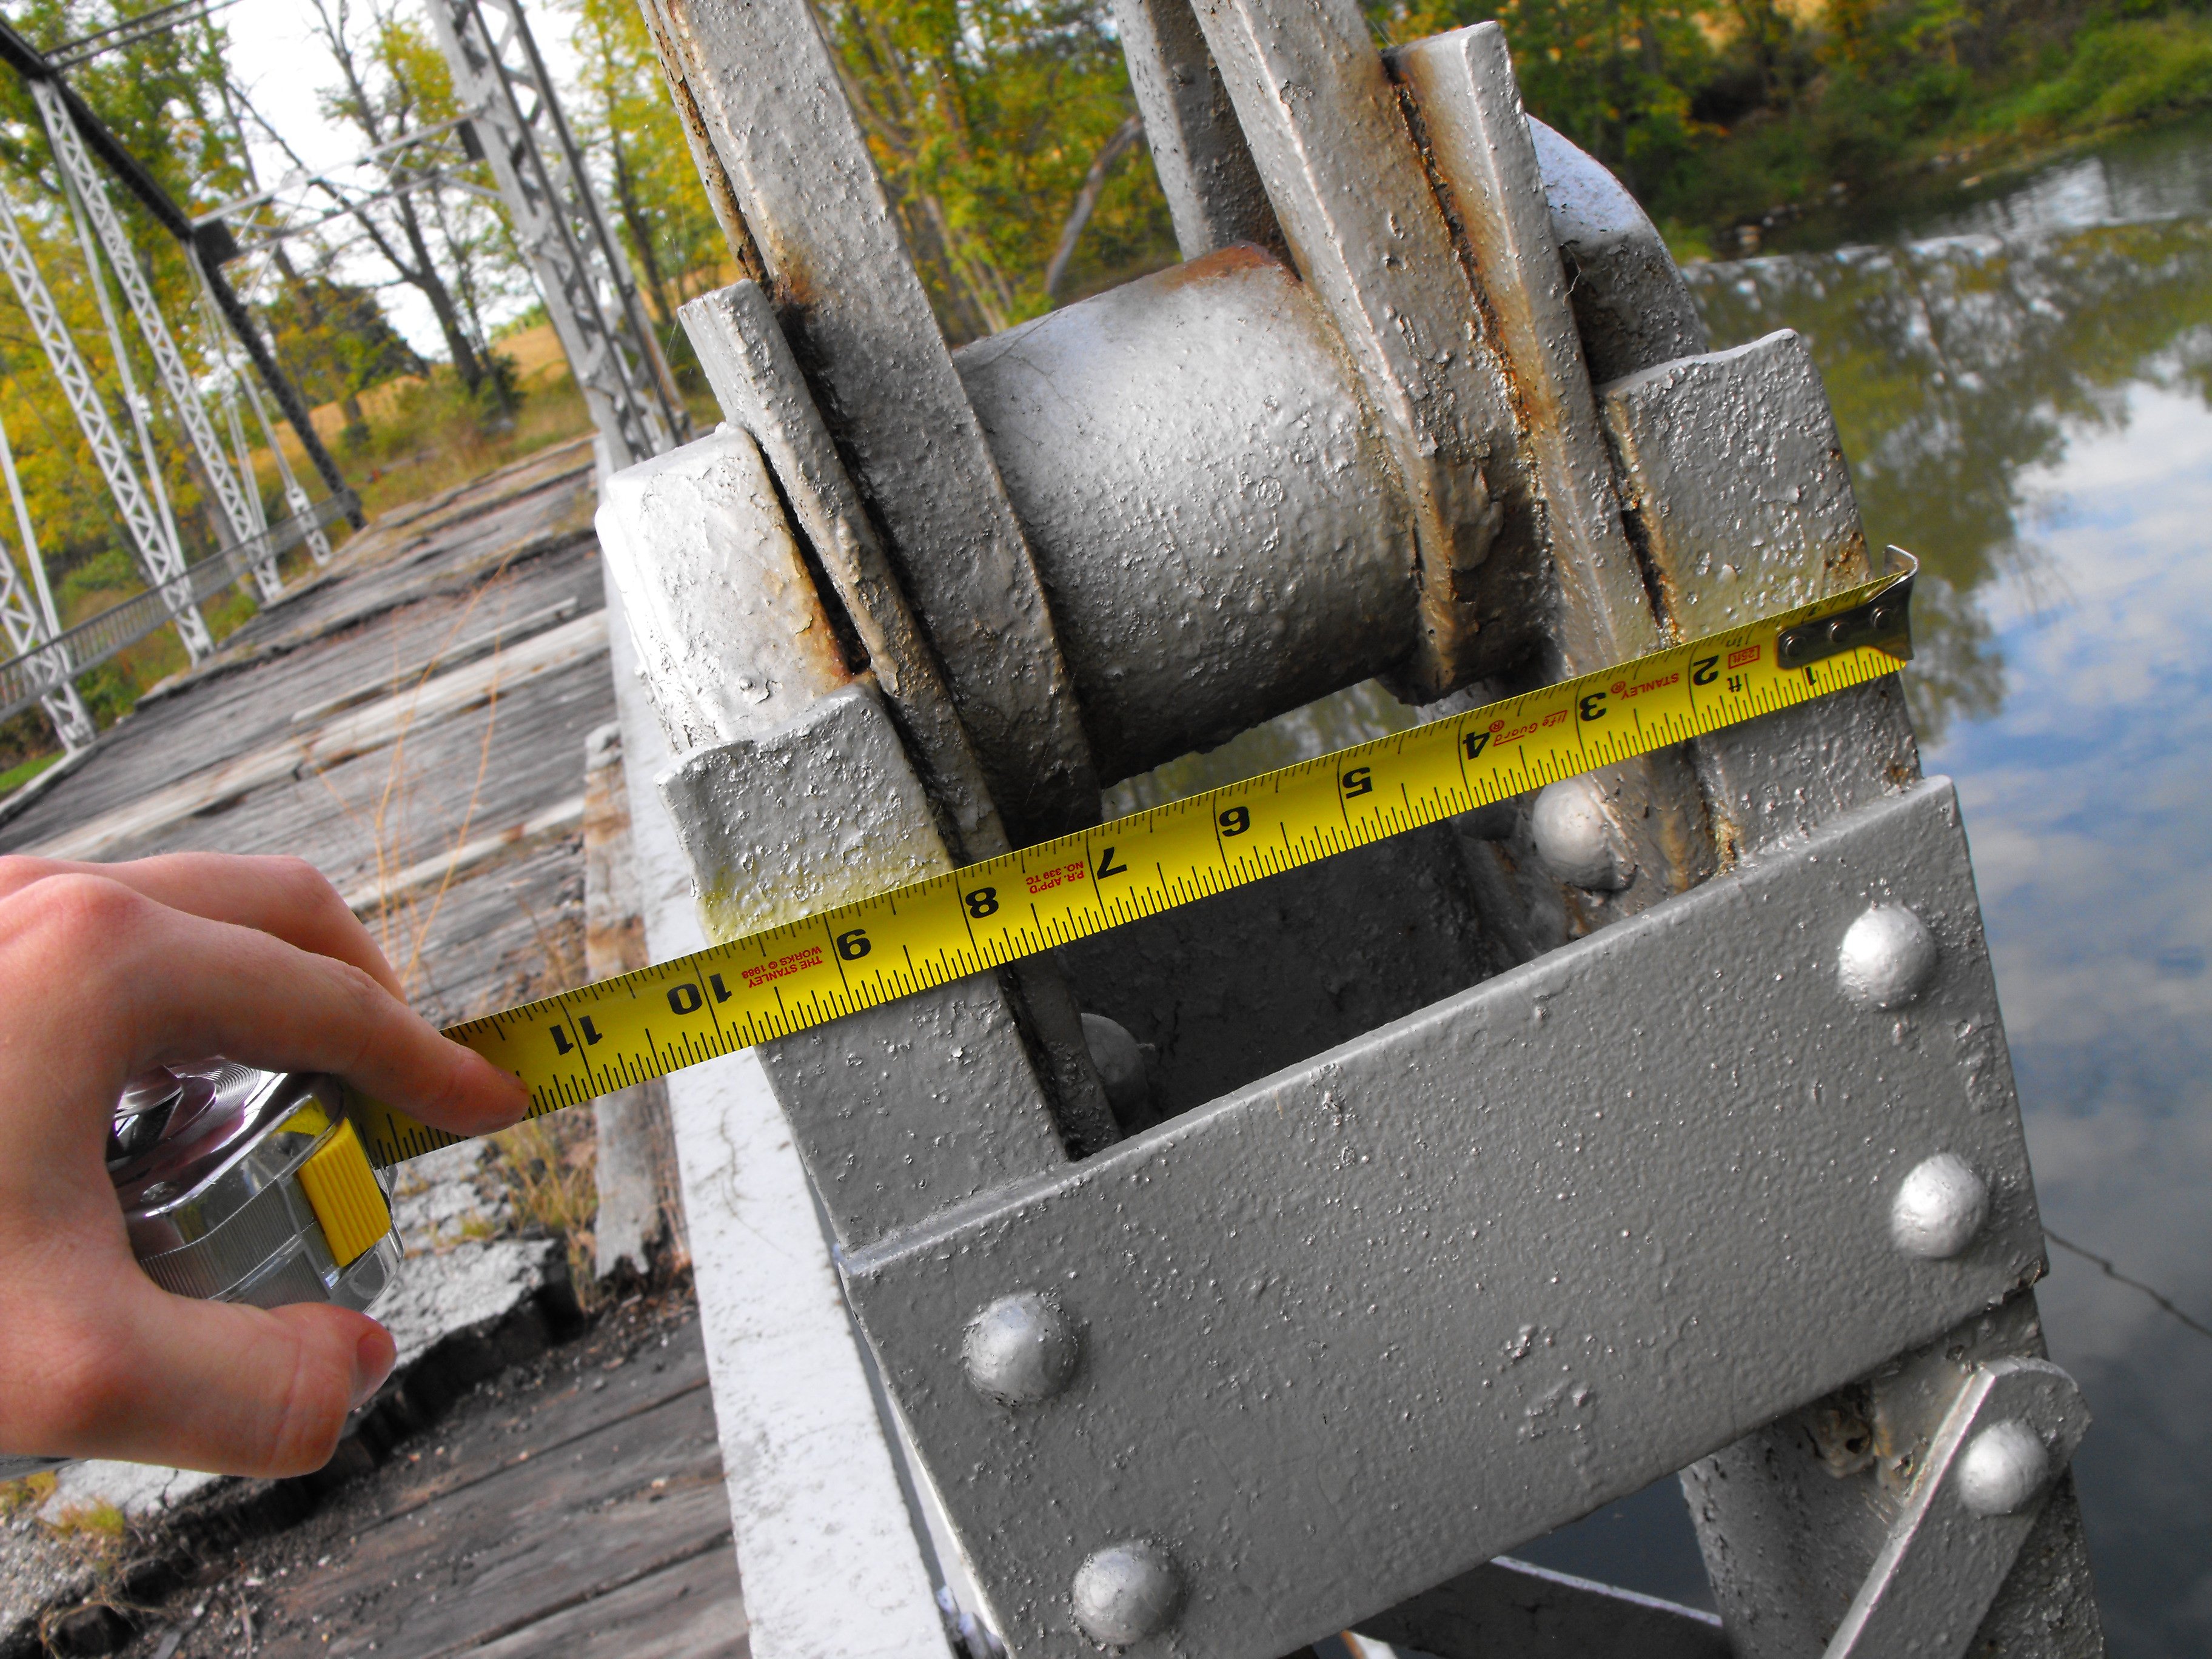
End post measurements.
![]()


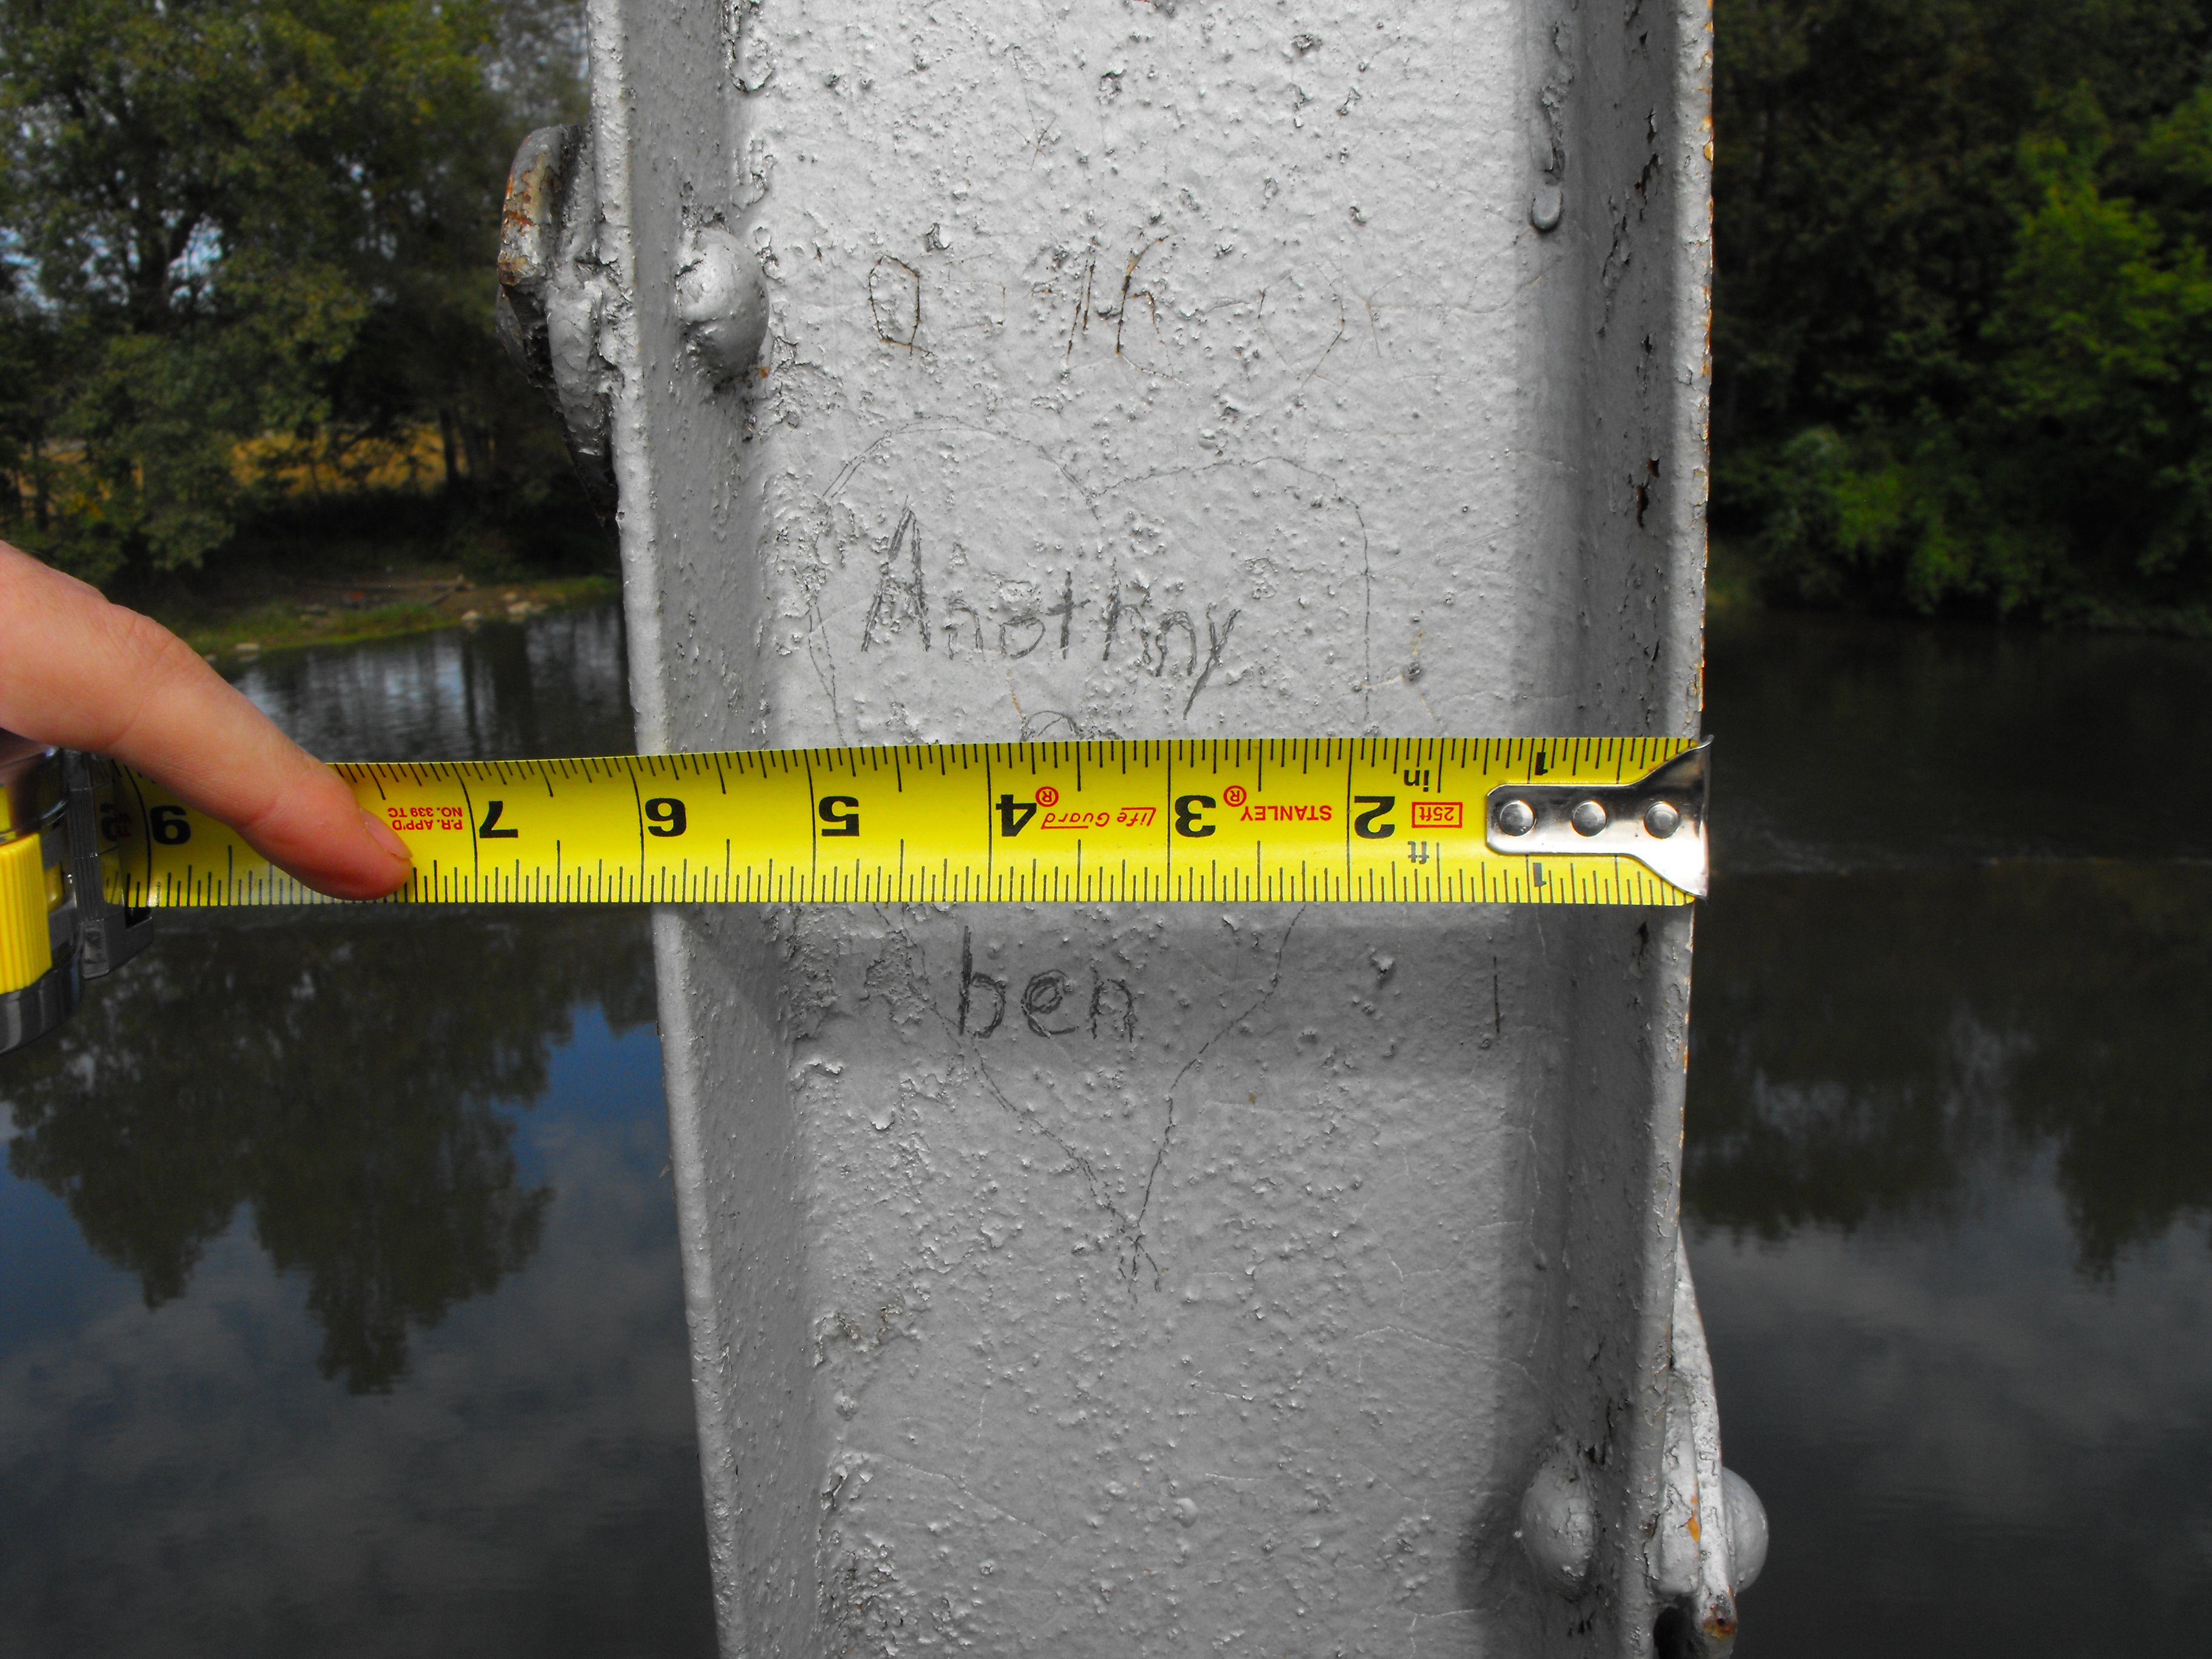
Bottom chord measurements.
![]()


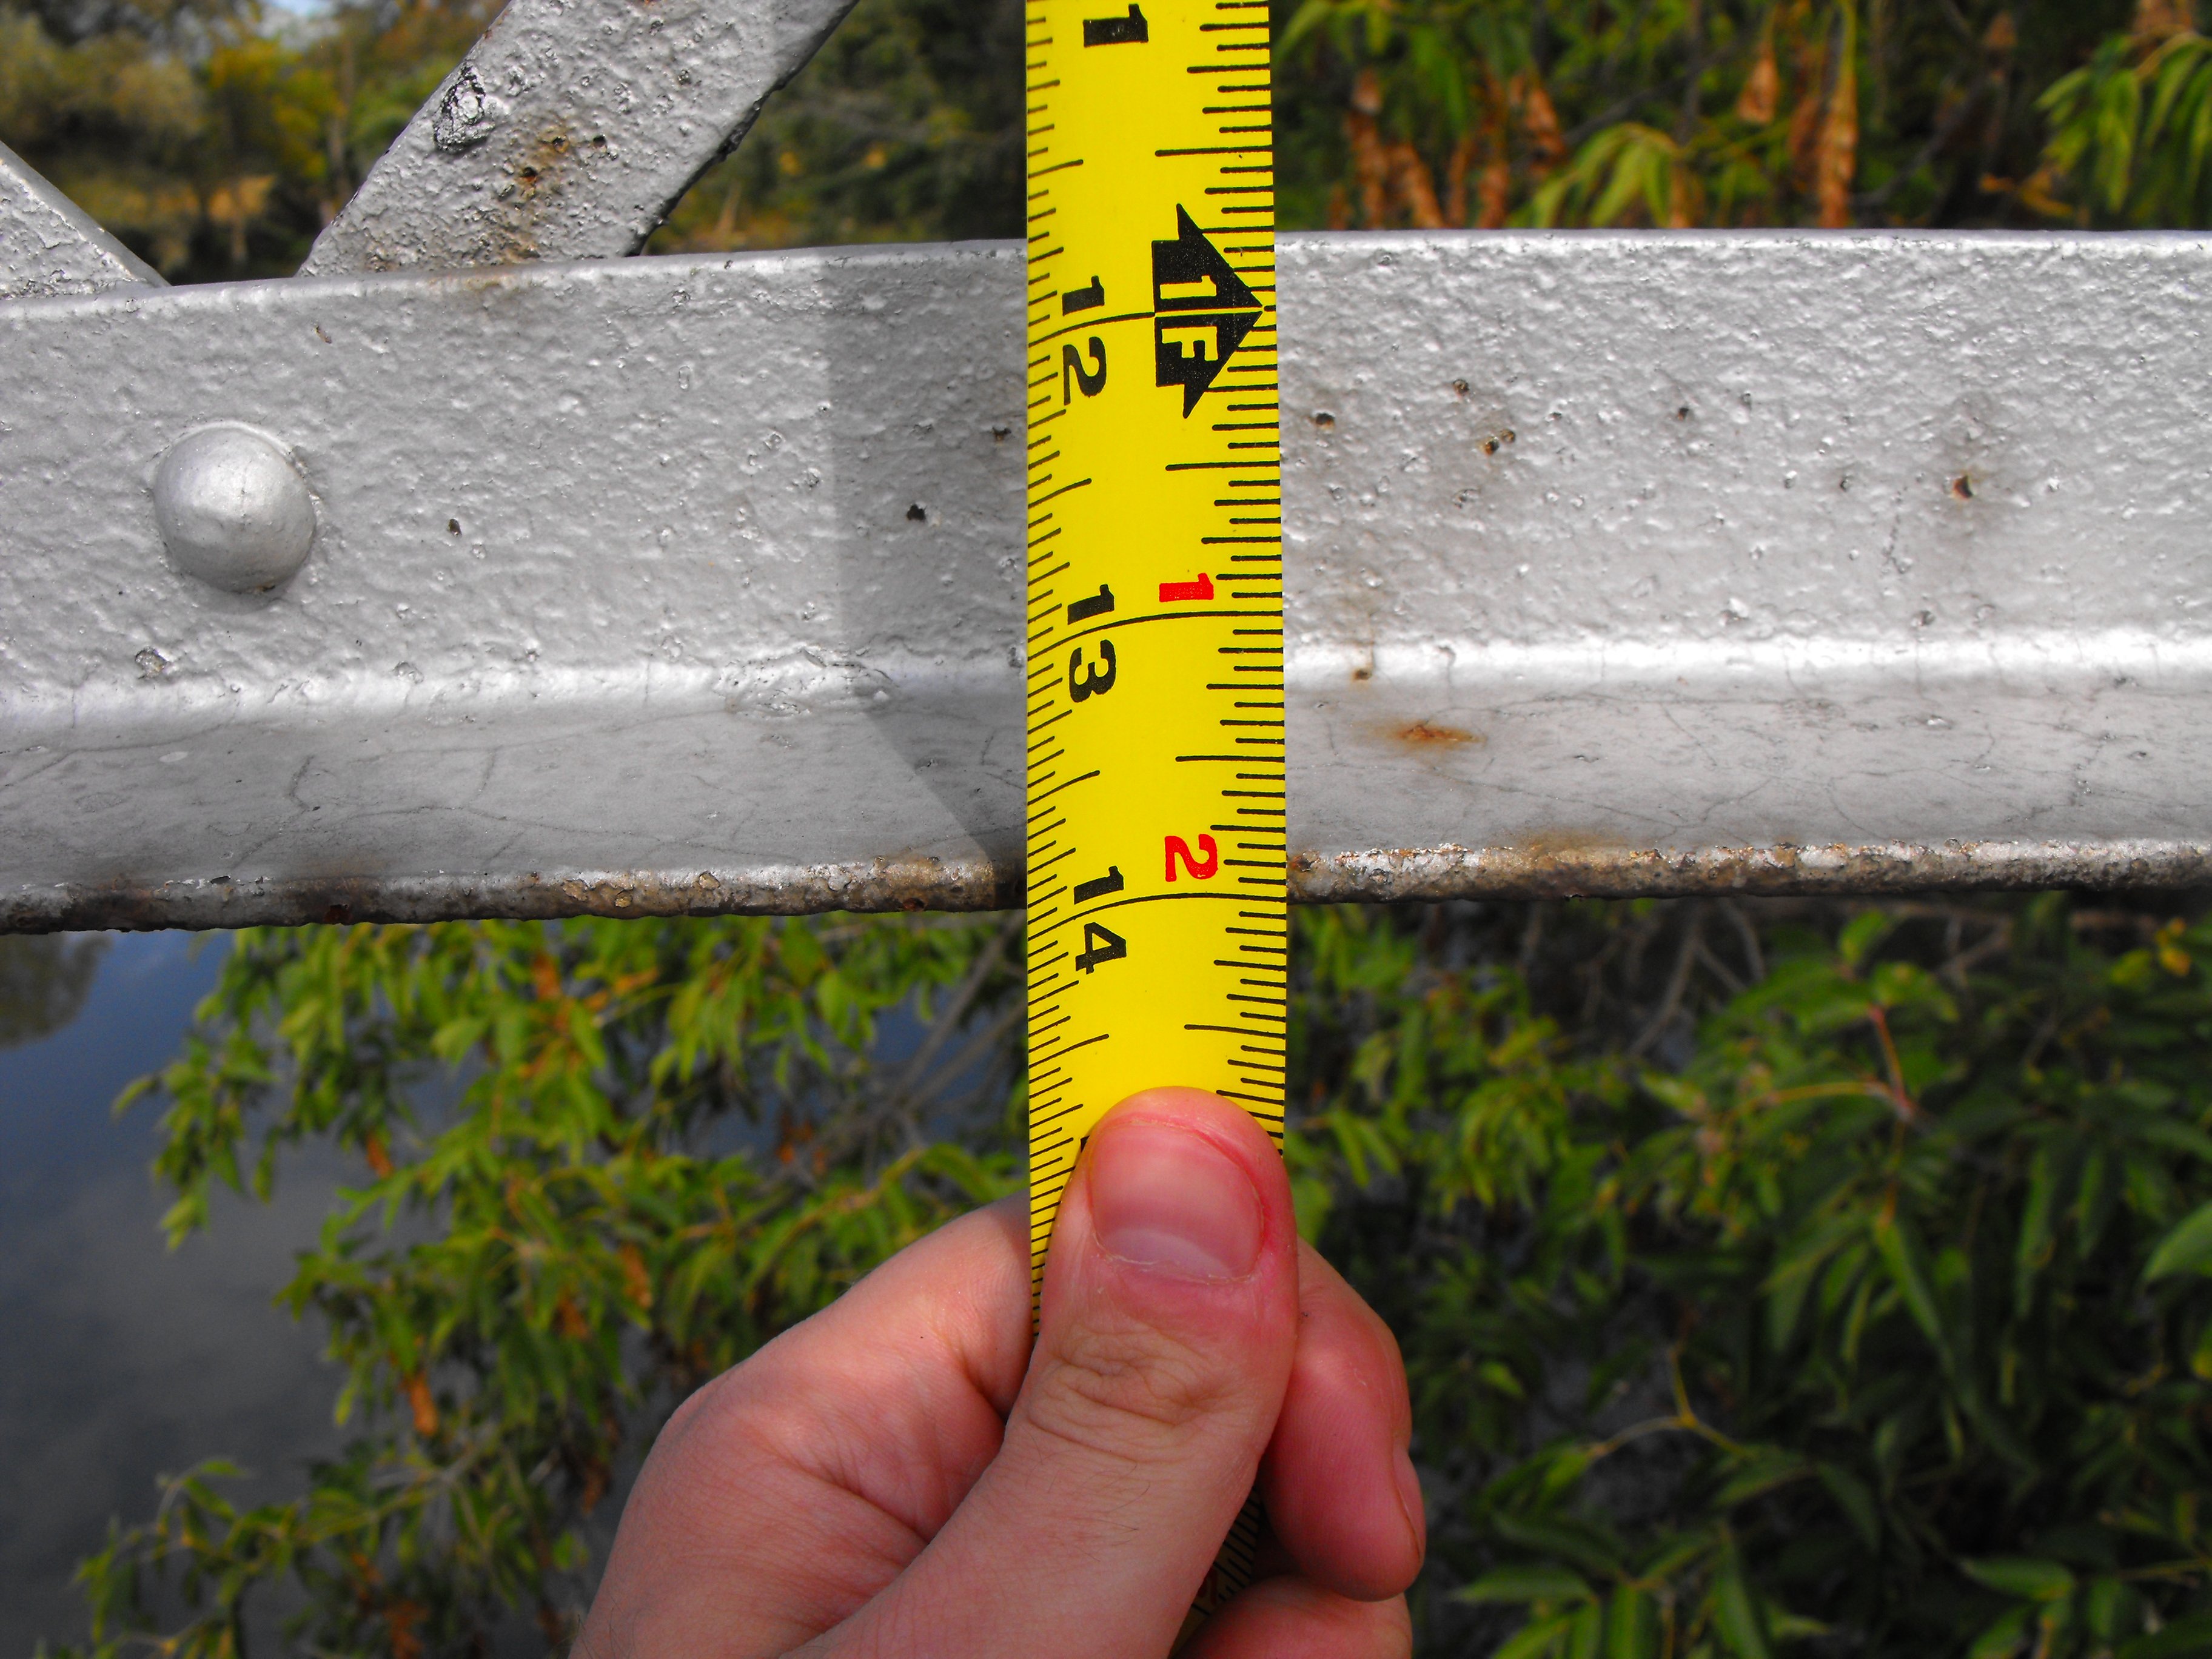
Diagonal member measurements.
![]()

Hip vertical measurements.
![]()


Vertical member measurements.
![]()


Railing measurements.
![]()


Deck stringer measurements.
![]()


Floorbeam measurements.
![]()

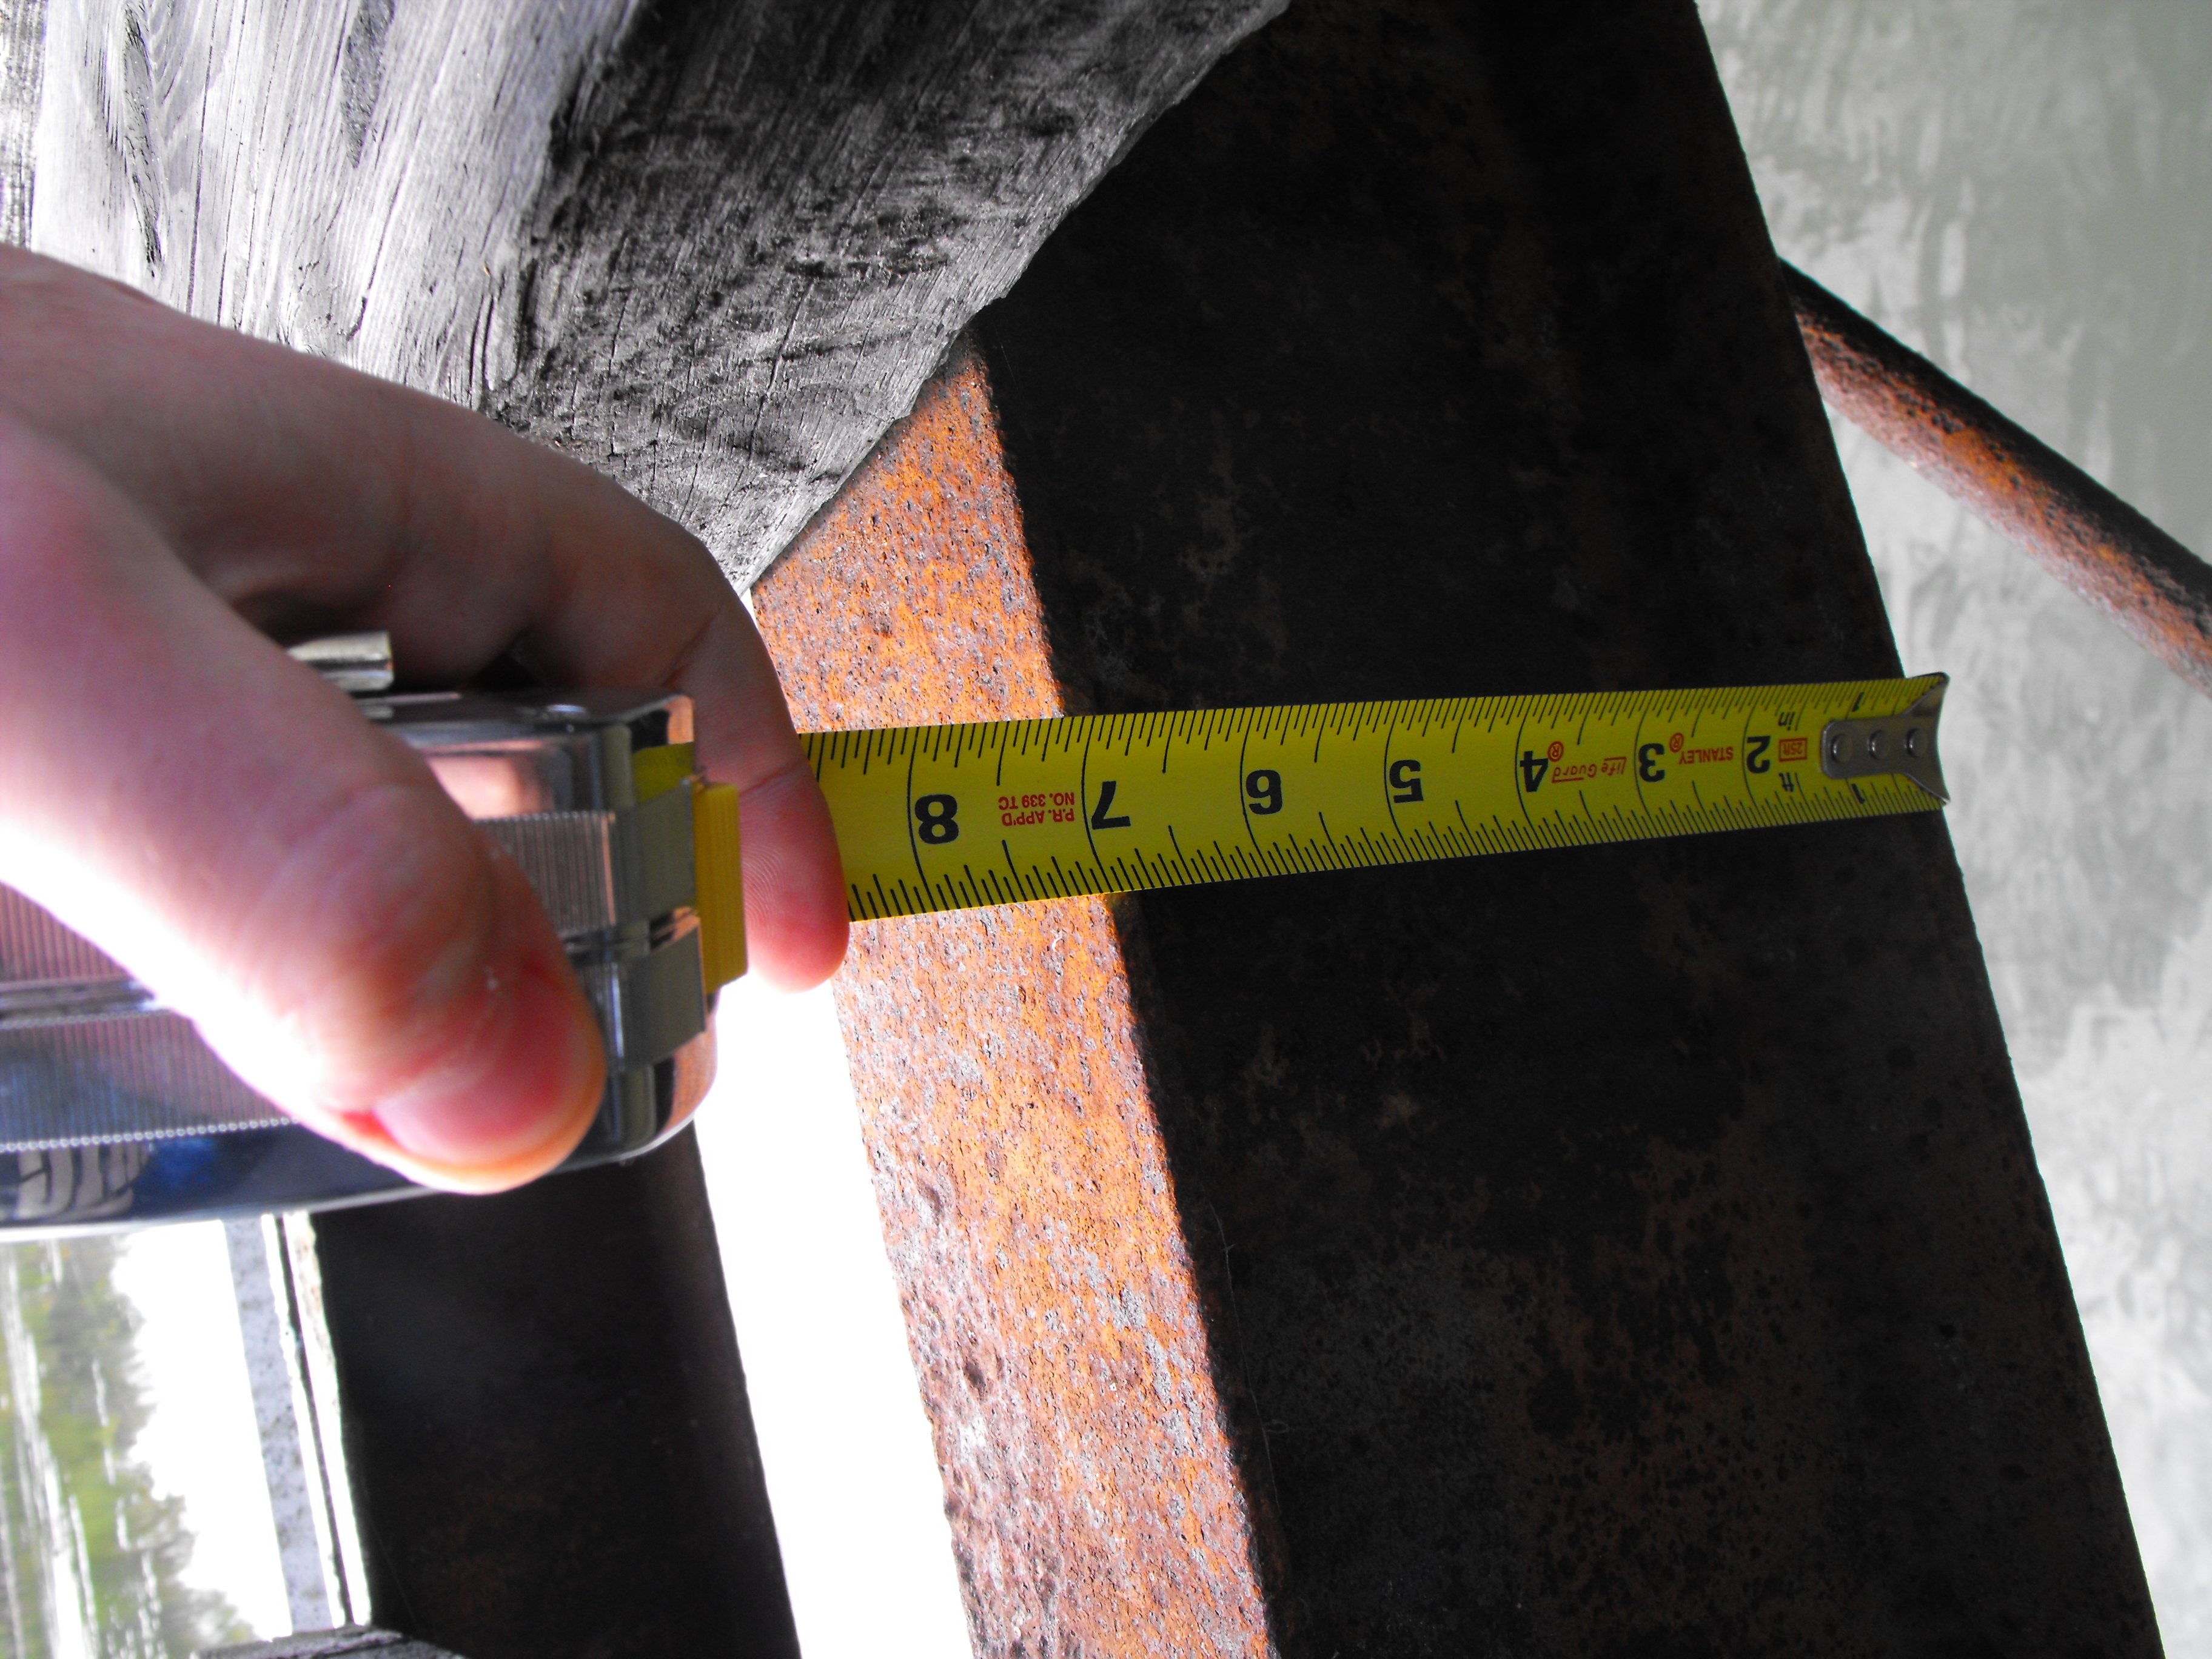
Measurement of section loss from riveted plate upward on northeast end post channel.
![]()

Measurement of section loss on channel near railing on northeast end post channel.
![]()

Measurement of bearing shoe.
![]()
![]()

![]()