
Uncredited photos on this page taken by: Nathan Holth. Unless stated in a caption, all photos are Copyright with All Rights Reserved. Learn about reuse of our photos.
![]()


Elevation from southeast quadrant.
![]()


Oblique views from northeast quadrant.
![]()


Elevation from northeast quadrant.
![]()


Distant elevation from northeast quadrant.
![]()


Views beside bridge from southeast quadrant.
![]()


Views beside bridge from northwest quadrant.
![]()


Views beside cast iron arch from southeast quadrant.
![]()


Views beside bridge from northeast quadrant.
![]()


Views beside bridge from northeast quadrant from approach.
![]()


Views beside bridge from southwest quadrant from approach.
![]()


South elevation of eastern approach spans.
![]()


Portal views facing west.
![]()


Views on bridge facing west.
![]()


Bus on bridge.
![]()


Toll house as viewed from from northeast quadrant.
![]()
Views of toll house.
![]()


Toll house details.
![]()


Interpretive plaque.
![]()


Interpretive sign.
![]()


Plaque on stone approach spans.
![]()


Views of arch.
![]()


Spandrel connections to arch rib.
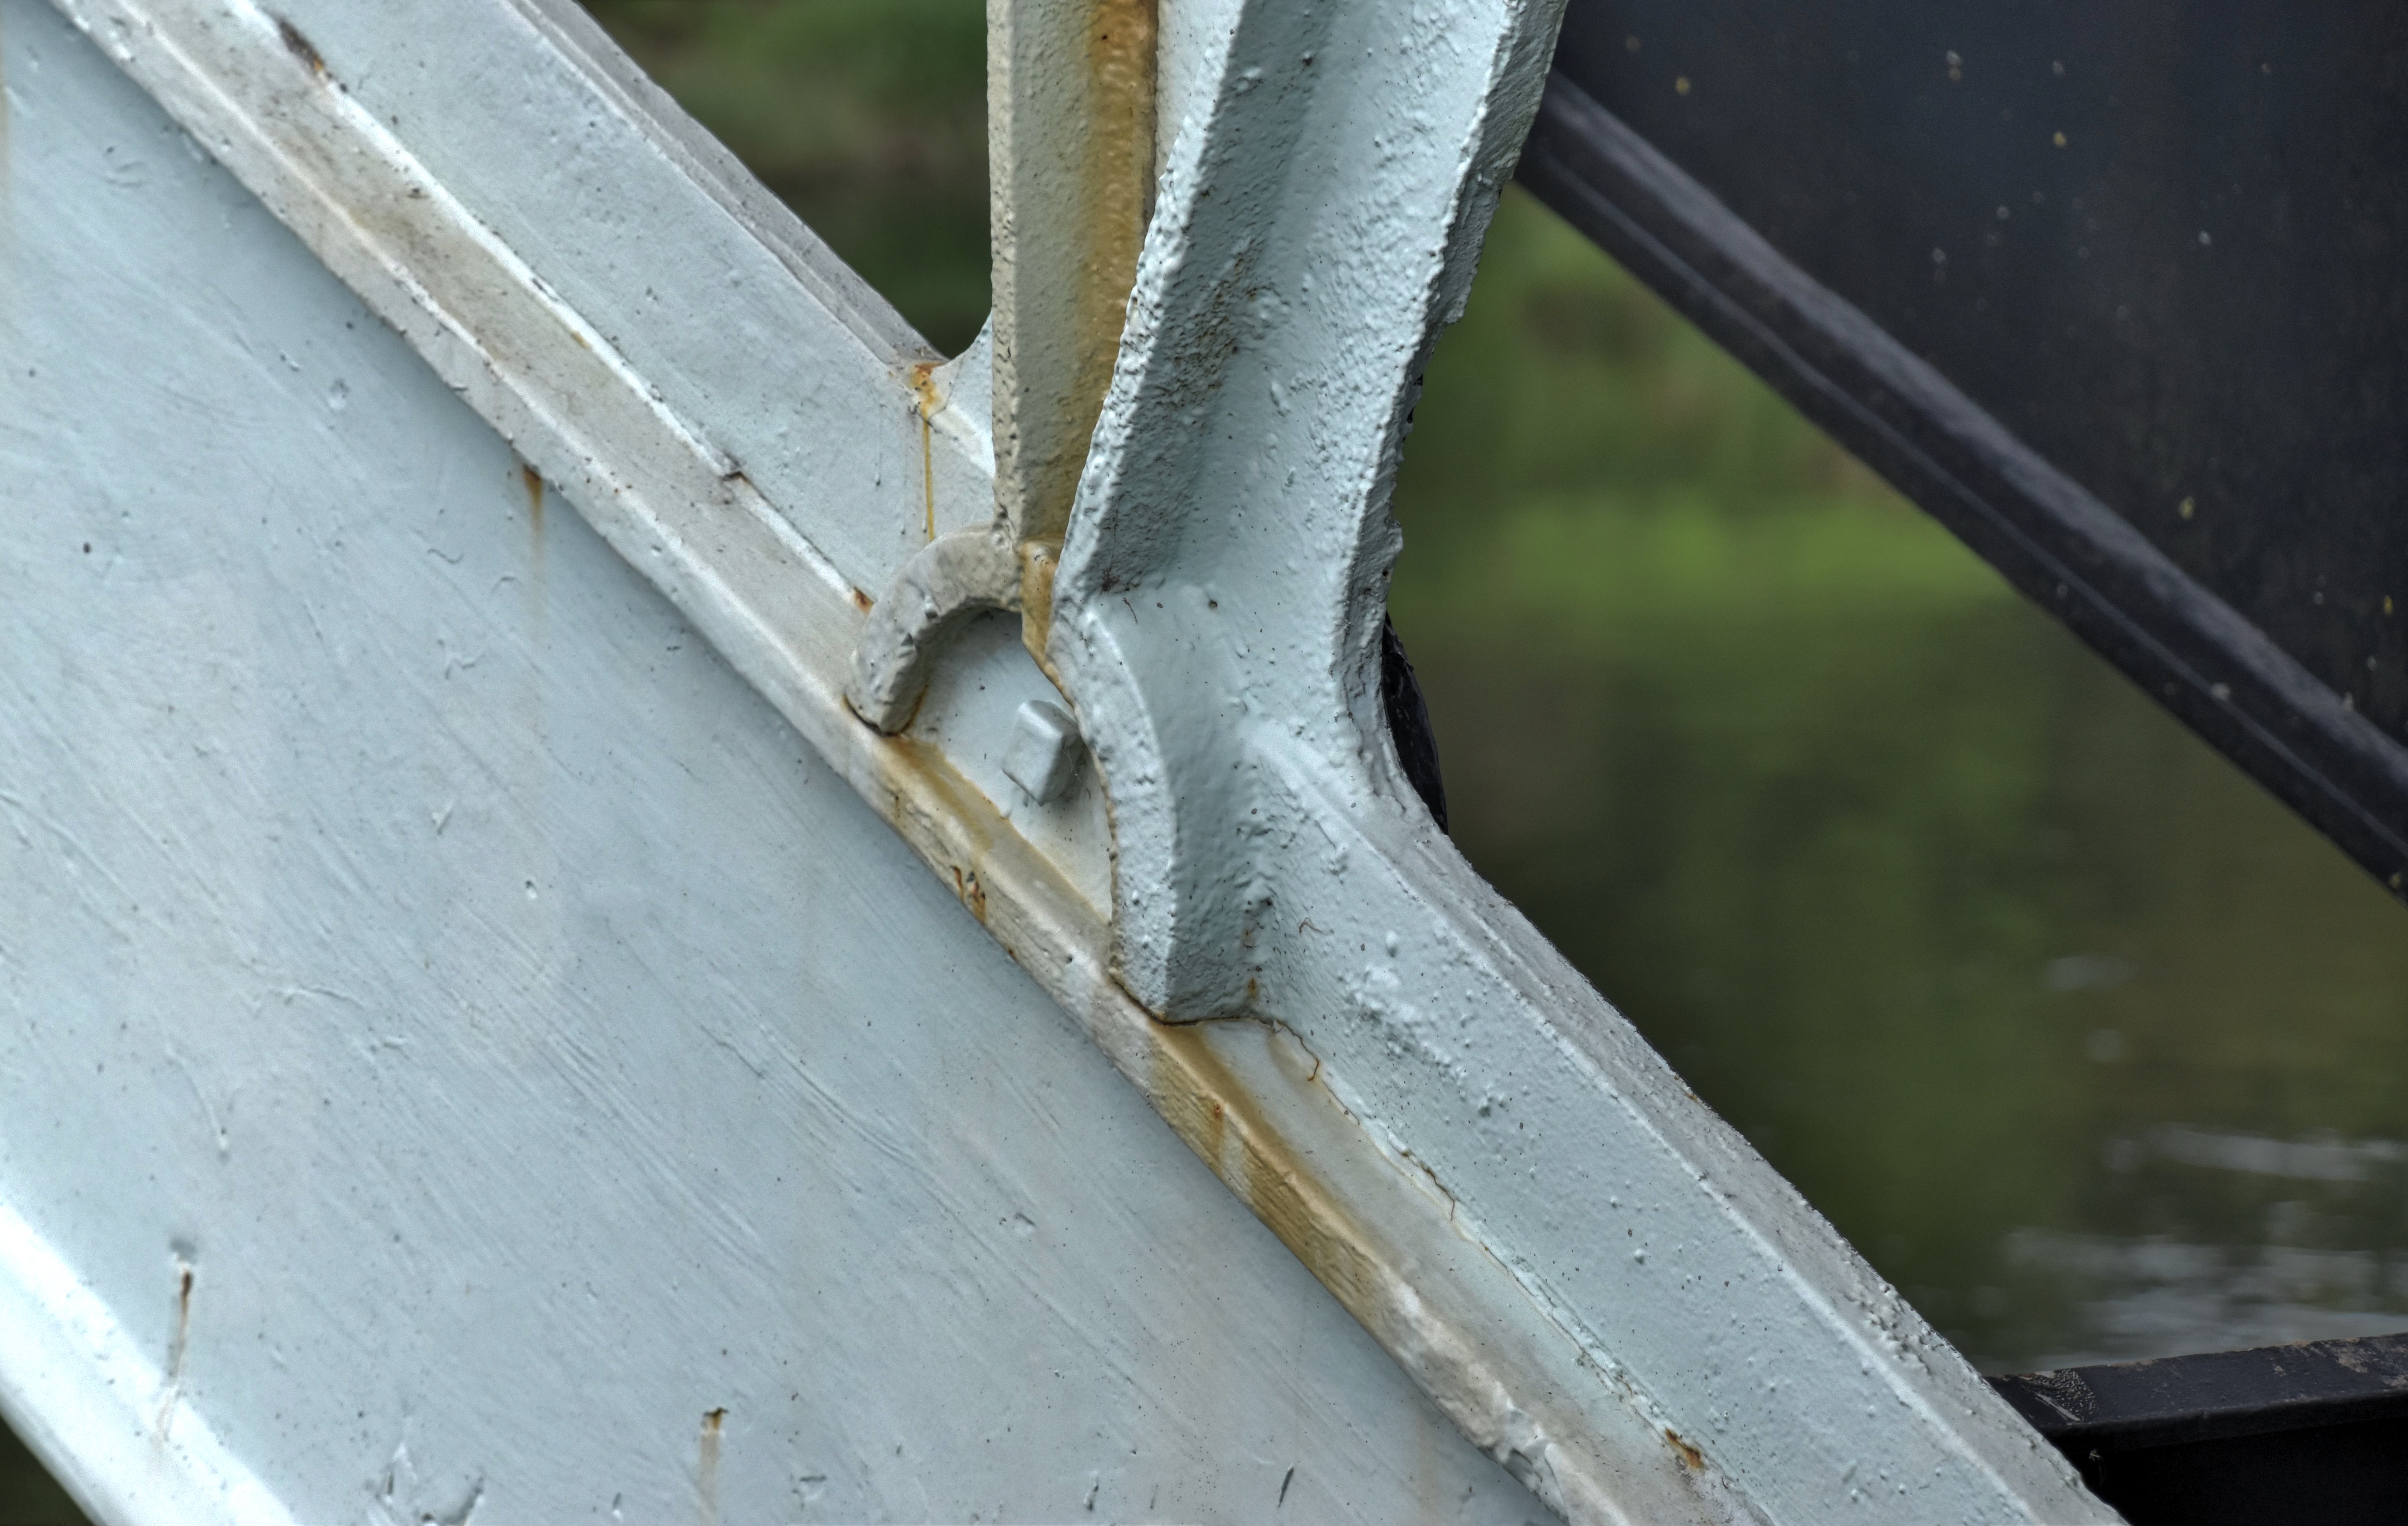
![]()


Spandrel detail at deck.
![]()


Views under bridge showing skewback bearings.
![]()


Detail at skewback bearing.
![]()


Arch rib detail showing bolted addition on the bottom.
![]()


Arch rib detail with part number "13" visible on it.
![]()


General interior view of bridge with diaphragm bracing plates between arch ribs visible.
![]()


Detail showing diagonal bracing between arch ribs with part number "12" visible on the bracing.
![]()


Horizontal bracing between vertical columns.
![]()


Diagonal bracing between vertical columns.
![]()

Railing.
![]()

View from bridge.
![]()
![]()
| Back |
| Home |
| Top |

![]()


