Uncredited photos on this page taken by: Nathan Holth. Unless stated in a caption, all photos are Copyright with All Rights Reserved. Learn about reuse of our photos.
![]()


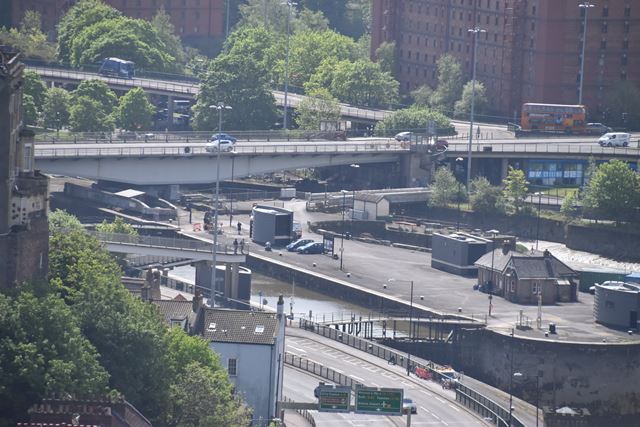
General west elevation view from Clifton Suspension Bridge.
![]()
West elevation view of bridge from Clifton Suspension Bridge. The swing span is to the left, and the fixed span to the right.
![]()
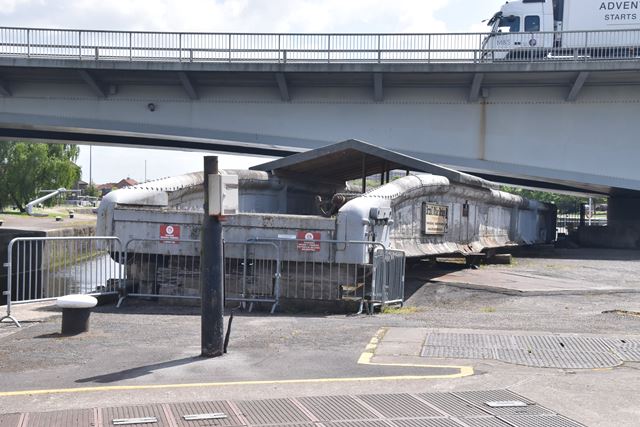
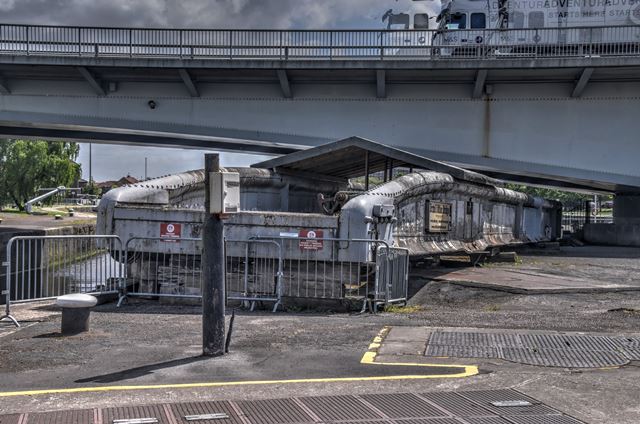

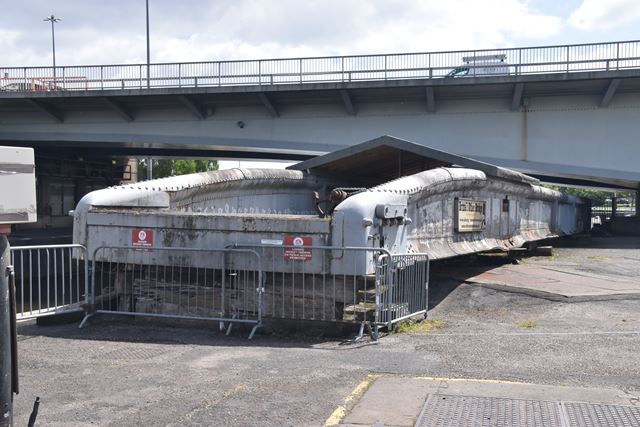
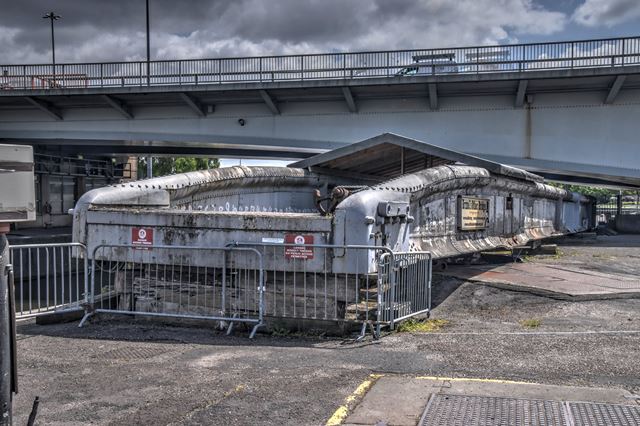

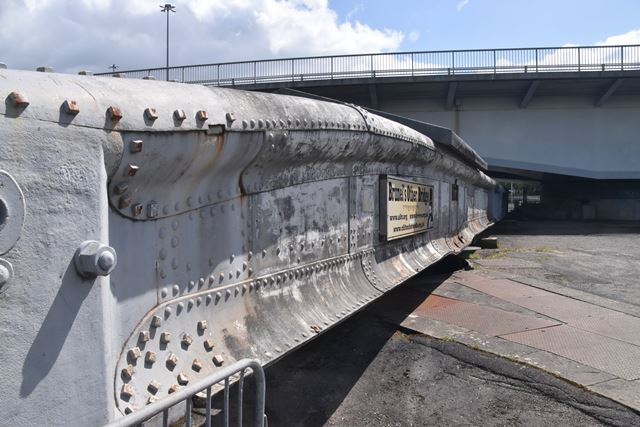
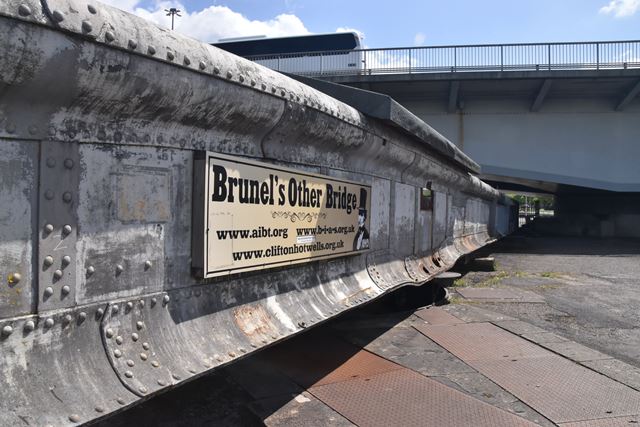
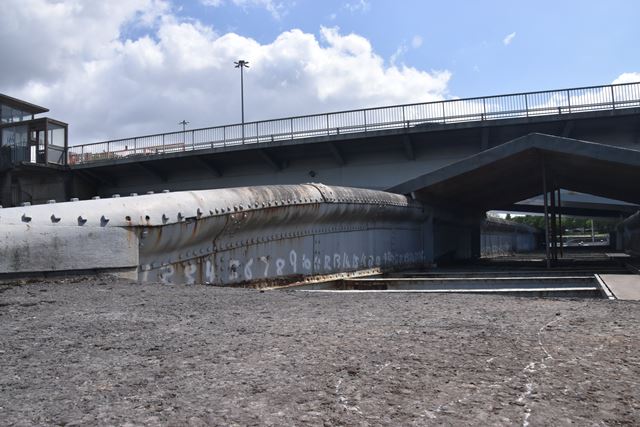
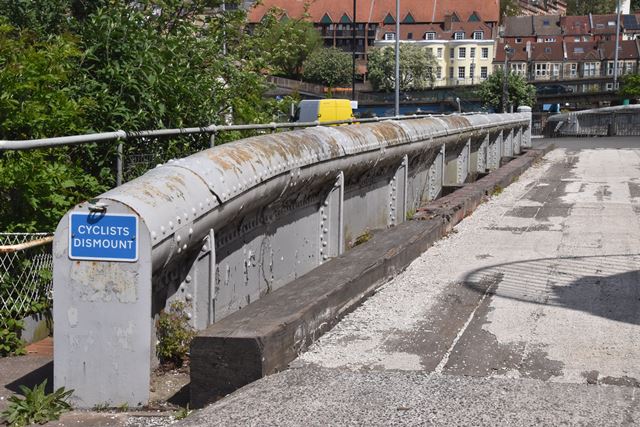
Oblique views of swing span facing east.
![]()


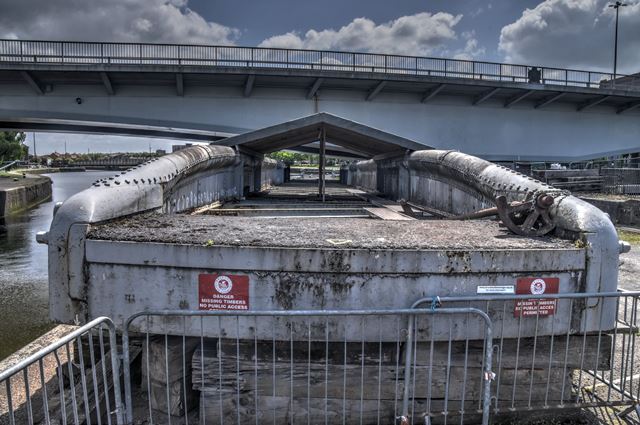
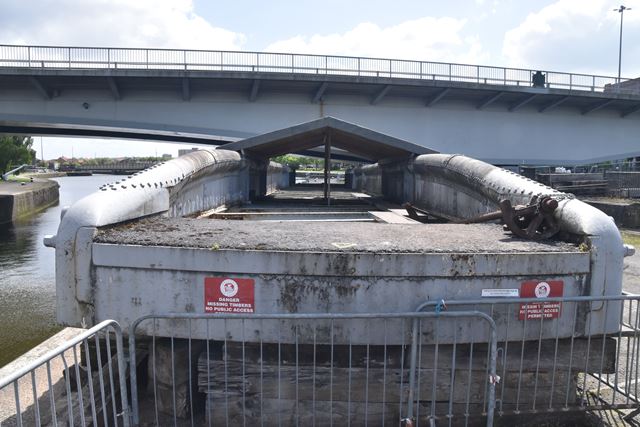


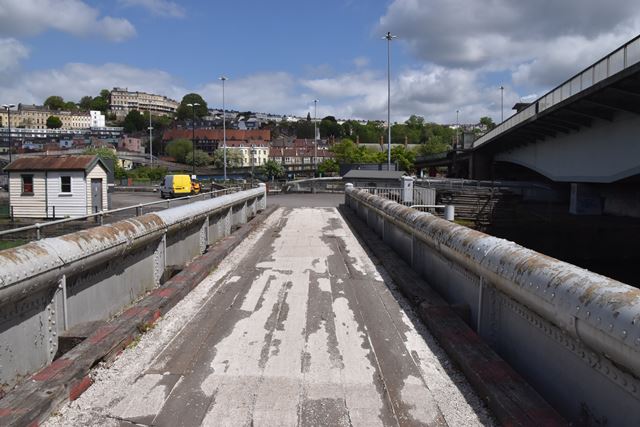
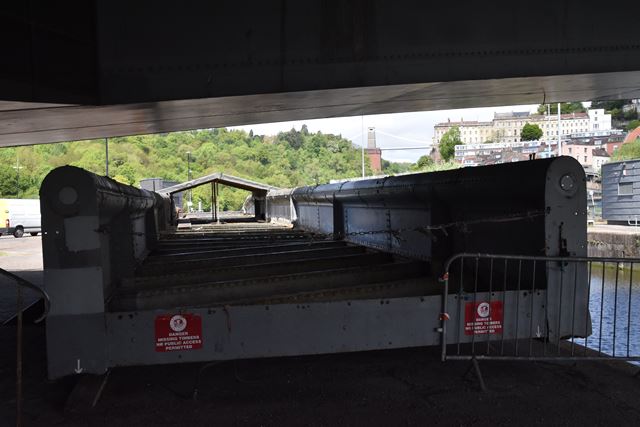
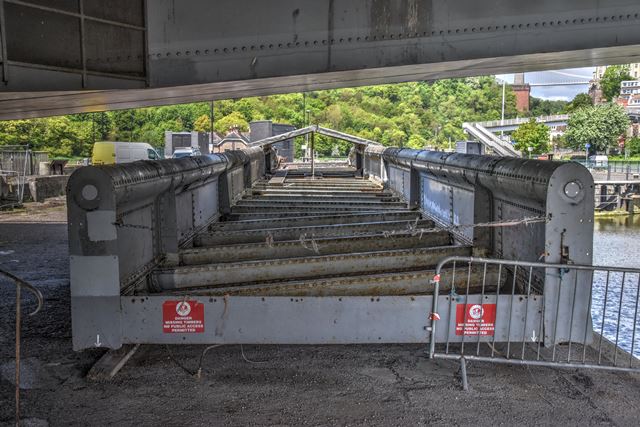
Portal views of swing span facing east.
![]()


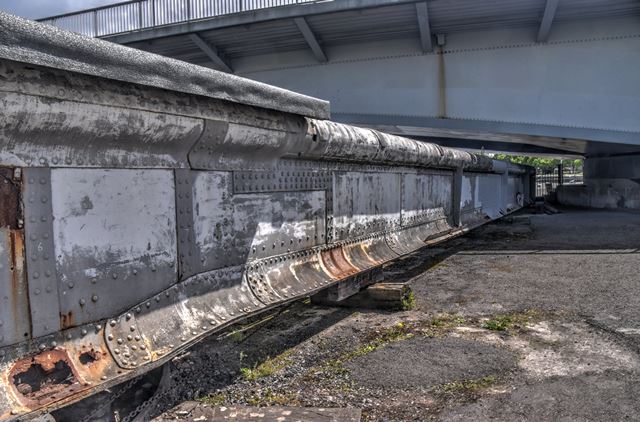

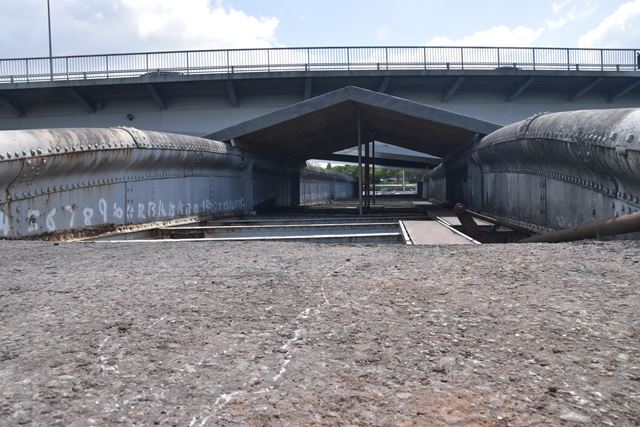
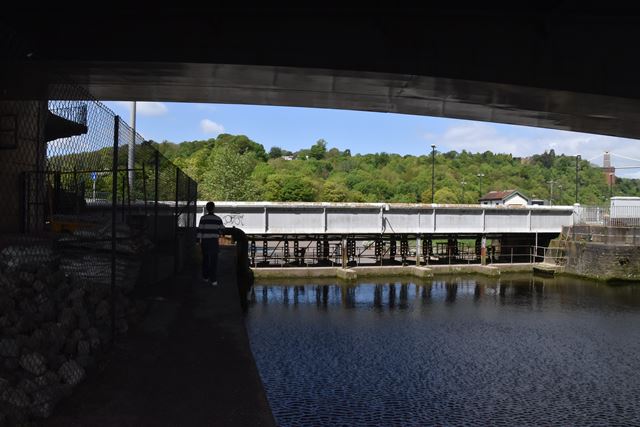
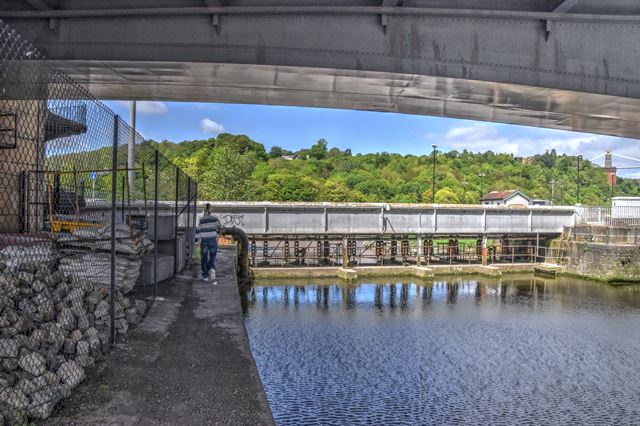
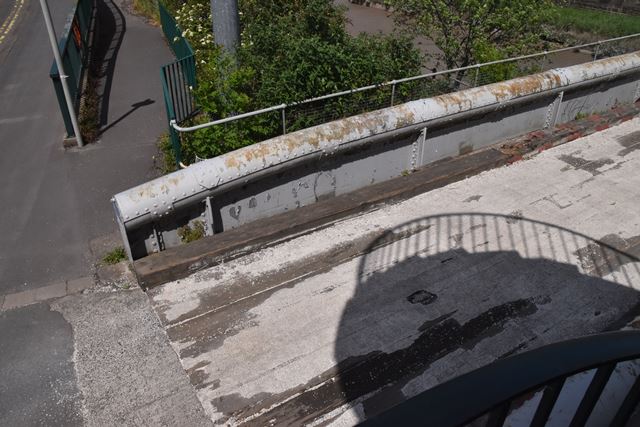
Views beside swing span facing east.
![]()


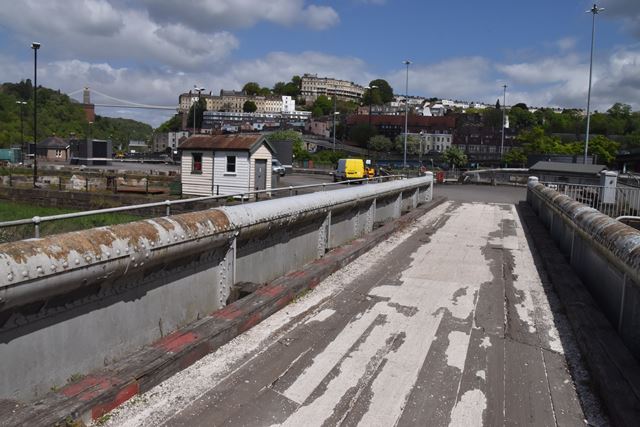
Portal views of swing span facing west.
![]()

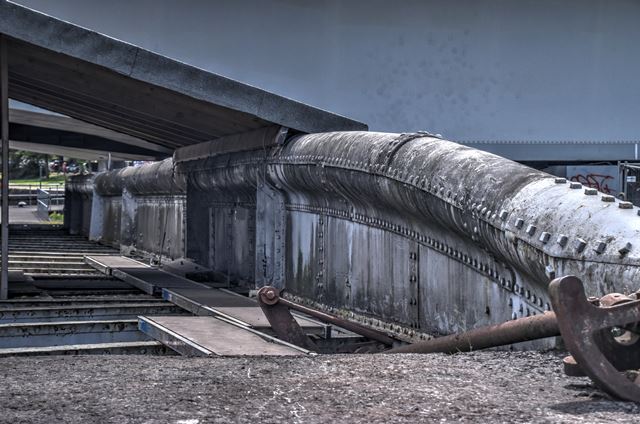
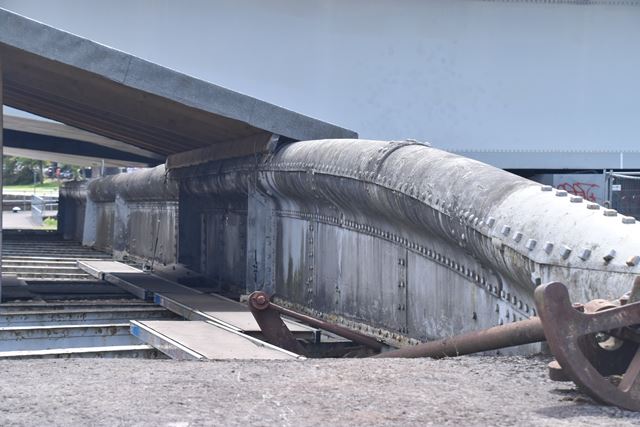

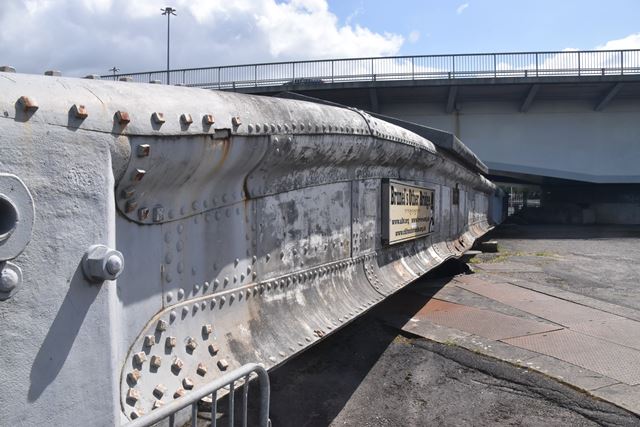
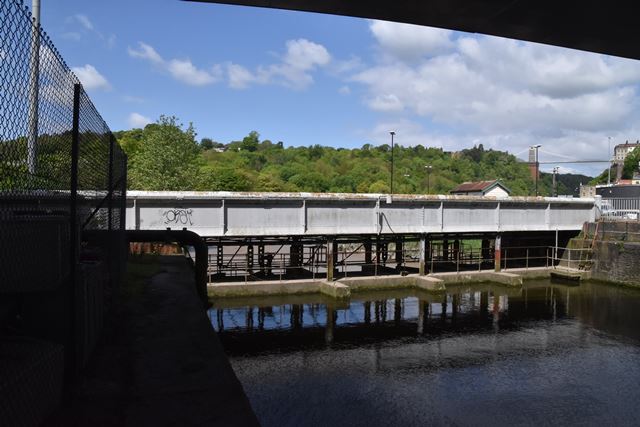
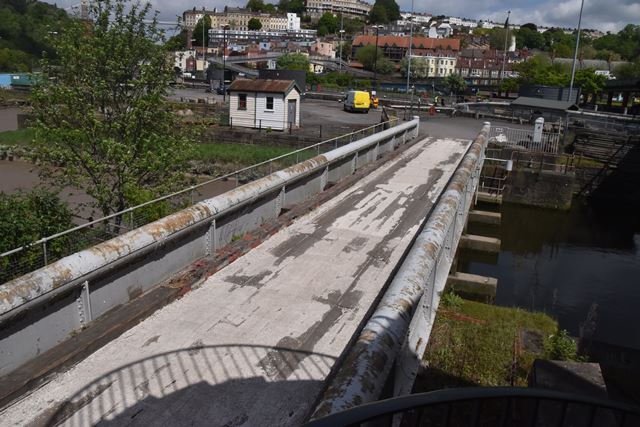
Swing span girder overview.
![]()


Views beside fixed span from southeast quadrant.
![]()


Elevation of fixed span from southeast quadrant.
![]()


Portal views of fixed span facing north.
![]()
Portal views on fixed span facing north.
![]()

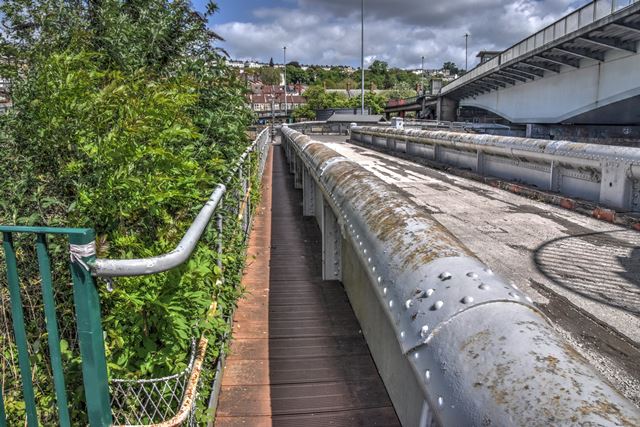
Portal views of fixed span walkway facing north.
![]()


Elevated views beside fixed span from southeast quadrant.
![]()


Looking down at fixed span from southeast quadrant.
![]()


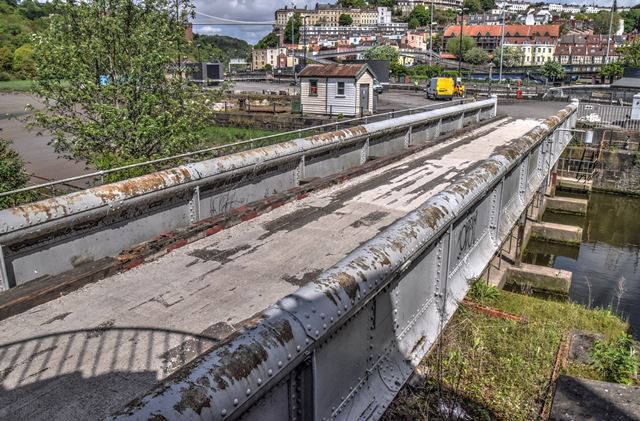
Oblique views of fixed span from southeast quadrant.
![]()

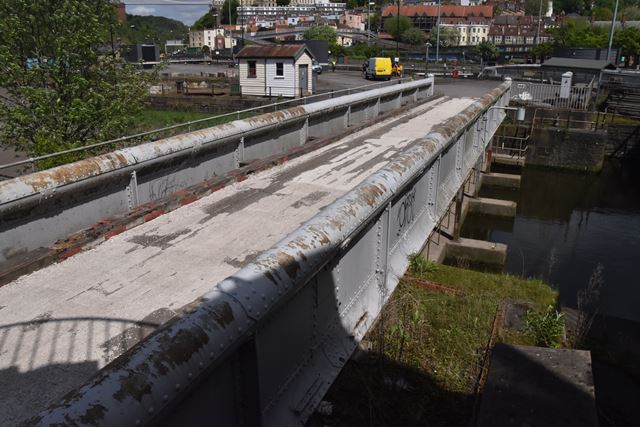
Fixed span girder overview.
![]()


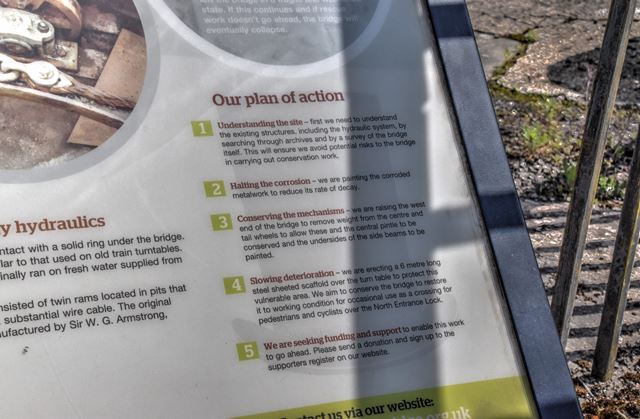
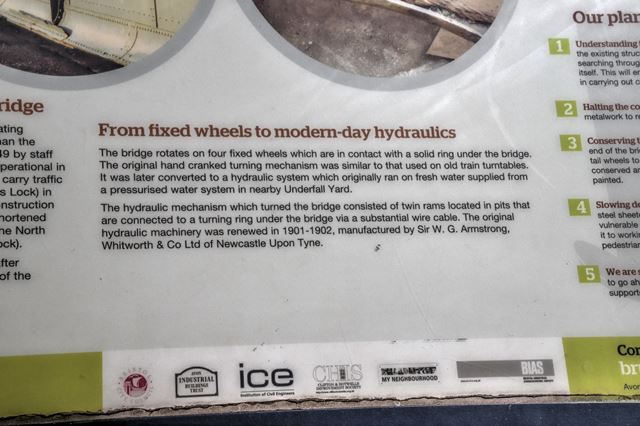
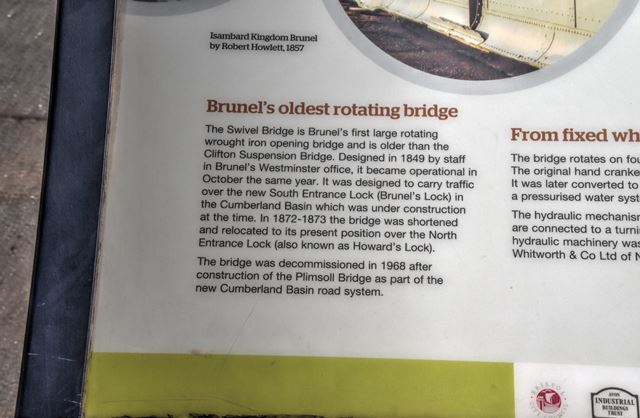
Interpretive sign #1.
![]()

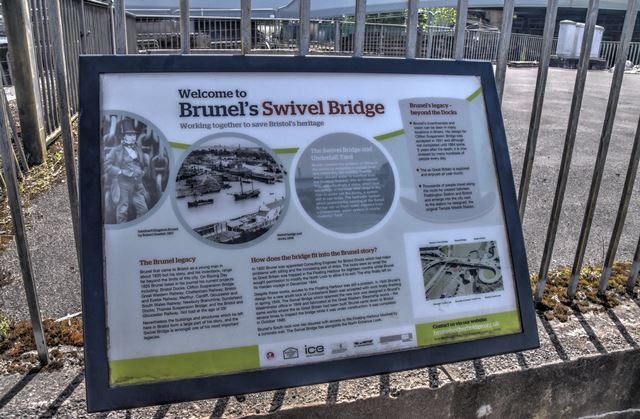

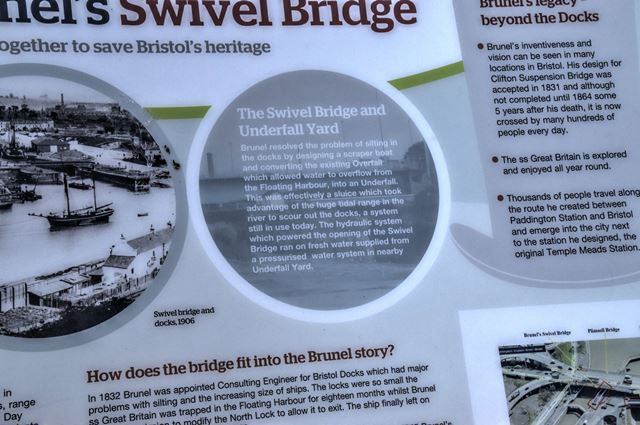


Interpretive sign #2.
![]()


Operating track for swing span.
![]()


View toward swing pier.
![]()


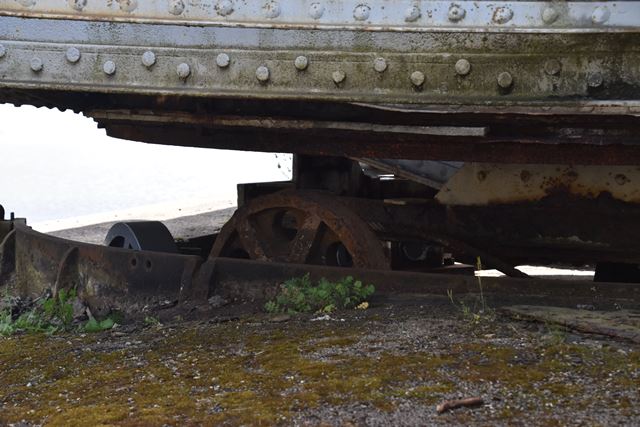


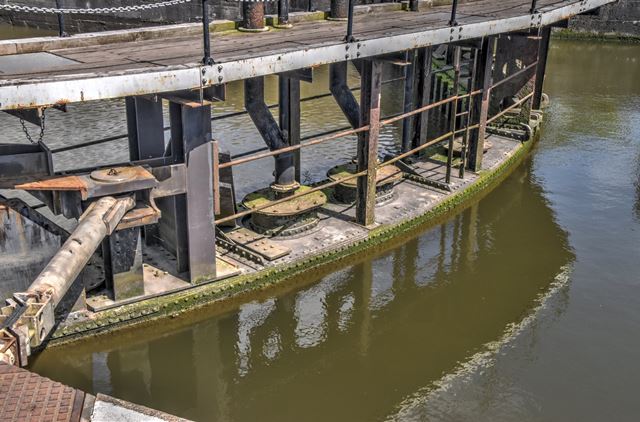
Swing pier detail showing rollers.
![]()


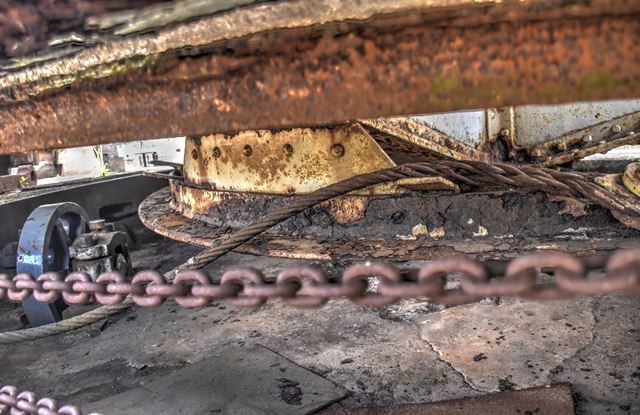


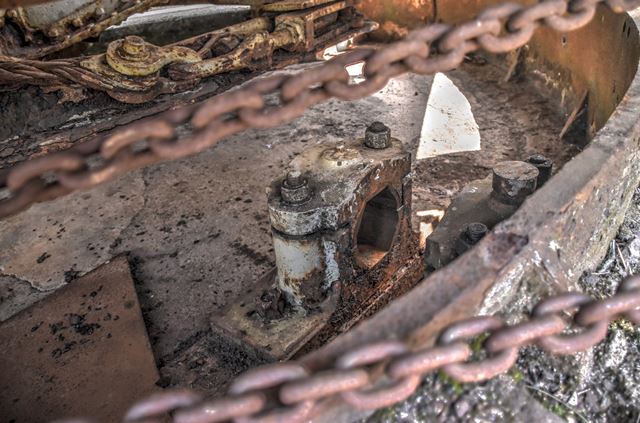
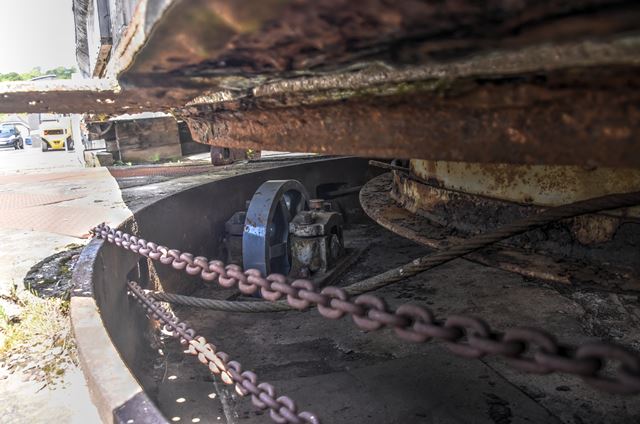
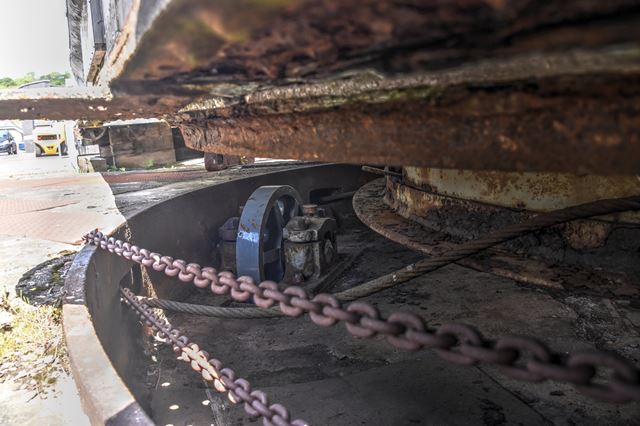
Various details at swing pier.
![]()


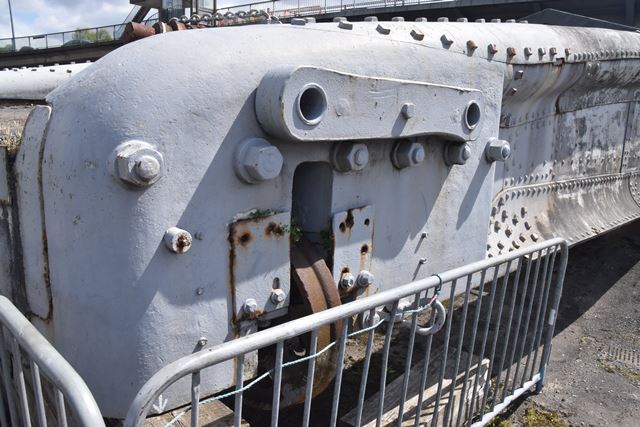


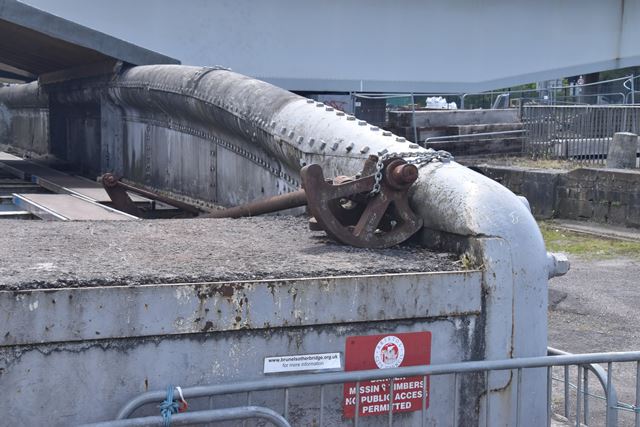
End lock and counterweight details on swing span.
![]()


Various mechanical details on swing span.
![]()

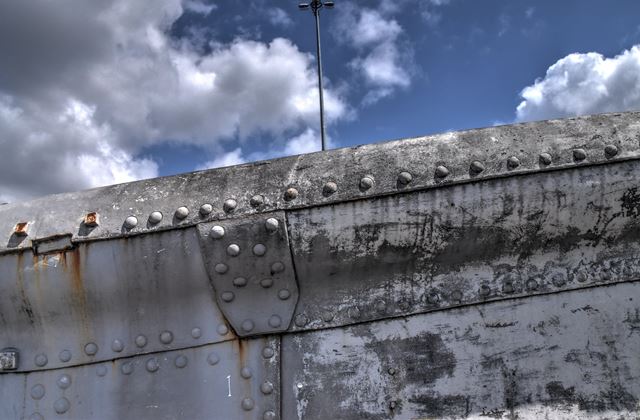

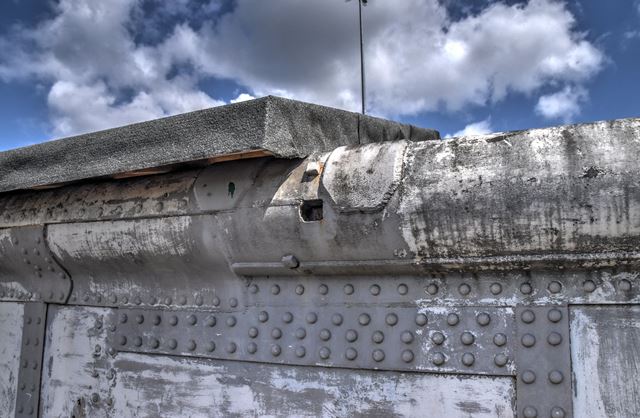
Swing span top chord.
![]()

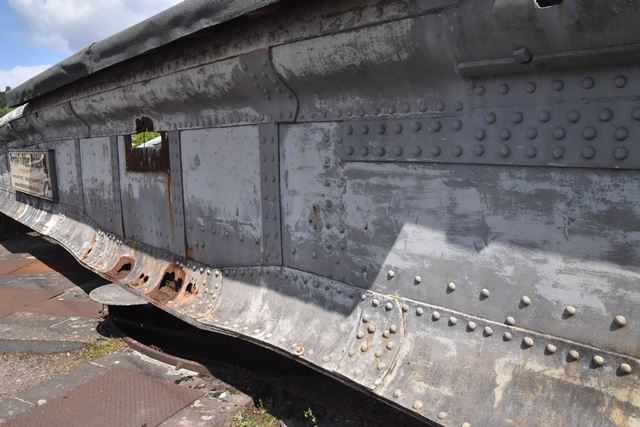
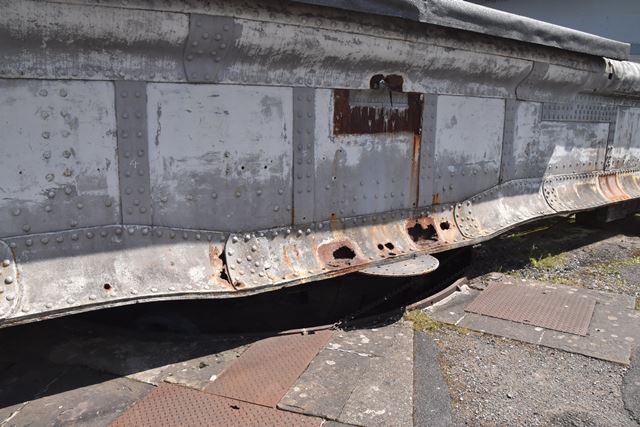
Swing span bottom chord.
![]()
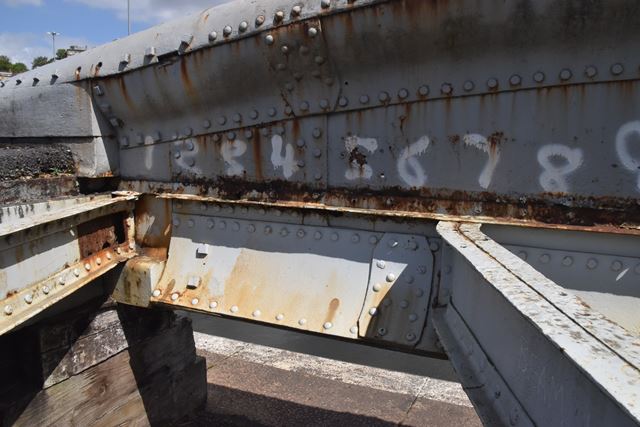
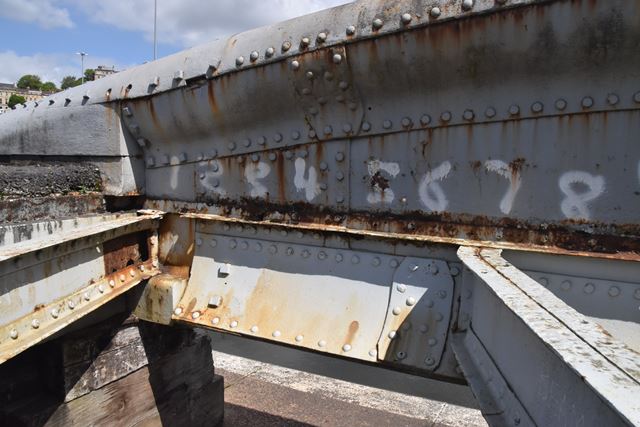
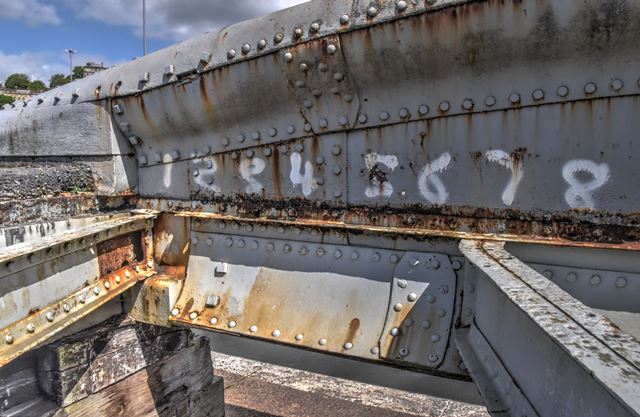
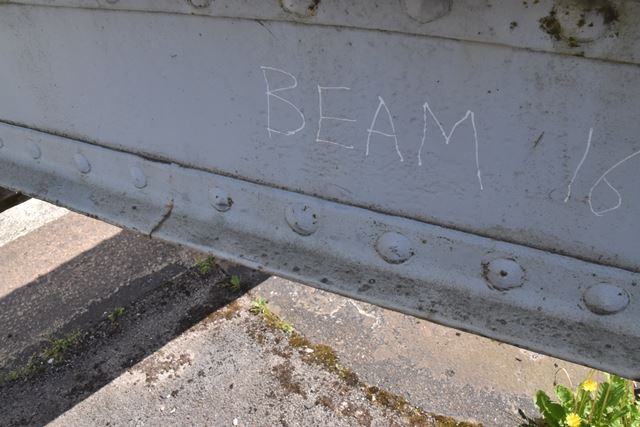
Swing span girder details.
![]()


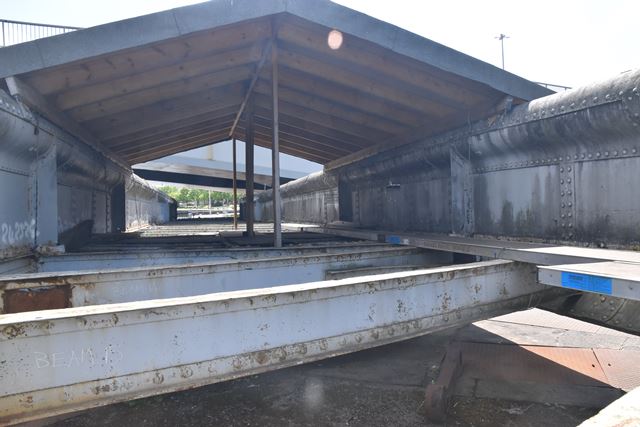

Swing span floorbeam overviews.
![]()


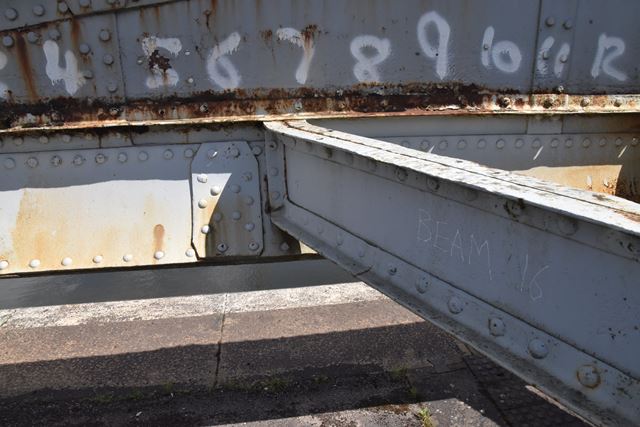
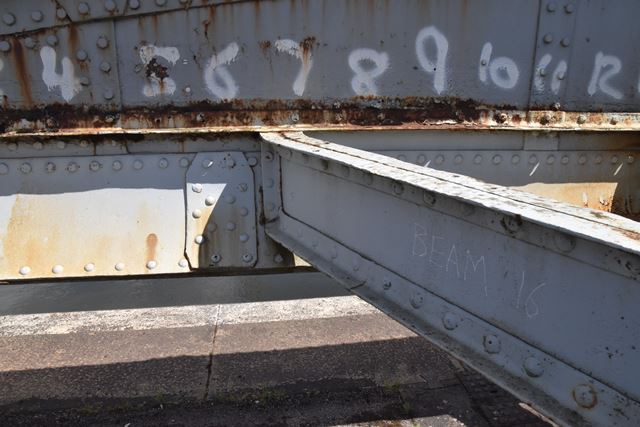
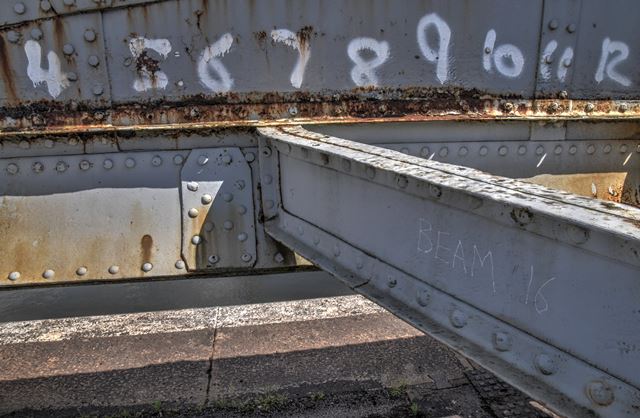


Floorbeam connections to girders.
![]()


Swing span floorbeam details.
![]()


Work equipment.
![]()
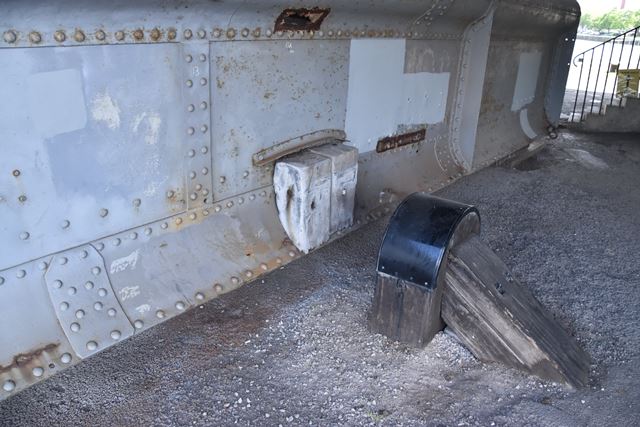

Bumper for swing span.
![]()


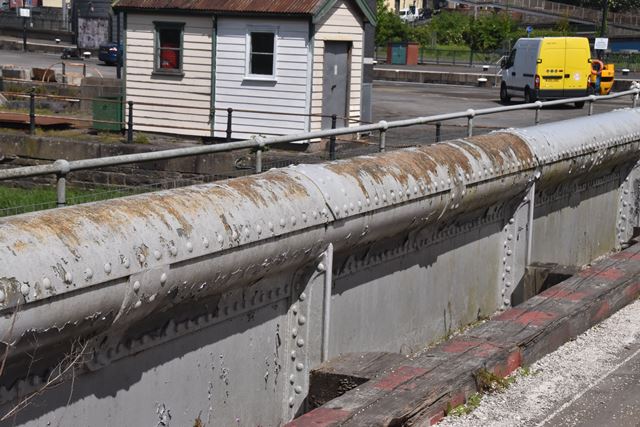
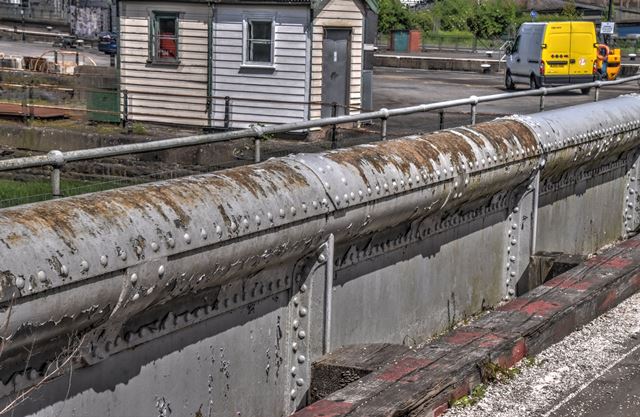


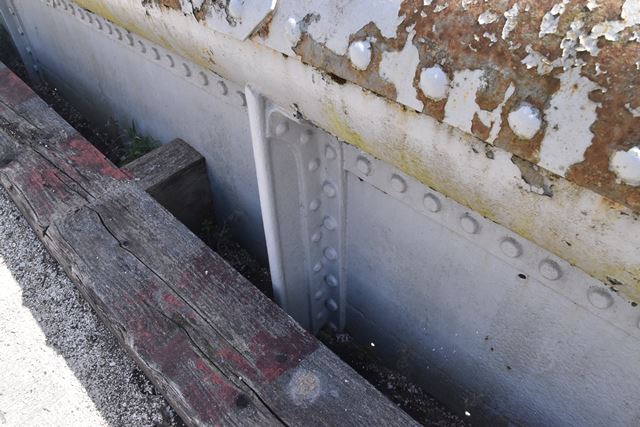
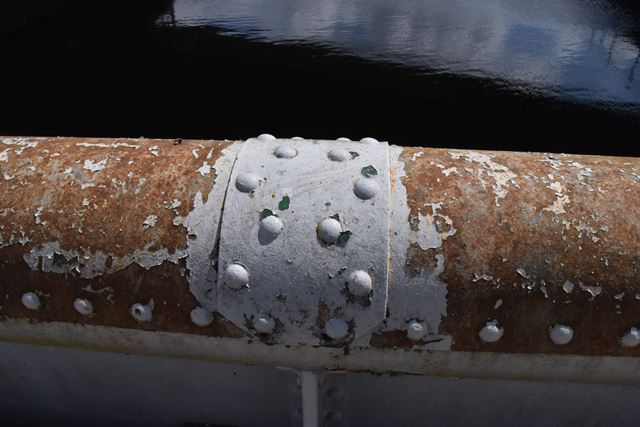

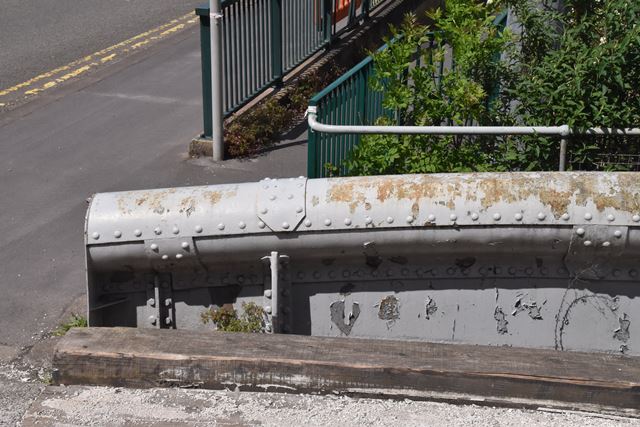

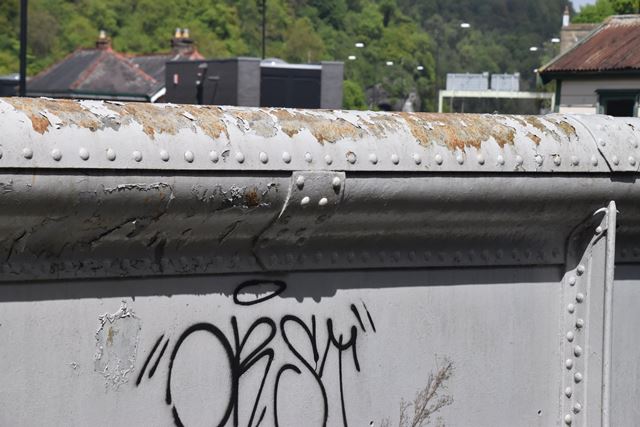
Fixed girder details as viewed from on bridge.
![]()


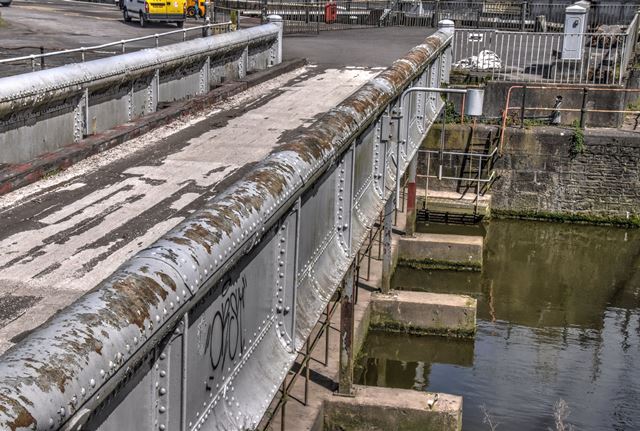
Fixed girder details as viewed from beside bridge.
![]()


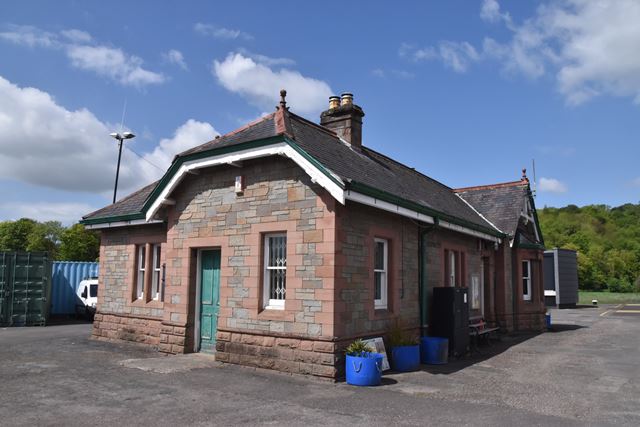

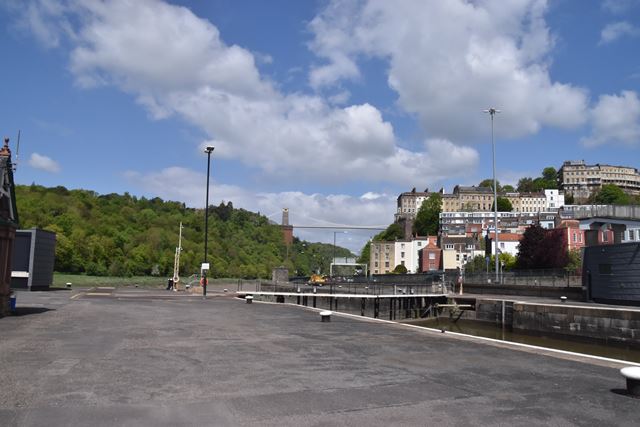


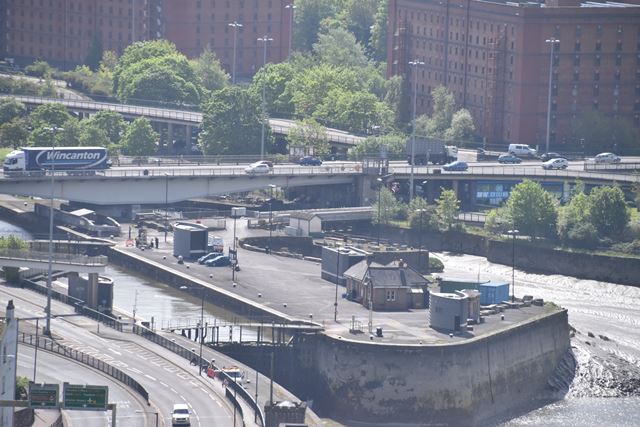
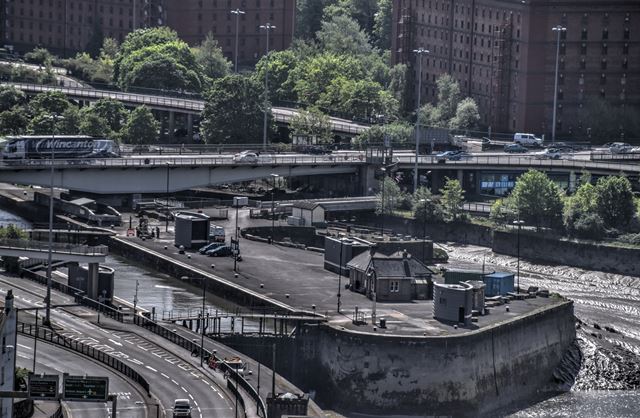
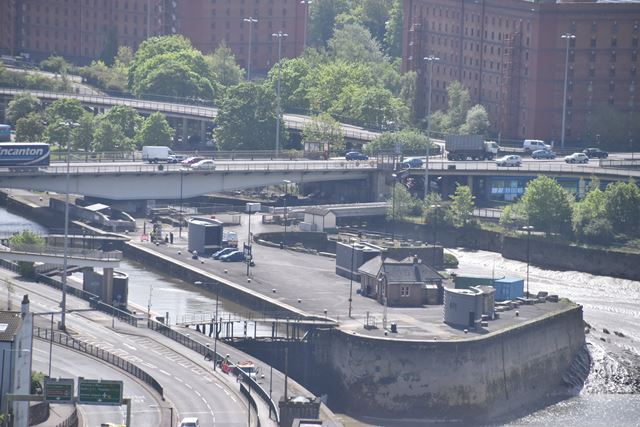
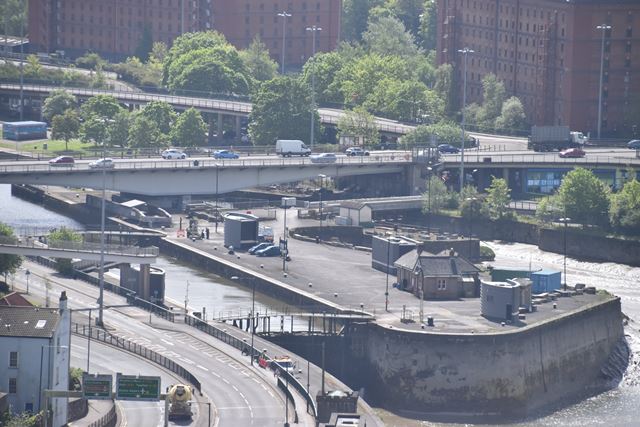
General views of surrounding area.
![]()
![]()
| Back |
| Home |
| Top |

![]()