
Uncredited photos on this page taken by: Nathan Holth. Unless stated in a caption, all photos are Copyright with All Rights Reserved. Learn about reuse of our photos.
![]()

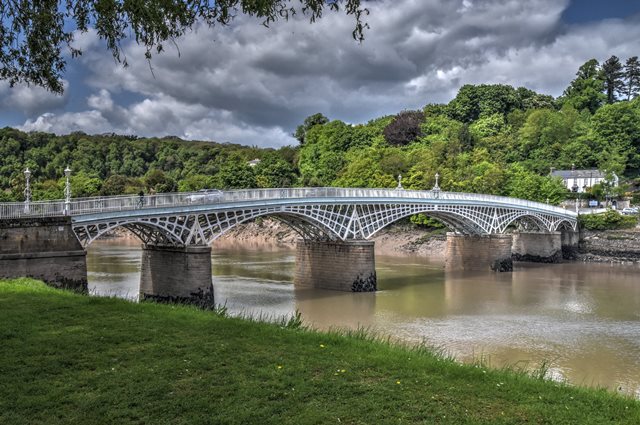


Elevation from southeast quadrant.
![]()


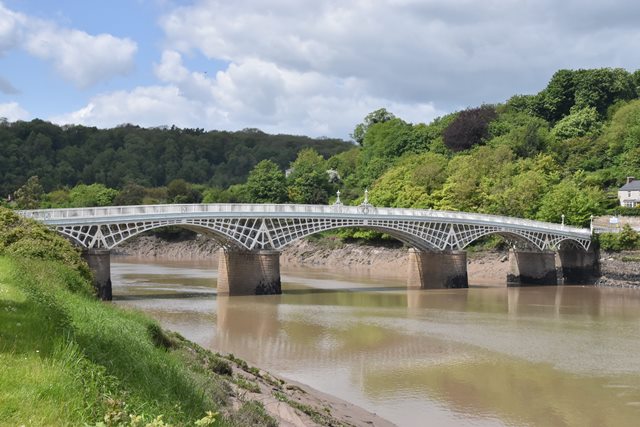
Near elevation from southeast quadrant.
![]()


Views beside bridge from southeast quadrant.
![]()


Zoomed views beside bridge from southeast quadrant.
![]()


Elevation of individual spans from southeast quadrant.
![]()


Elevation of end spans from southeast quadrant.
![]()


Elevation of largest span from southeast quadrant.
![]()

Portal views facing north.
![]()
Portal views on bridge facing north.
![]()


Railing detail at center of bridge showing date.
![]()


Bridge lighting.
![]()


Interpretive signs overview.
![]()


Interpretive signage for this bridge.
![]()


Interpretive signage for old bridge.
![]()


Other interpretive signs.
![]()


Regulation sign on abutment.
![]()

Railing end post.
![]()

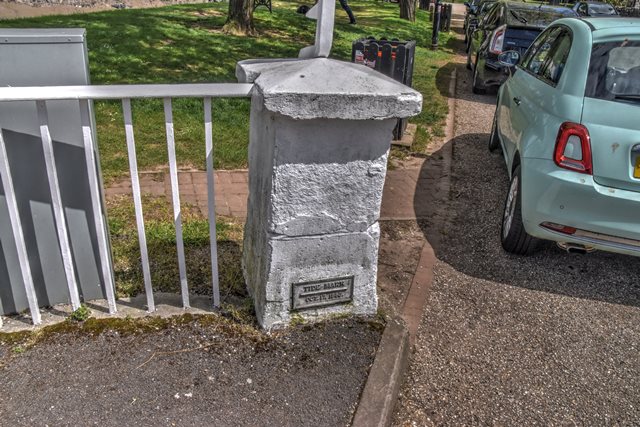
Flood plaque on railing end post.
![]()


Spandrel overview.
![]()


Spandrel details.
![]()


Superstructure overview at piers.
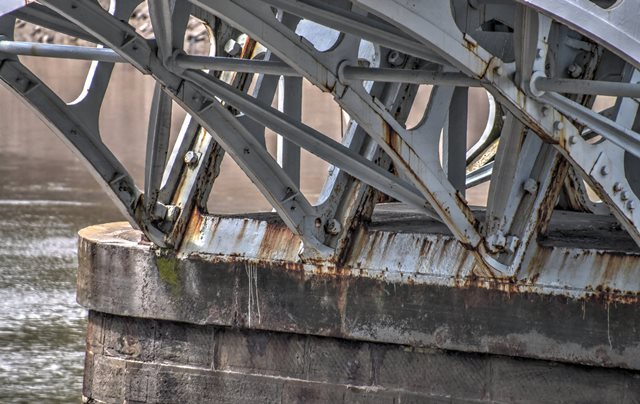
![]()


Superstructure details at piers.
![]()


Fascia arch details in end span, views near end of span.
![]()


Fascia arch details in end span, views near crown.
![]()


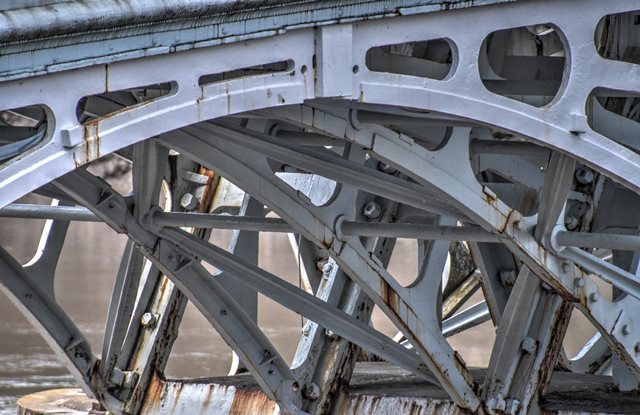
Interior arch ribs and bracing in largest span.
![]()


Interior arch ribs and bracing in other spans.
![]()


Interior arch ribs and bracing in end span.
![]()


Crown detail of largest span.
![]()

Bracing connections to arch rib.
![]()


Skewbacks for largest span.
![]()


Skewback details.
![]()

Pier.
![]()


Surrounding scenery.
![]()
![]()
| Back |
| Home |
| Top |

![]()


