Uncredited photos on this page taken by: Nathan Holth. Unless stated in a caption, all photos are Copyright with All Rights Reserved. Learn about reuse of our photos.
![]()


Main plaque.
![]()
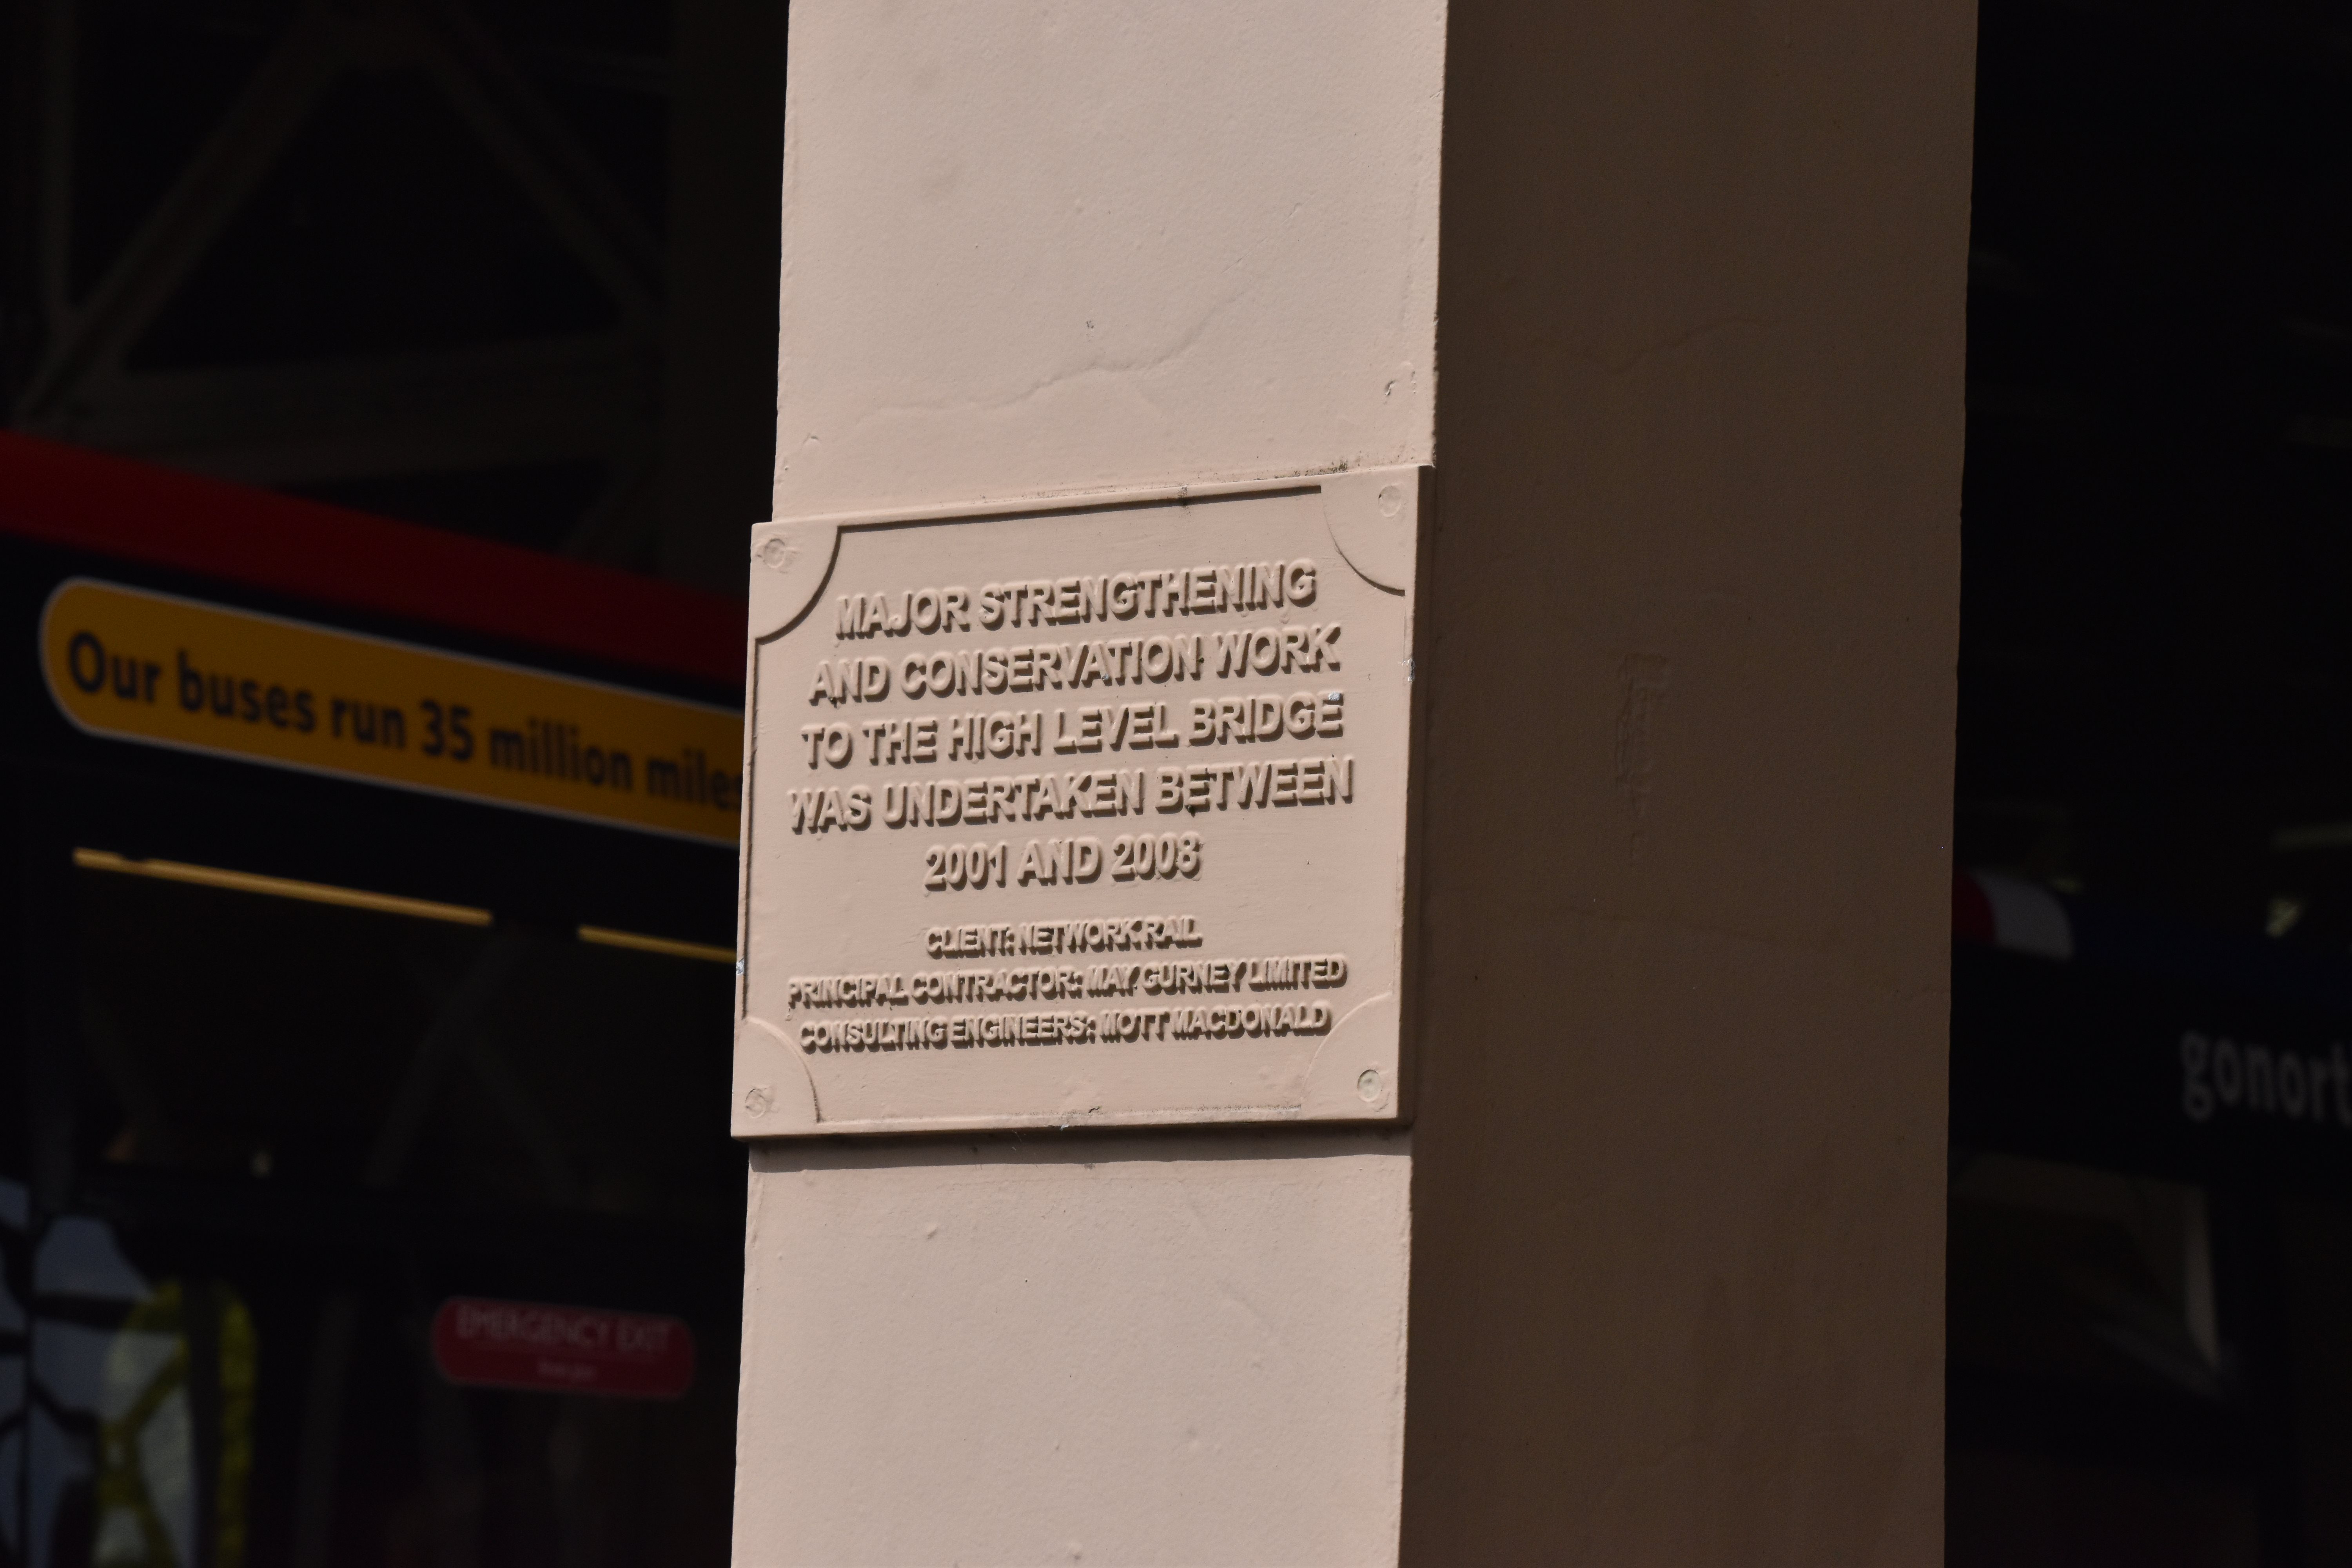


Rehabilitation plaque.
![]()


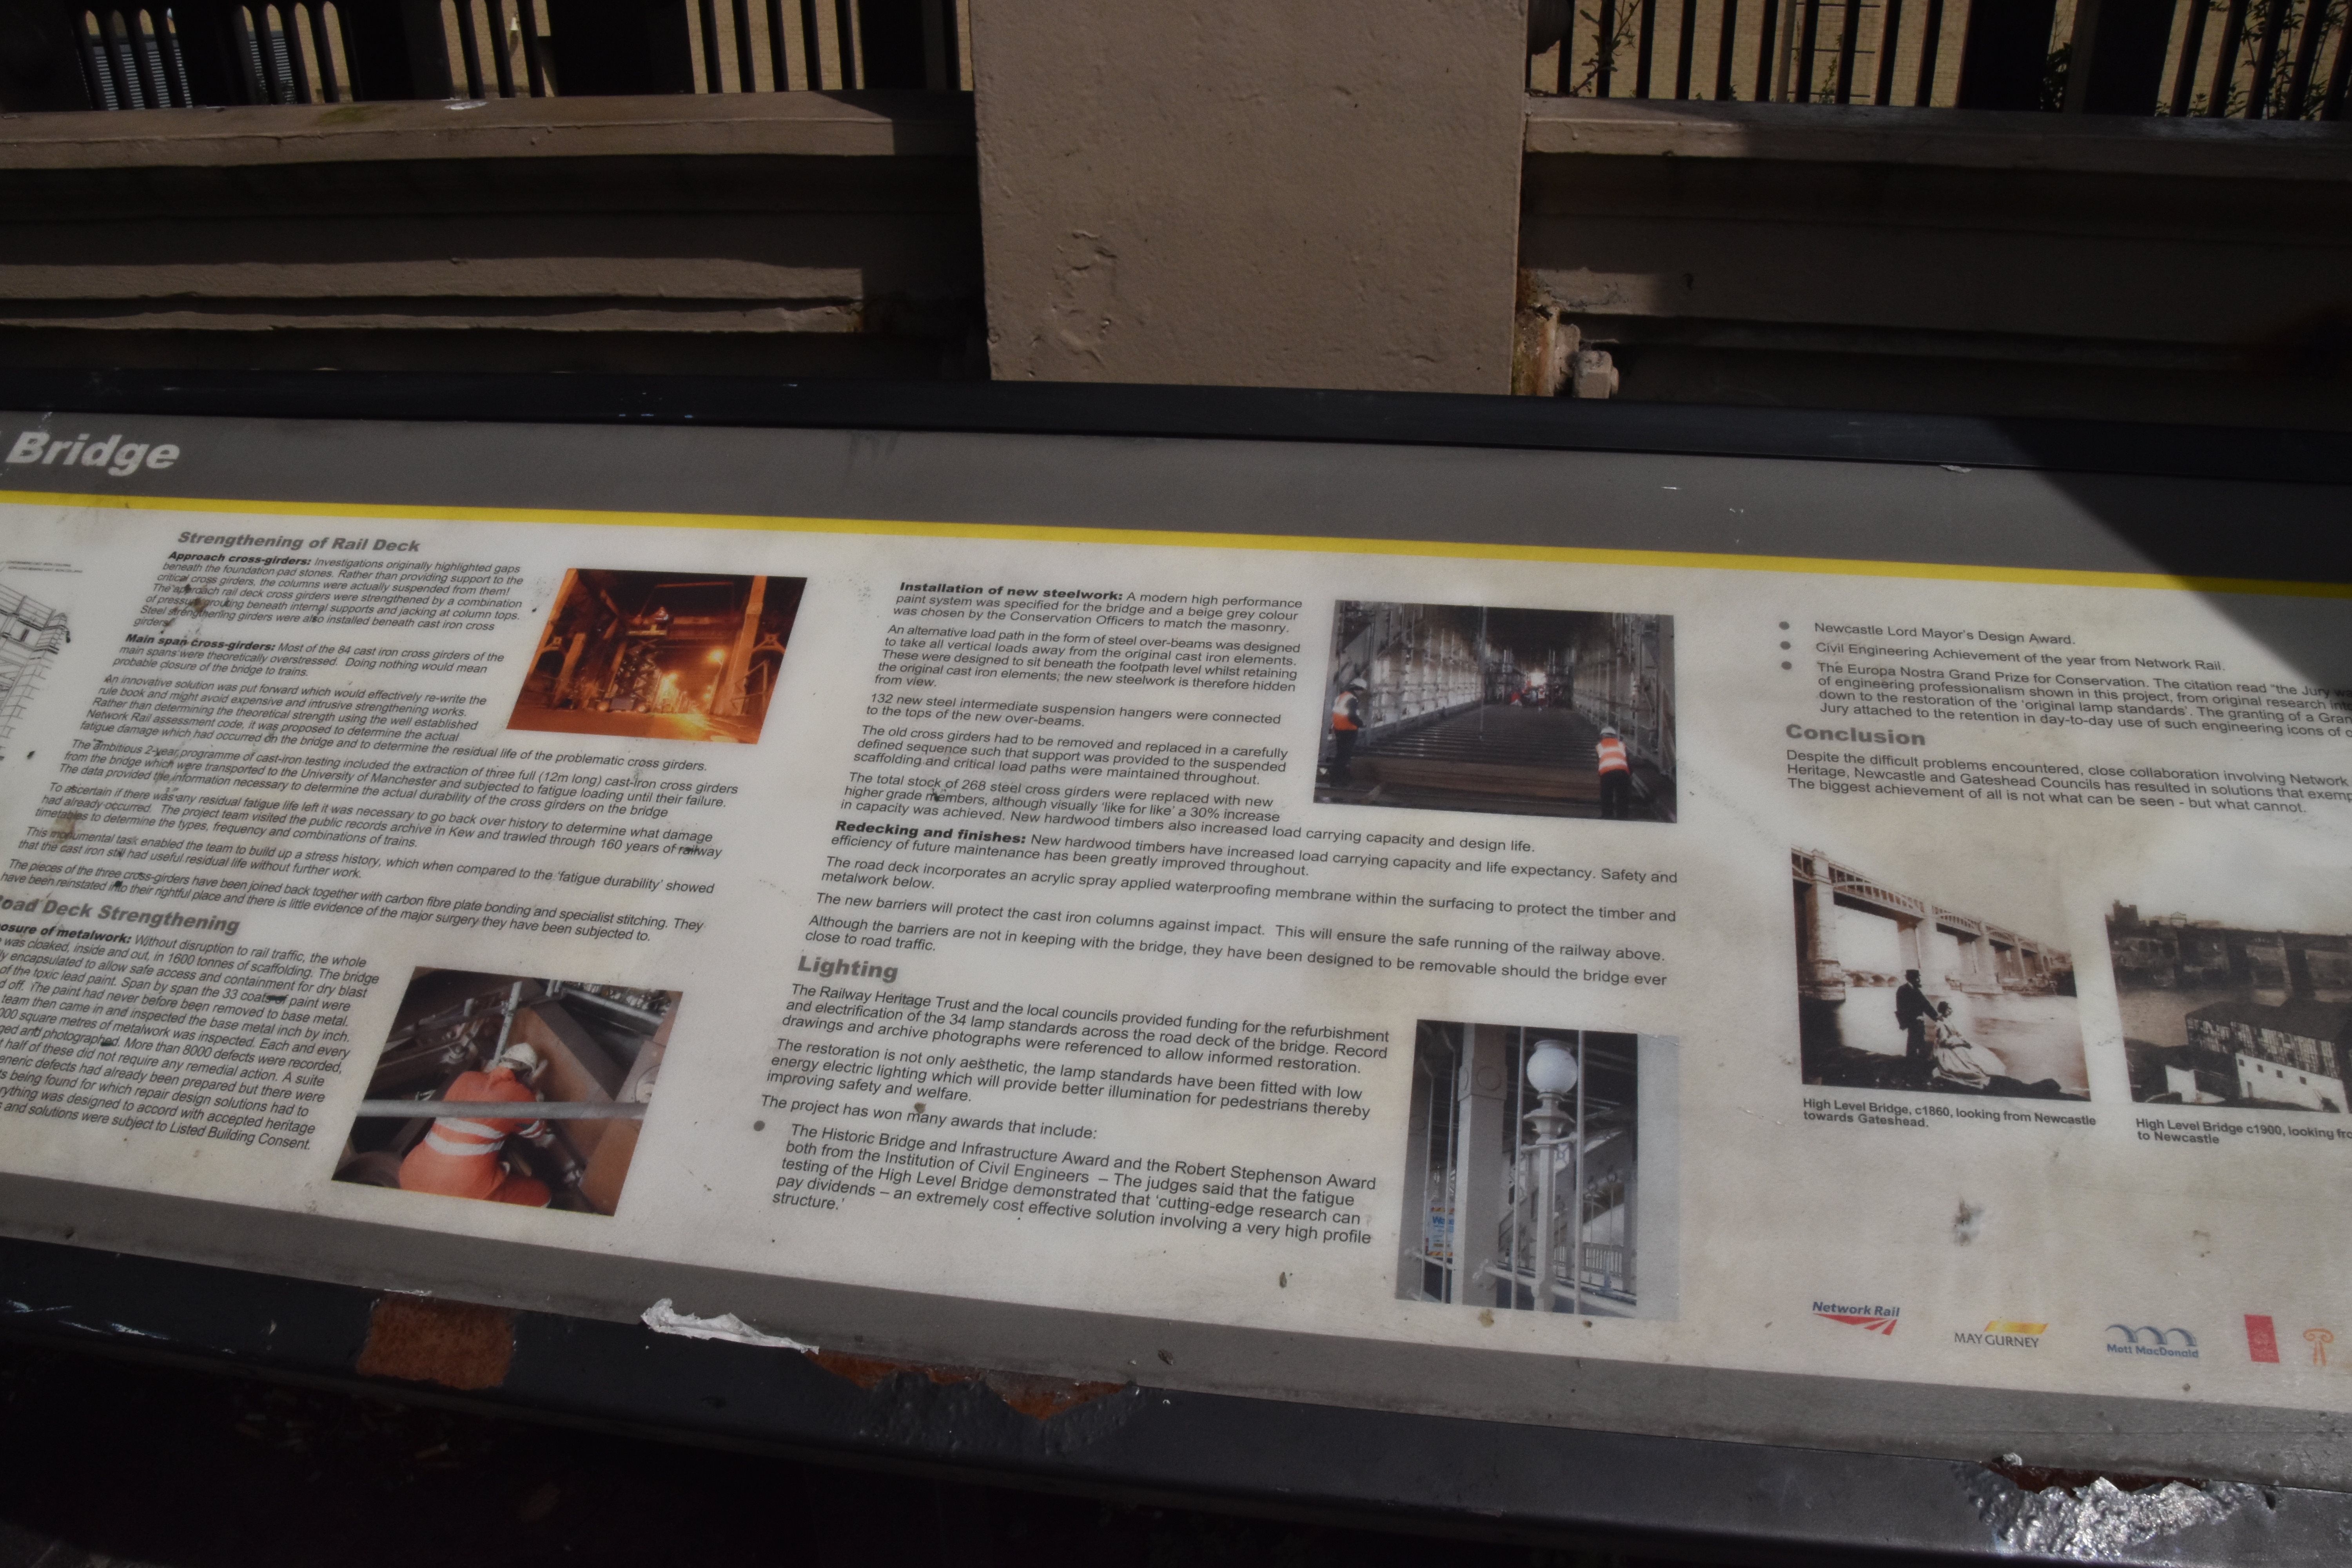


Interpretive sign about rehabilitation.
![]()


Interpretive sign about history of bridge.
![]()


Lighting restoration plaque.
![]()
Lighting on bridge.
![]()
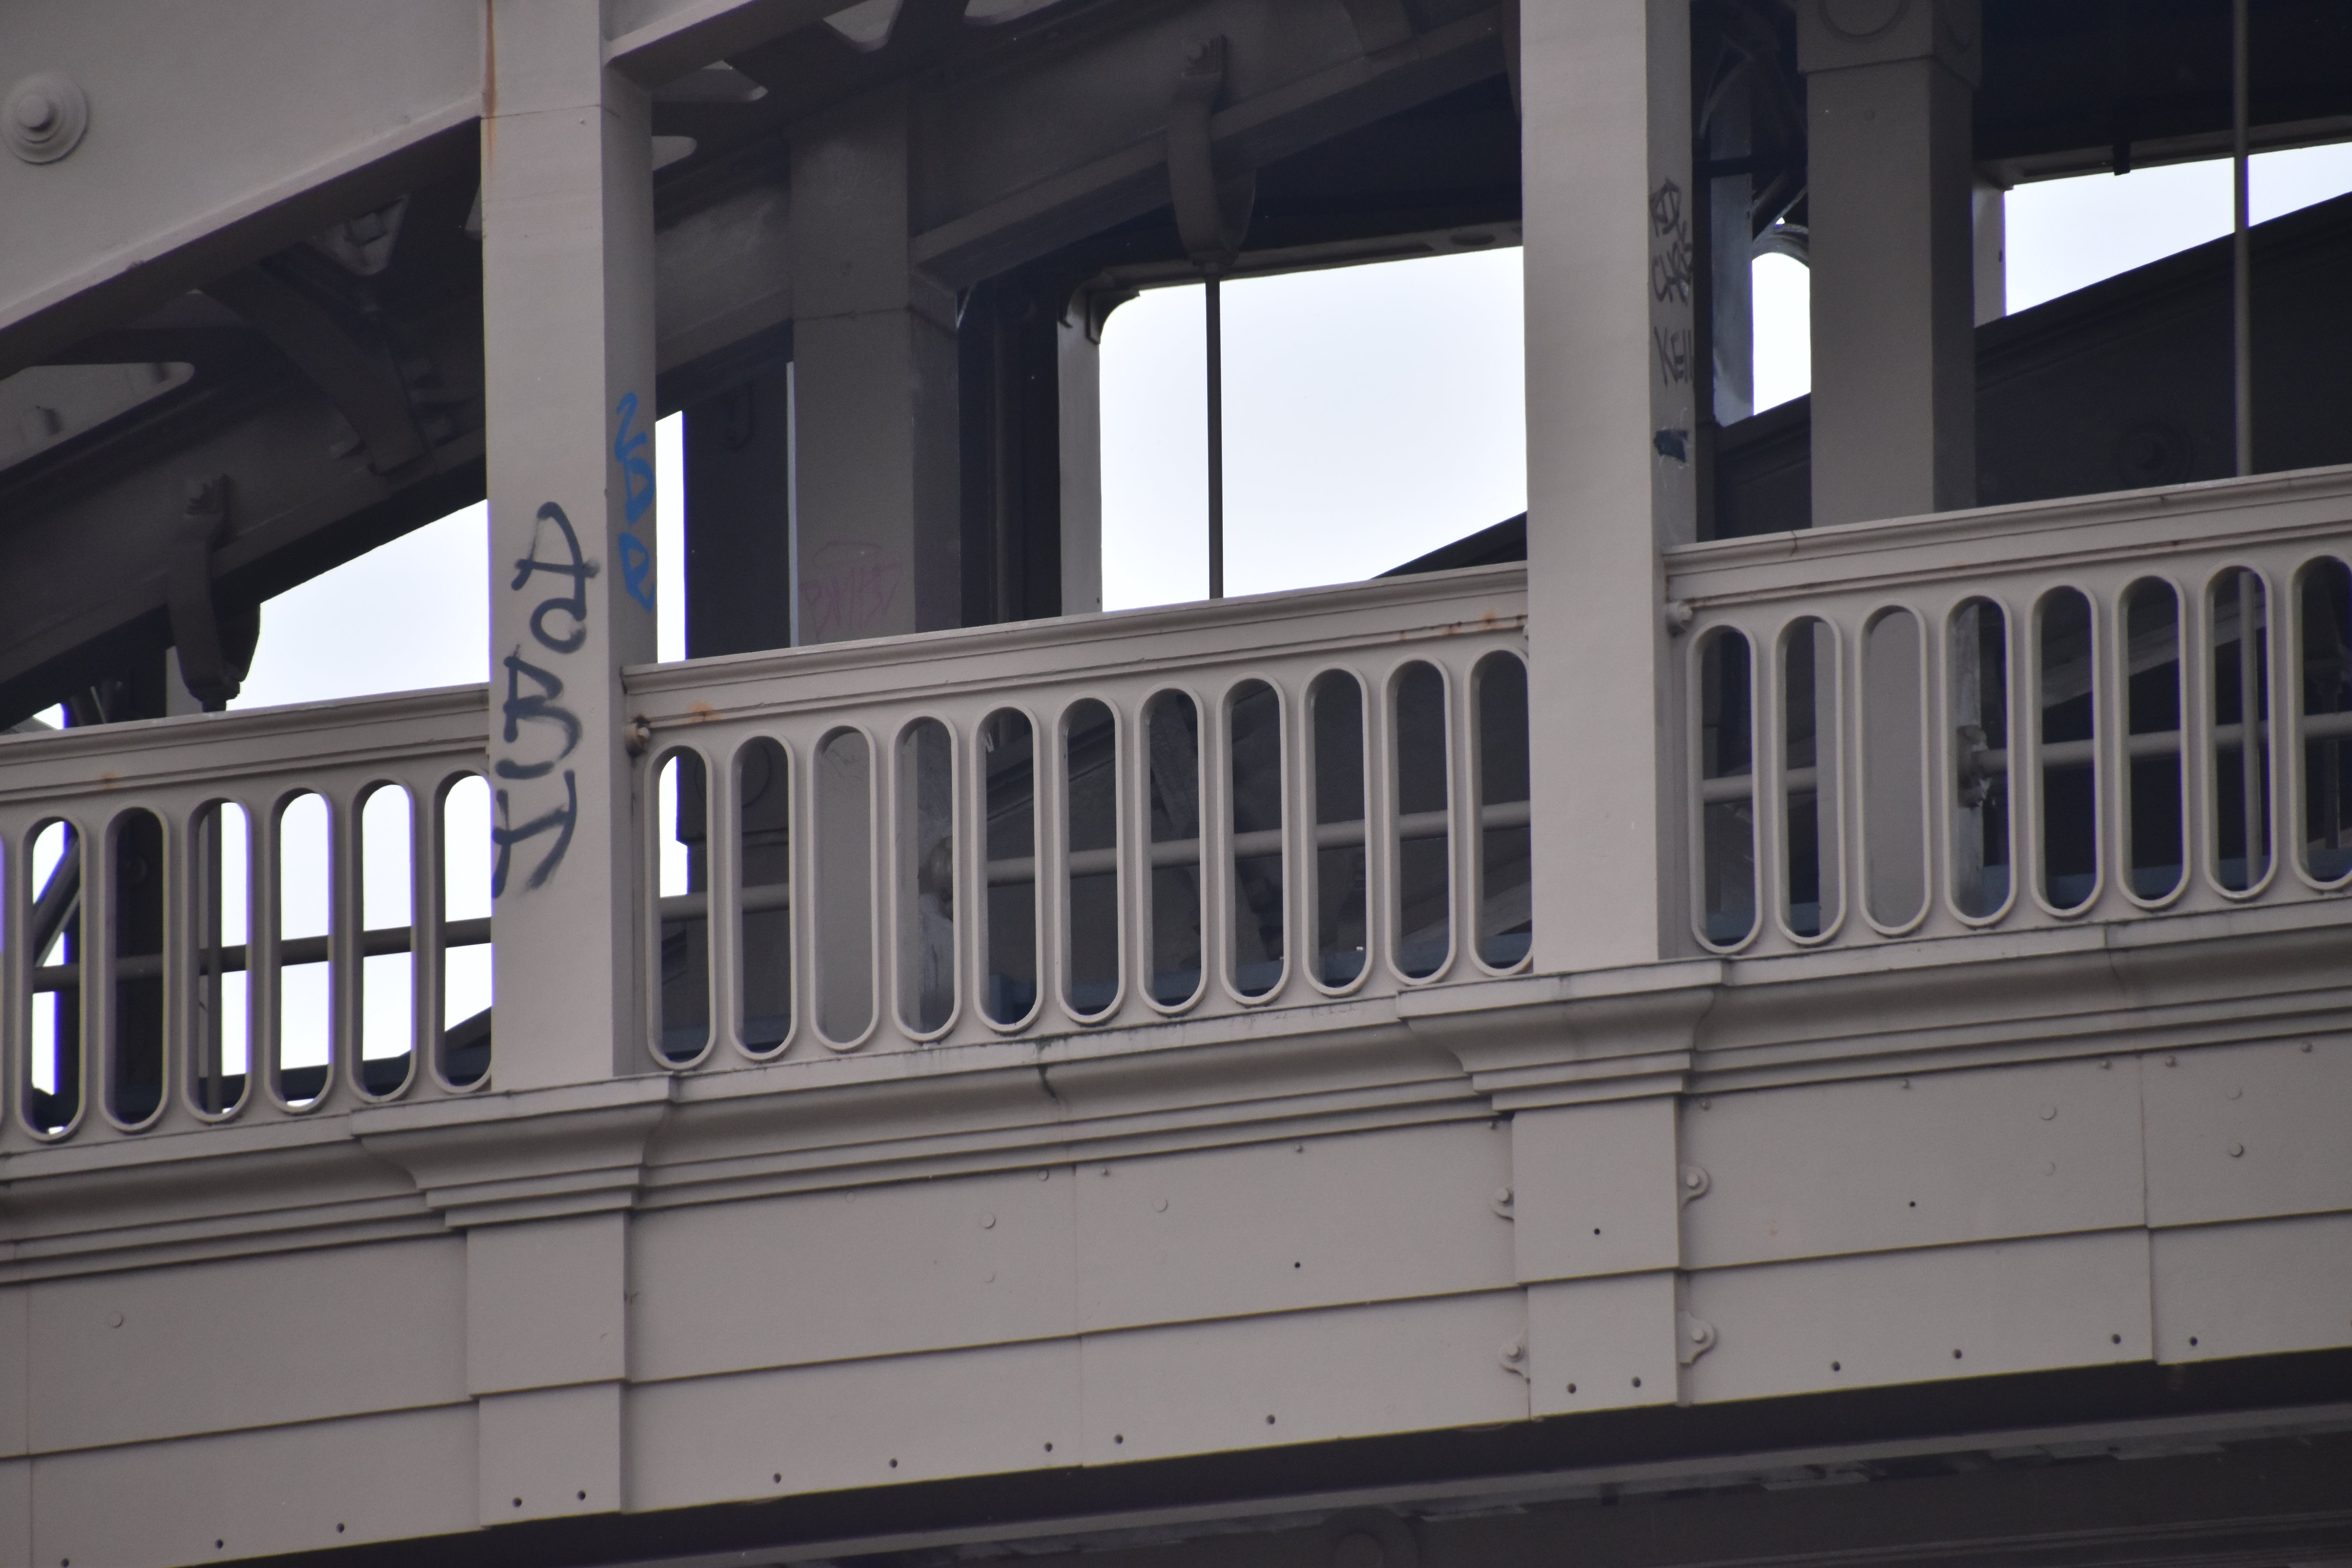
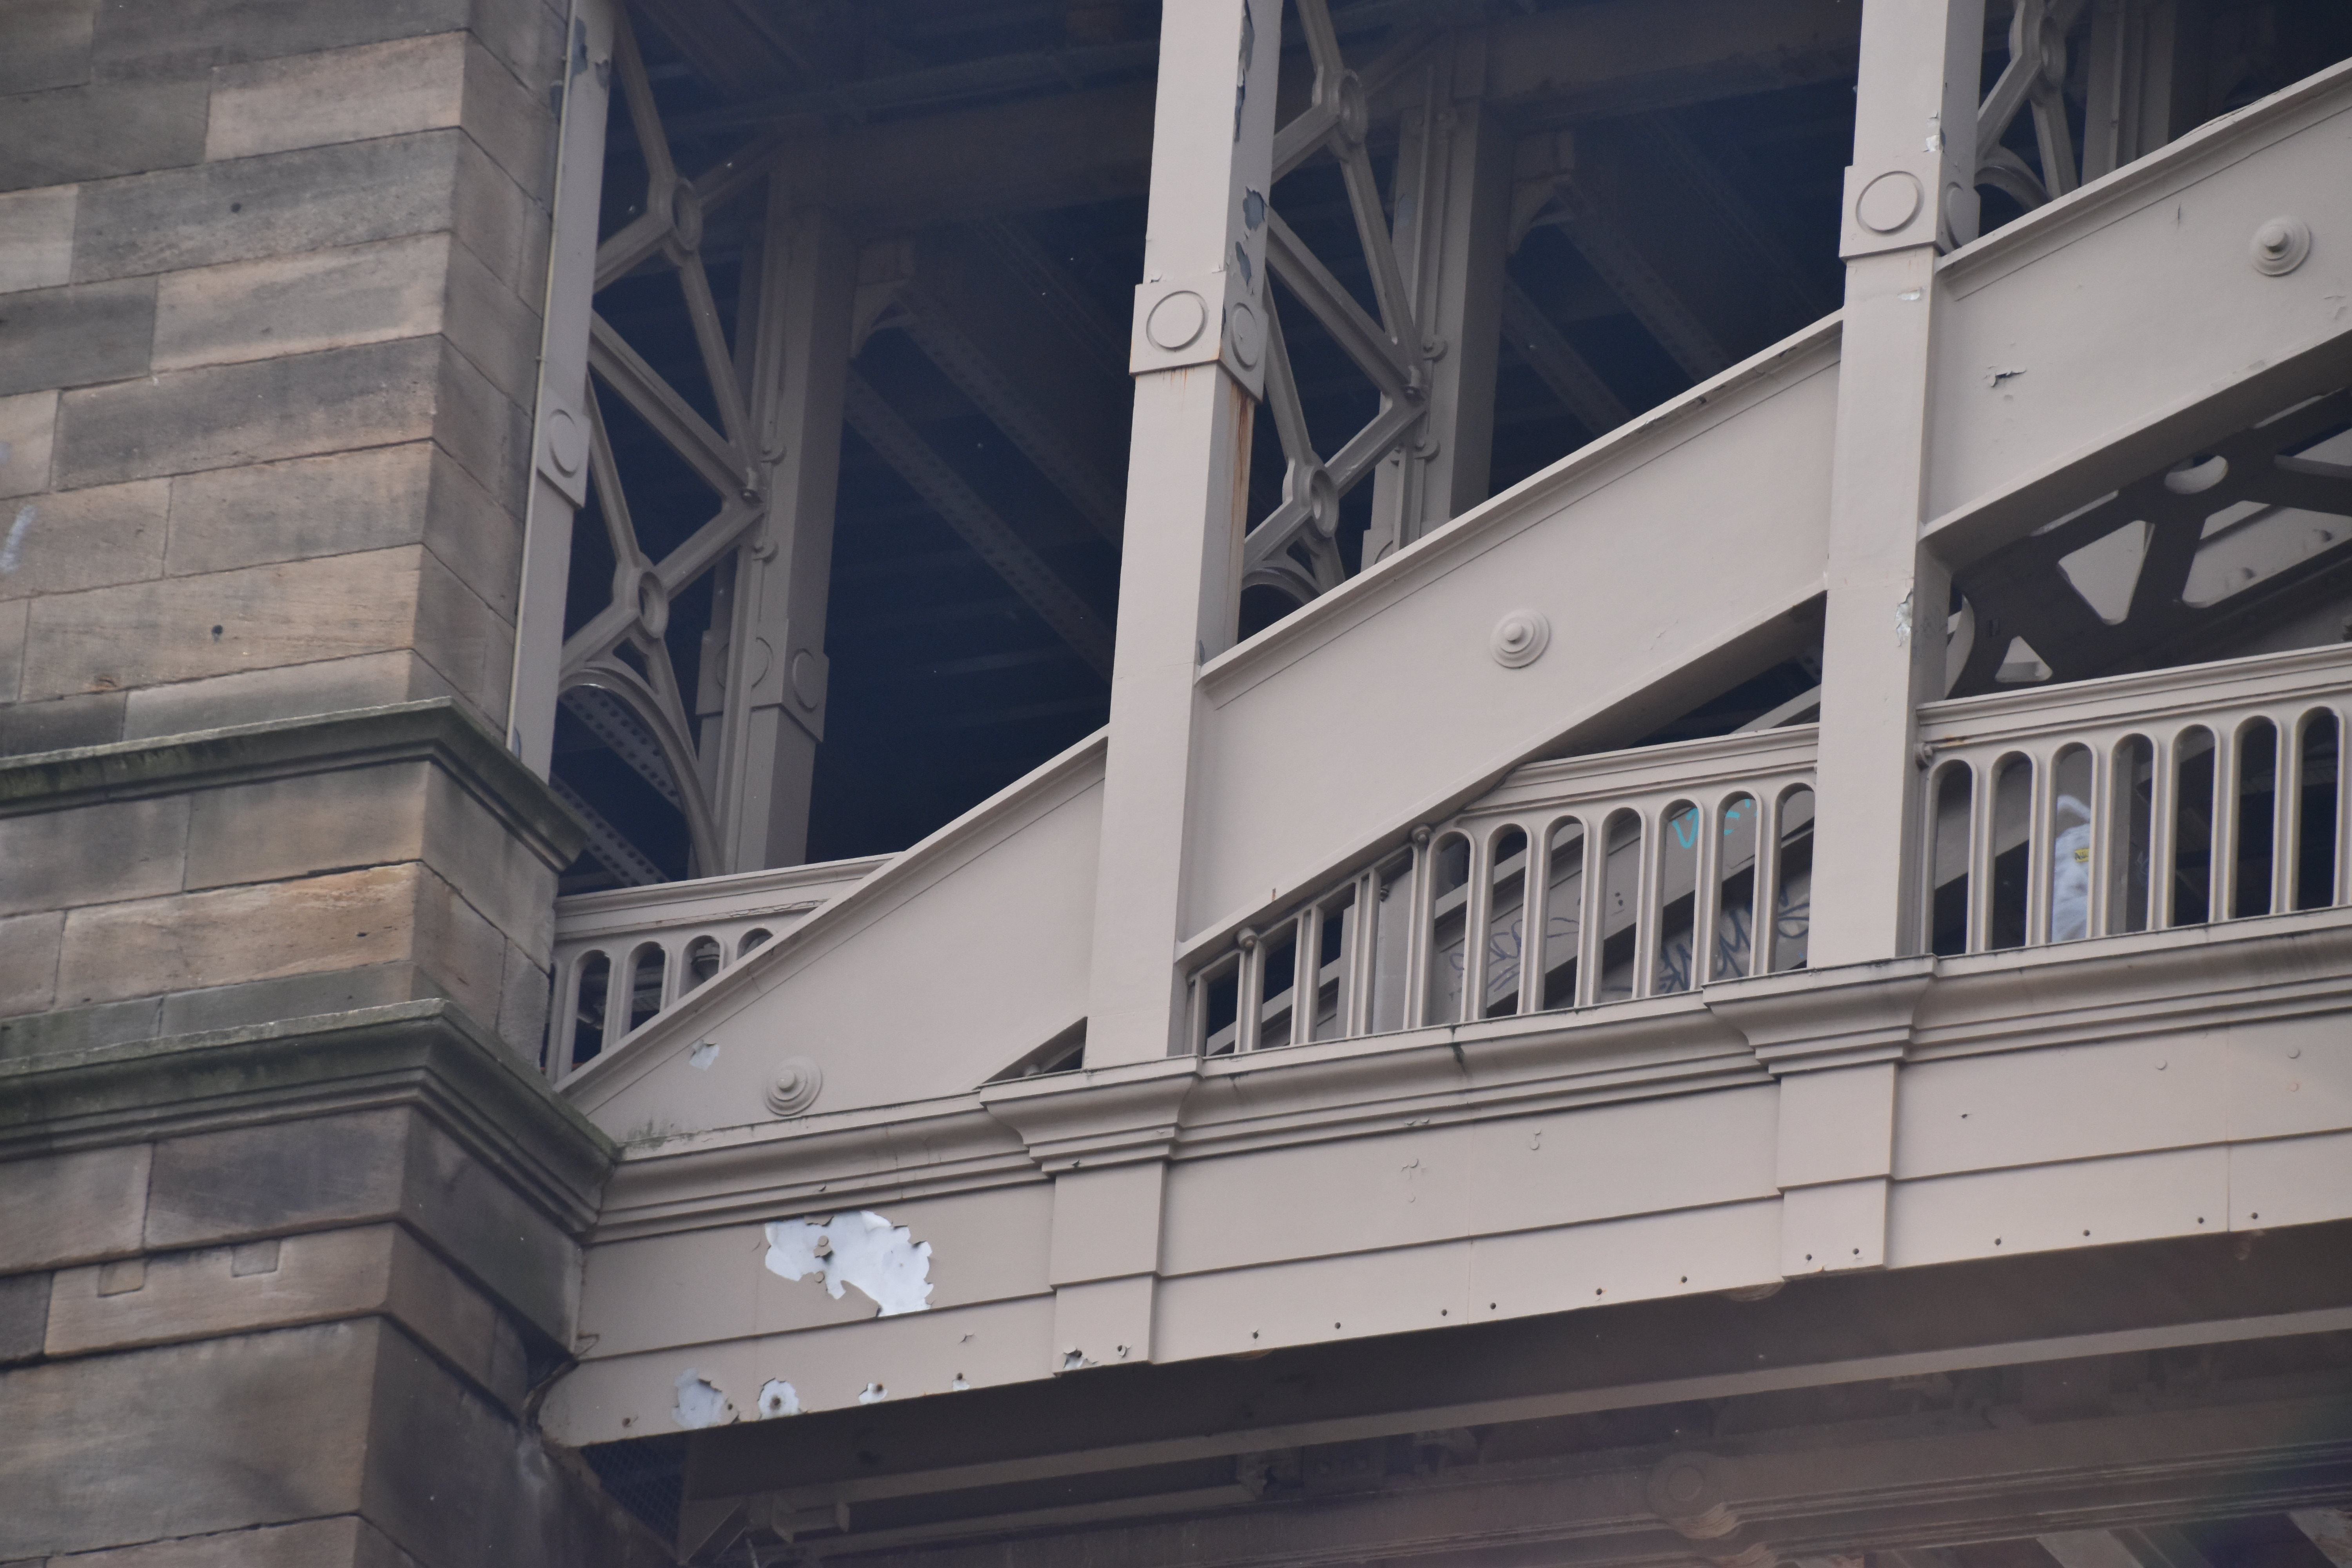
Exterior railing details.
![]()


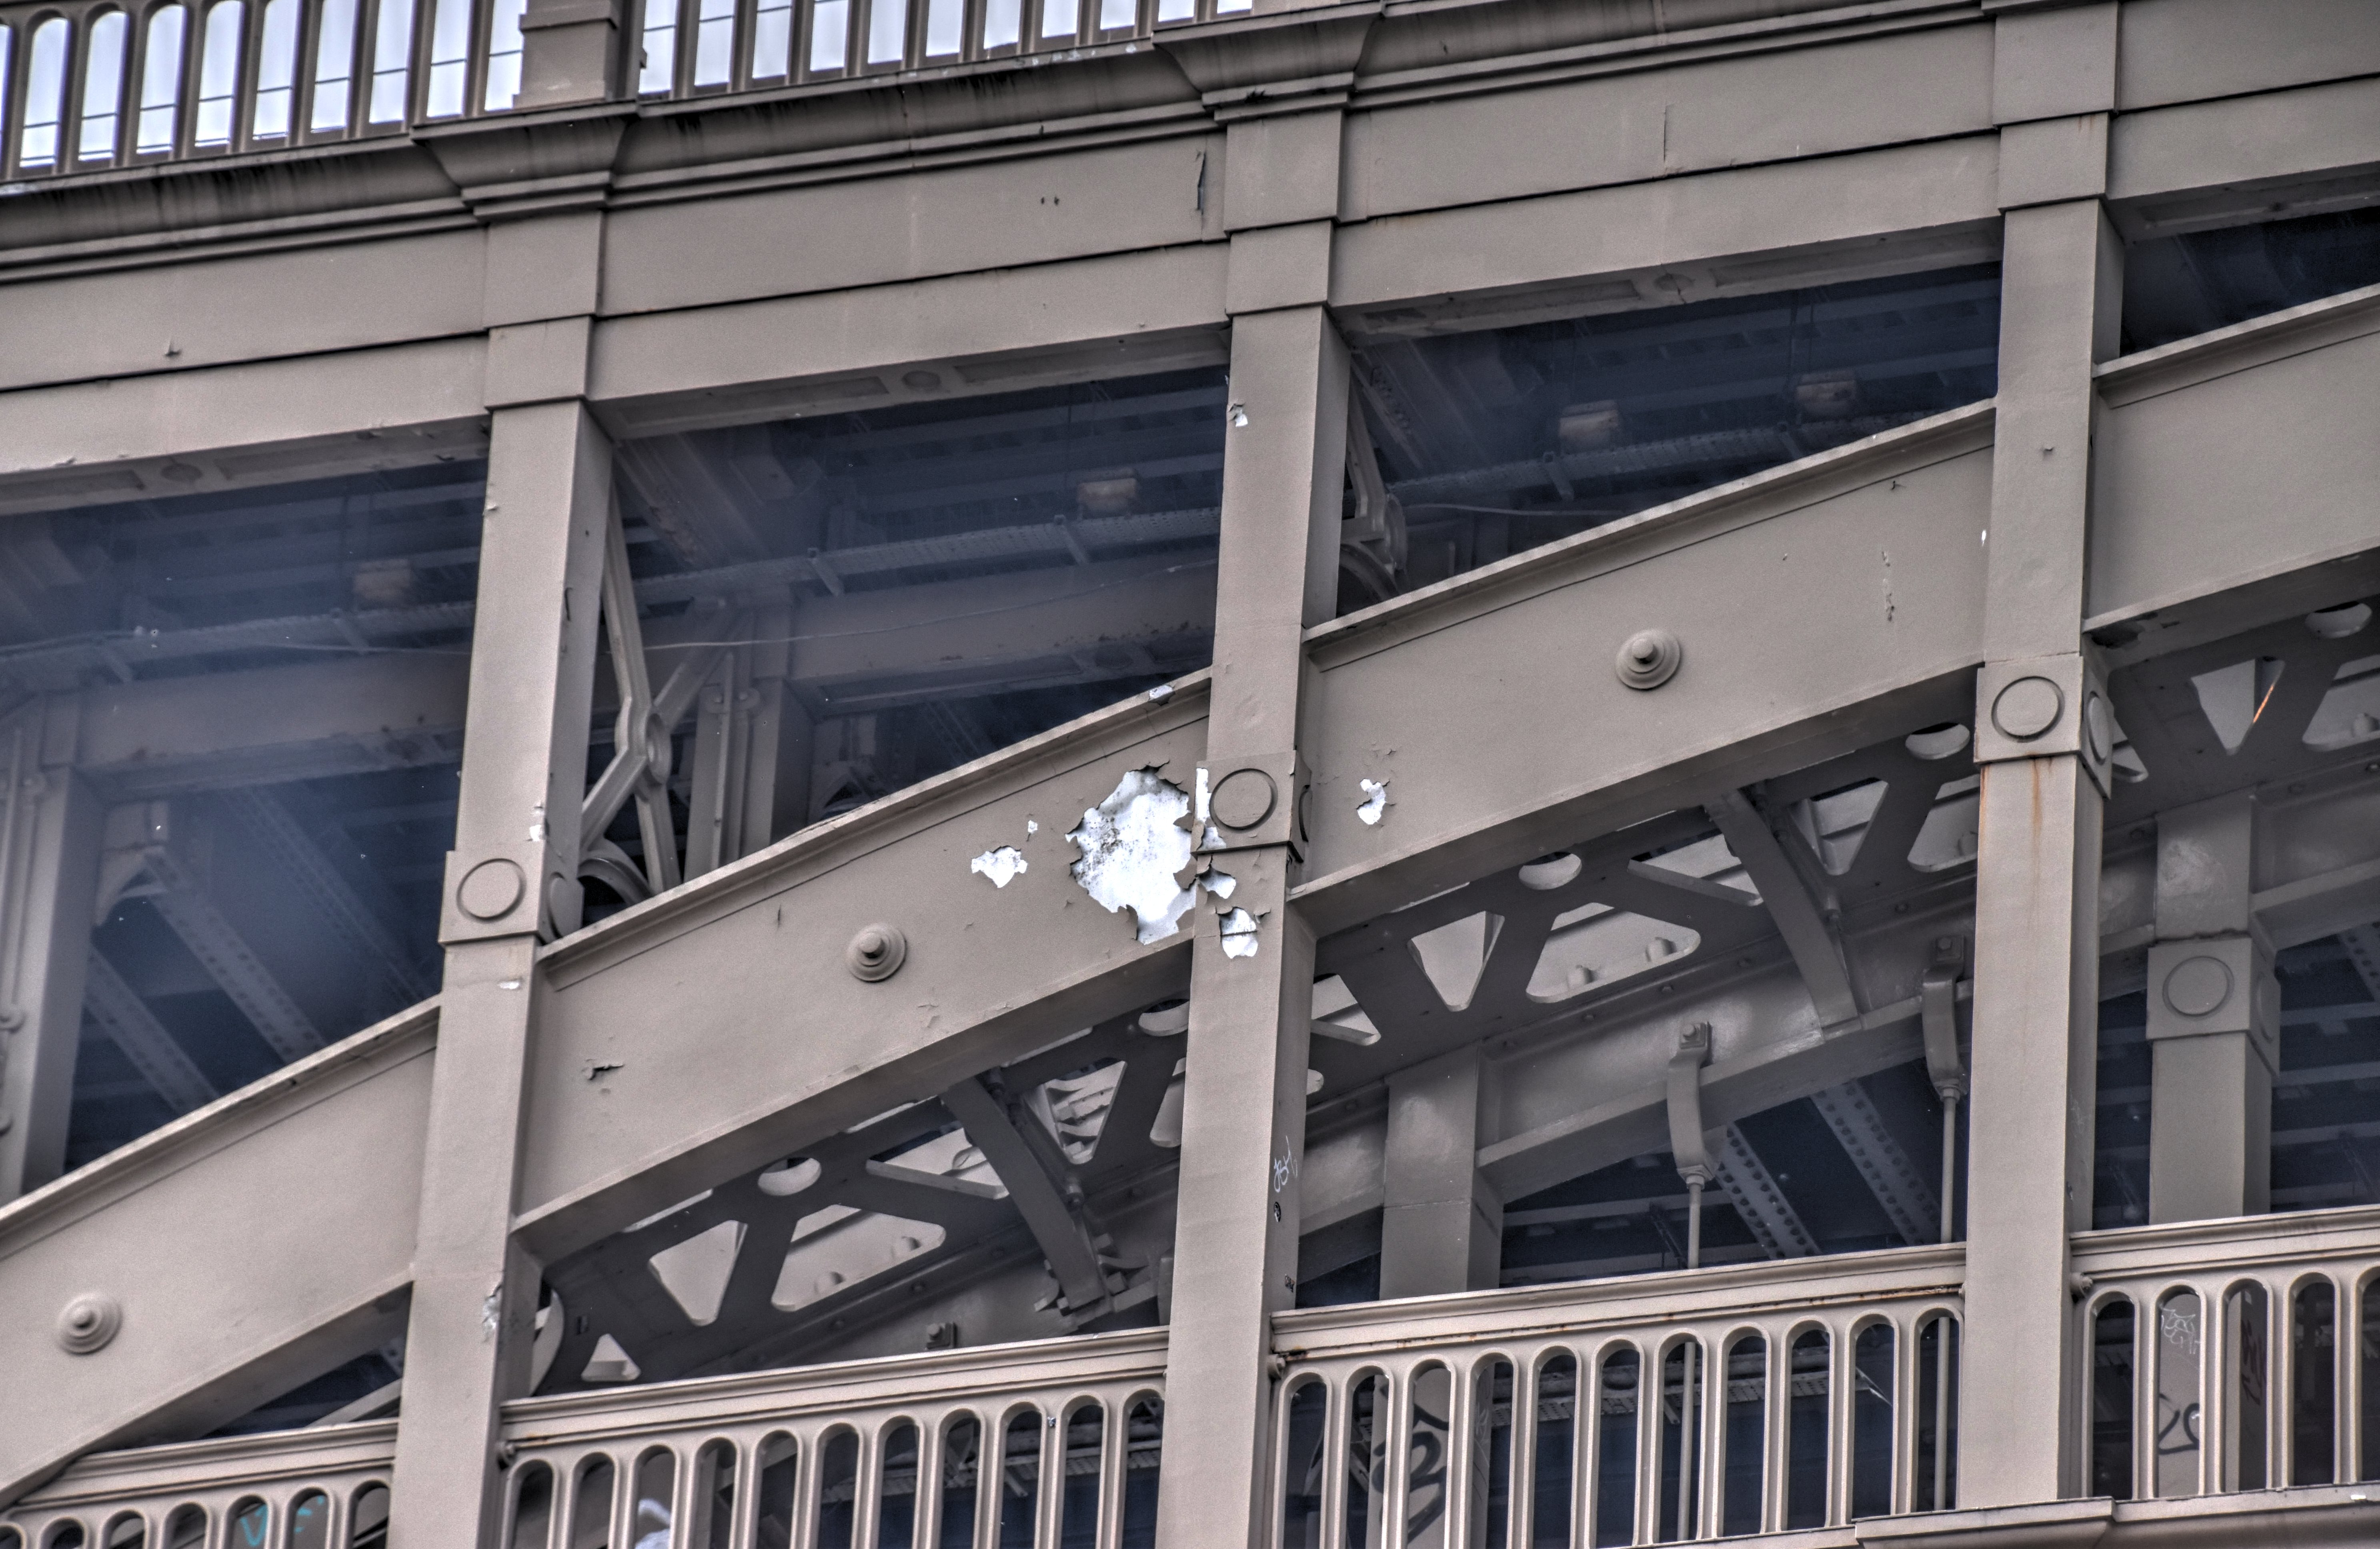
Interior railing details.
![]()
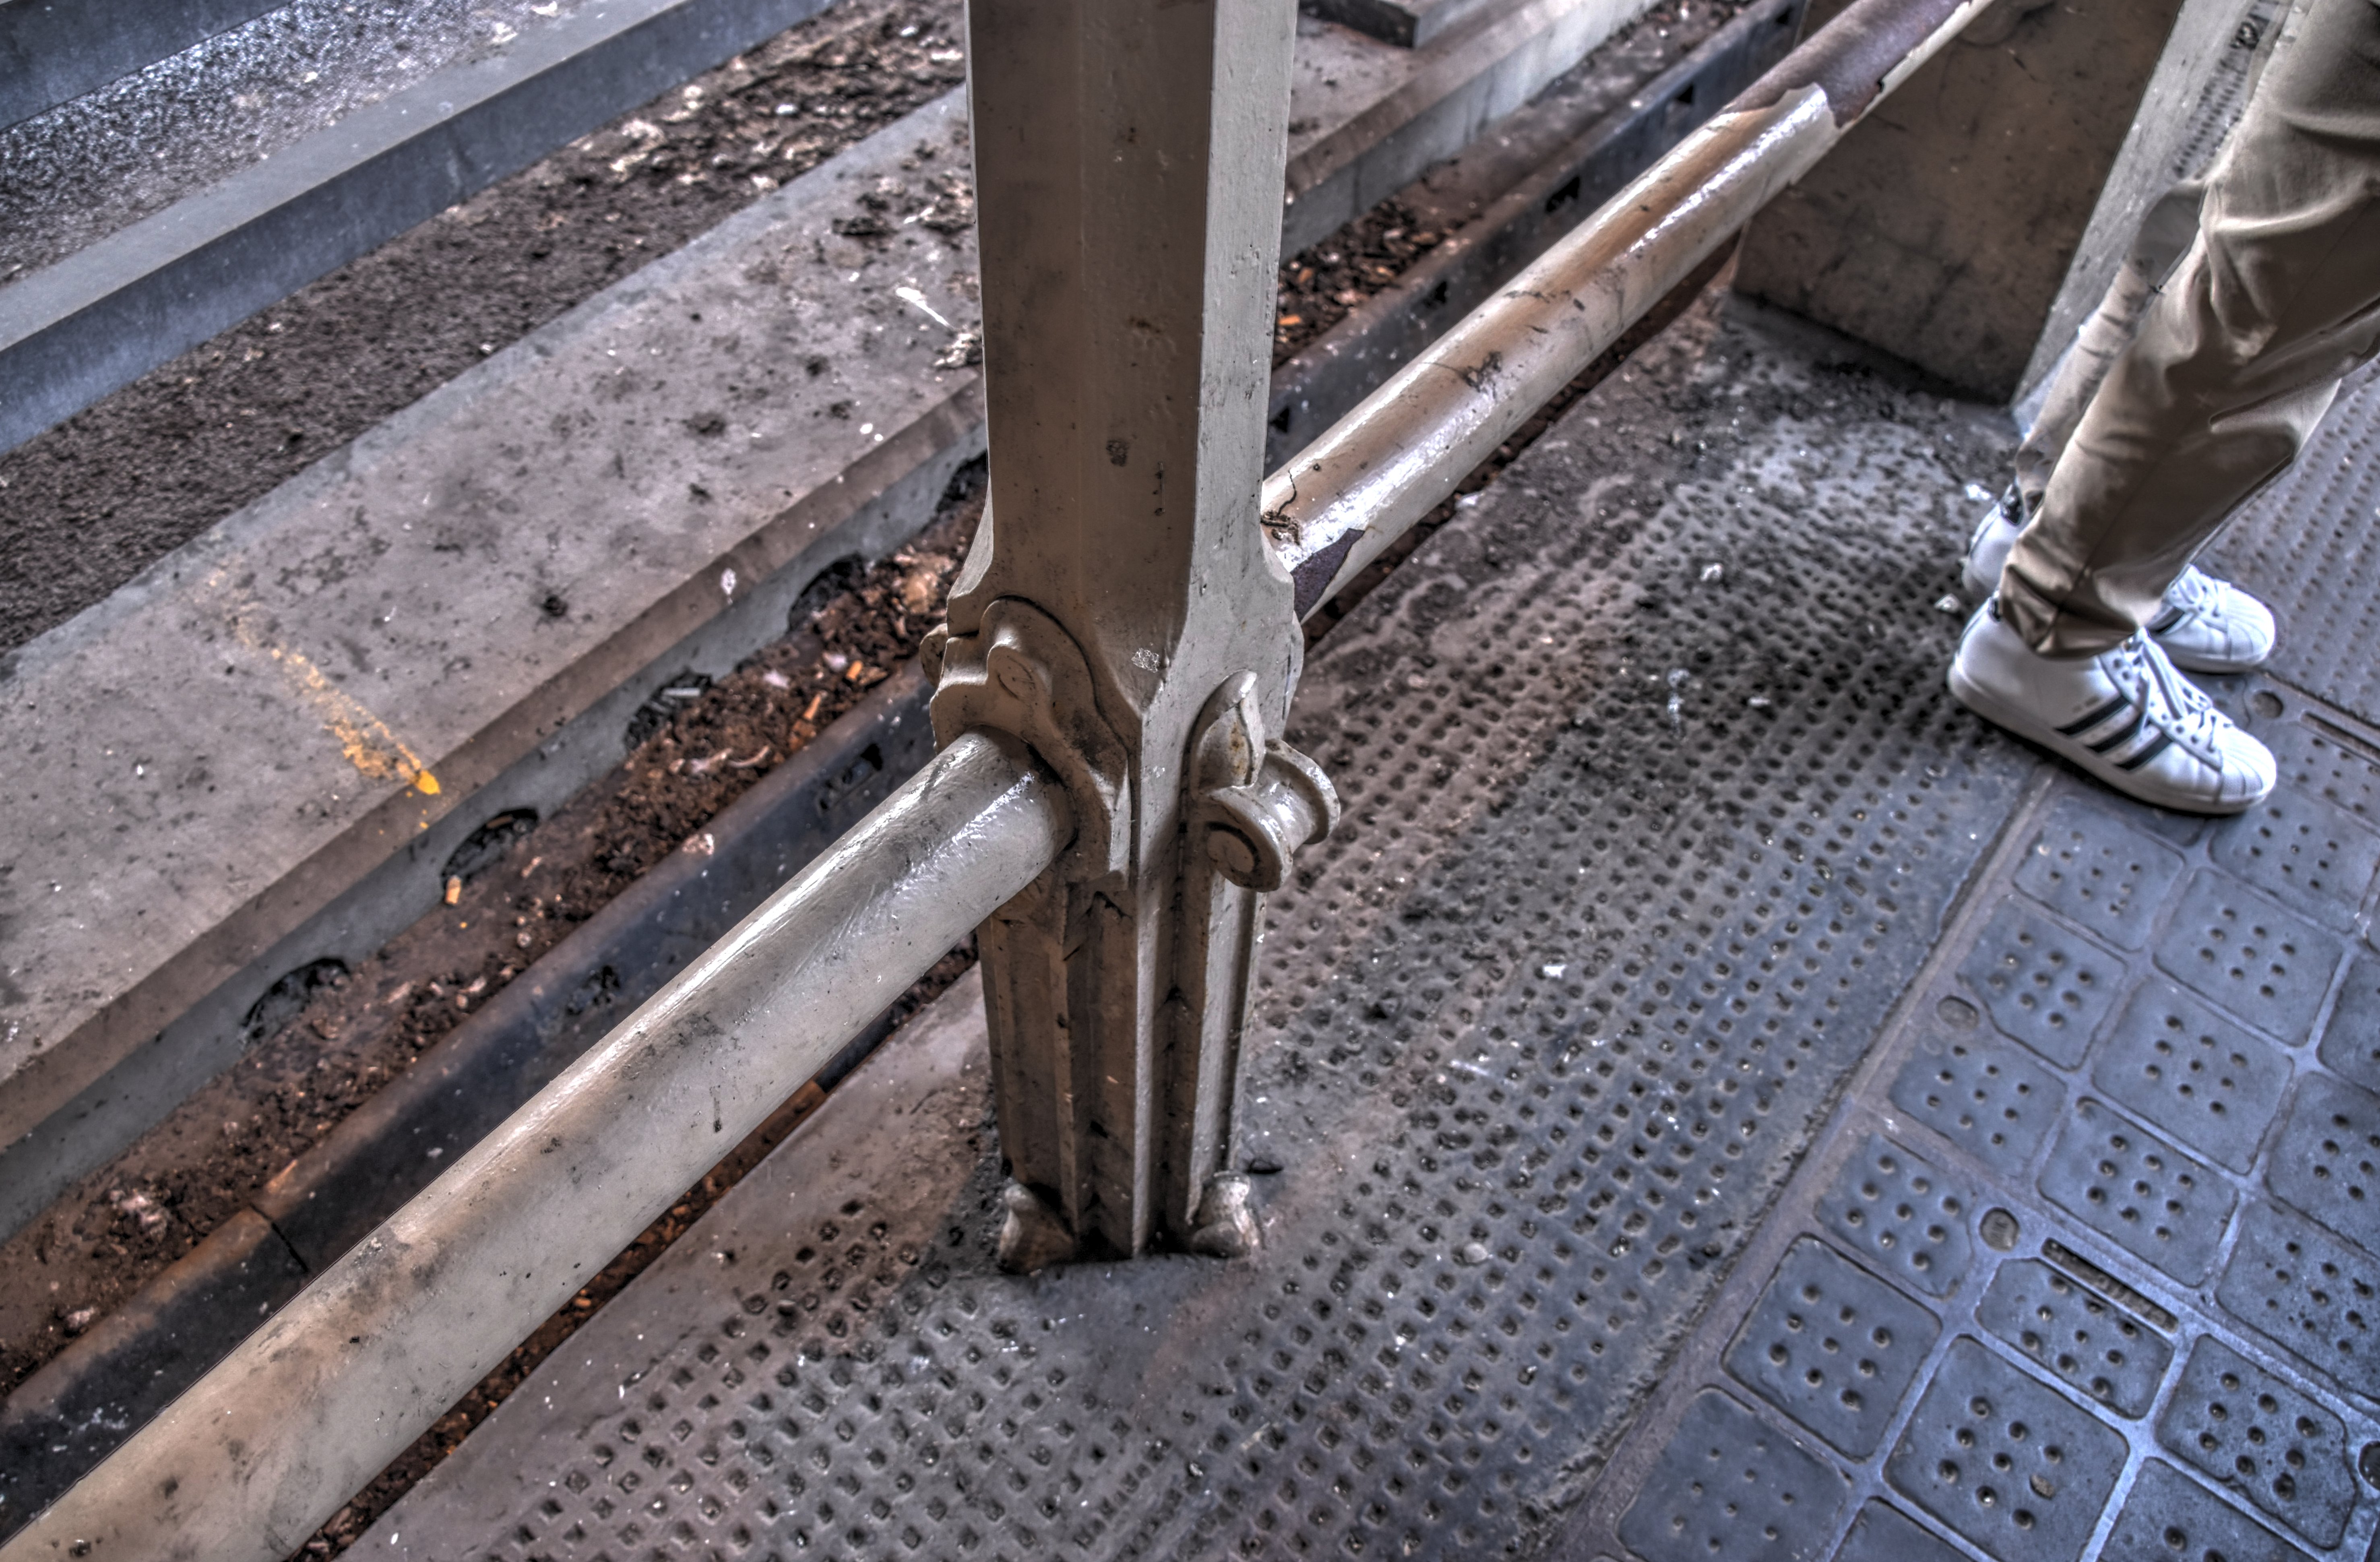
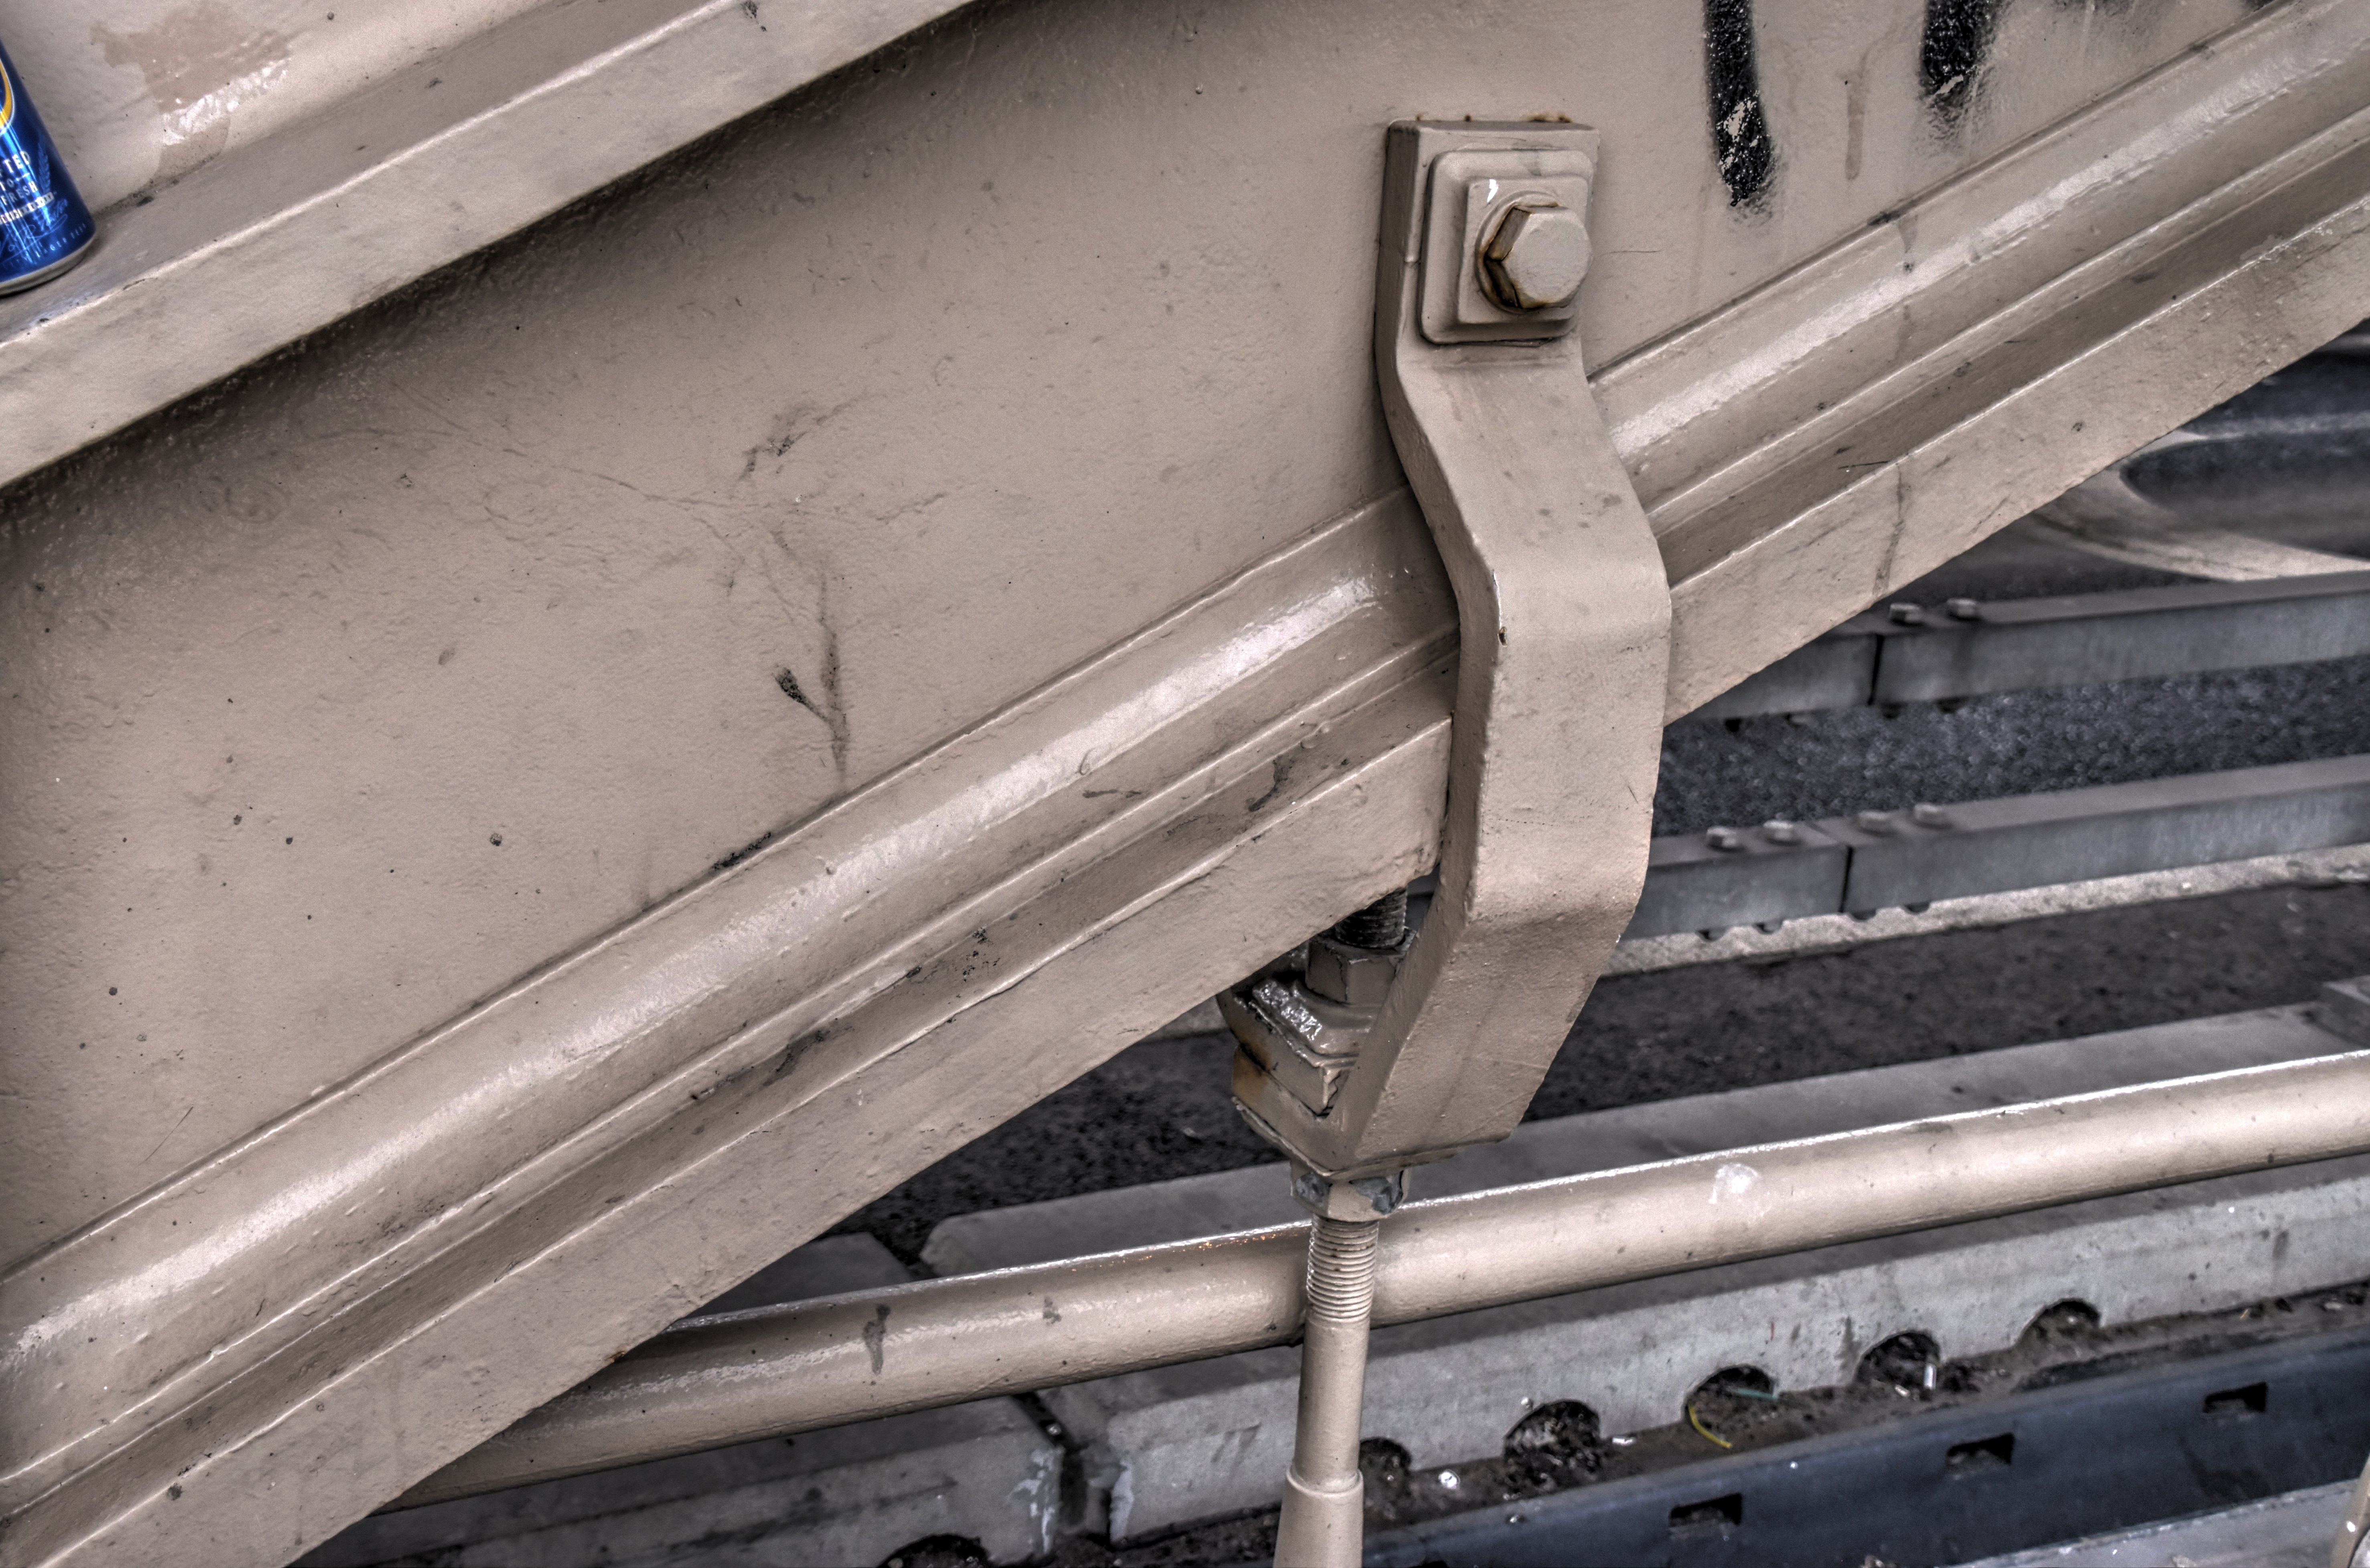
Railing and deck fascia detail.
![]()


Arch details as seen from beside bridge.
![]()


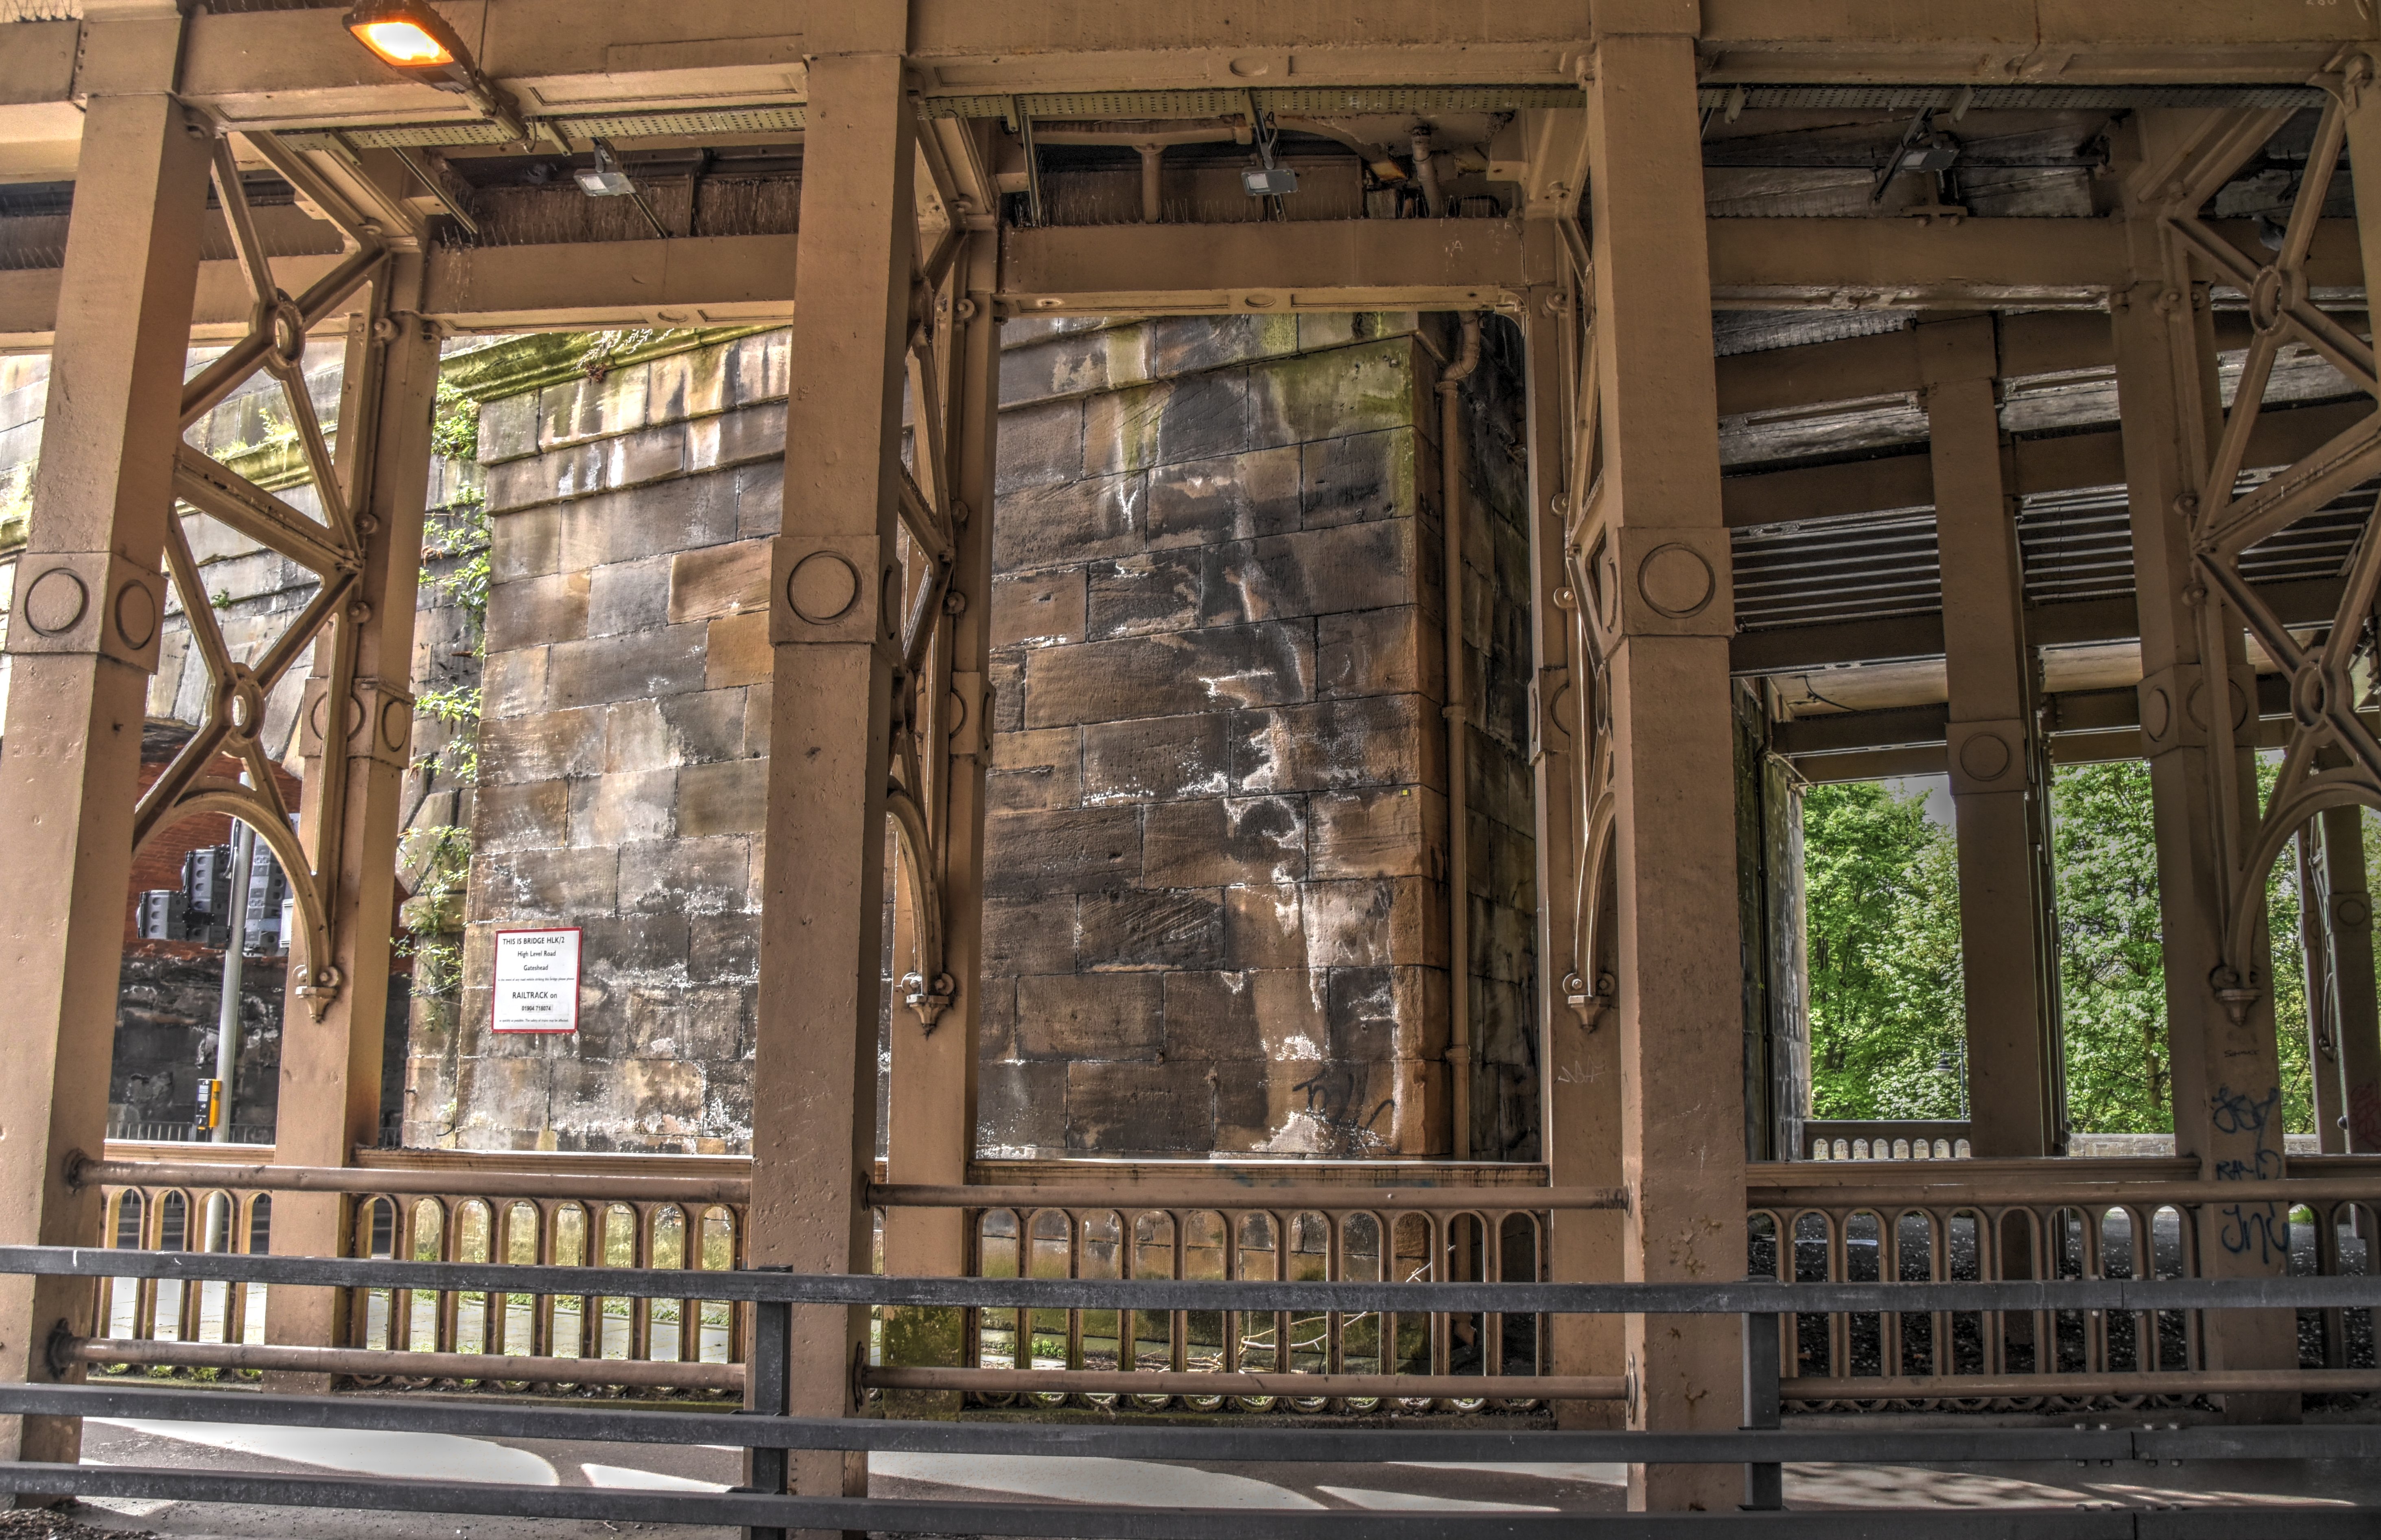
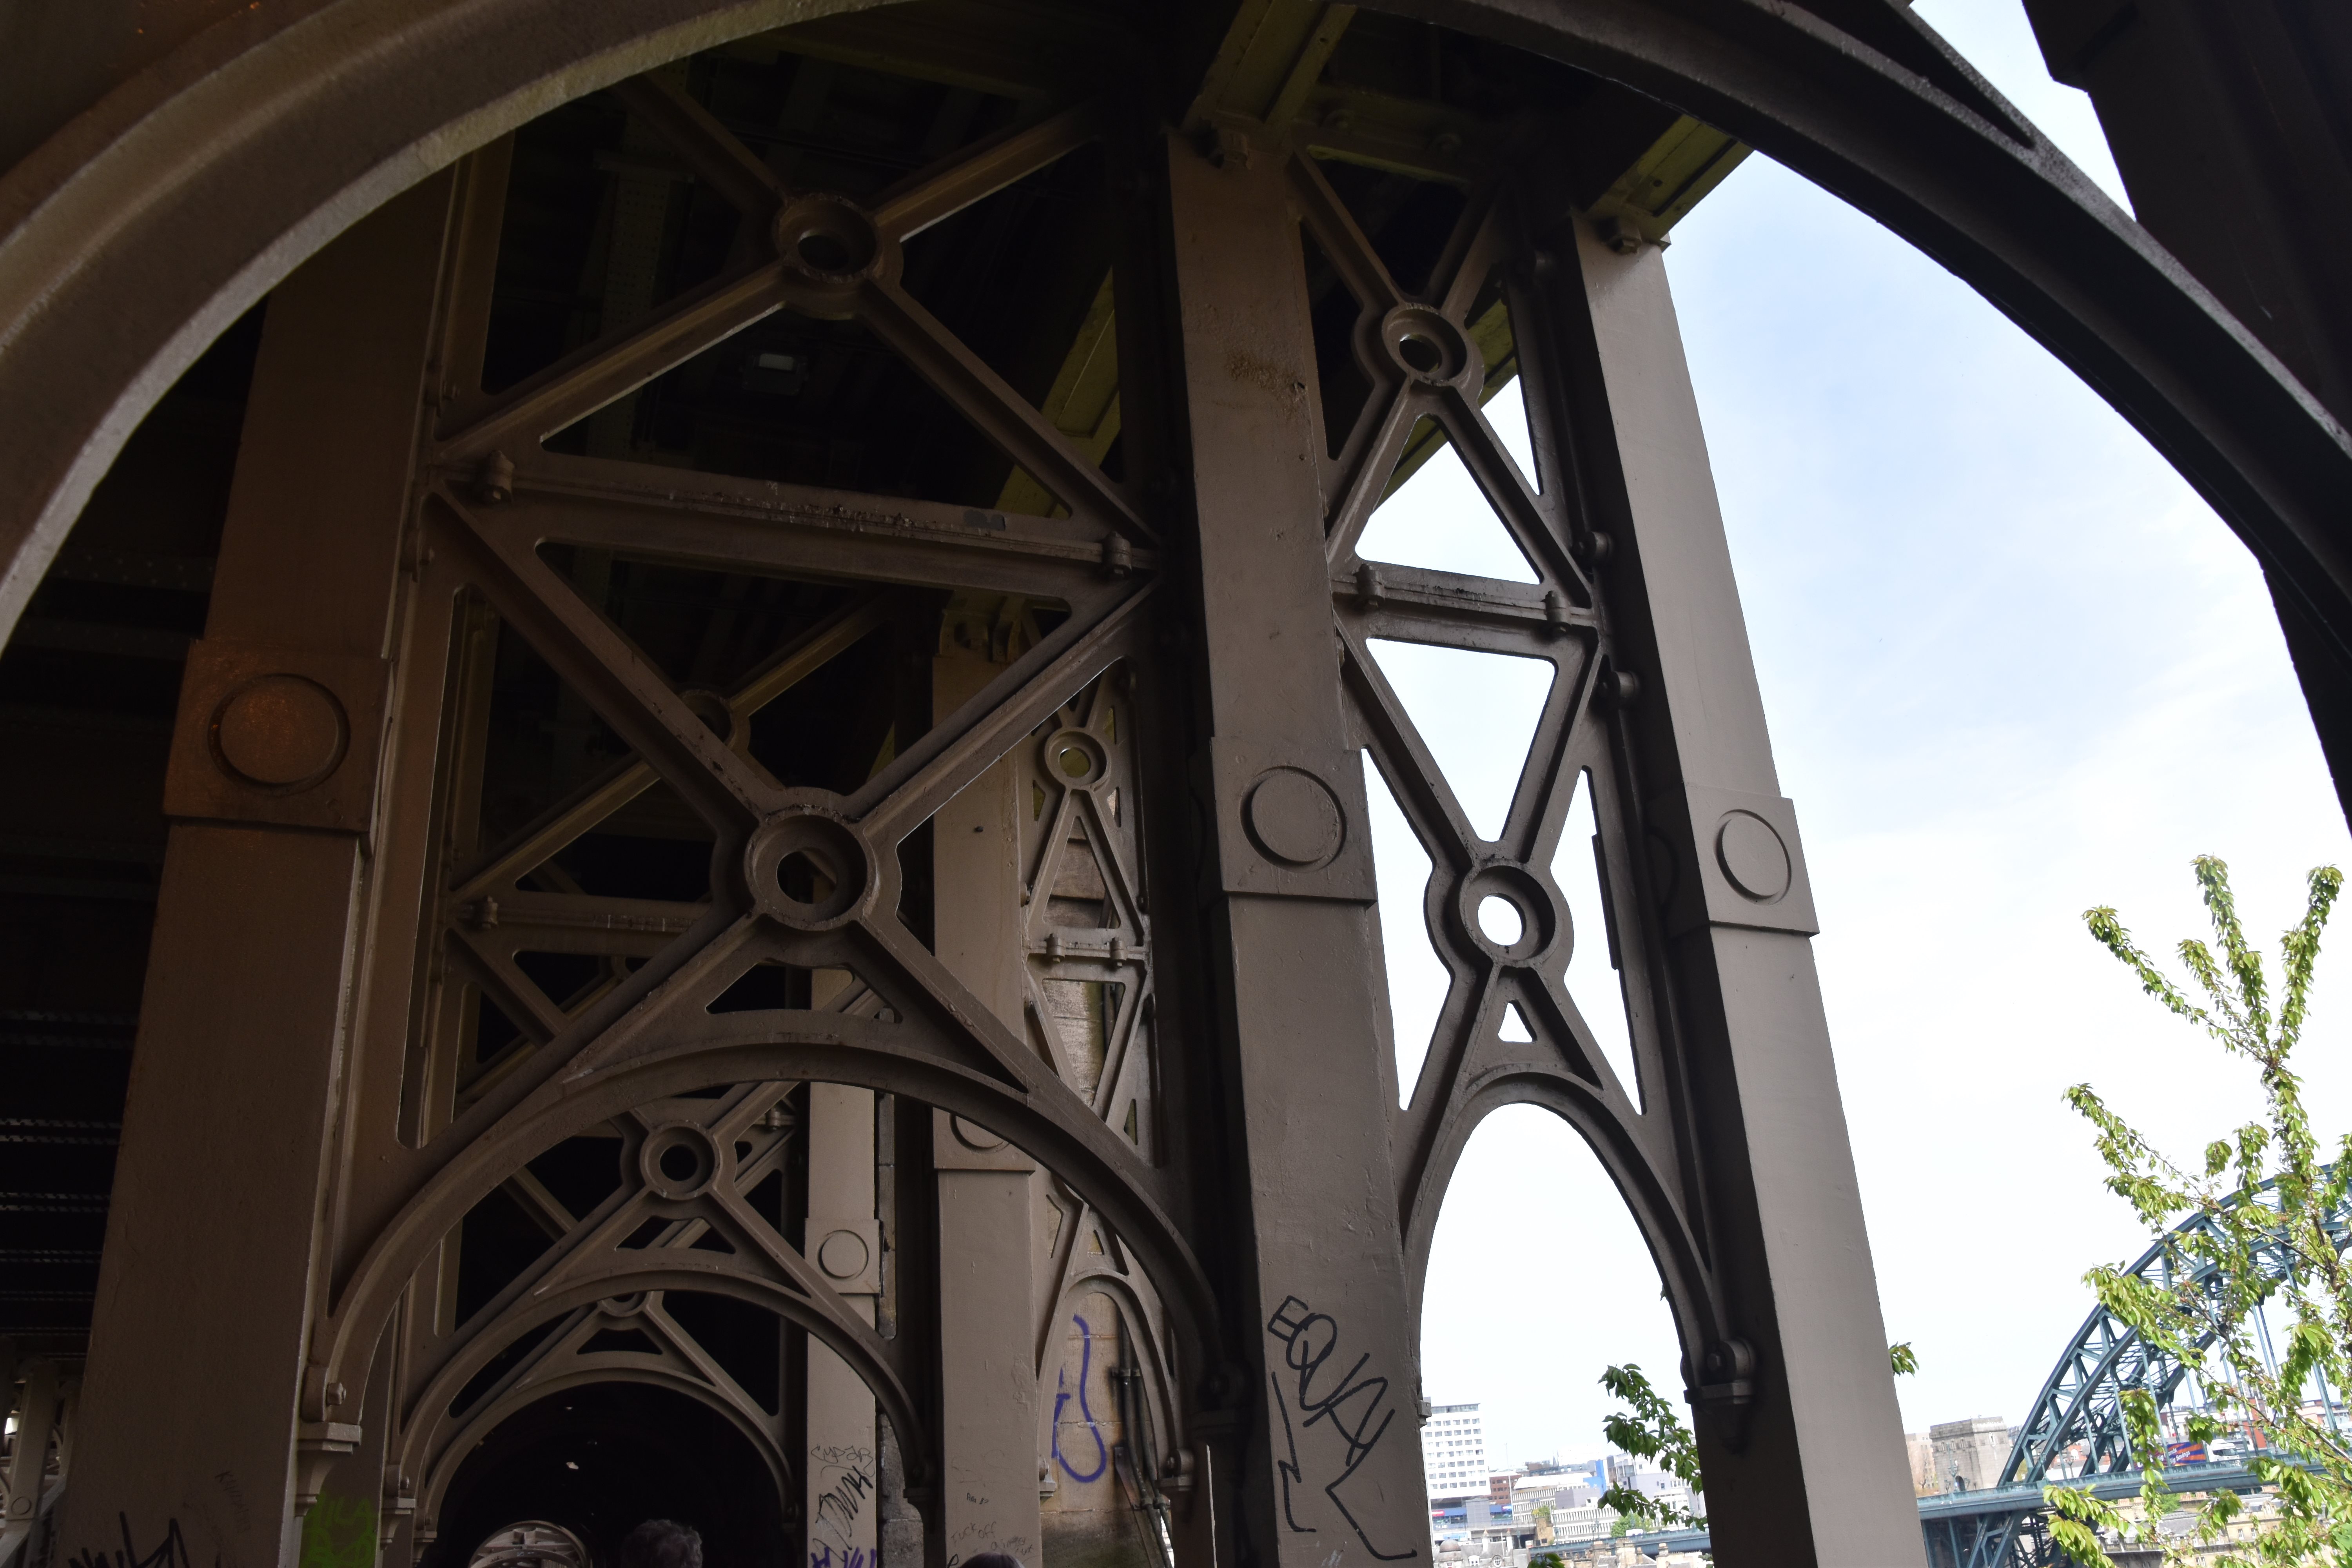
Columns and column bracing on approach as seen from beside bridge.
![]()


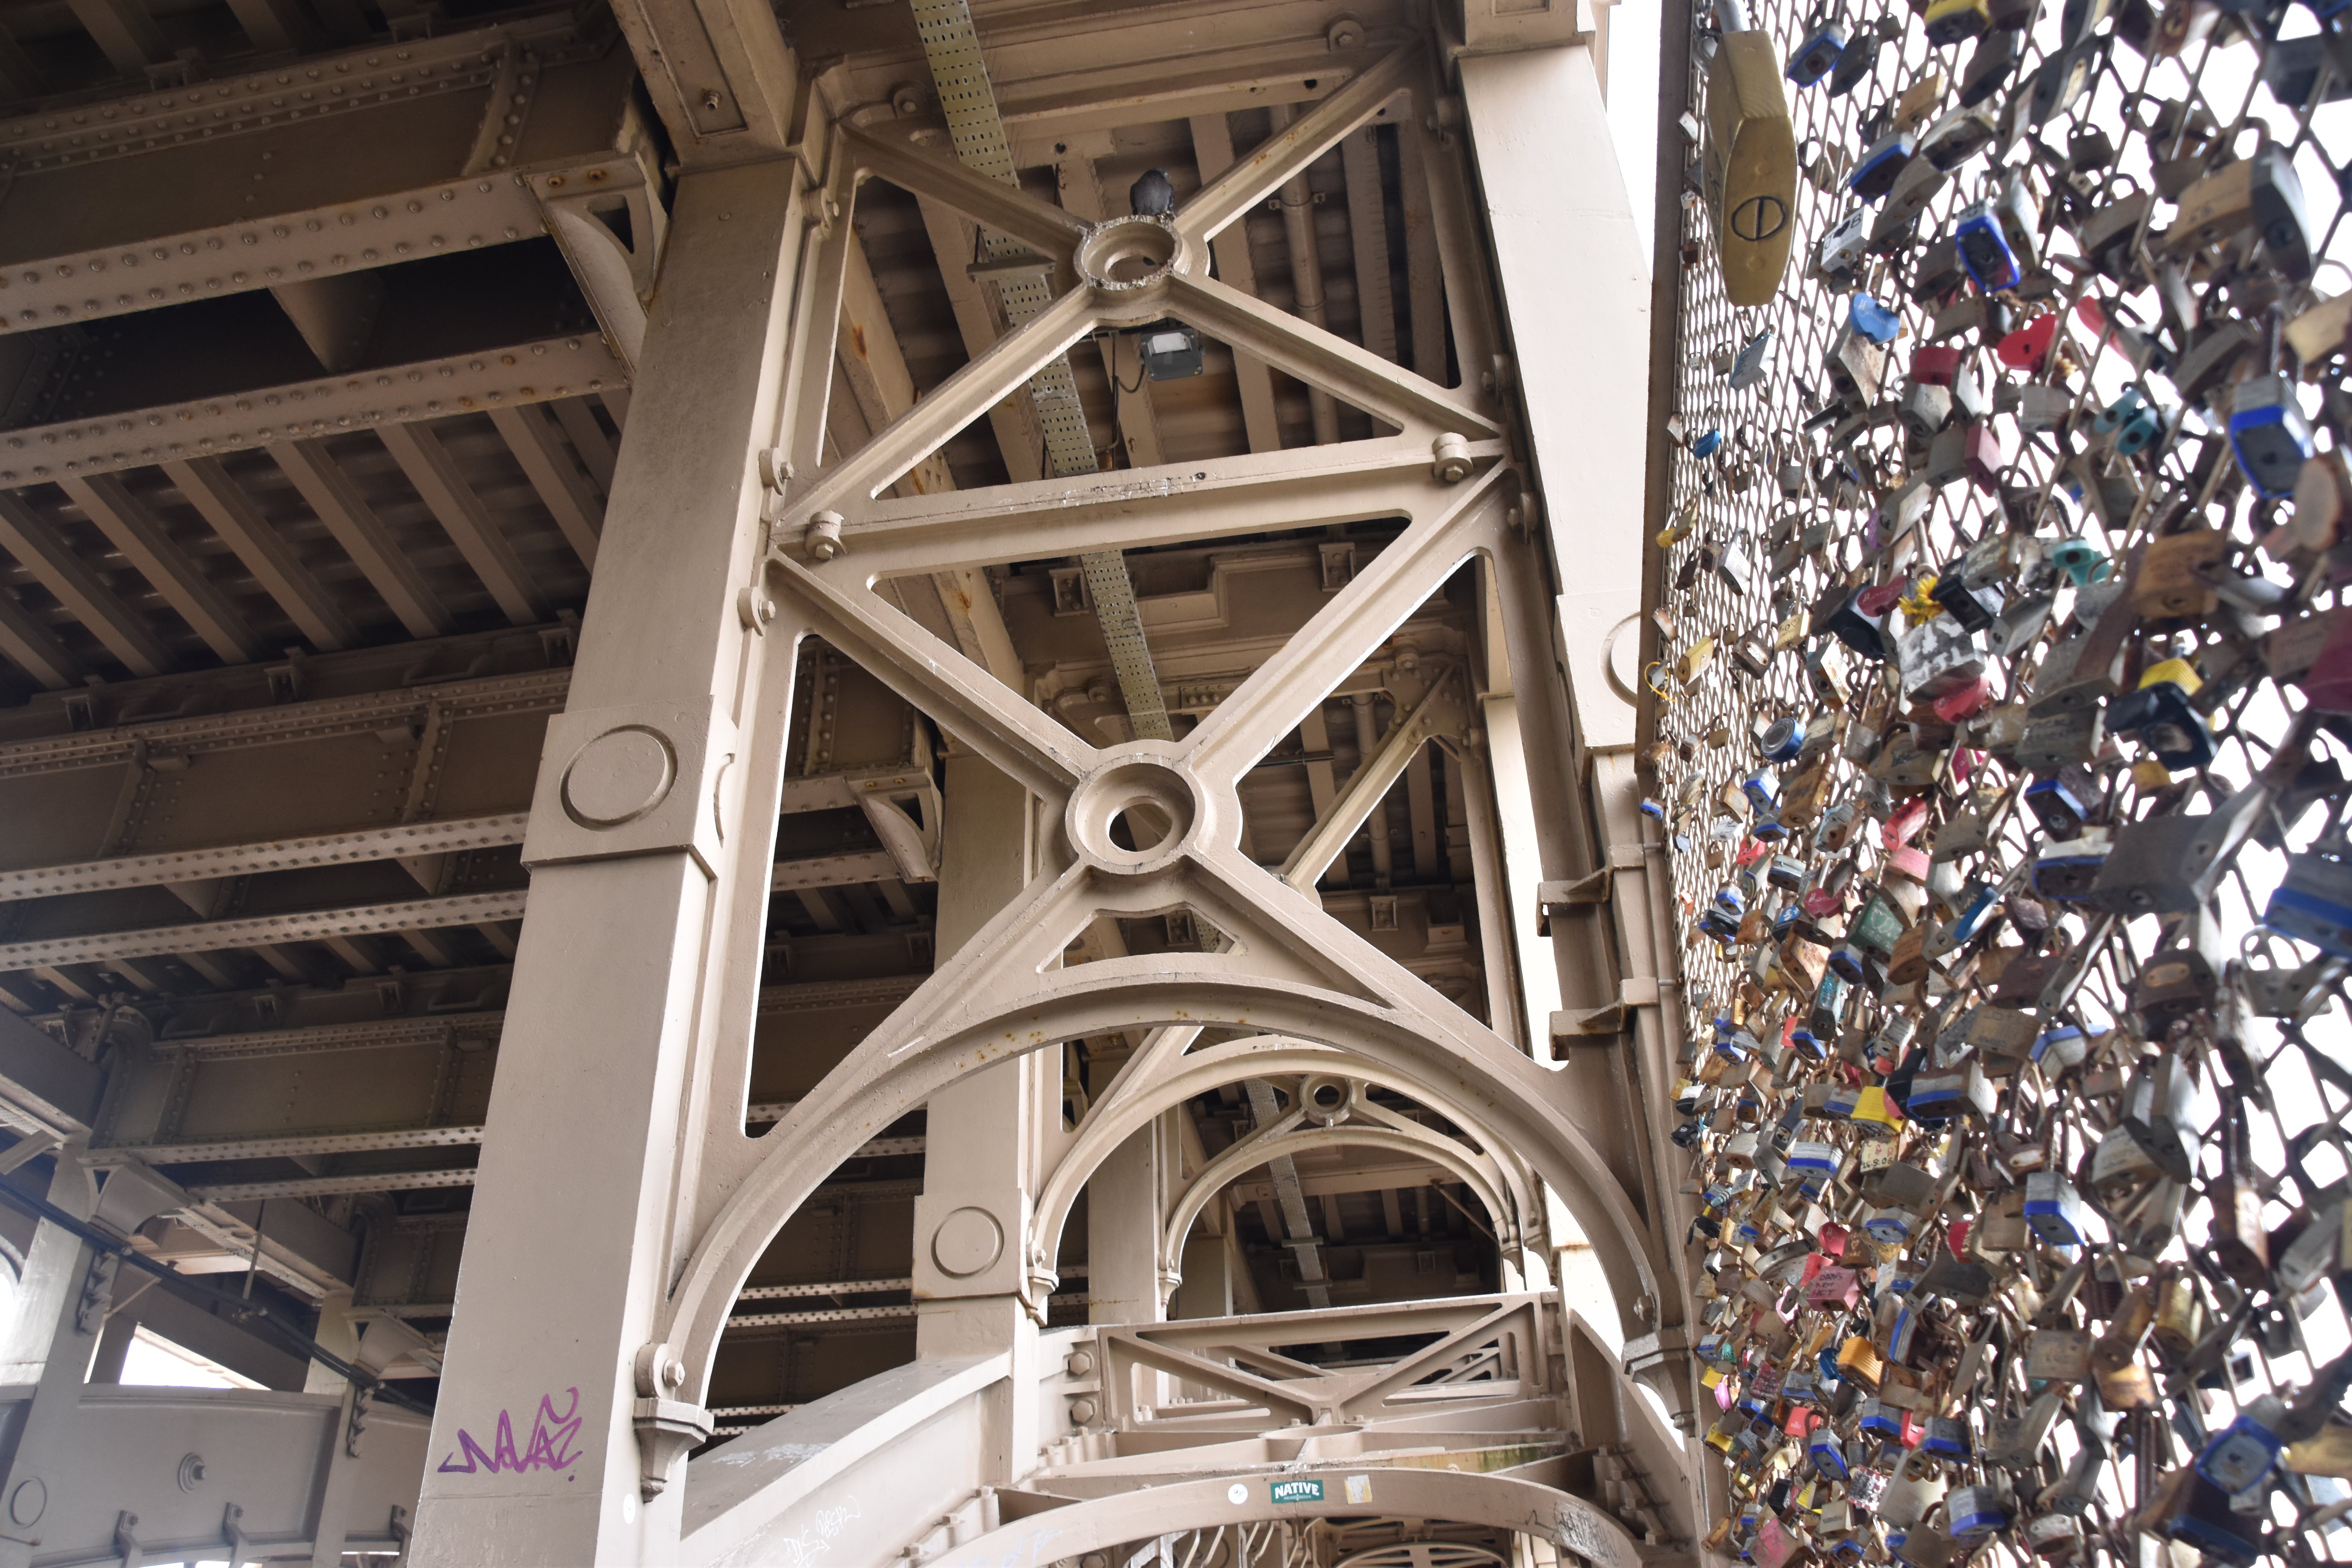
Columns and column bracing on arch spans as seen from beside bridge.
![]()


Views under bridge. Three rows of eyebar chain ties are visible.
![]()


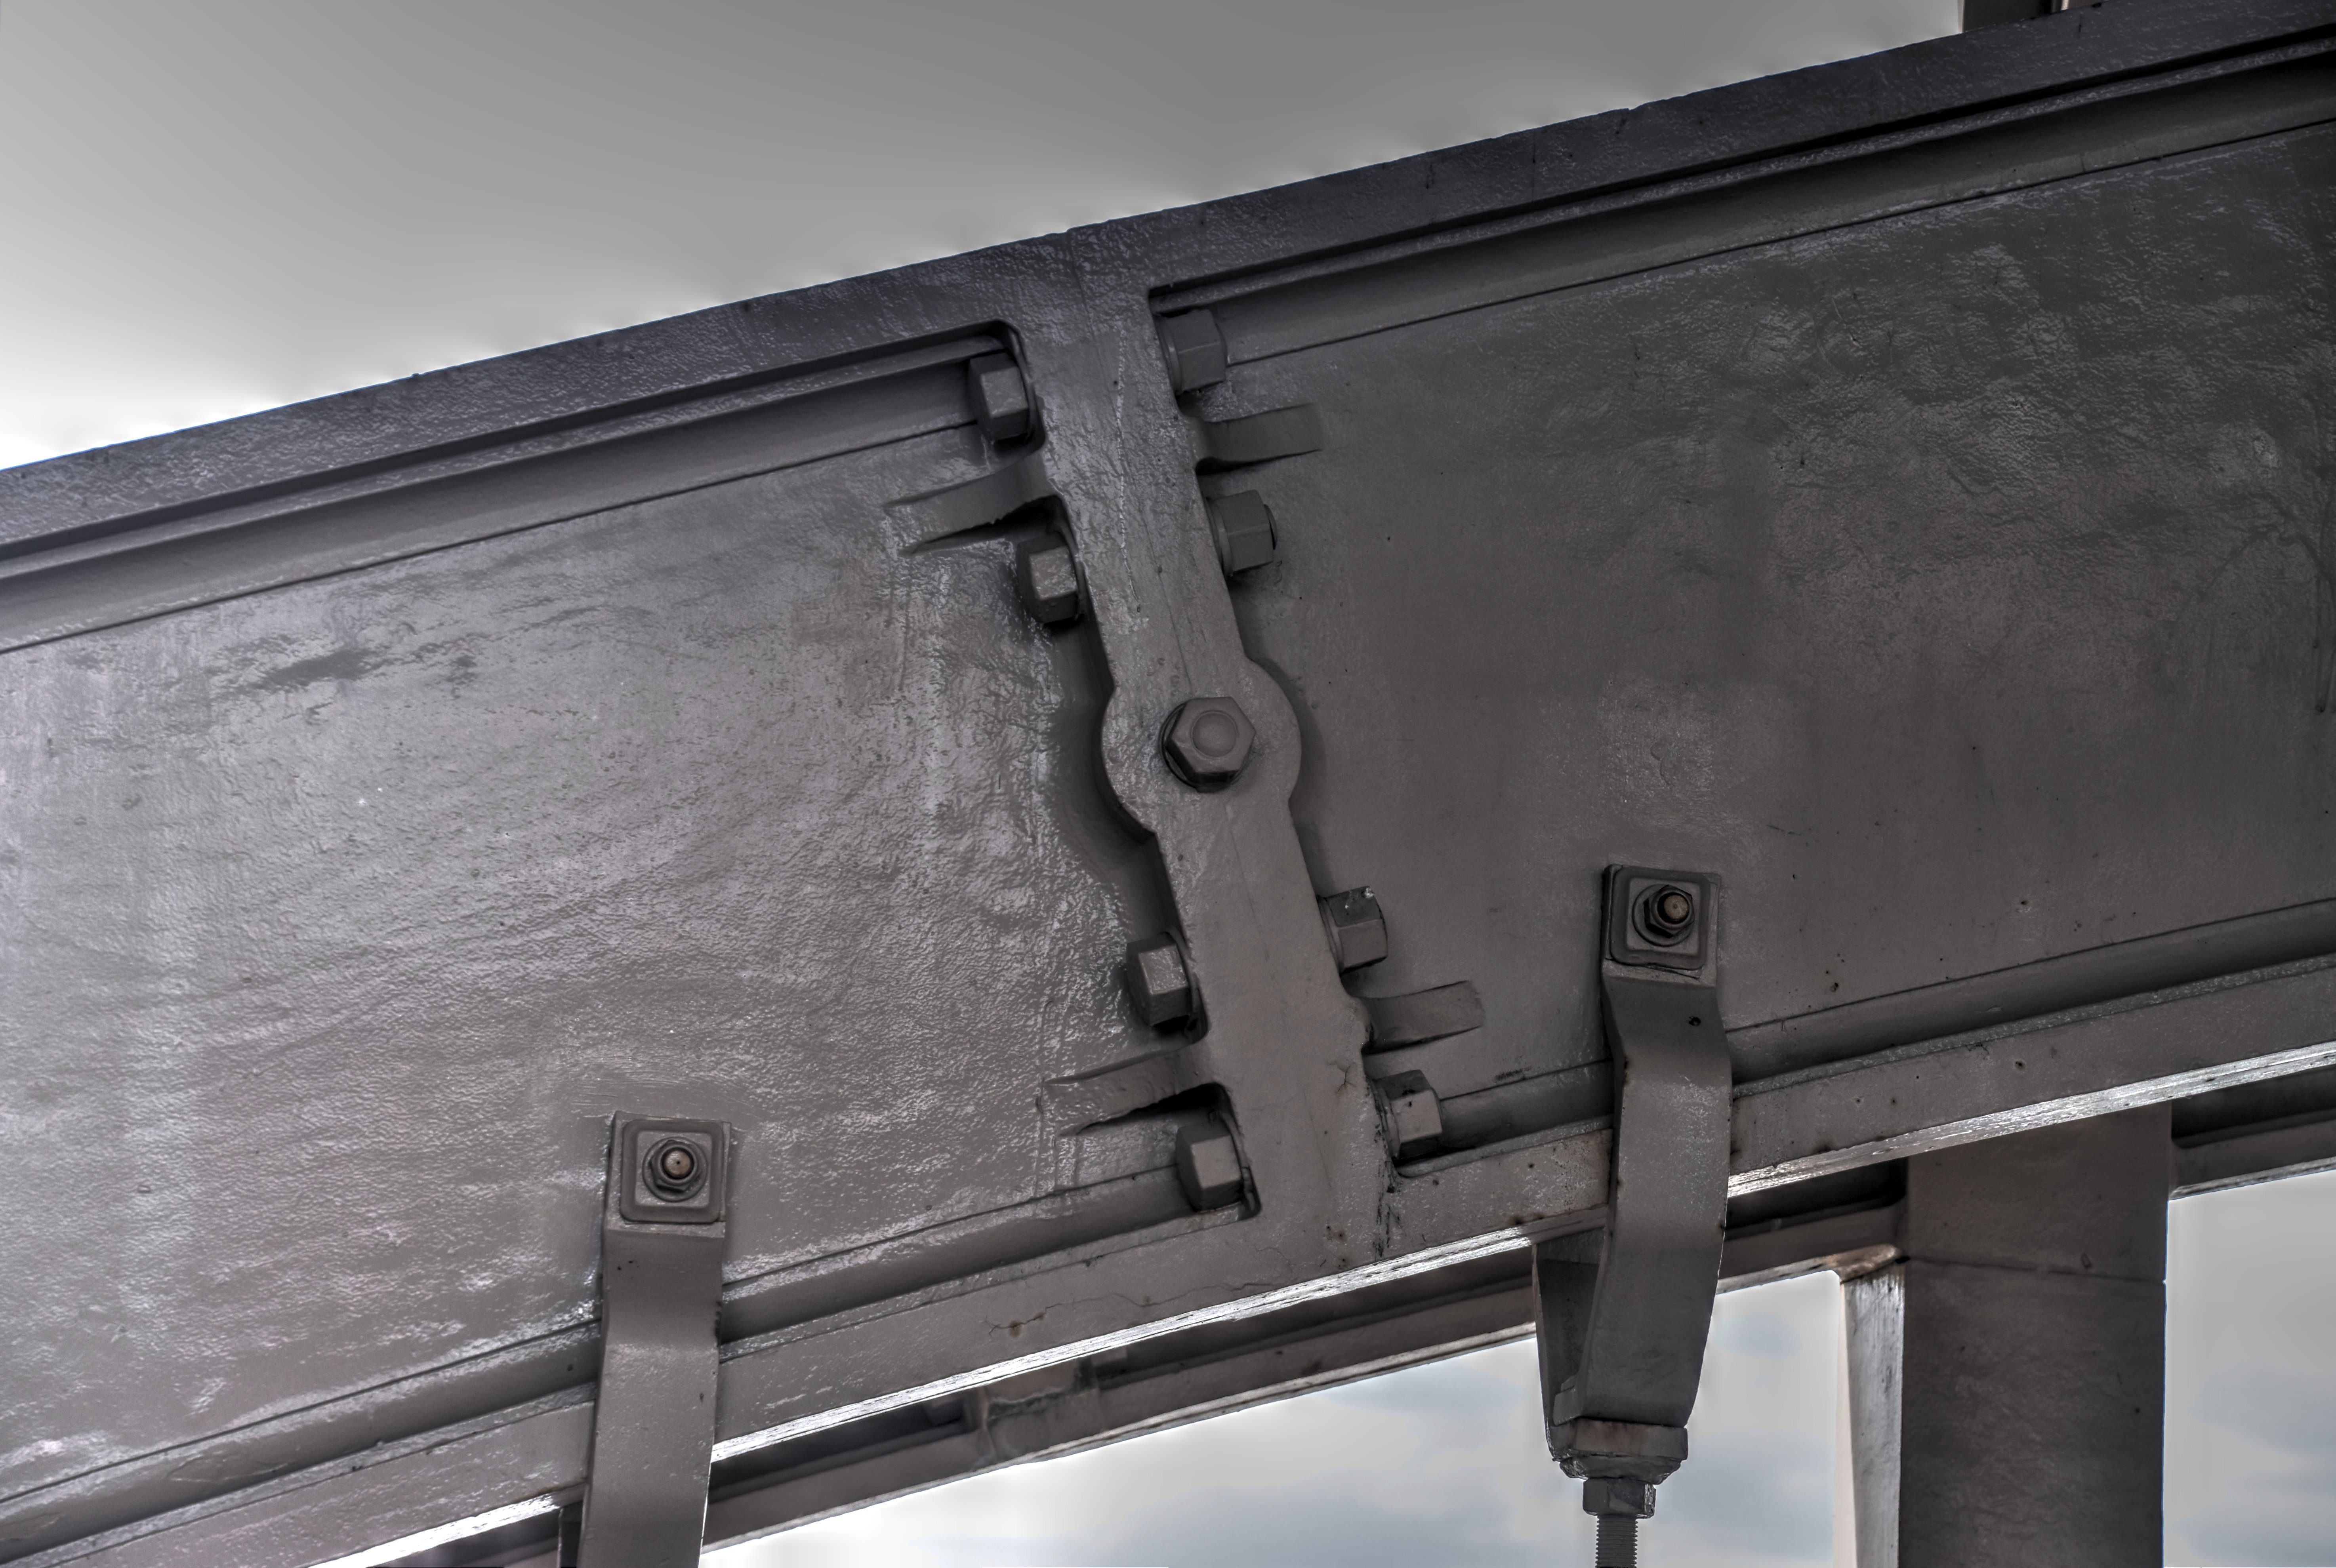
Detail under bridge showing the three eyebar chains.
![]()


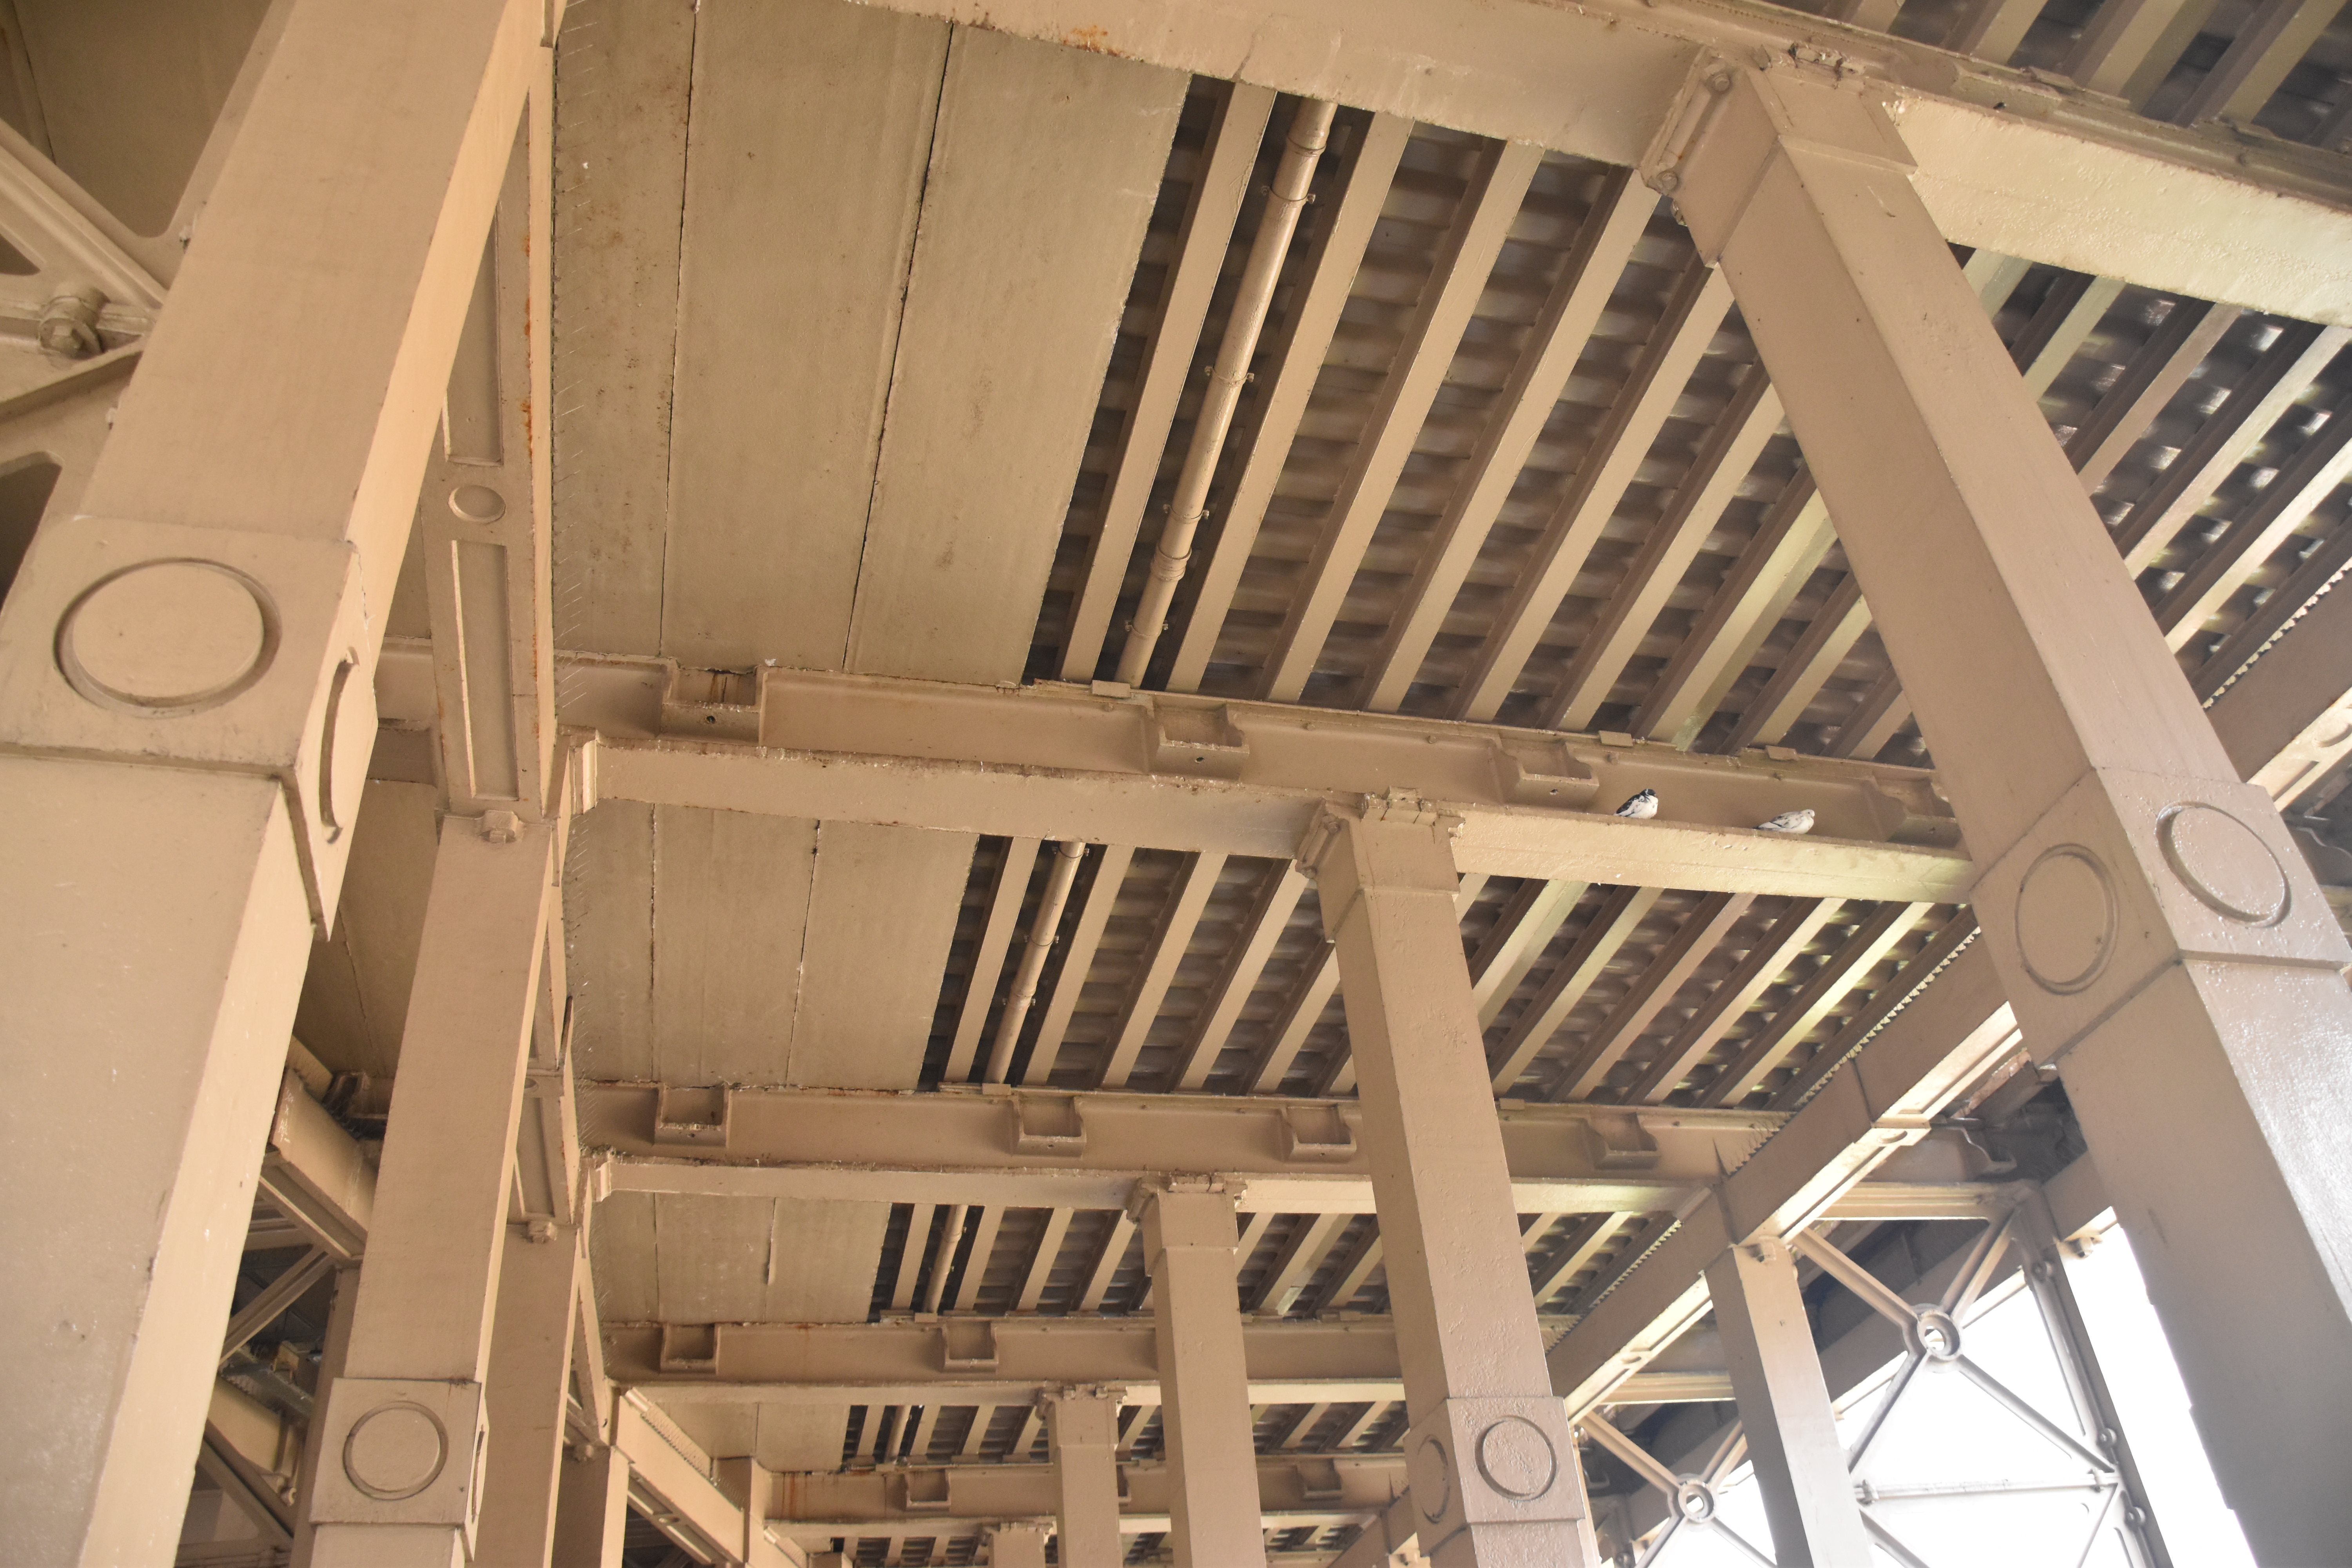
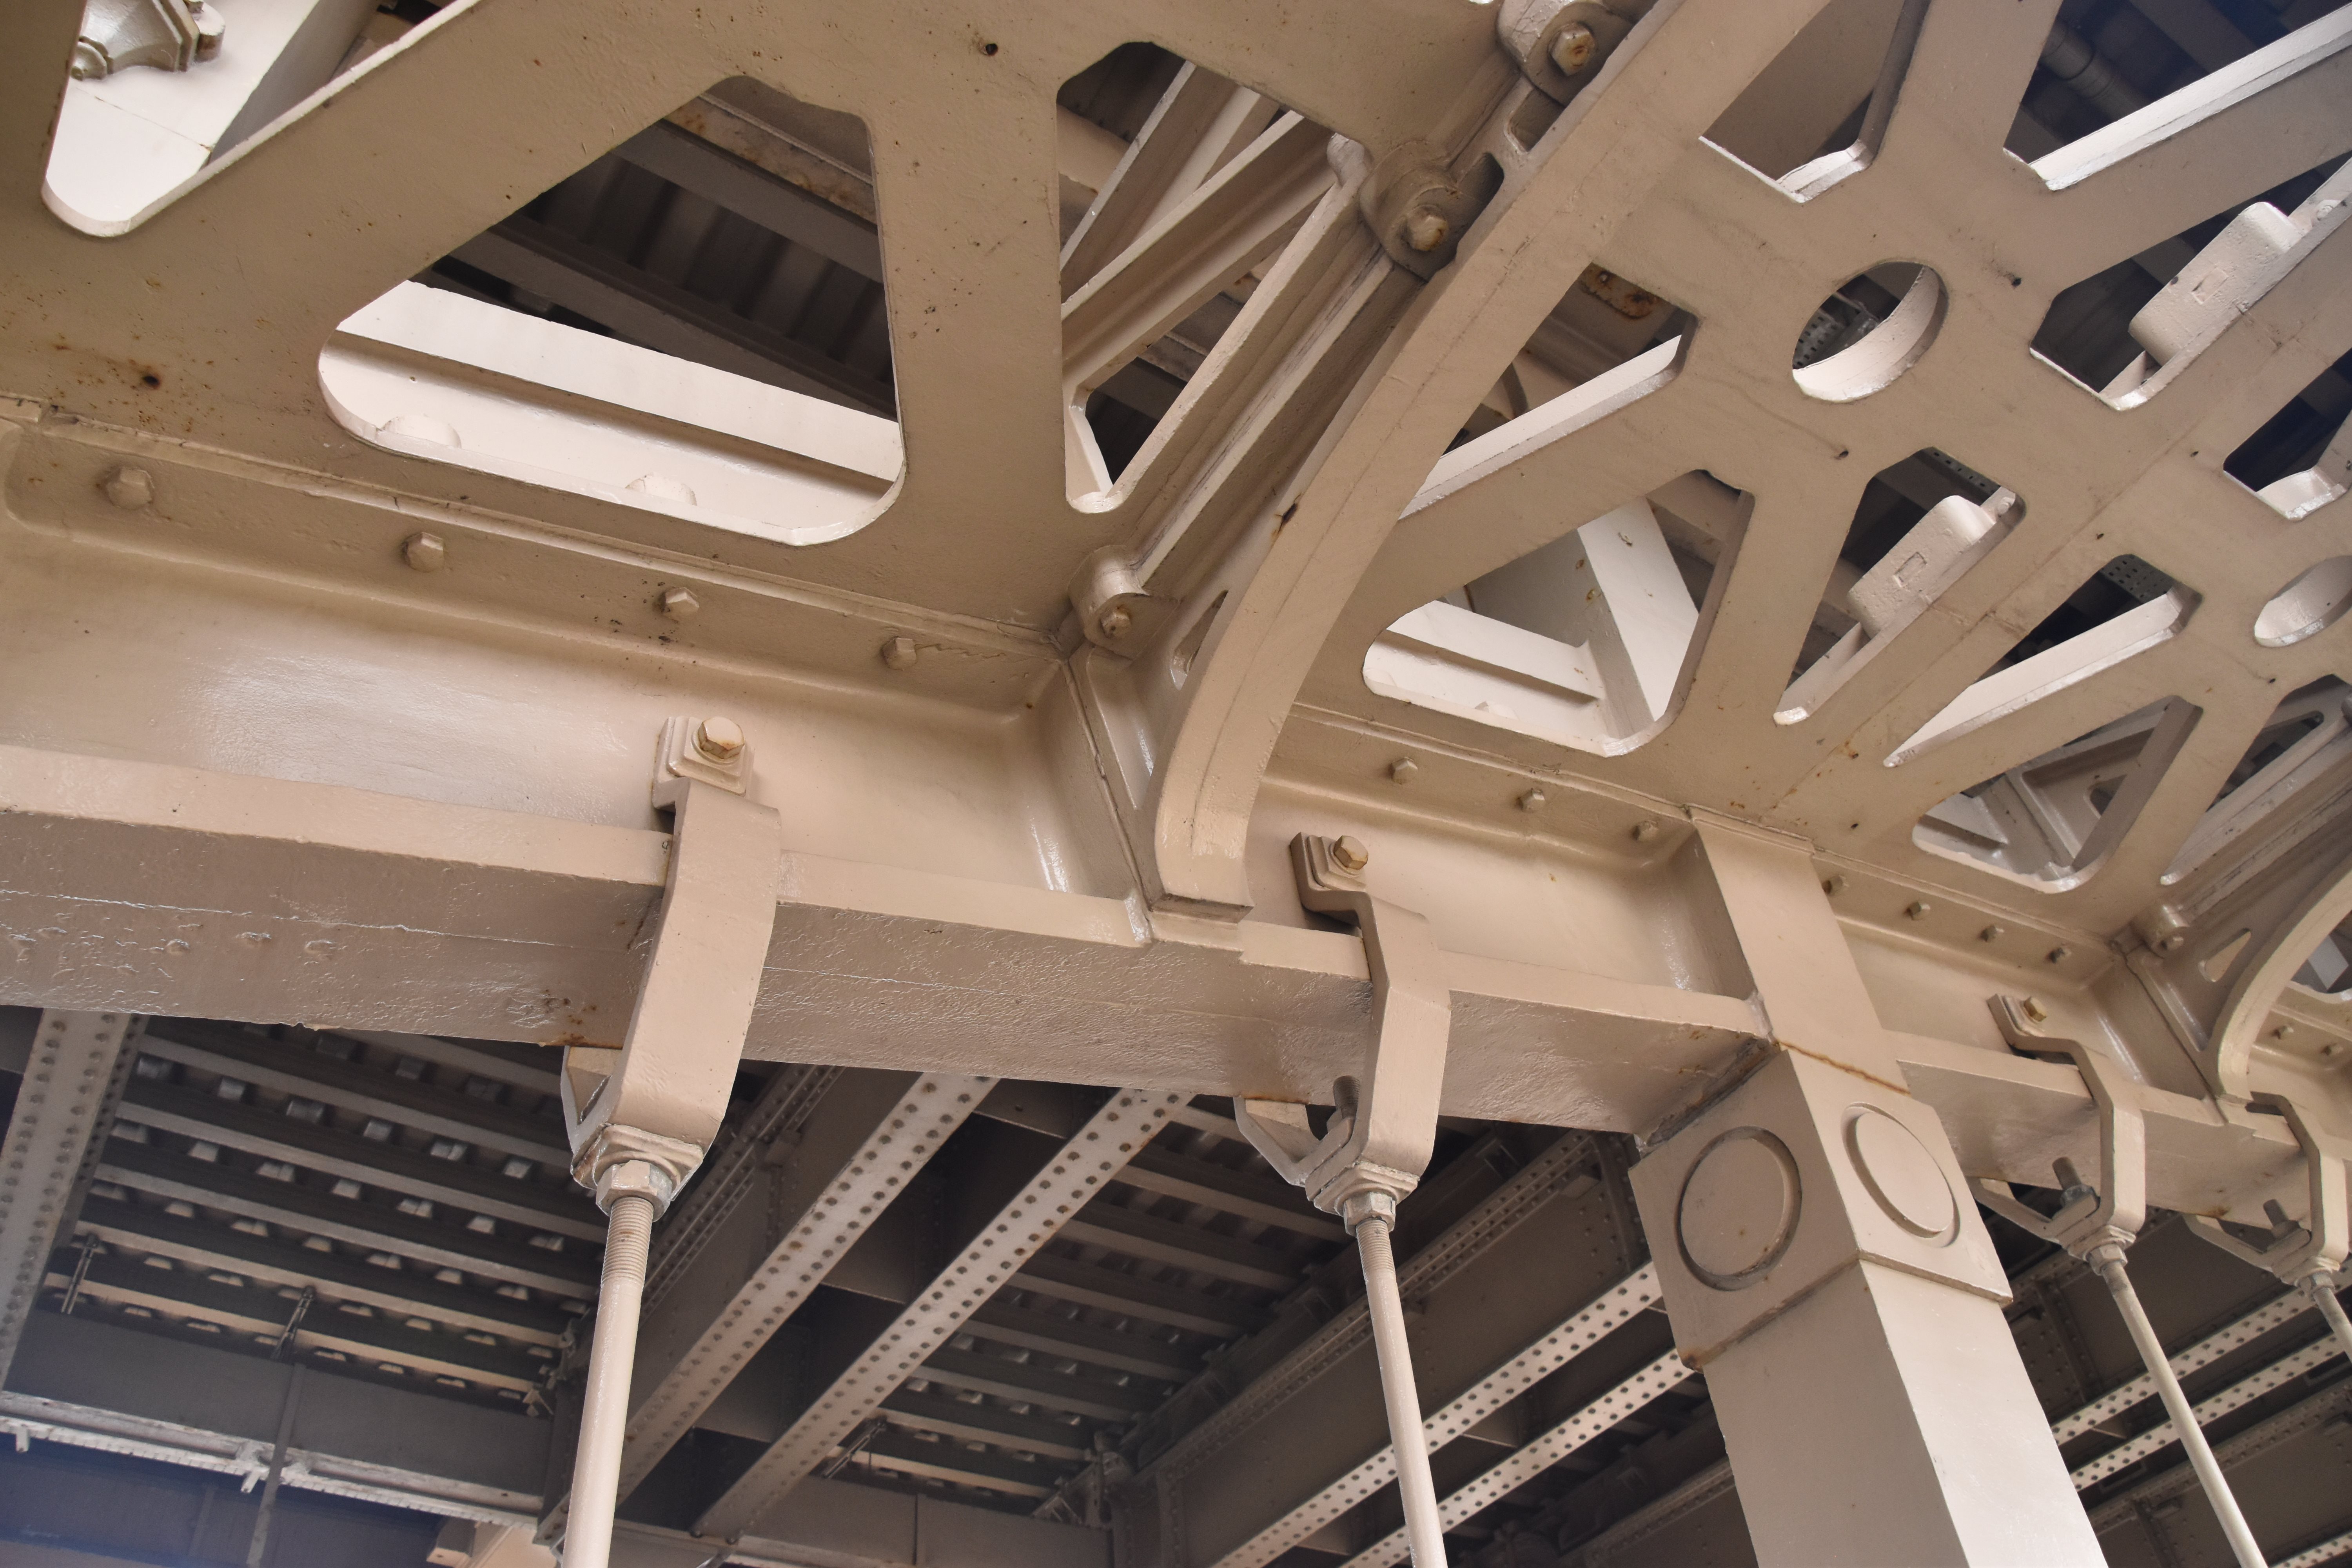
Detail under bridge showing the floorbeams.
![]()
Columns at south end of bridge.
![]()


Upper deck column detail at "Y" where the two sections separate.
![]()


General view of columns supporting upper deck "Y" at southeast corner of bridge.
![]()


General view of columns supporting upper deck "Y" at southwest corner of bridge.
![]()
Floorbeams for "Y" deck.
![]()


Upper deck columns in the area where the "Y" at the south end is present.
![]()


Details of upper deck columns in the area where the "Y" at the south end is present.
![]()
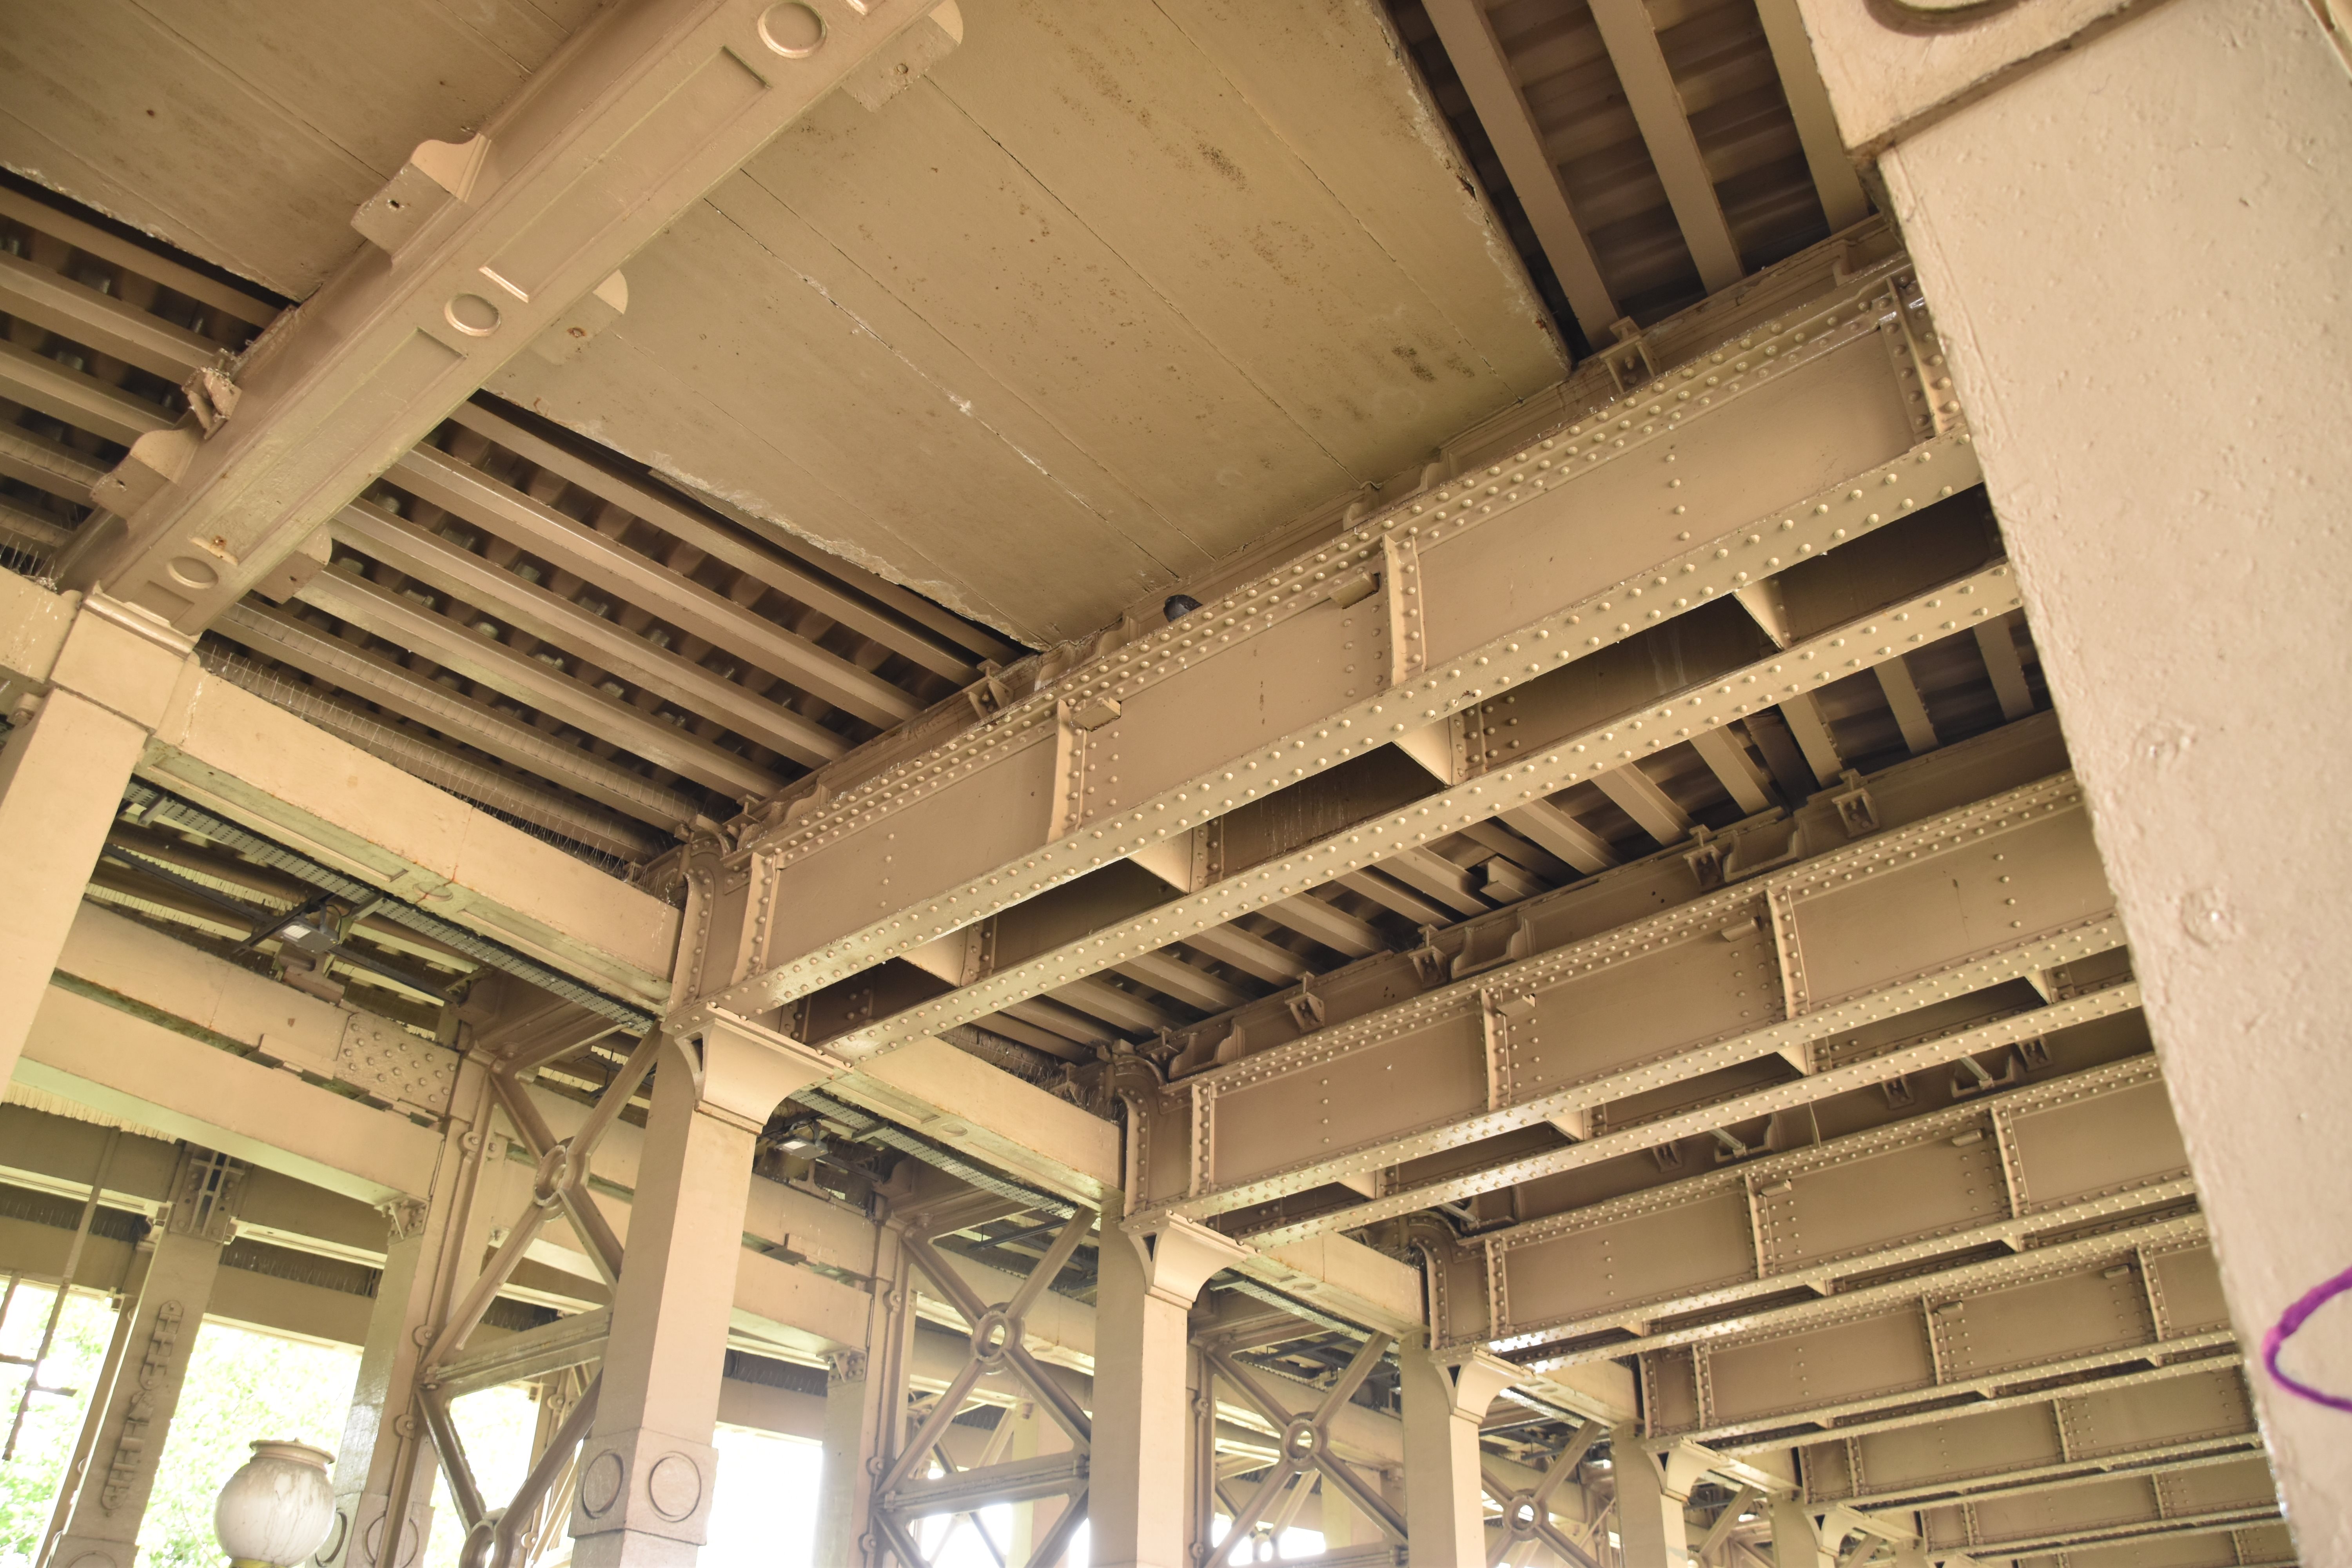


Views showing underside of upper deck.
![]()


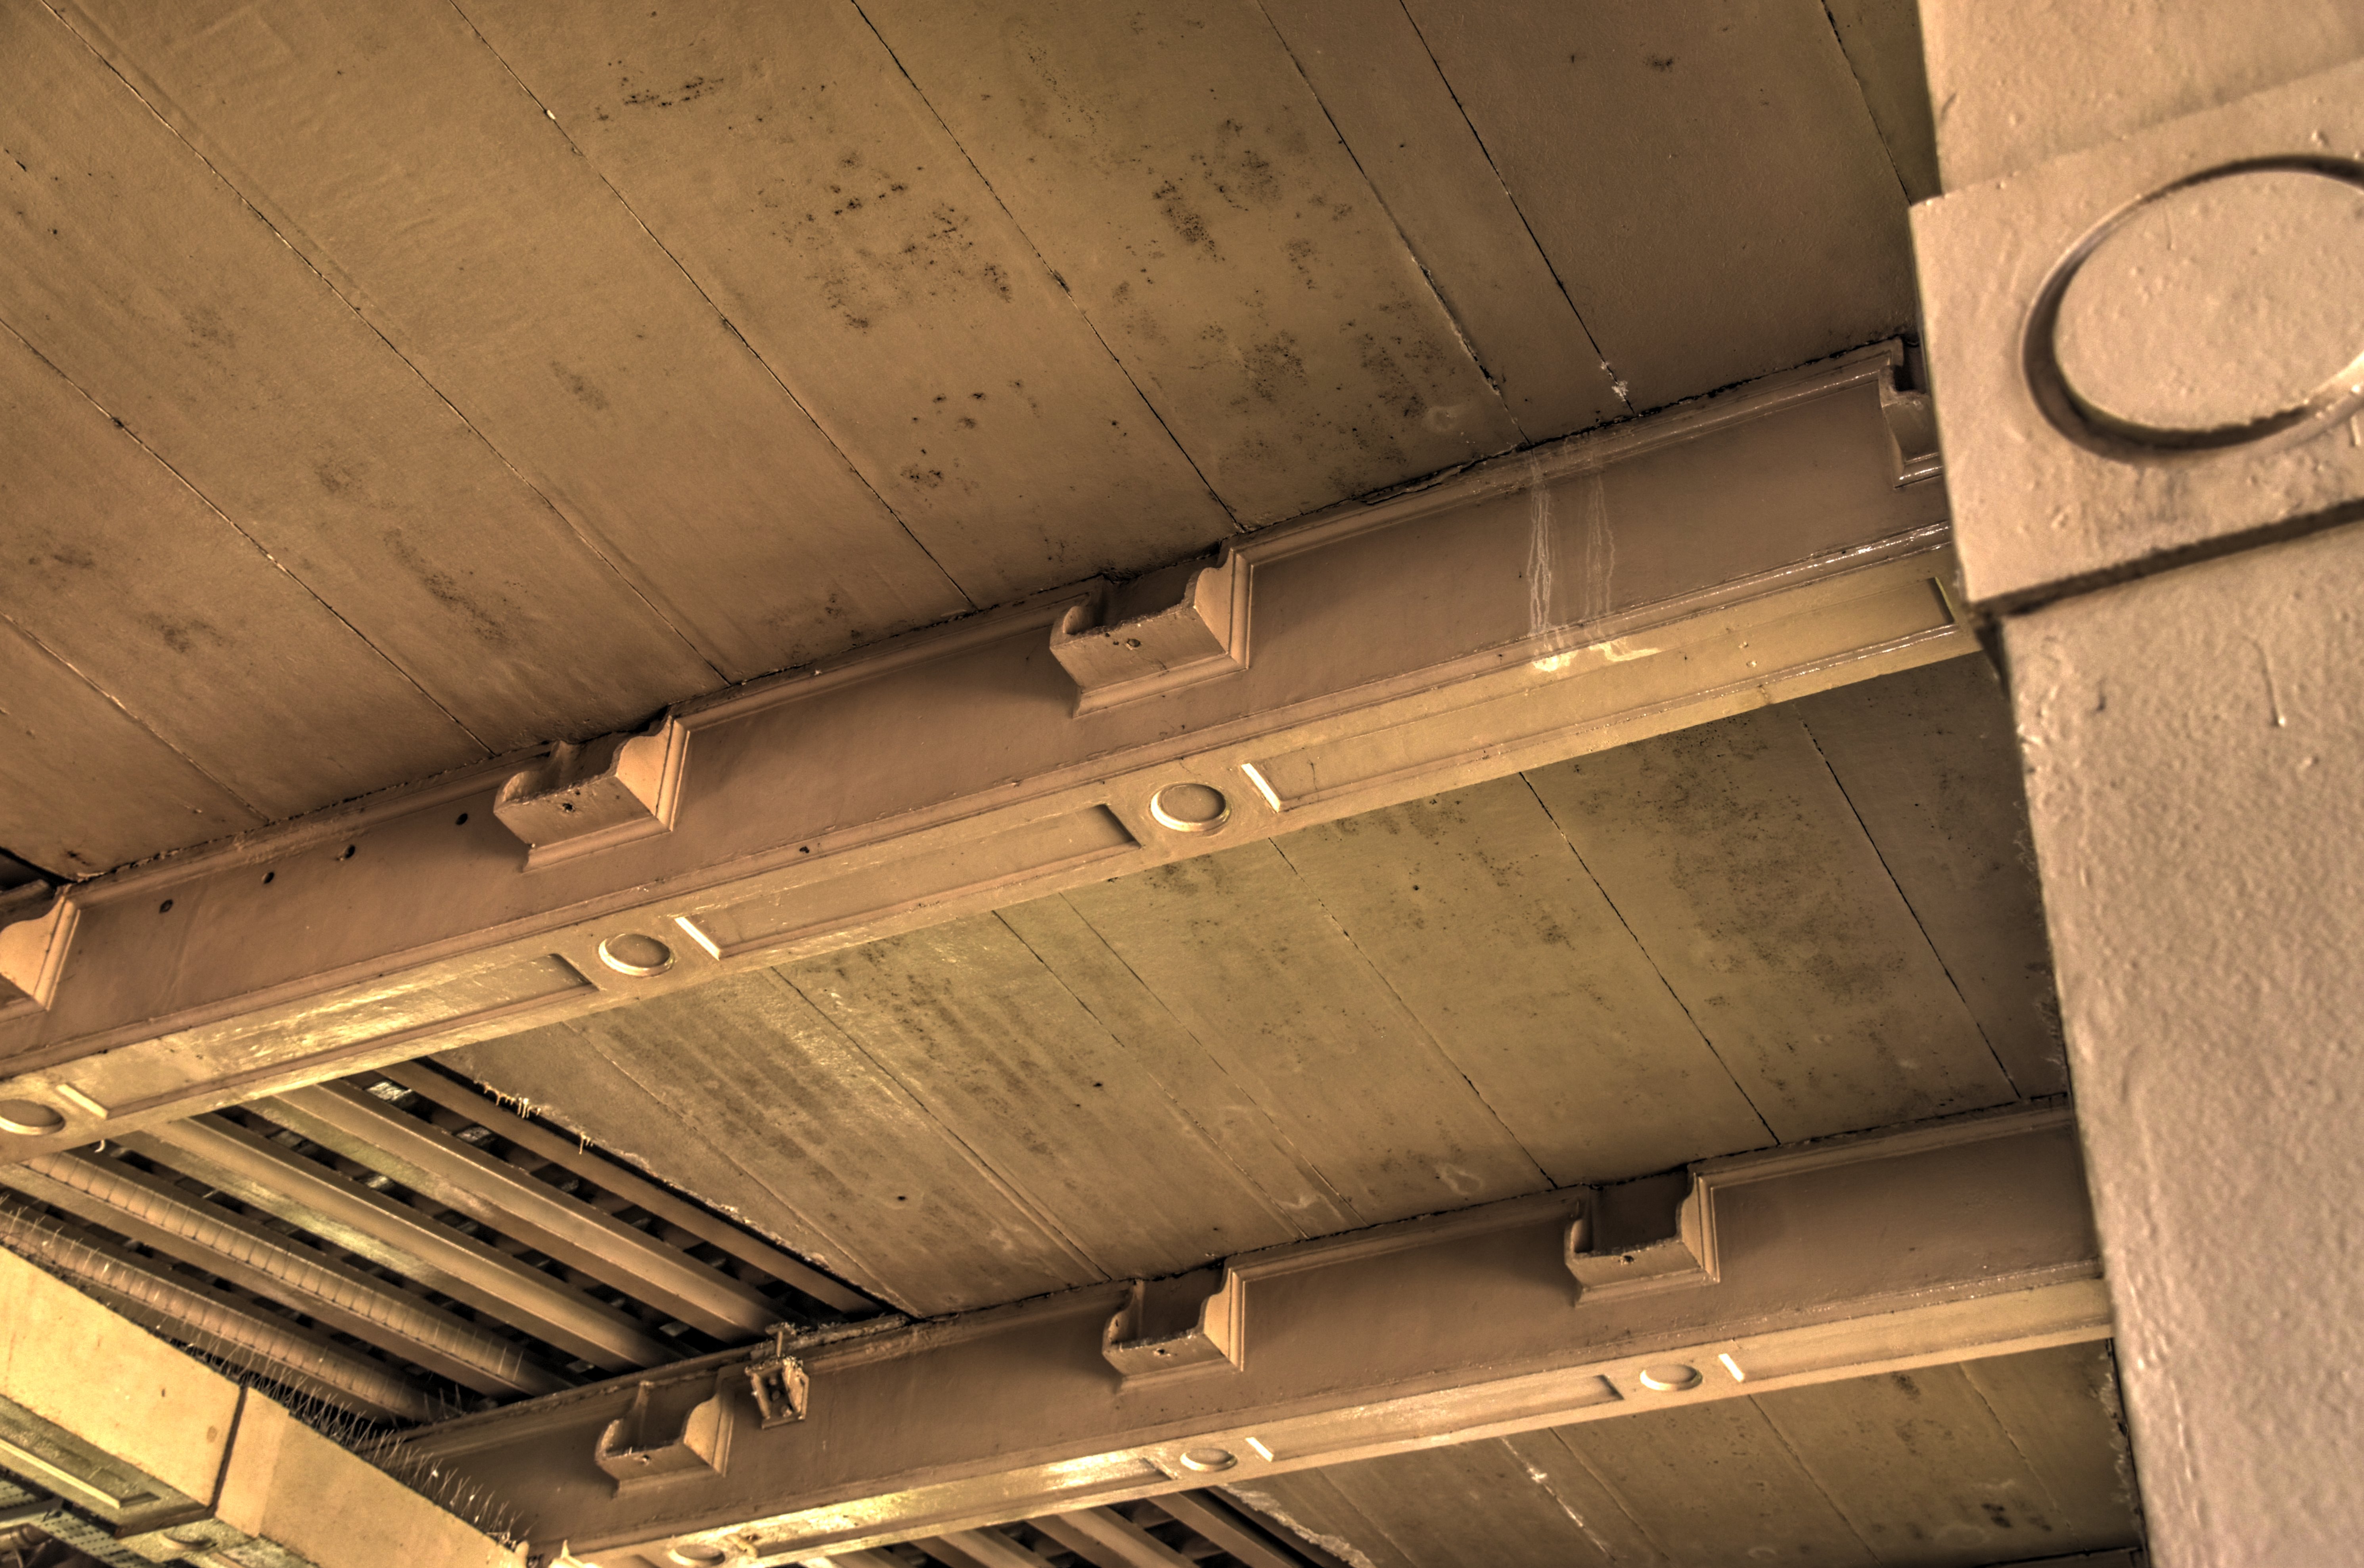

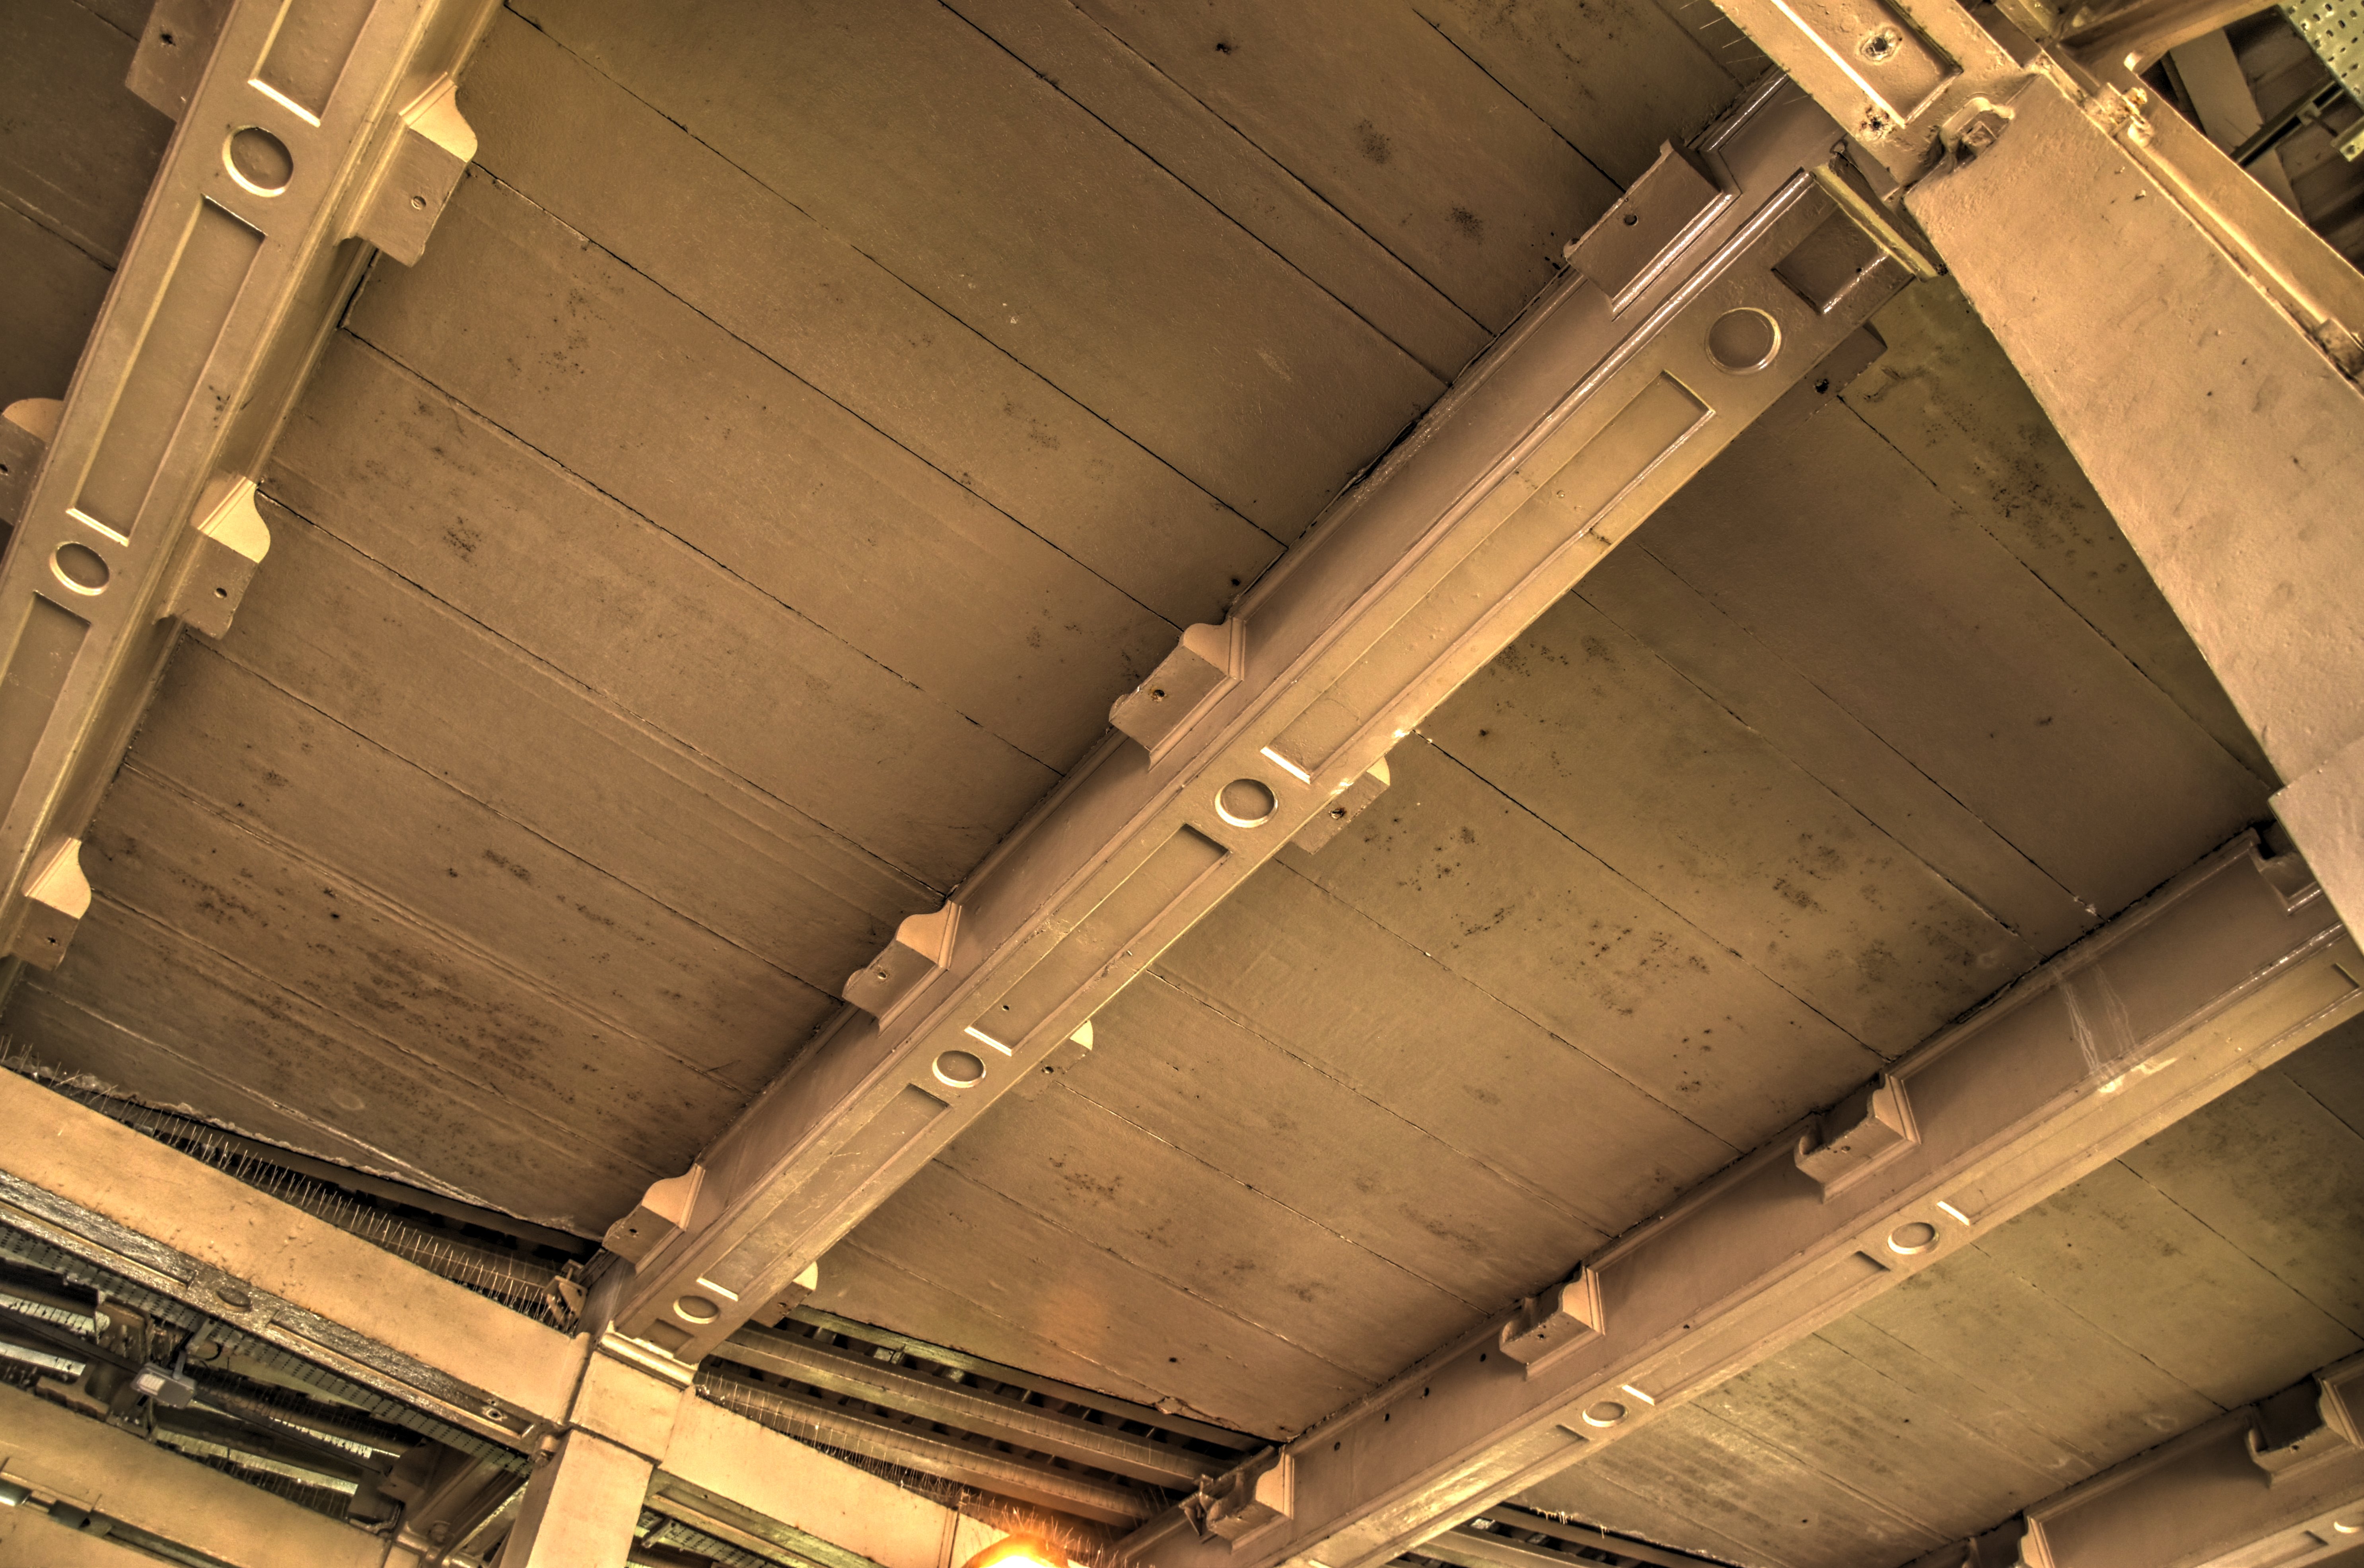


Upper deck original cast iron floorbeams.
![]()


Upper deck added "swan neck" floorbeams that date to the 1890s.
![]()


Cast iron floorbeams resting on cast iron columns.
![]()


View showing area on lower deck where the upper deck "Y" merges into the main part of the bridge.
![]()


Narrow rows of columns for the last section of the "Y" merging into the main bridge.
![]()


Details of narrow rows of columns for the last section of the "Y" merging into the main bridge.
![]()


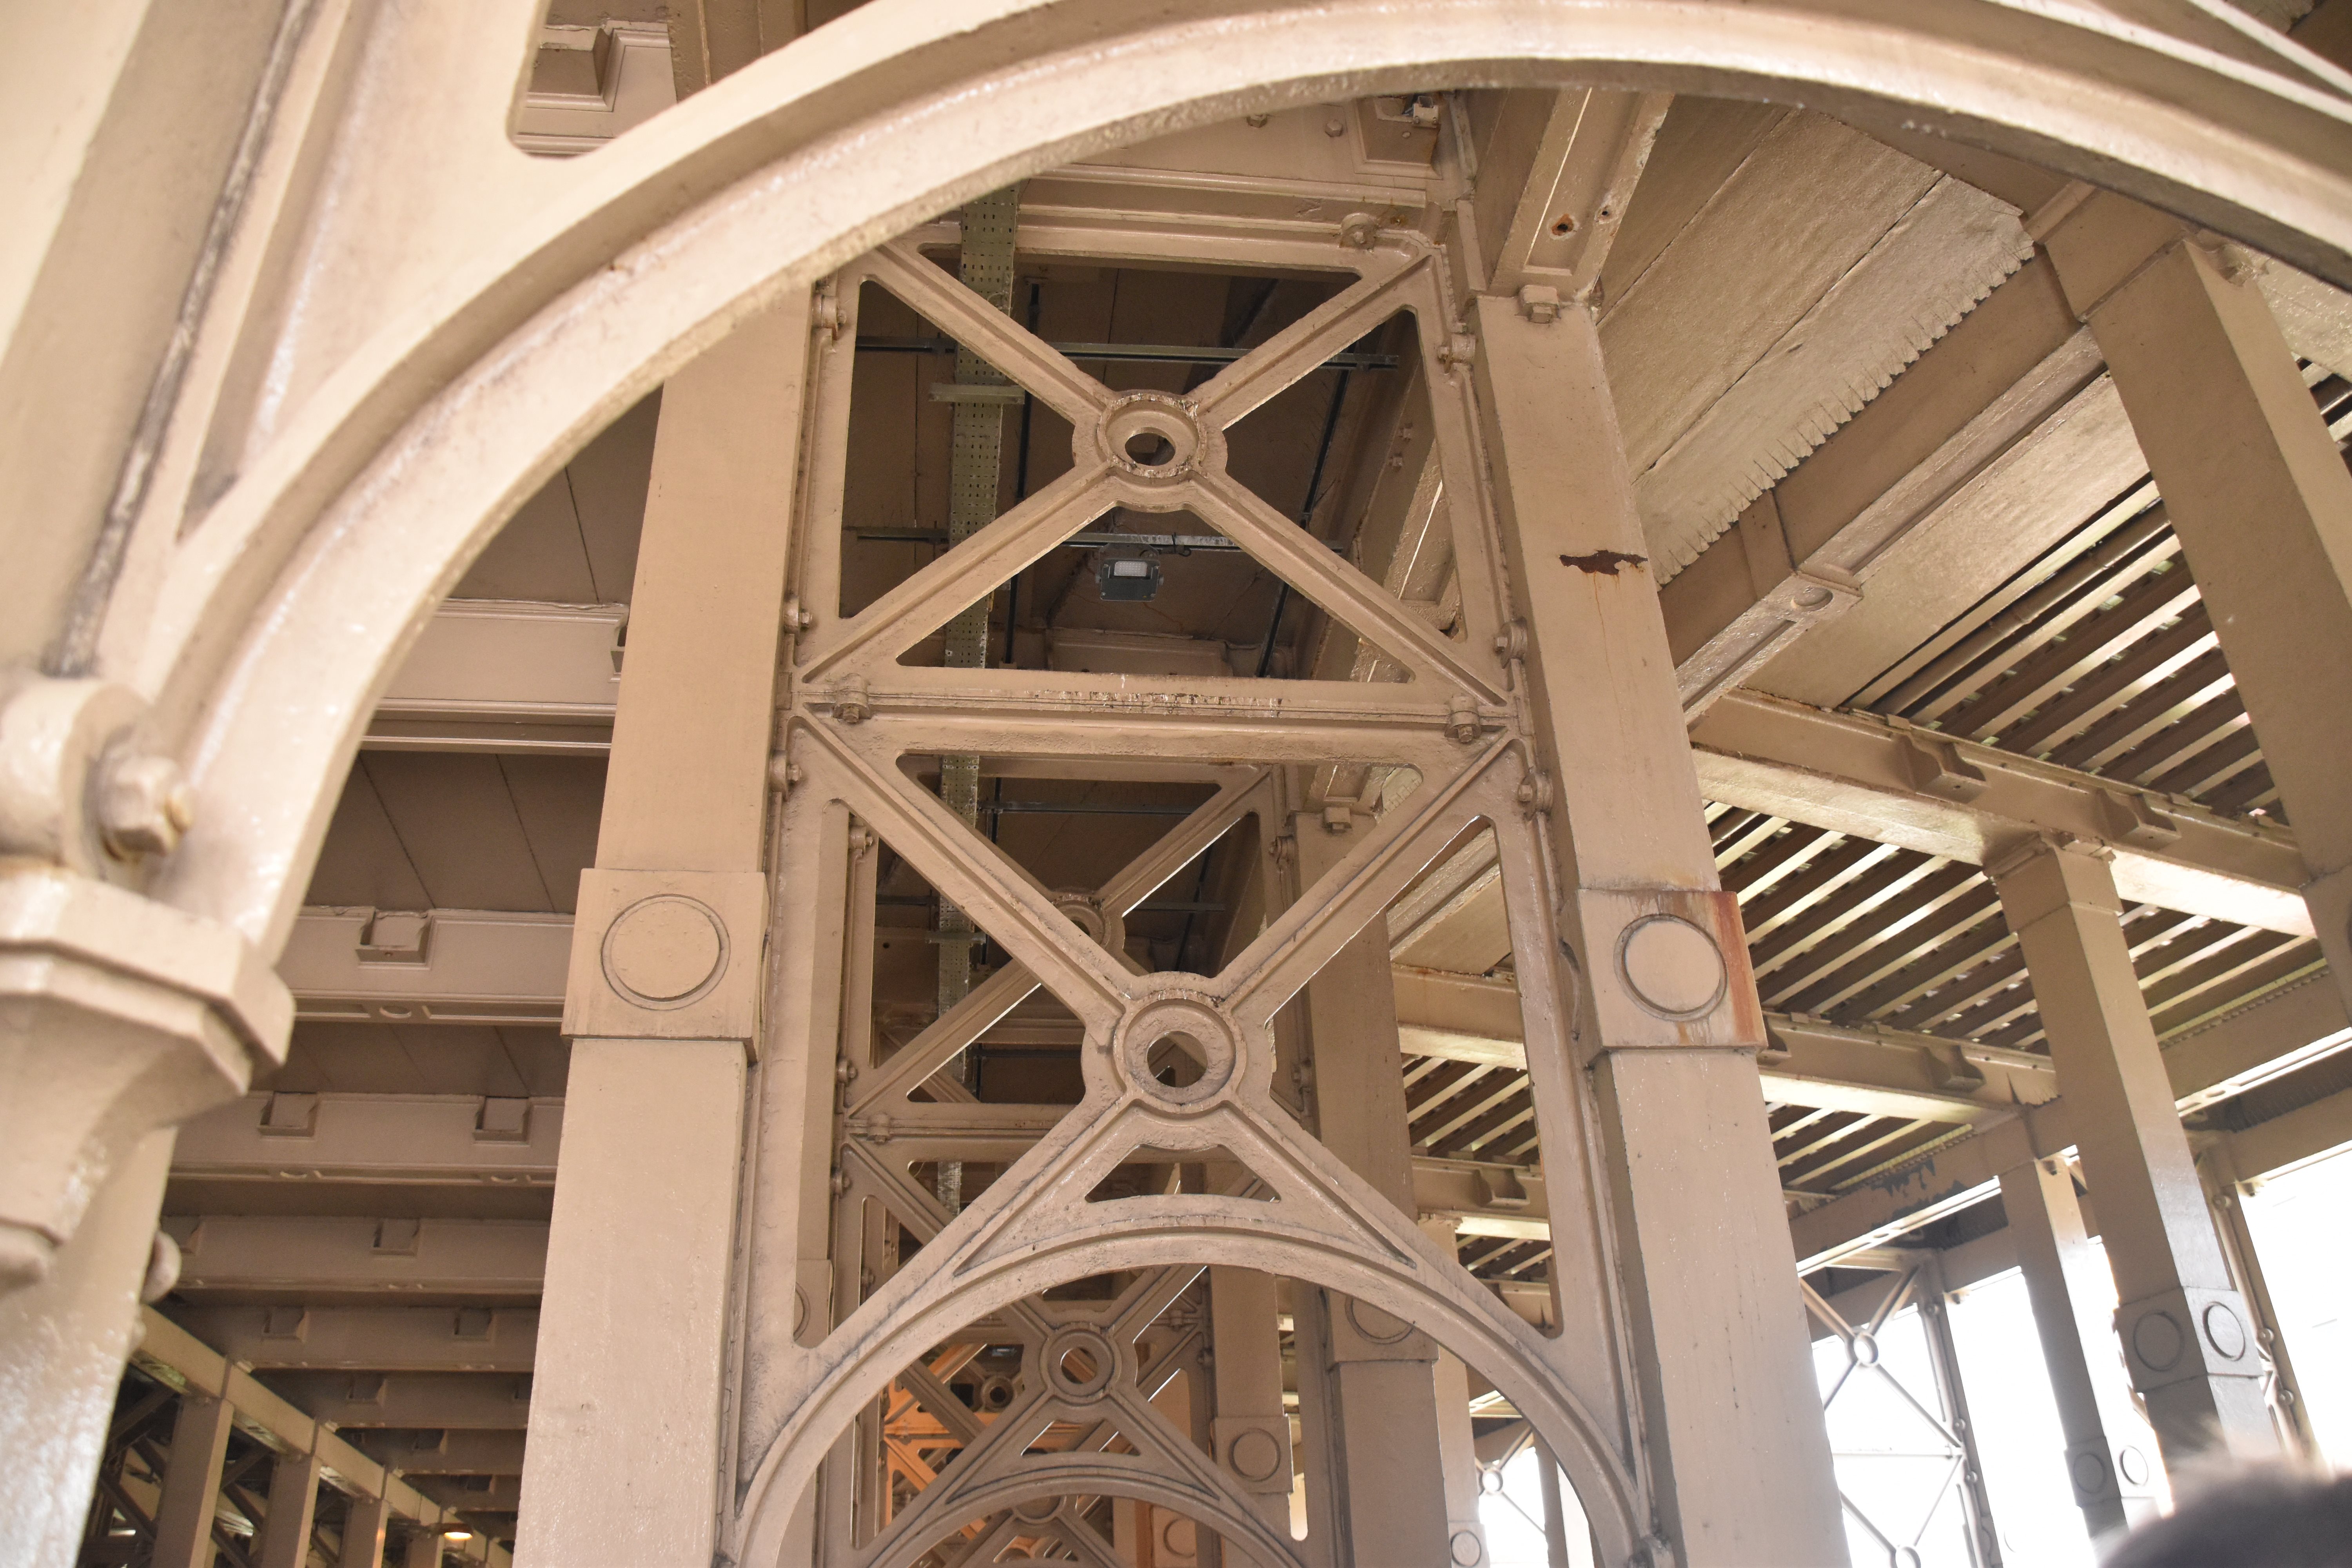
Details of columns and bracing.
![]()
Views of main arch.
![]()


Details of main arch near end of arch.
![]()


Details of main arch near crown of arch.
![]()


Detail of main arch casting segment connection.
![]()


Unusual stiffener built into the casting at the base of arch.
![]()


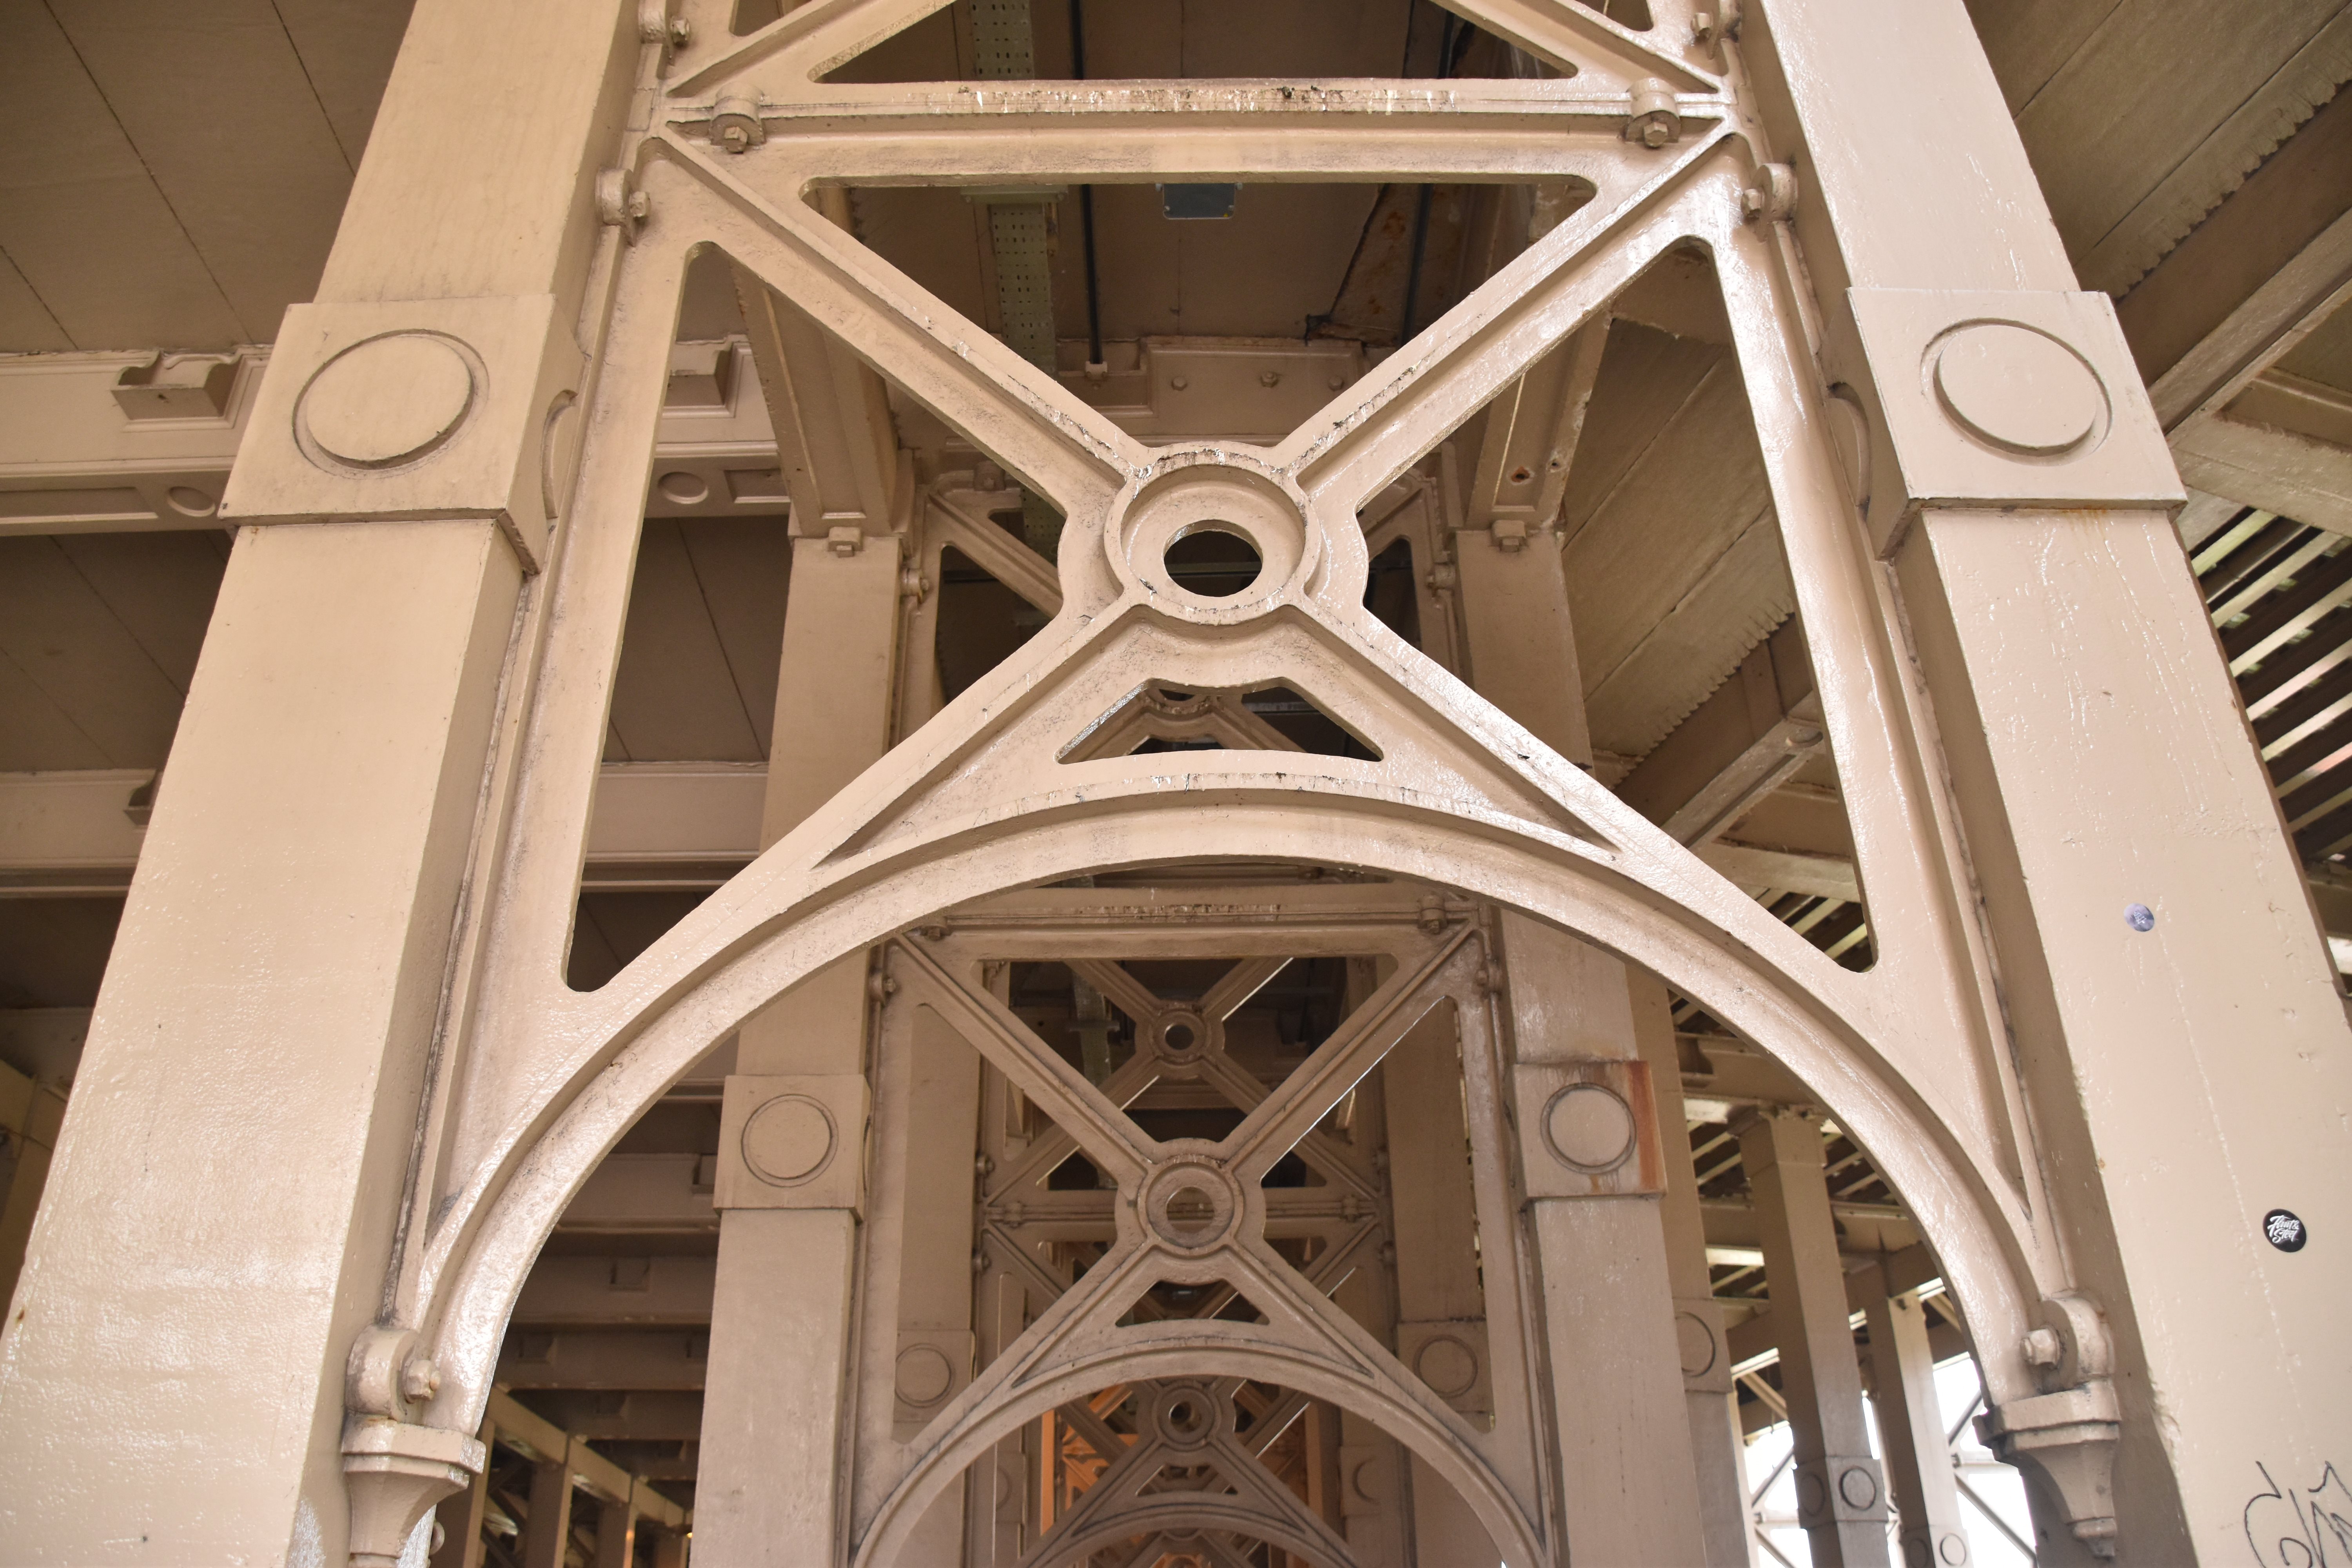
Column bracing at arch spans.
![]()


Column bracing at end of arch span.
![]()


General view of arch bracing.
![]()


Arch bracing detail at end of arch span.
![]()


Arch bracing connection at end of arch span.
![]()


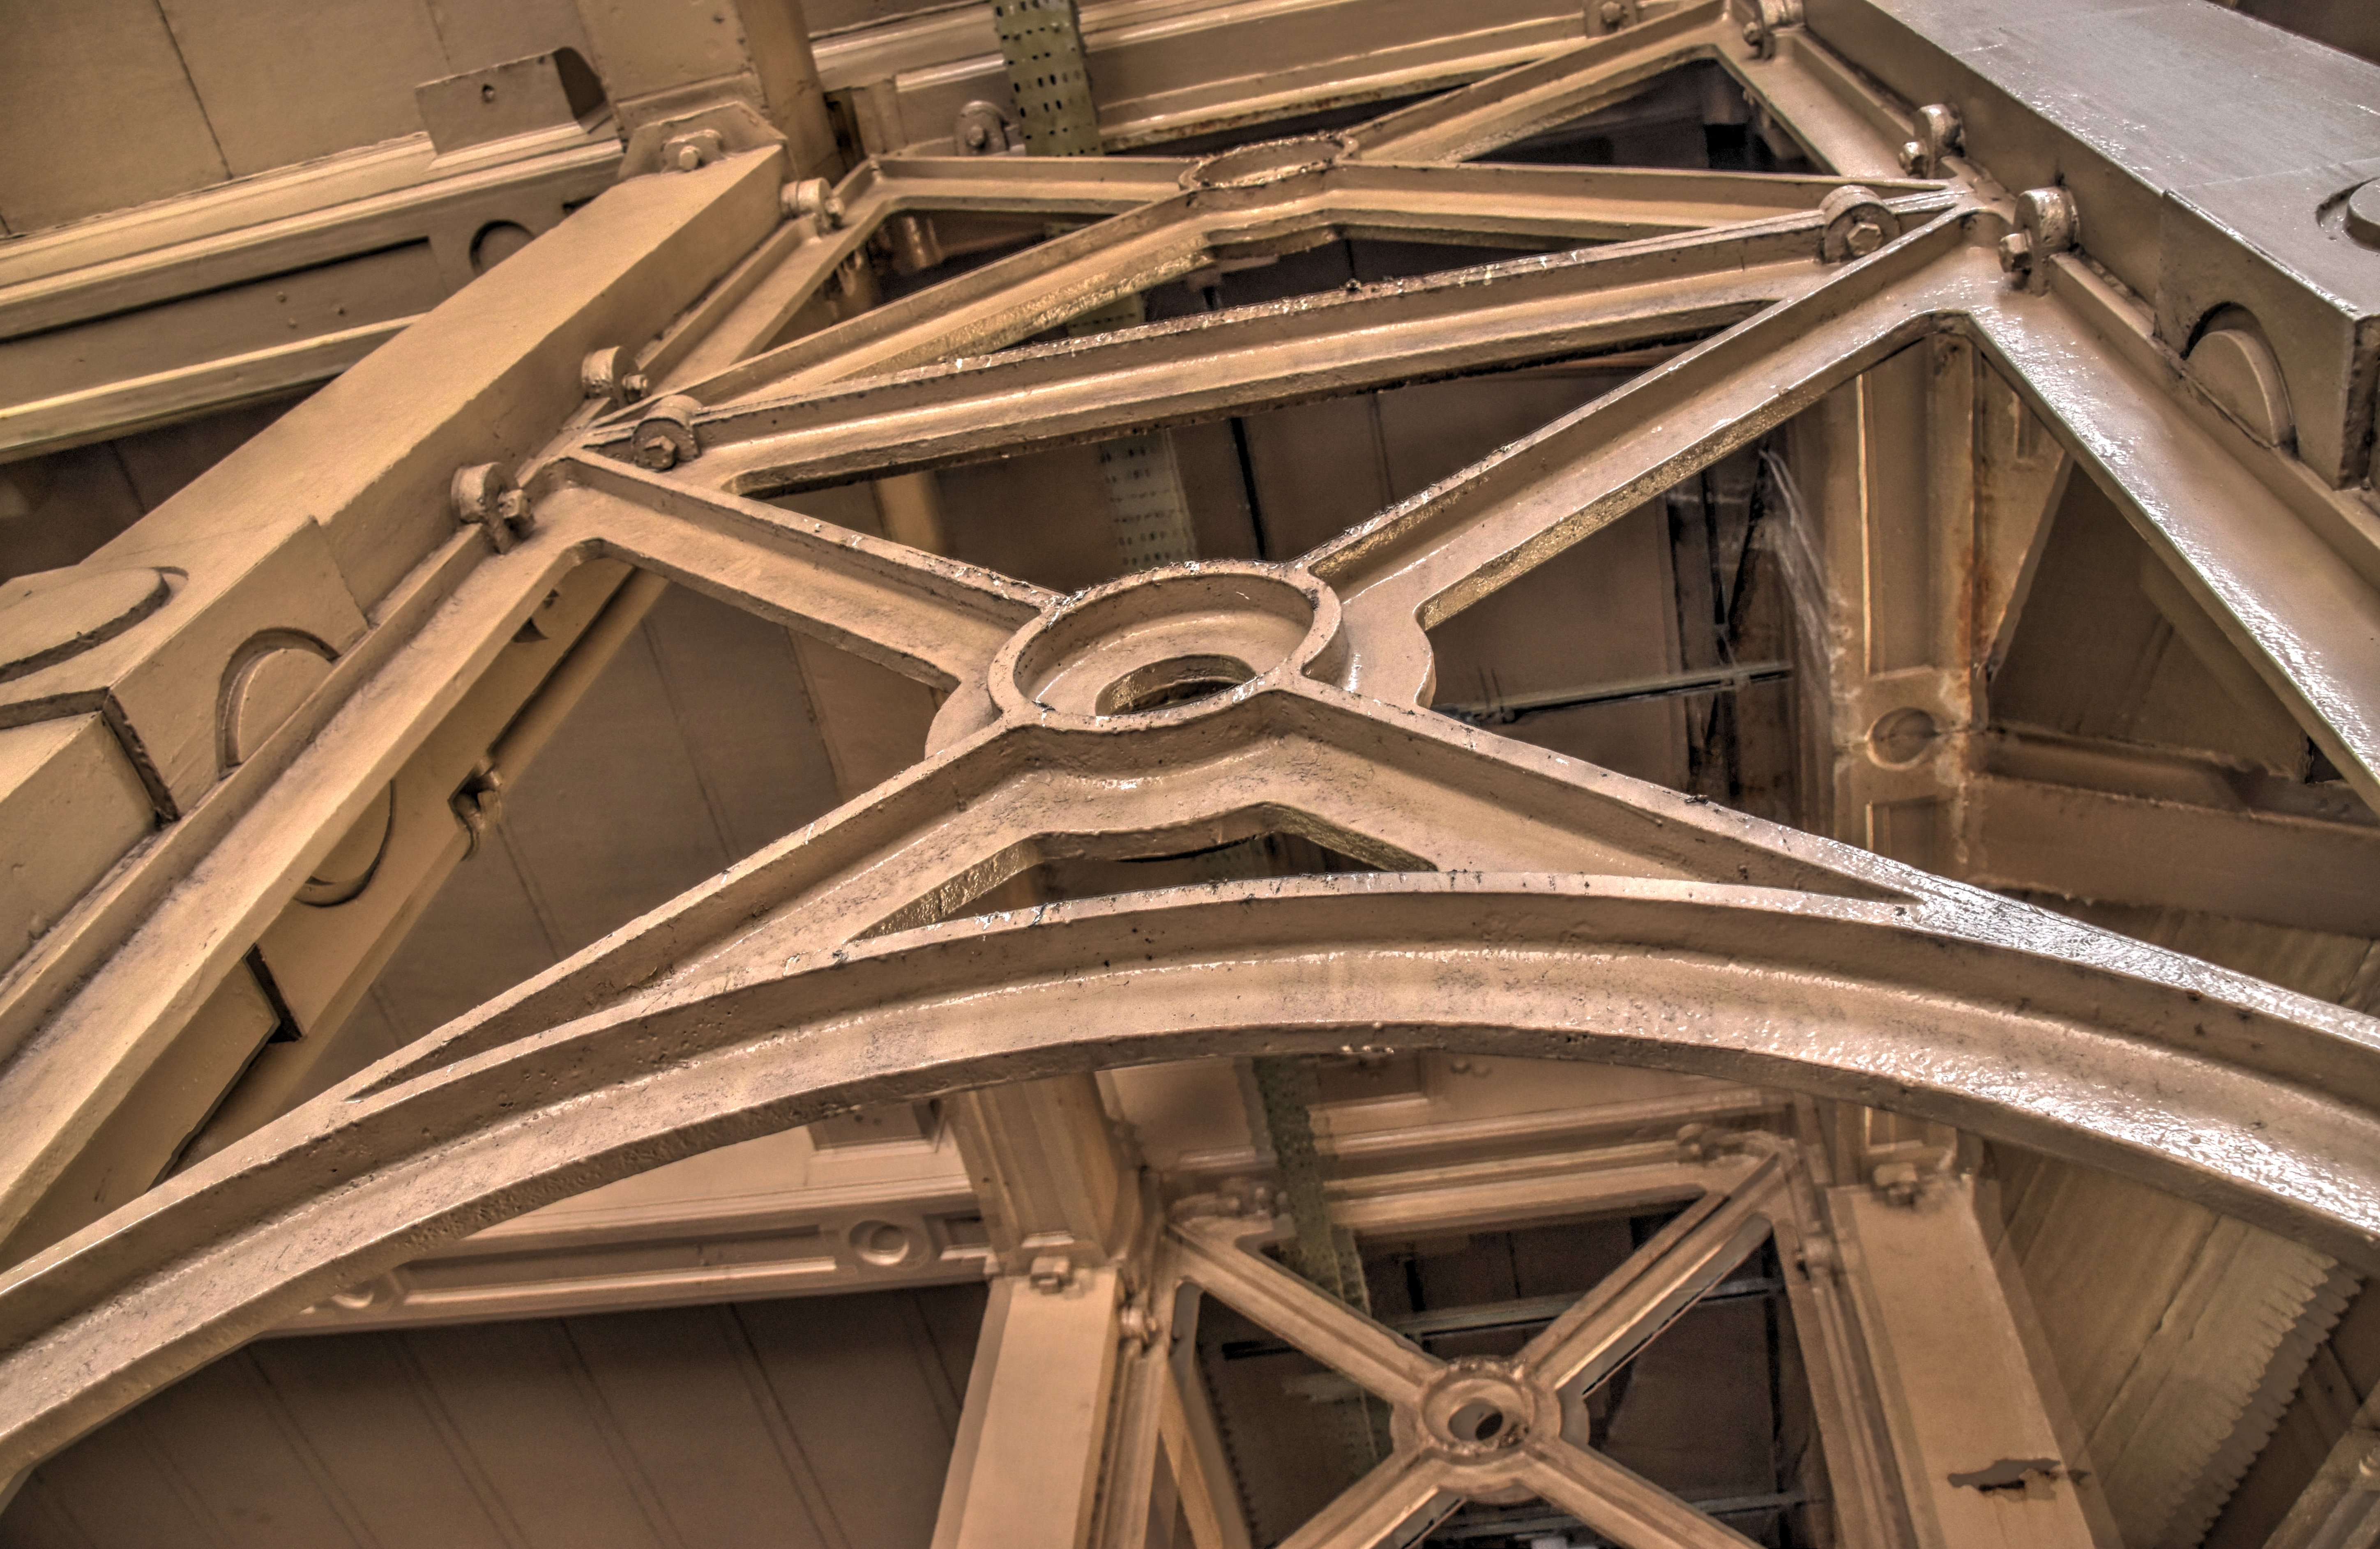
Looking up at arch bracing panels.
![]()


Details of arch bracing panels.
![]()


Arch bracing connection to main arch.
![]()


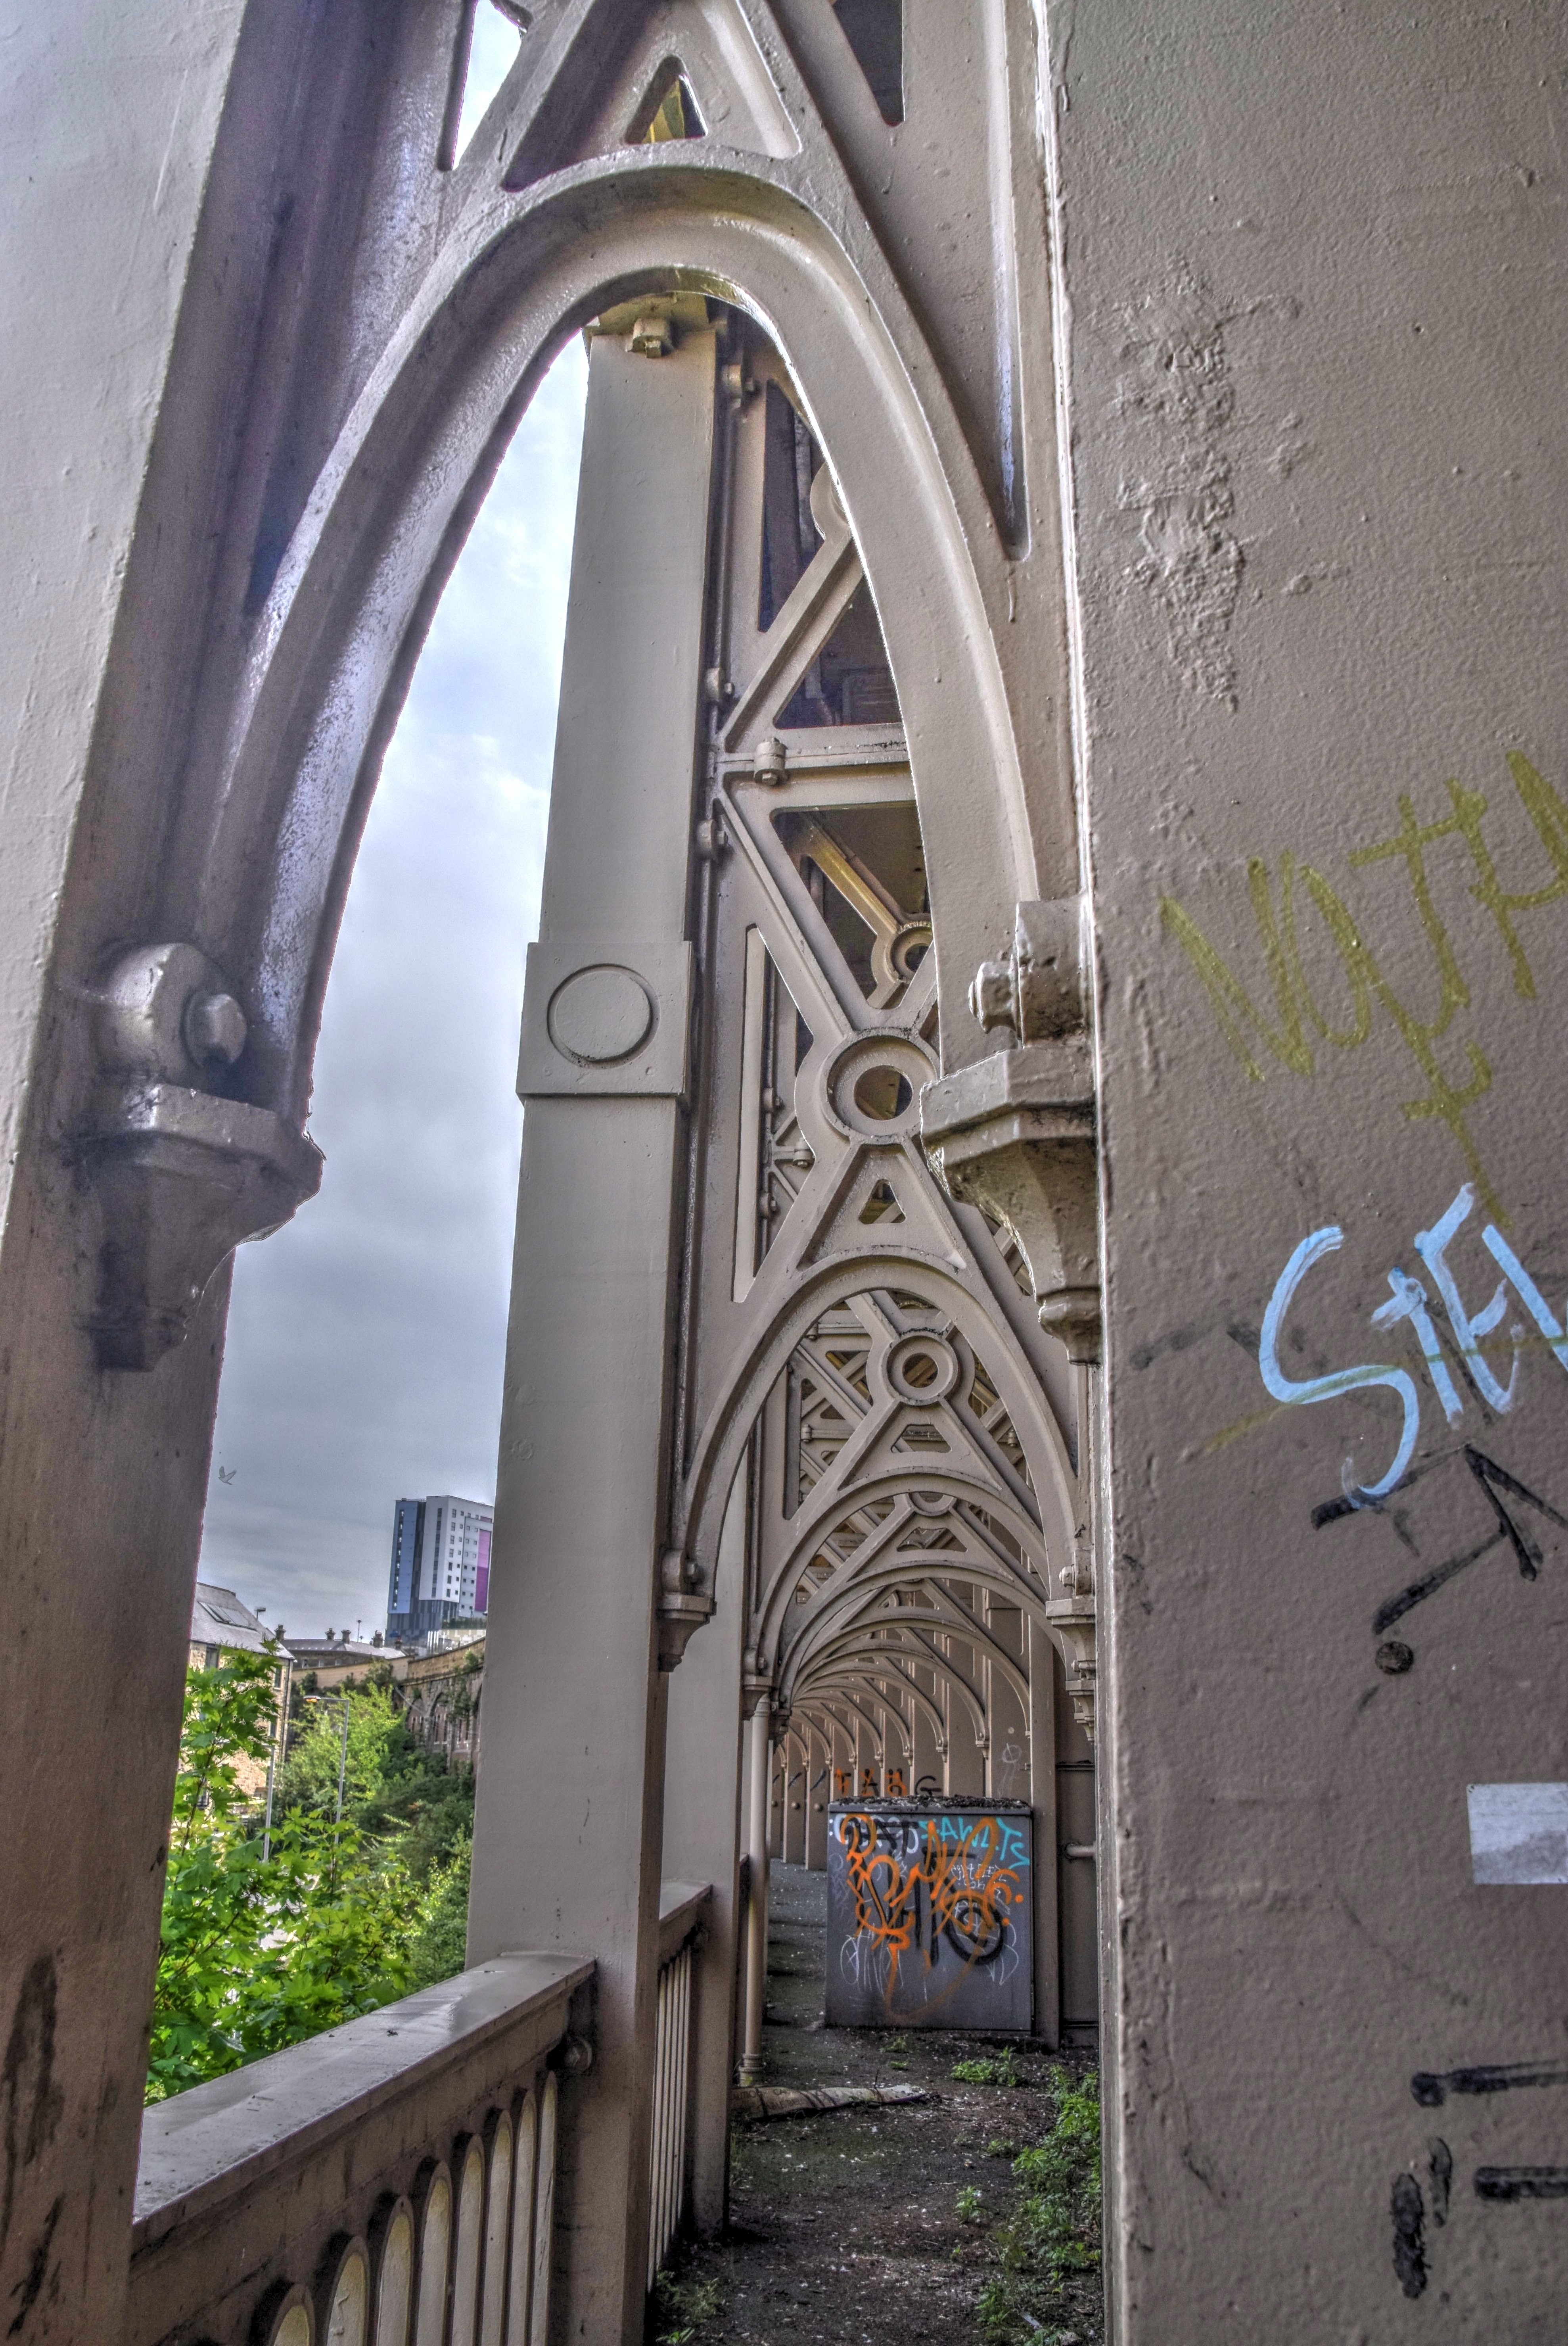
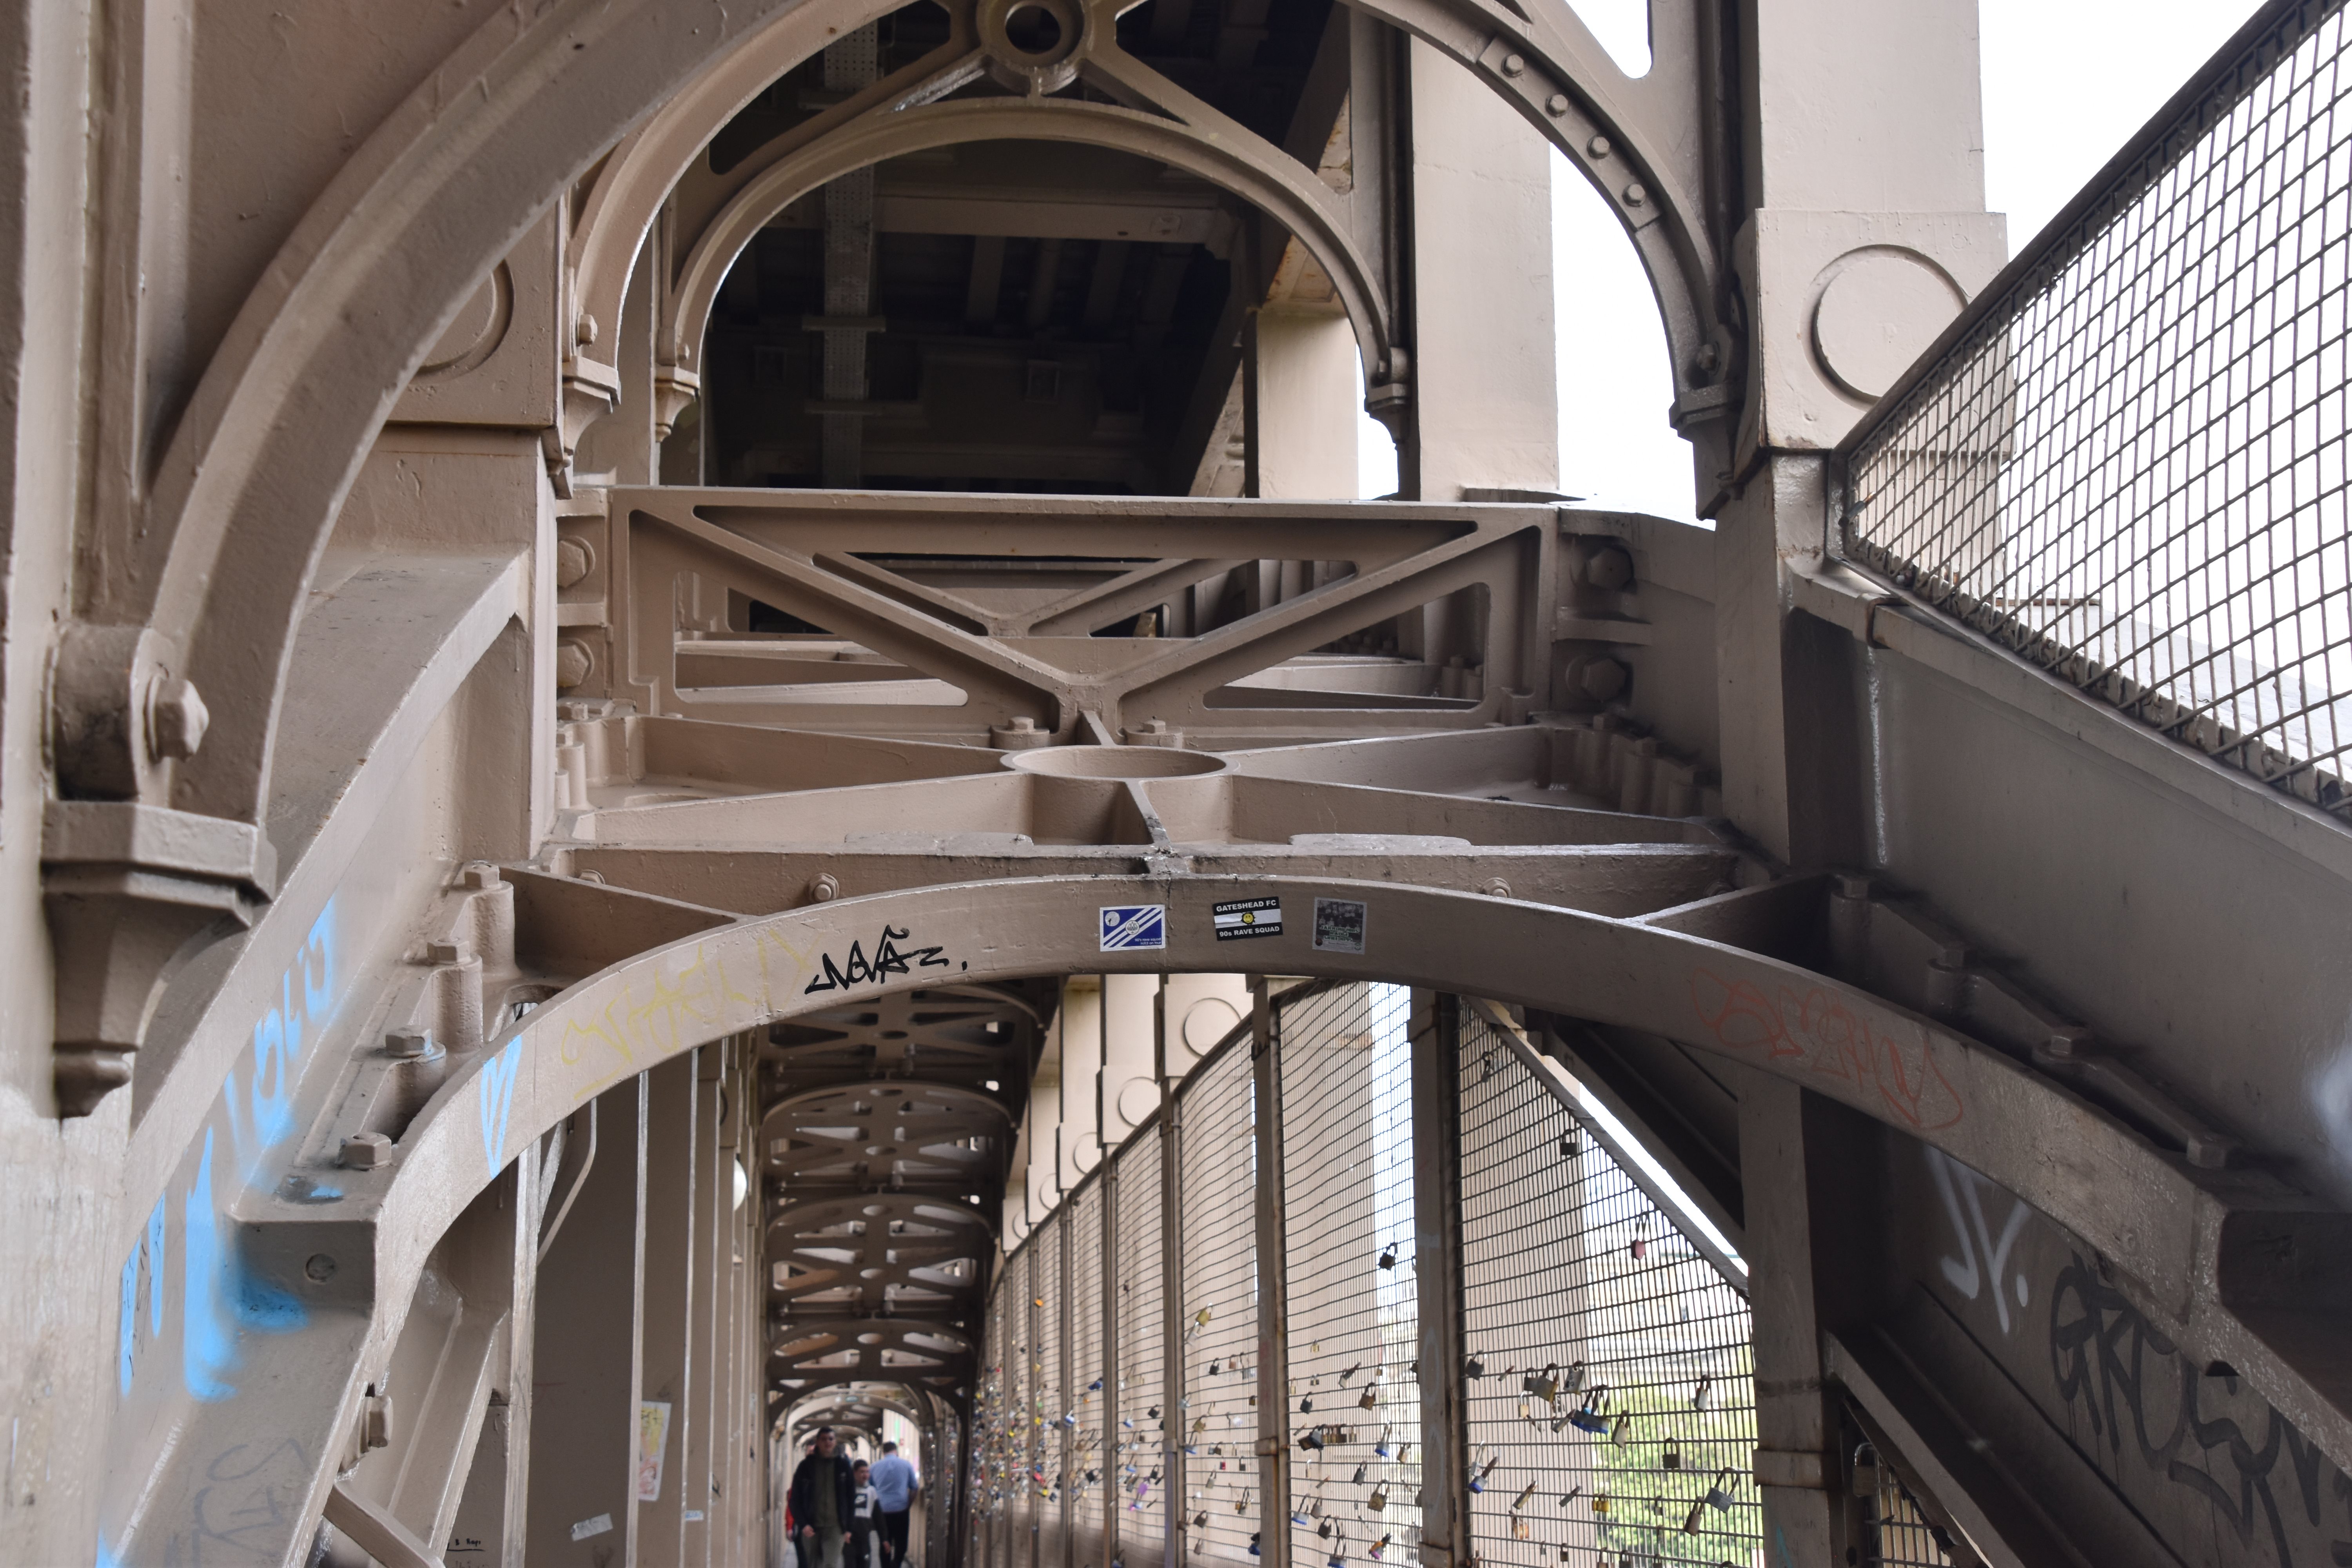
Views of miniature transverse arches within the arch bracing.
![]()


Detail of miniature transverse arches within the arch bracing.
![]()


Detail of connection of miniature transverse arches to the main arches.
![]()


Column bracing connection to cast iron floorbeam.
![]()


Column details.
![]()
![]()

![]()