Uncredited photos on this page taken by: Nathan Holth. Unless stated in a caption, all photos are Copyright with All Rights Reserved. Learn about reuse of our photos.
![]()

Photo Credit: Yaffa Phillips, CC BY-SA 2.0, https://www.flickr.com/photos/yaffamedia/
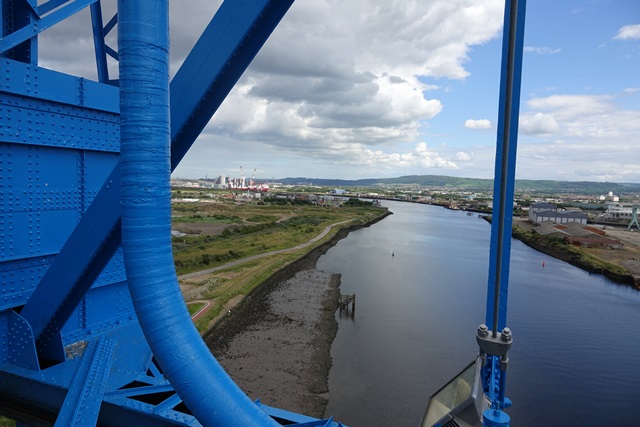
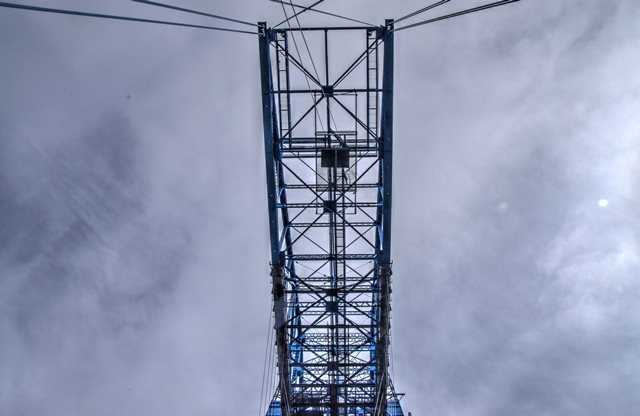
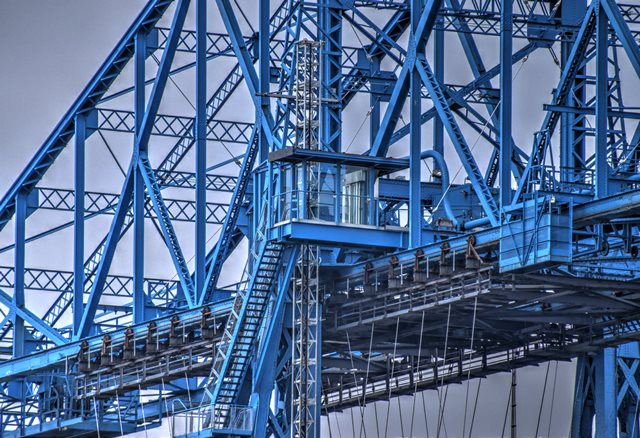
Views from tower stairway showing gondola in operation.
![]()
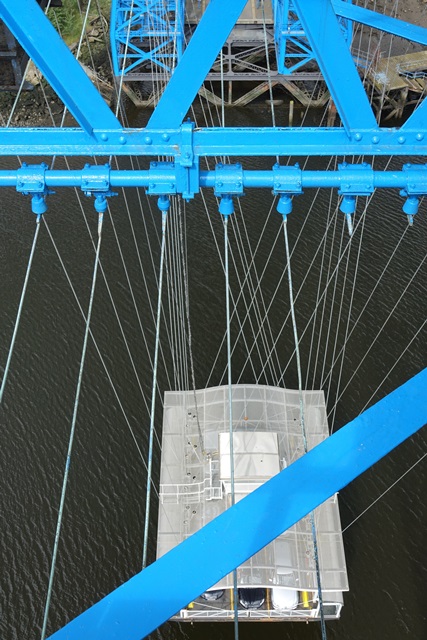
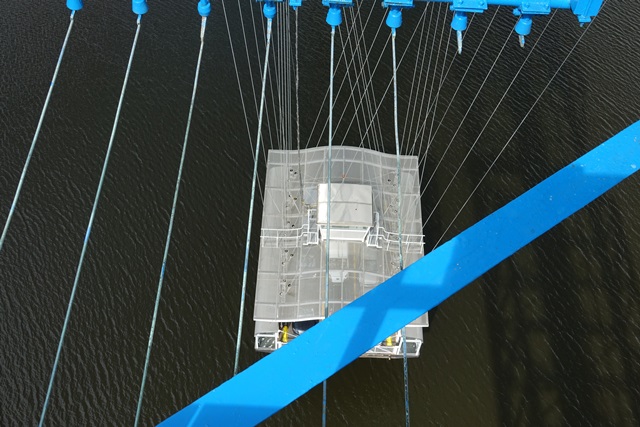


Photo Credit: Yaffa Phillips, CC BY-SA 2.0, https://www.flickr.com/photos/yaffamedia/
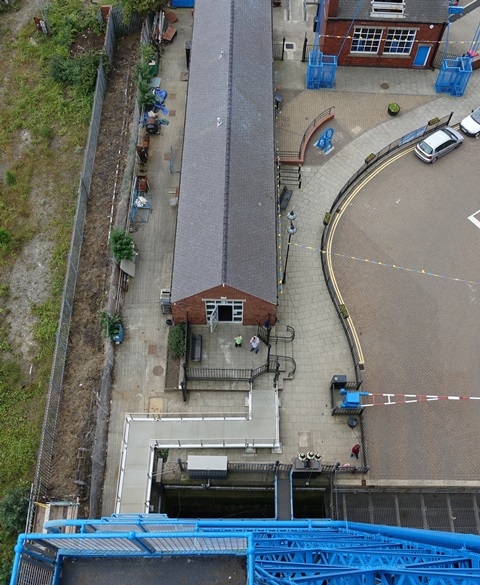
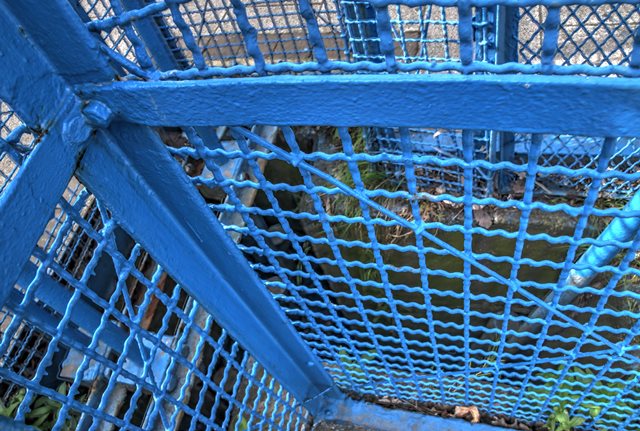
Views from truss span looking down at gondola.
![]()
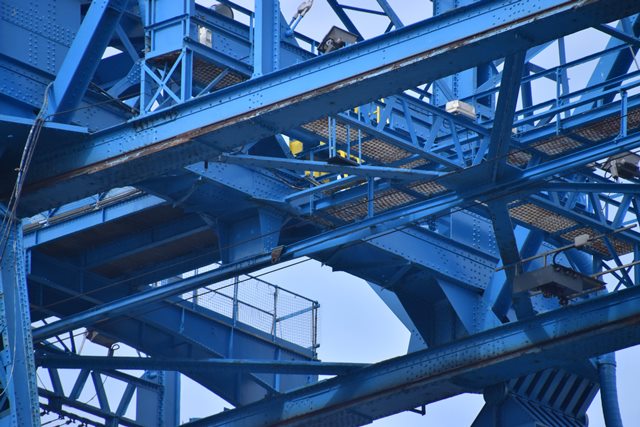
Photo Credit: Yaffa Phillips, CC BY-SA 2.0, https://www.flickr.com/photos/yaffamedia/
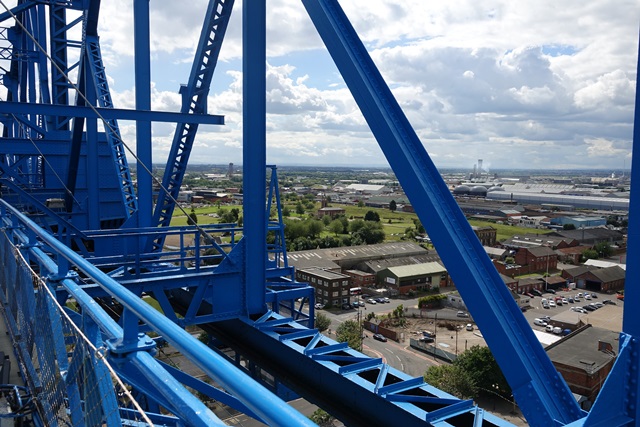
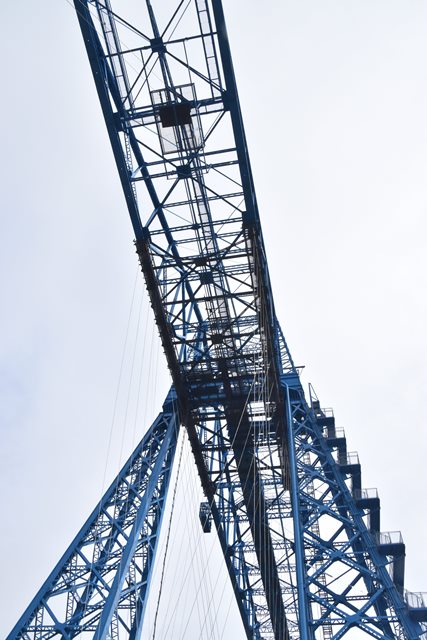
Views from truss span walkway.
![]()
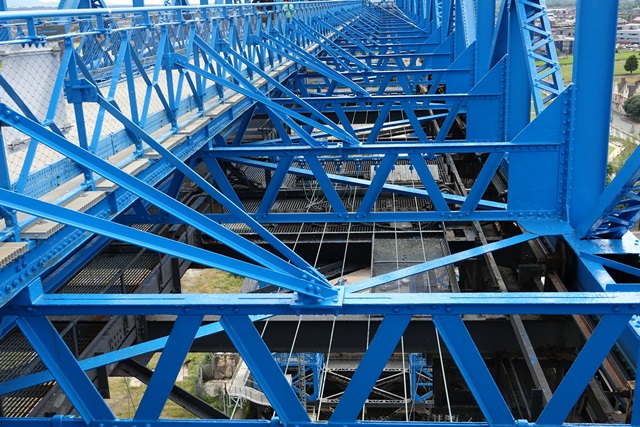
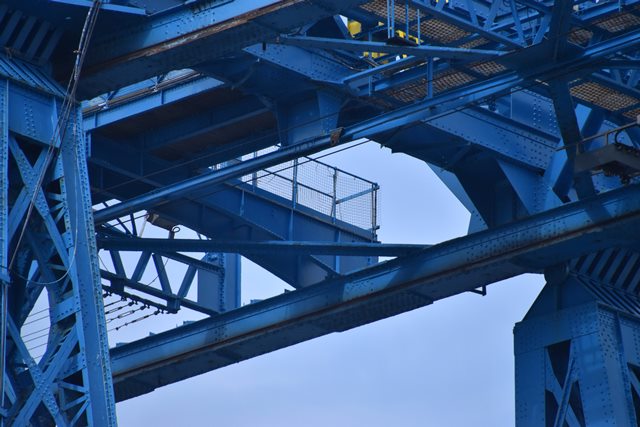
Photo Credit: Yaffa Phillips, CC BY-SA 2.0, https://www.flickr.com/photos/yaffamedia/
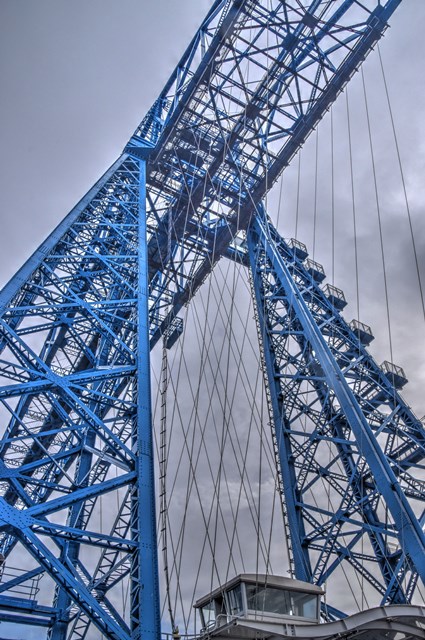
Views from truss span walkway showing bracing.
![]()
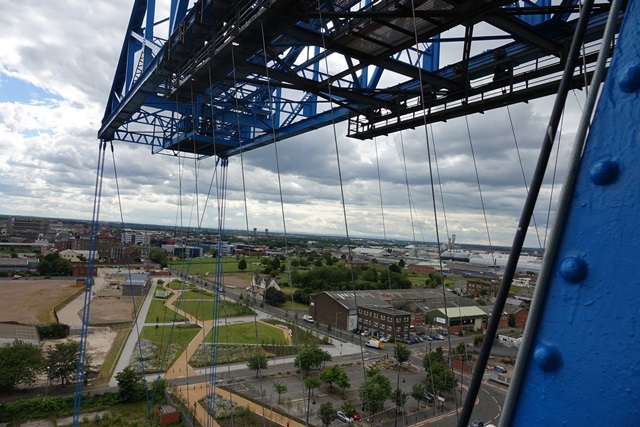

Photo Credit: Yaffa Phillips, CC BY-SA 2.0, https://www.flickr.com/photos/yaffamedia/
Views from tower stairway showing anchor cables.
![]()
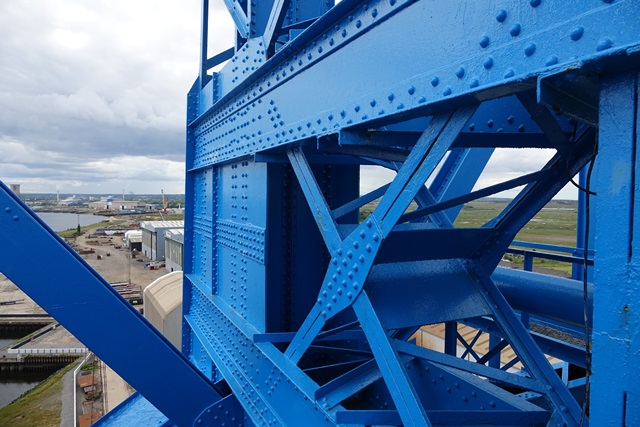
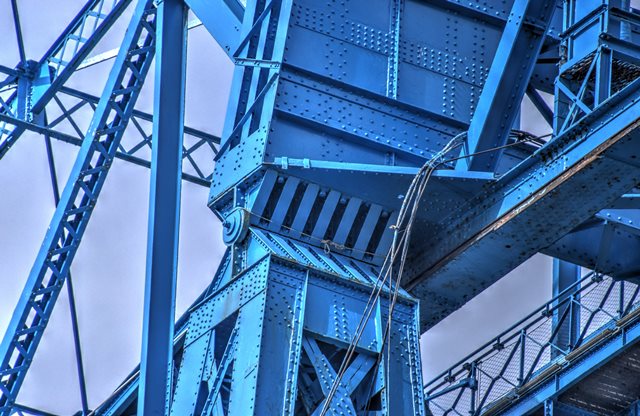
Photo Credit: Yaffa Phillips, CC BY-SA 2.0, https://www.flickr.com/photos/yaffamedia/
Views from tower stairway showing superstructure detail near tower bearing.
![]()
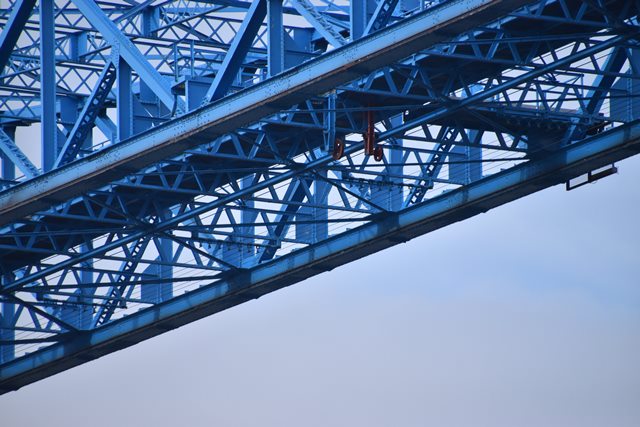
Photo Credit: Yaffa Phillips, CC BY-SA 2.0, https://www.flickr.com/photos/yaffamedia/
Views from truss span walkway showing truss members.
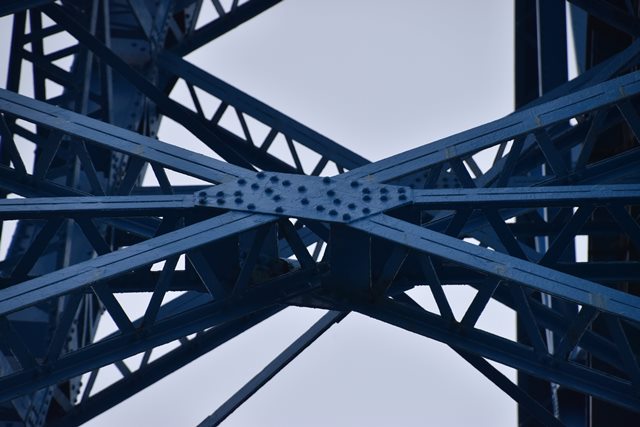
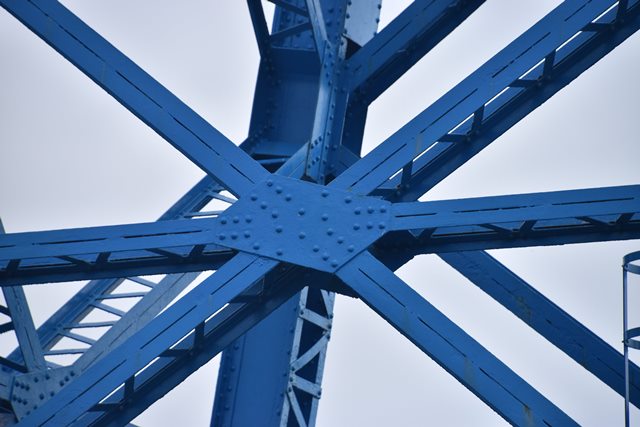
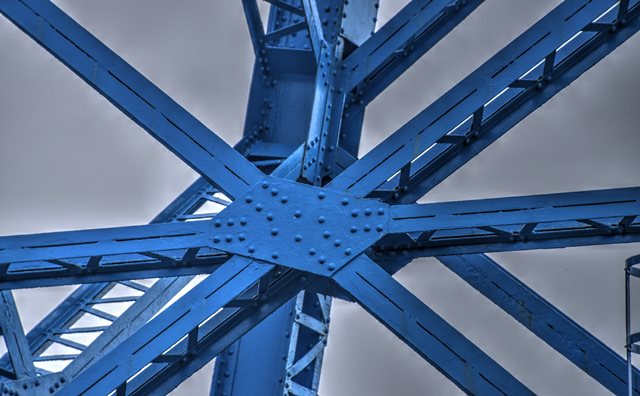
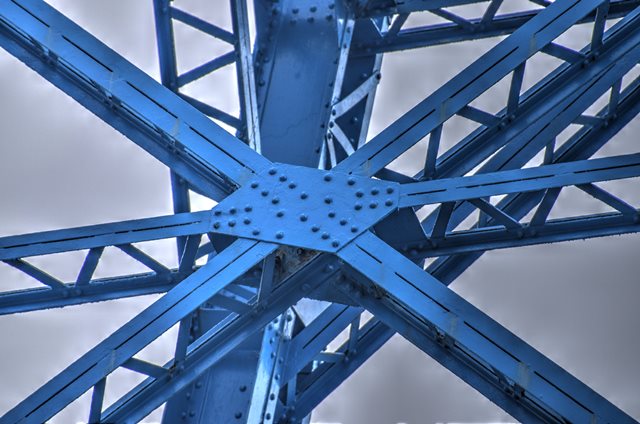
![]()


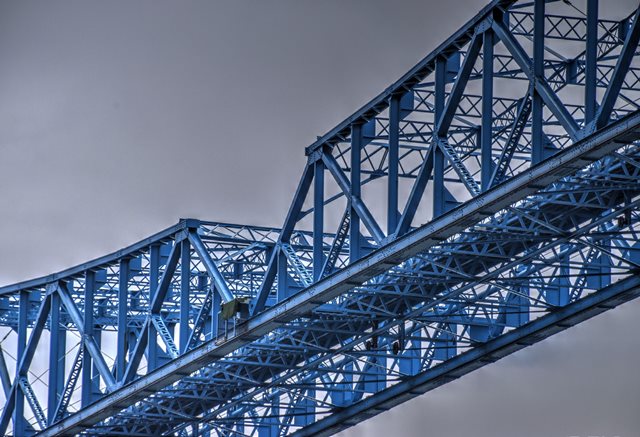


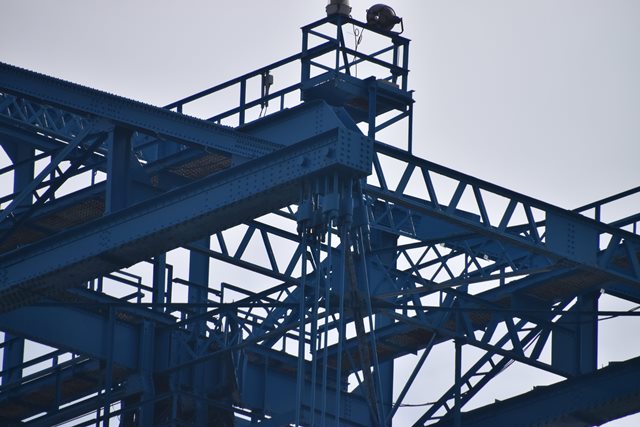
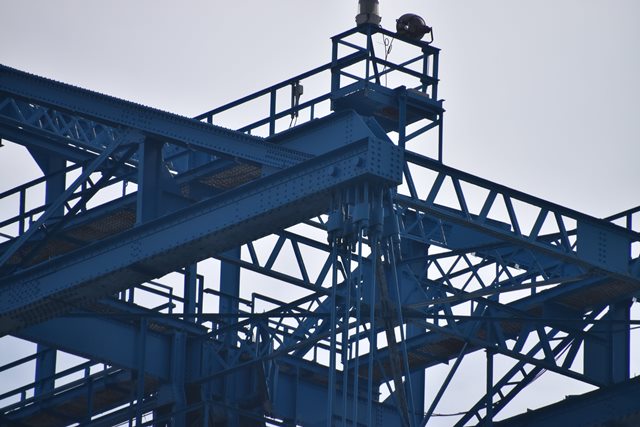
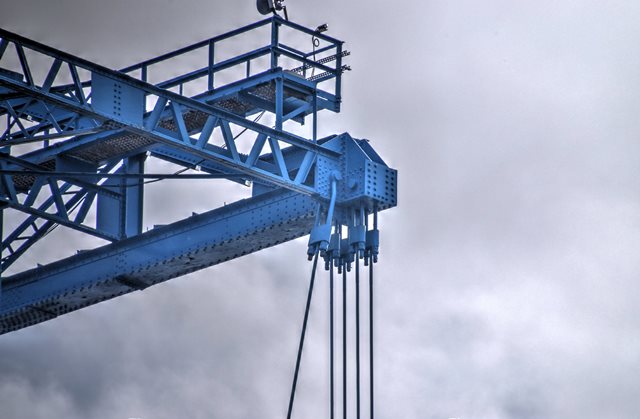
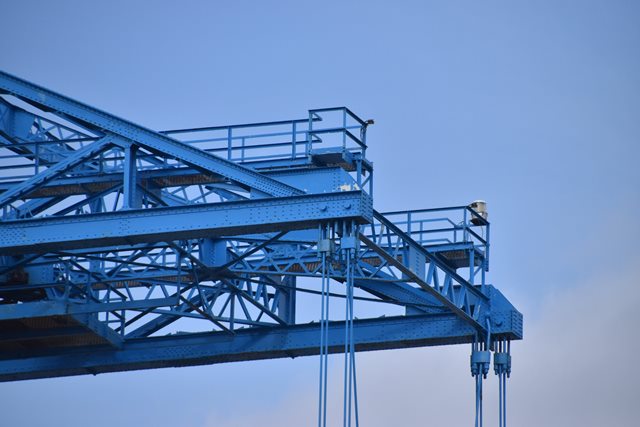
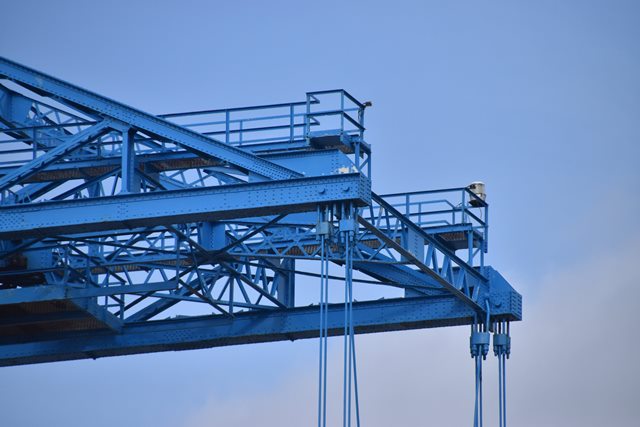
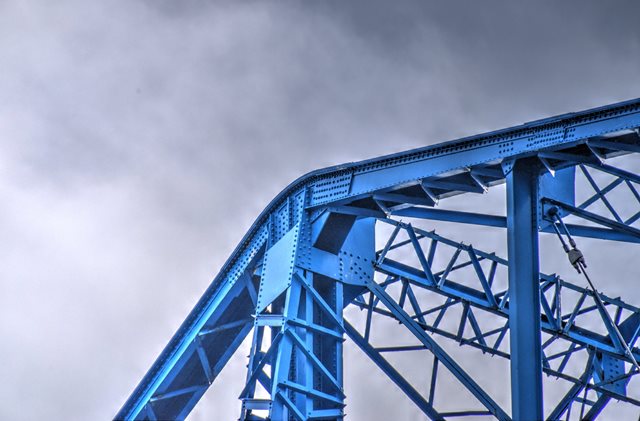
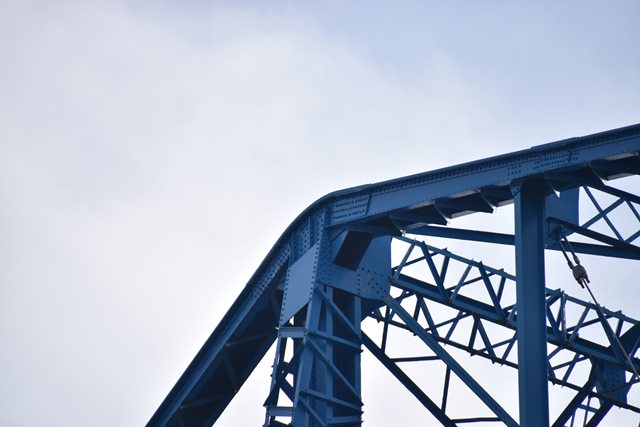
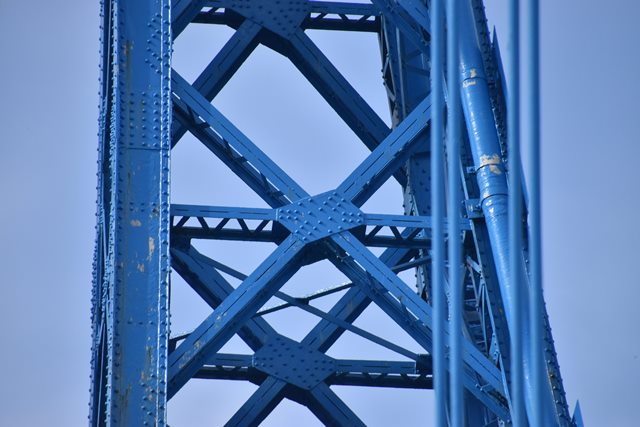
Detail at center of bridge, which is the end of each cantilever arm.
![]()

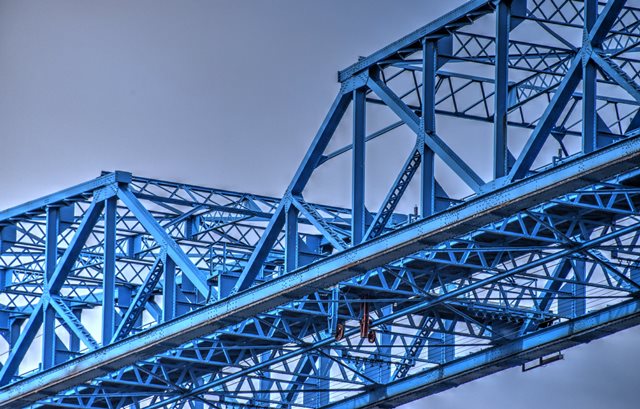
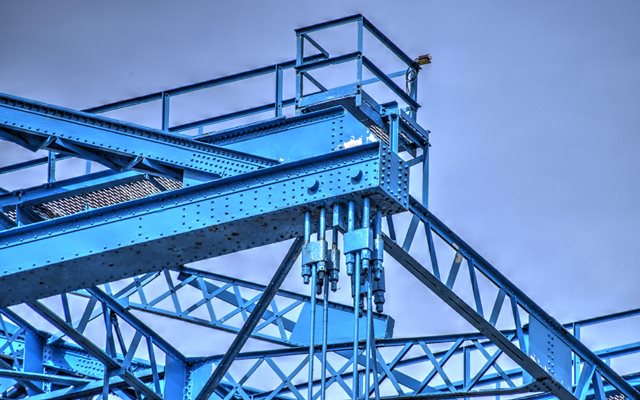
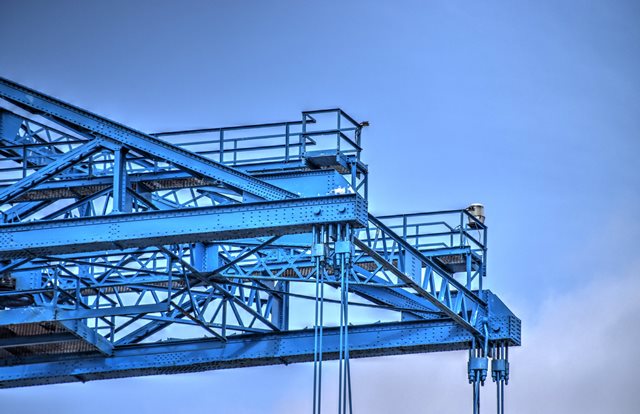
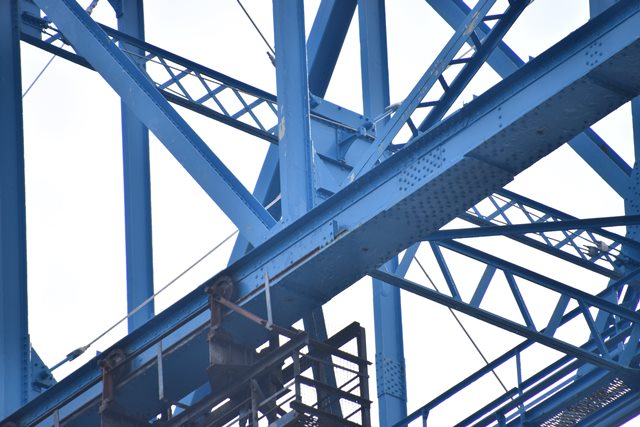
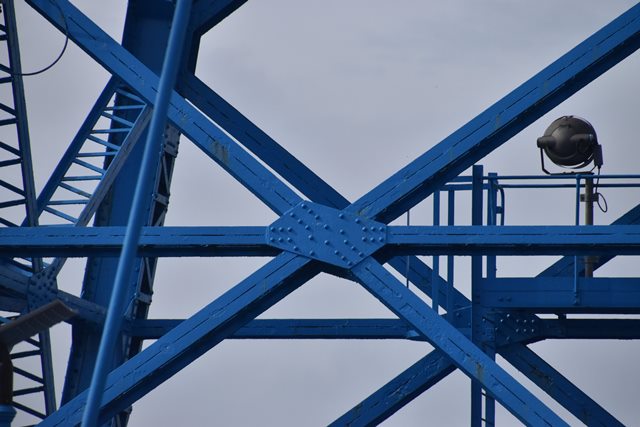
Overview under truss.
![]()


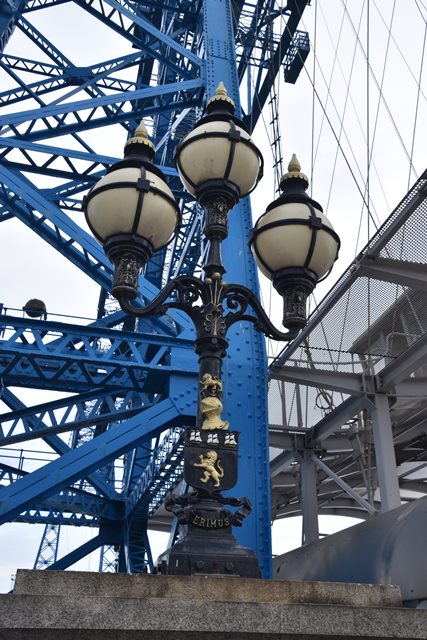
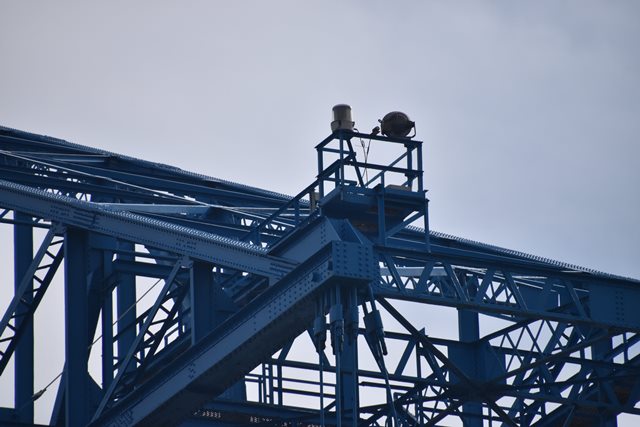
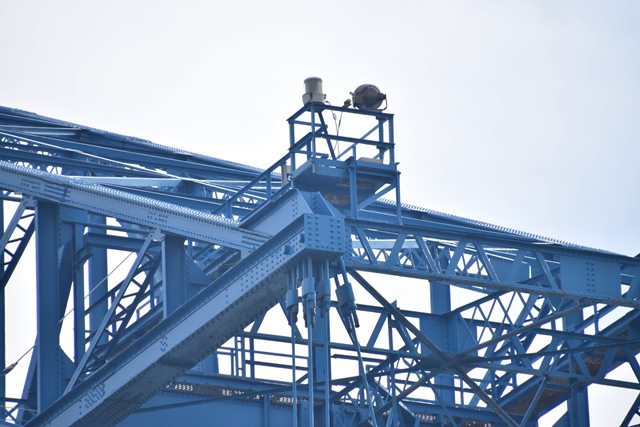
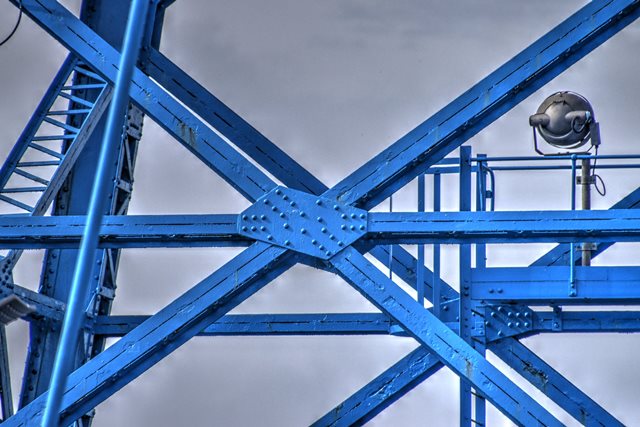
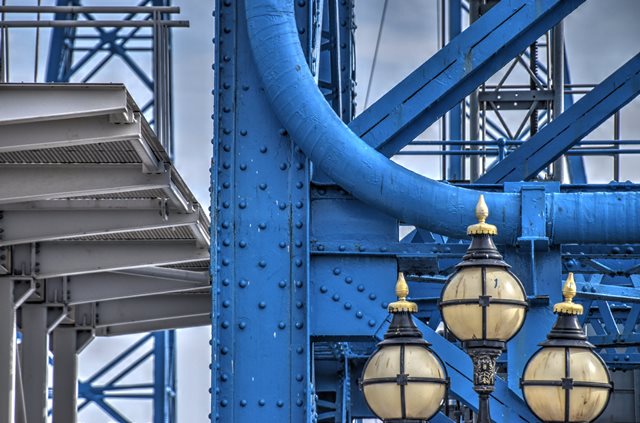
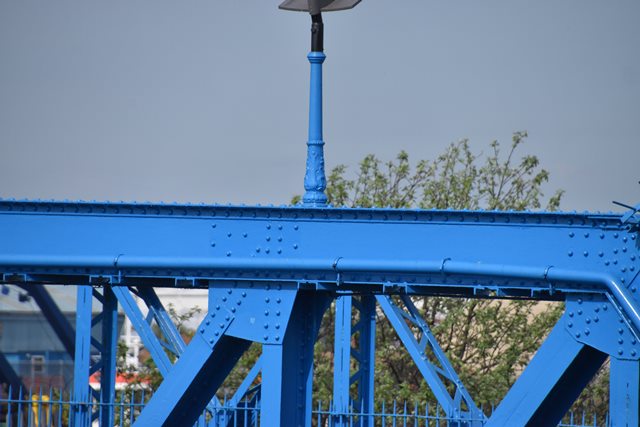
Lighting.
![]()
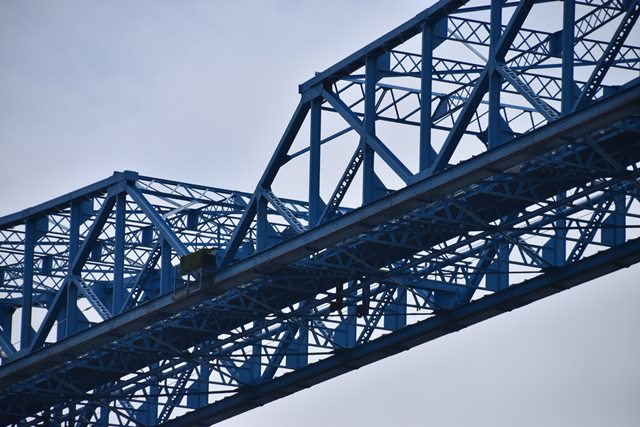
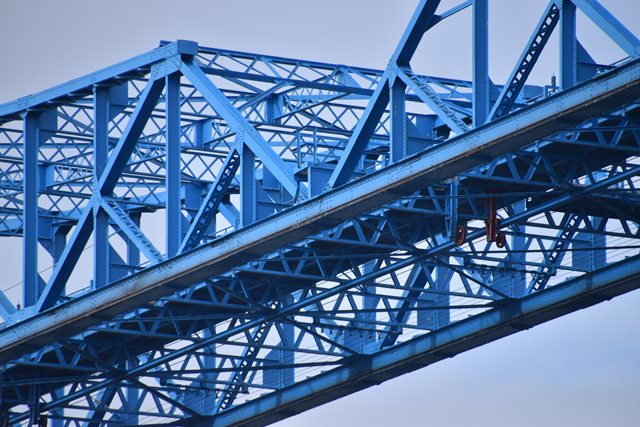
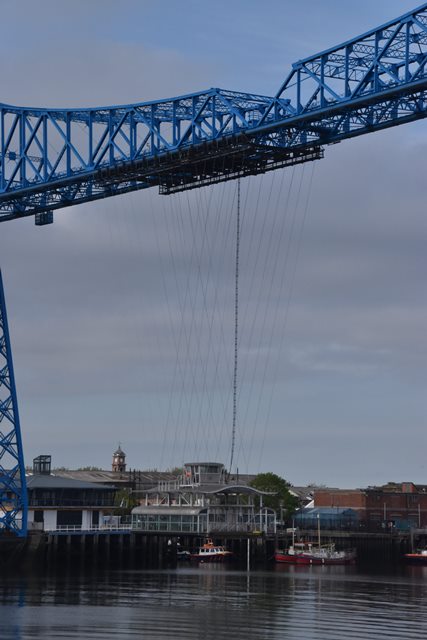
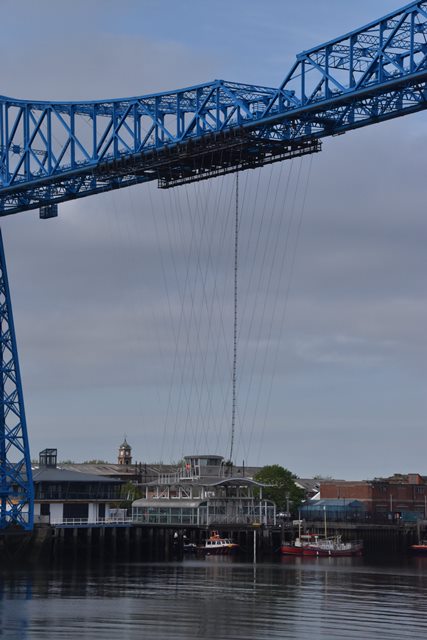
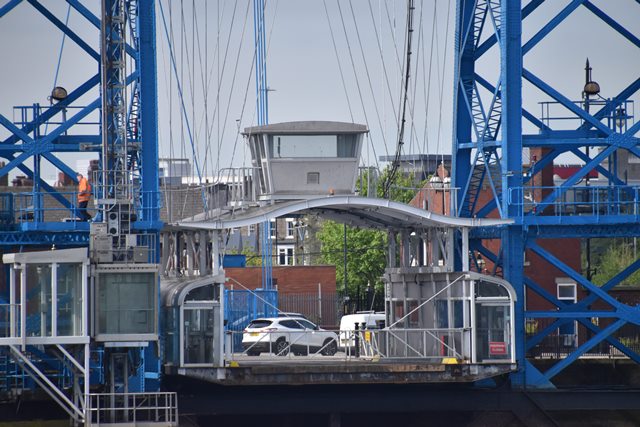
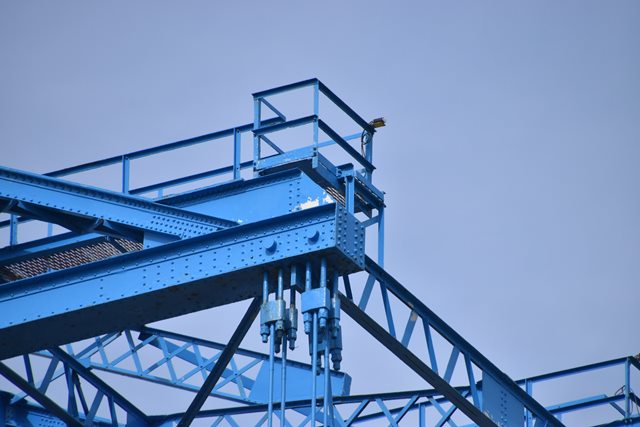
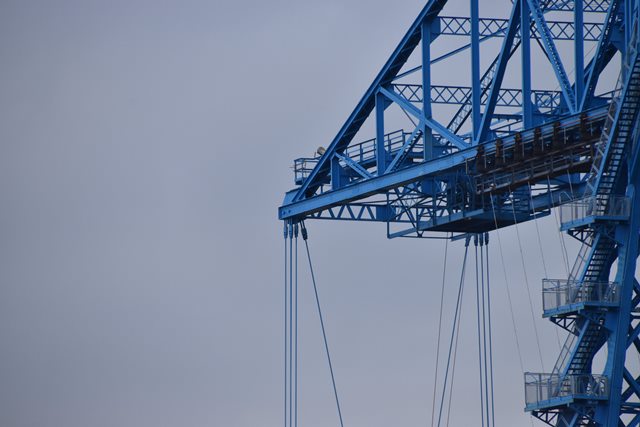
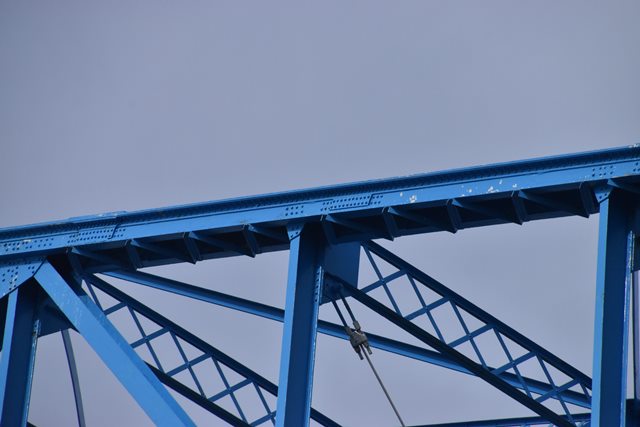
Overview of gondola suspender cables.
![]()


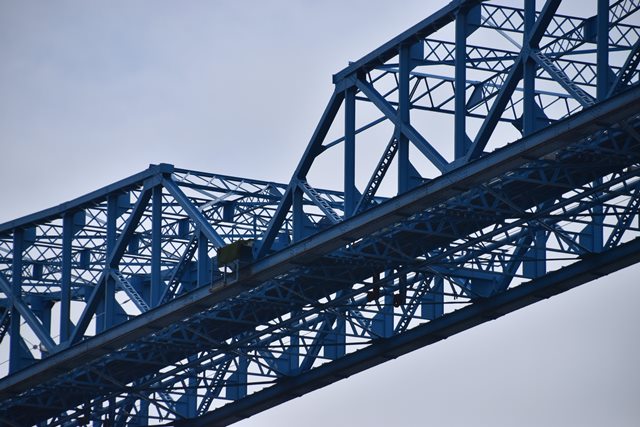
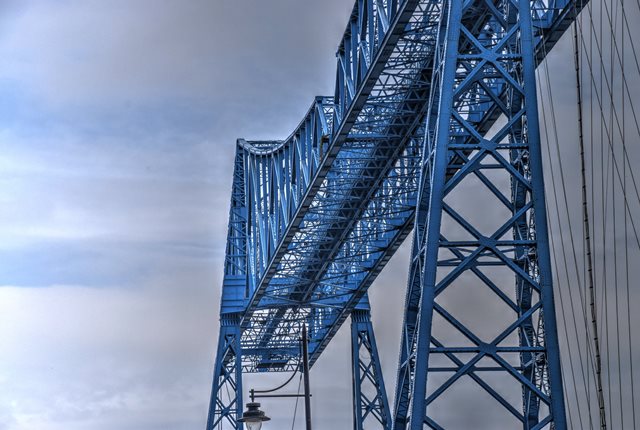
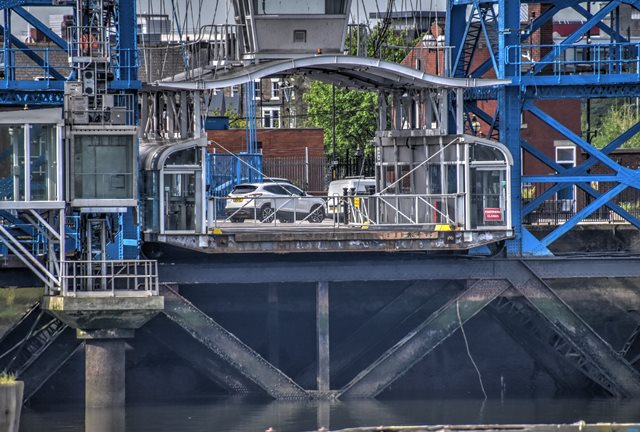
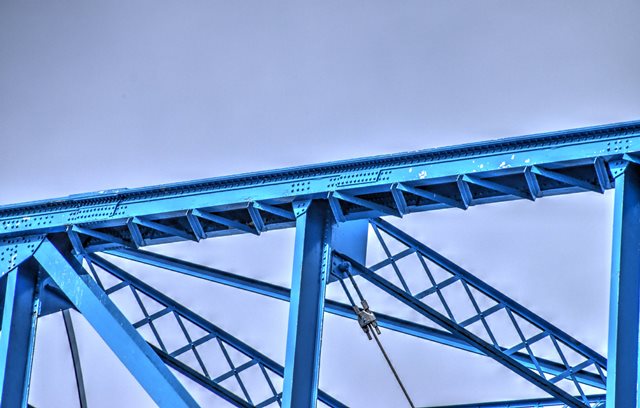
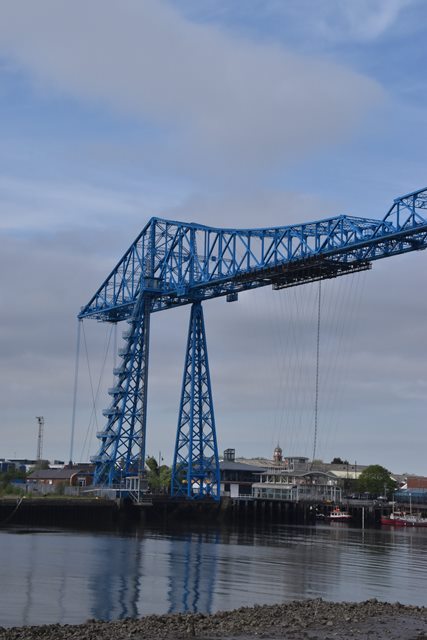
Gondola in operation near center of bridge as seen from northeast quadrant.
![]()
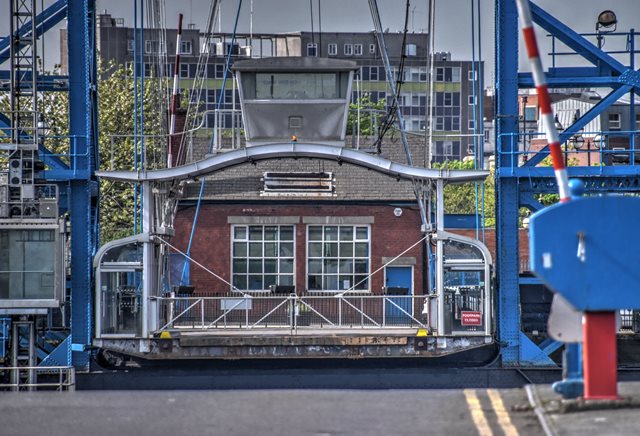


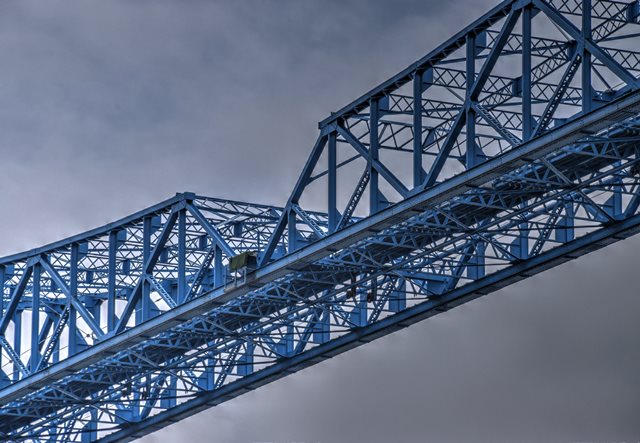
Views from north end of the bridge facing south showing gondola at south end of bridge.
![]()


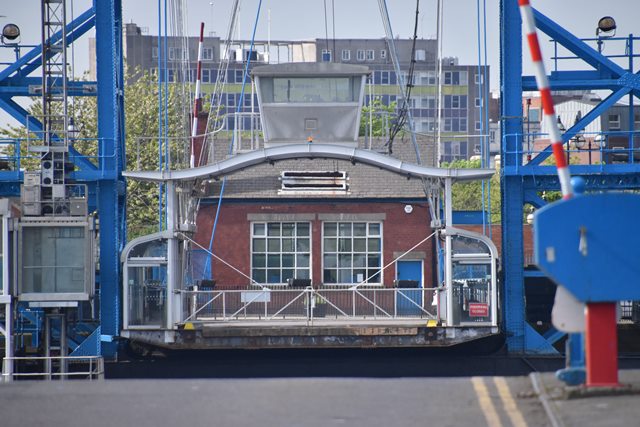
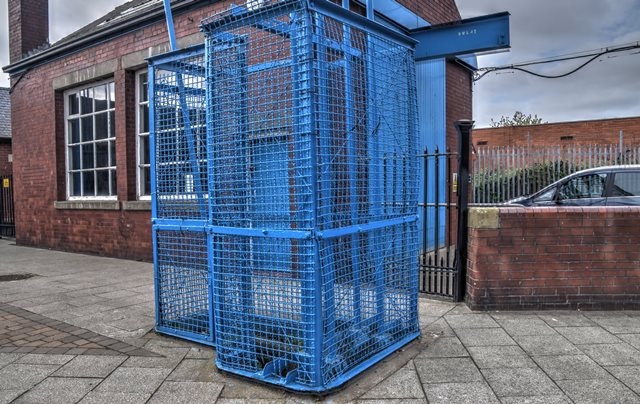
Gondola overview.
![]()


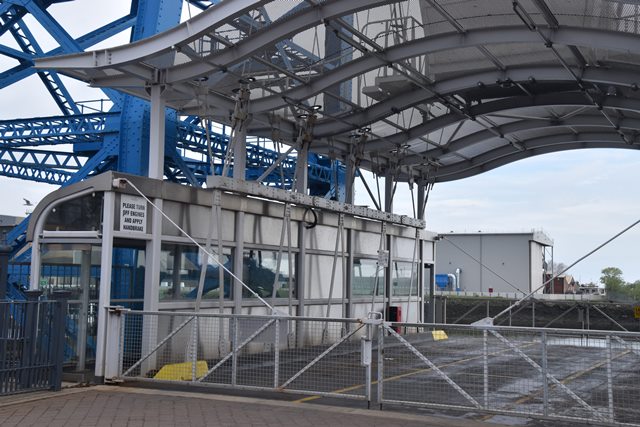
Gondola details.
![]()


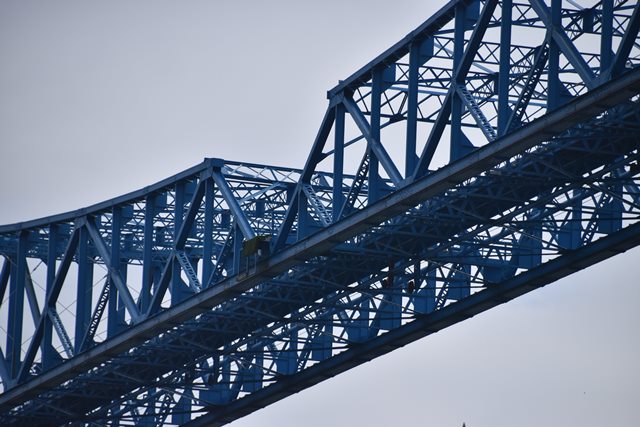
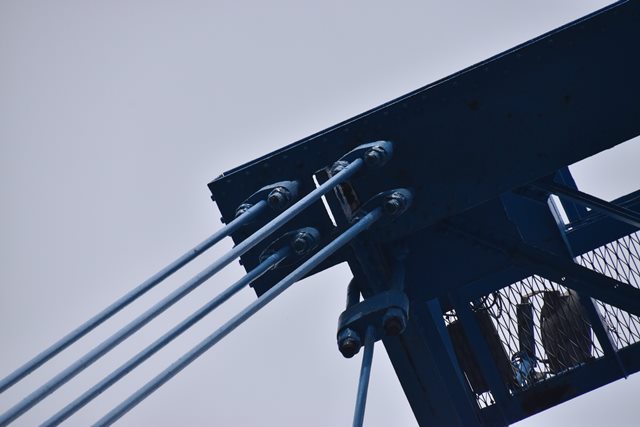
Detail showing gondola cables and the rollers along the bottom chord which doubles as the operating track.
![]()
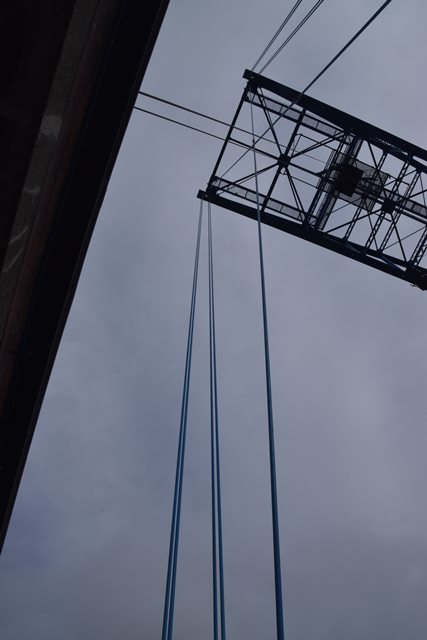

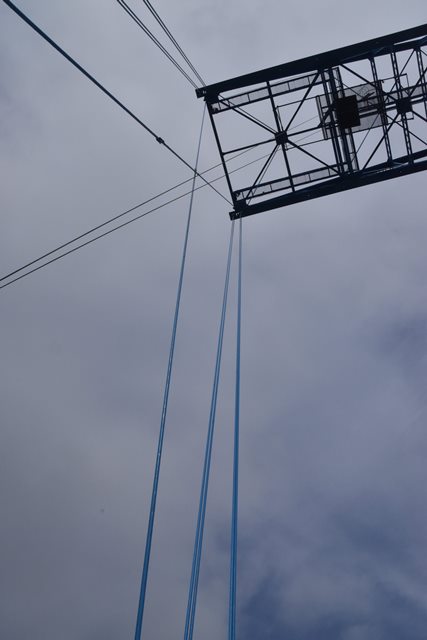

Anchor cable overview.
![]()

Anchorage overview.
![]()

Anchorage details.
![]()
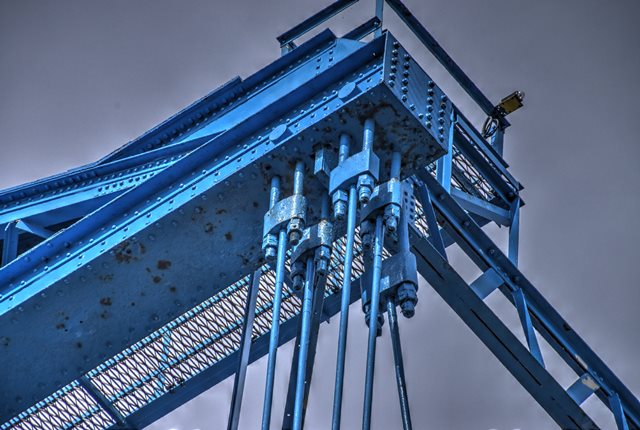
Looking up at anchor arm.
![]()


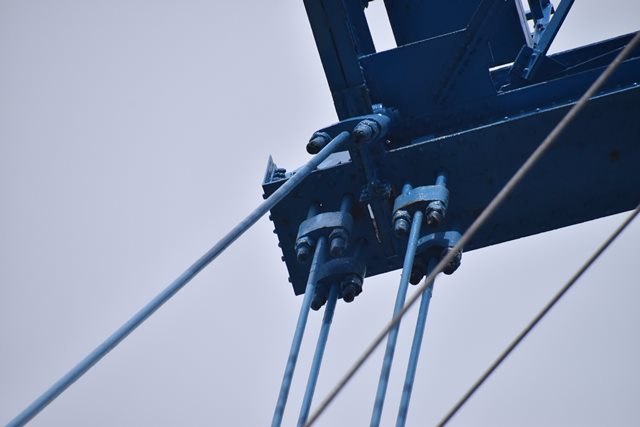


Anchor cable connection to anchor arm as viewed from under bridge.
![]()


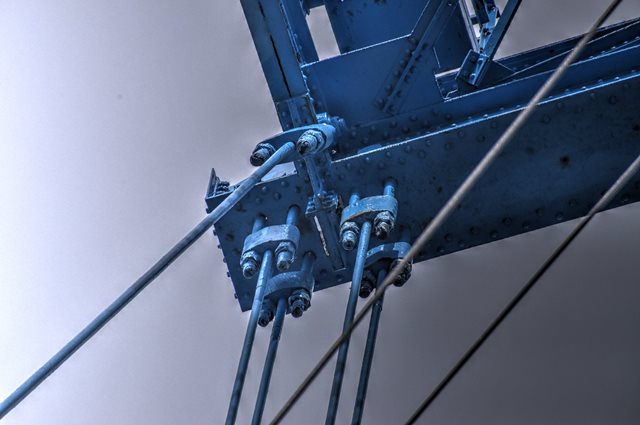
Anchor cable connection to anchor arm as viewed from beside bridge.
![]()
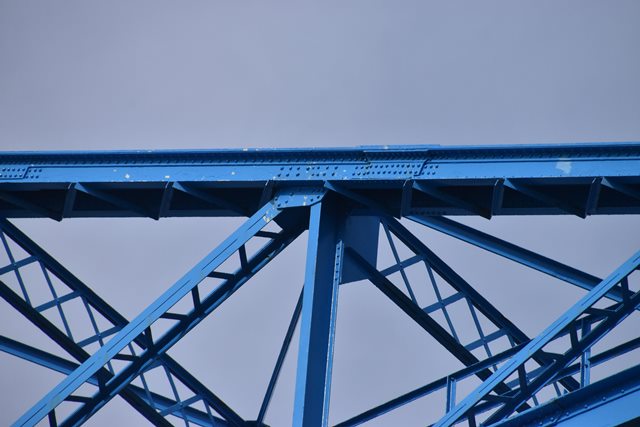


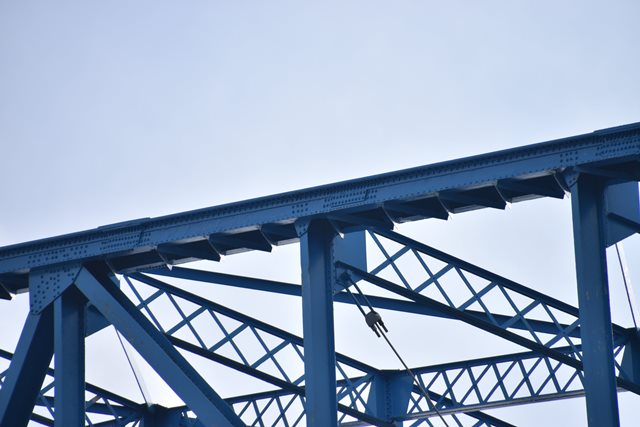
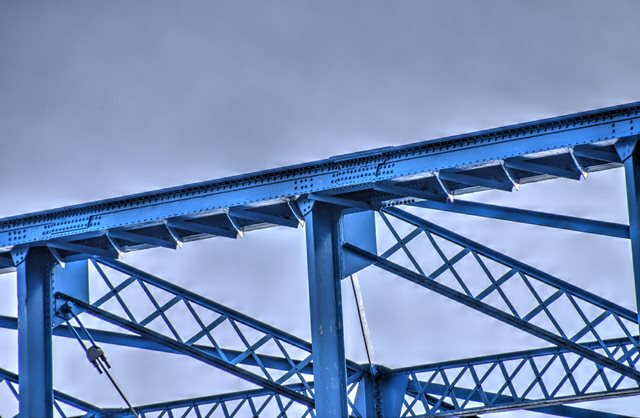

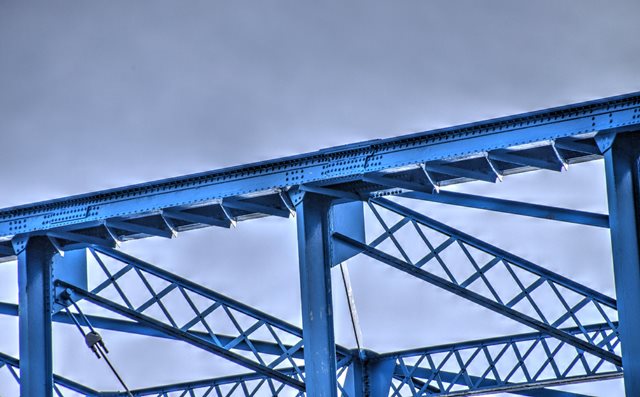


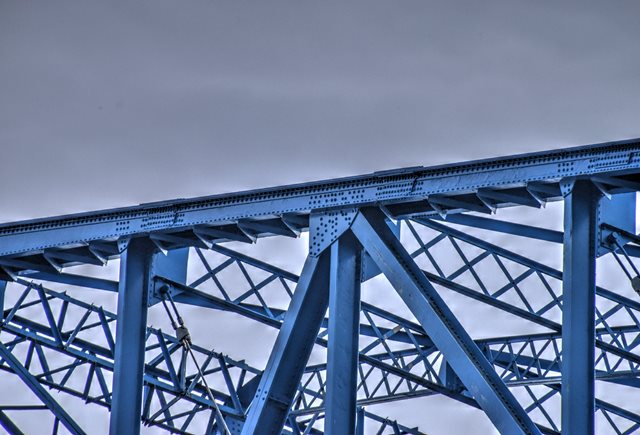
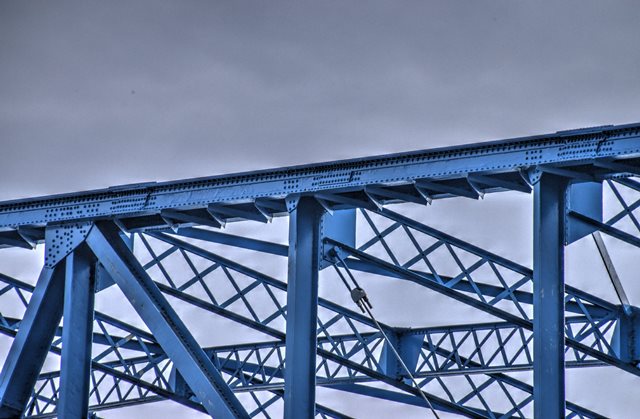


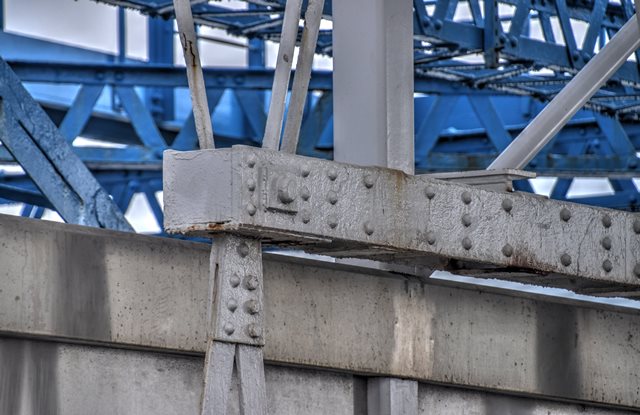
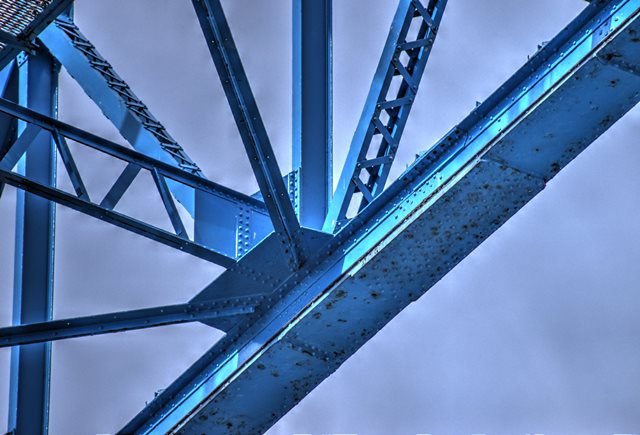
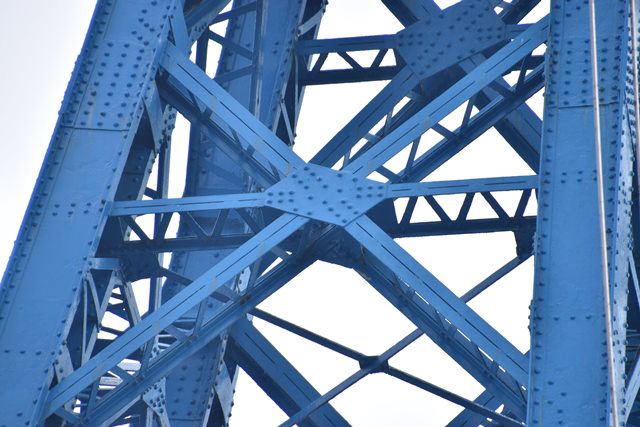
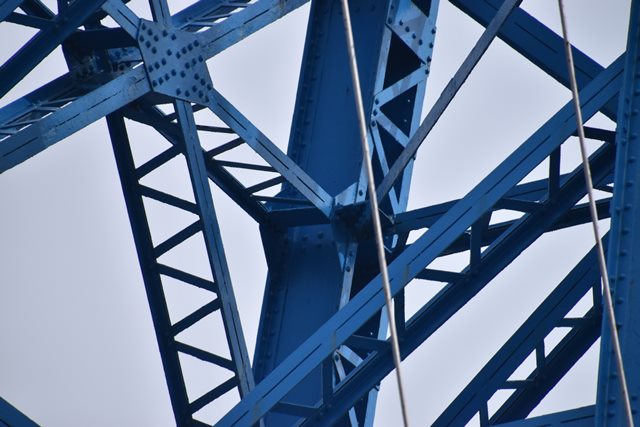
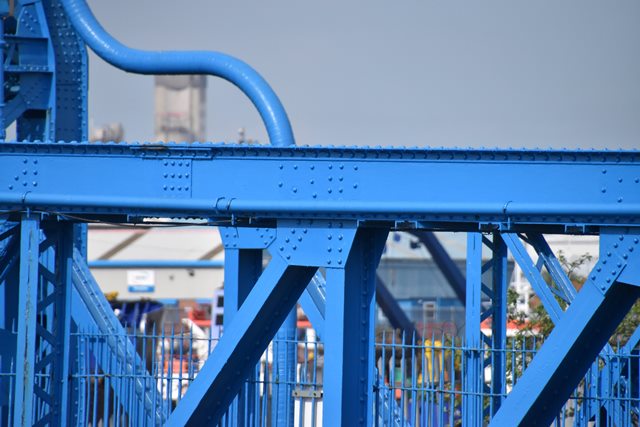
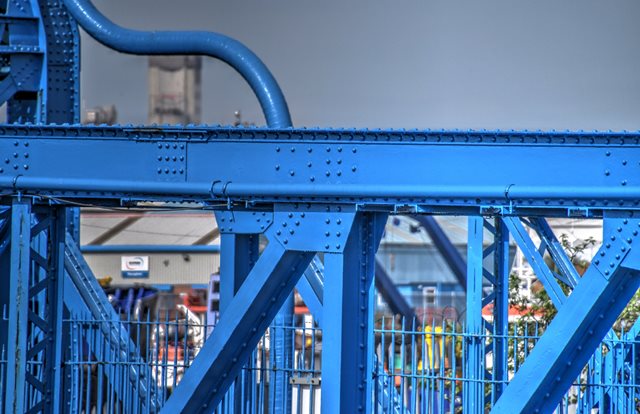
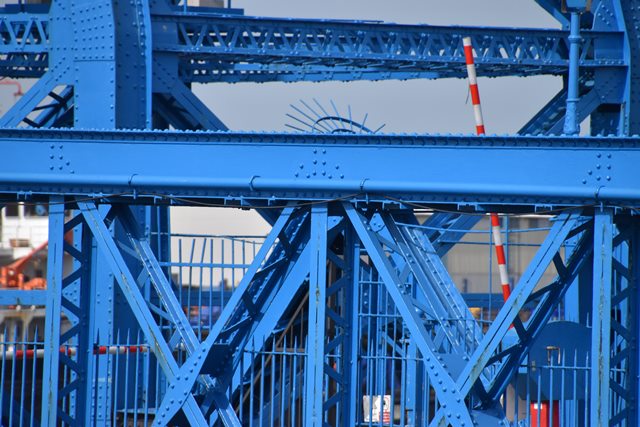
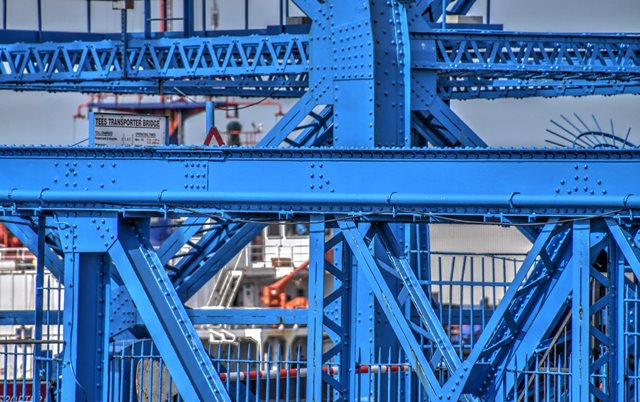
Top chord connections as viewed from beside bridge.
![]()


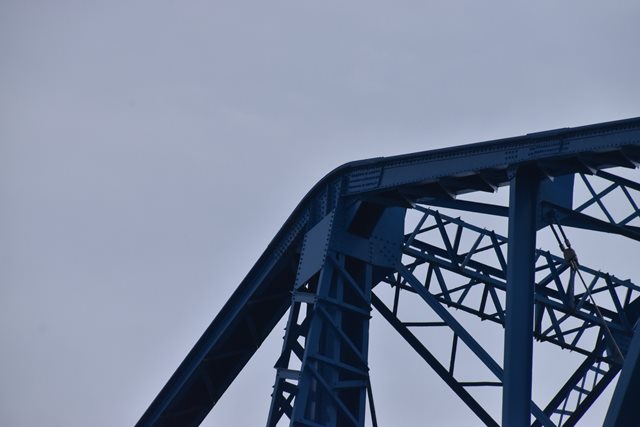


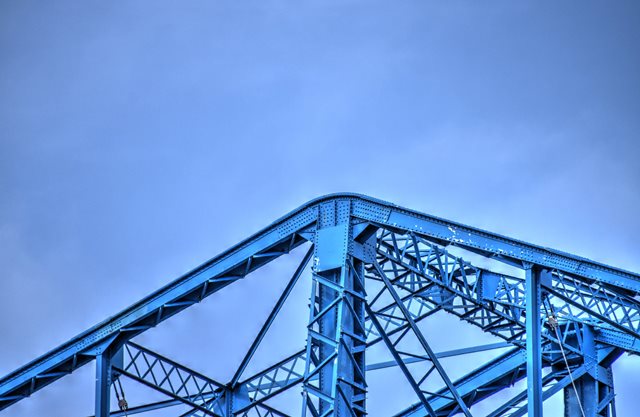
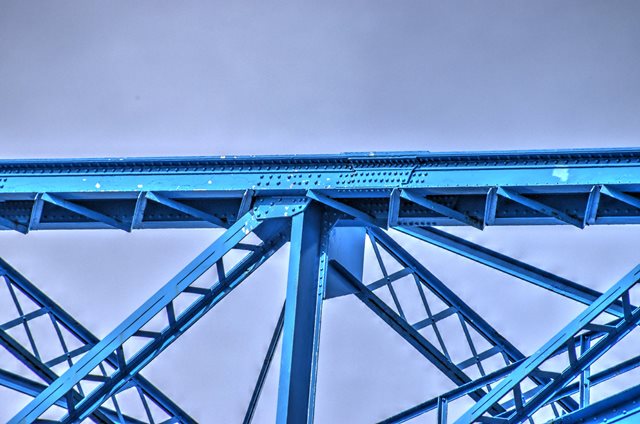
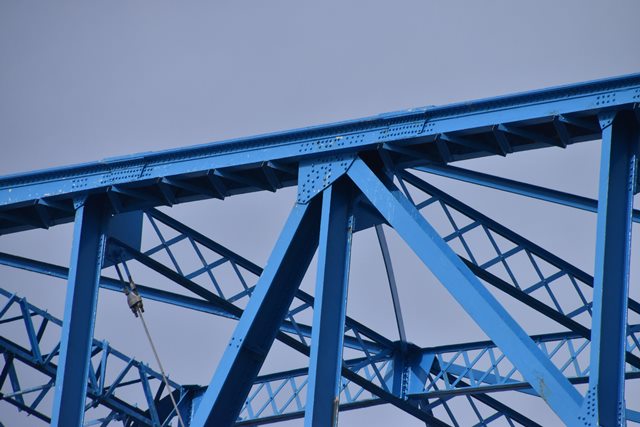
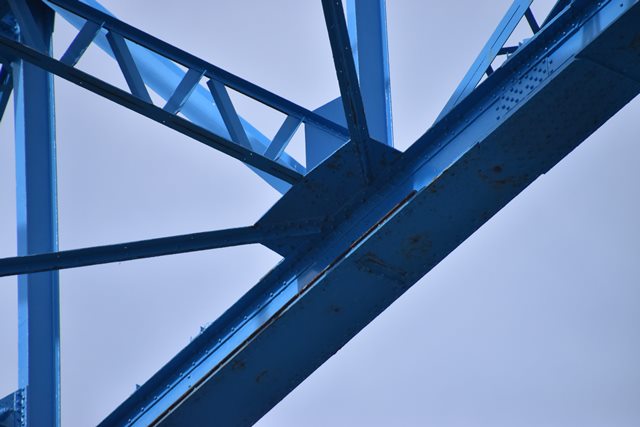
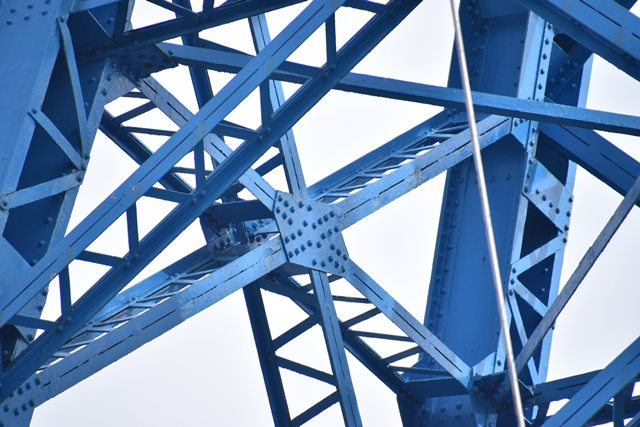
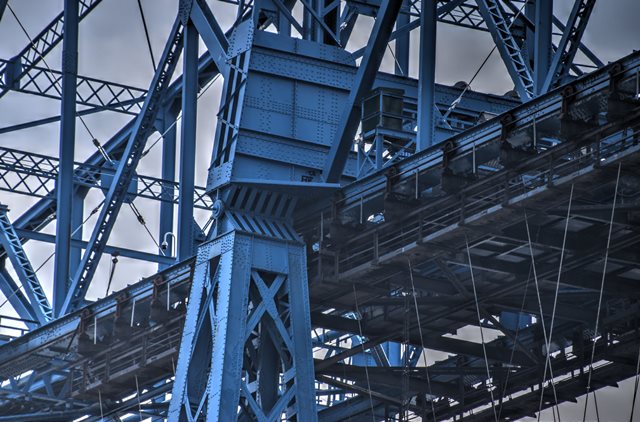
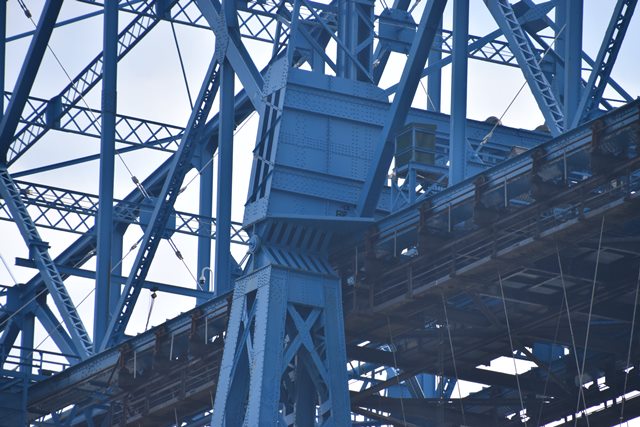
Top chord connections at main post as viewed from beside bridge.
![]()

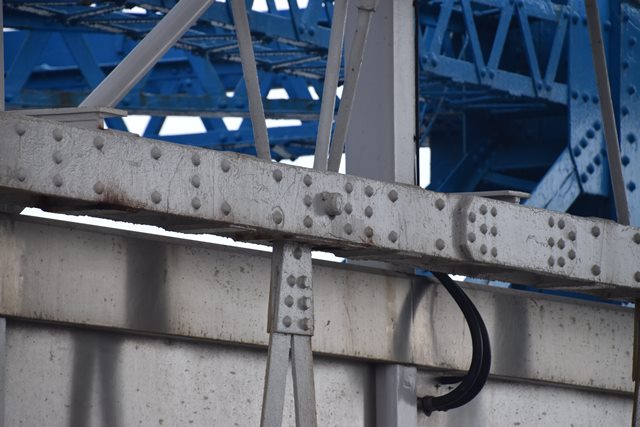
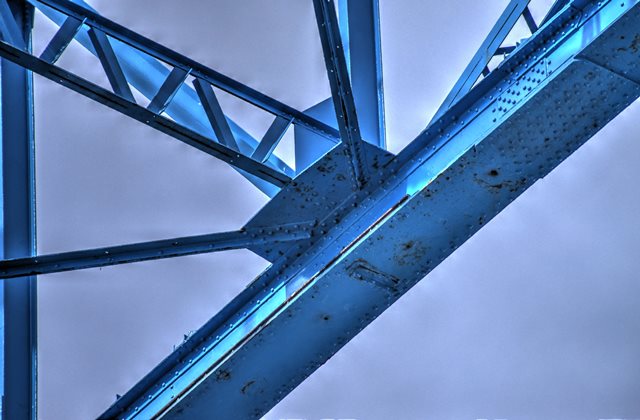
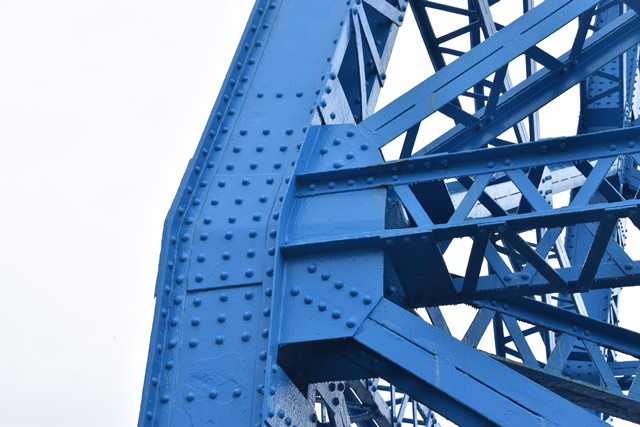
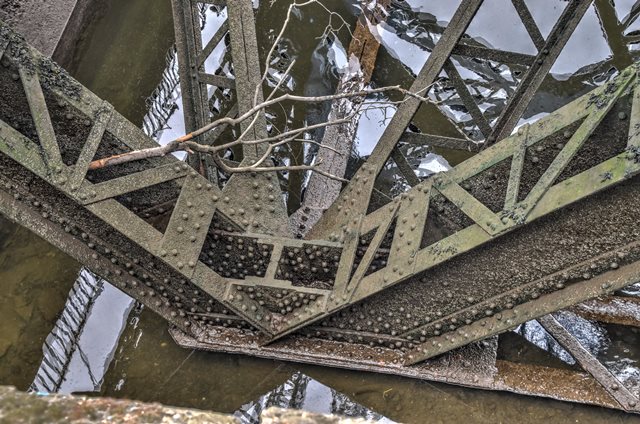
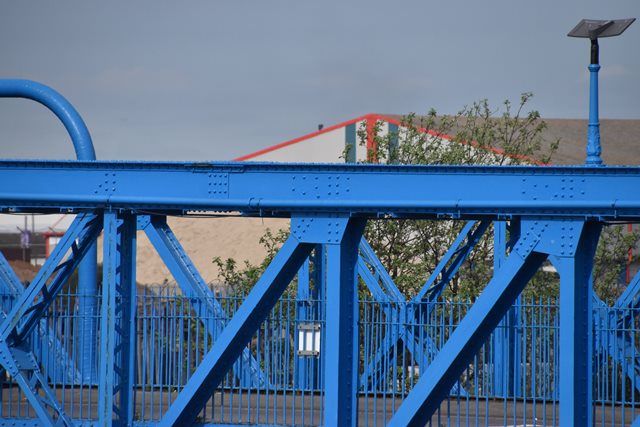
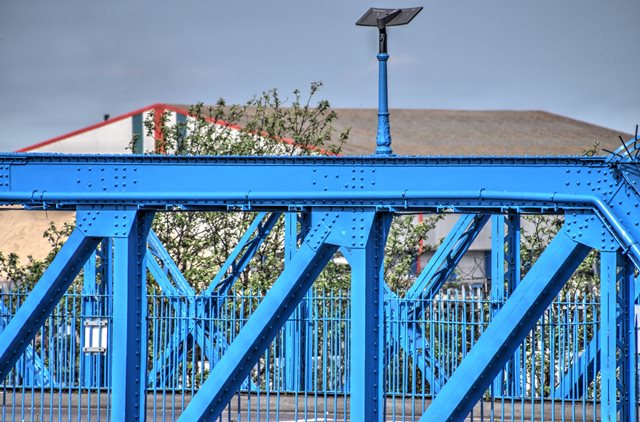
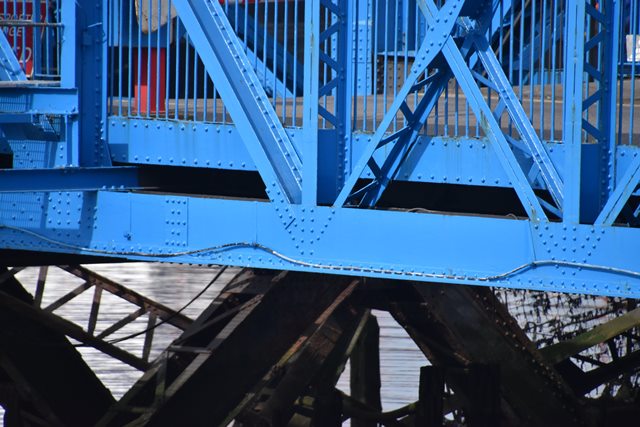
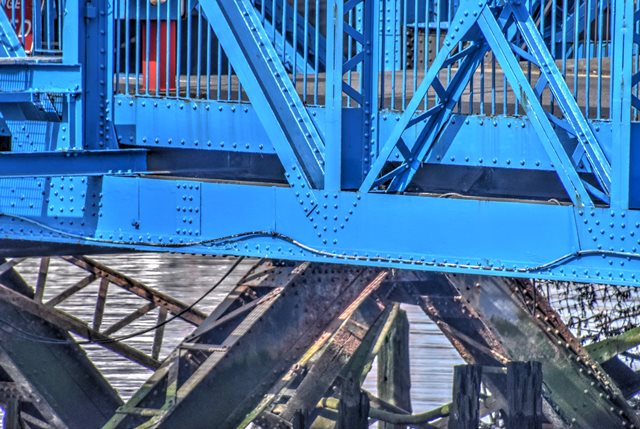
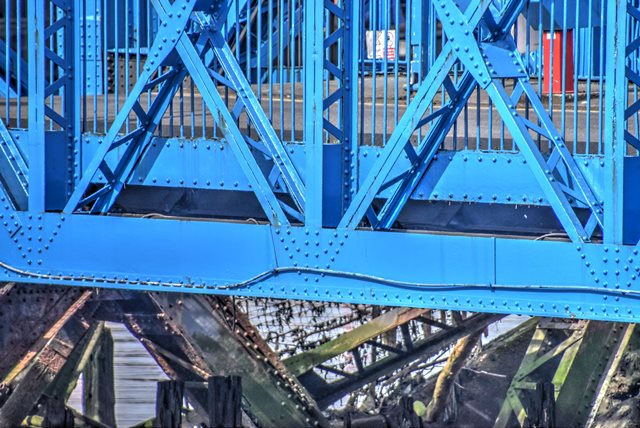
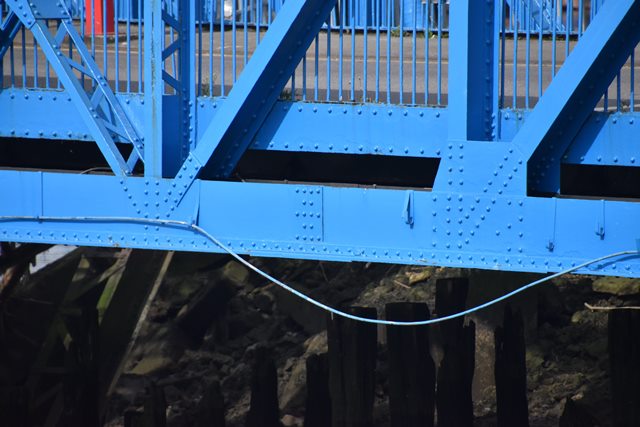
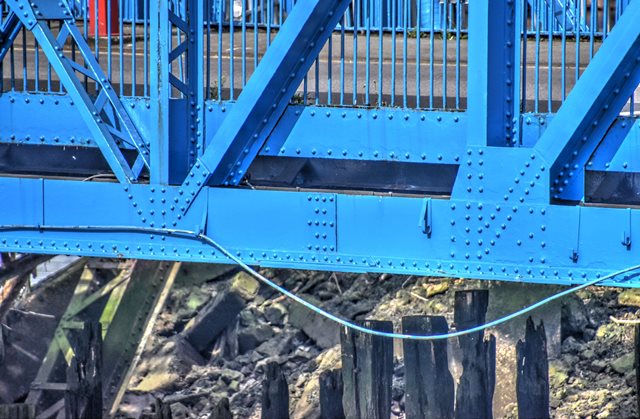
Bottom chord connections as viewed from beside bridge.
![]()


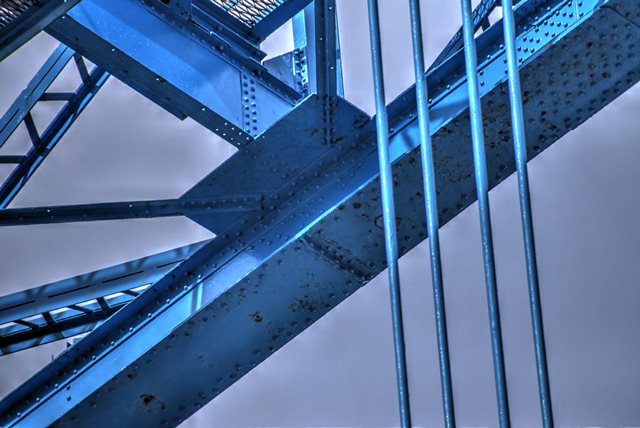
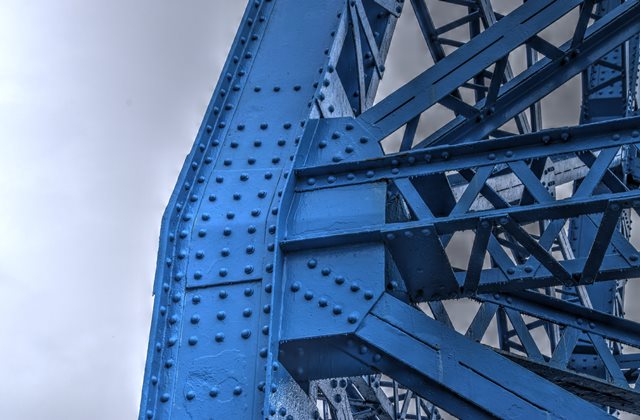
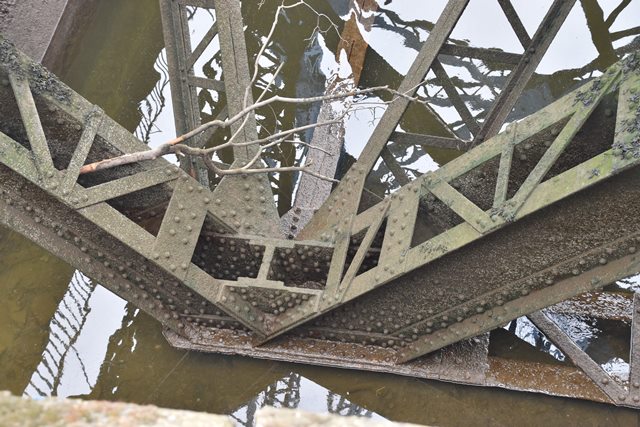
Bottom chord connections as viewed from under bridge.
![]()


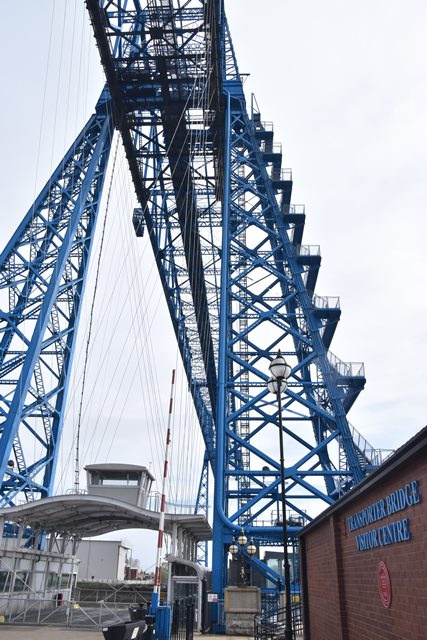
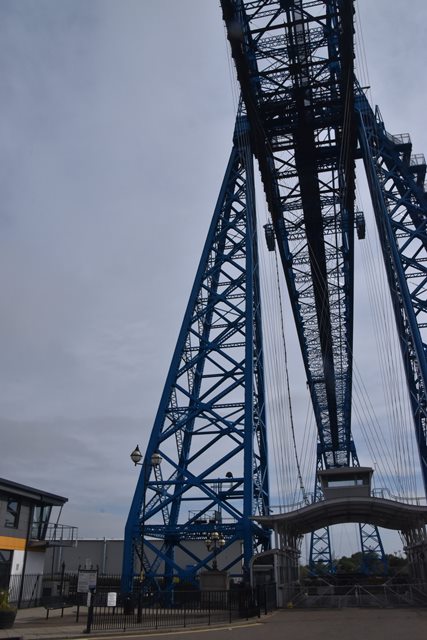
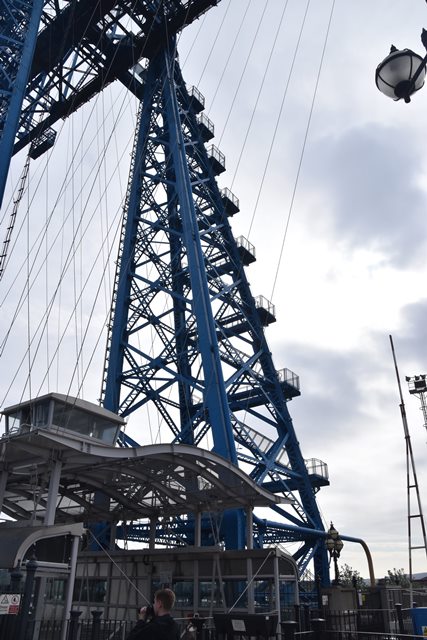
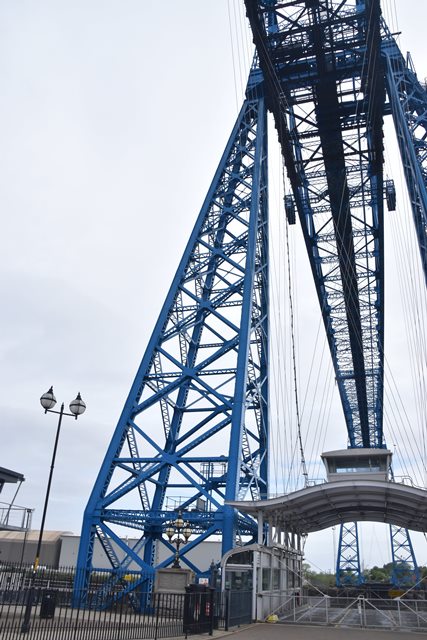
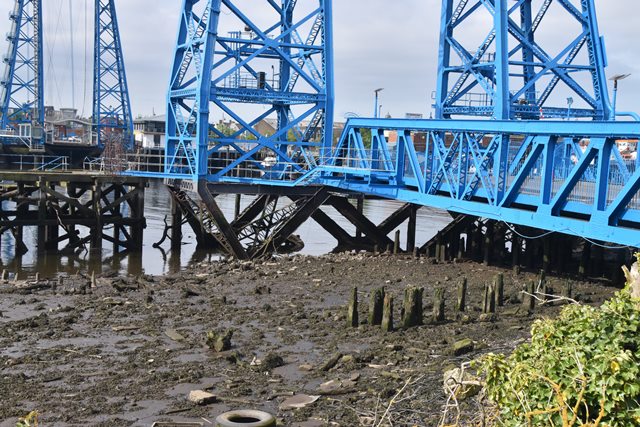
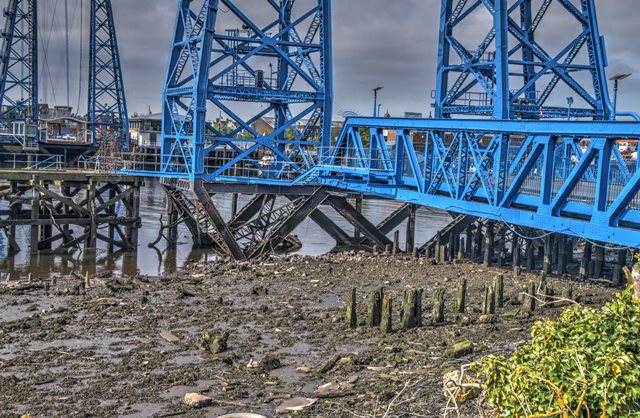
South tower as viewed from northeast quadrant.
![]()

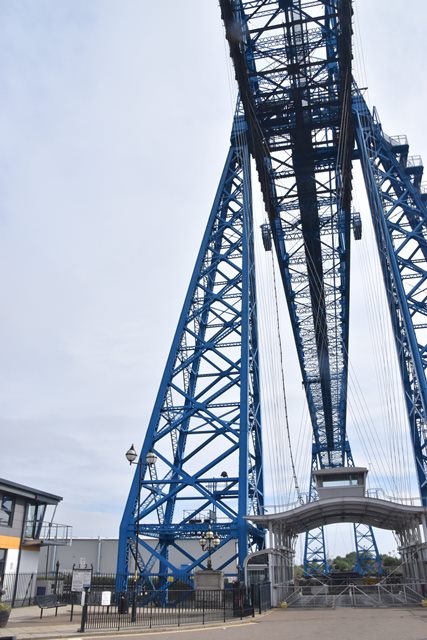
North tower as viewed from northeast quadrant.
![]()


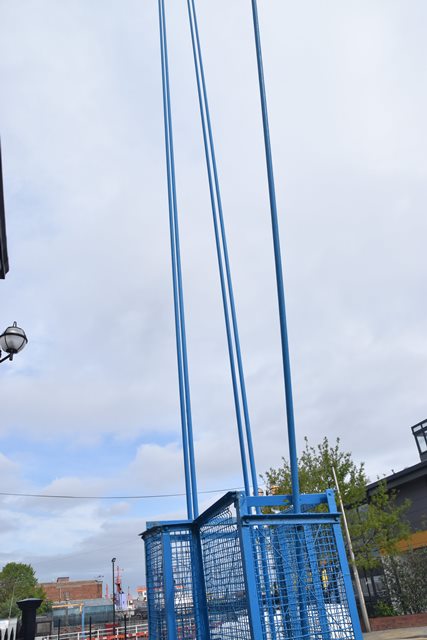
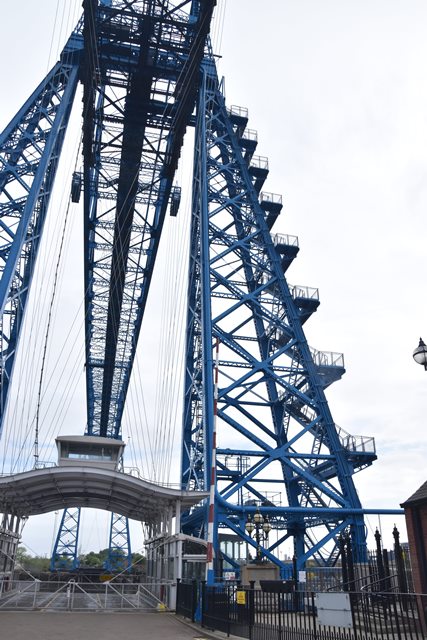
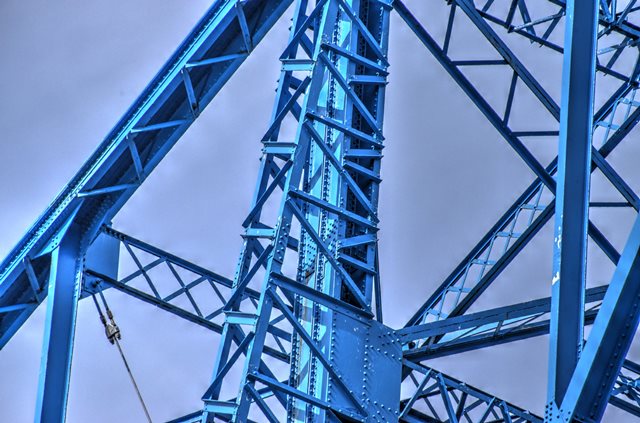
Tower leg overview.
![]()


Tower leg detail.
![]()


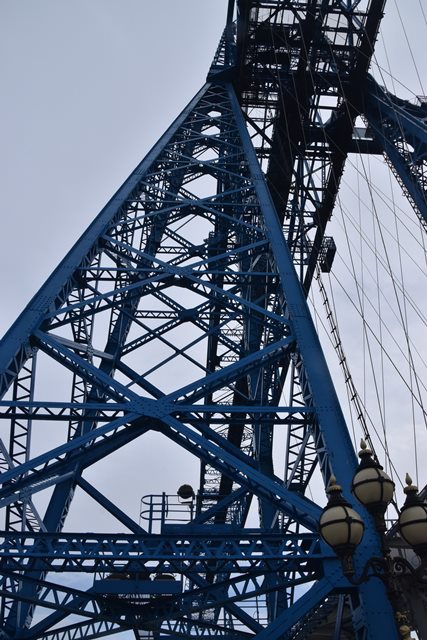
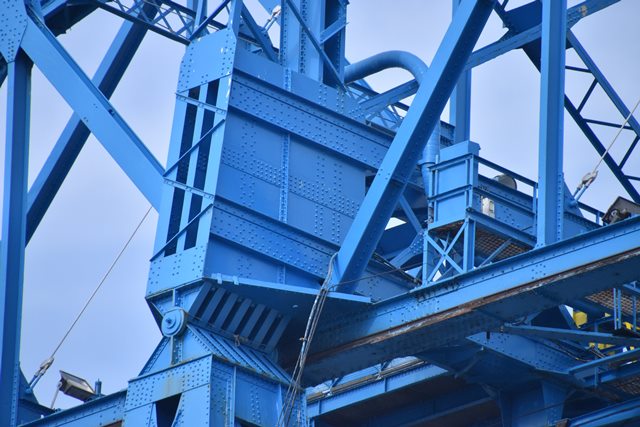
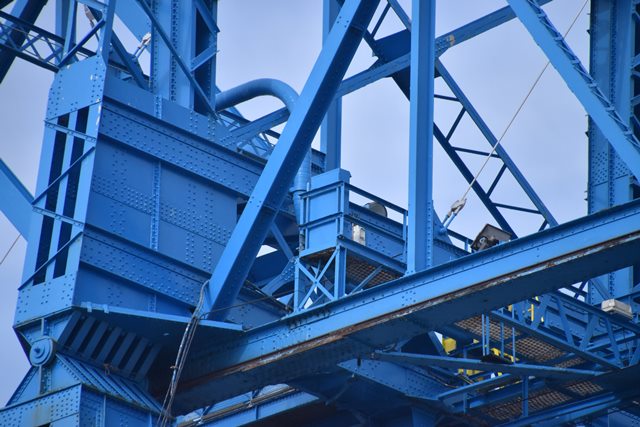
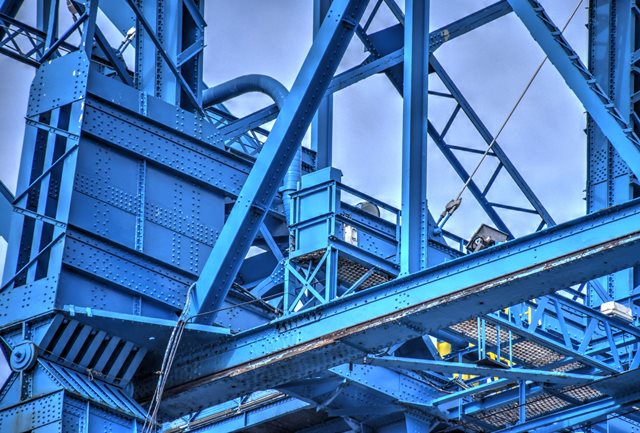
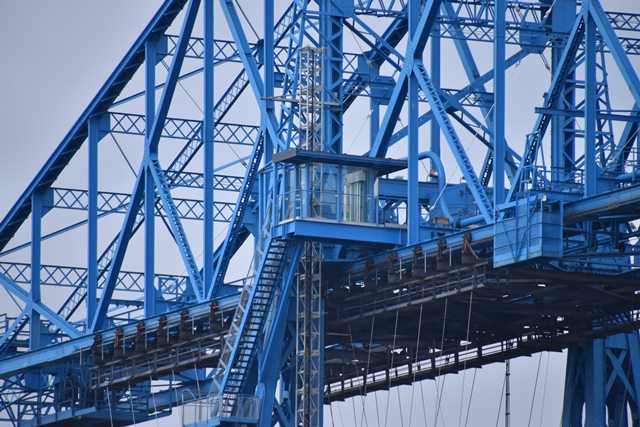
Detail of upper portion of tower.
![]()
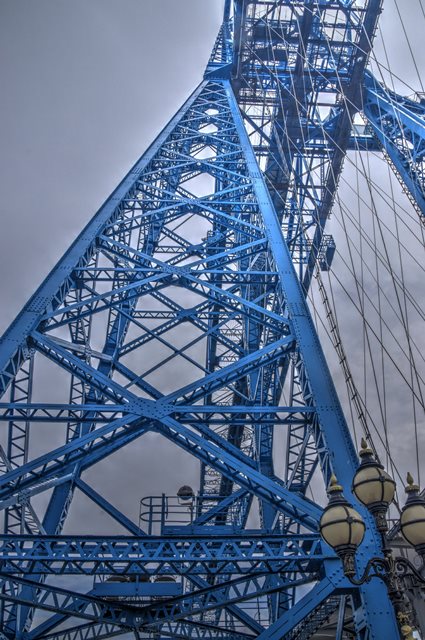


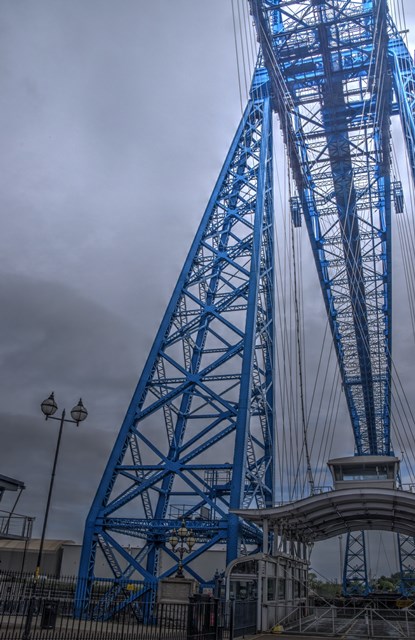
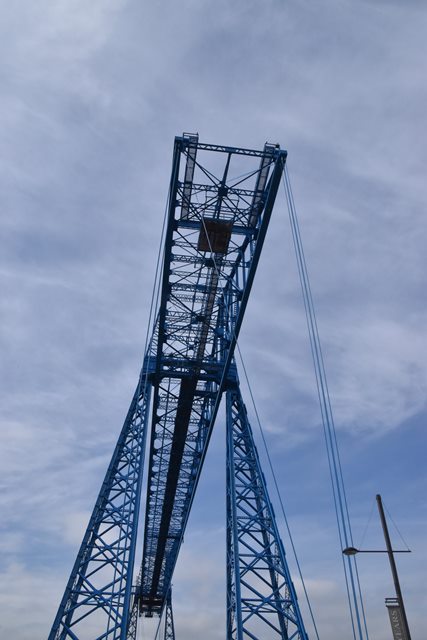
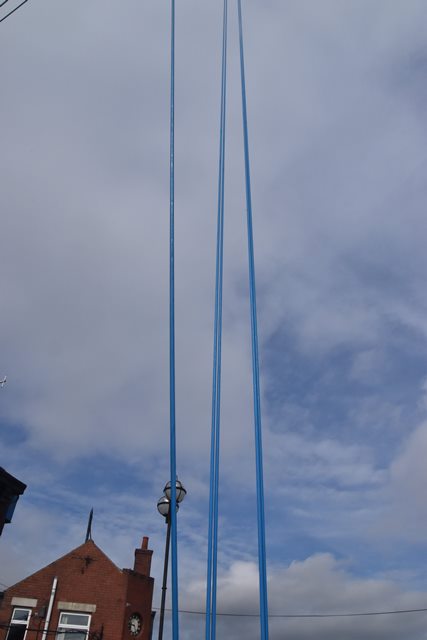
Looking up at south tower.
![]()
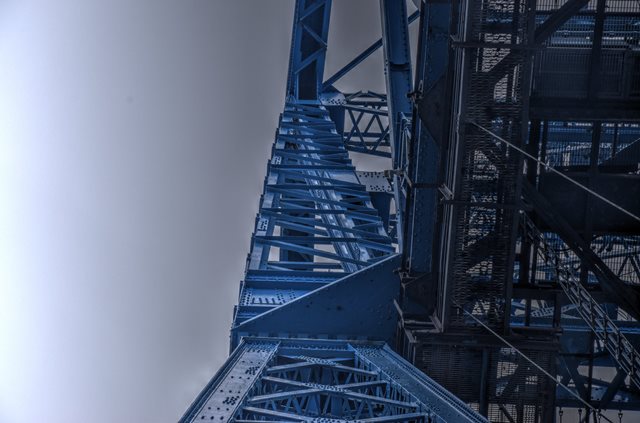

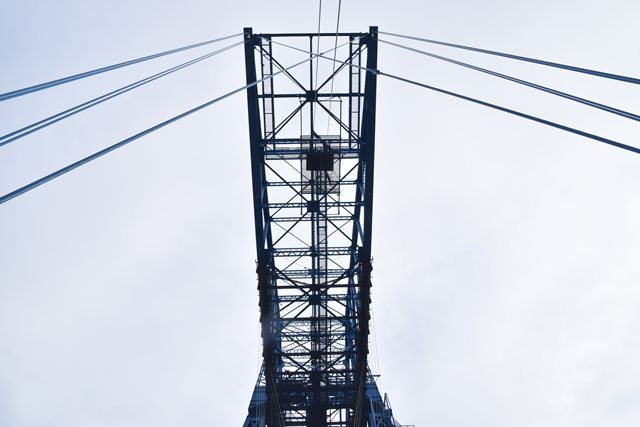
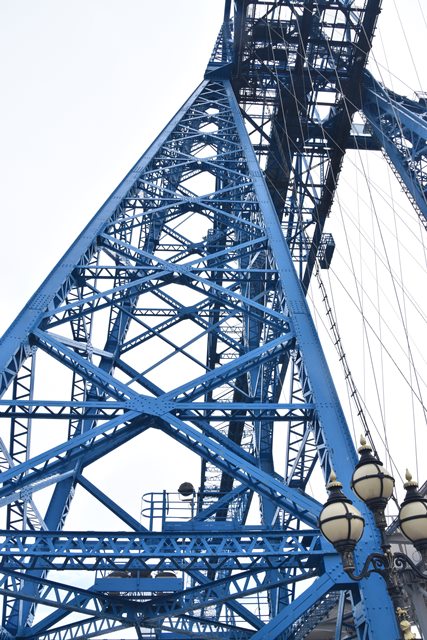
Zoomed view looking up at the top of the tower.
![]()

Tower post.
![]()


Tower bracing connections.
![]()


Tower post connections.
![]()
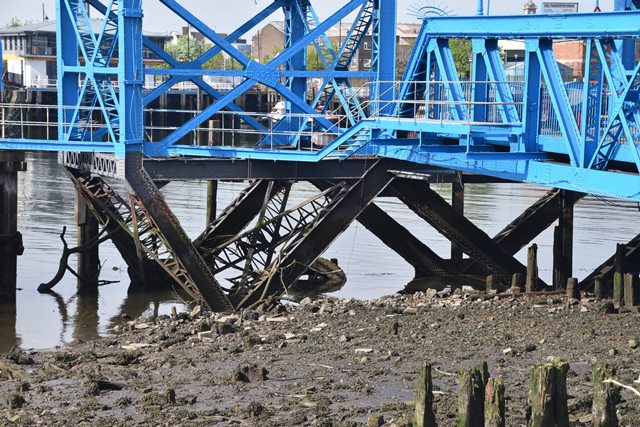
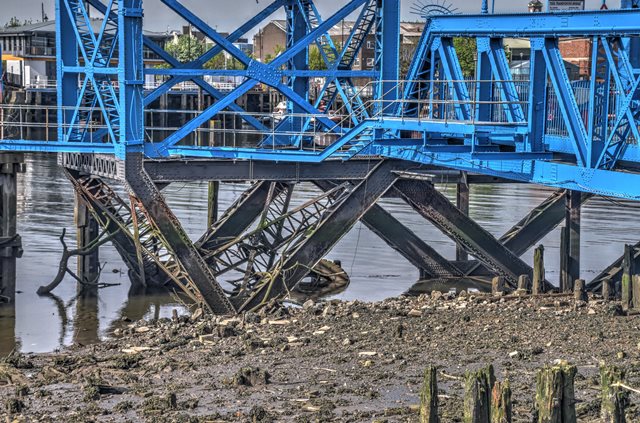


View looking toward bent for tower.
![]()


Detail of tower bent.
![]()


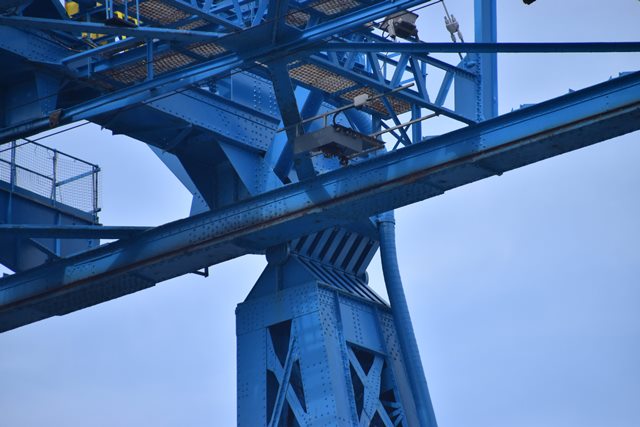
Overview of bearing at towers.
![]()


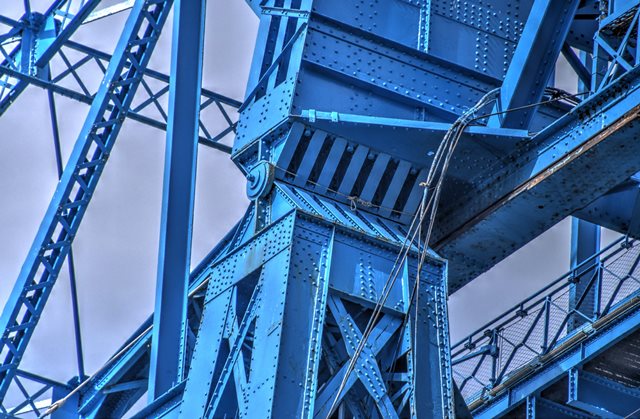


Details of bearing at towers.
![]()
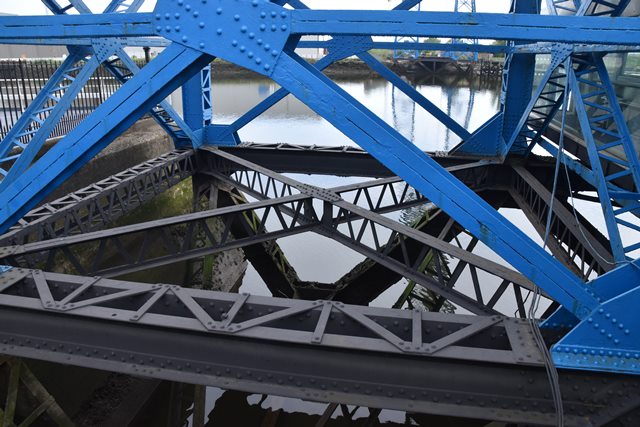
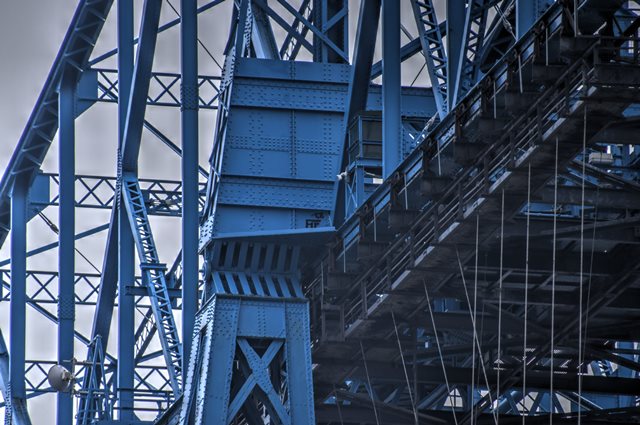
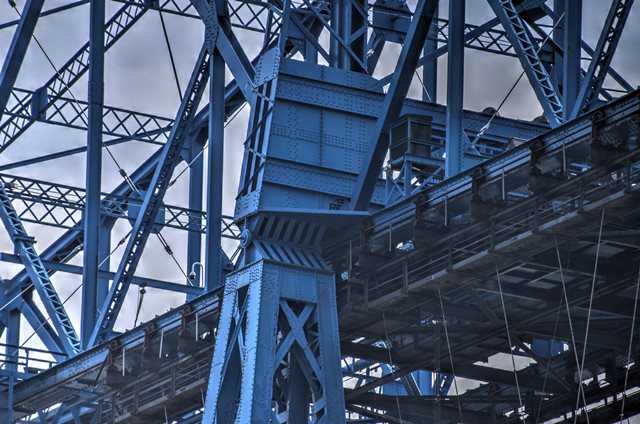
Views underneath truss at center of span.
![]()

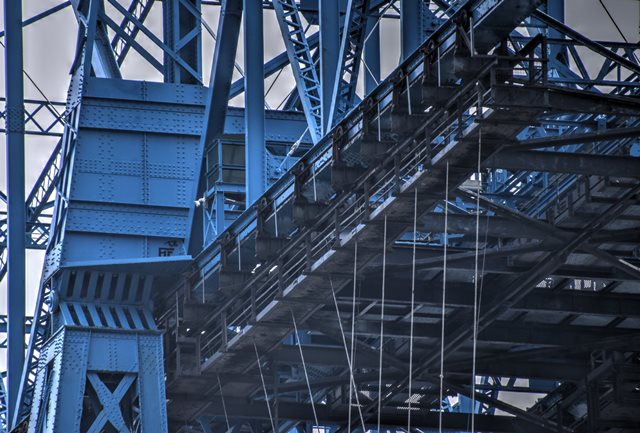
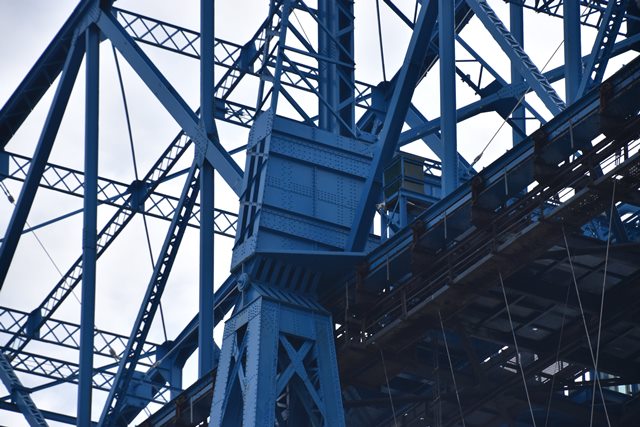
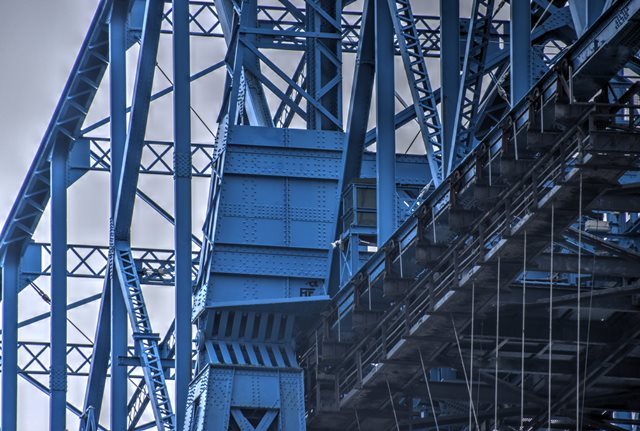
Views underneath truss at tower.
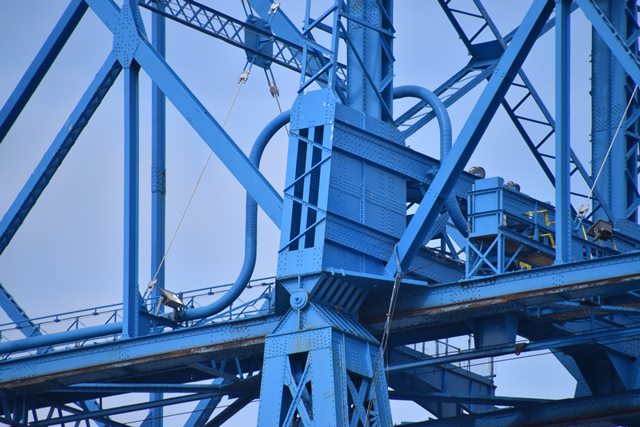
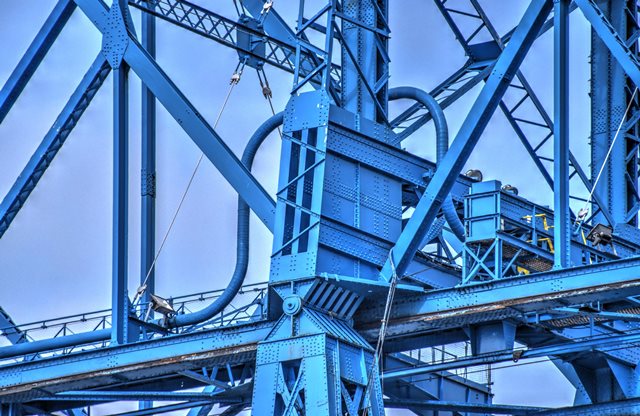
![]()
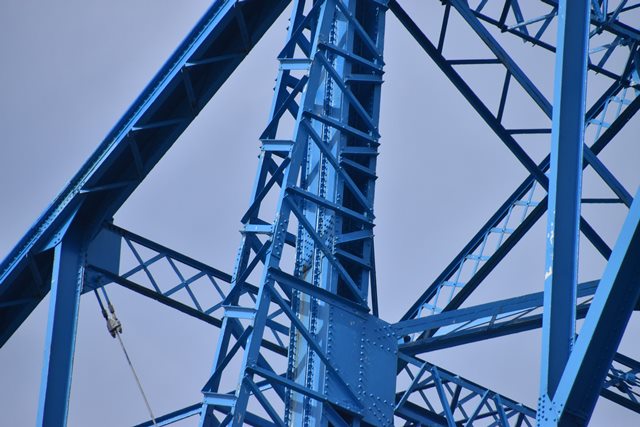


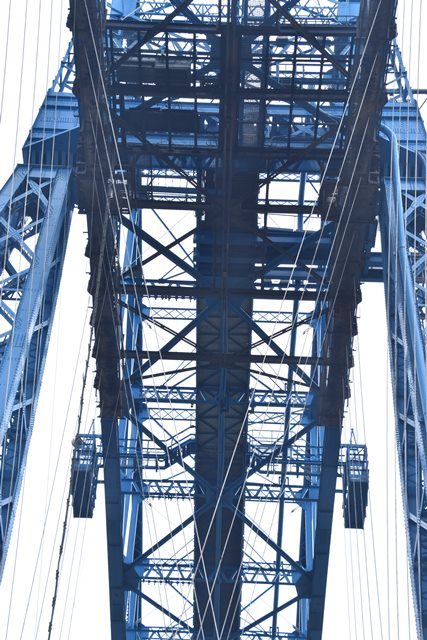
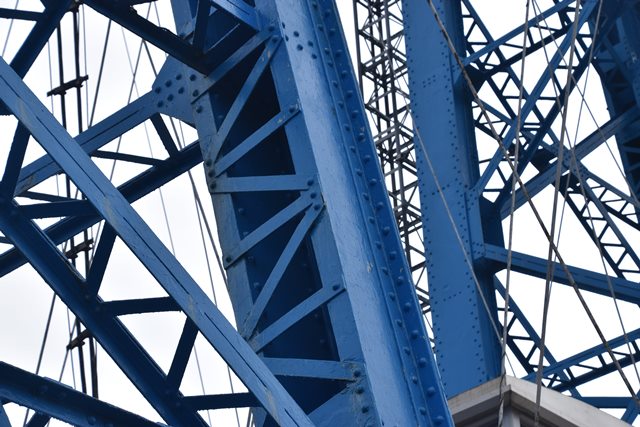
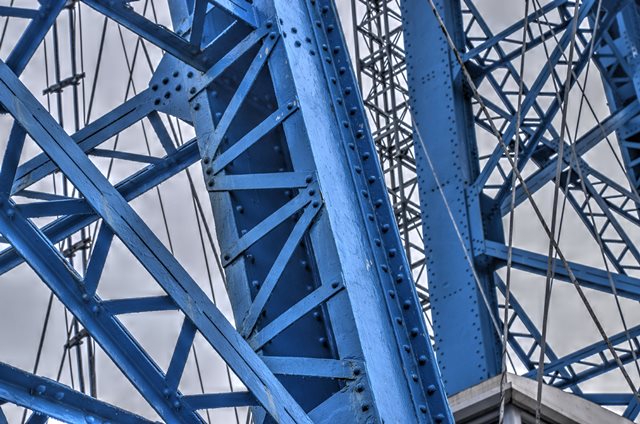
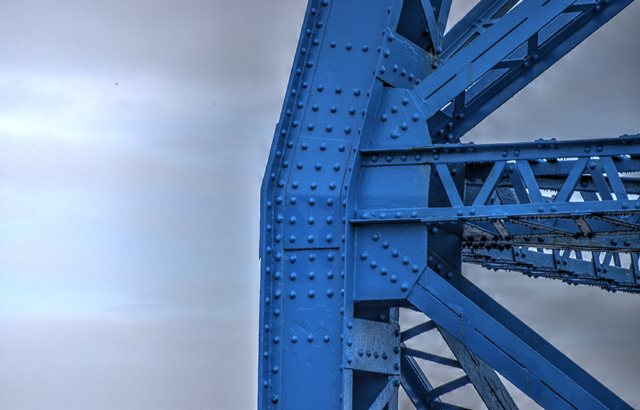
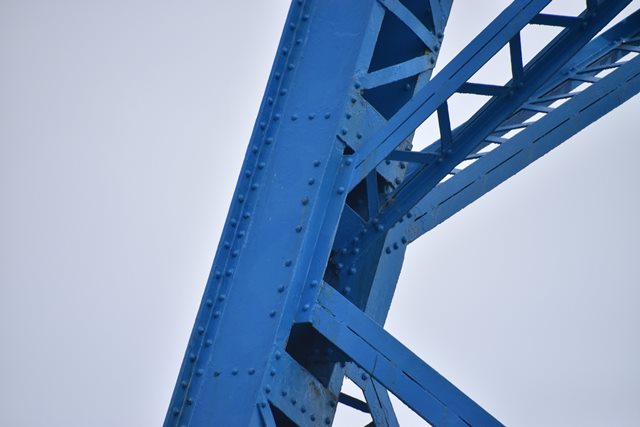
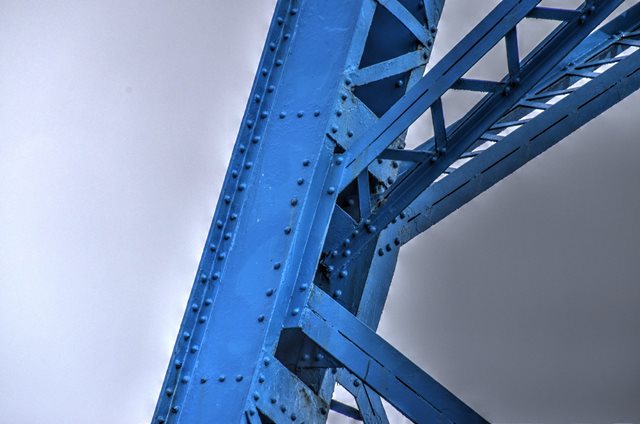
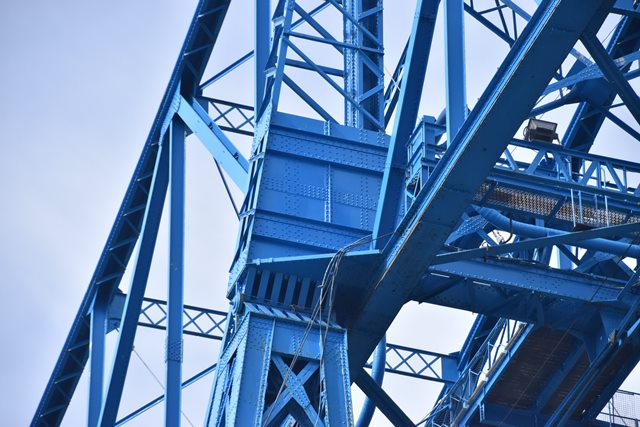
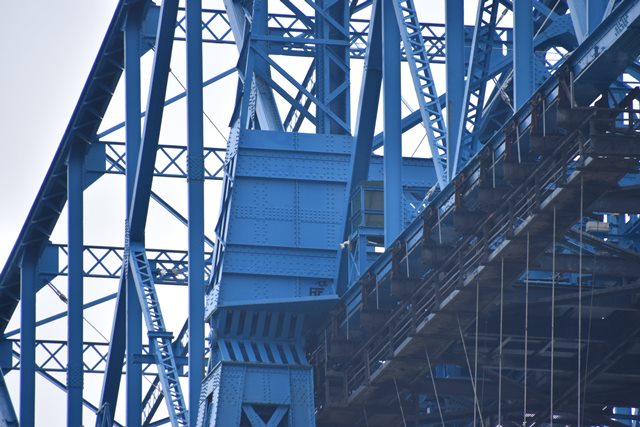
Detail of the main post of the truss span, which is the vertical member at the tower.
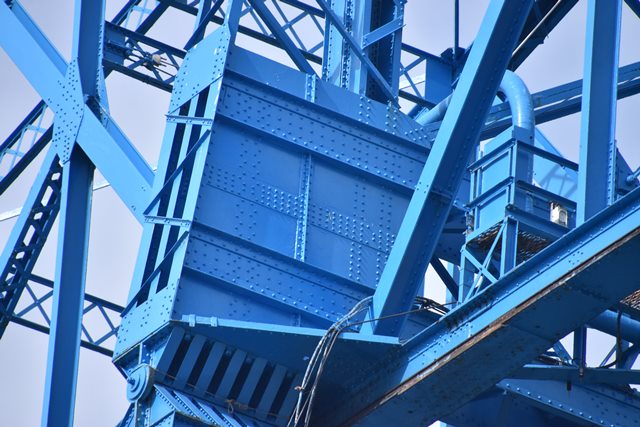
![]()


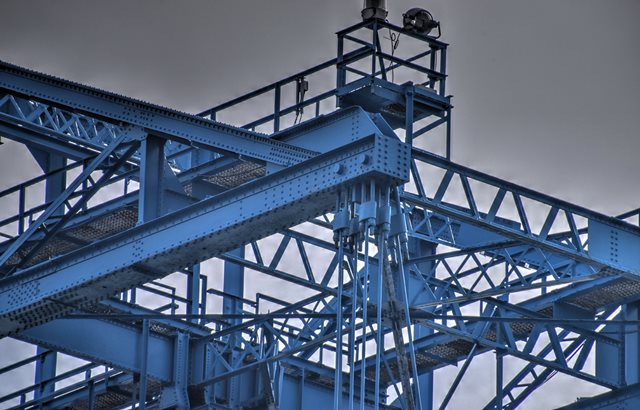
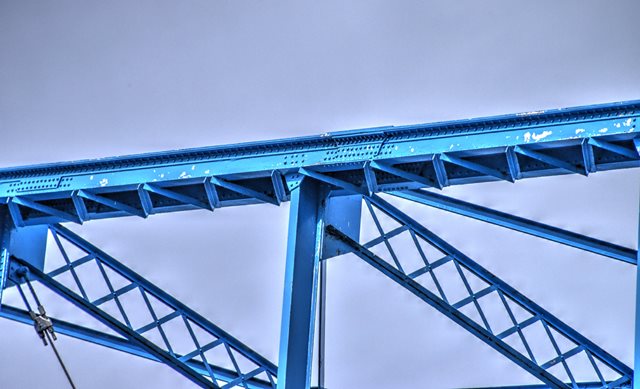
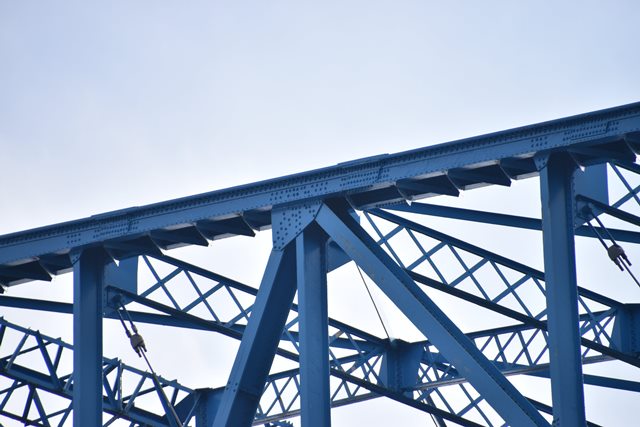
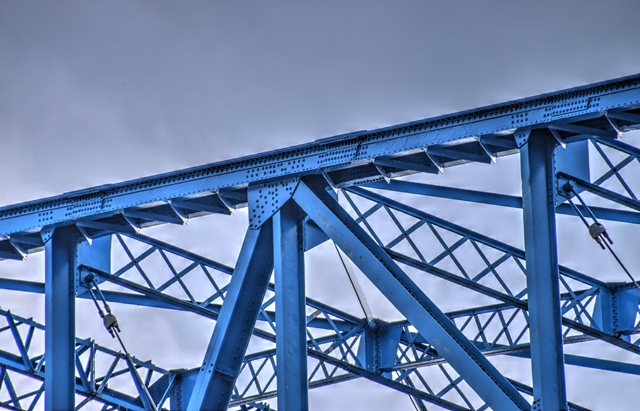
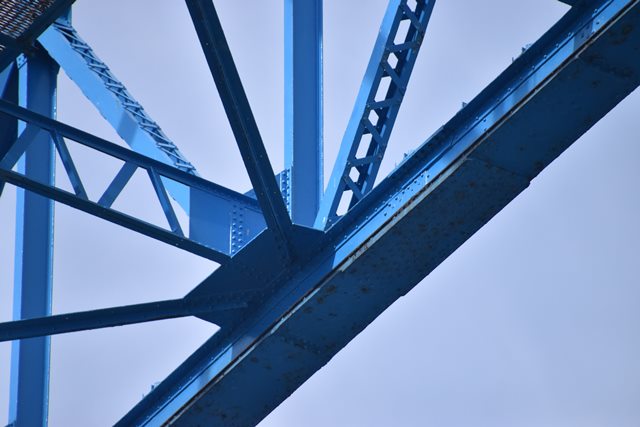
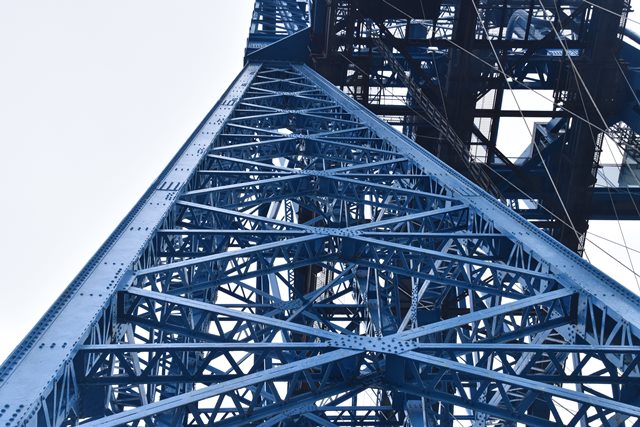
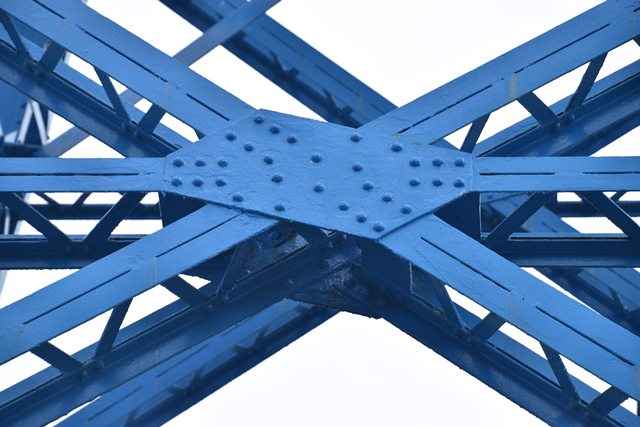
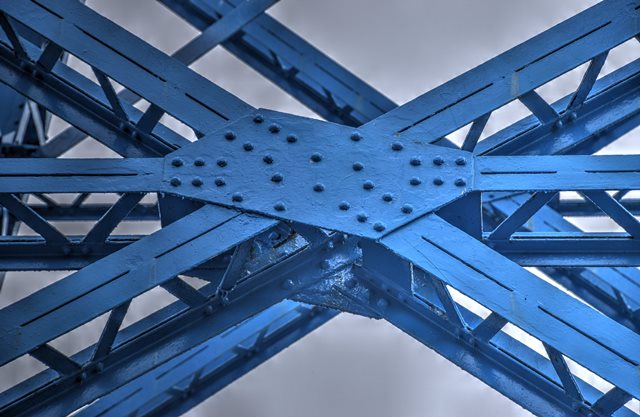
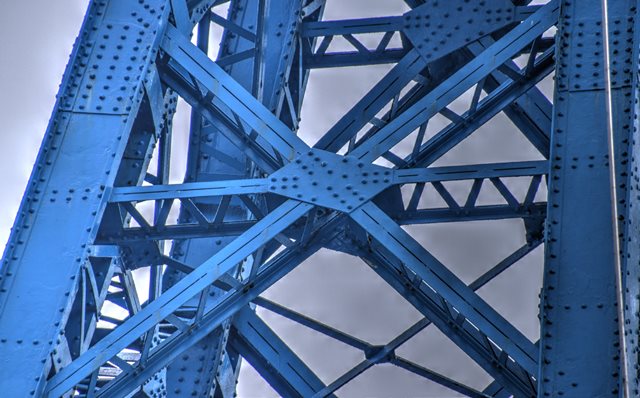
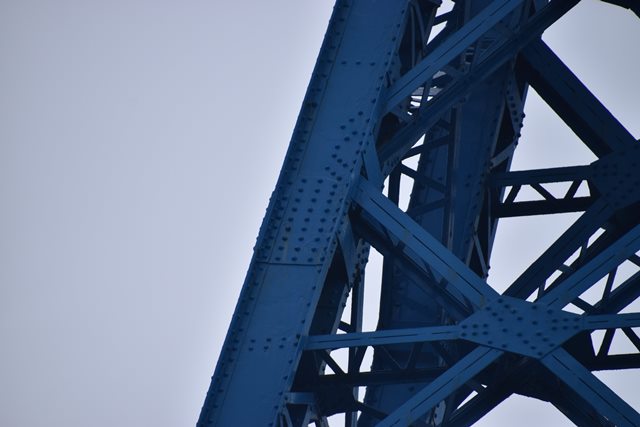
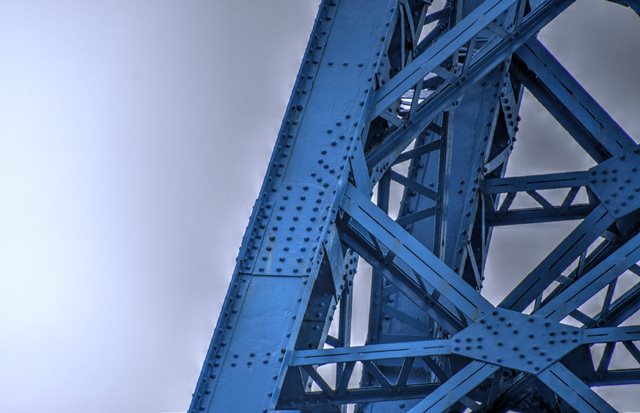
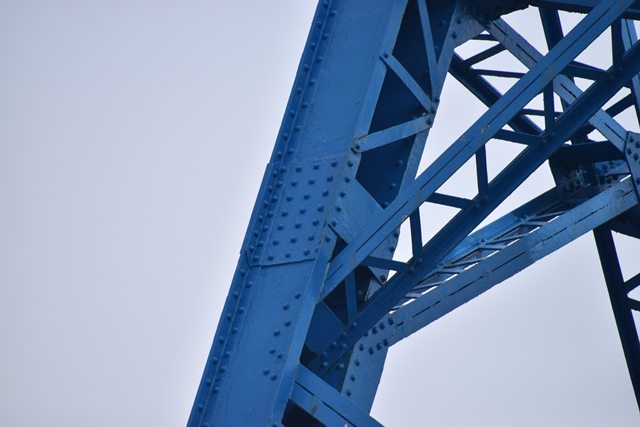
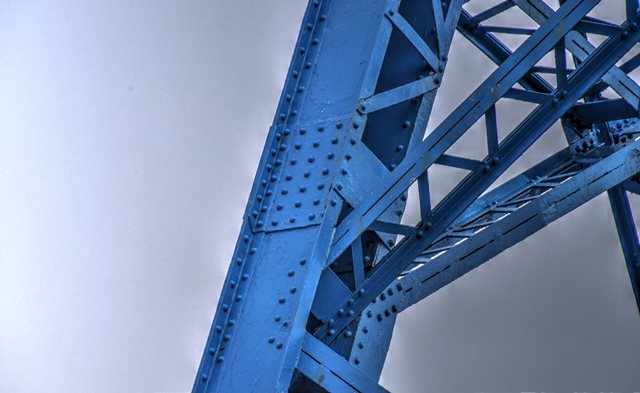
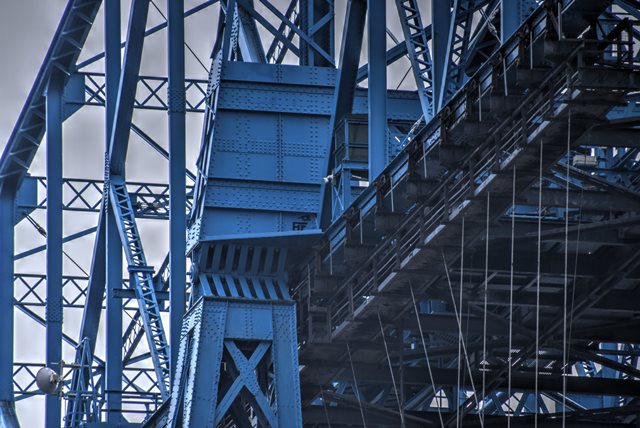
Truss members.
![]()


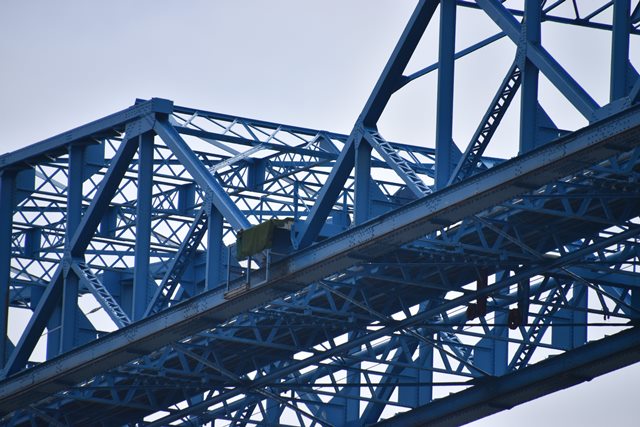
Distant view of tower stairway.
![]()


Pony truss top chord connections as viewed from beside bridge.
![]()


Pony truss bottom chord connections as viewed from beside bridge.
![]()

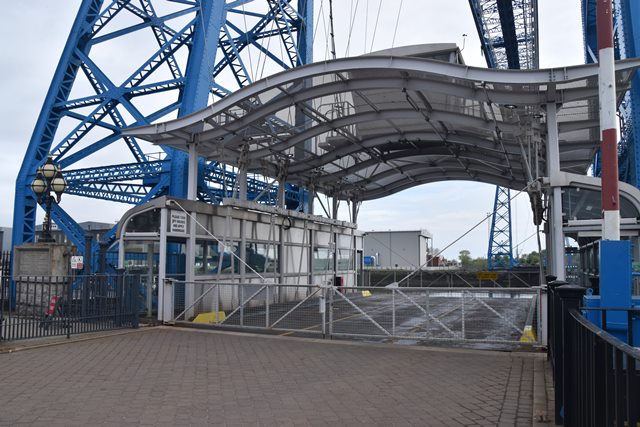
Platform.
![]()
![]()

![]()