
Uncredited photos on this page taken by: Nathan Holth. Unless stated in a caption, all photos are Copyright with All Rights Reserved. Learn about reuse of our photos.
![]()
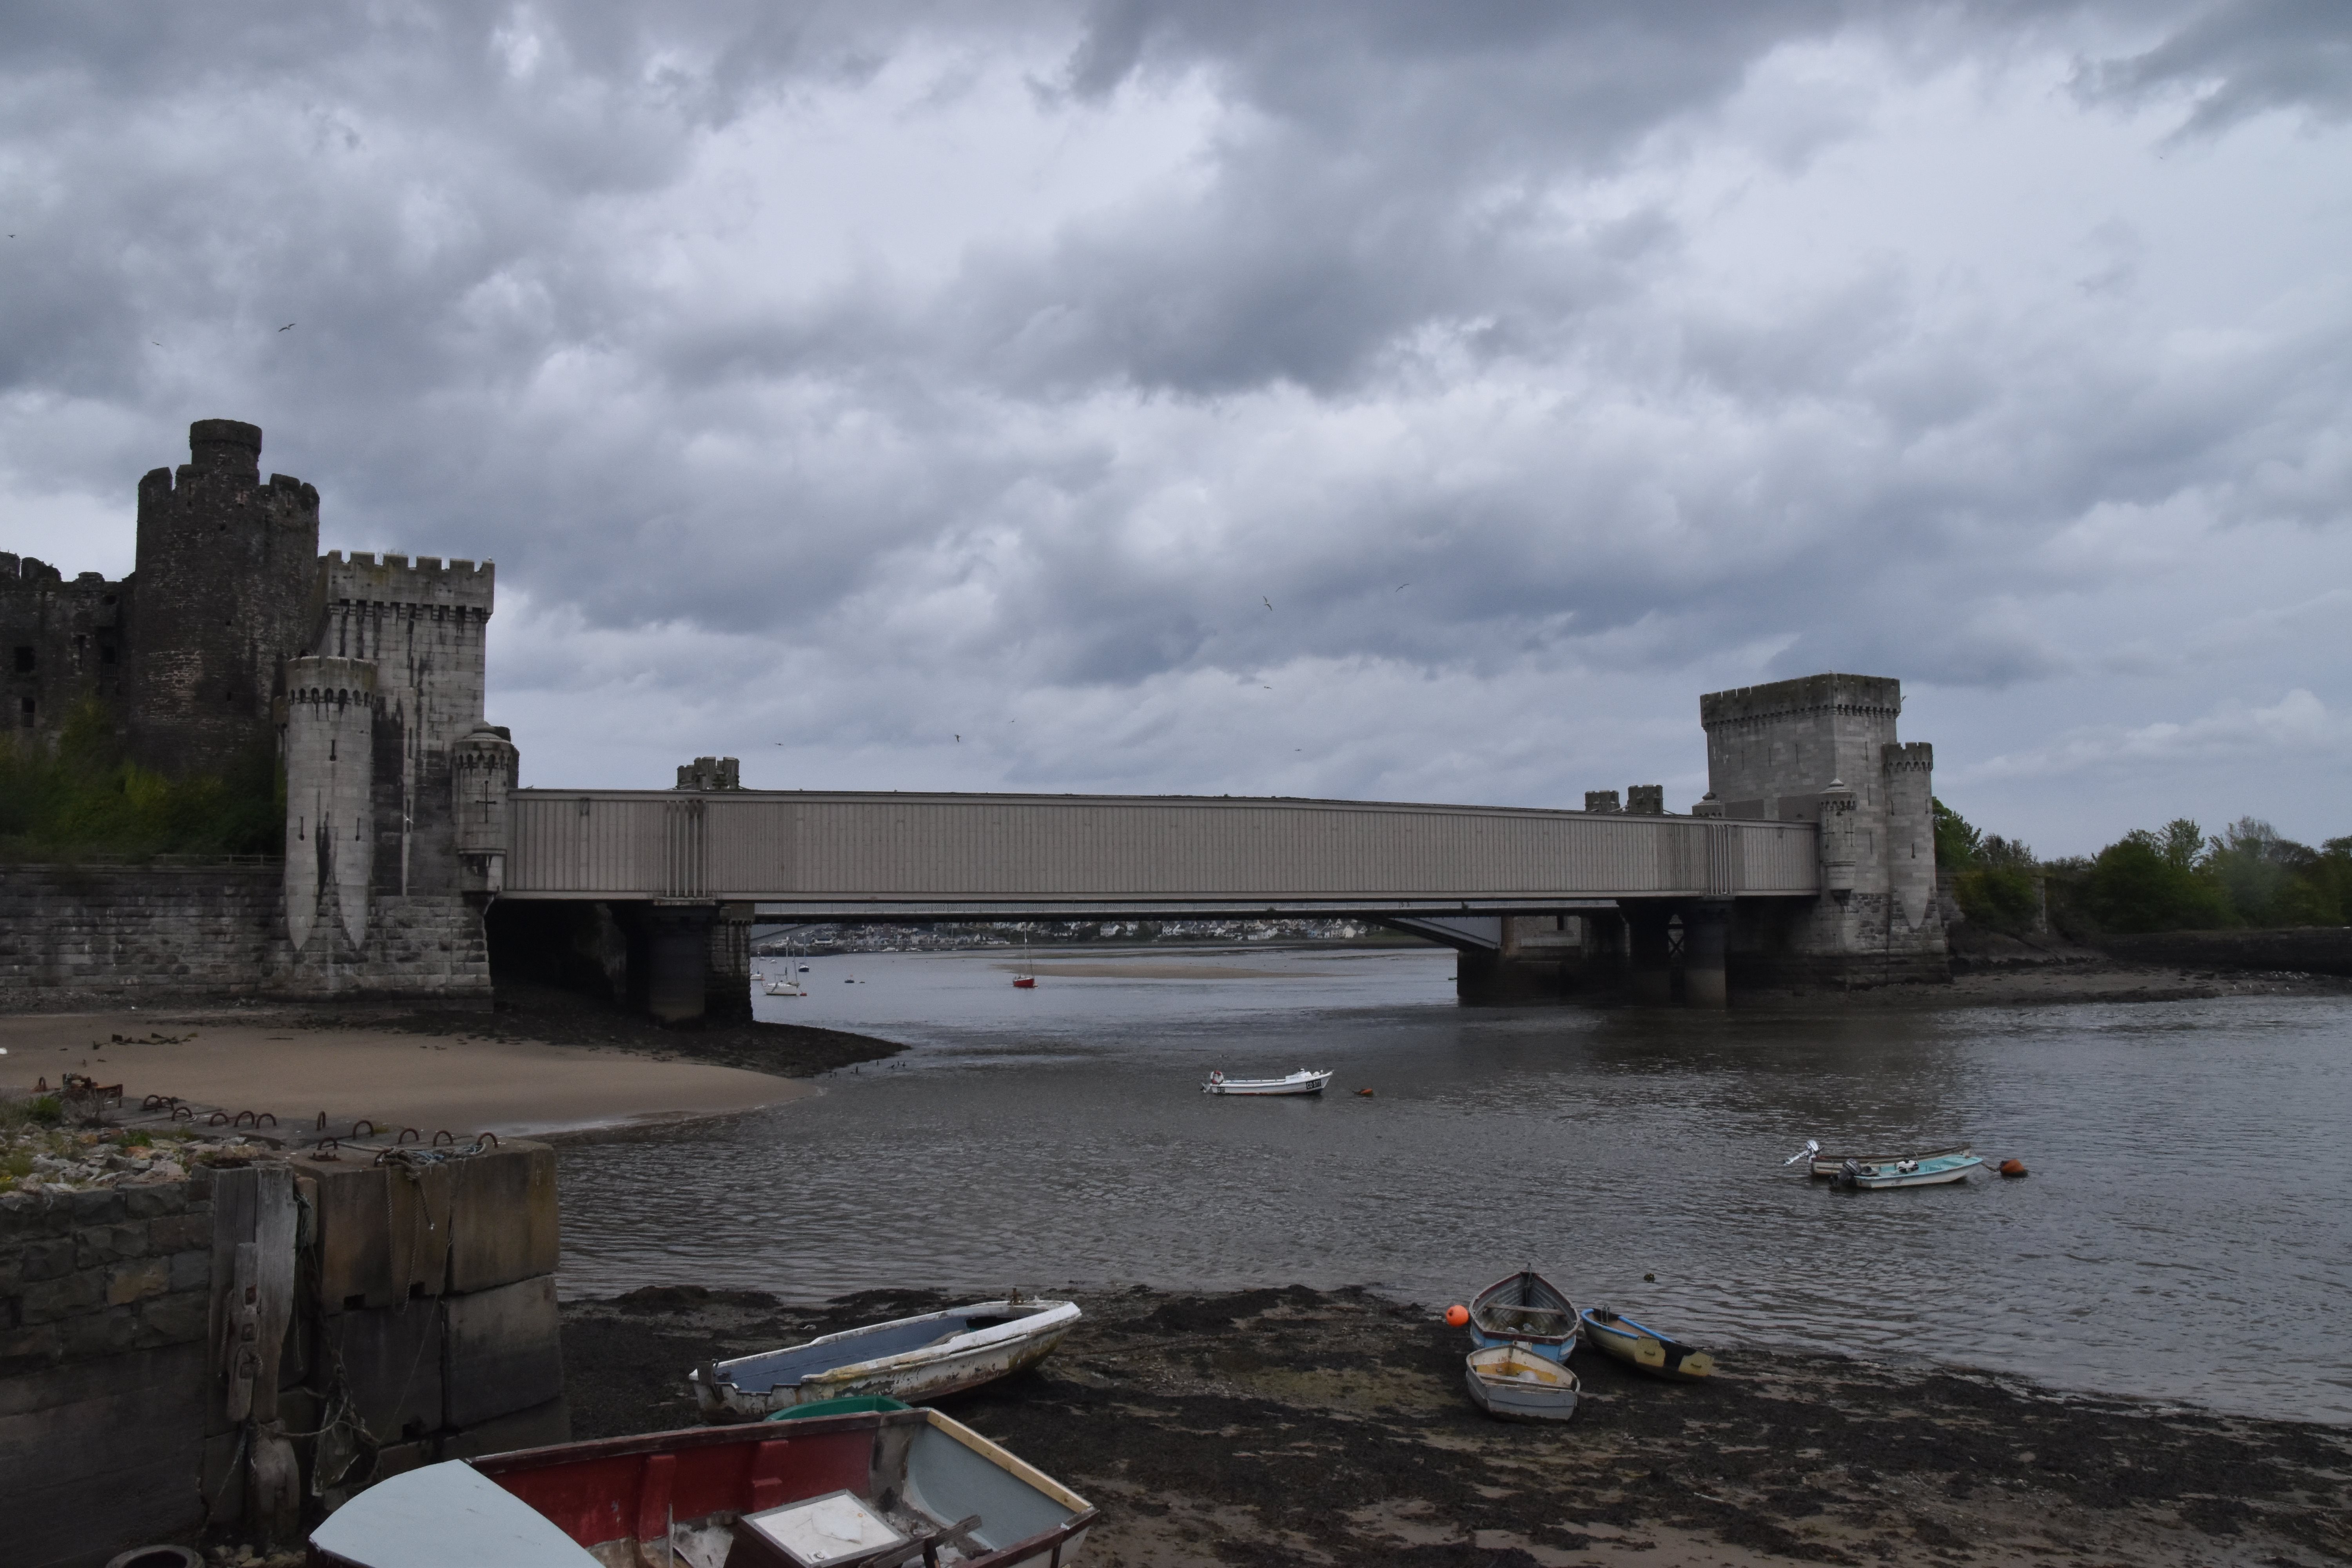

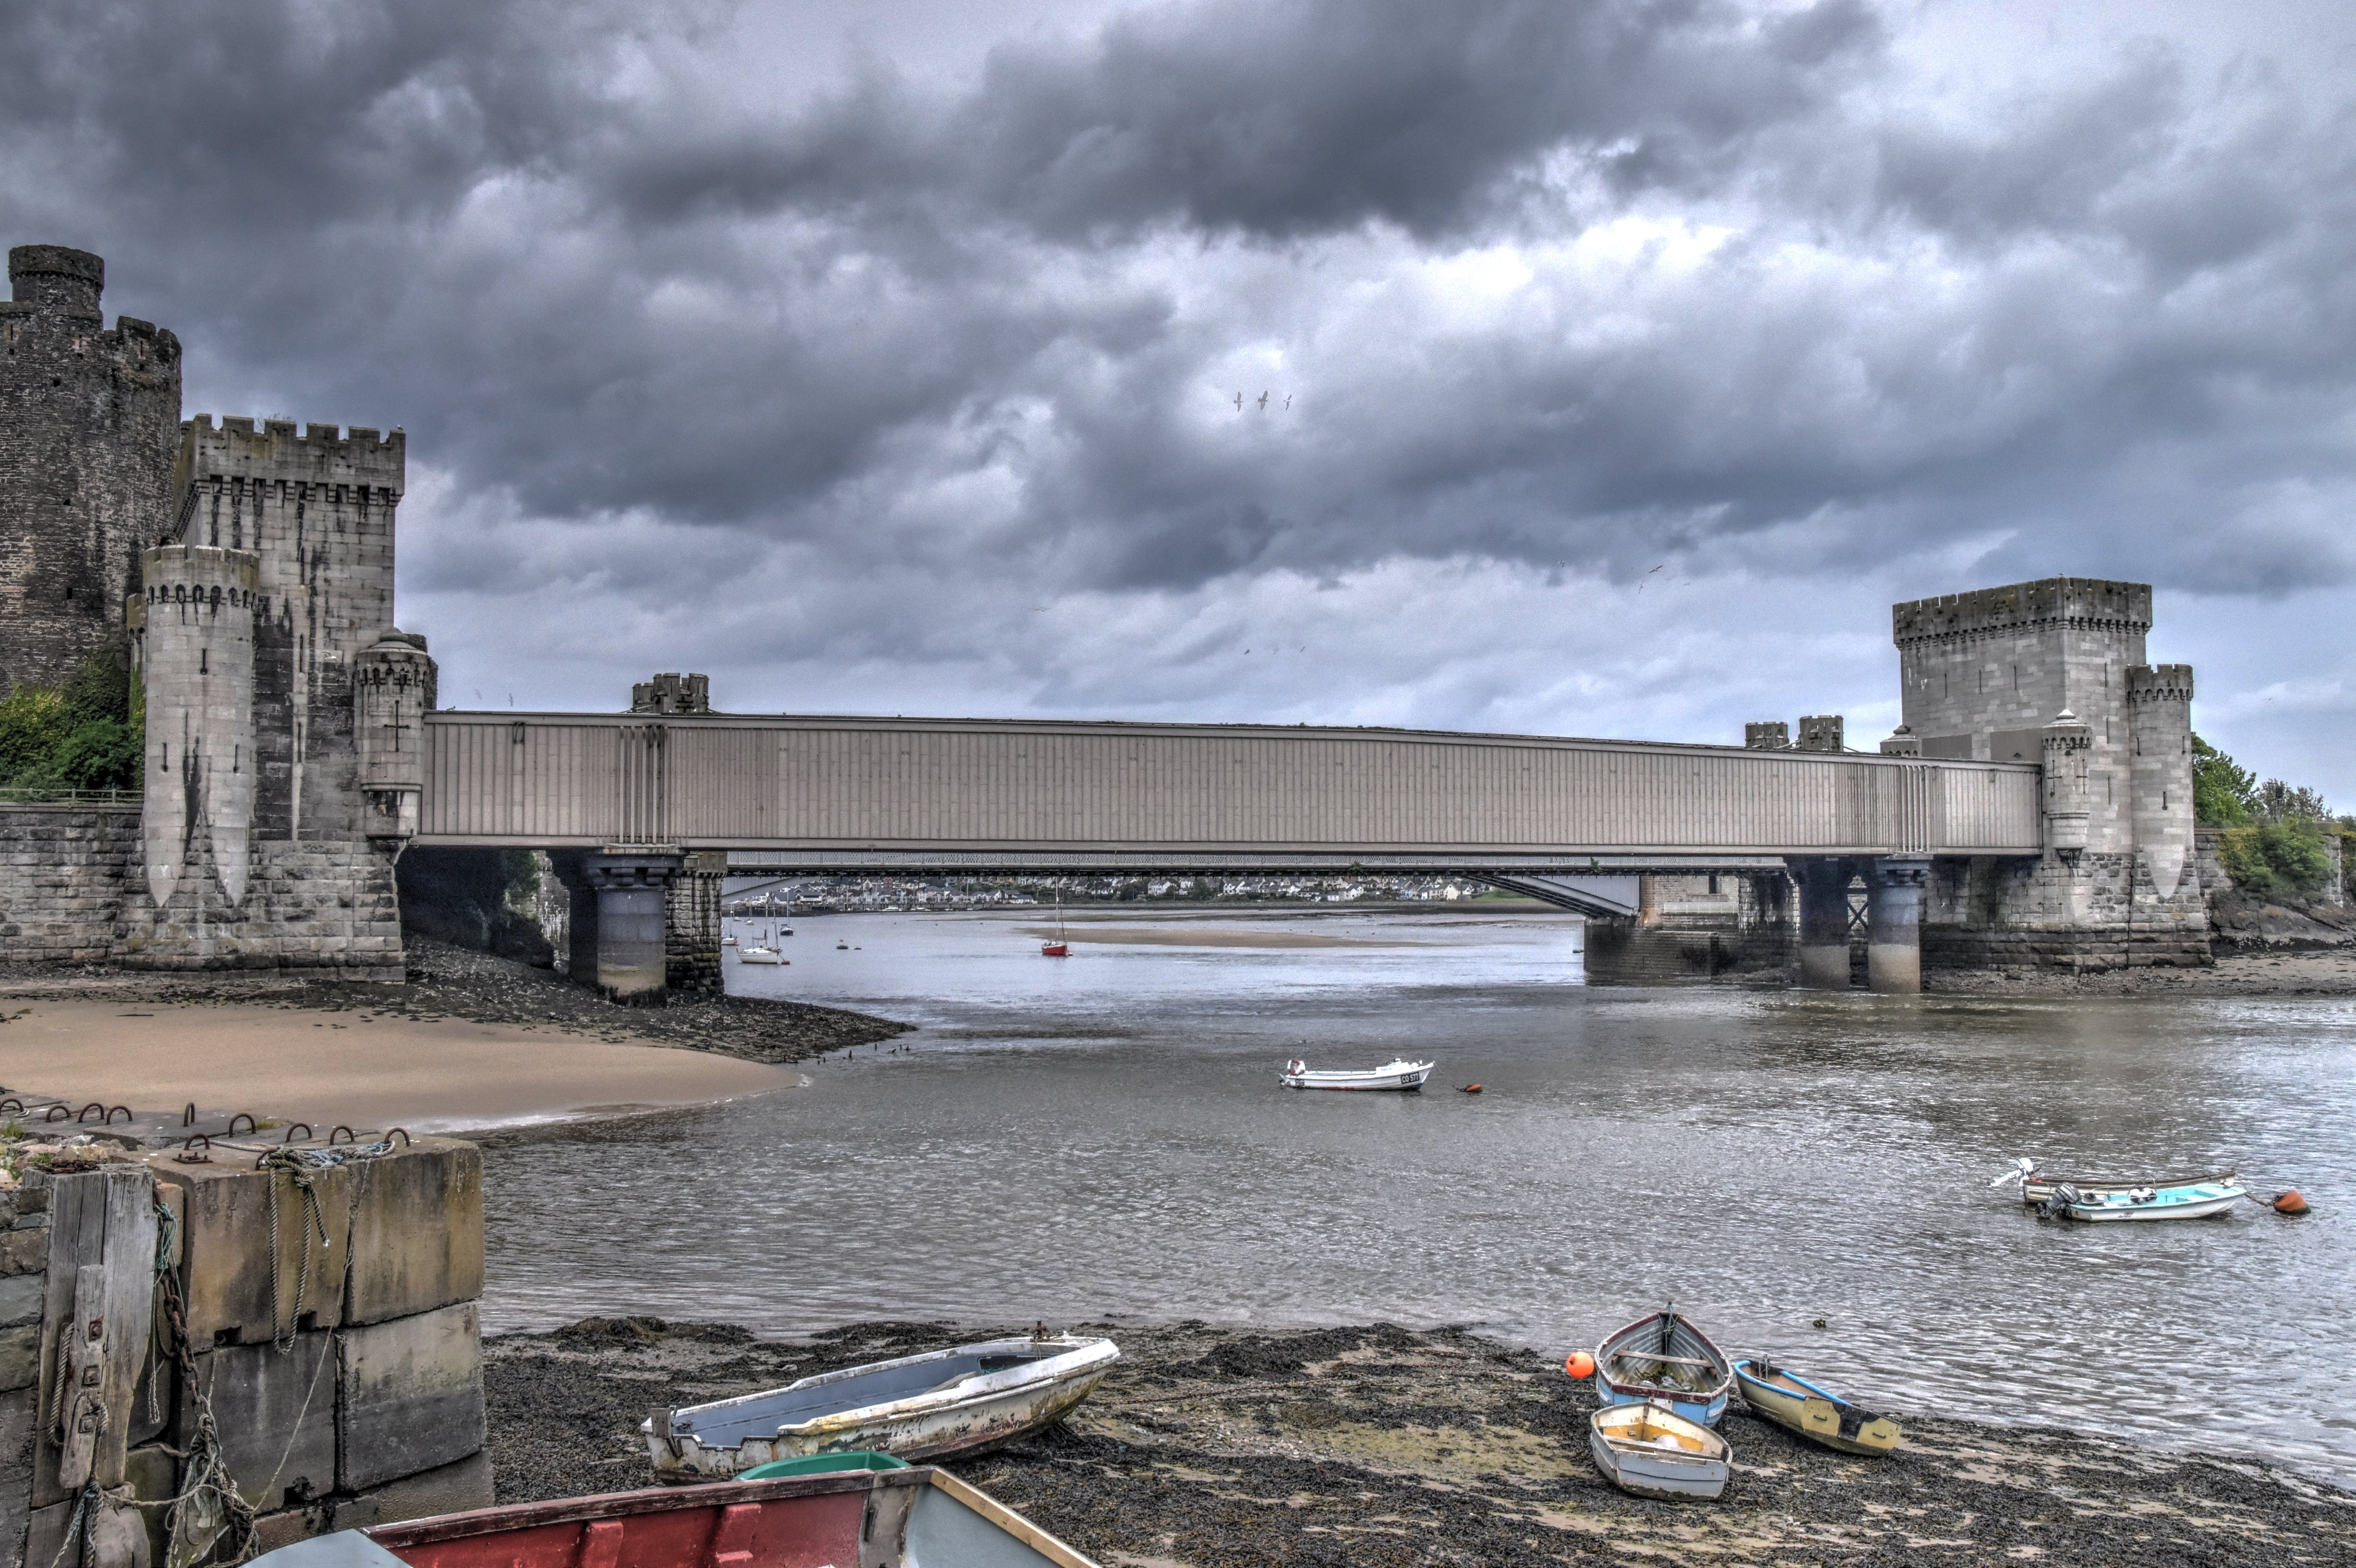
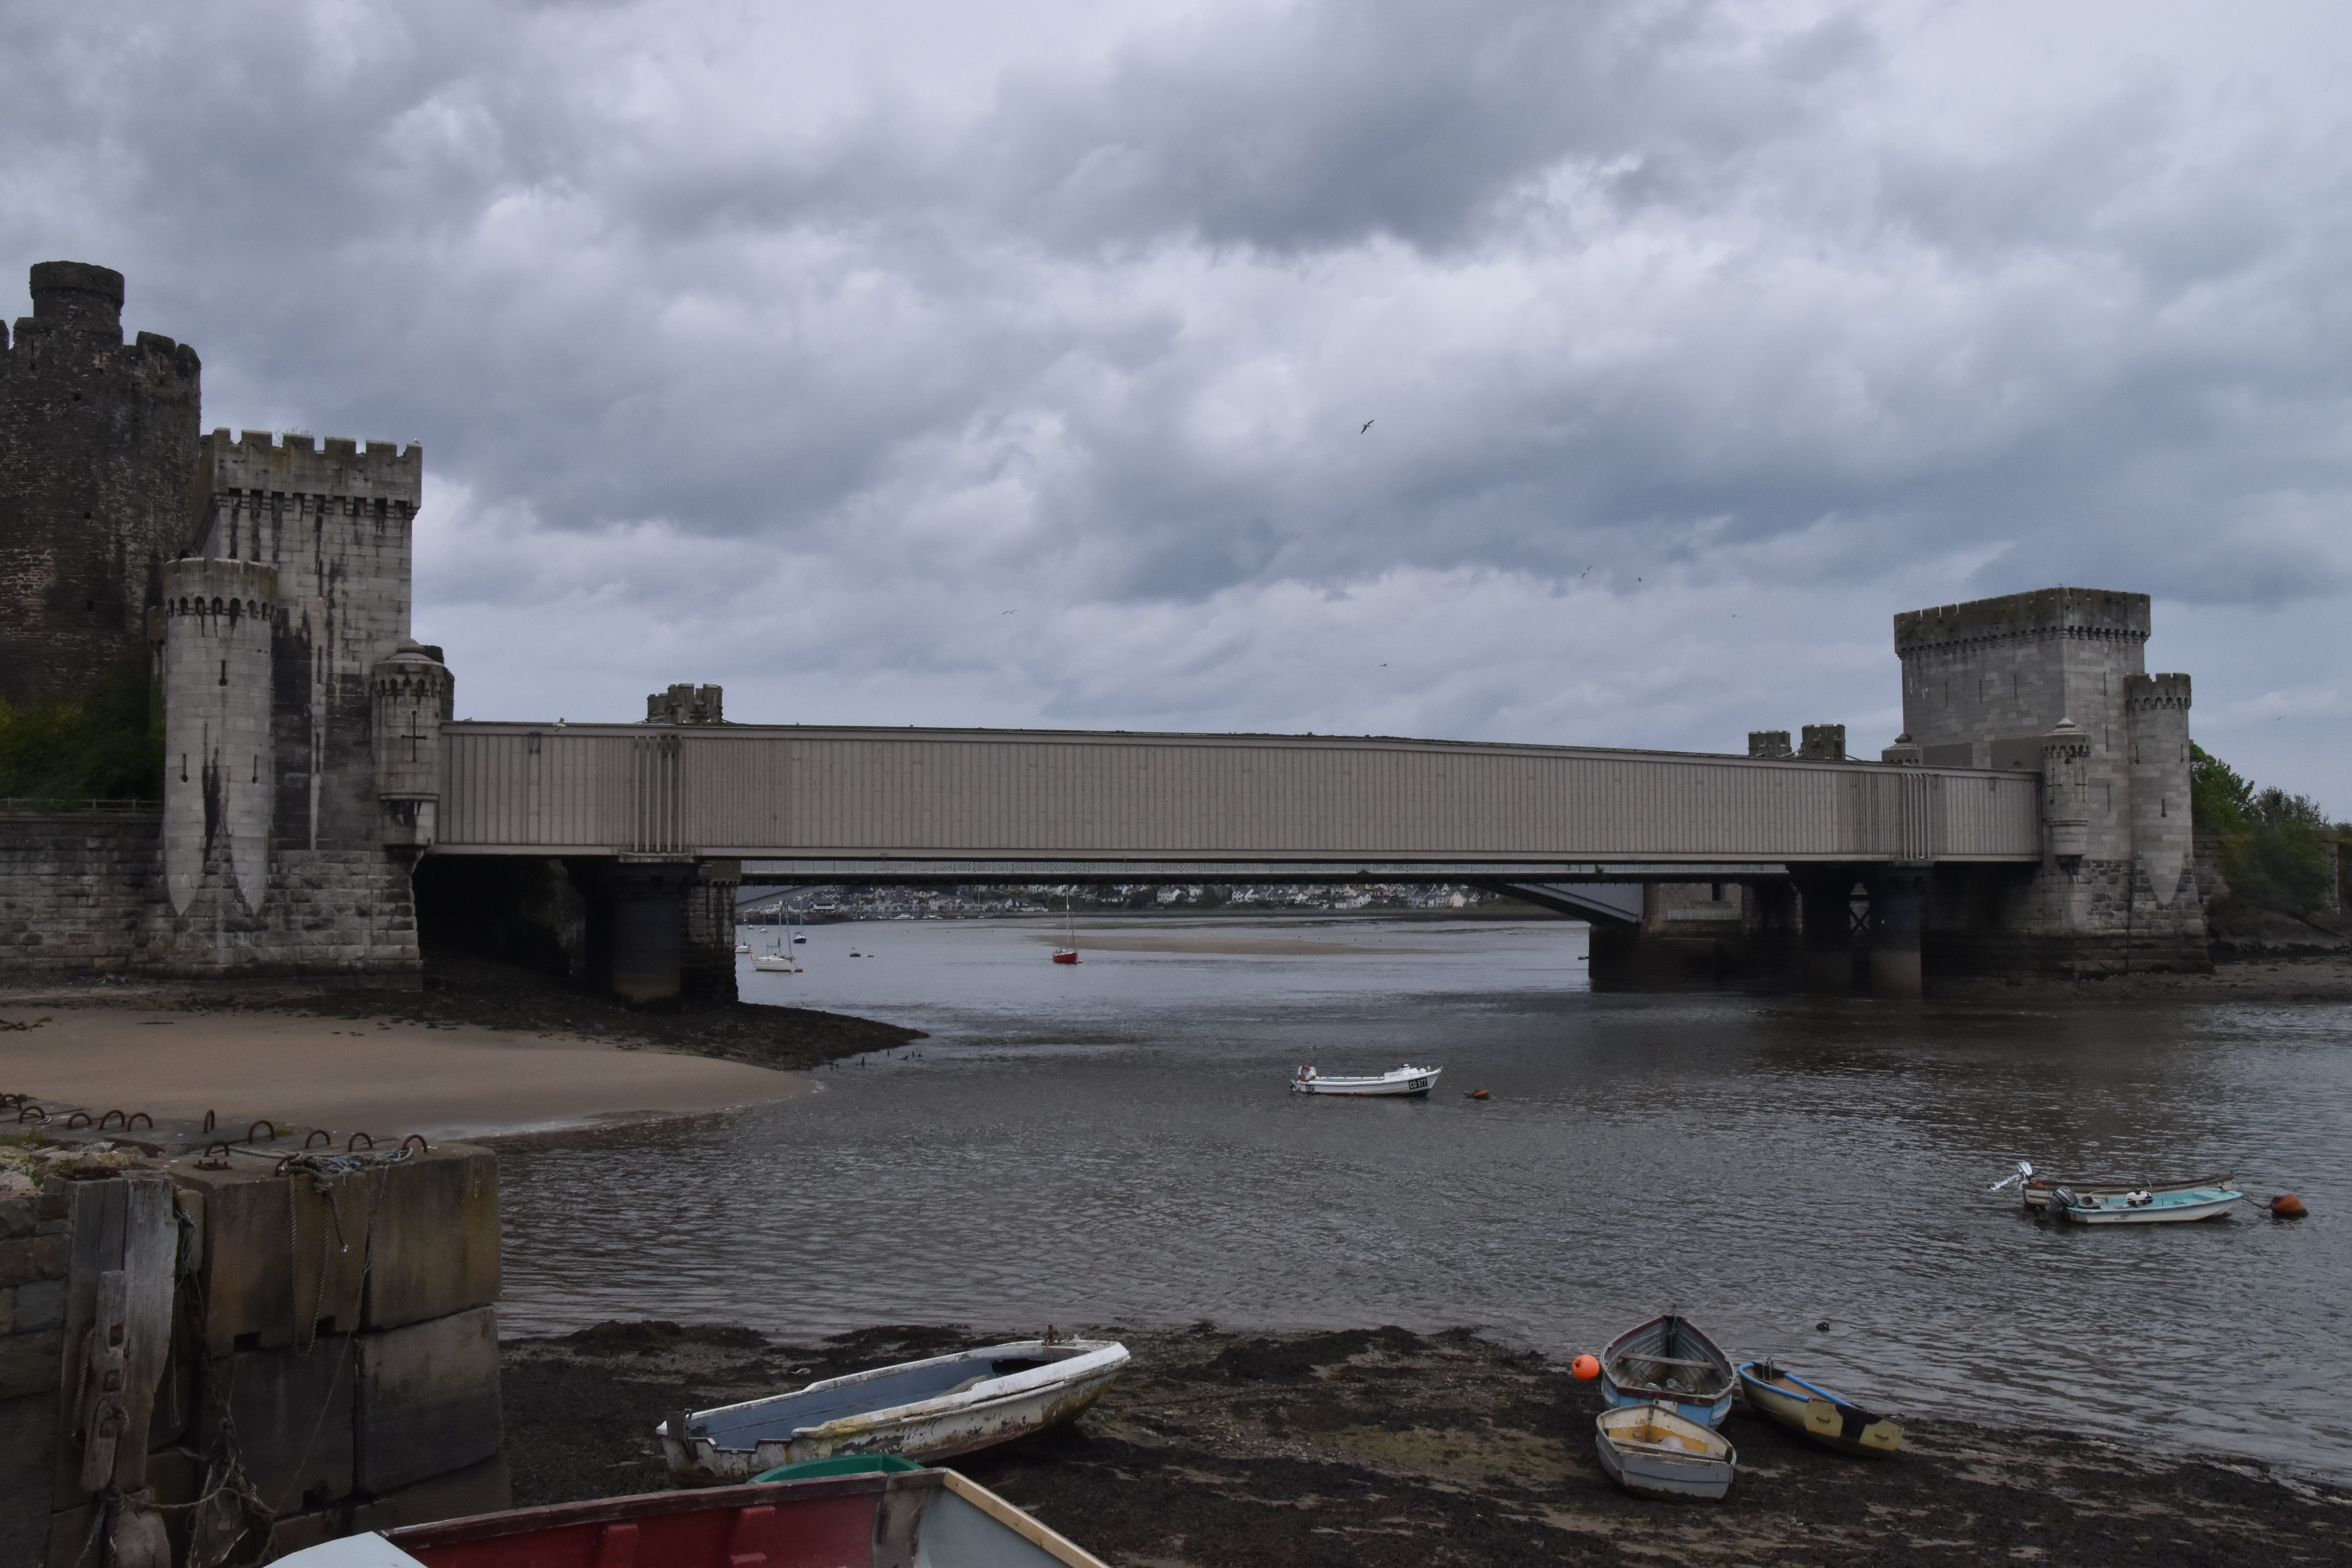
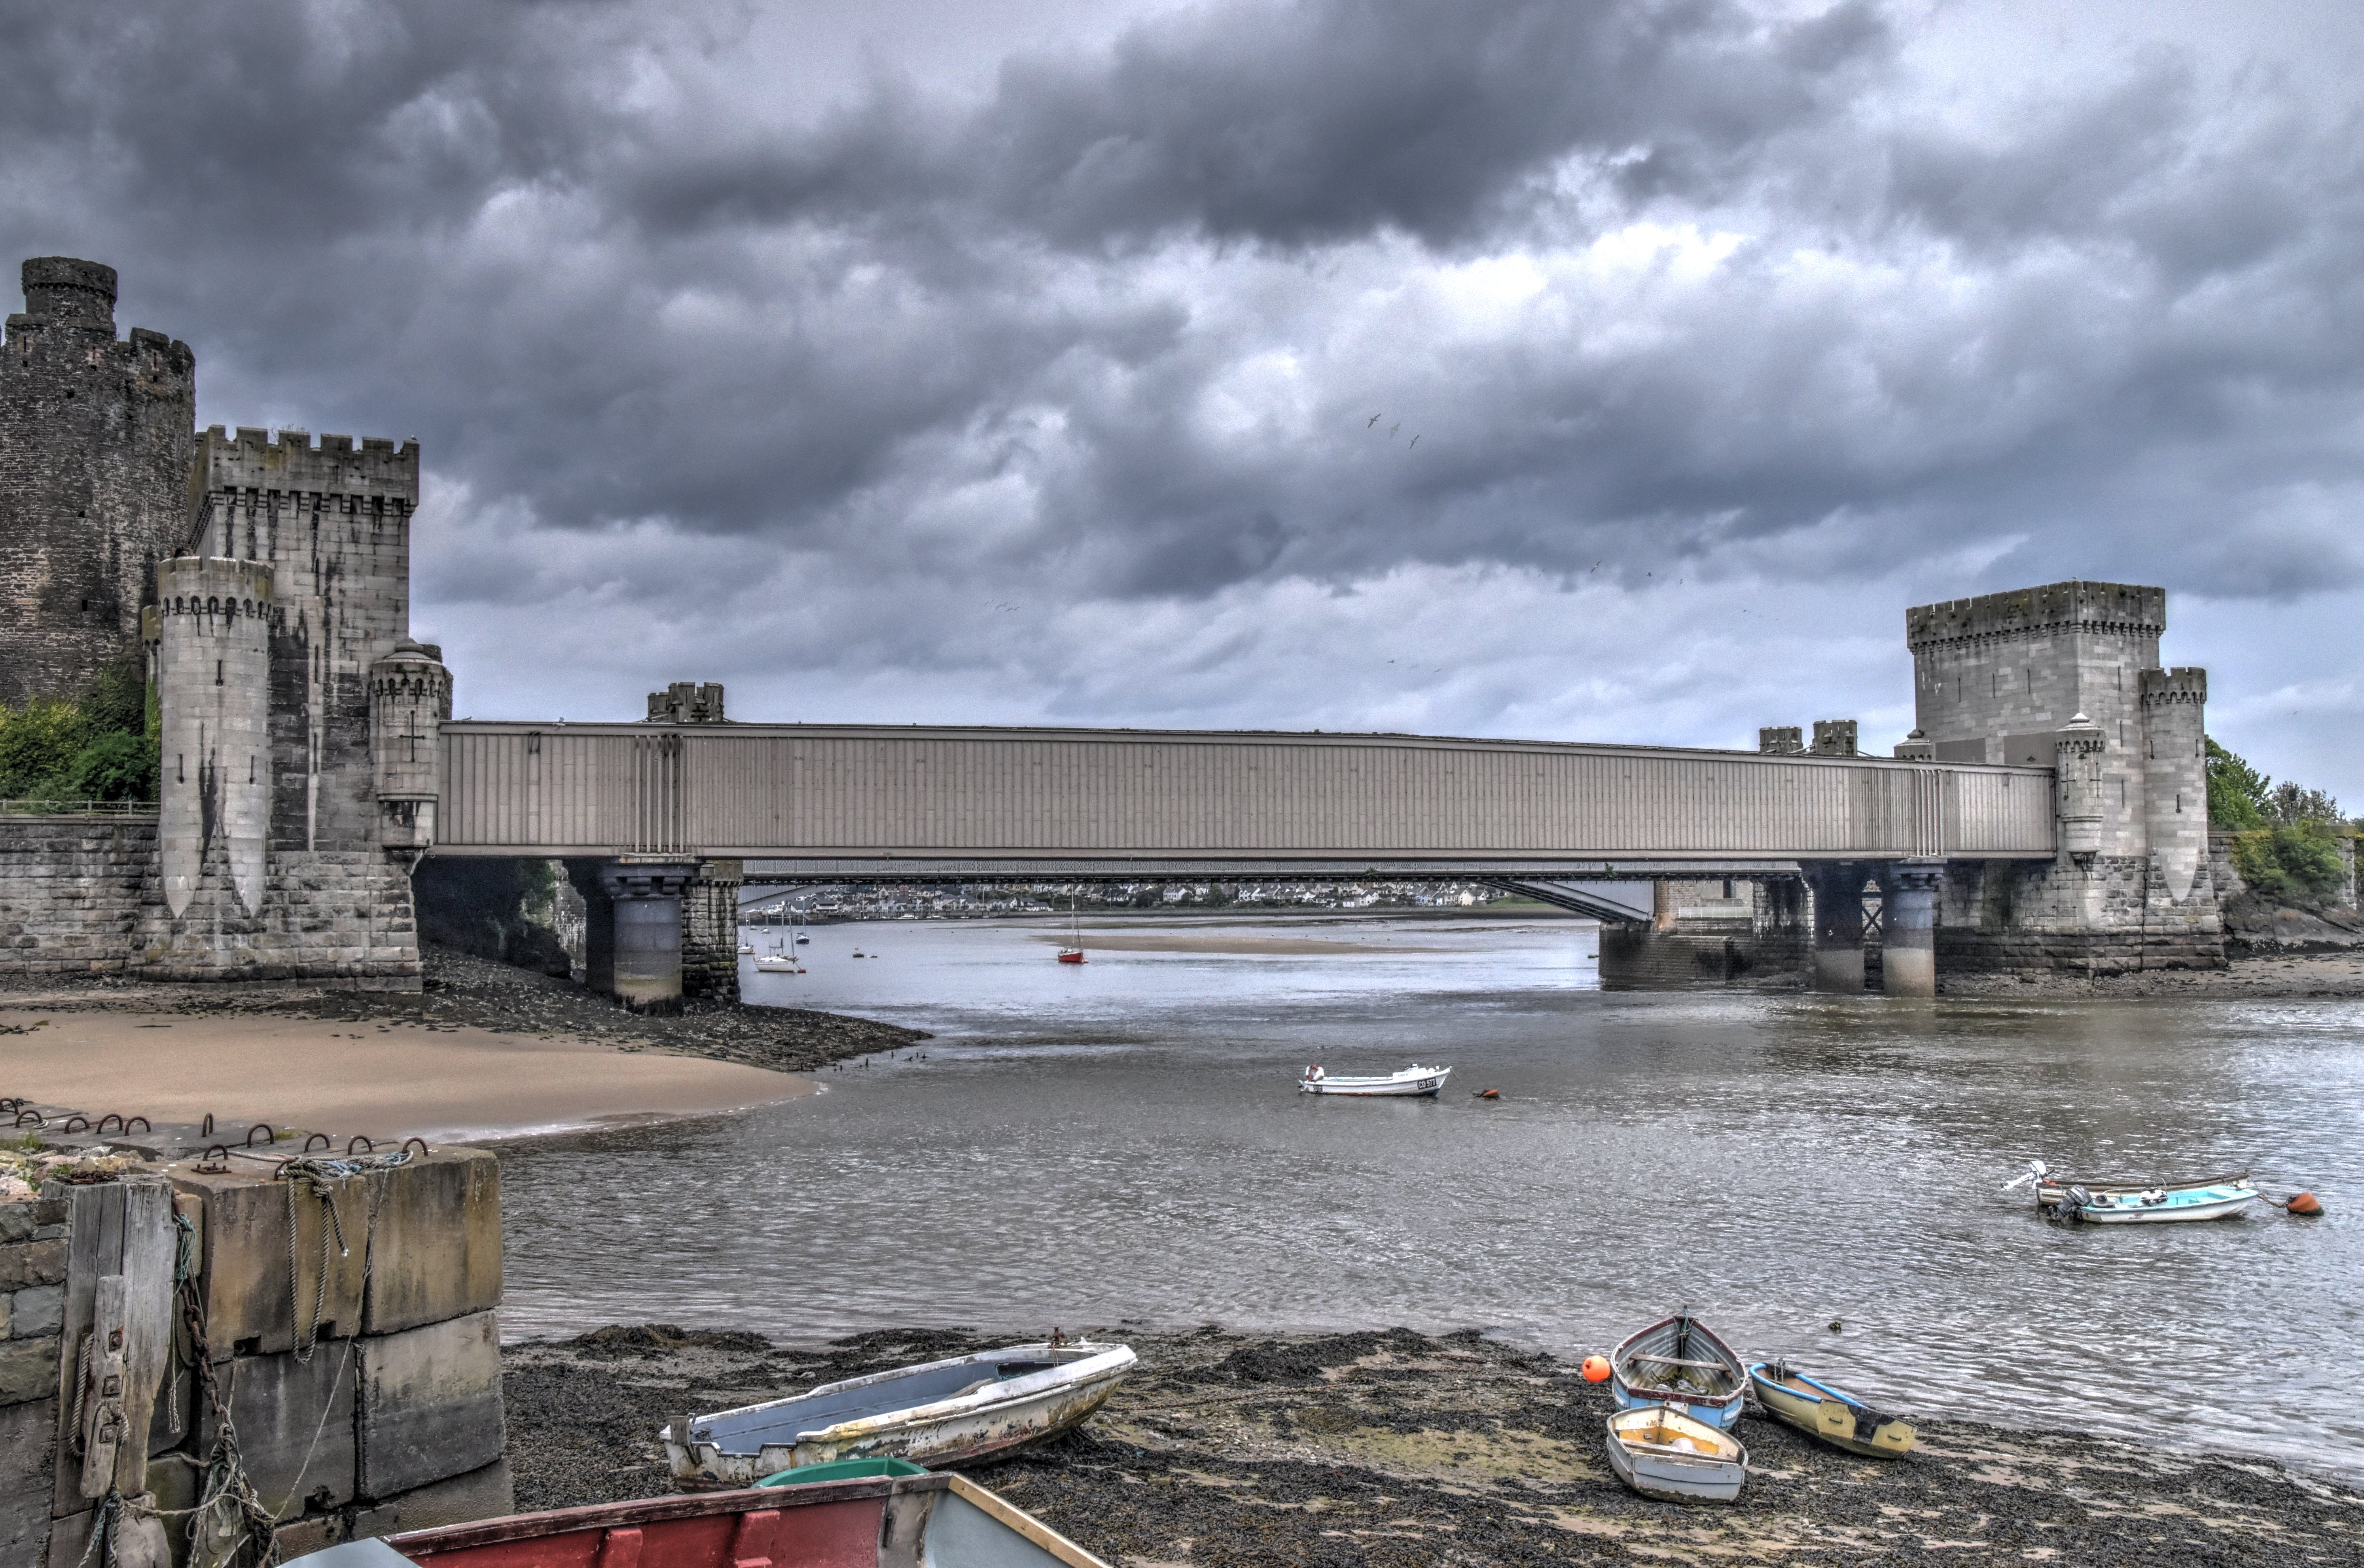

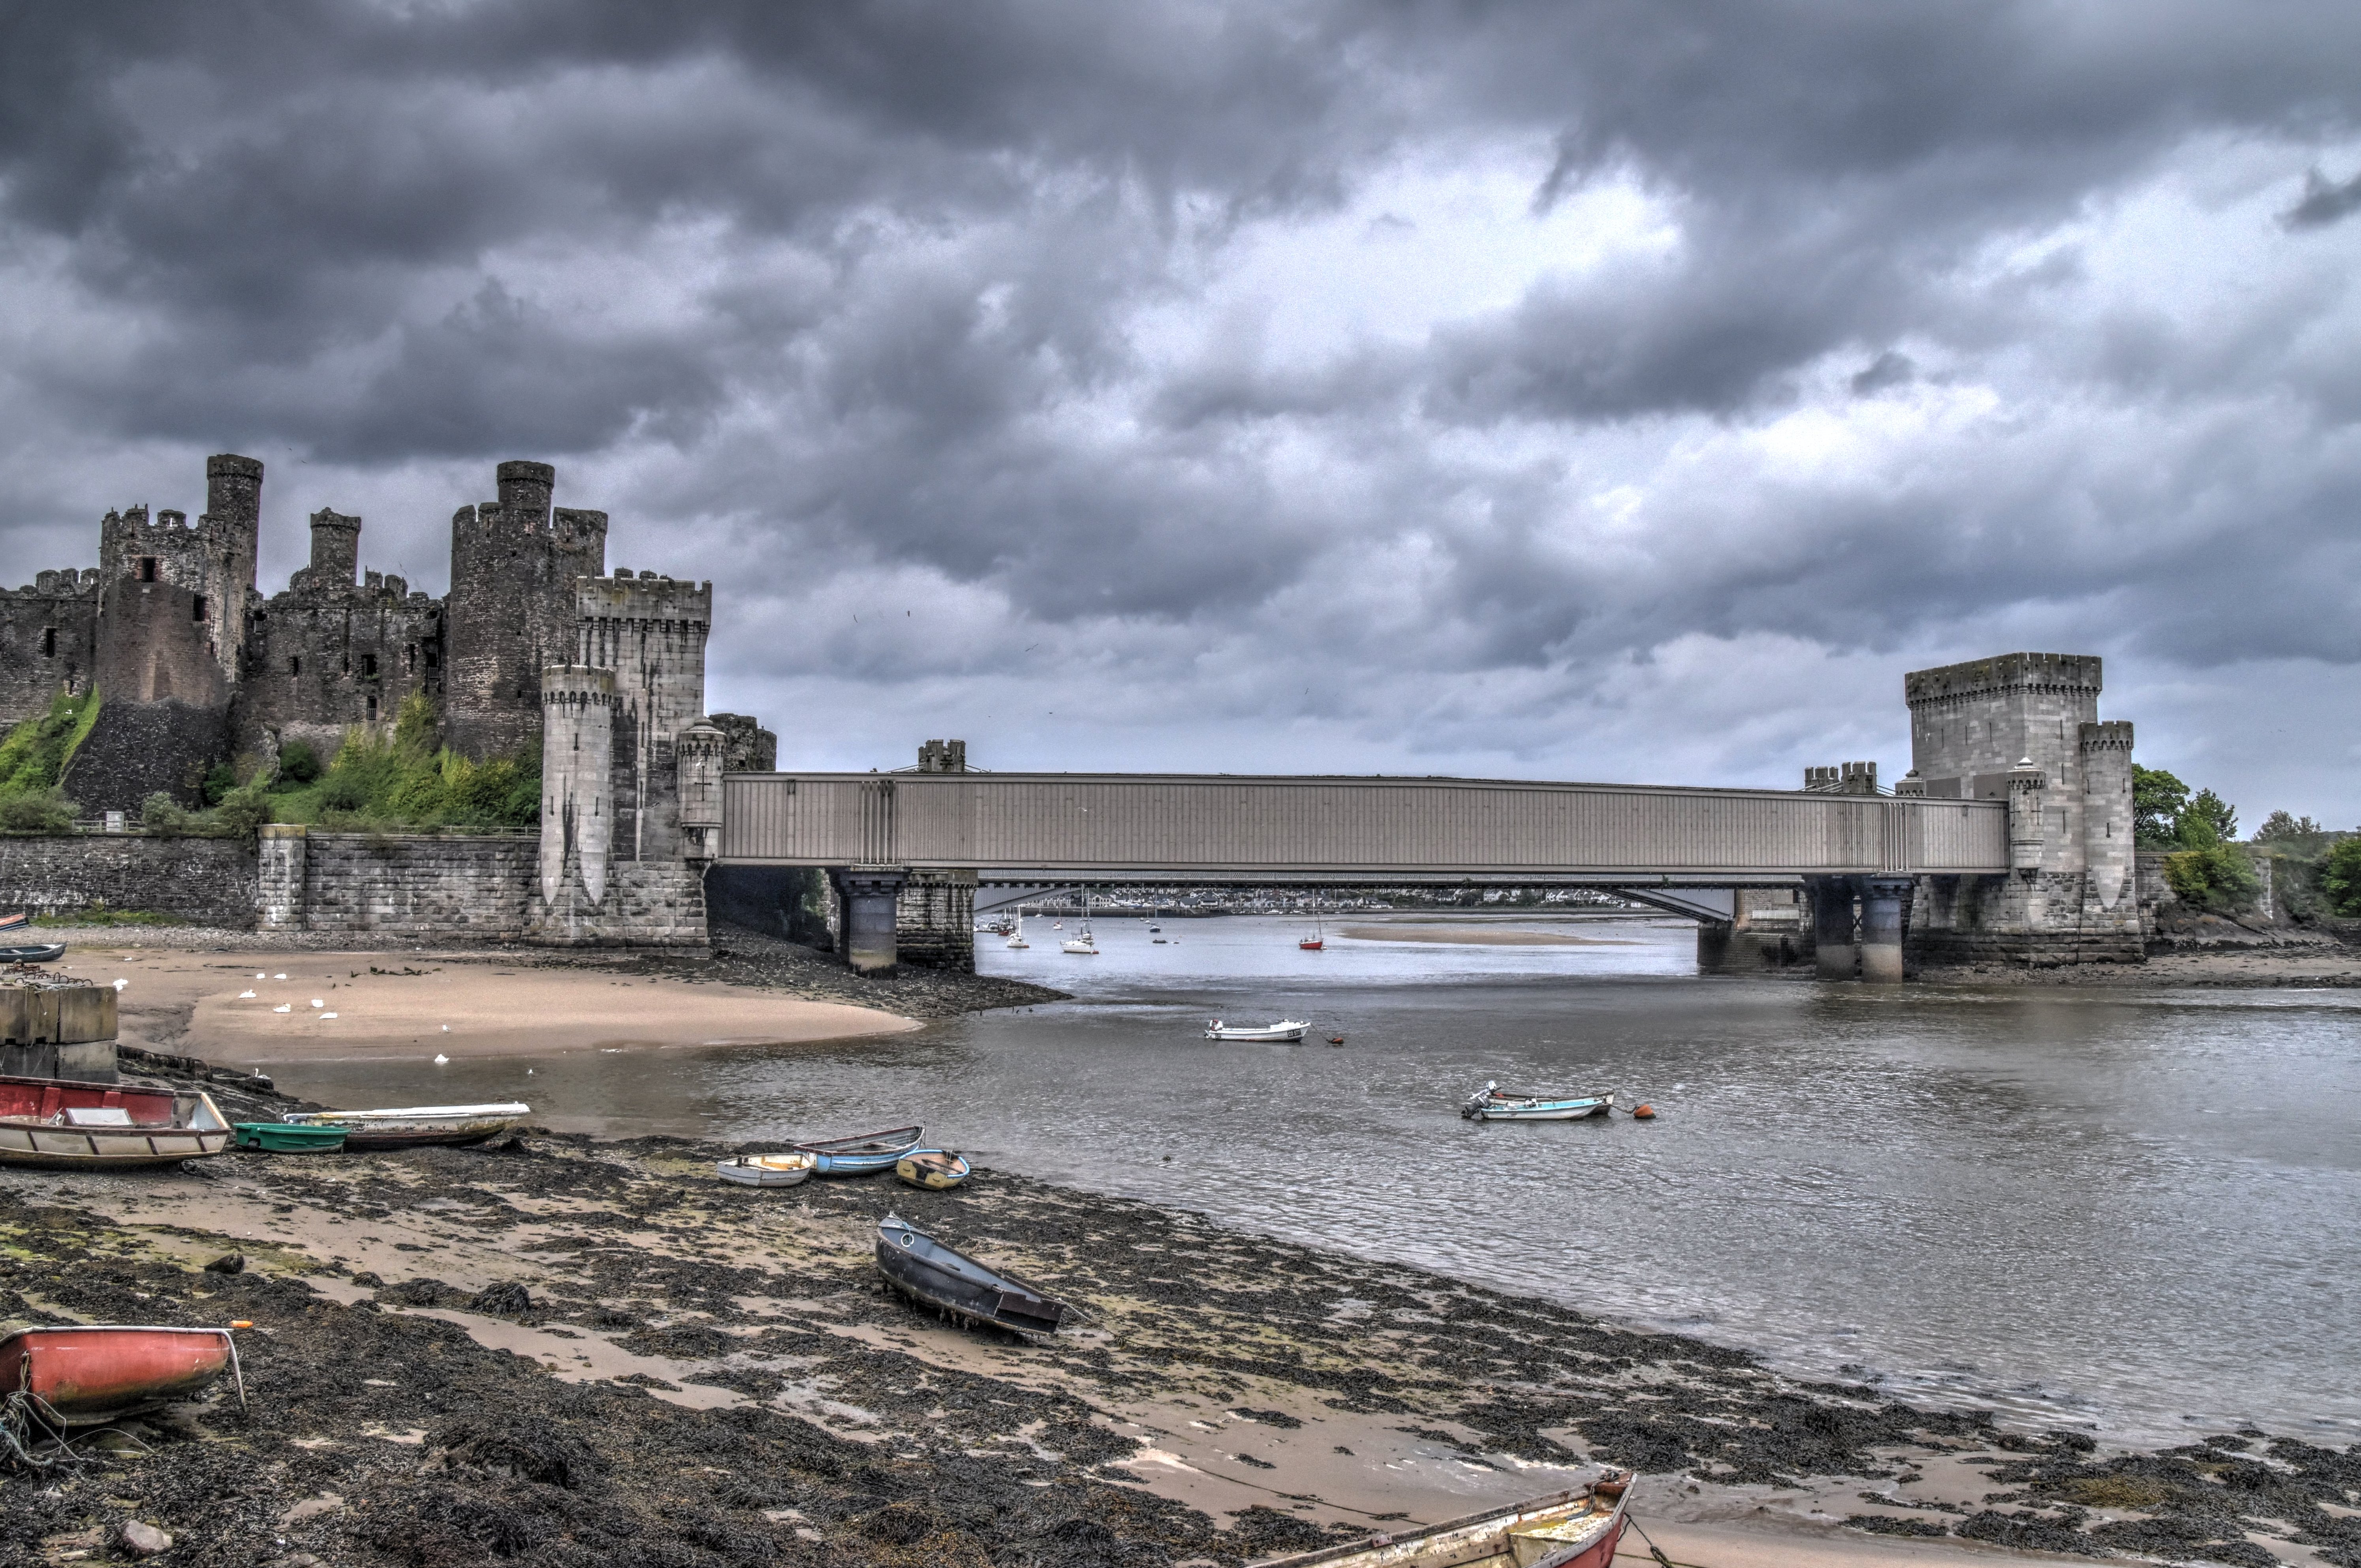


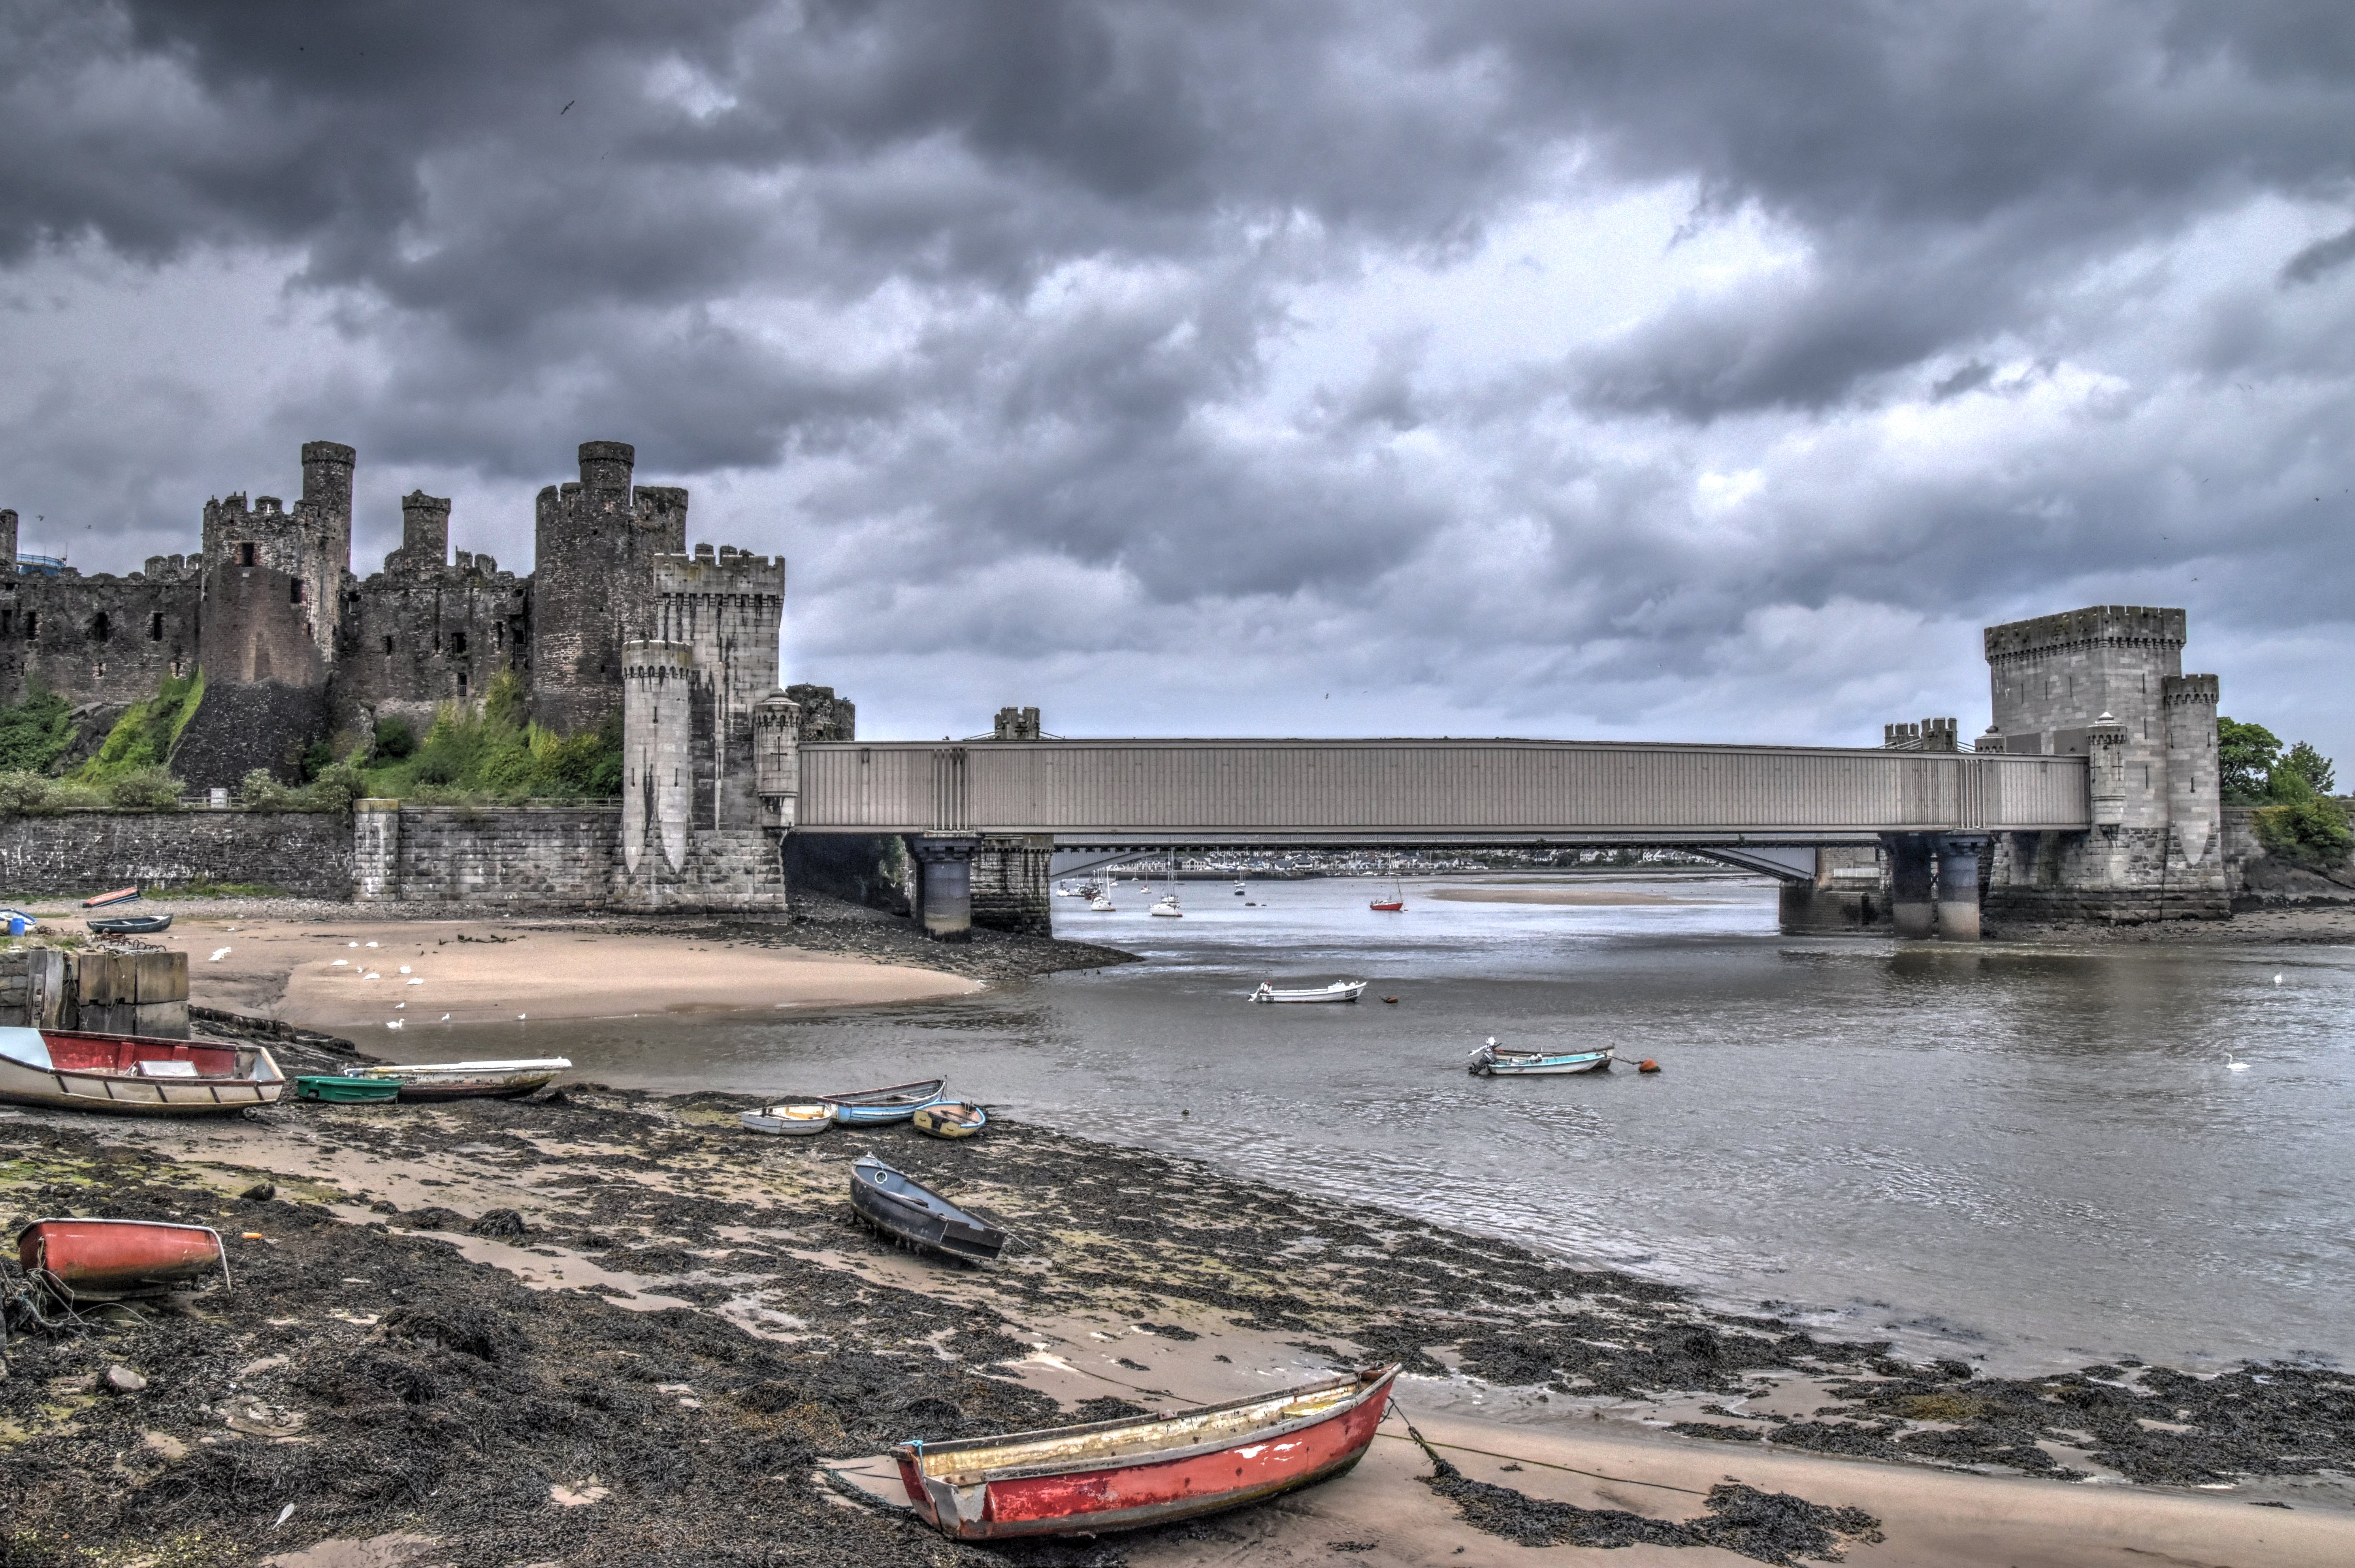
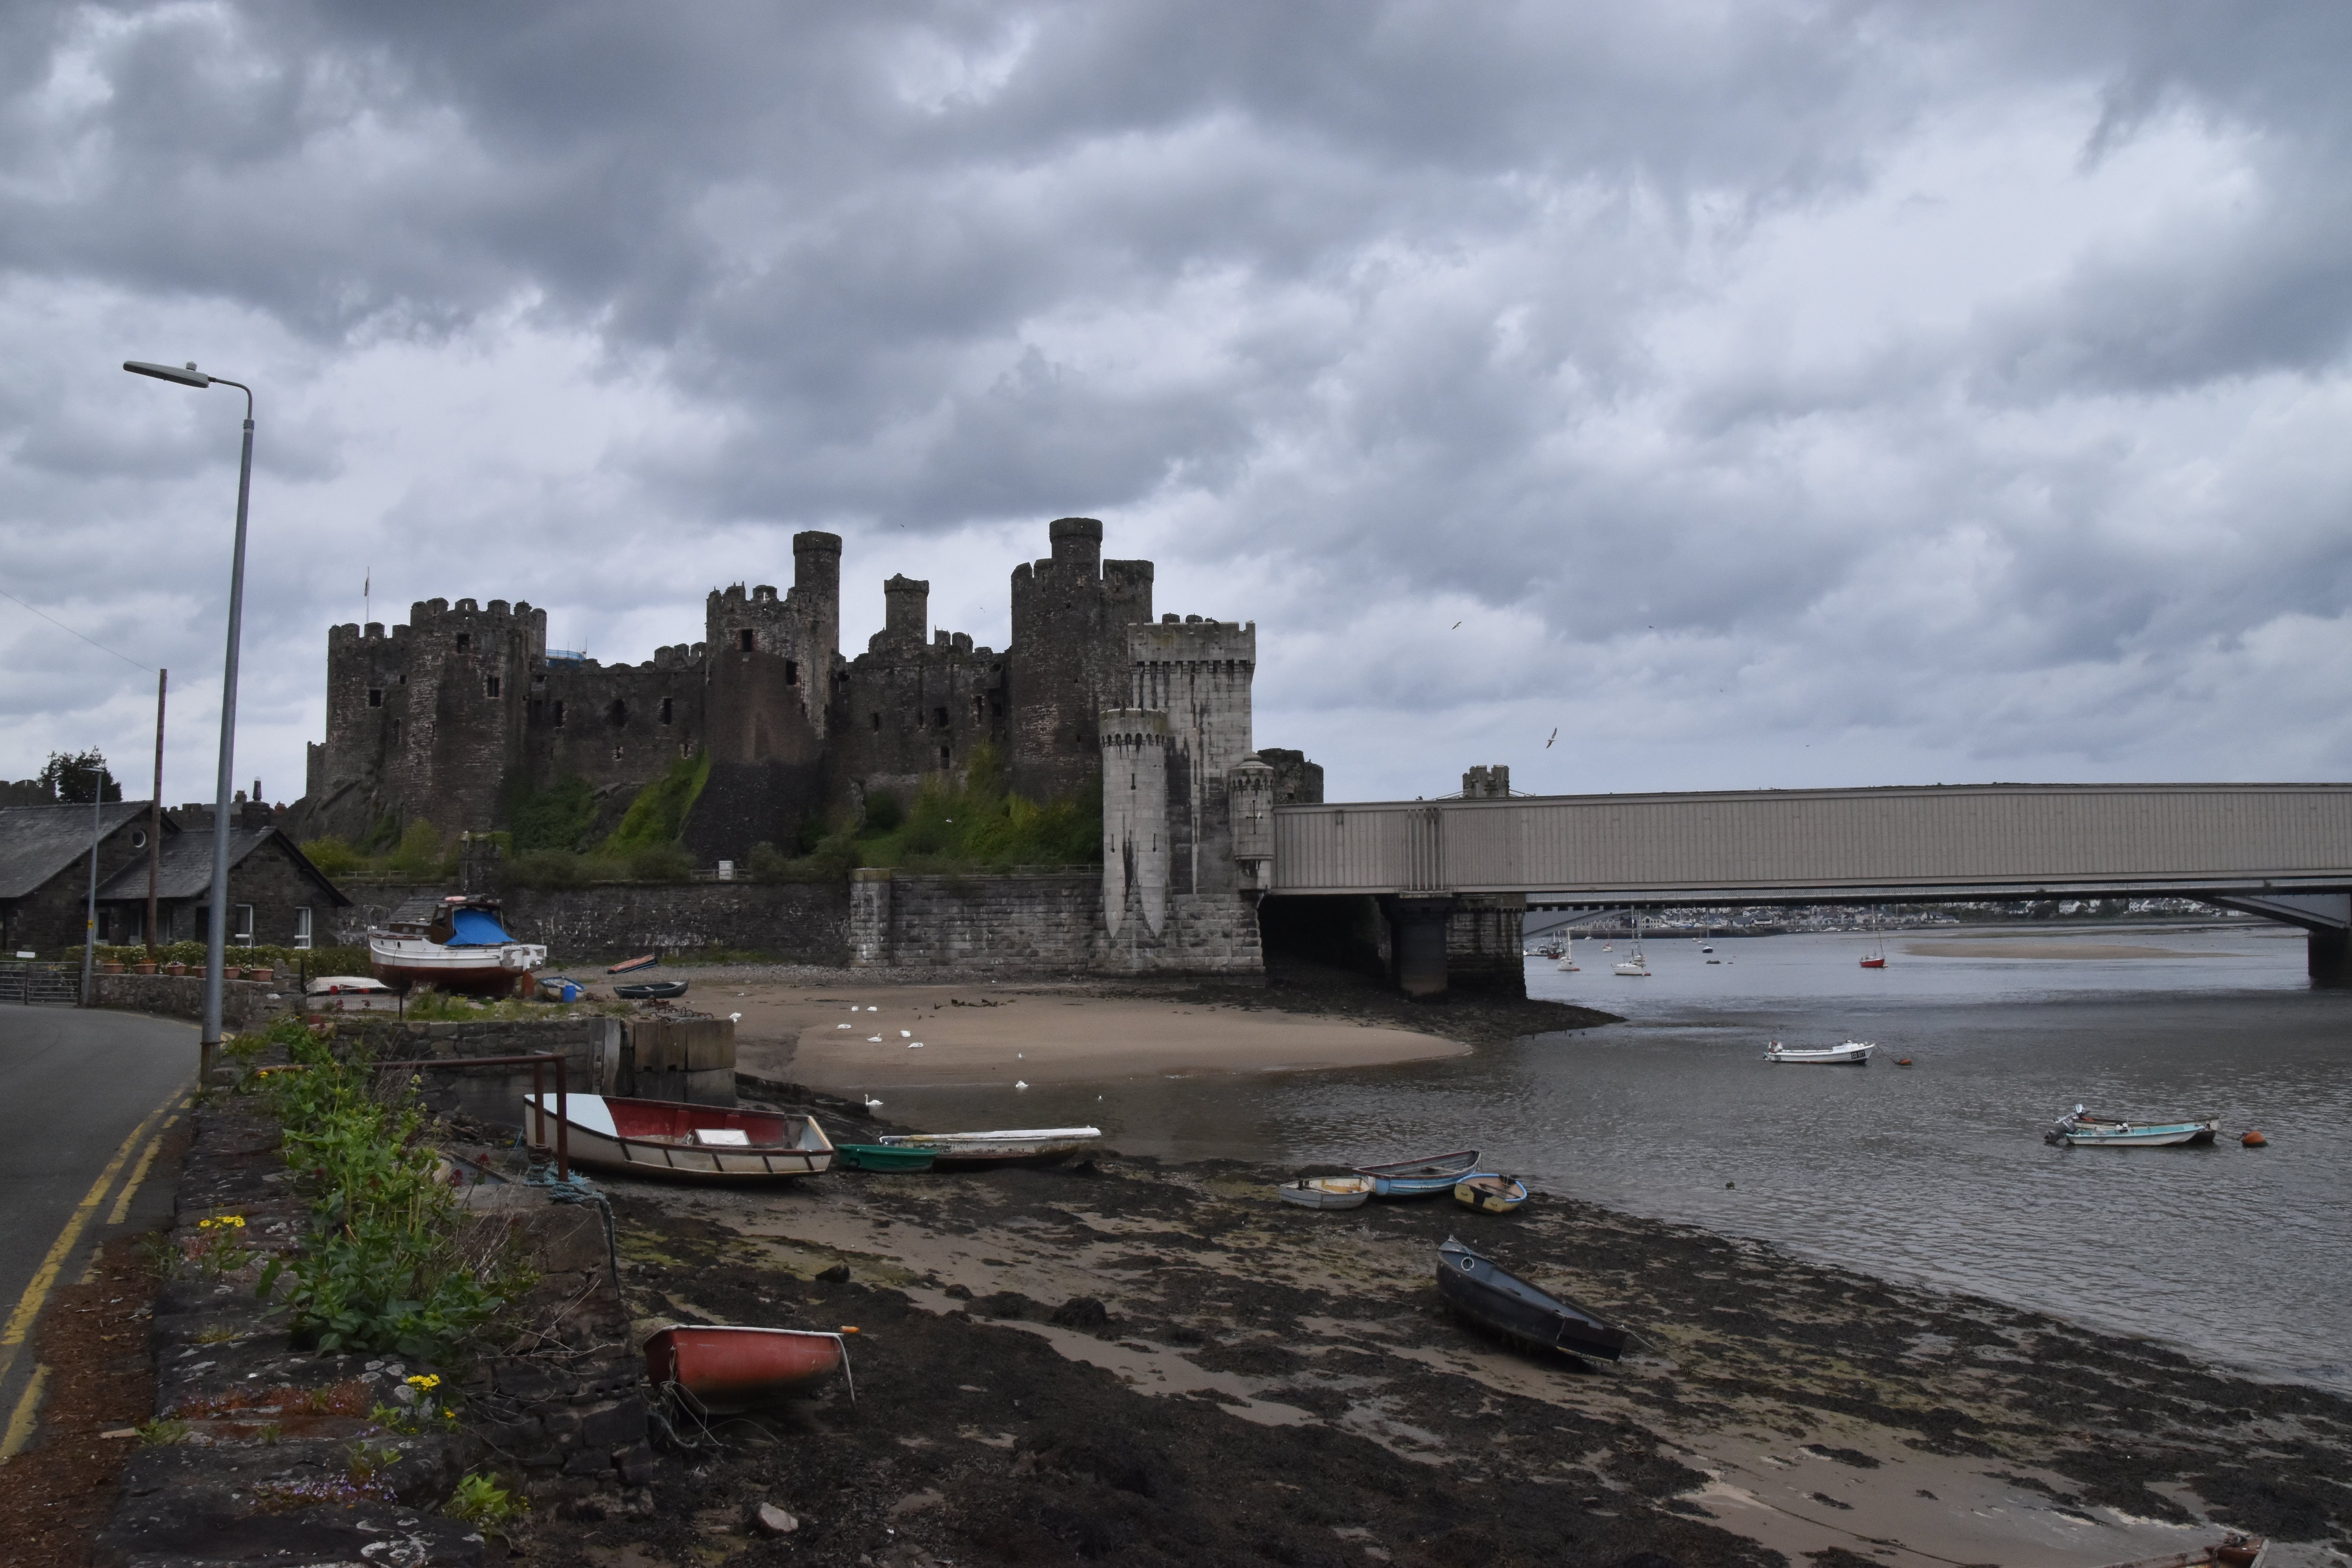
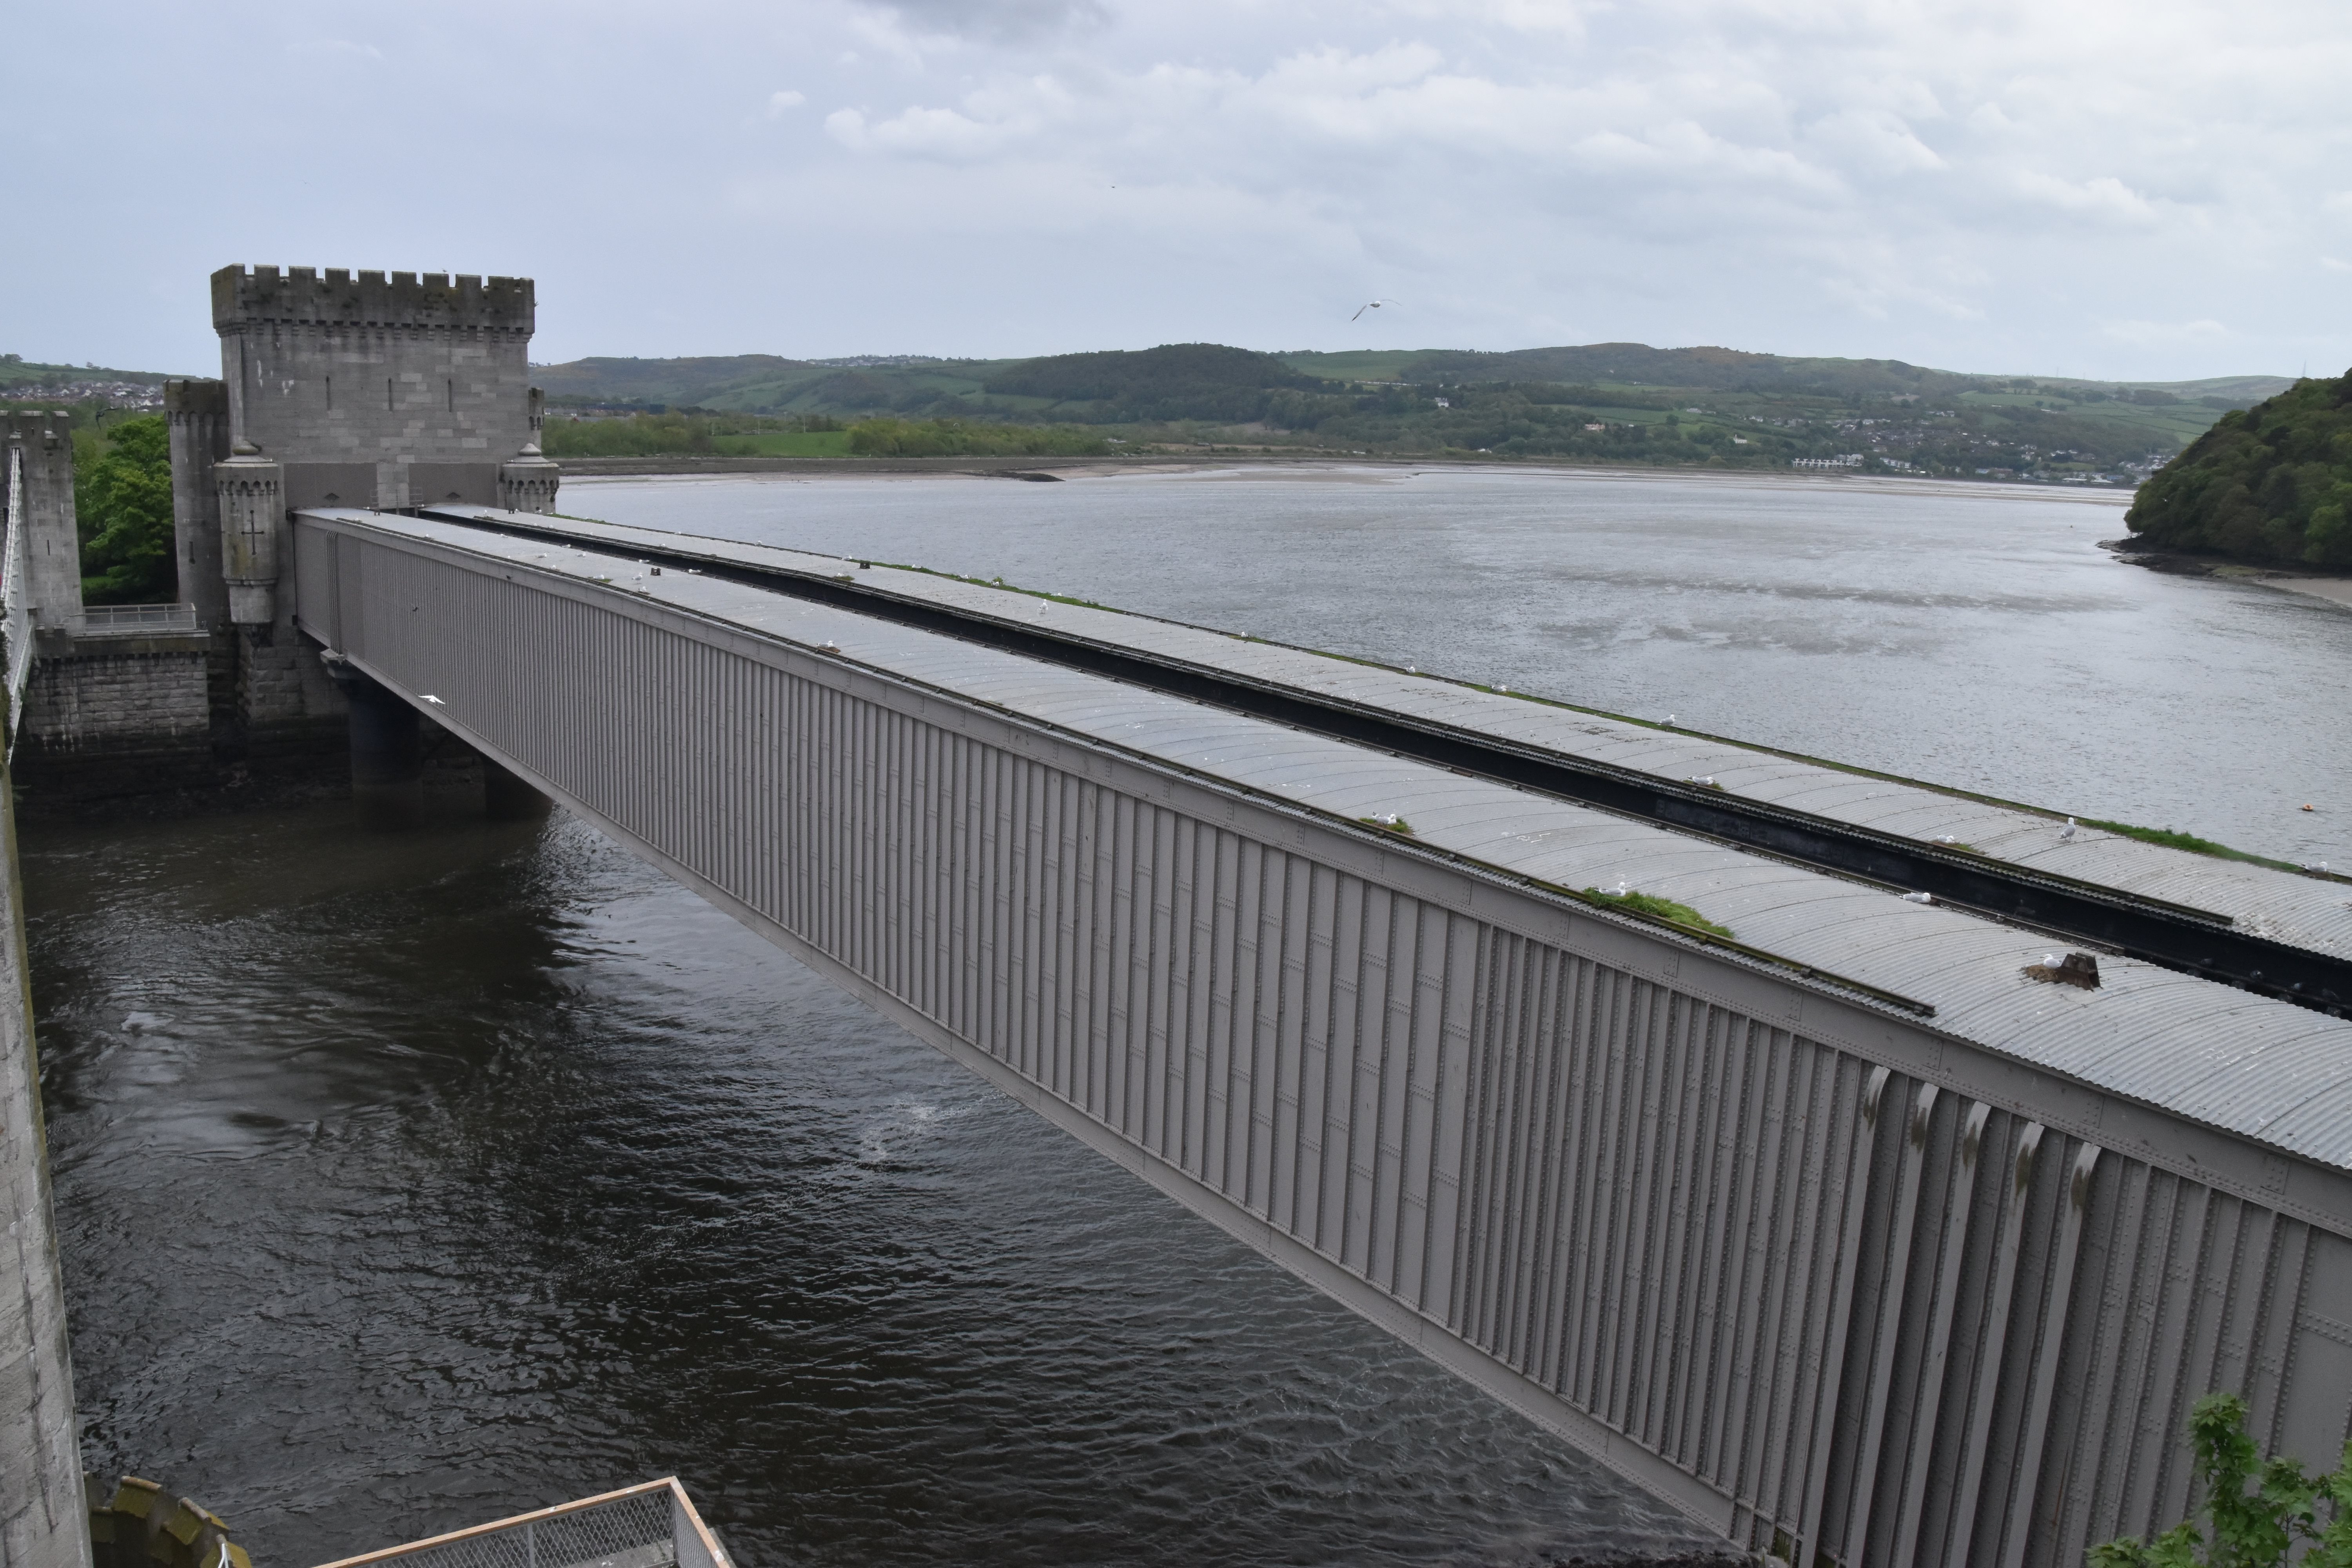
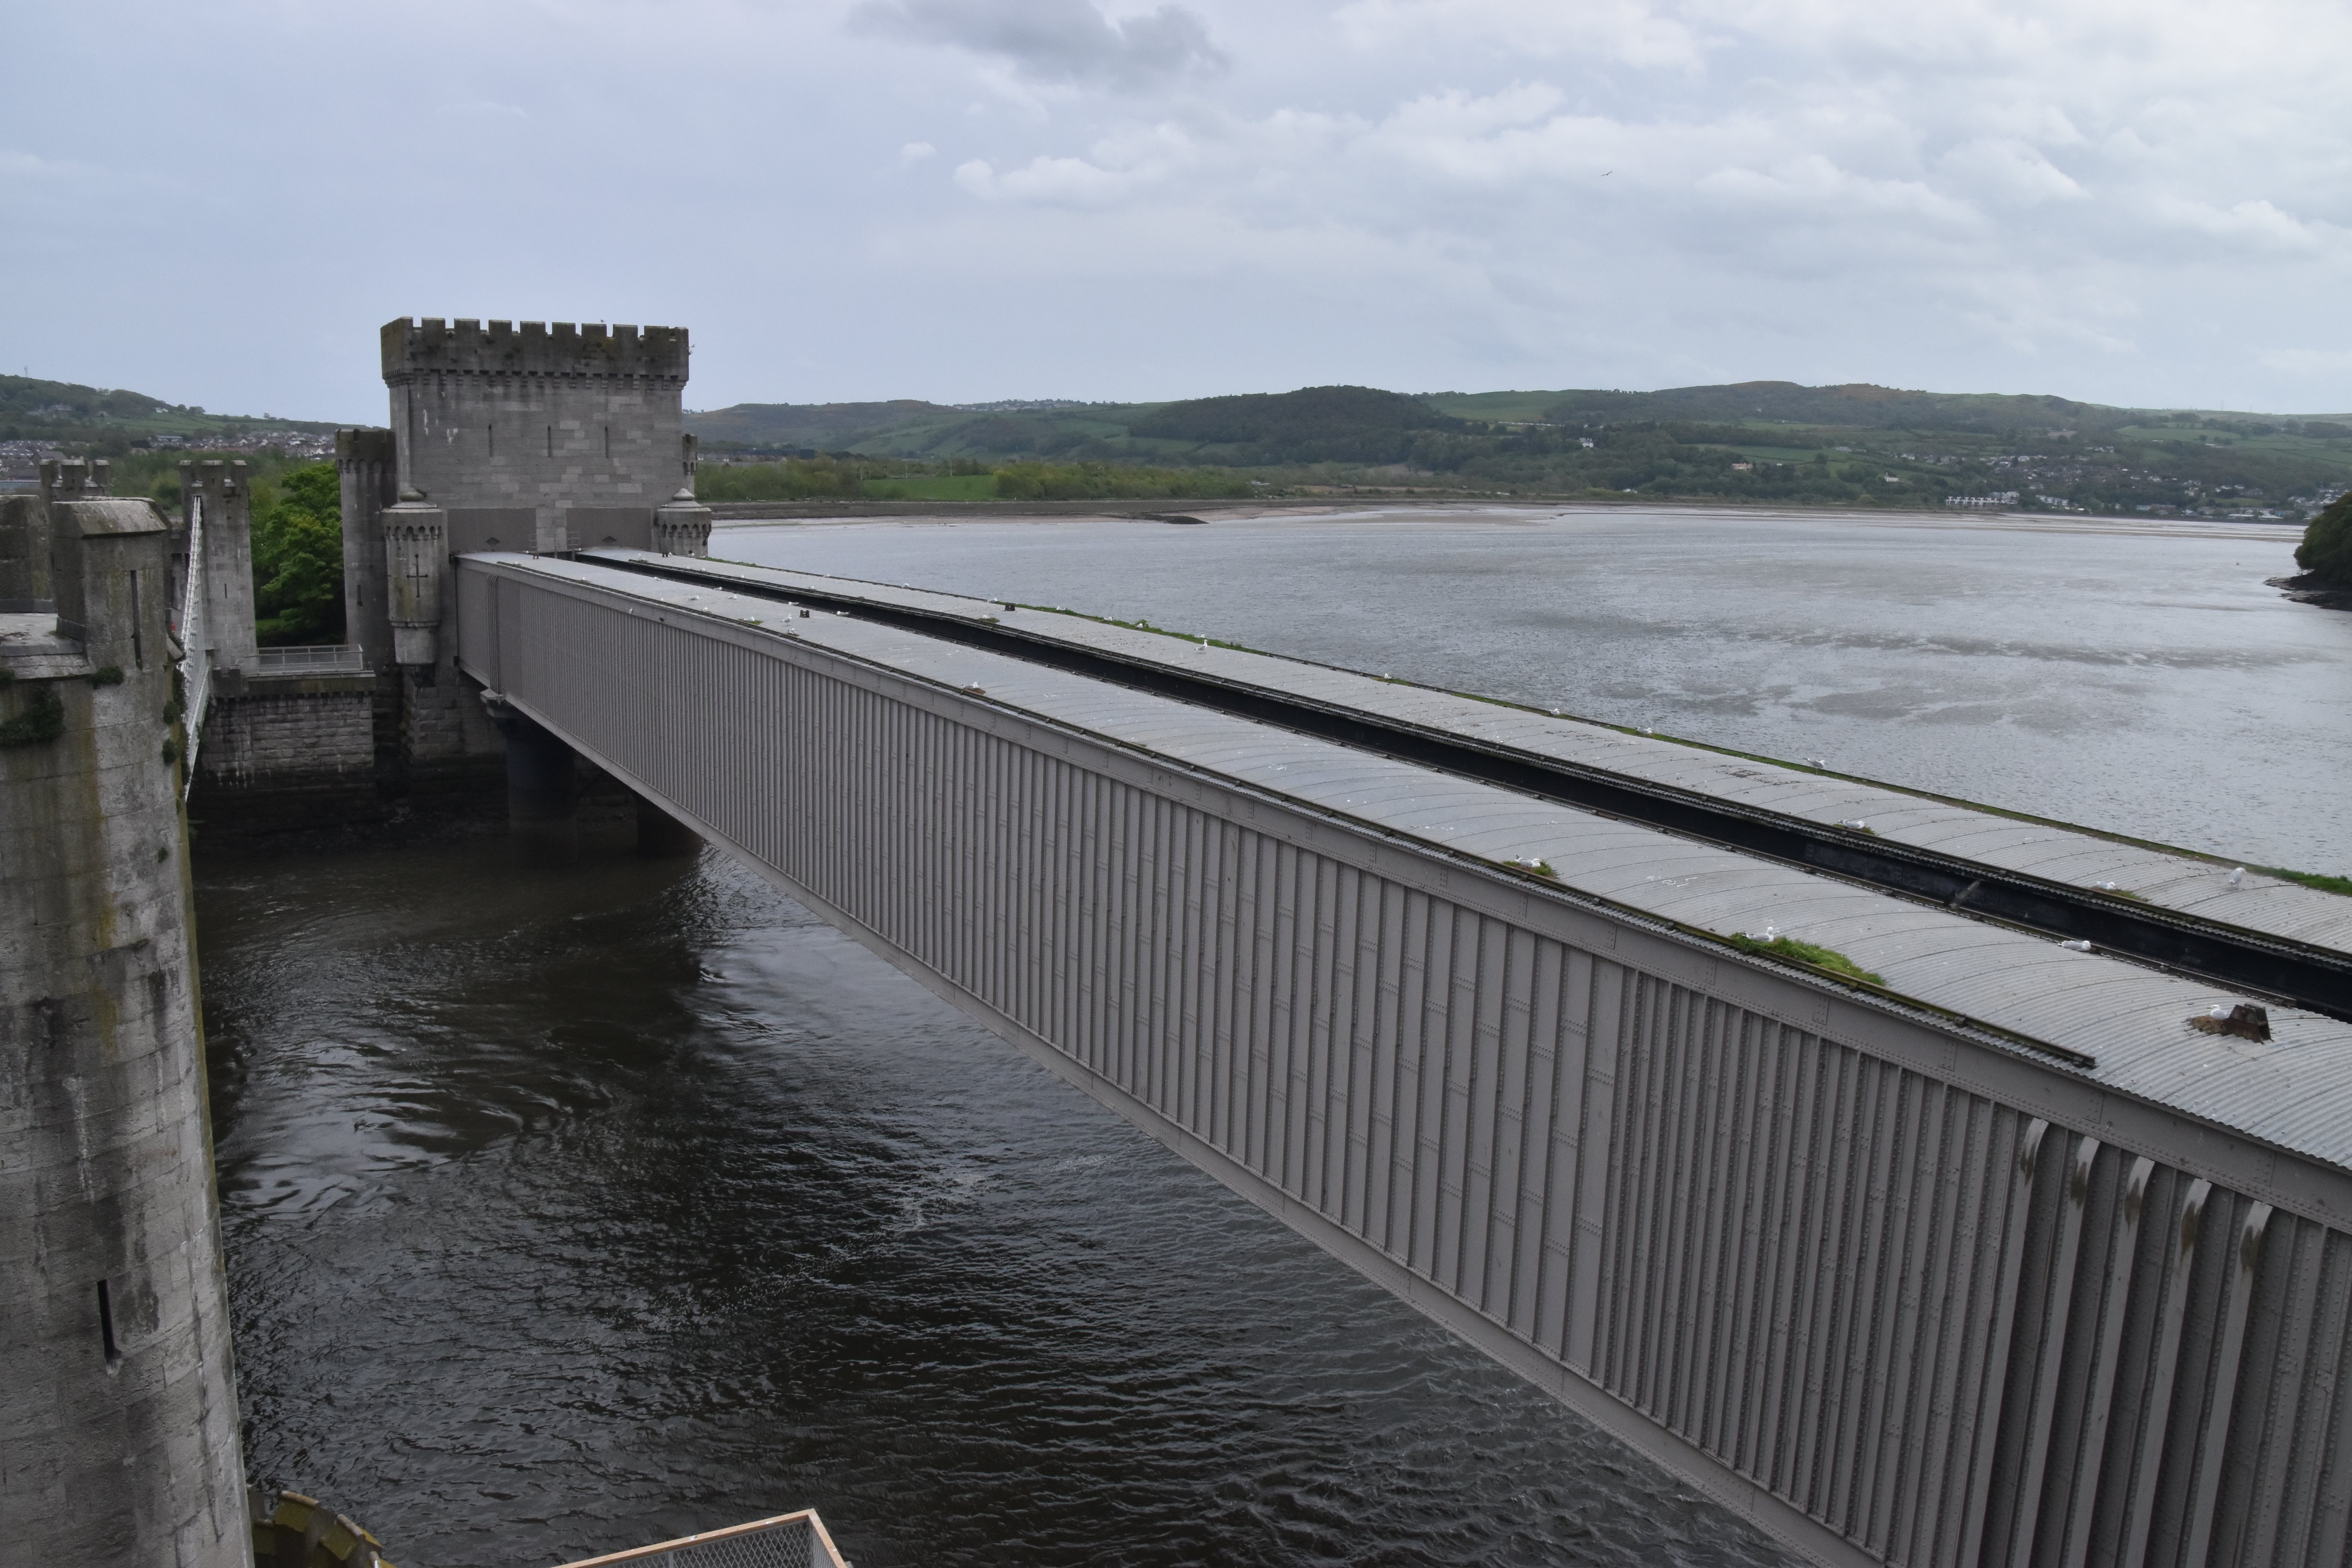
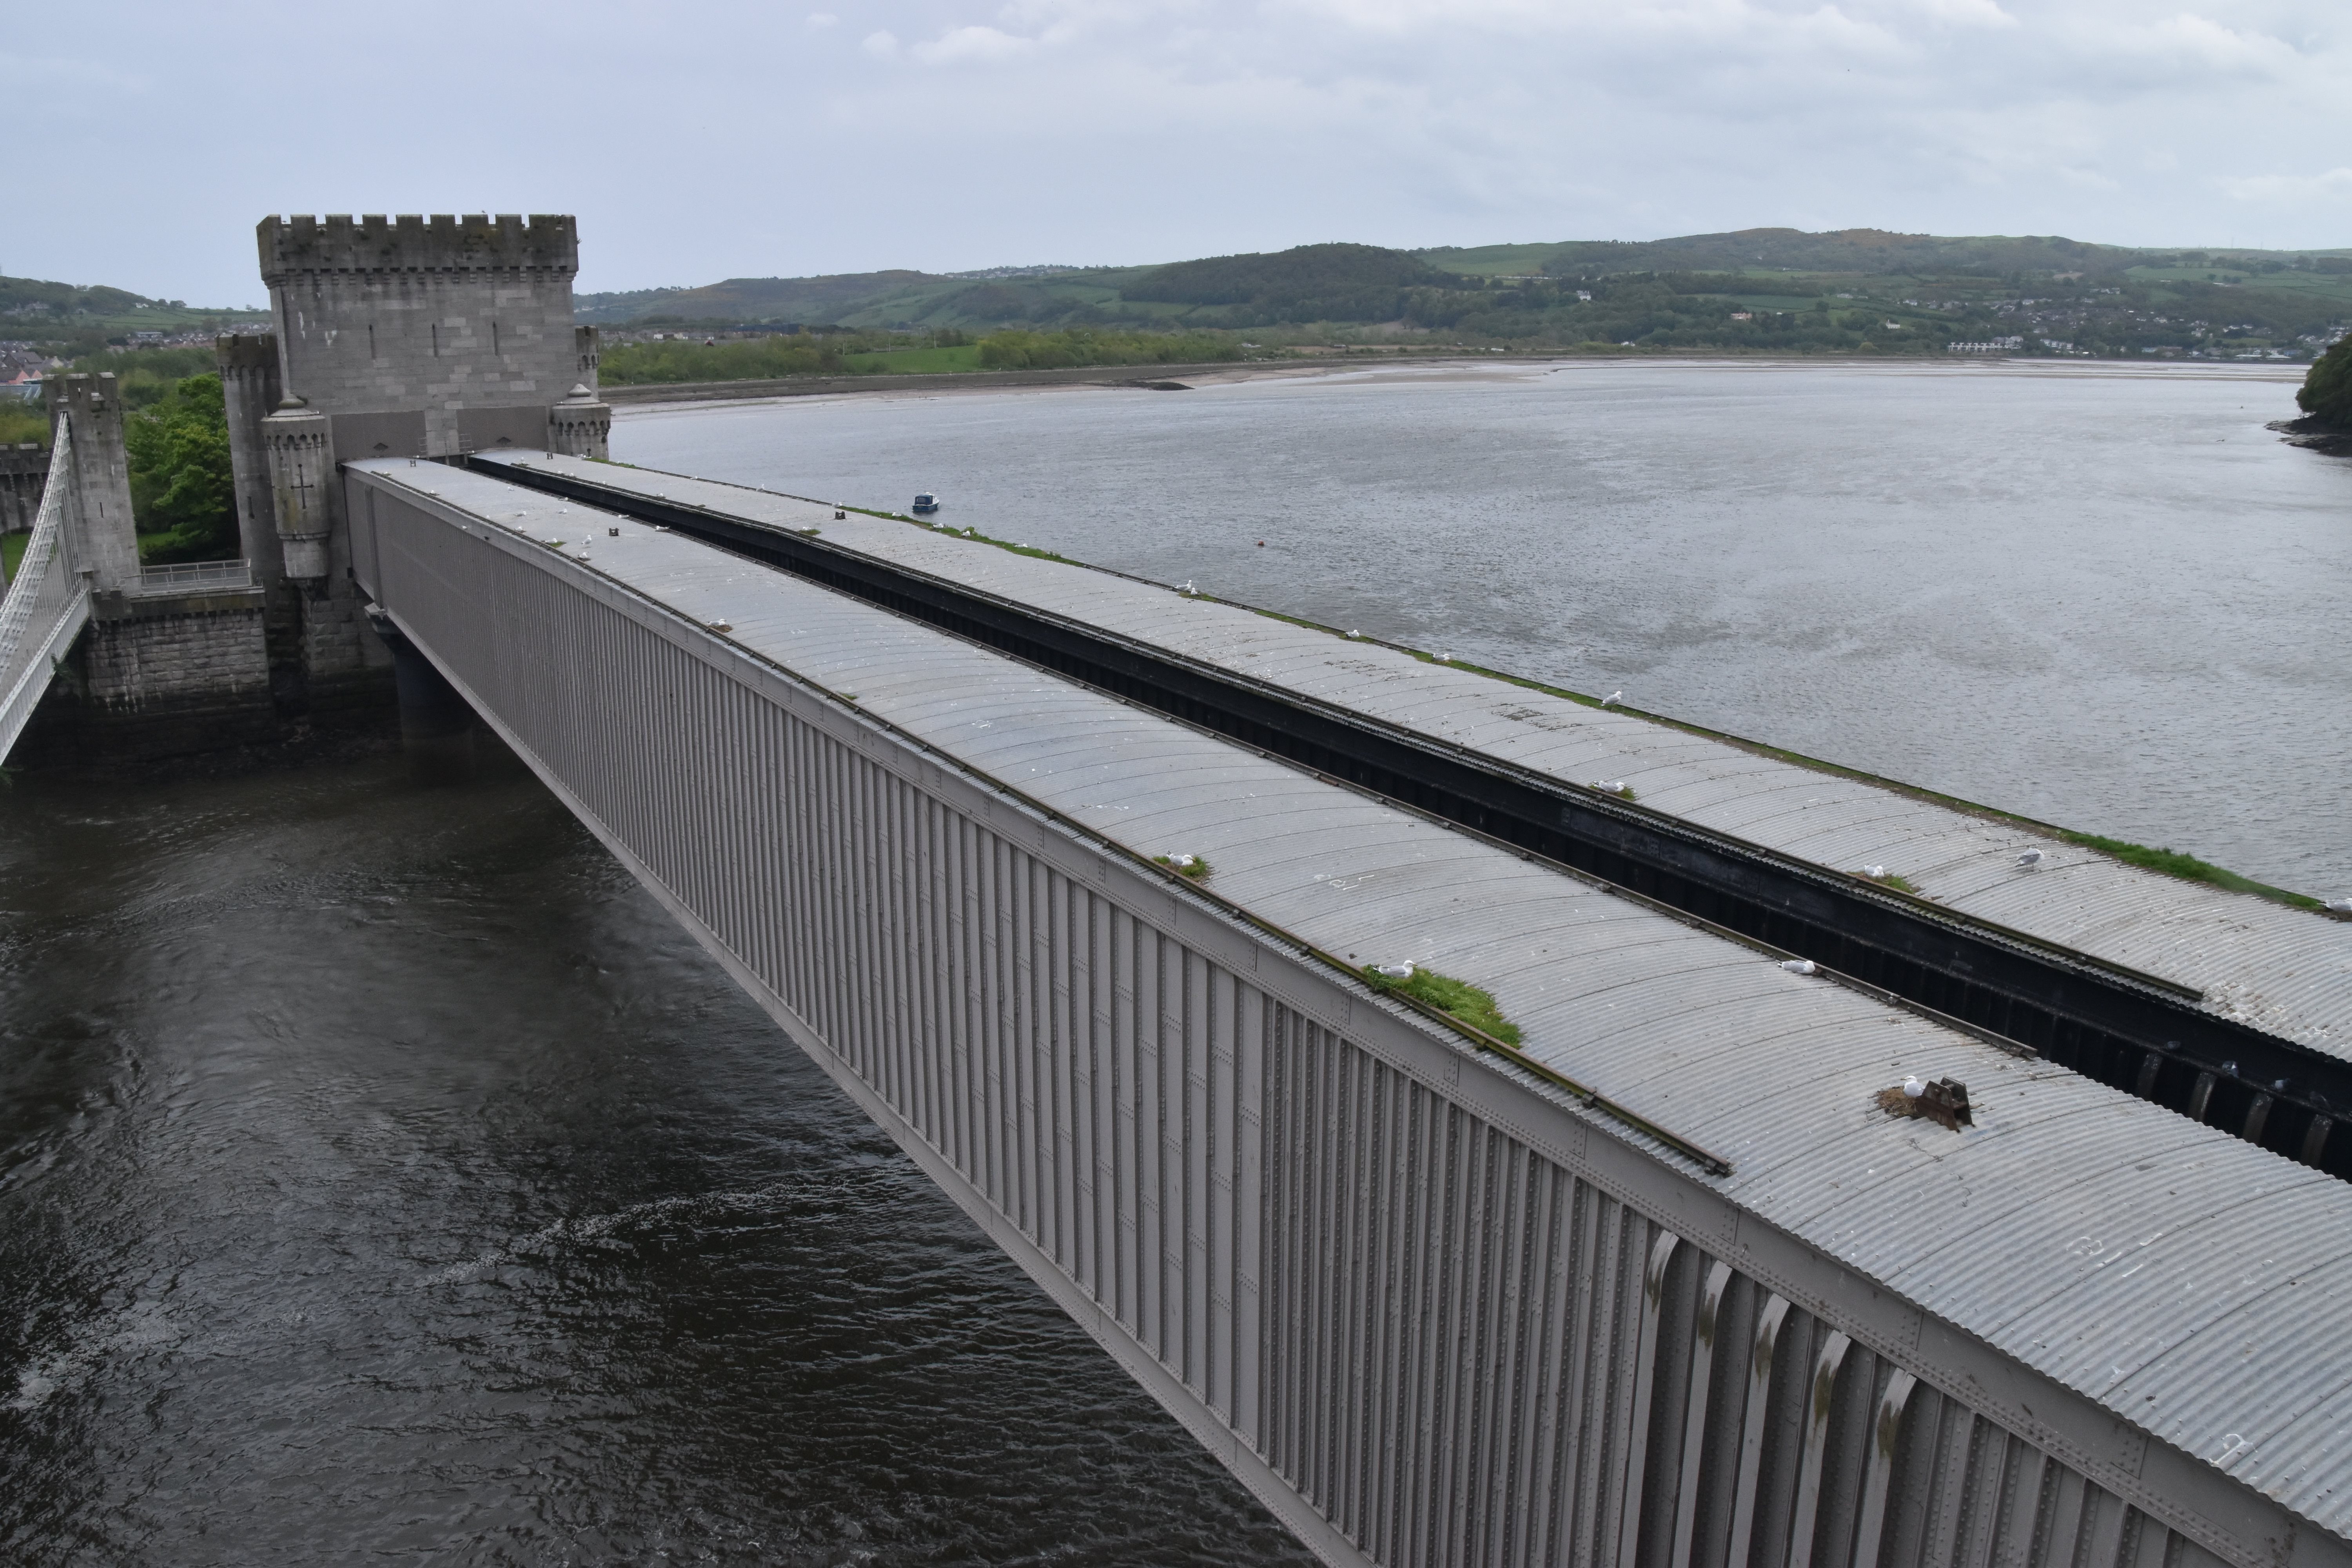
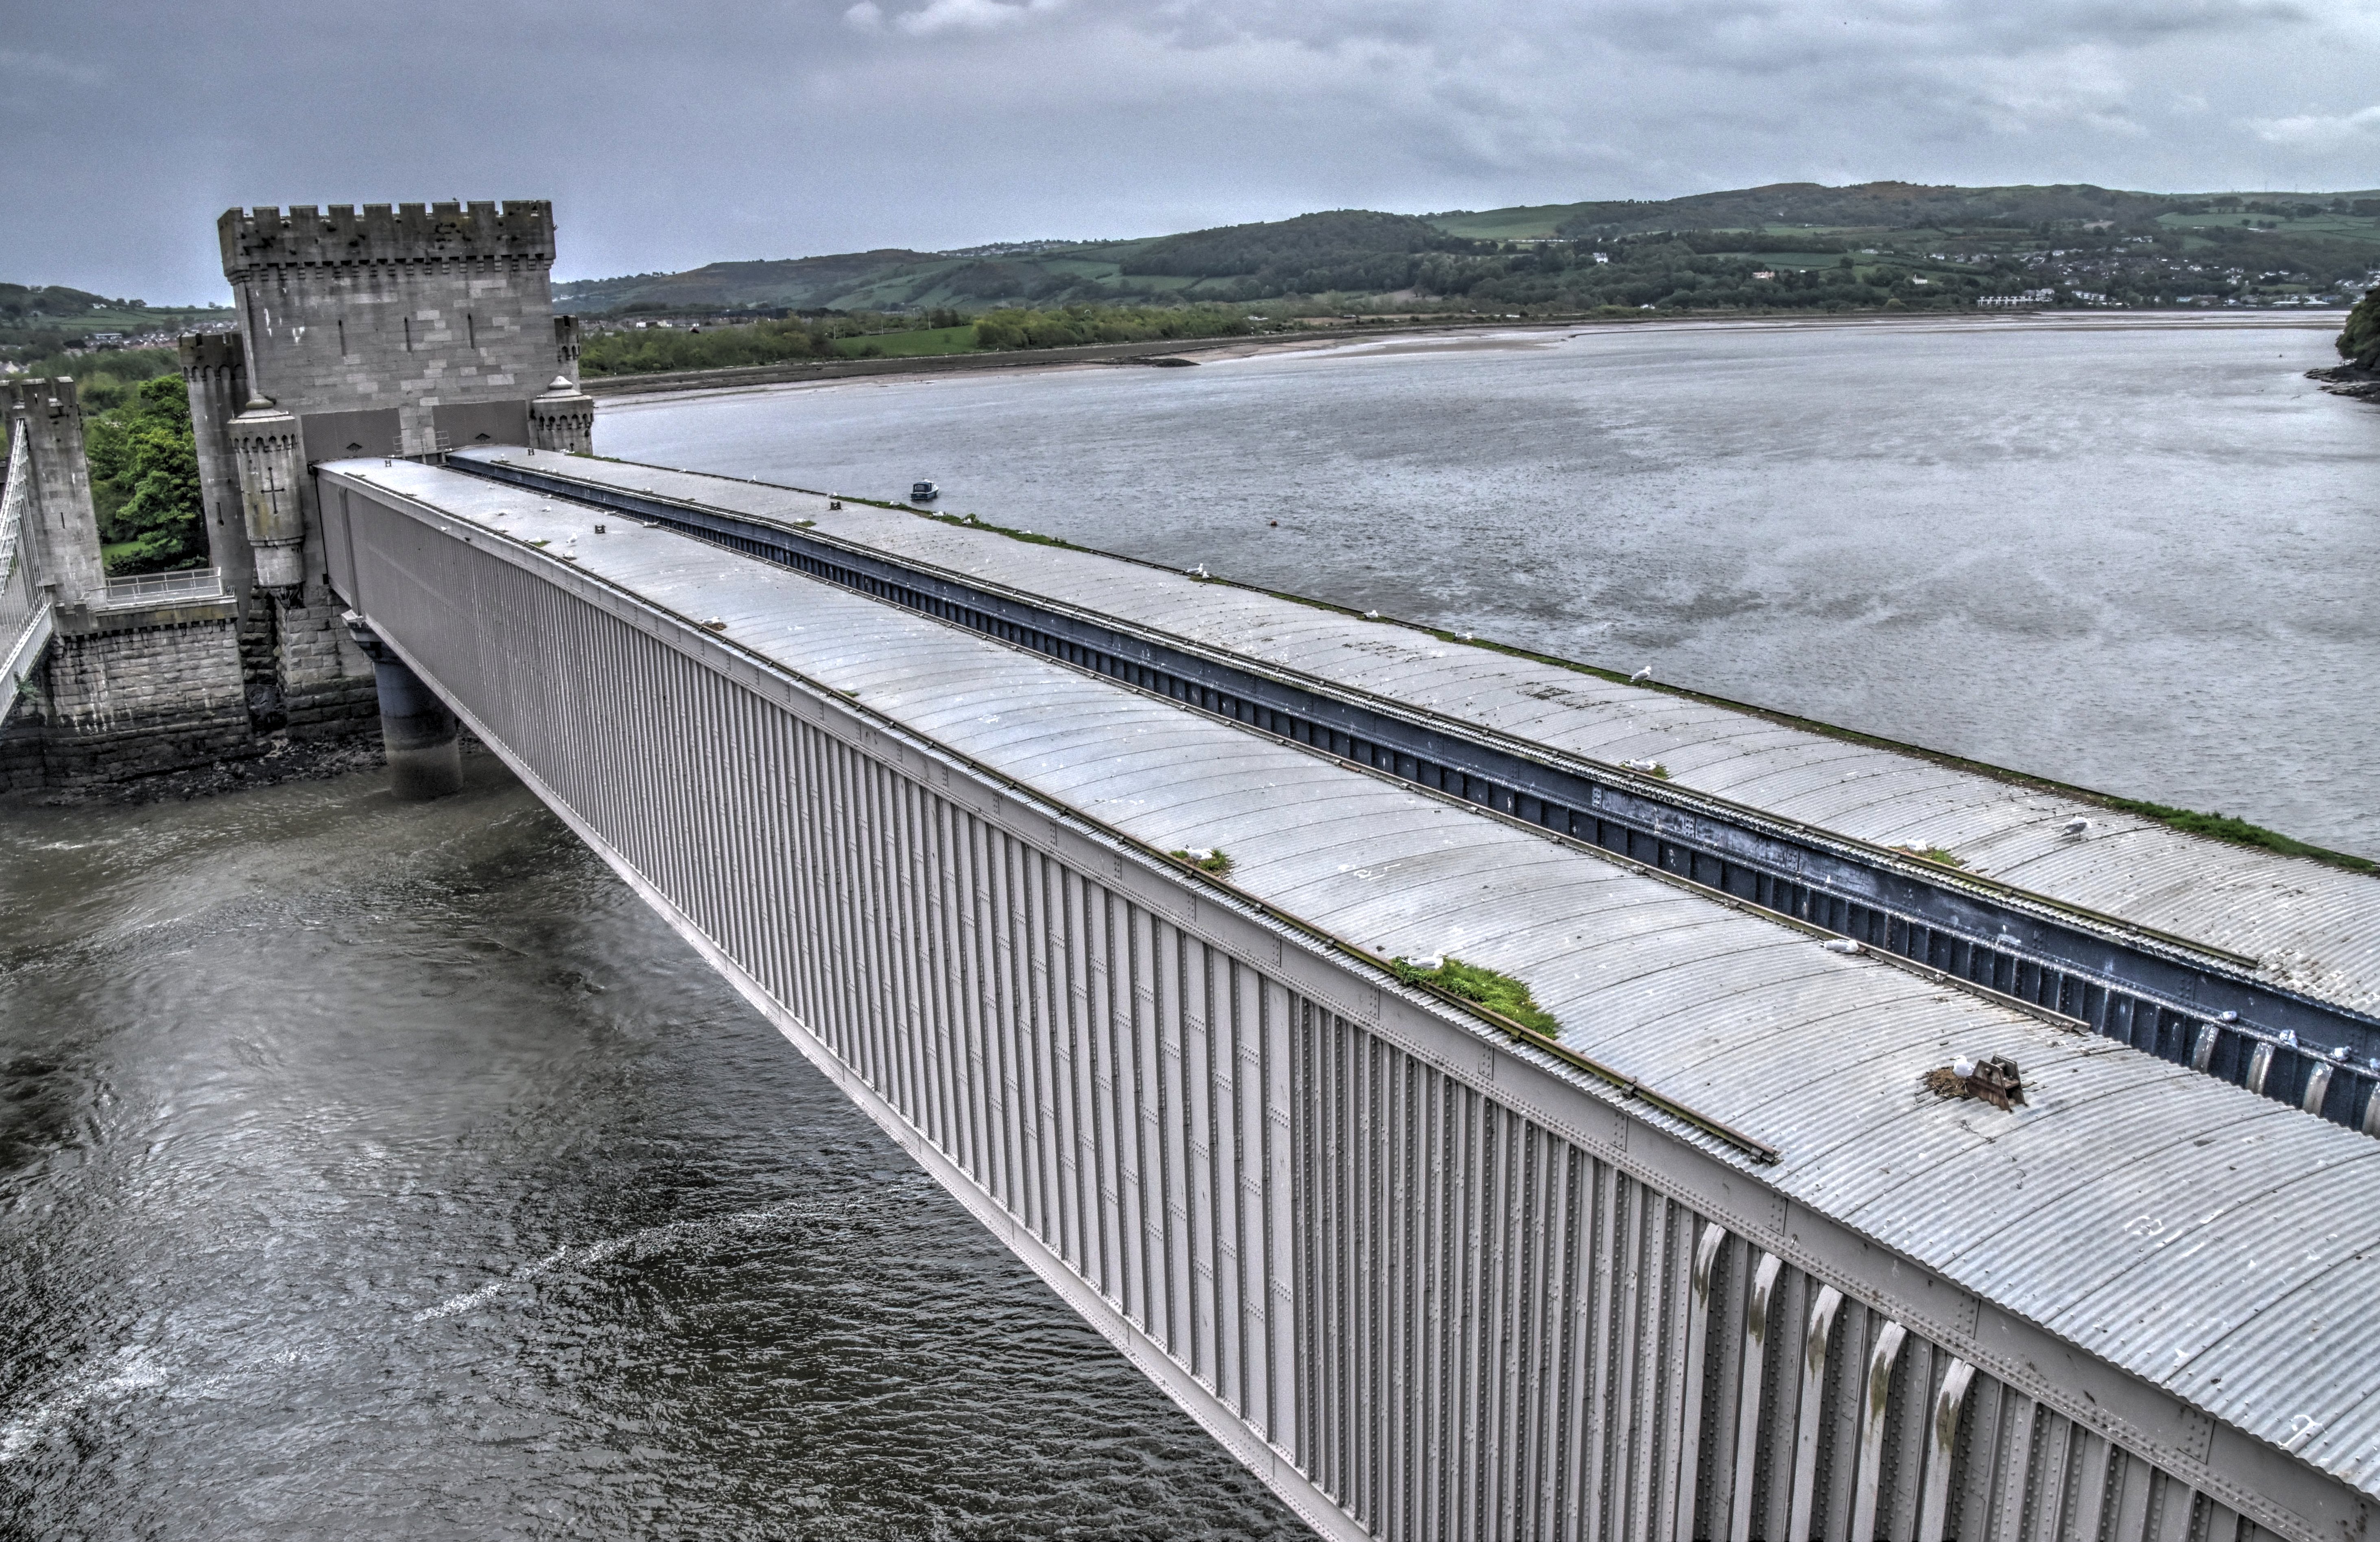
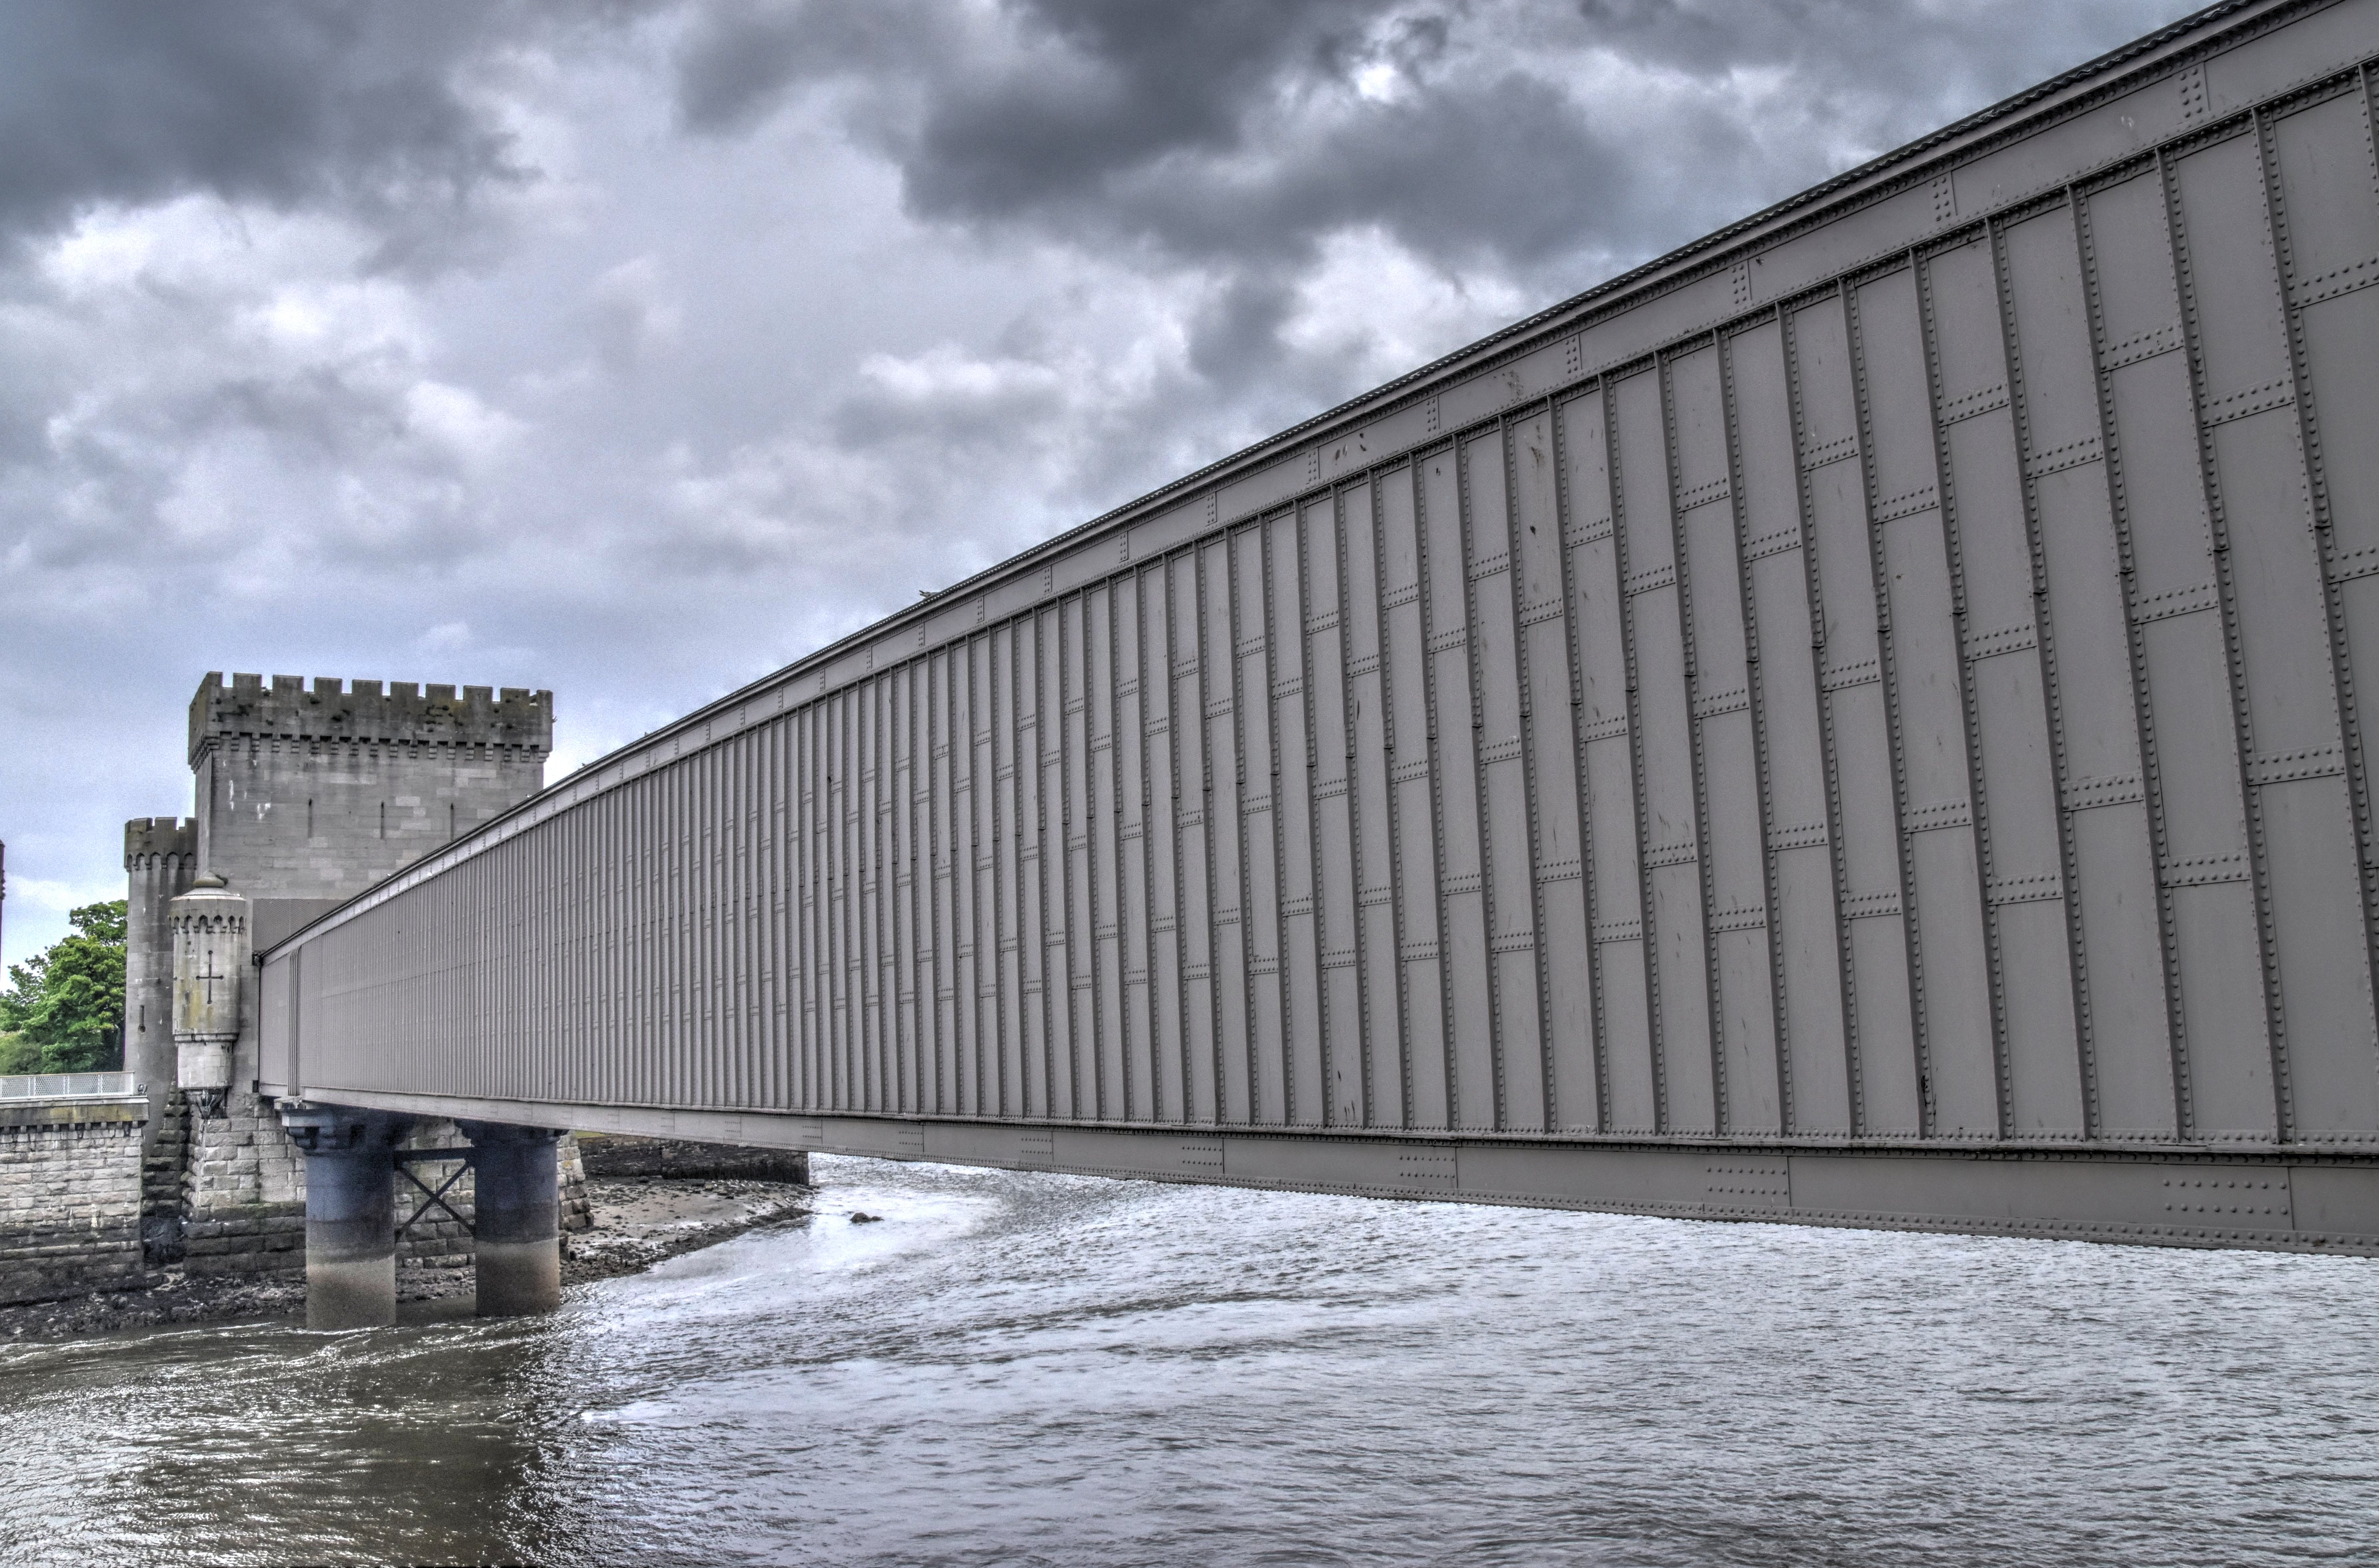
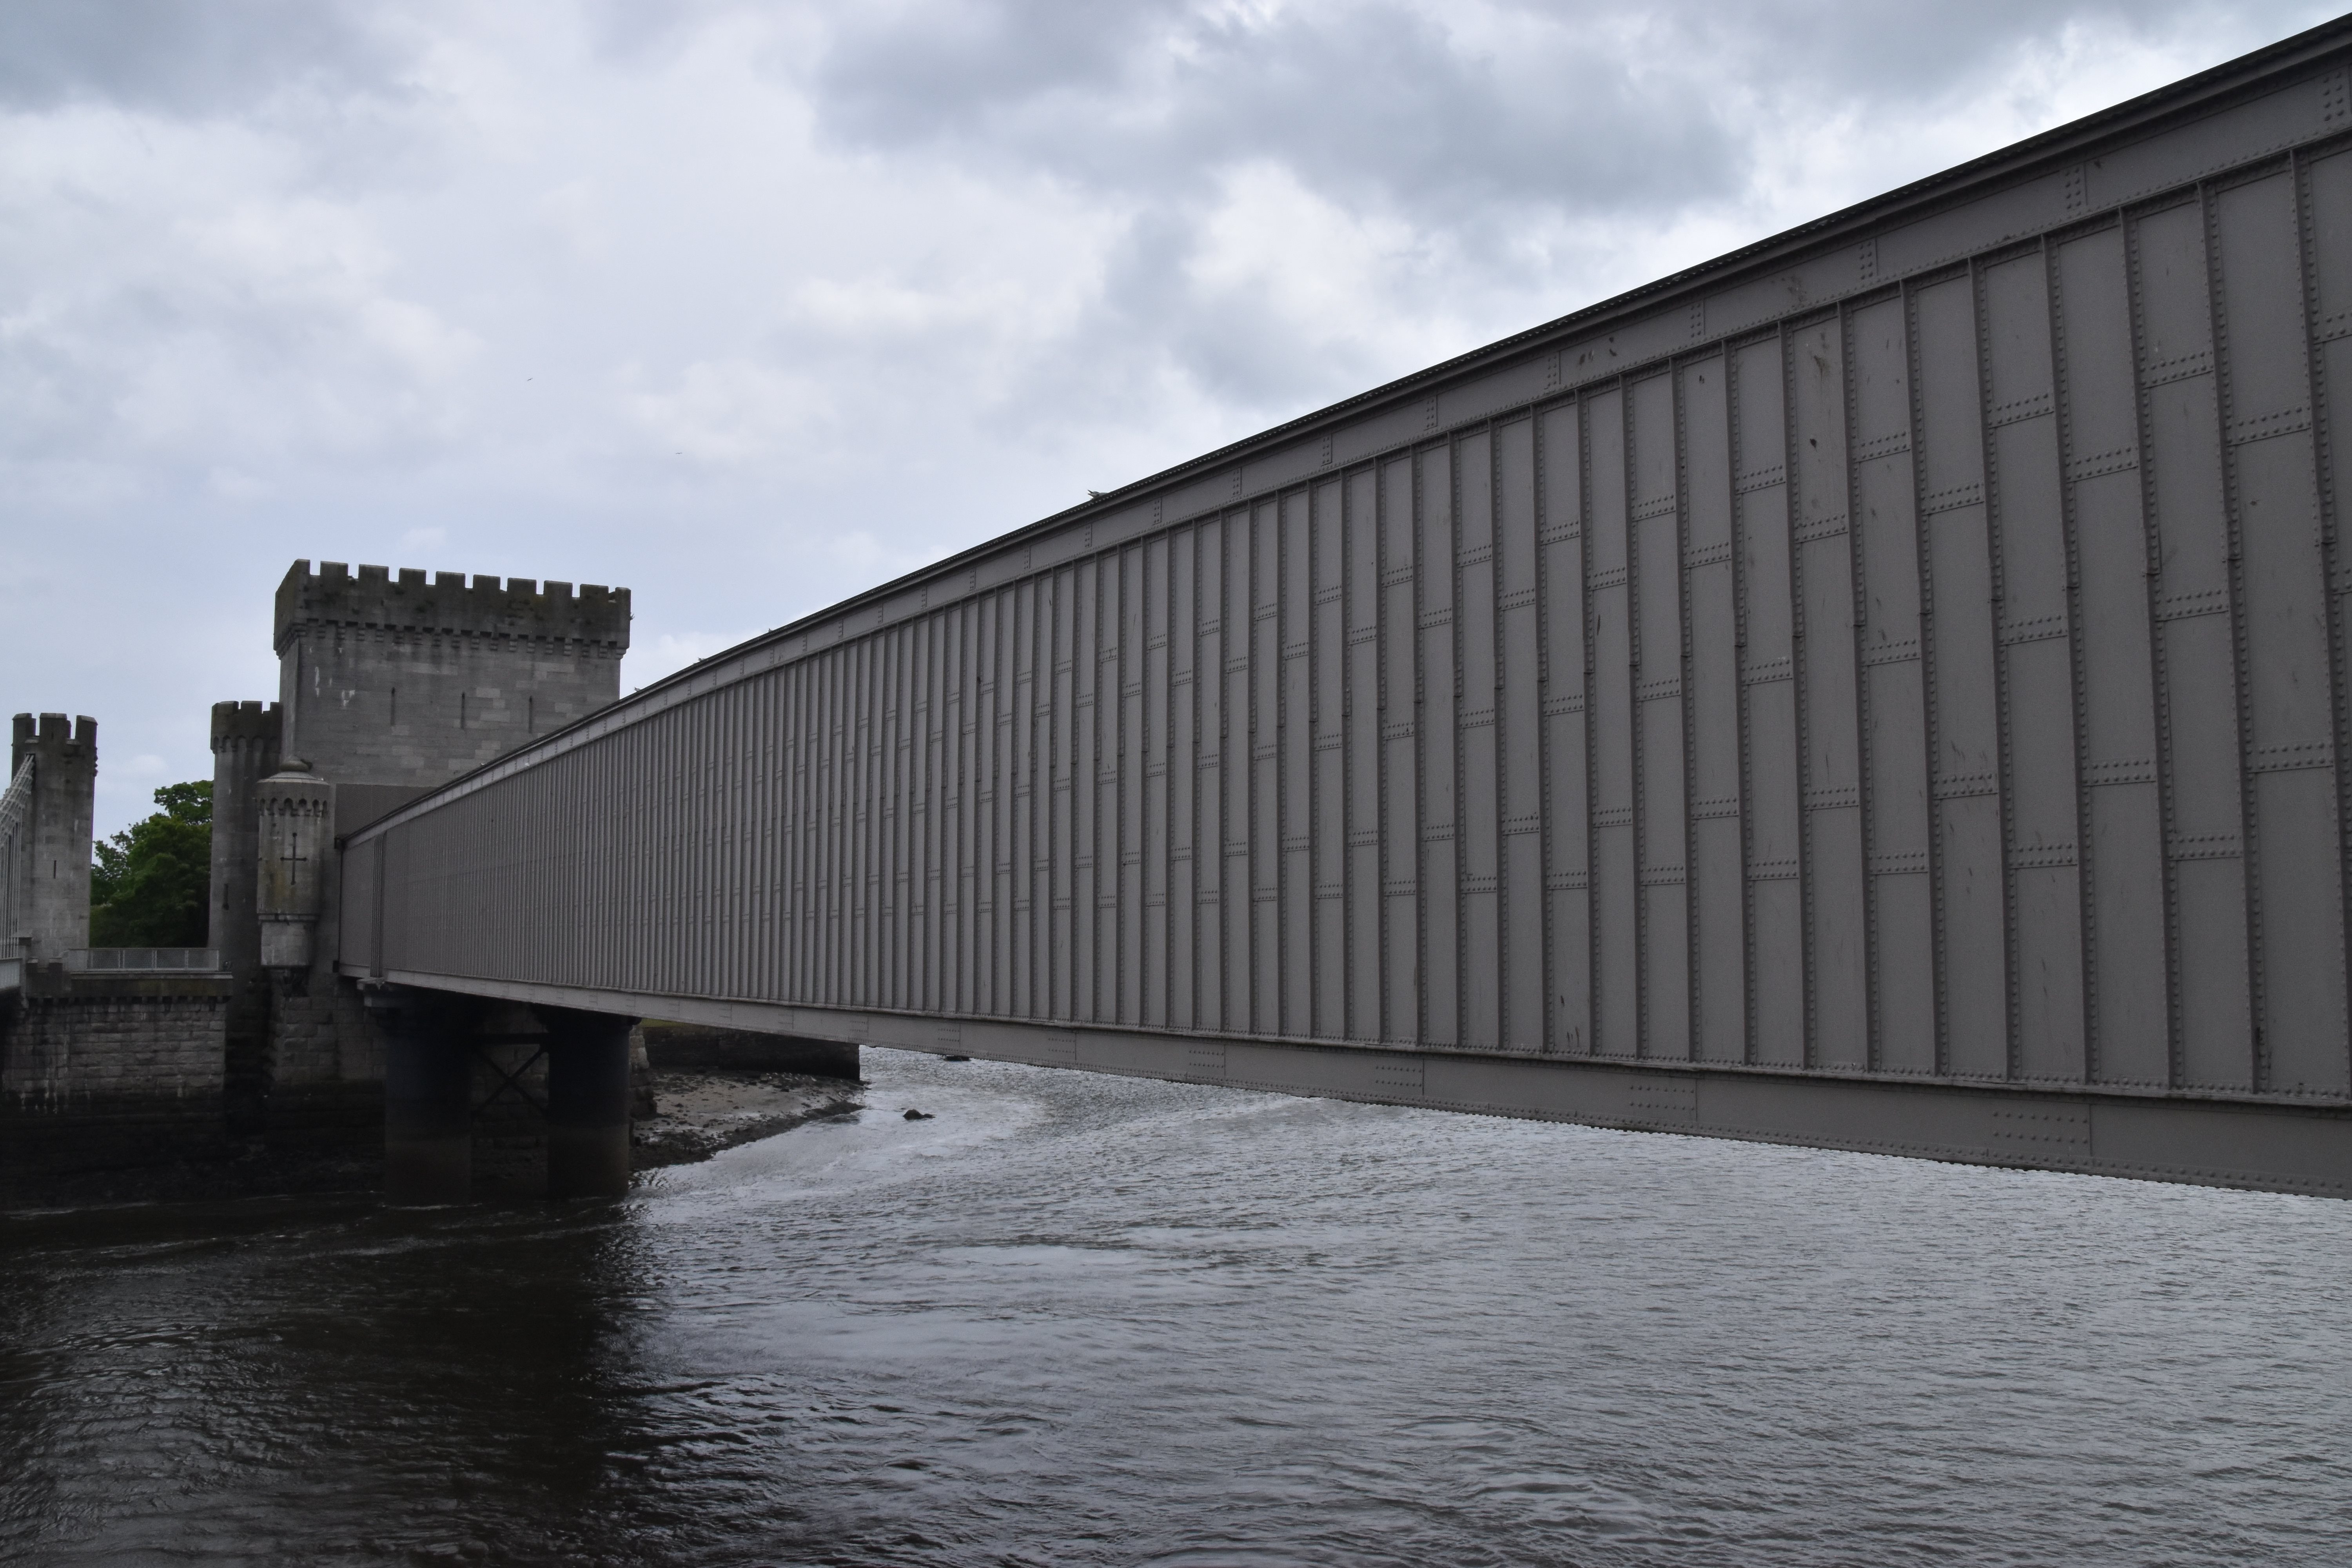
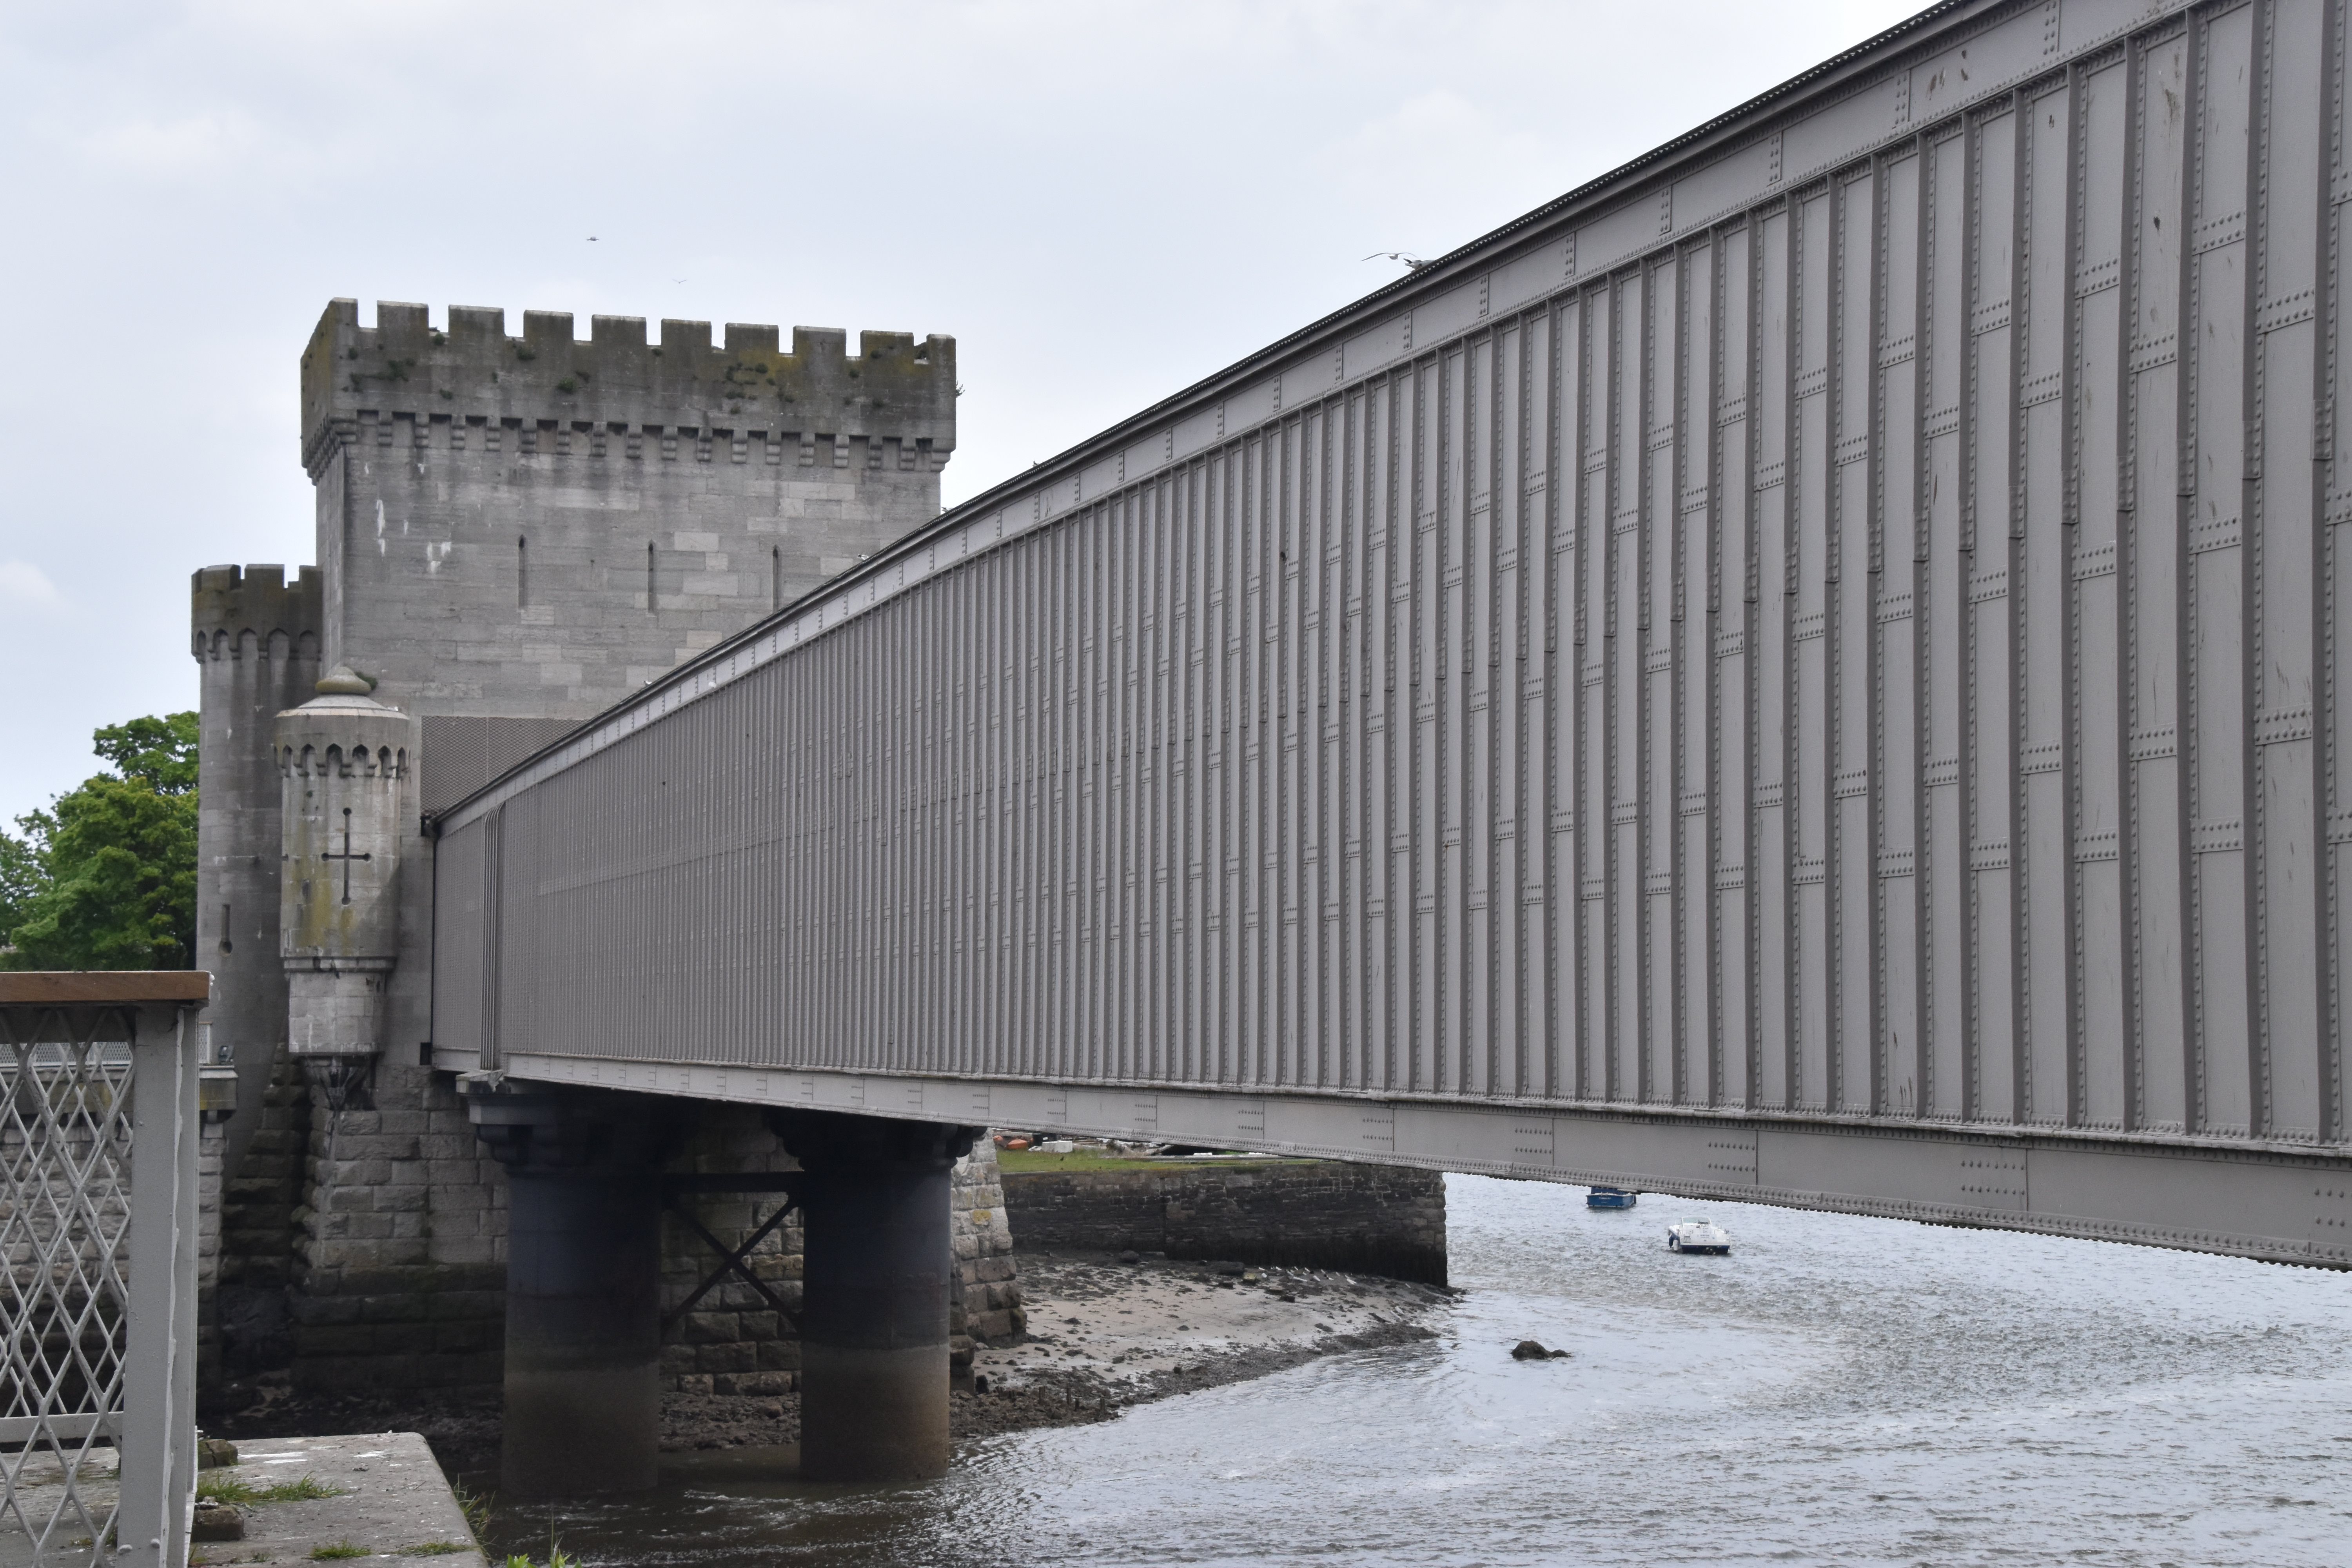
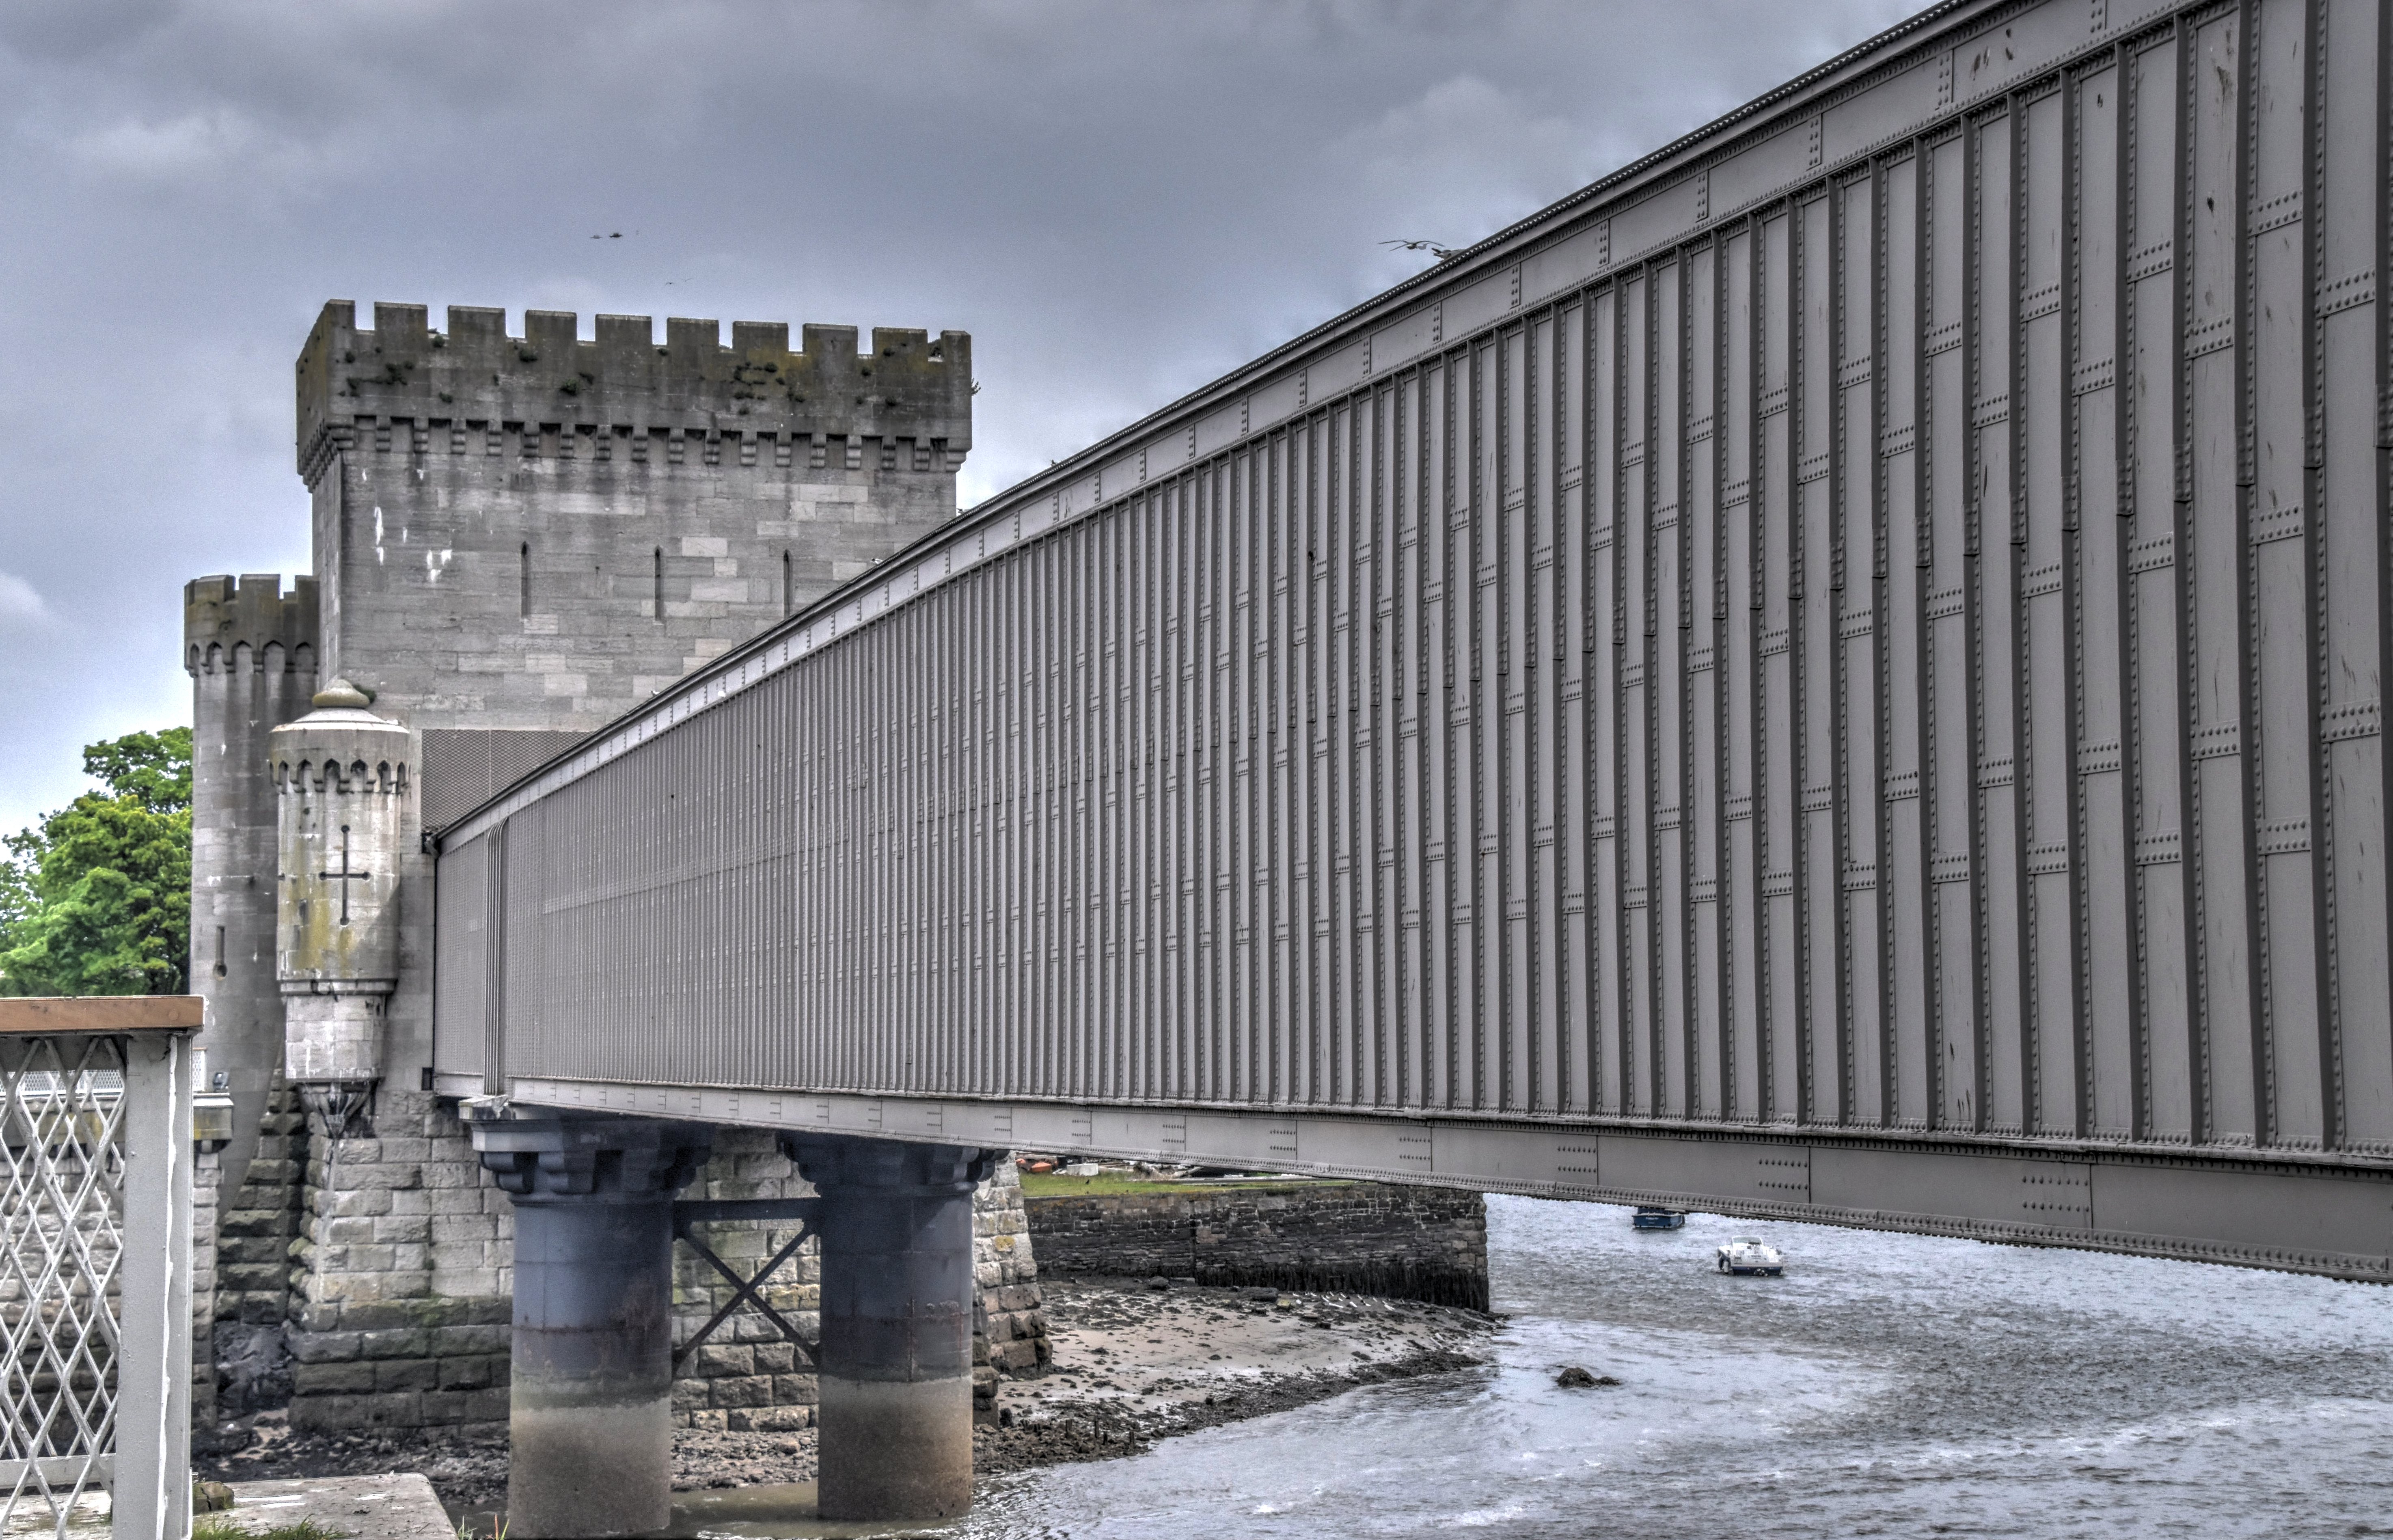
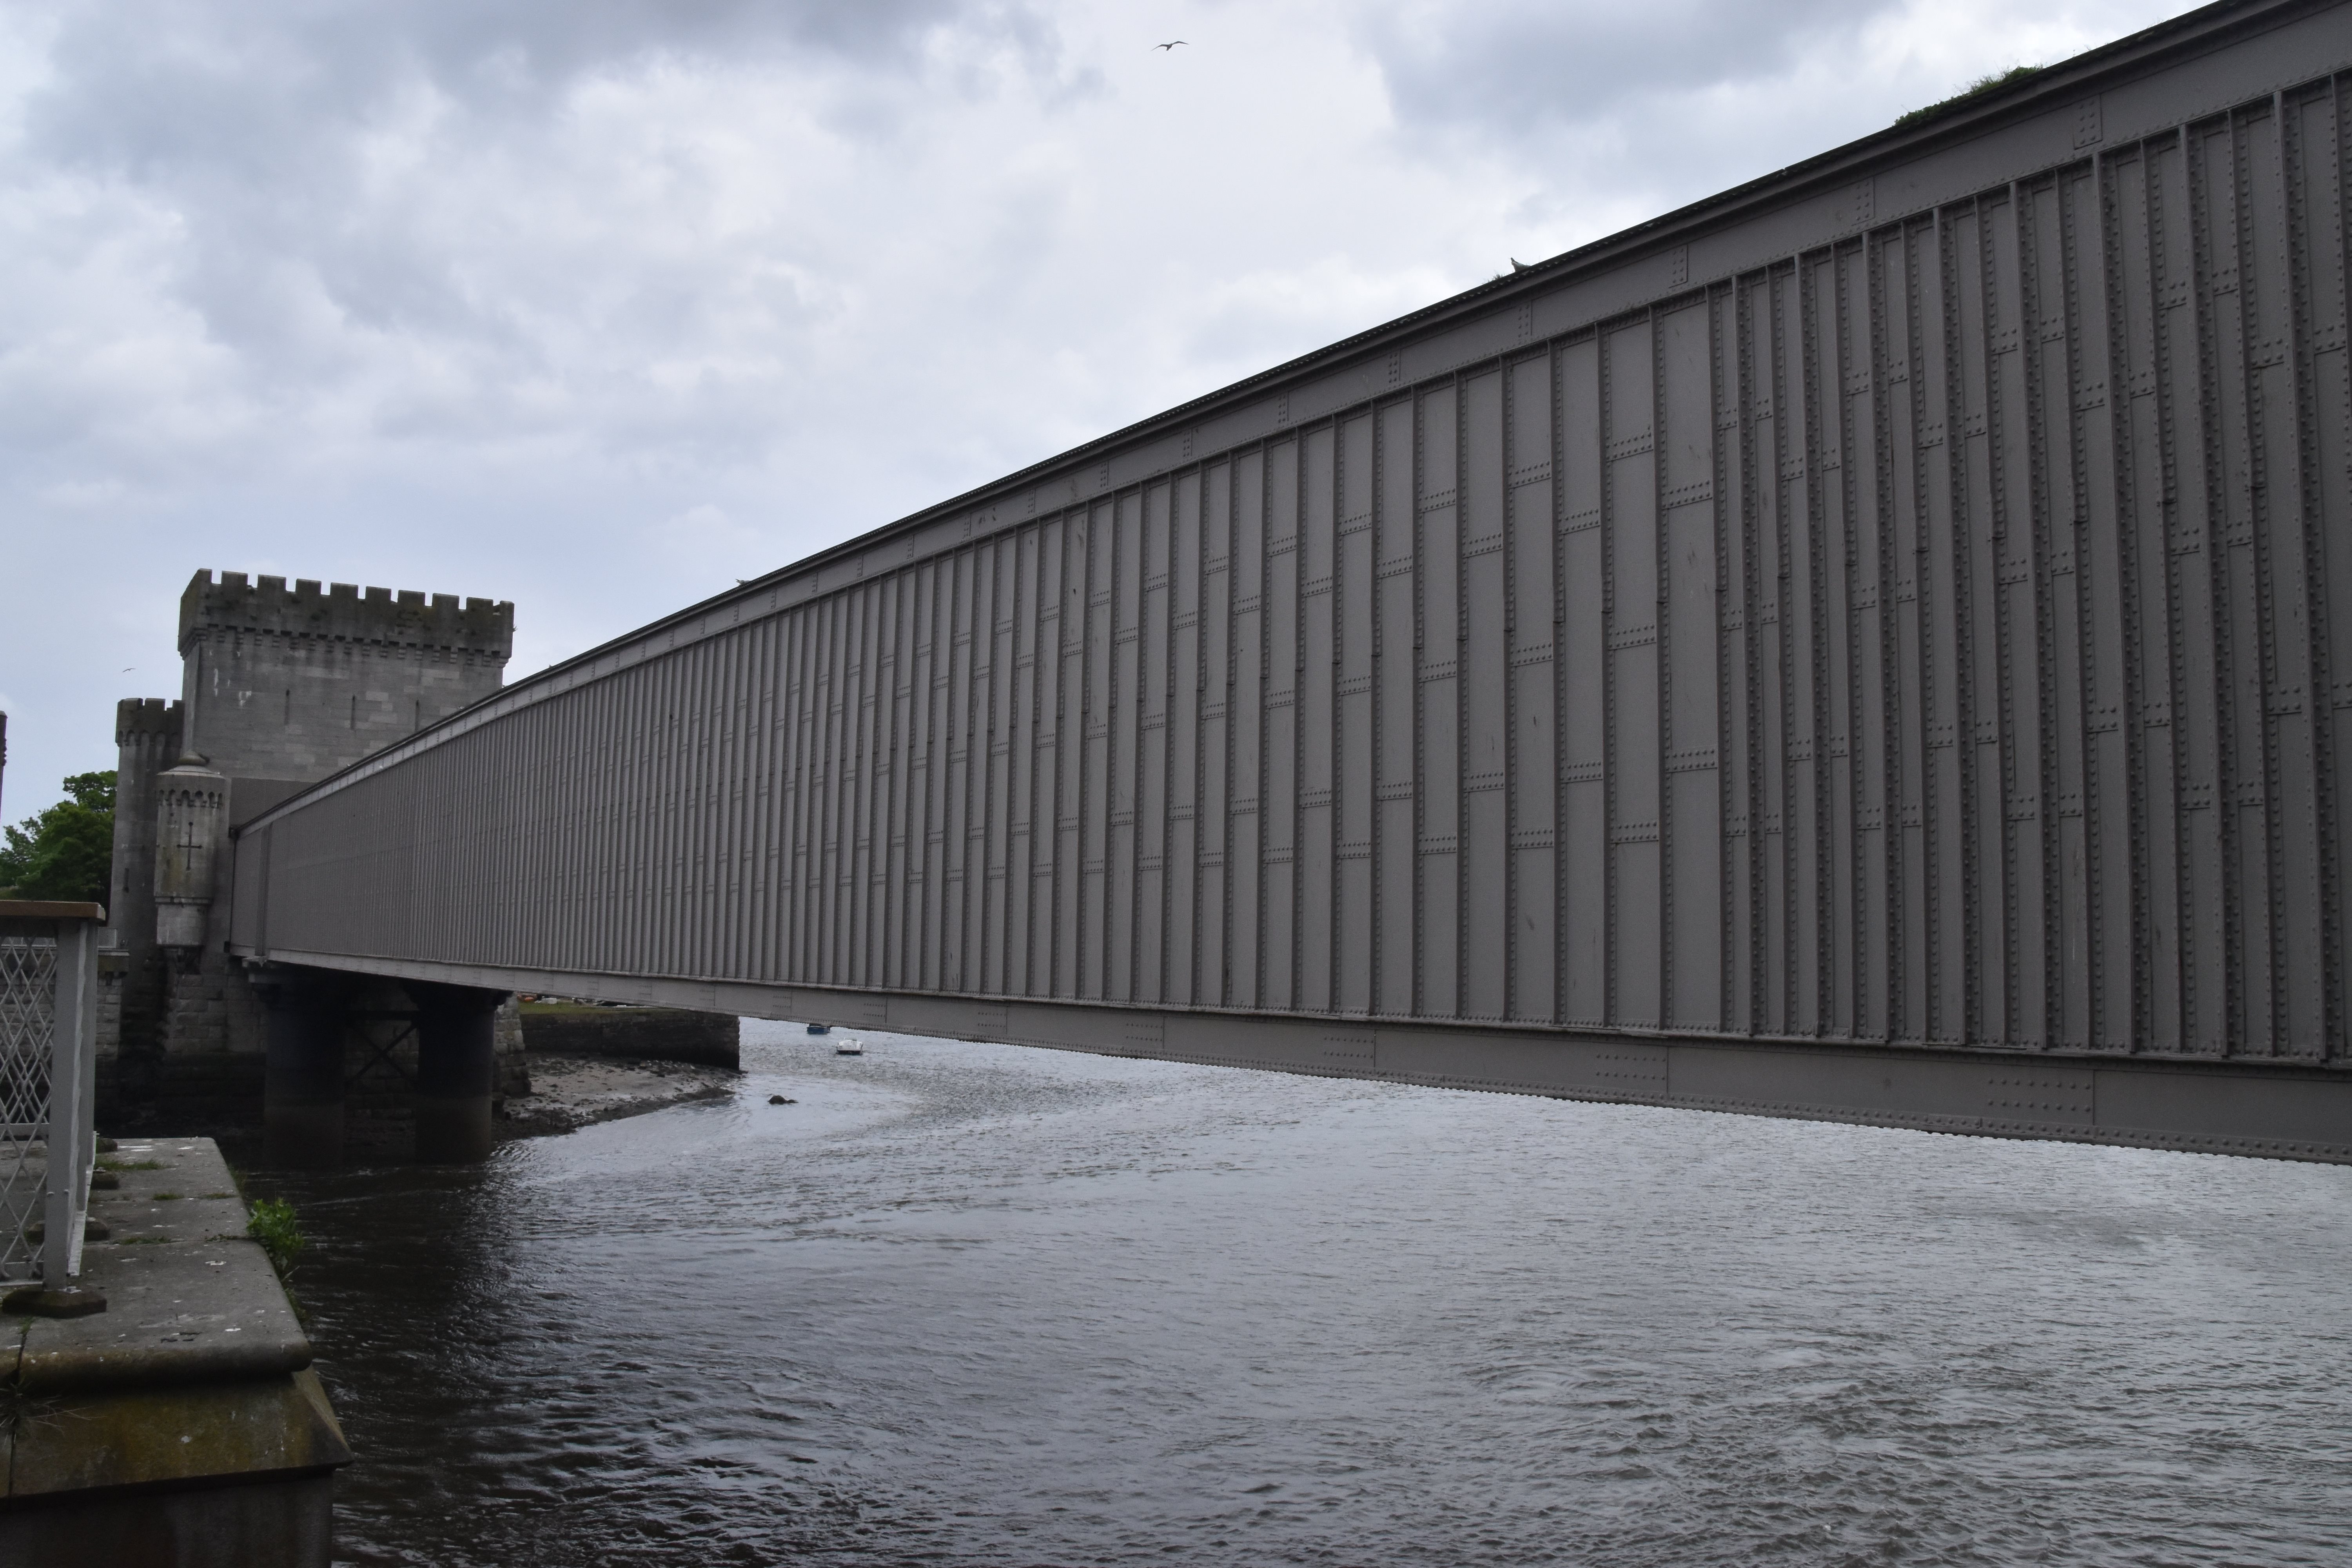
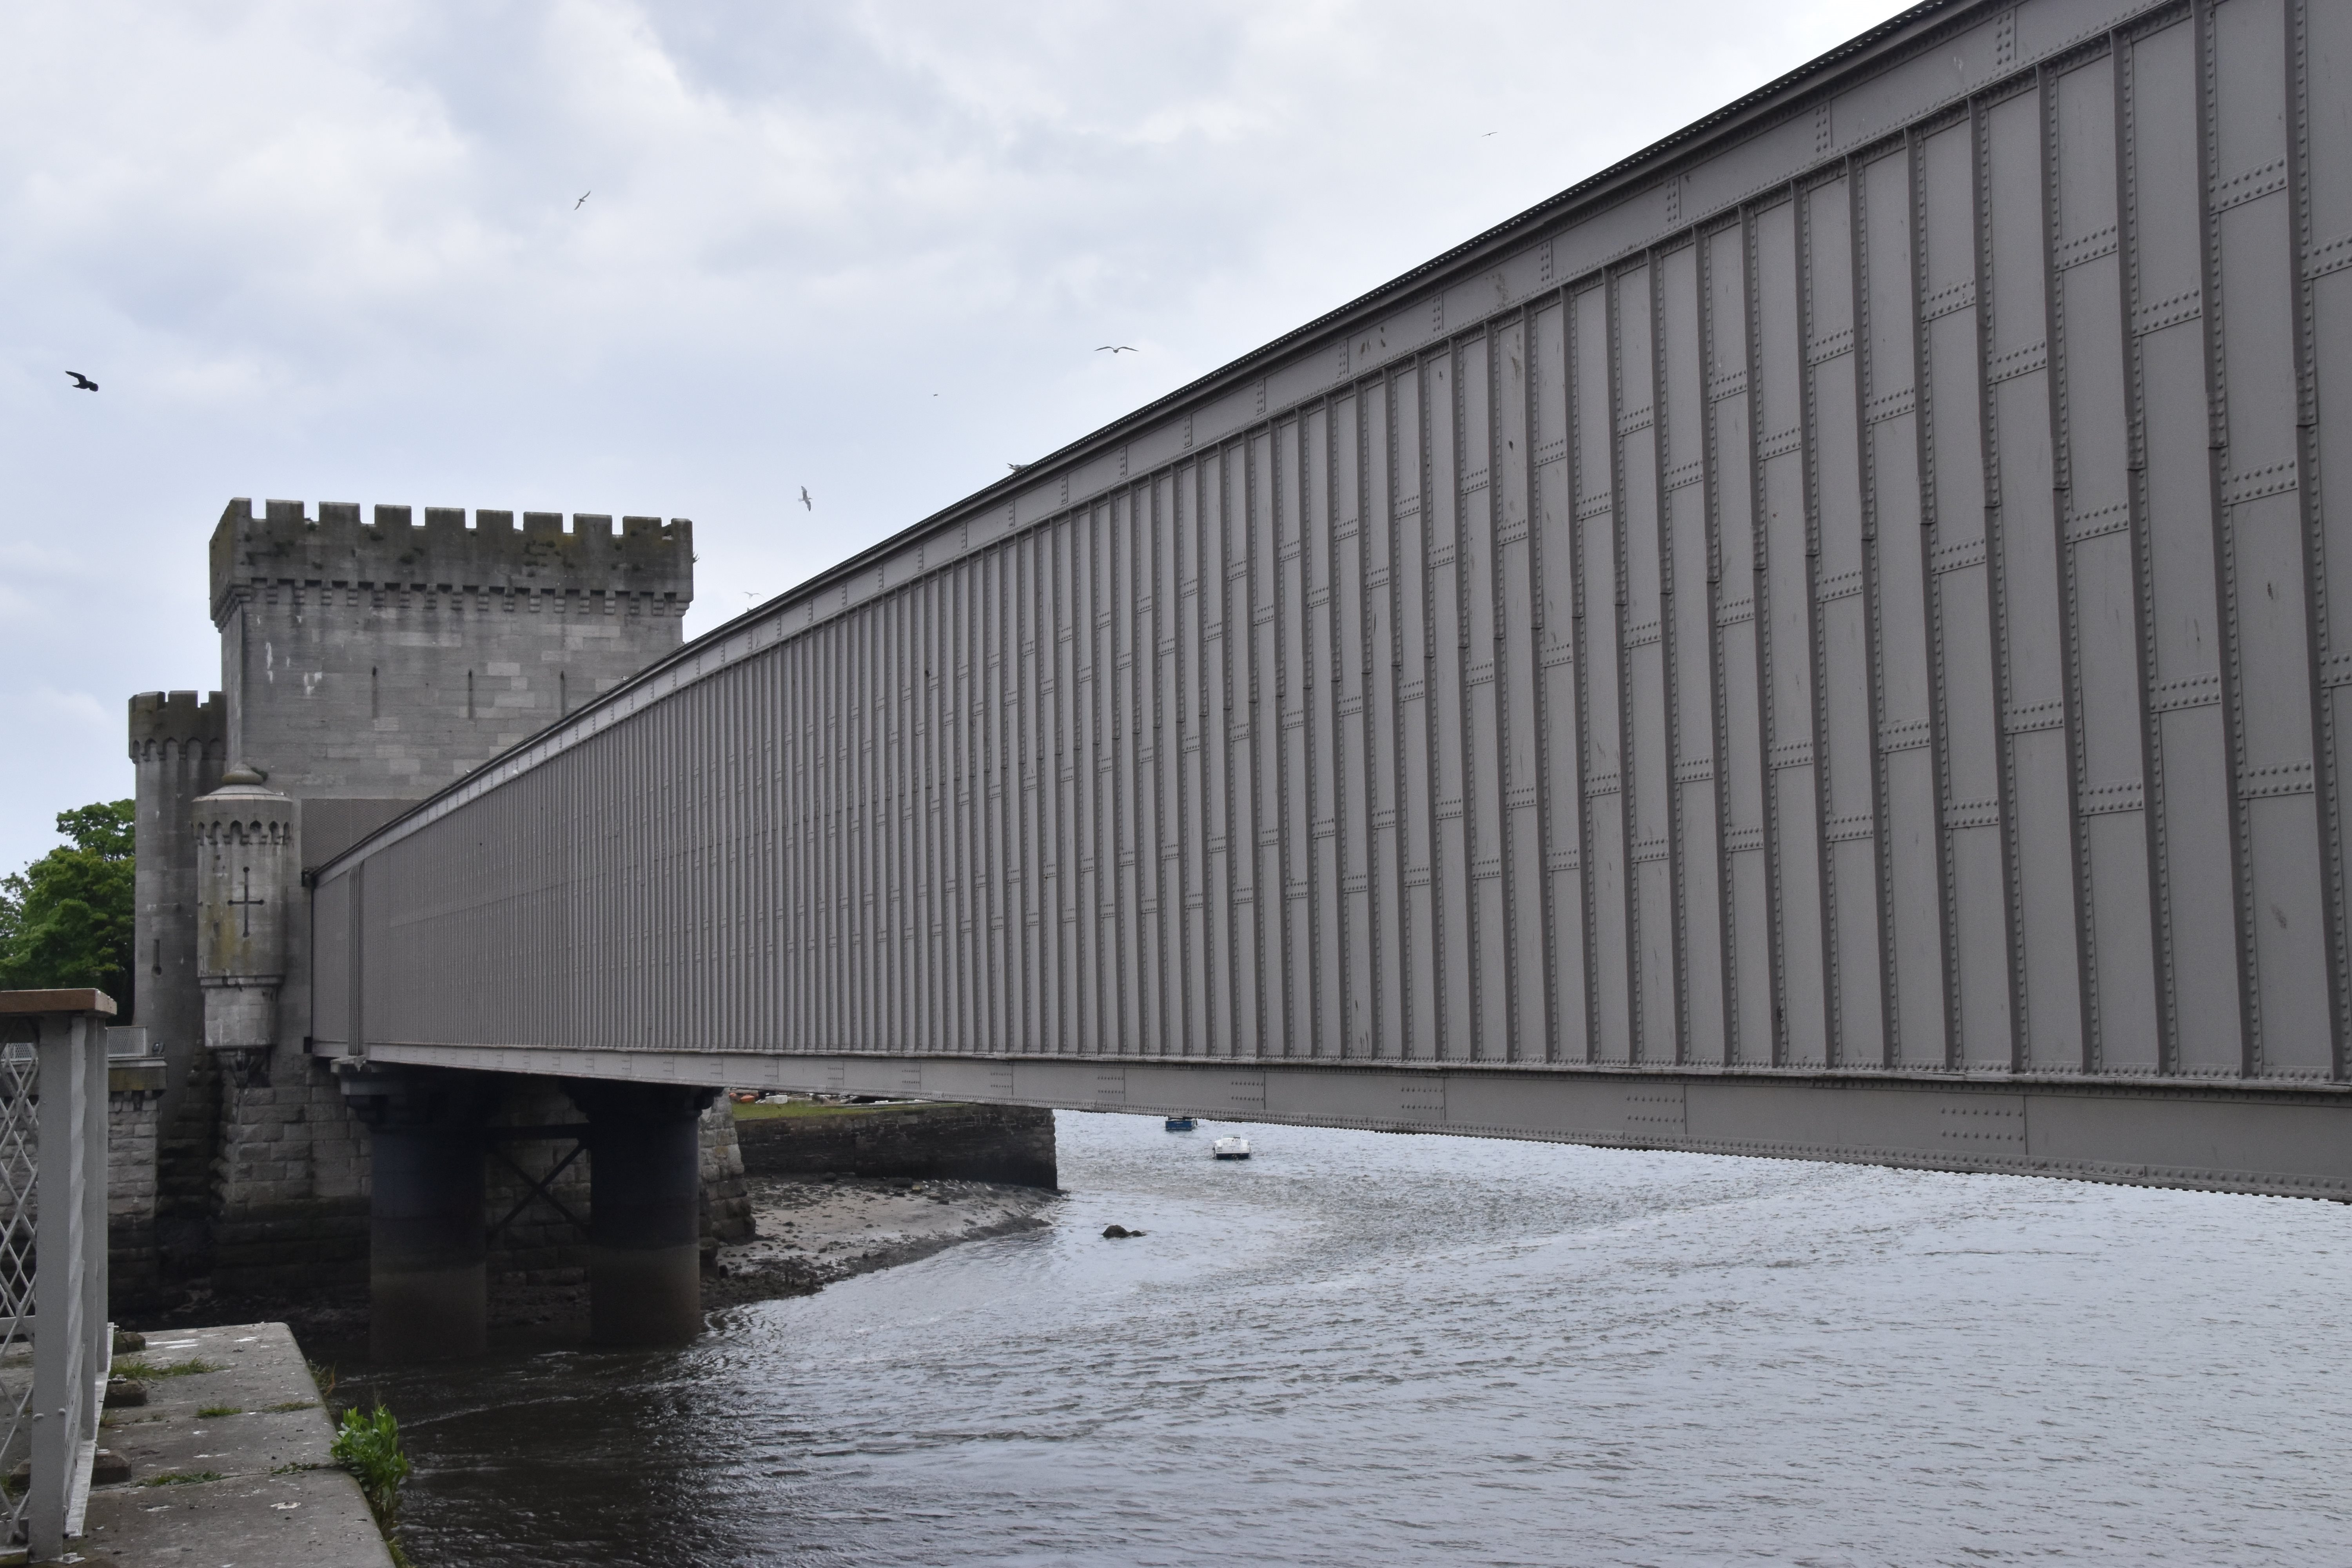
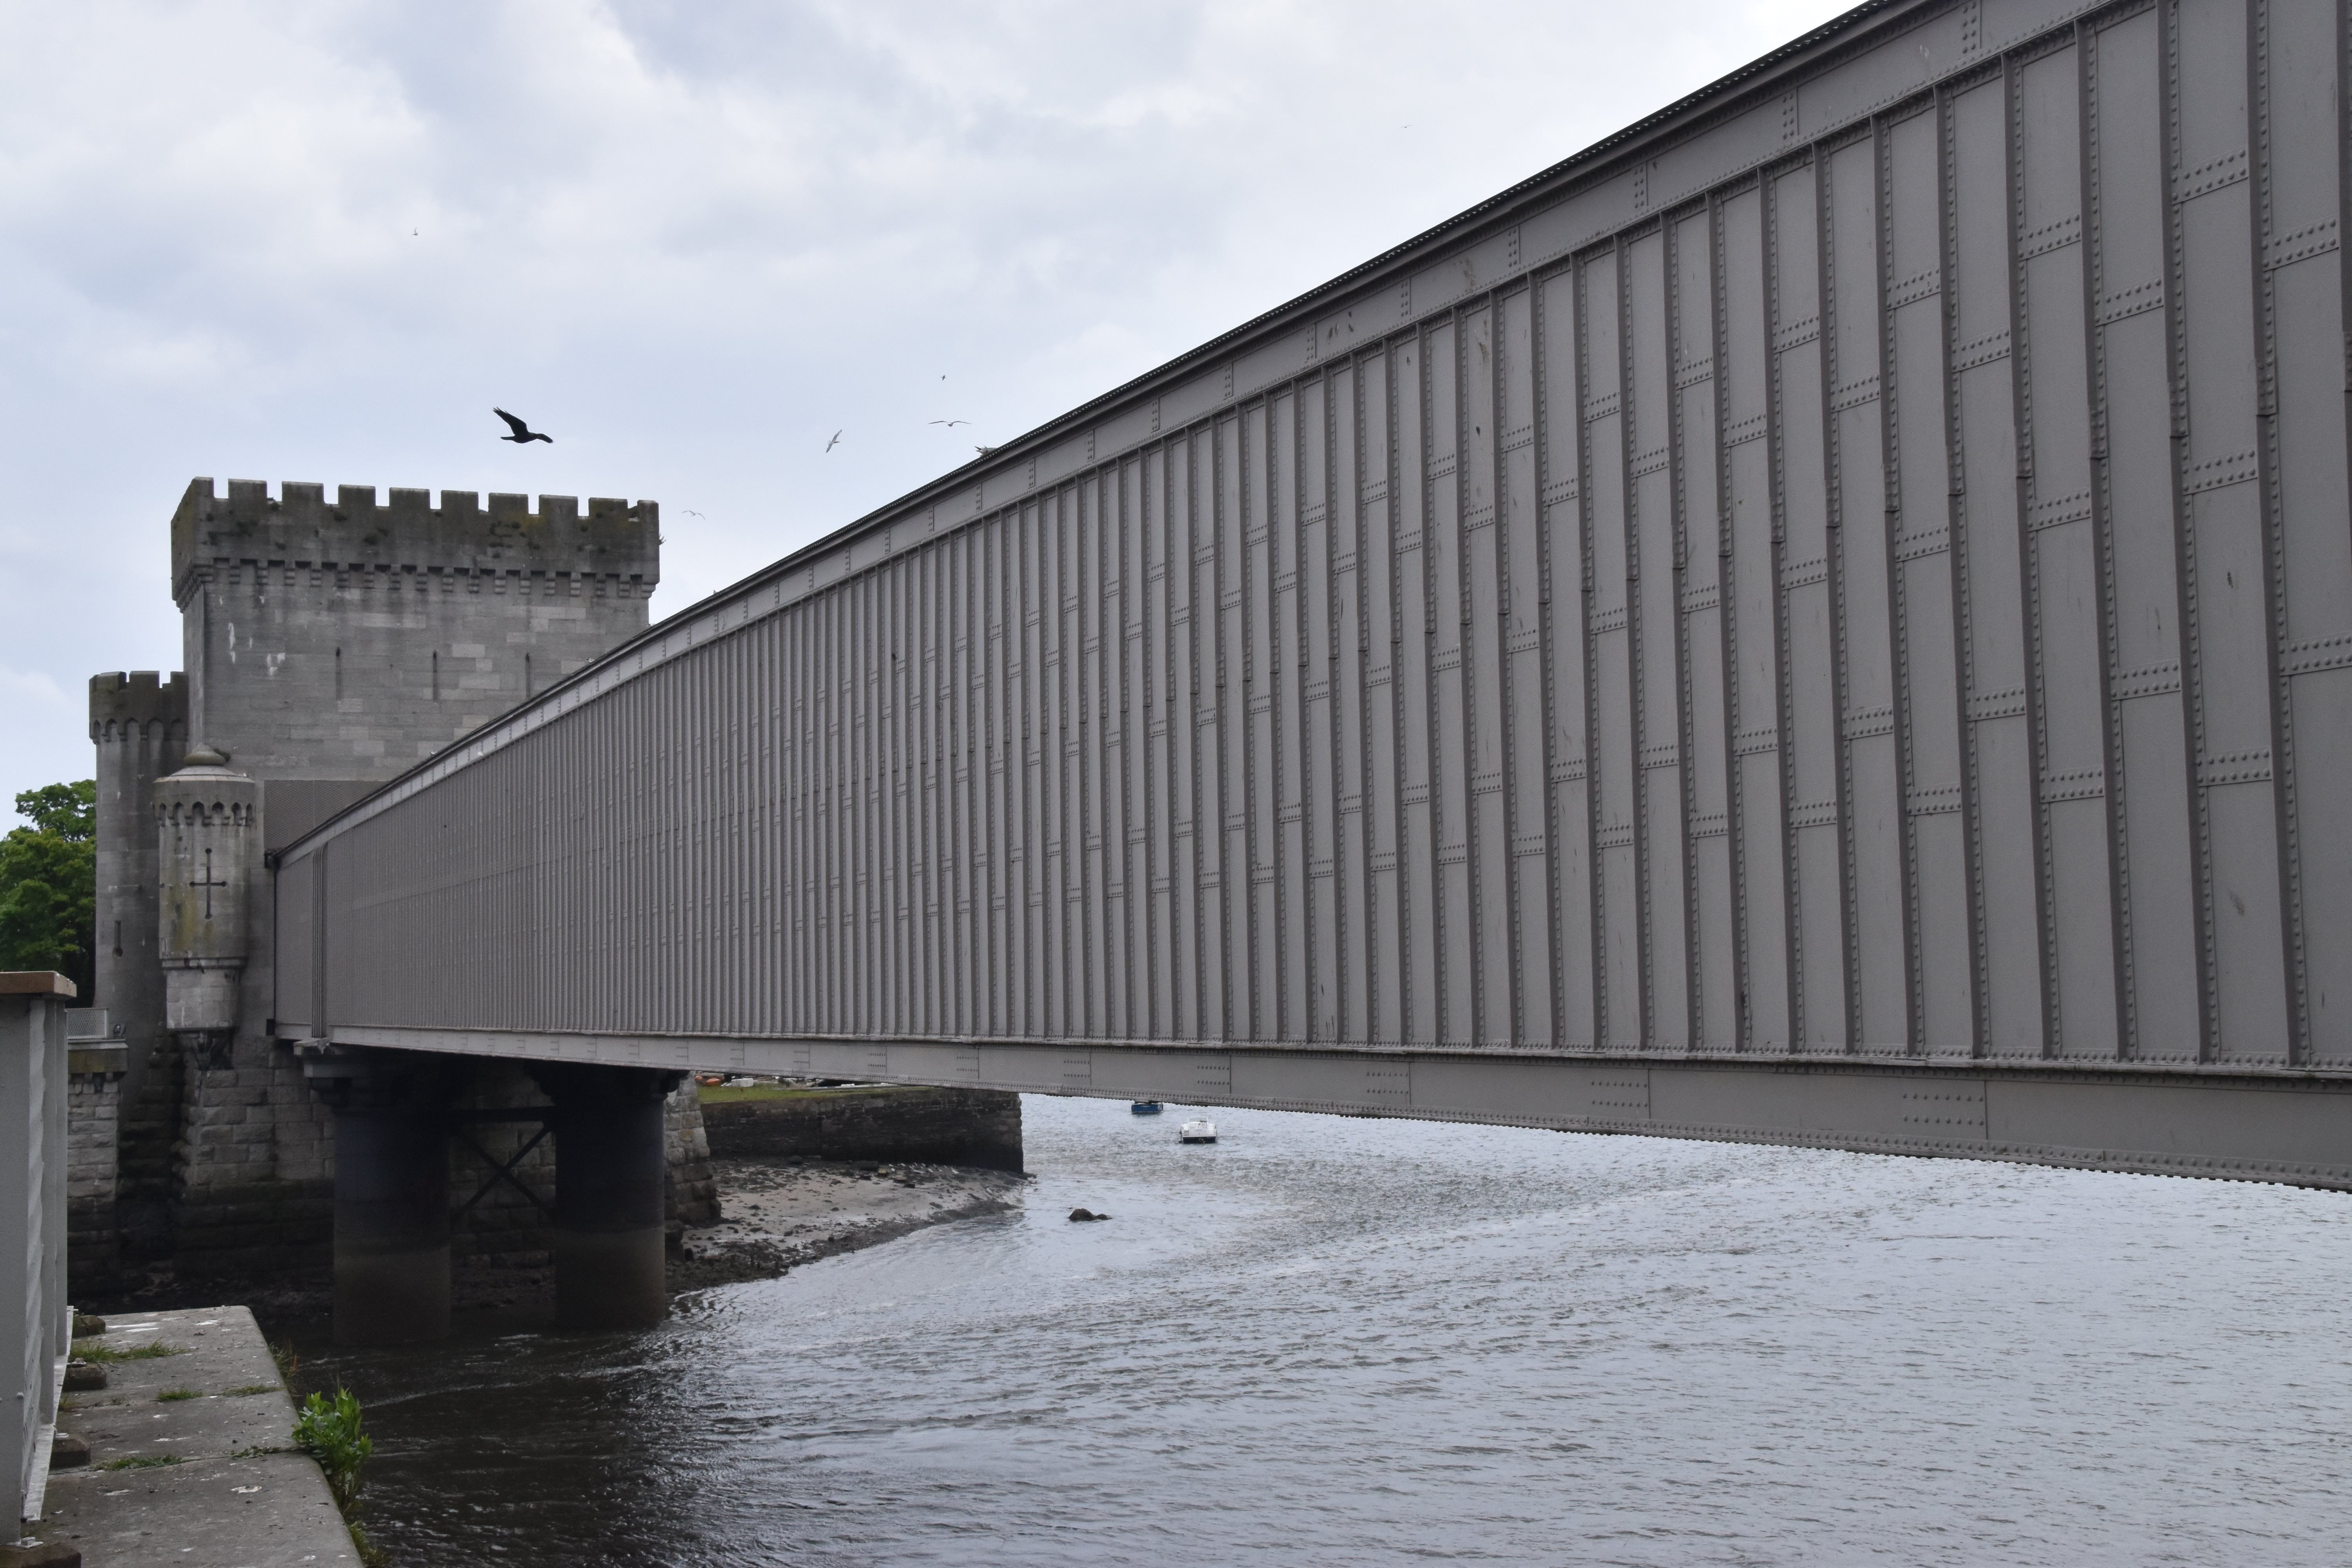
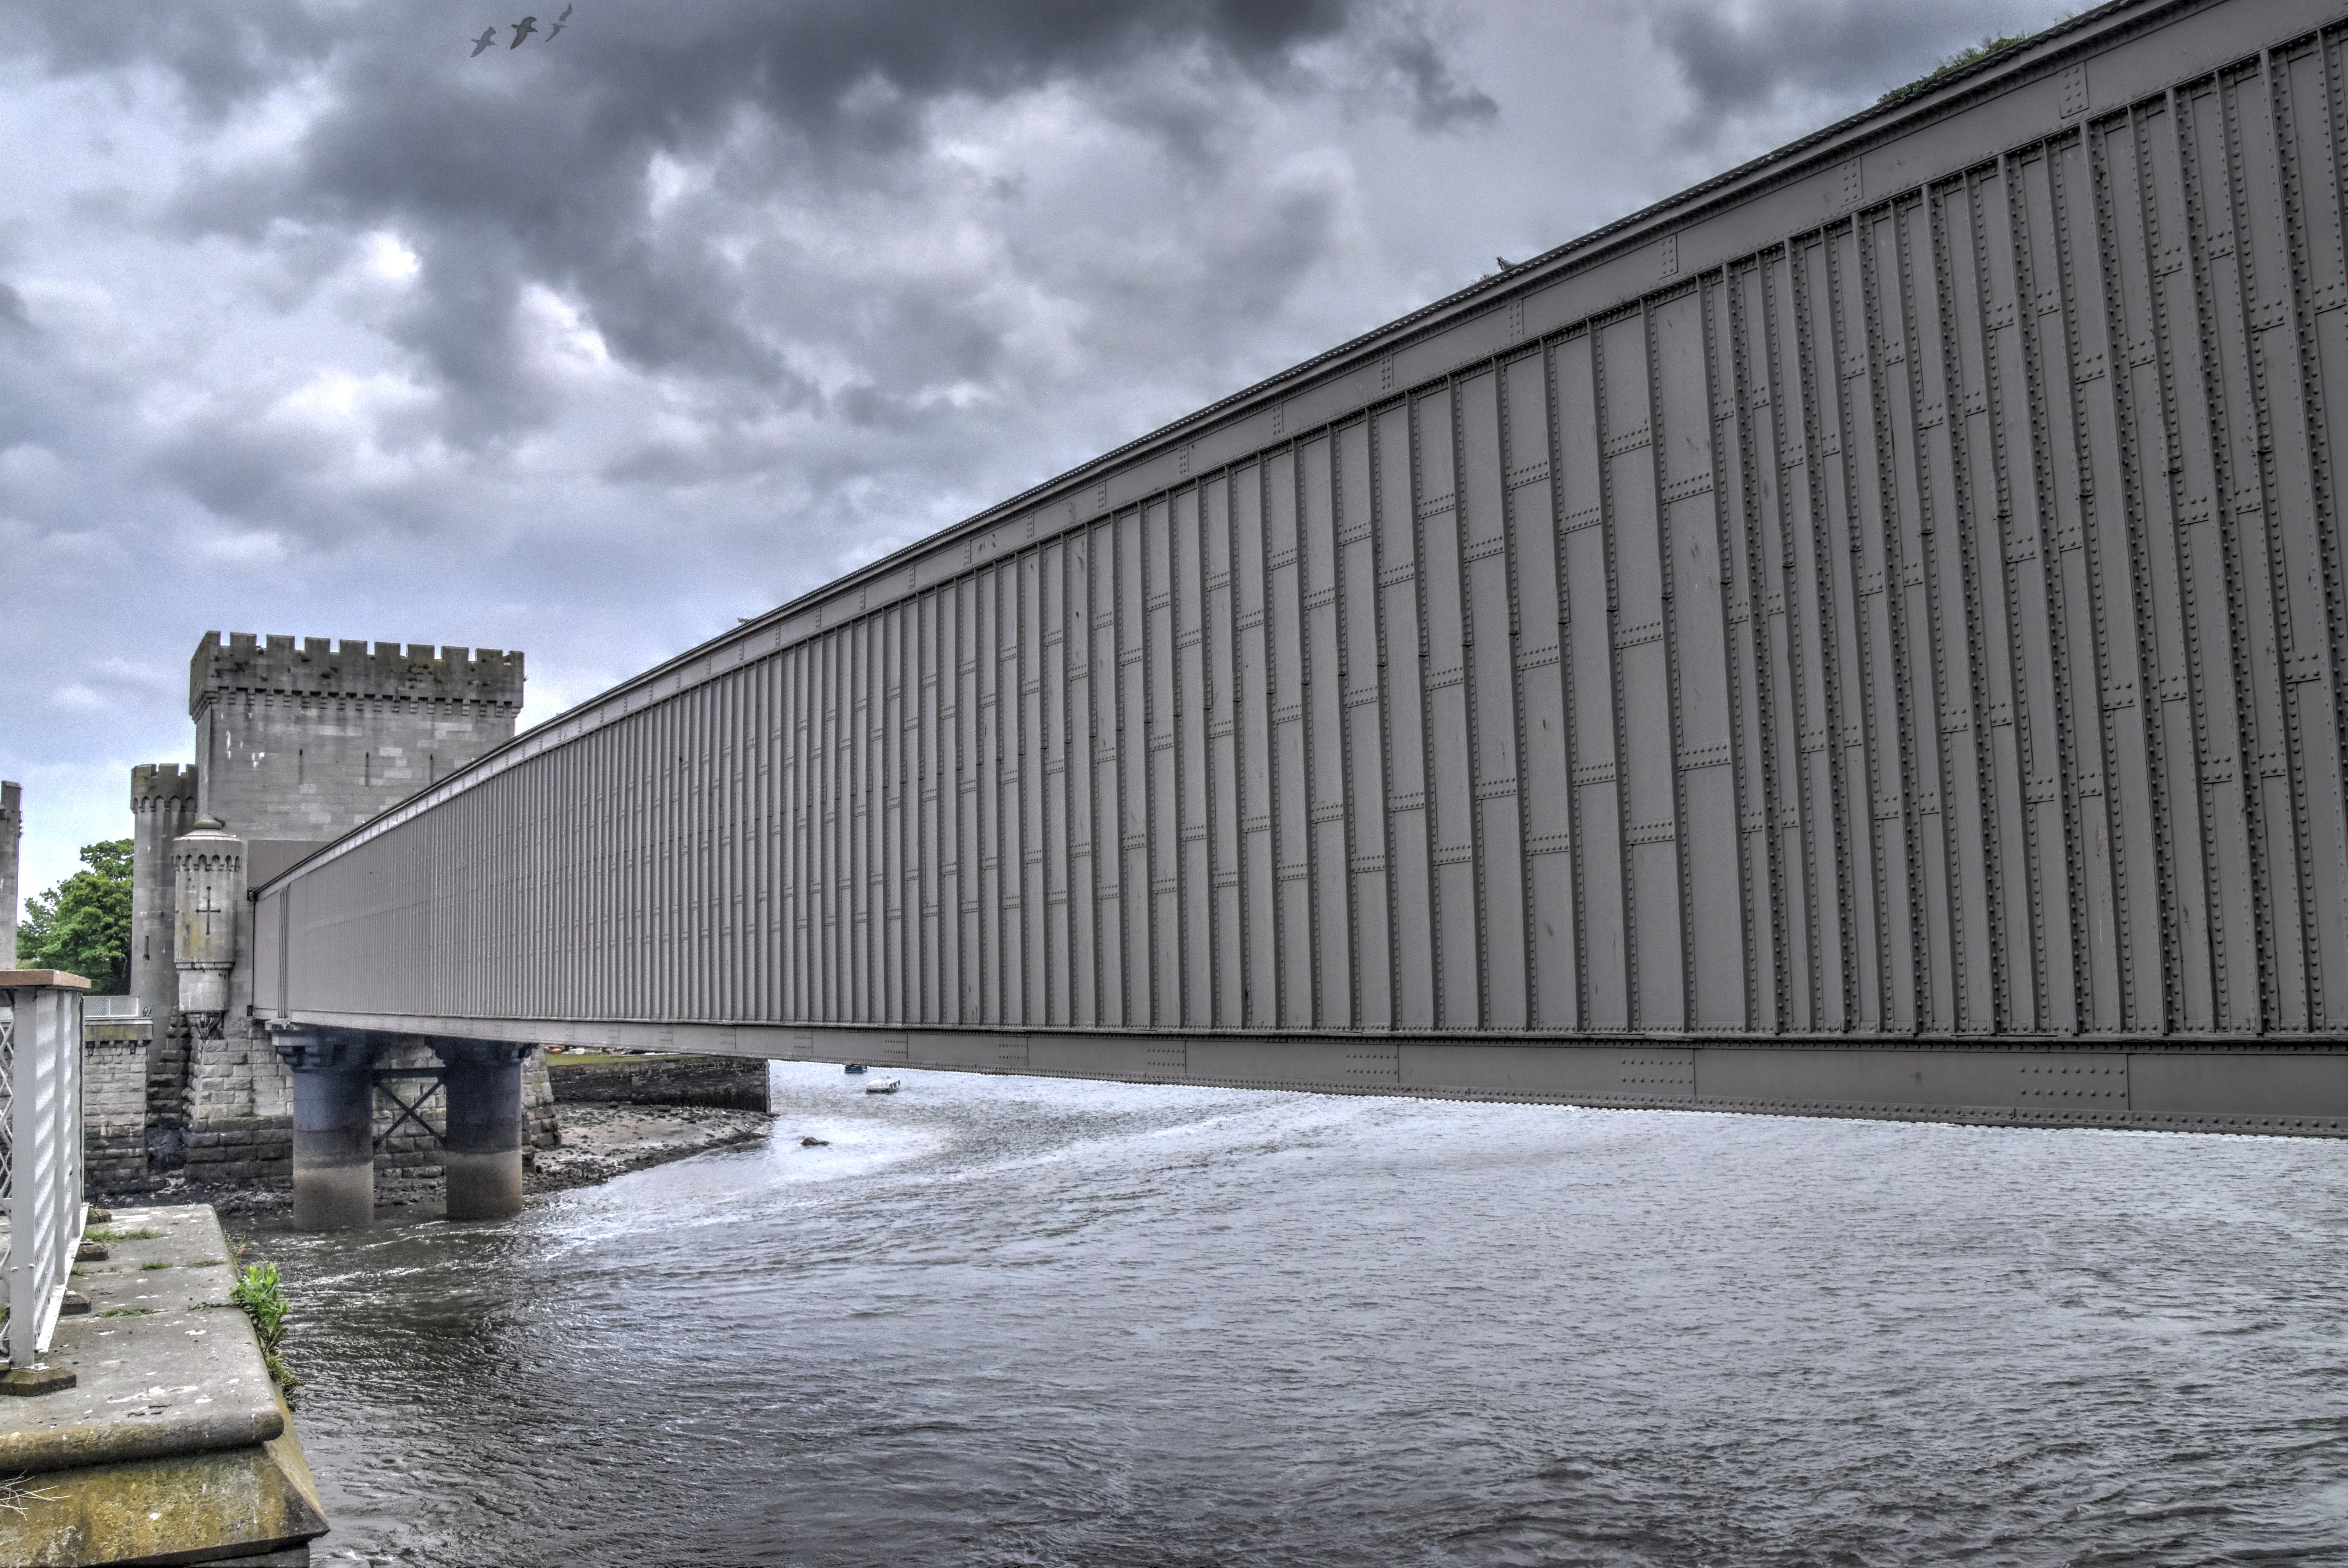
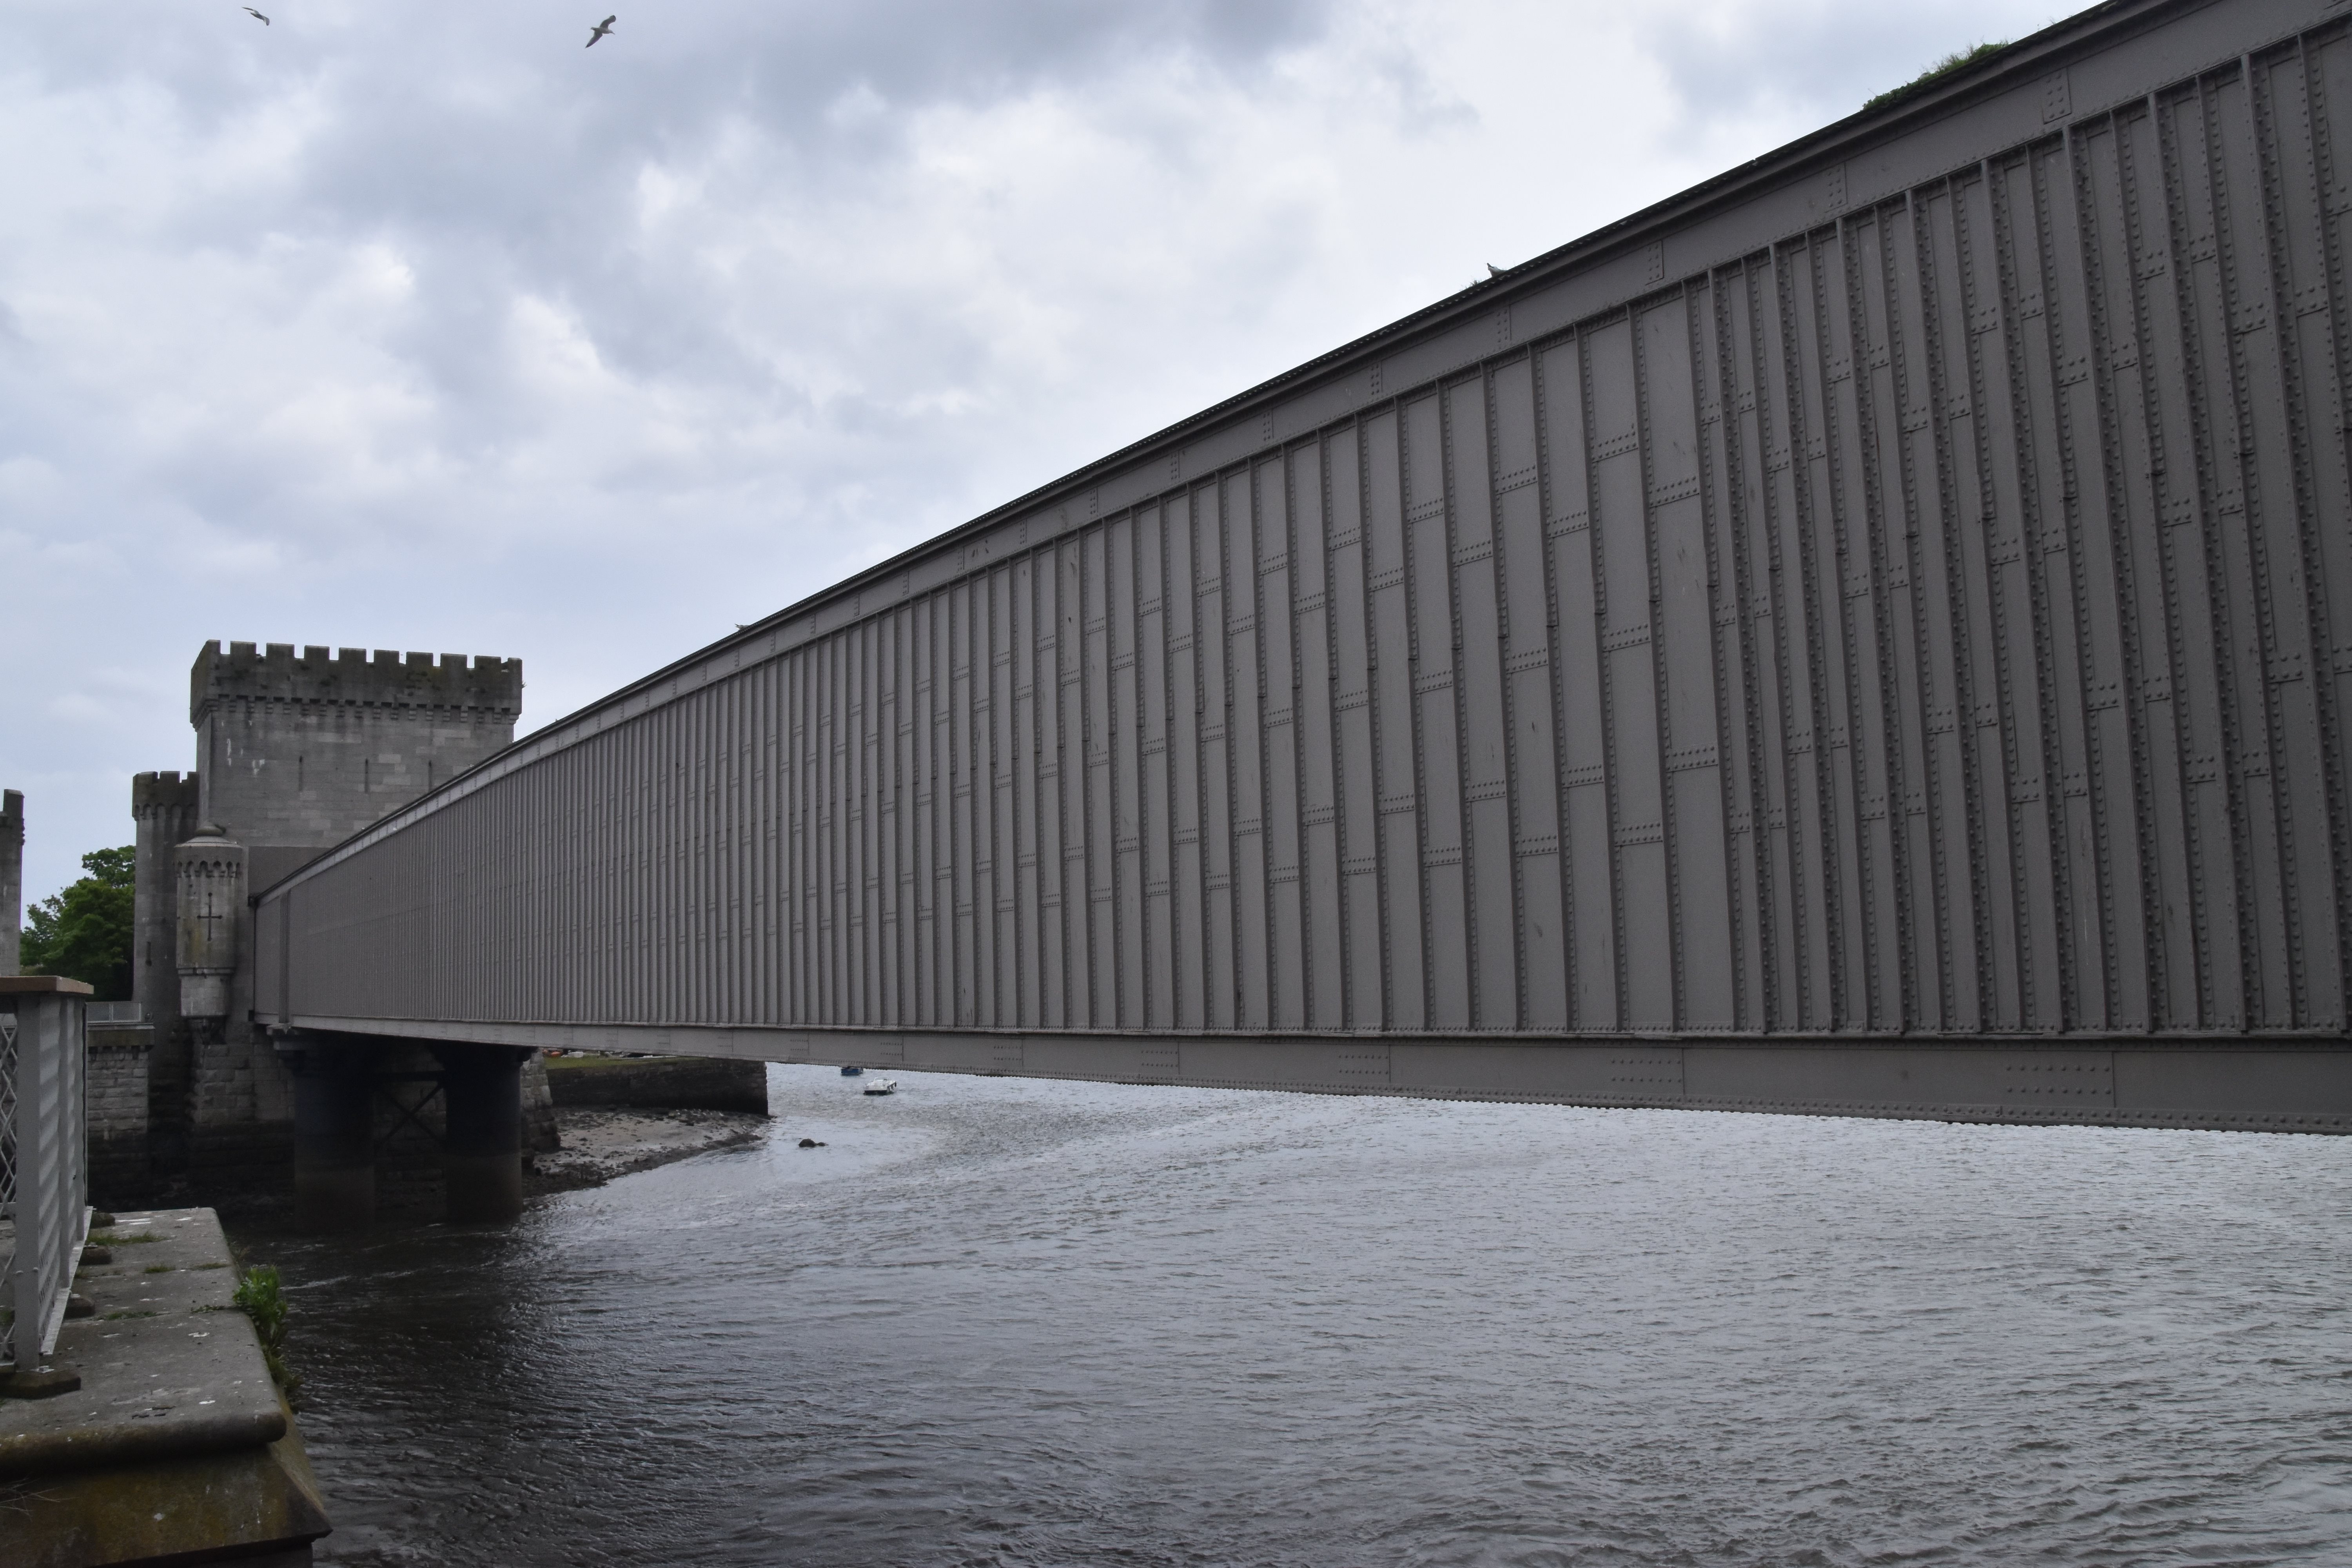
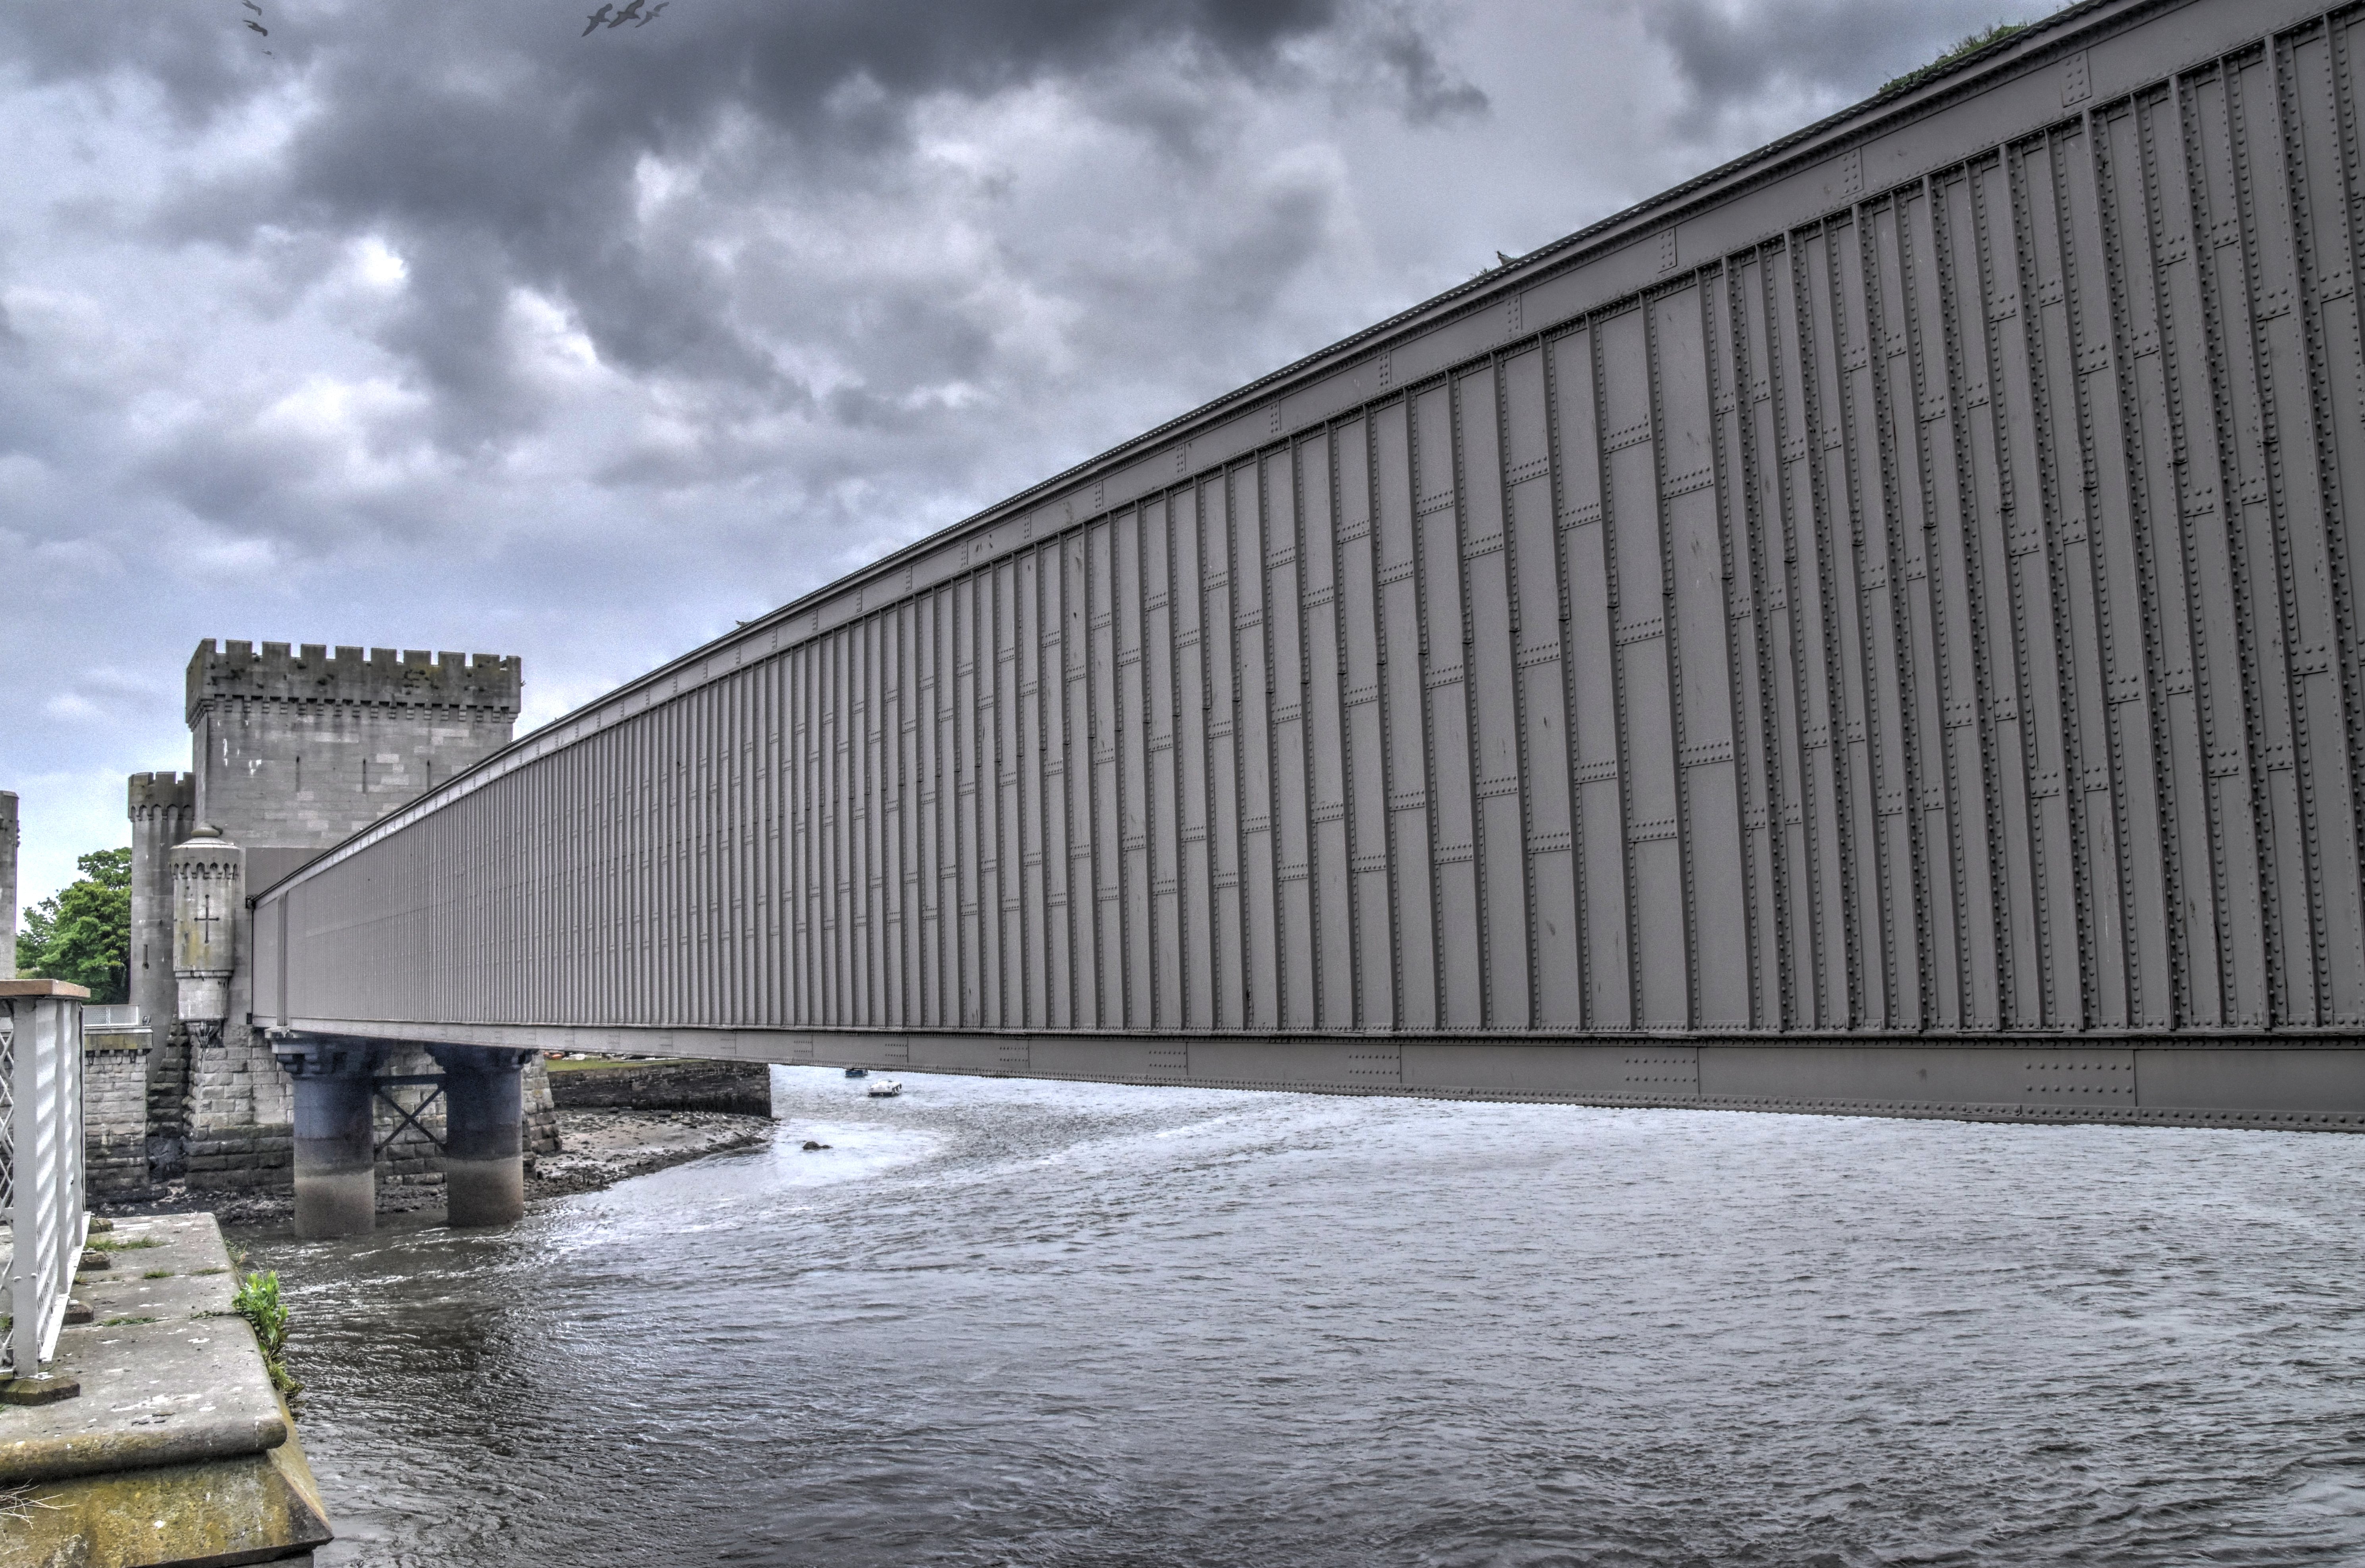
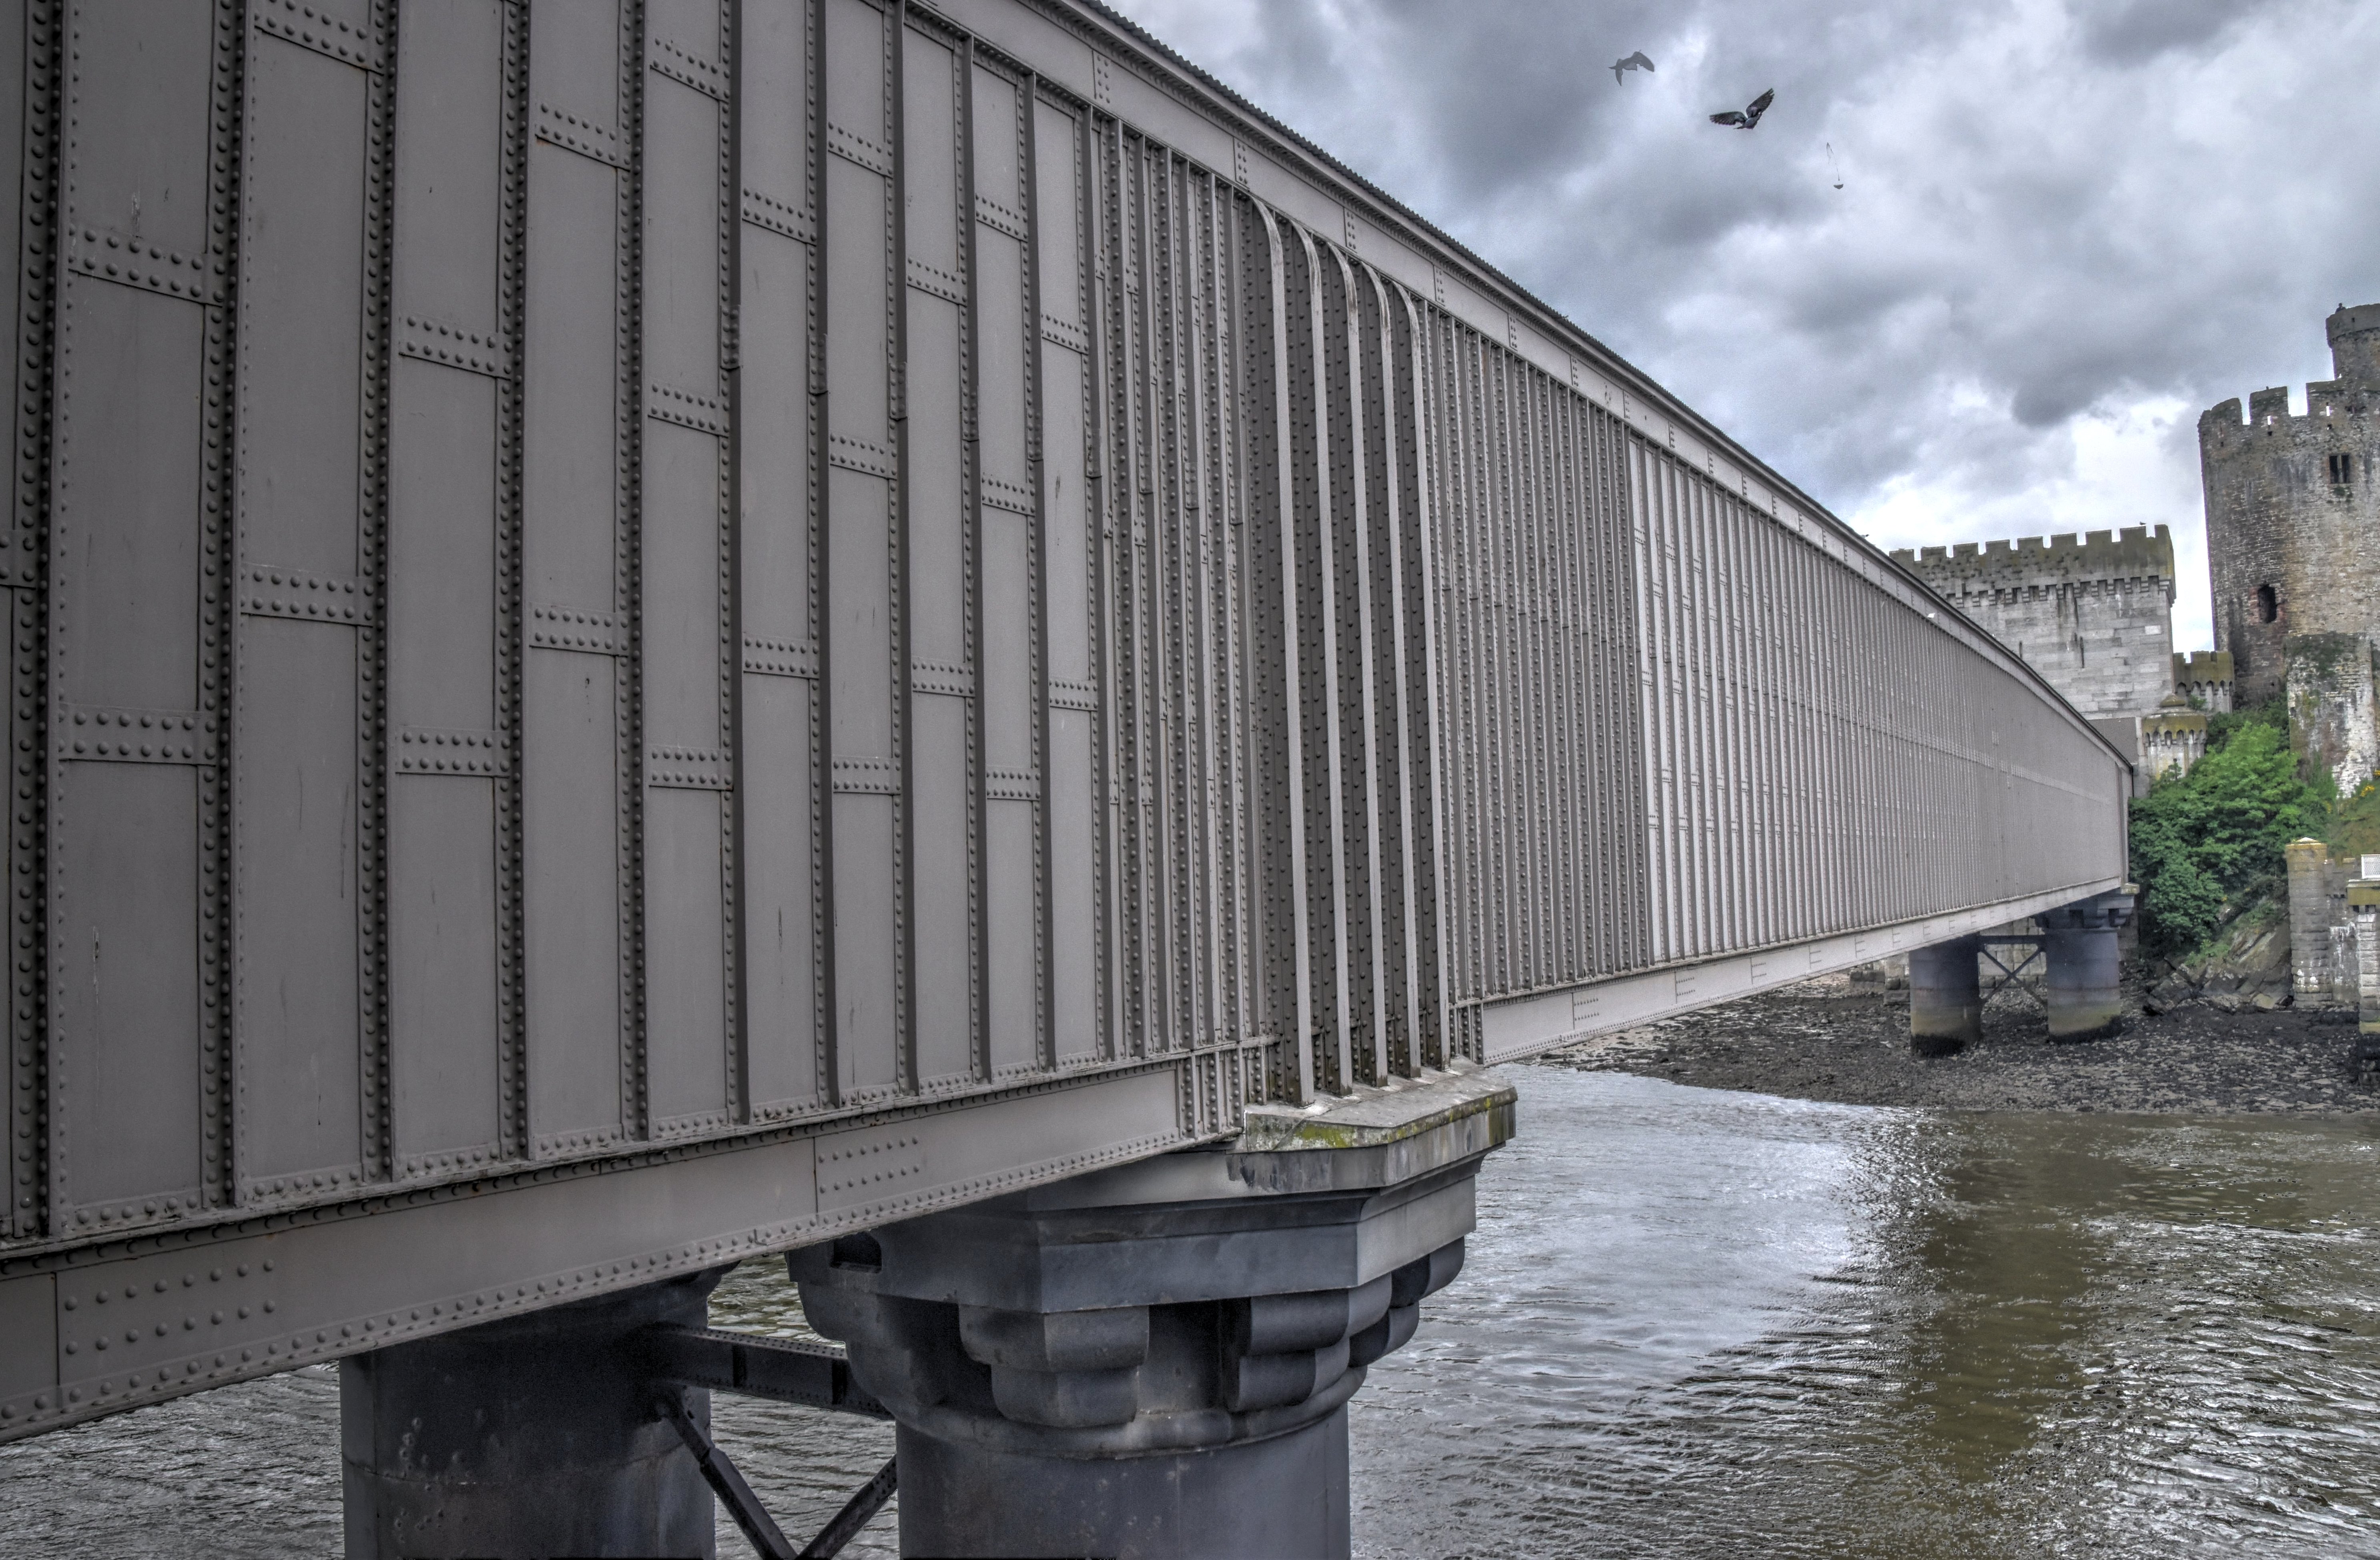
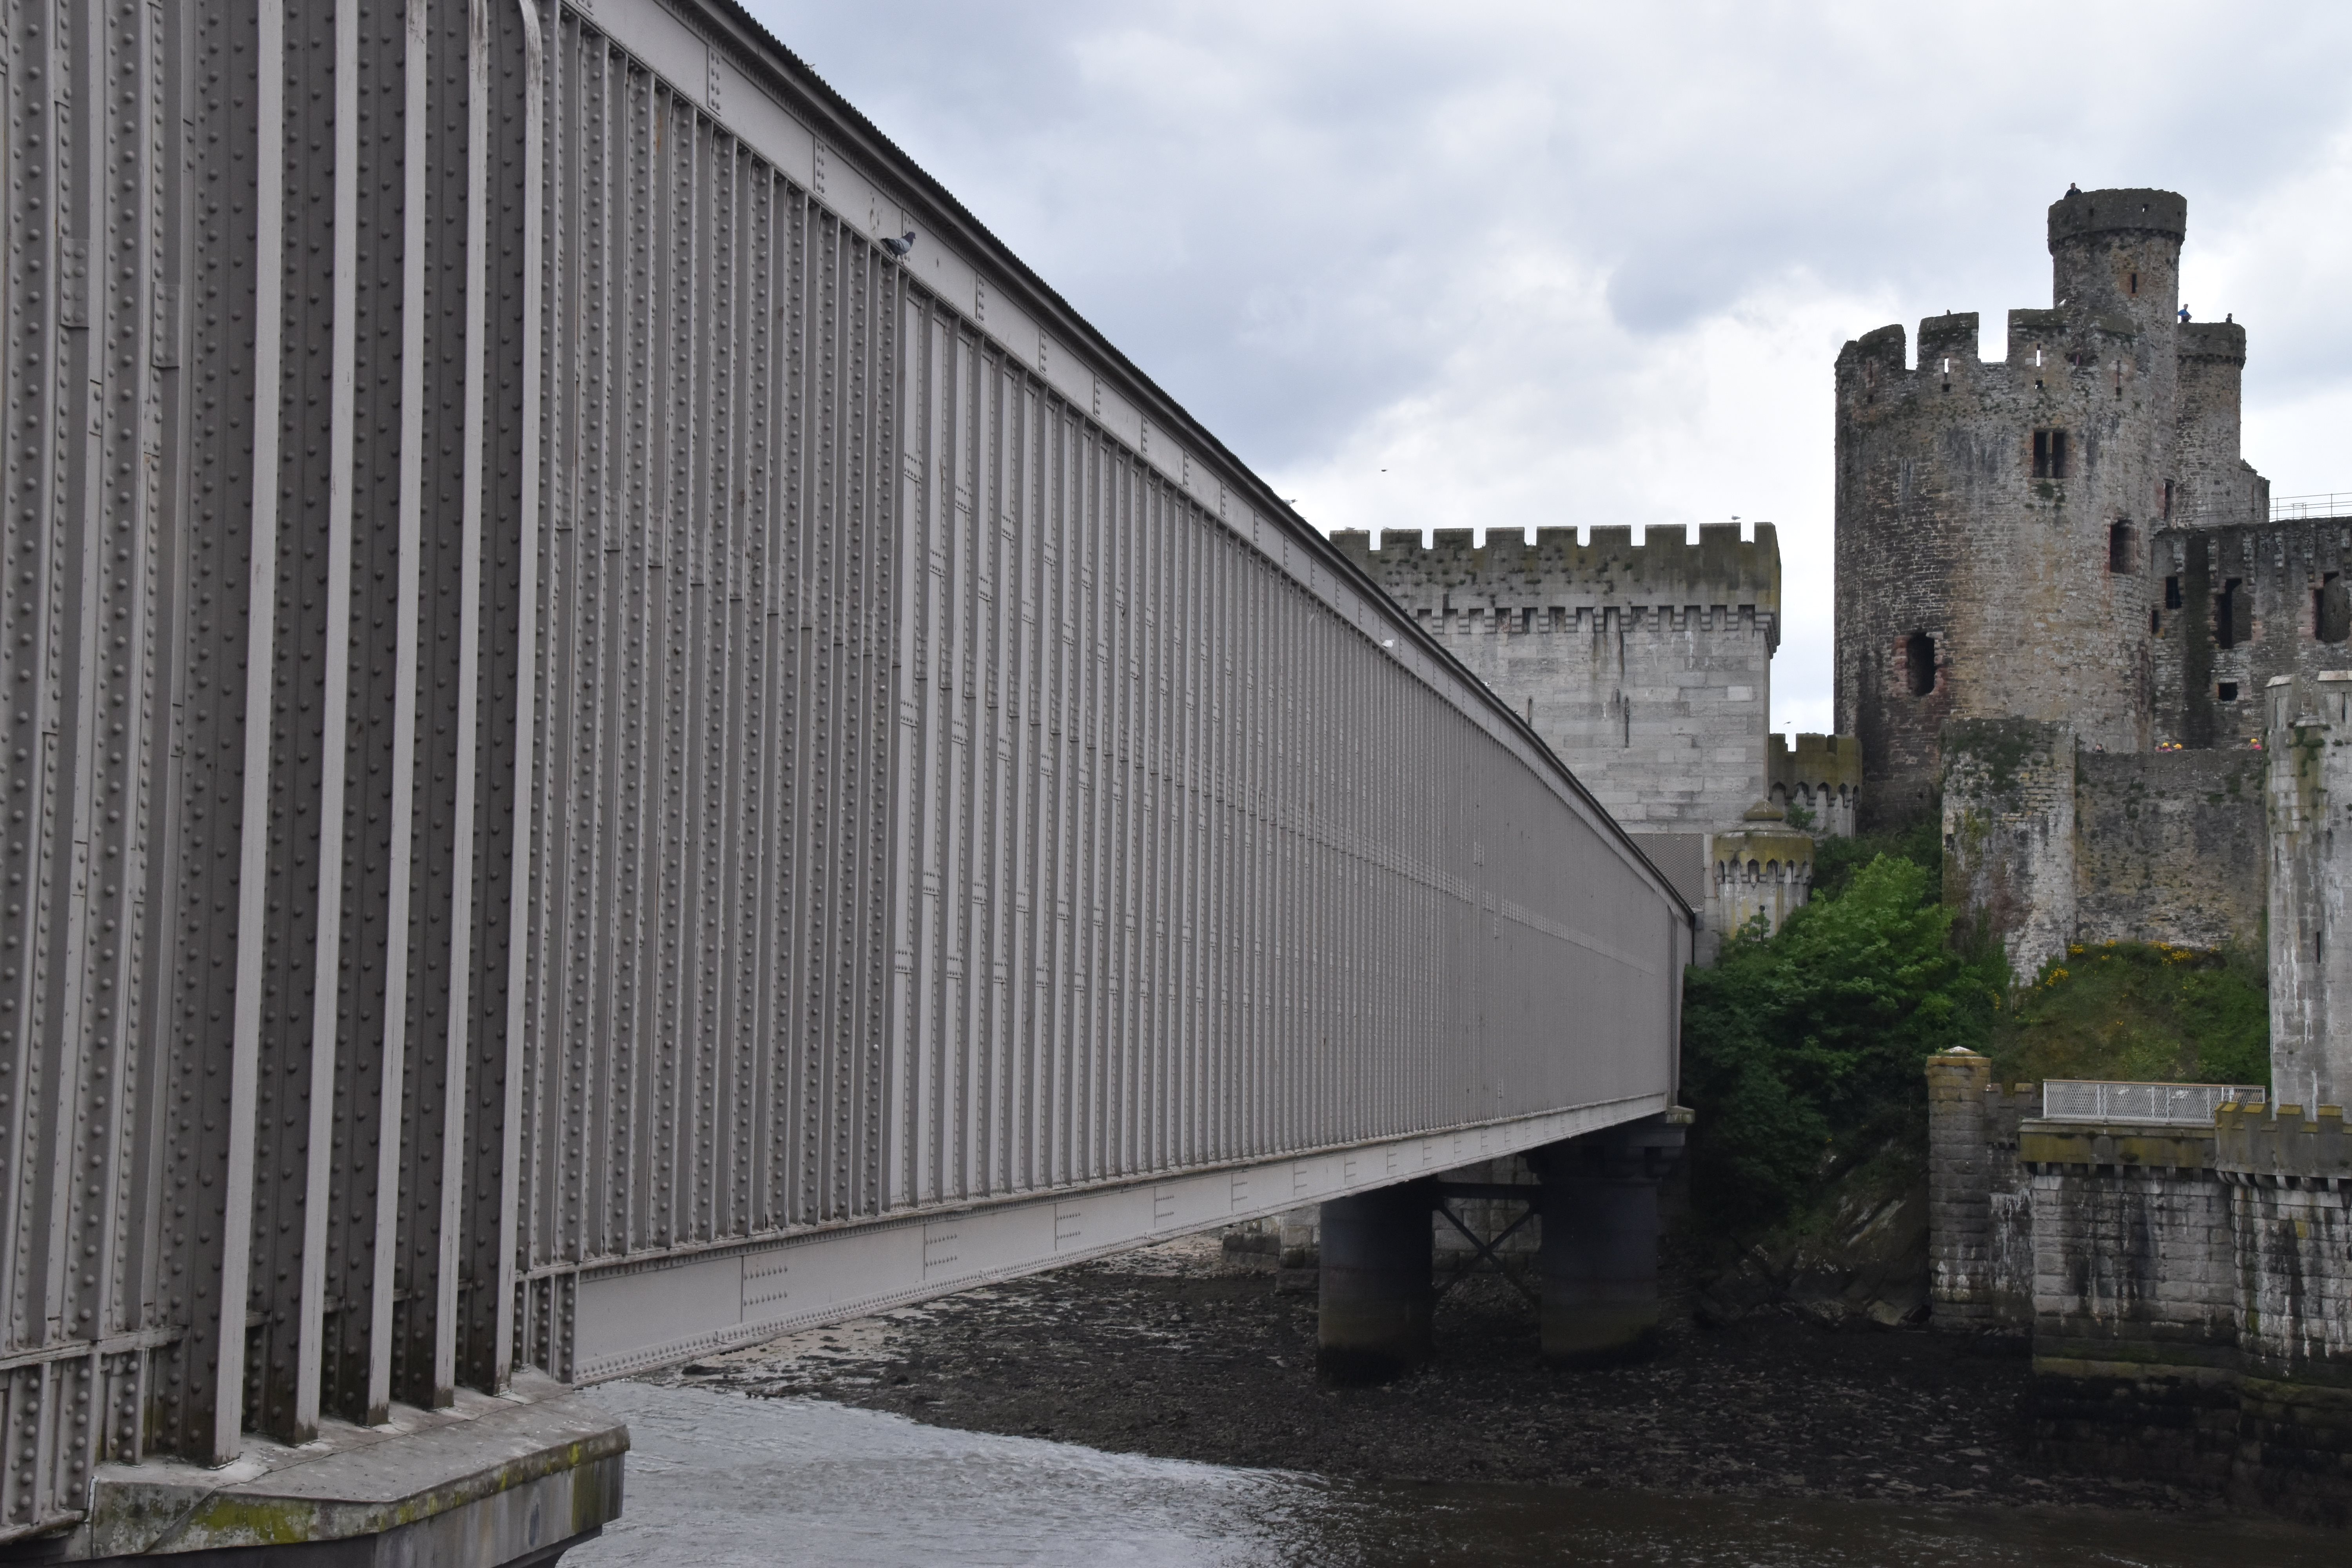
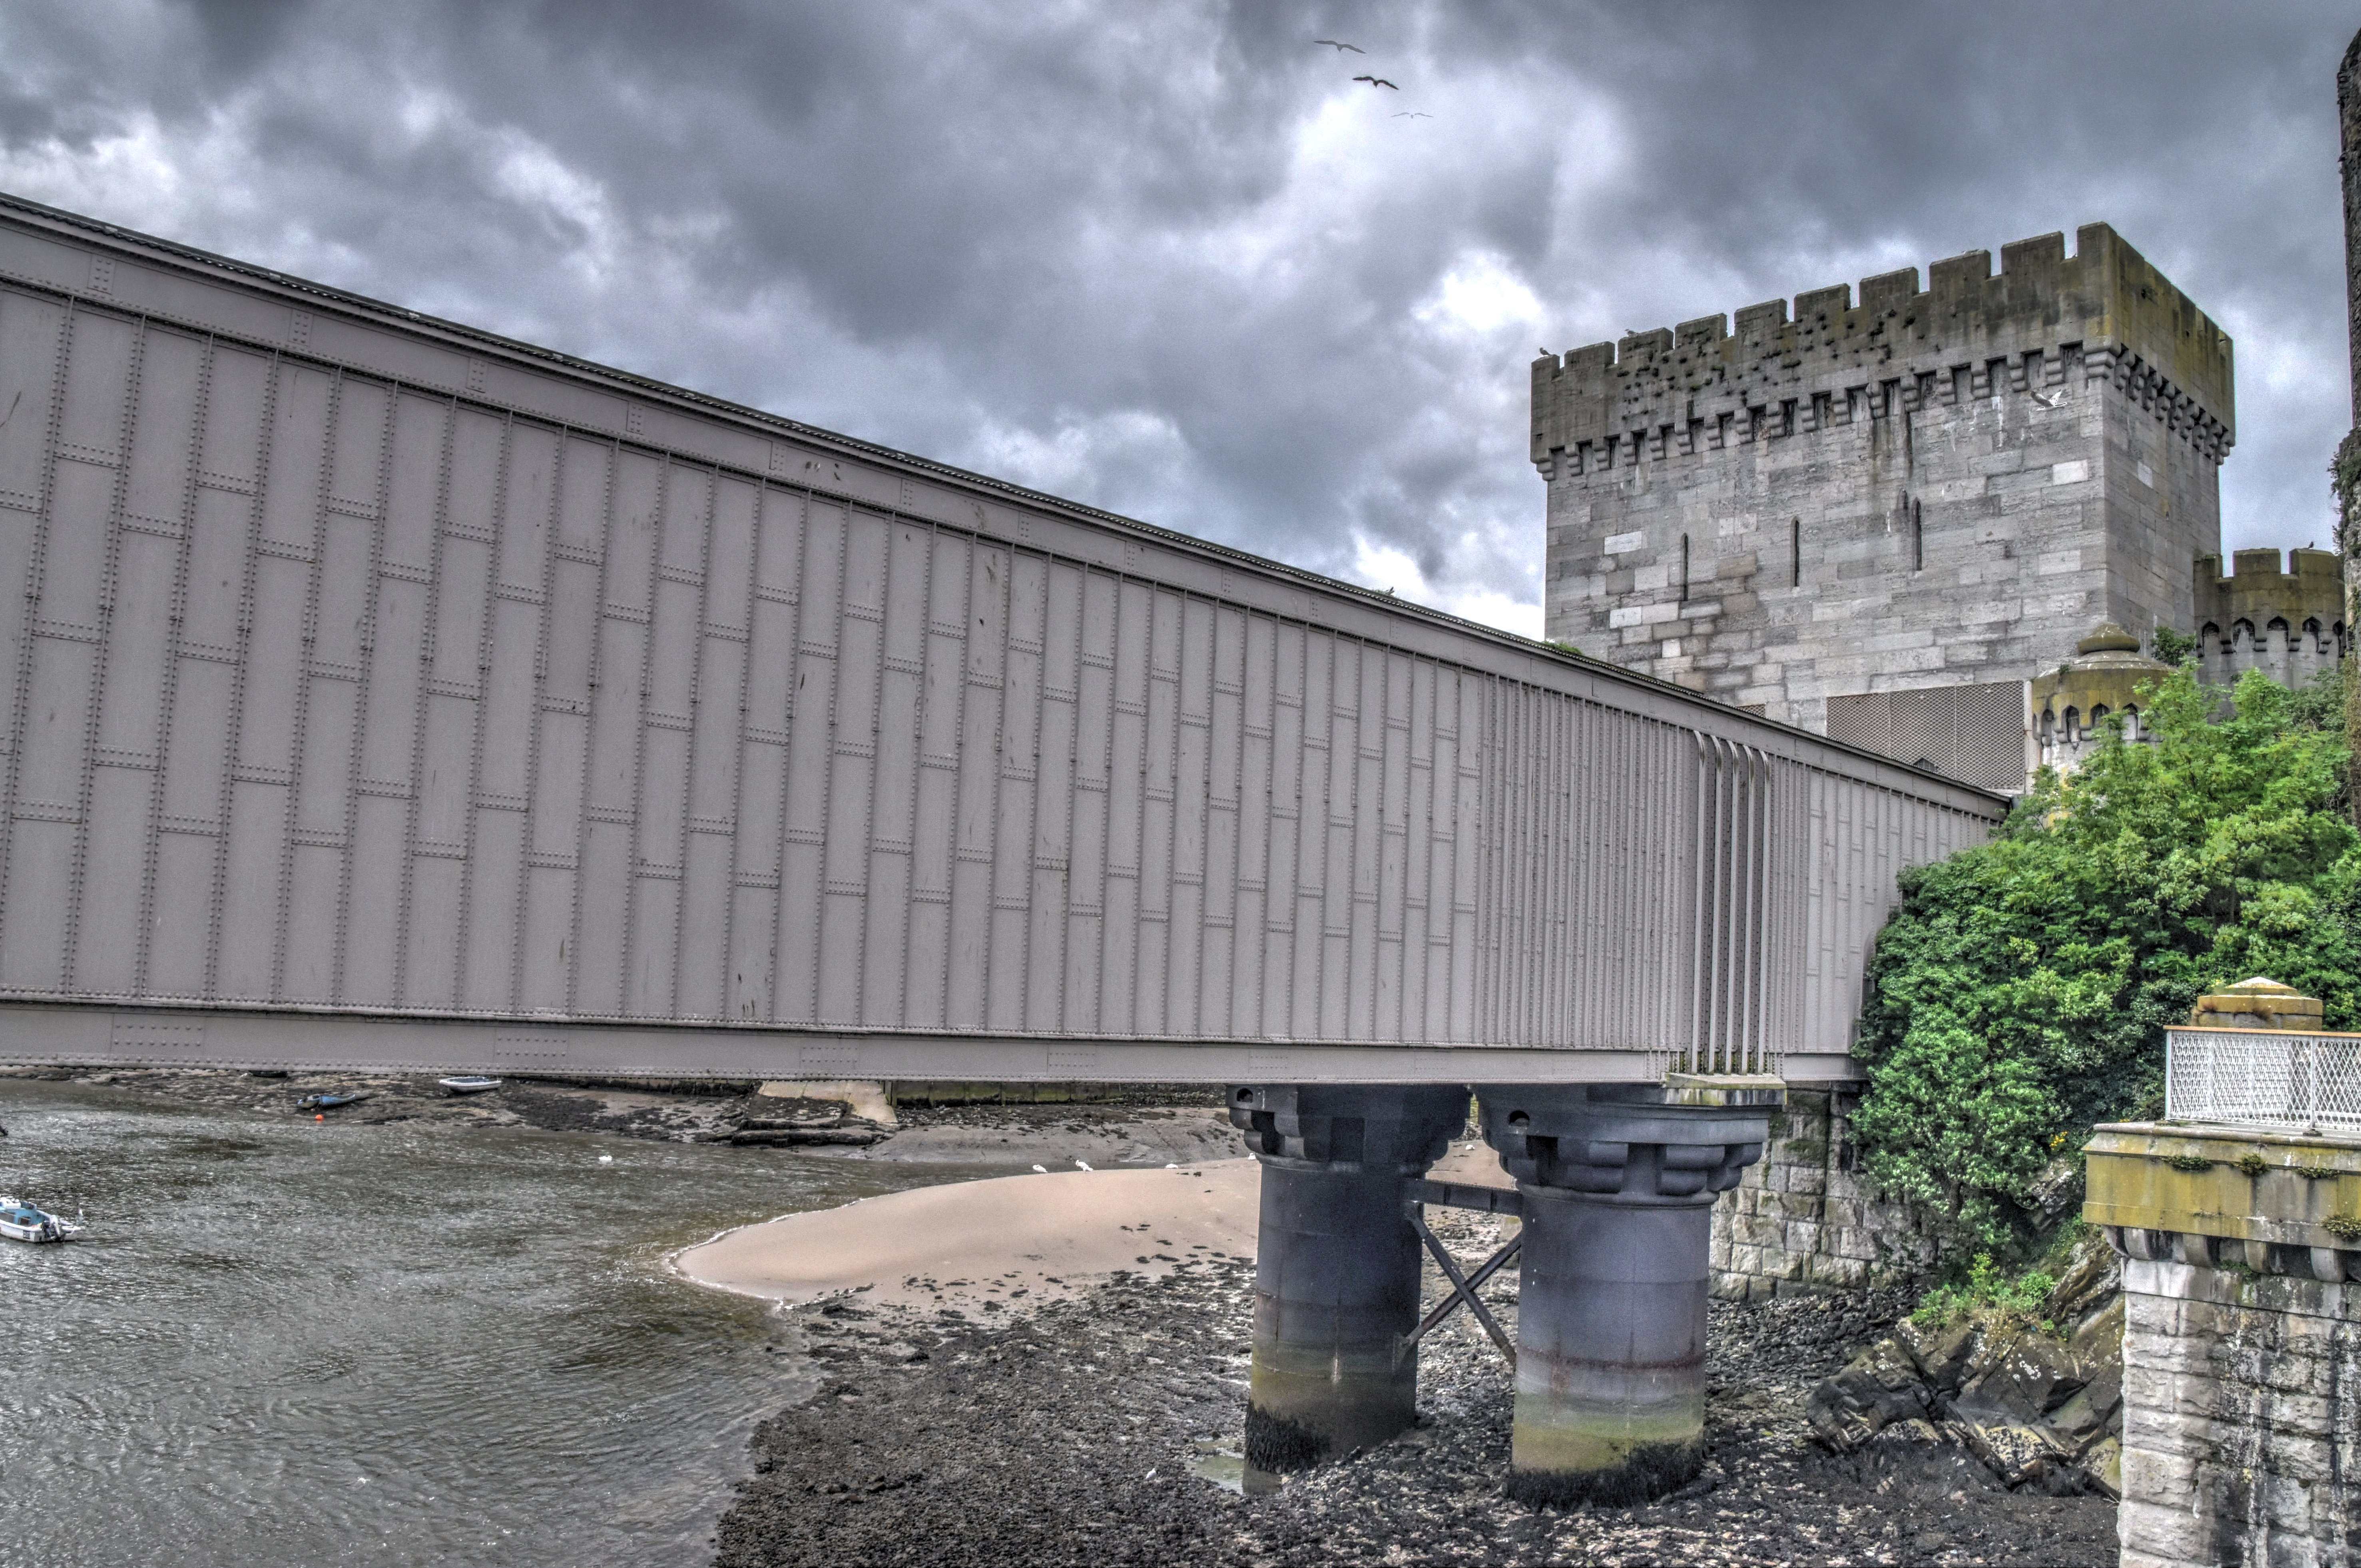
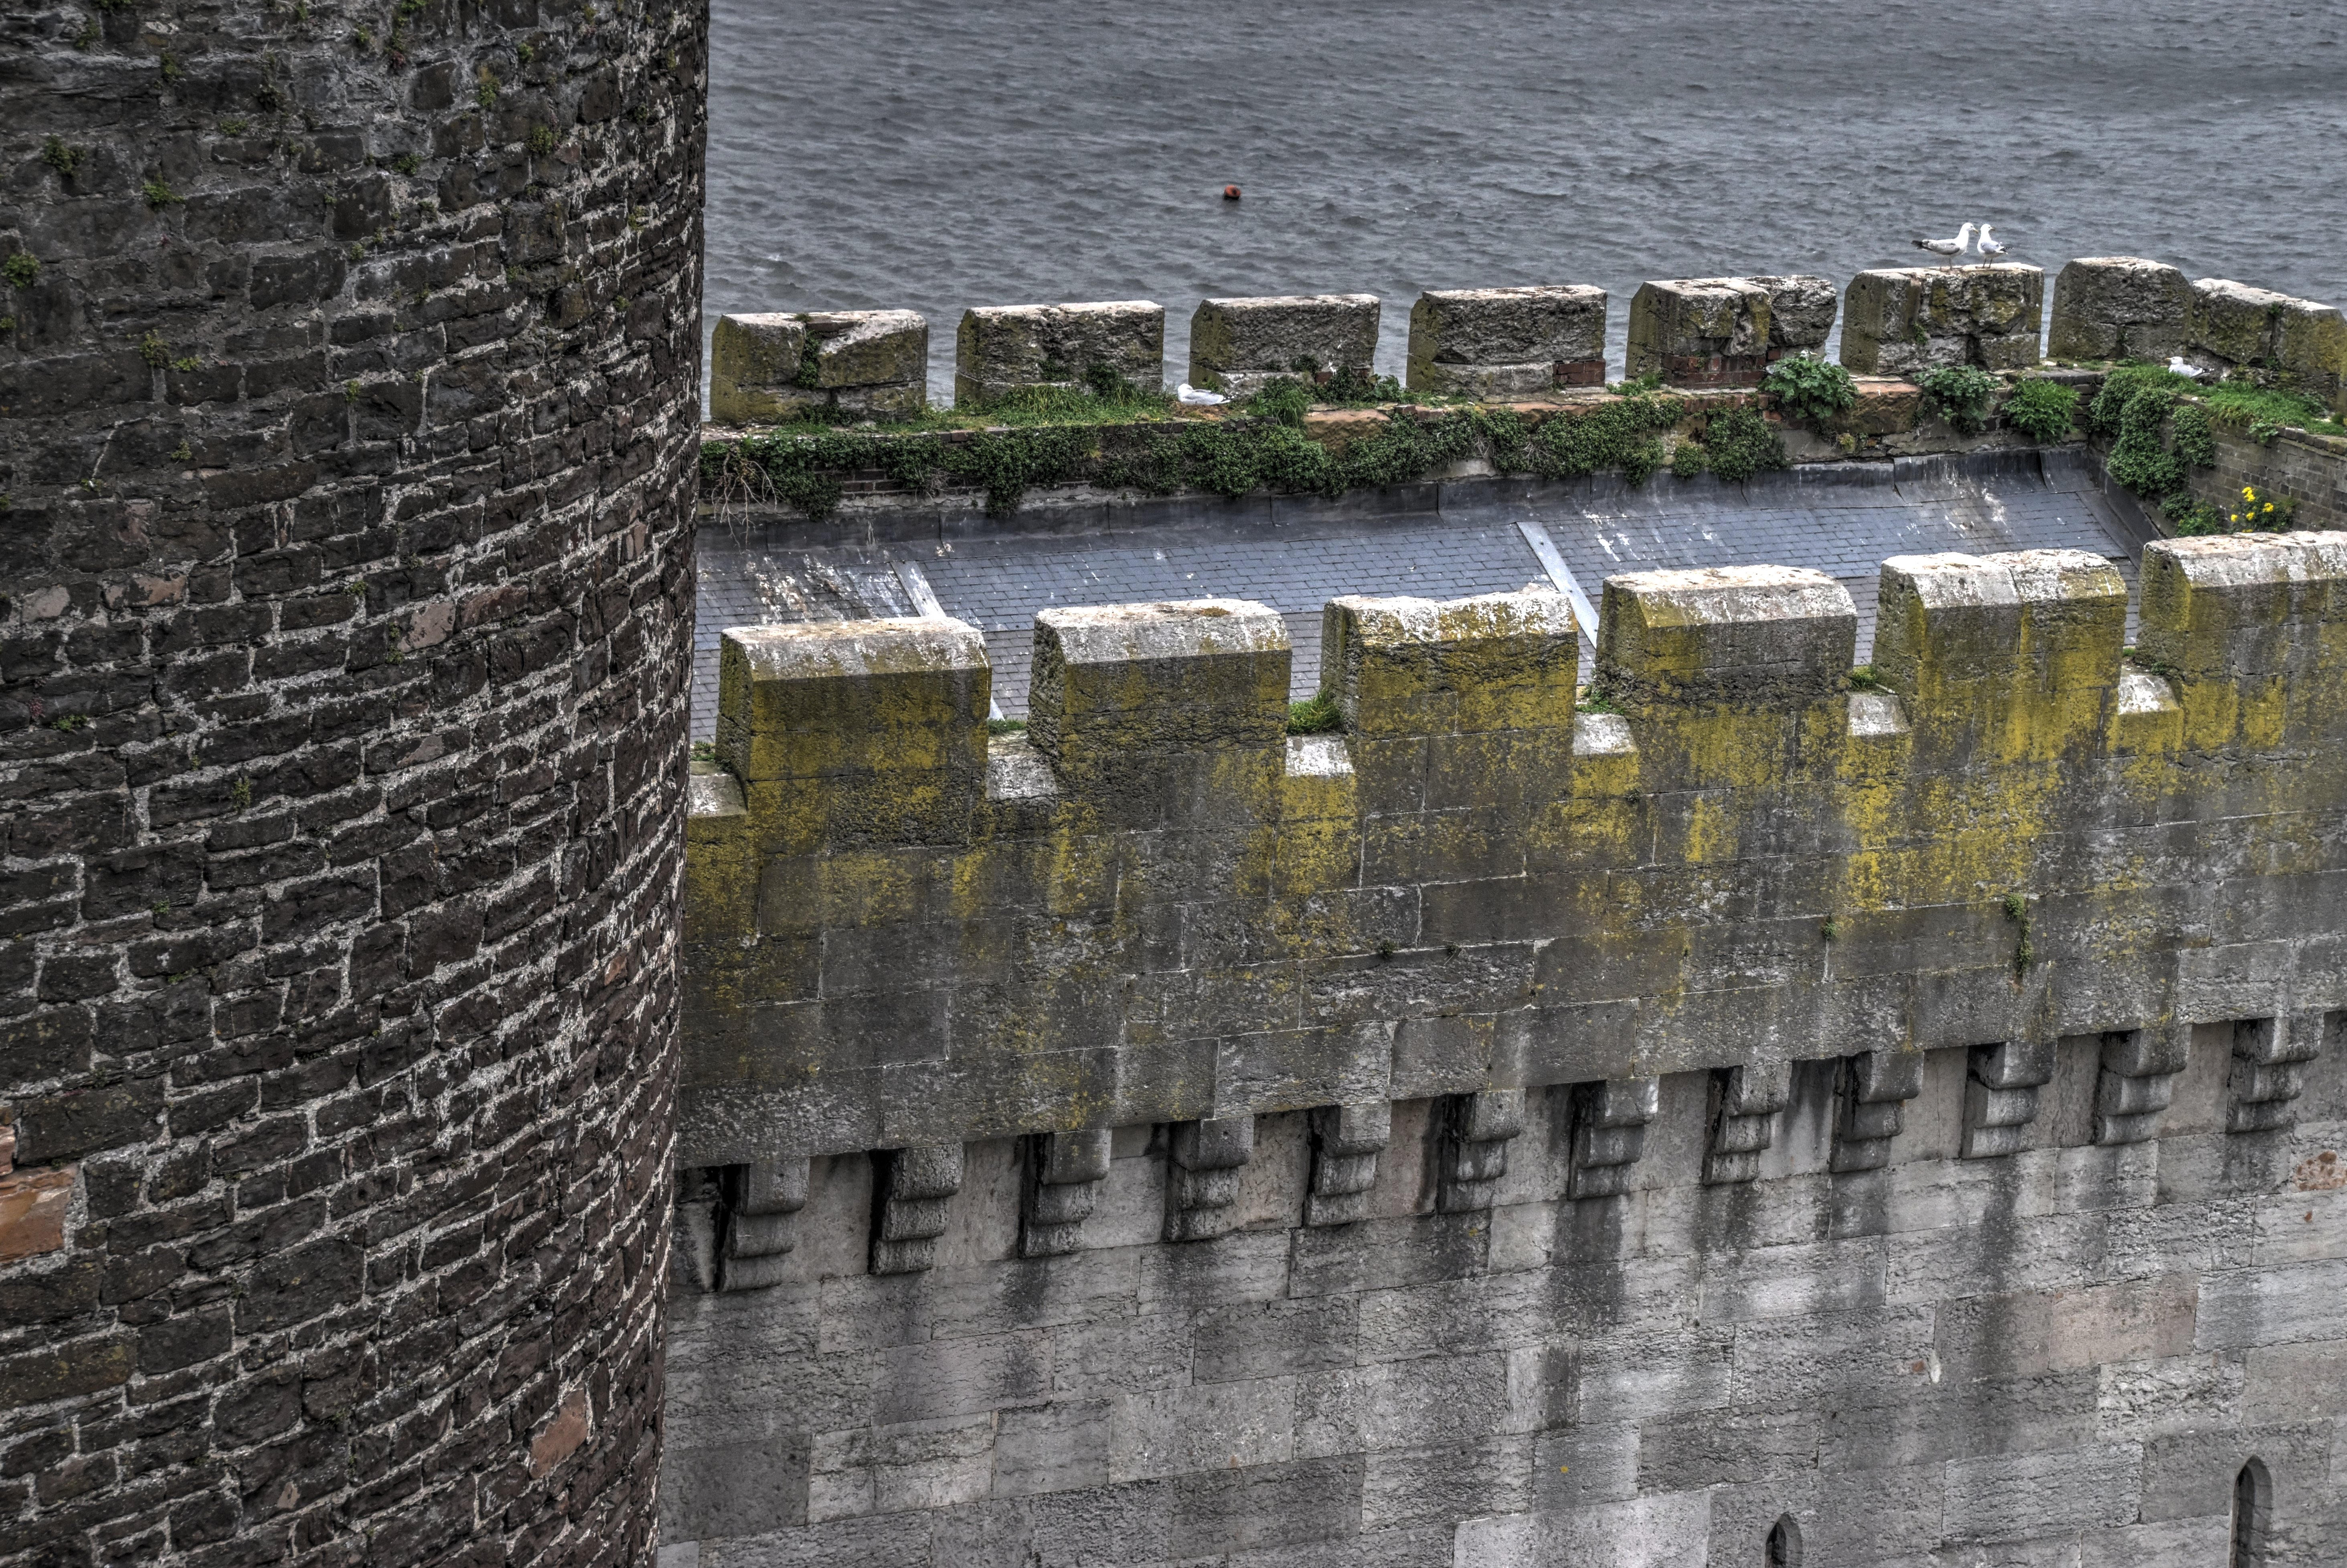
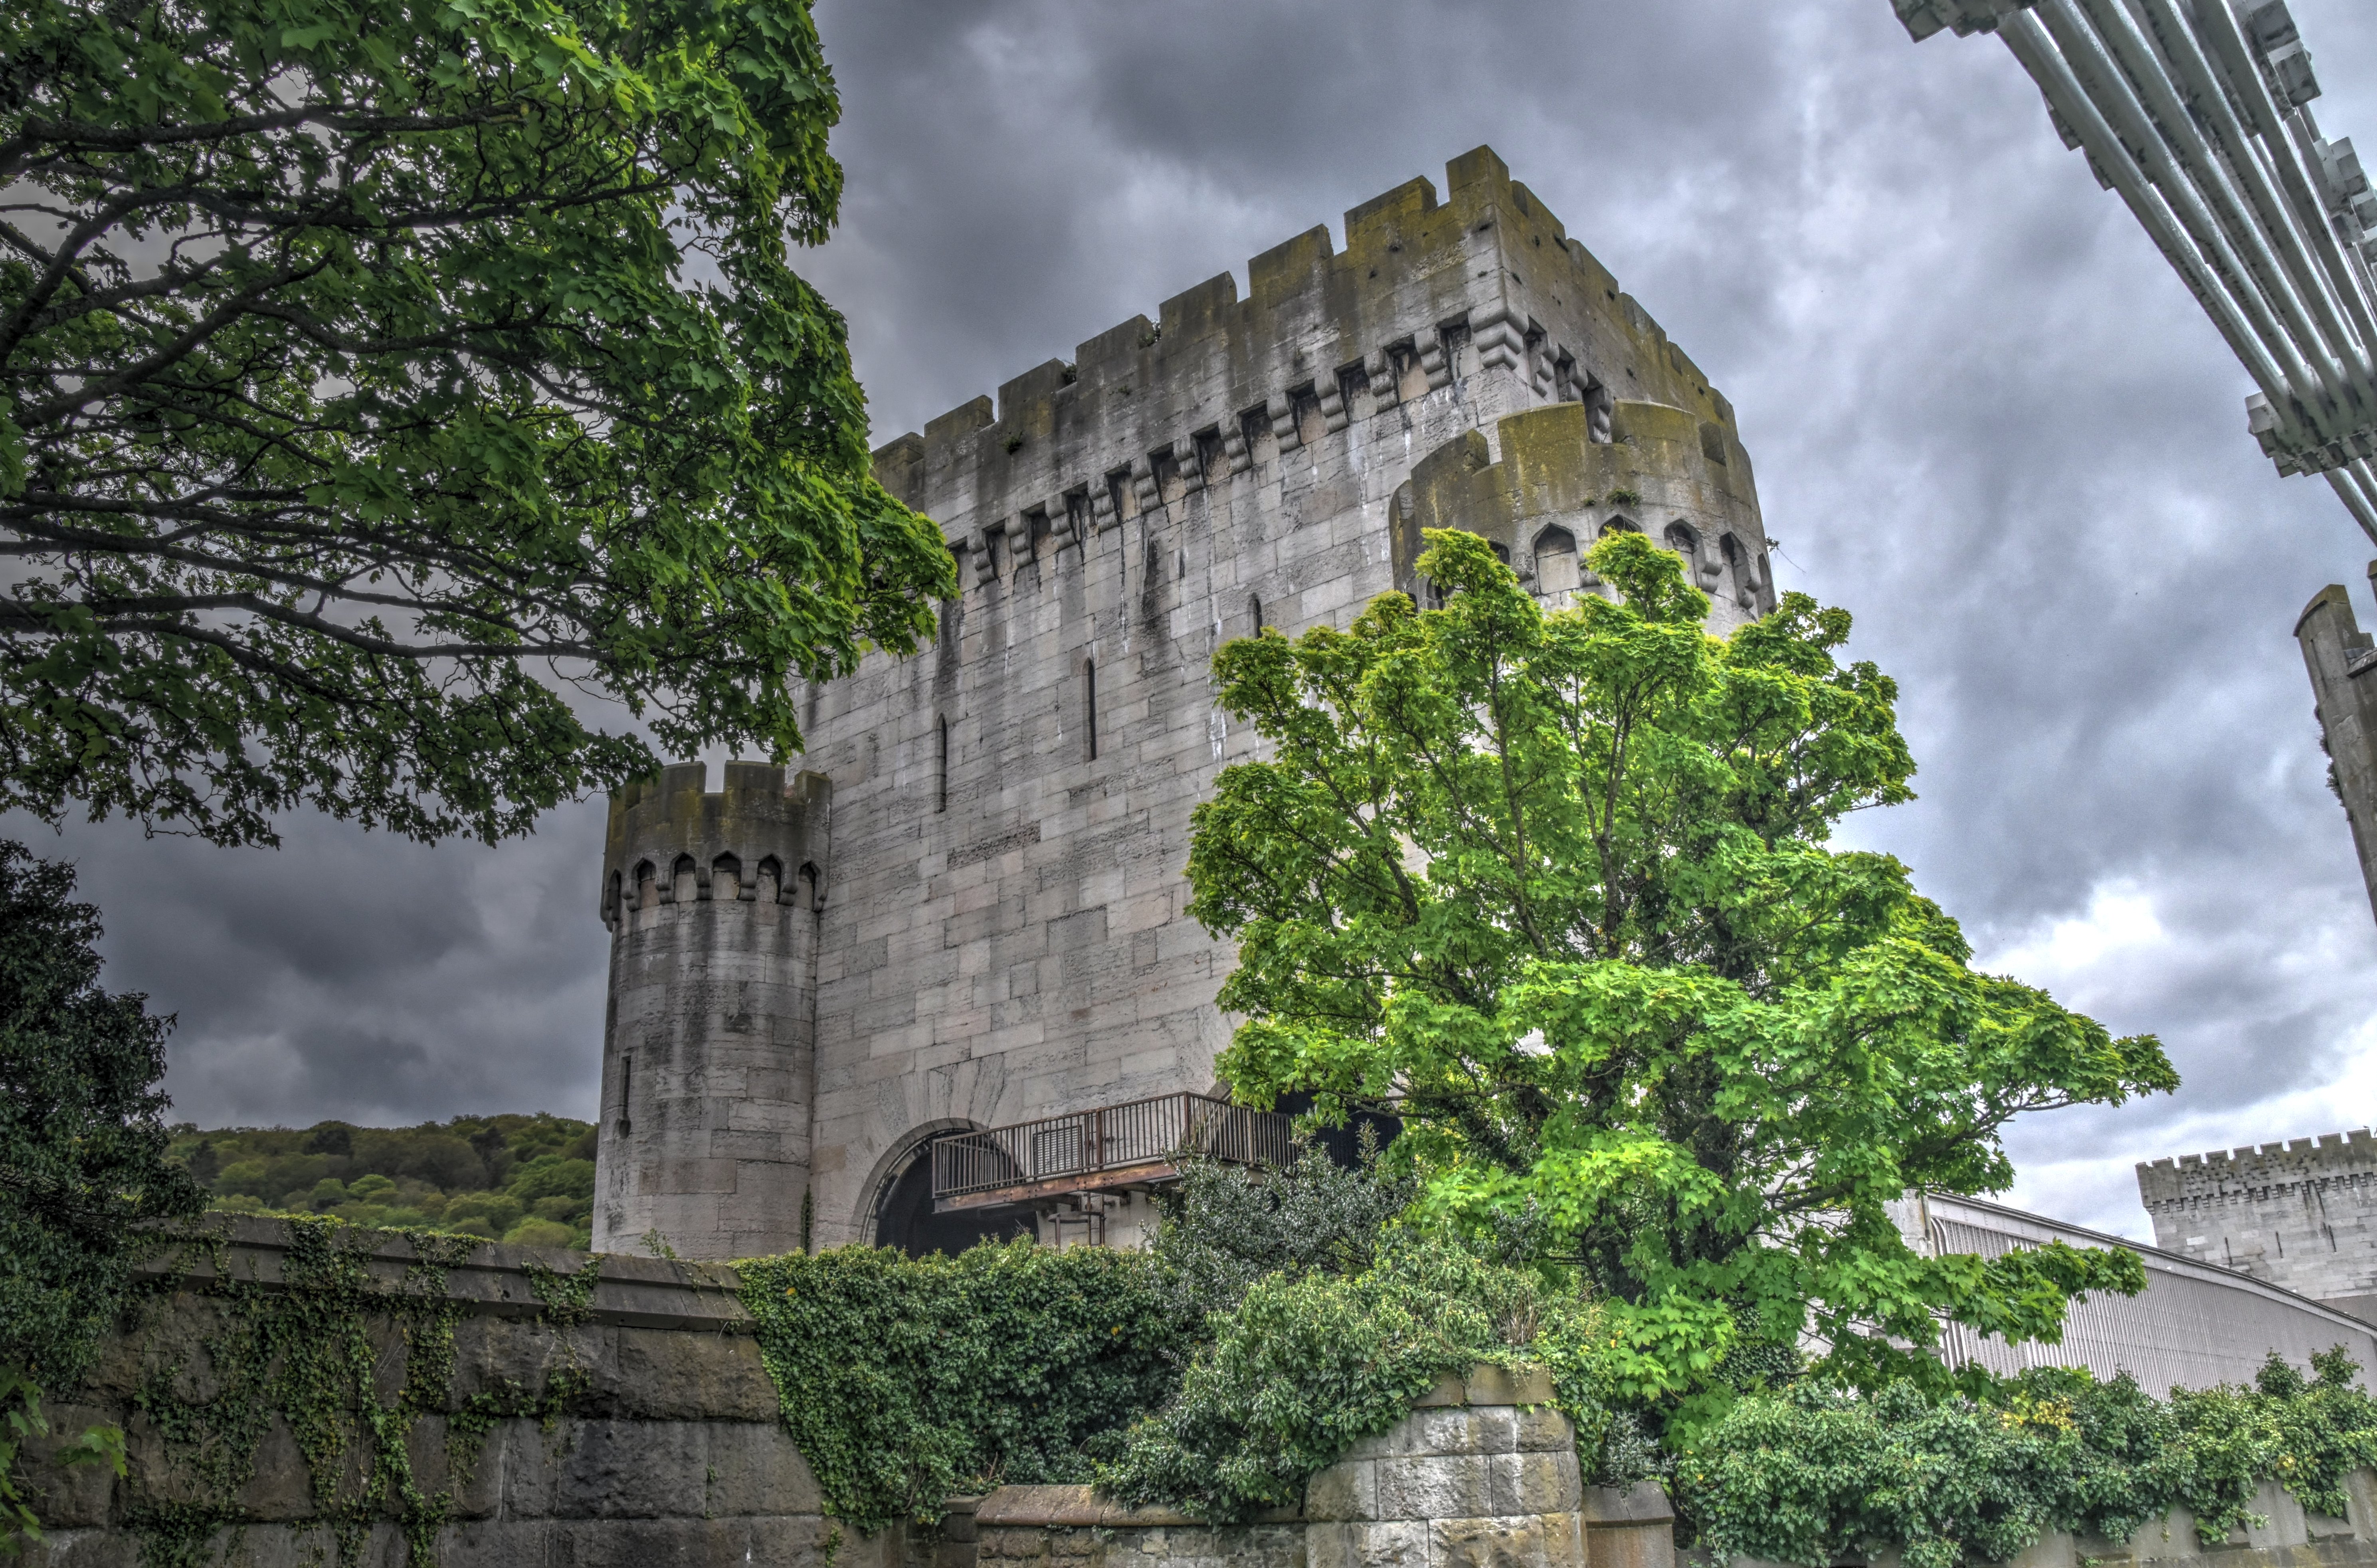
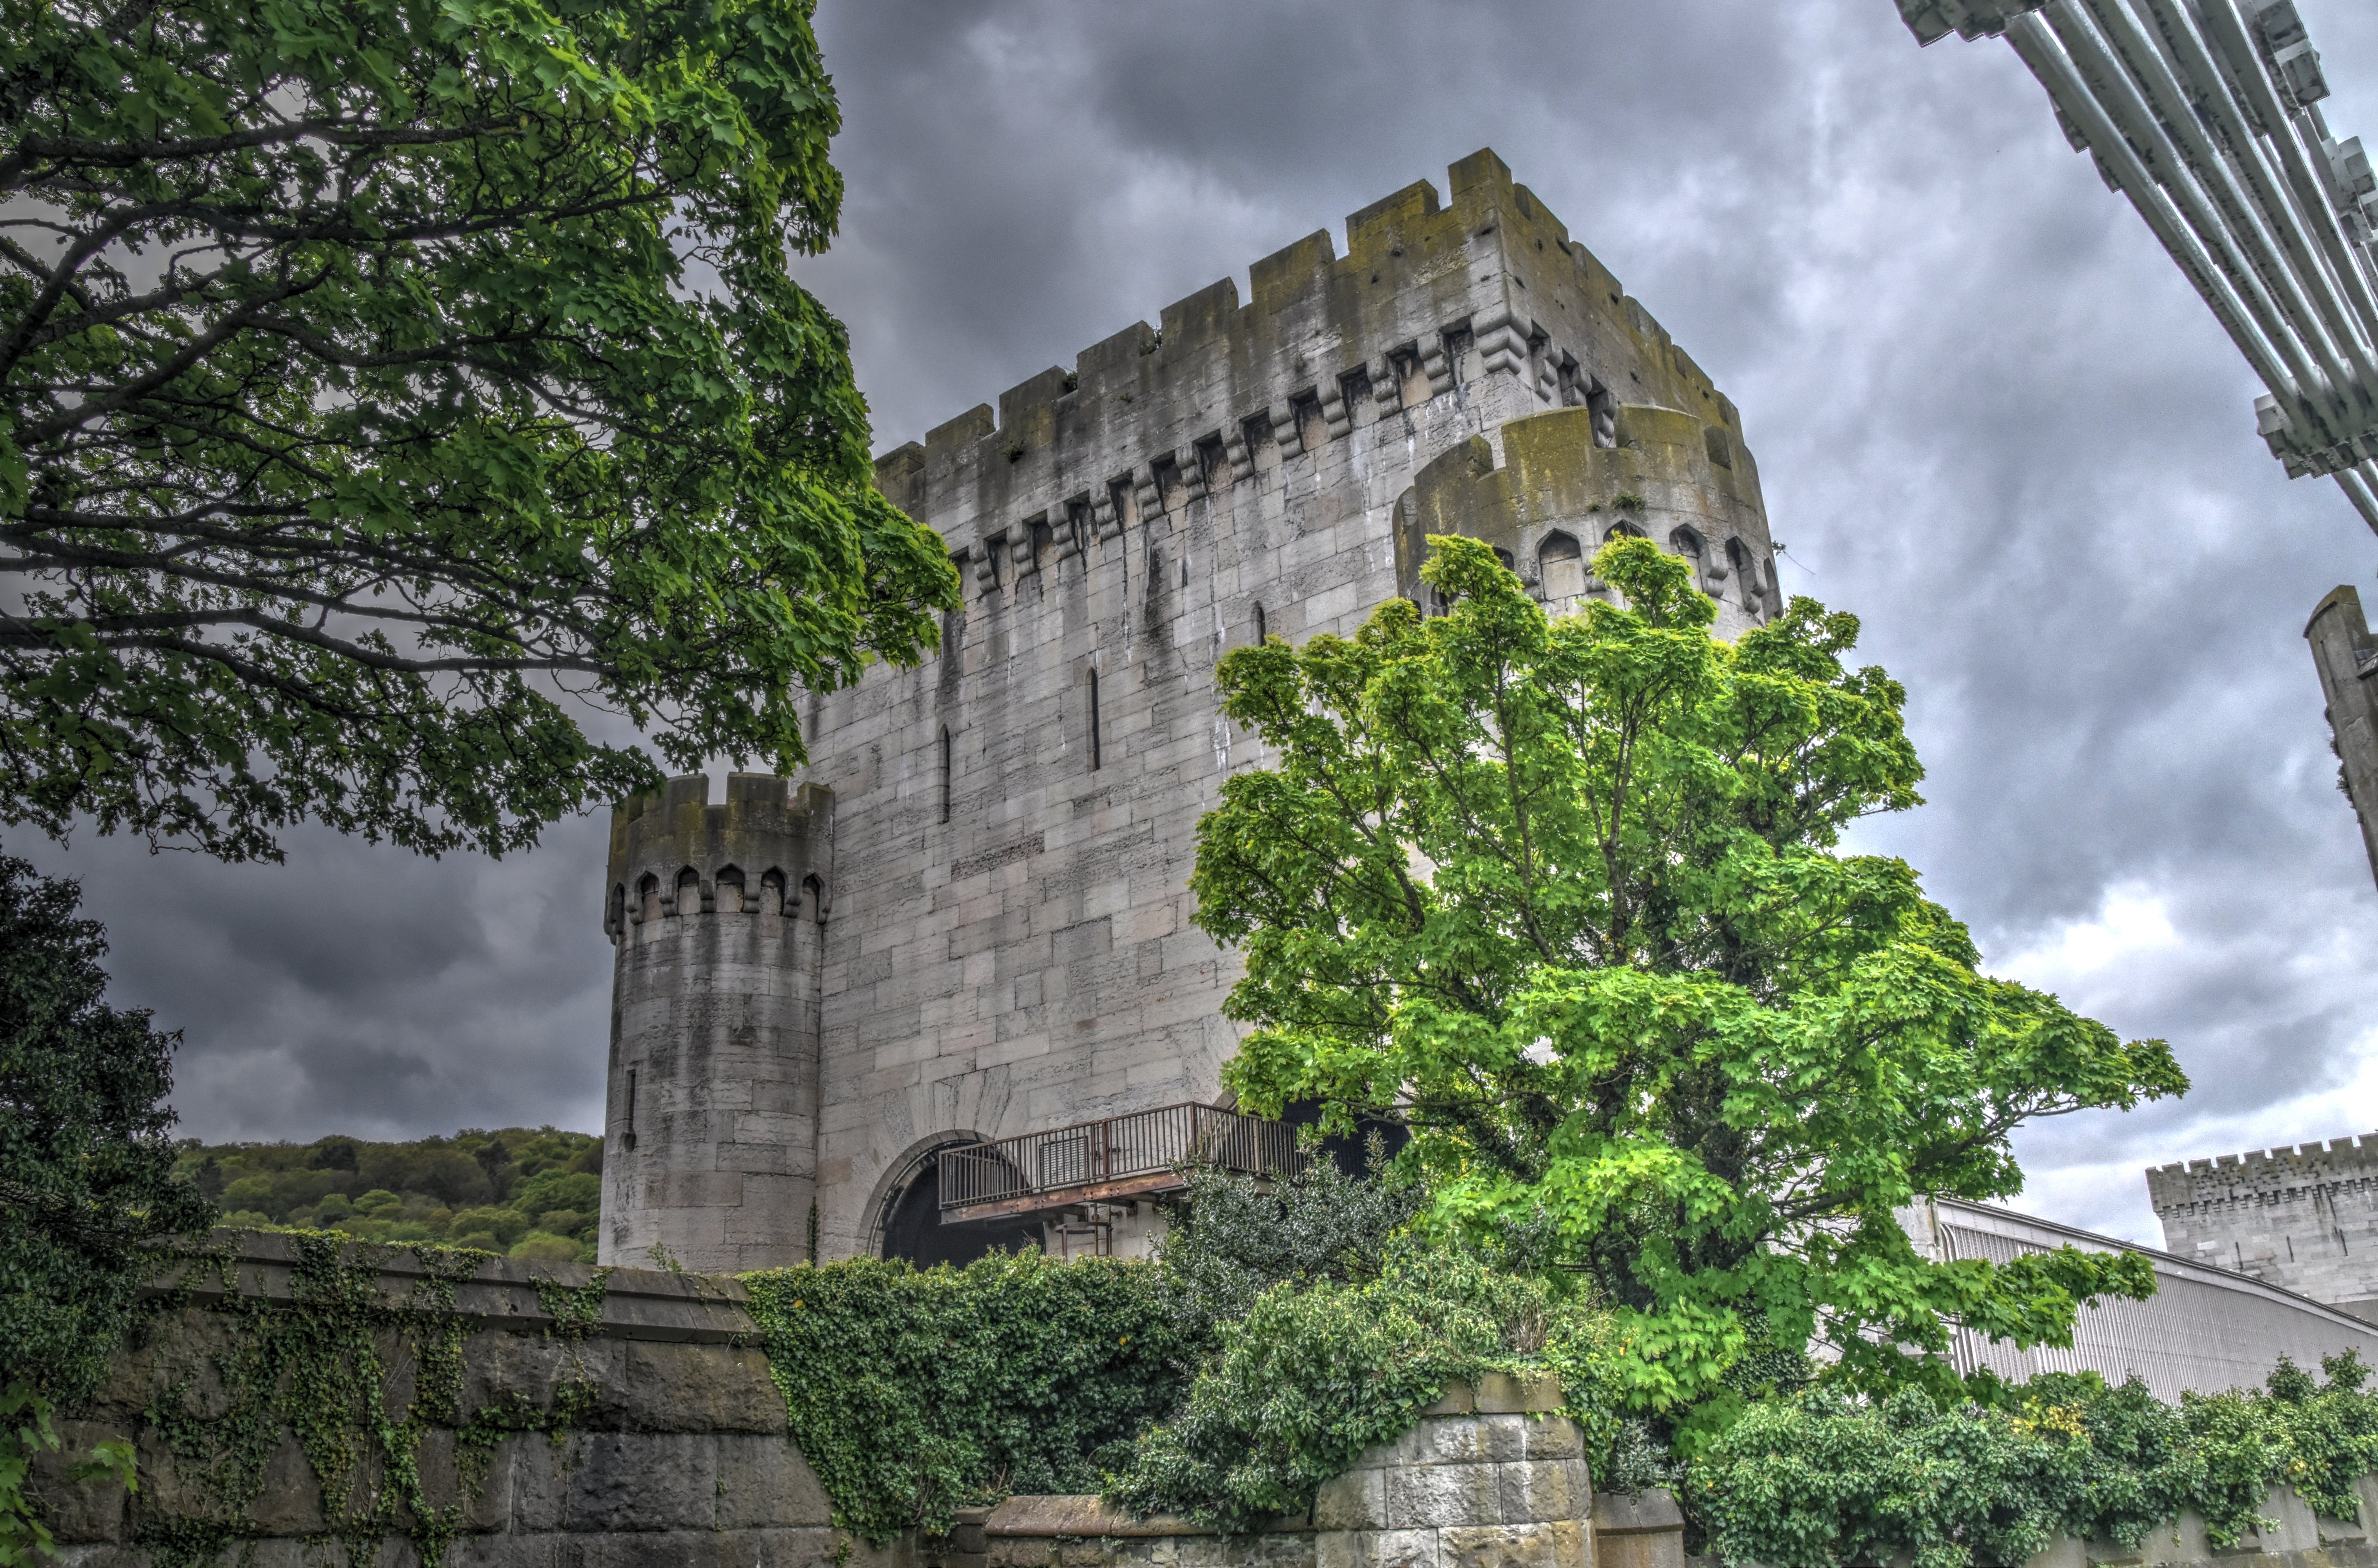
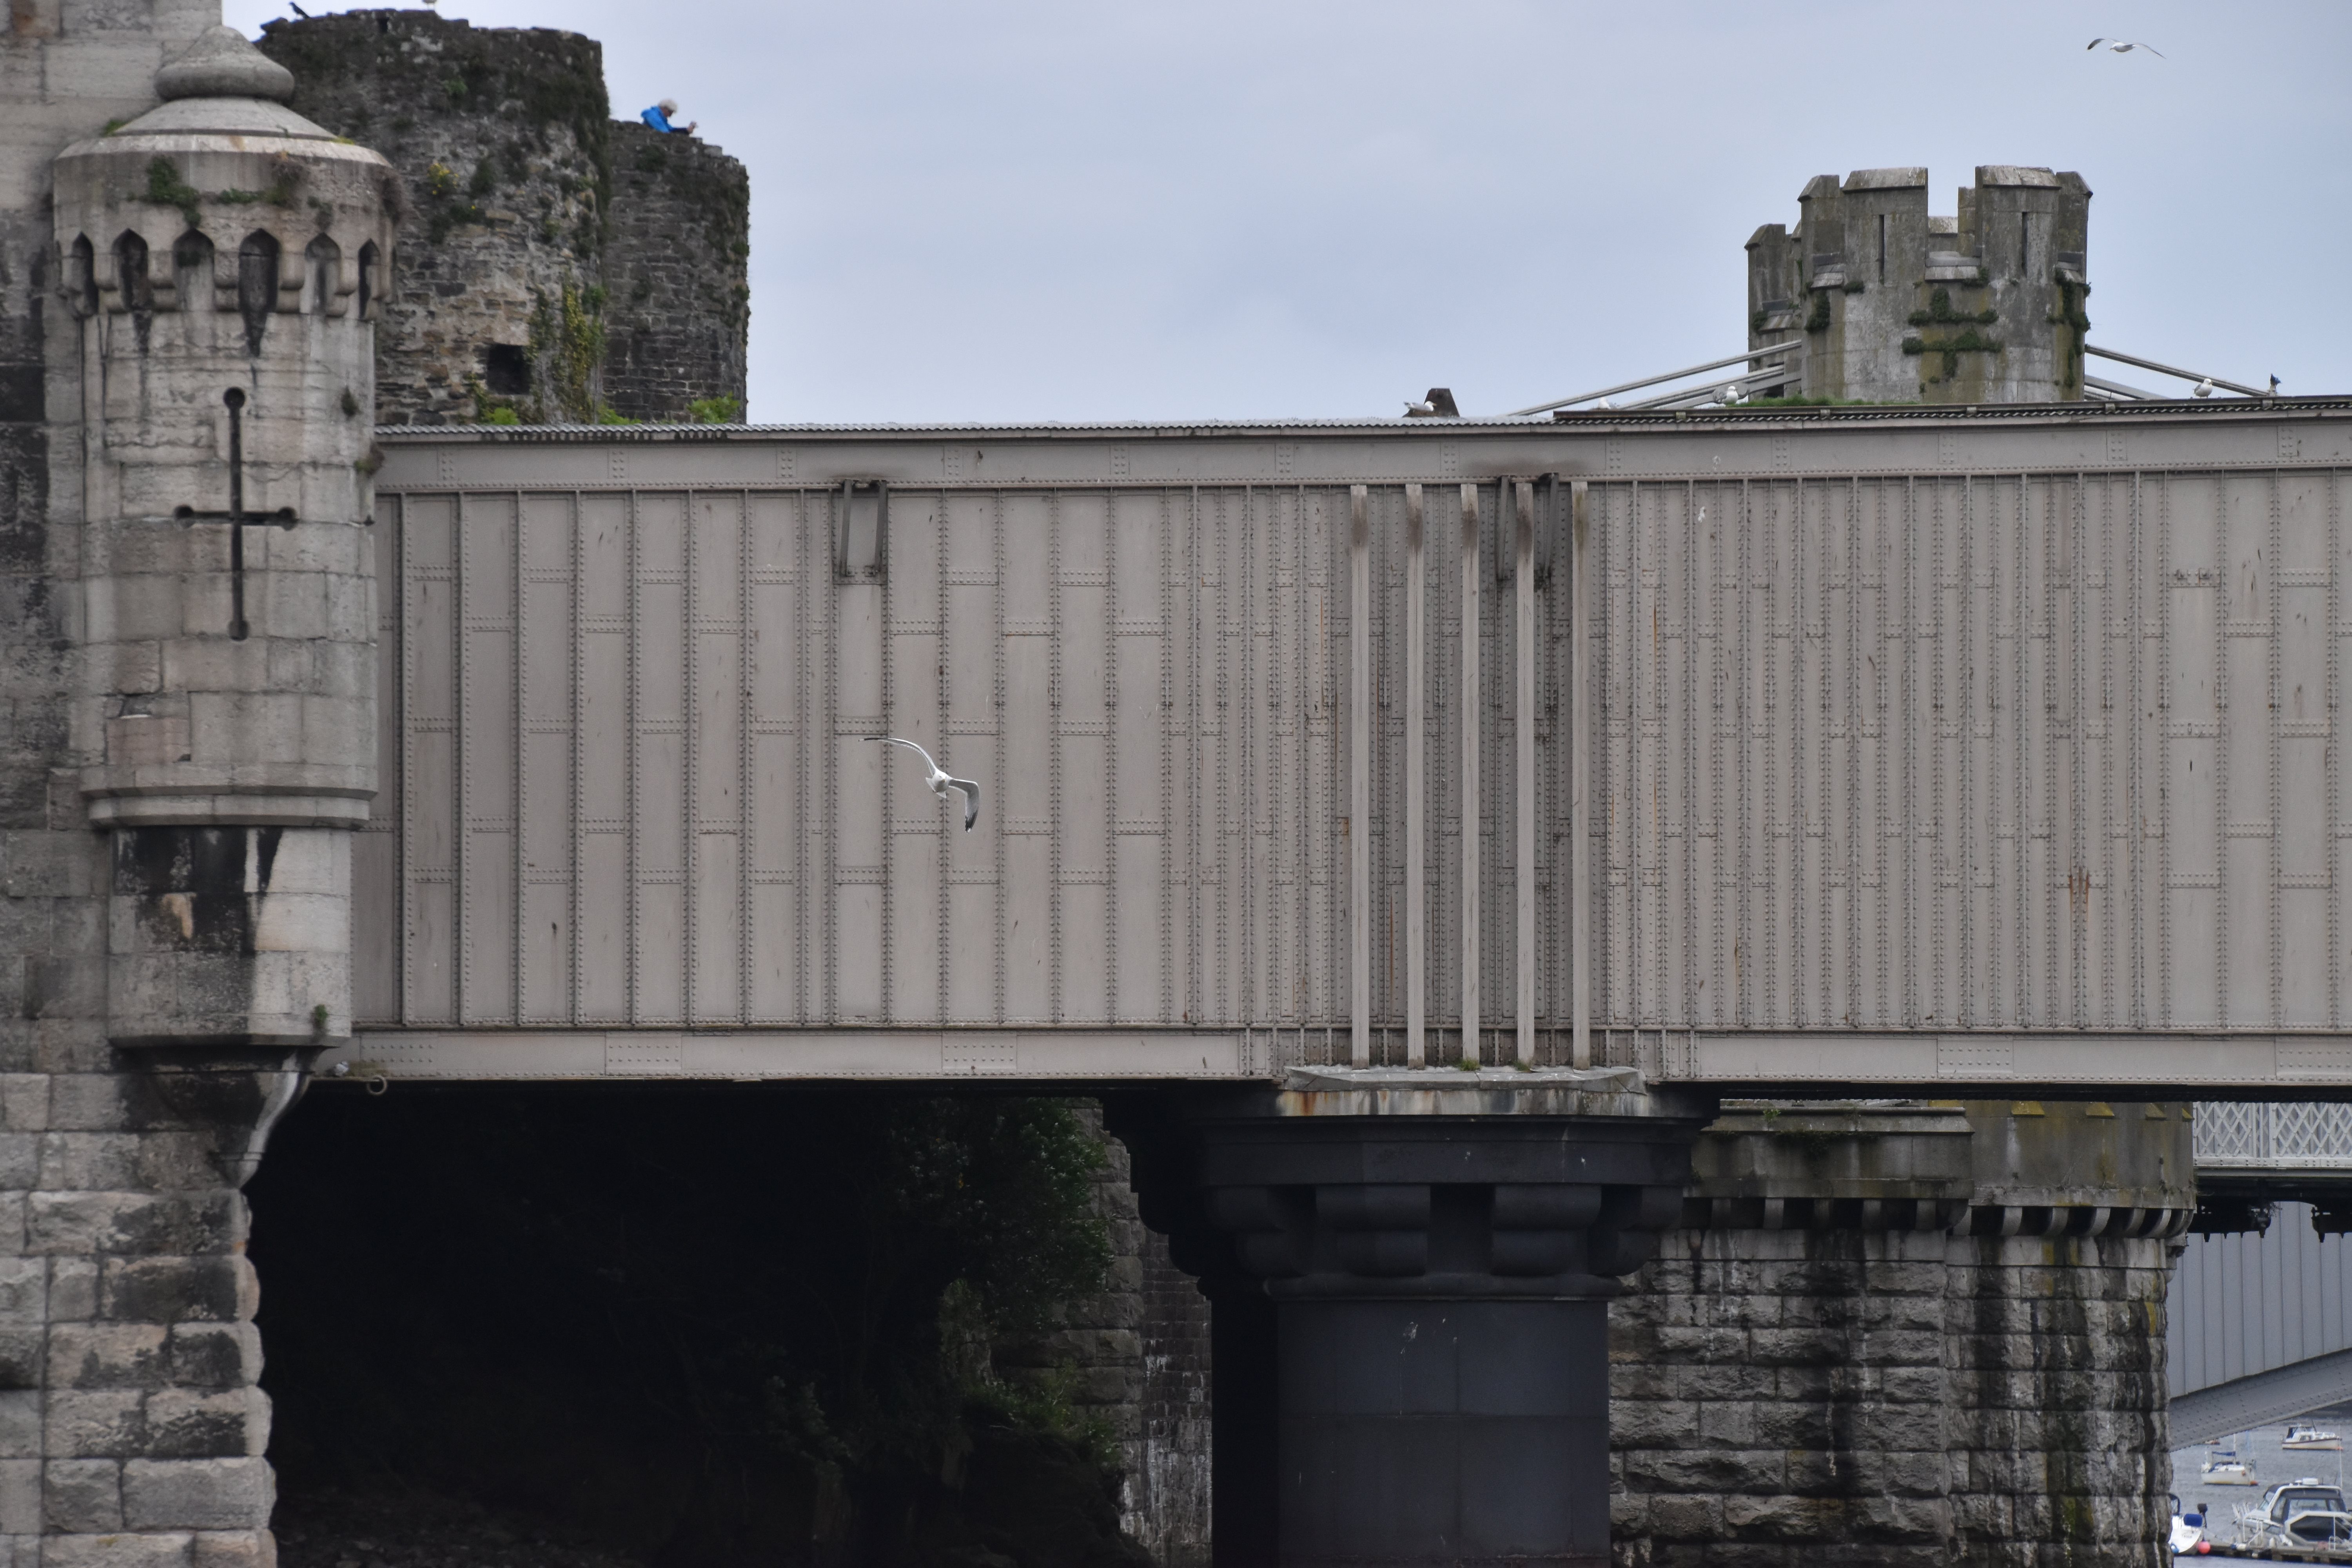
South elevation.
![]()
![]()
![]()
![]()
![]()
![]()

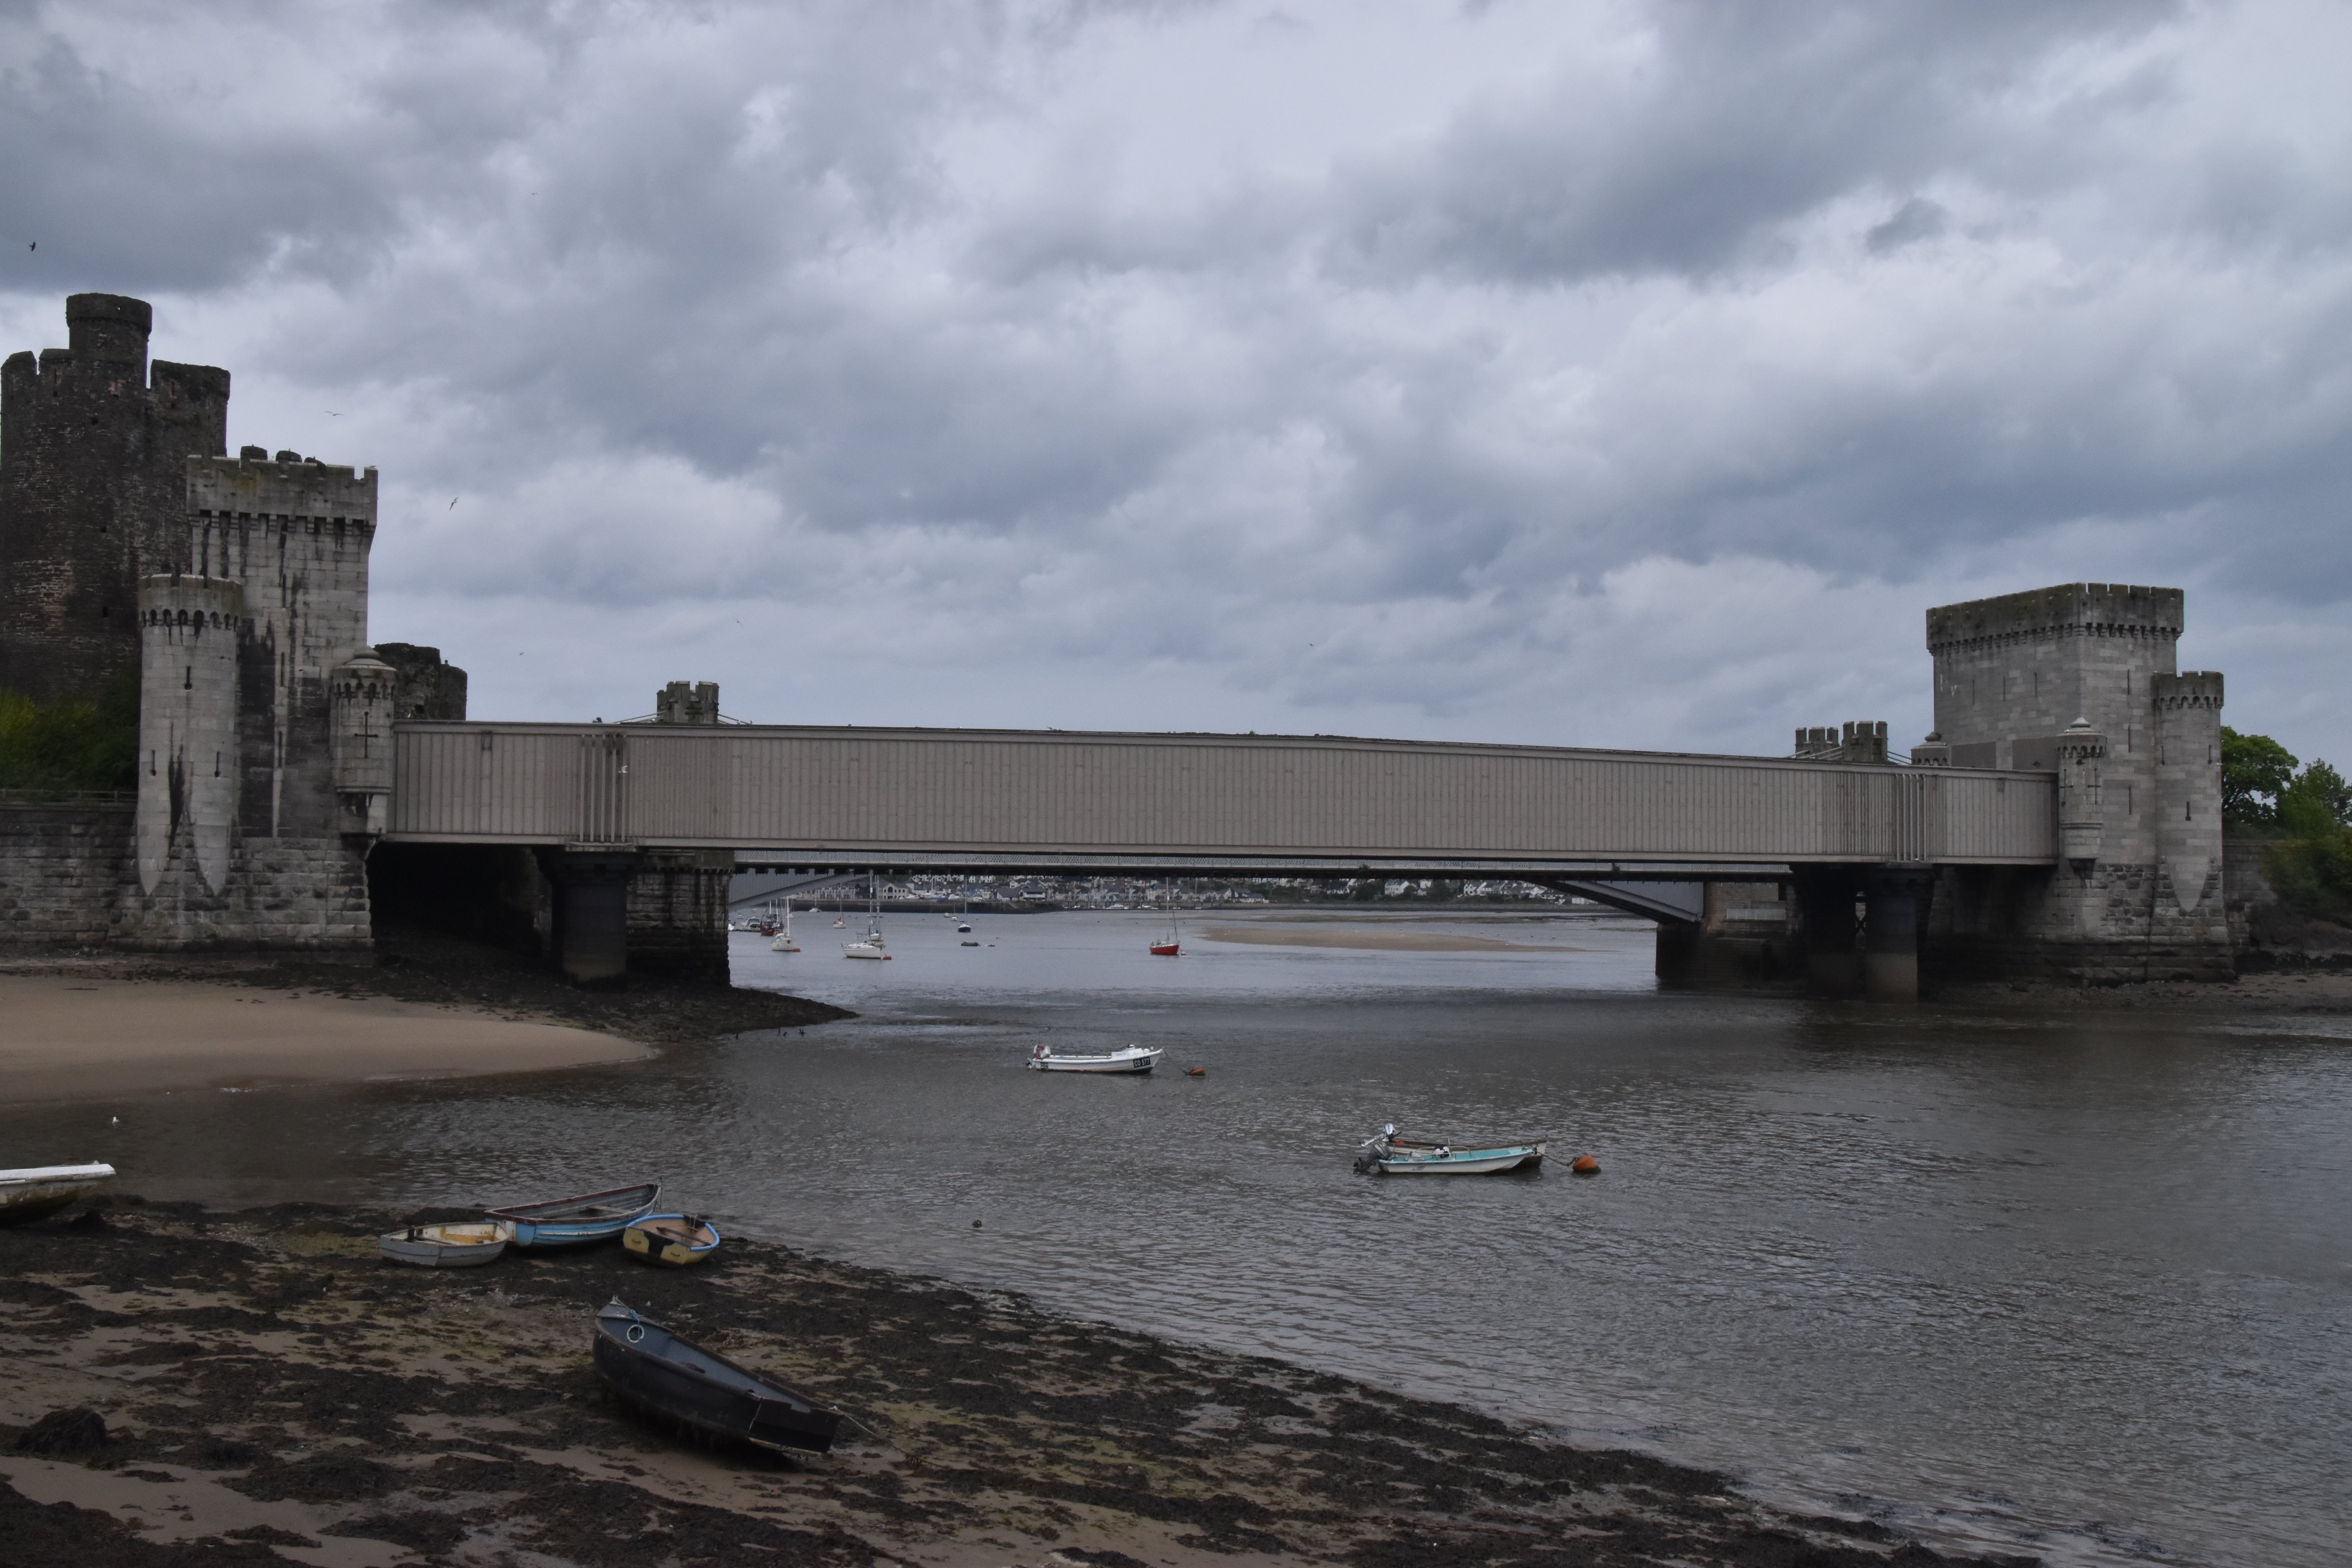
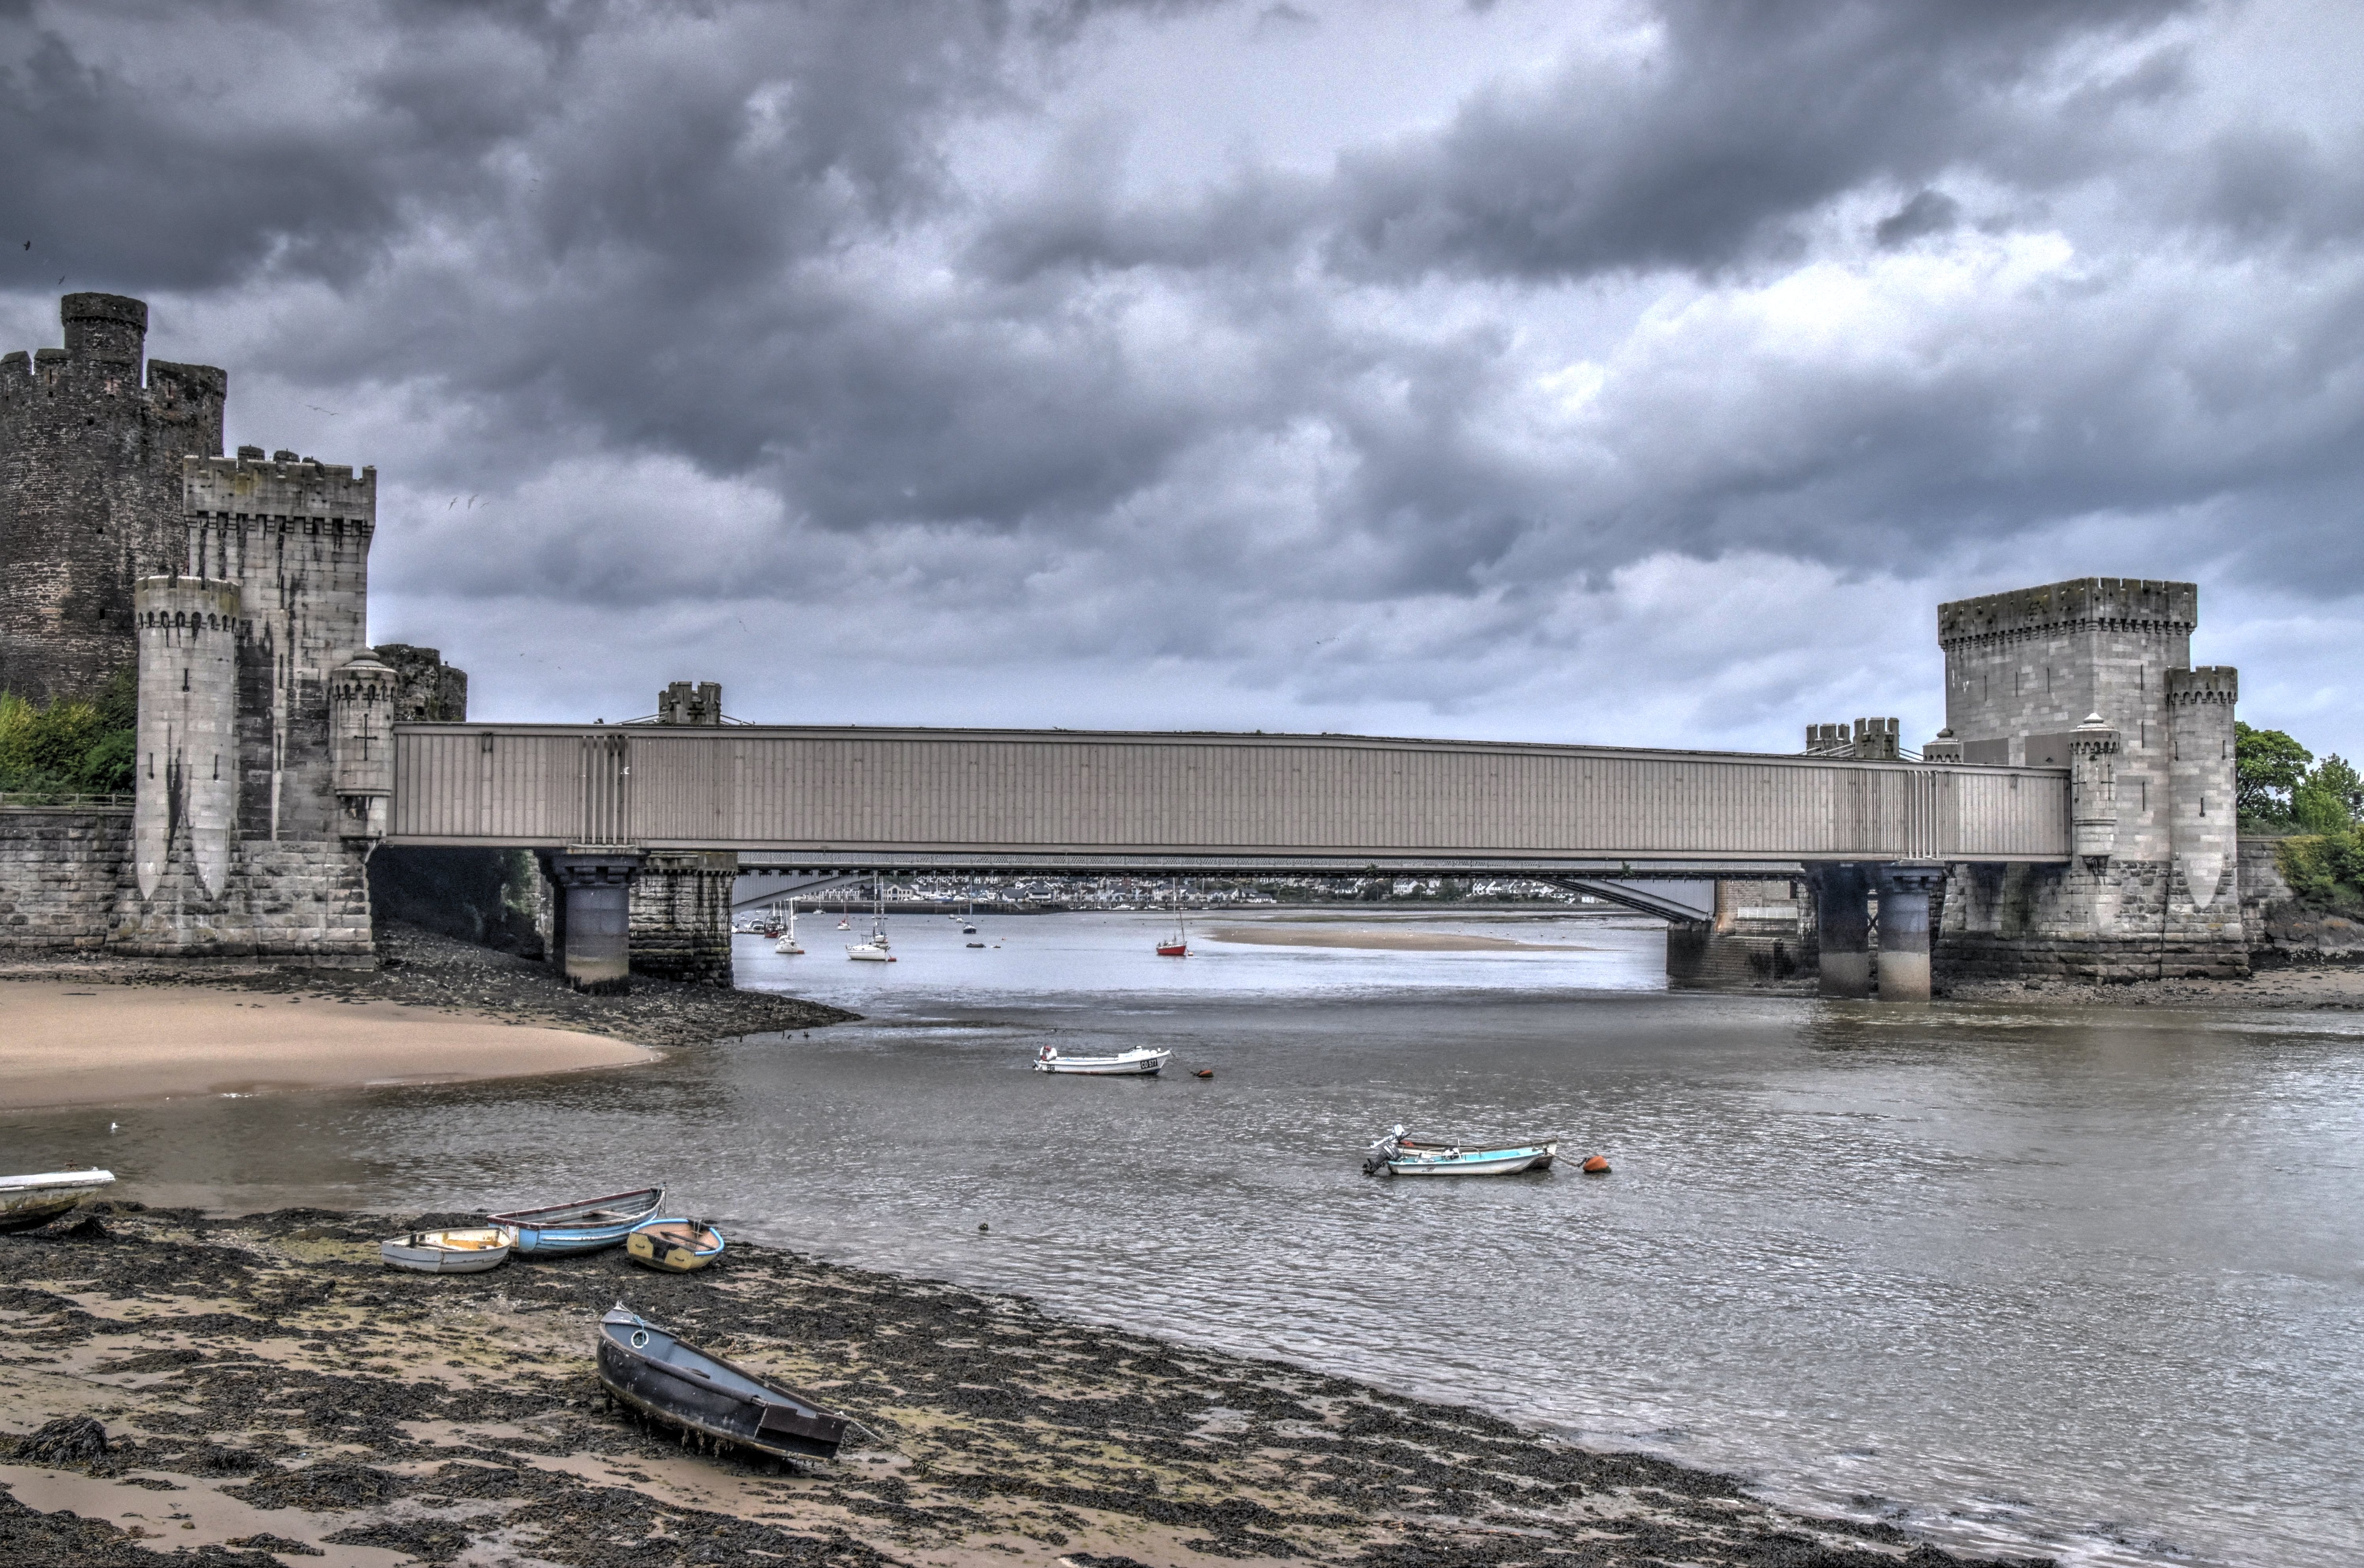
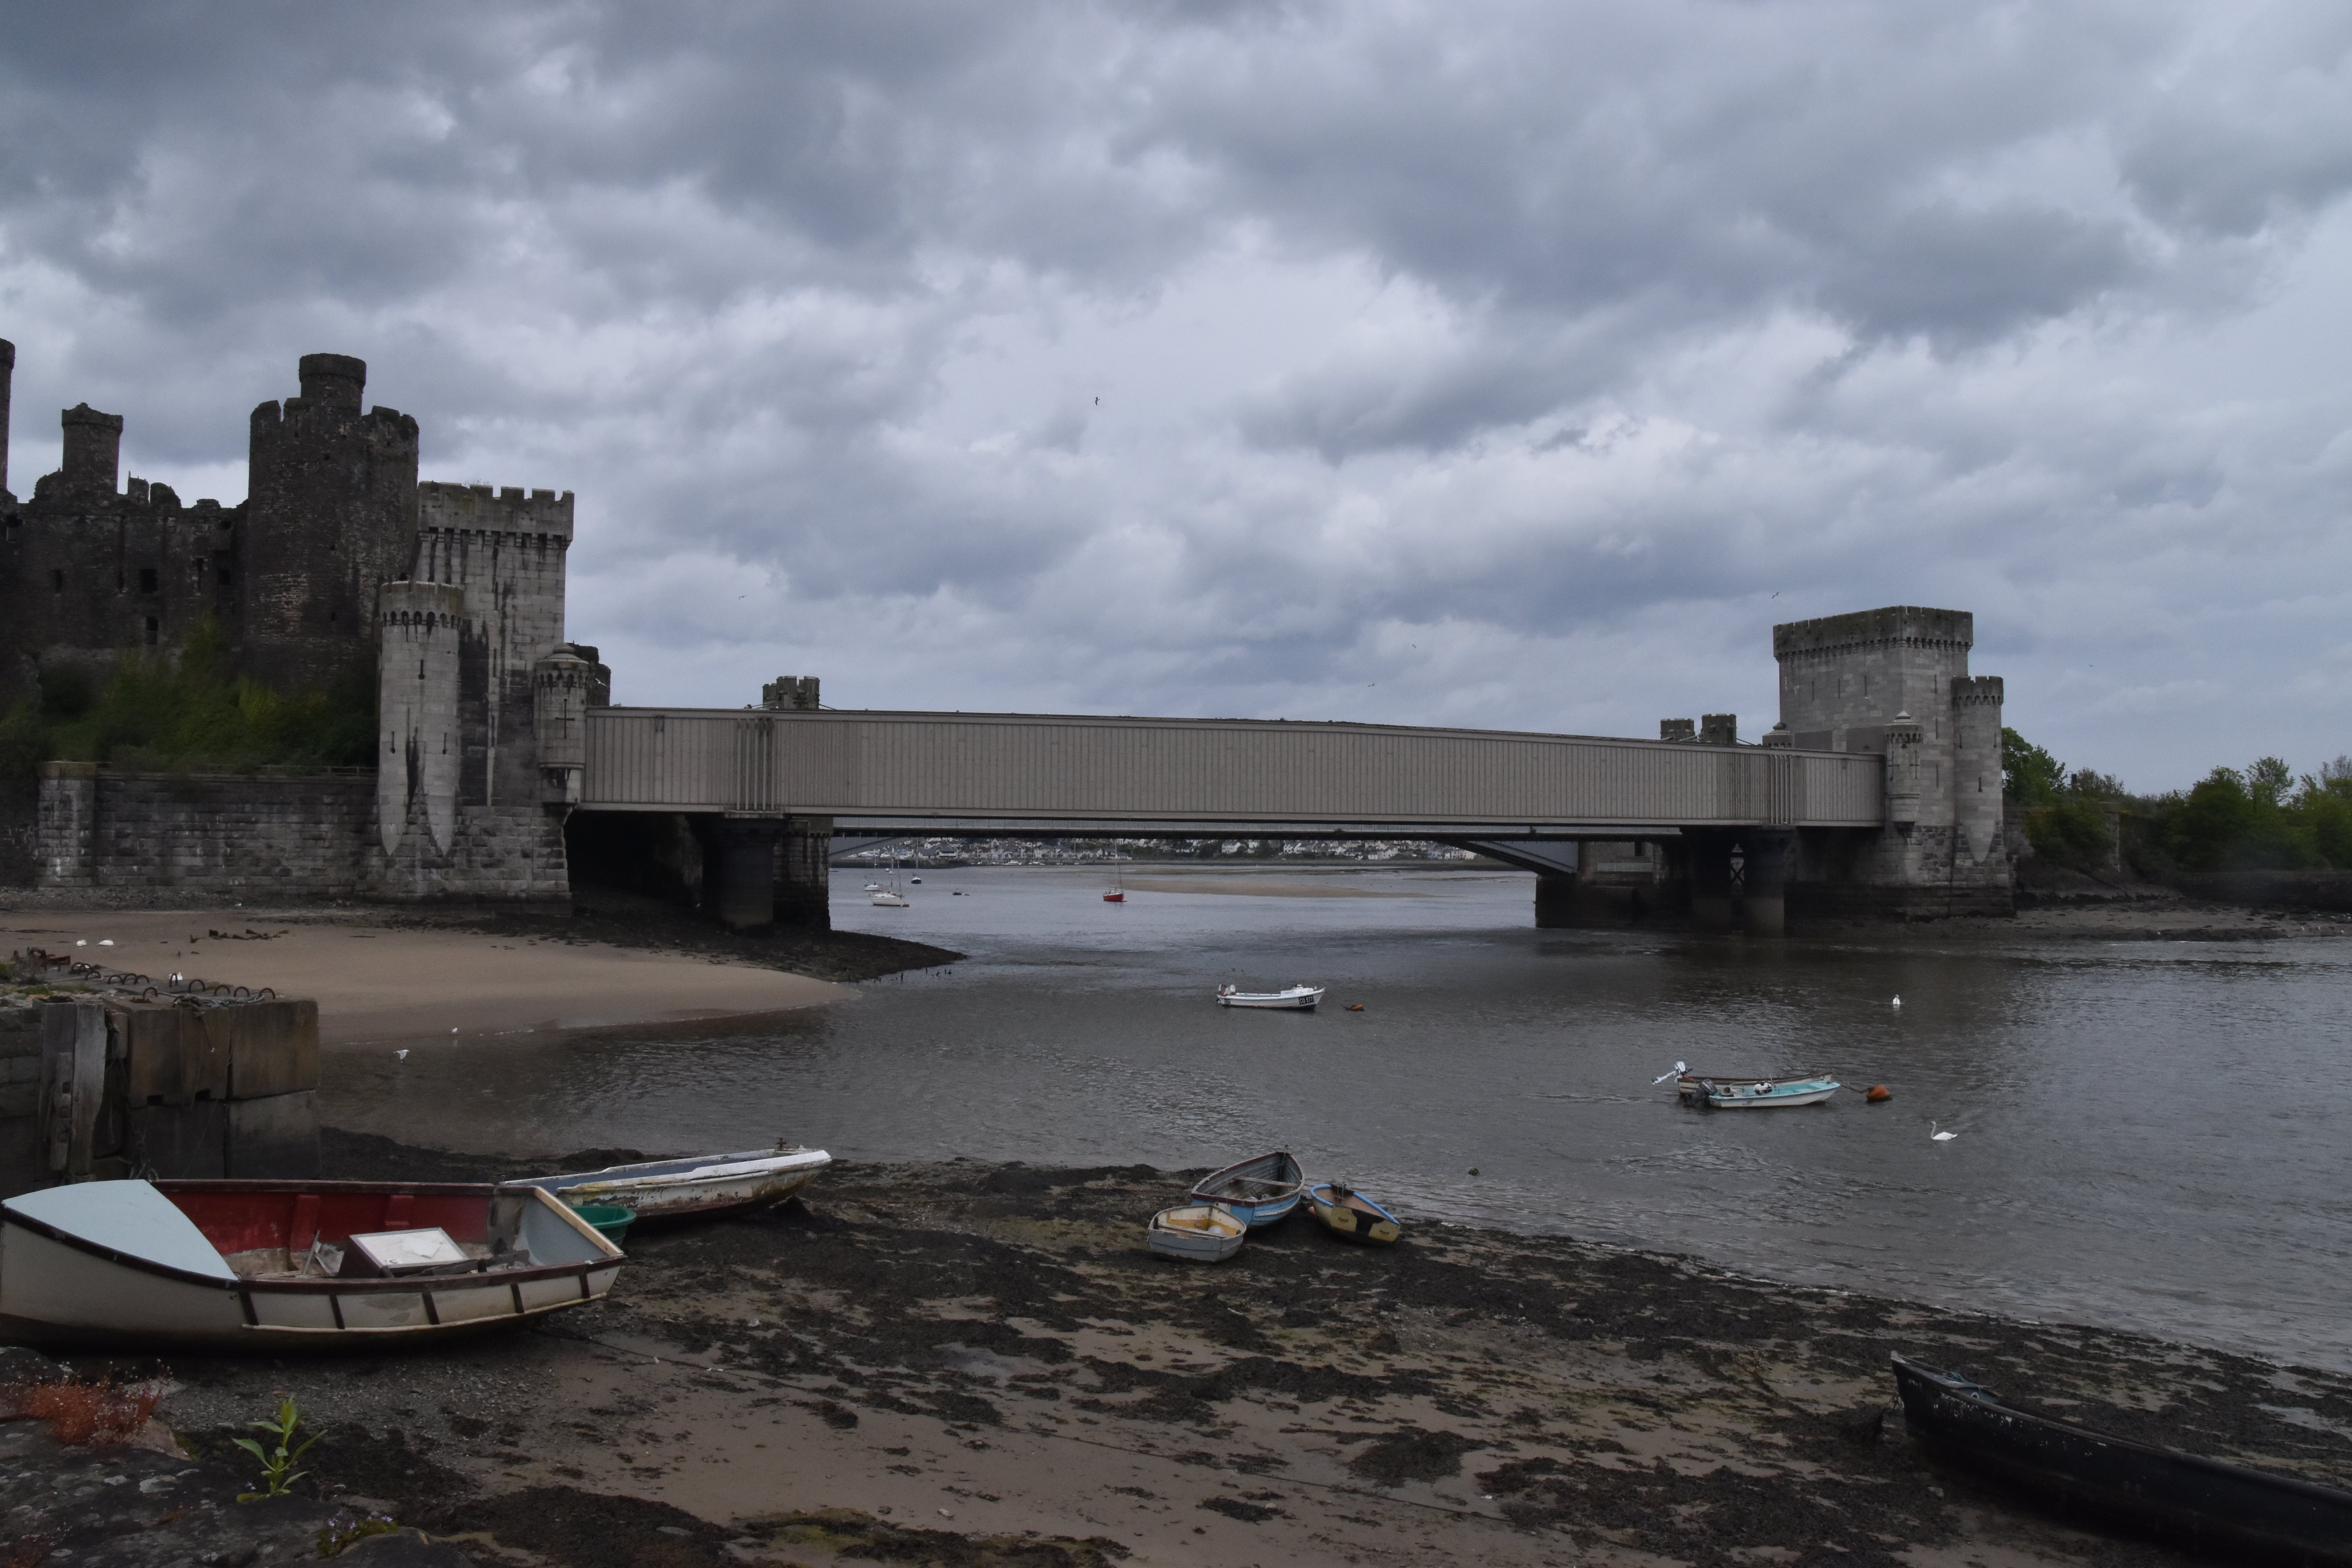
Panoramic south elevation.
![]()


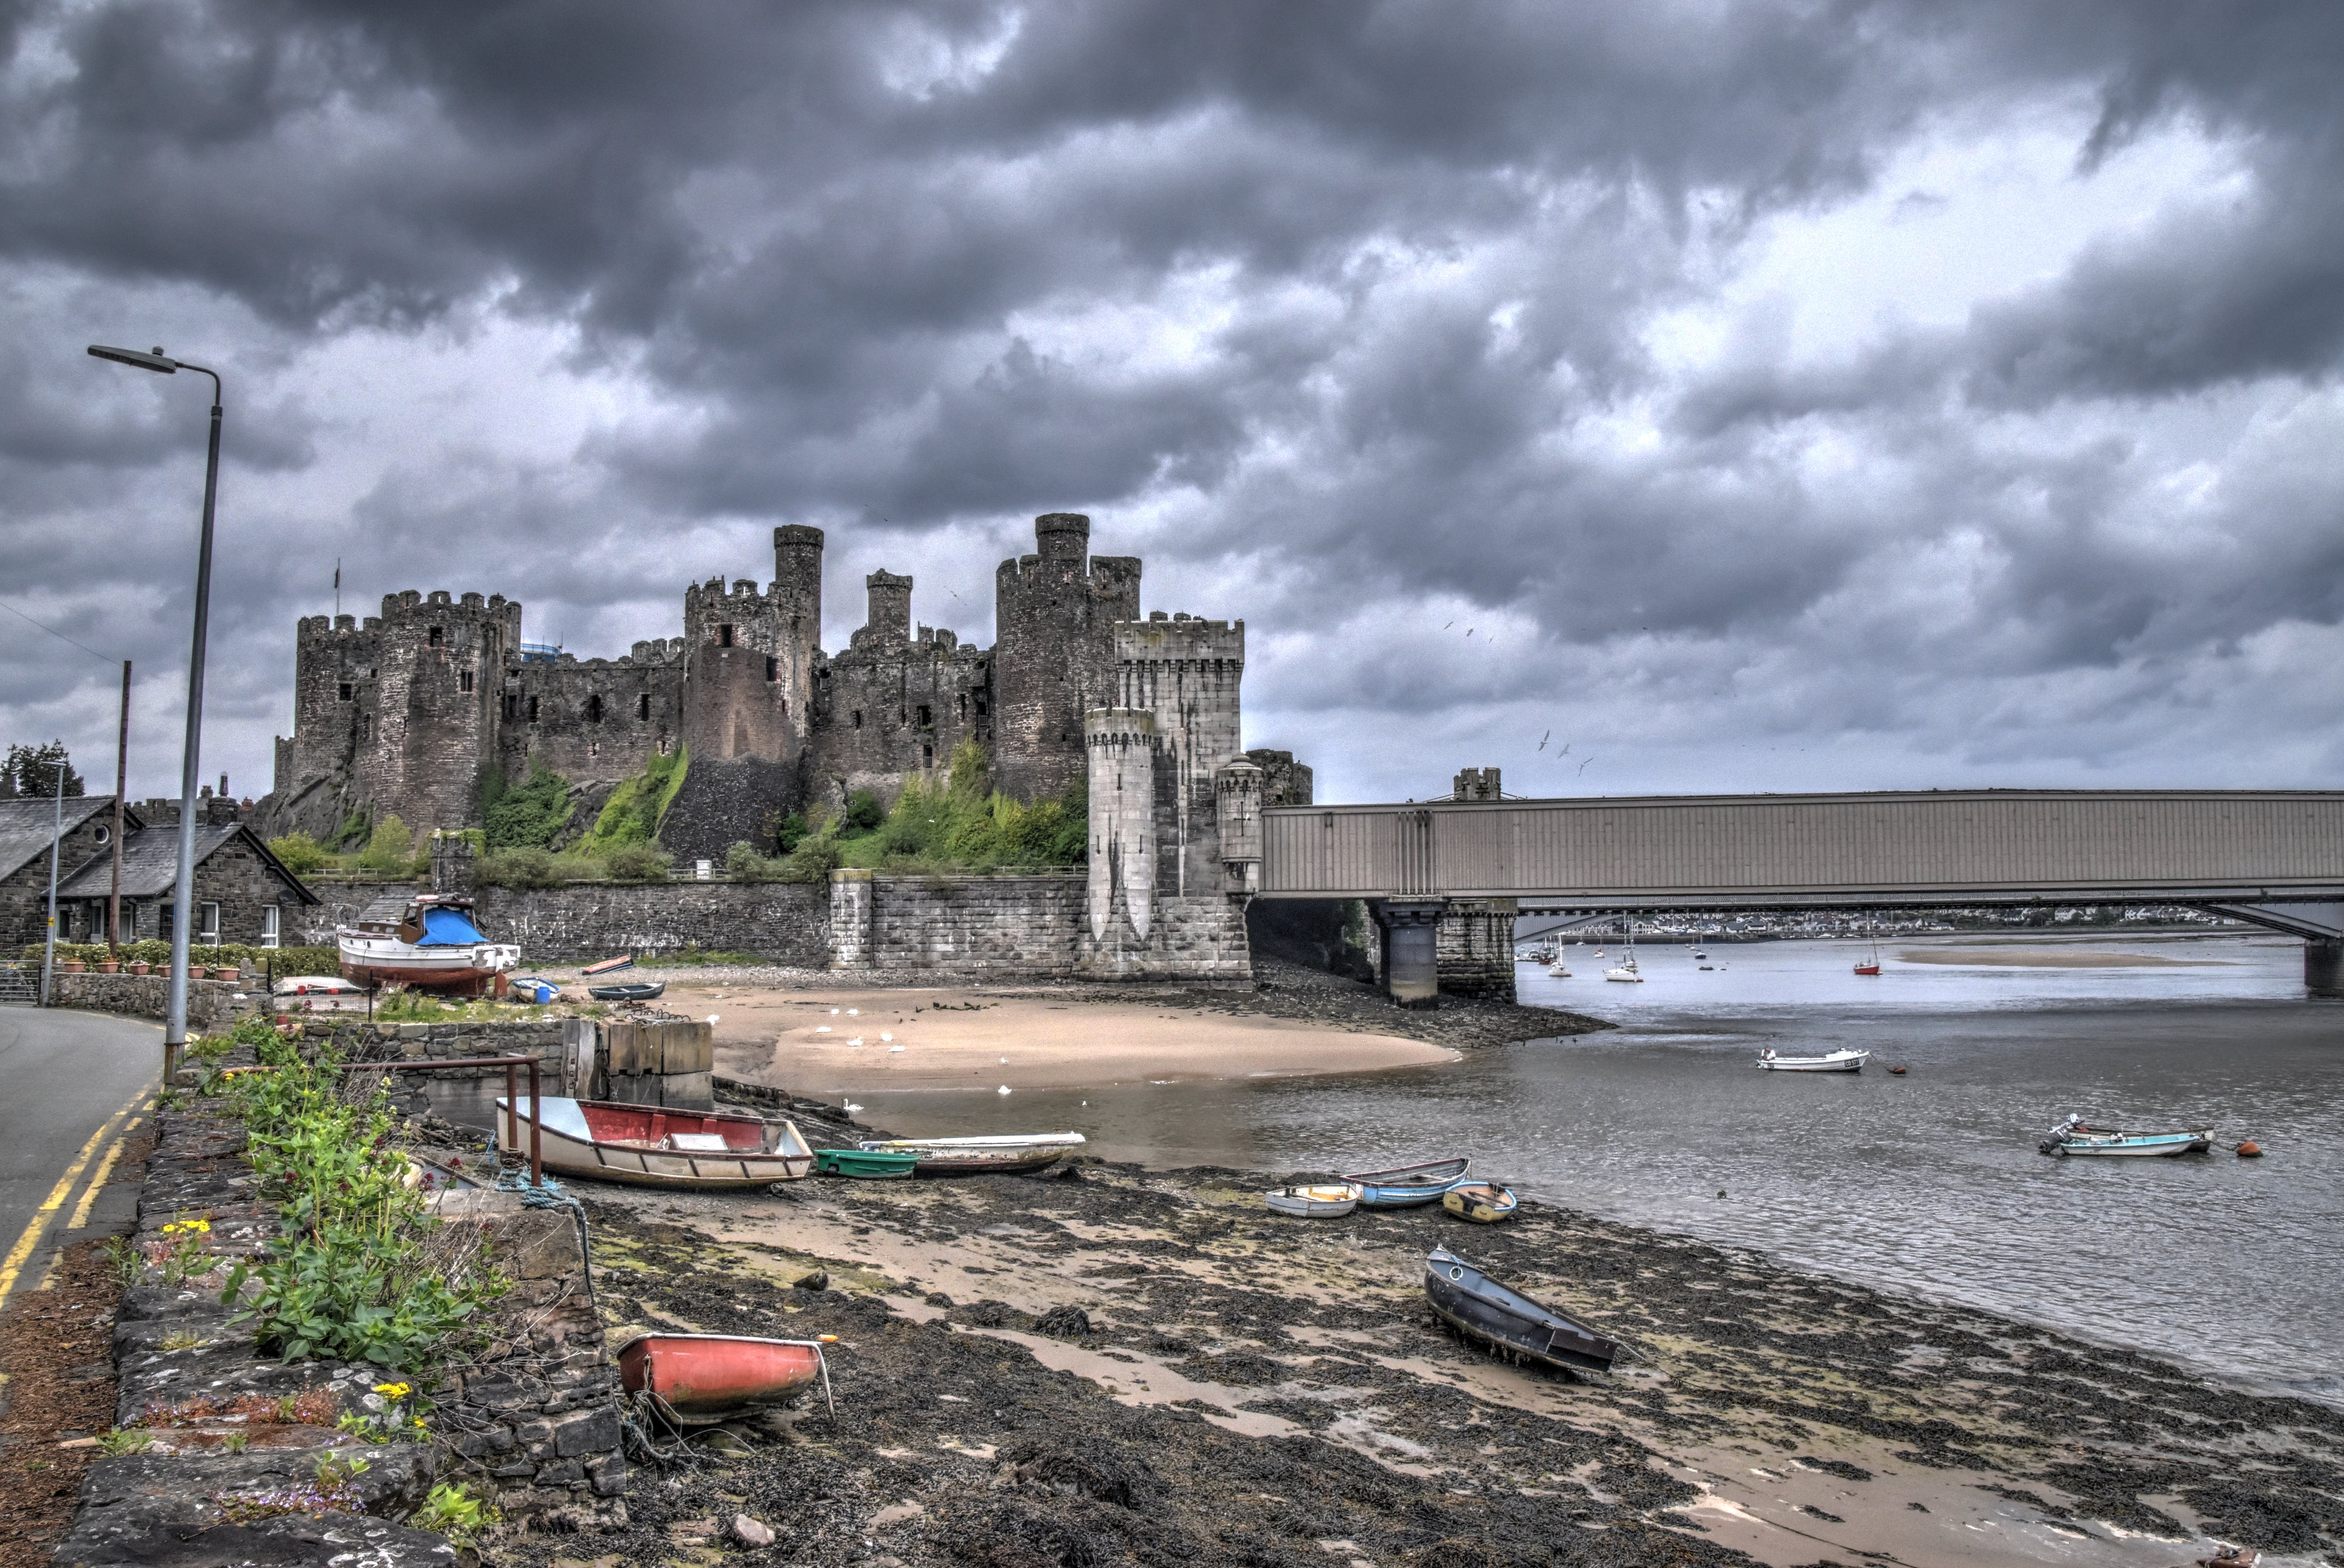


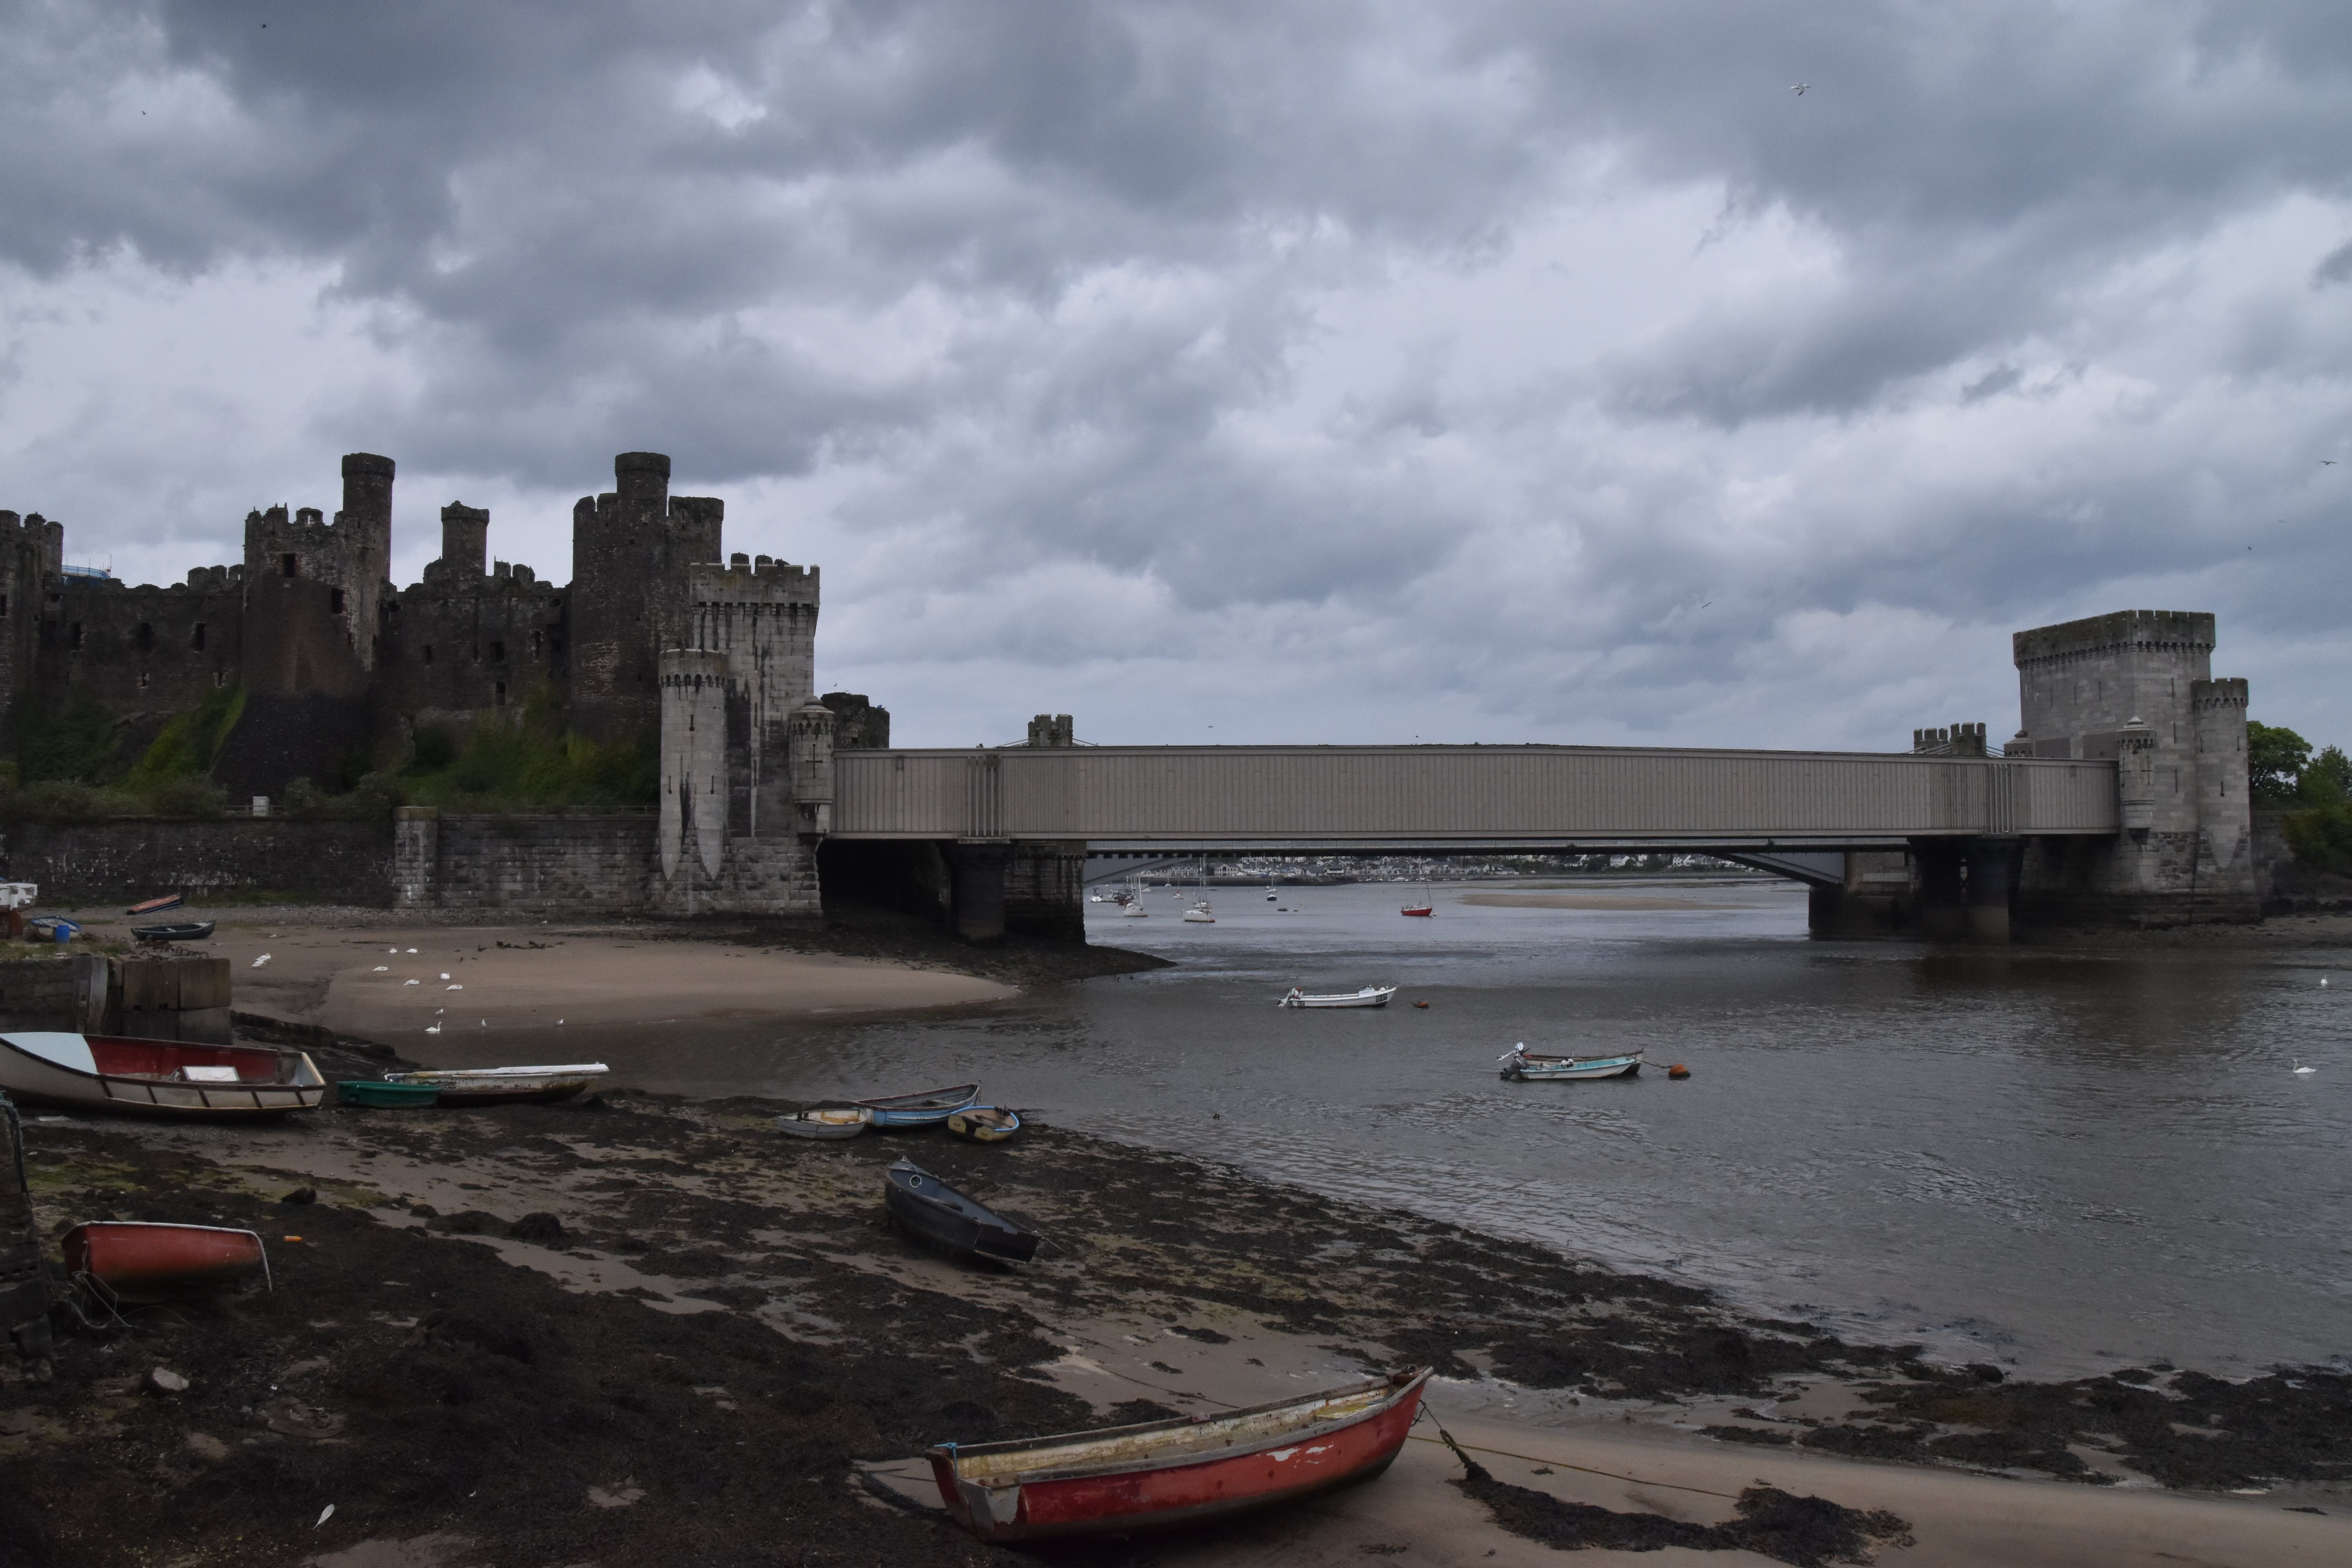
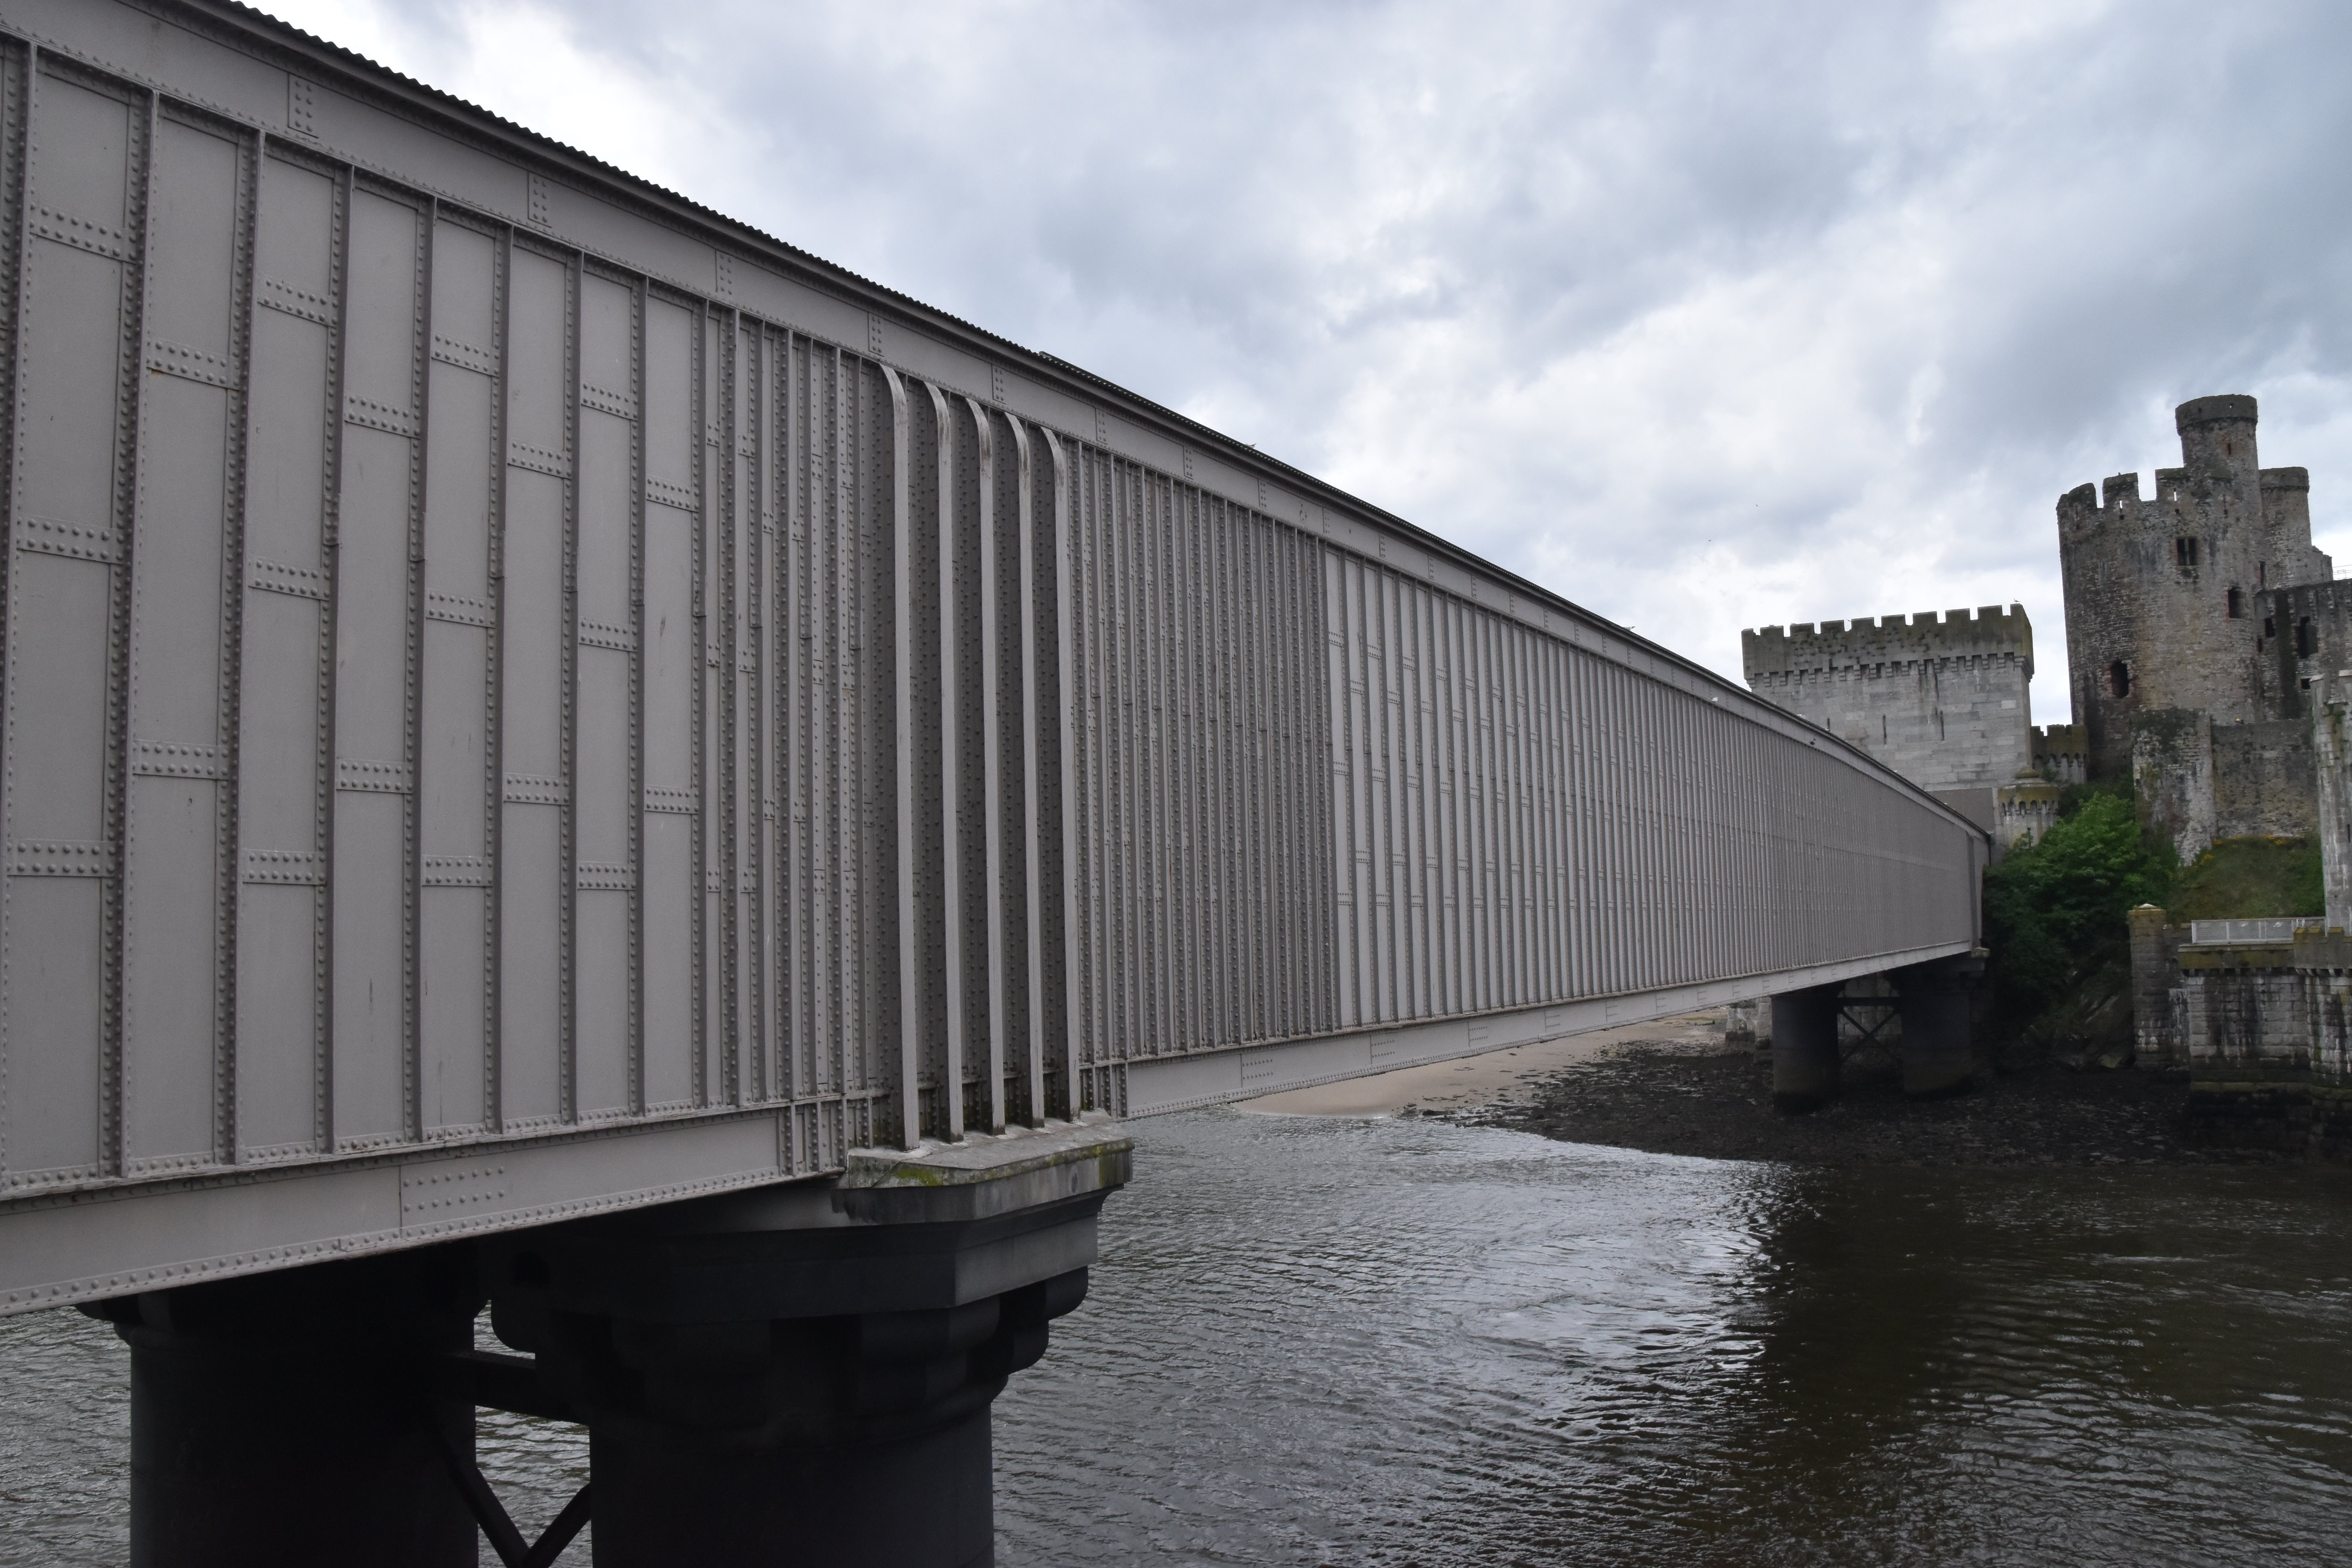
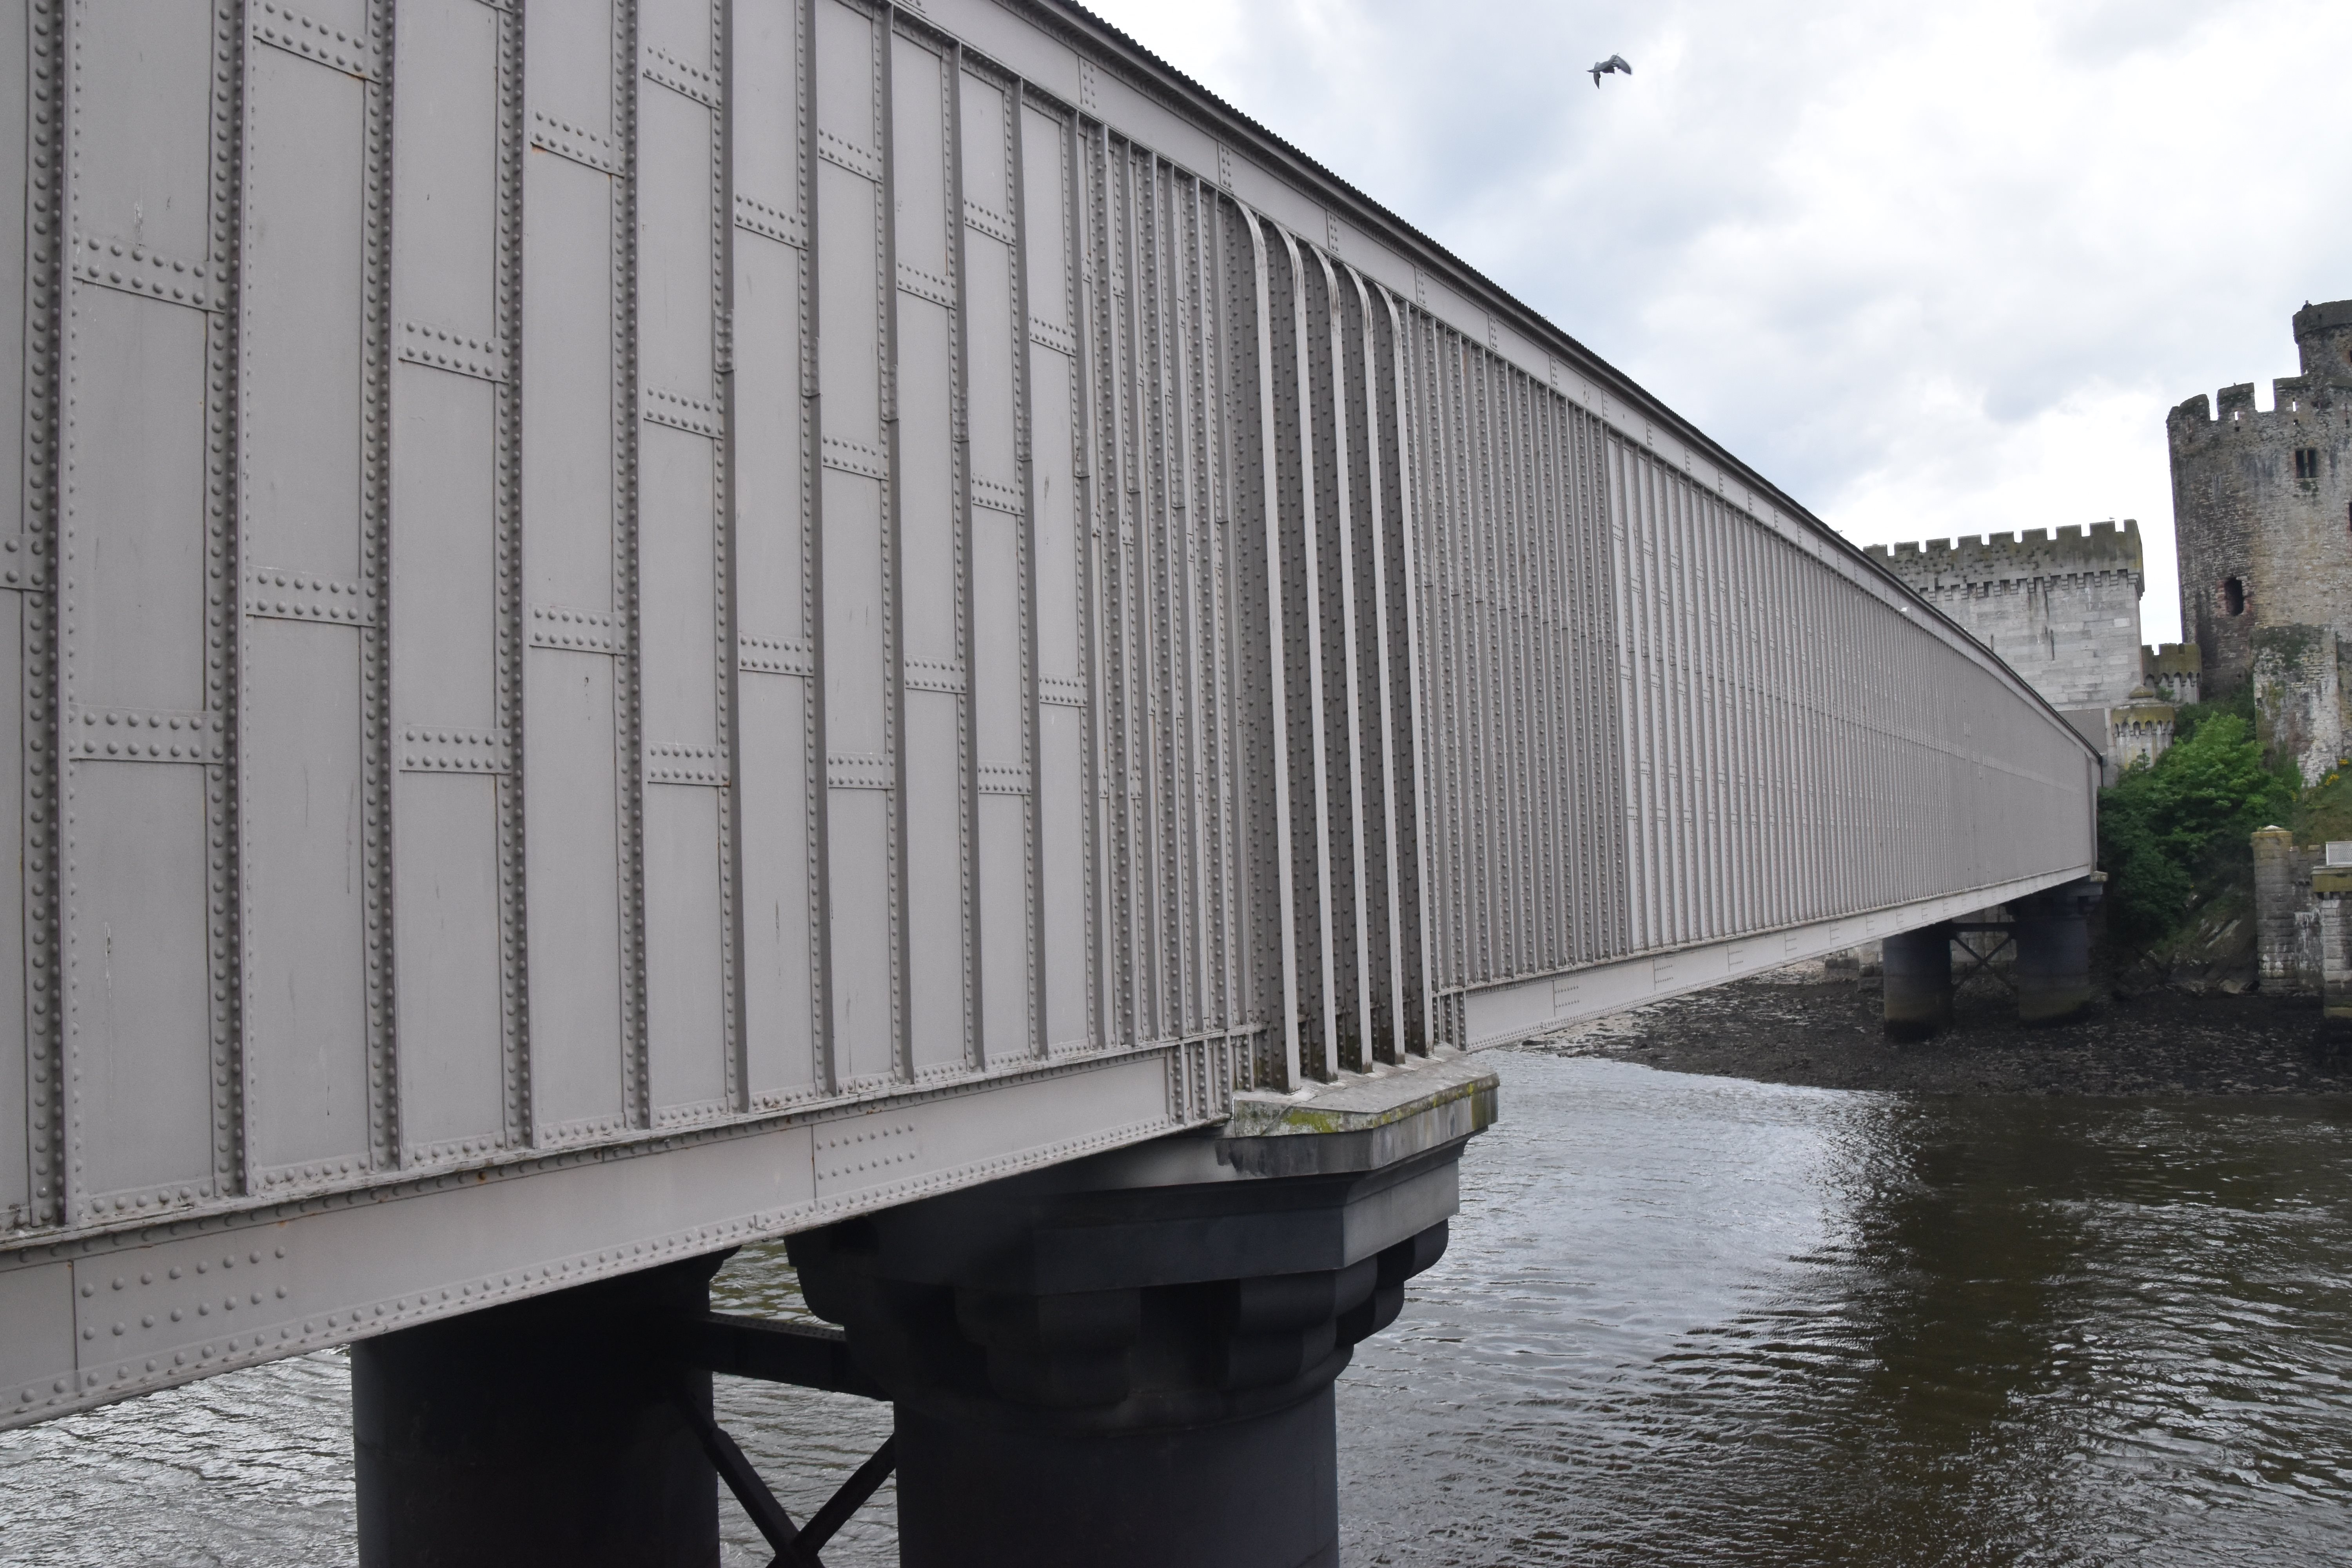
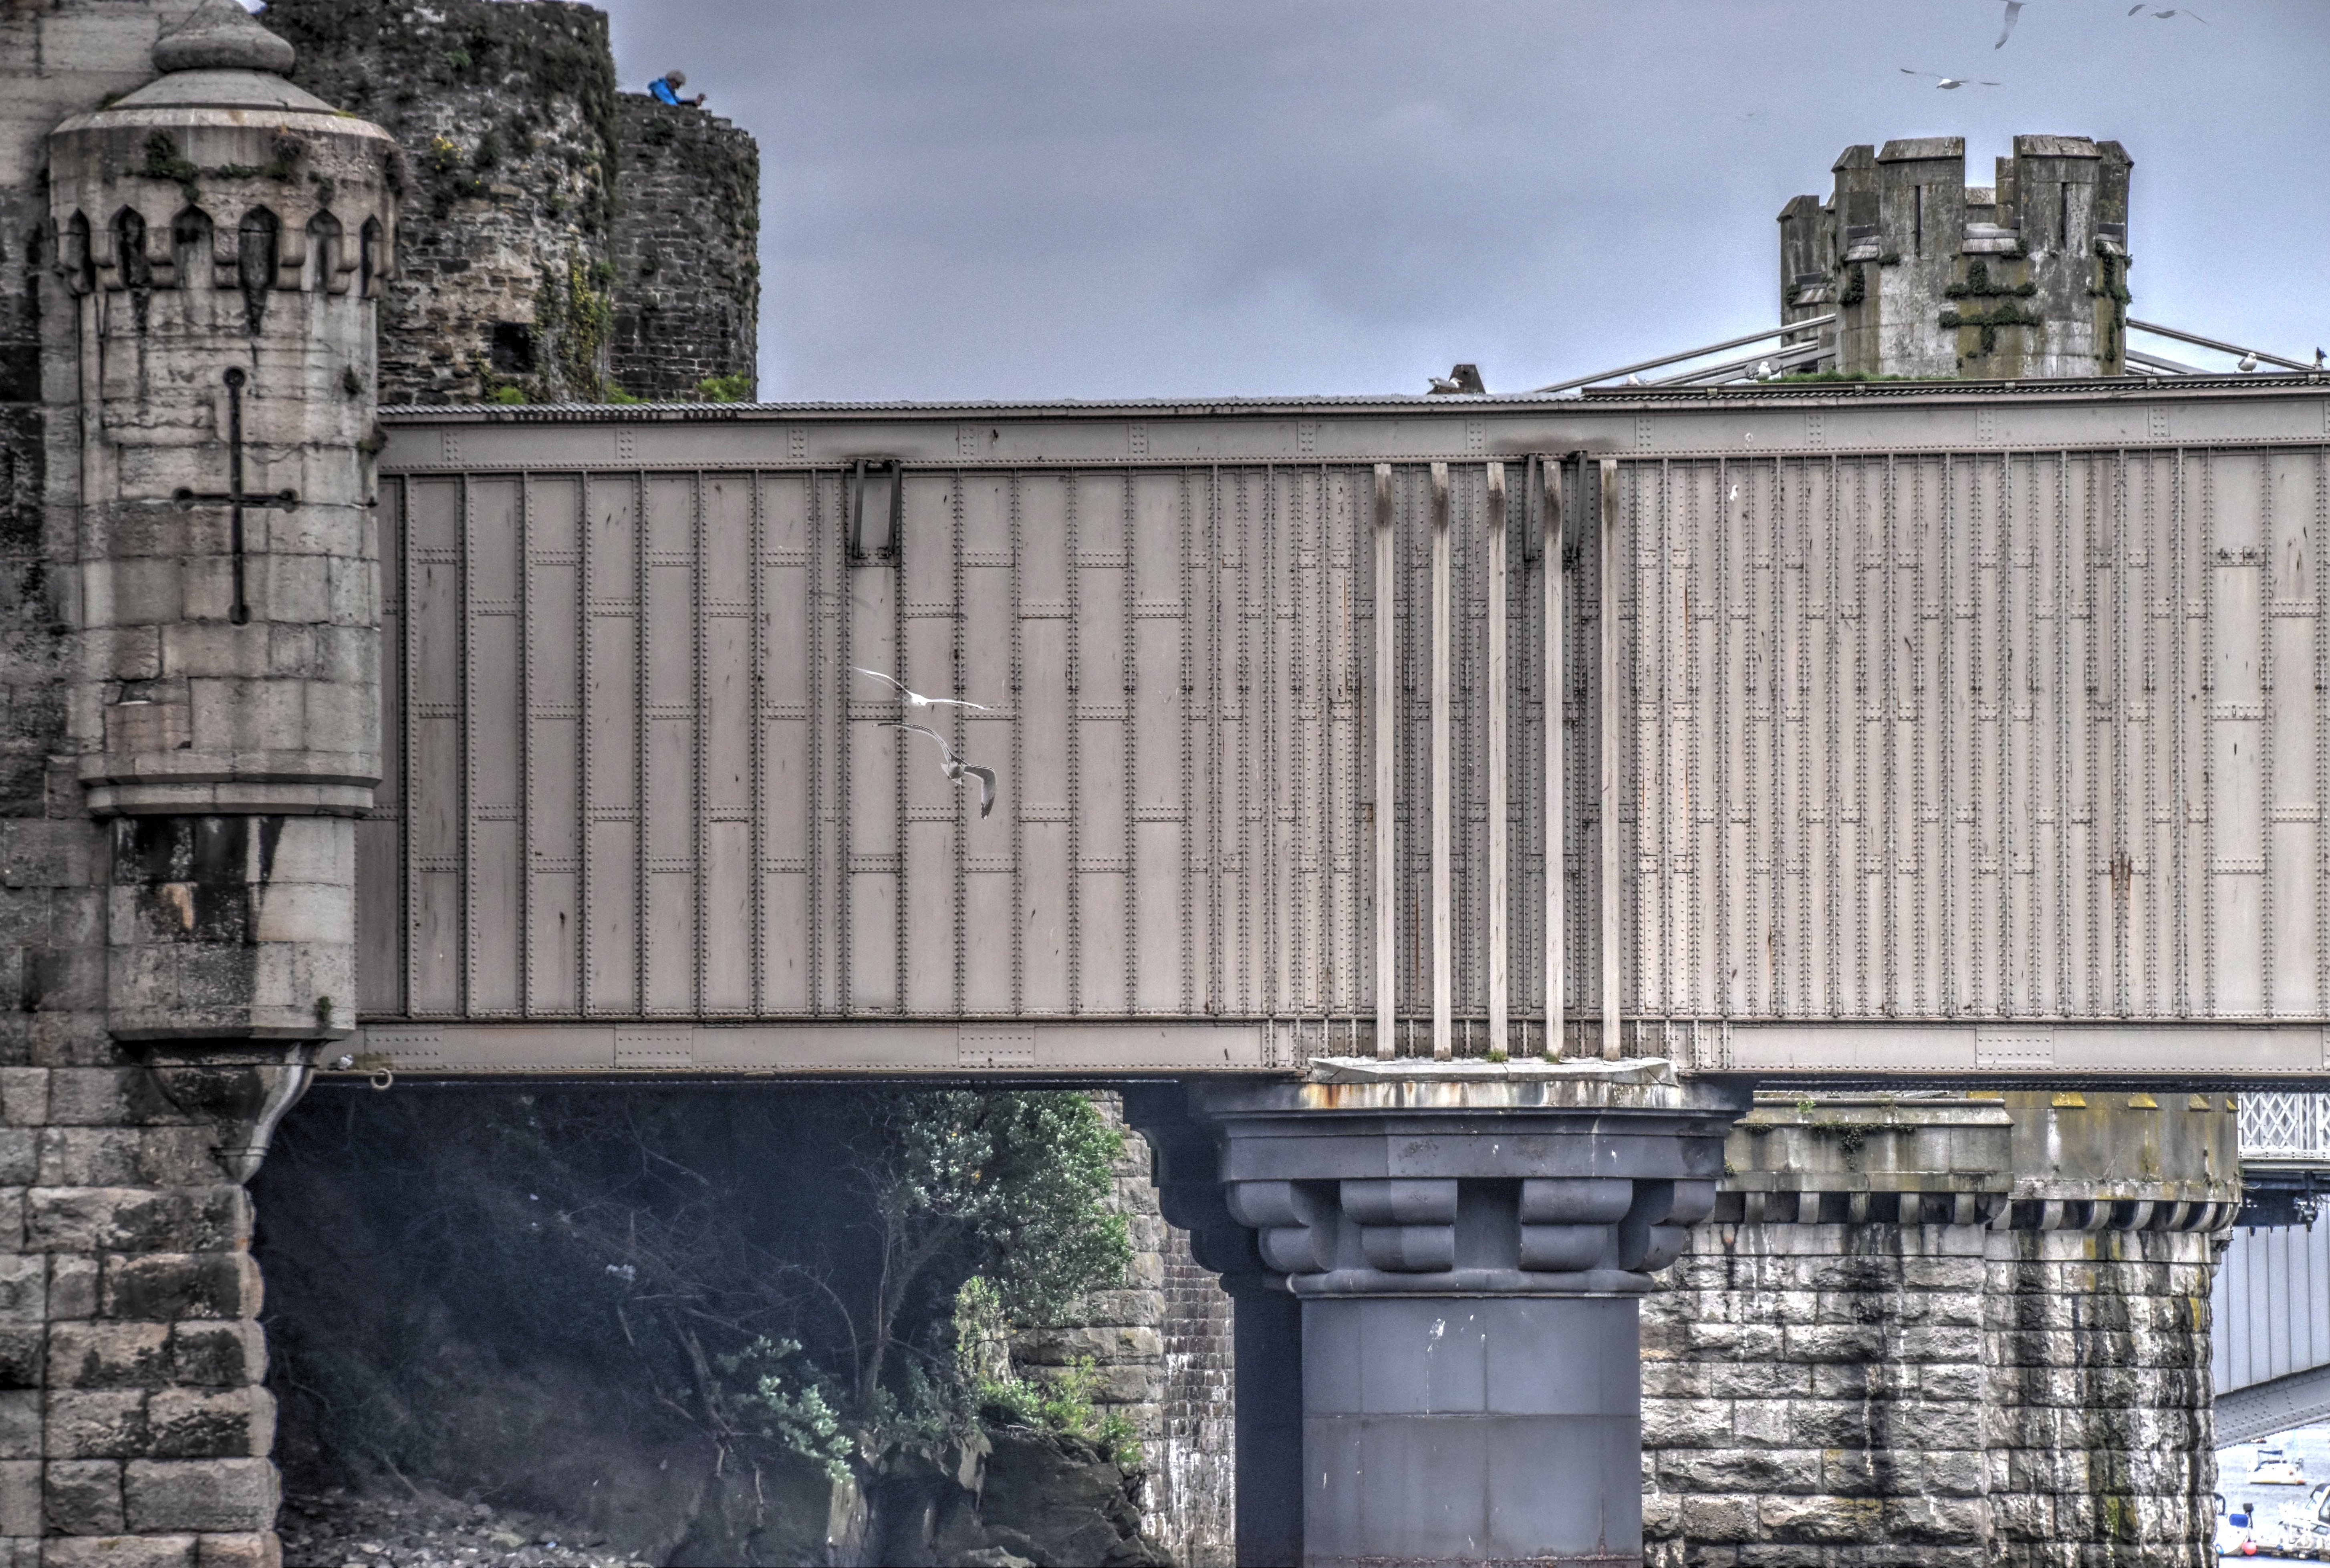
South elevation of Castle Conwy.
![]()

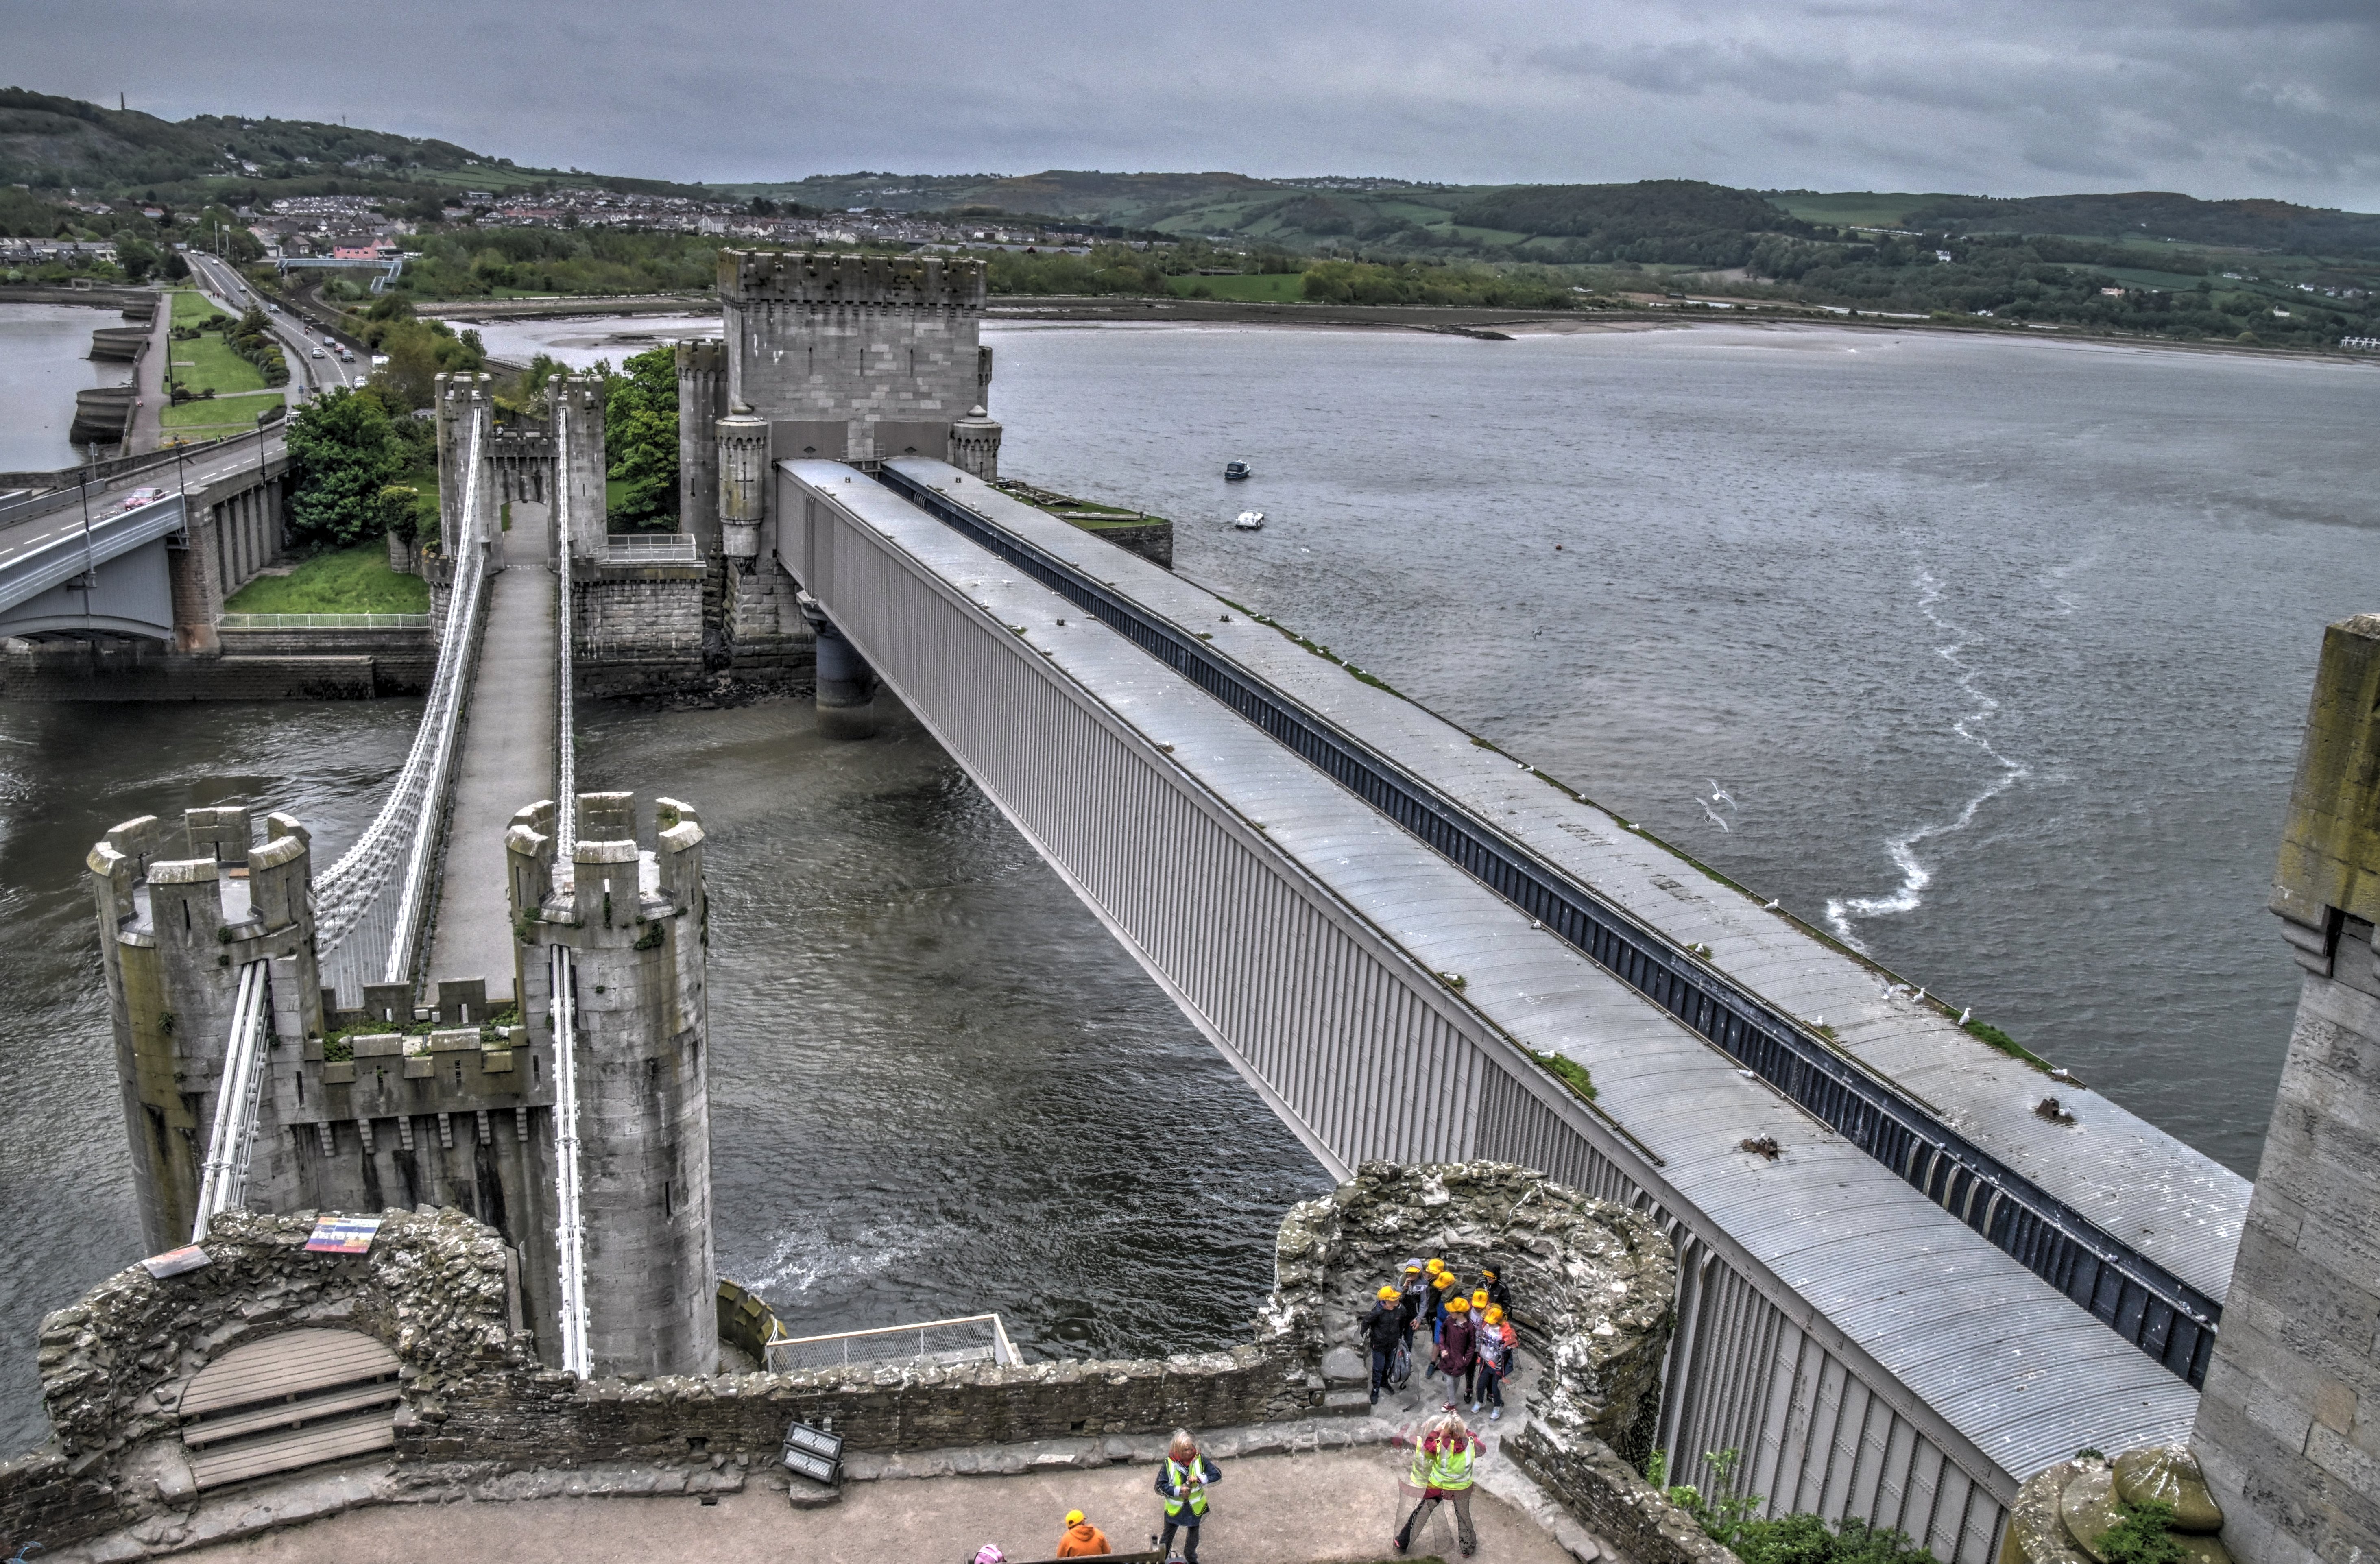
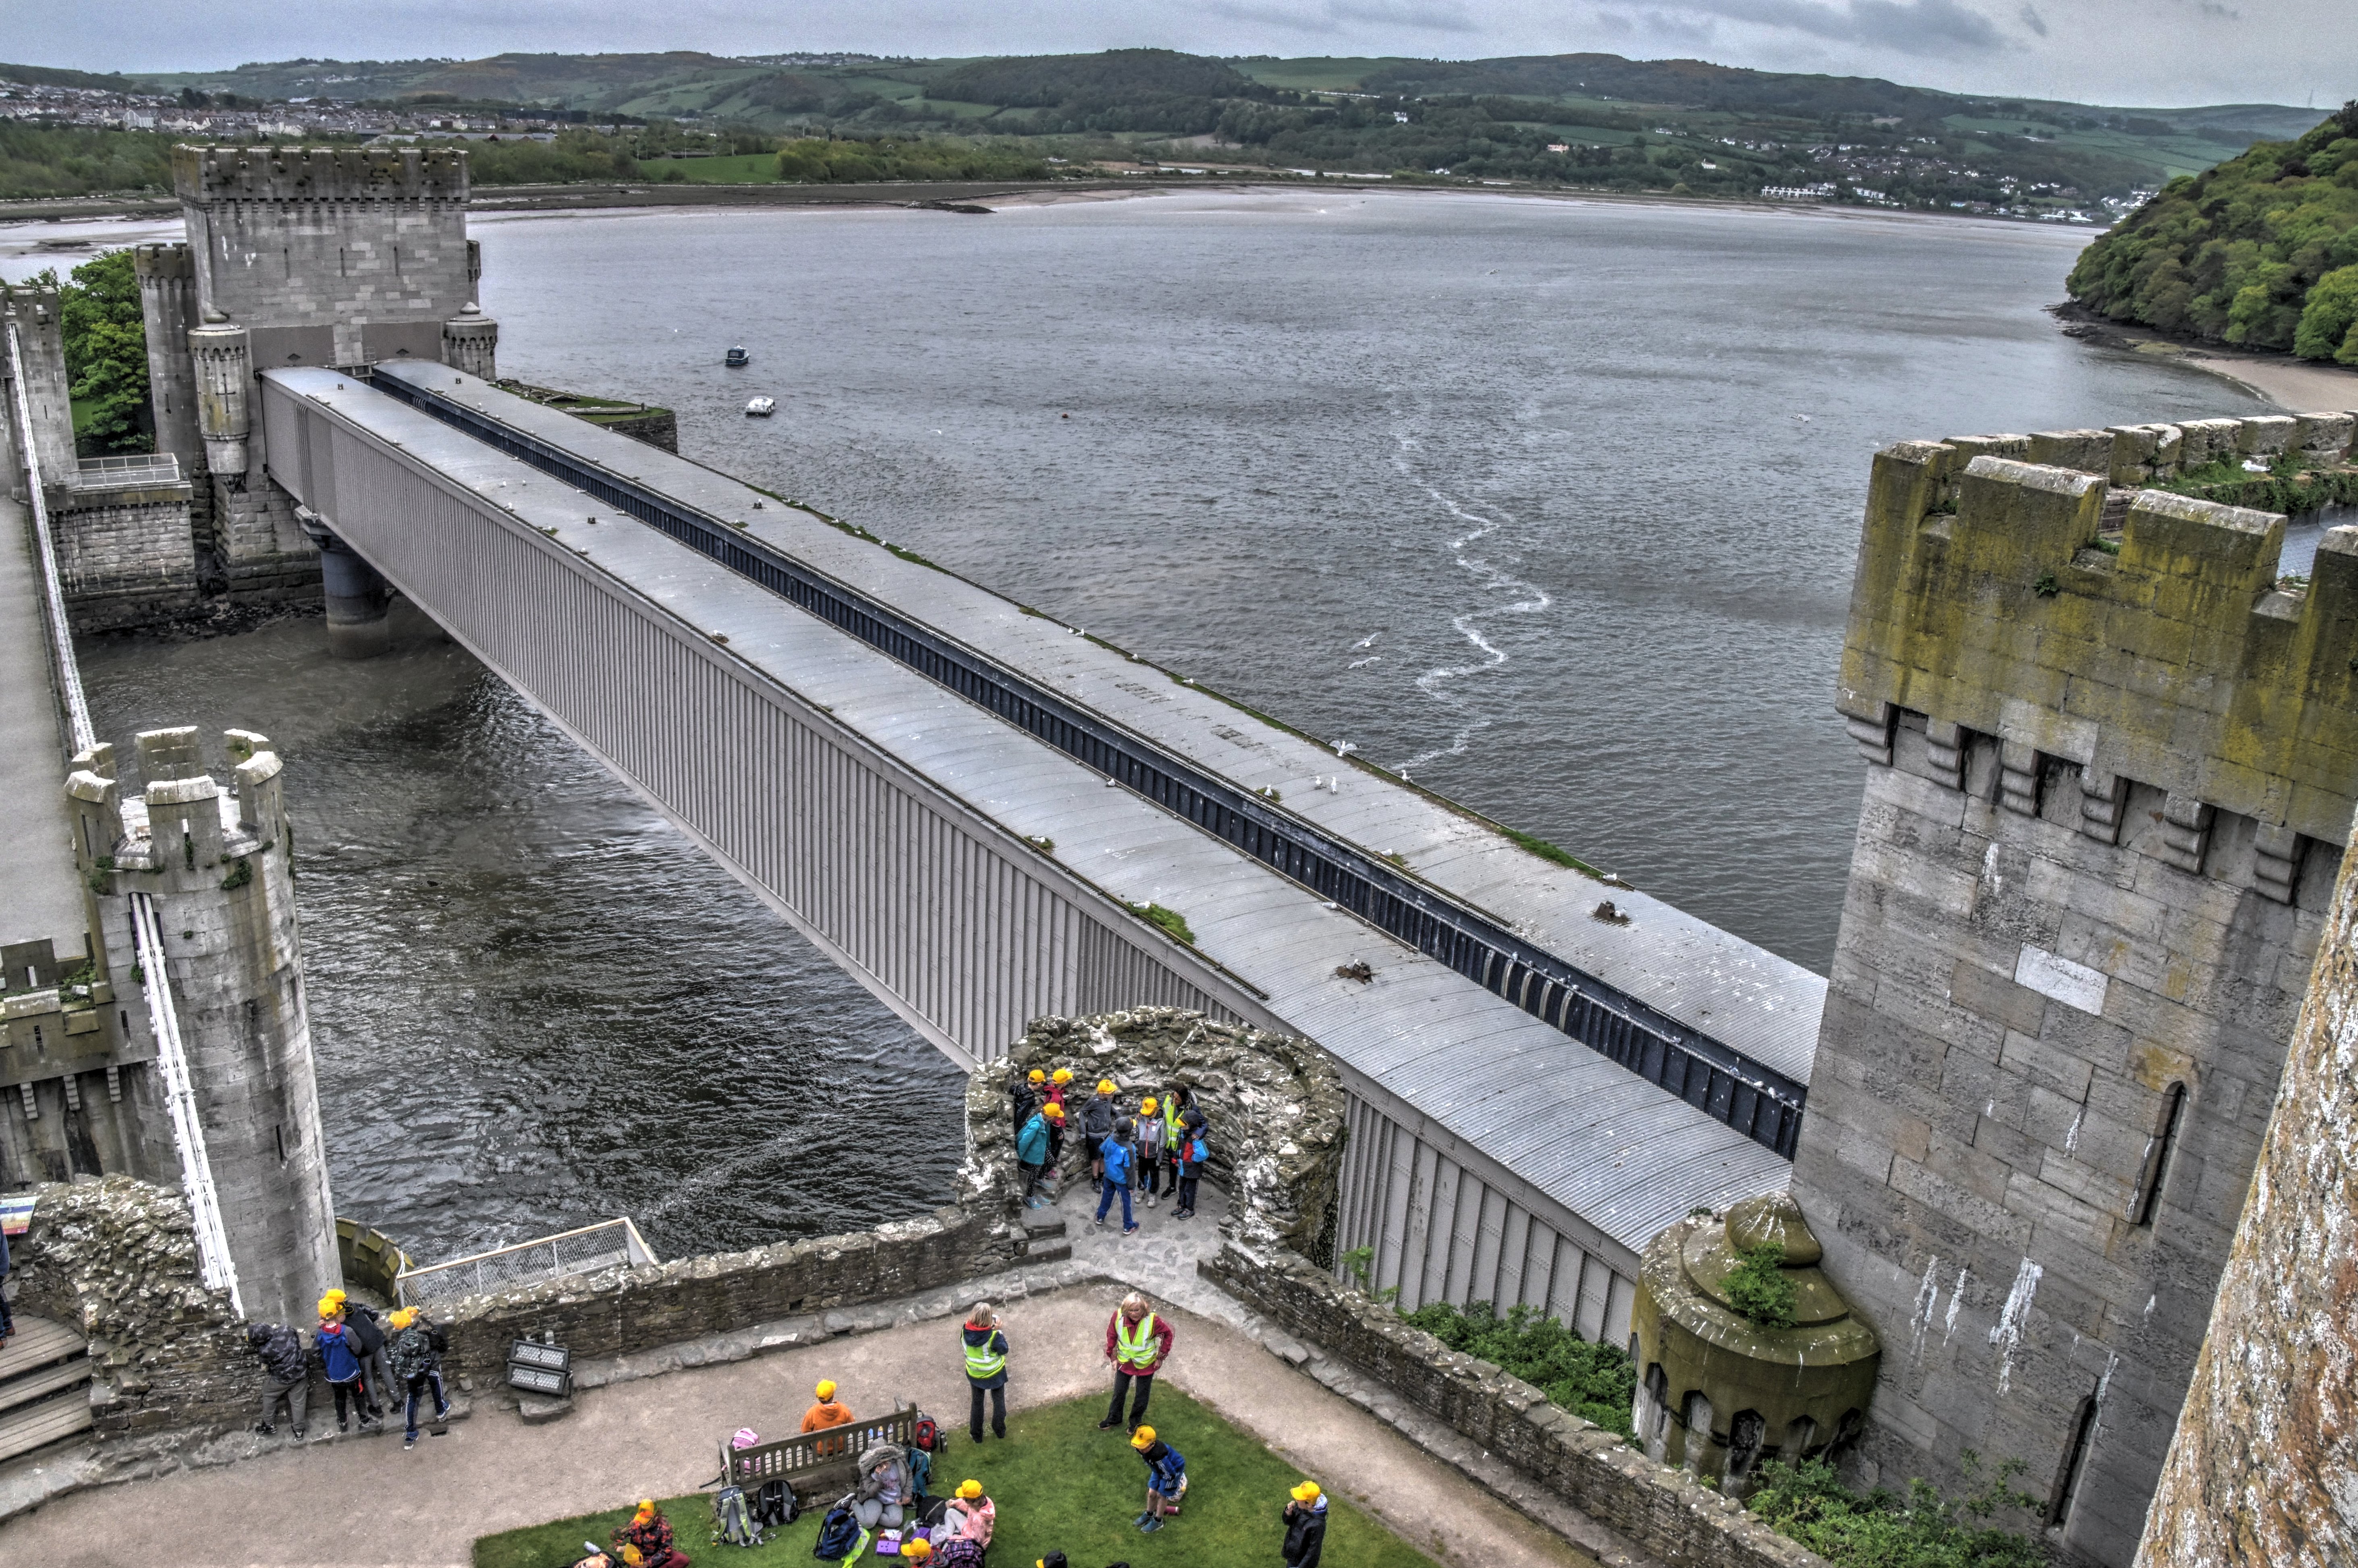

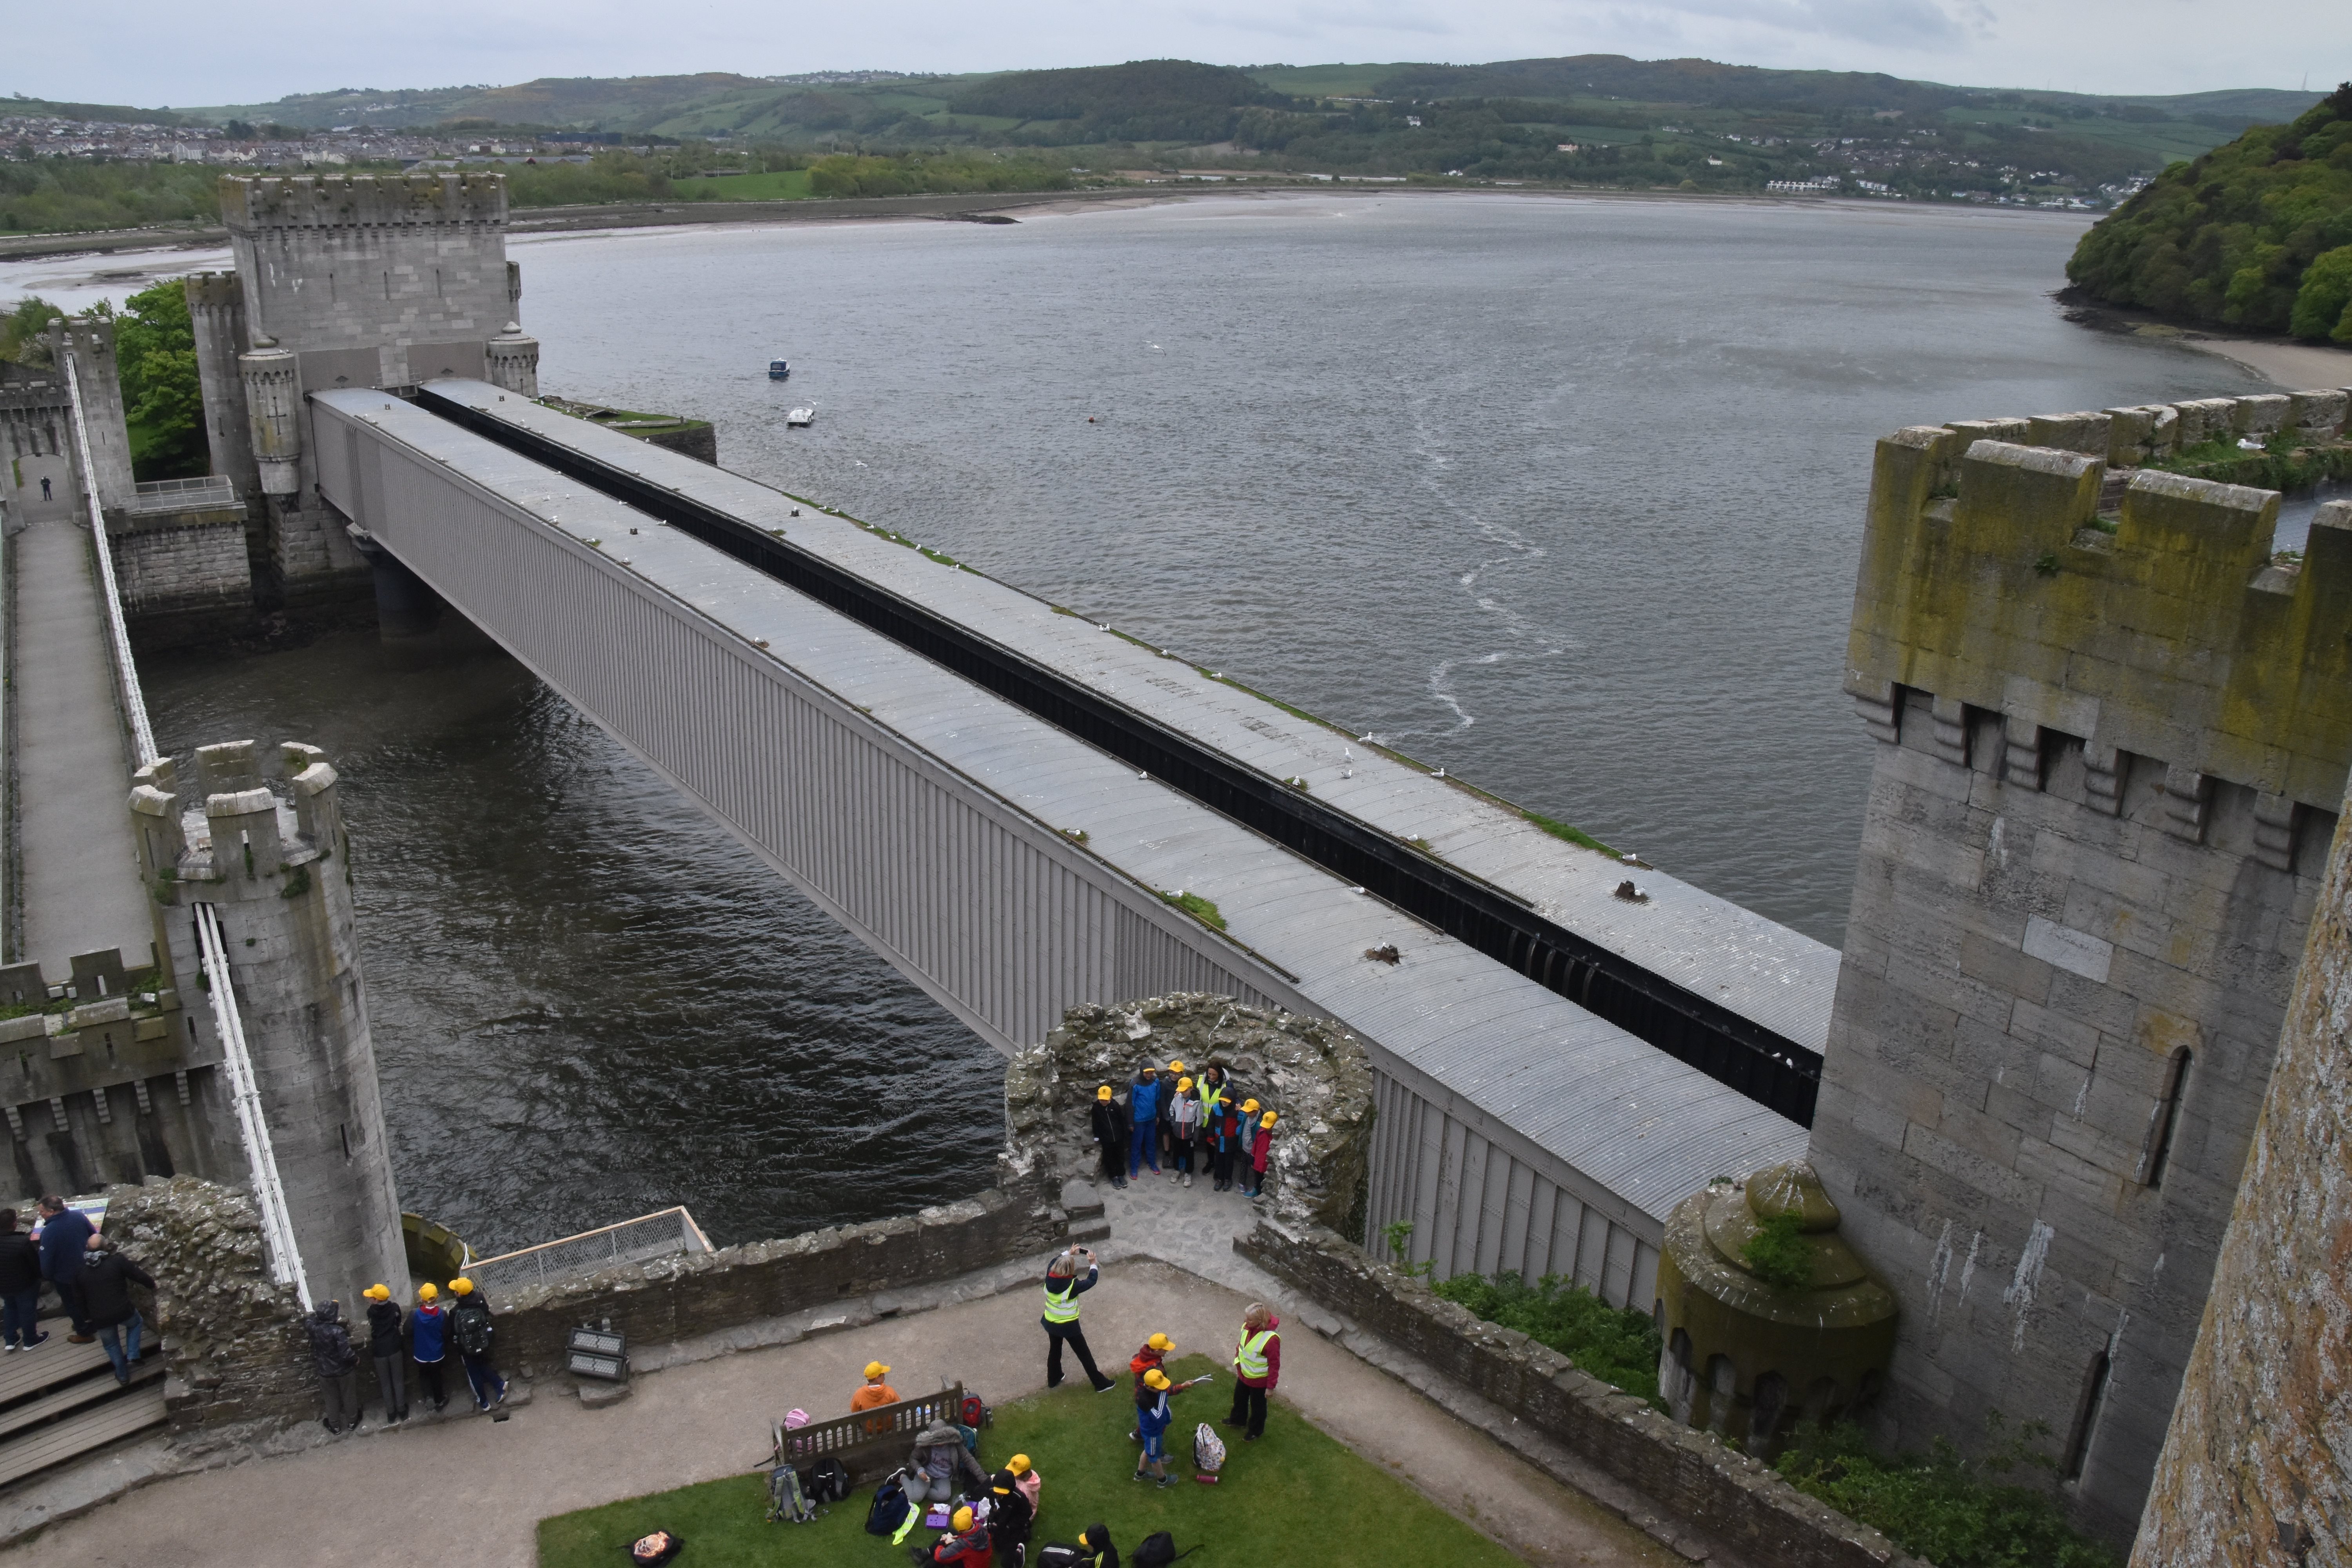

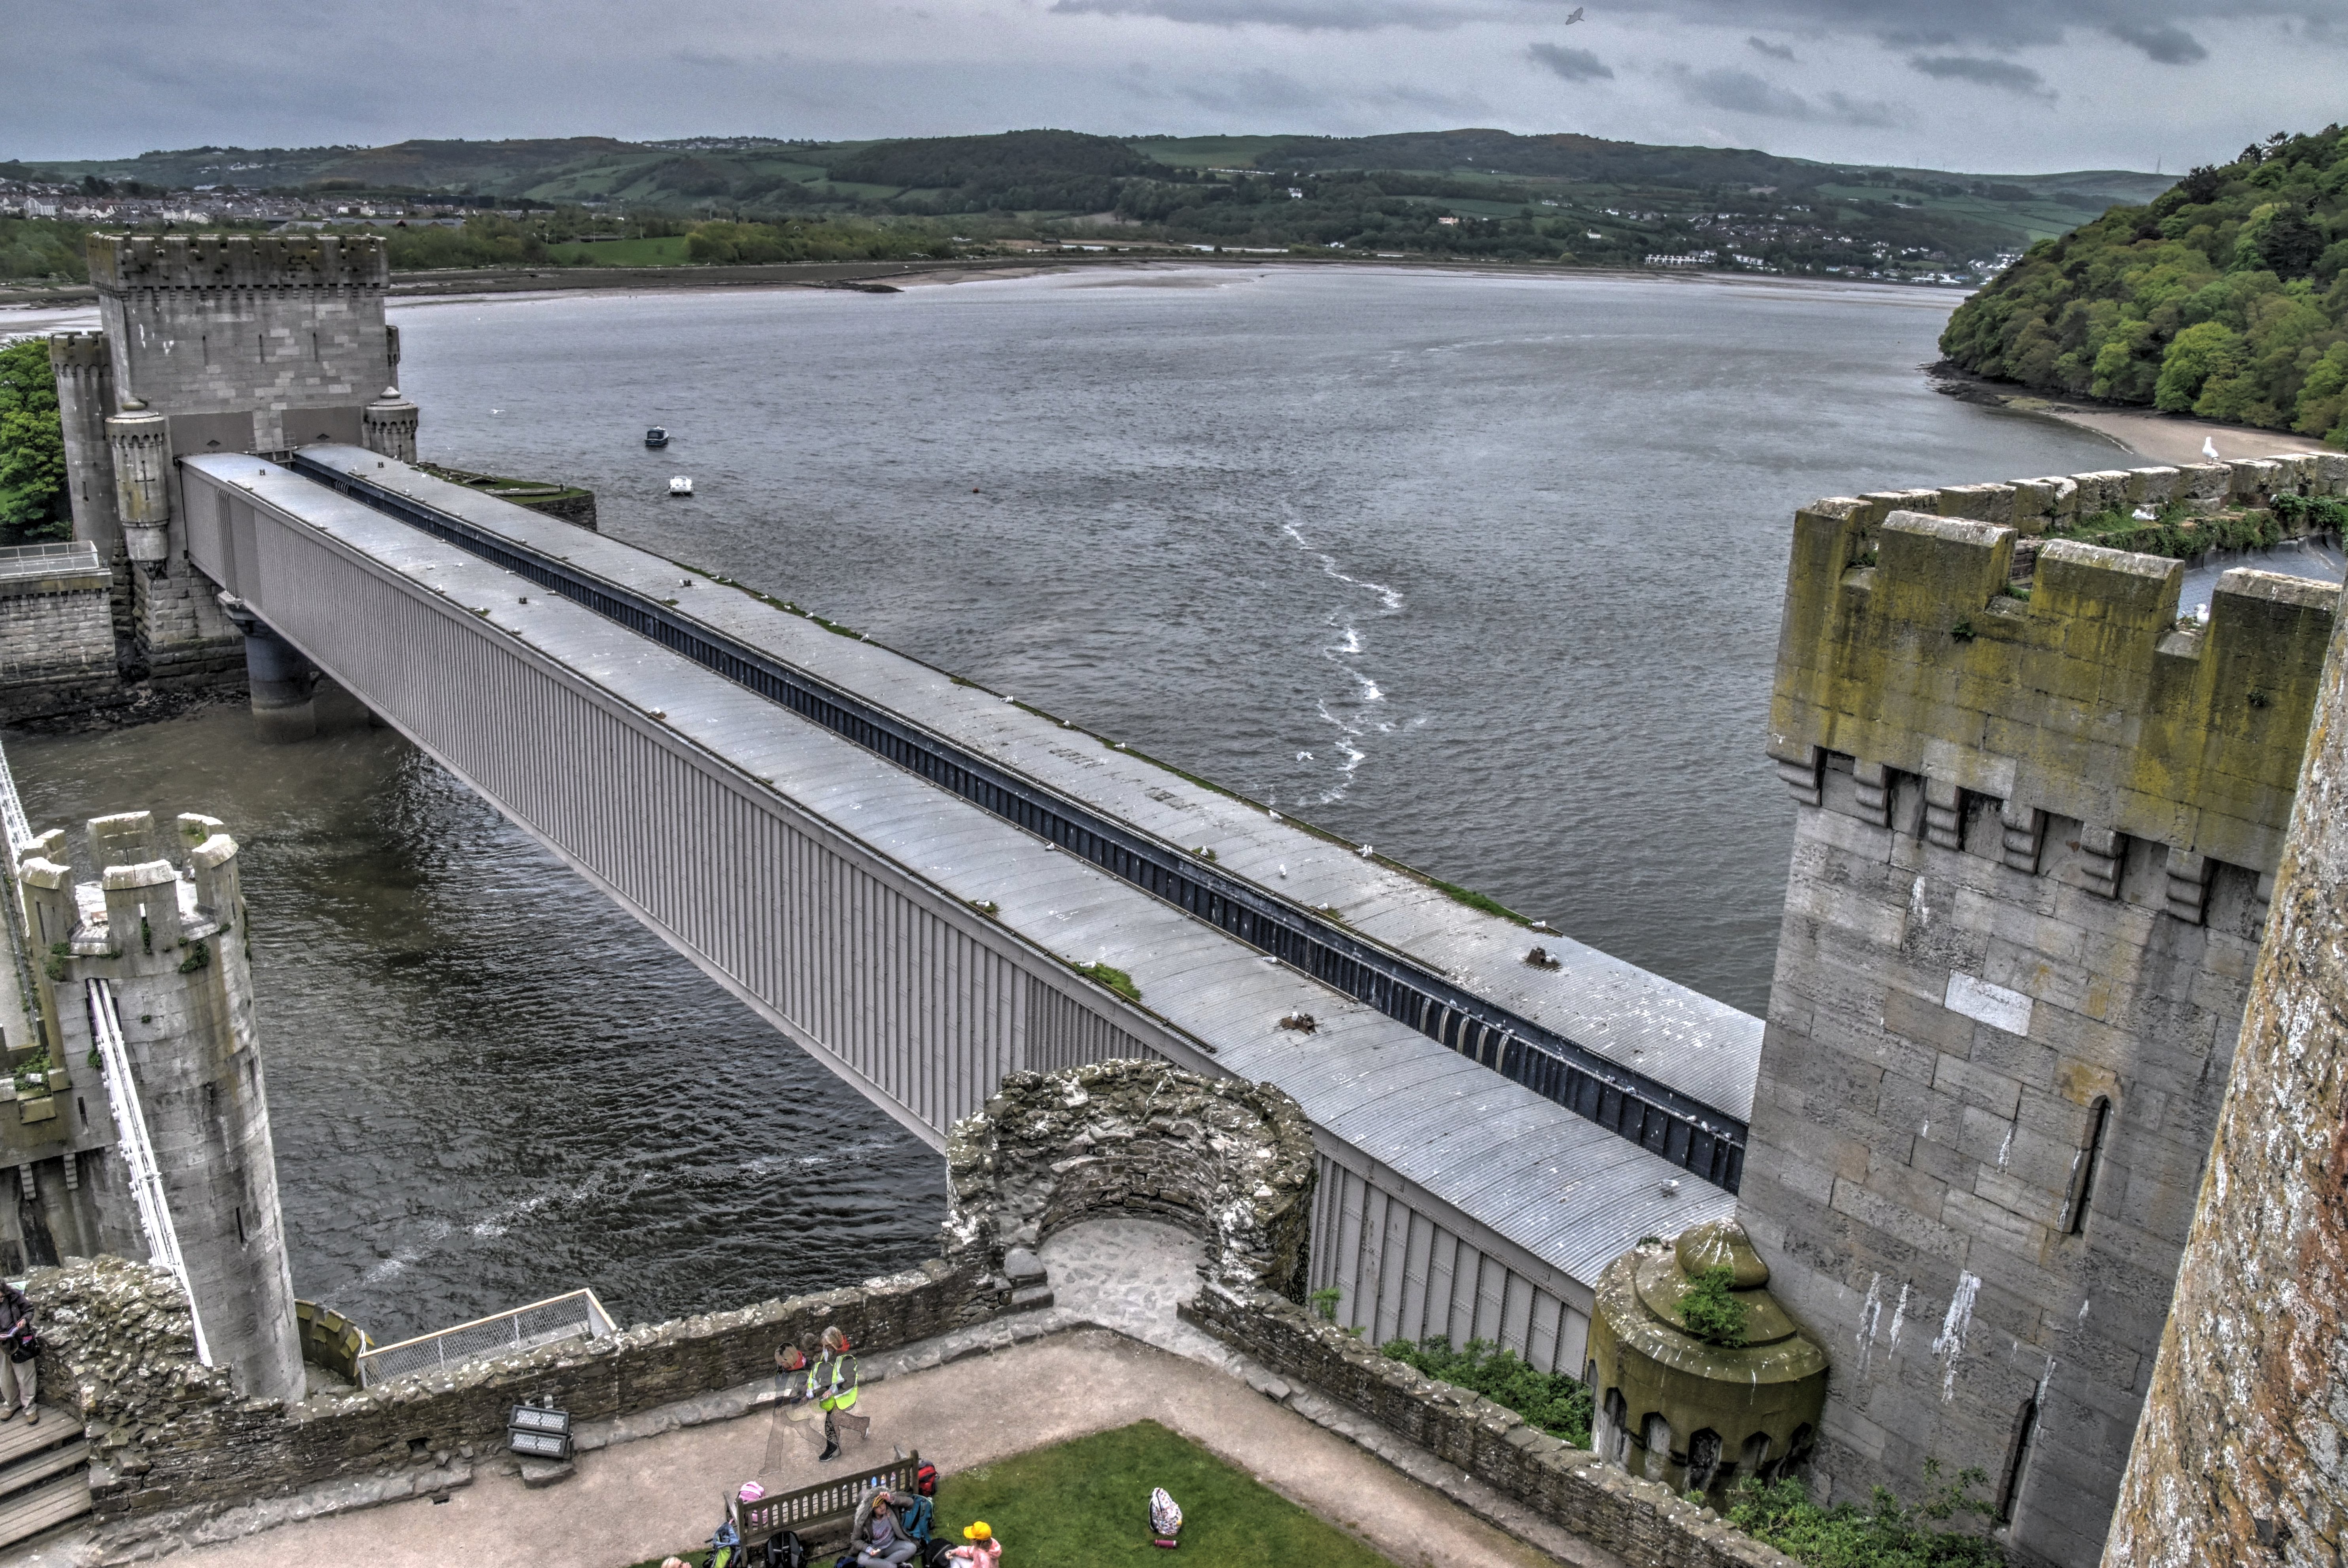


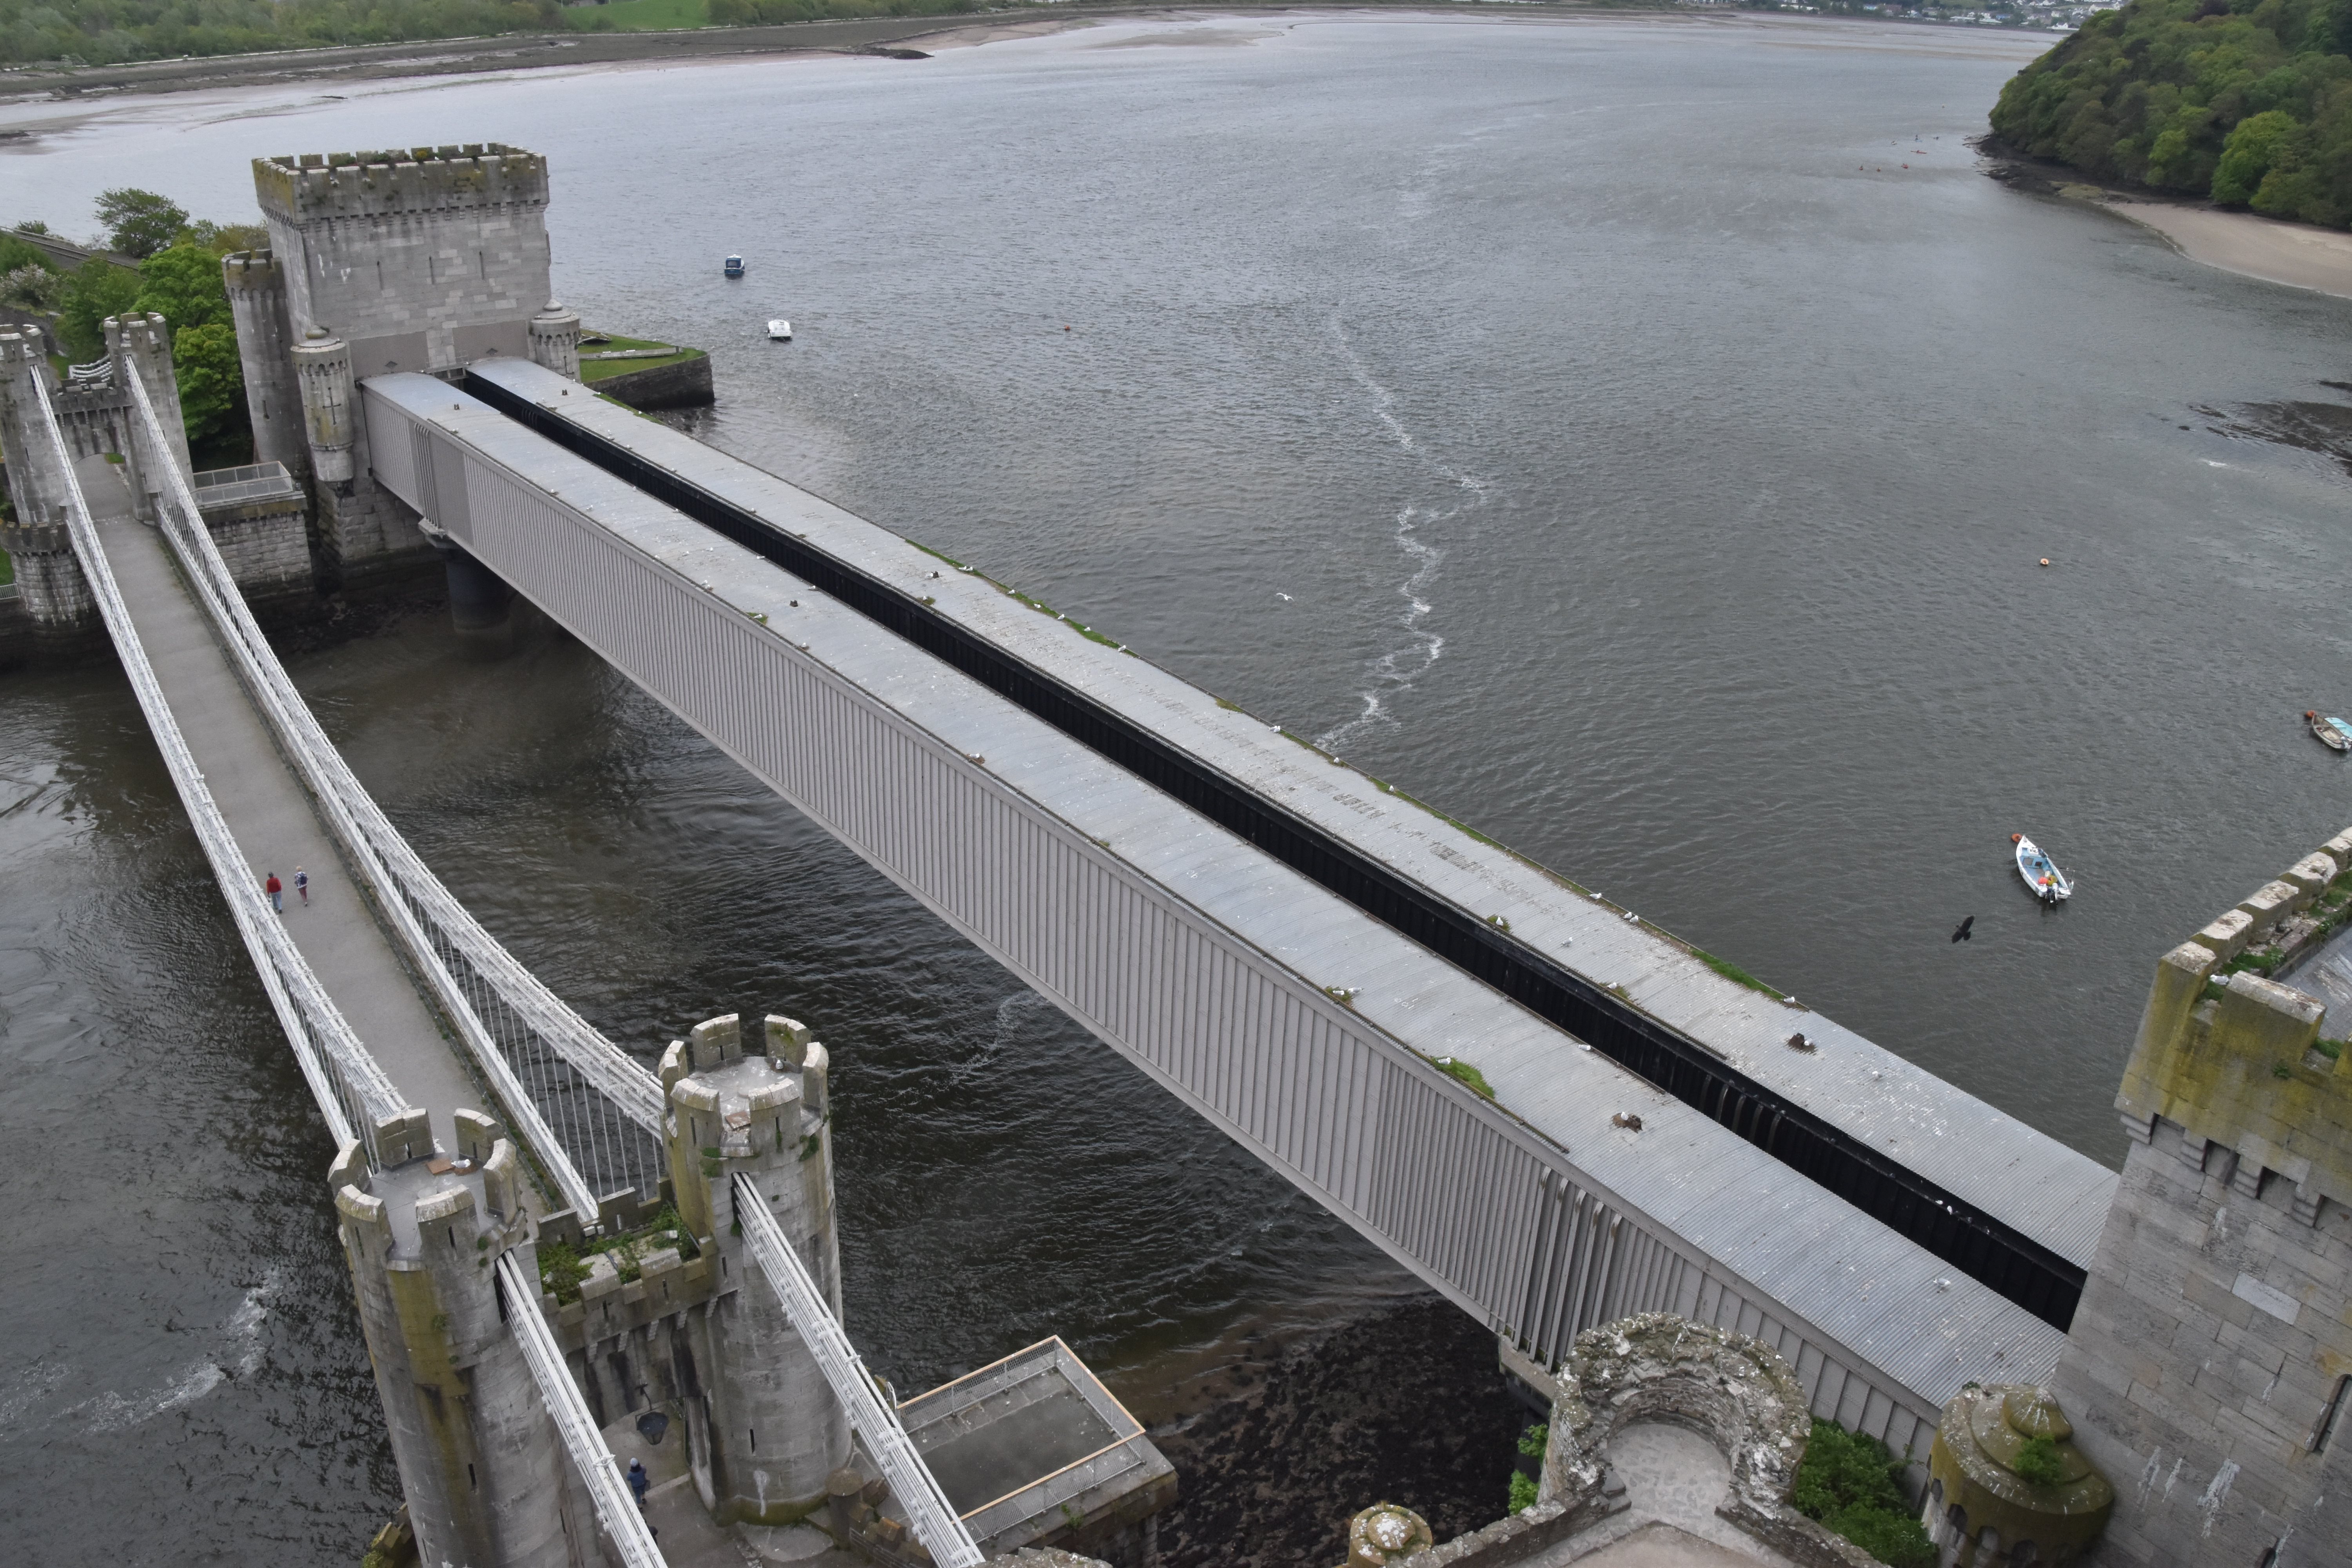
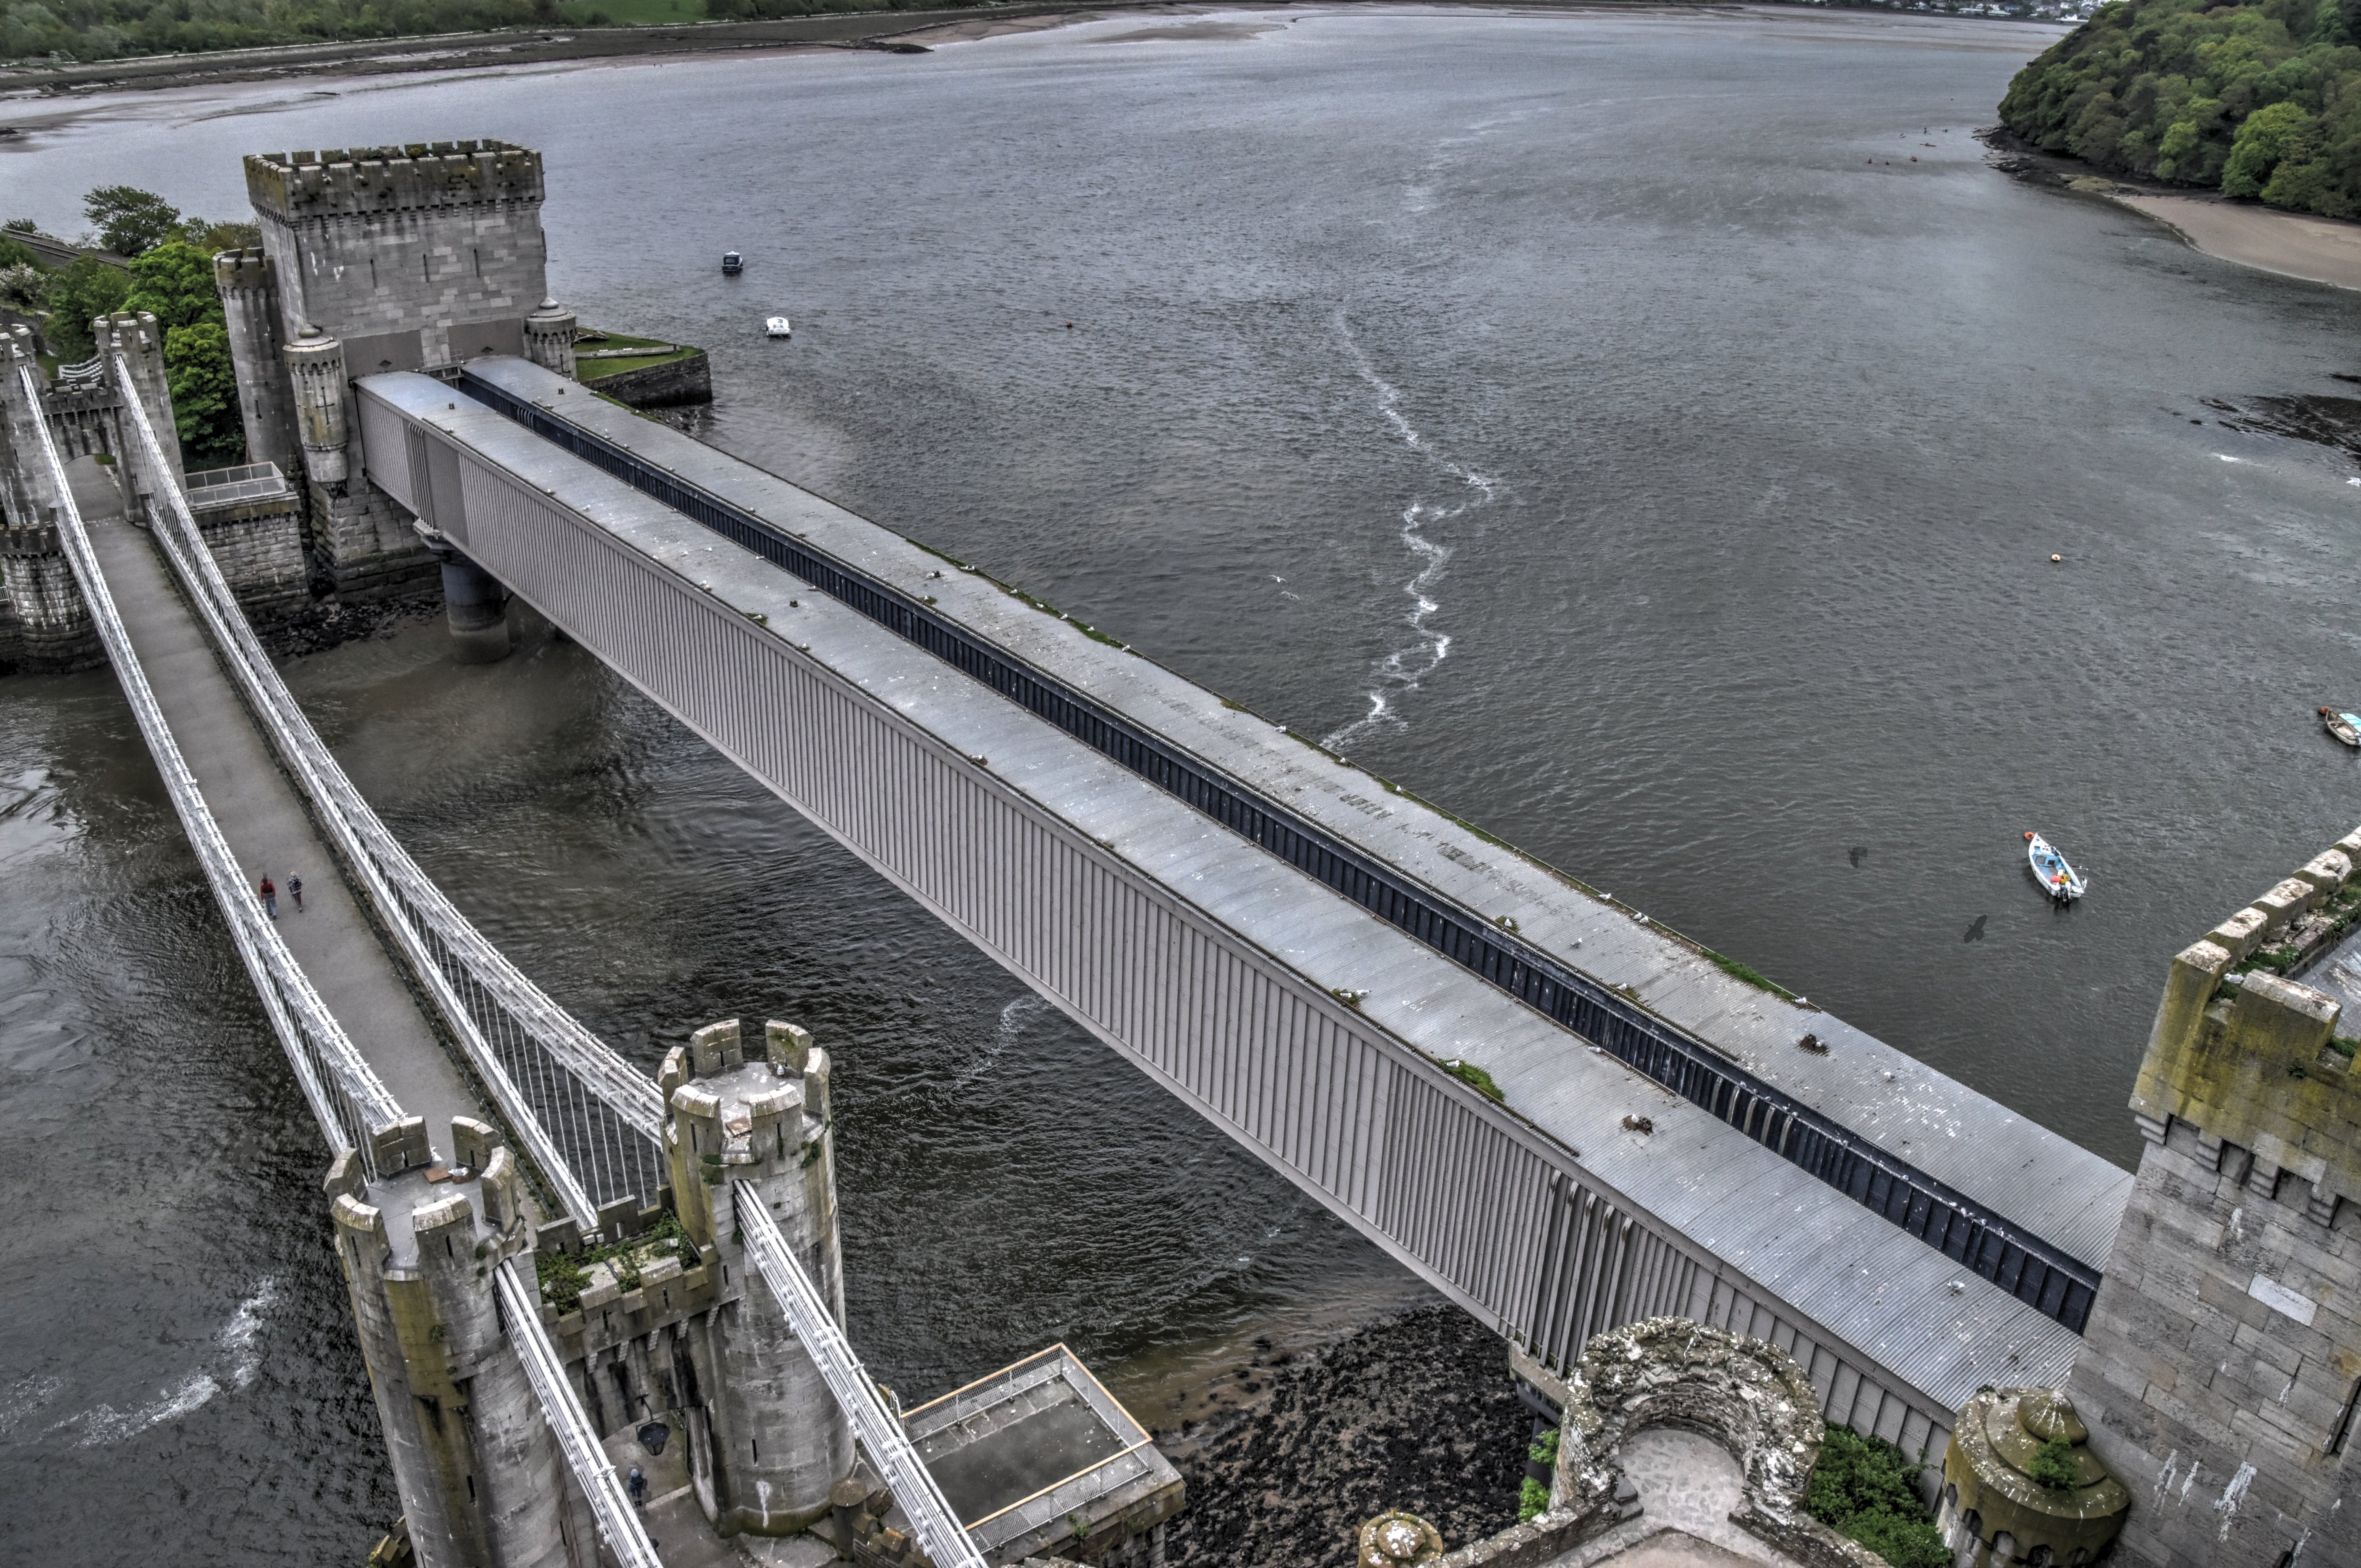
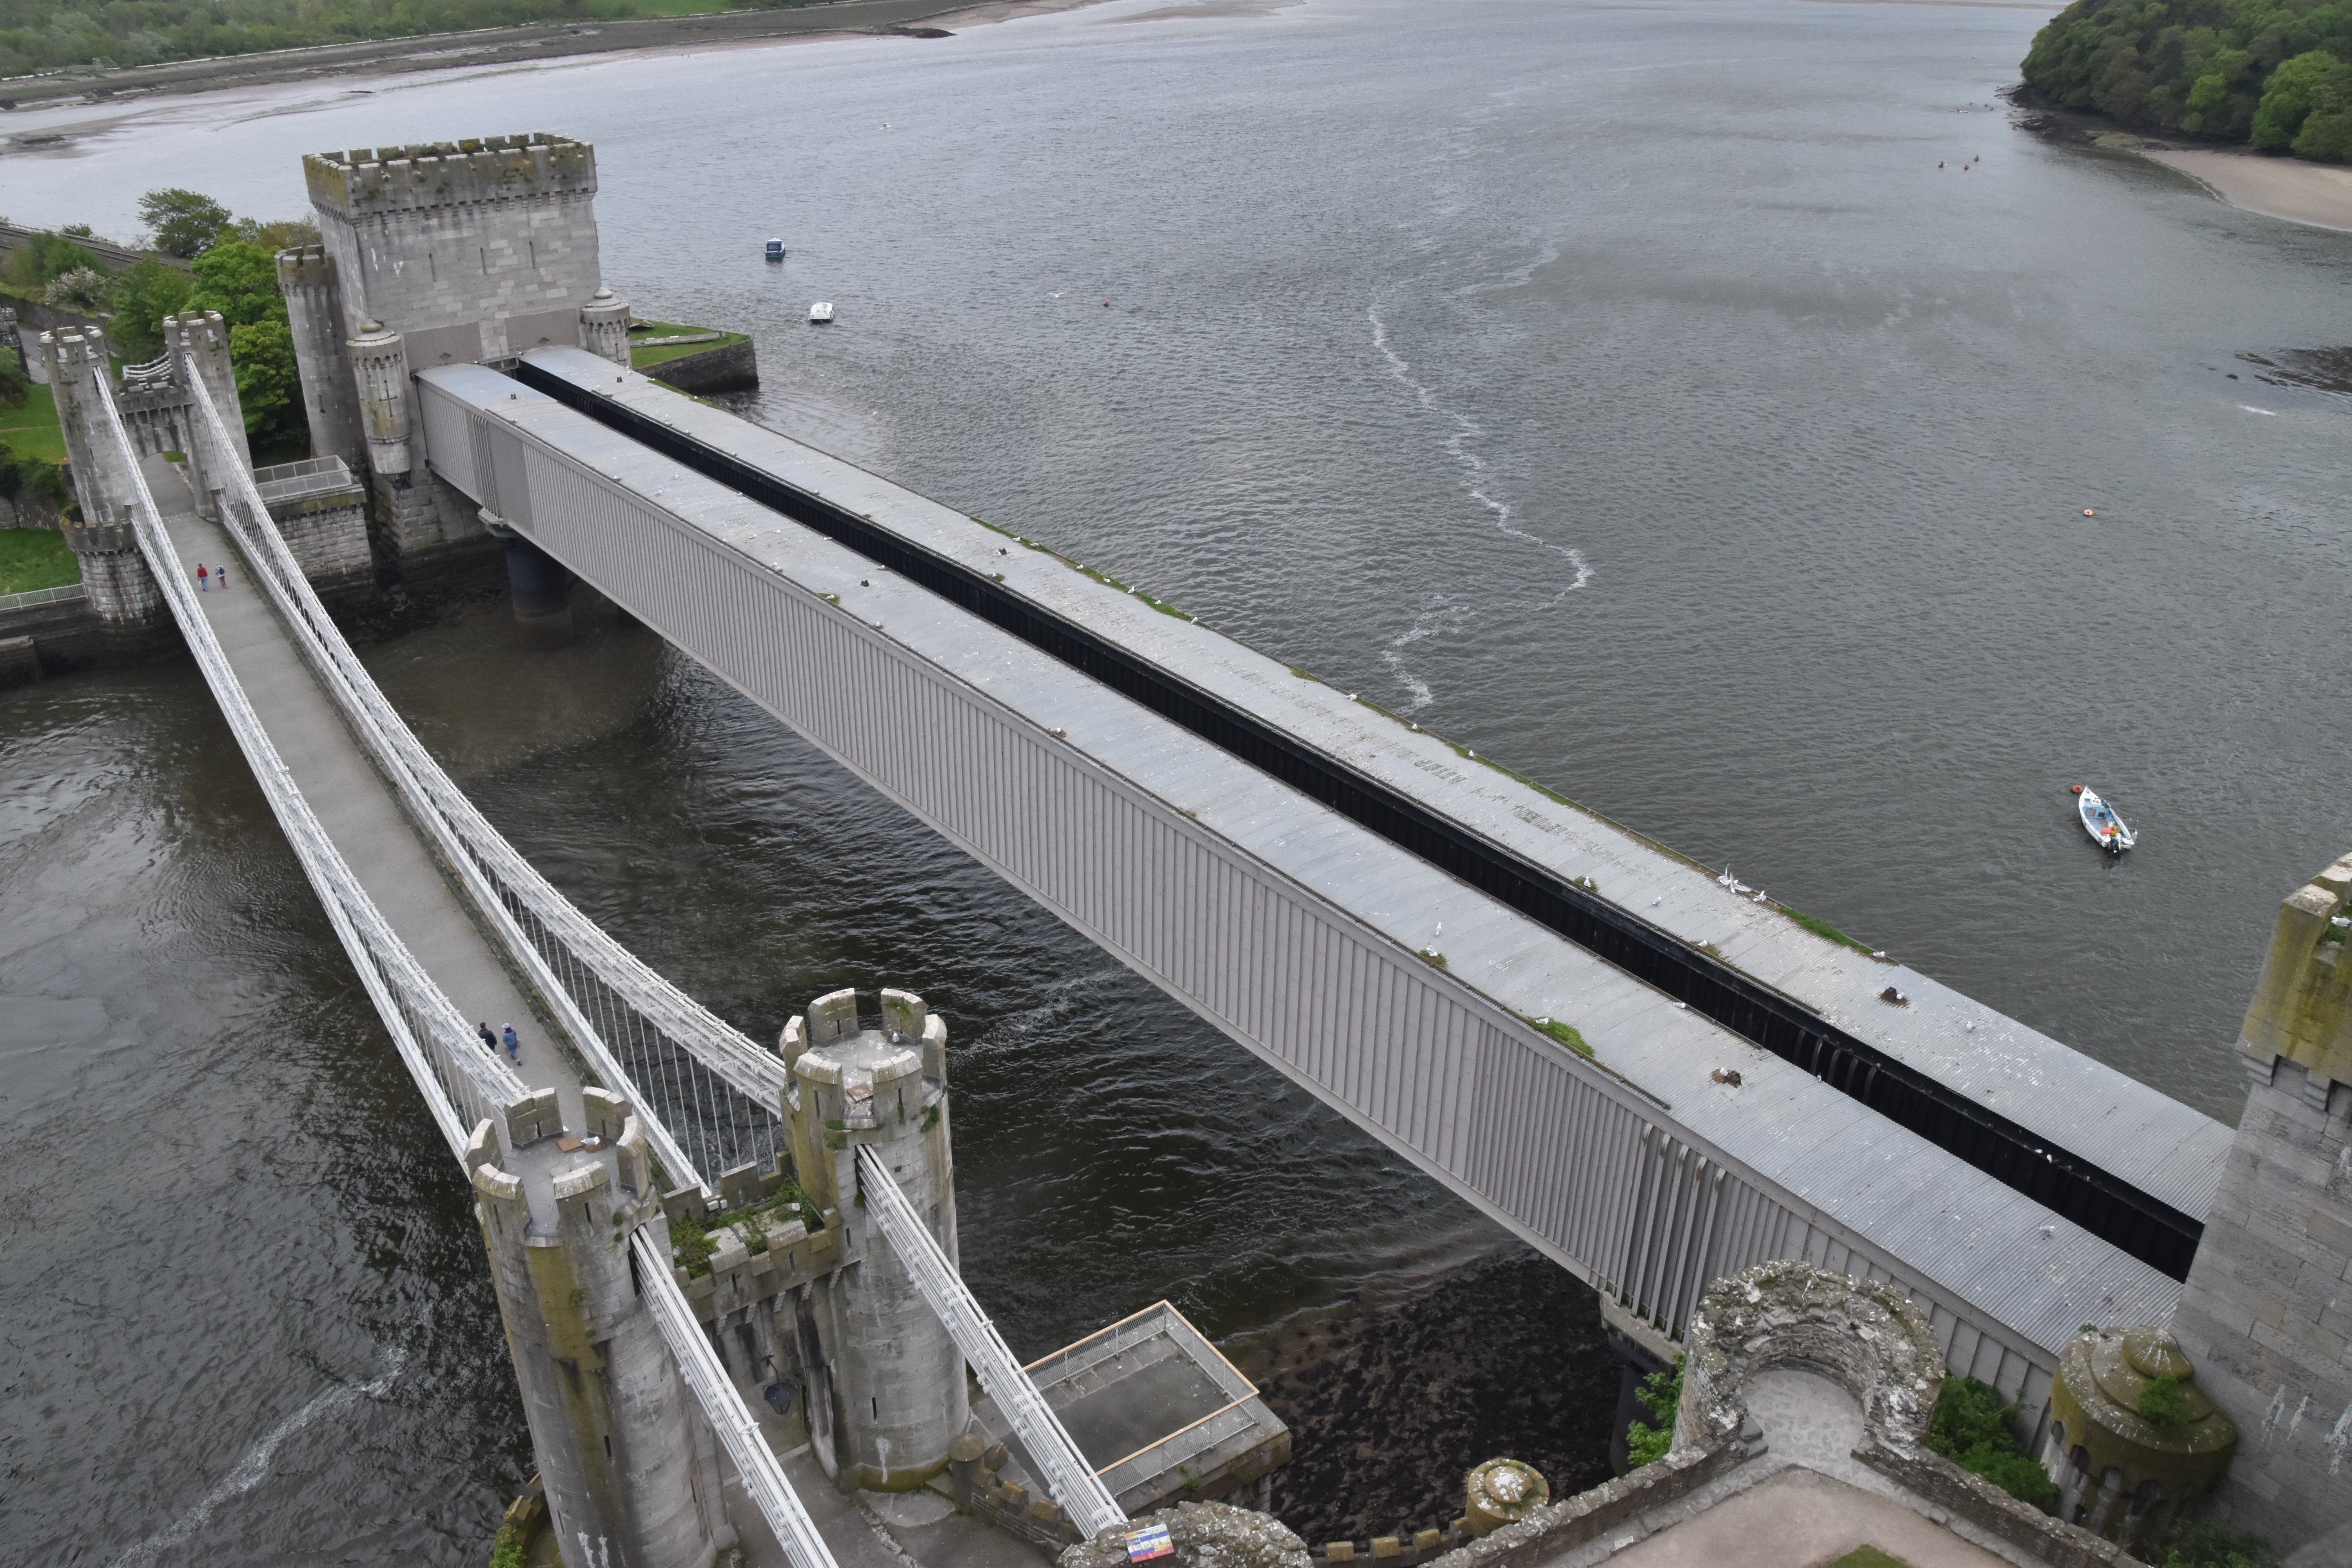


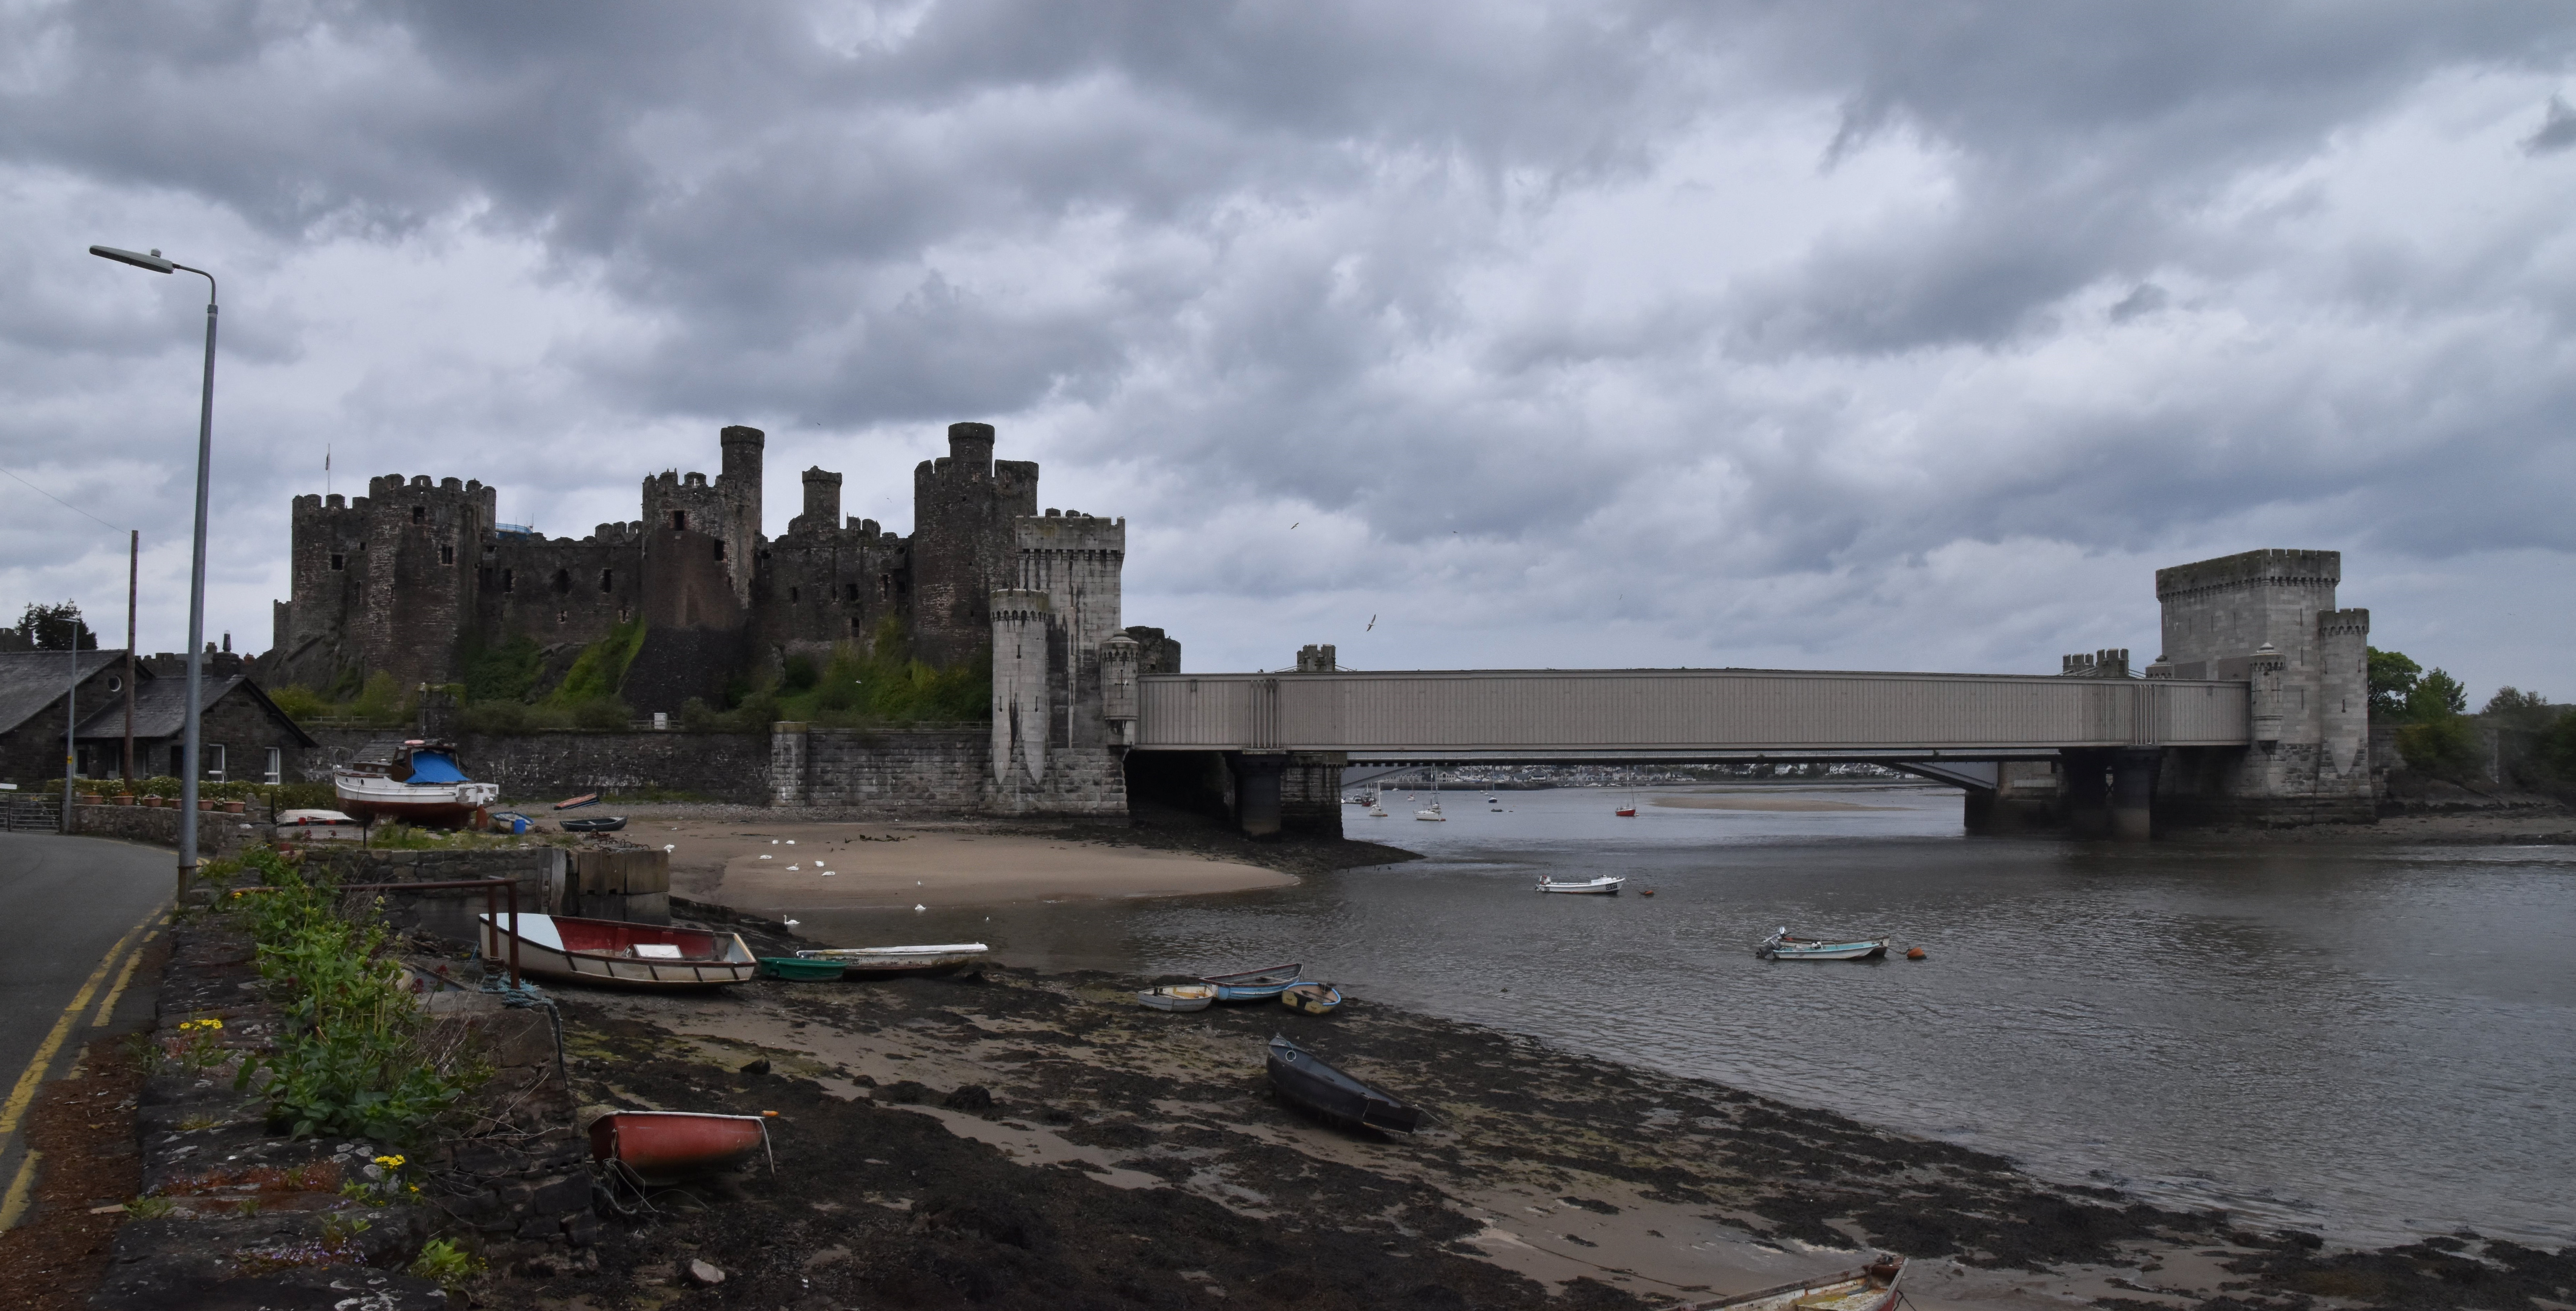
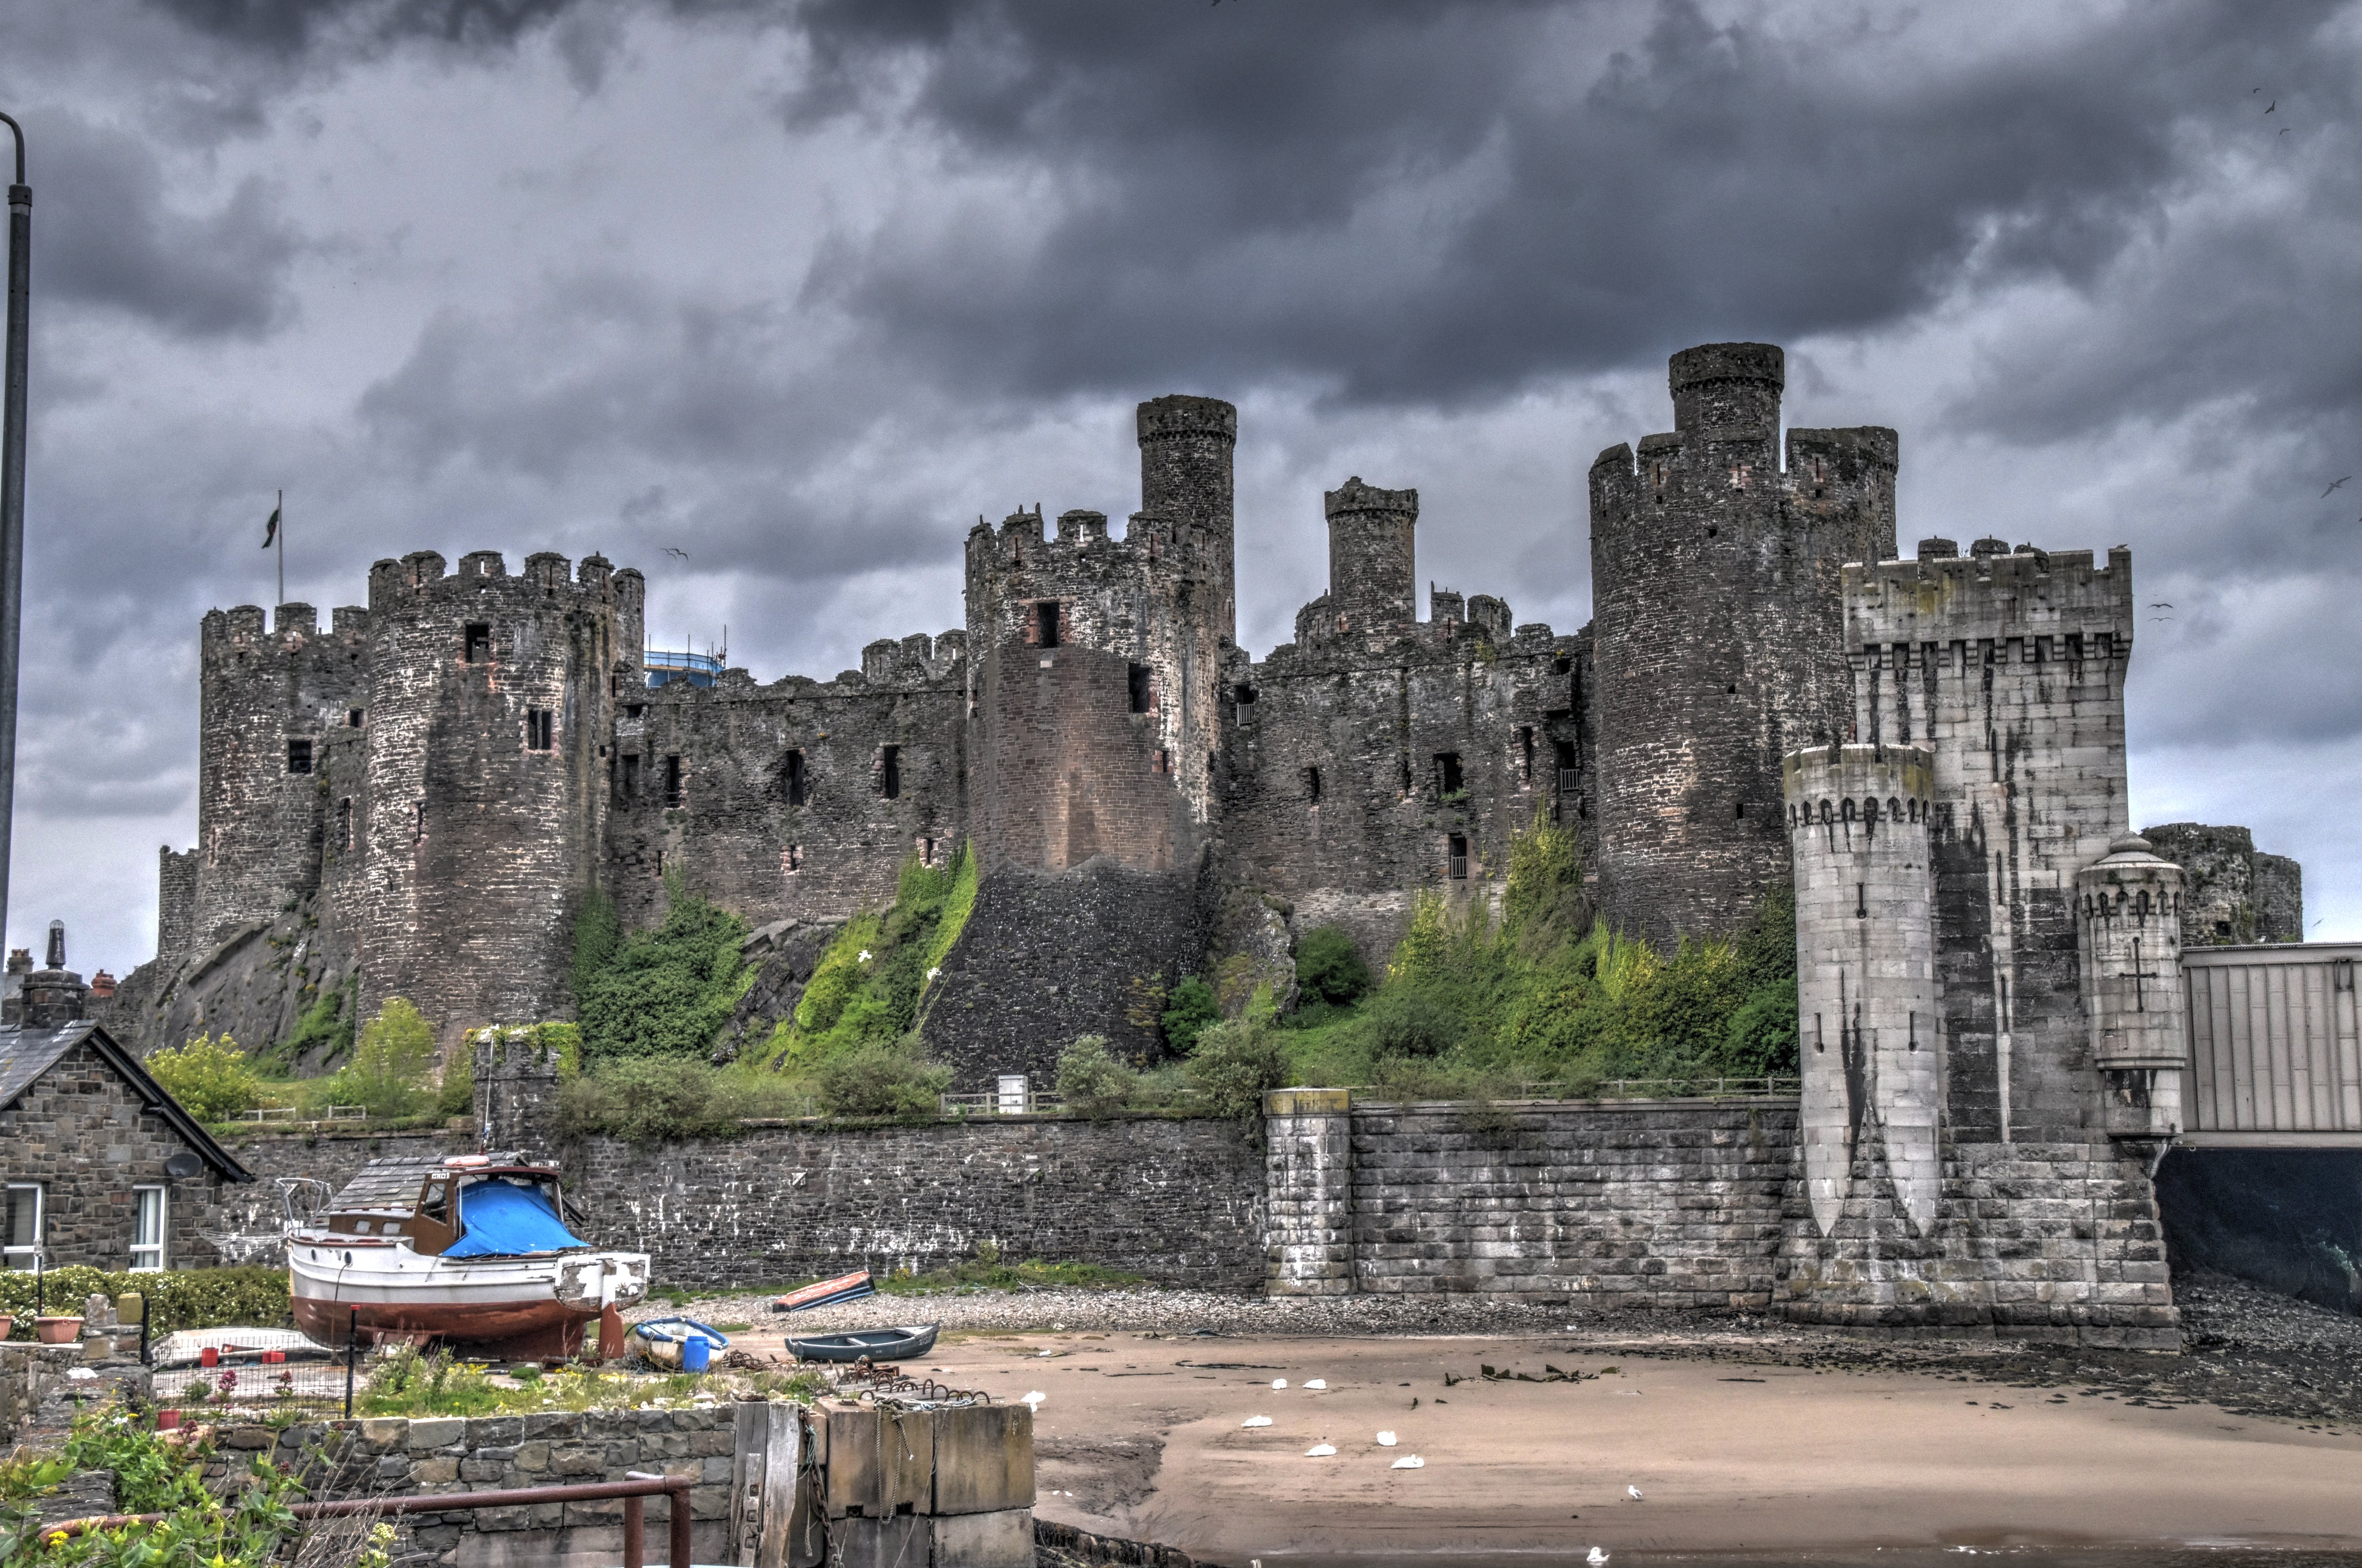
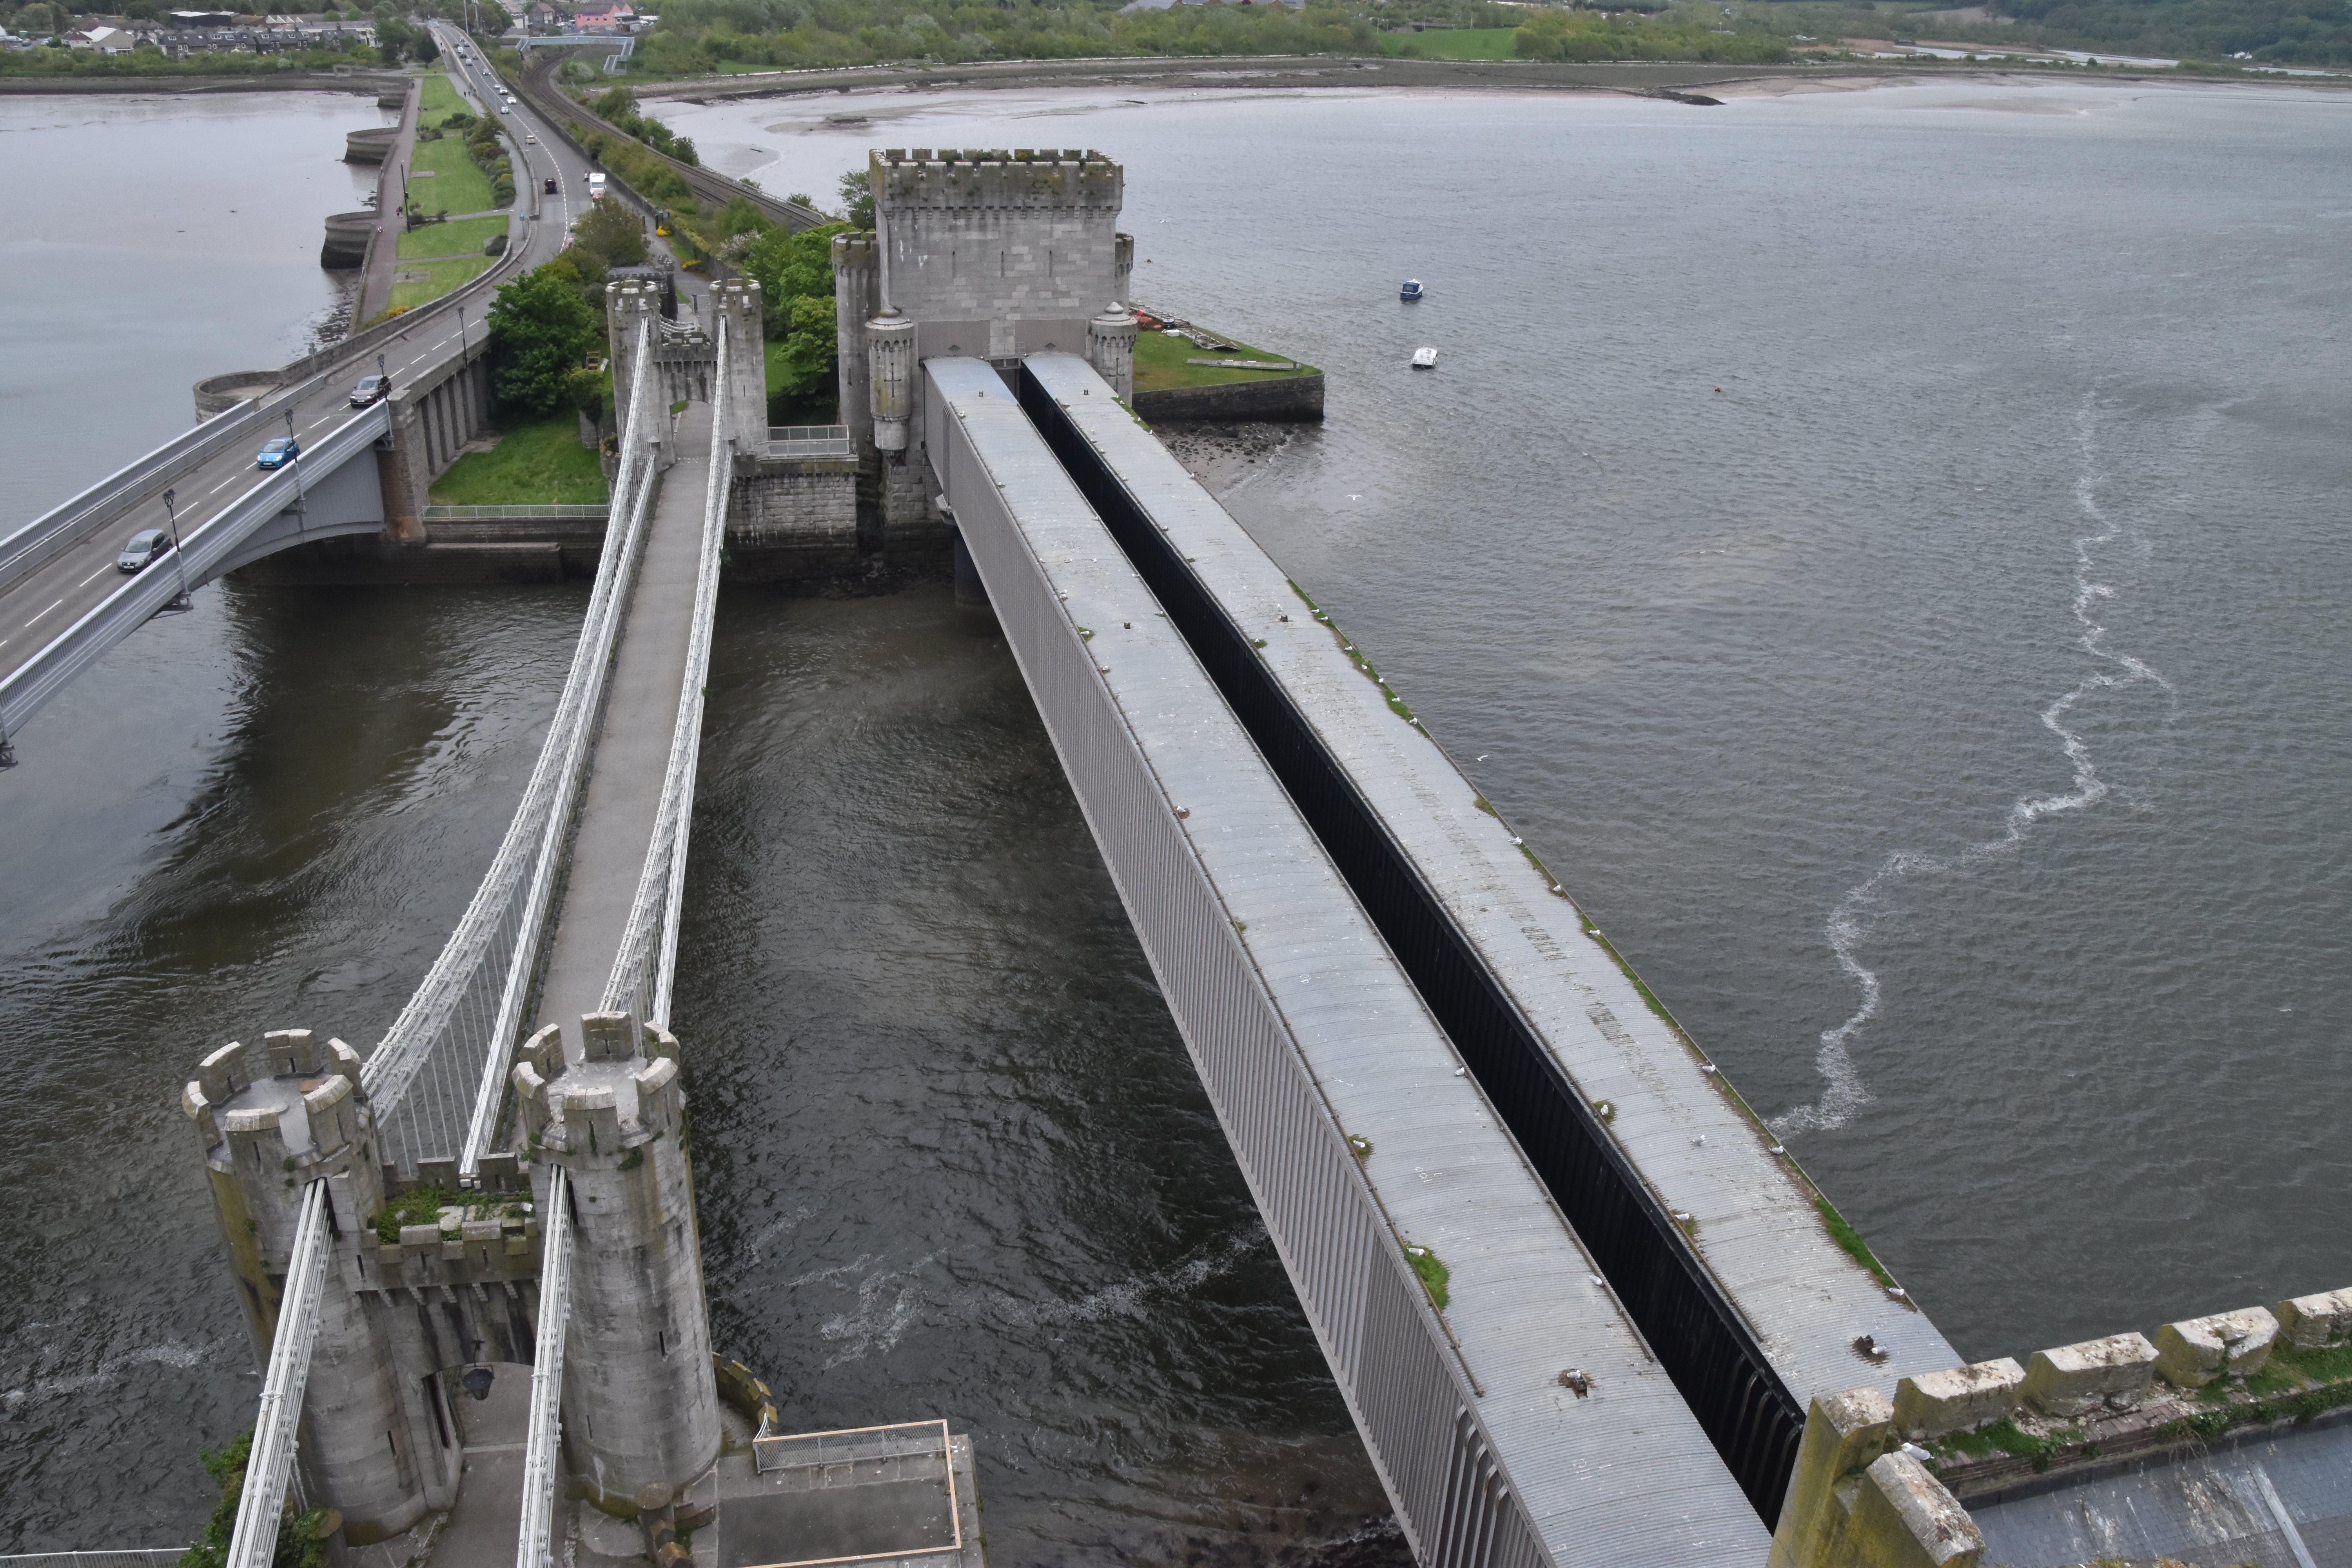
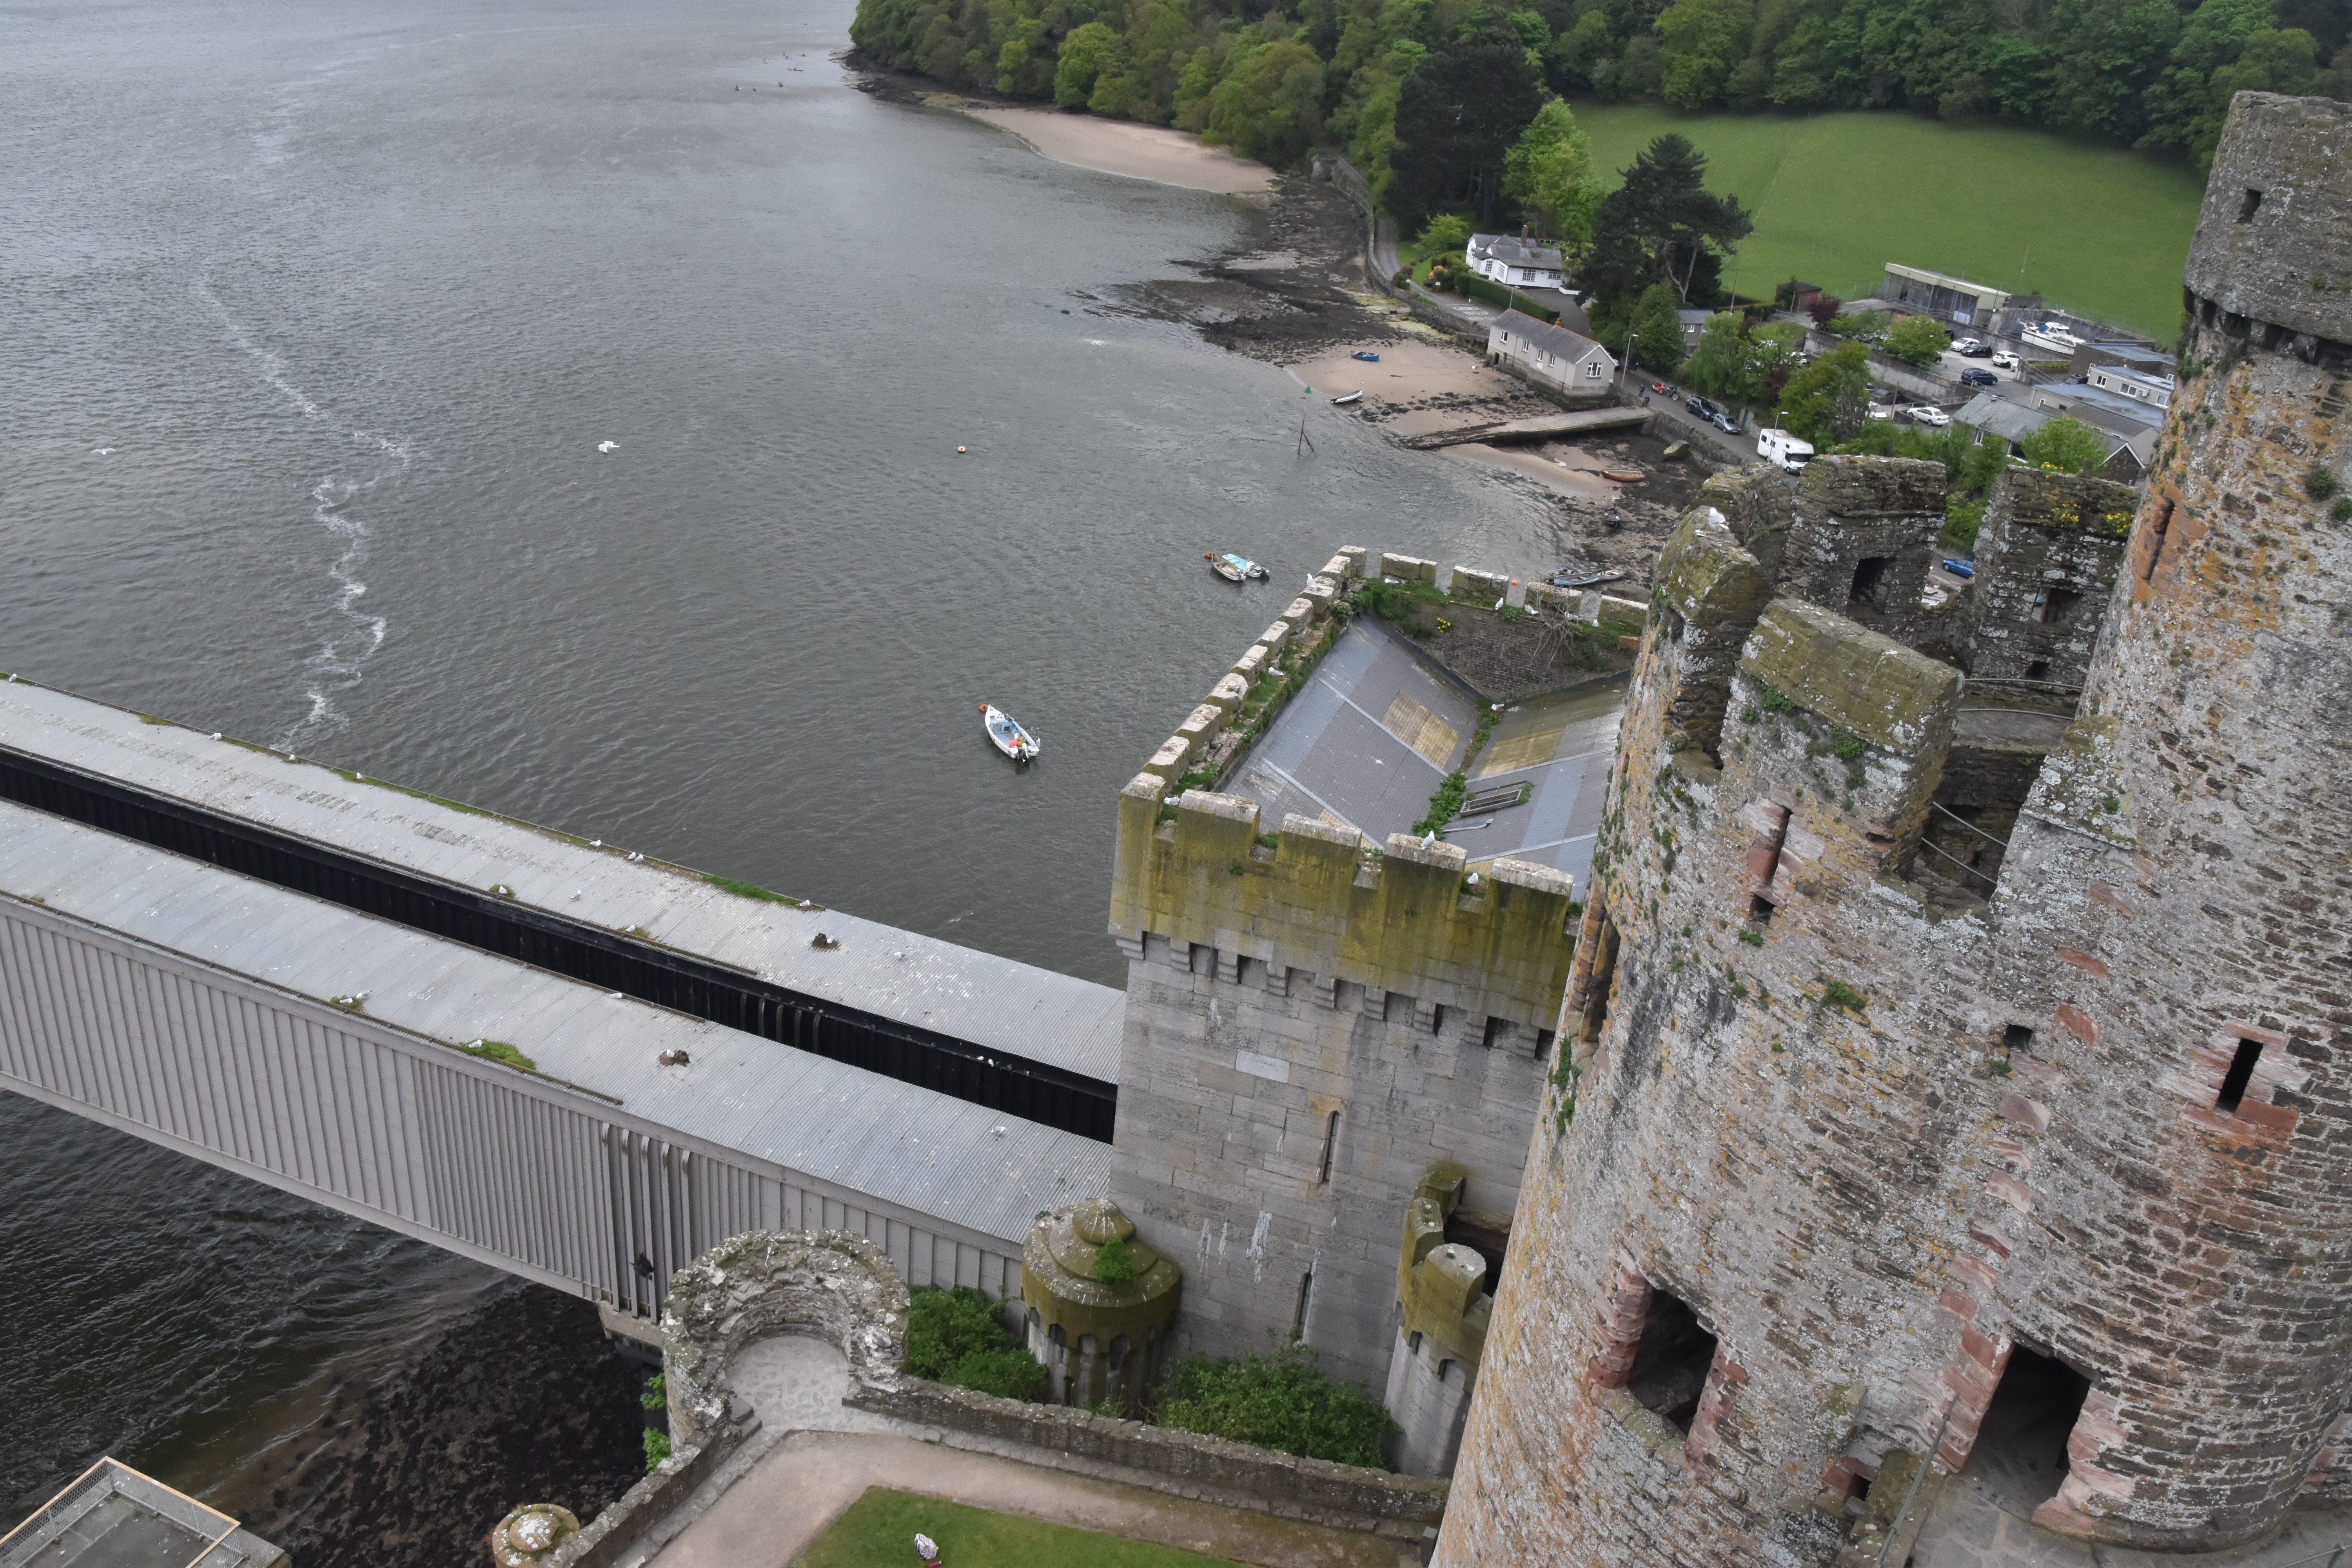
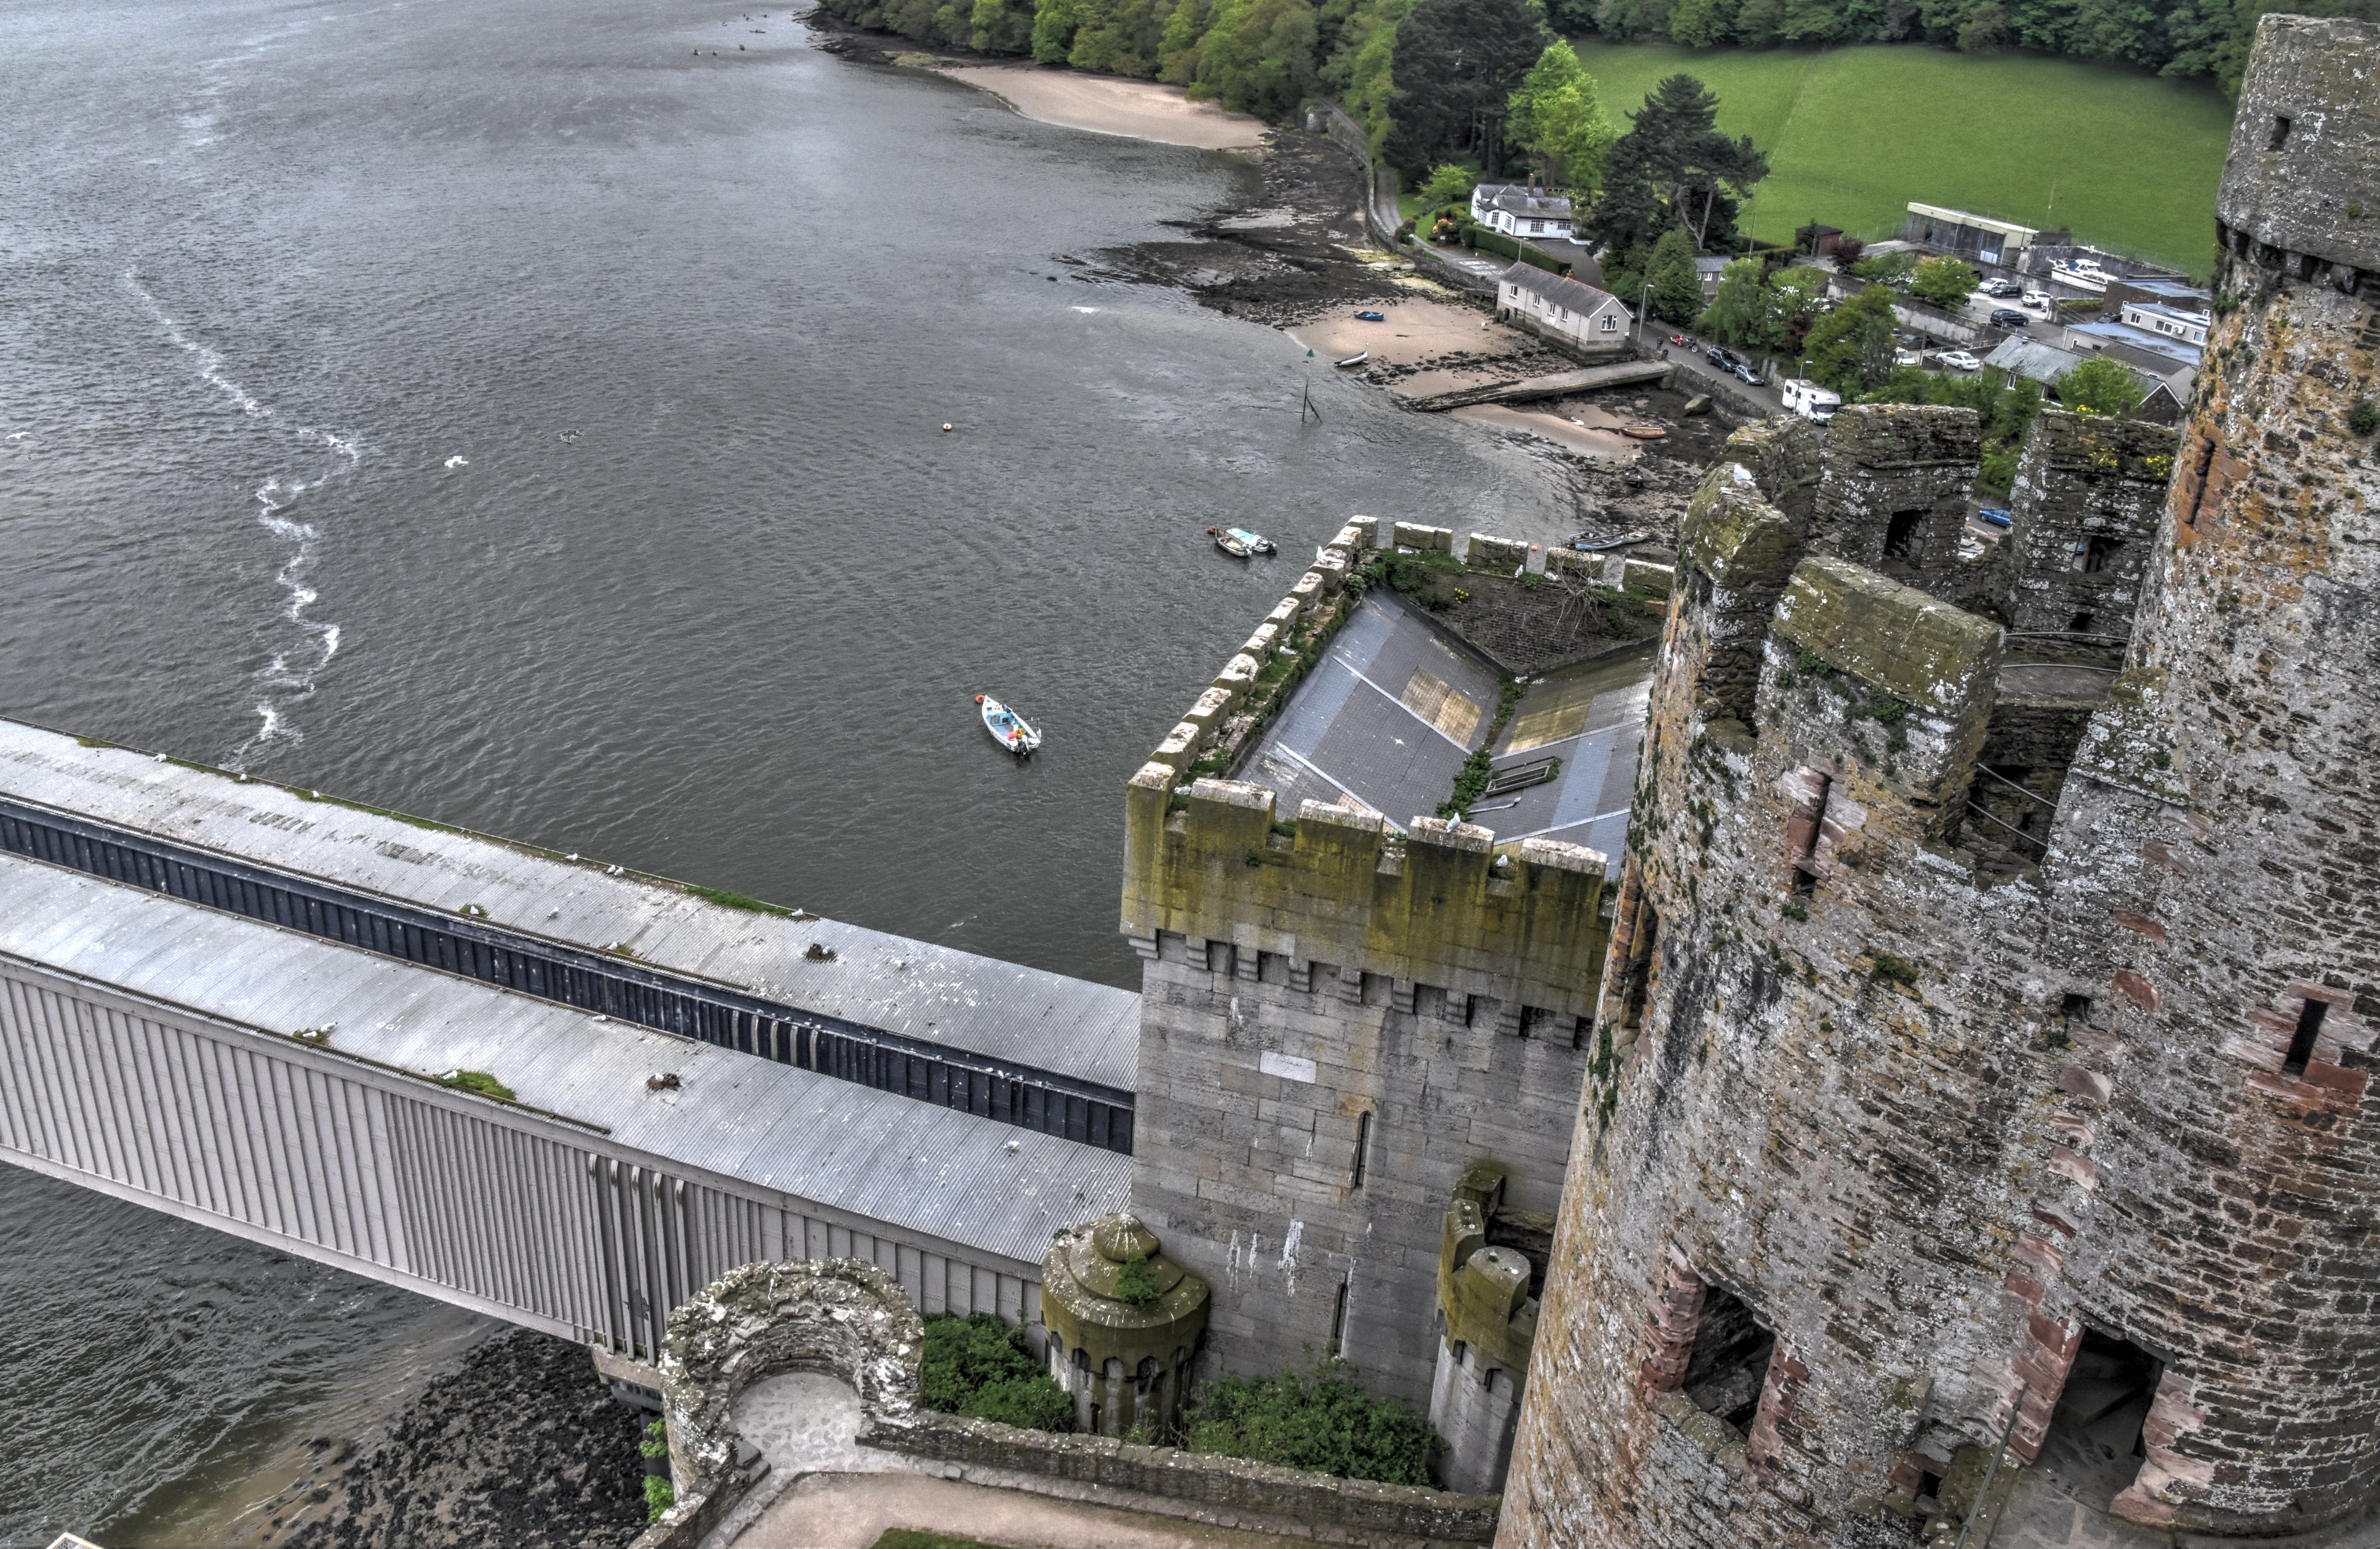
Oblique views from Castle Conway from northwest quadrant.
![]()

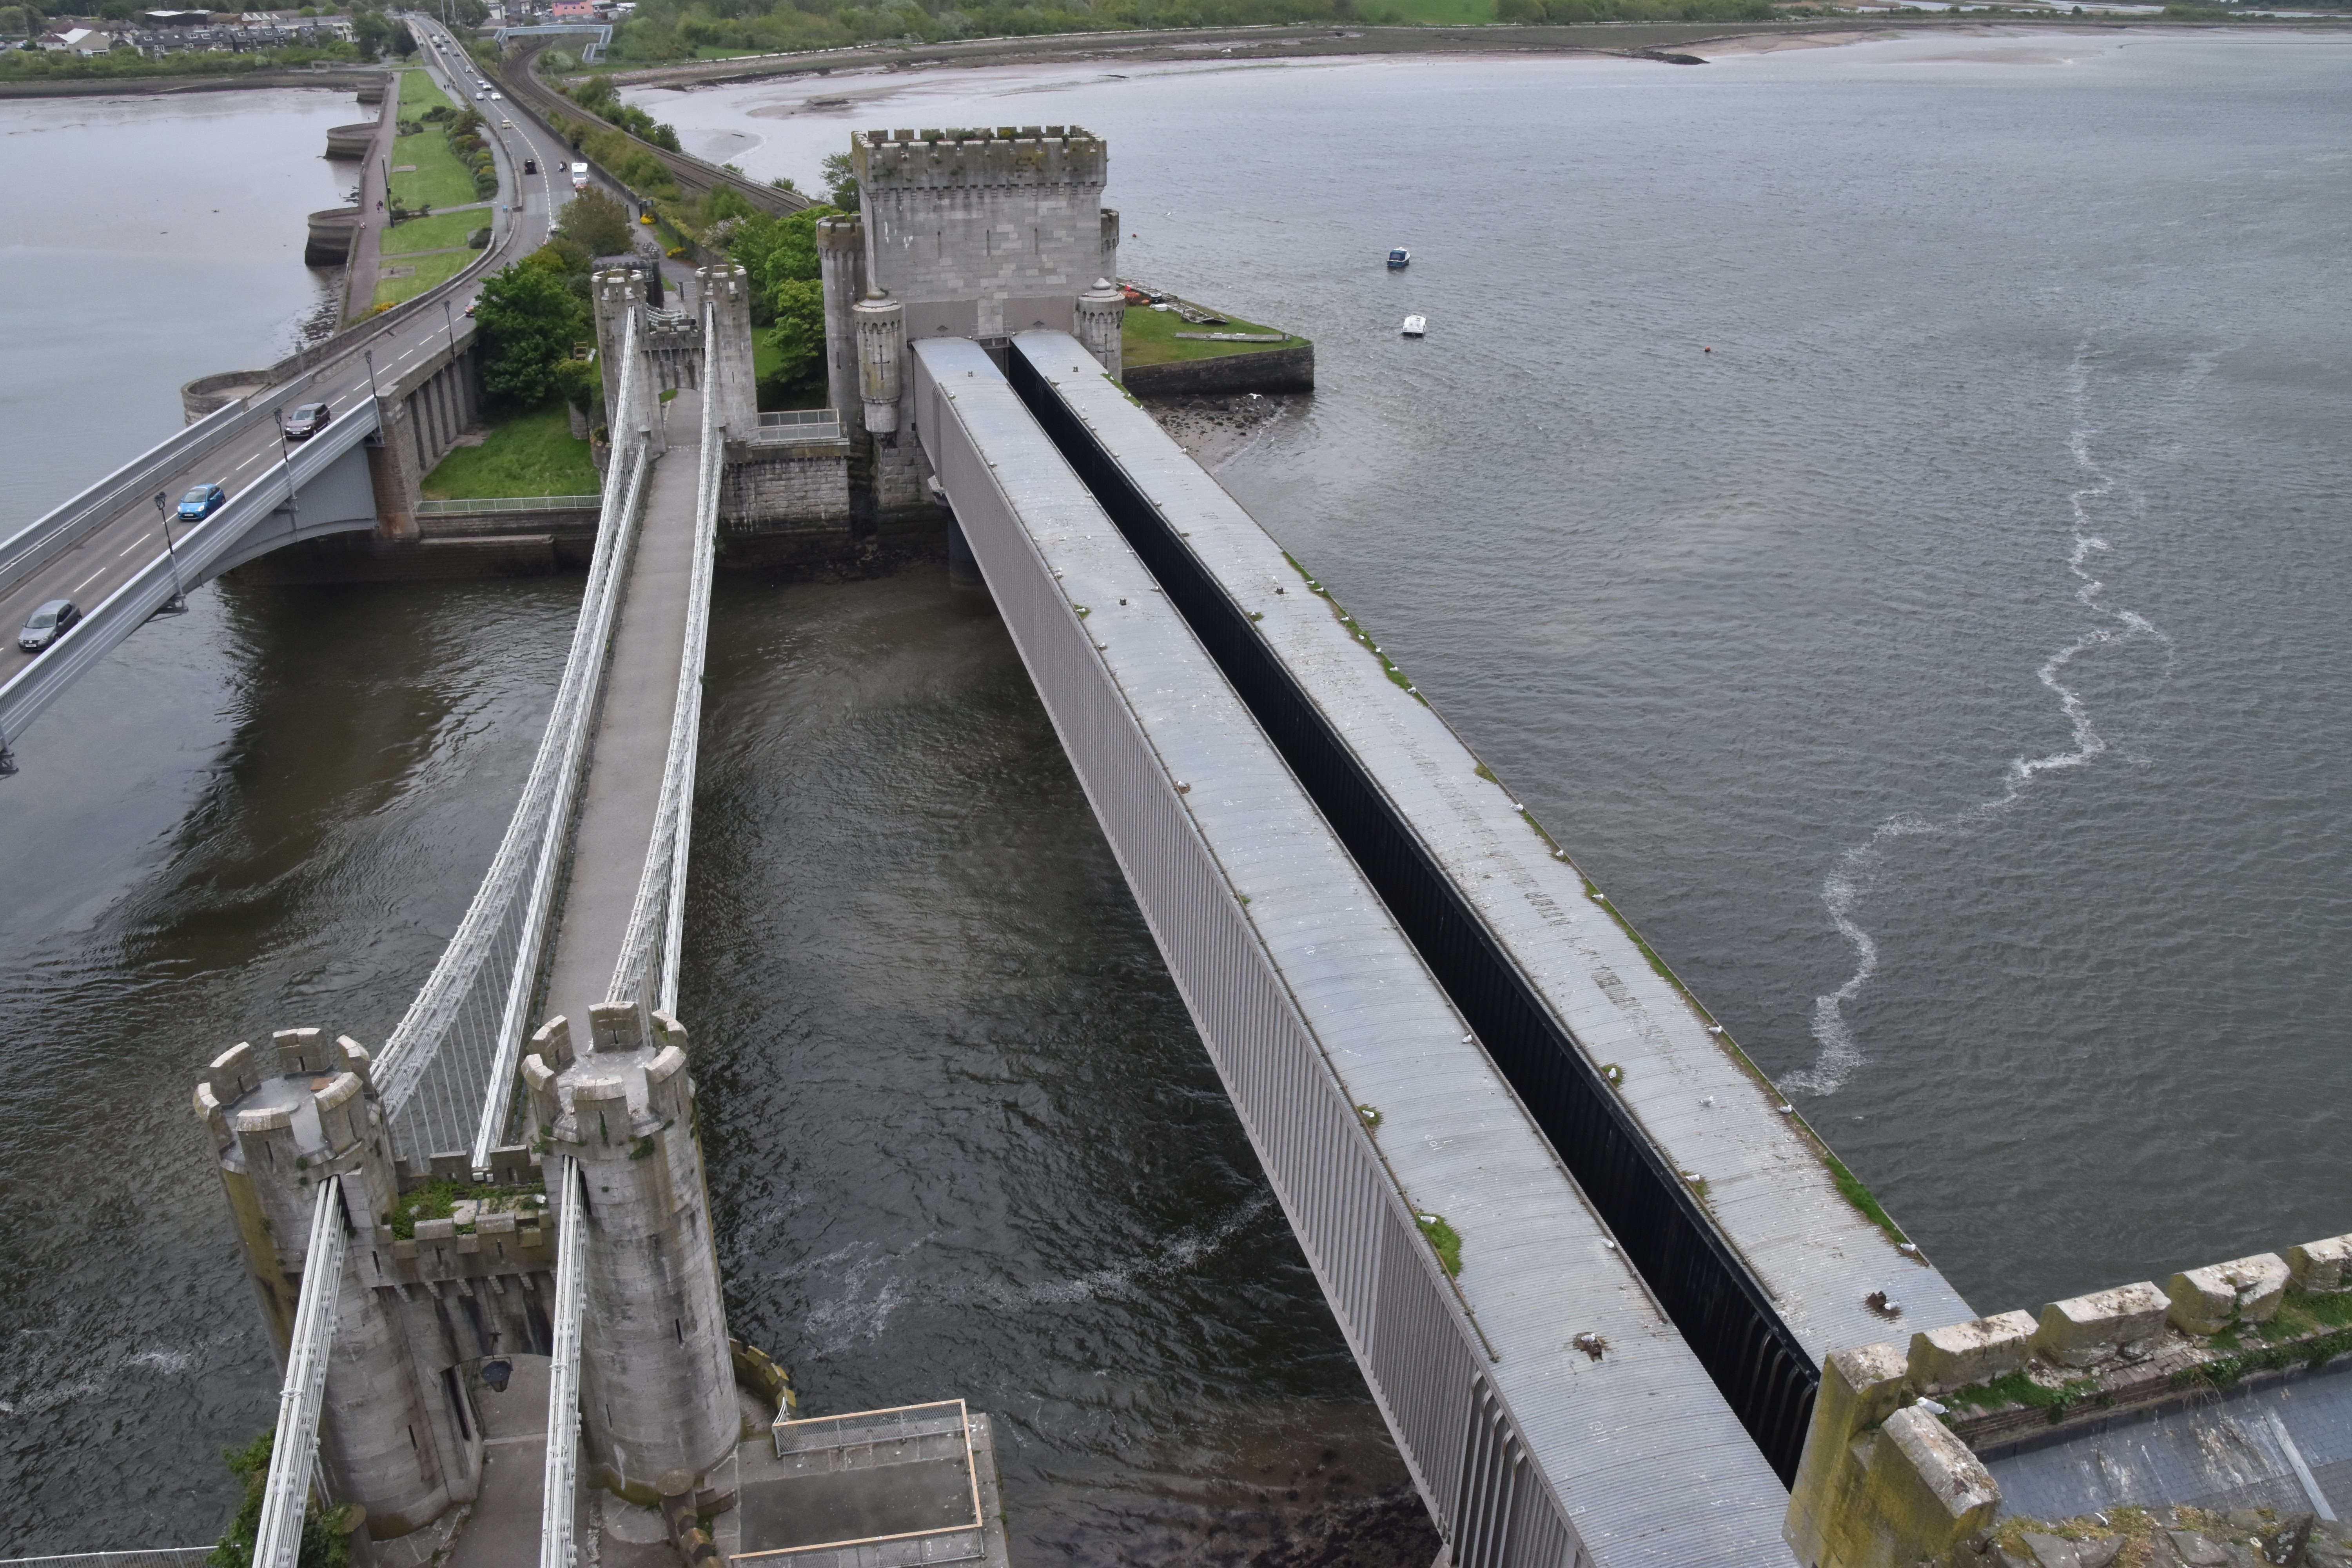

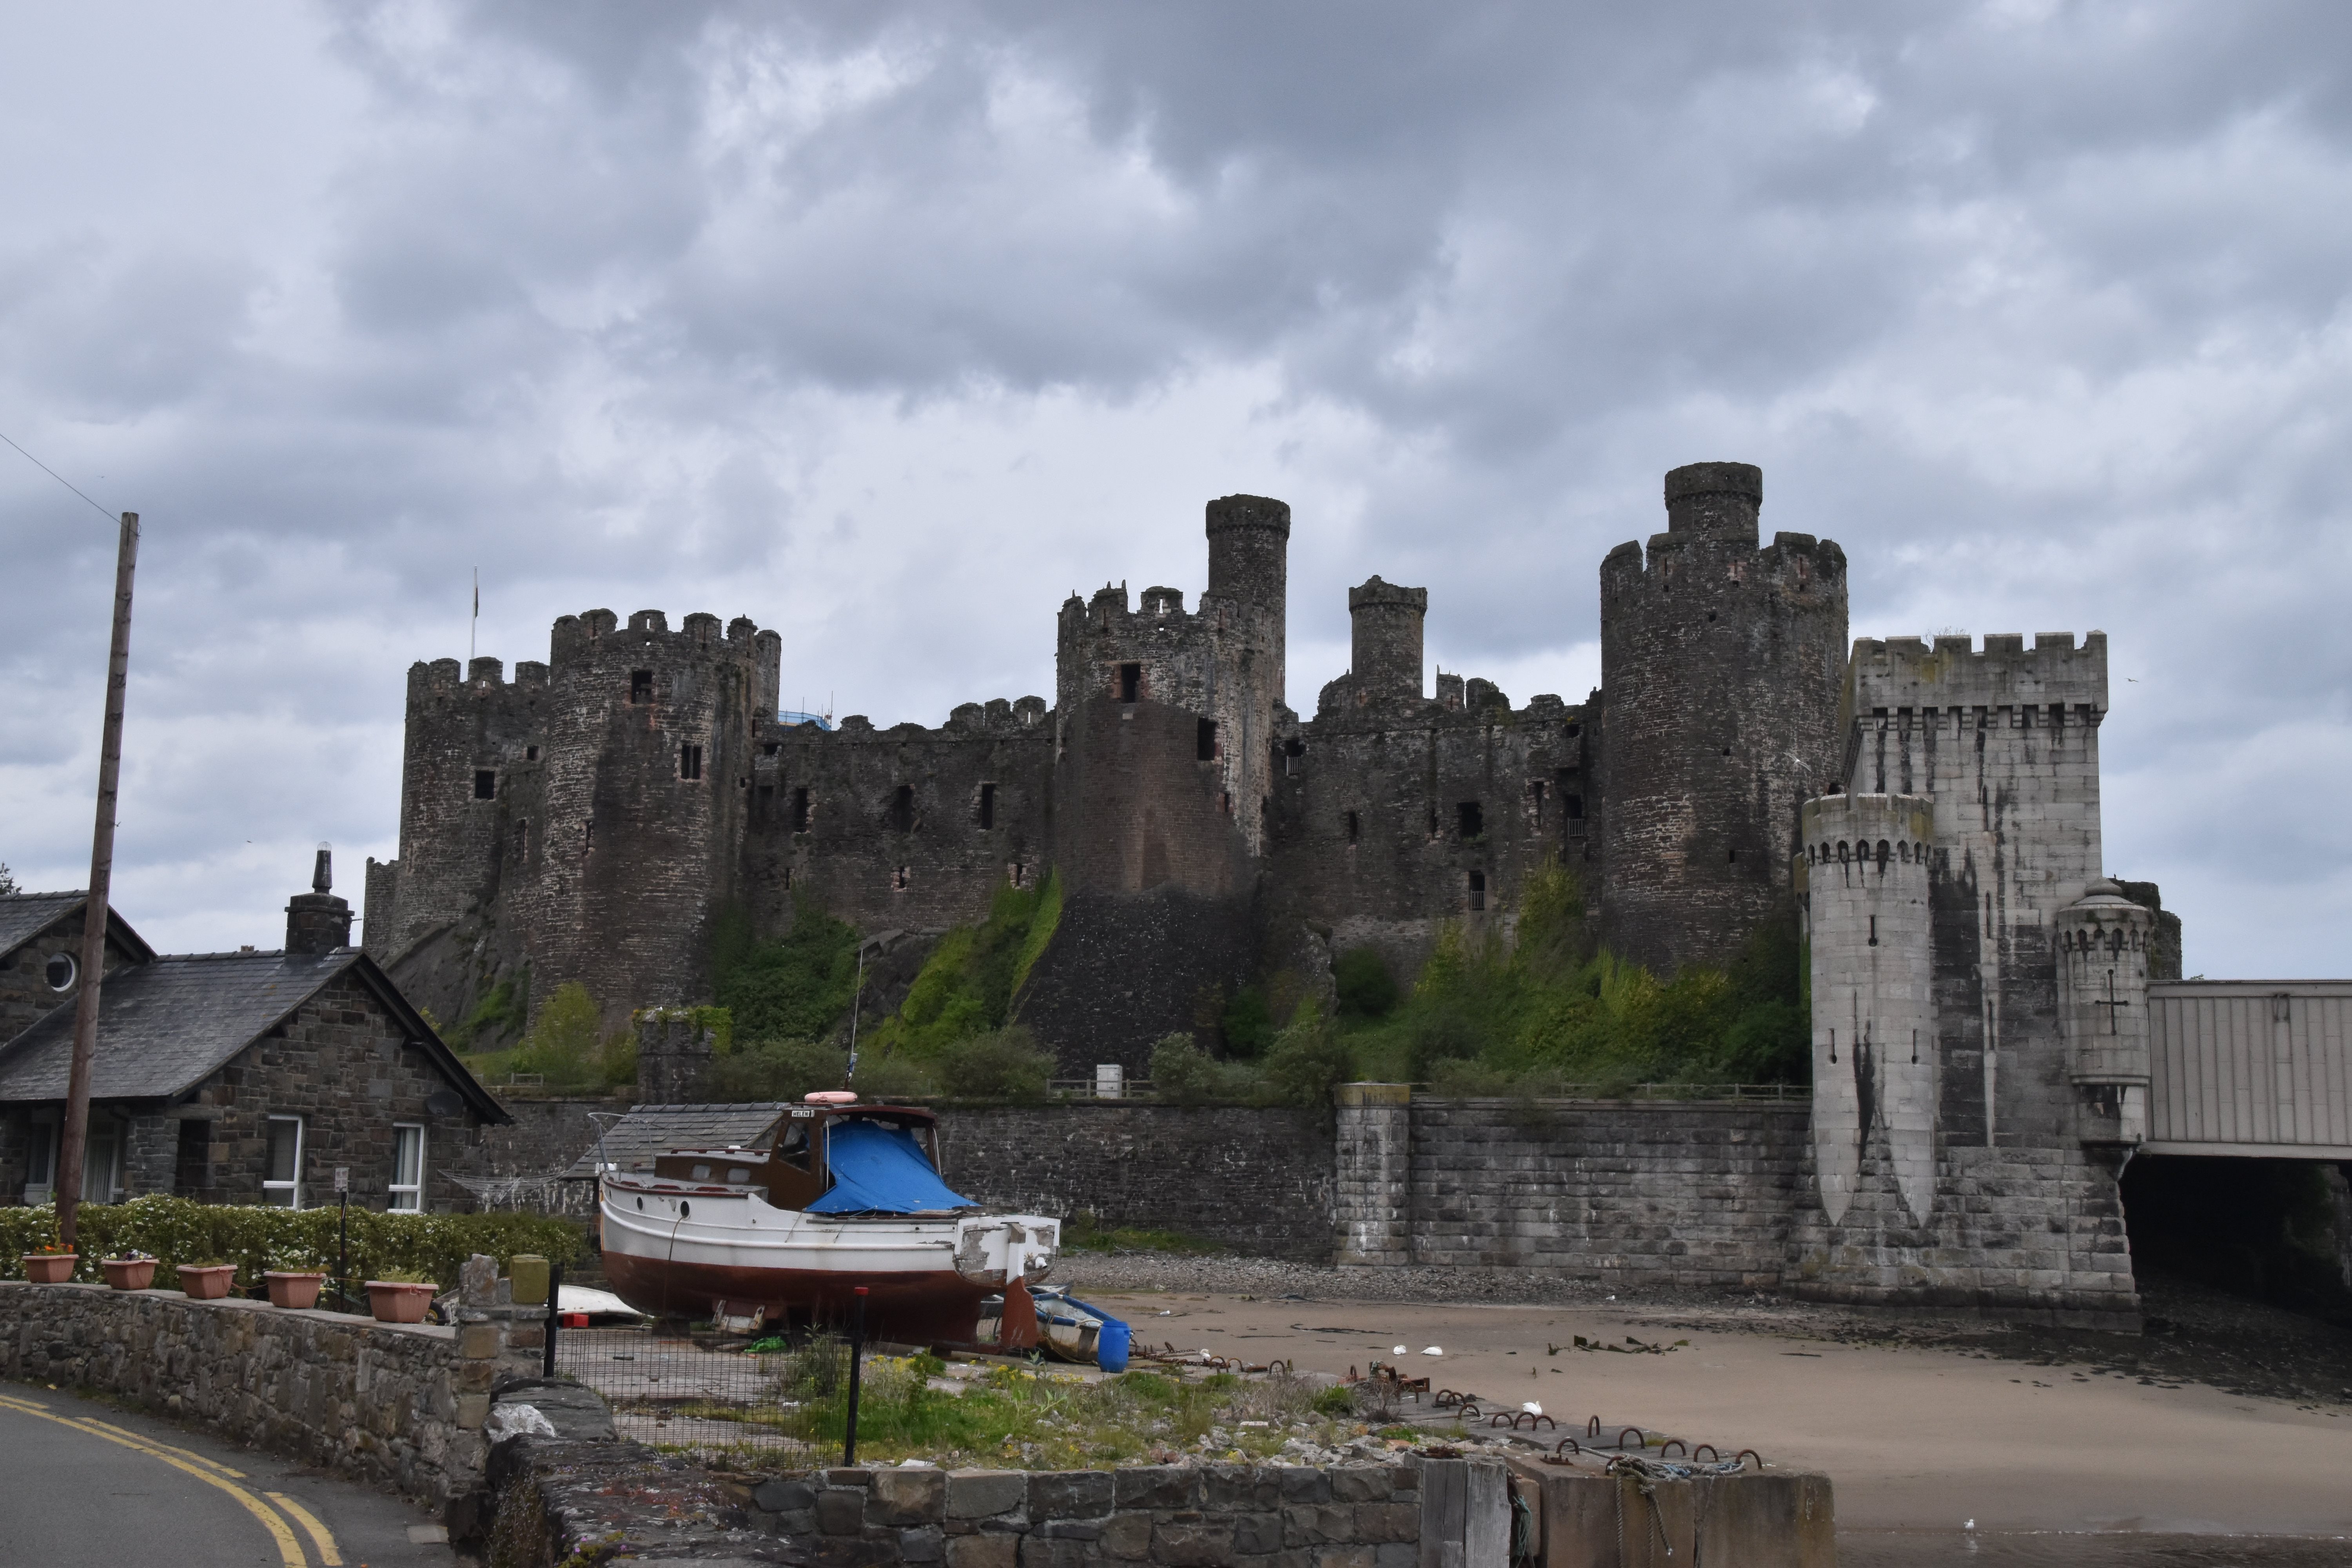
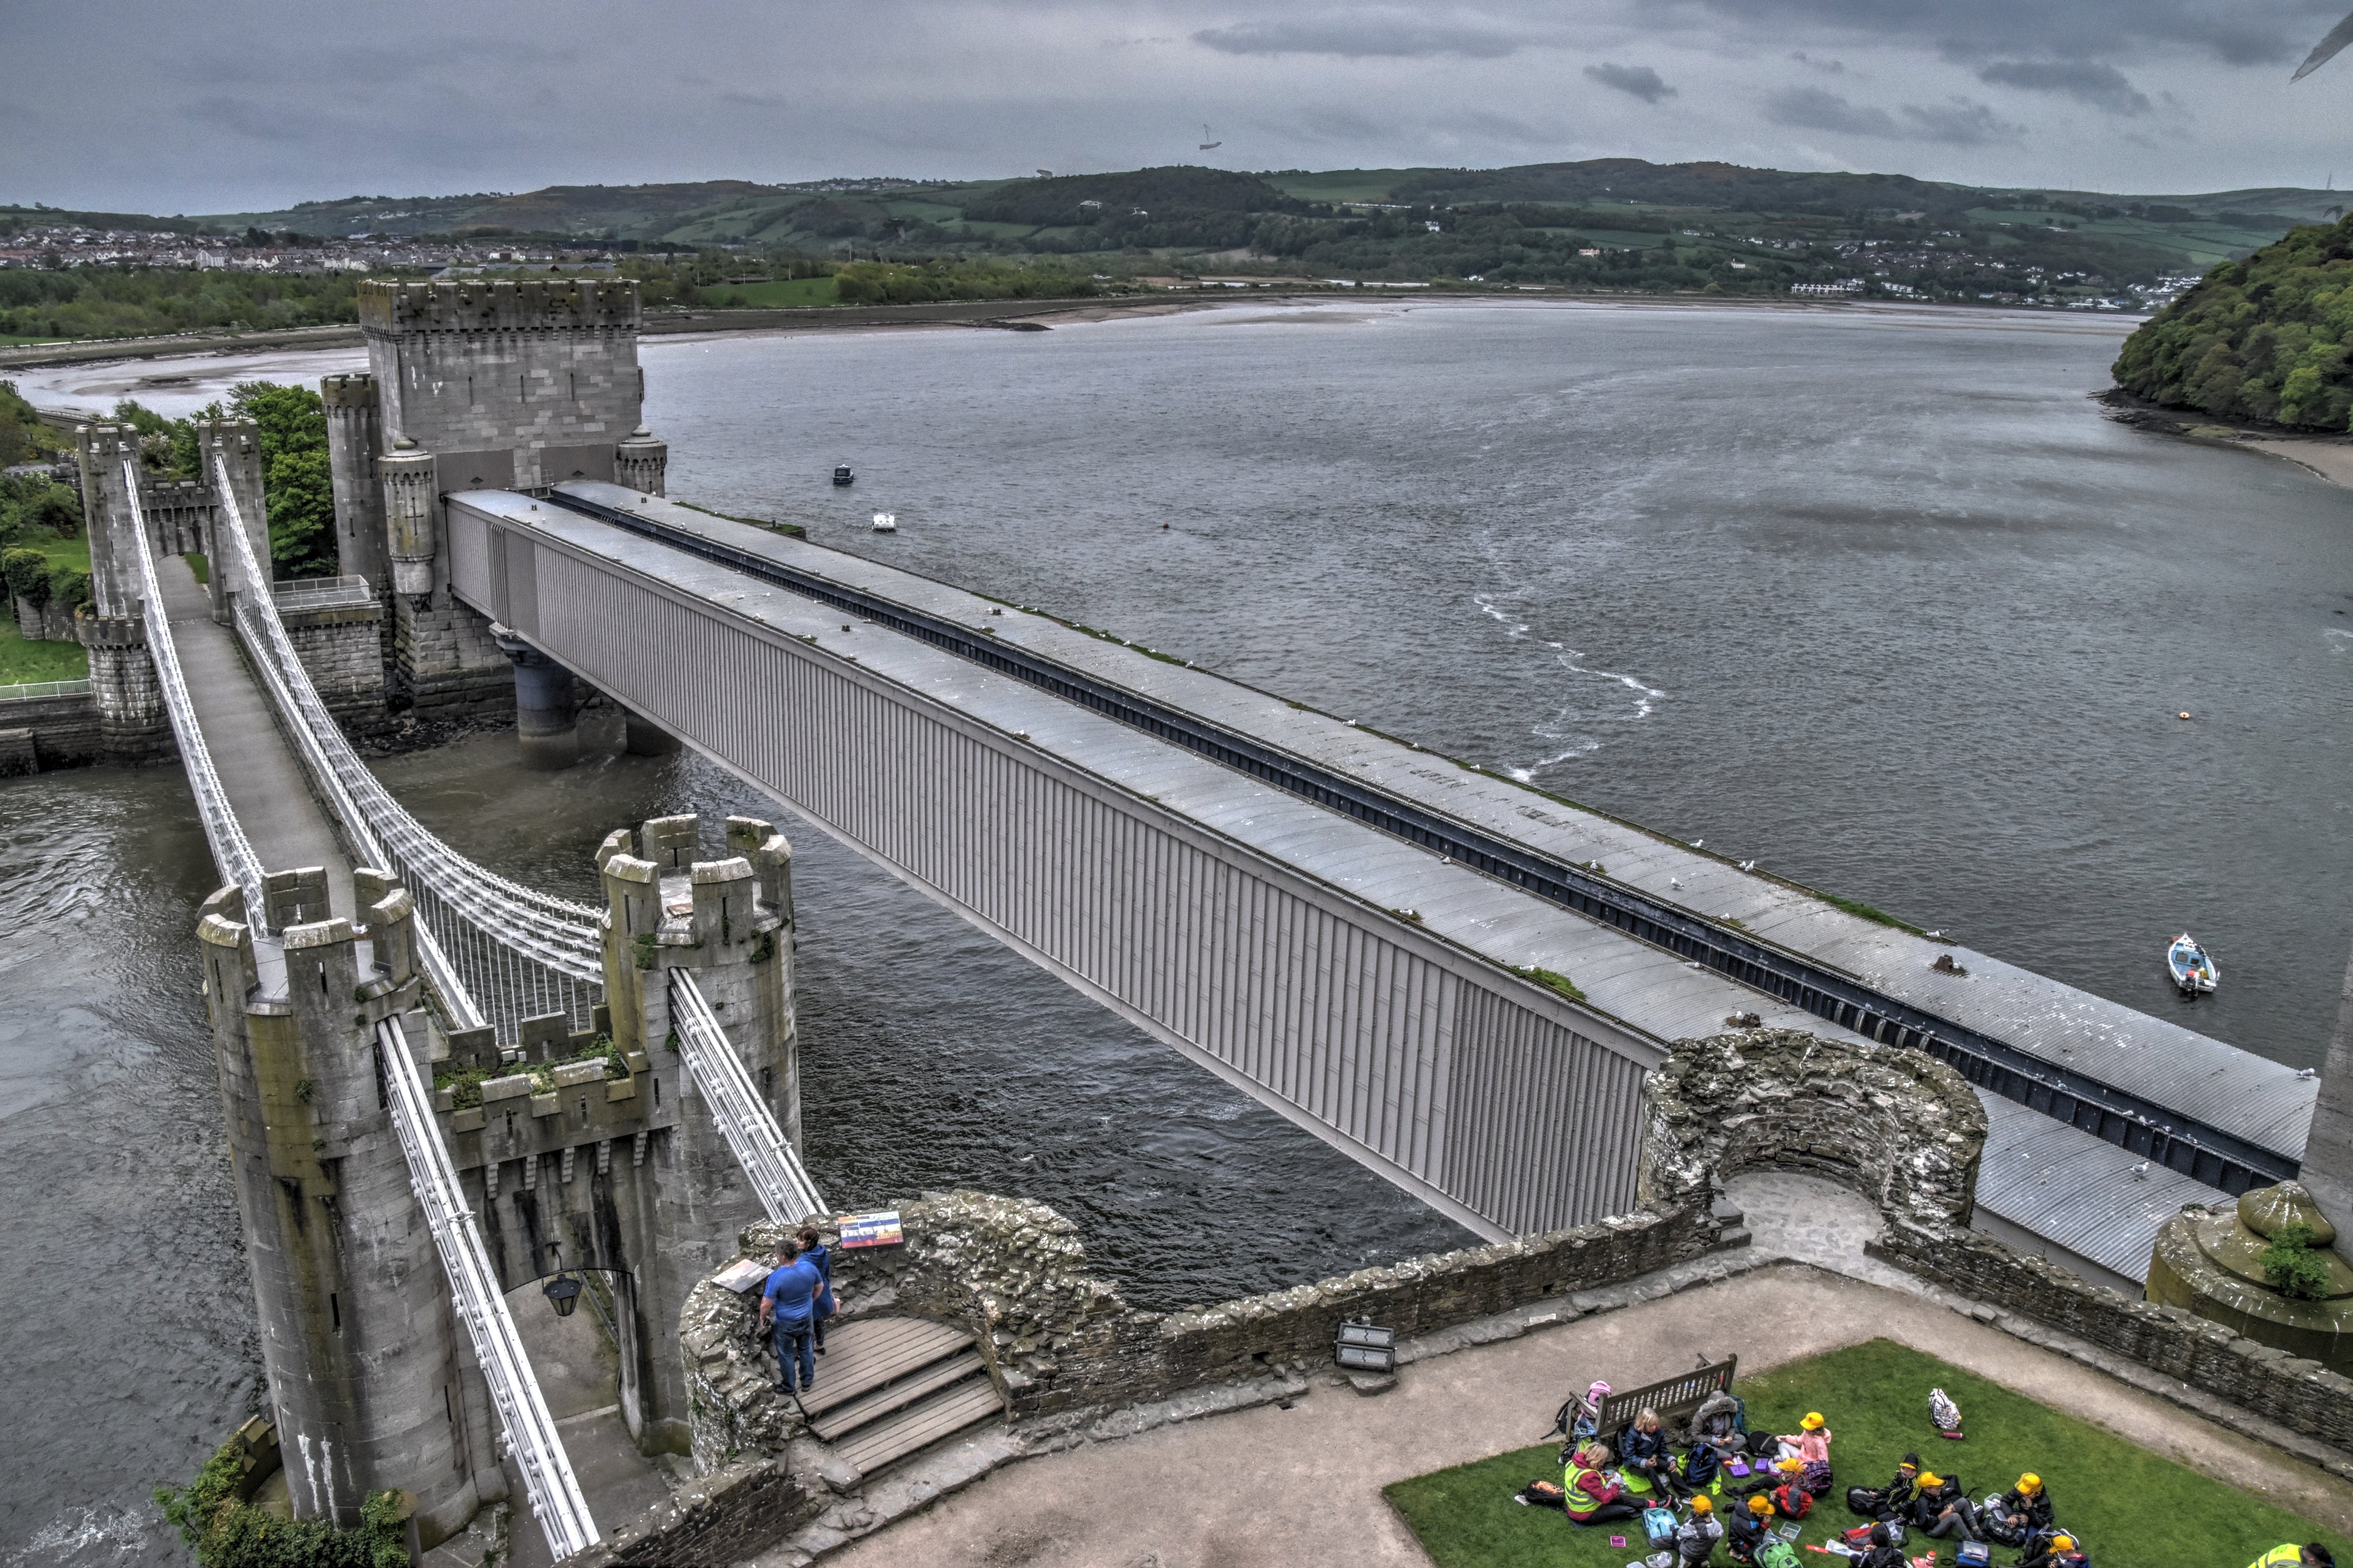
Oblique views from Castle Conway and showing Conwy Suspension Bridge to the left. View from northwest quadrant around railway bridge.
![]()
![]()
![]()
![]()
![]()
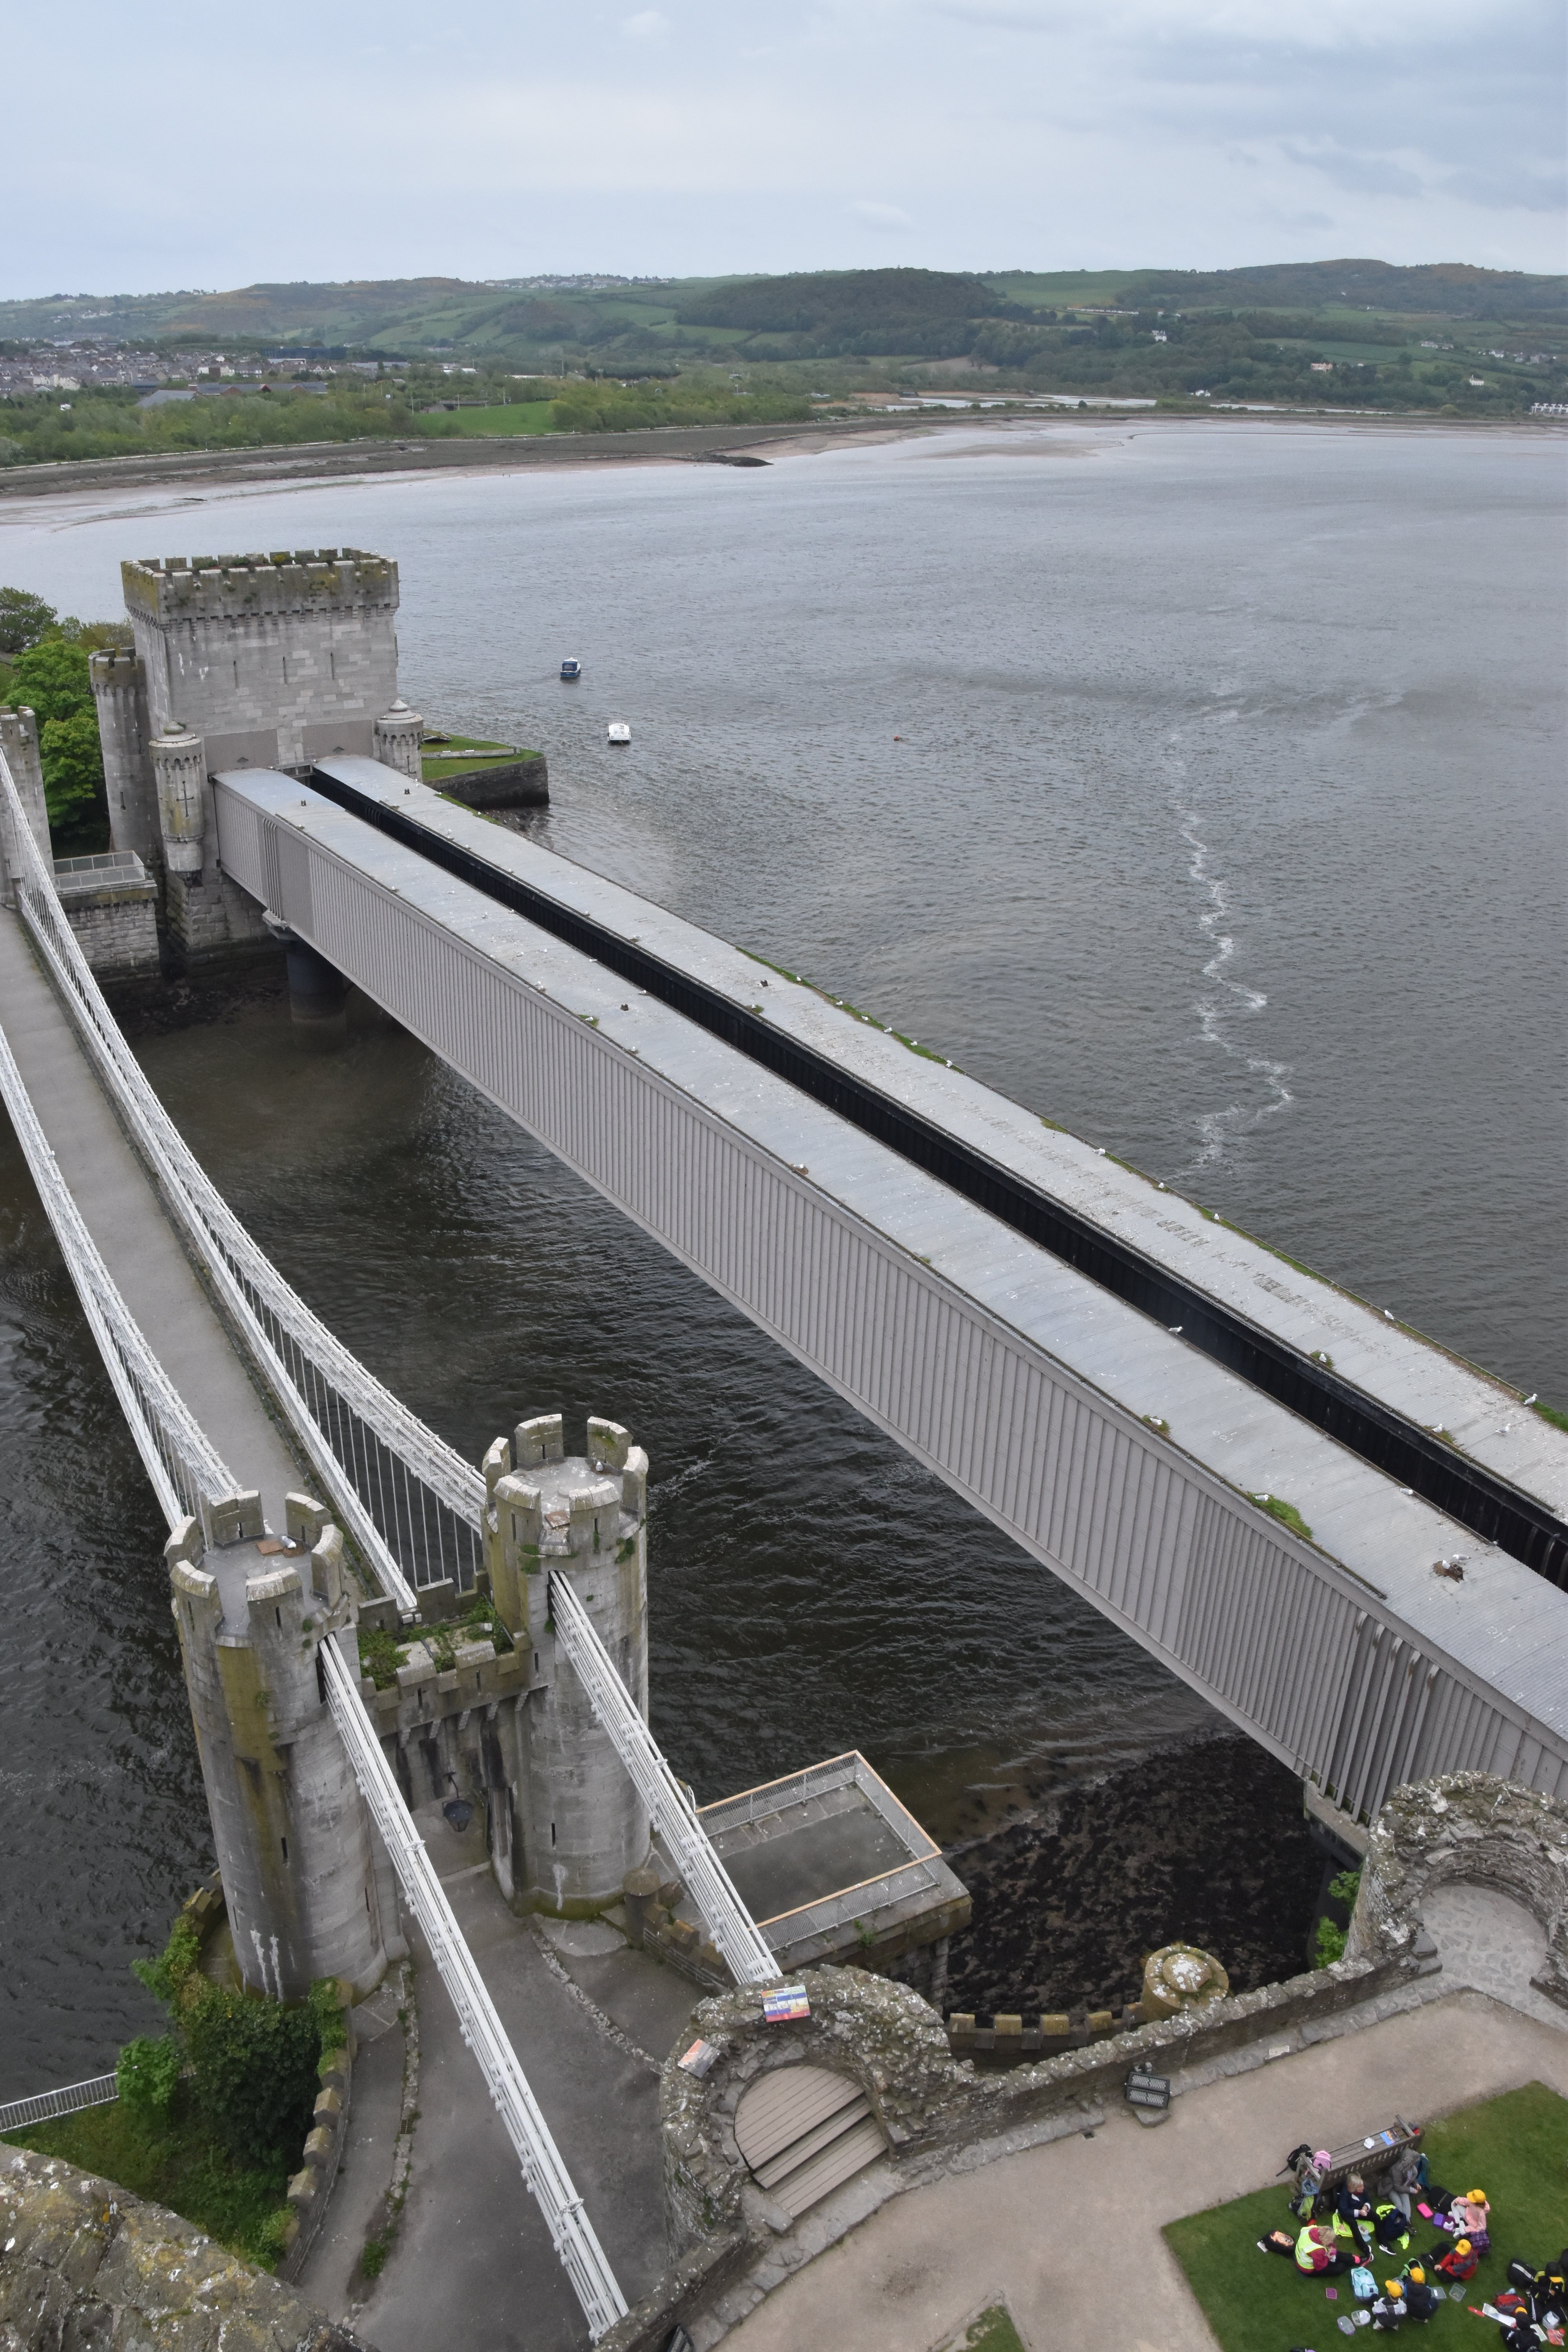
Panoramic oblique views of bridge from northwest quadrant from Castle Conwy.
![]()
![]()
![]()
![]()
![]()
Panoramic views of all three bridges from Castle Conwy.
![]()


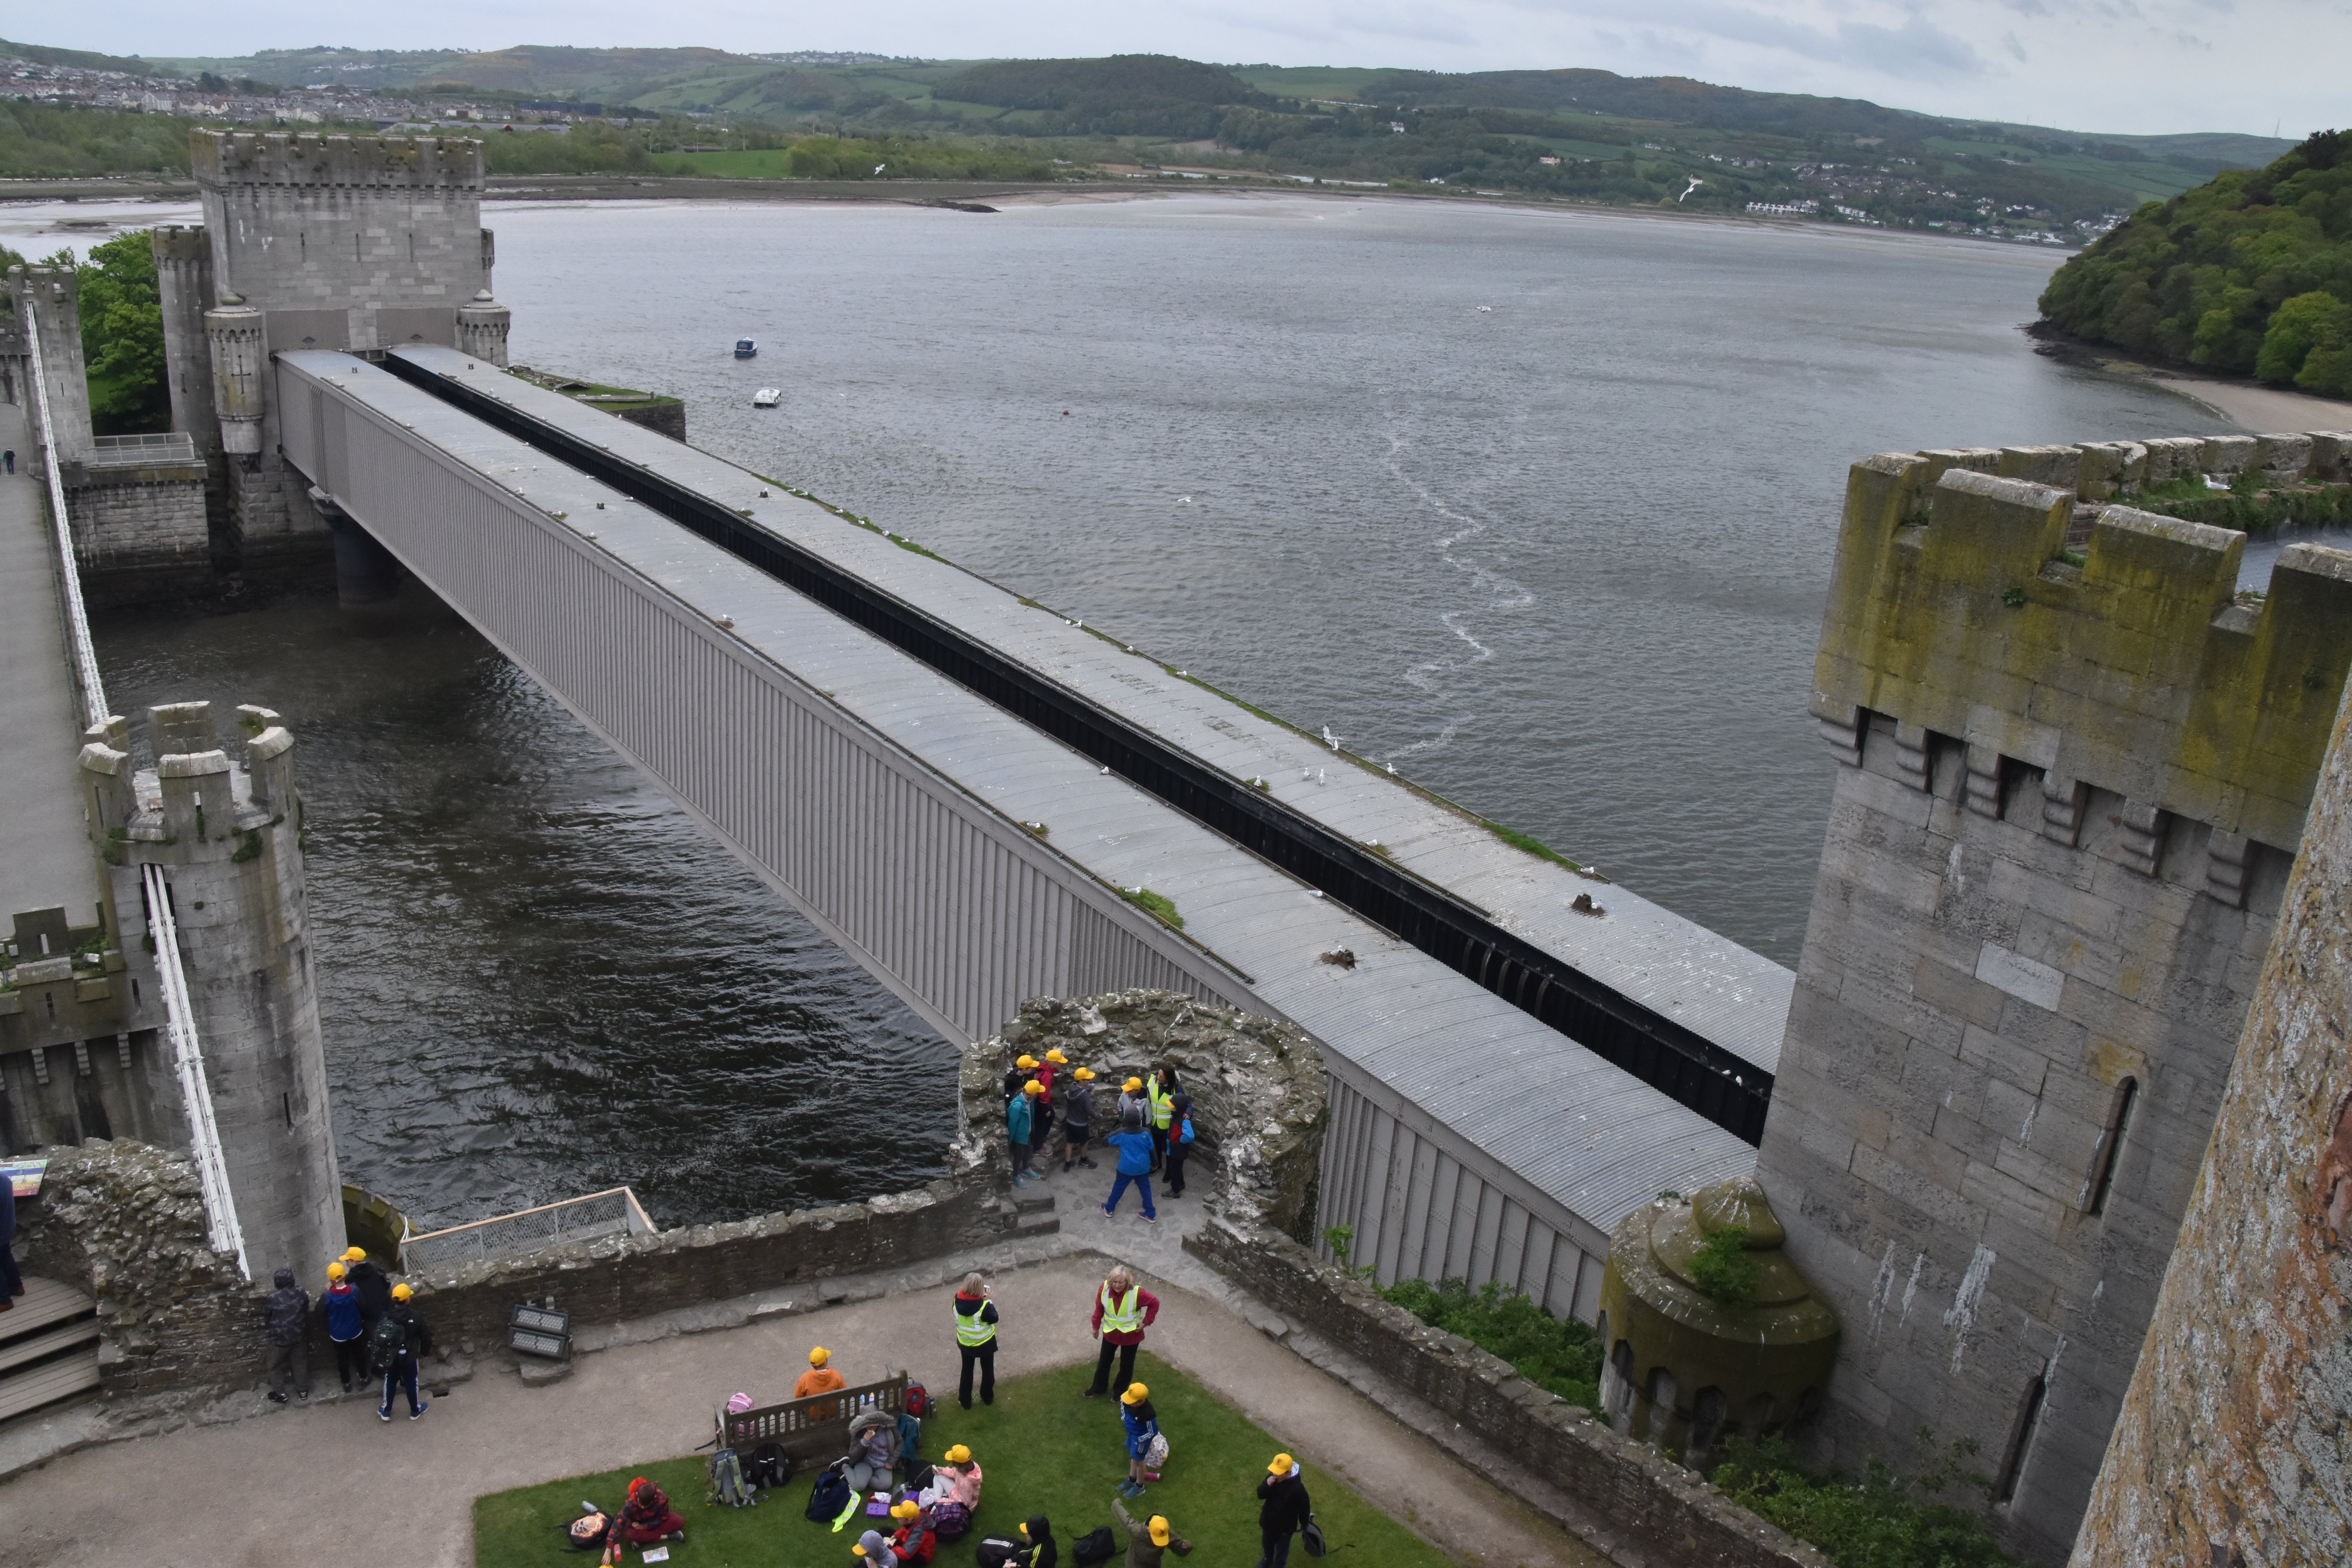
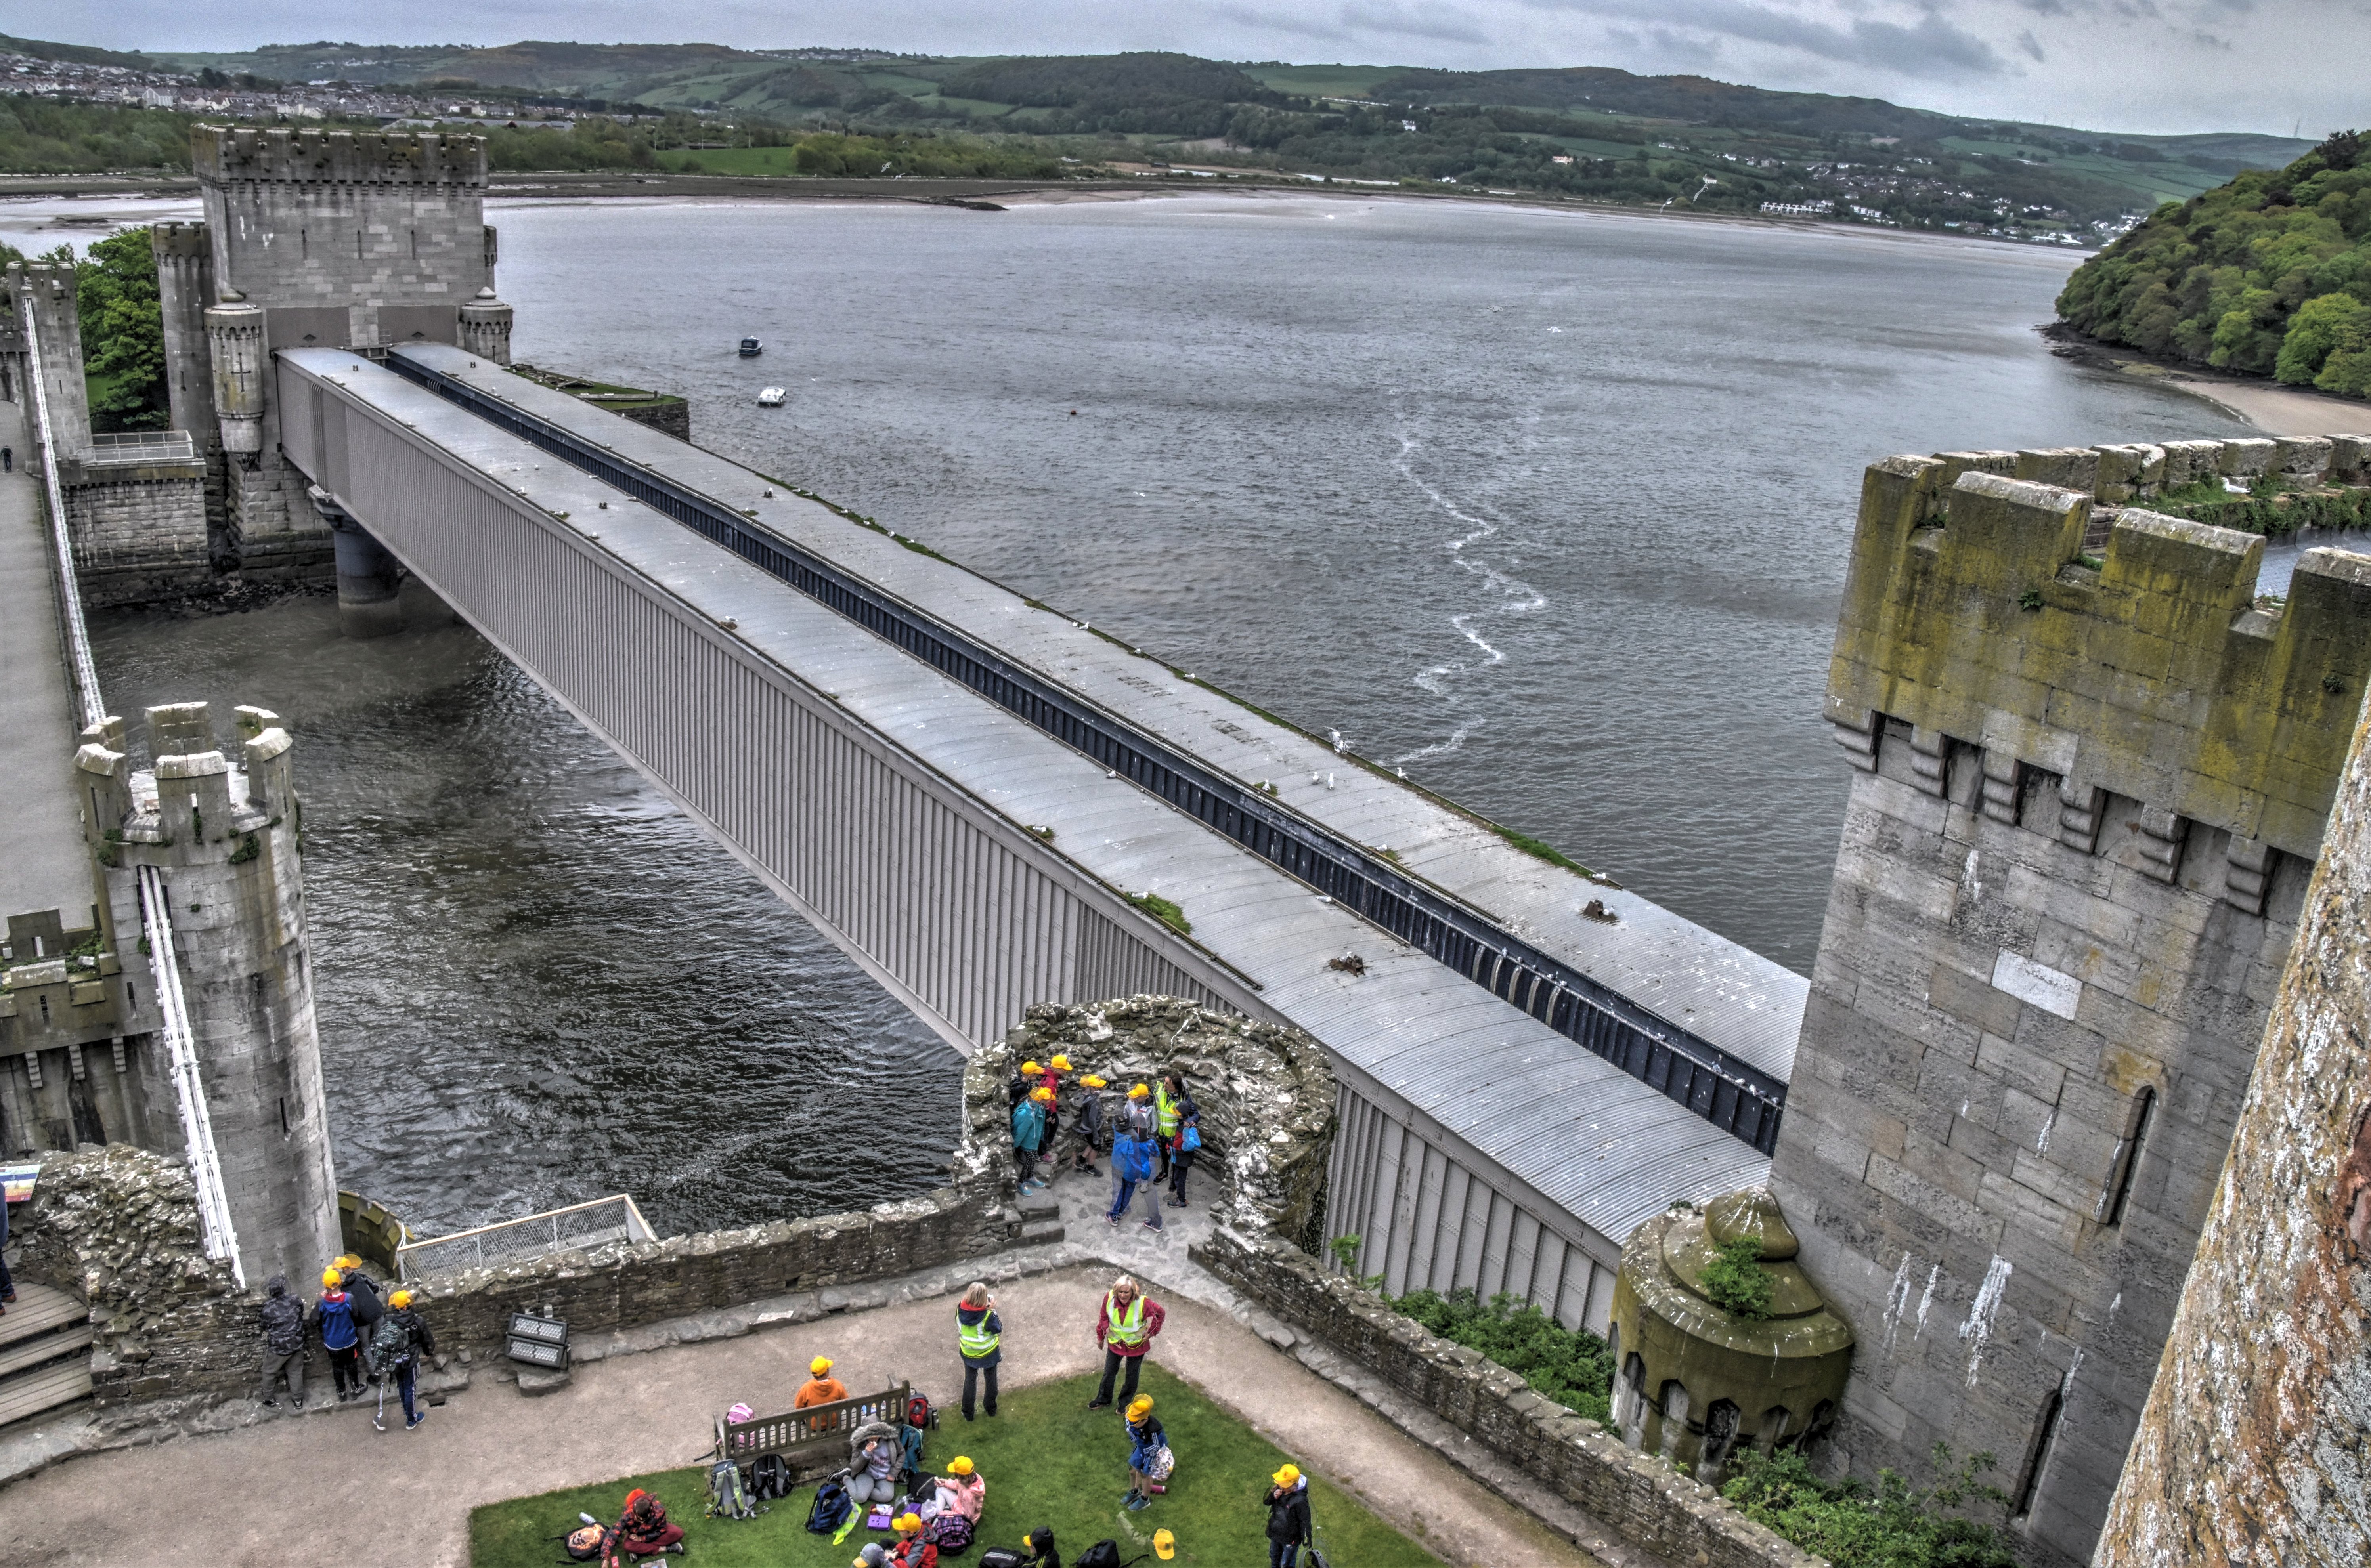
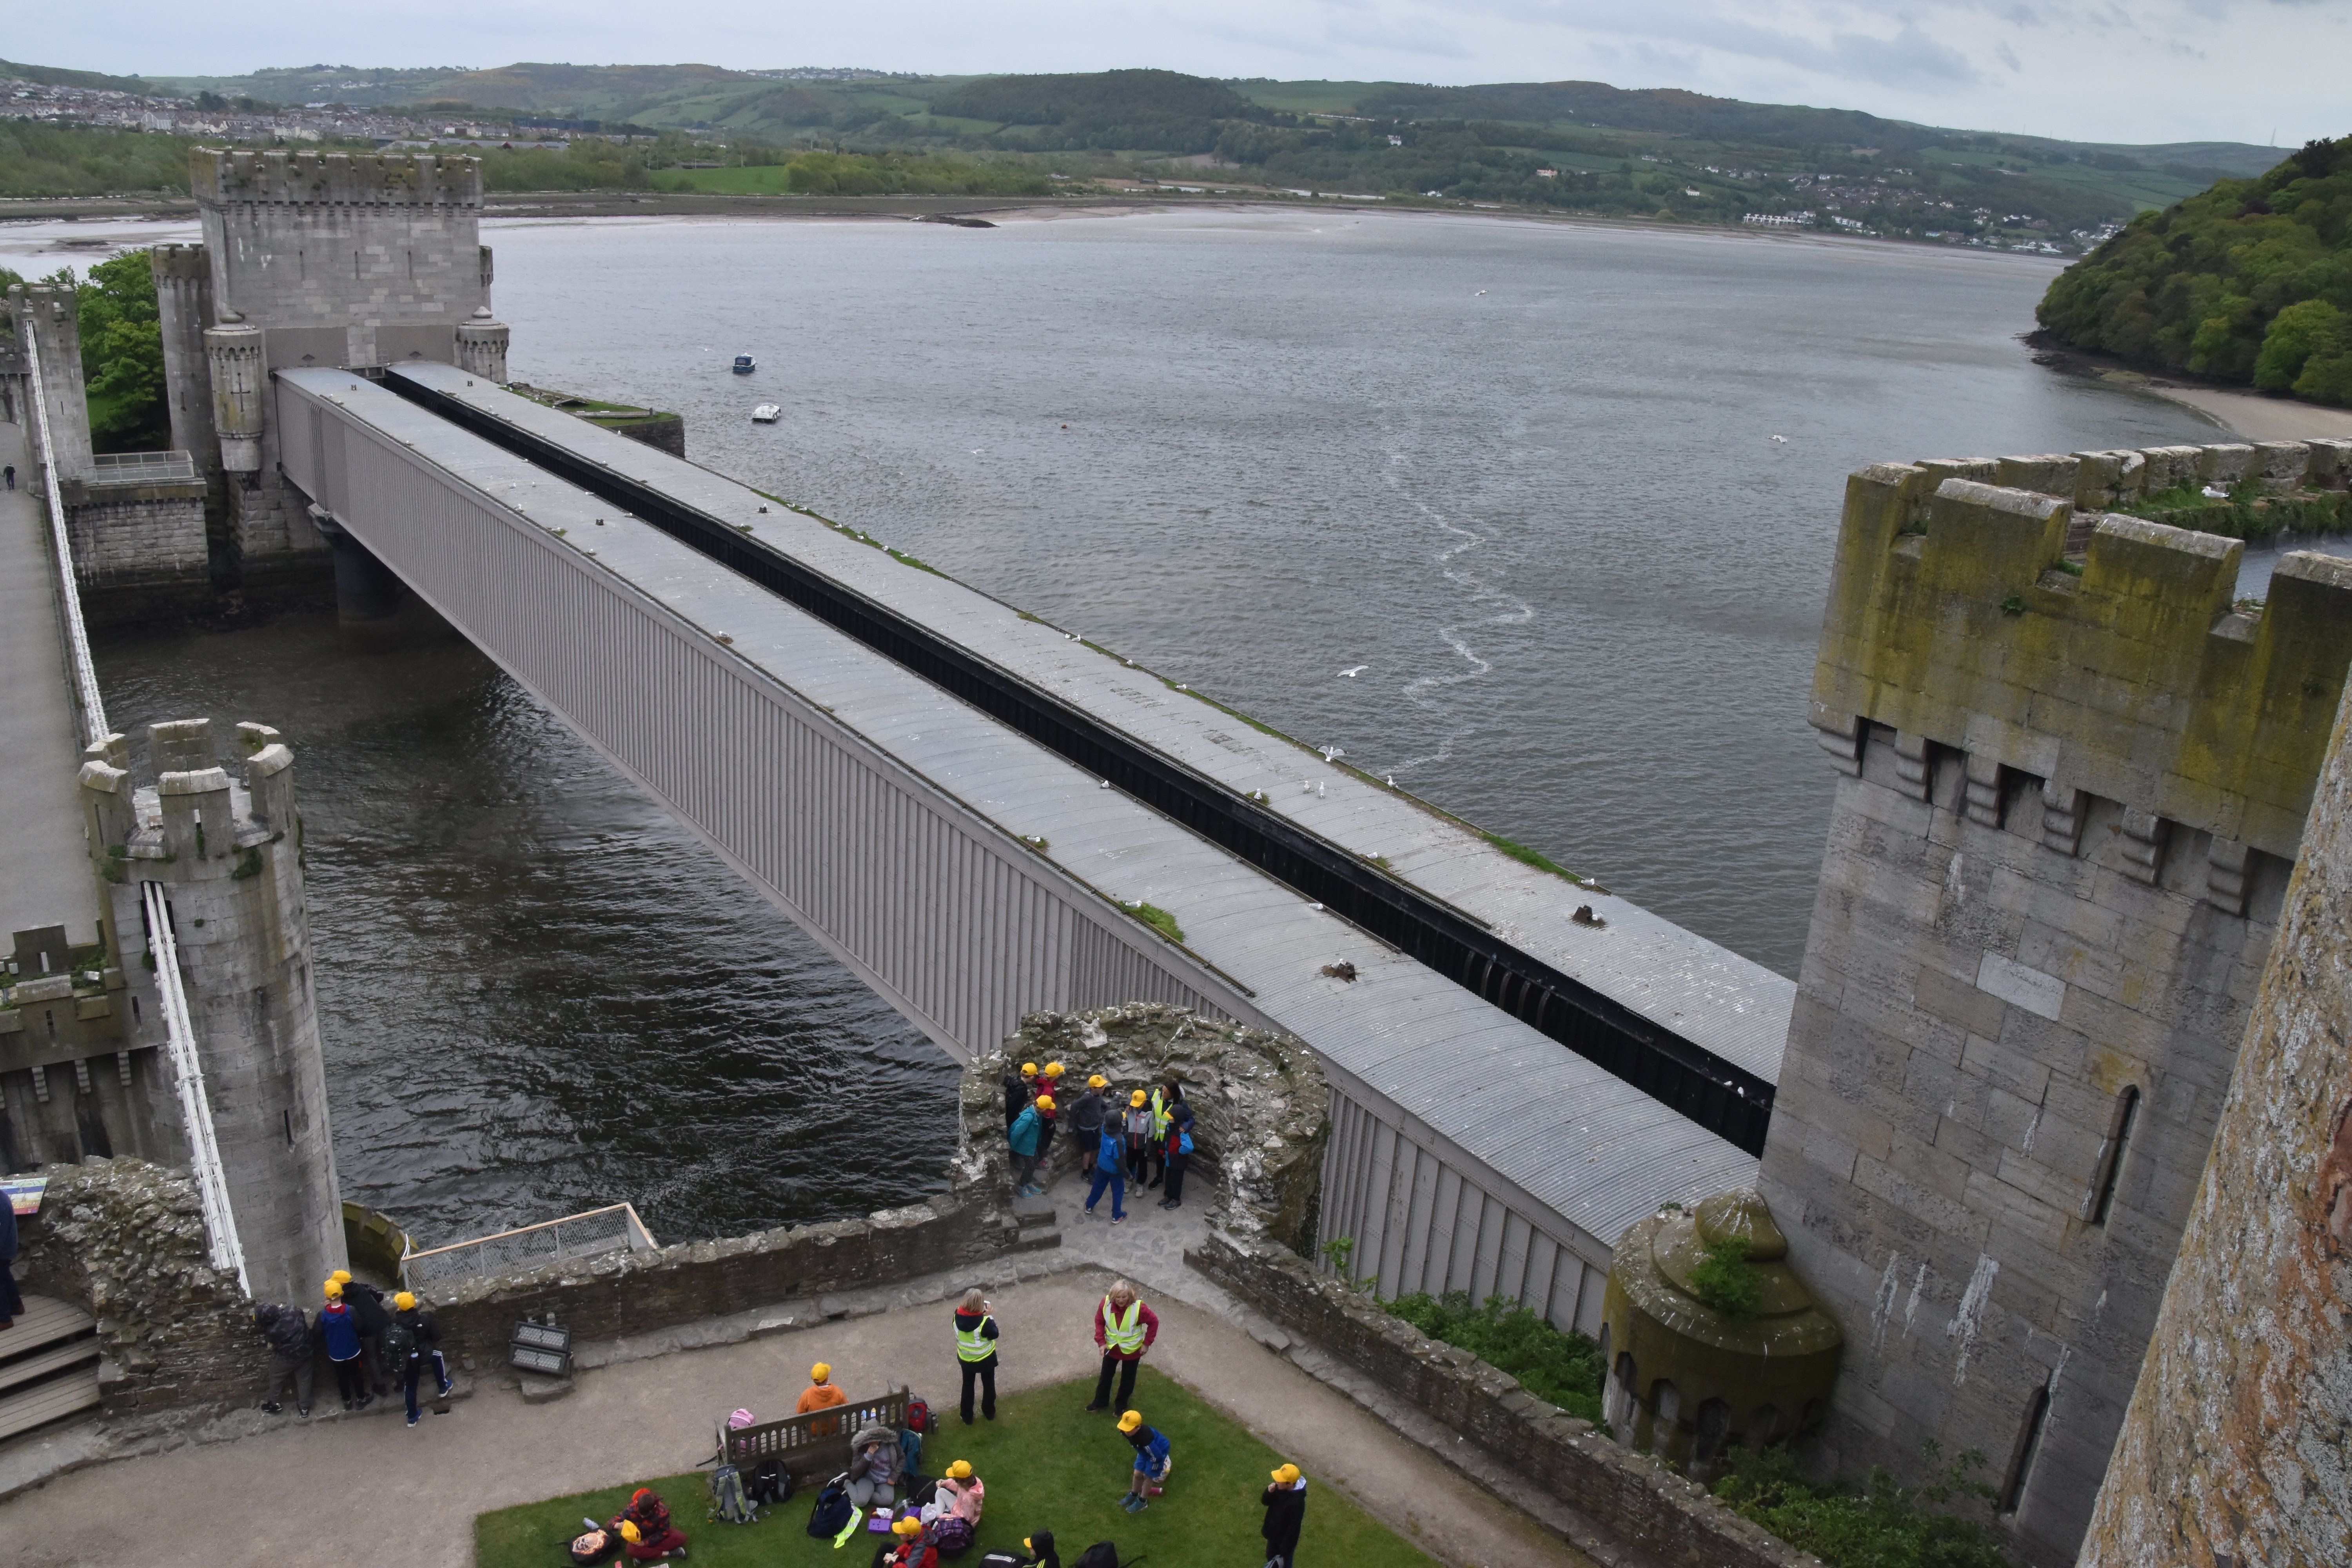
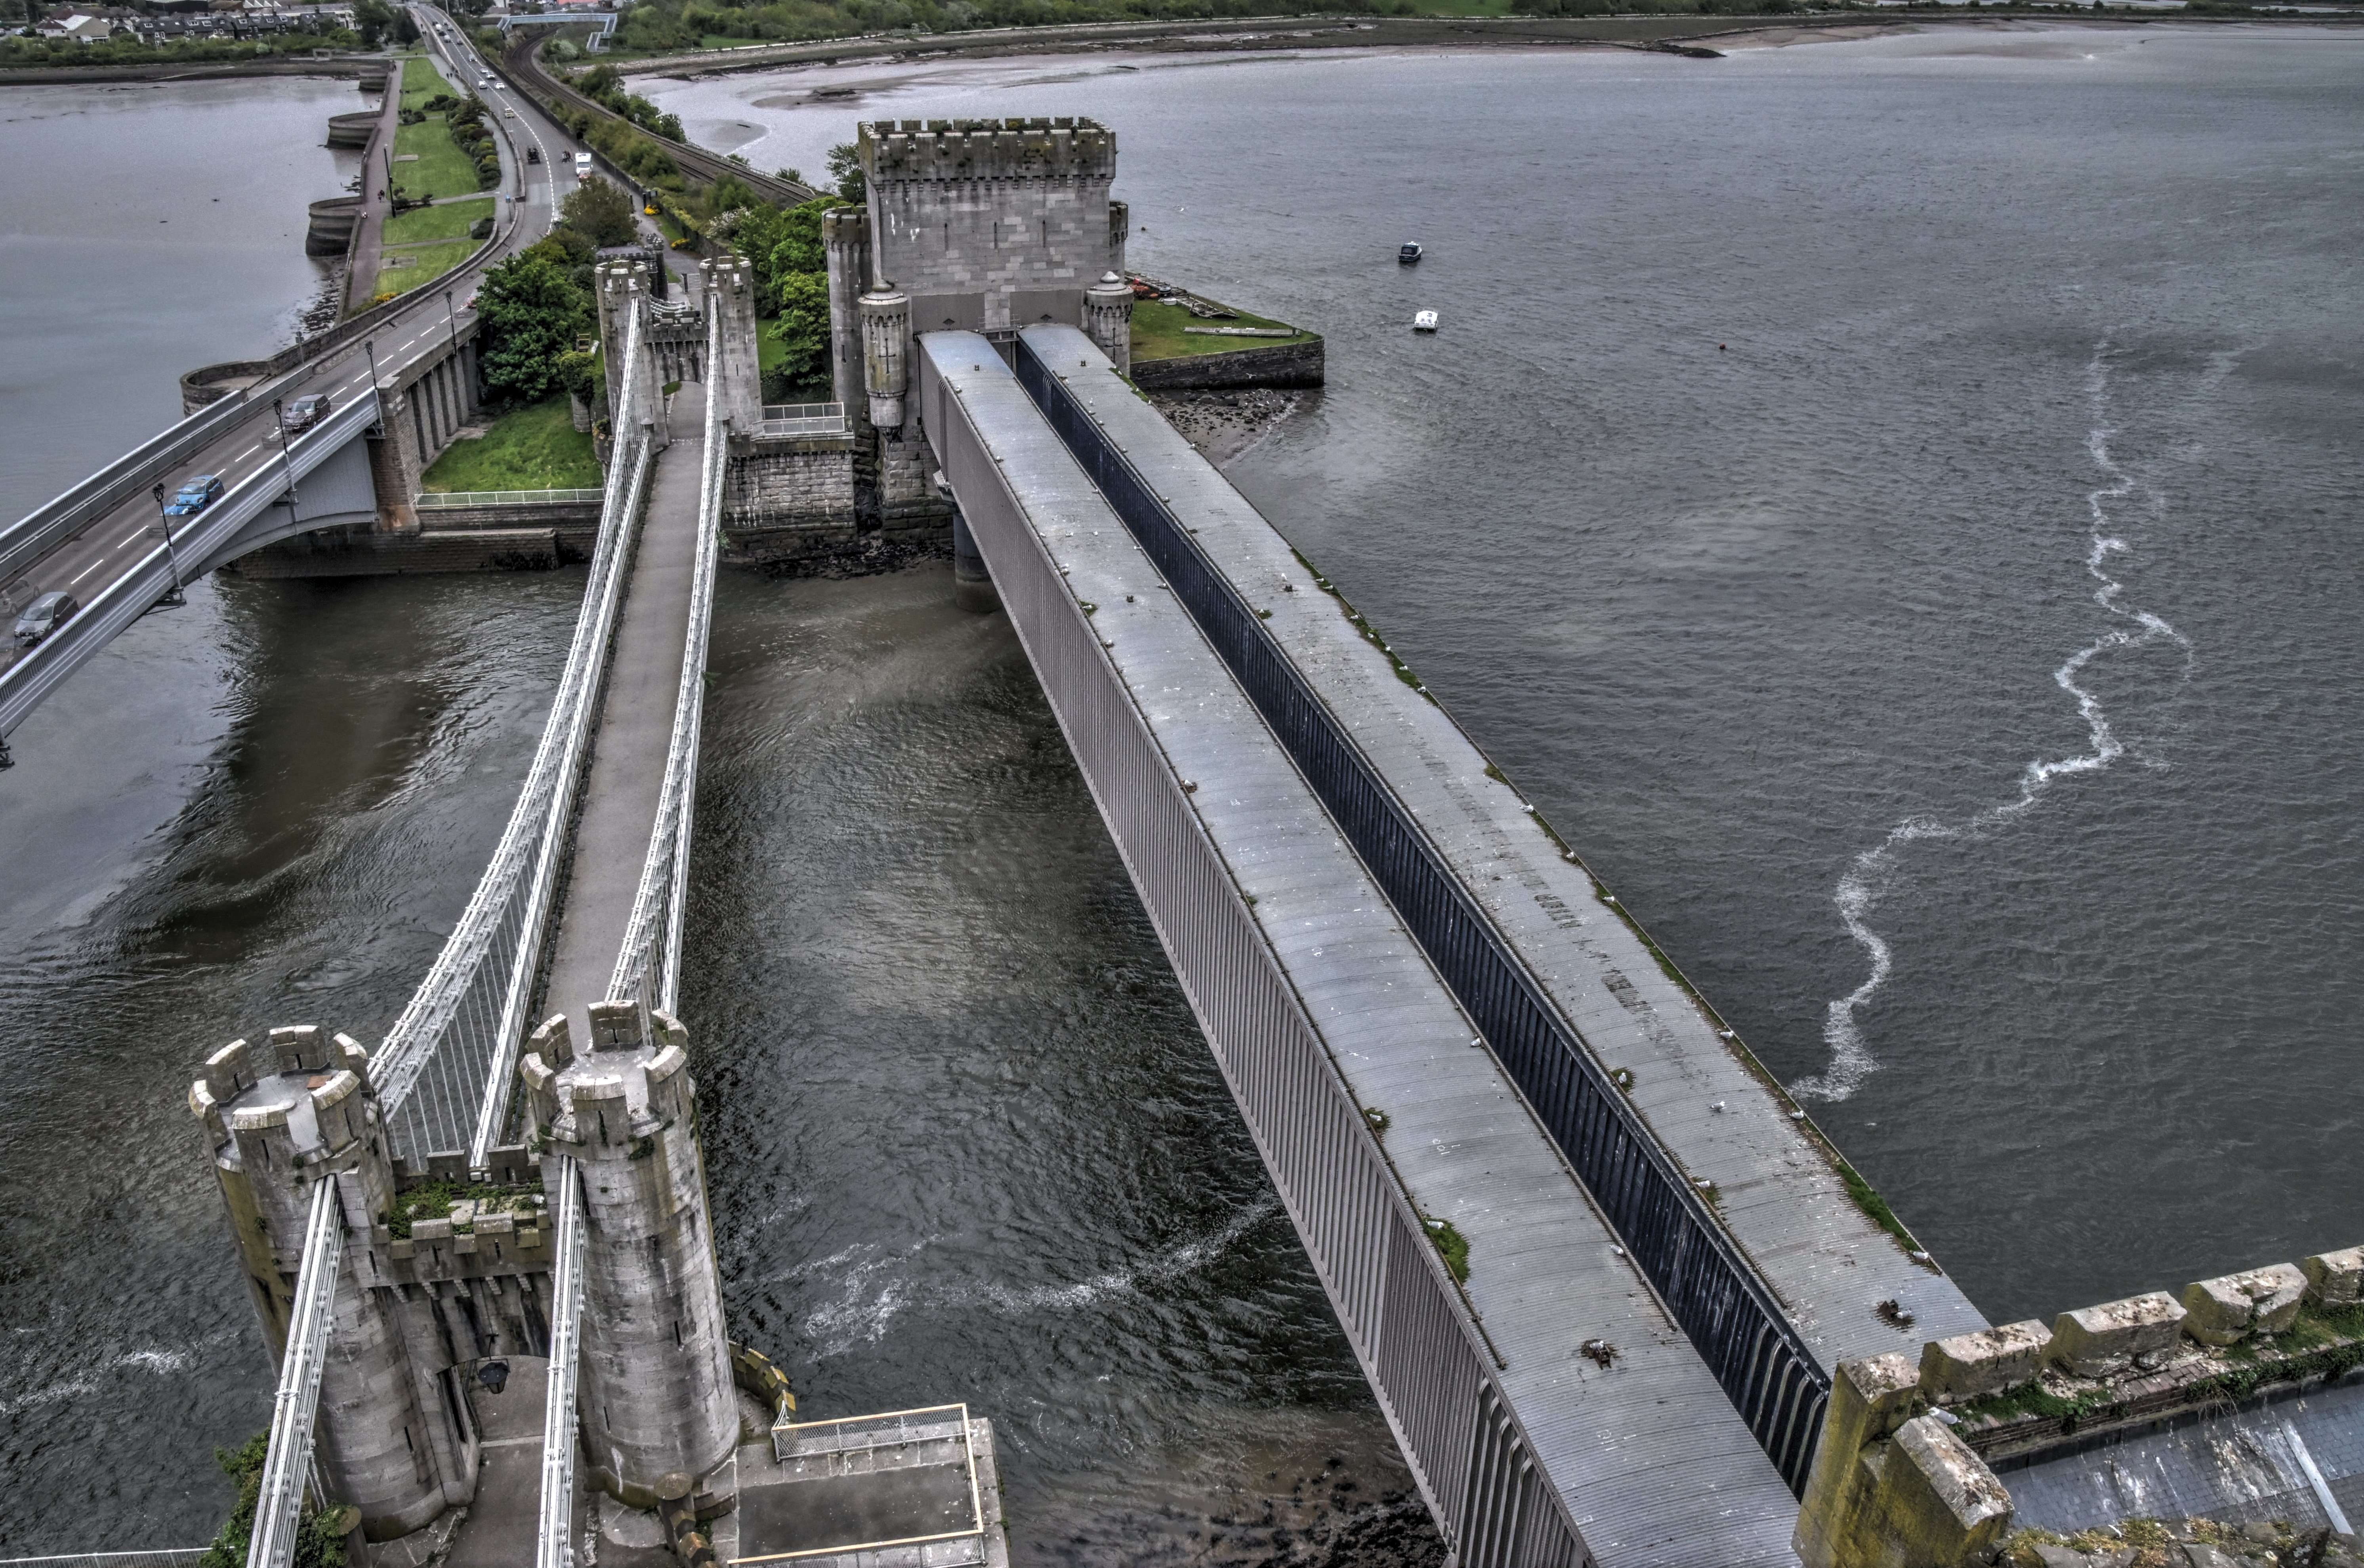
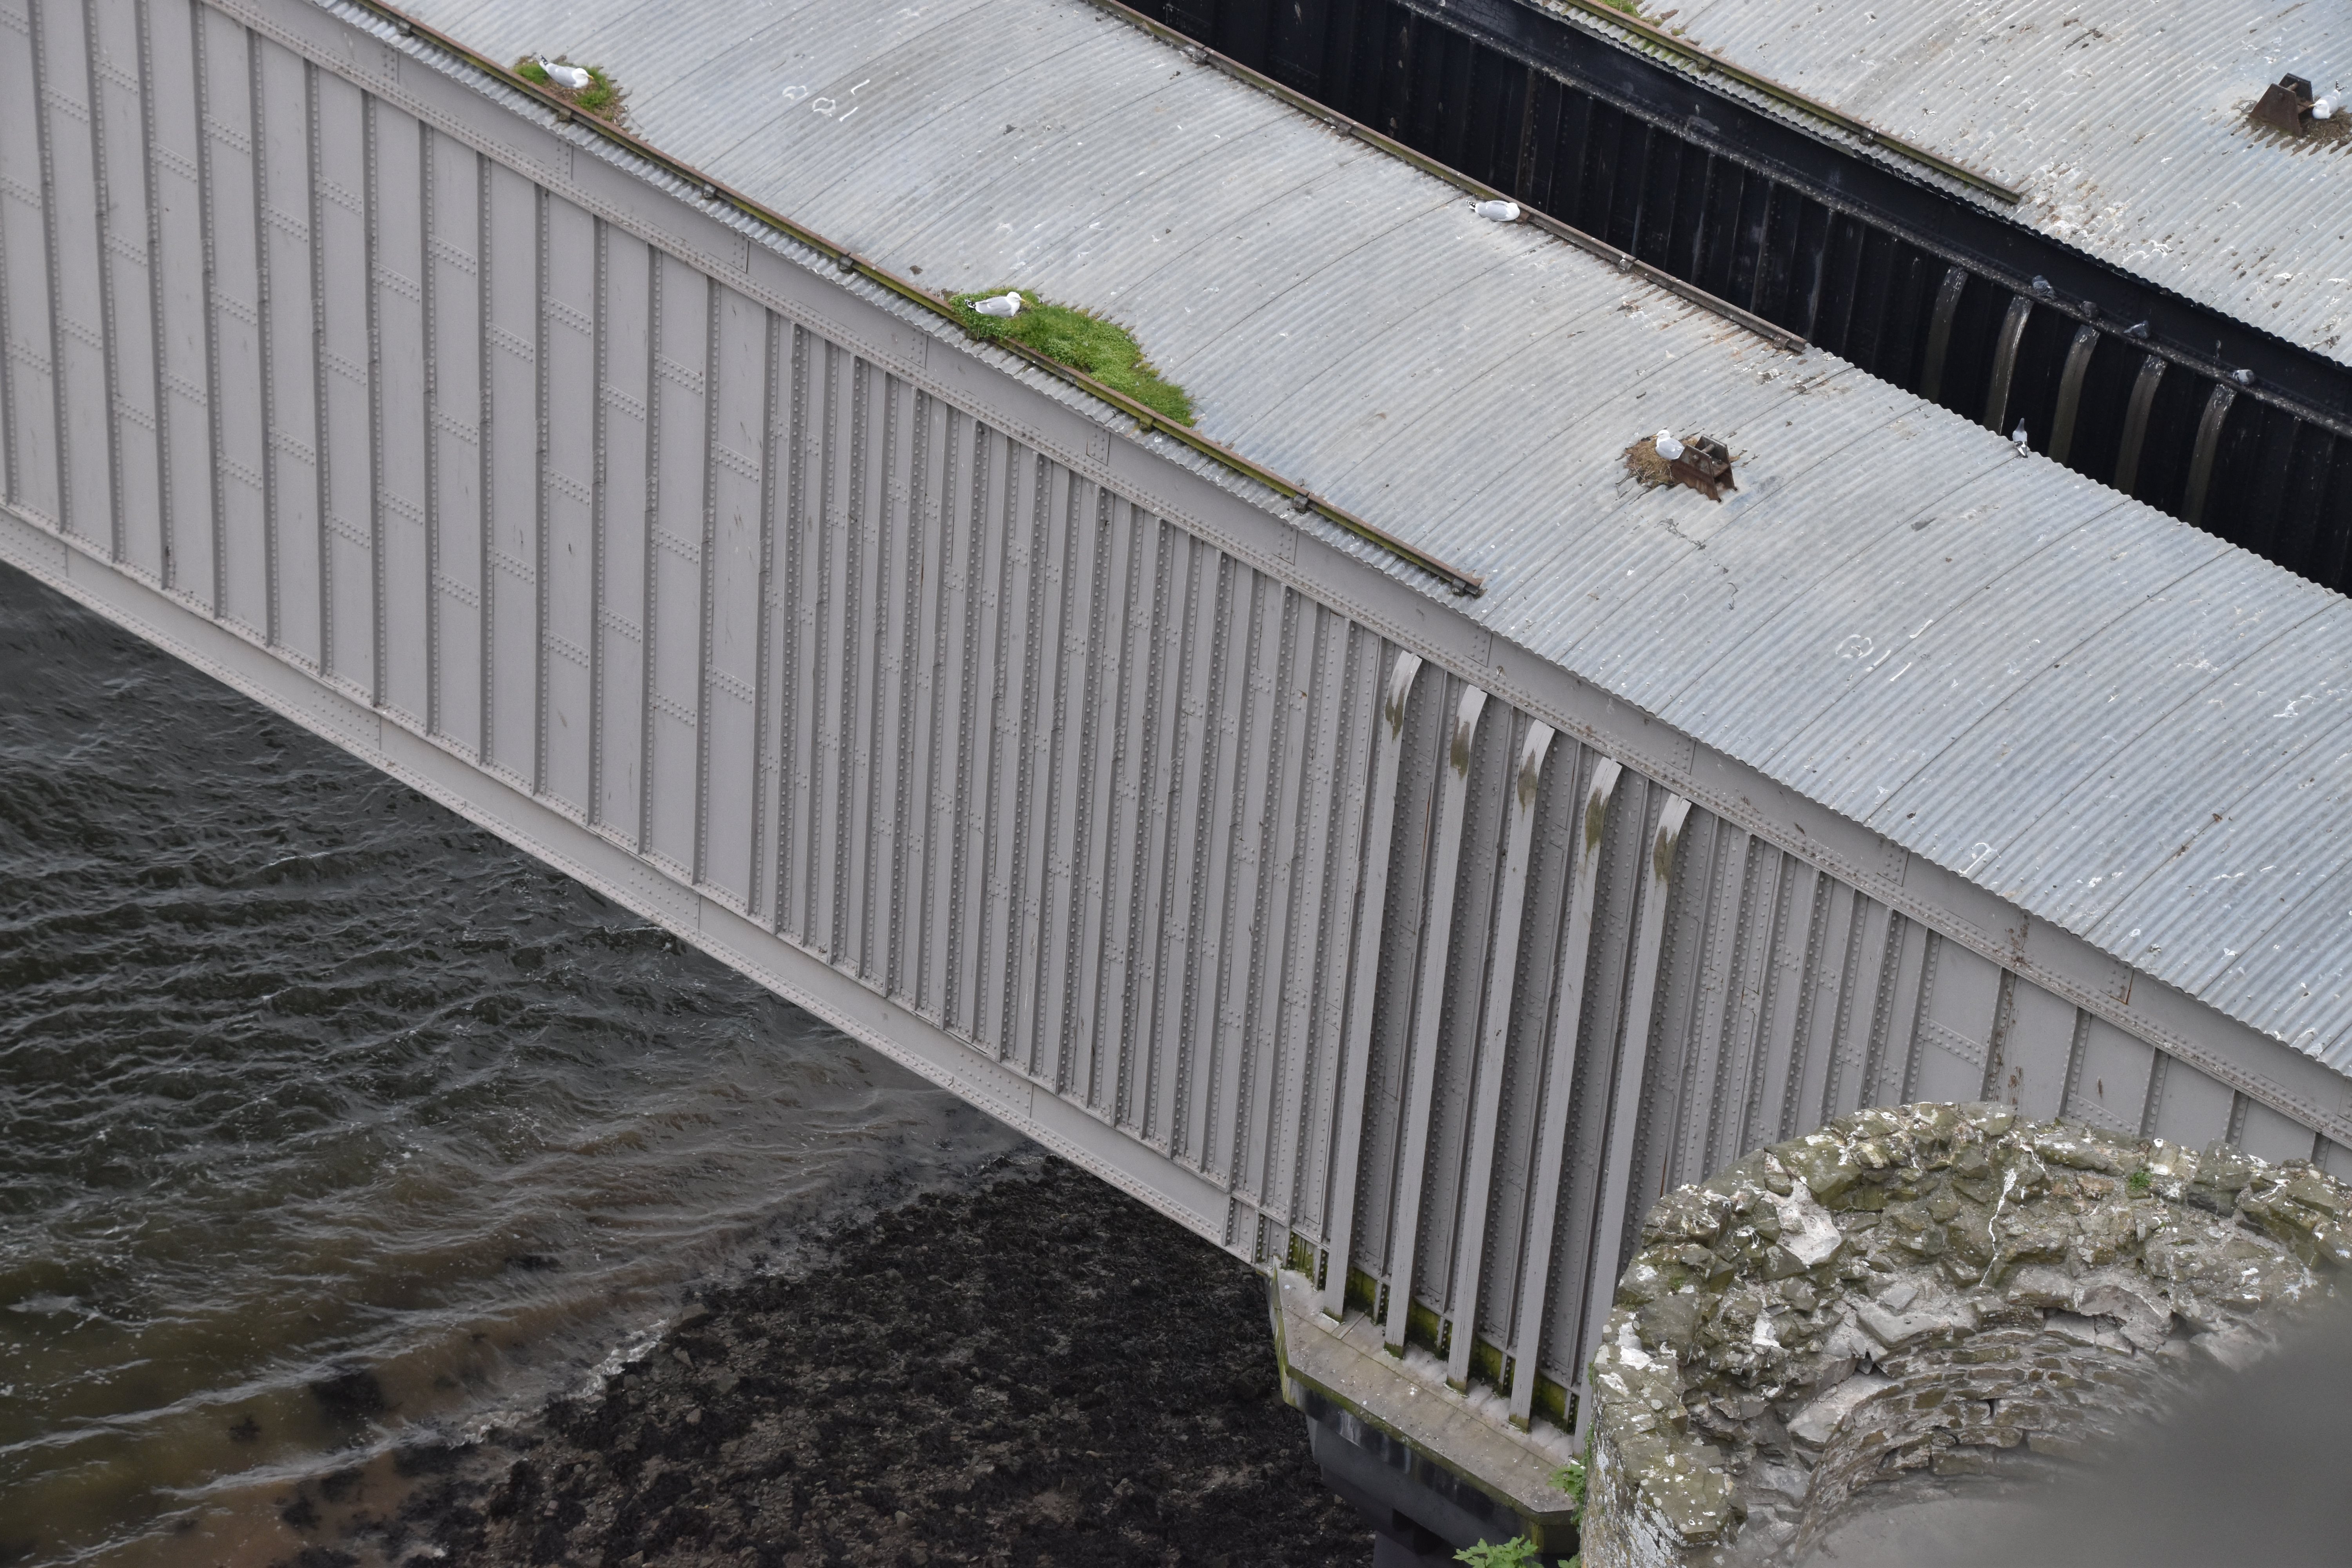
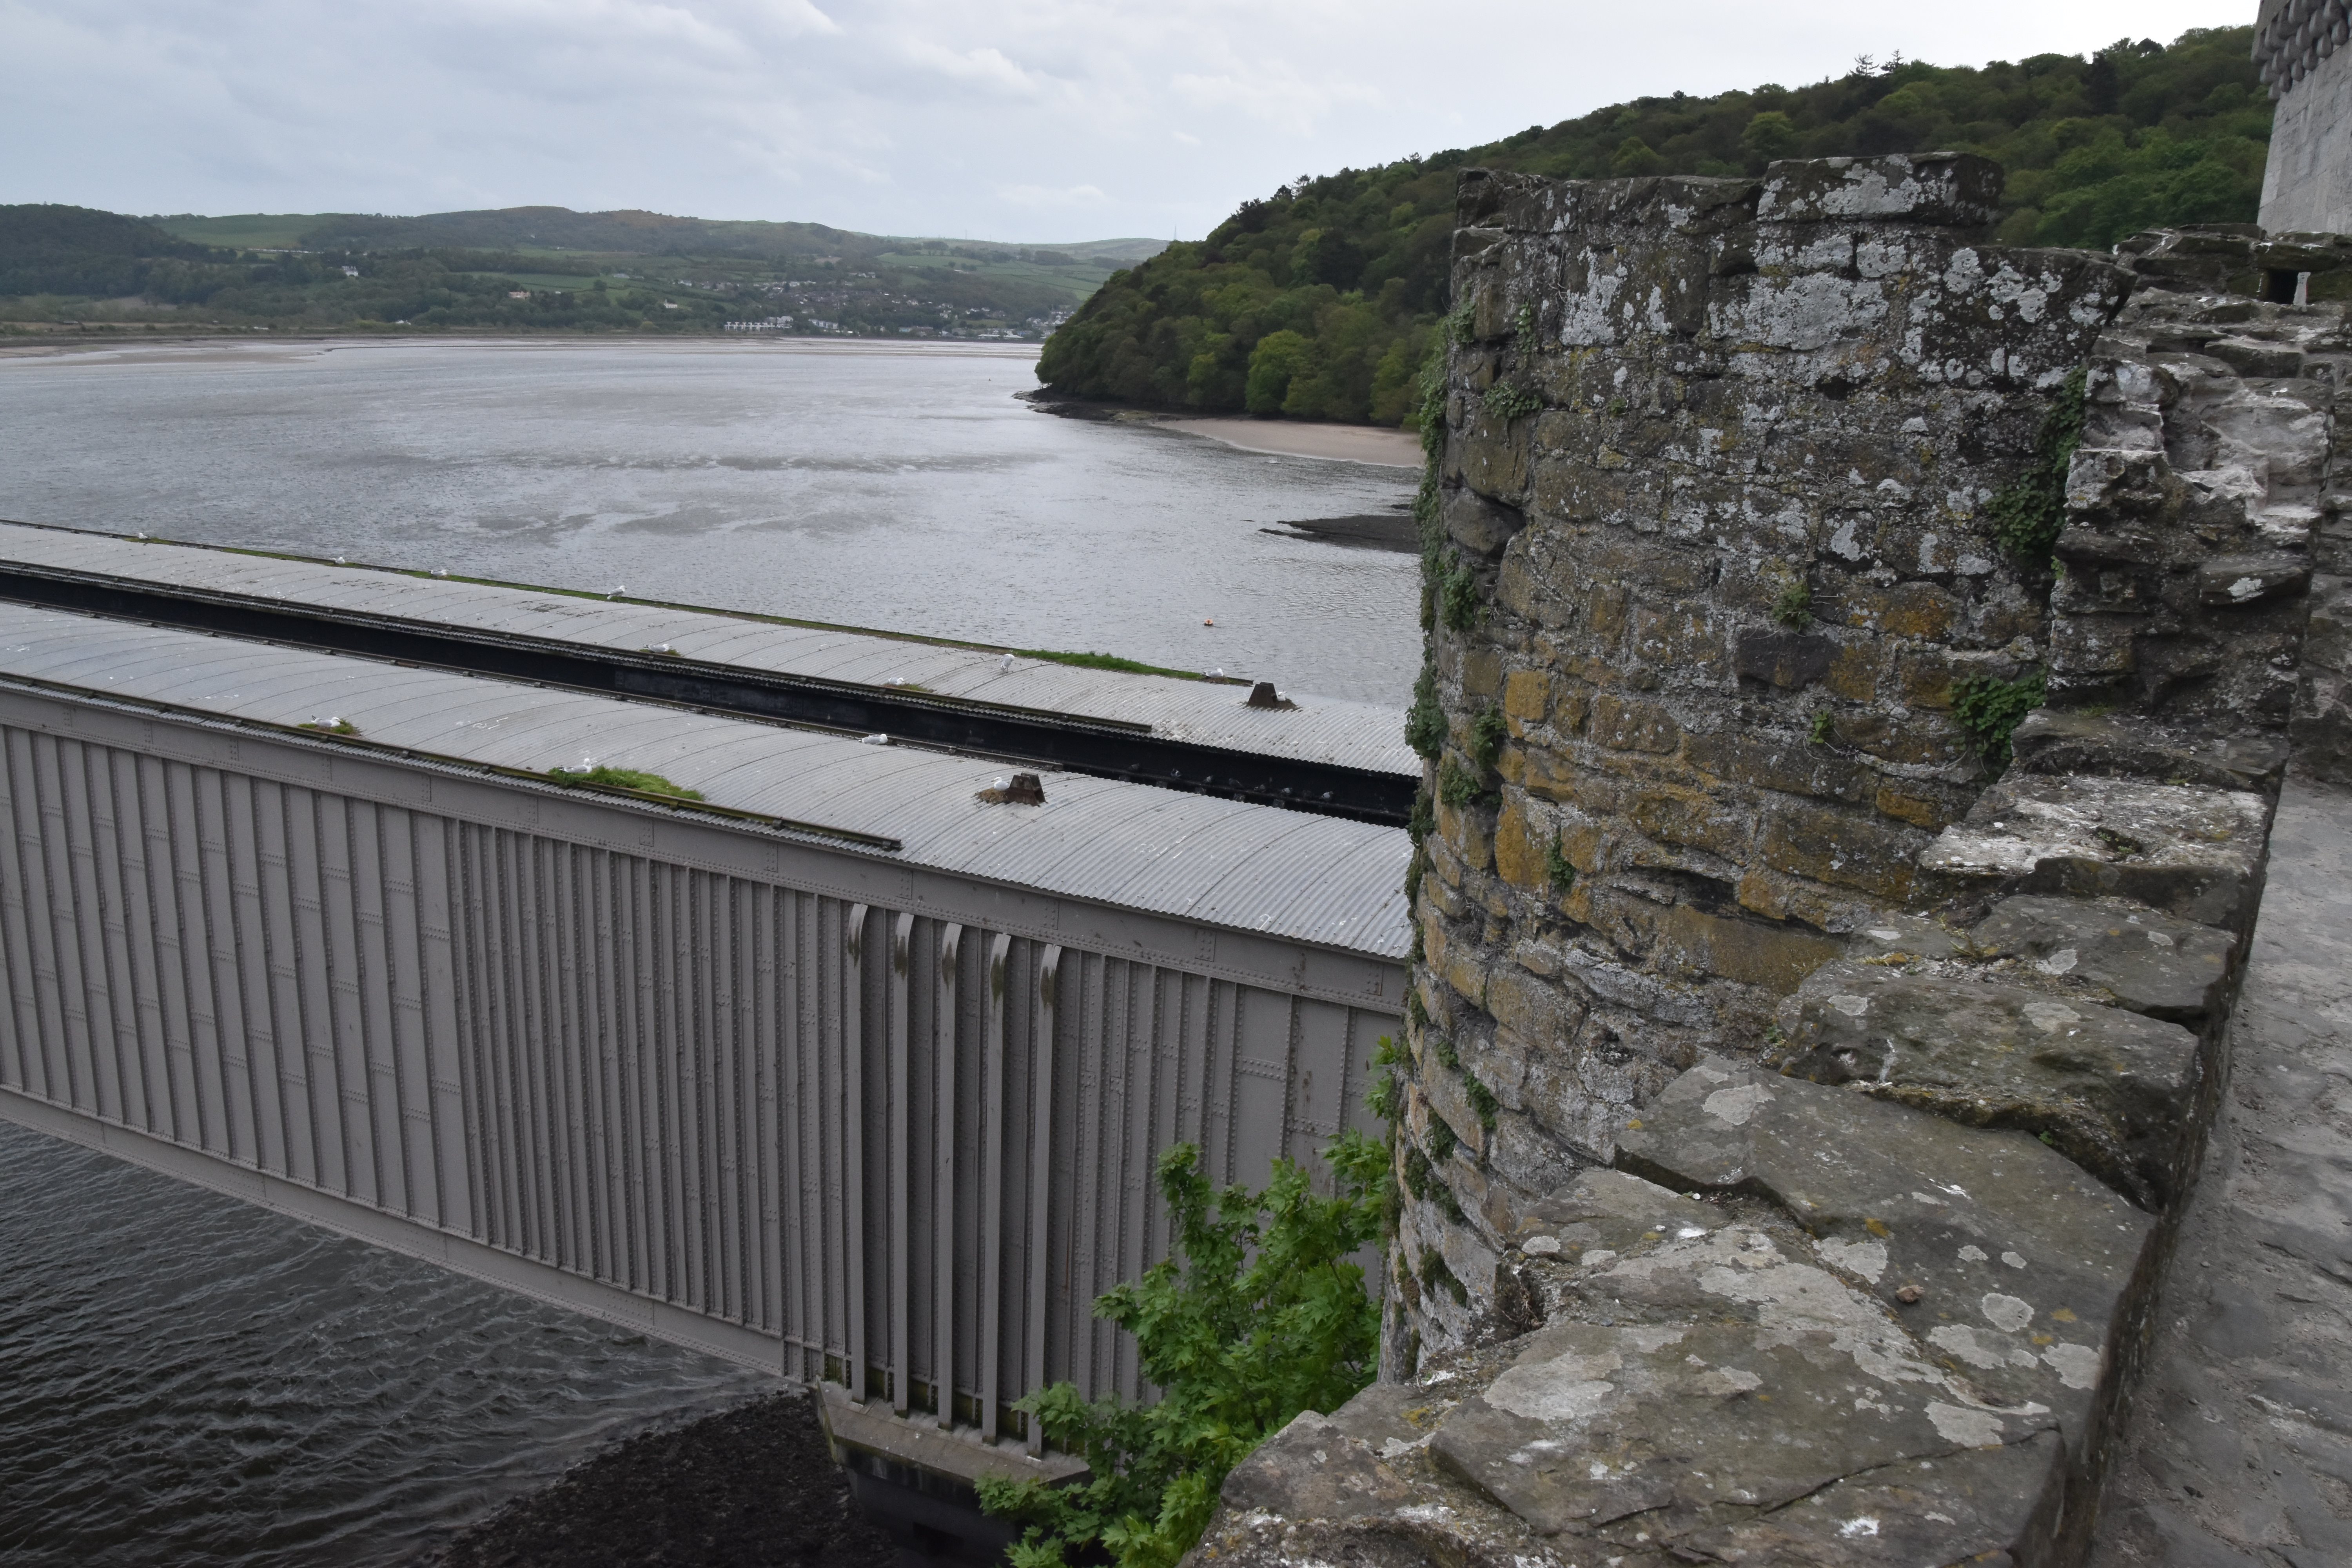
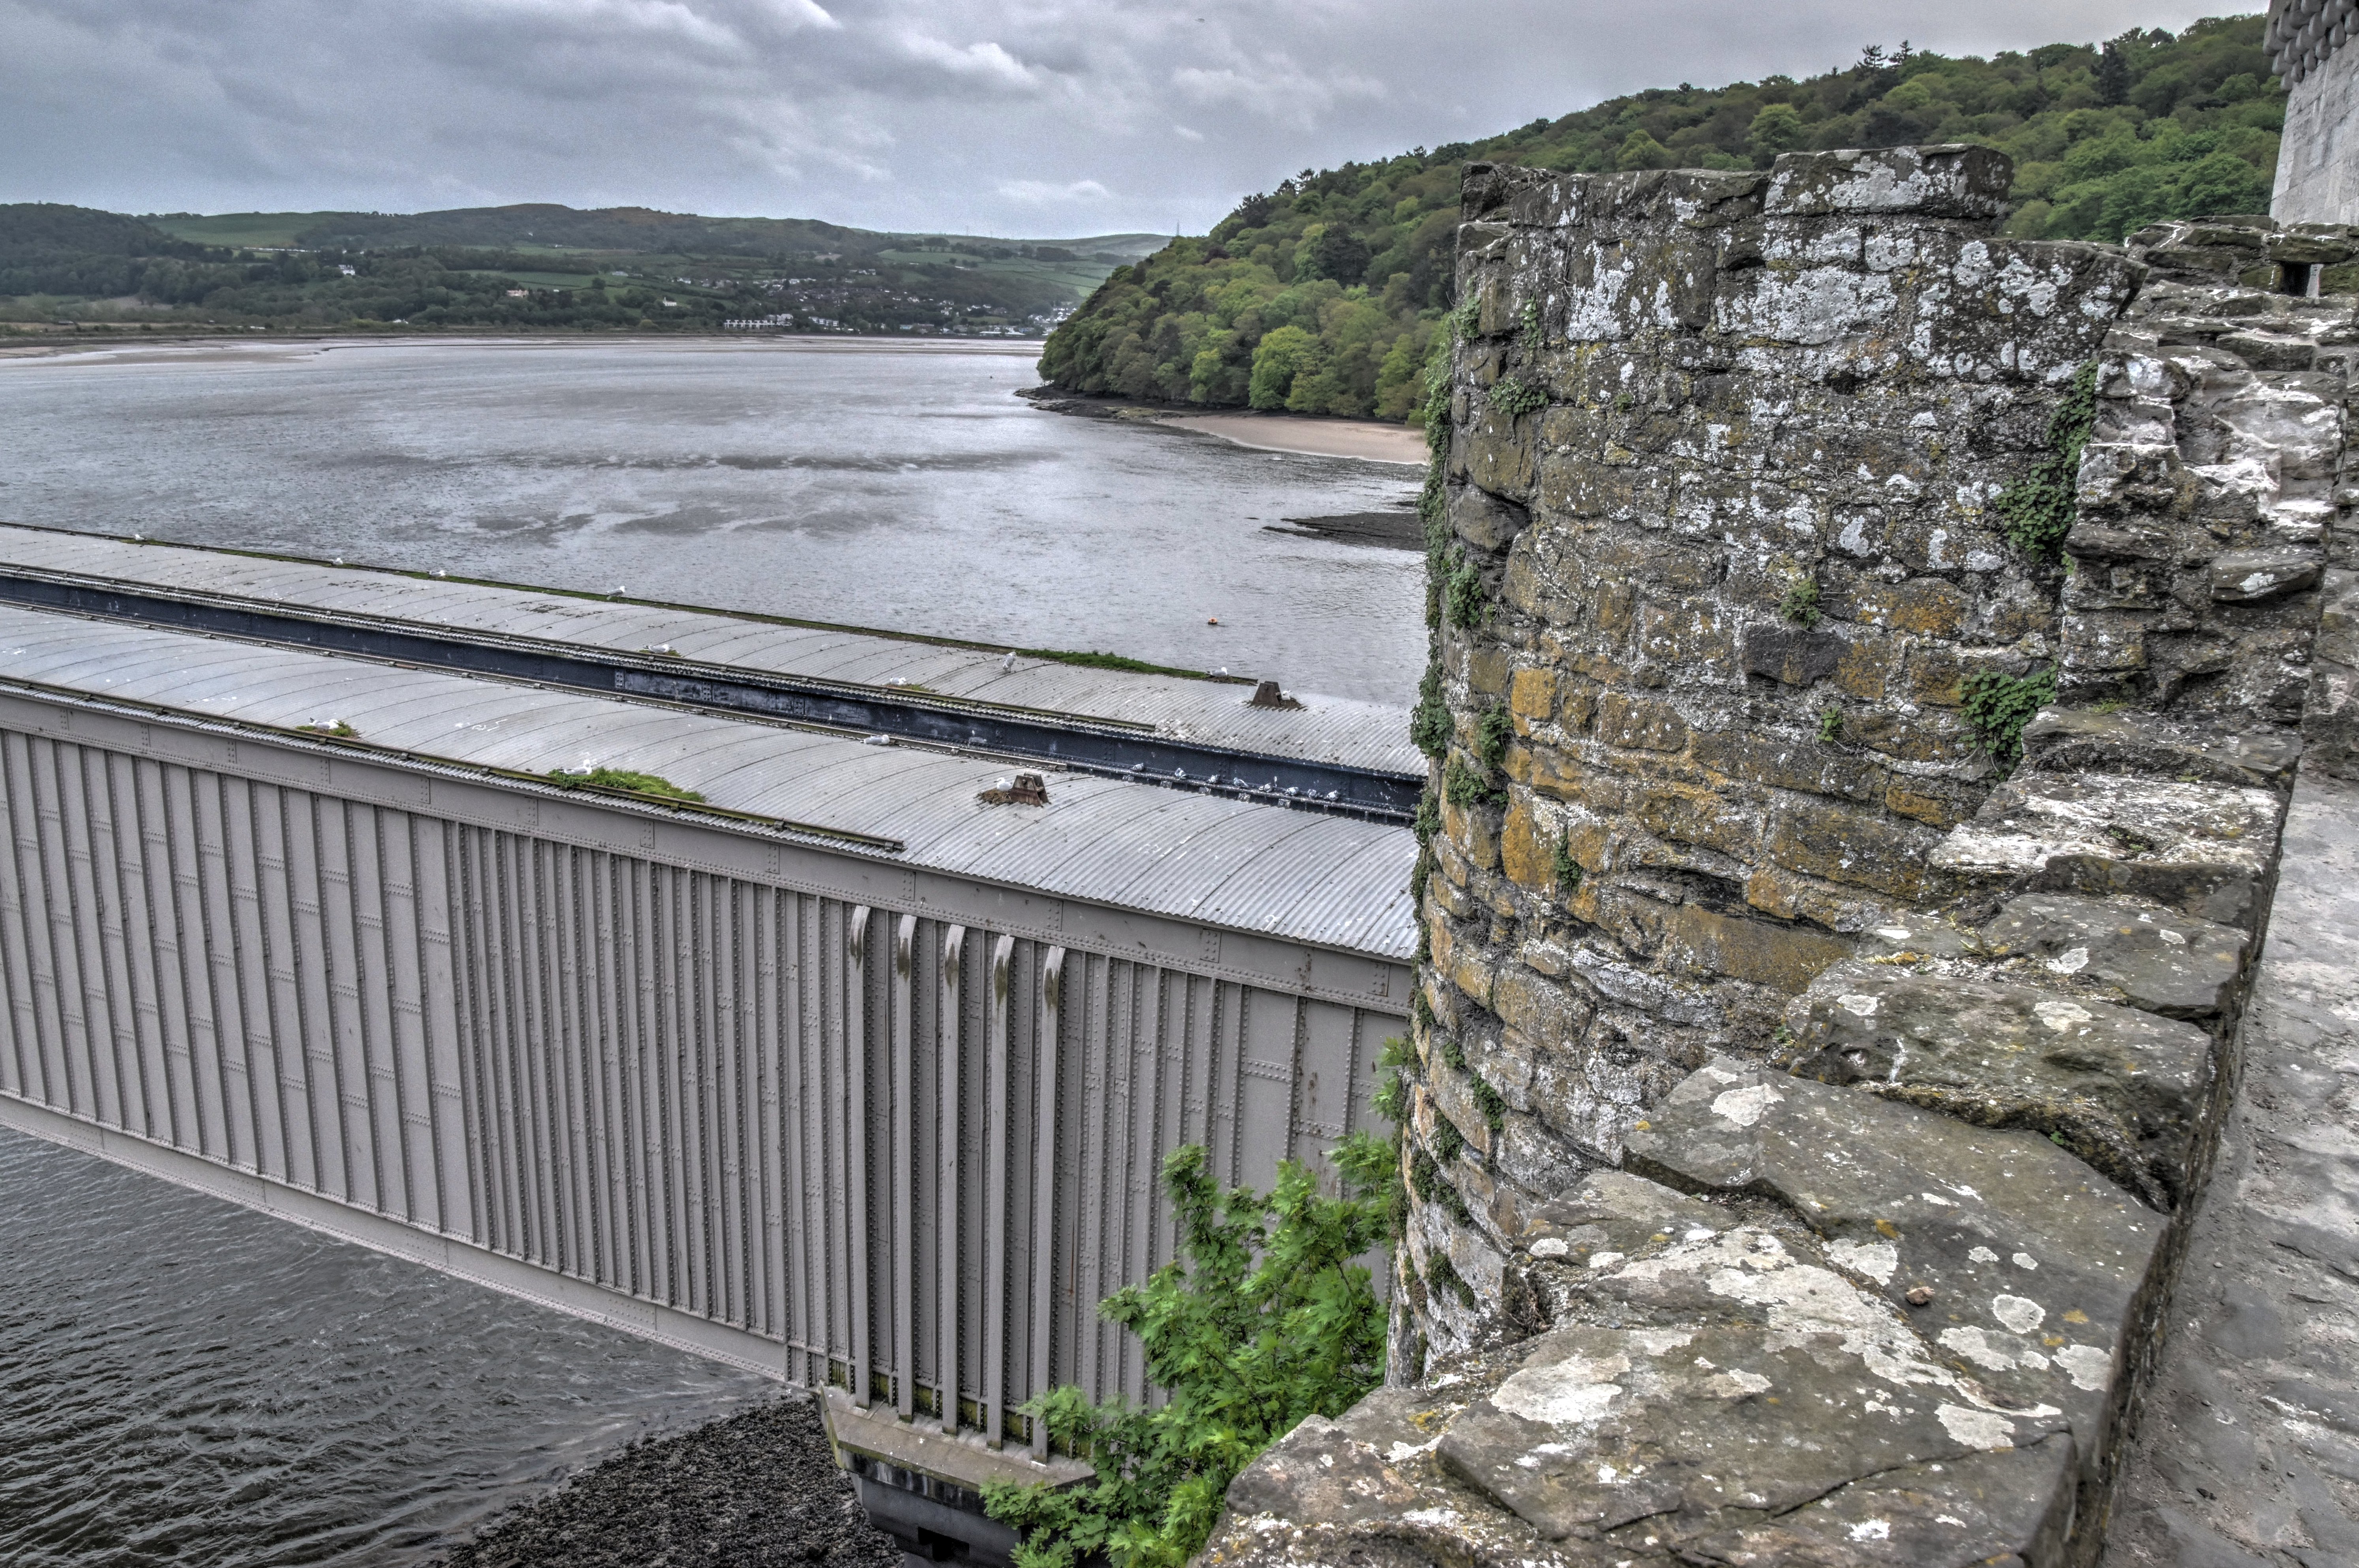
Views beside bridge from northwest quadrant from Castle Conwy.
![]()
![]()
![]()
Panoramic views beside bridge from northwest quadrant from Castle Conwy.
![]()


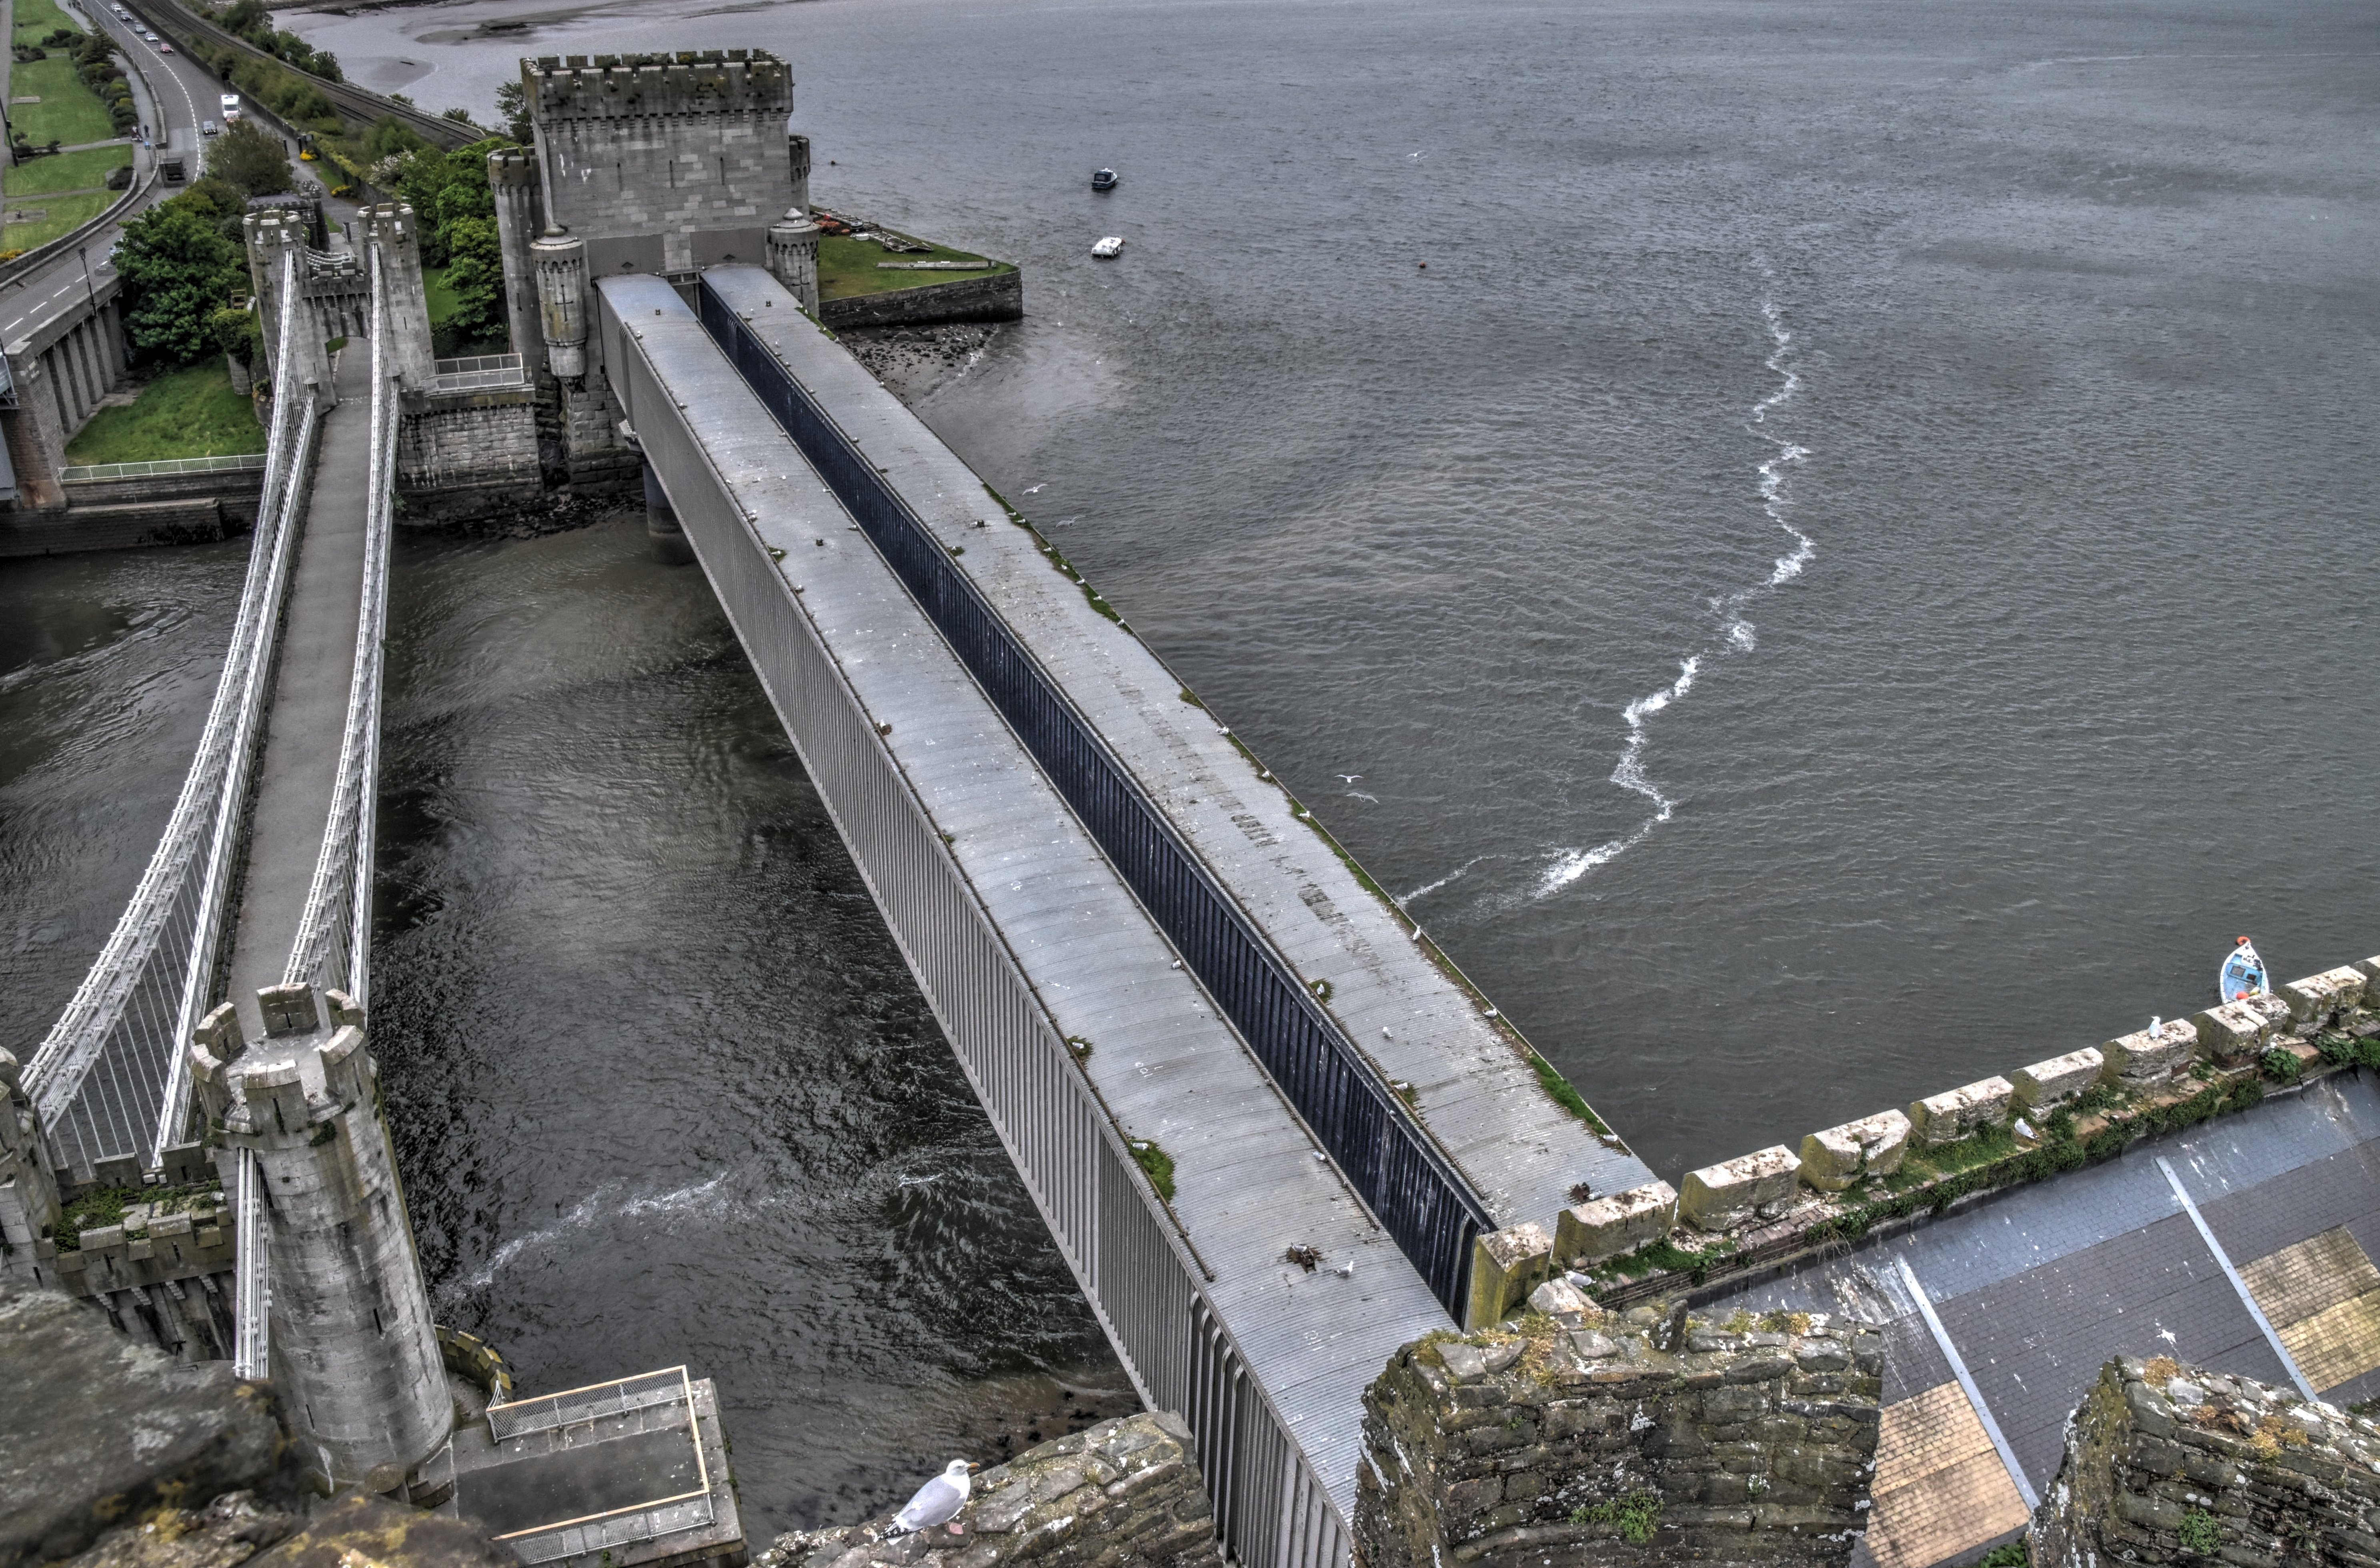
Views beside bridge from northwest quadrant.
![]()


Views beside bridge from northeast quadrant.
![]()


View between railway and chain bridge facing east.
![]()

View between railway and chain bridge facing west.
![]()

Views of bridge from on the Conwy Suspension Bridge.
![]()
![]()
Panoramic view of bridge from on the Conwy Suspension Bridge.
![]()
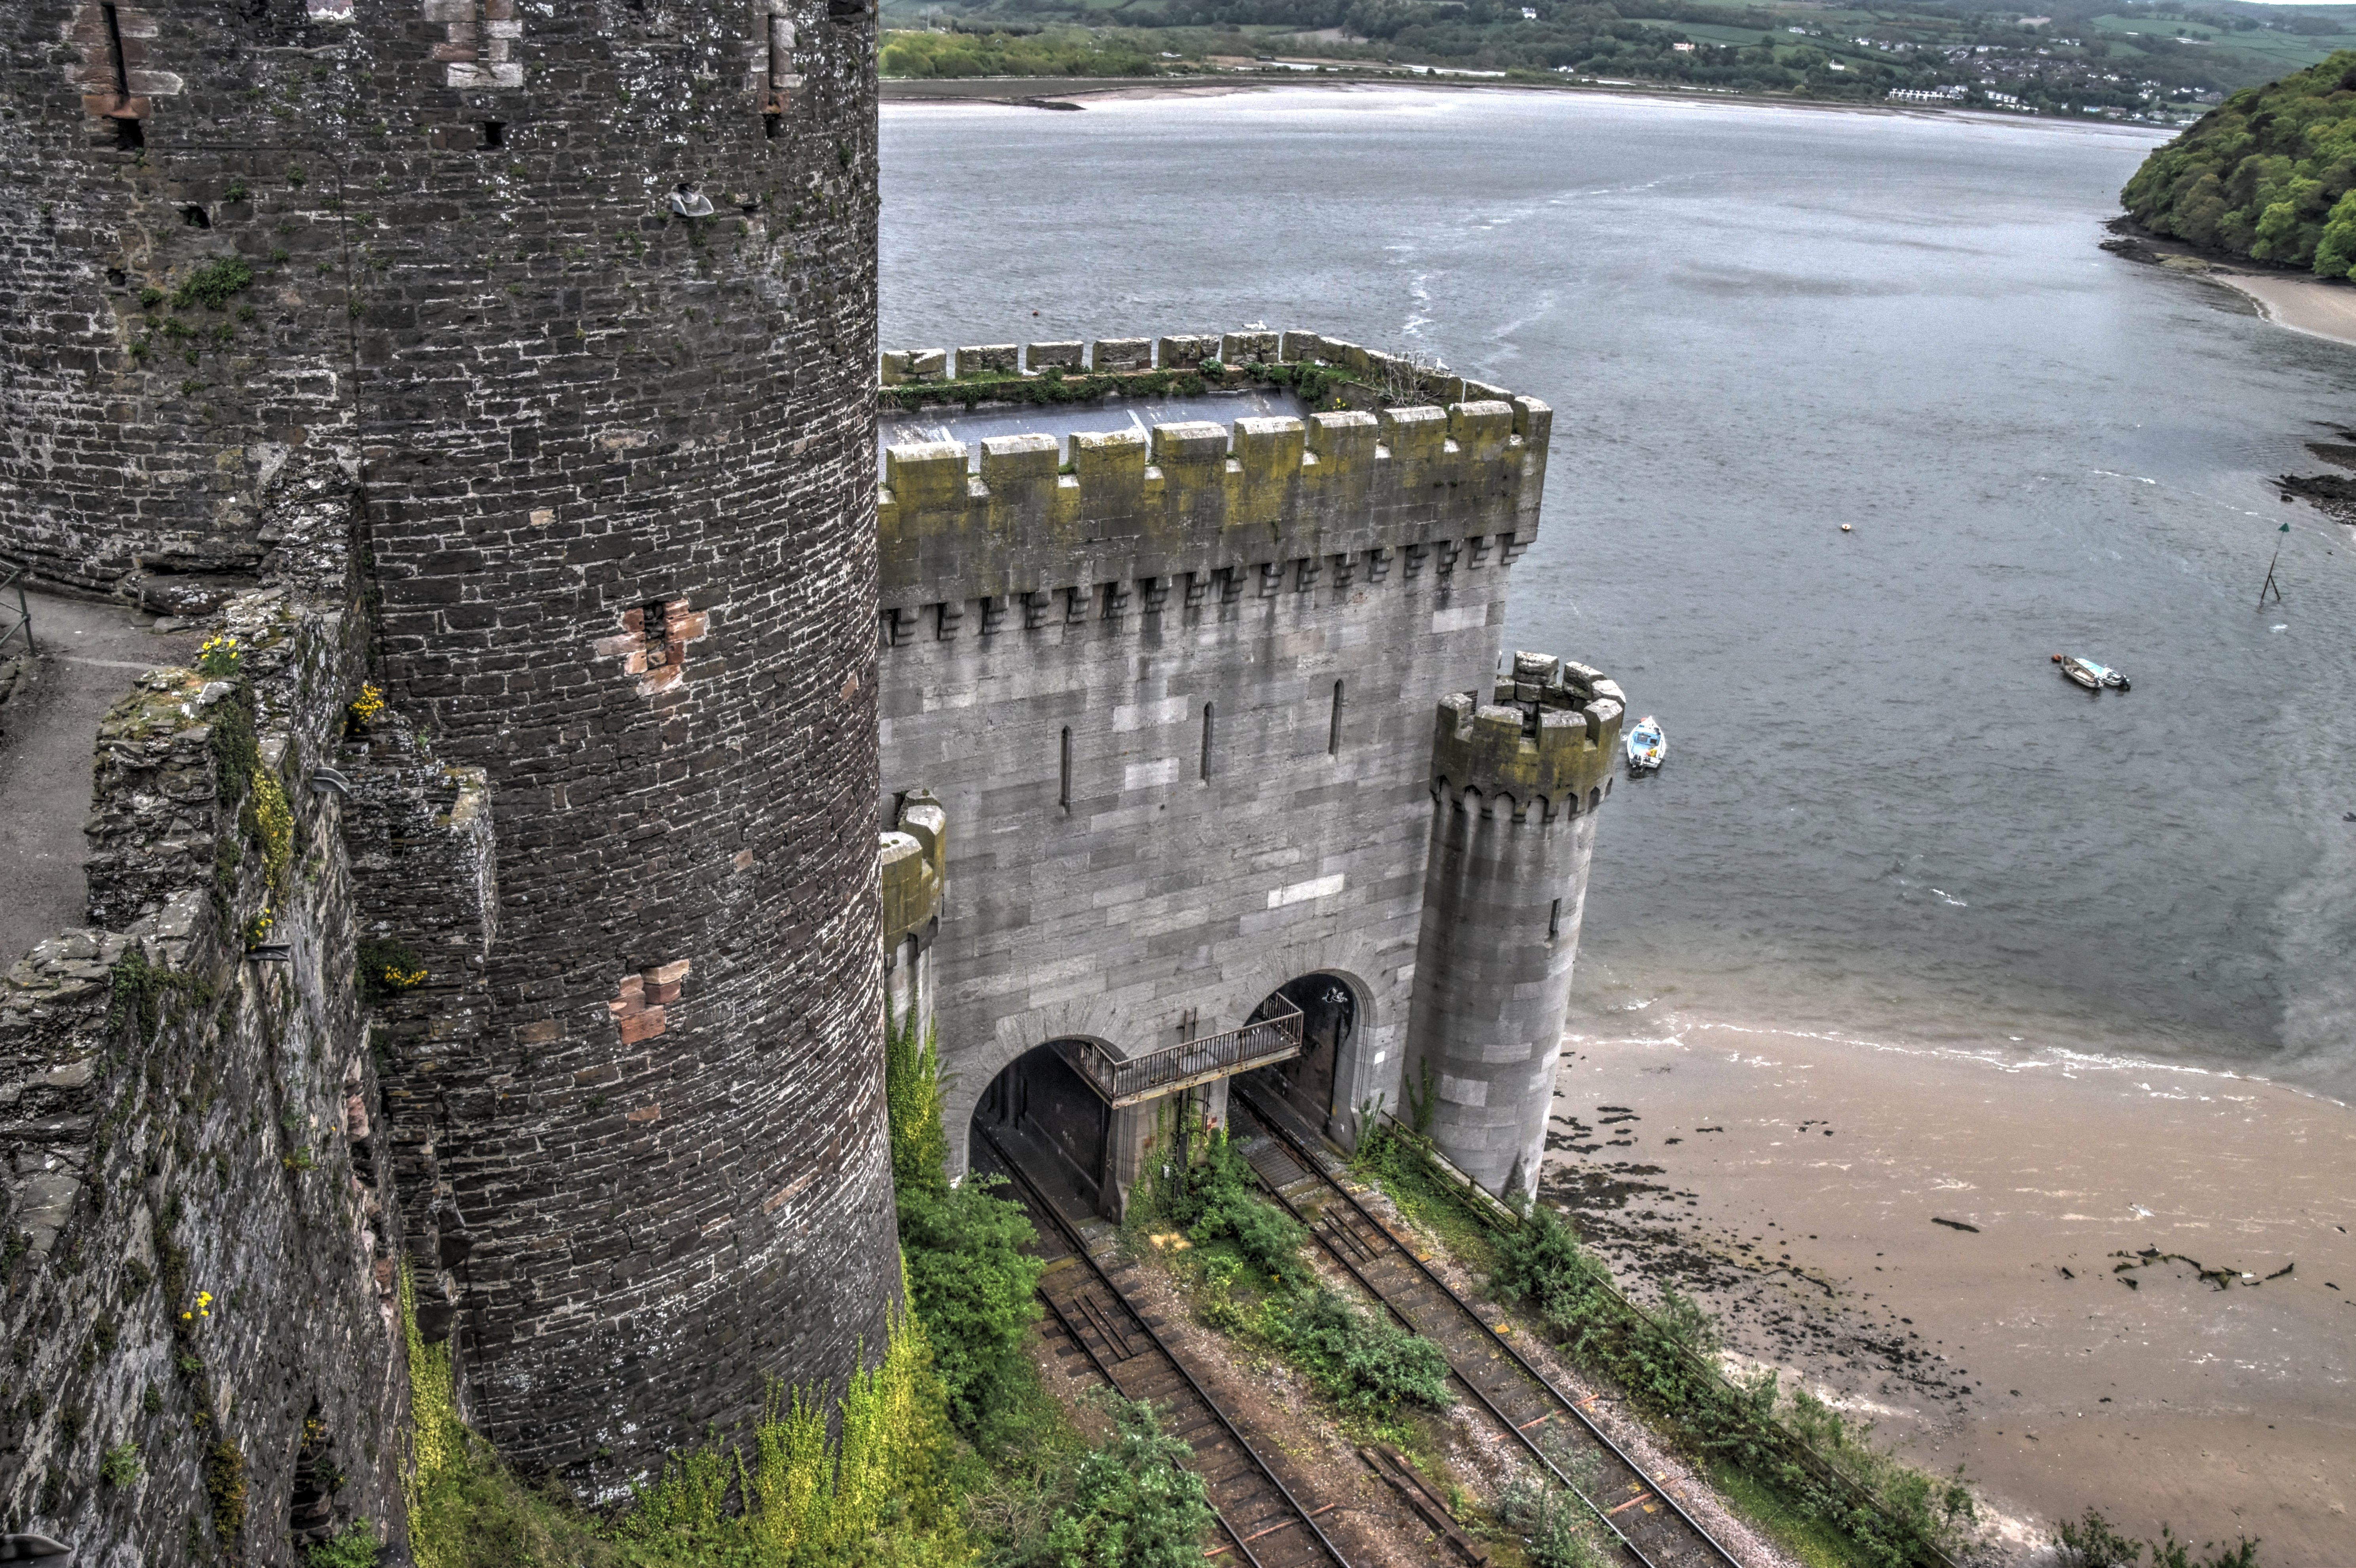

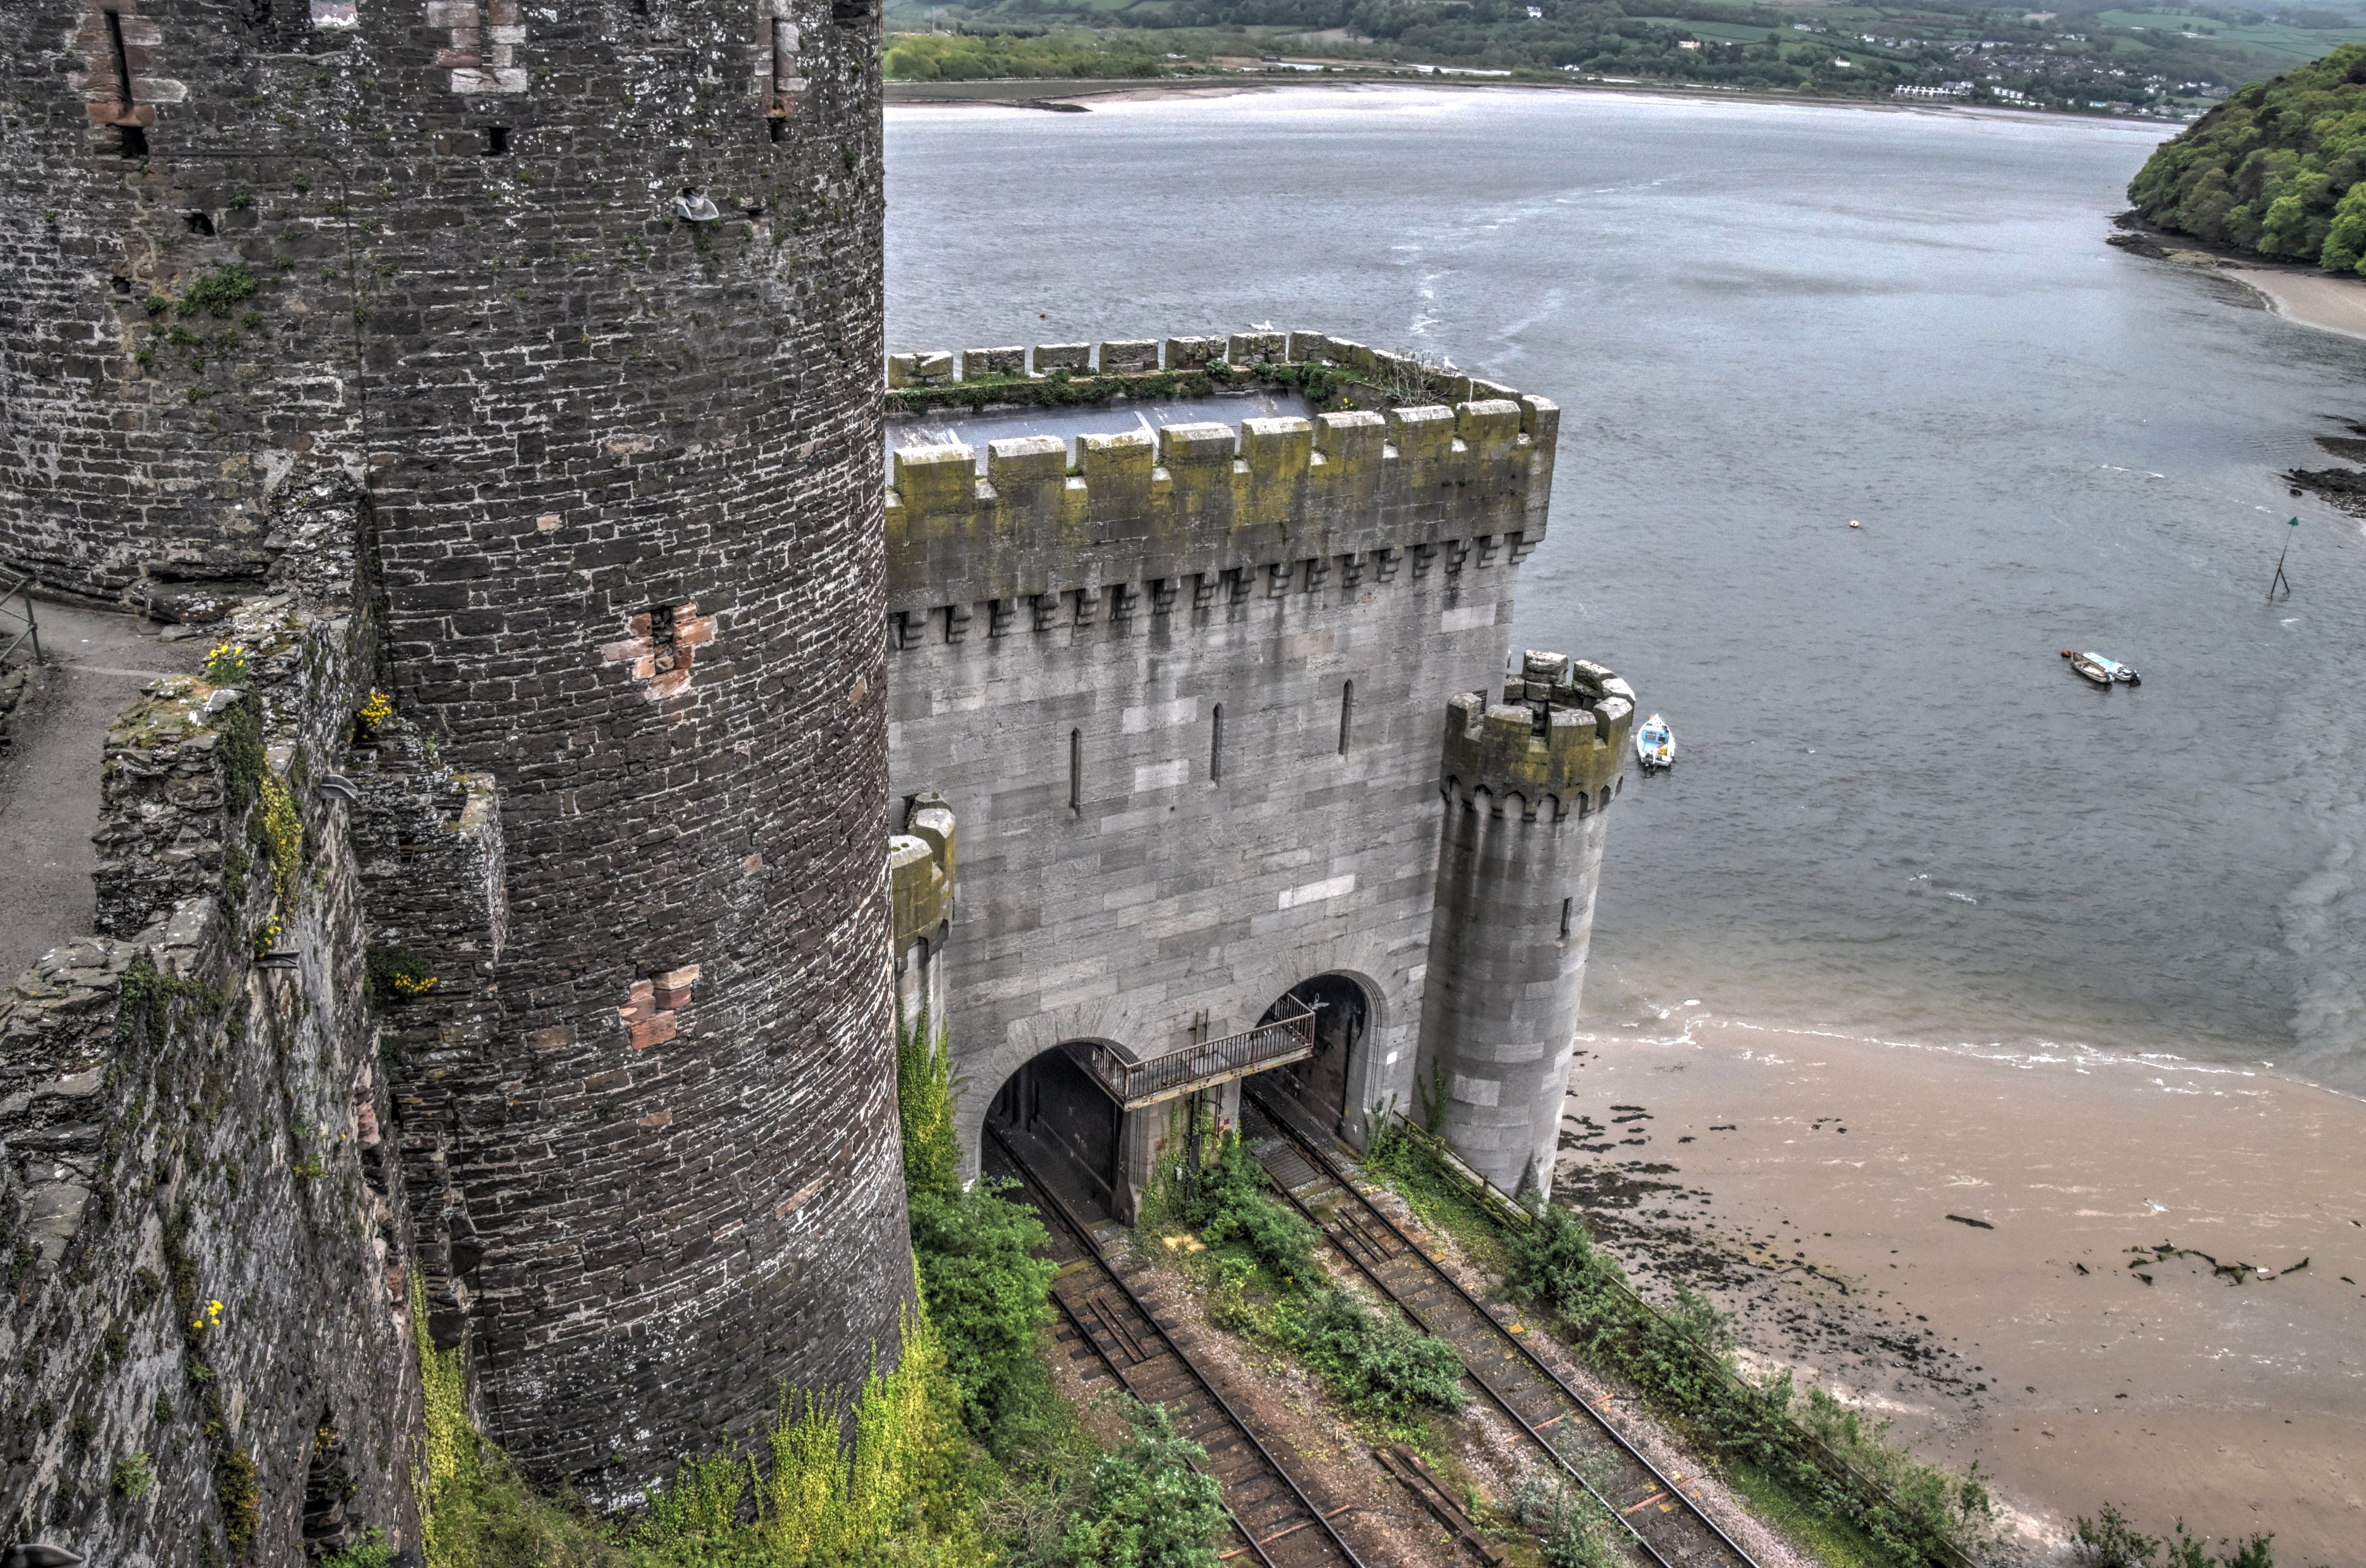


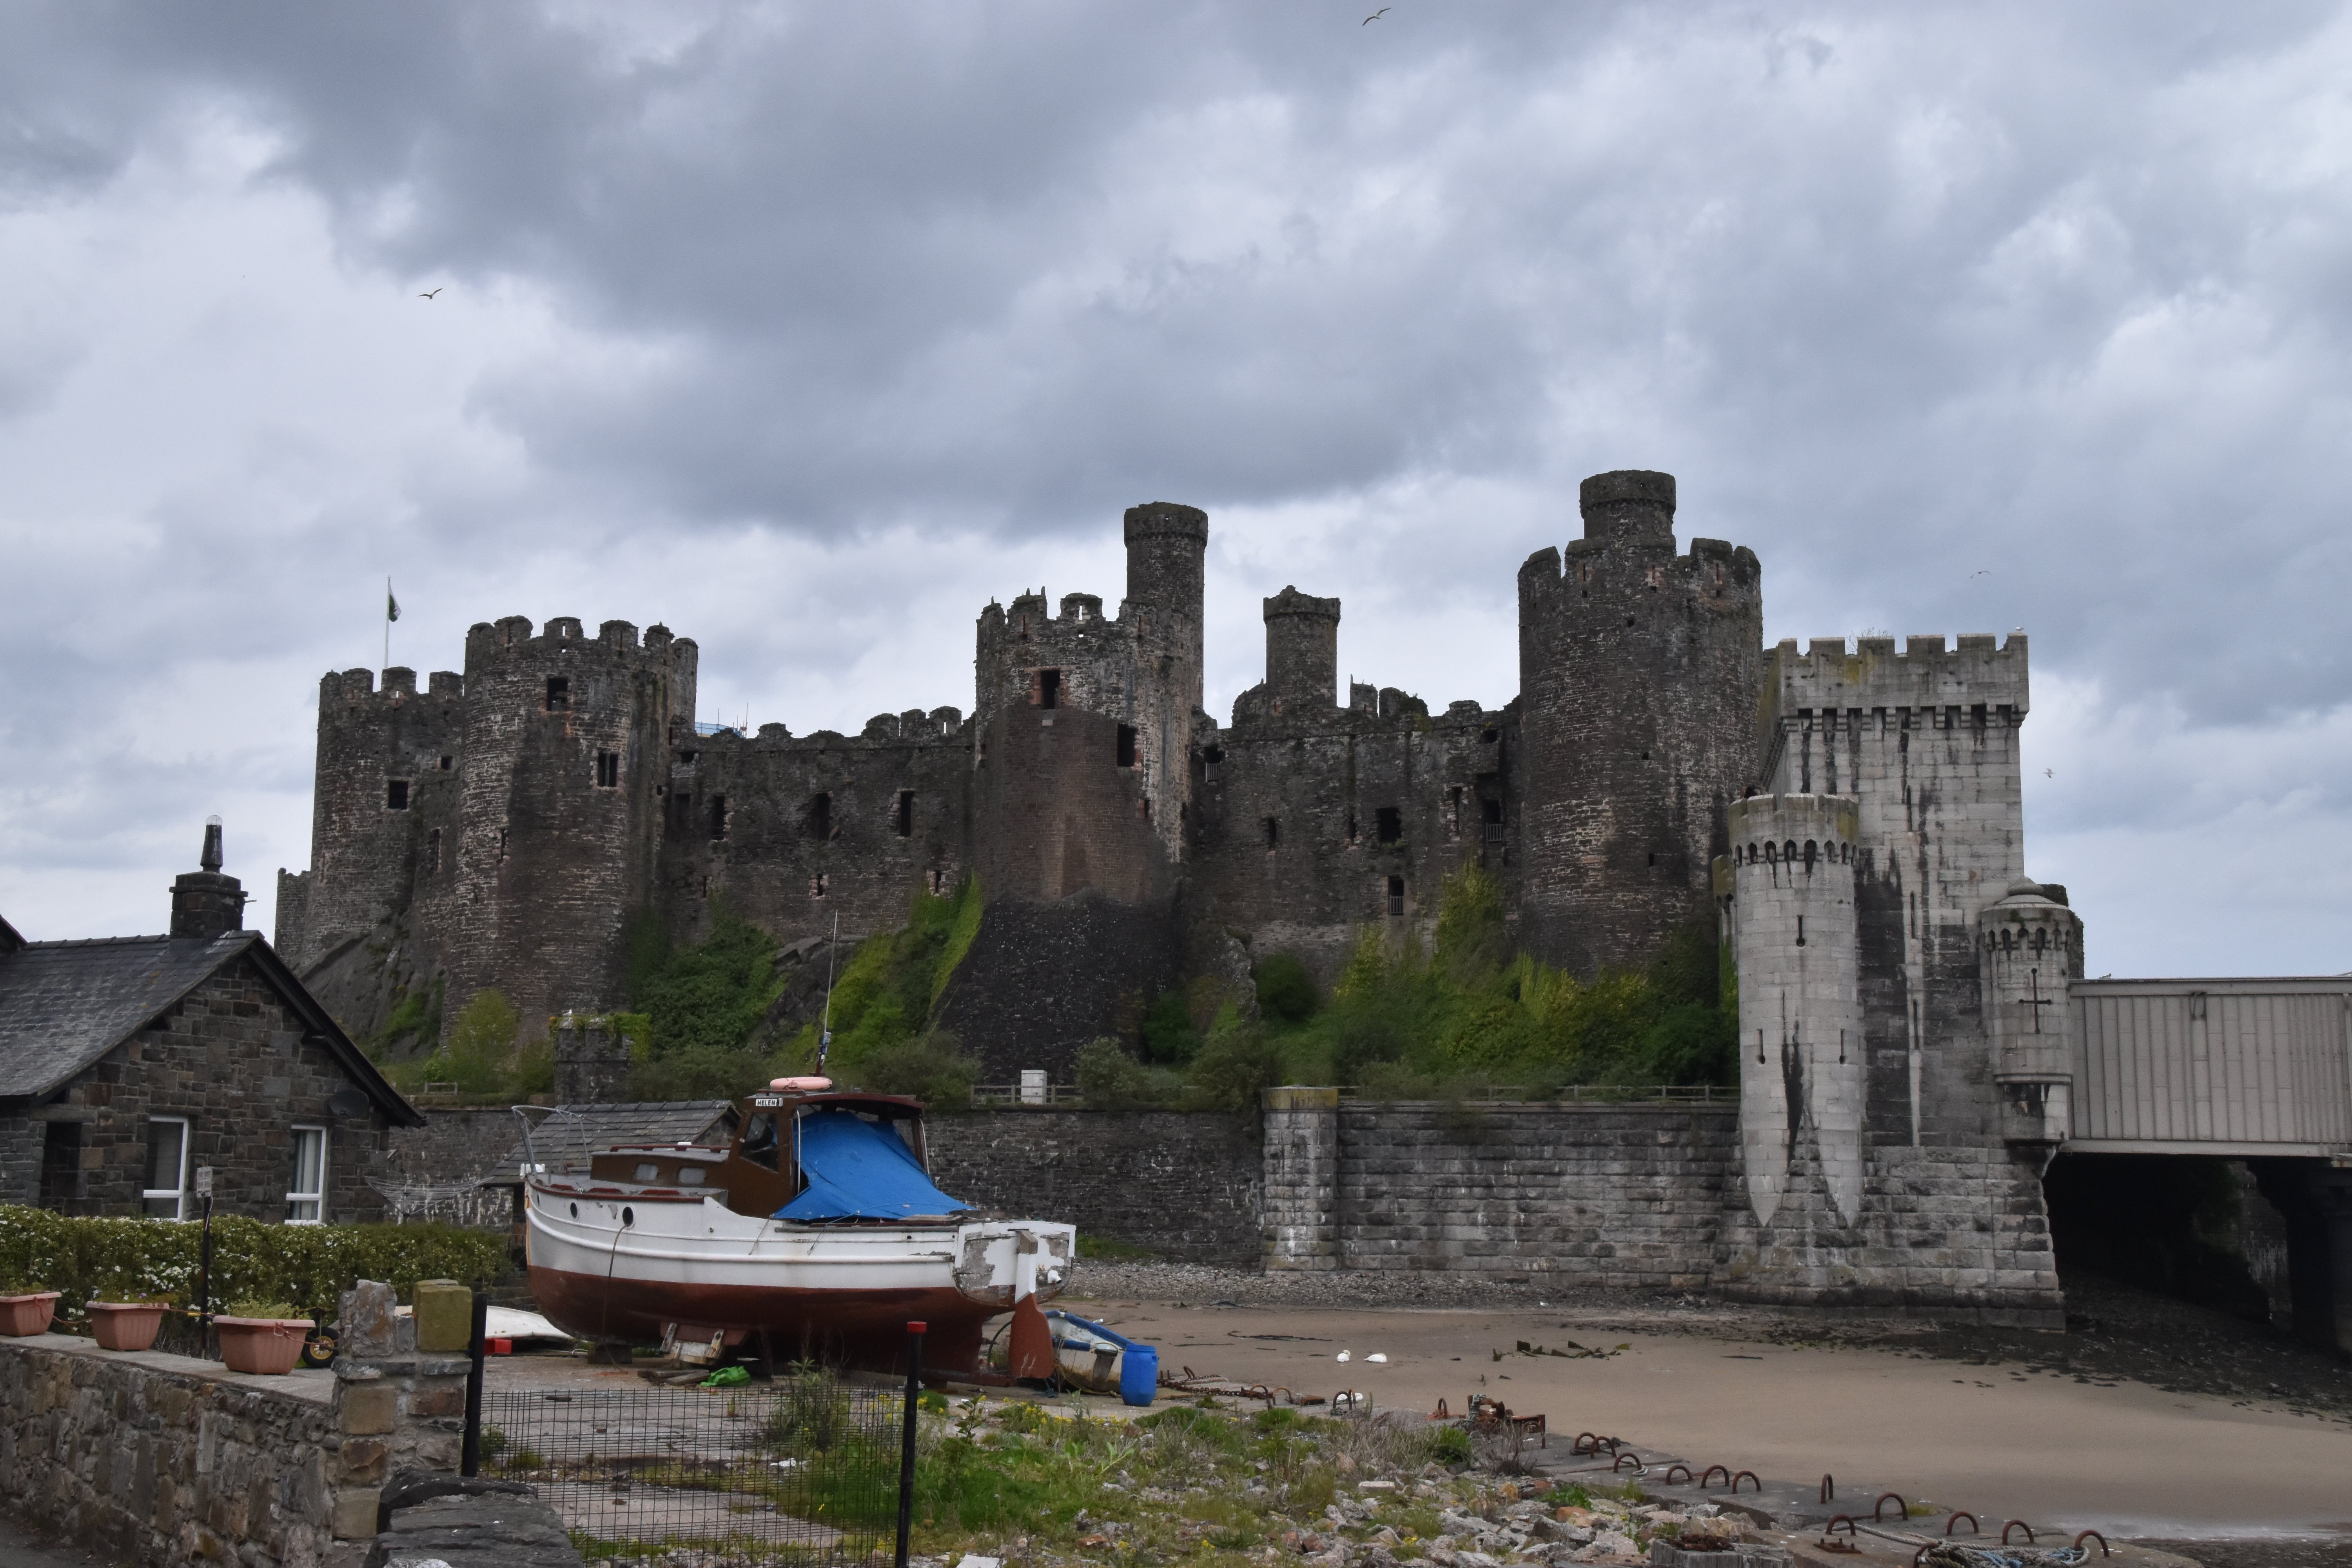
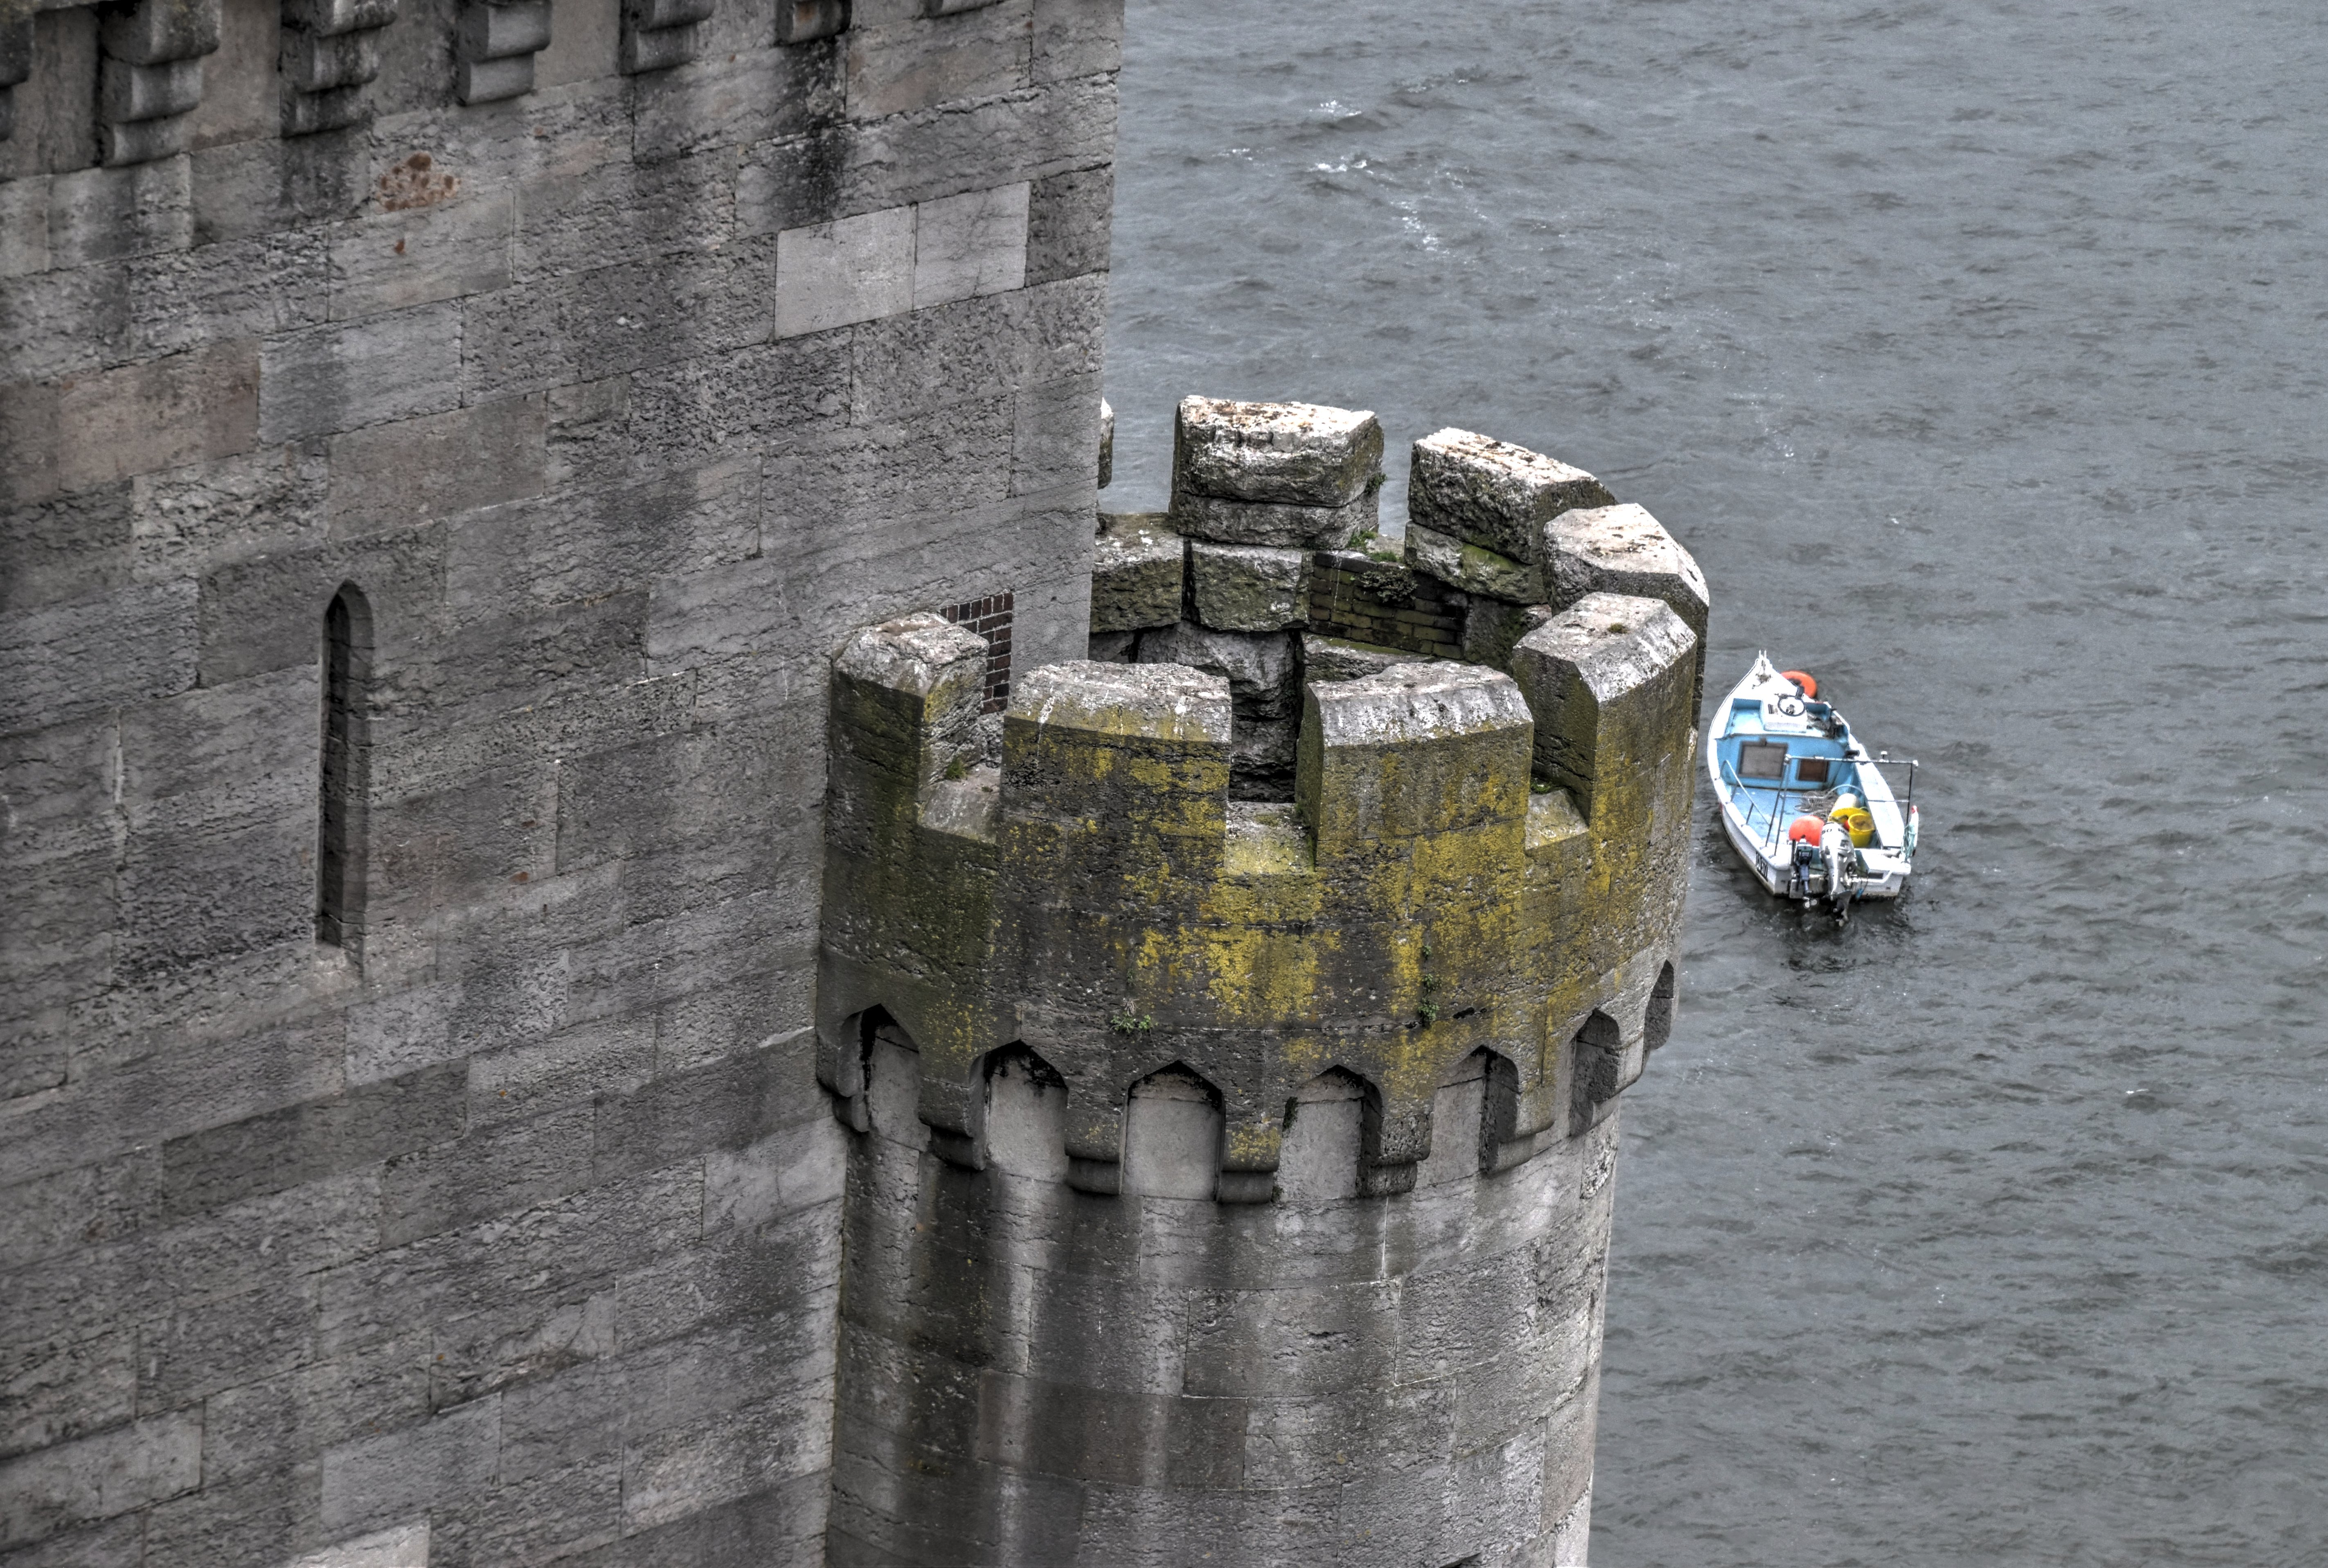
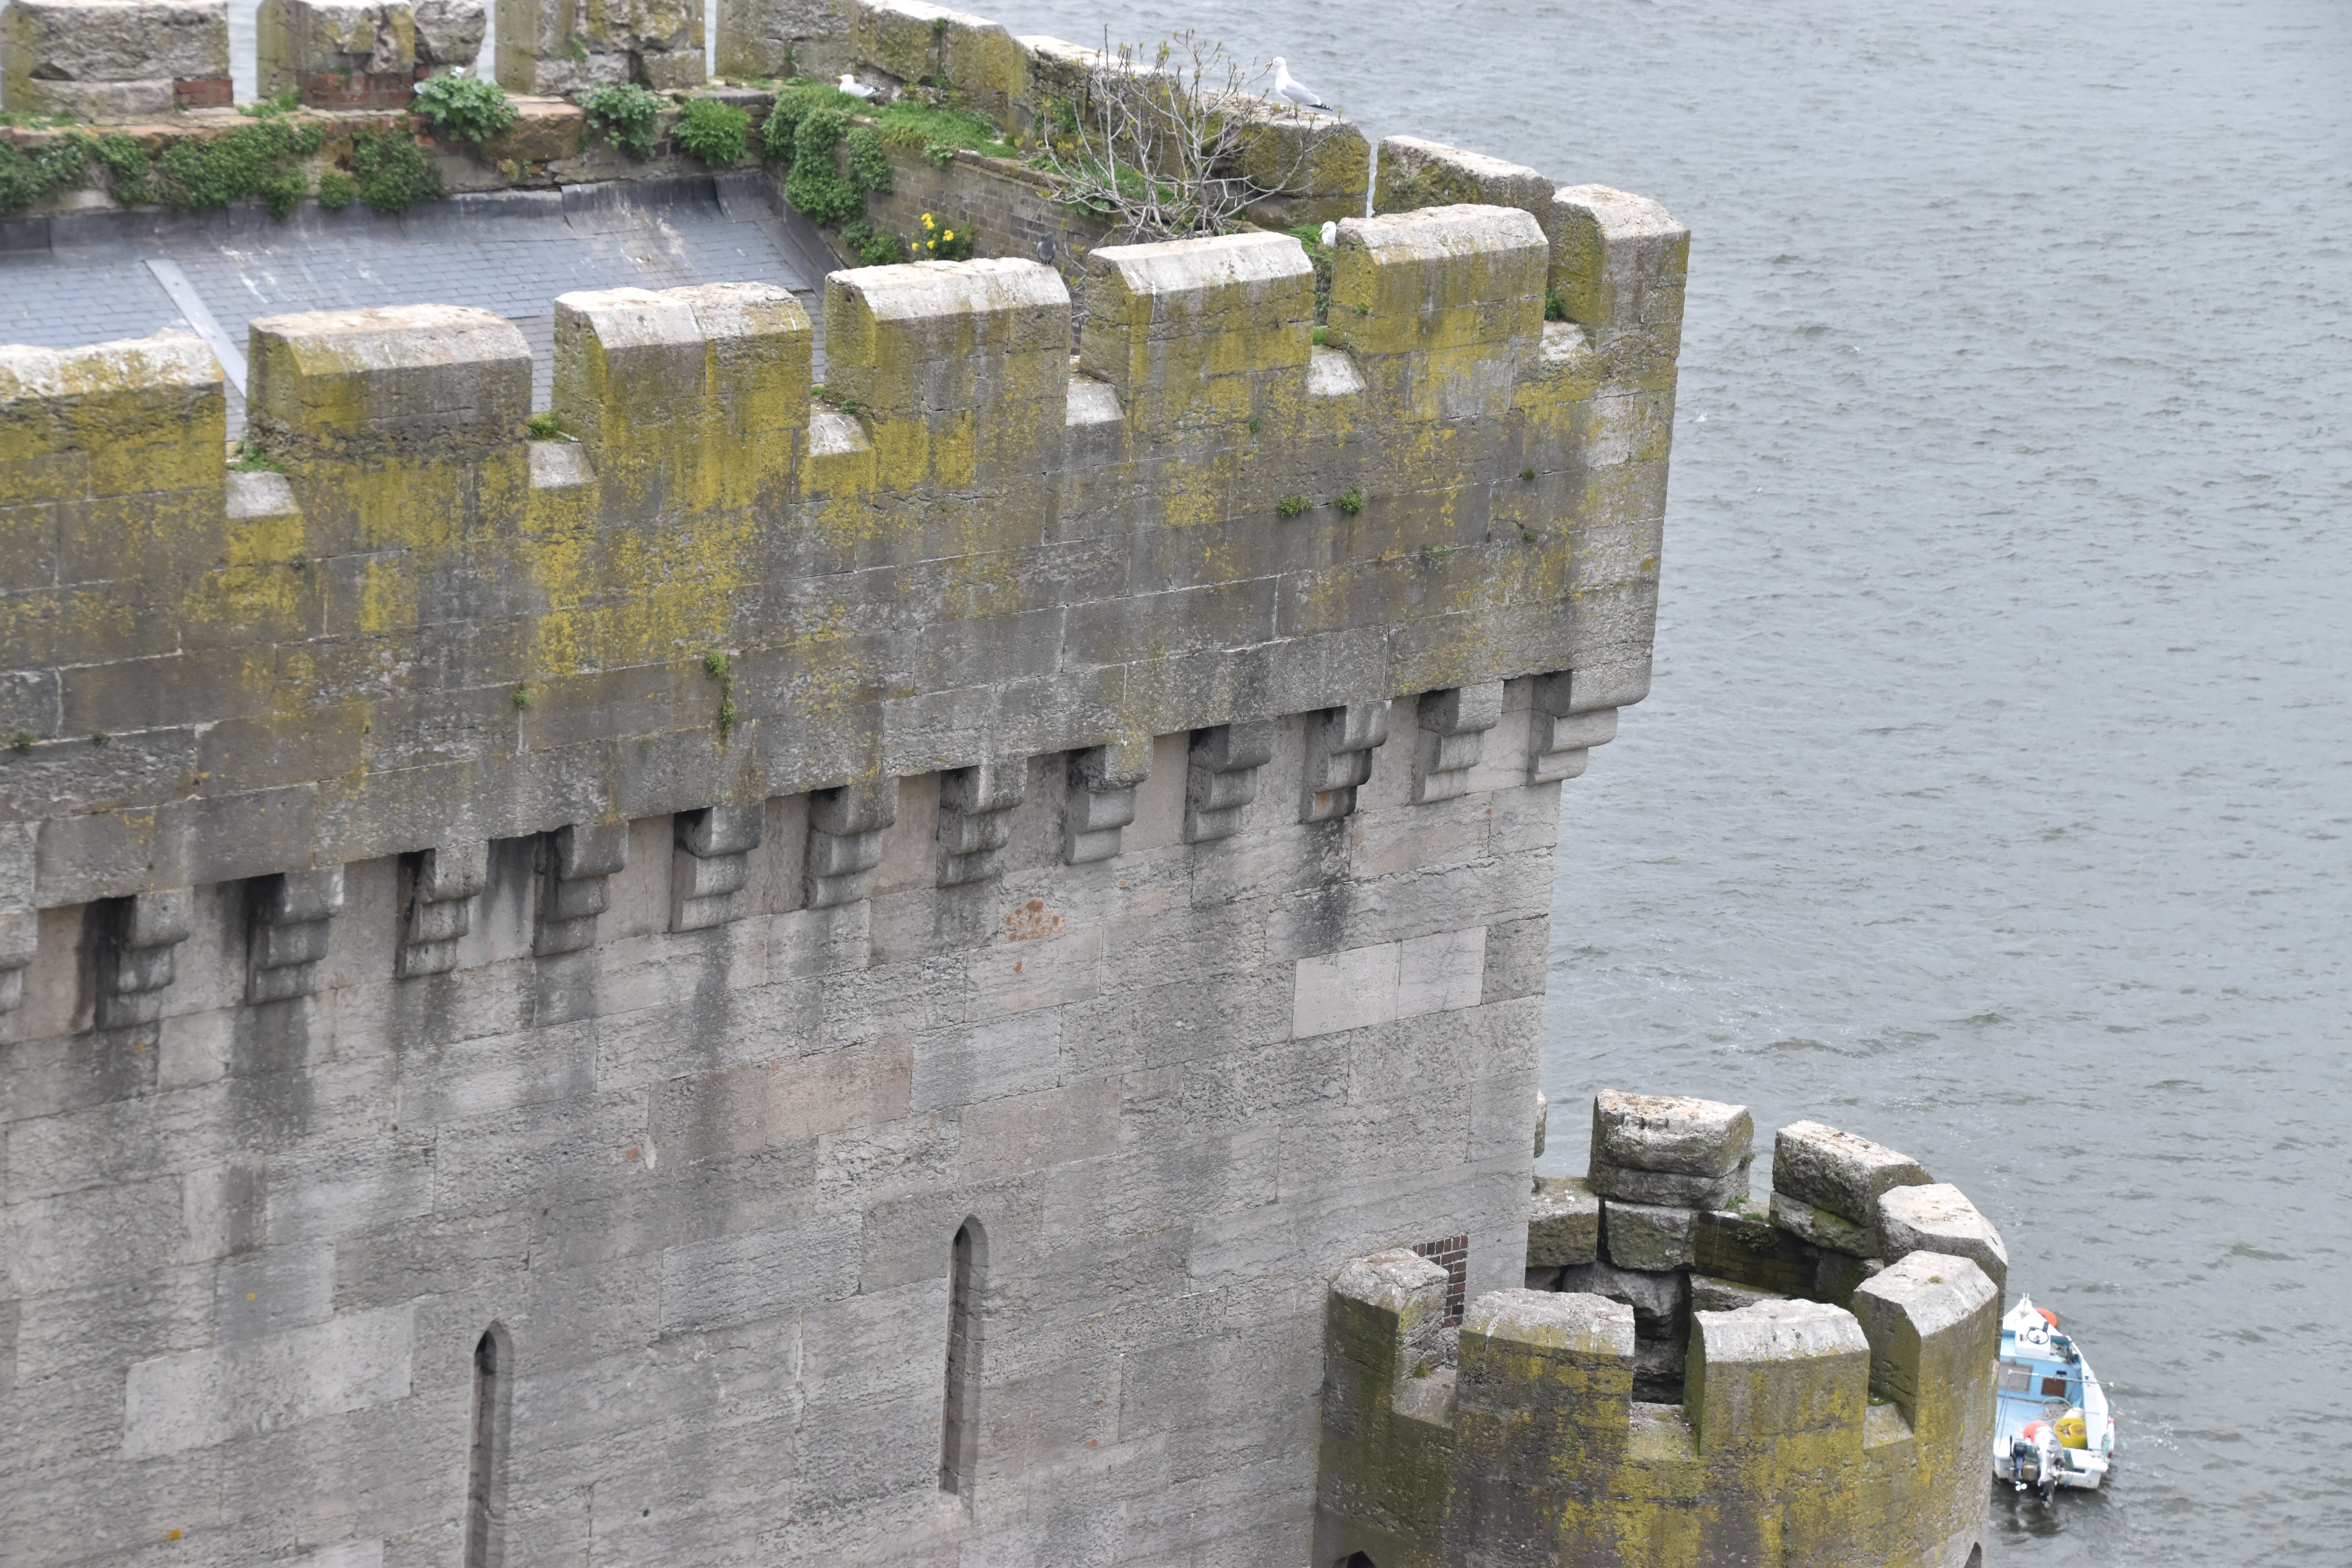
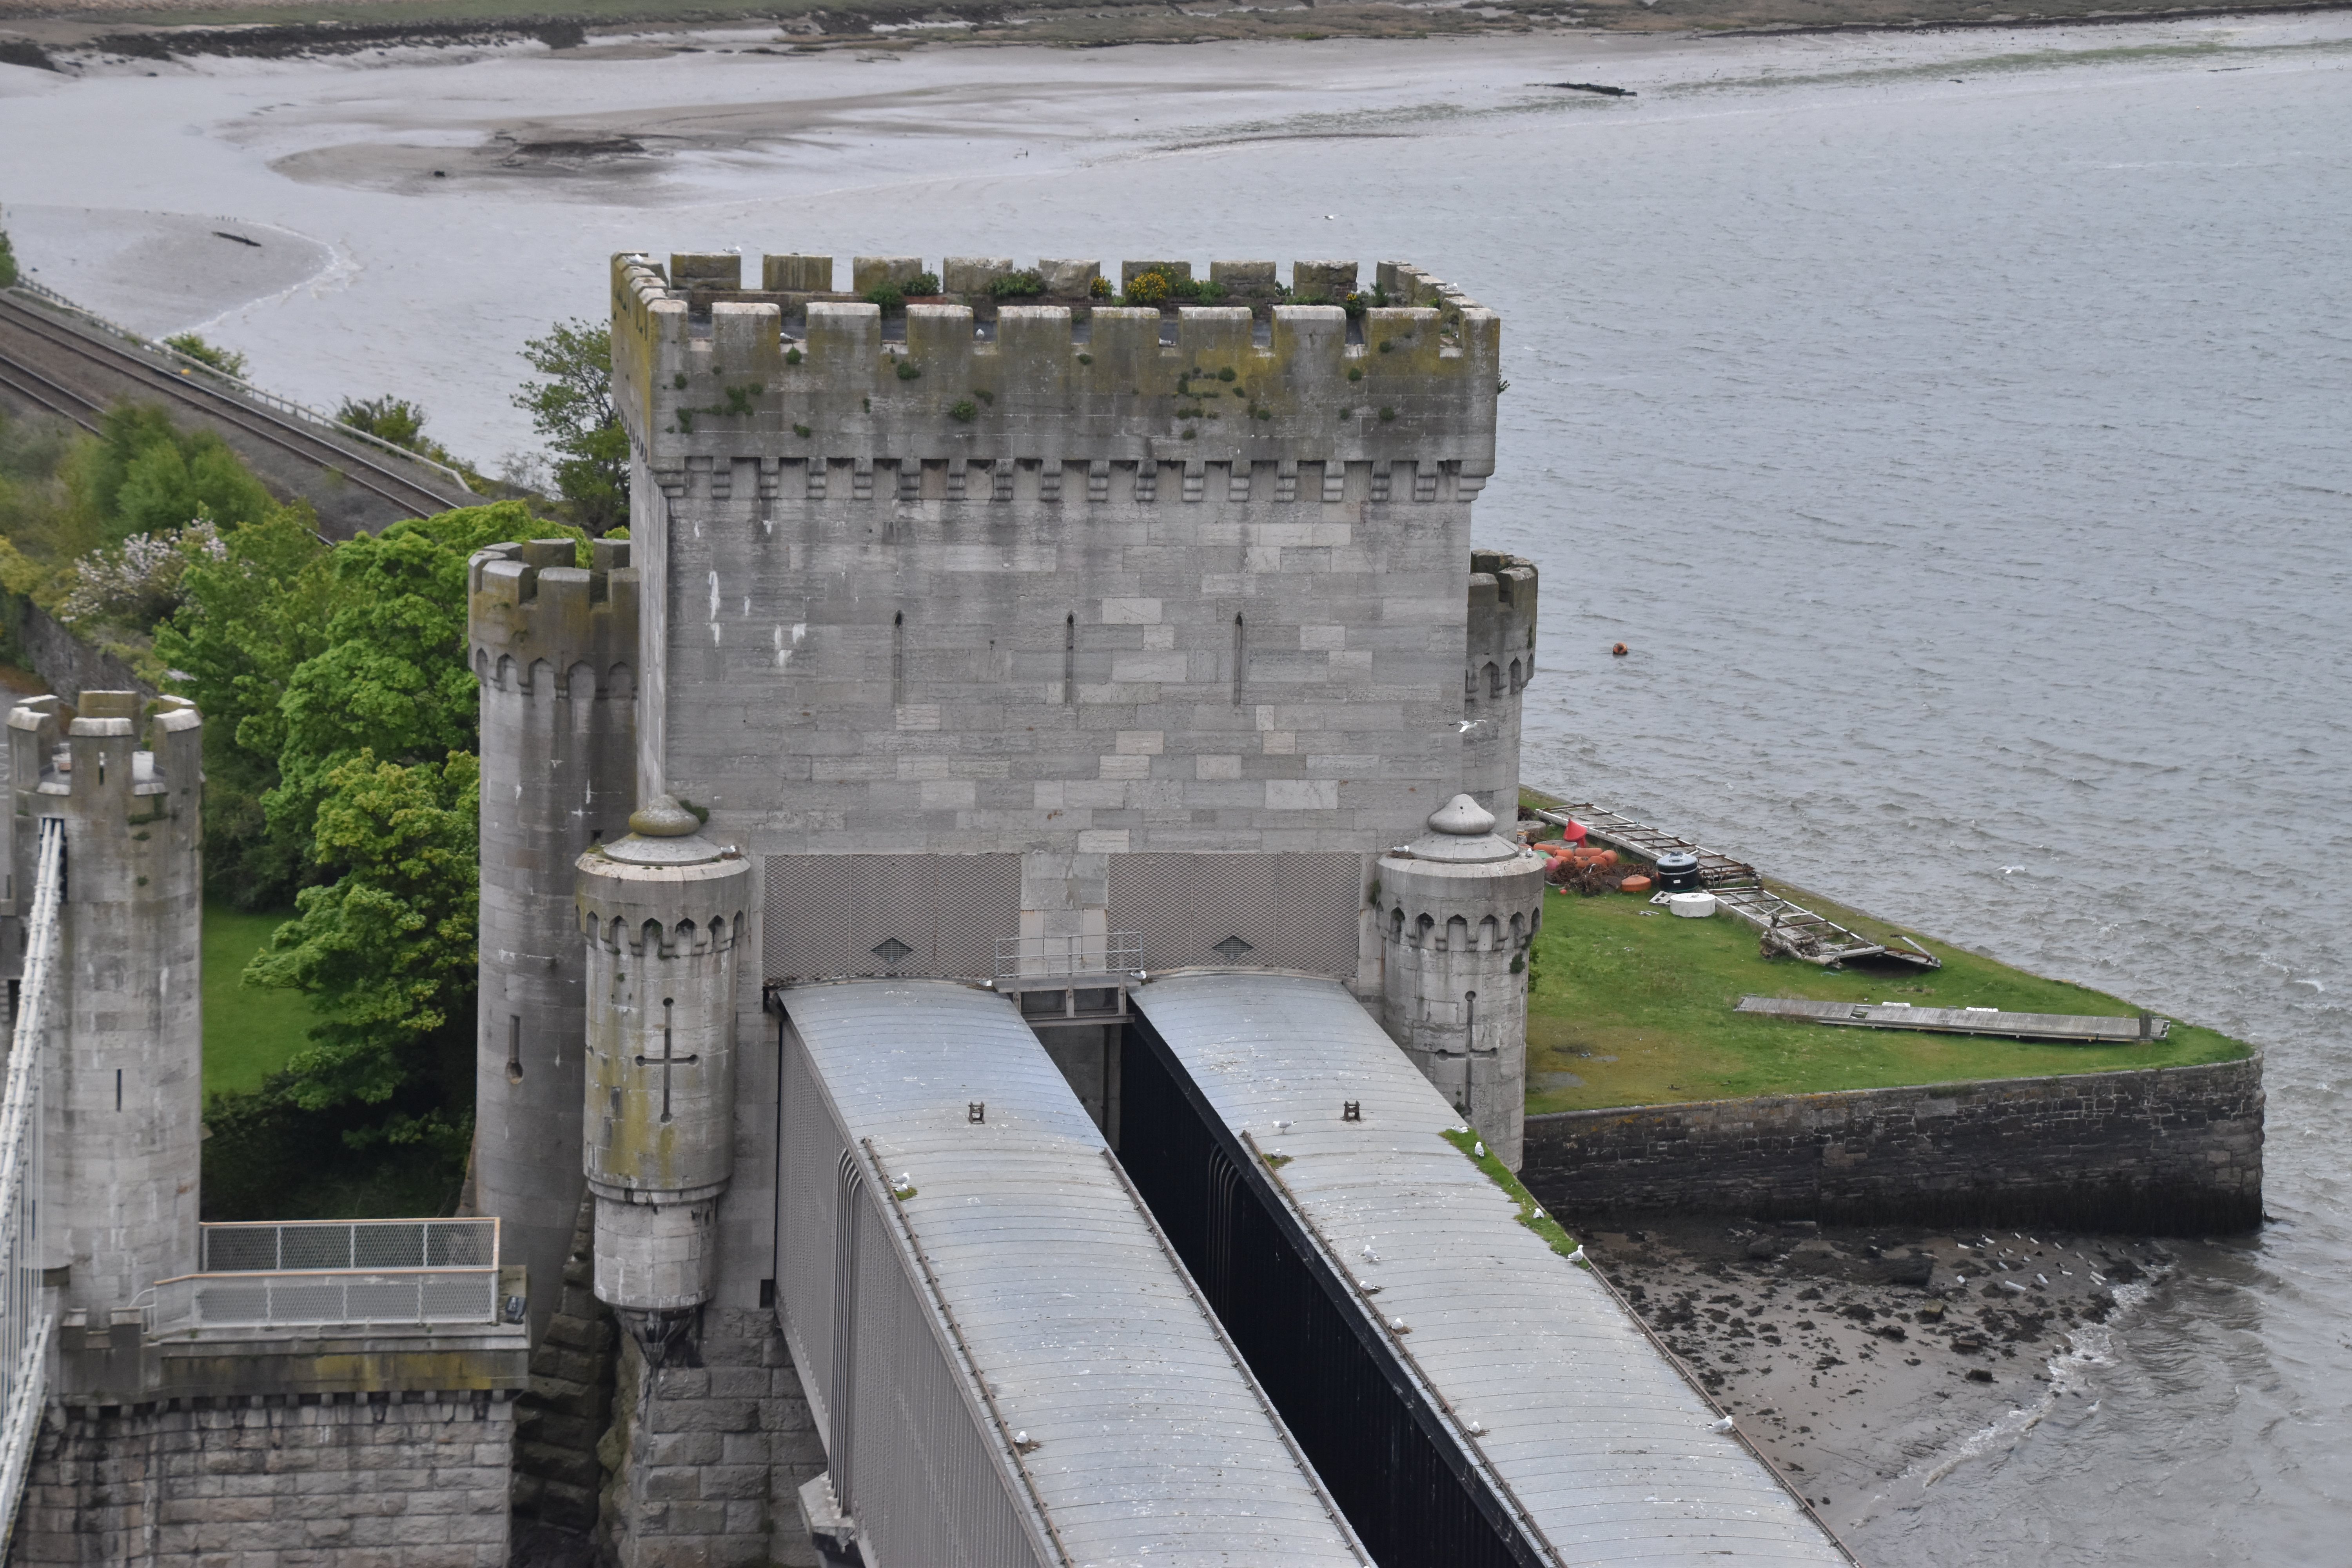
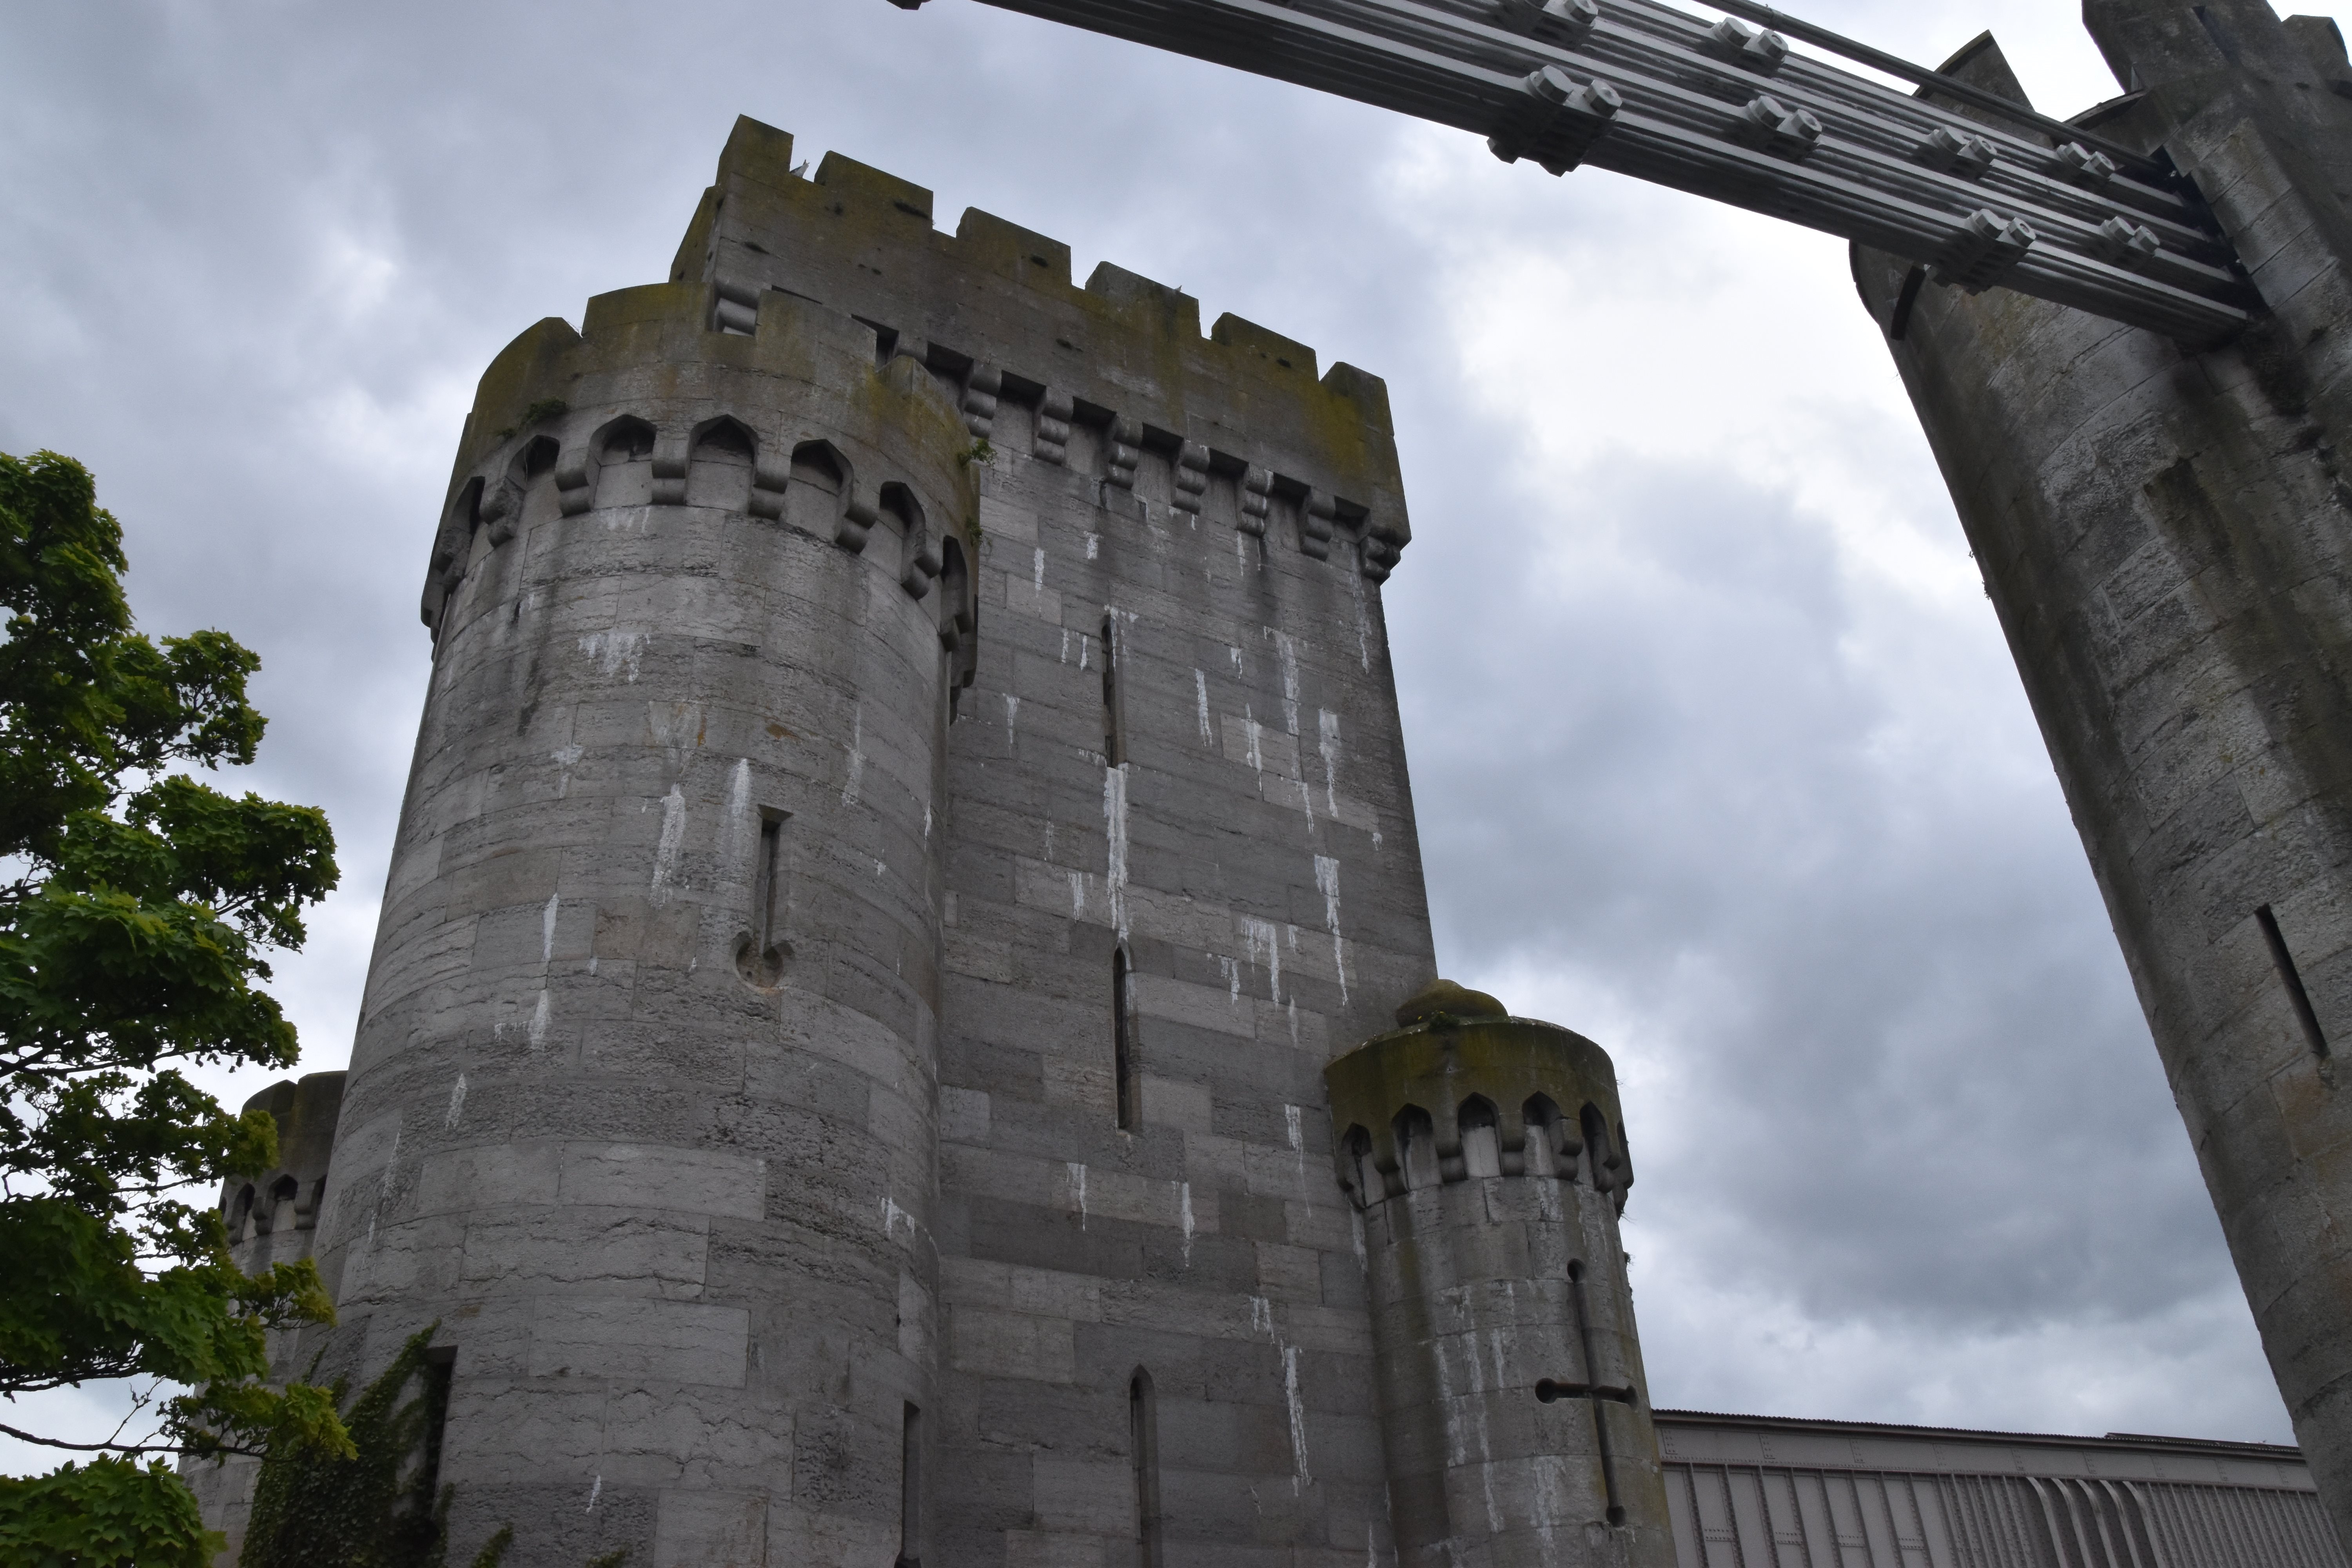
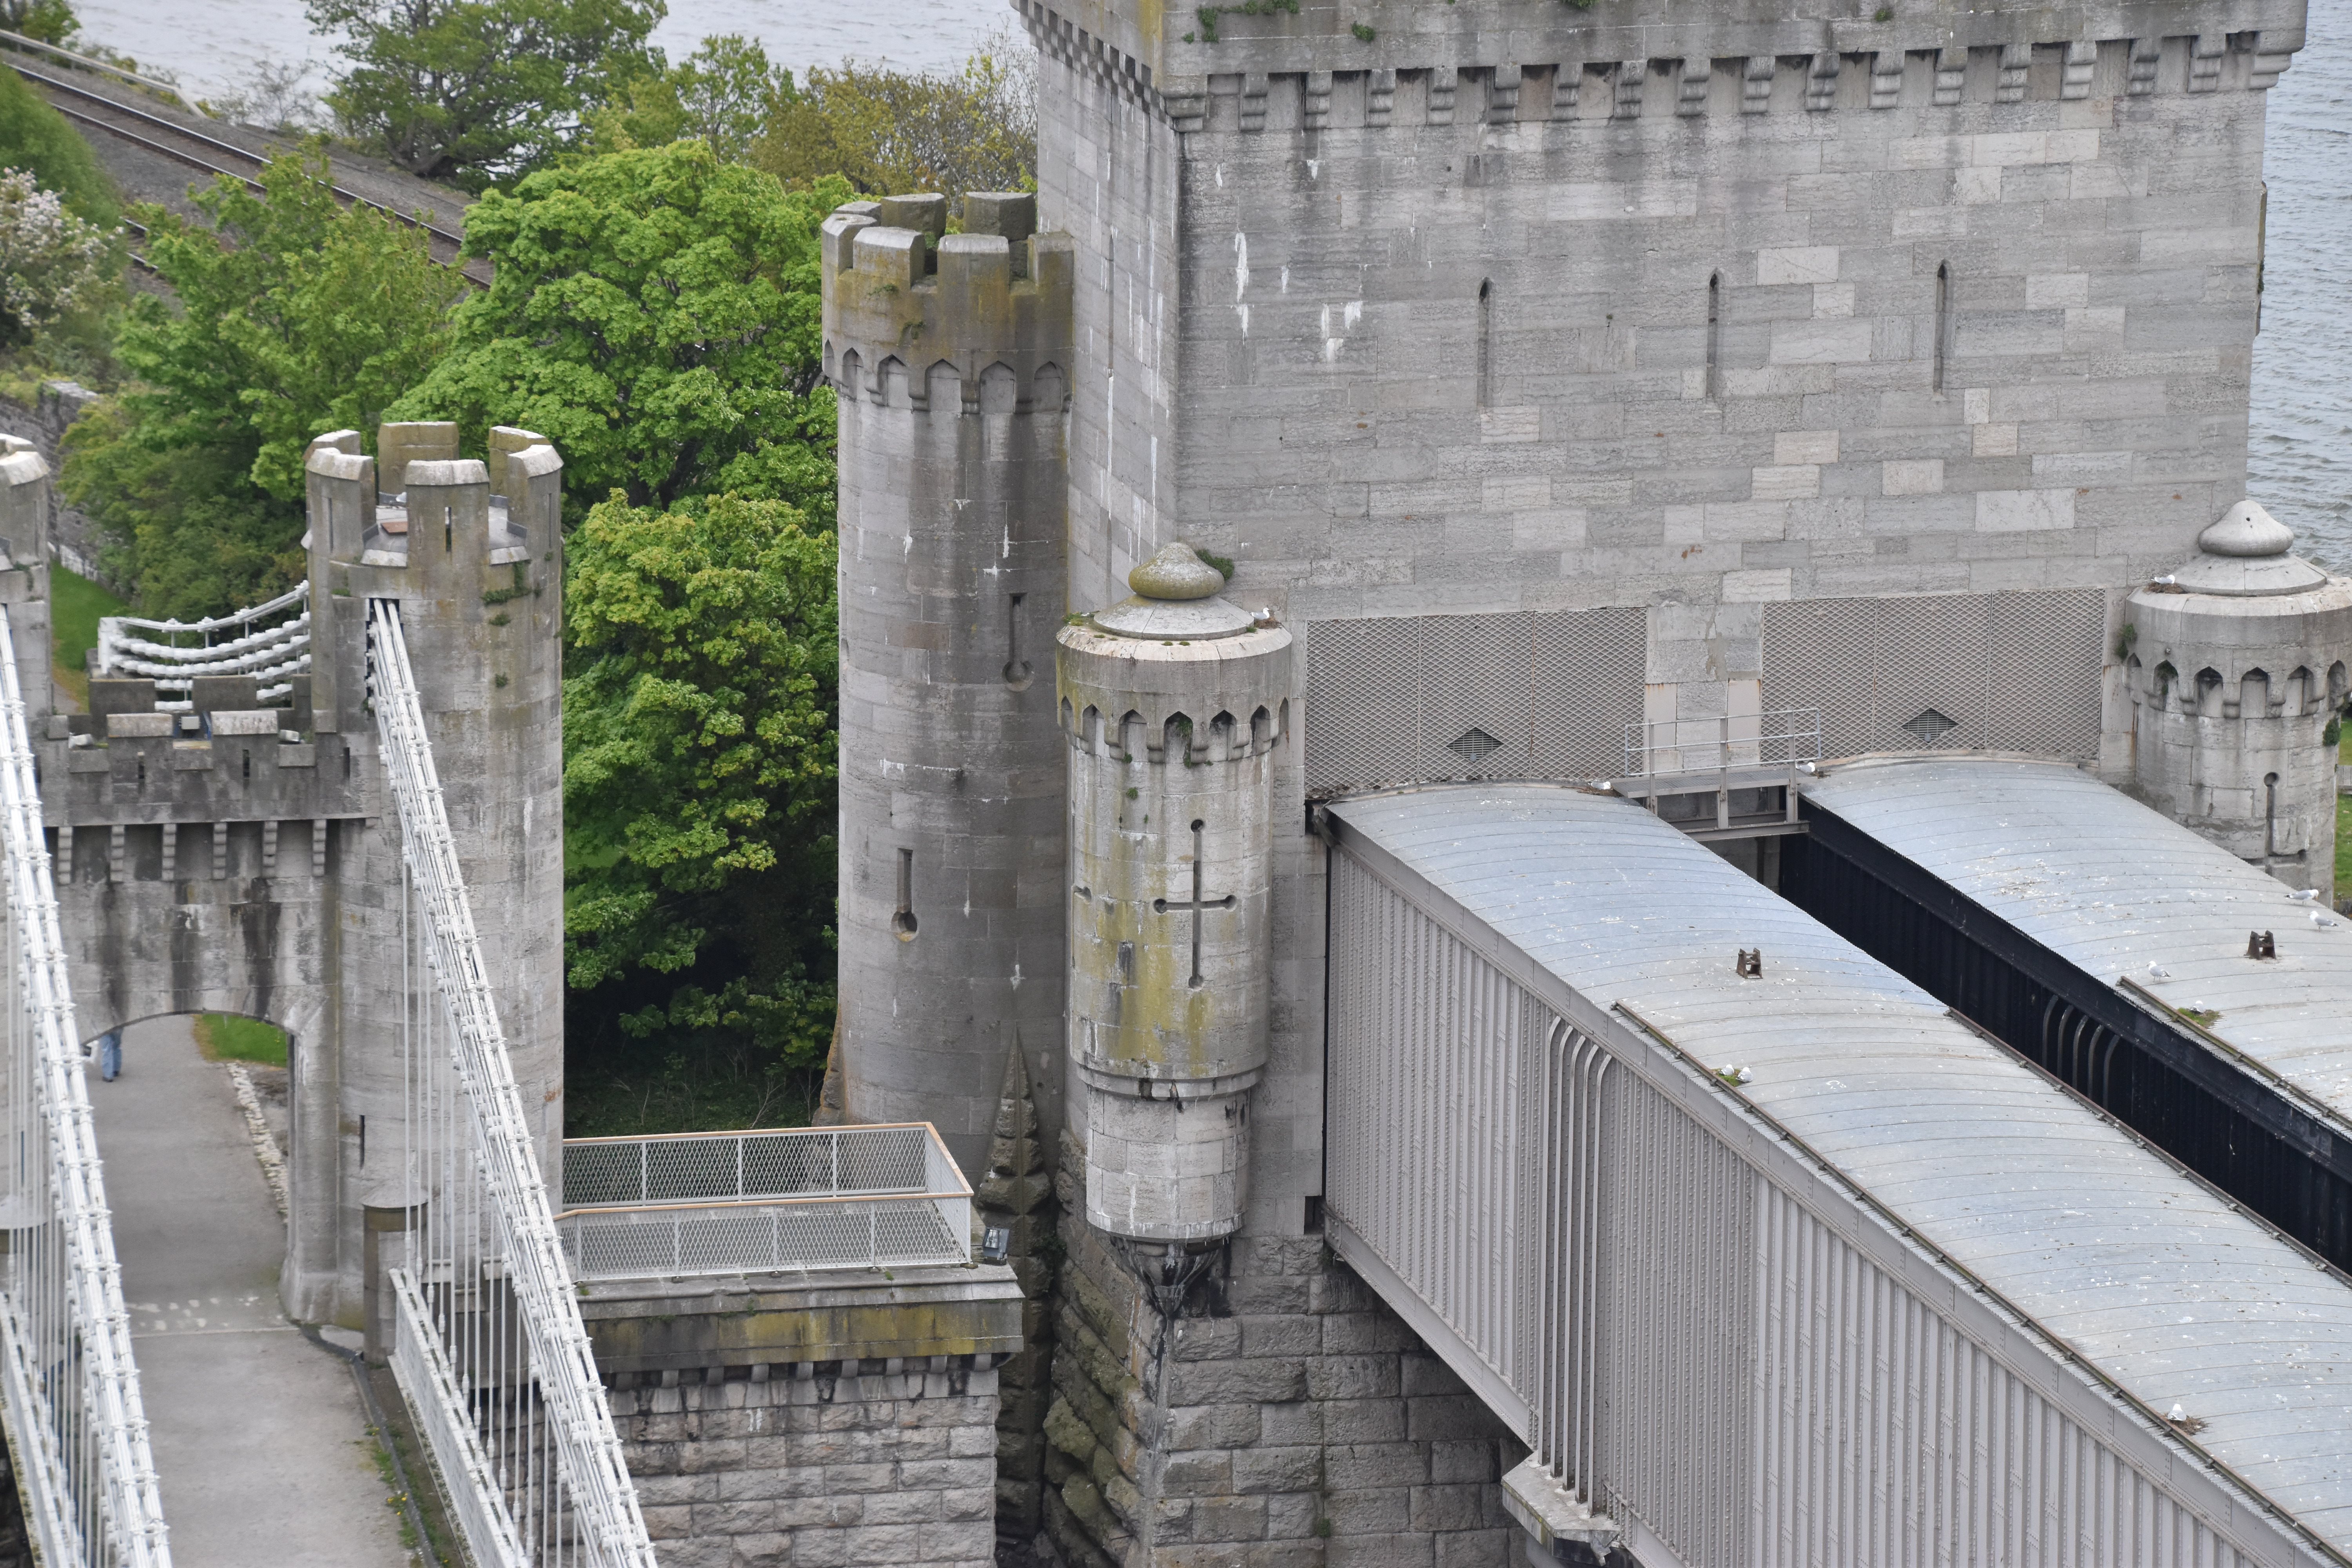
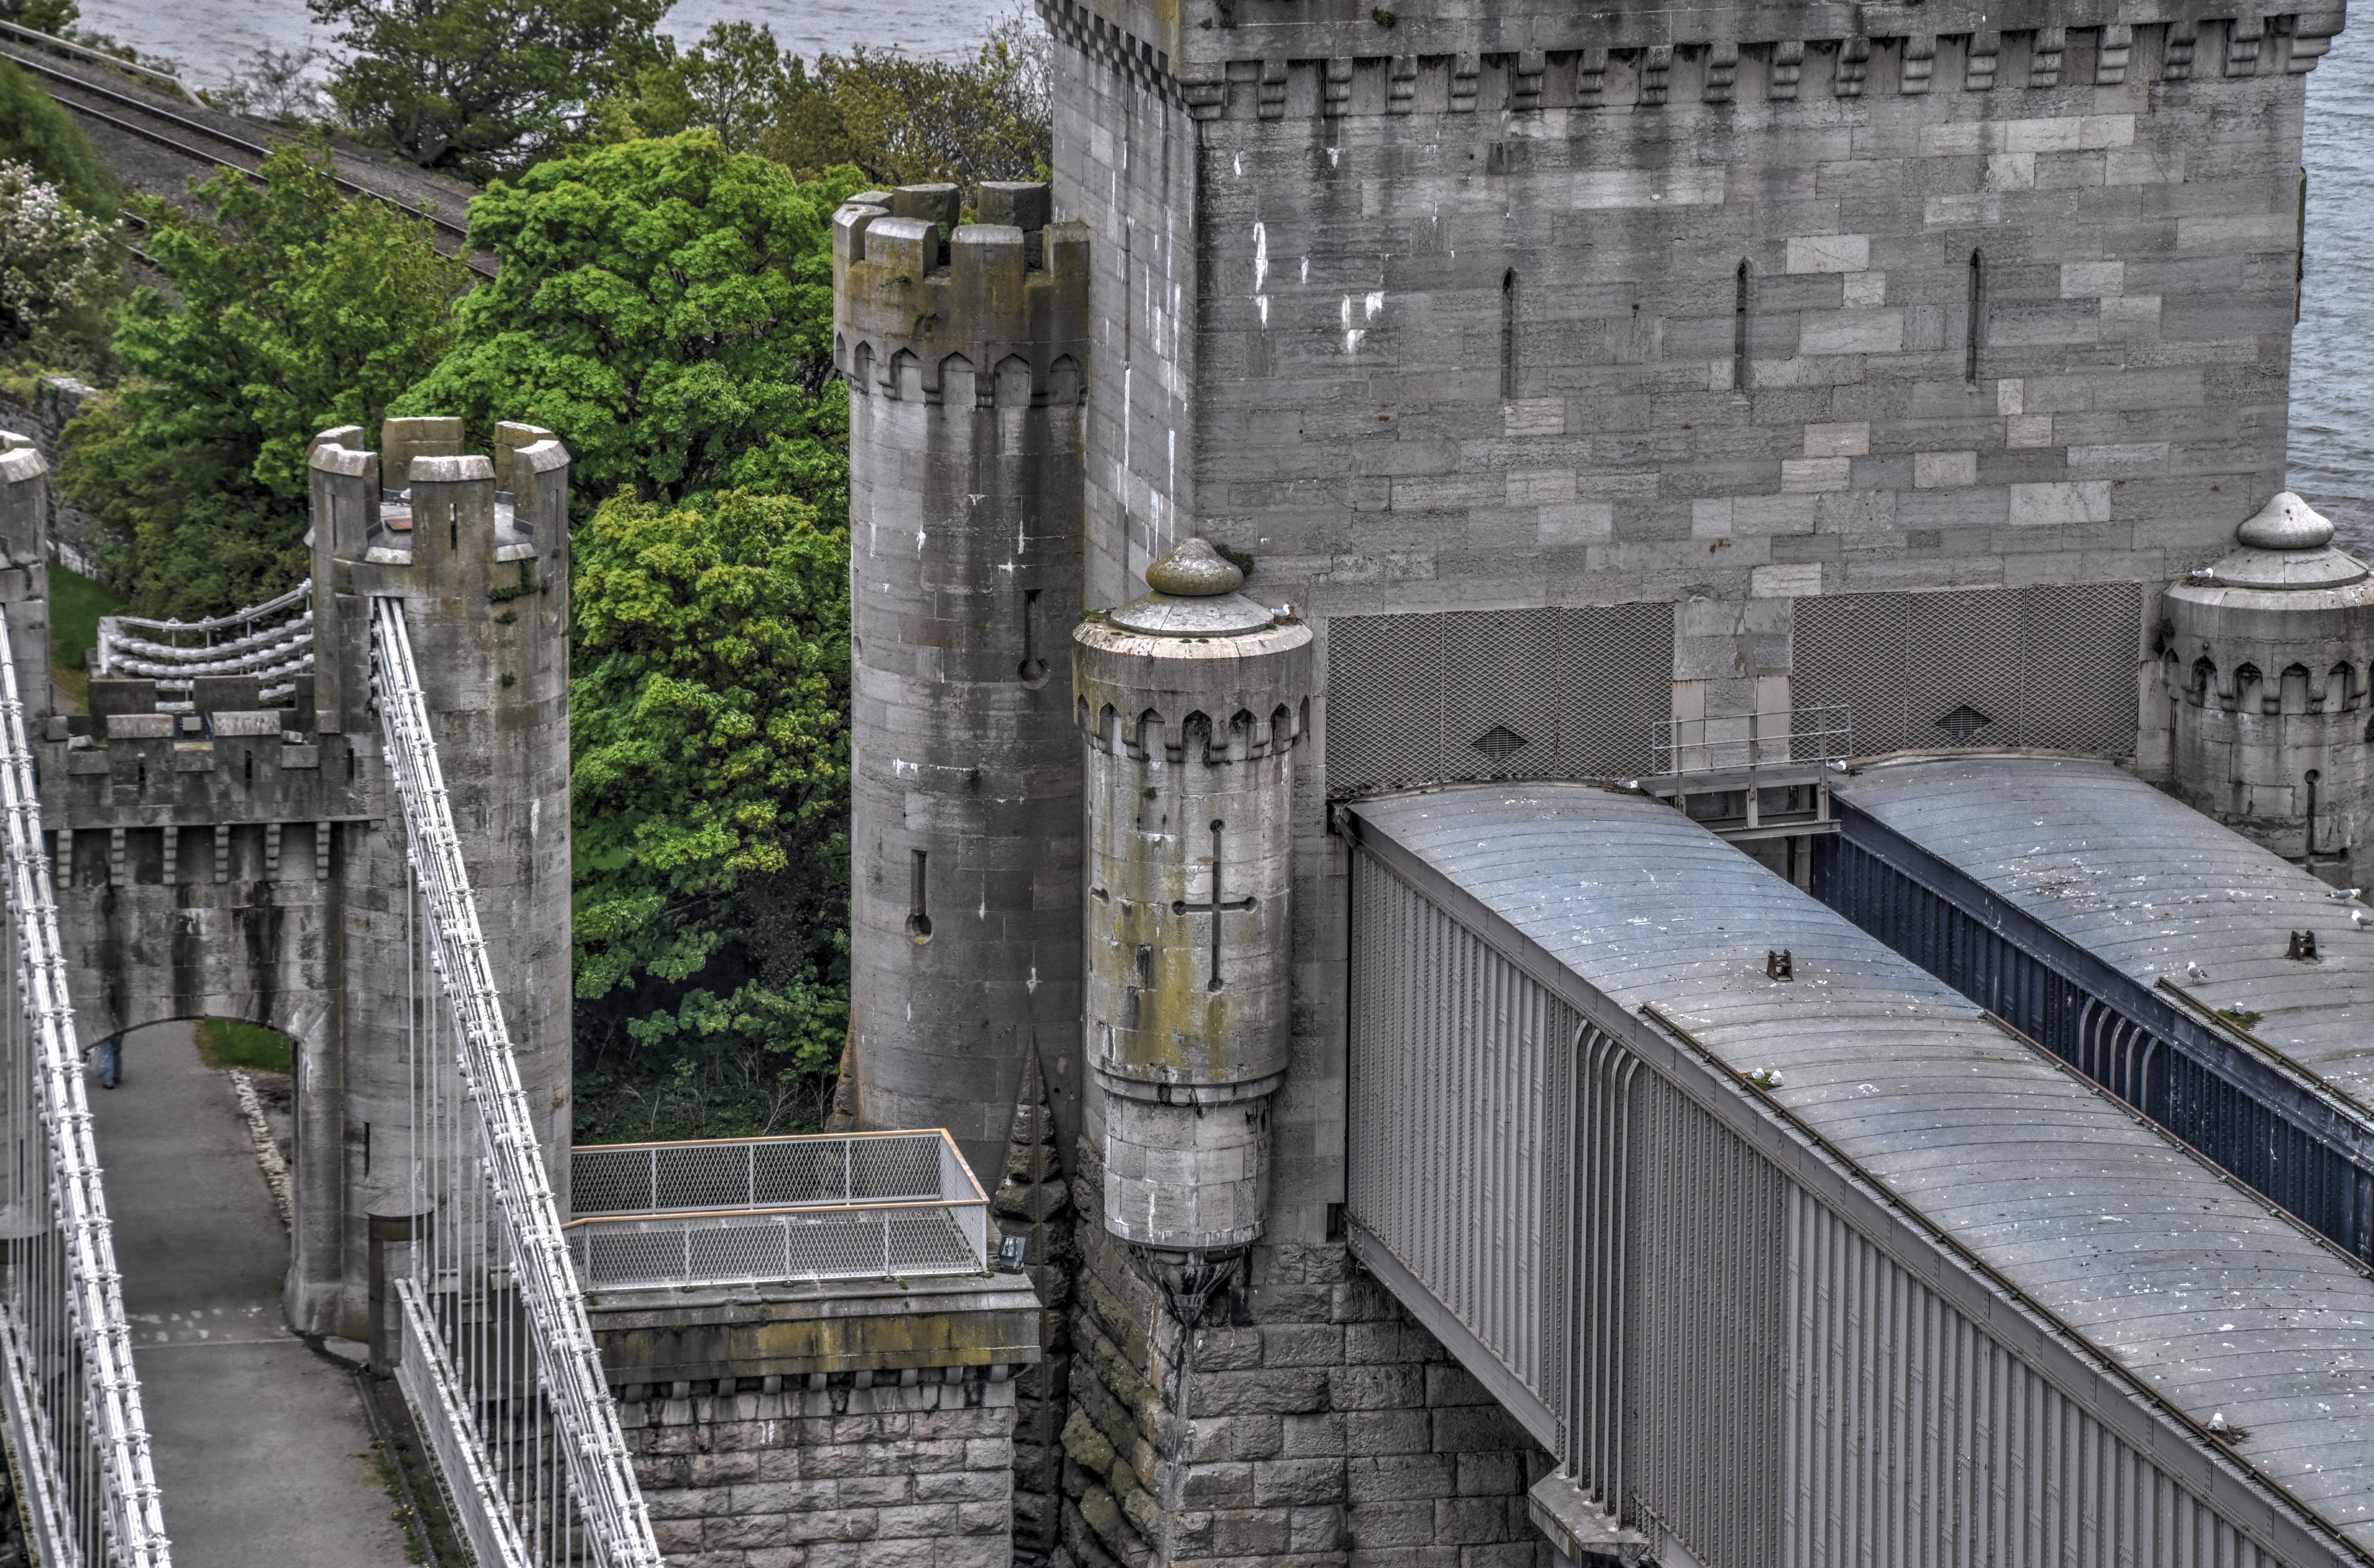
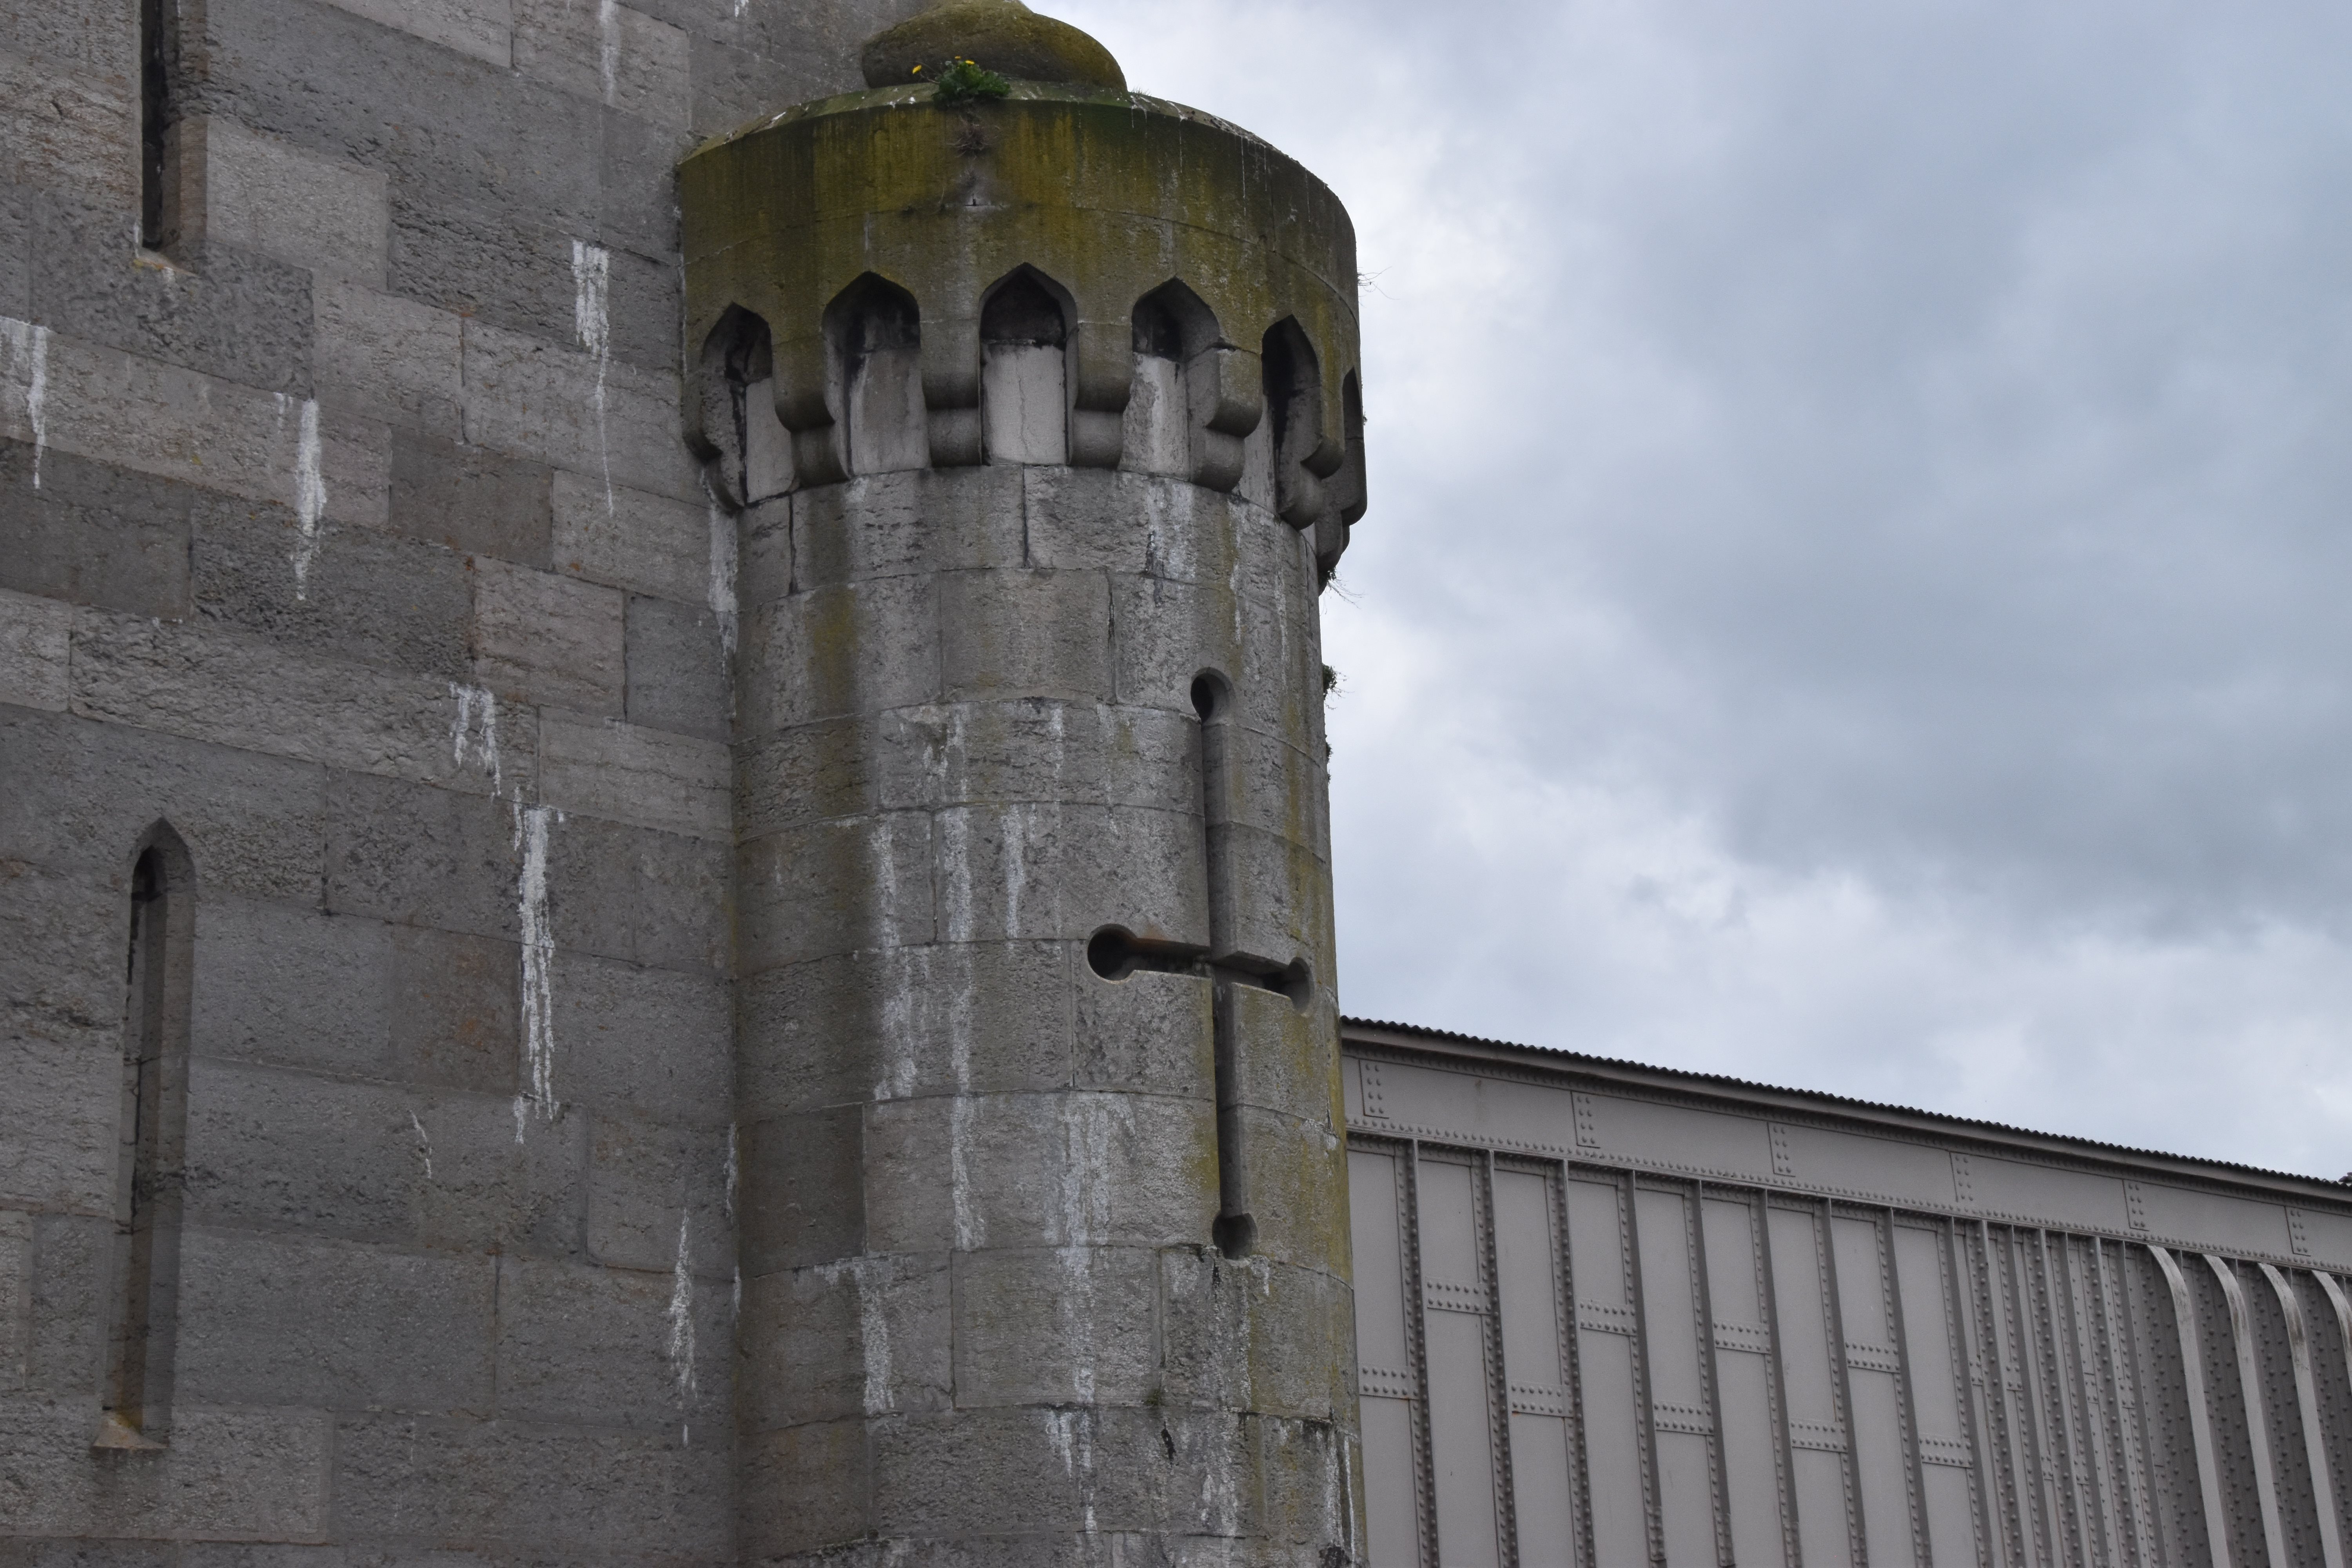
View of west portal tower from Castle Conwy.
![]()
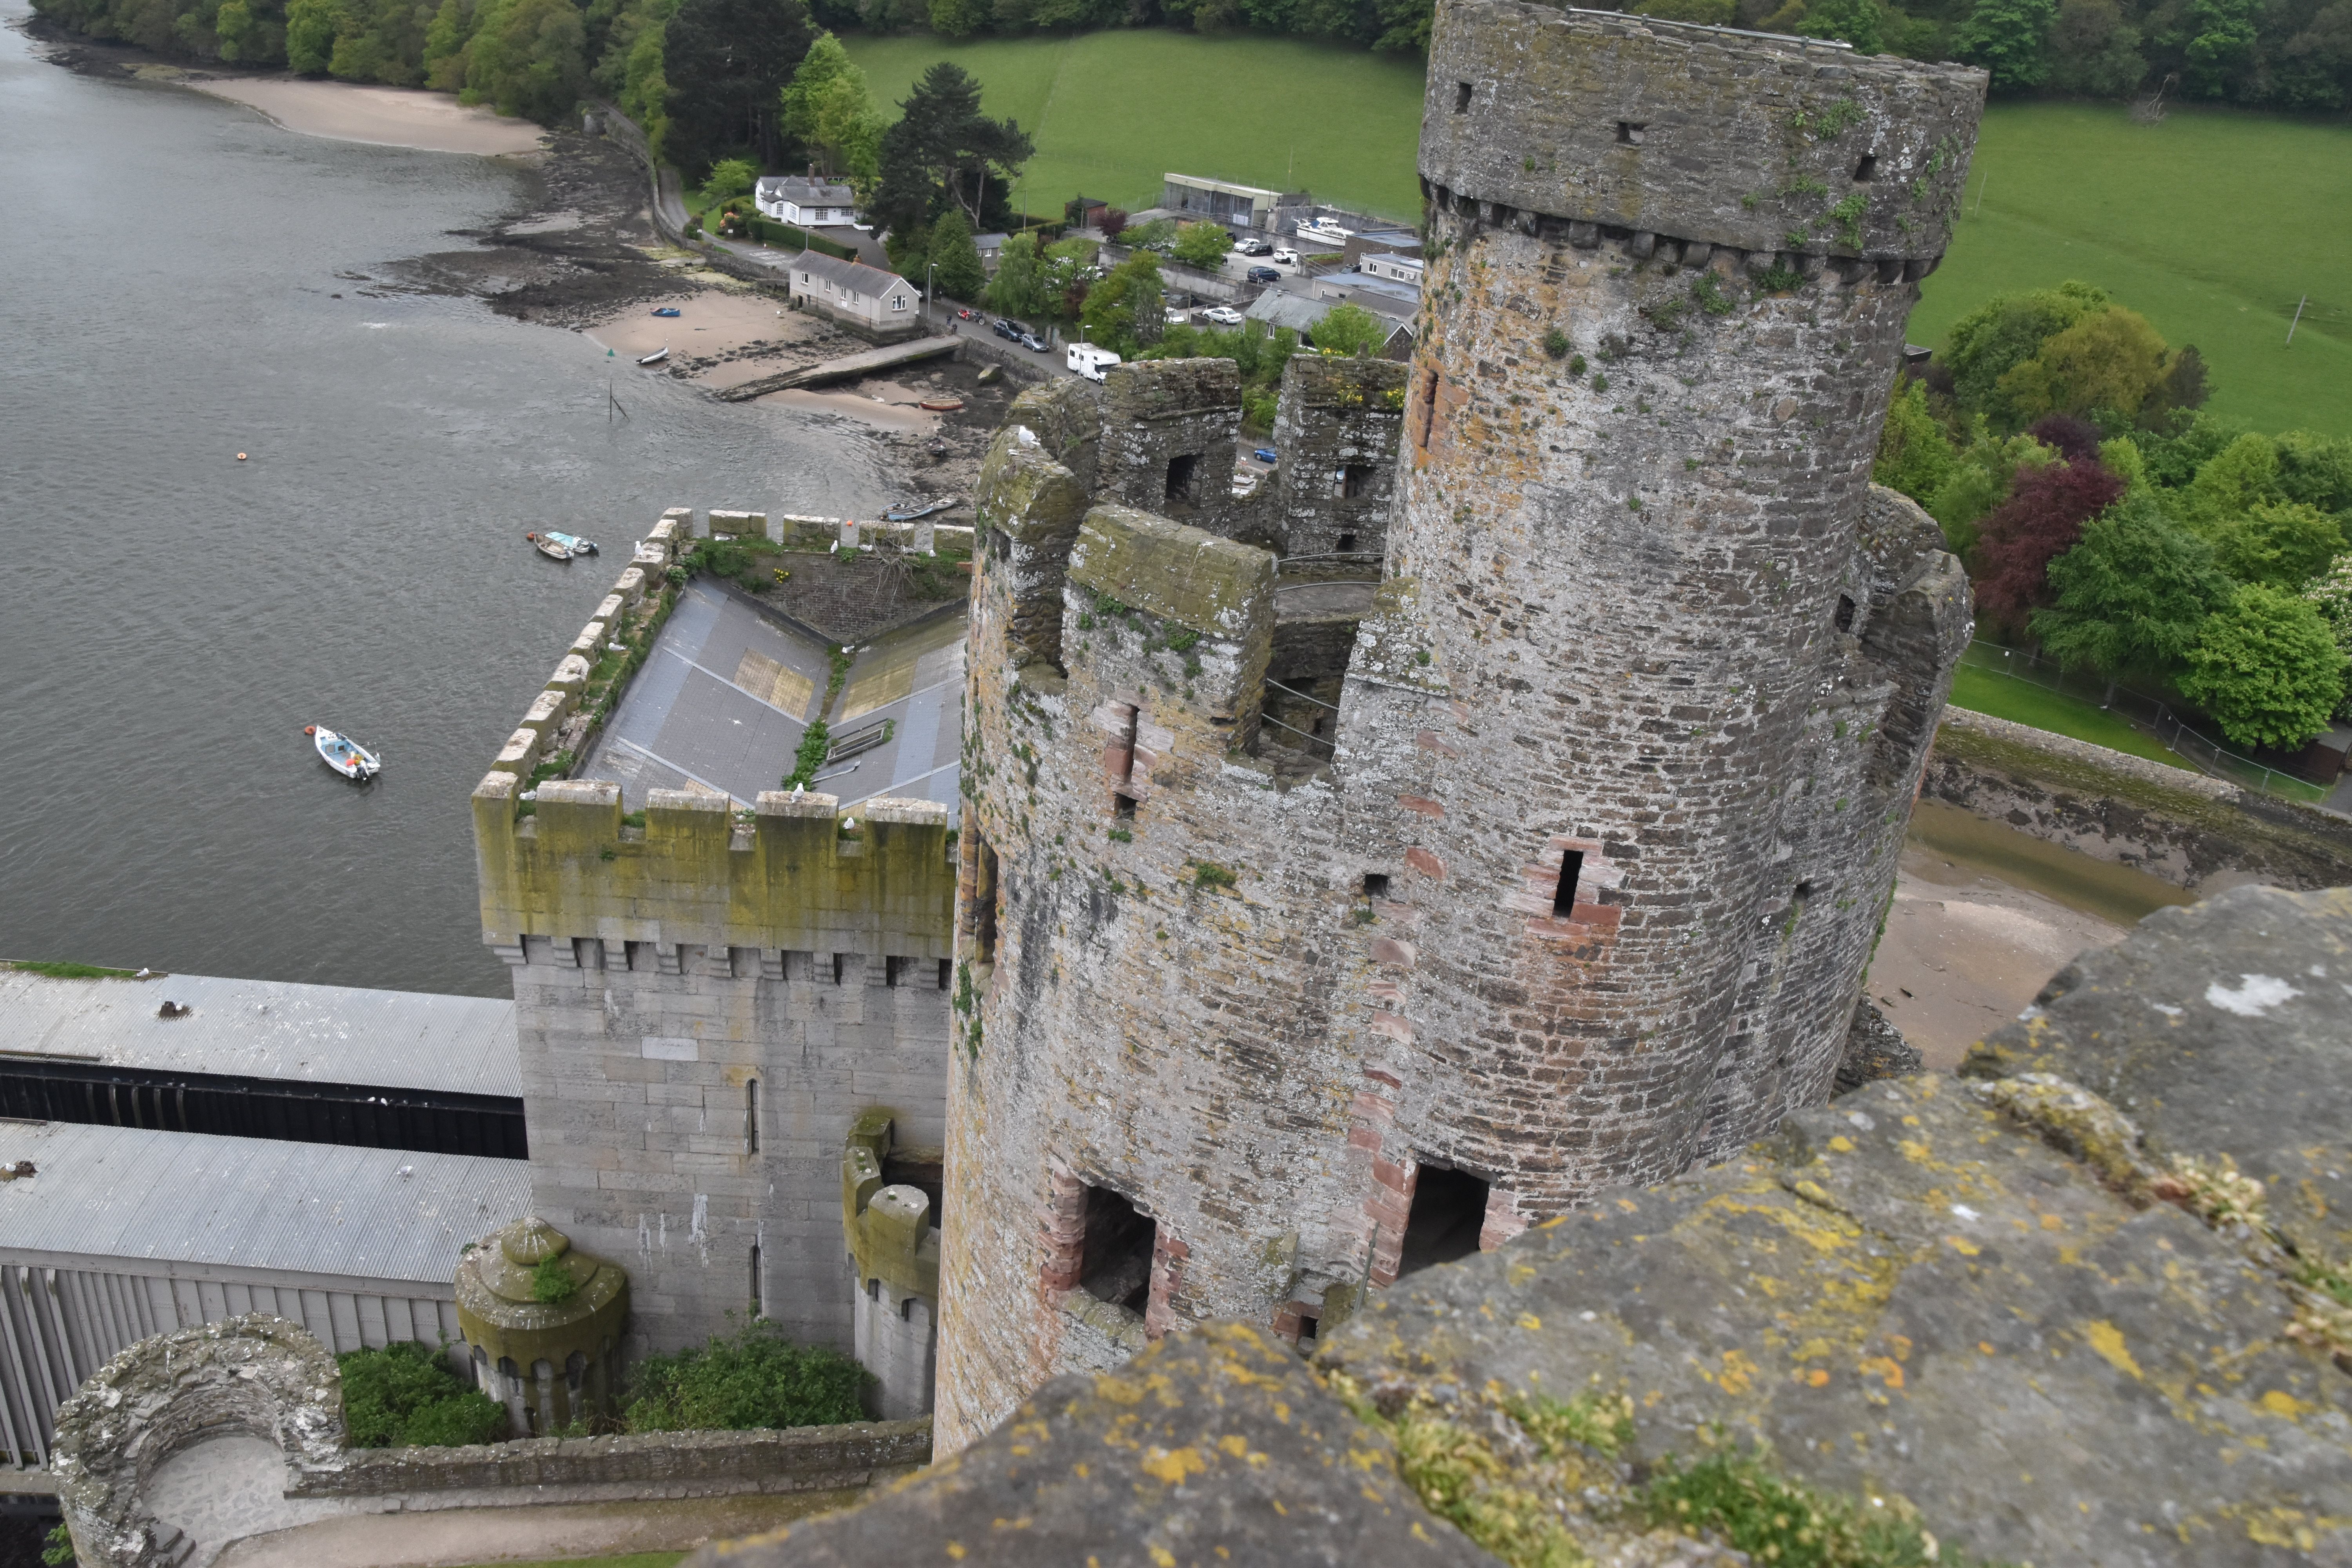
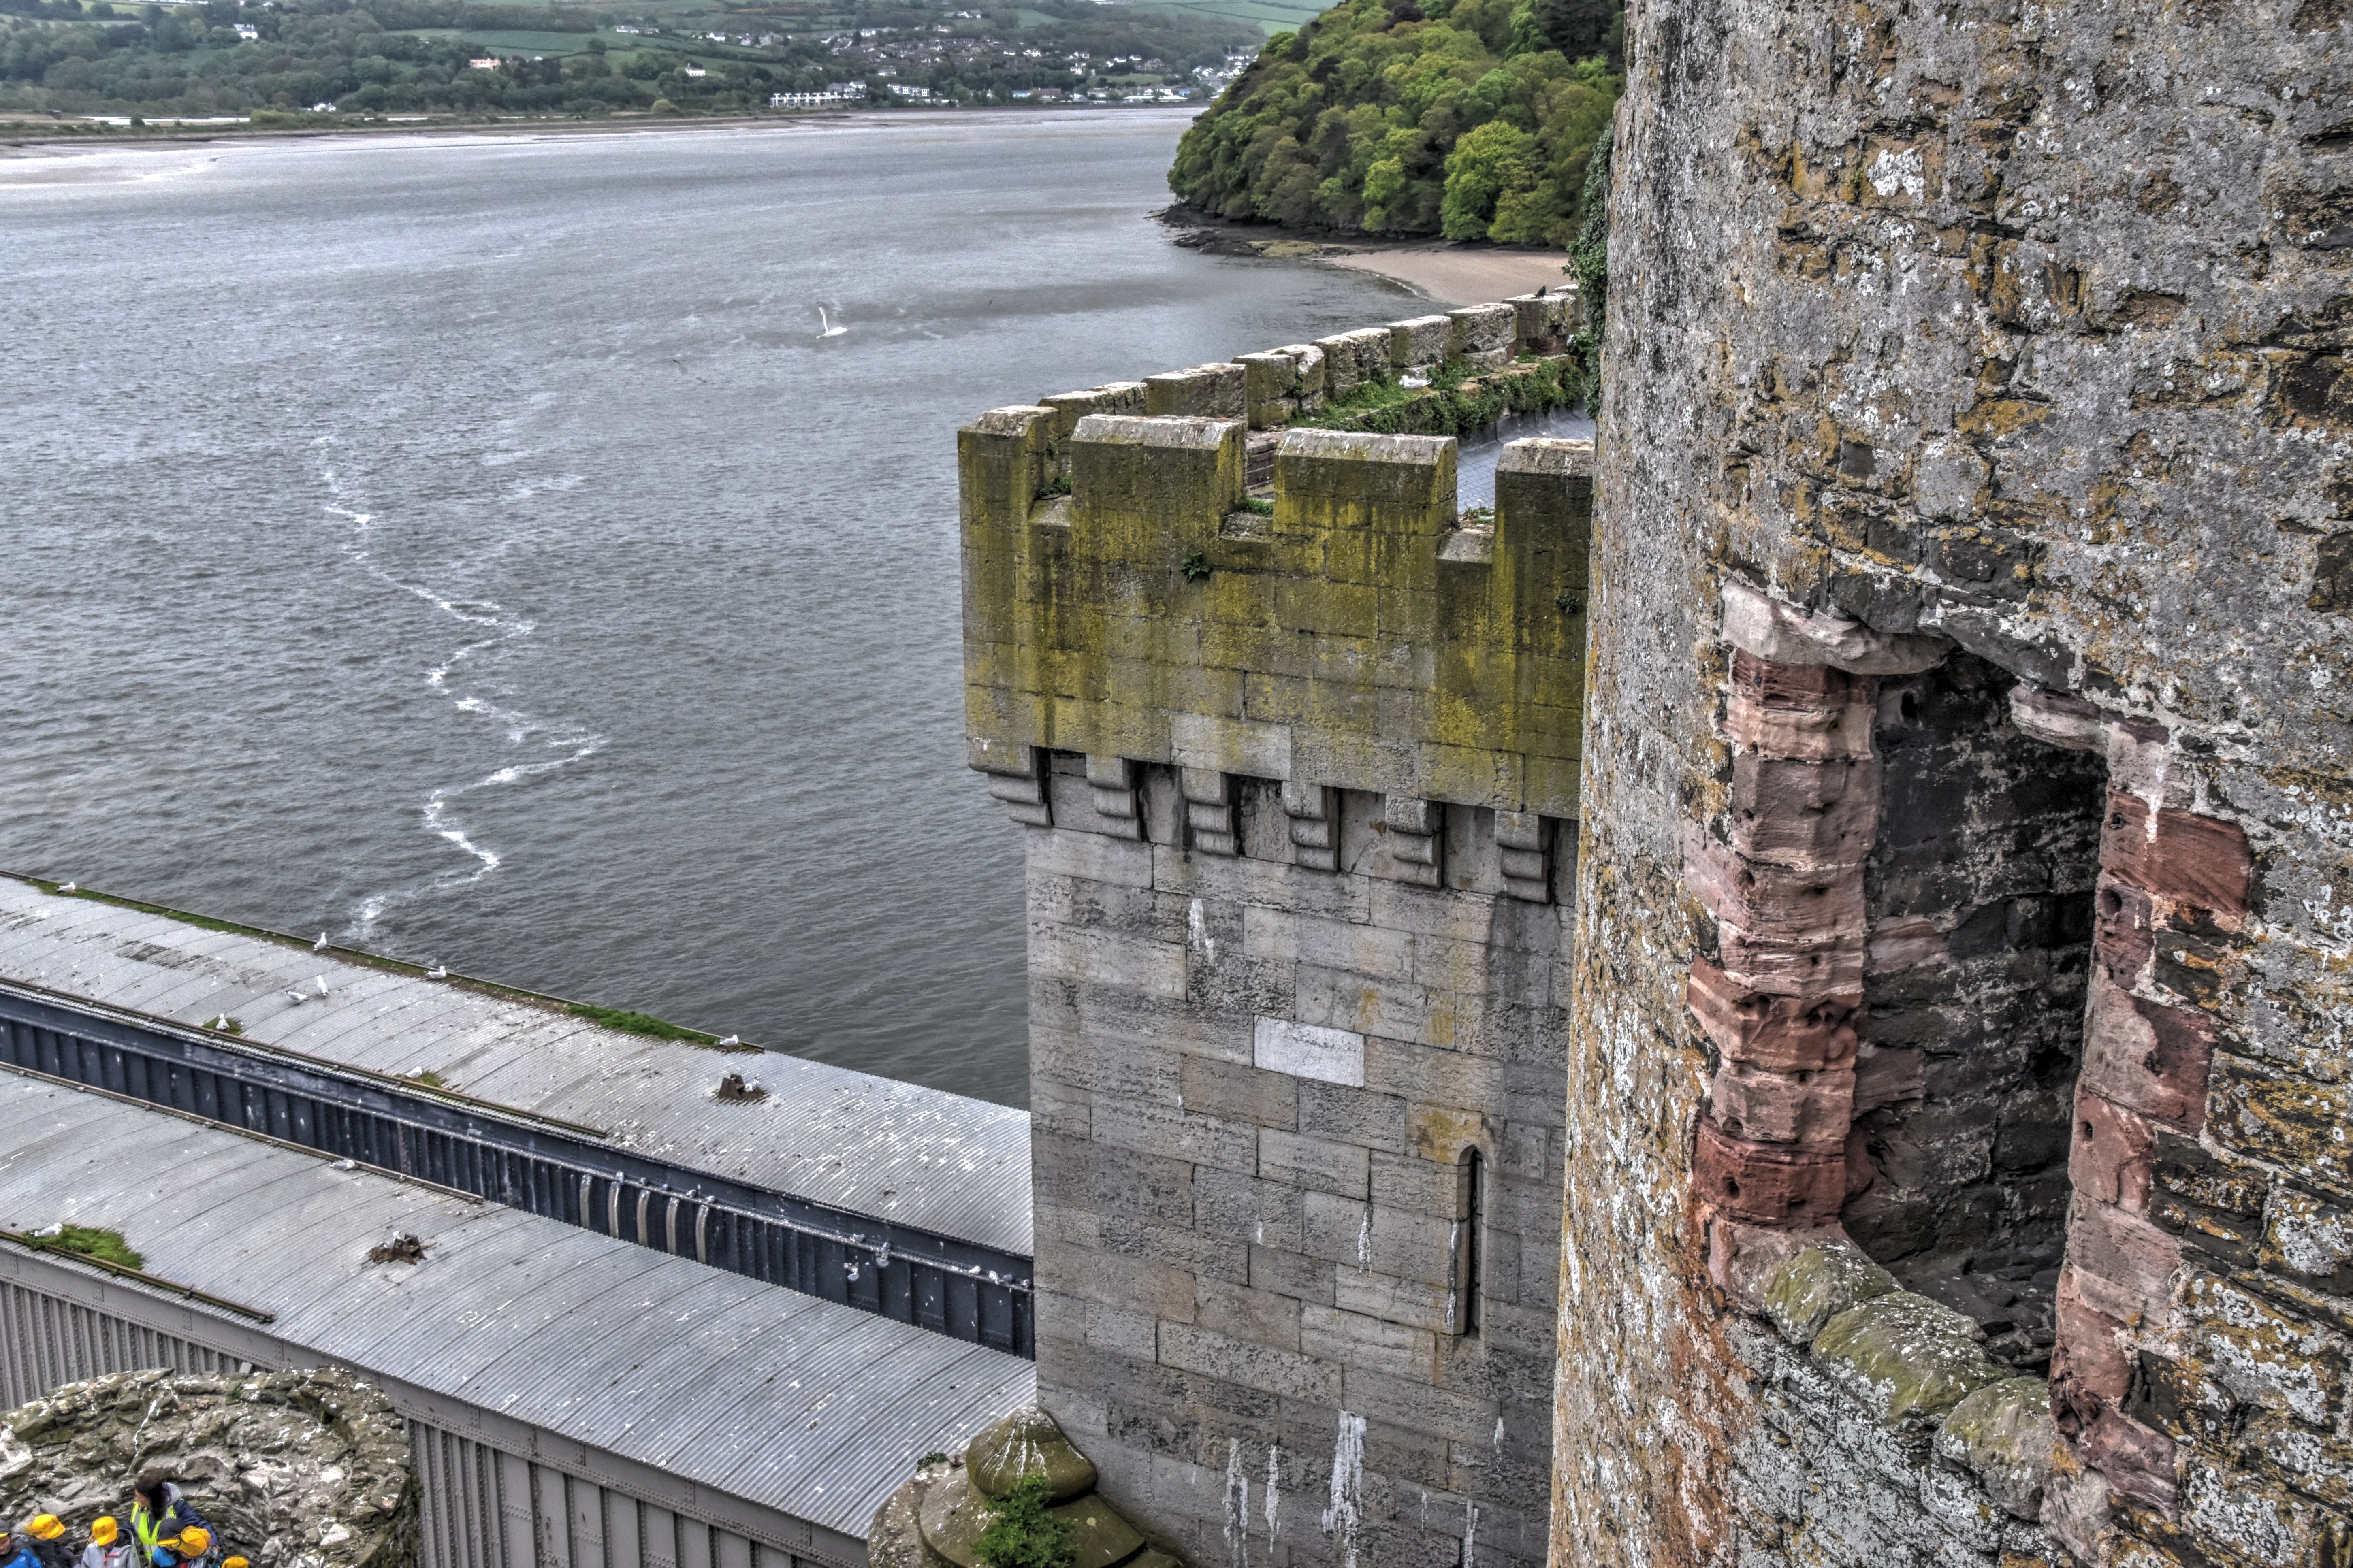
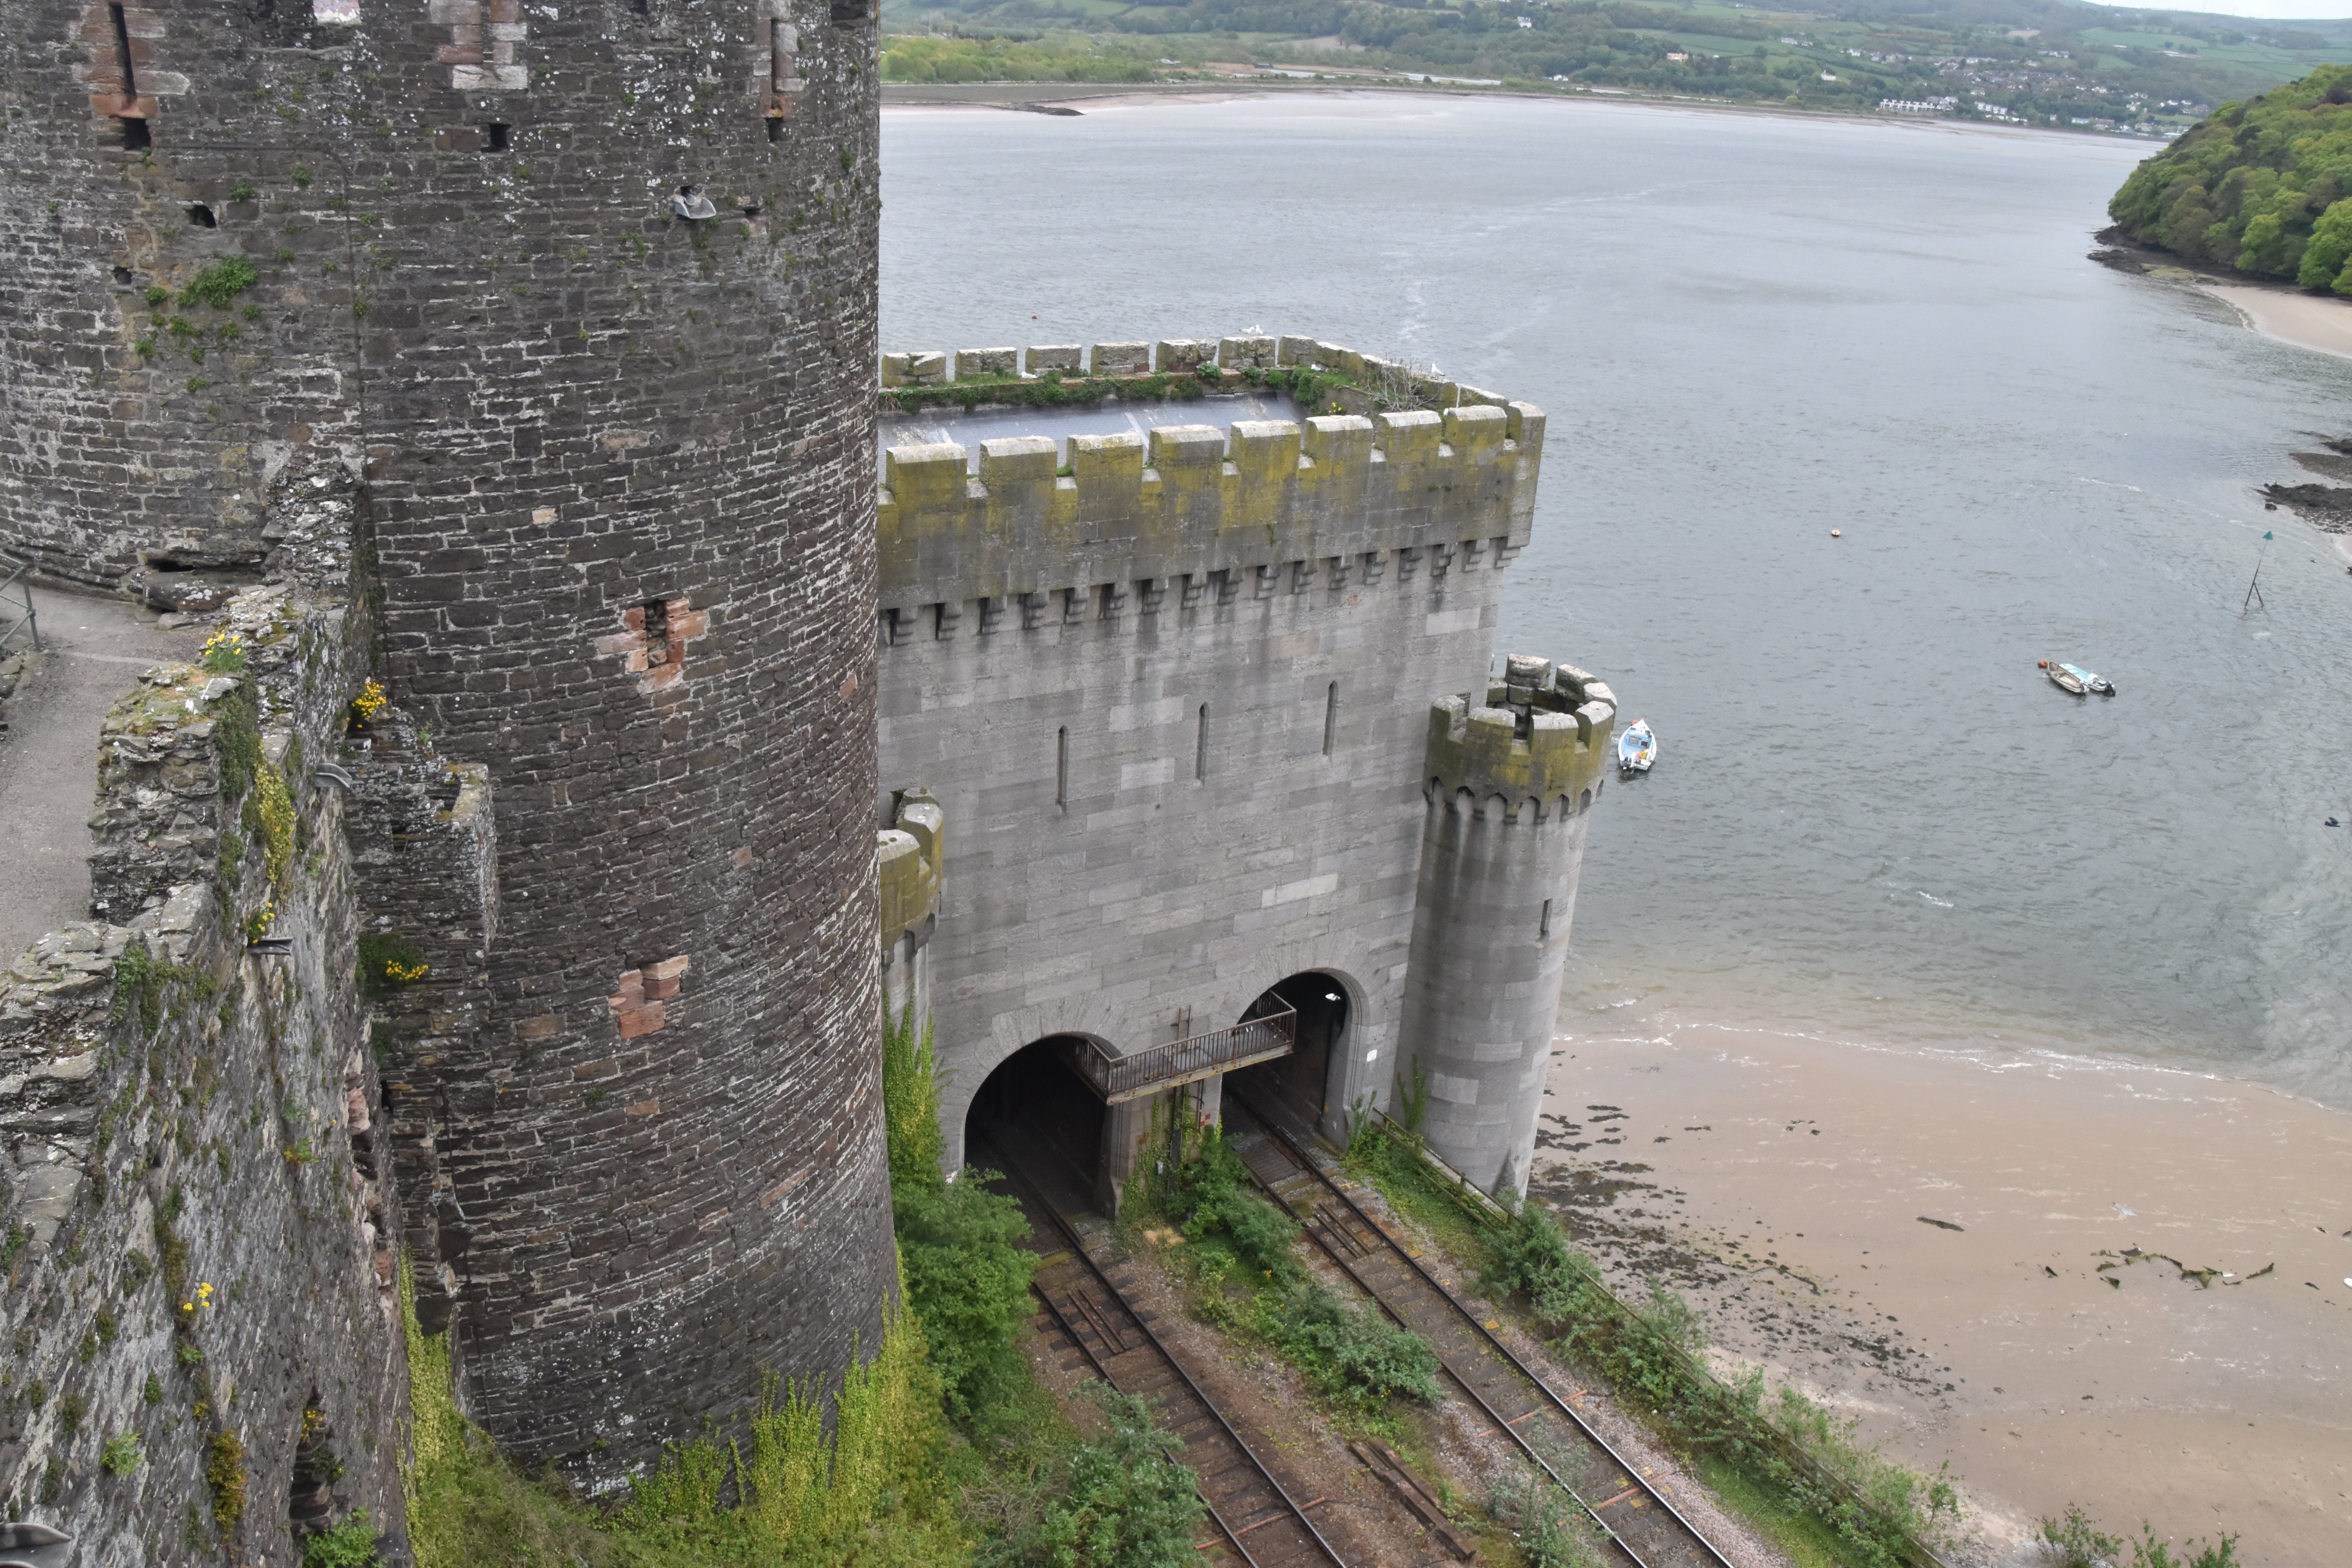
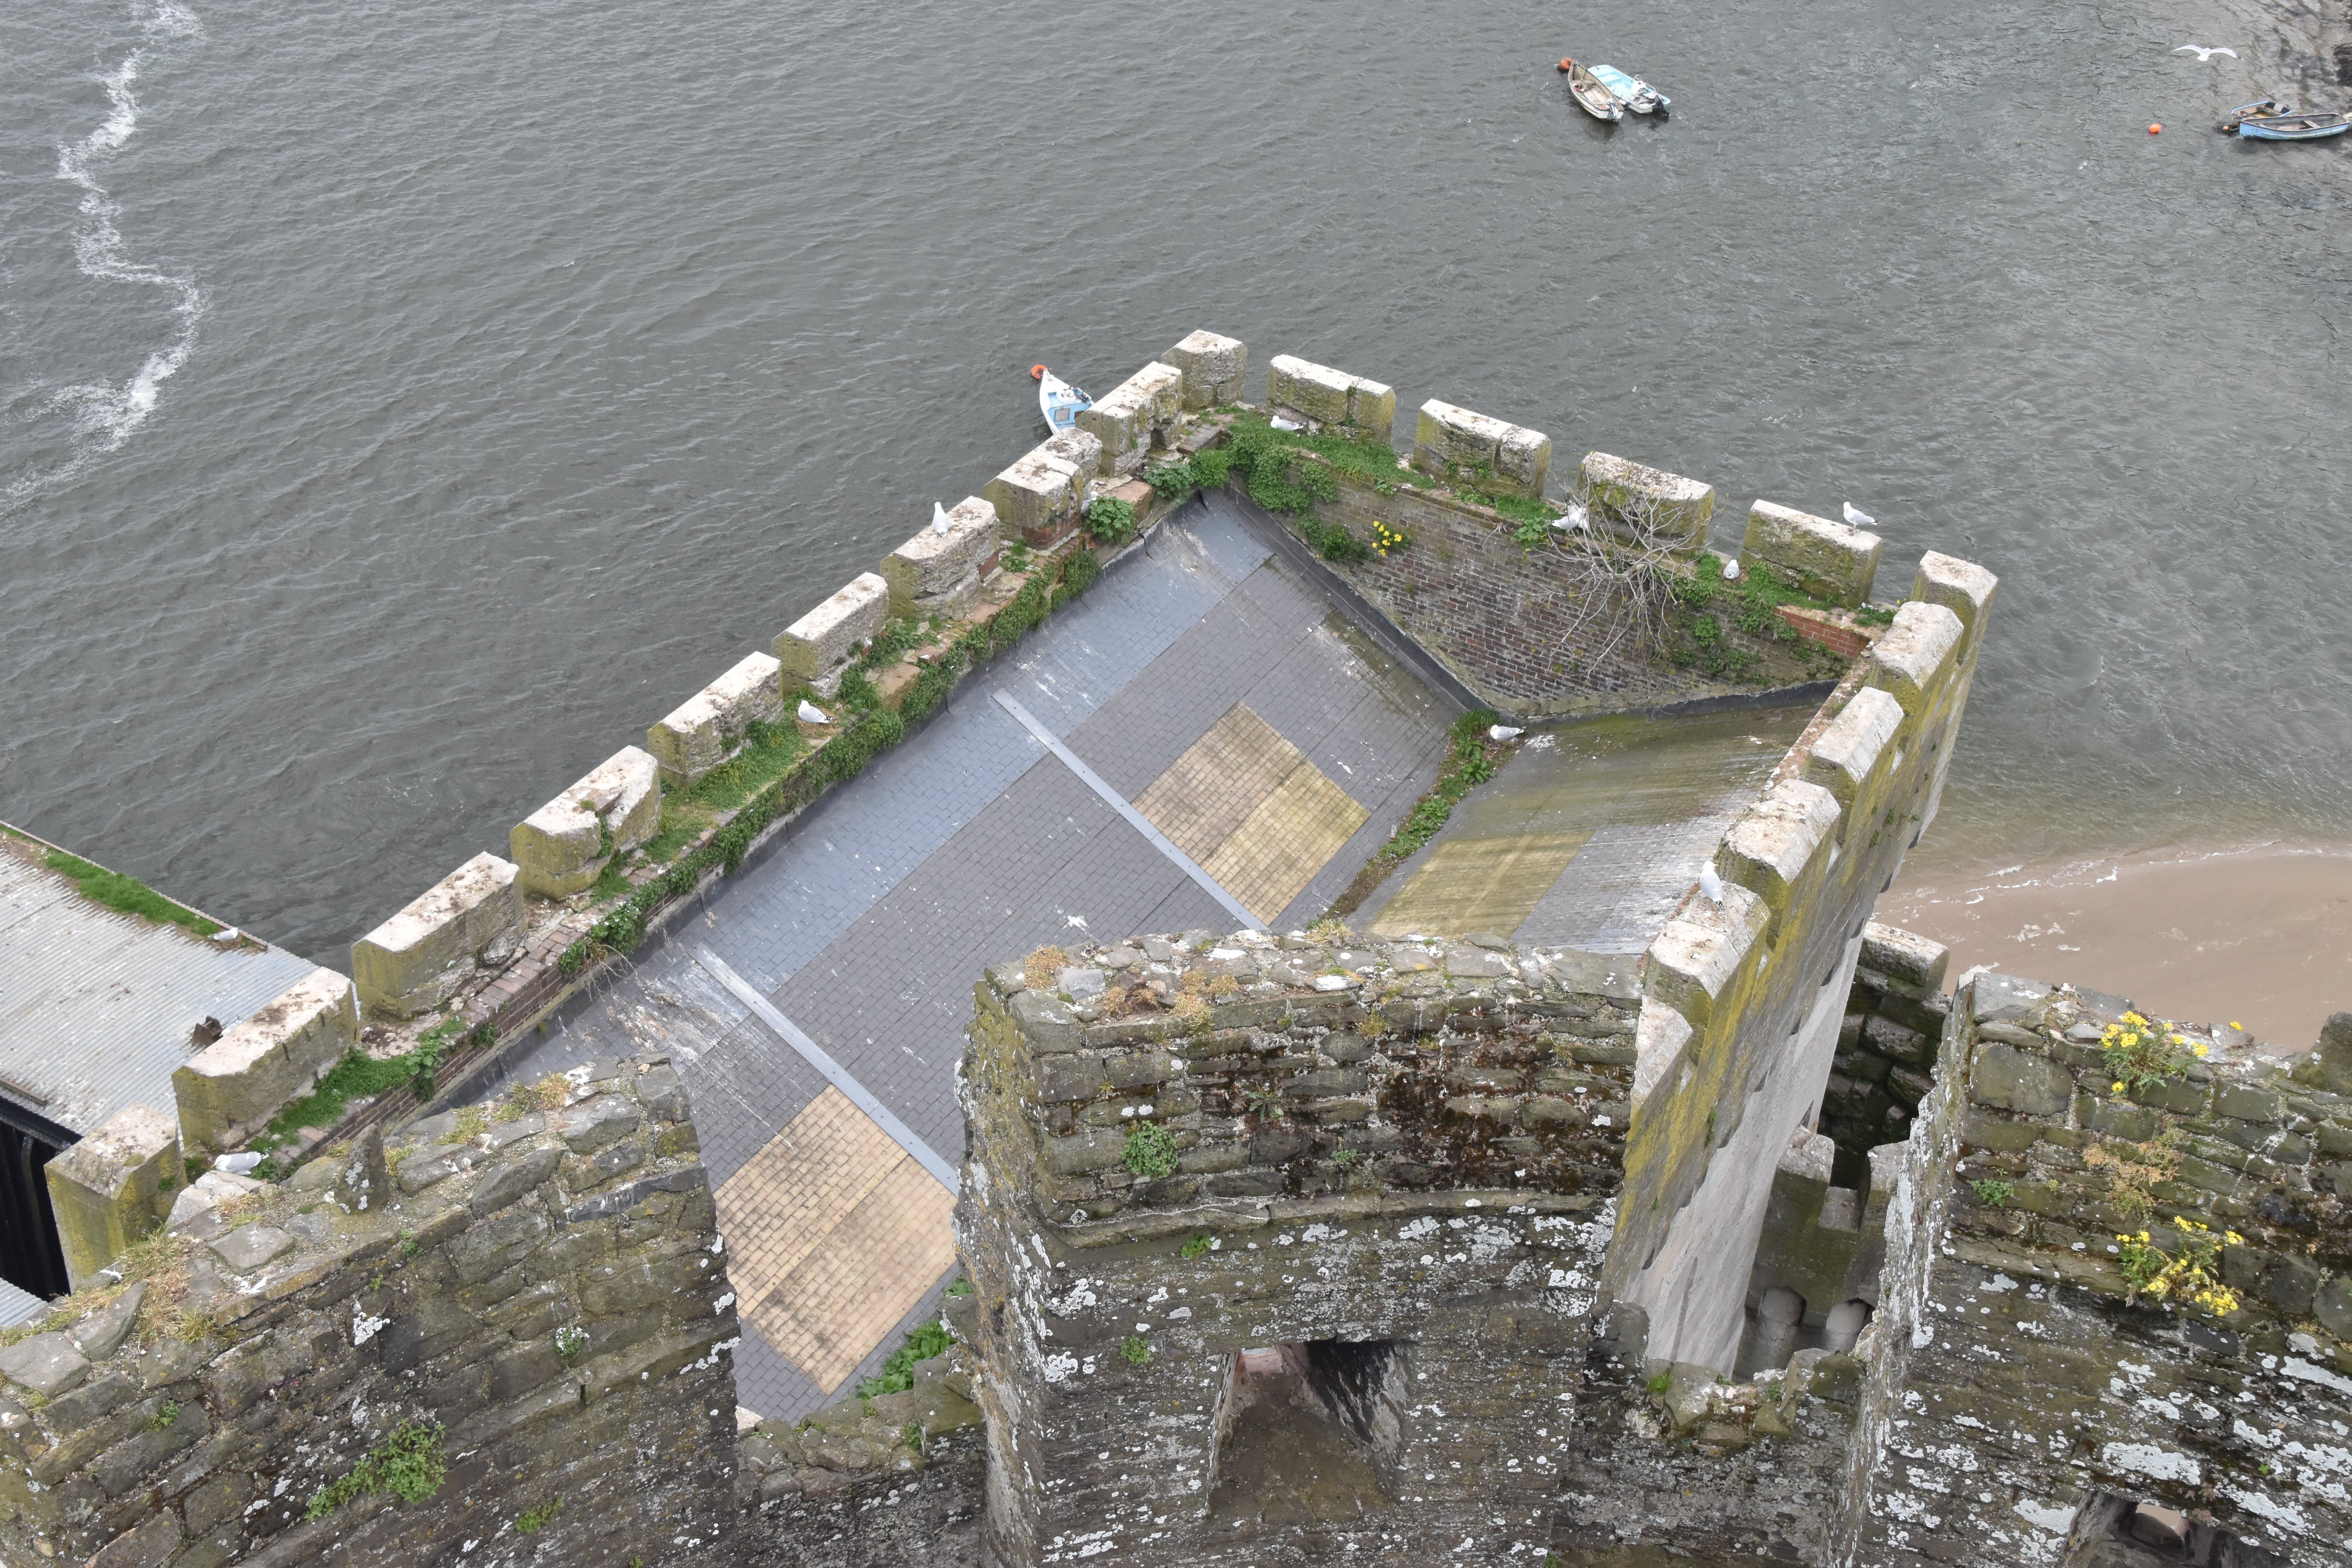
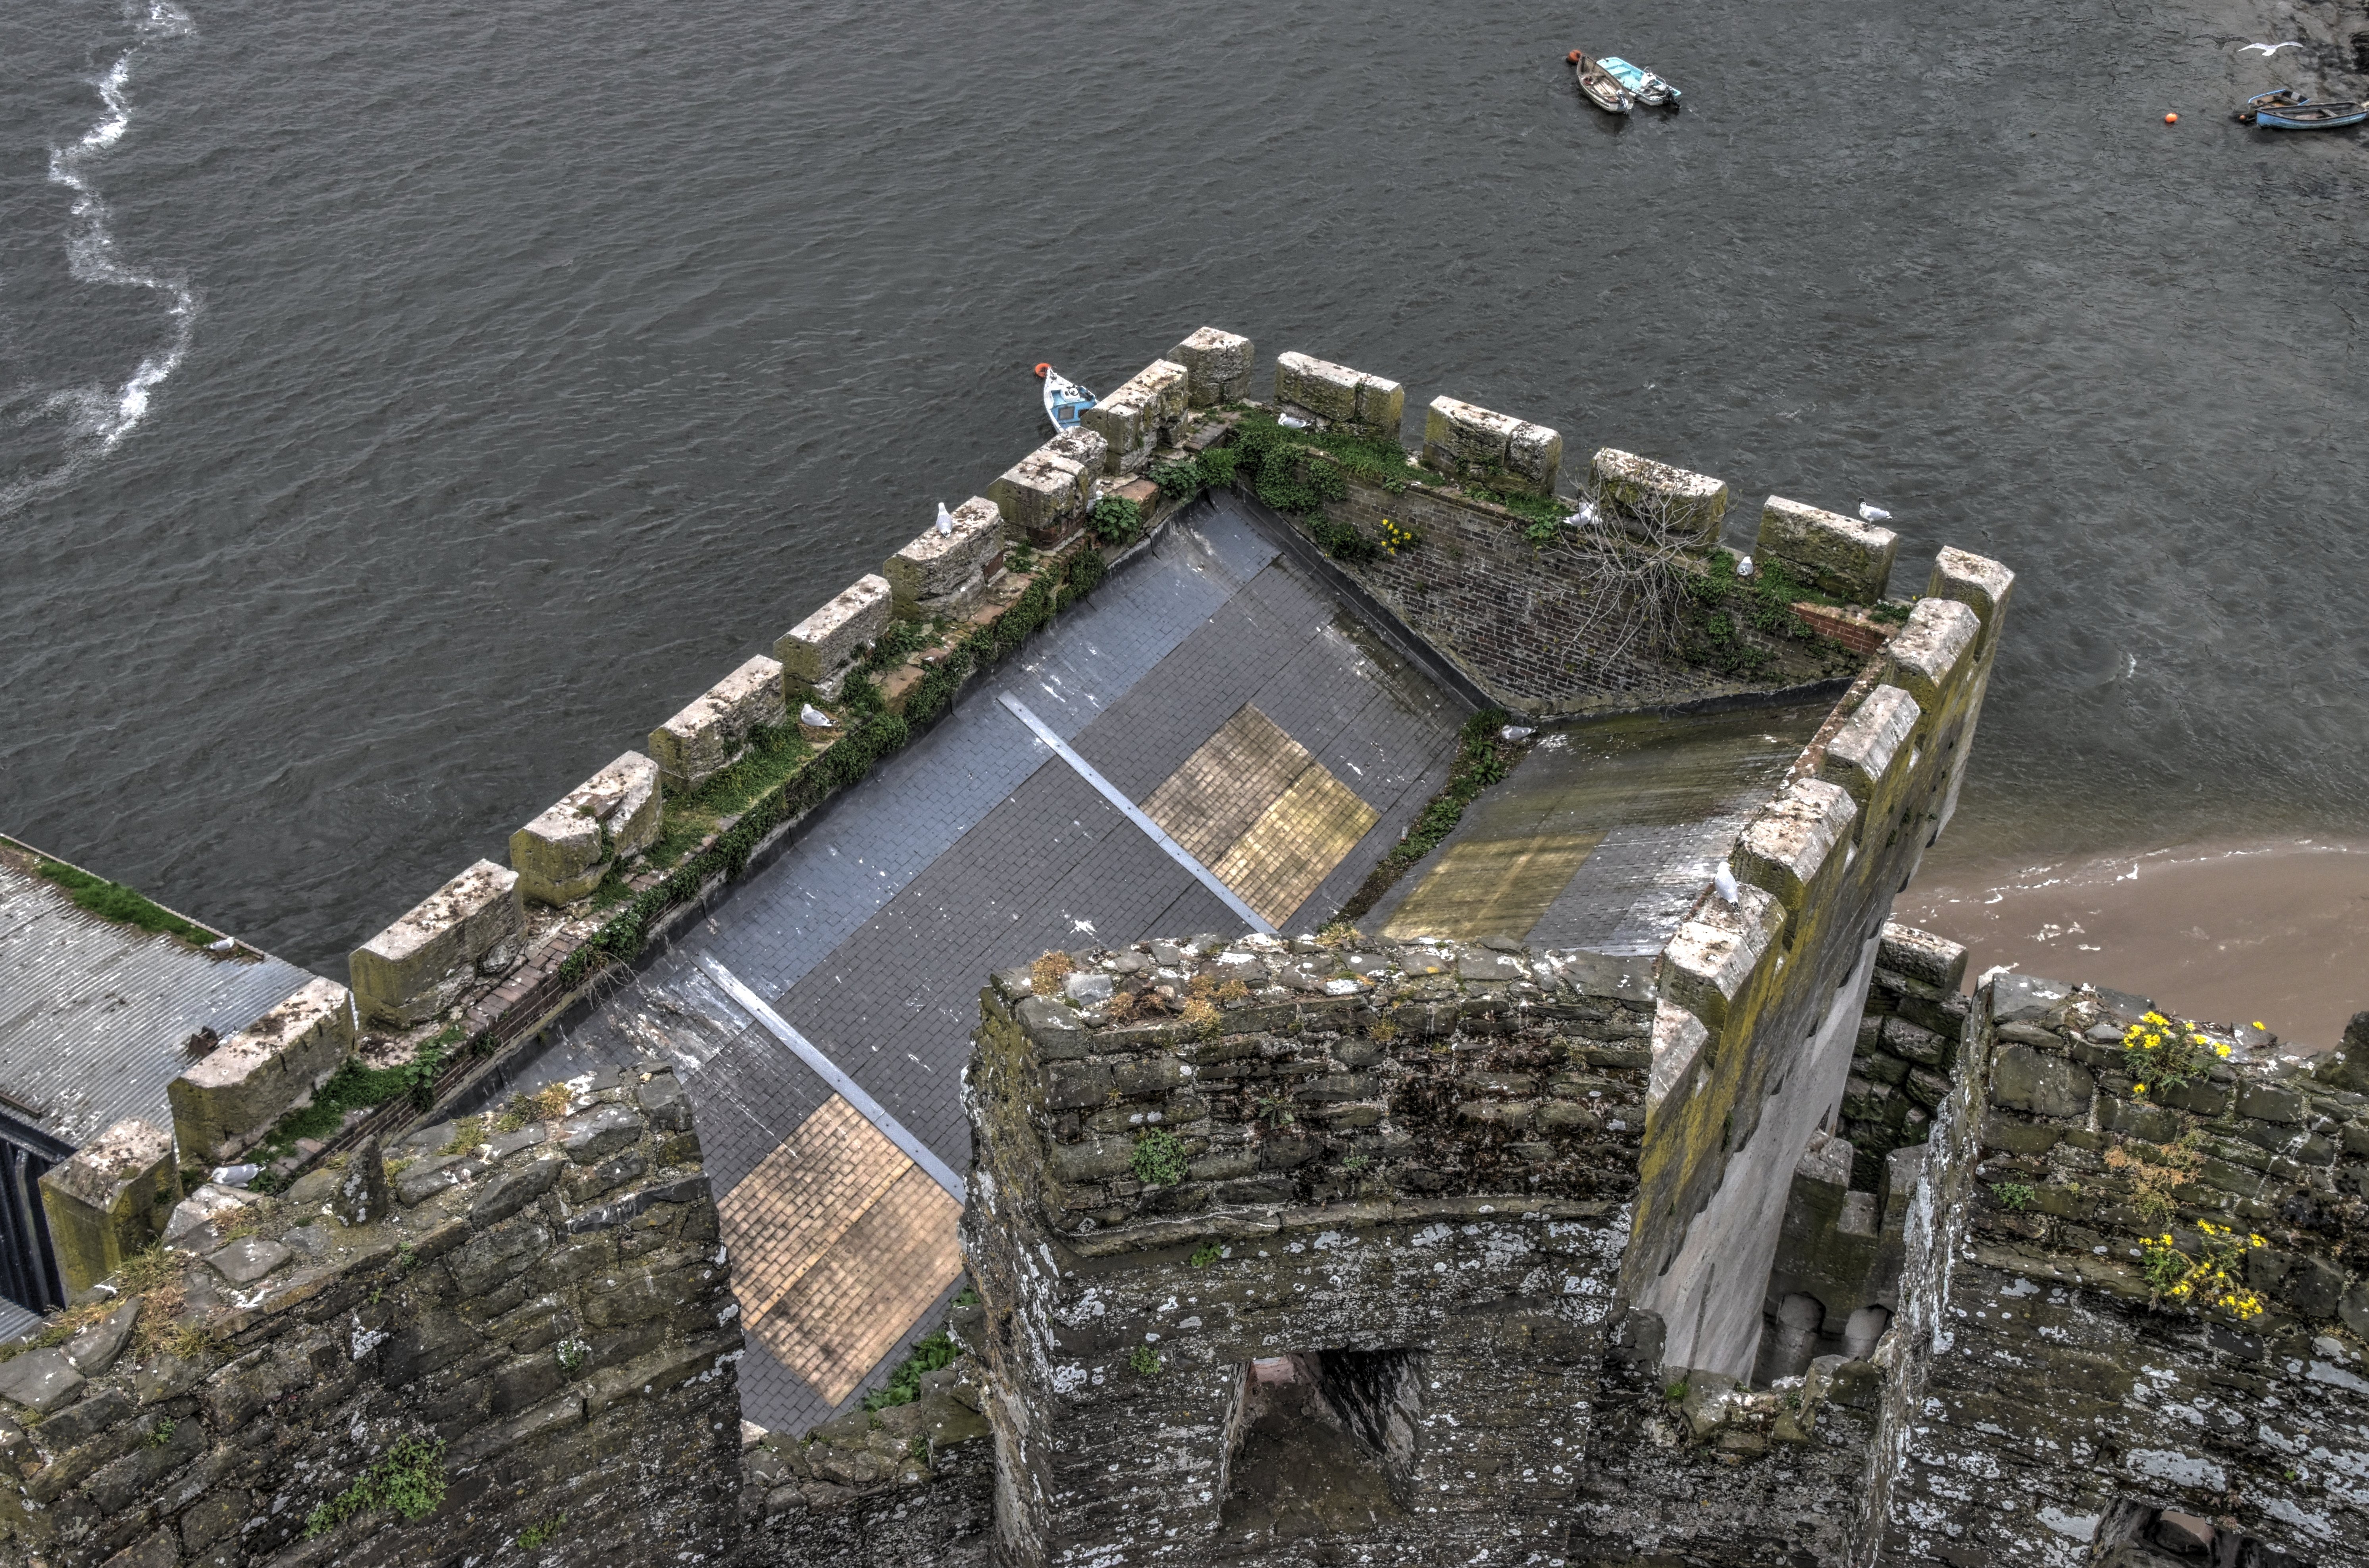
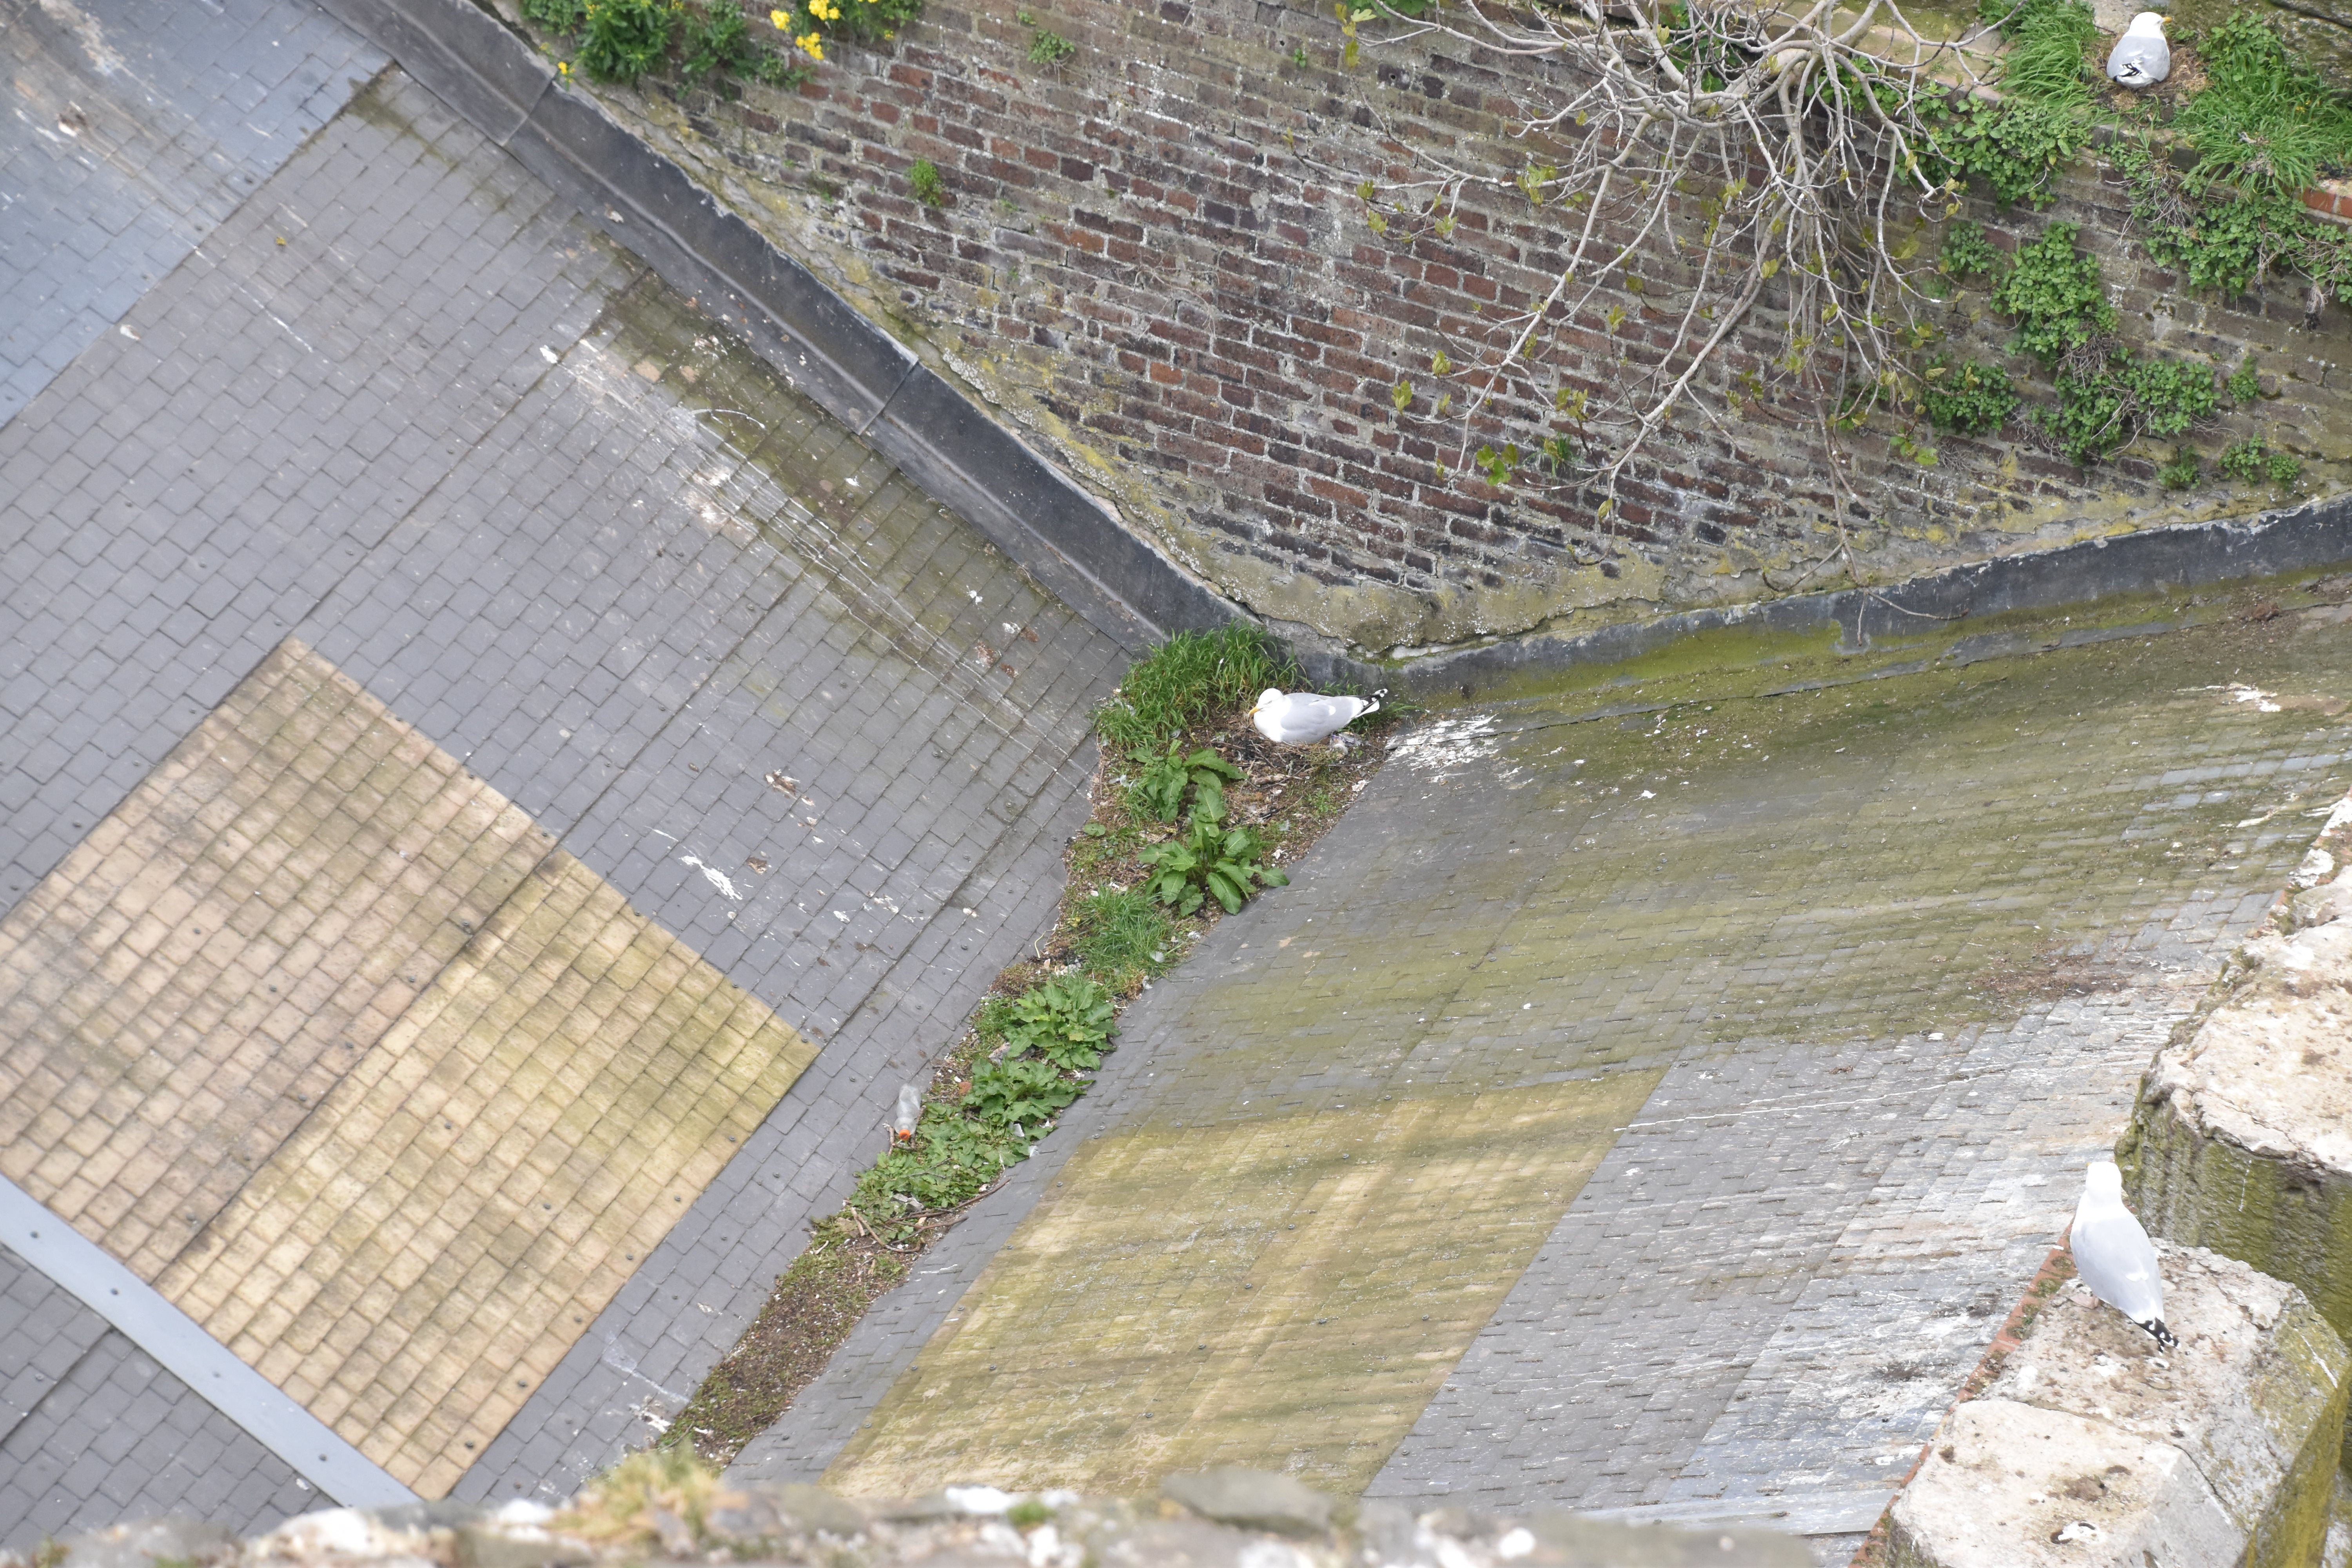
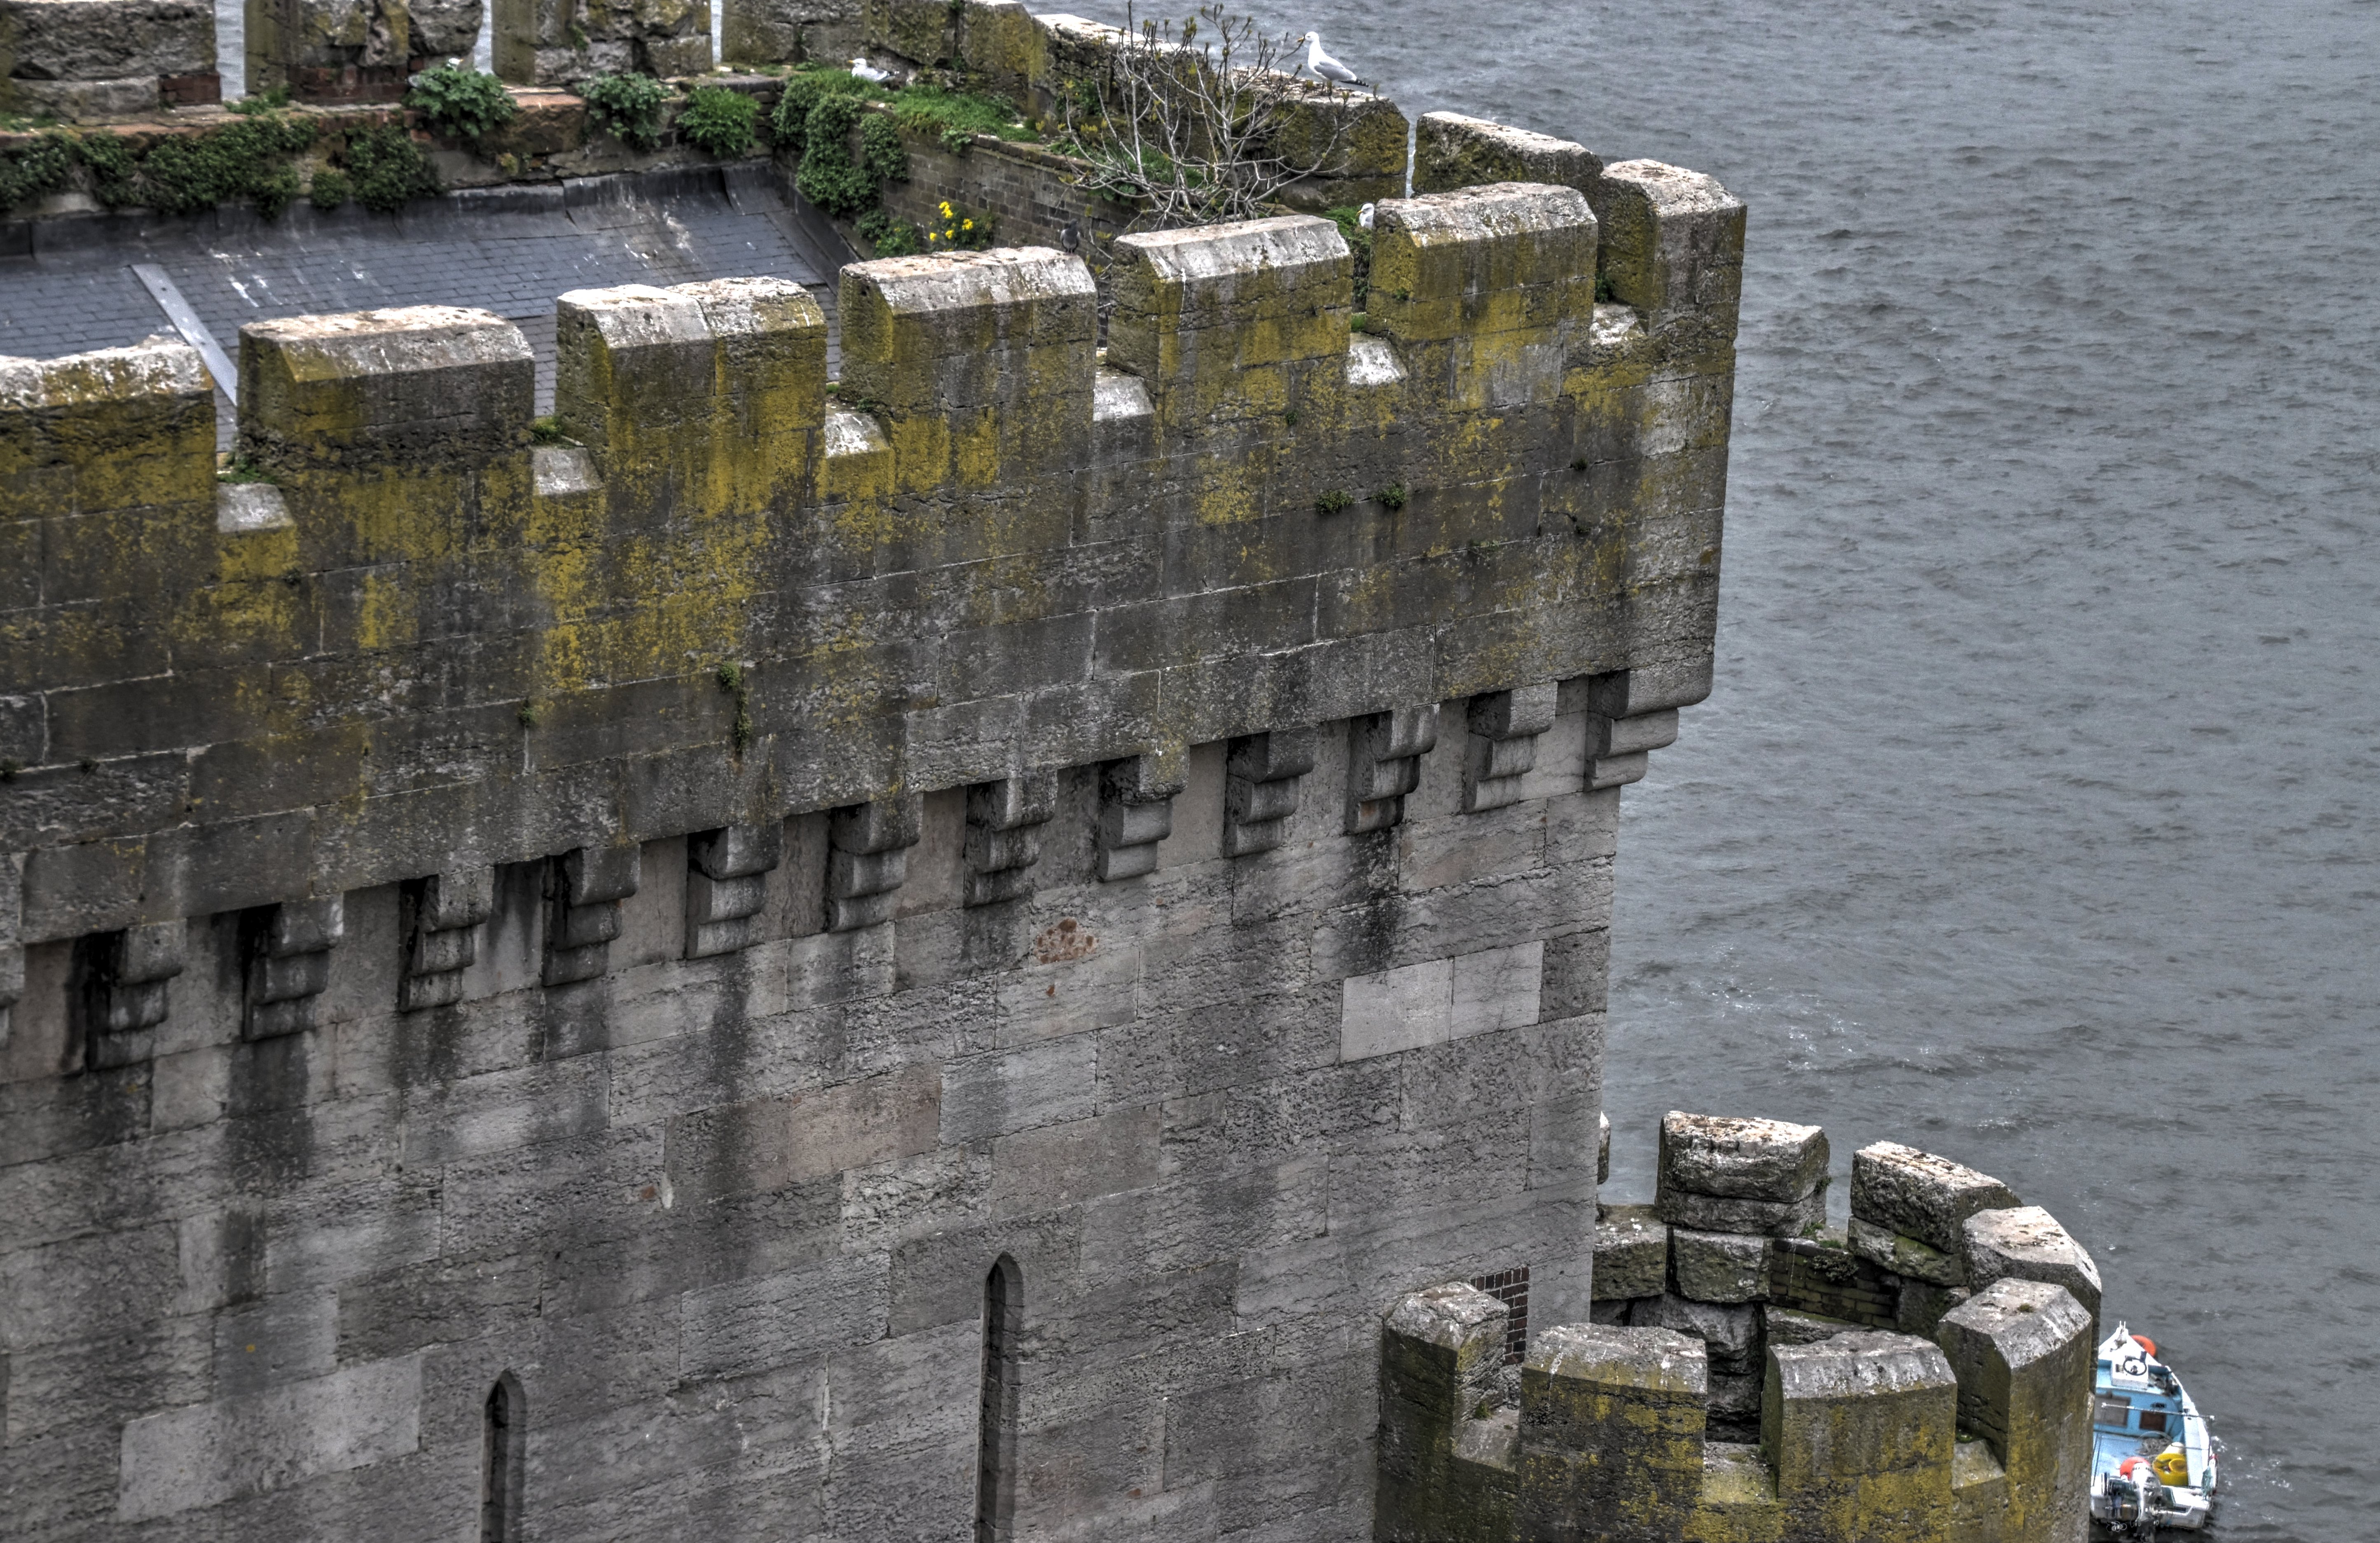
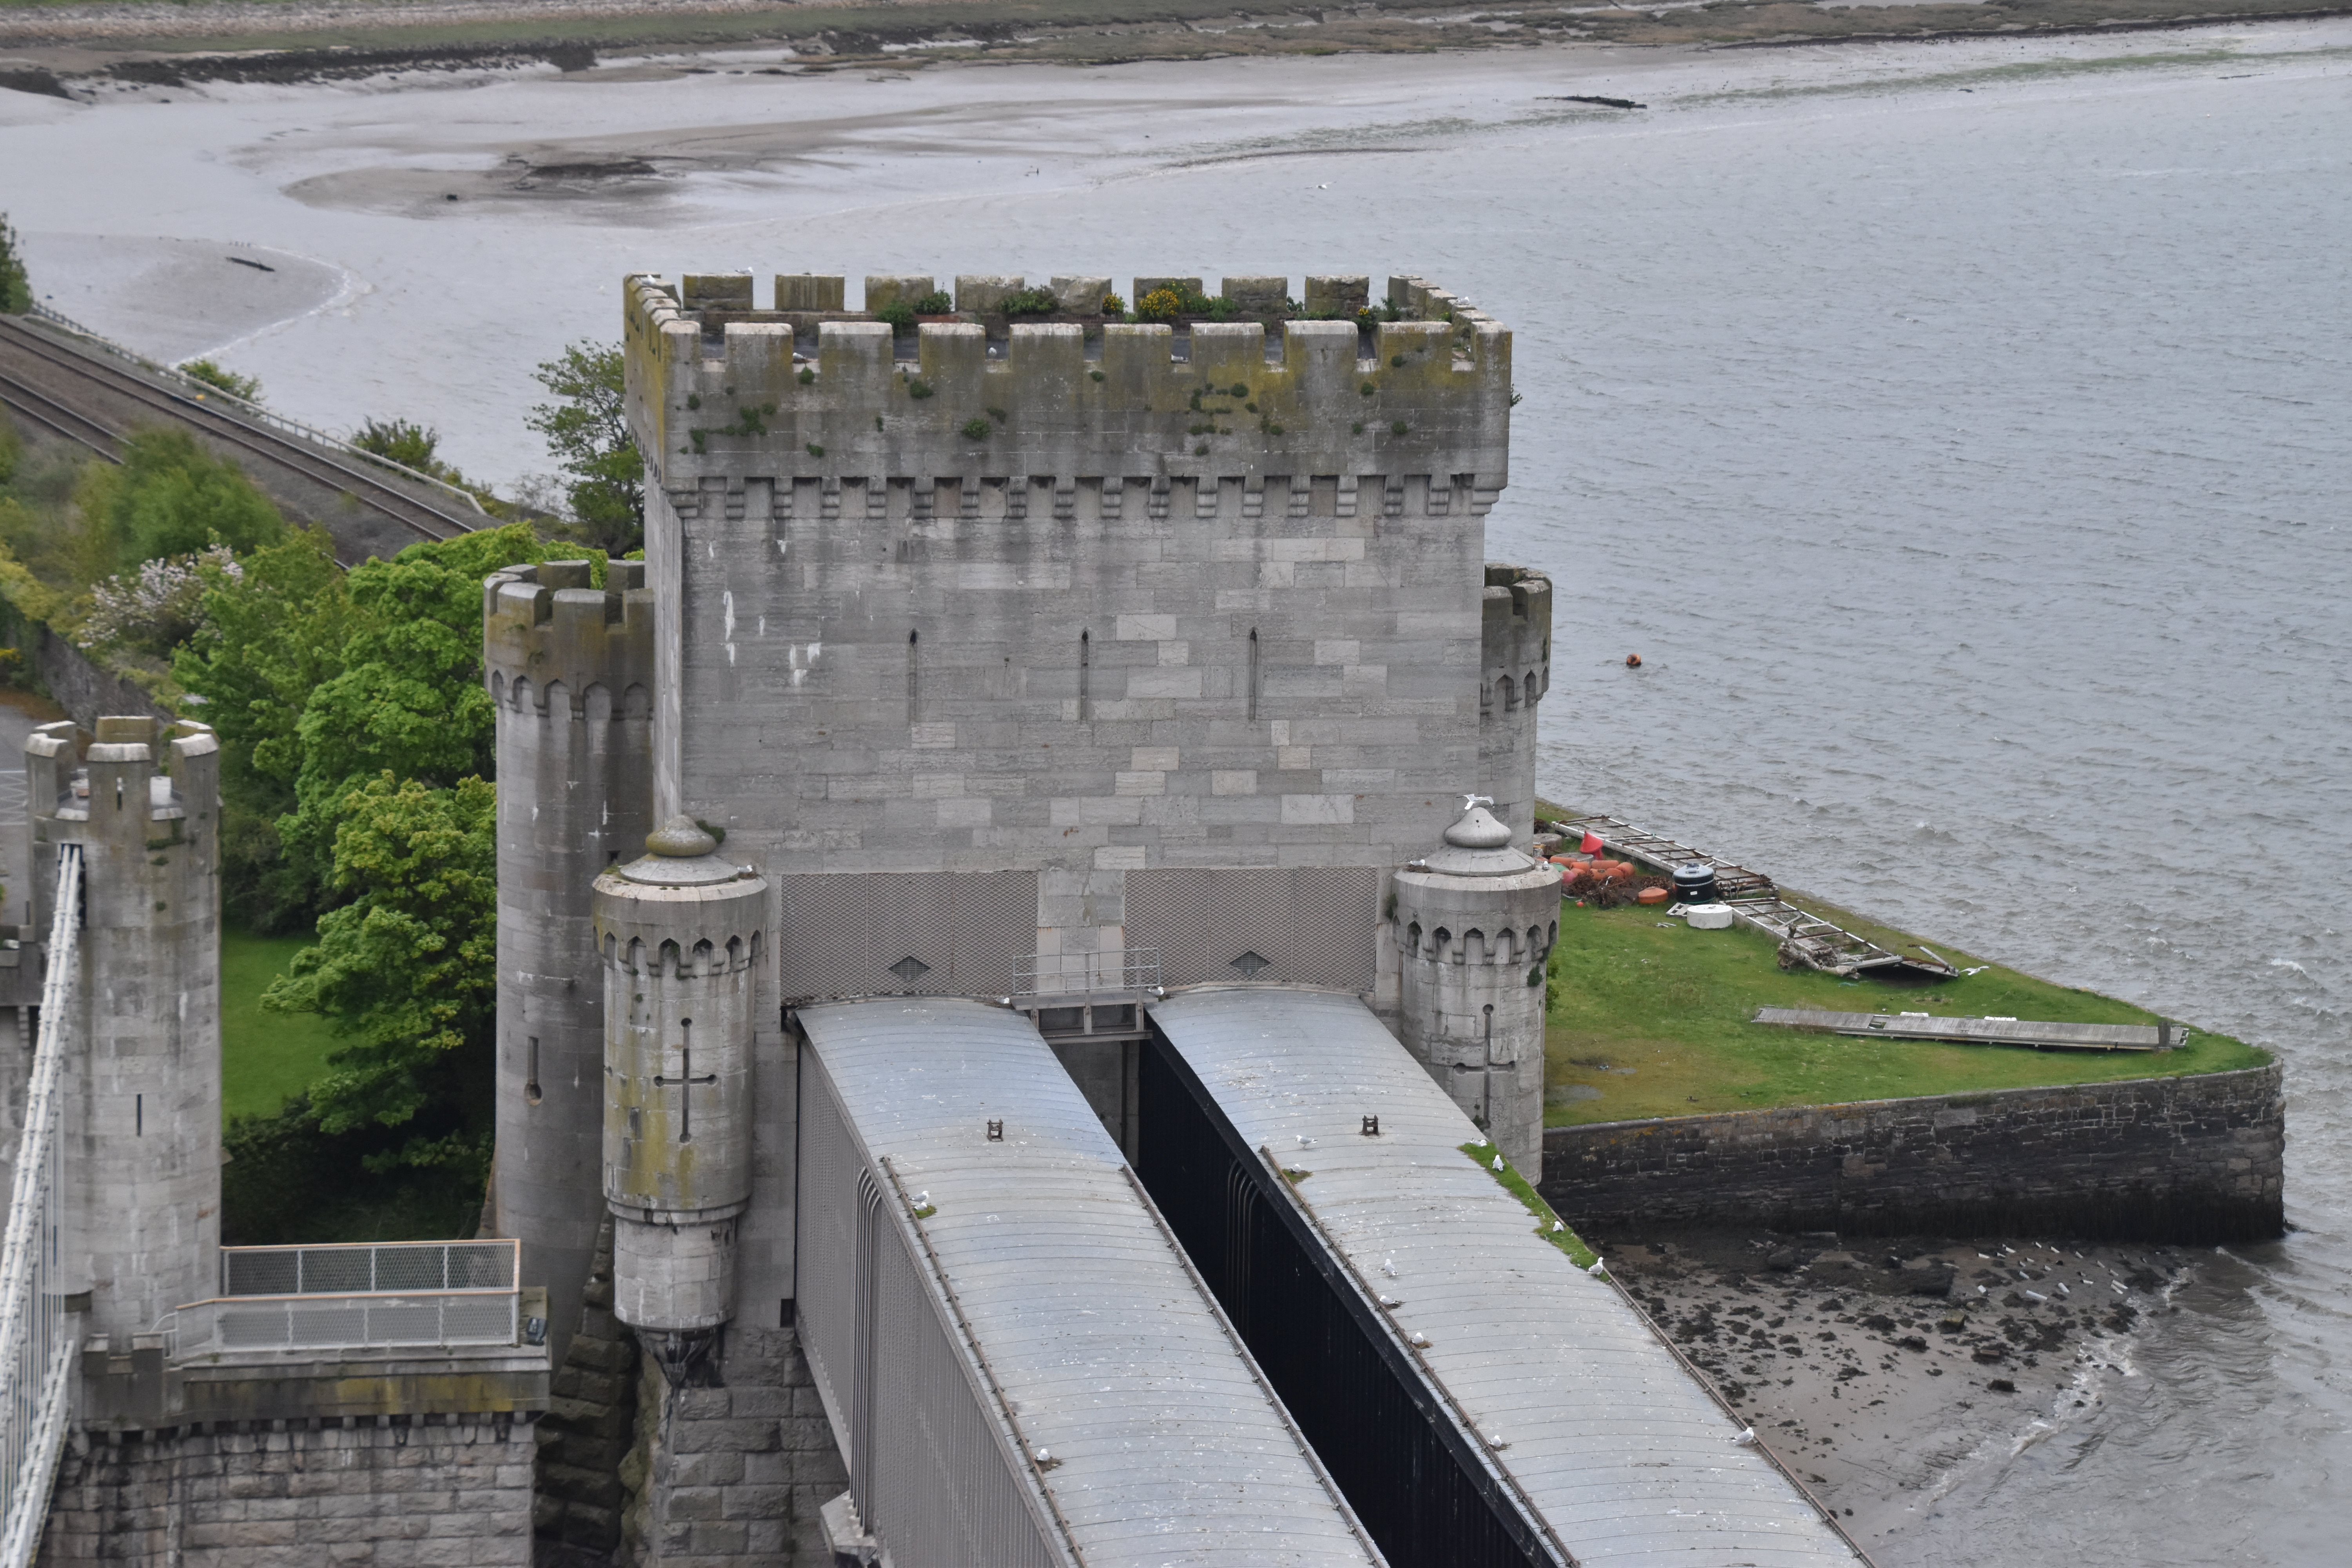
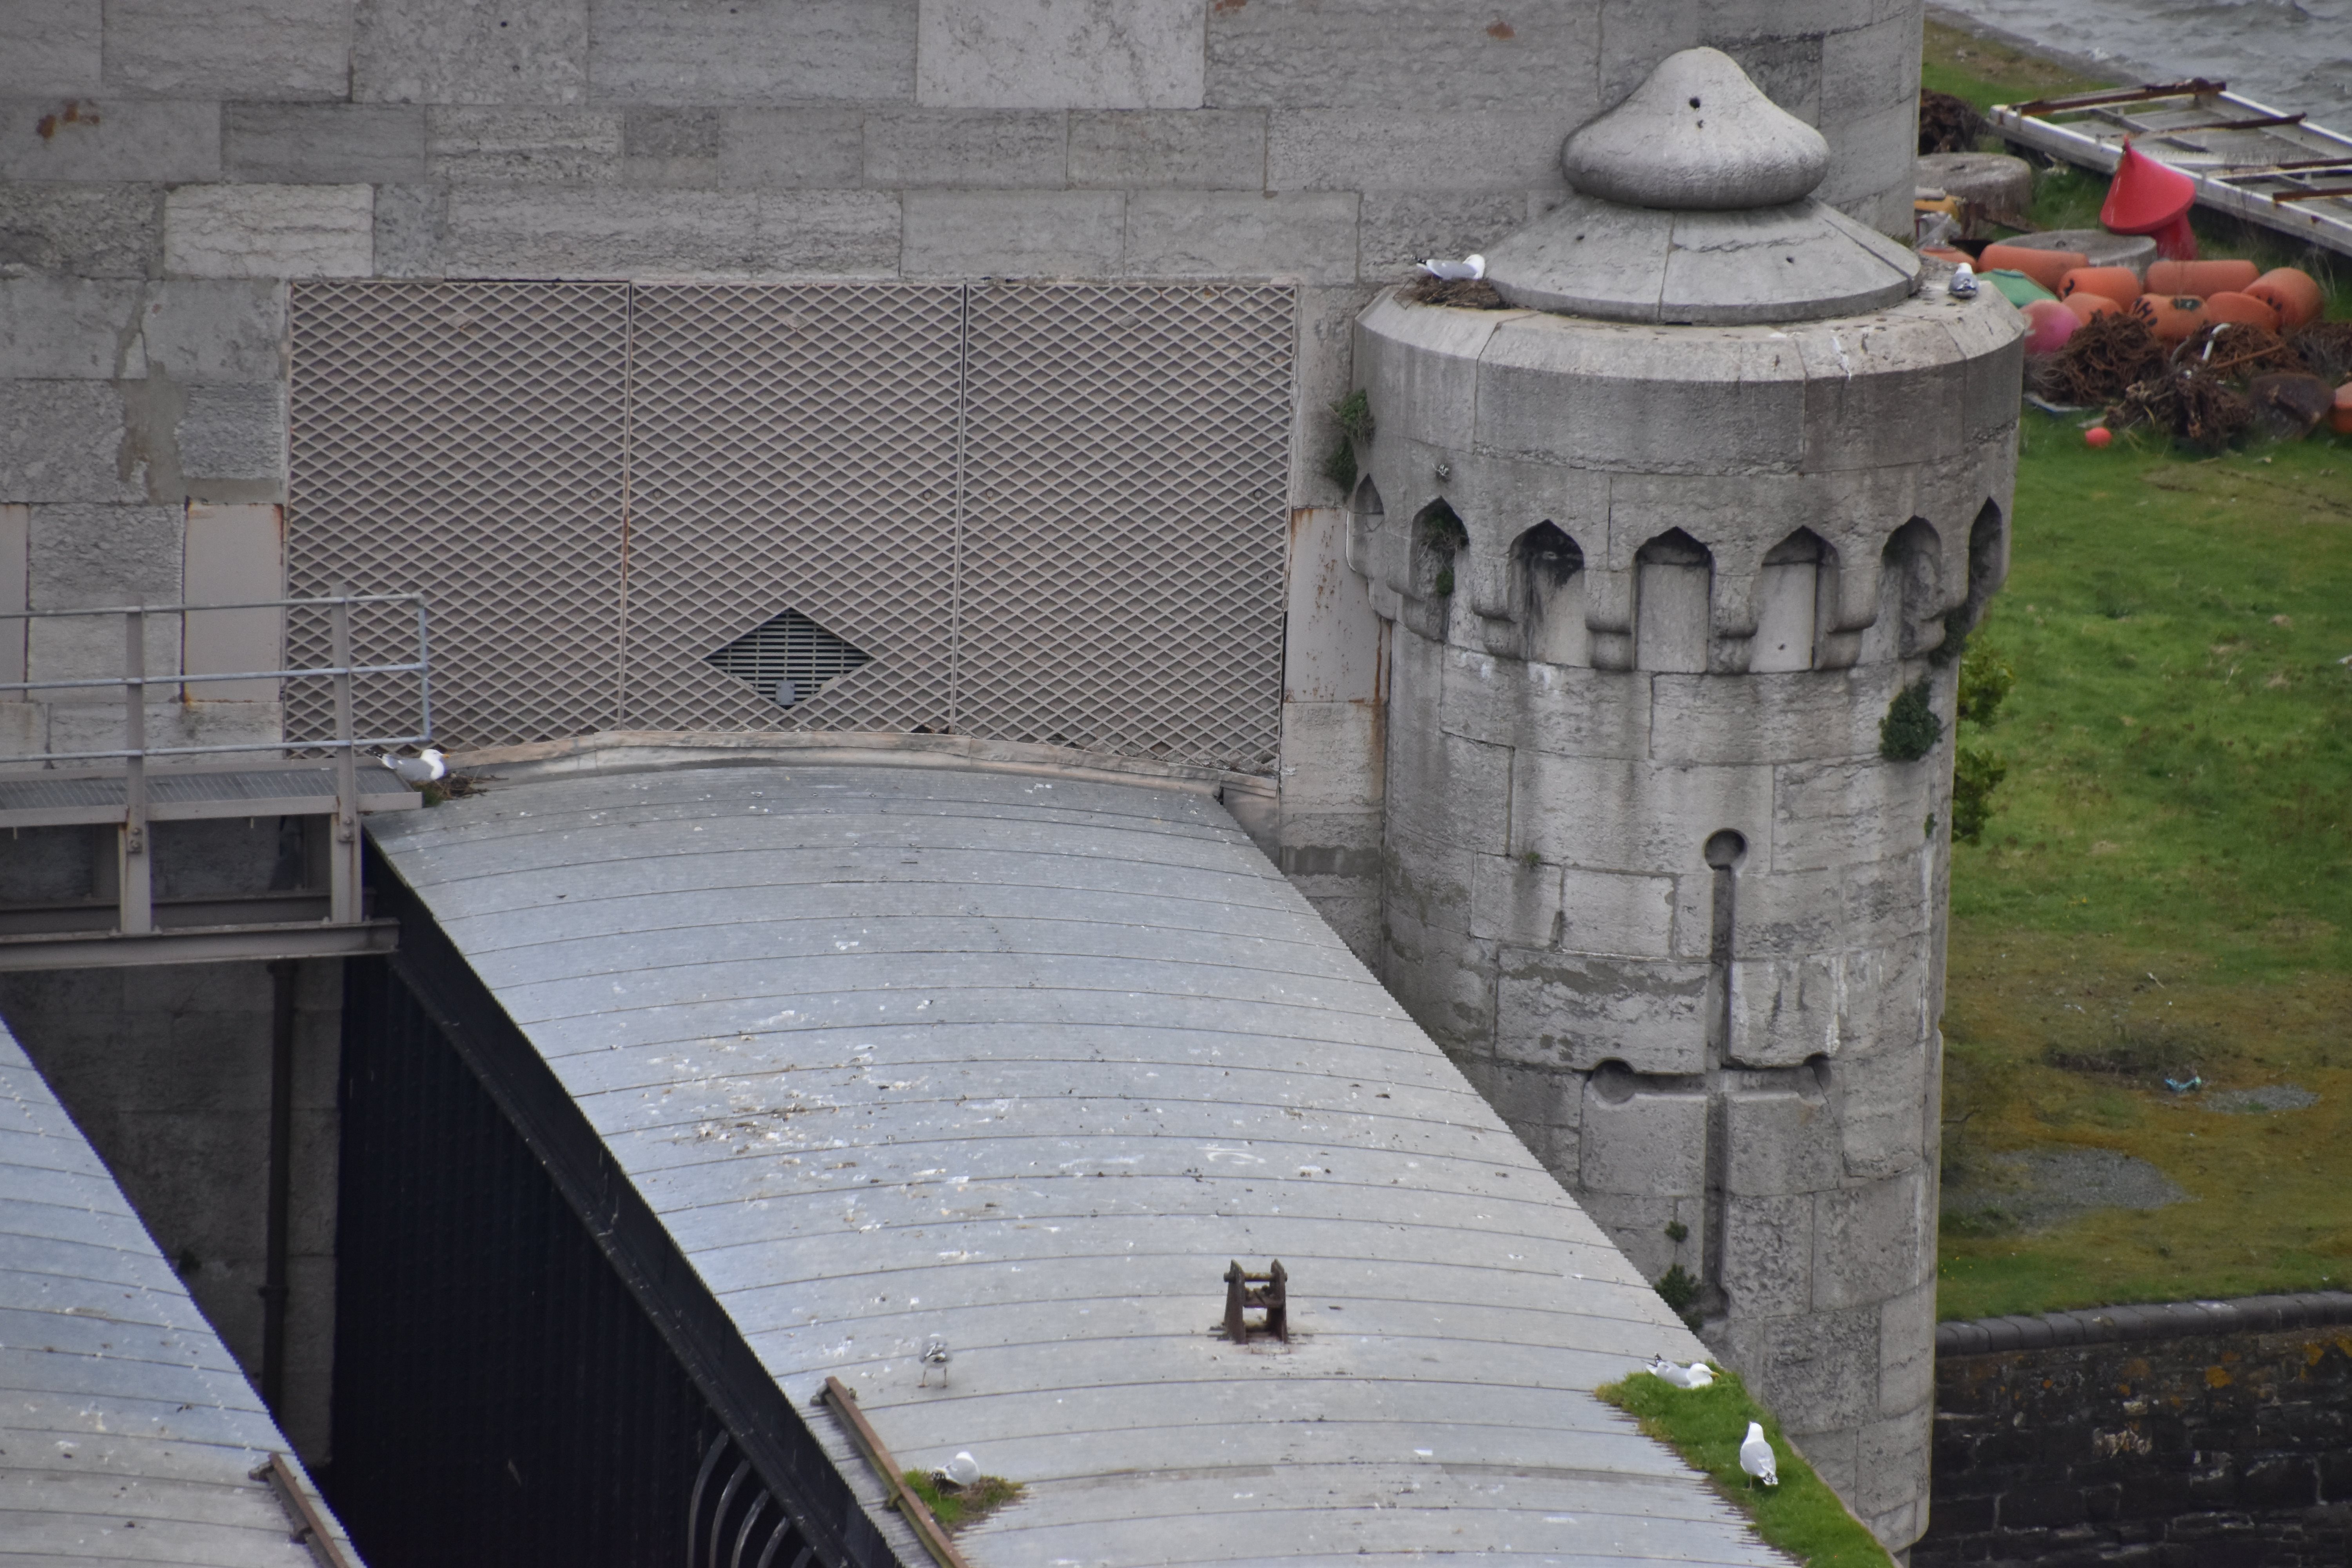
Looking down on west portal tower from Castle Conwy.
![]()


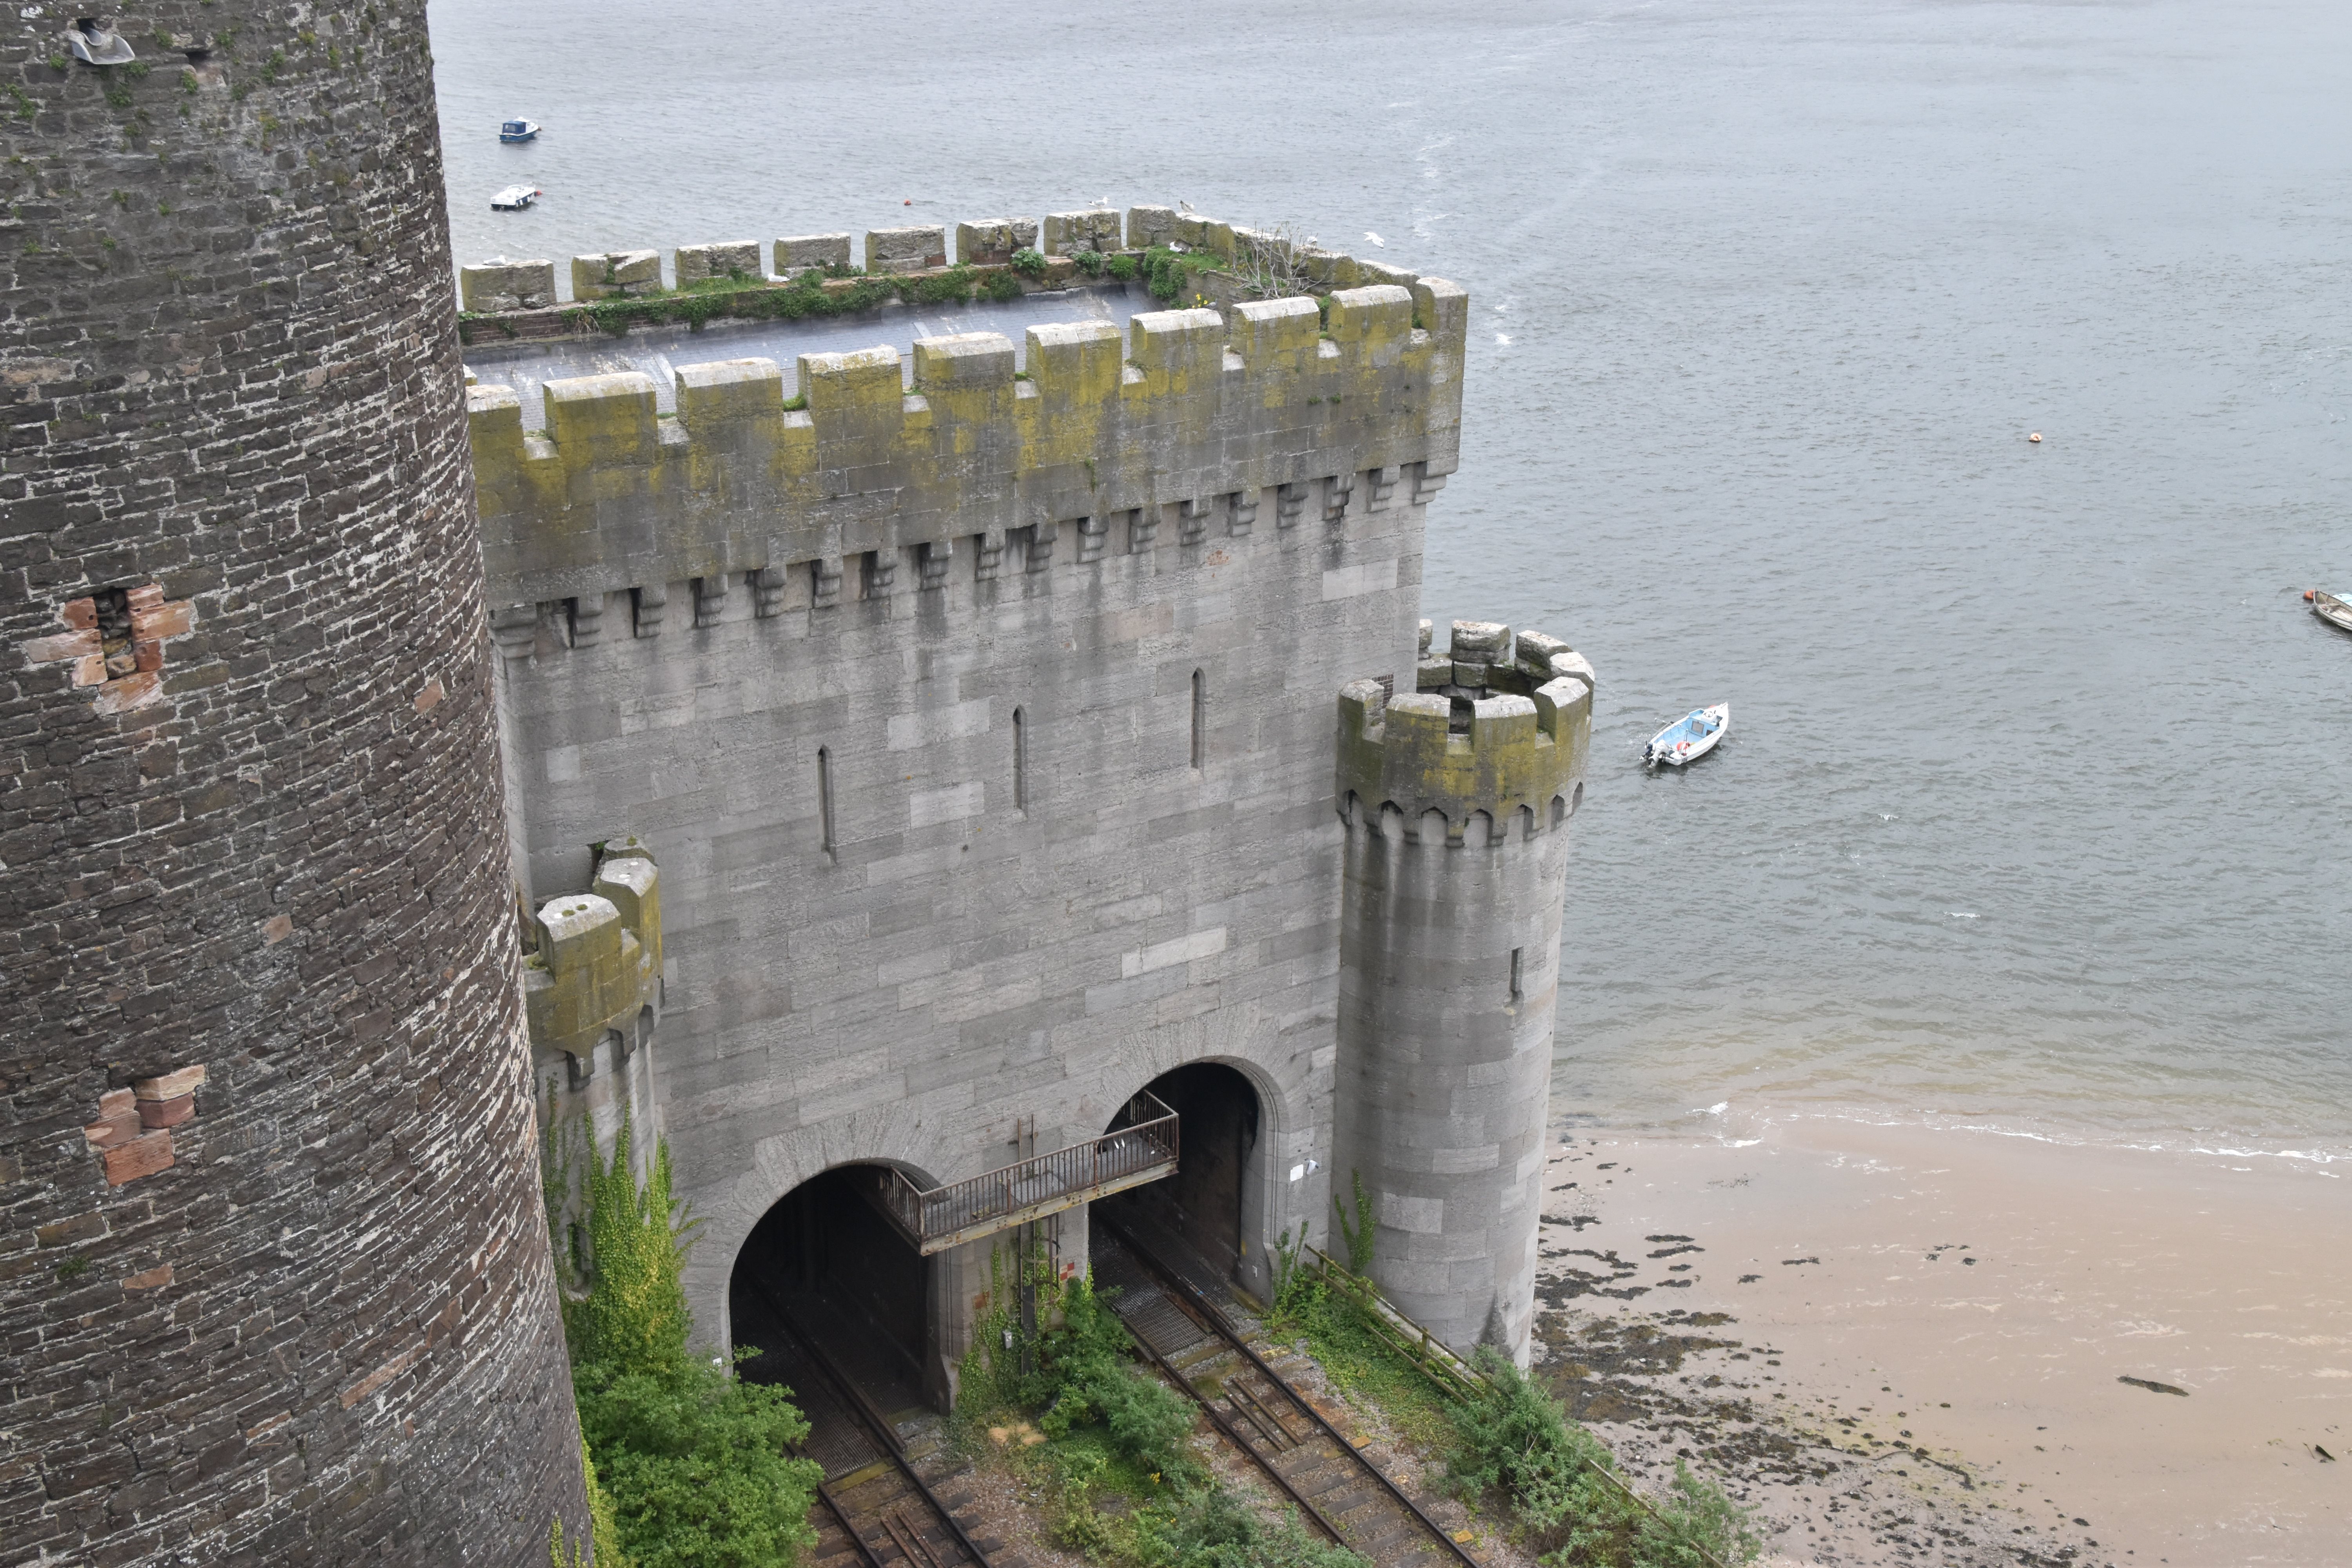
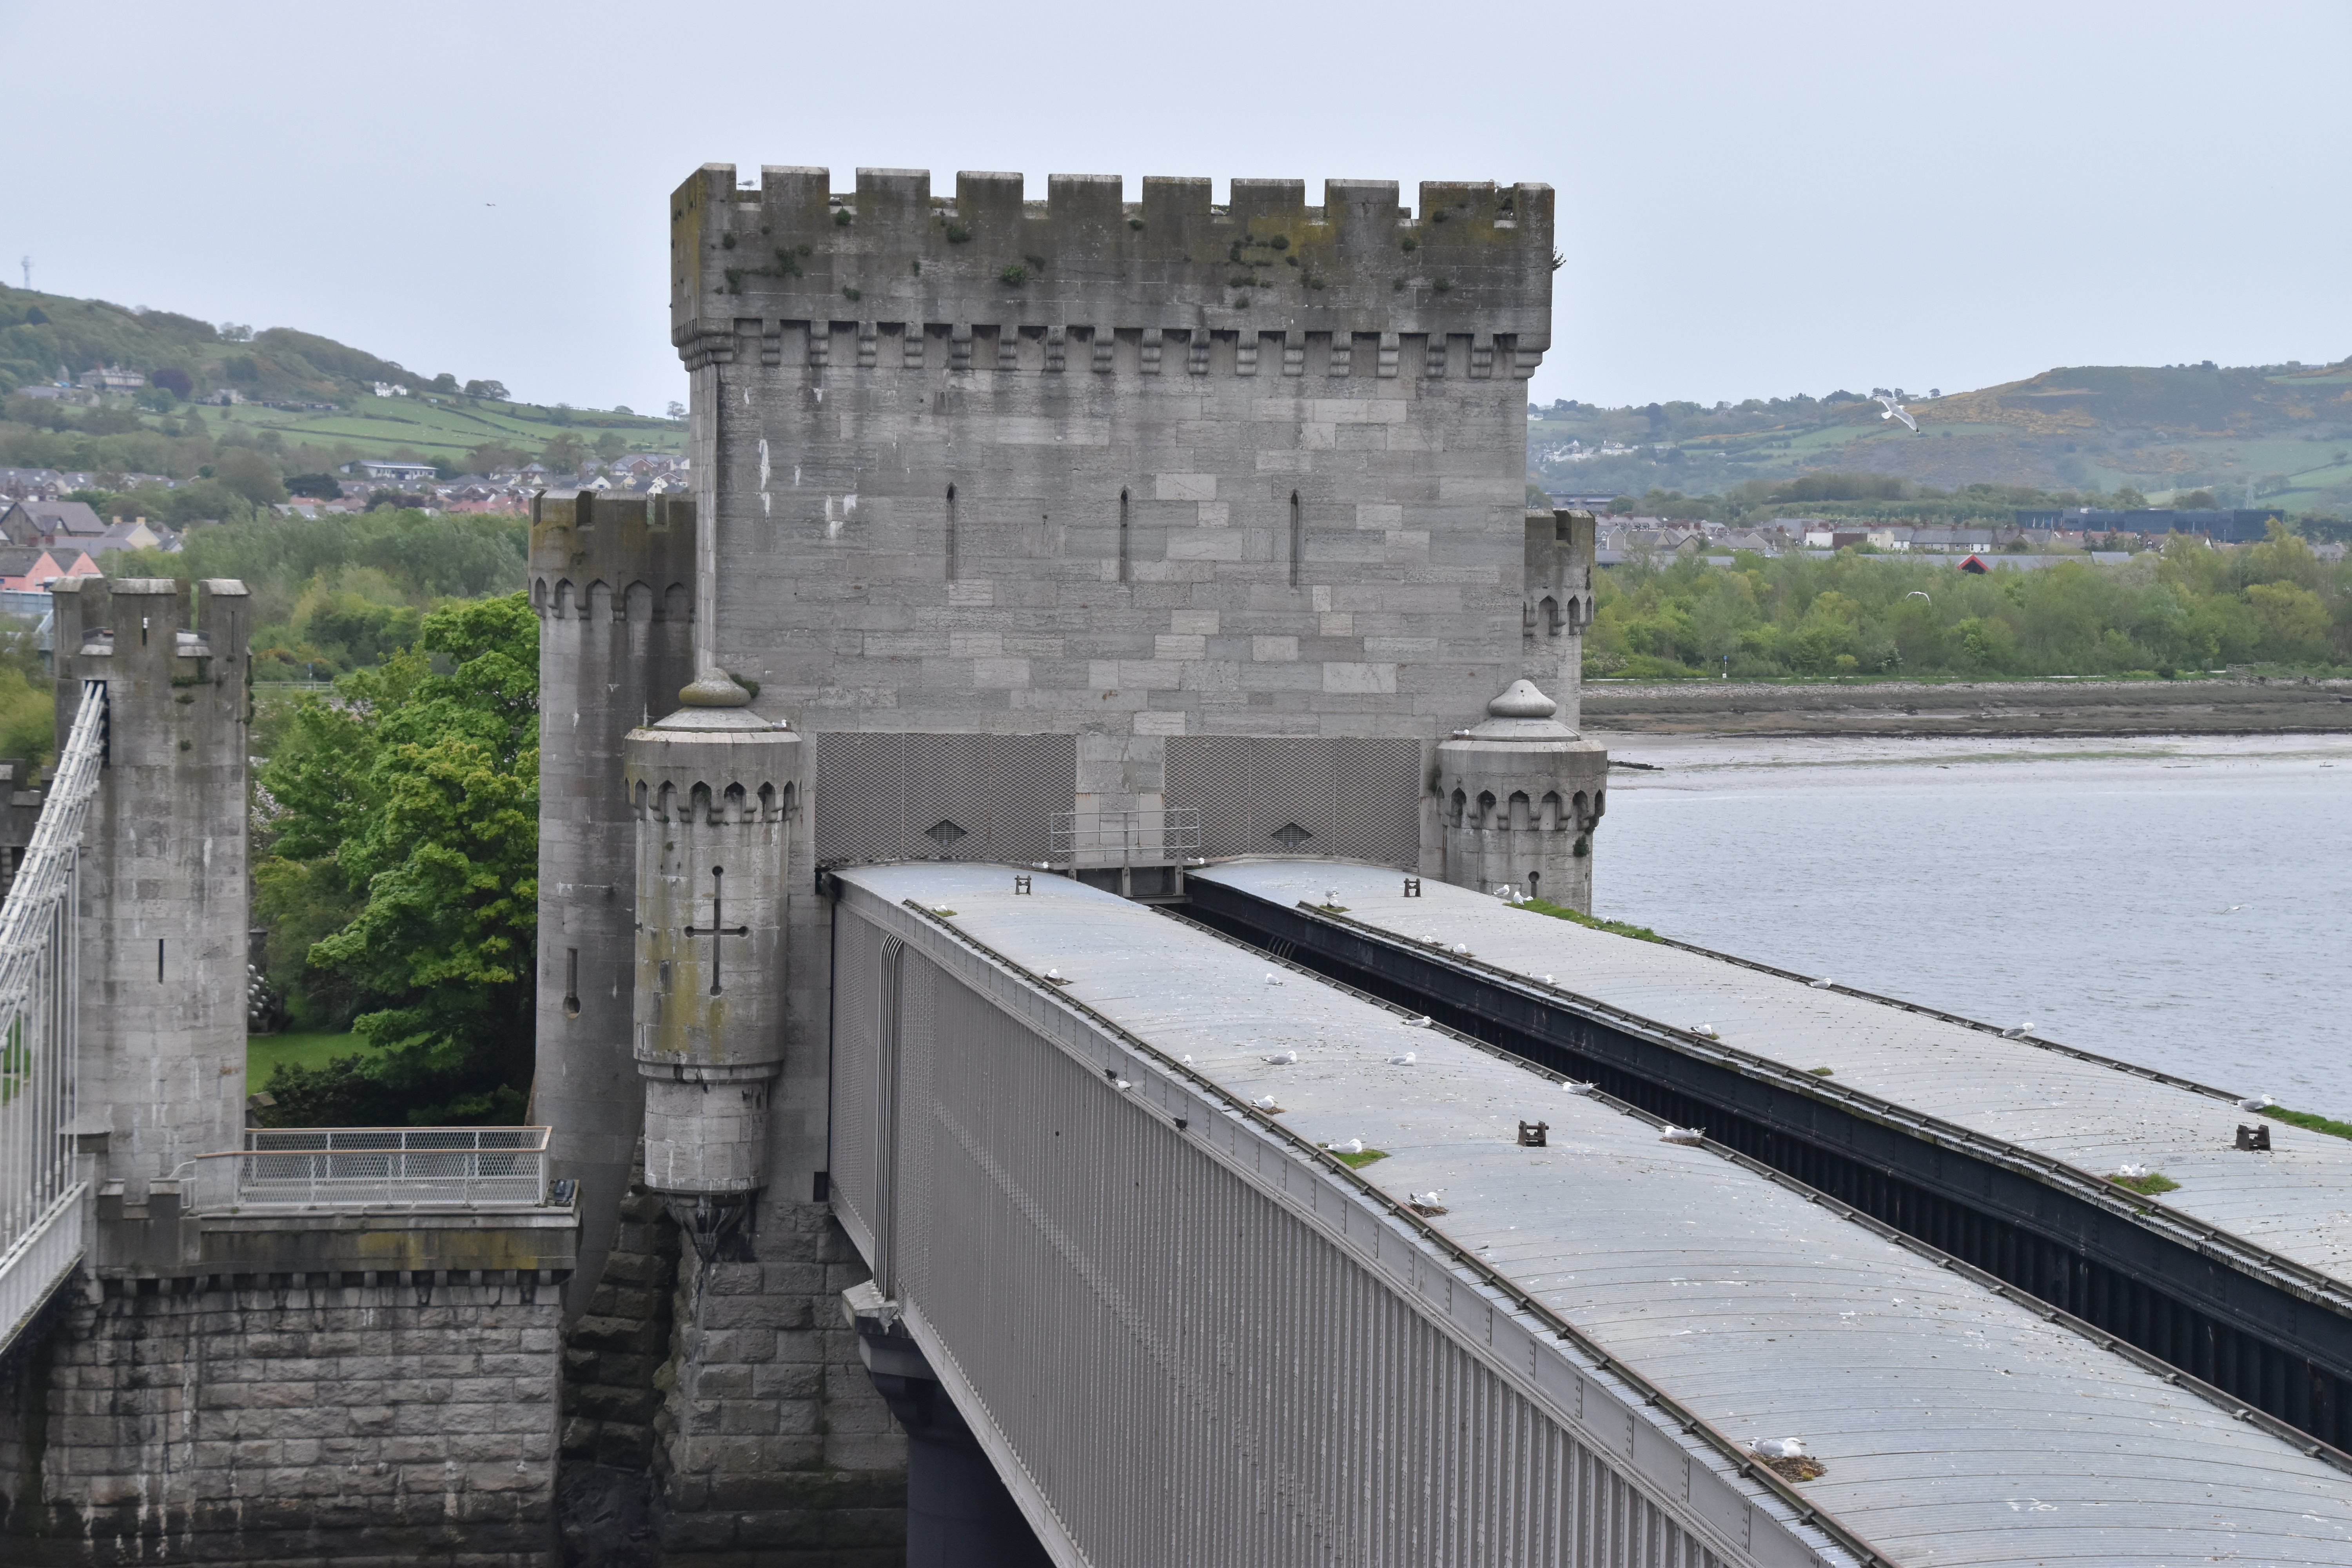
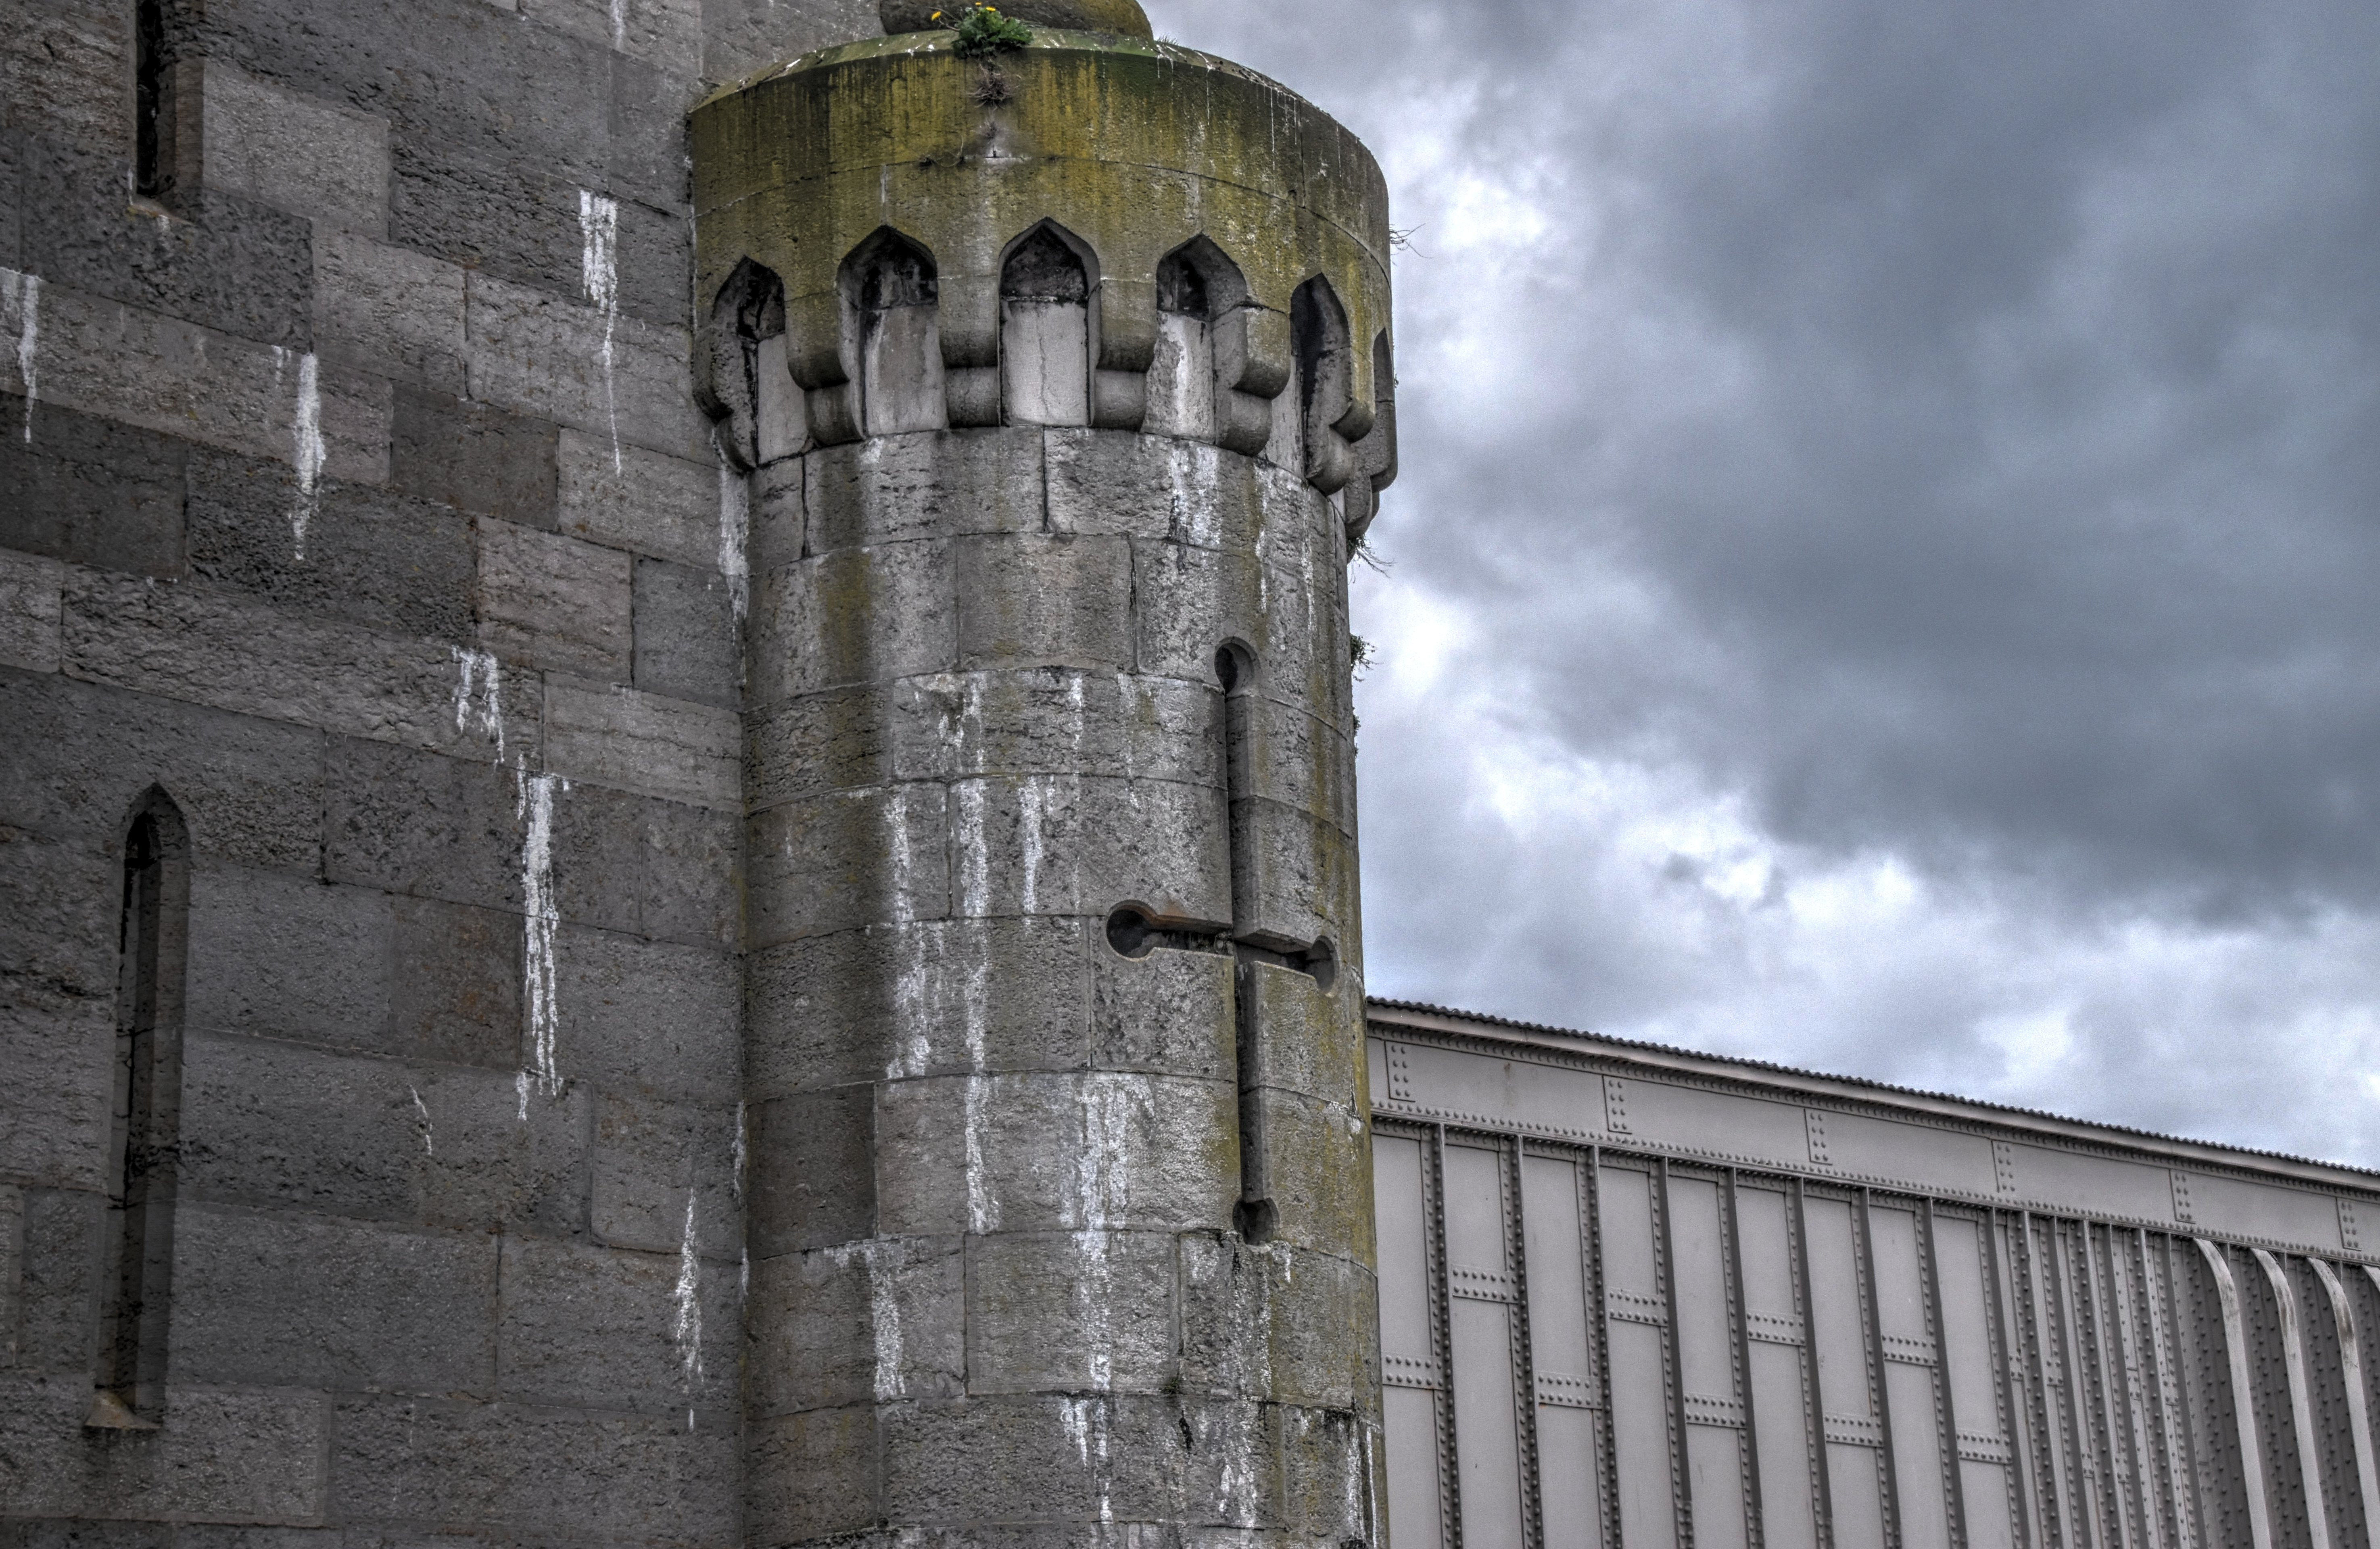
South elevation of west portal tower.
![]()


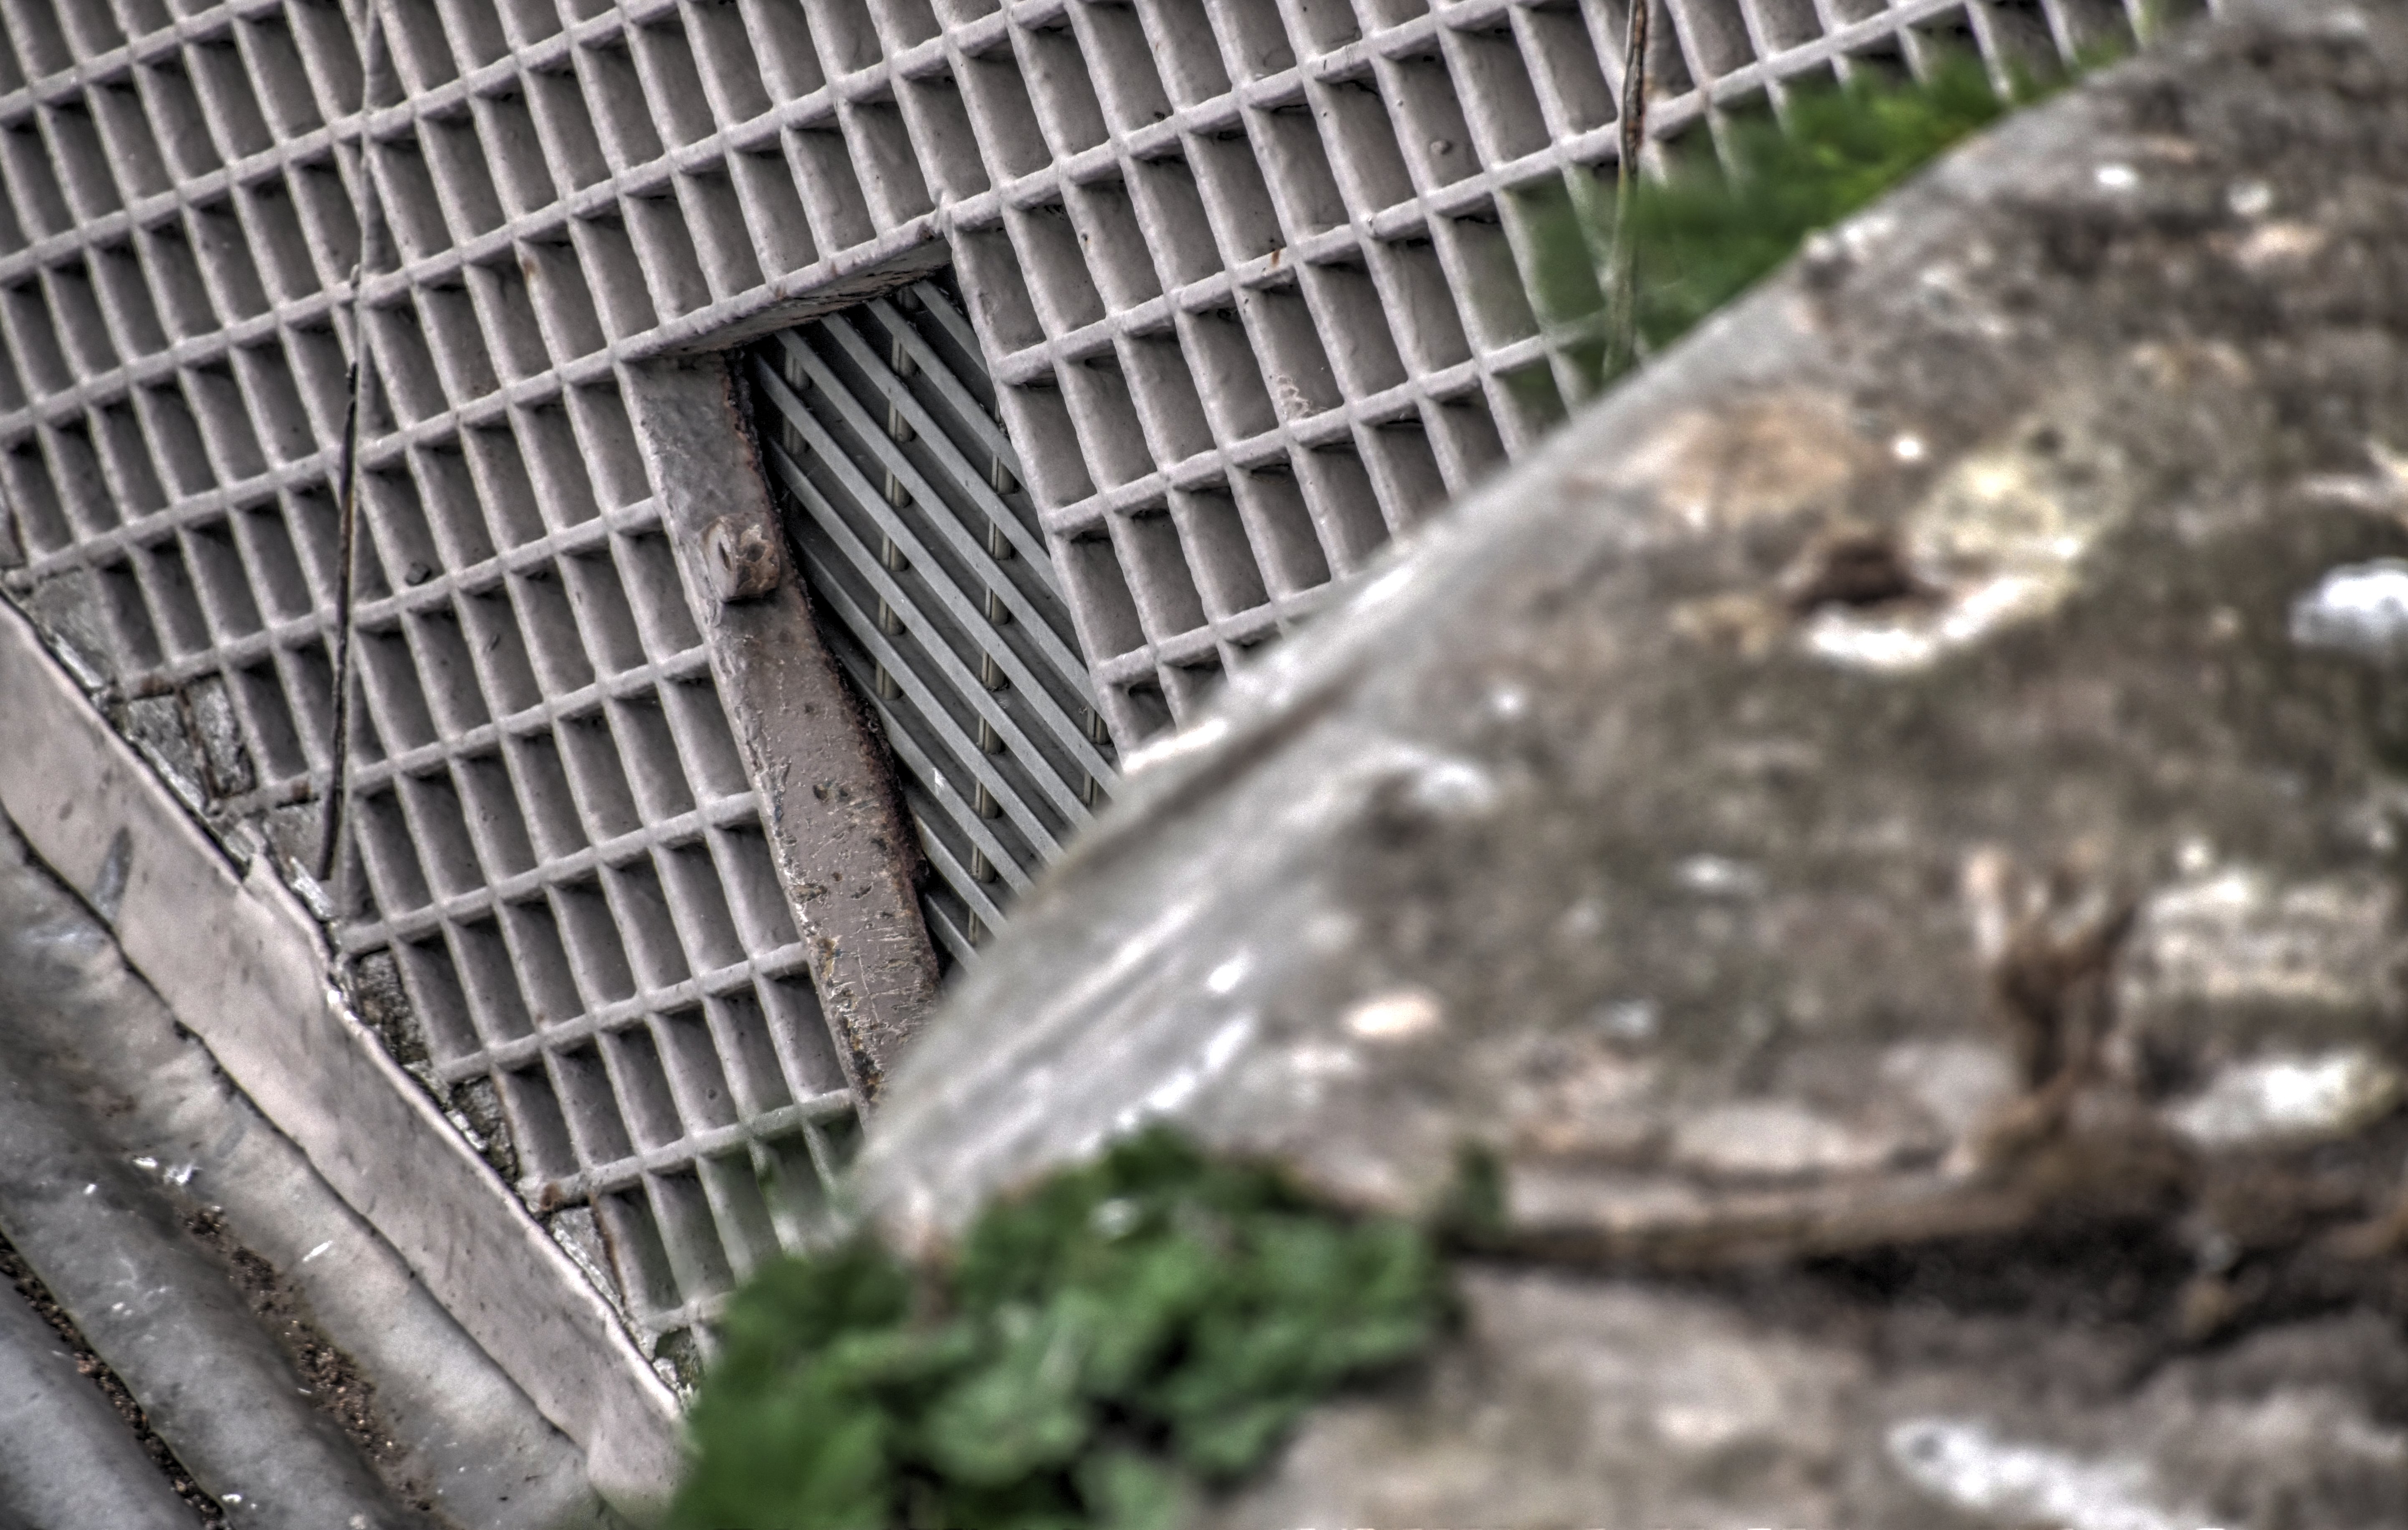
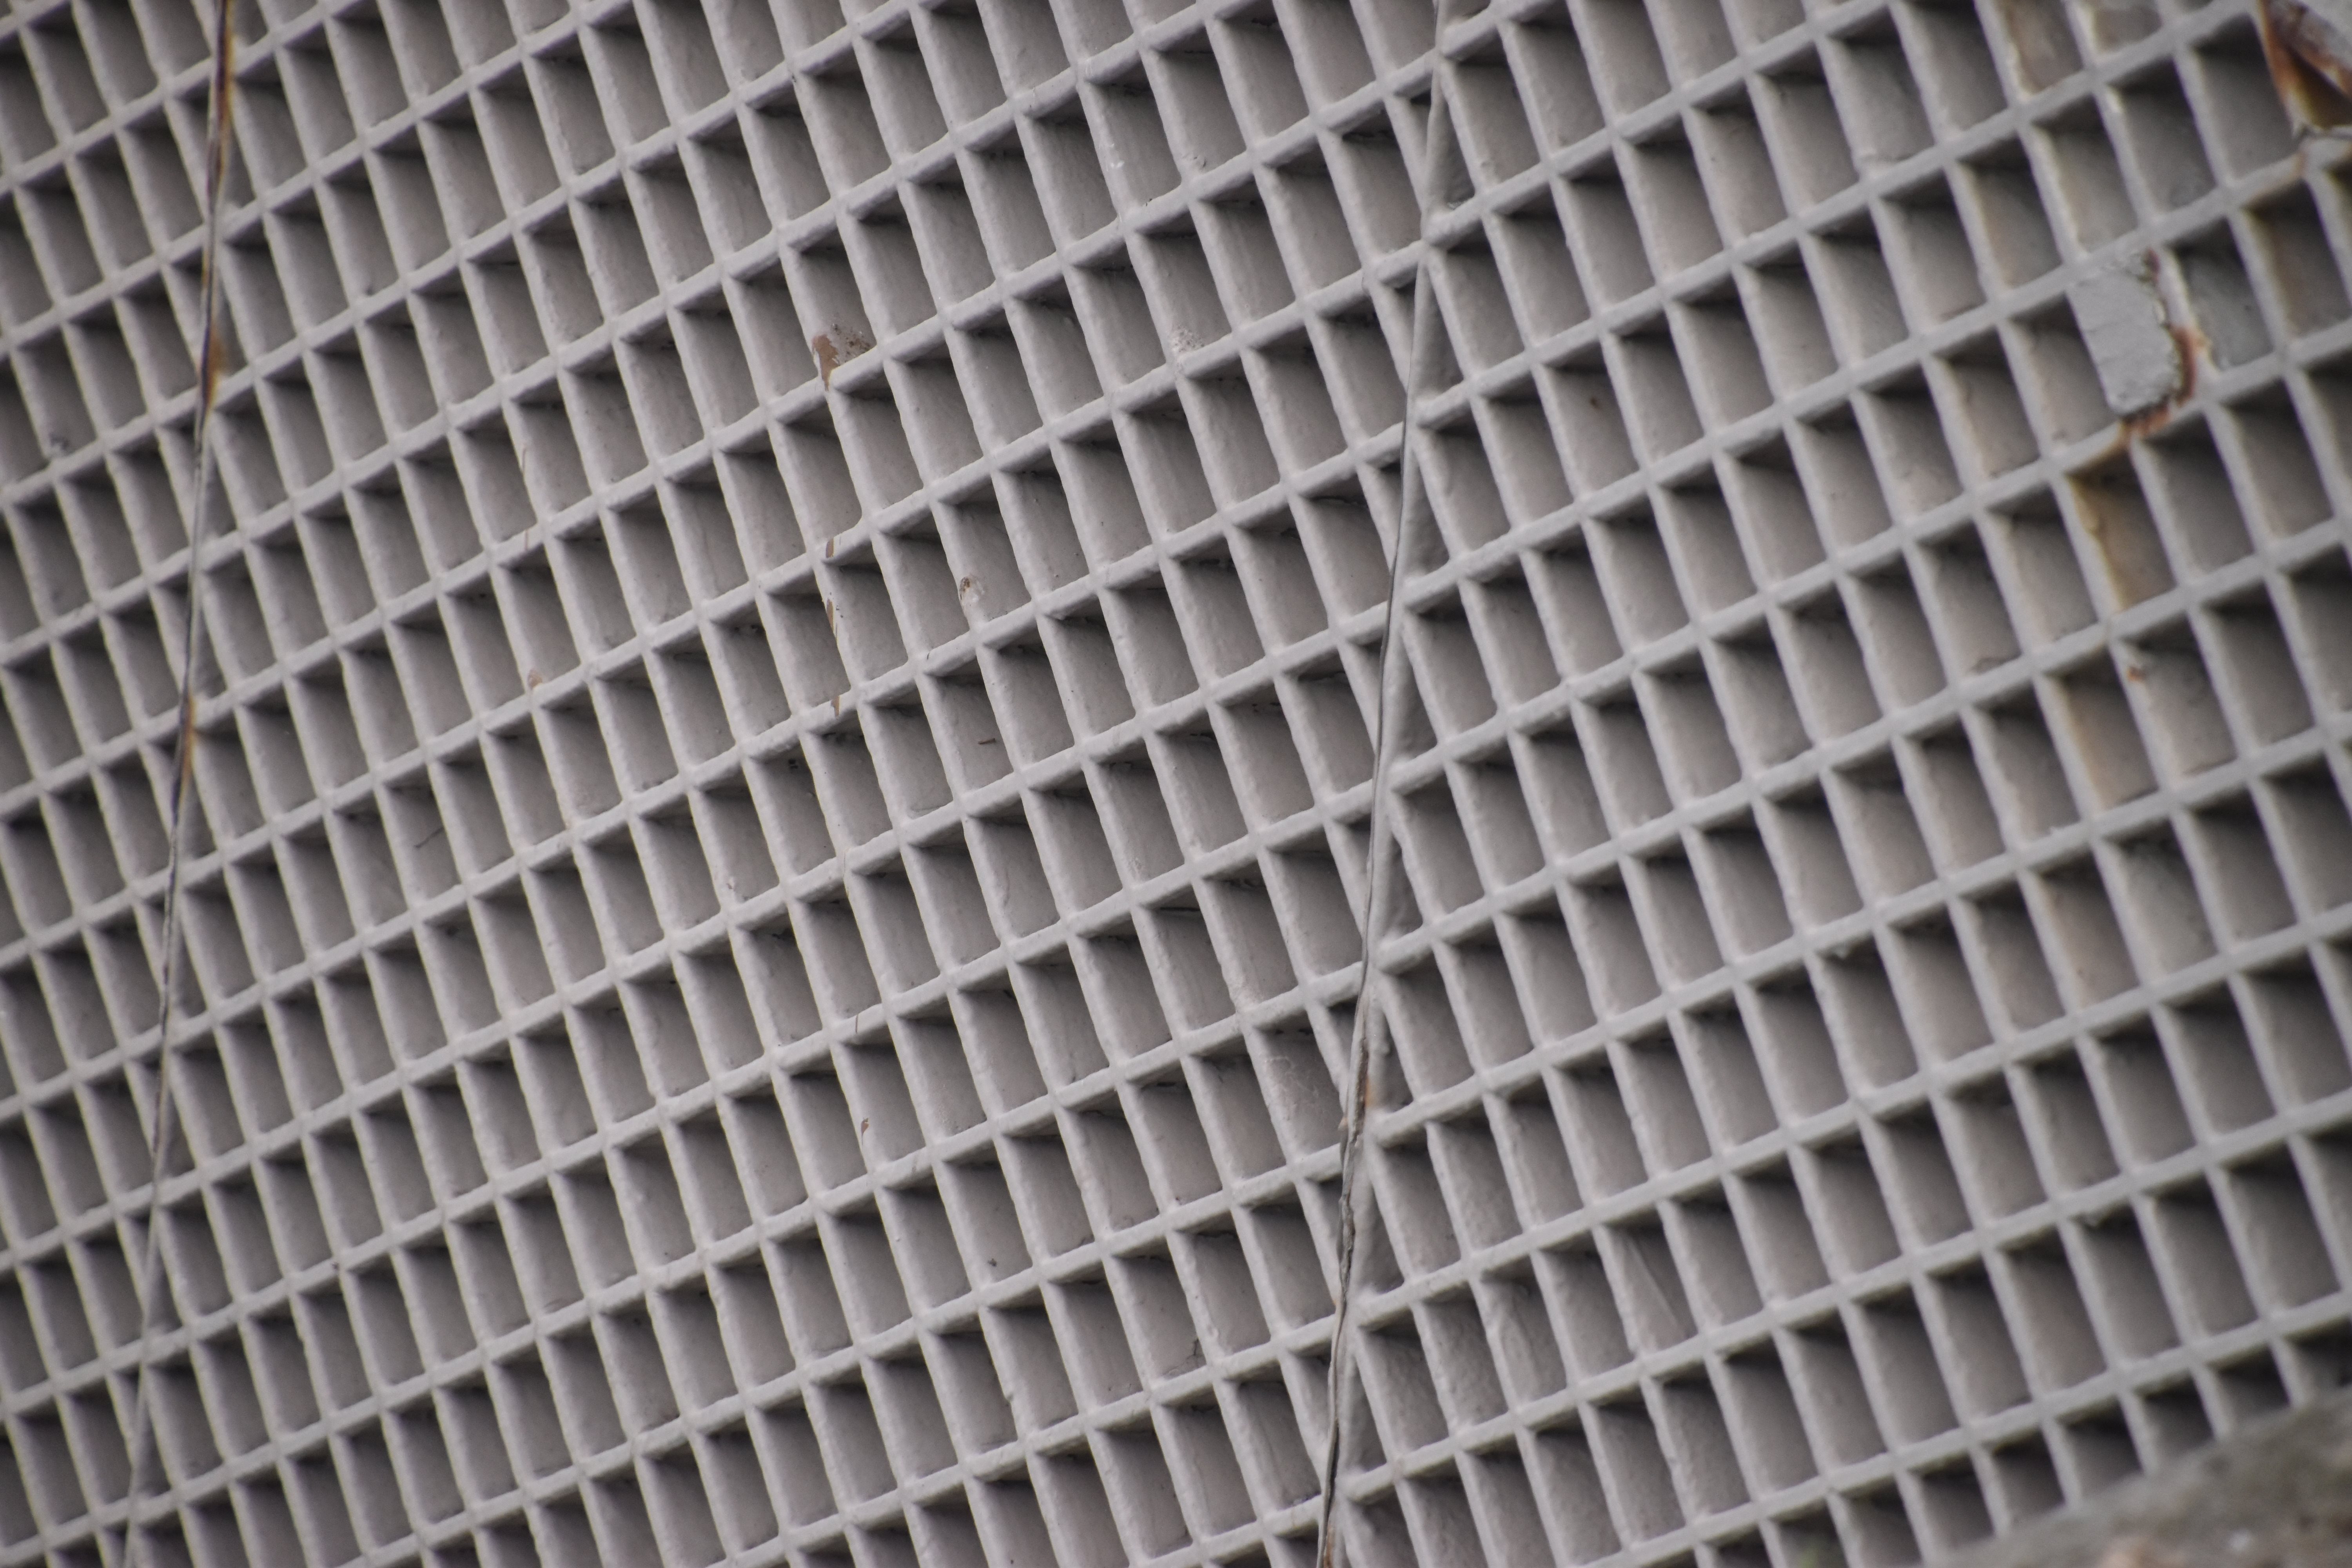
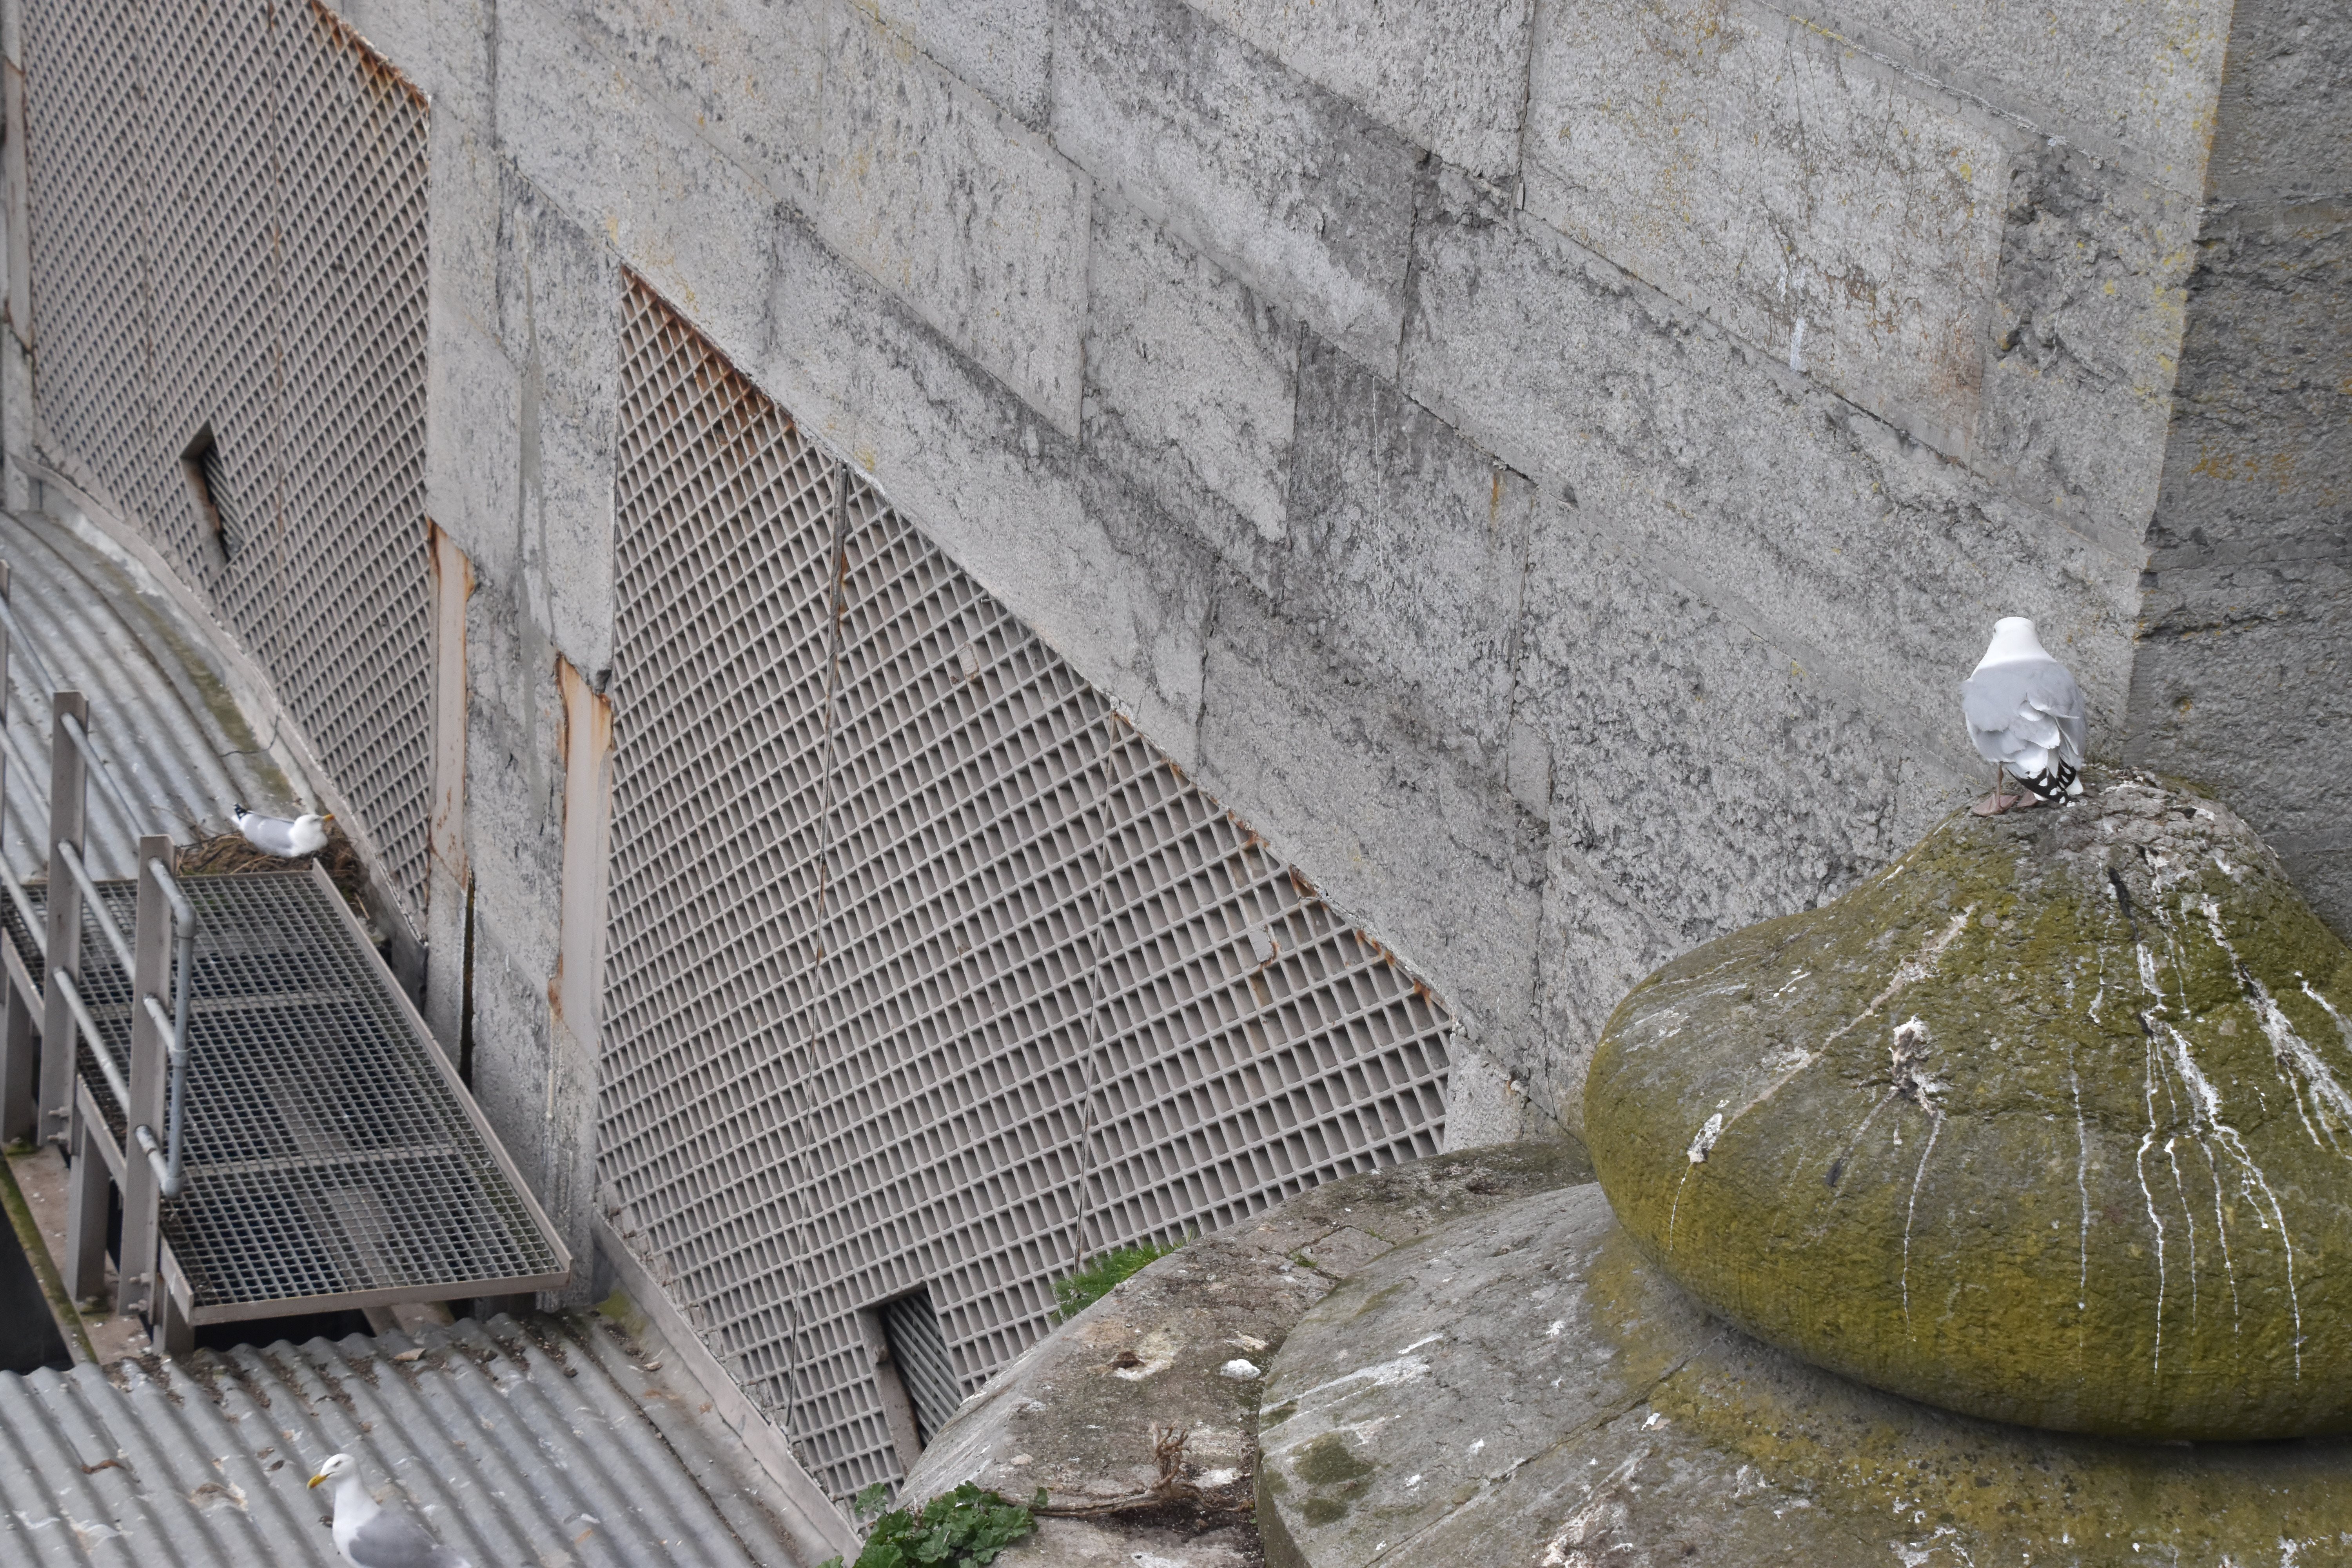
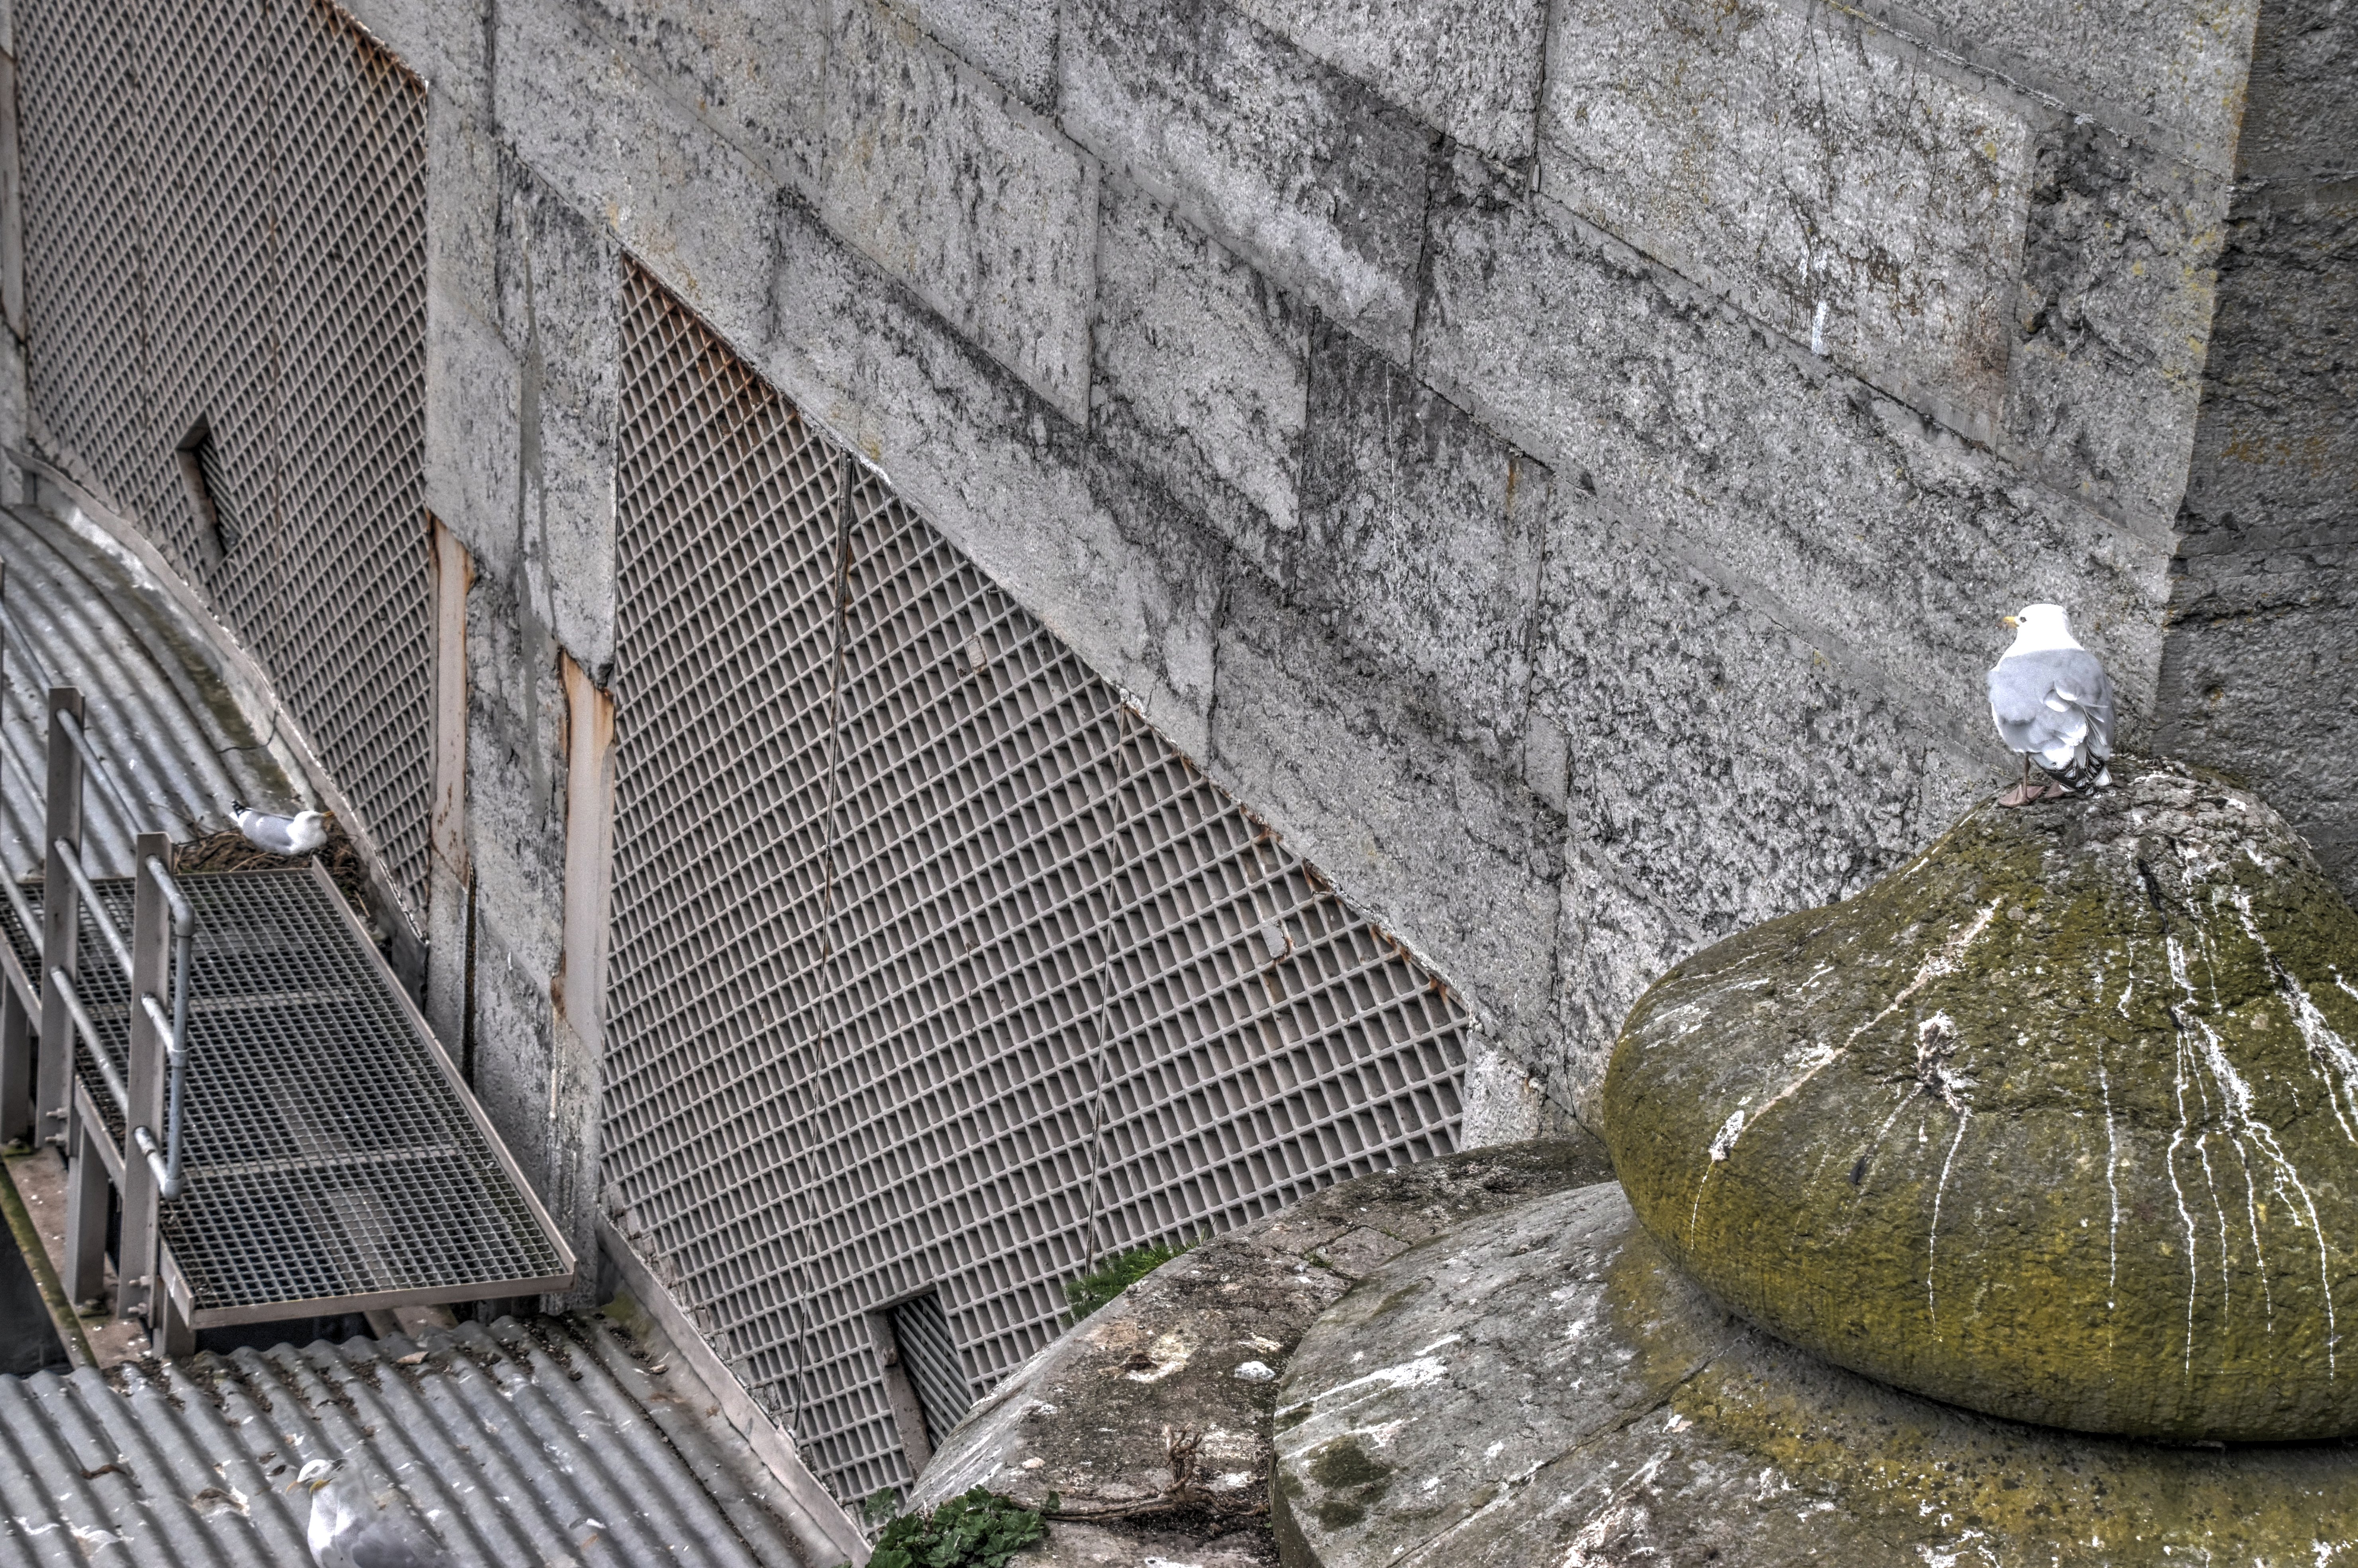
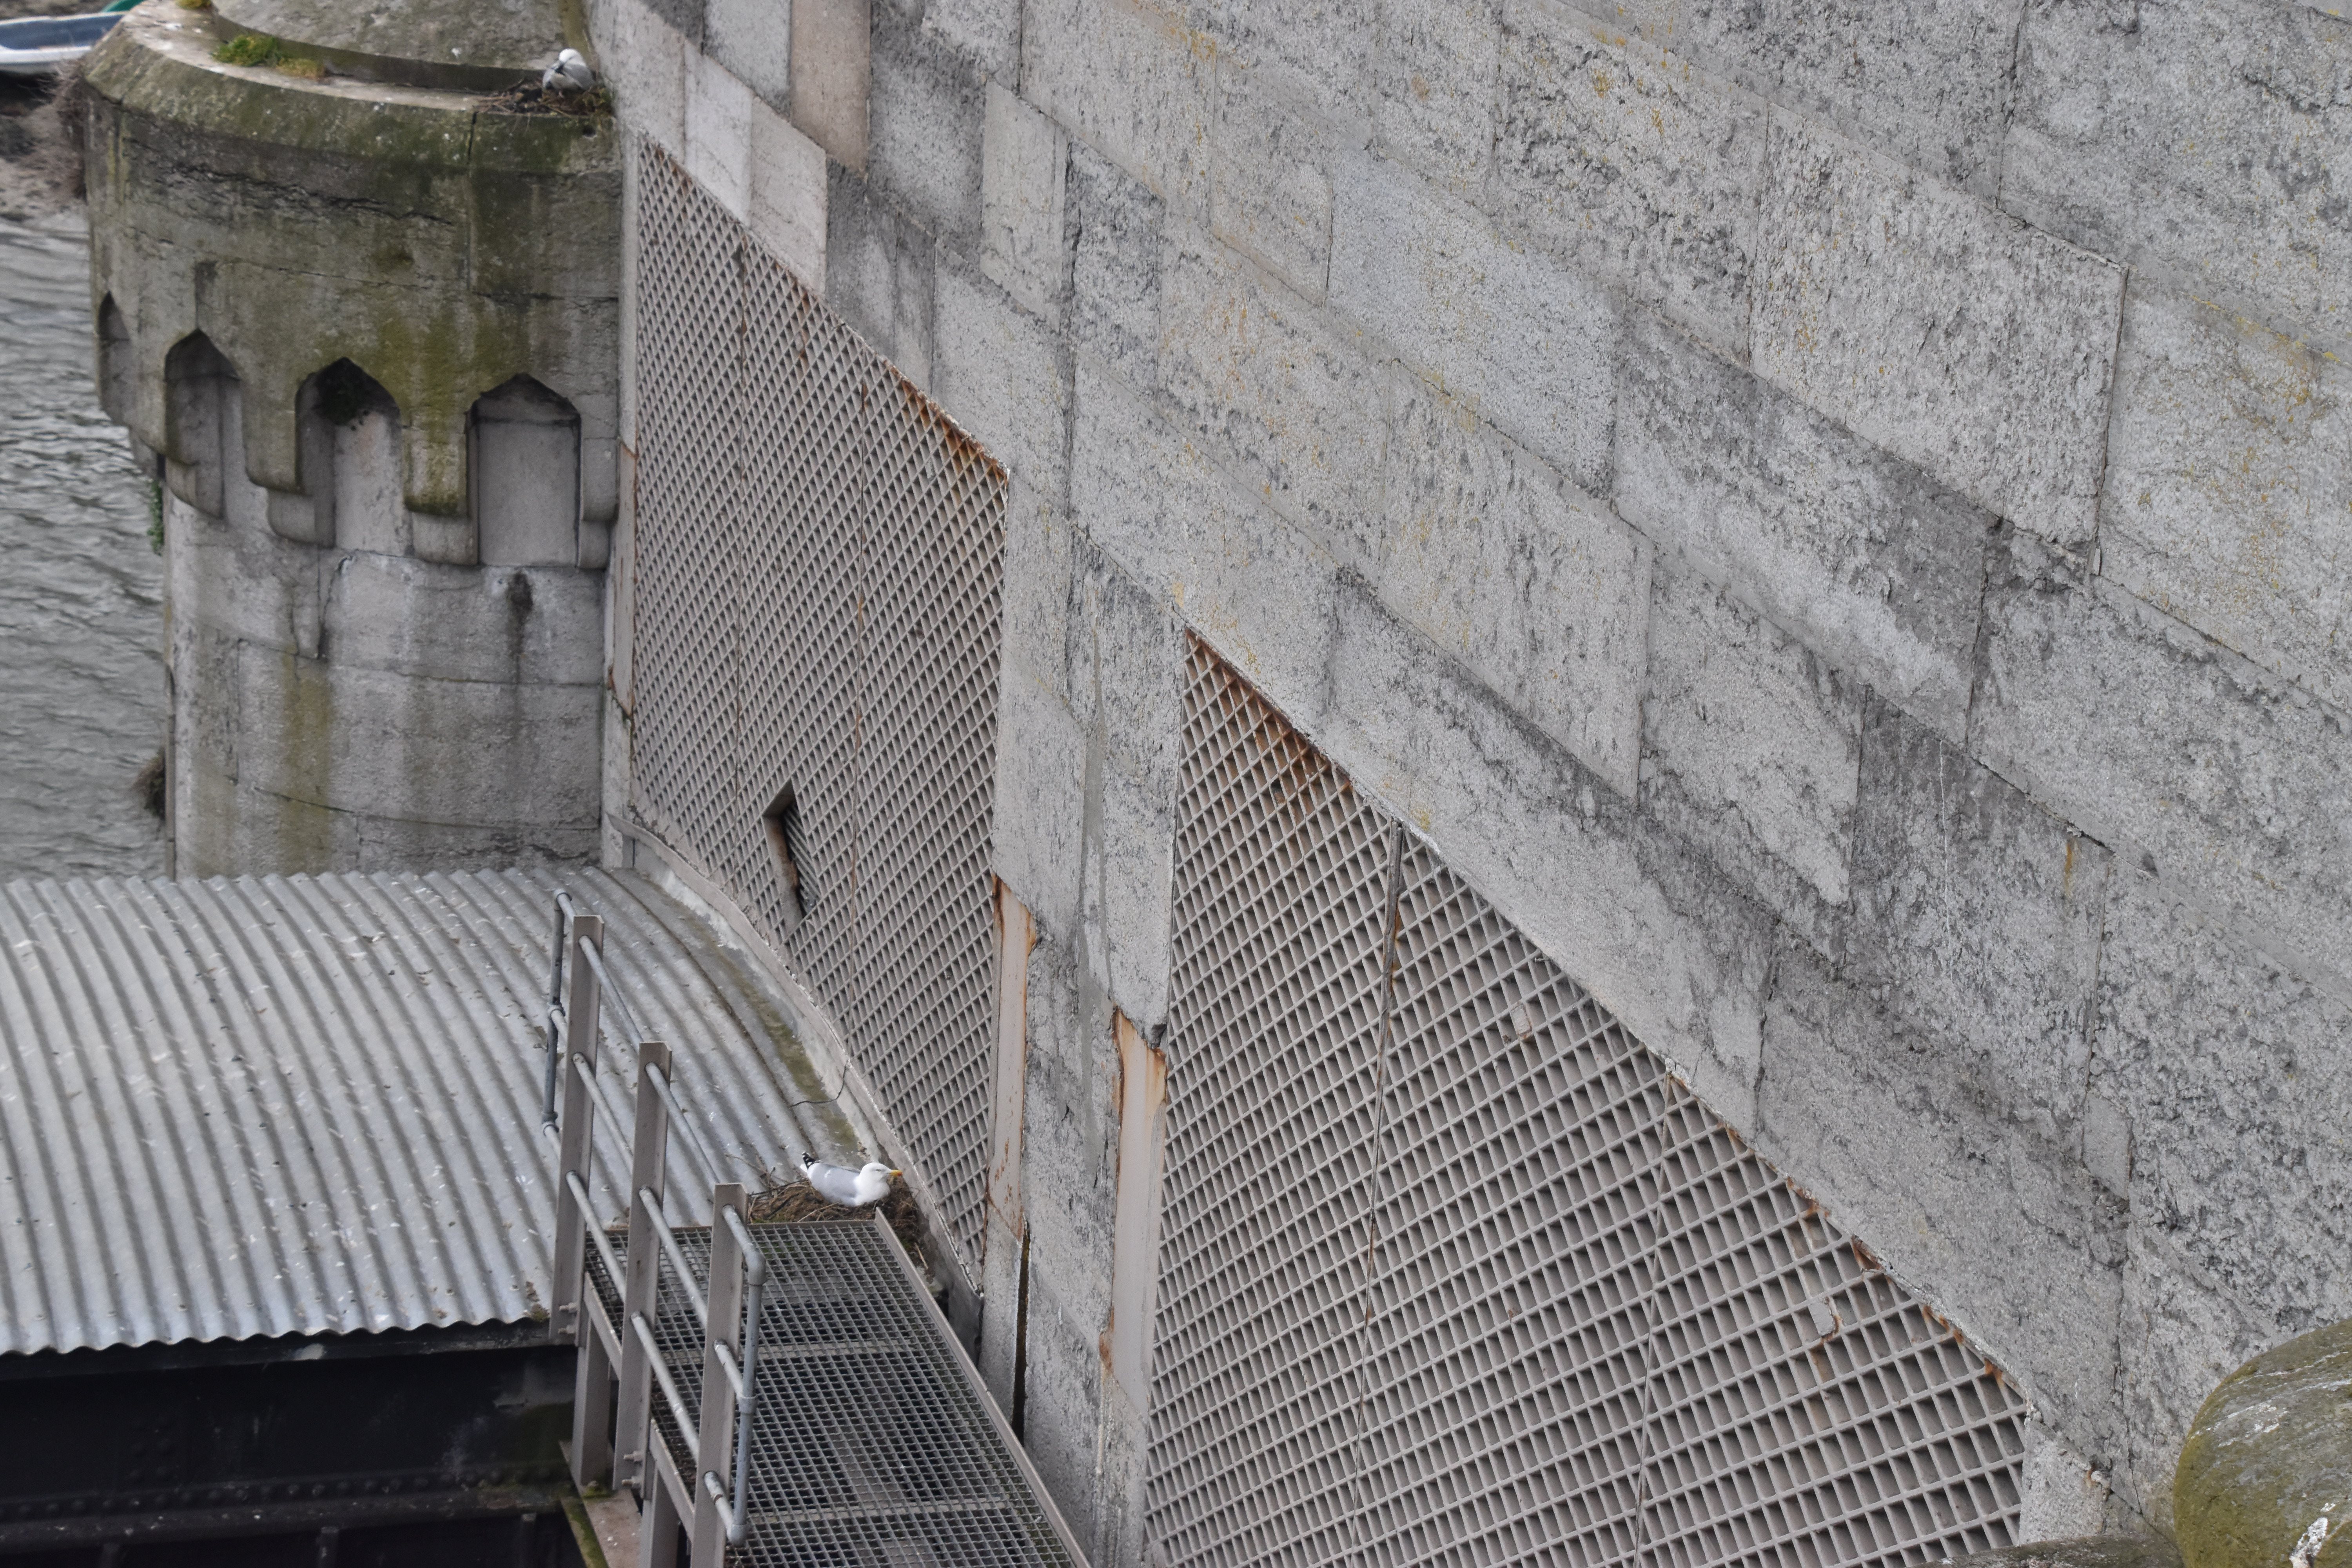


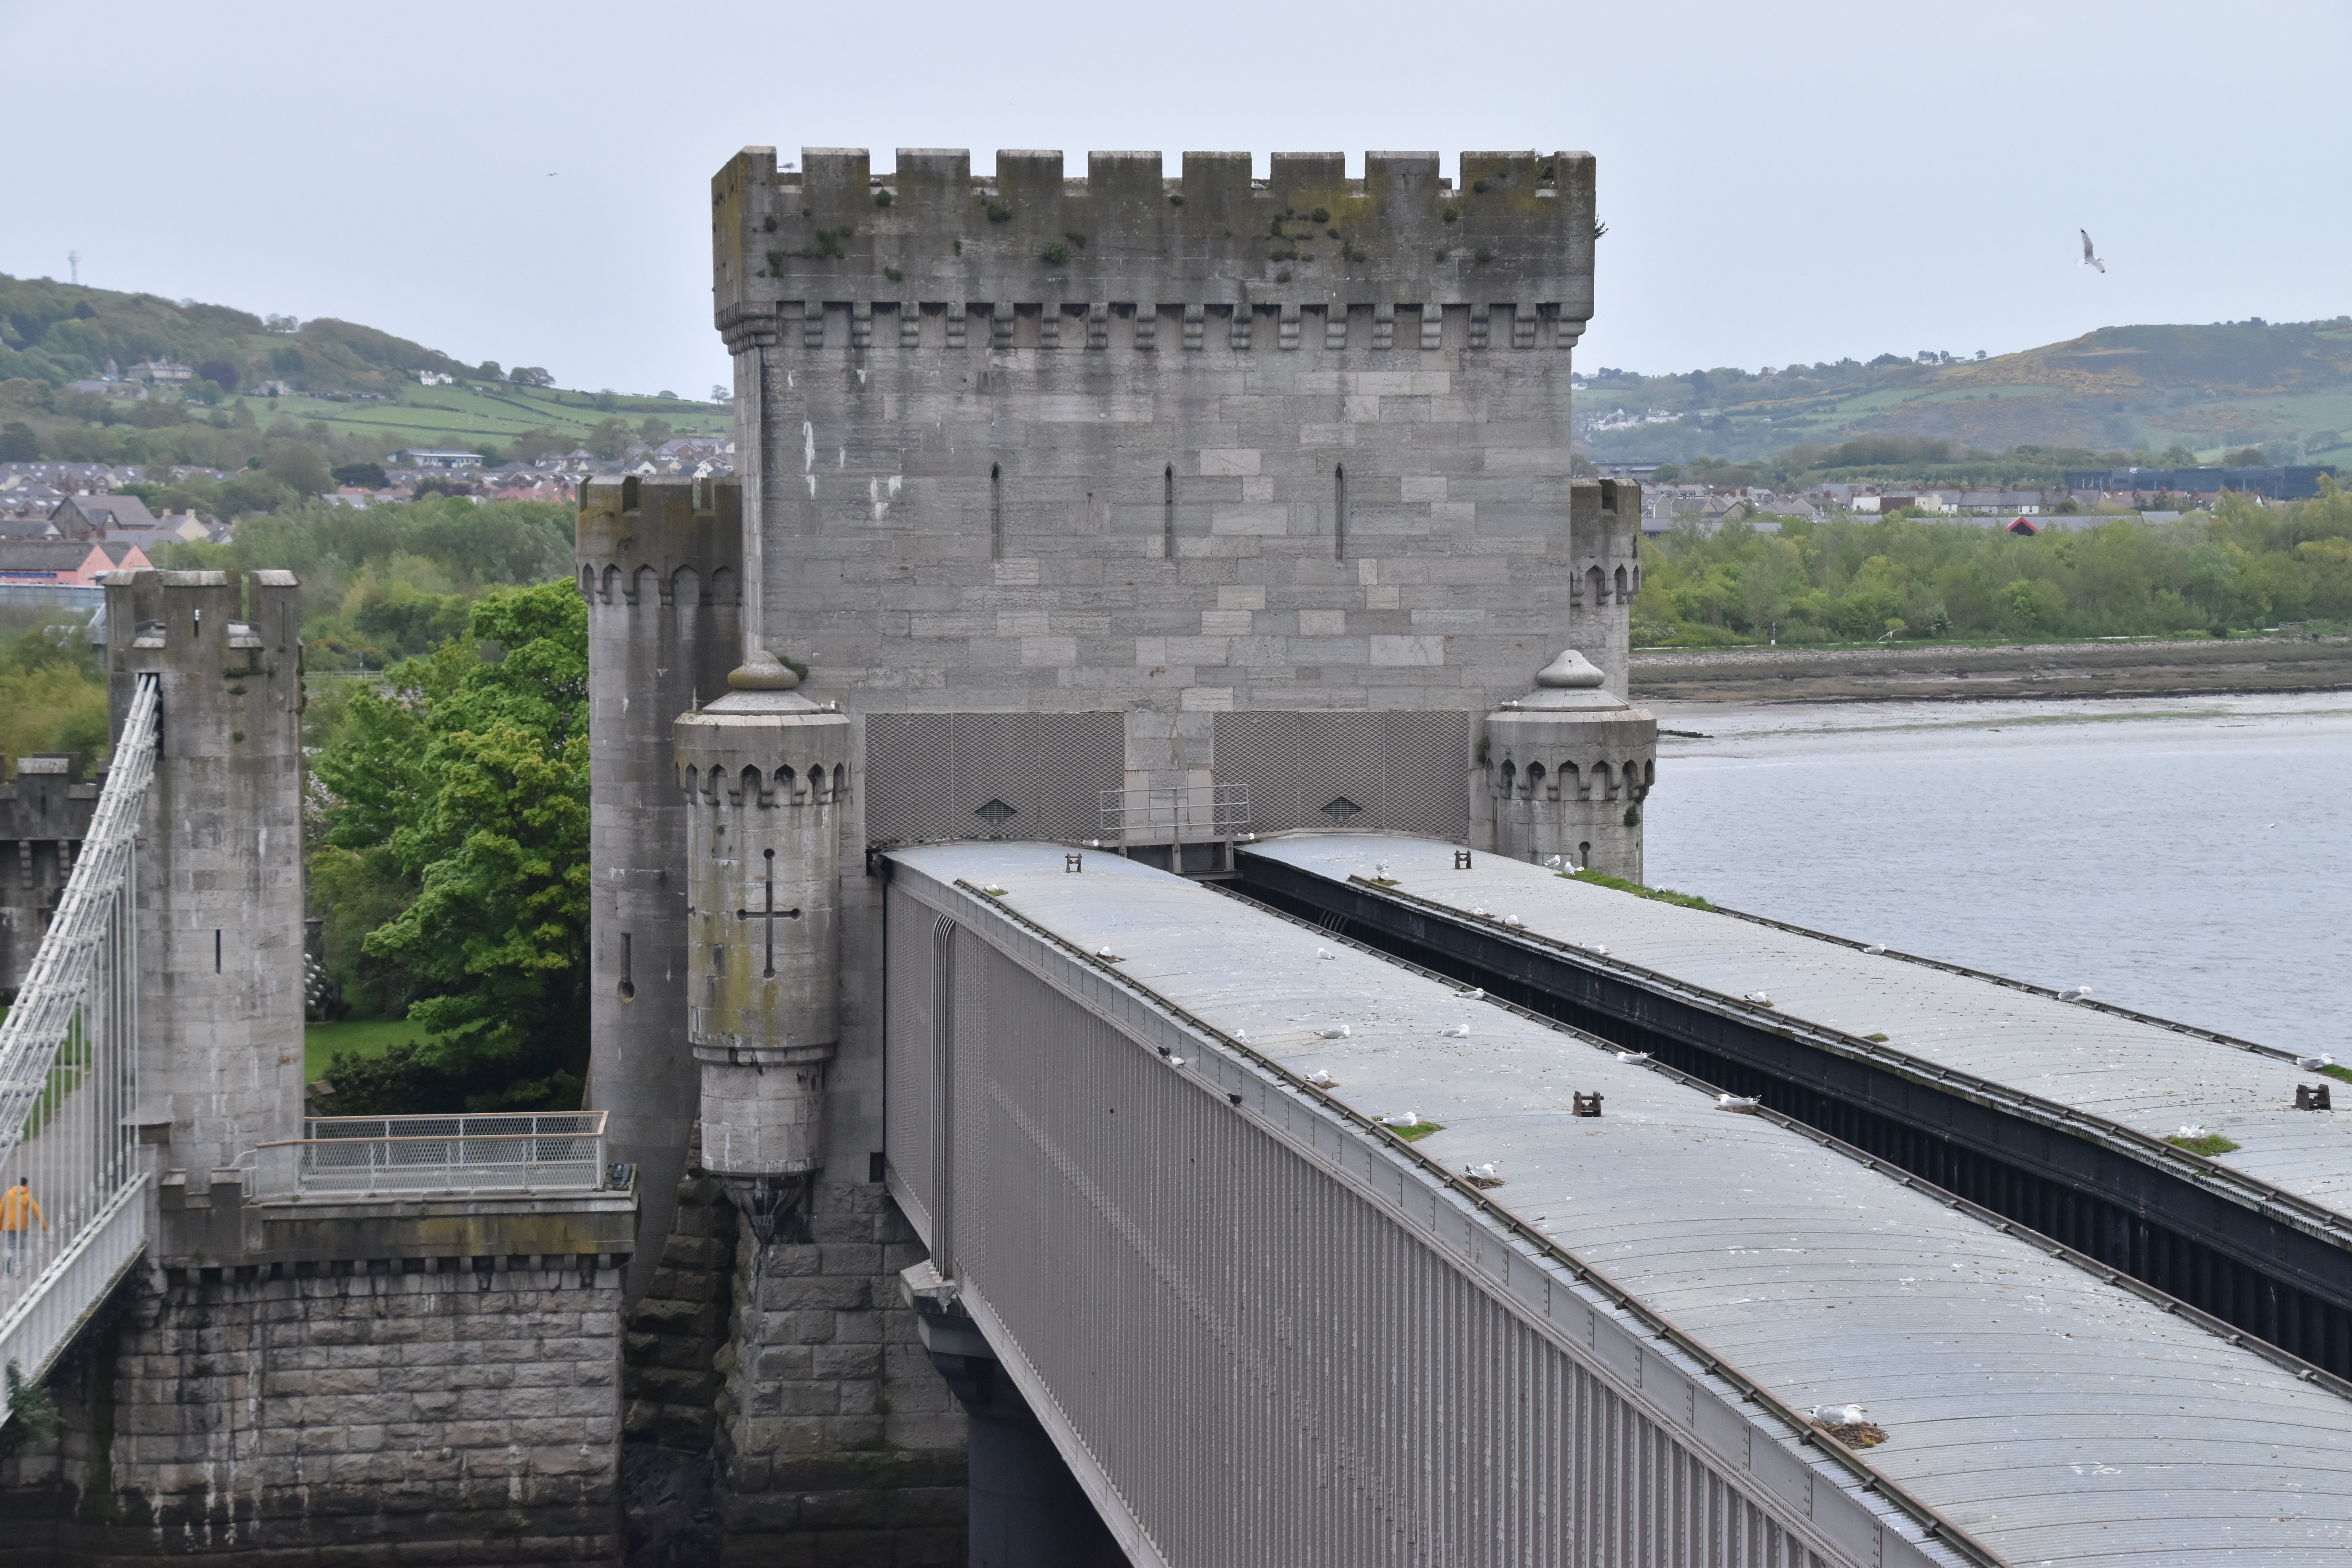
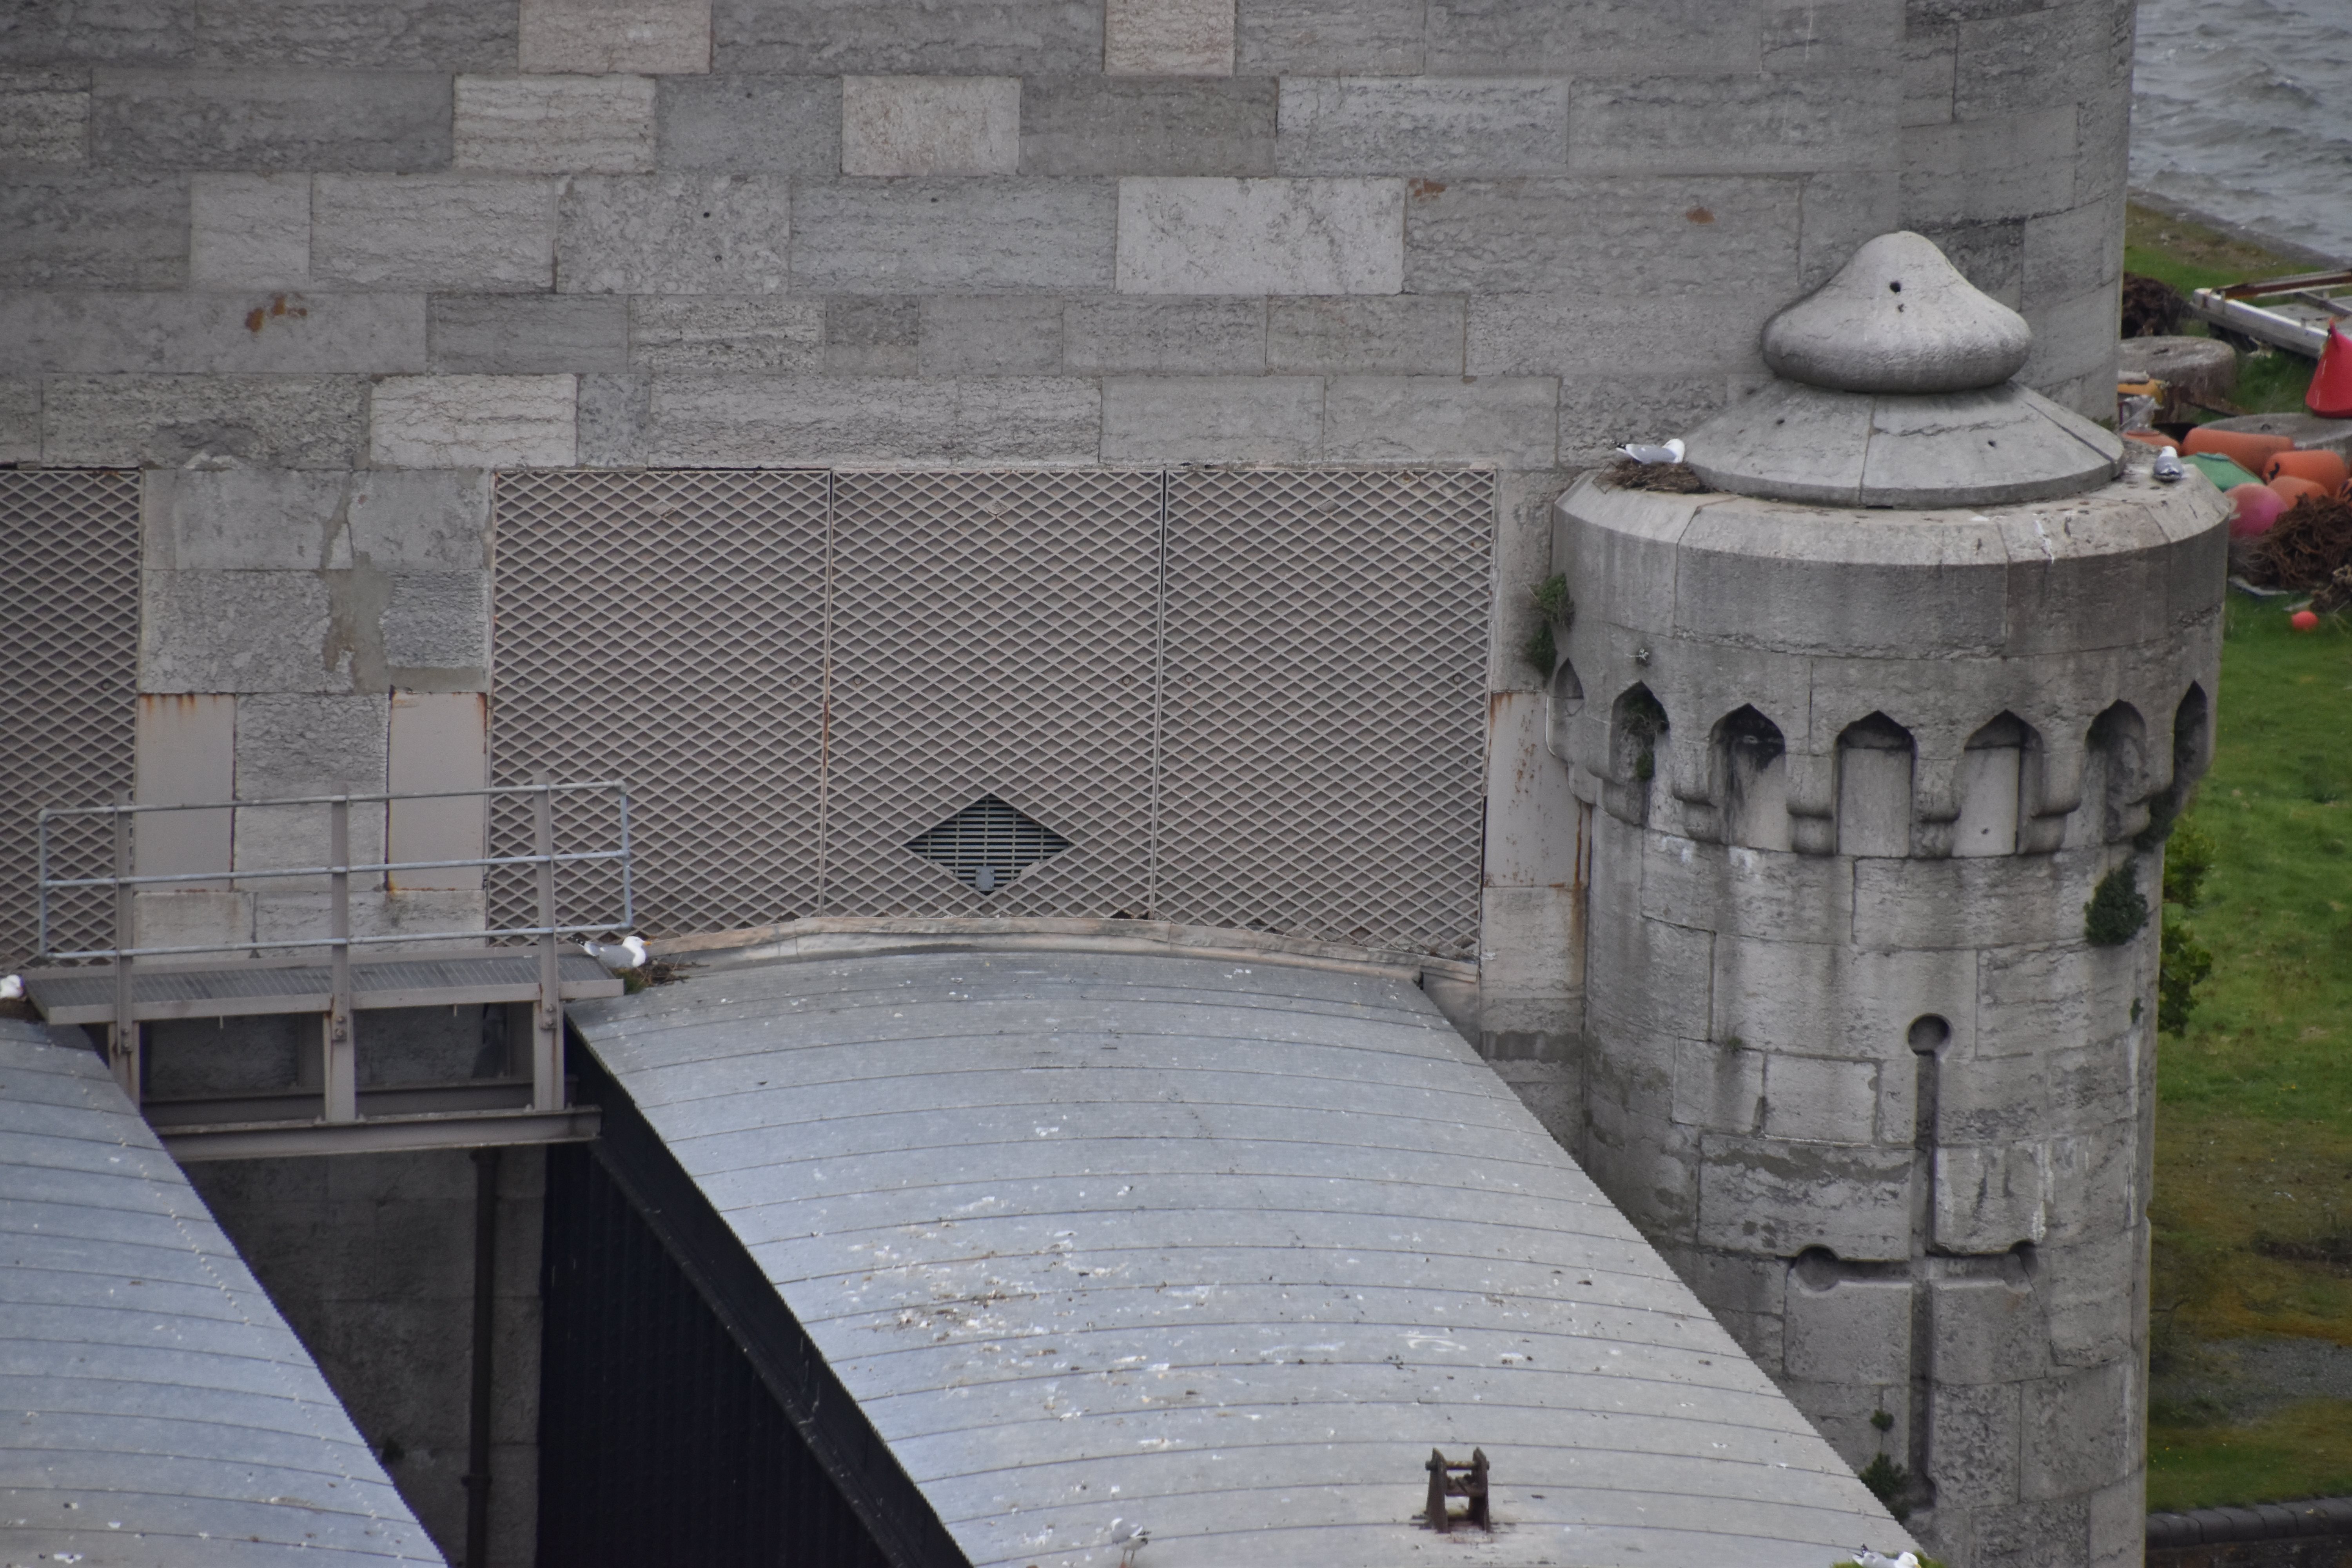
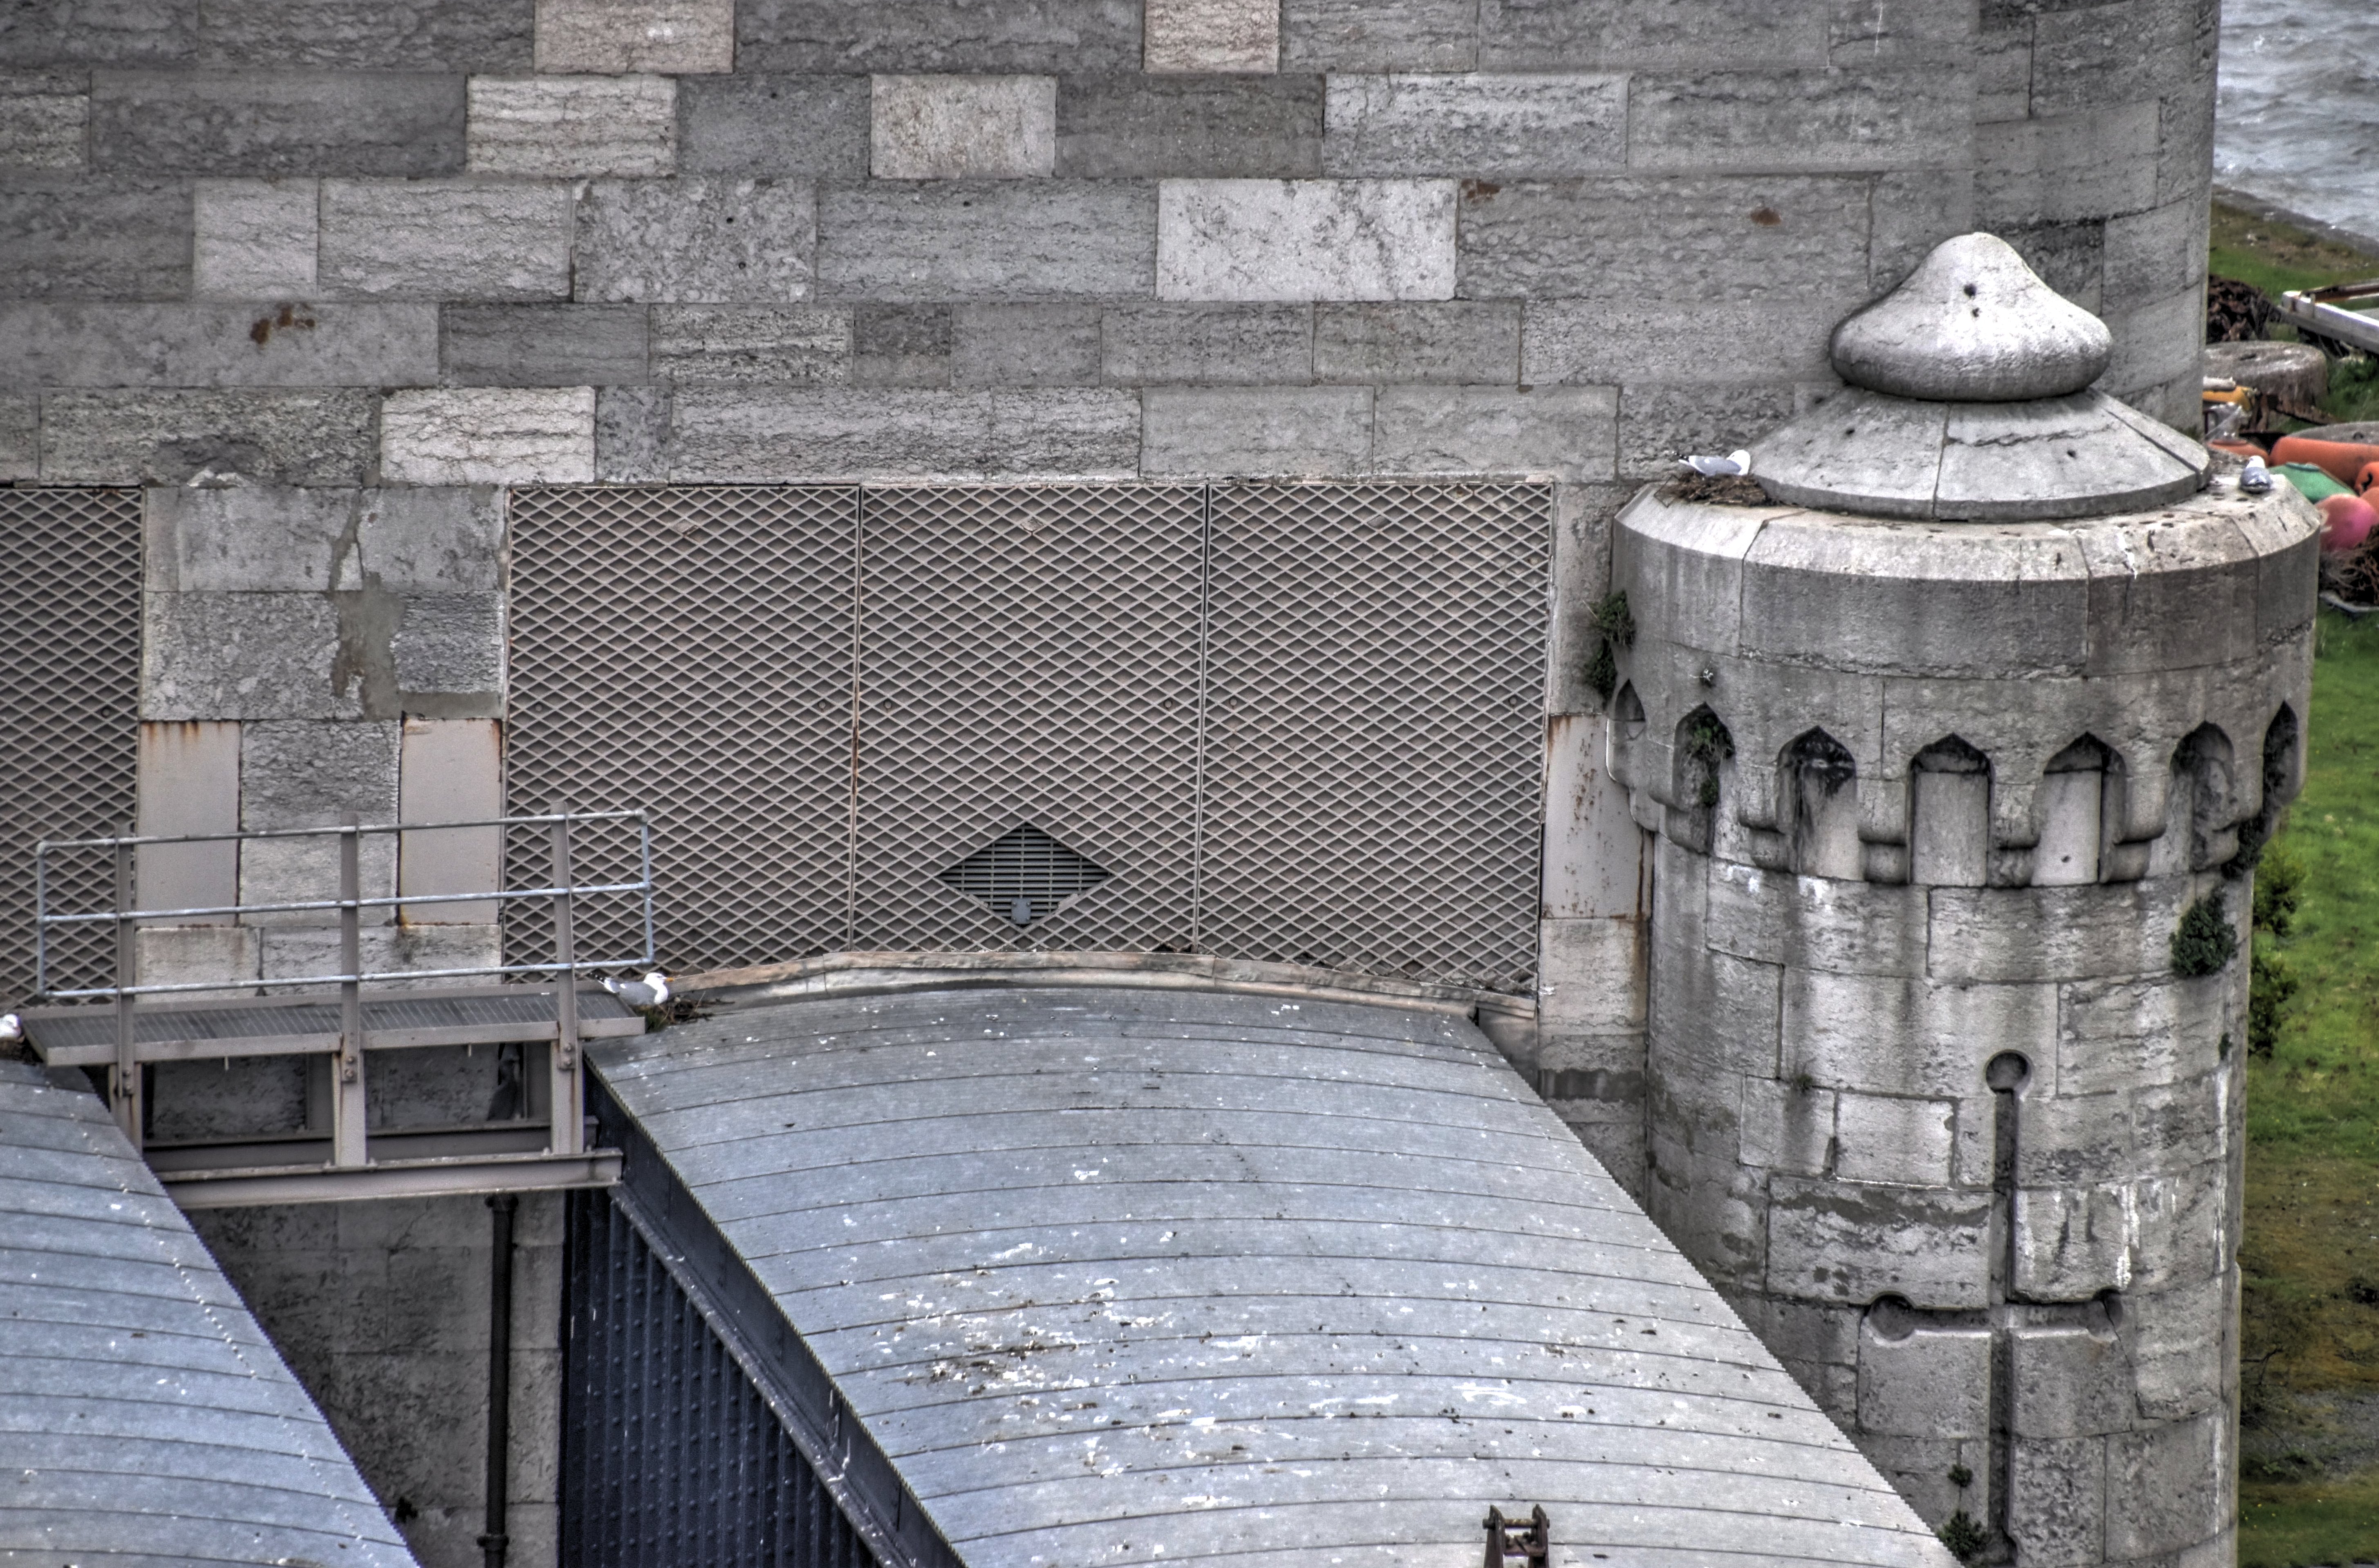
View of west portal tower from Castle Conwy showing ventilation grating.
![]()


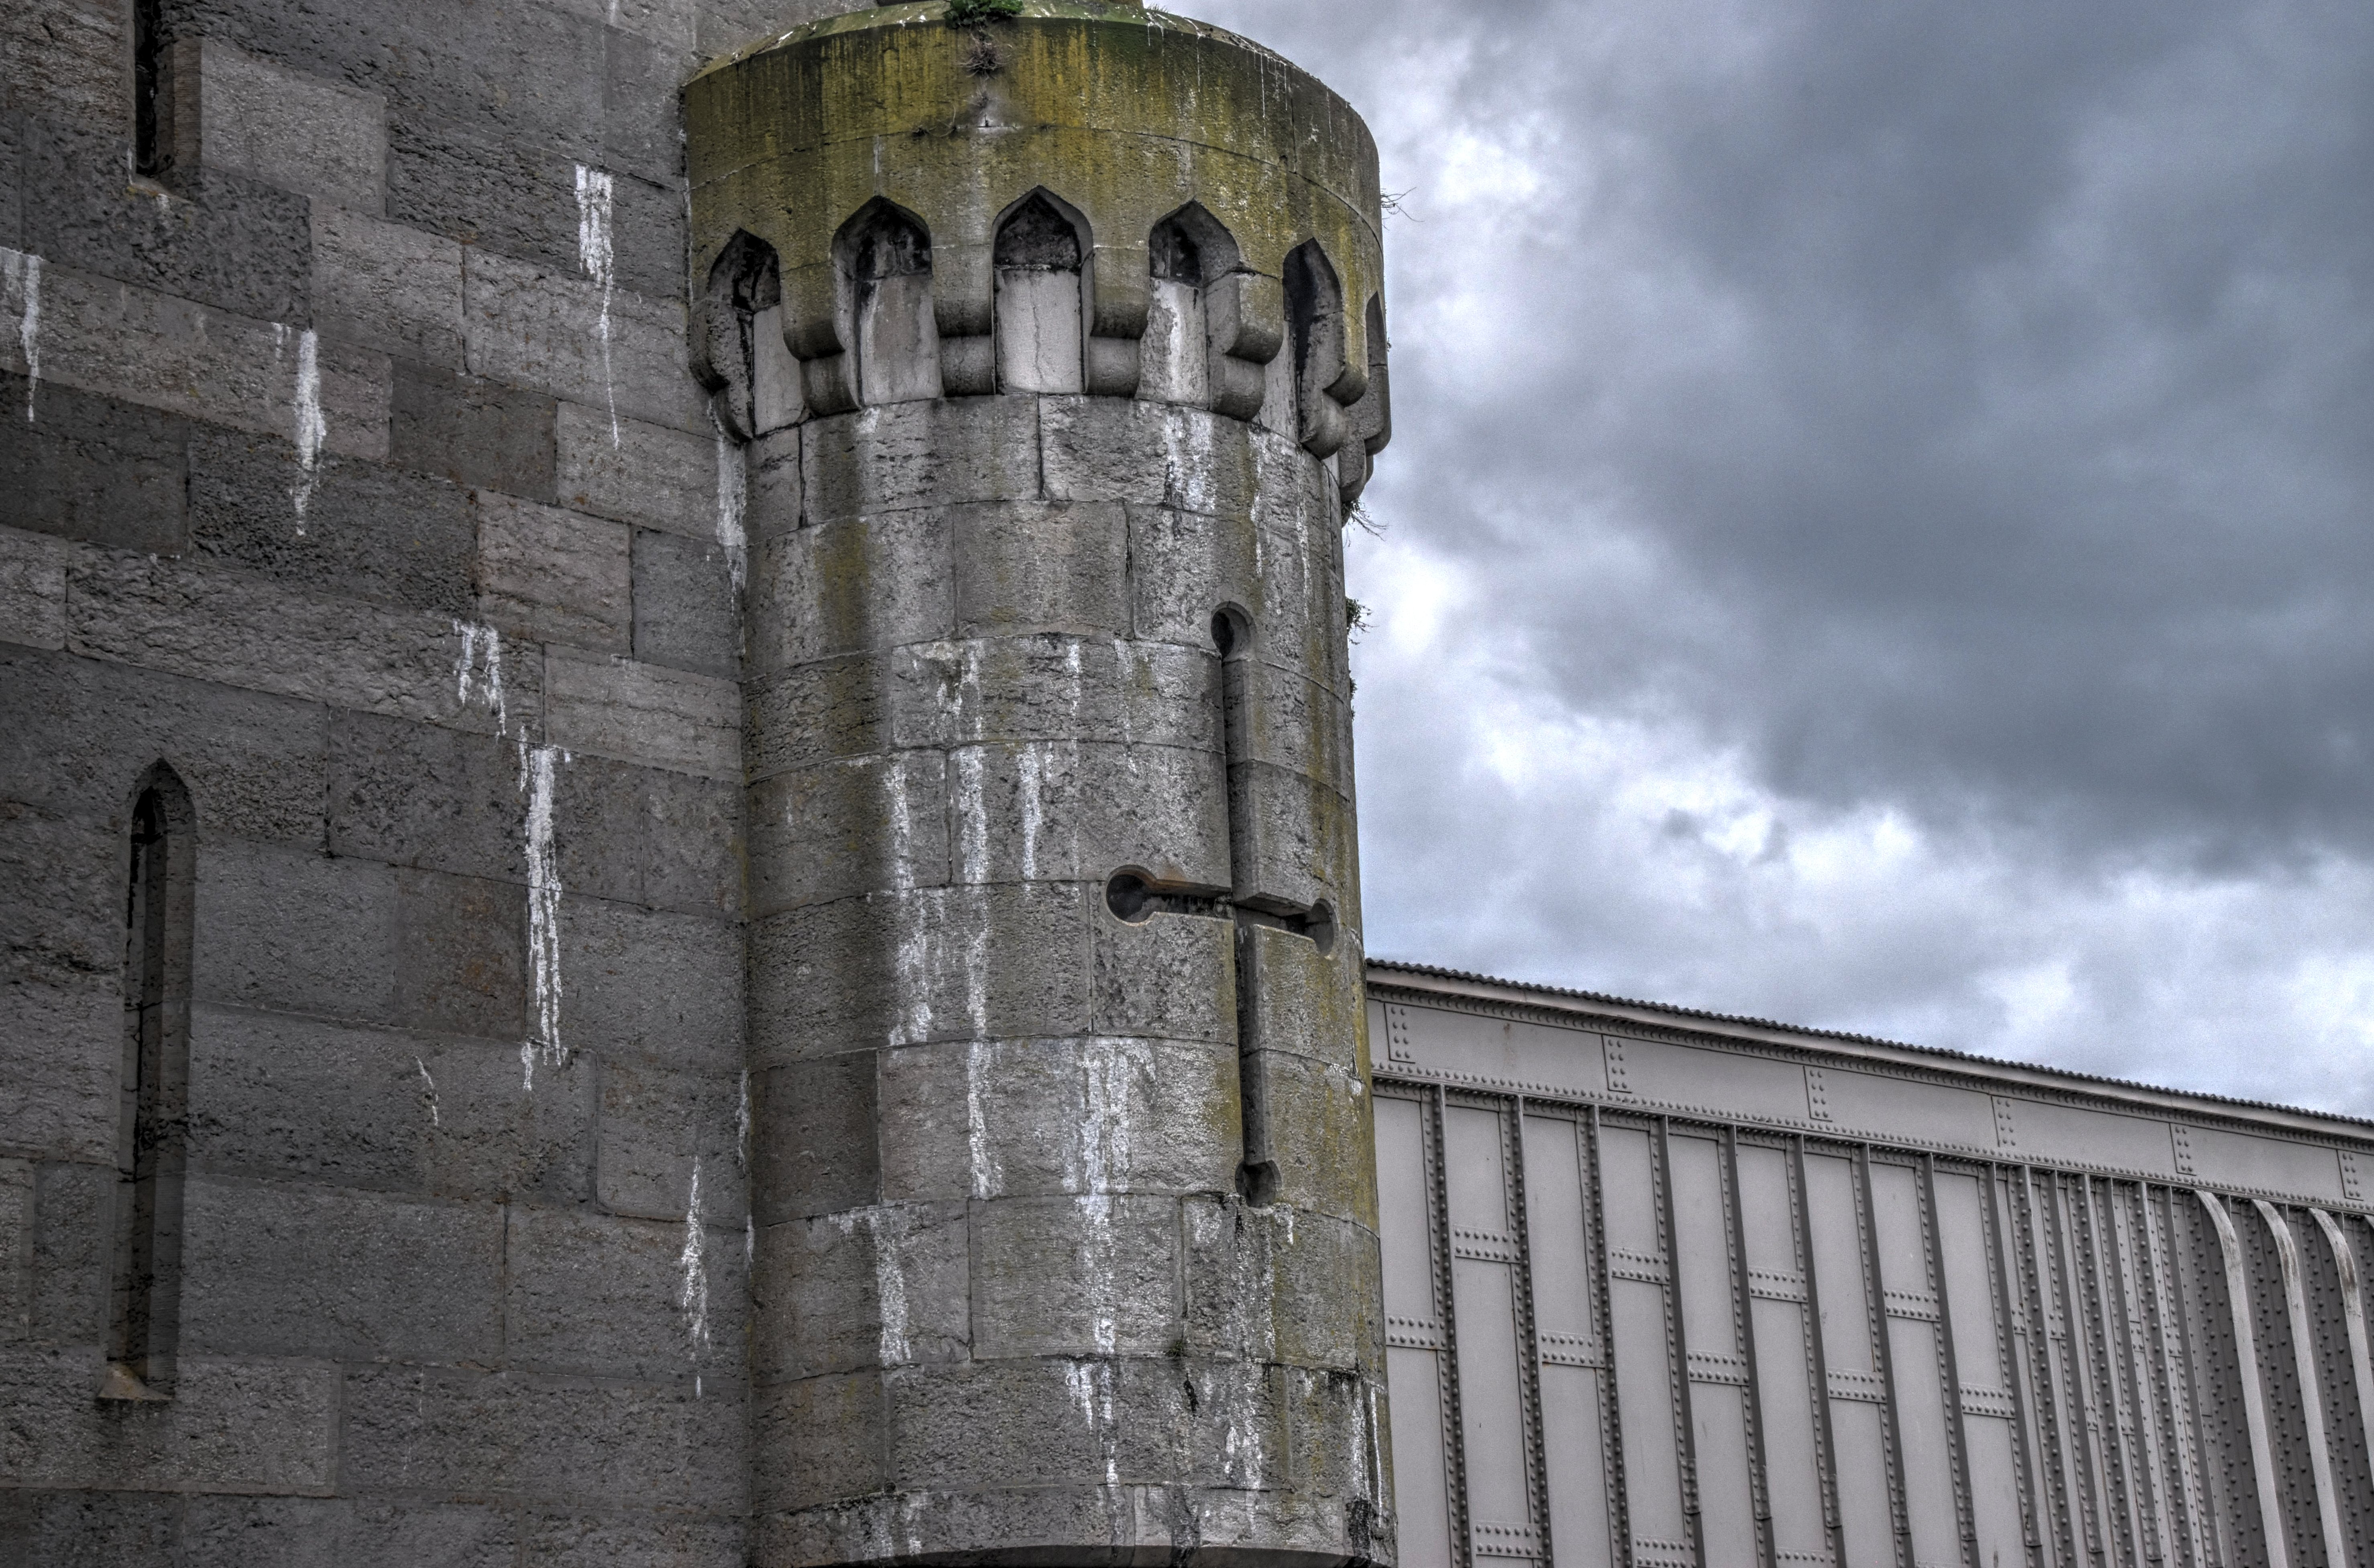
Looking up at west portal tower.
![]()


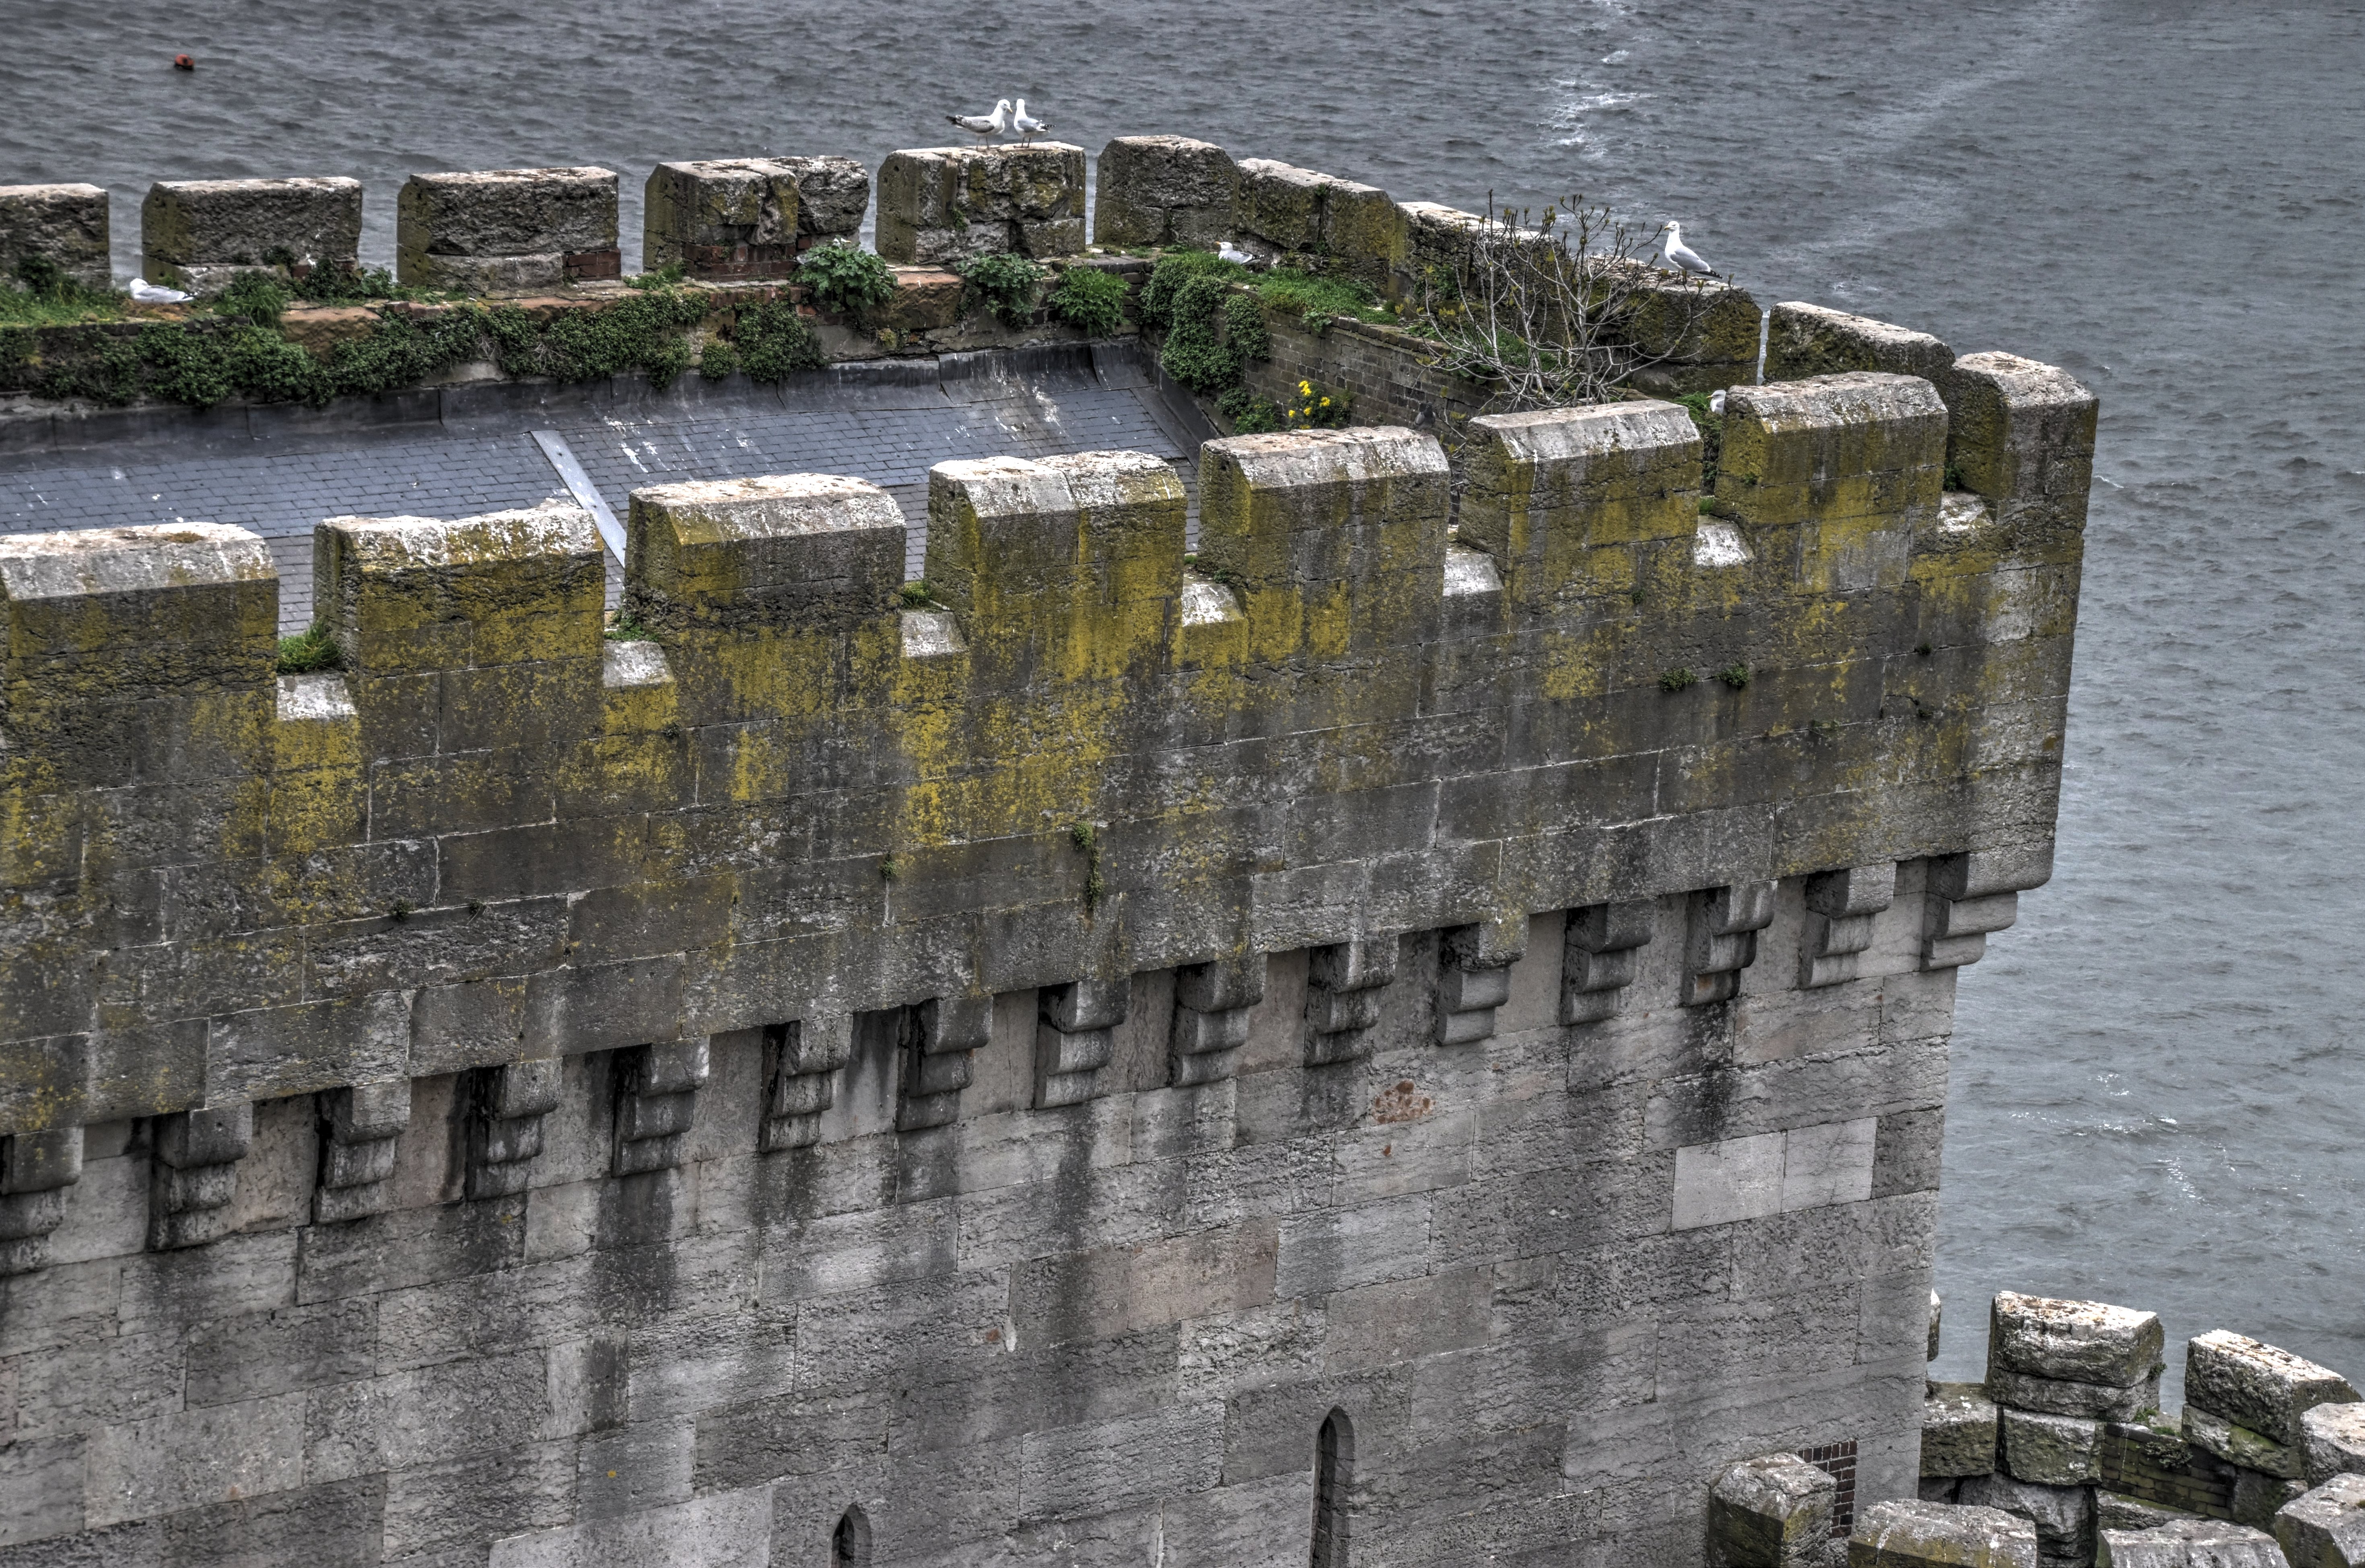
Details of west portal tower roof from Castle Conwy.
![]()


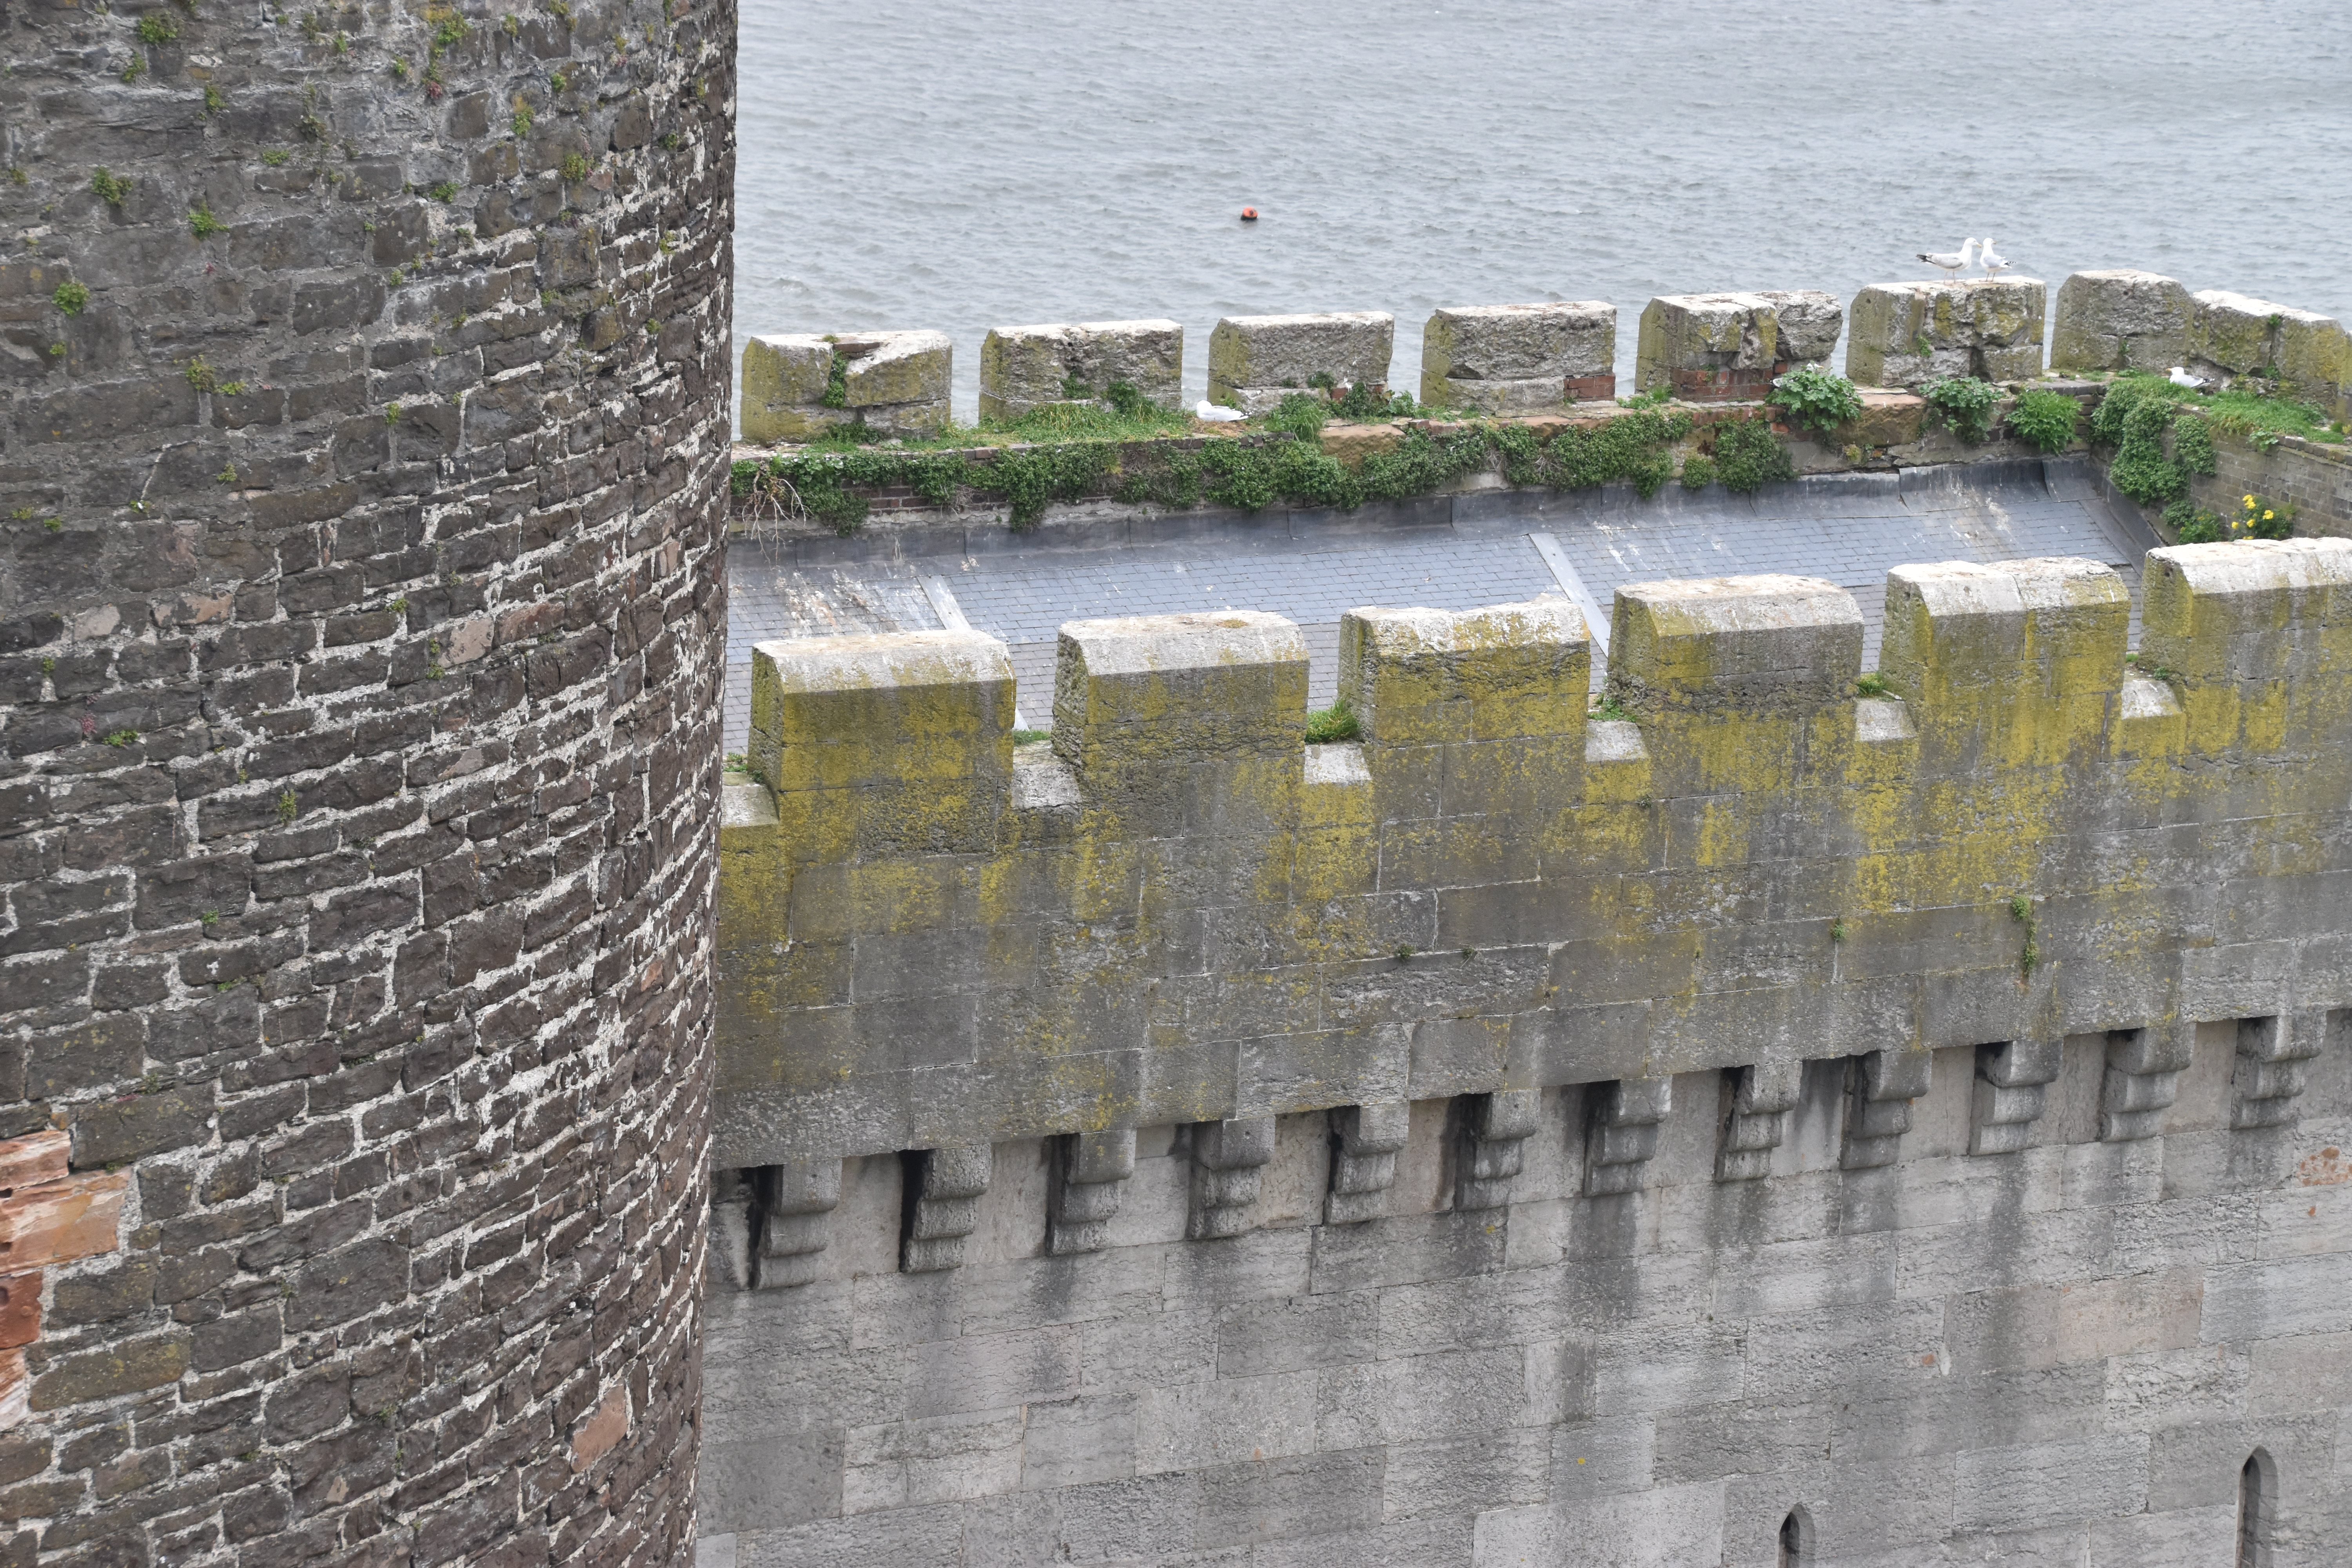


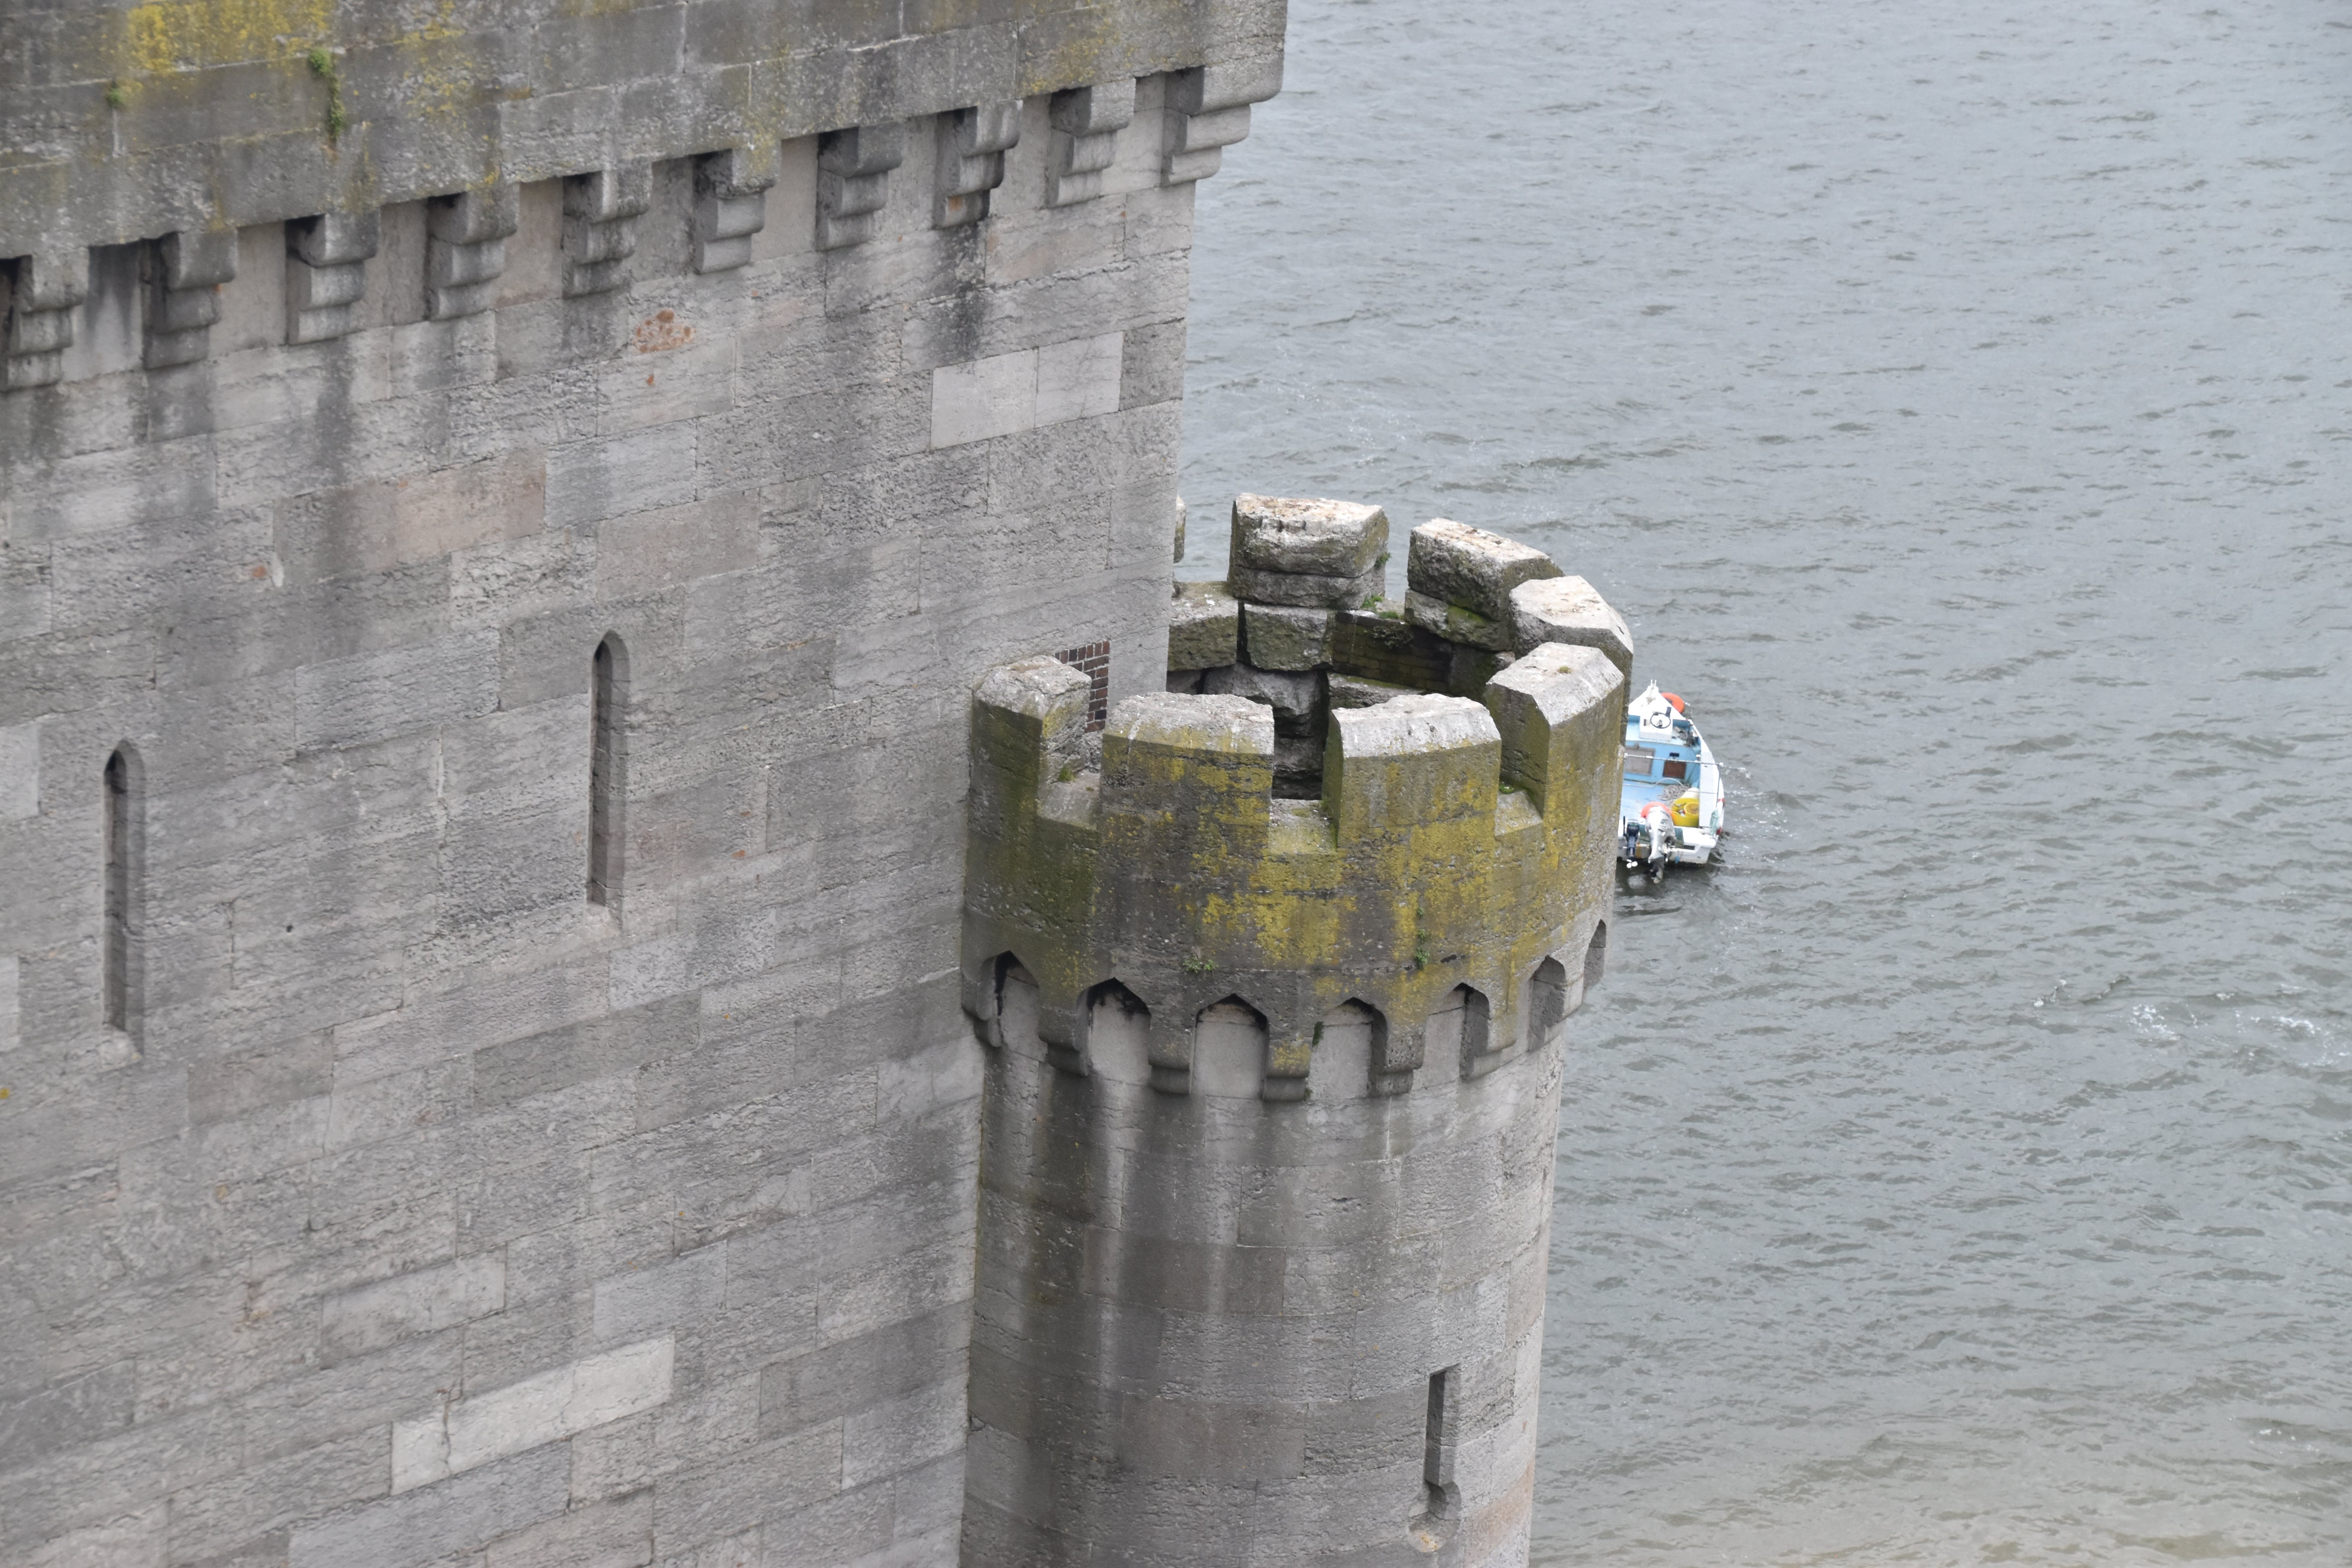
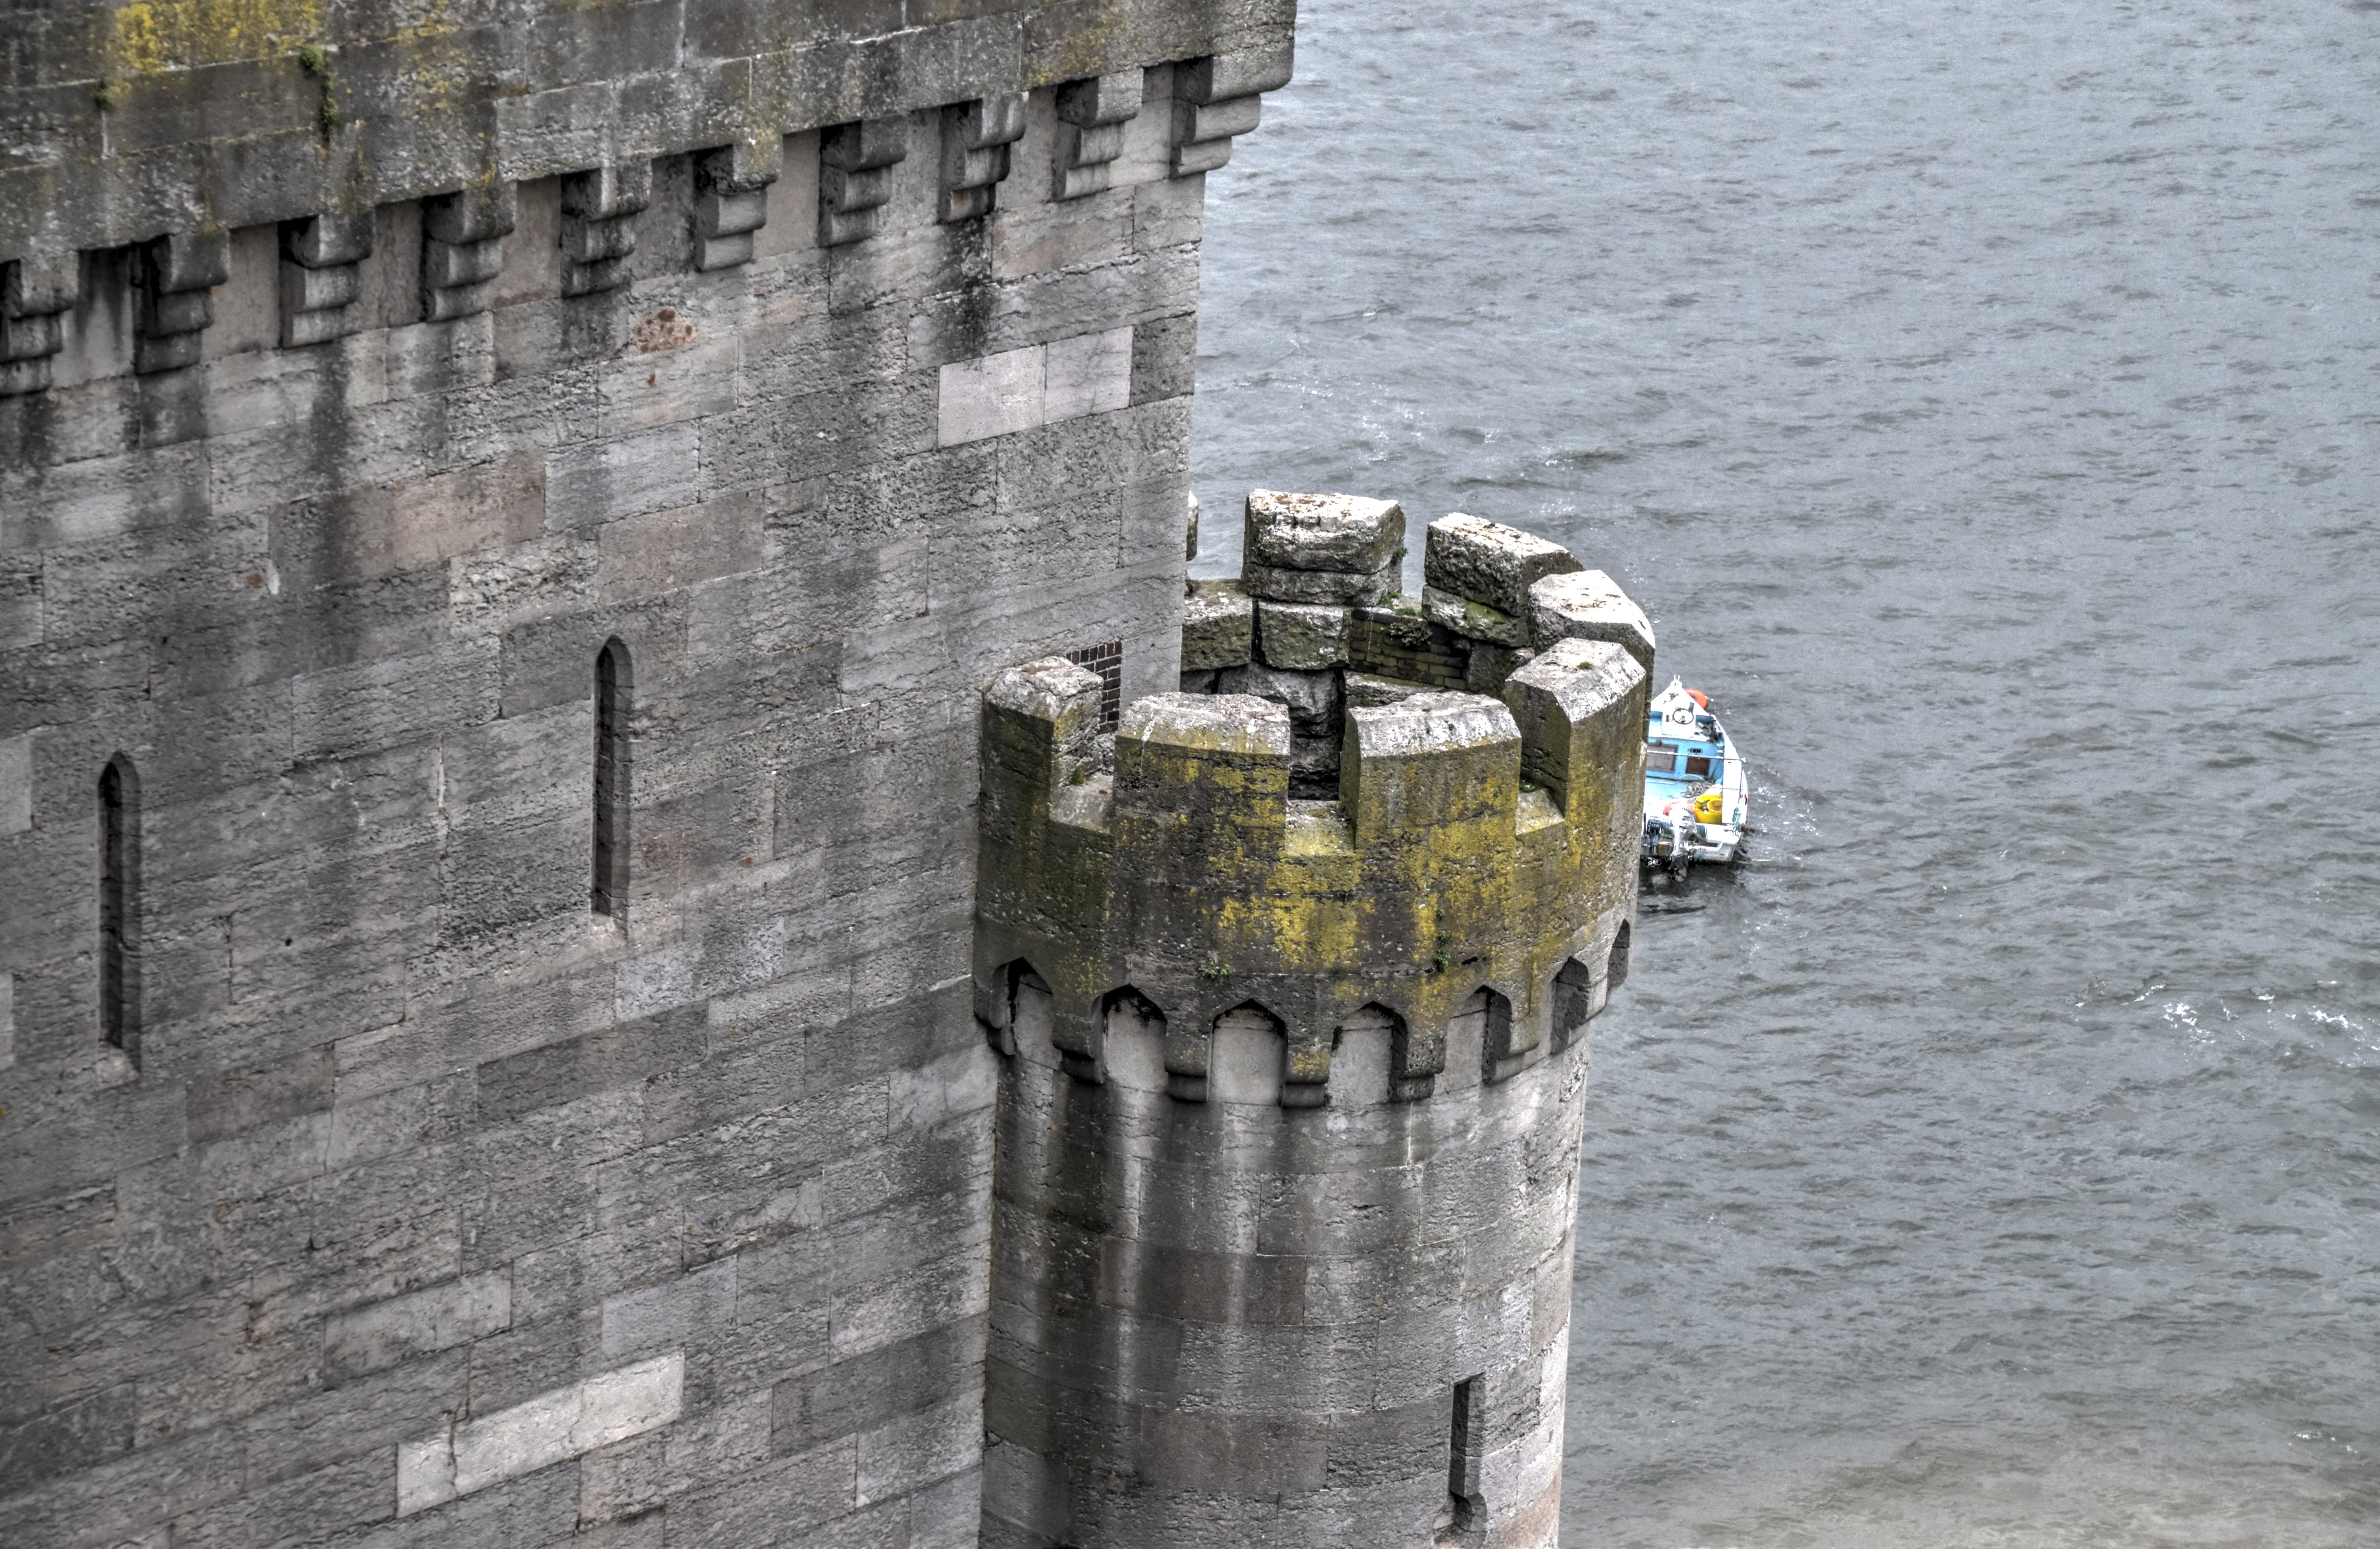
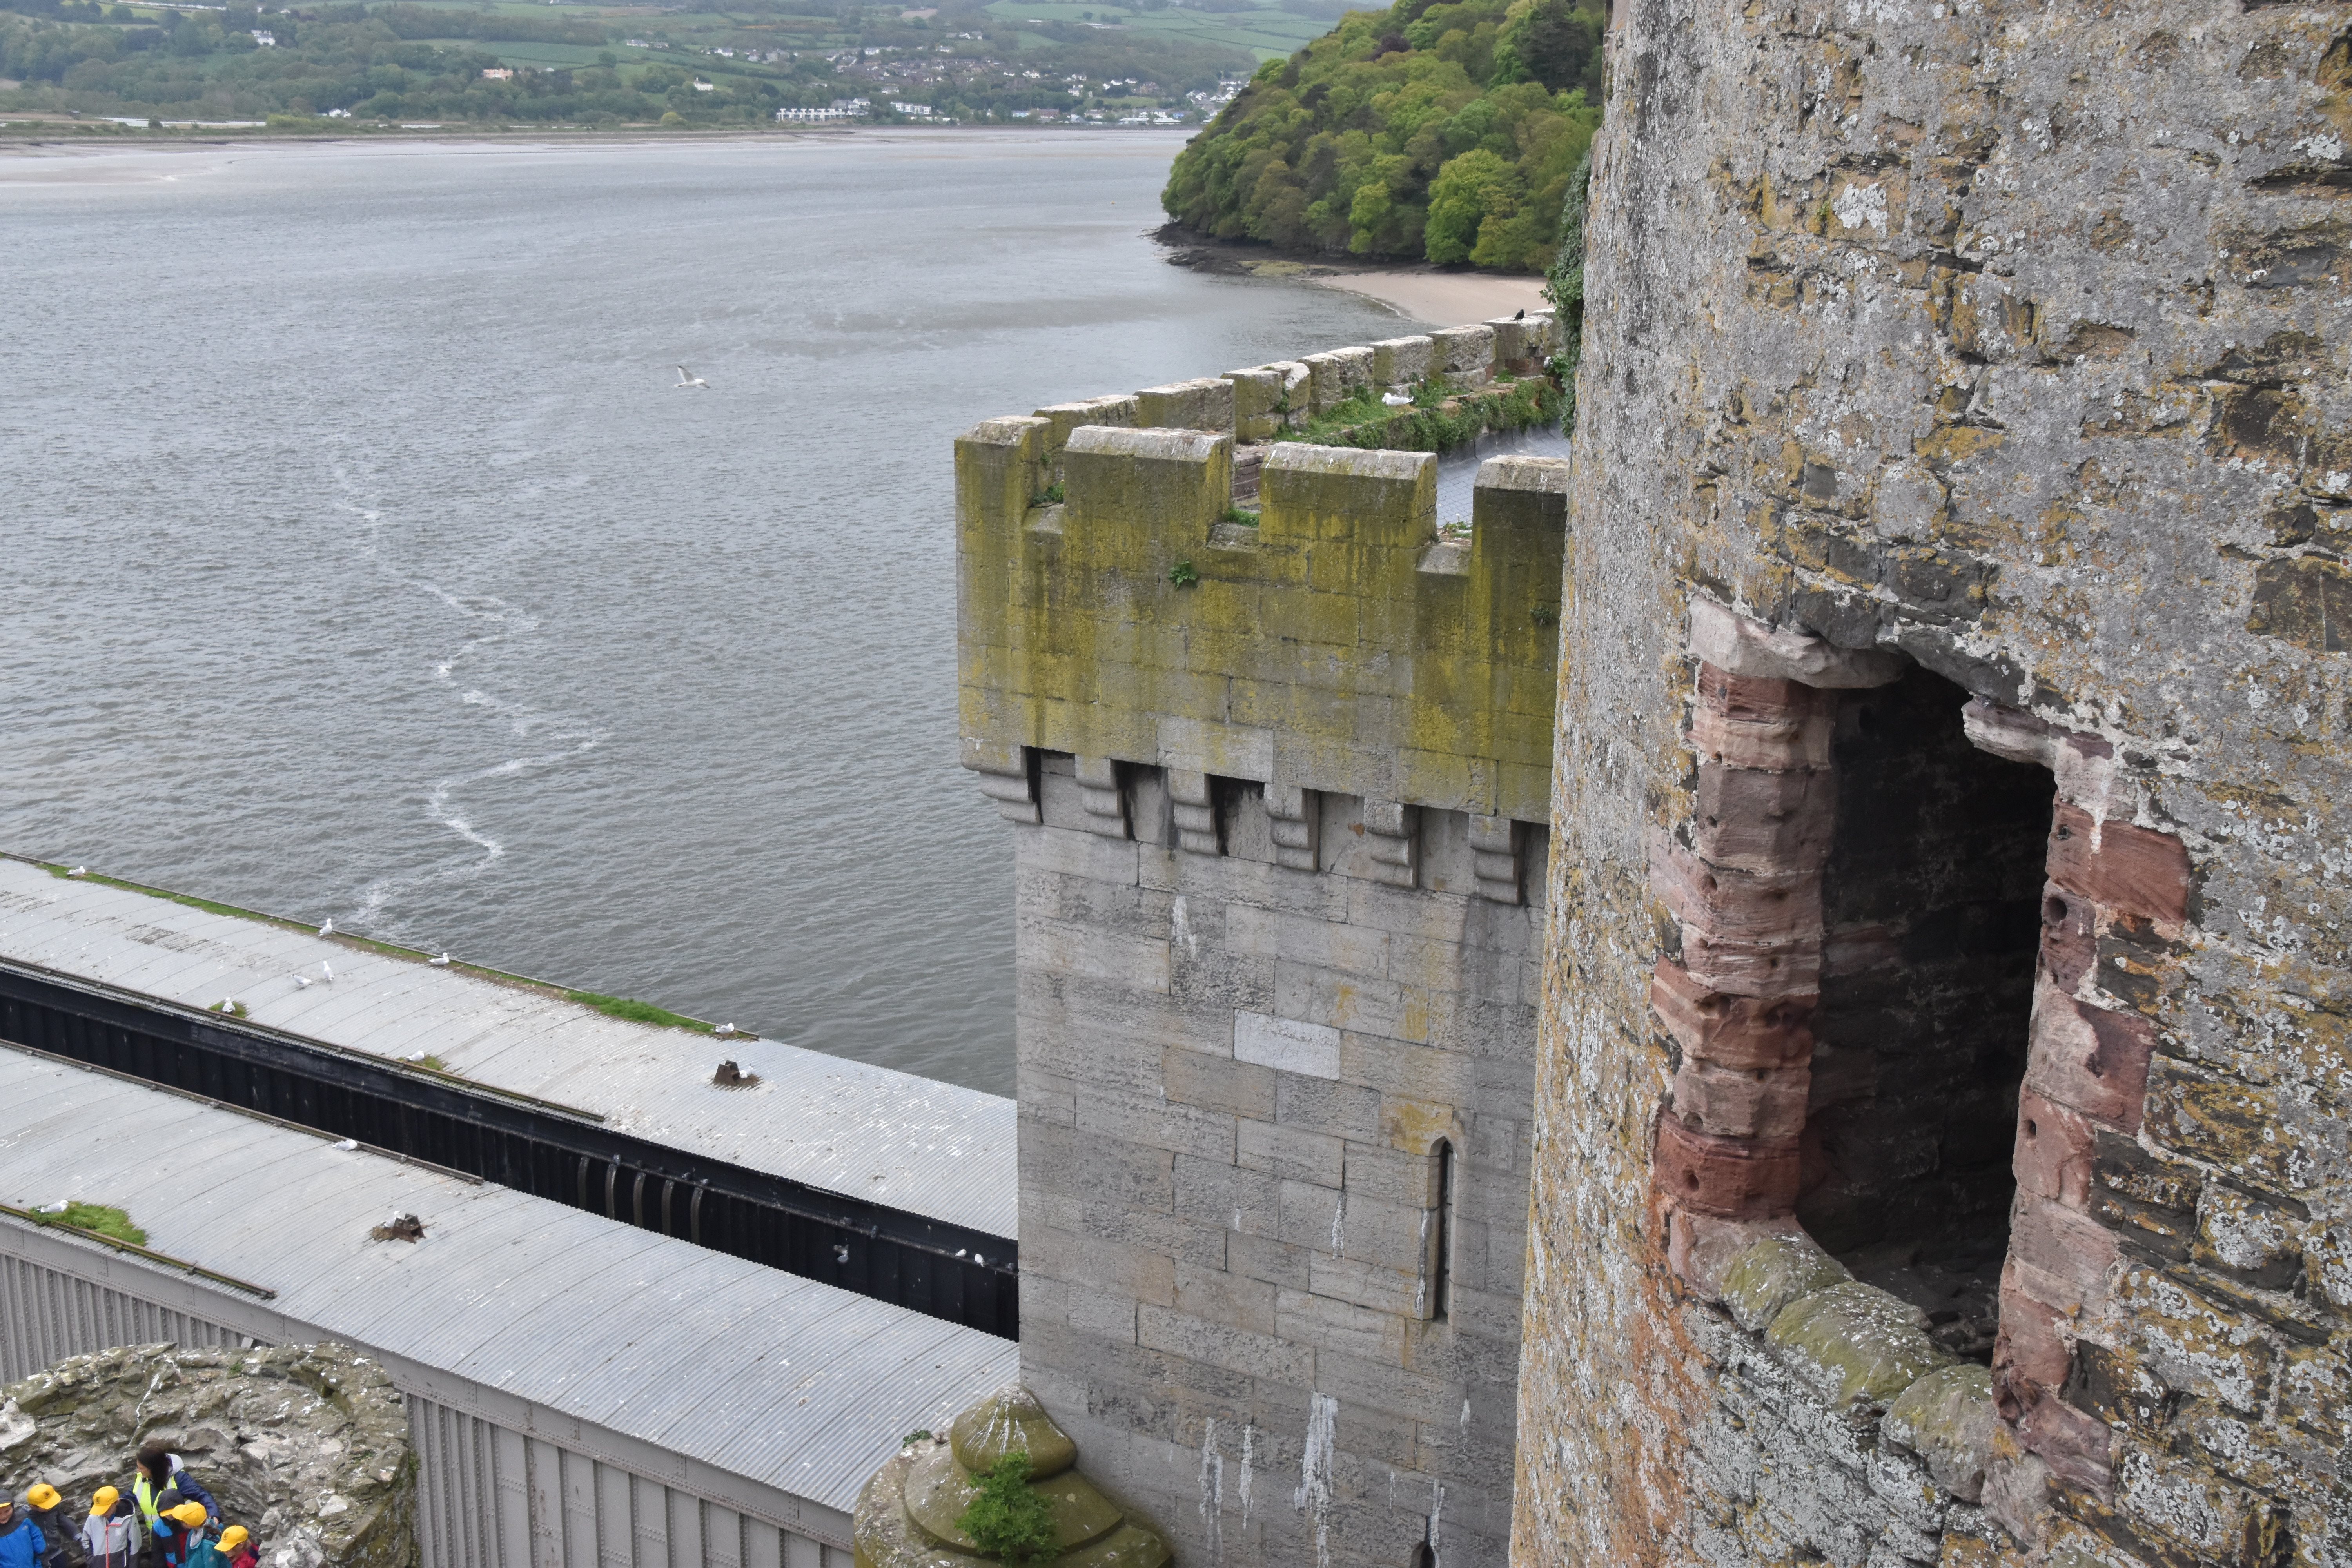
Details of west portal tower from Castle Conwy.
![]()
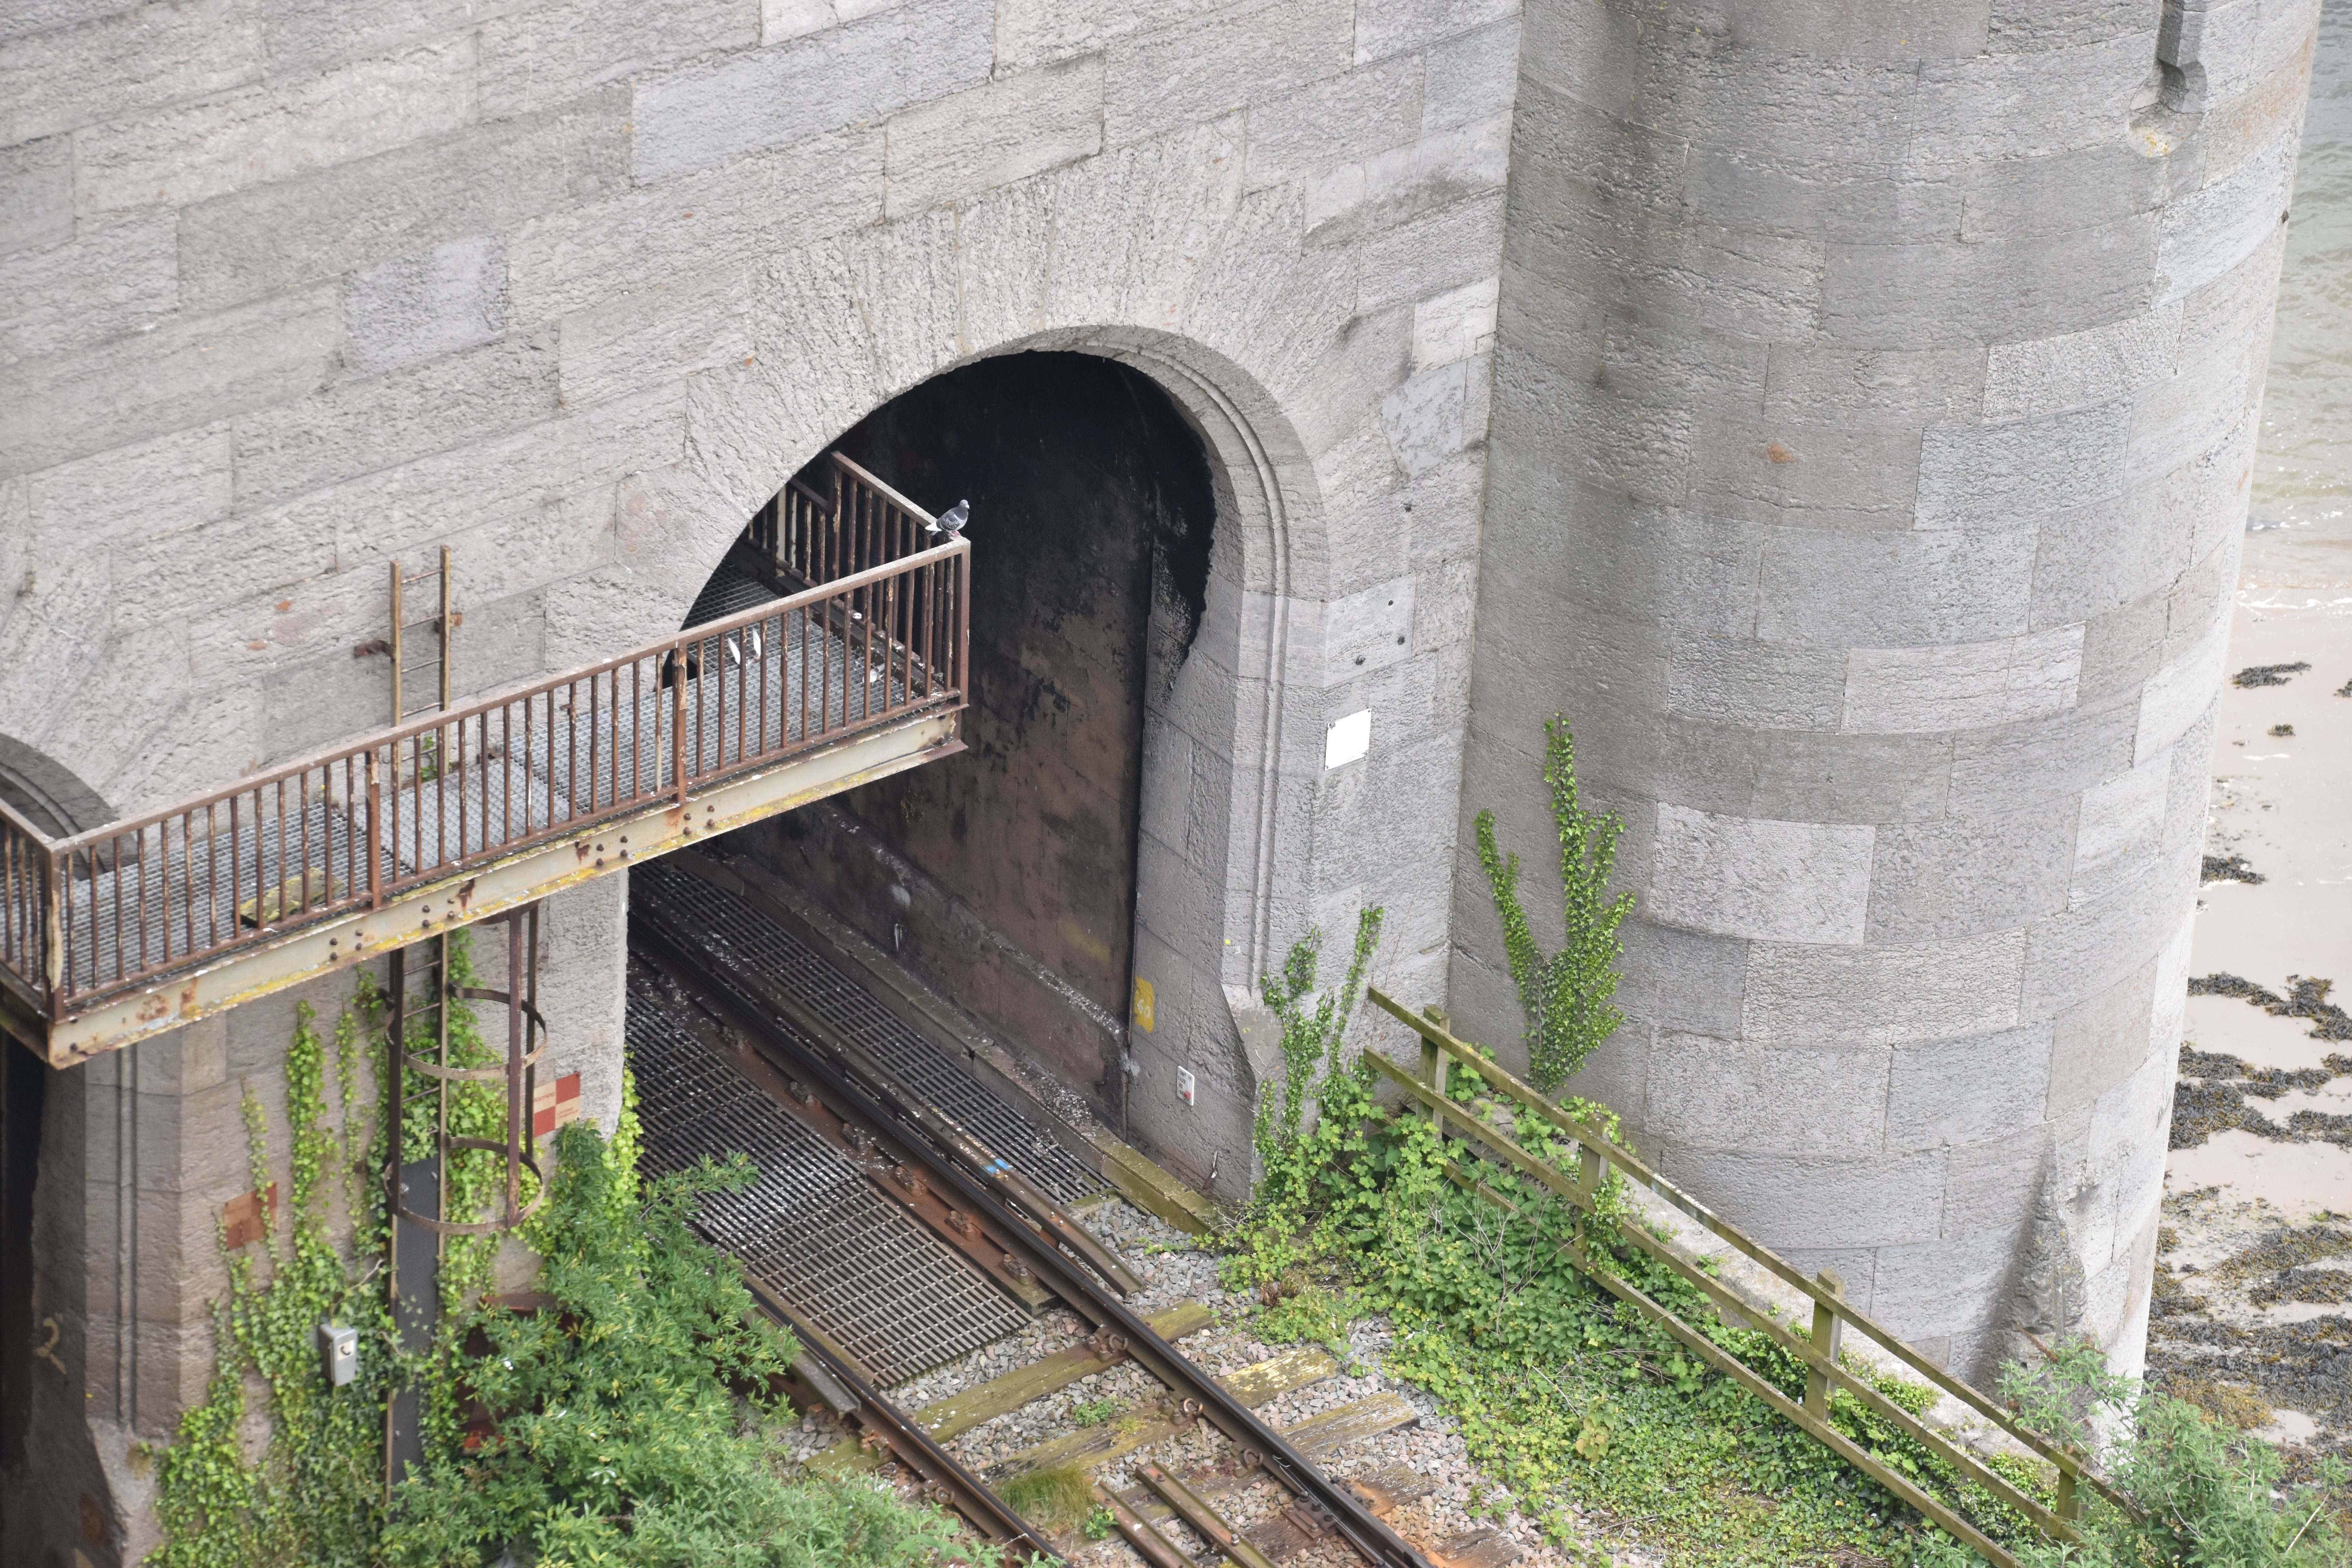
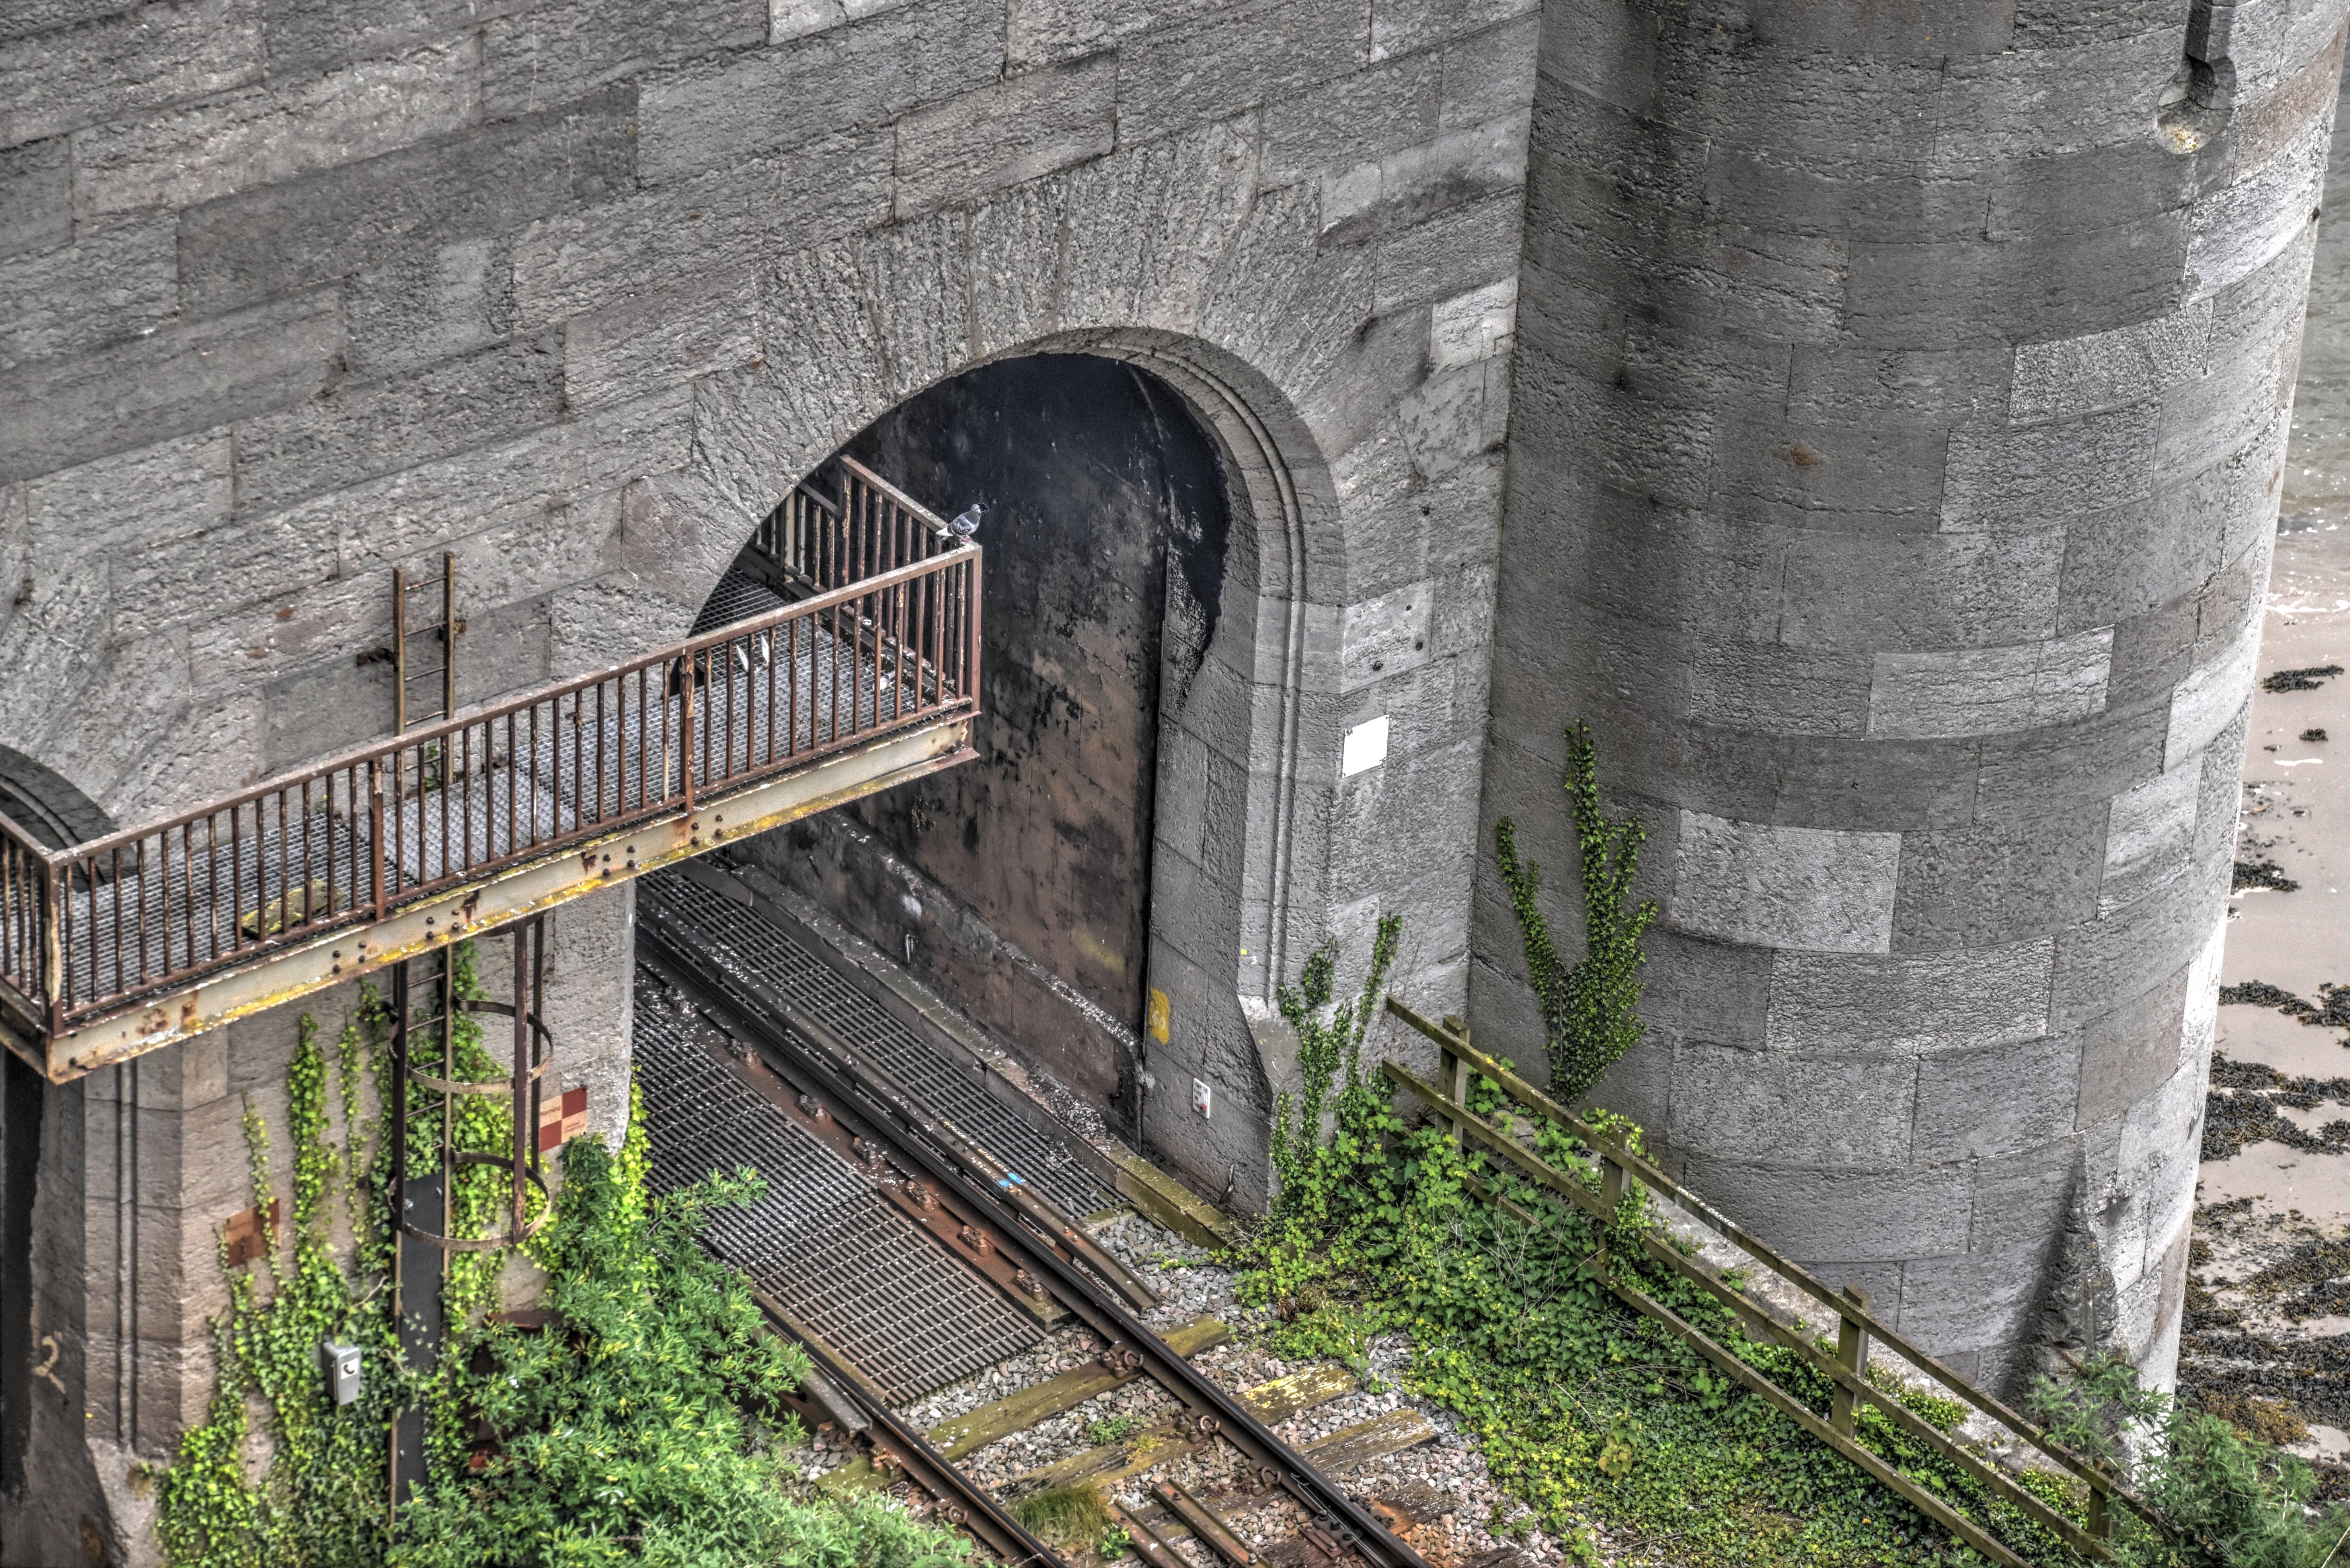


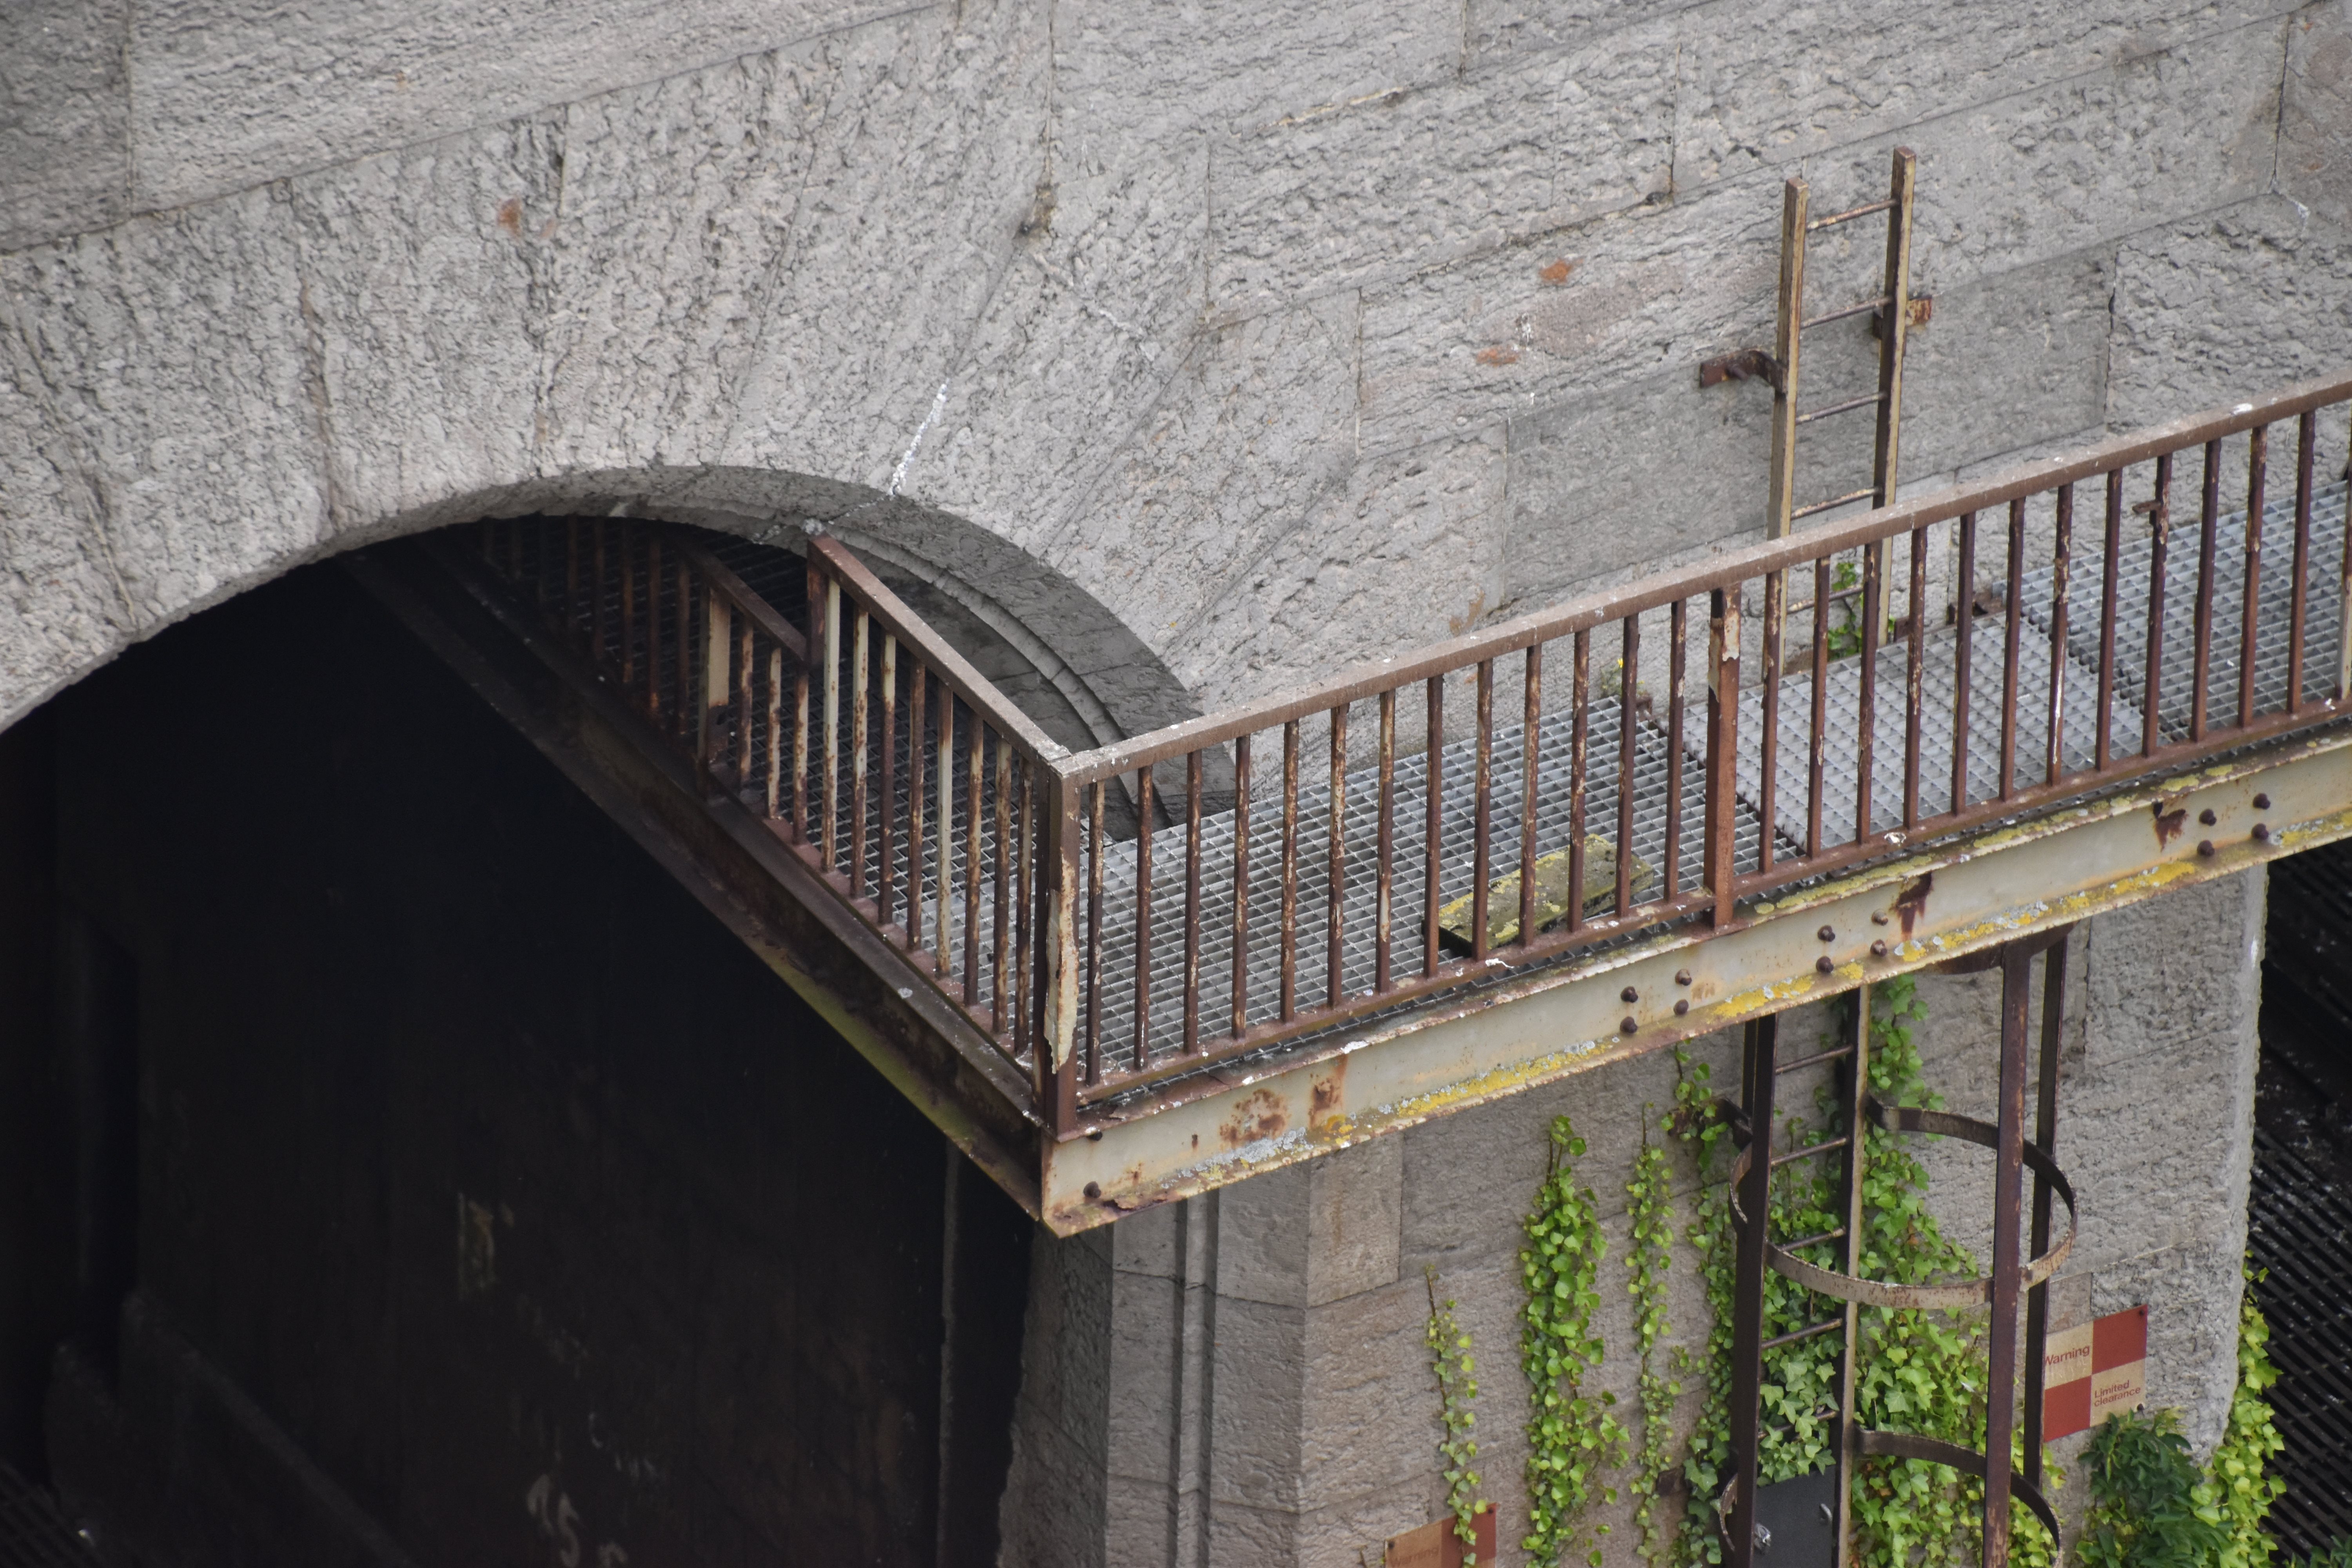
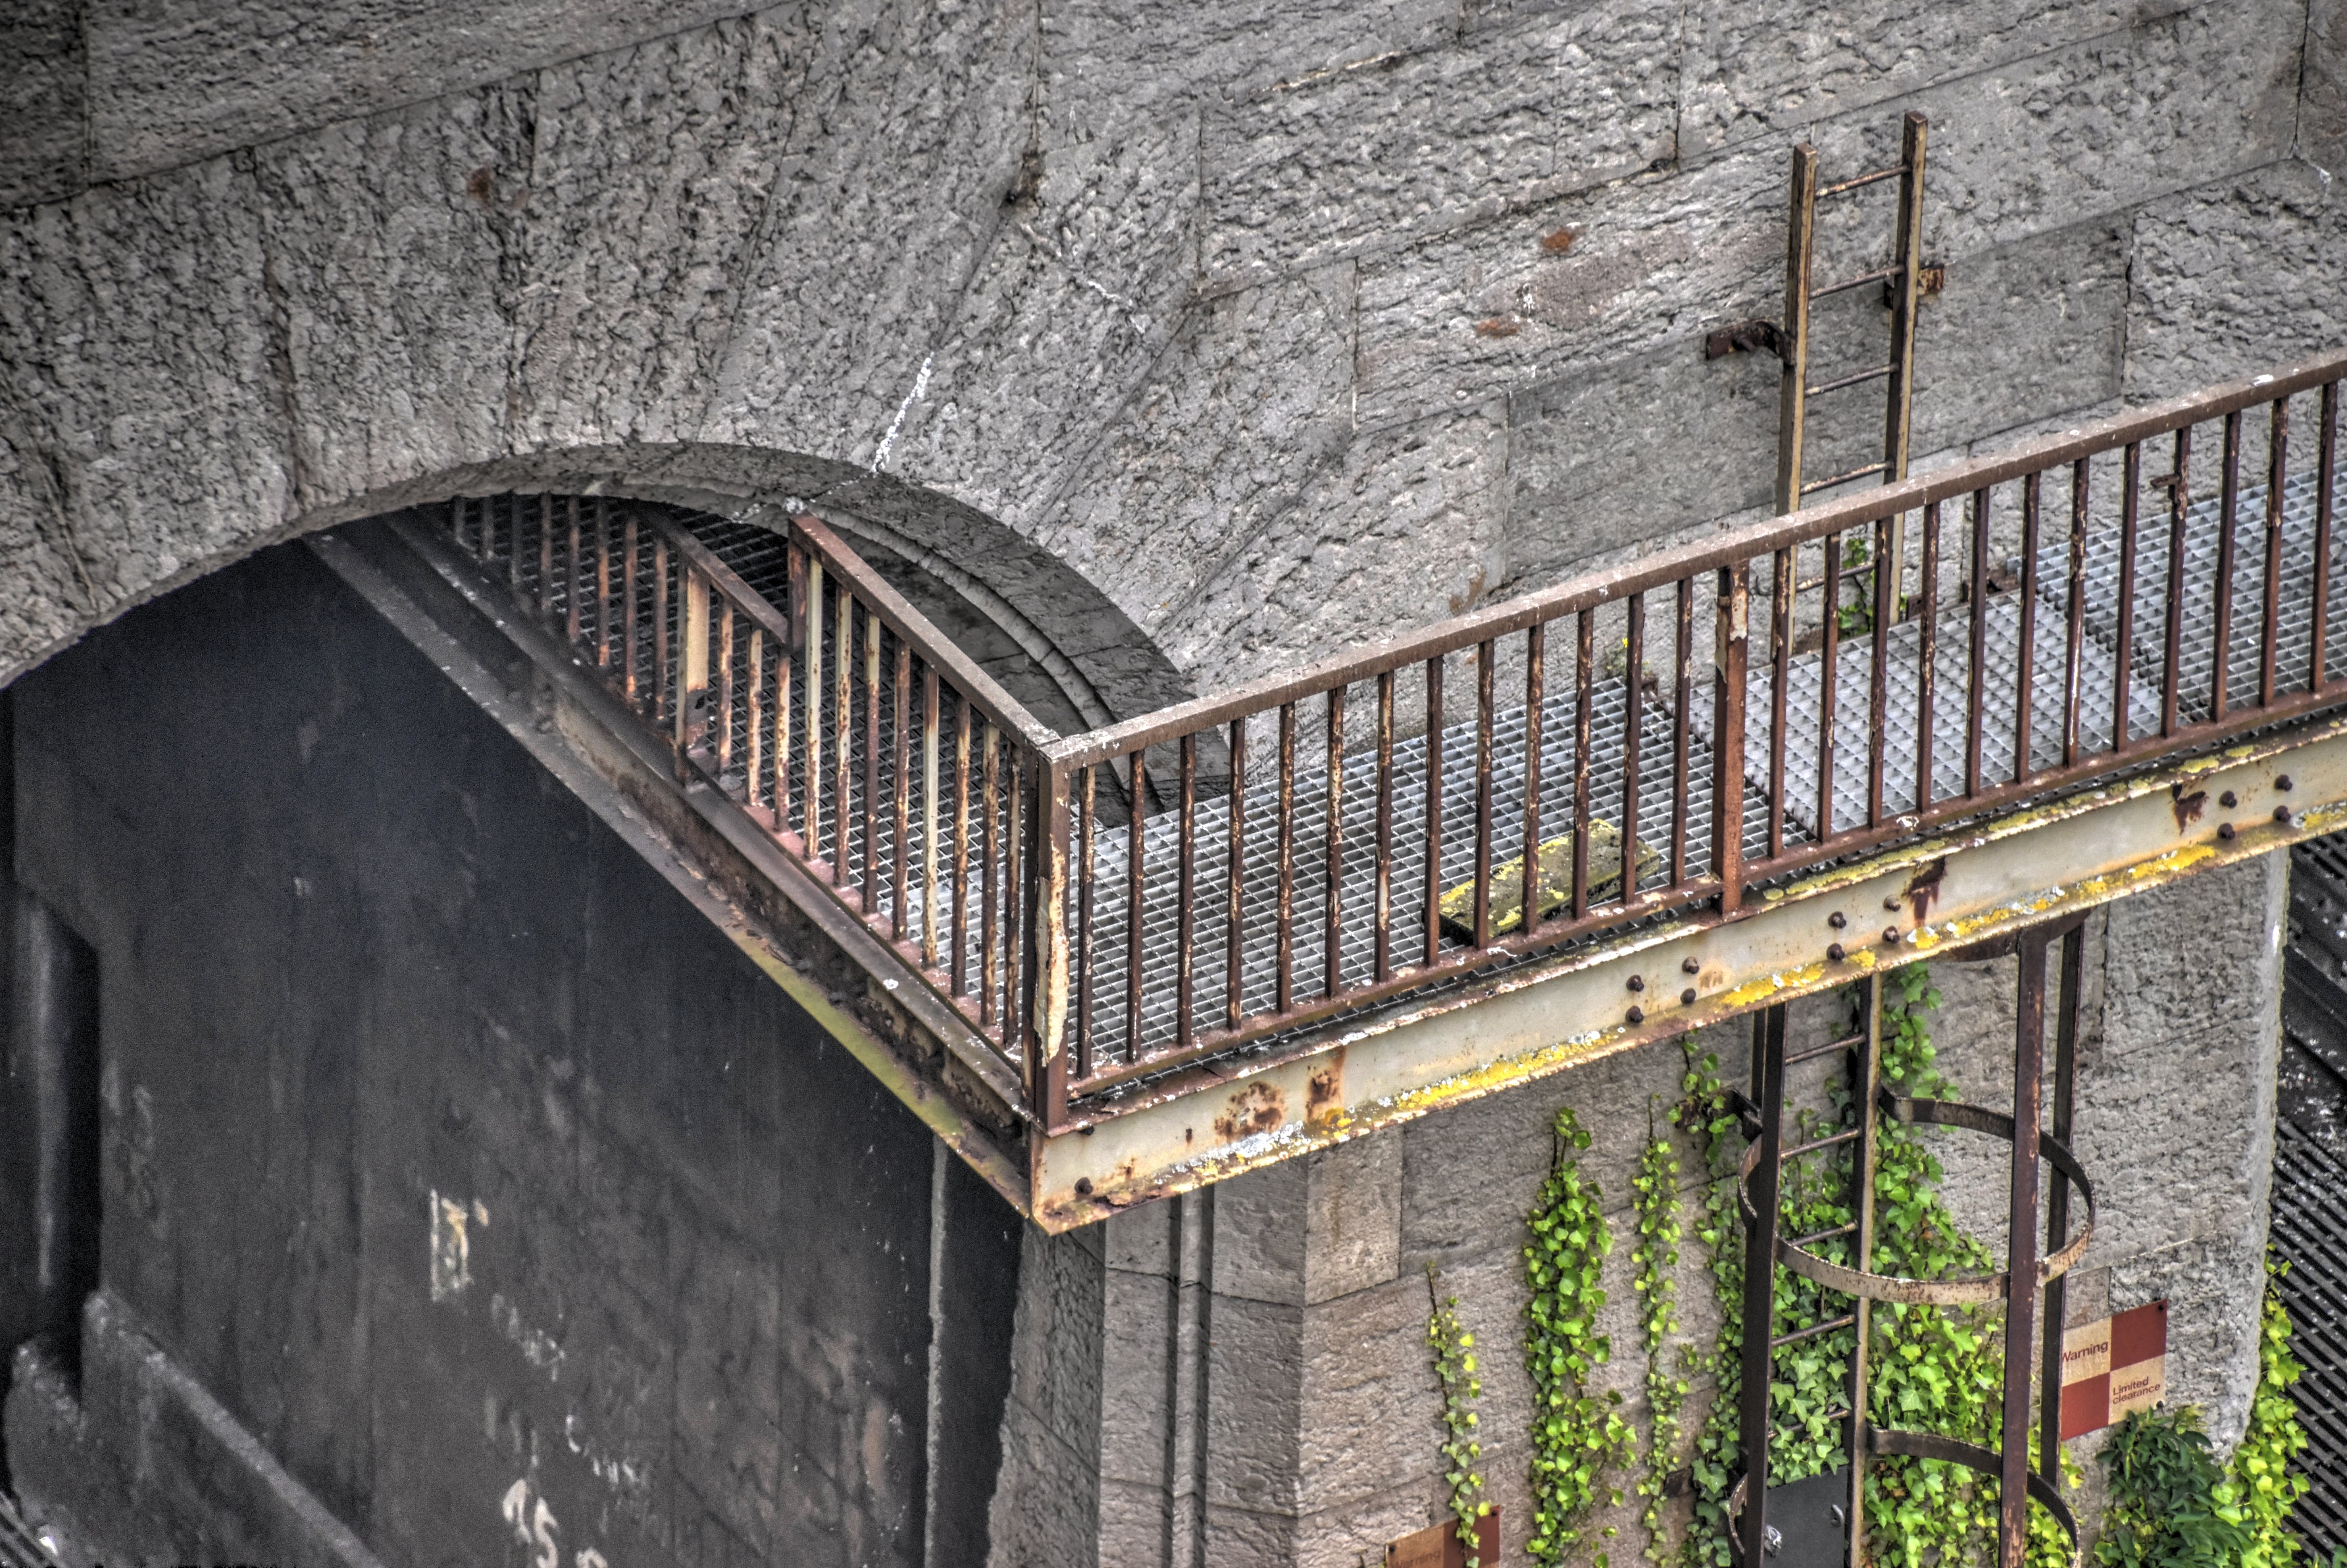
Details of the west portal arch from Castle Conwy.
![]()


Views of east portal tower from Castle Conwy.
![]()


Views of east portal tower.
![]()

View of east portal tower from Castle Conwy showing ventilation grating.
![]()


Details of east portal tower from Castle Conwy.
![]()


Details of east portal tower.
![]()

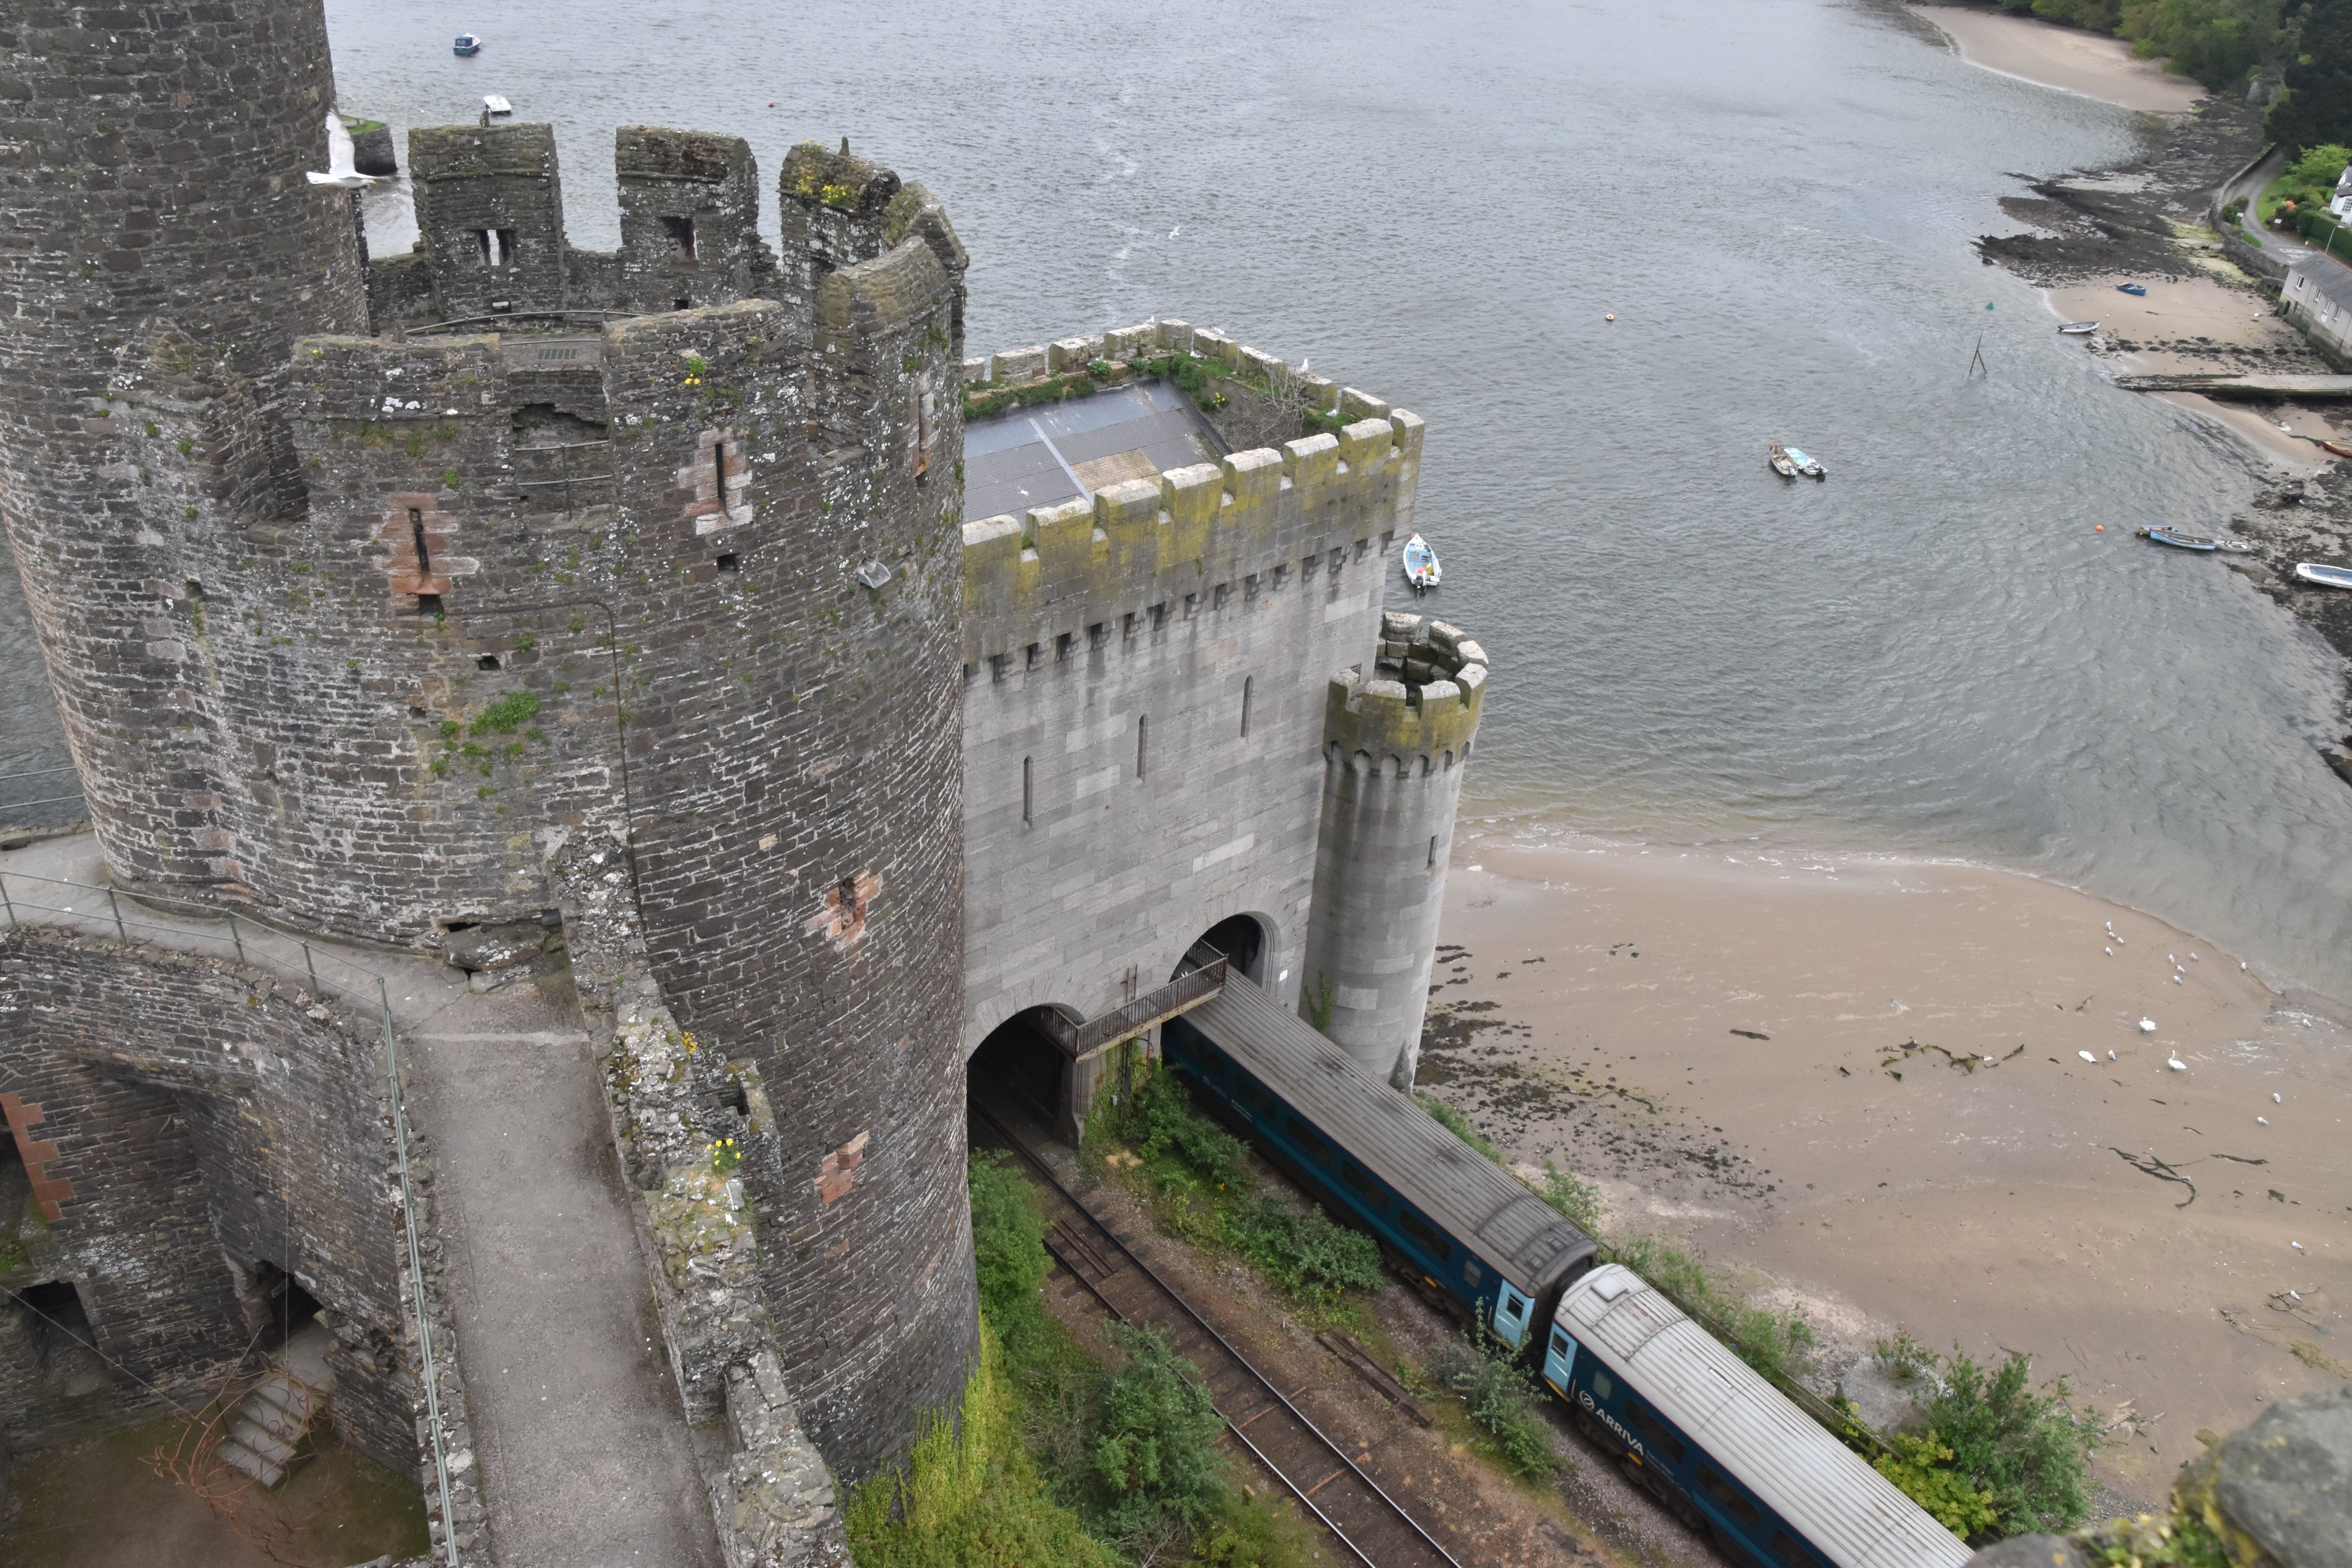
Train headed westbound toward bridge.
![]()
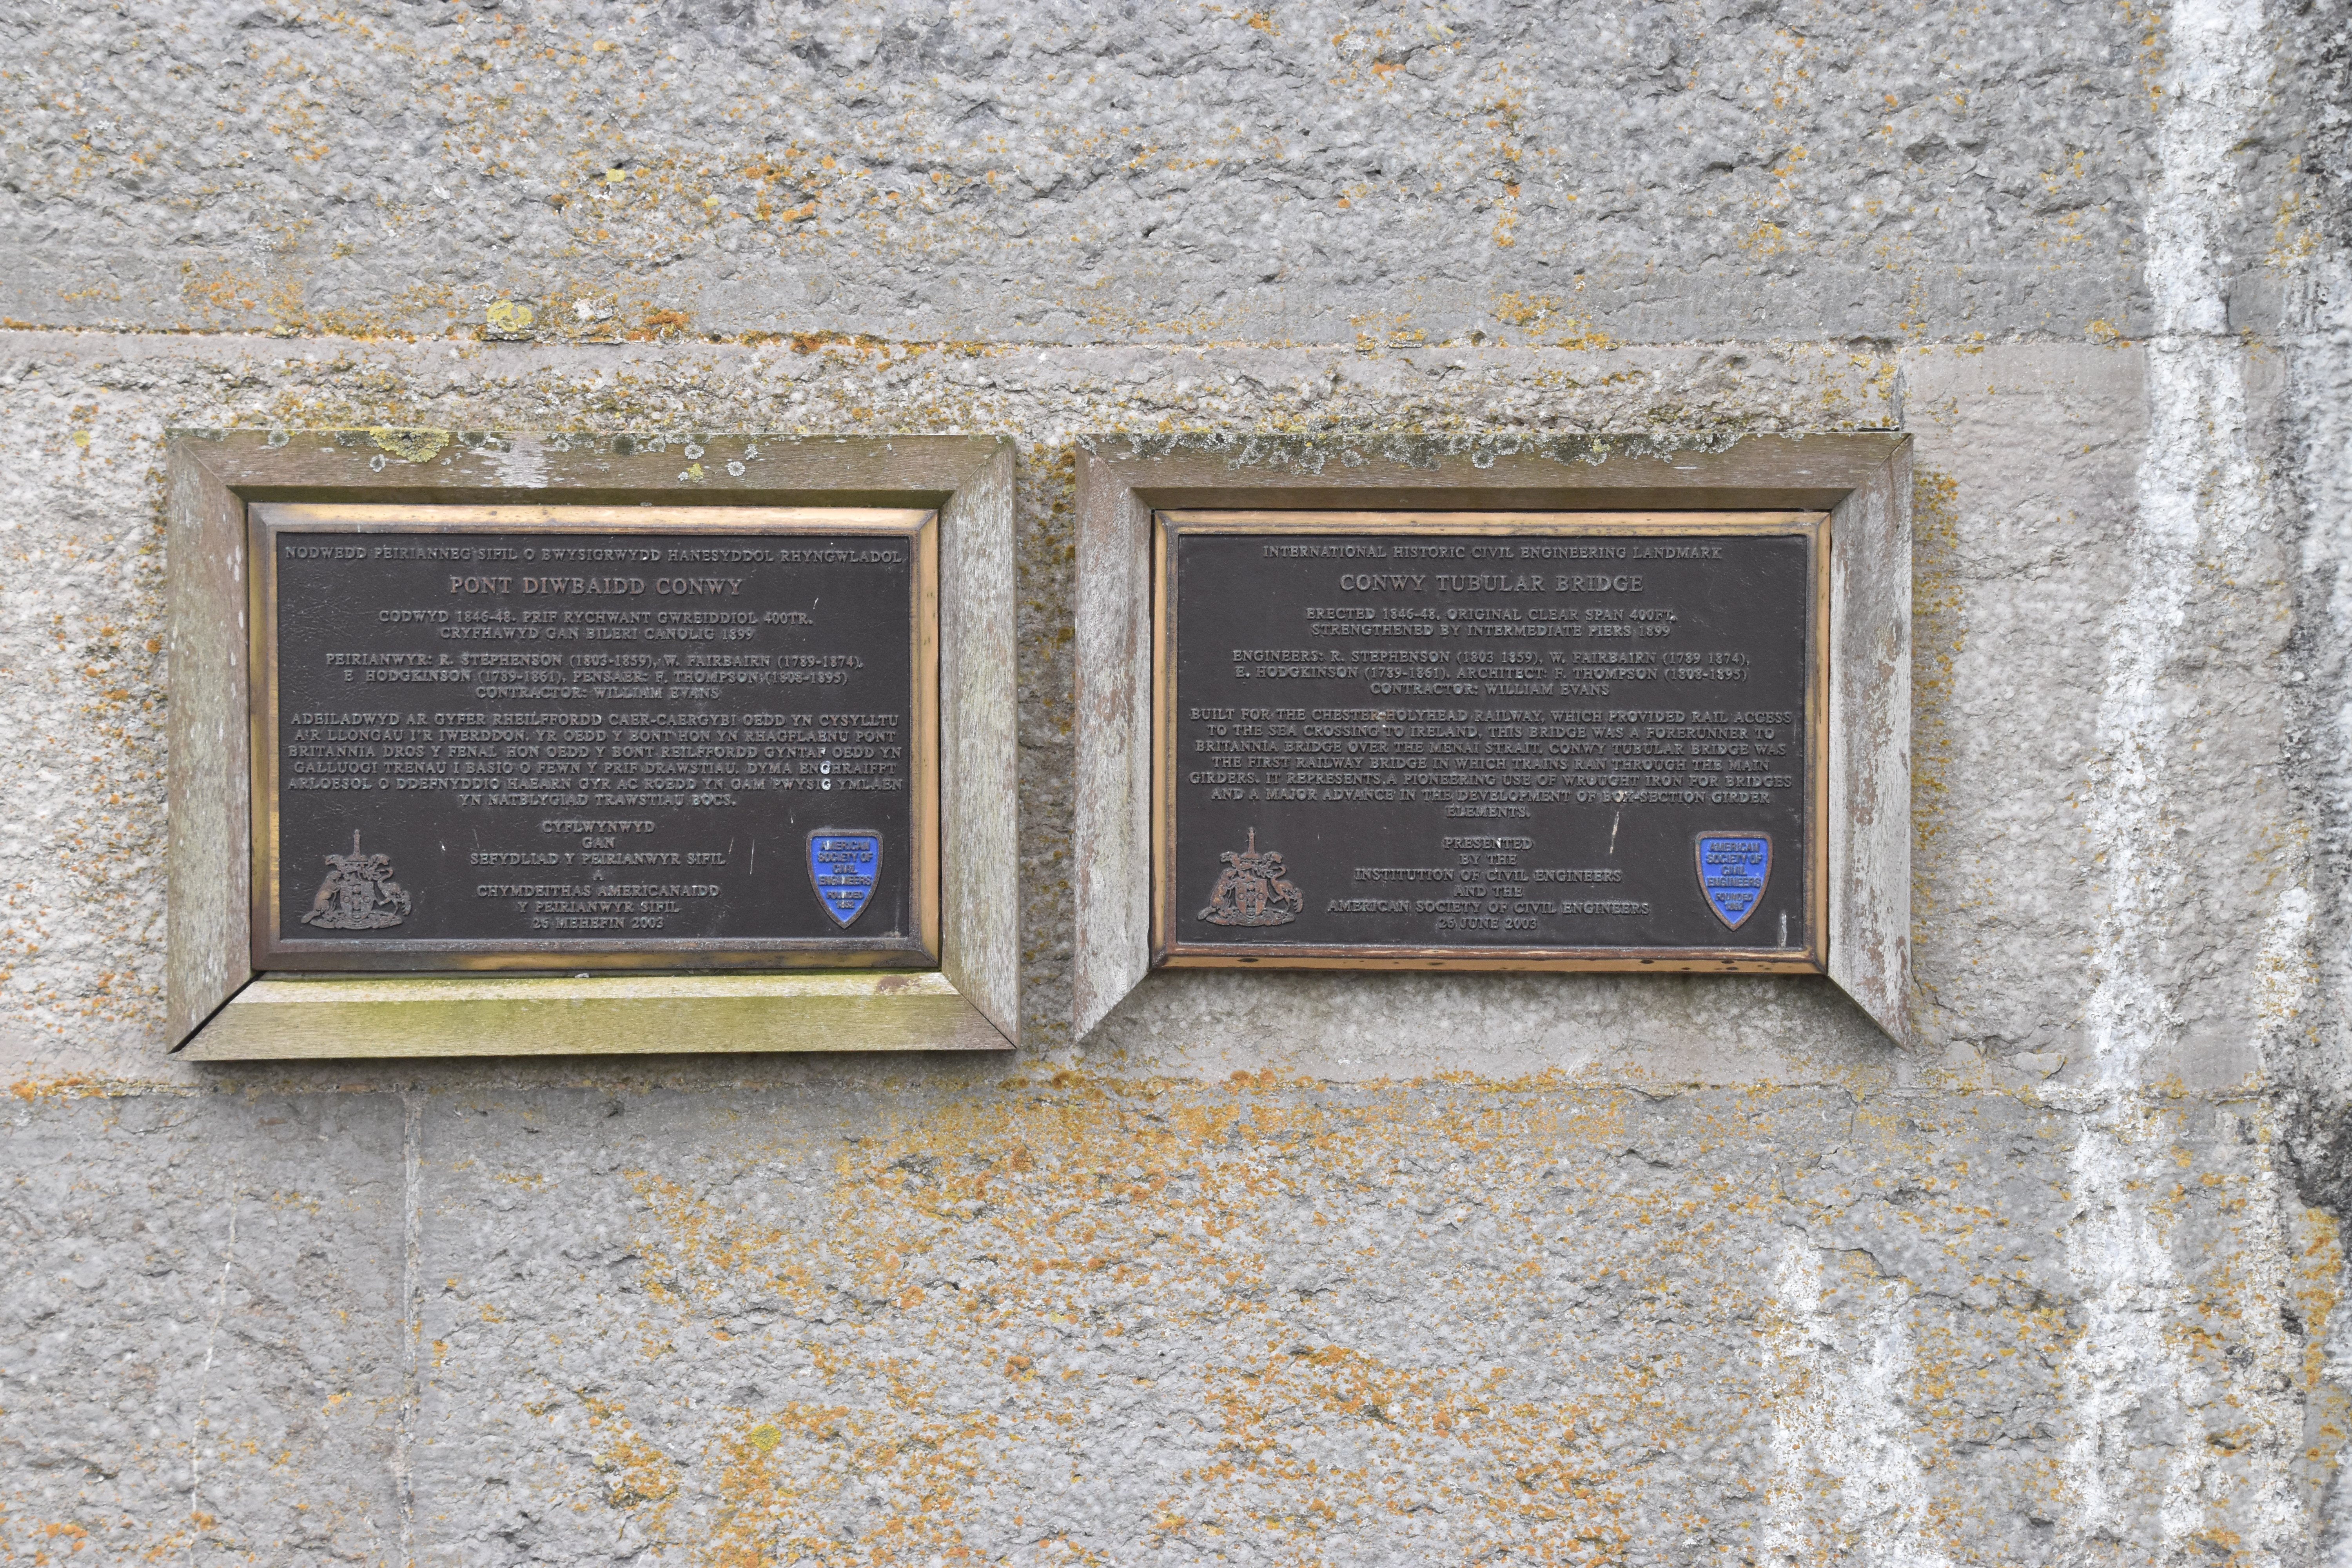

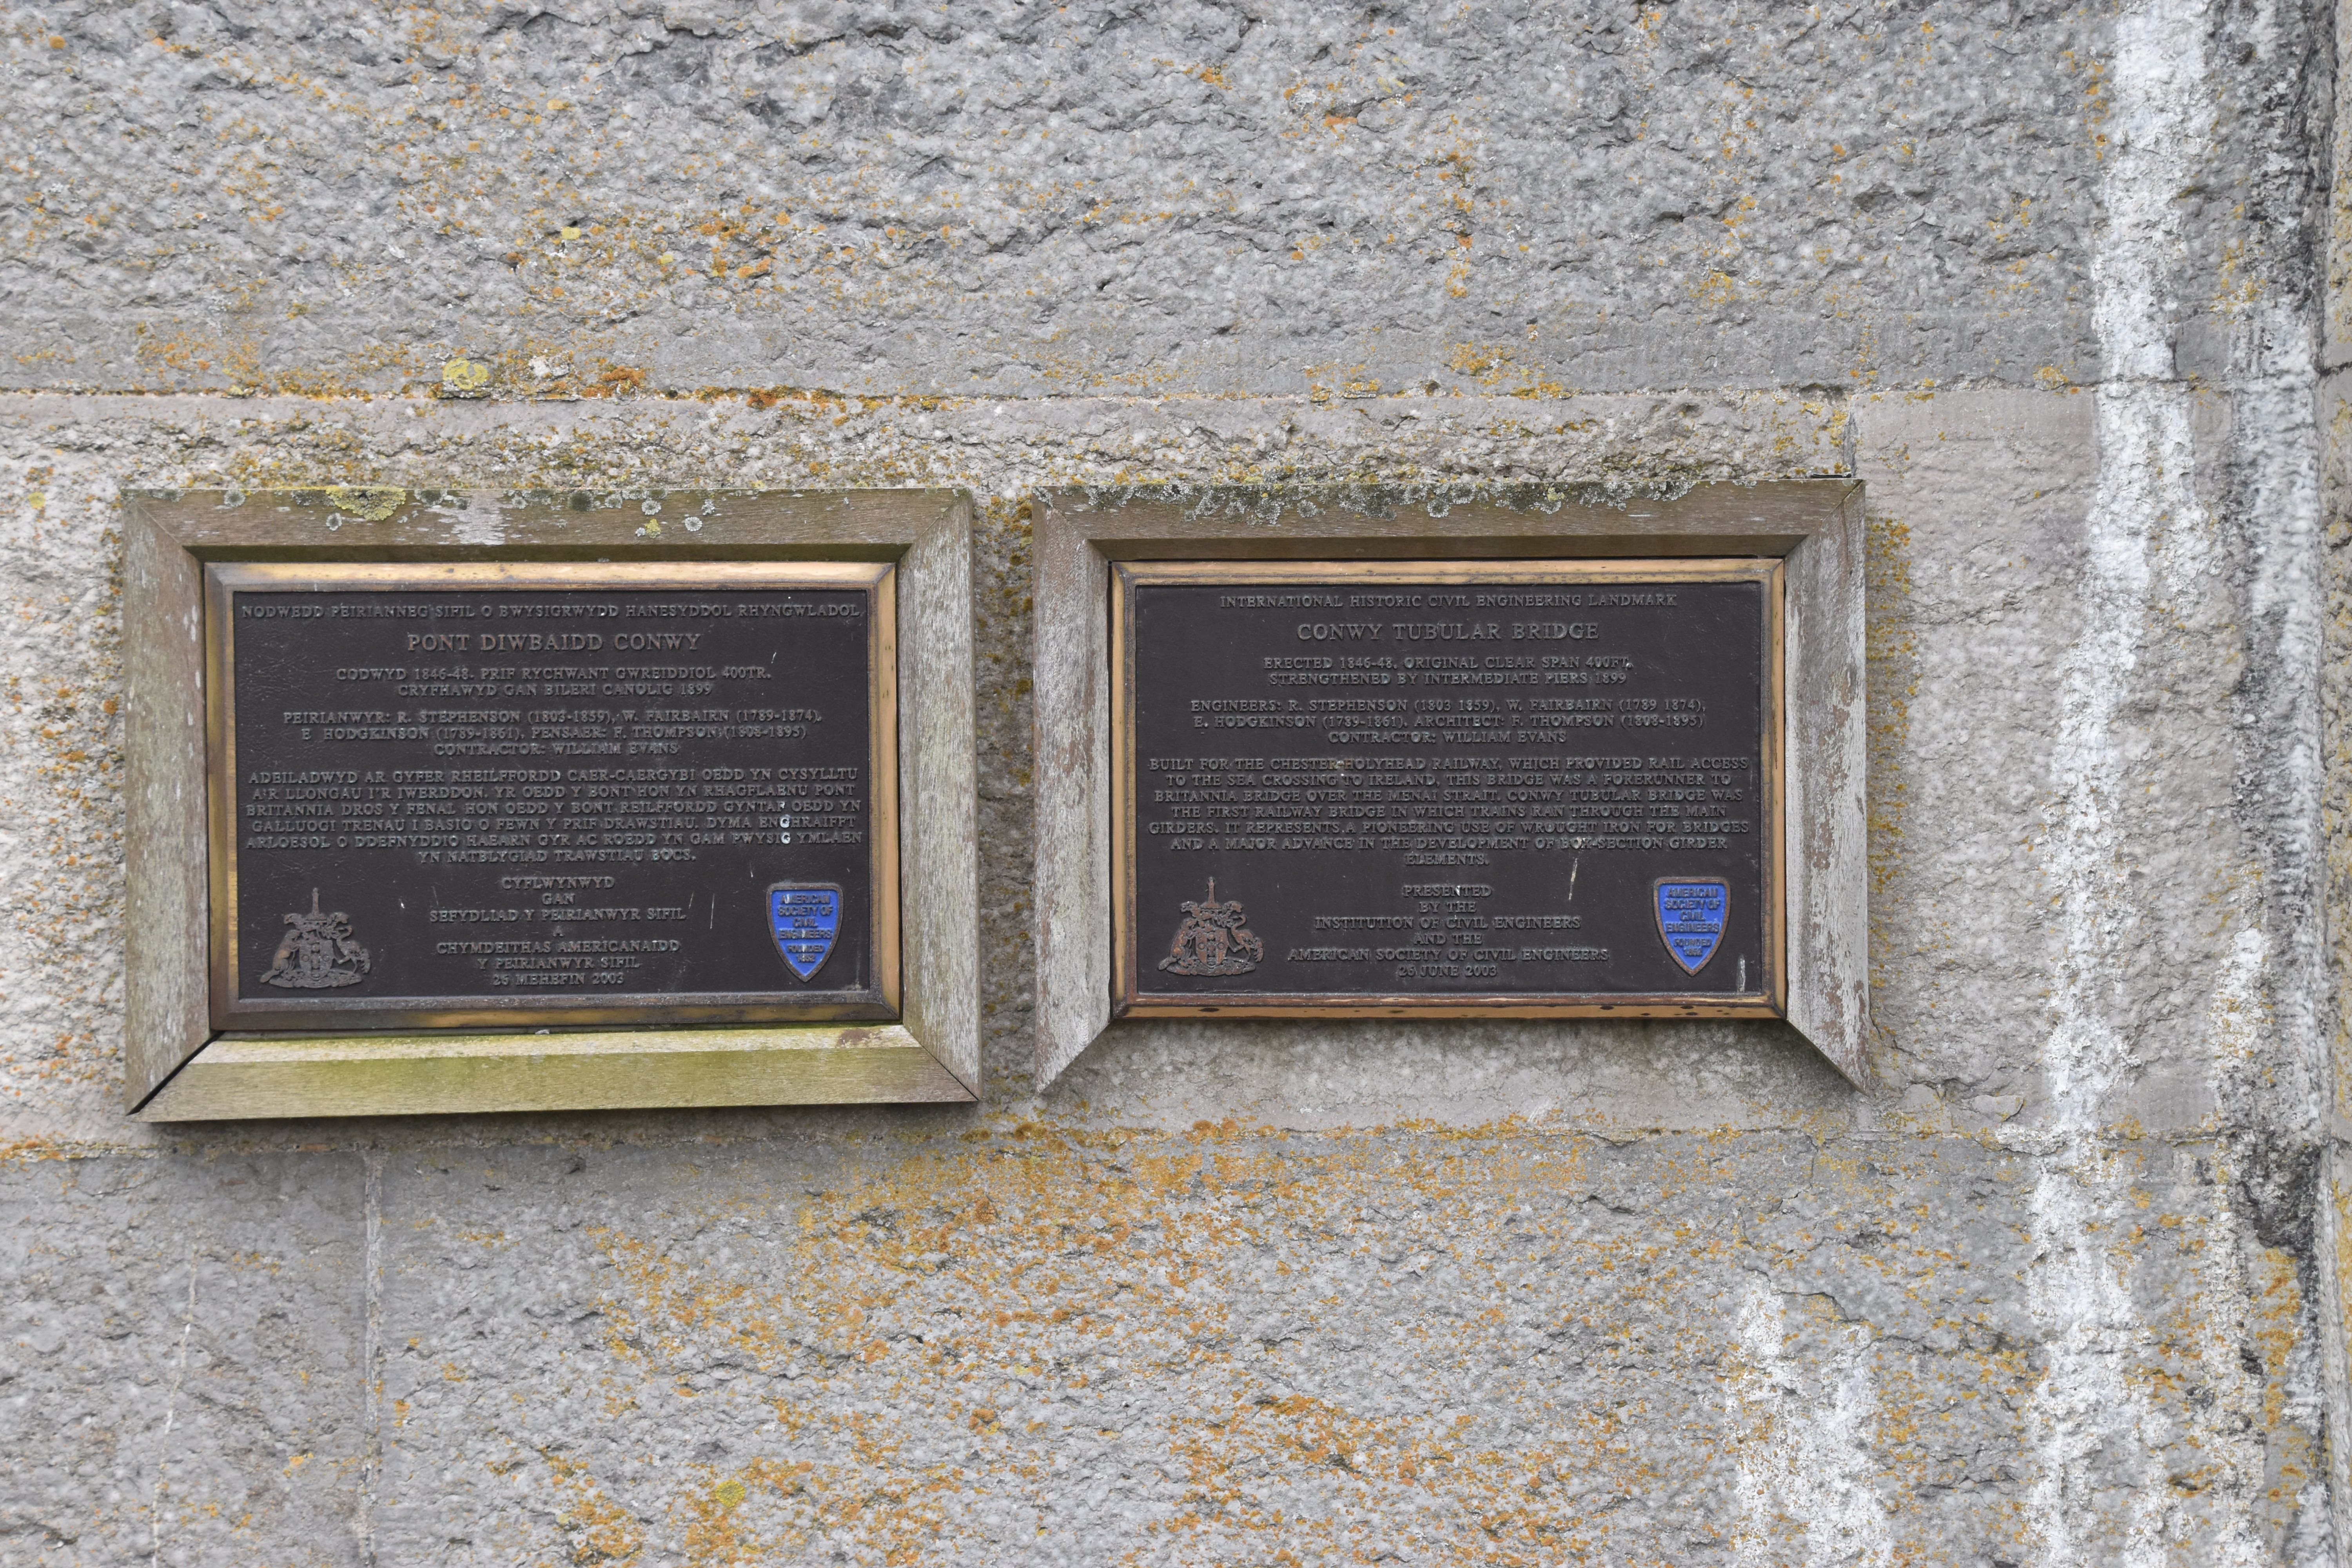
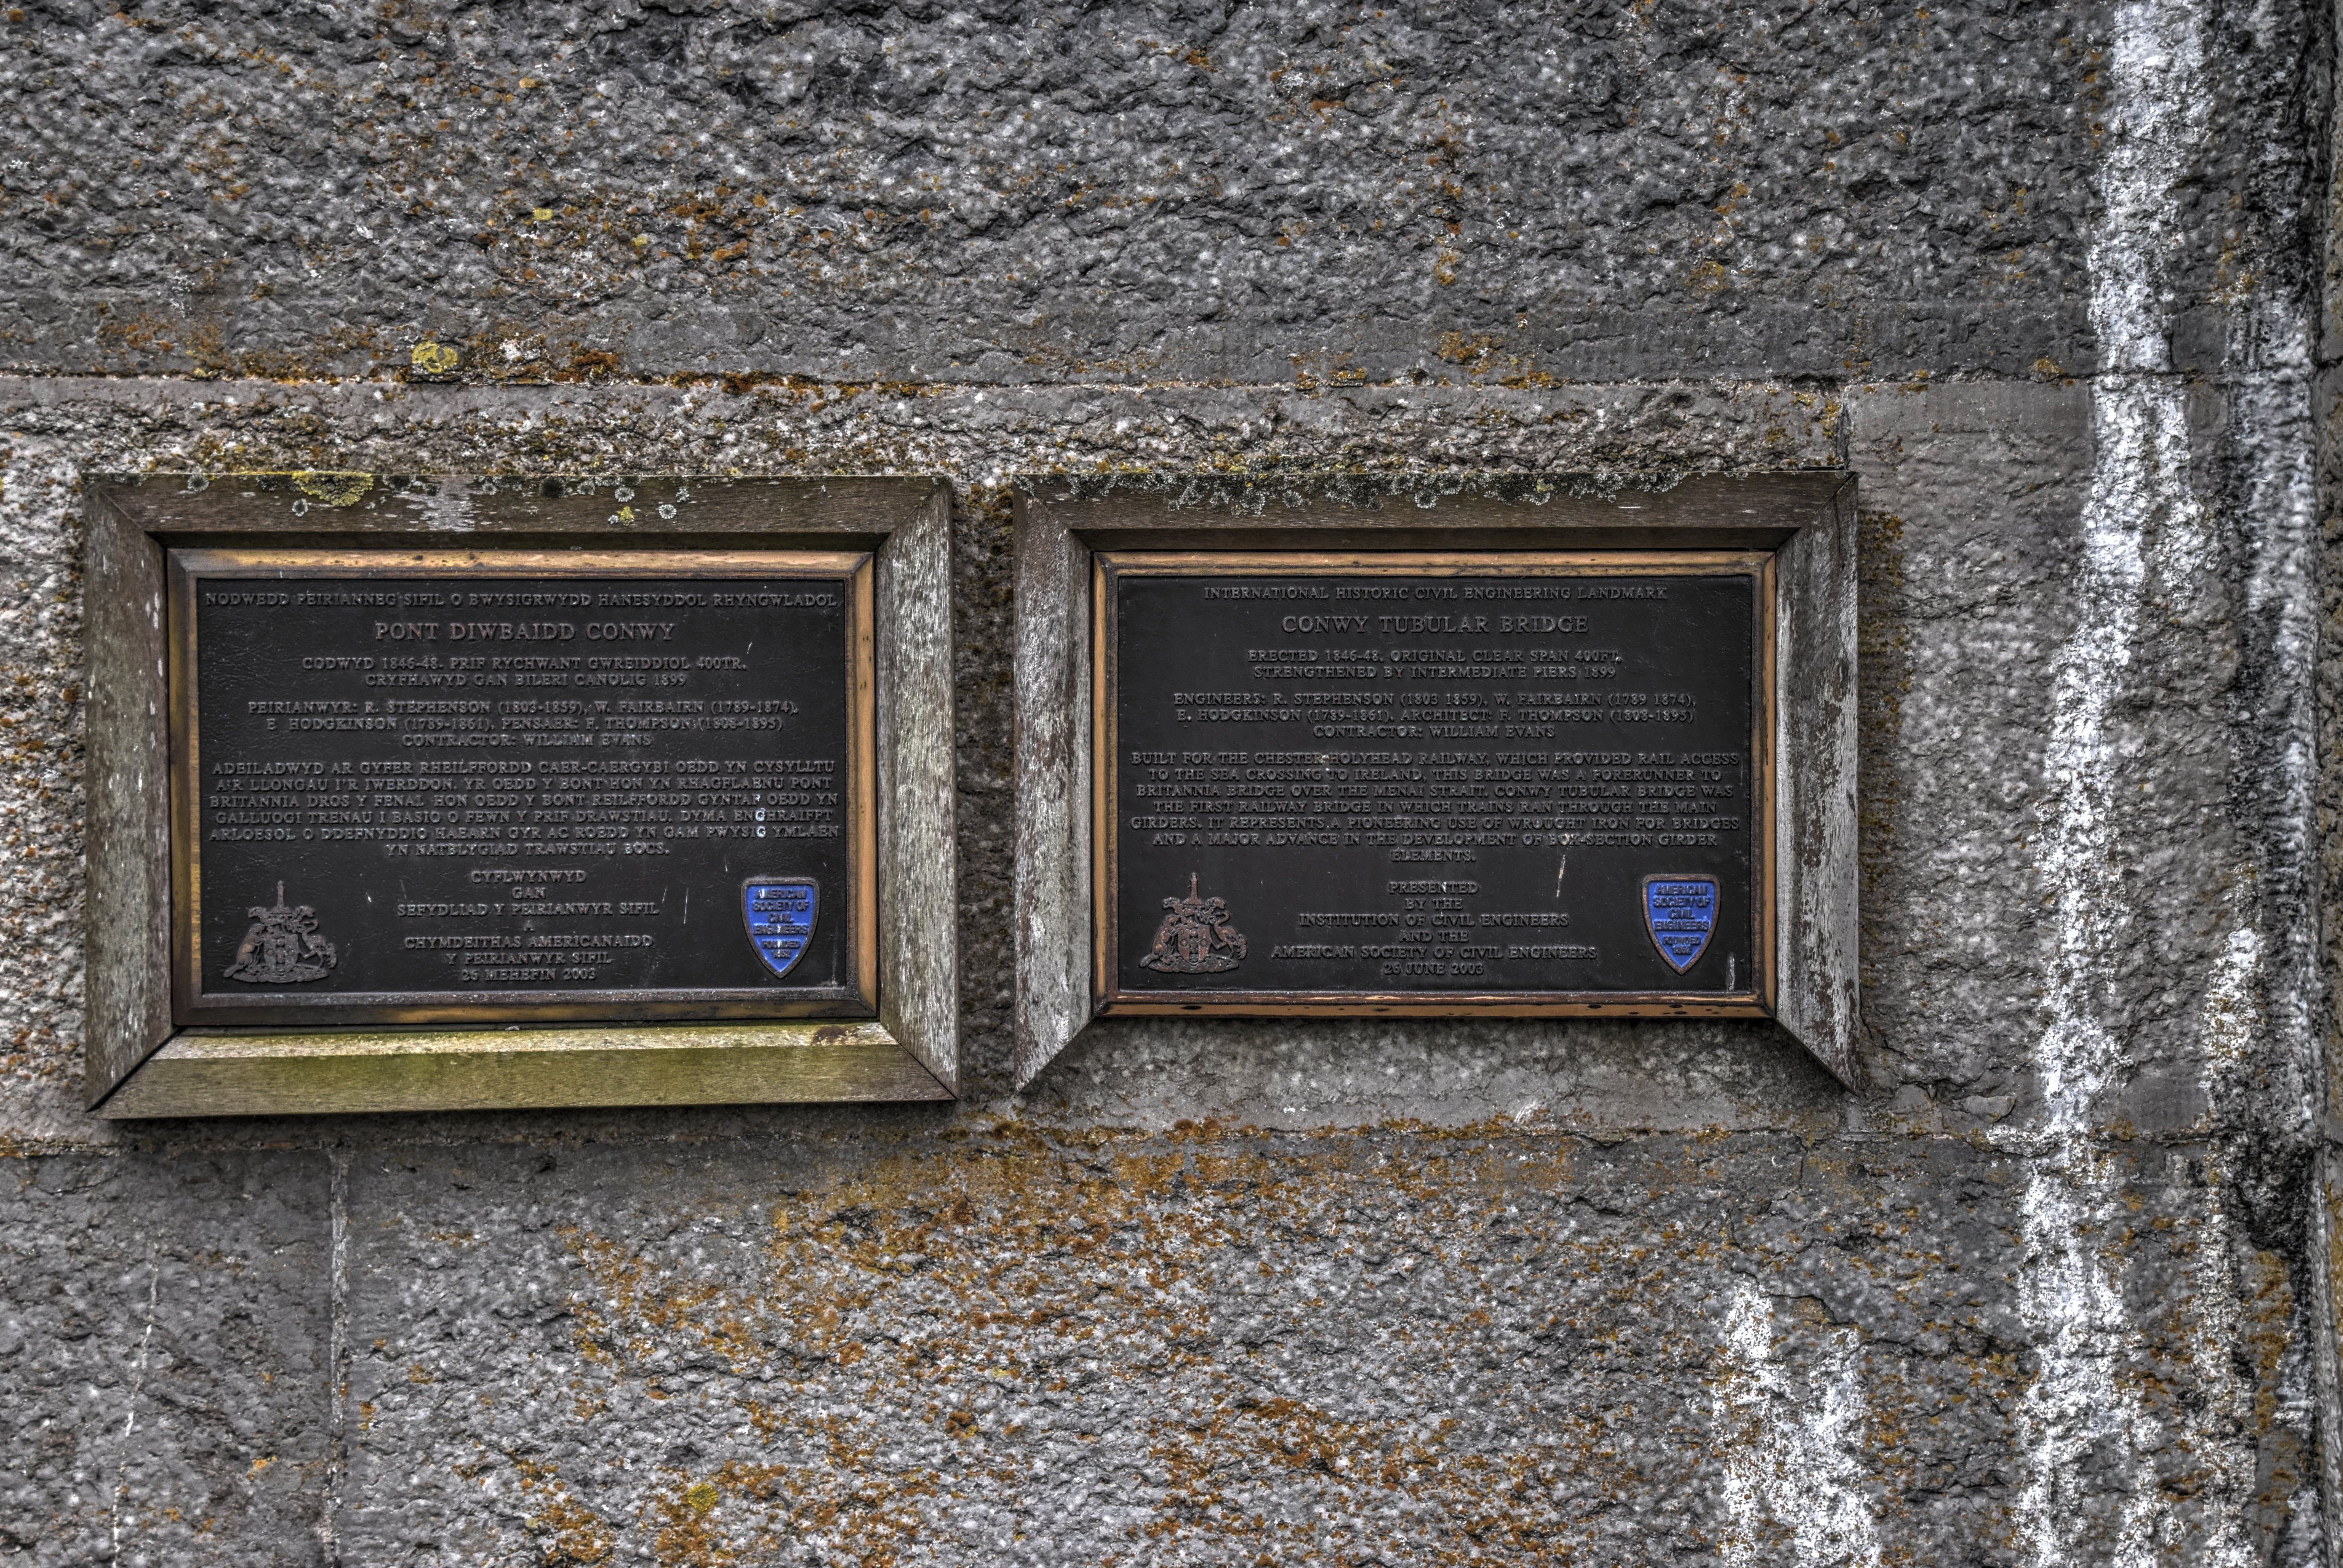
International Historic Civil Engineering Landmark plaques.
![]()
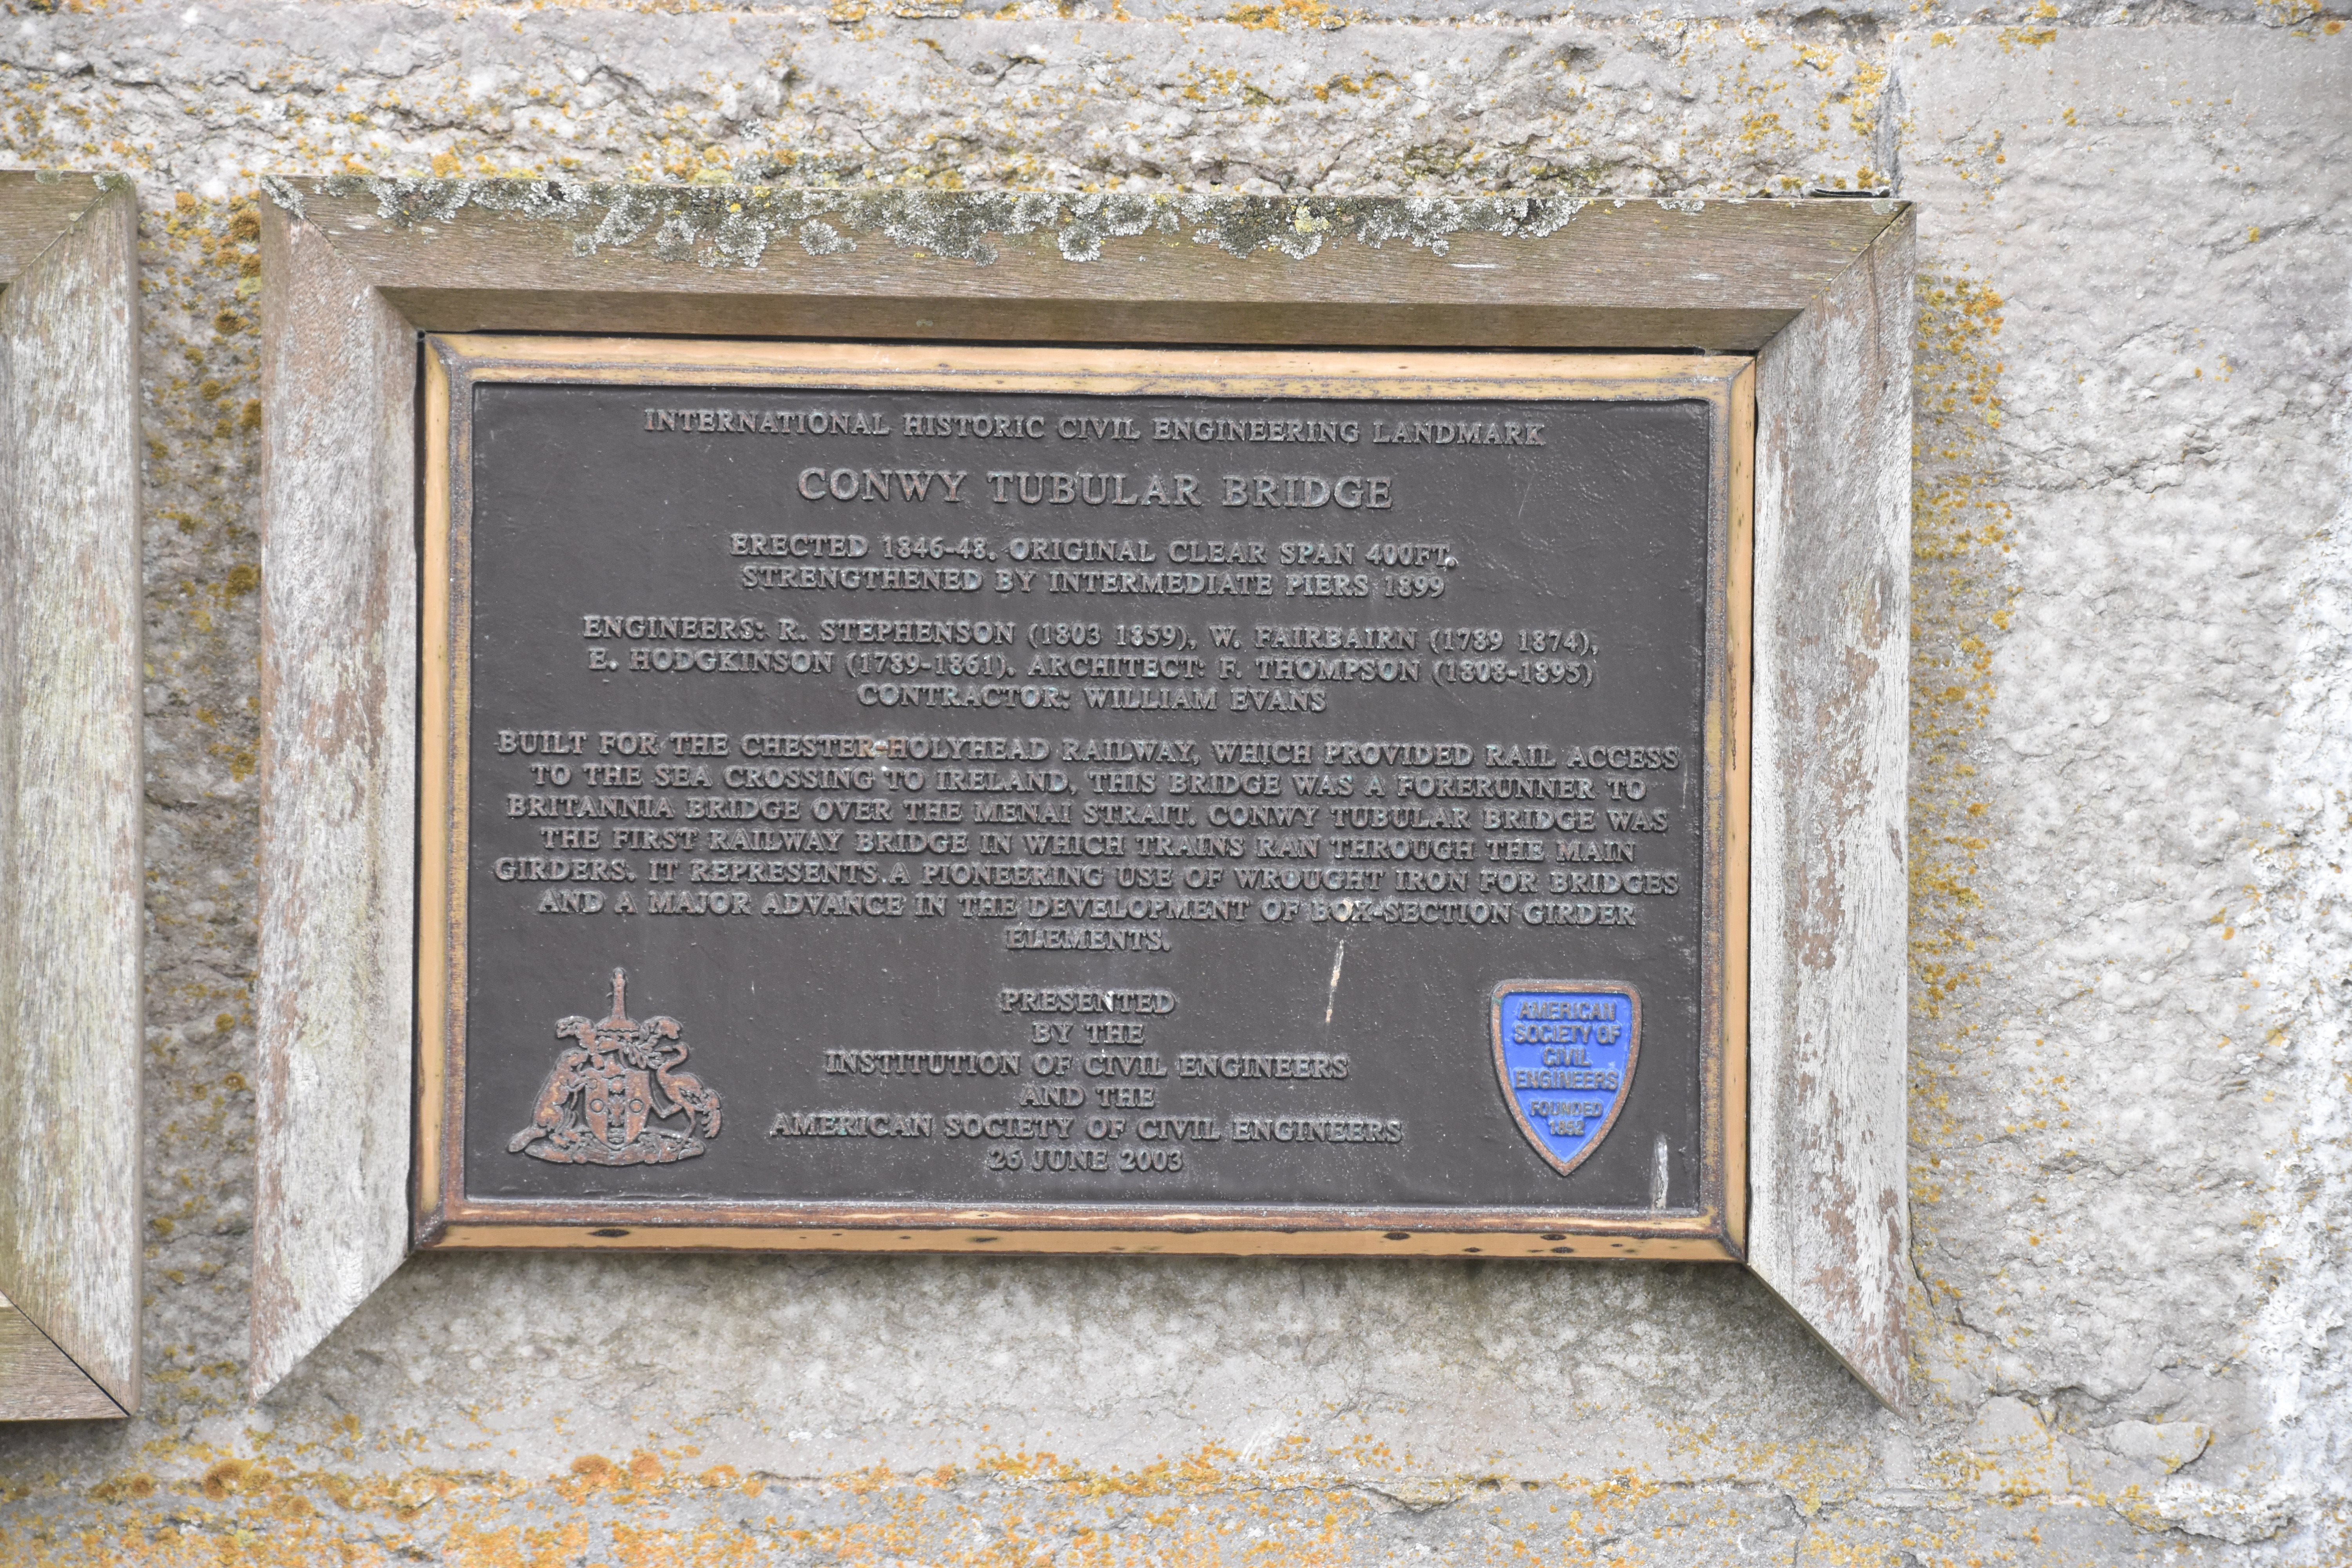
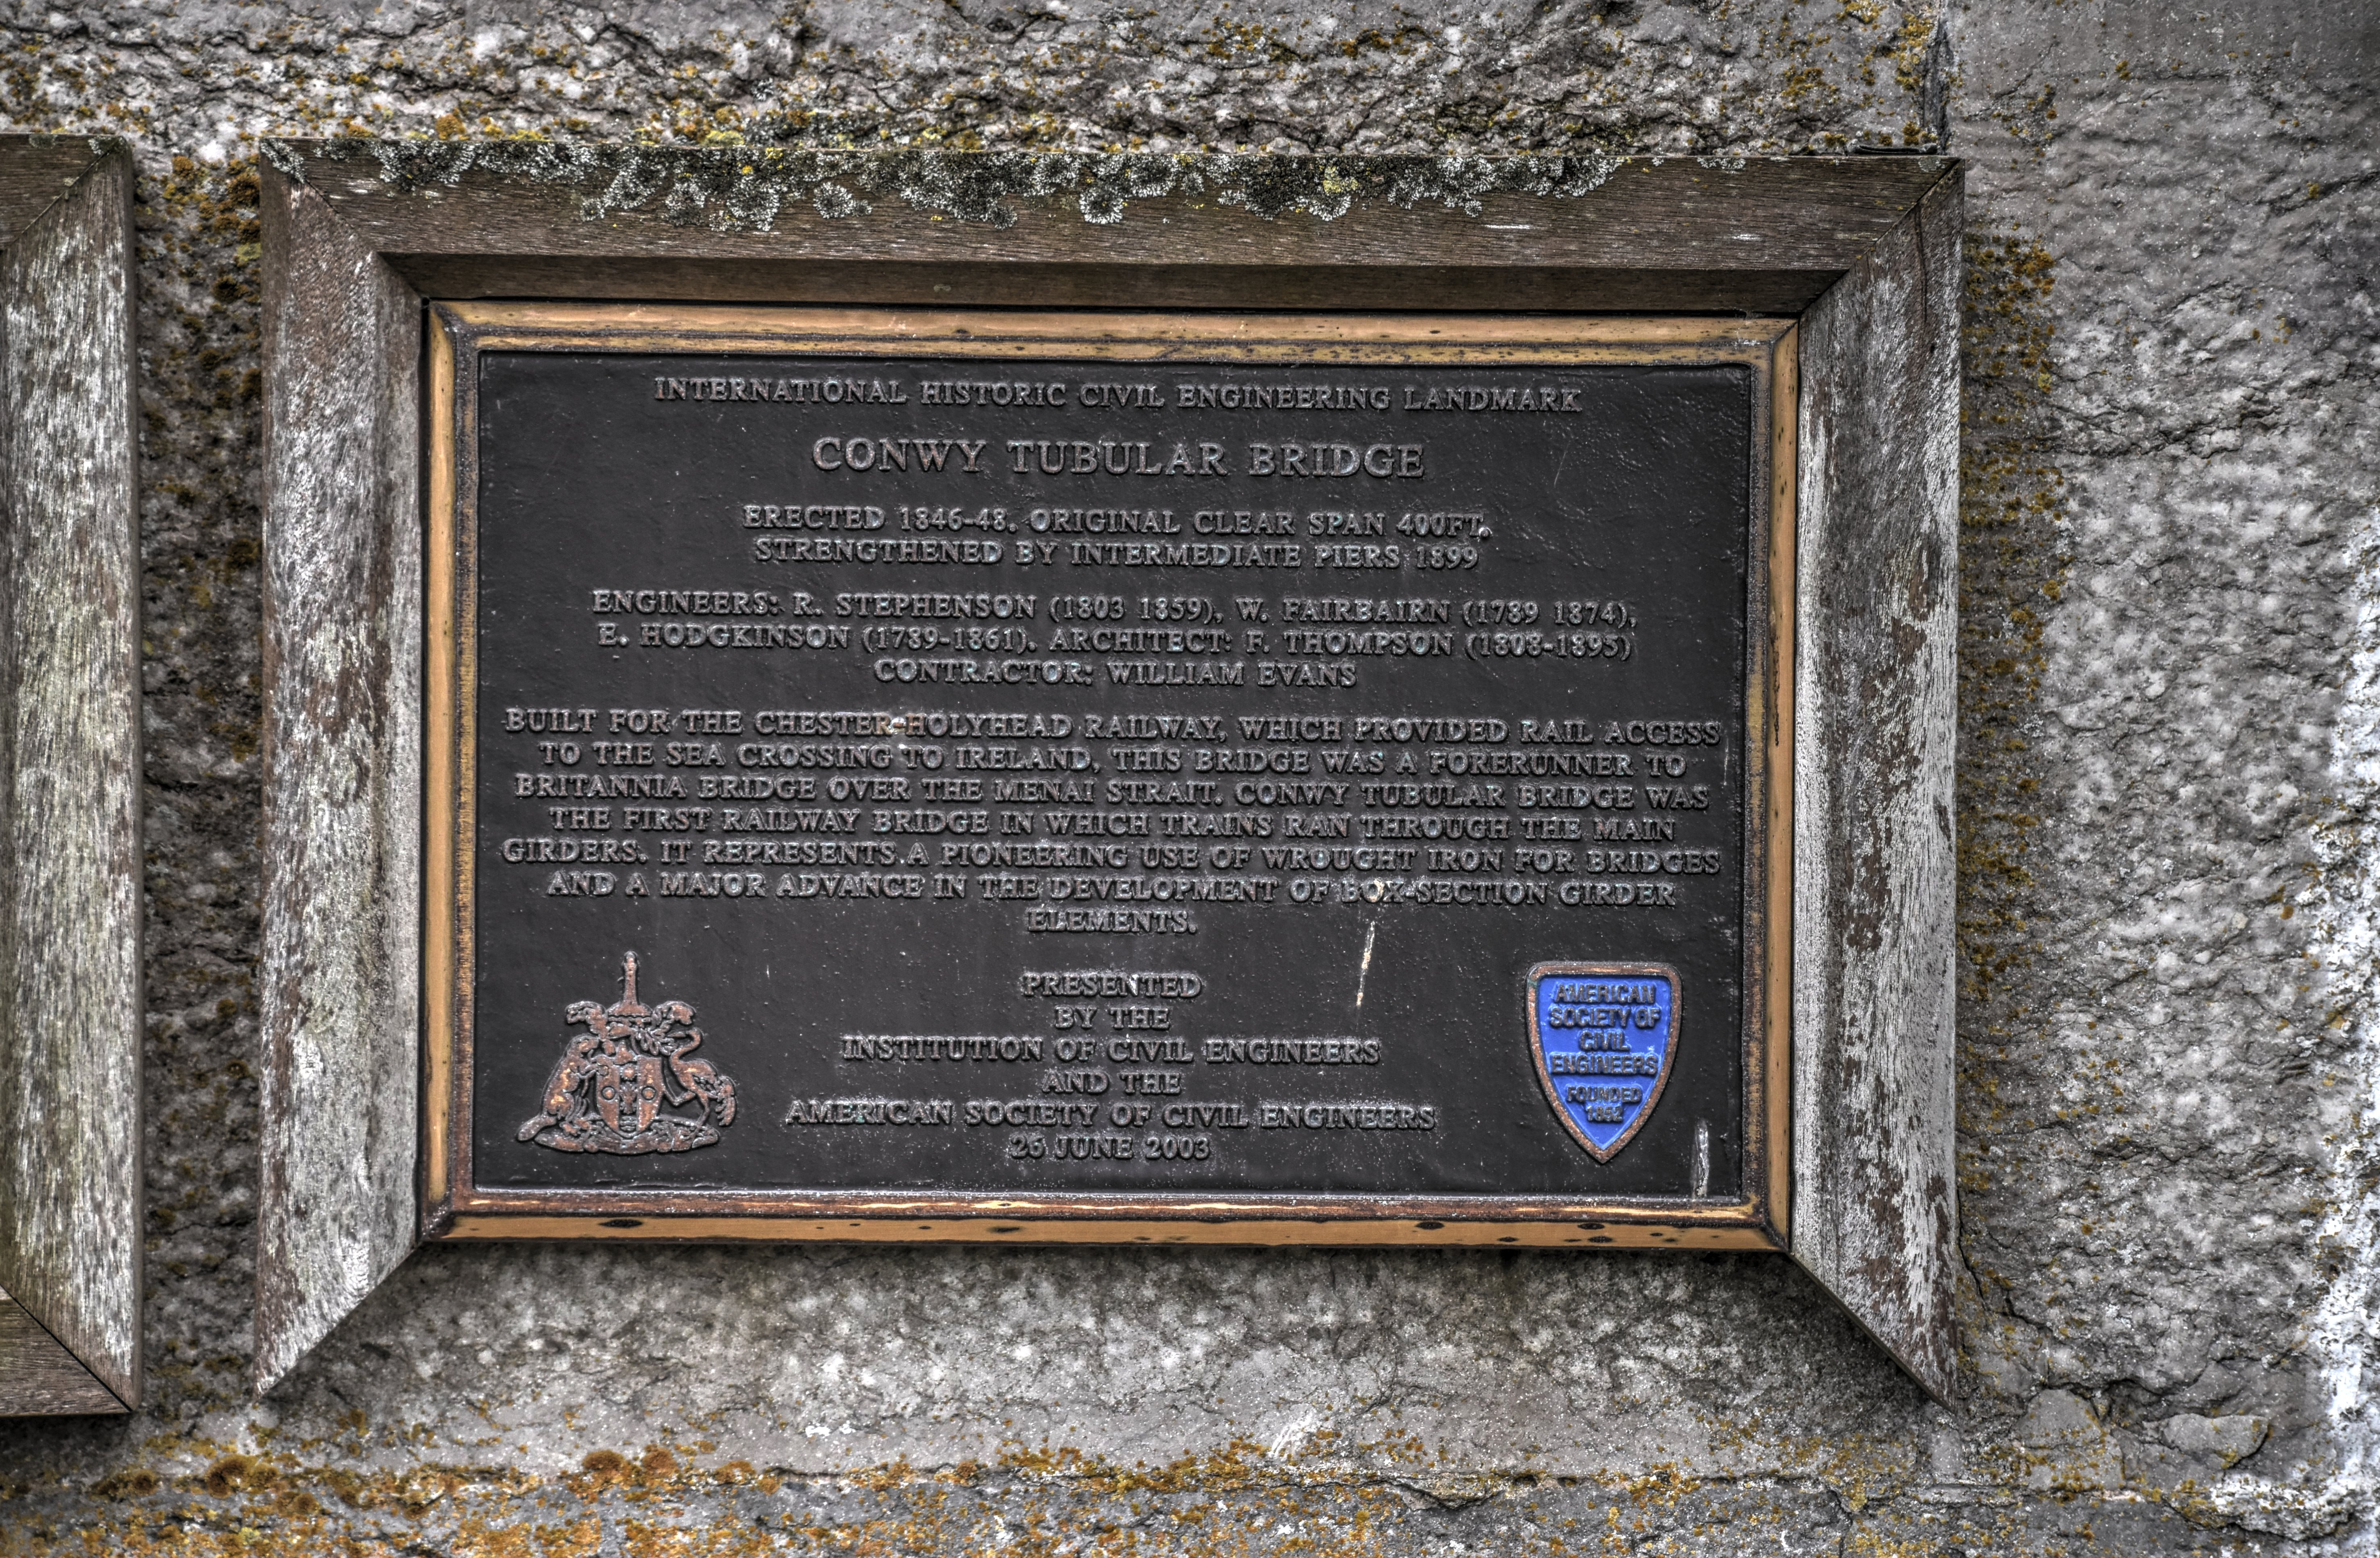
International Historic Civil Engineering Landmark plaque (English).
![]()
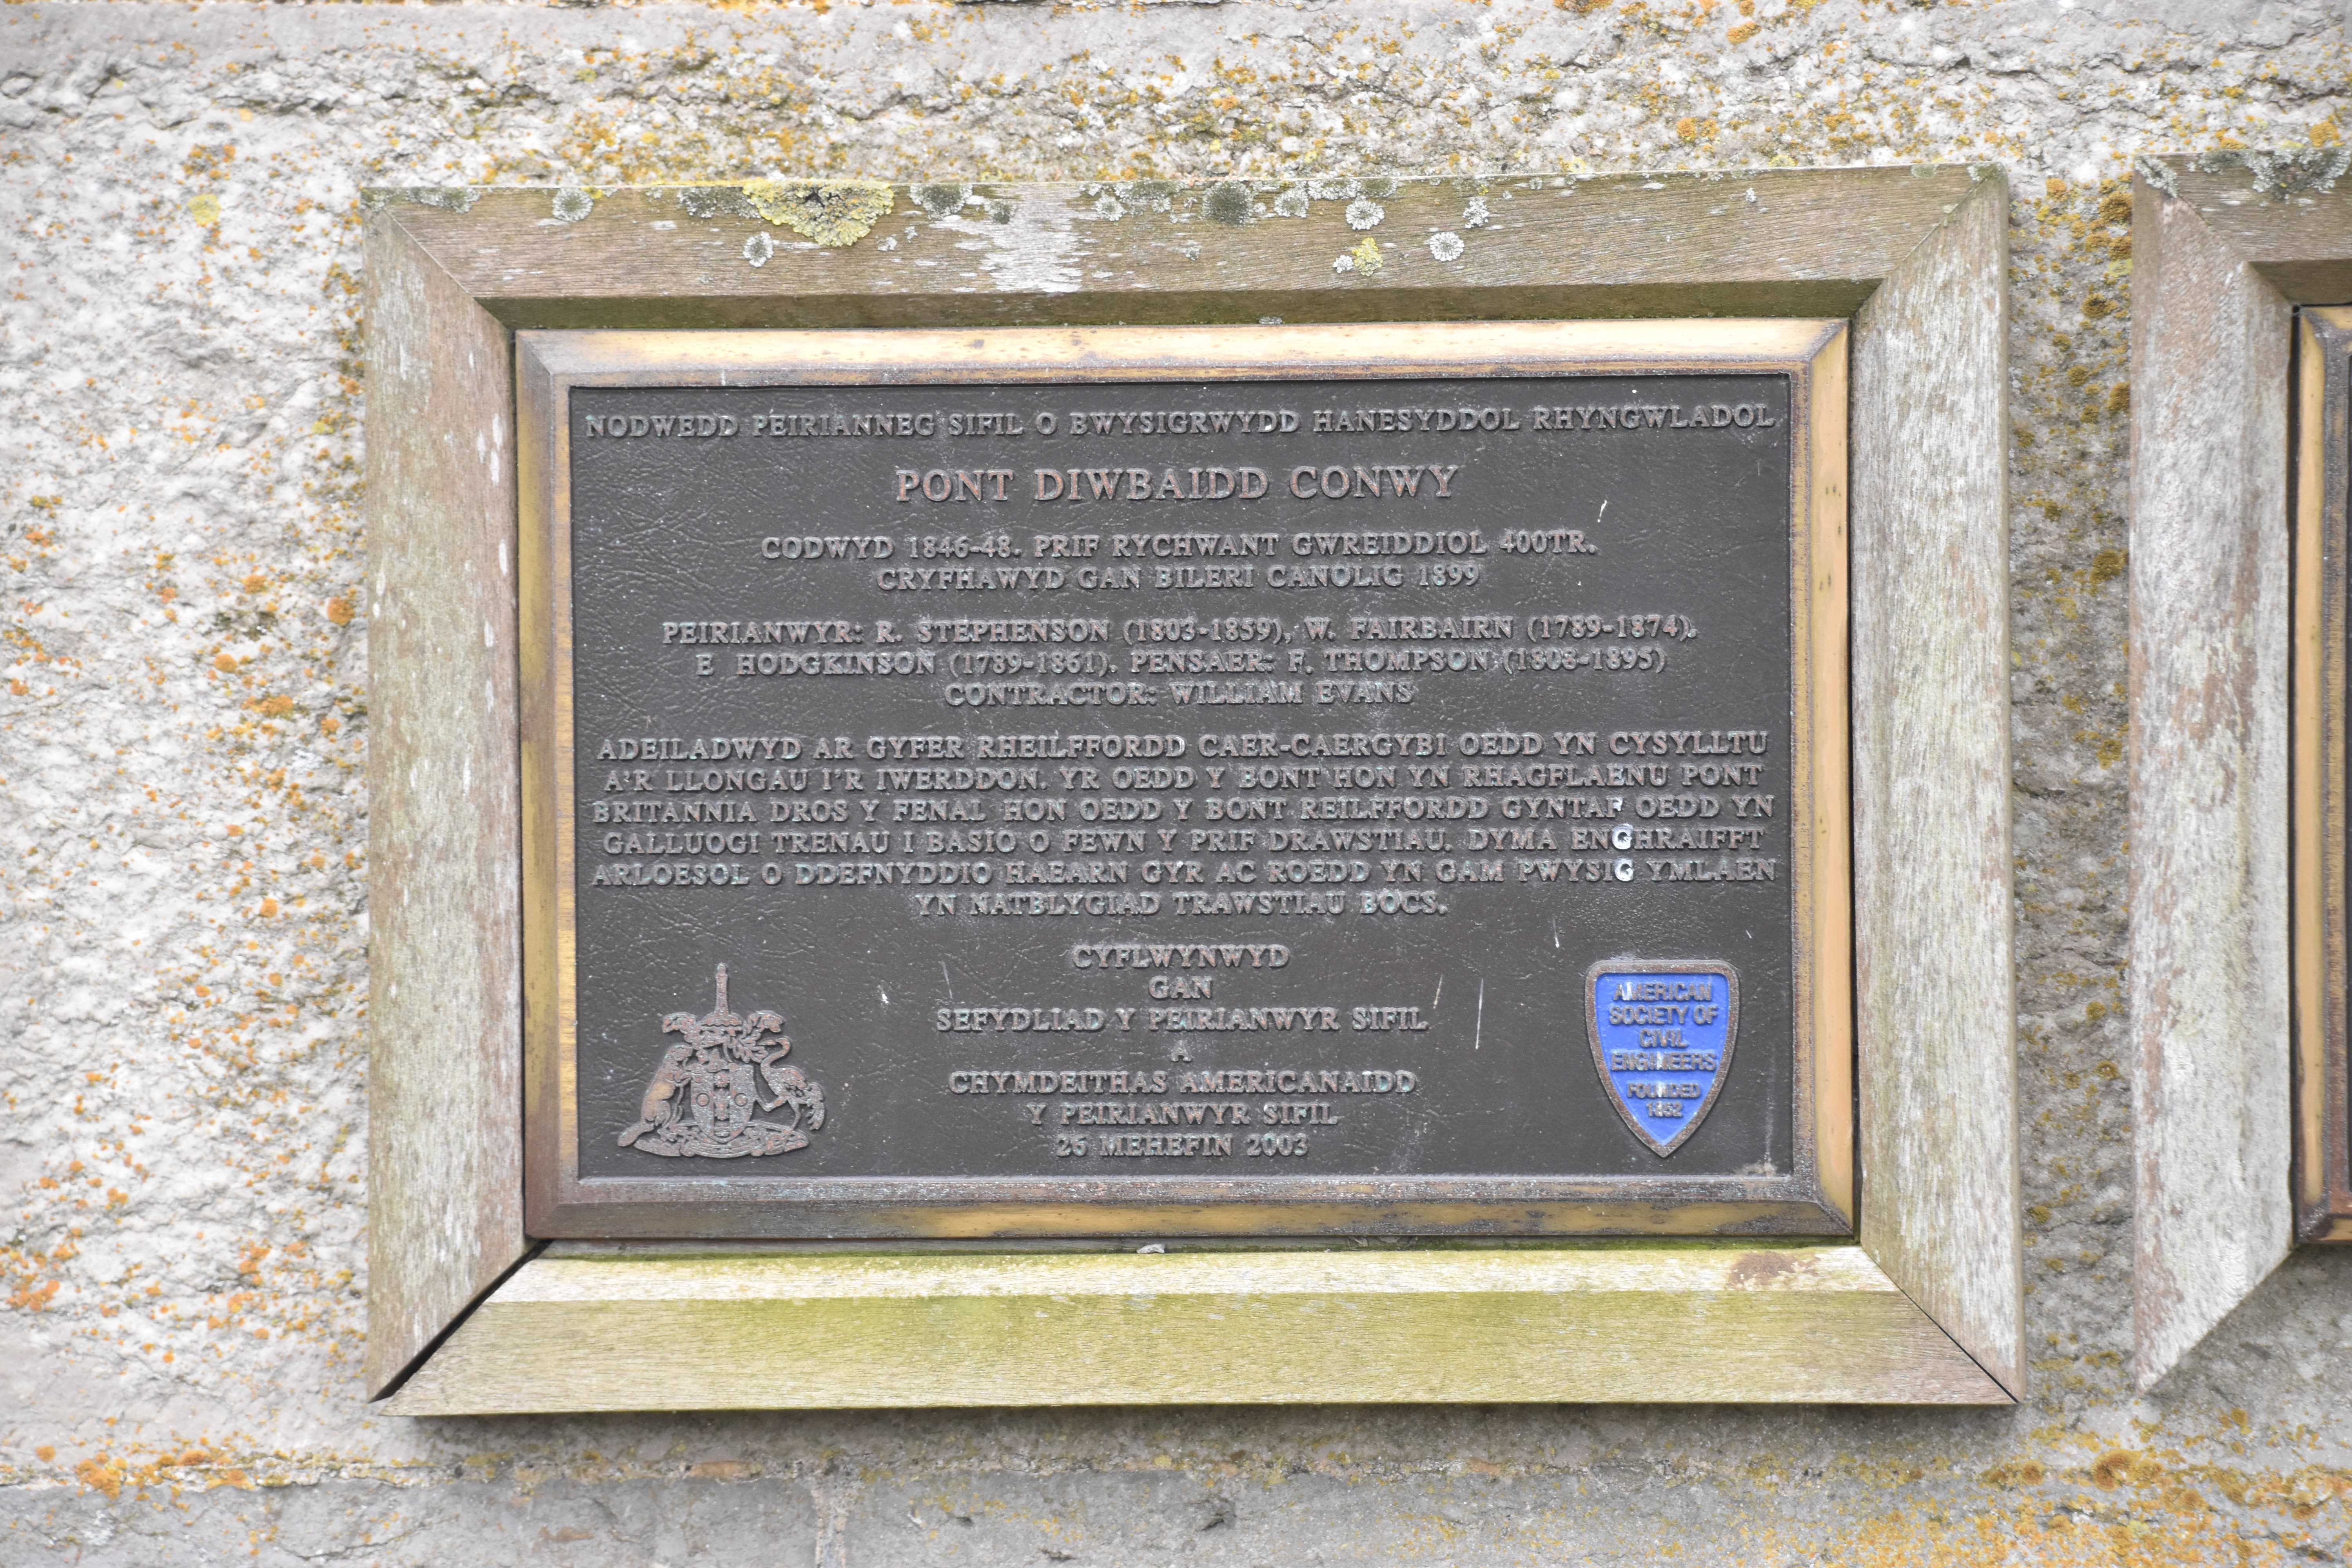

International Historic Civil Engineering Landmark plaque (Welsh).
![]()

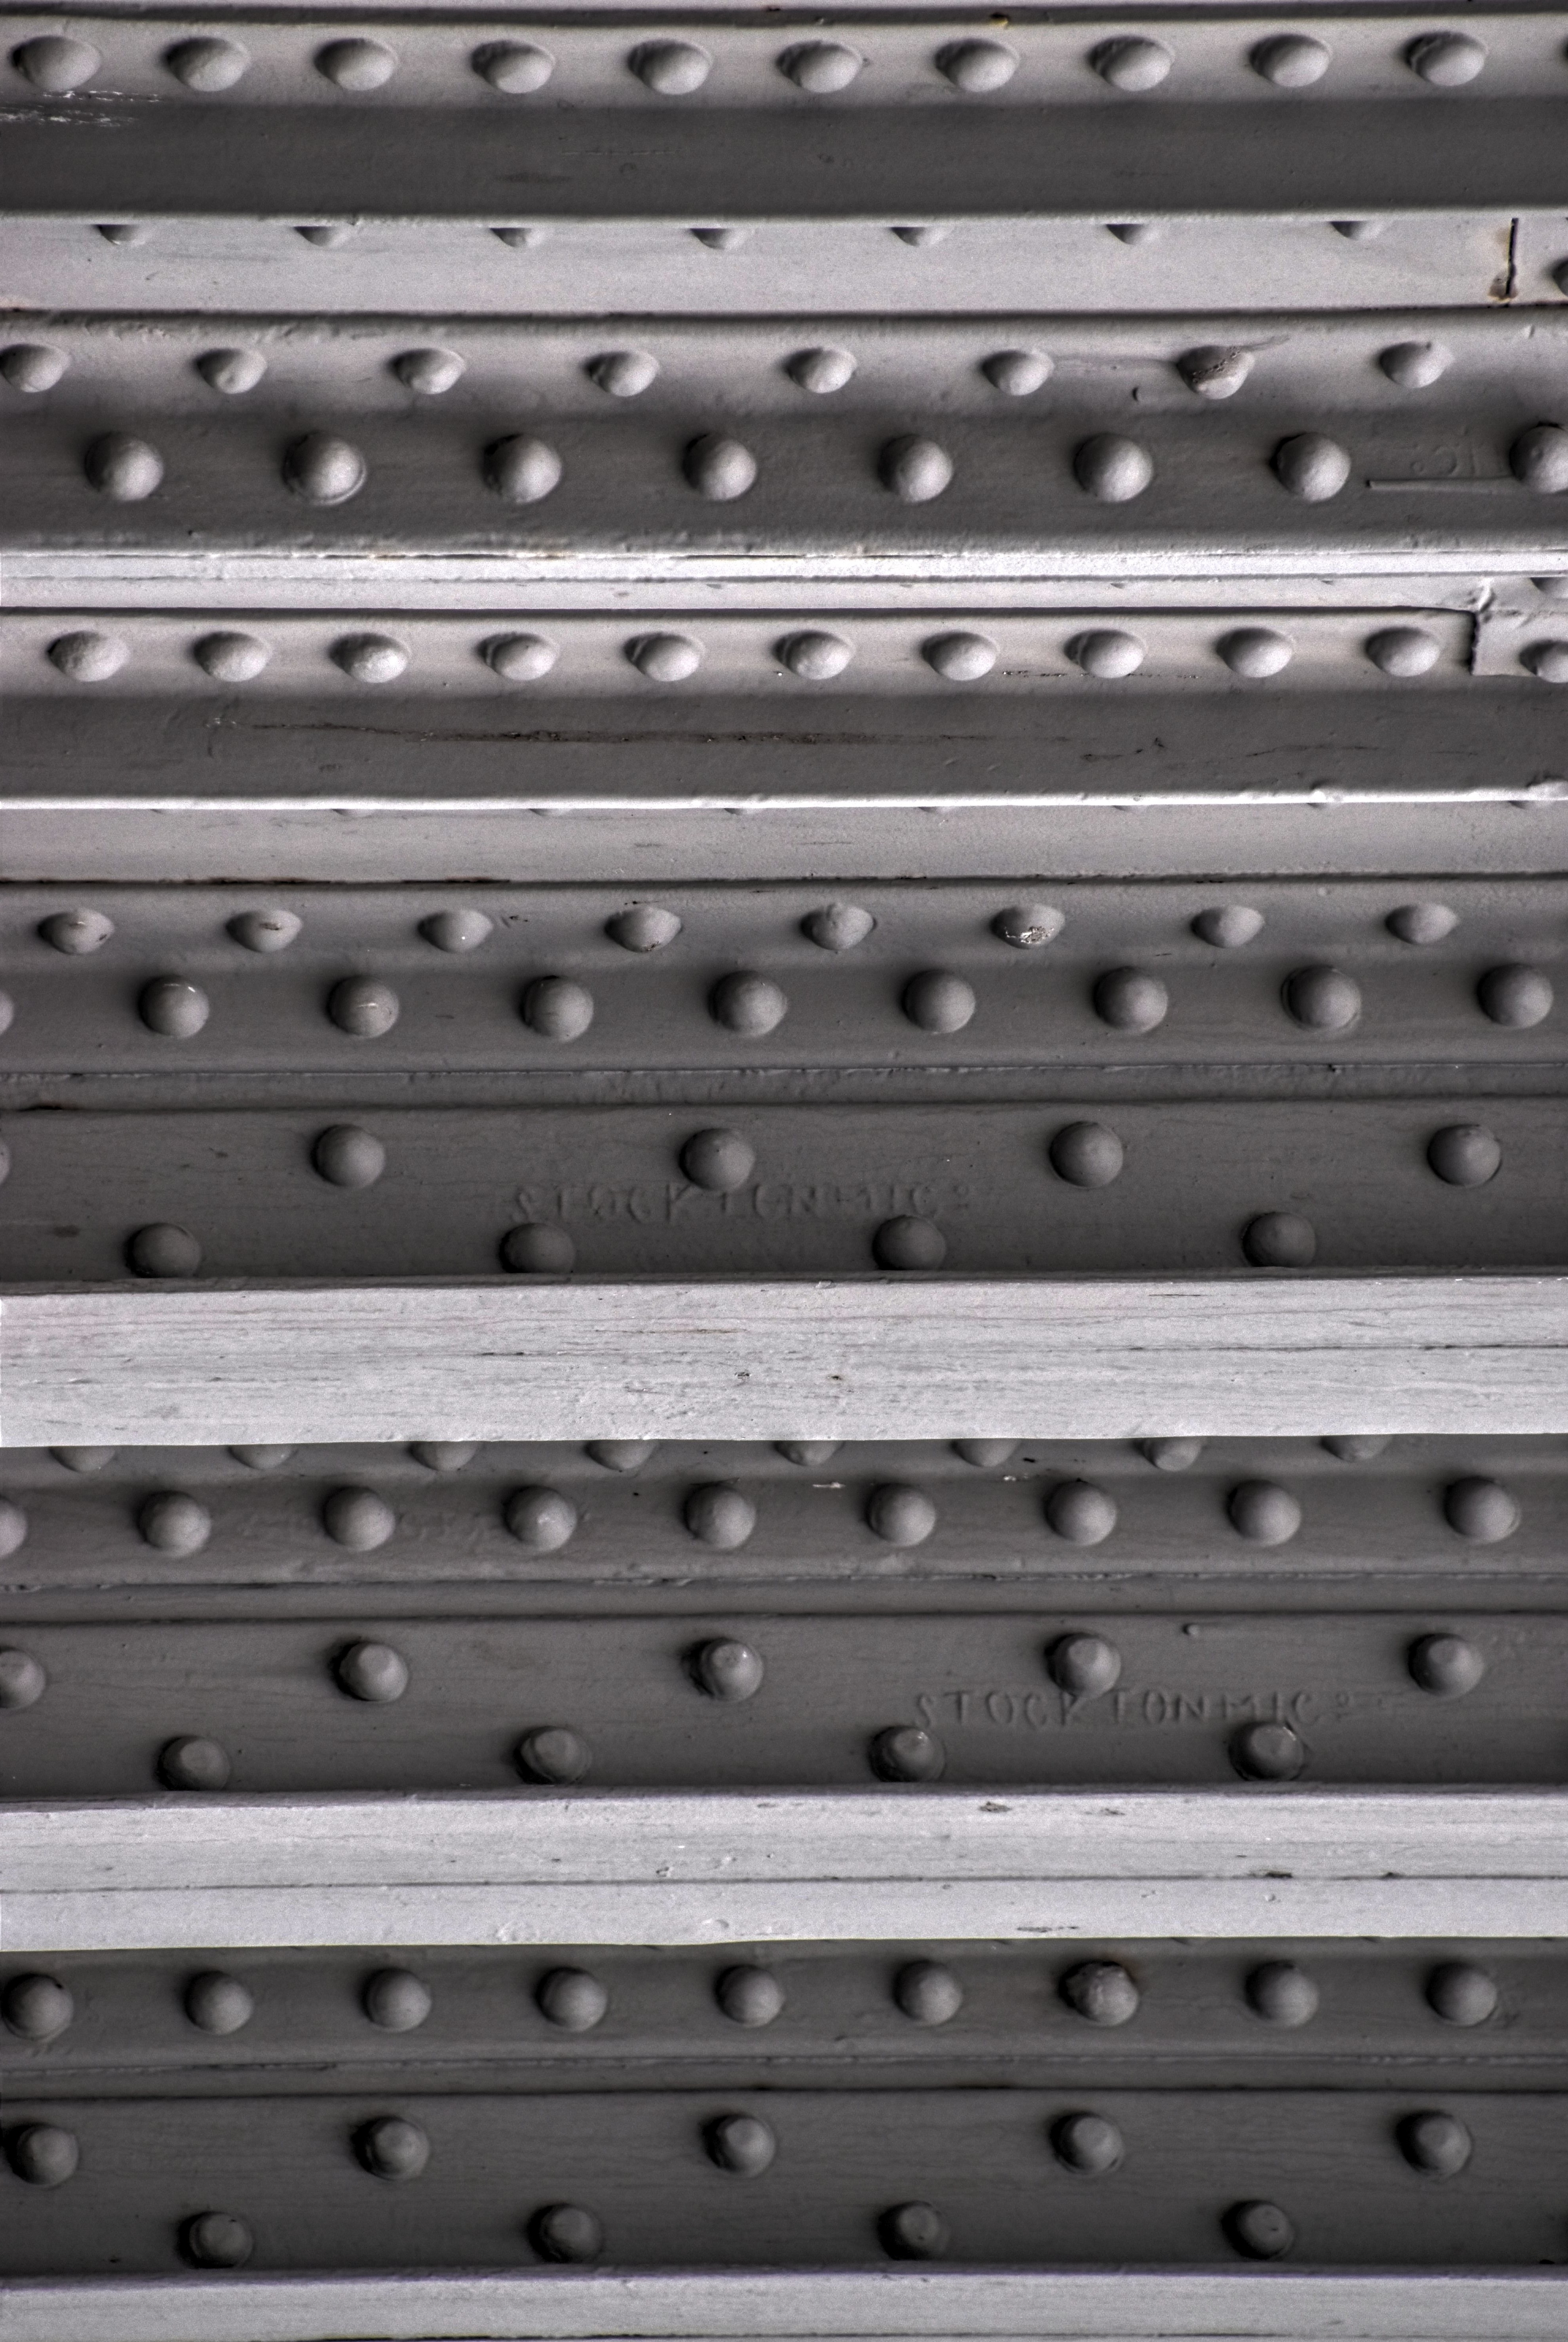
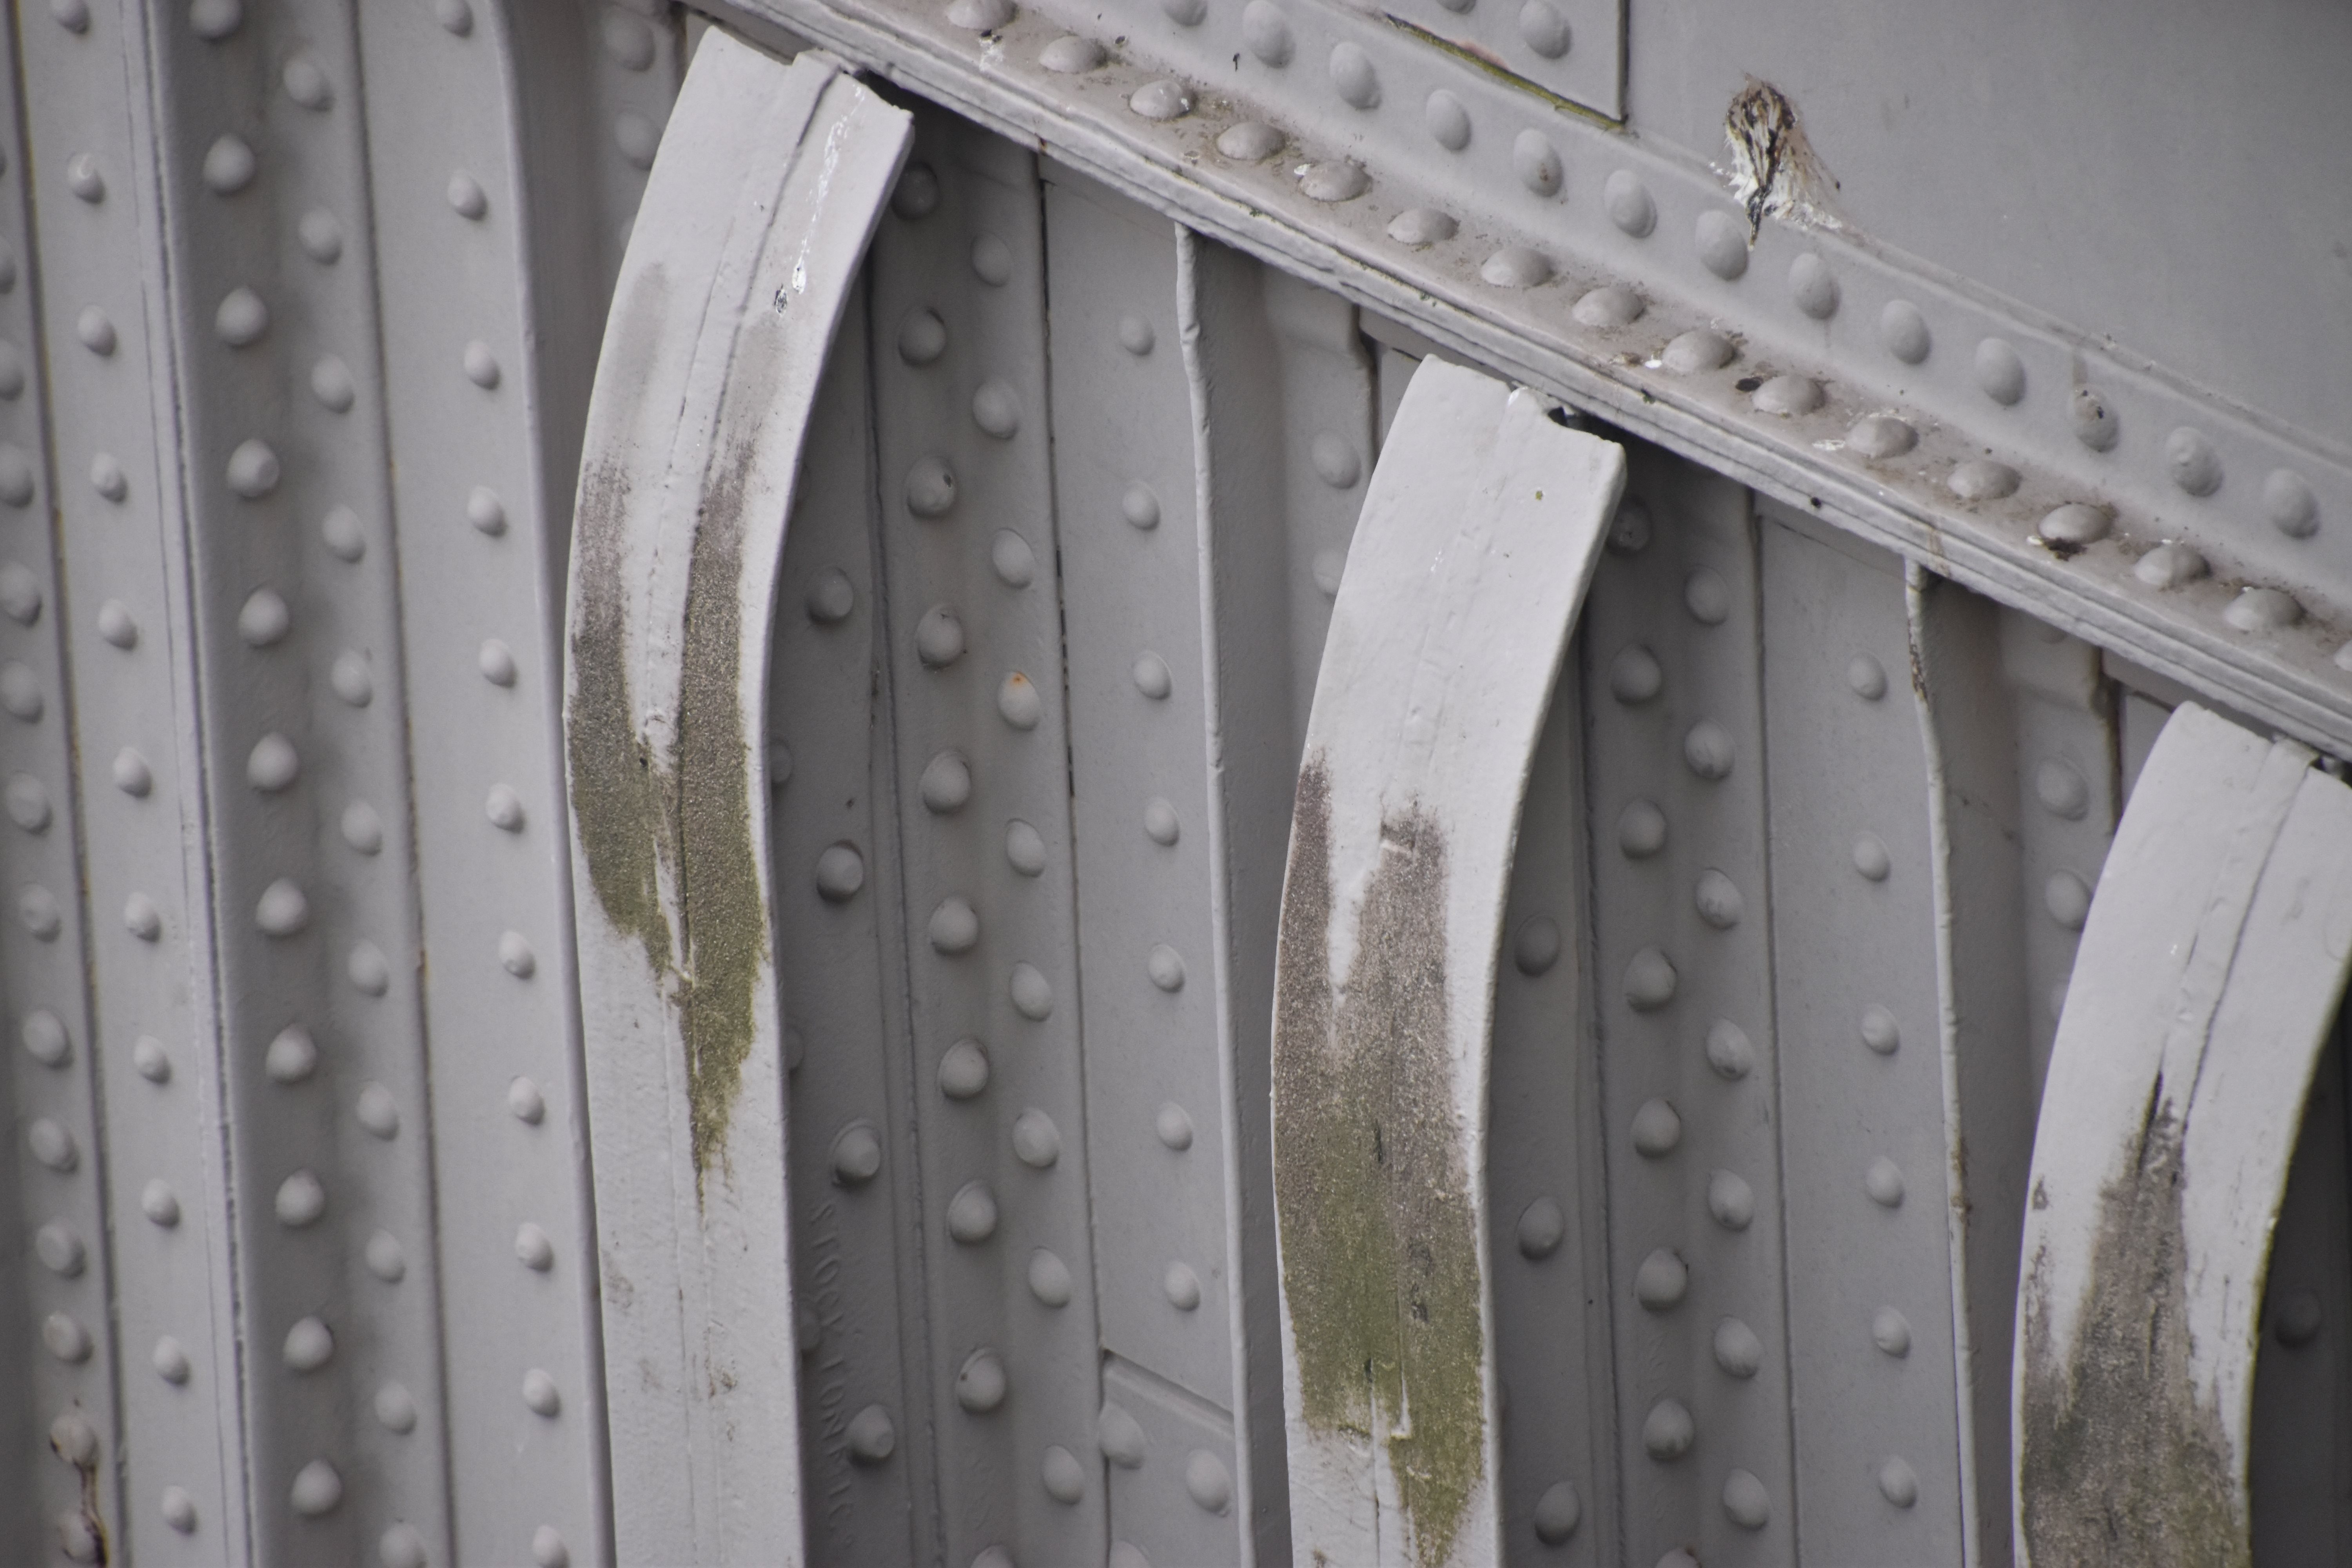
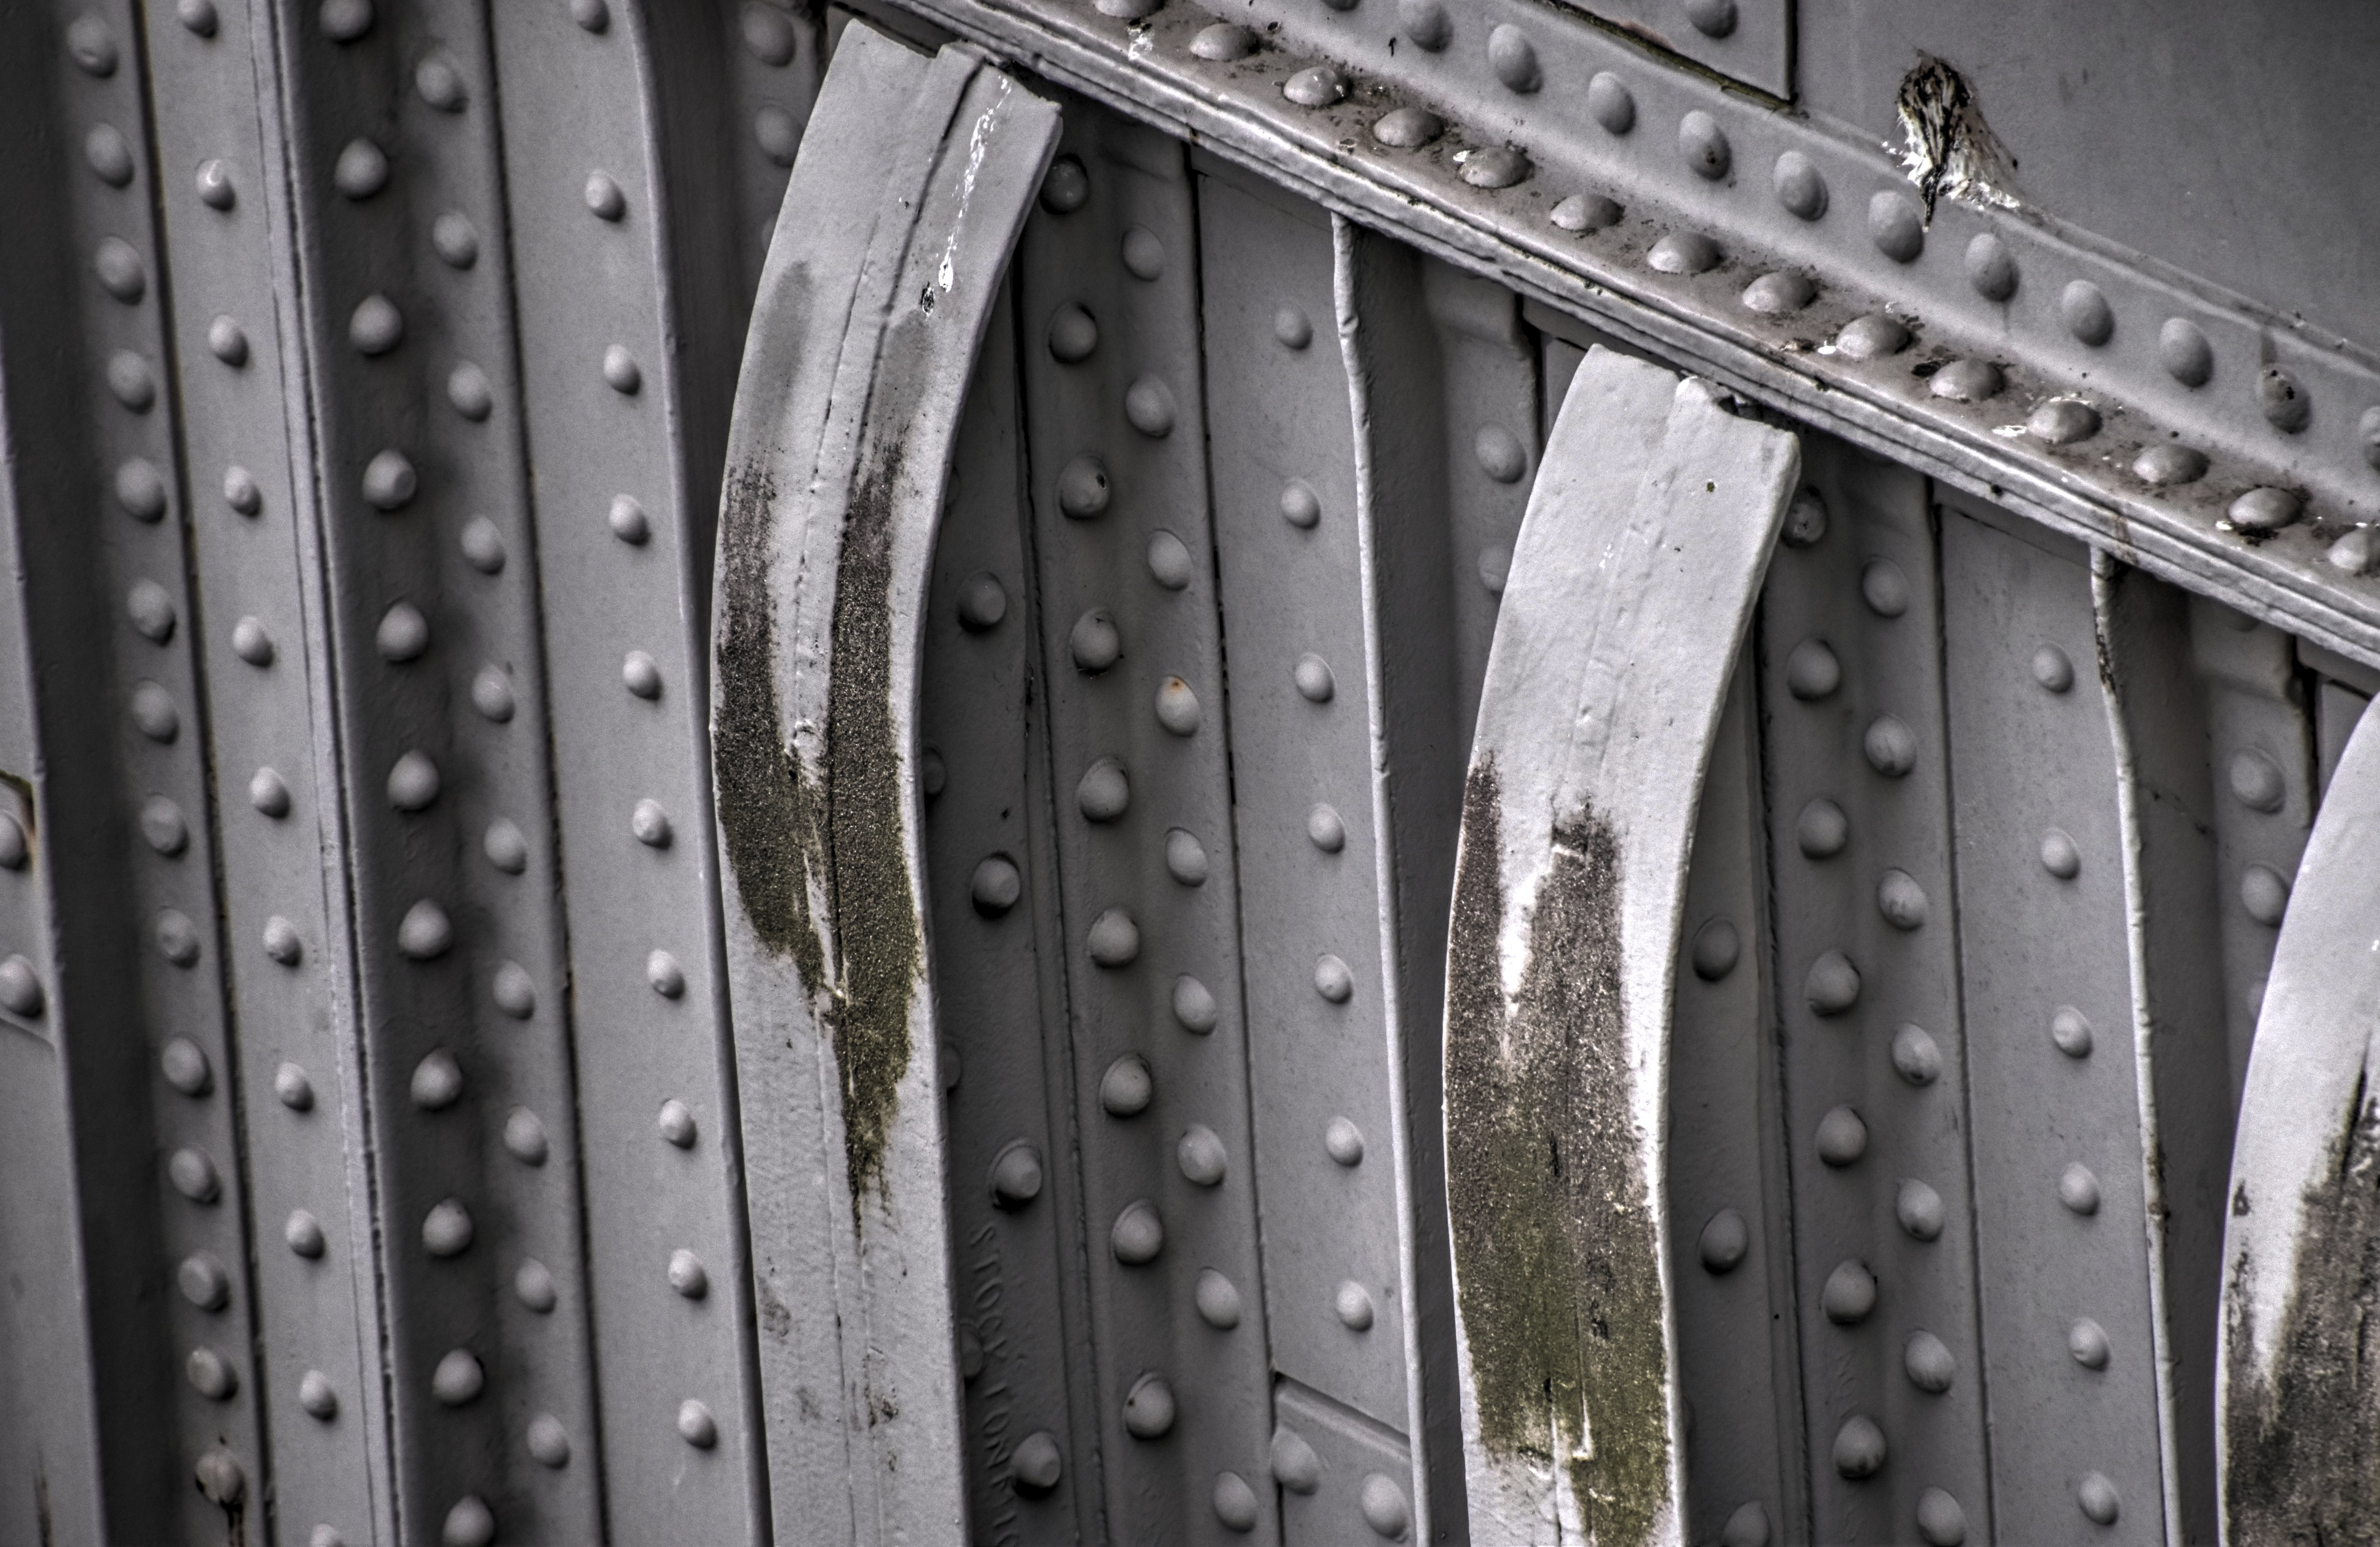
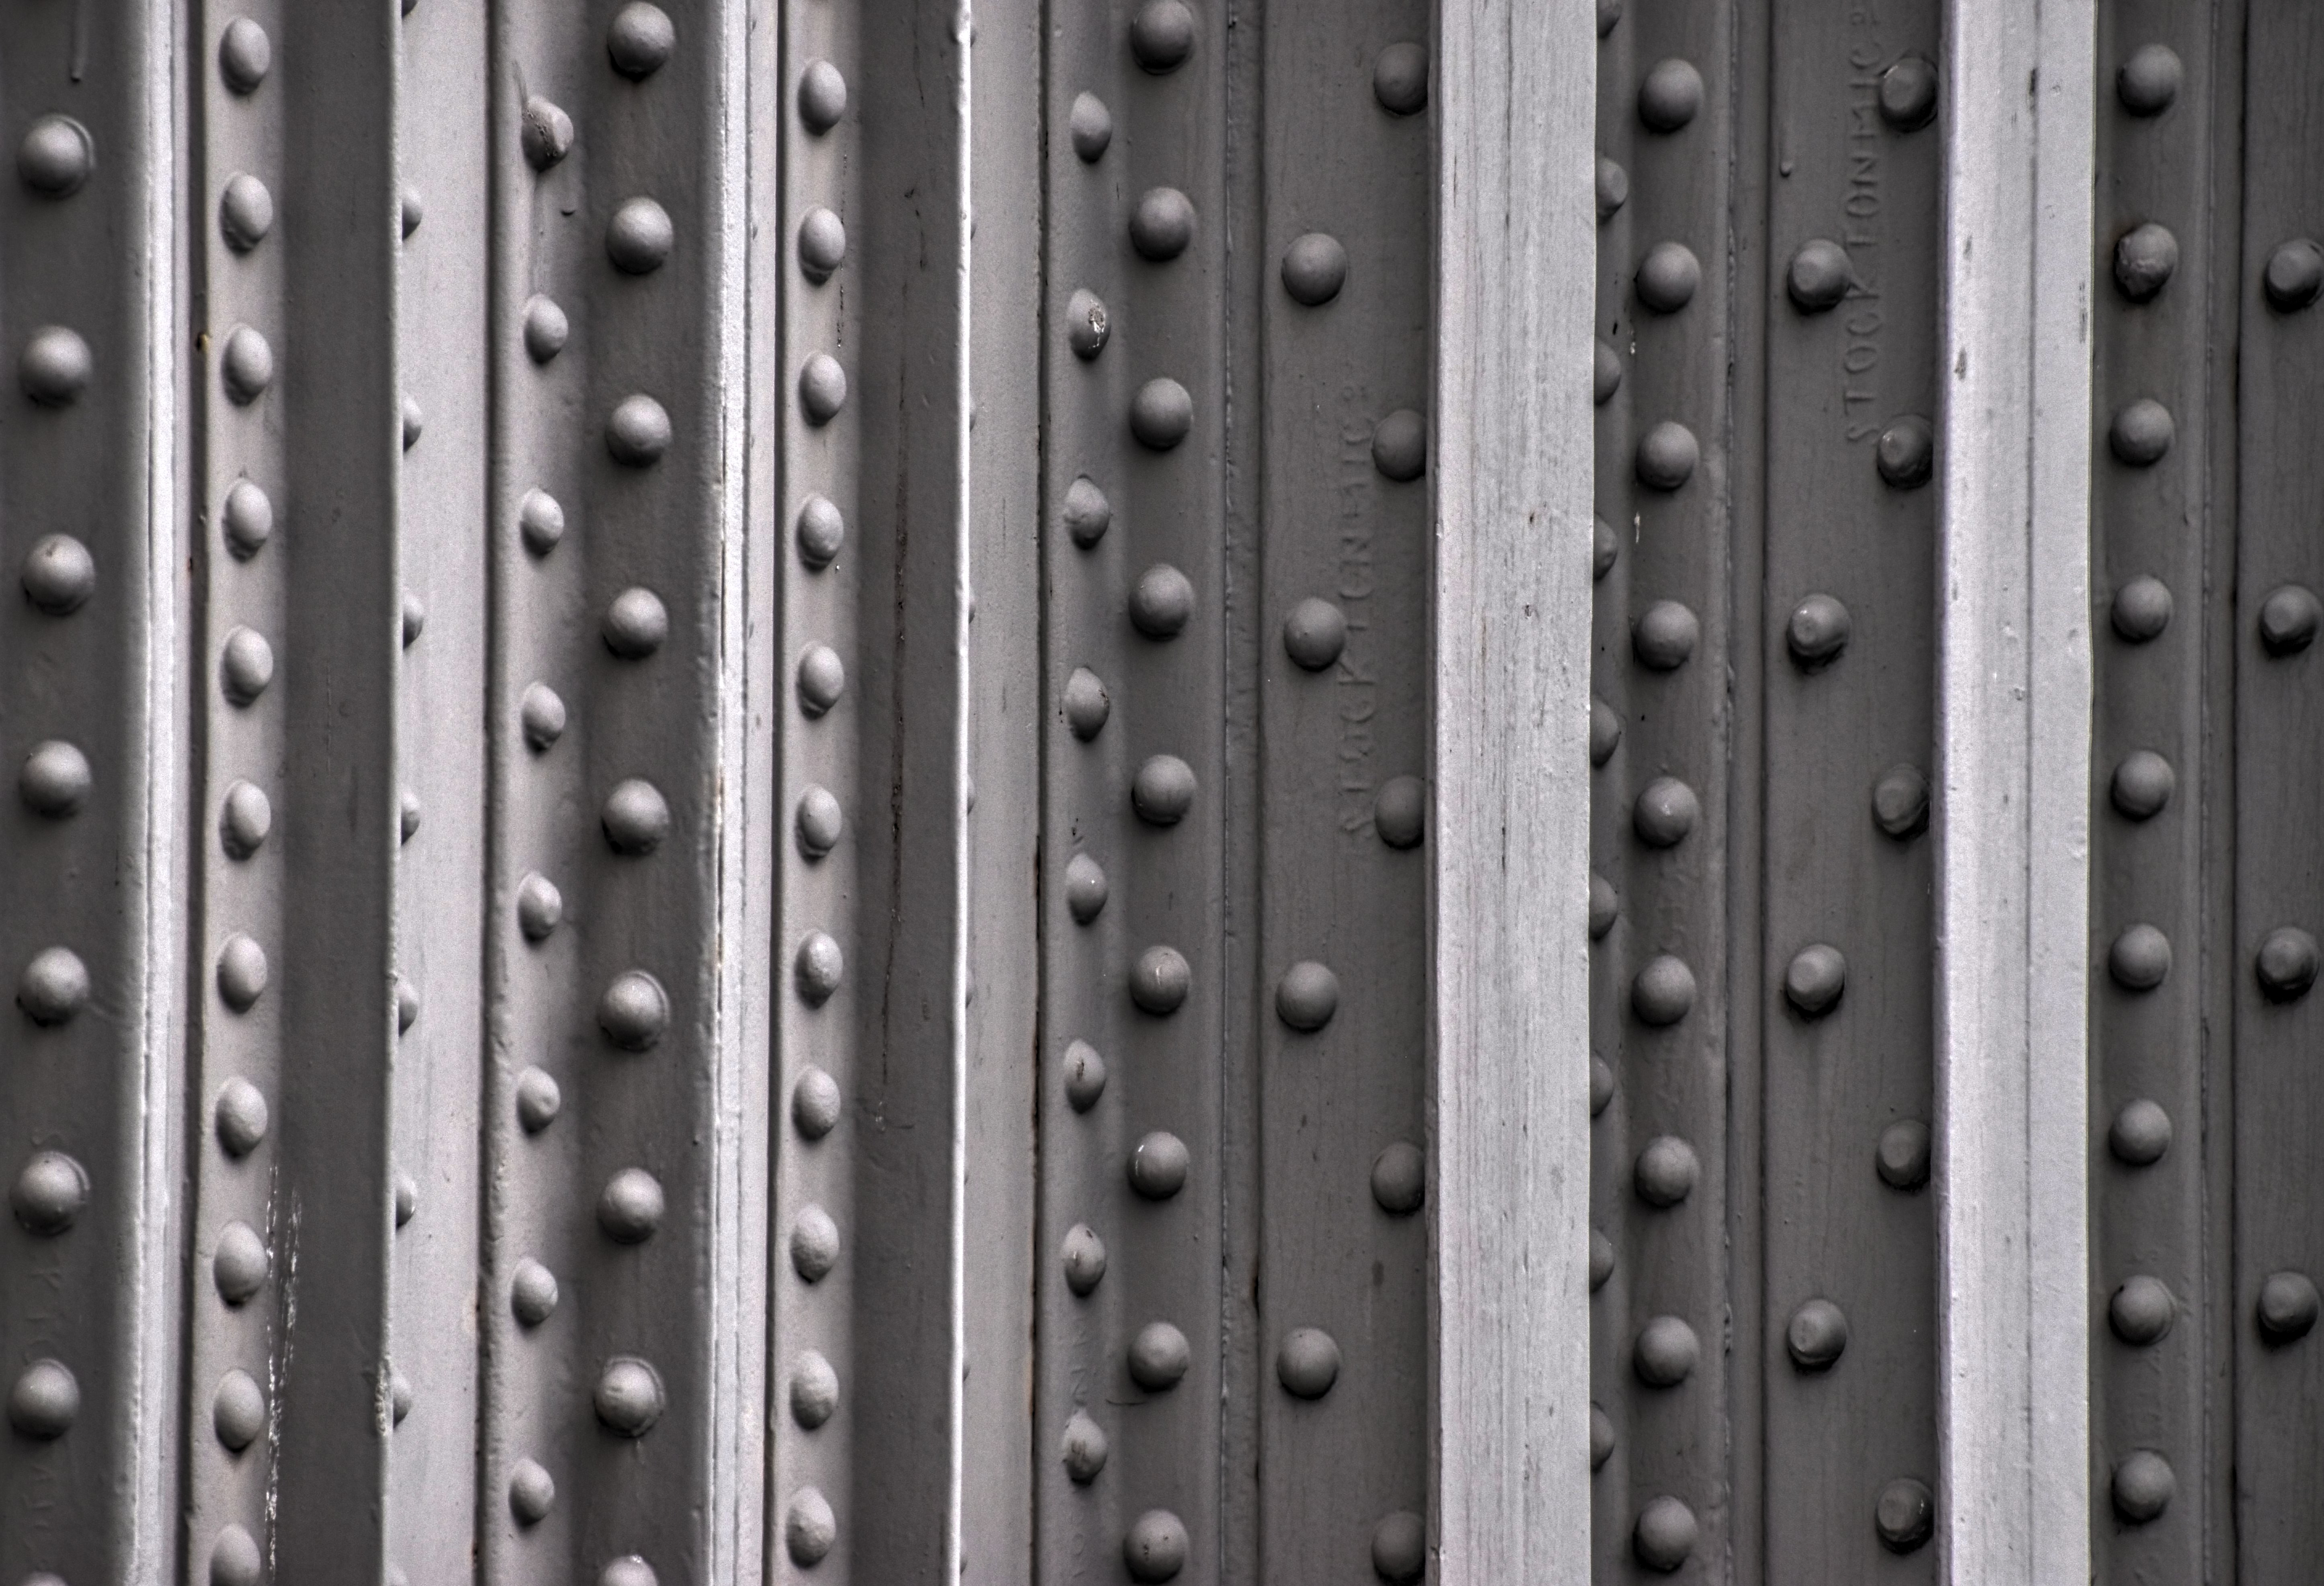
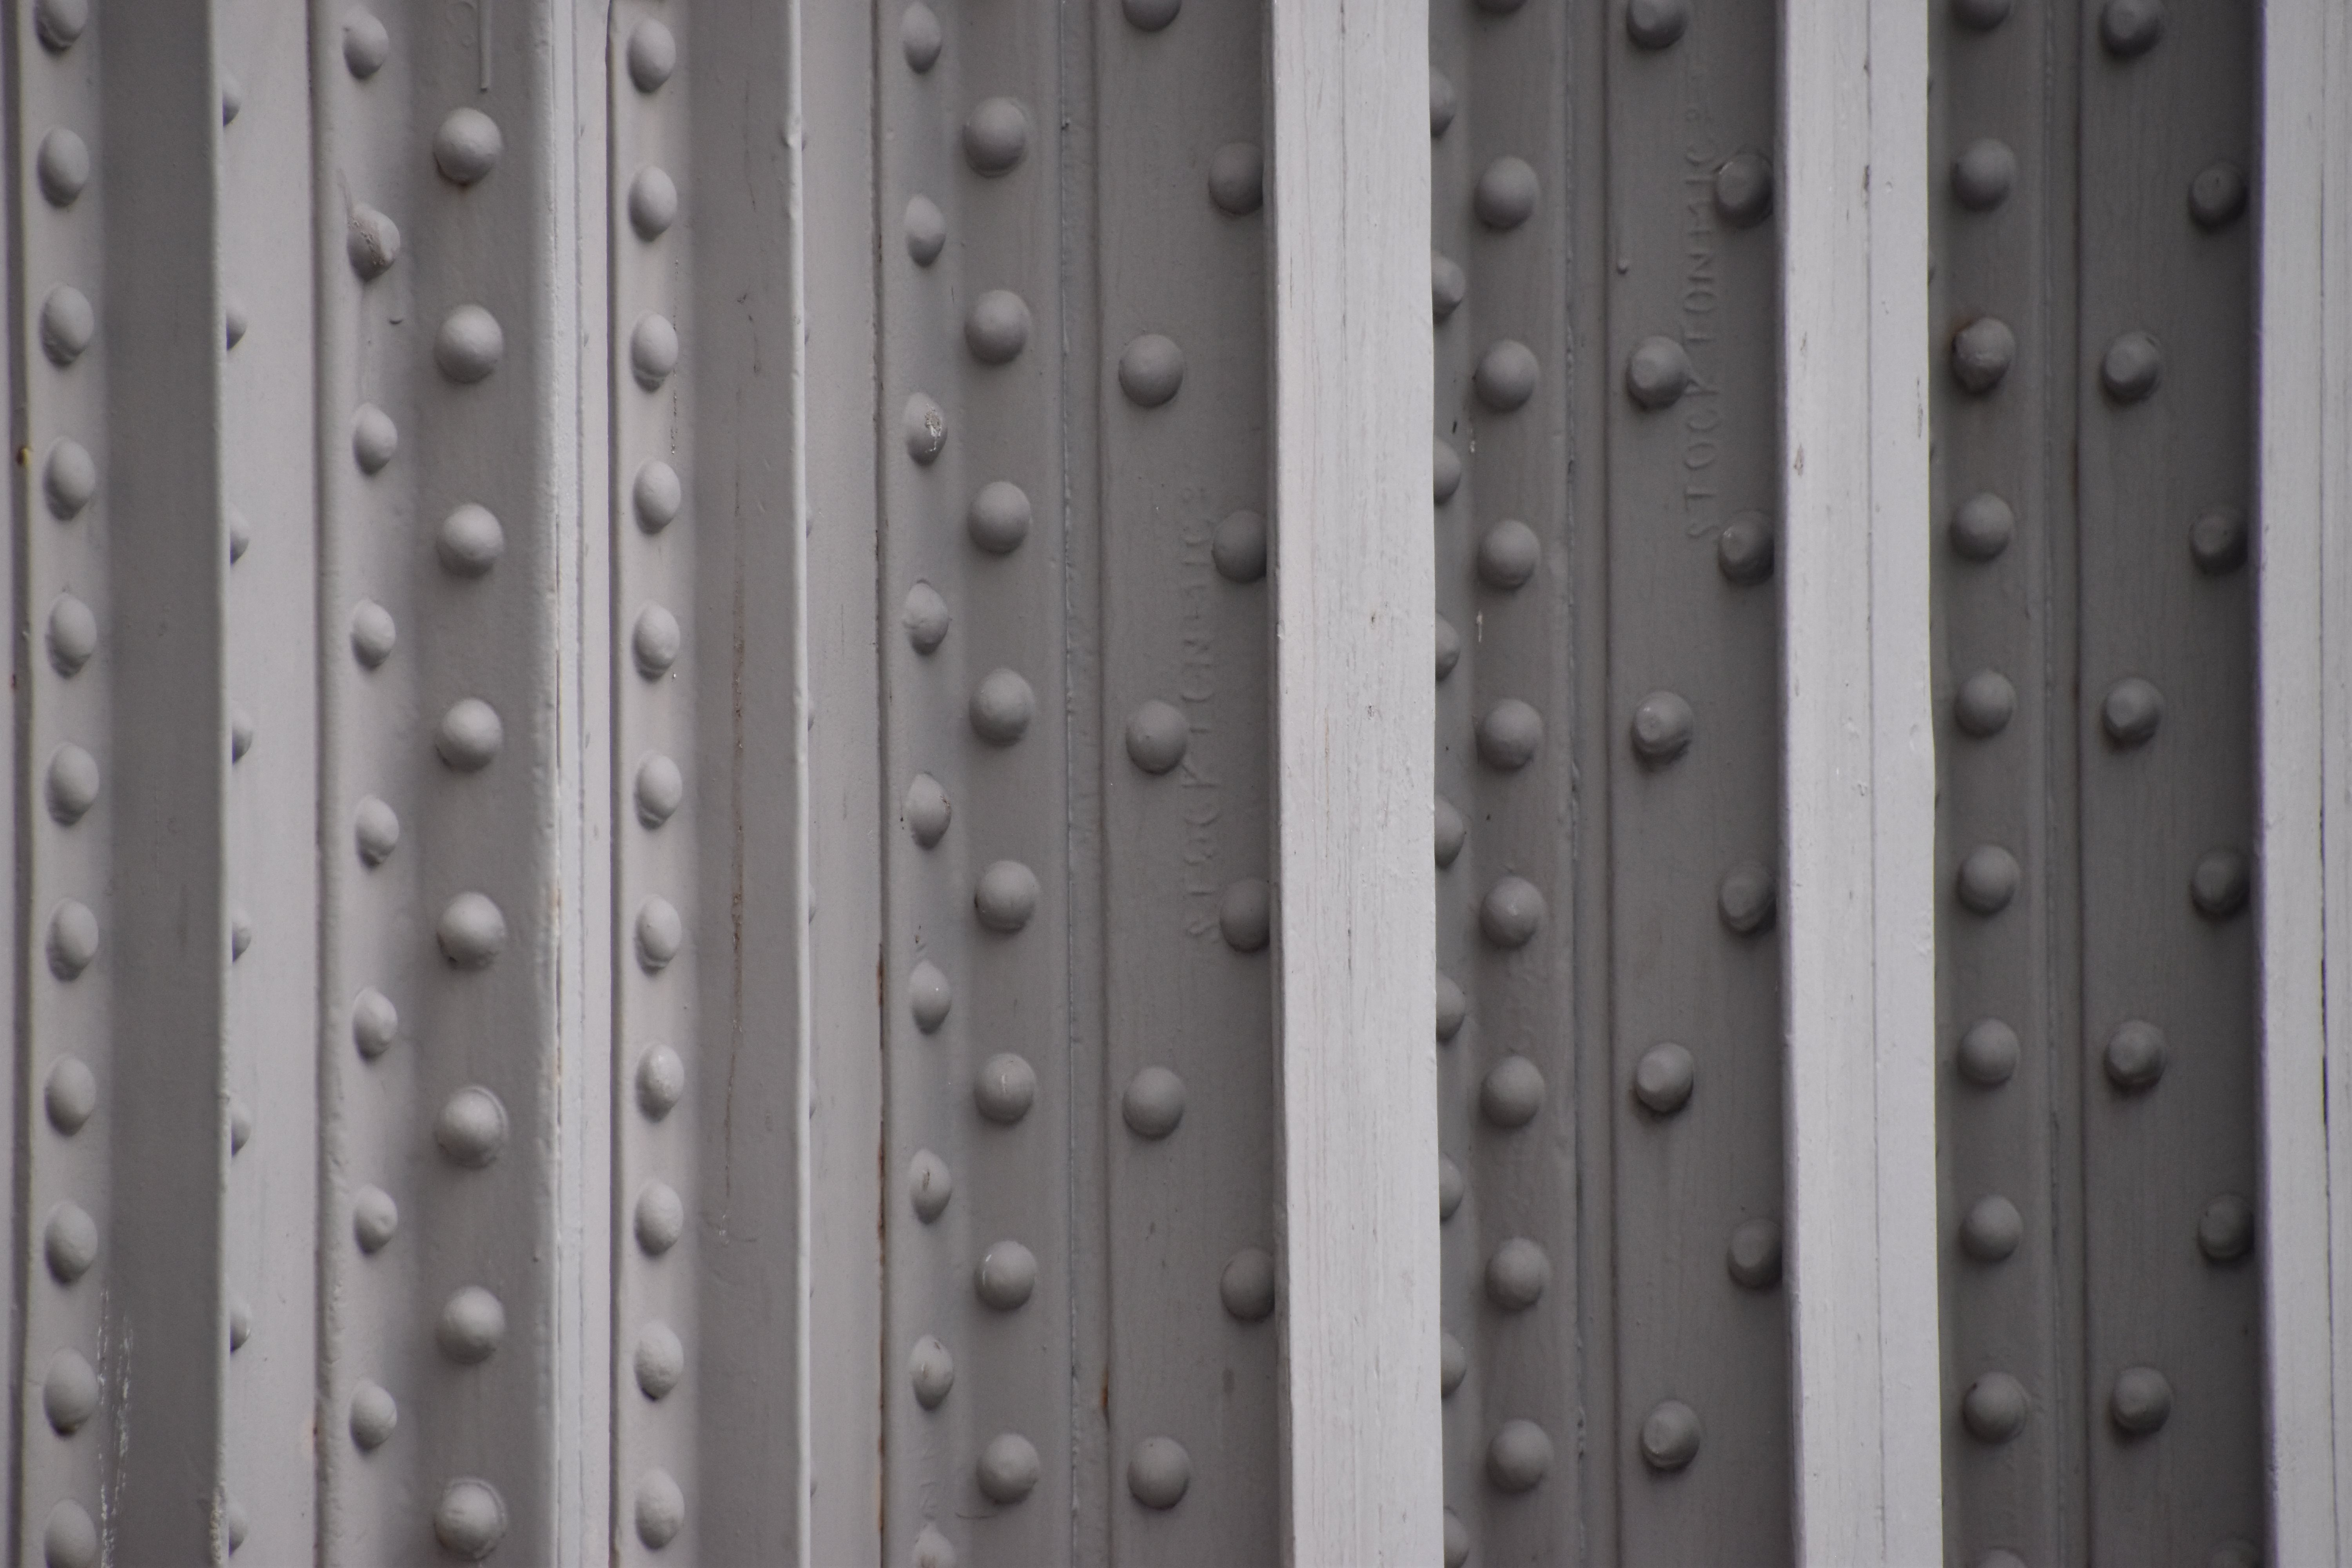
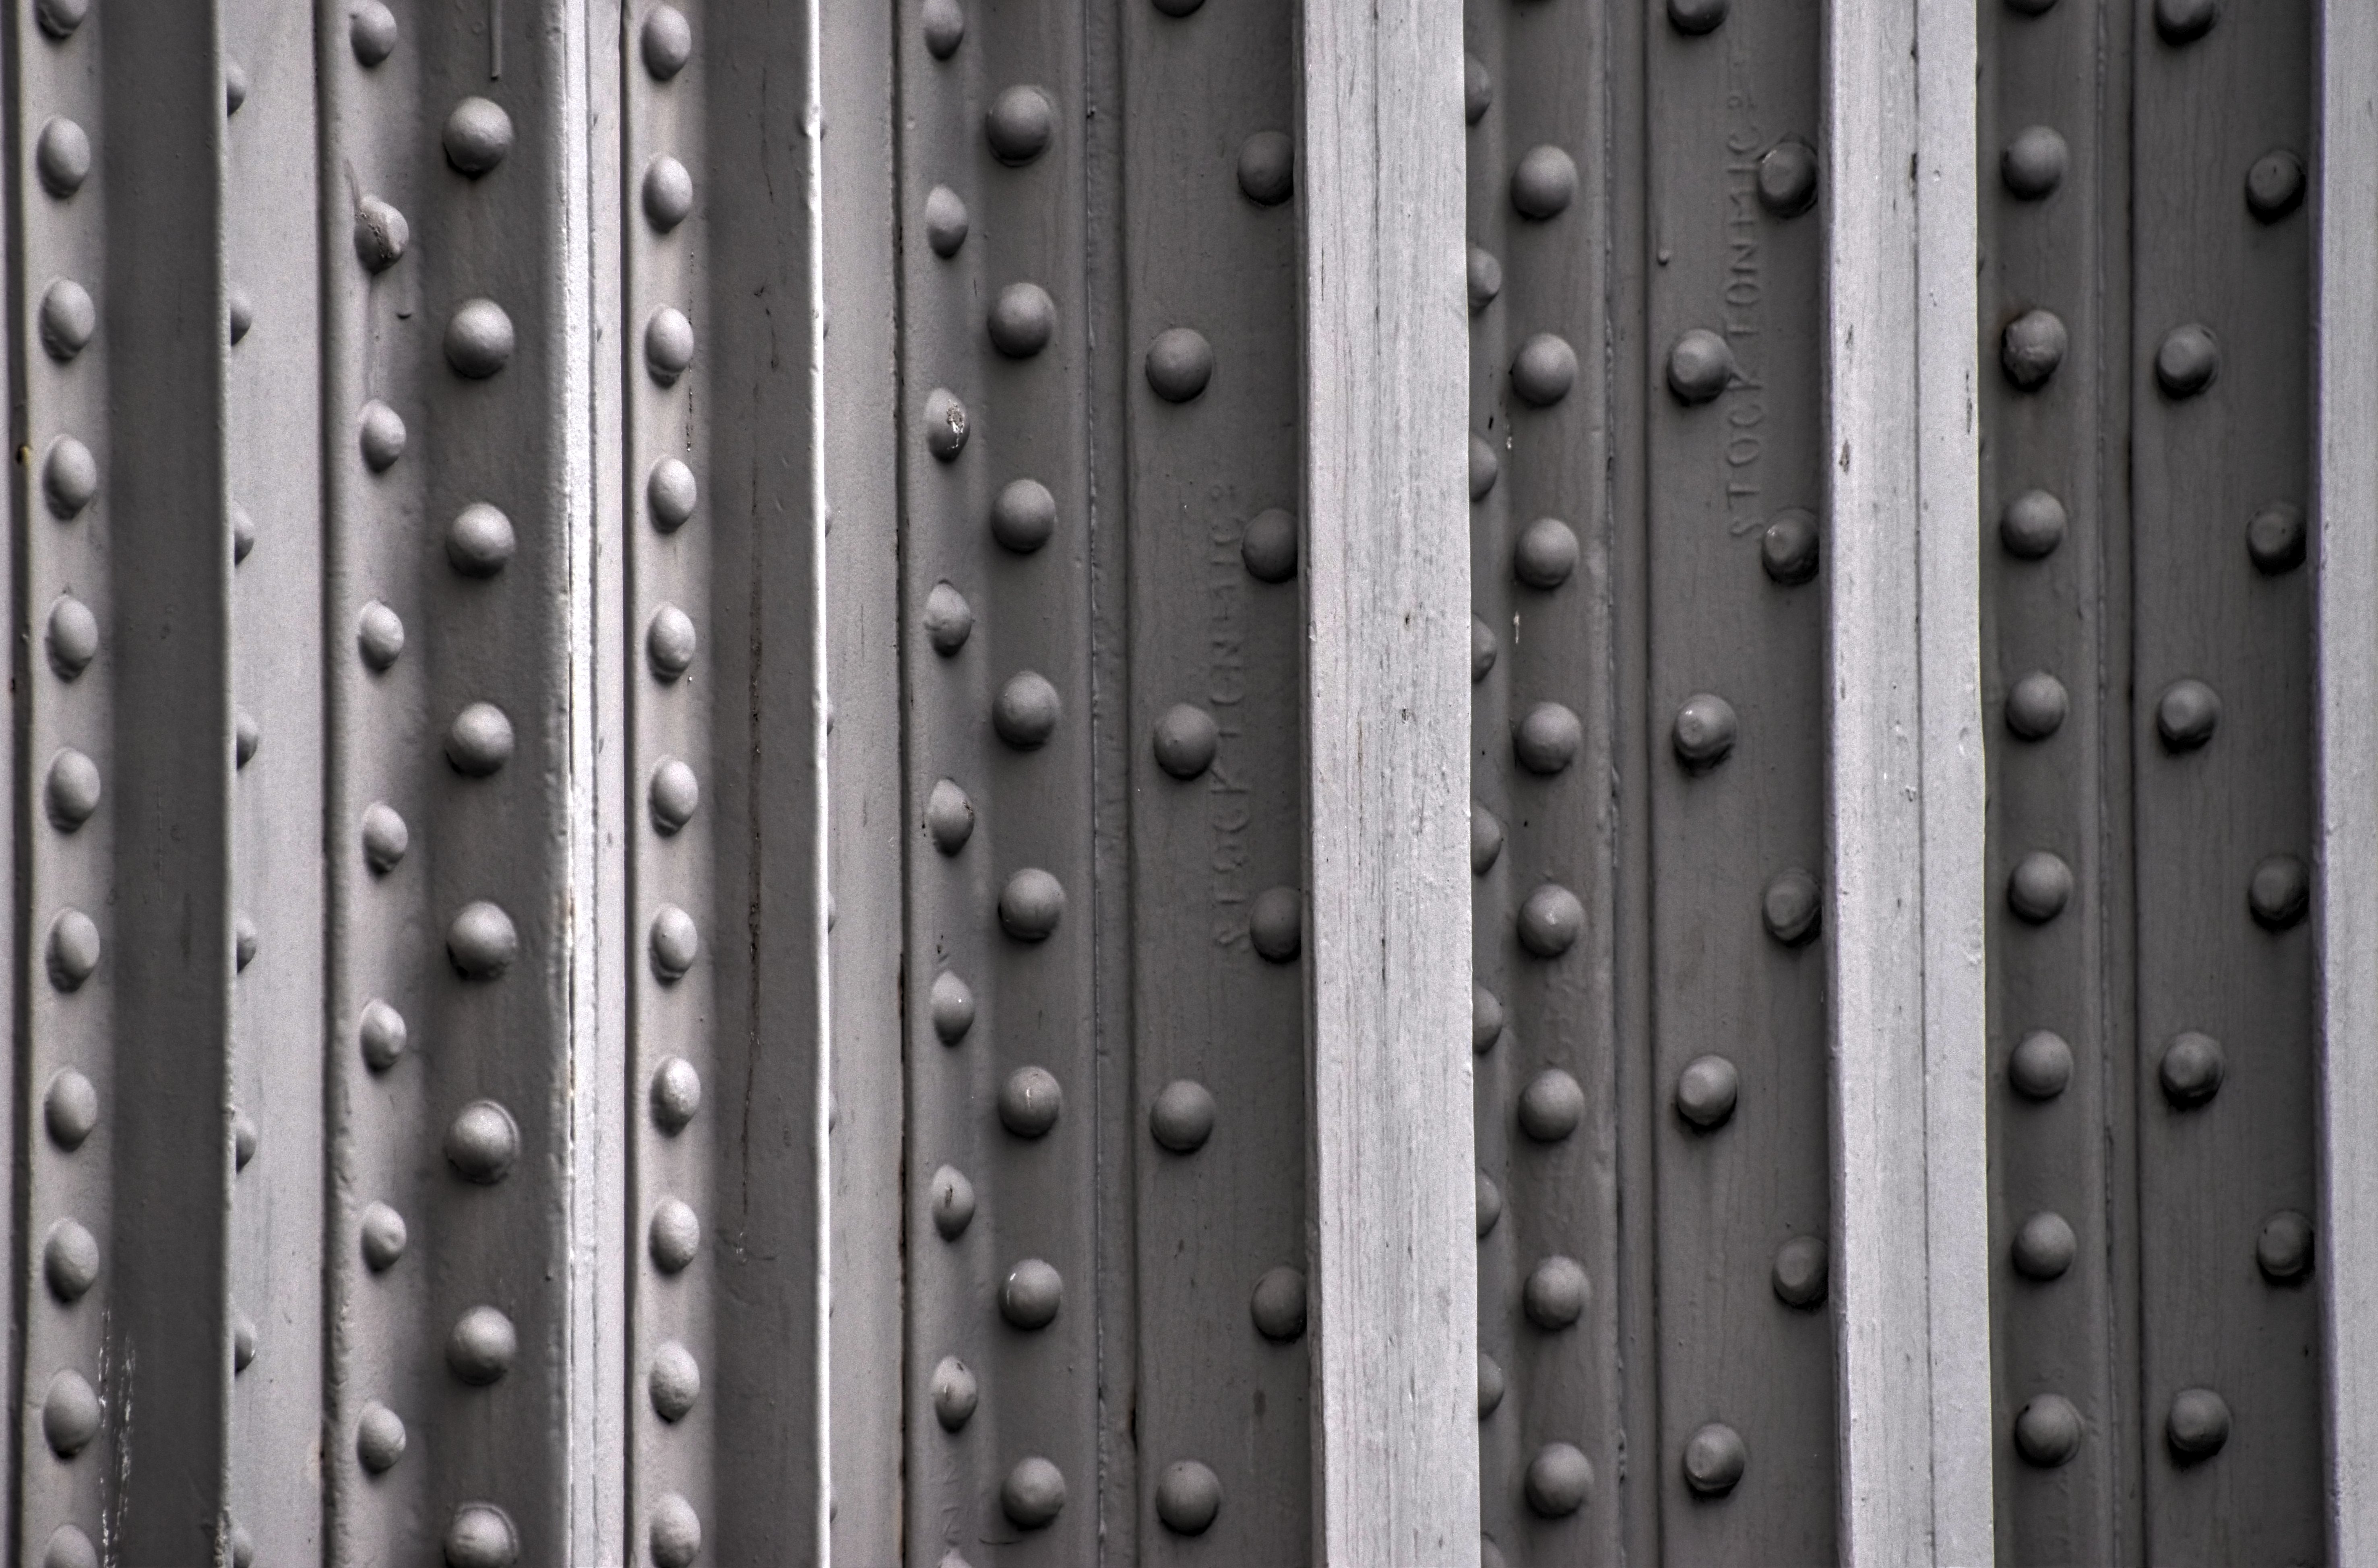
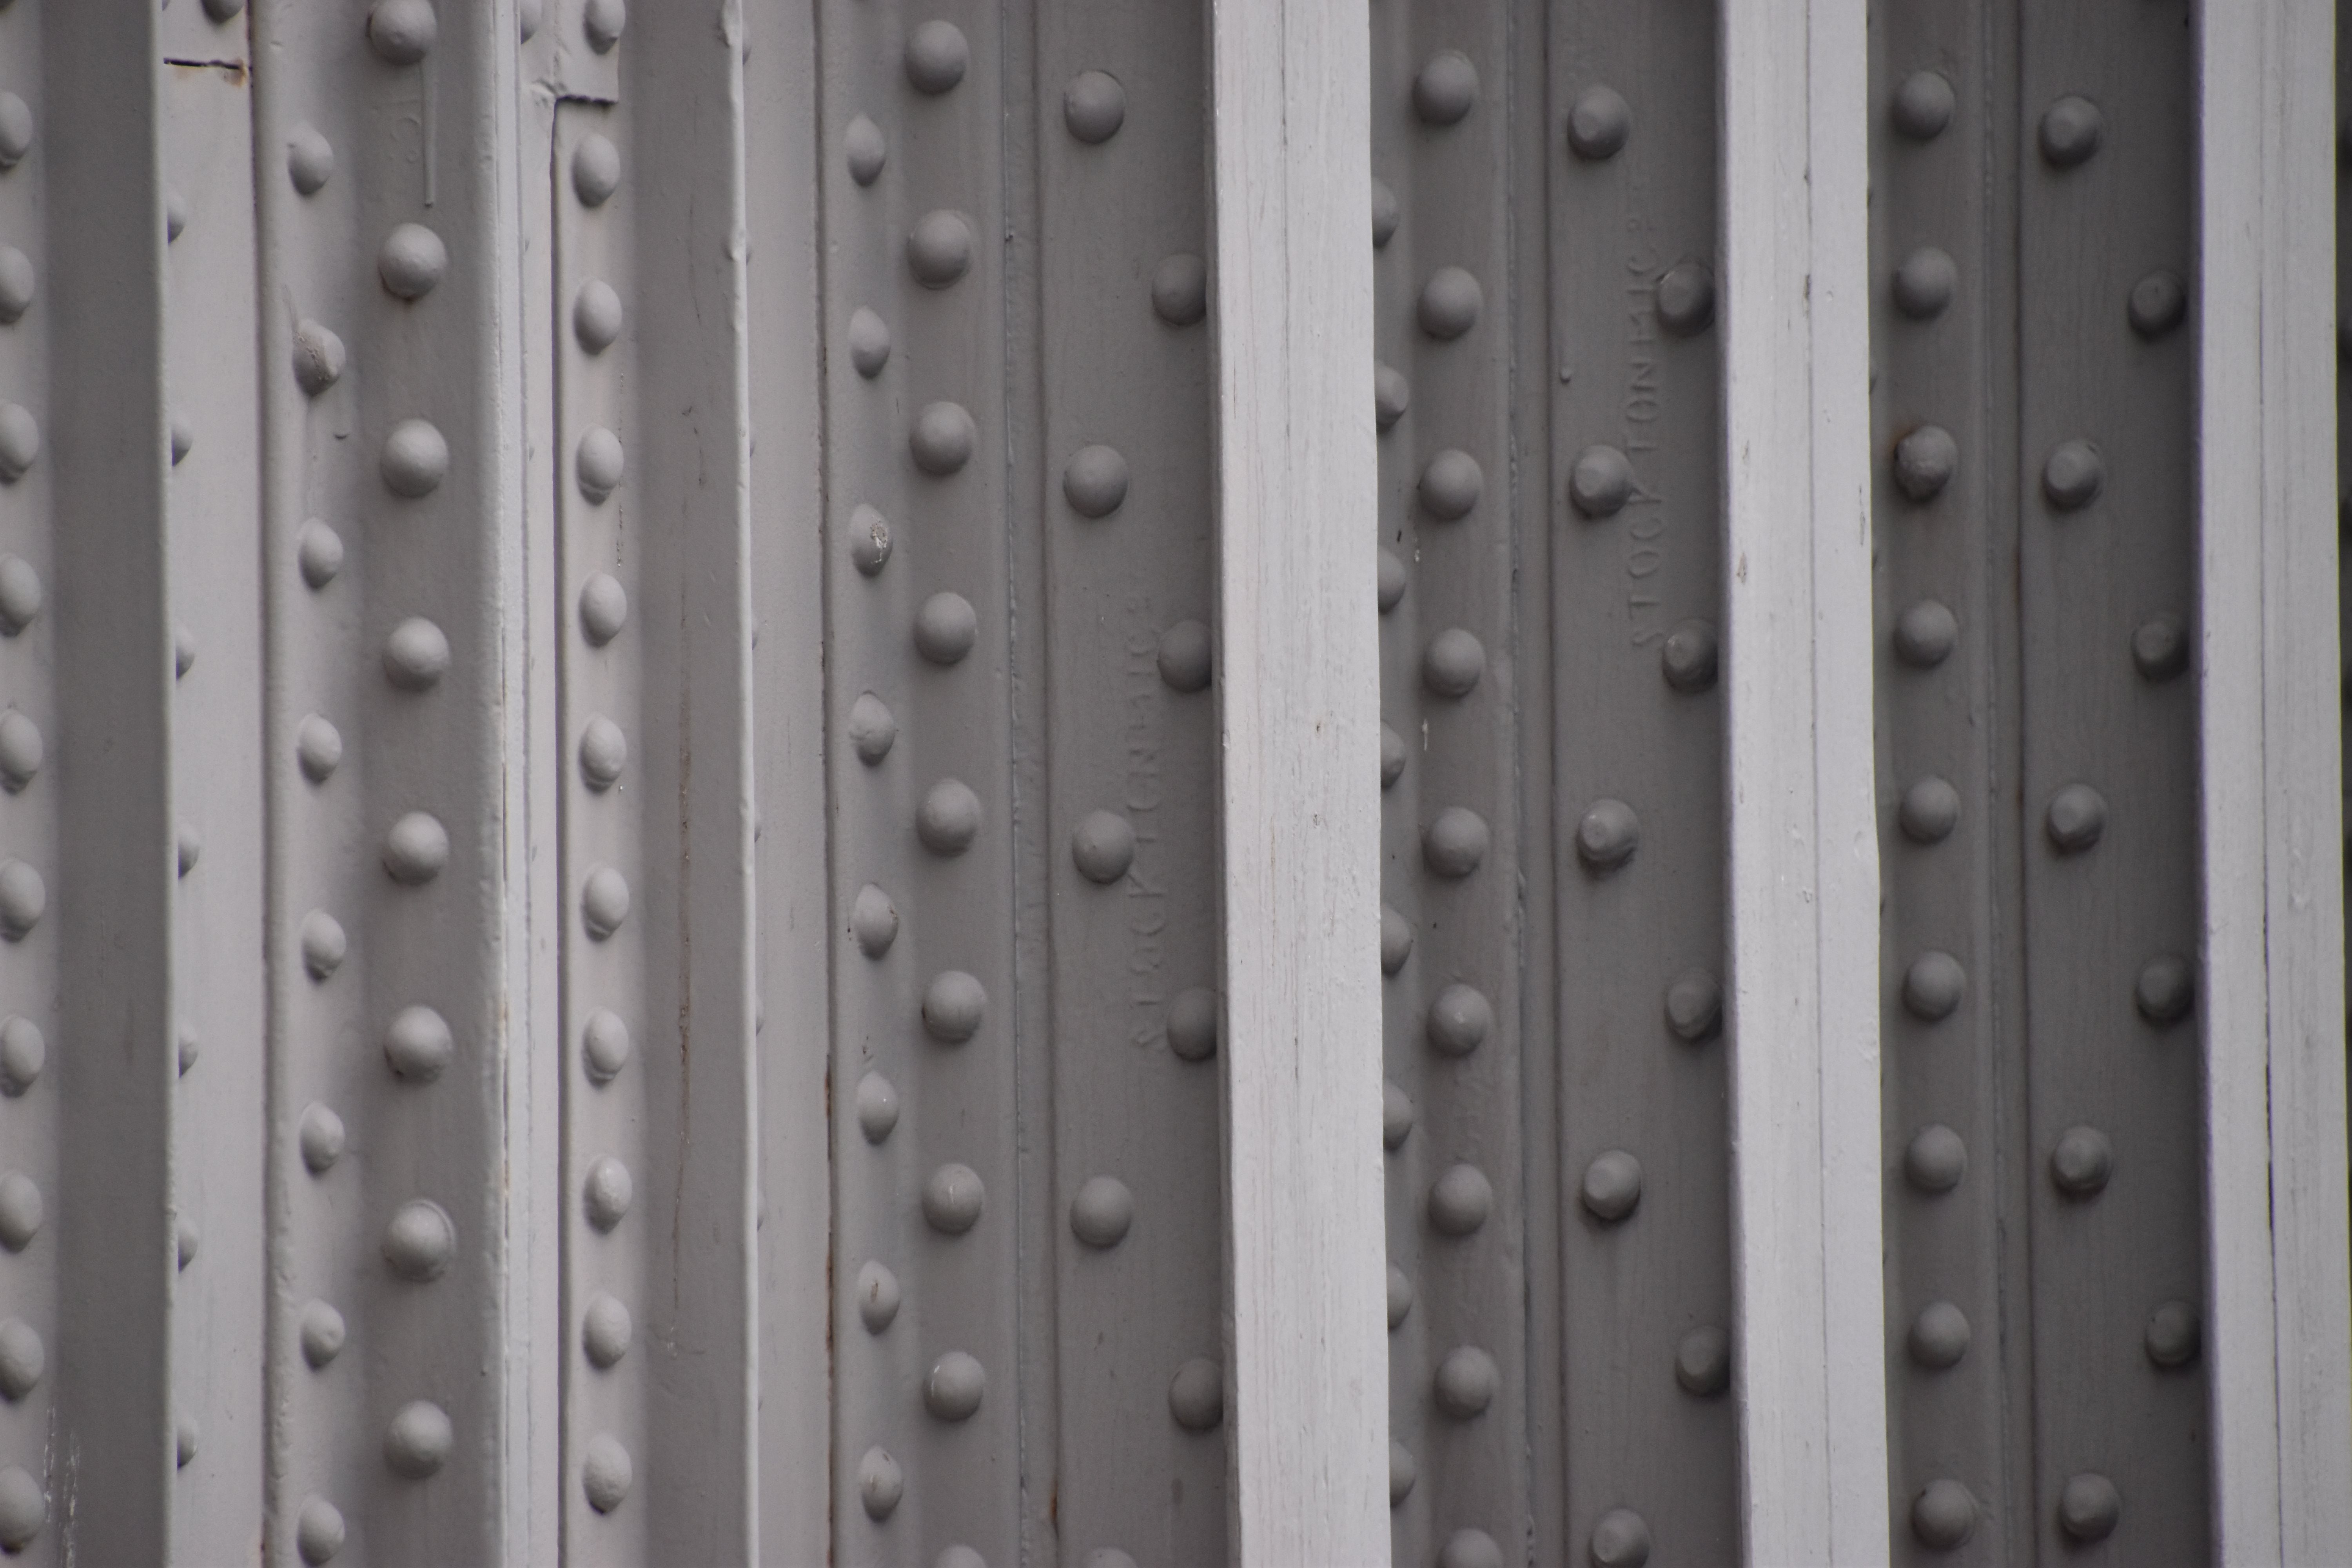
Stockton brand on 1899 added ribs on bridge.
![]()


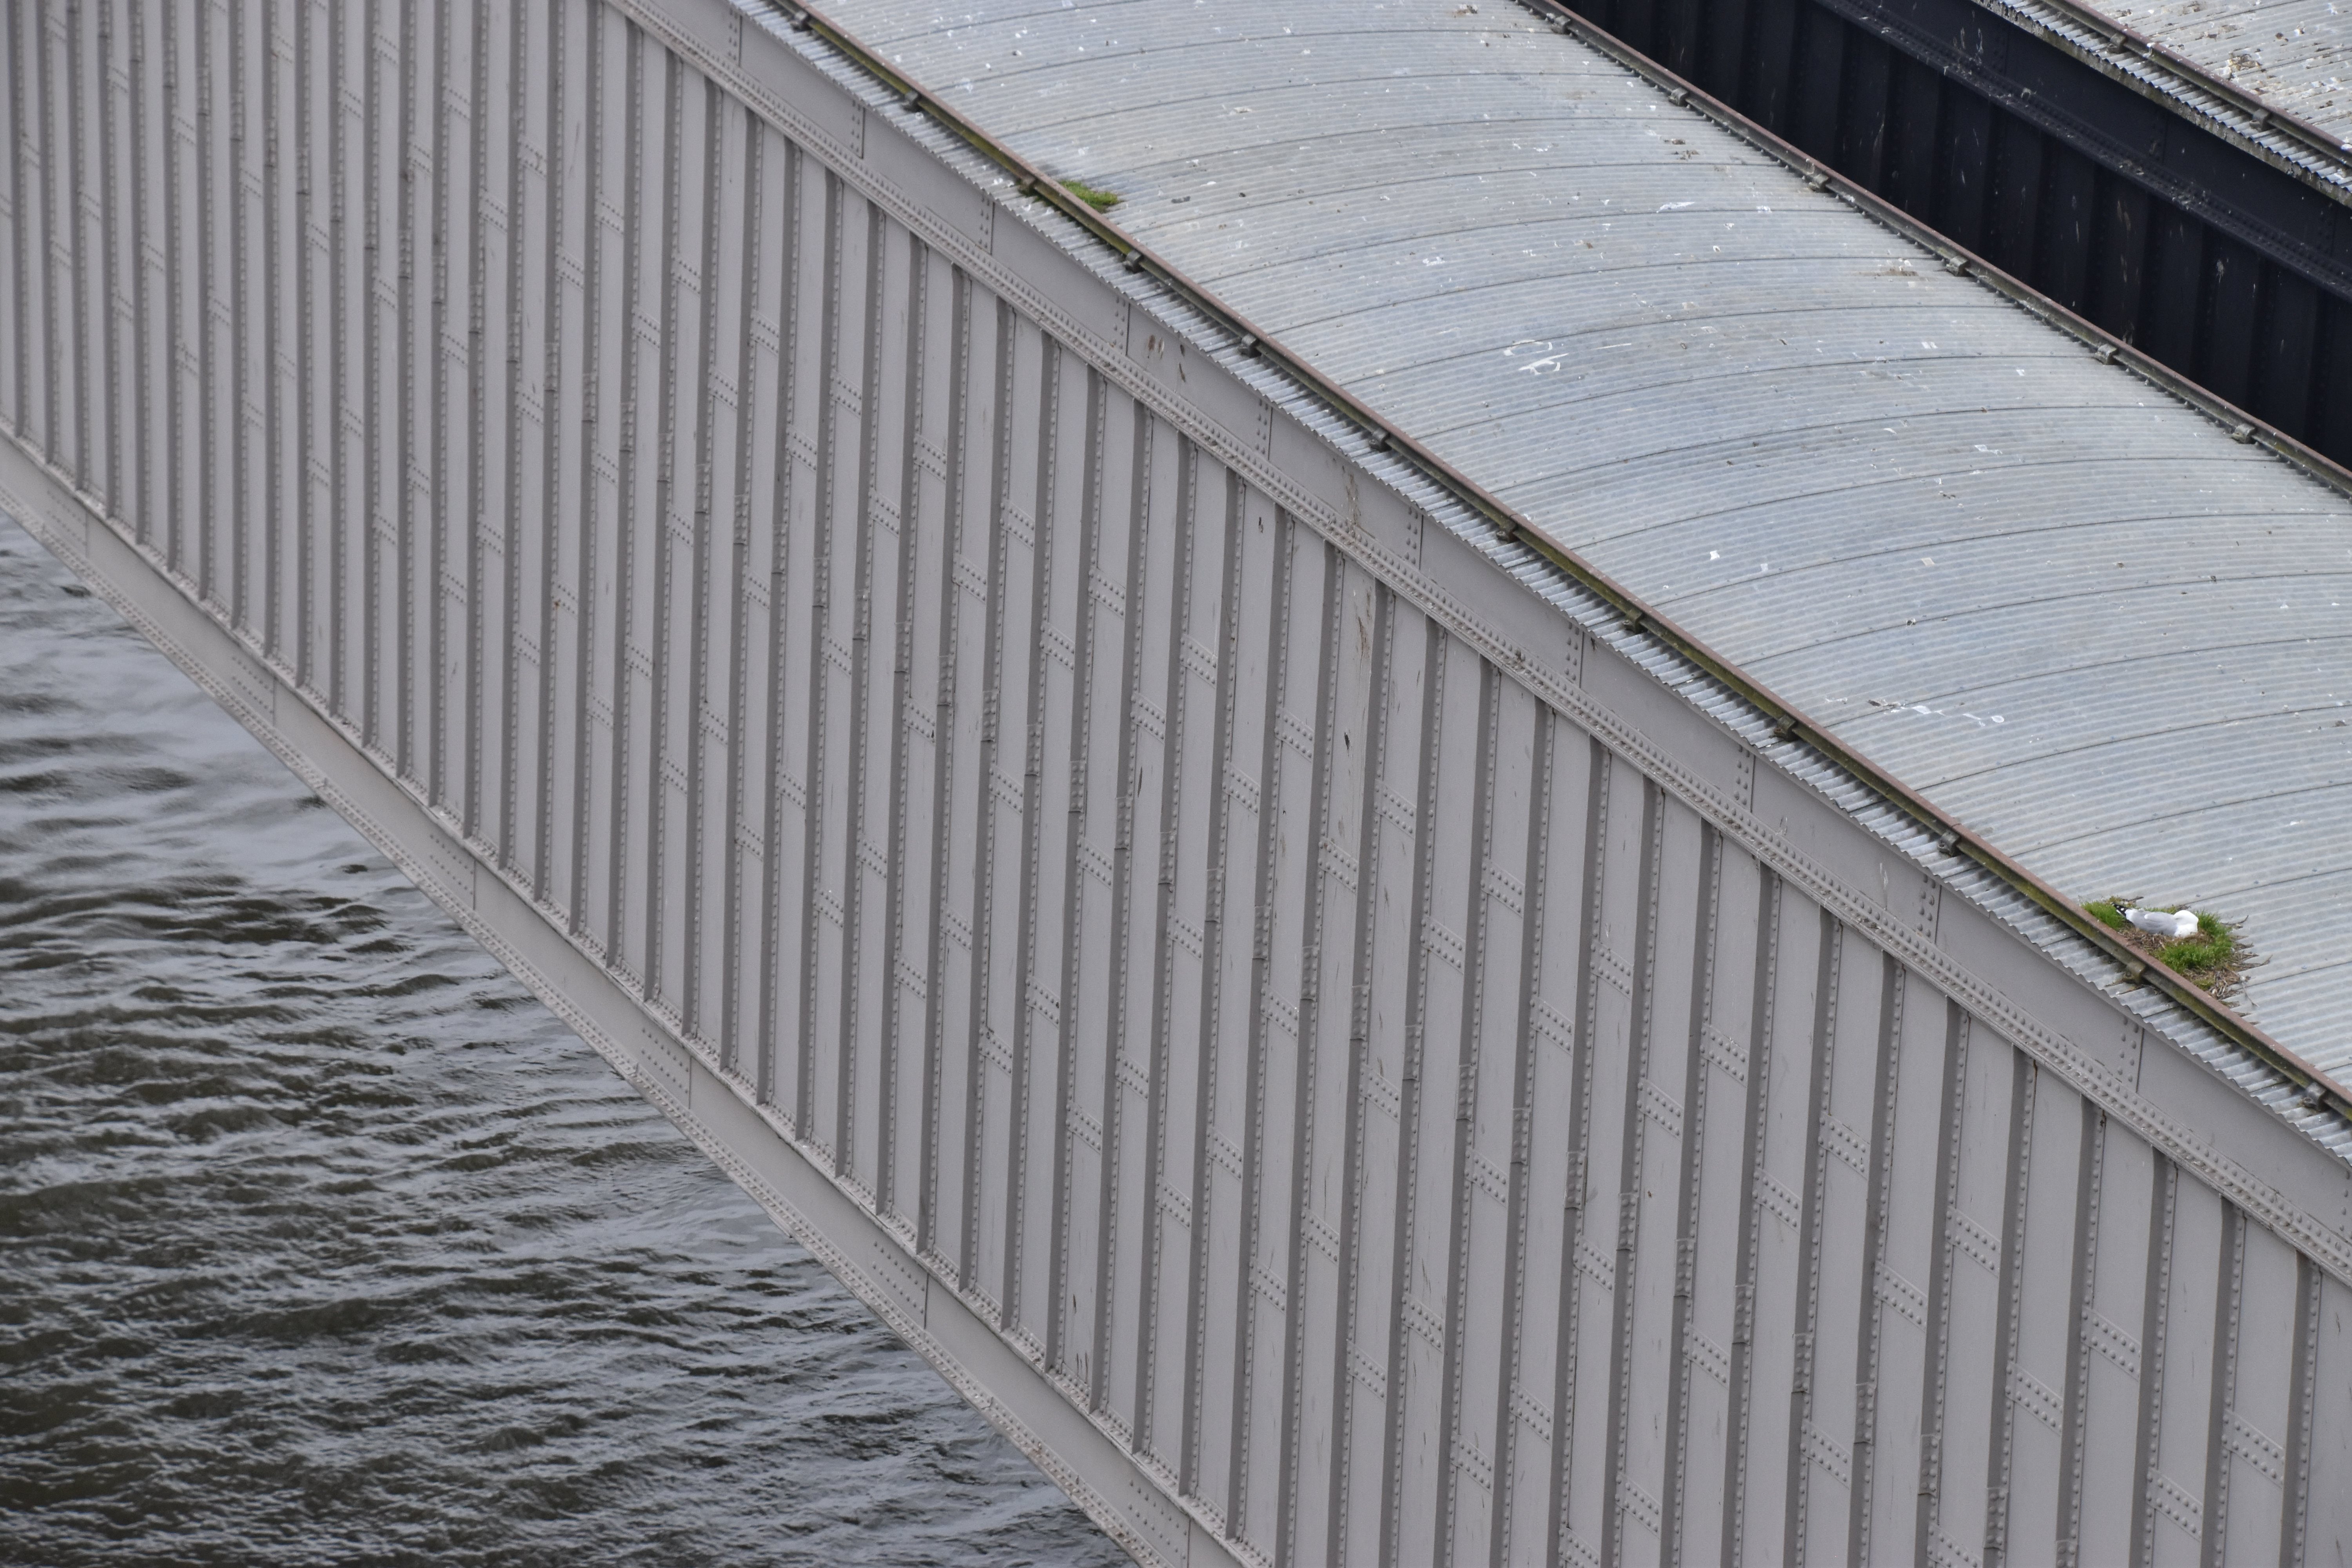
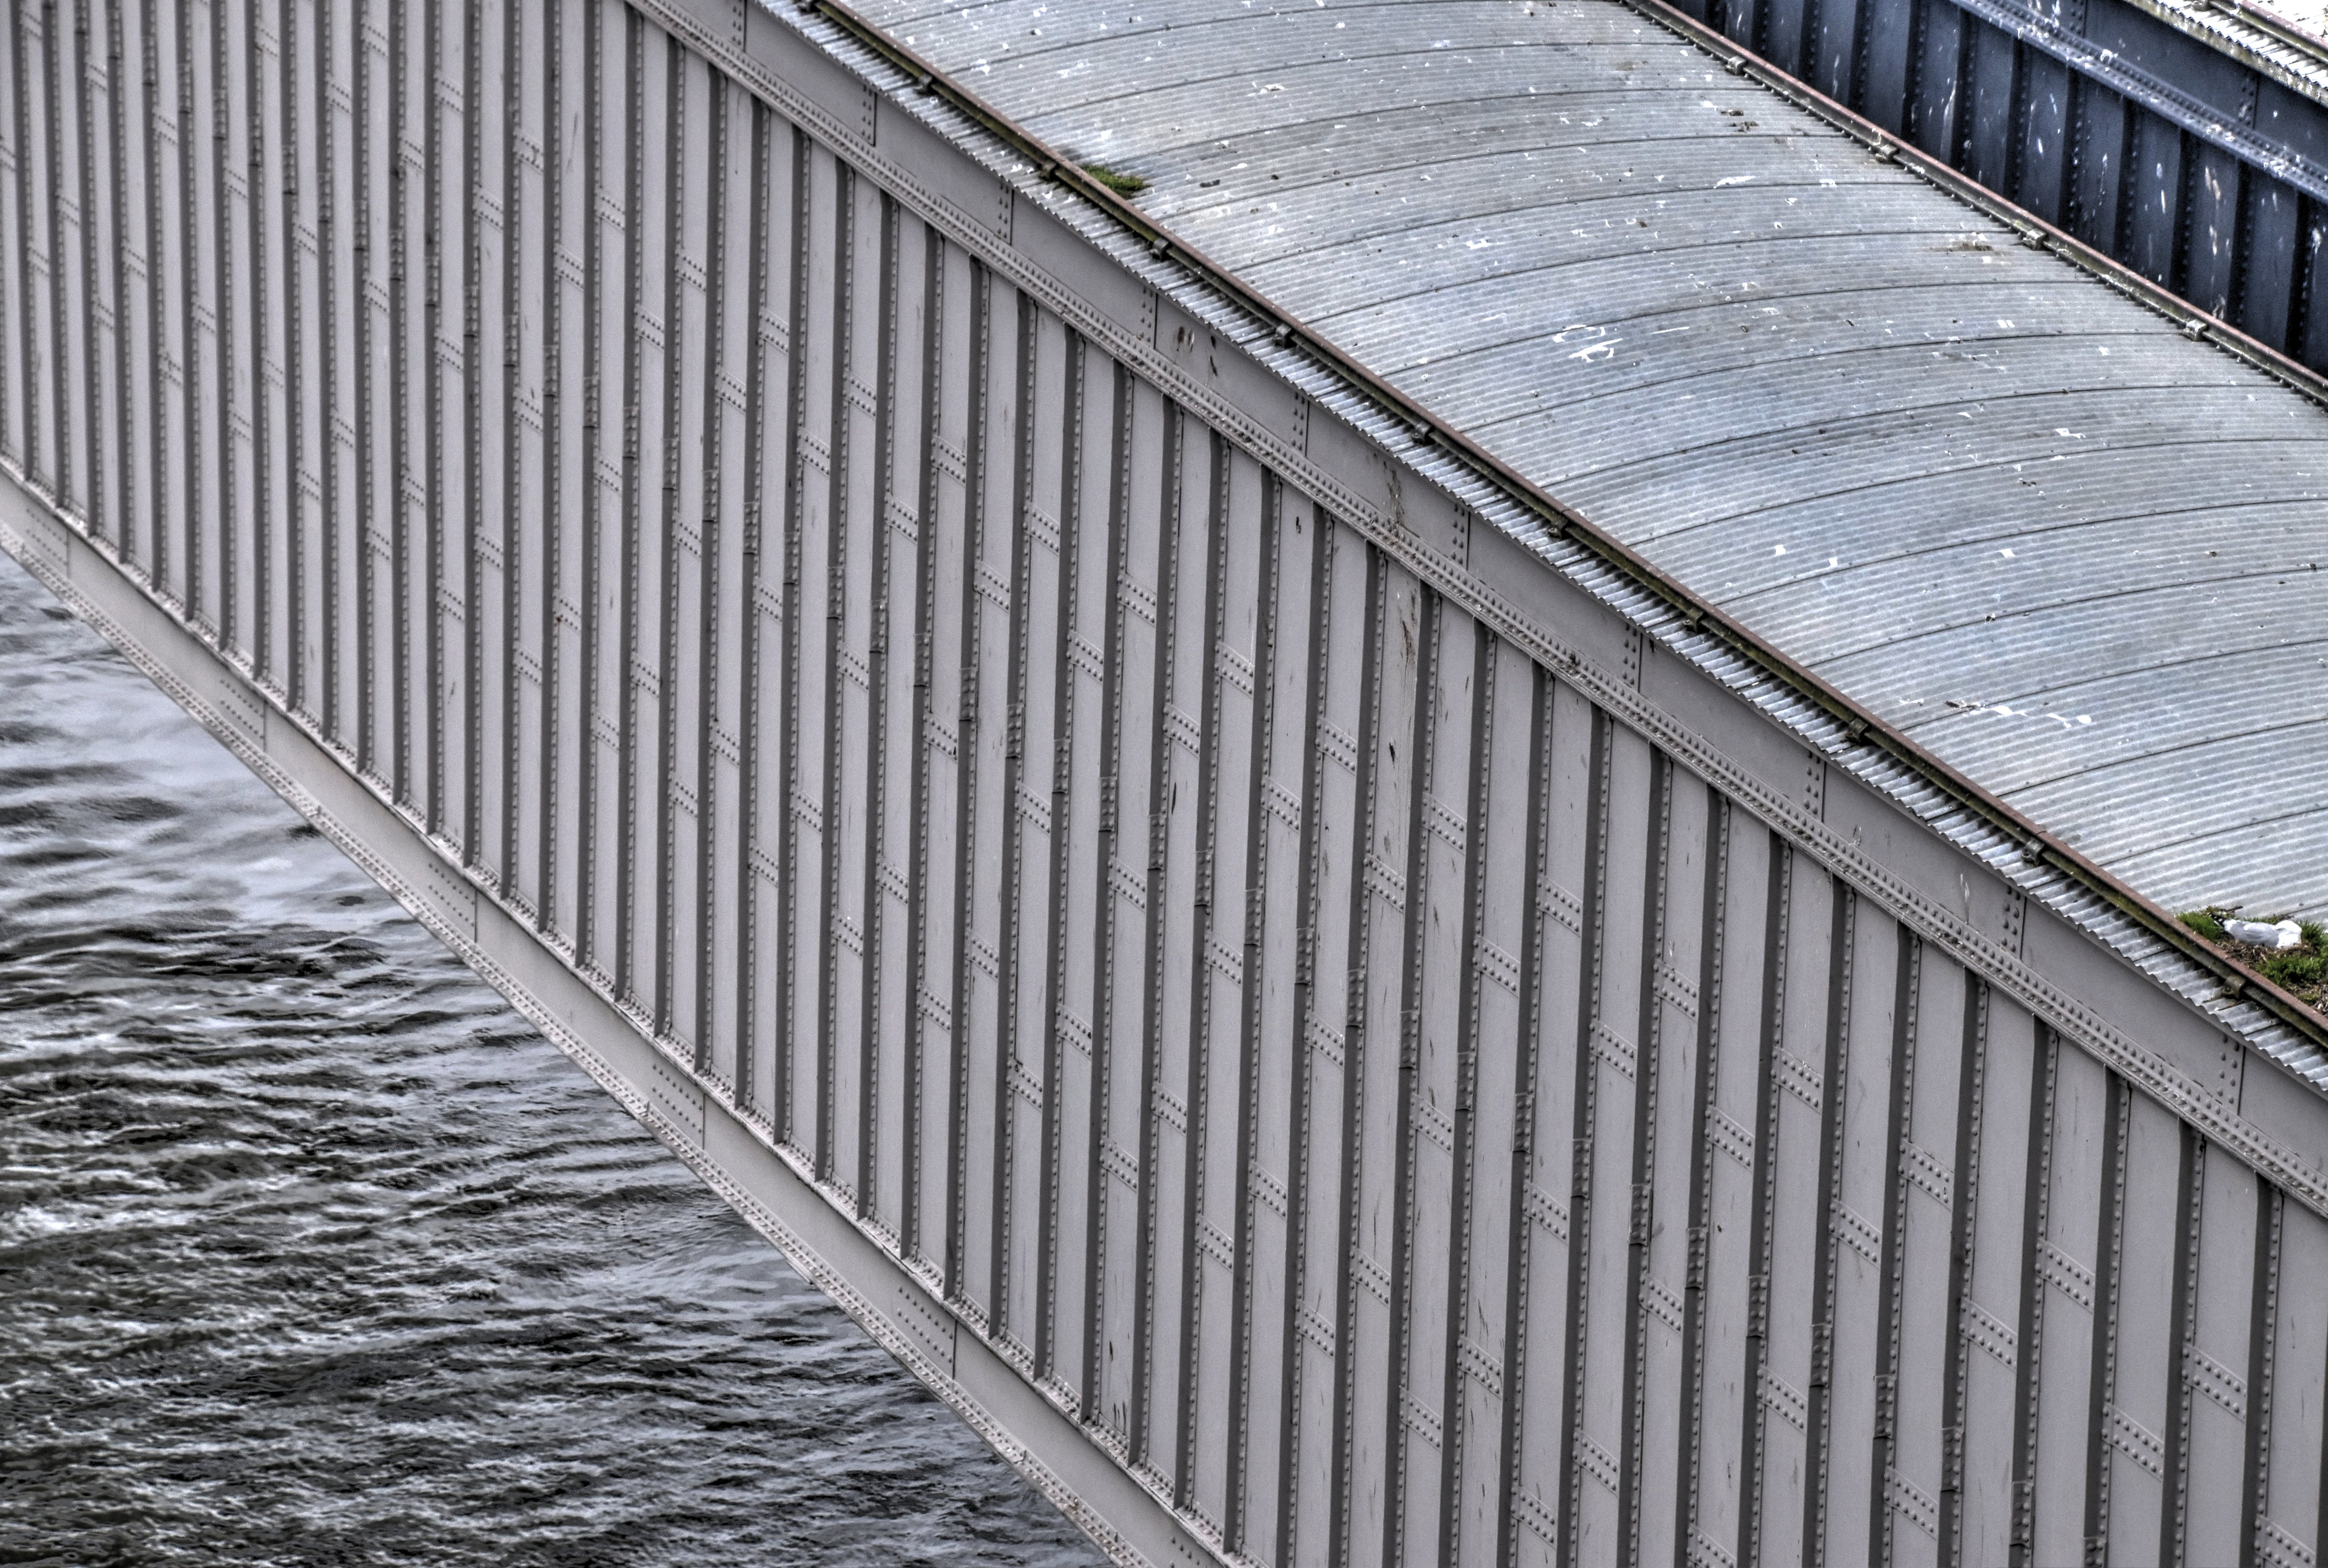
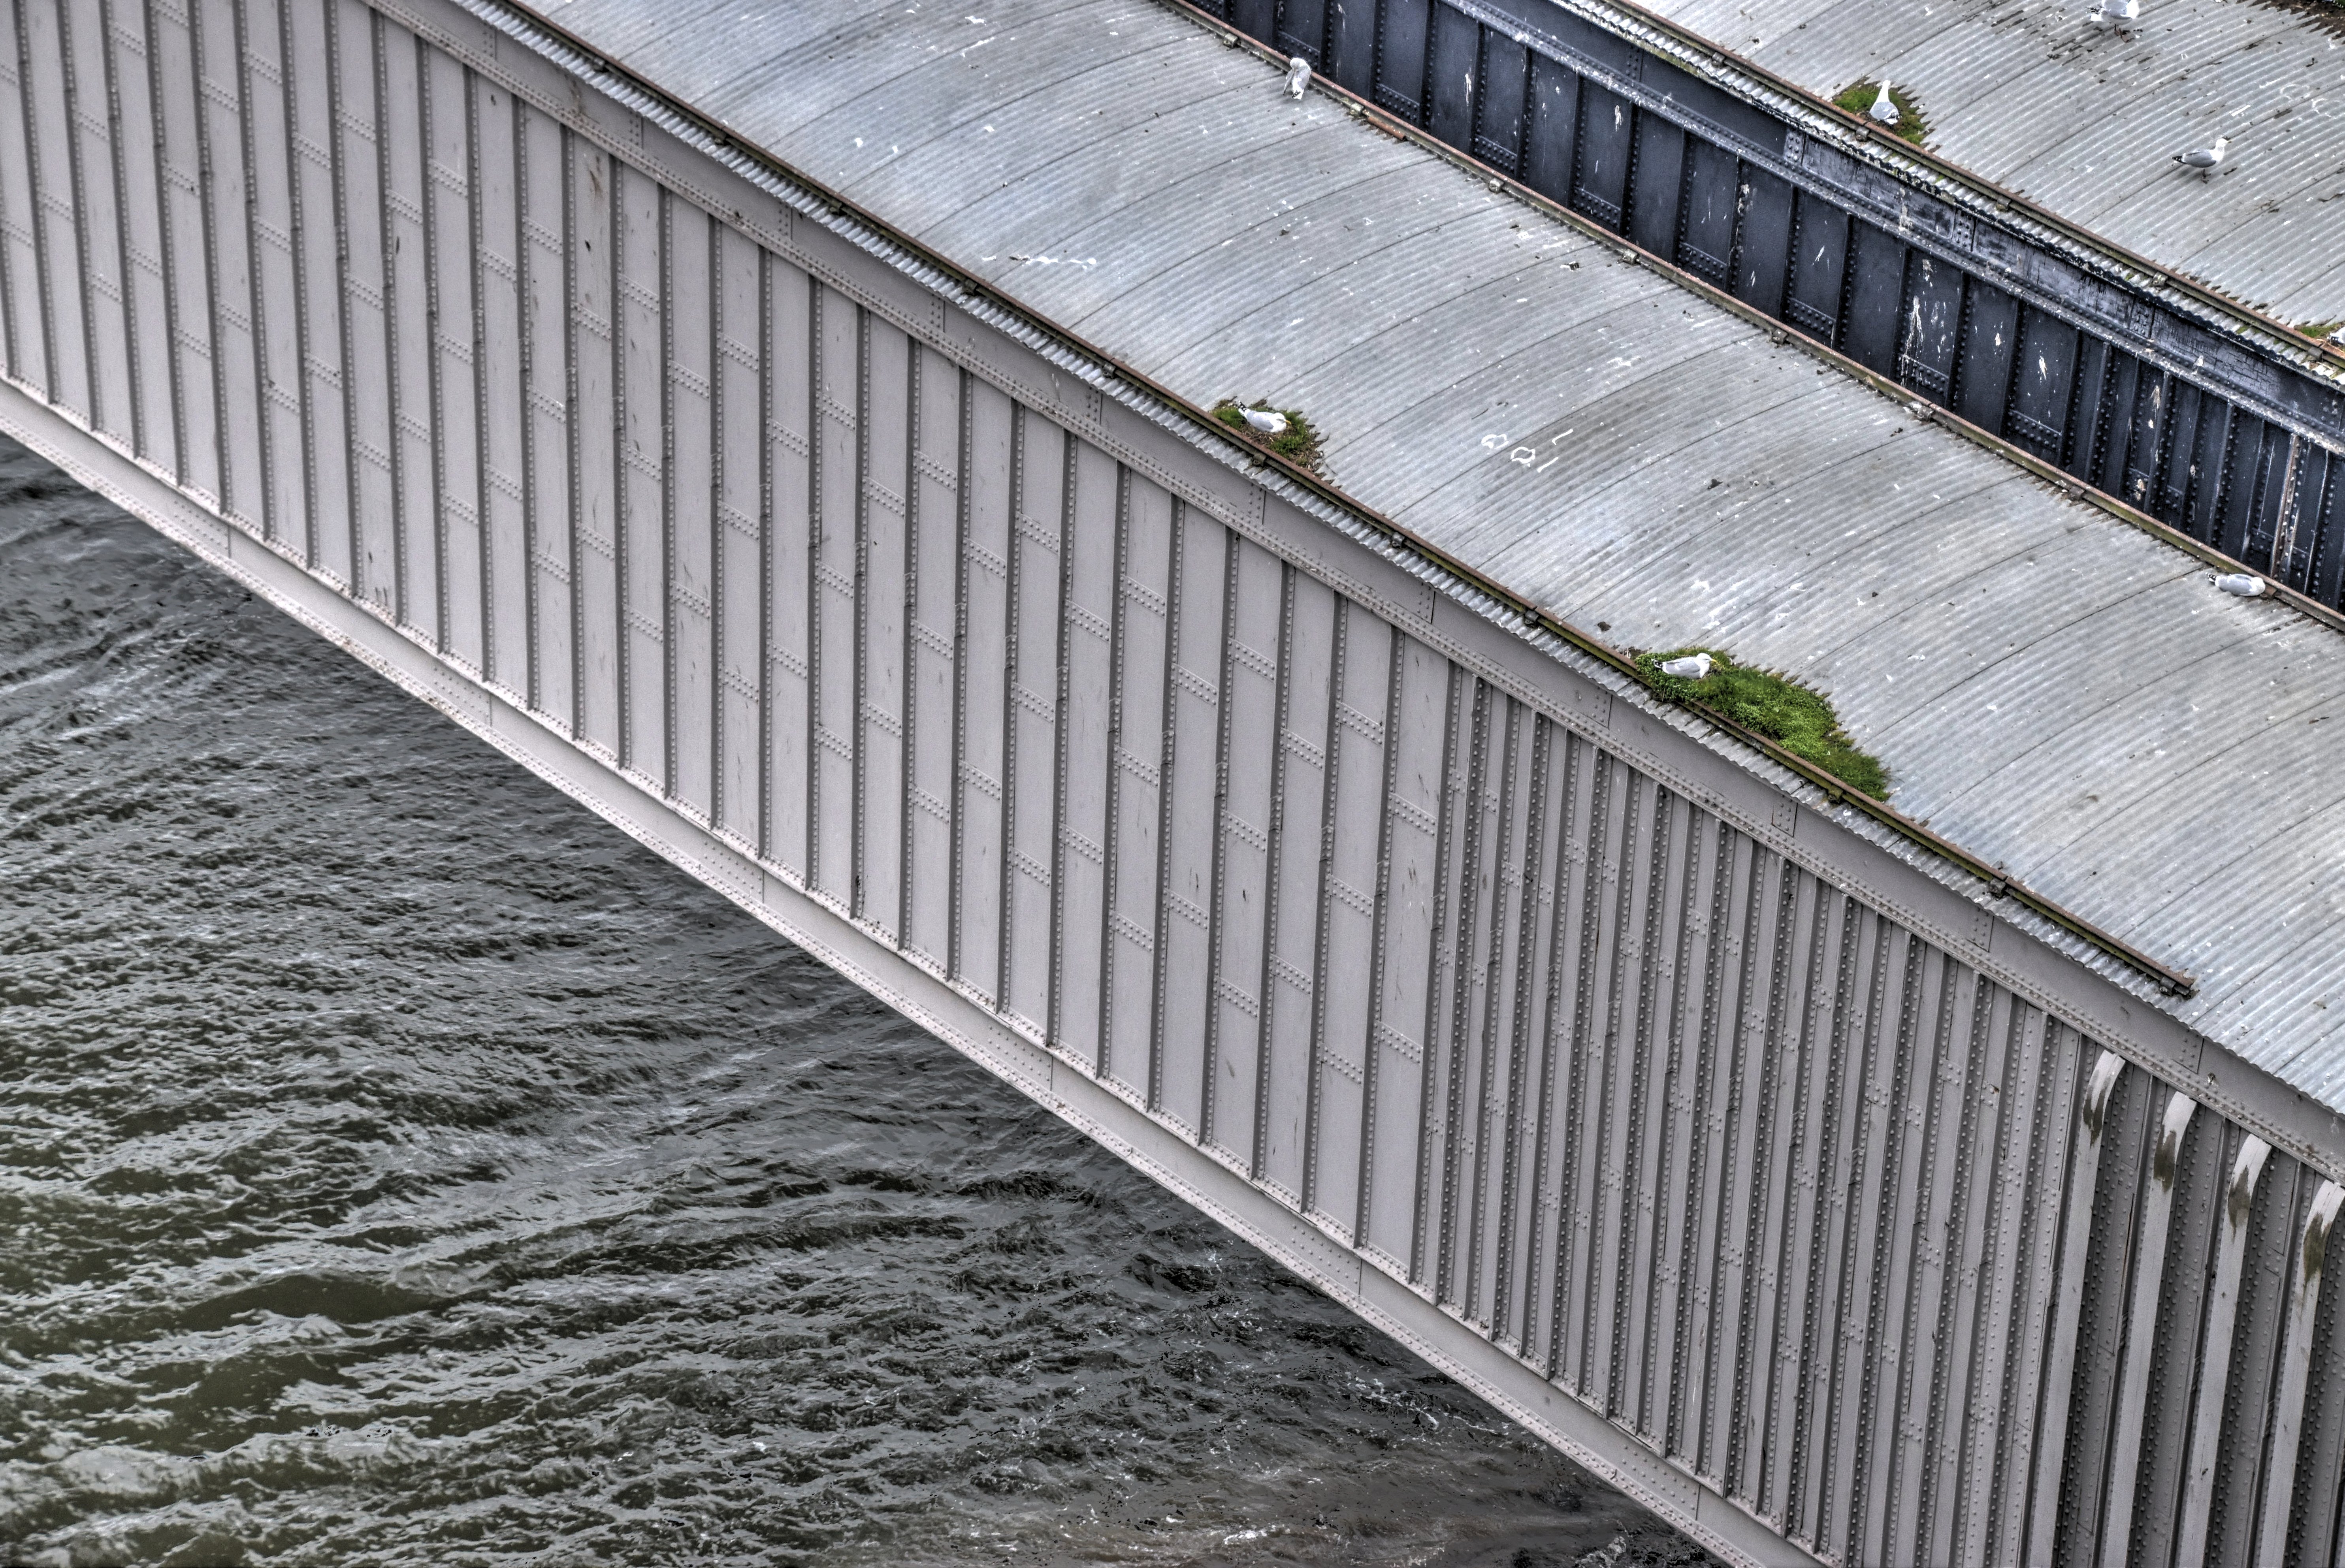
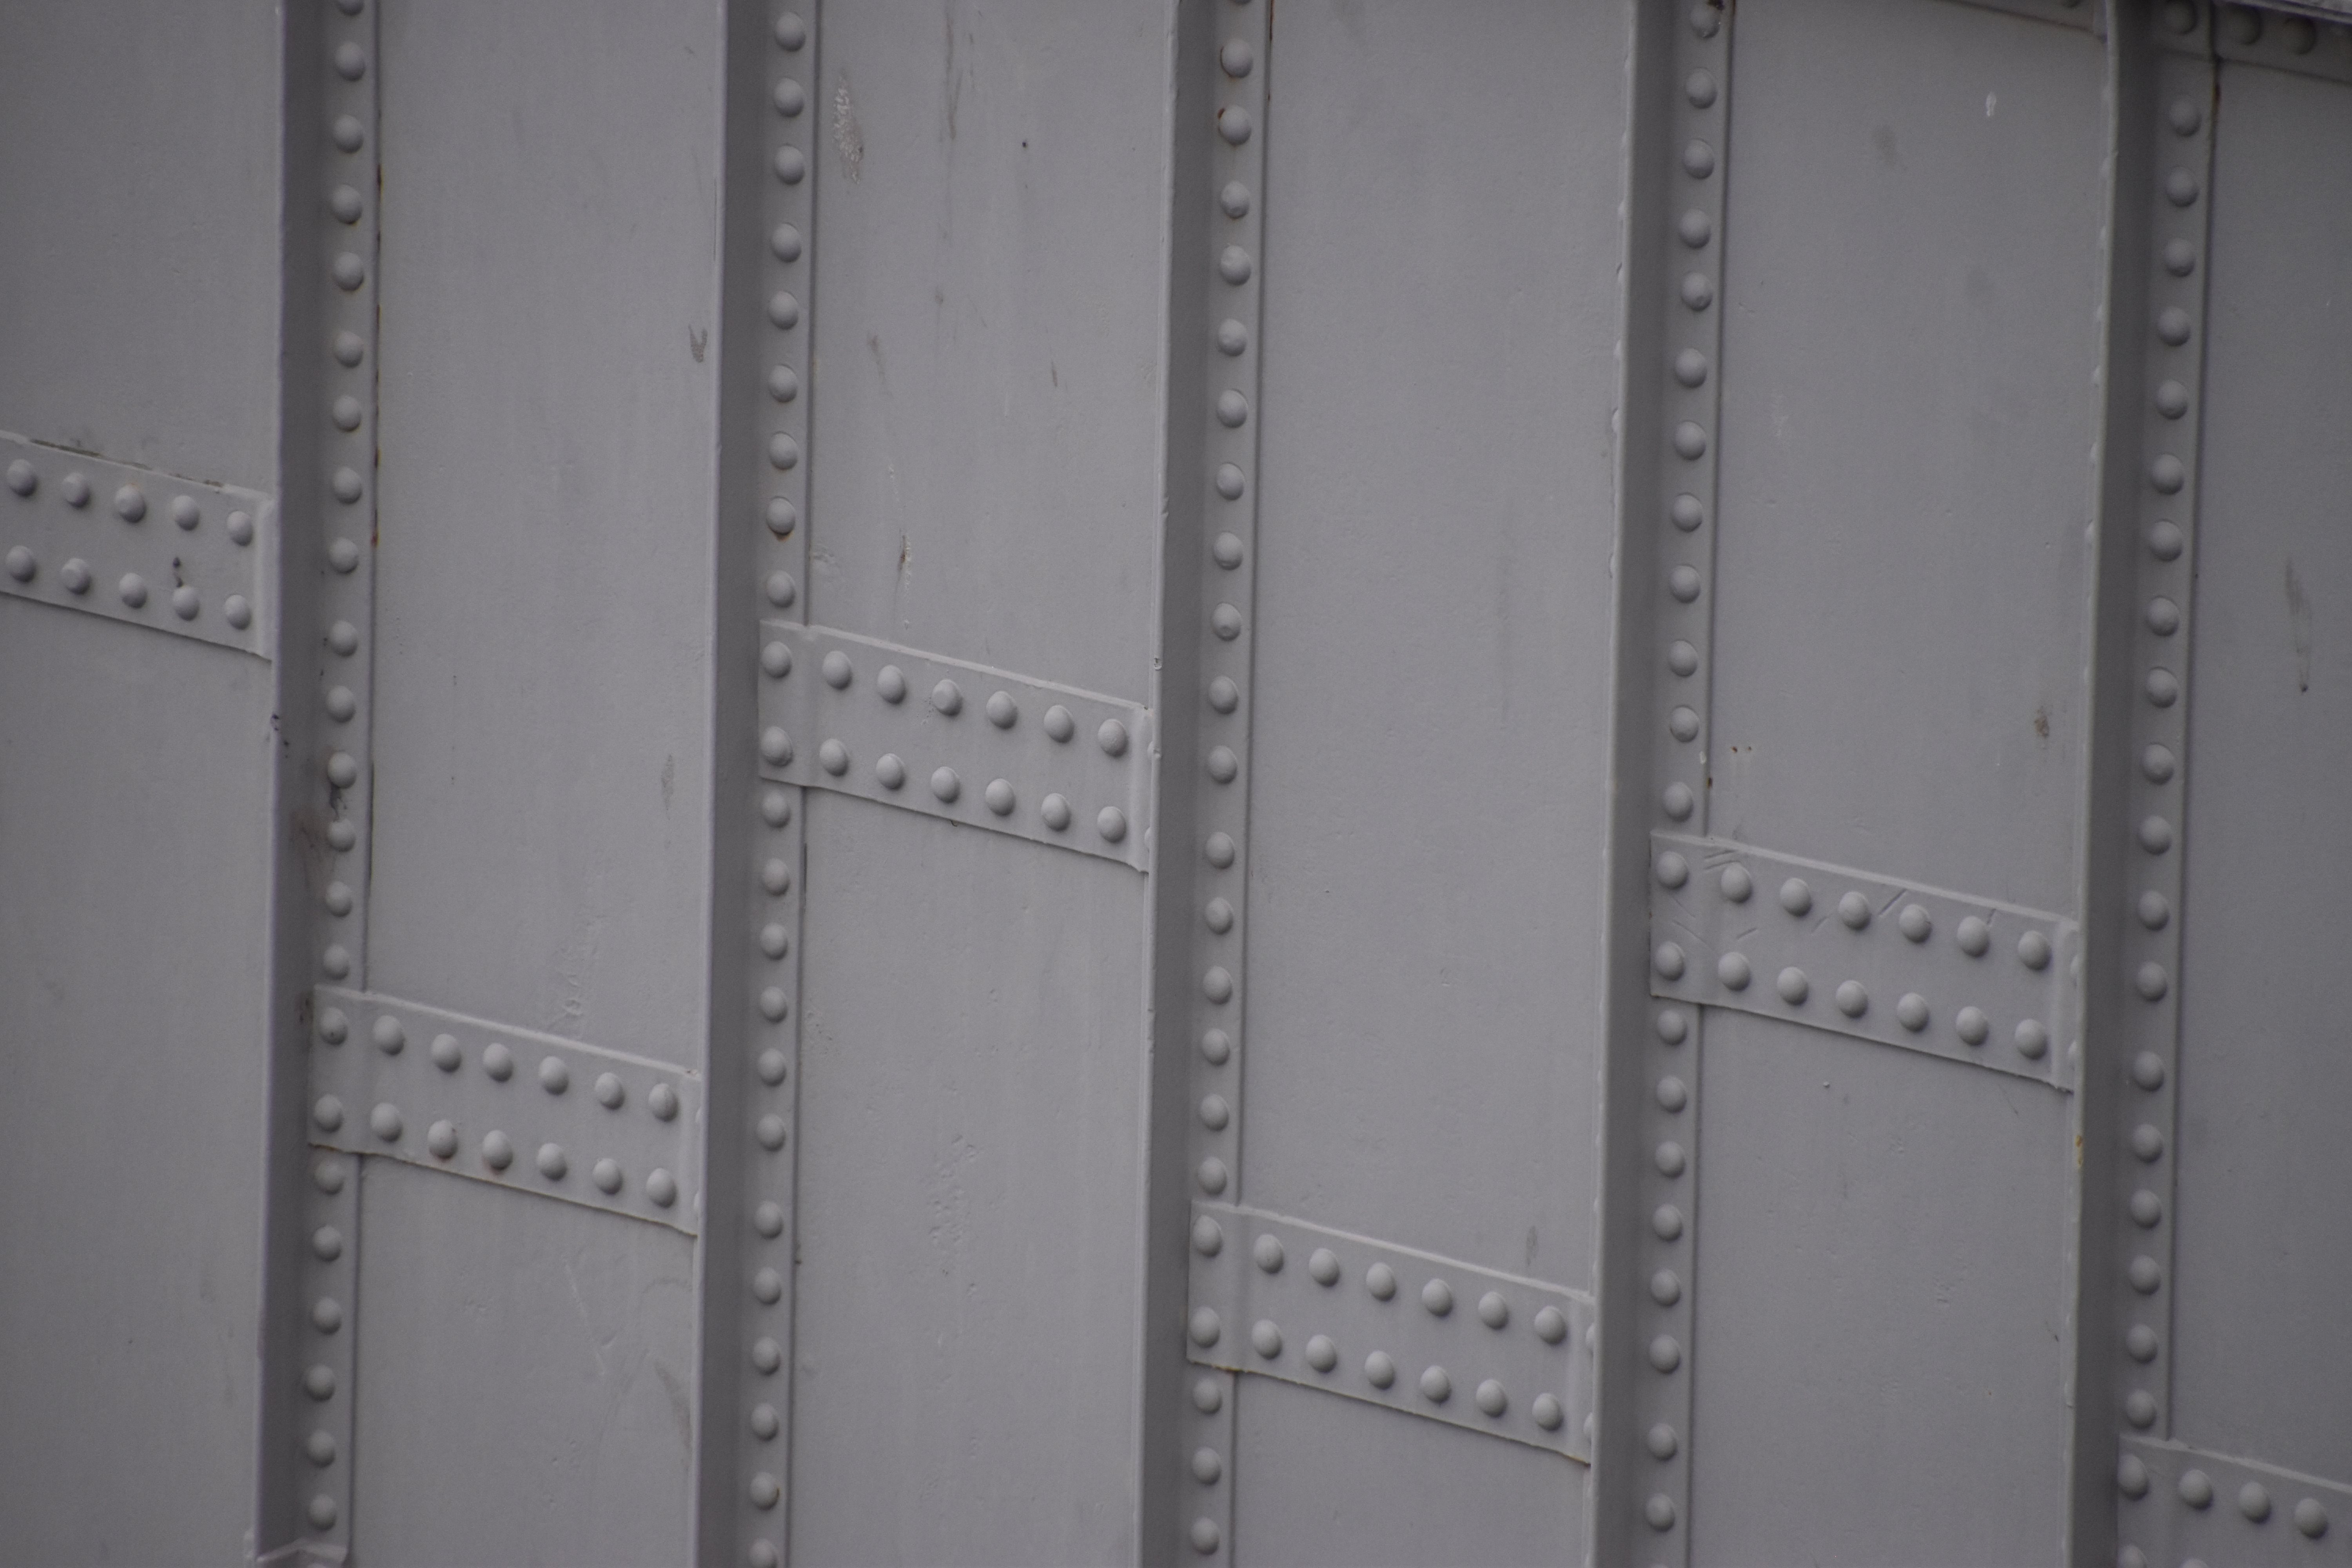
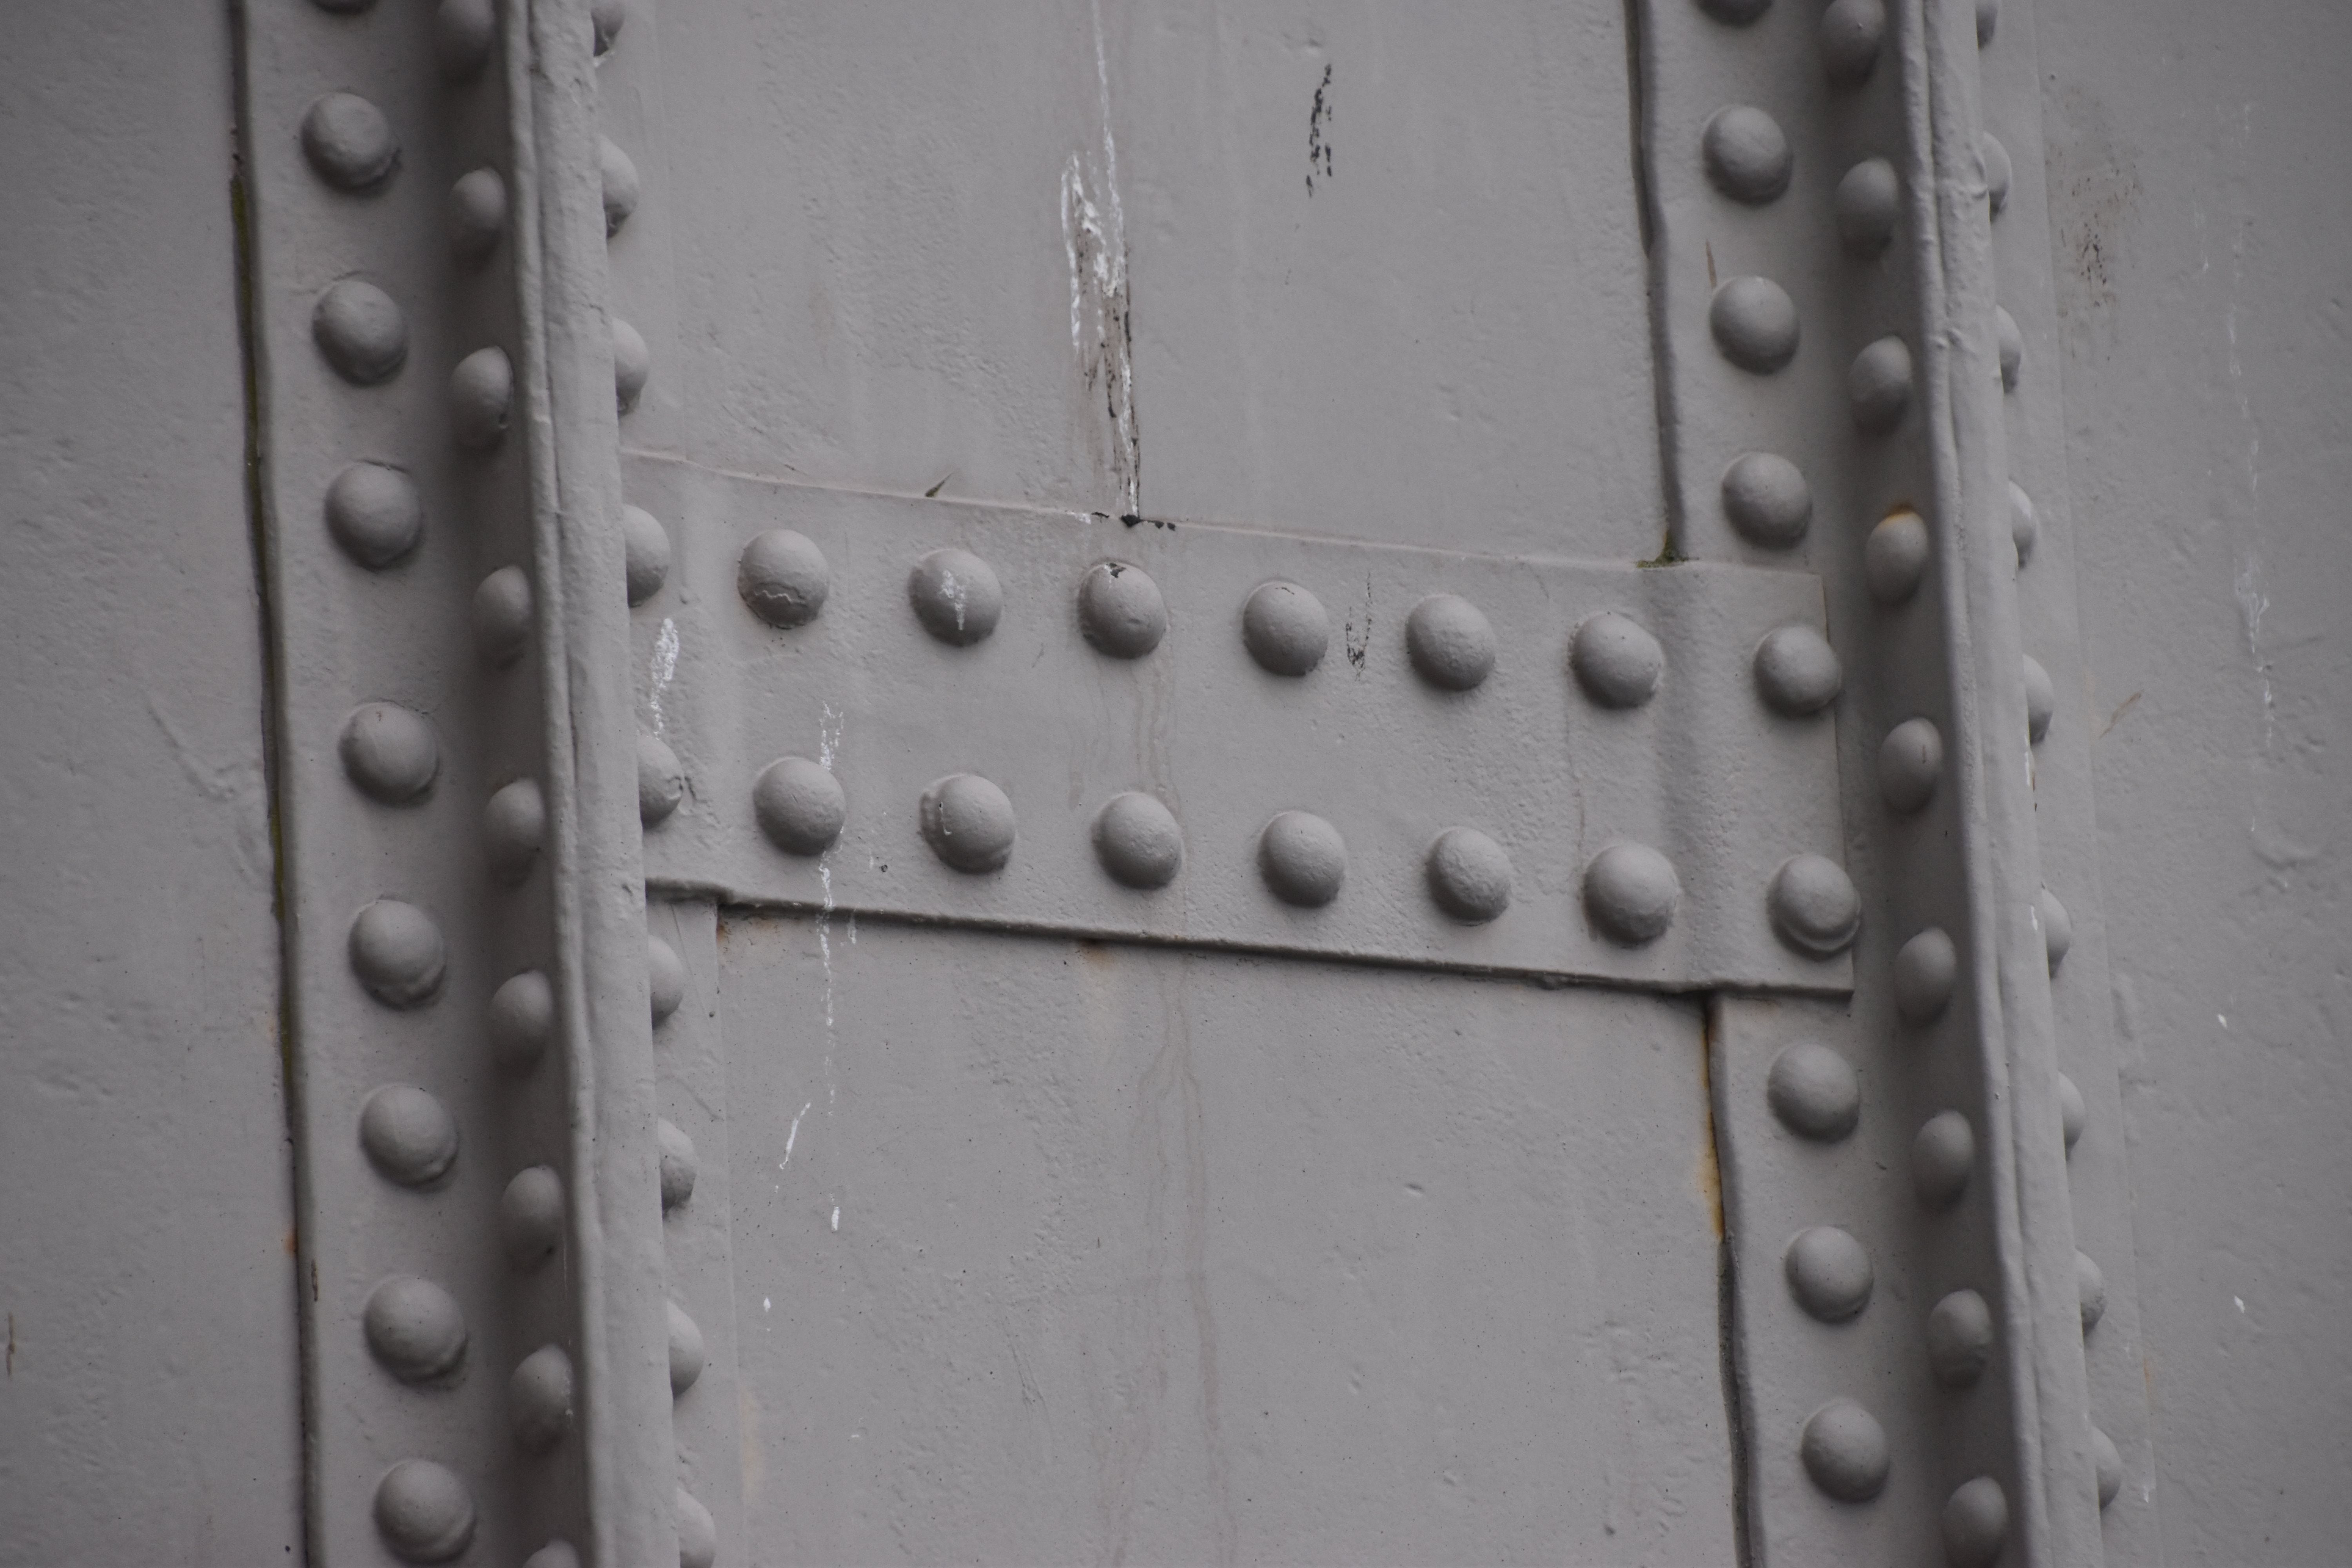
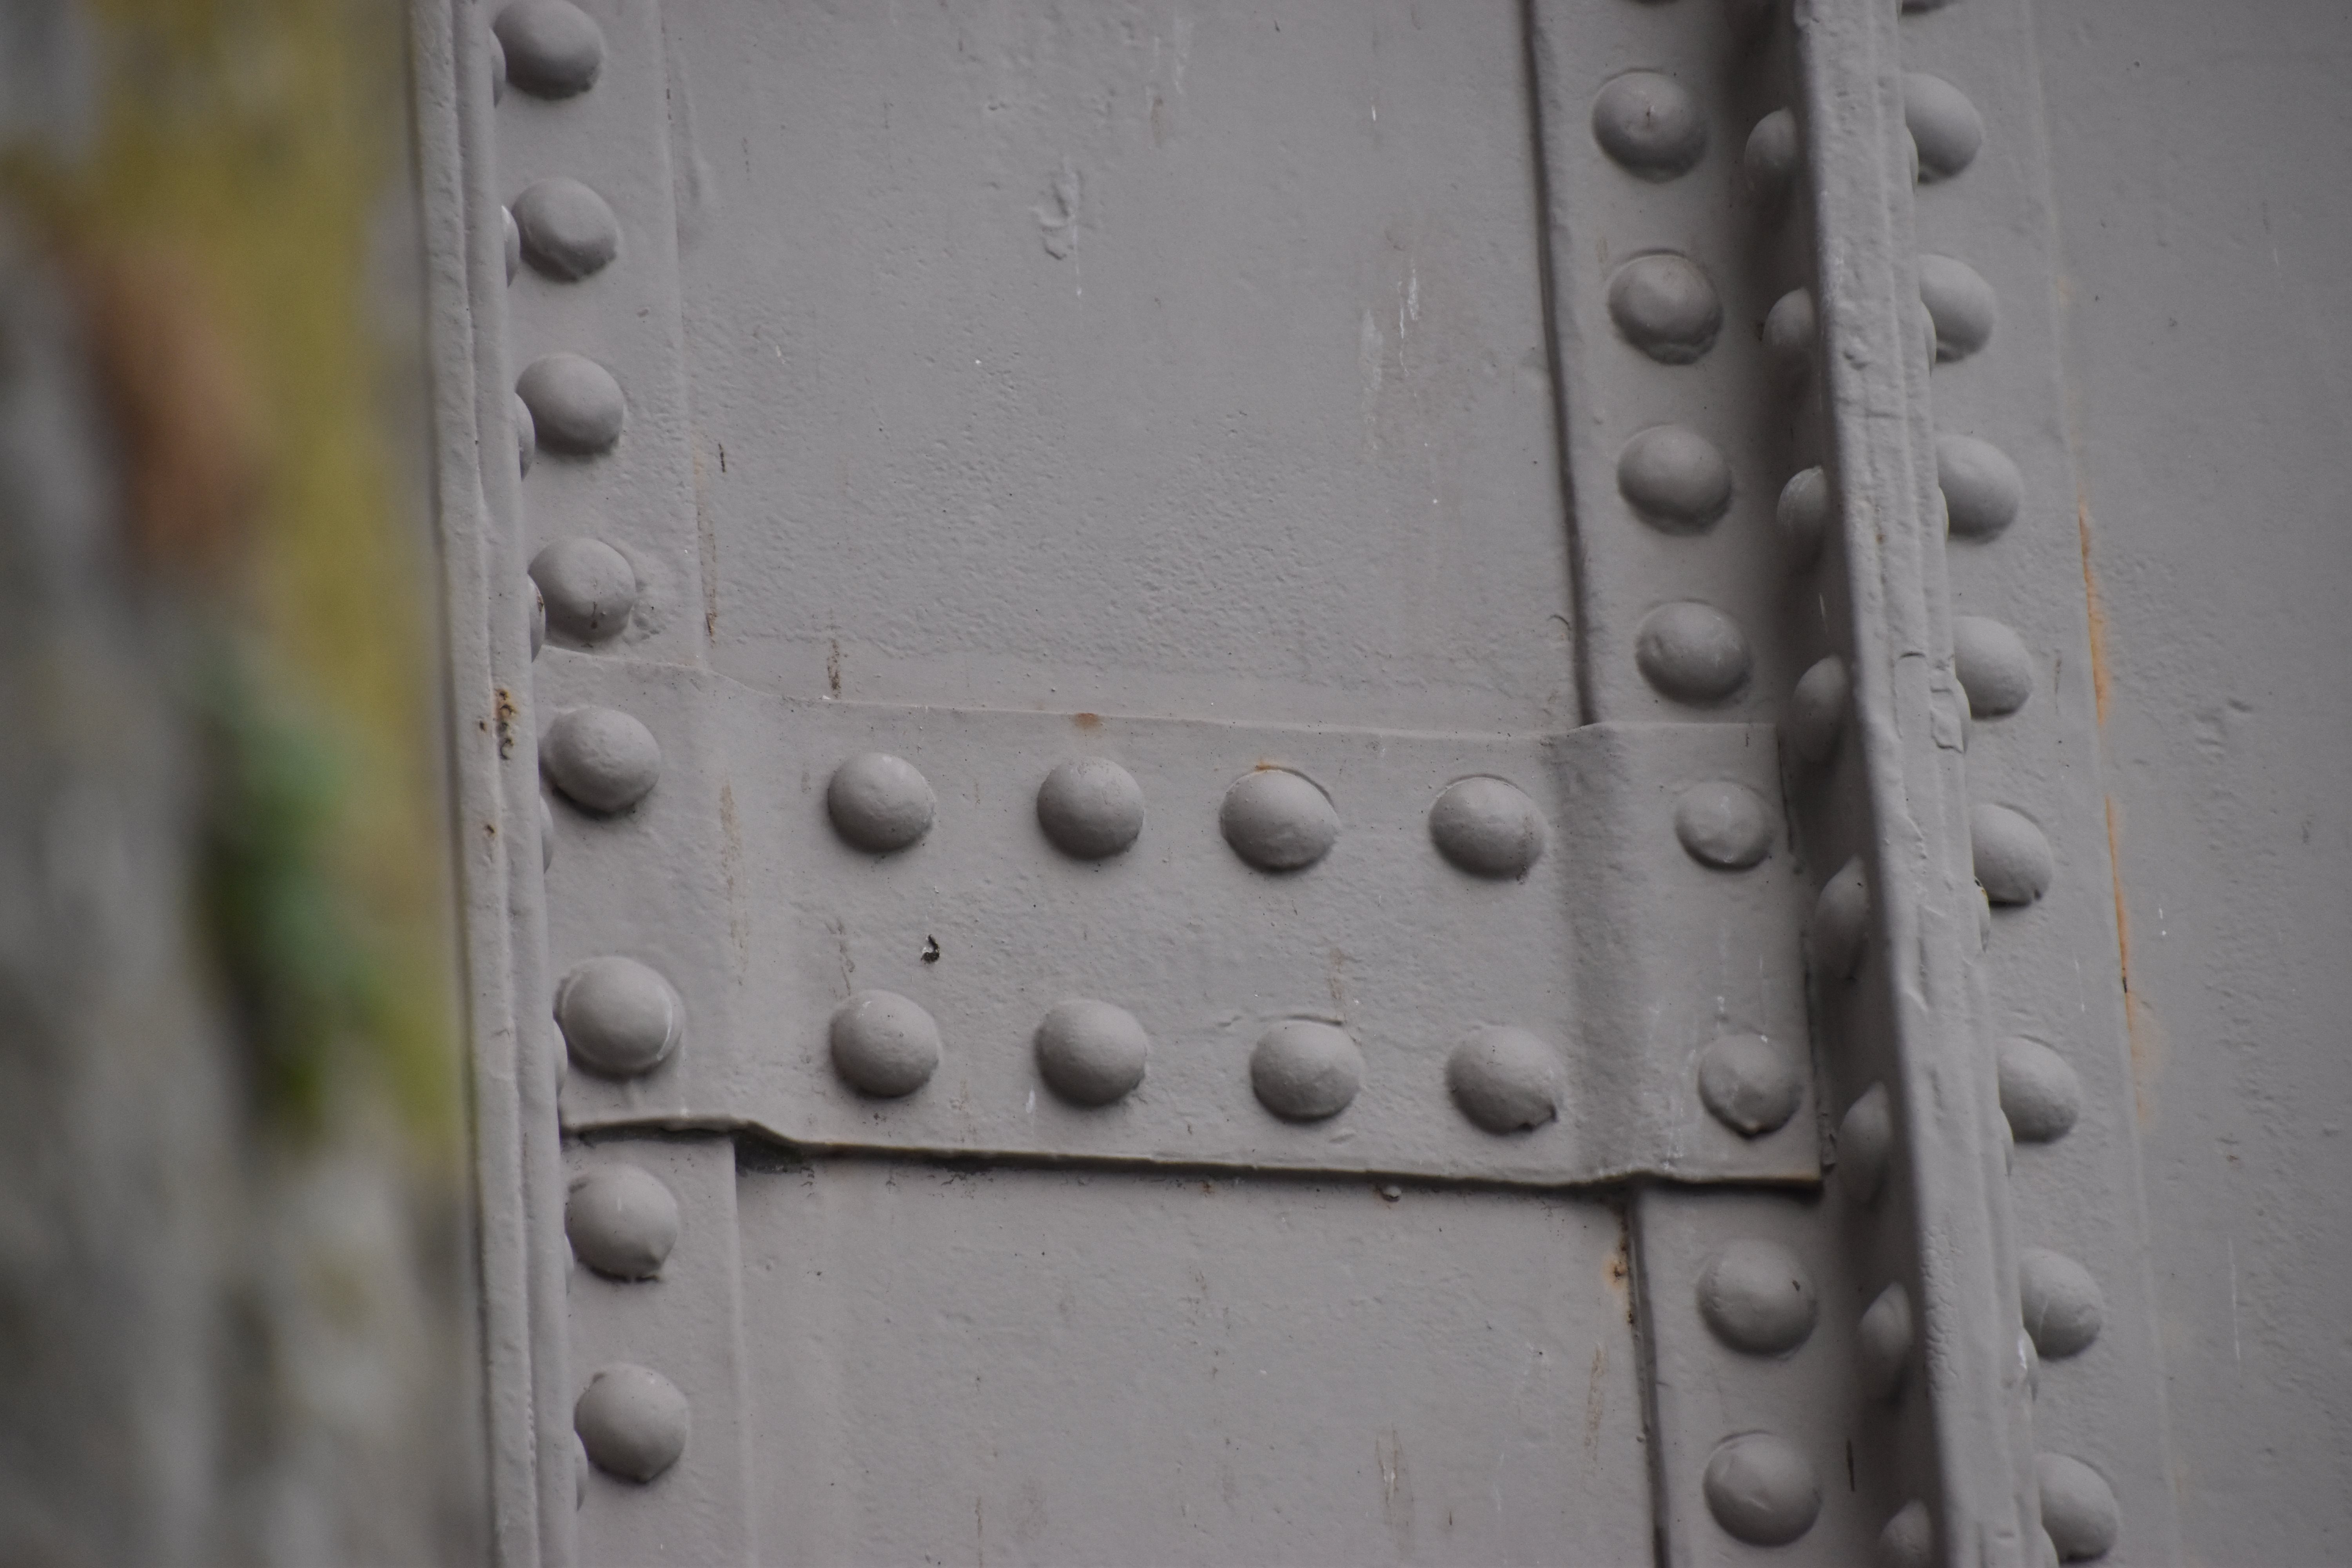
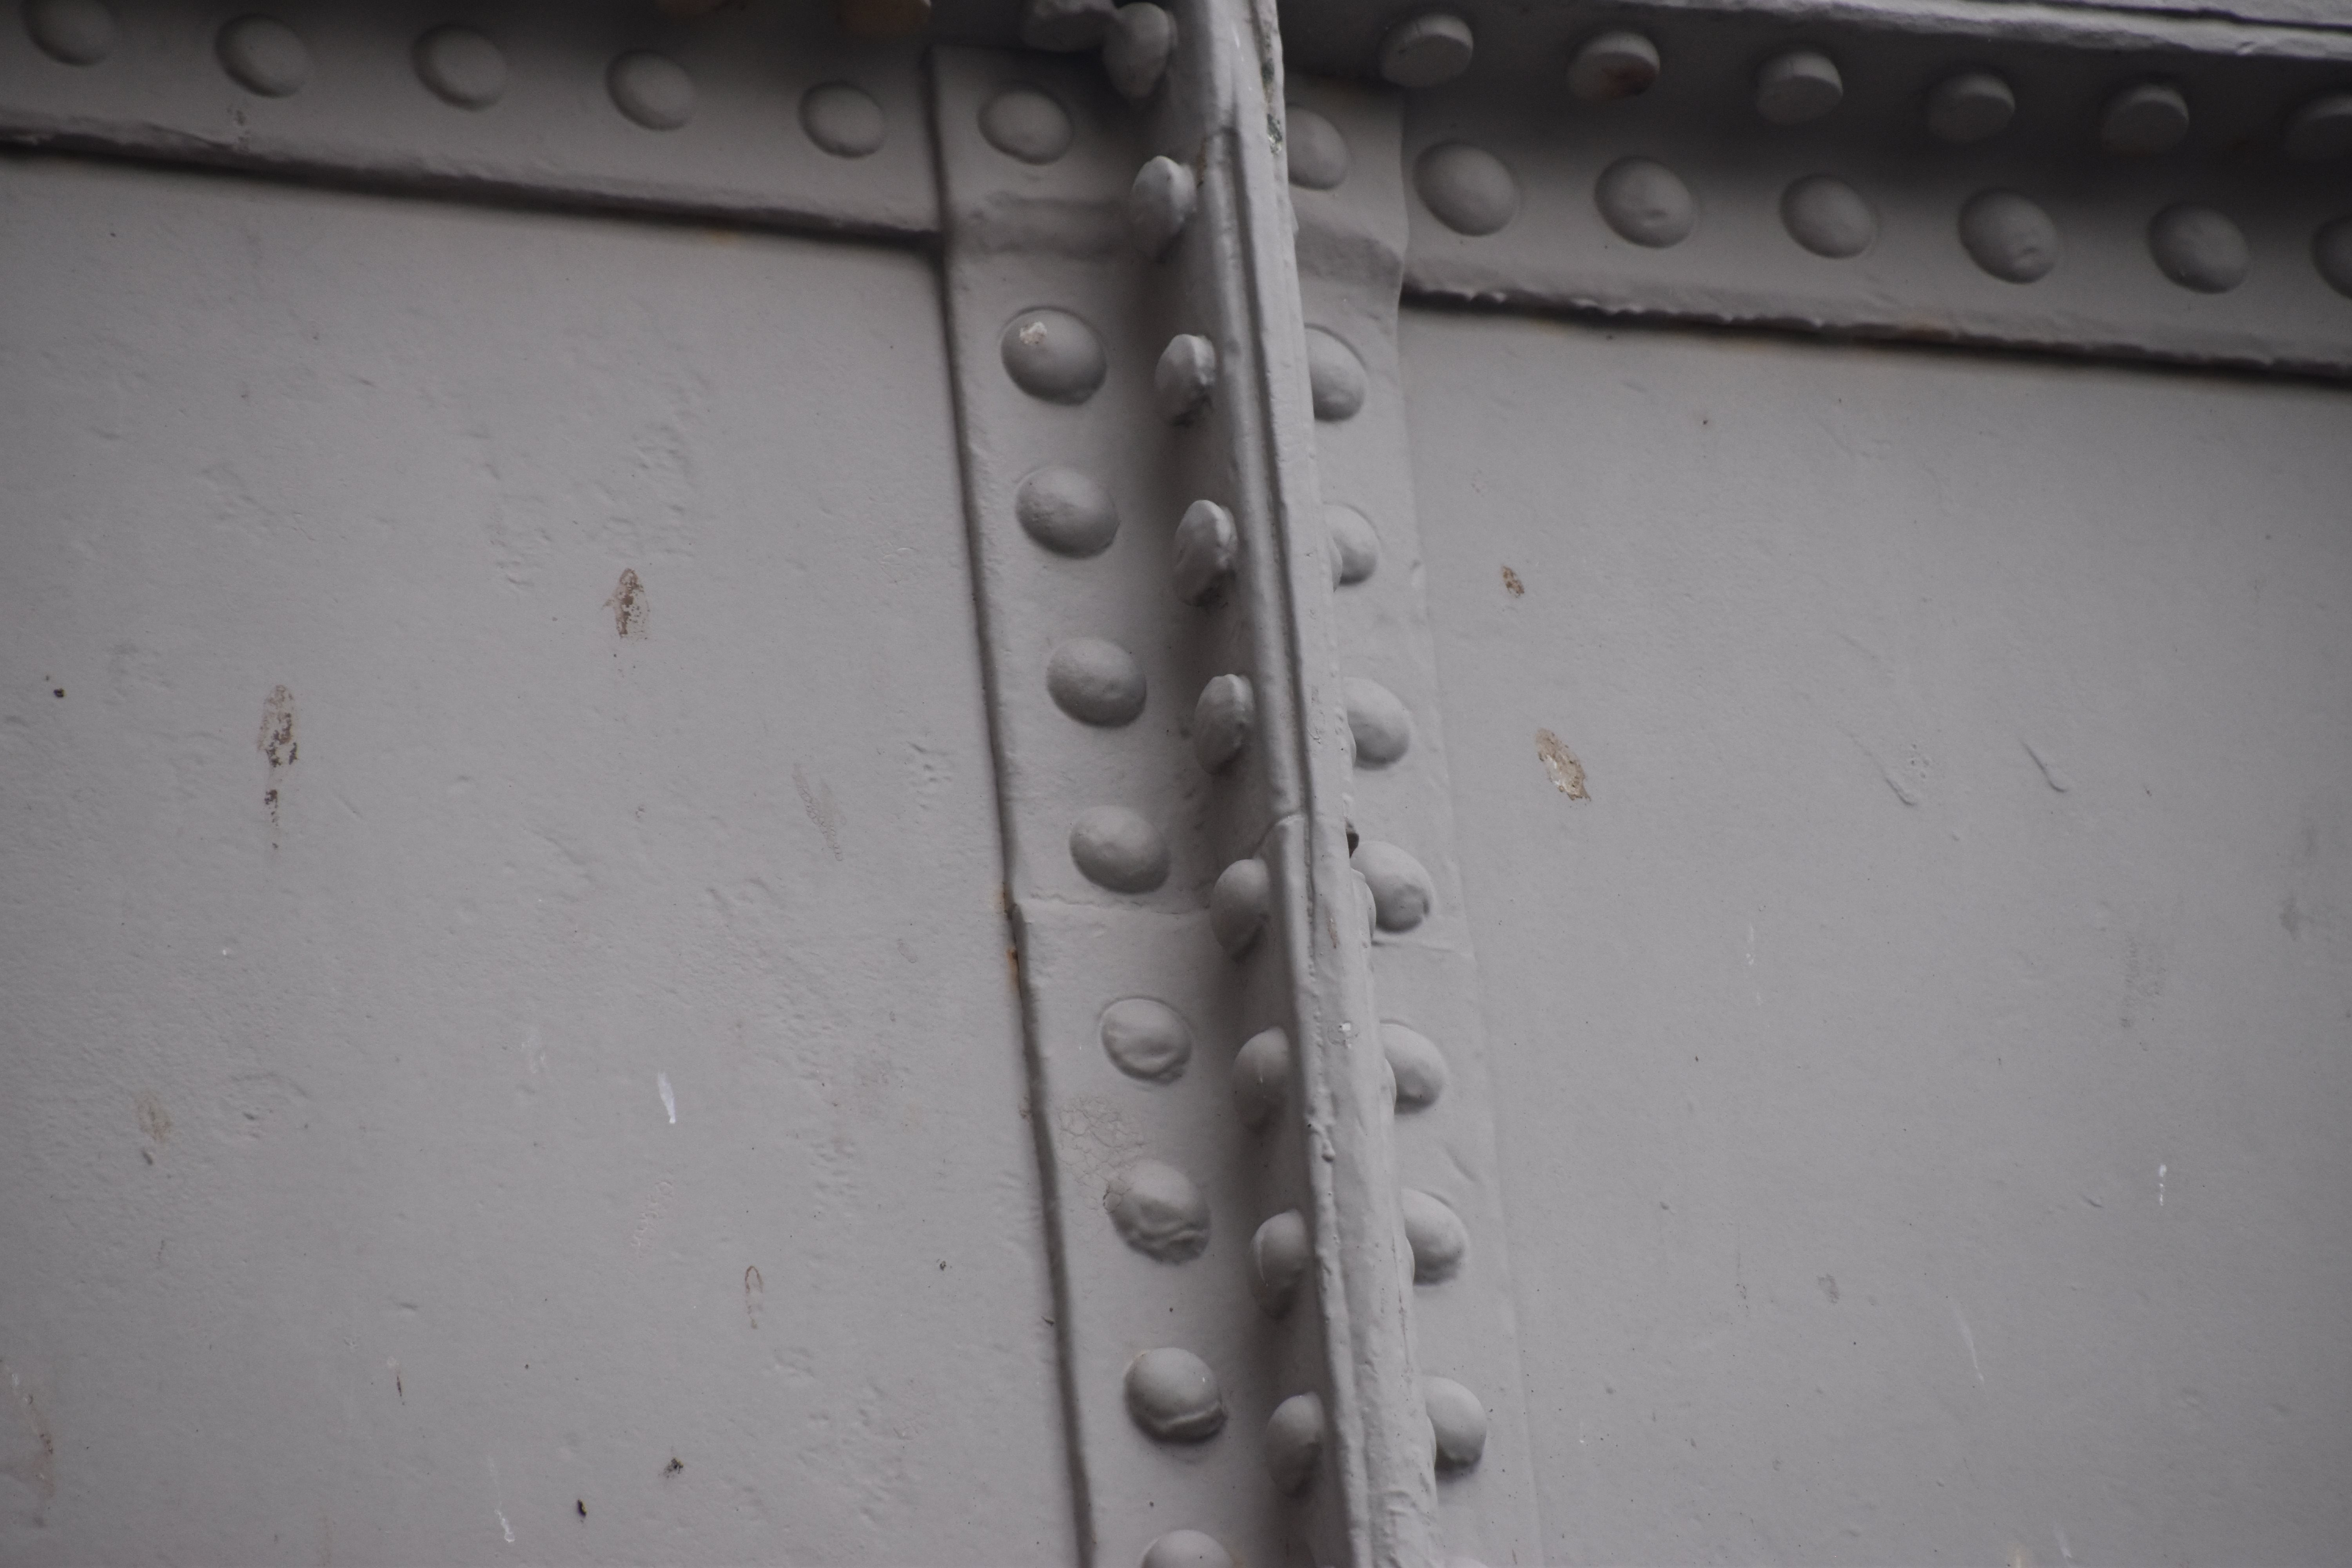
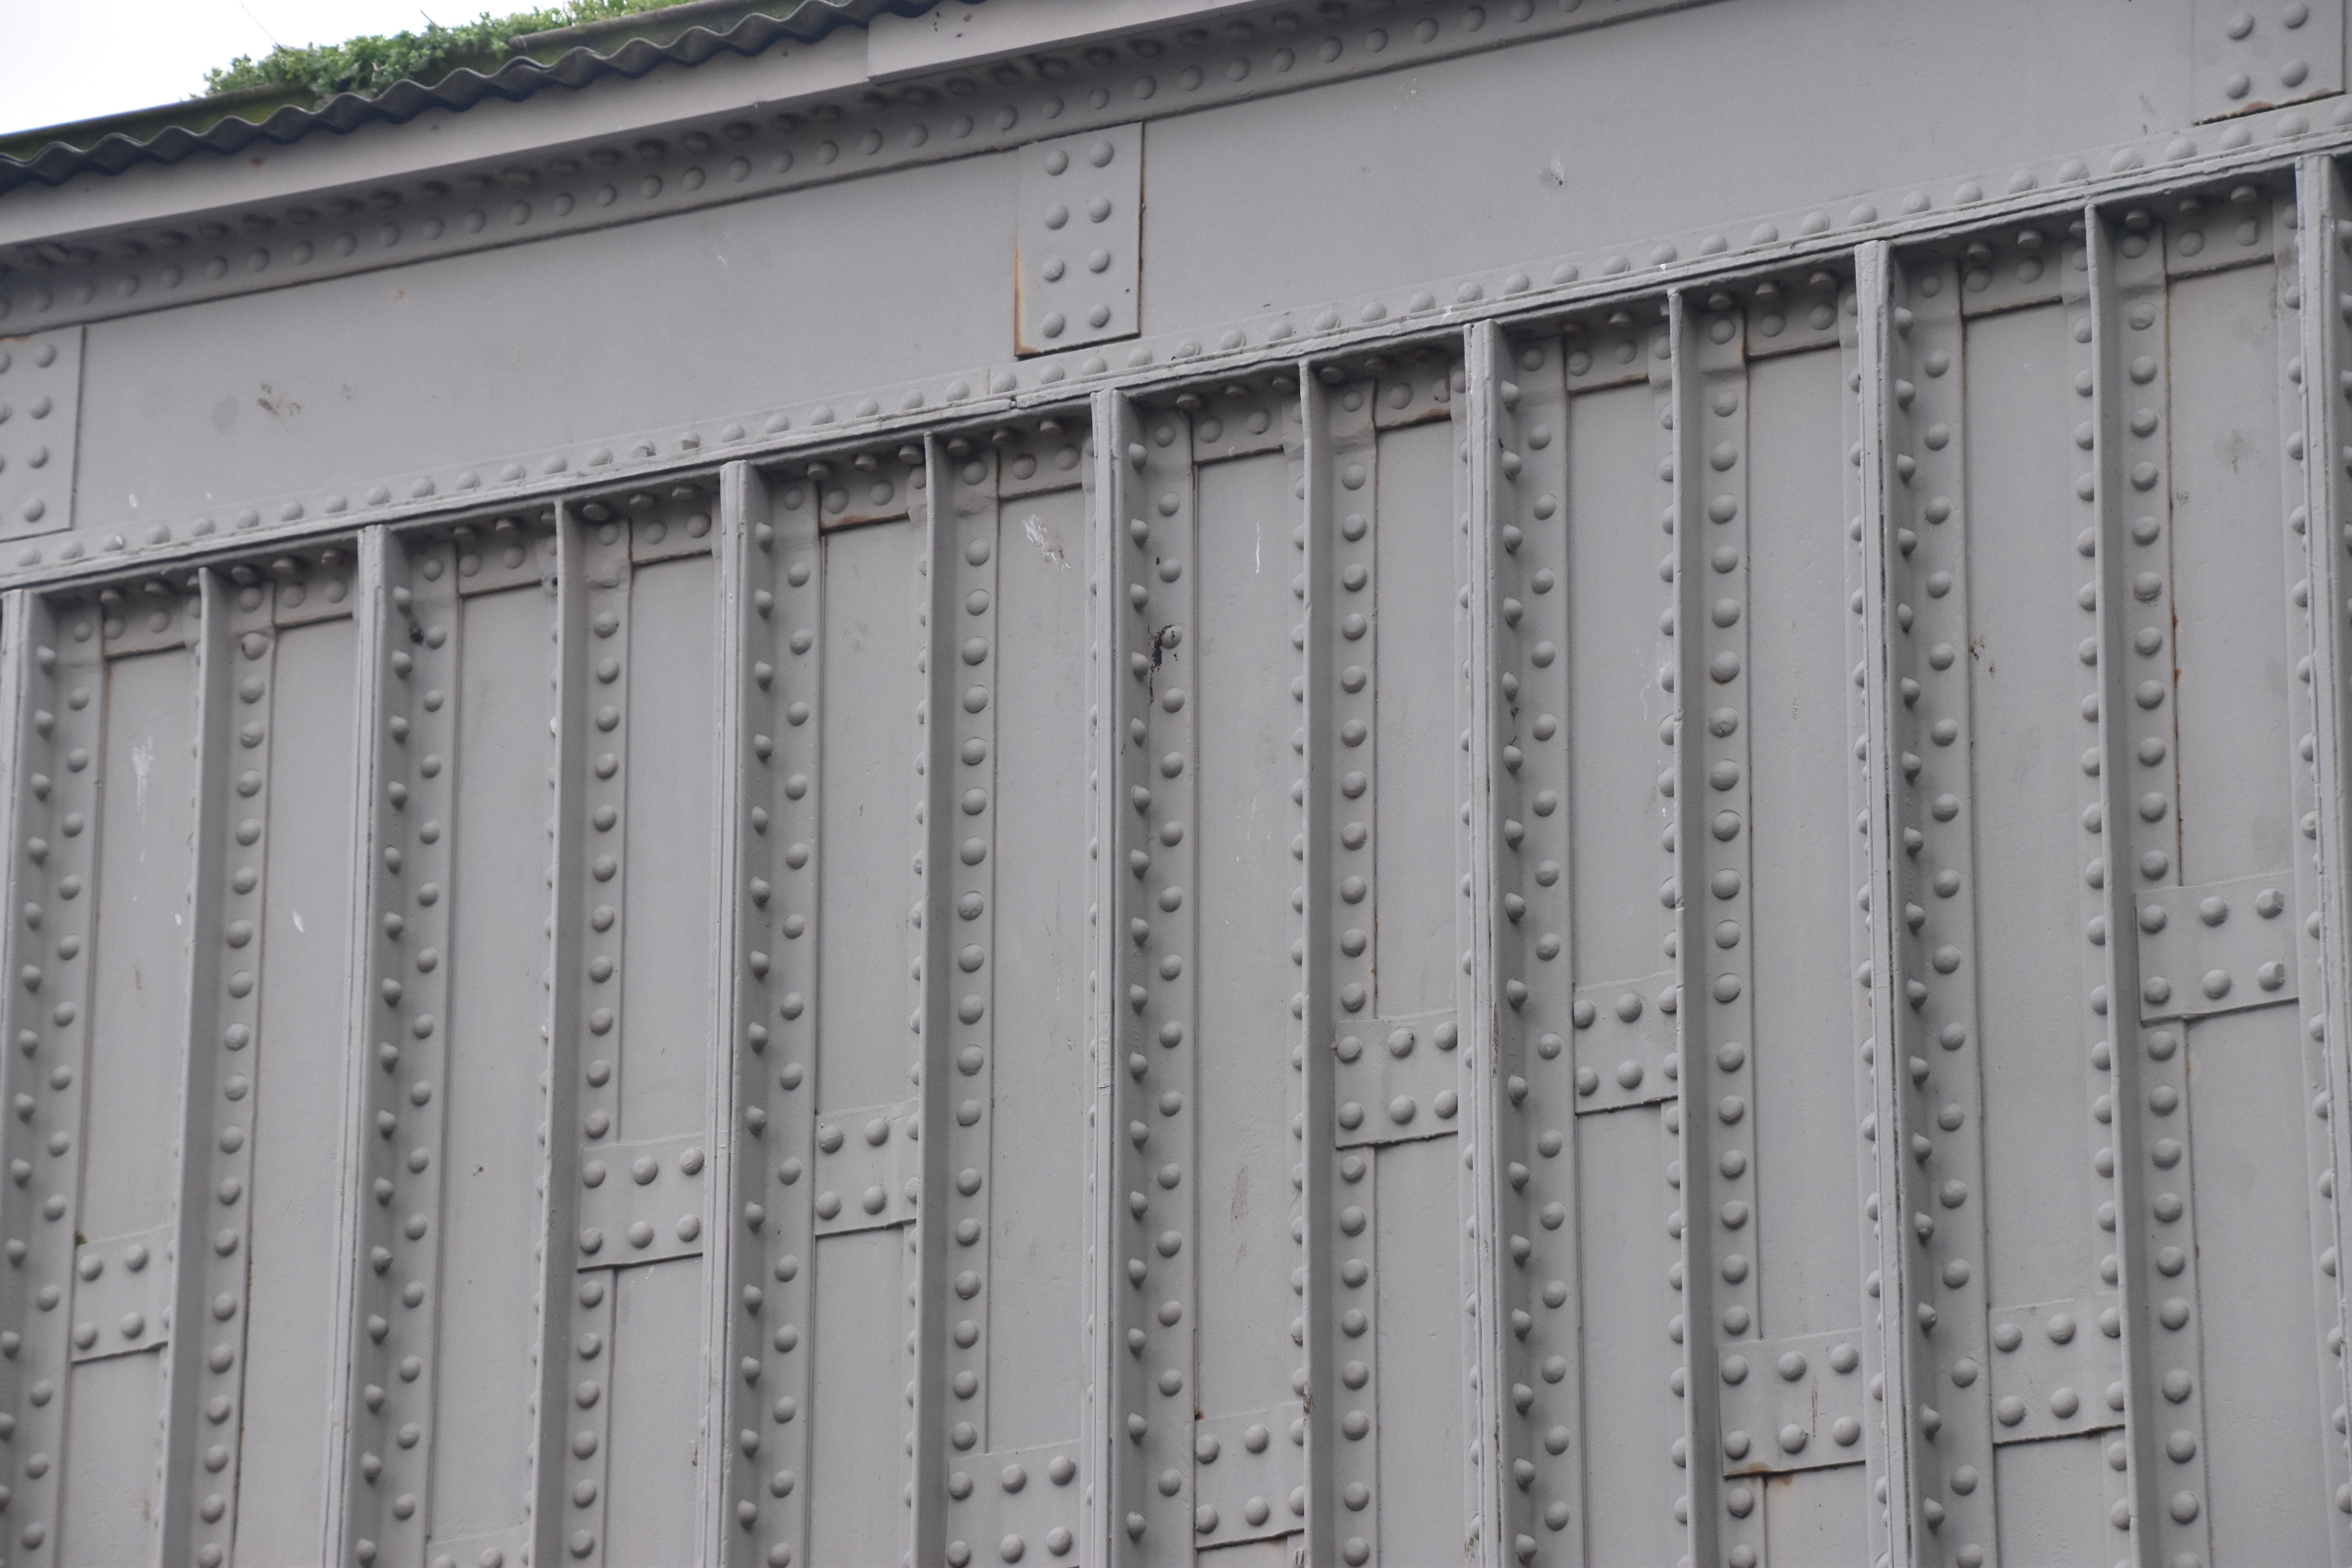
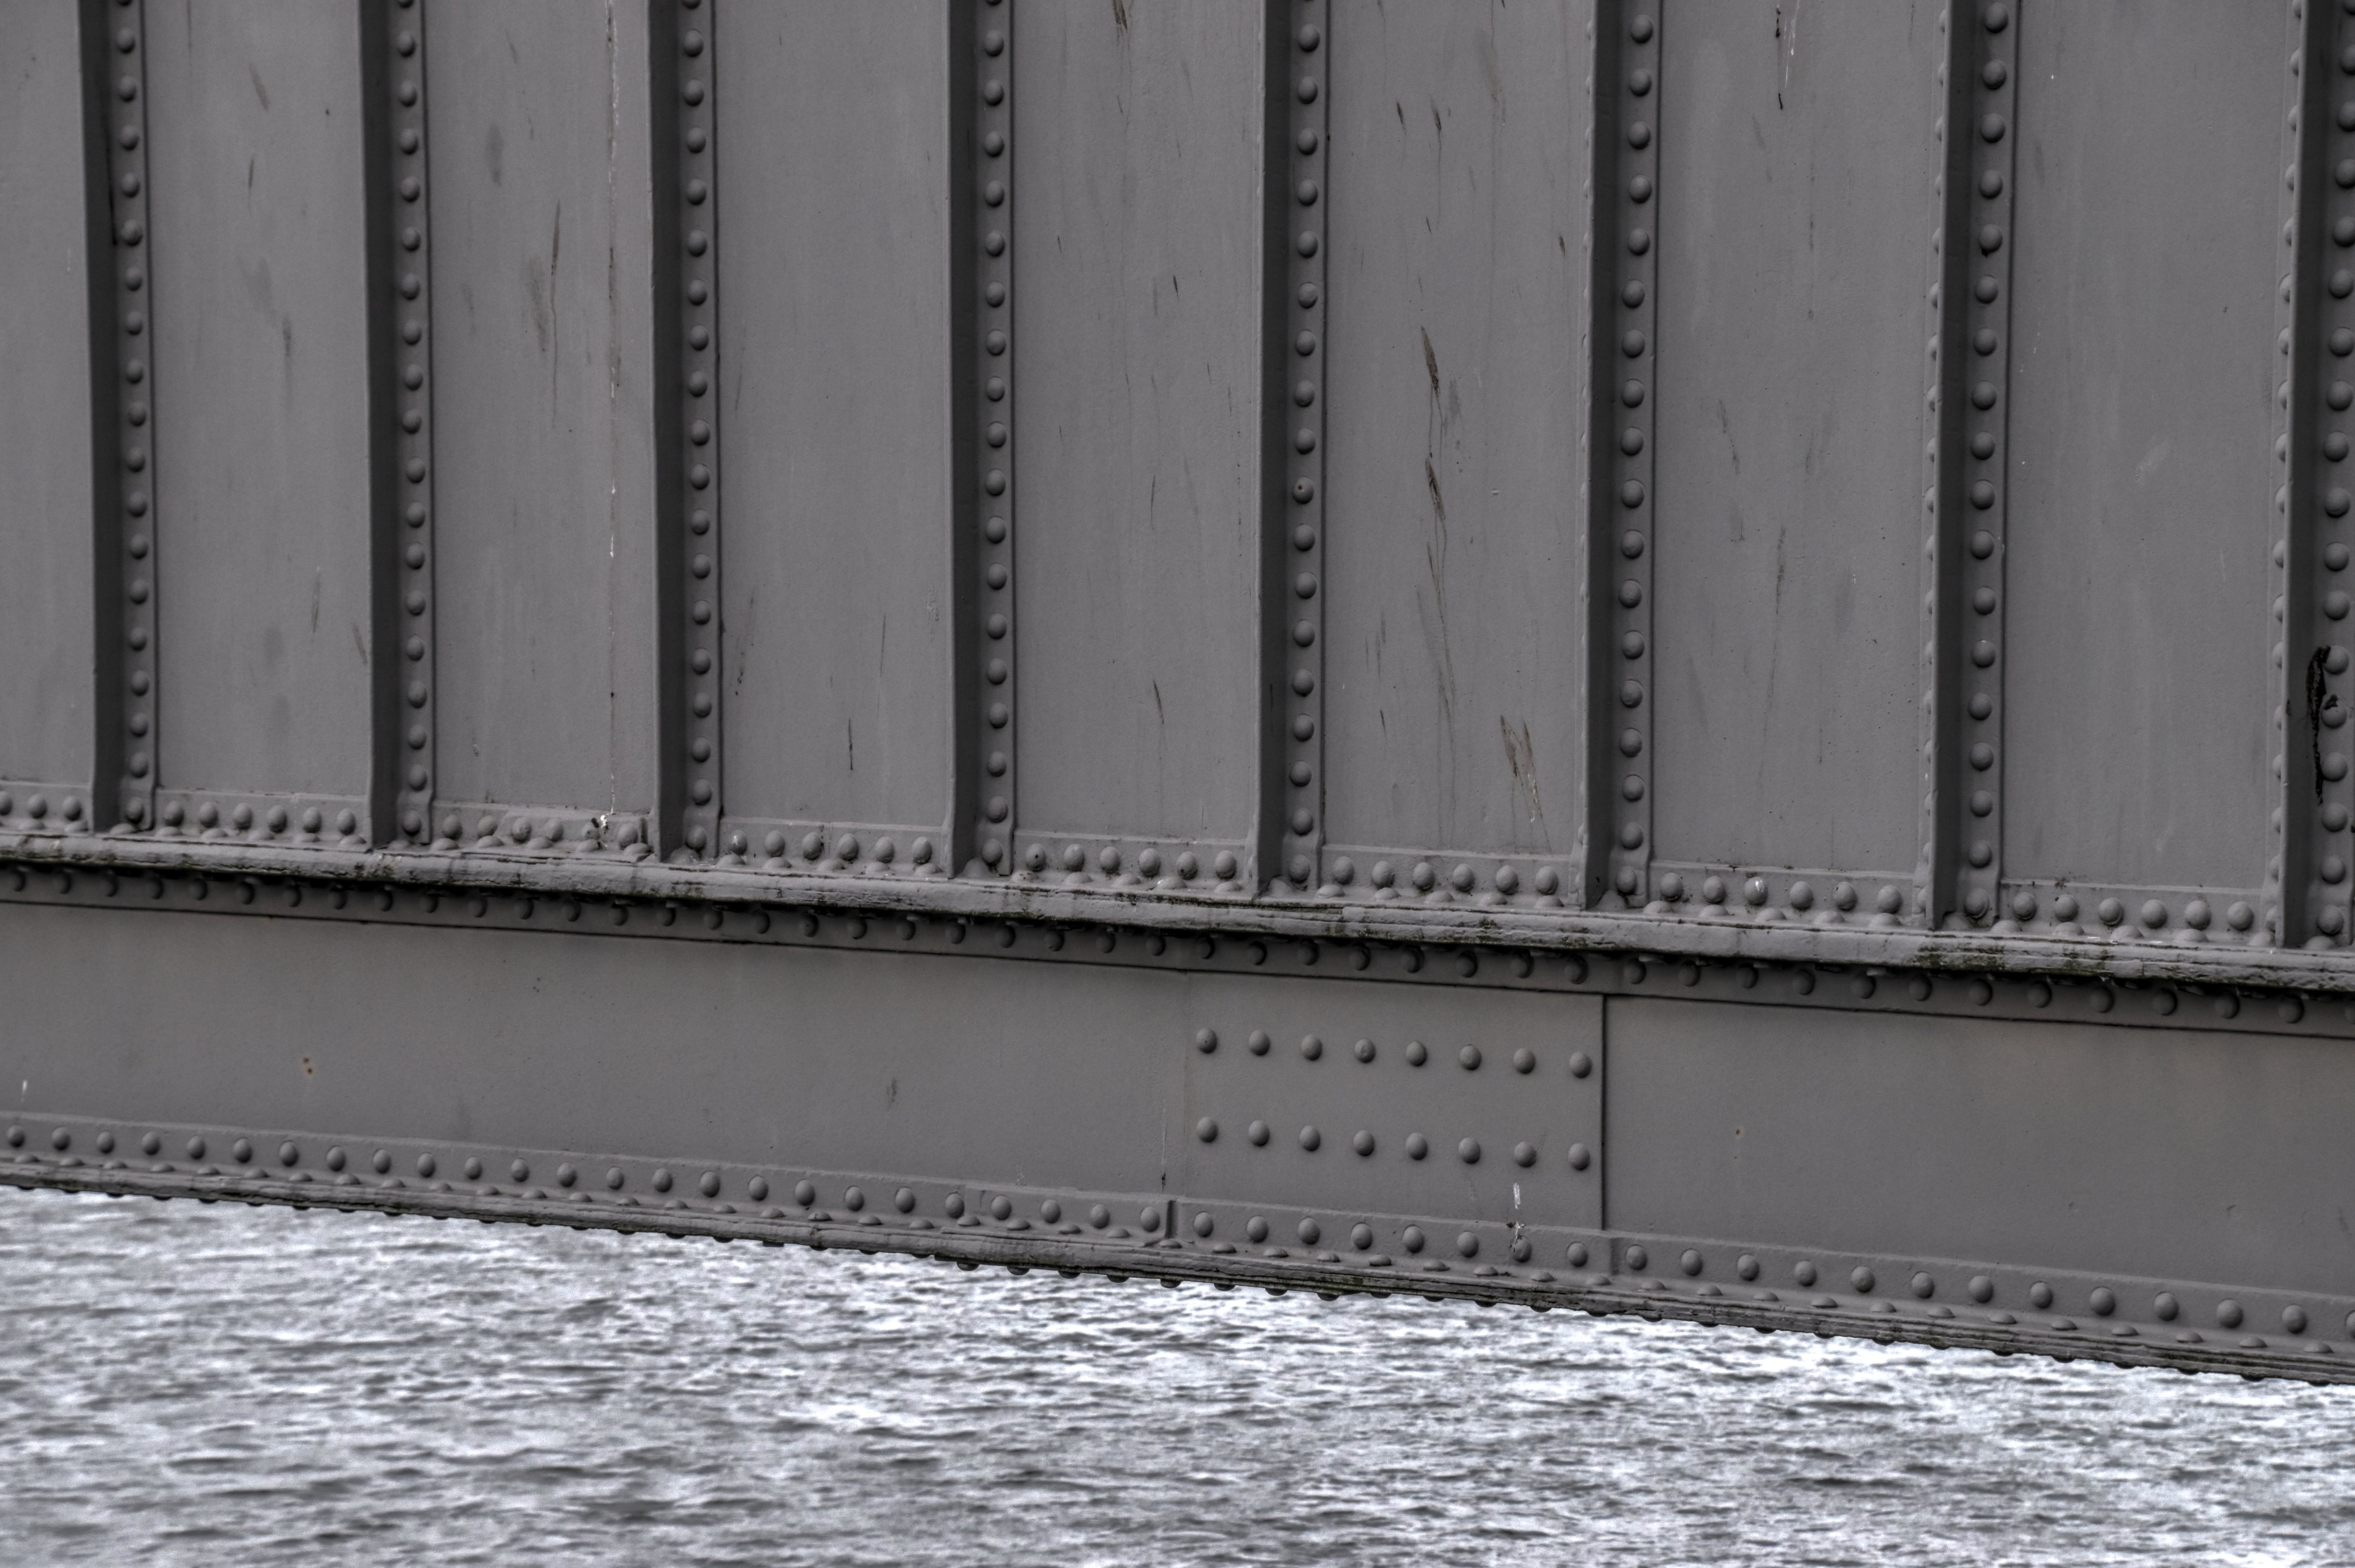
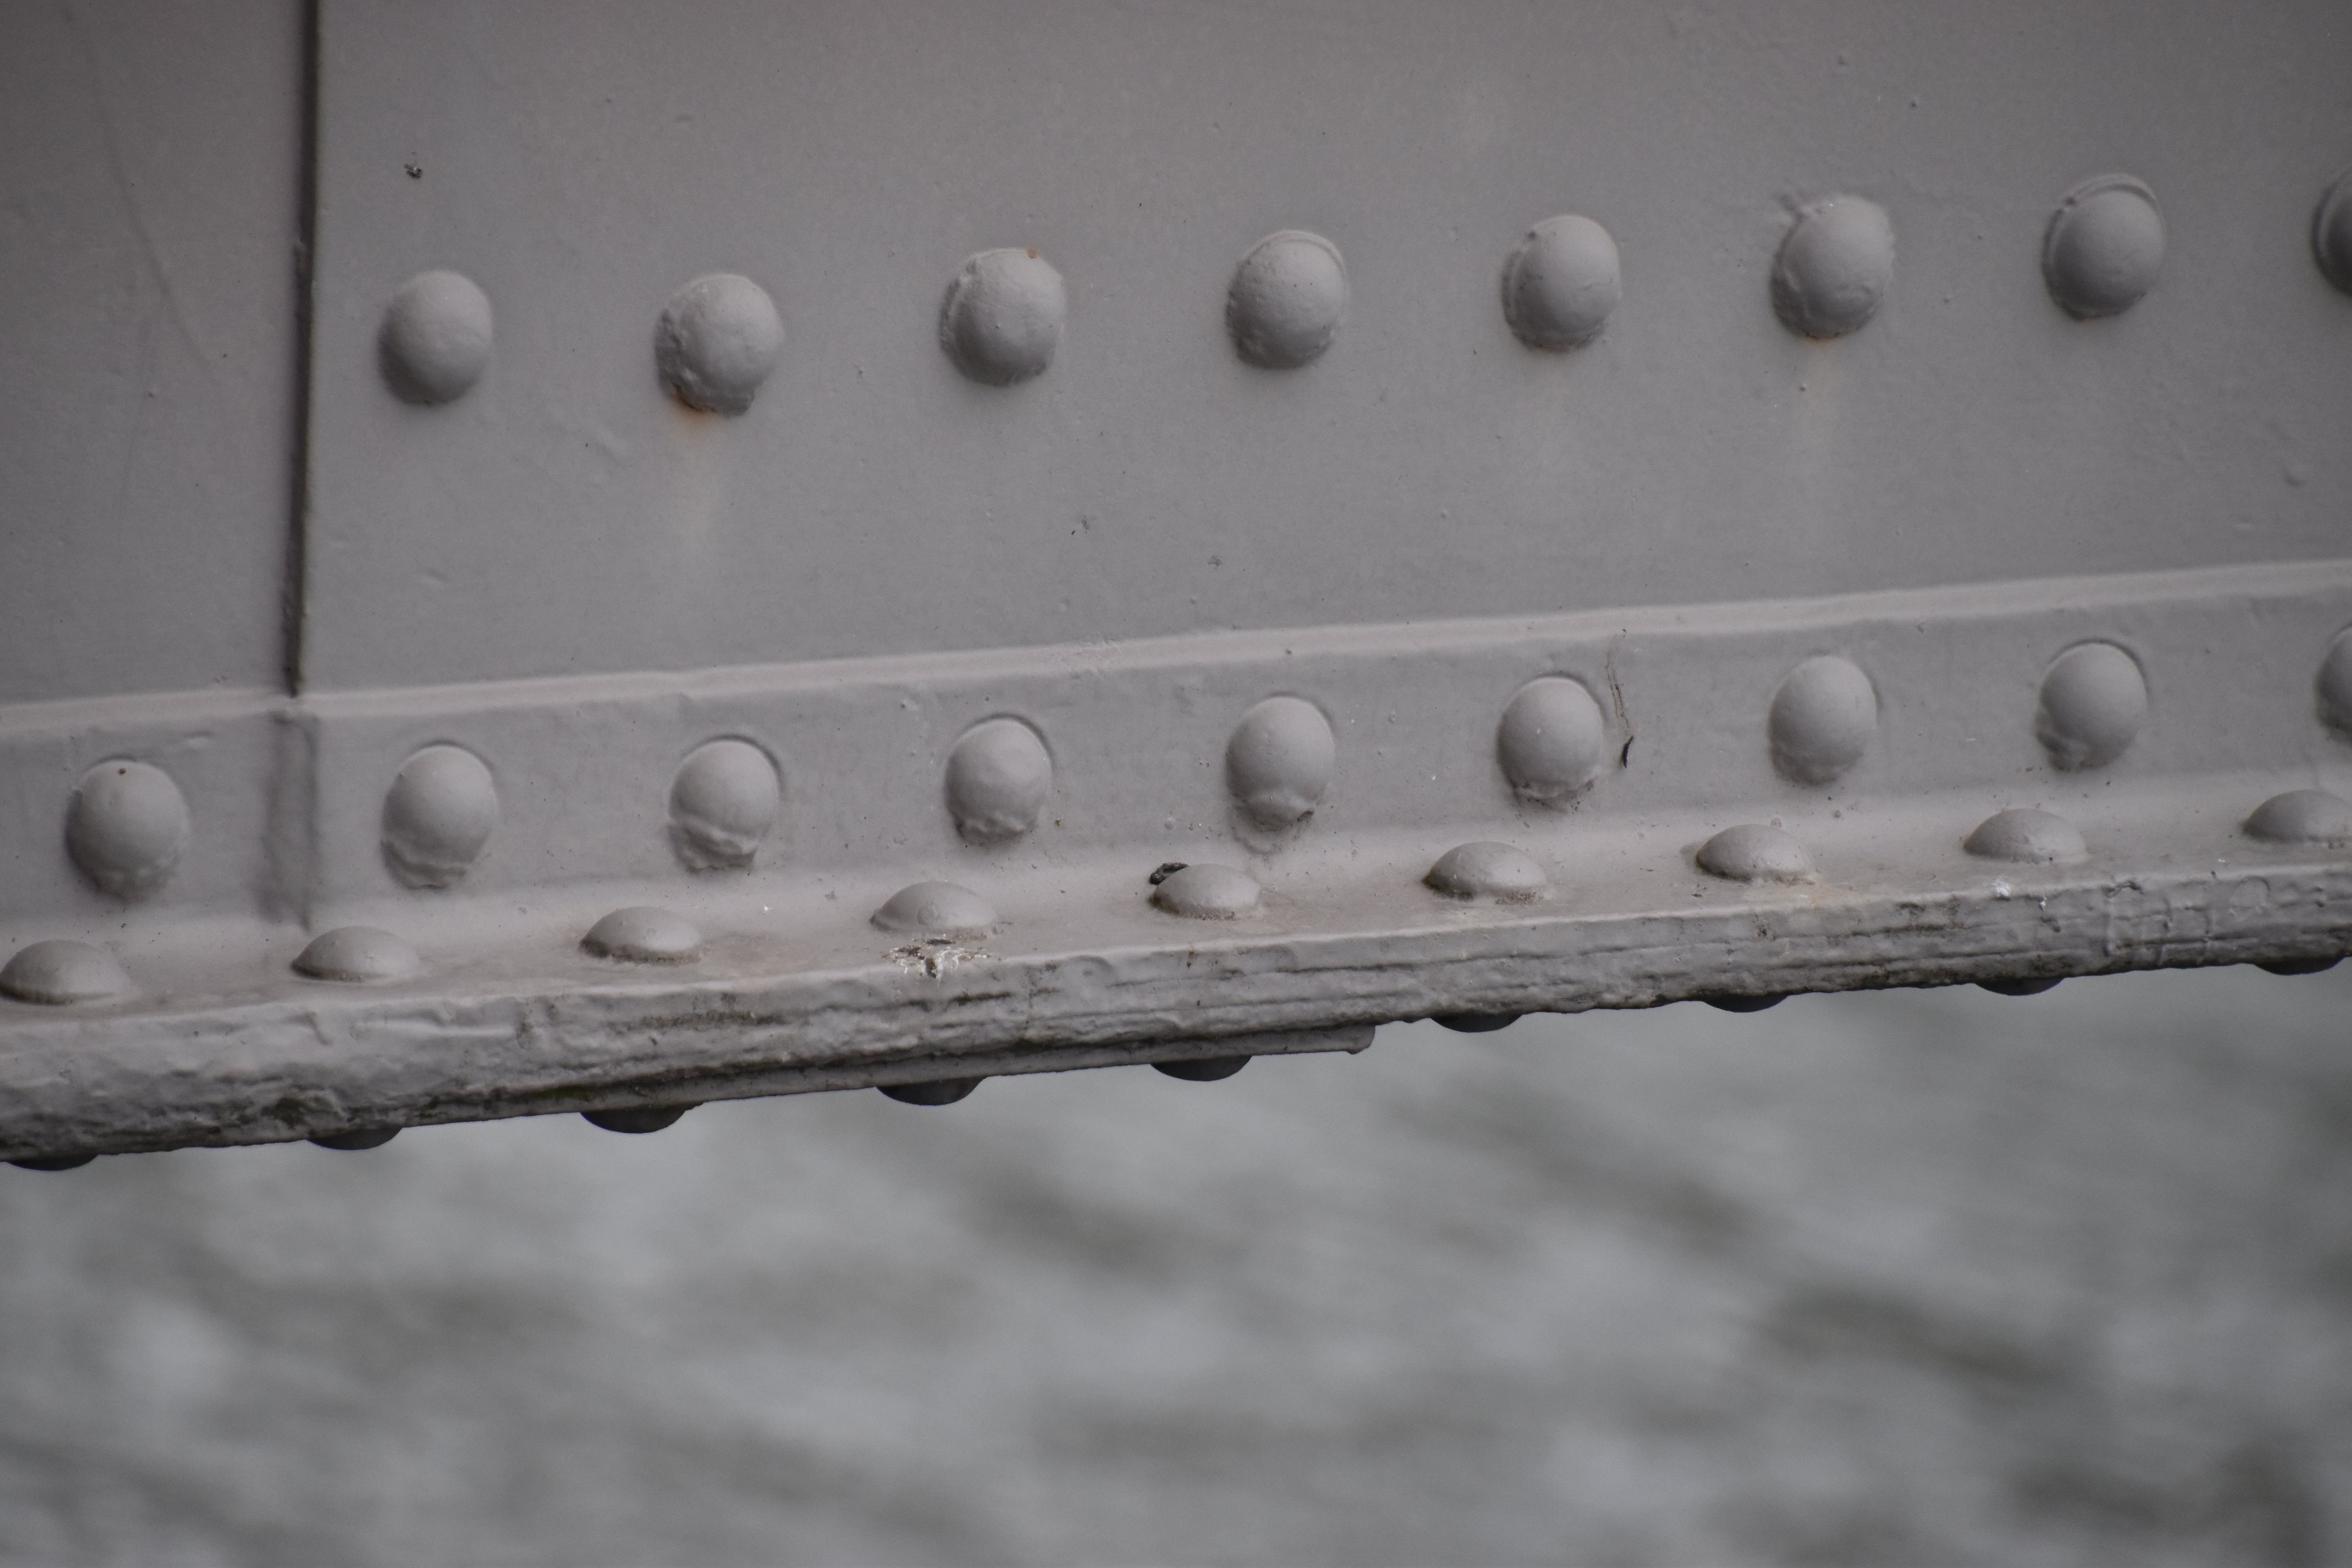
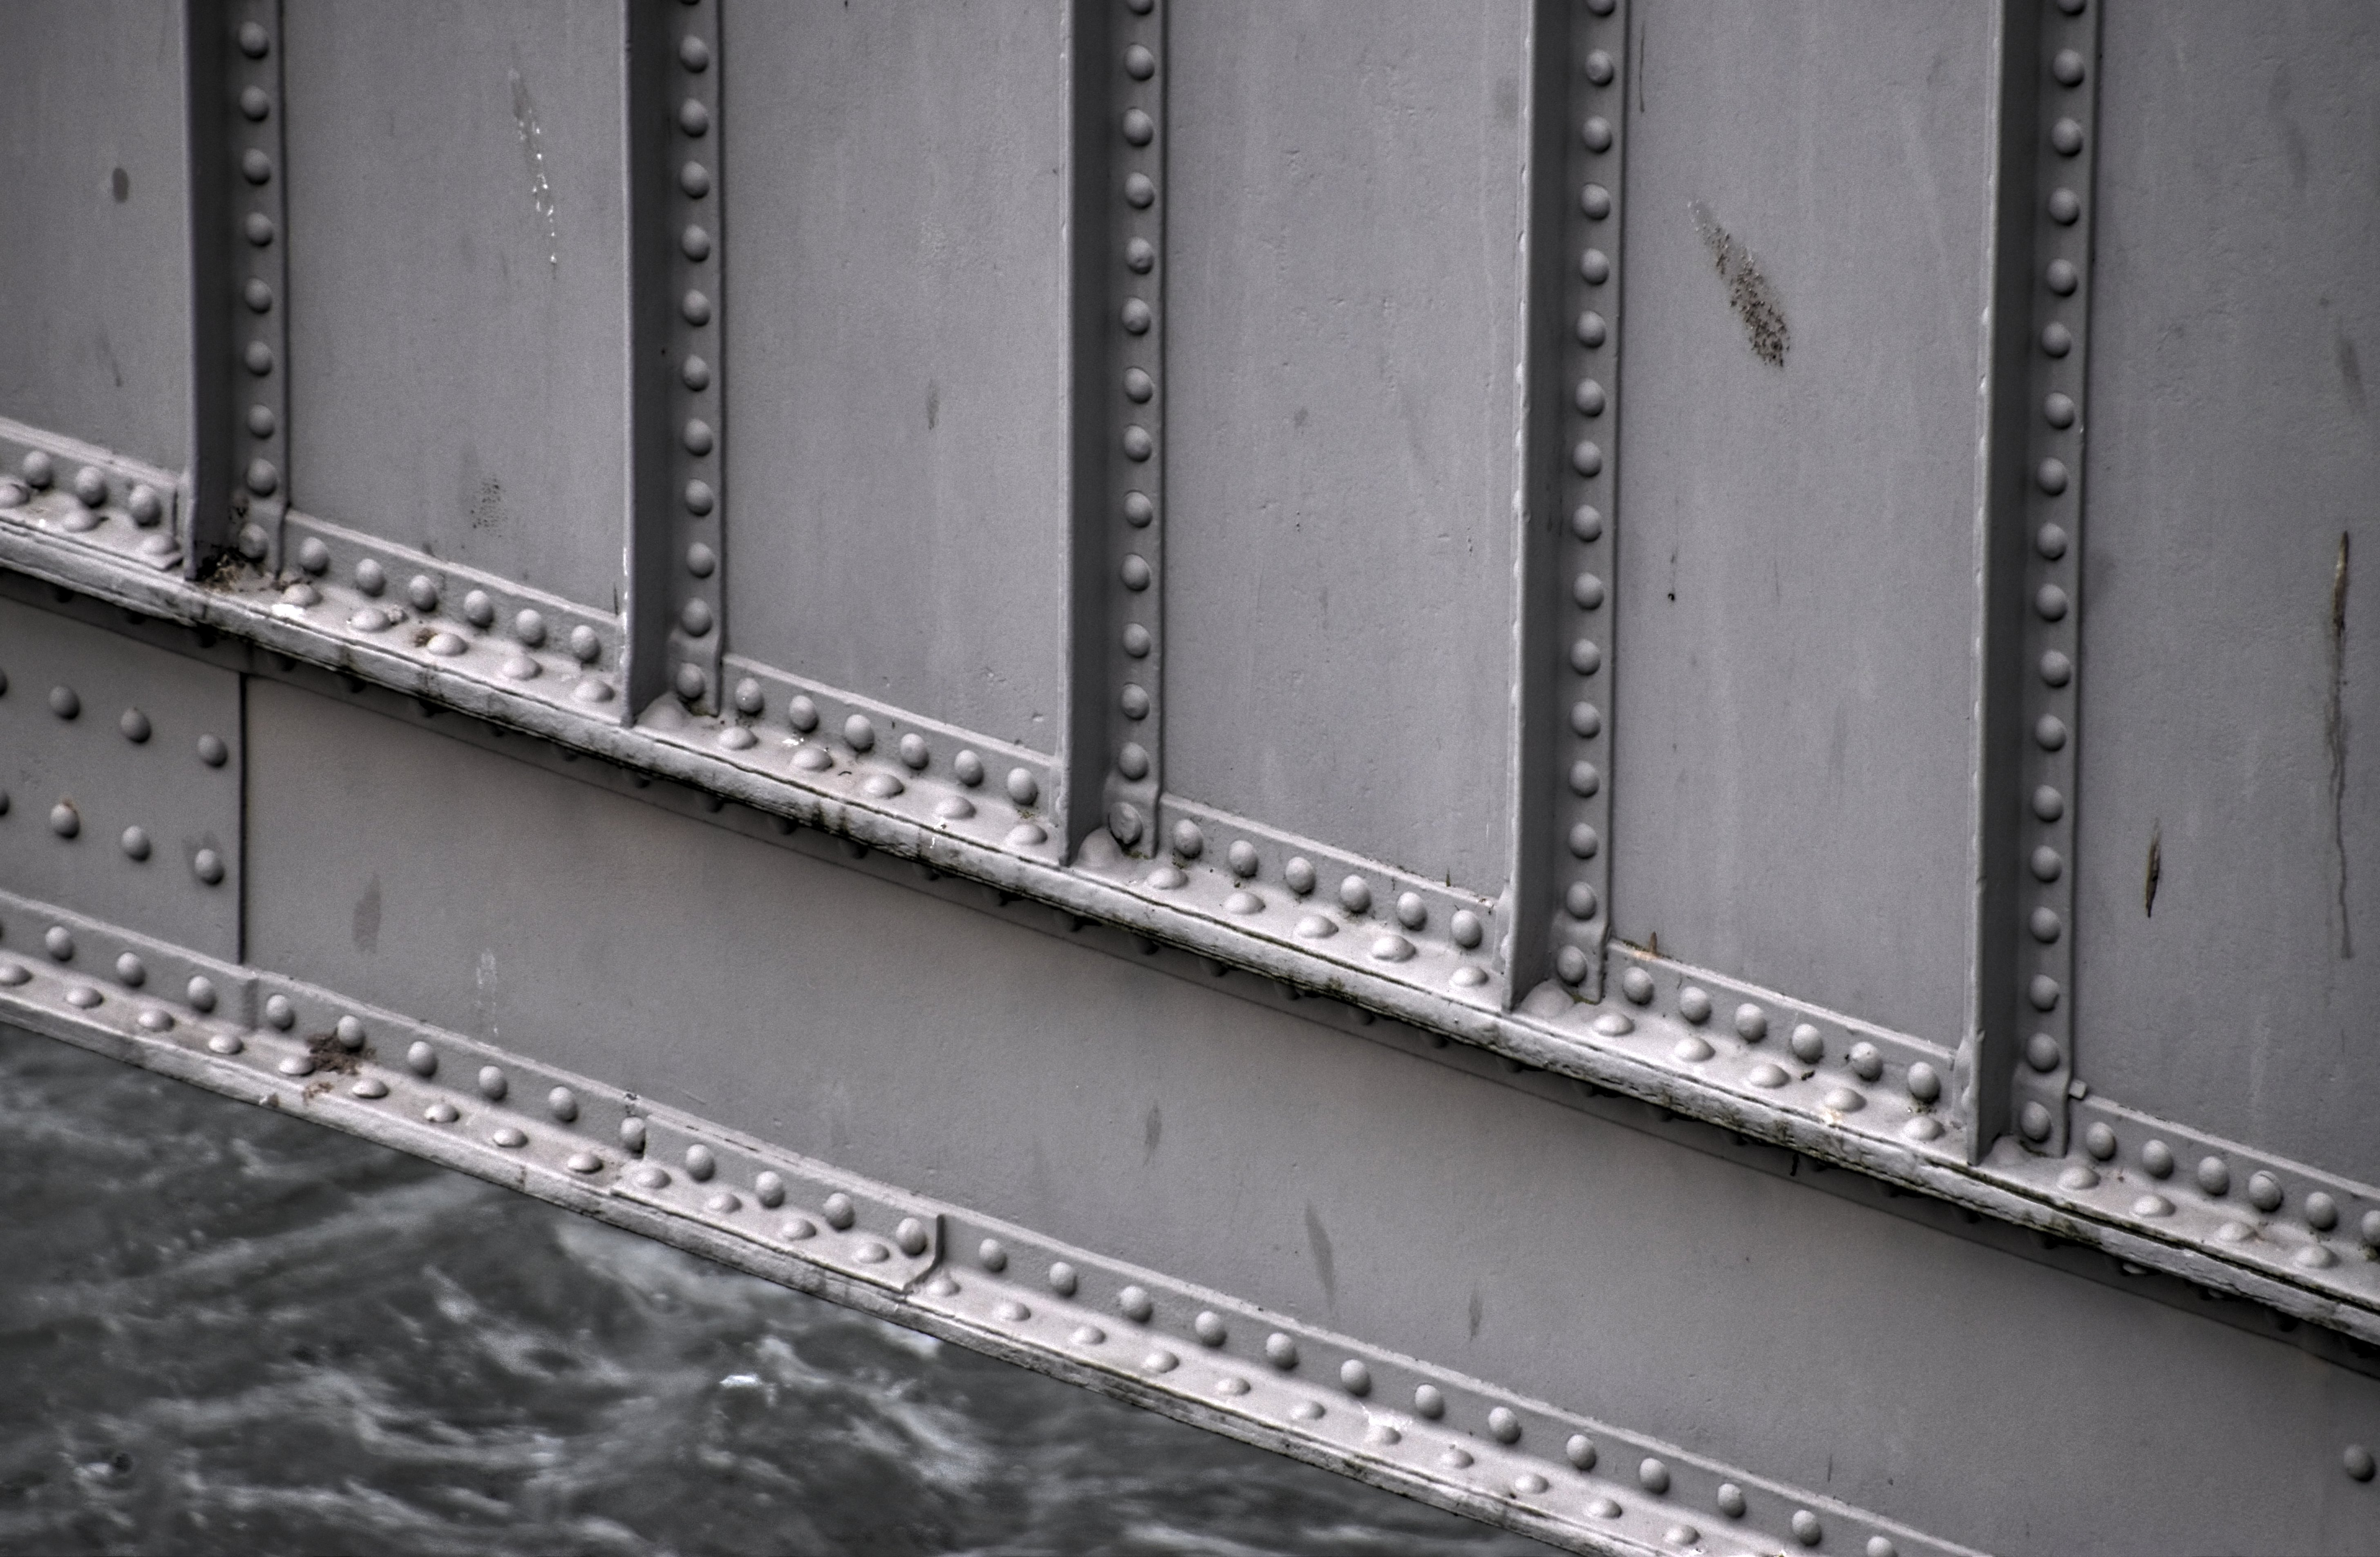
Views looking at girder. Original and unaltered section of girder.
![]()


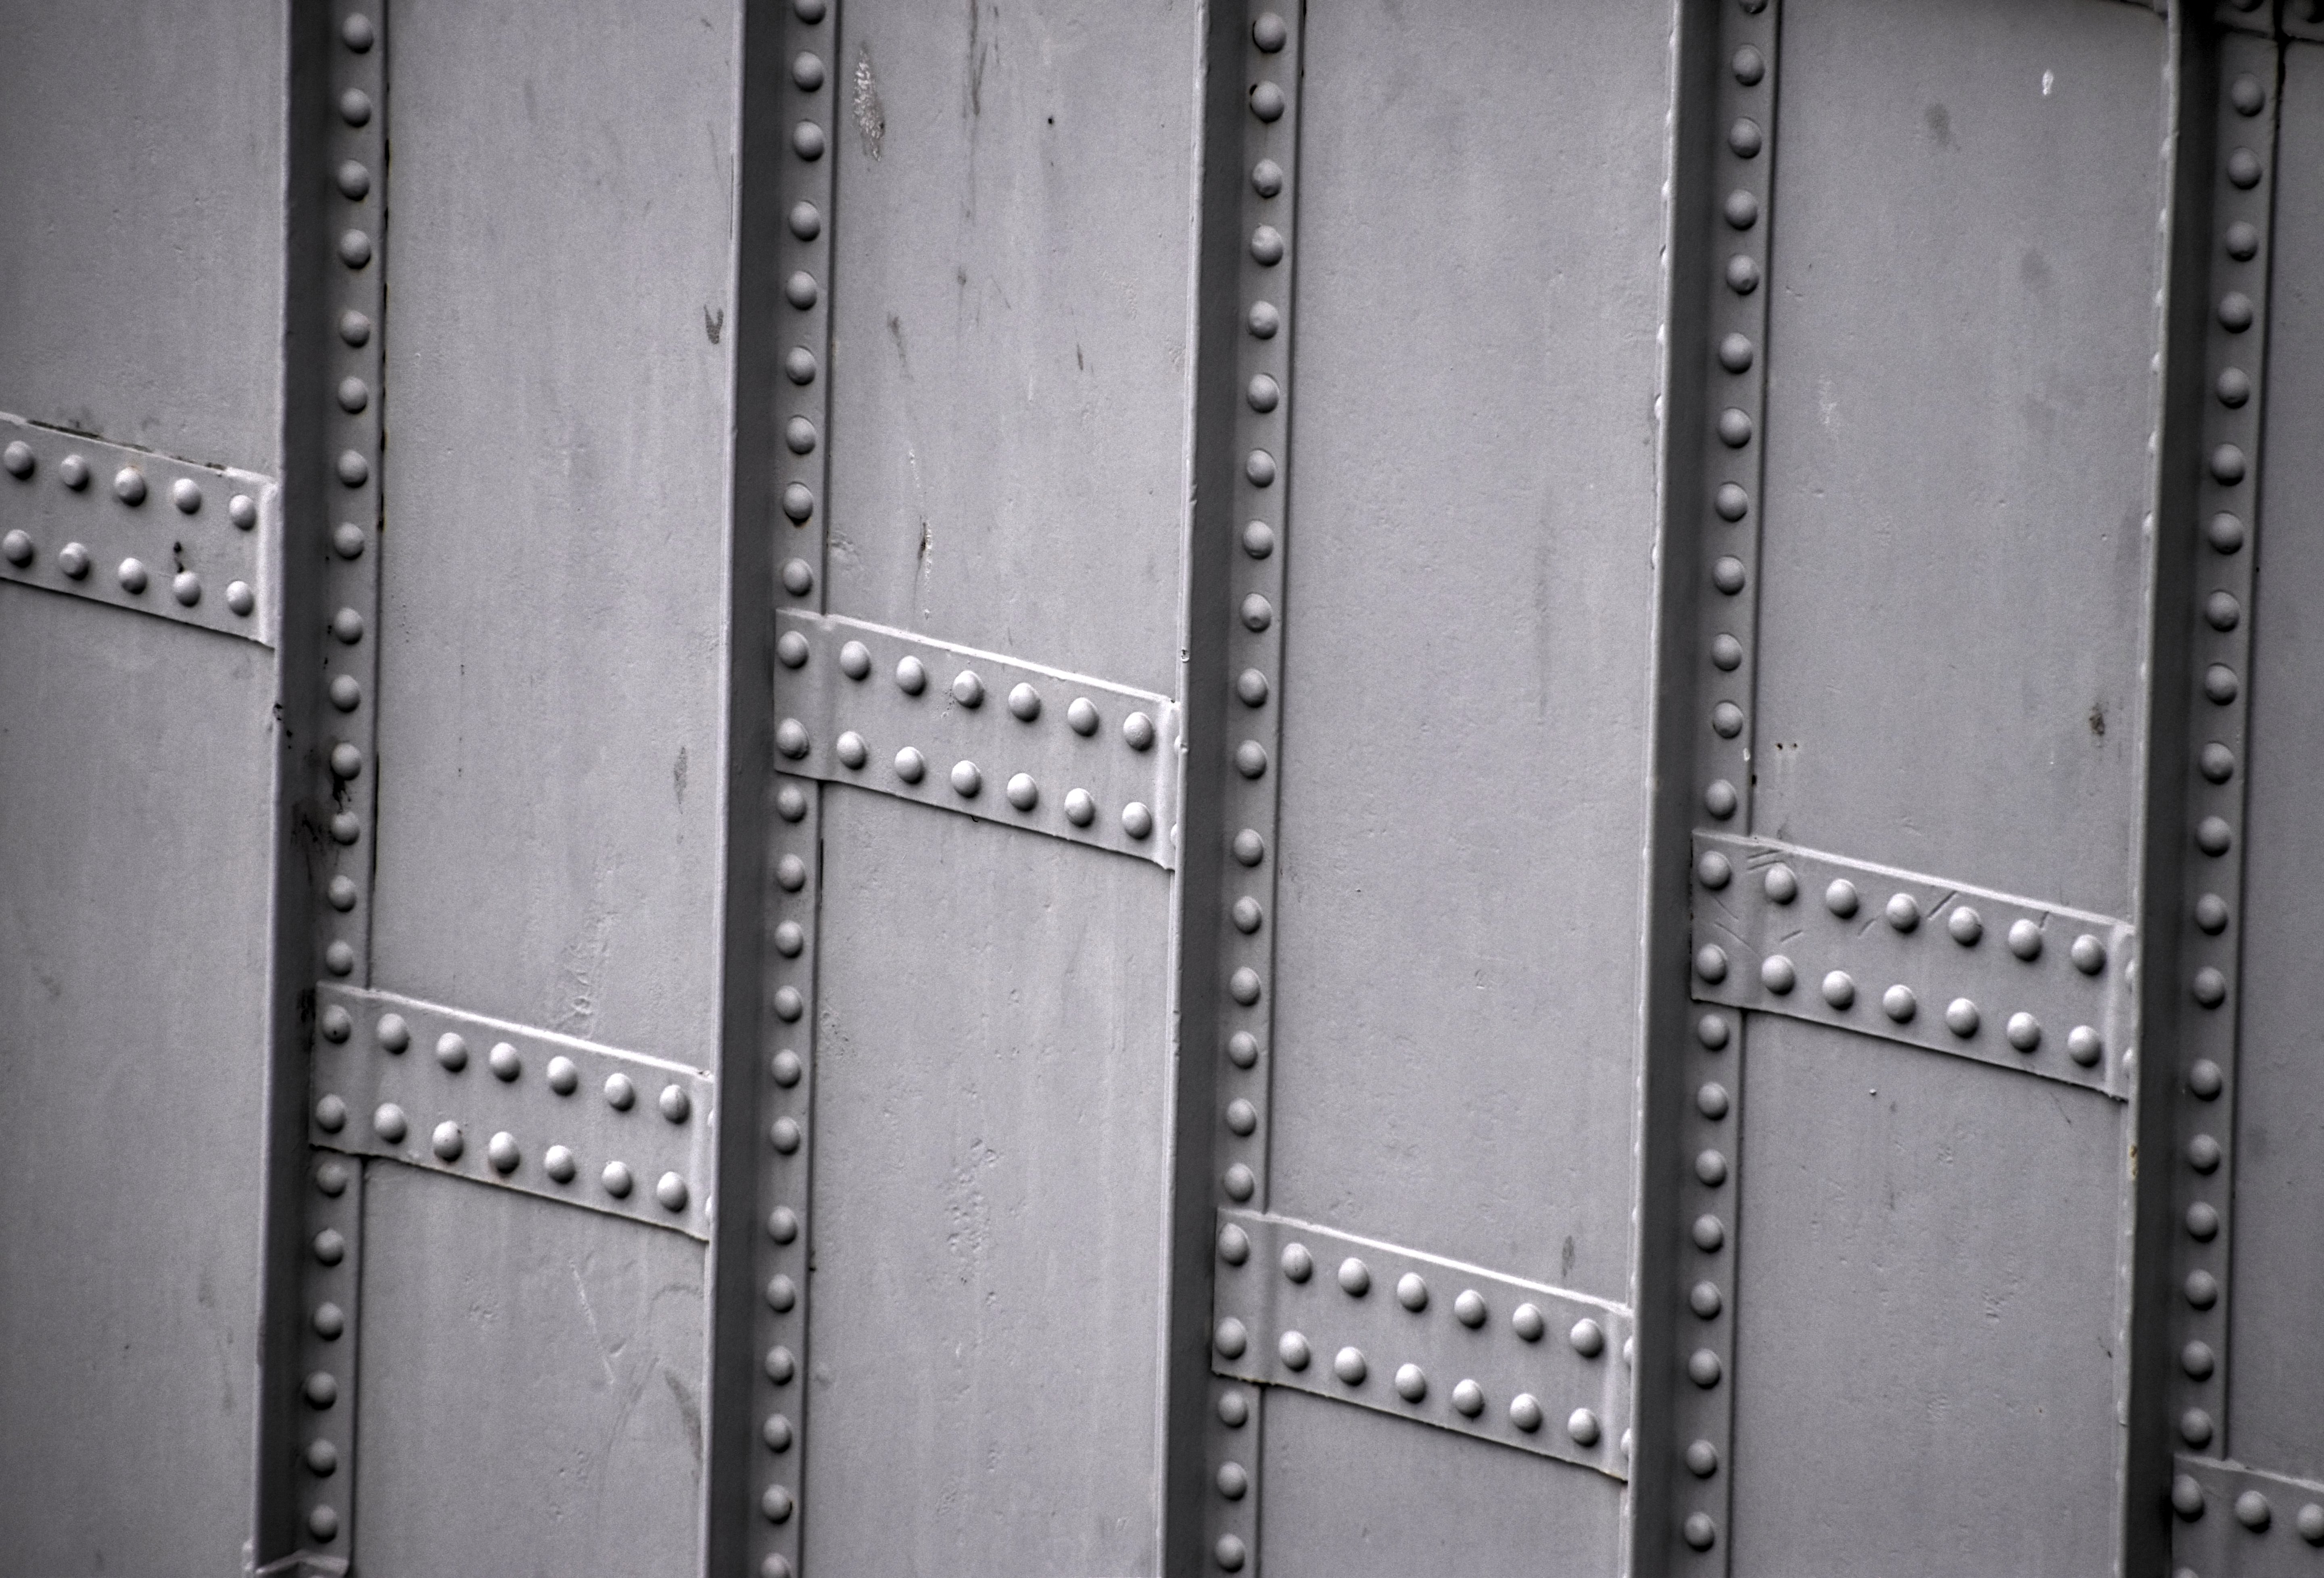
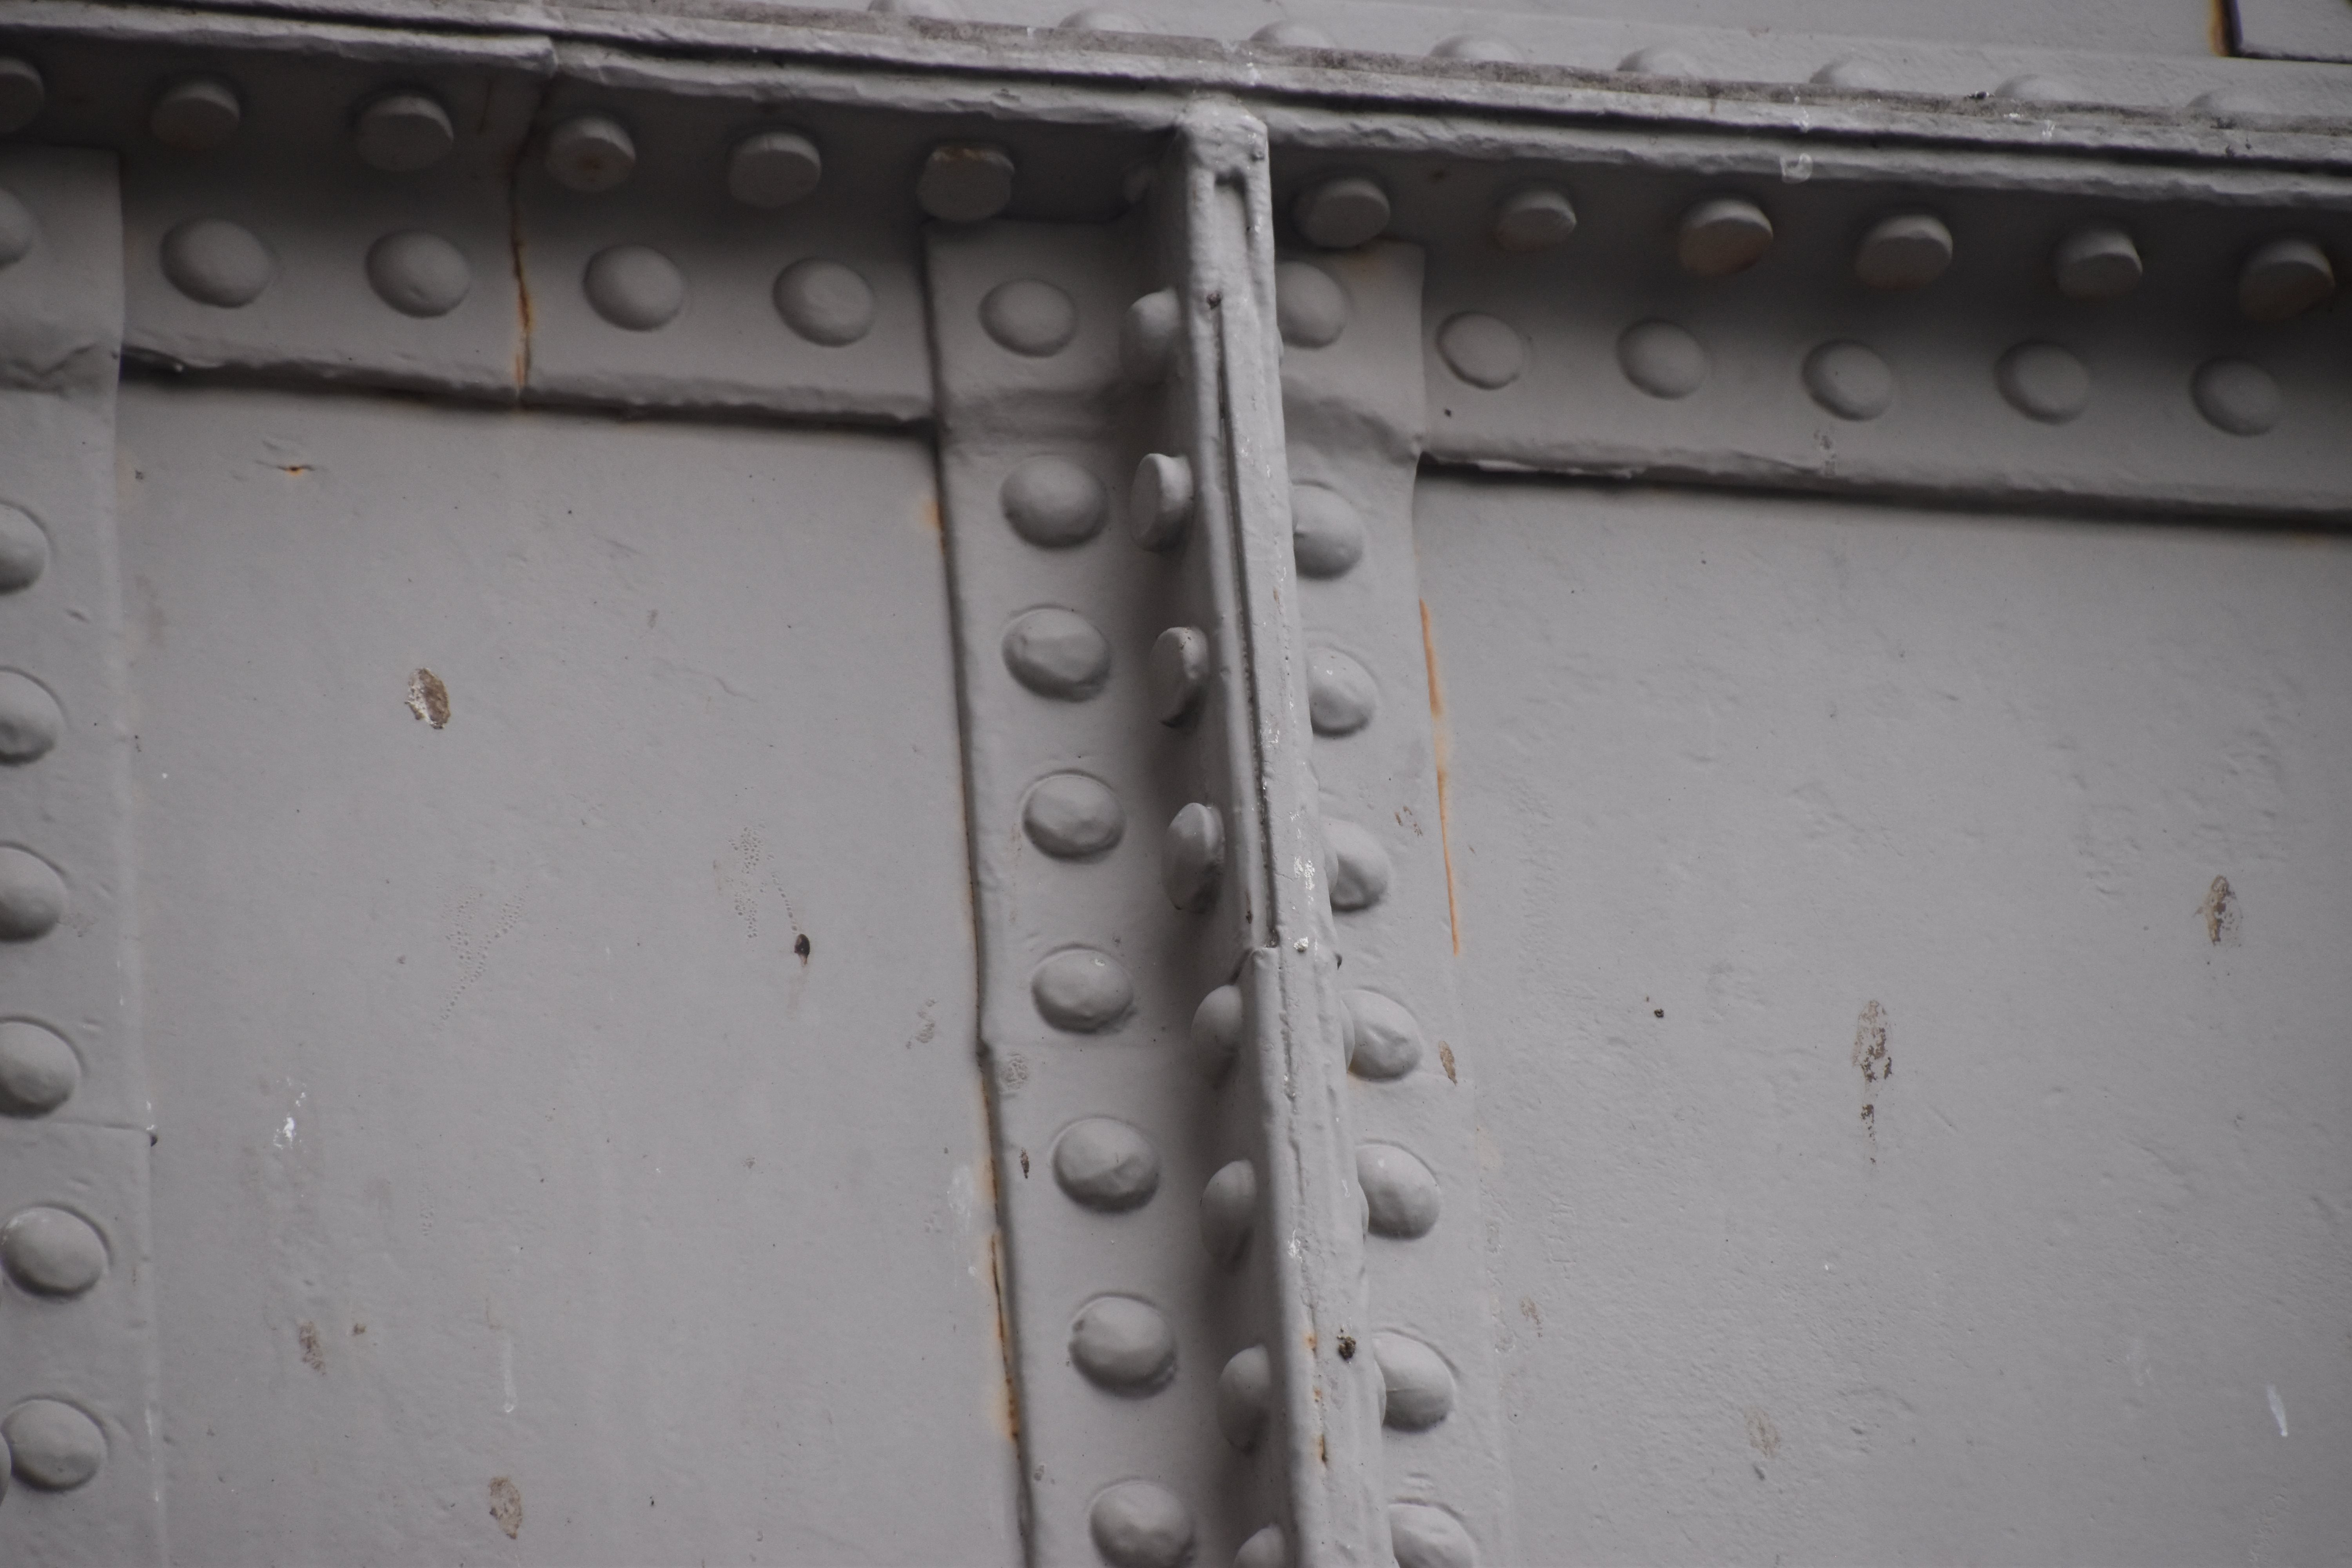
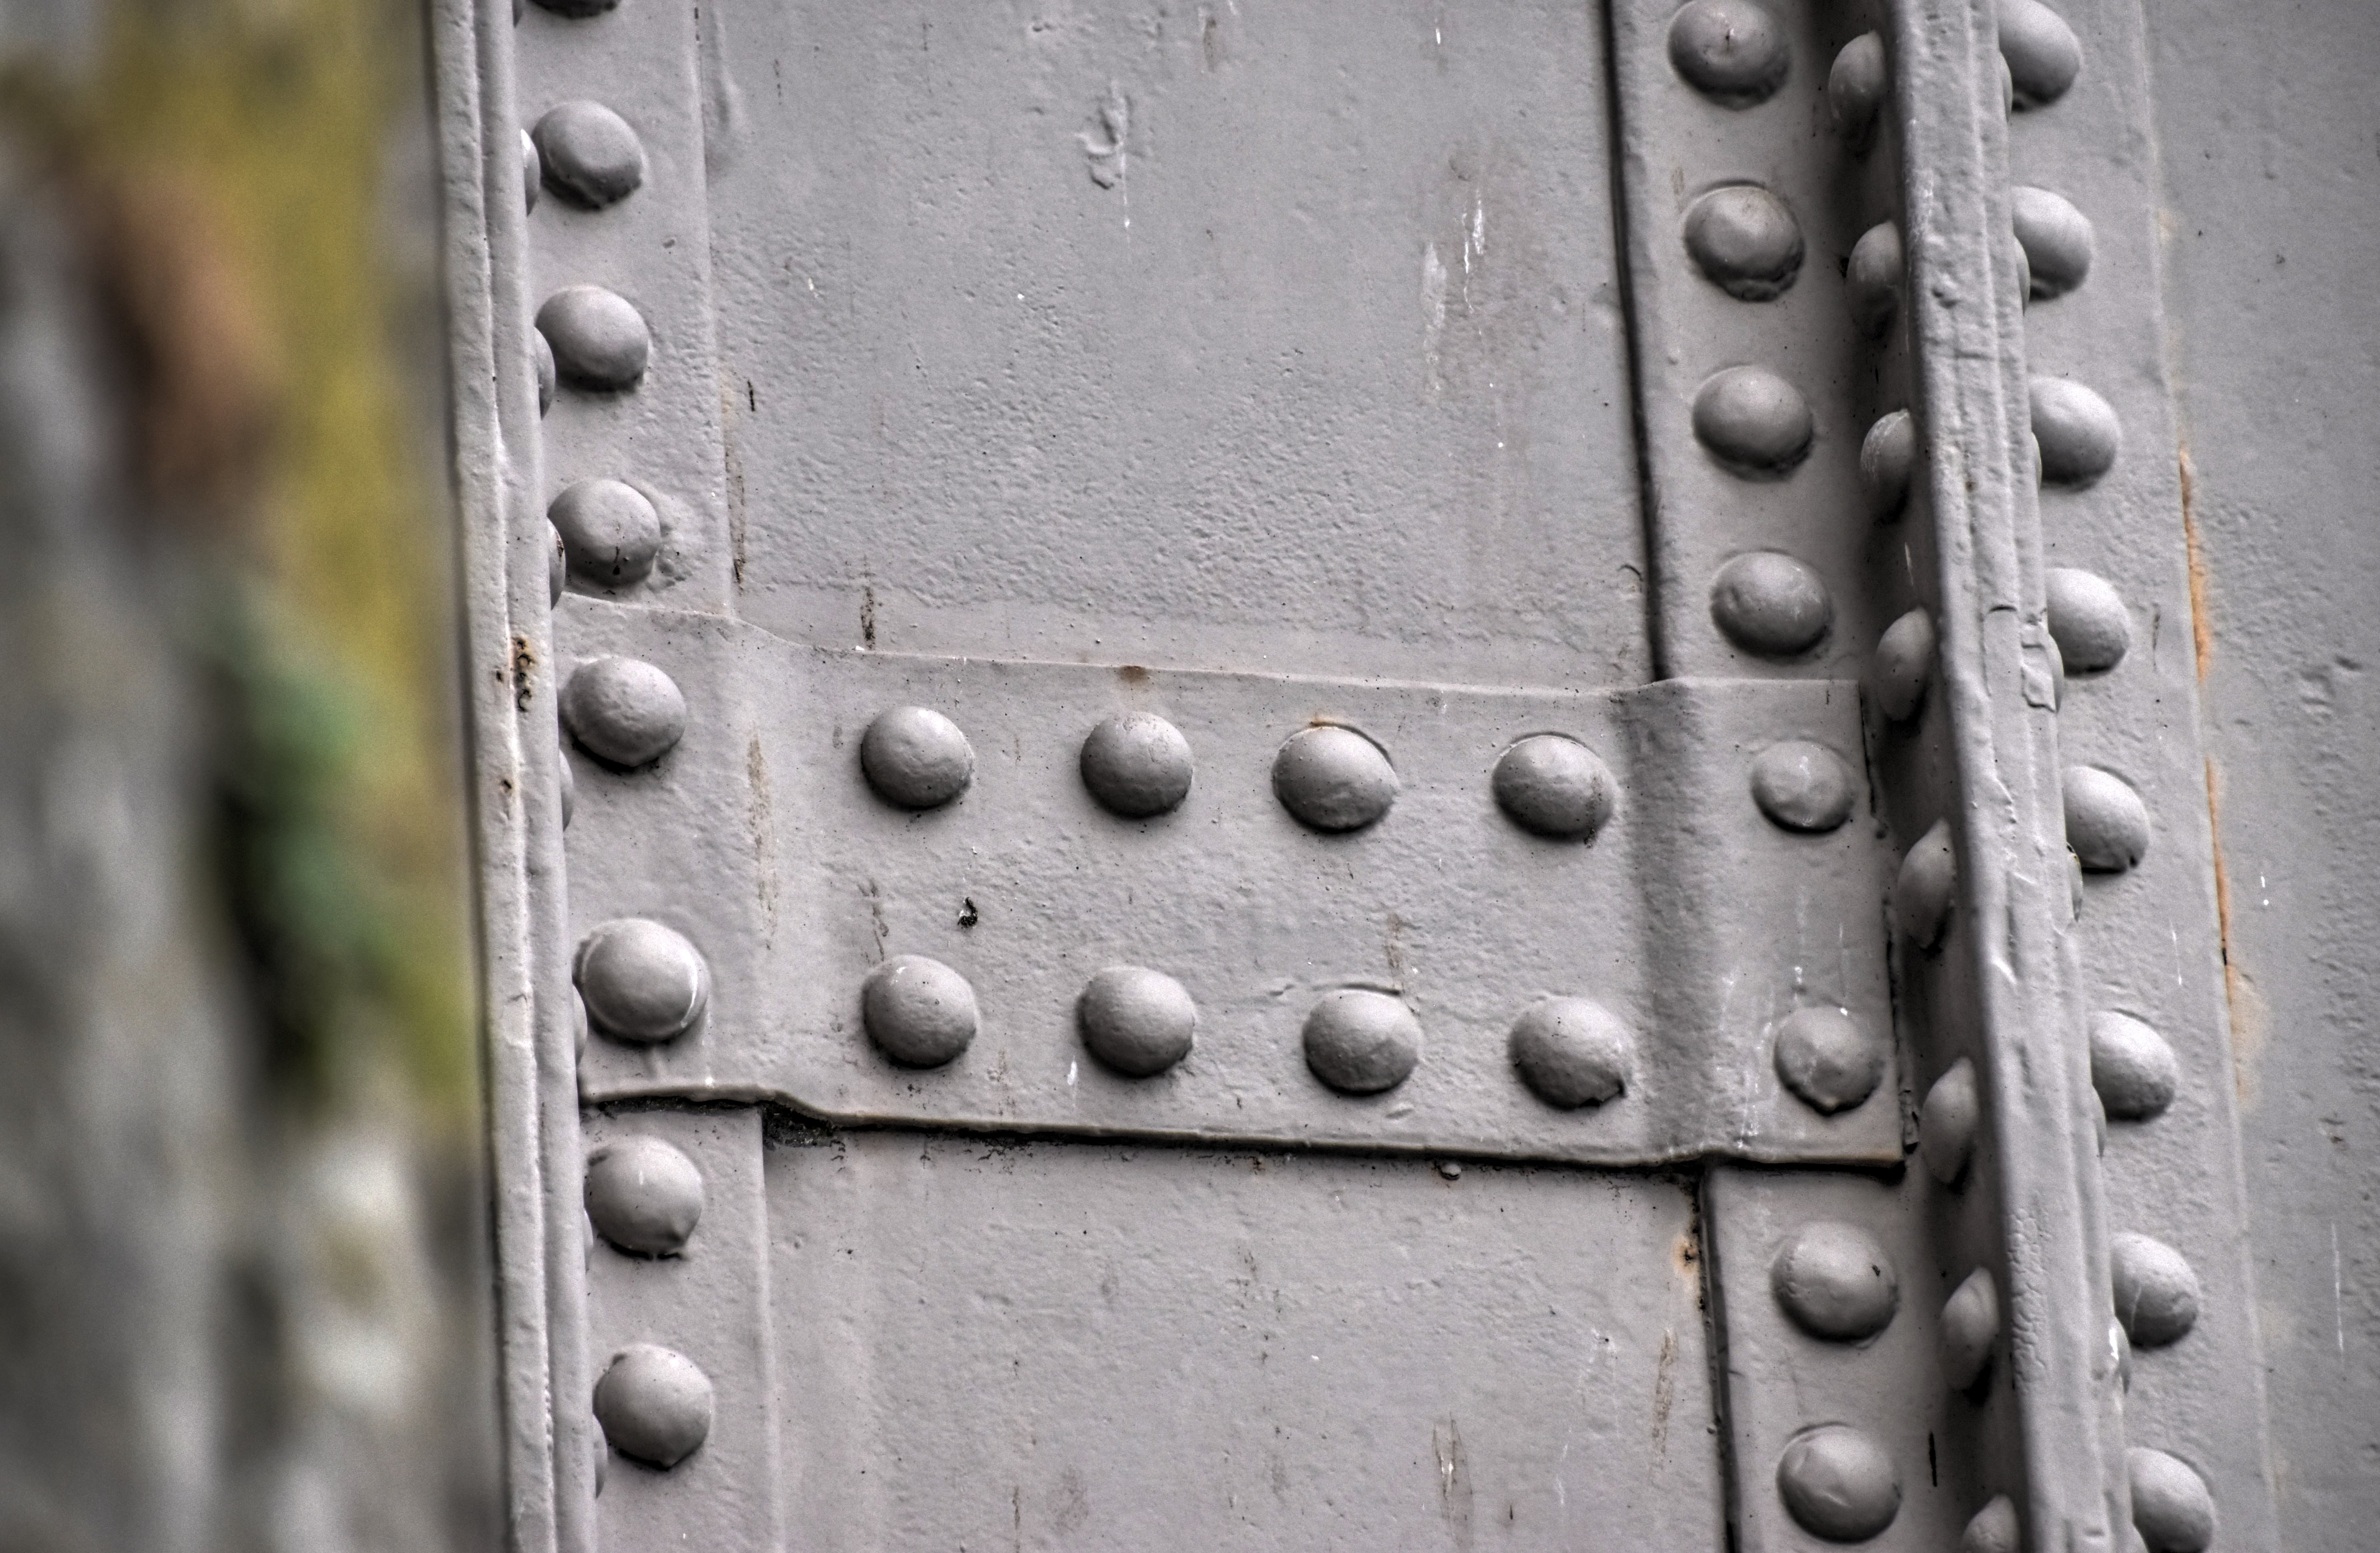
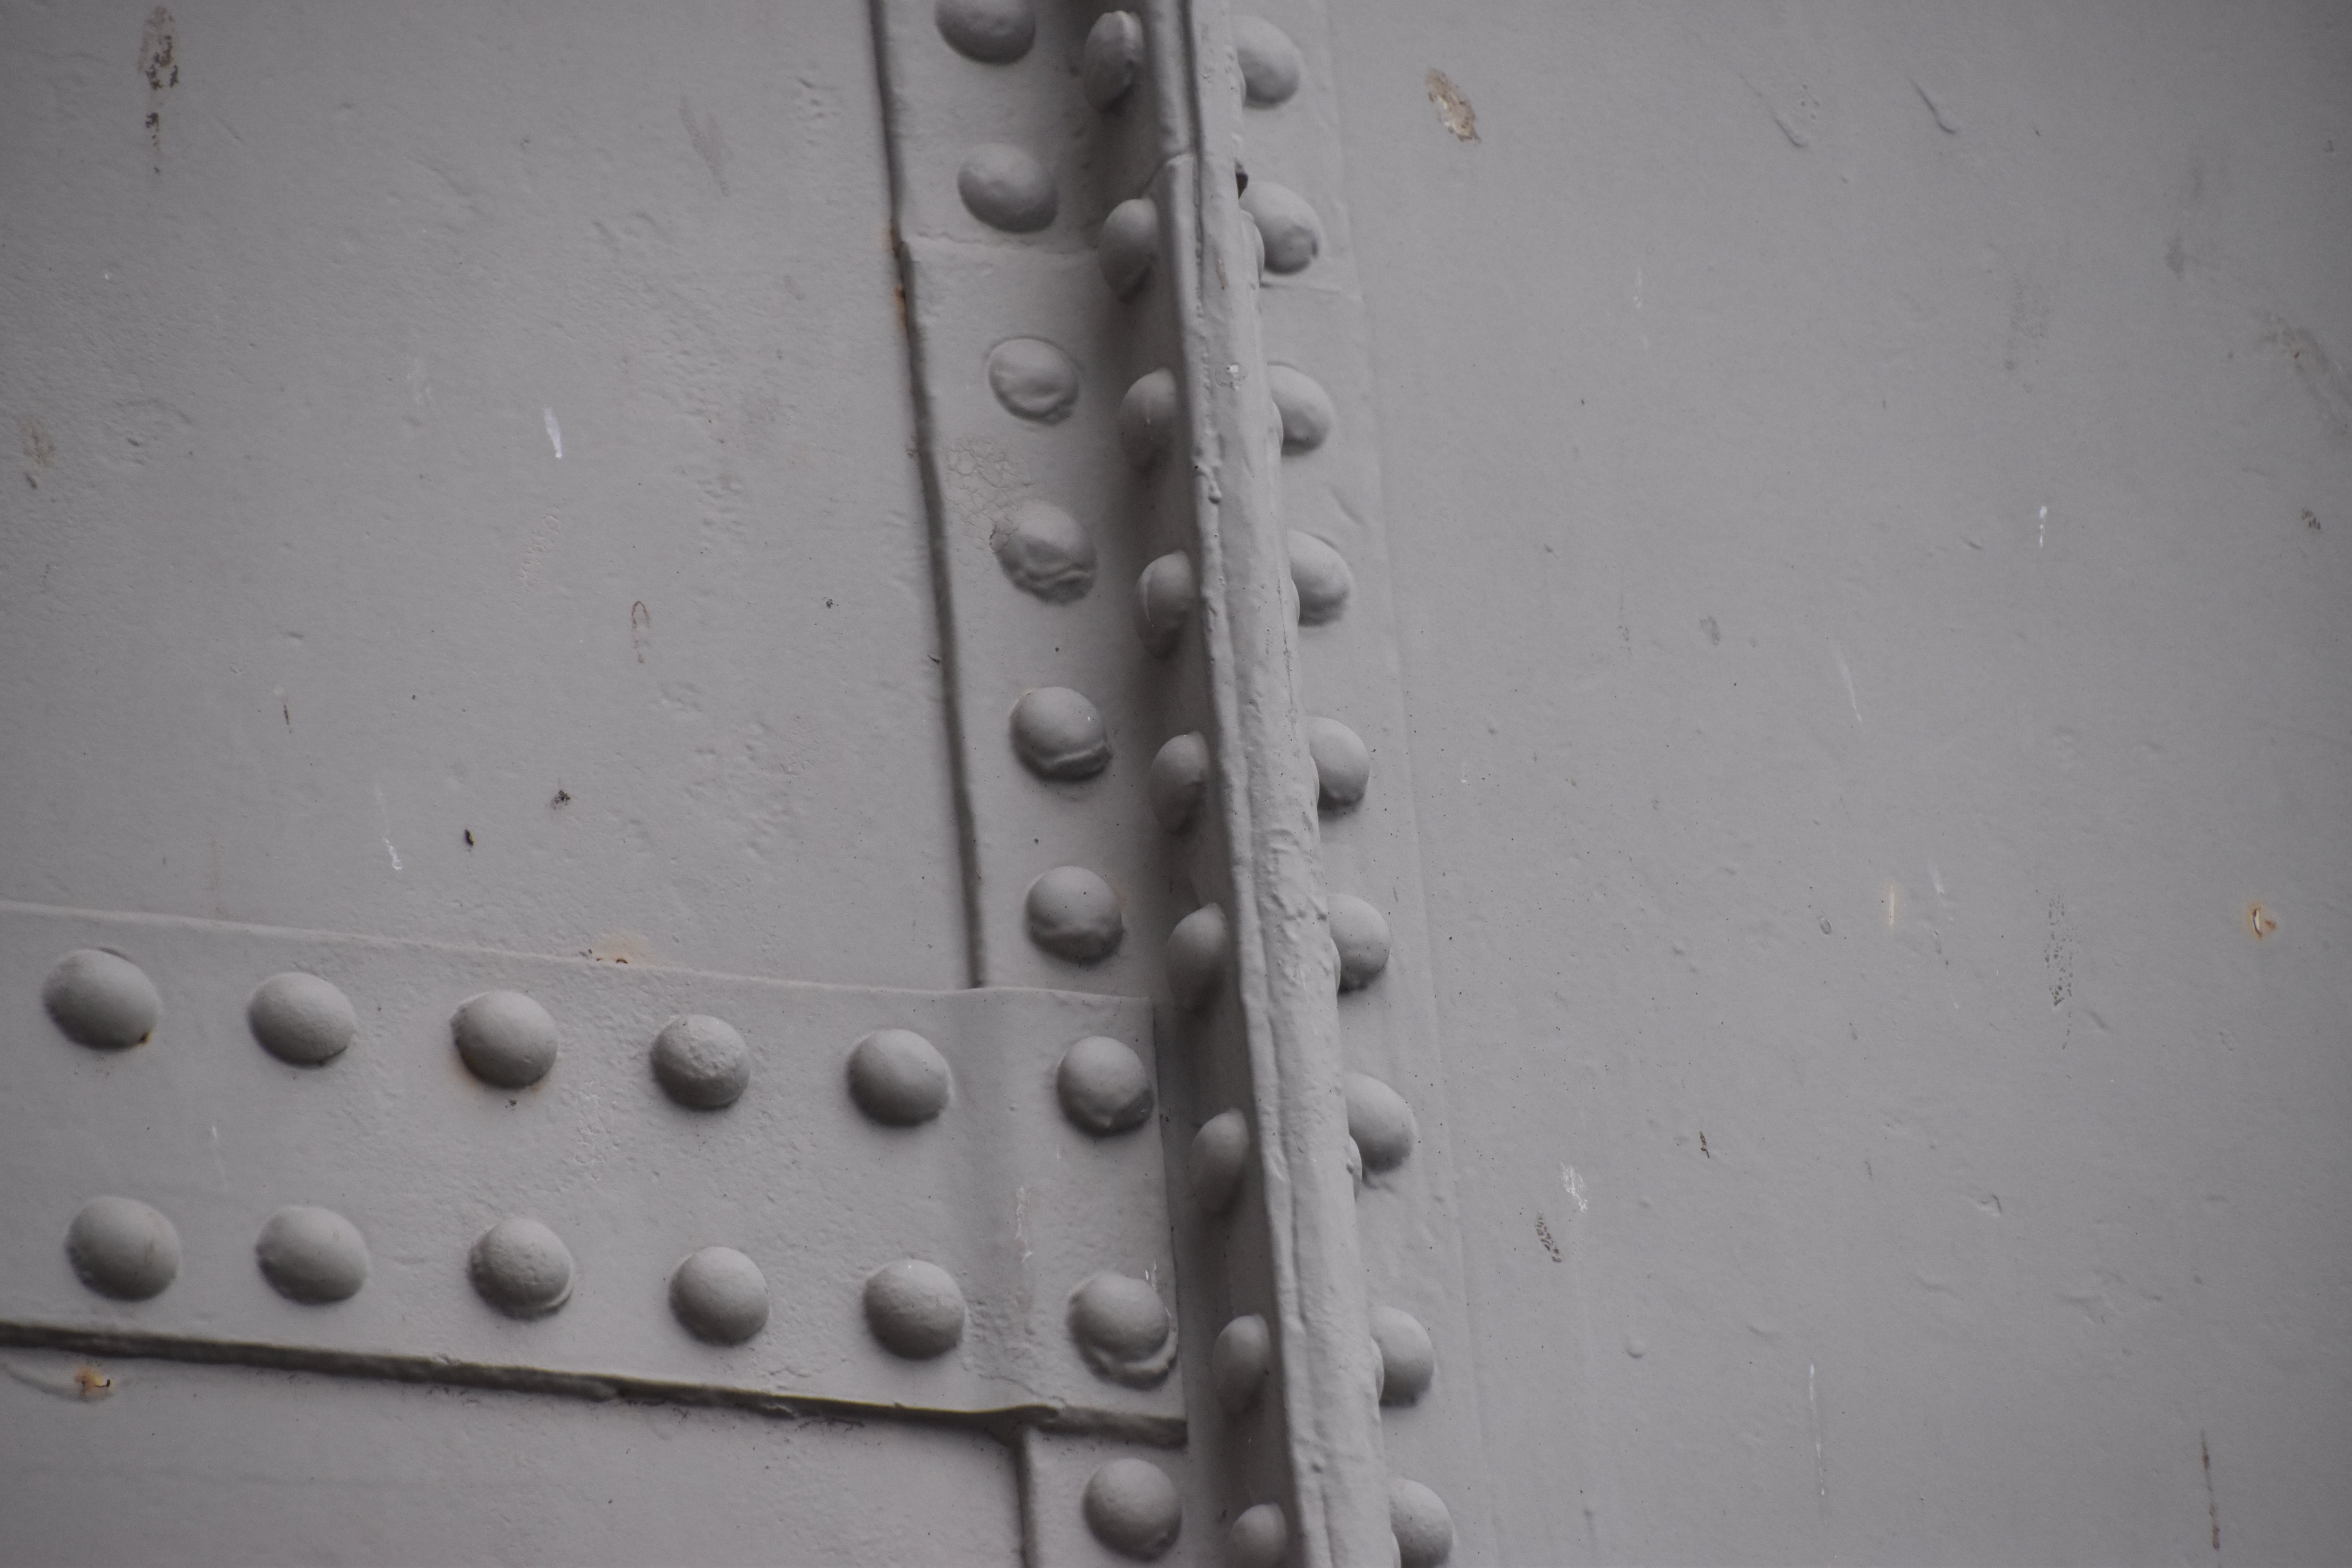
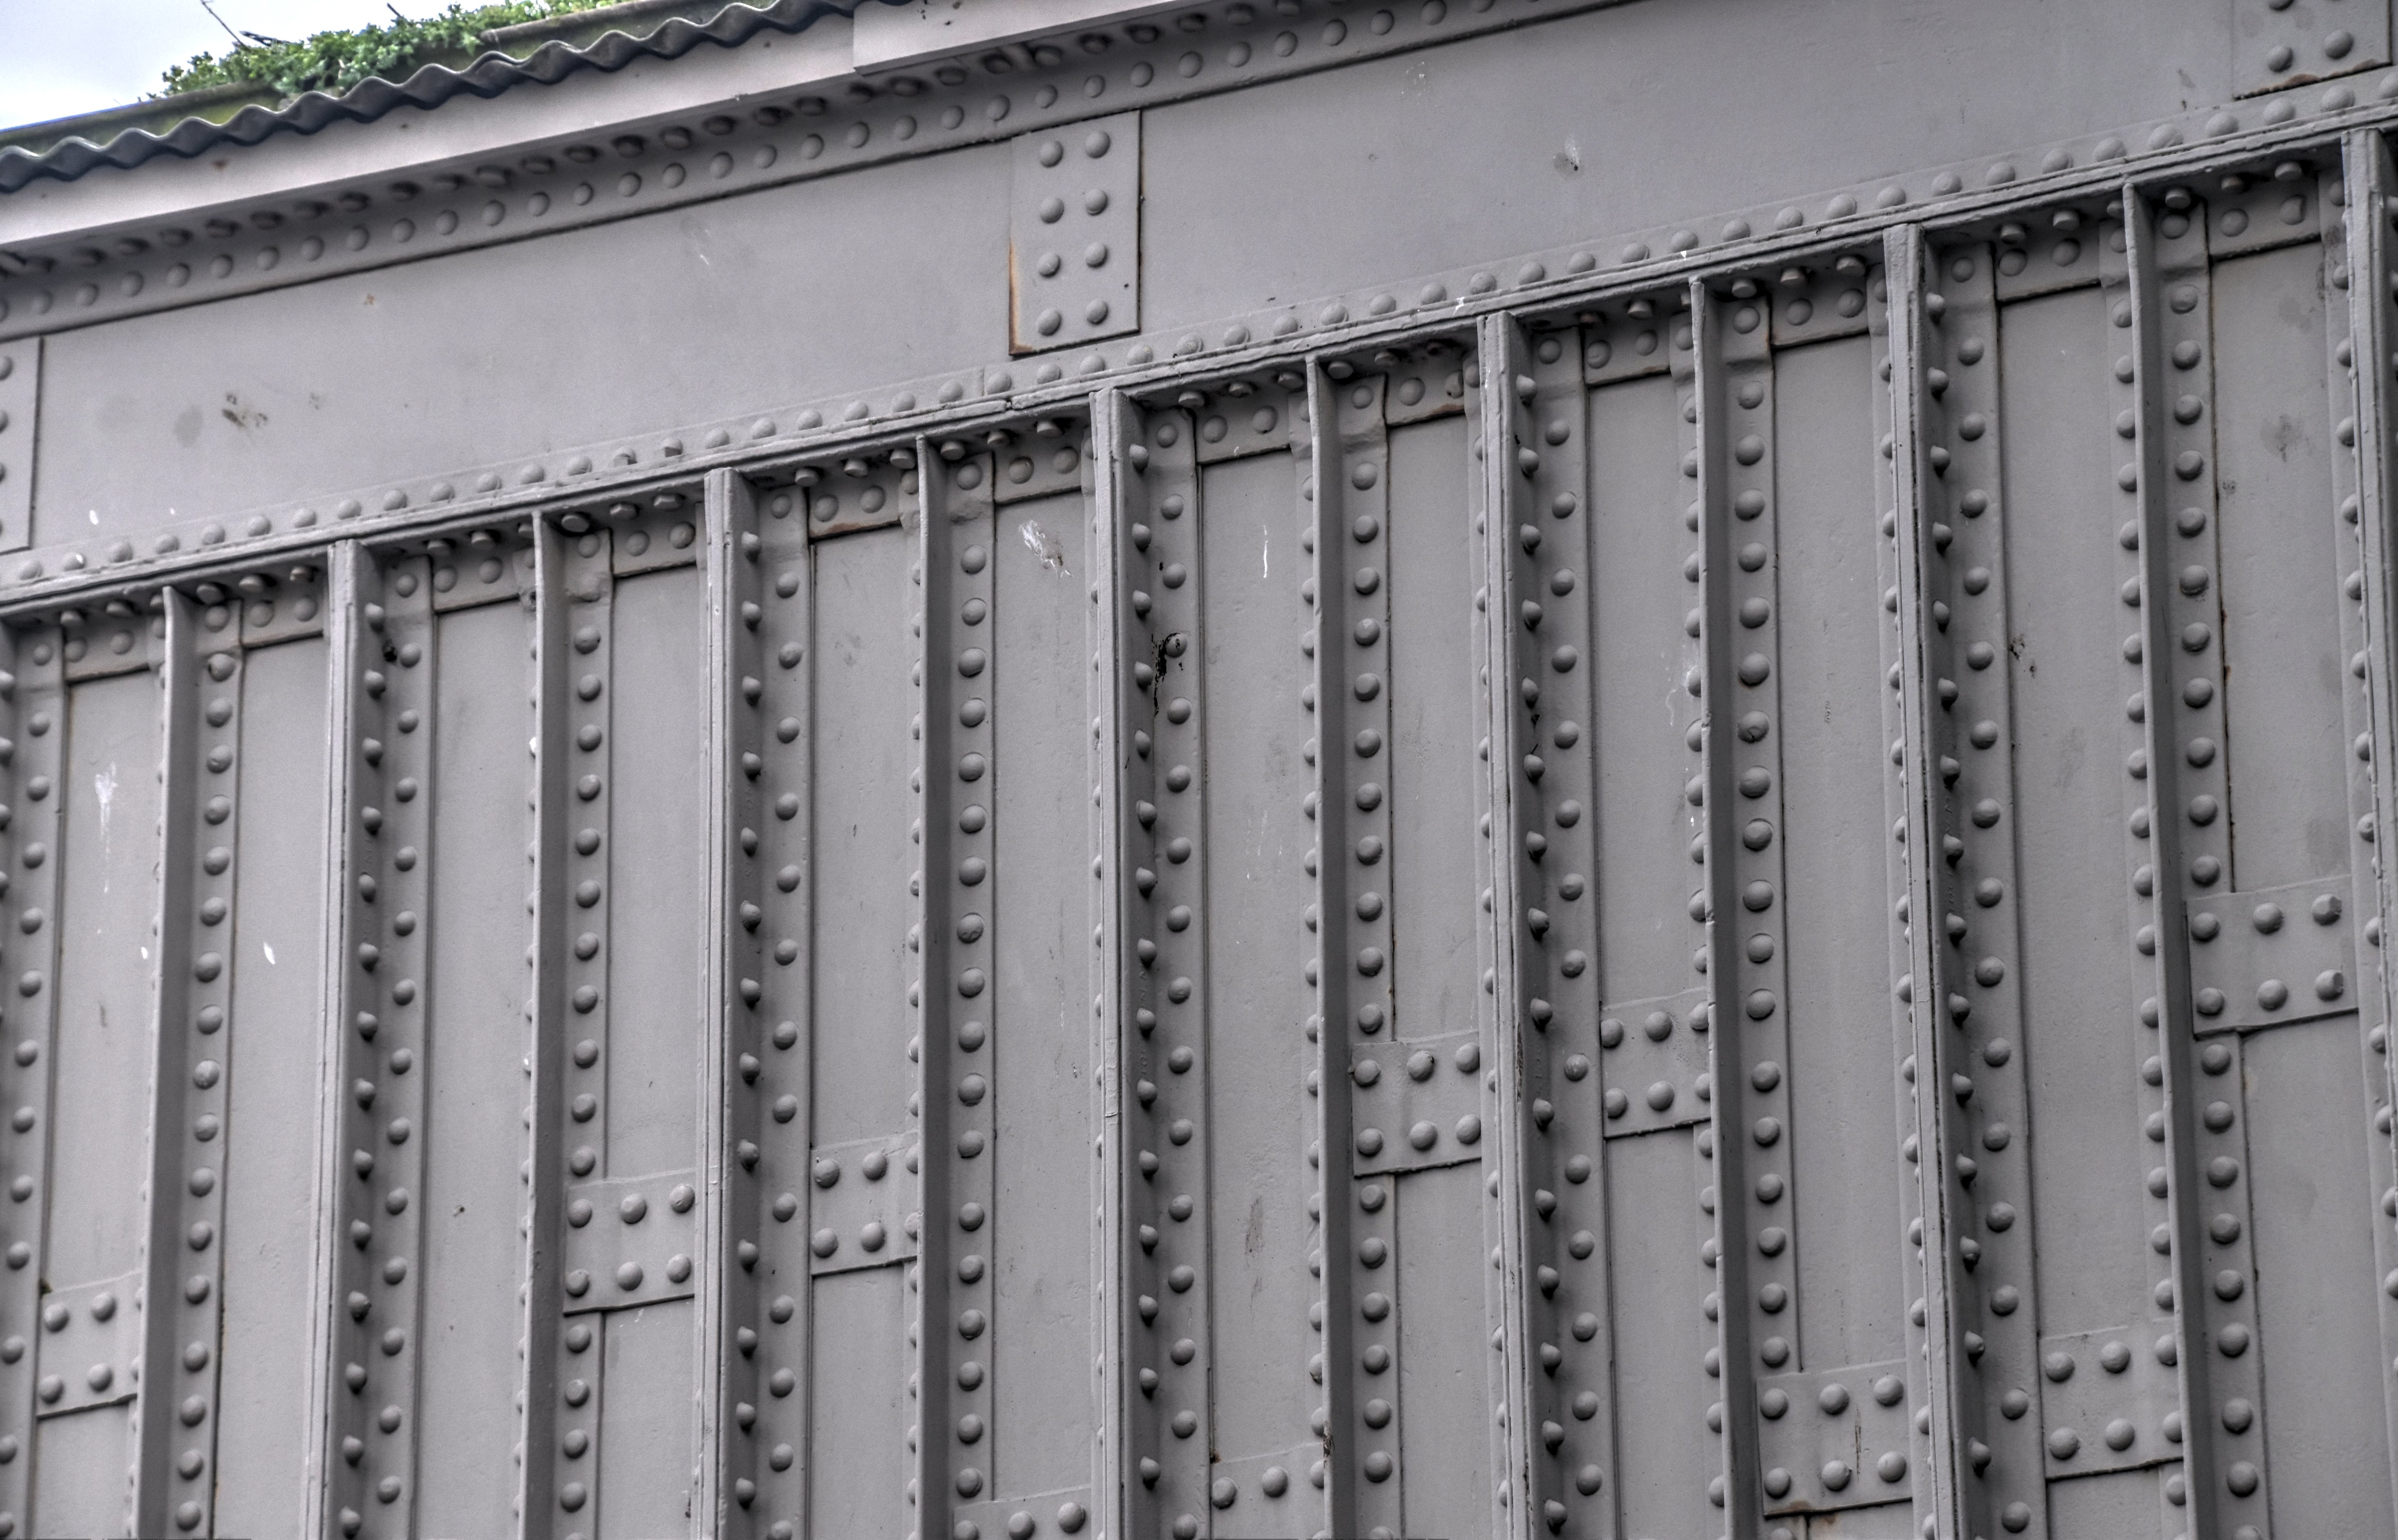
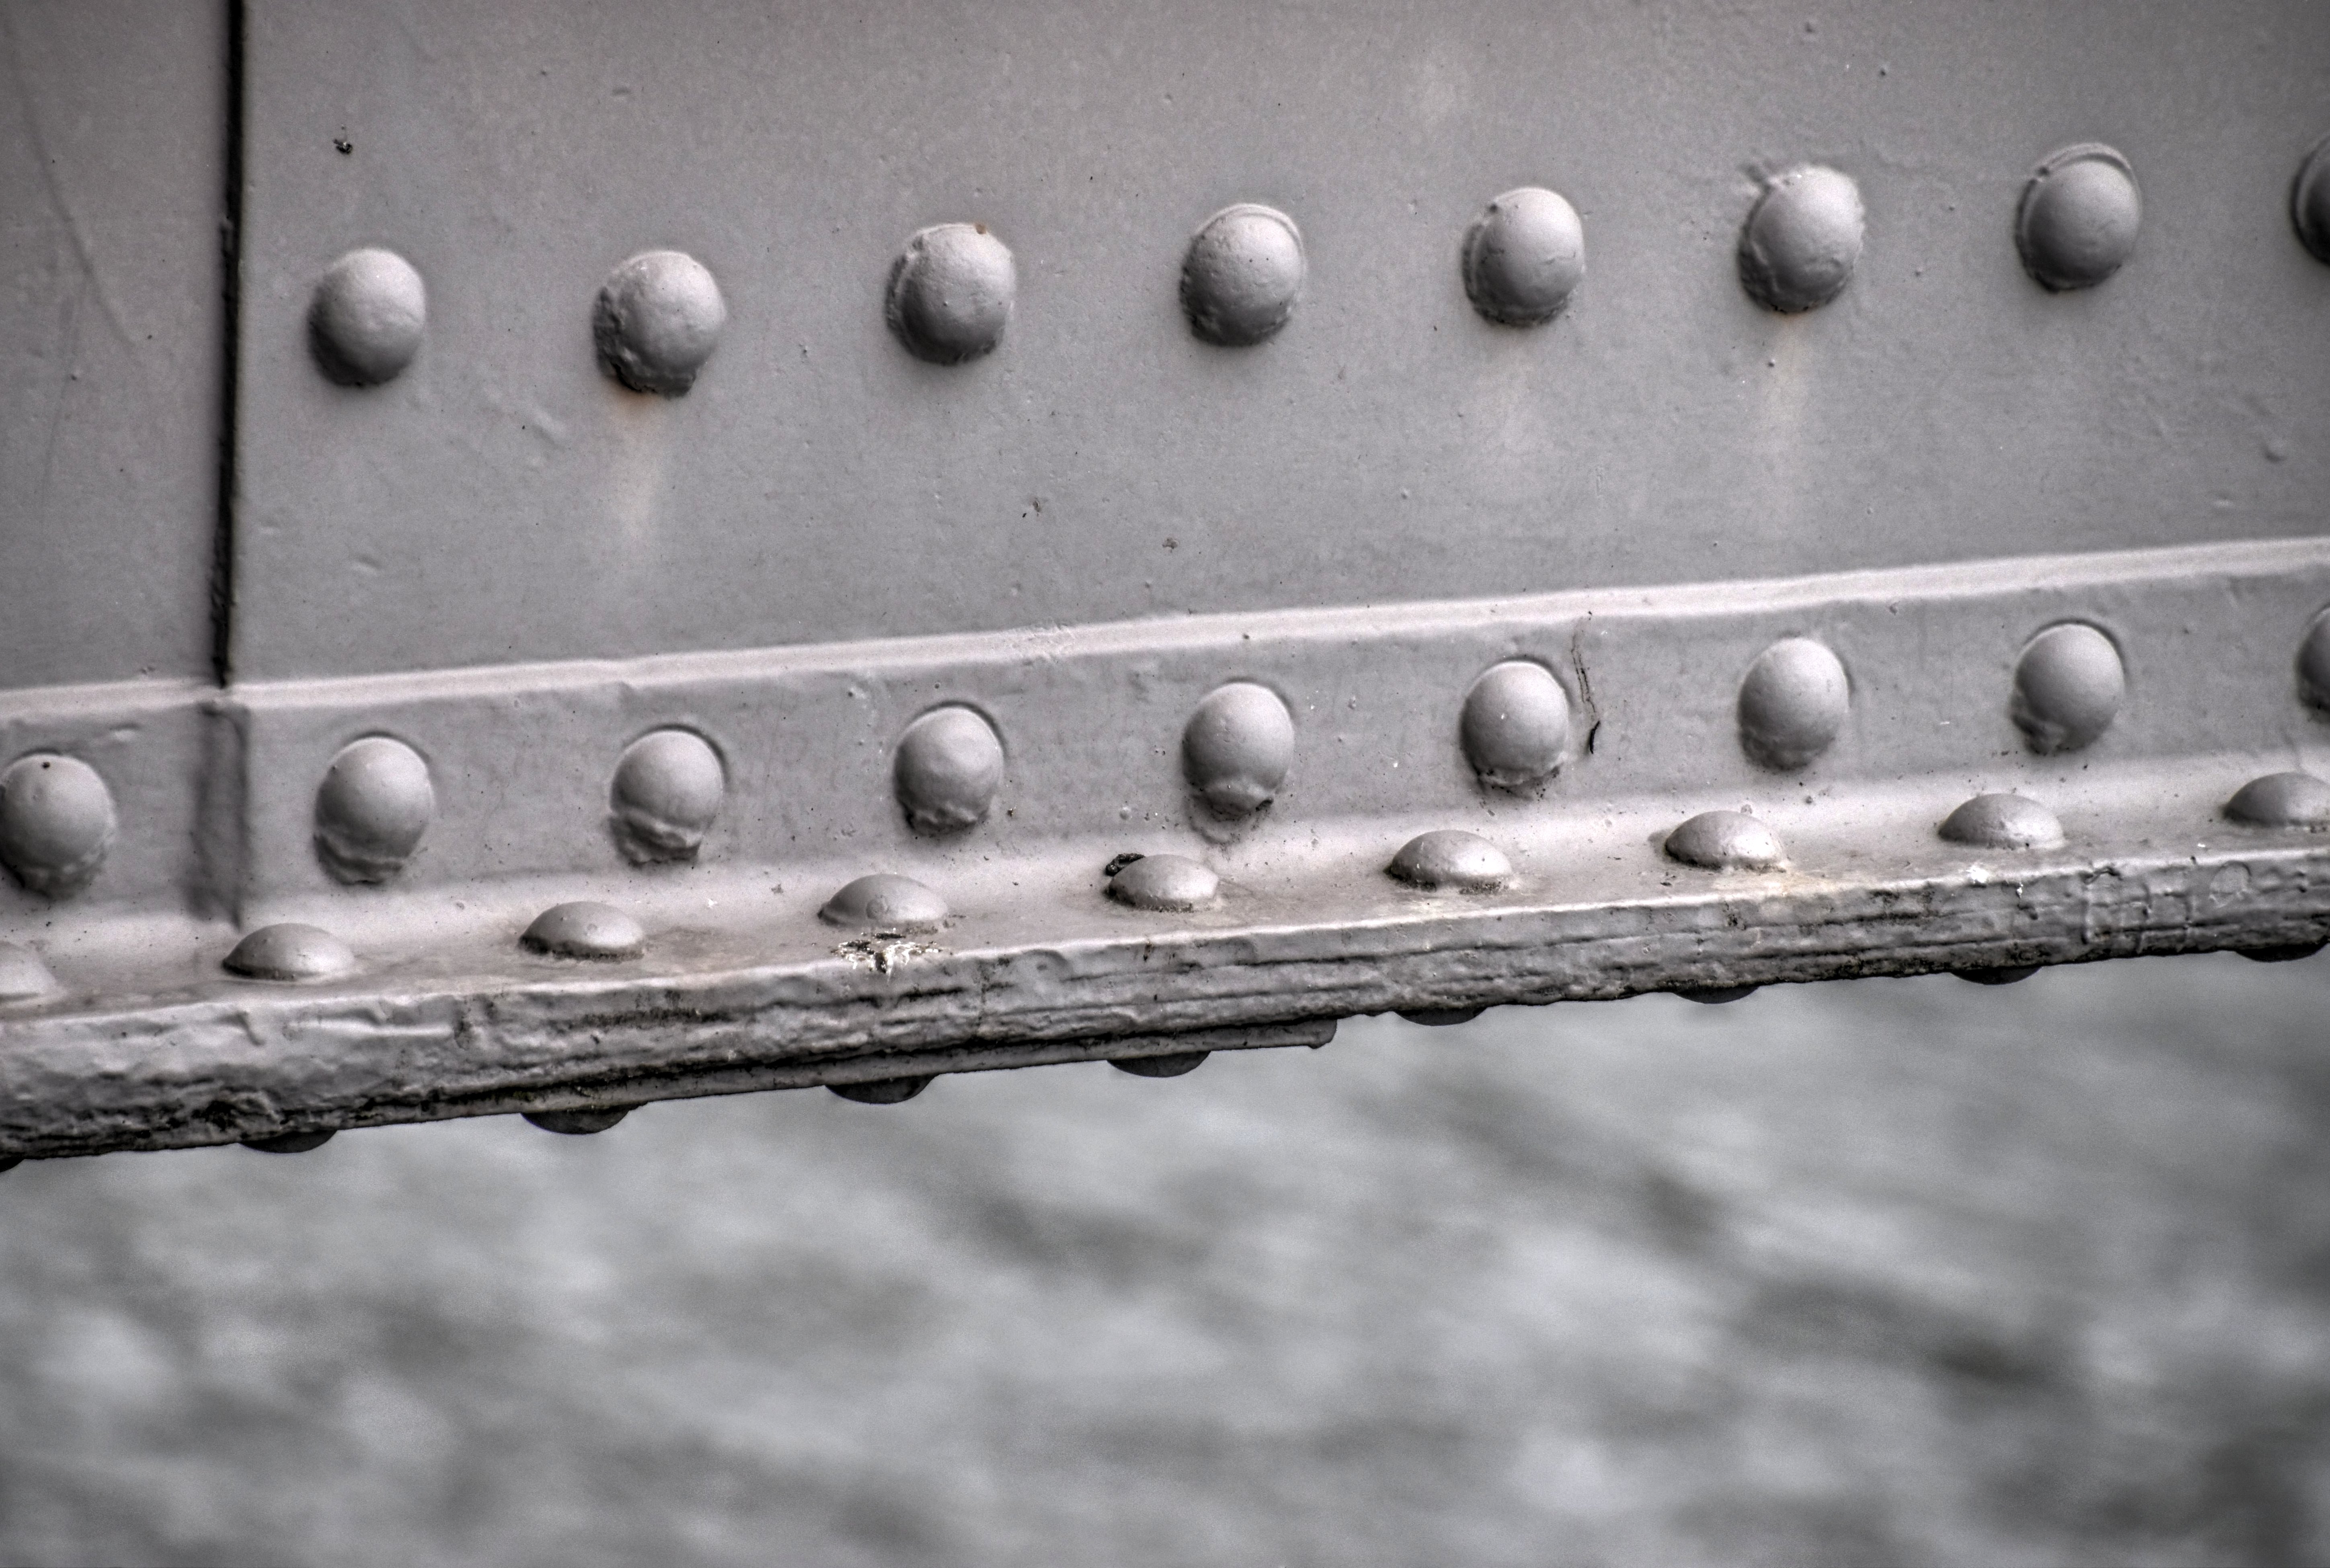
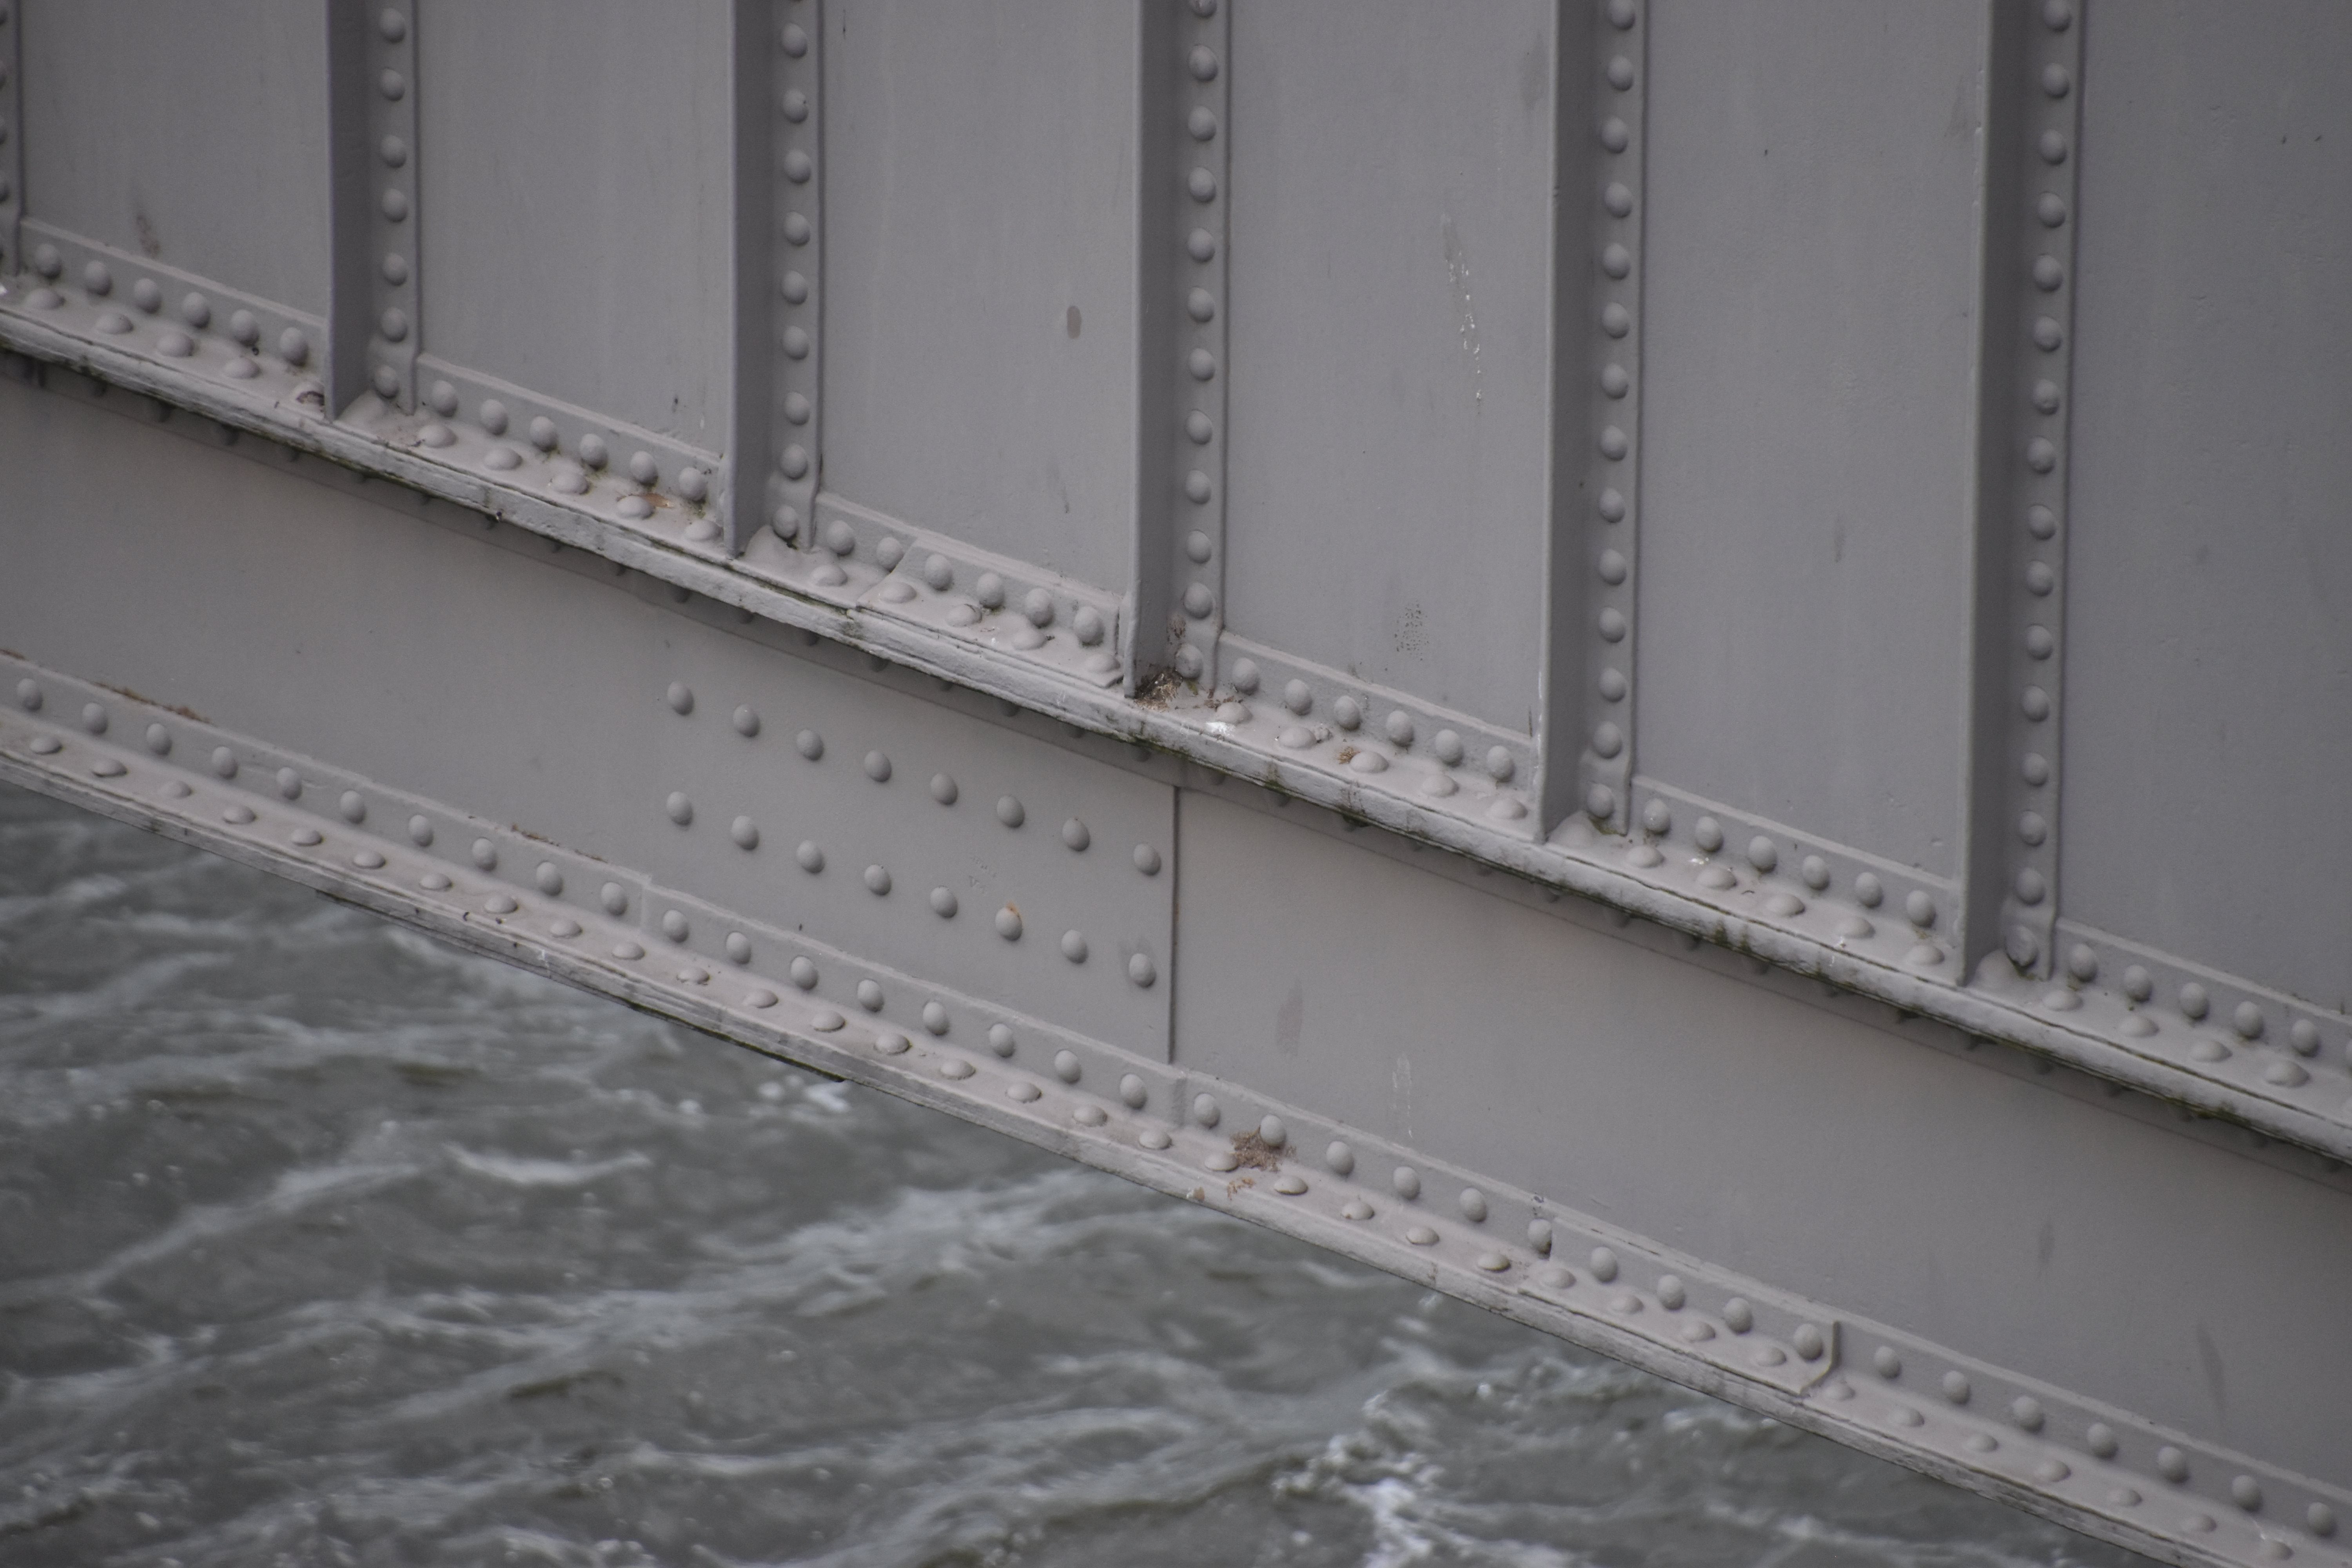
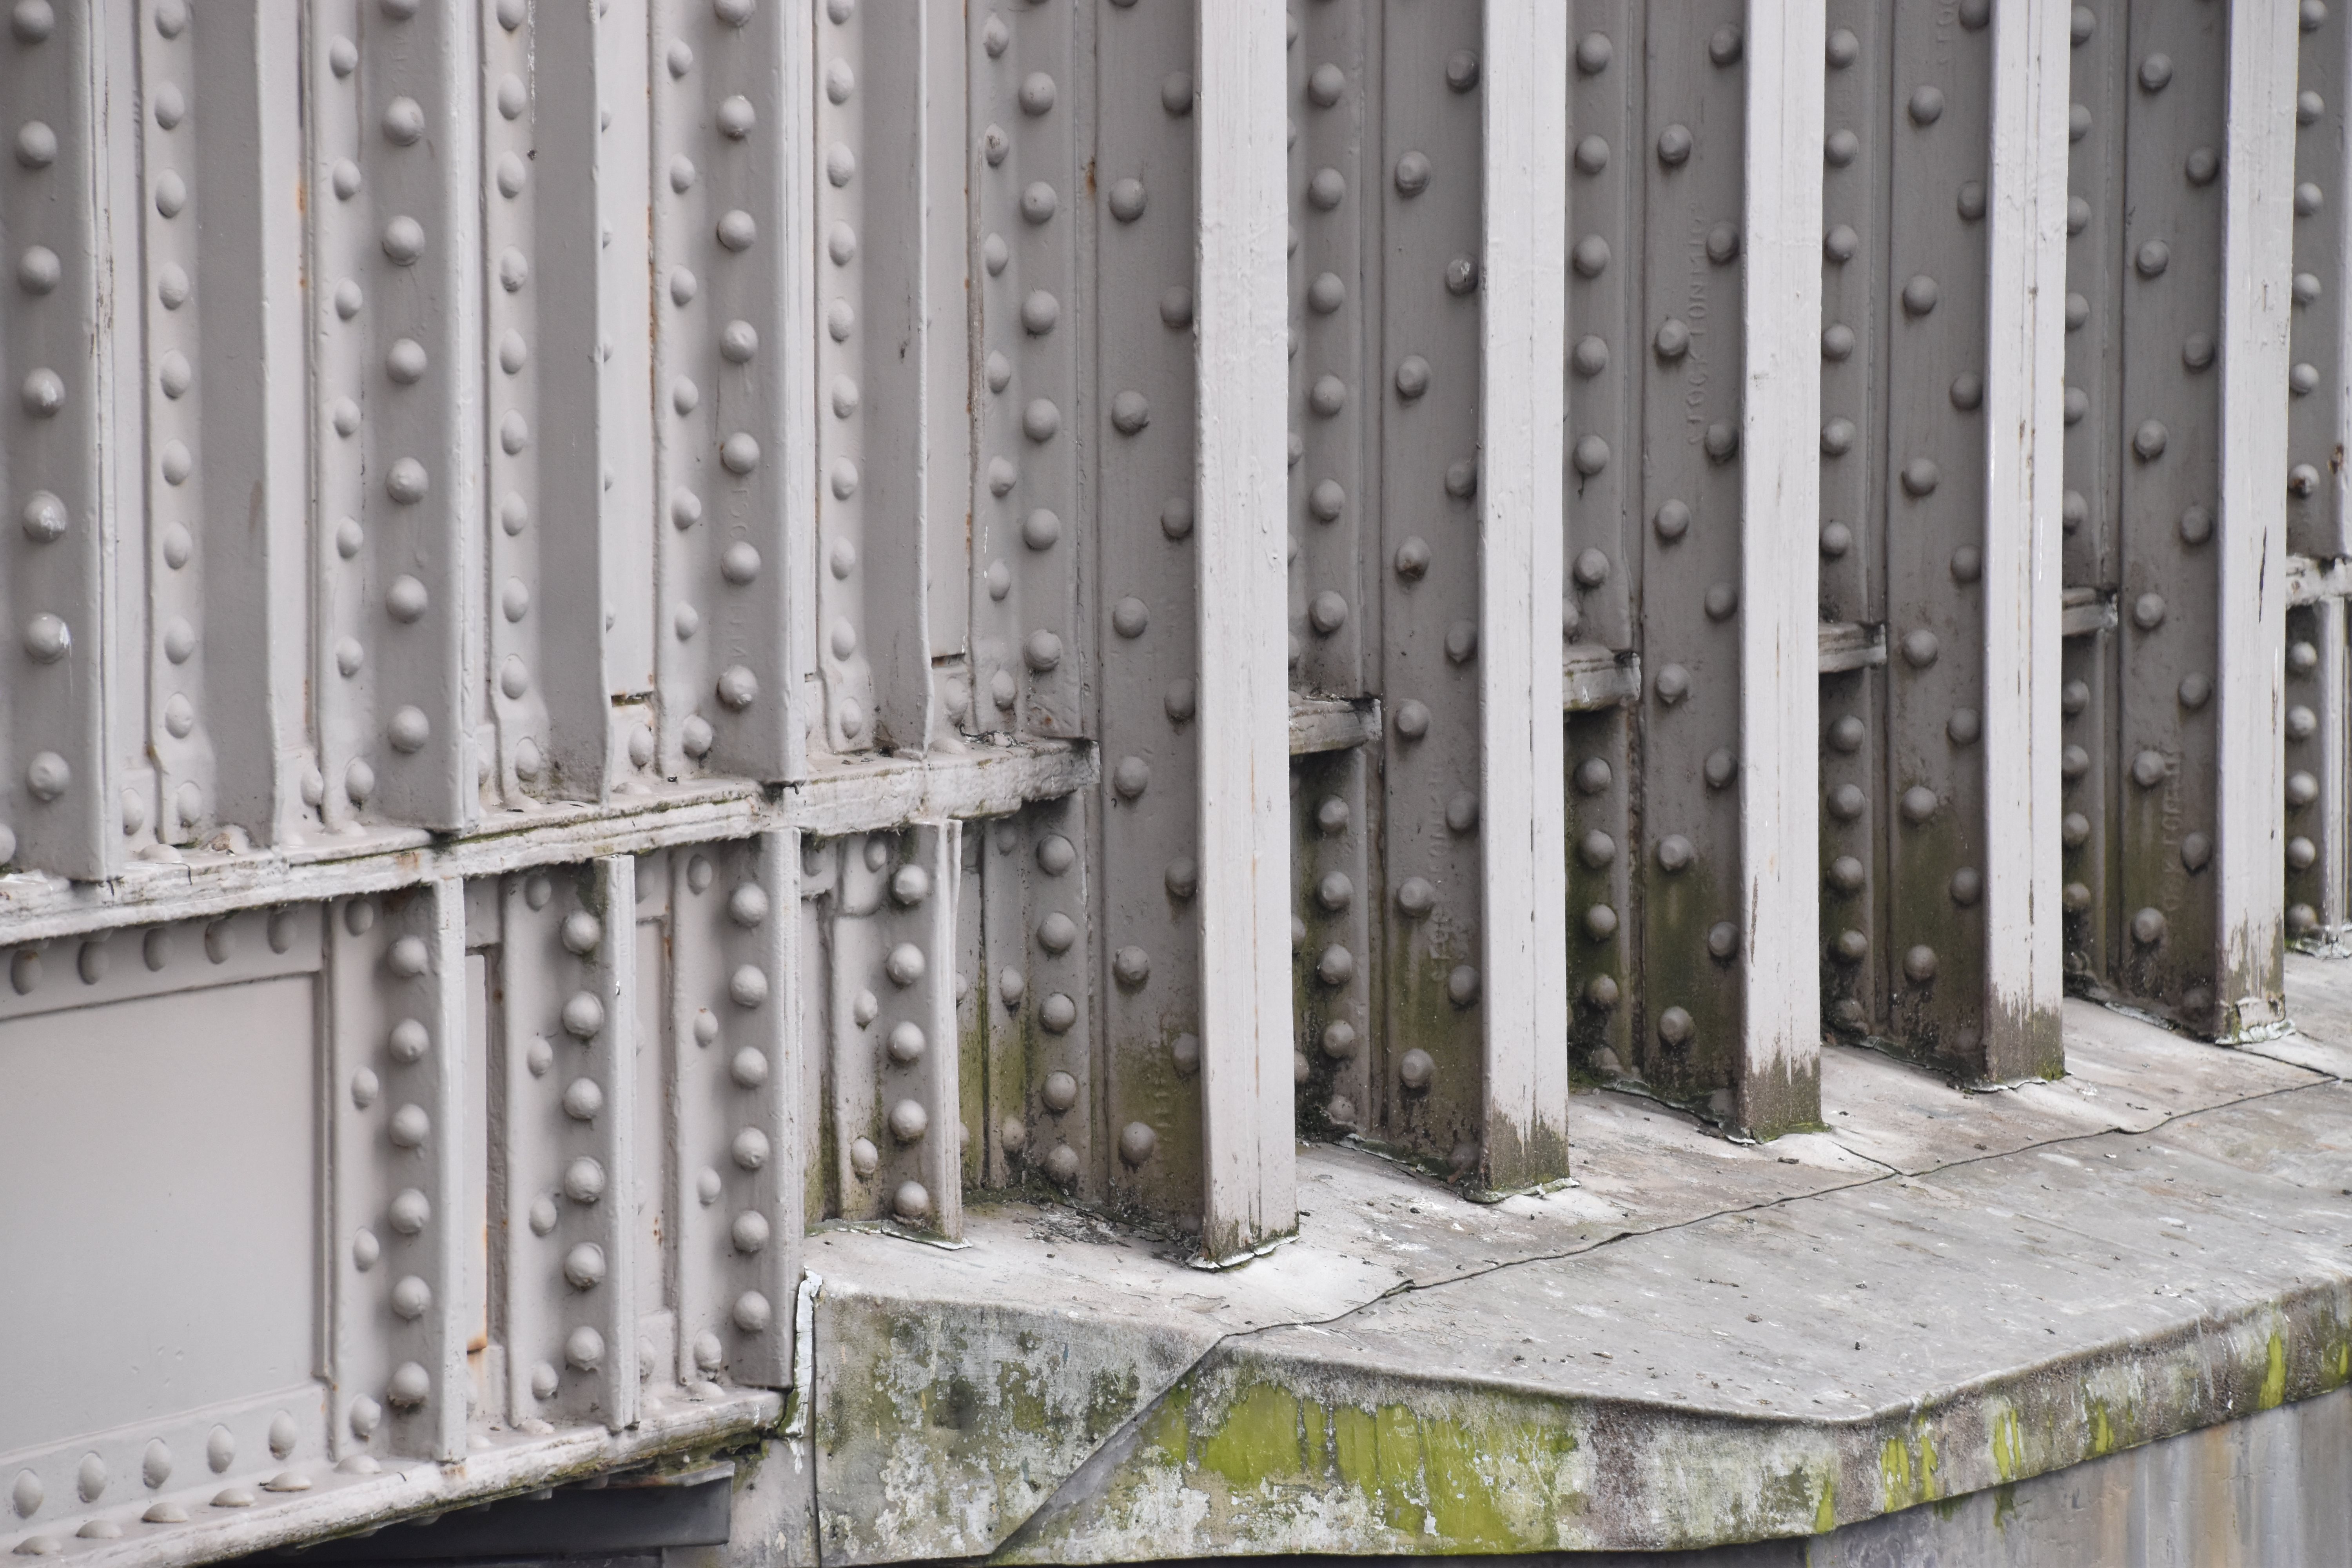
View looking at girder showing 1899 strengthened section of girder at pier.
![]()


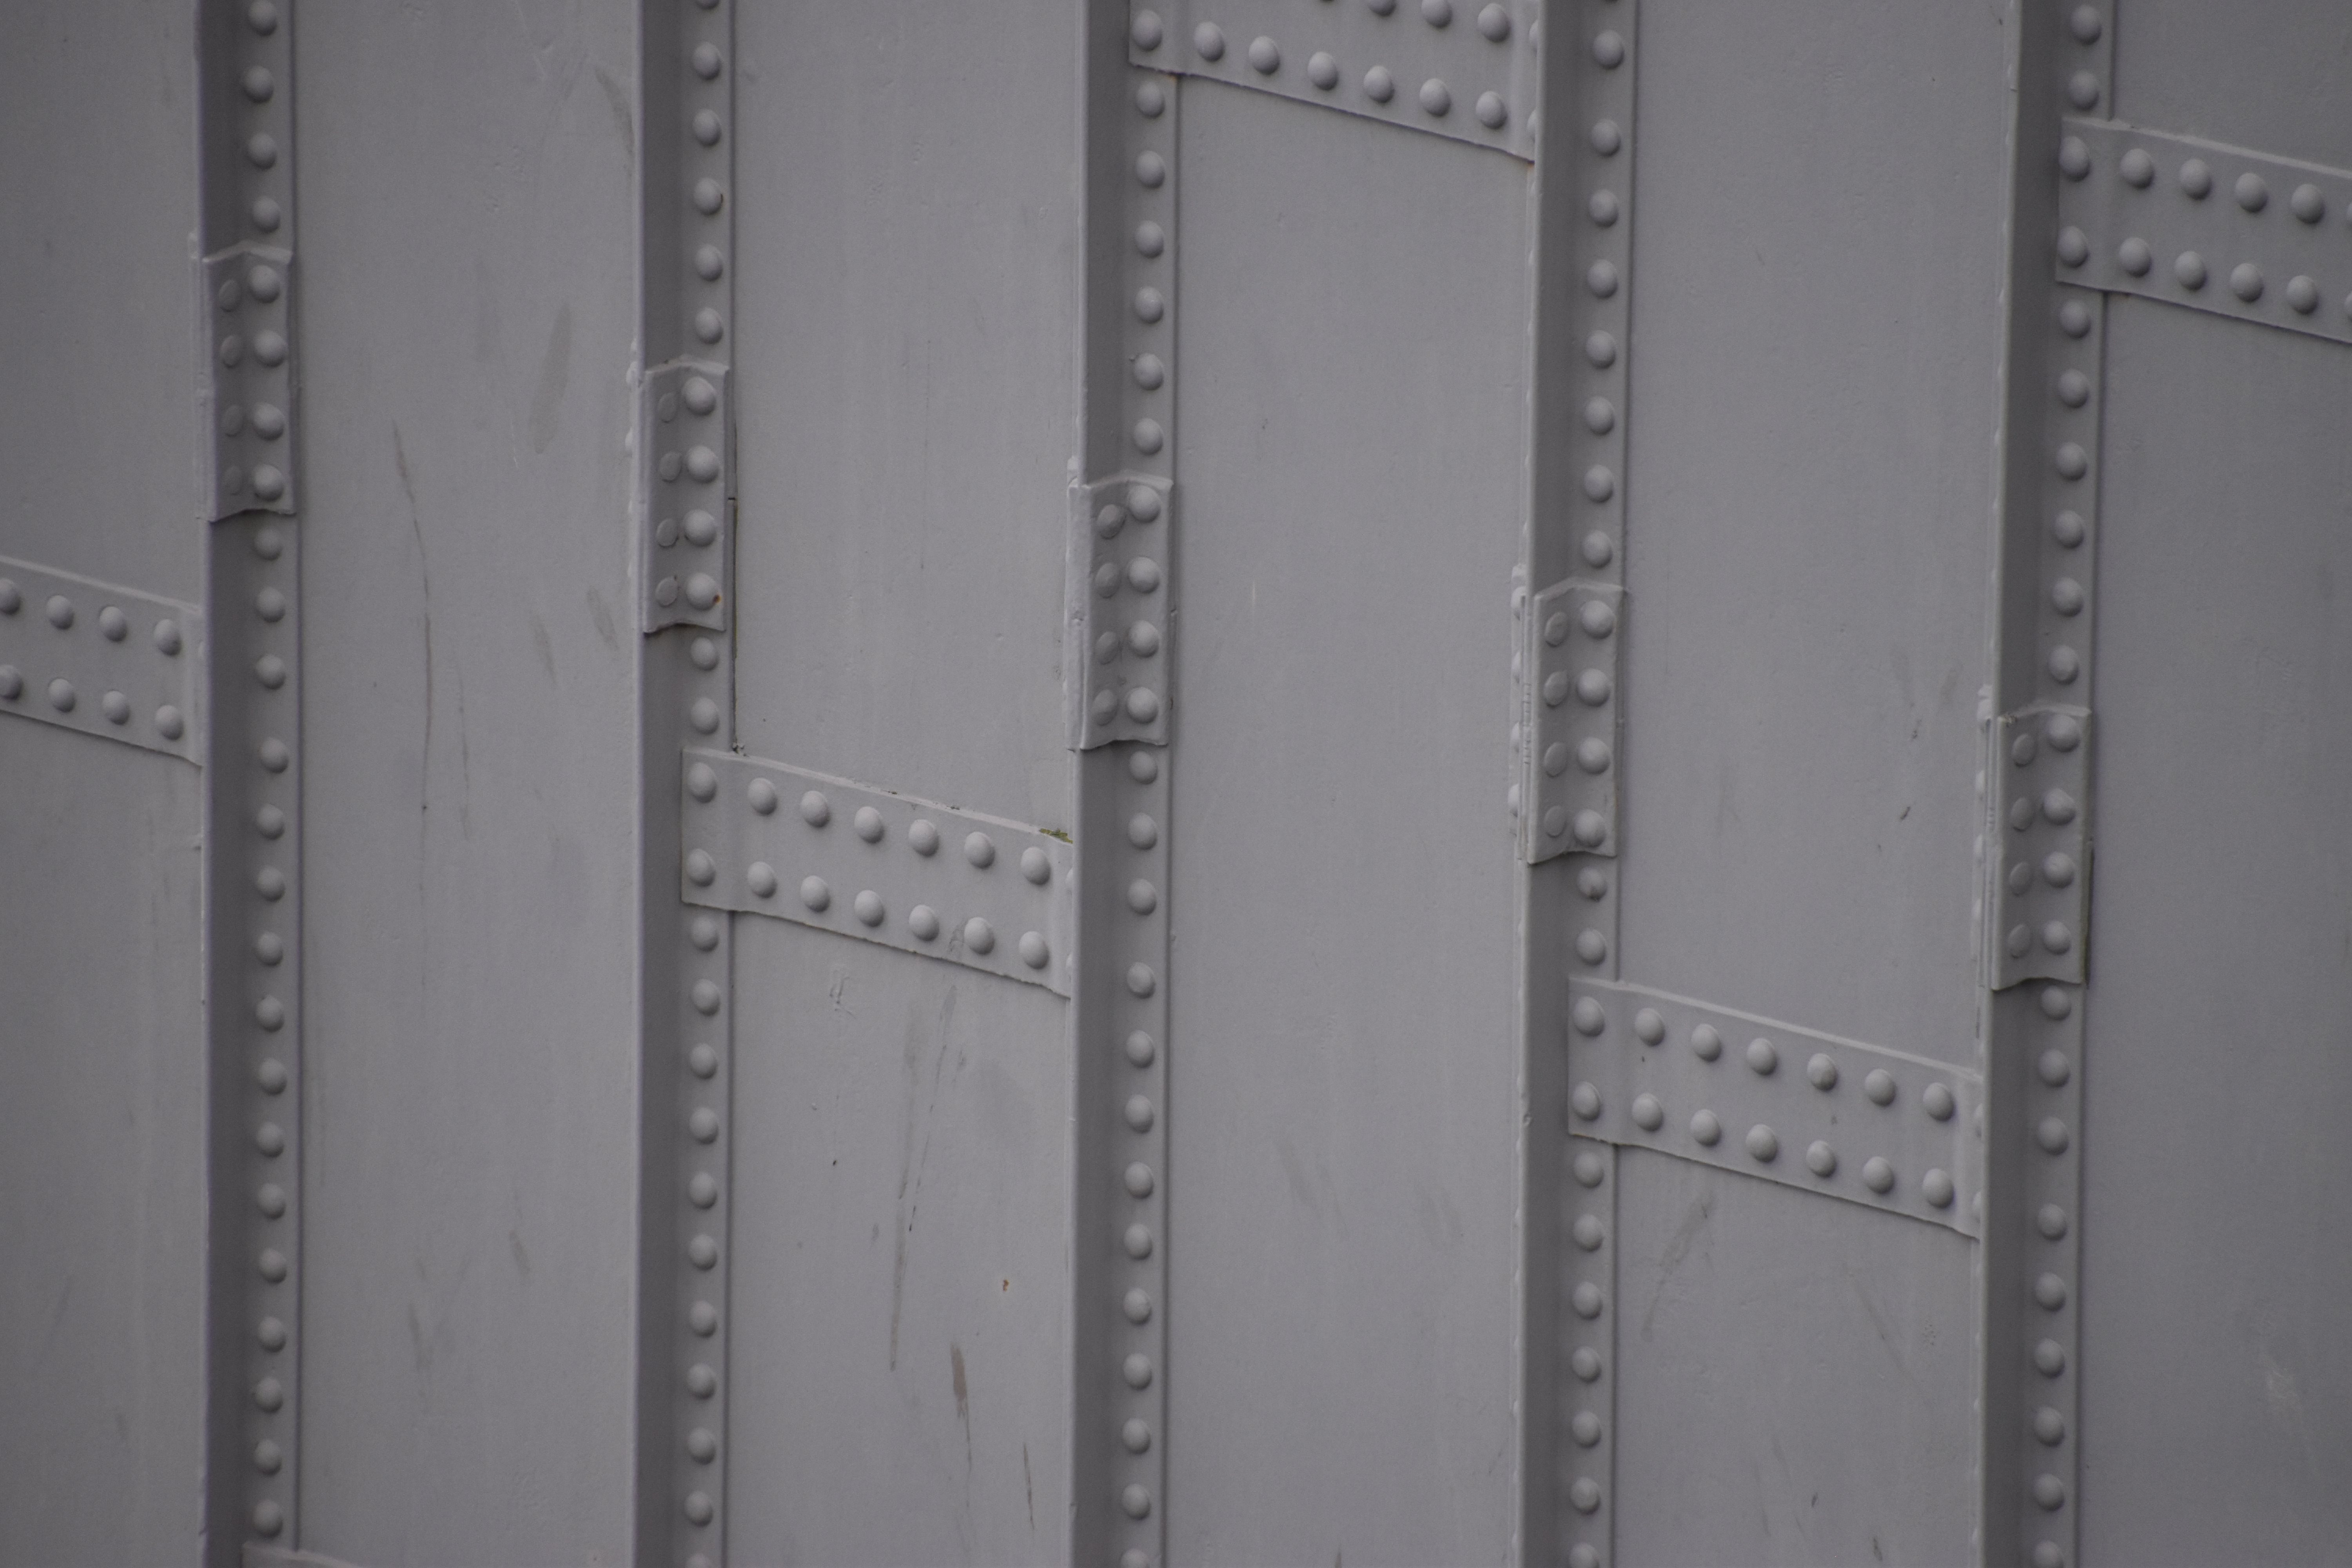
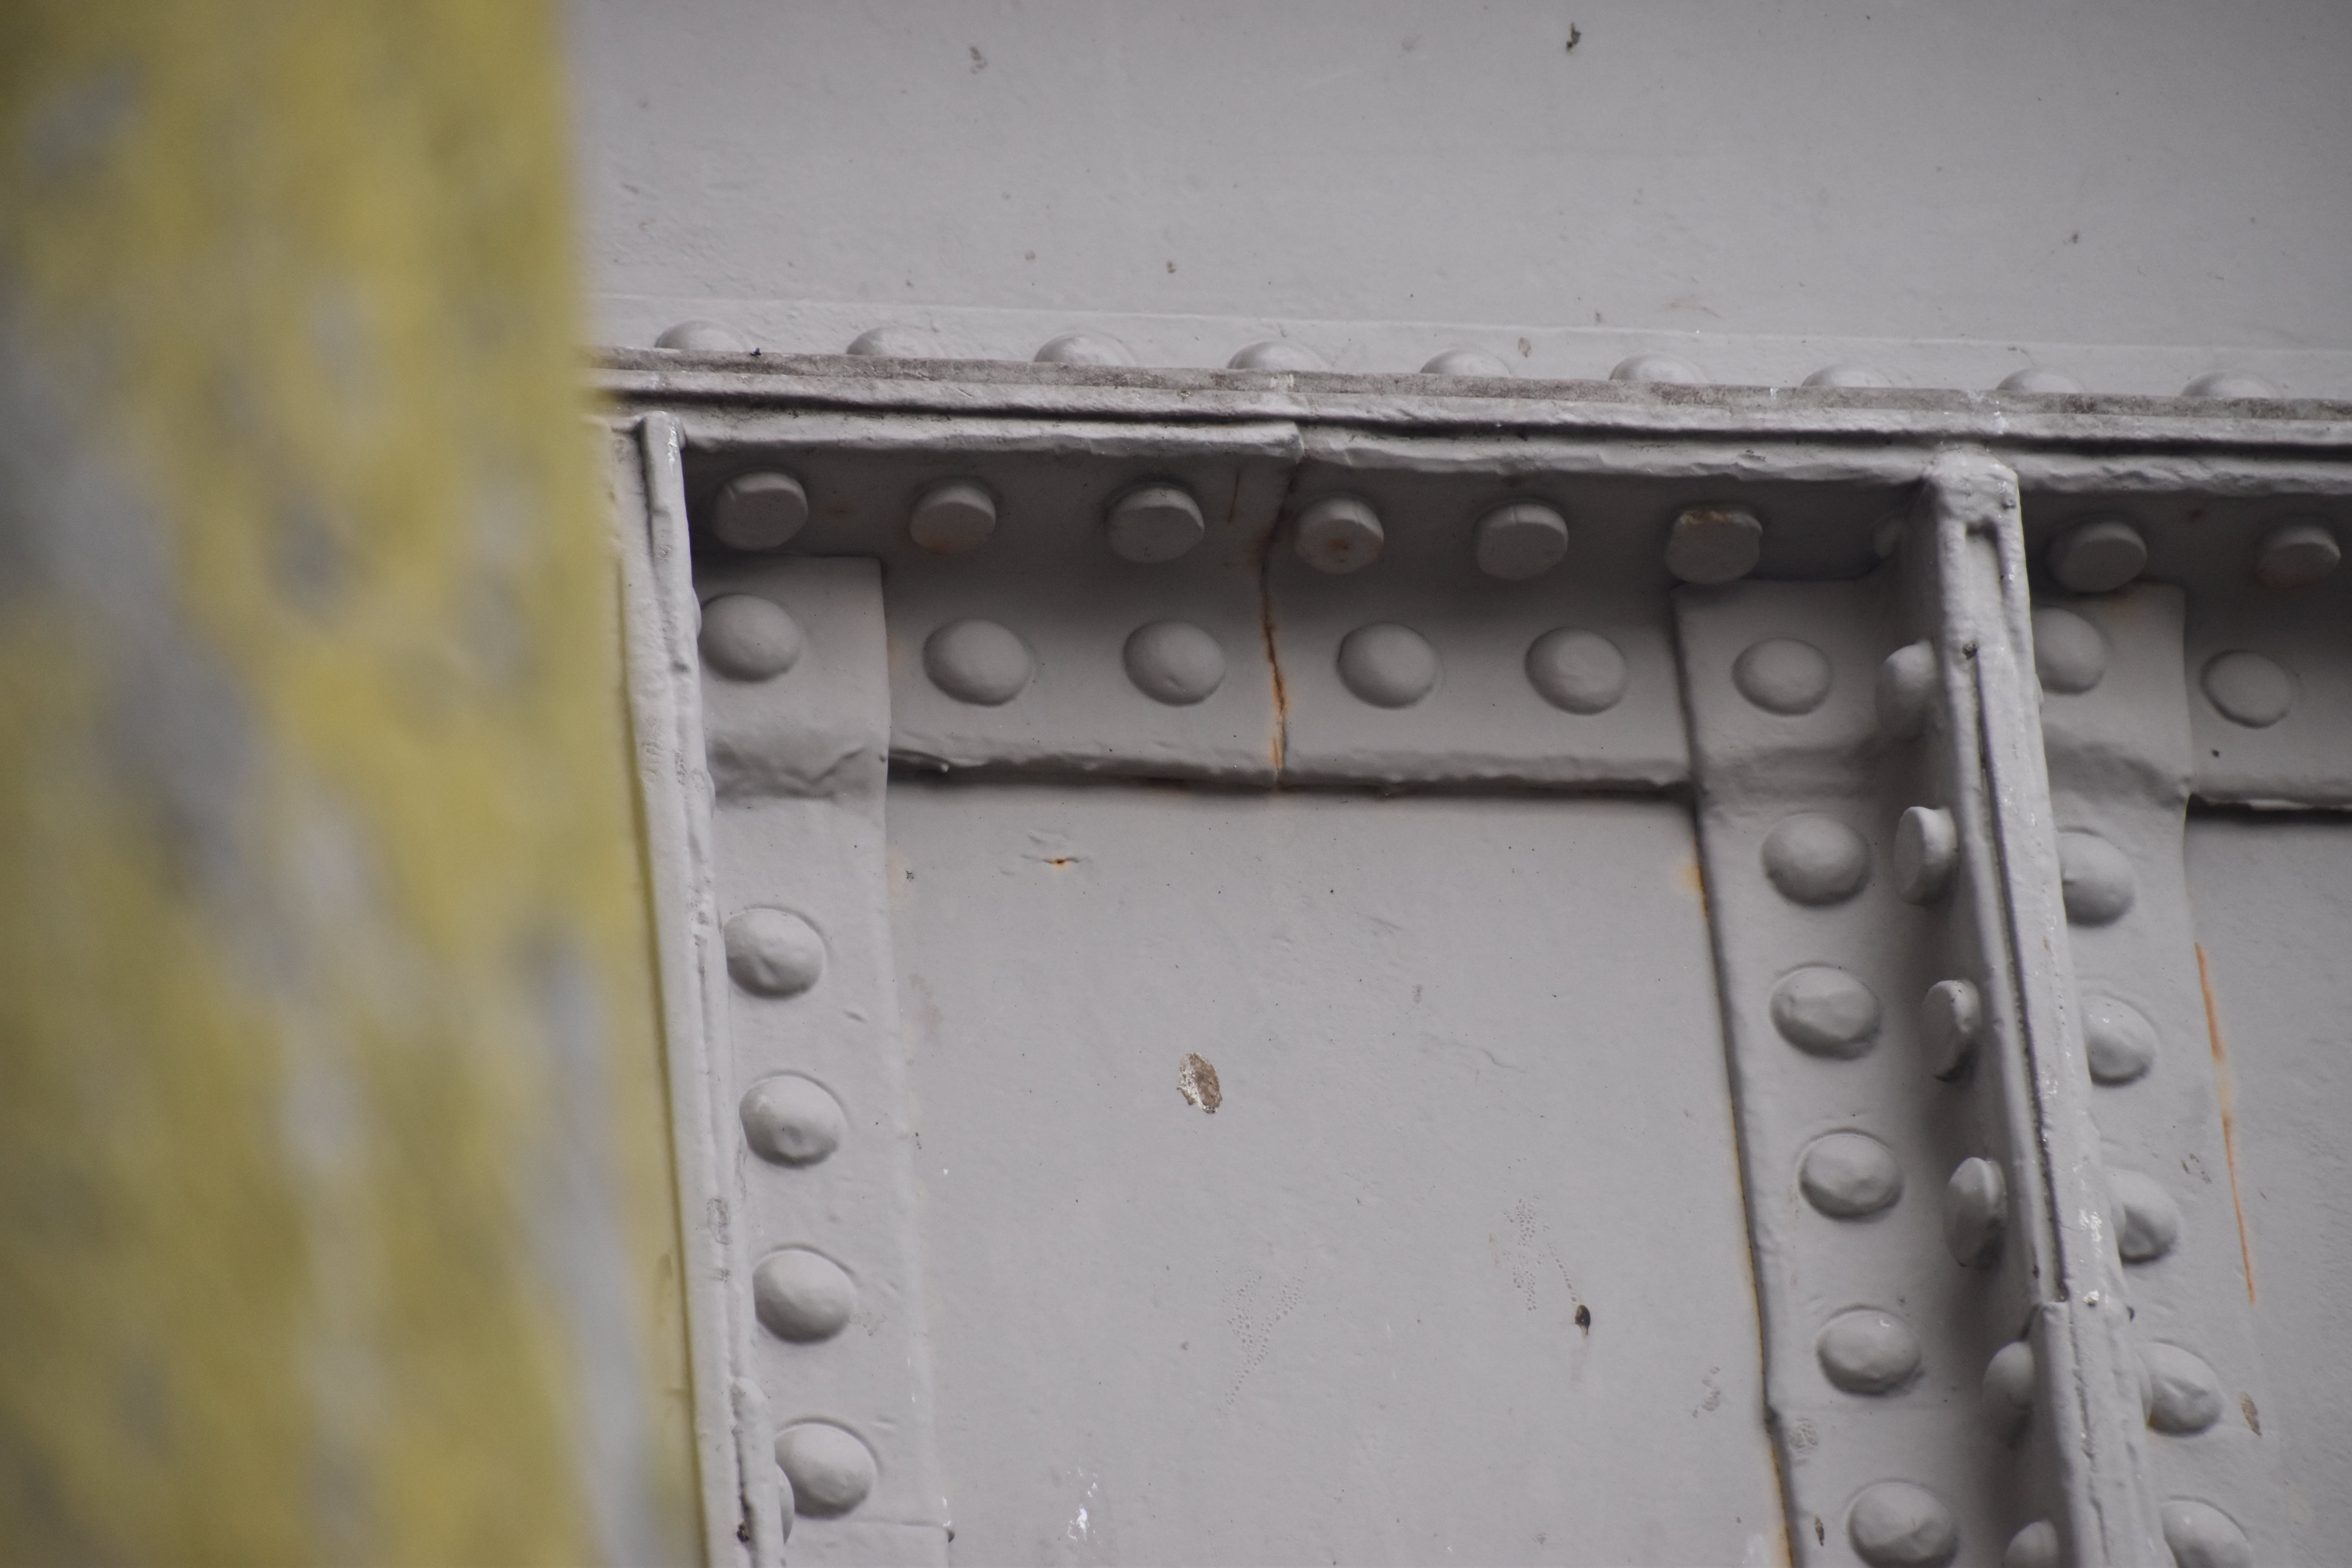
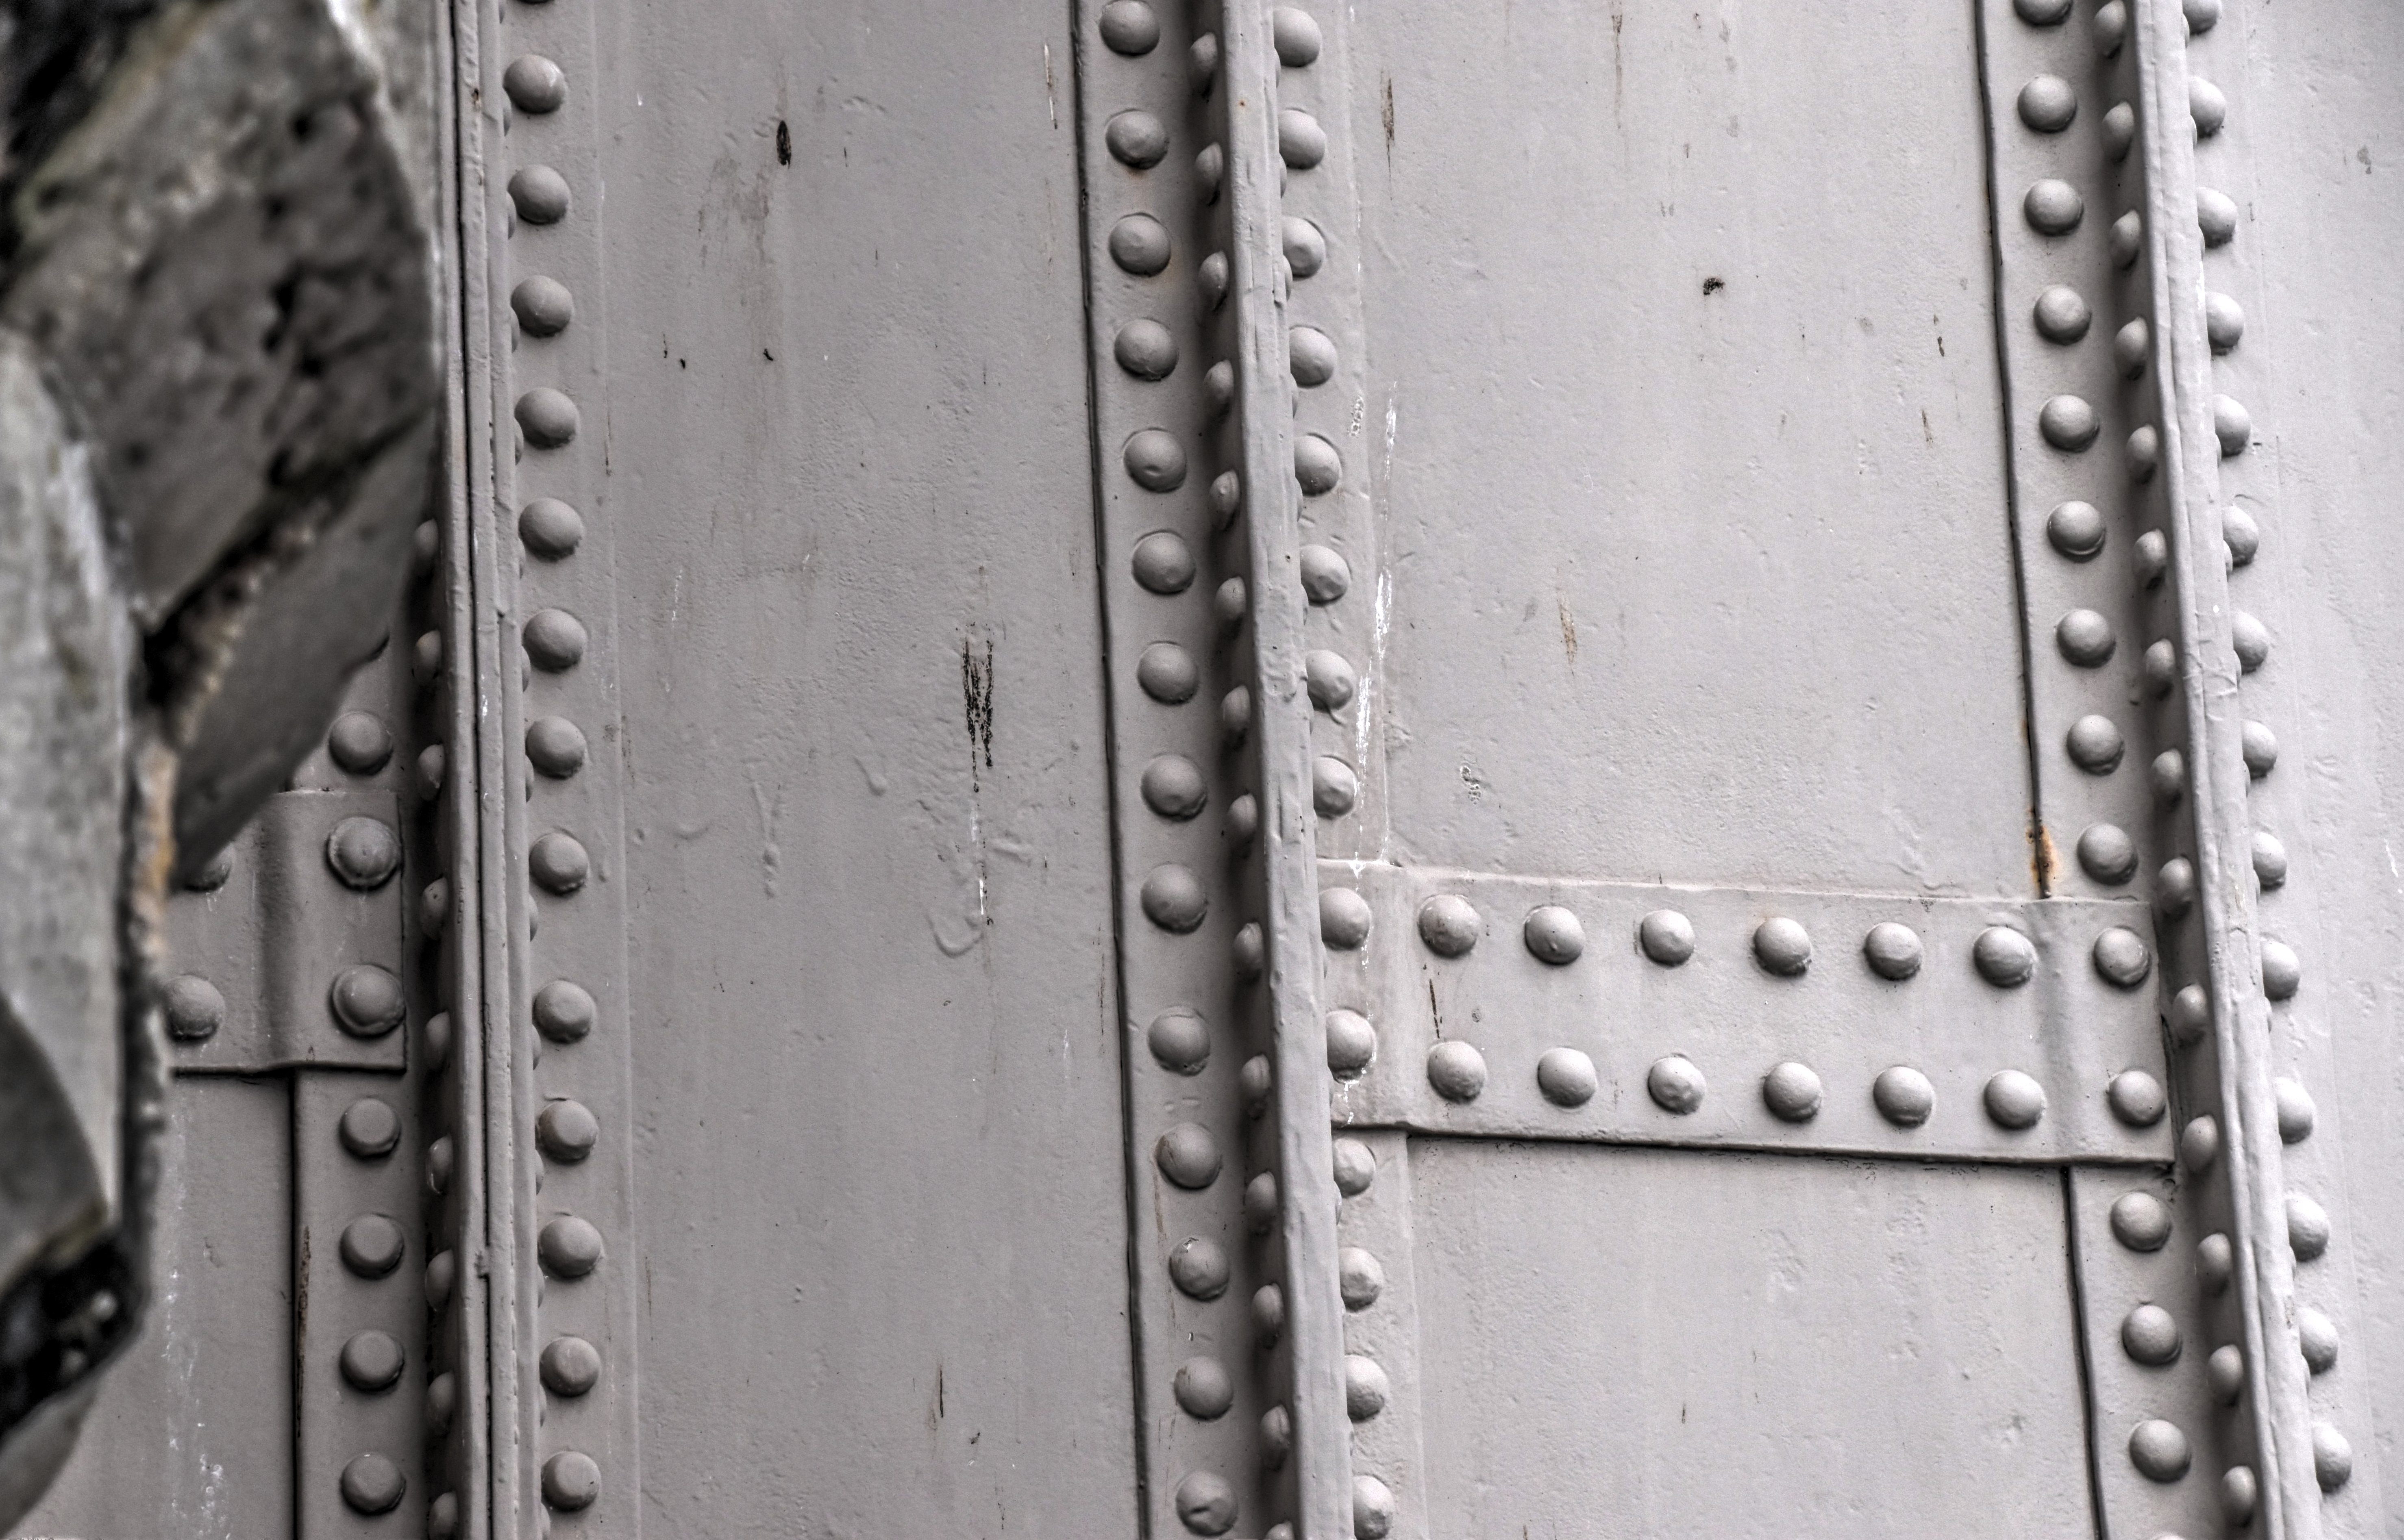
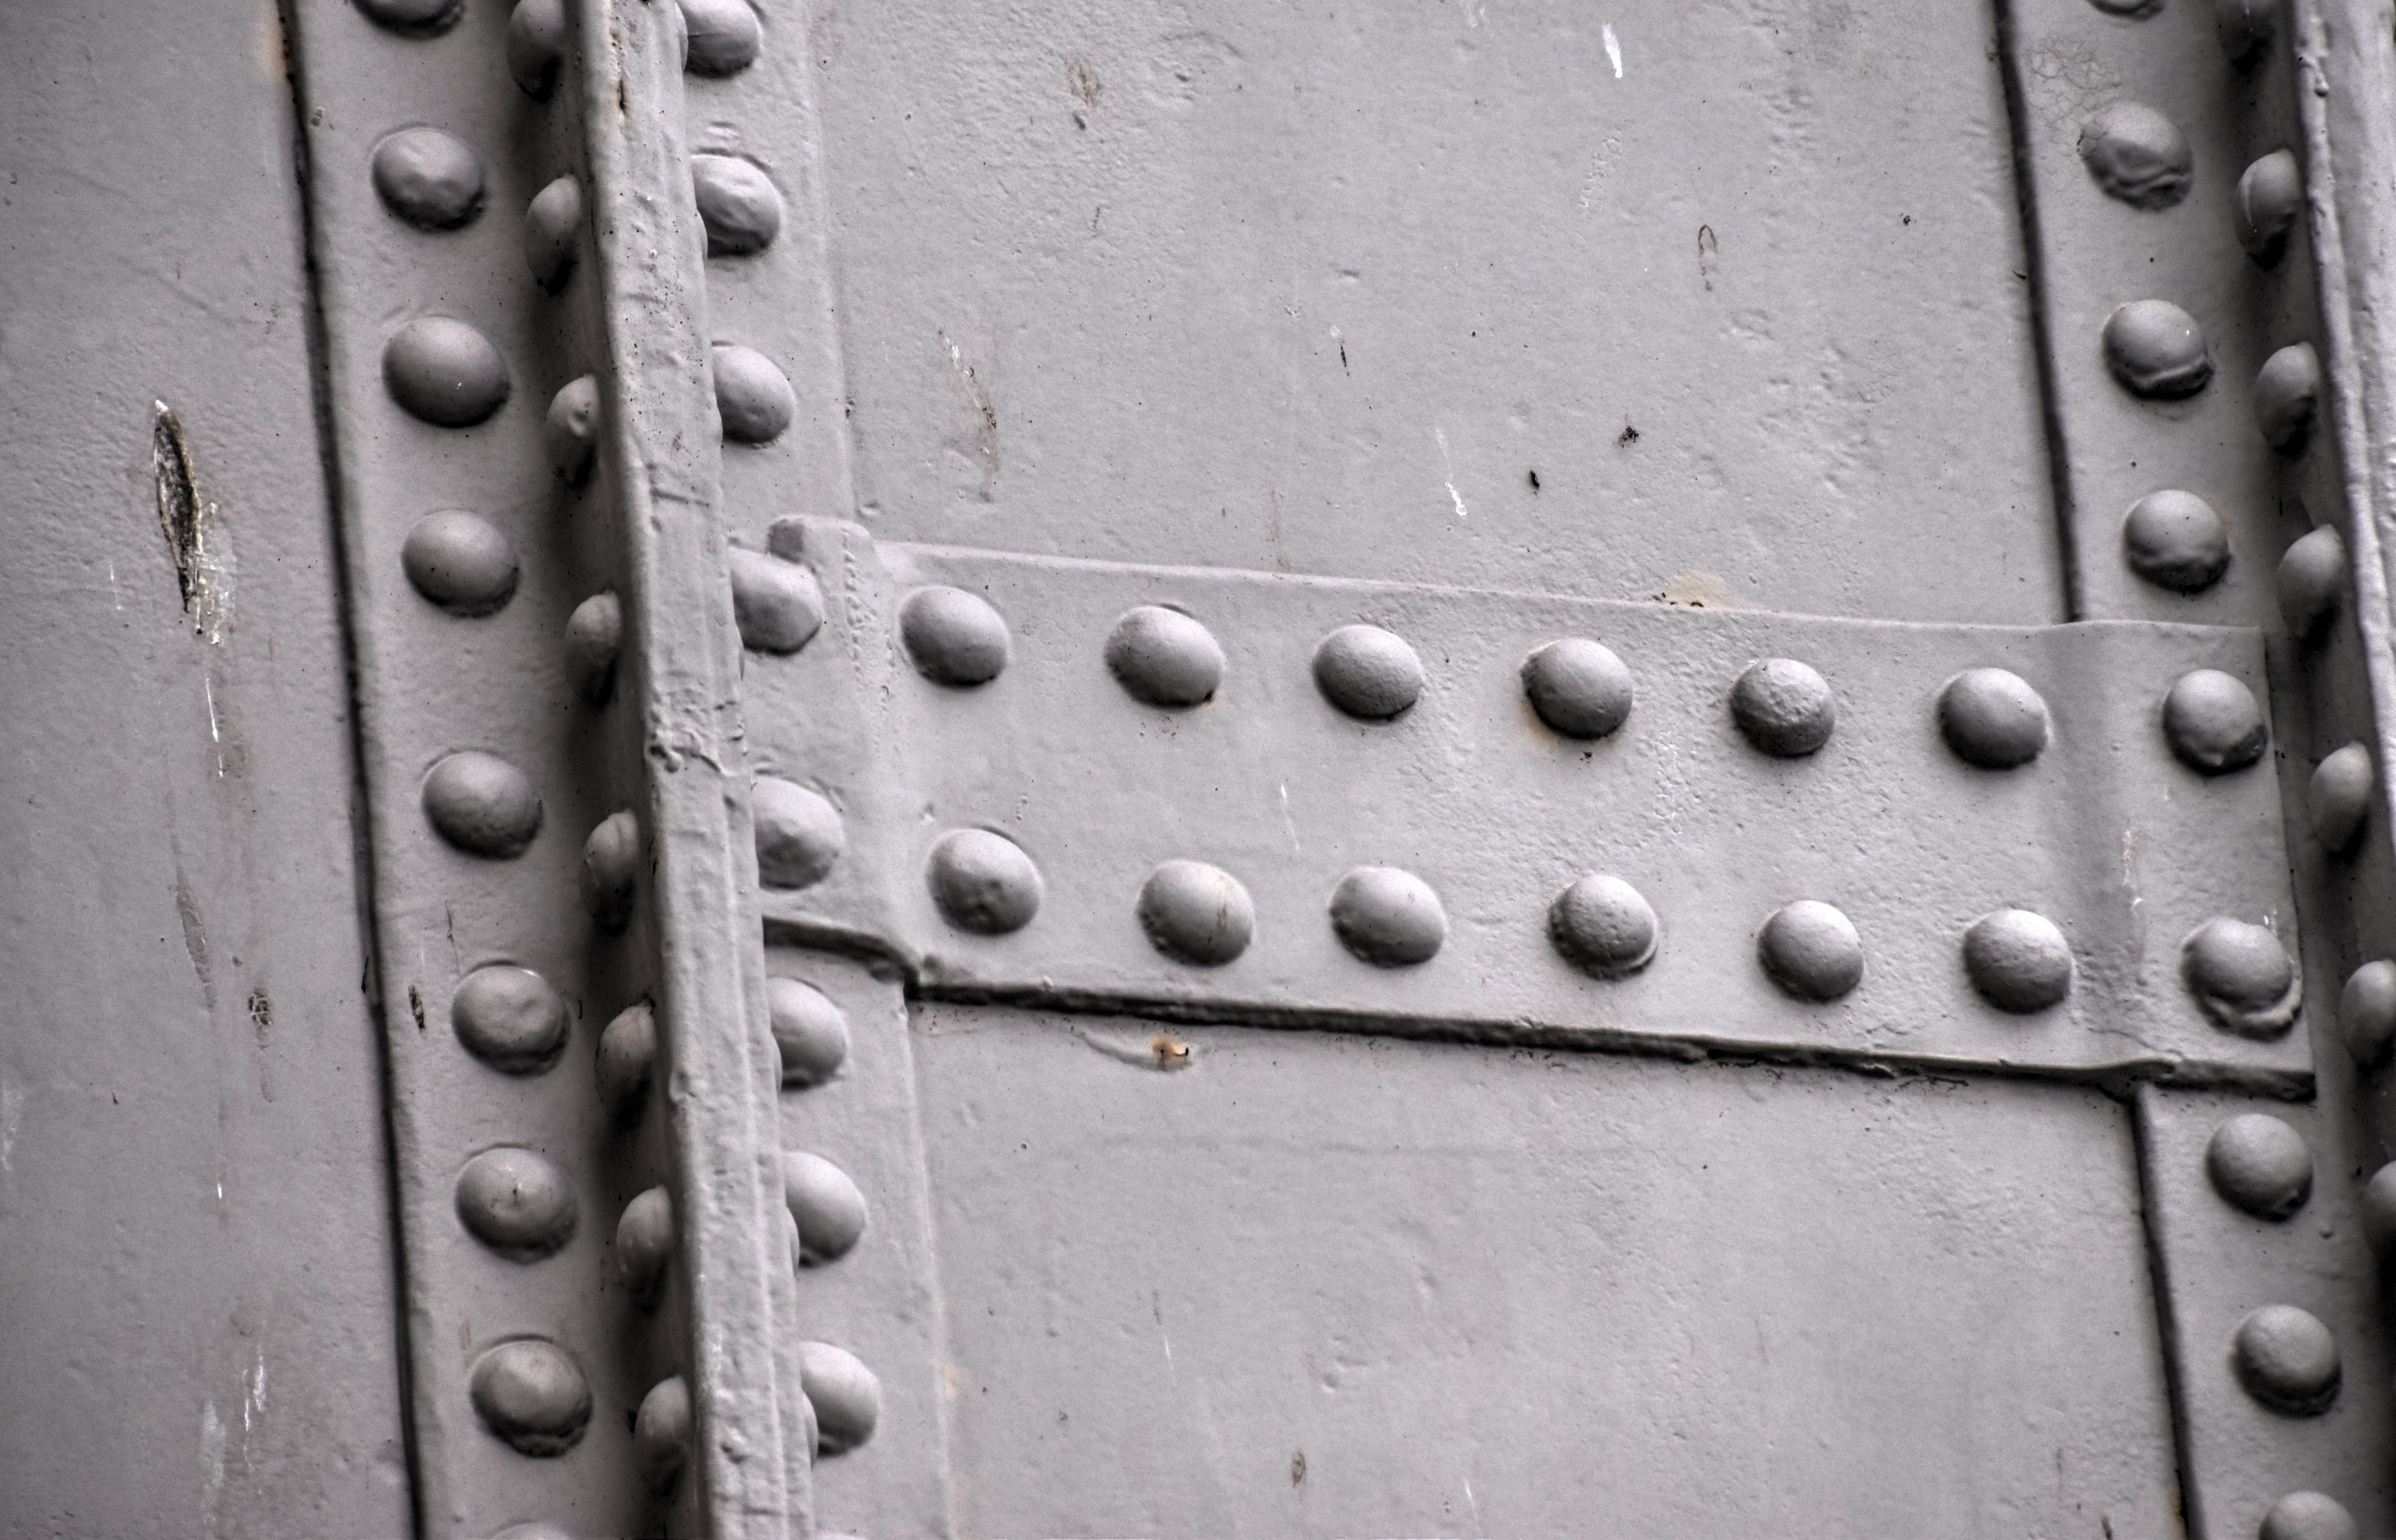
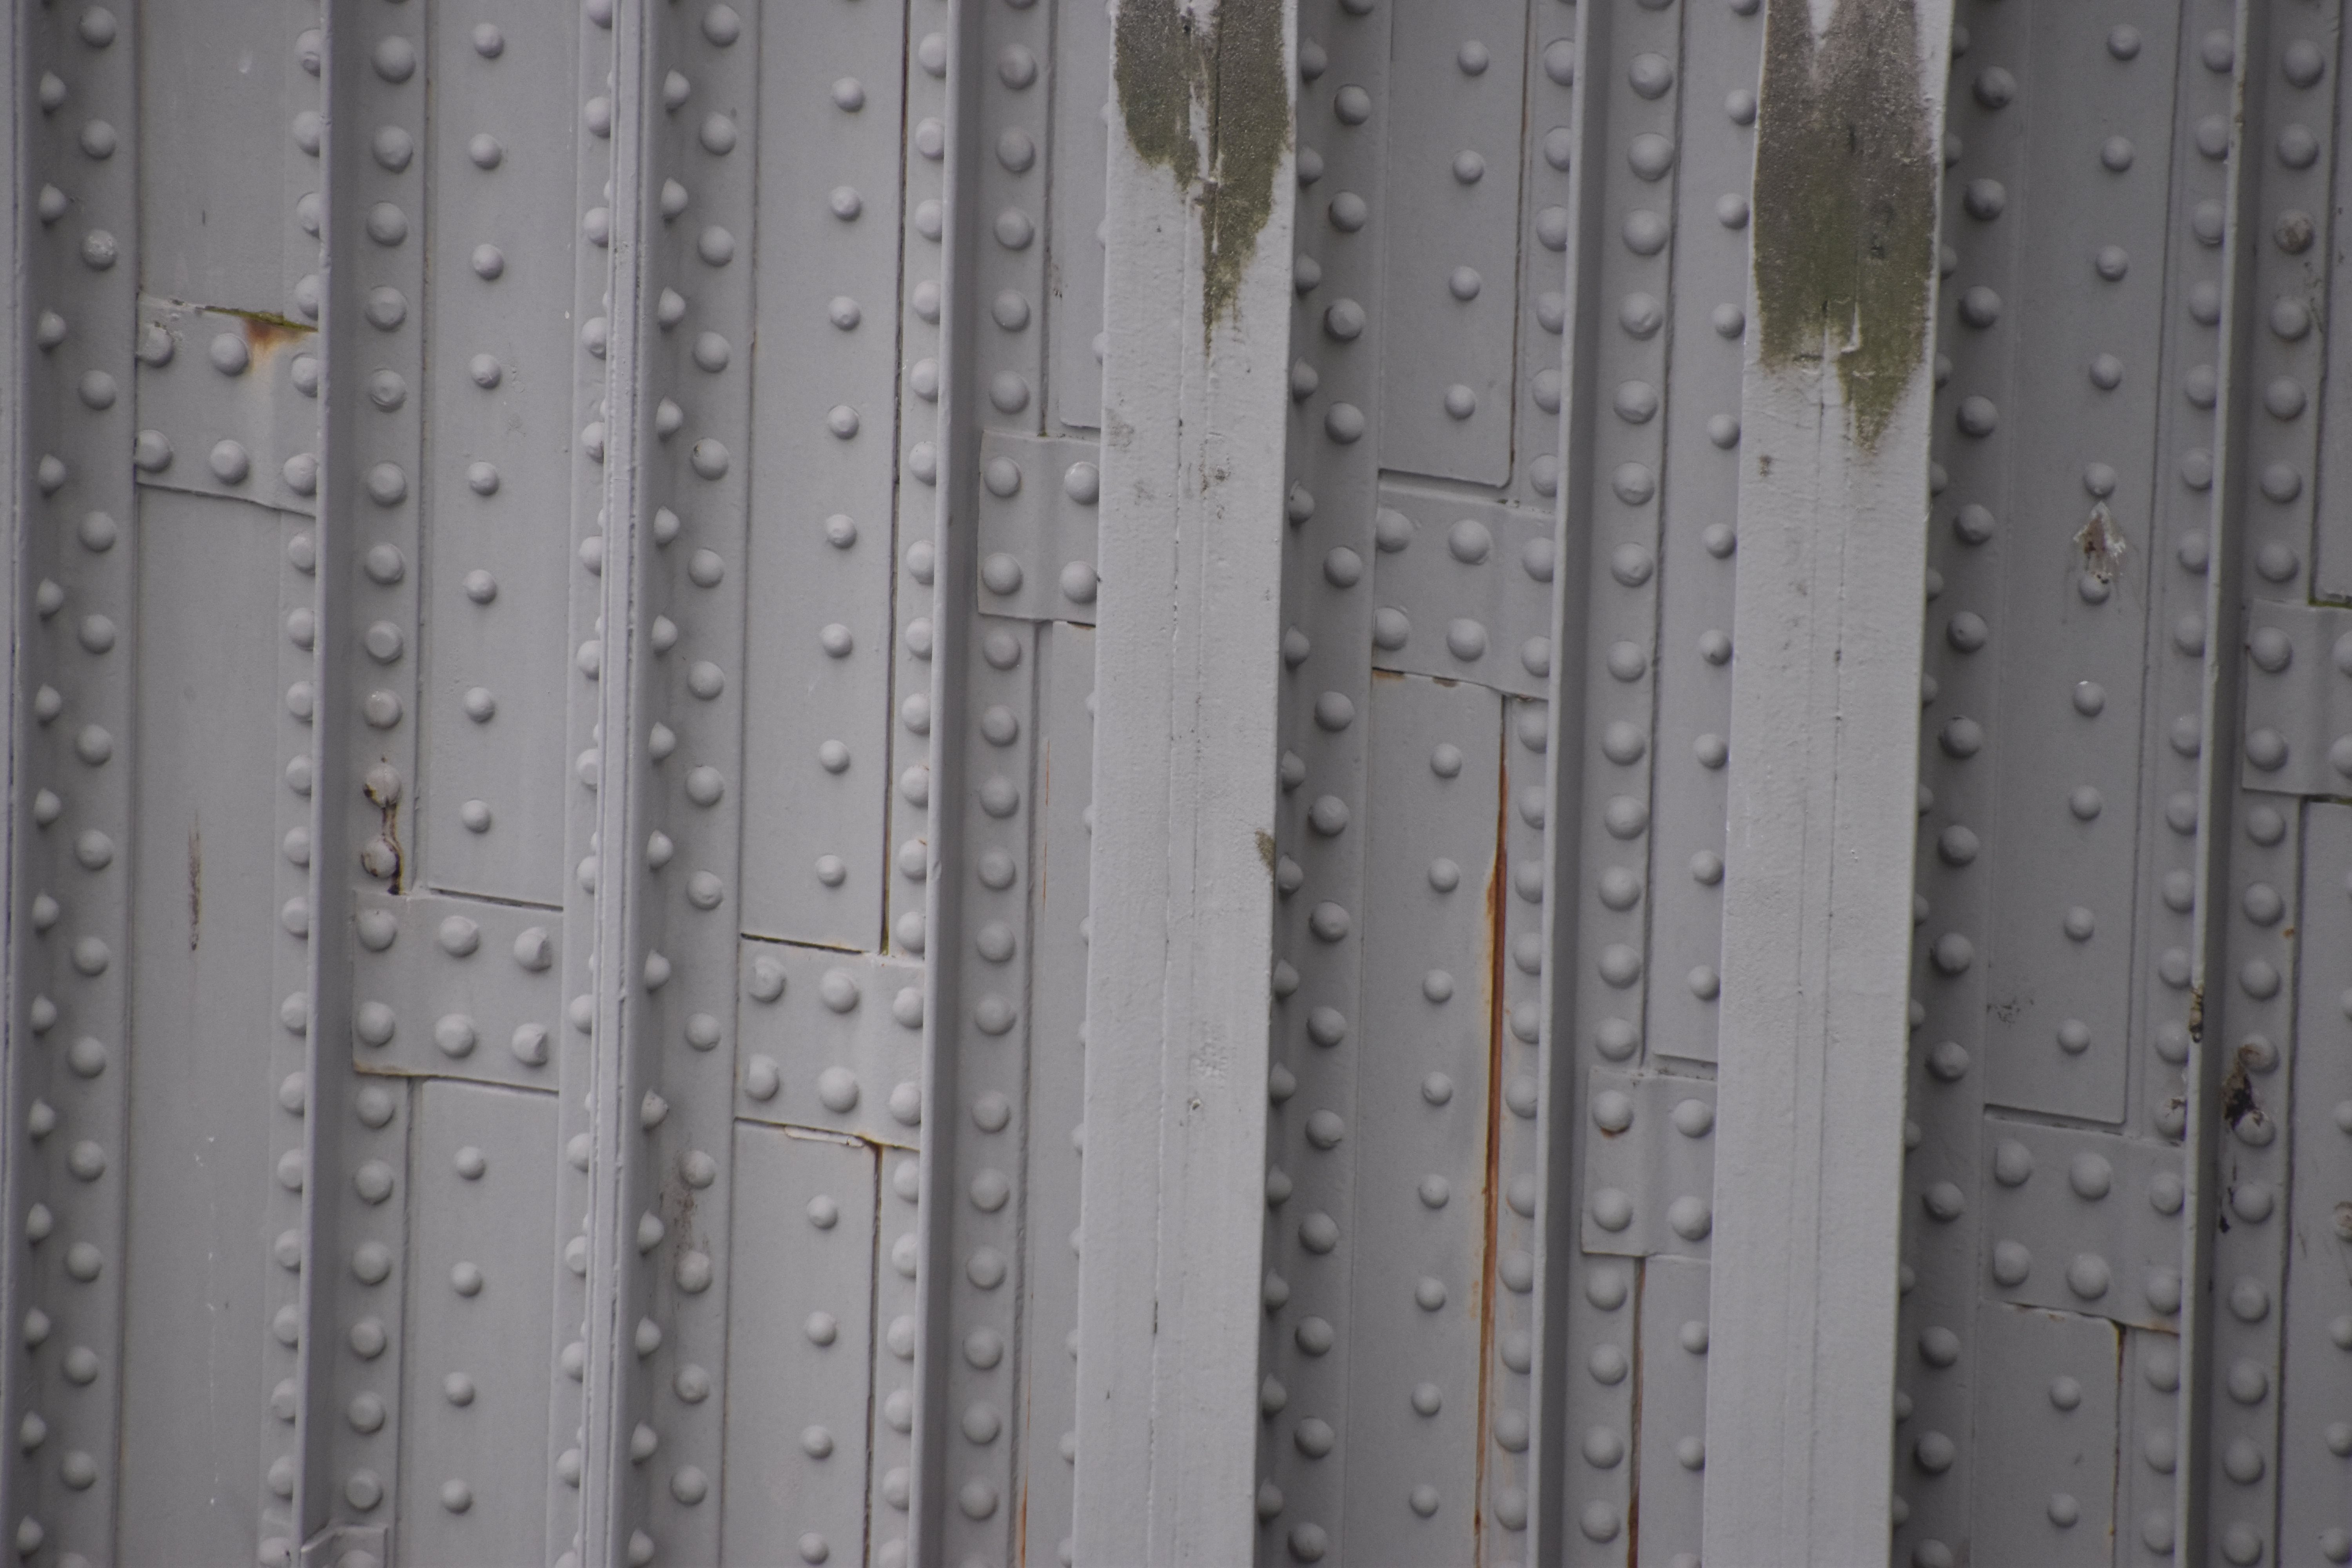
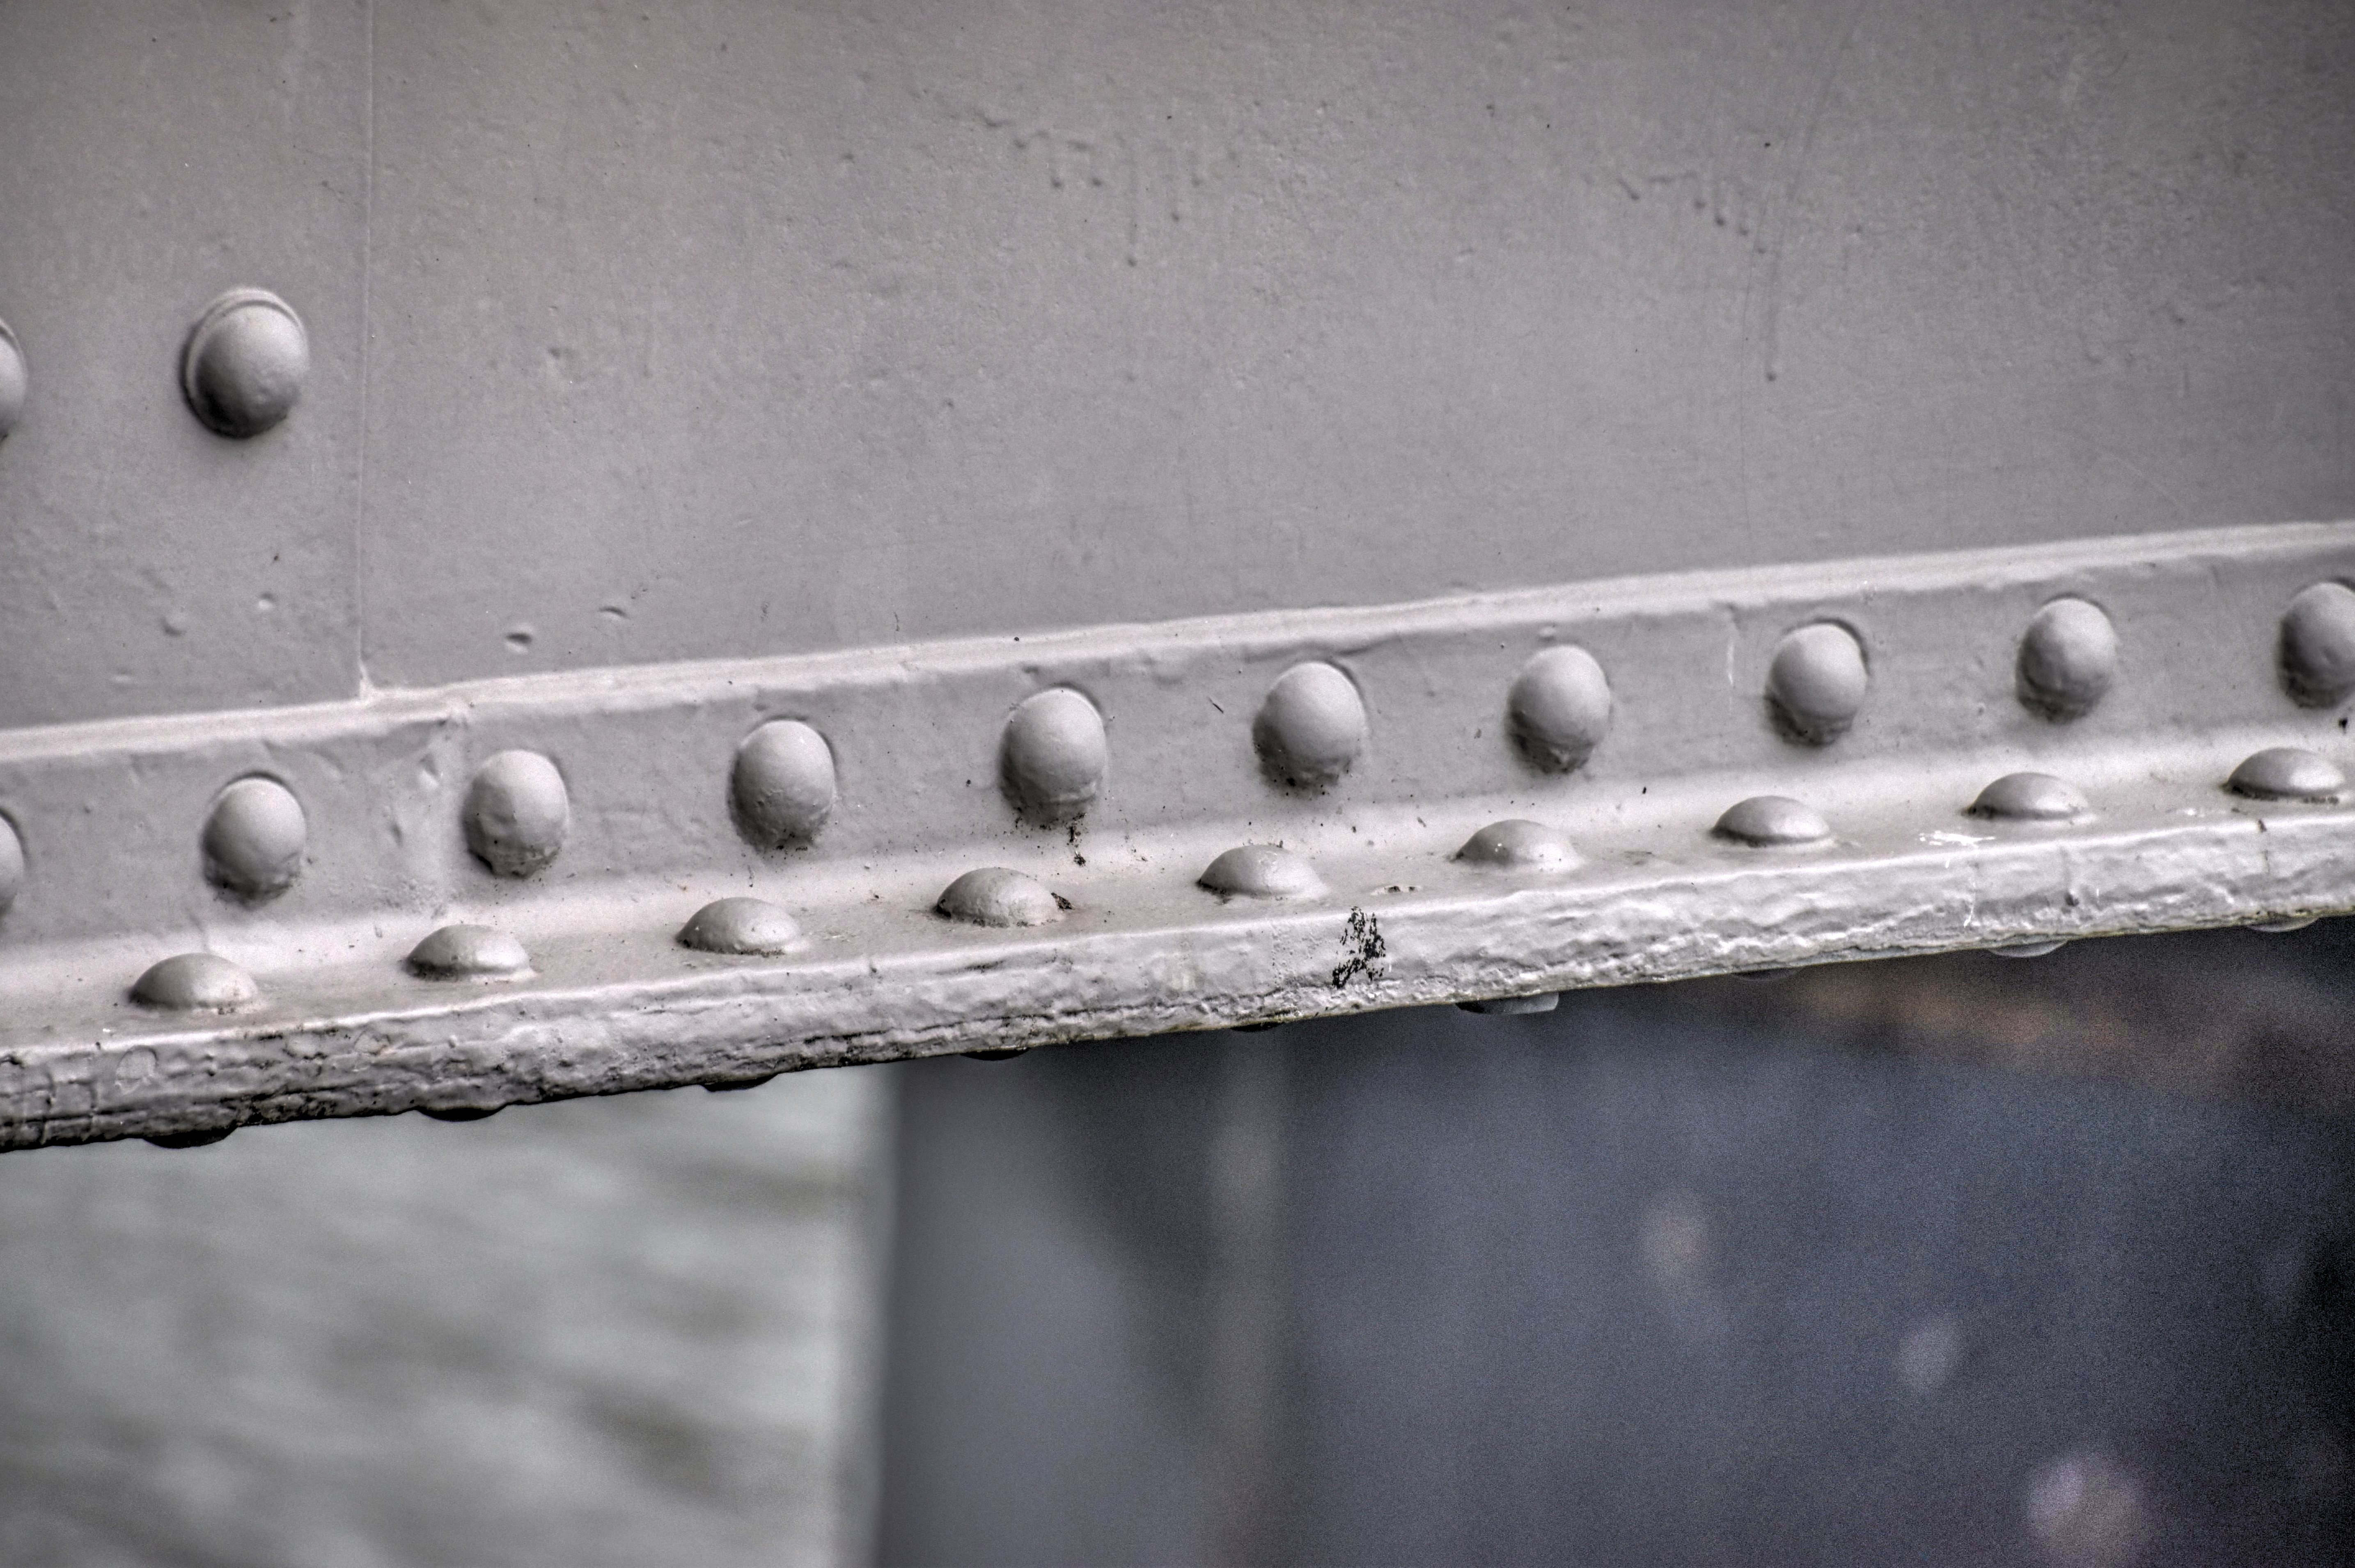
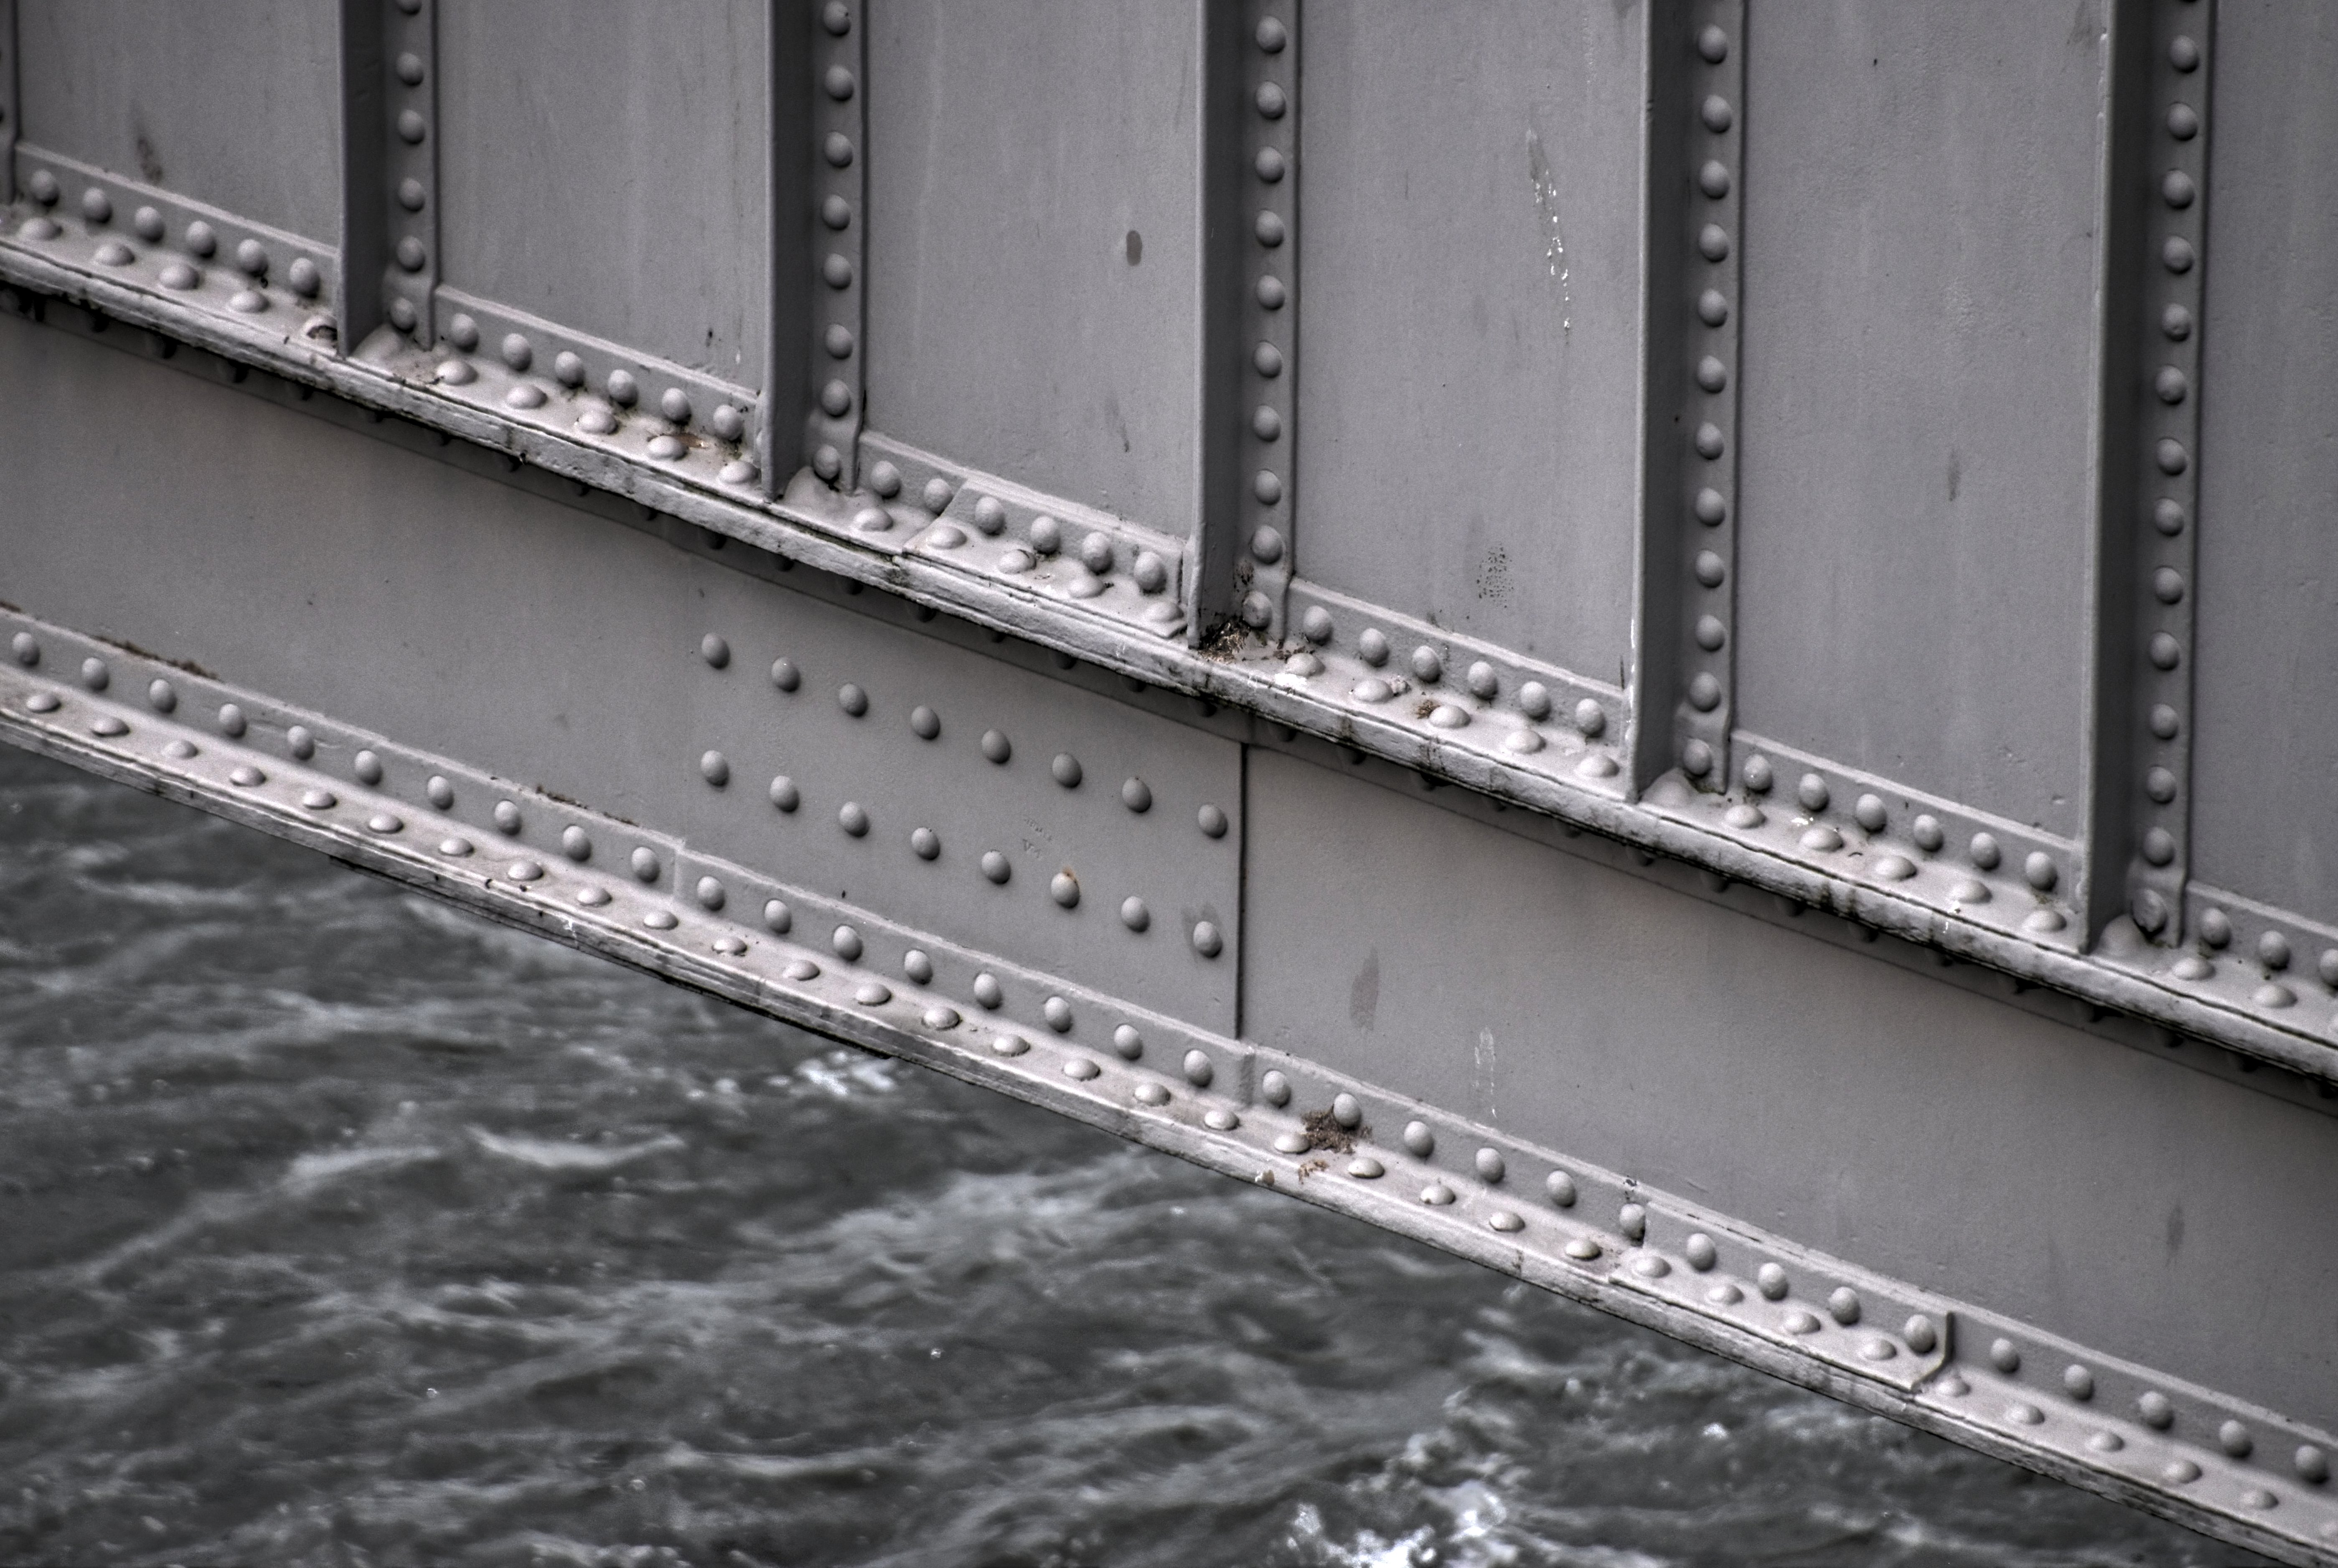
Girder view comparing 1899 strengthened section of girder at pier (right) to original and unaltered section of girder (left).
![]()


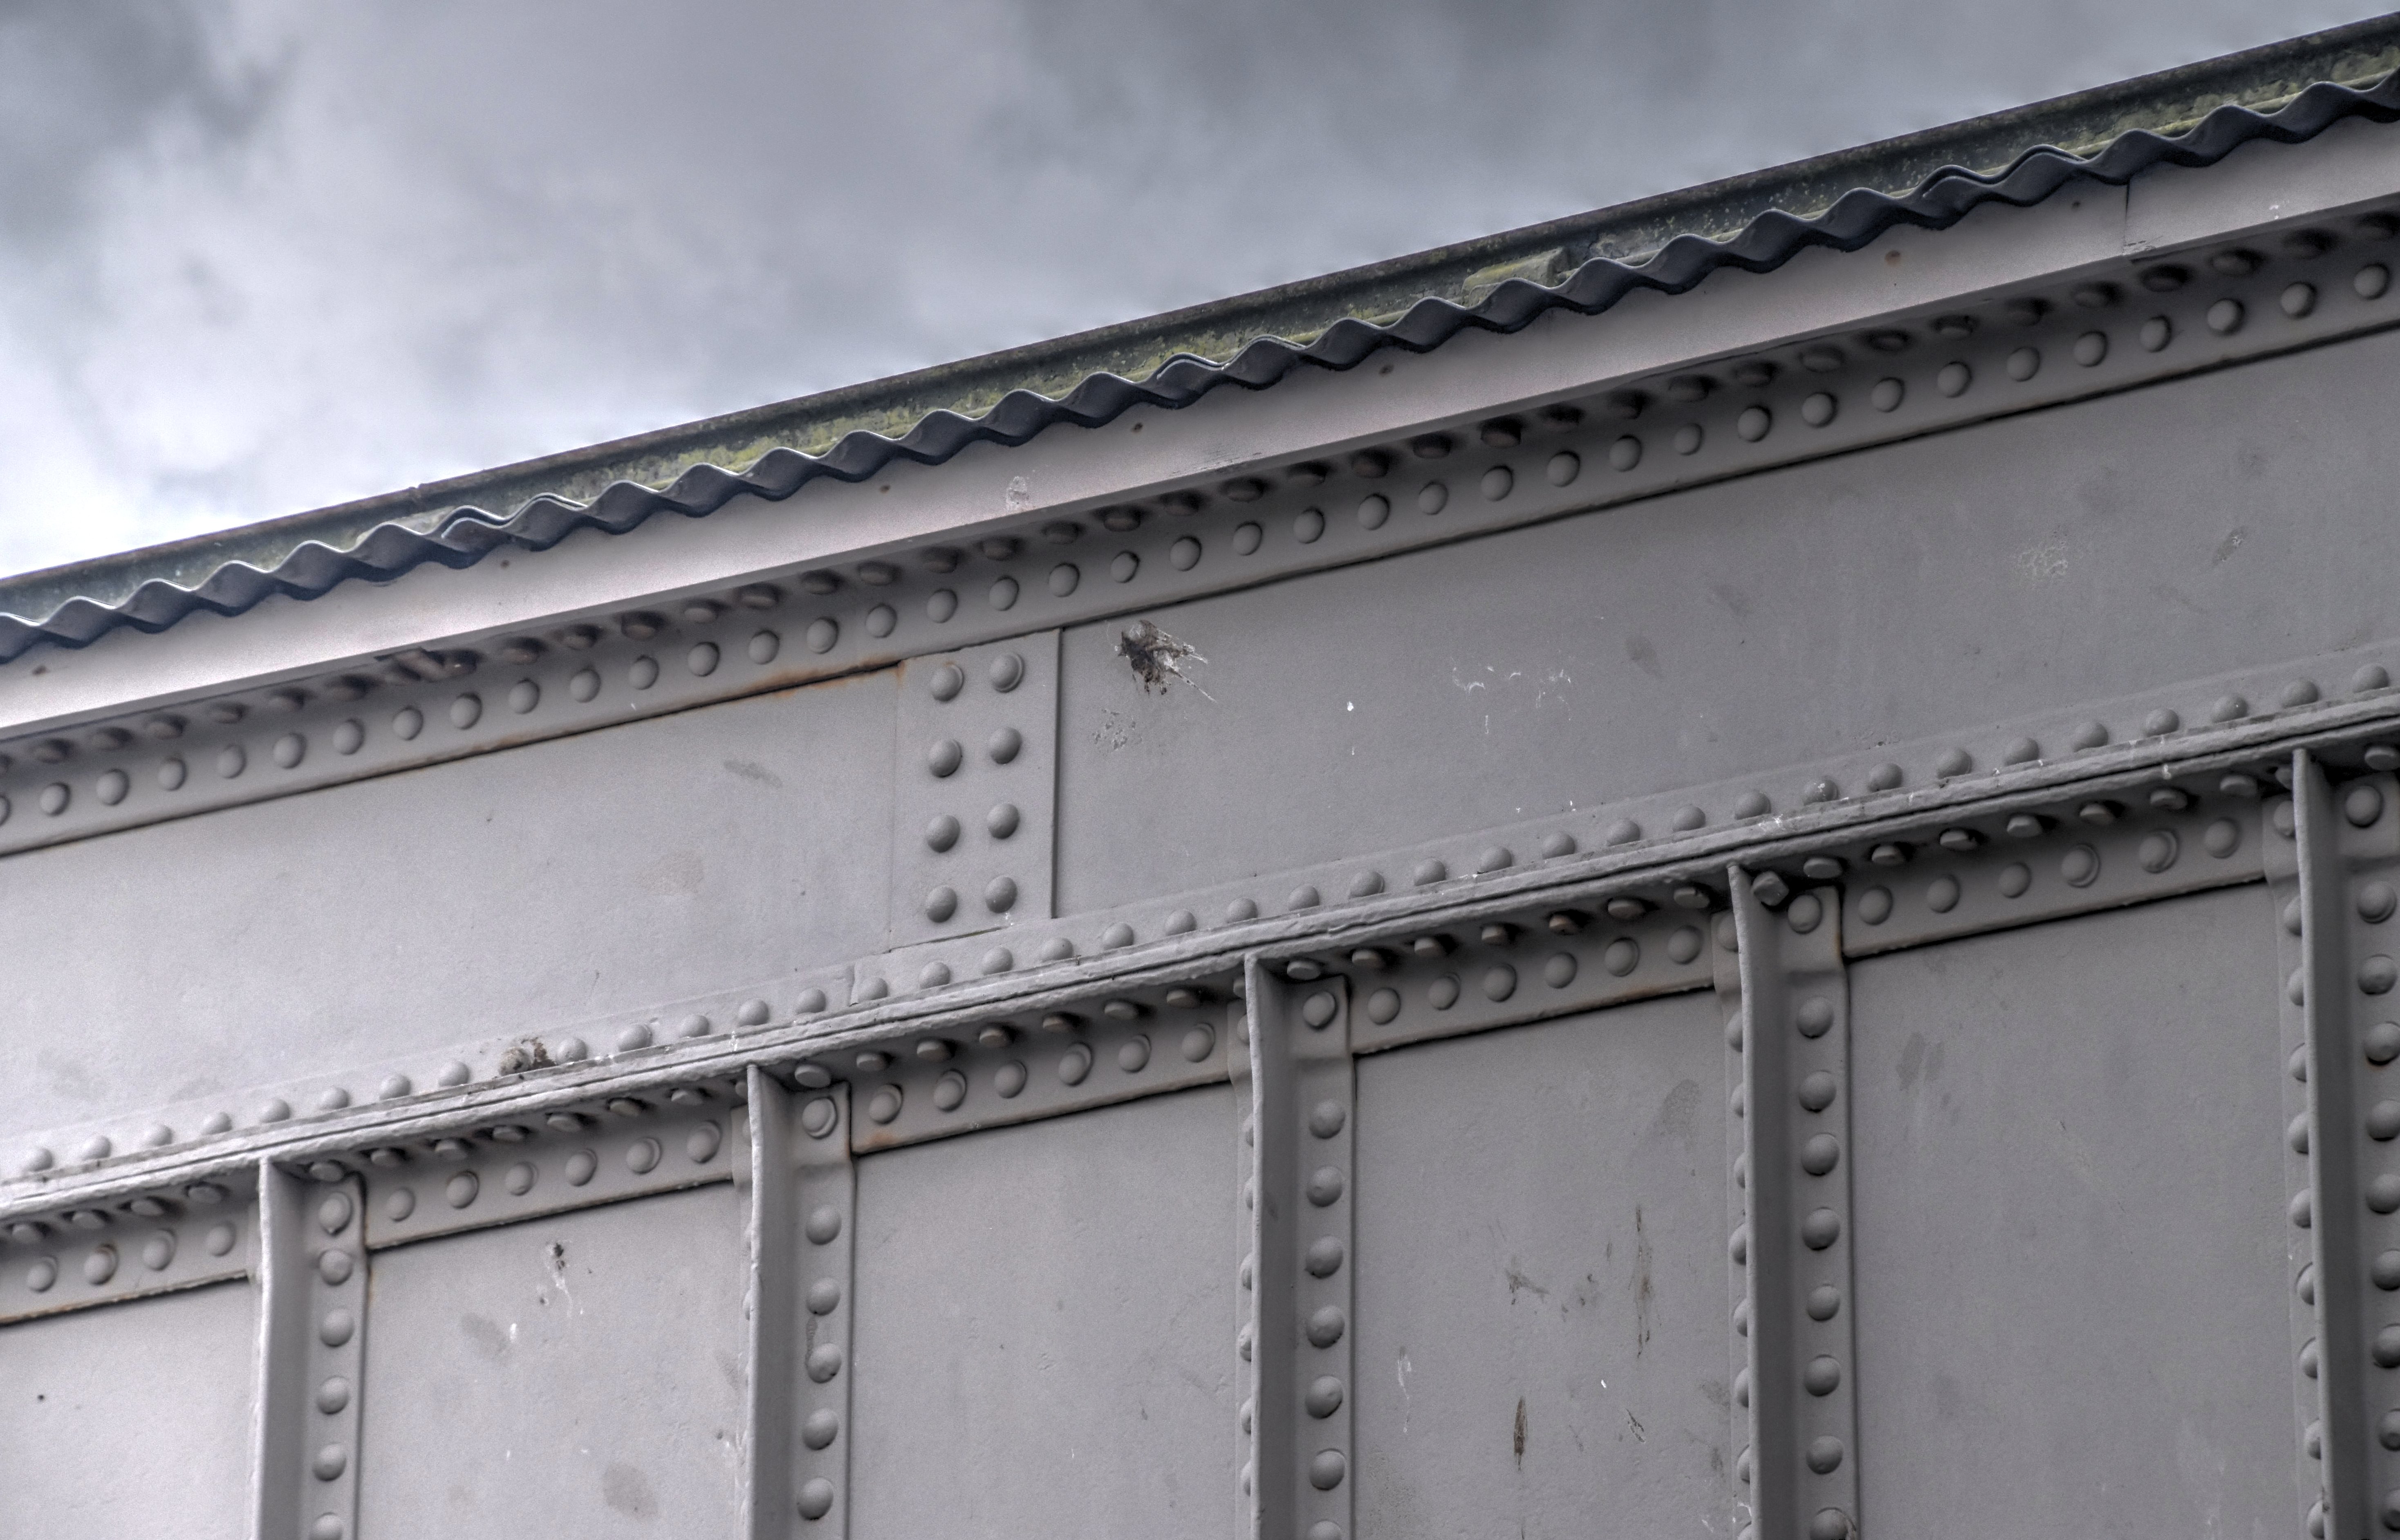


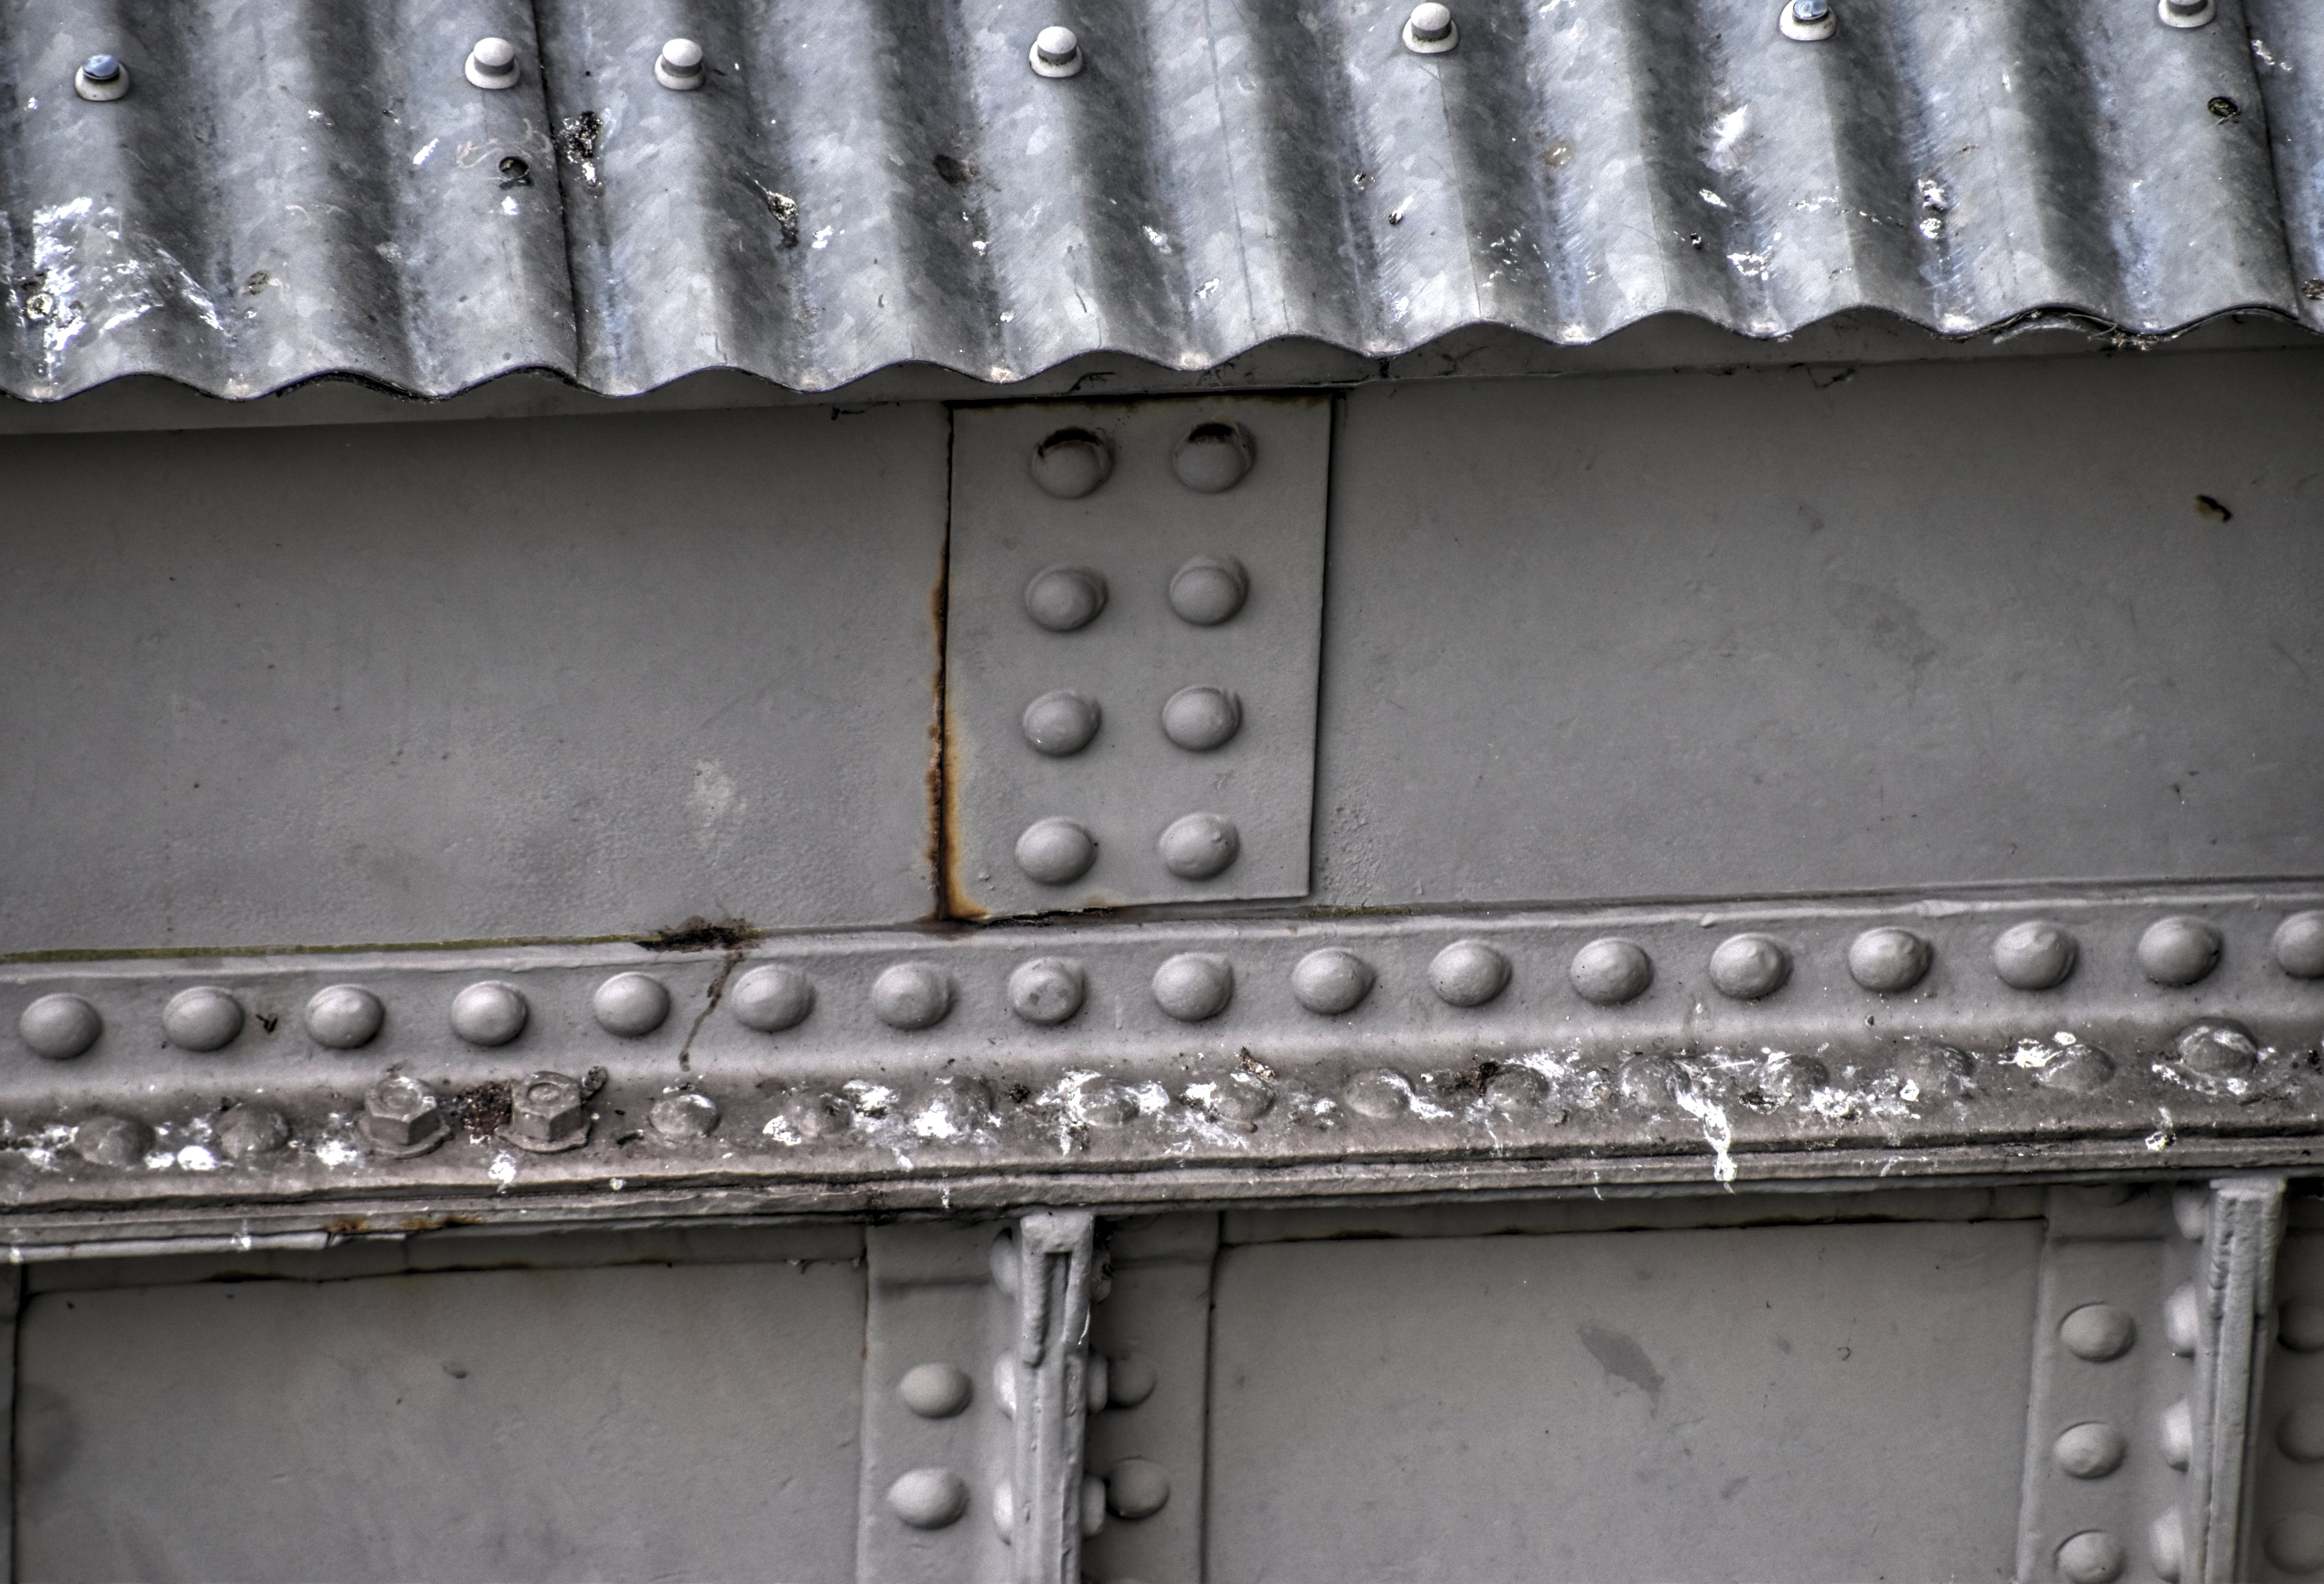


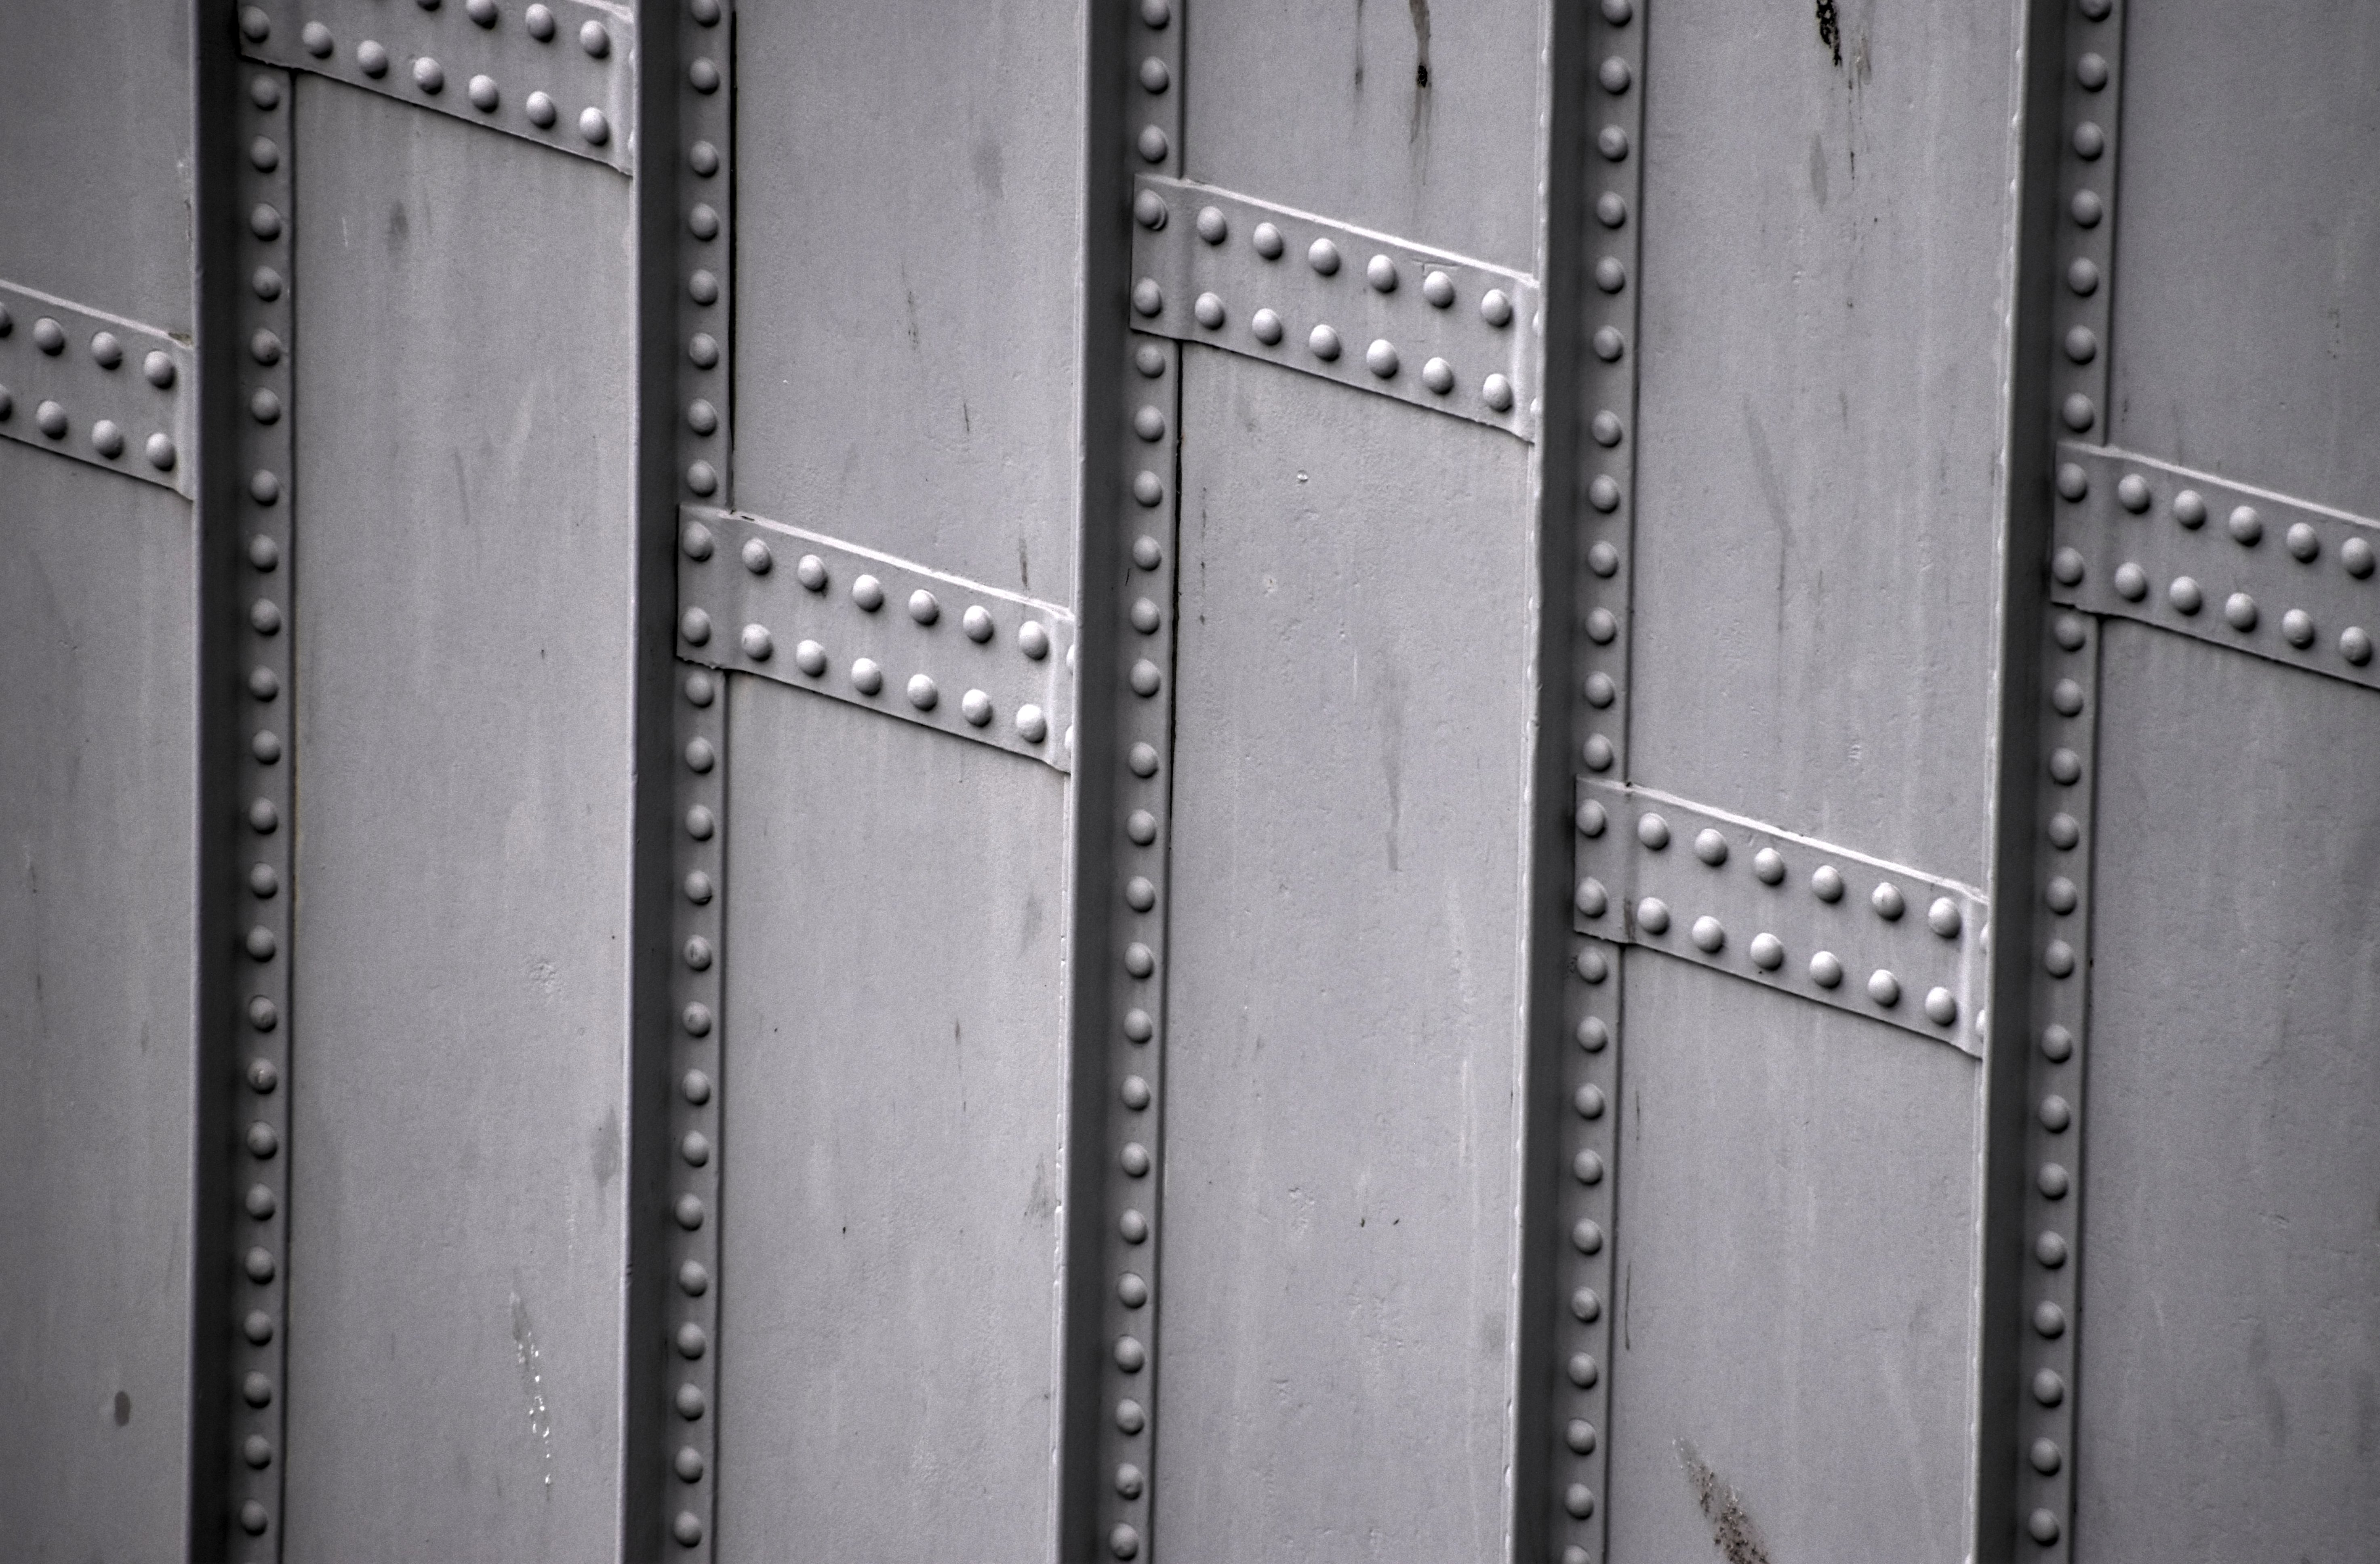
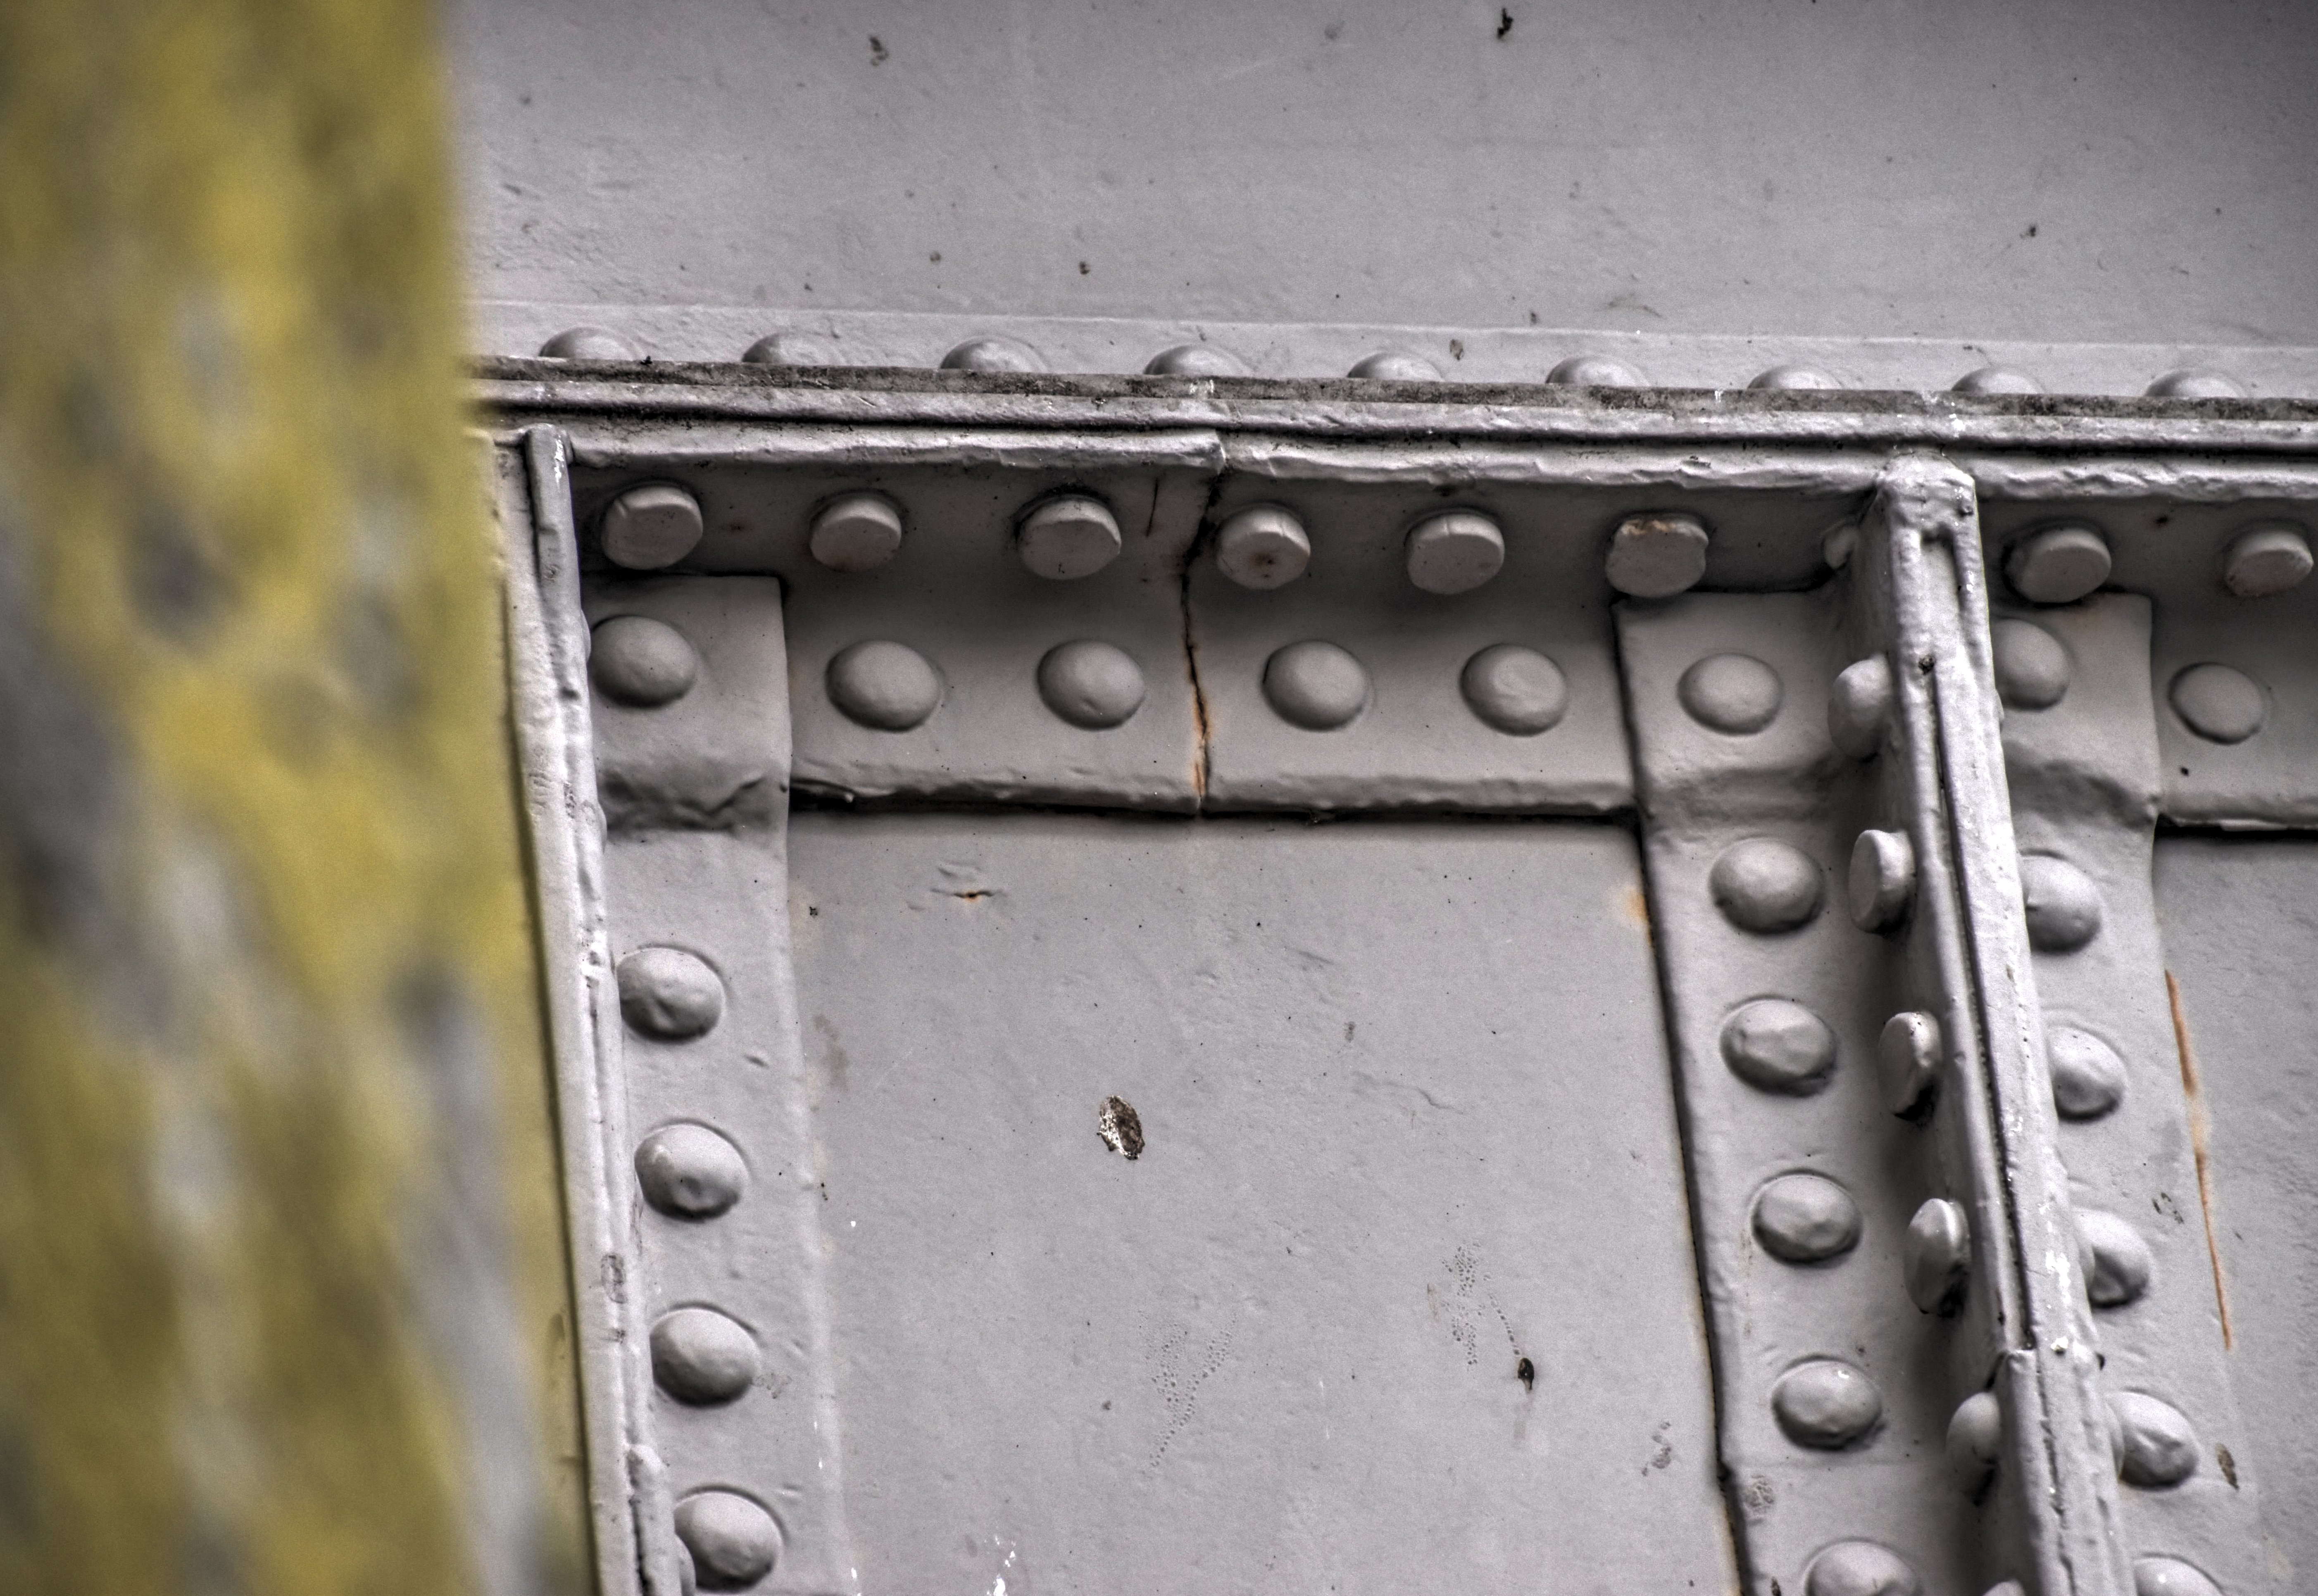
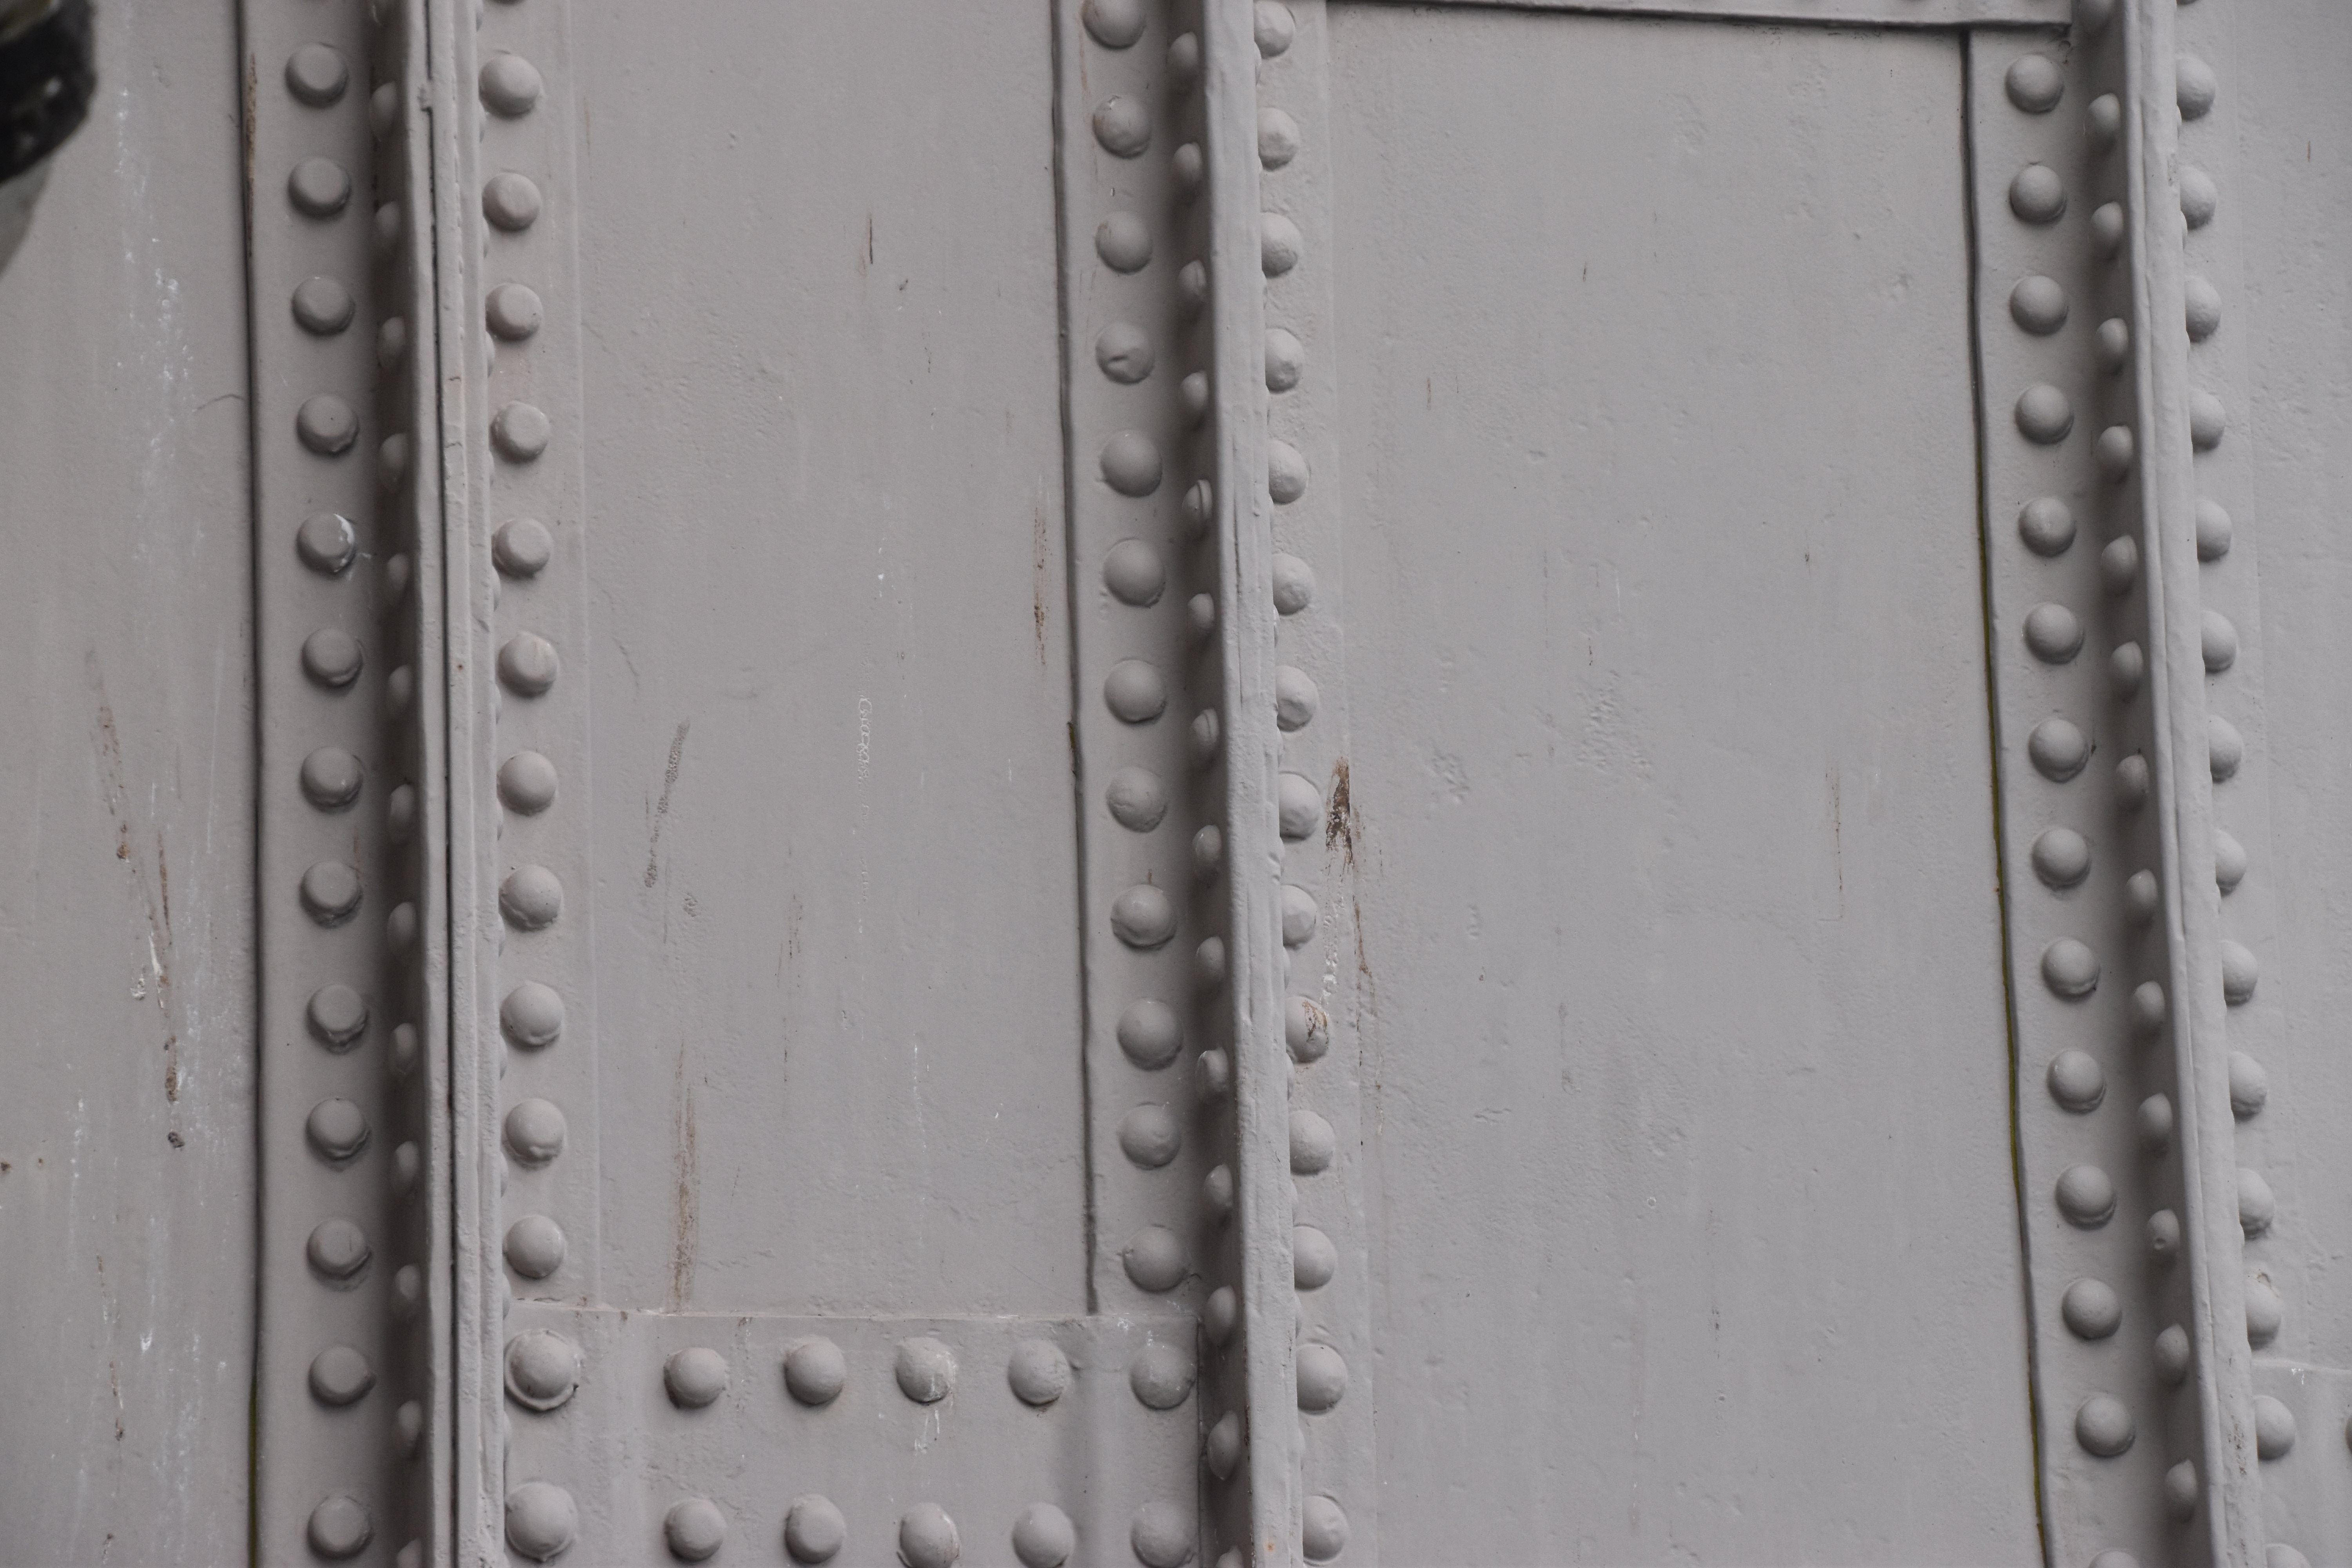
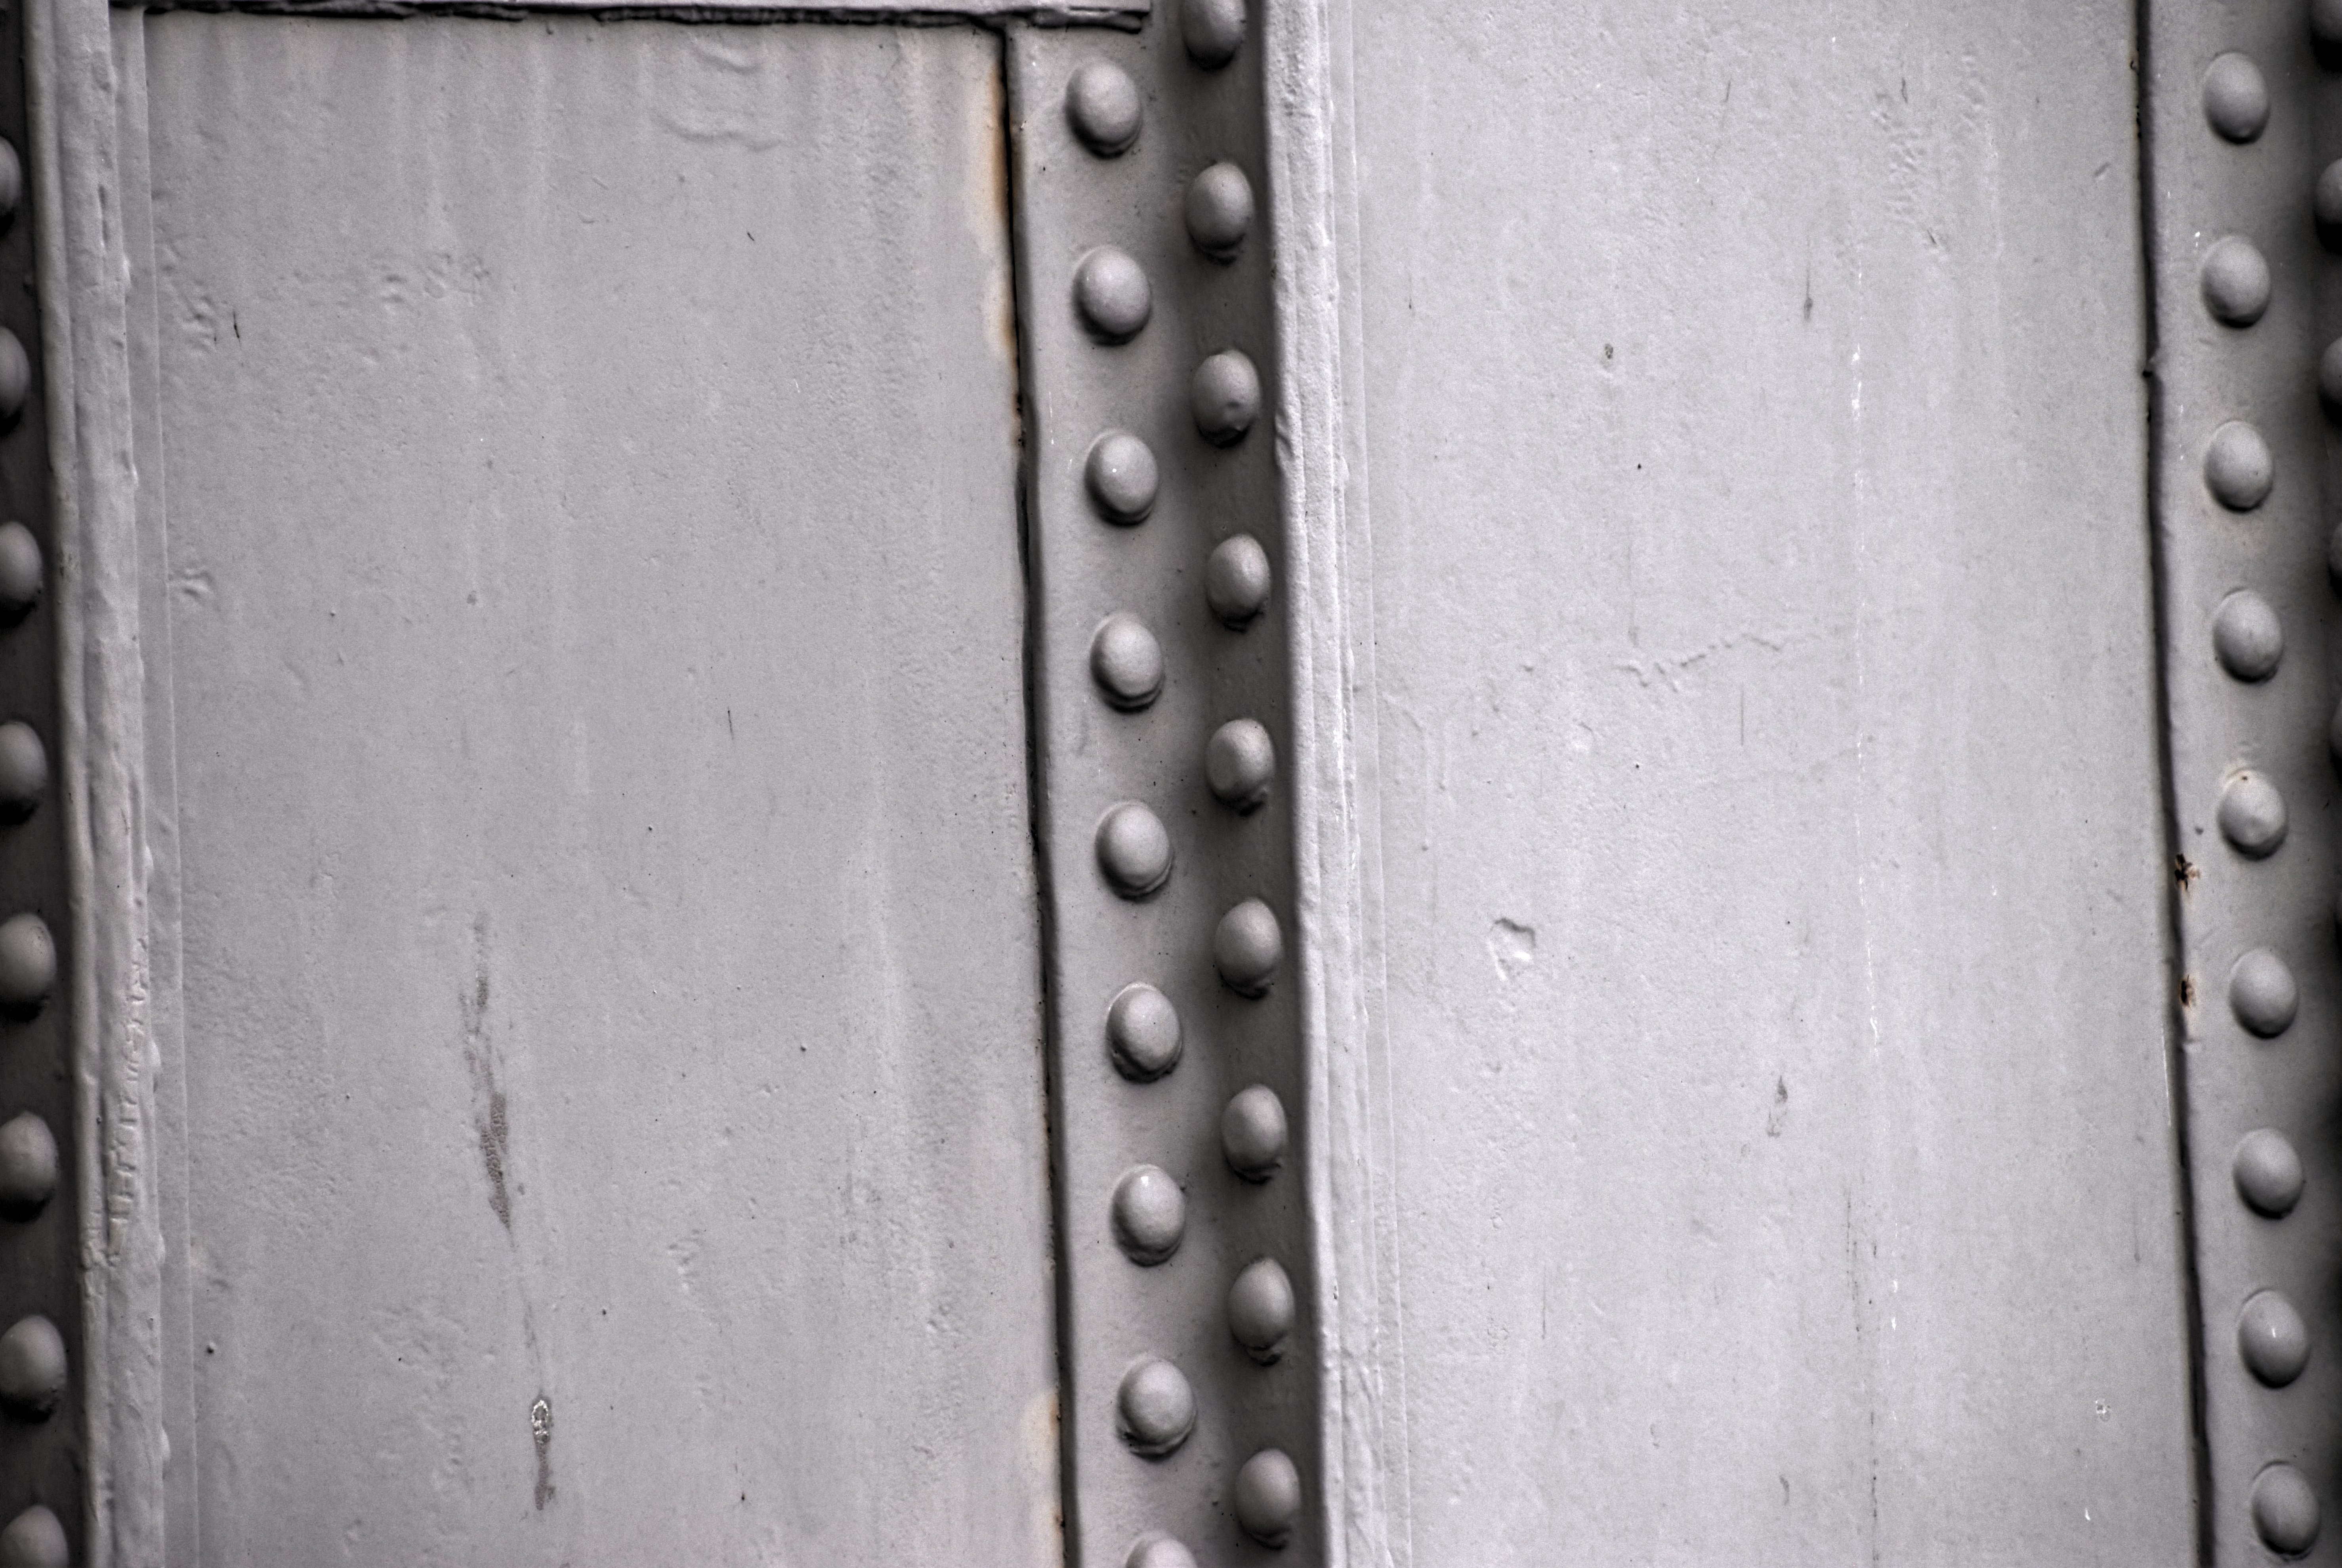
Girder top chord detail at original and unaltered section of girder.
![]()
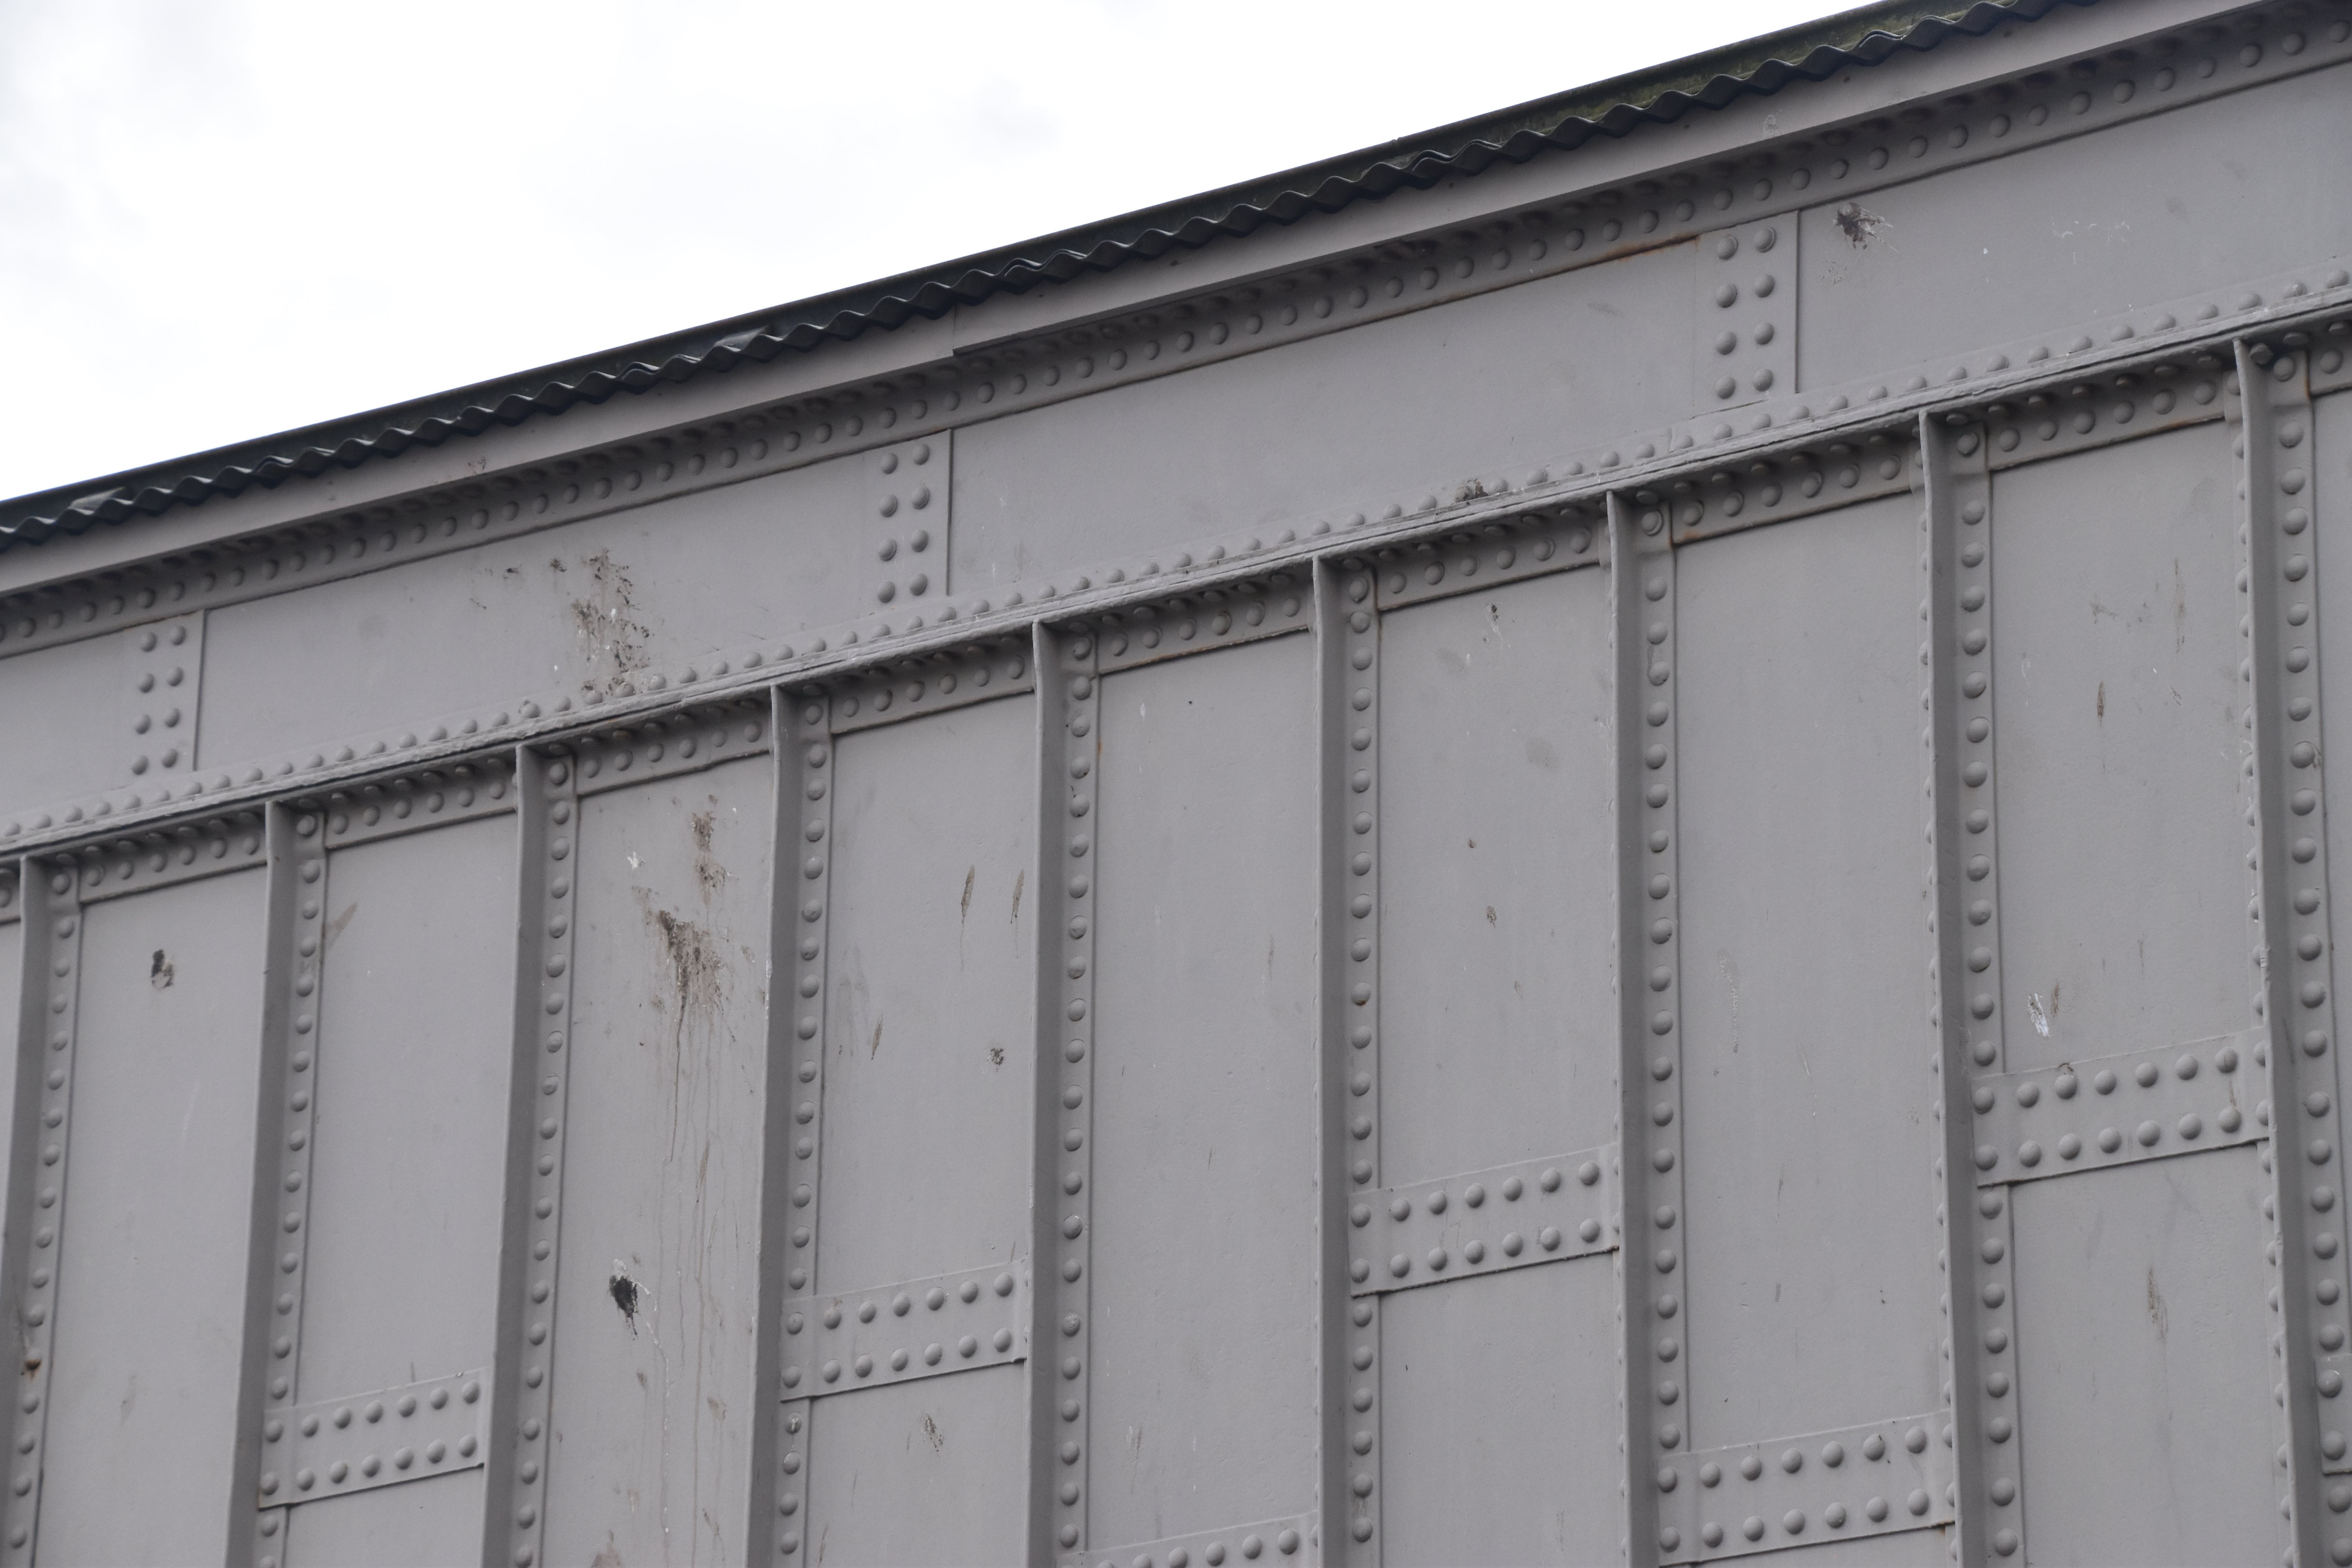
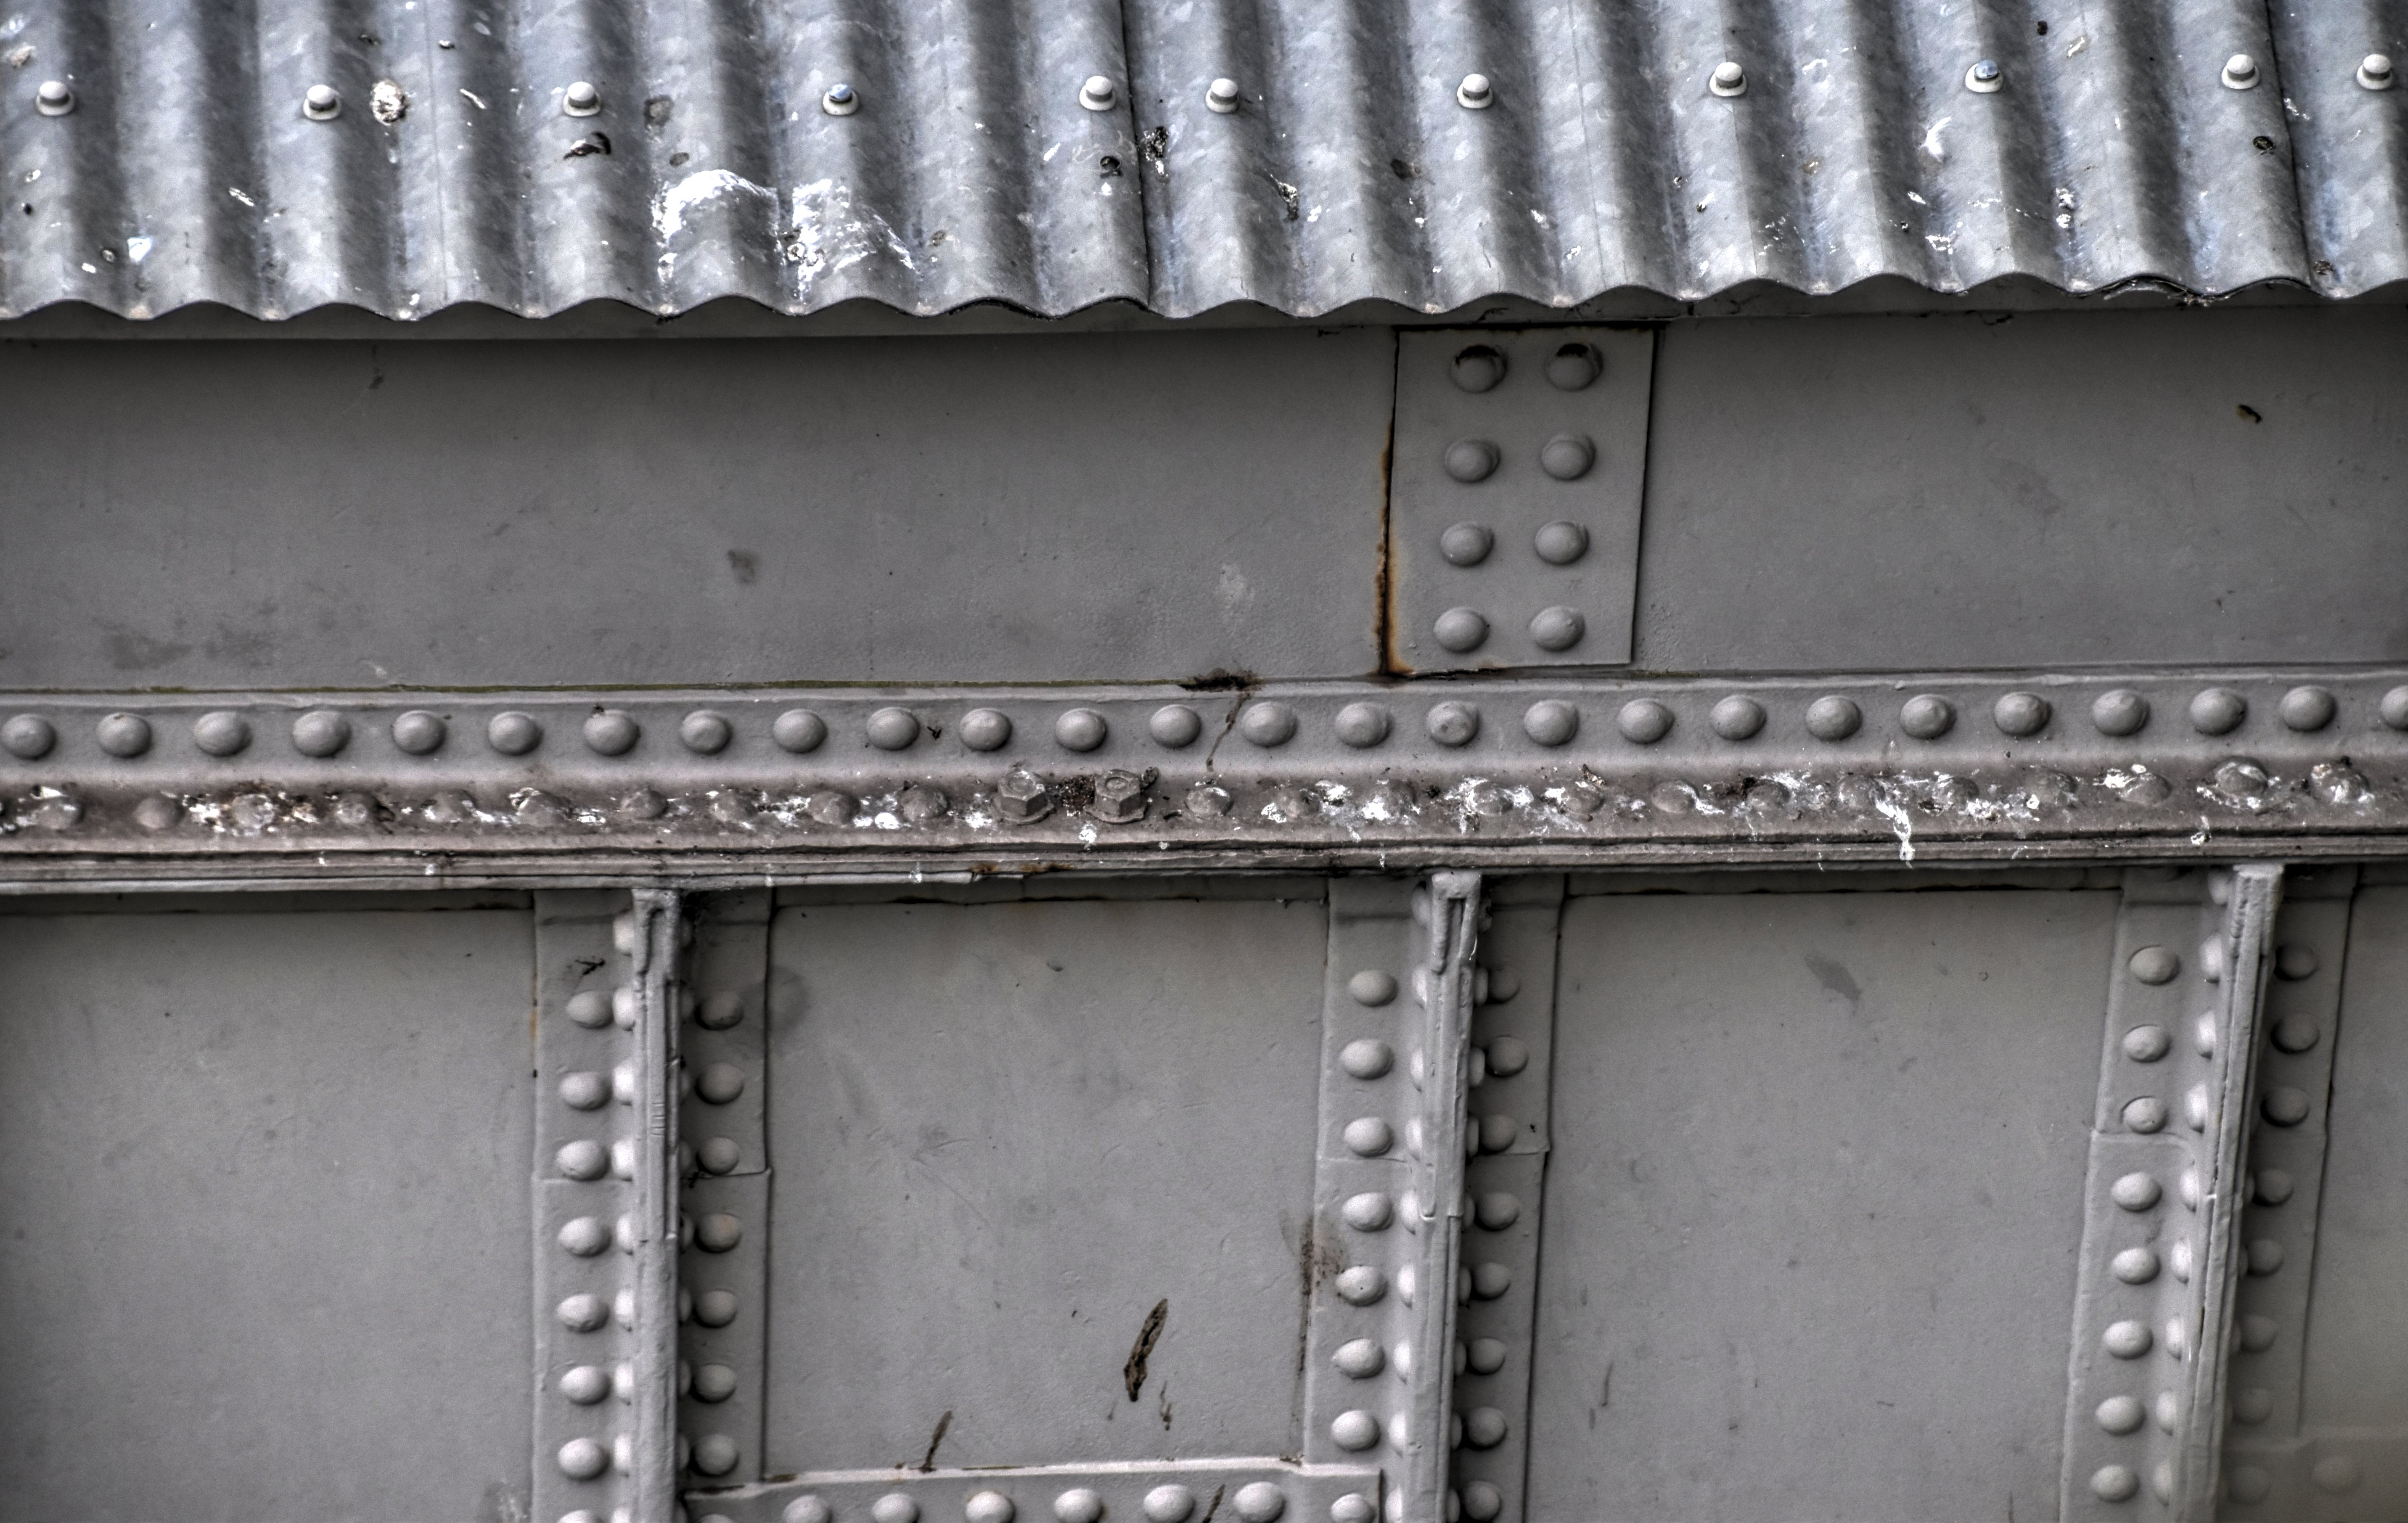
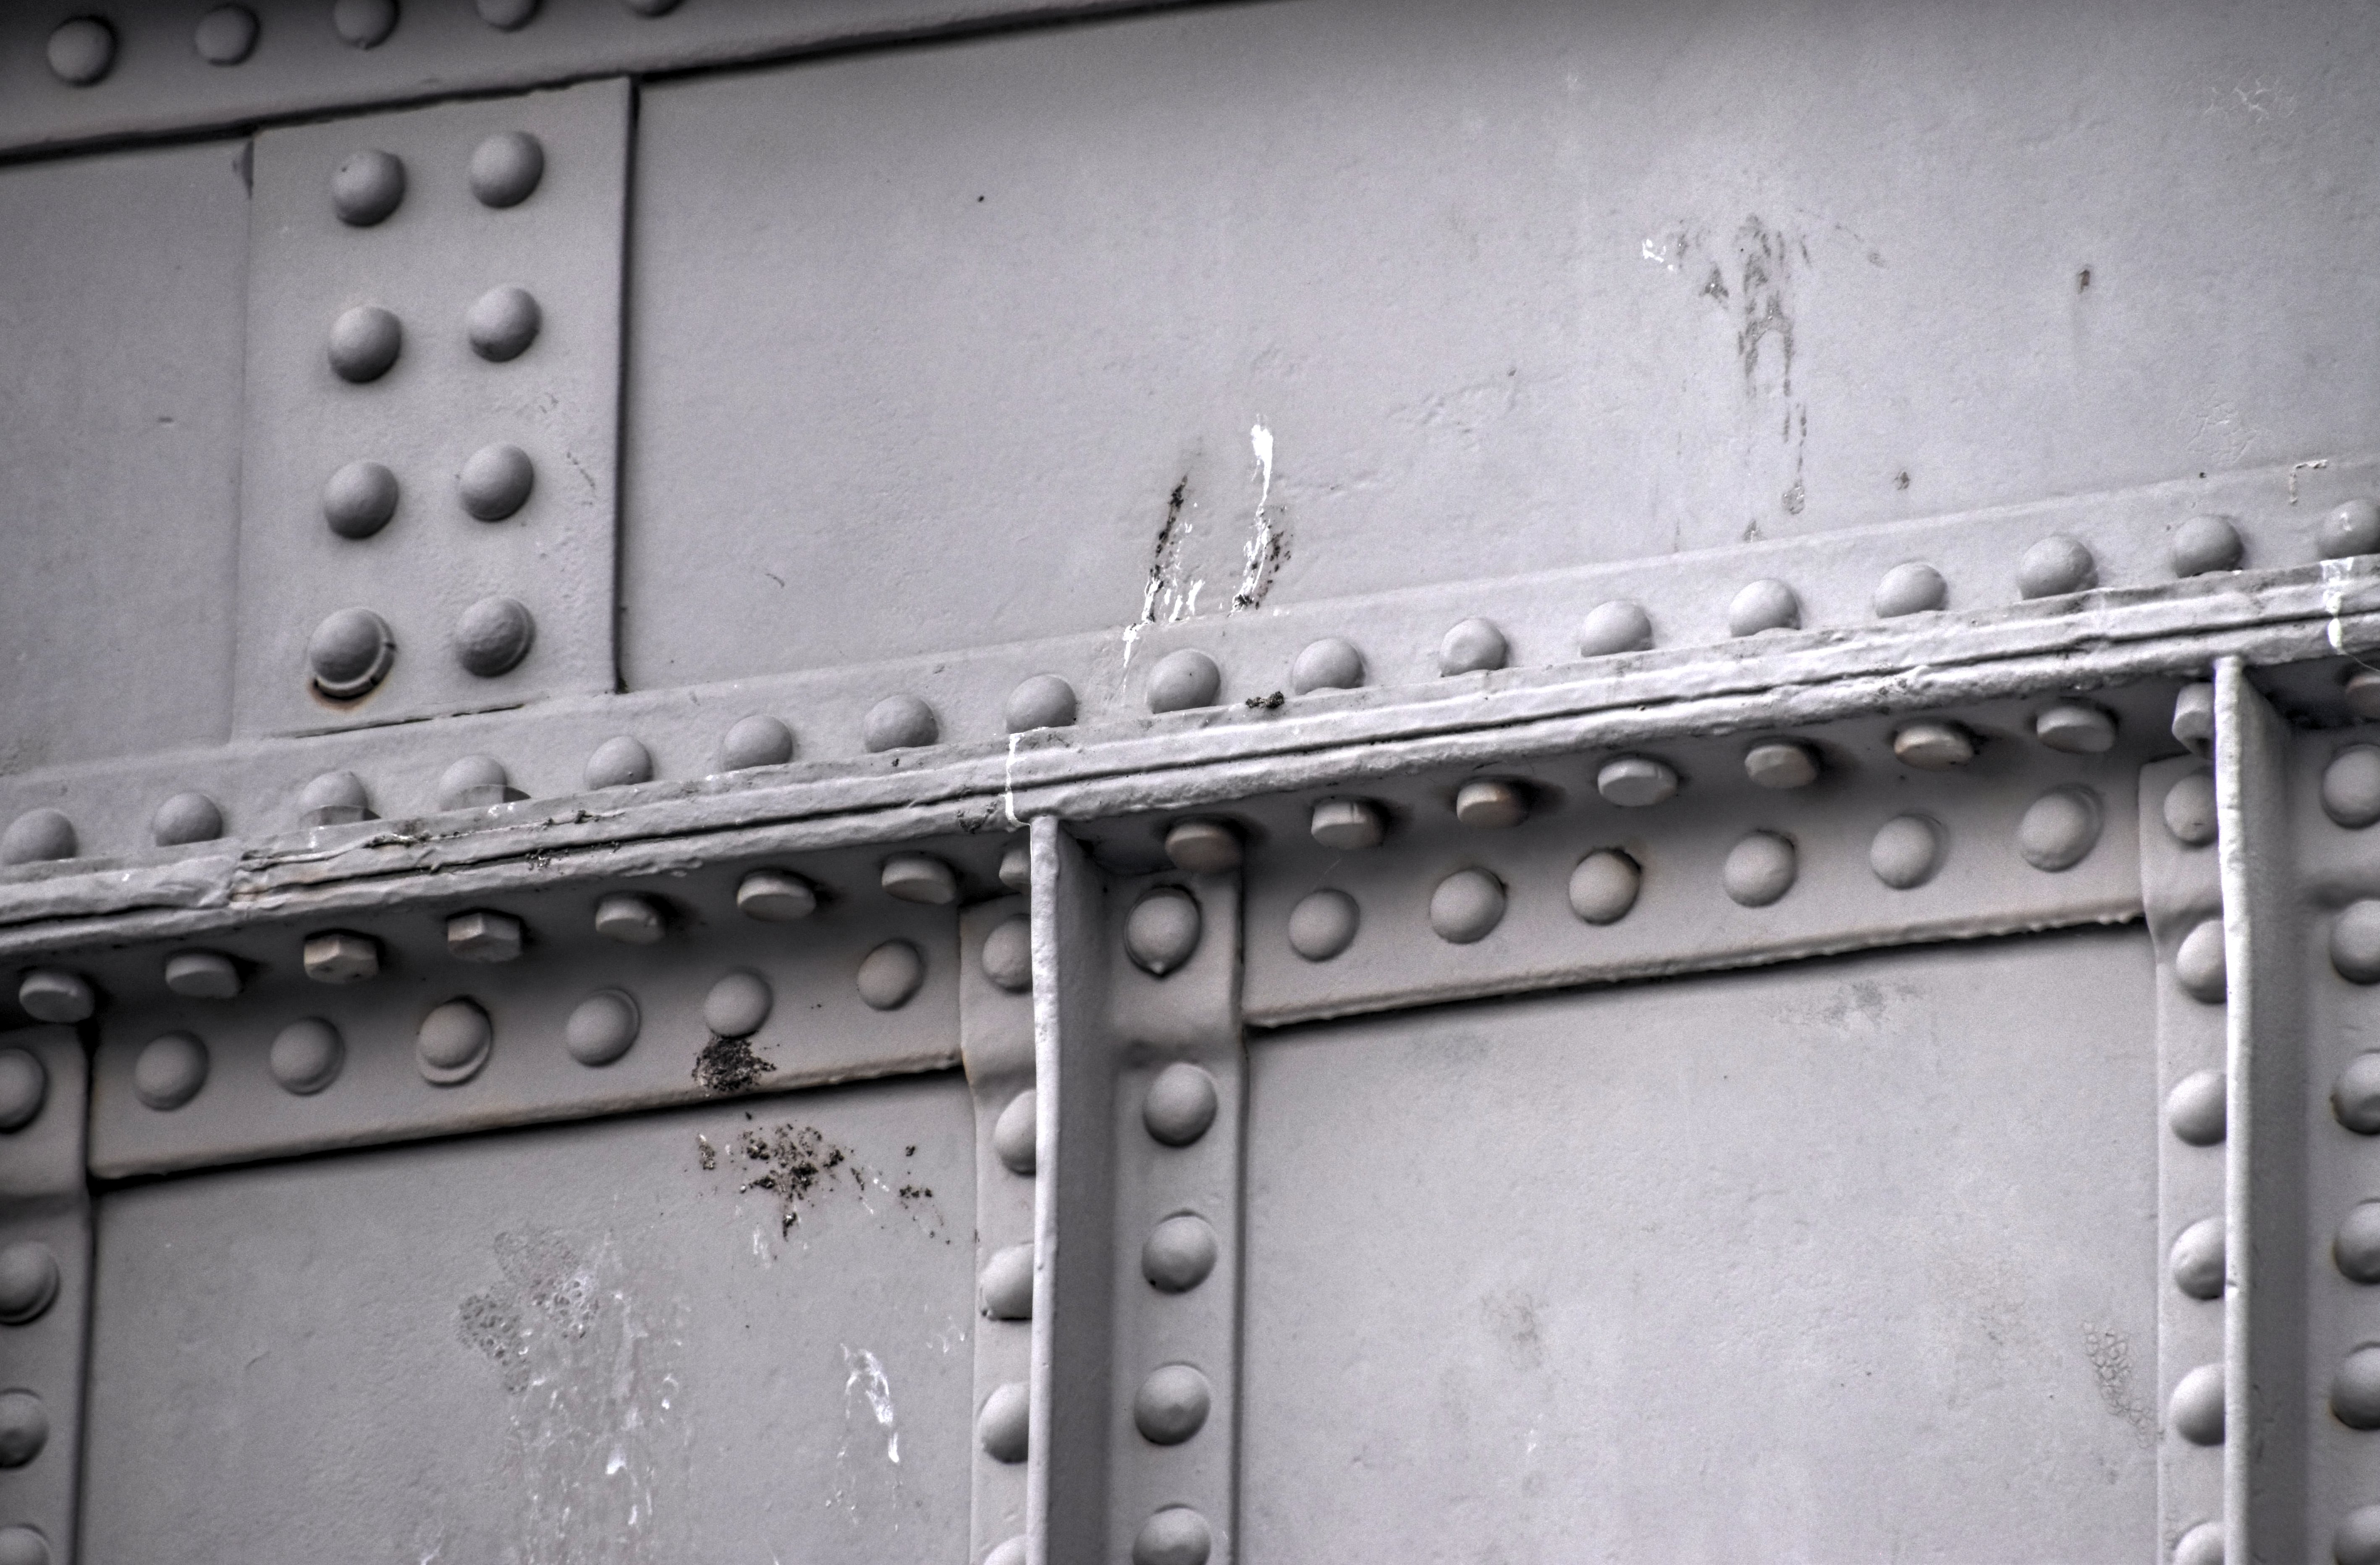
Girder top chord detail at transition from original and unaltered section of girder (left) to 1899 strengthened section of girder at pier (right).
![]()


Girder top chord detail at 1899 strengthened section of girder.
![]()


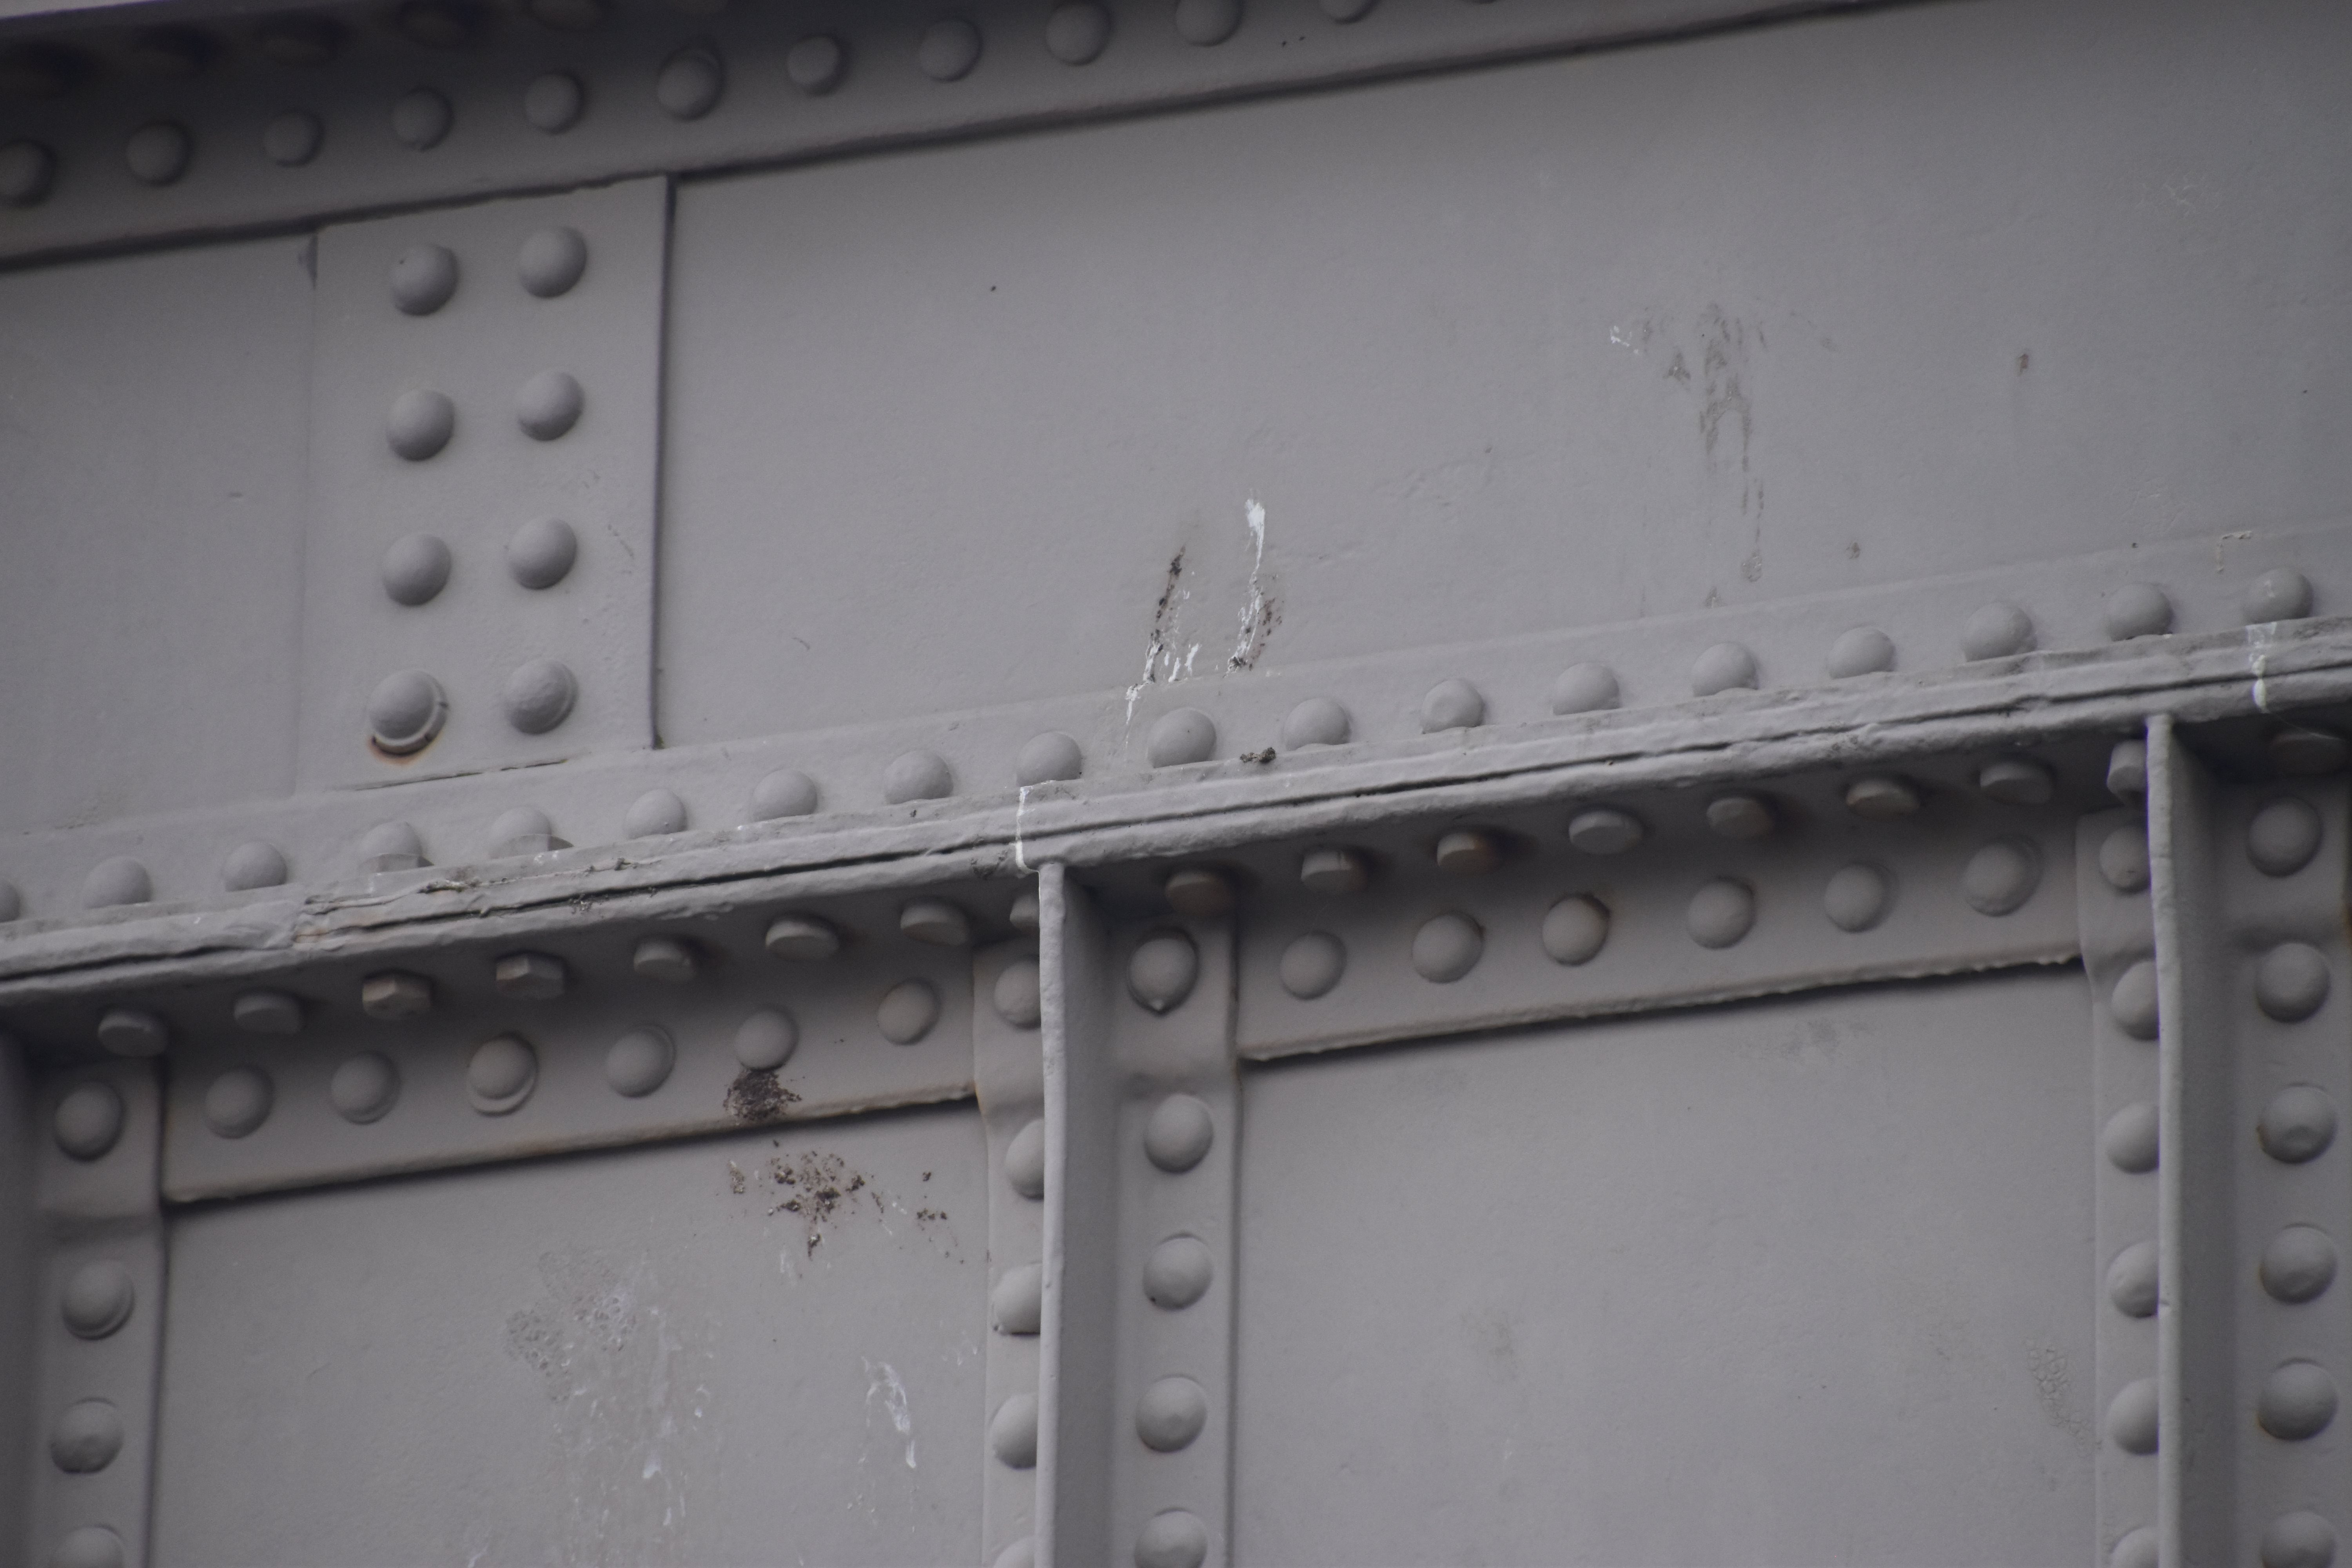
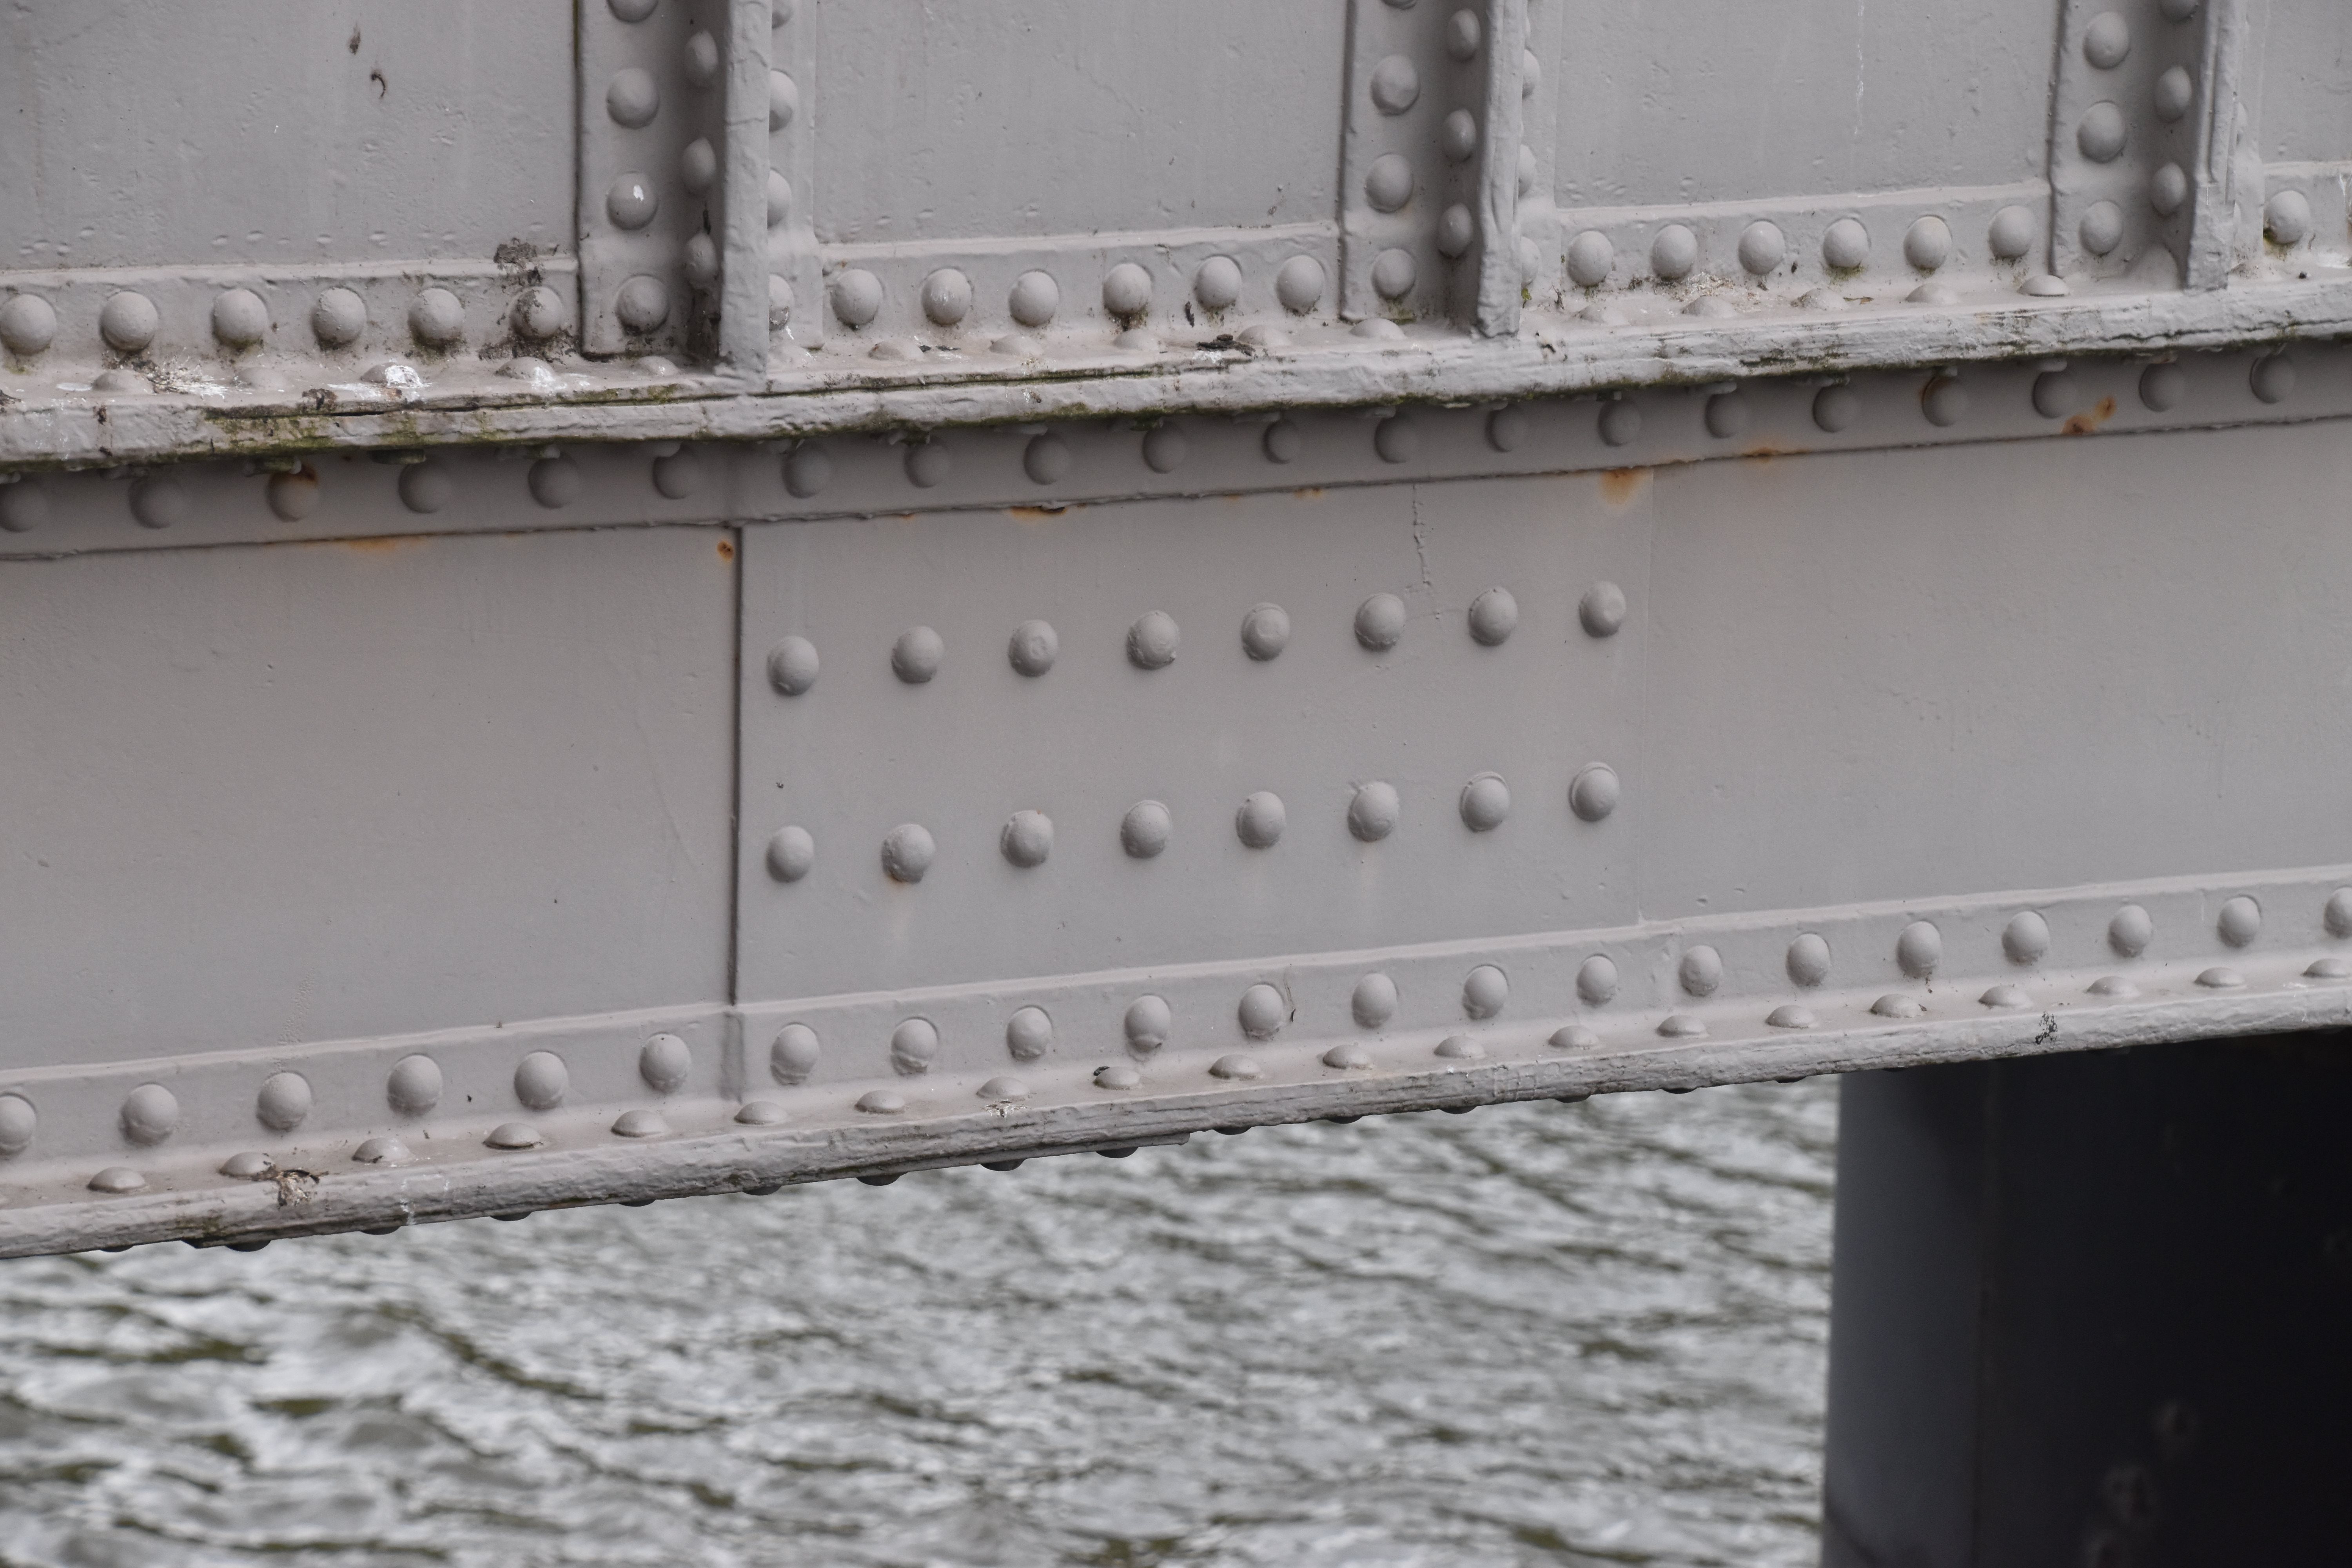
Girder web connection to top chord. Original and unaltered section of girder.
![]()


Girder web connection to top chord. 1899 strengthened section of girder.
![]()


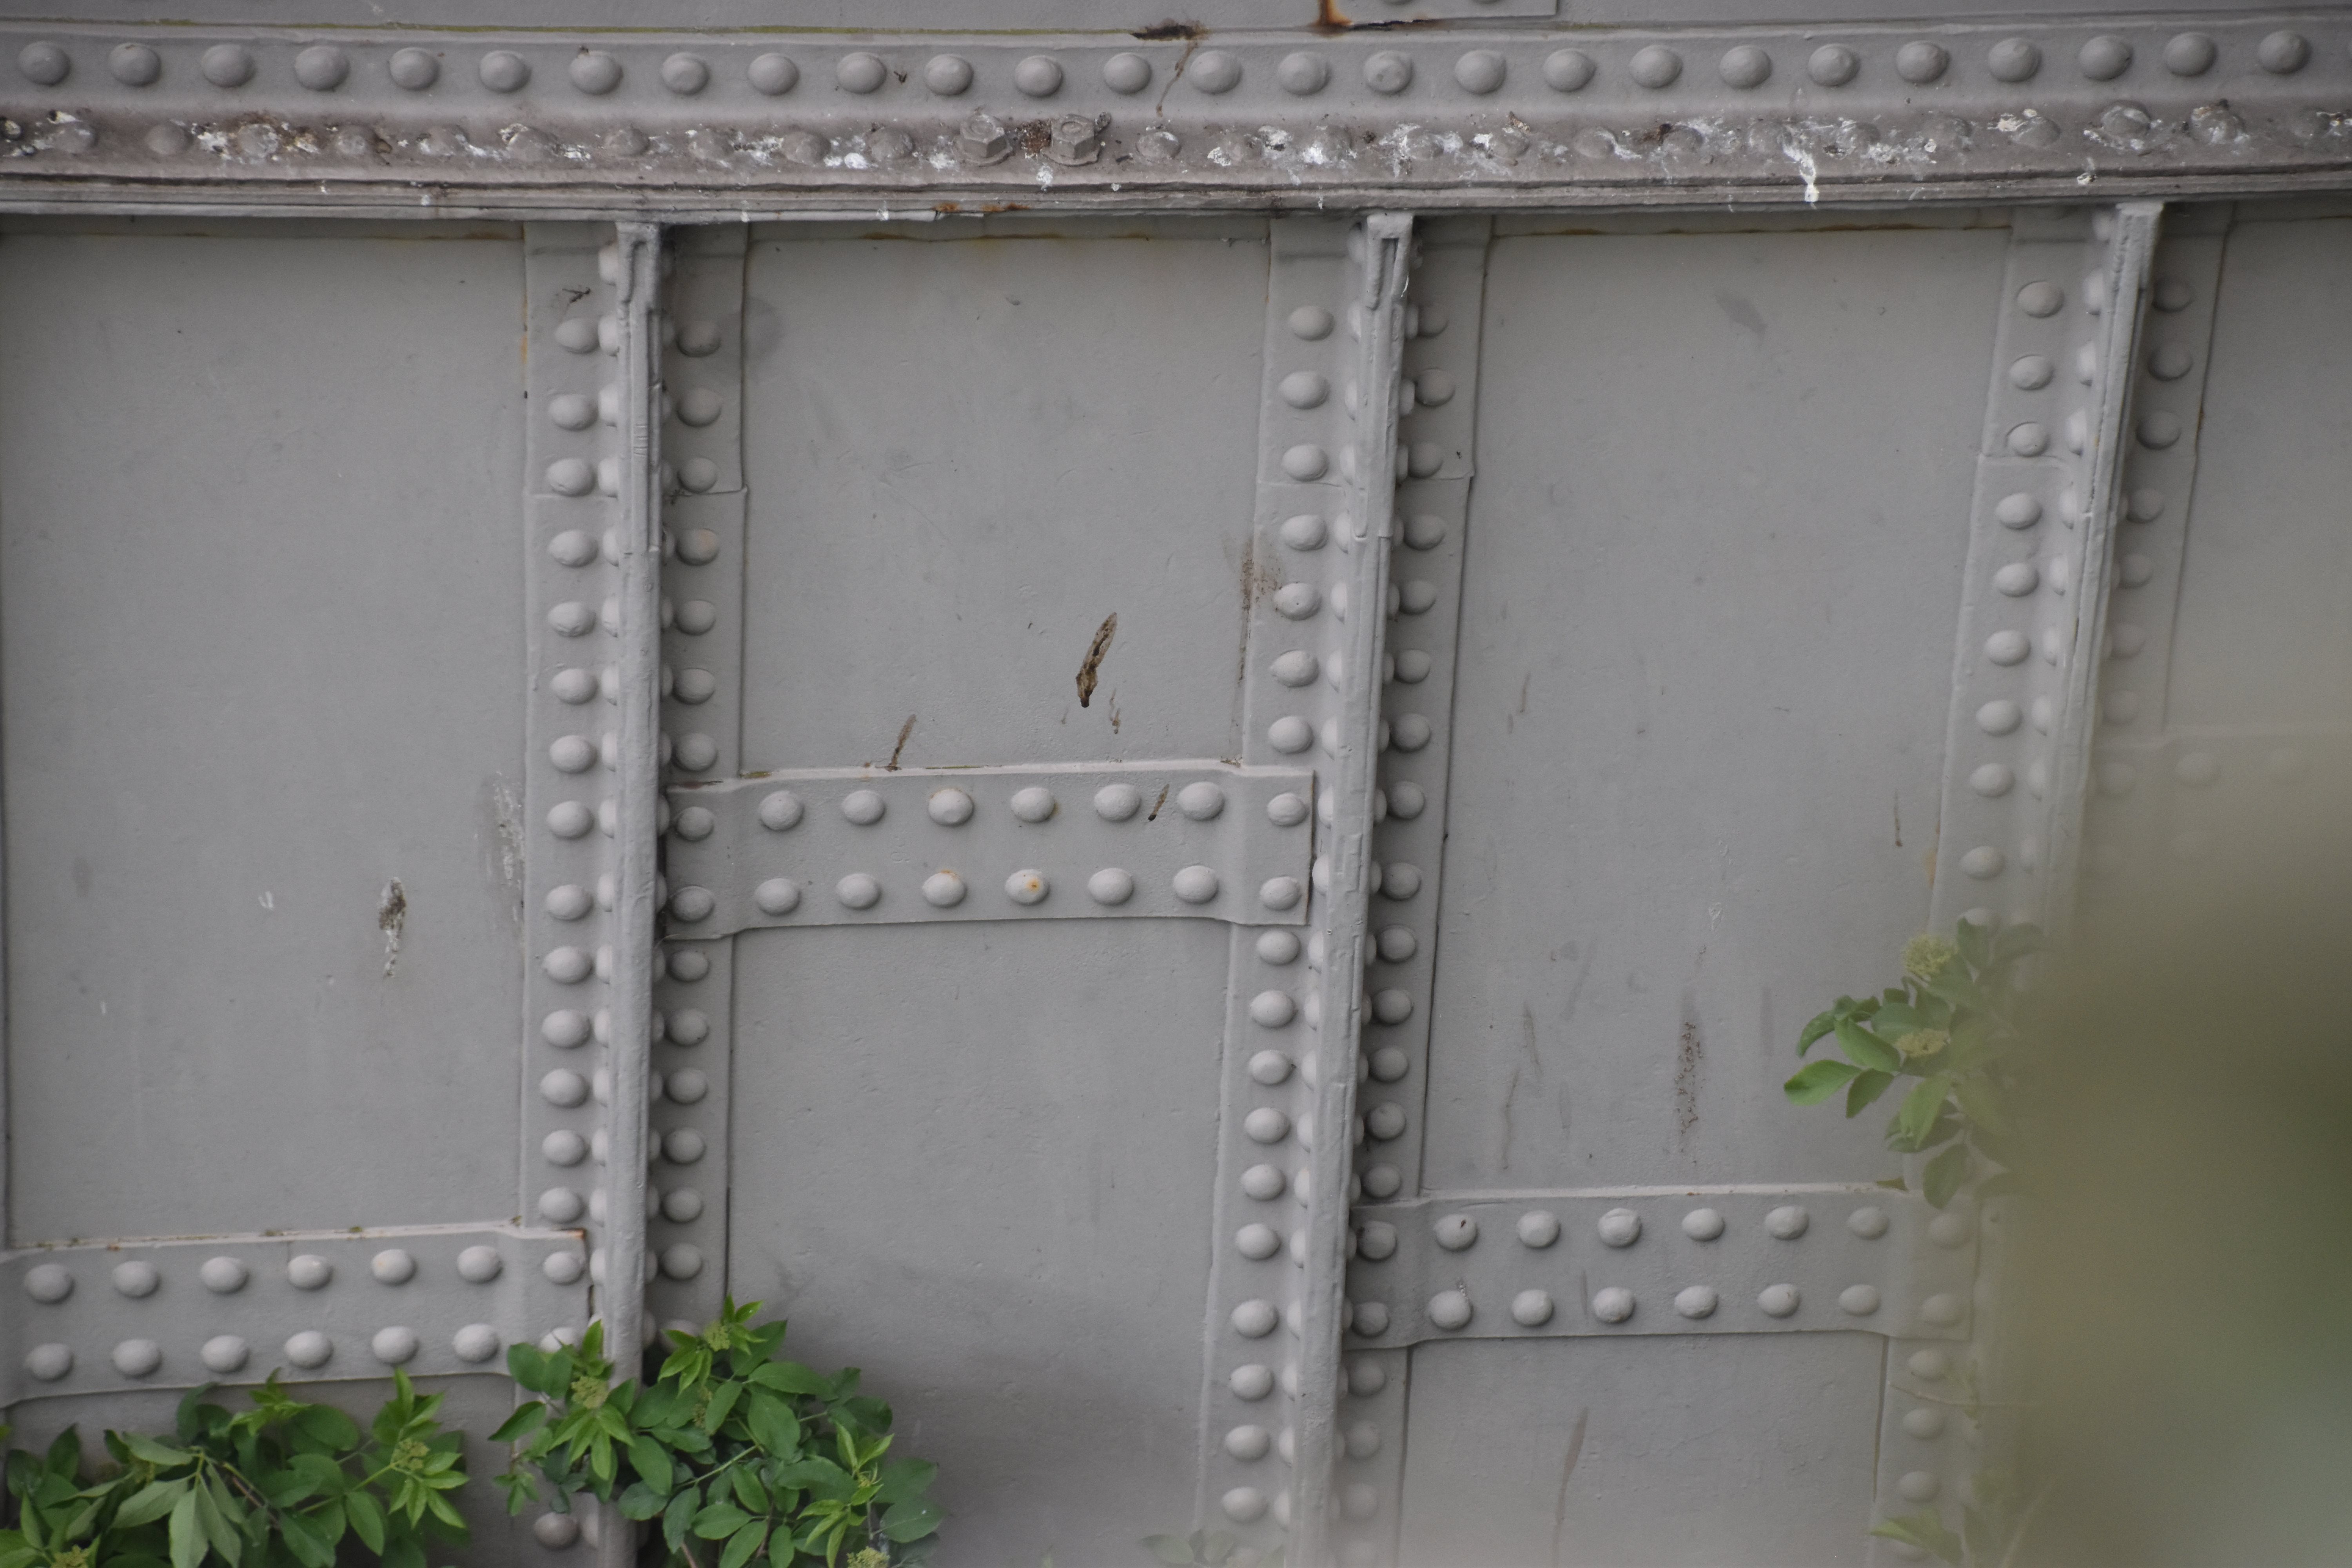


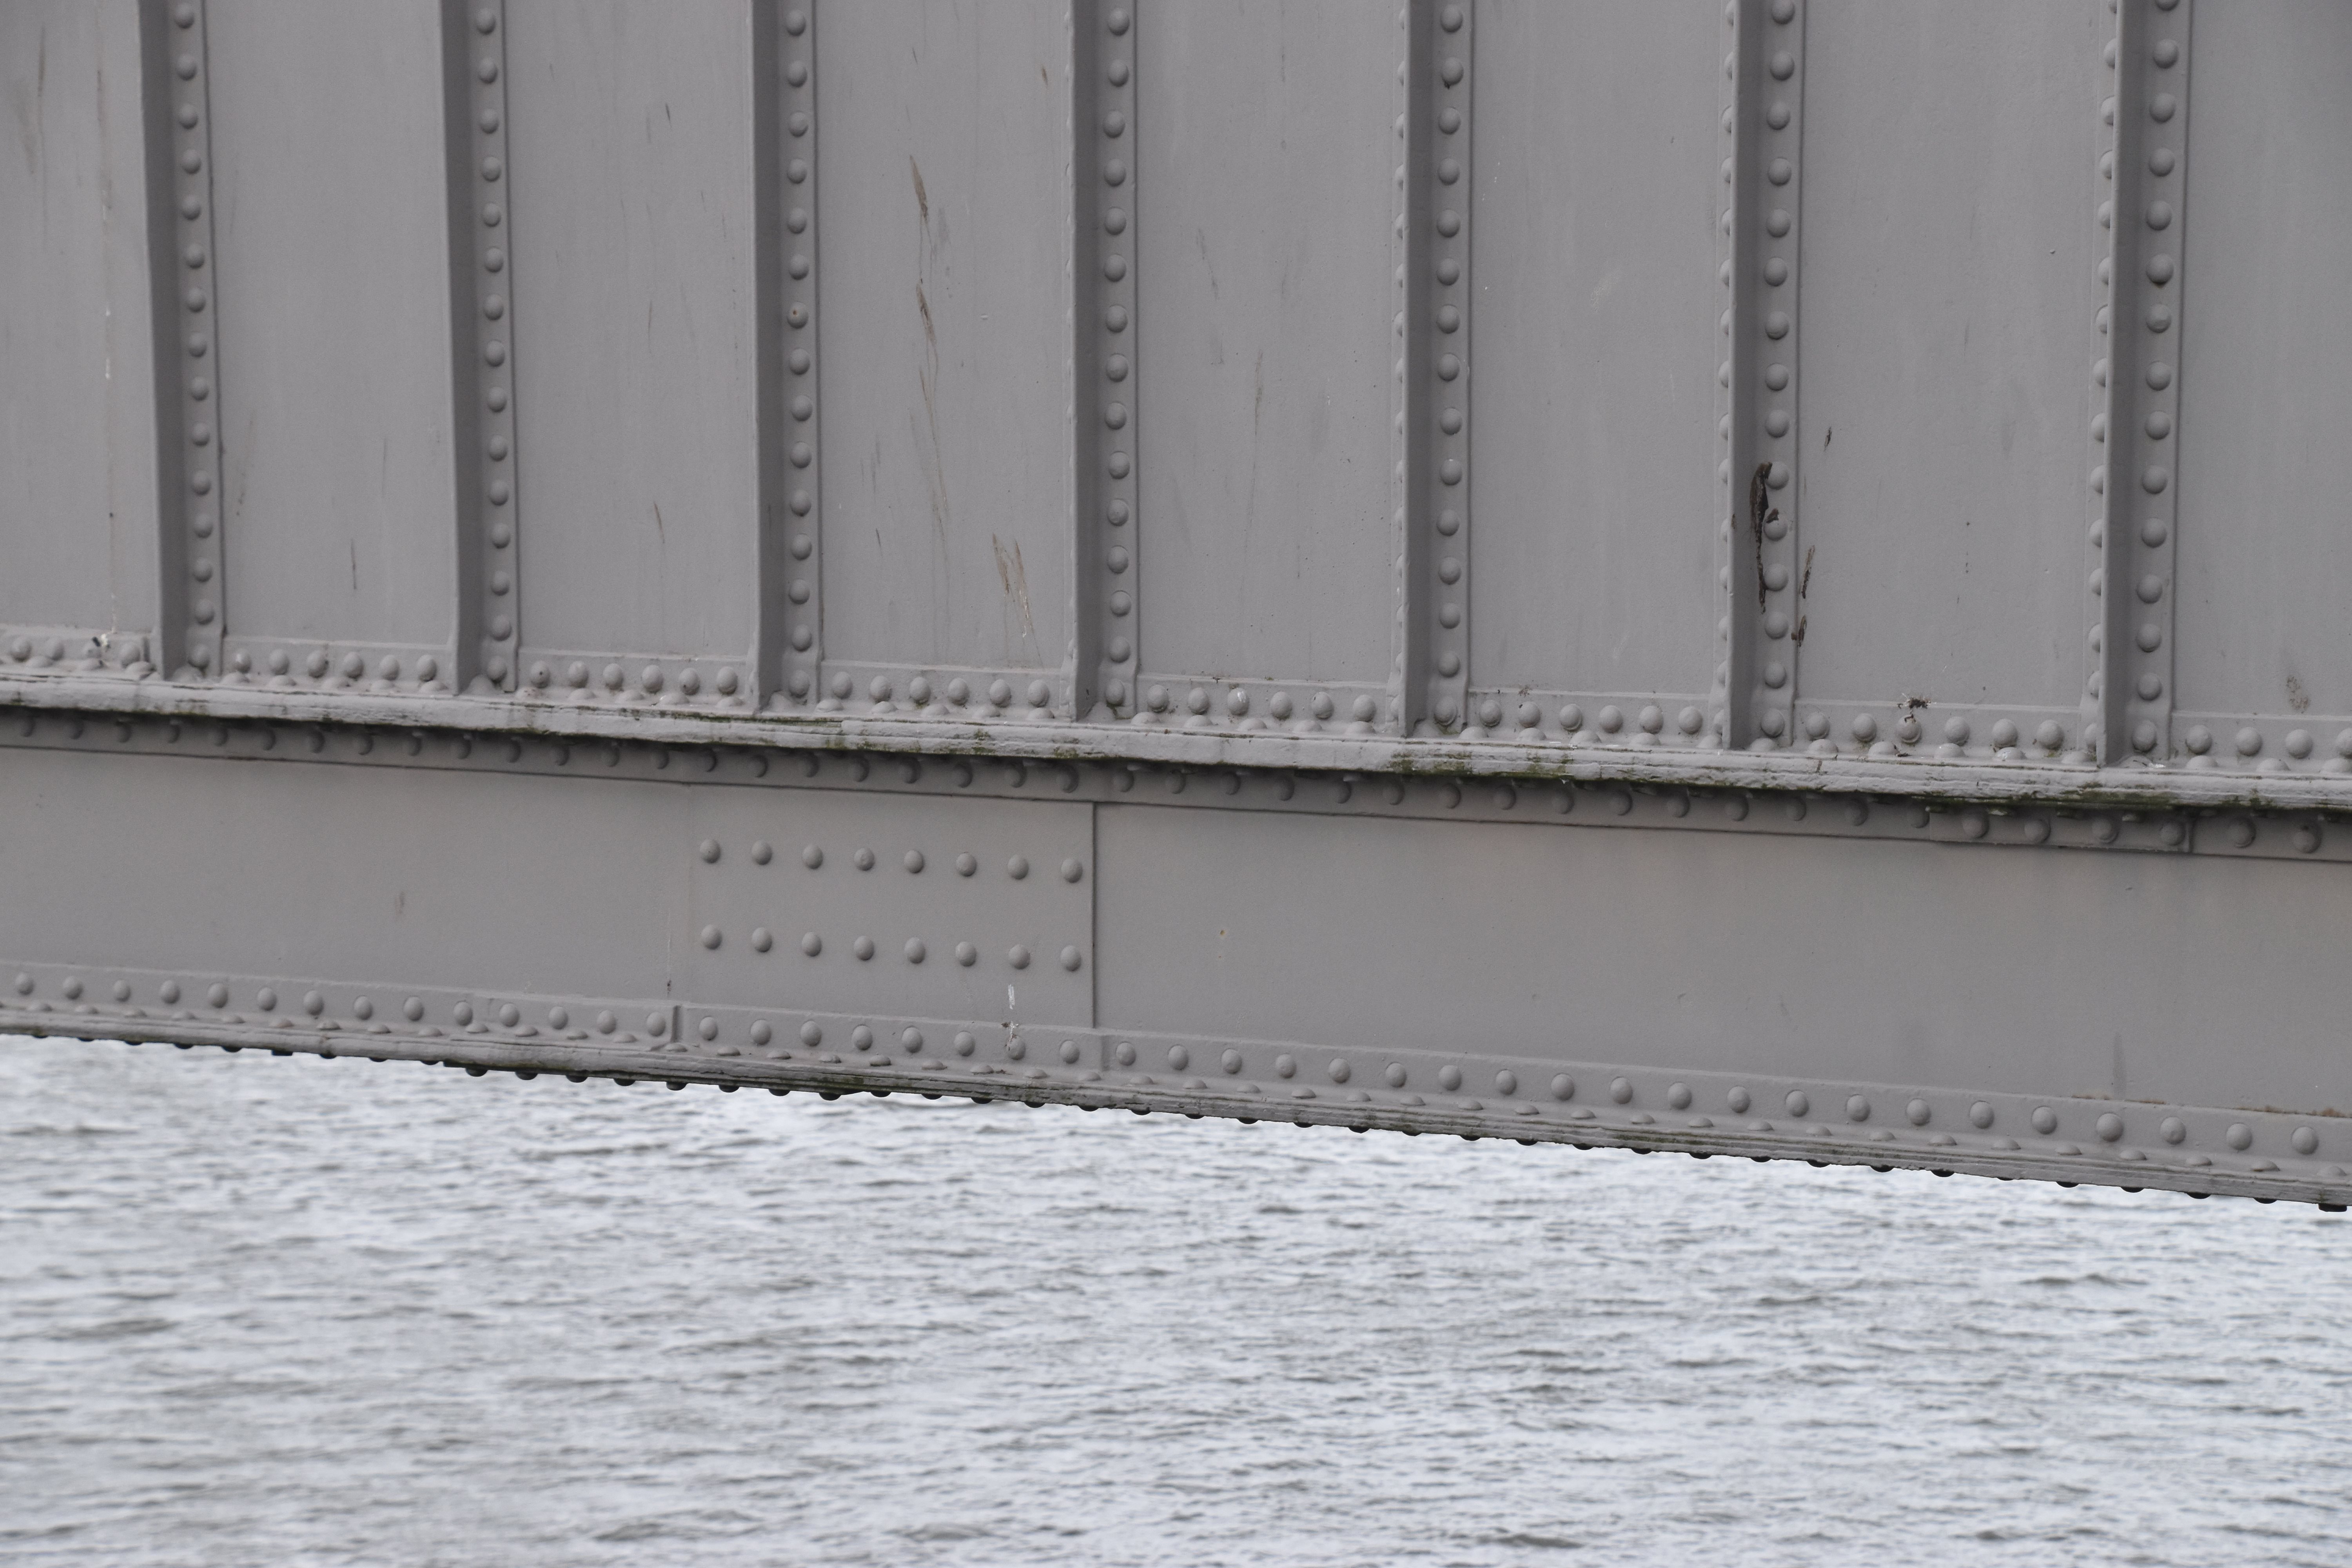
Girder web in original and unaltered section of girder.
![]()


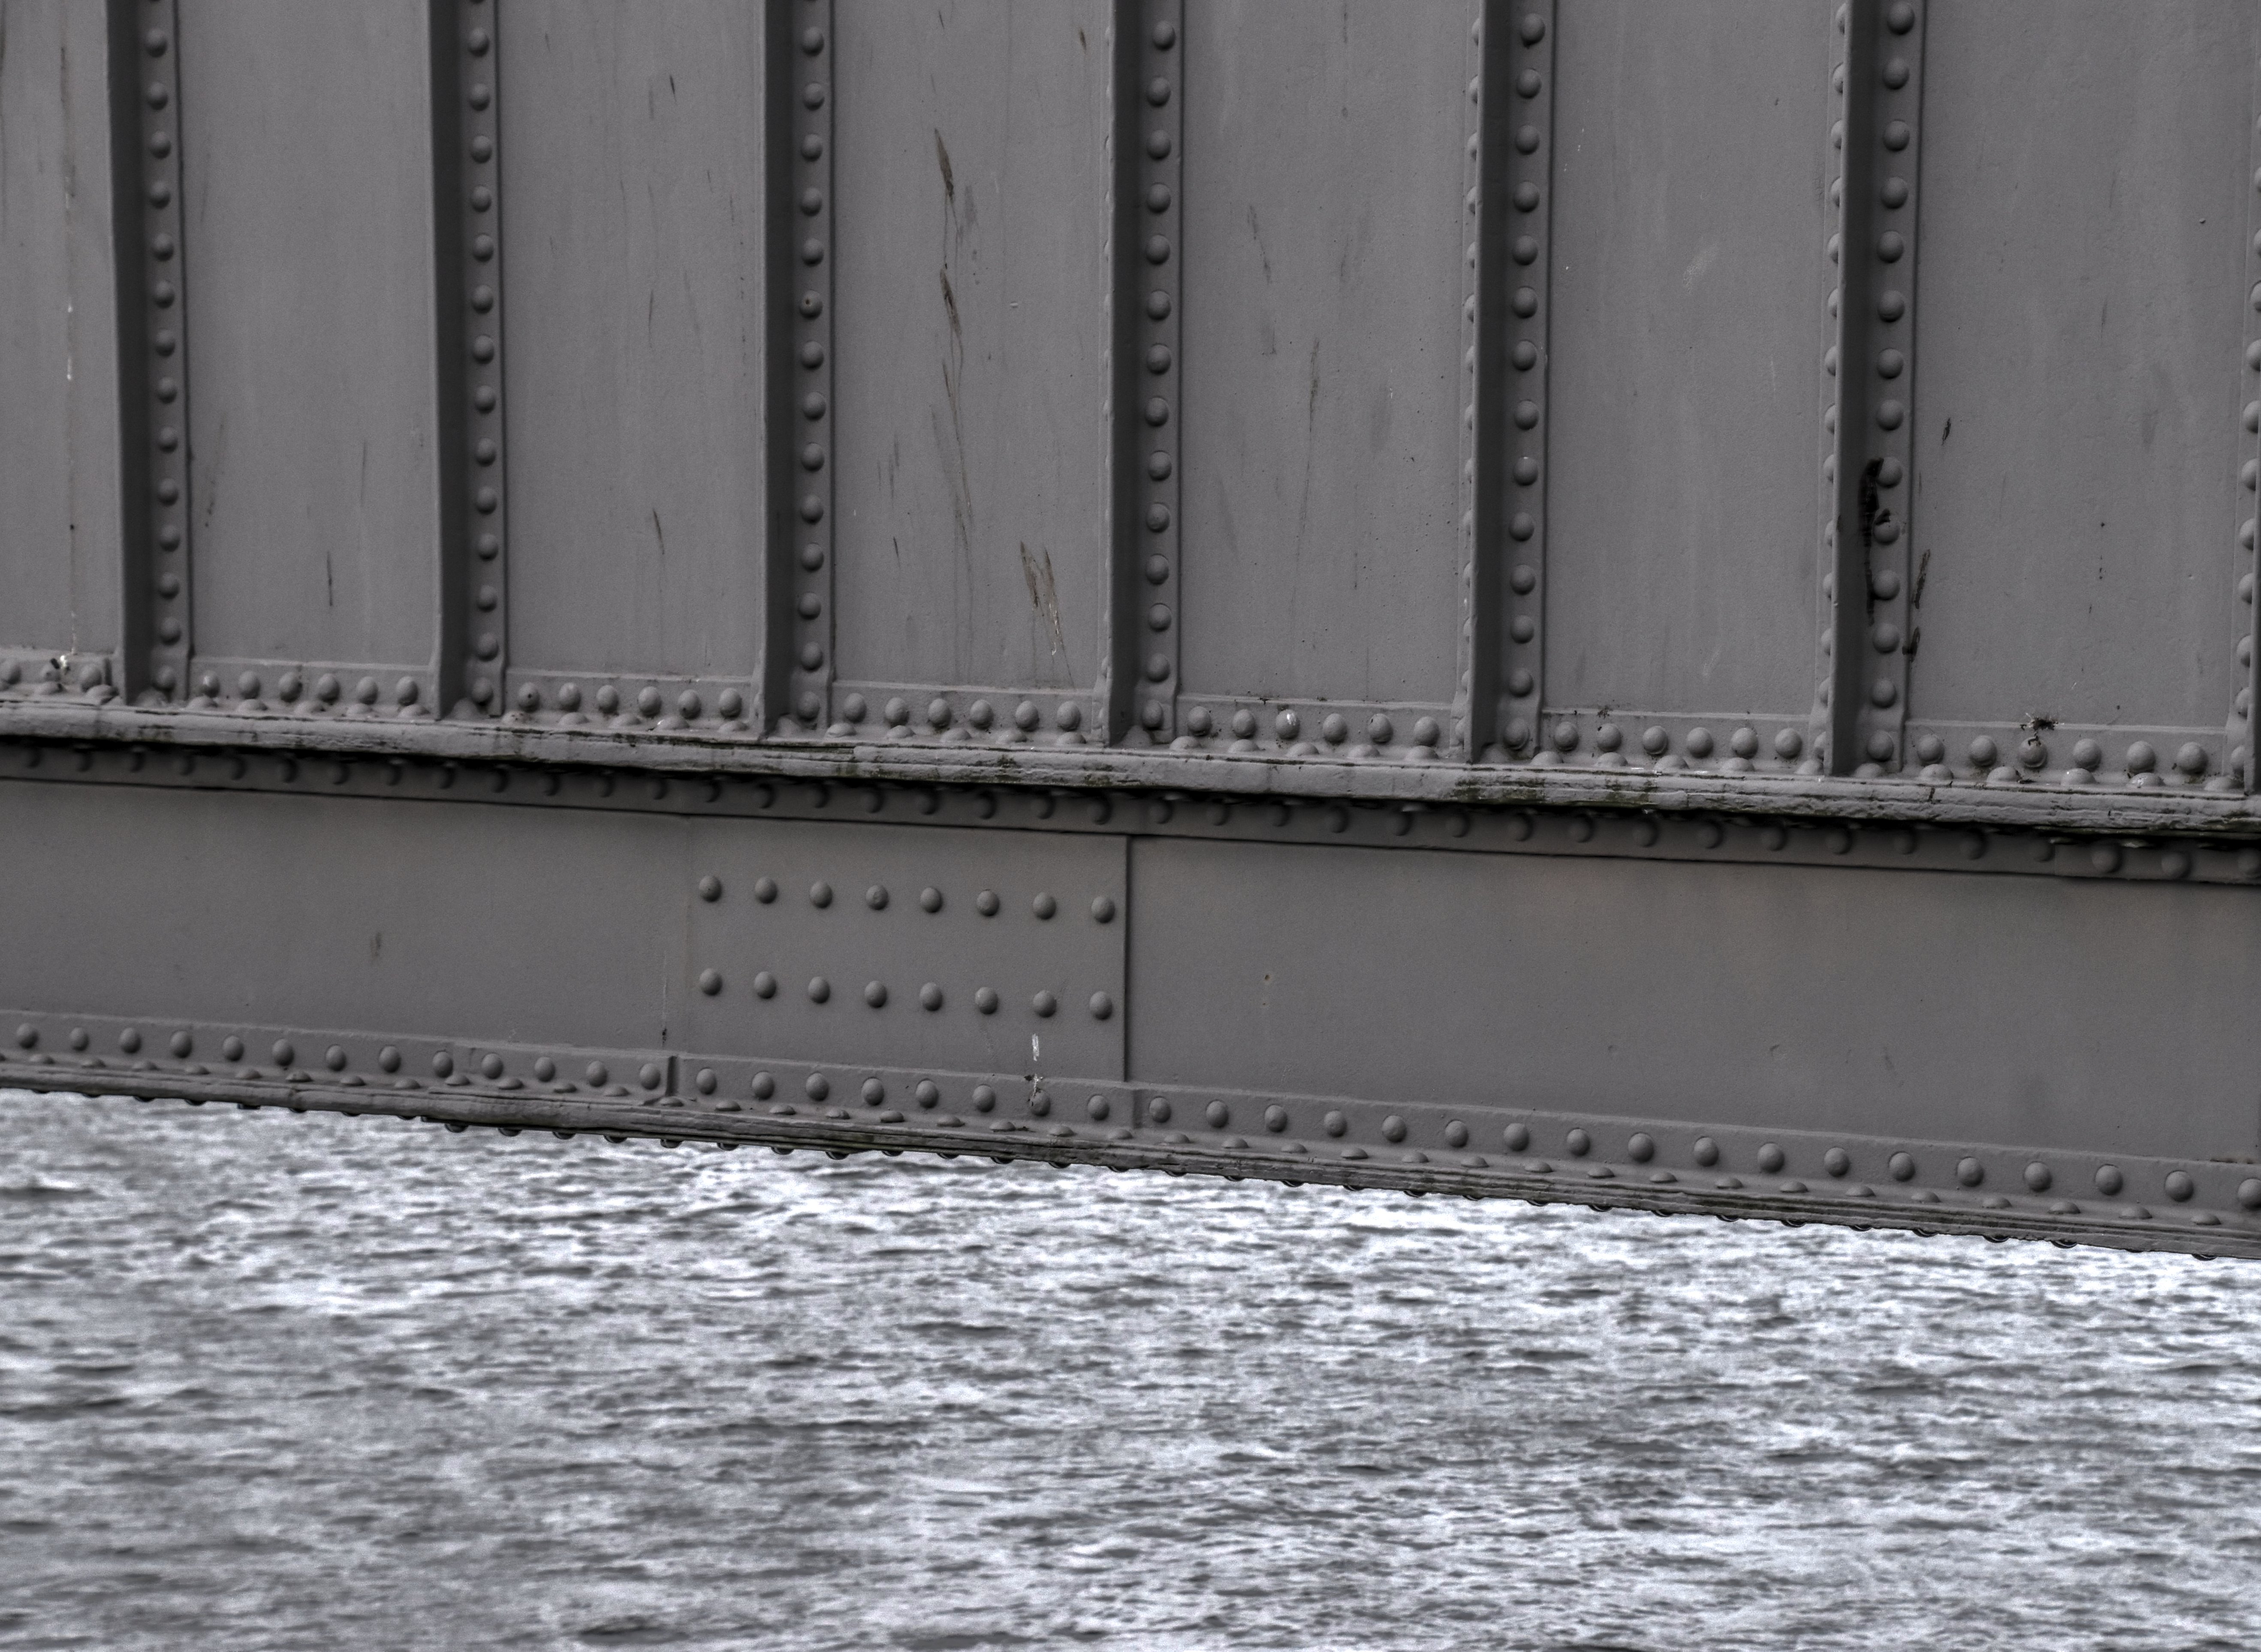
Girder web detail at original and unaltered section of girder.
![]()


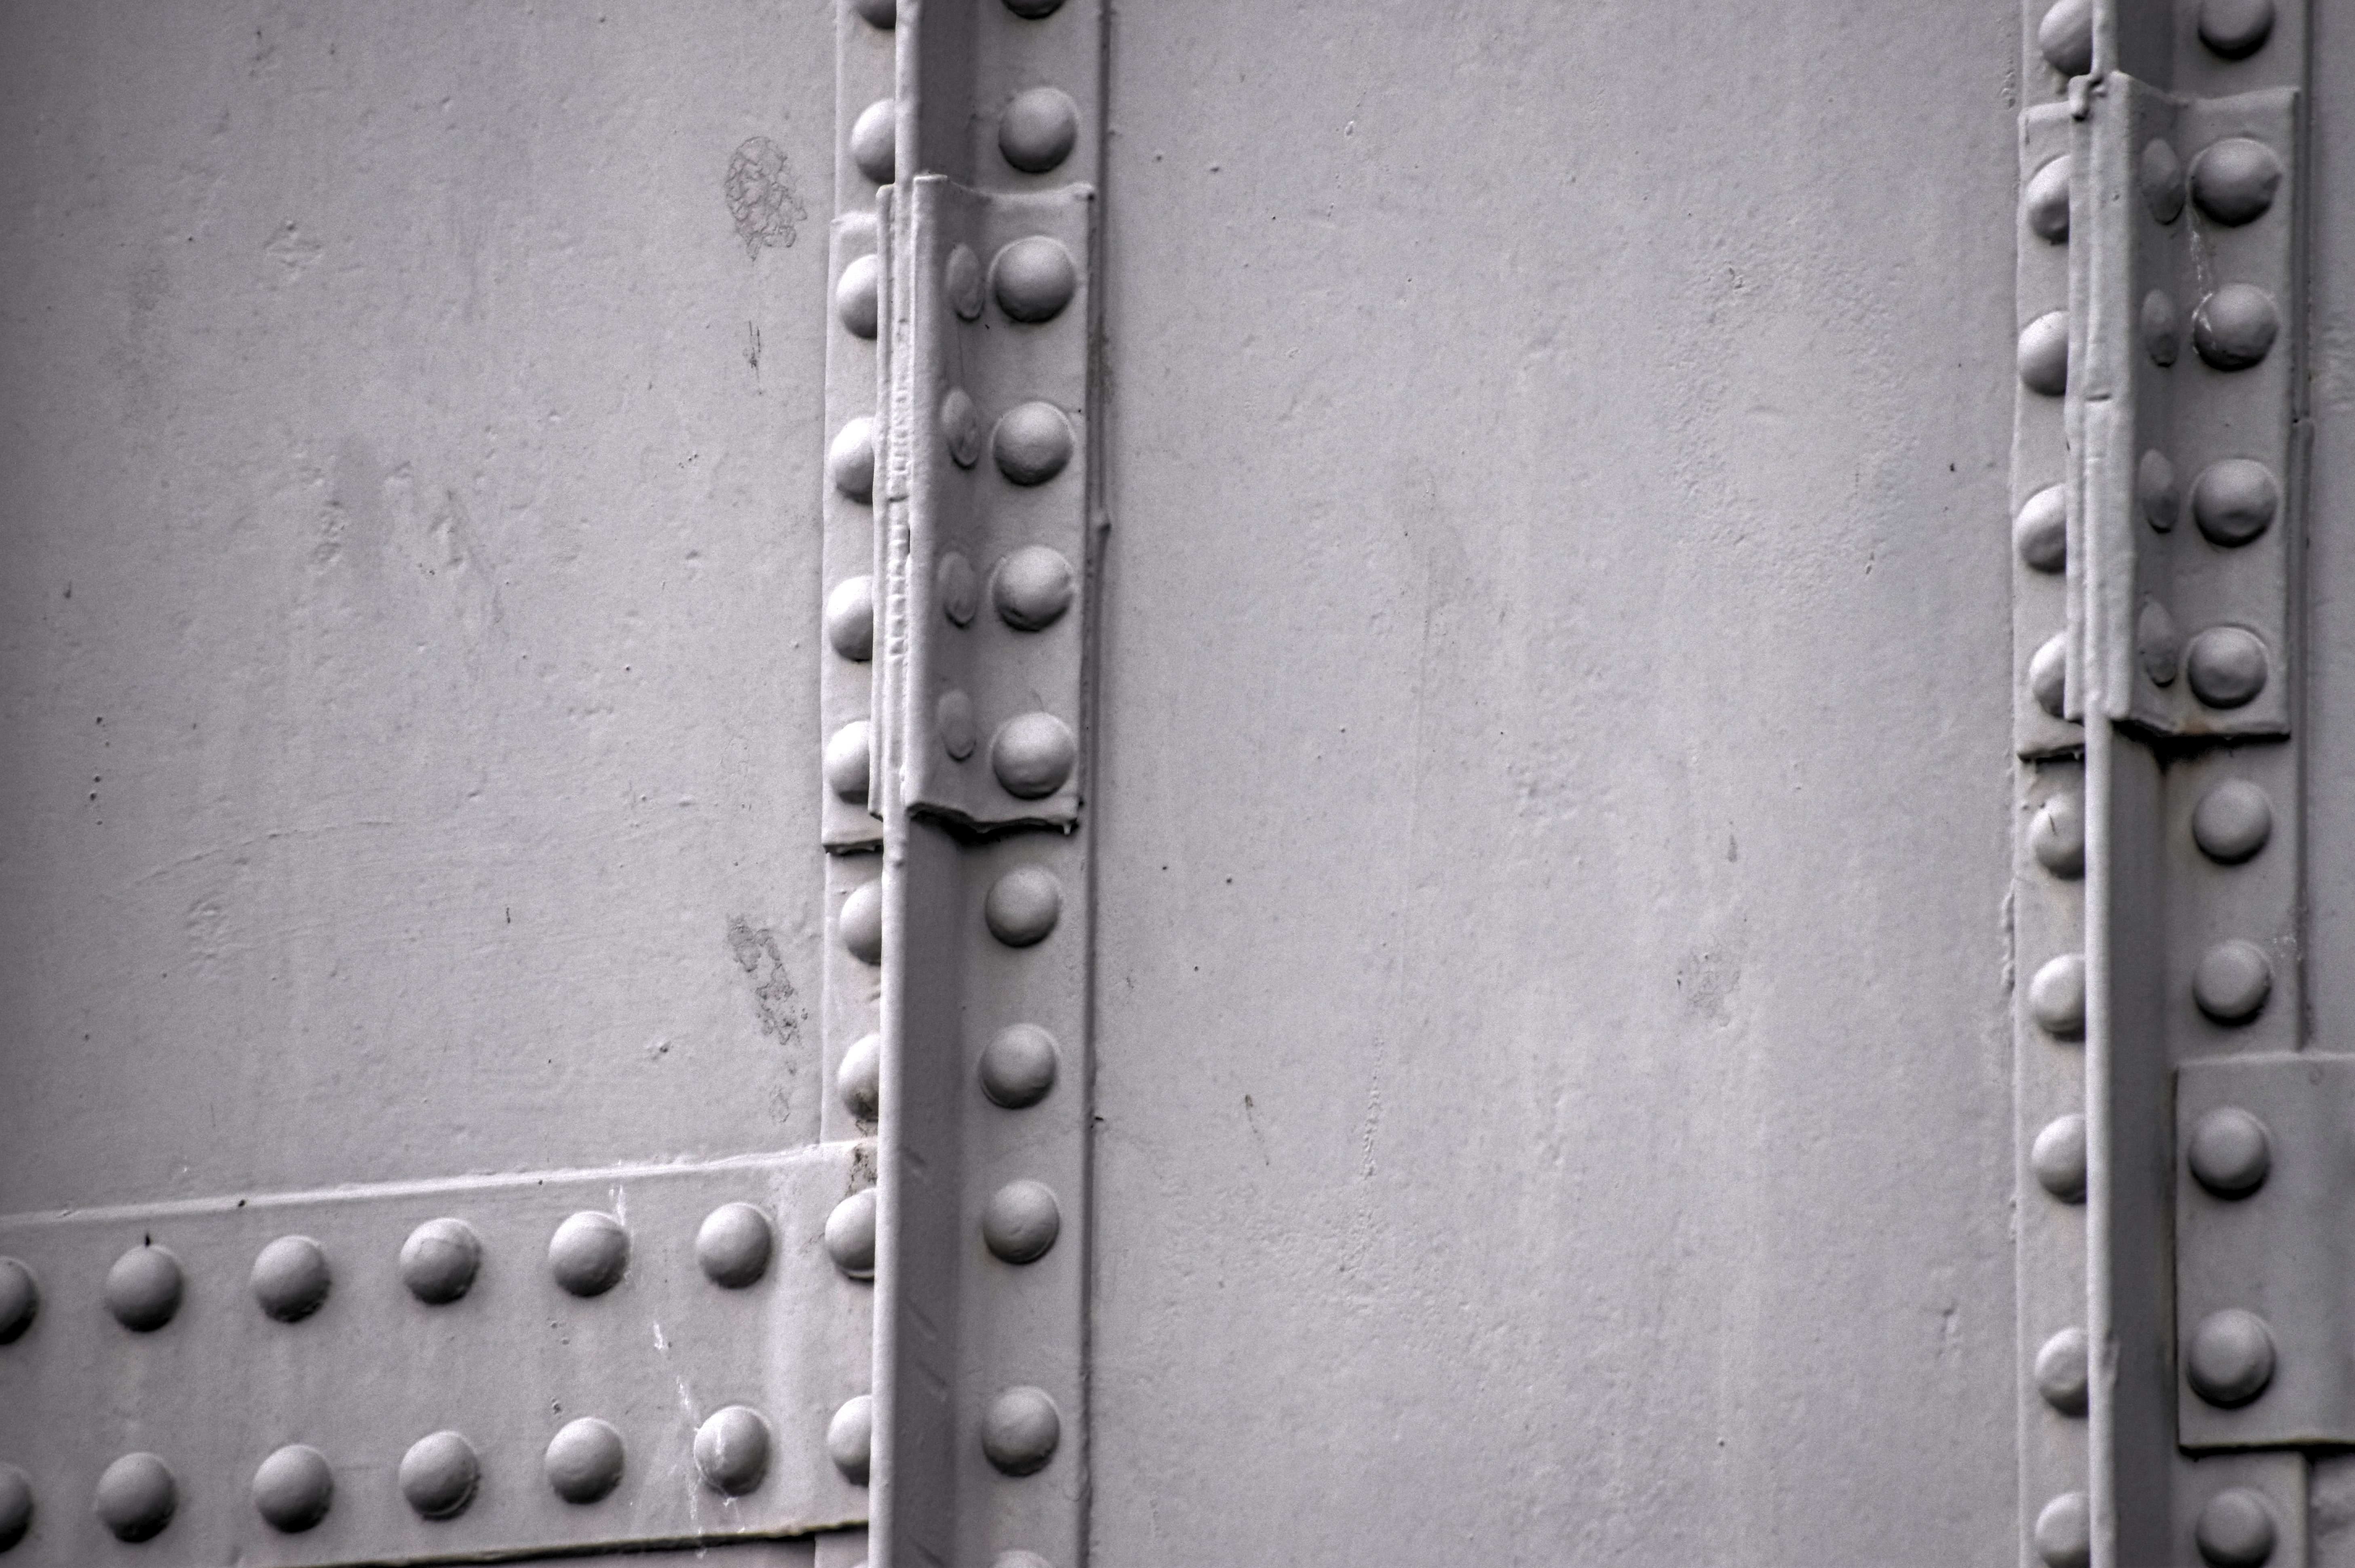
Girder web detail it 1899 strengthened section of girder.
![]()


Comparison of original and unaltered section of girder (to the right) and the 1899 strengthened section (left).
![]()


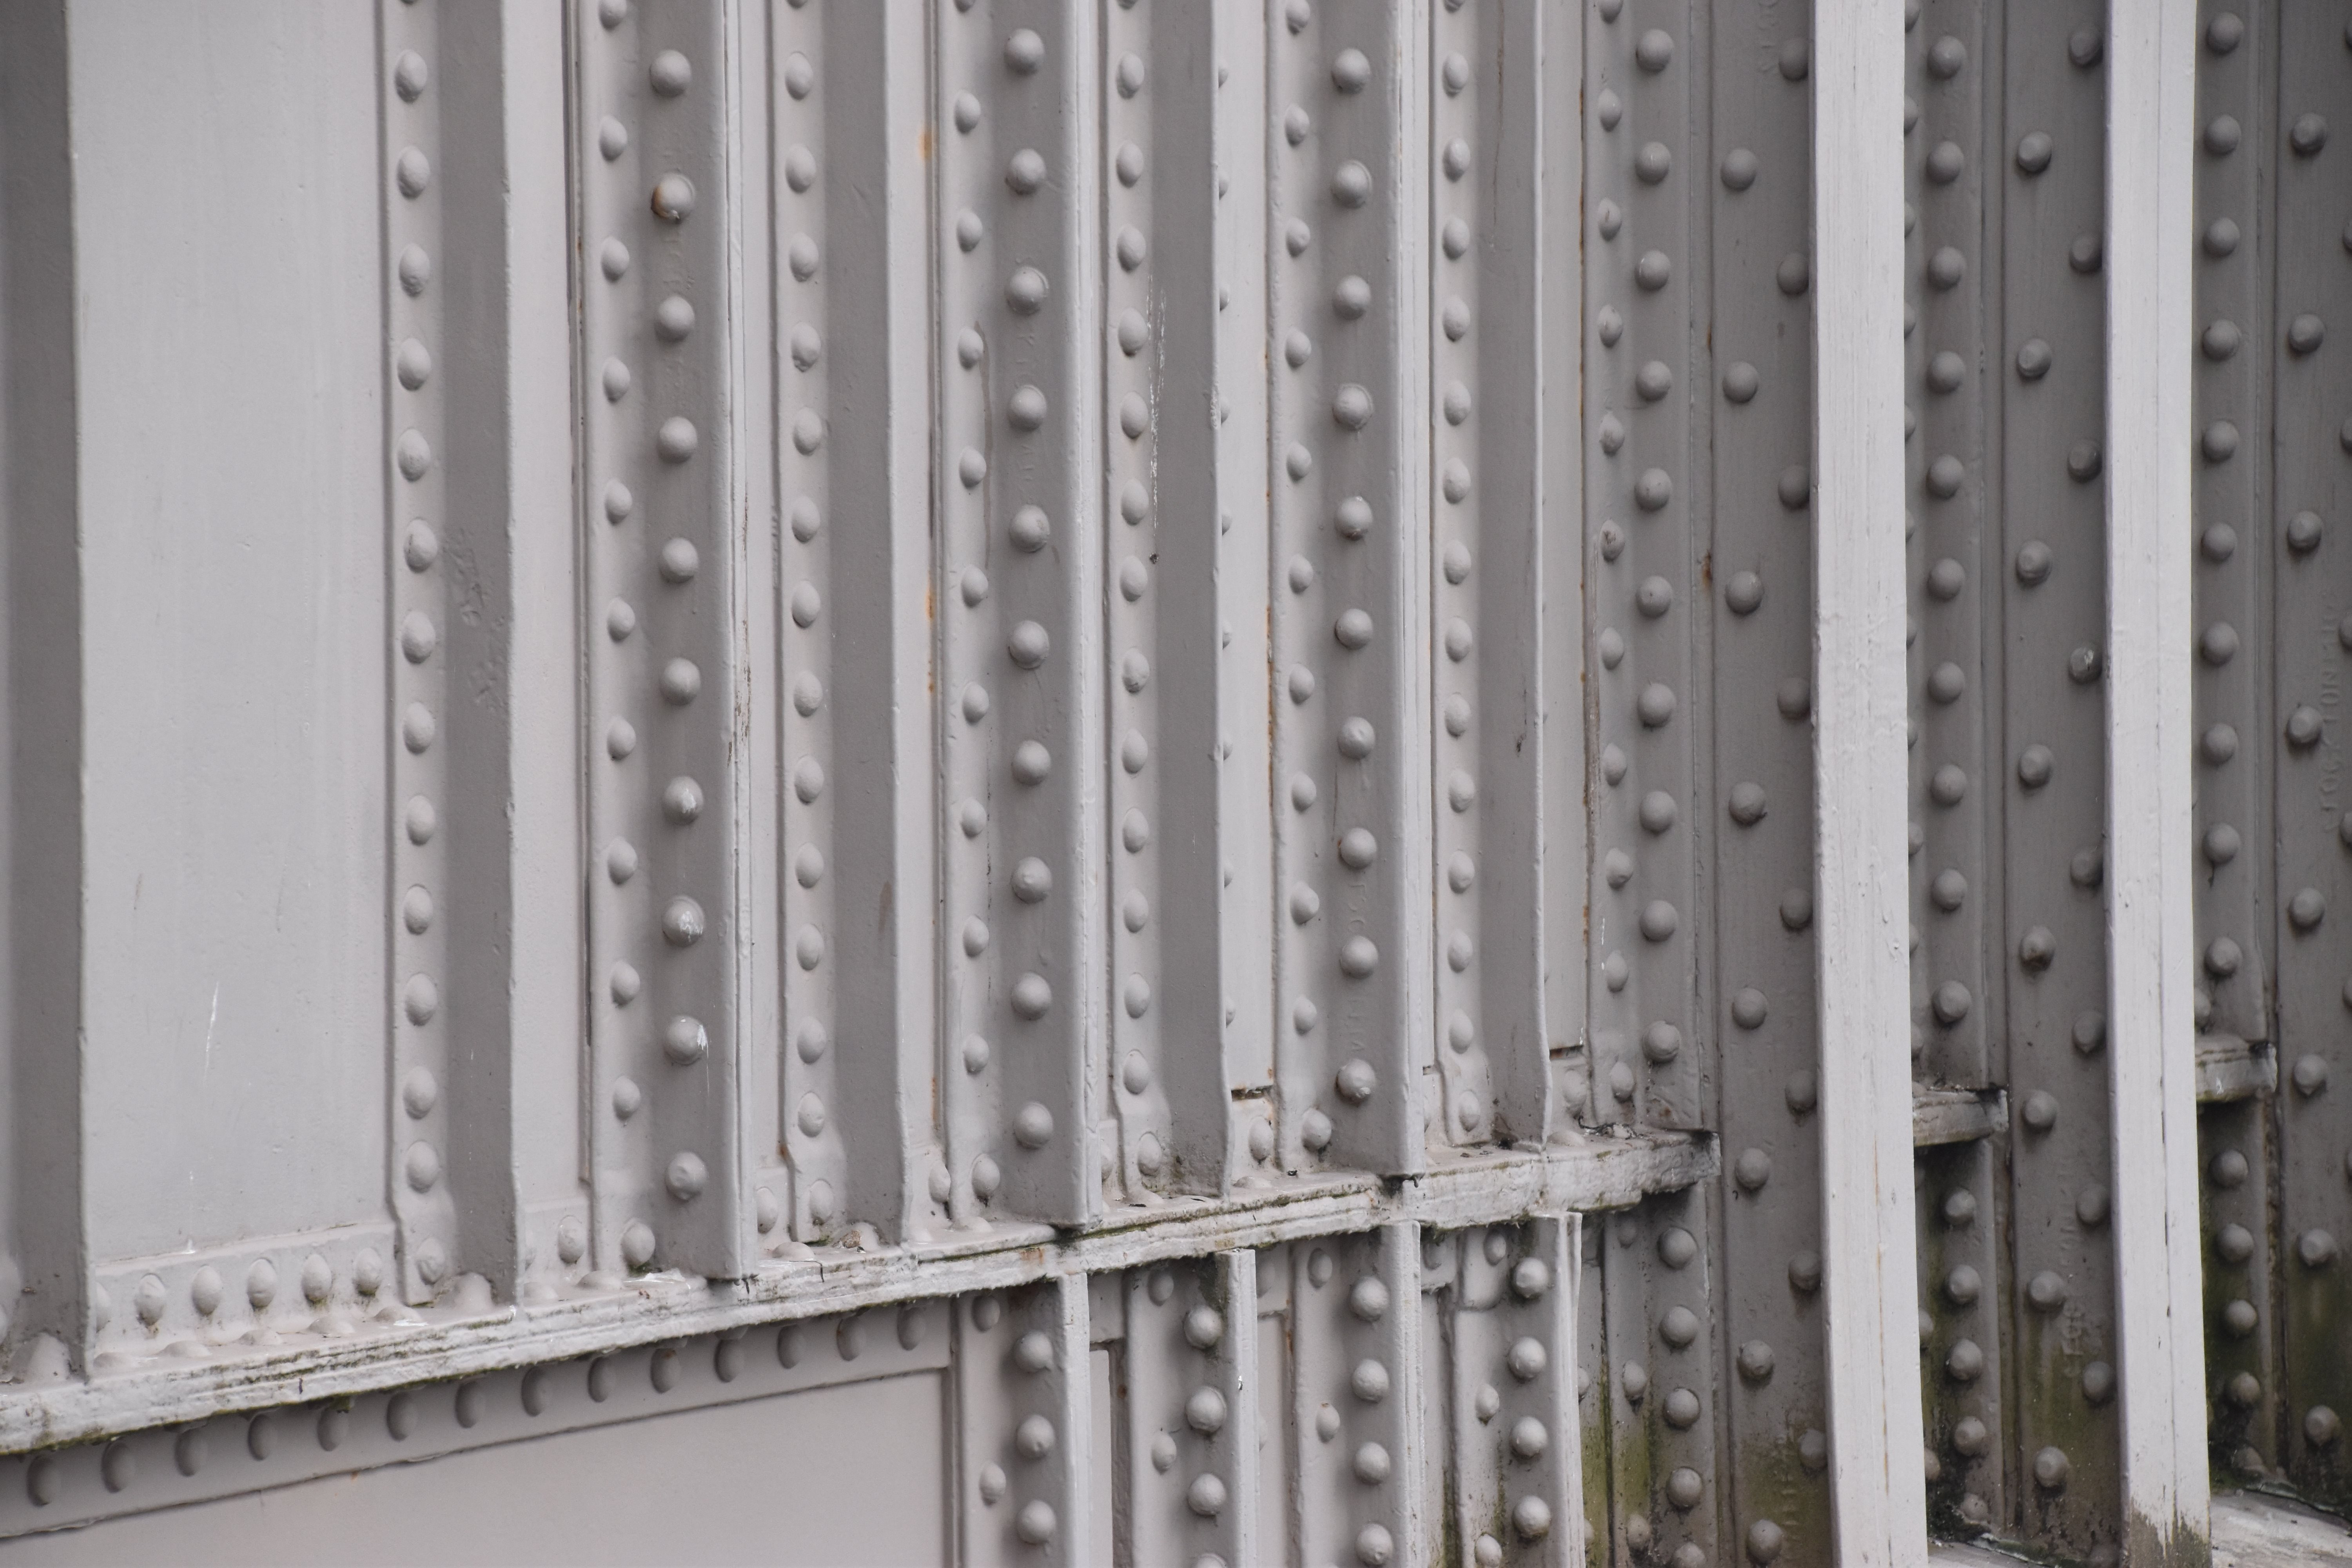
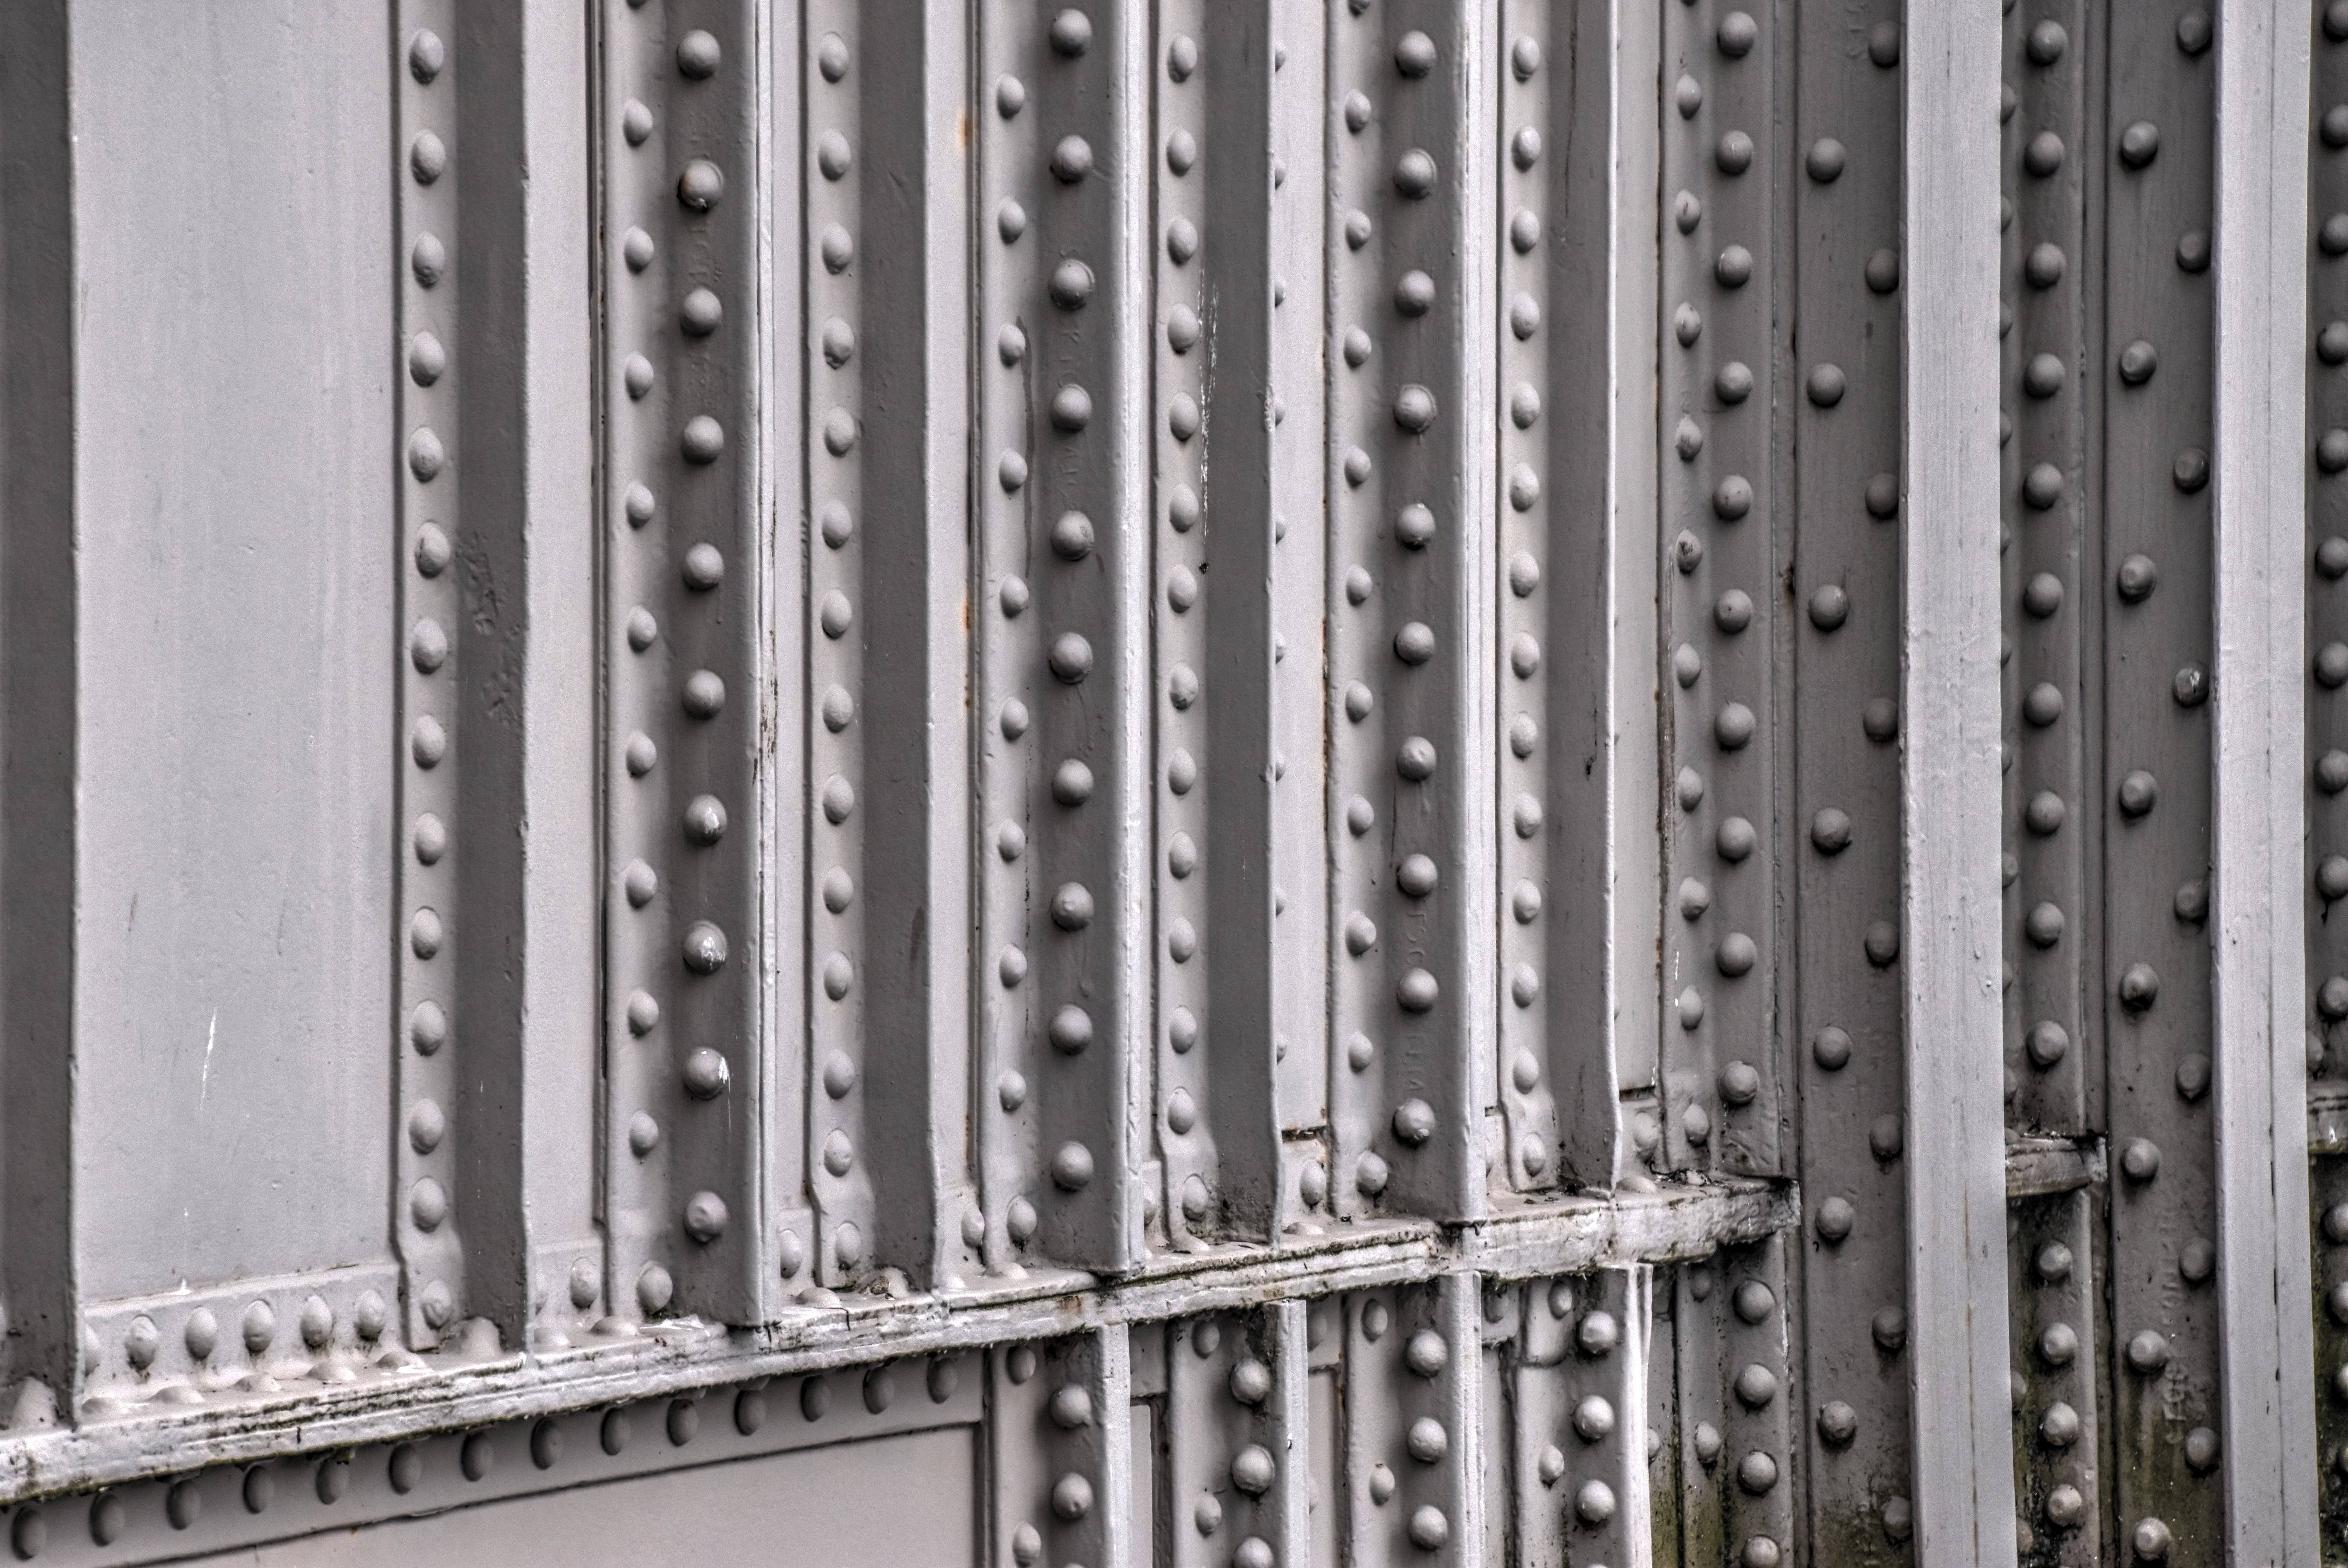
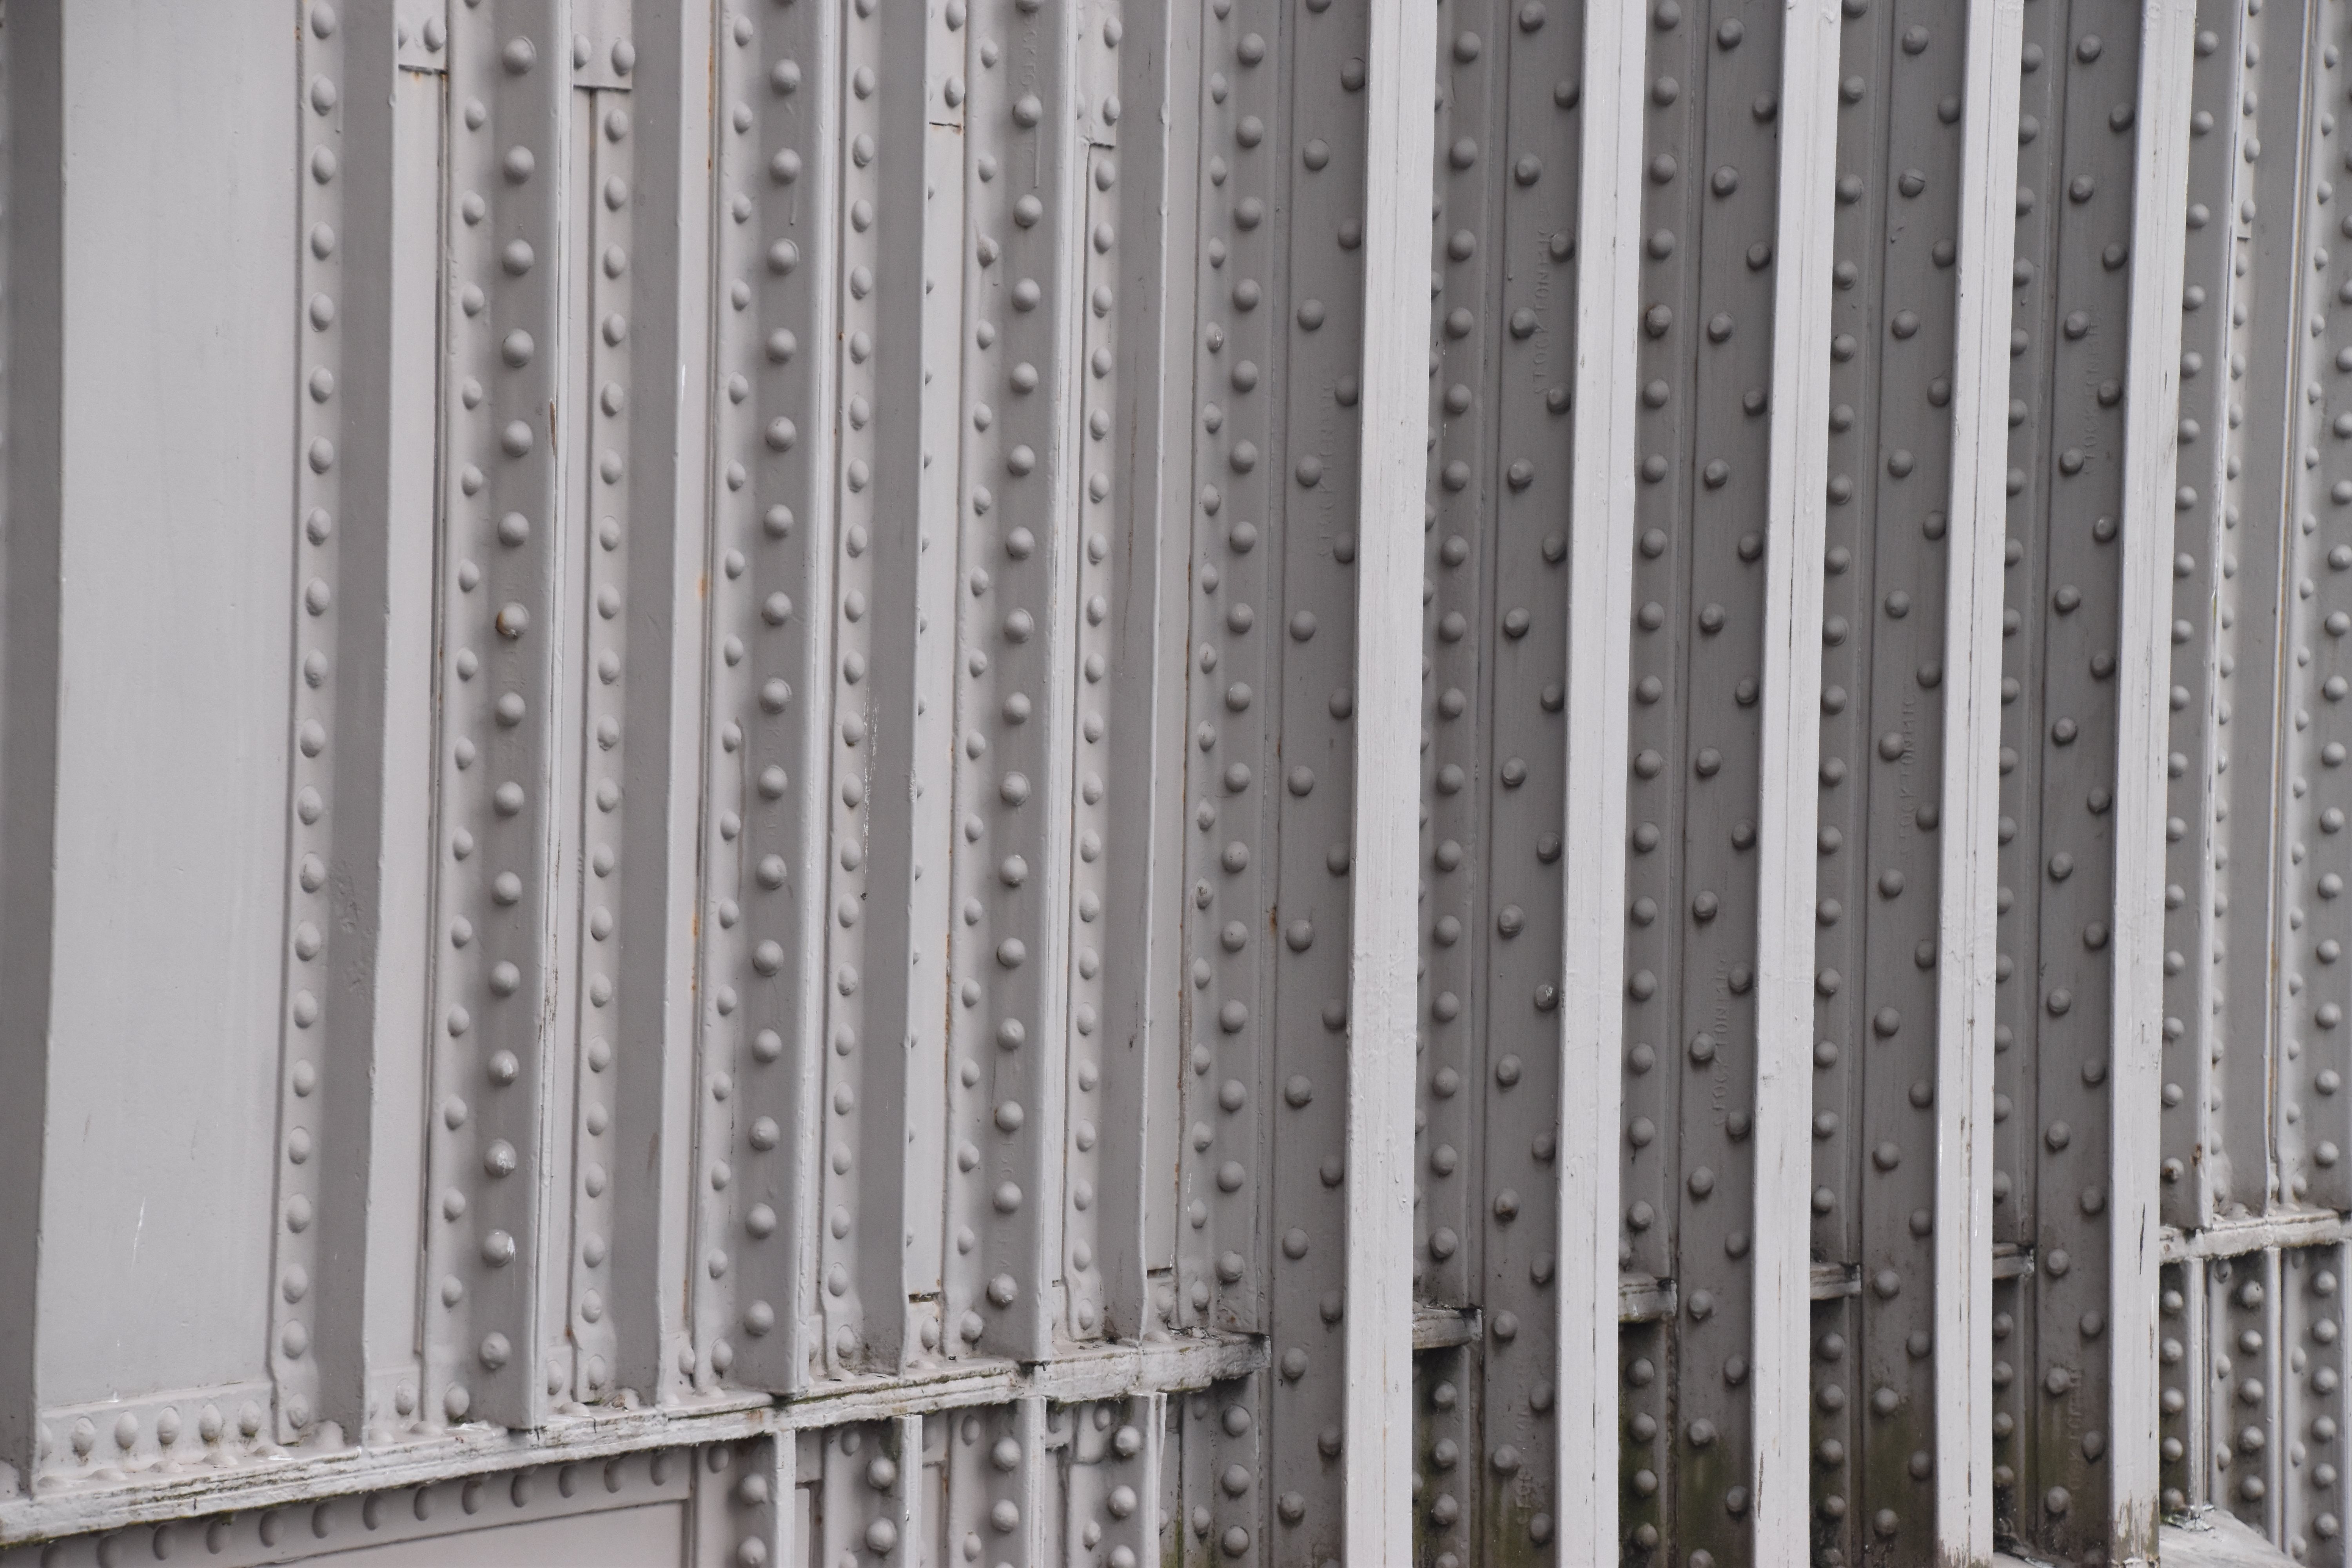
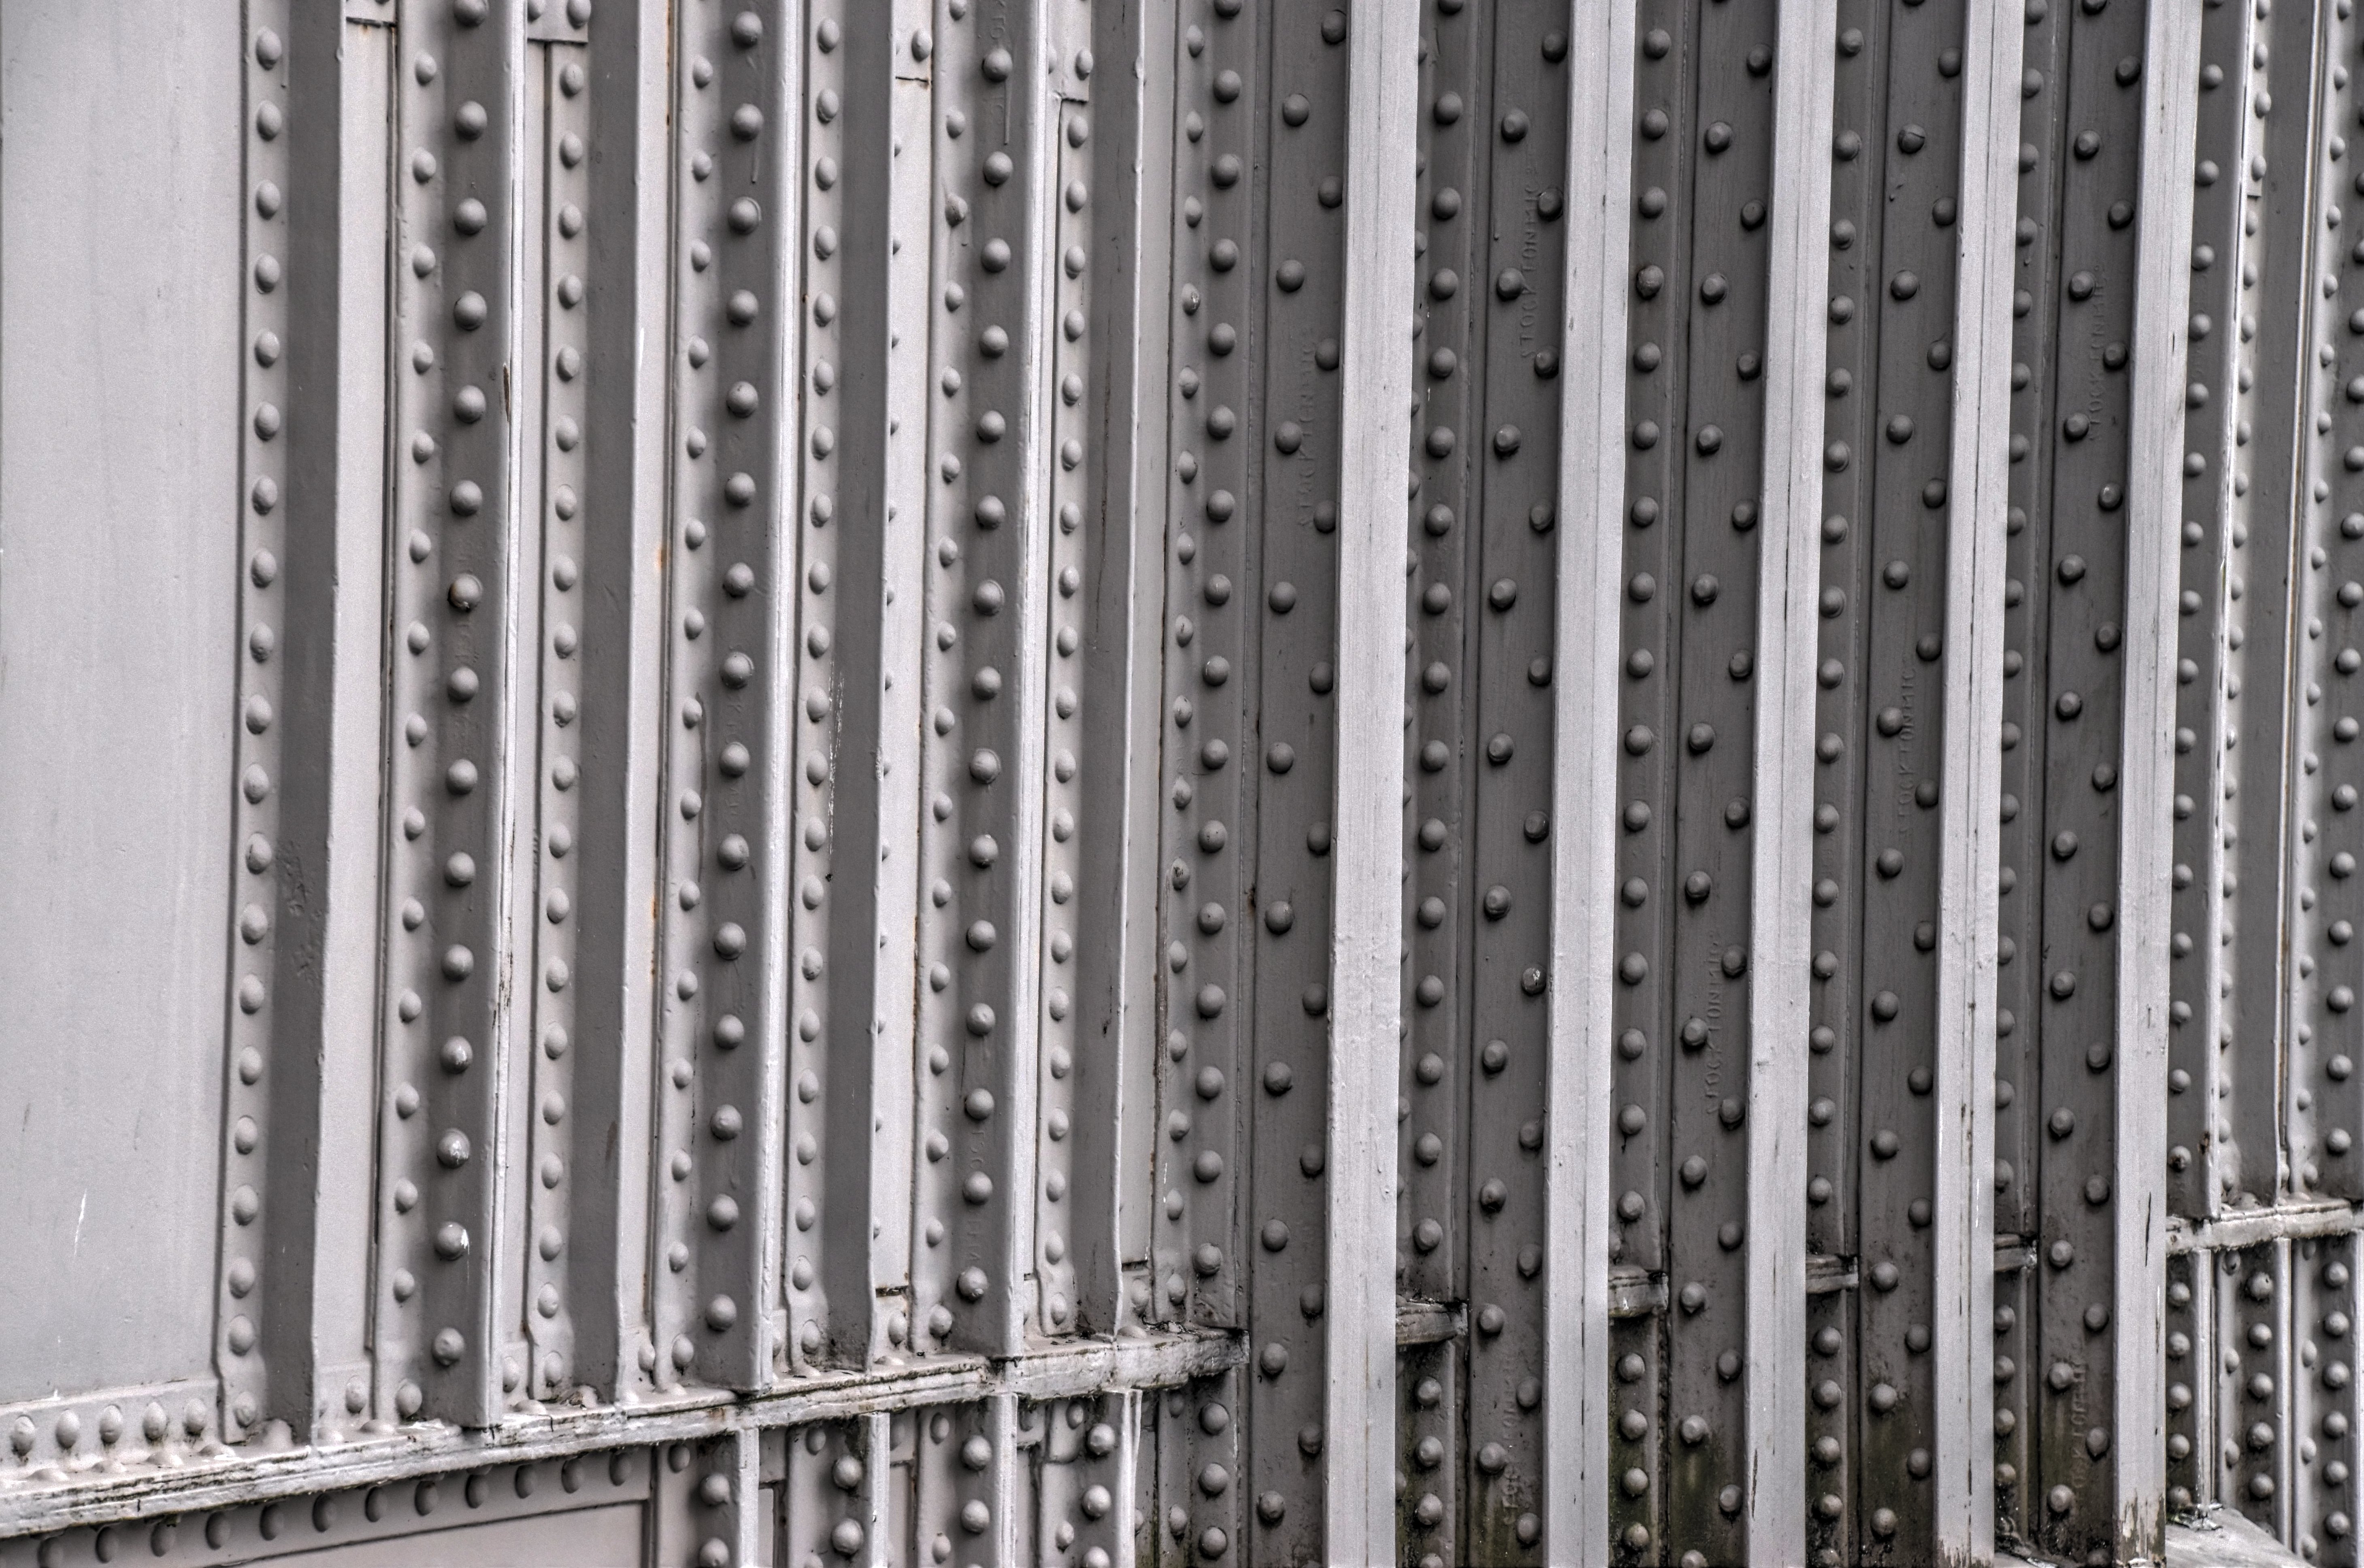
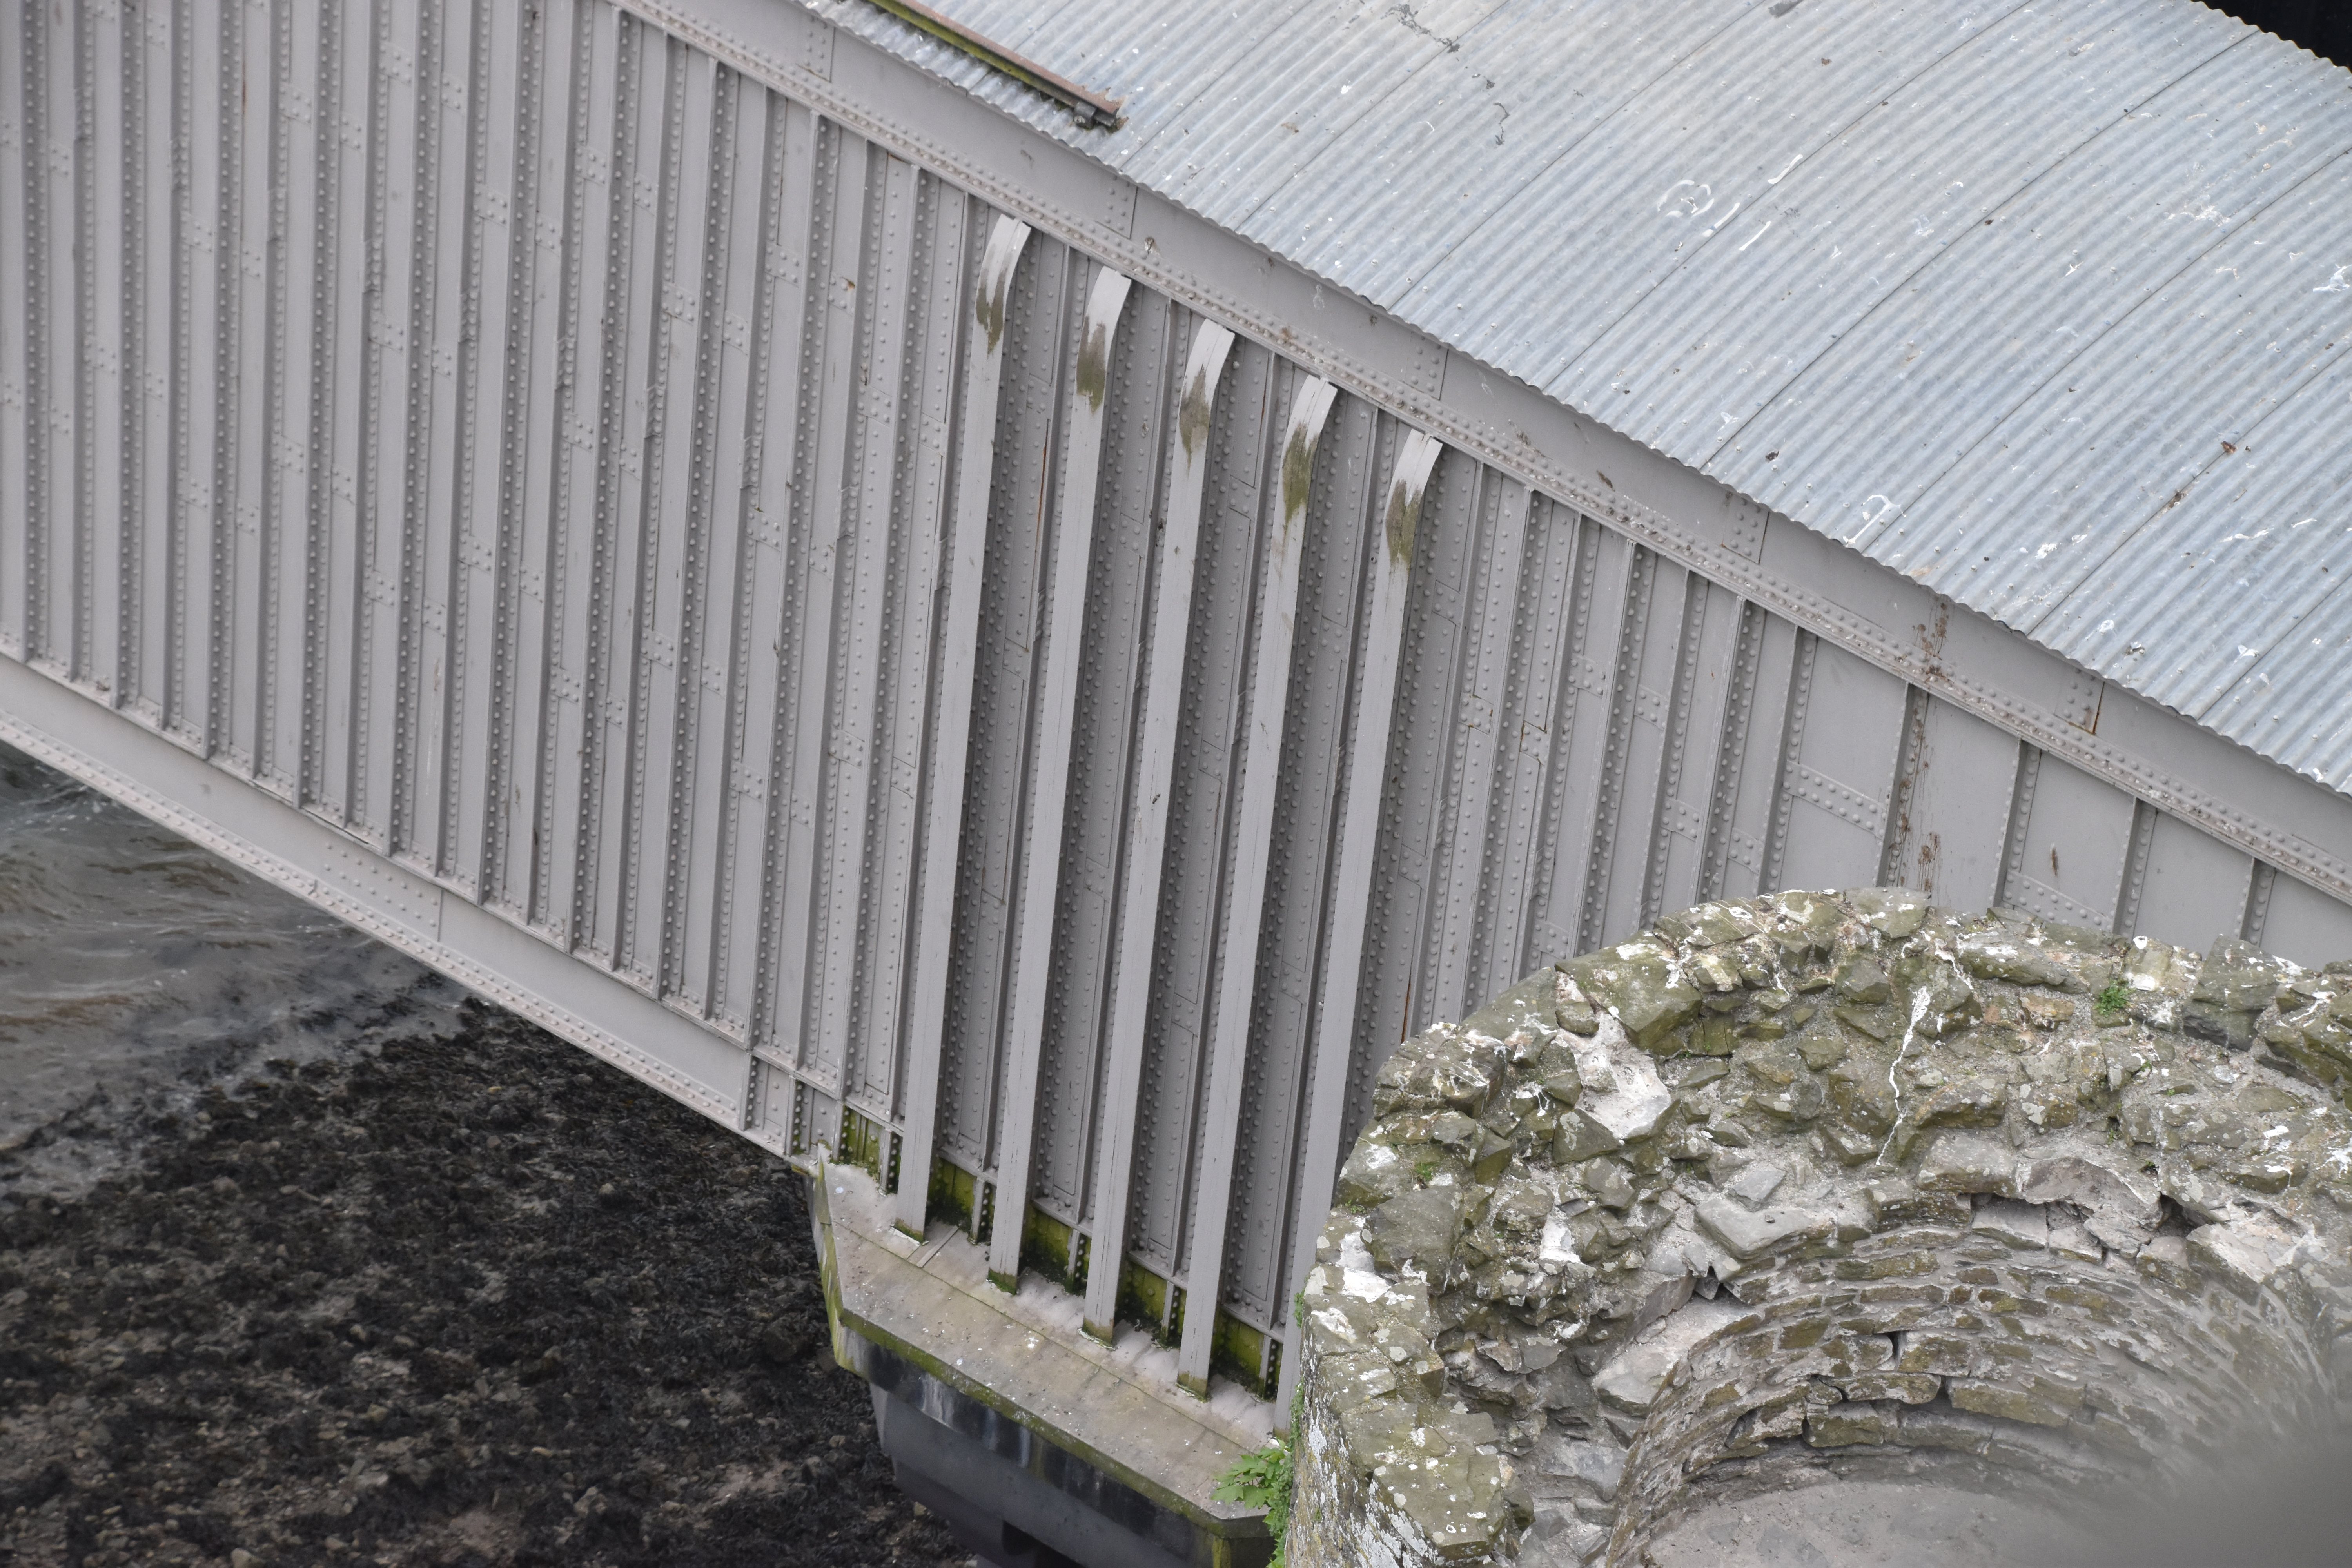
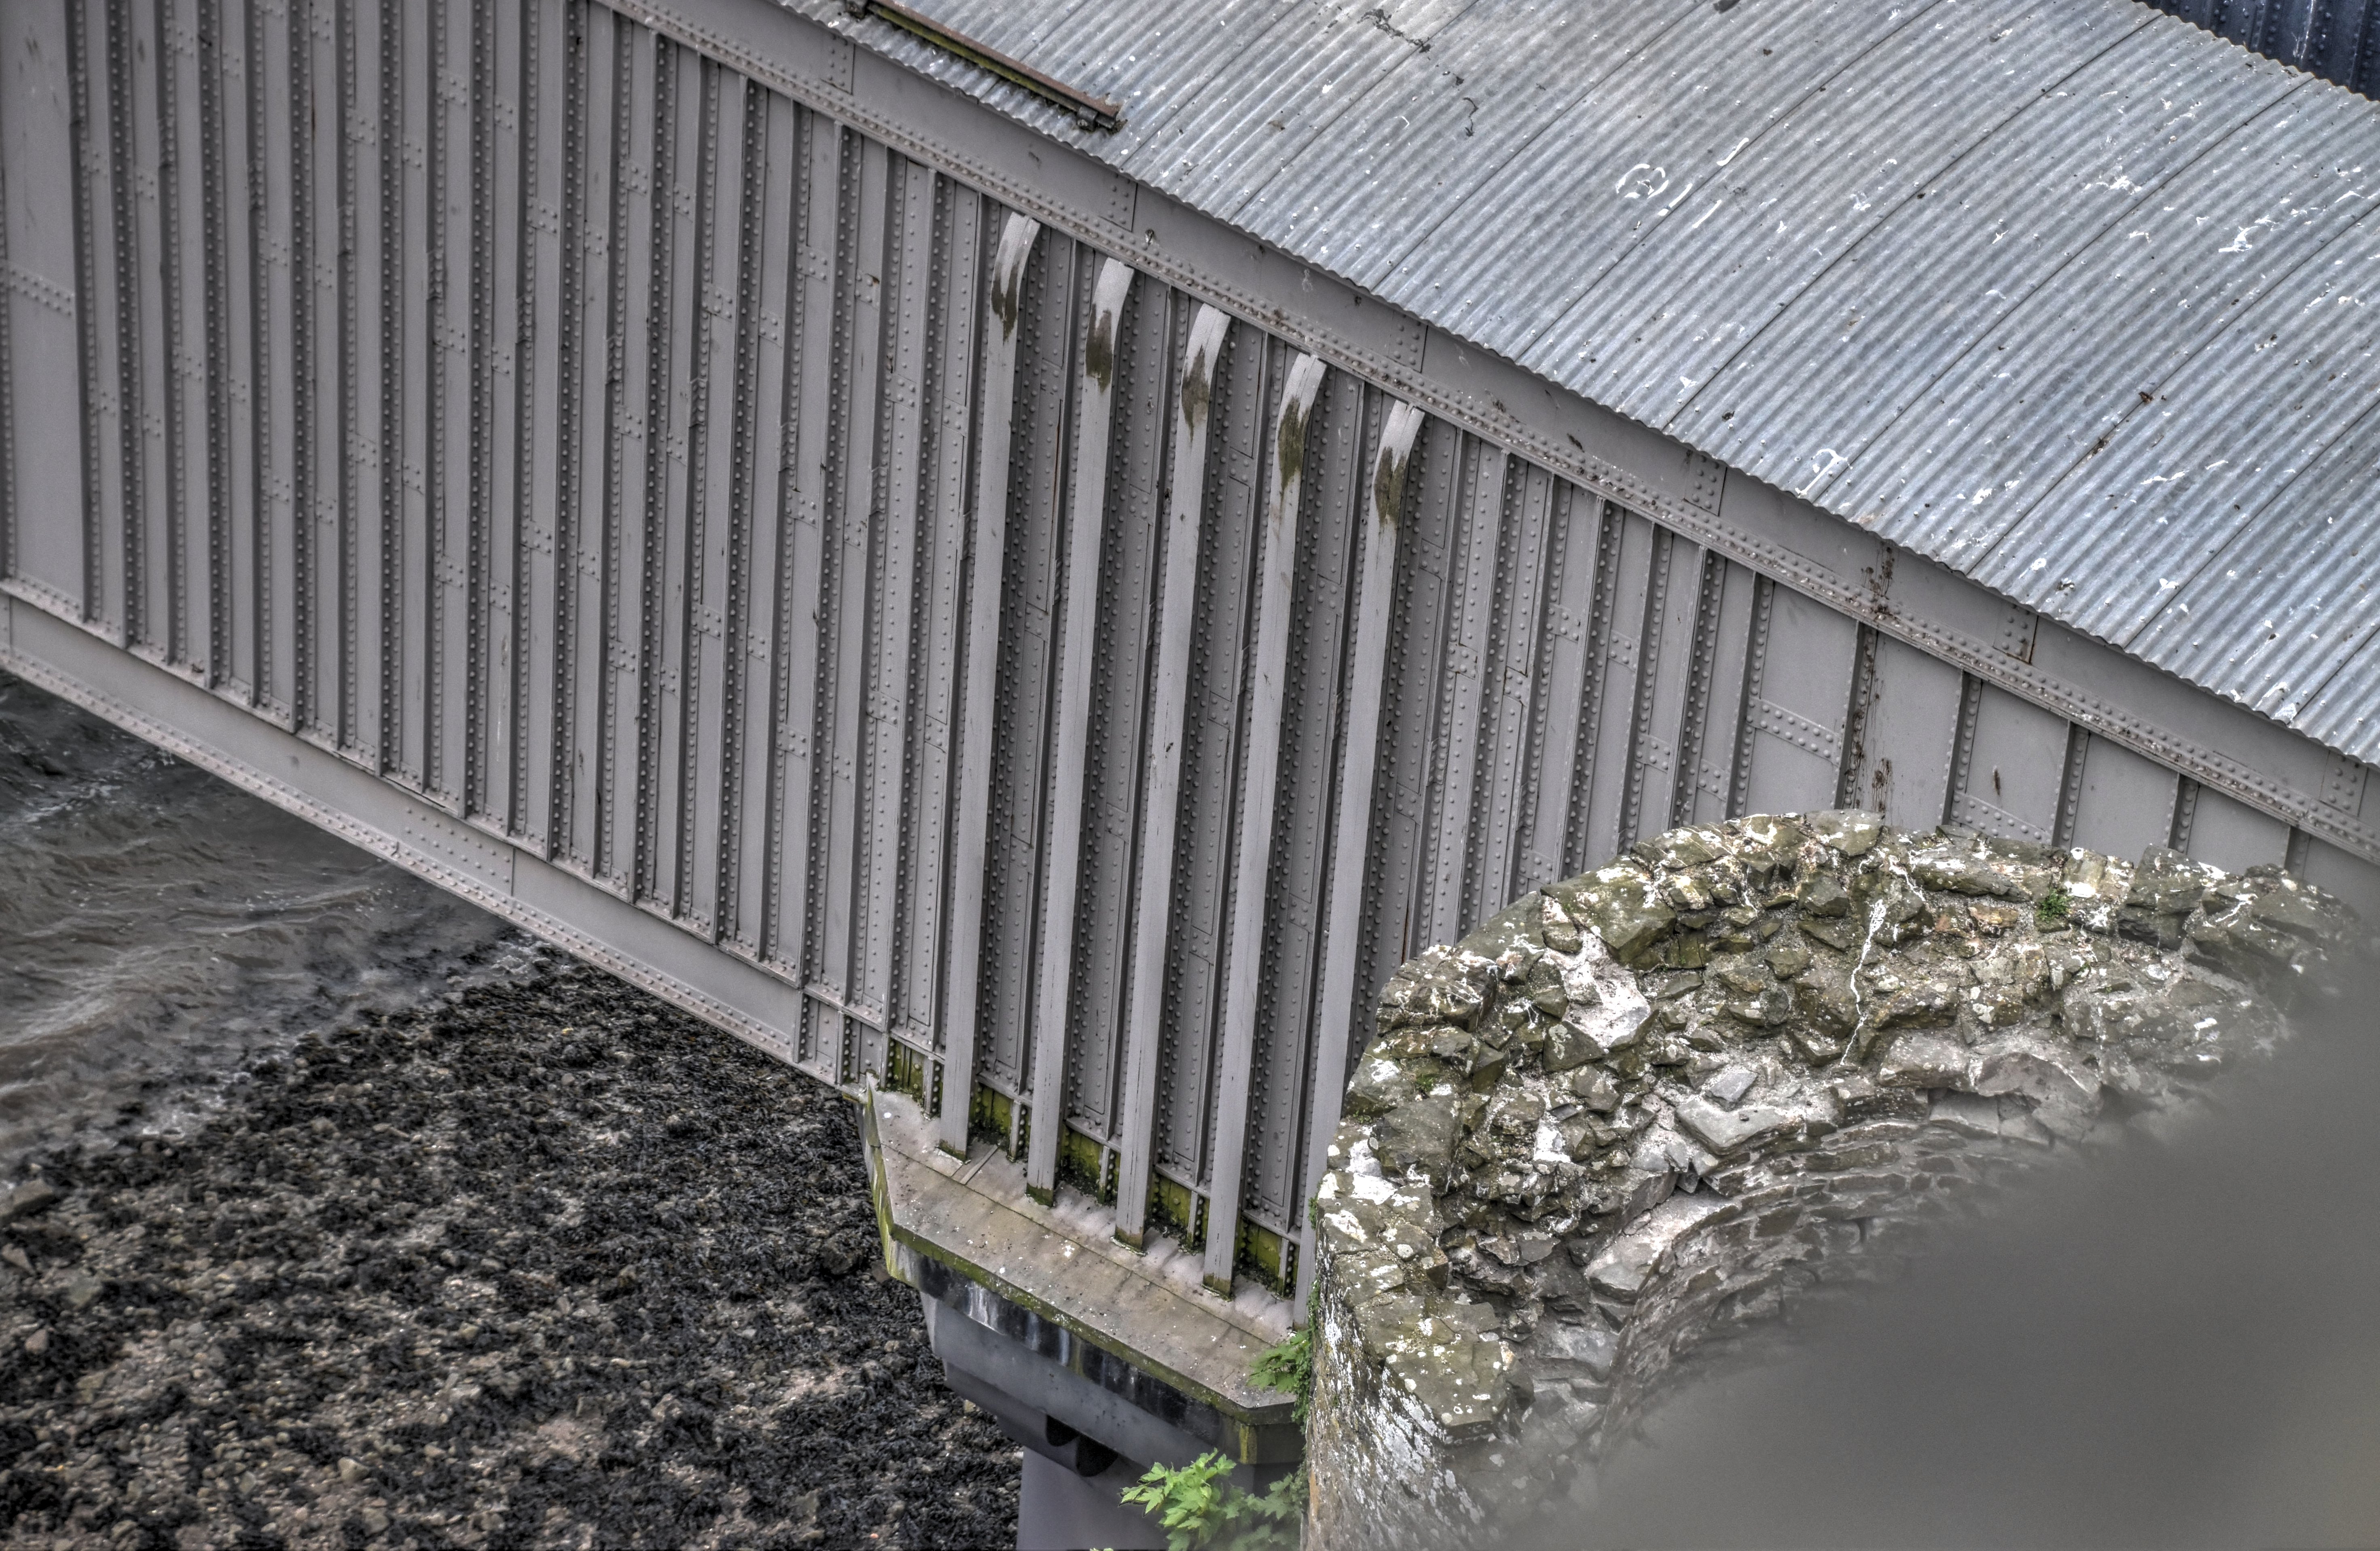
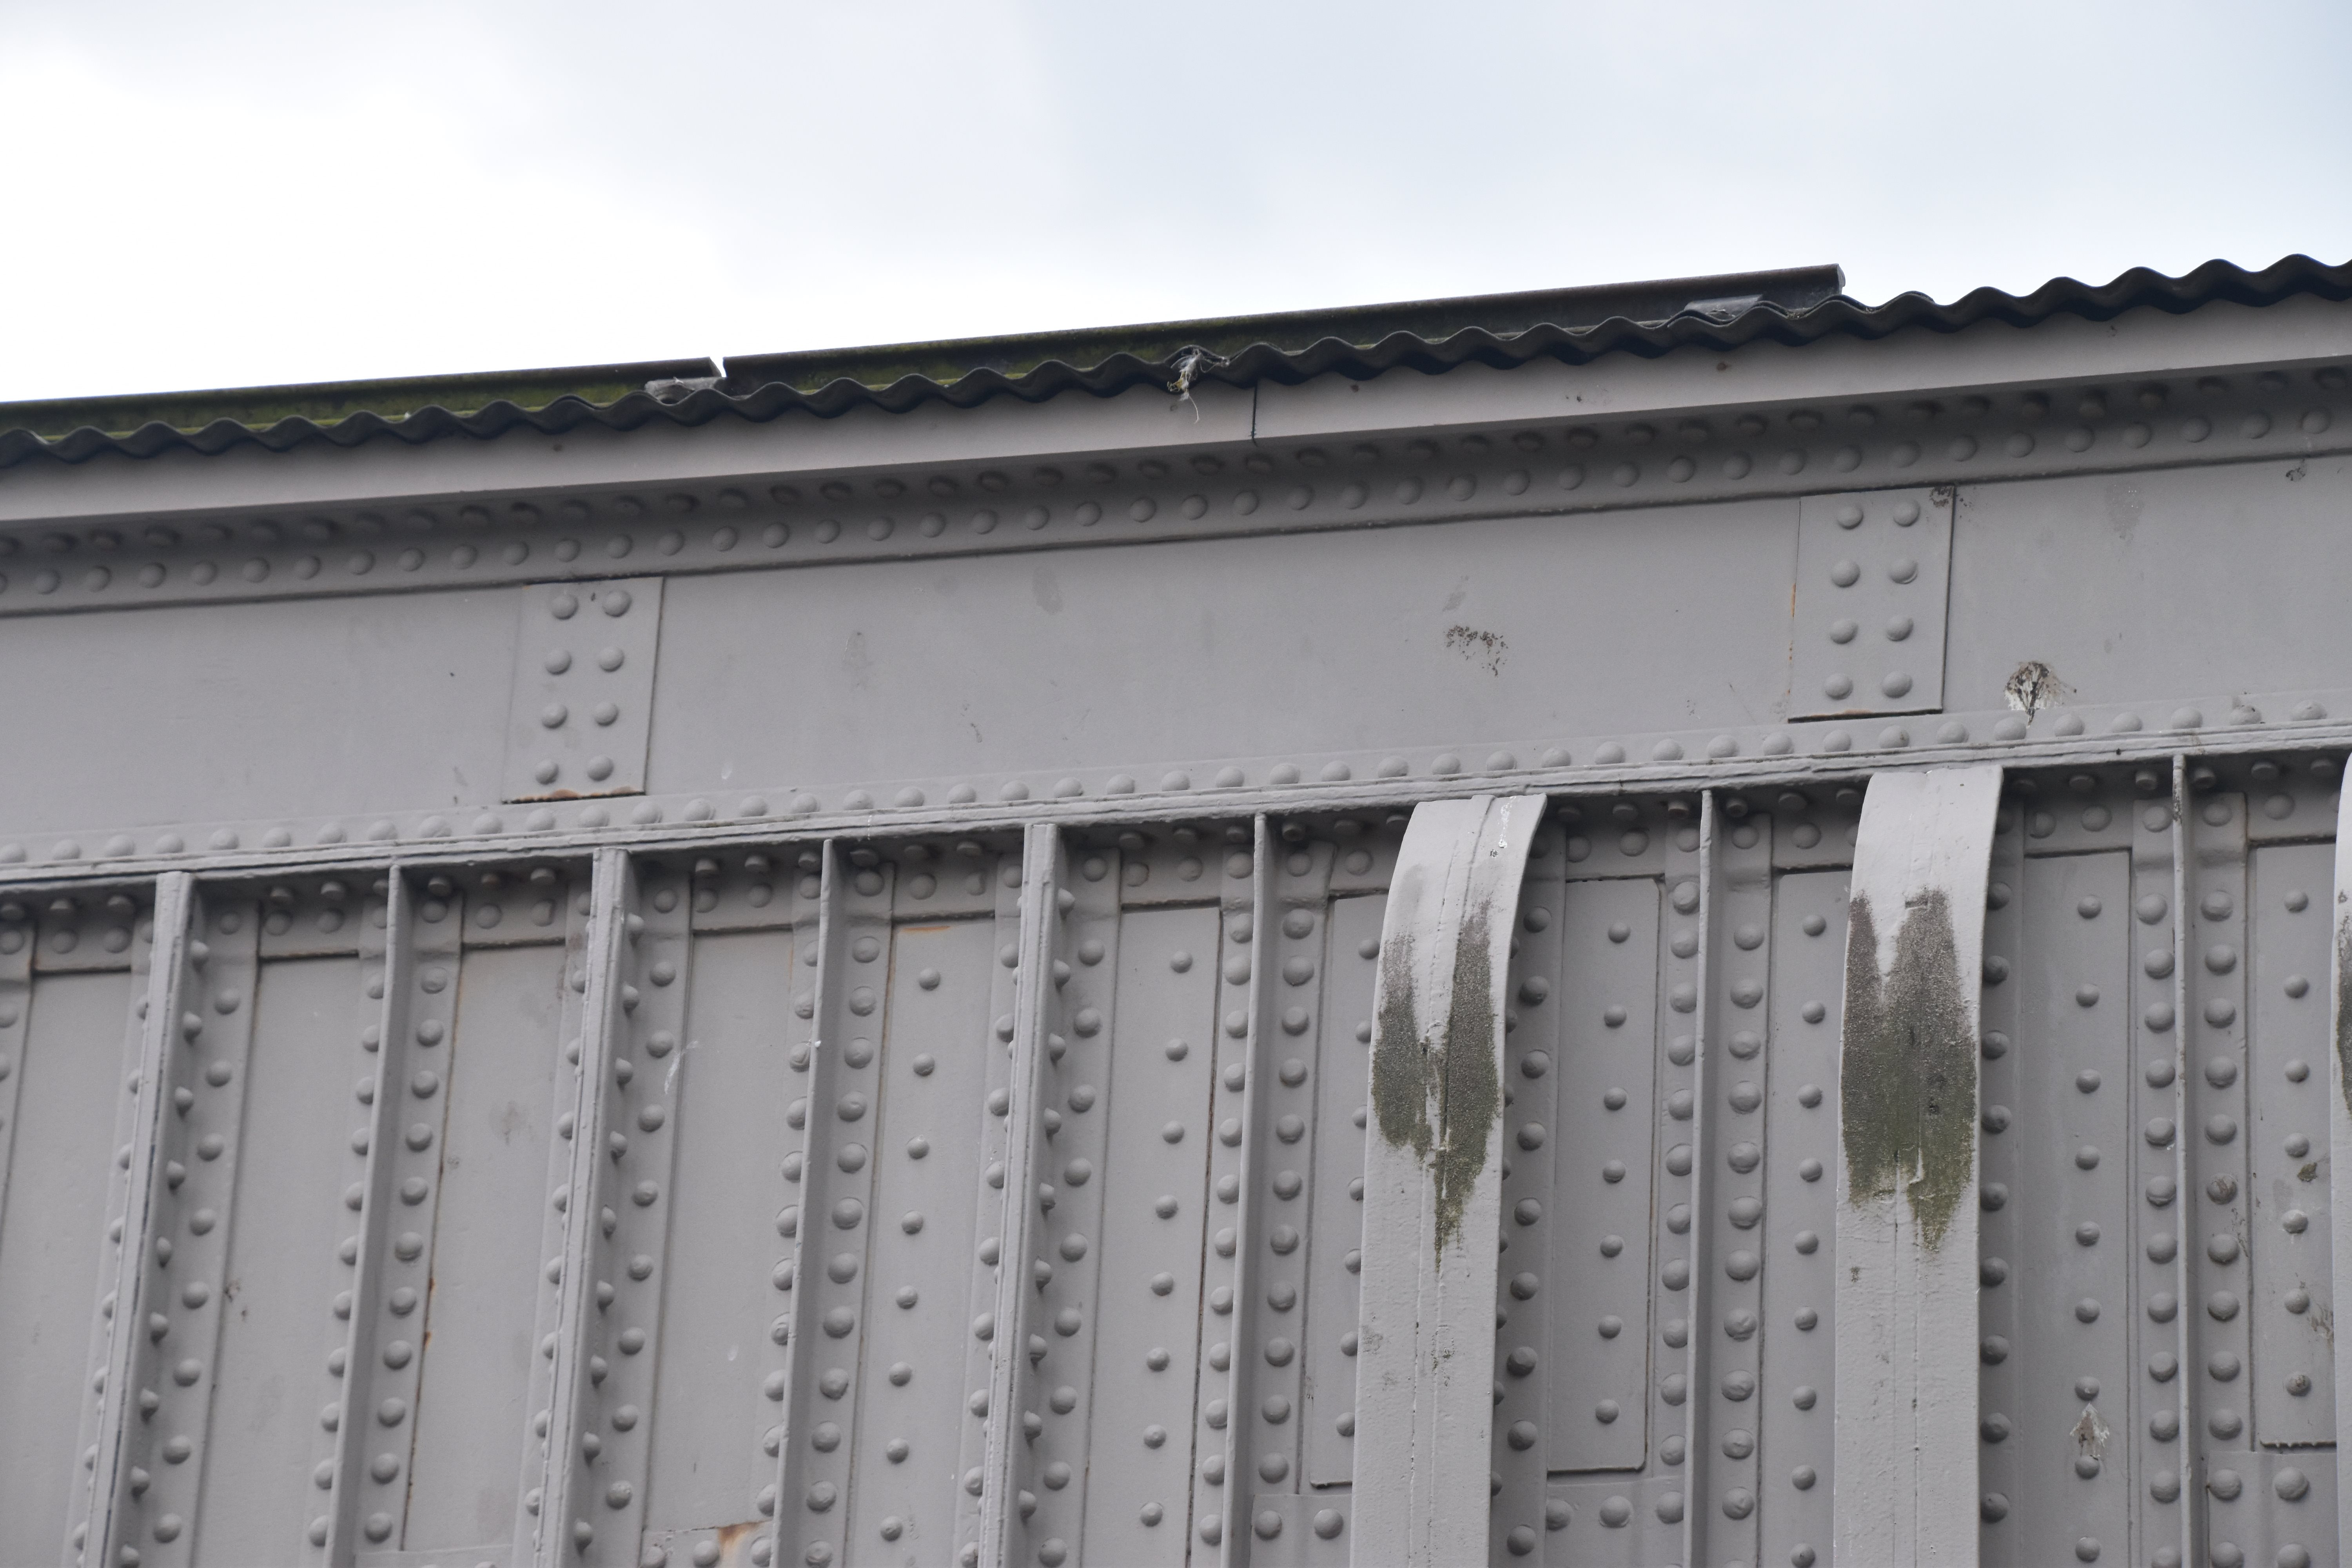
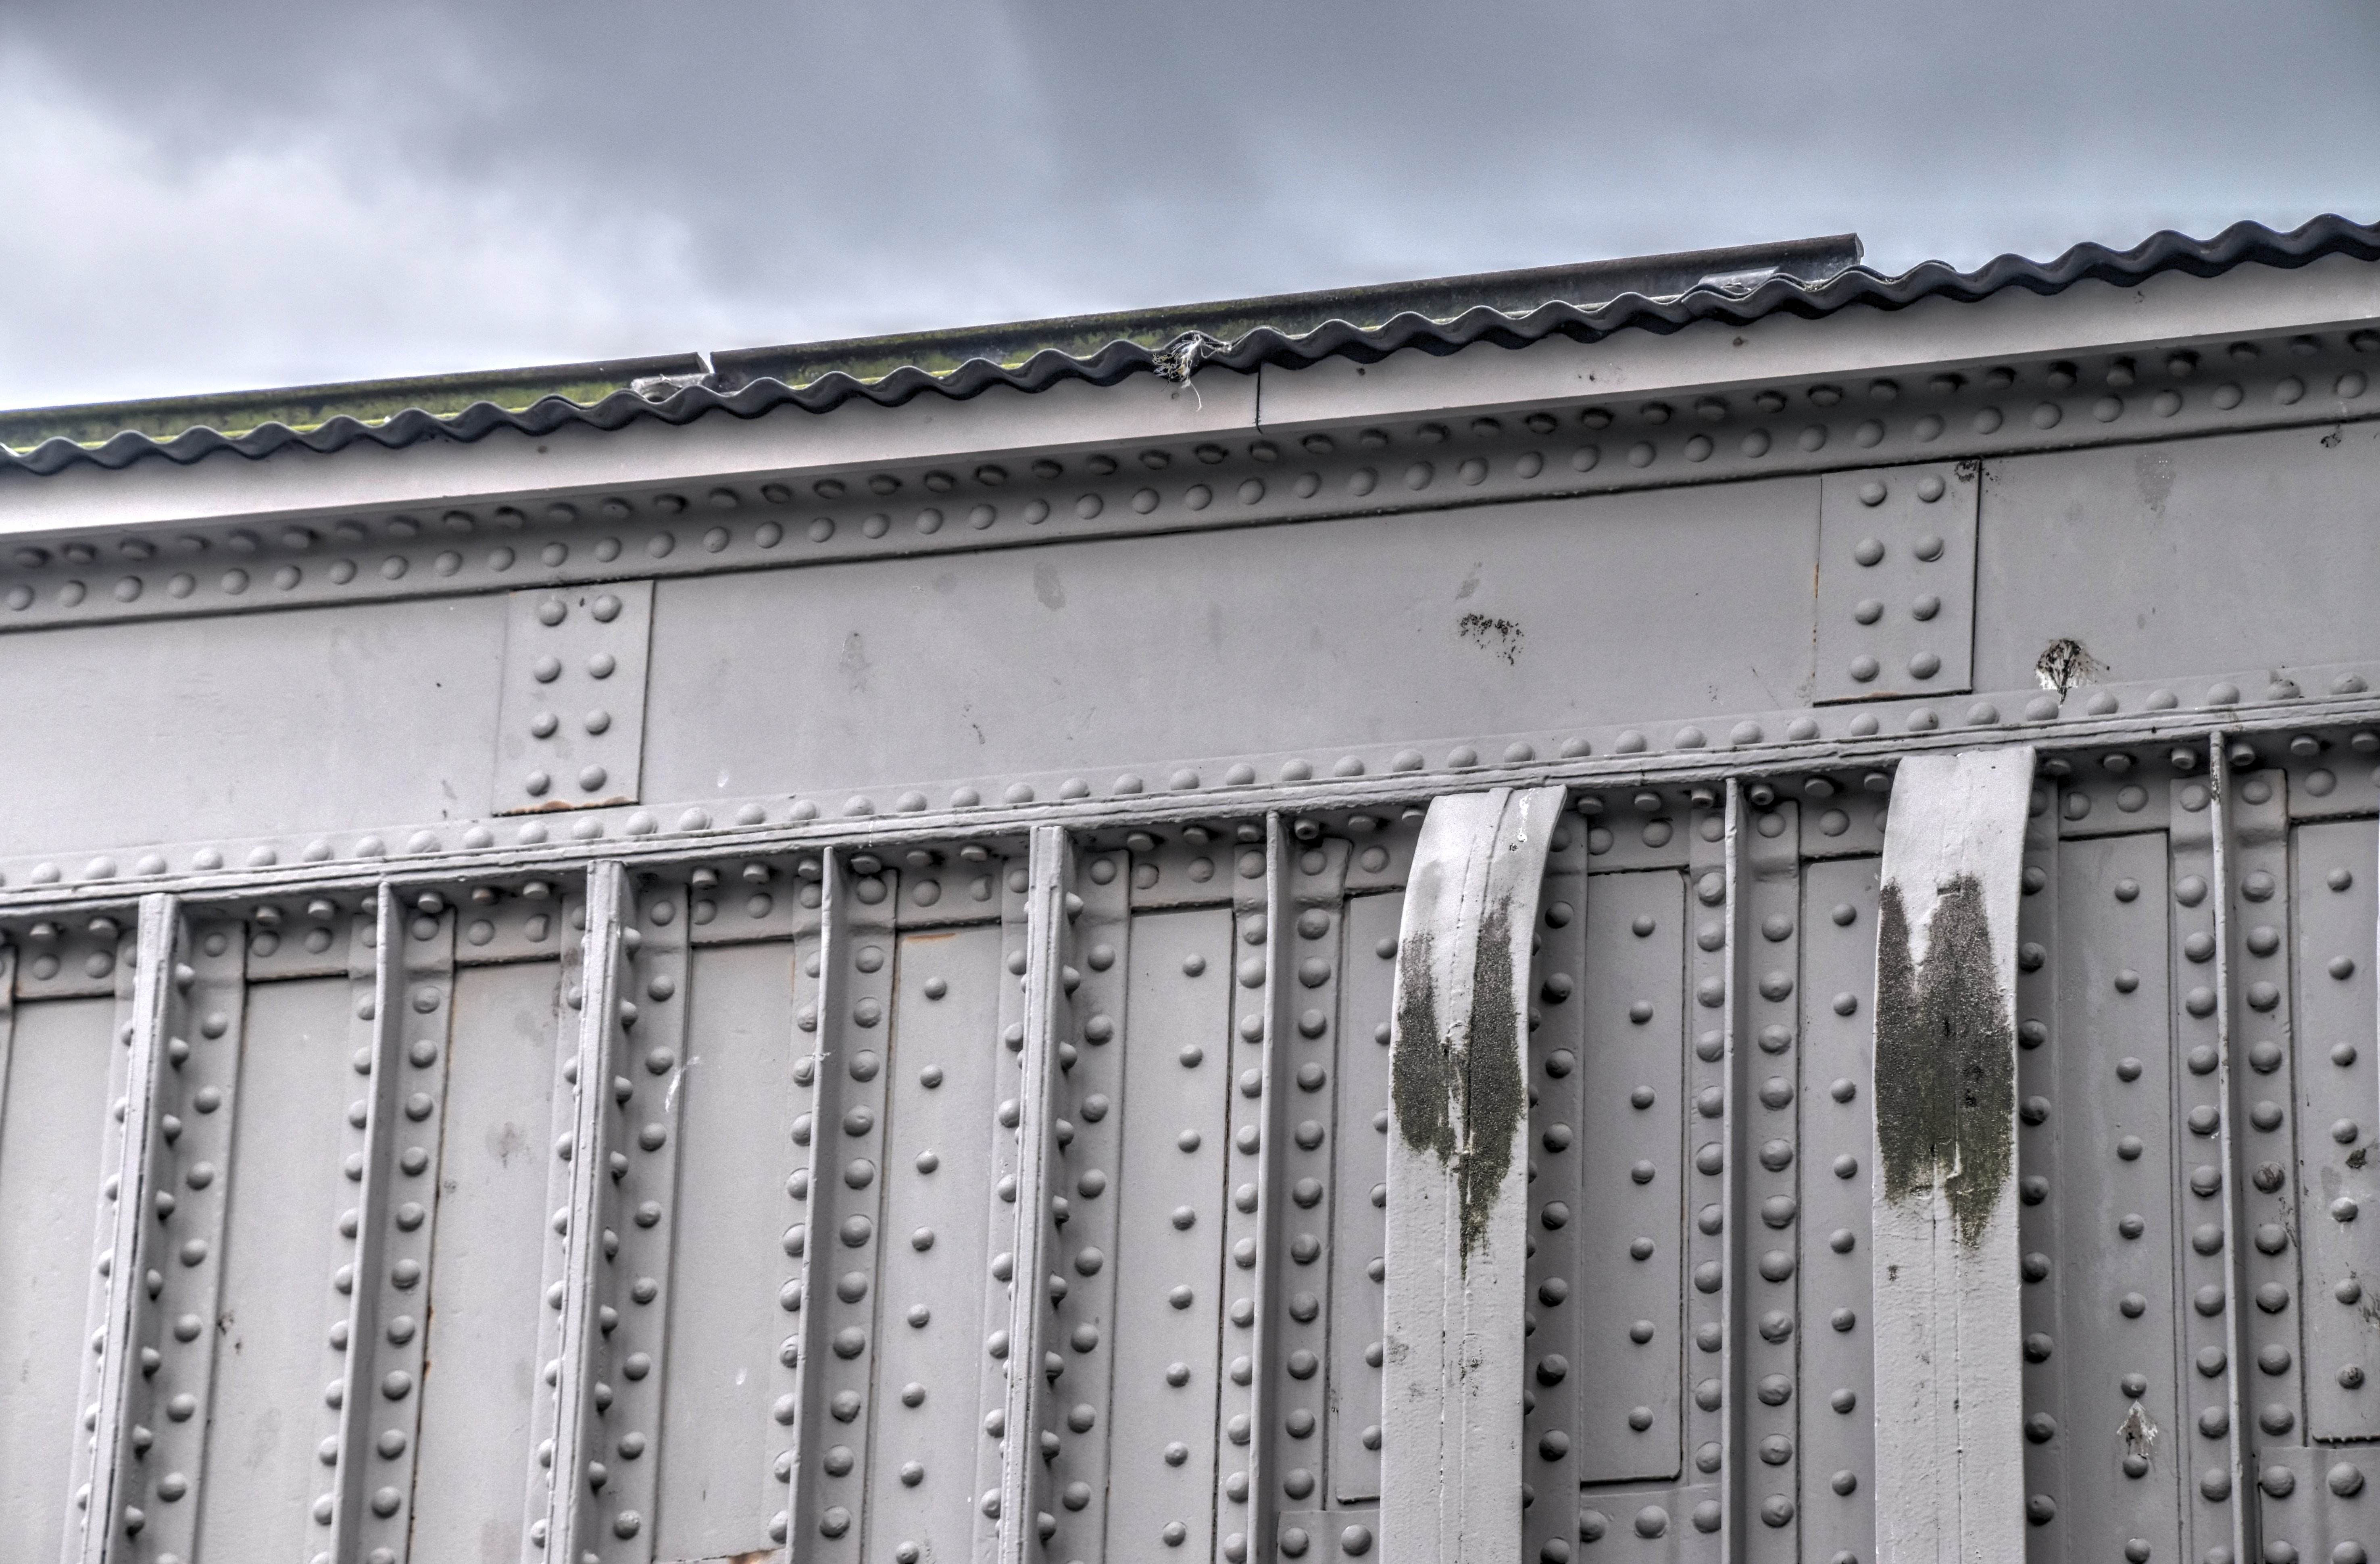
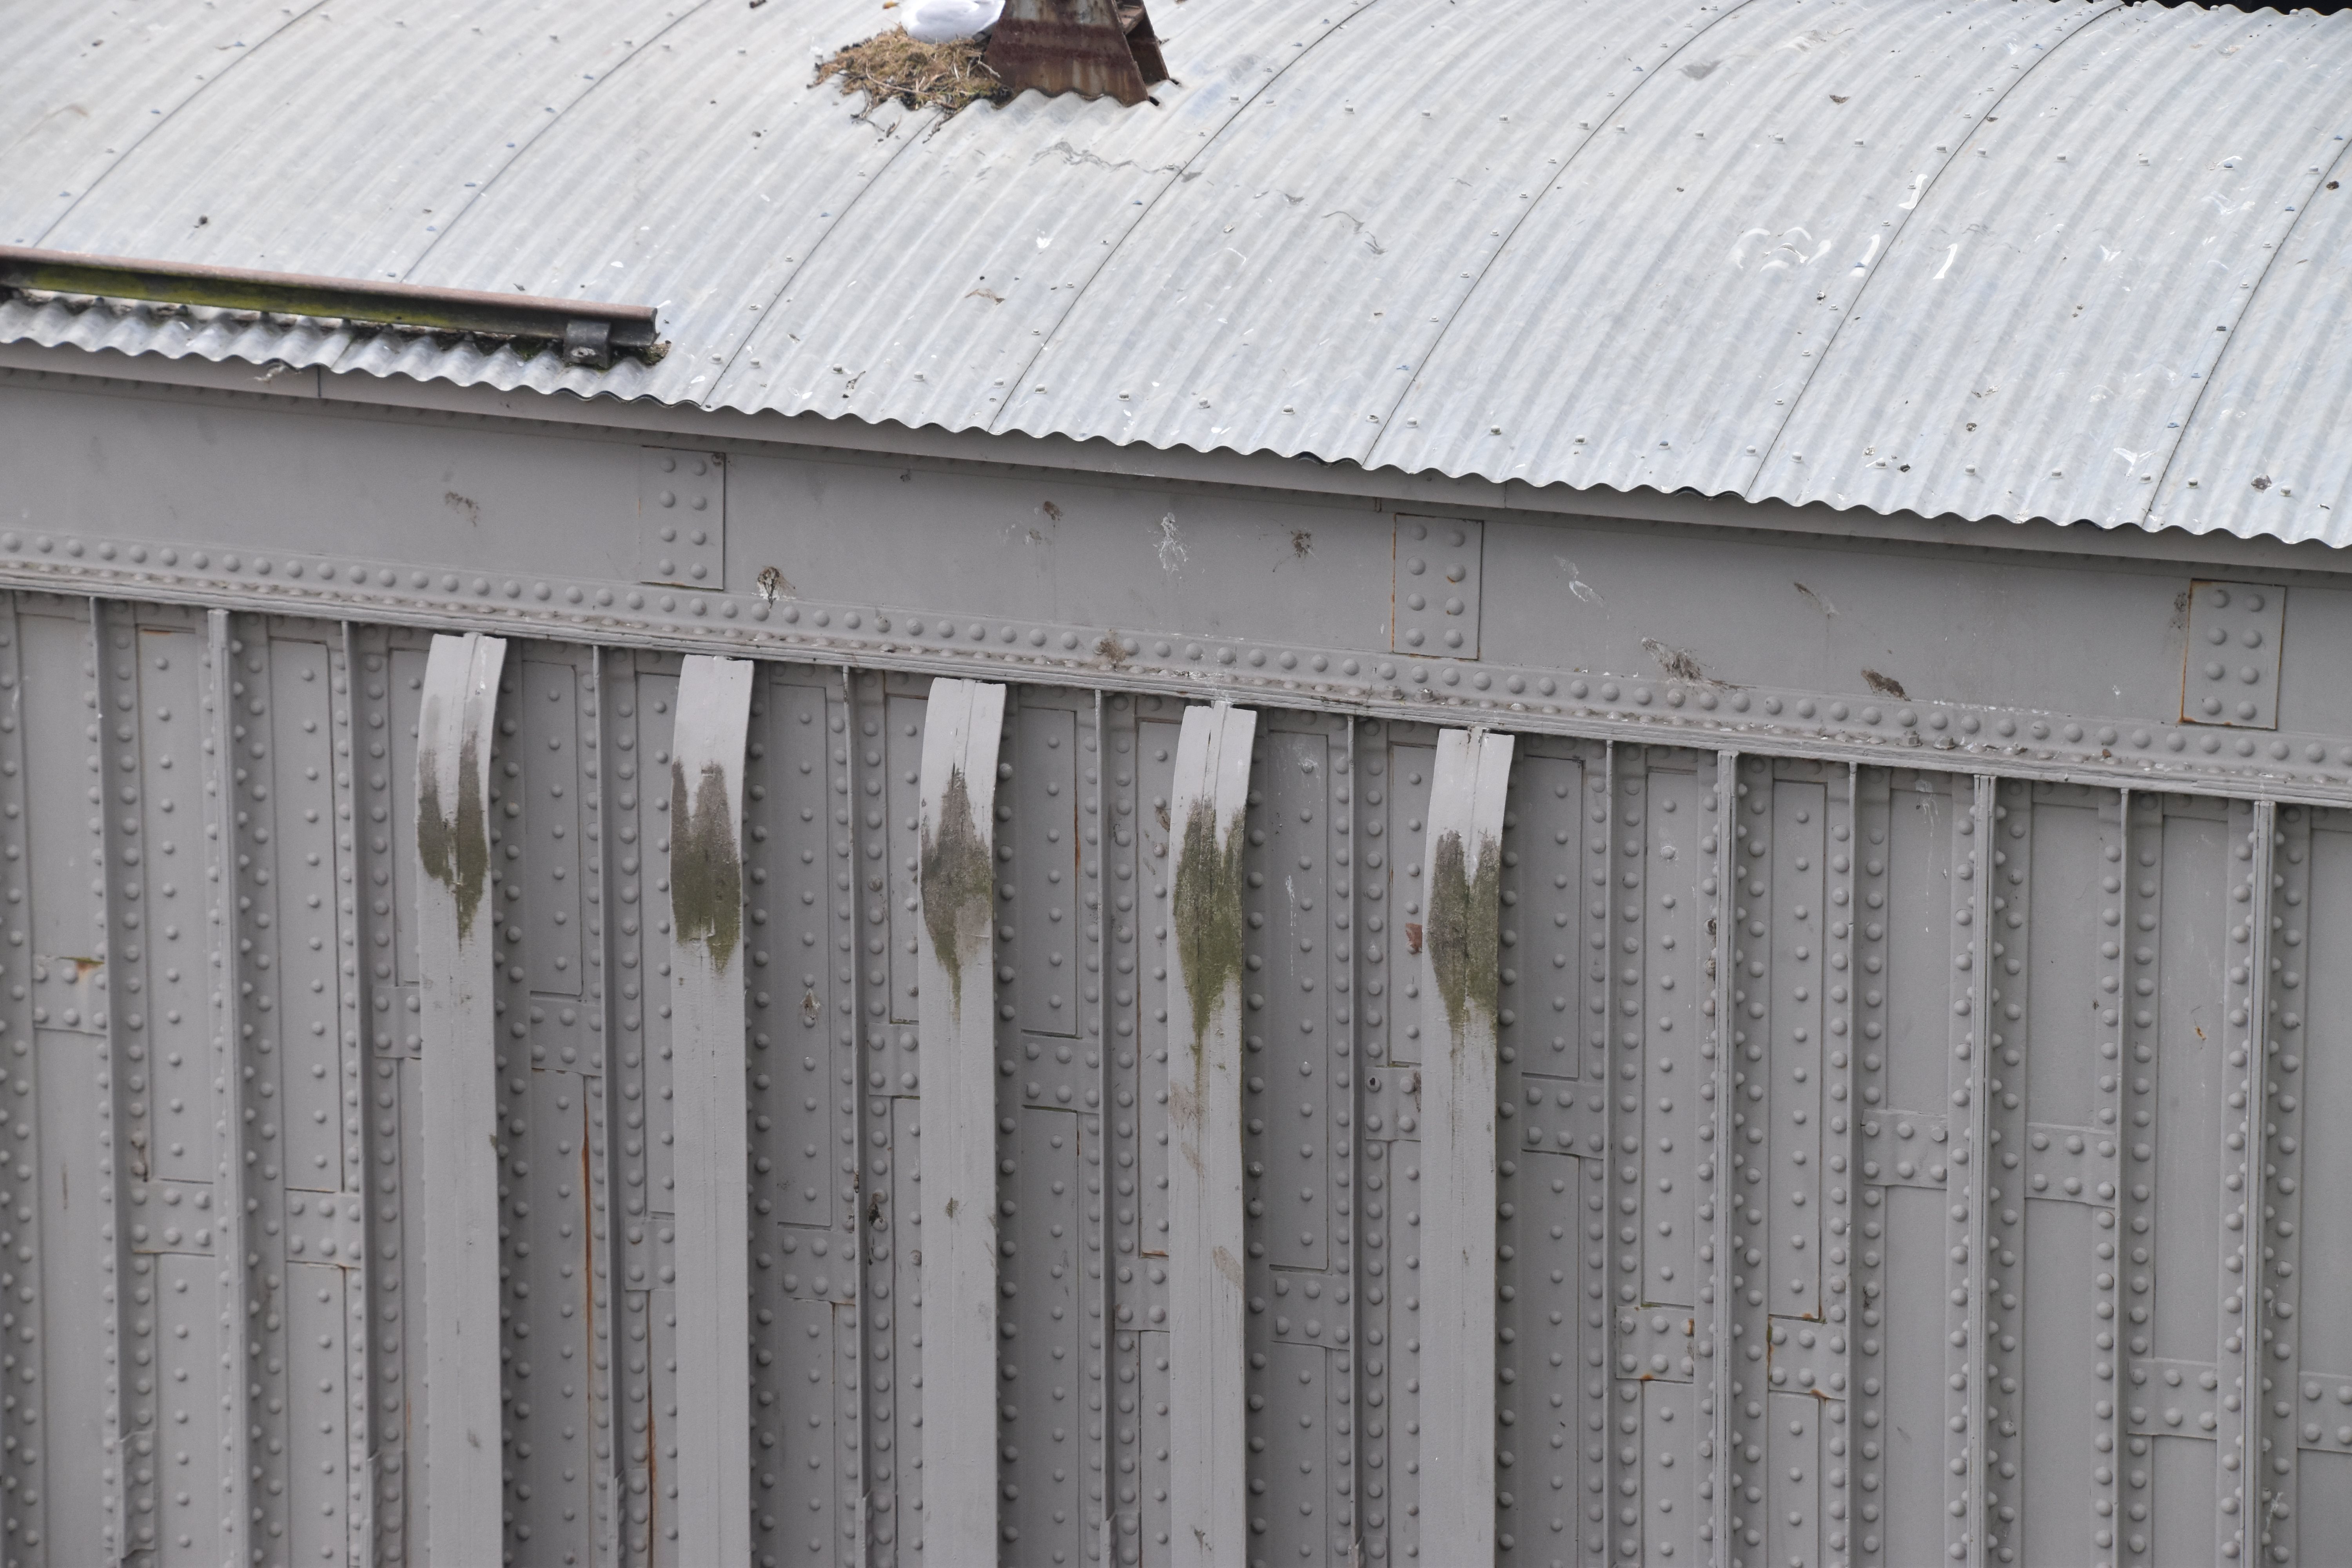
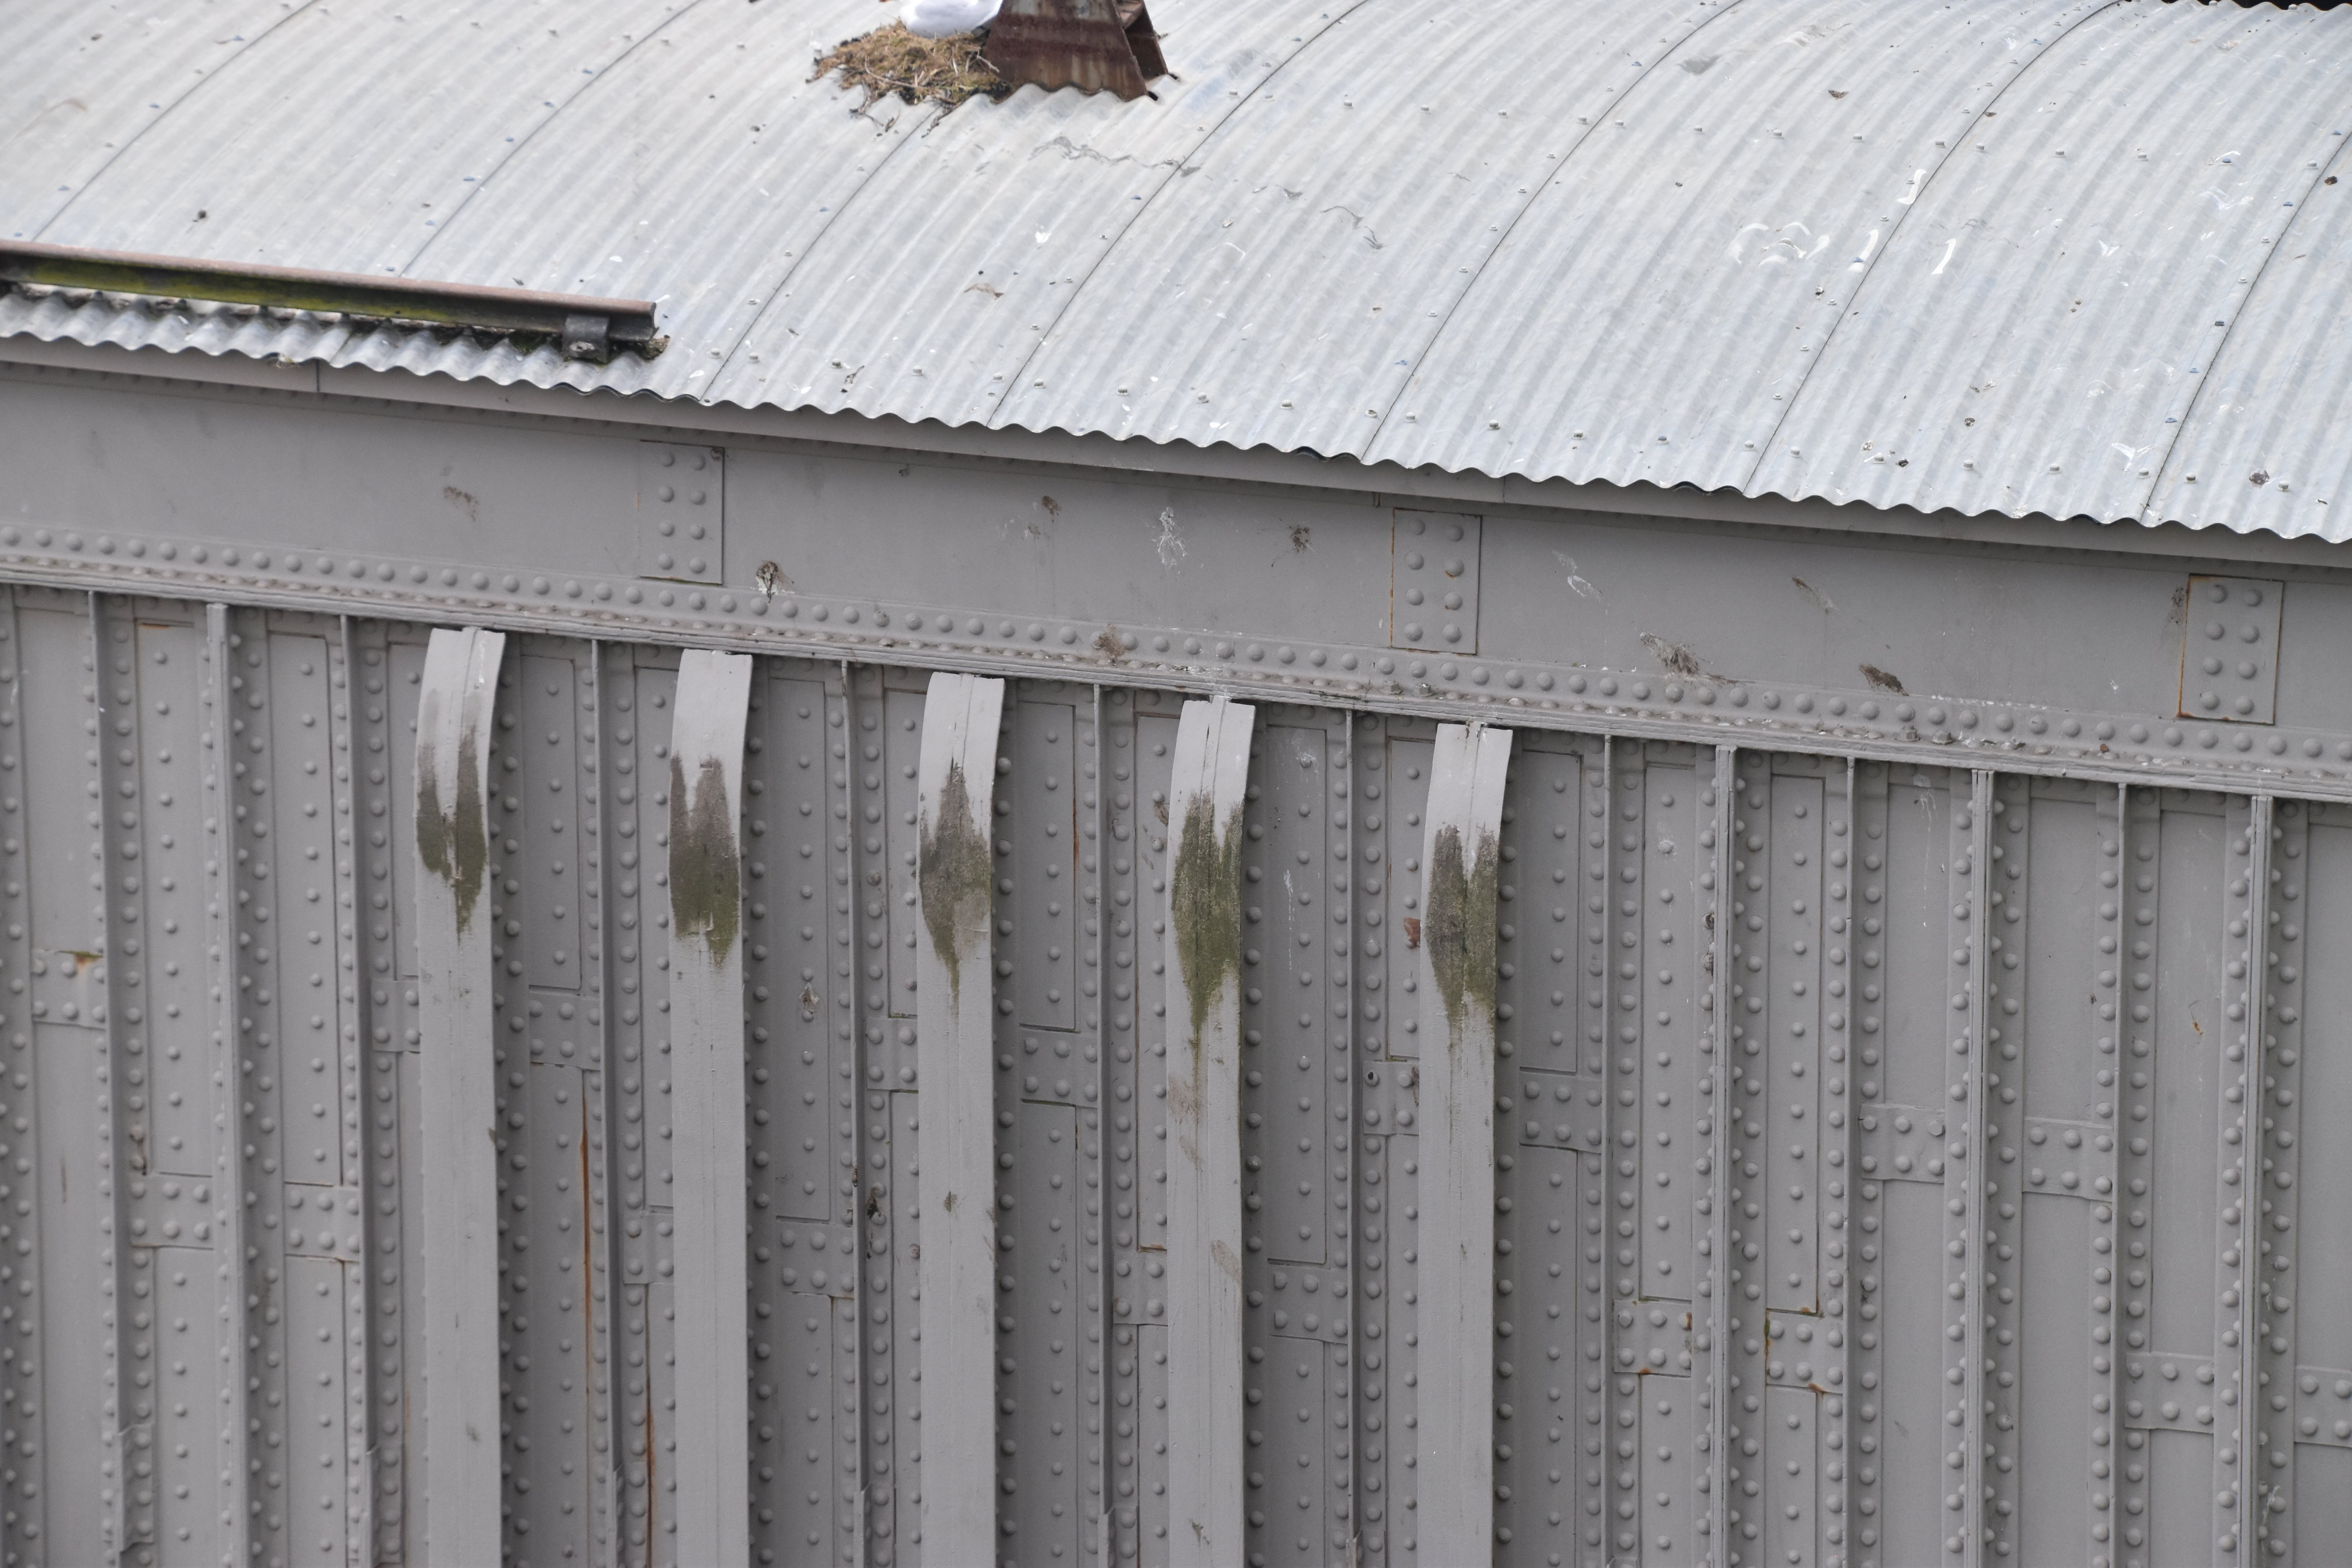
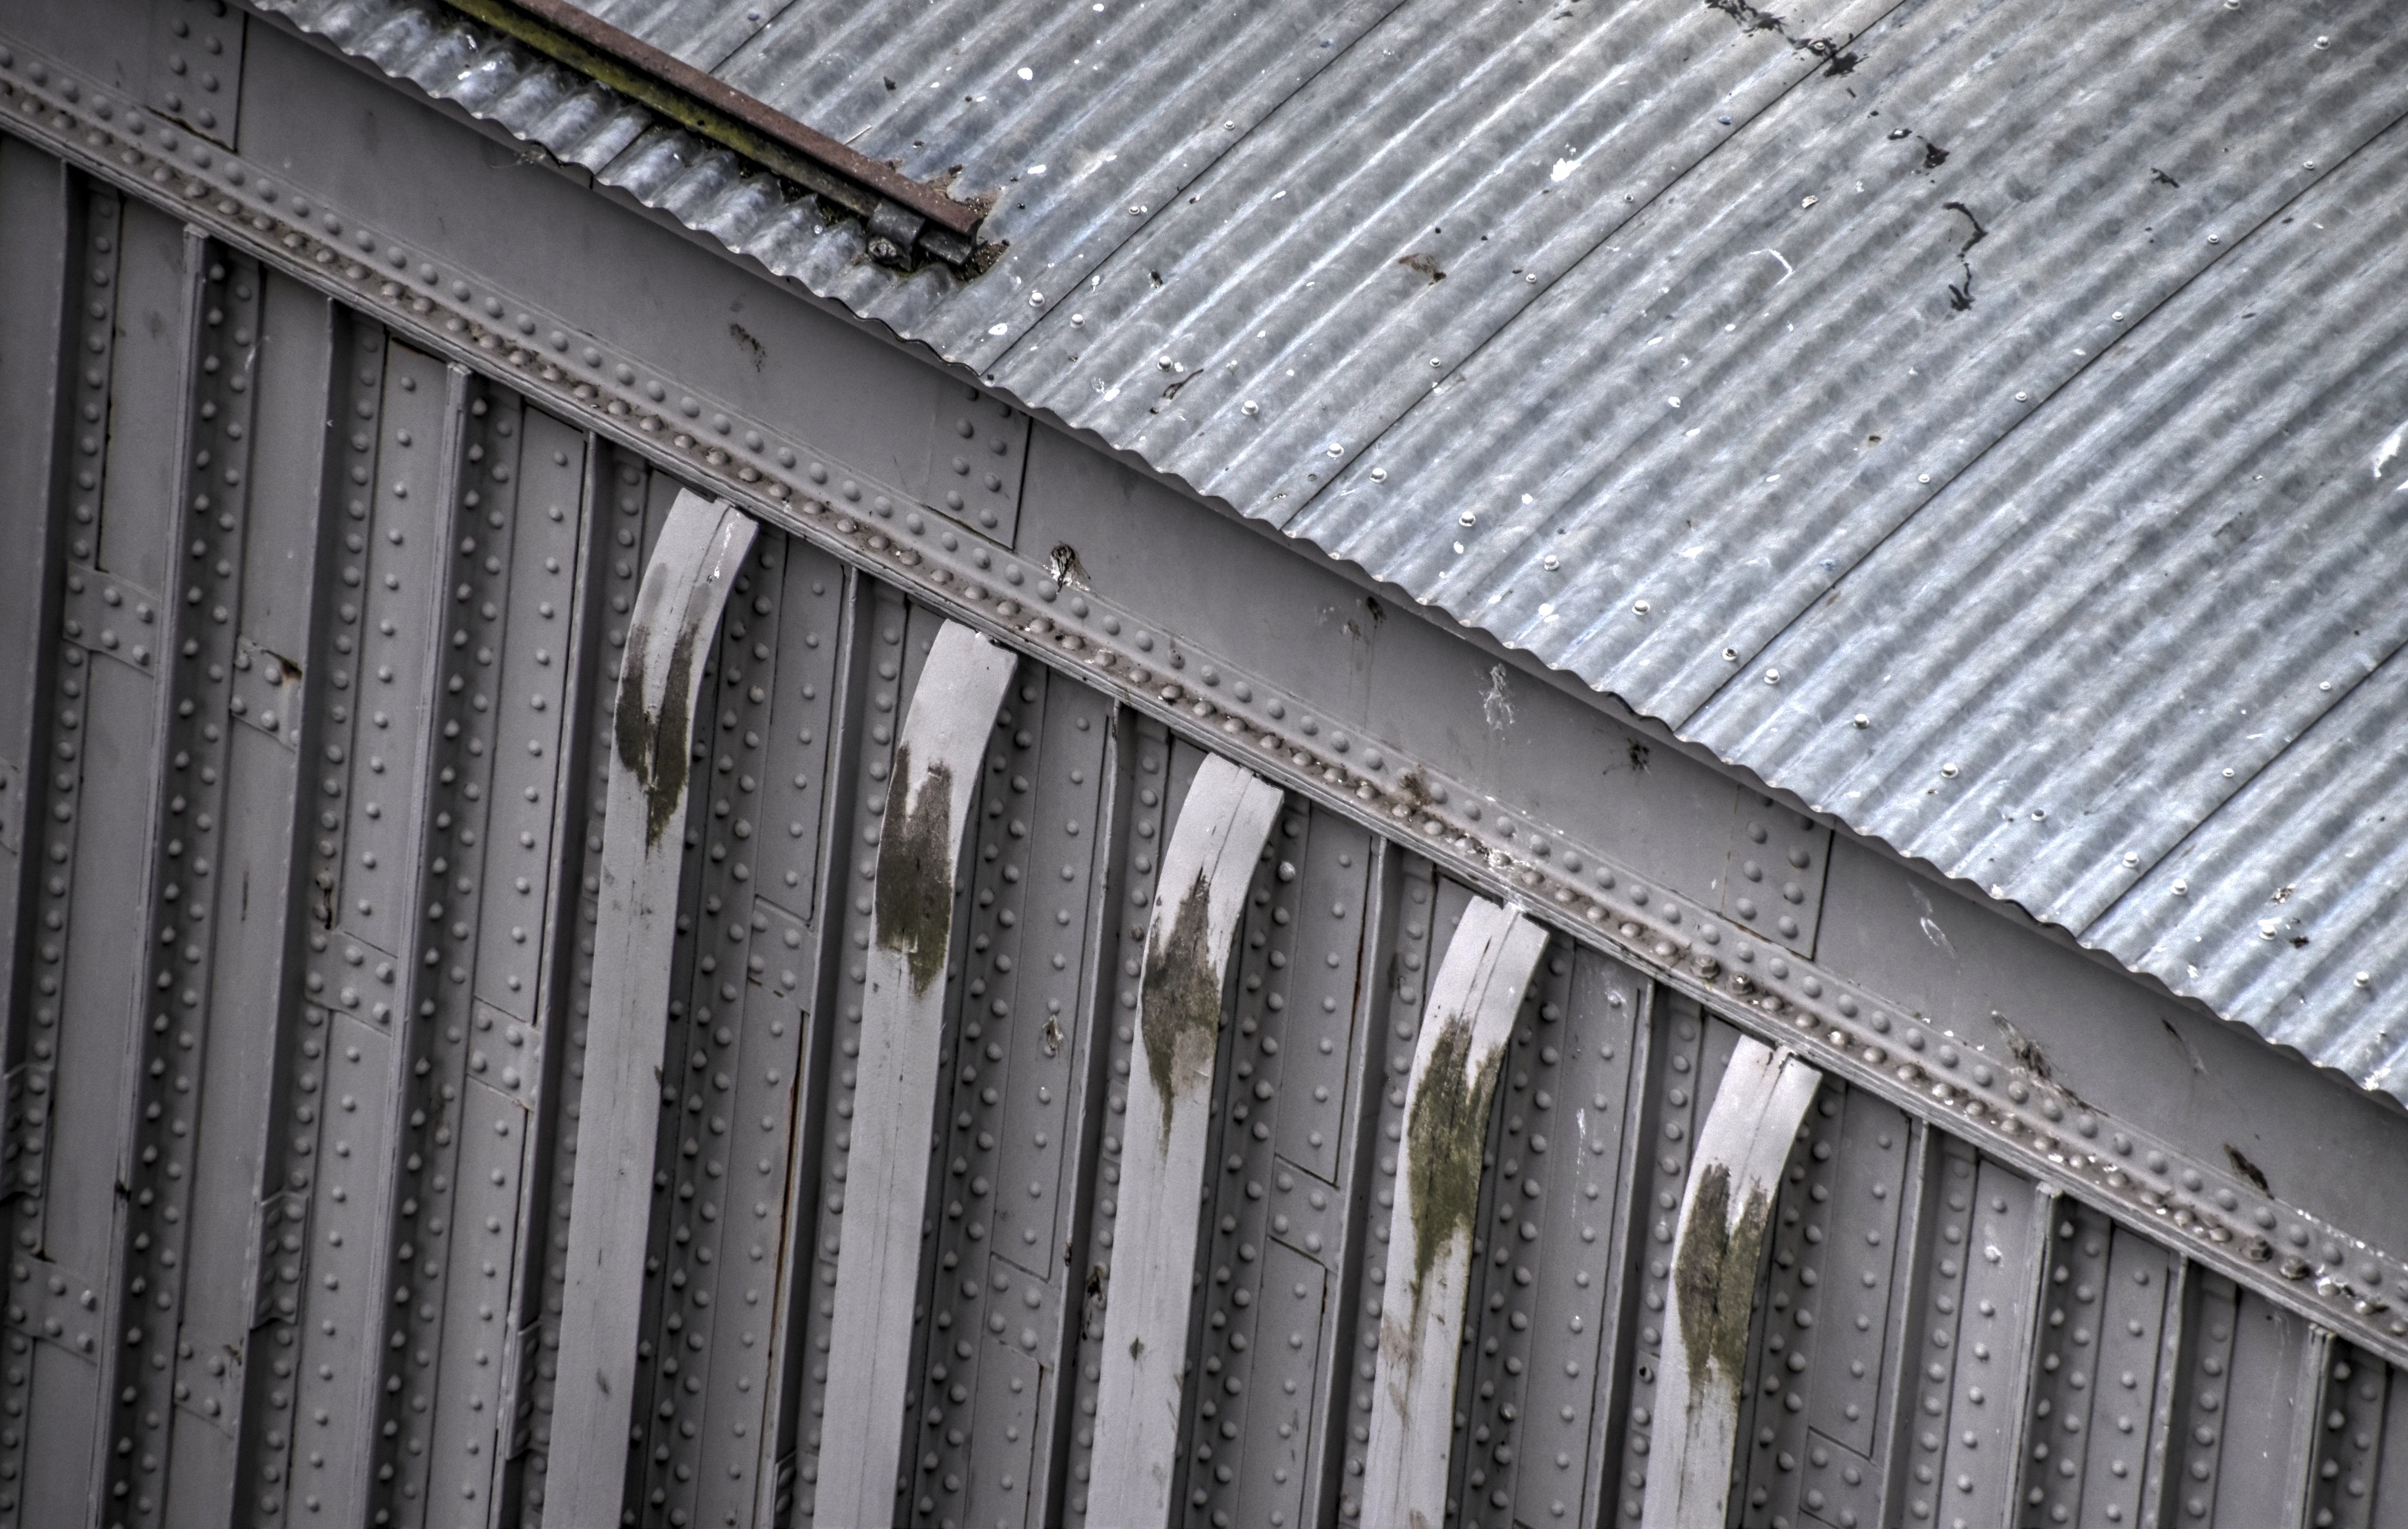
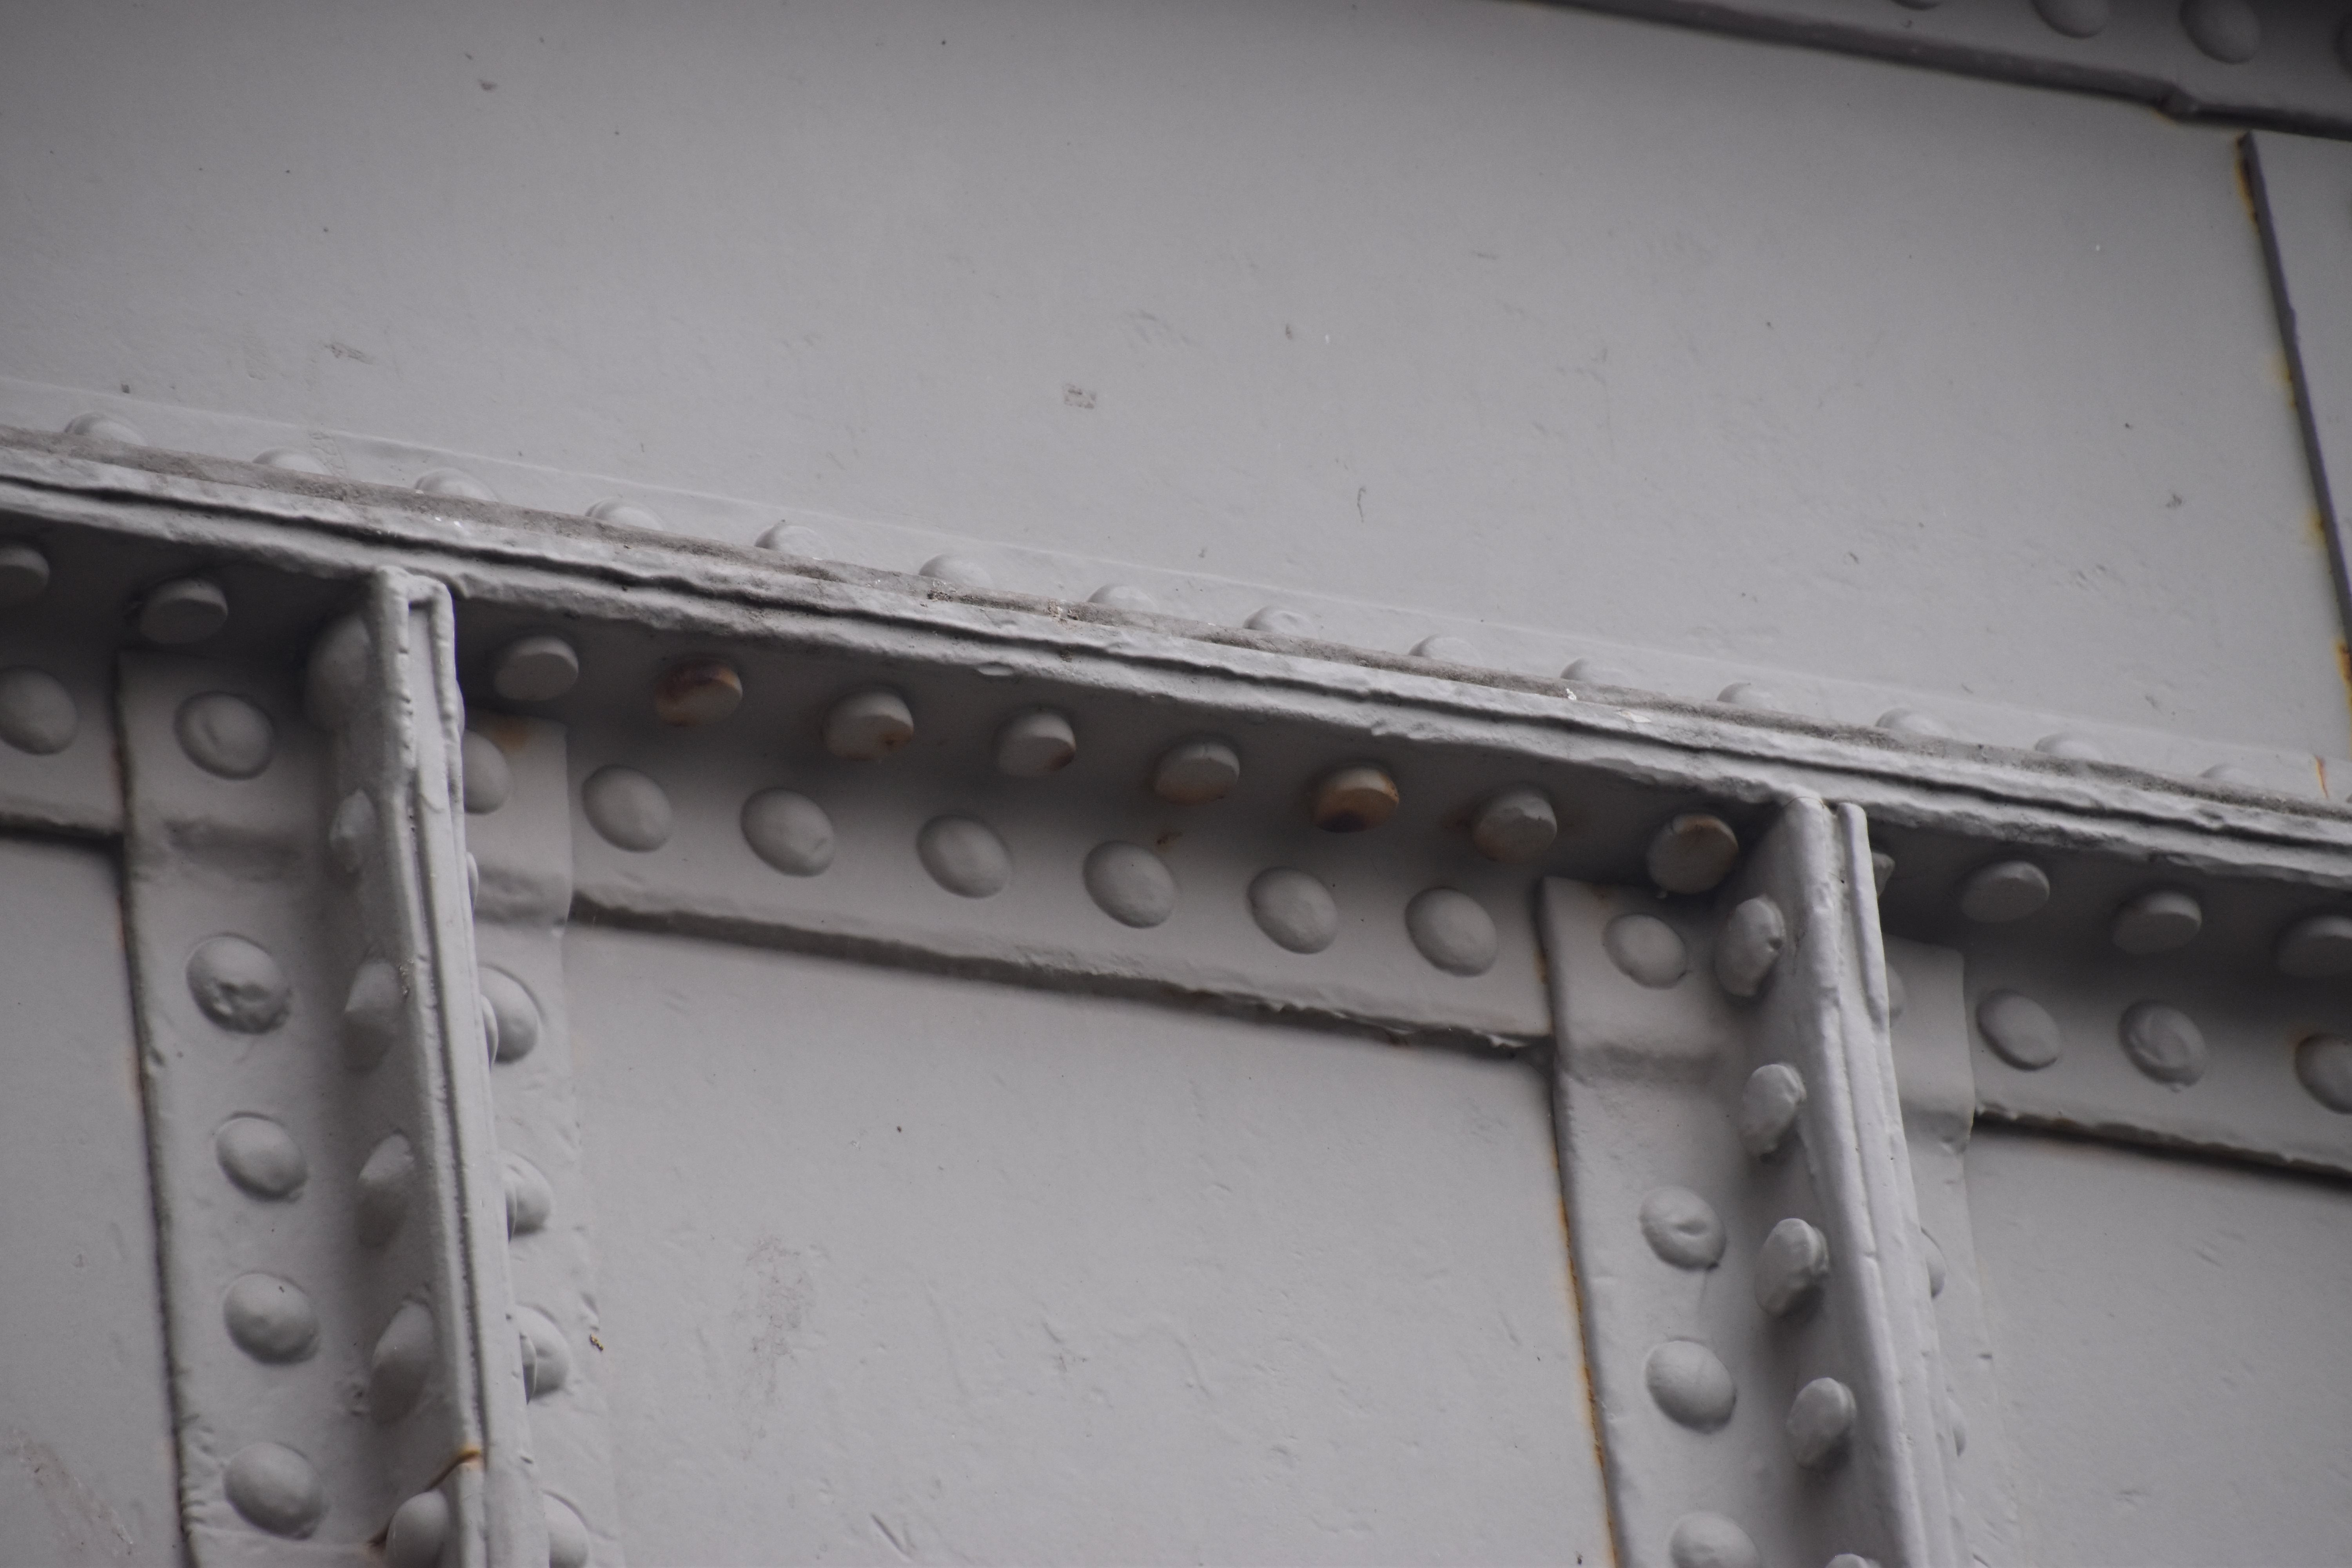
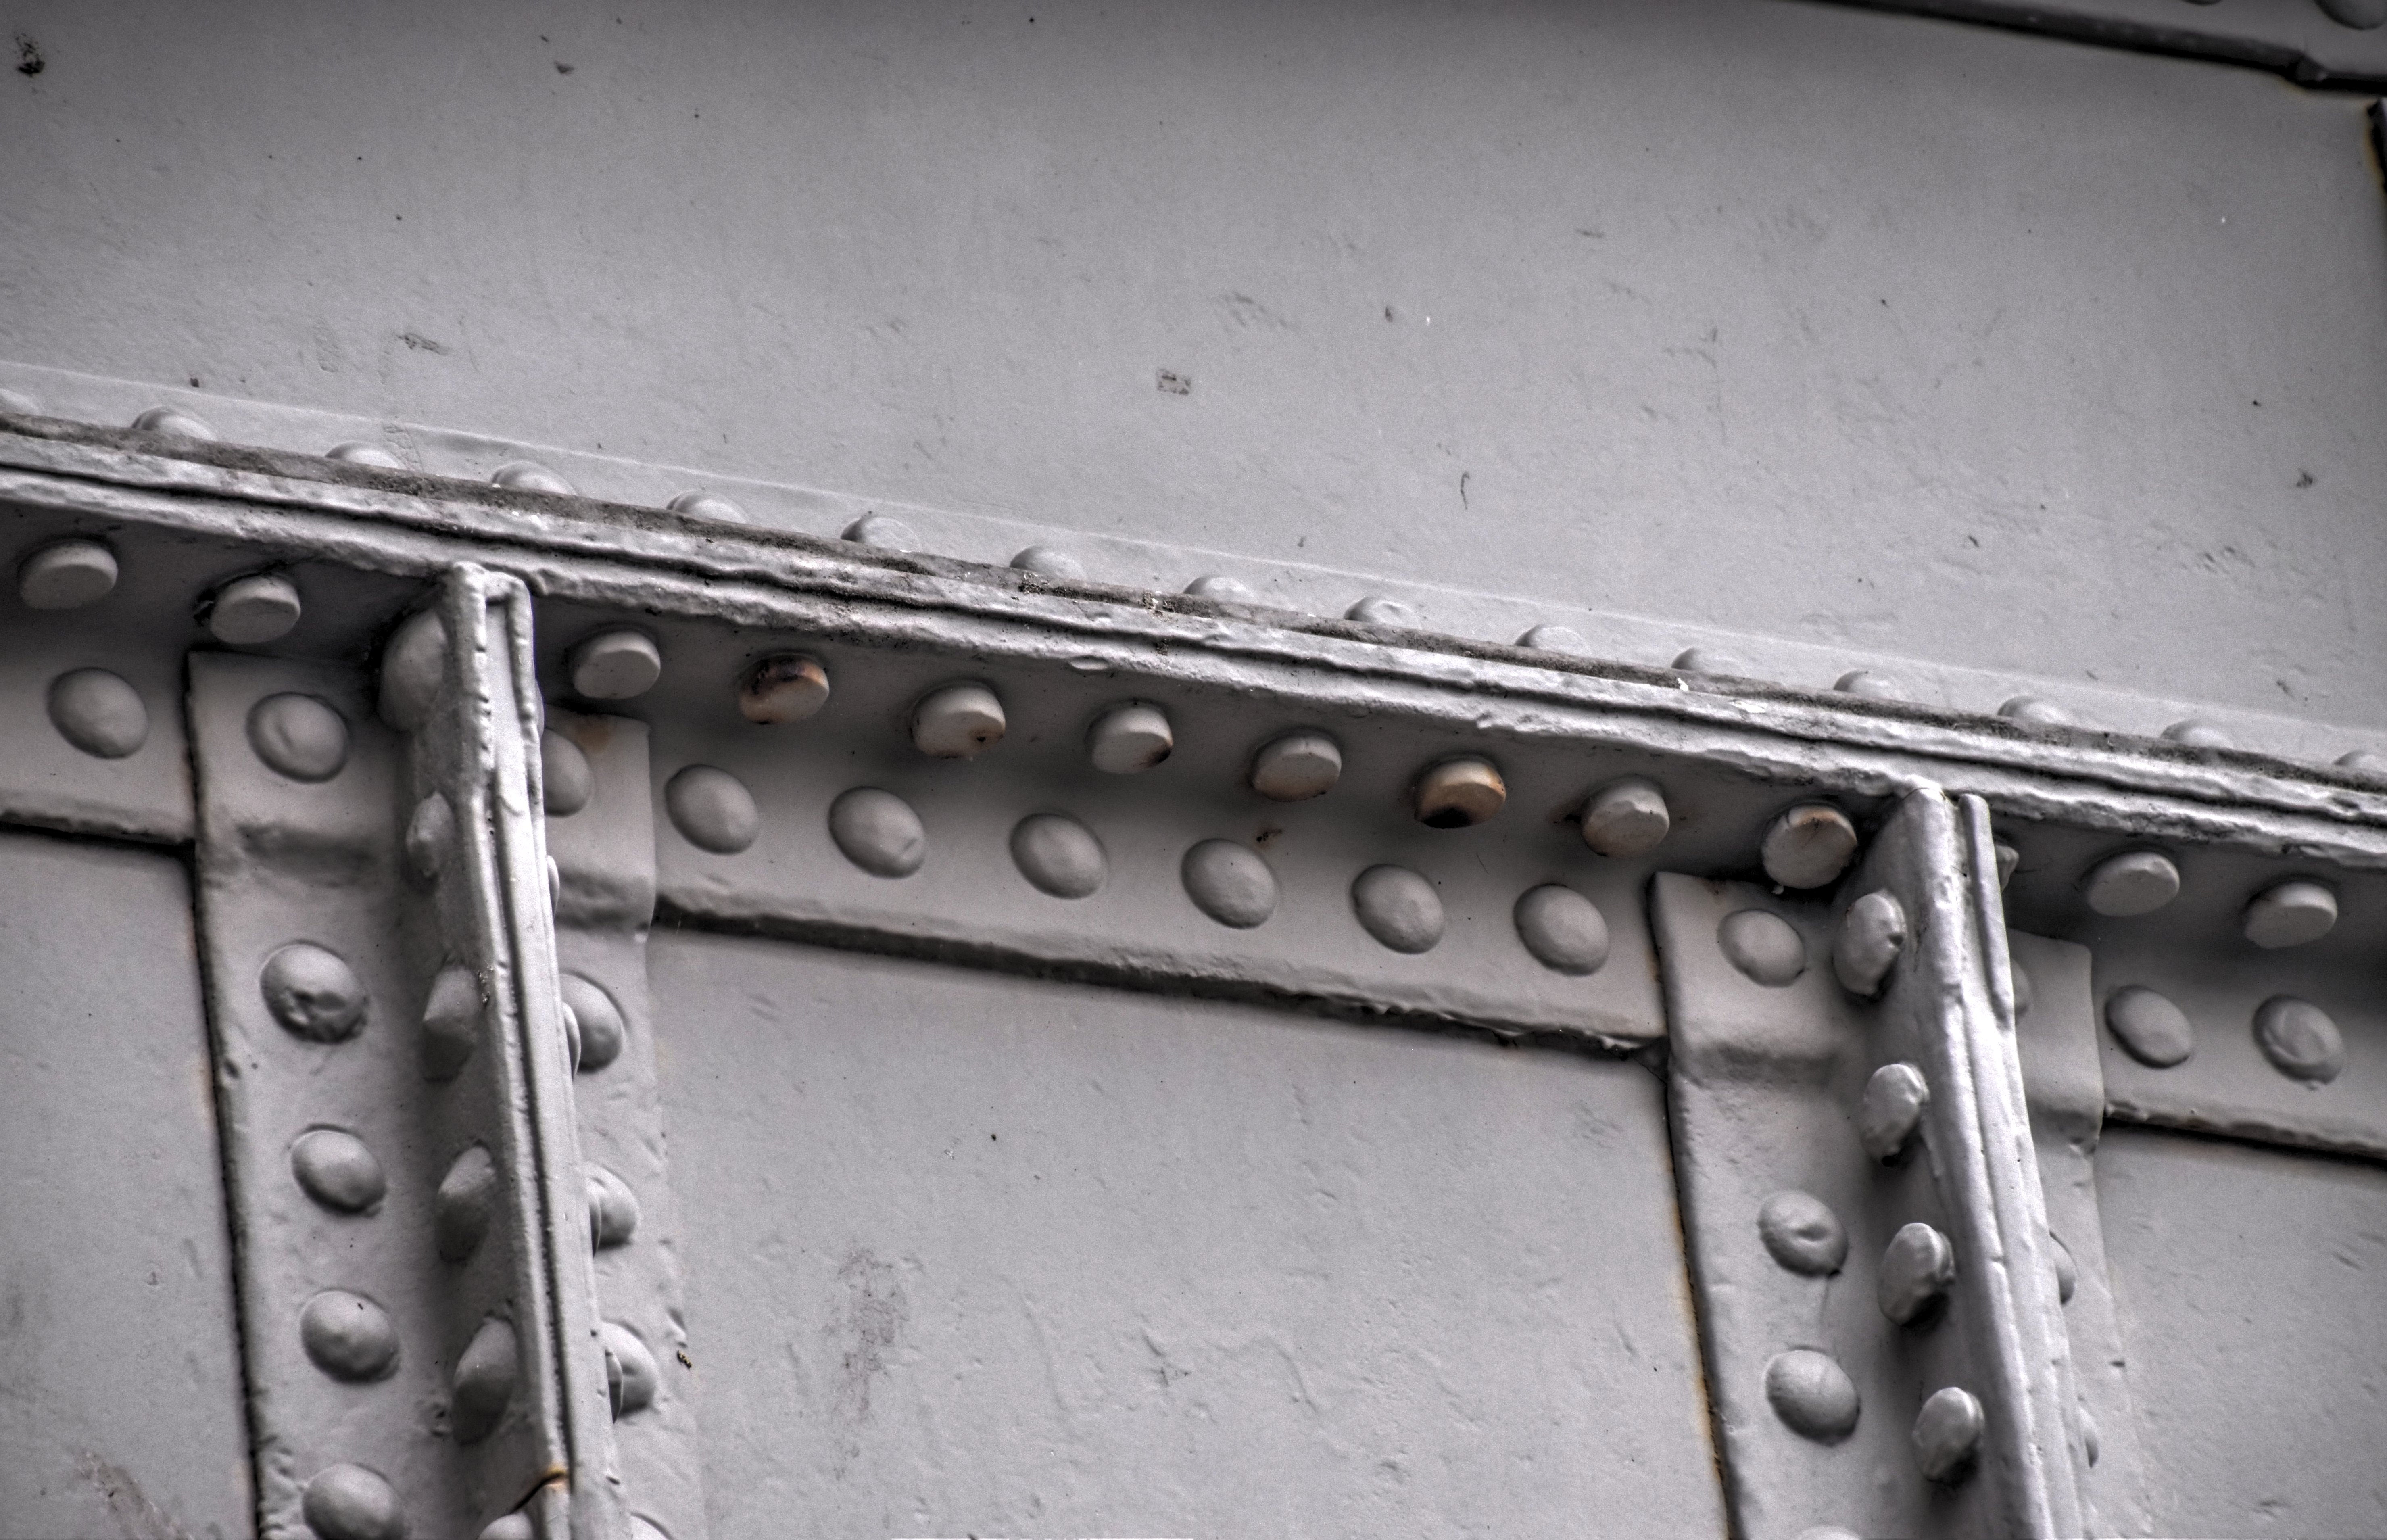
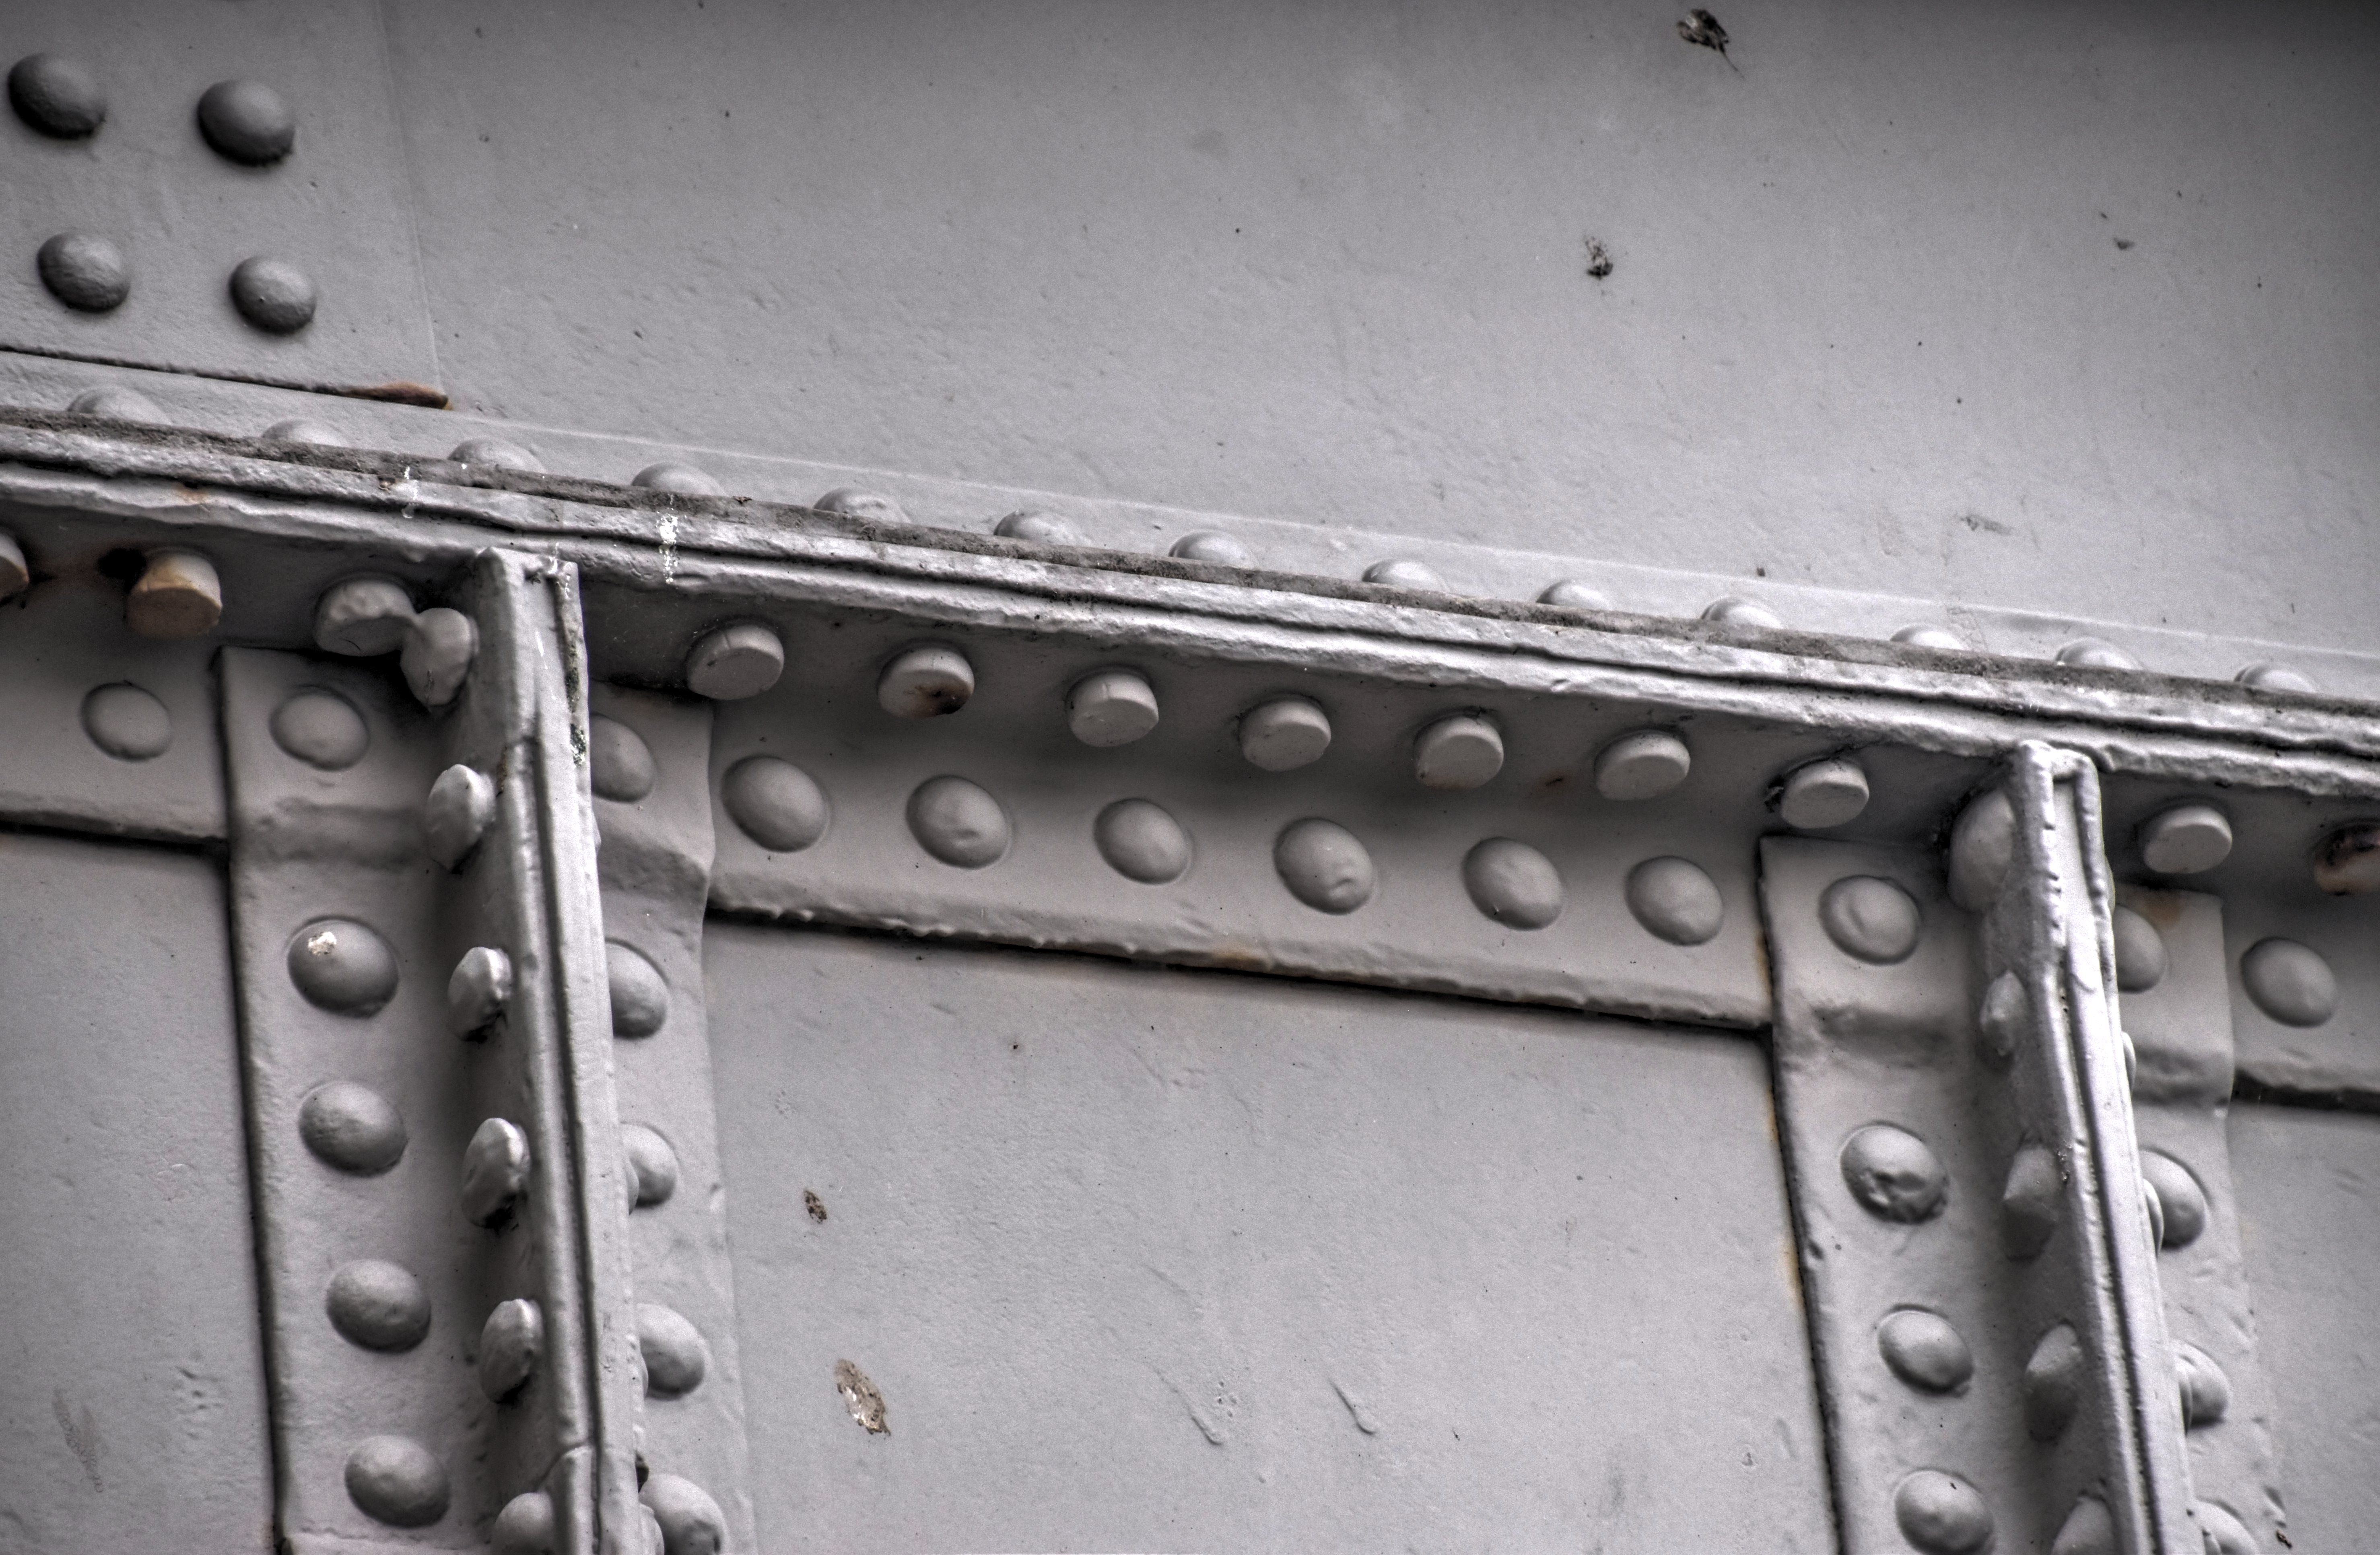
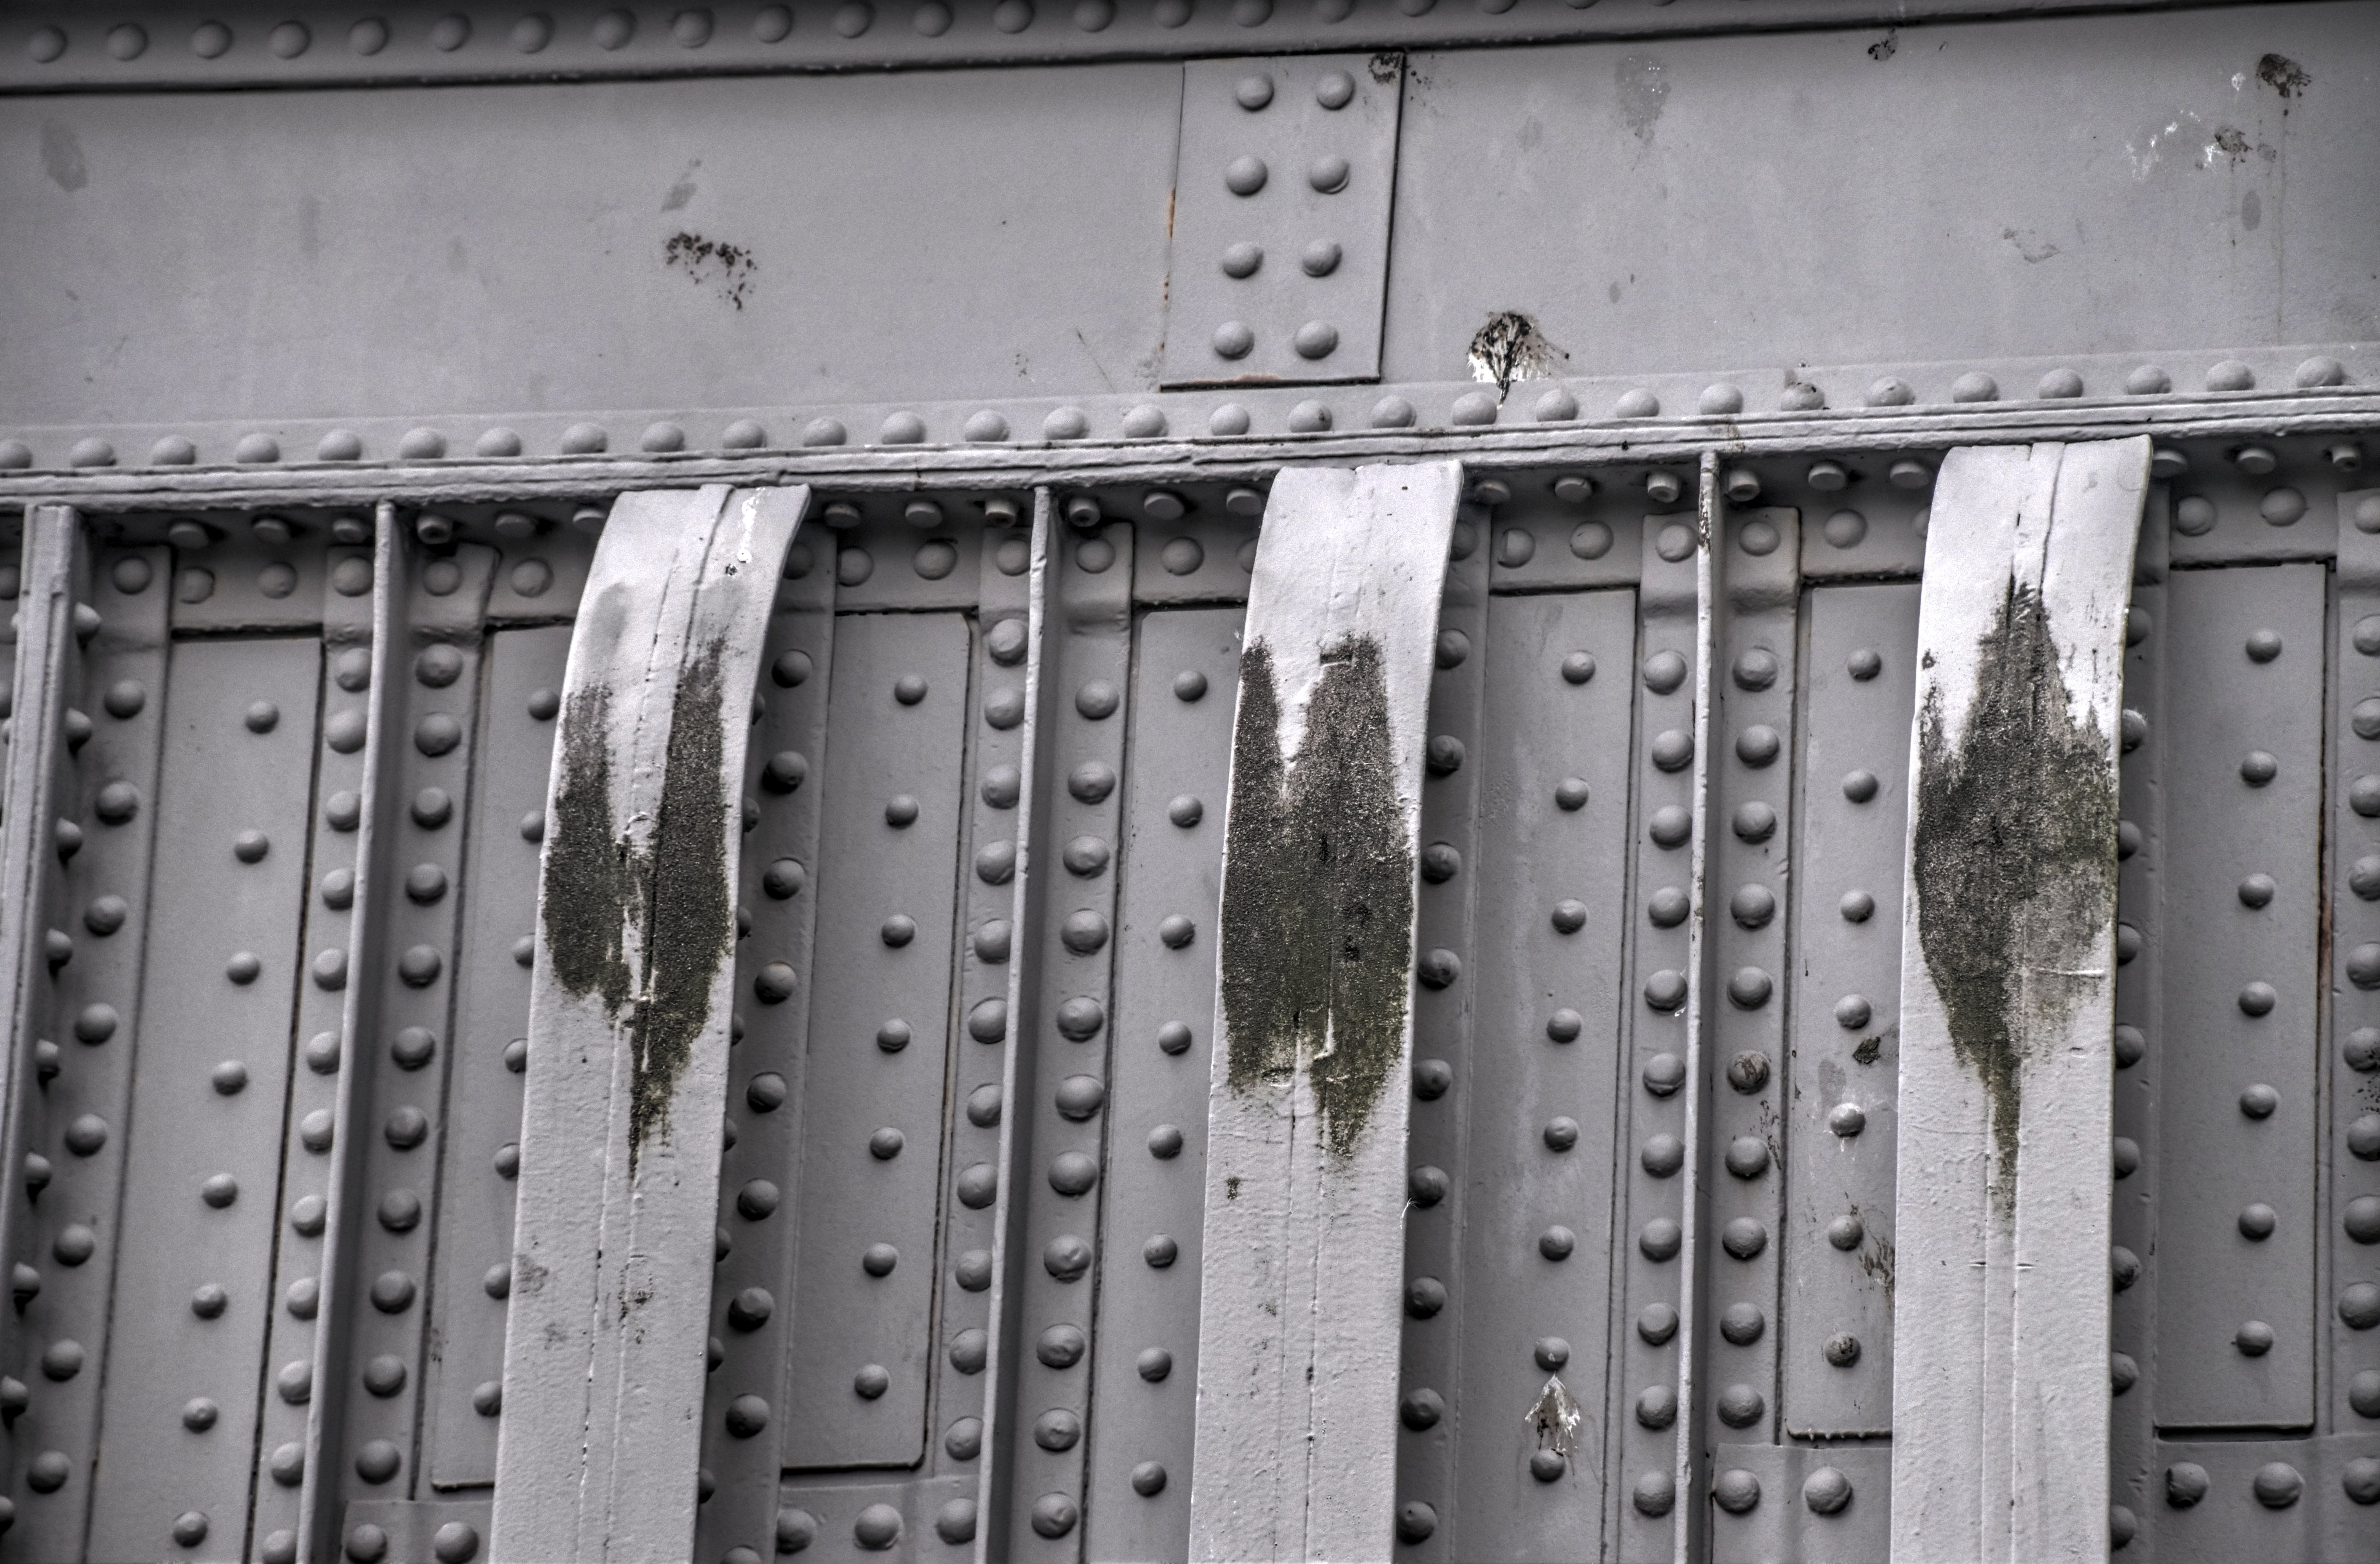
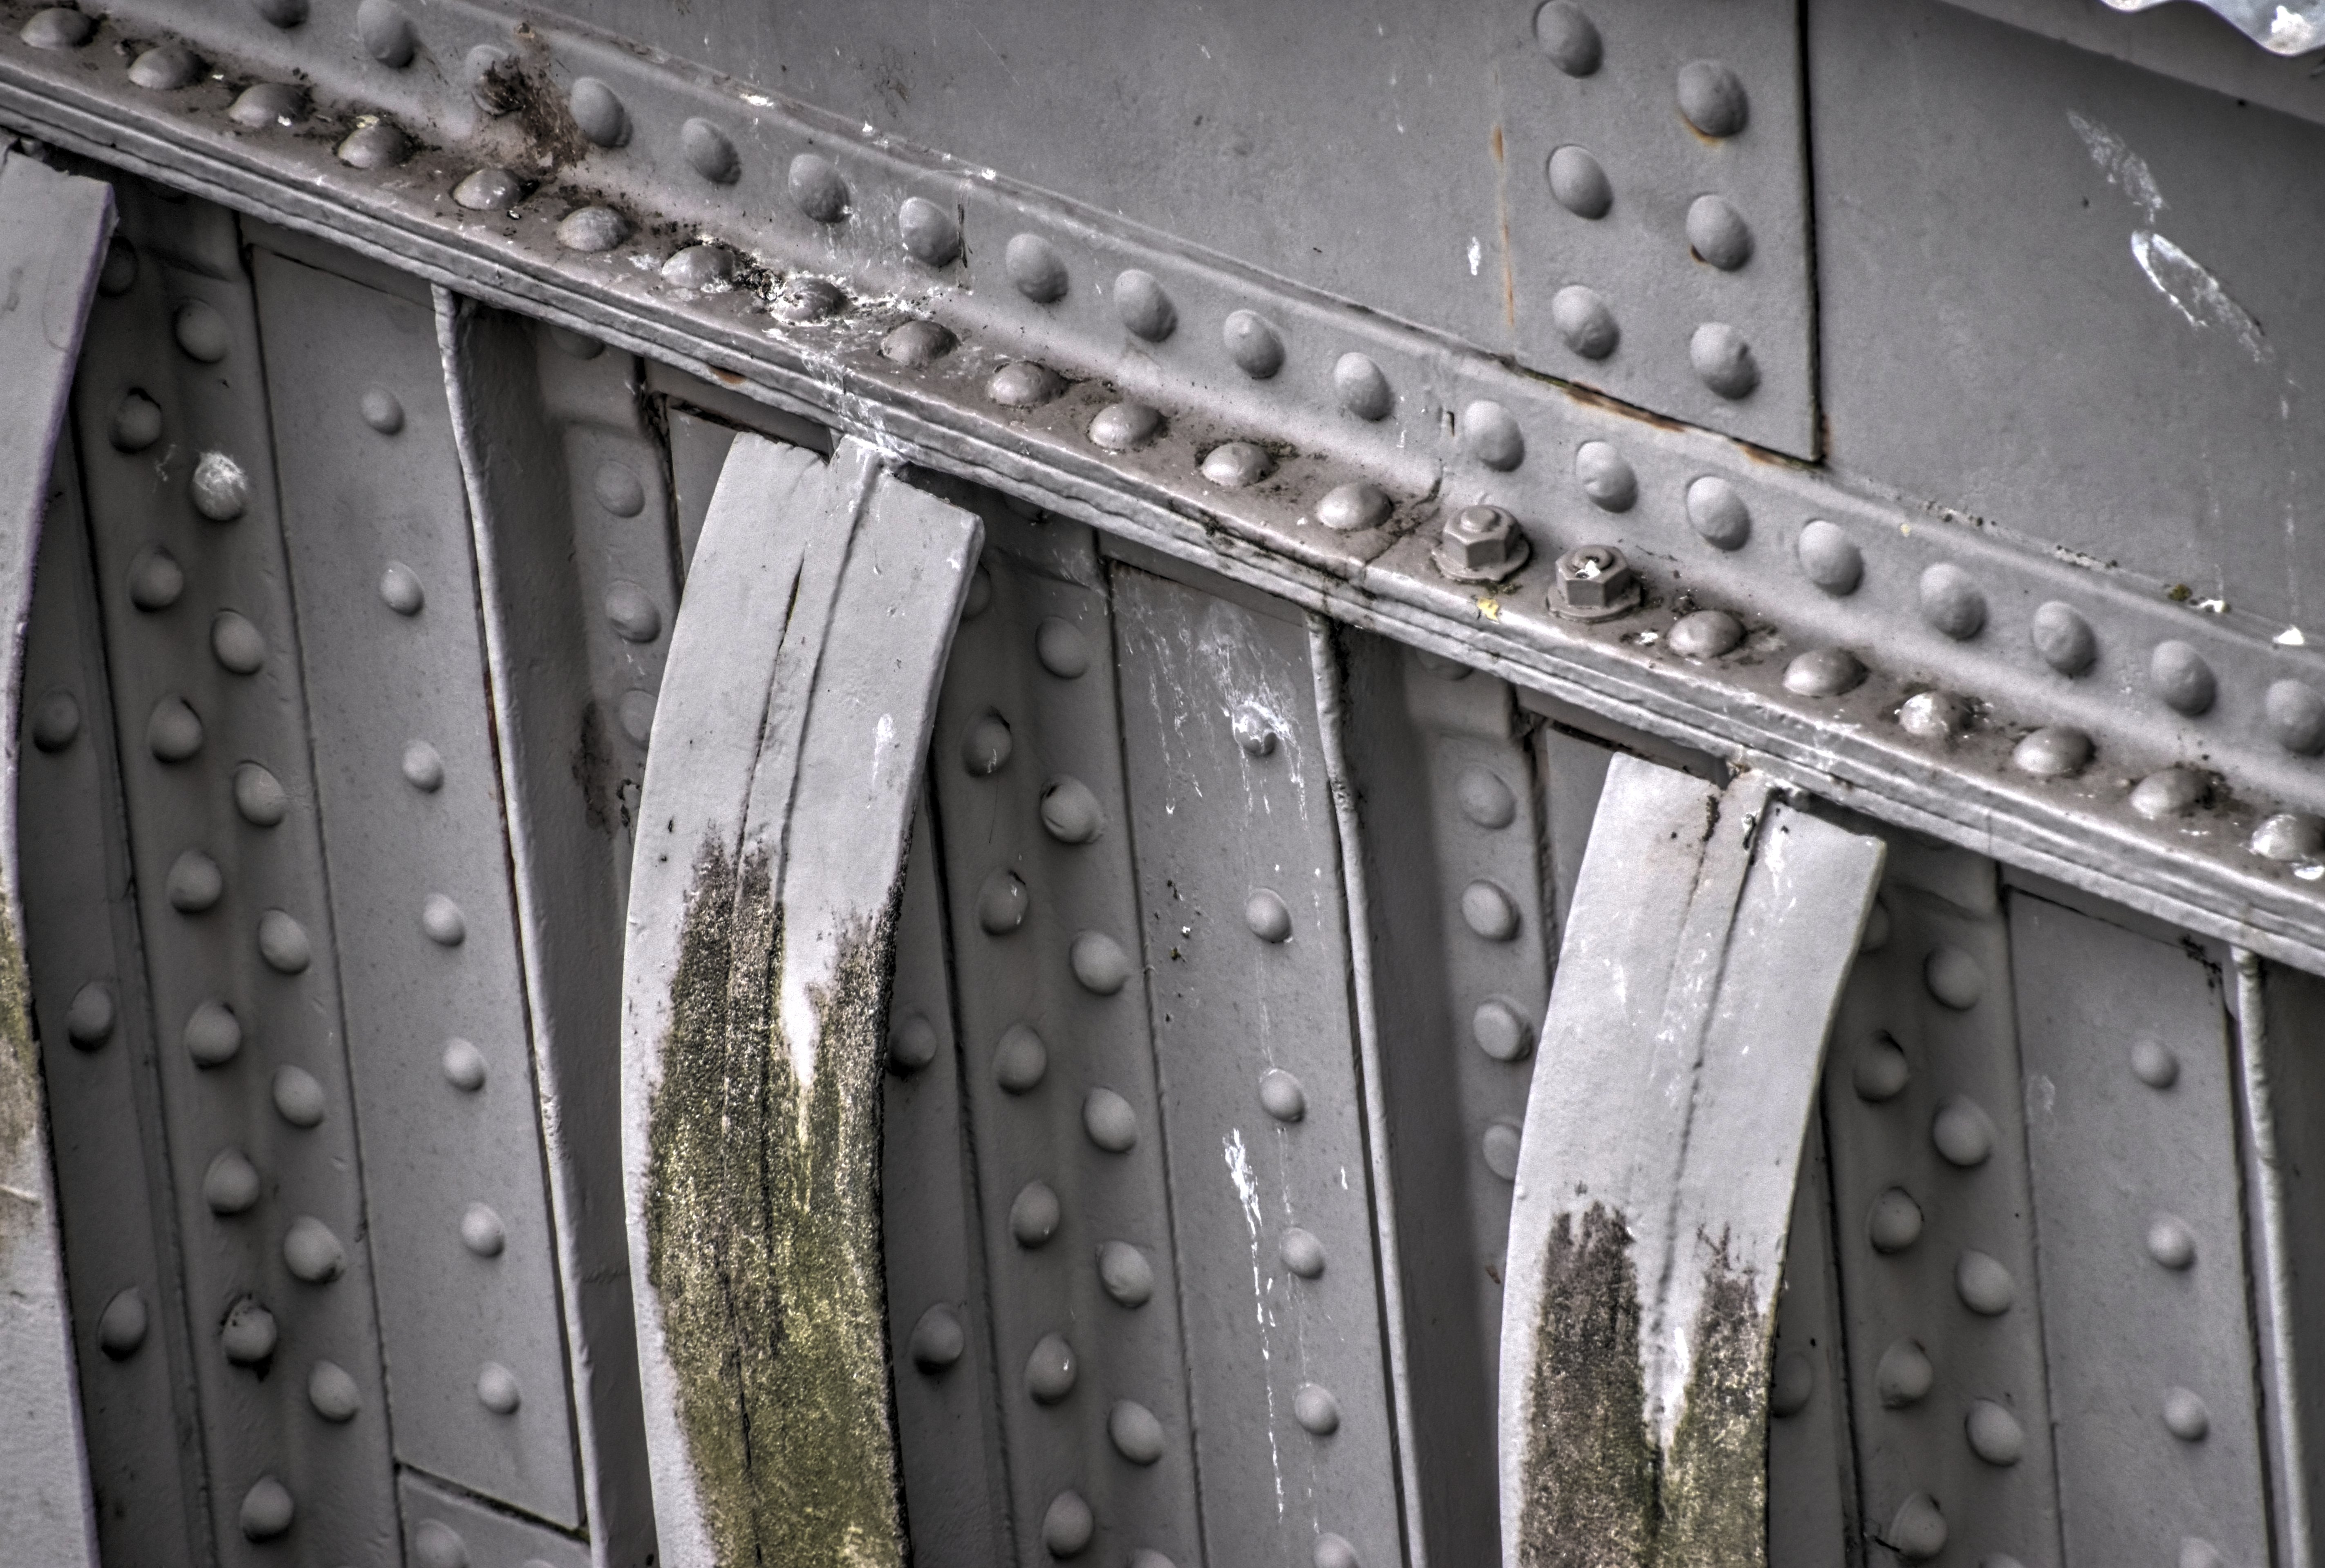
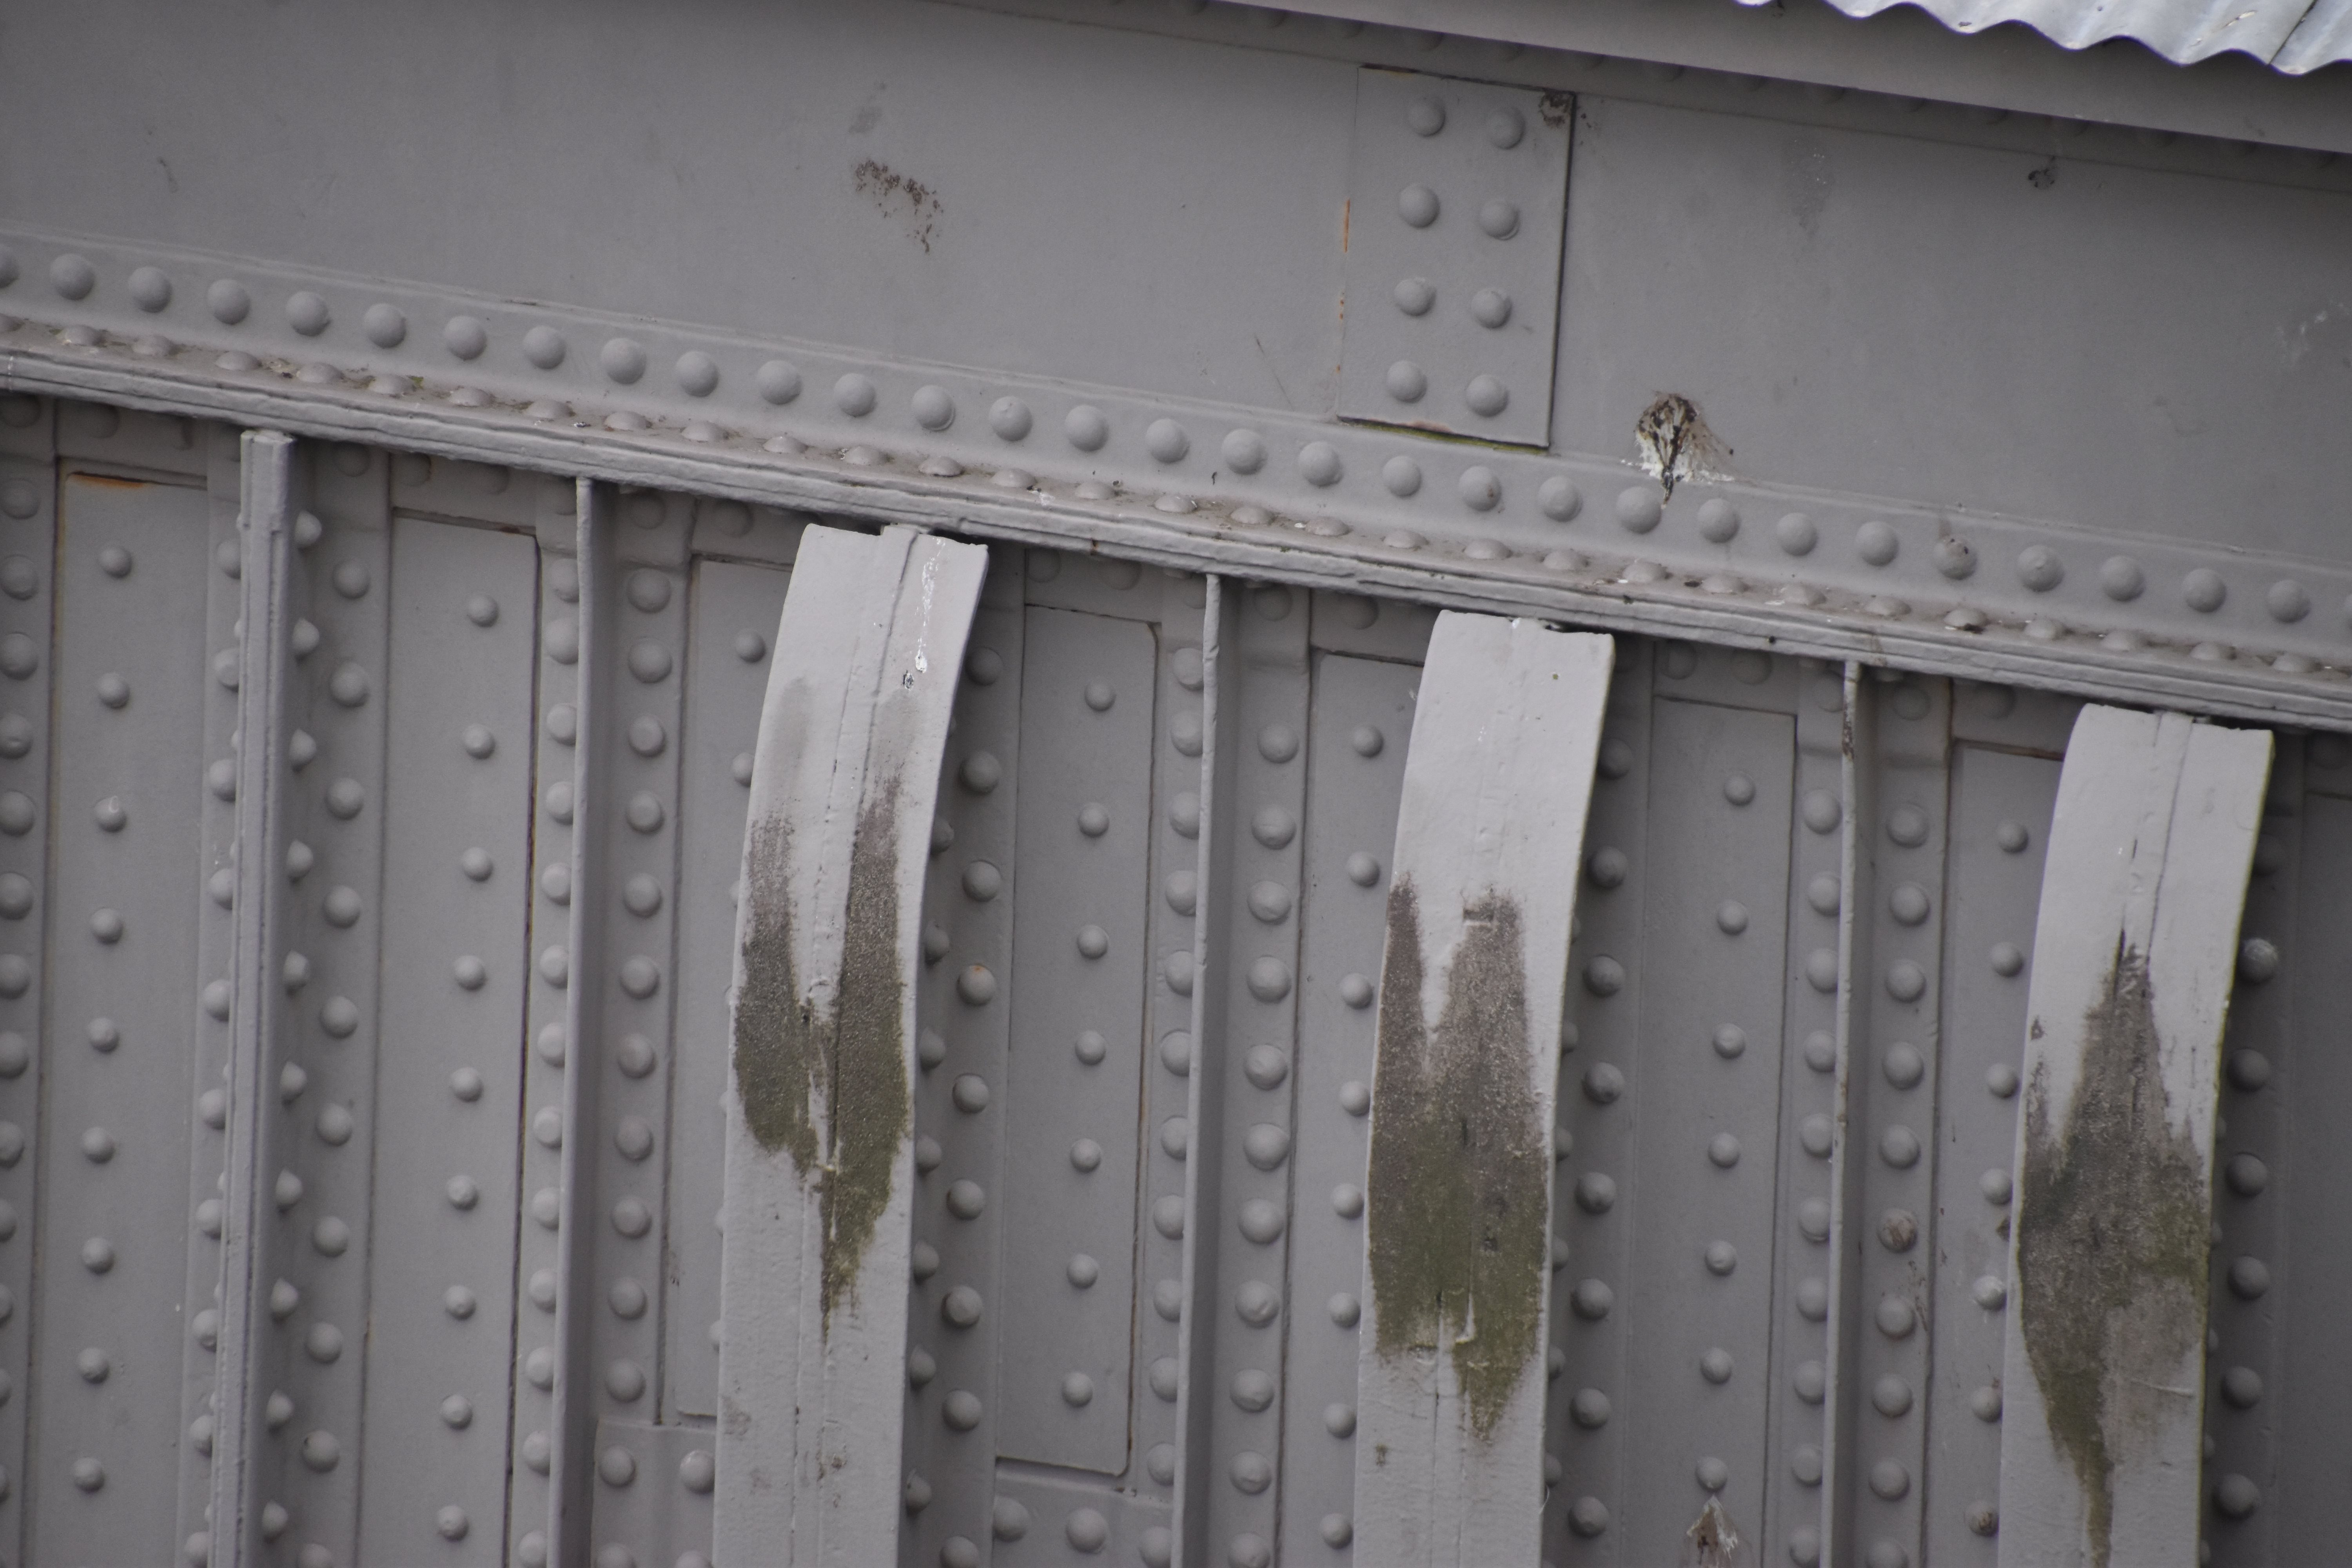
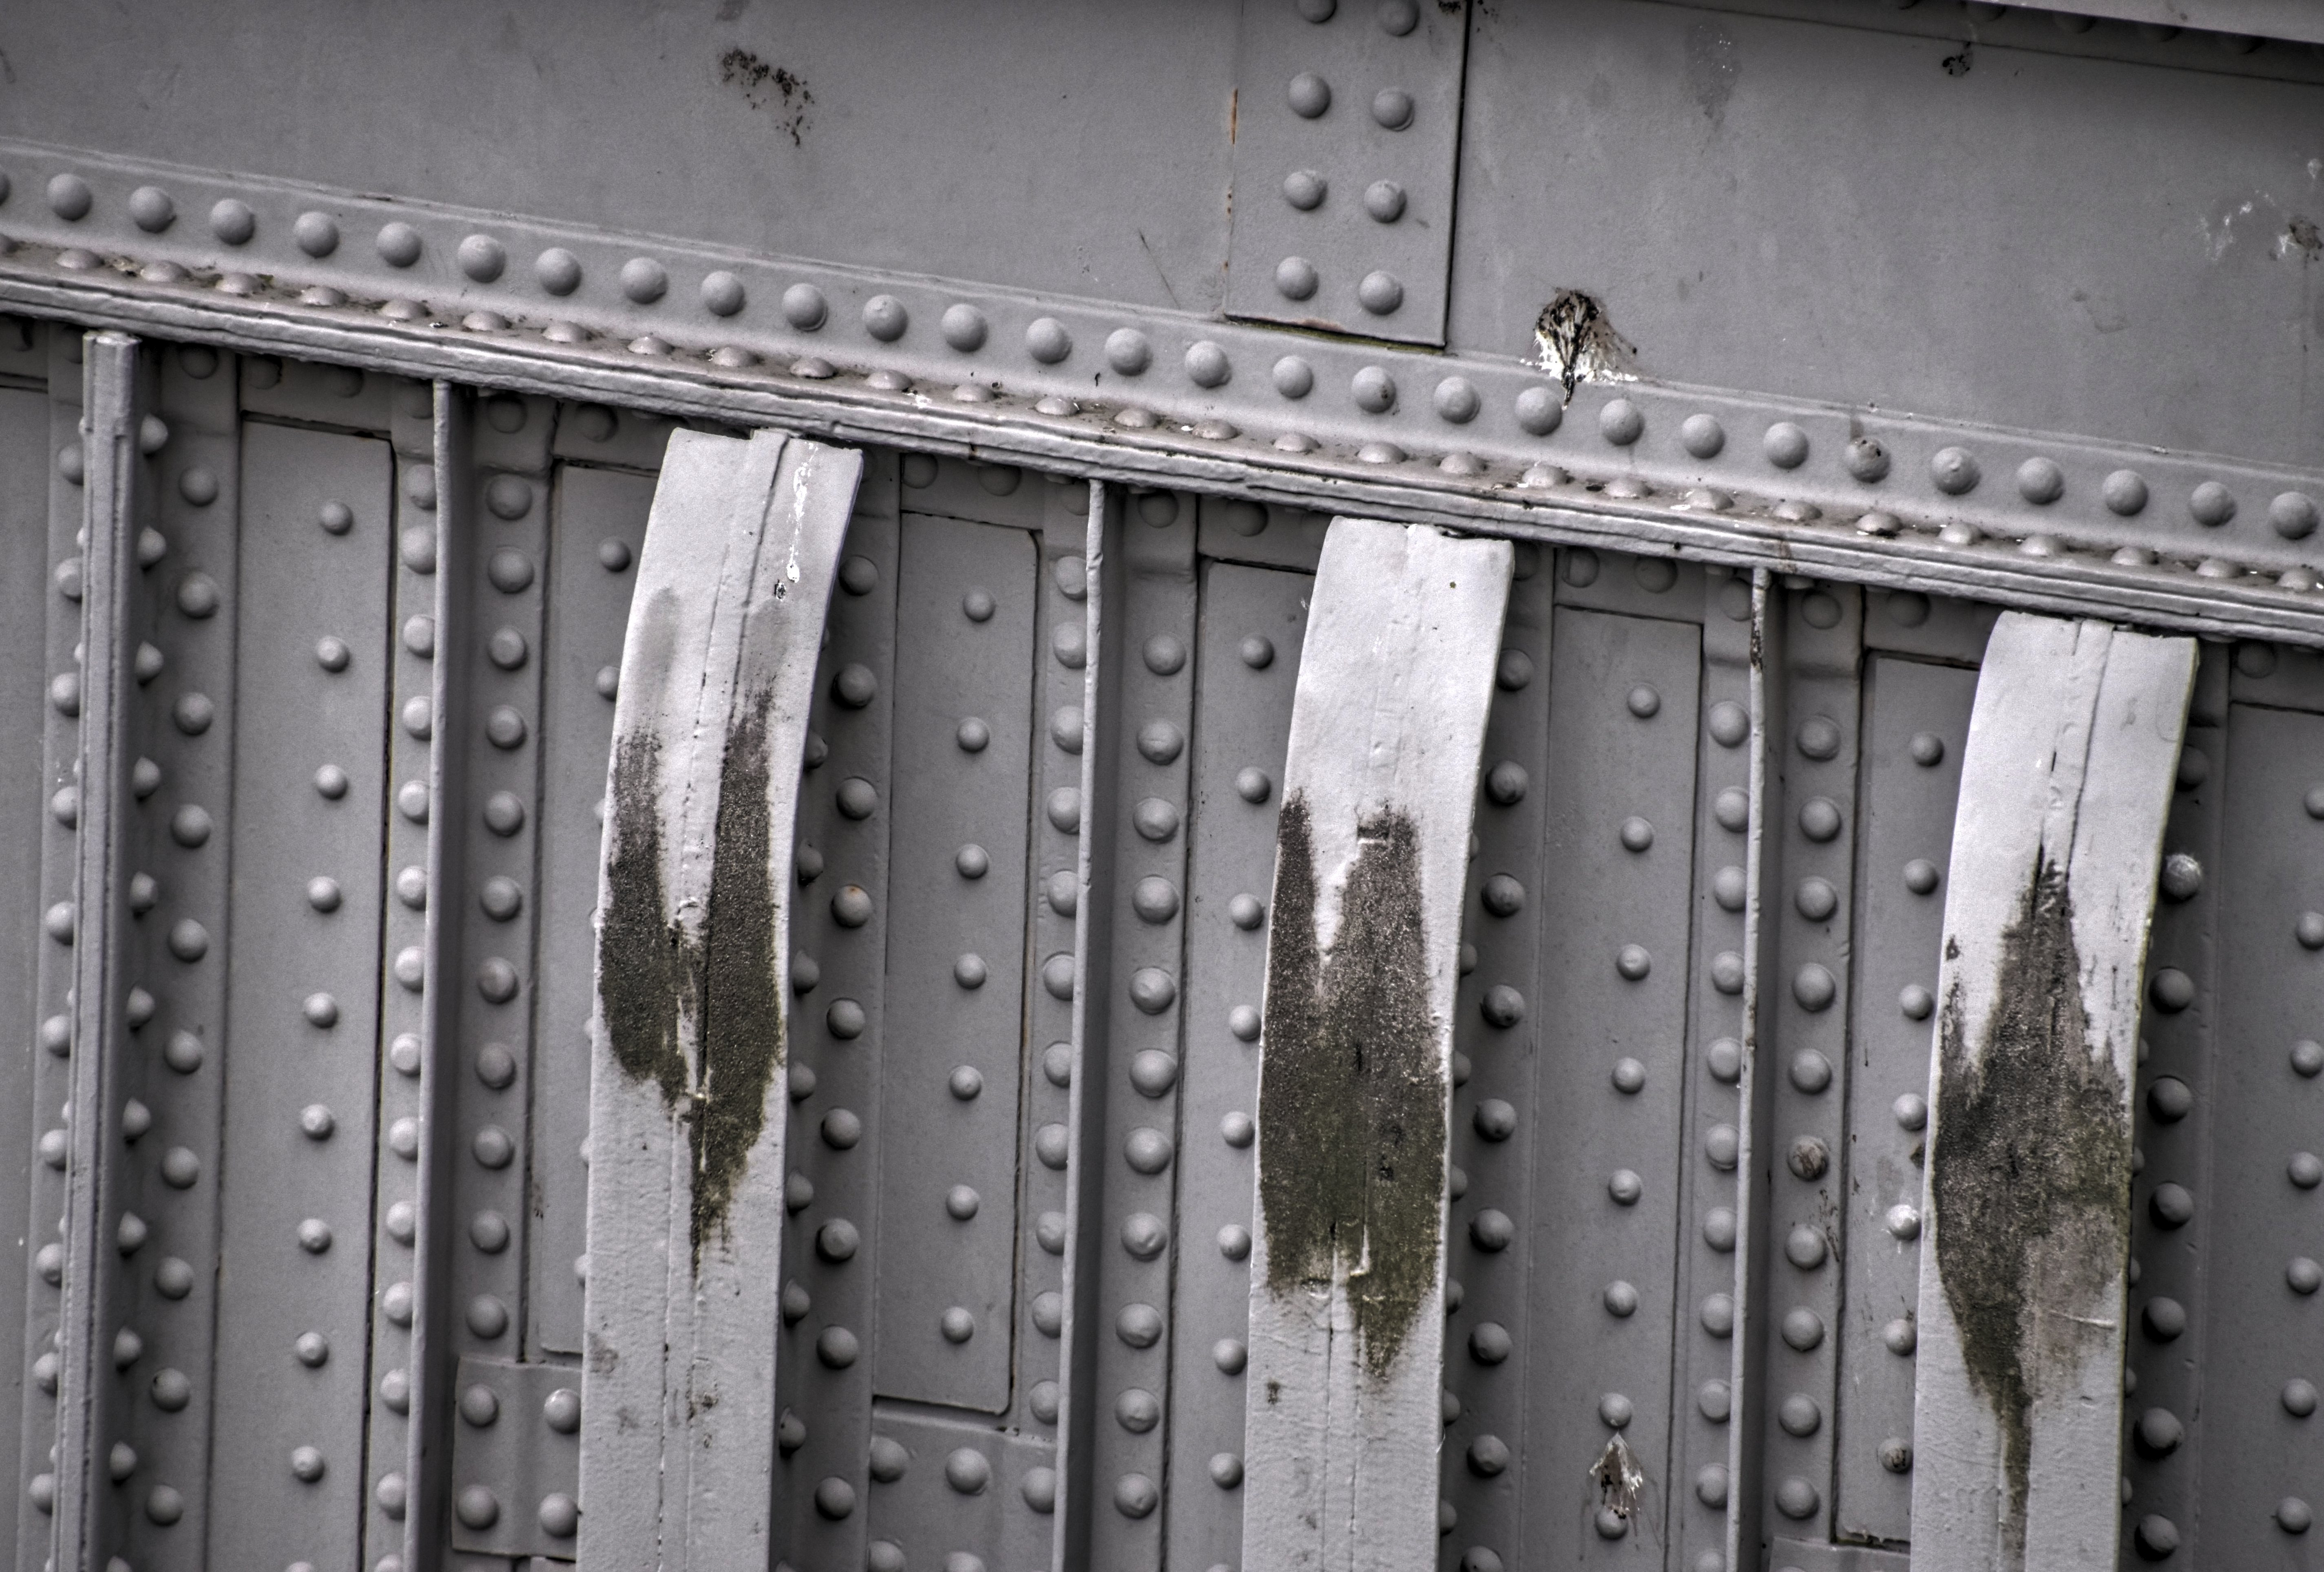
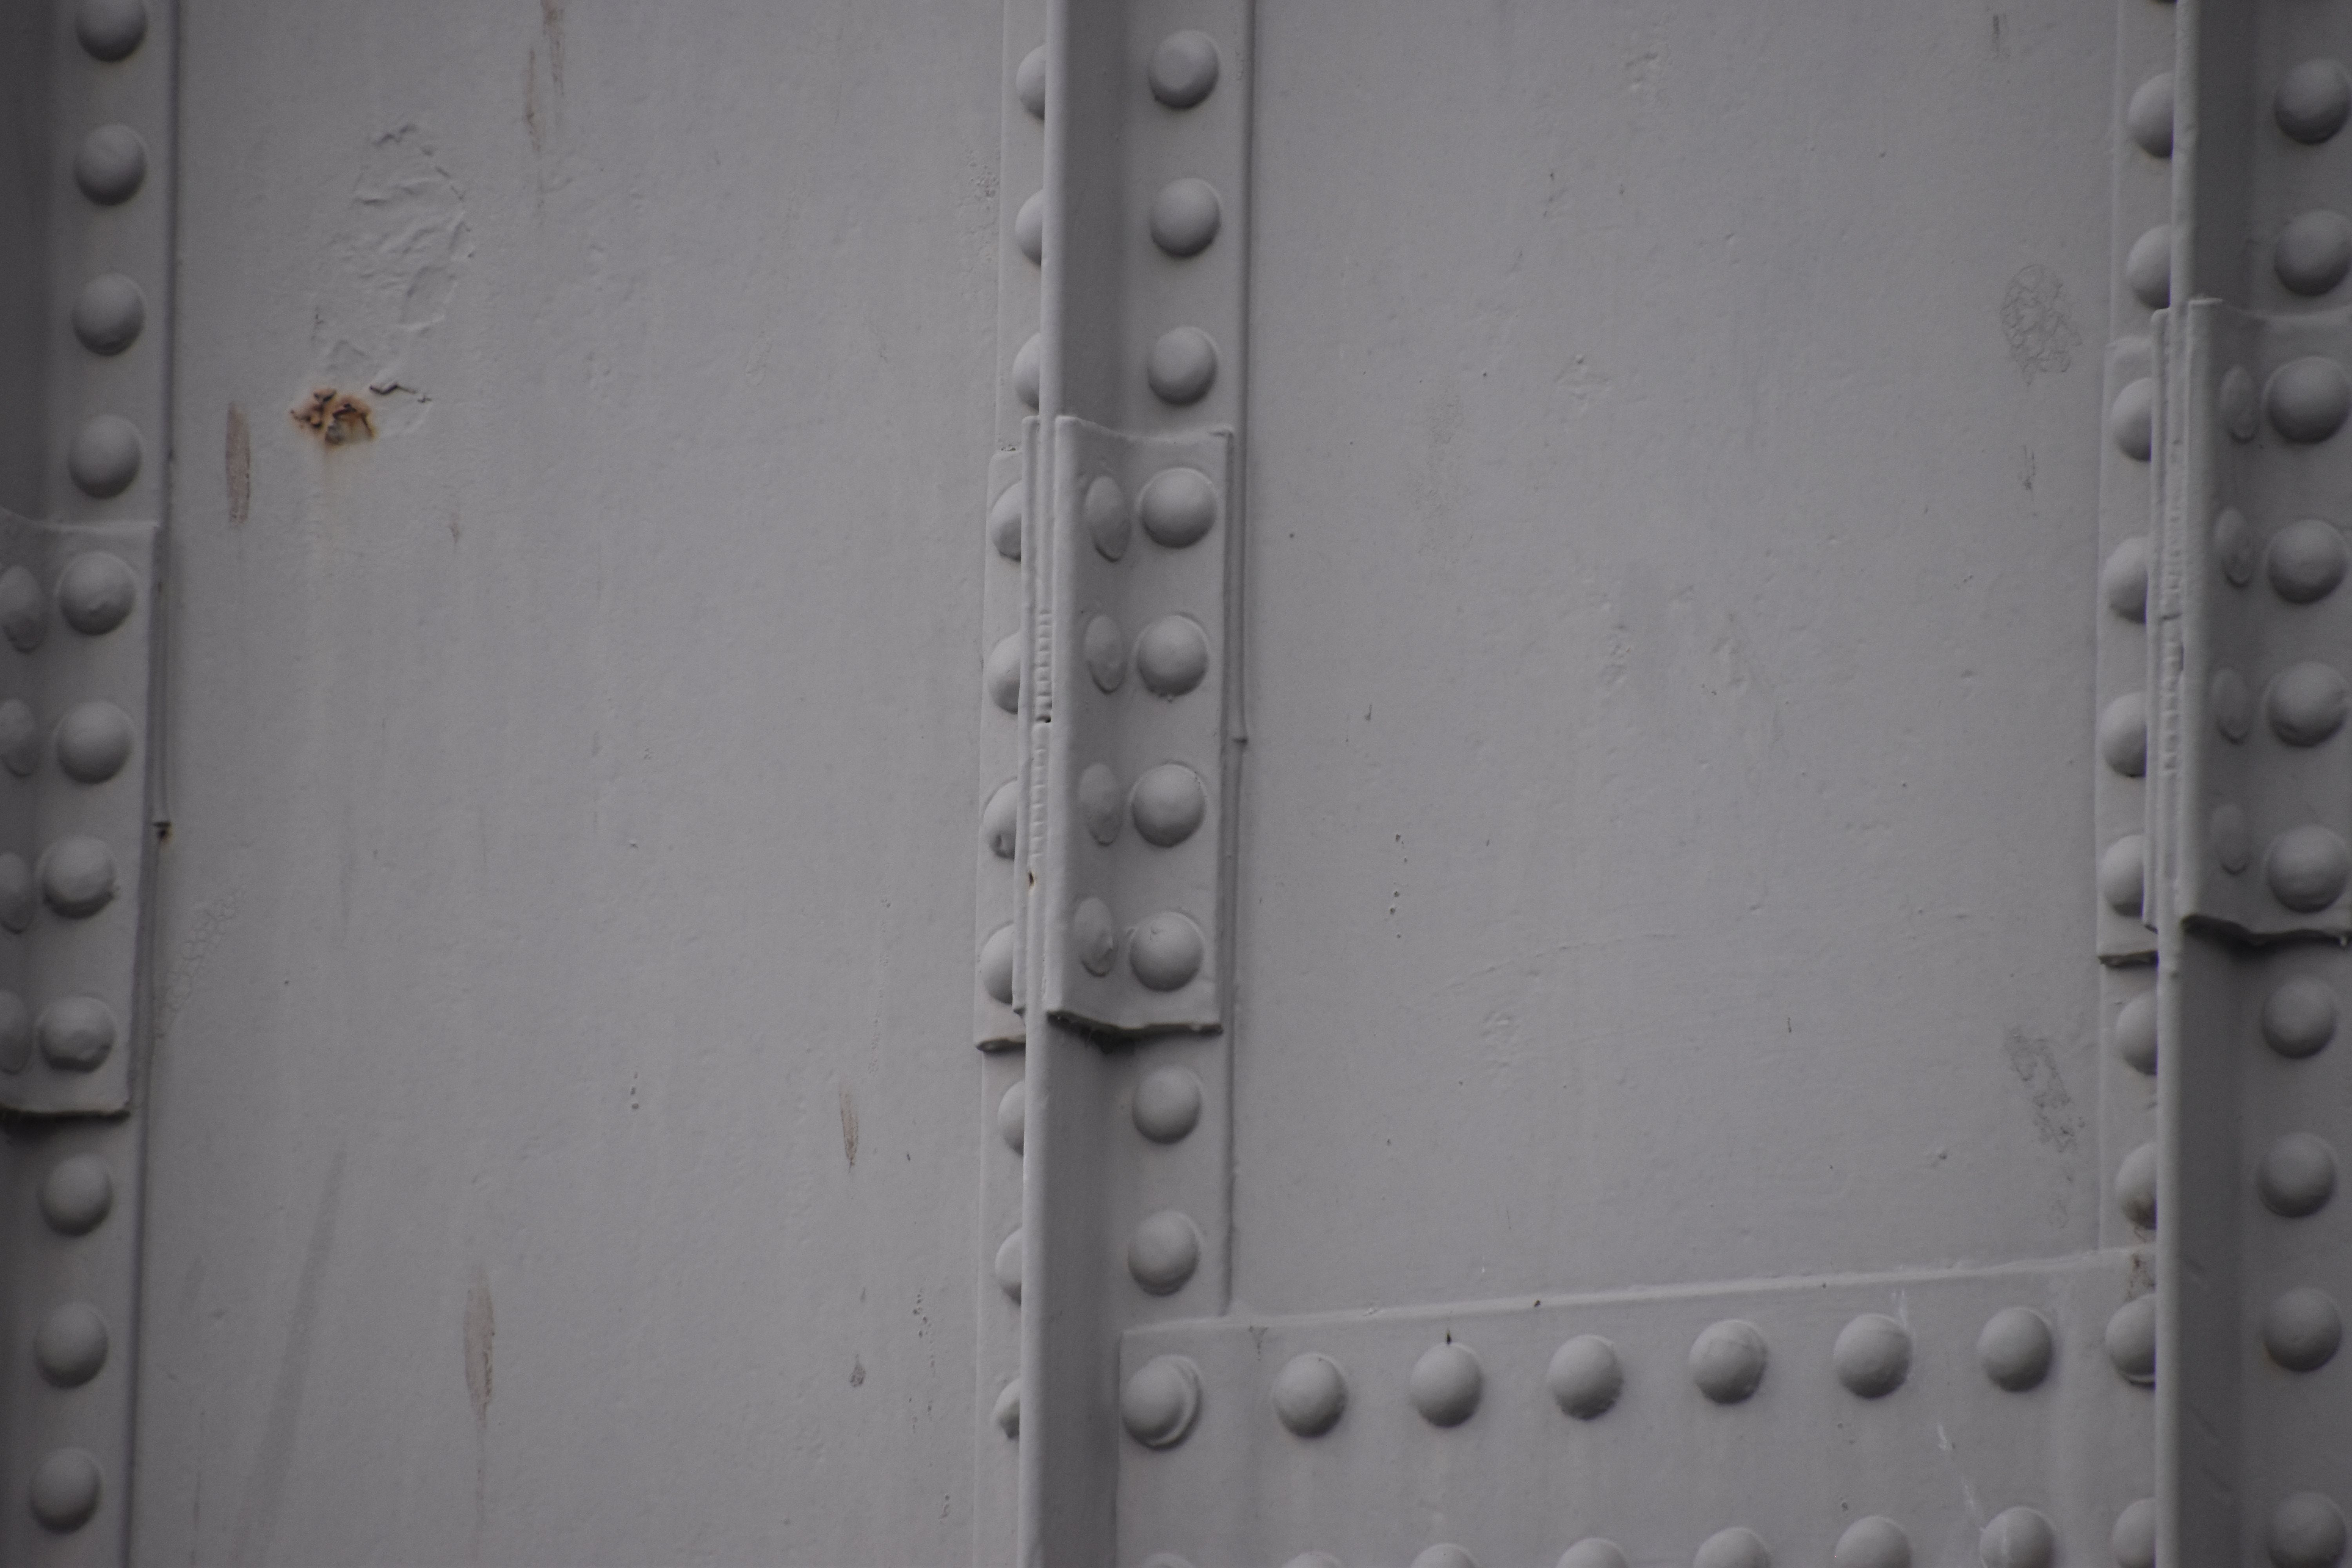
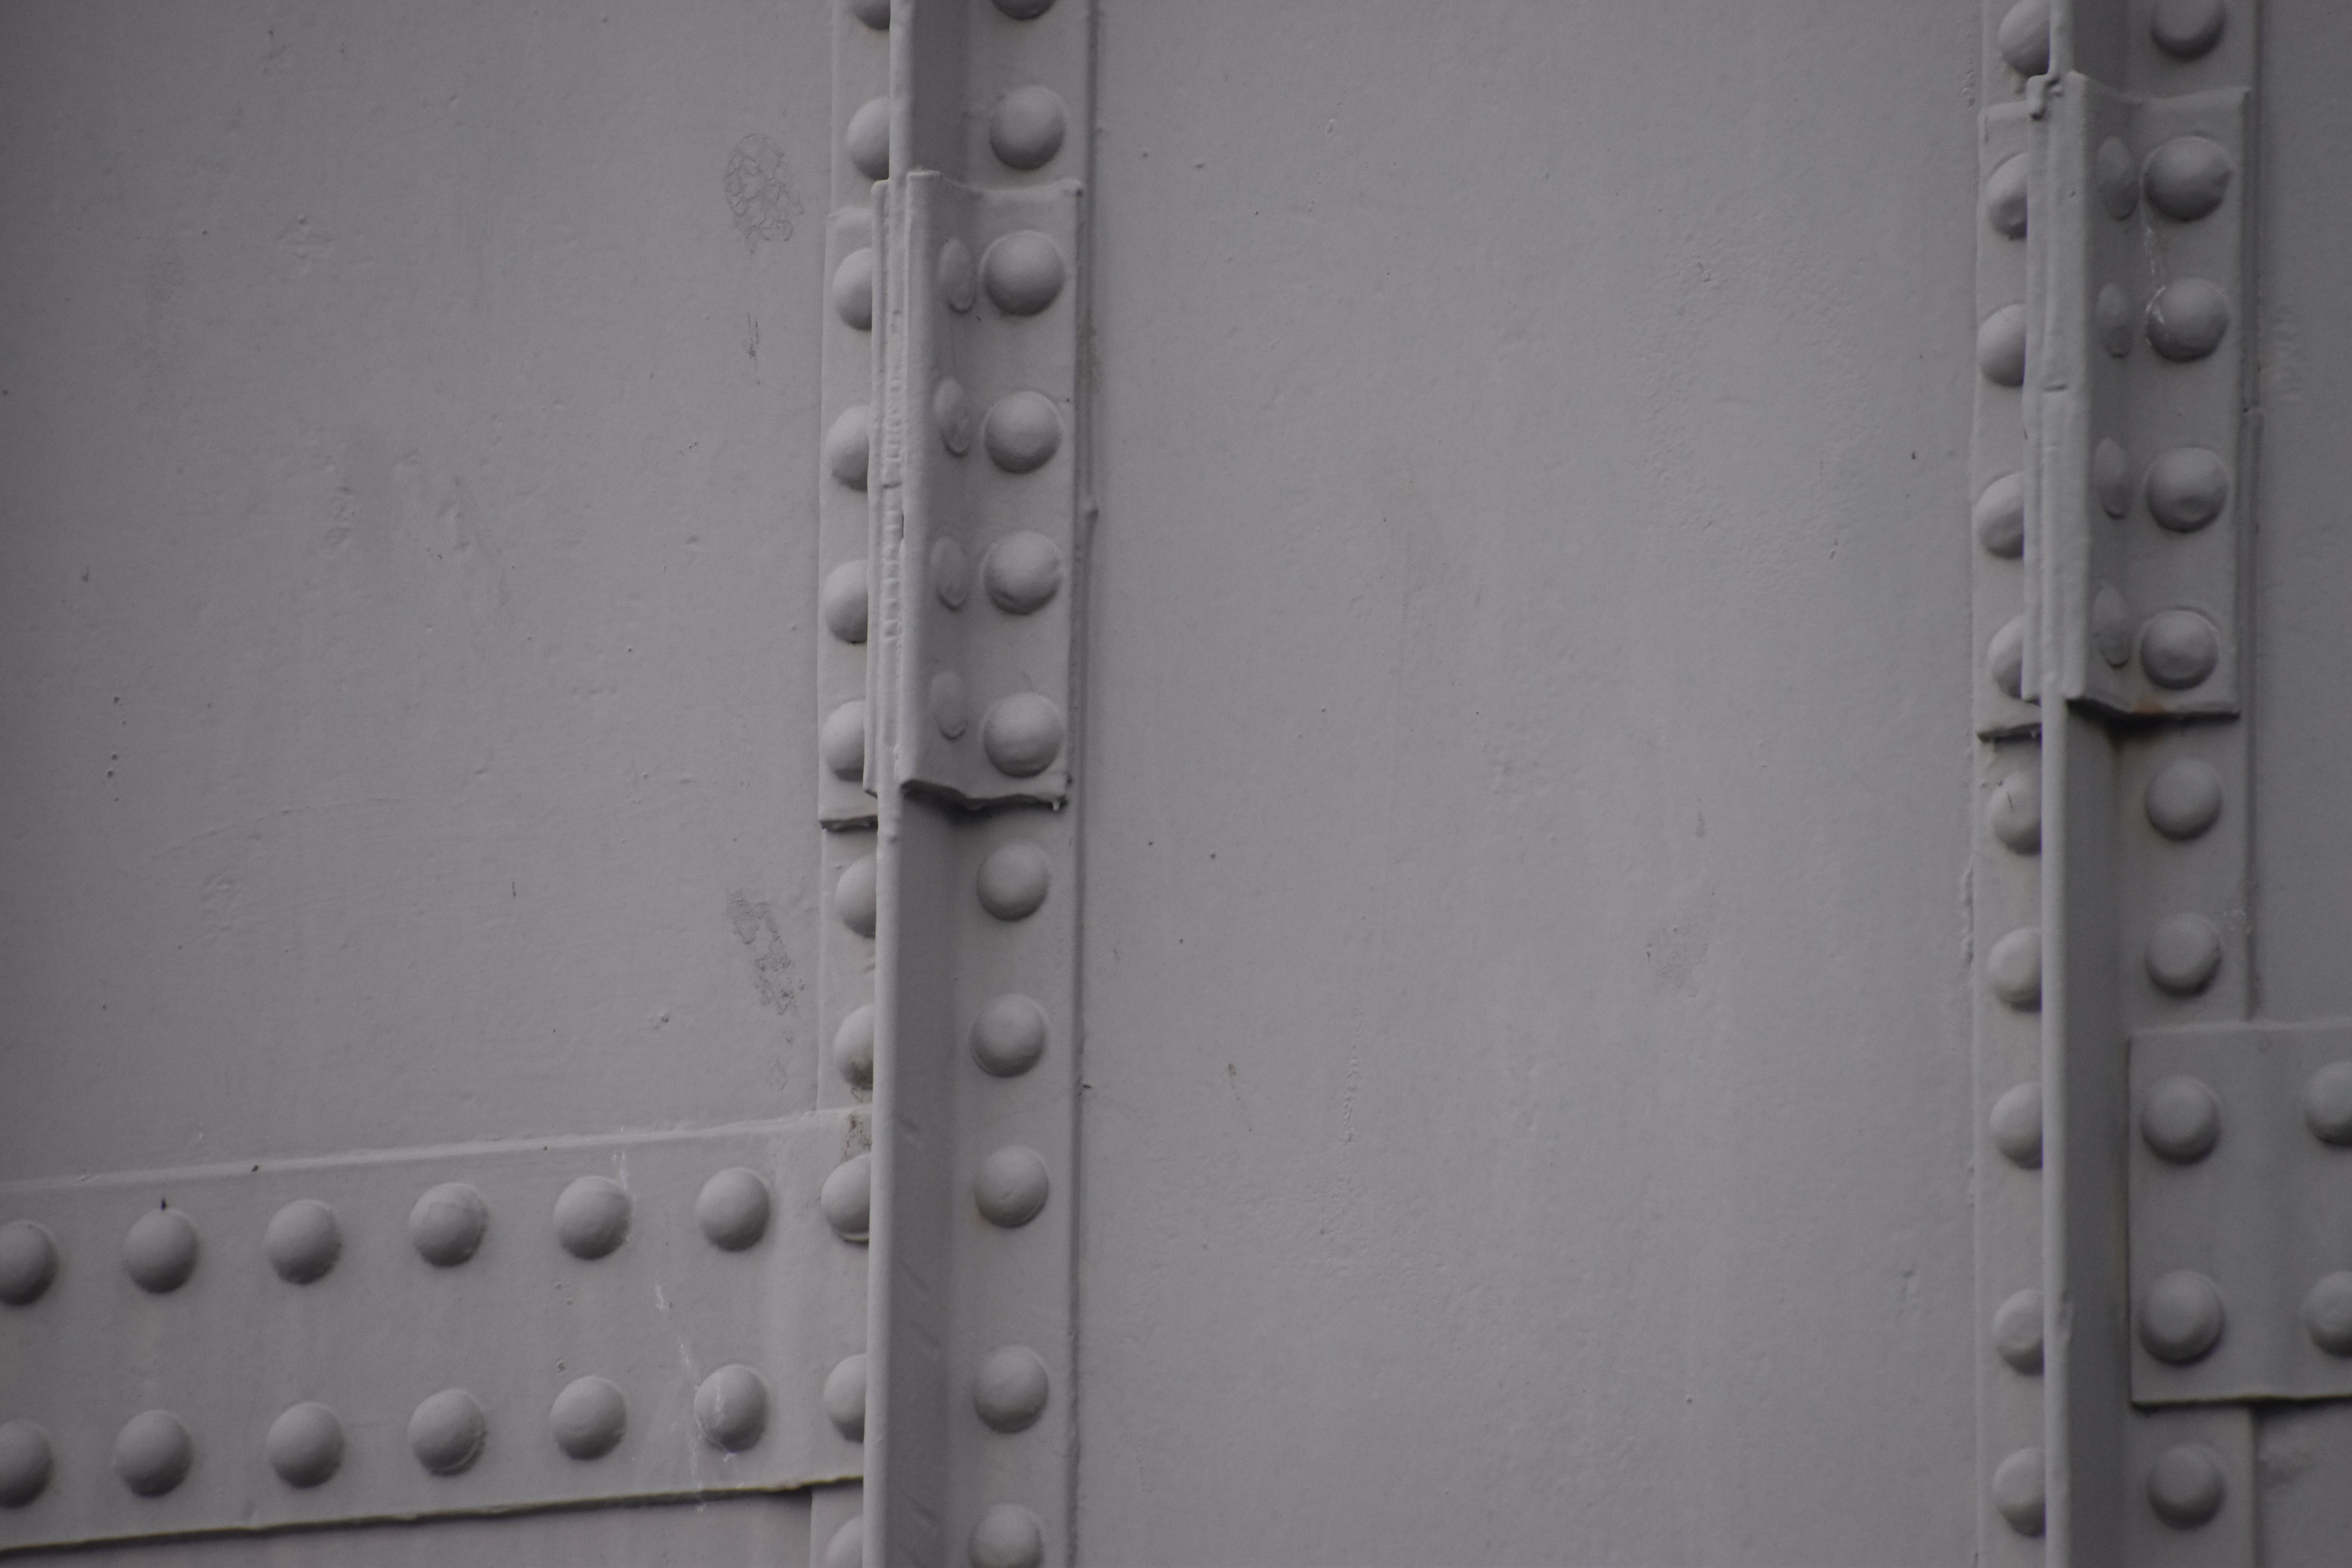
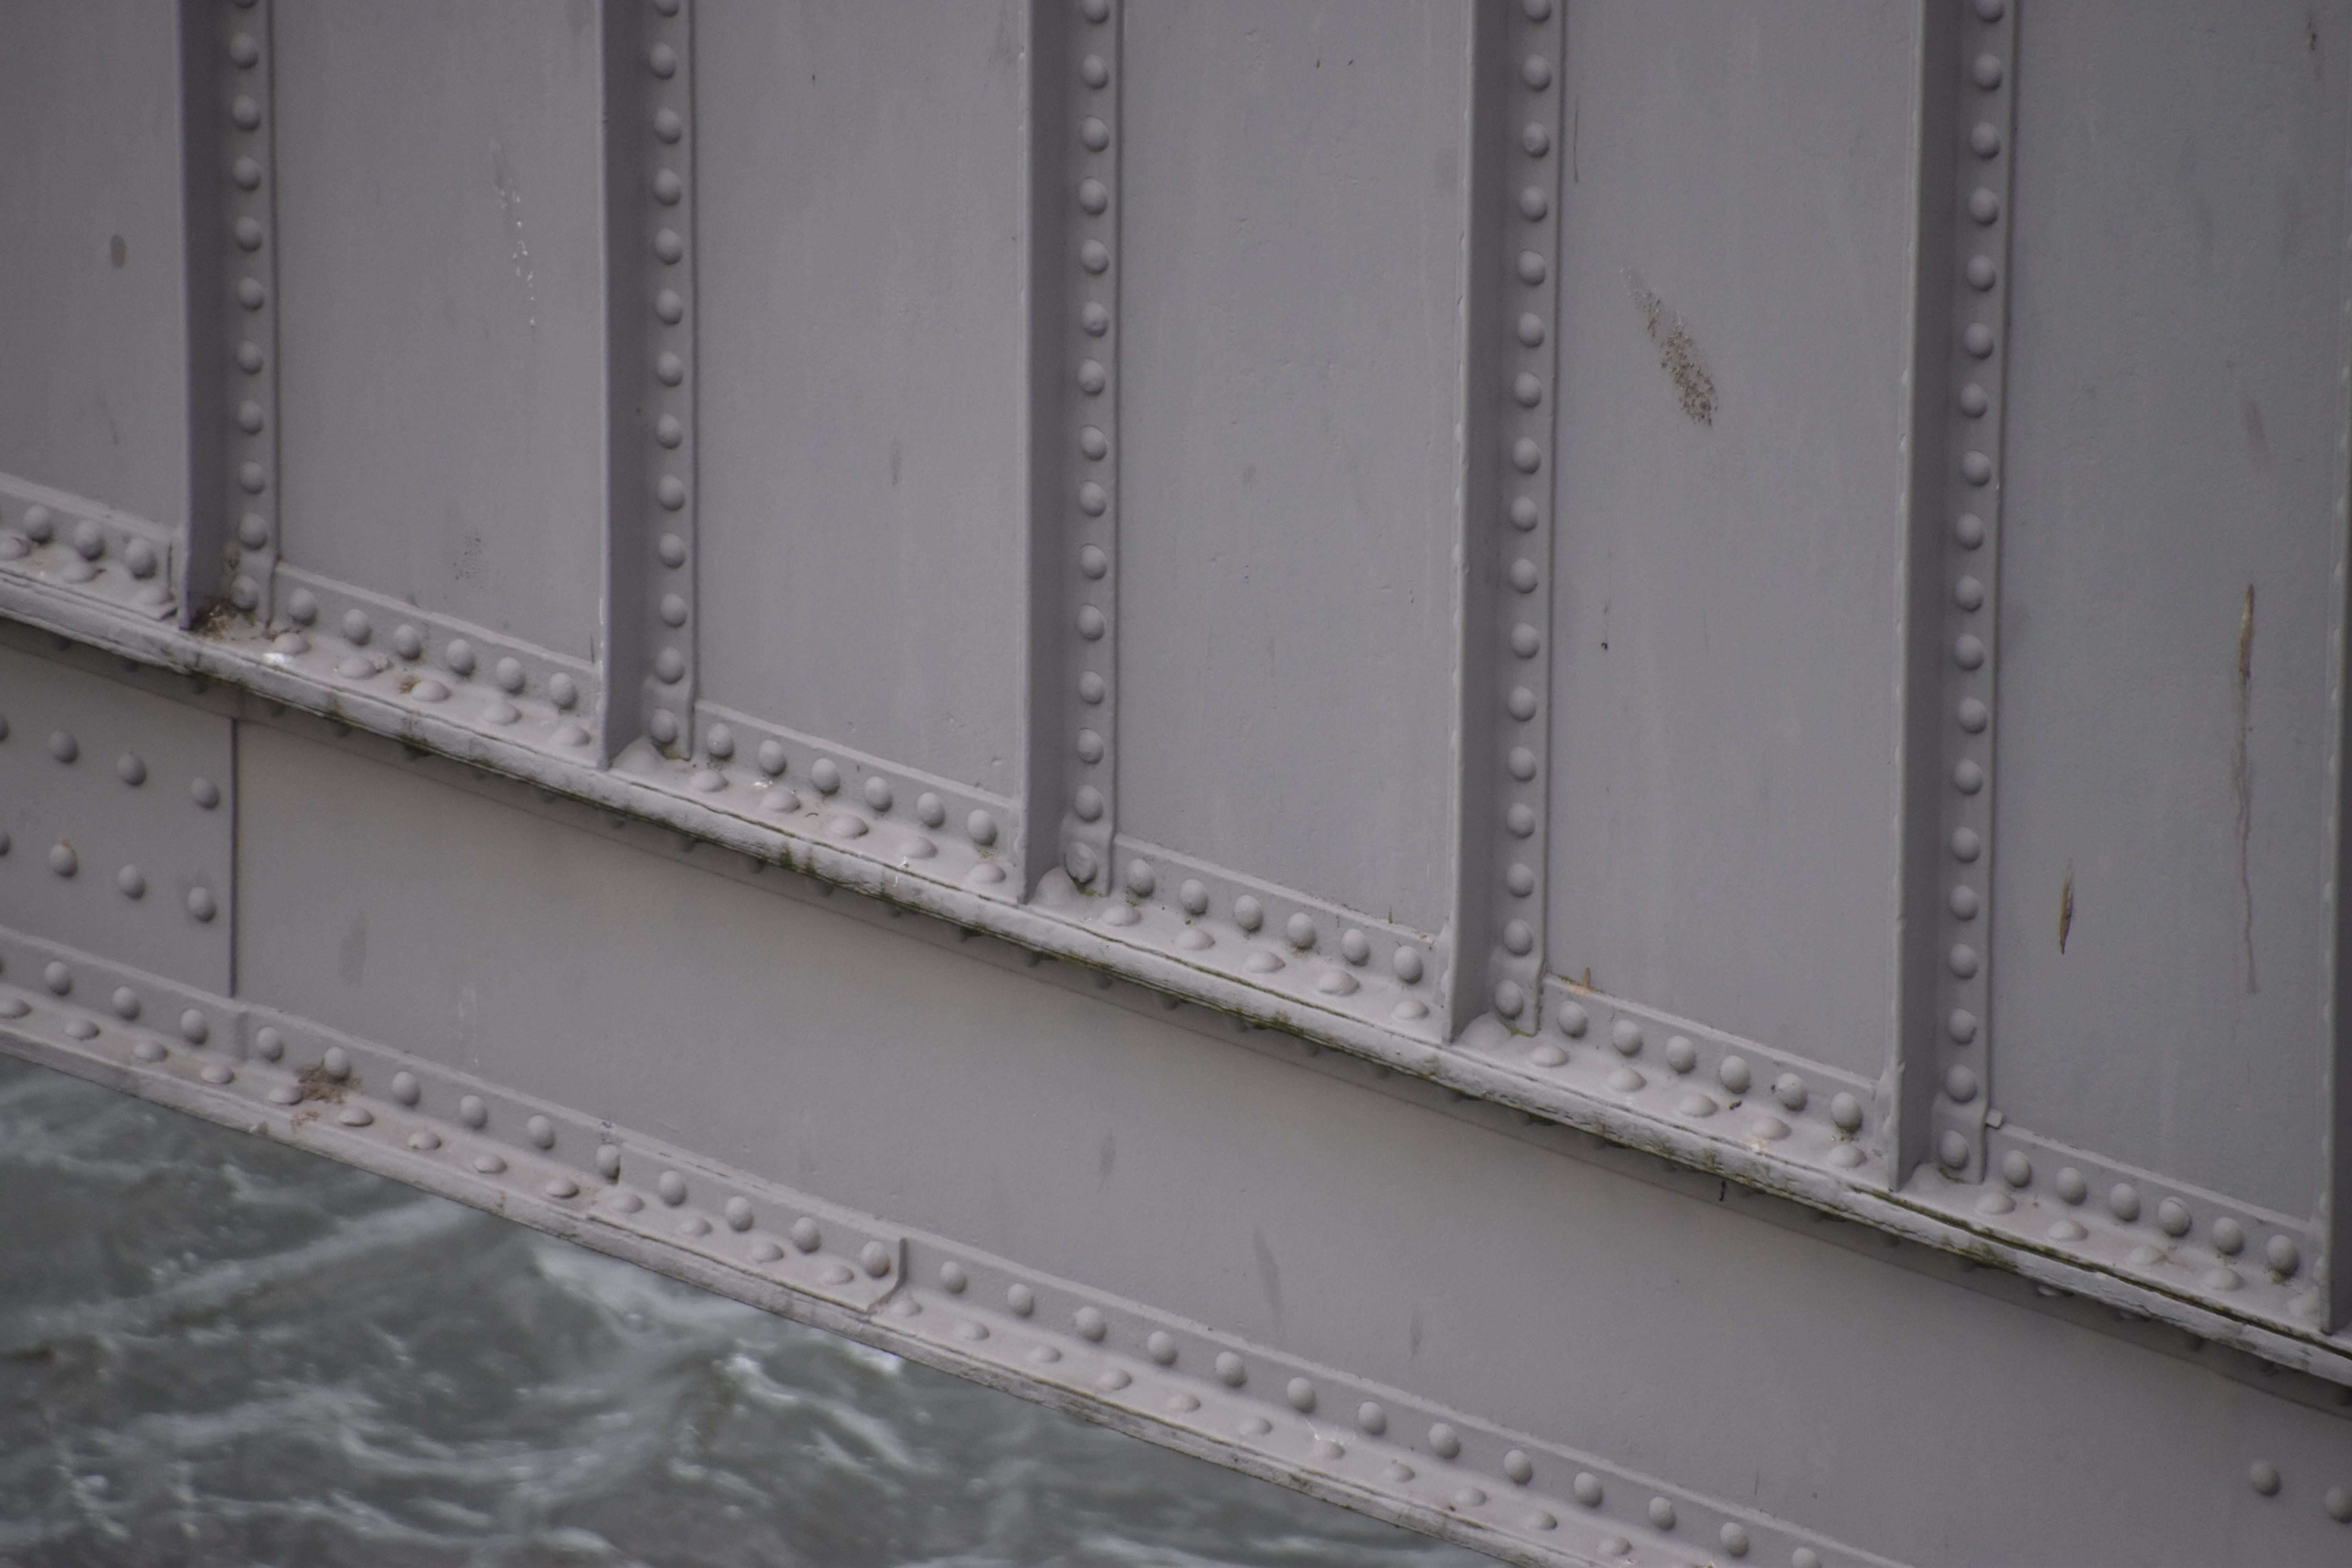
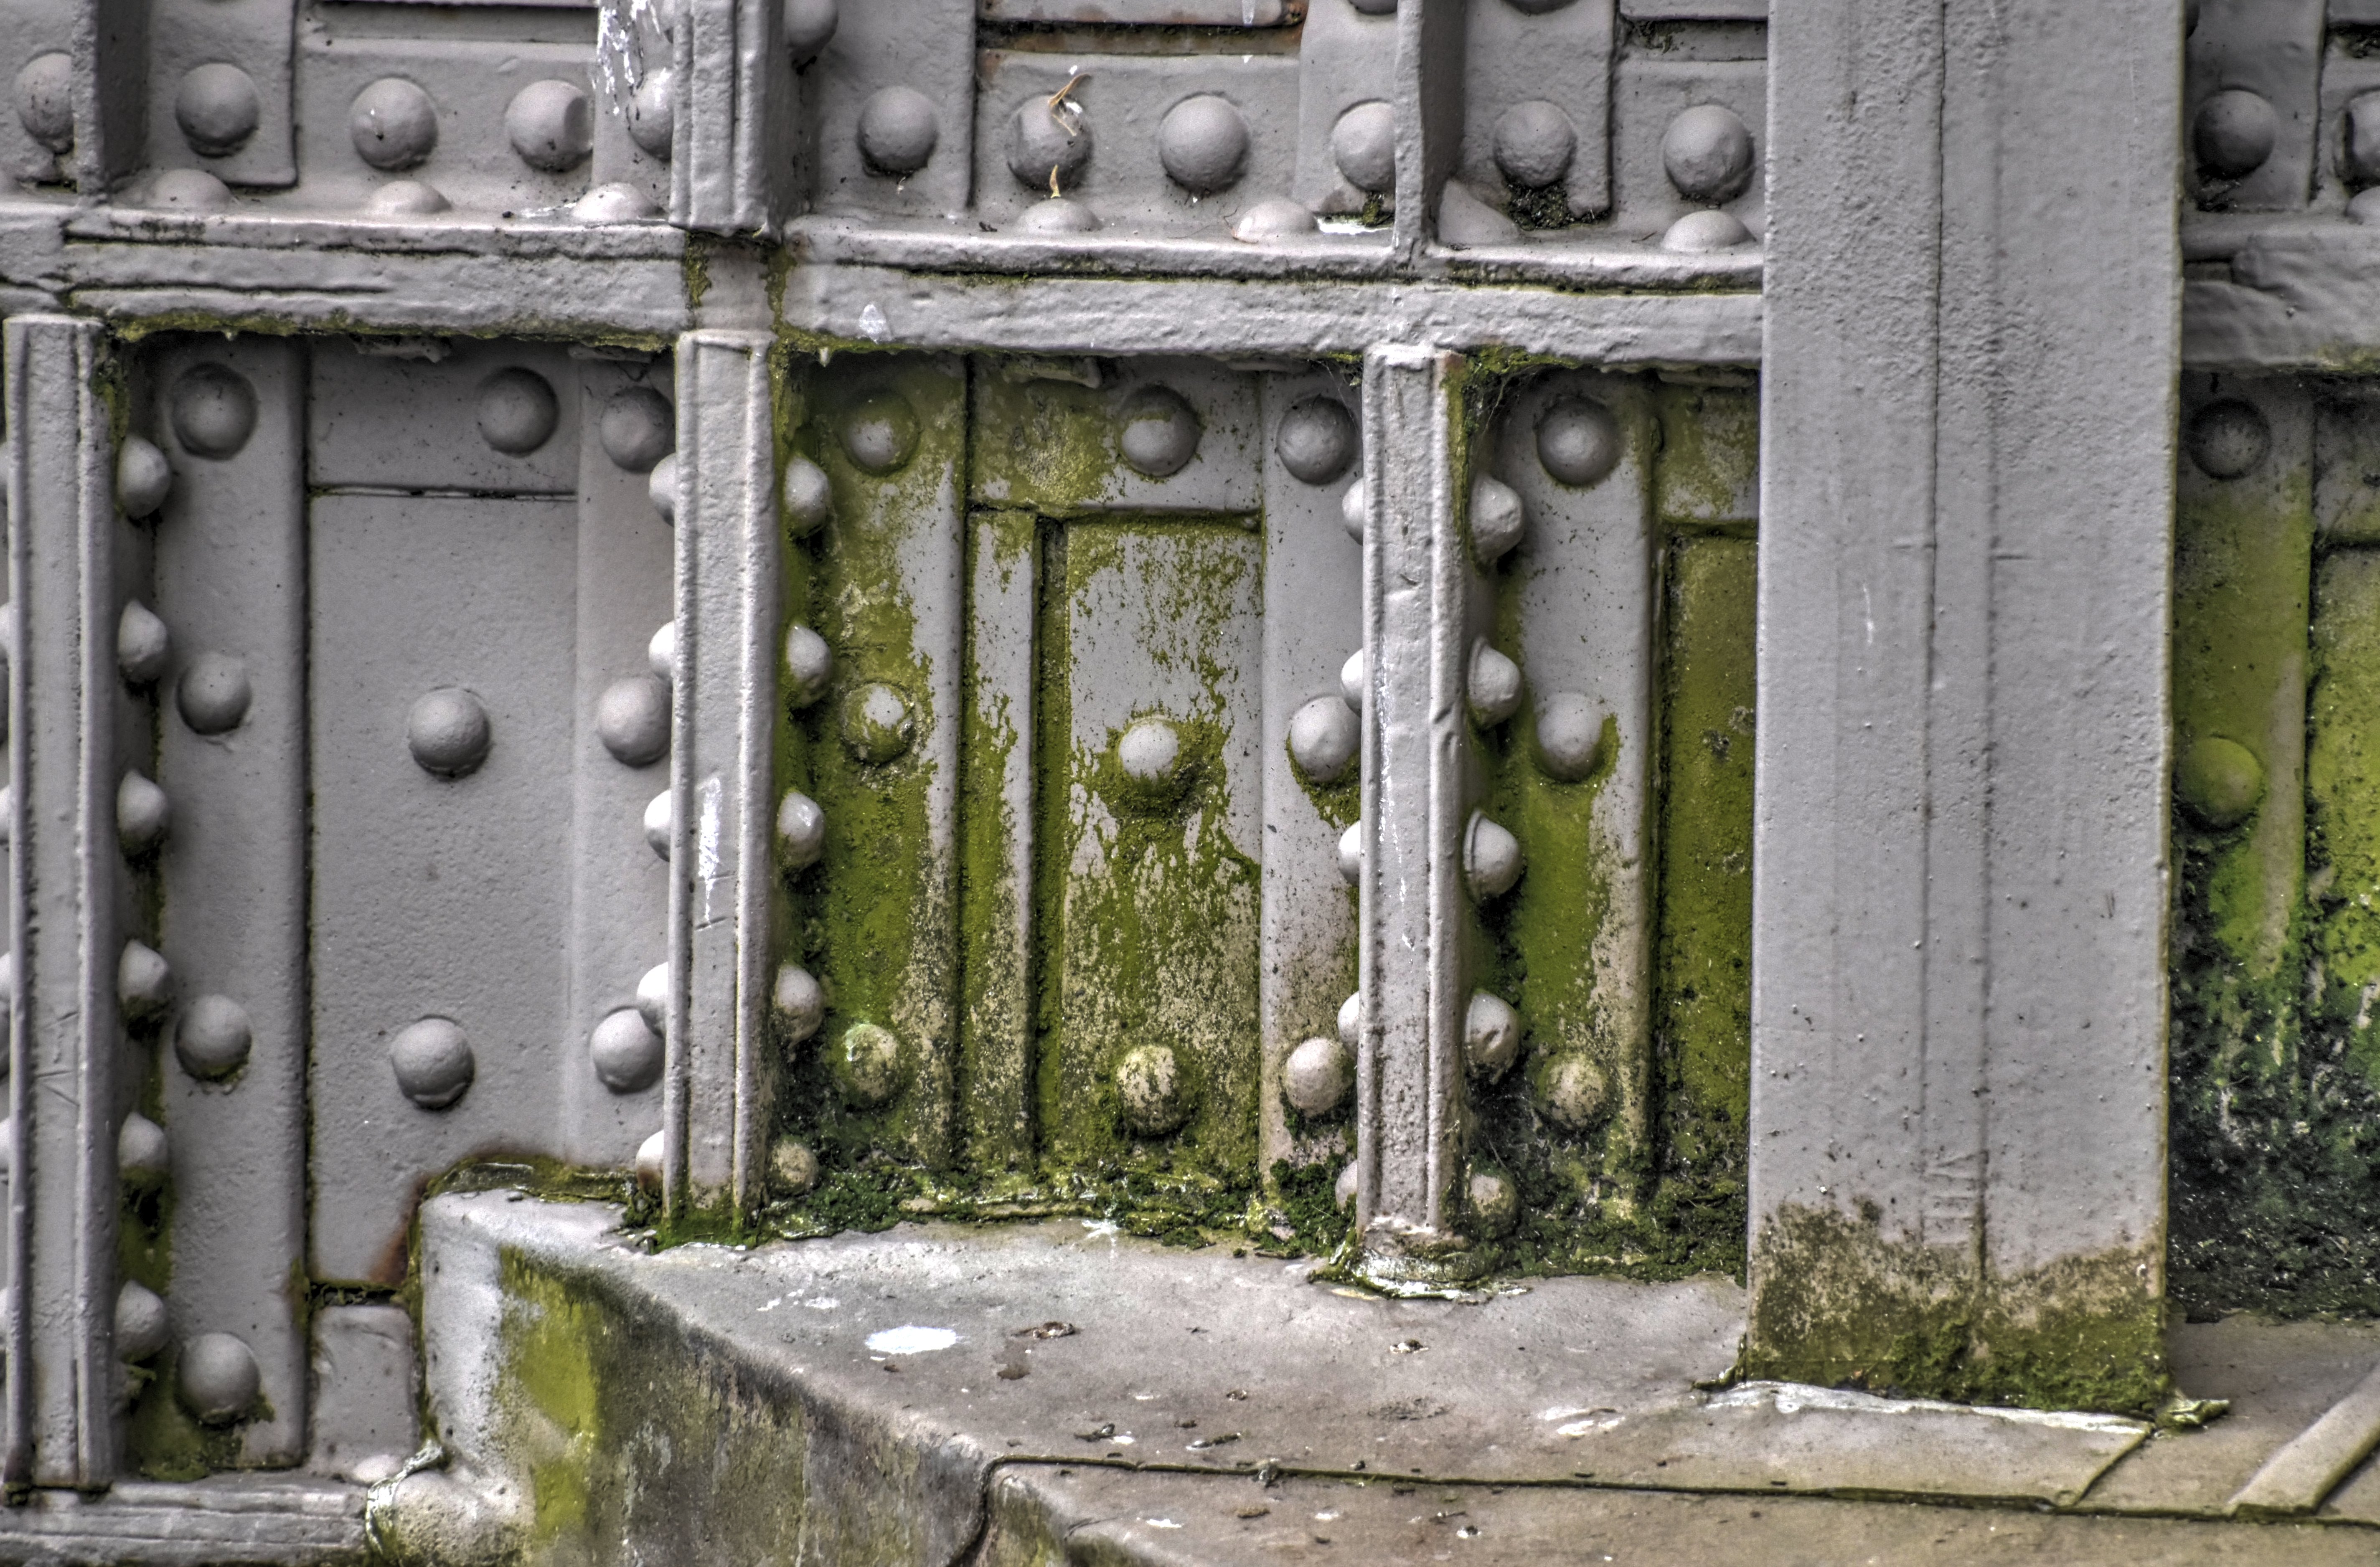
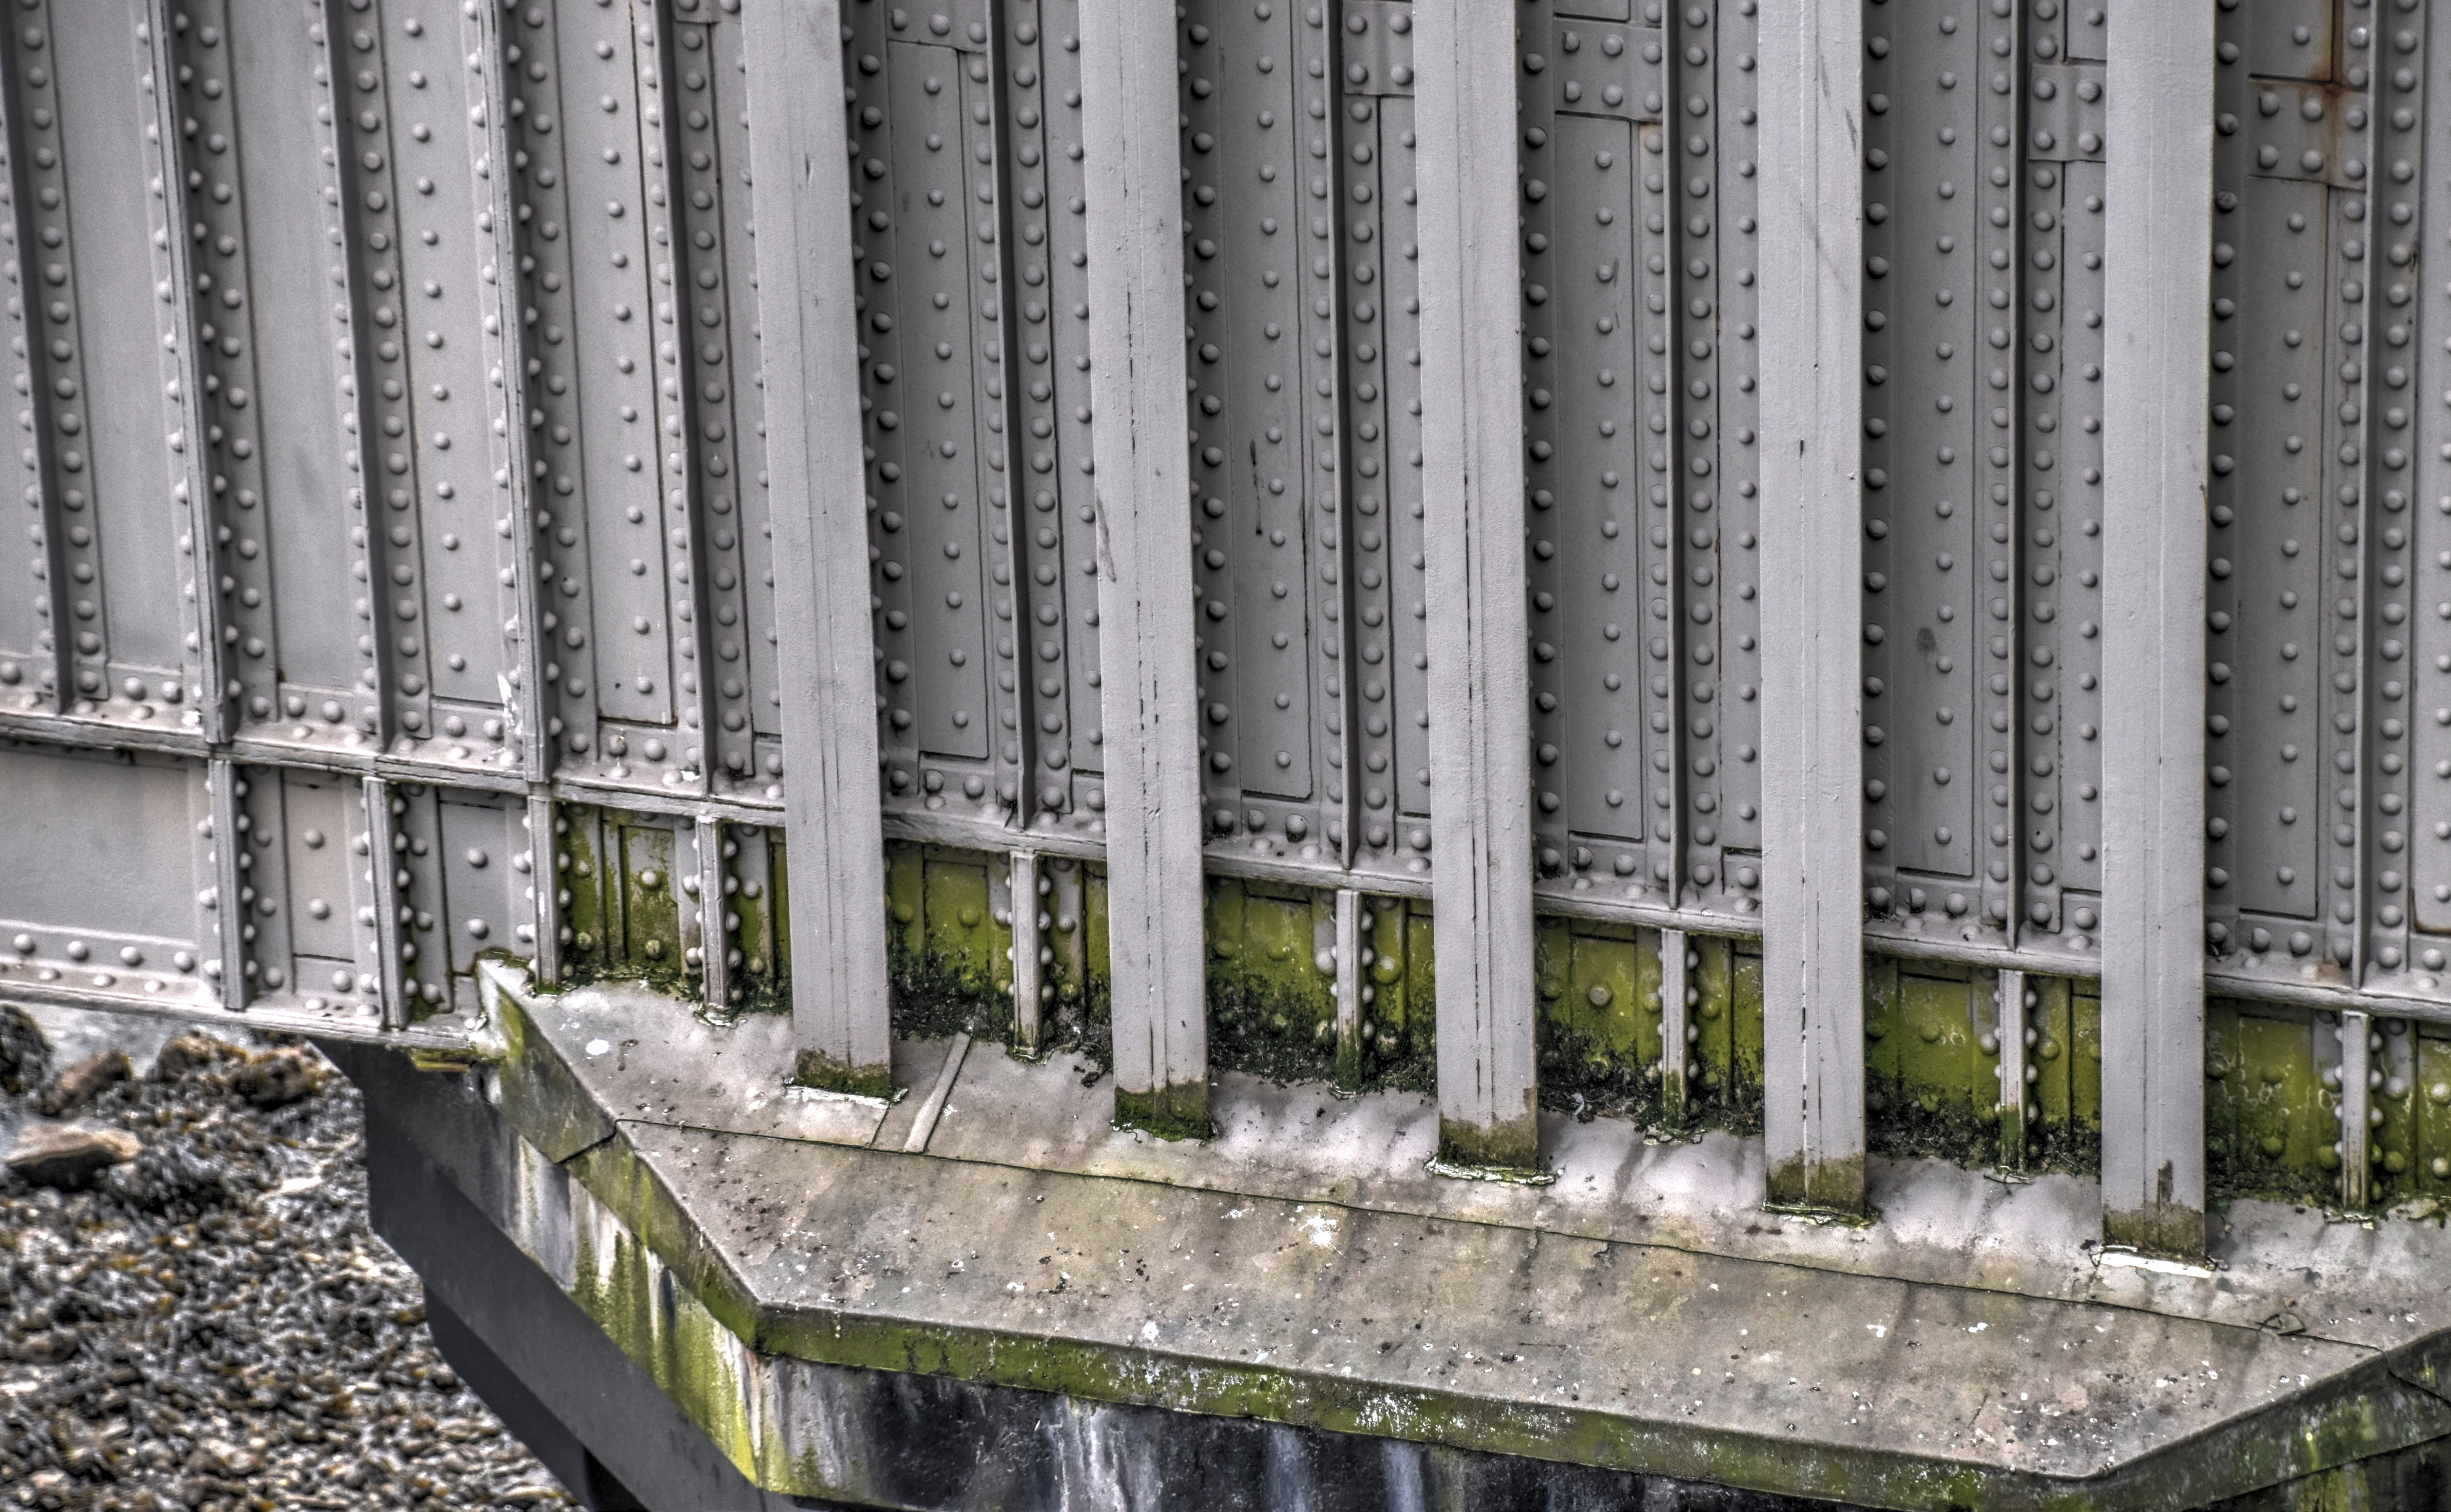
Oblique views showing the 1899 added ribs on bridge, which stick out in comparison to the original angles on the girder web.
![]()
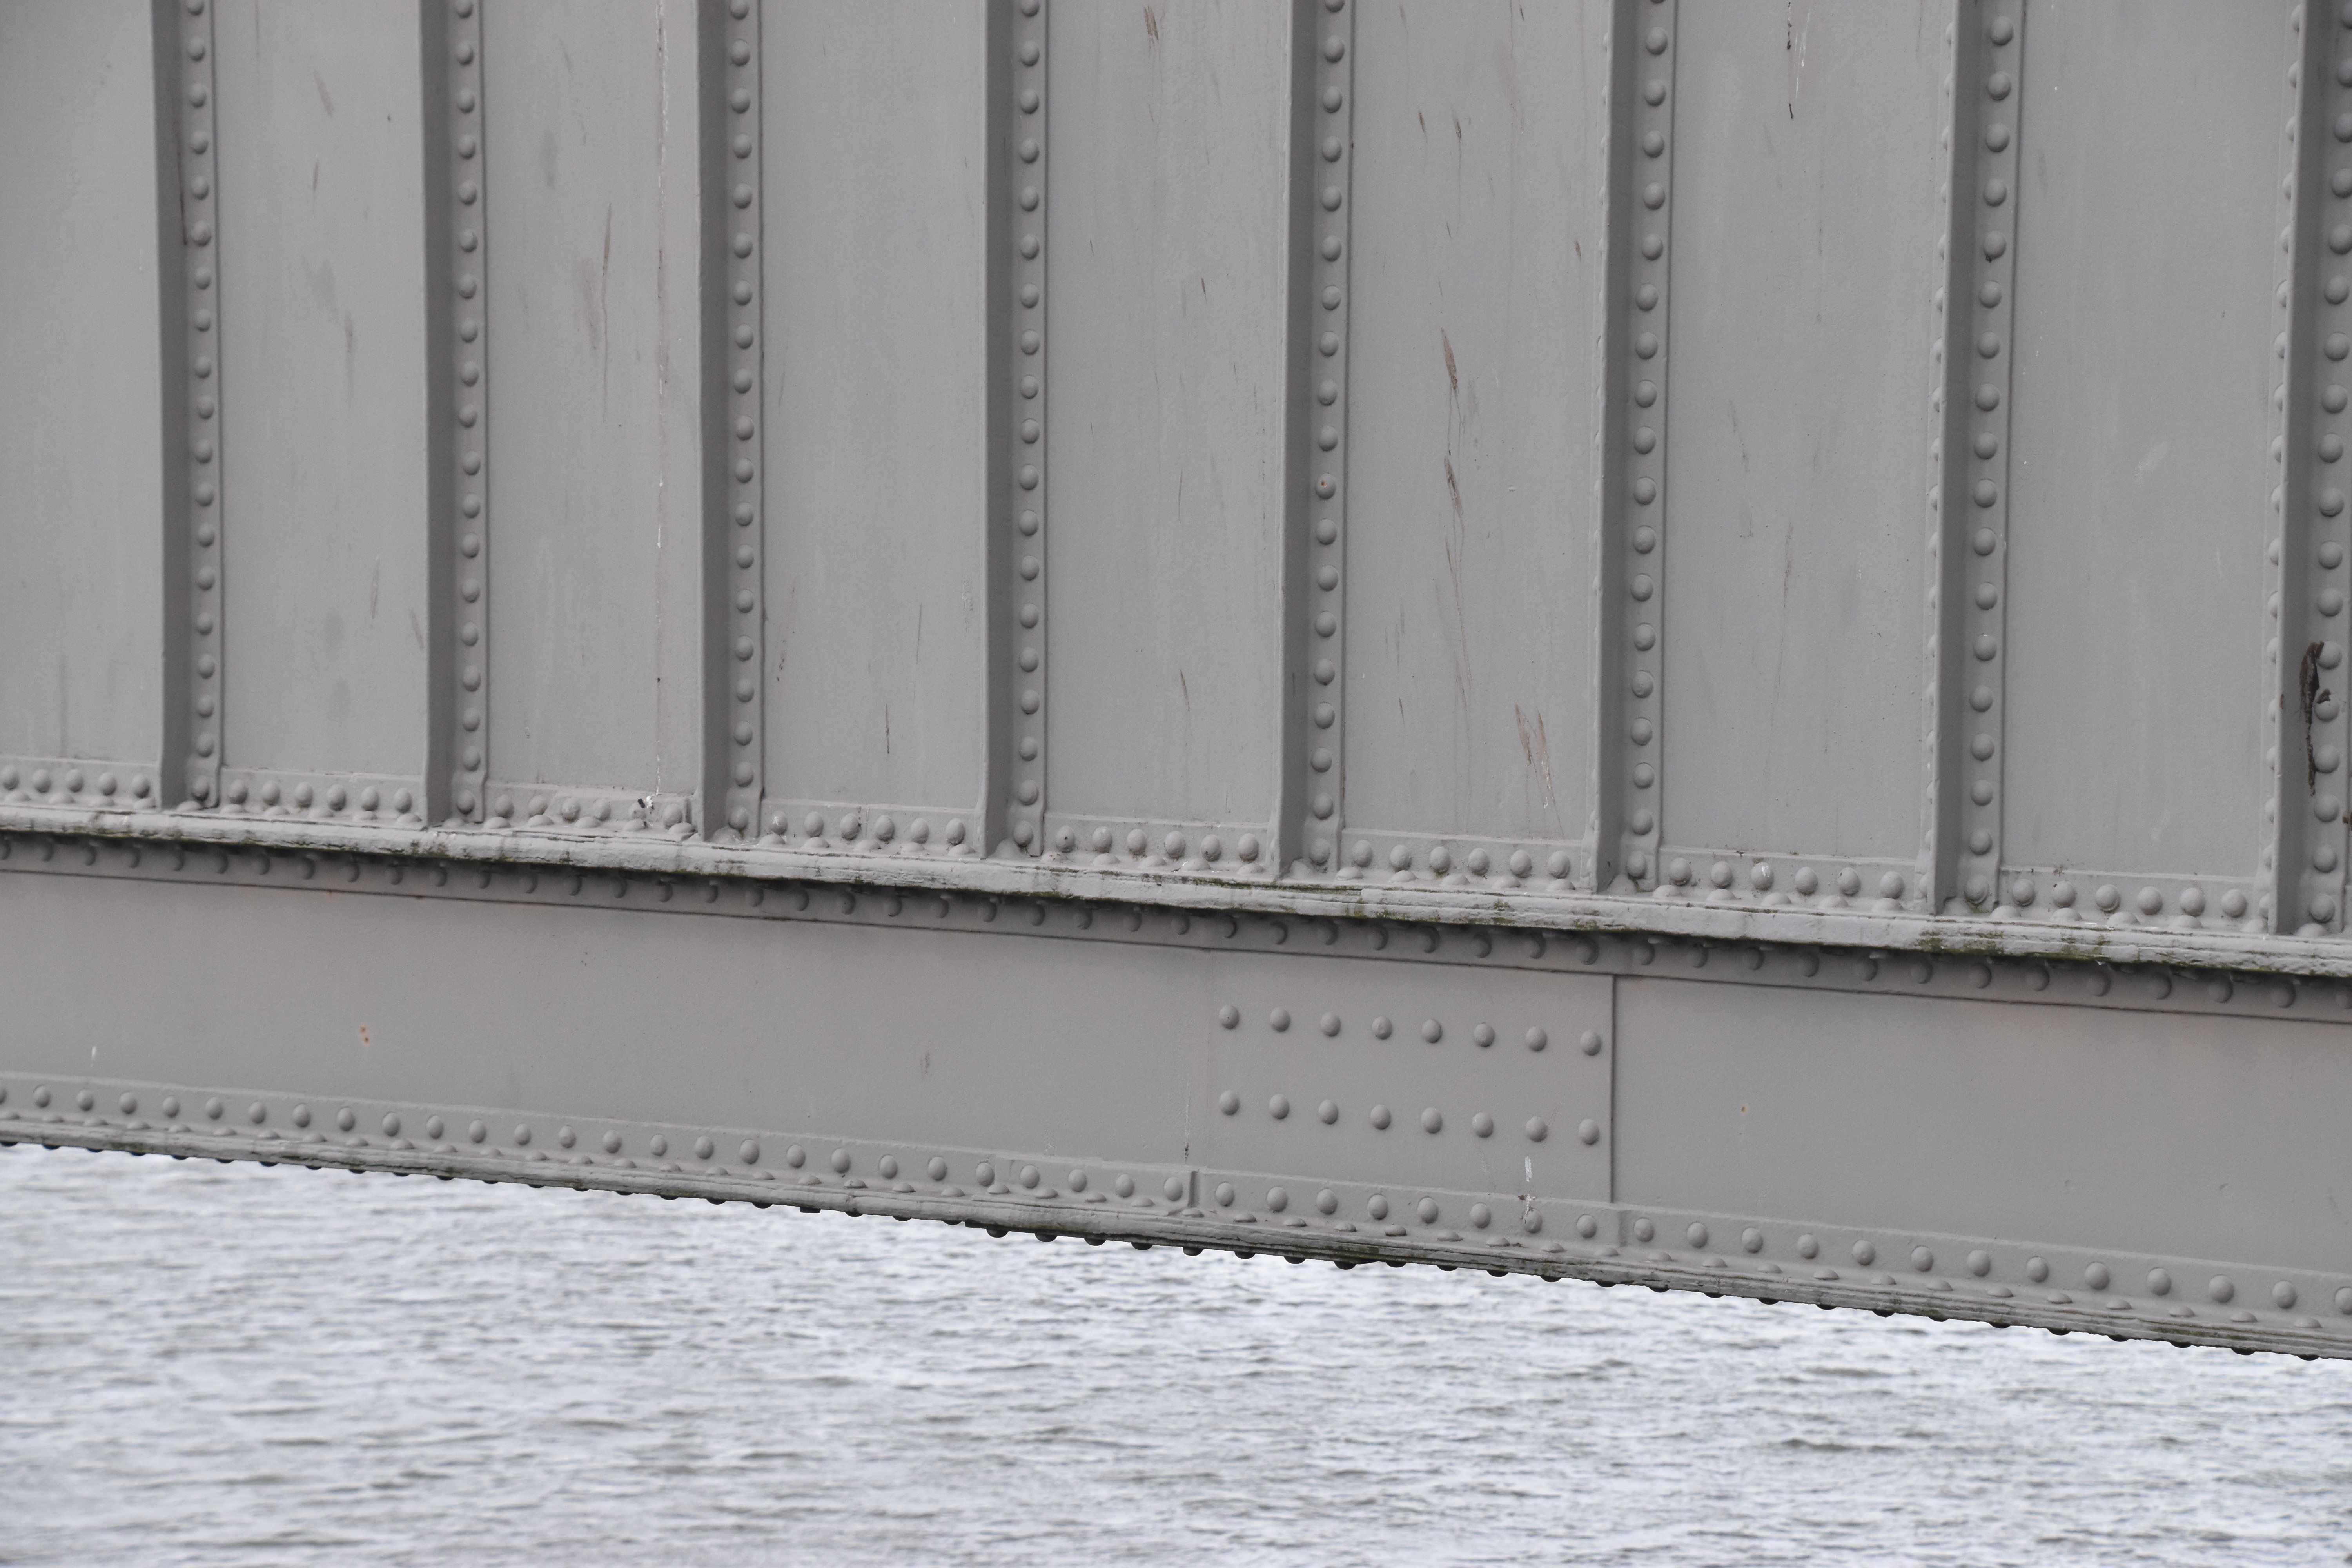


Girder bottom chord detail in original and unaltered section of girder.
![]()

View of the interior girder.
![]()

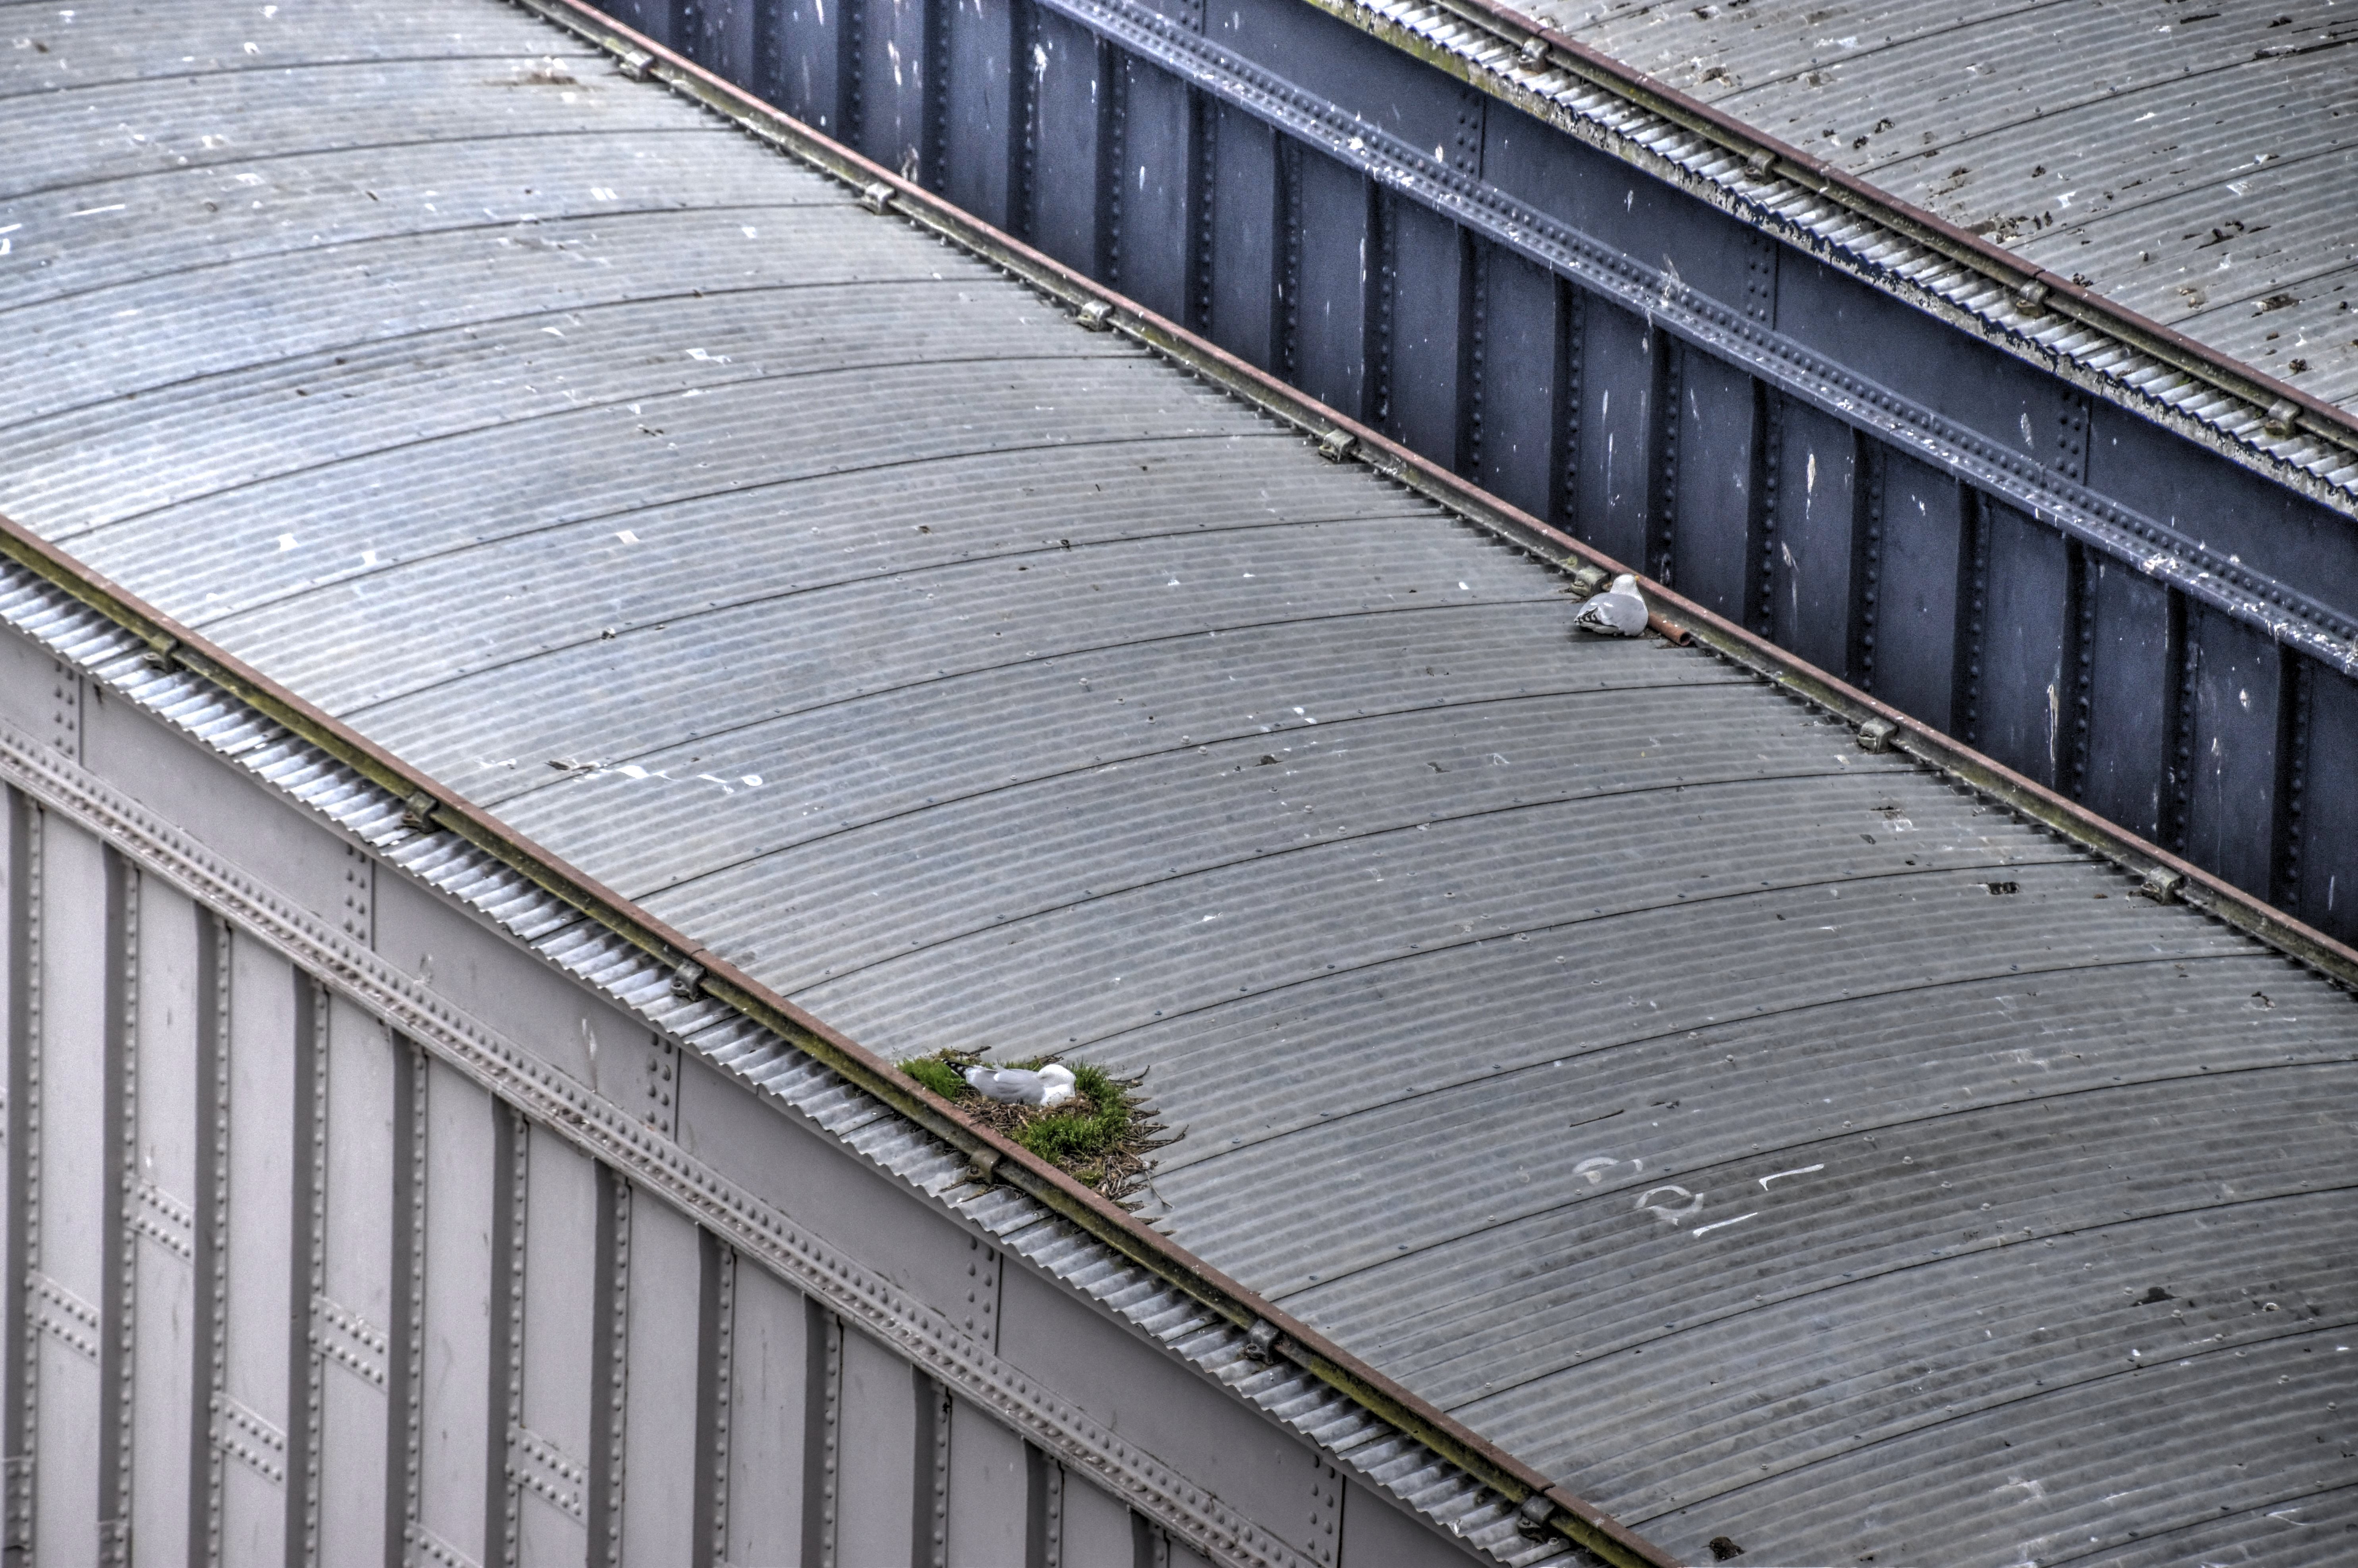
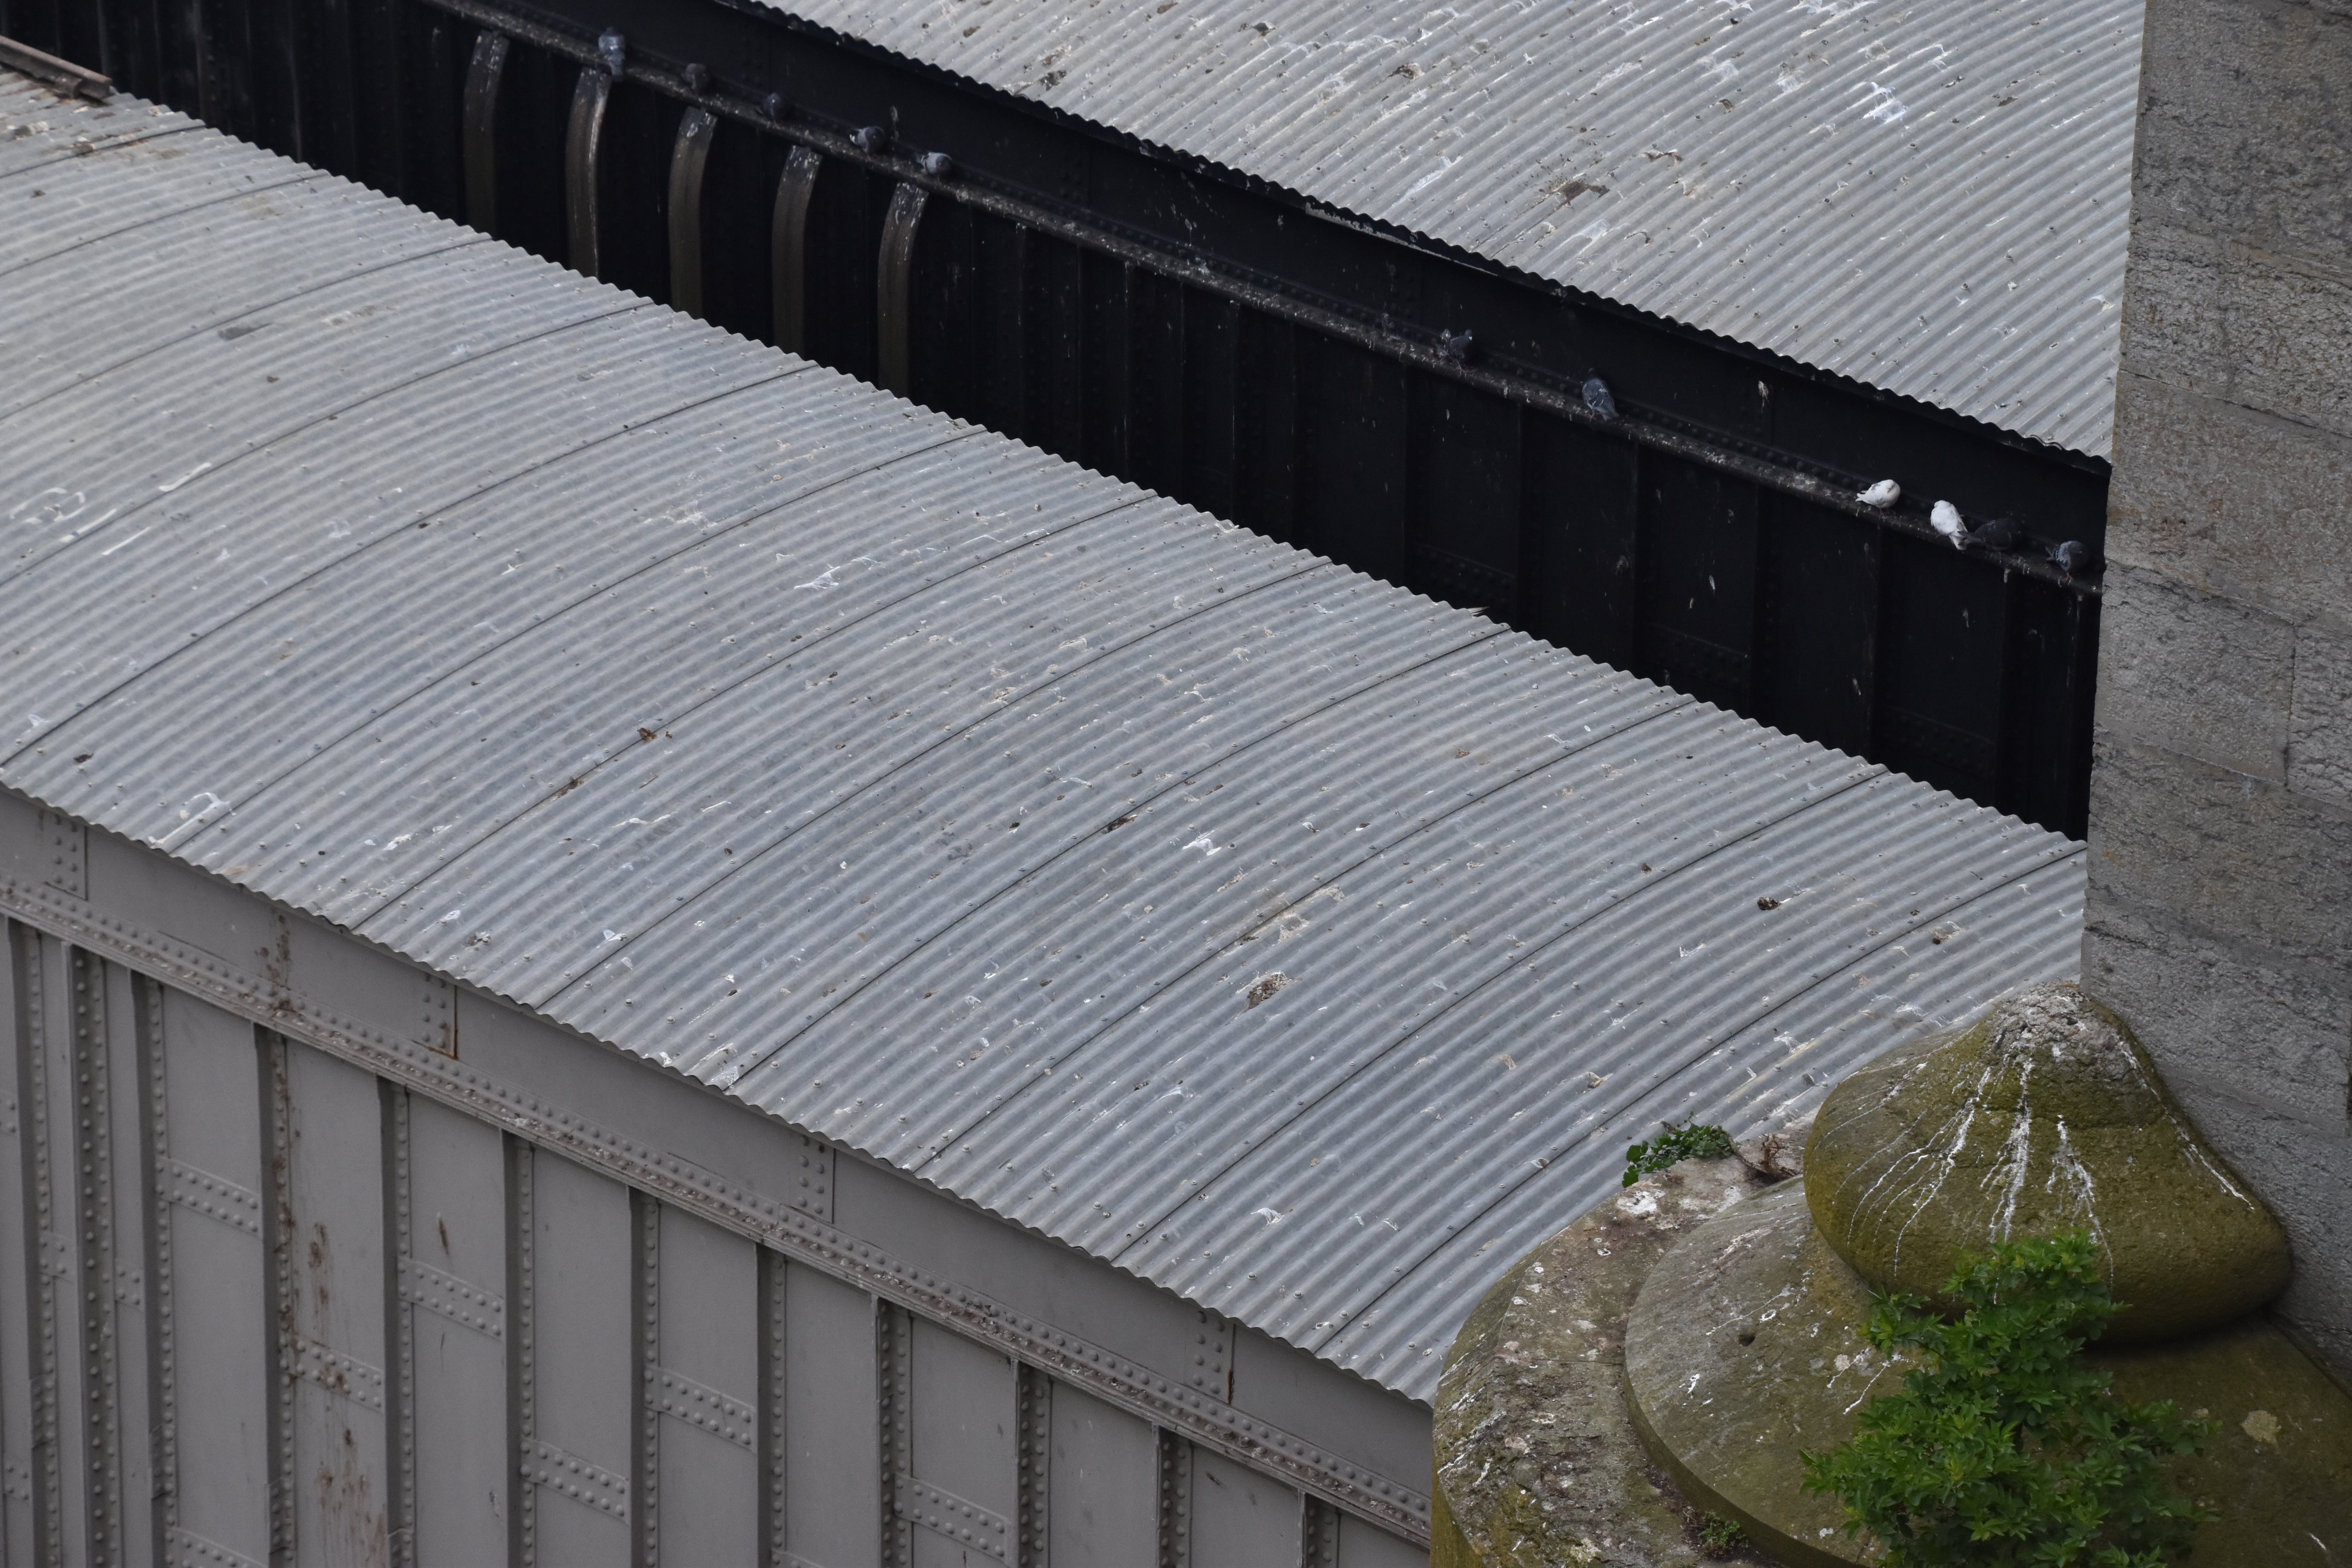


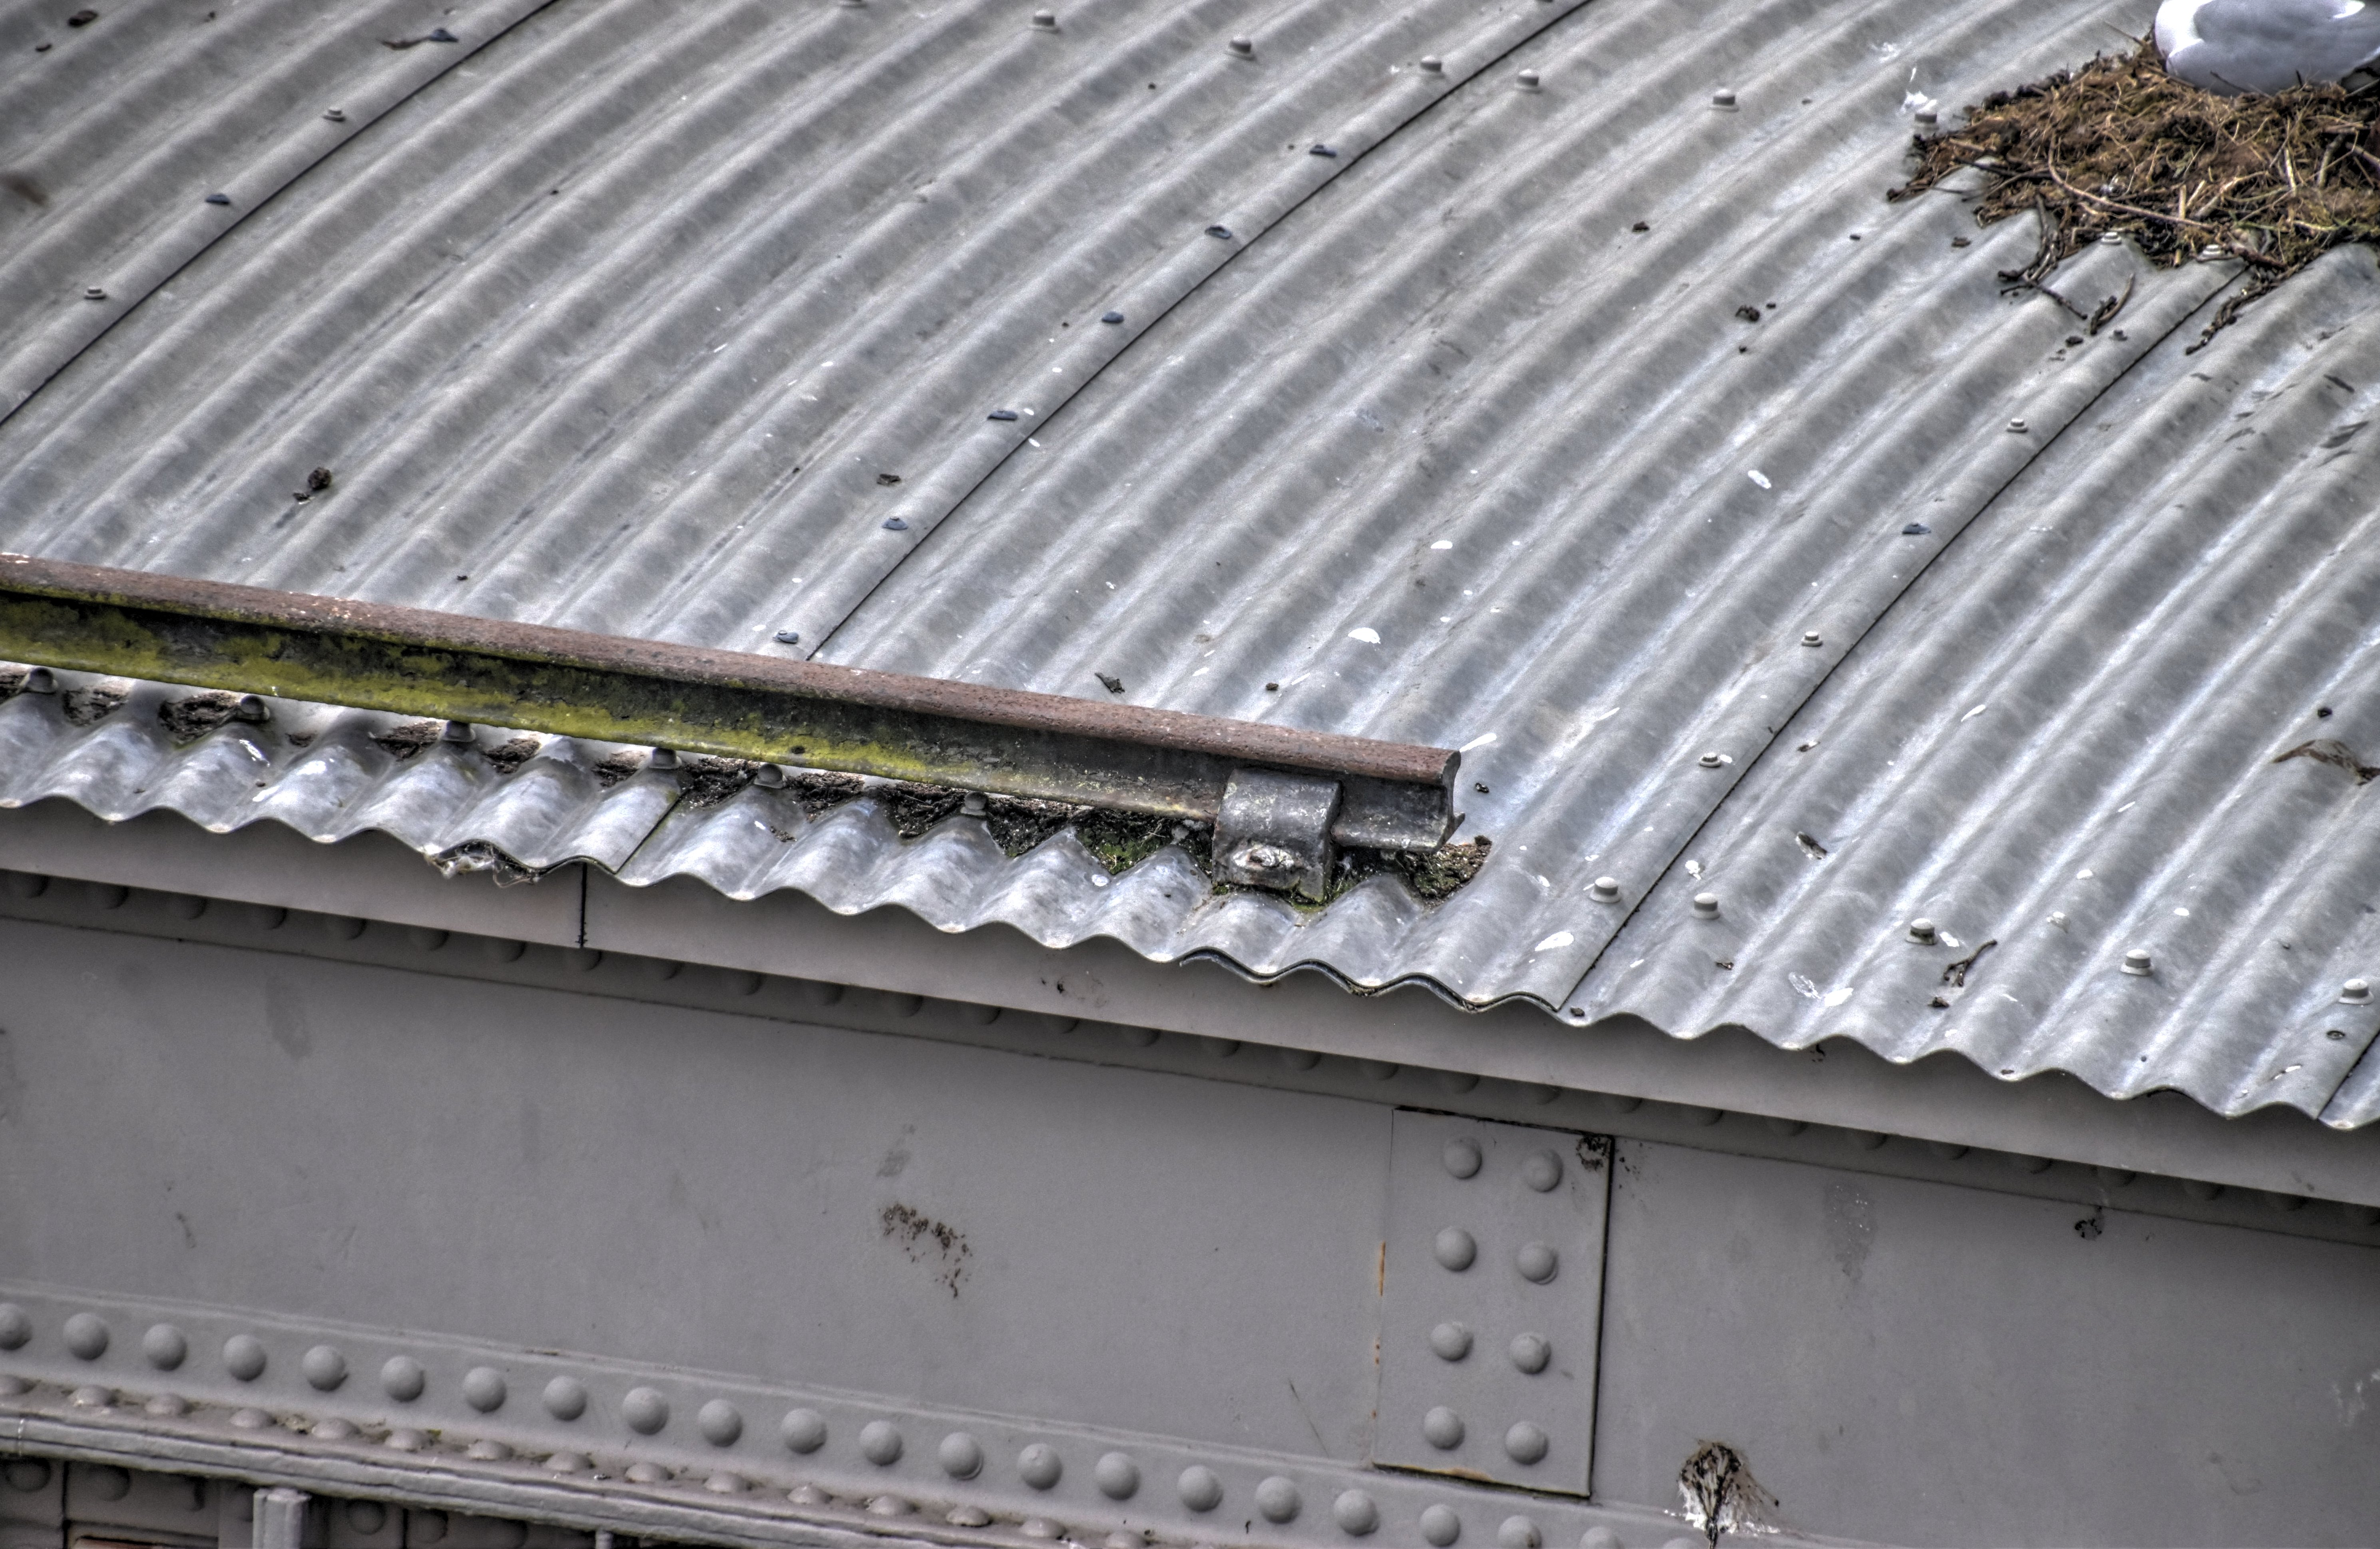
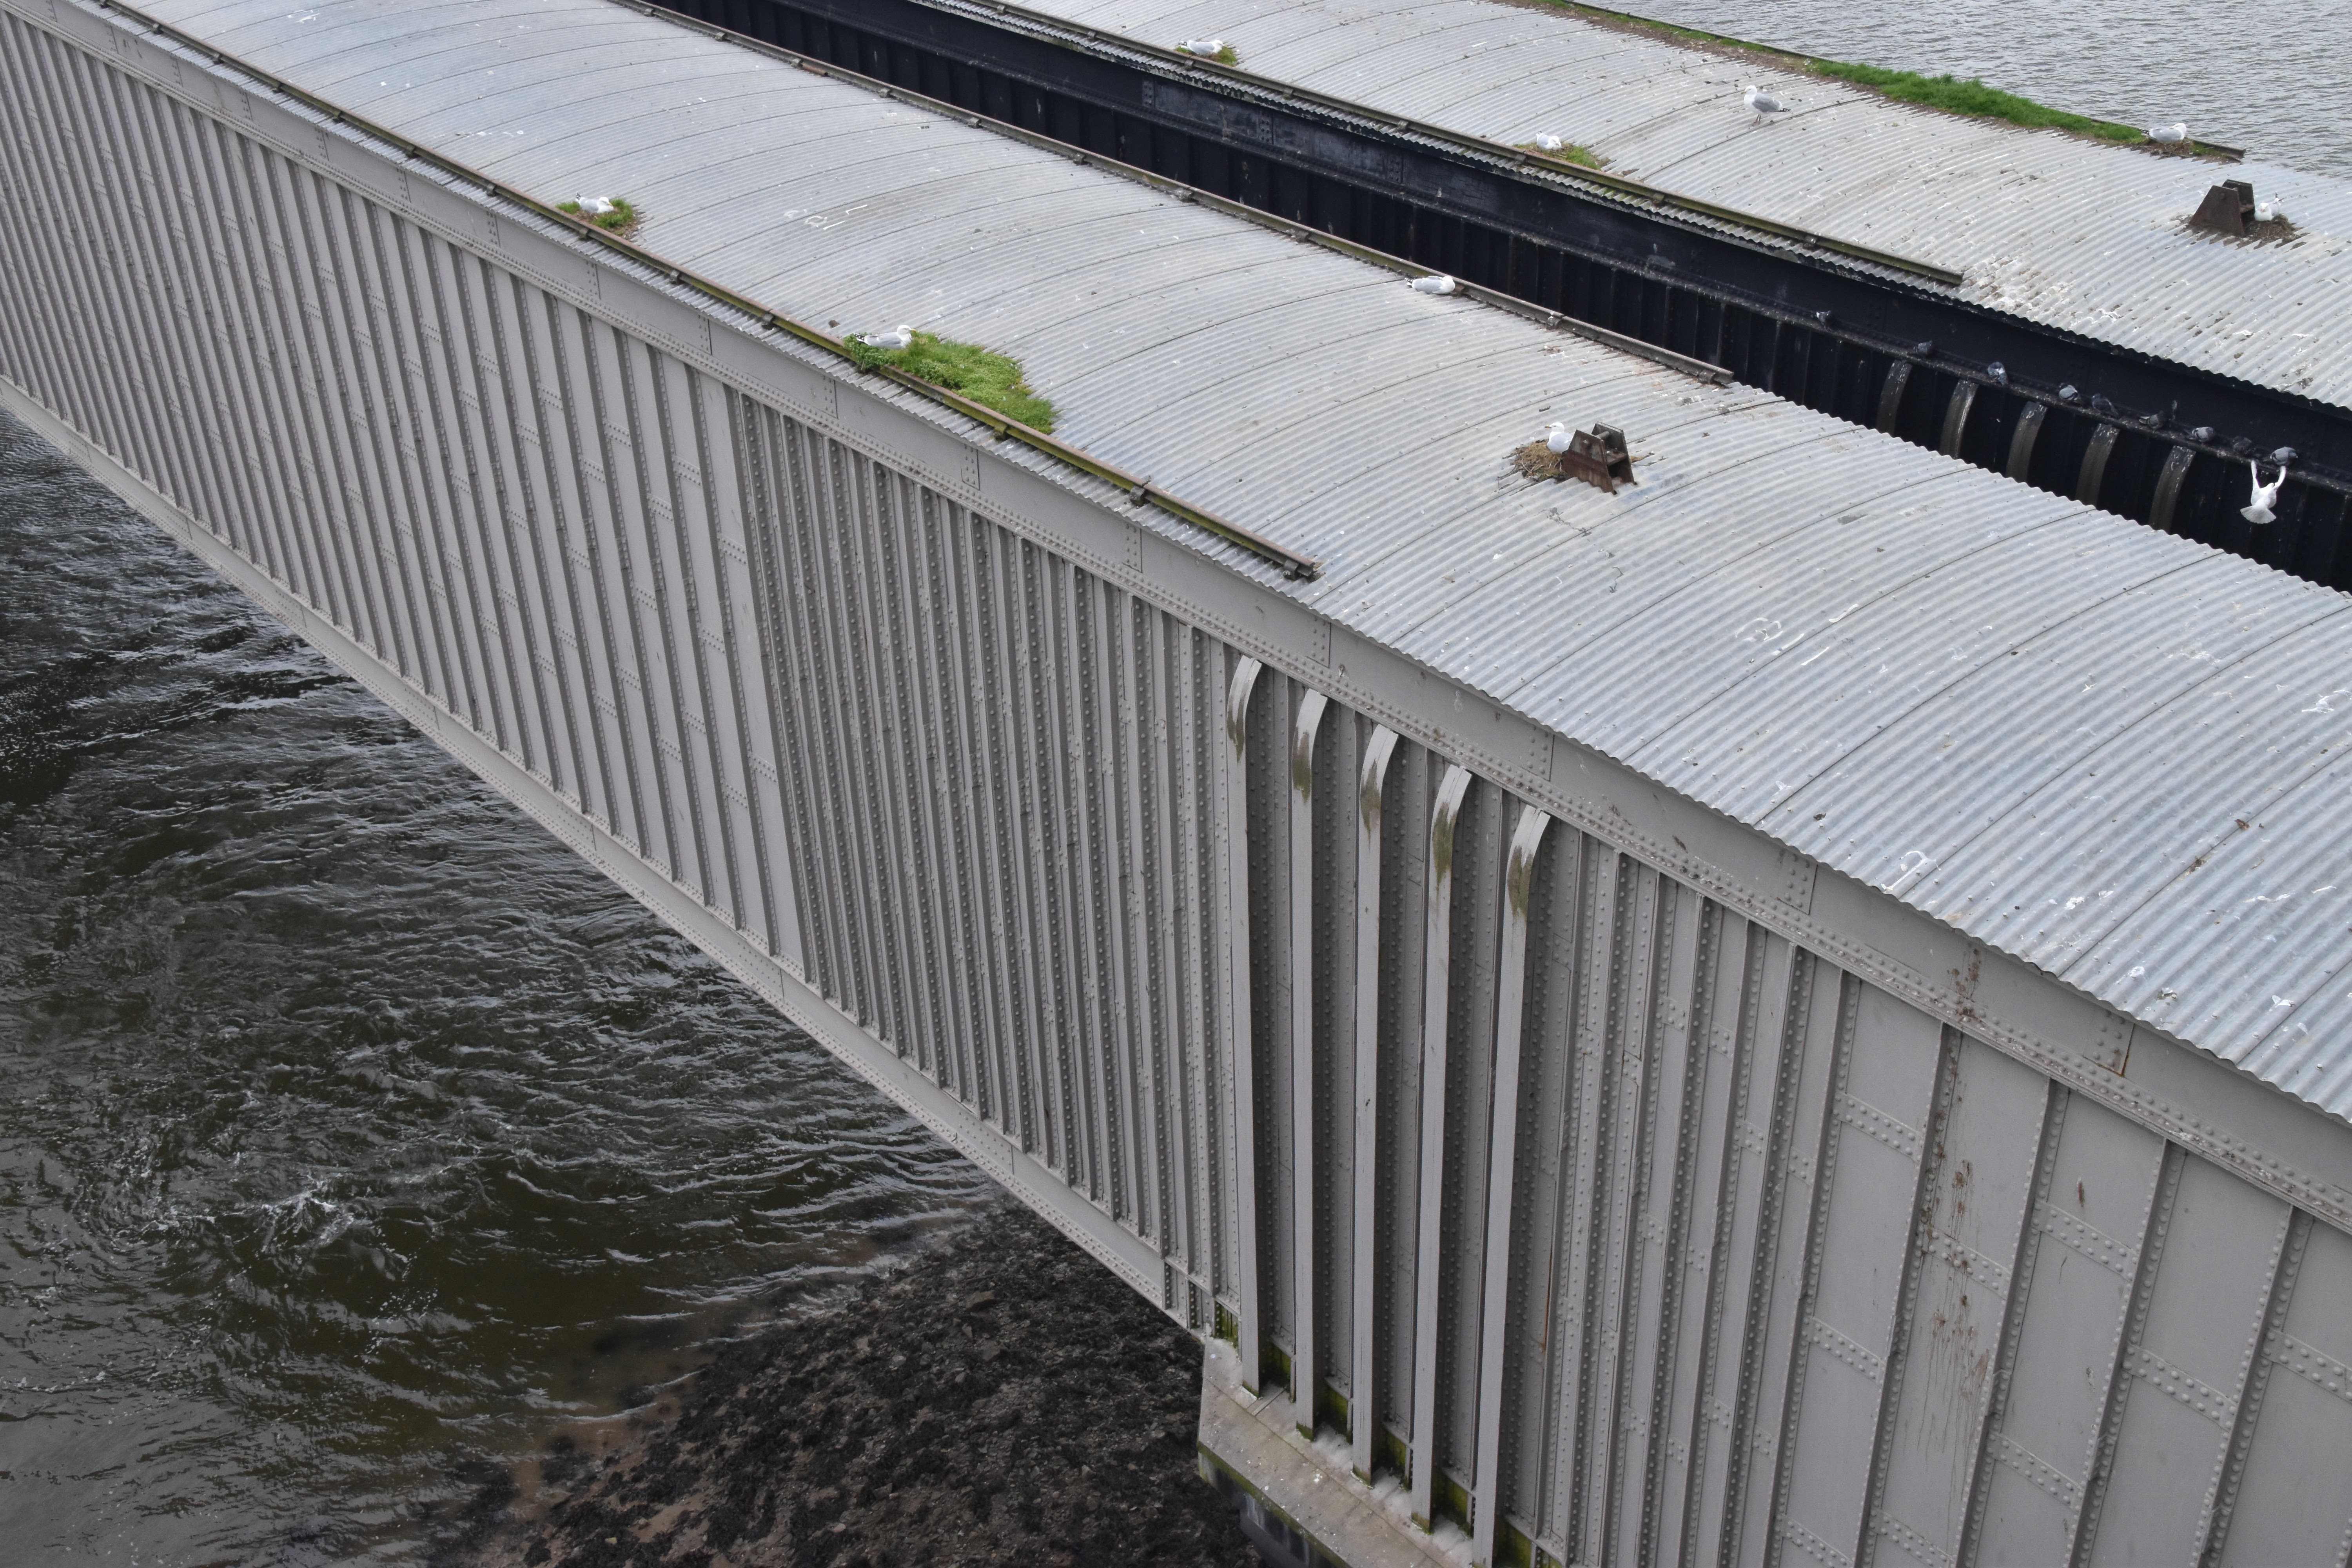
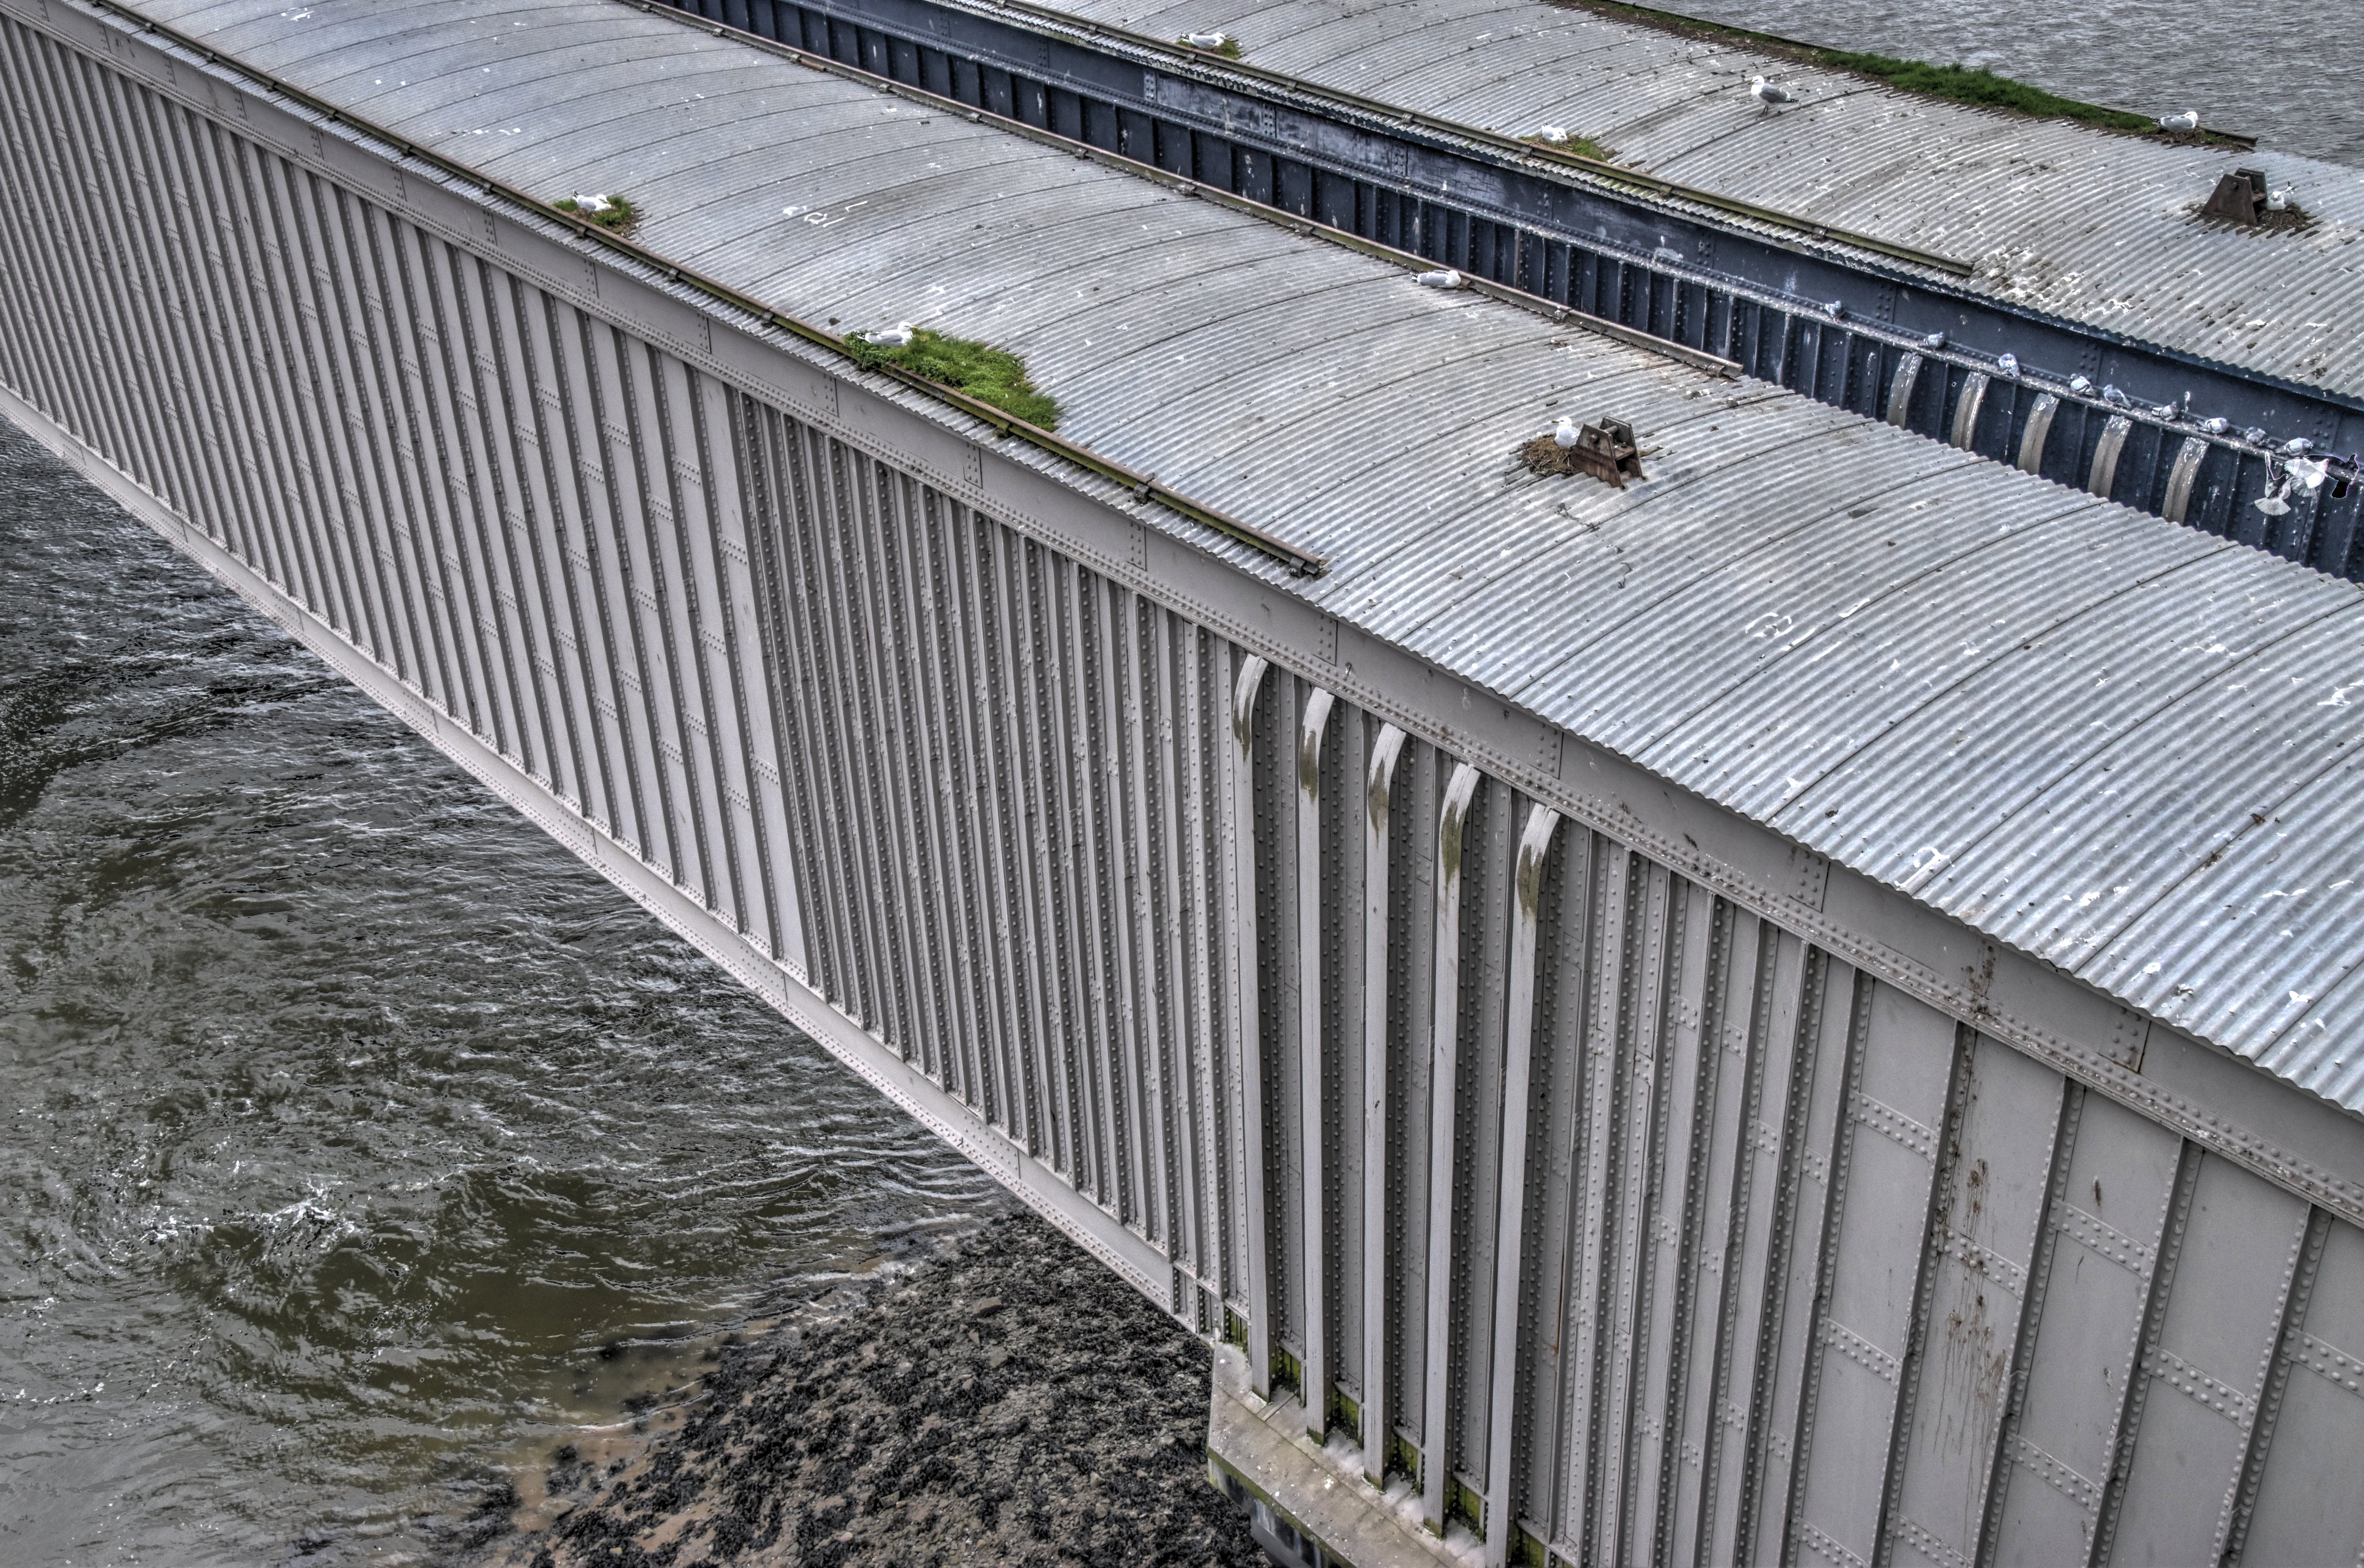
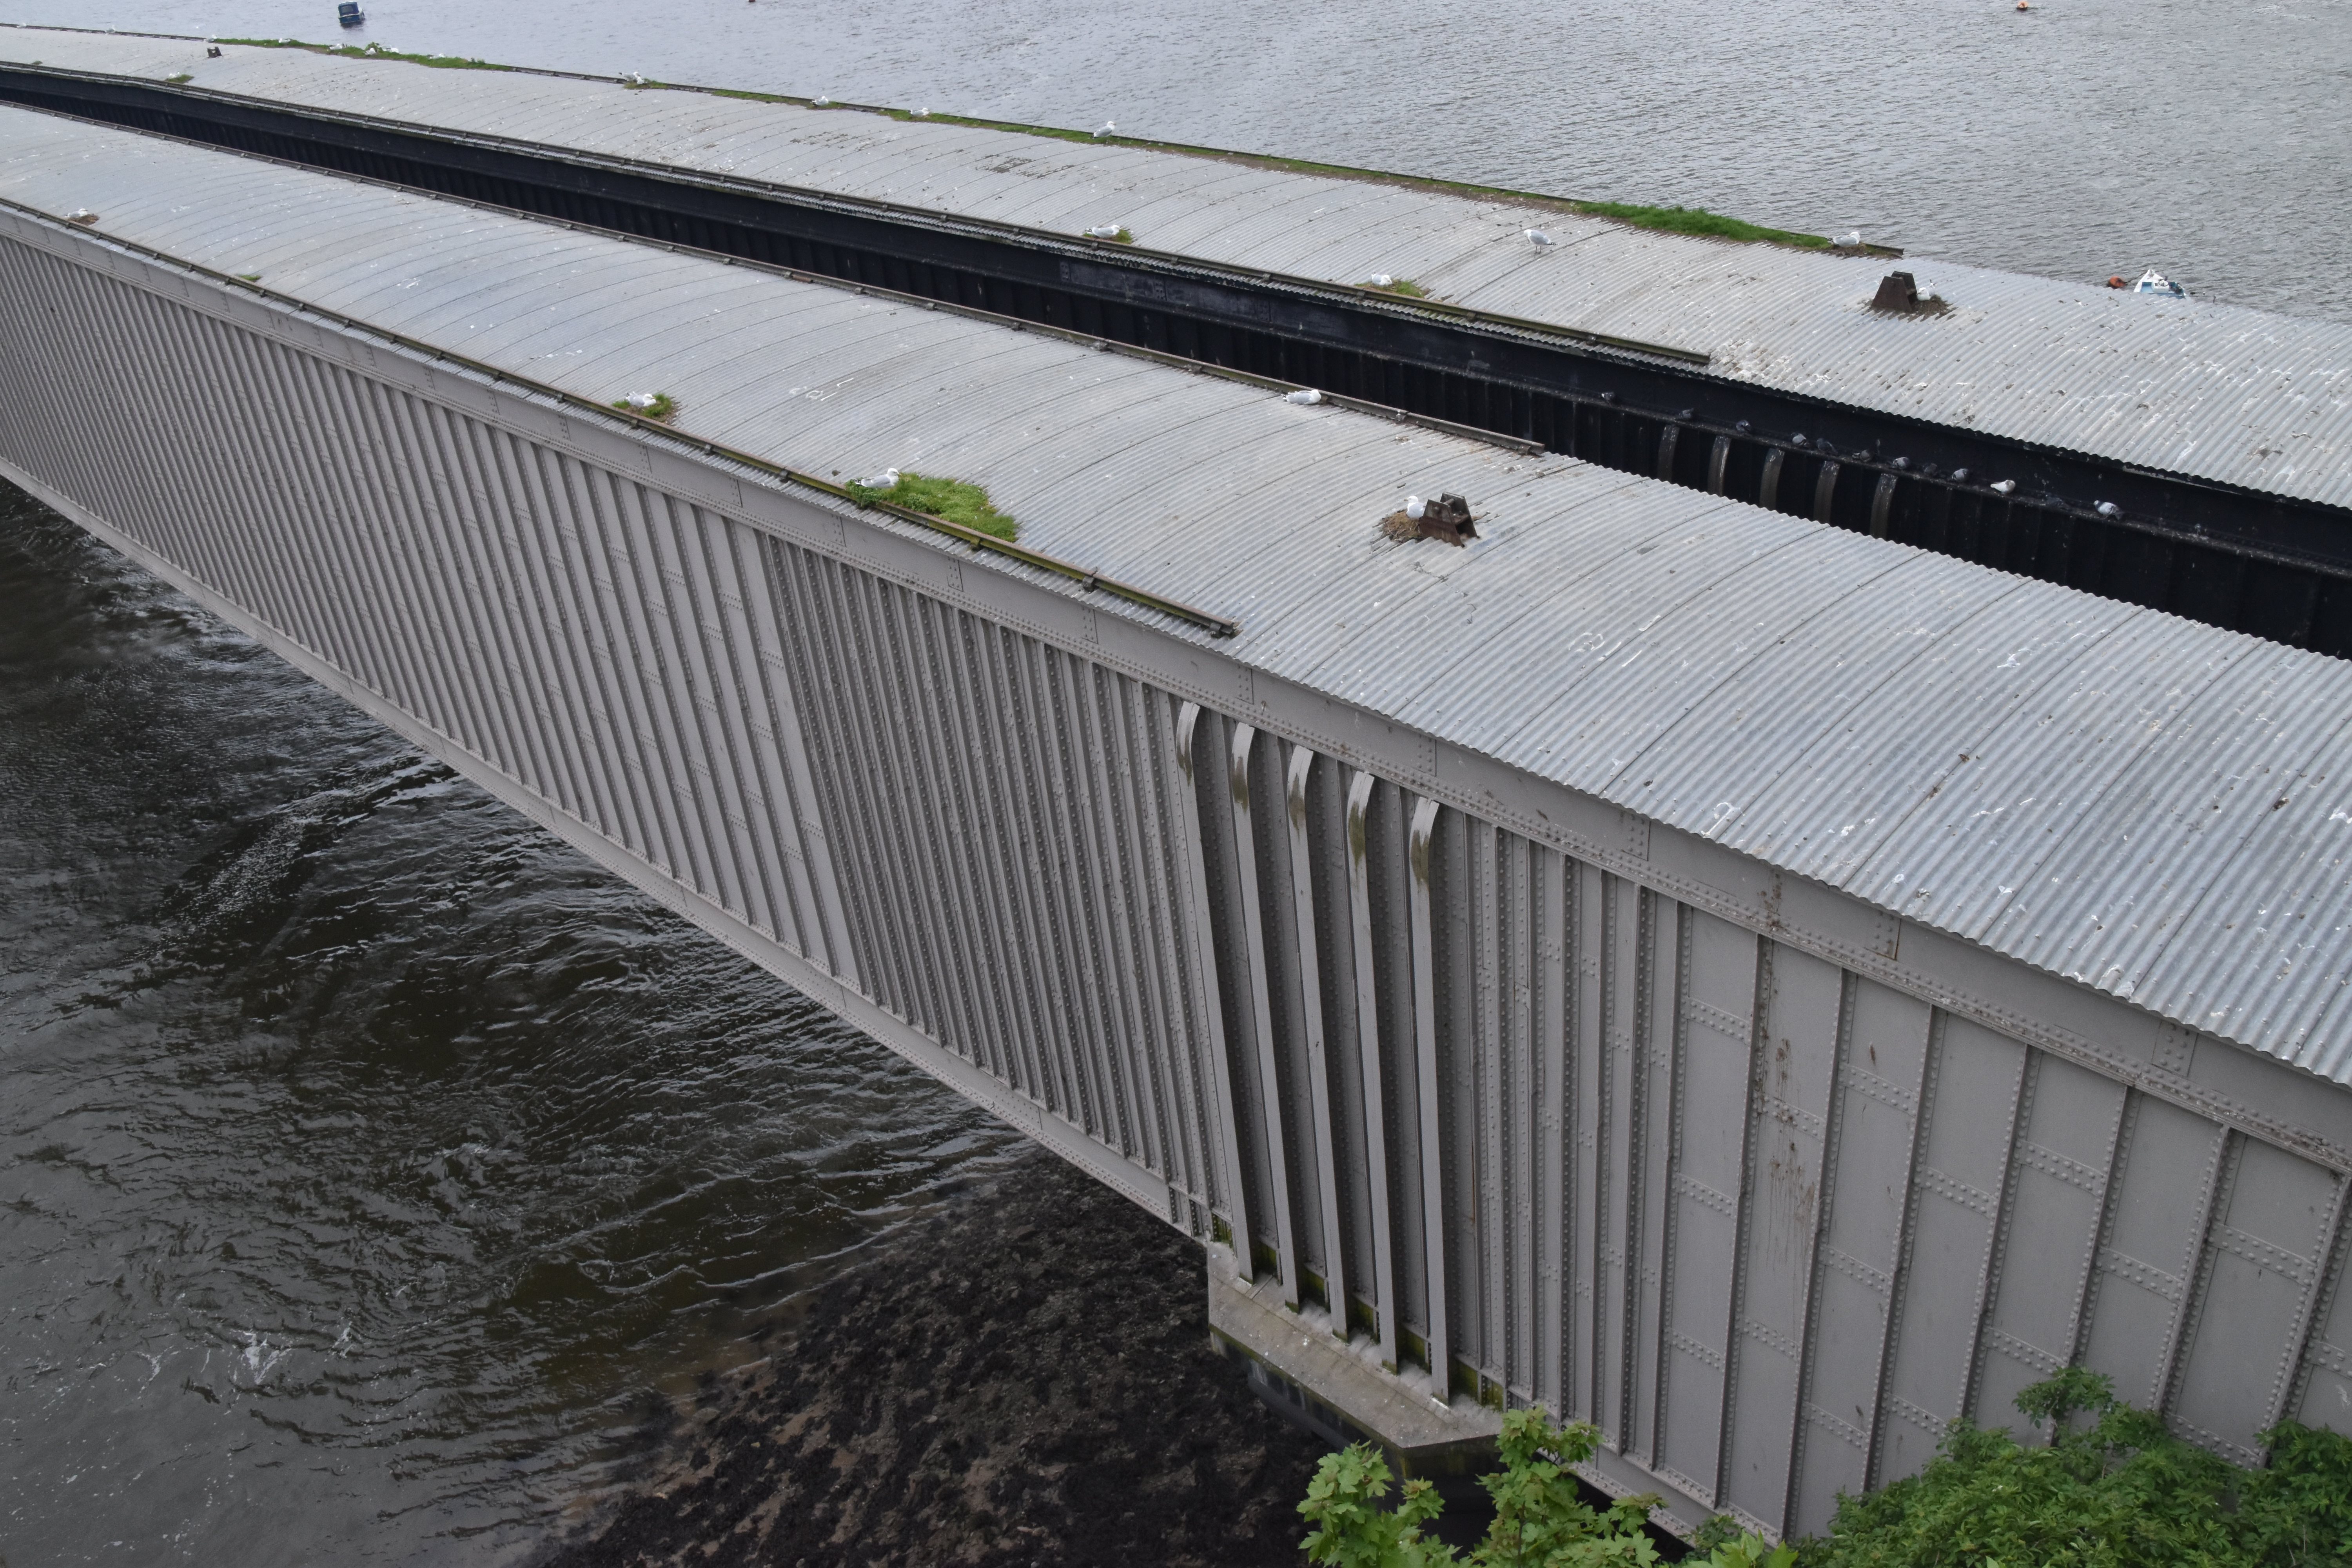
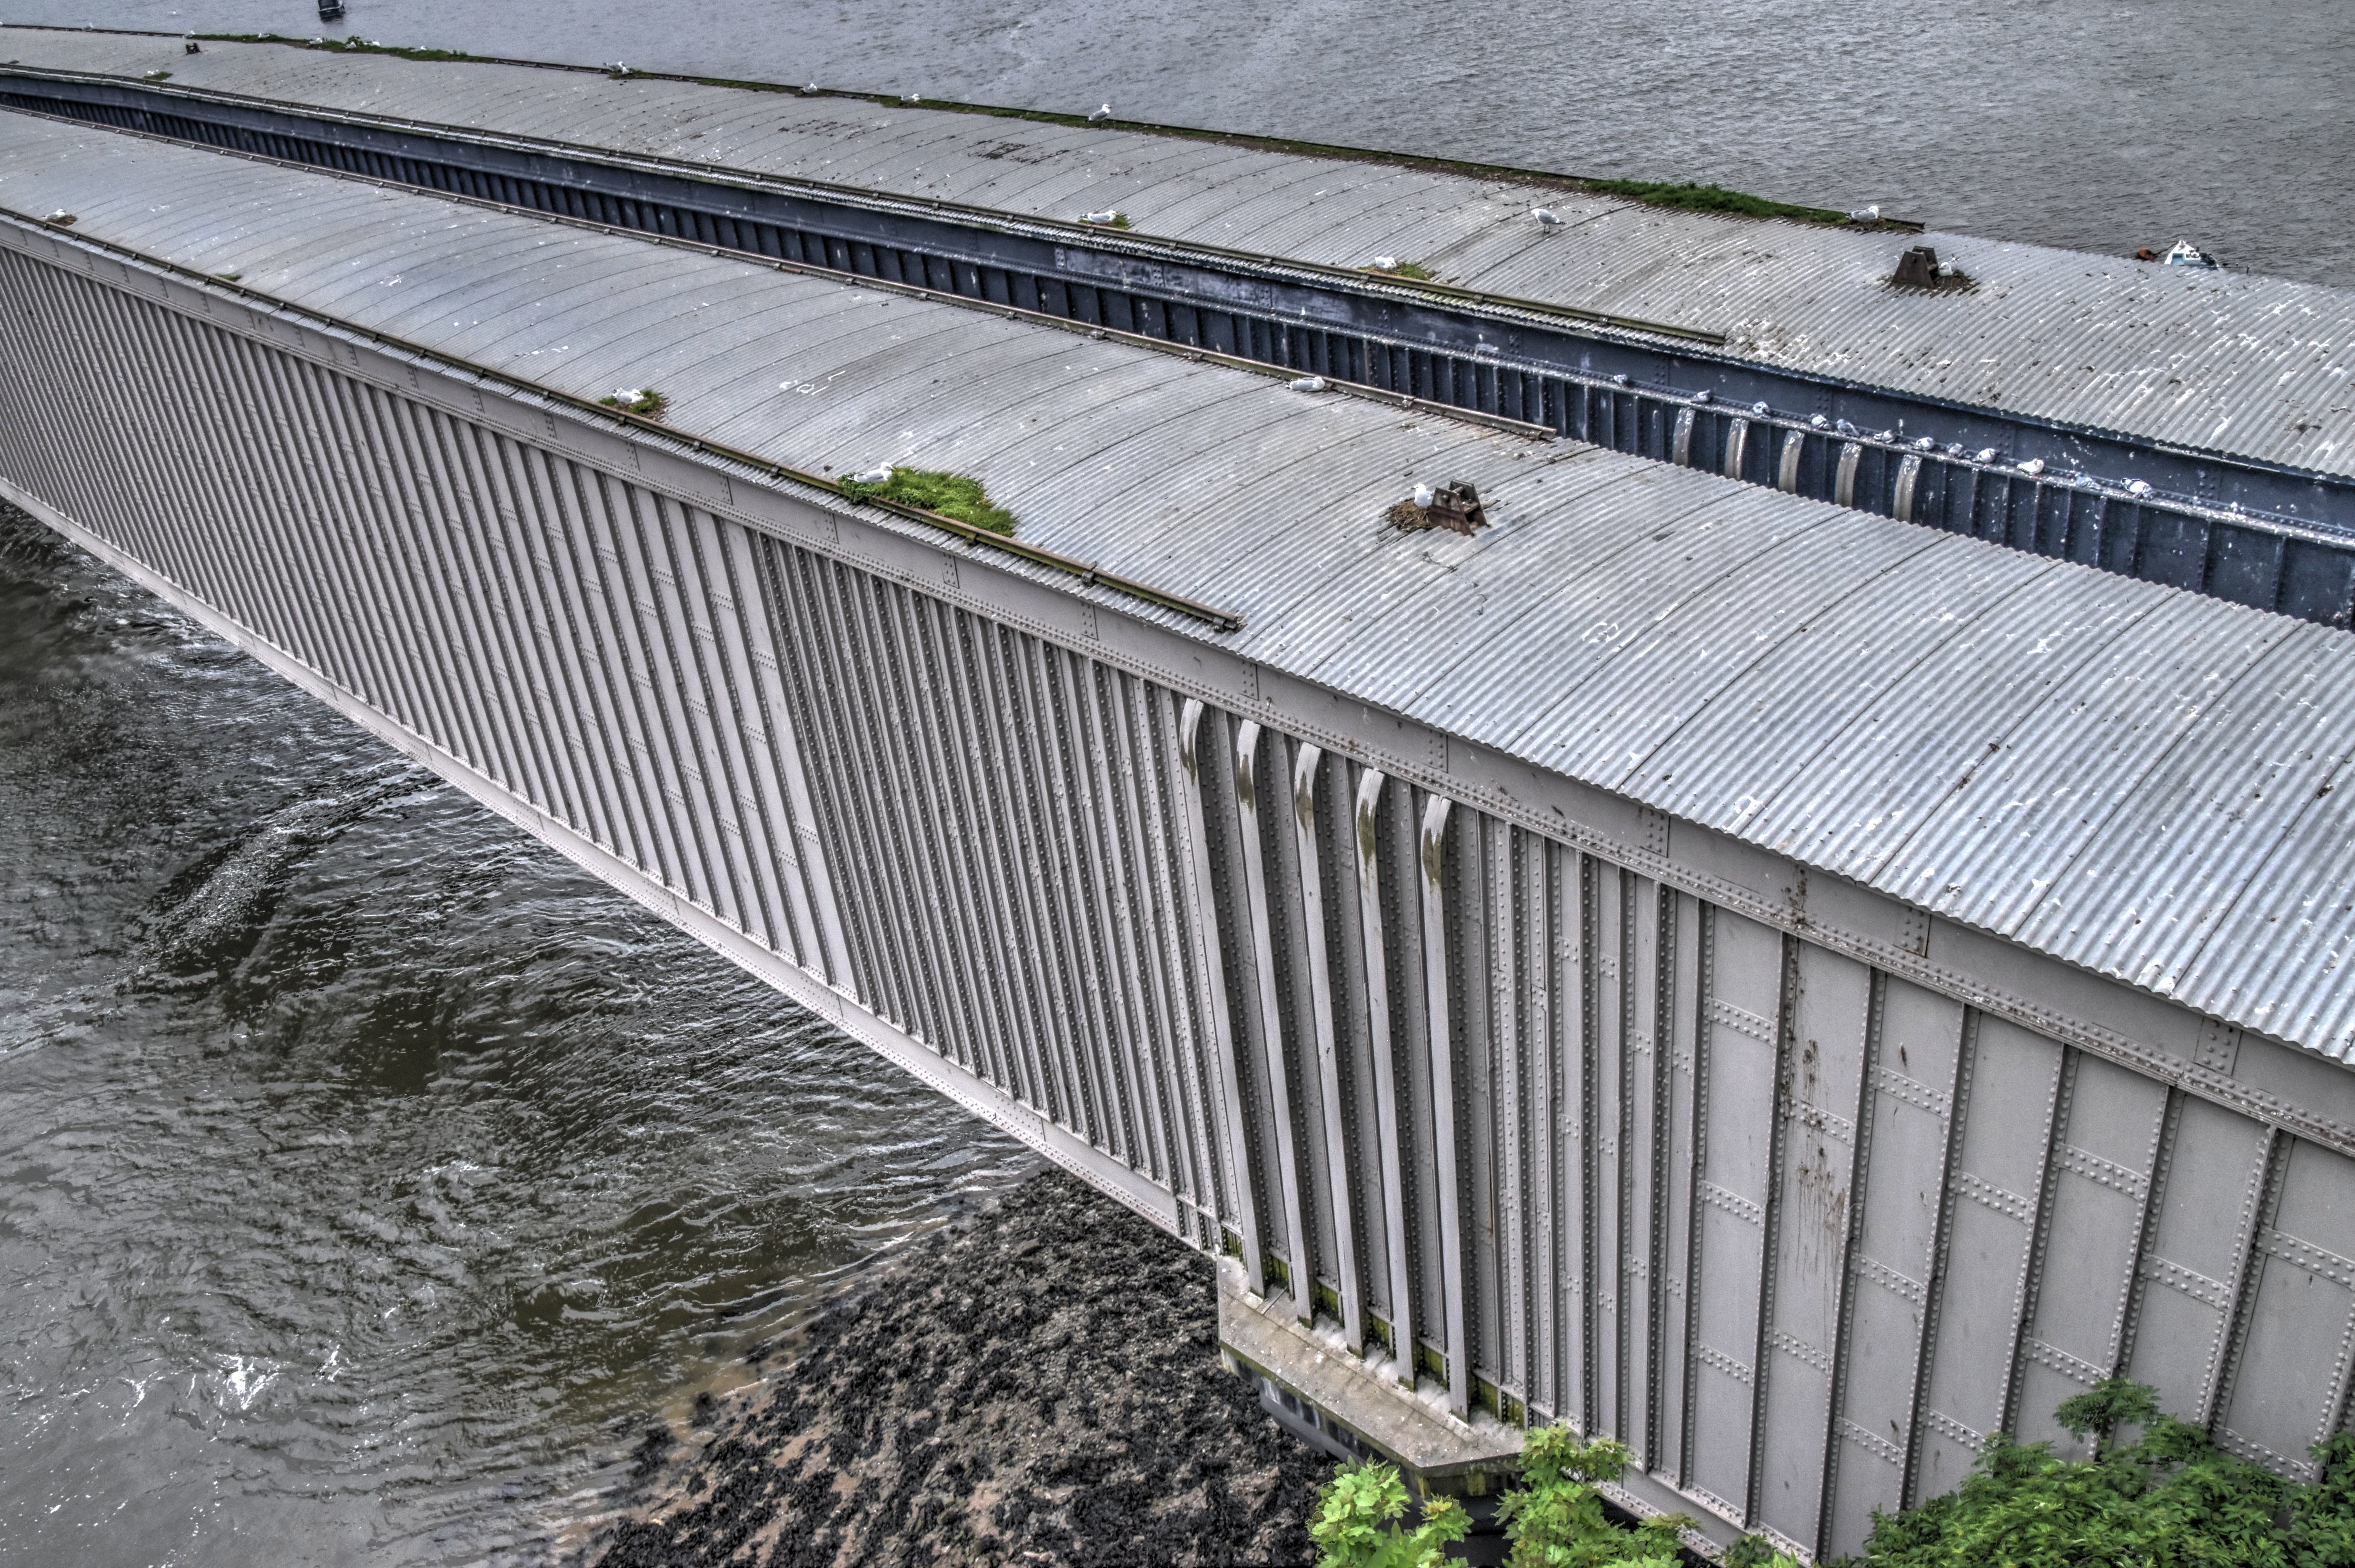
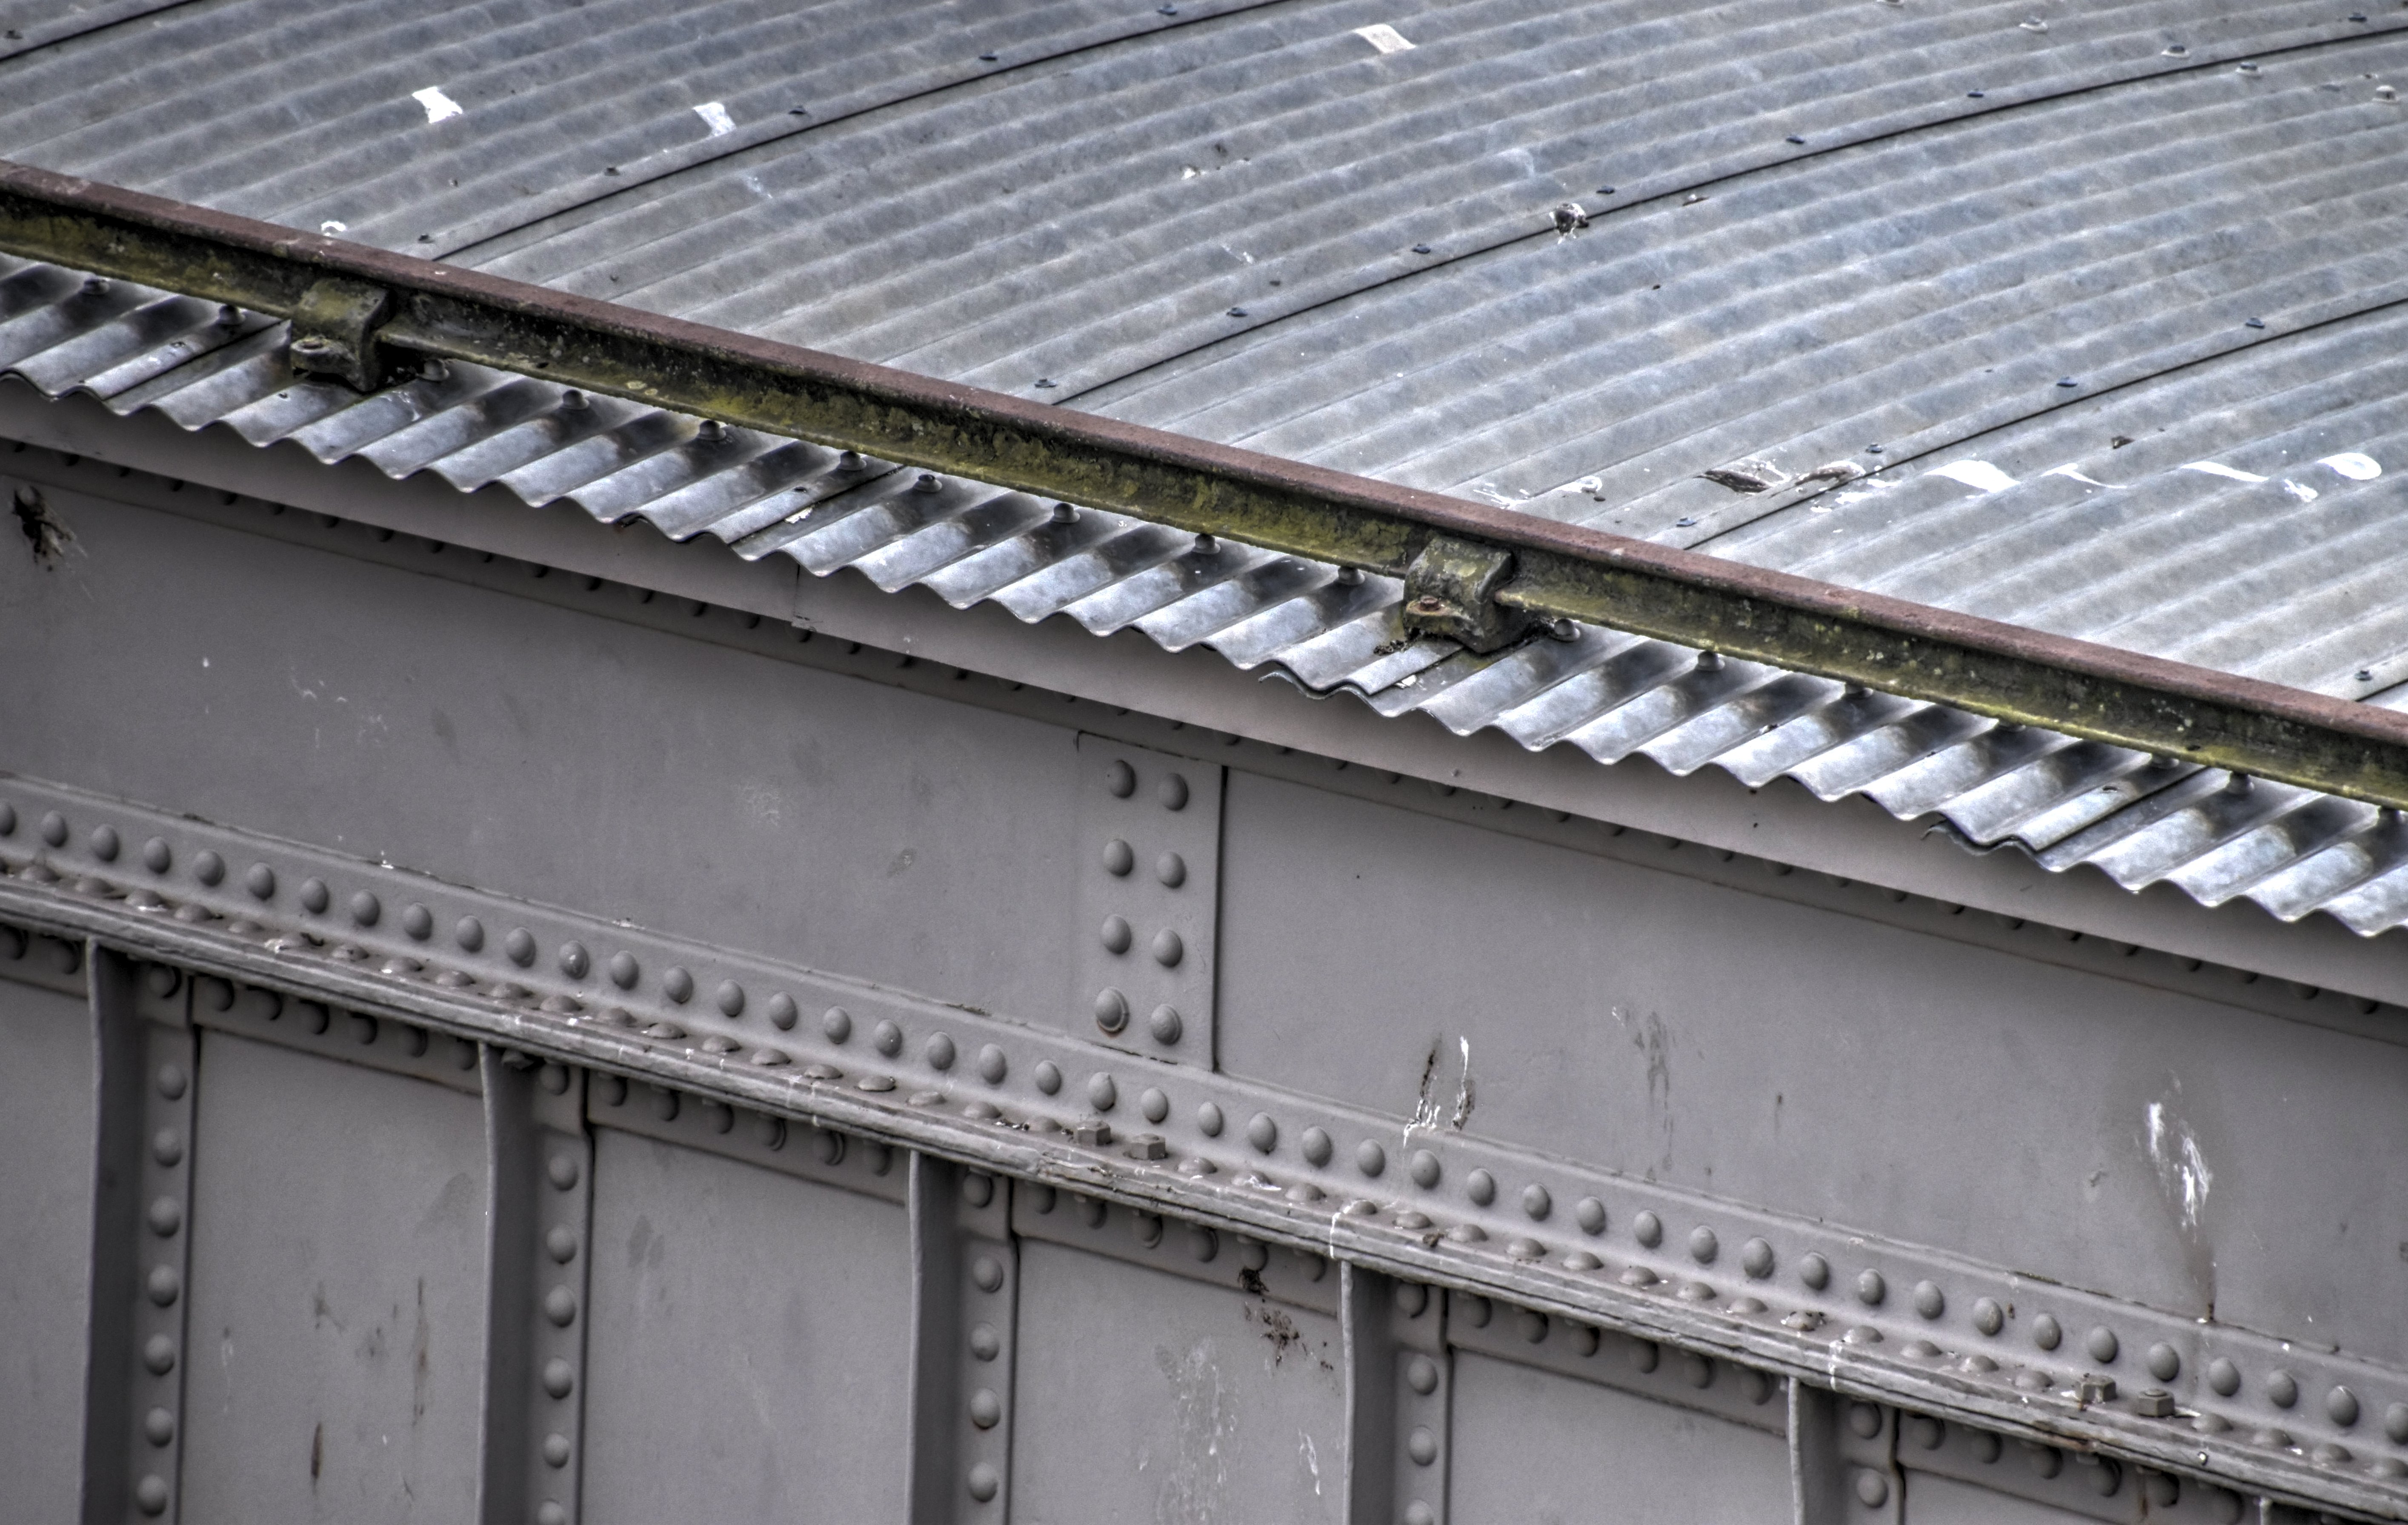
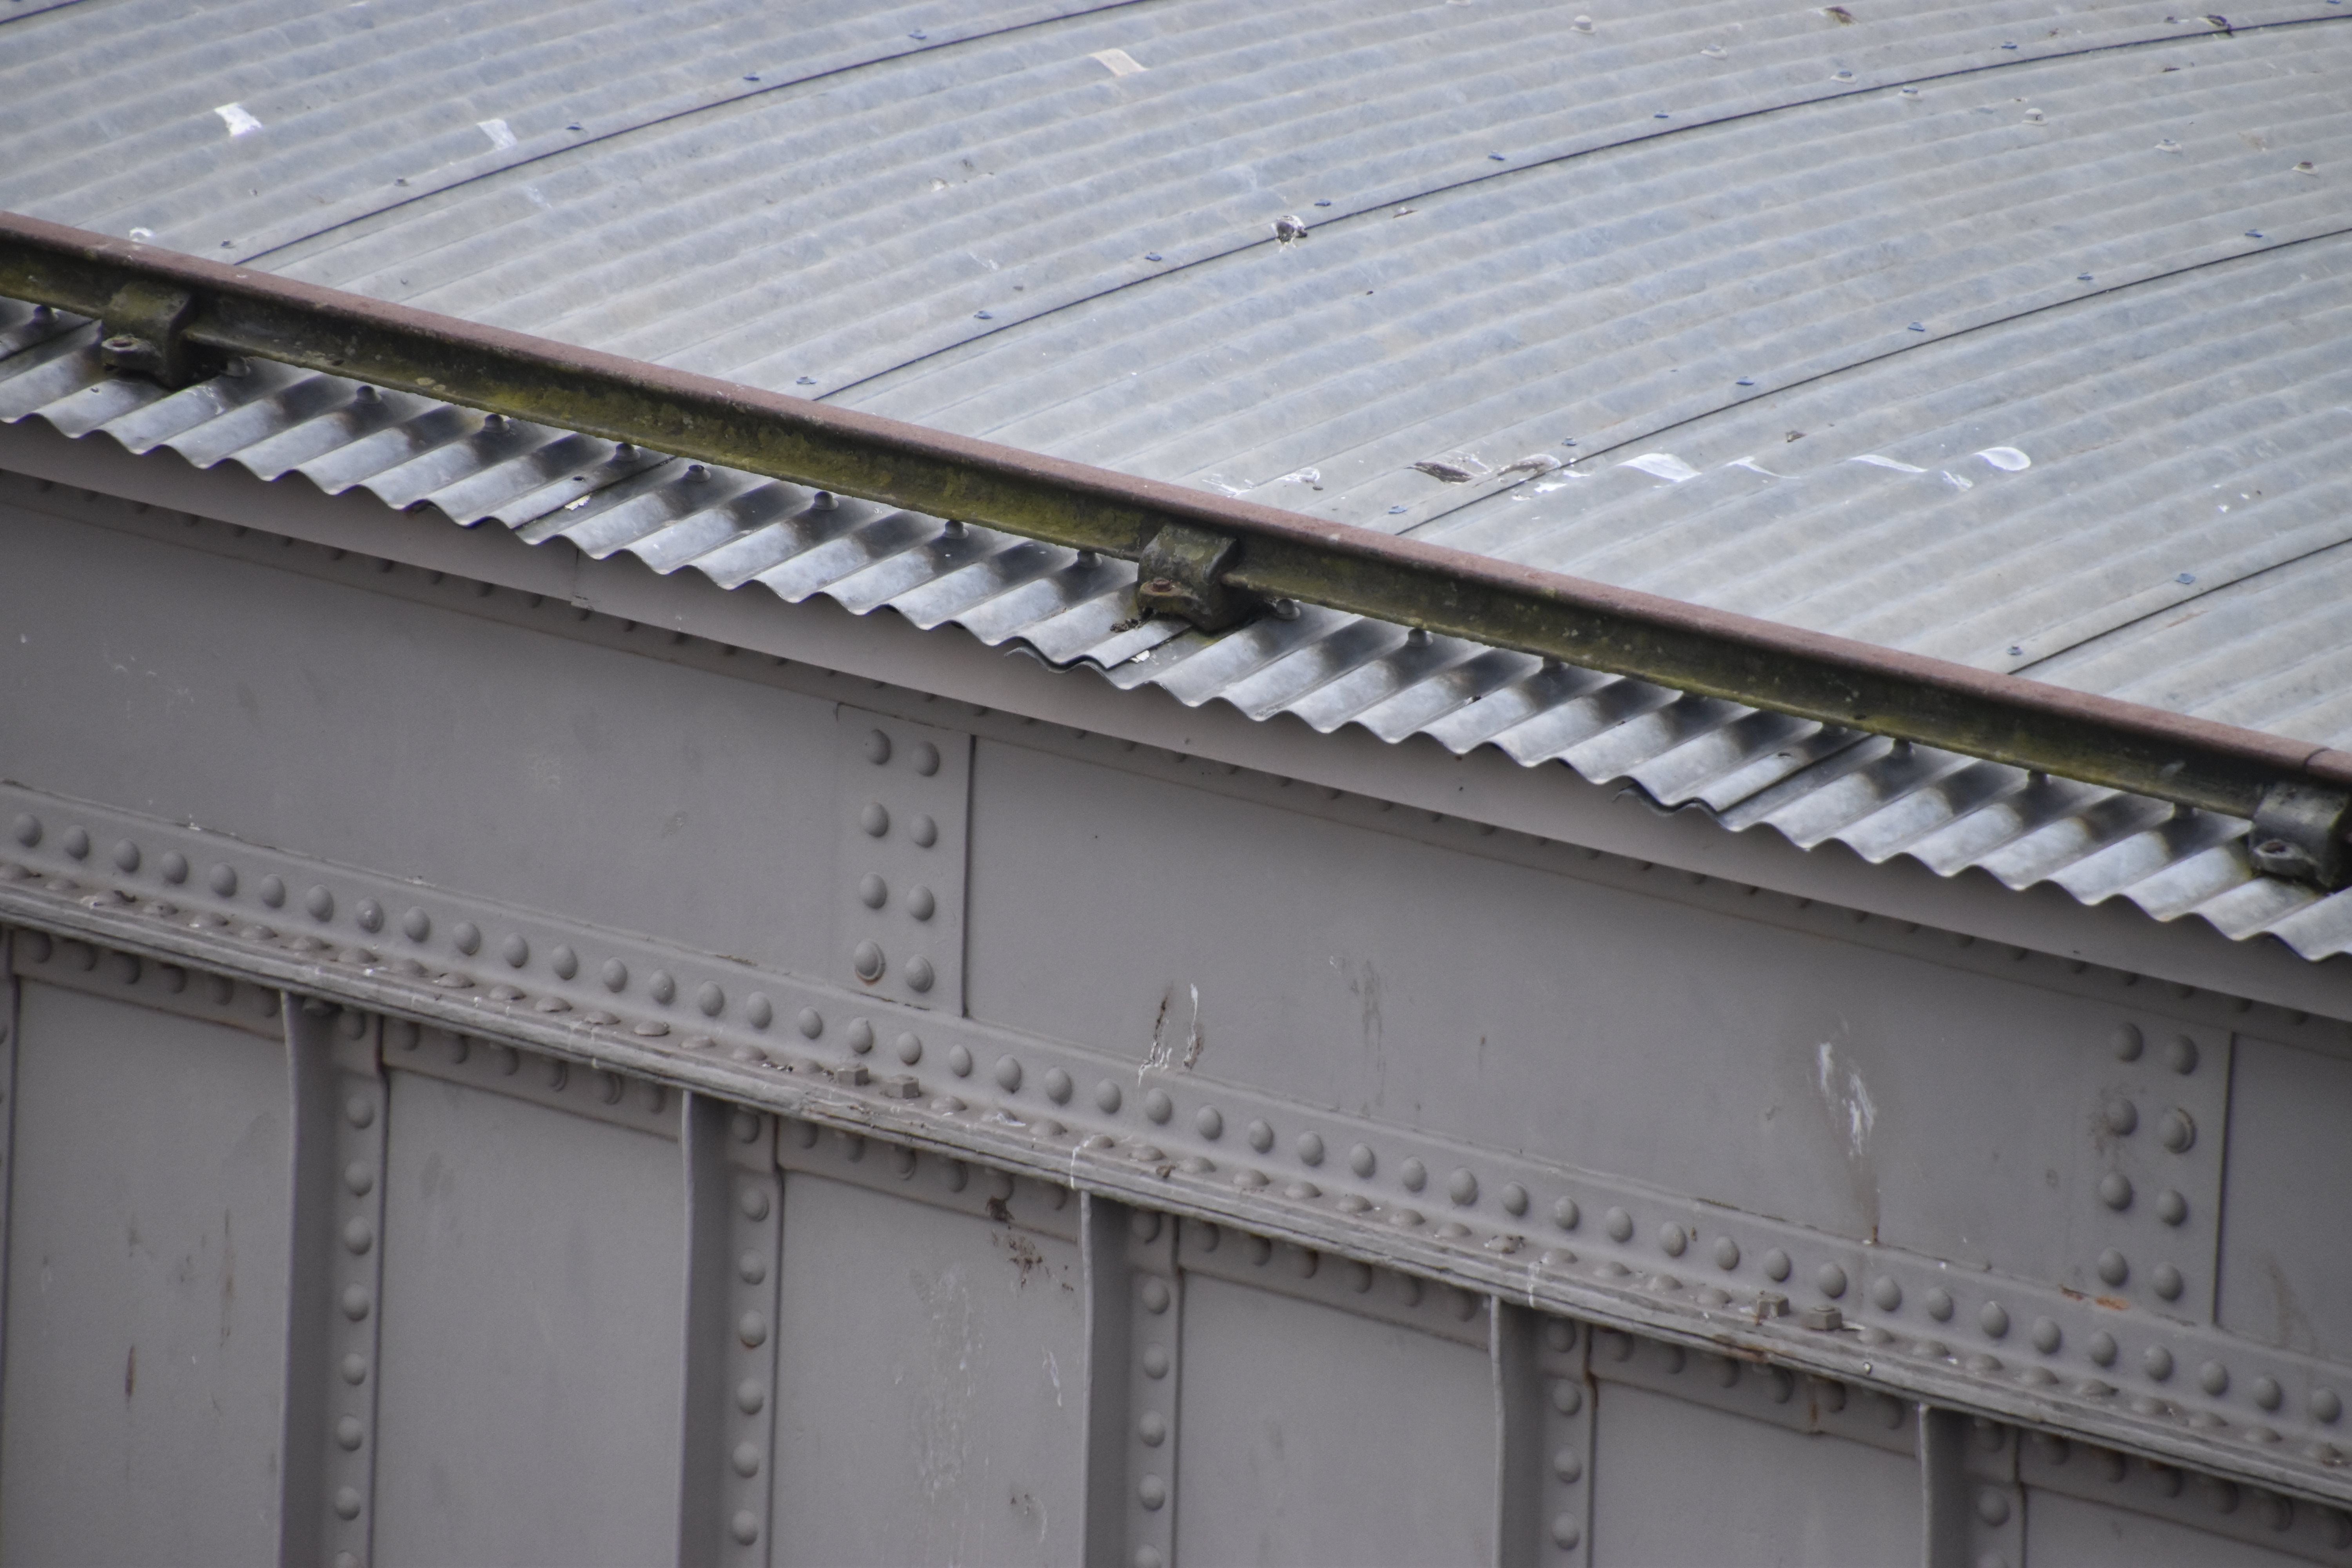
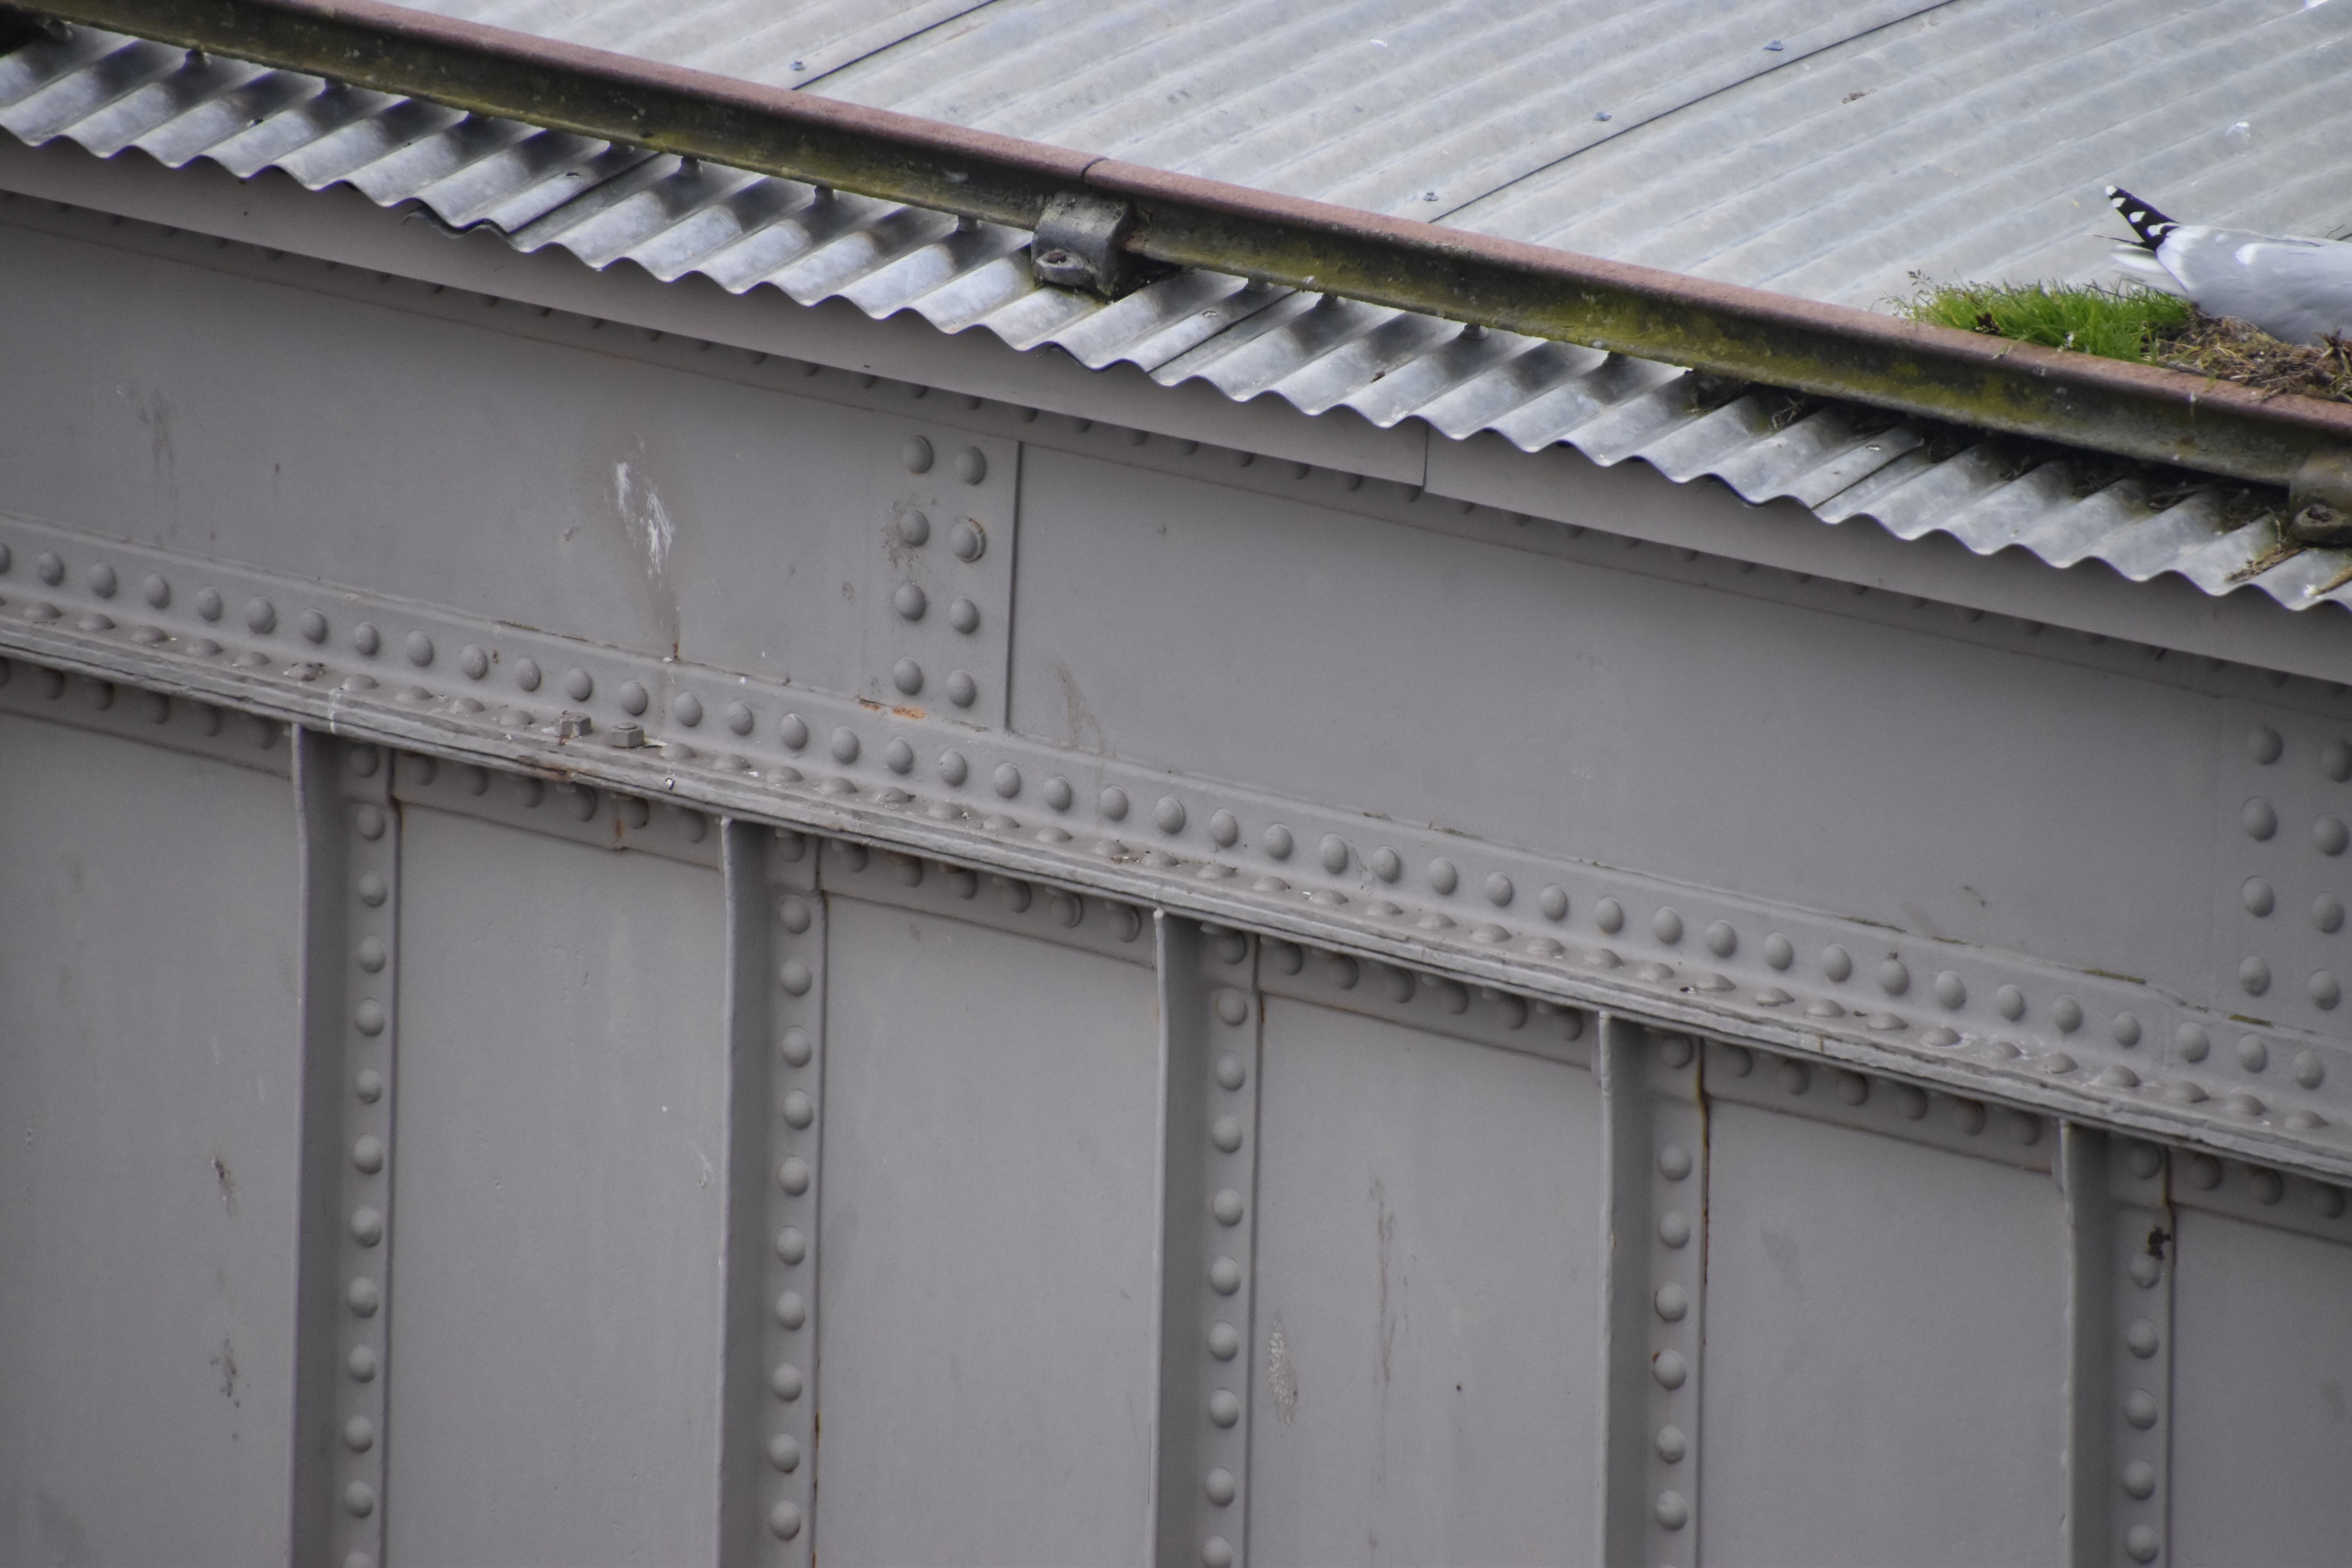
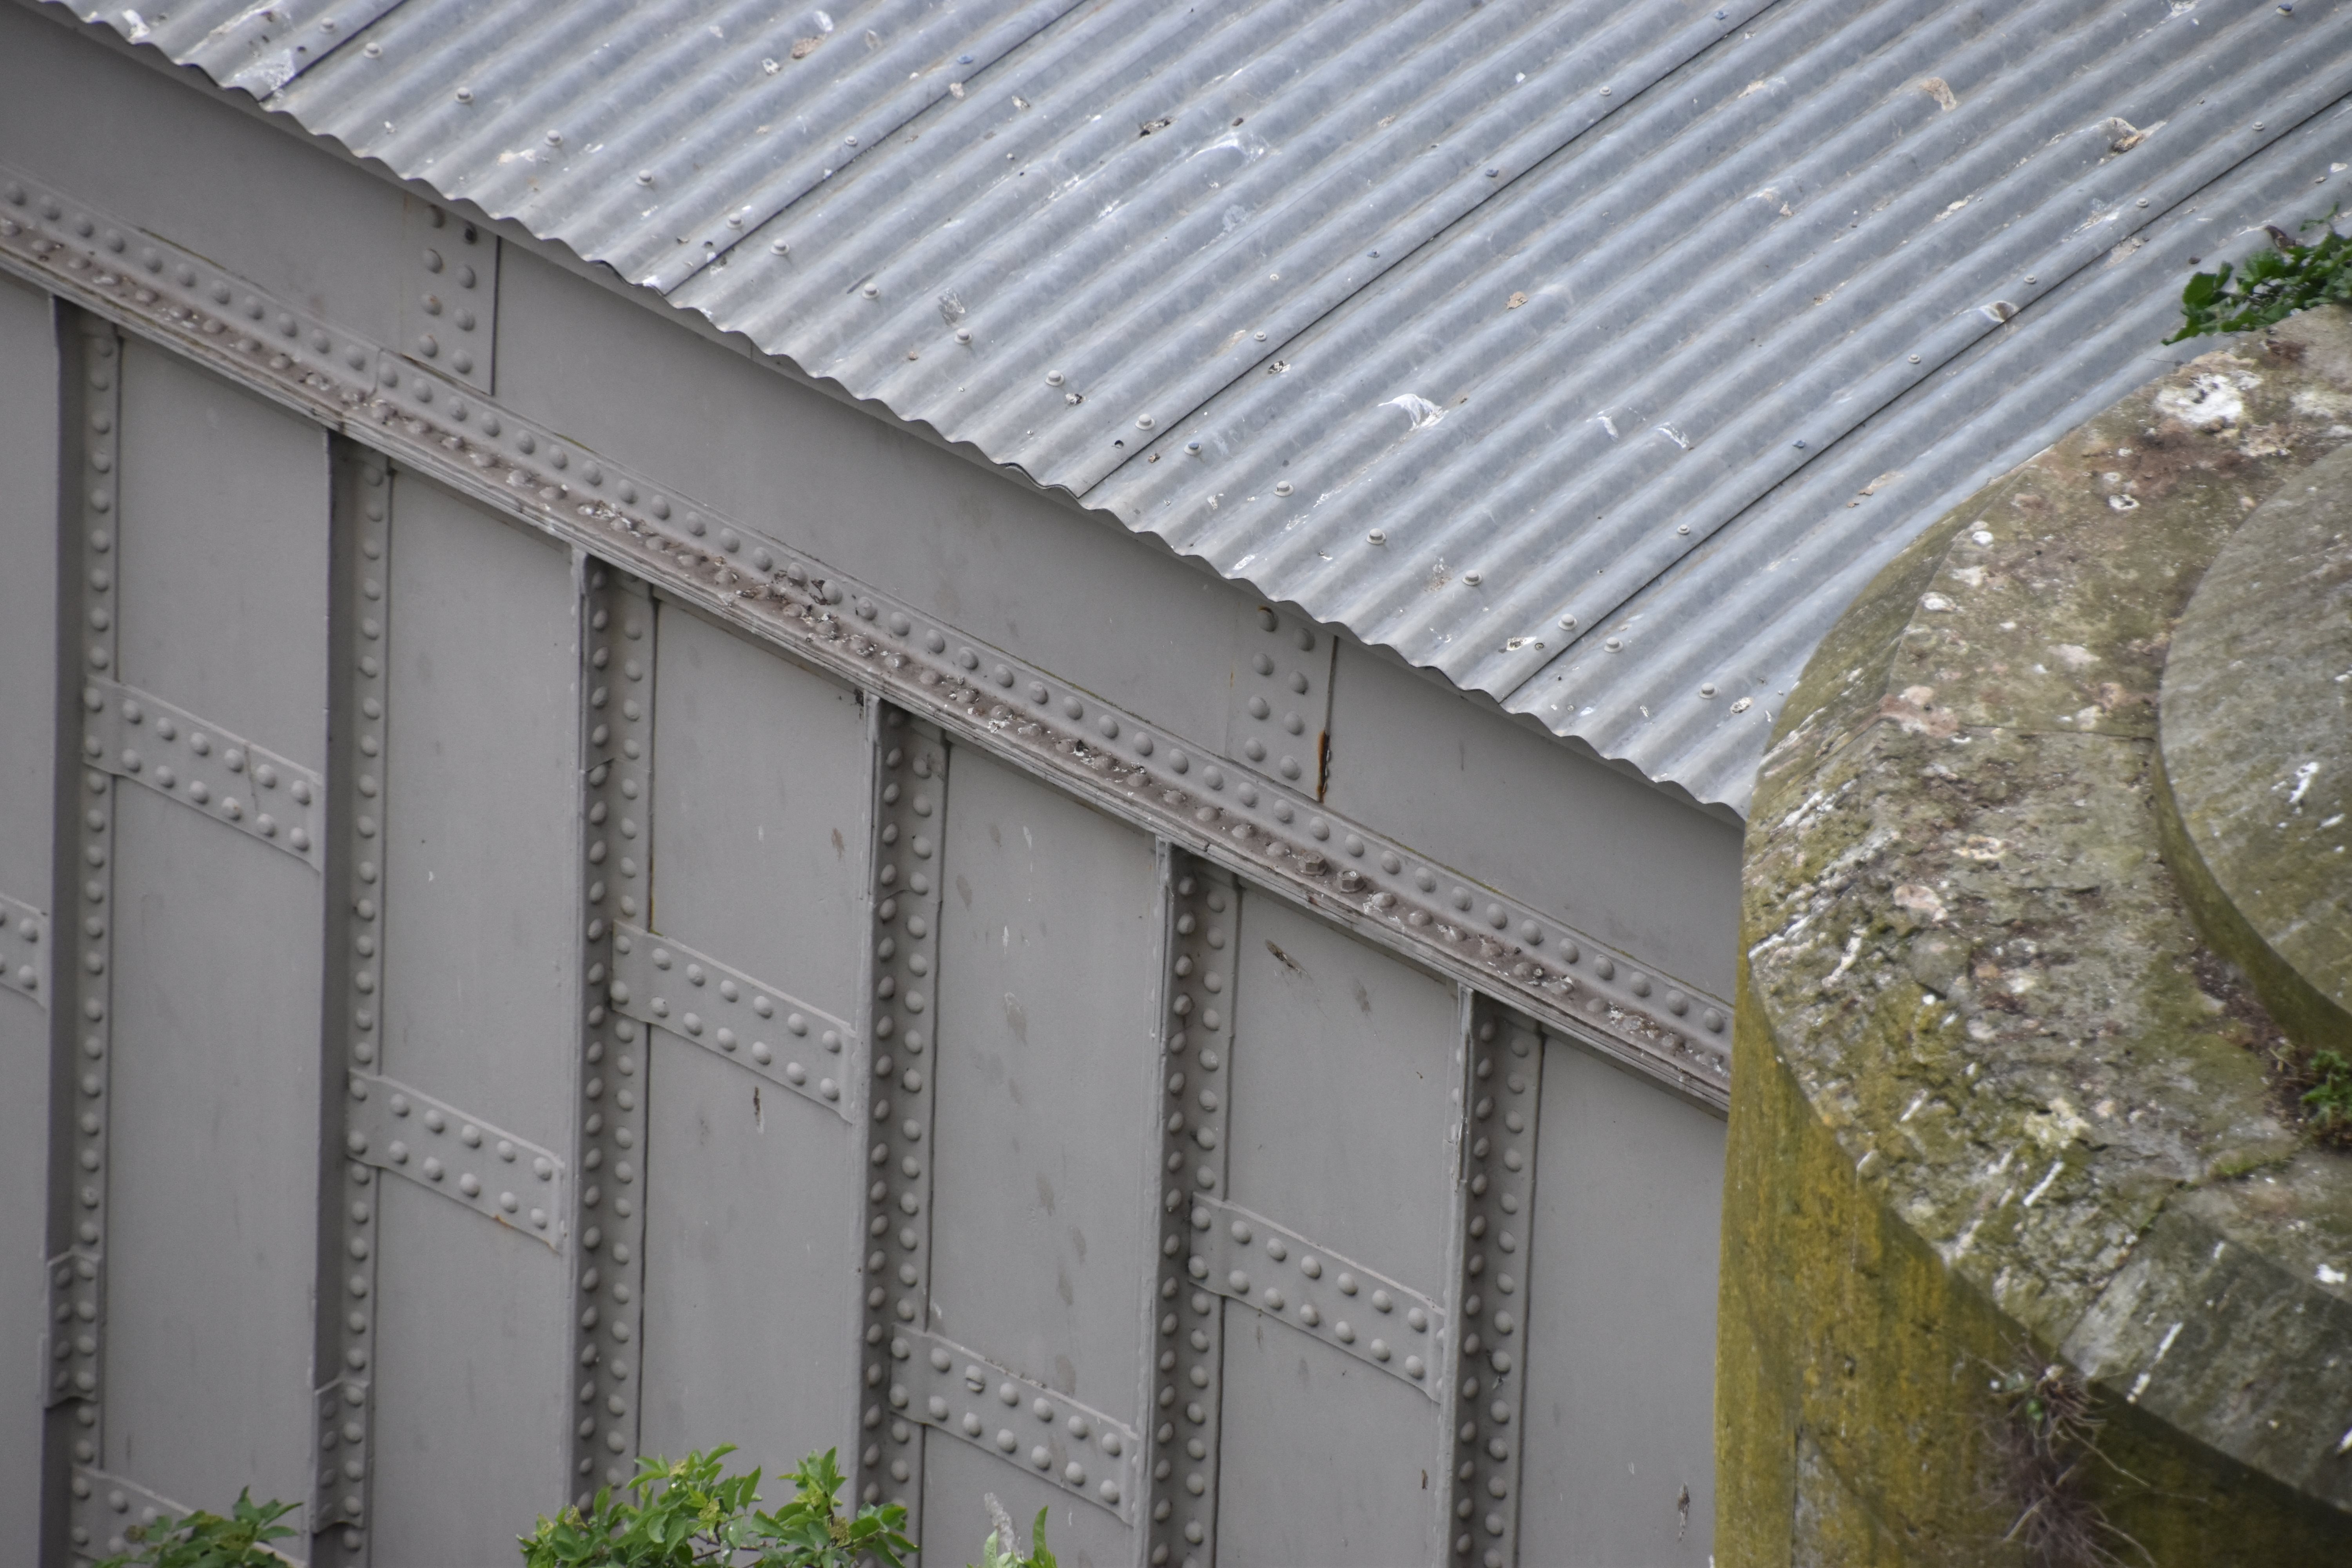
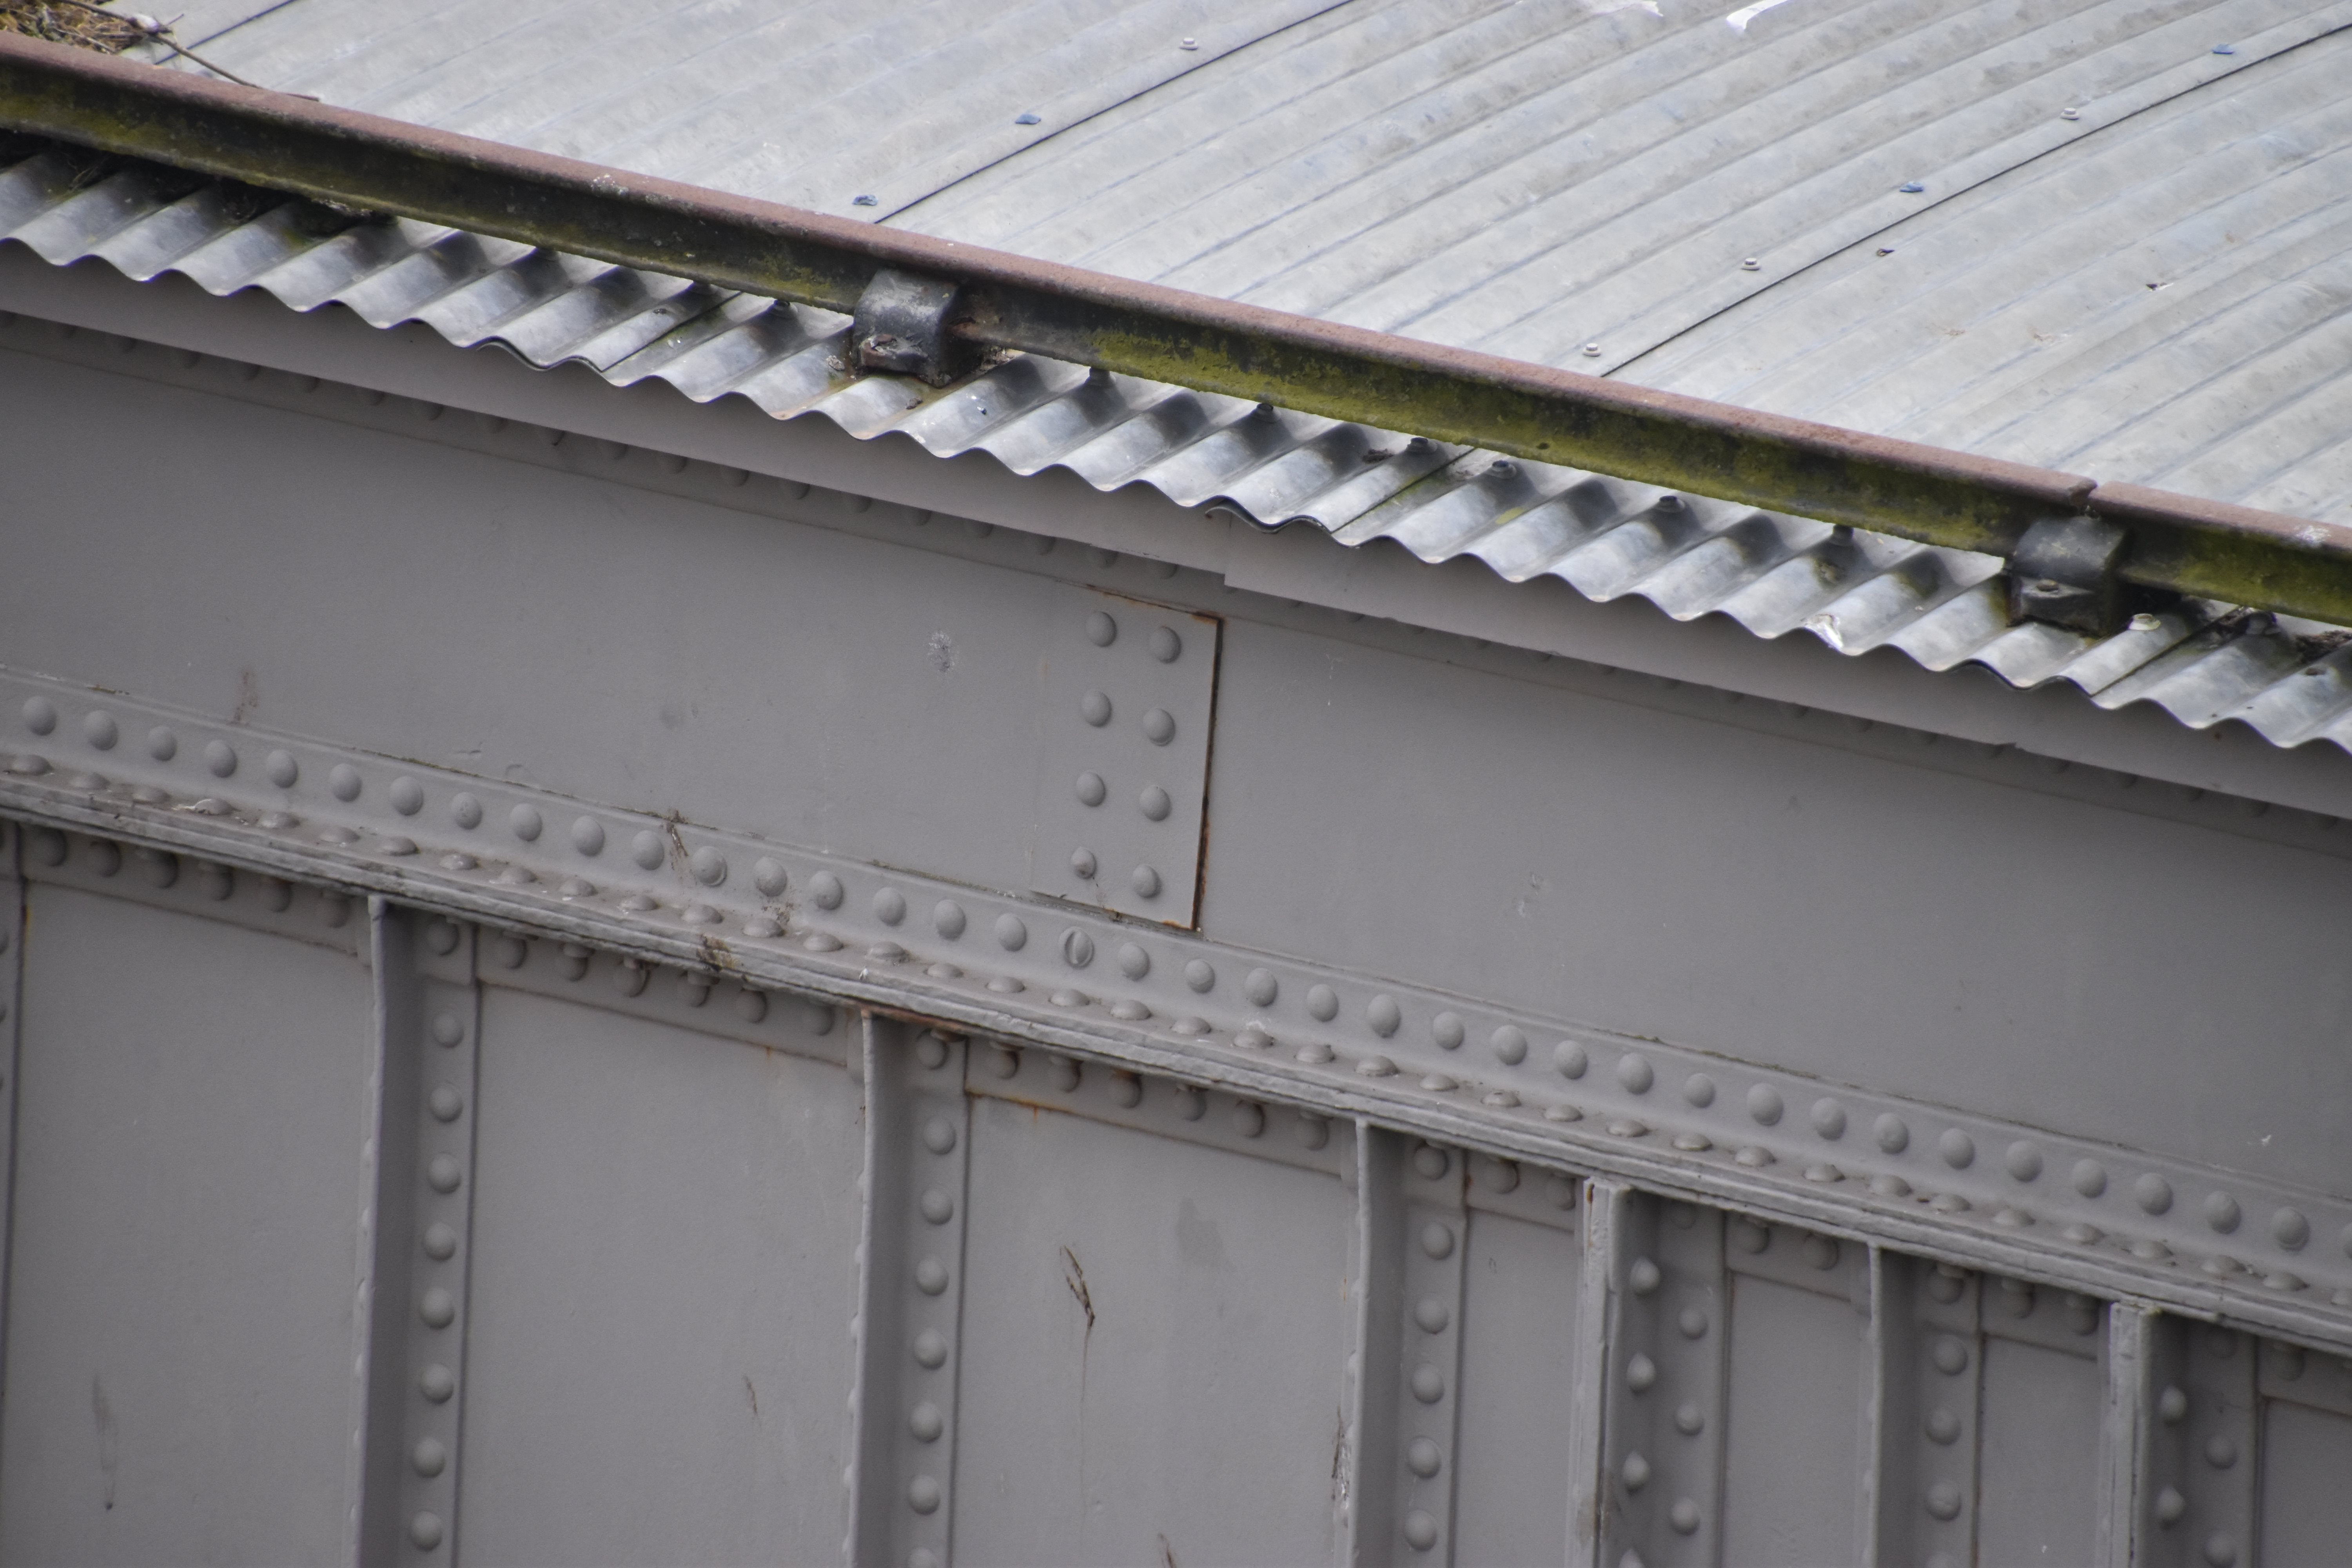
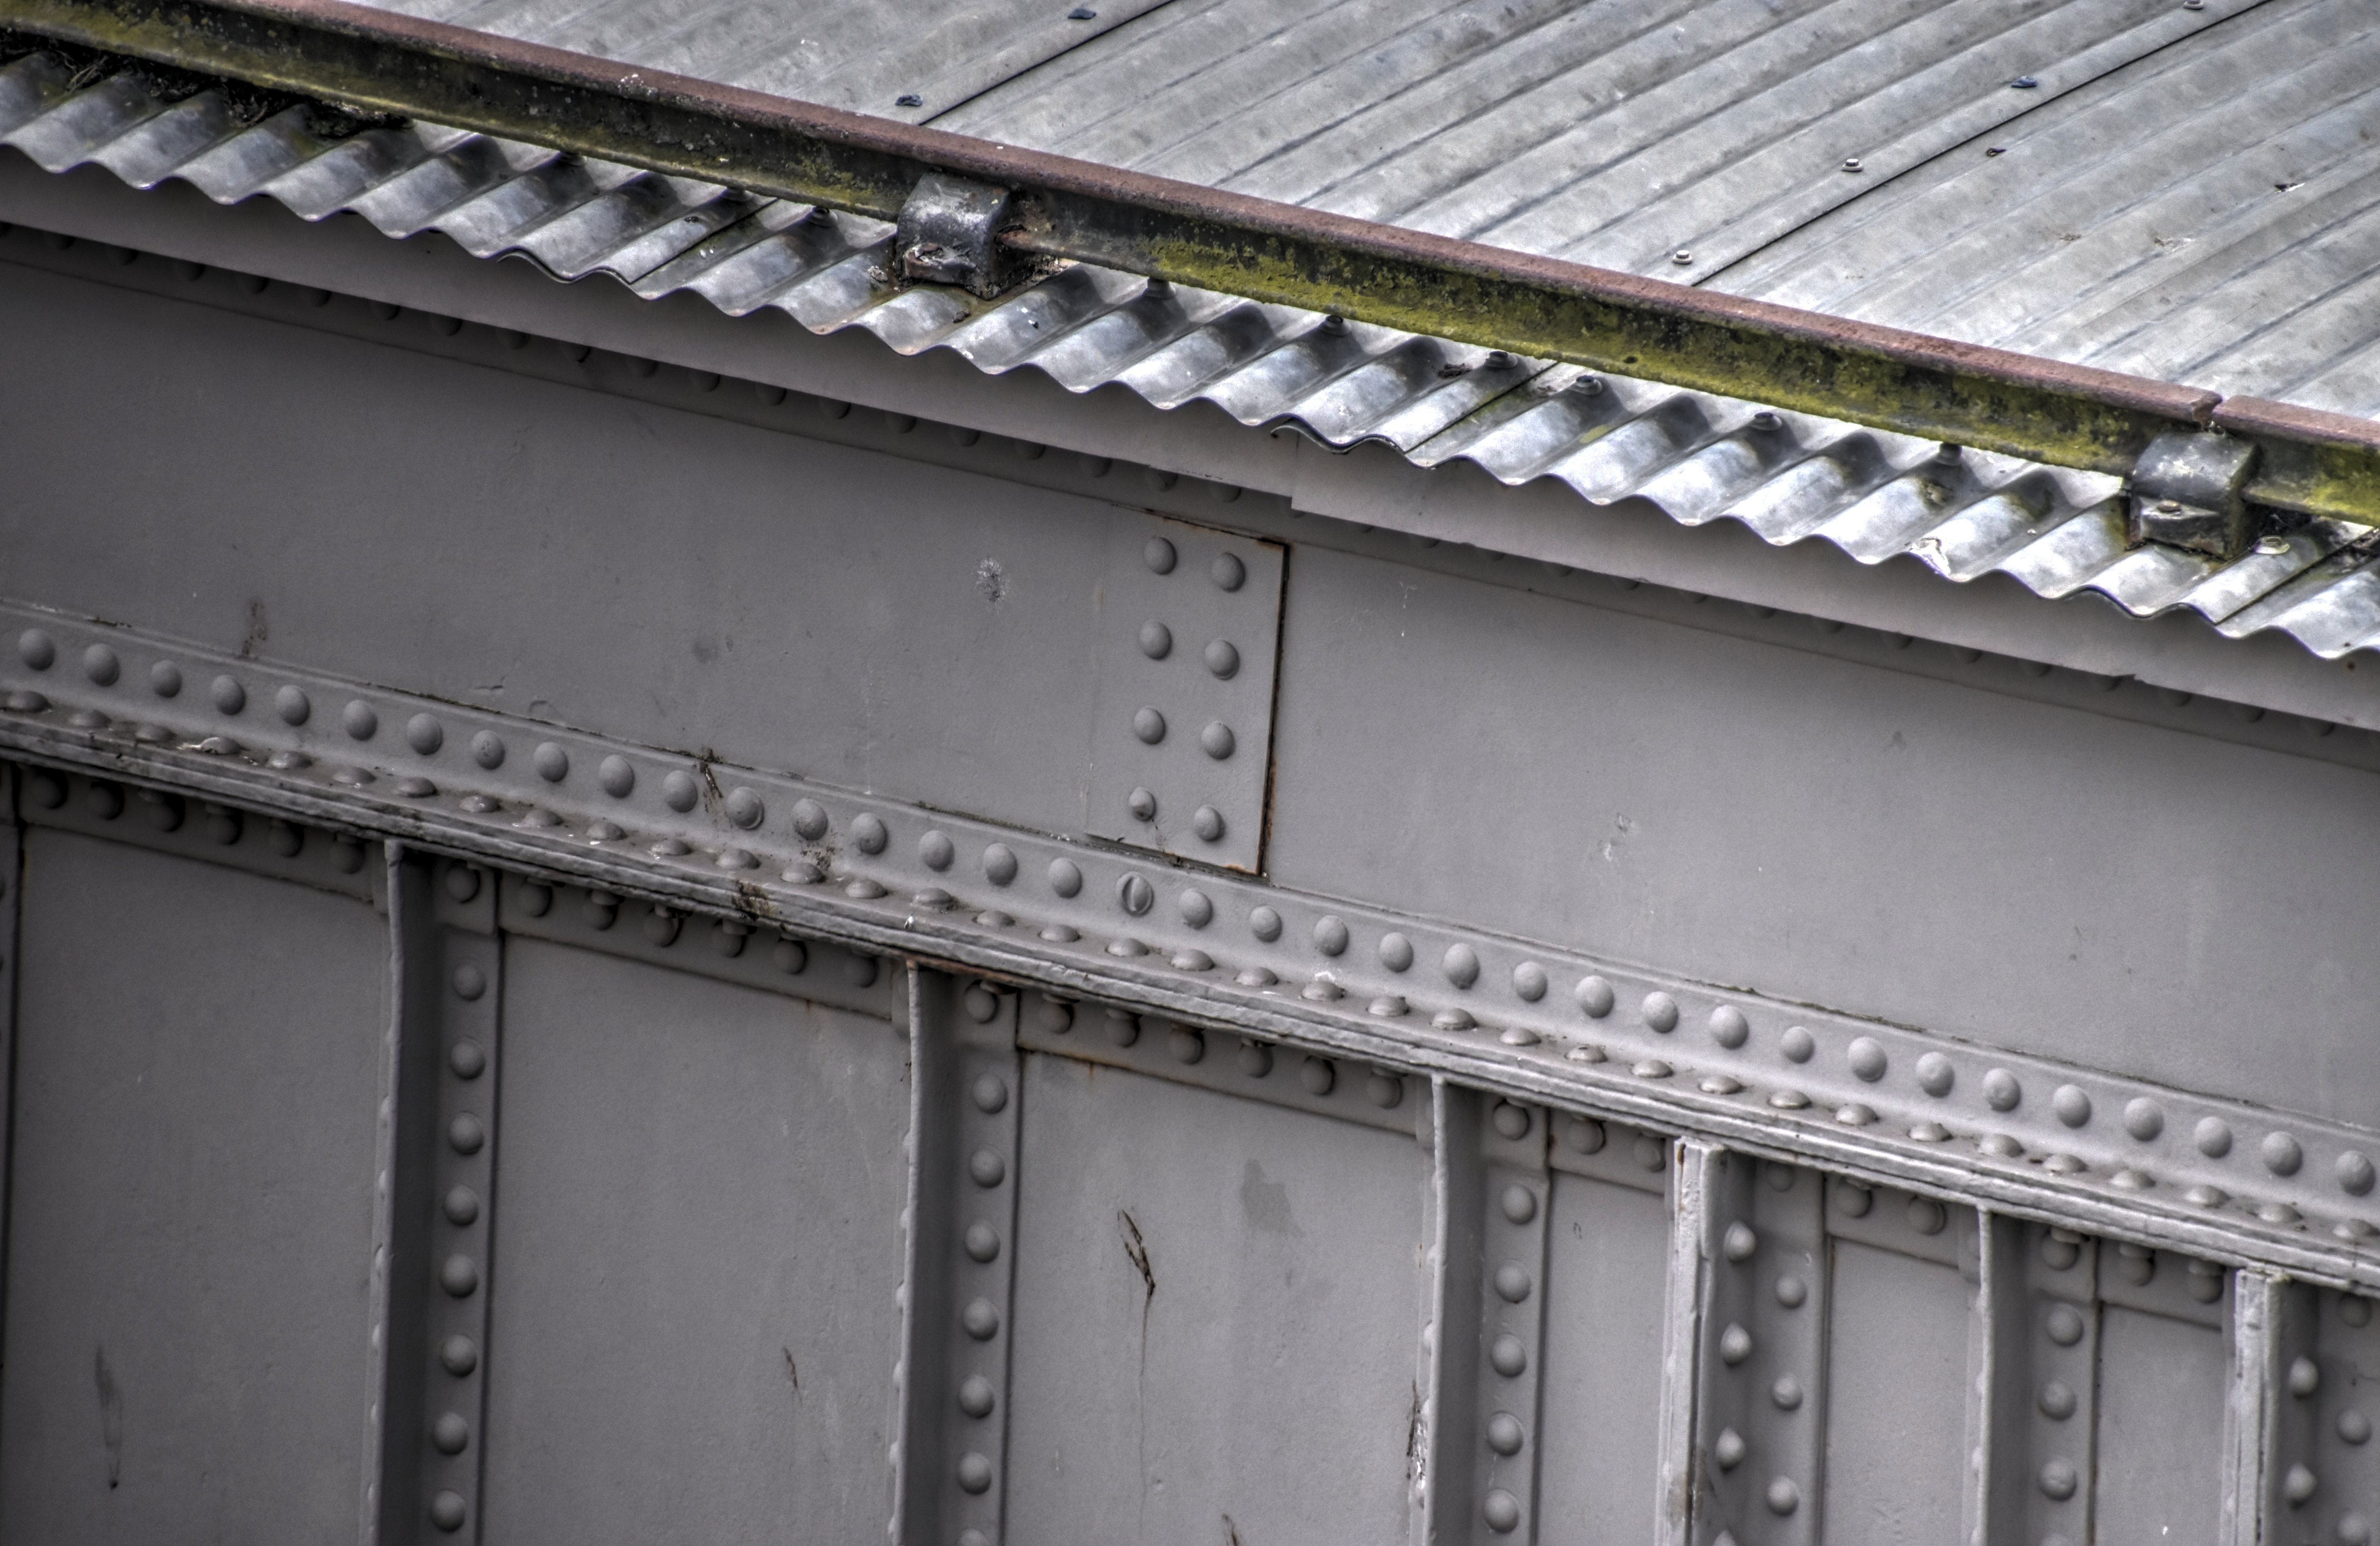
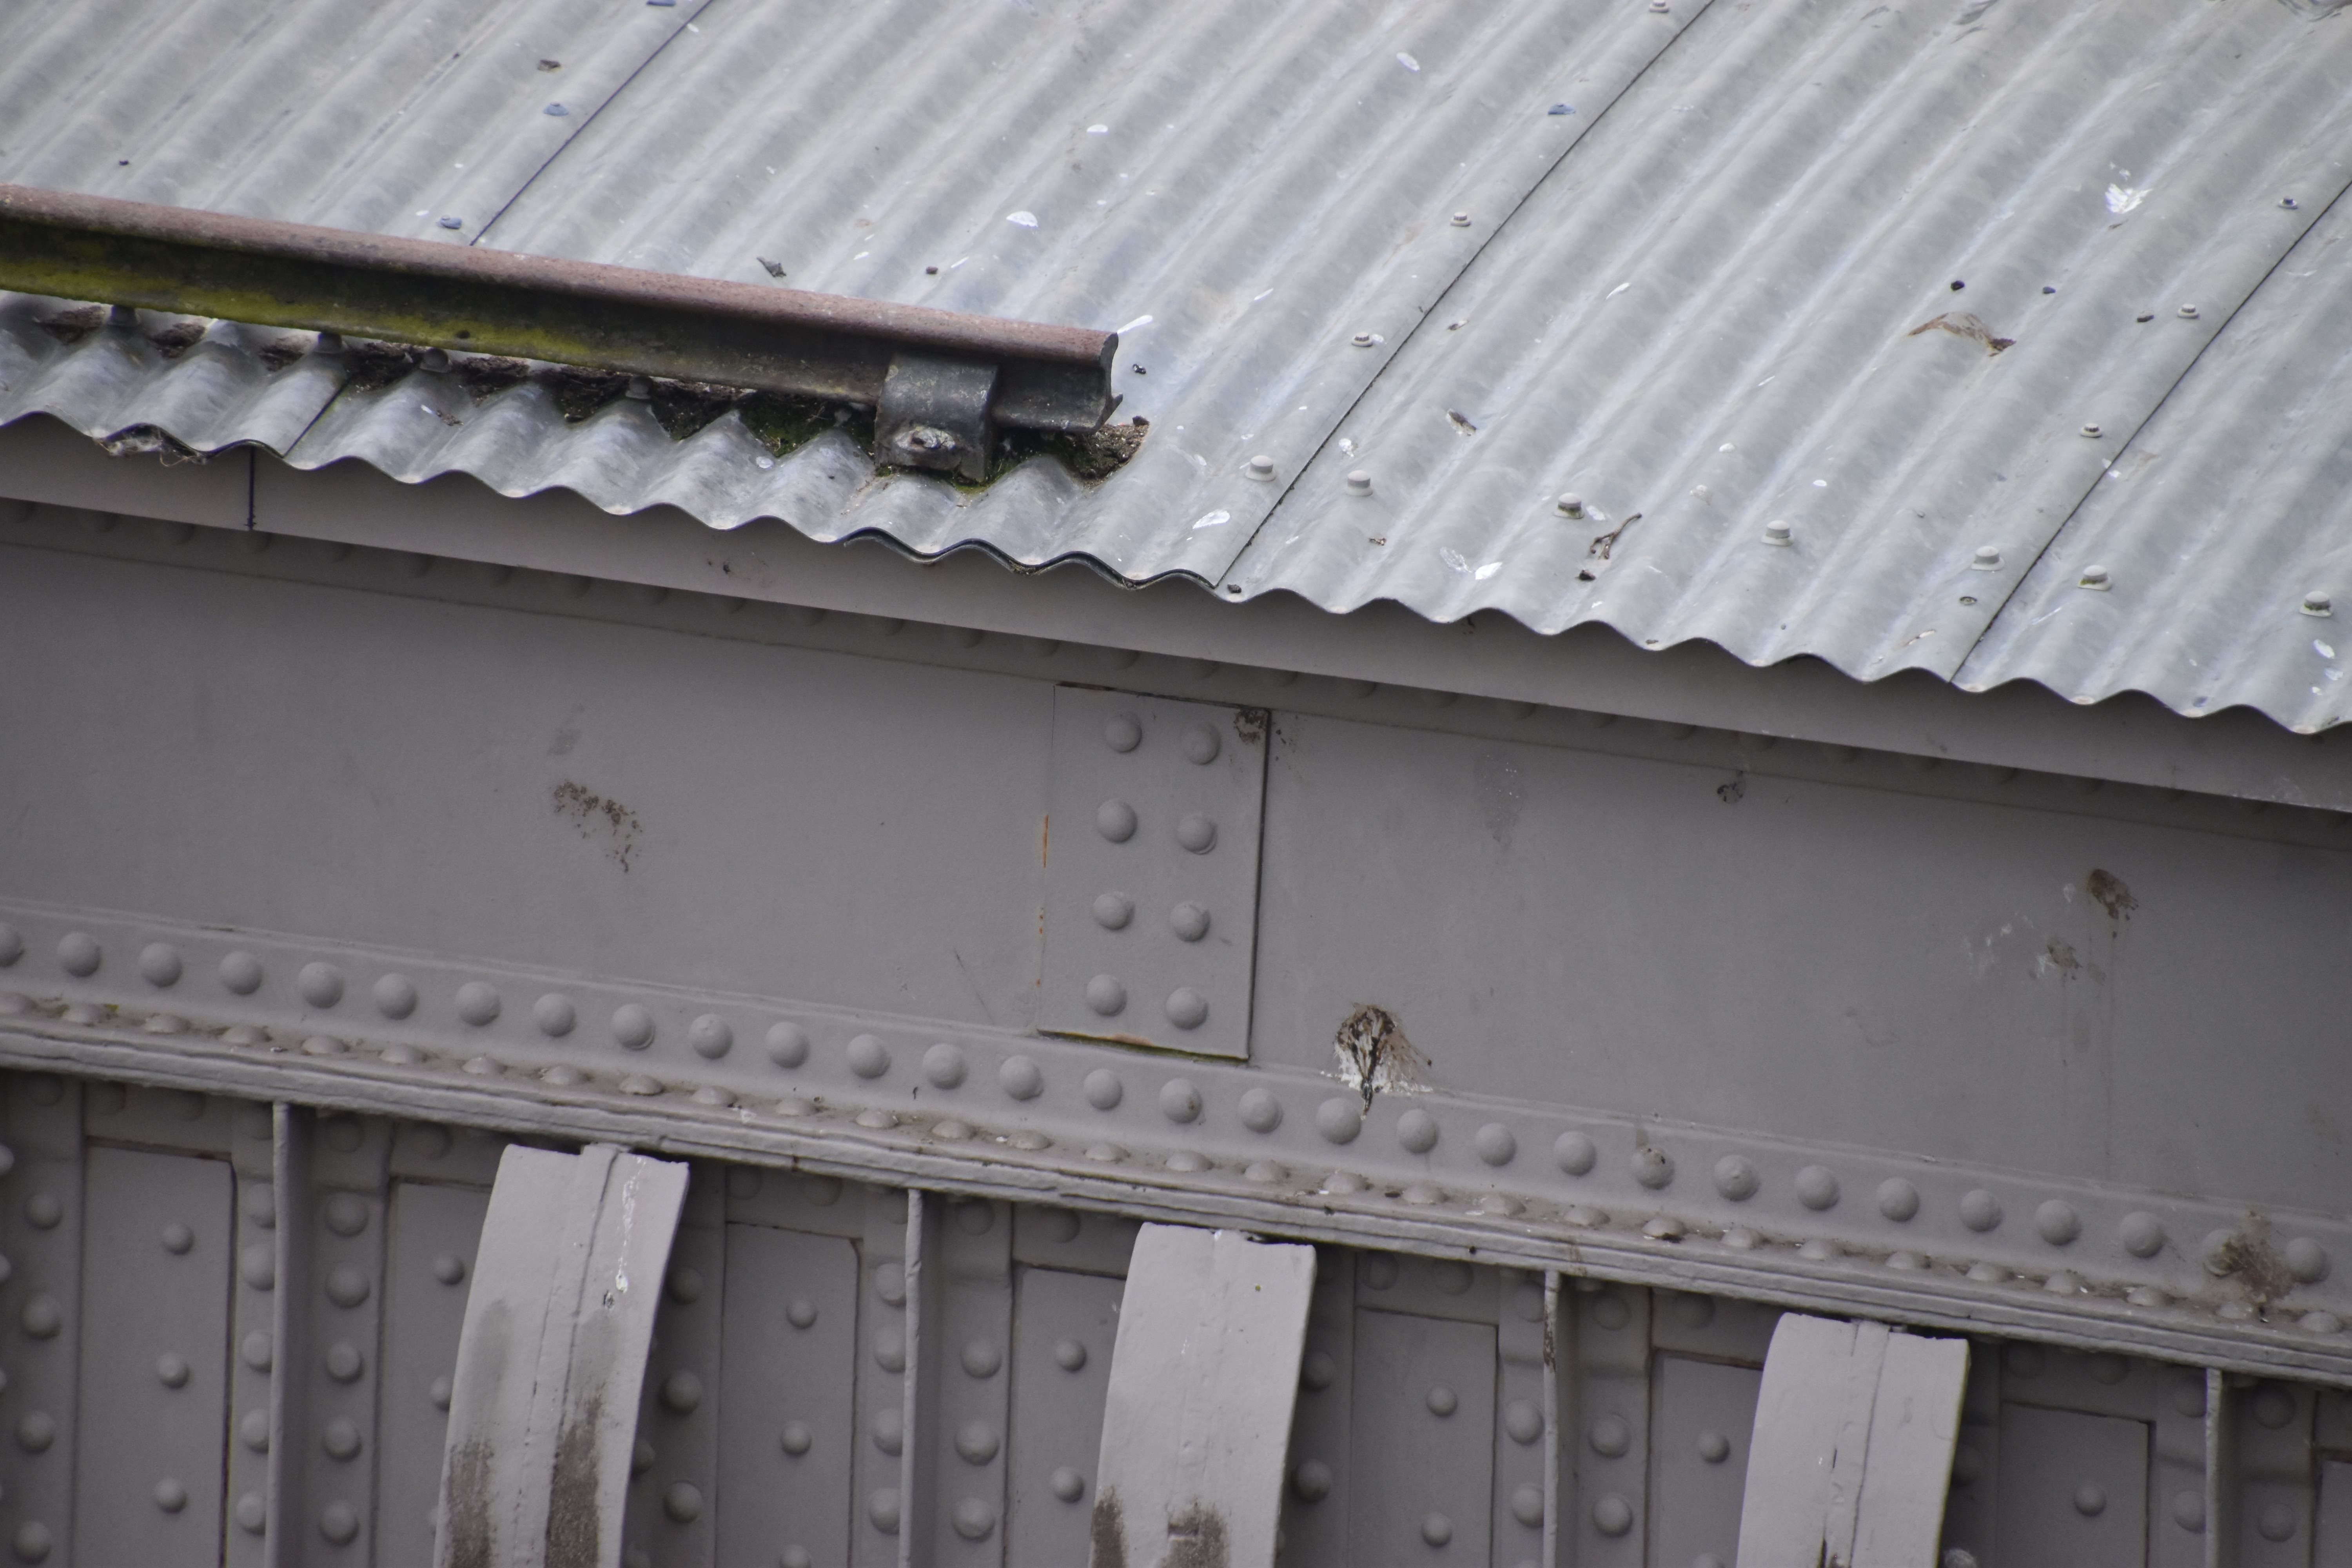
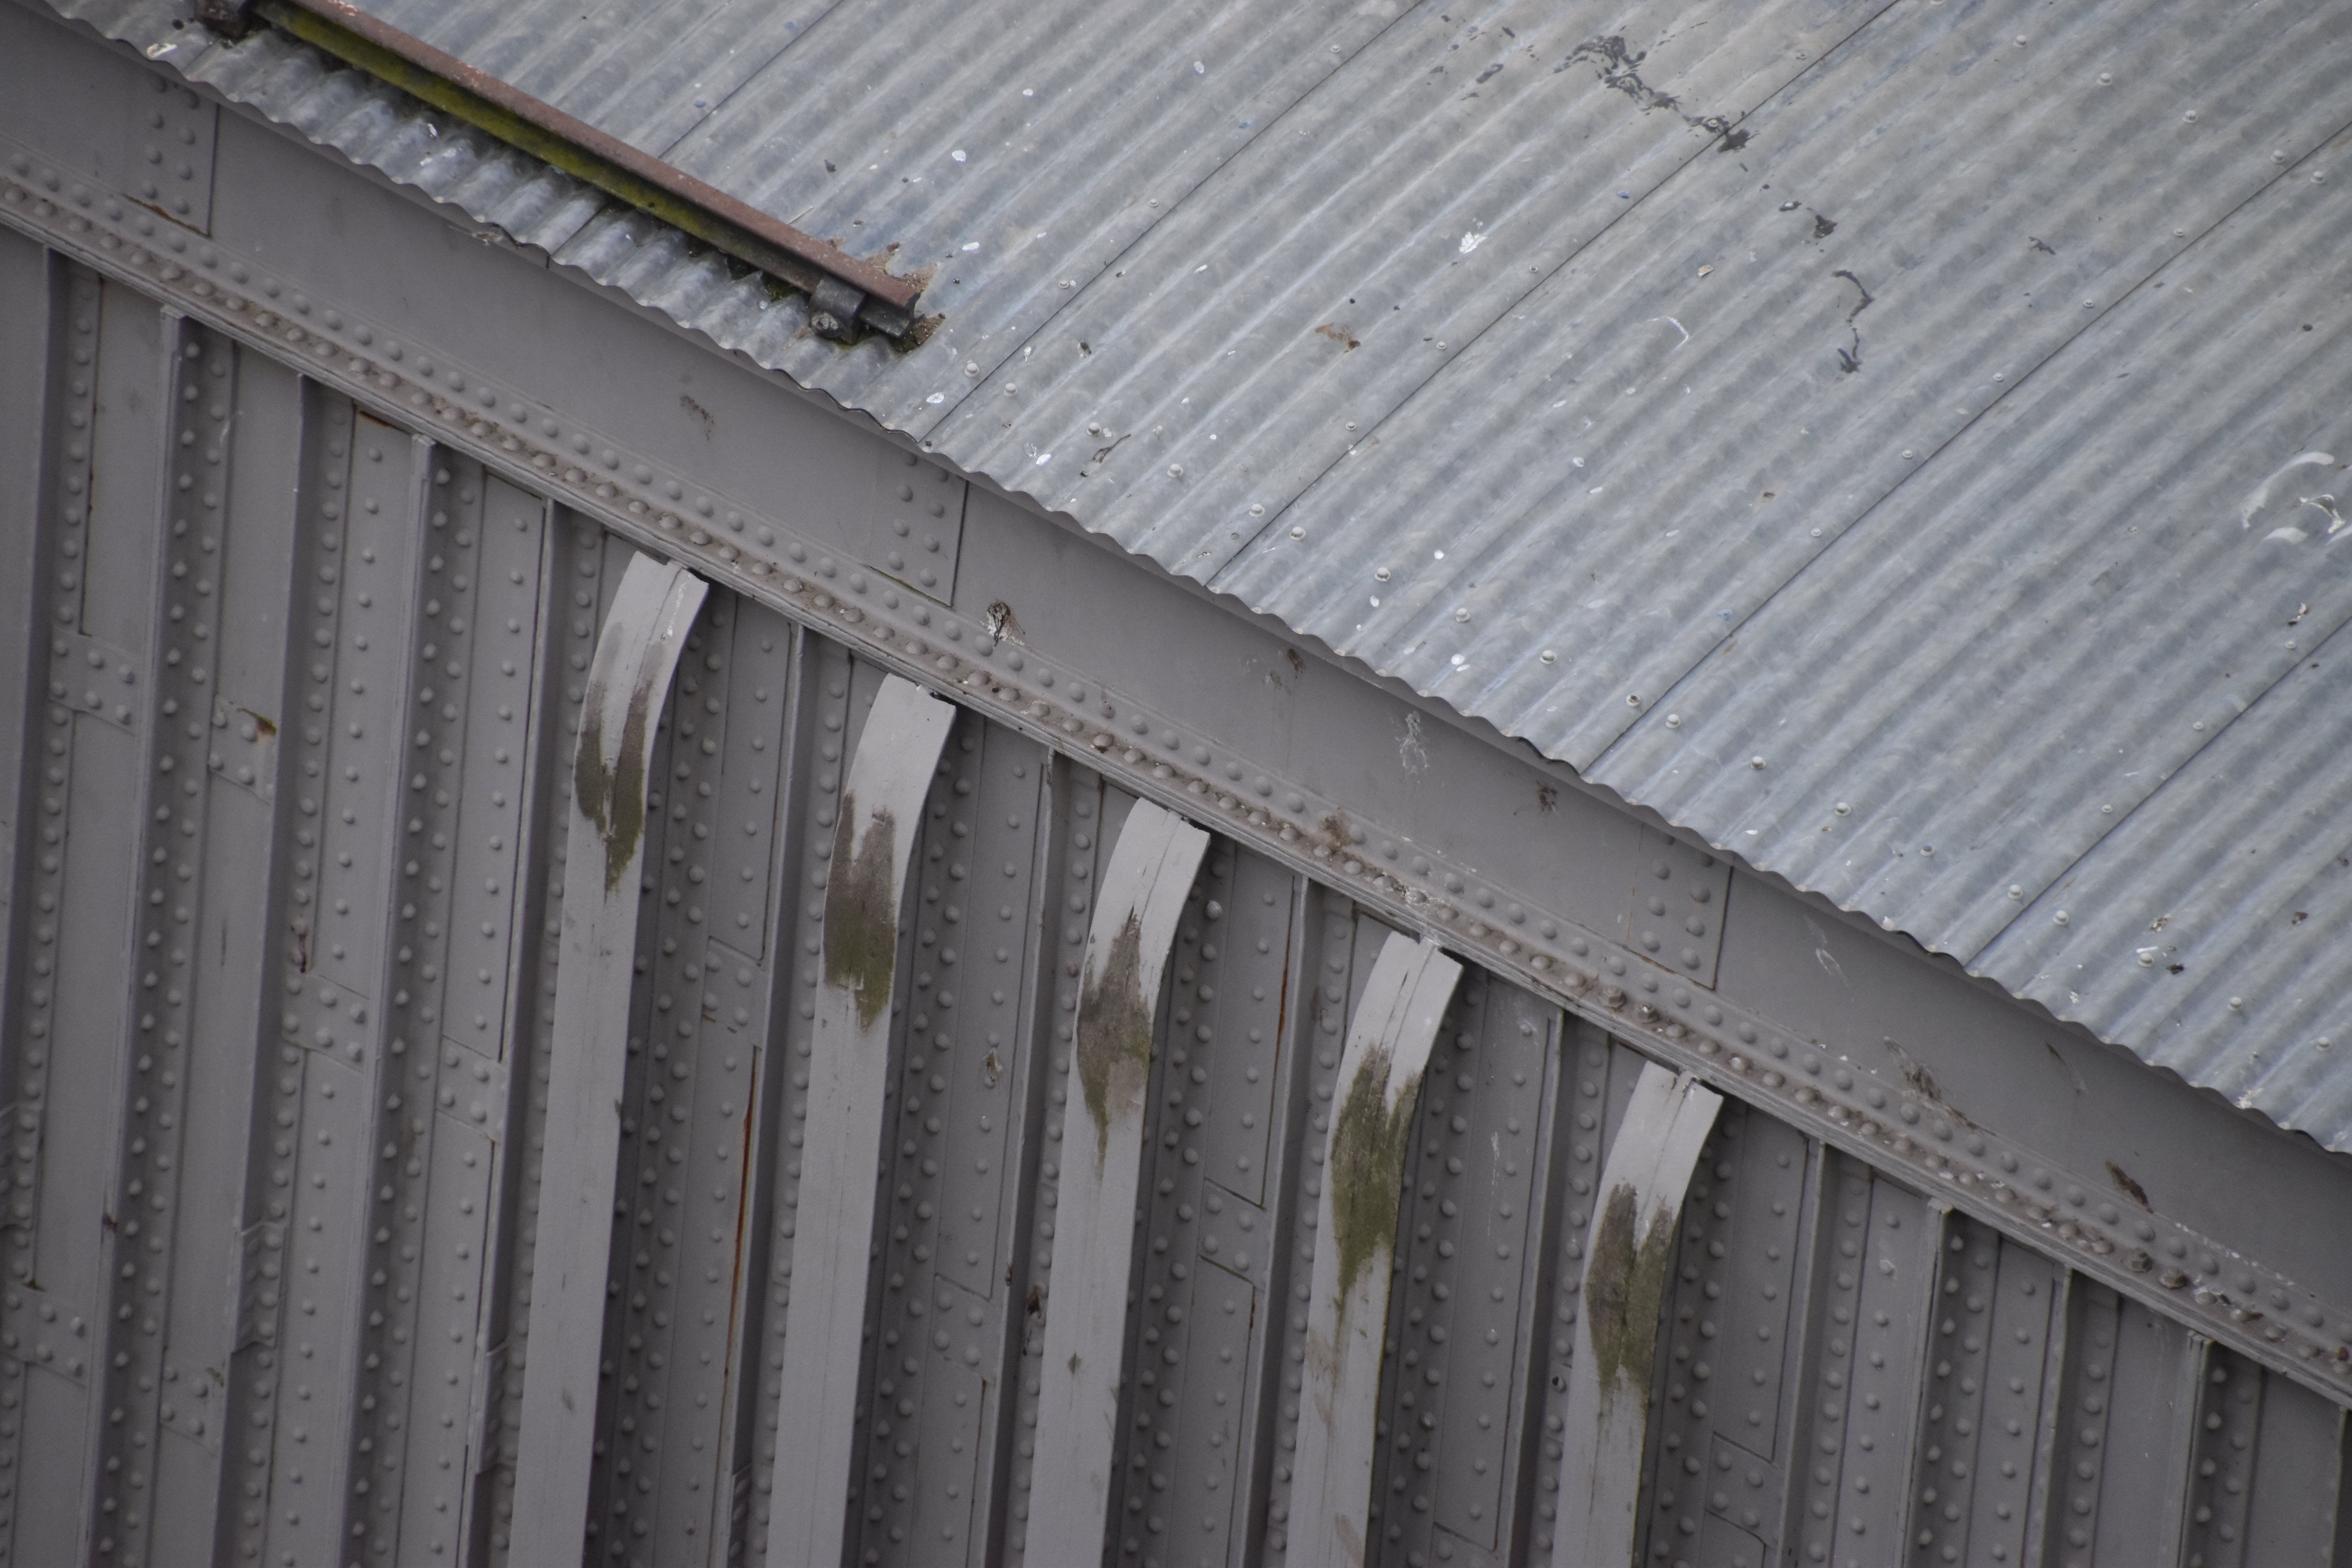
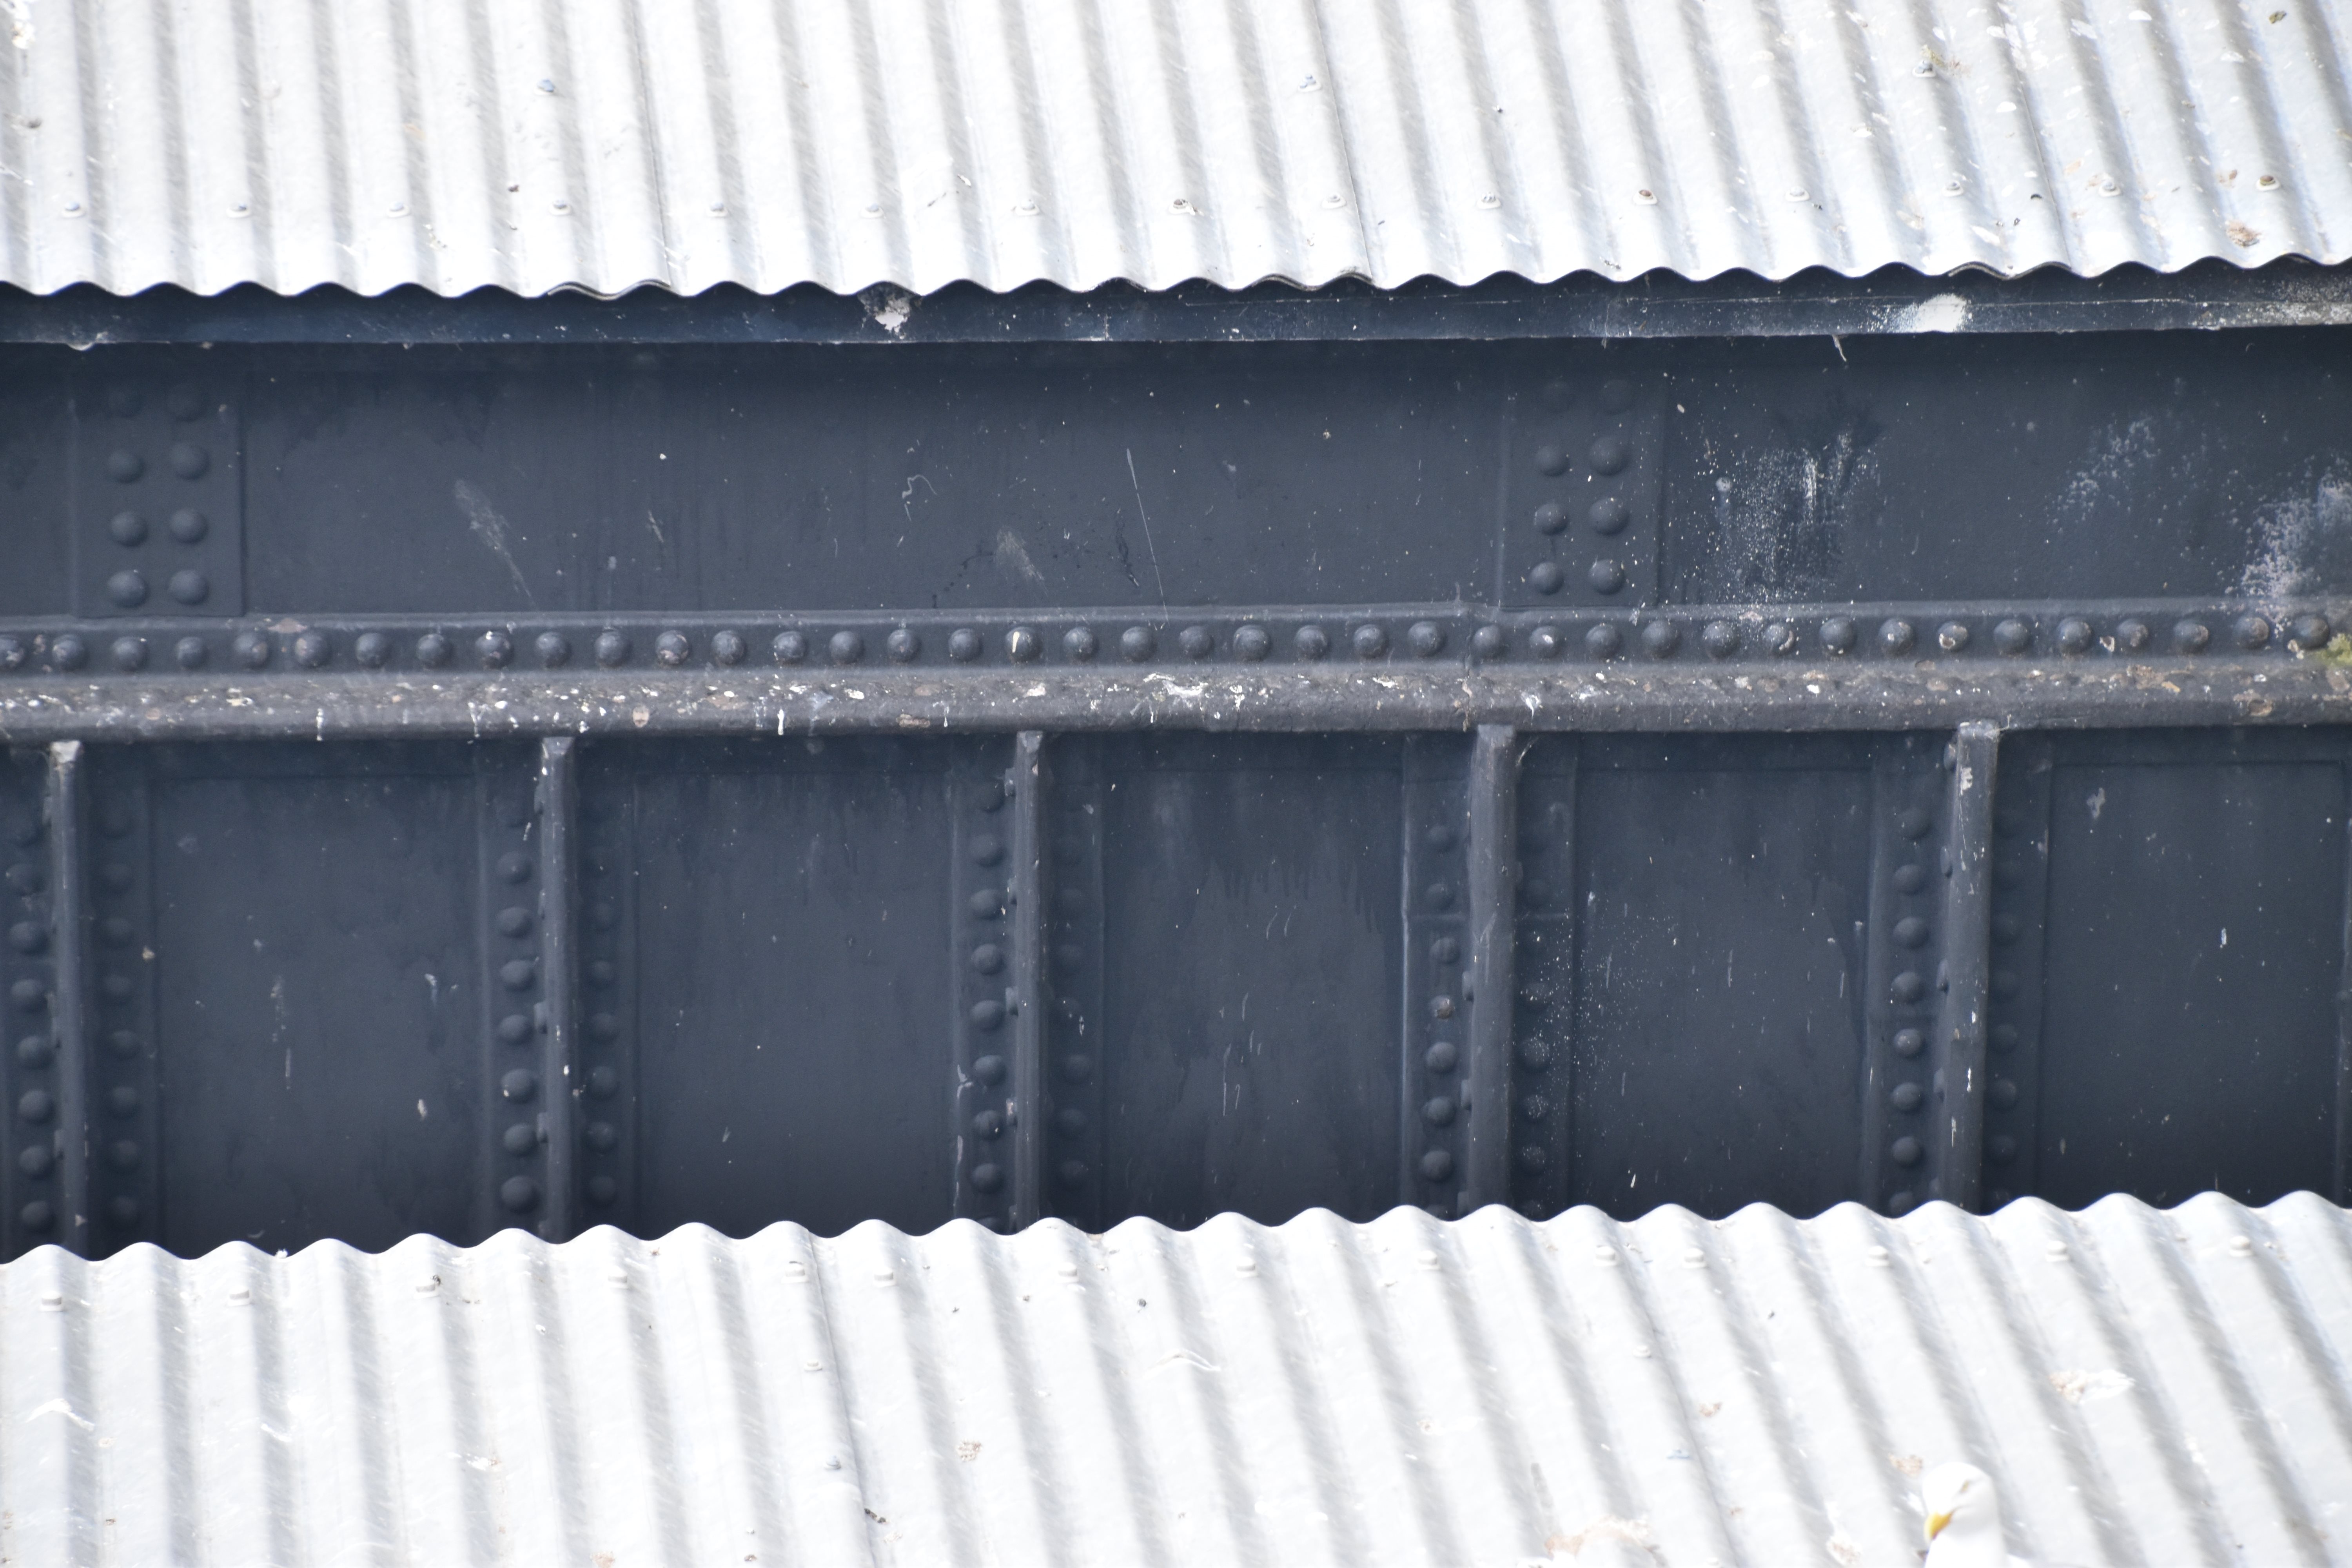
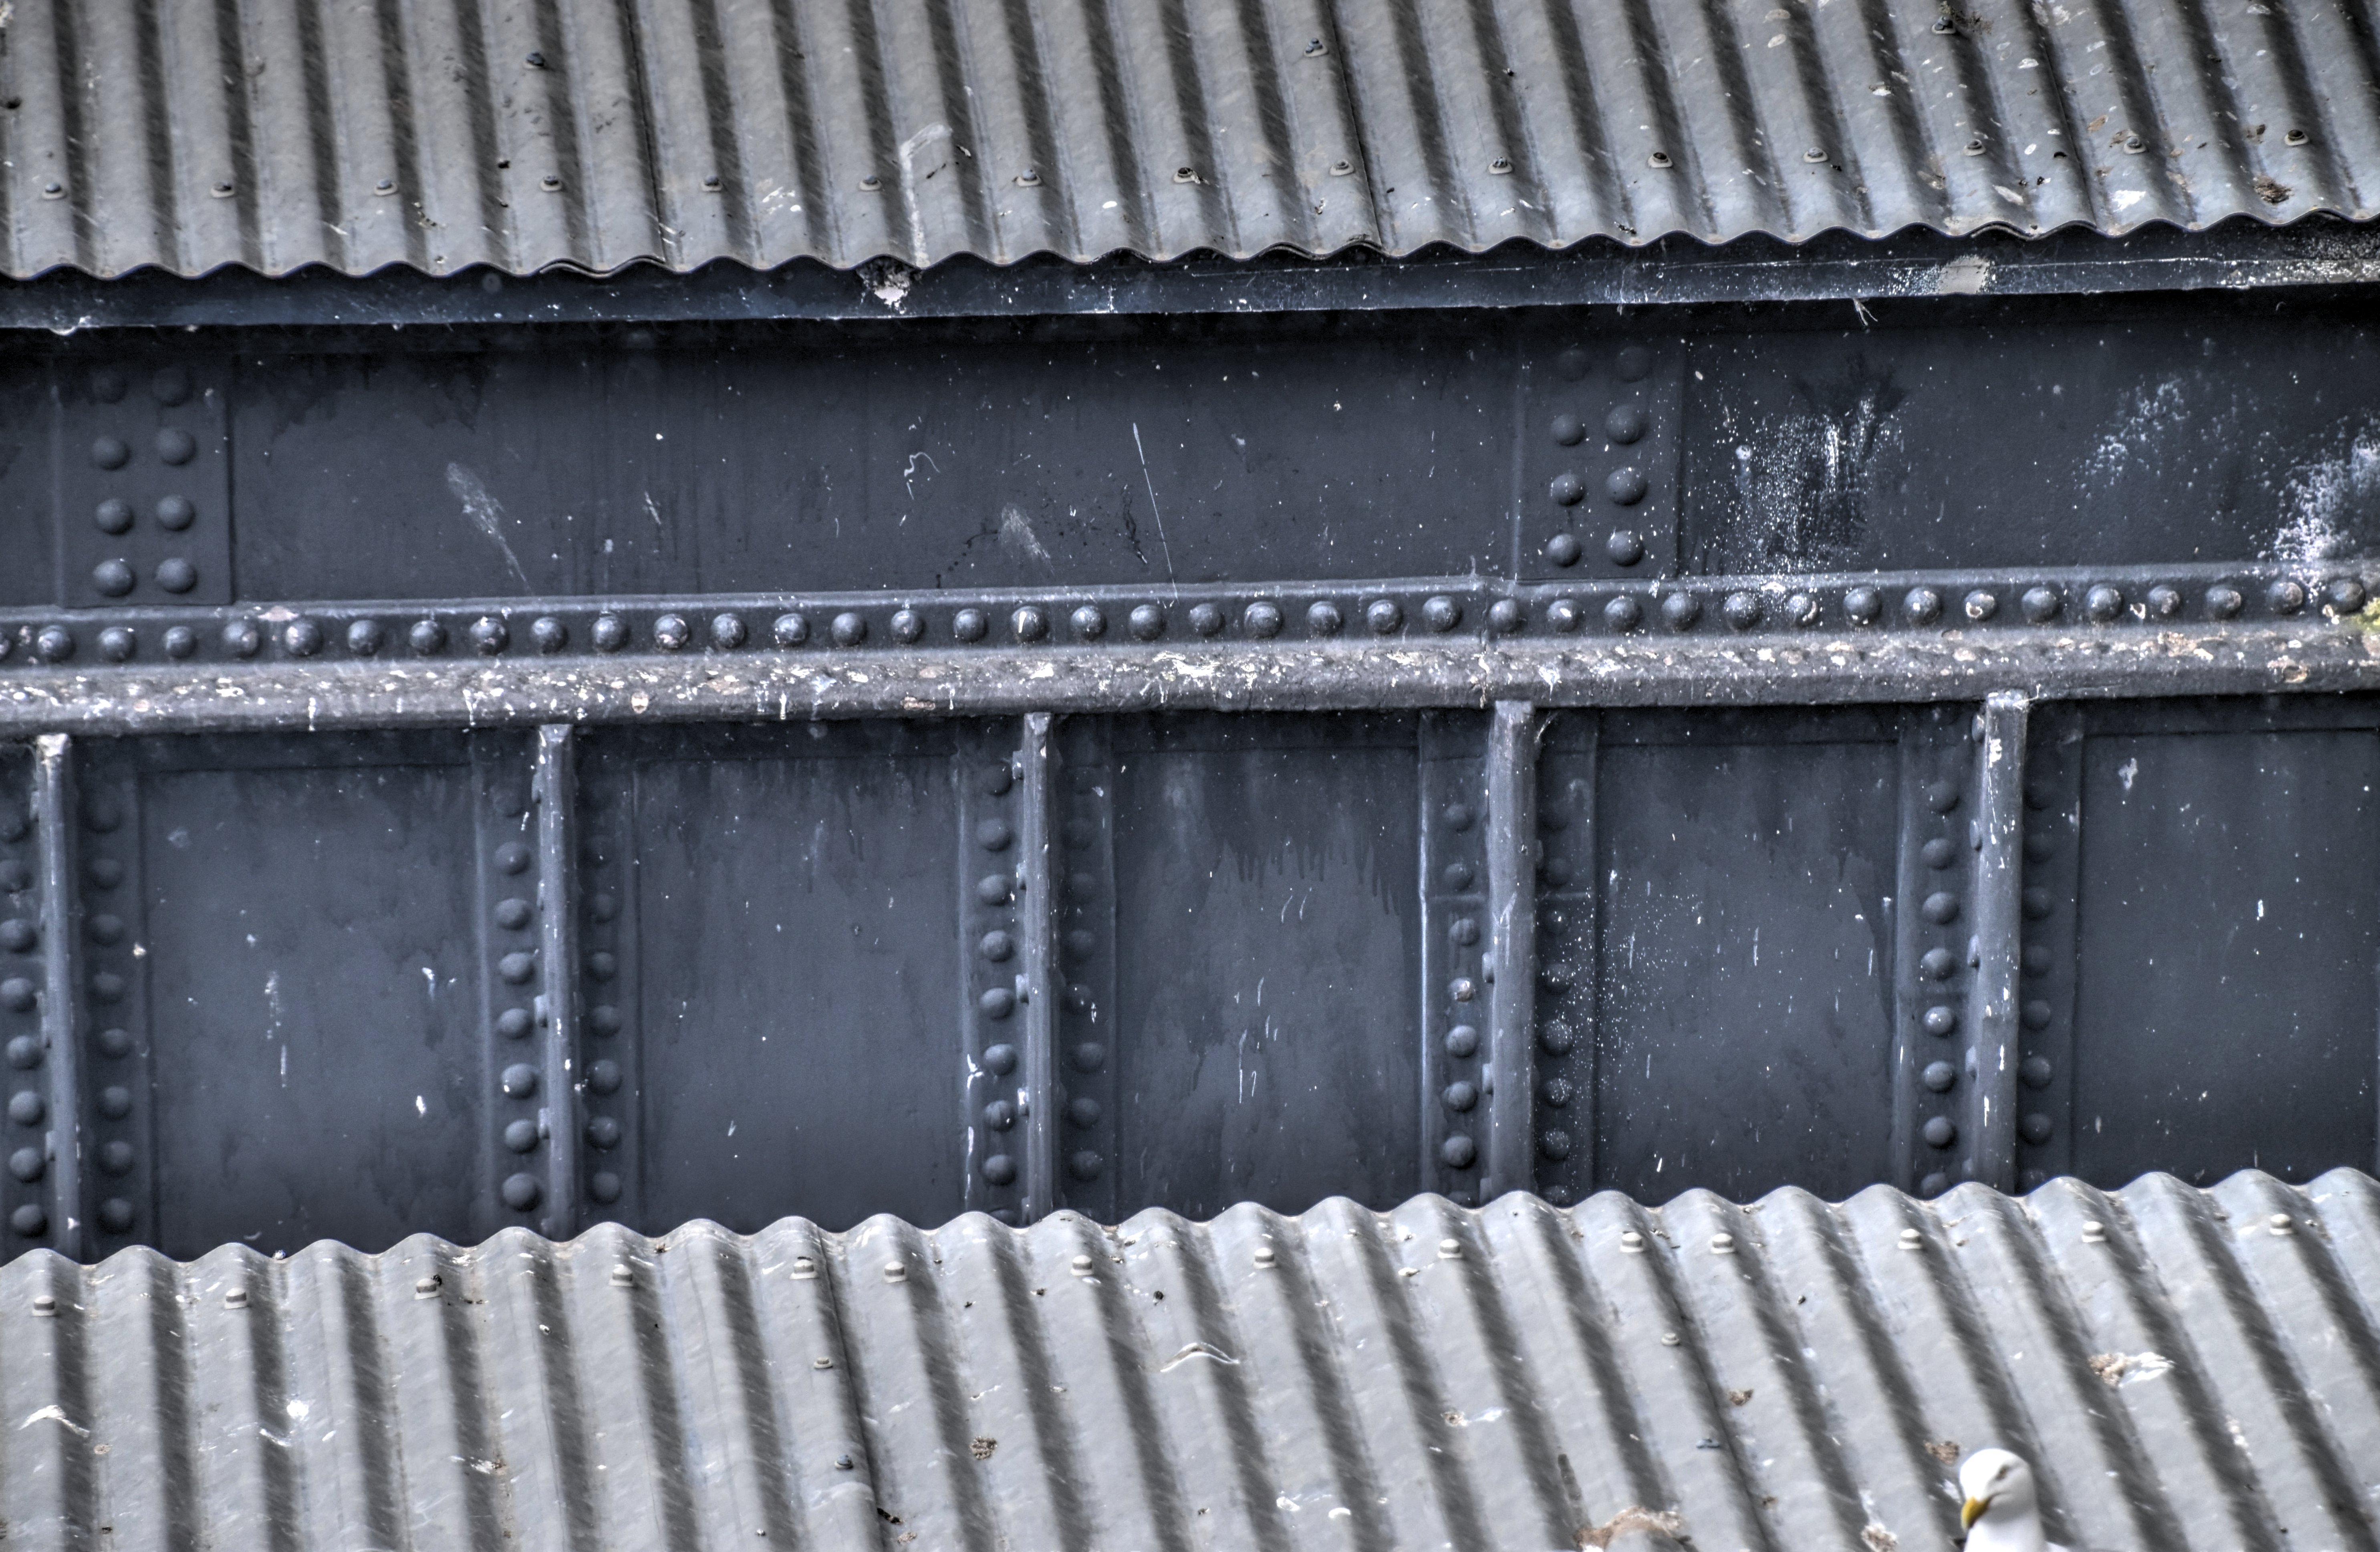
Views of the girder roof.
![]()


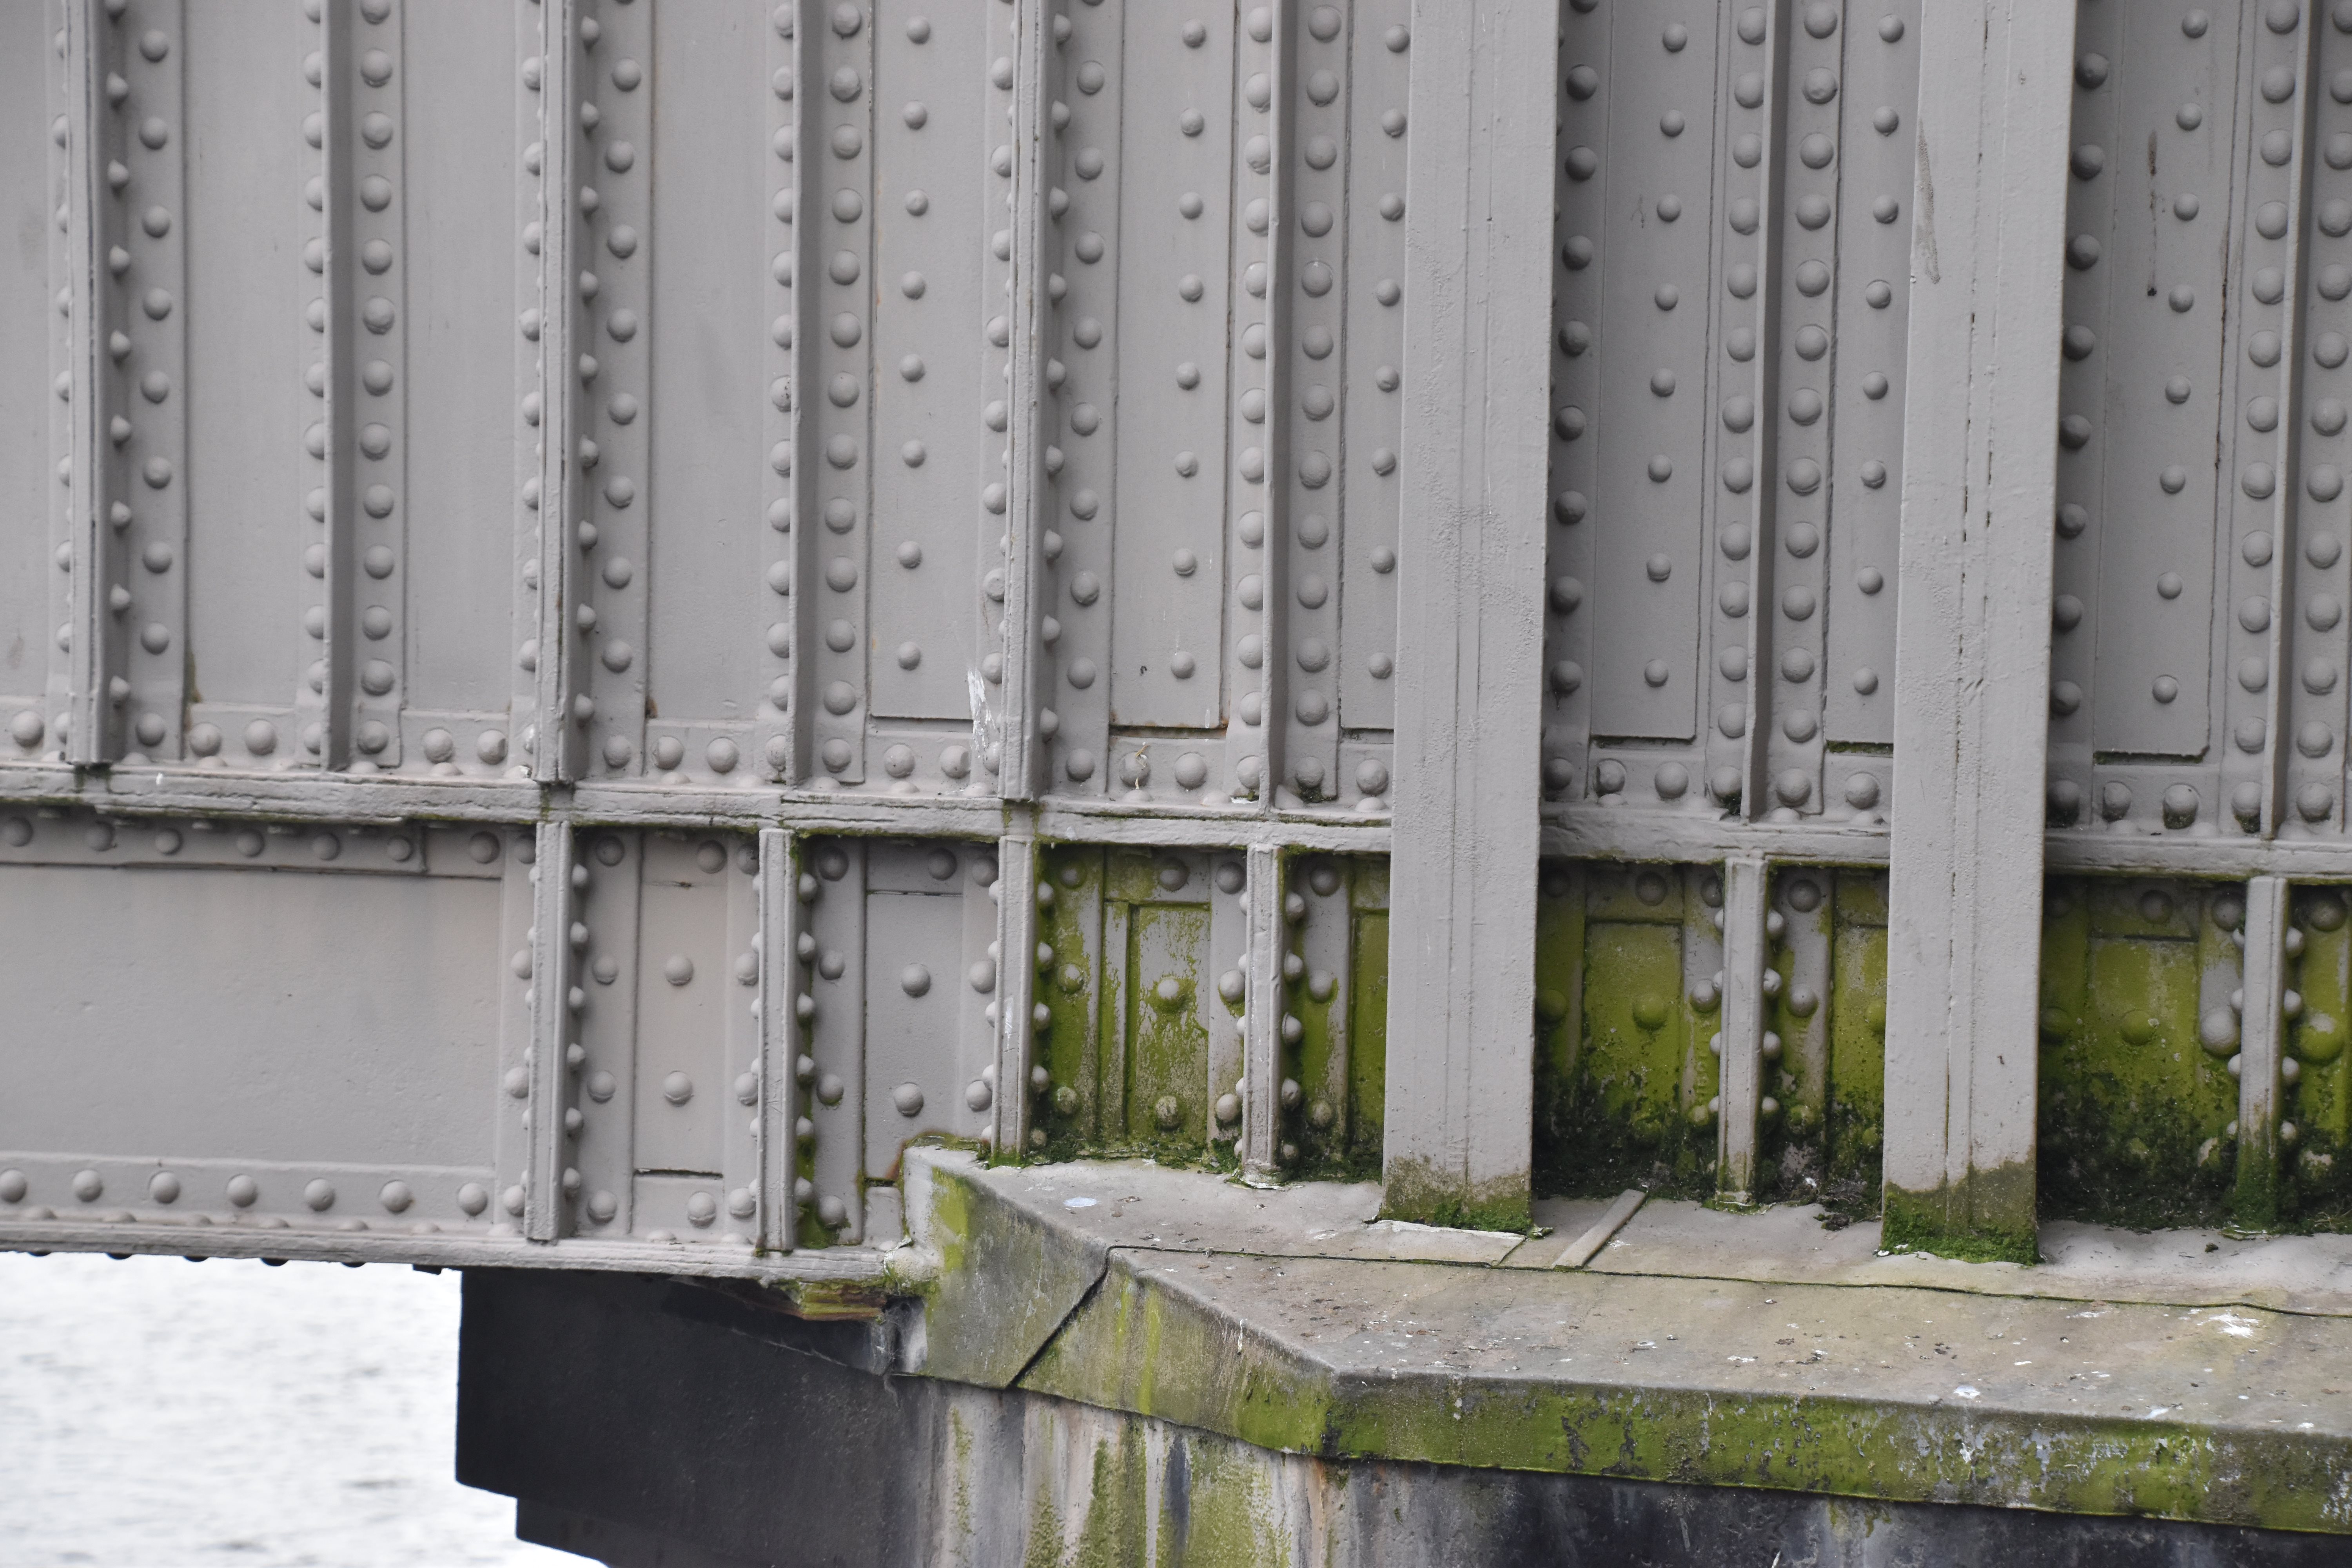

Bearing at pier.
![]()

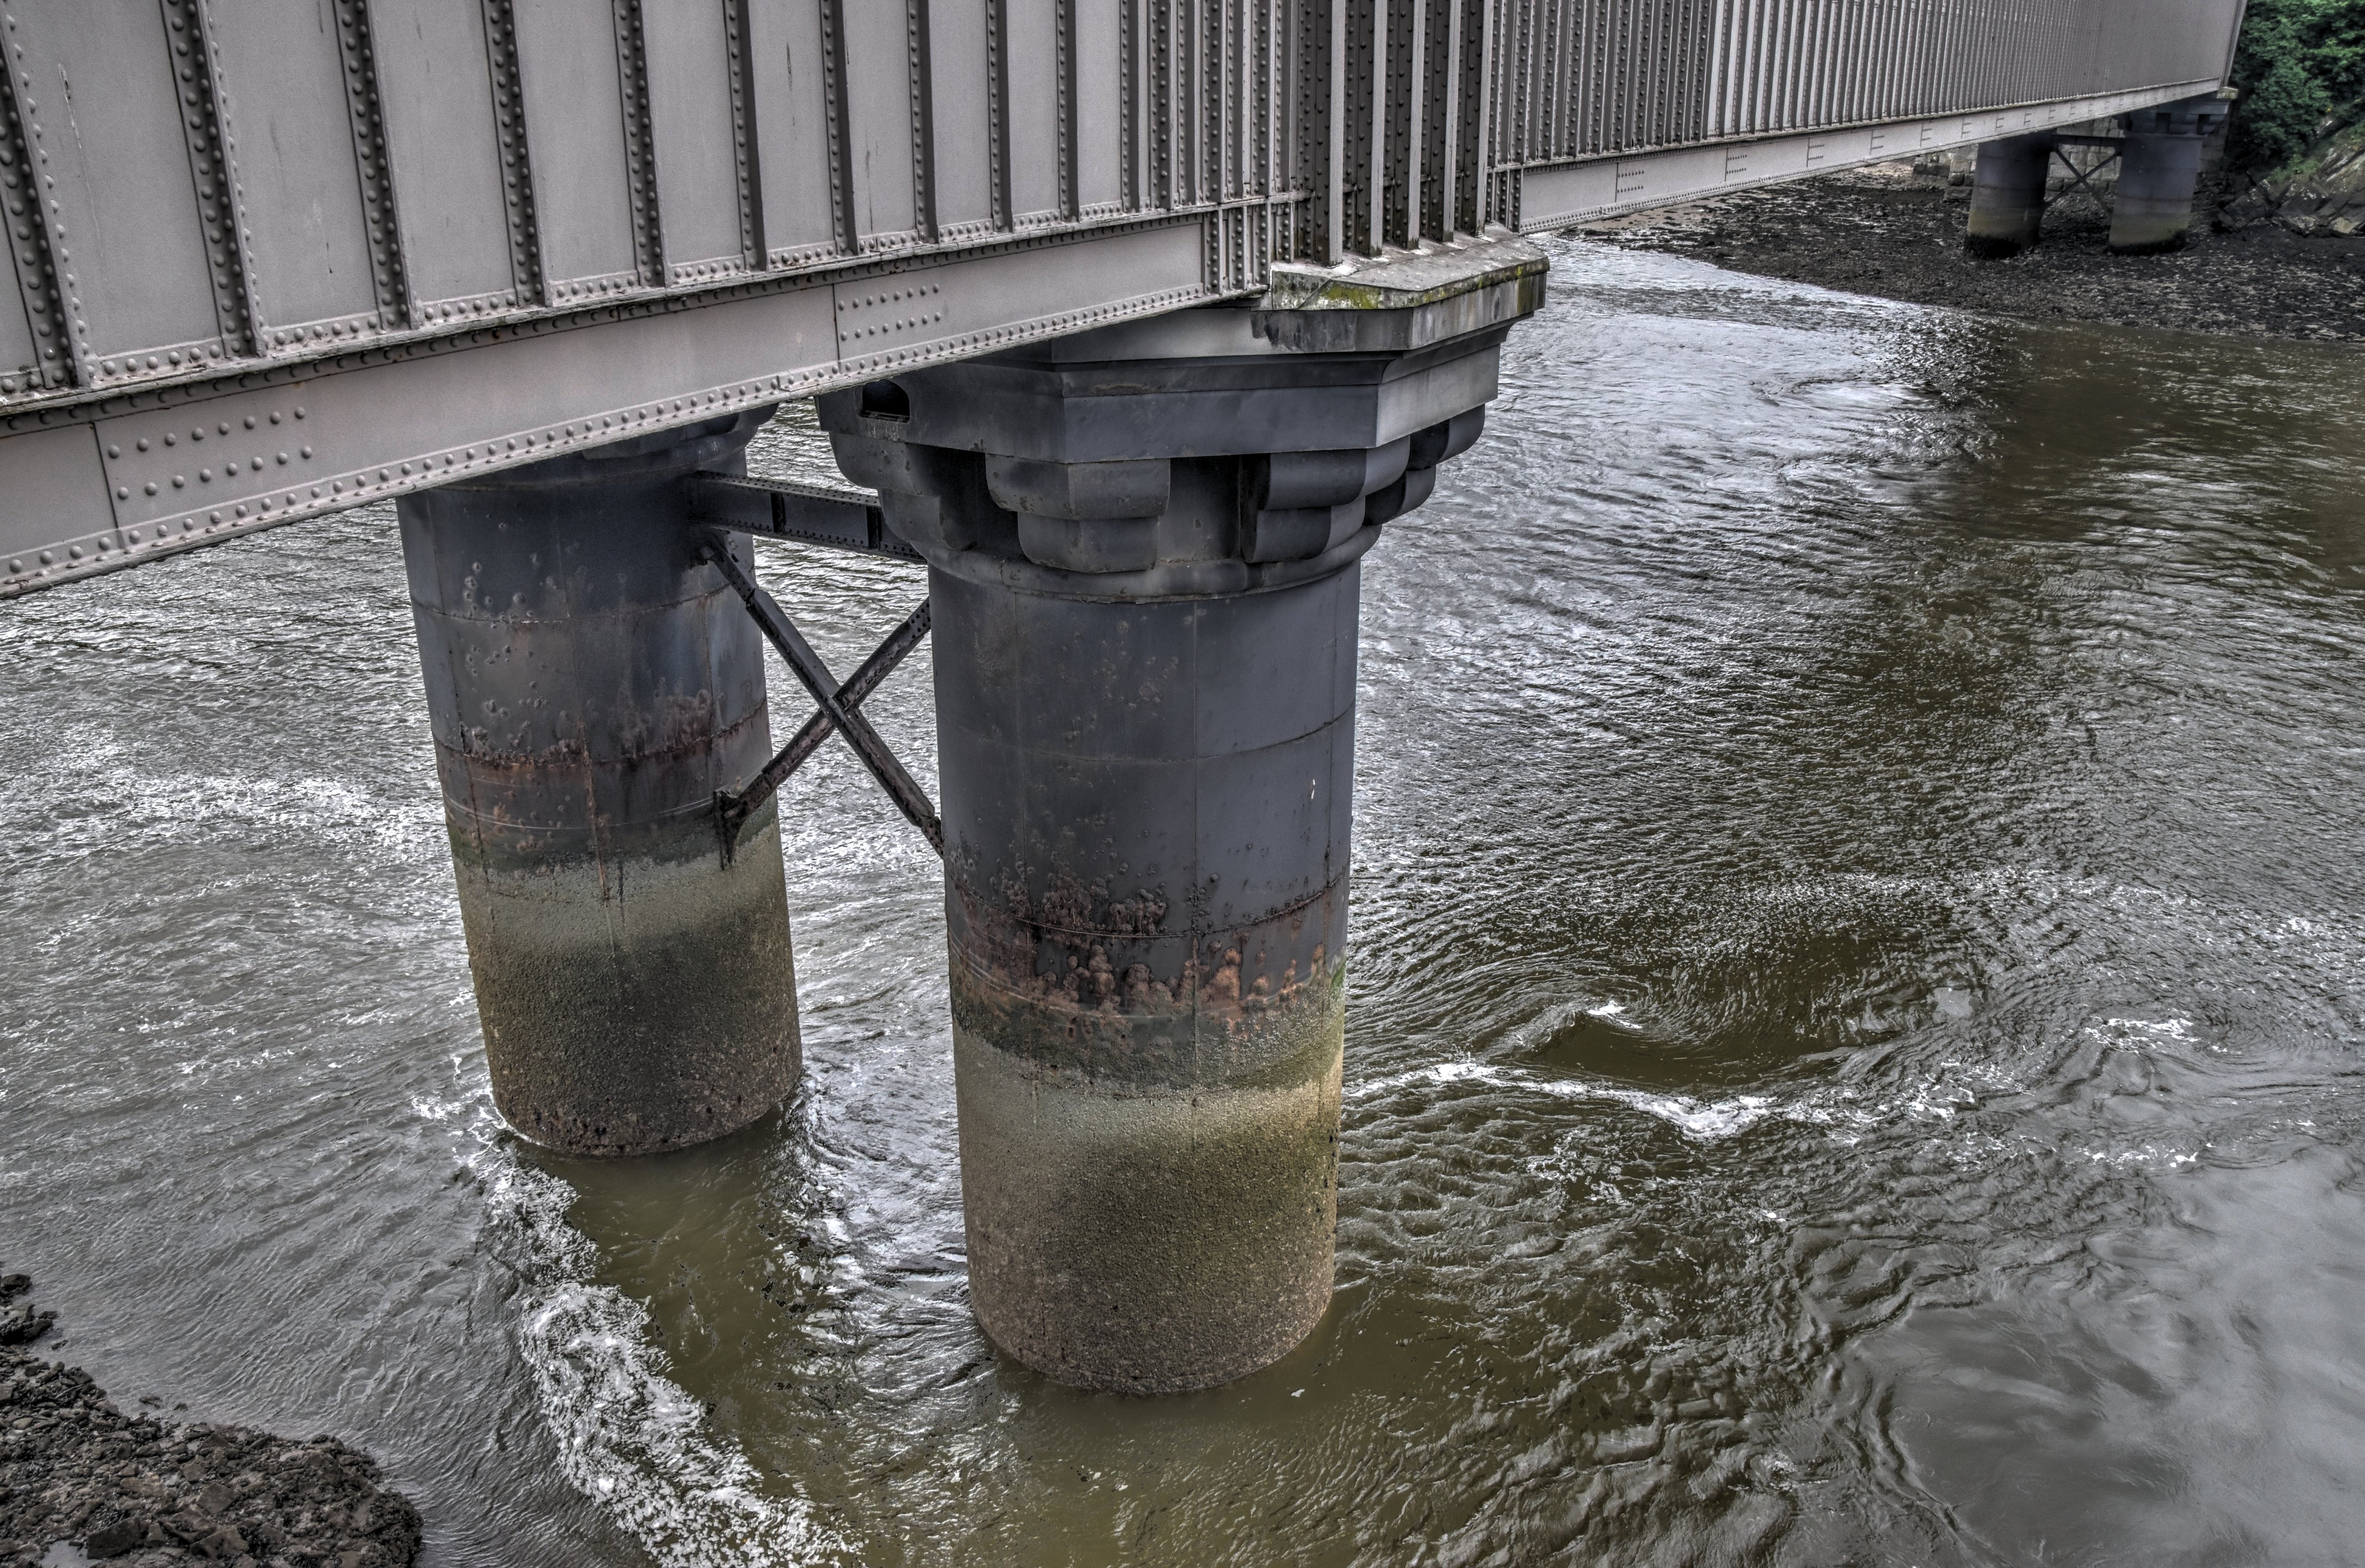


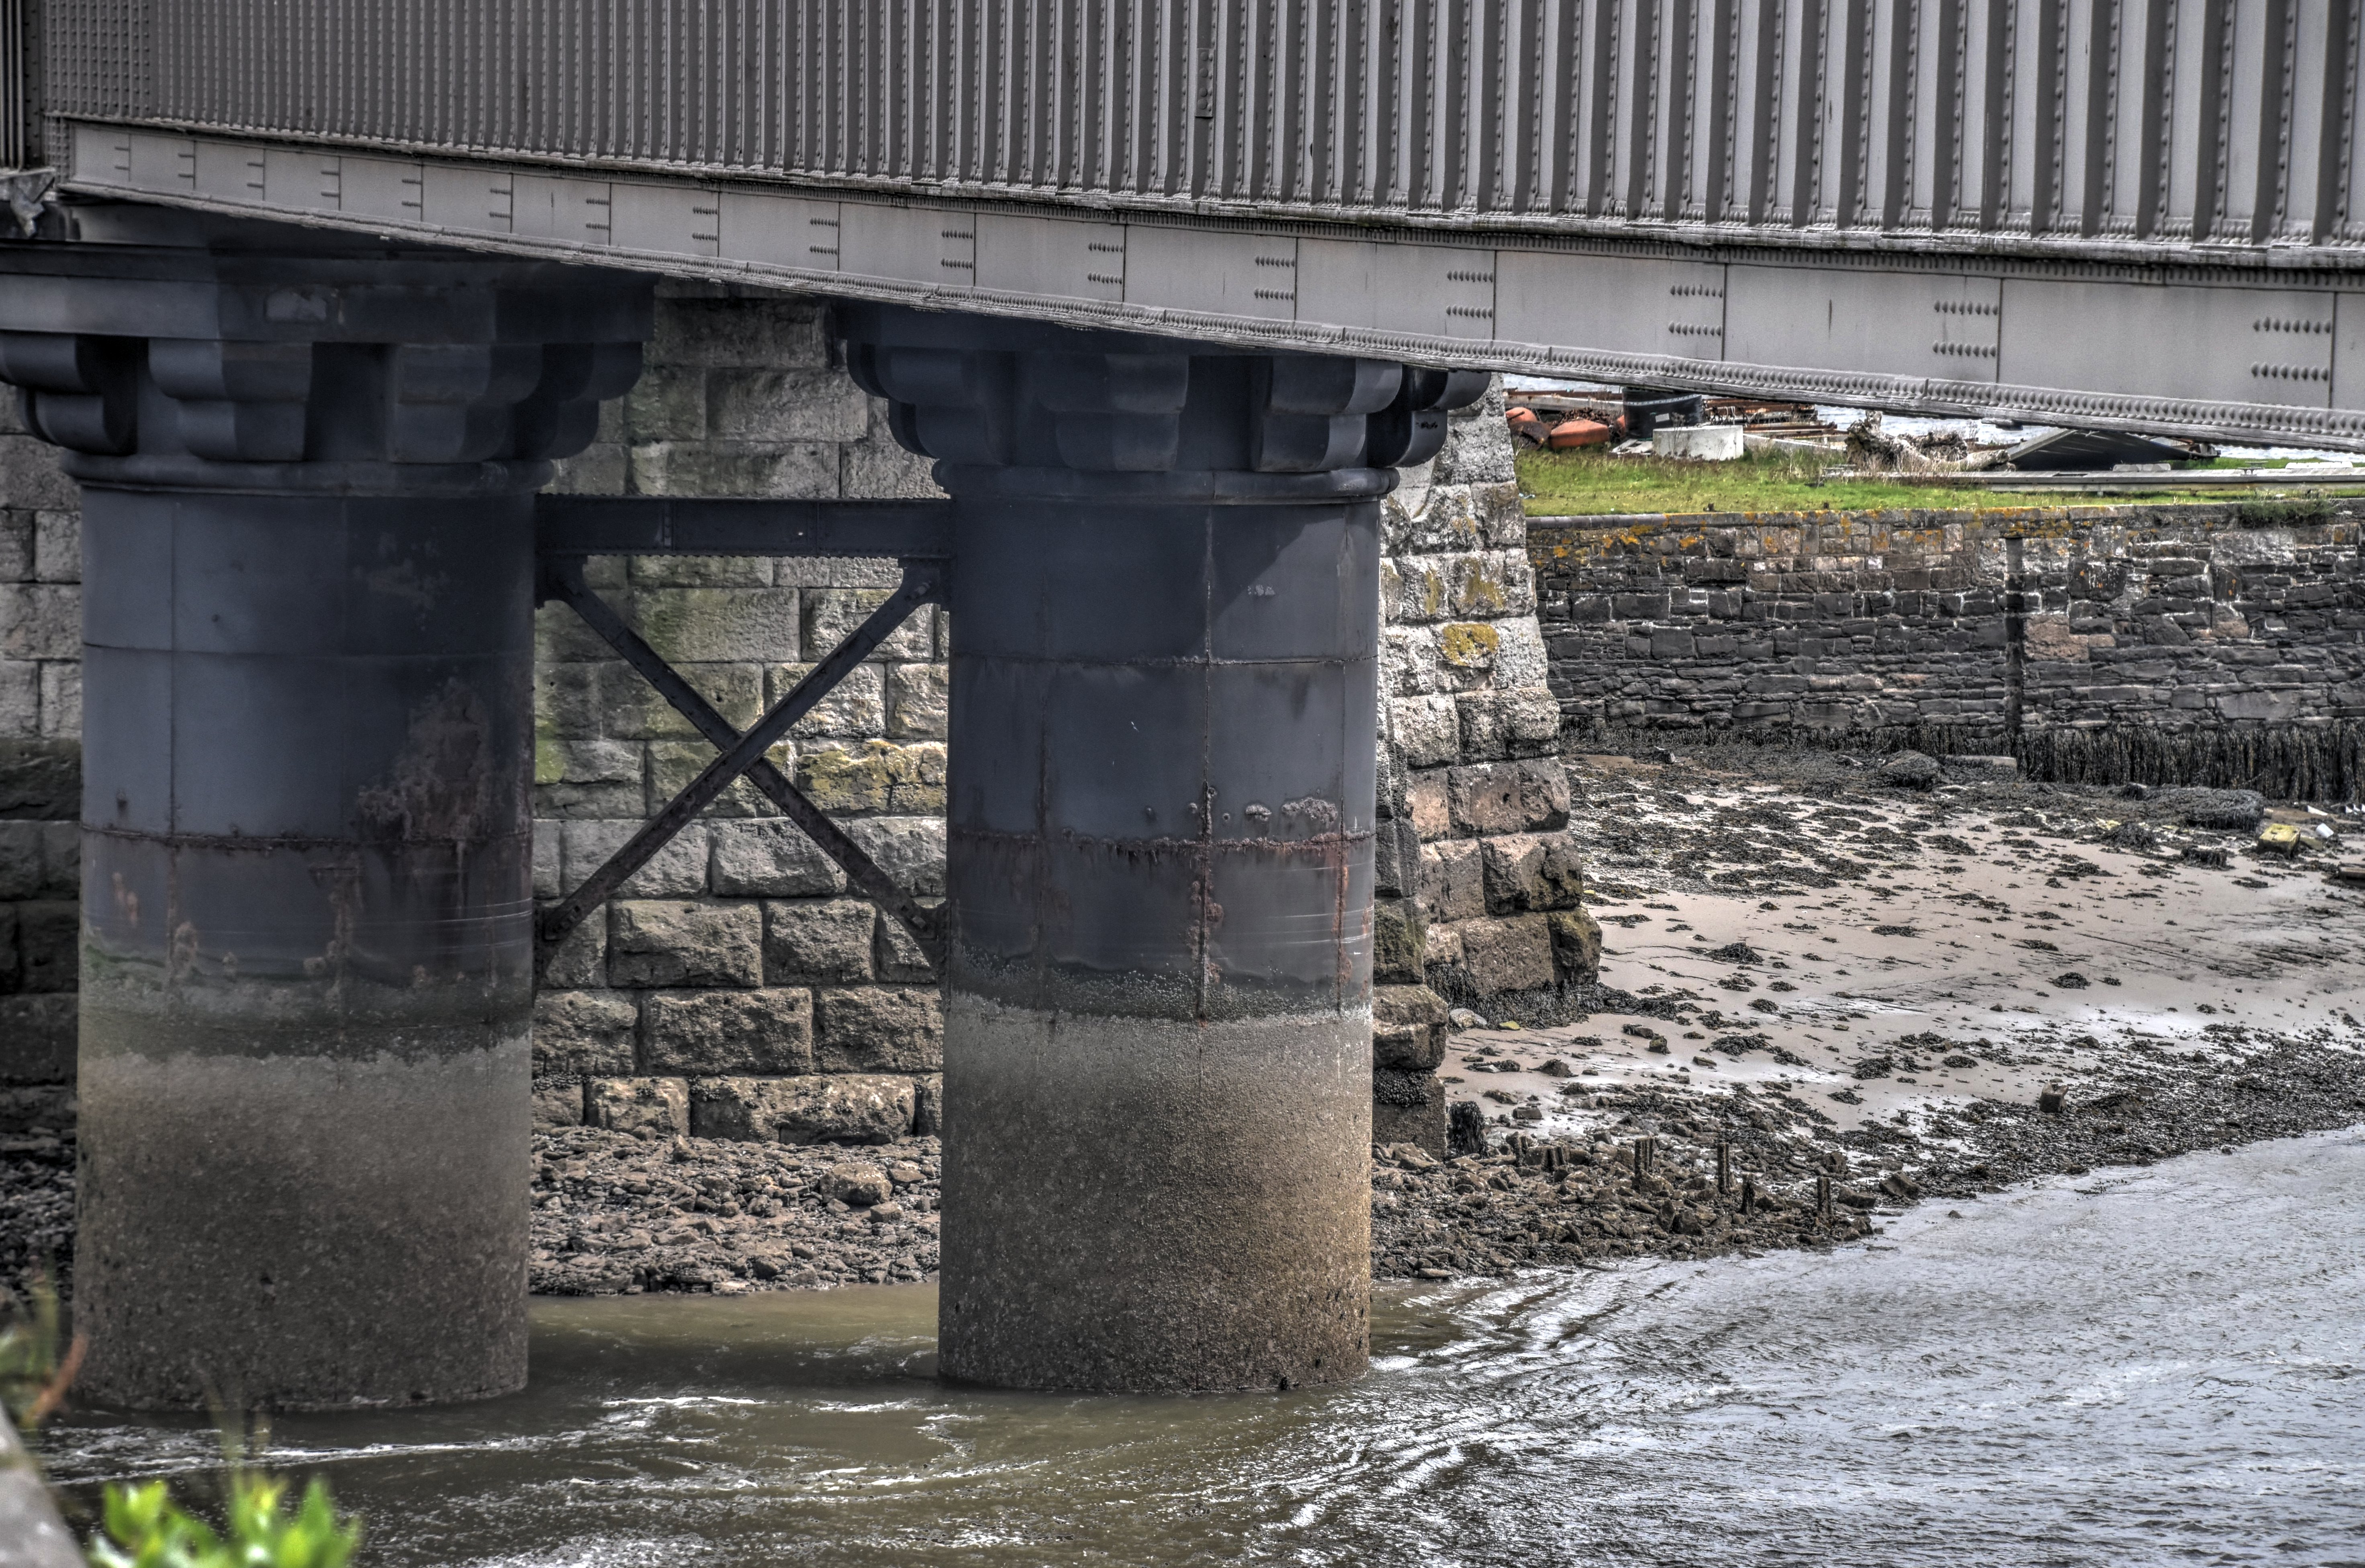
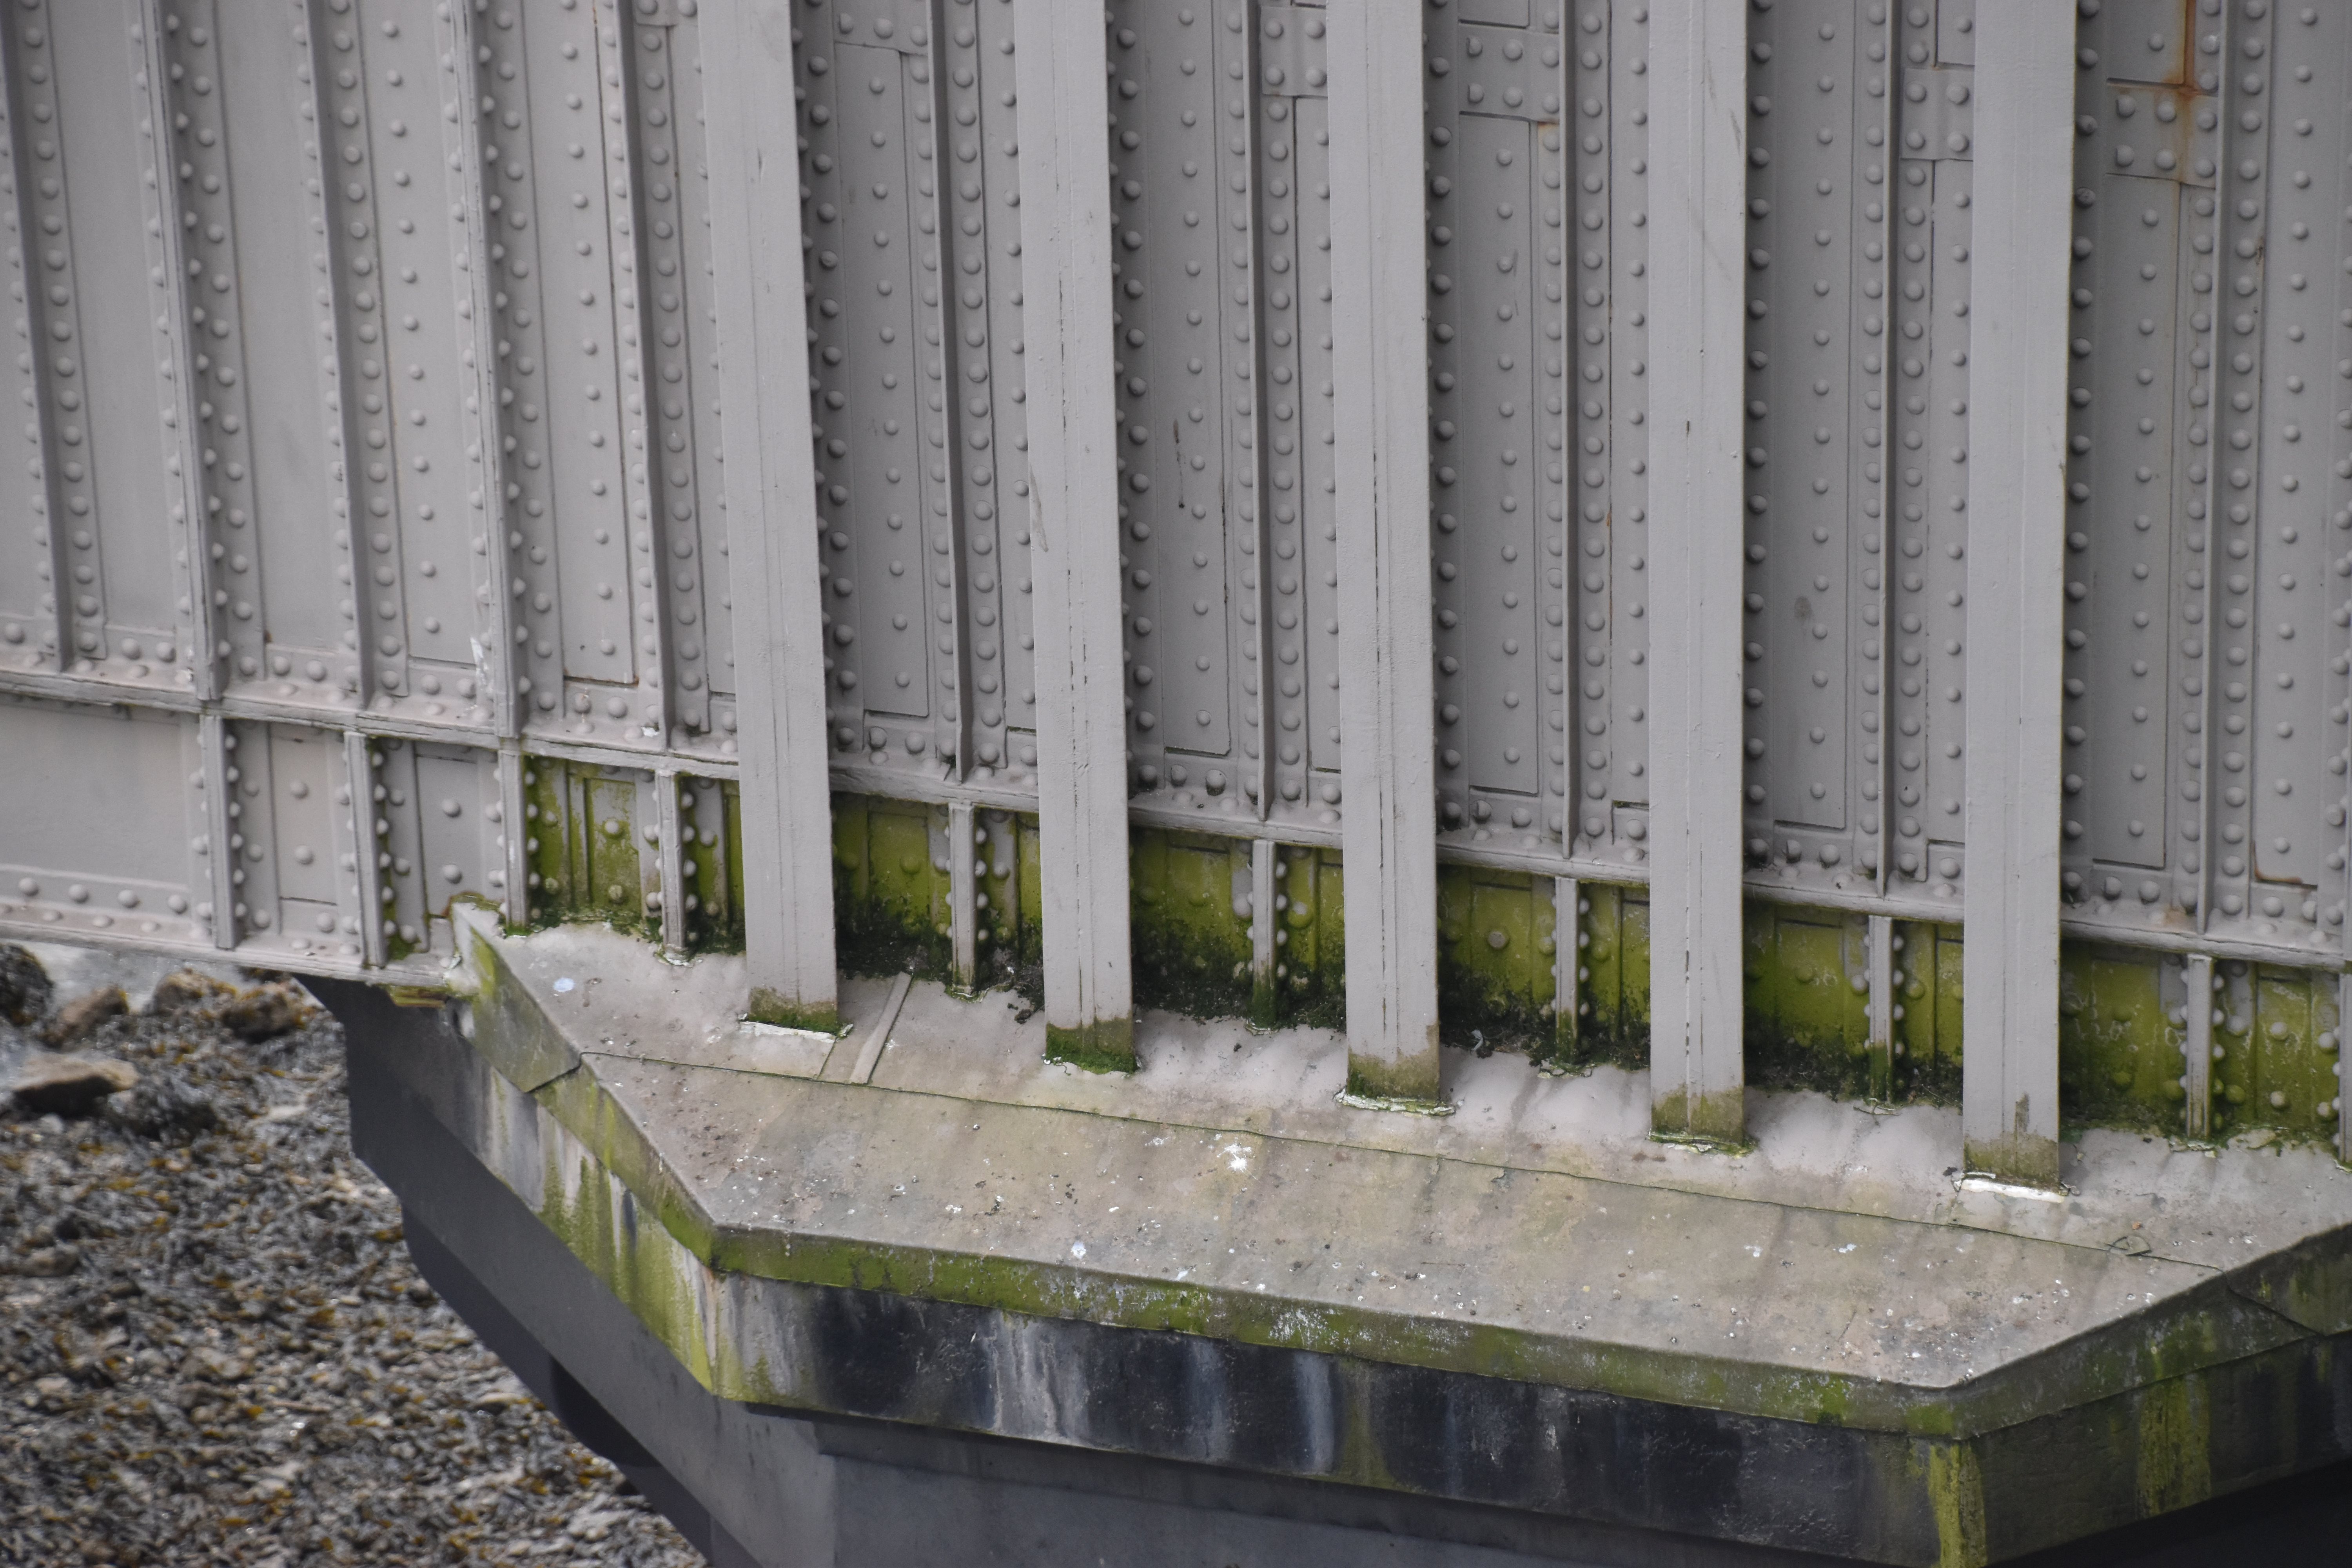
Pier overview.
![]()
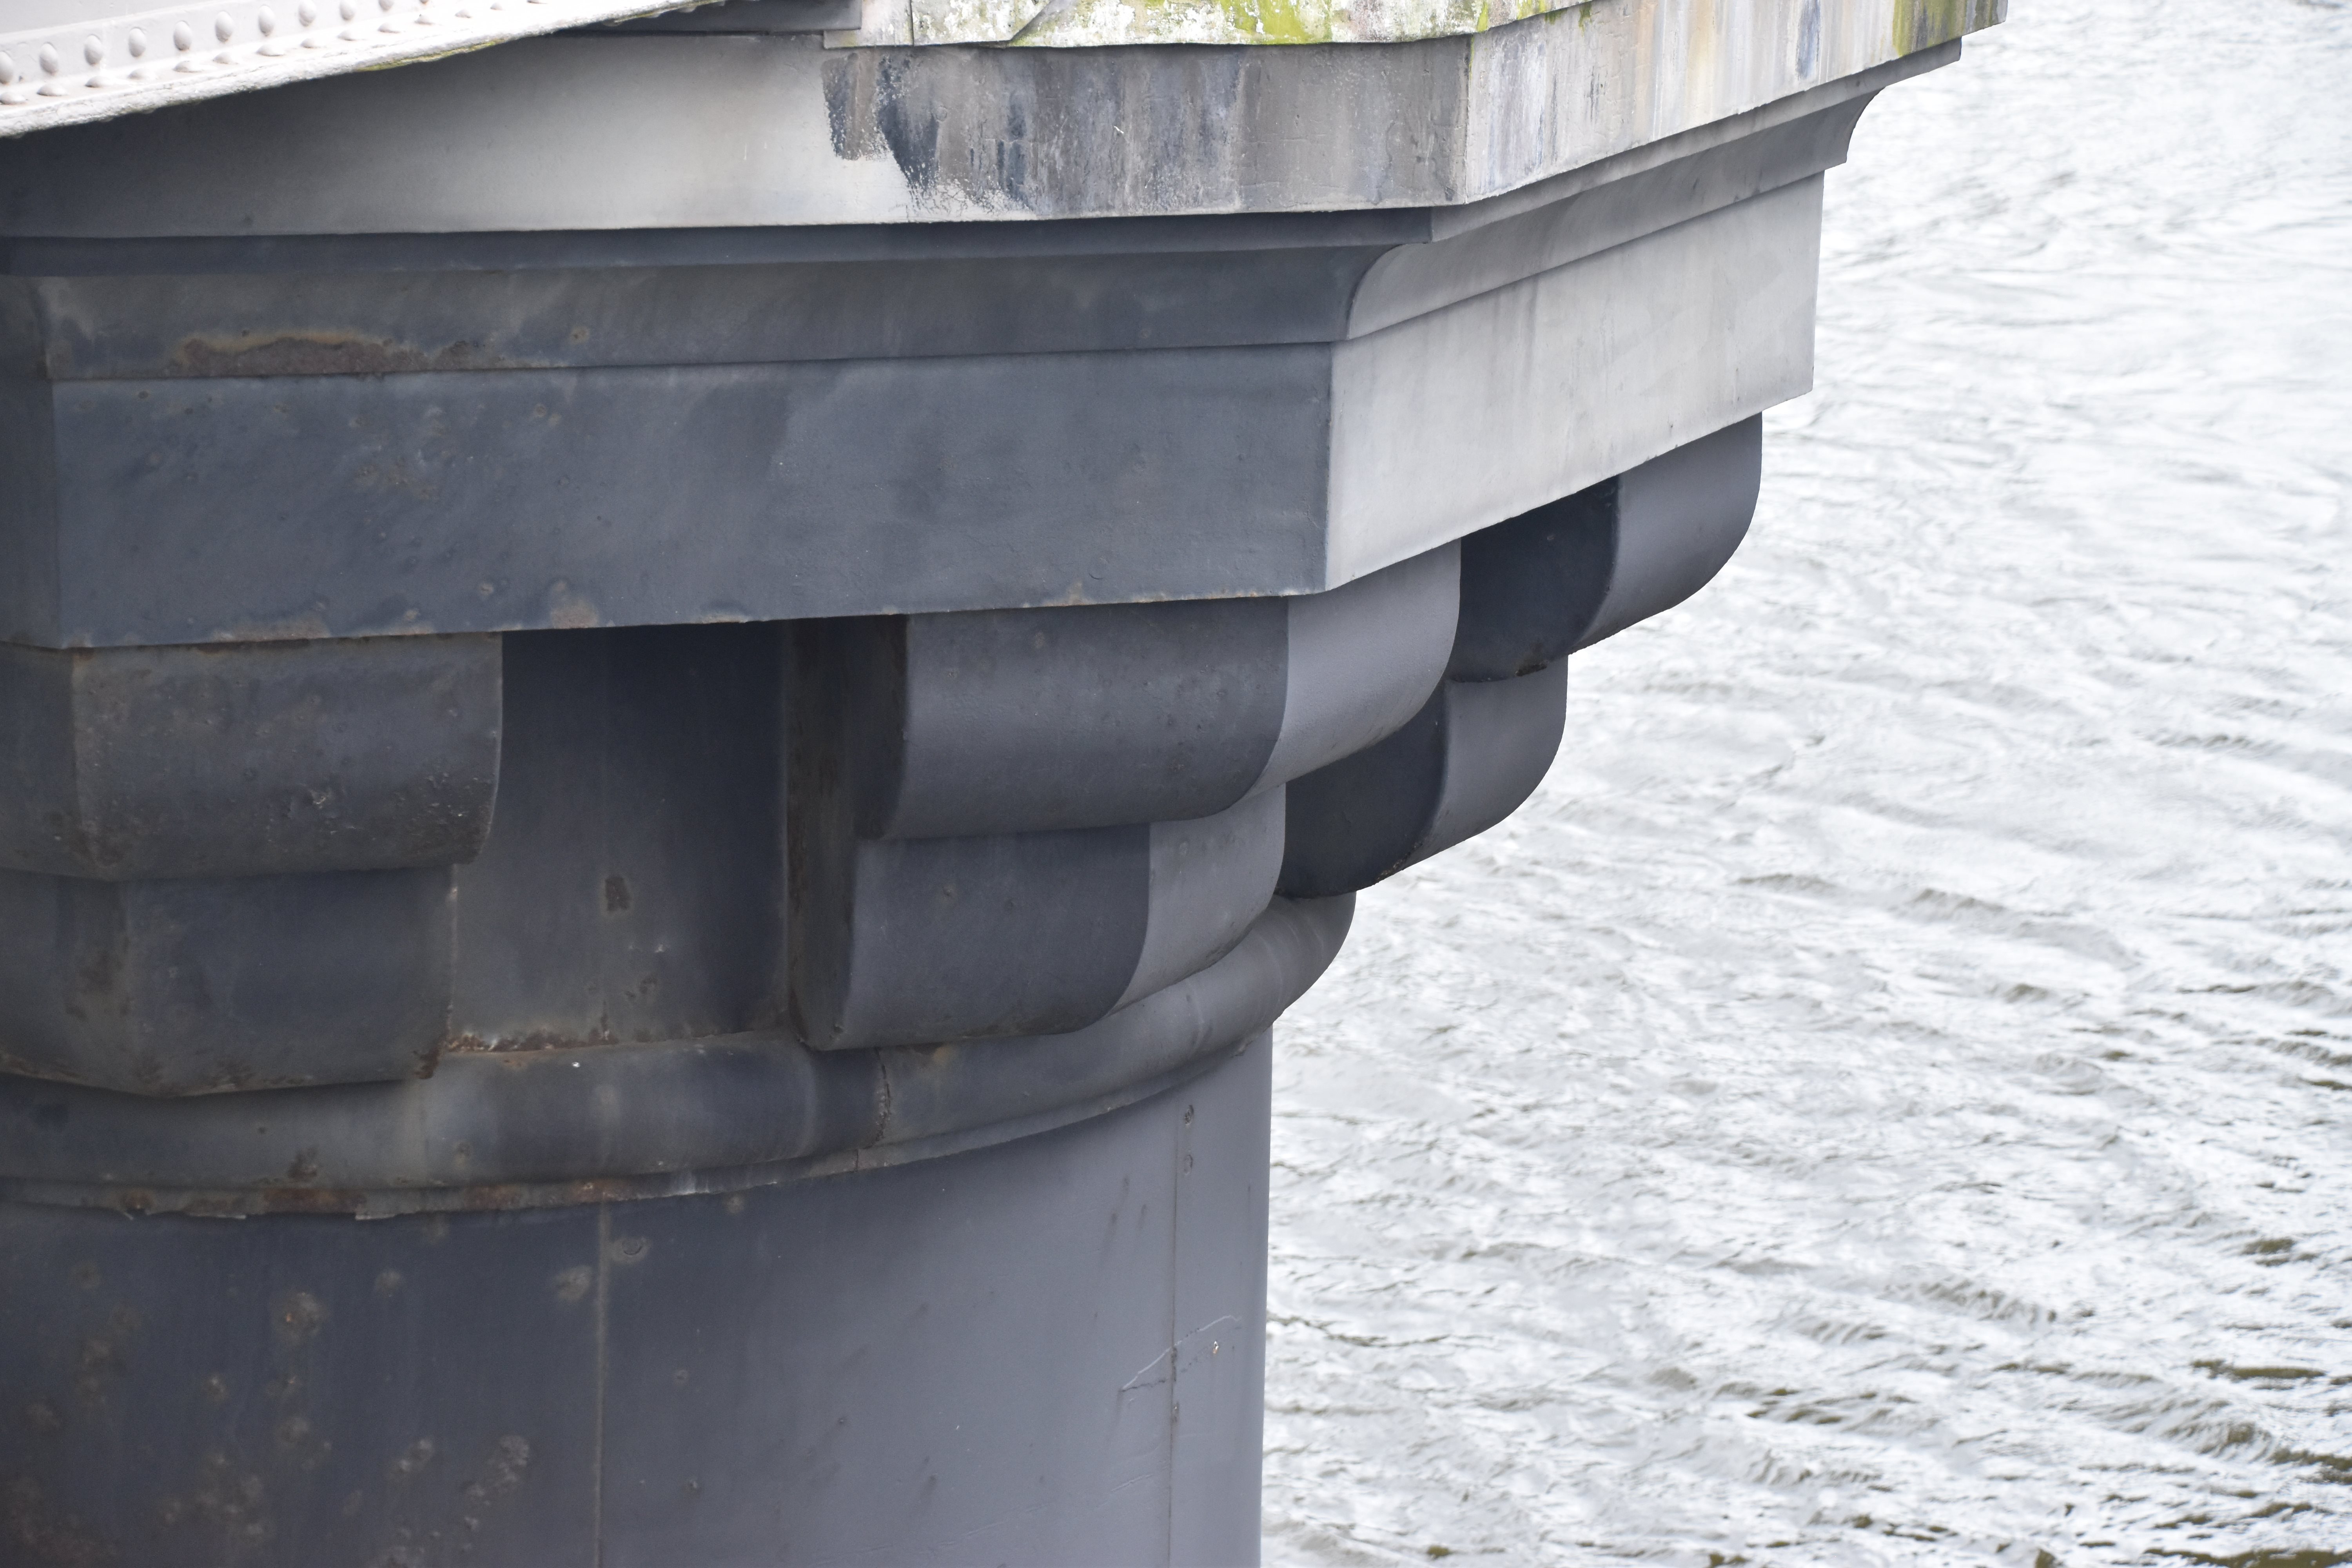

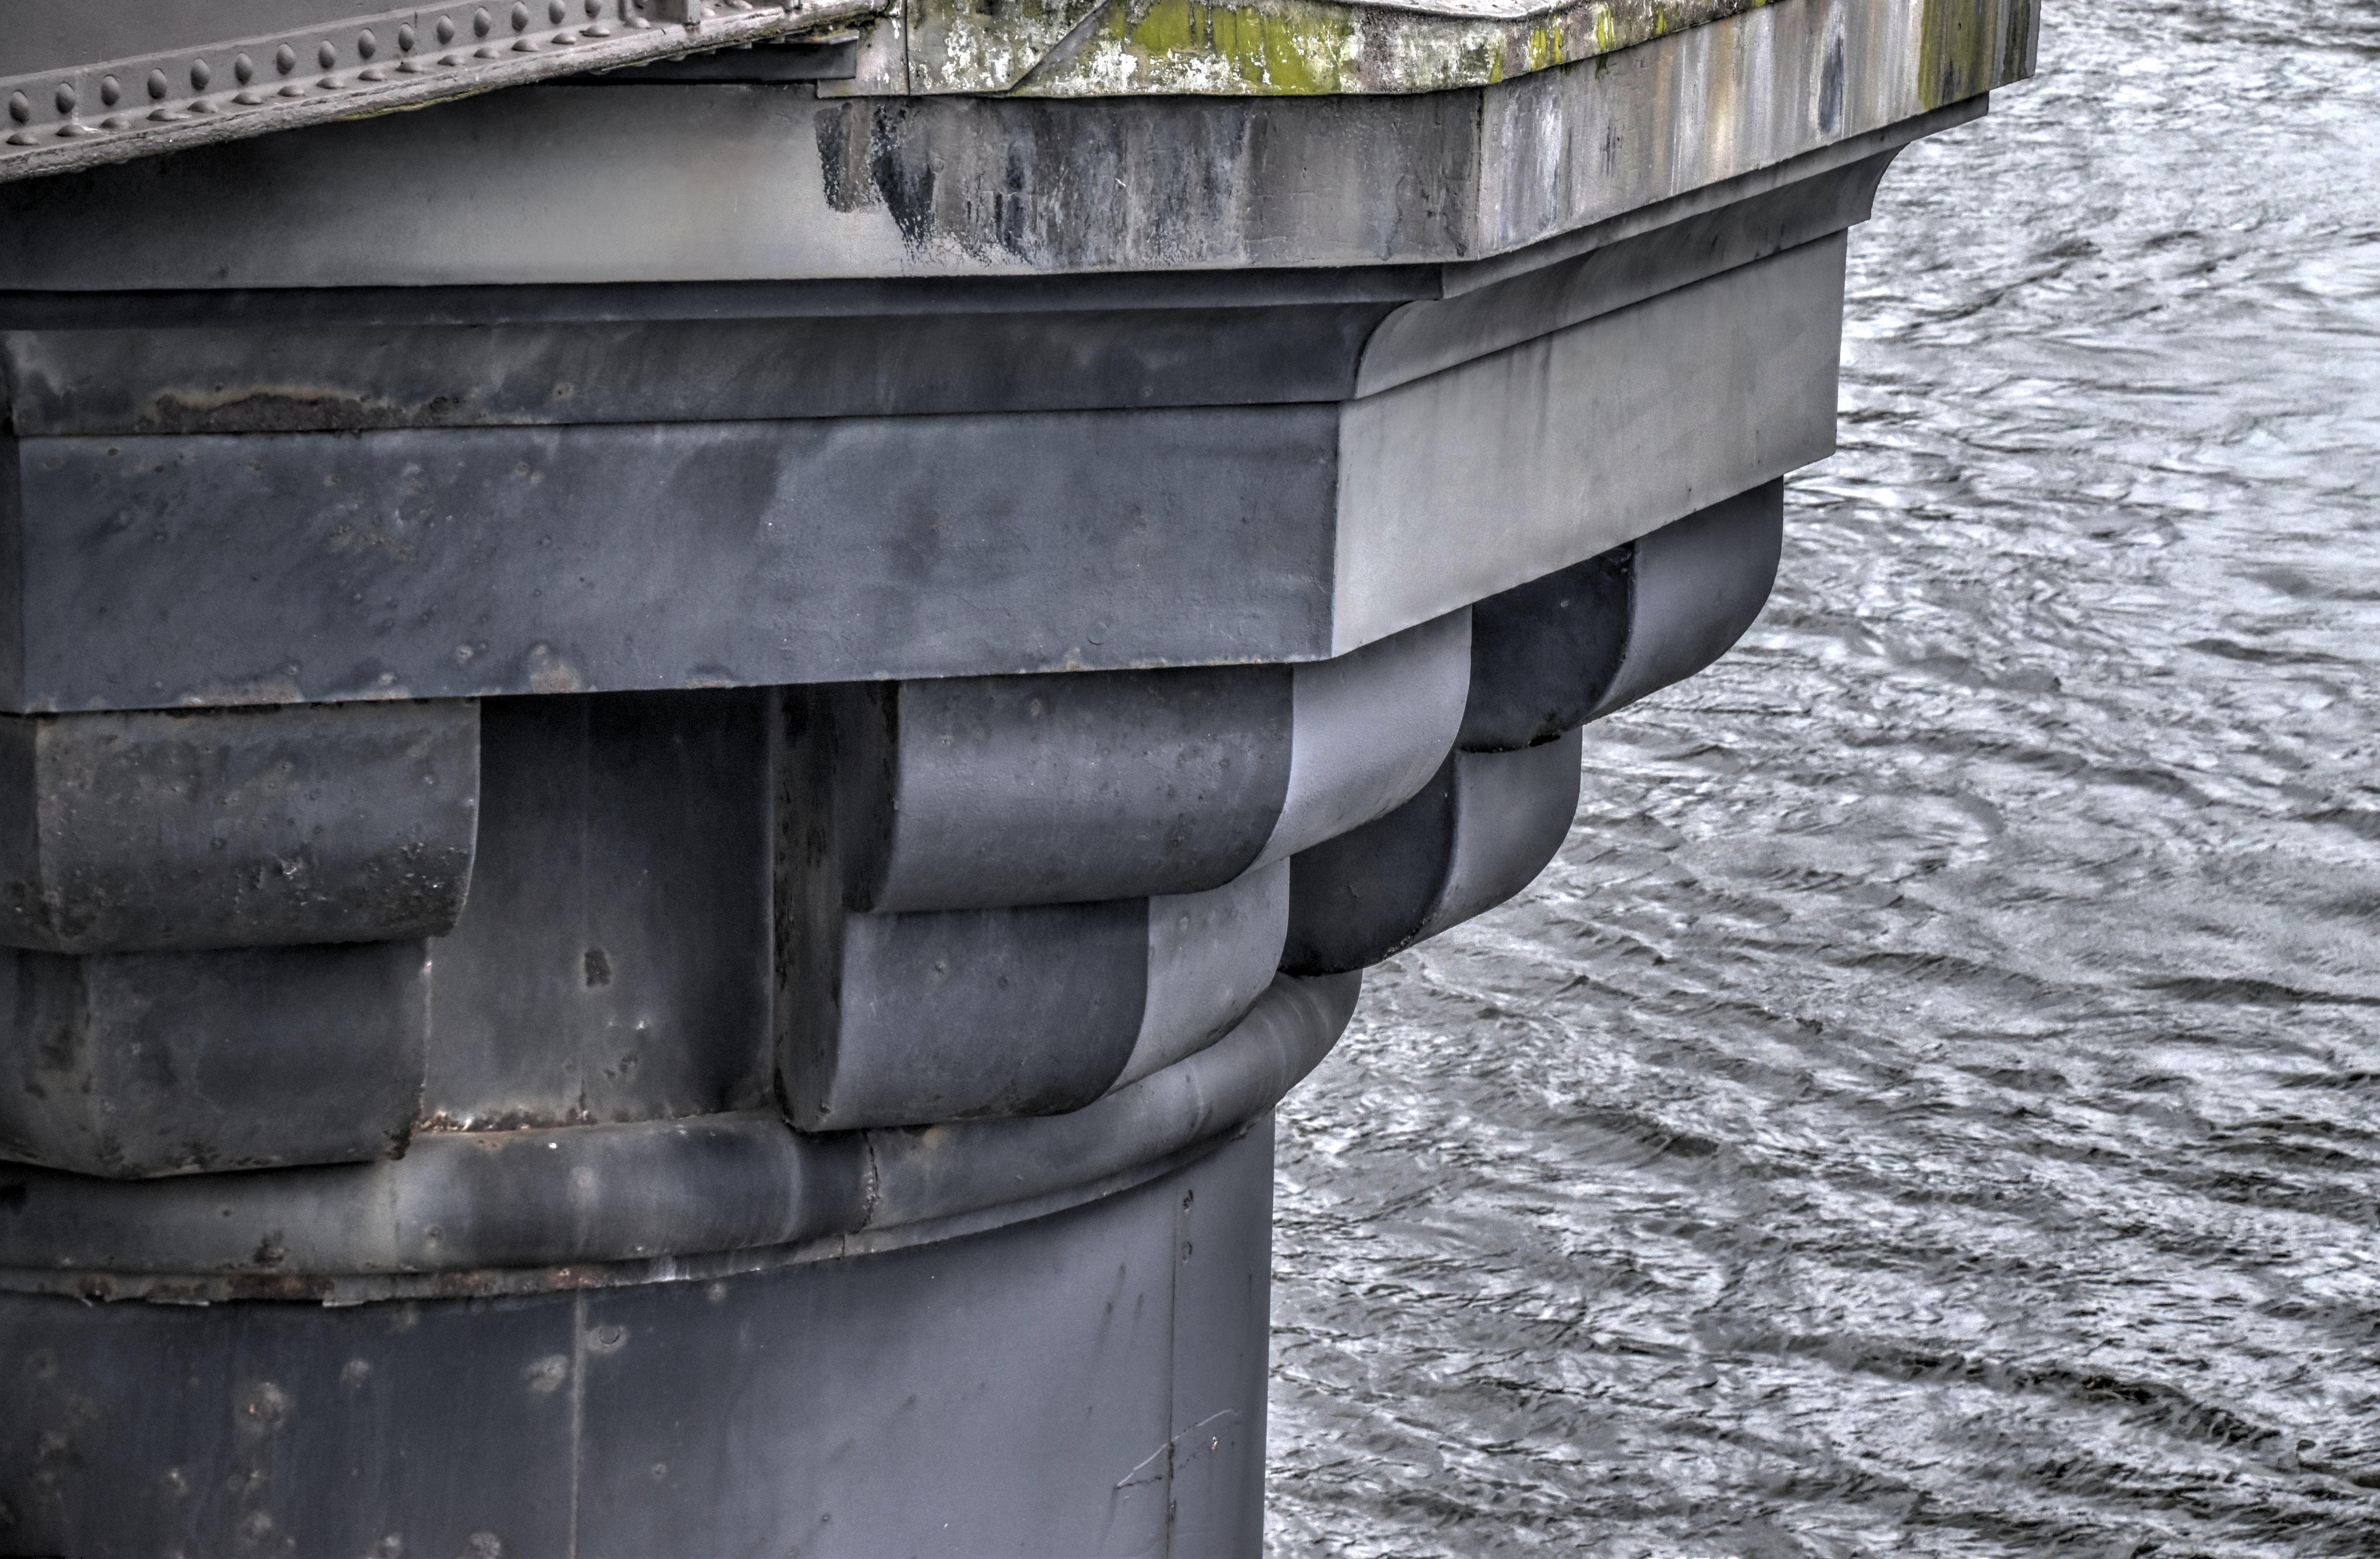


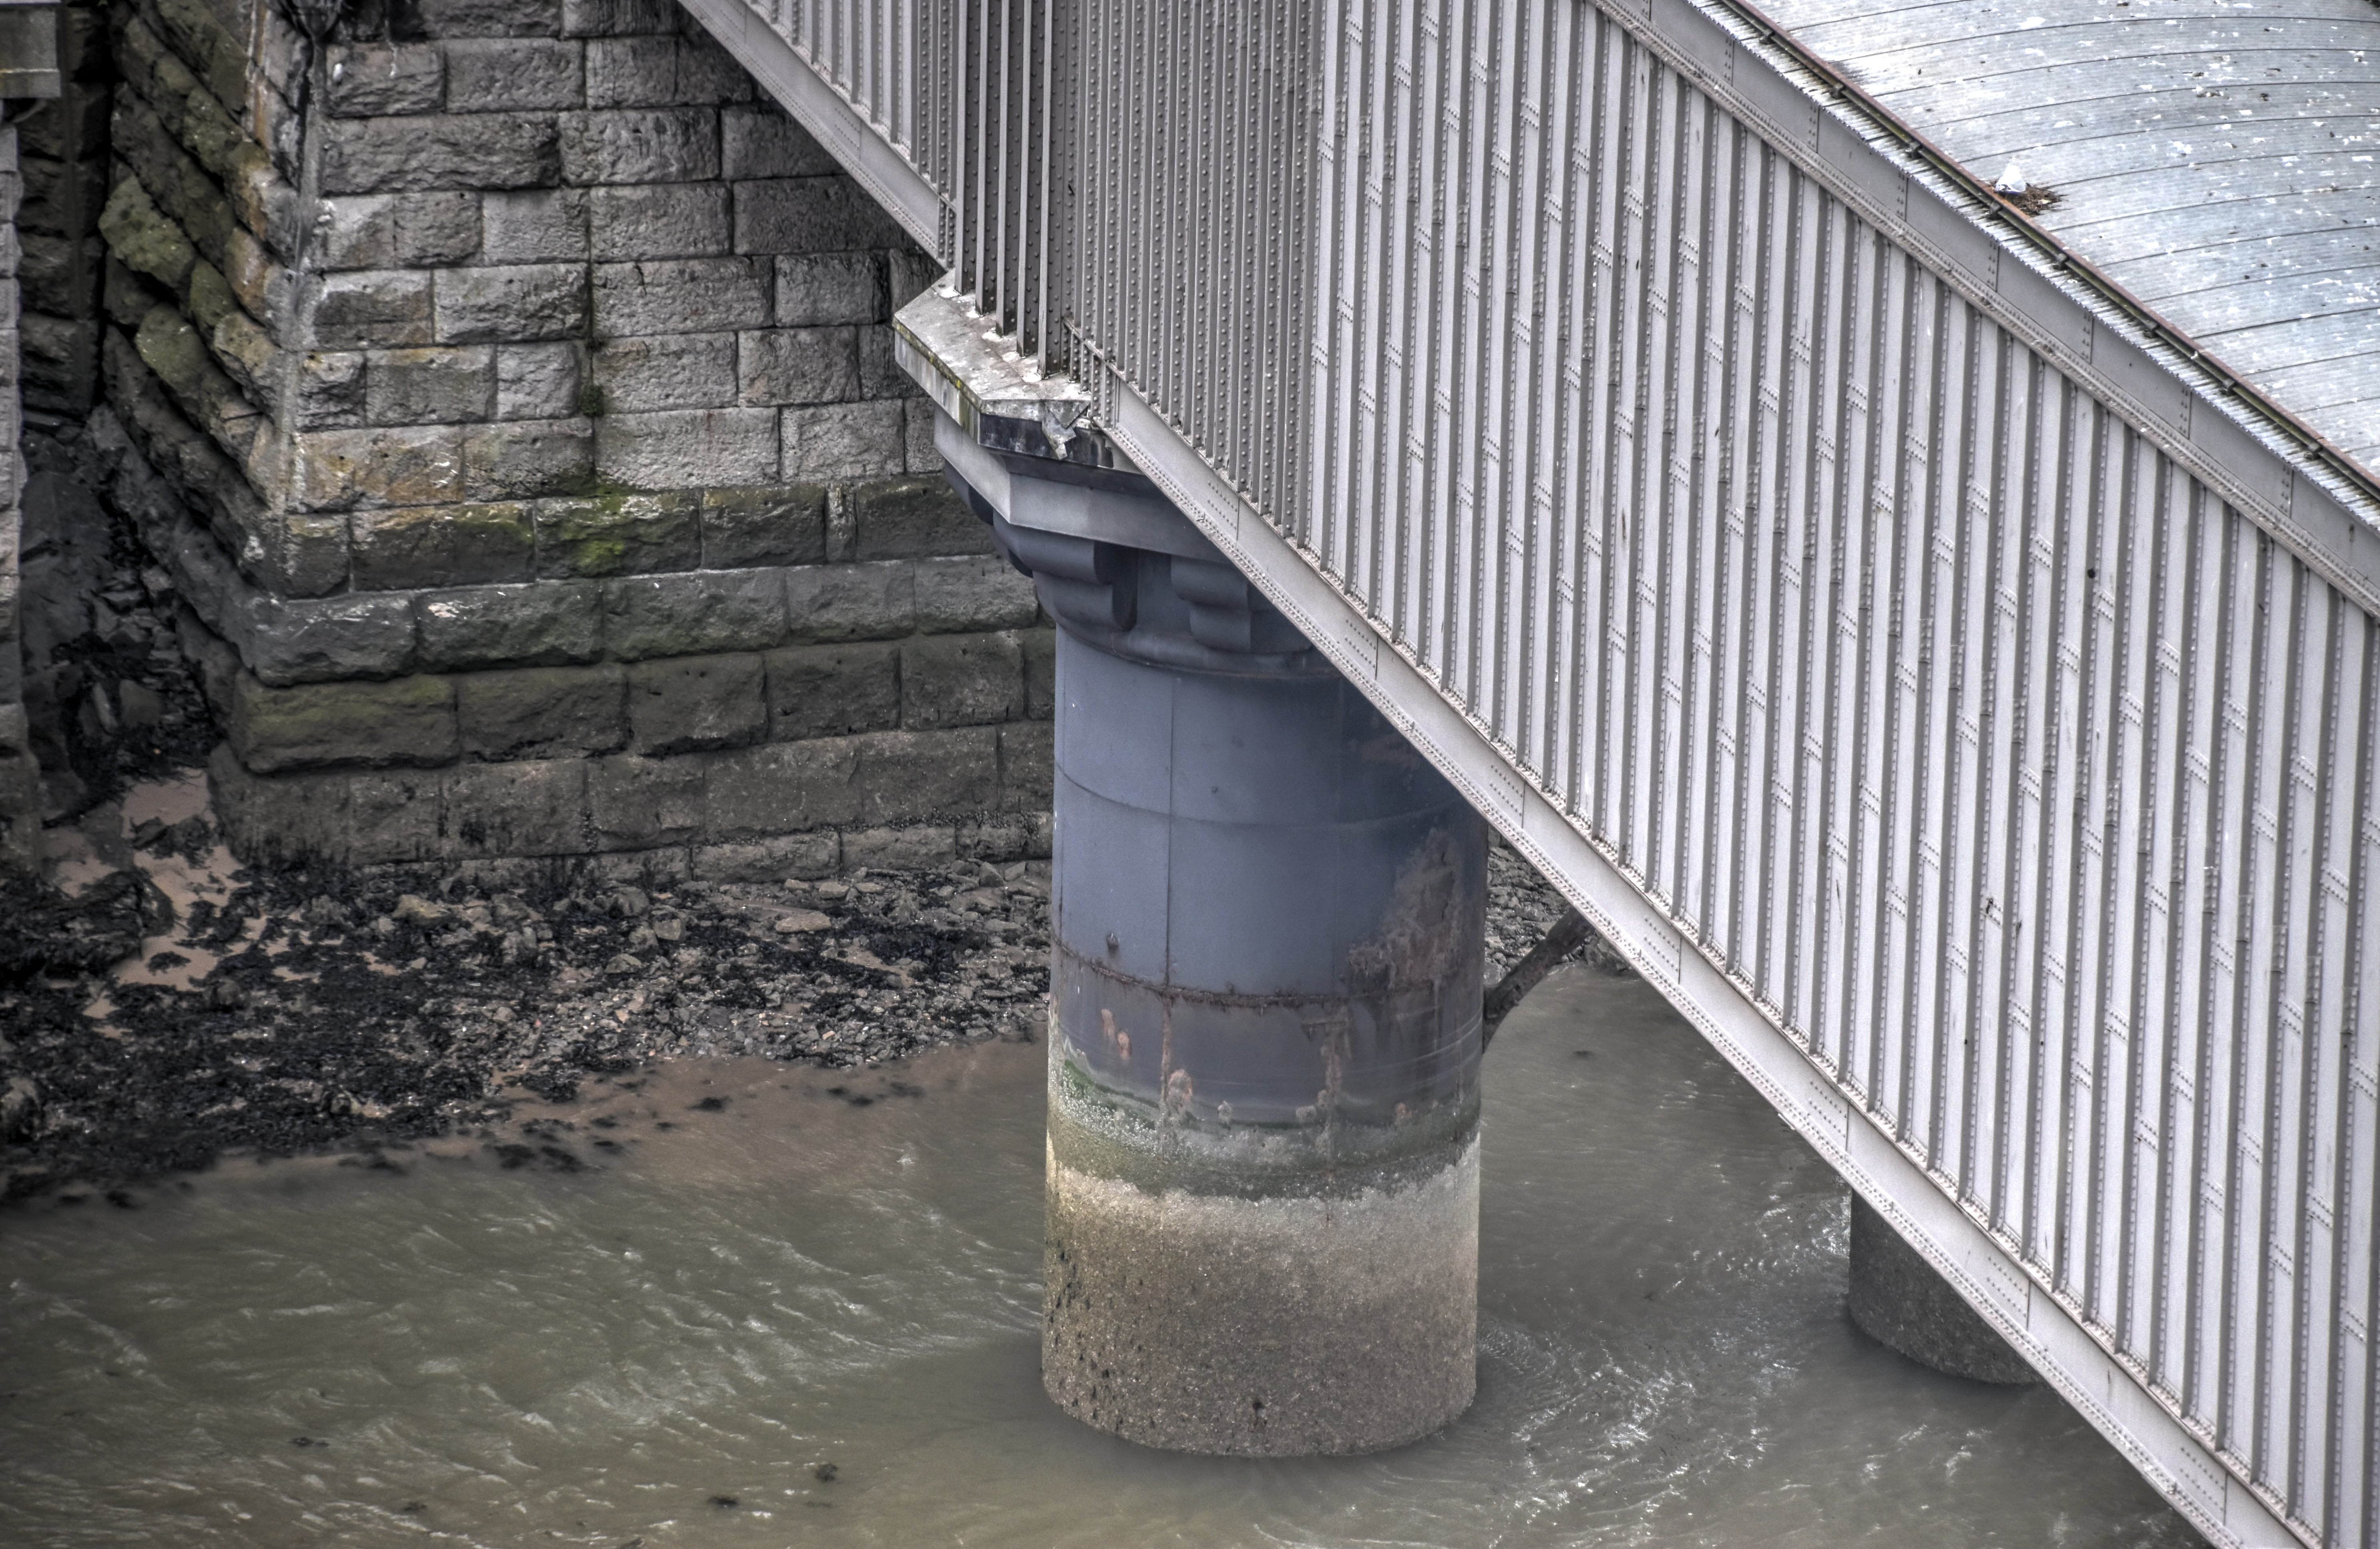
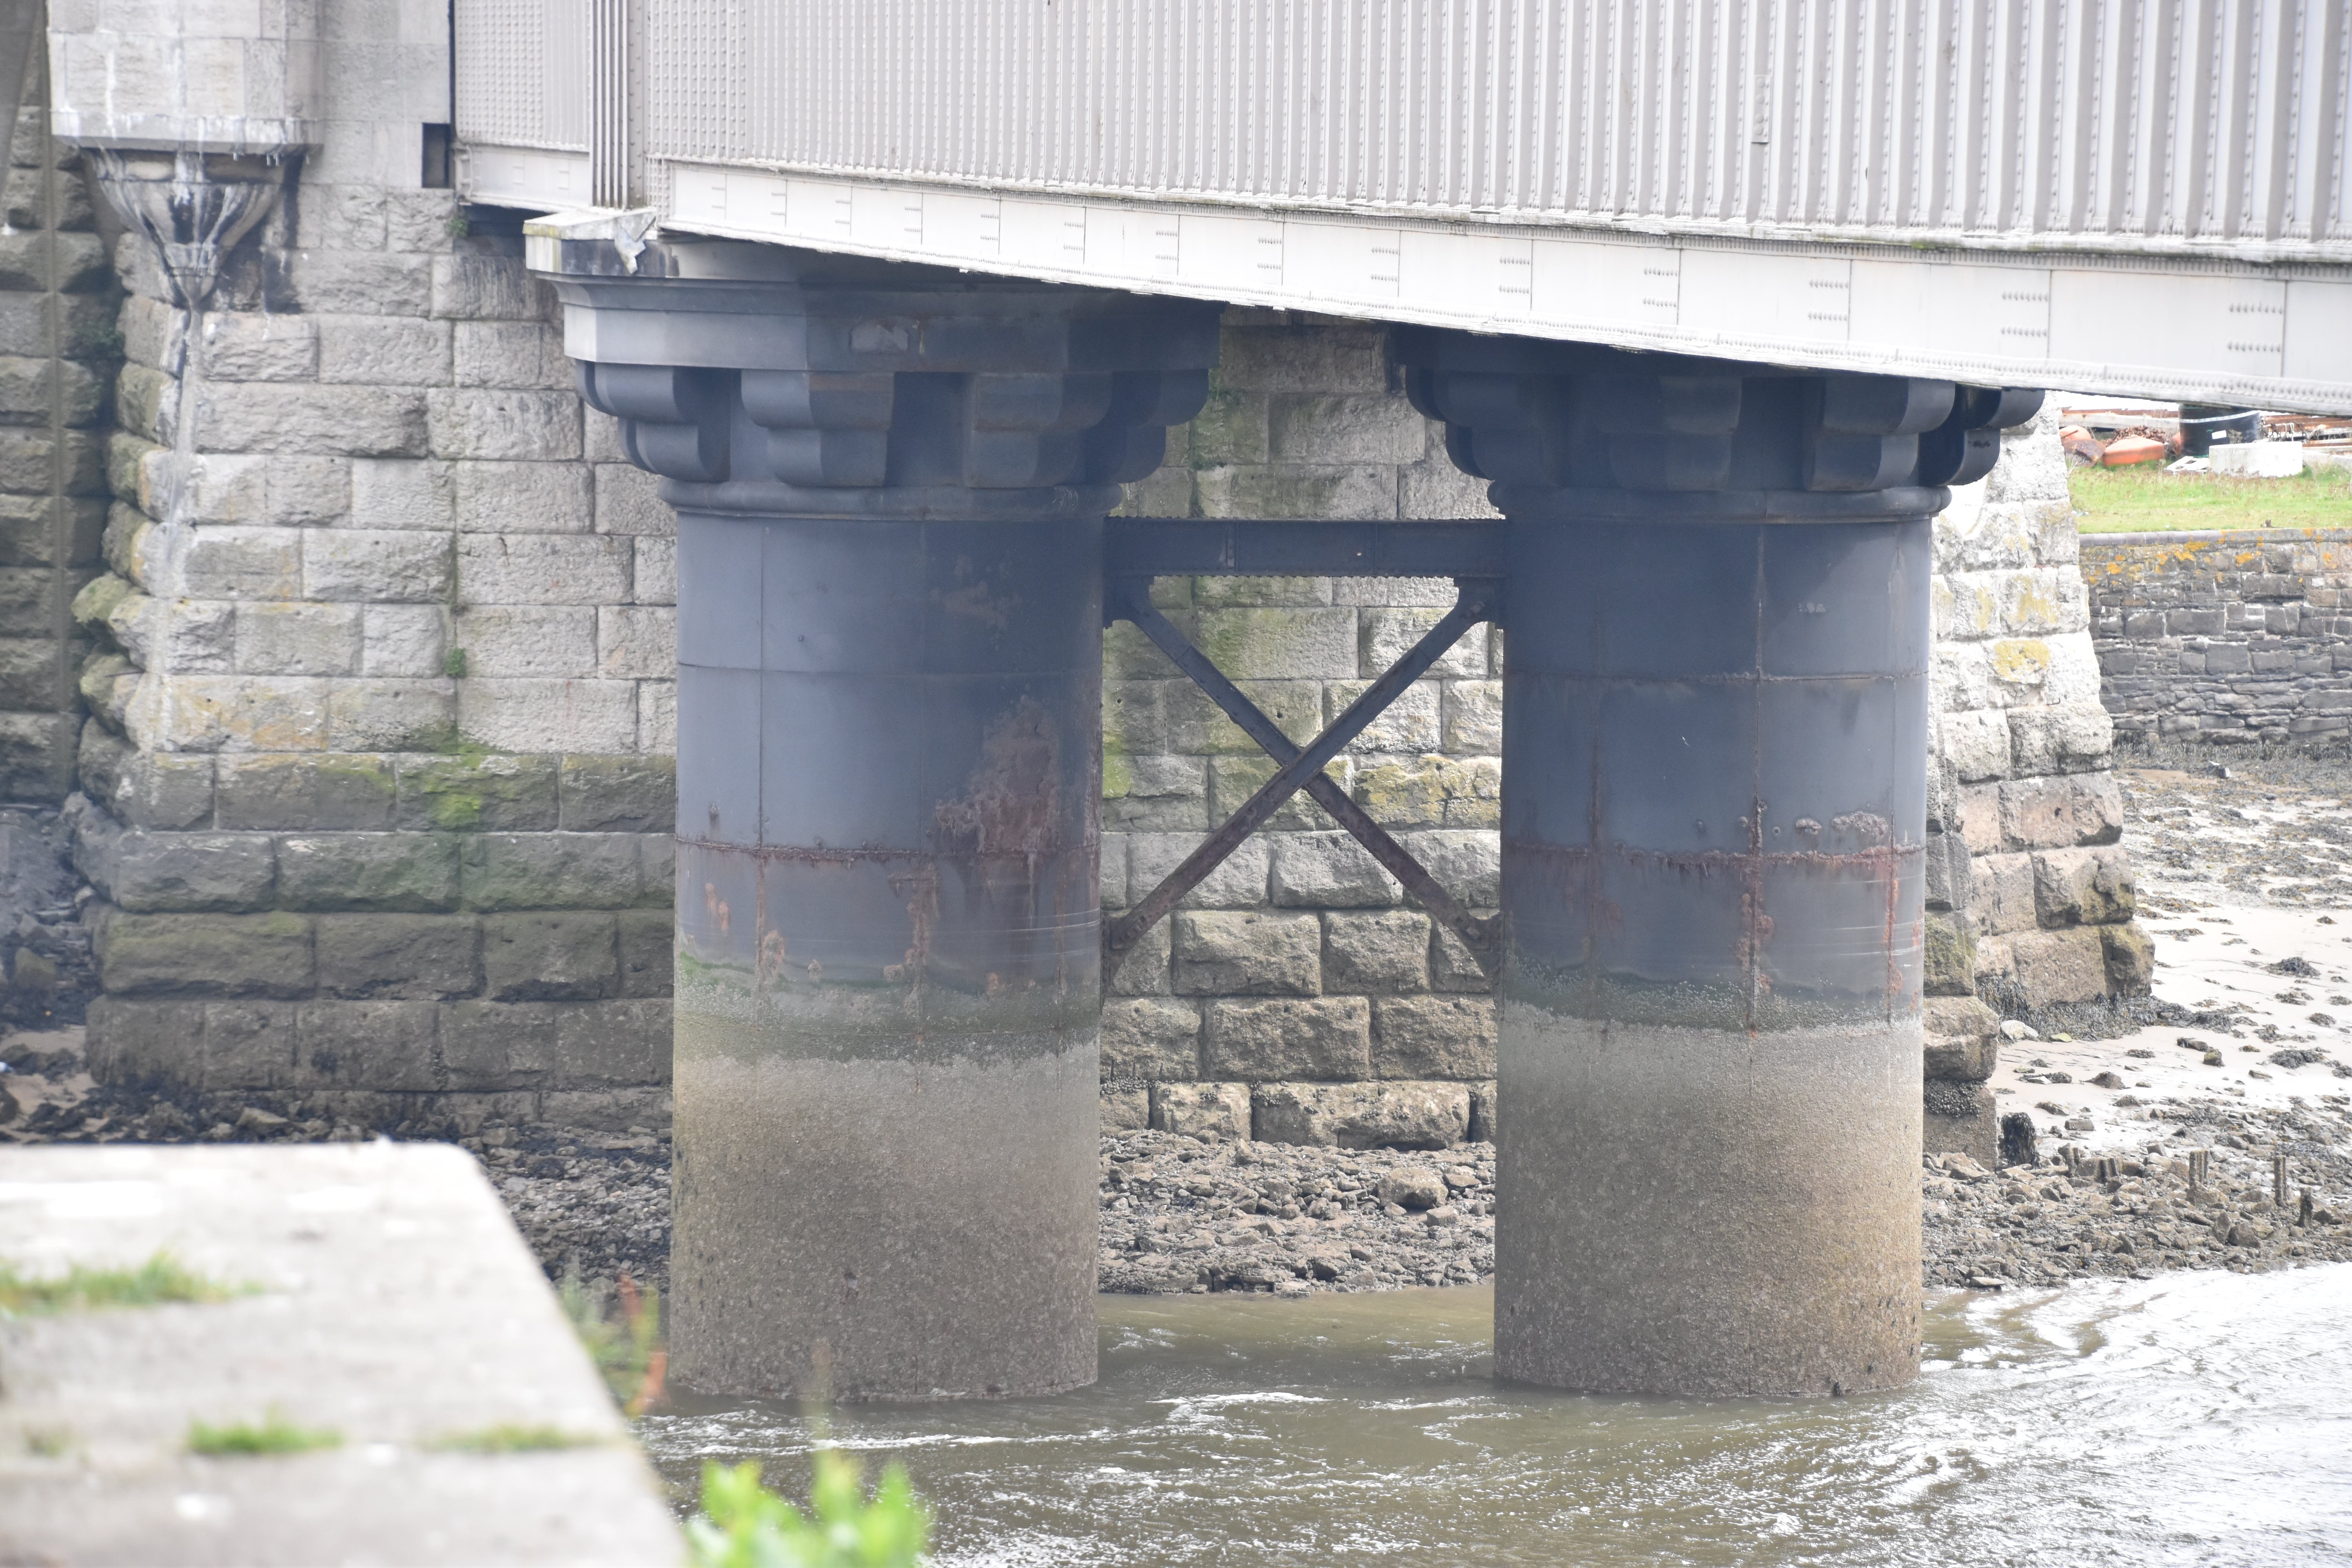
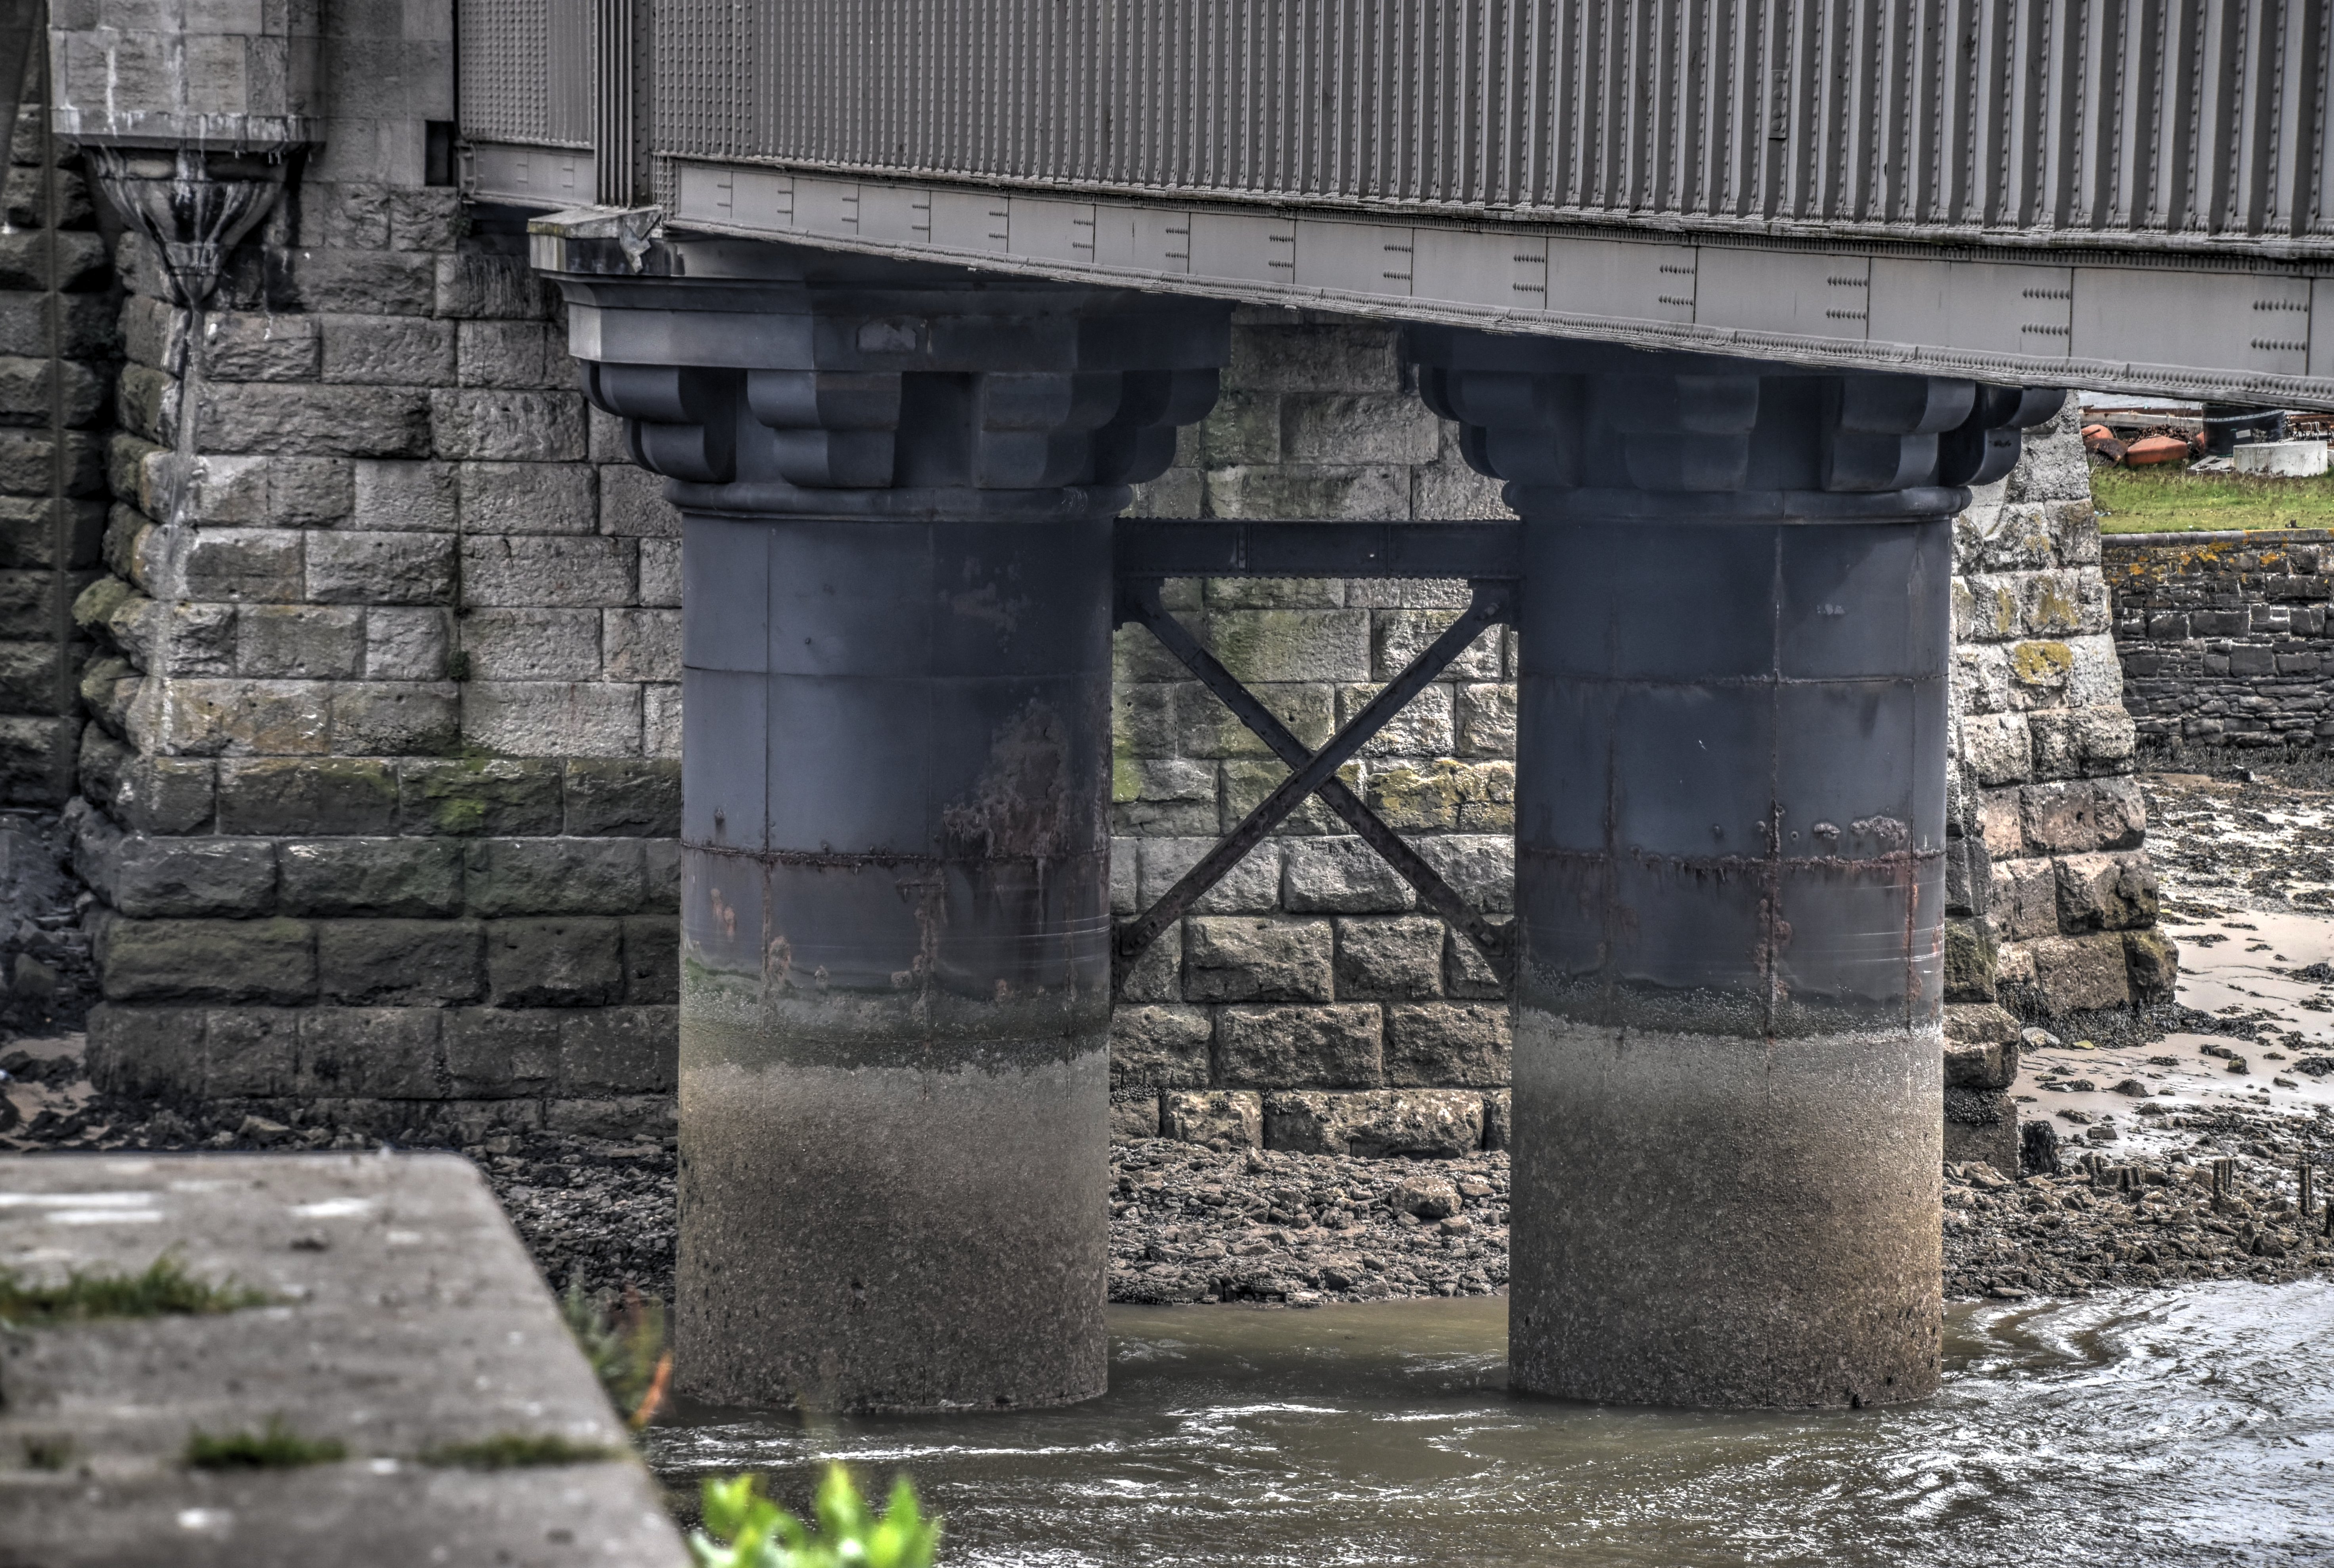
Pier detail.
![]()
![]()

![]()