Uncredited photos on this page taken by: Nathan Holth. Unless stated in a caption, all photos are Copyright with All Rights Reserved. Learn about reuse of our photos.
![]()
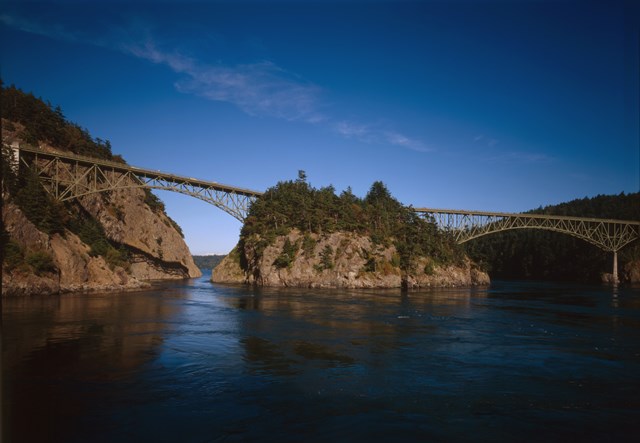
Photo Credit: Historic American Engineering Record.
West elevation, Deception Pass Bridge on right.
![]()
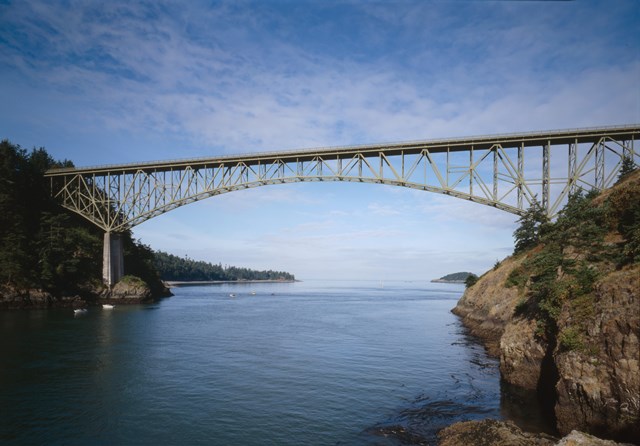
Photo Credit: Historic American Engineering Record.
Elevation.
![]()
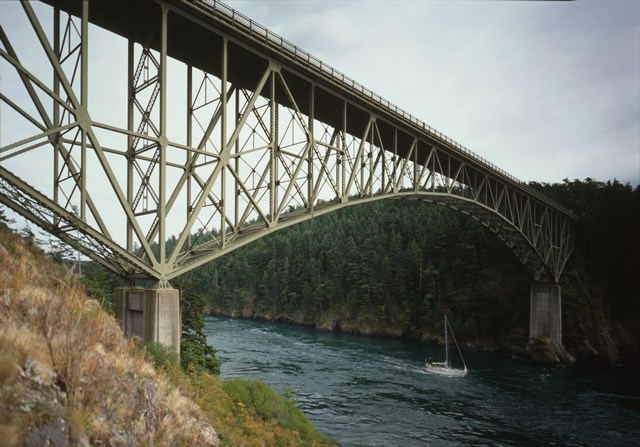
Photo Credit: Historic American Engineering Record.
Elevation from northwest quadrant.
![]()
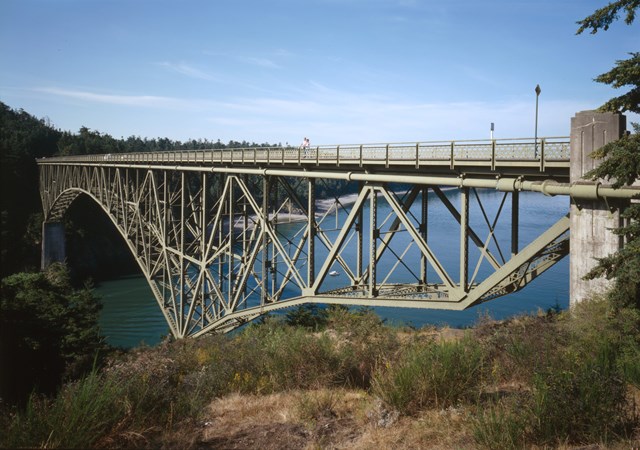
Photo Credit: Historic American Engineering Record.
View beside bridge.
![]()

Photo Credit: Historic American Engineering Record.
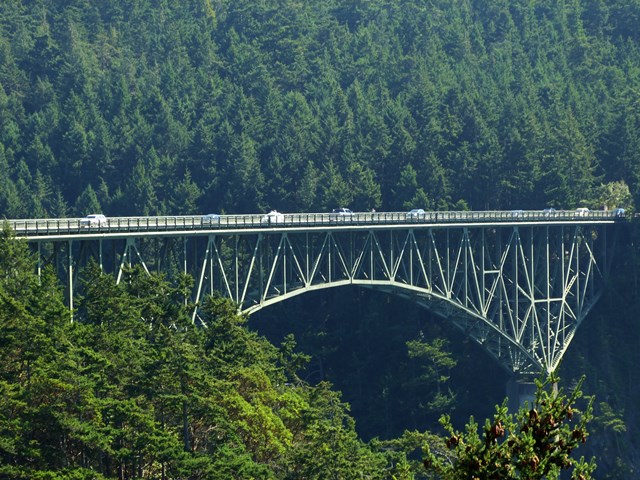
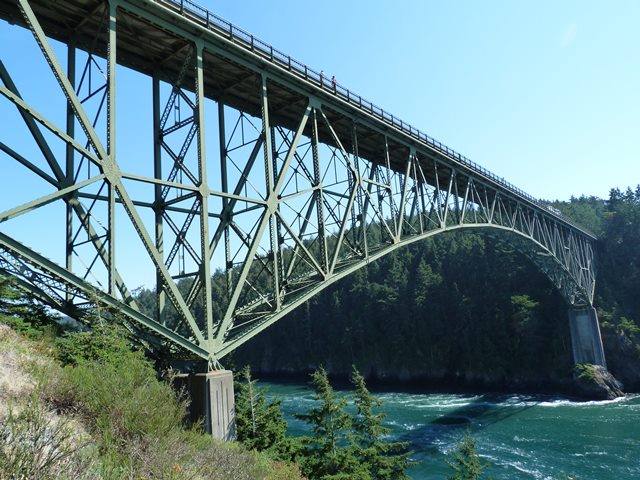
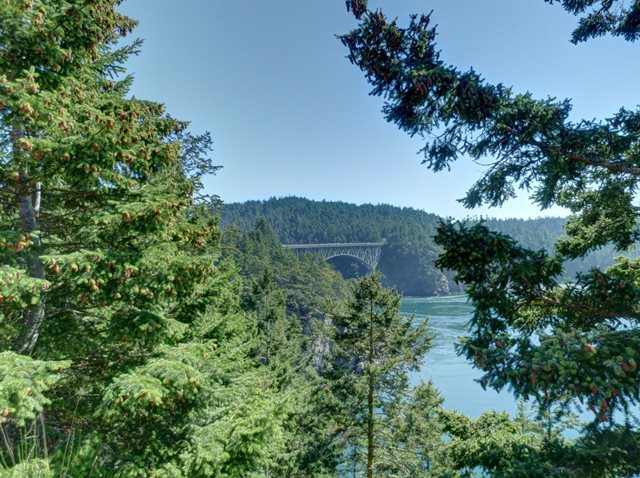
View from northwest quadrant, Deception Pass Bridge on right.
![]()

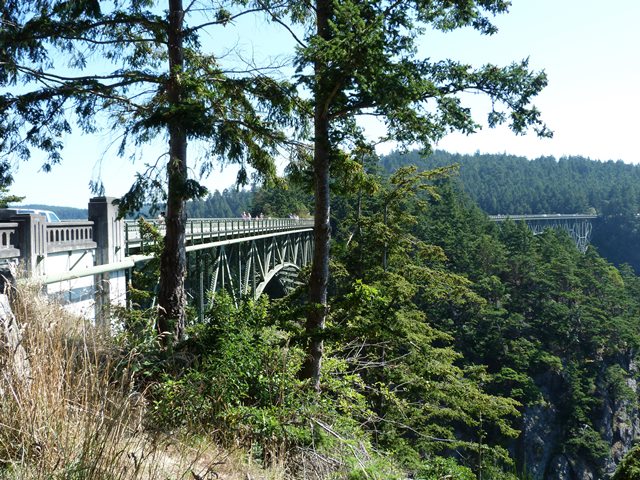
View from northwest quadrant, Deception Pass Bridge on right.
![]()
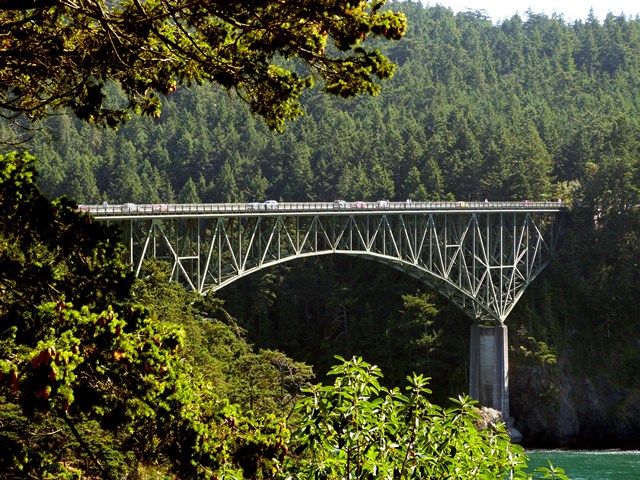
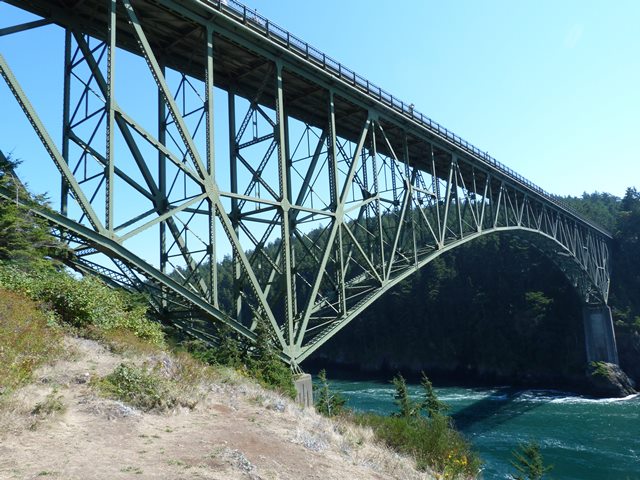
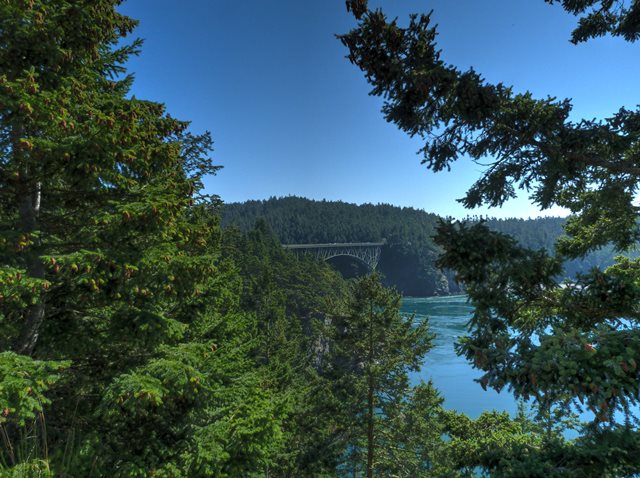
Distant elevation from northwest quadrant.
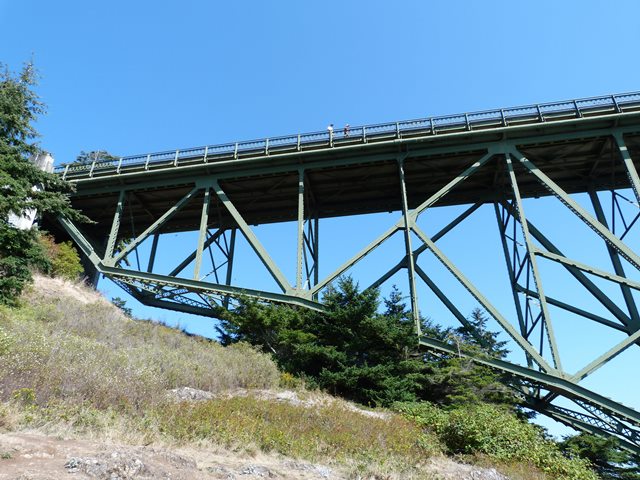
![]()
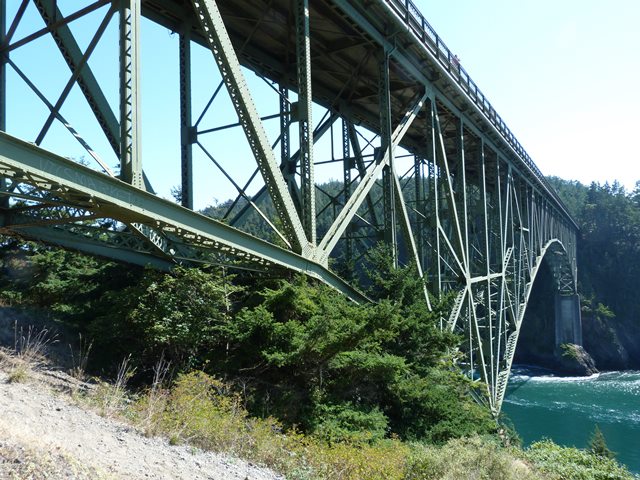


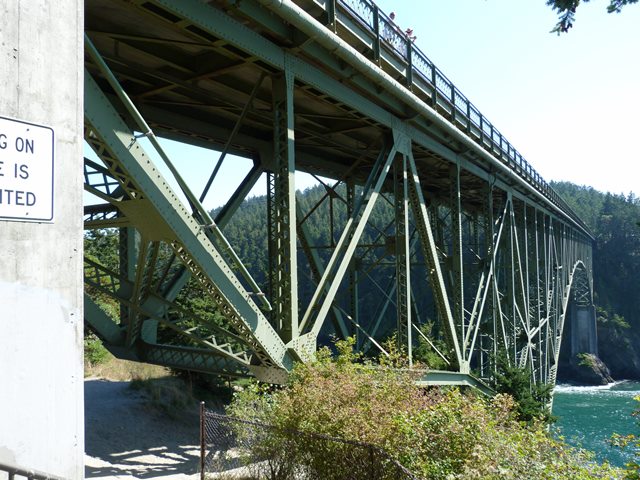
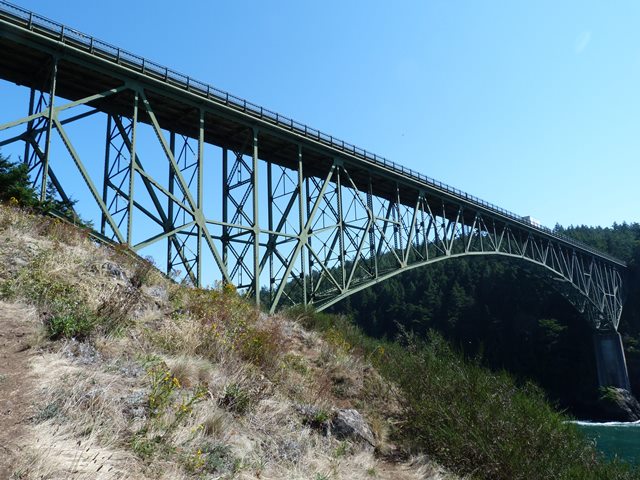
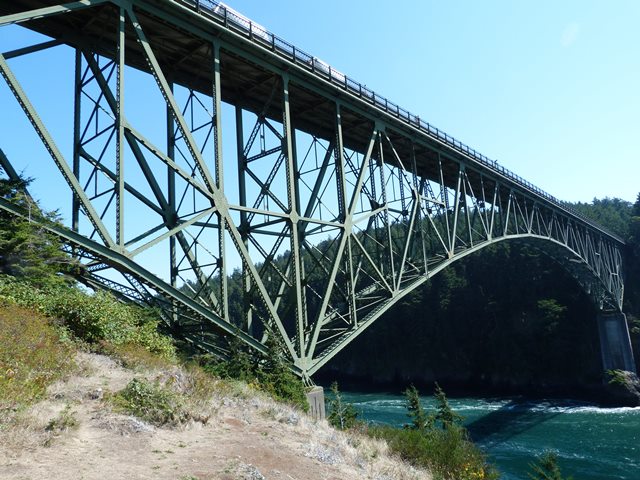
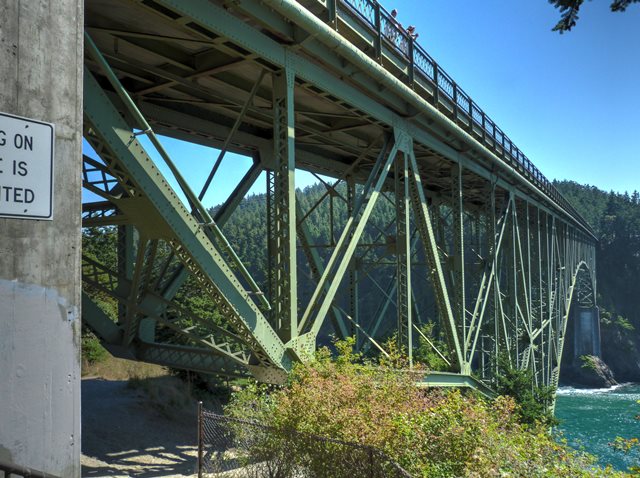
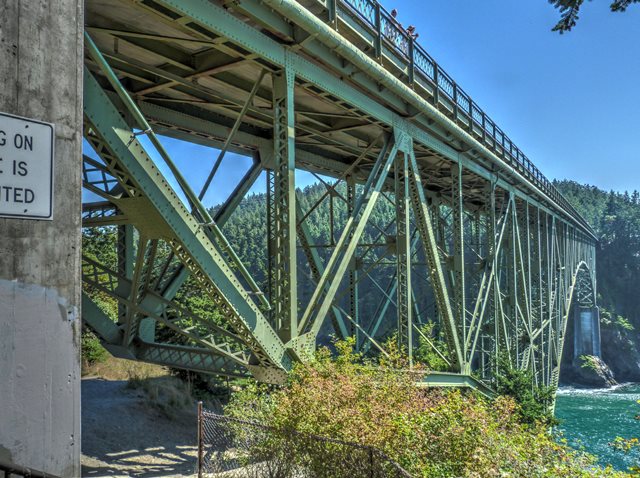
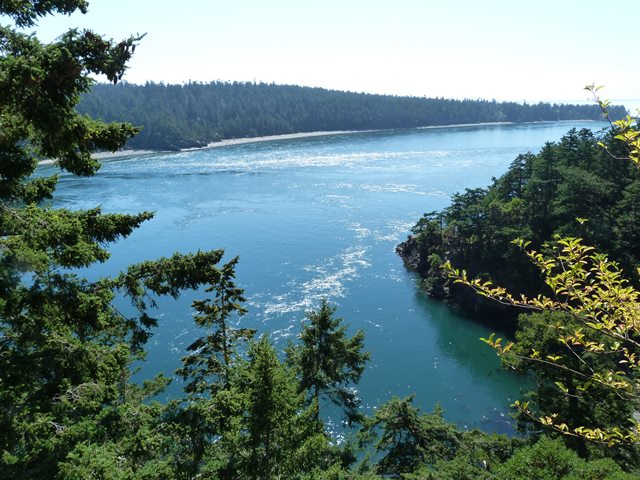
Views beside bridge from northwest quadrant.
![]()
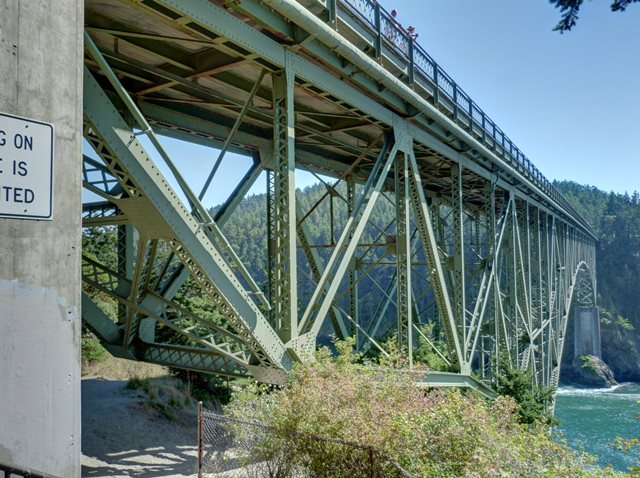
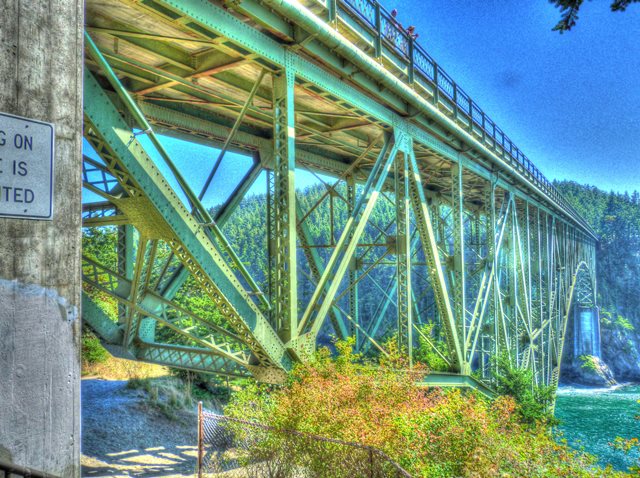
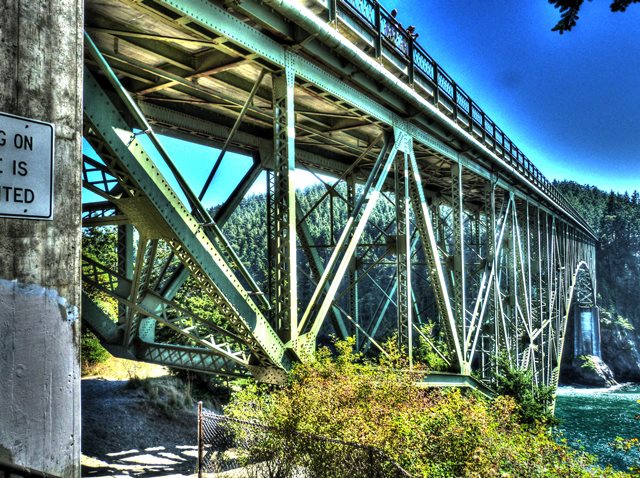
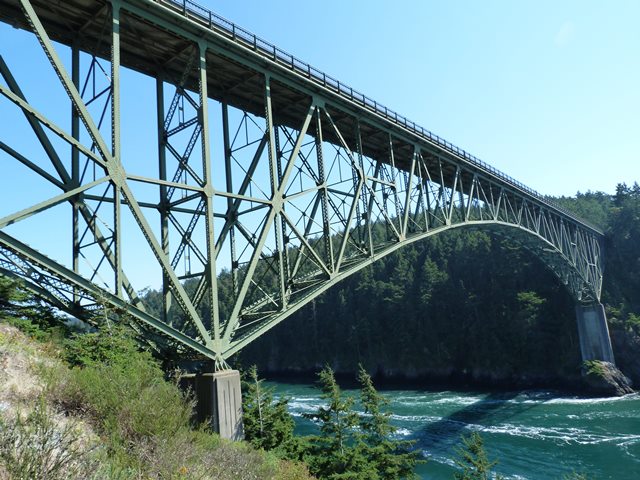
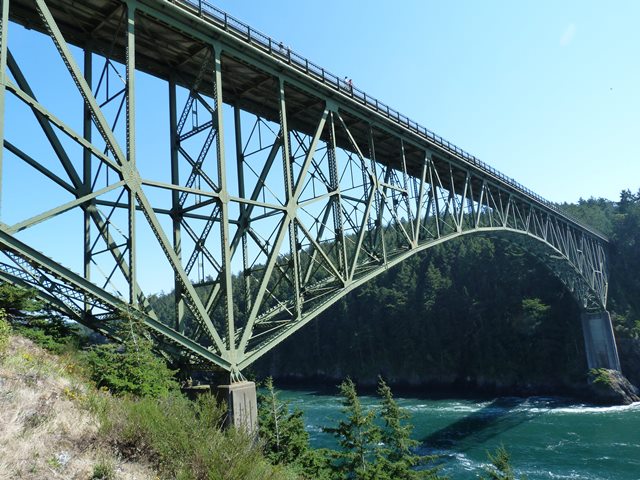
HDR Photos: Views beside bridge from northwest quadrant.
![]()

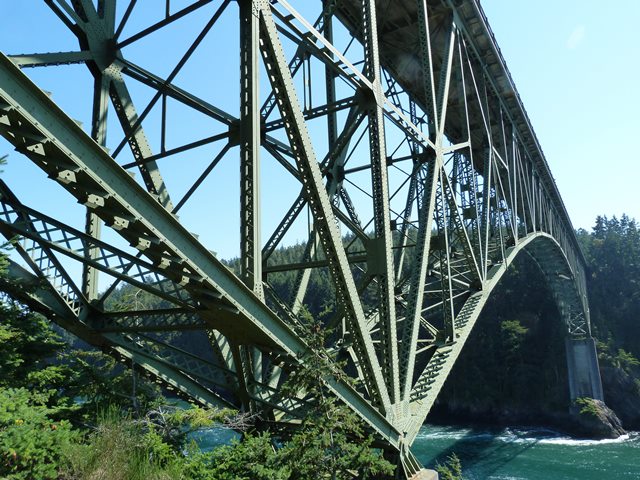
View beside bridge from northeast quadrant.
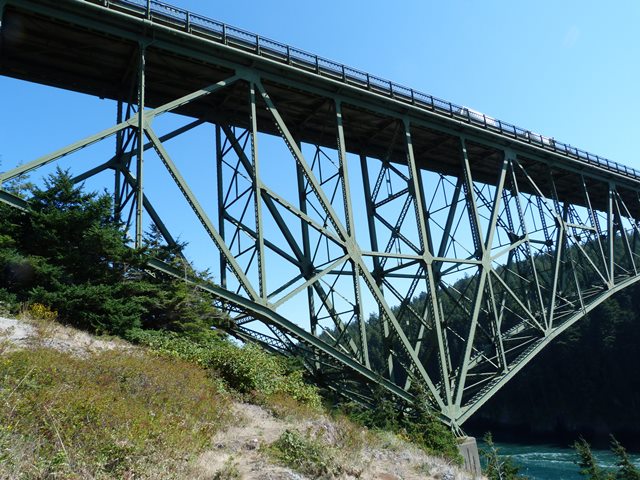
![]()
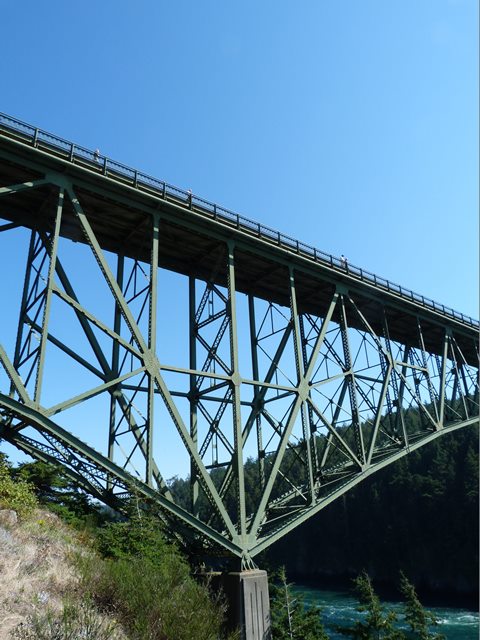
Elevation from northwest quadrant.
![]()
Anchor arm.
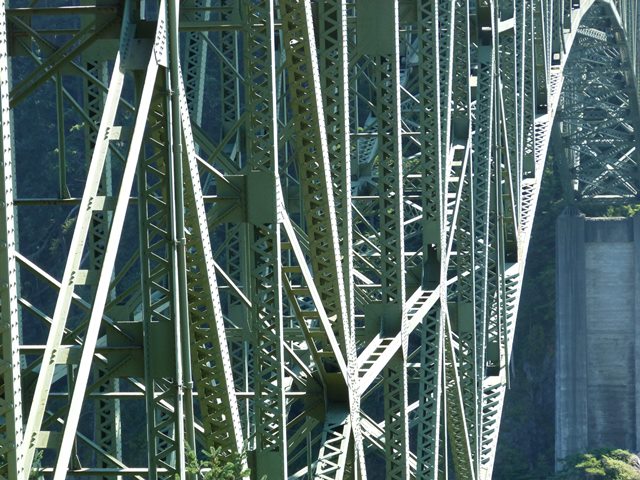
![]()
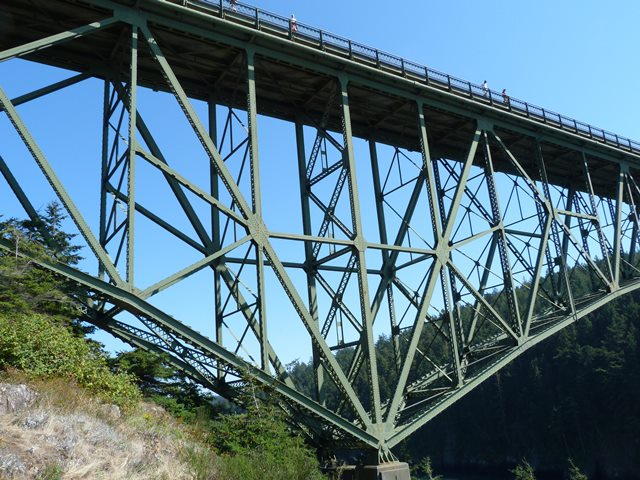
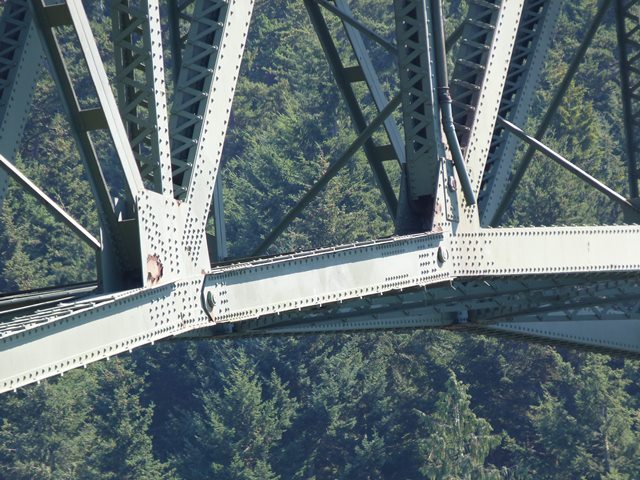
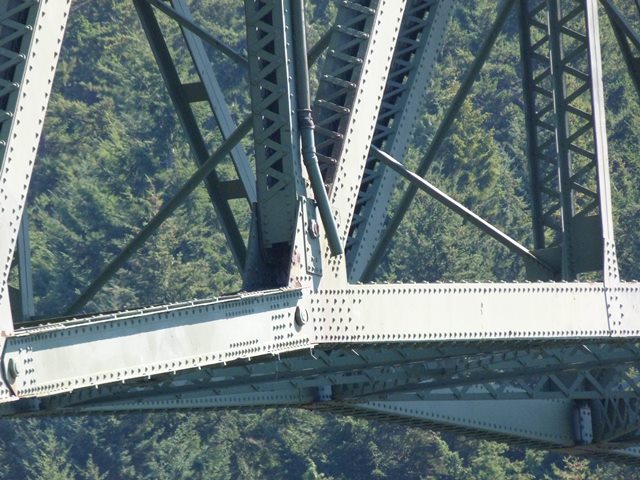
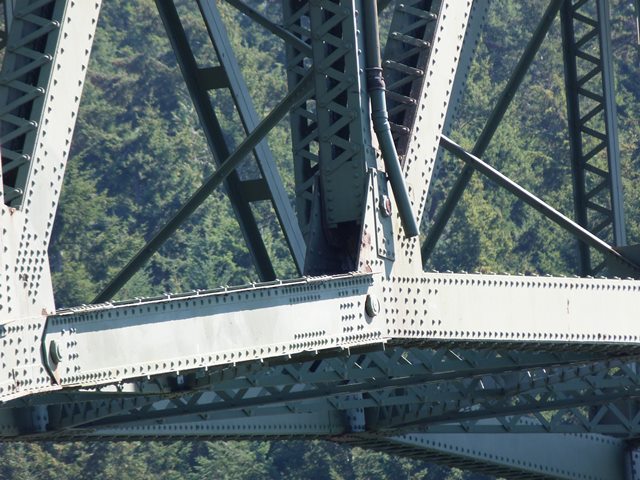
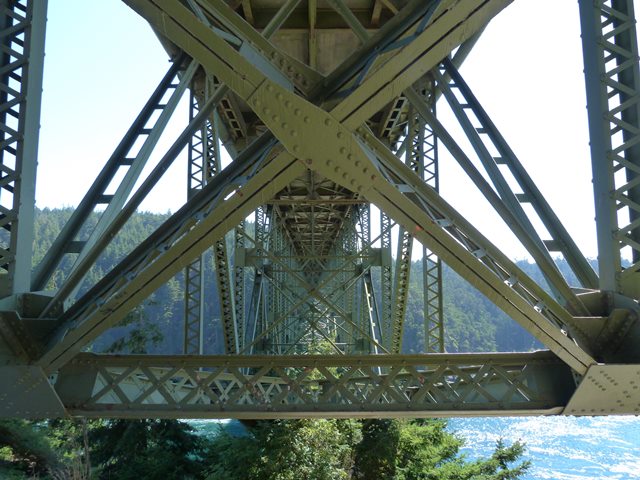
Views of truss web.
![]()

Deck and roadway overview.
![]()

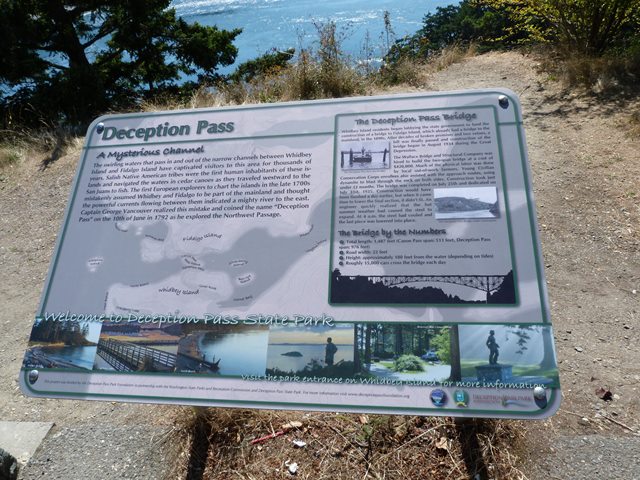
Interpretive signage for bridge.
![]()
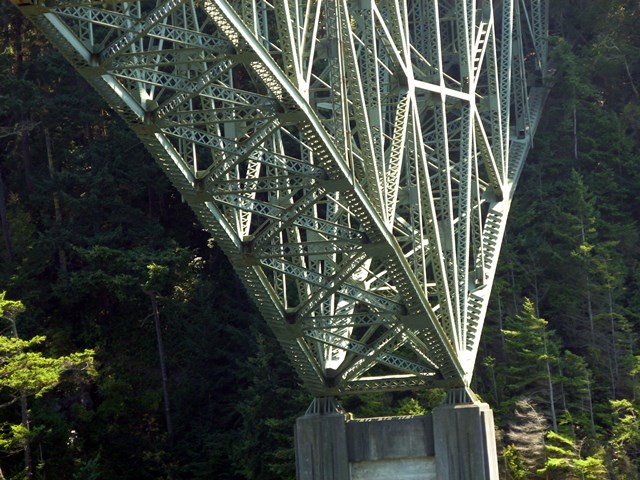
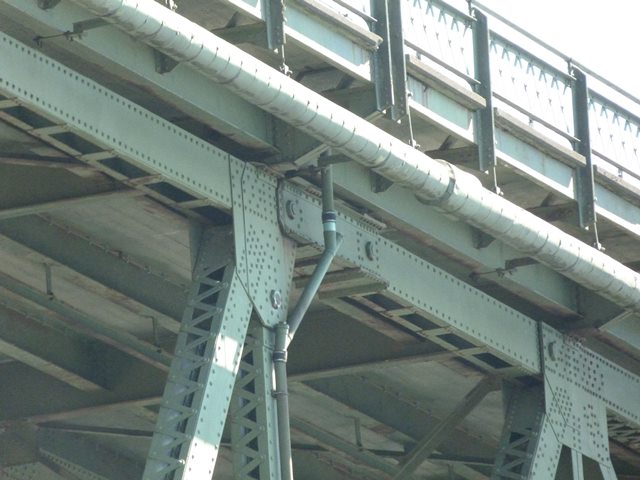
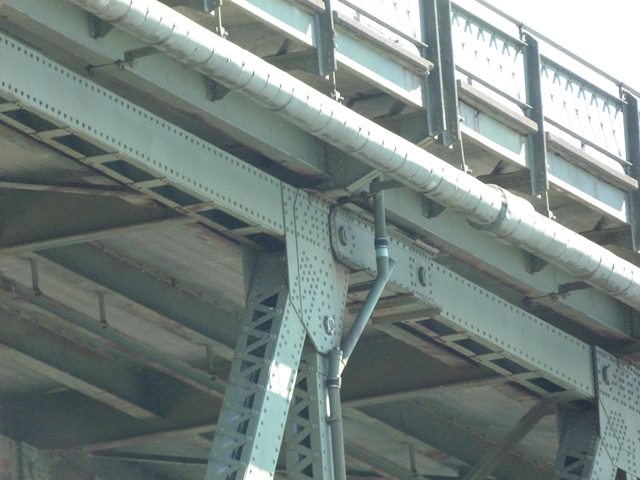
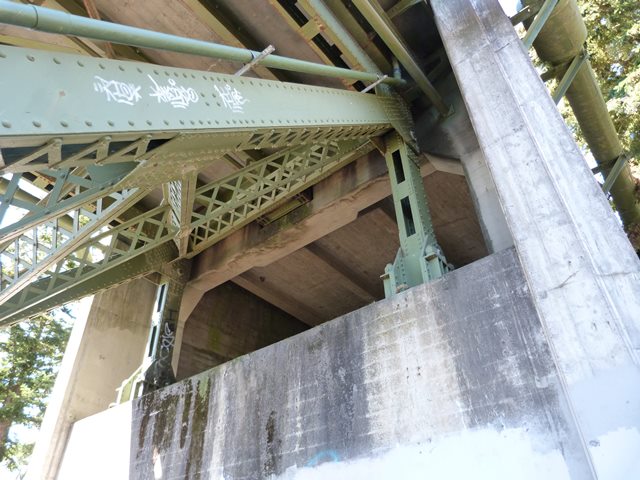
View looking toward pier bearings.
![]()

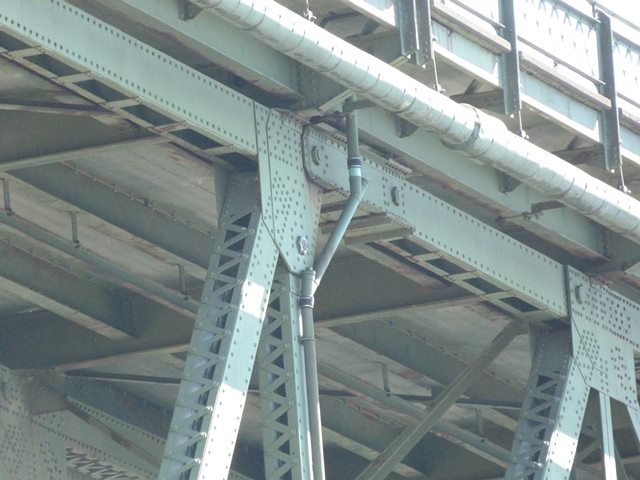
Pier bearing.
![]()
Bottom chord pin connections at end of cantilever arm (left) and suspended span (right).
![]()

Bottom chord pin connection at end of suspended span.
![]()
Top chord pin connections at end of cantilever arm (left) and suspended span (right).
![]()
Top chord pin connection at end of cantilever arm.
![]()

Top chord pin connection at end of suspended span.
![]()
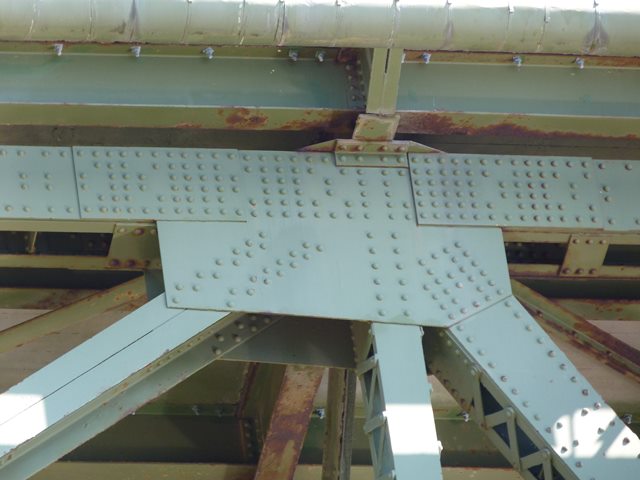
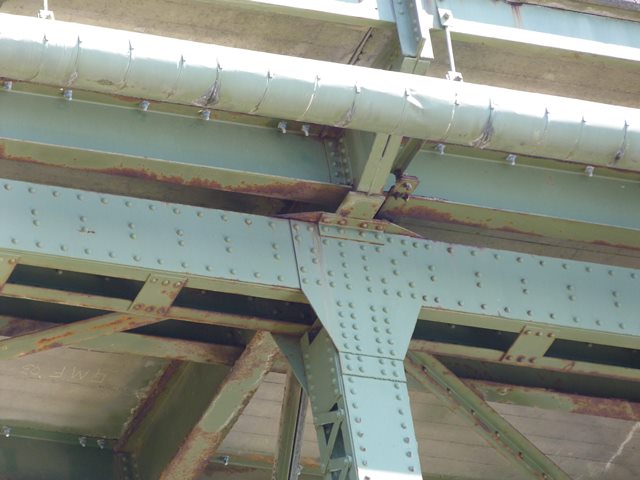


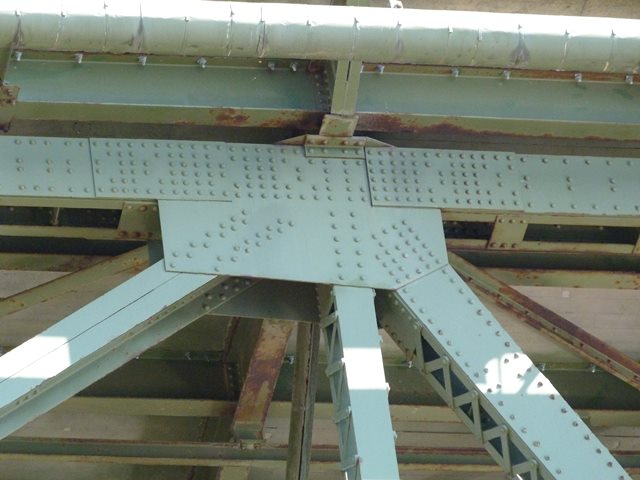
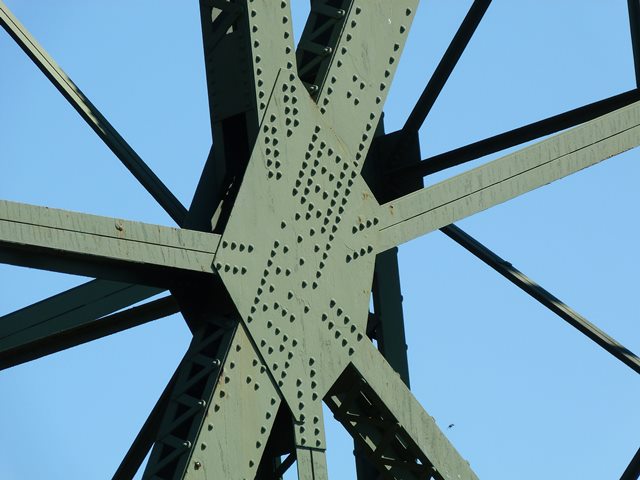
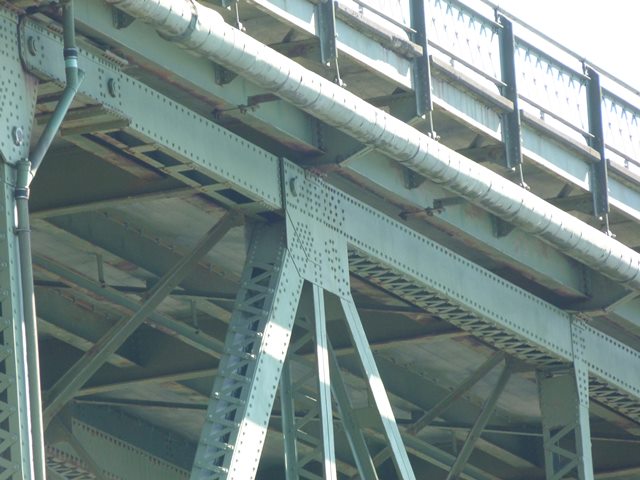
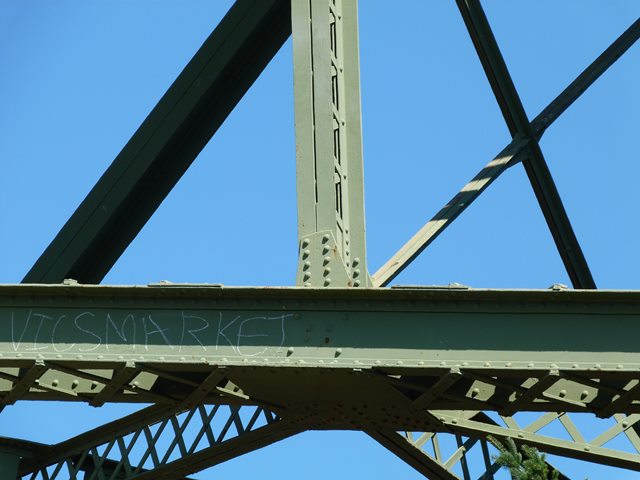
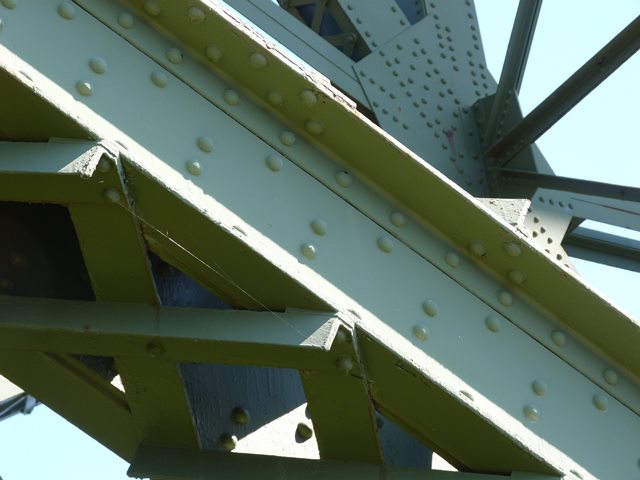
Top chord connections.
![]()
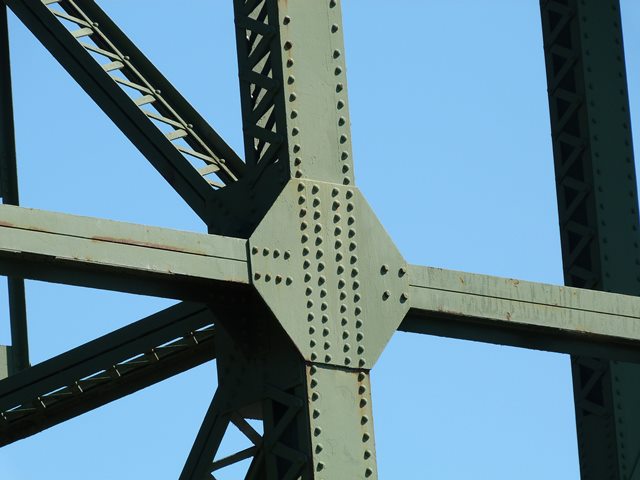
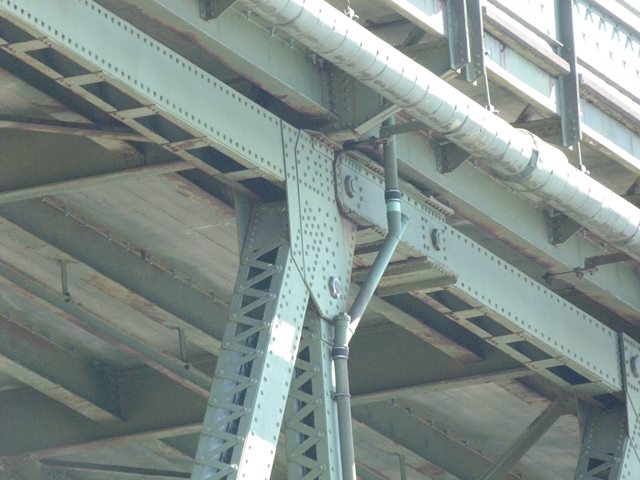
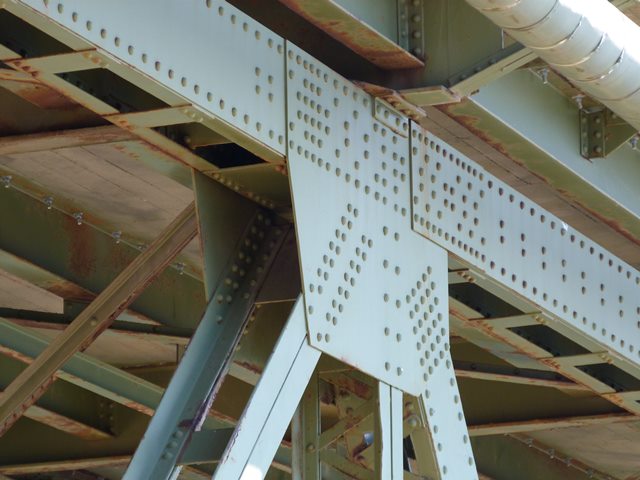
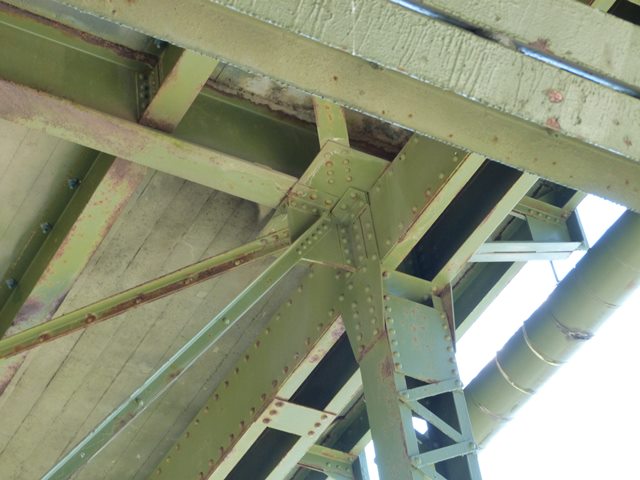
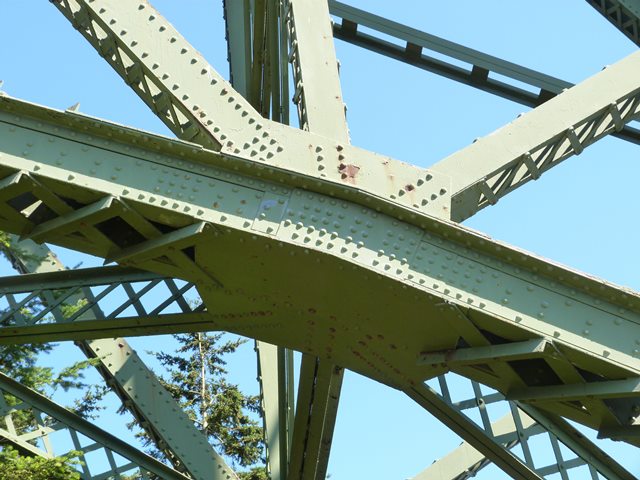
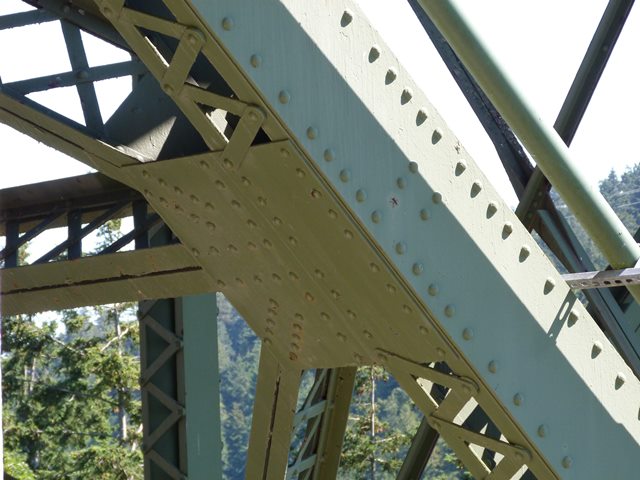
Intermediate connections.
![]()
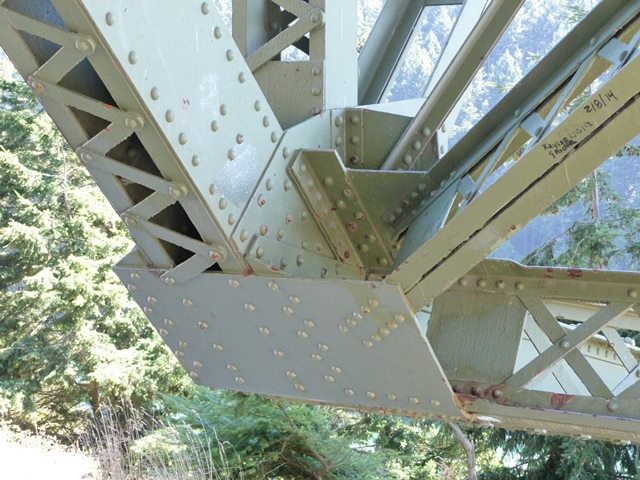


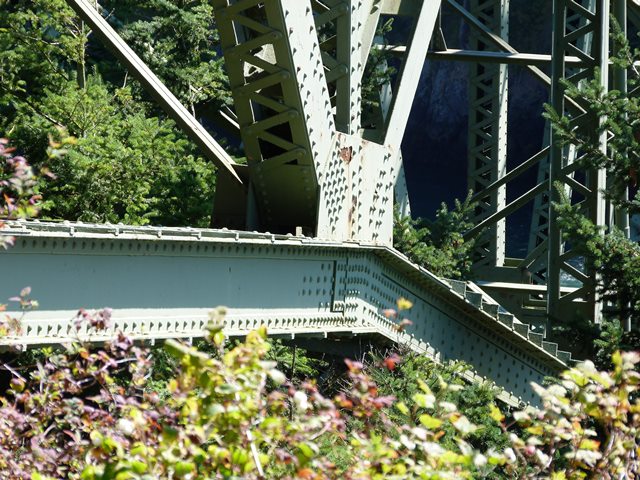
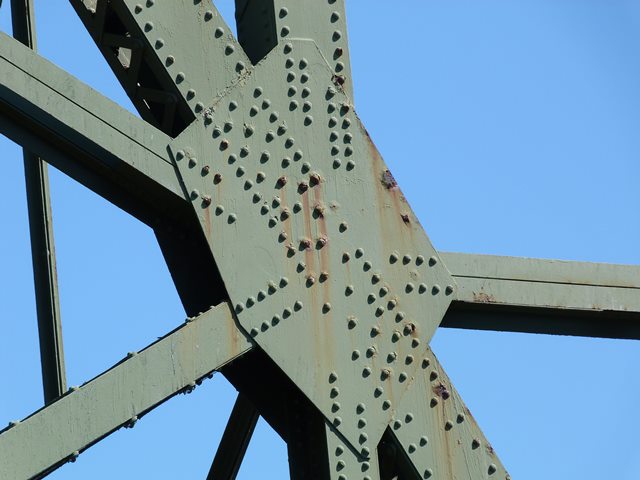
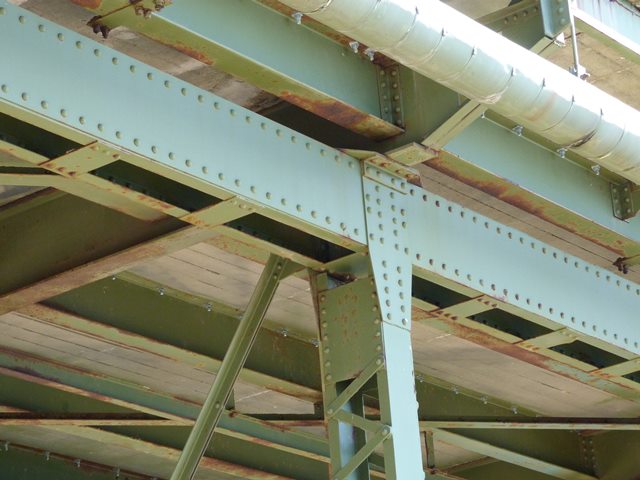
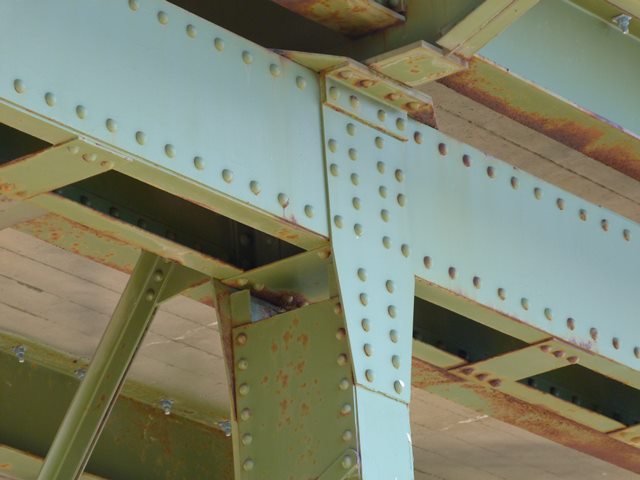
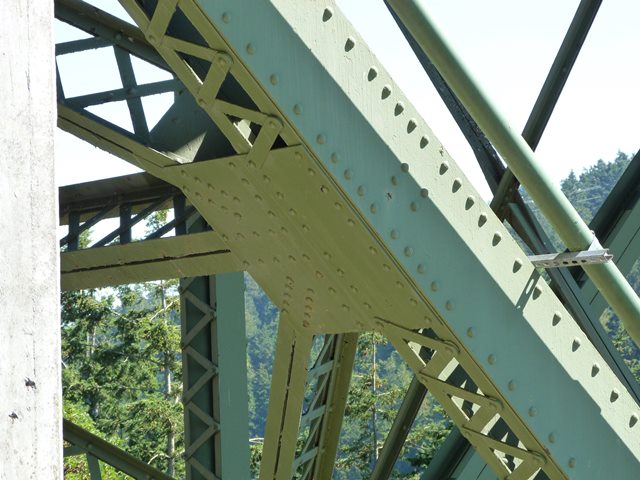
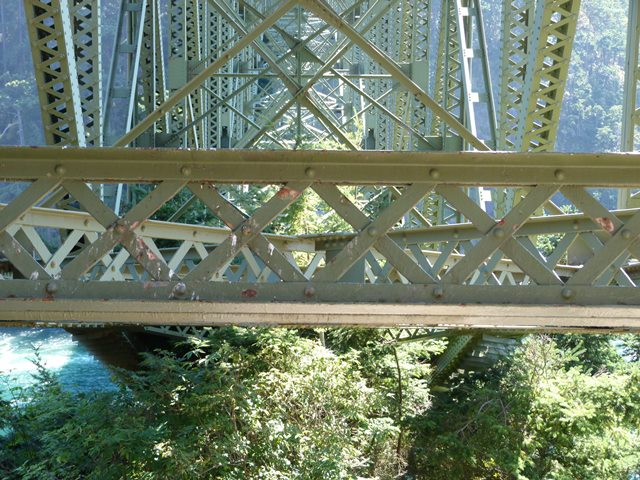
Bottom chord connections.
![]()
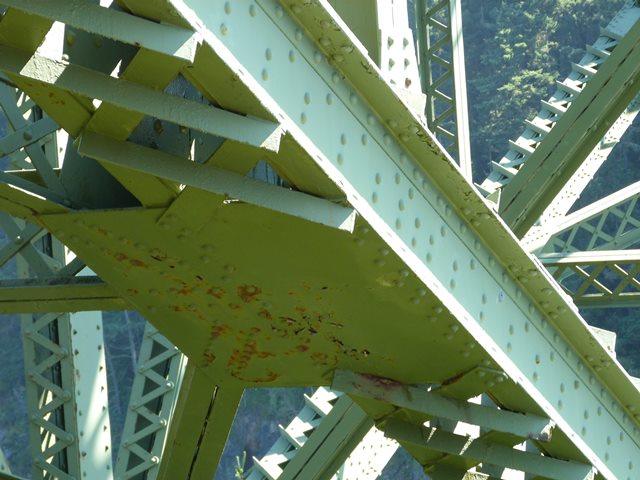
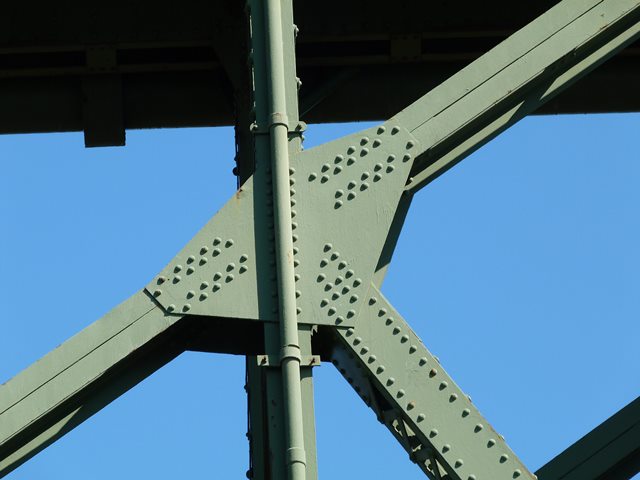
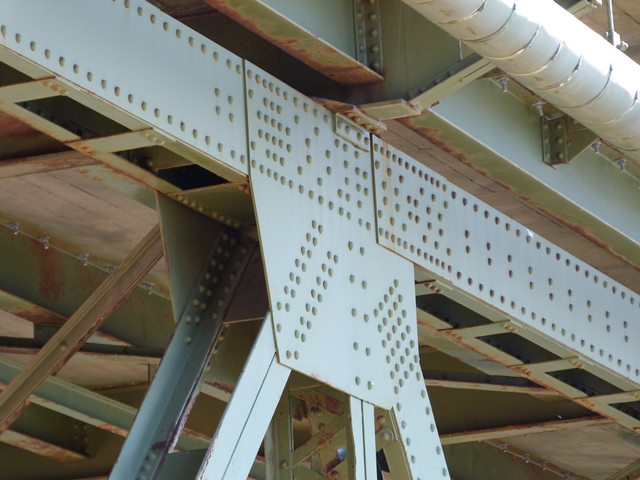
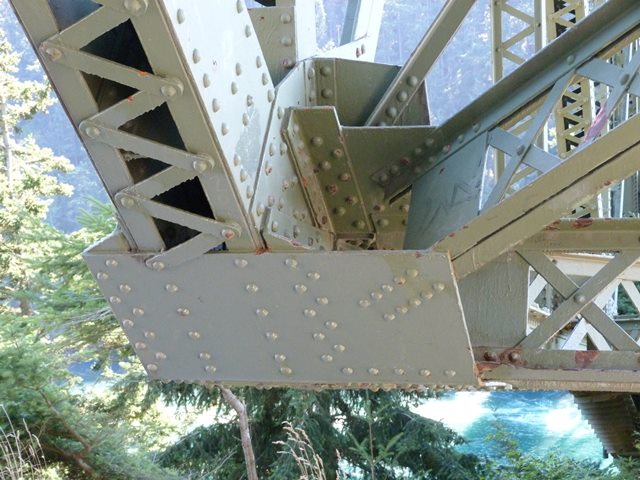
Bottom chord details toward center of bridge.
![]()
Bottom chord details at end of bridge.
![]()
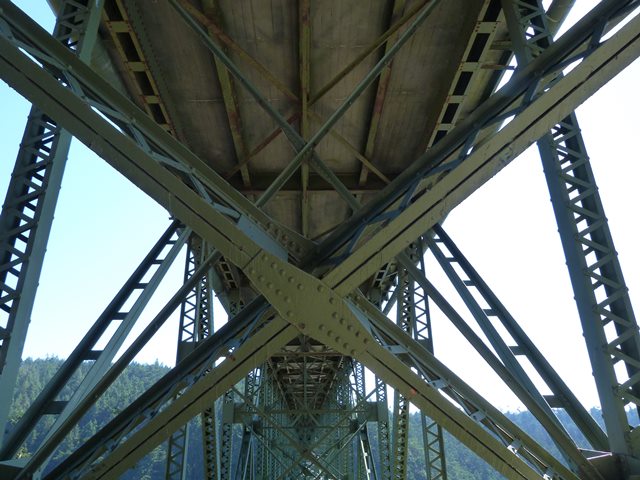
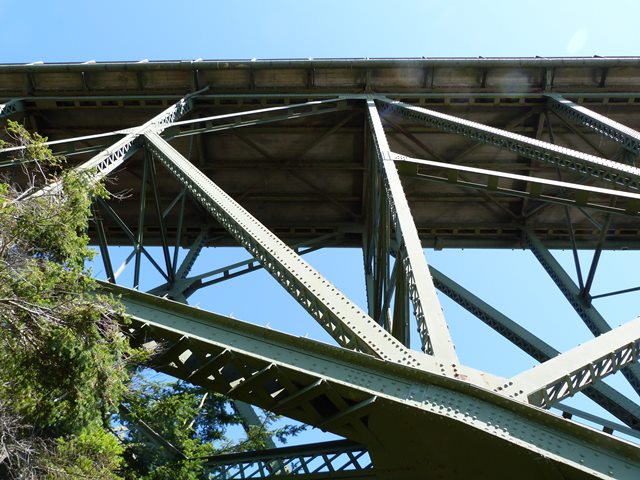
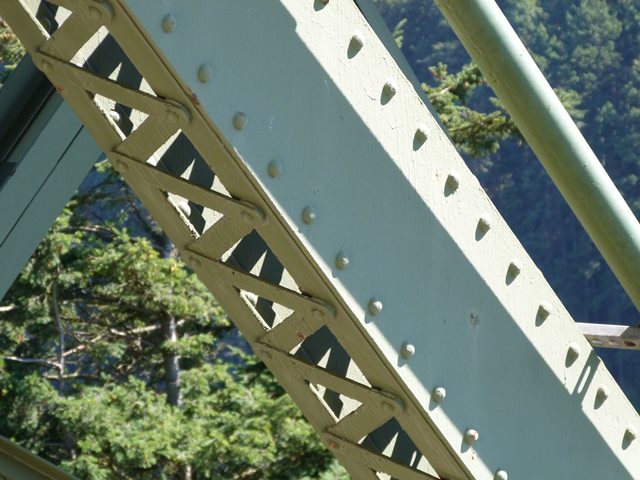
Bracing details.
![]()
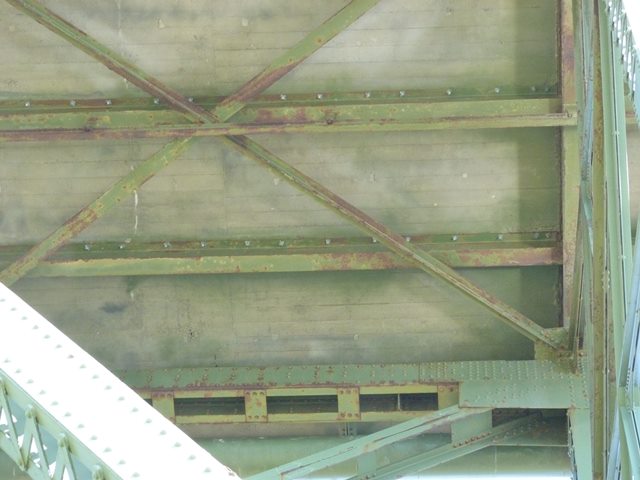
Deck stringers and lateral bracing.
![]()
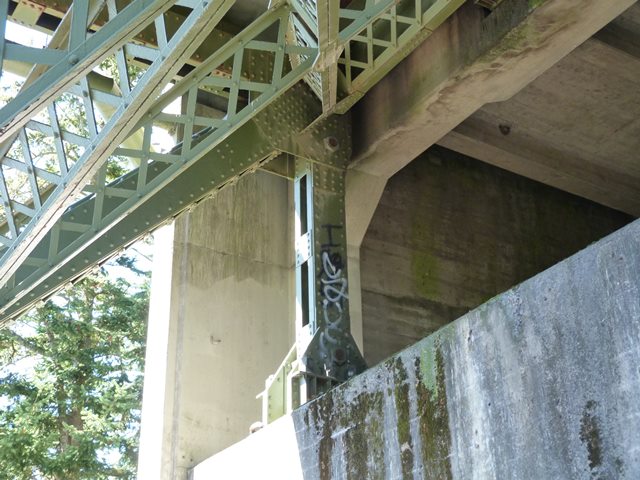
Abutment bearing.
![]()

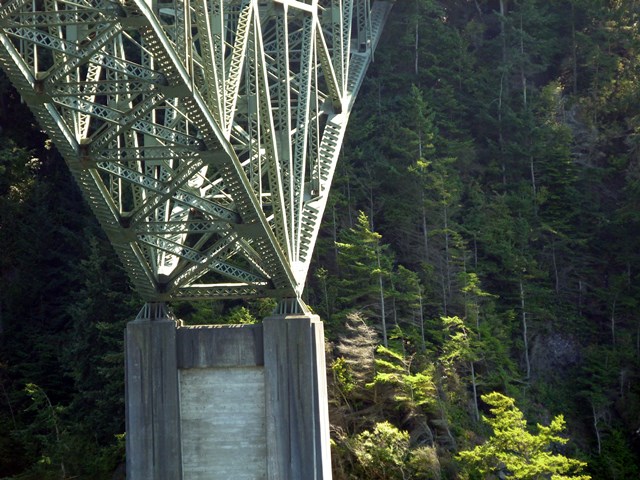
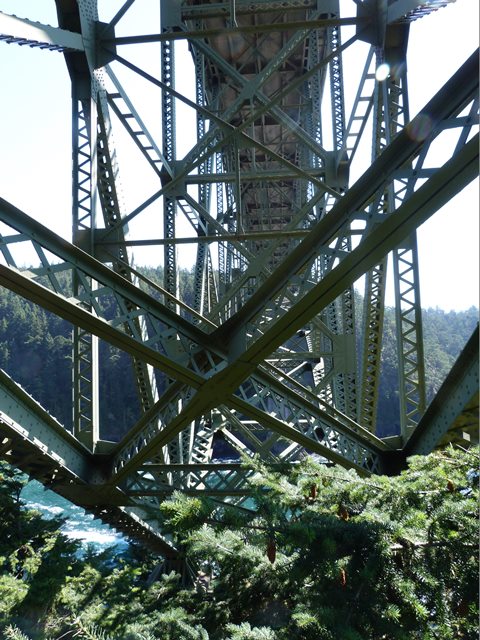
Pier.
![]()

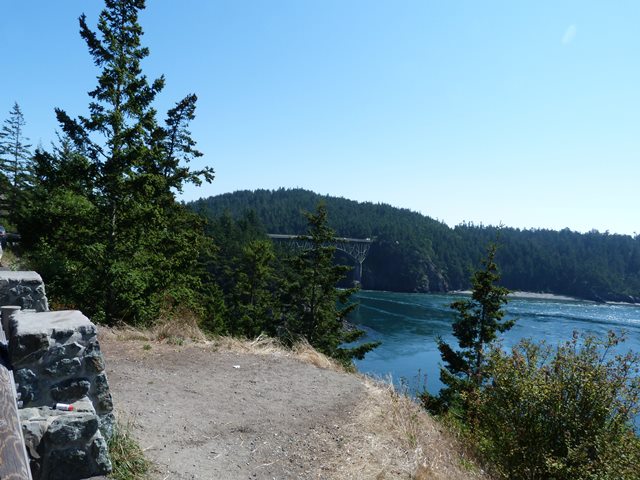


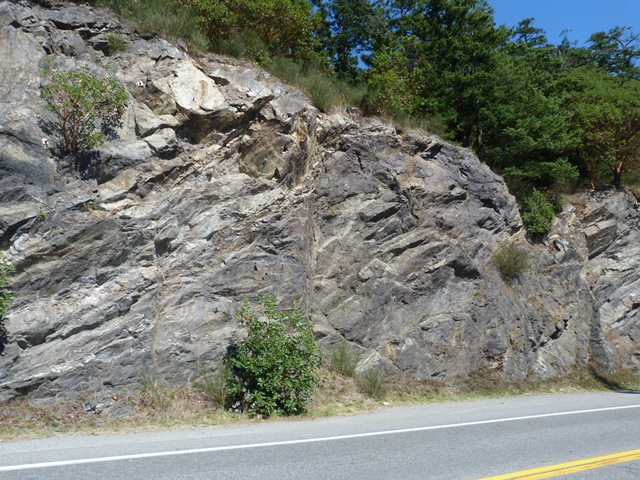
Scenery at bridge.
![]()
![]()
| Back |
| Home |
| Top |

![]()