Uncredited photos on this page taken by: Nathan Holth. Unless stated in a caption, all photos are Copyright with All Rights Reserved. Learn about reuse of our photos.
![]()


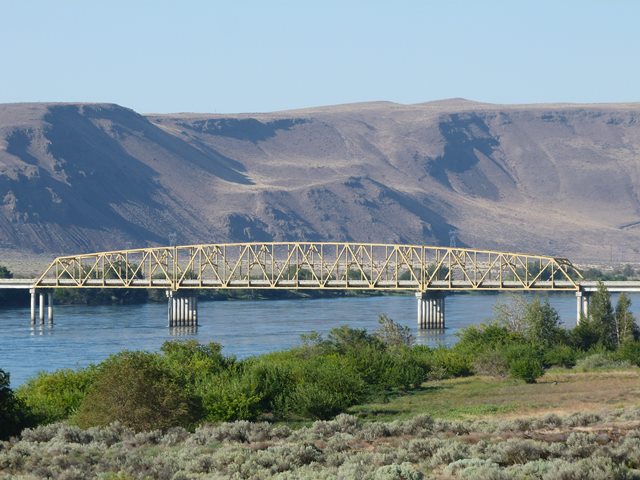
Distant elevation, from northwest quadrant.
![]()


Distant elevation of truss spans, from northwest quadrant.
![]()


Distant near-midspan elevation, from northwest quadrant.
![]()

Distant near-midspan elevation of truss spans, from northwest quadrant.
![]()


Distant near-midspan elevation of individual truss spans, from northwest quadrant.
![]()


Extreme distant elevation from southwest quadrant.
![]()


Views beside bridge from southwest quadrant.
![]()


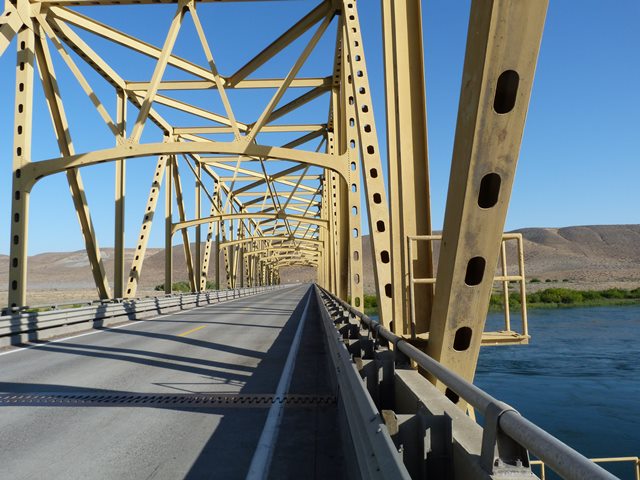
Portal views facing north.
![]()


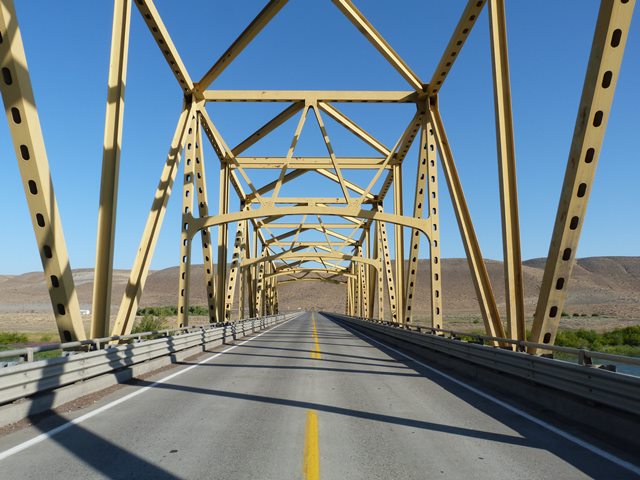
Portal views of truss spans facing north.
![]()
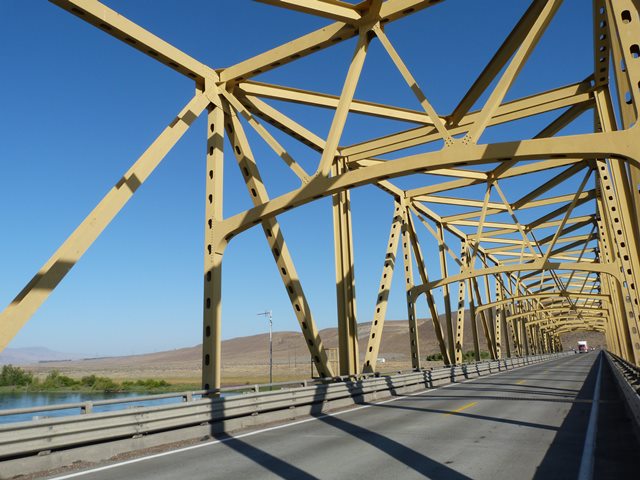
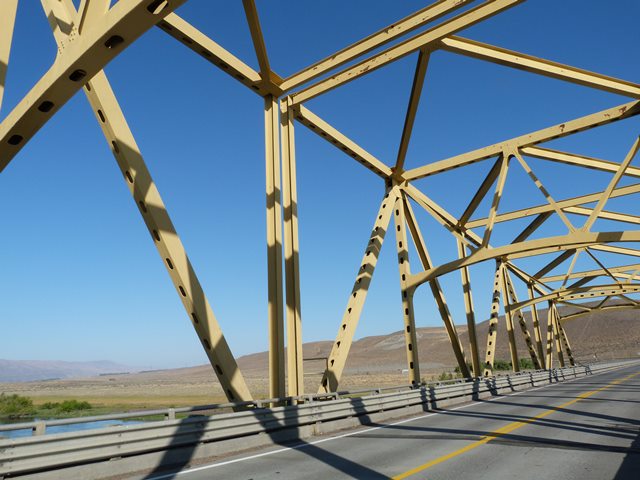
Portal views on truss spans facing north.
![]()
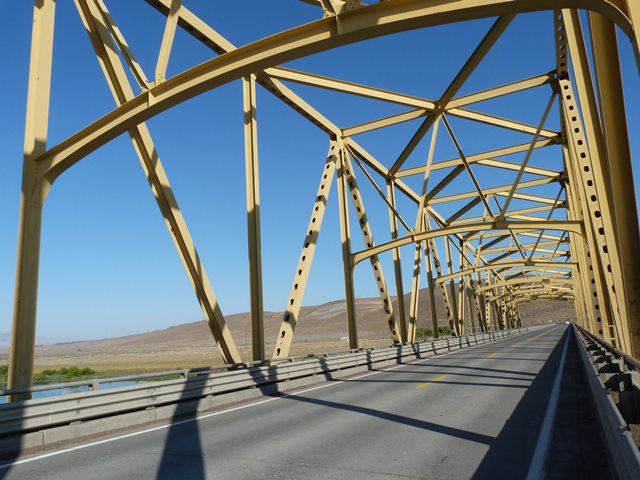
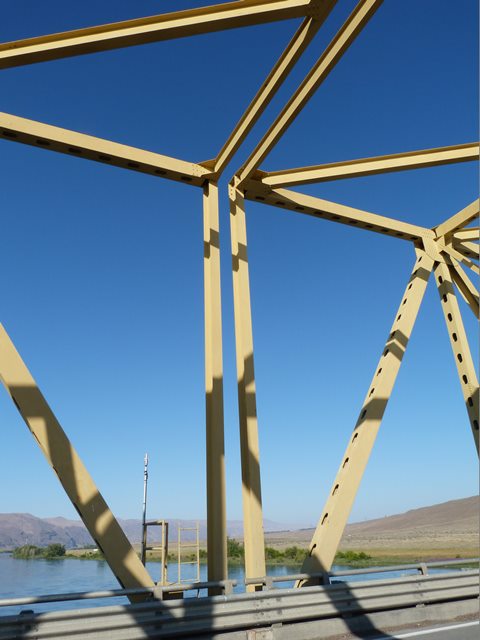
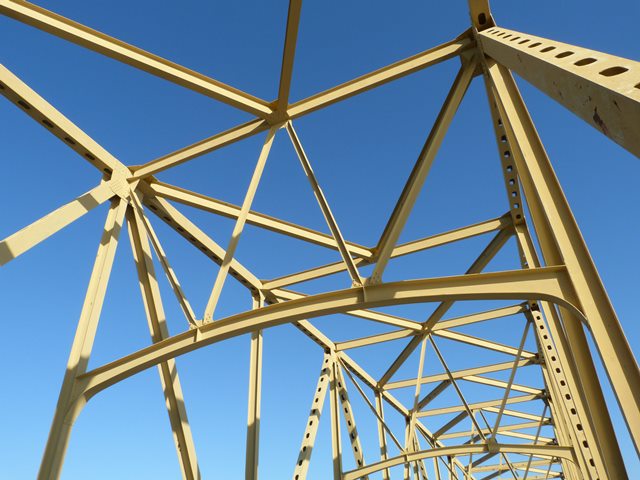
Views of truss web.
![]()


Views of bridge from pier.
![]()

View on approach spans facing south.
![]()

View on approach spans facing north.
![]()
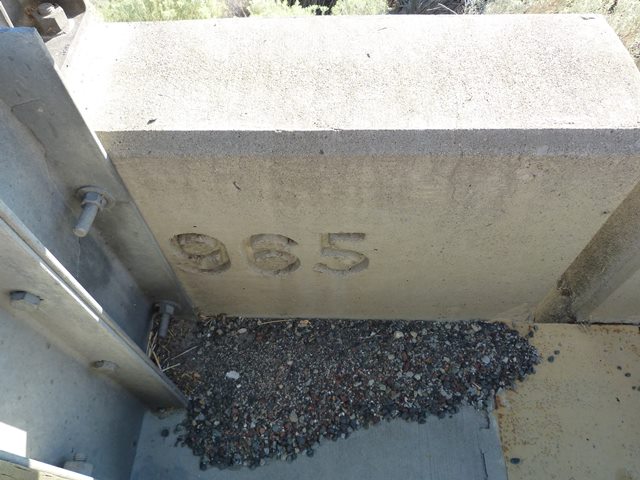
Date marker.
![]()
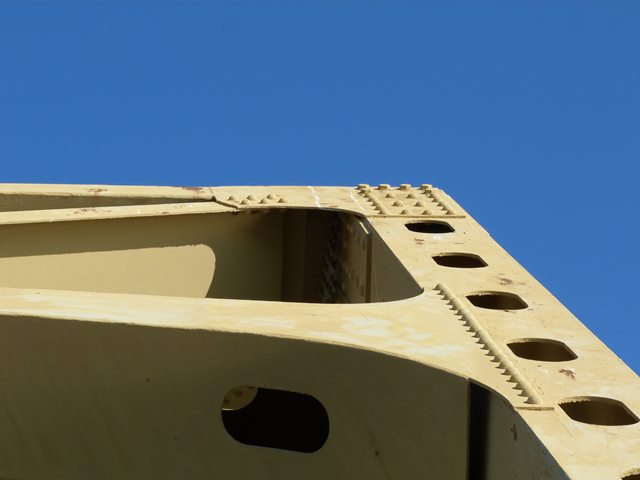
Top chord connections at vertical end posts.
![]()
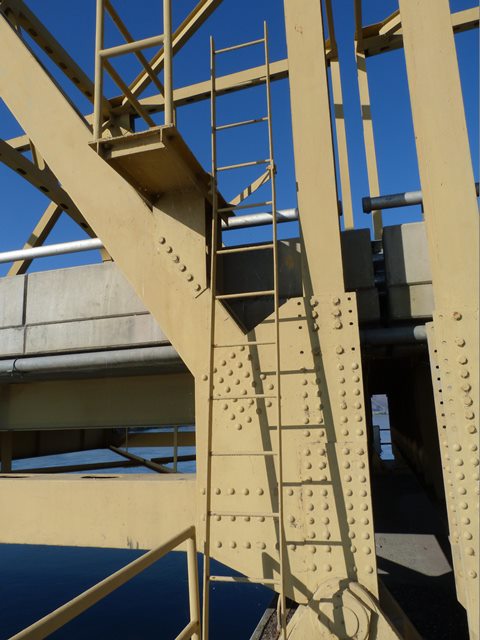
Vertical end posts.
![]()

View looking out at extra-wide pier, likely intended for eventual use by vertical lift towers. Note the empty bolt holes on the vertical end posts.
![]()

Inclined end post.
![]()
Expansion joints.
![]()


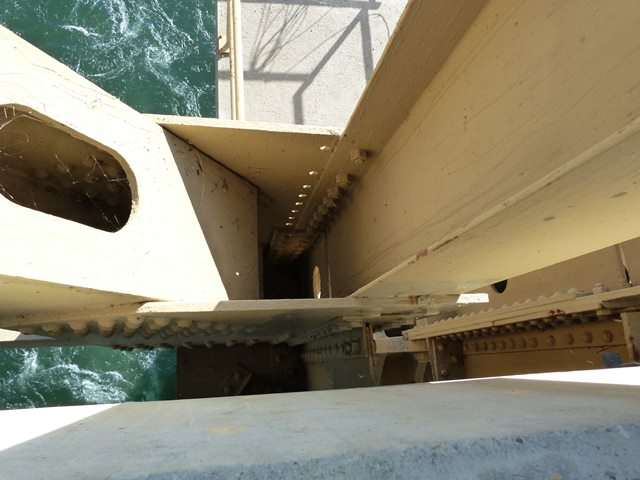
View in between spans under the expansion joint.
![]()


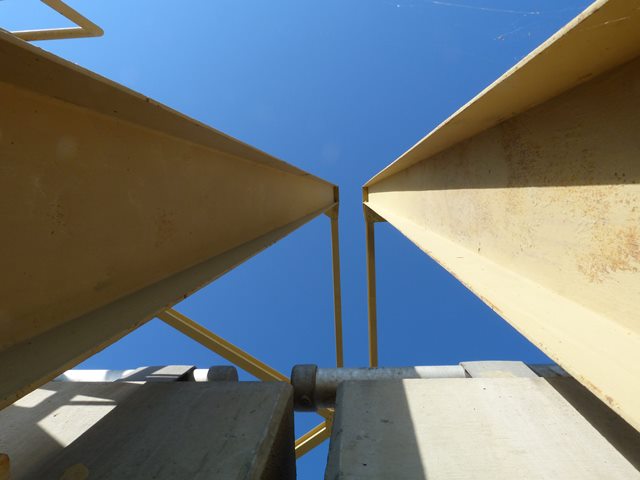
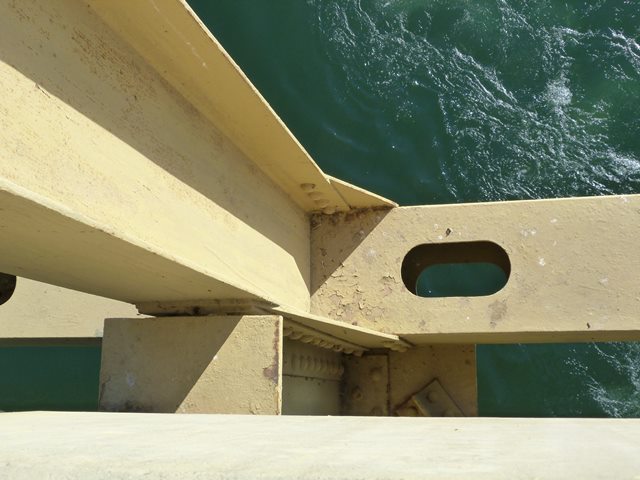
Top chord connections as viewed from pier.
![]()
Top chord connections as viewed from on bridge.
![]()
Bottom chord connections as viewed from pier.
![]()
Bottom chord connections as viewed from on bridge.
![]()
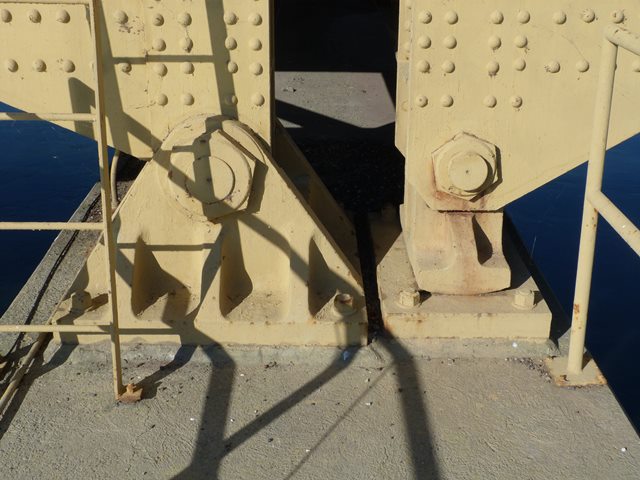
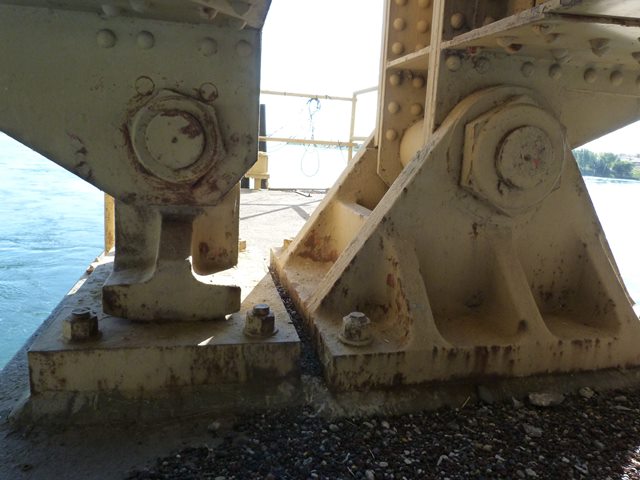
Bearings.
![]()

Portal bracing details.
![]()


Sway bracing.
![]()

Bracing connection at end of span.
![]()


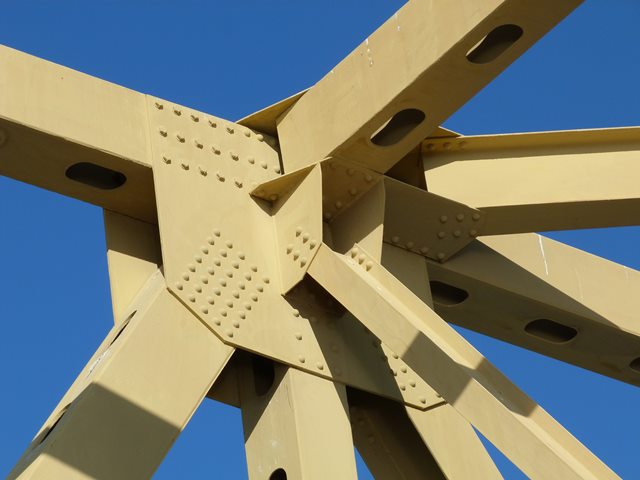
Bracing connections.
![]()


Sway bracing connections to vertical members.
![]()

Top chord.
![]()

Bottom chord.
![]()


Diagonal members.
![]()

Vertical member.
![]()
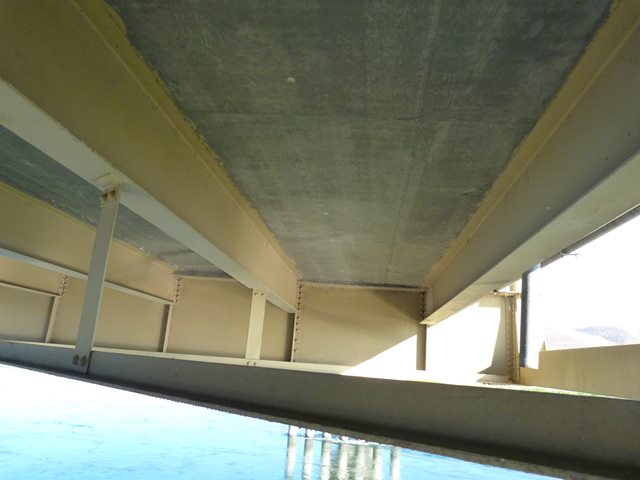


Views under bridge showing deck stringers and floor beams.
![]()


View from bridge.
![]()


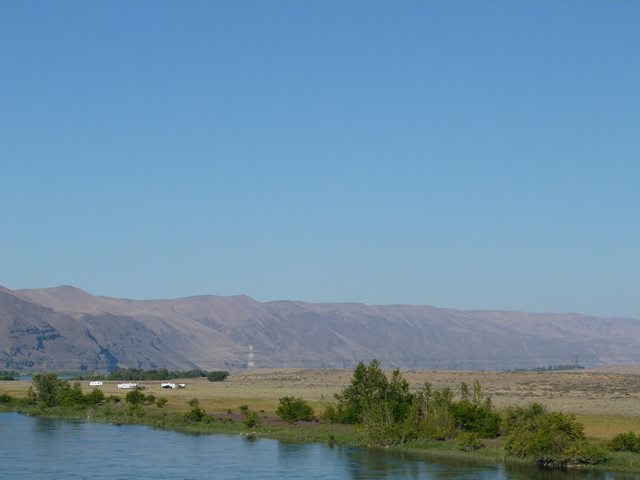
Scenery: Driving to the bridge.
![]()


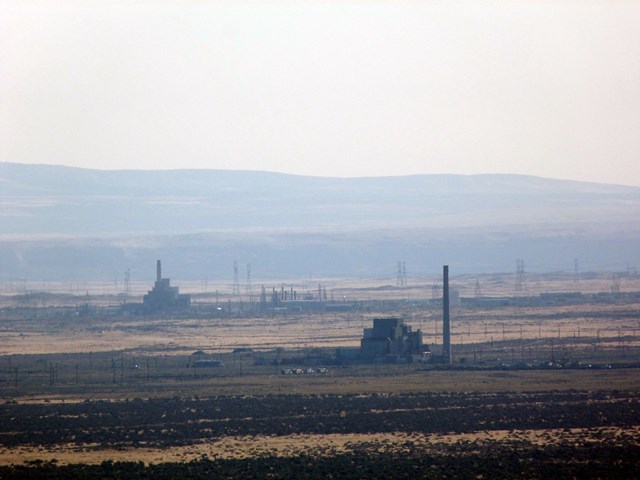

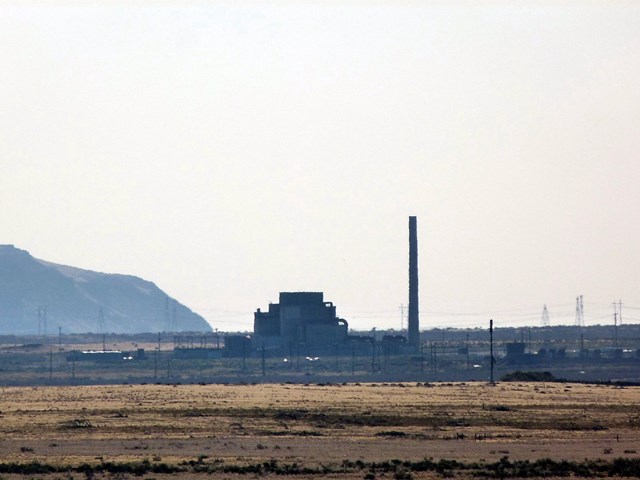
Scenery: Hanford Nuclear Reservation, which is next to the bridge.
![]()
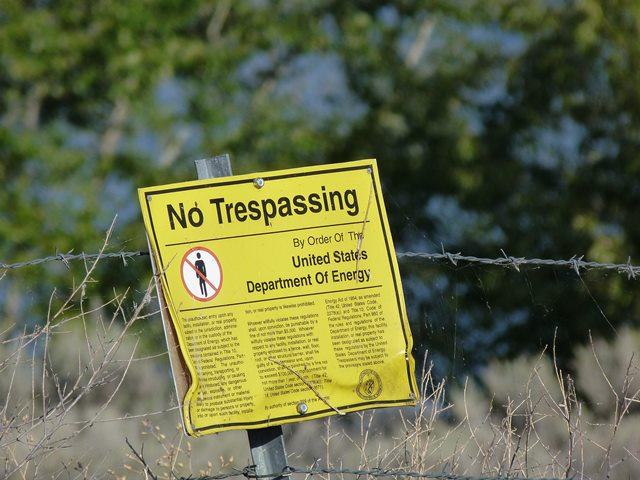

Hanford Nuclear Reservation signs.
![]()

Hanford Nuclear Reservation interpretive sign.
![]()
![]()
| Back |
| Home |
| Top |

![]()