Uncredited photos on this page taken by: Nathan Holth. Unless stated in a caption, all photos are Copyright with All Rights Reserved. Learn about reuse of our photos.
![]()
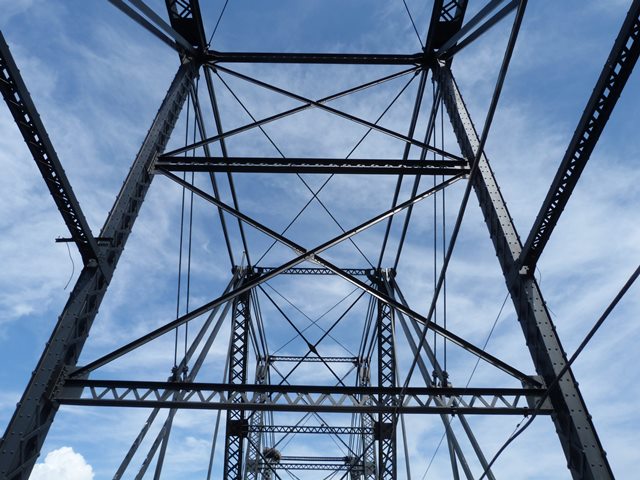
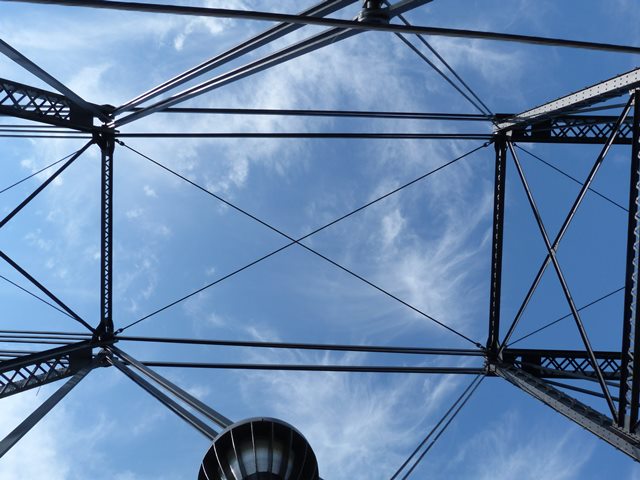
General Details
![]()
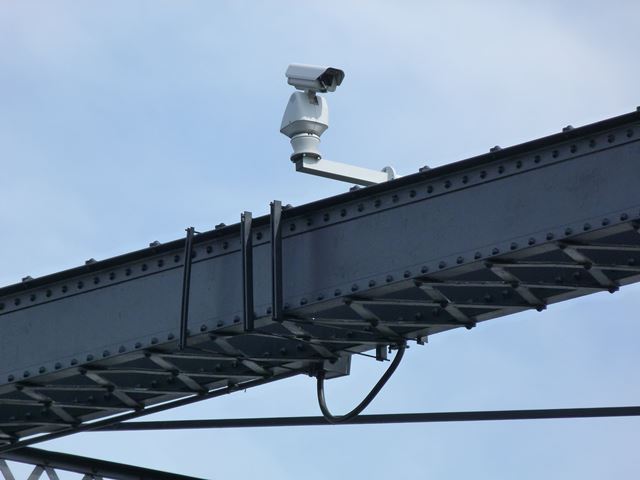
Cameras on bridge.
![]()

Carnegie brand.
![]()

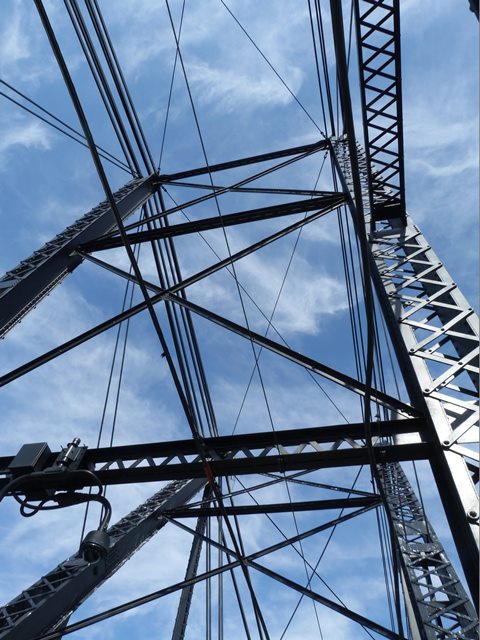
Lateral bracing.
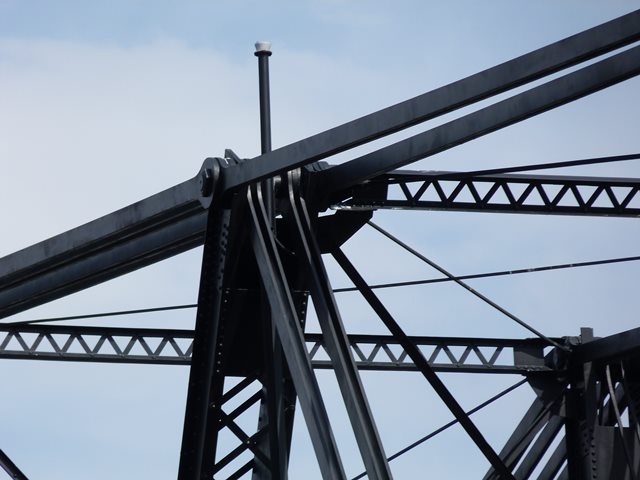
![]()
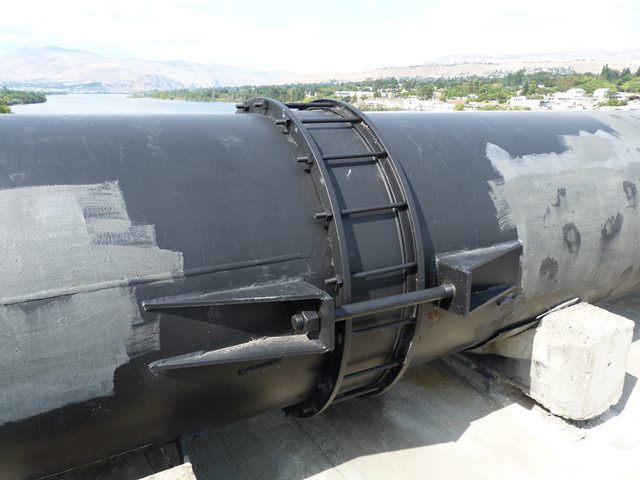
Pipe.
![]()
Anchor Arm Details
![]()
End post.
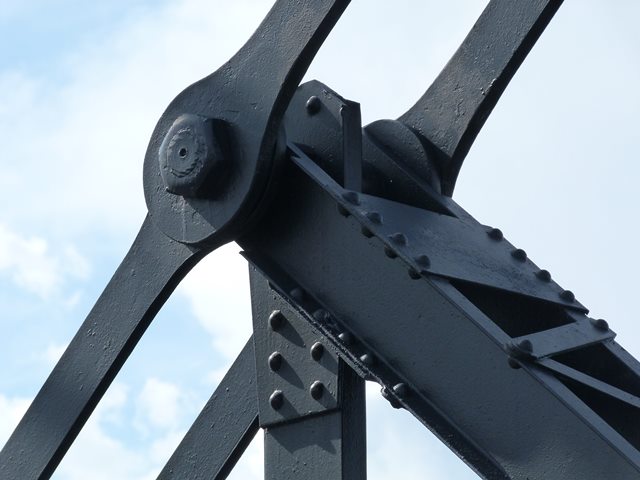
![]()
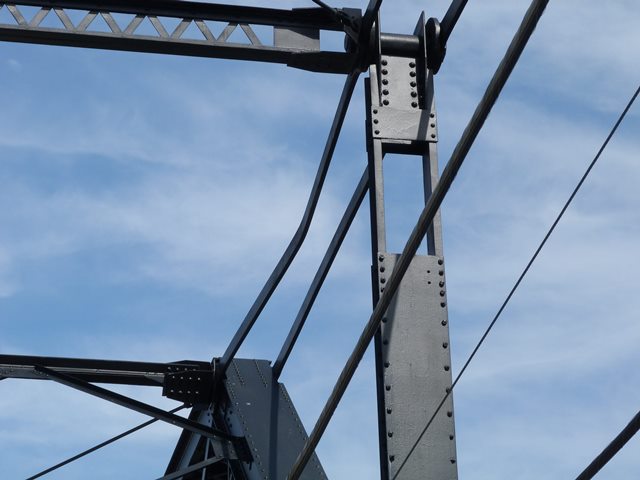
Bearing.
![]()


Bottom chord.
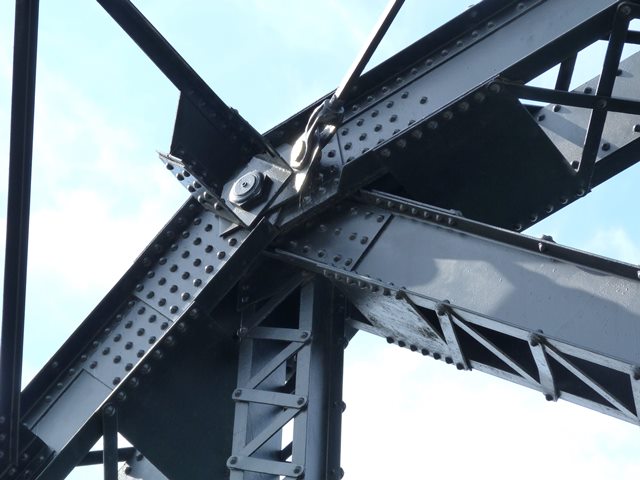
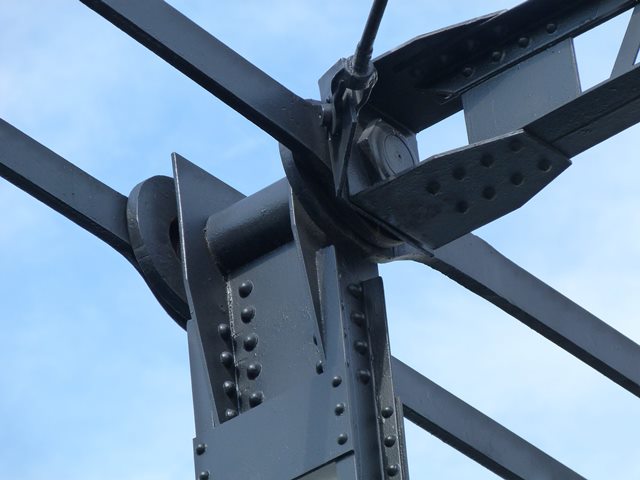
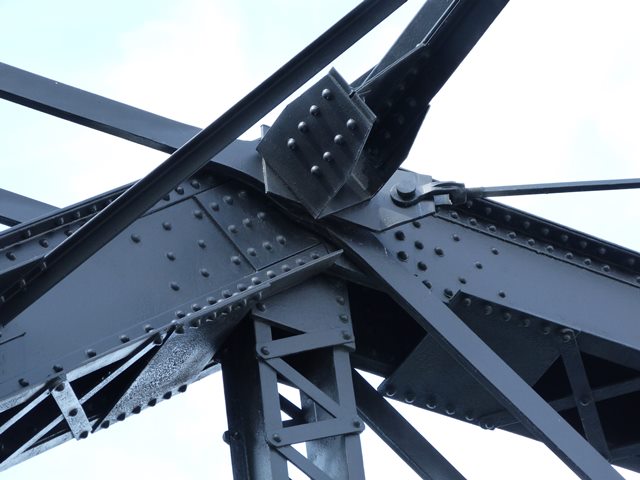
![]()

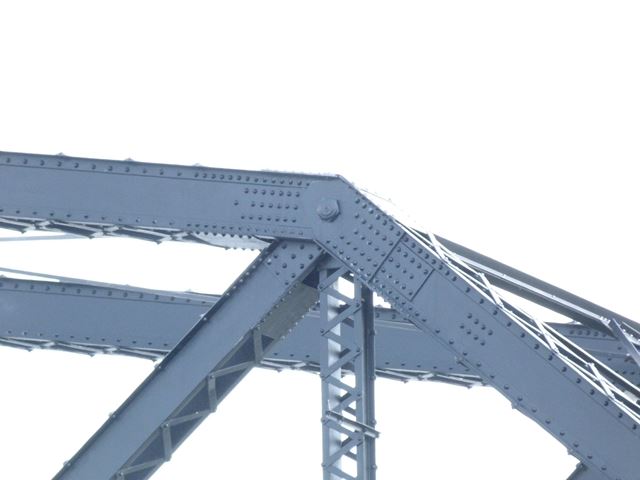
Looking up at the top chord where it changes from a box beam to eyebars.
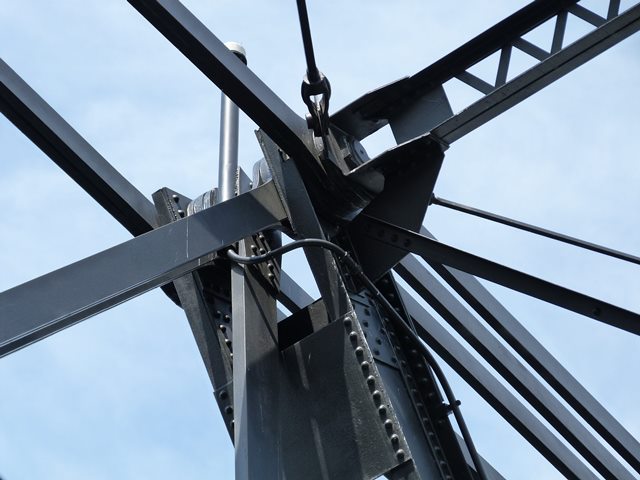
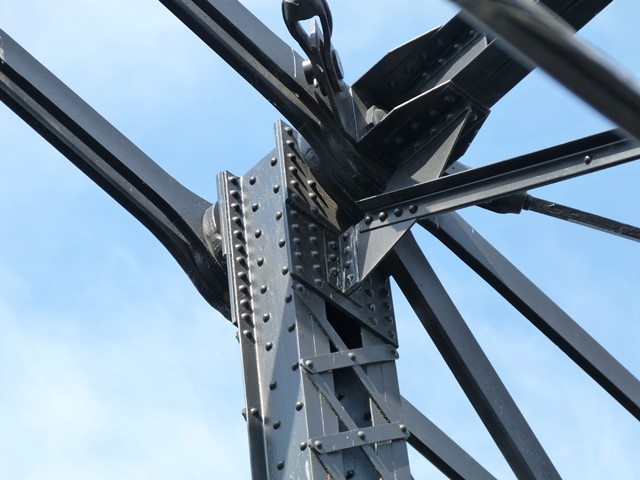
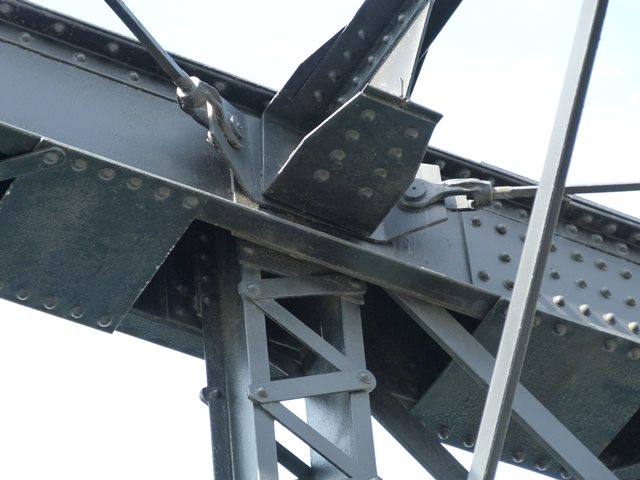
![]()


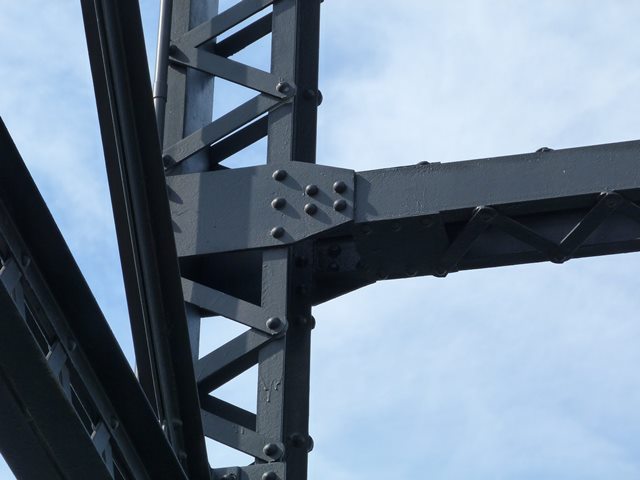
Top chord connections as viewed from beside bridge.
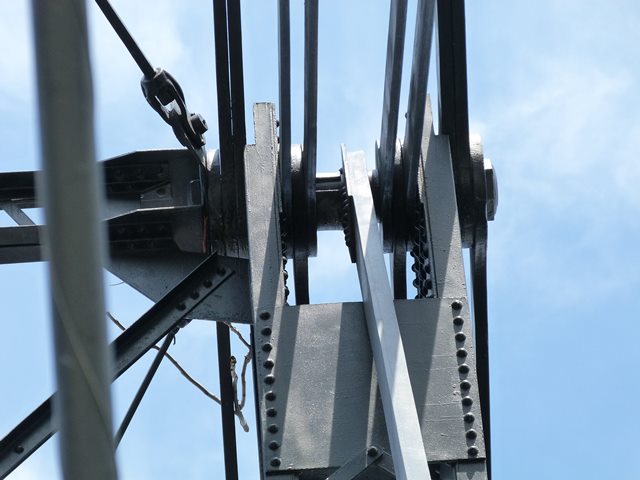
![]()
Top chord connections as viewed from on bridge.
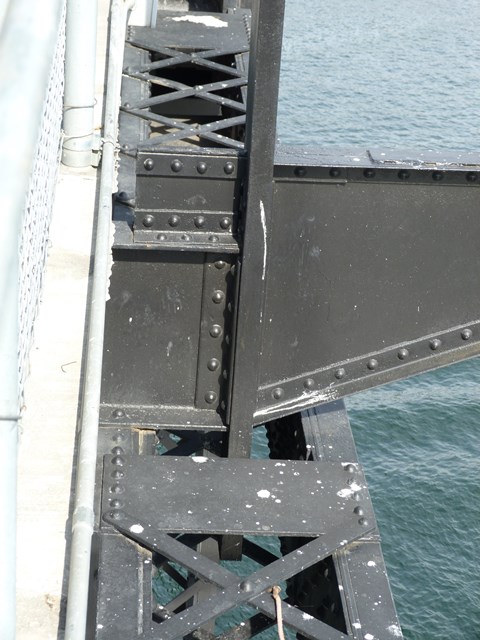
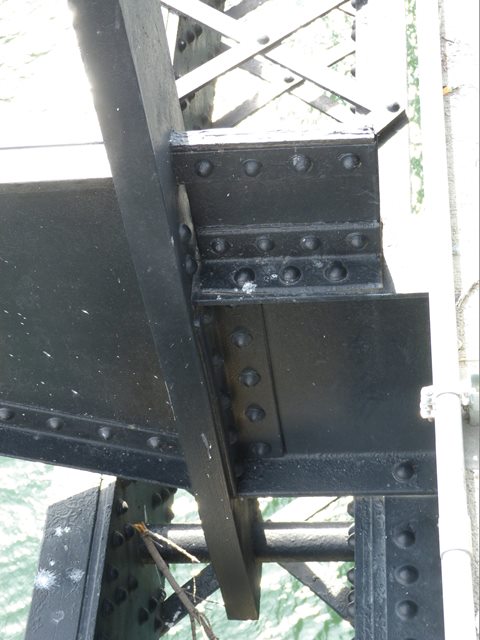
![]()

Bottom chord connections as viewed from beside bridge.
![]()
Bottom chord connections as viewed from on bridge.
![]()
Intermediate connections as viewed from on bridge.
![]()


Vertical members.
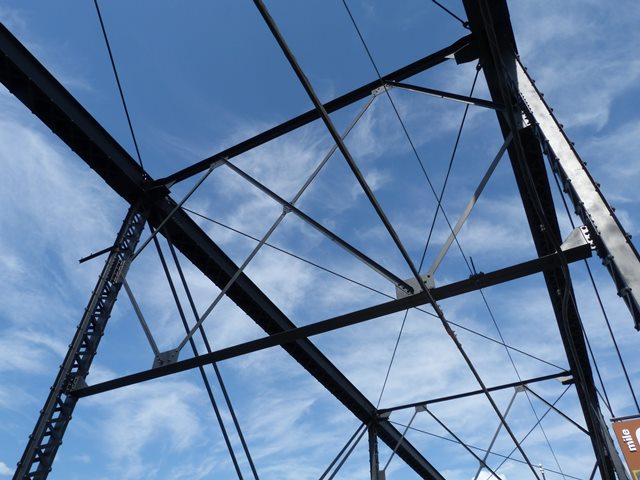
![]()
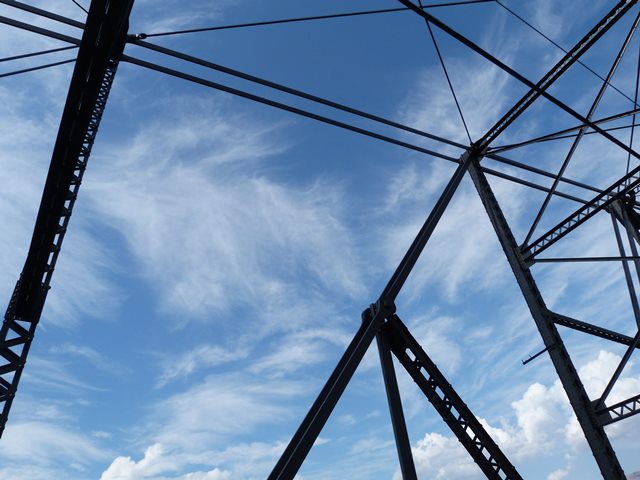
Sway bracing.
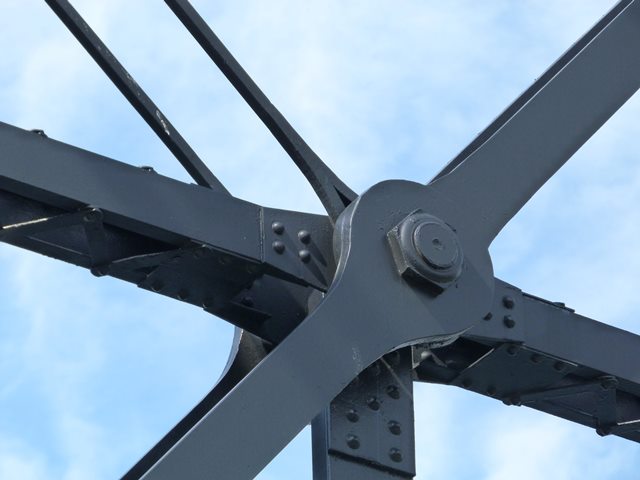
![]()


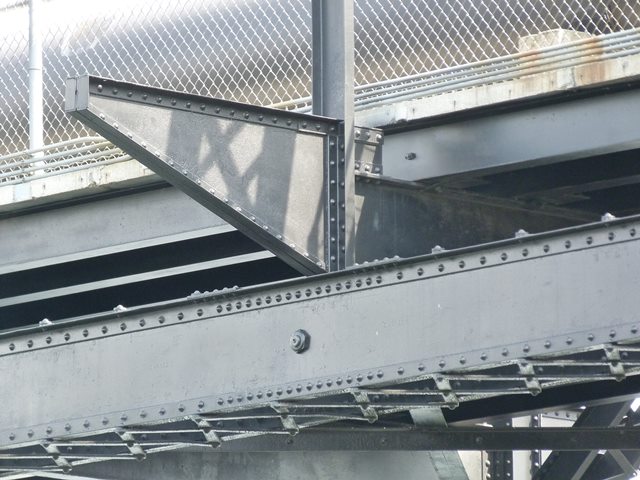
Sway bracing connections to vertical members.
![]()


Sway bracing connections to diagonal members.
![]()
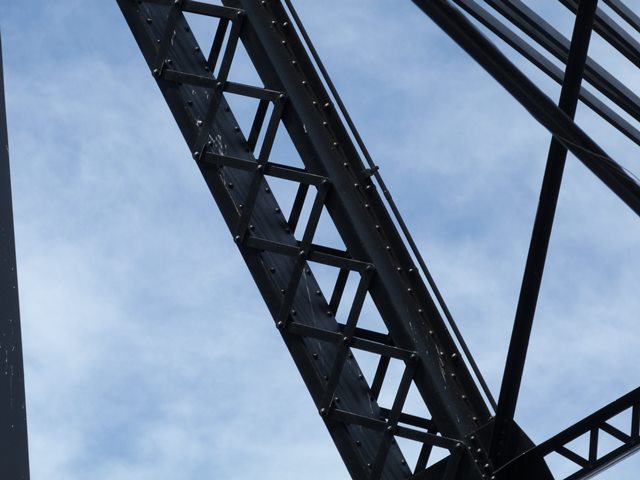
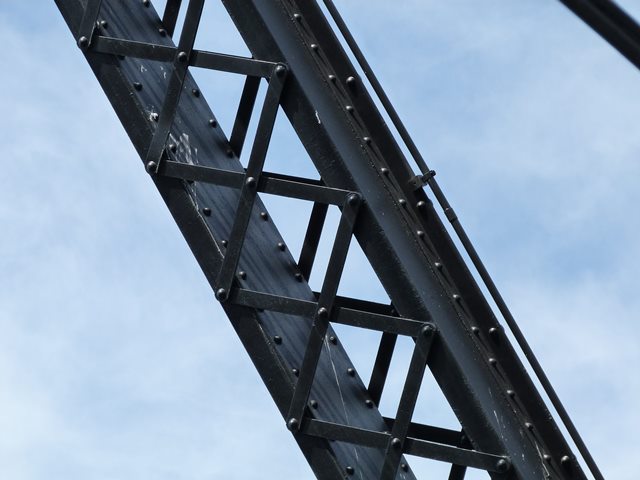

Diagonal members.
![]()

Bottom chord.
![]()
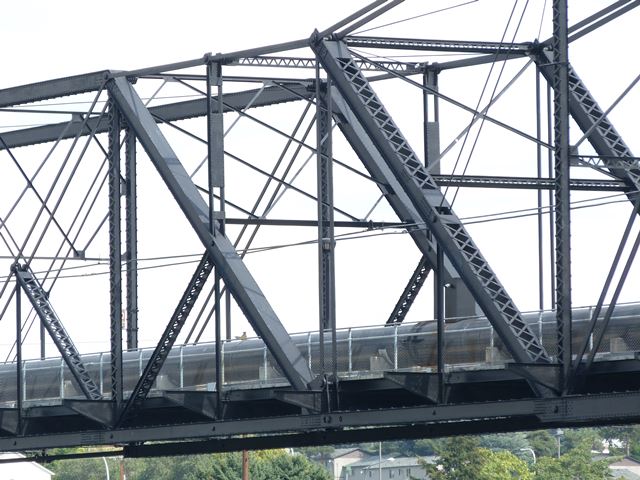
Main Post Details
![]()
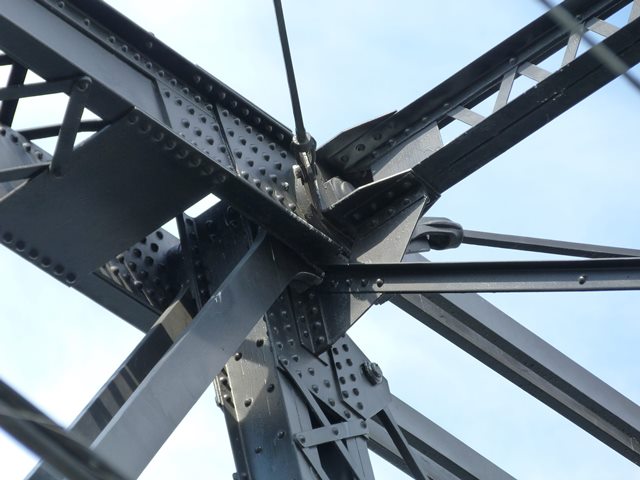
Bents at main posts.
![]()


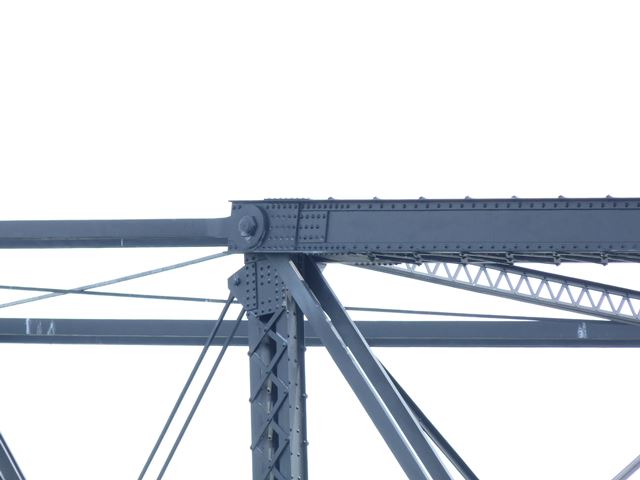
Top chord connections at main post as viewed from beside bridge.
![]()


Bottom chord connection at main post as viewed from beside bridge.
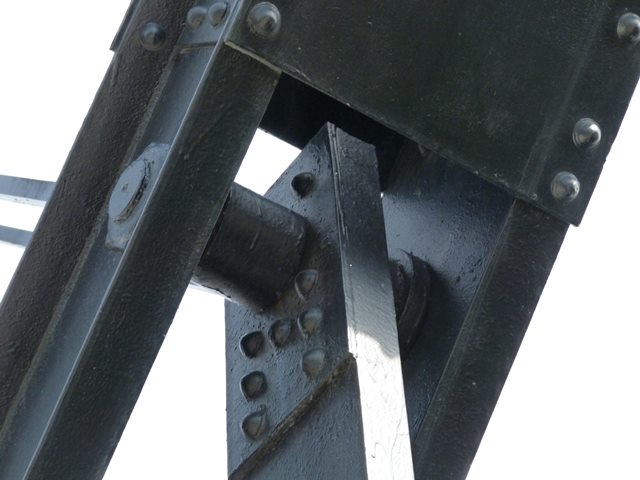
![]()
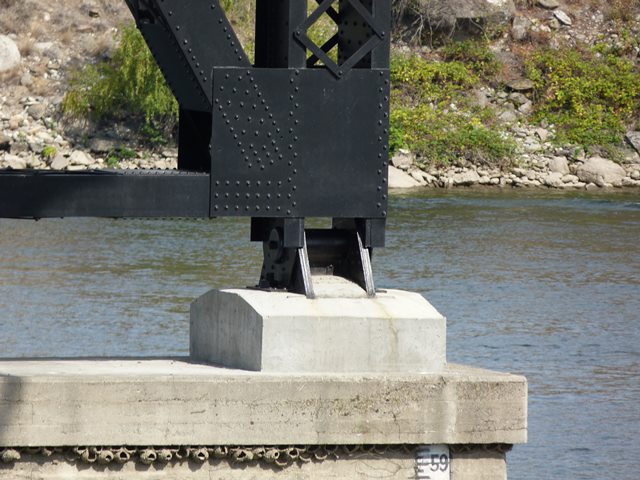
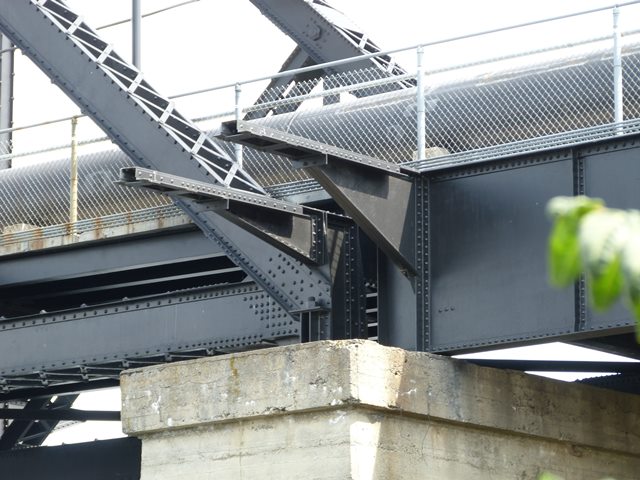
Bent bearing on concrete pier at main post.
![]()

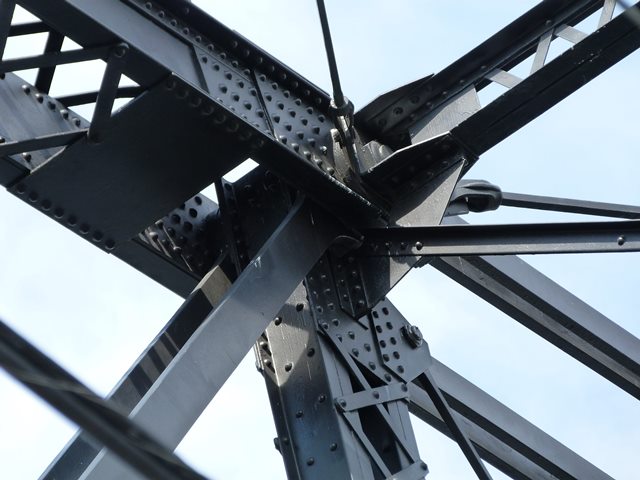
Overview of main post.
![]()
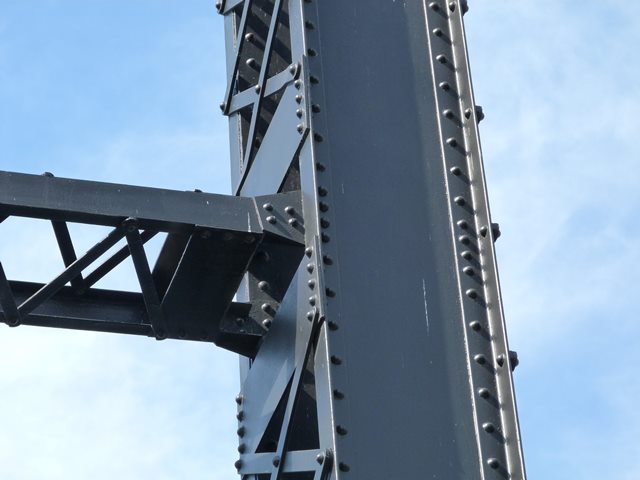


Main post details.
![]()


Bottom chord connection.
![]()


Looking up, main post to the right.
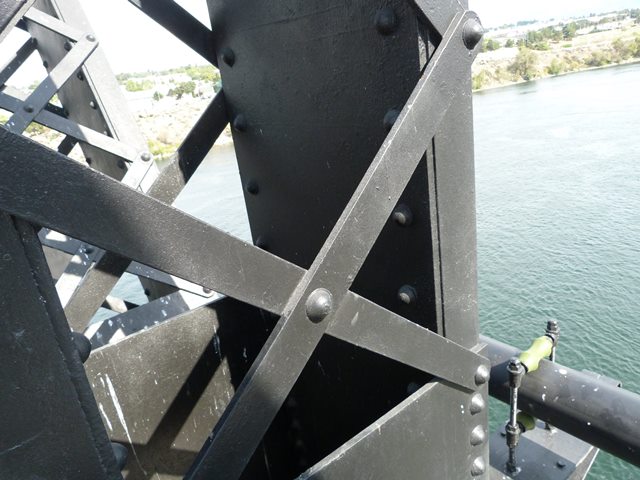
![]()
Sway bracing.
![]()

Sway bracing connection.
![]()
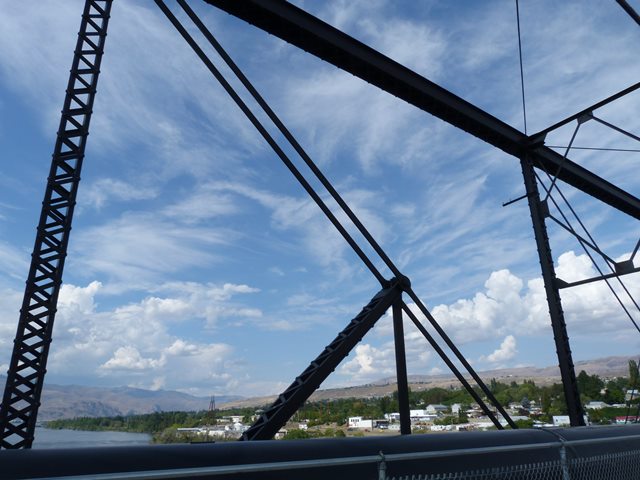
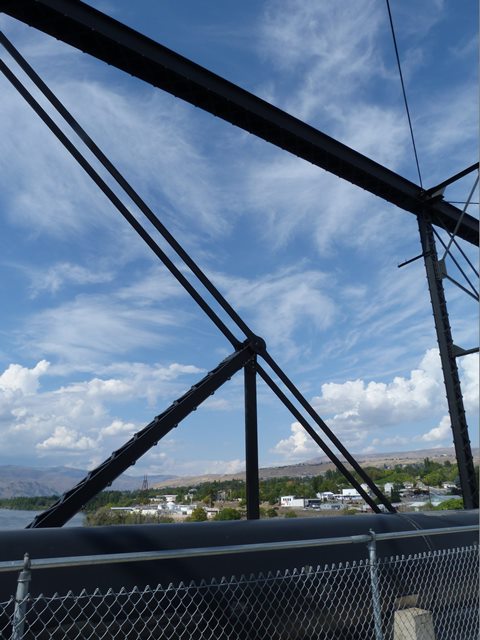
Cantilever Arm Details
![]()
Truss panel.
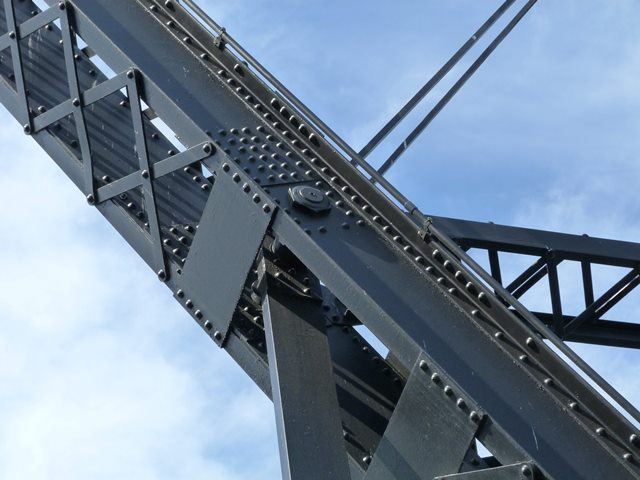
![]()

Top chord connections as viewed from beside bridge at end of cantilever arm.
![]()
Bottom chord connections as viewed from beside bridge.
![]()
Top chord connections as viewed from on bridge.
![]()
Intermediate connections as viewed from on bridge.
![]()
Bottom chord connections as viewed from on bridge.
![]()
Diagonal members.
![]()

Vertical member.
![]()
Sway bracing.
![]()
Sway bracing connections to vertical members.
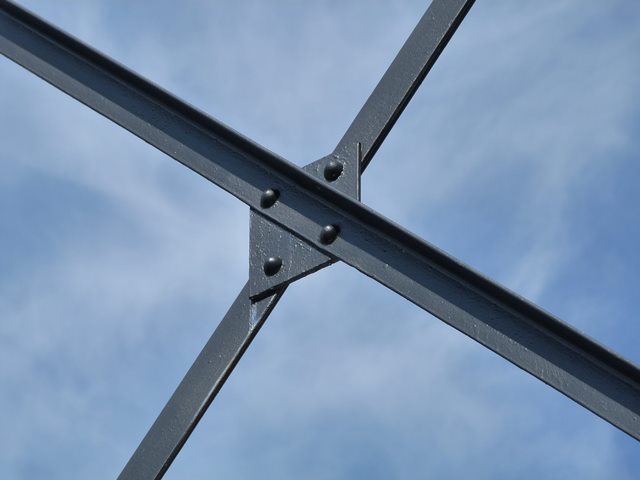
![]()

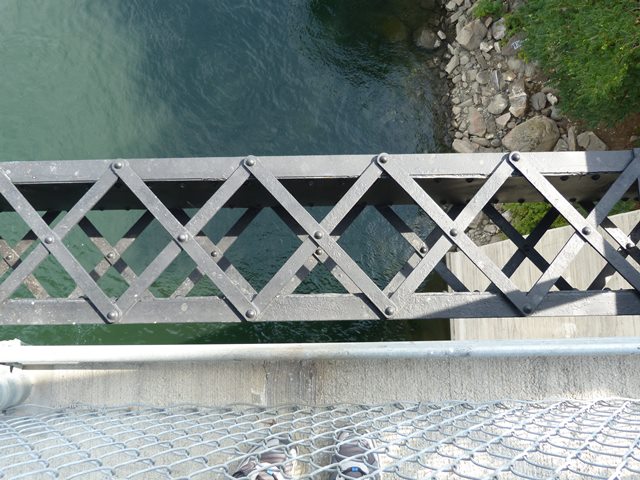
Lateral bracing.
![]()
Suspended Span Details
![]()

Overview of hanger system for suspended span.
![]()

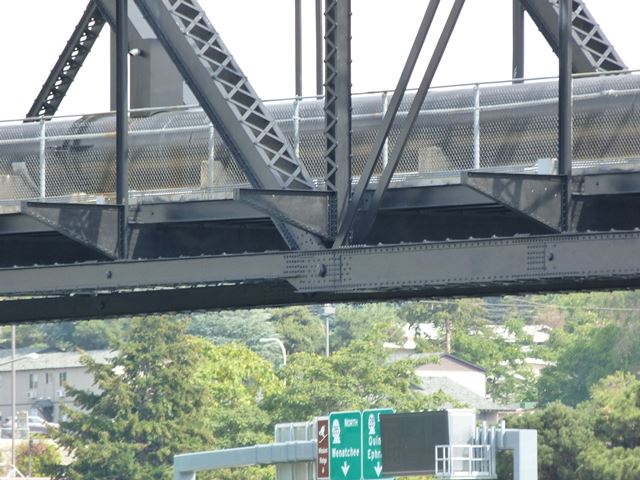
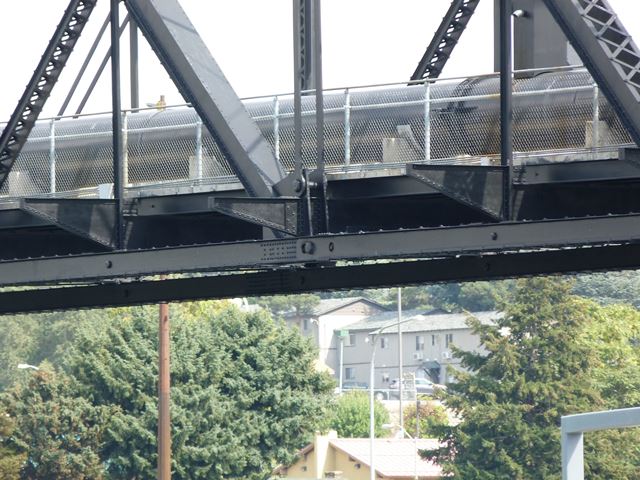
Truss panels.
![]()
Secondary hanger attached midway up the suspended span end post.
![]()

Secondary hanger at top chord of cantilever arm.
![]()


End post, where the secondary hanger connects.
![]()
Eyebar from cantilever arm at secondary hanger for suspended span.
![]()

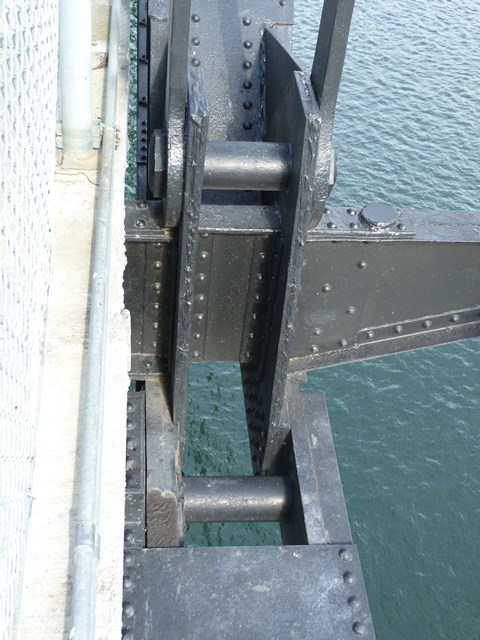
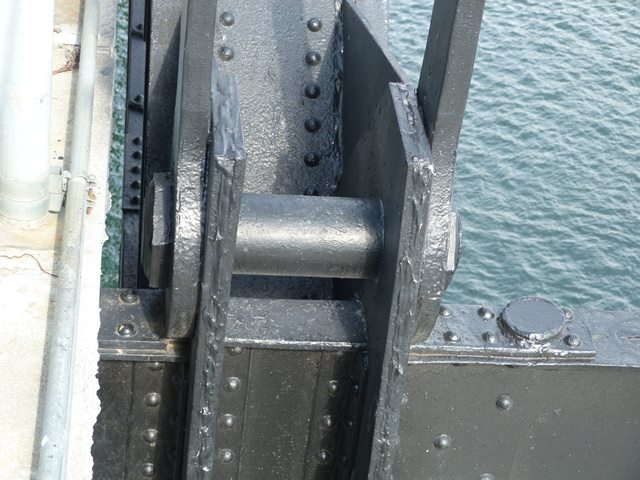
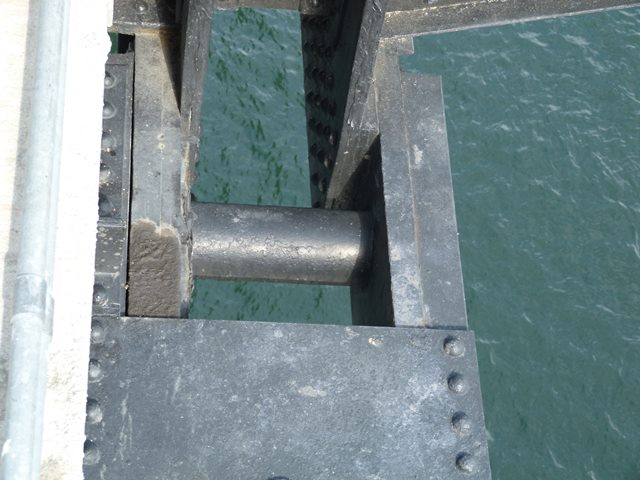
Pin connection for suspended span hanger to bottom of suspended span.
![]()

Top chord connection as viewed from beside bridge.
![]()

Top chord connections as viewed from on bridge.
![]()


Bottom chord connections as viewed from on bridge.
![]()
Sway bracing.
![]()


Sway bracing connections to vertical members.
![]()

Sway bracing connections.
![]()
![]()
| Back |
| Home |
| Top |

![]()