
Uncredited photos on this page taken by: Nathan Holth. Unless stated in a caption, all photos are Copyright with All Rights Reserved. Learn about reuse of our photos.
![]()


Portal views facing west.
![]()


Portal views facing east.
![]()


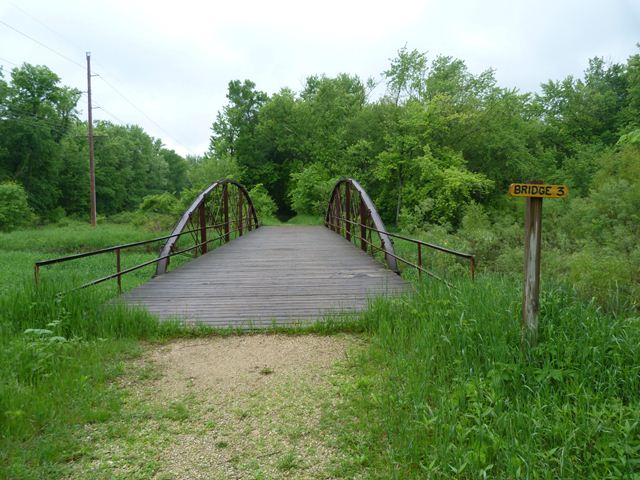

Distant portal views facing west.
![]()


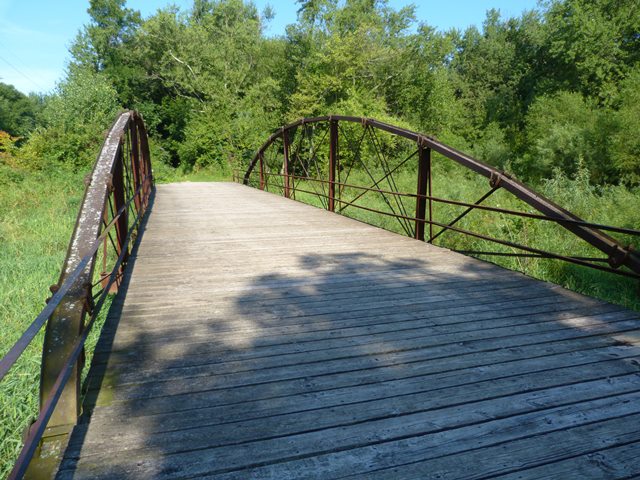
Portal views on bridge facing west.
![]()


Views from beside roadway.
![]()


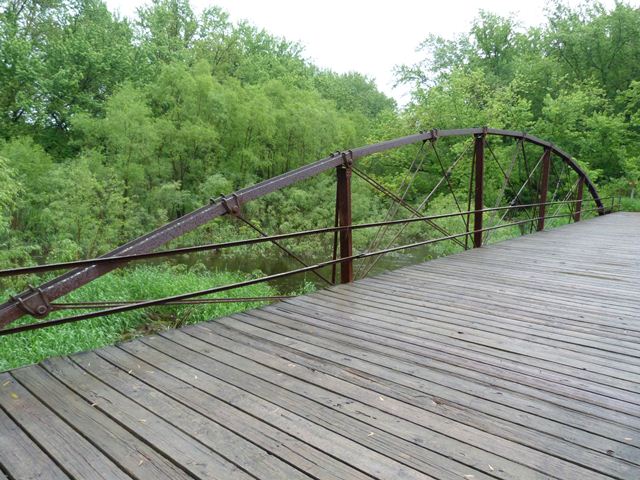


Views of truss web.
![]()


Views of truss panels.
![]()


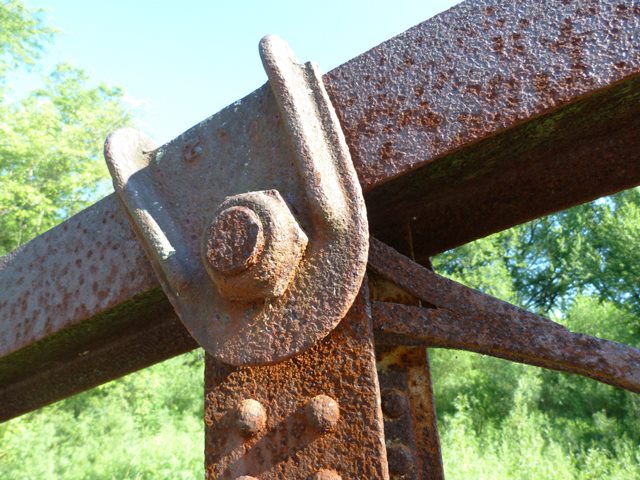

Top chord connections as viewed from on bridge.
![]()

Top chord connection as viewed from on bridge. View showing pin.
![]()


Top chord connections as viewed from on bridge. Views showing top portion of clip, where it clamps onto top chord.
![]()


Bottom chord connections as viewed from on bridge.
![]()


Caisson.
![]()


Bearings.
![]()
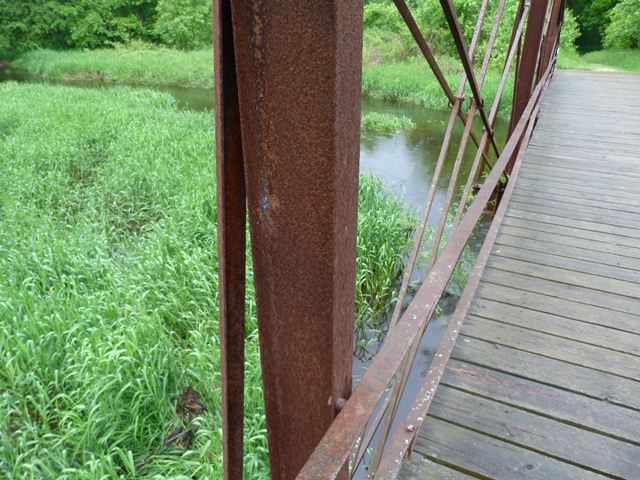
Vertical member.
![]()

If you visit this trail during times of High Water, this is what you will find a short distance east of Bridge Number 3. Photos taken in June 2013. This water was not fast moving and could be dealt with by a pair of rubber boots.
![]()


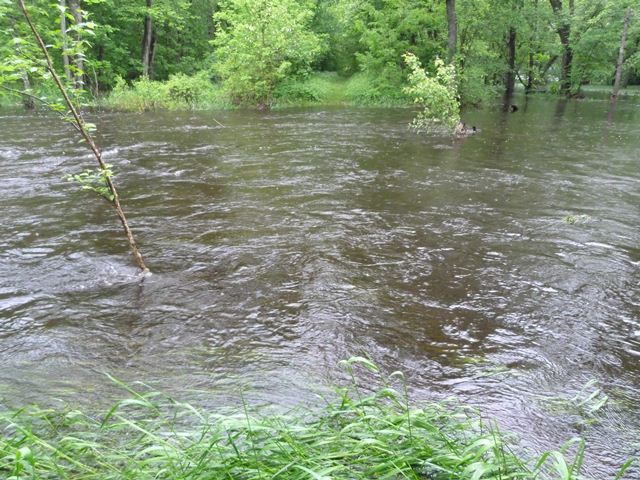
If you visit this trail during times of High Water, this is what you will find a short distance west of Bridge Number 3. Photos taken in June 2013. This water was deeper than a pair of rubber boots and moving fast. Needless to say the June 2013 visit did not get any further than Bridge 3.
![]()
![]()
| Back |
| Home |
| Top |

![]()