
Uncredited photos on this page taken by: Nathan Holth. Unless stated in a caption, all photos are Copyright with All Rights Reserved. Learn about reuse of our photos.
![]()
Note: For simplicity, directions assume an east-west bridge orientation.
![]()

View beside bridge from southwest quadrant.
![]()

Photo Credit: C. Hanchey
View beside bridge from southwest quadrant.
![]()


Portal views of spread span facing east.
![]()


HDR Photos: Portal views of spread span facing east.
![]()


Looking northeast at spread span from between western approaches.
![]()
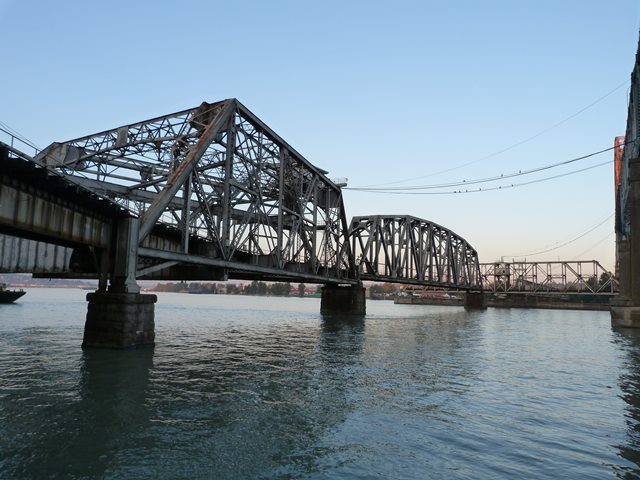
Oblique views of spread span from southwest quadrant.
![]()

Photo Credit: C. Hanchey
Elevation of swing span in closed position from southeast quadrant.
![]()

Looking east at the swing span in open position.
![]()

Swing span in open position from southwest quadrant.
![]()


Main plaque.
![]()

Photo Credit: C. Hanchey
Main plaque.
![]()

Builder plaque.
![]()

South elevation of western approach spans.
![]()
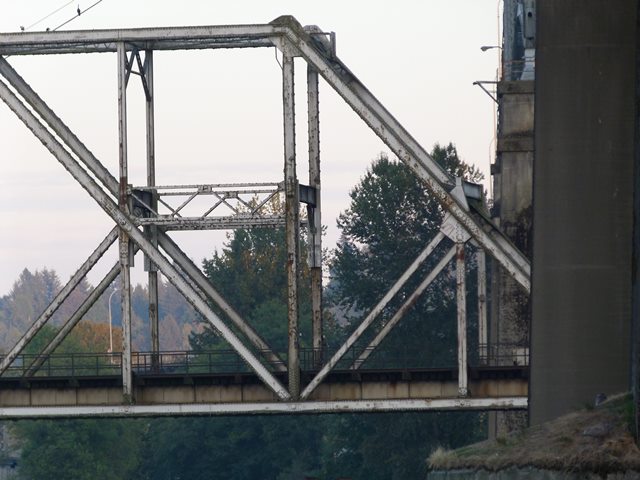
Western approach spans: north elevation of southern railway.
![]()


Western approach spans: south elevation of northern railway.
![]()


Swing span truss web.
![]()

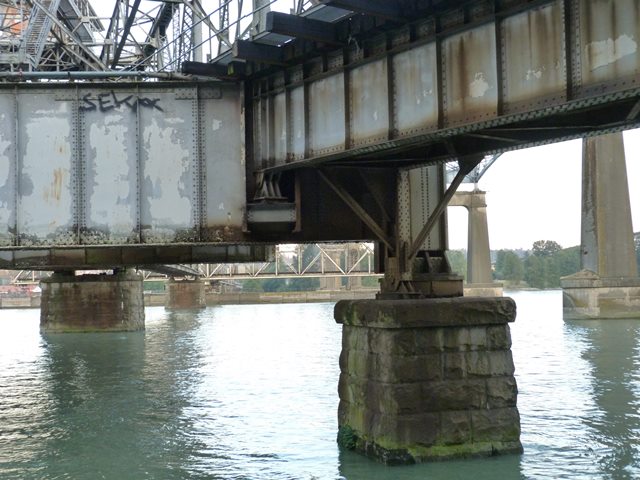
Swing span pier.
![]()


Top chord connections as viewed from beside bridge.
![]()


Intermediate connections as viewed from beside bridge.
![]()

Bottom chord connections as viewed from beside bridge.
![]()


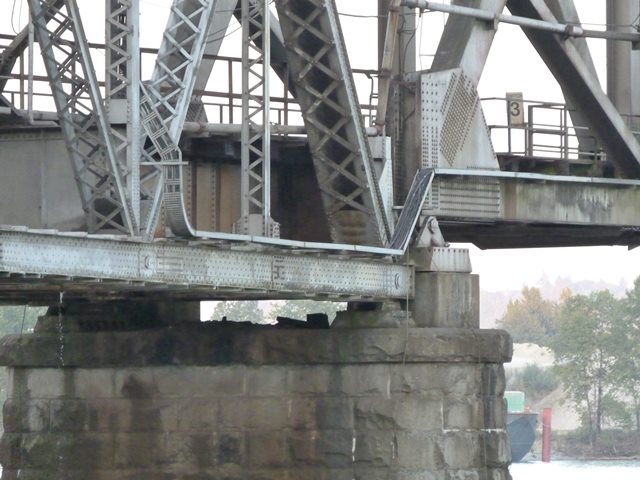
Spread span west bearing.
![]()
Spread span east bearing.
![]()
Detail of upper deck girders on spread span.
![]()


Views showing the upper deck and associated support system.
![]()

Spread span bracing.
![]()


Western portal bracing for spread span.
![]()


Western floor beam on spread span.
![]()


Western approach span girder details.
![]()

View showing bearing for western approach girder resting on spread span.
![]()

Spread span stairway.
![]()

Spread span bracing connection.
![]()

Sign for bridge.
![]()
![]()
| Back |
| Home |
| Top |

![]()


