
Uncredited photos on this page taken by: Nathan Holth. Unless stated in a caption, all photos are Copyright with All Rights Reserved. Learn about reuse of our photos.
![]()

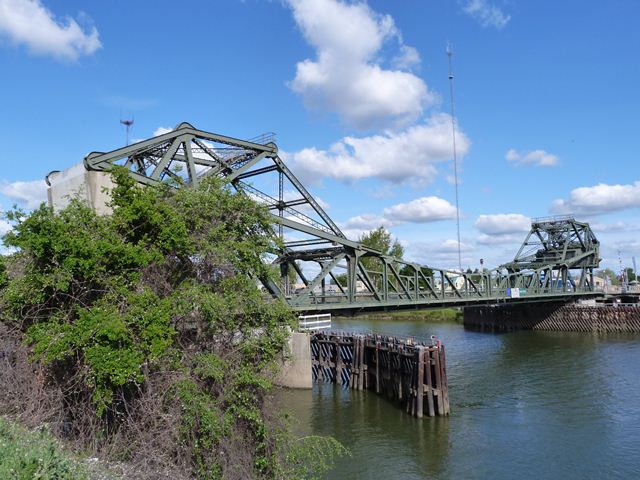
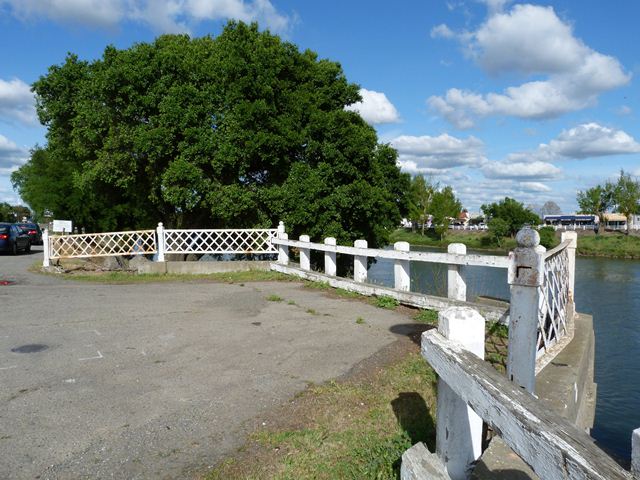
Views beside bridge from west quadrant.
![]()

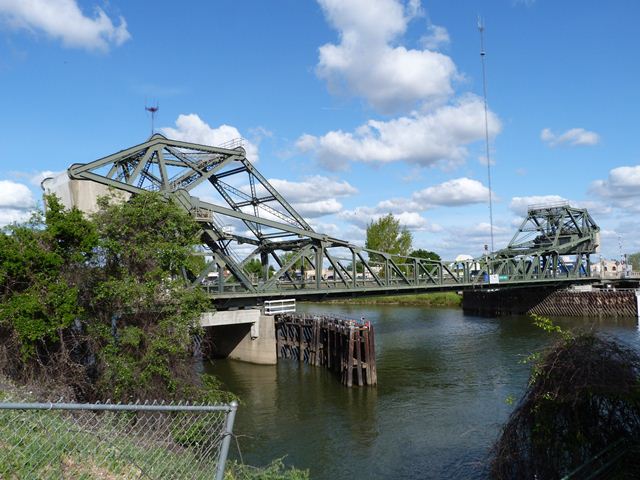
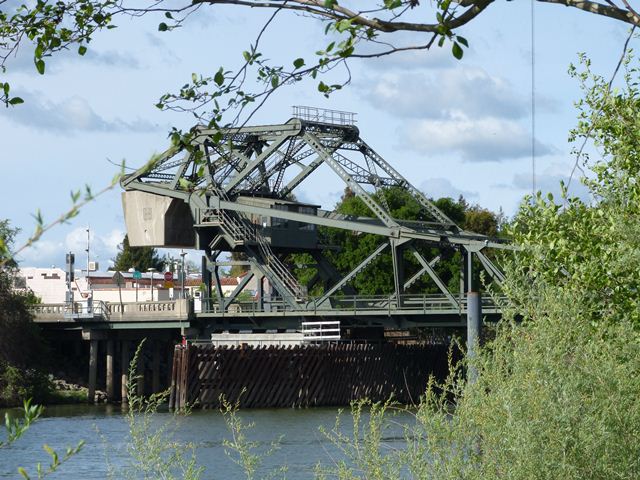
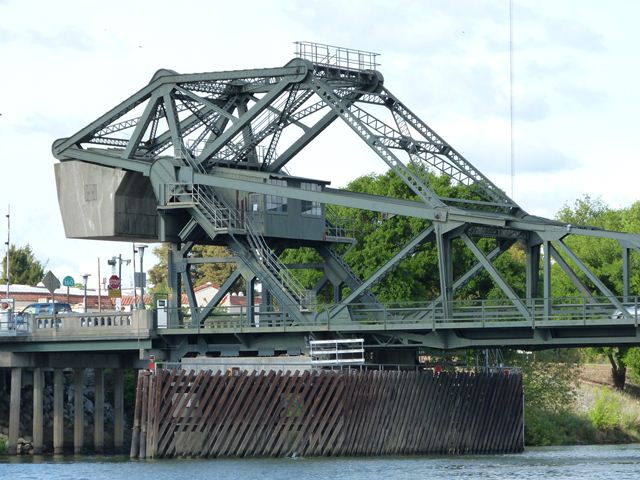
Elevation from south quadrant.
![]()


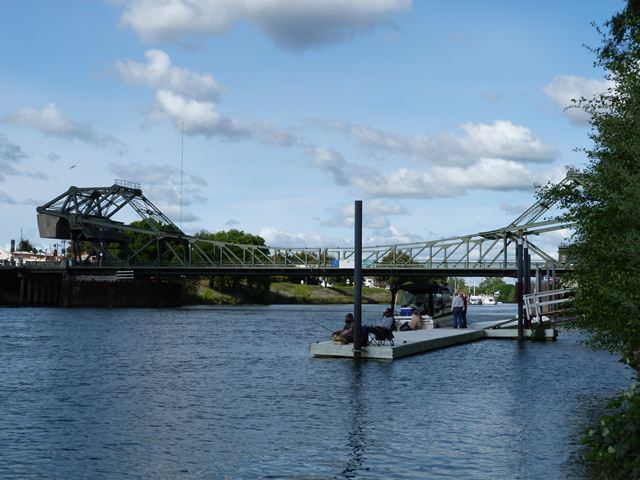
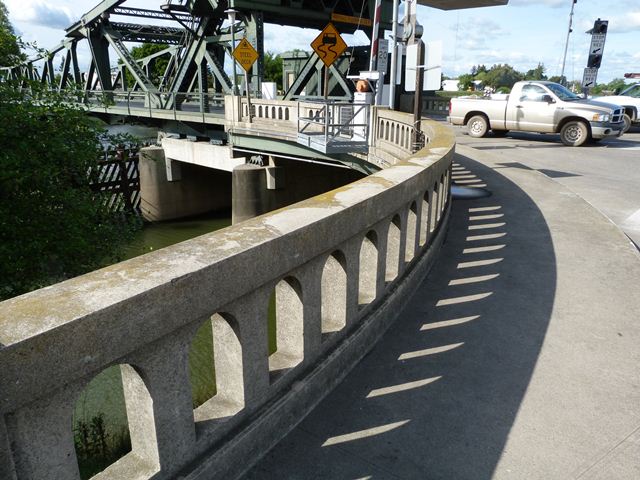
Views beside bridge from south quadrant.
![]()


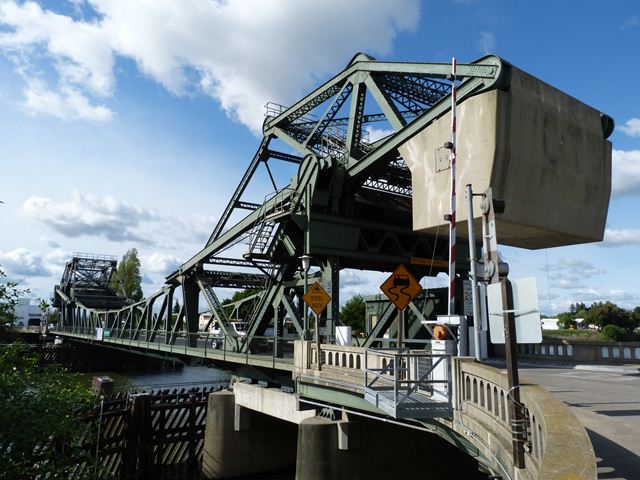
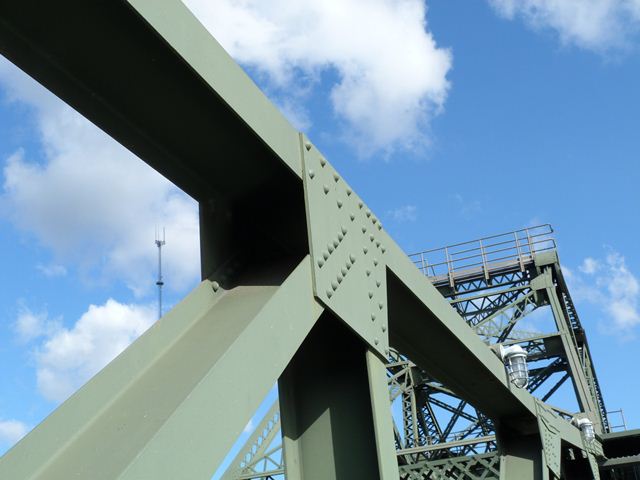
Portal views on bridge facing southeast.
![]()


Views on sidewalk.
![]()


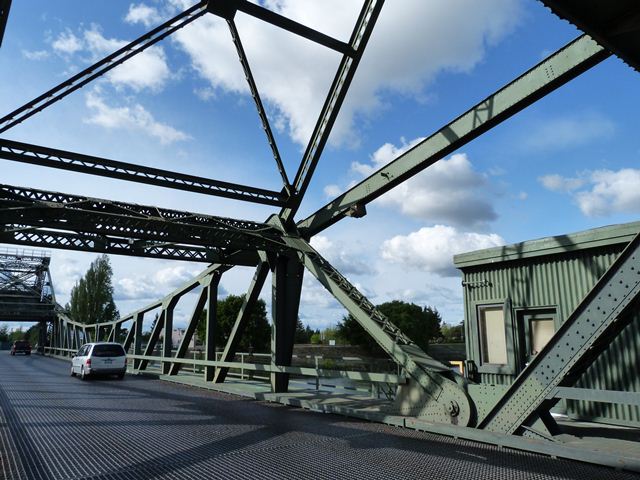

Views of truss web.
![]()
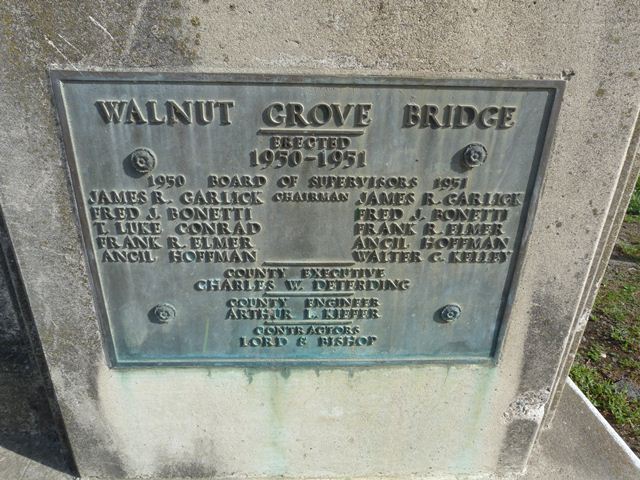

Plaque.
![]()

Bridge tender house.
![]()


Machinery room.
![]()

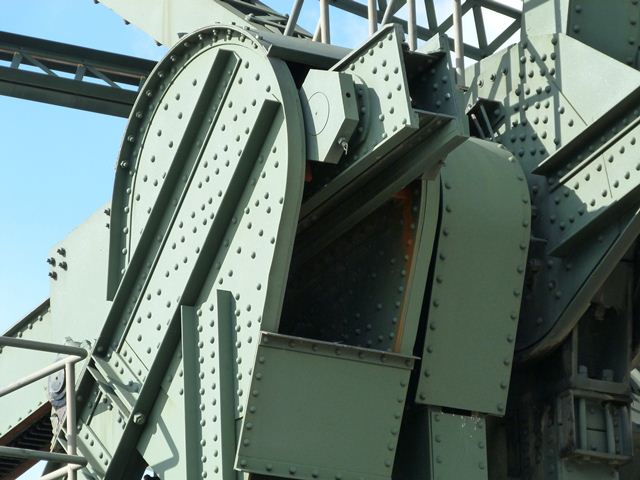
Overviews of counterweight and linkage.
![]()


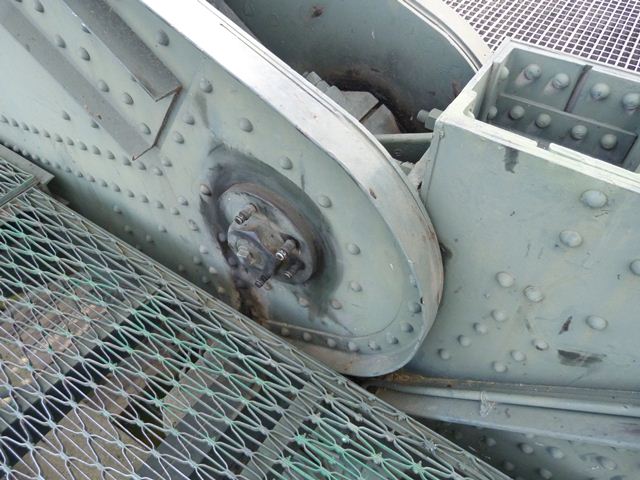


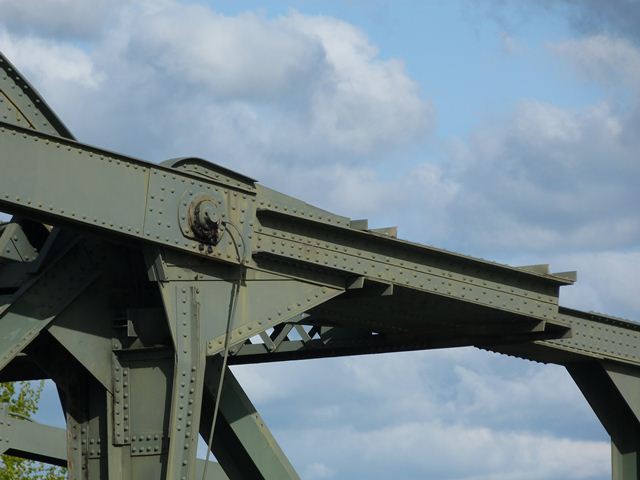
Main trunnion.
![]()


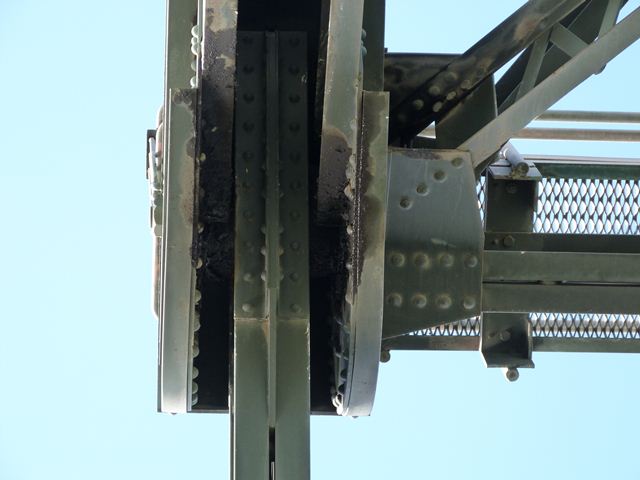
Counterweight trunnion.
![]()


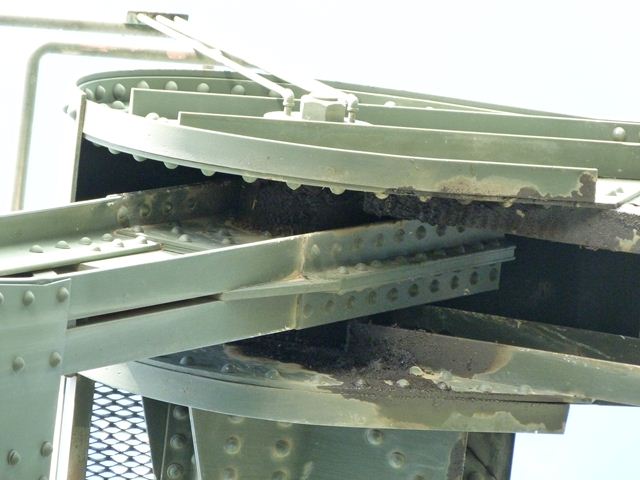
Looking up toward counterweight trunnion.
![]()

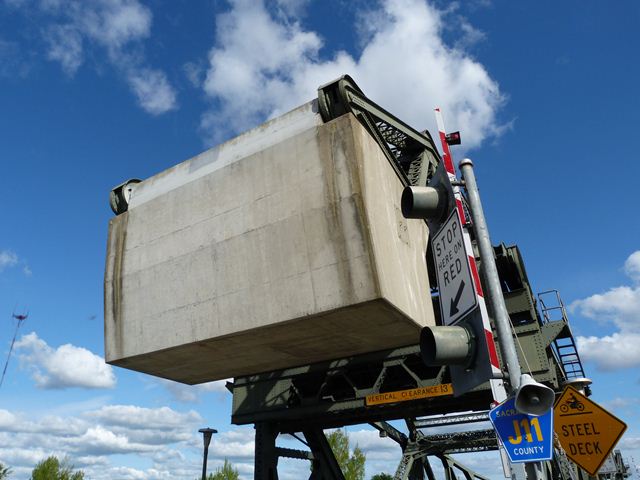
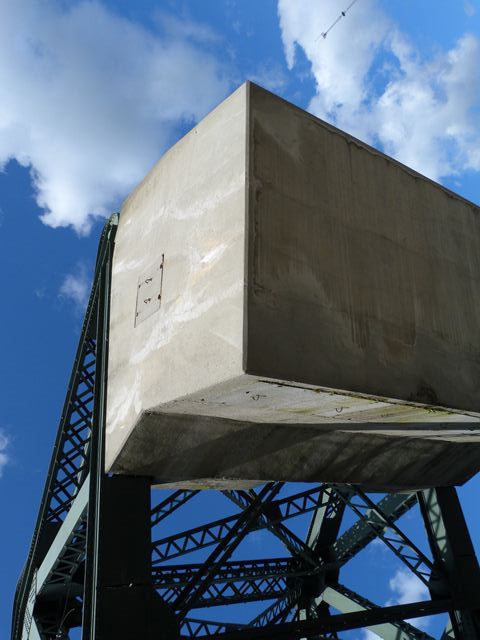
Counterweights.
![]()


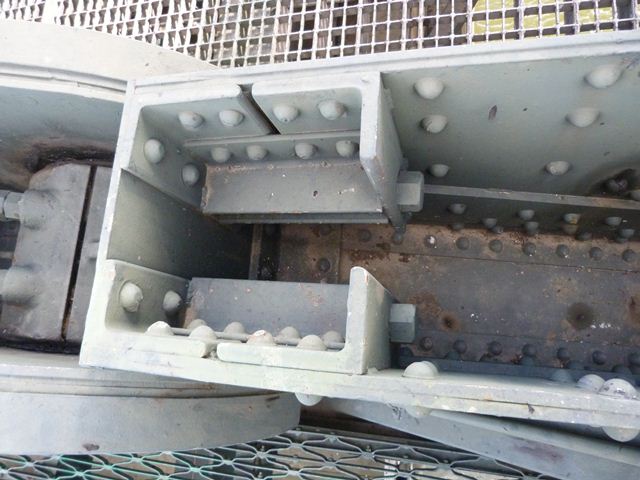
First link pin.
![]()

Second link pin.
![]()


Pin at counterweight.
![]()

Operating pinion at operating strut and rack.
![]()


Rocking truss top chord connection.
![]()
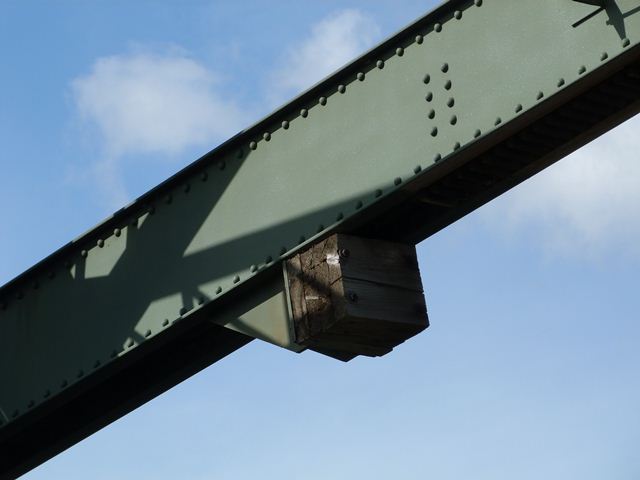
Stop block.
![]()


Operating strut with rack.
![]()
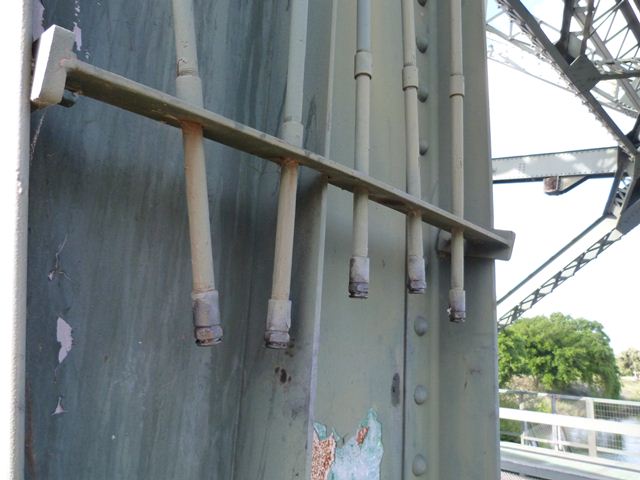
Oil tubes.
![]()


Center lock.
![]()


Unknown gear on diagonal member.
![]()

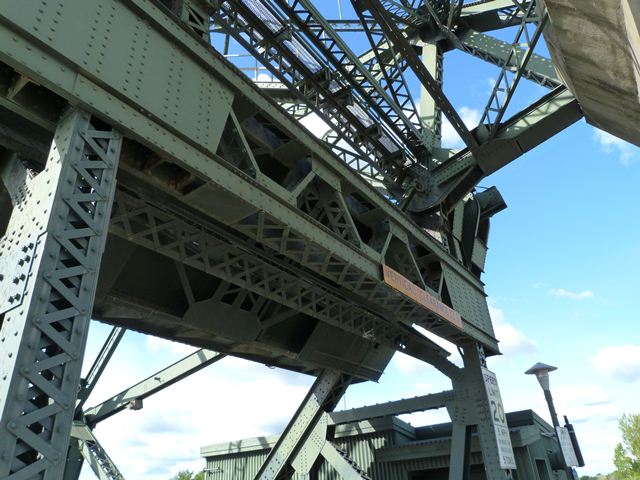
View under counterweight trunnions.
![]()
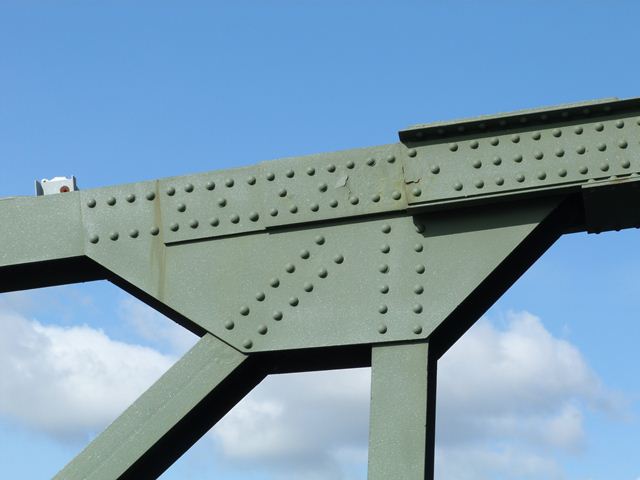

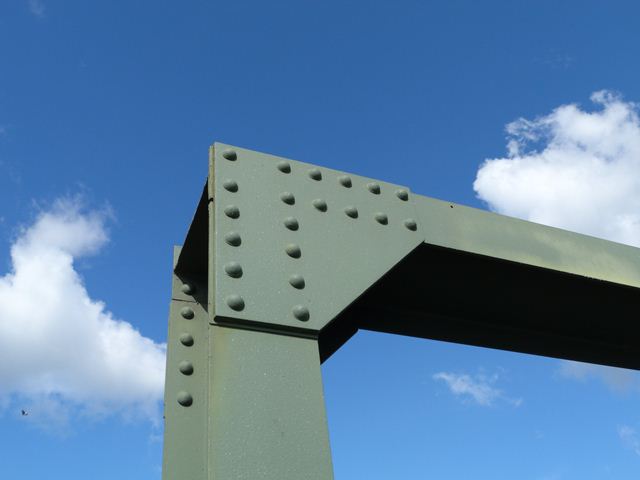


Top chord connections.
![]()


Bottom chord connections.
![]()

Intermediate connection.
![]()


Approach railing.
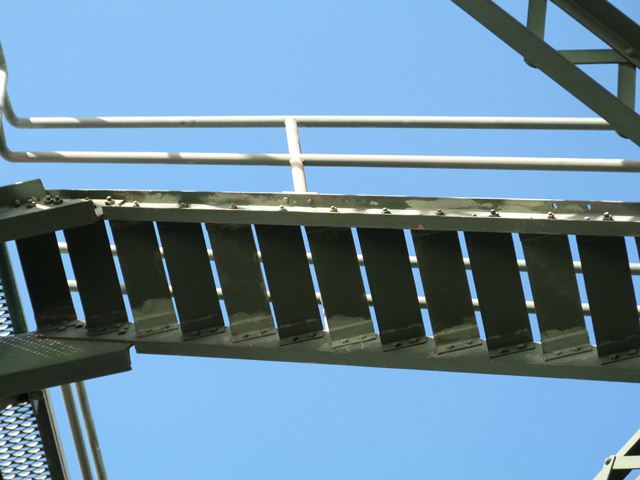
![]()


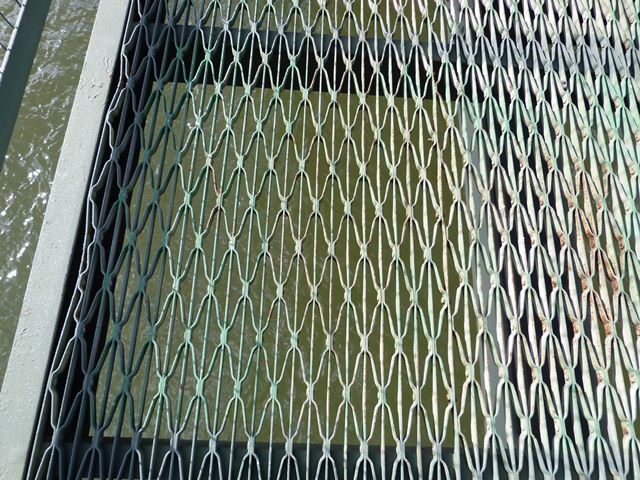
Sidewalk metal grid deck.
![]()
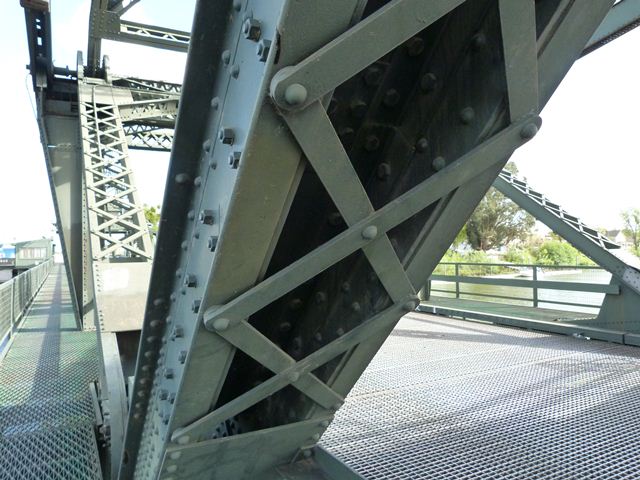


Diagonal members.
![]()

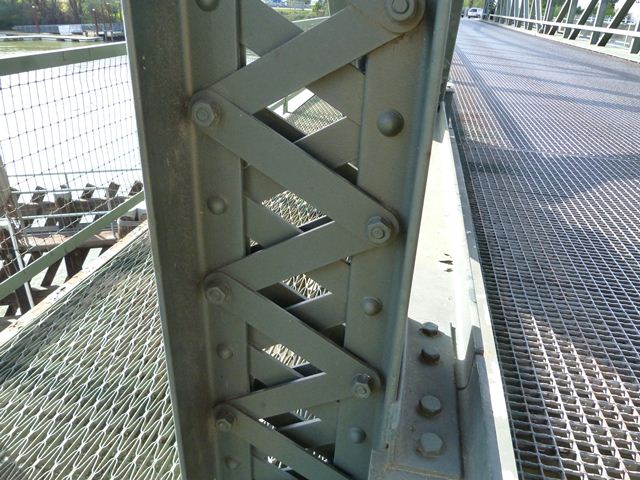
Vertical members.
![]()
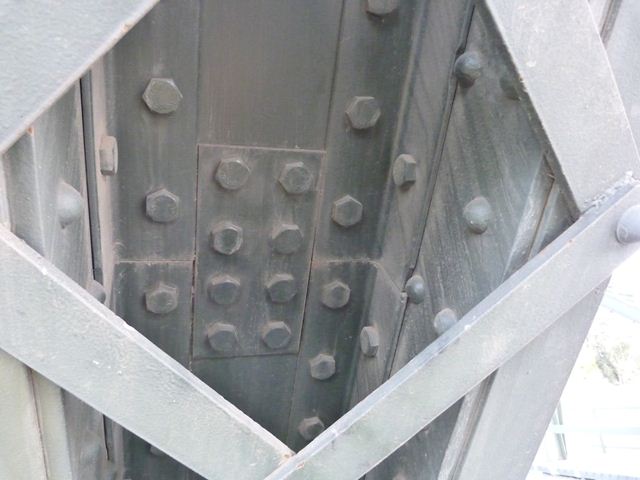
Bolted repair.
![]()

Tower bearing.
![]()

View at center of bridge.
![]()
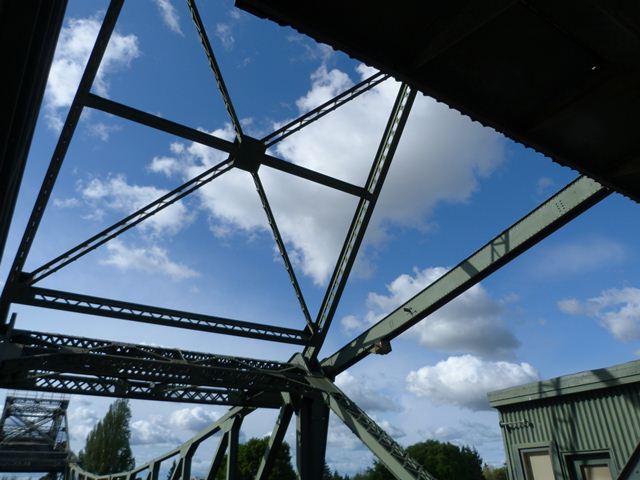

Overhead bracing.
![]()
Stairway.
![]()
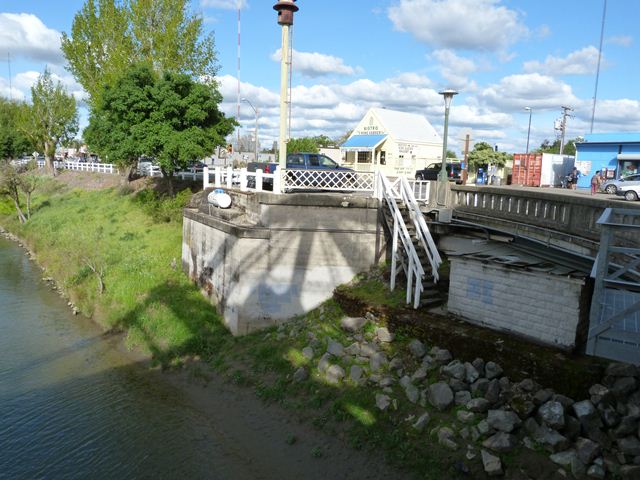
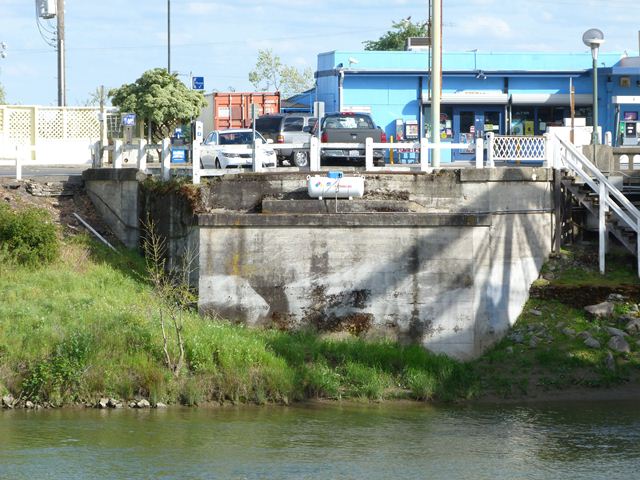
Abutments from previous bridge.
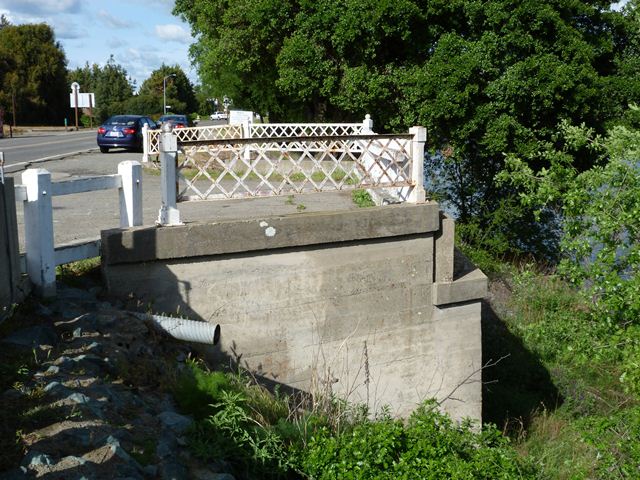
![]()


Railing from previous bridge.
![]()
![]()
| Back |
| Home |
| Top |

![]()