
Uncredited photos on this page taken by: Nathan Holth. Unless stated in a caption, all photos are Copyright with All Rights Reserved. Learn about reuse of our photos.
![]()
 |
 |
 |
 |
| Photo Credit: | Photo Credit: | Photo Credit: | Photo Credit: |
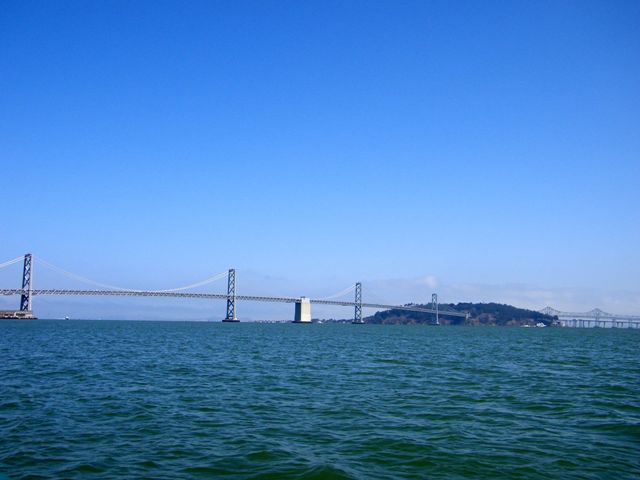
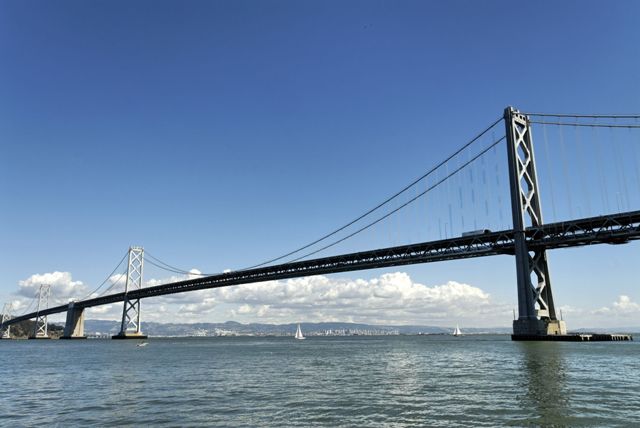
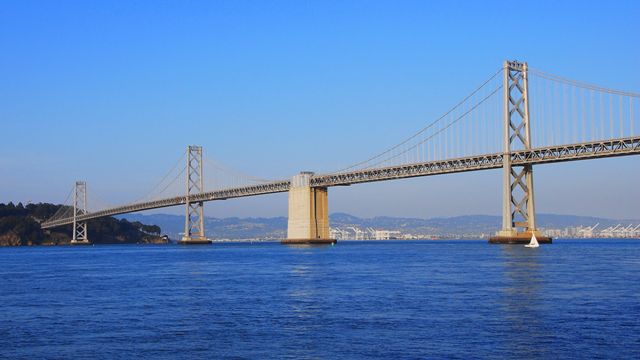
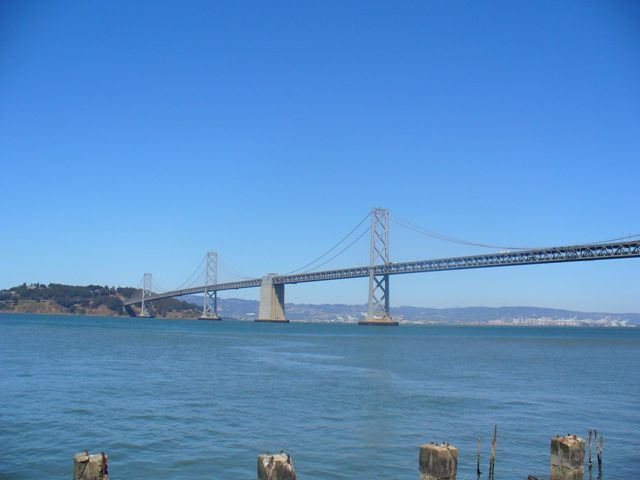
Views showing both the eastern and western spans of the bridge.
![]()
 |
 |
| Photo Credit: | Photo Credit: |
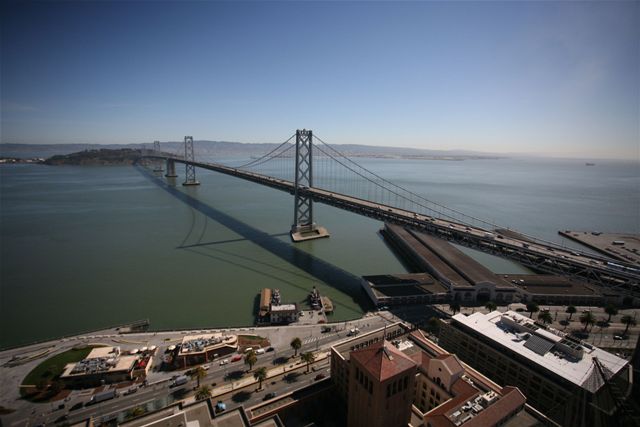
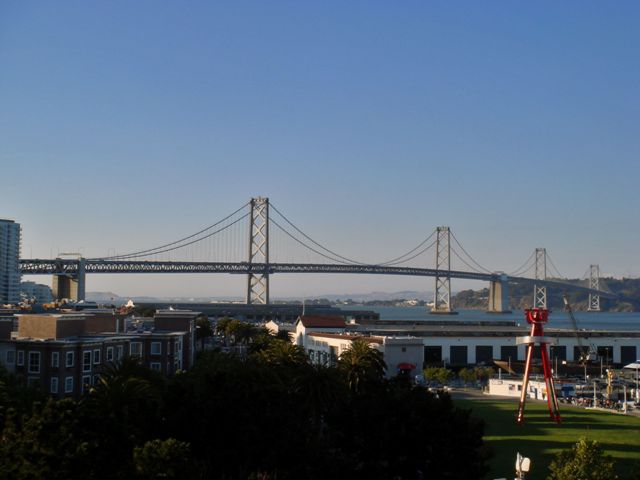
Bridge context: Elevated views from San Francisco.
![]()
 |
| Photo Credit: |
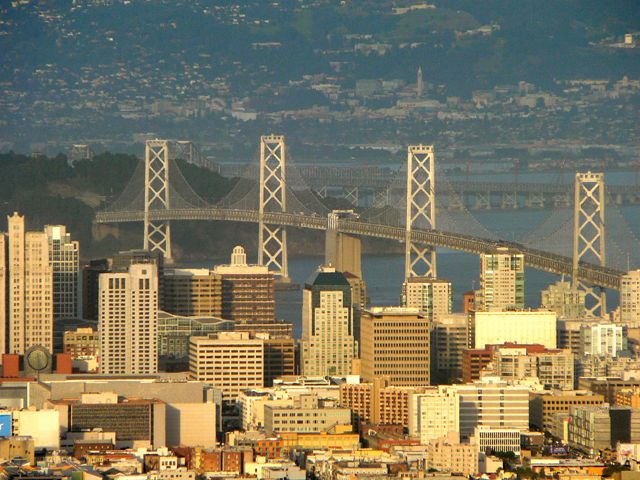
Bridge context: Distant zoomed view with Golden Gate Bridge tower in foreground.
![]()
 |
 |
 |
 |
 |
 |
| Photo Credit: | Photo Credit: | Photo Credit: | Photo Credit: | Photo Credit: | Photo Credit: |
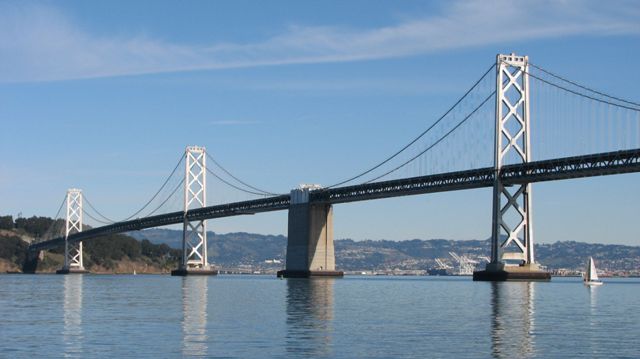
Elevation, all four towers visible.
![]()
 |
 |
 |
 |
 |
 |
 |
 |
 |
| Photo Credit: | Photo Credit: | Photo Credit: | Photo Credit: | Photo Credit: | Photo Credit: | Photo Credit: | Photo Credit: | Photo Credit: |
Views beside bridge, all four towers visible.
![]()
 |
| Photo Credit: |
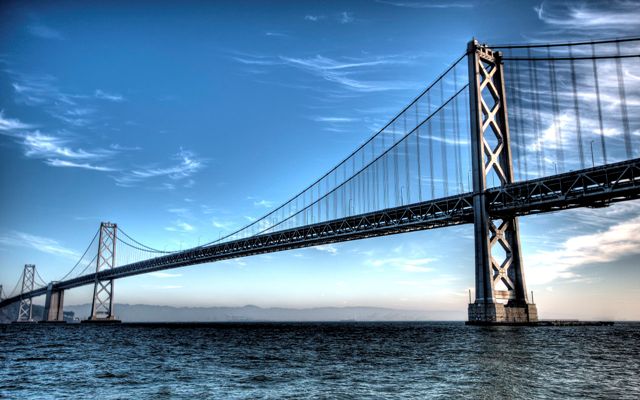
Elevation: High Dynamic Range (HDR) photo.
![]()
 |
 |
 |
 |
 |
 |
 |
 |
 |
| Photo Credit: | Photo Credit: | Photo Credit: | Photo Credit: | Photo Credit: | Photo Credit: | Photo Credit: | Photo Credit: | Photo Credit: |
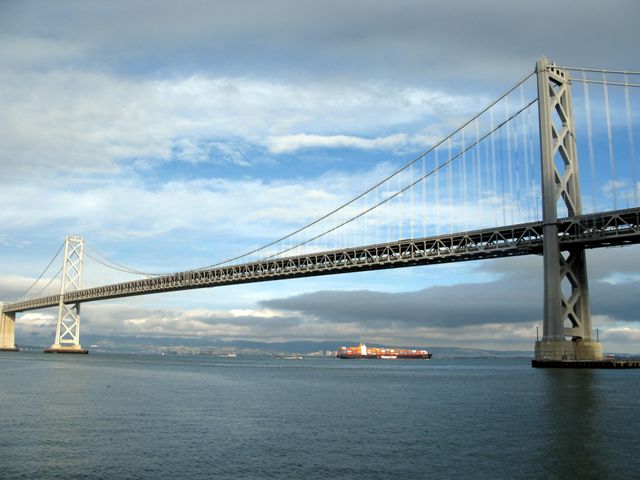
Other elevation views.
![]()
 |
 |
 |
 |
 |
 |
 |
 |
| Photo Credit: | Photo Credit: | Photo Credit: | Photo Credit: | Photo Credit: | Photo Credit: | Photo Credit: | Photo Credit: |
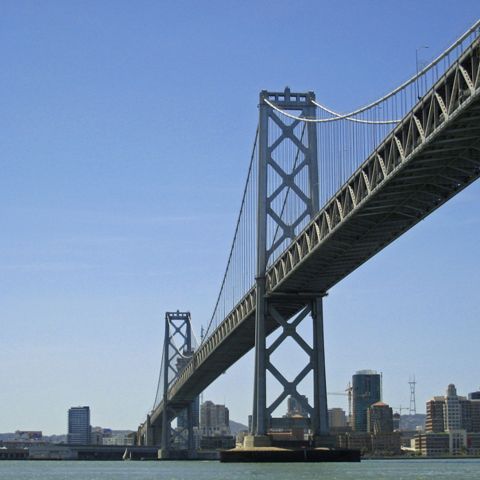
Other elevation views.
![]()
 |
| Photo Credit: |
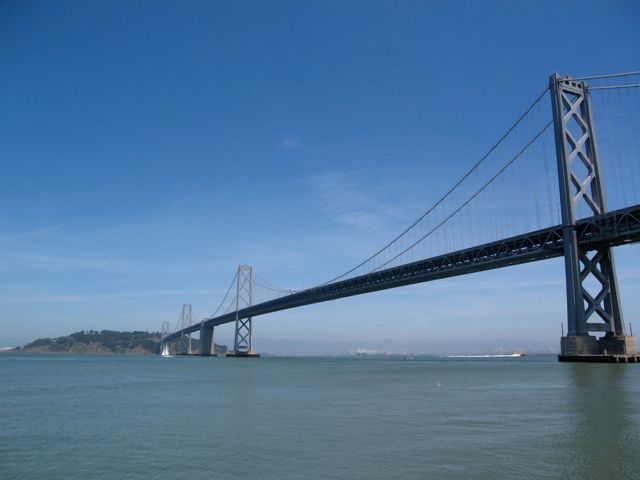
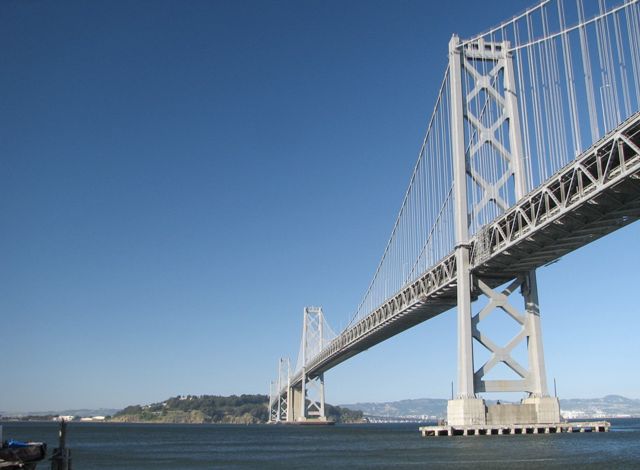
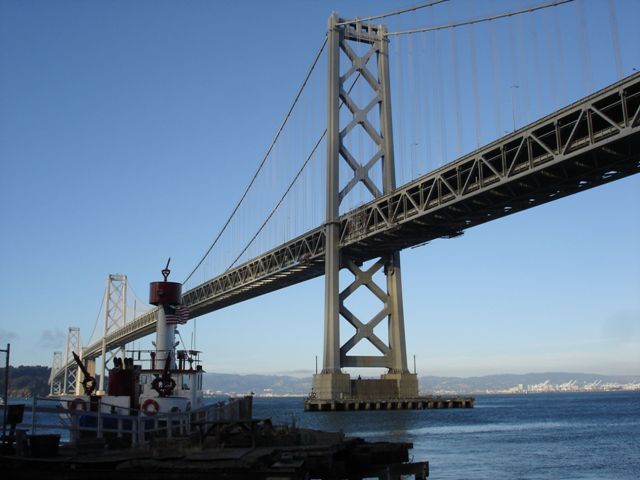
View beside bridge, two towers visible.
![]()
 |
 |
 |
| Photo Credit: | Photo Credit: | Photo Credit: |
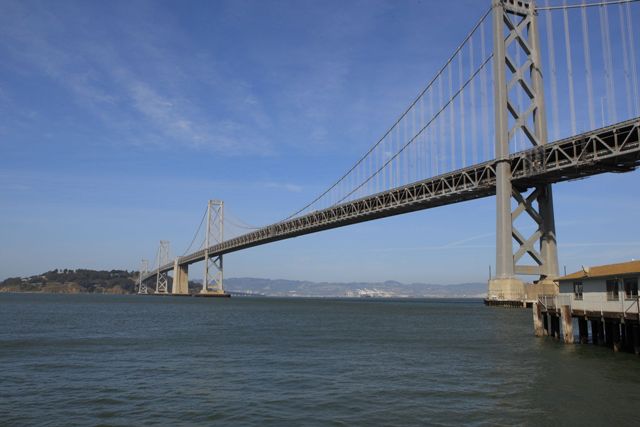
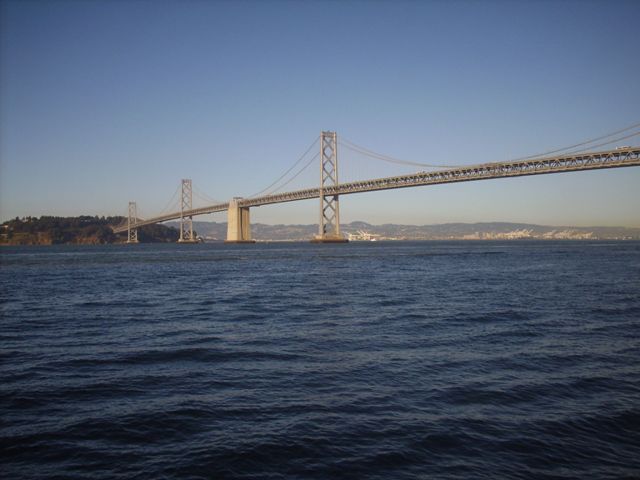
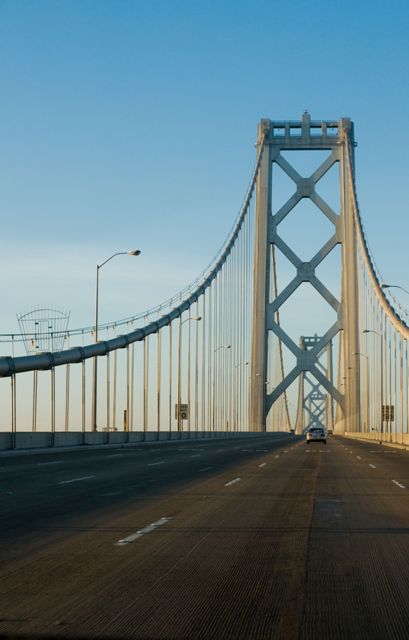
Distant elevation.
![]()
 |
 |
 |
 |
 |
 |
 |
 |
 |
| Photo Credit: | Photo Credit: | Photo Credit: | Photo Credit: | Photo Credit: | Photo Credit: | Photo Credit: | Photo Credit: | Photo Credit: |
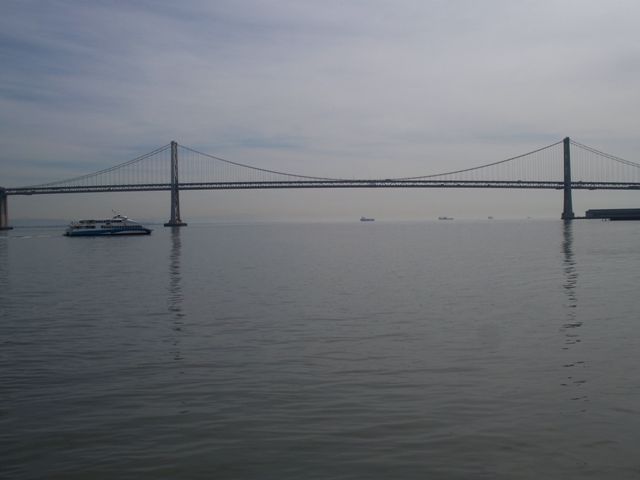
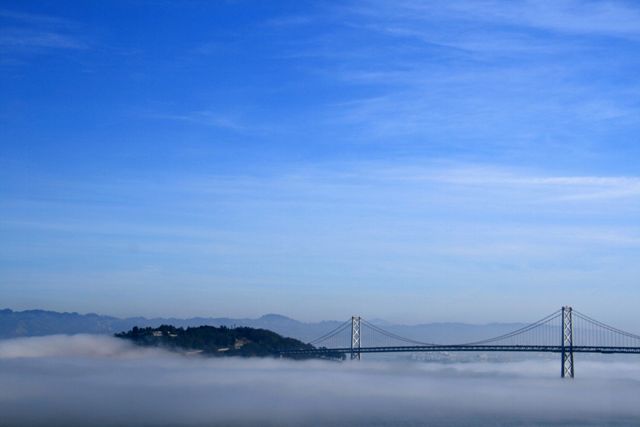
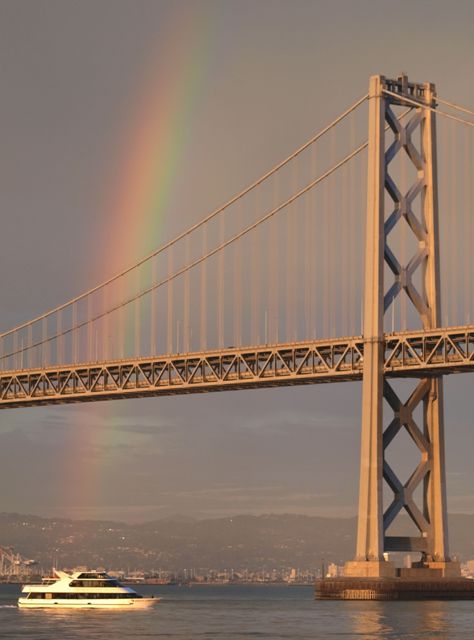
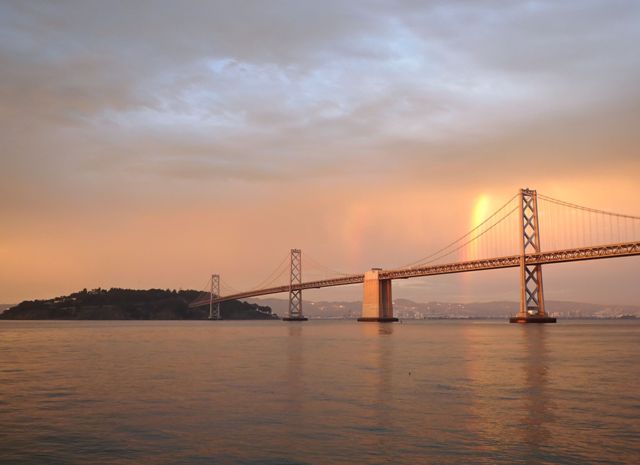
Various views of the bridge in unique weather and lighting conditions.
![]()
 |
 |
 |
 |
 |
 |
 |
 |
 |
| Photo Credit: | Photo Credit: | Photo Credit: | Photo Credit: | Photo Credit: | Photo Credit: | Photo Credit: | Photo Credit: | Photo Credit: |
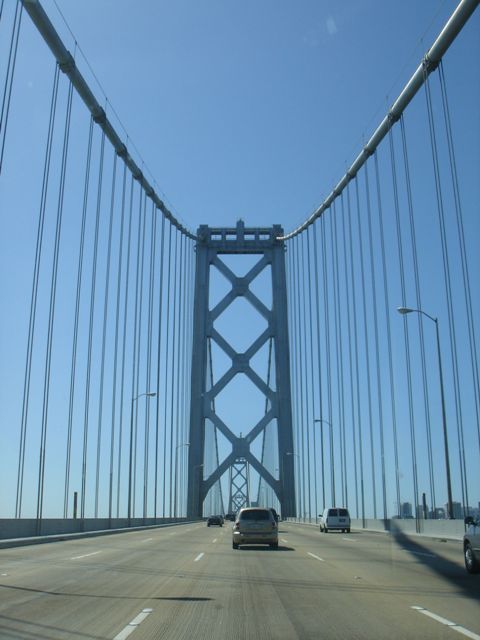
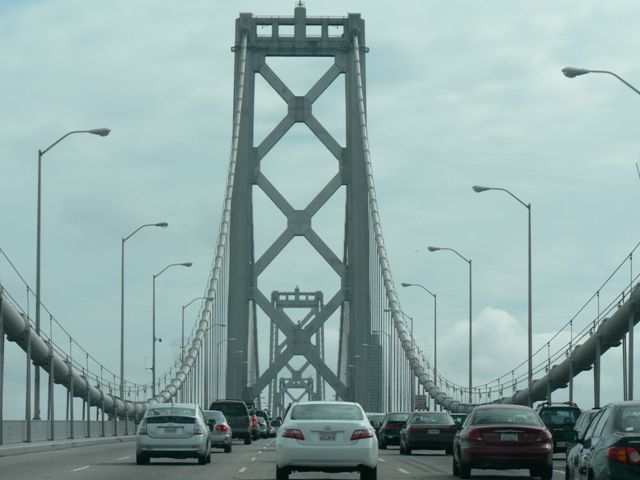
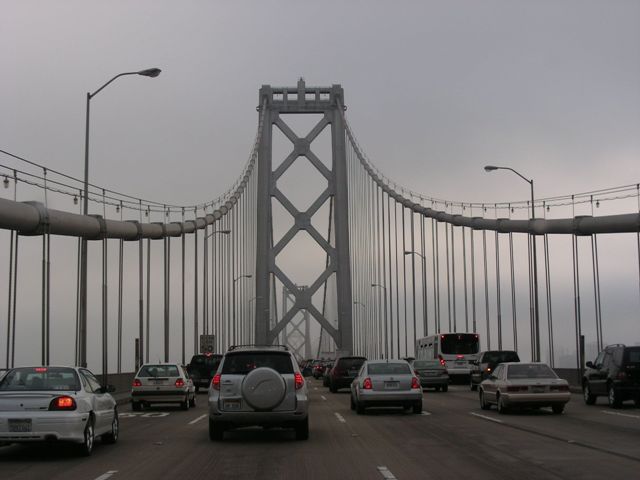
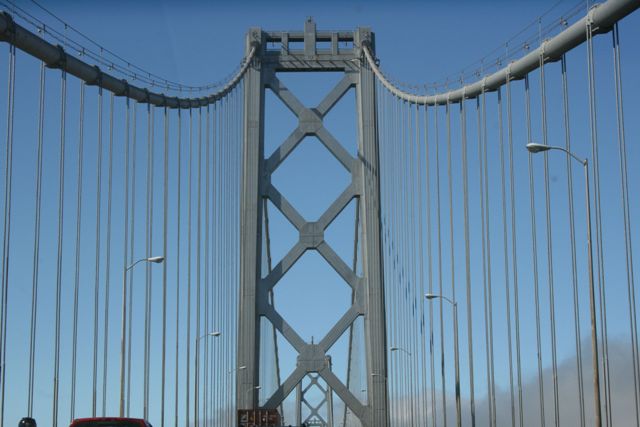
Portal views on bridge.
![]()
 |
 |
 |
 |
 |
 |
 |
| Photo Credit: | Photo Credit: | Photo Credit: | Photo Credit: | Photo Credit: | Photo Credit: | Photo Credit: |
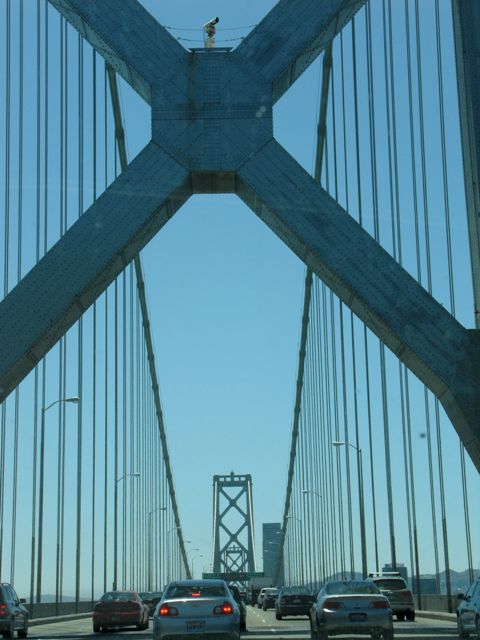
Portal views on bridge.
![]()
 |
 |
 |
 |
 |
 |
| Photo Credit: | Photo Credit: | Photo Credit: | Photo Credit: | Photo Credit: | Photo Credit: |
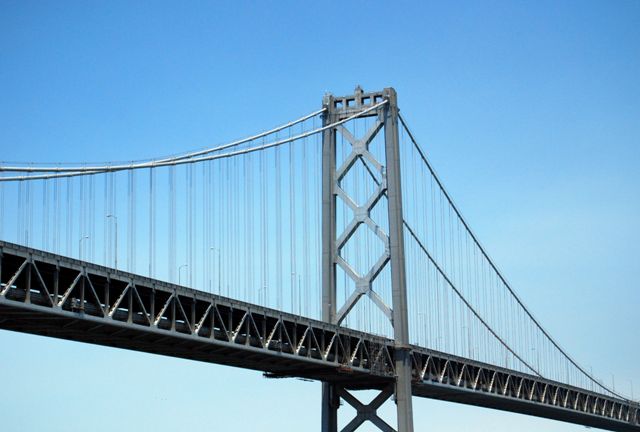
Suspension tower overviews.
![]()
 |
 |
 |
 |
| Photo Credit: | Photo Credit: | Photo Credit: | Photo Credit: |
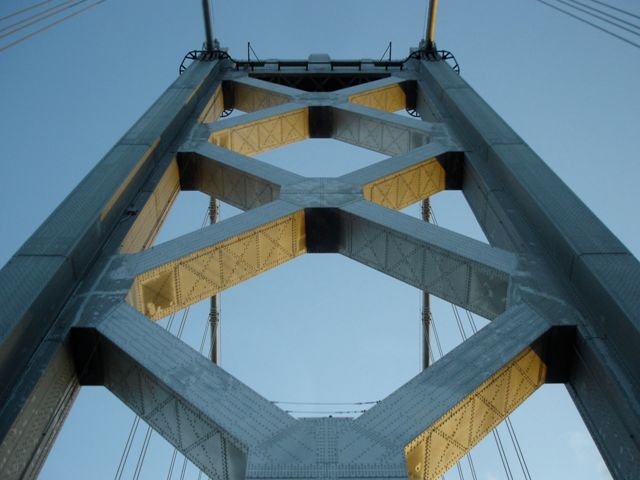
Suspension tower details.
![]()
 |
 |
 |
 |
 |
| Photo Credit: | Photo Credit: | Photo Credit: | Photo Credit: | Photo Credit: |
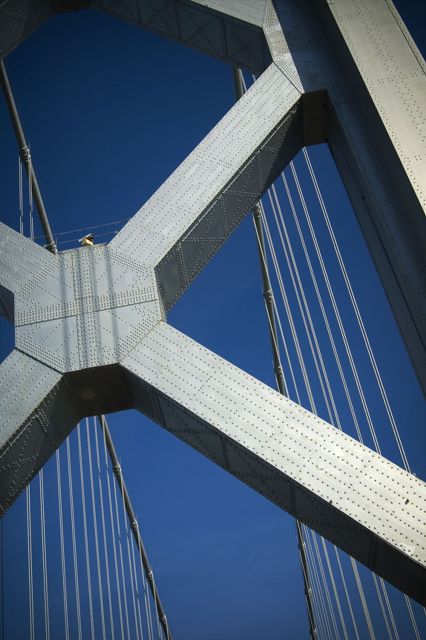
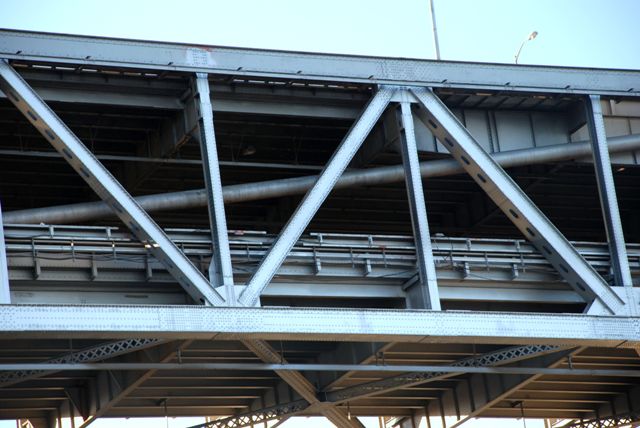
Stiffening truss.
![]()
 |
| Photo Credit: |
Cables.
![]()
 |
 |
 |
| Photo Credit: | Photo Credit: | Photo Credit: |
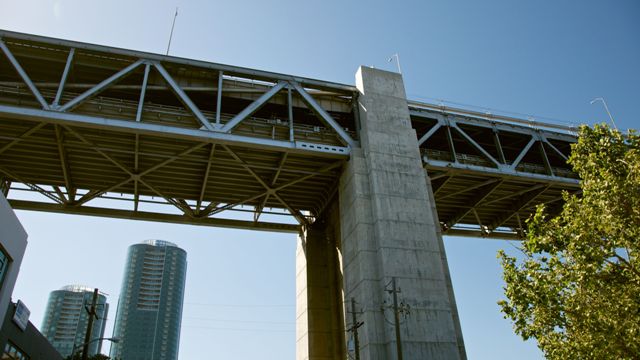
Substructure views.
![]()
![]()

![]()