
Uncredited photos on this page taken by: Nathan Holth. Unless stated in a caption, all photos are Copyright with All Rights Reserved. Learn about reuse of our photos.
![]()

Photo Credit: Jon Worth, CC BY-SA 2.0, flickr.com/photos/jonworth/299067094
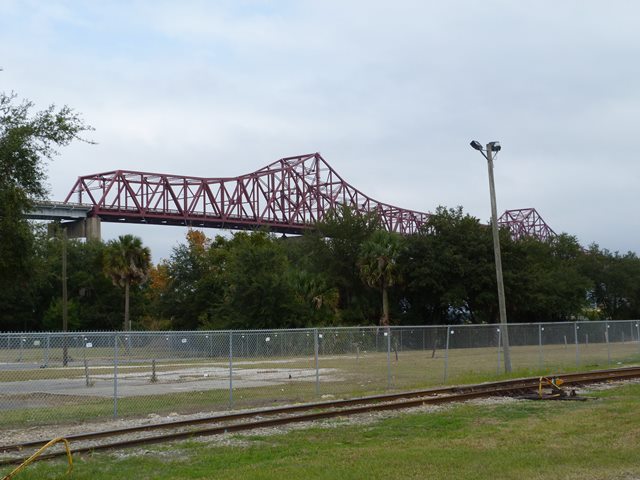
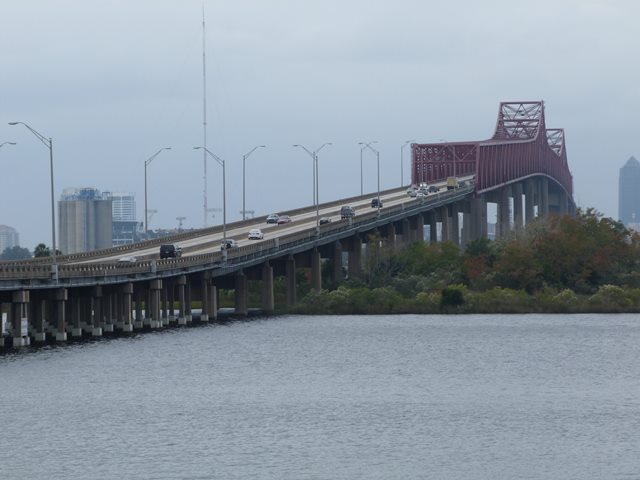
View from river.
![]()


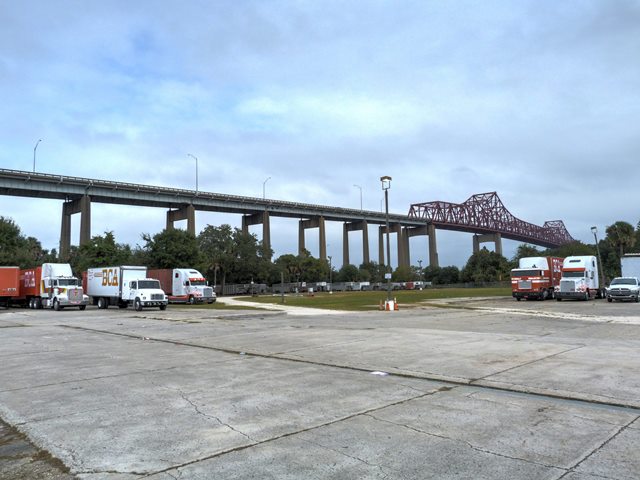
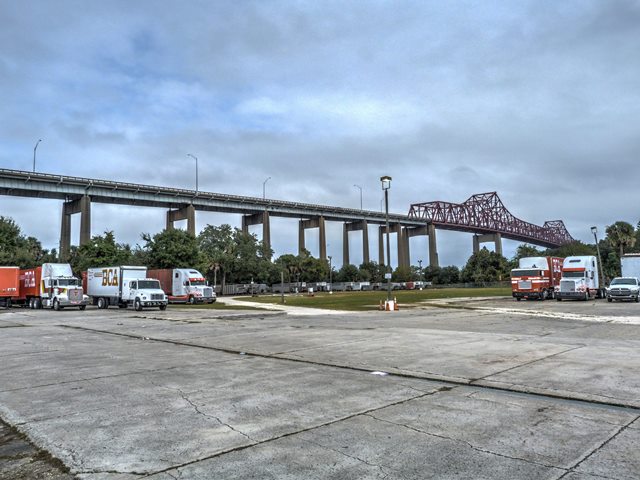
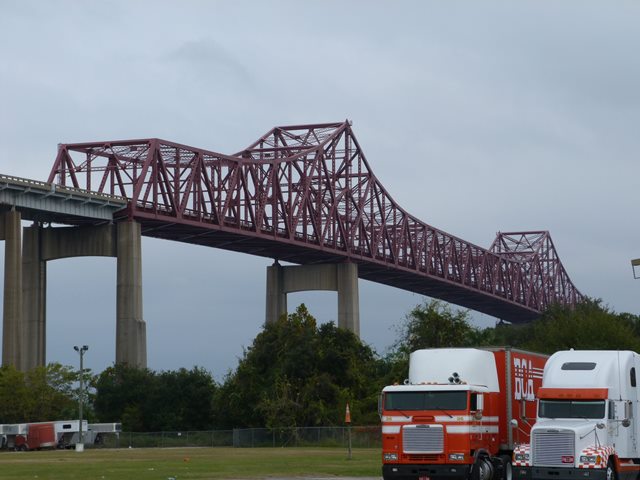
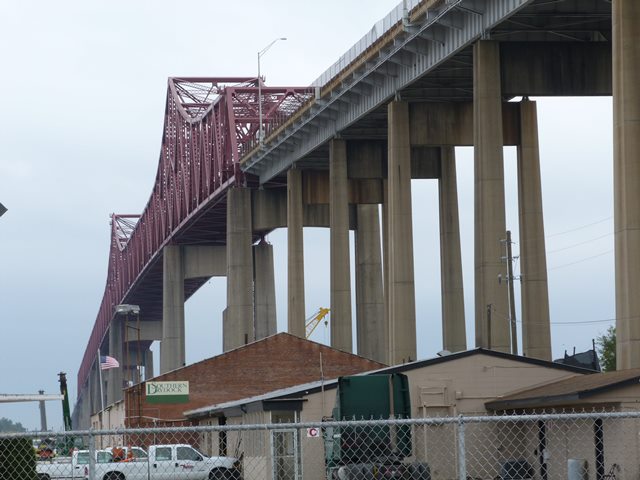
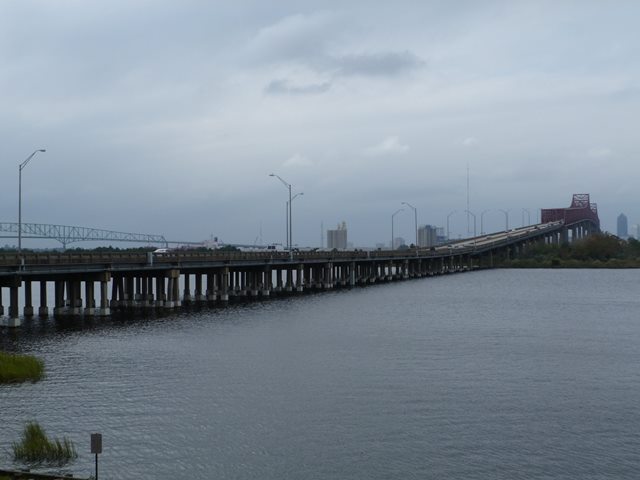
Elevation from southwest quadrant.
![]()

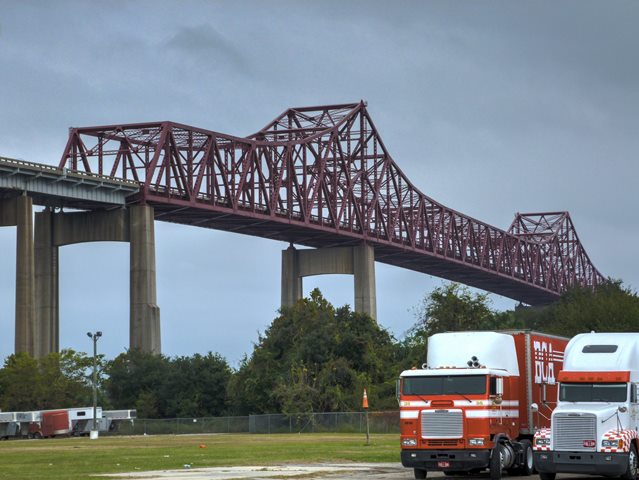
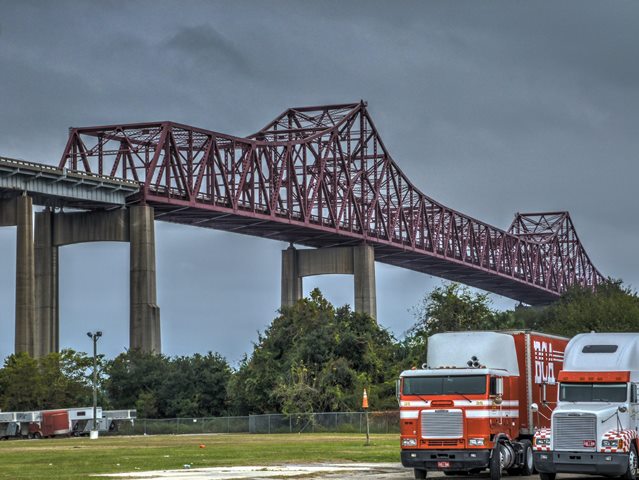
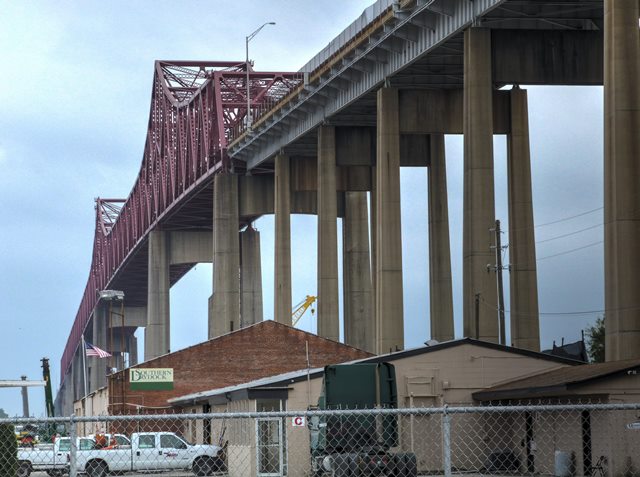
HDR Photos: Elevation from southwest quadrant.
![]()

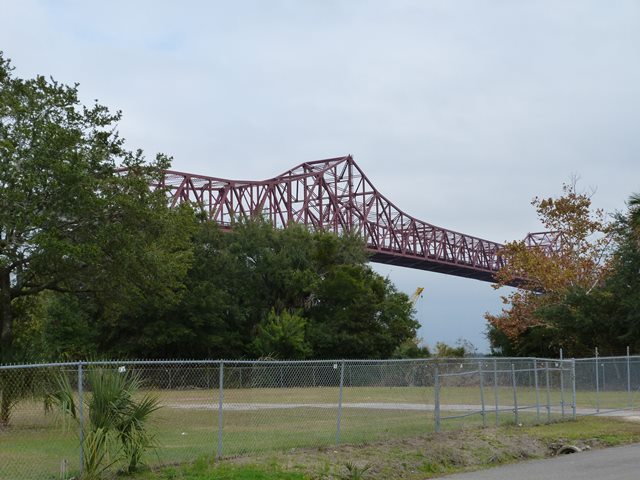

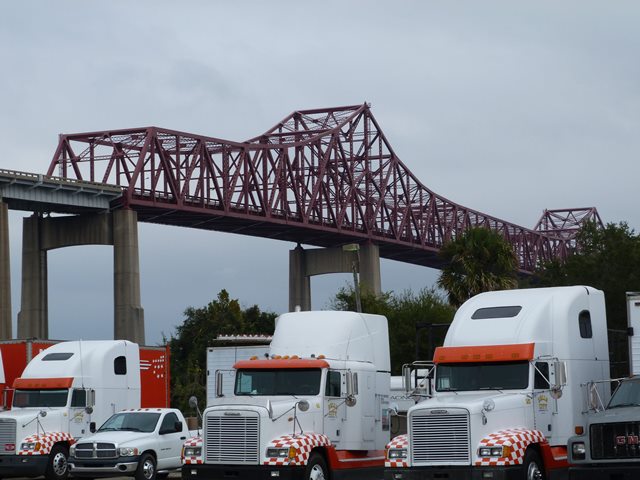


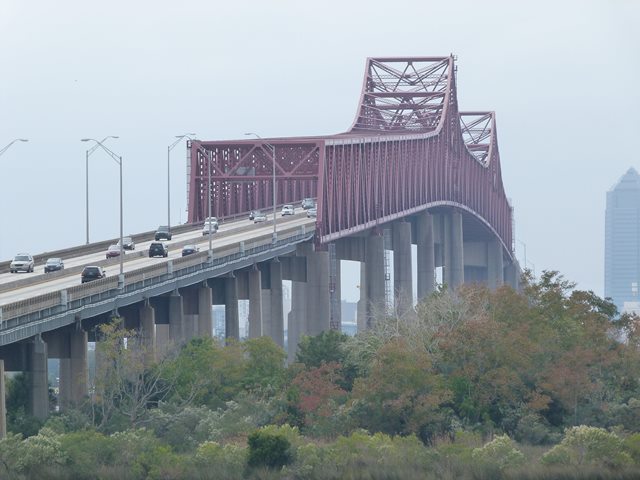
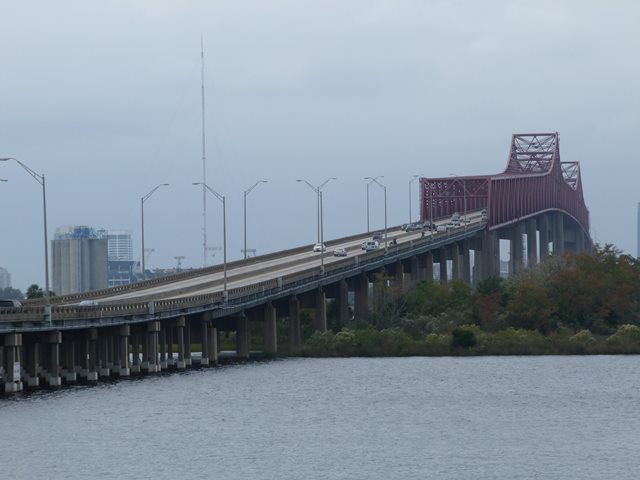
View of main spans from southwest quadrant.
![]()


HDR Photos: View of main spans from southwest quadrant.
![]()


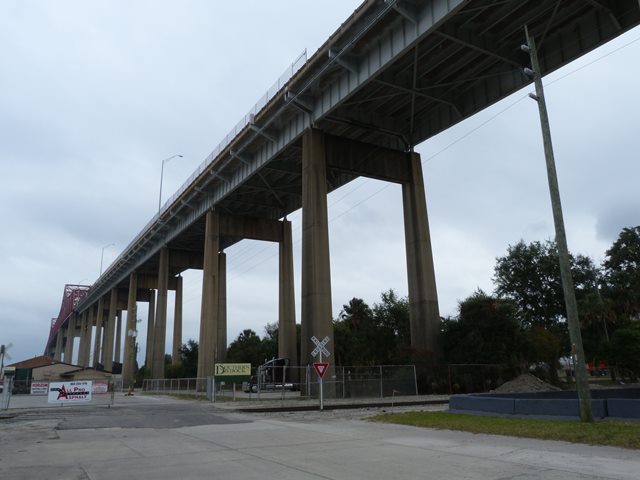
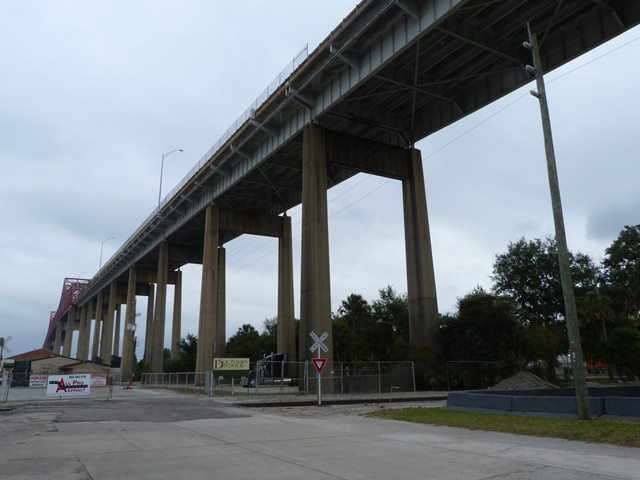
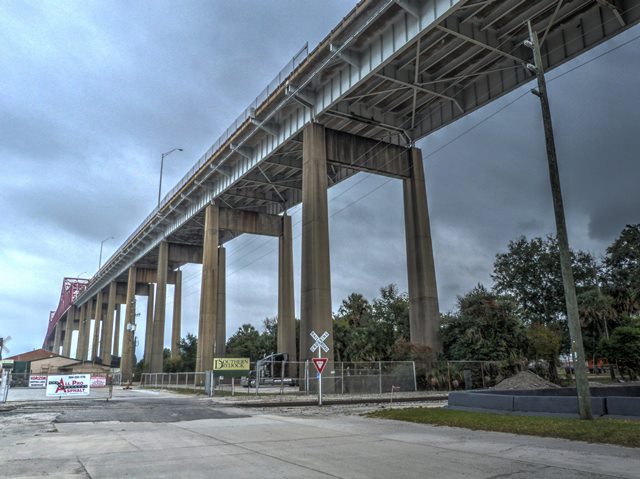
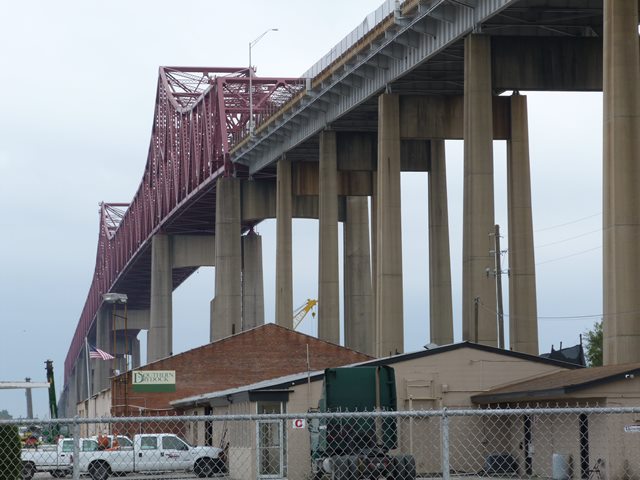
South elevation of western approach spans.
![]()
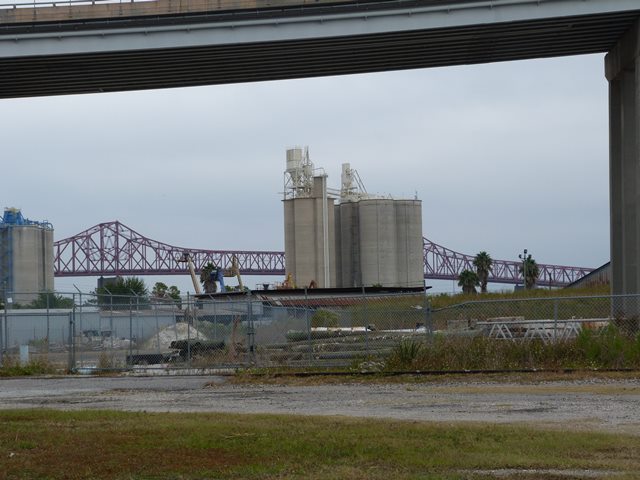
Views beside bridge from northwest quadrant.
![]()


HDR Photos: Views beside bridge from northwest quadrant.
![]()


View beside bridge showing main spans from northwest quadrant.
![]()


HDR Photos: View beside bridge showing main spans from northwest quadrant.
![]()

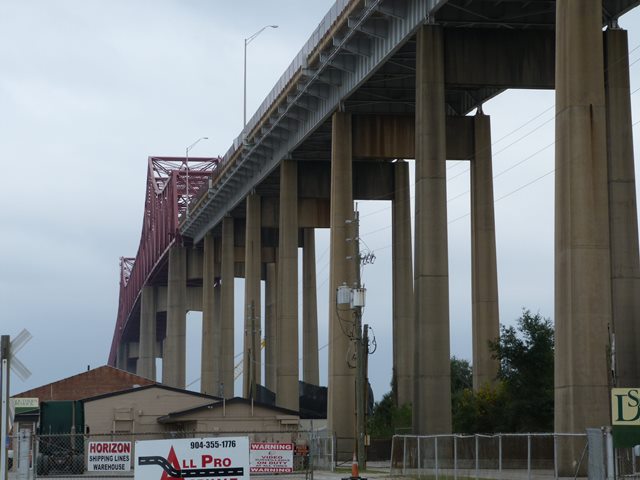
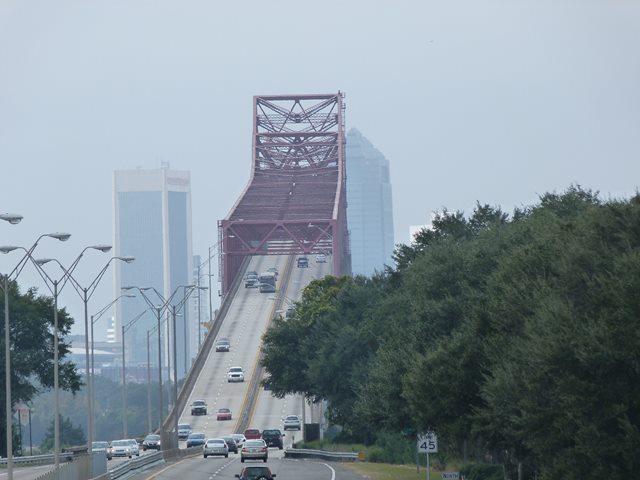
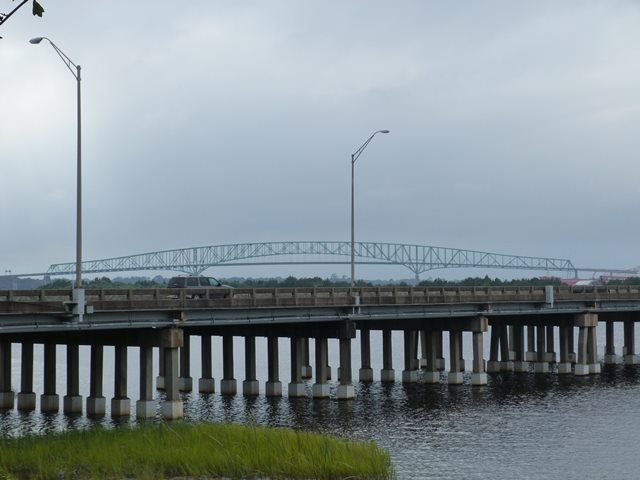
Distant elevation from southwest quadrant.
![]()
Distant portal view facing west.
![]()


Oblique views of main spans from northeast quadrant.
![]()


Views beside bridge from northeast quadrant.
![]()
View beside bridge from southwest quadrant.
![]()

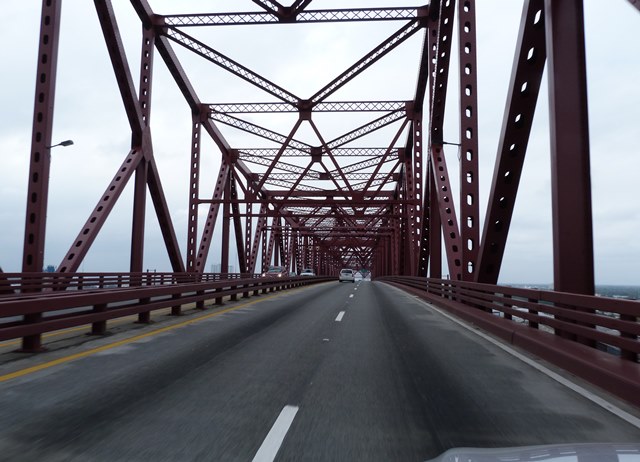


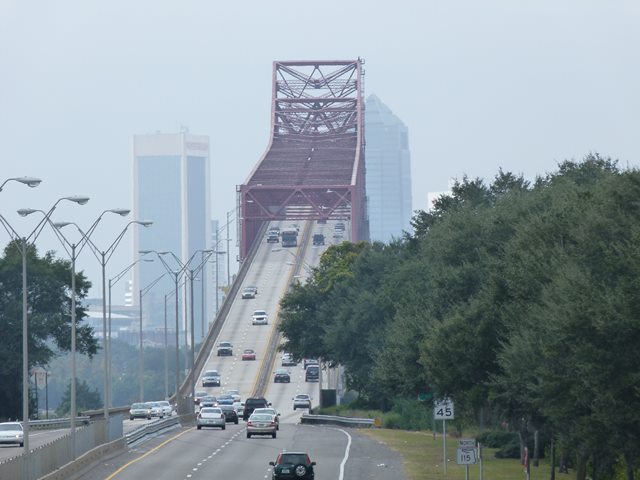
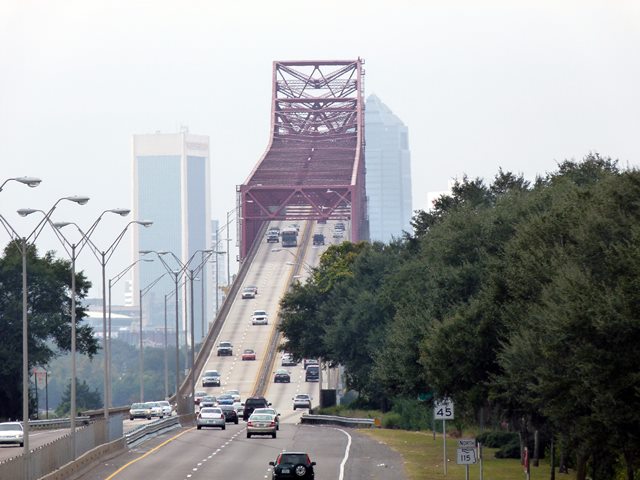
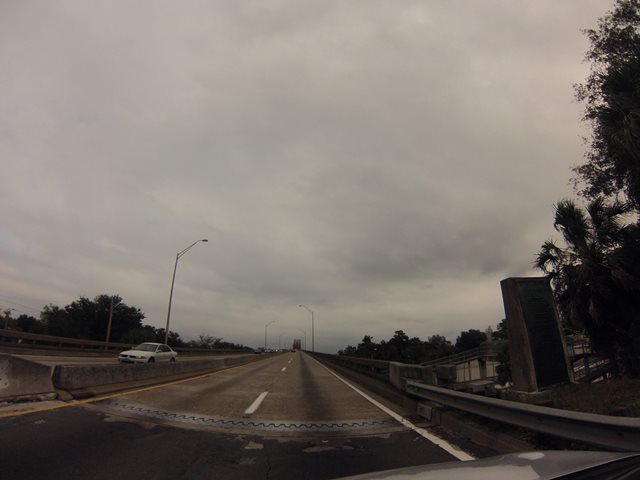
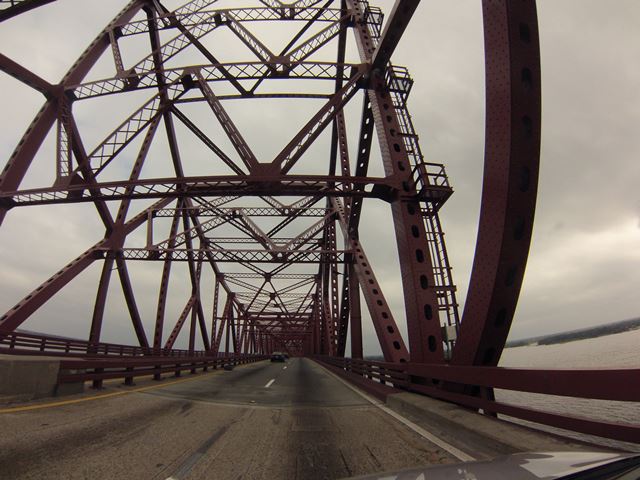
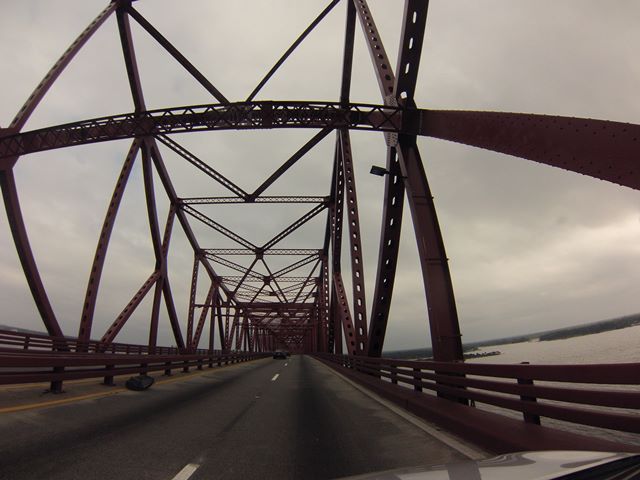
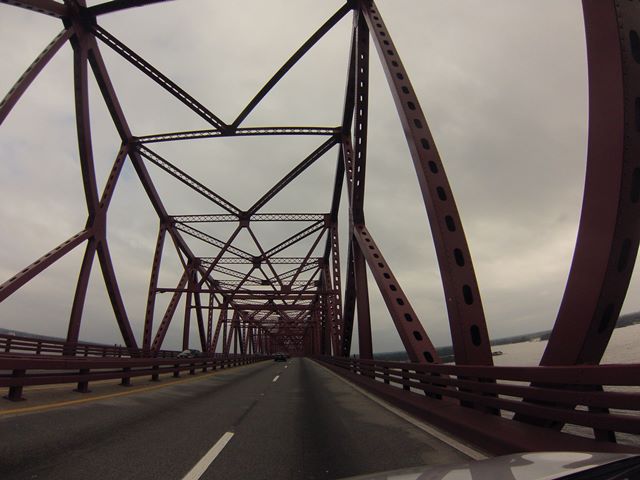
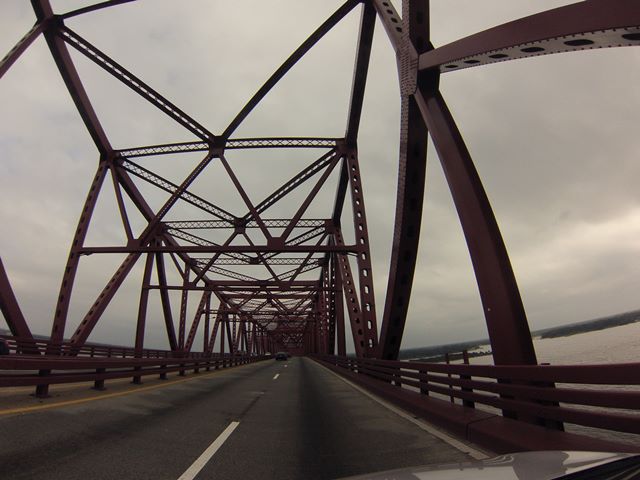
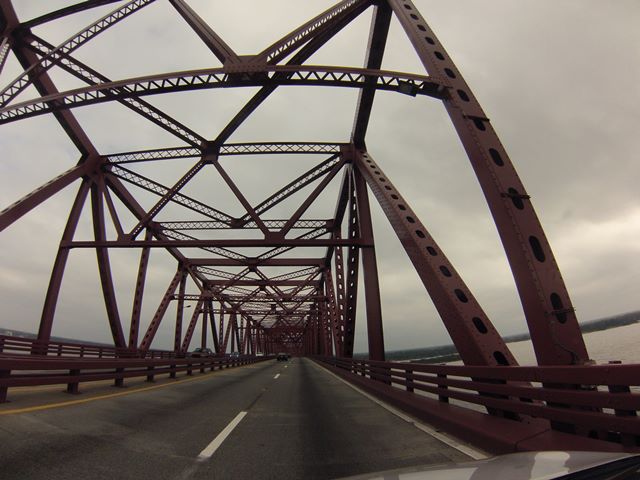
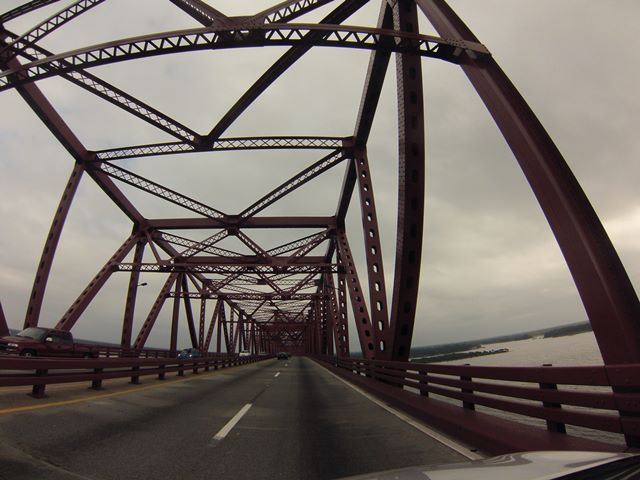
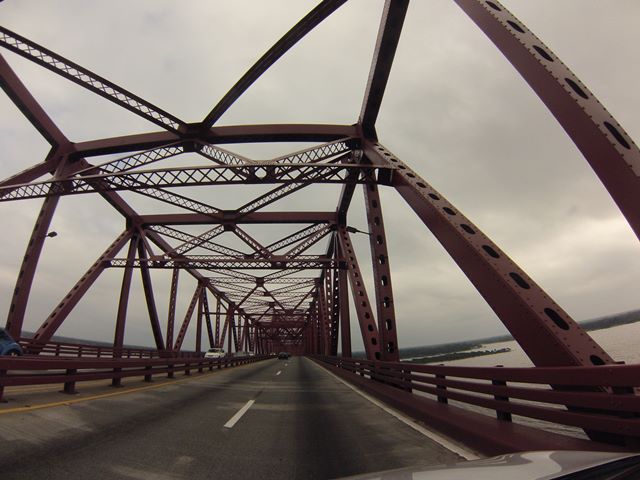
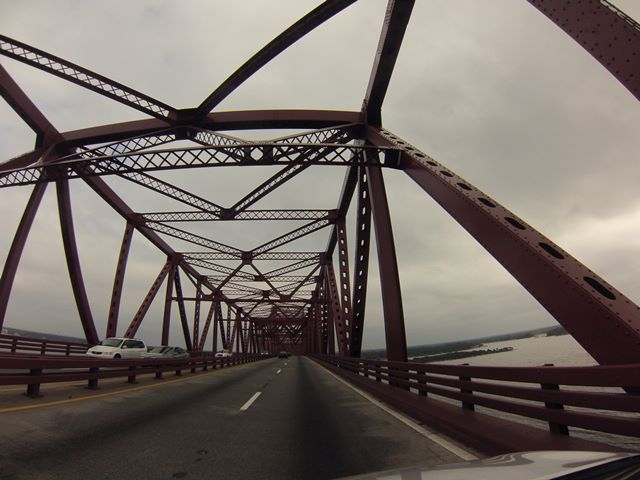
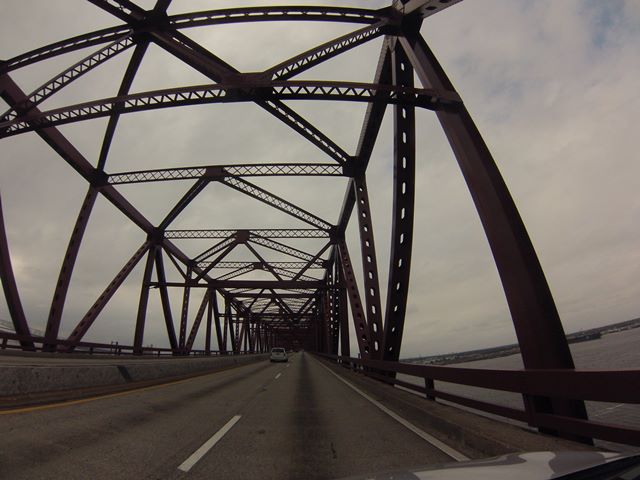
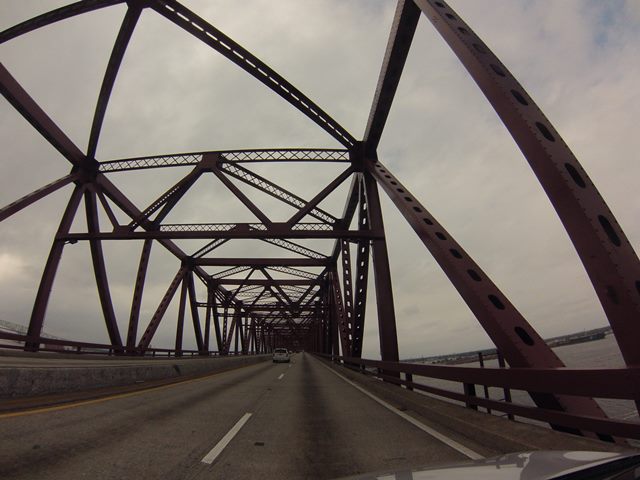
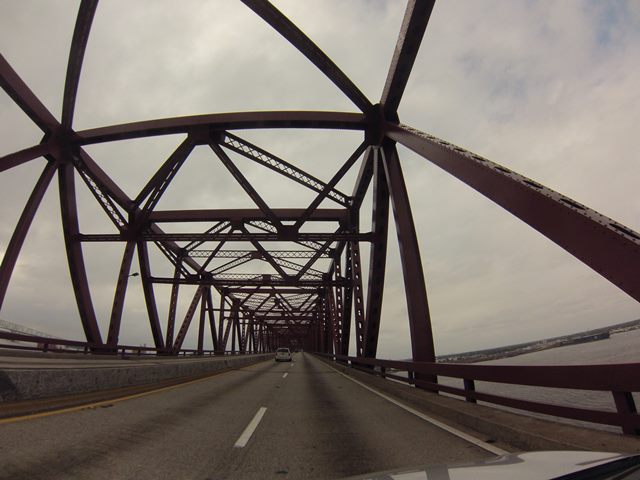
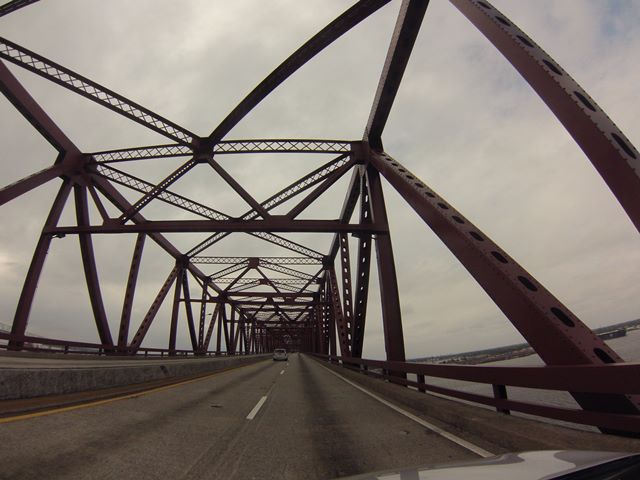
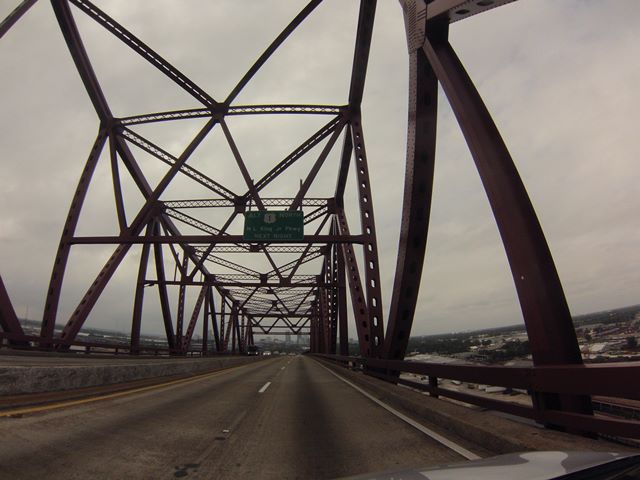
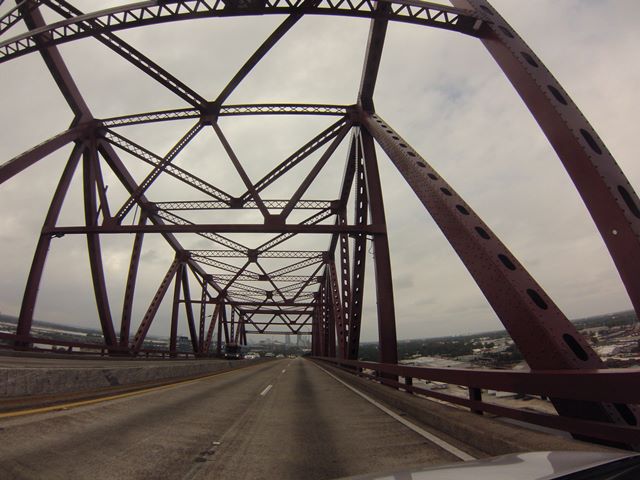
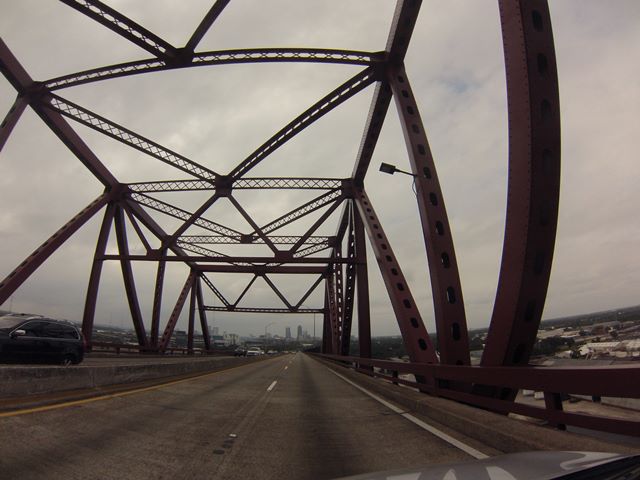
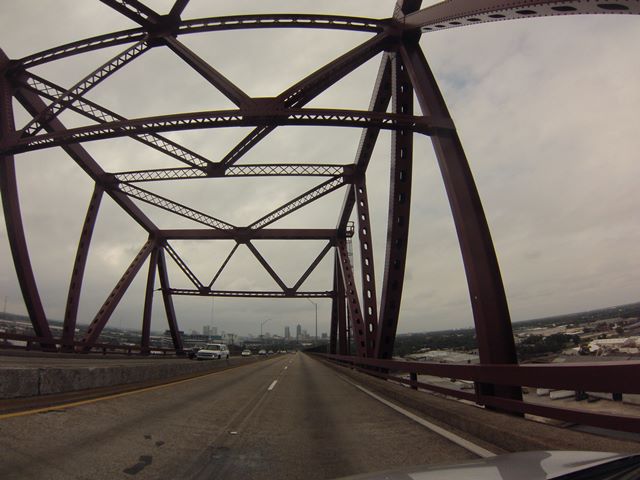
Views driving over bridge. For more on-bridge photos, scroll to the end of this photo gallery for GoPro CarCam photos.
![]()
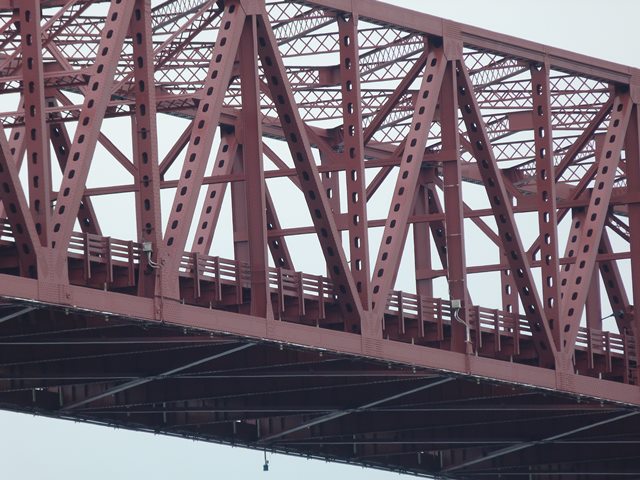
View of truss web showing suspended span pin and hanger system.
![]()

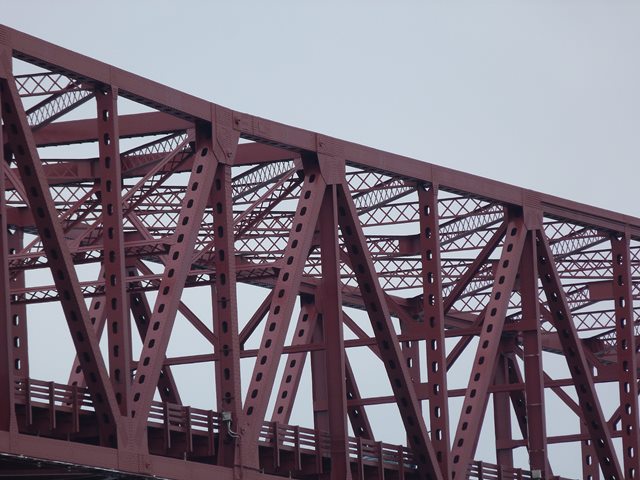
Top chord.
![]()

Bottom chord.
![]()
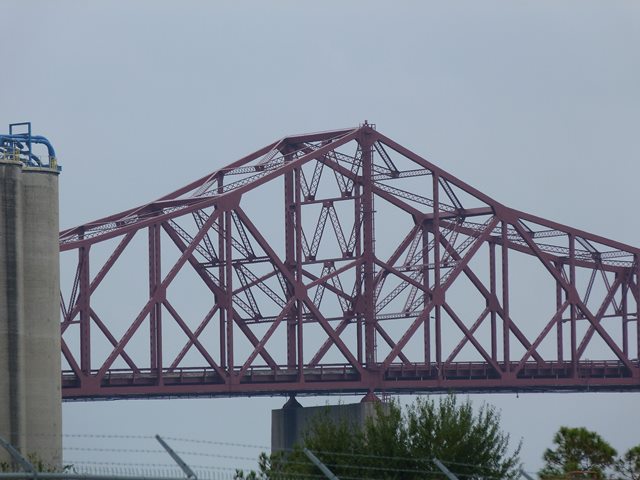
The "tower" portion of the cantilever truss.
![]()

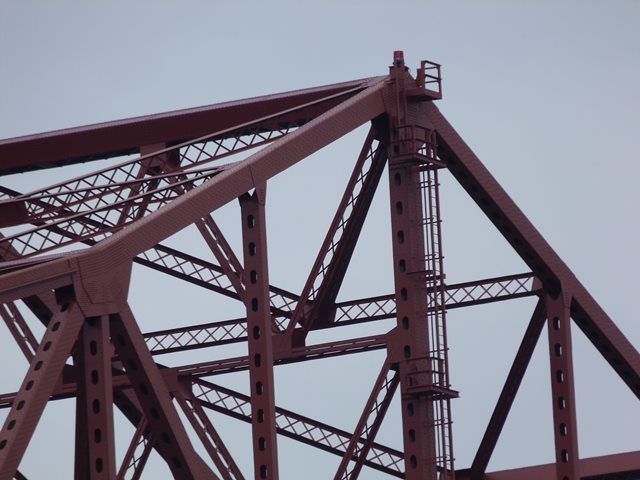
View of truss web.
![]()

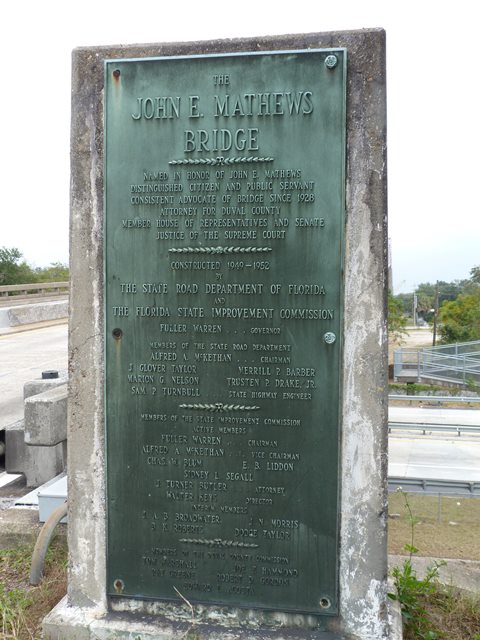
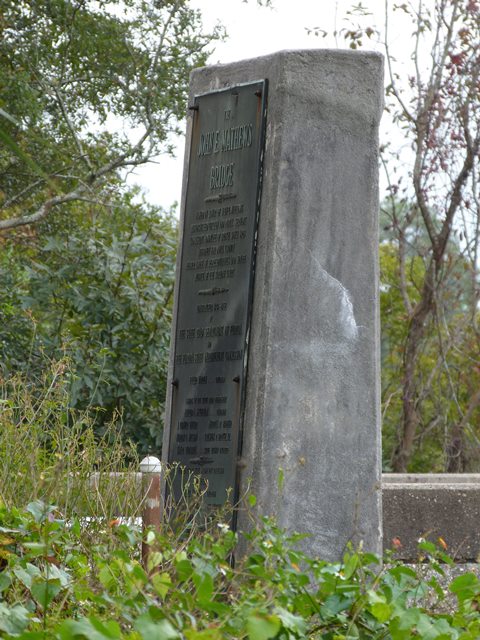
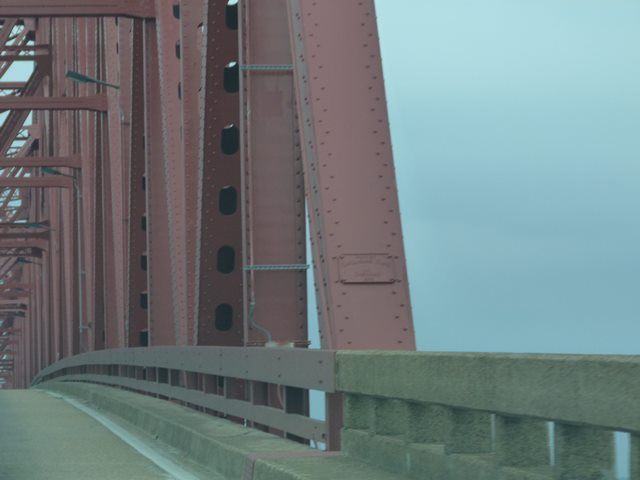
Main plaque.
![]()

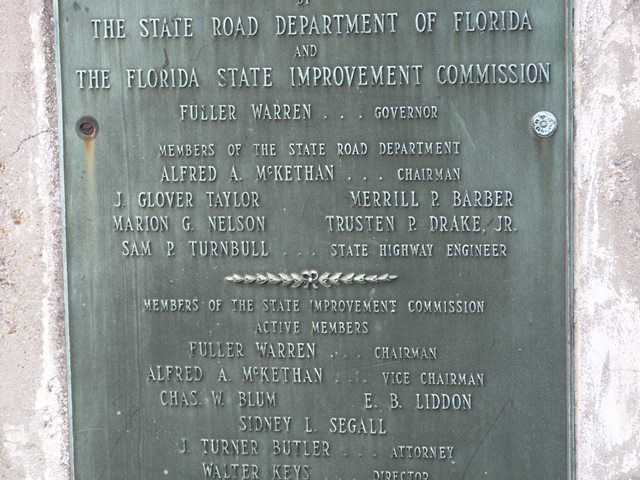
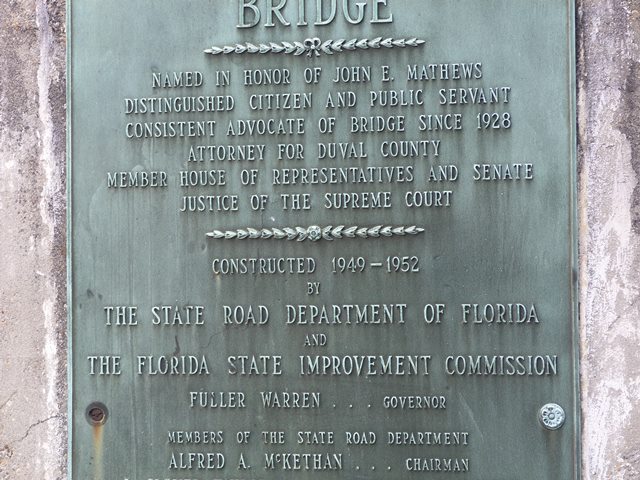
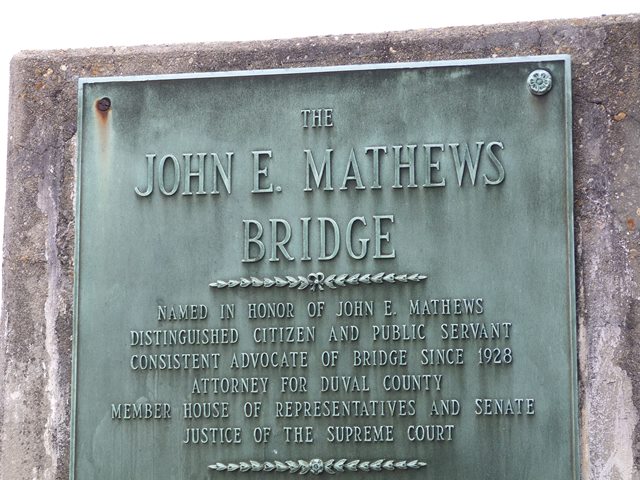
Main plaque details.
![]()
Blurry view of Bethlehem Steel Company plaque.
![]()
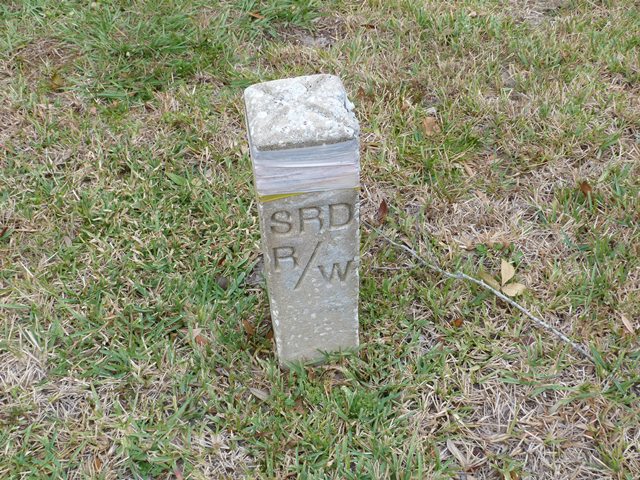
Right-of-way marker near end of bridge.
![]()
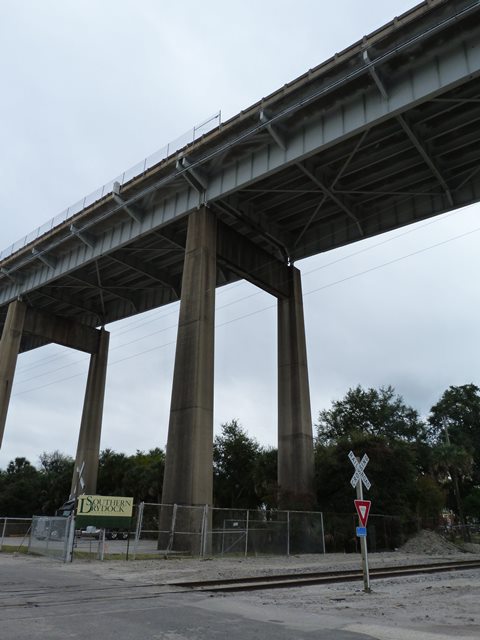
Pier.
![]()


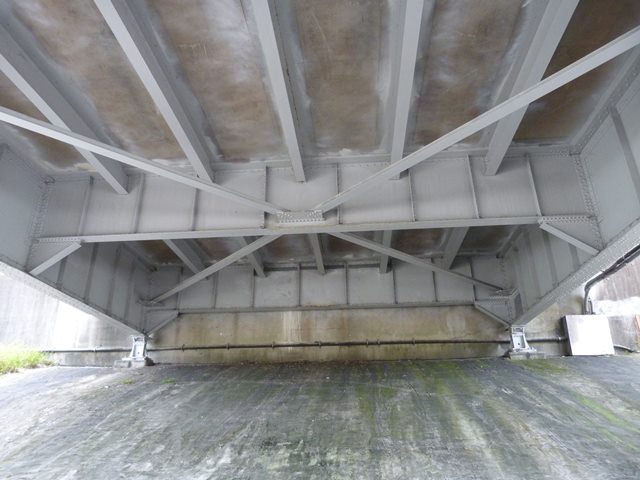
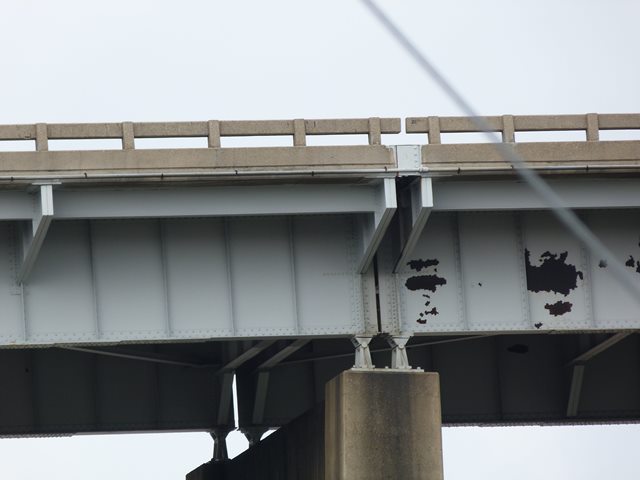
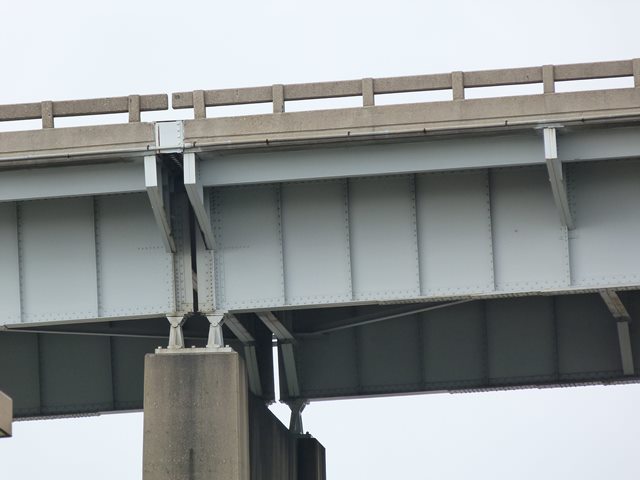
Floor beams and bracing under approach span.
![]()


Approach spans at eastern end of bridge.
![]()

Approach spans at western end of bridge.
![]()


Expansion joint.
![]()

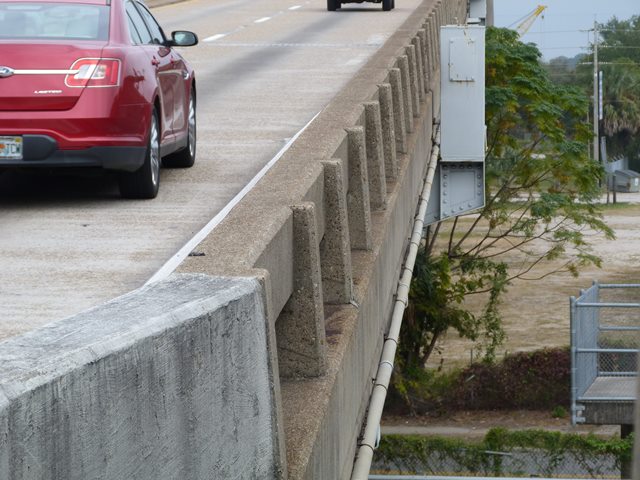
Railings.
![]()

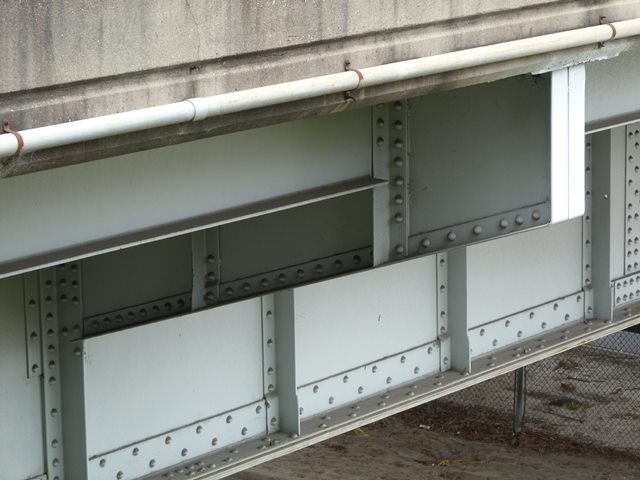


Details of approach span girder.
![]()
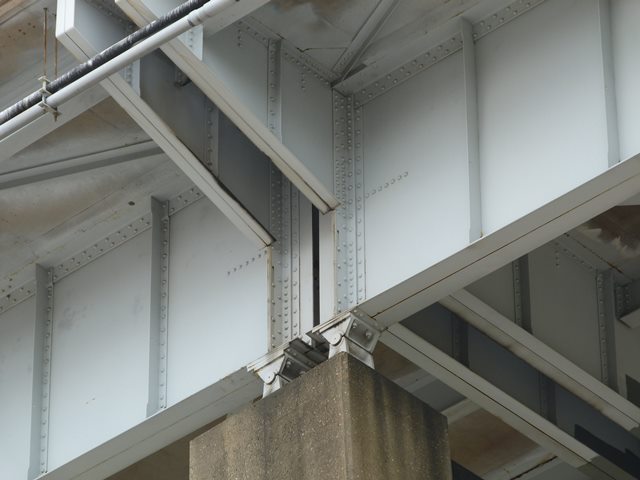
View under girder approach span.
![]()
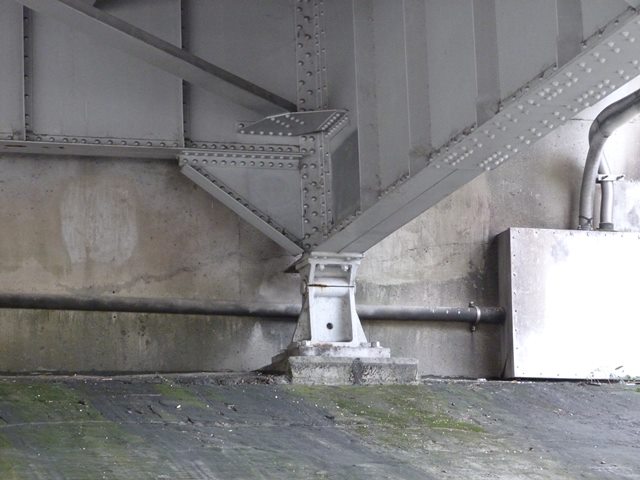

Bearings for approach spans.
![]()
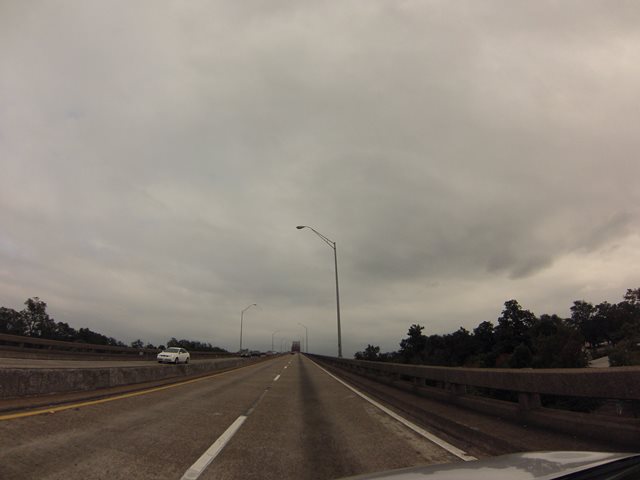
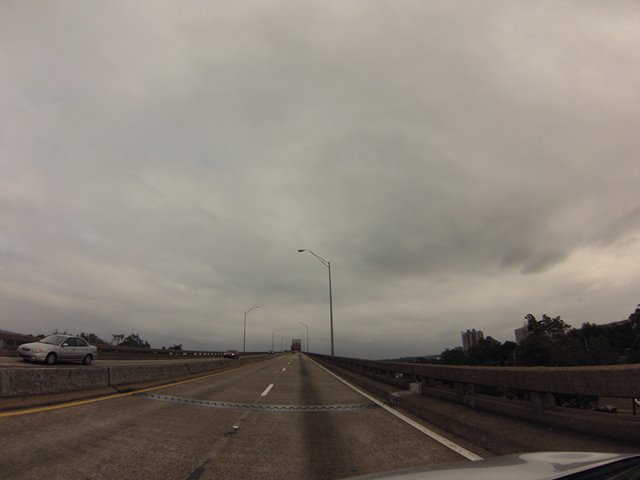


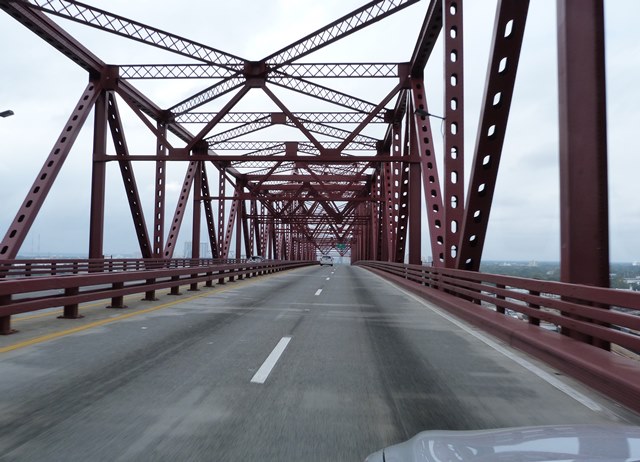
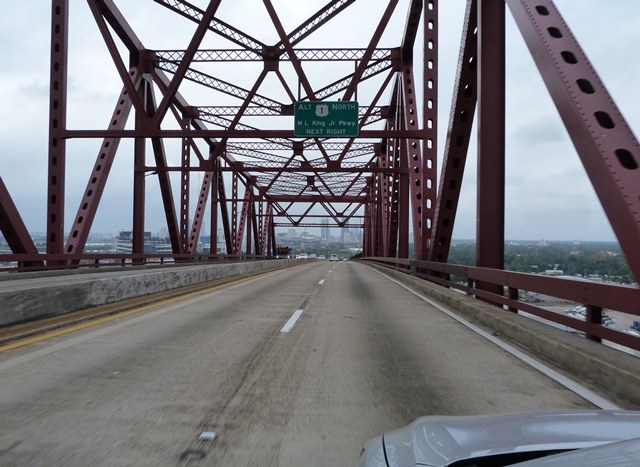
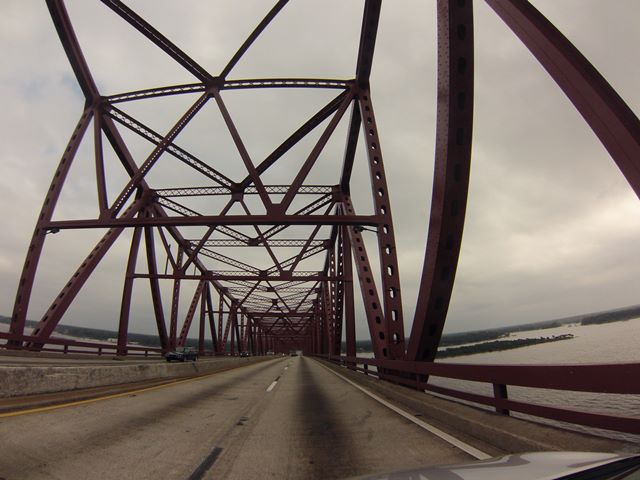
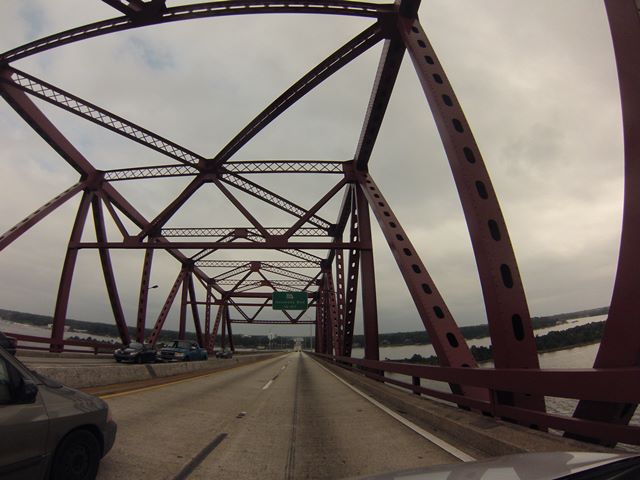
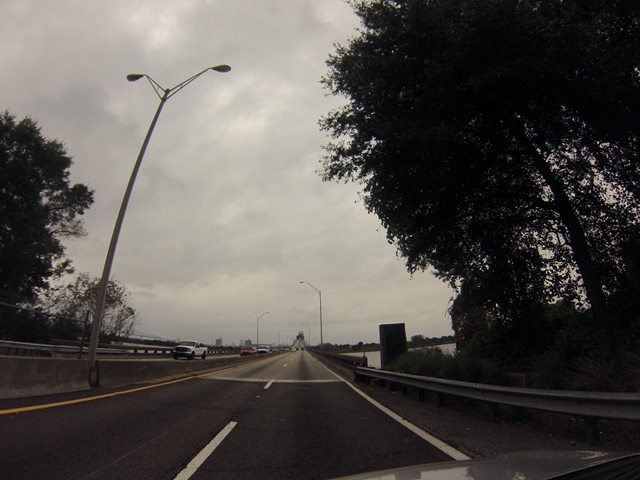
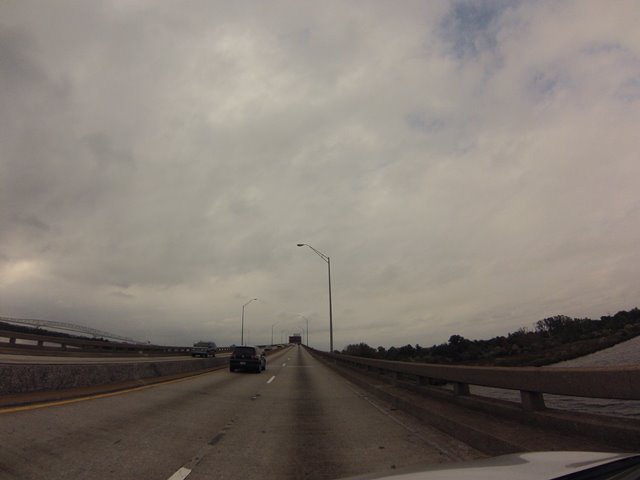
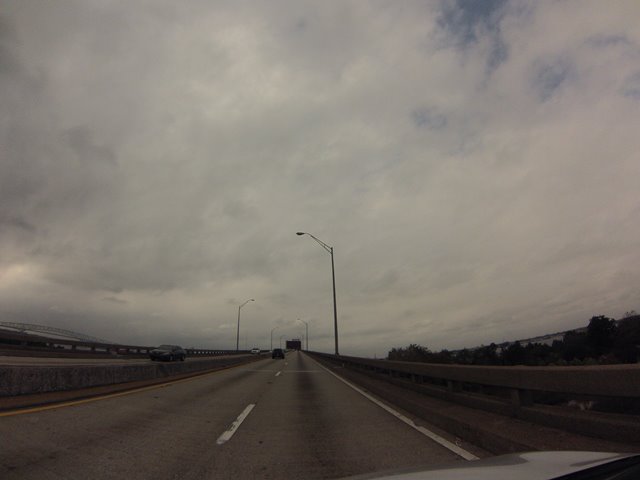
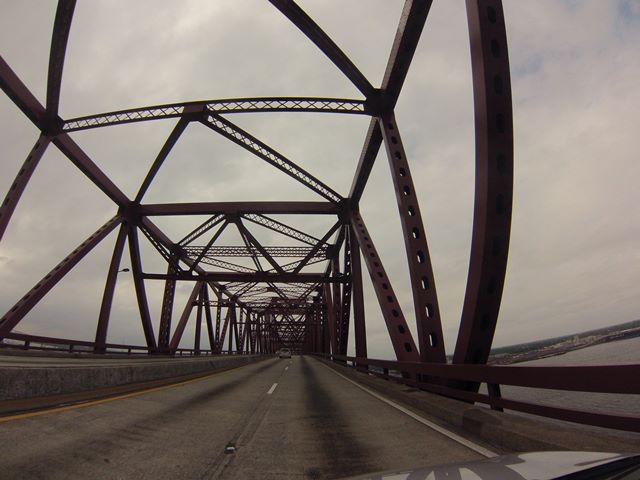
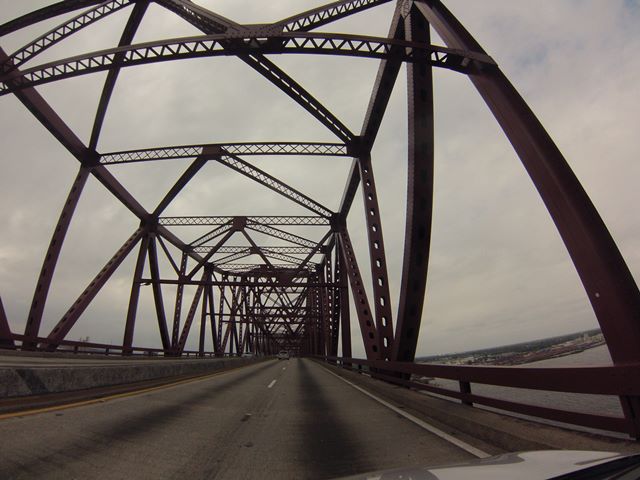
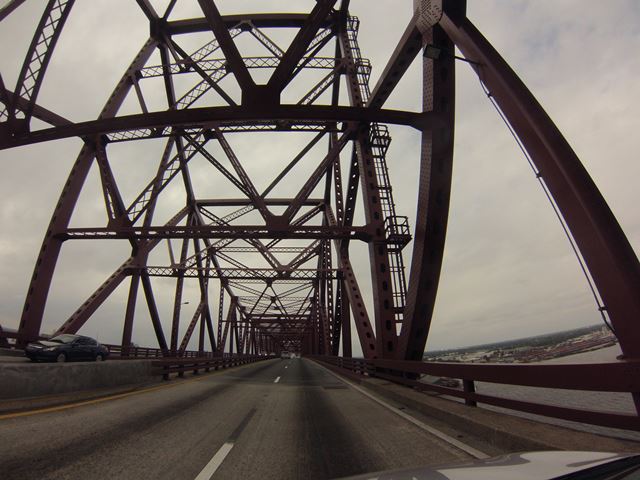
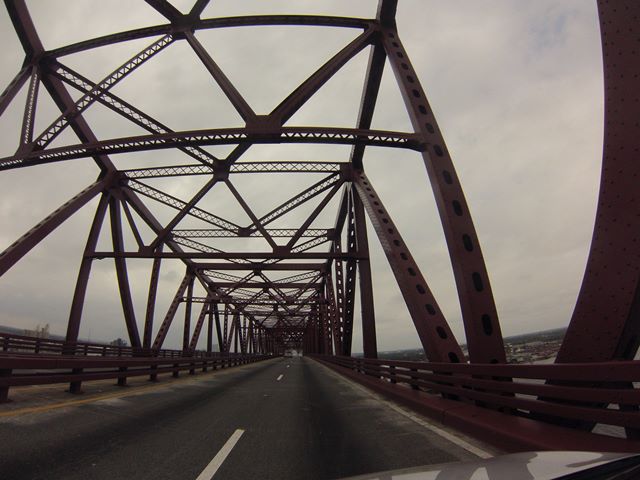
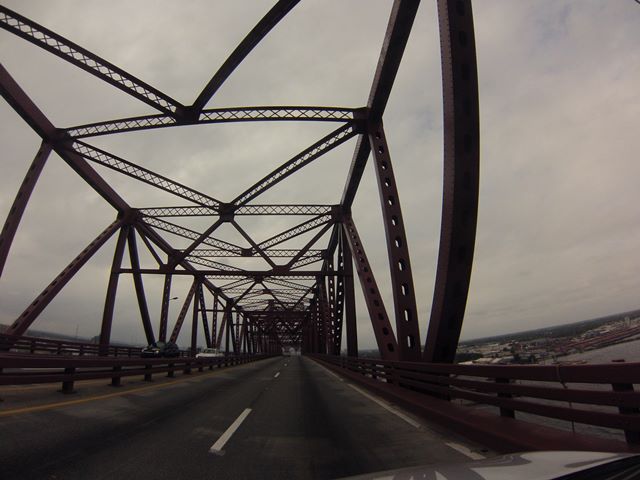
GoPro CarCam photos. Eastbound crossing. Views on western approach spans.
![]()

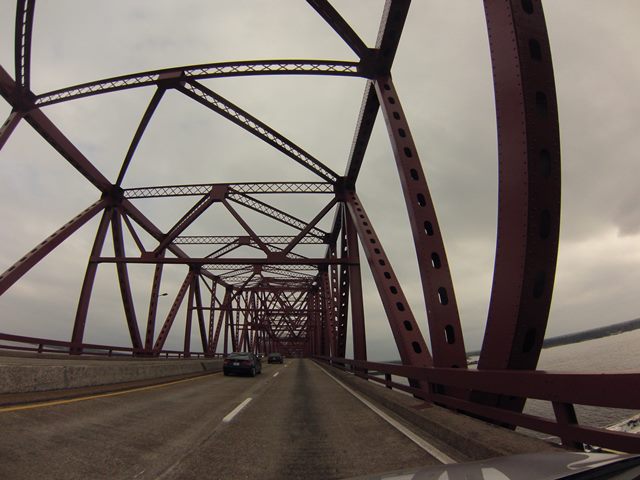


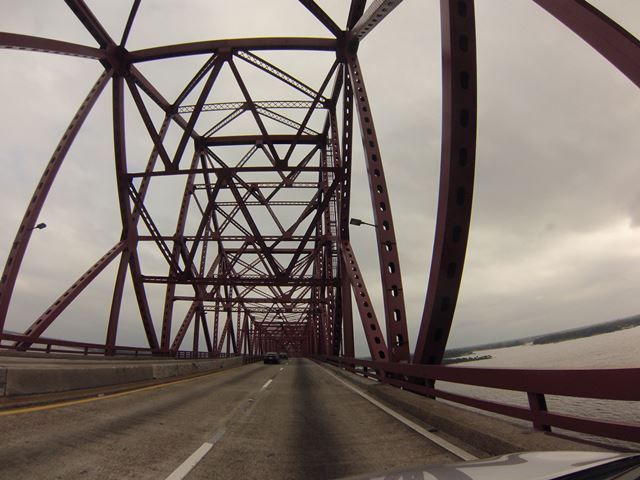
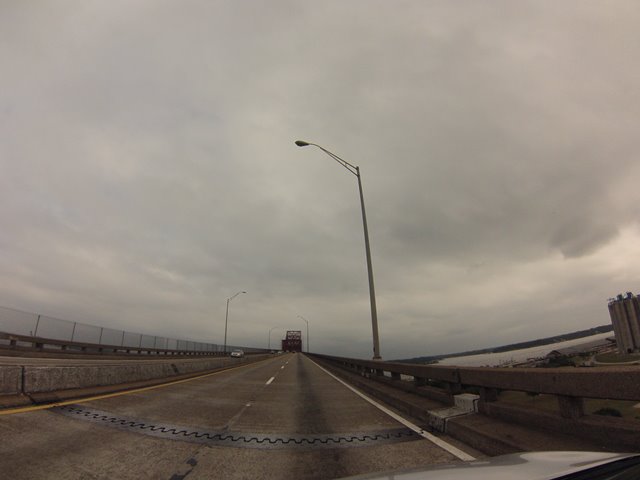
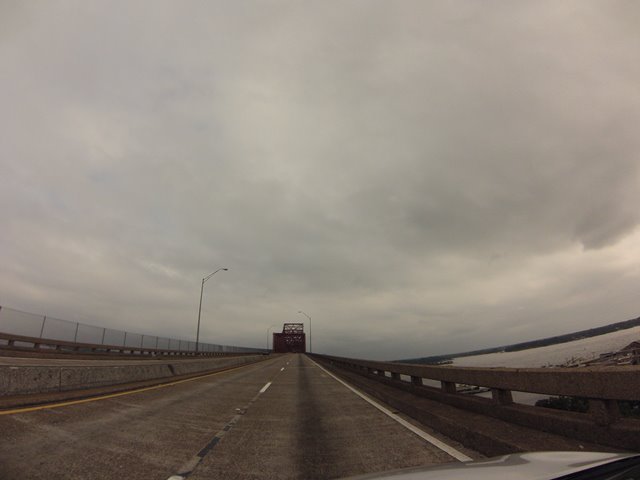
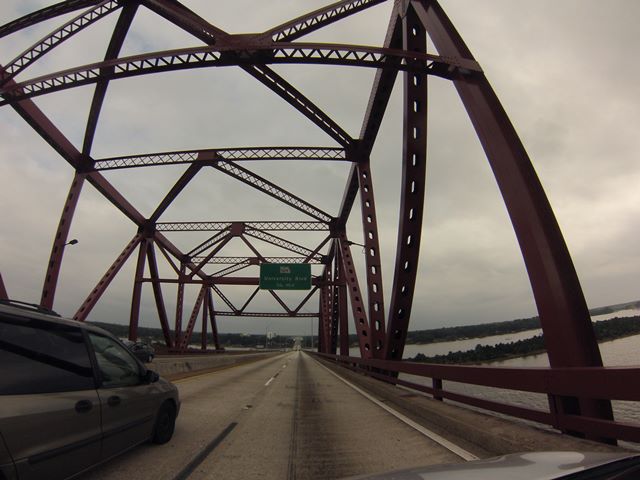
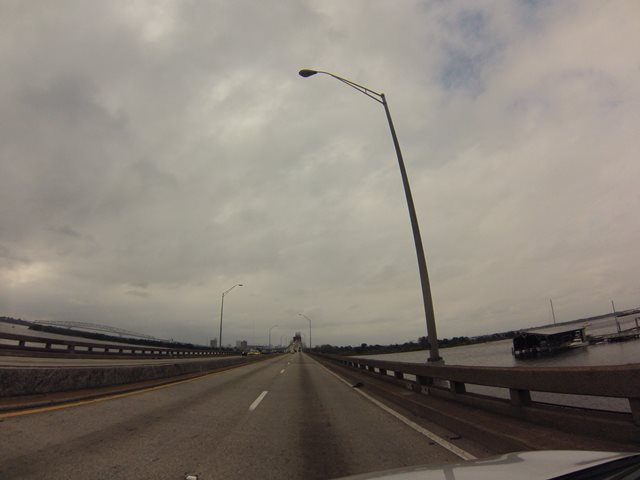
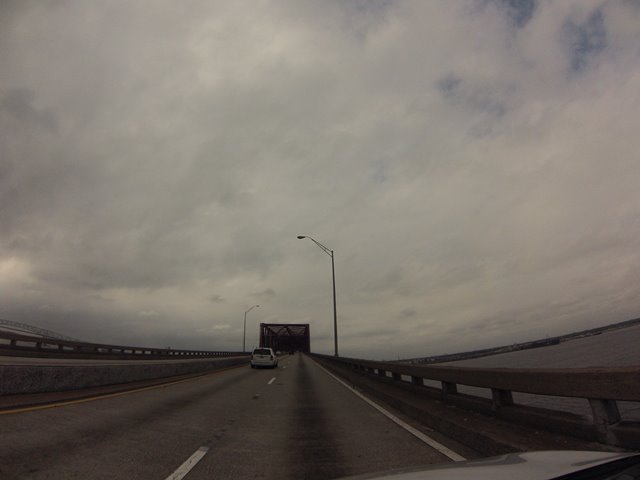
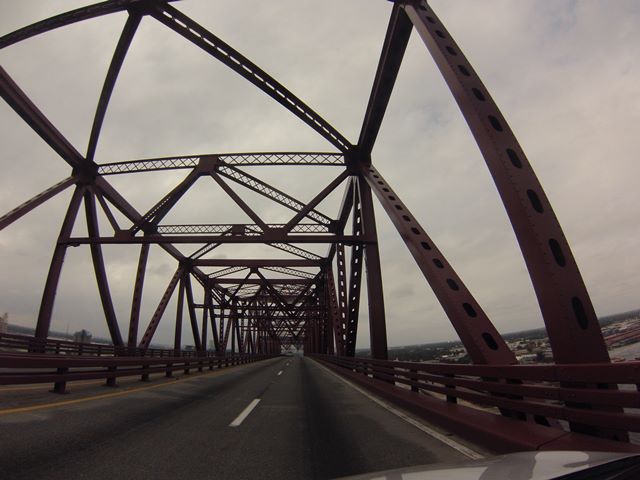
GoPro CarCam photos. Eastbound crossing. Views on western anchor arm.
![]()
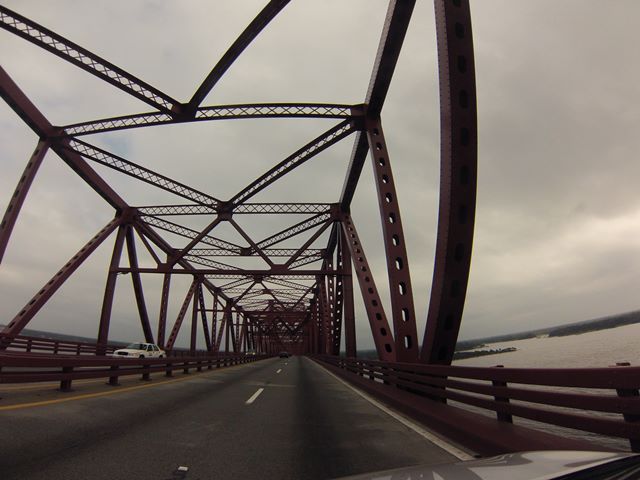


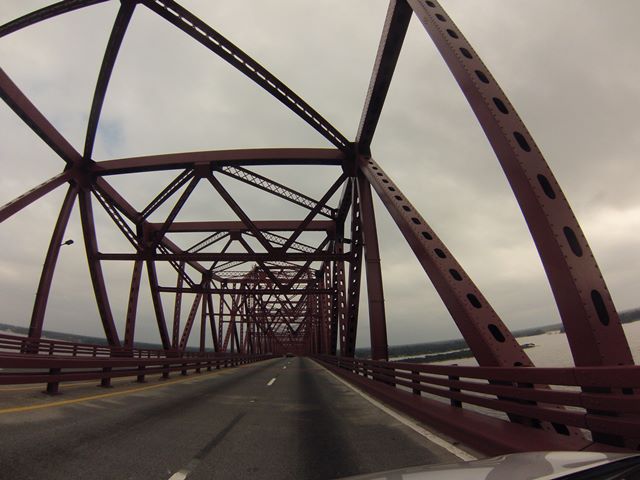
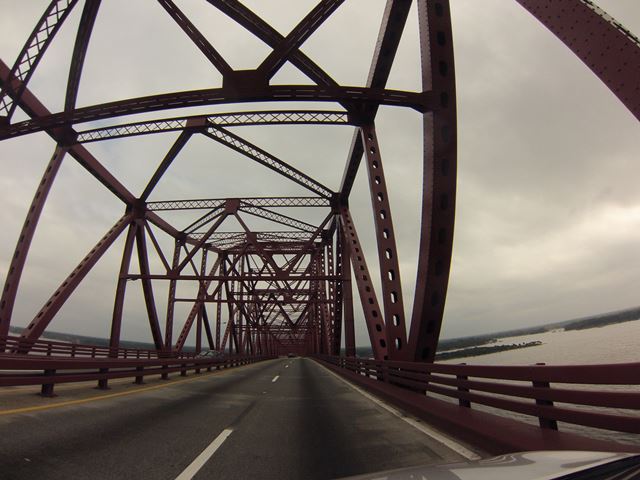


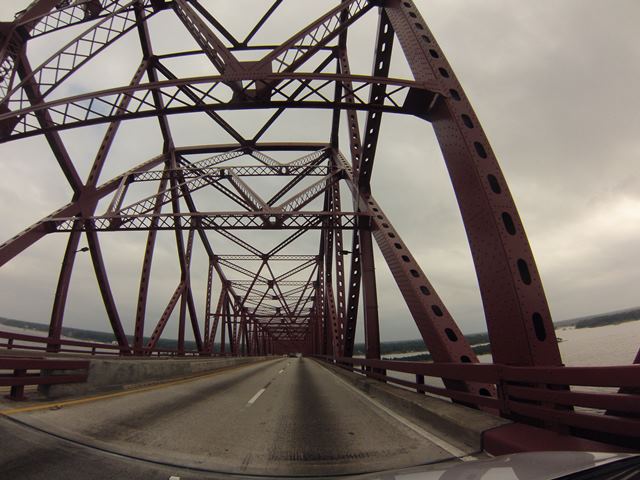
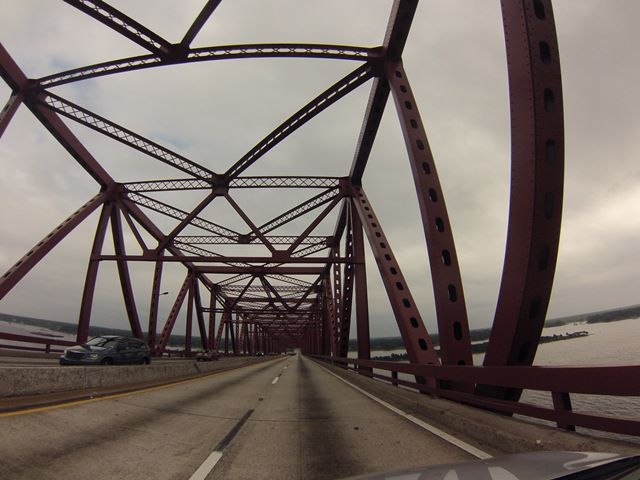
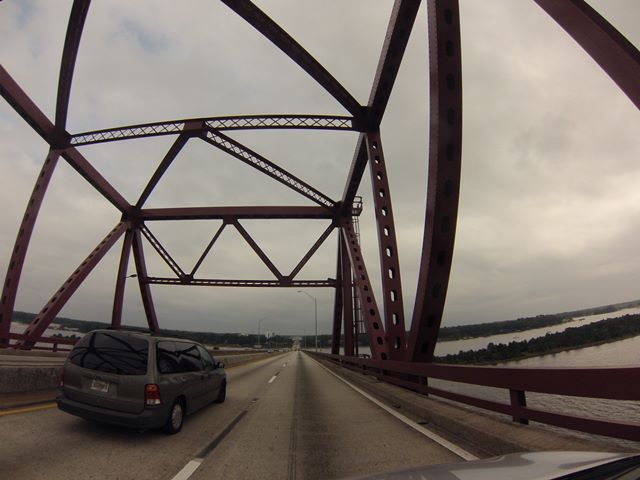
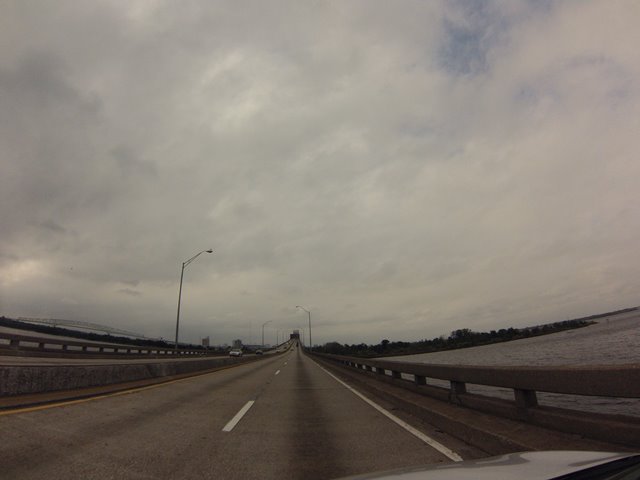
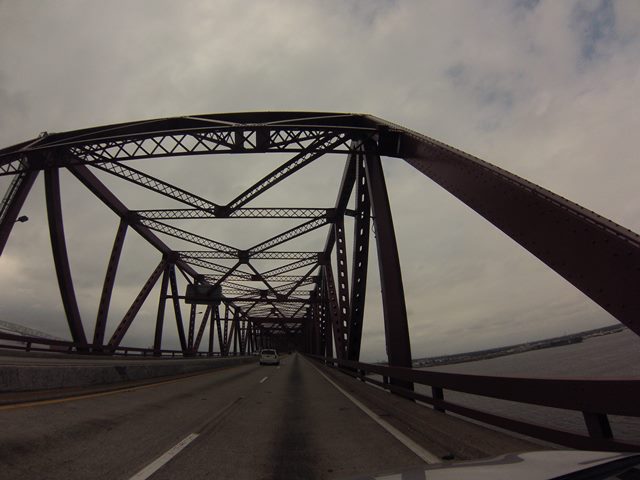
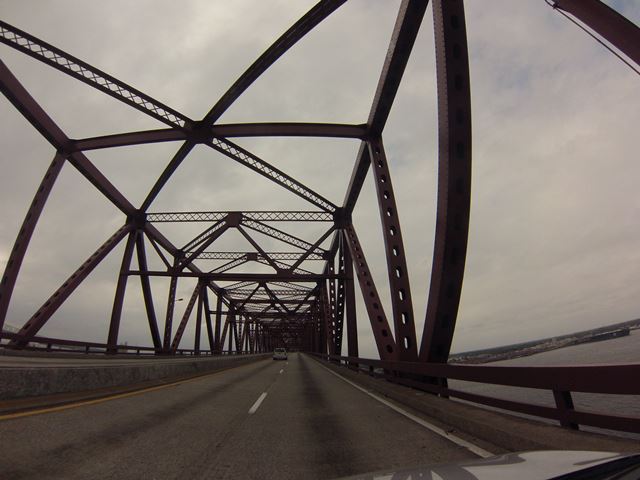
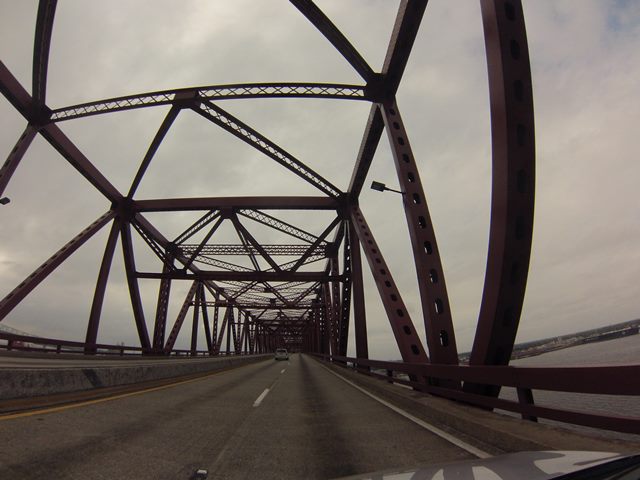
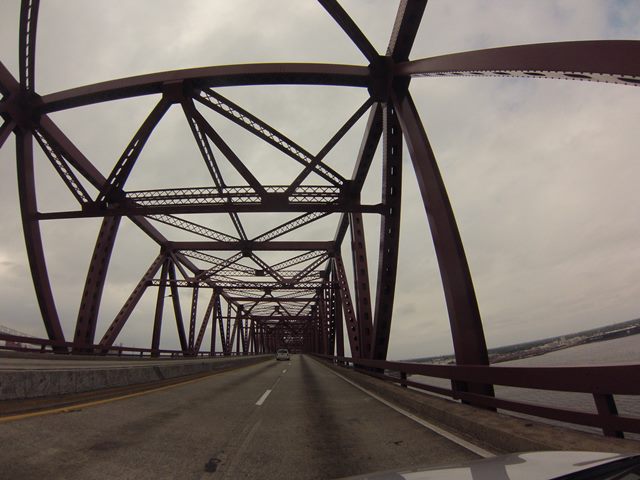
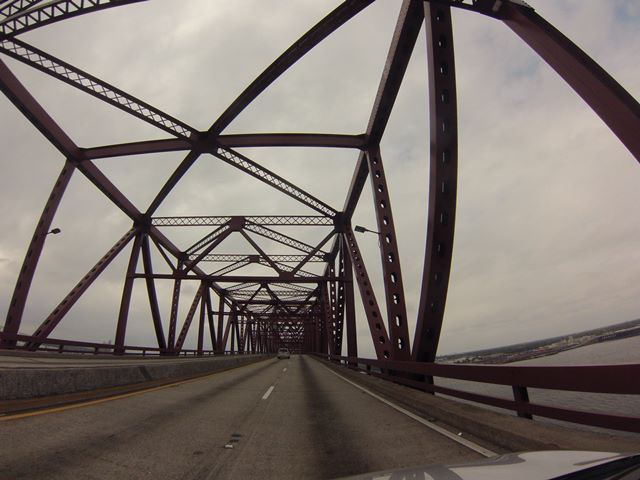
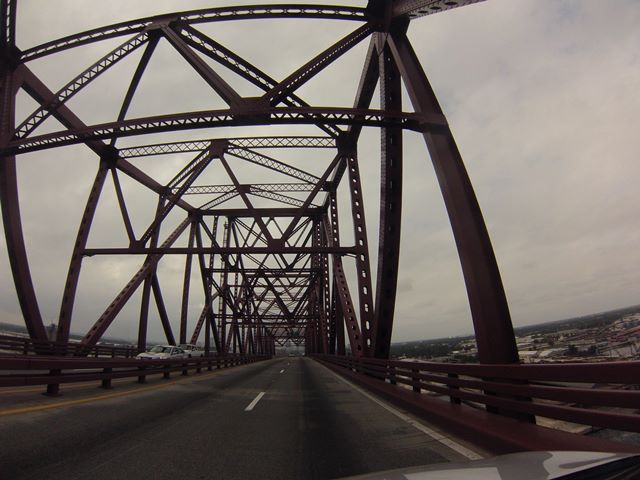
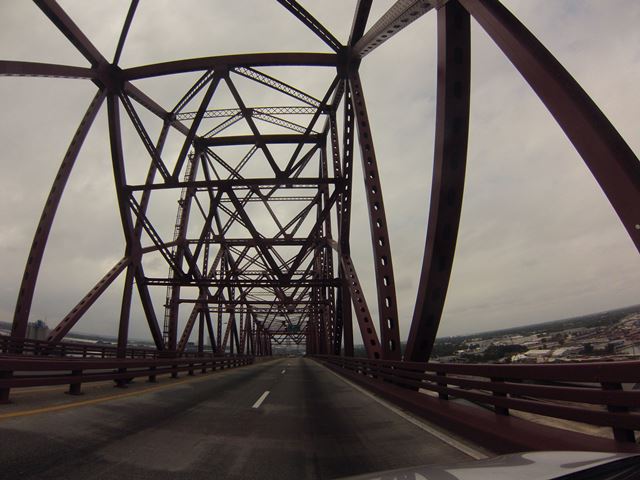
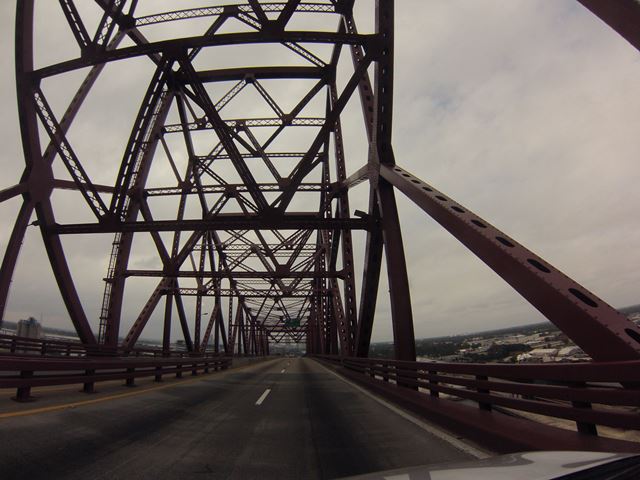
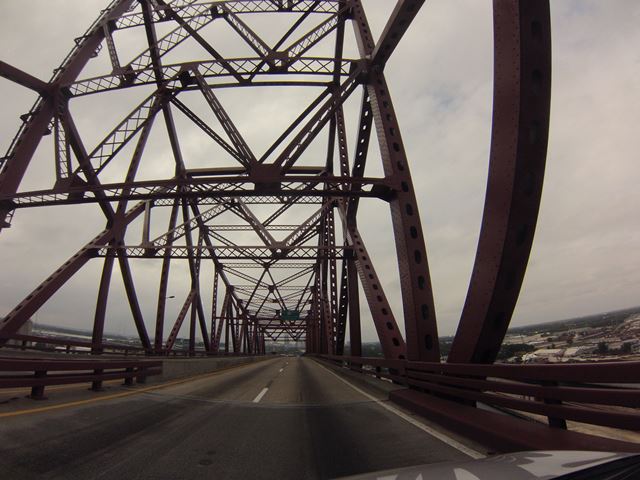
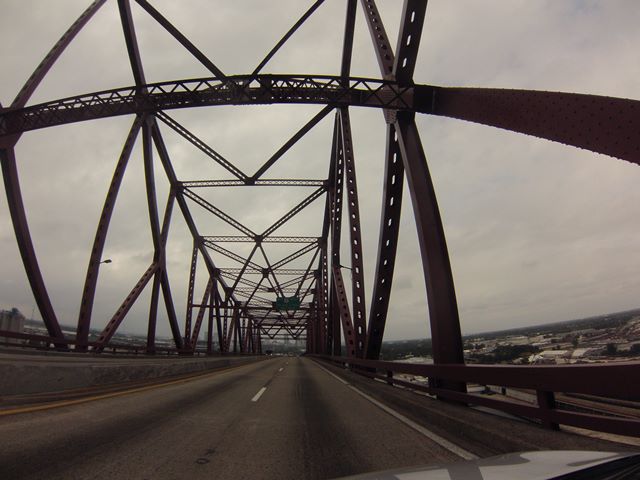
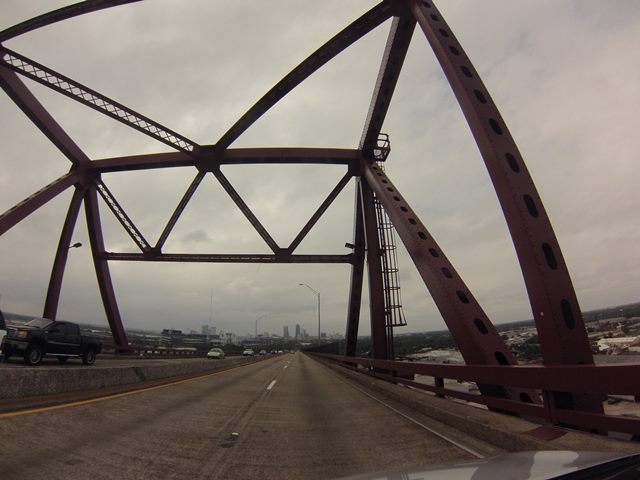
GoPro CarCam photos. Eastbound crossing. Views on channel span.
![]()


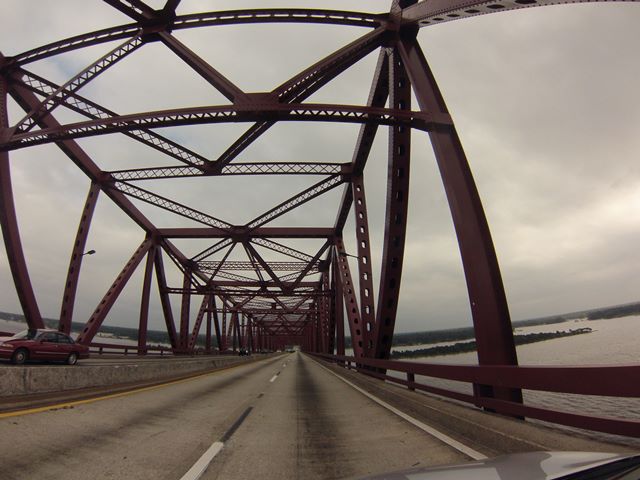

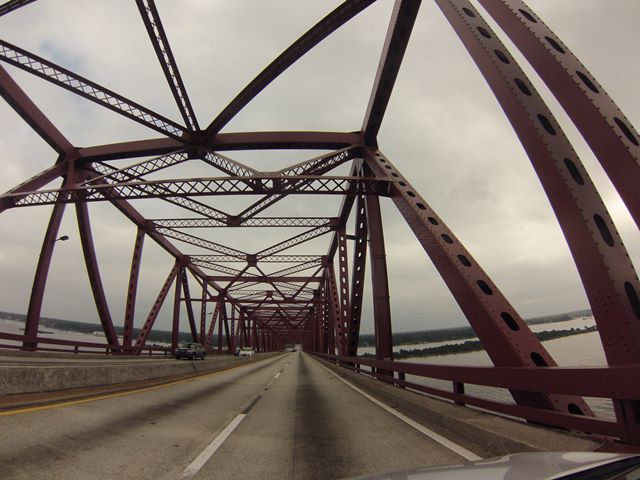
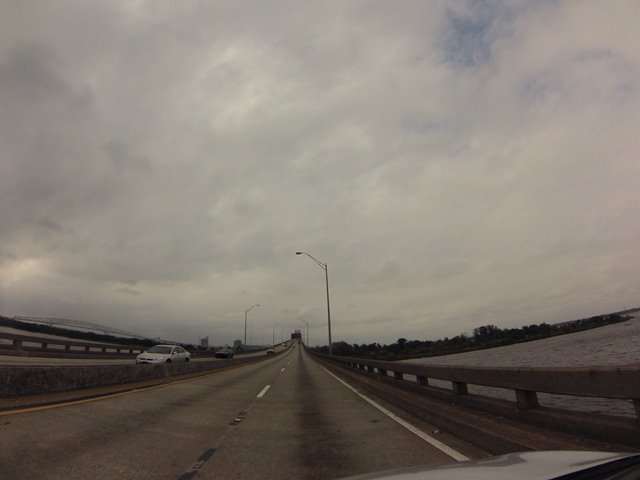
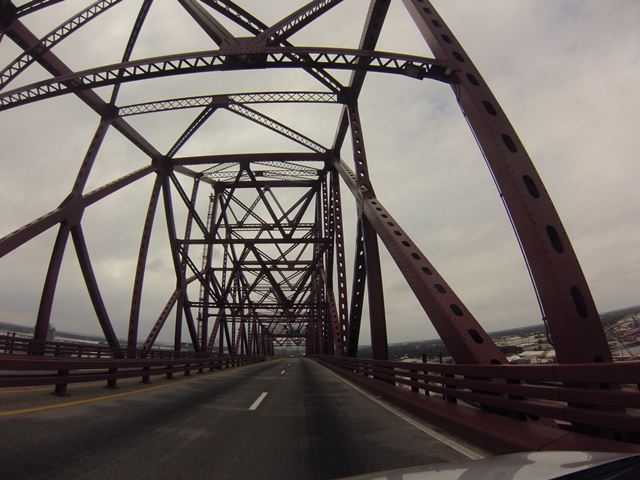
GoPro CarCam photos. Eastbound crossing. Views on eastern anchor arm.
![]()


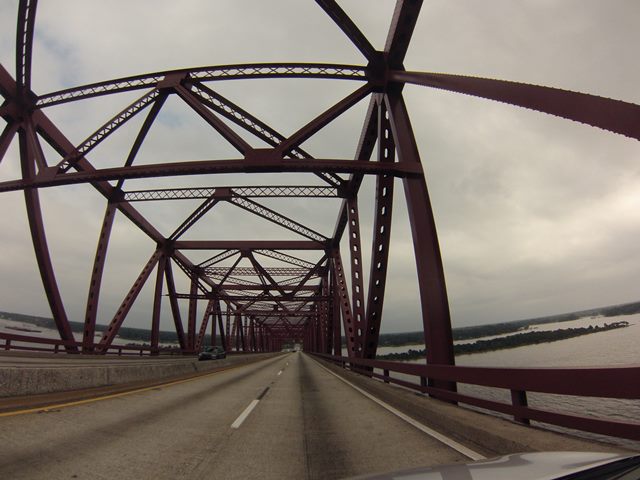


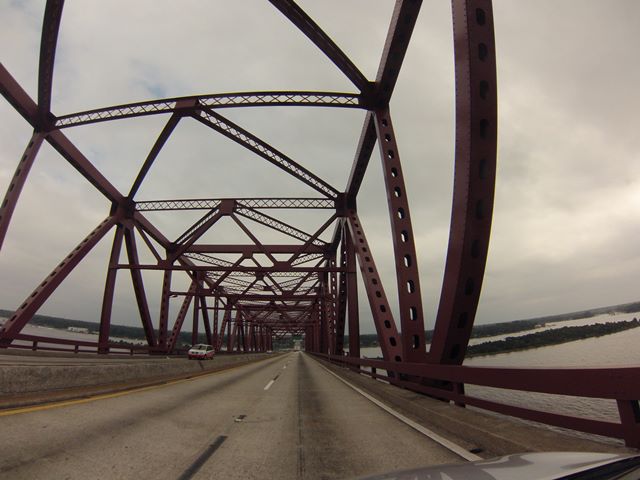


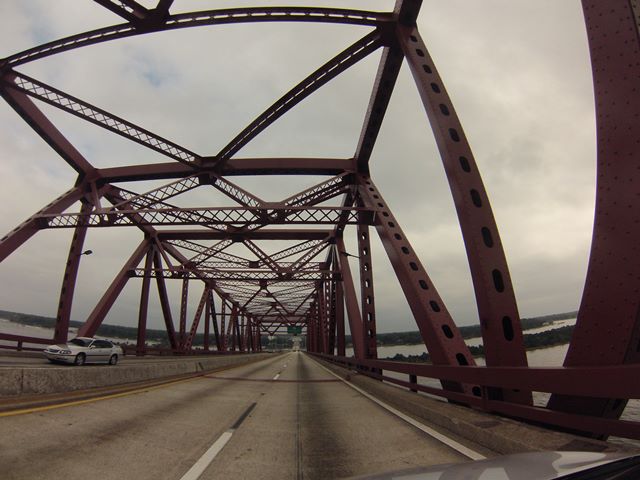


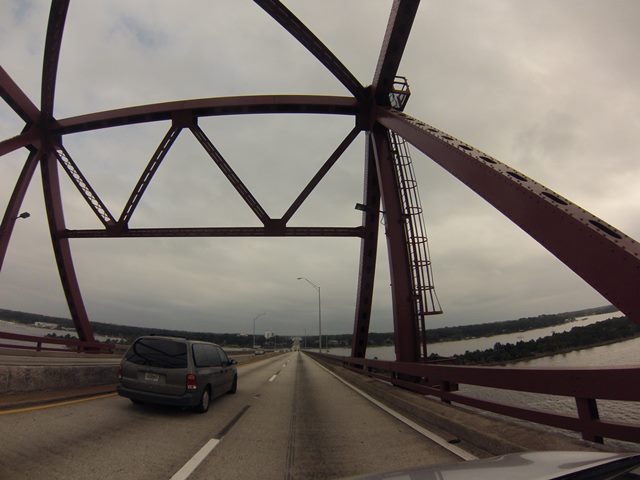

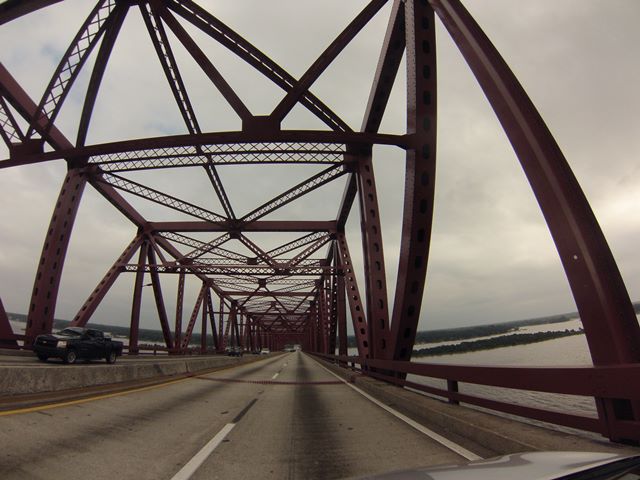
GoPro CarCam photos. Eastbound crossing. Views on eastern continuous truss spans.
![]()


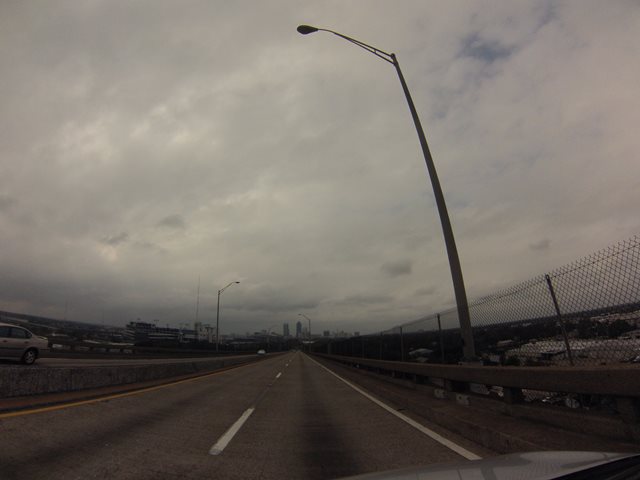
GoPro CarCam photos. Eastbound crossing. Views on eastern approach spans.
![]()


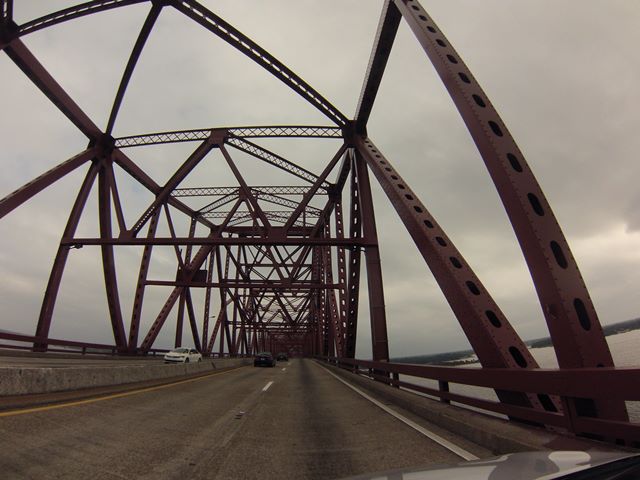
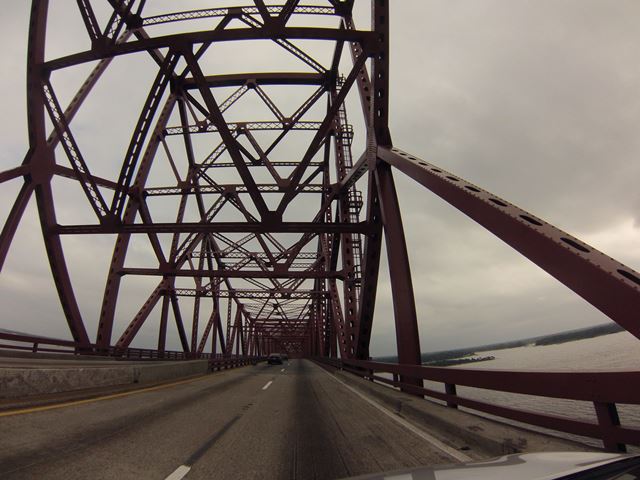
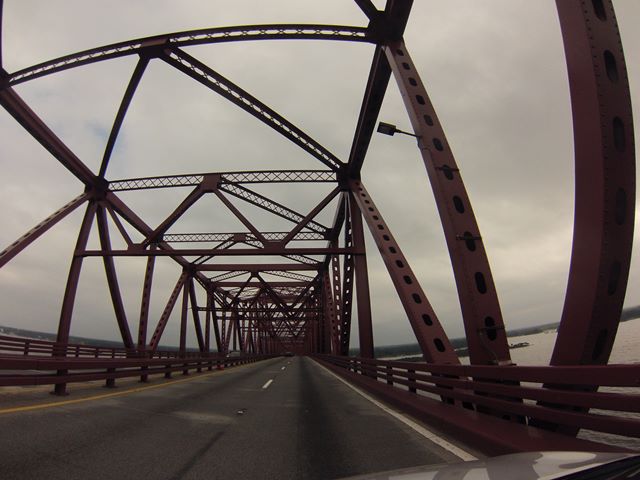
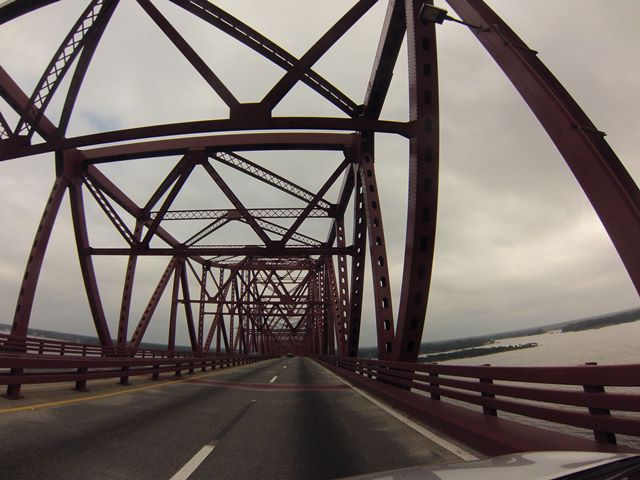
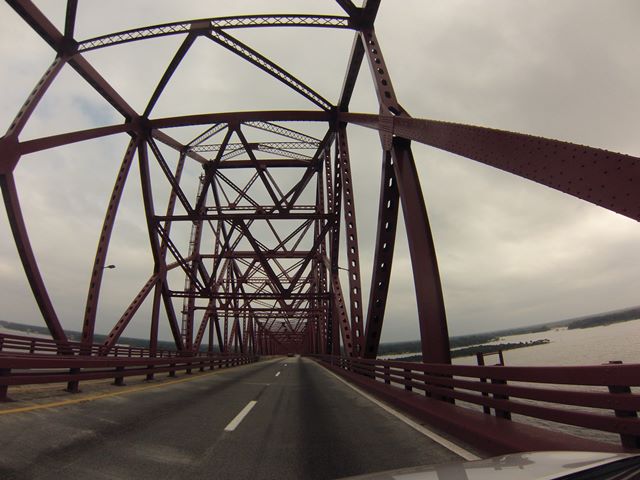
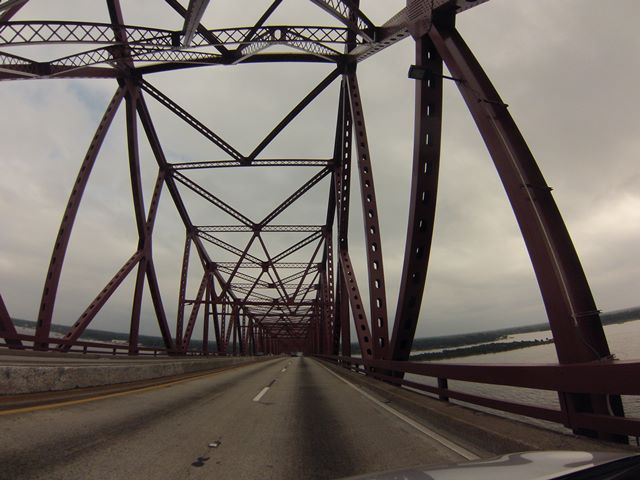
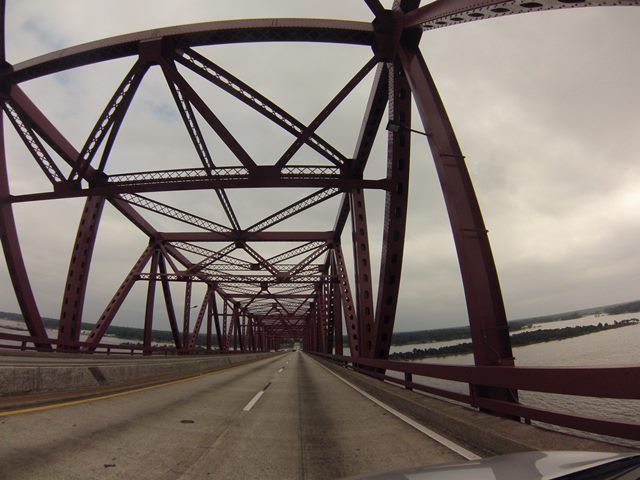
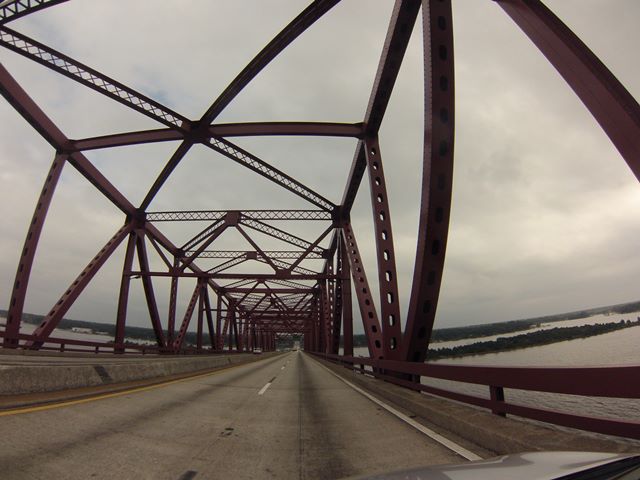
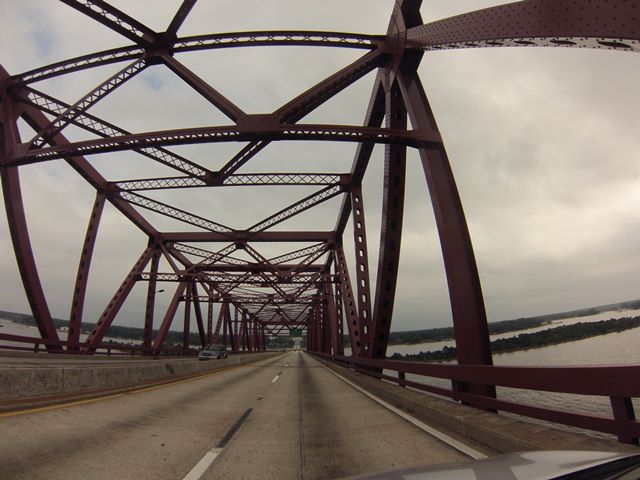
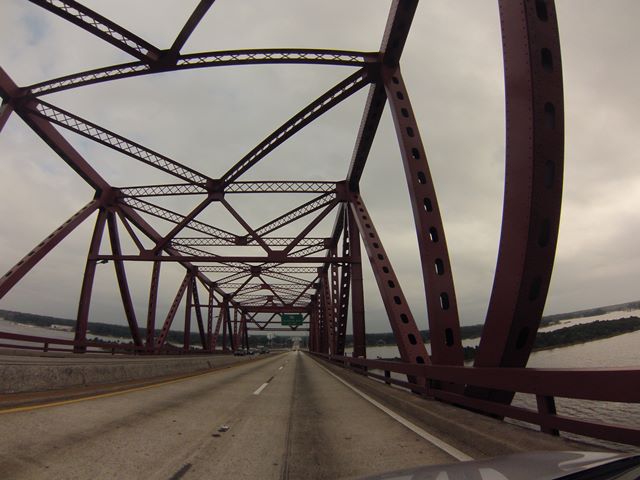
GoPro CarCam photos. Westbound crossing. Views on eastern approach spans.
![]()


GoPro CarCam photos. Westbound crossing. Views on eastern continuous truss spans.
![]()


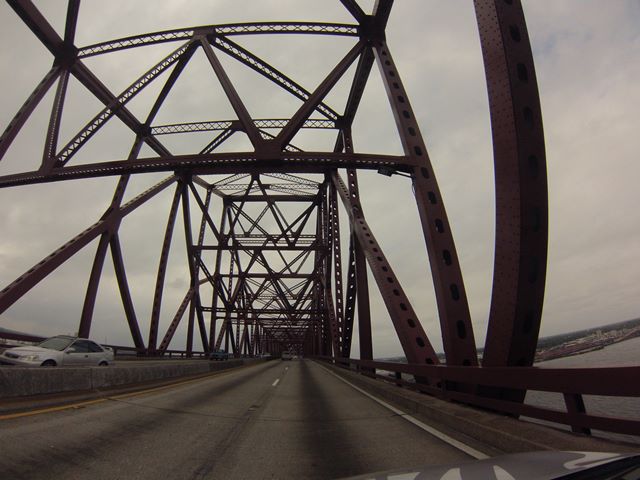
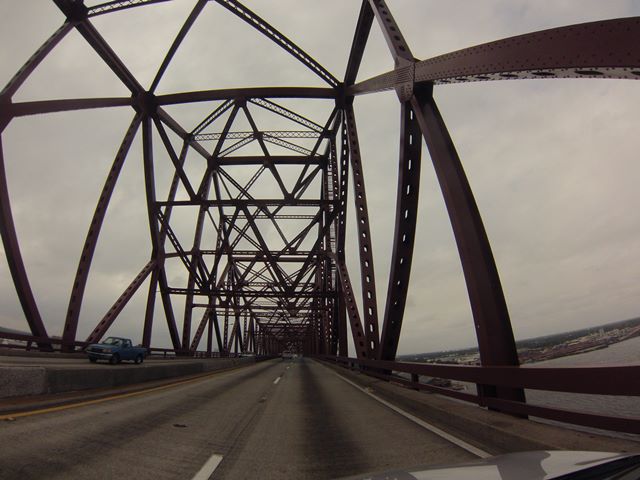

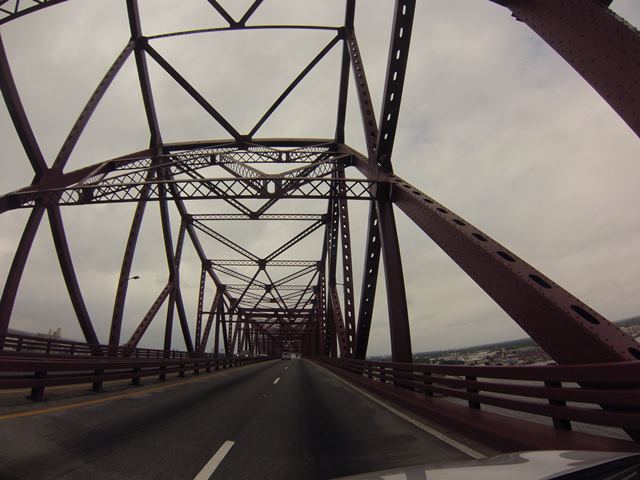
GoPro CarCam photos. Westbound crossing. Views on eastern anchor arm.
![]()


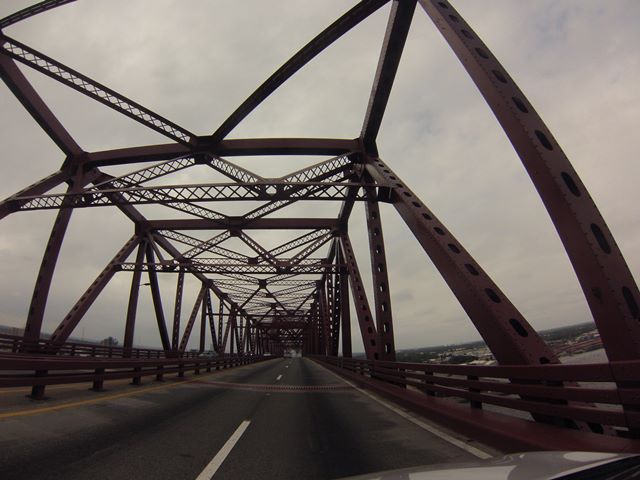


GoPro CarCam photos. Westbound crossing. Views on channel span.
![]()


GoPro CarCam photos. Westbound crossing. Views on western anchor arm.
![]()


GoPro CarCam photos. Westbound crossing. Views on western approach spans.
![]()
![]()

![]()


