Uncredited photos on this page taken by: Nathan Holth. Unless stated in a caption, all photos are Copyright with All Rights Reserved. Learn about reuse of our photos.
![]()


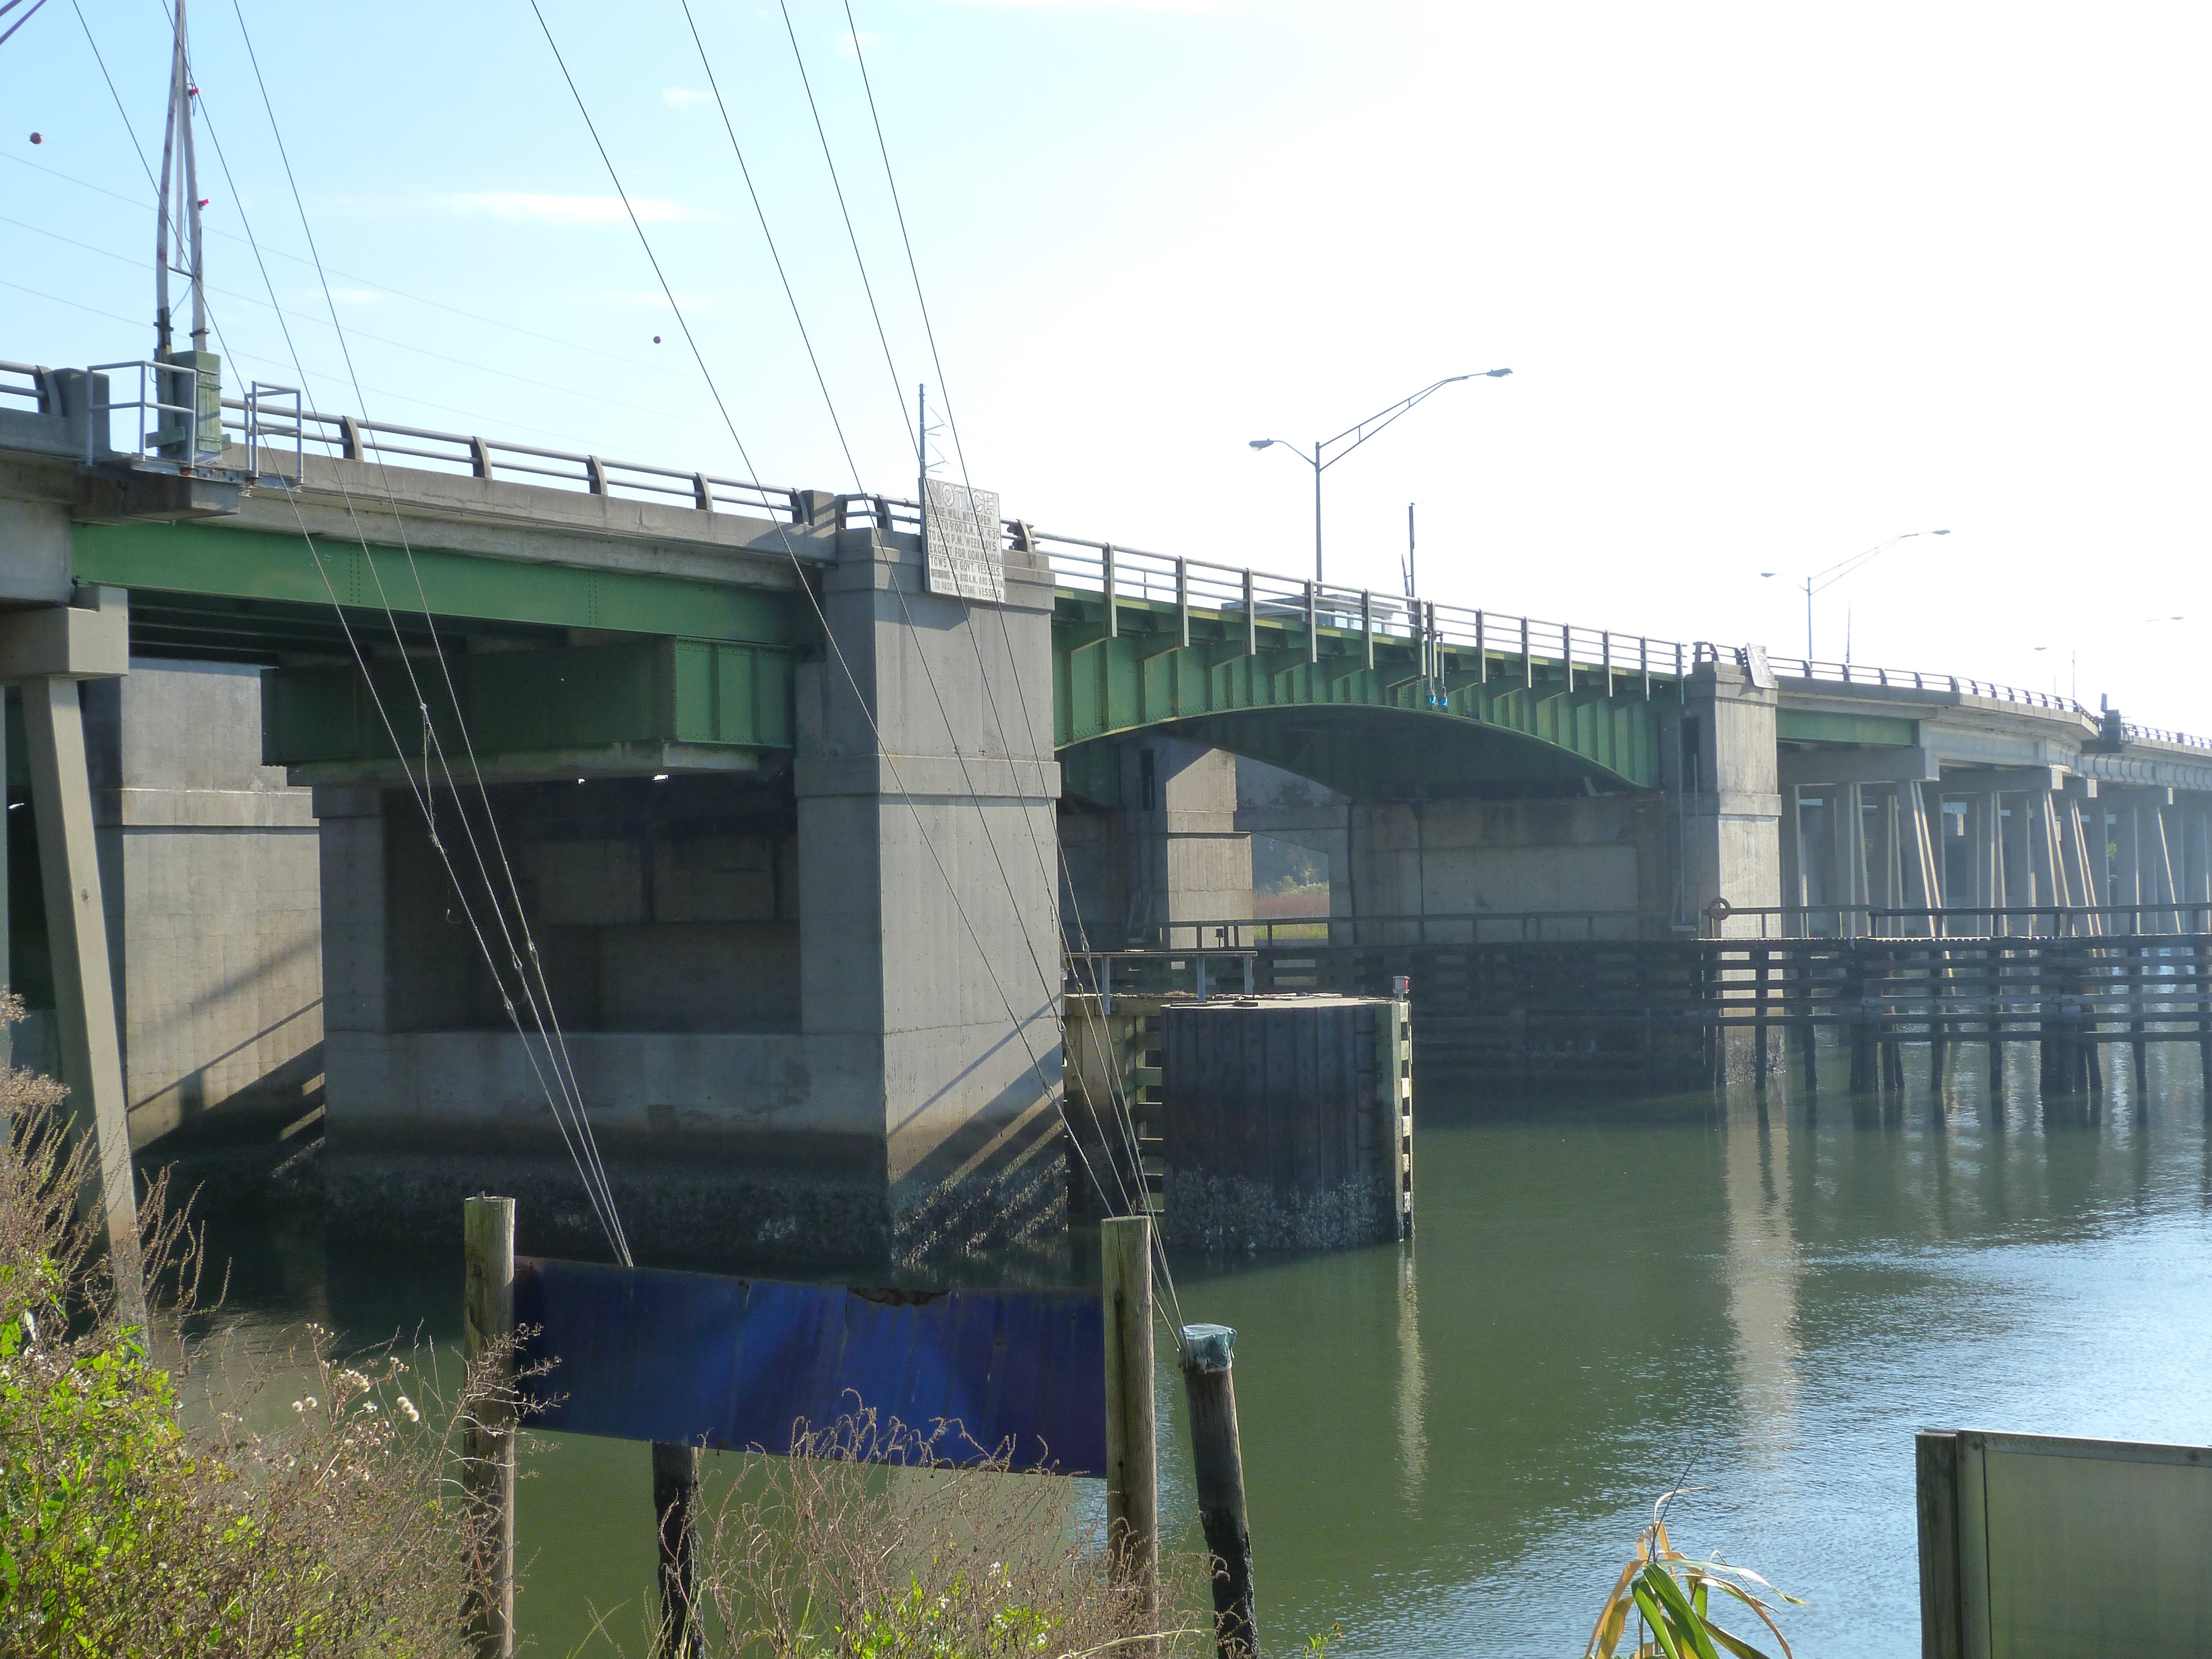
Elevation from southwest quadrant.
![]()


HDR Photos: Elevation from southwest quadrant.
![]()
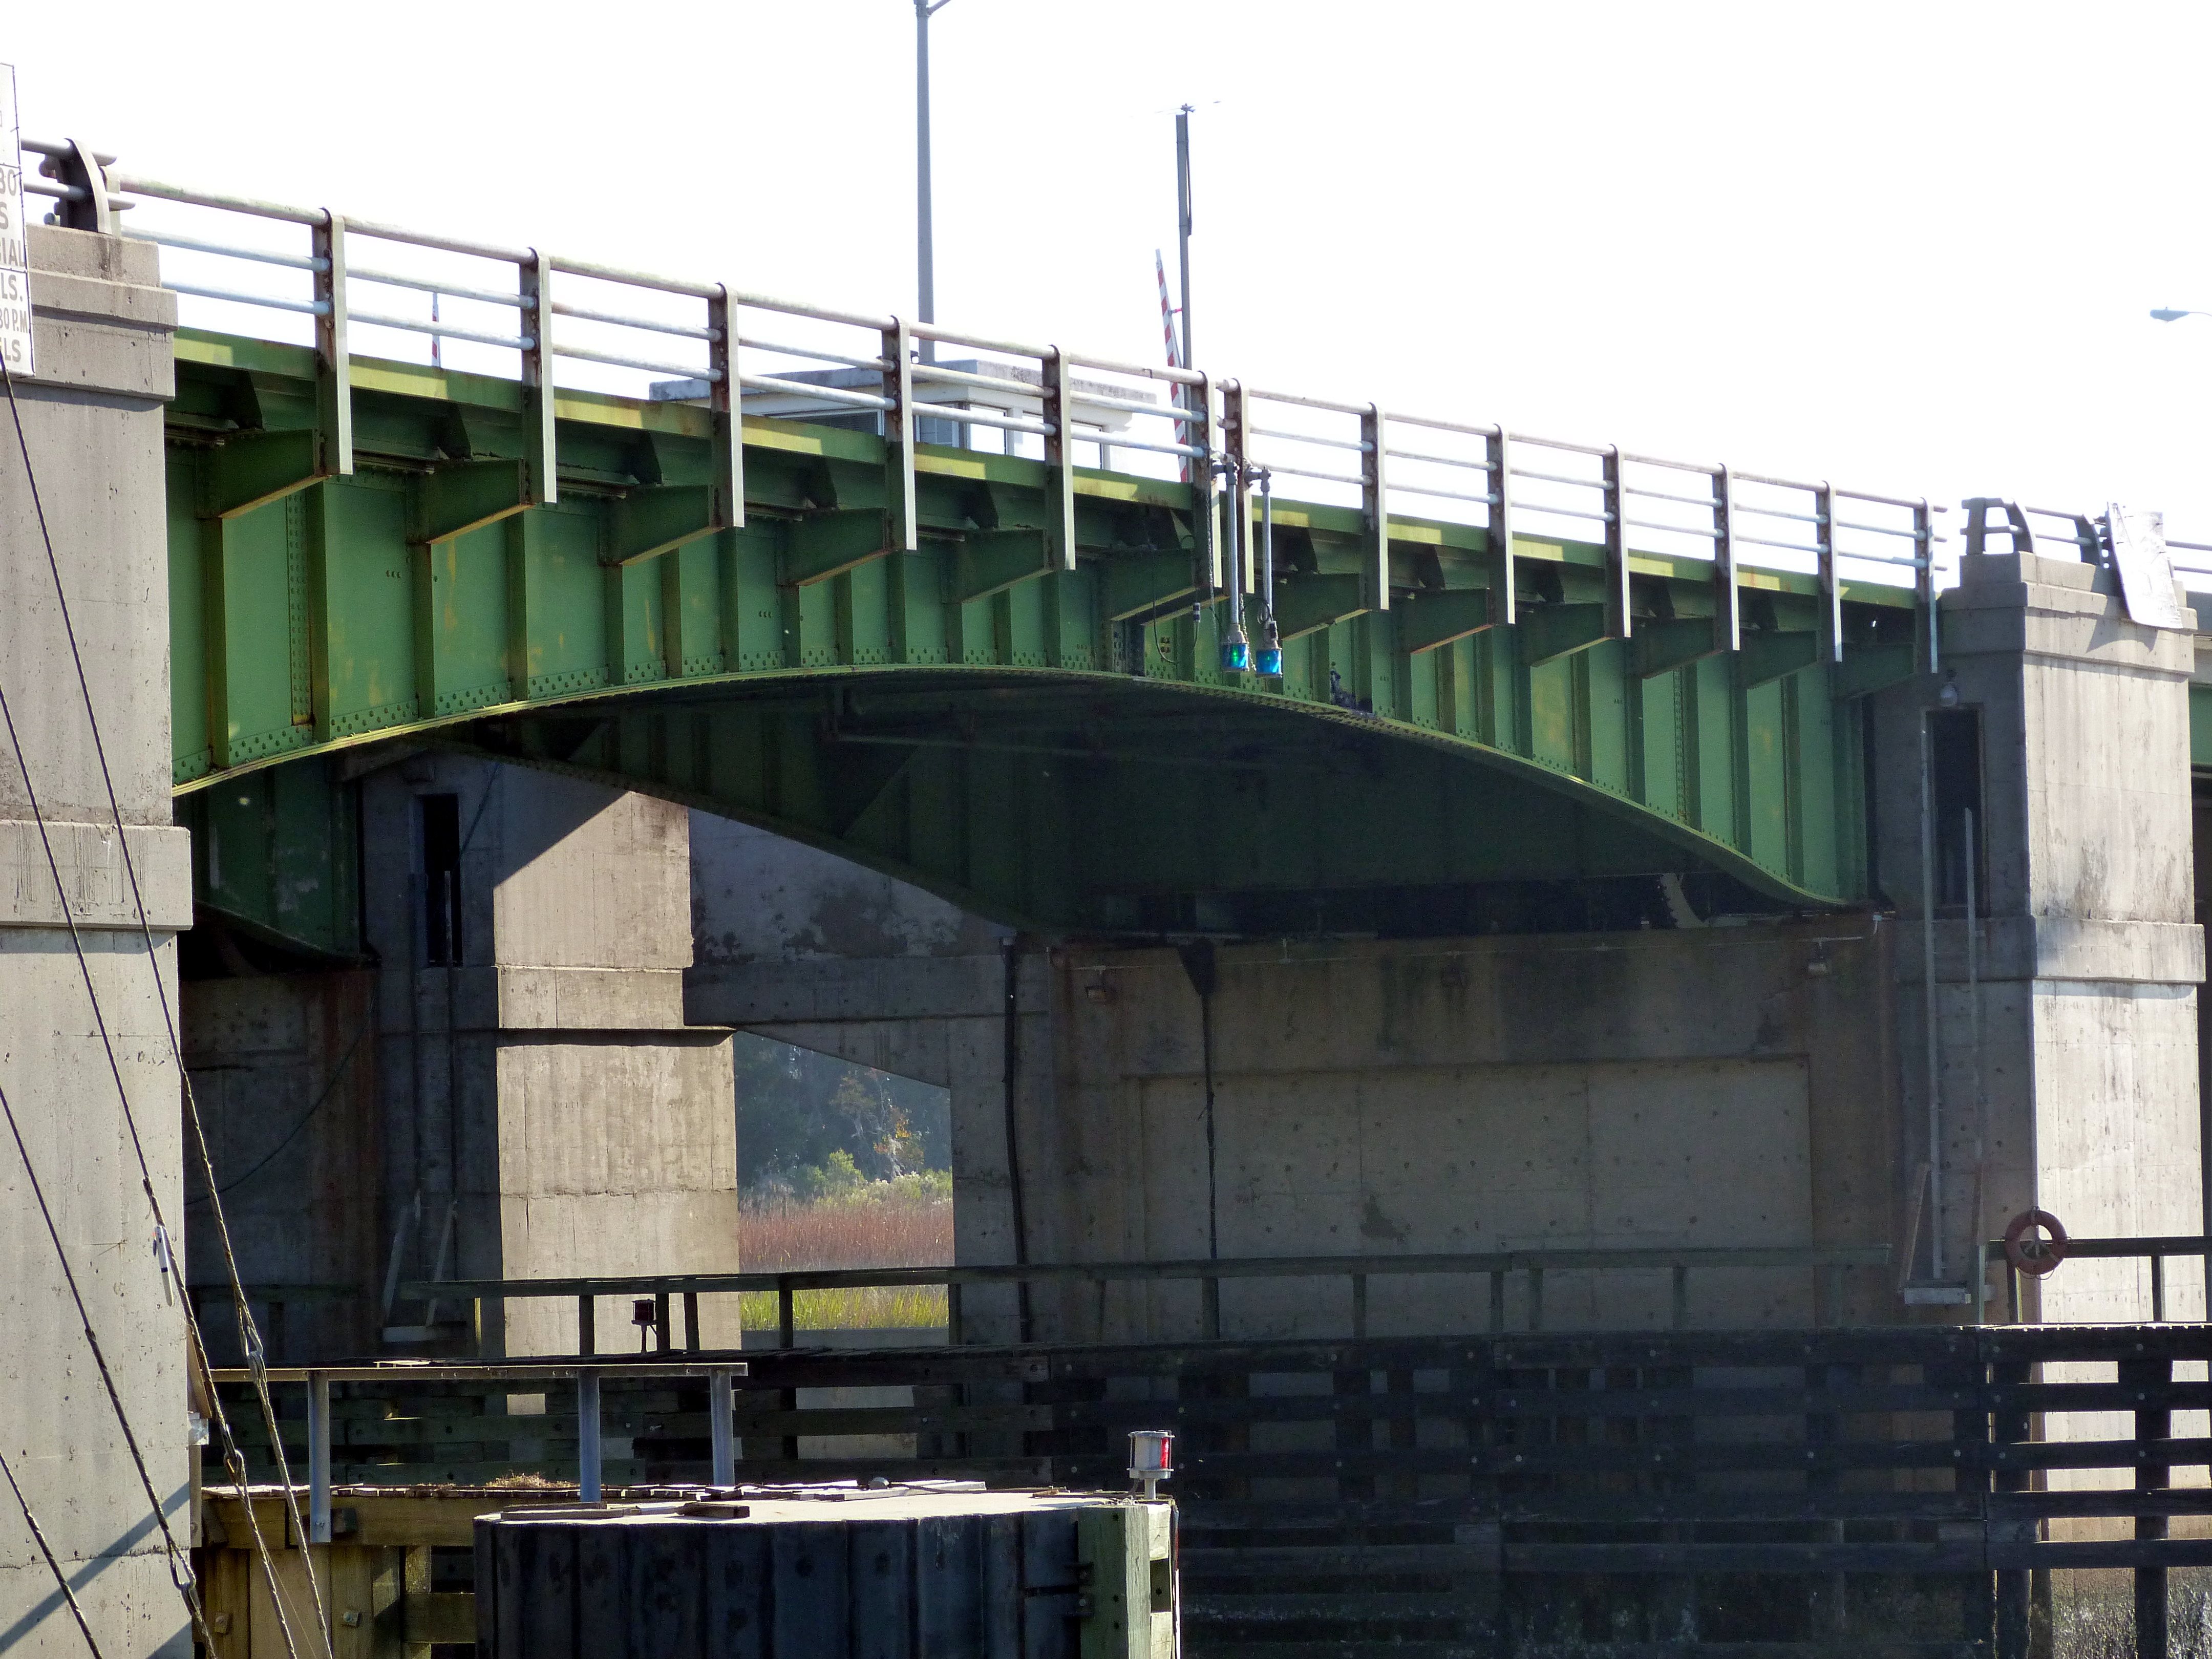
Elevation of bascule span from southwest quadrant.
![]()


HDR Photos: Elevation of bascule span from southwest quadrant.
![]()

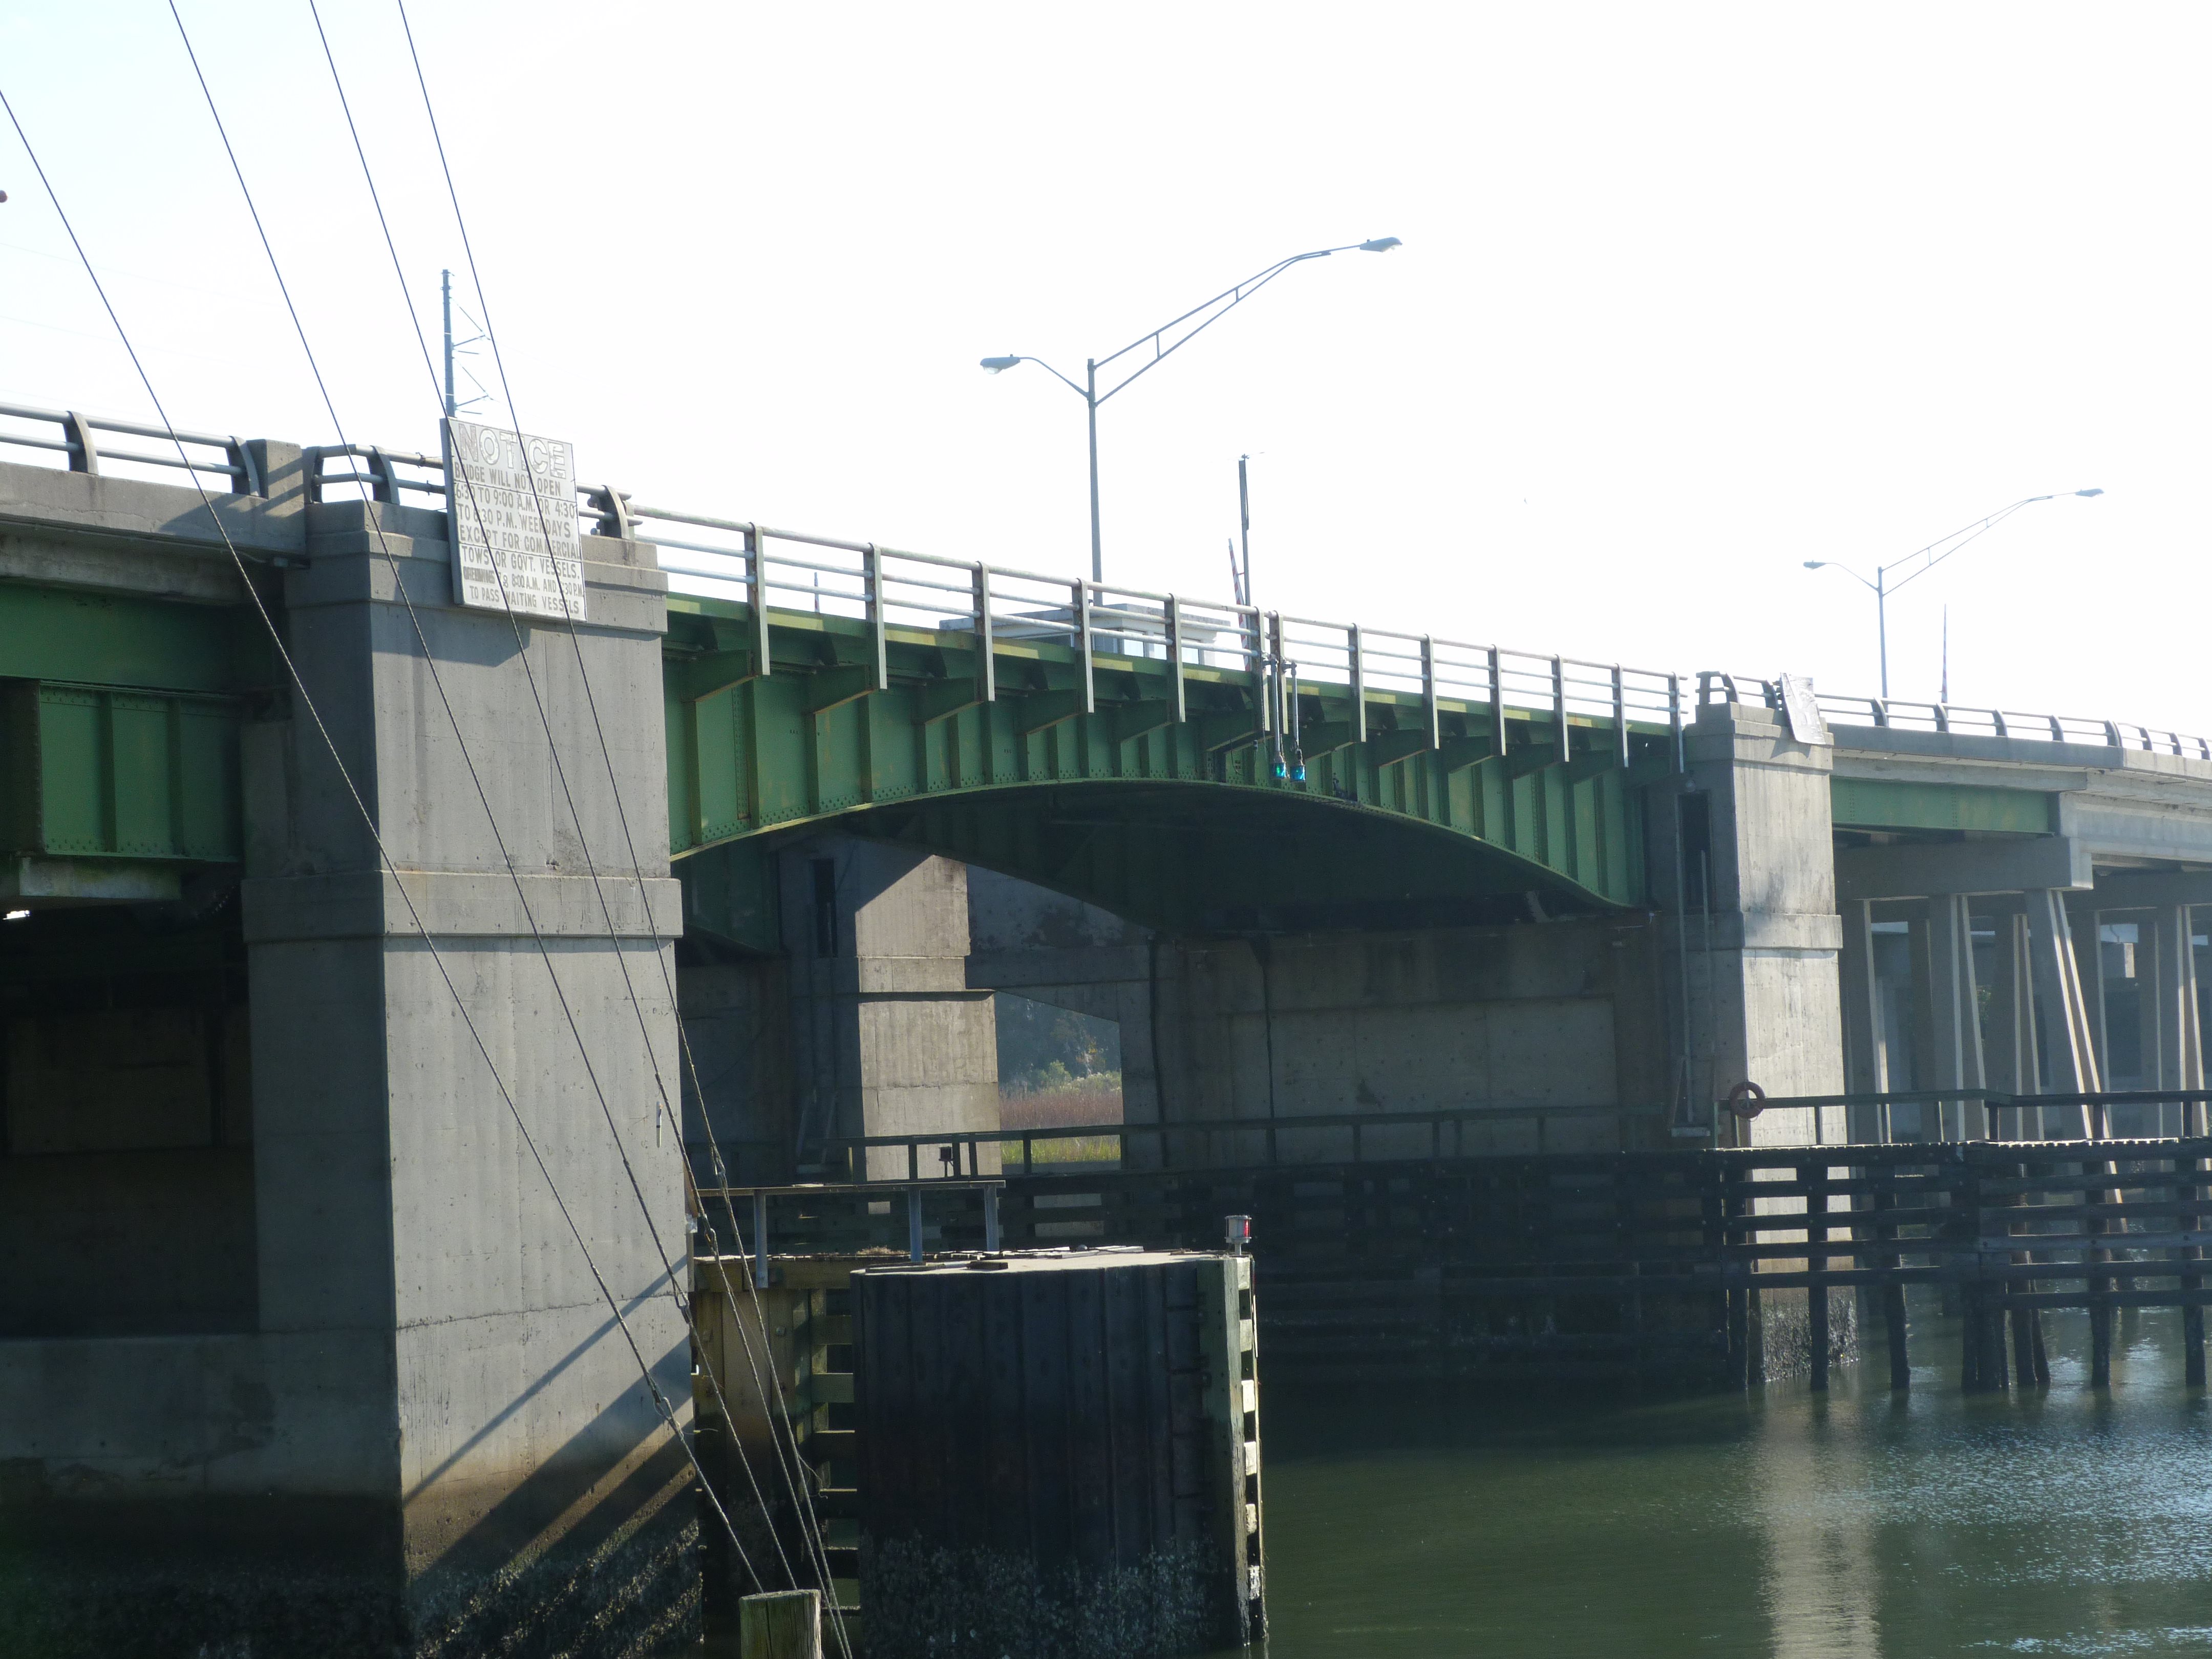
Elevation of eastern approach spans from southwest quadrant.
![]()

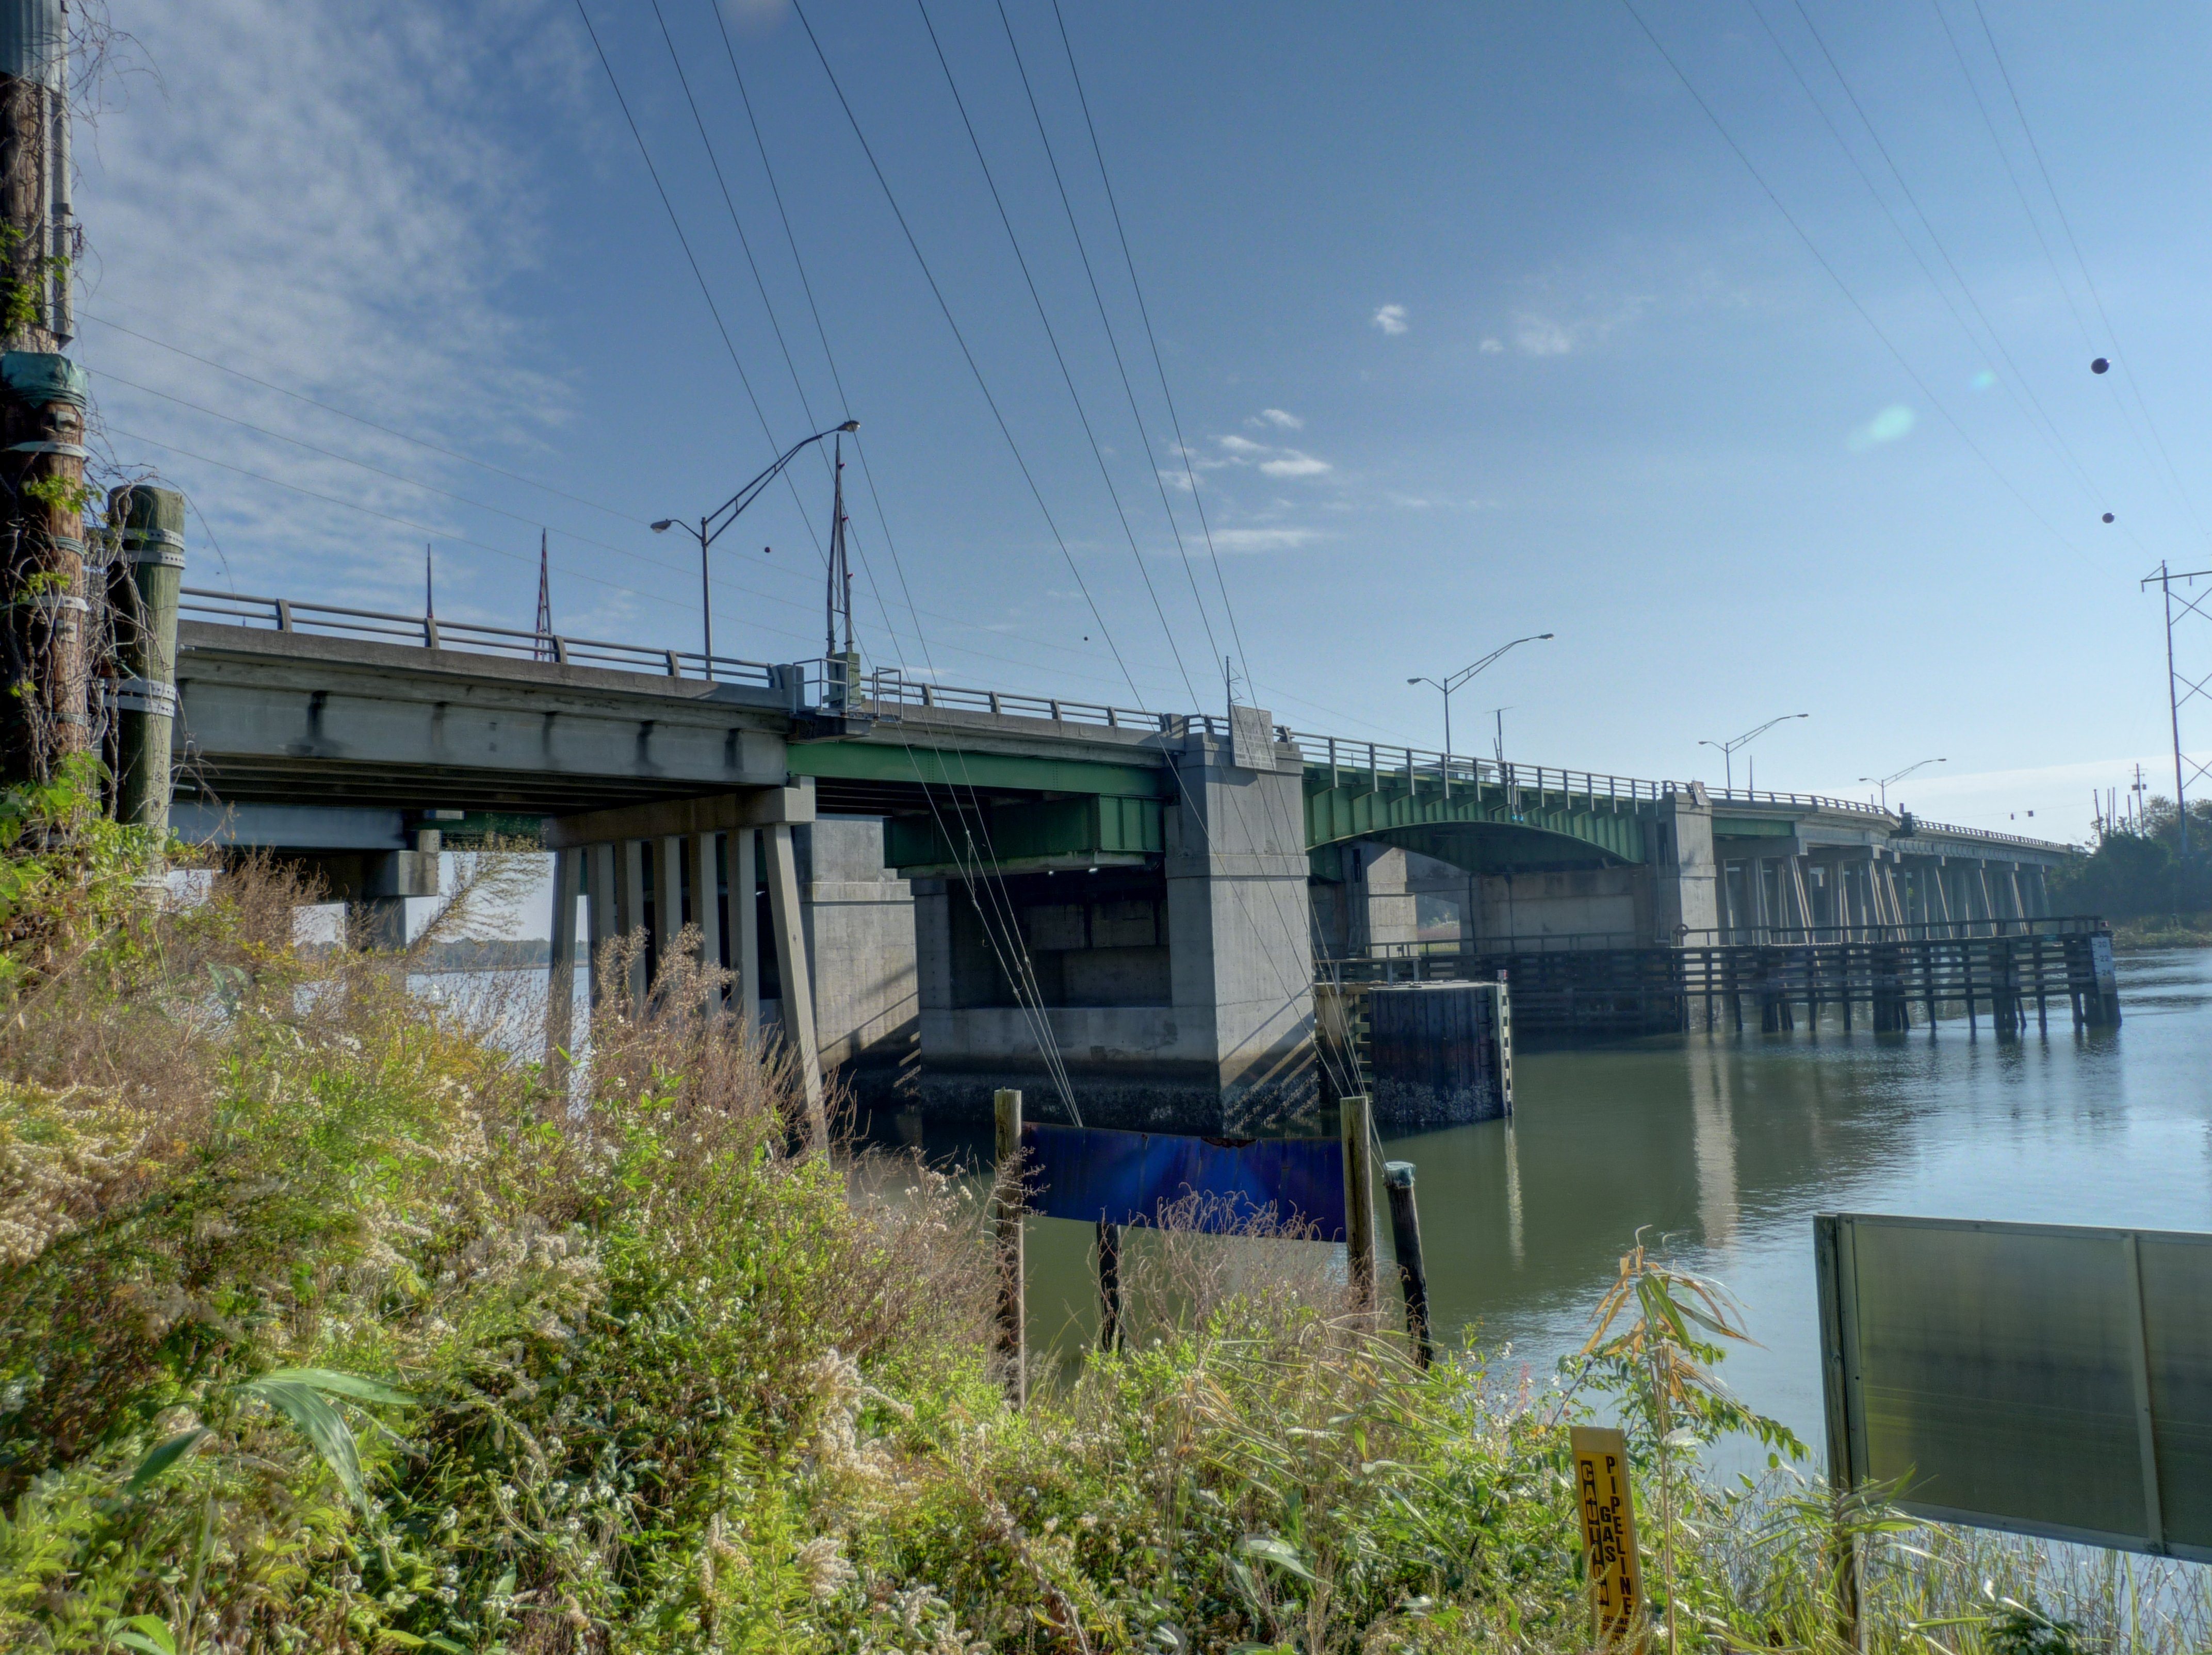
View of northern bascule span from southwest quadrant.
![]()
View between bridges looking east.
![]()
Western approach spans for southern bridge.
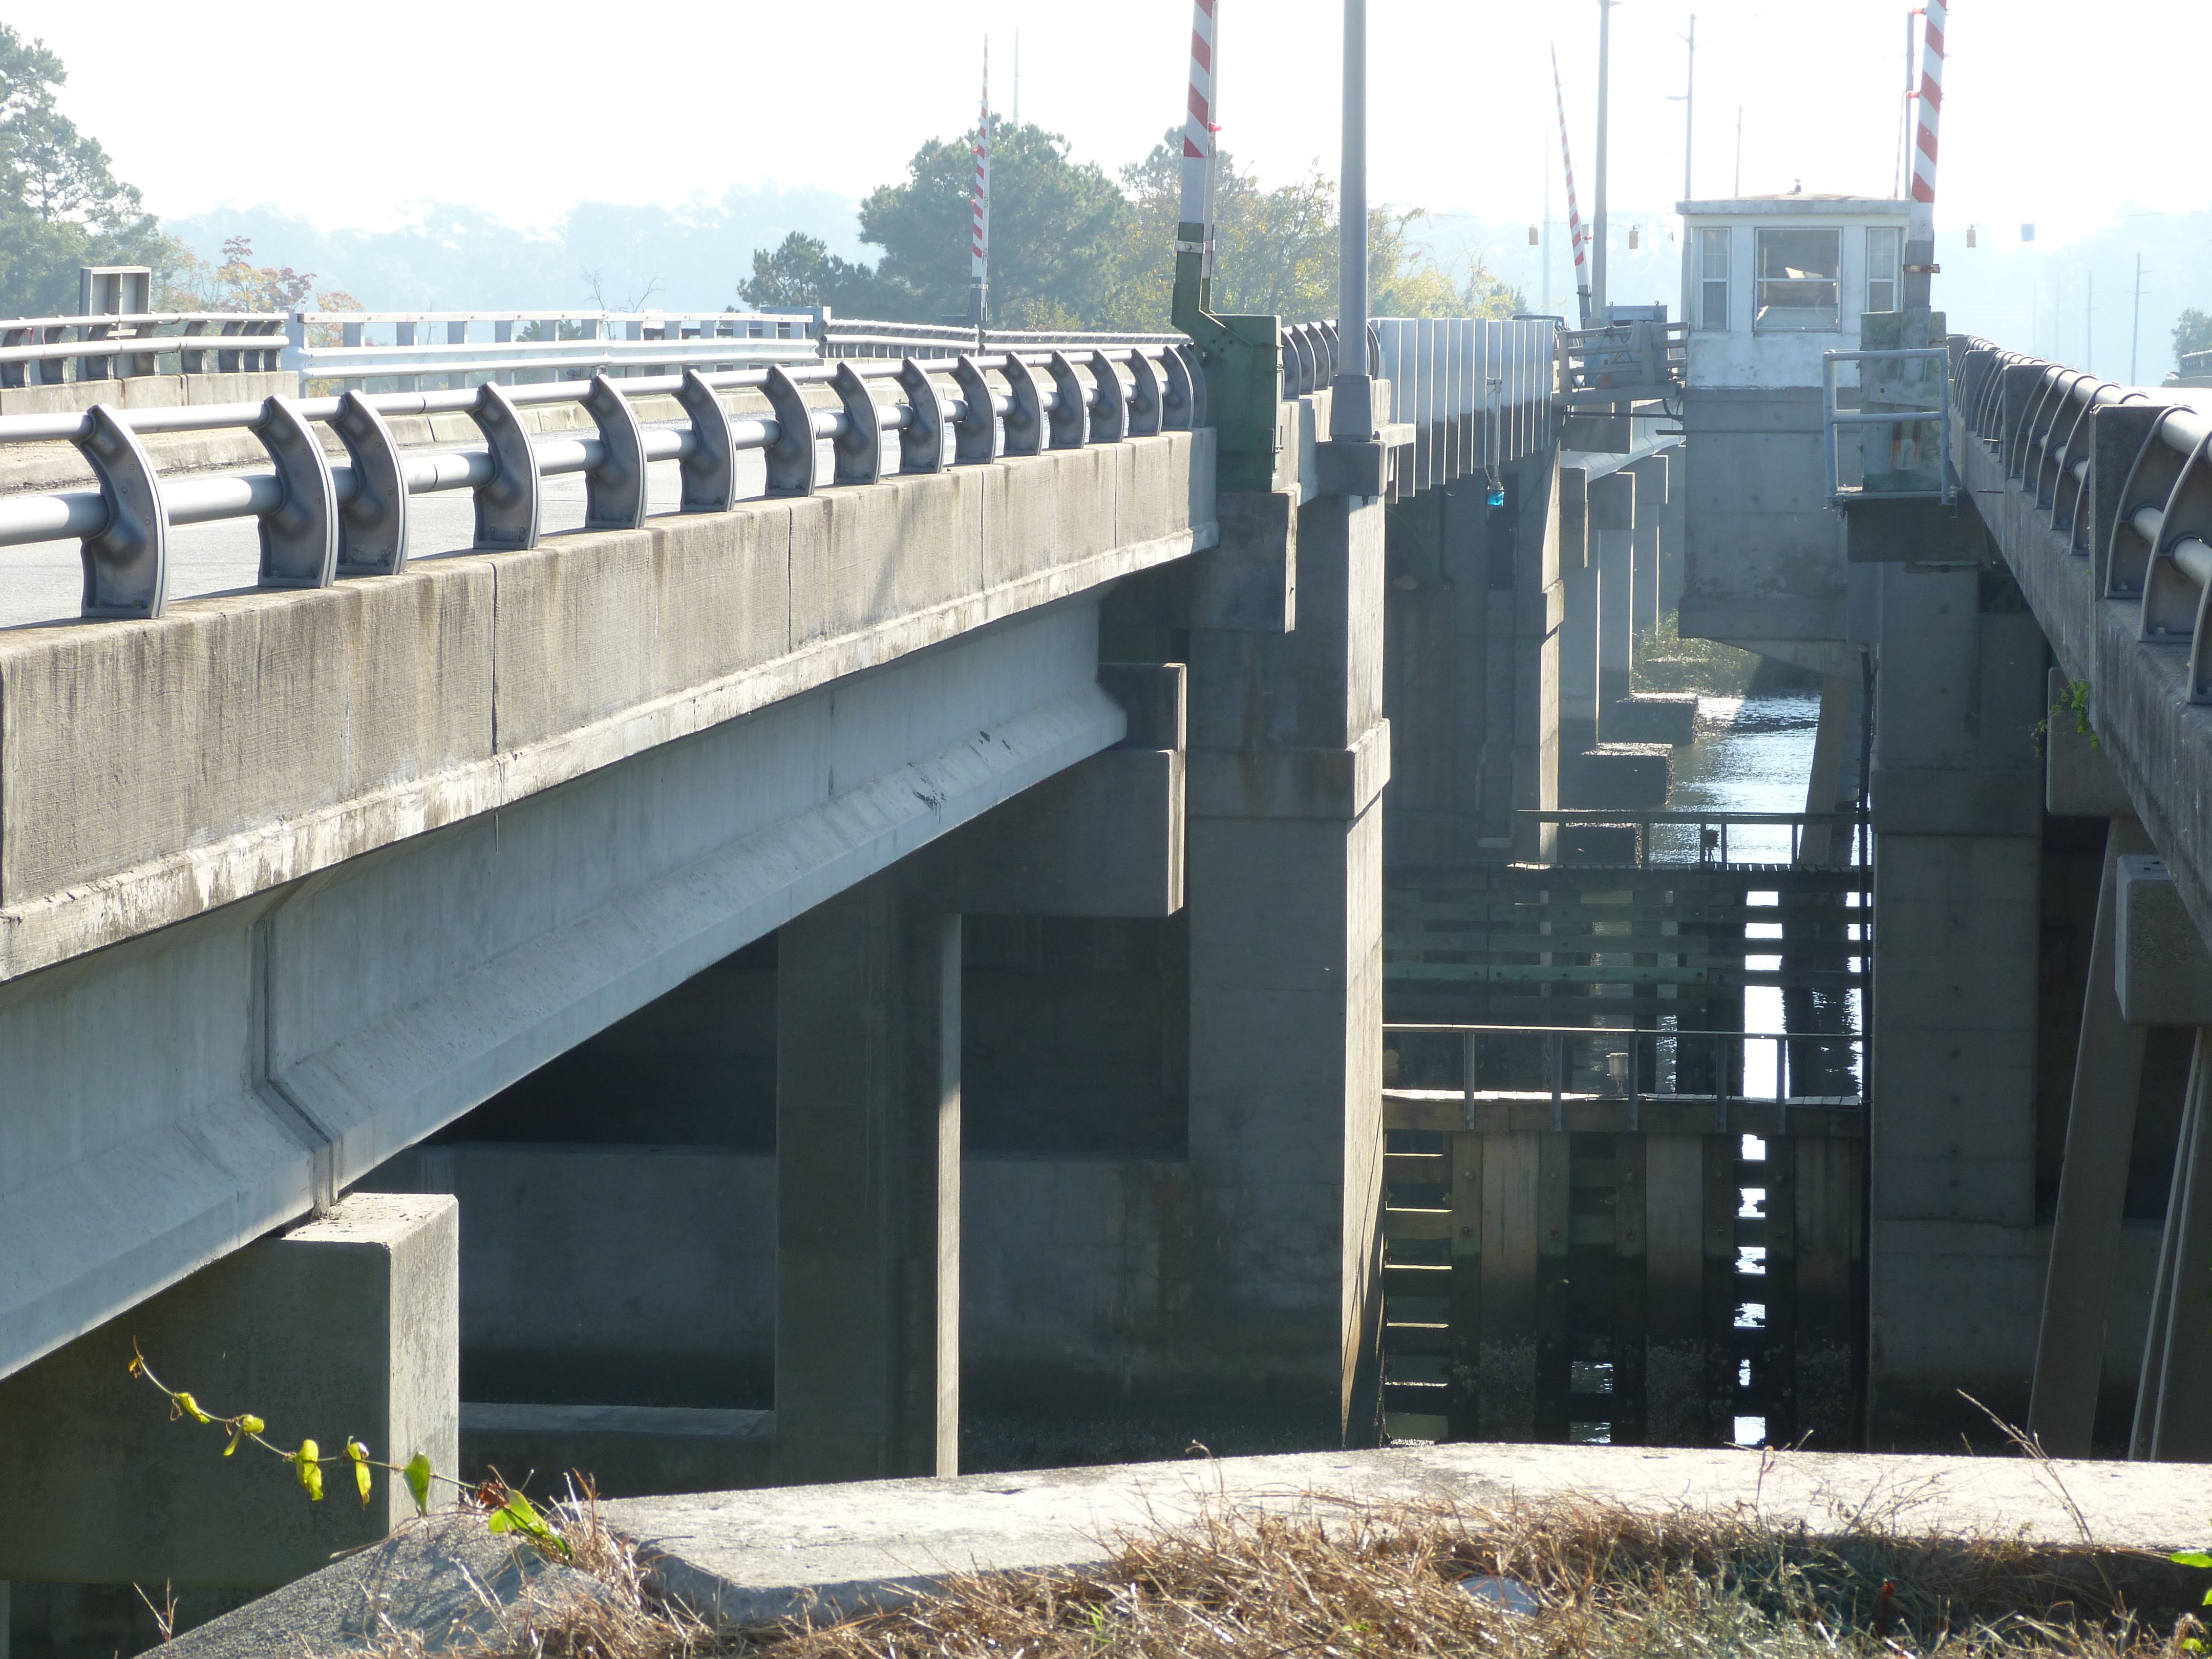
![]()


Looking at southern bascule from northern bascule.
![]()


HDR Photos: Looking at southern bascule from northern bascule.
![]()


Views with operating rack visible.
![]()
Counterweight.
![]()

Bridge tender house.
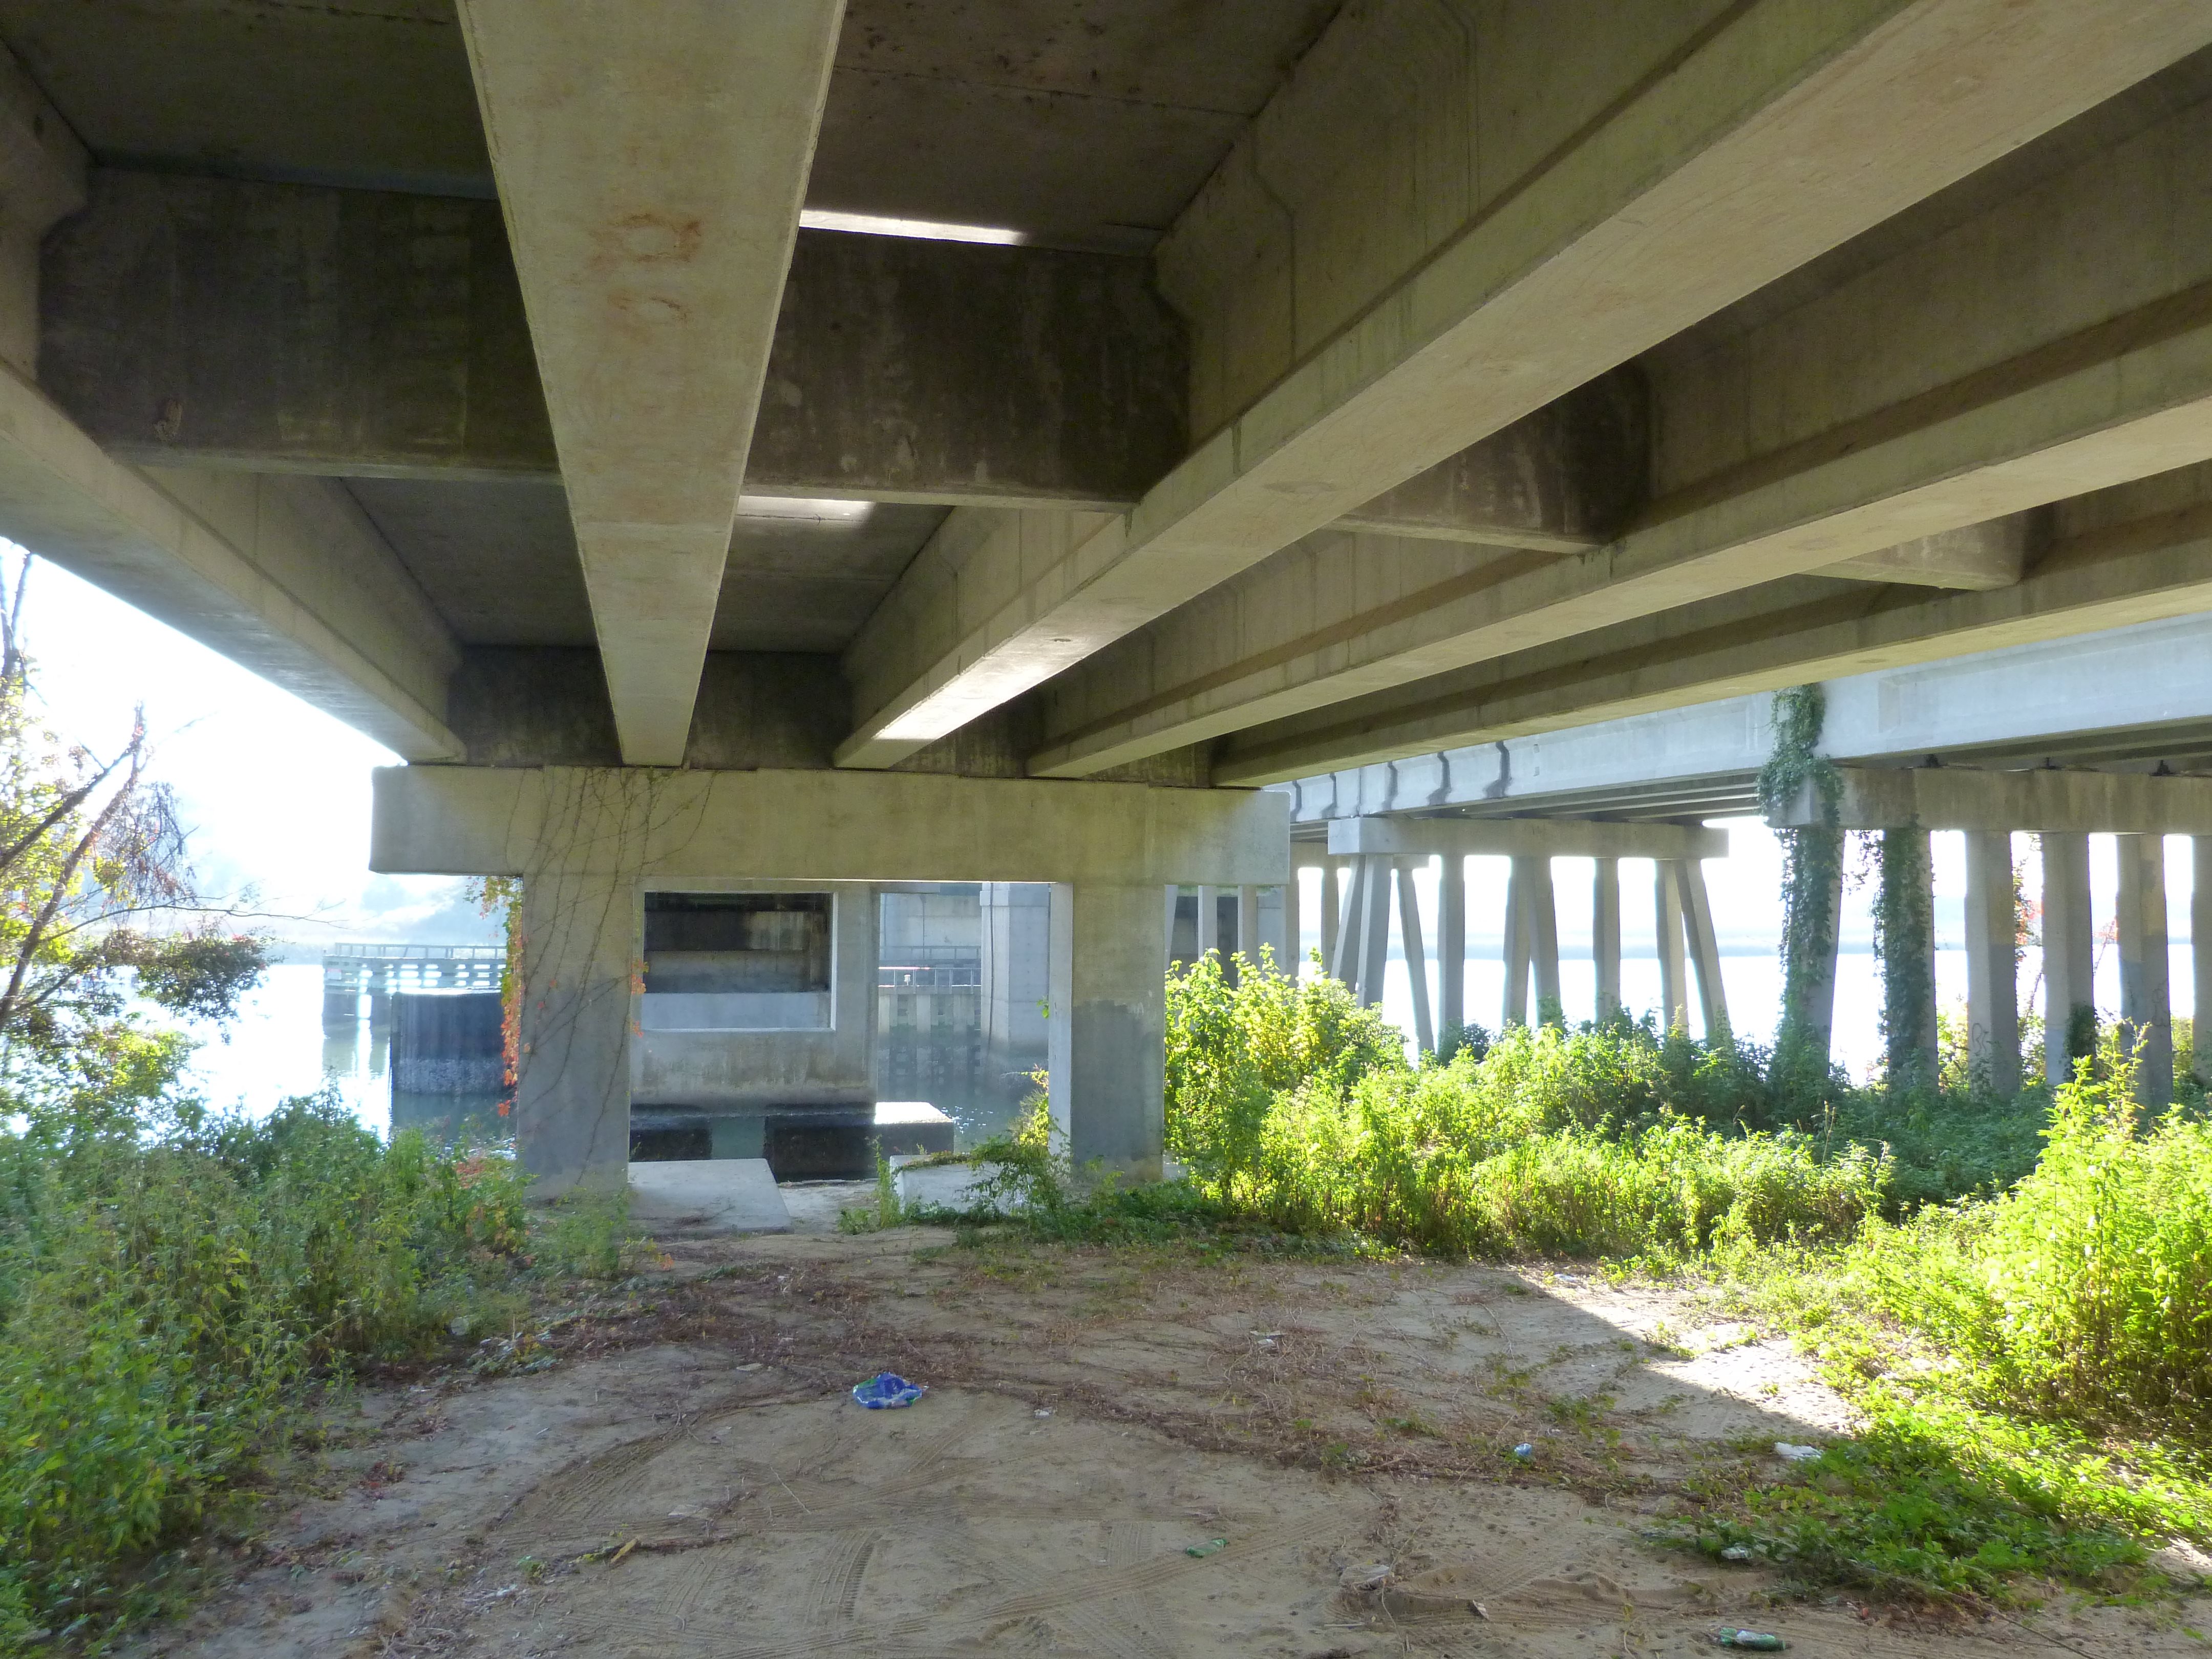
![]()

Abutment.
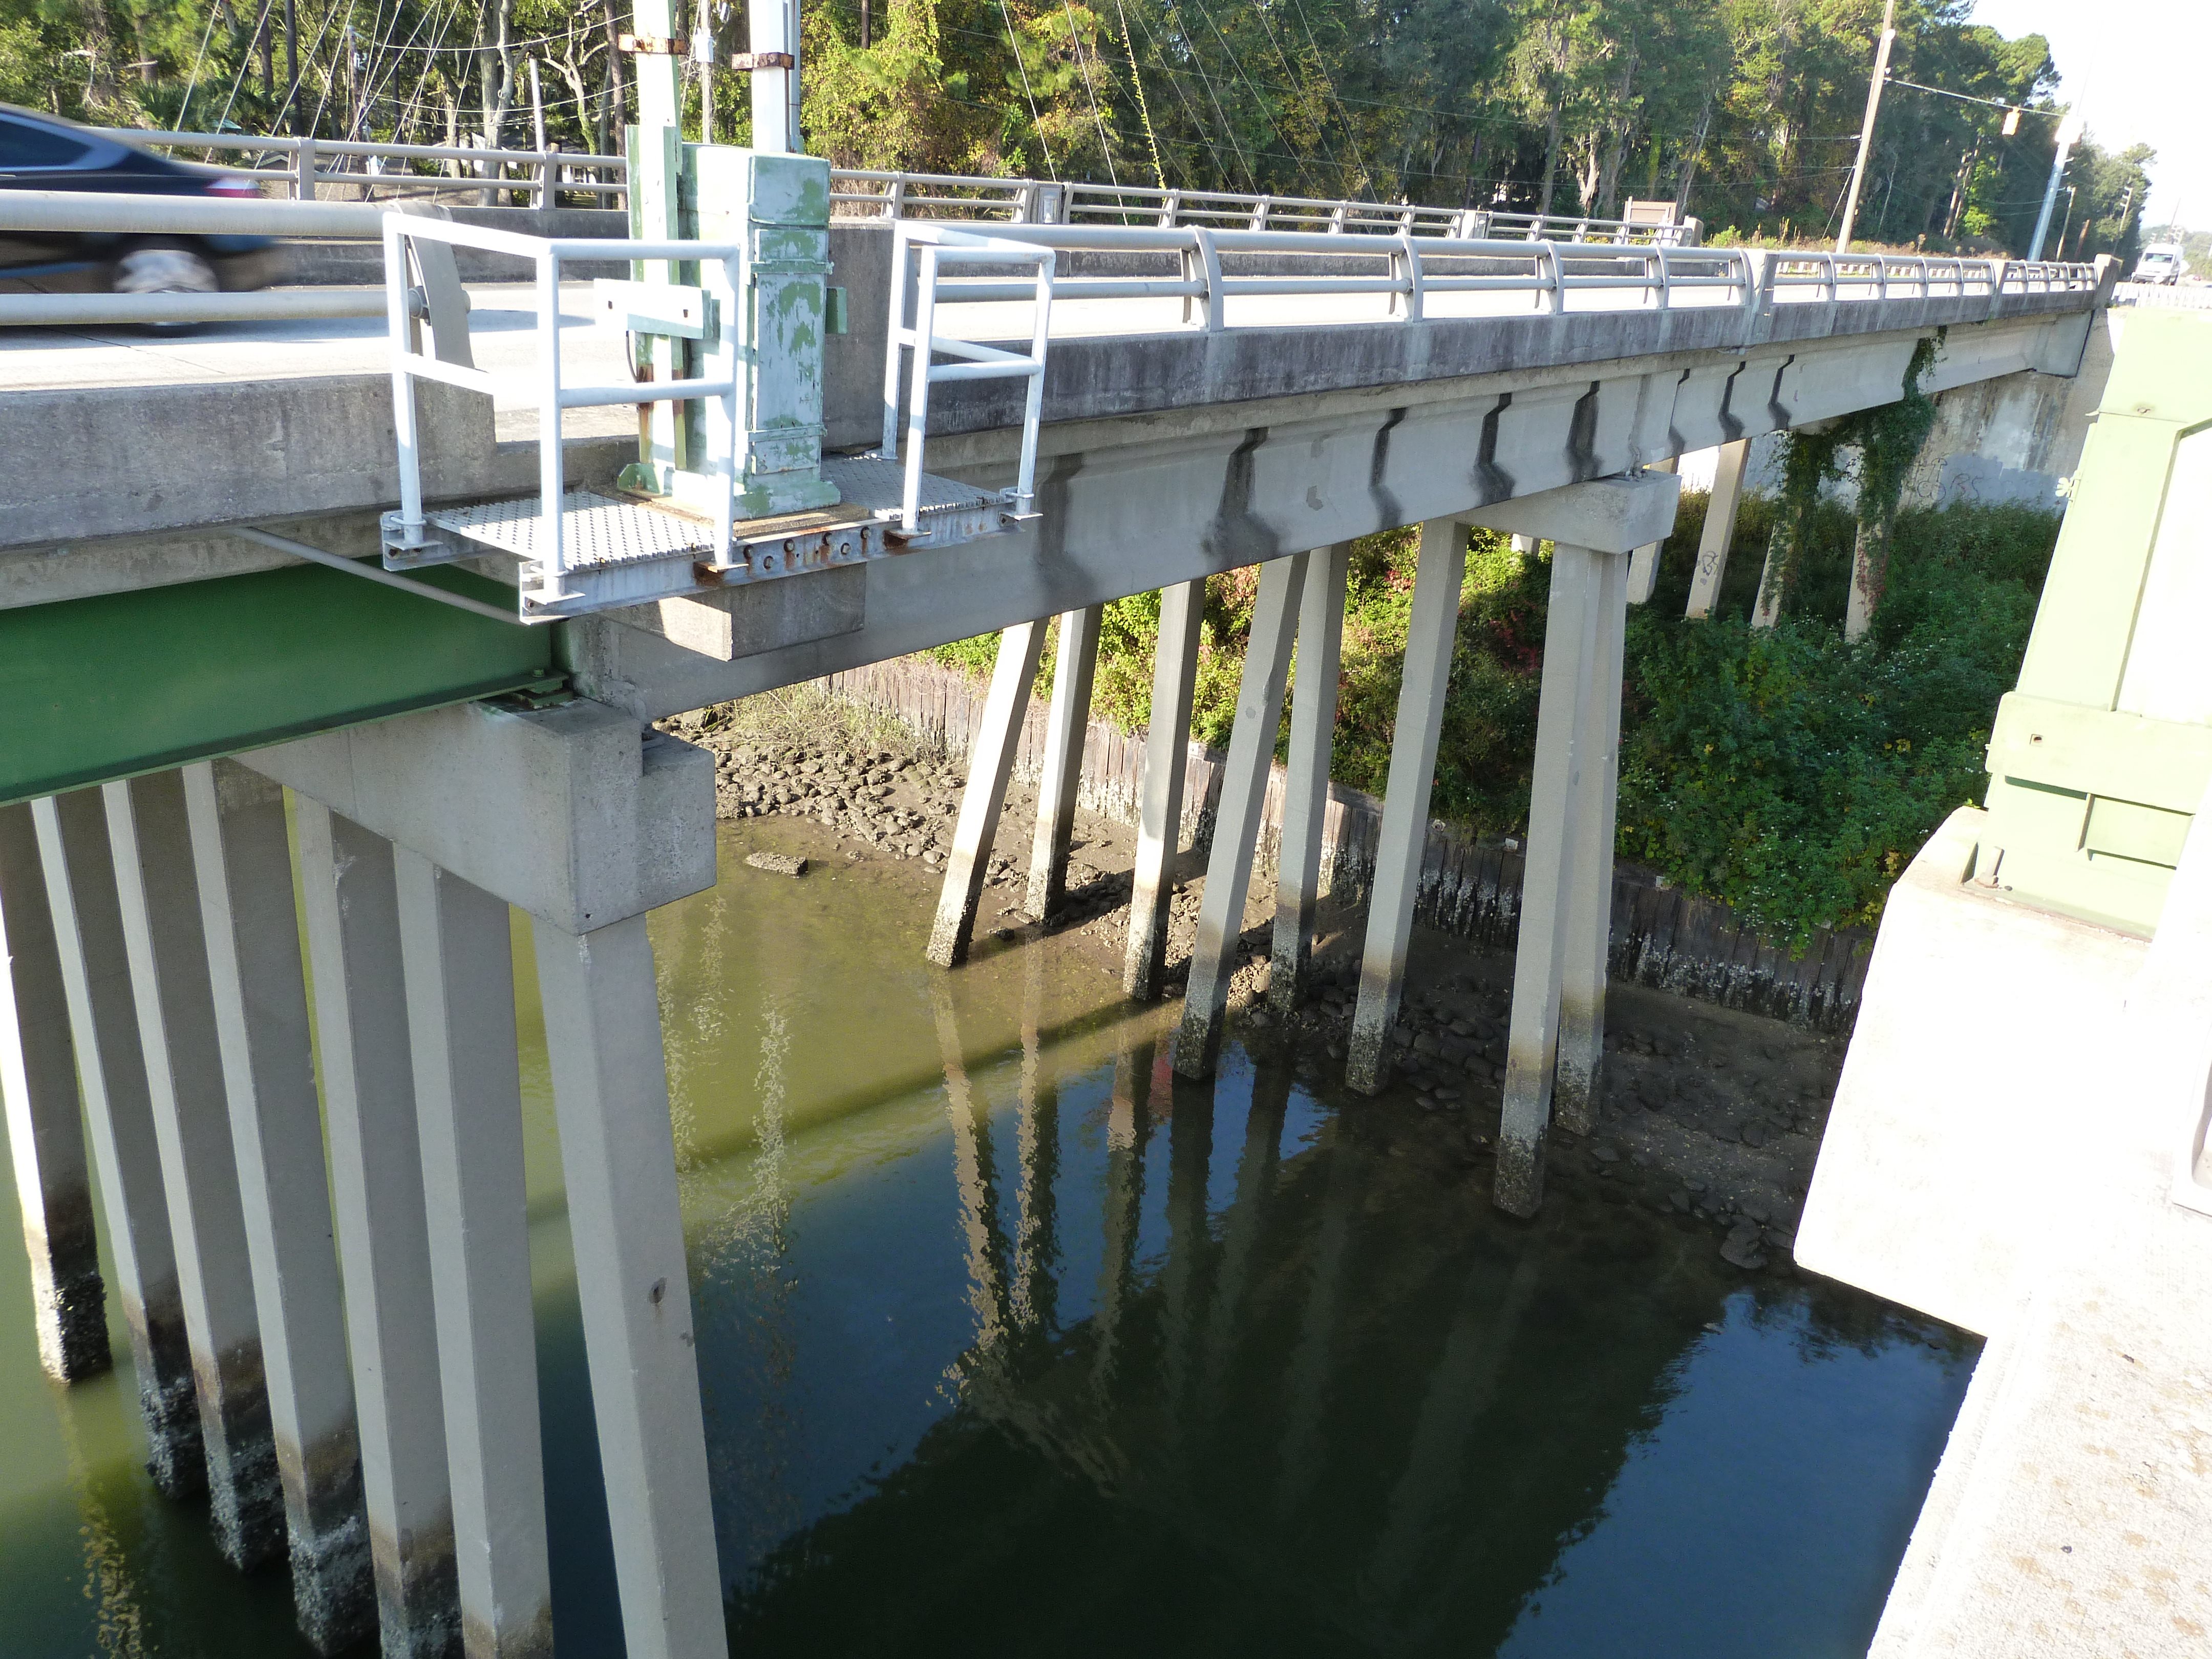
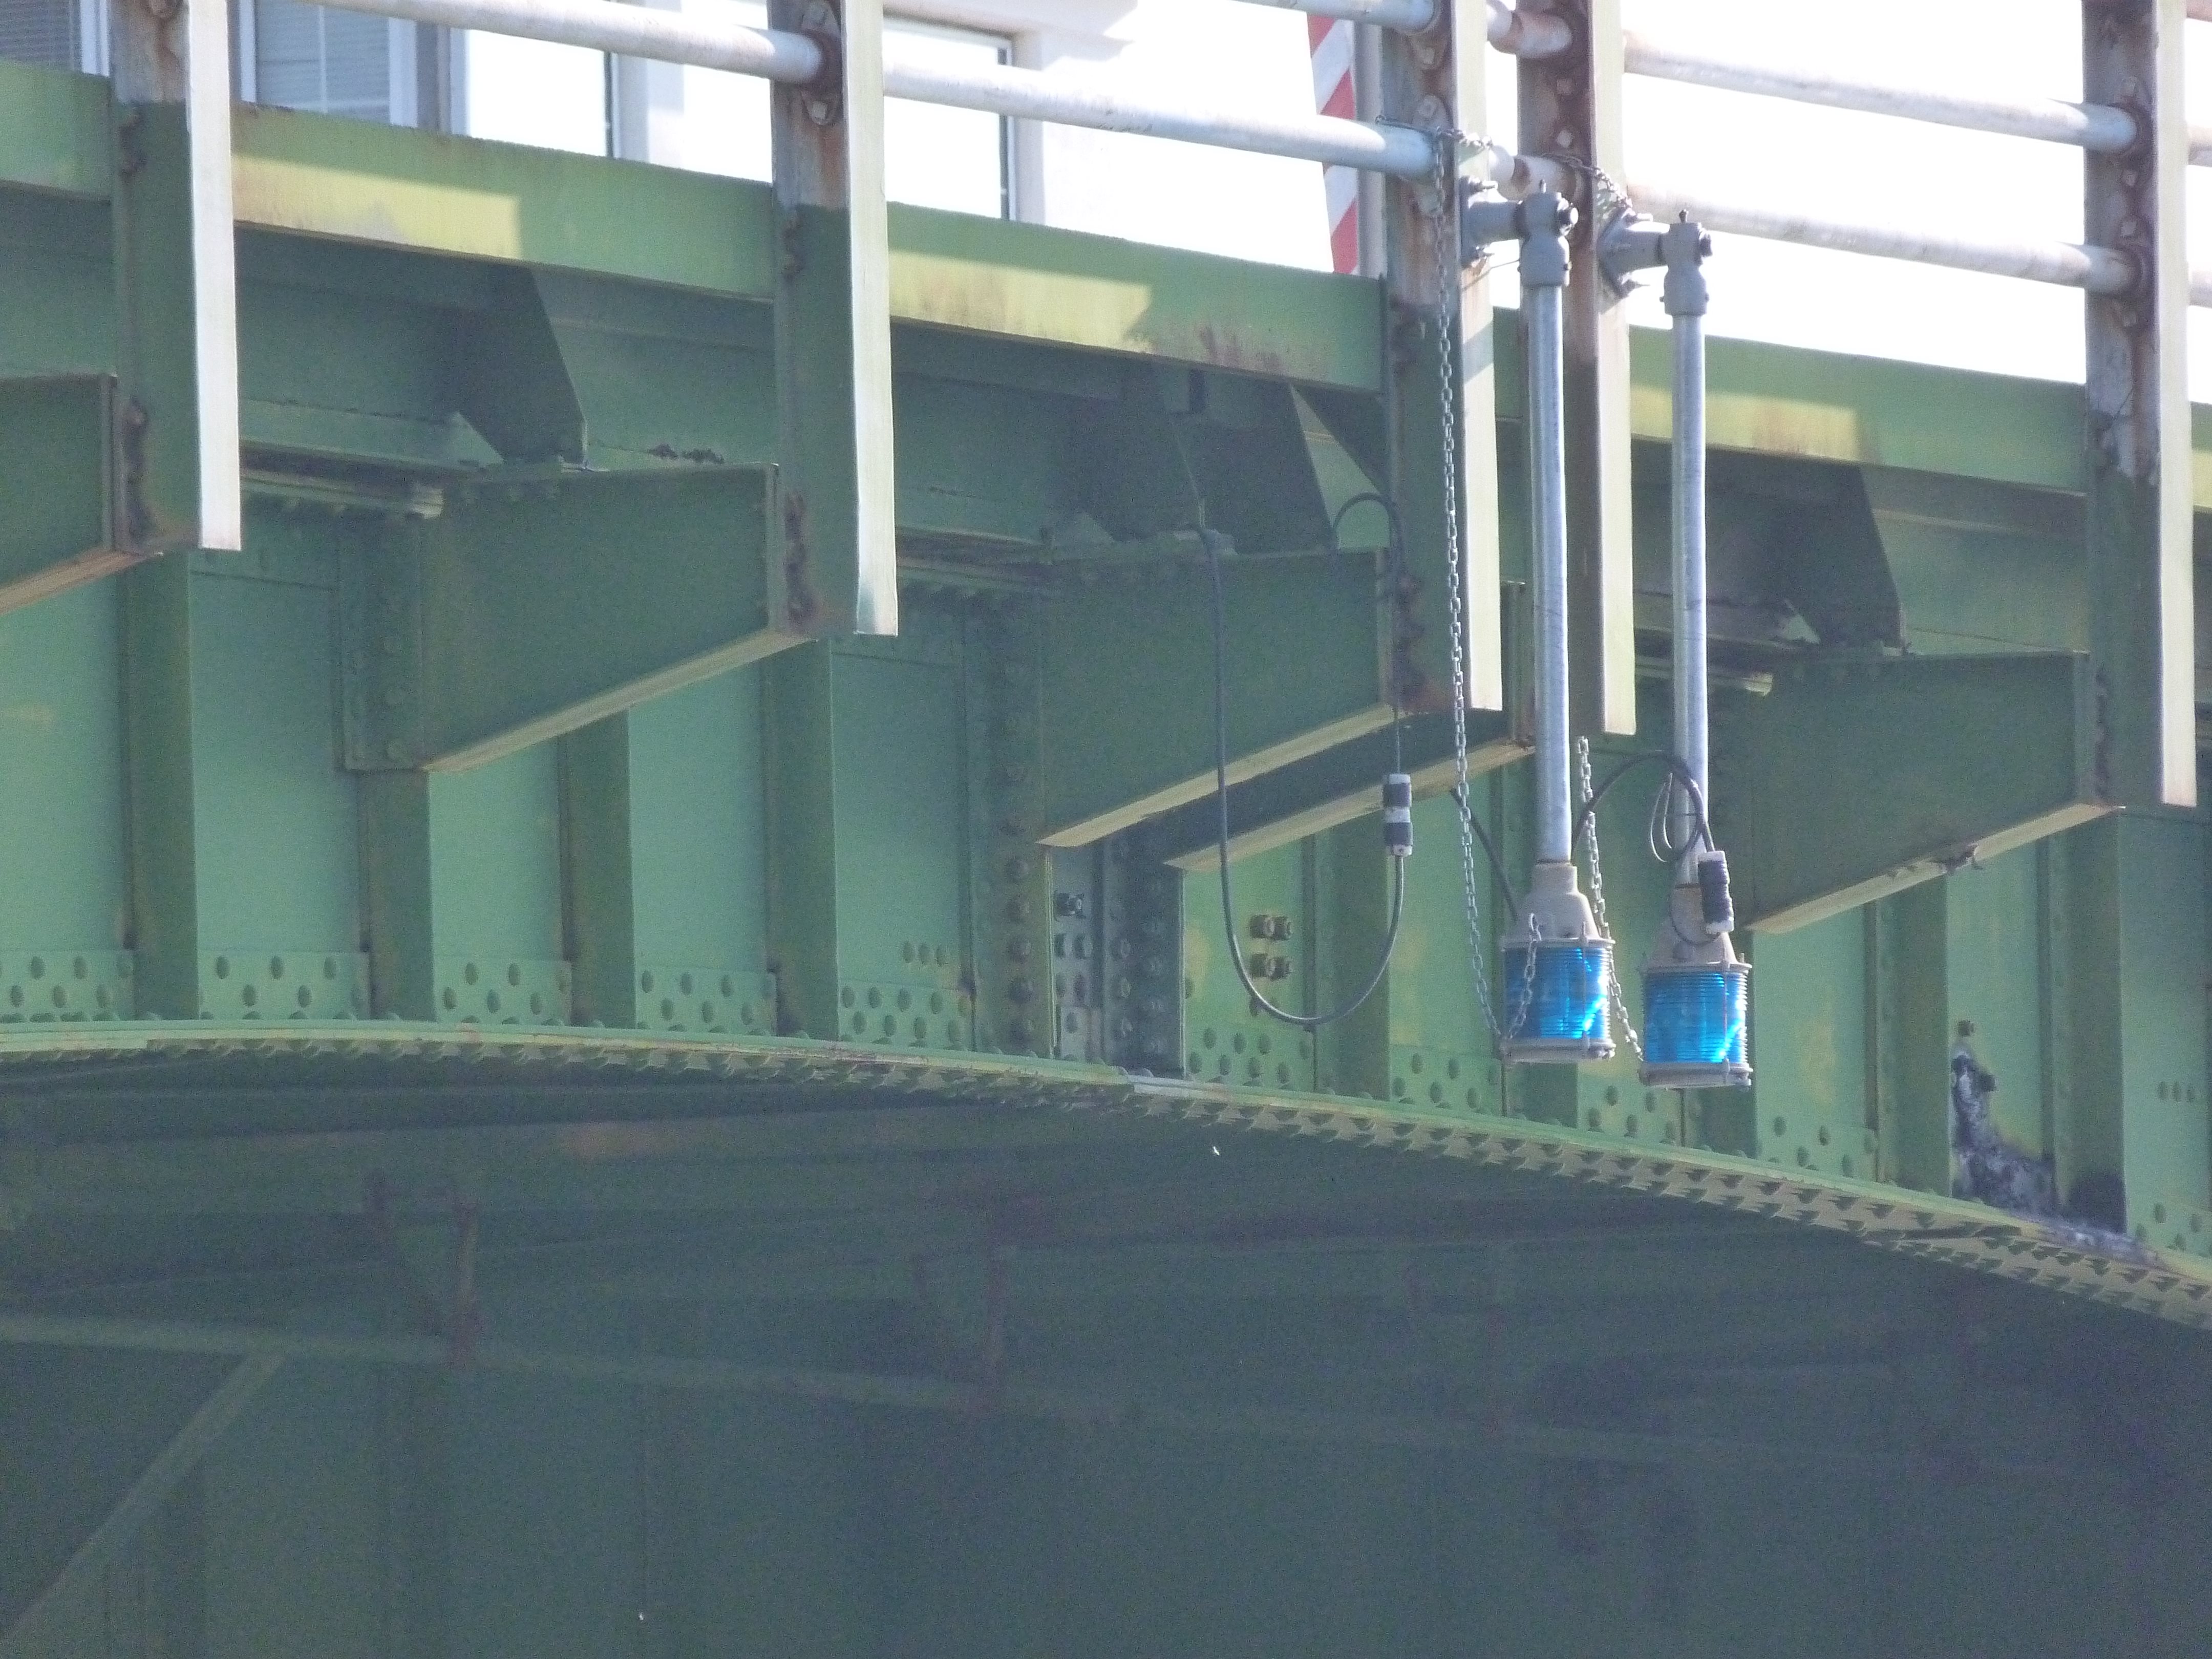
![]()
View under northern bridge.
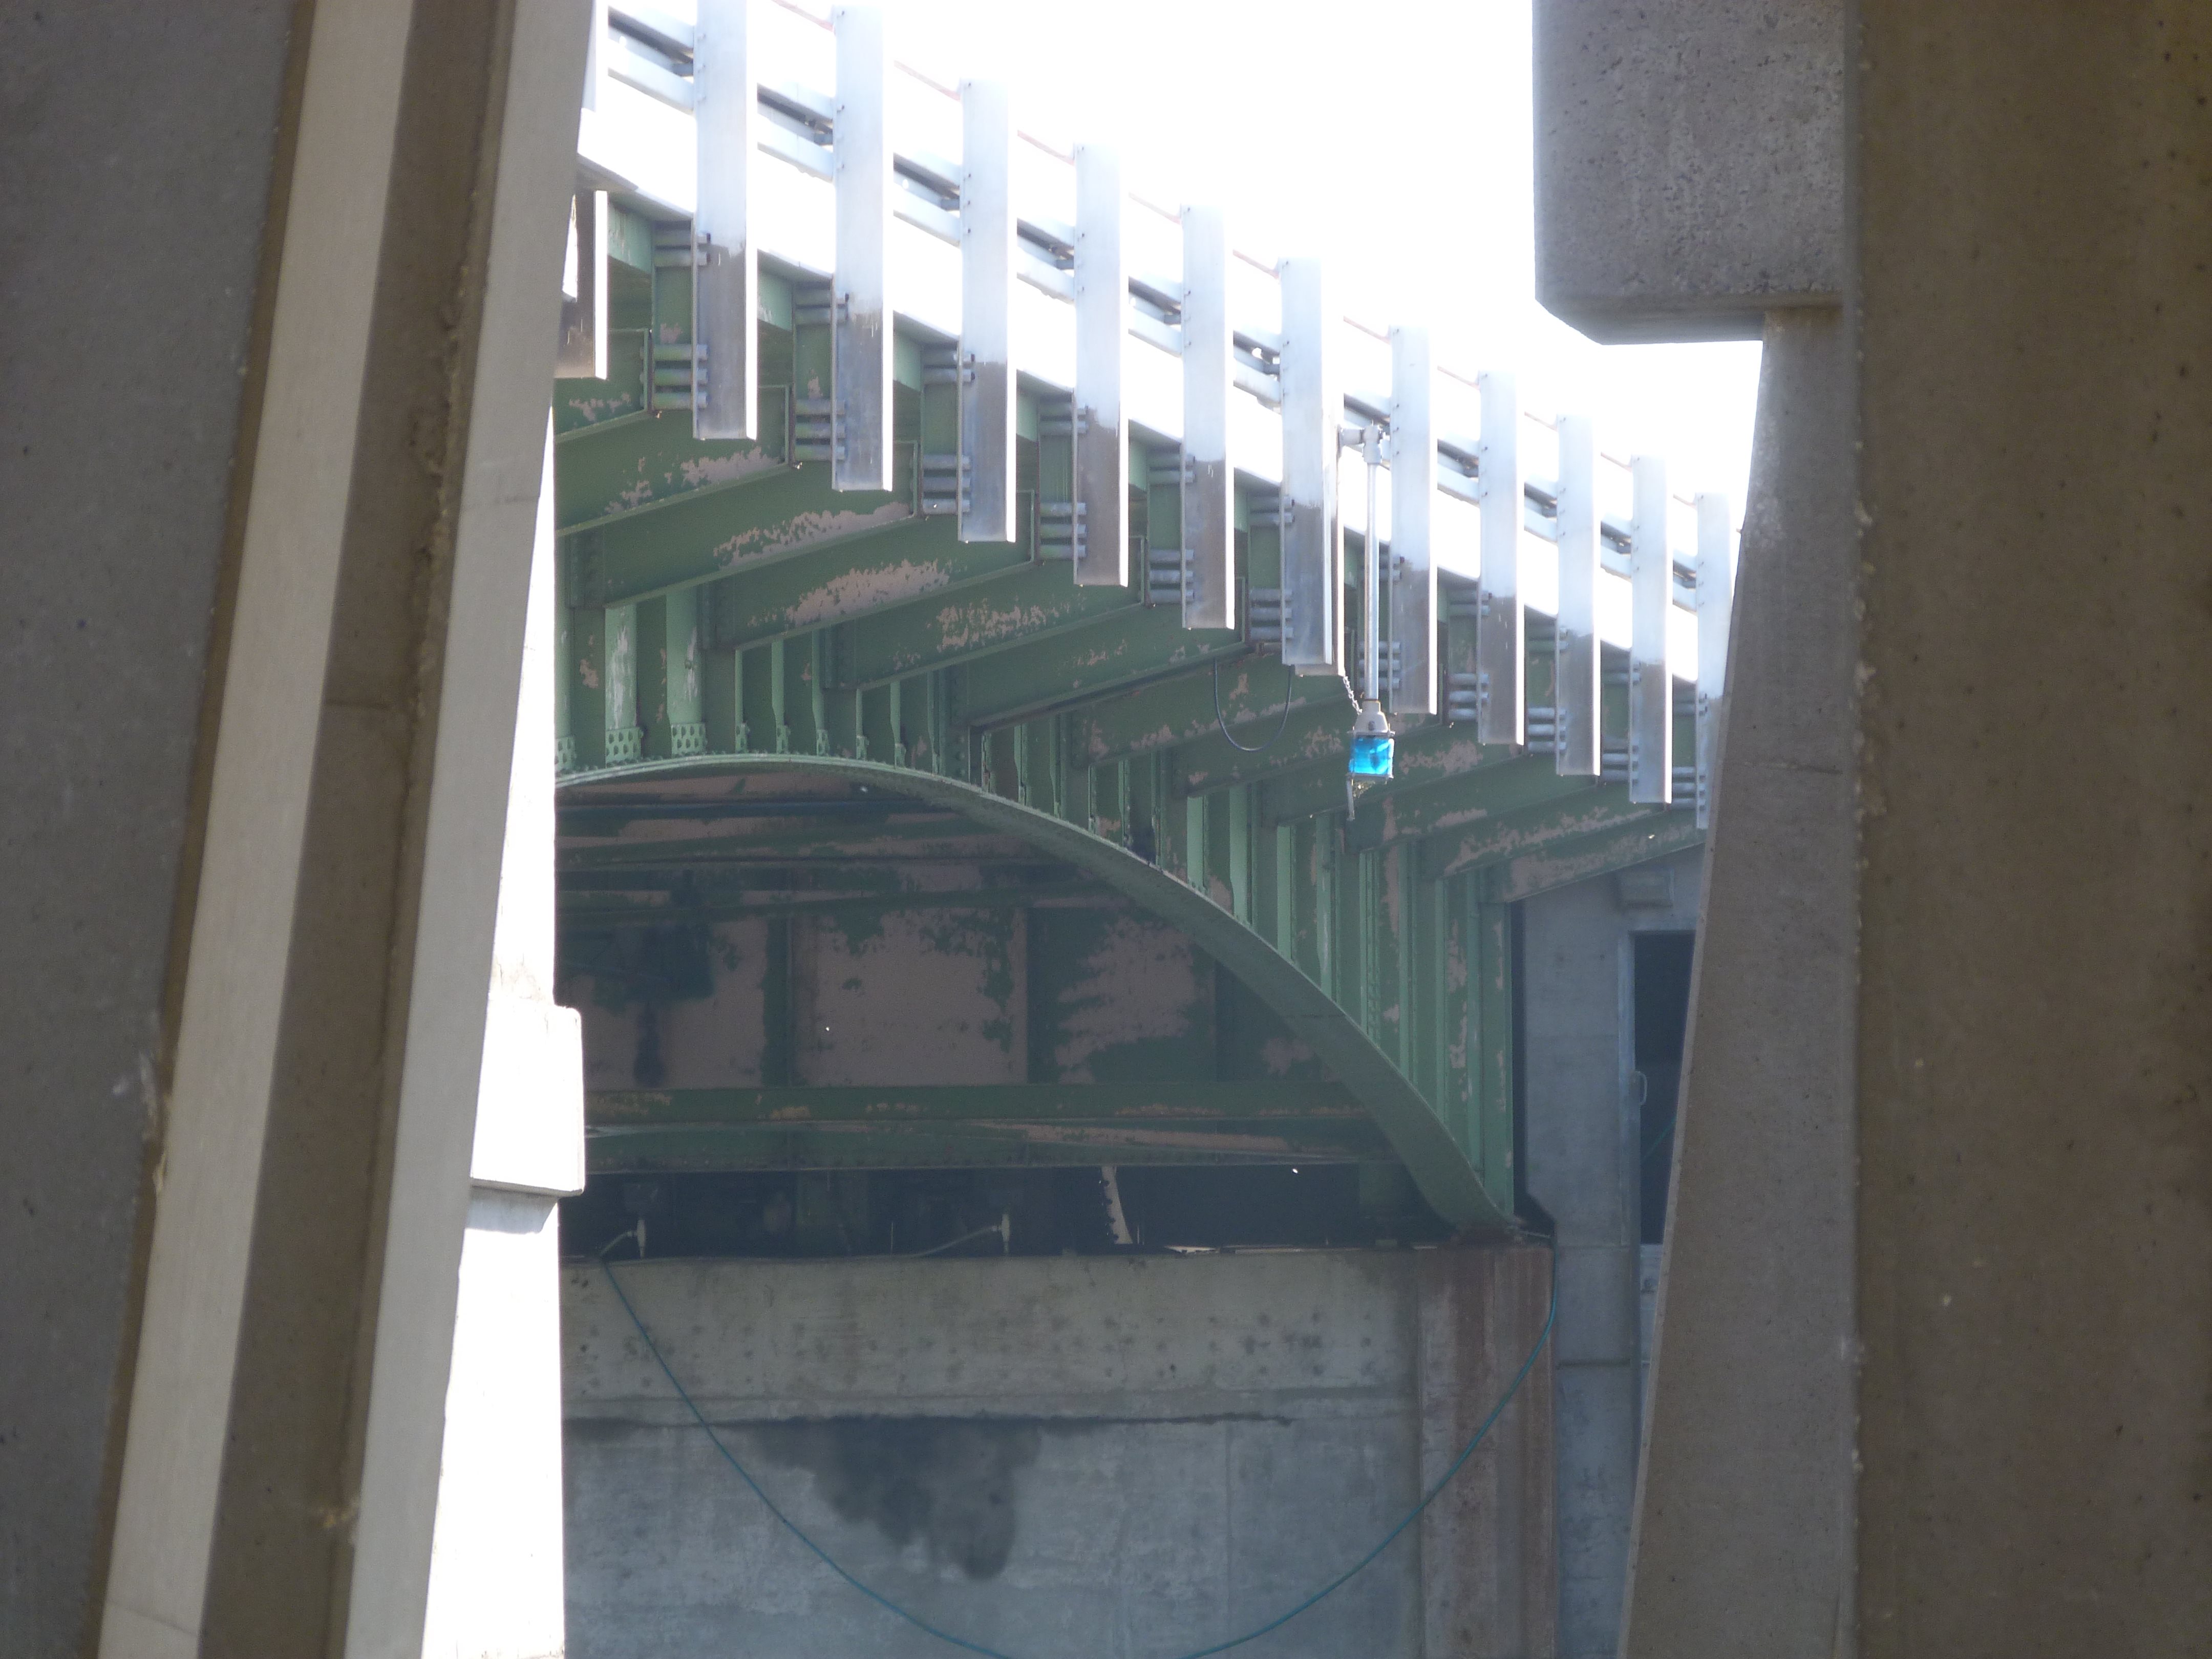
![]()


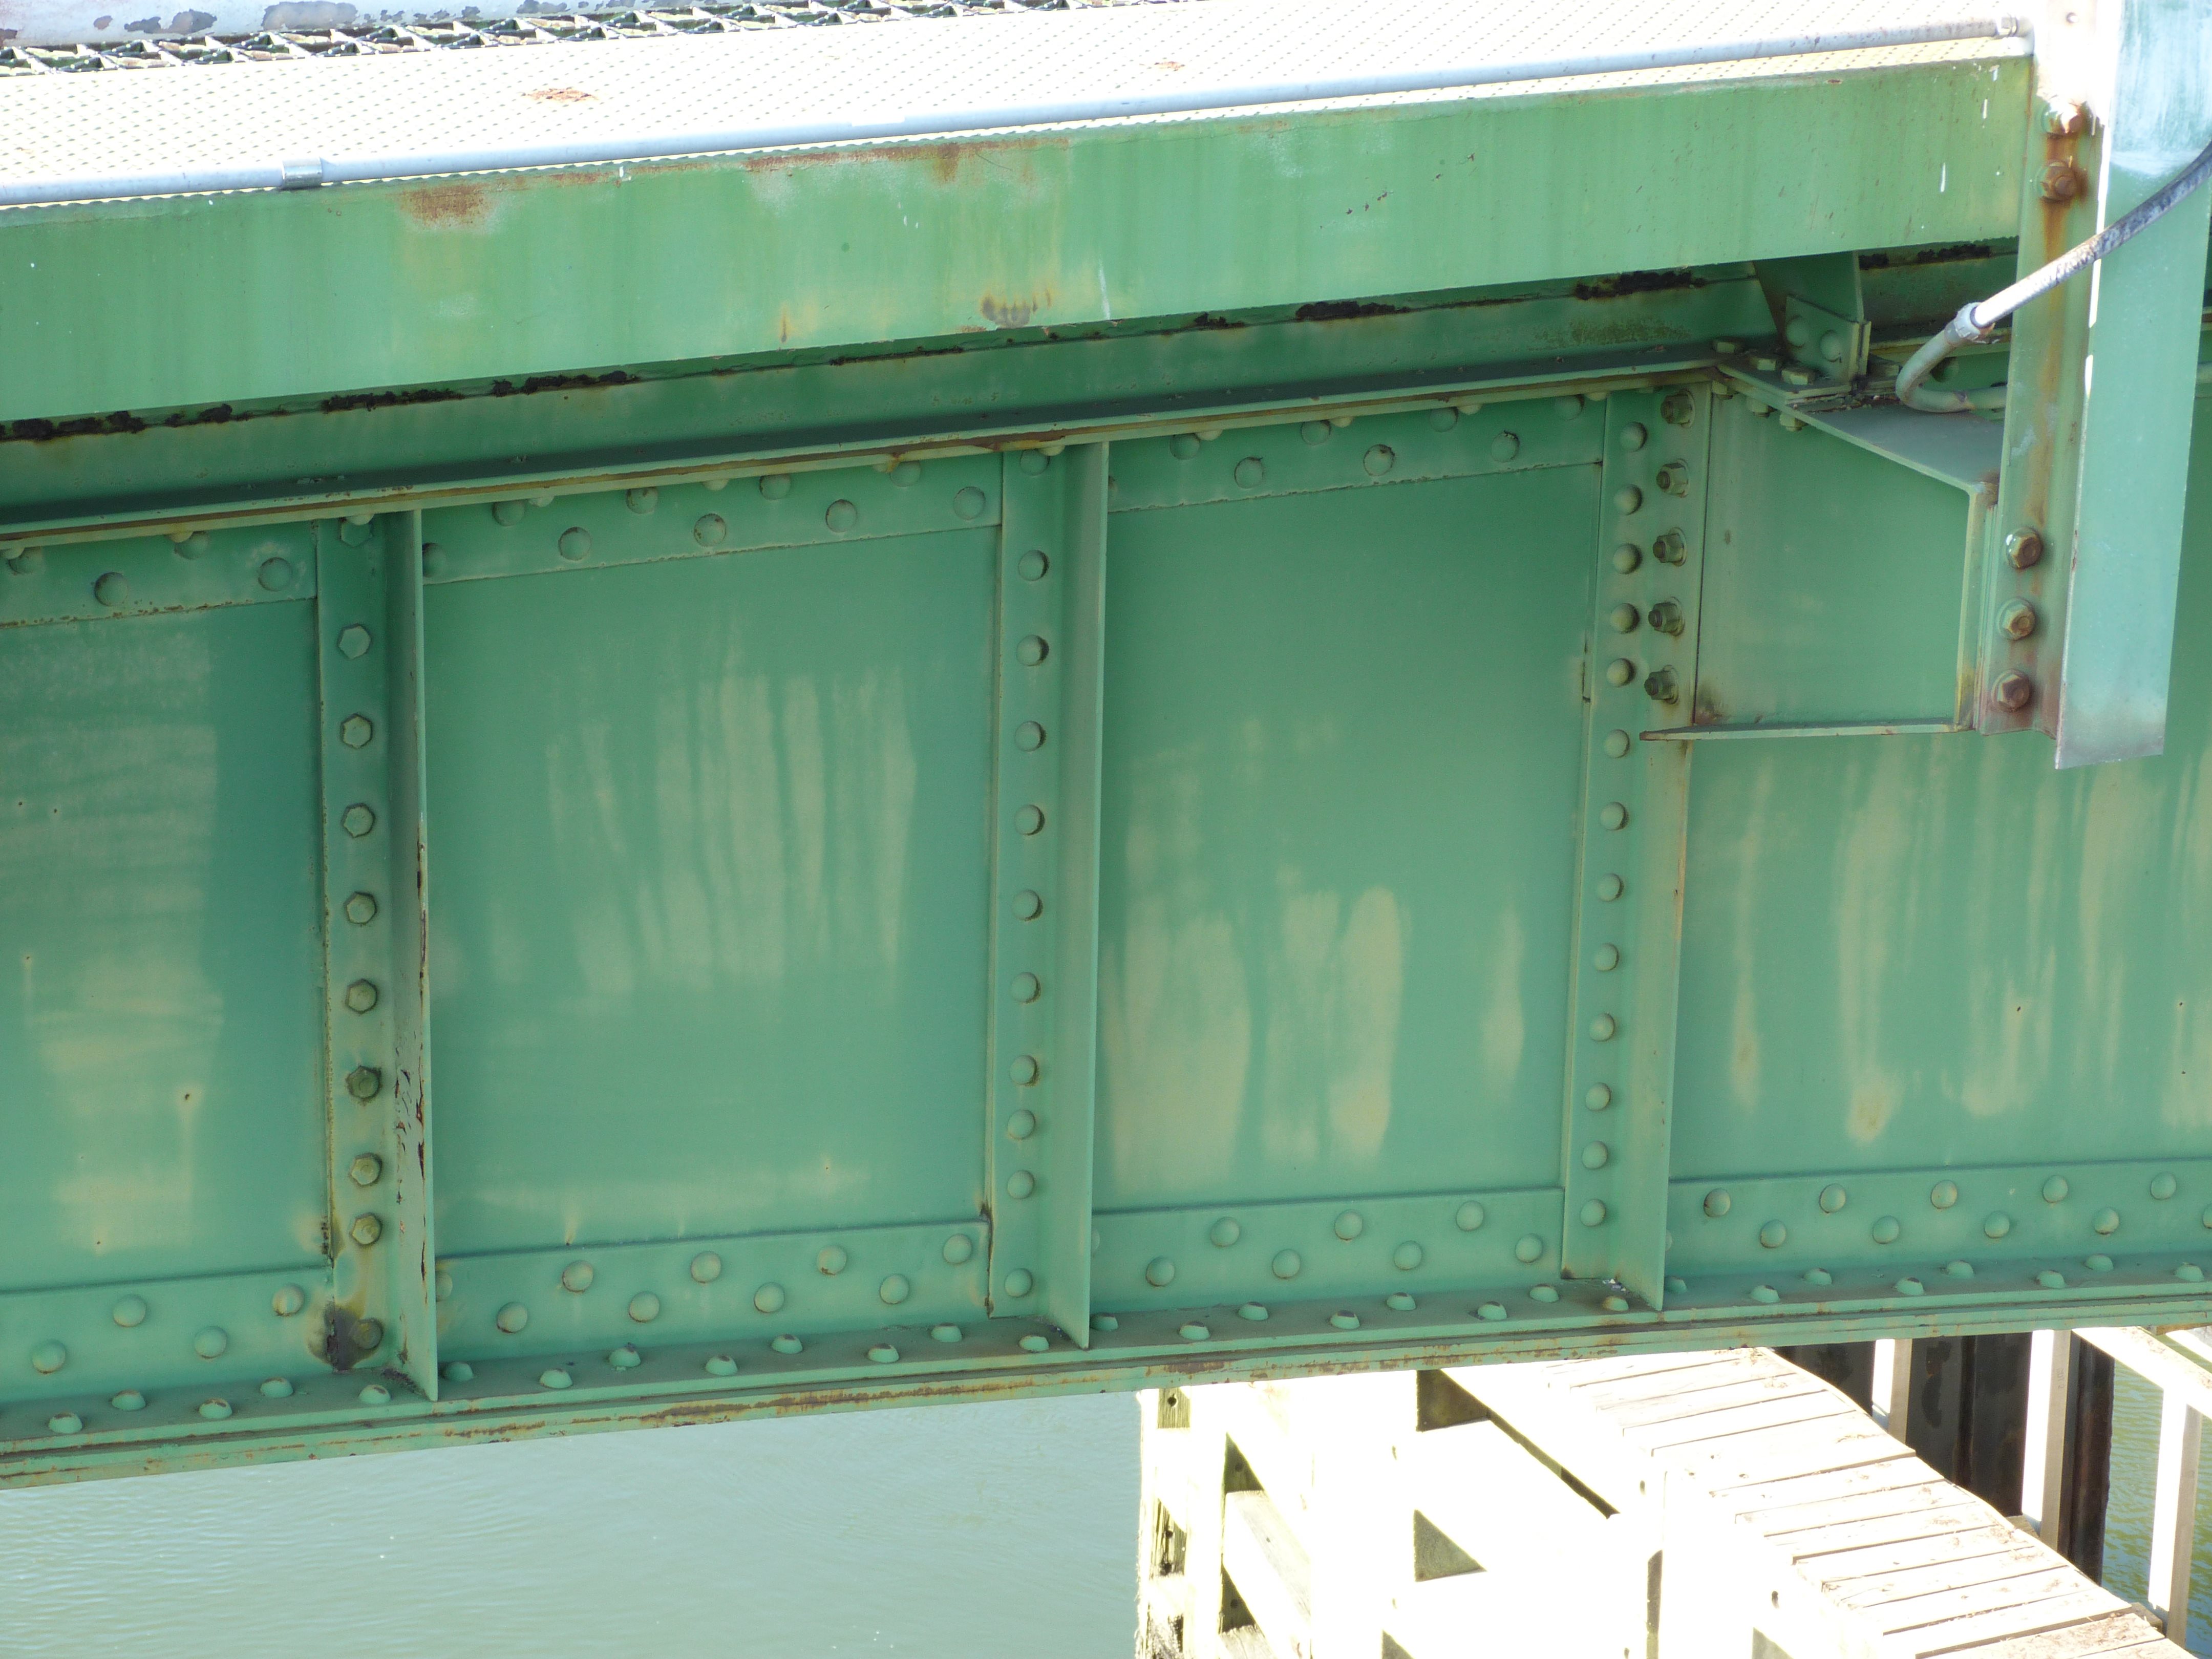


Bascule girder detail.
![]()

Bearing.
![]()

Gate detail.
![]()

Deck.
![]()

Abutment and railing detail.
![]()
![]()
| Back |
| Home |
| Top |

![]()