
Uncredited photos on this page taken by: Nathan Holth. Unless stated in a caption, all photos are Copyright with All Rights Reserved. Learn about reuse of our photos.
![]()

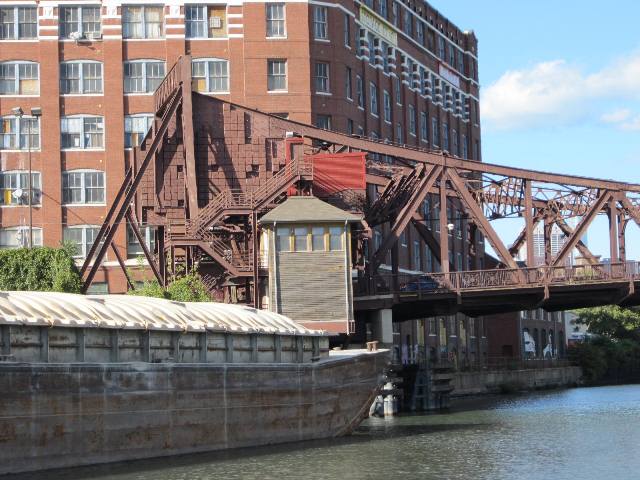


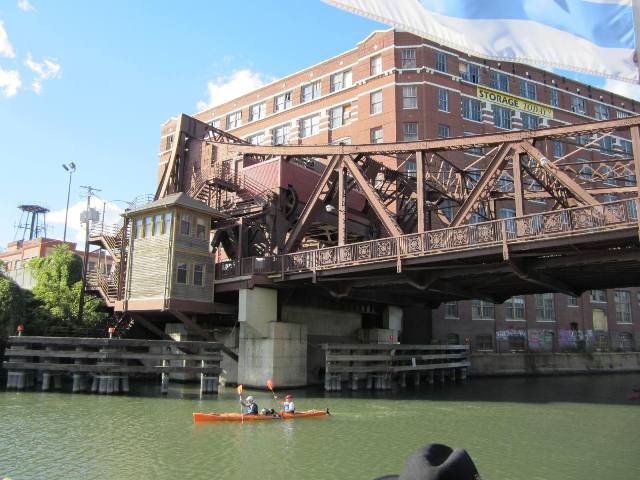
Photo Credit: Steve Conro
Counterweight, bridge tender house, and abutment overview.
![]()


Bridge tender house.
![]()
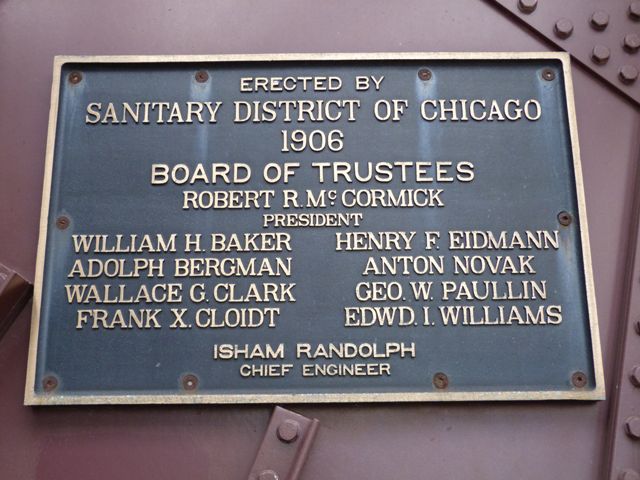

Plaque.
![]()
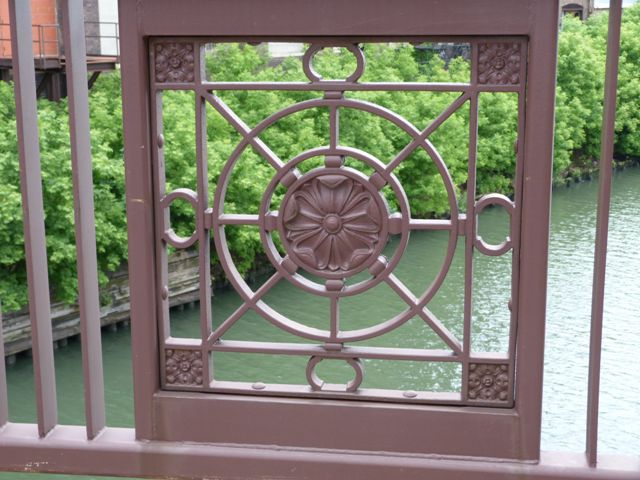

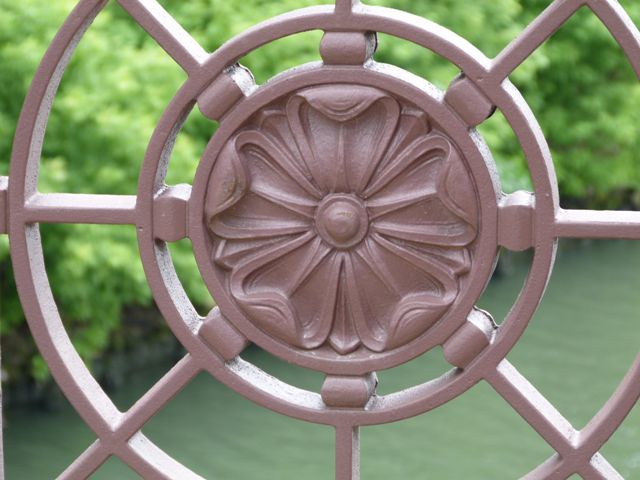


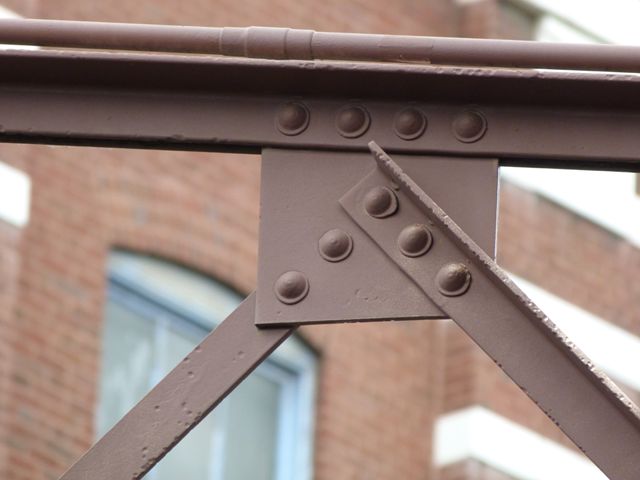
Railing details.
![]()

HDR Photo: Railing detail.
![]()

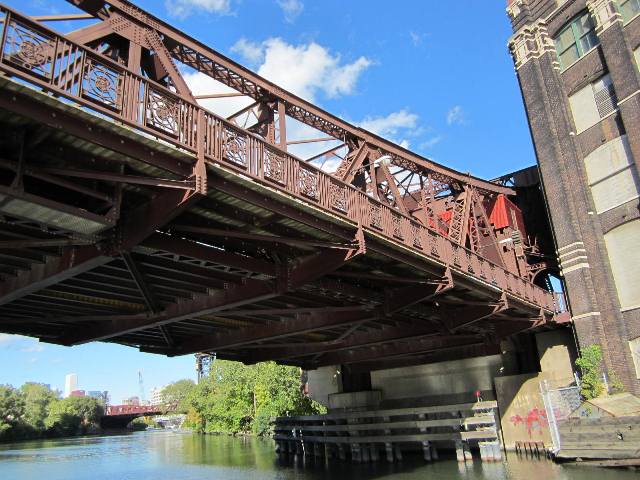
Photo Credit: Steve Conro
Views under bridge.
![]()


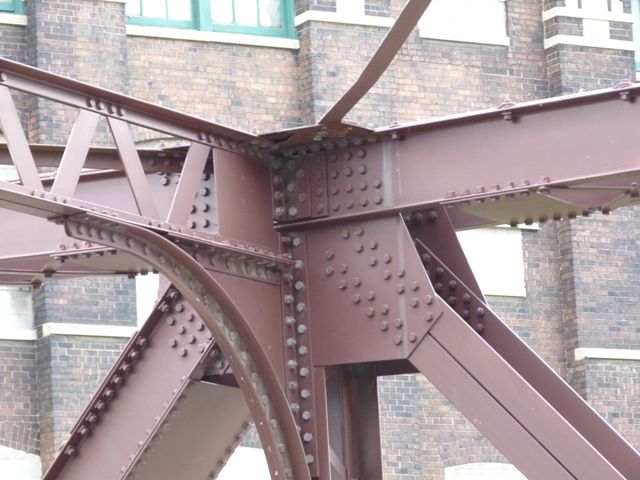
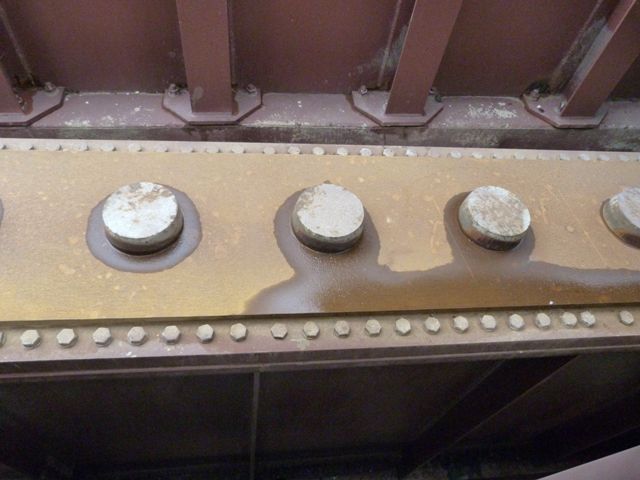
Top chord connections, exterior views.
![]()

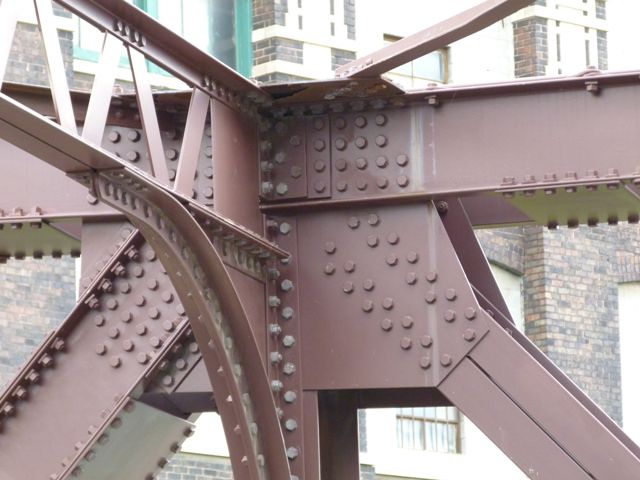

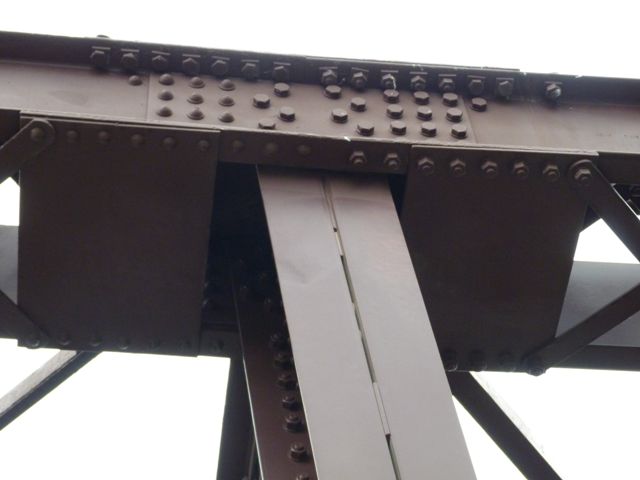
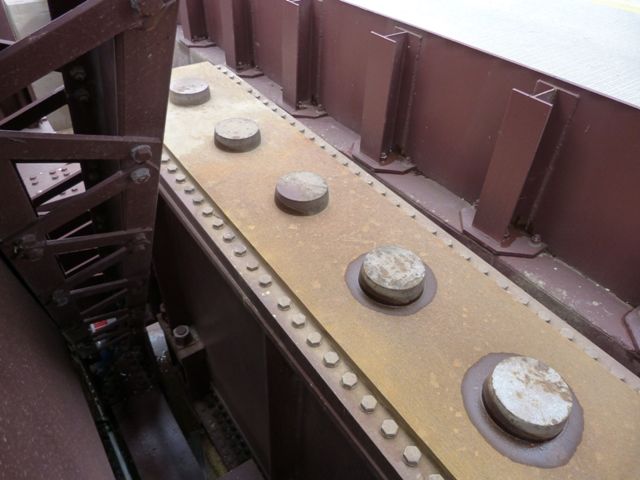
Top chord connections, interior views.
![]()


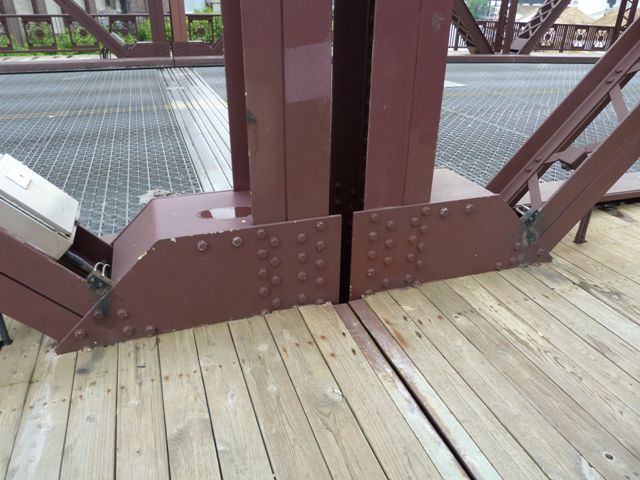
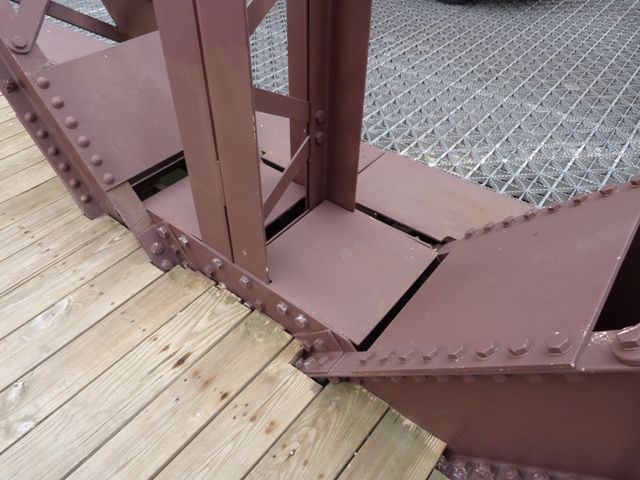


Bottom chord connections.
![]()


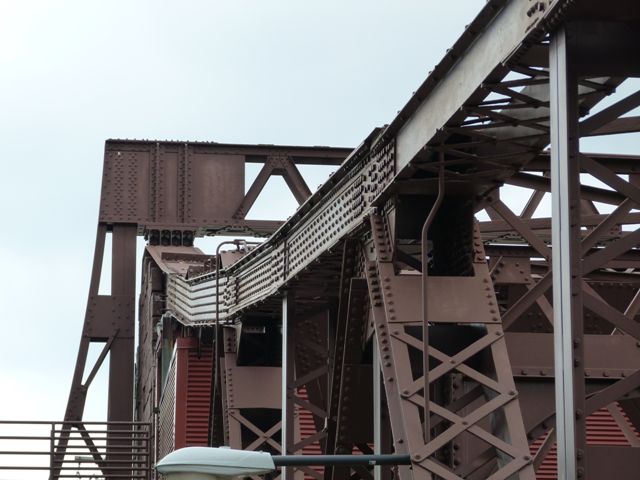
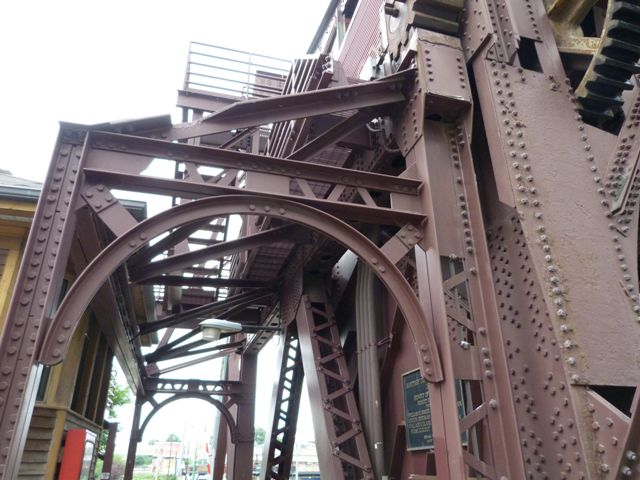
Overhead bracing overviews.
![]()


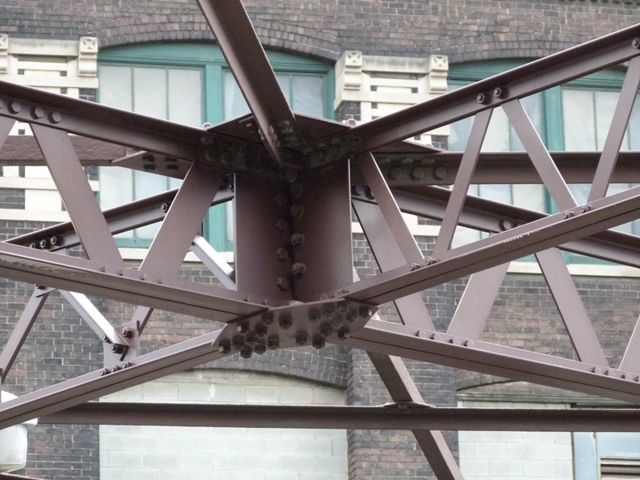
Overhead bracing connections.
![]()


Counterweight and roller overview.
![]()


Roller.
![]()
Roller track.
![]()

Counterweight.
![]()


Gears for rack and pinion system located overhead near counterweight.
![]()

Detail of overhead trussed girder.
![]()
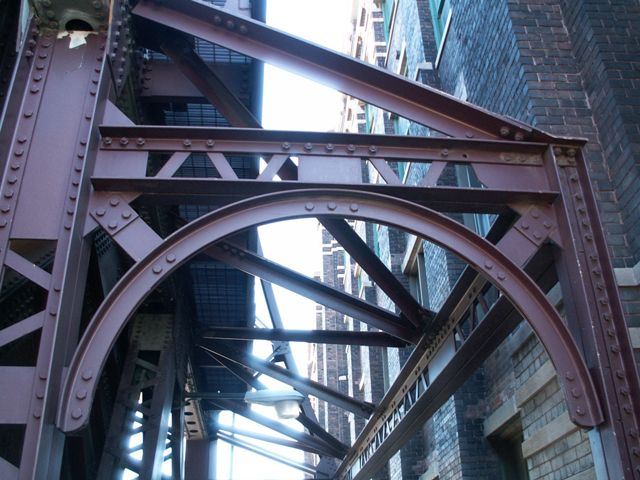
Archway over sidewalk.
![]()


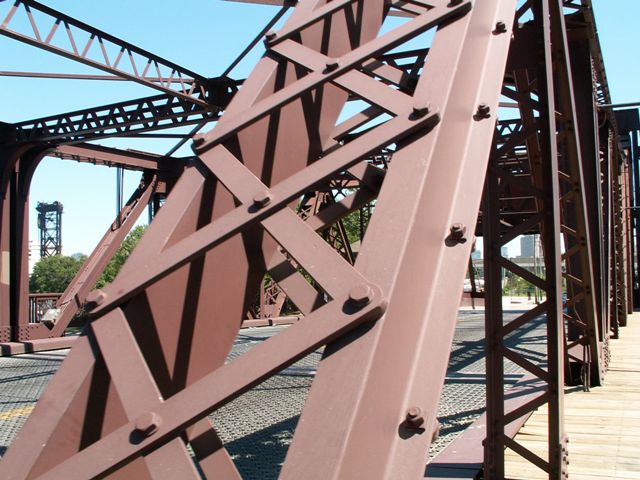

Diagonal members.
![]()
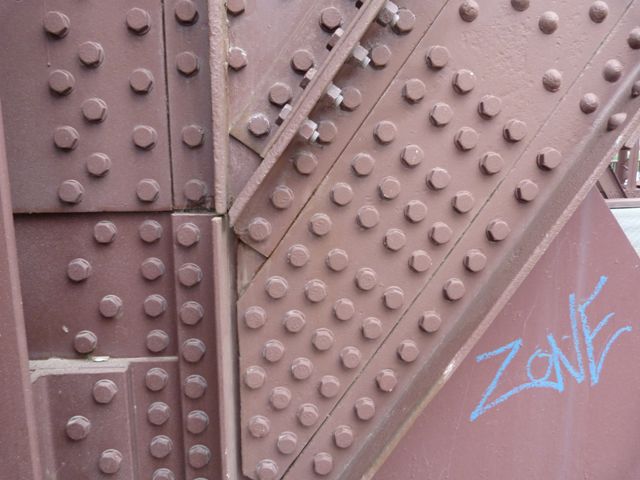
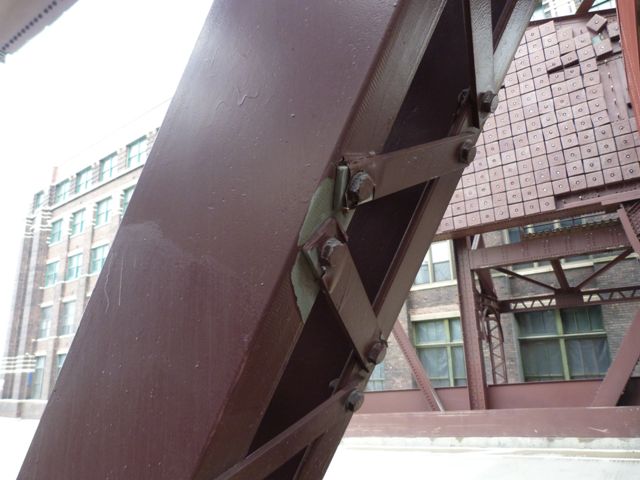
Detail of a connection showing modern bolts.
![]()
![]()
| Back |
| Home |
| Top |

![]()