
Uncredited photos on this page taken by: Nathan Holth. Unless stated in a caption, all photos are Copyright with All Rights Reserved. Learn about reuse of our photos.
![]()


Views beside bridge from southwest quadrant.
![]()

Photo Credit: Steve Conro
Views beside bridge from southwest quadrant.
![]()


Oblique views from northwest quadrant.
![]()
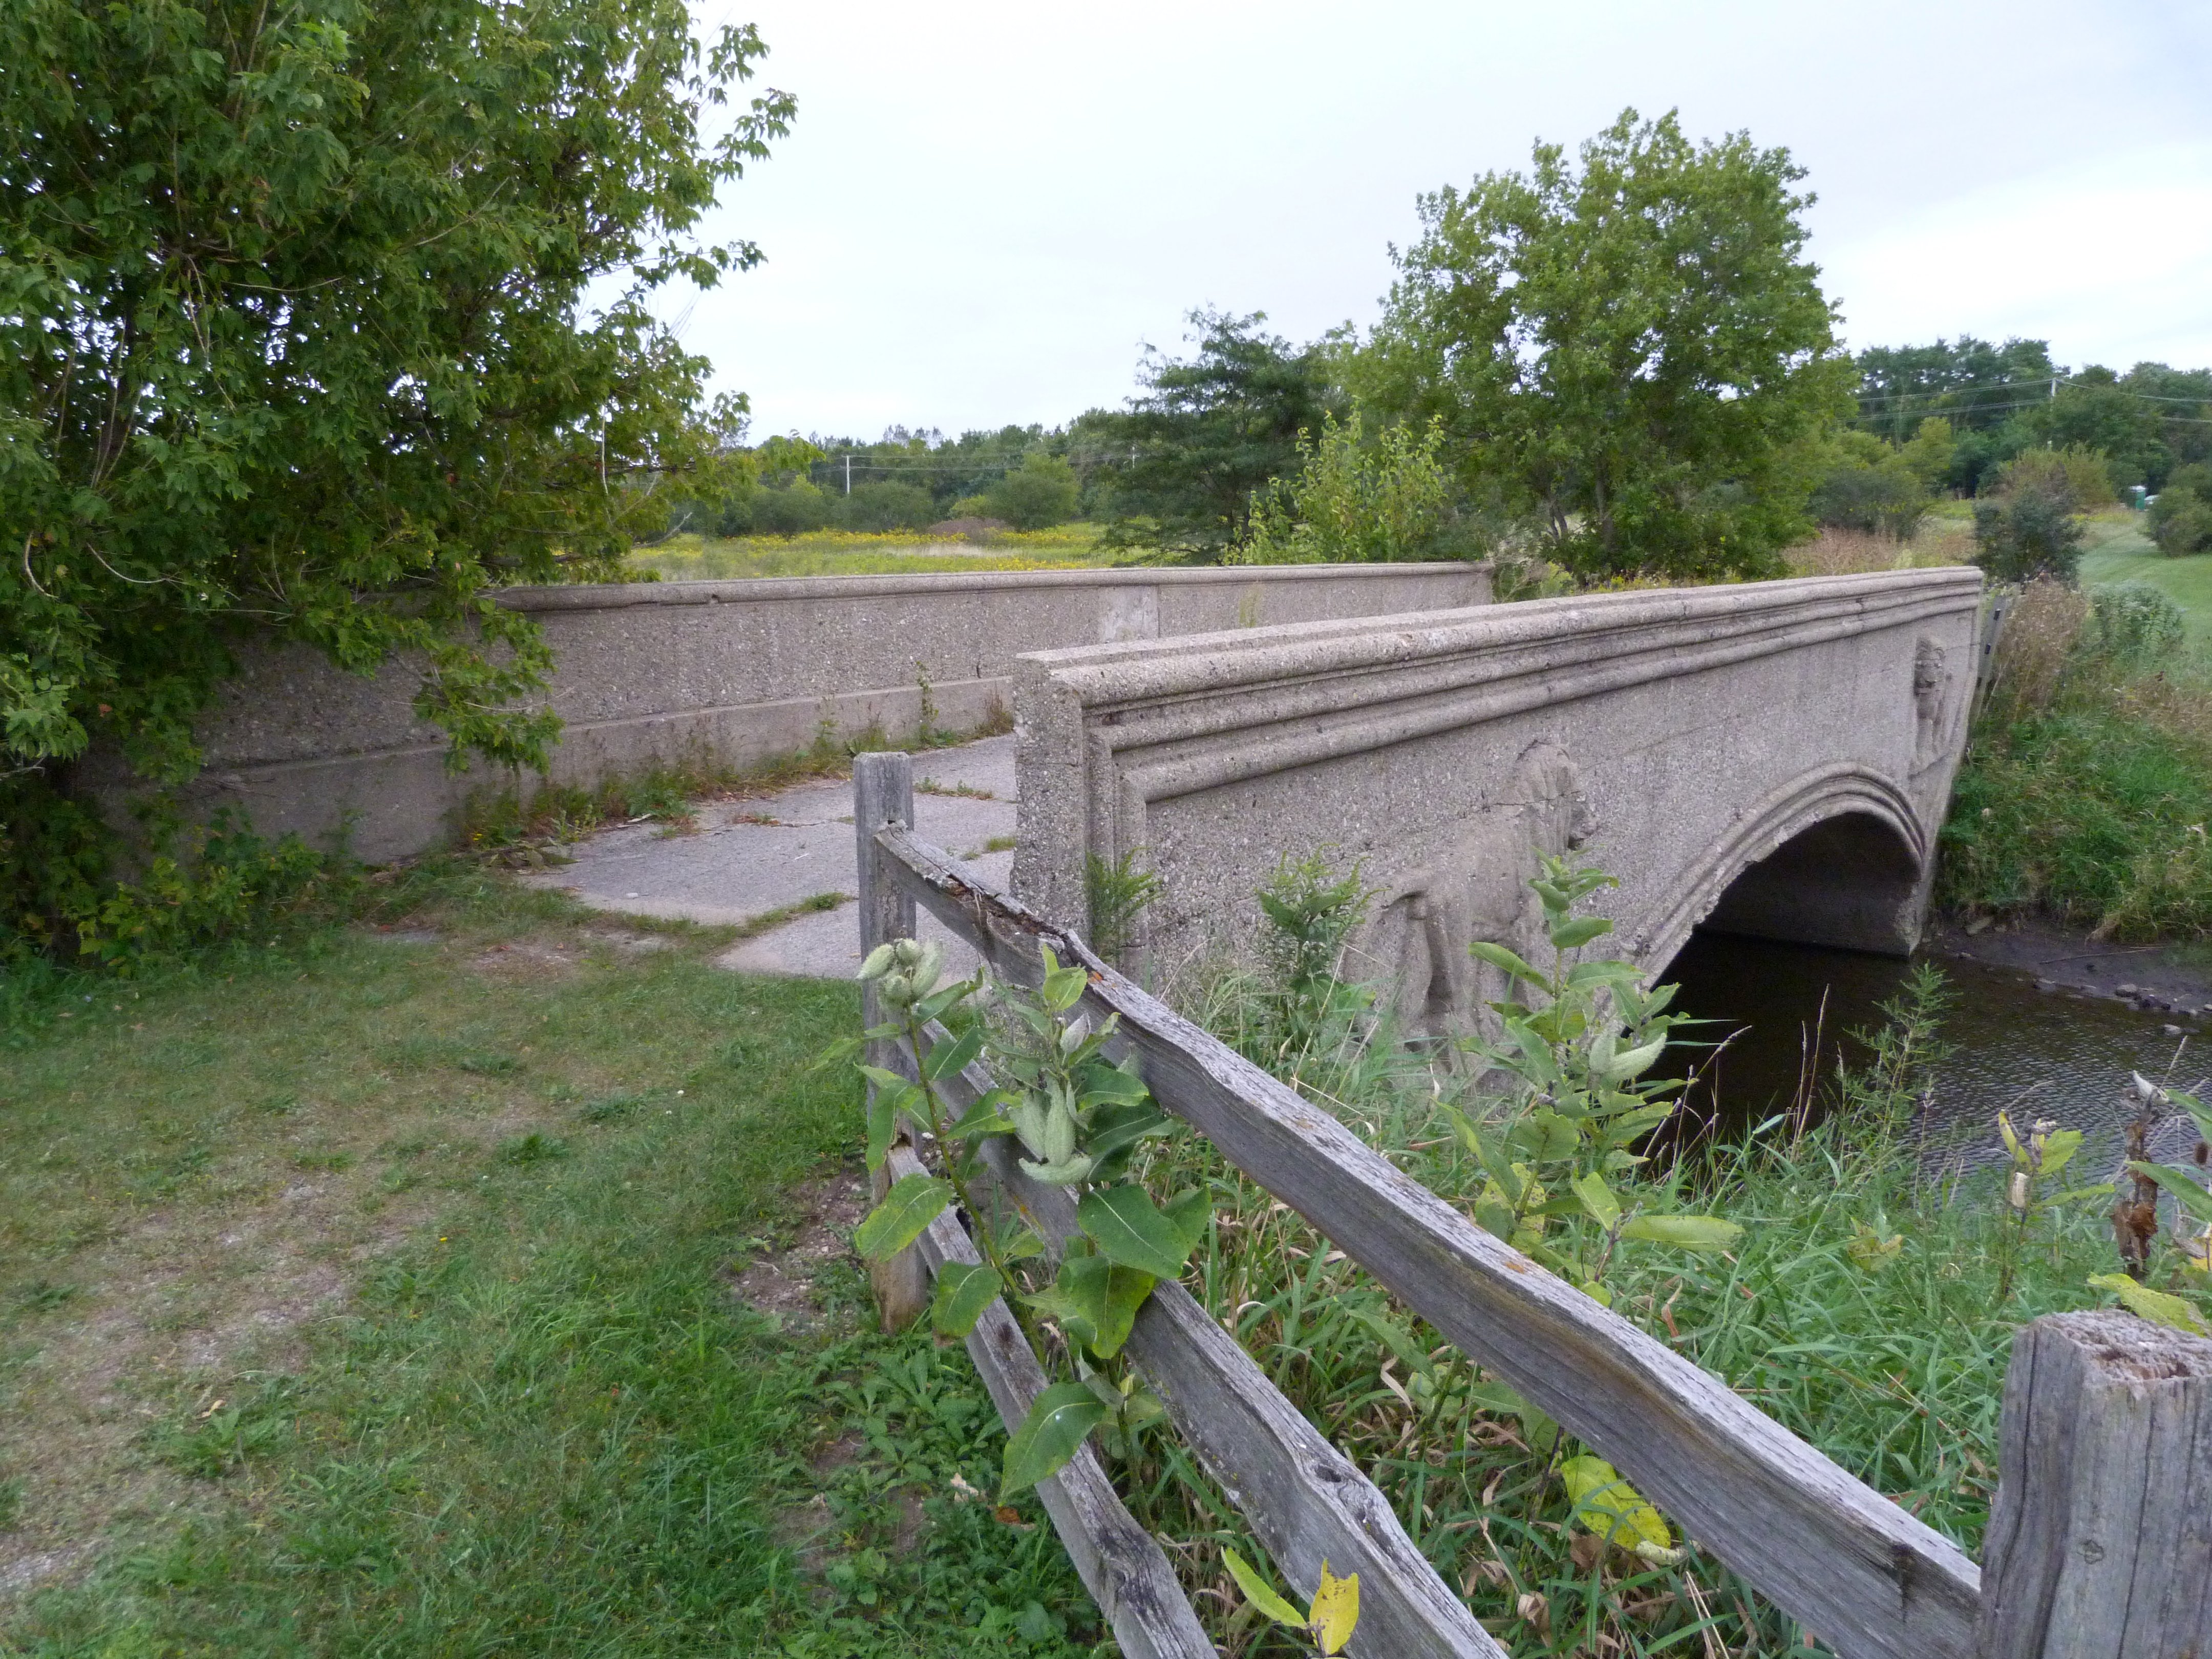


Views beside bridge from northwest quadrant.
![]()


West elevation.
![]()


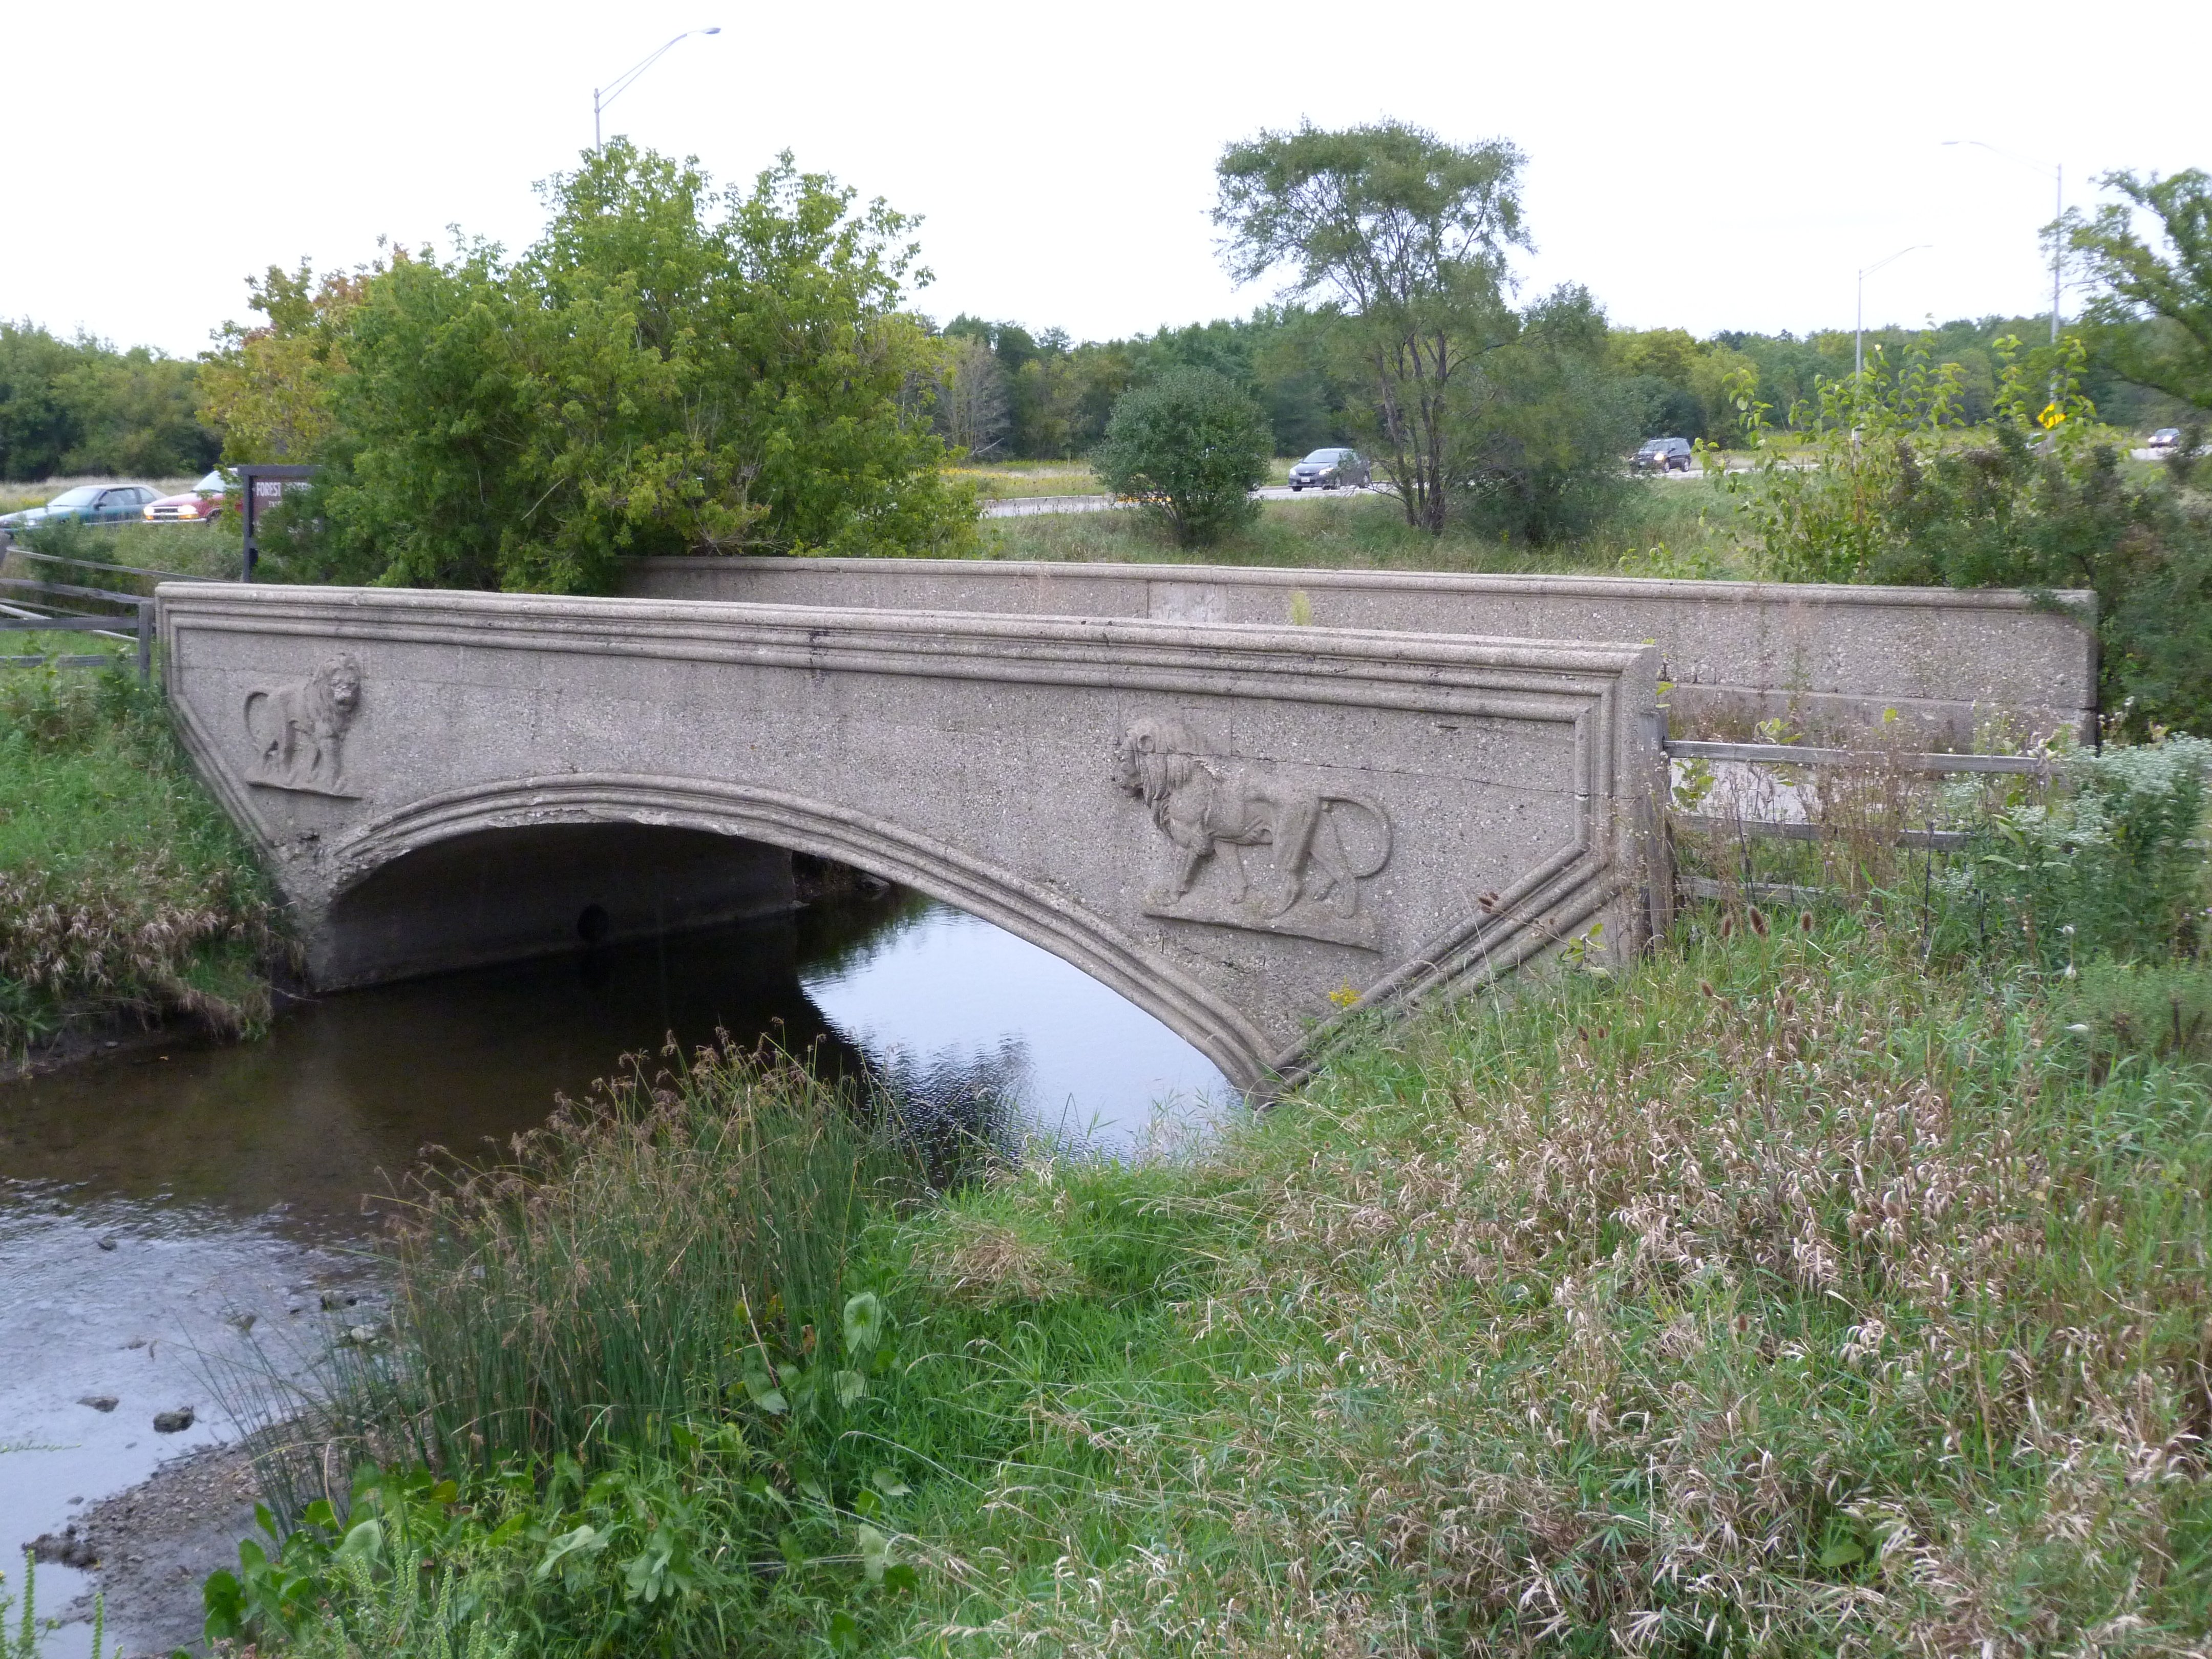
Elevation from southwest quadrant.
![]()


Photo Credit: Steve Conro
Elevation from southwest quadrant.
![]()


Views beside bridge from southeast quadrant.
![]()
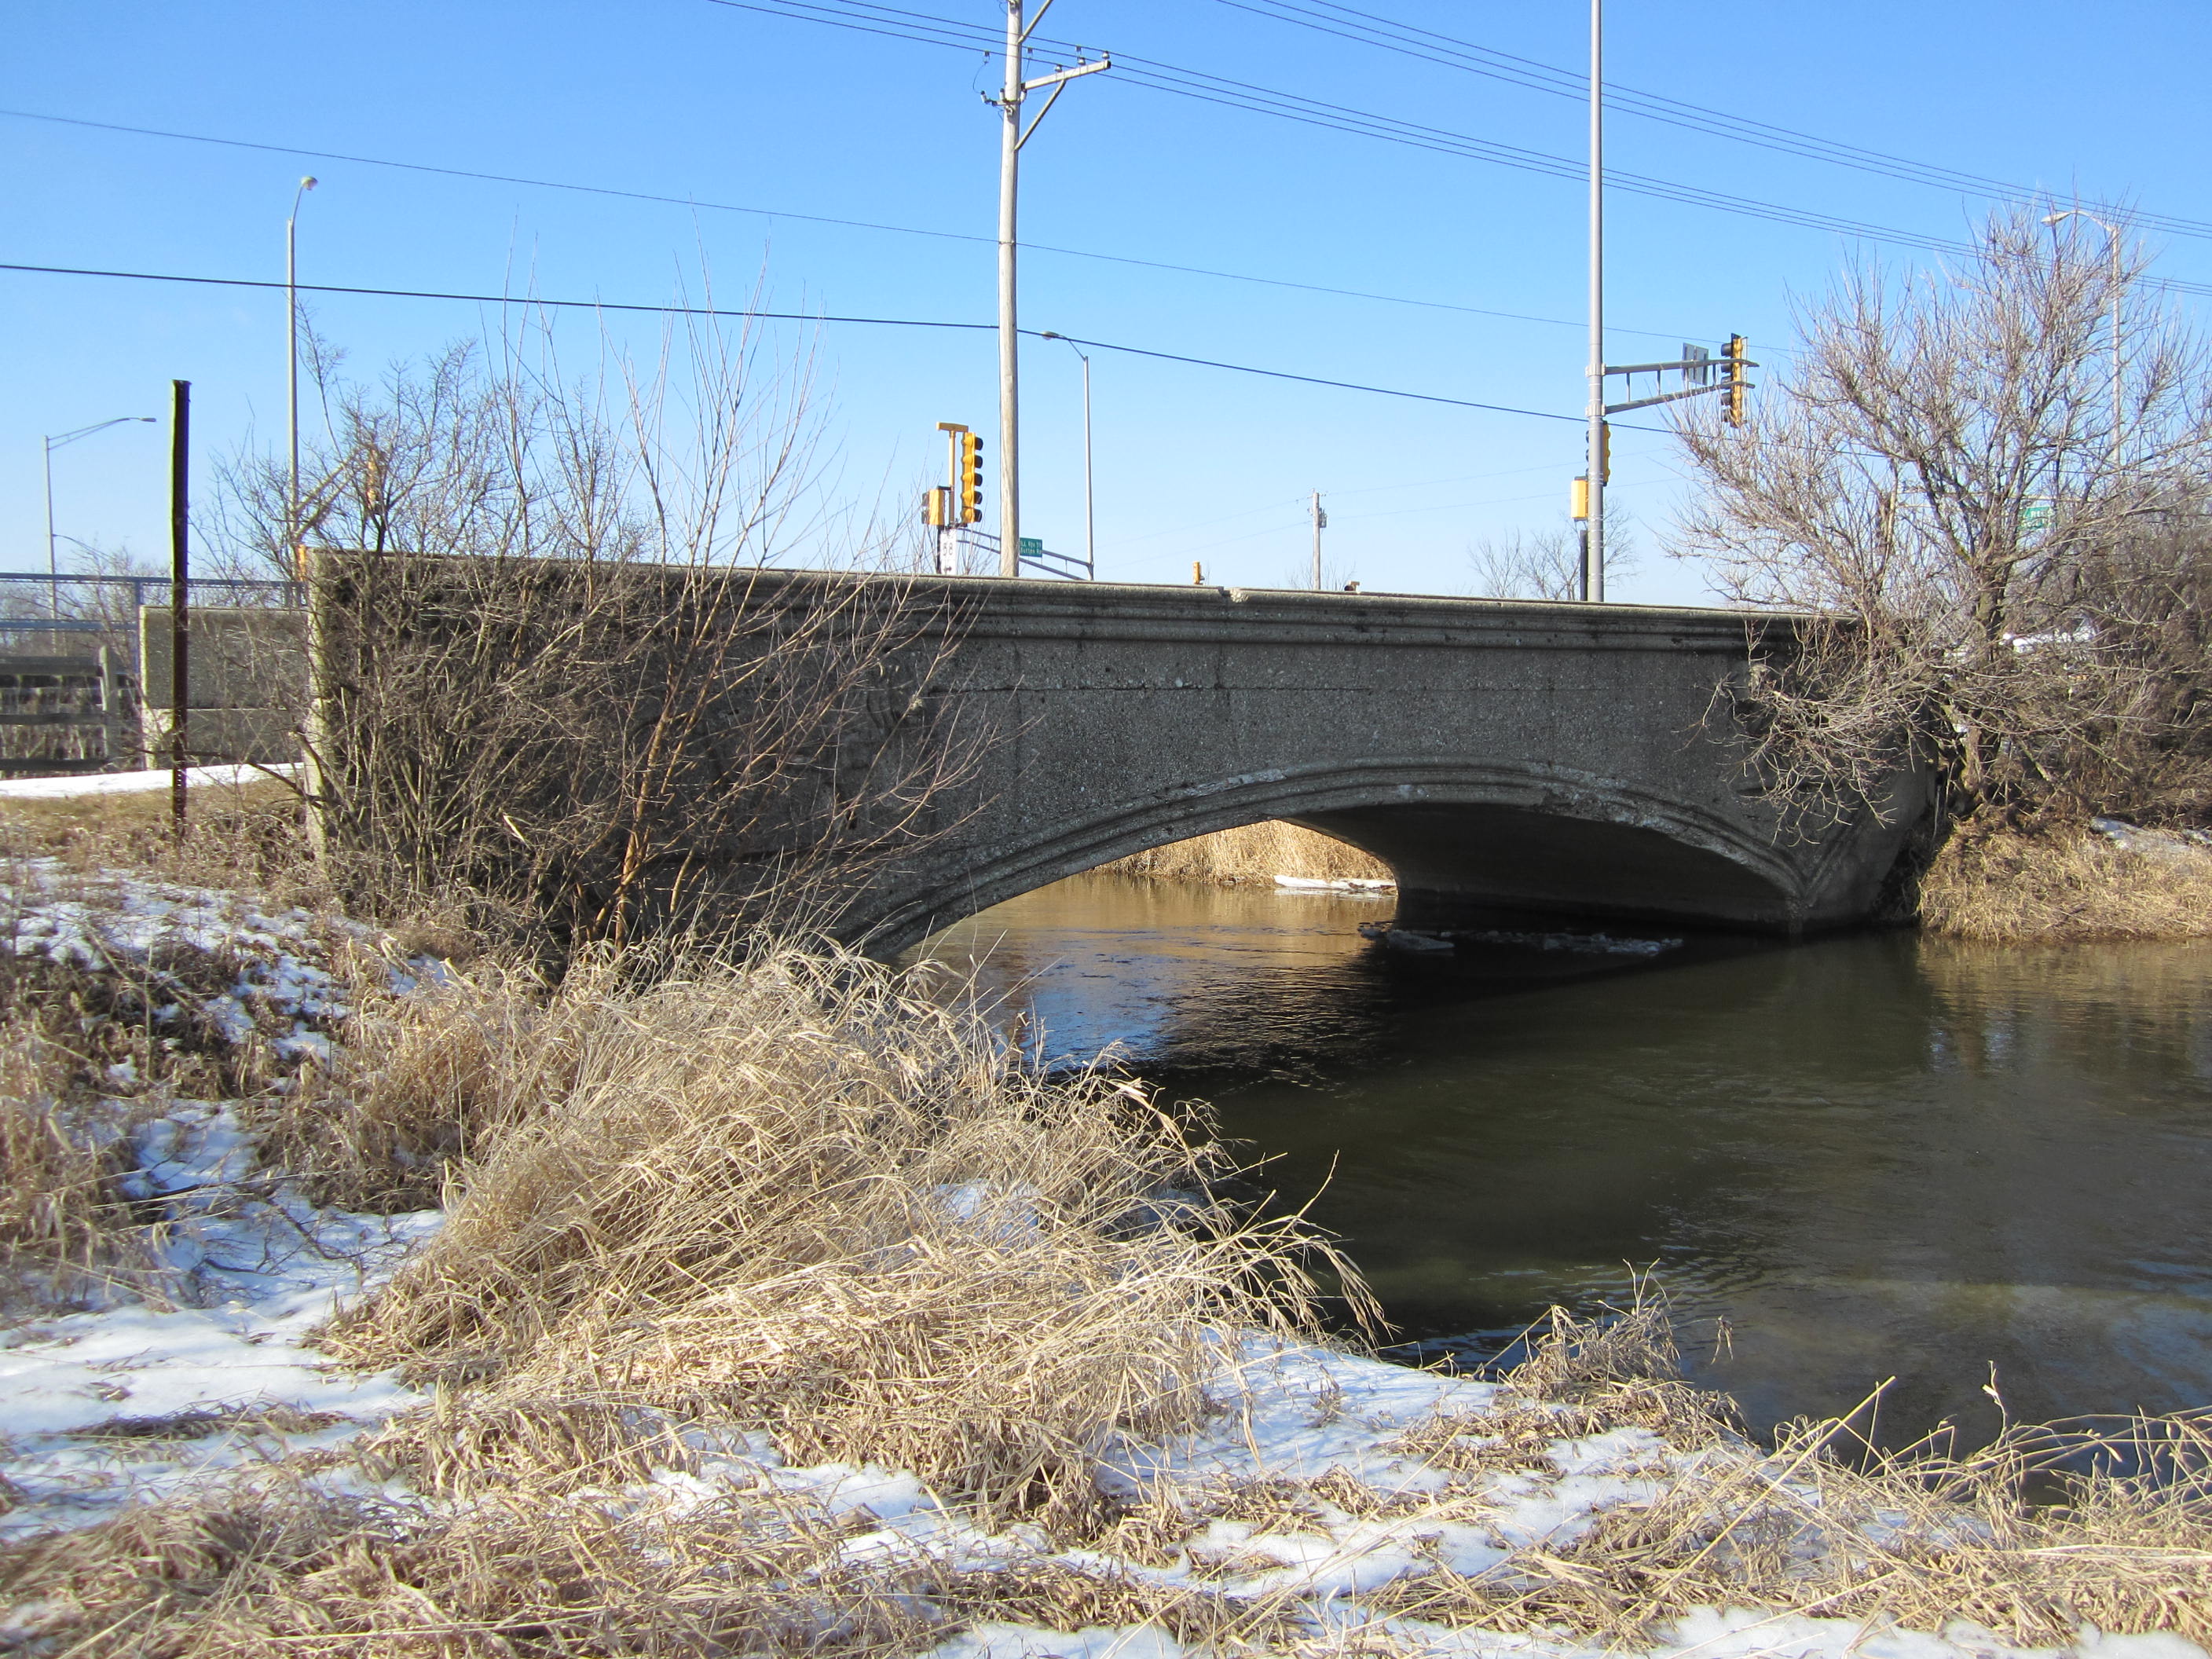
Photo Credit: Steve Conro
View beside bridge from southeast quadrant.
![]()

Portal view facing north.
![]()

Photo Credit: Steve Conro
Portal view facing north.
![]()

Portal view facing south.
![]()


Overview of bridge location looking north. Modern highway bridge to the left, Lion Bridge to the right.
![]()

Photo Credit: Steve Conro
Overview of bridge location looking north. Modern highway bridge to the left, Lion Bridge to the right.
![]()


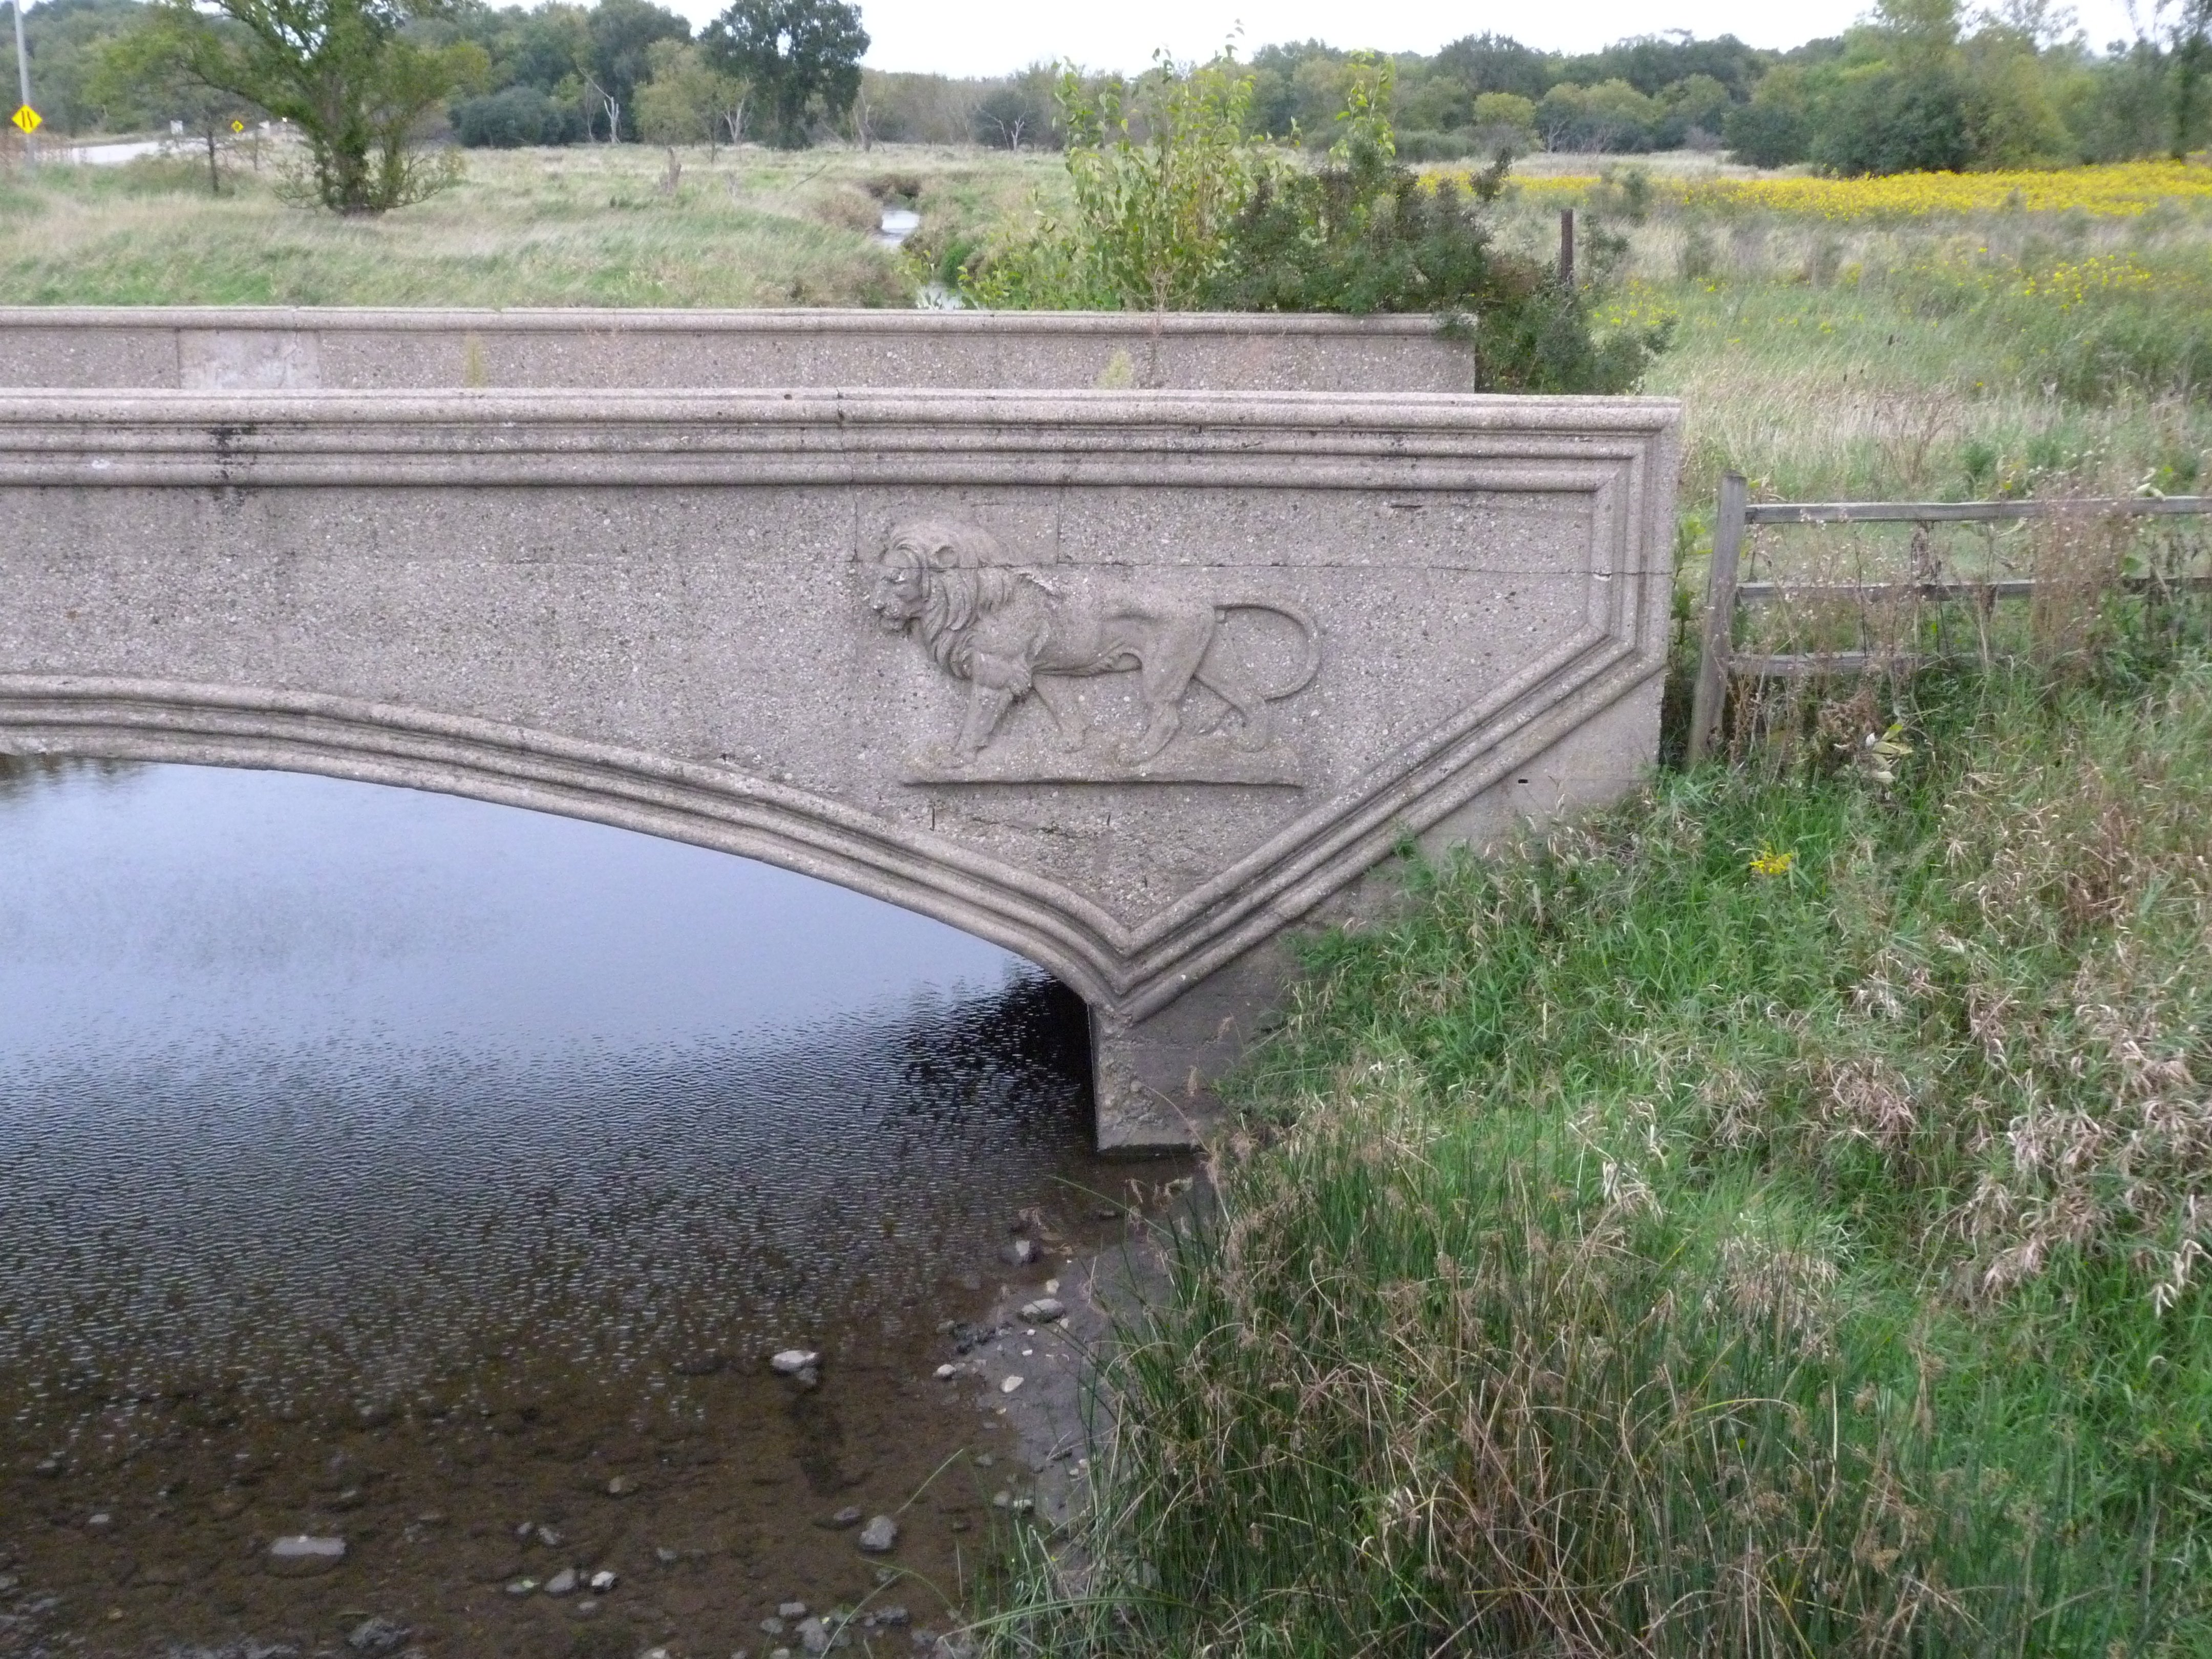
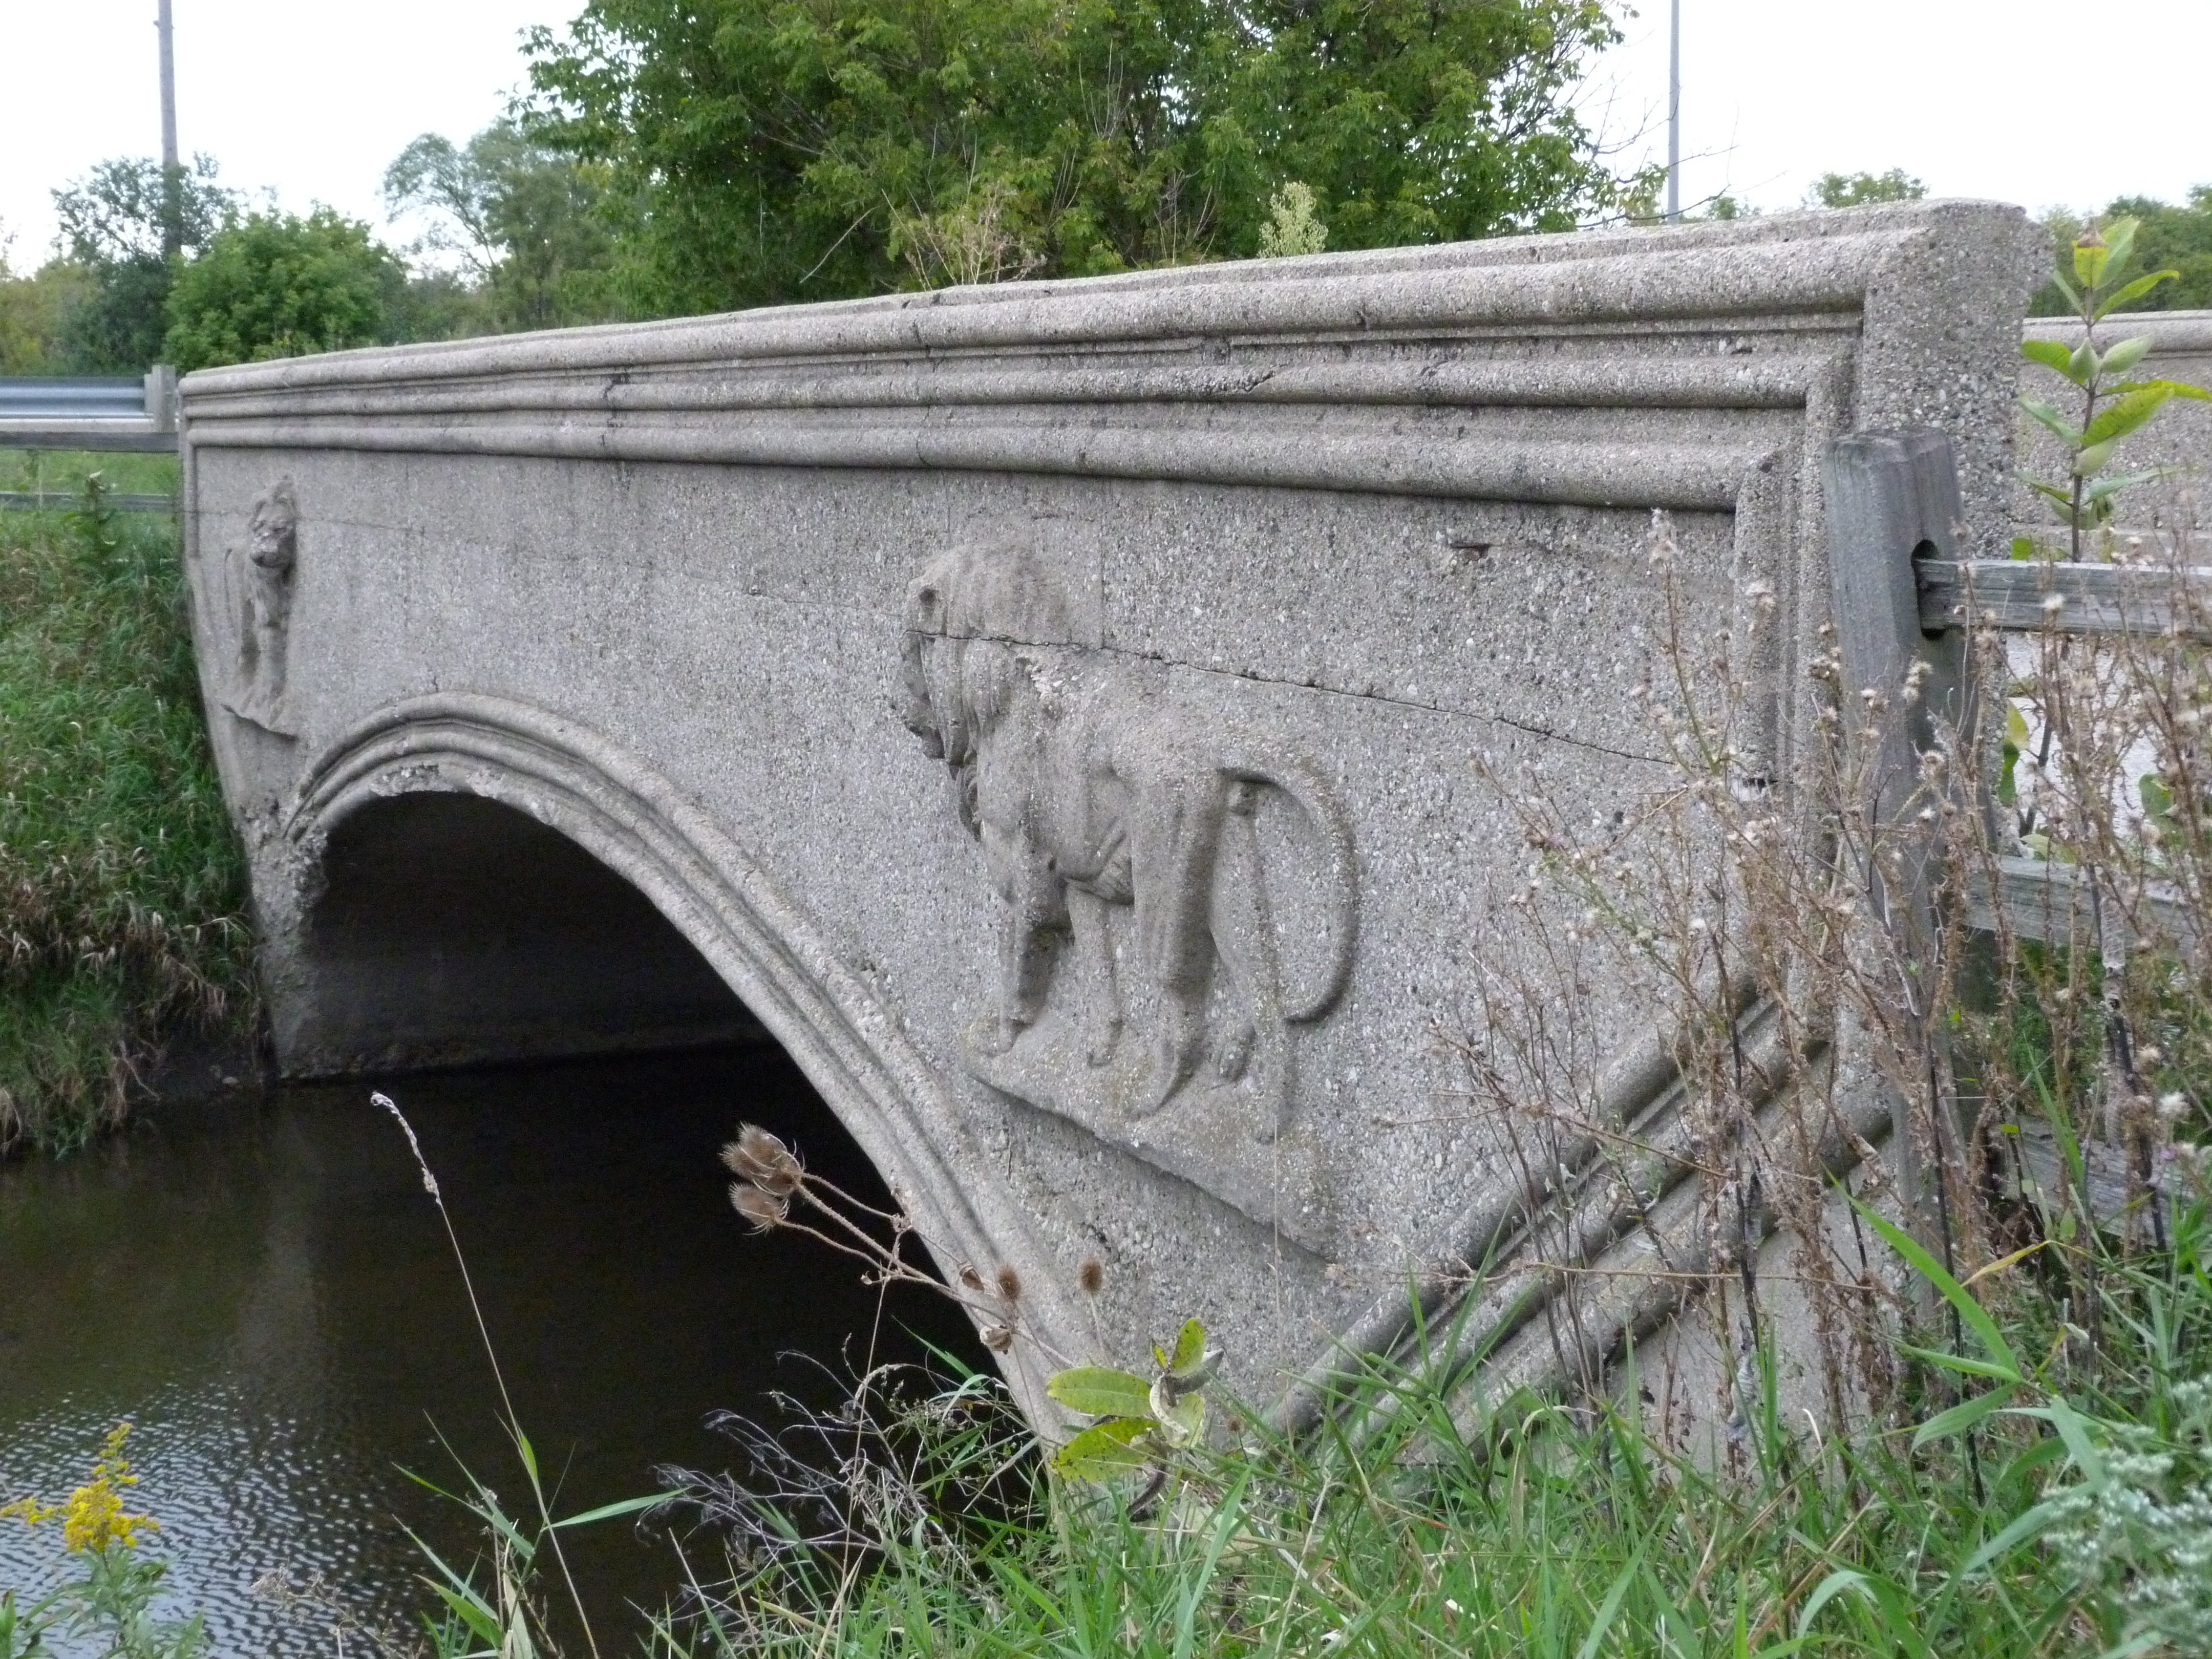
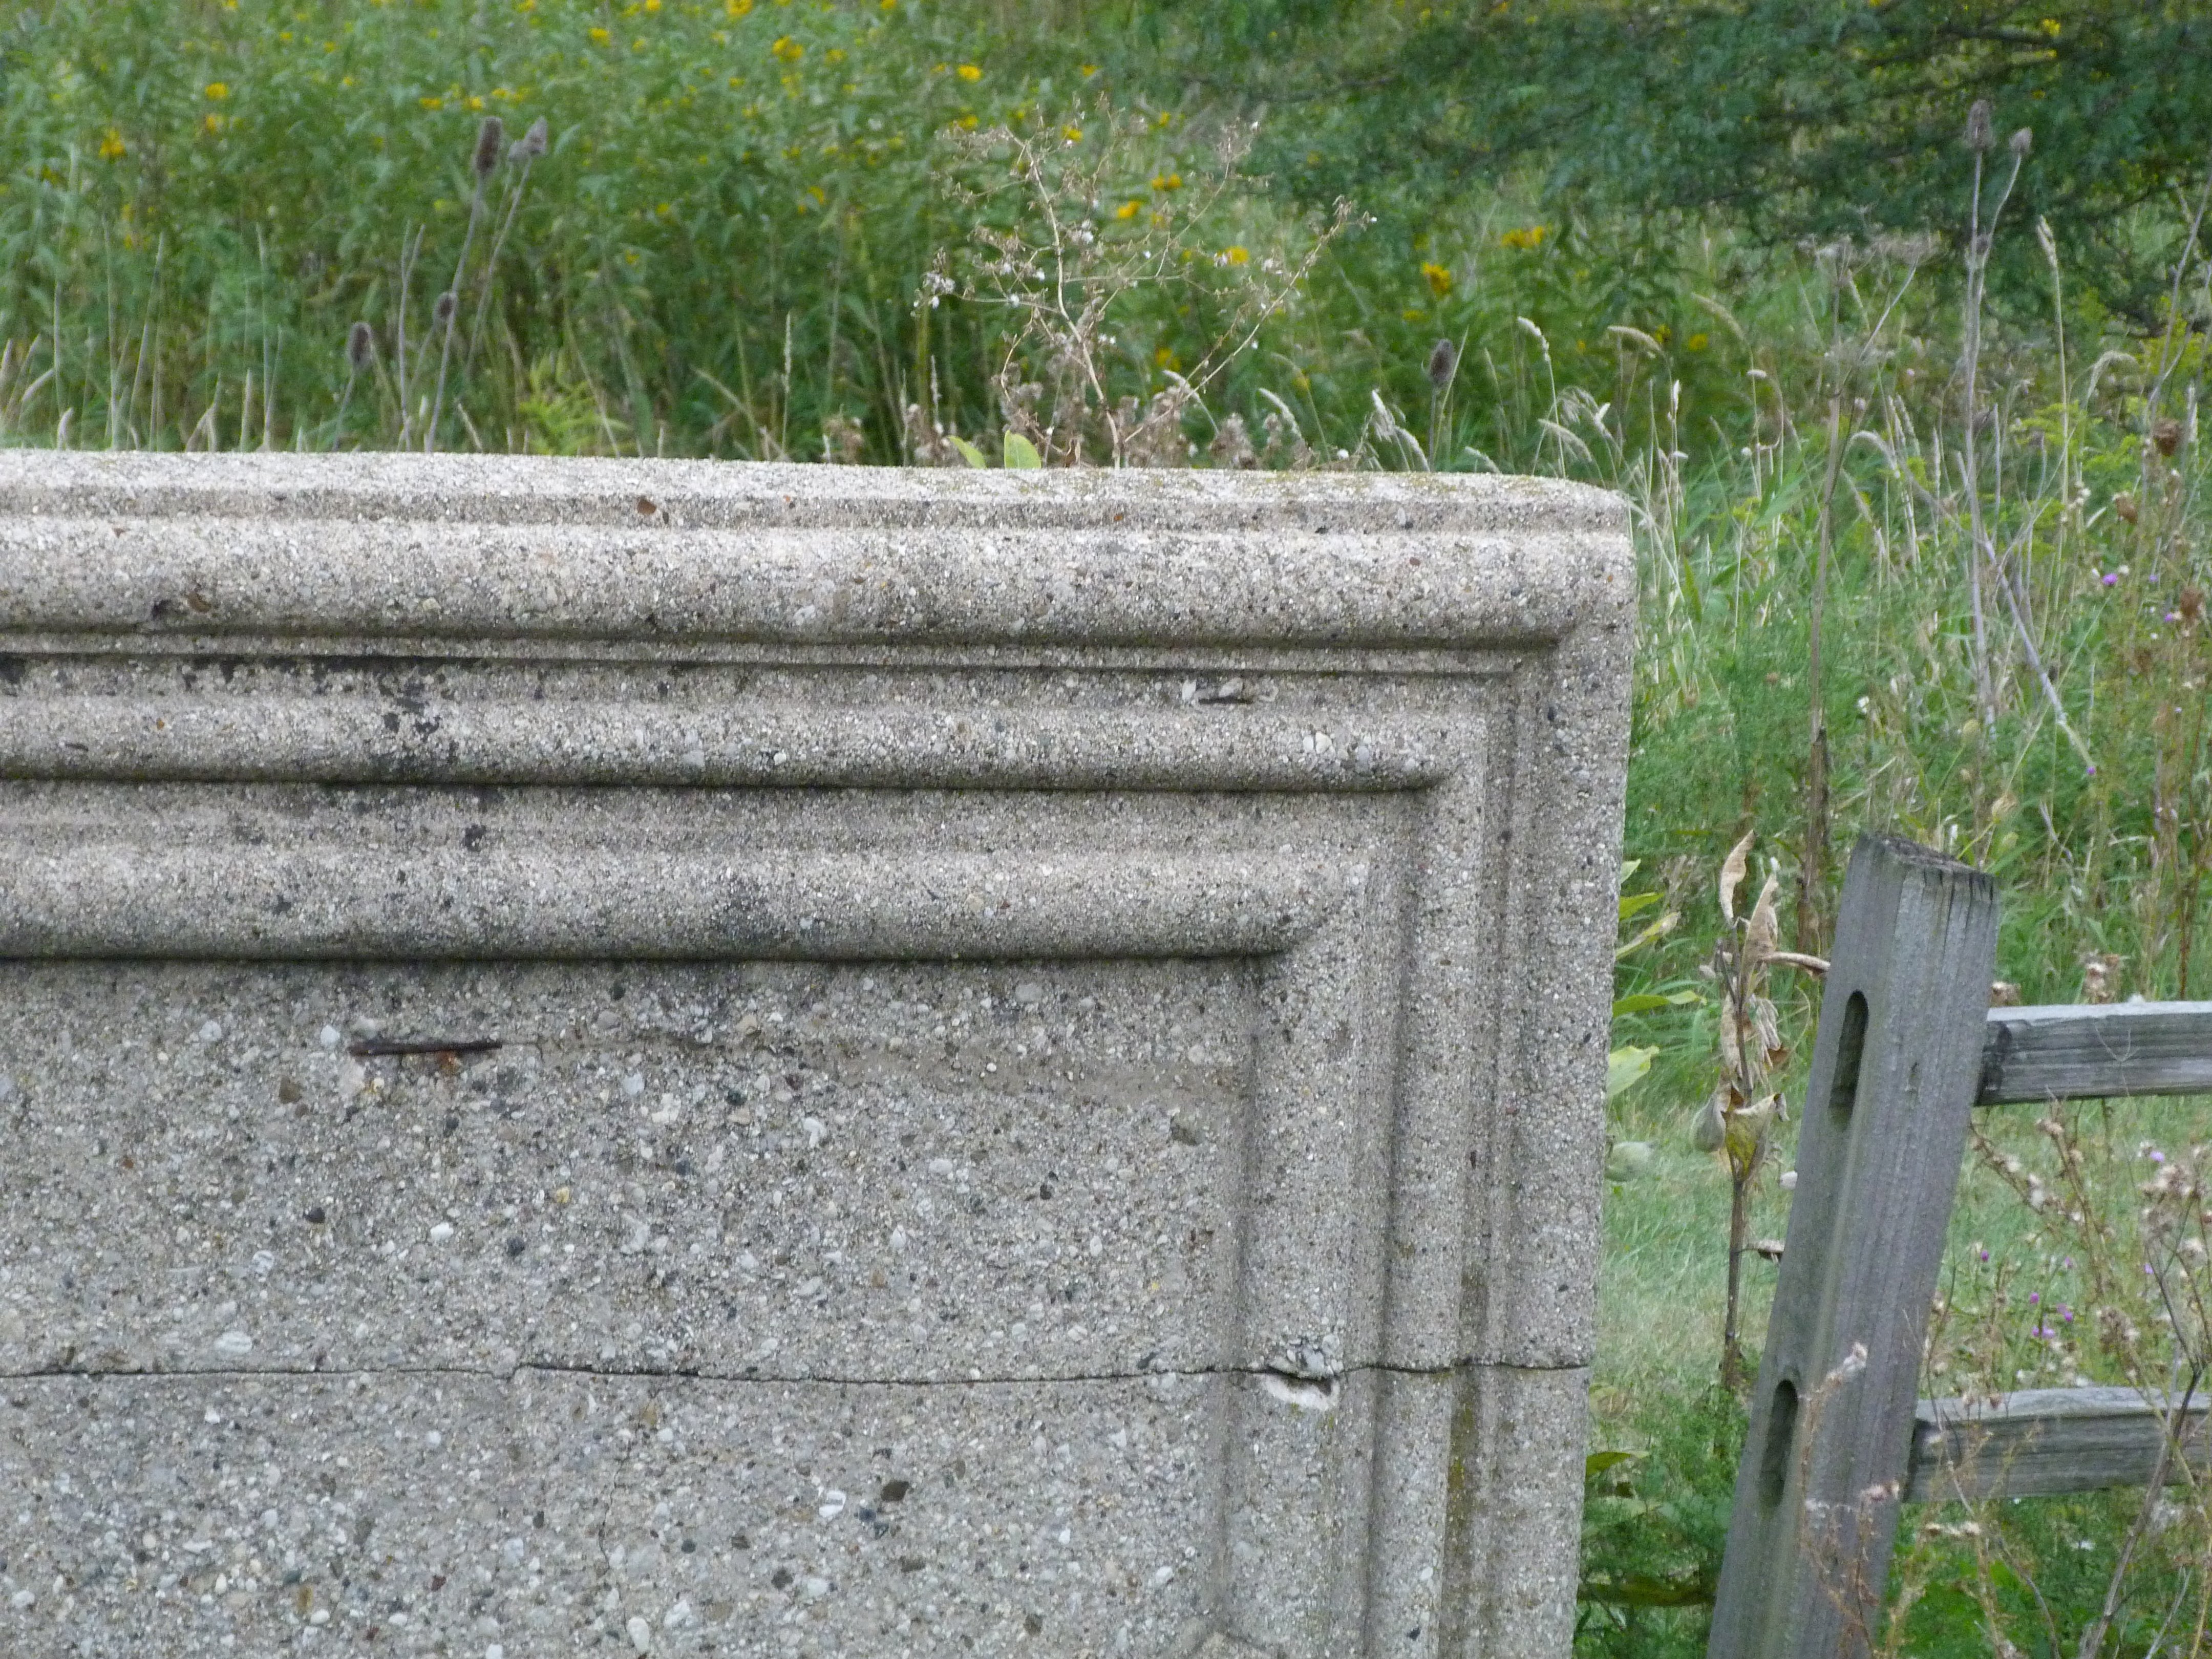
Overview of architectural details.
![]()


Lion sculpture.
![]()
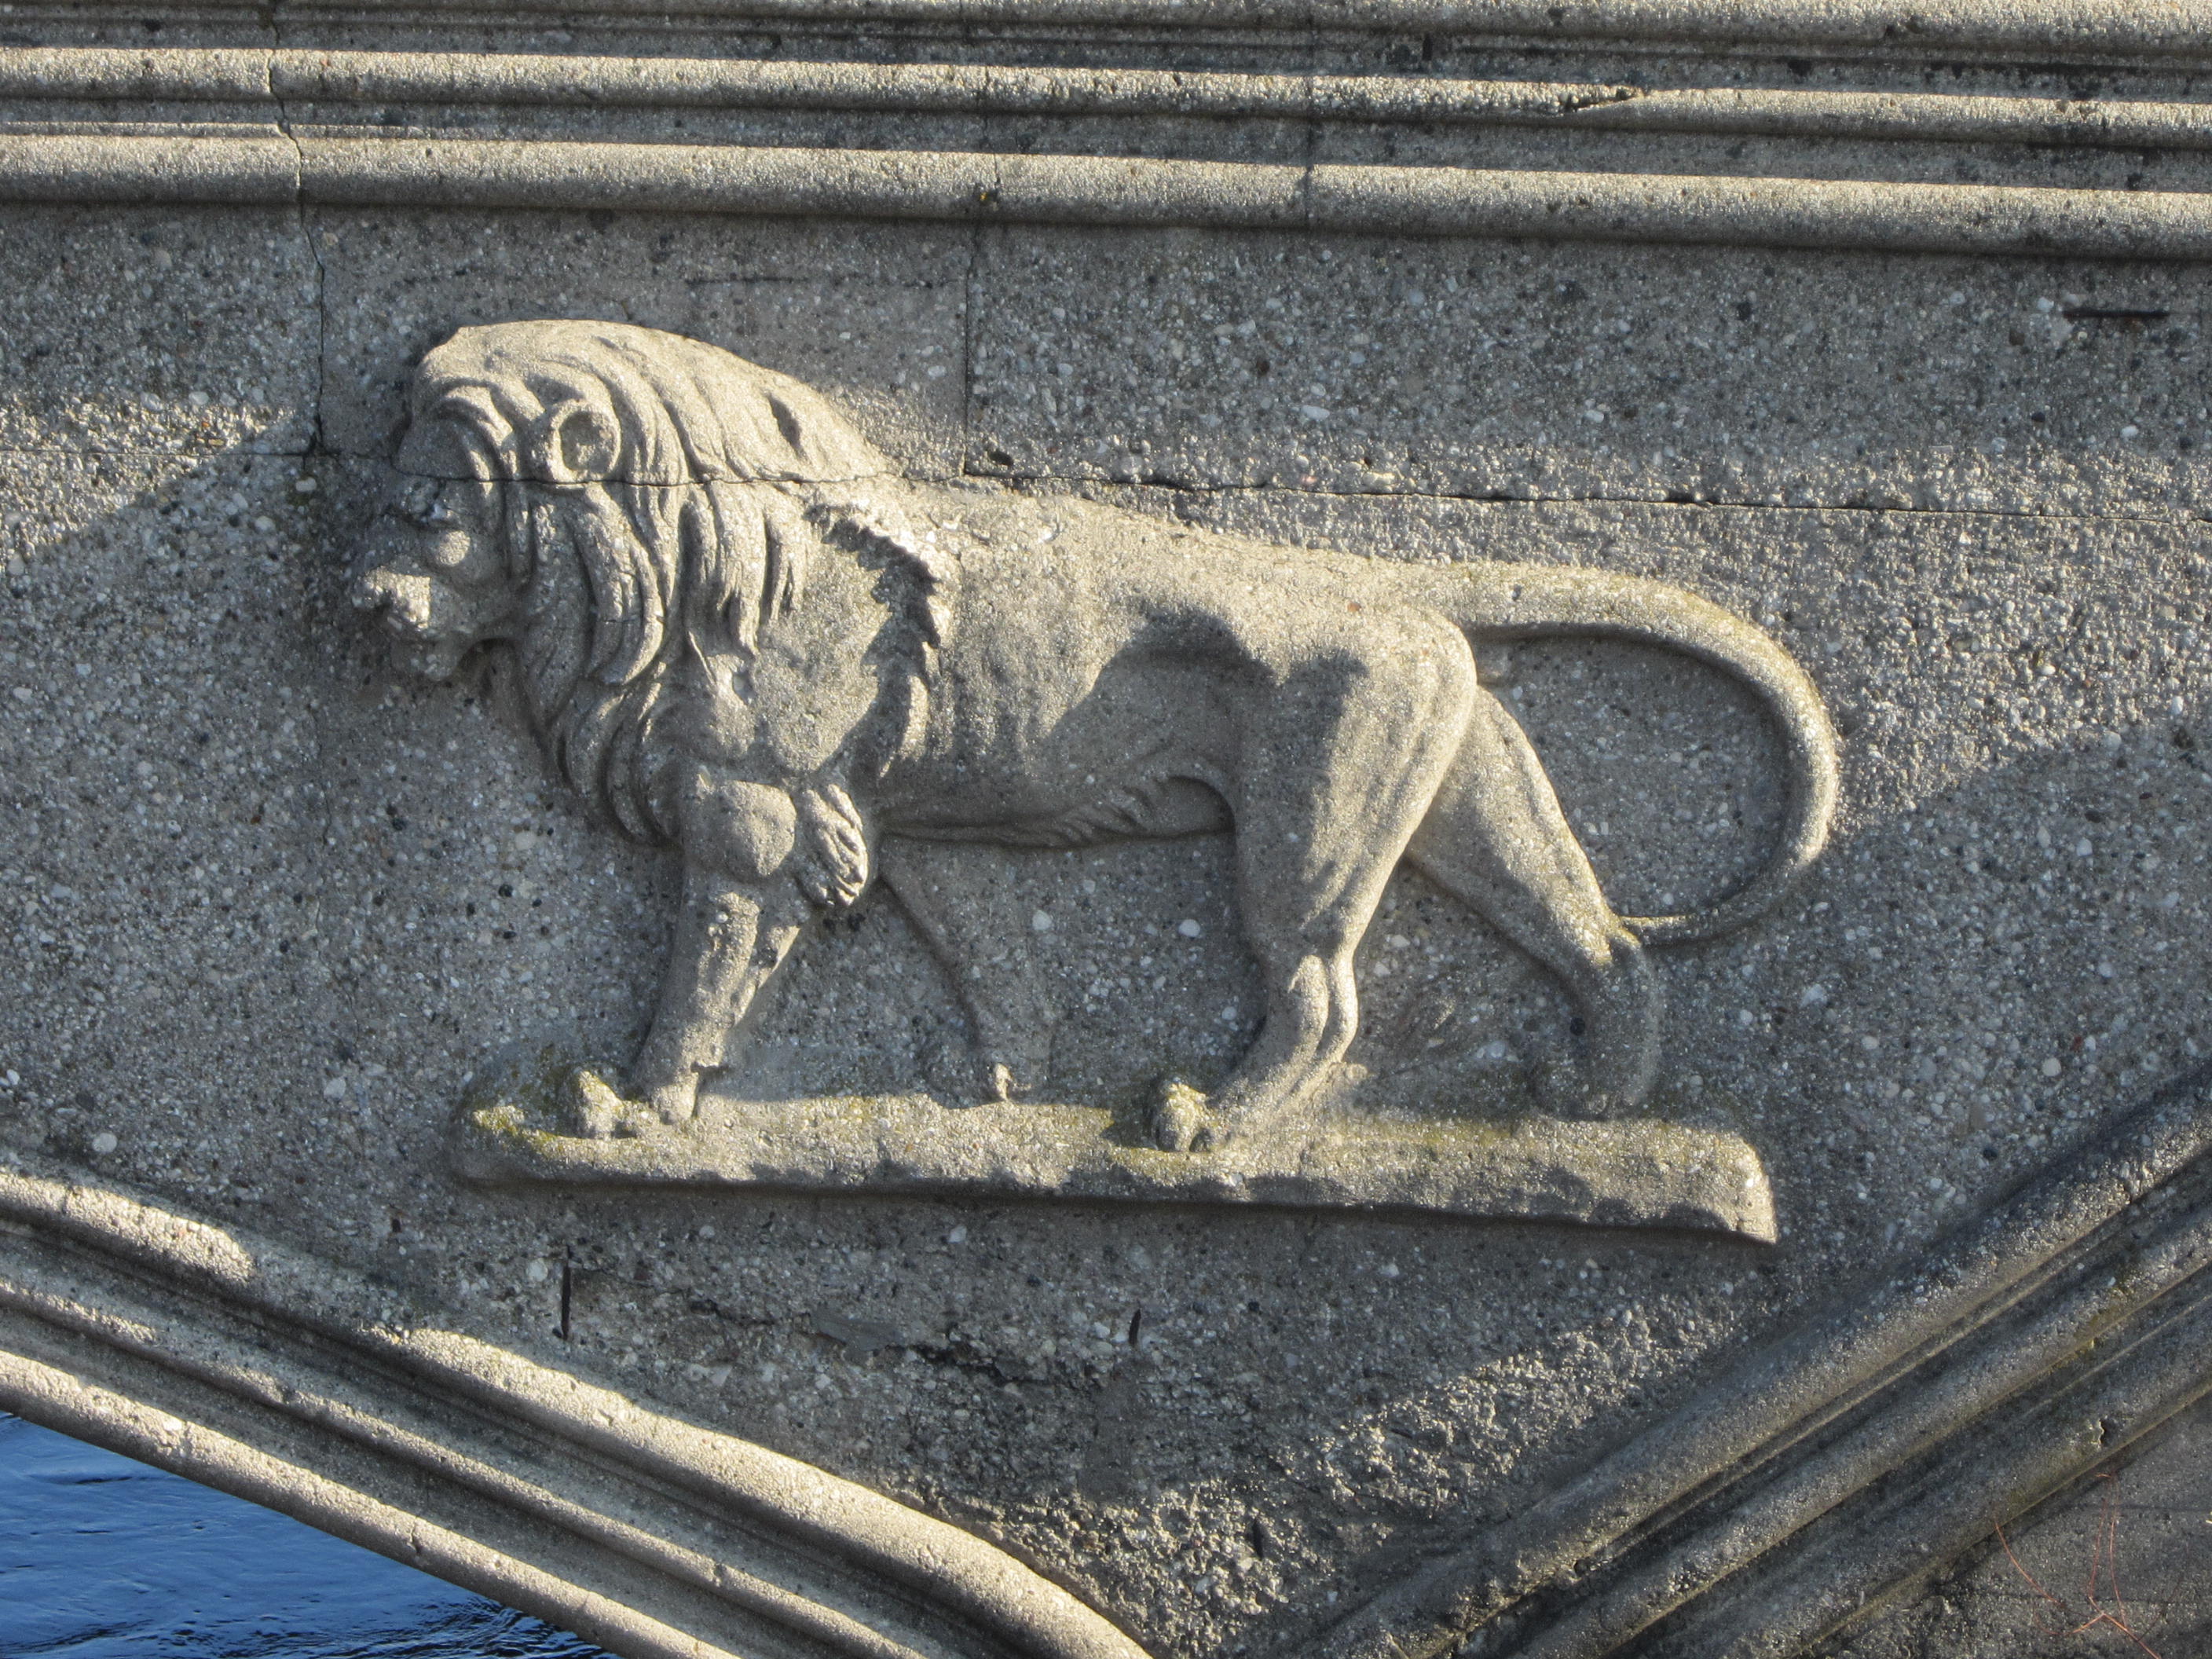

Photo Credit: Steve Conro
Lion sculpture.
![]()


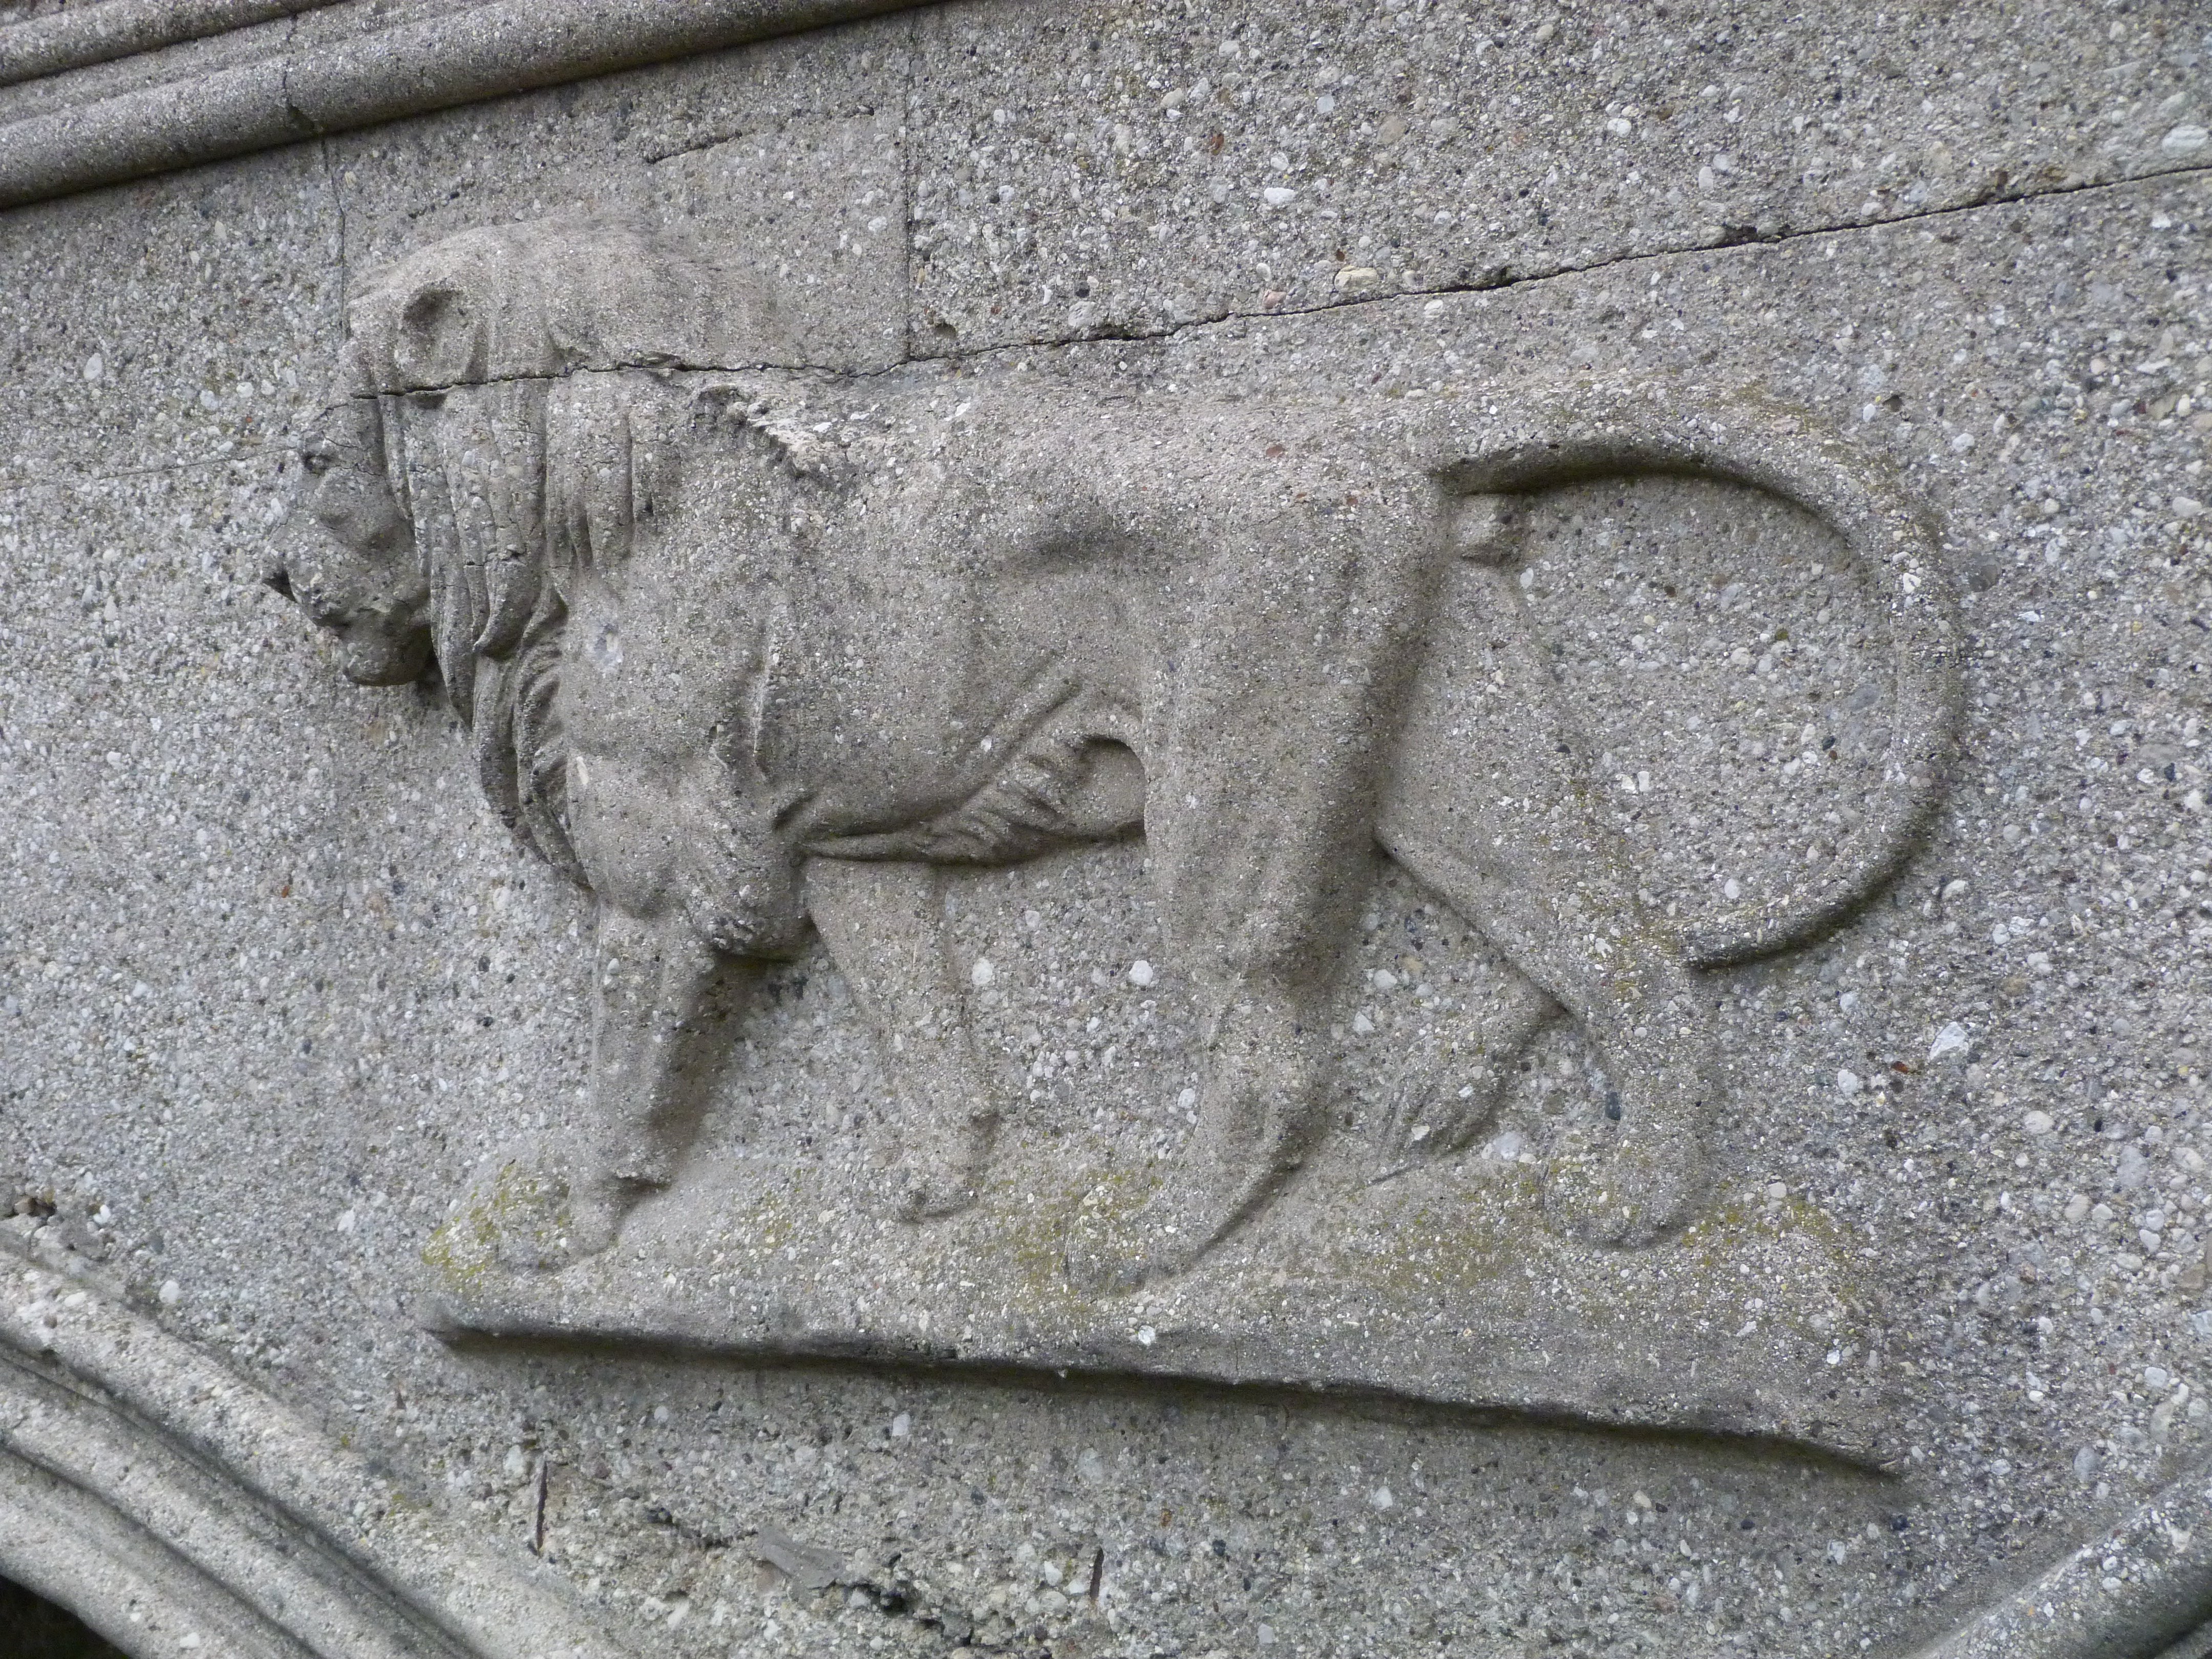
Oblique views of lion sculpture.
![]()
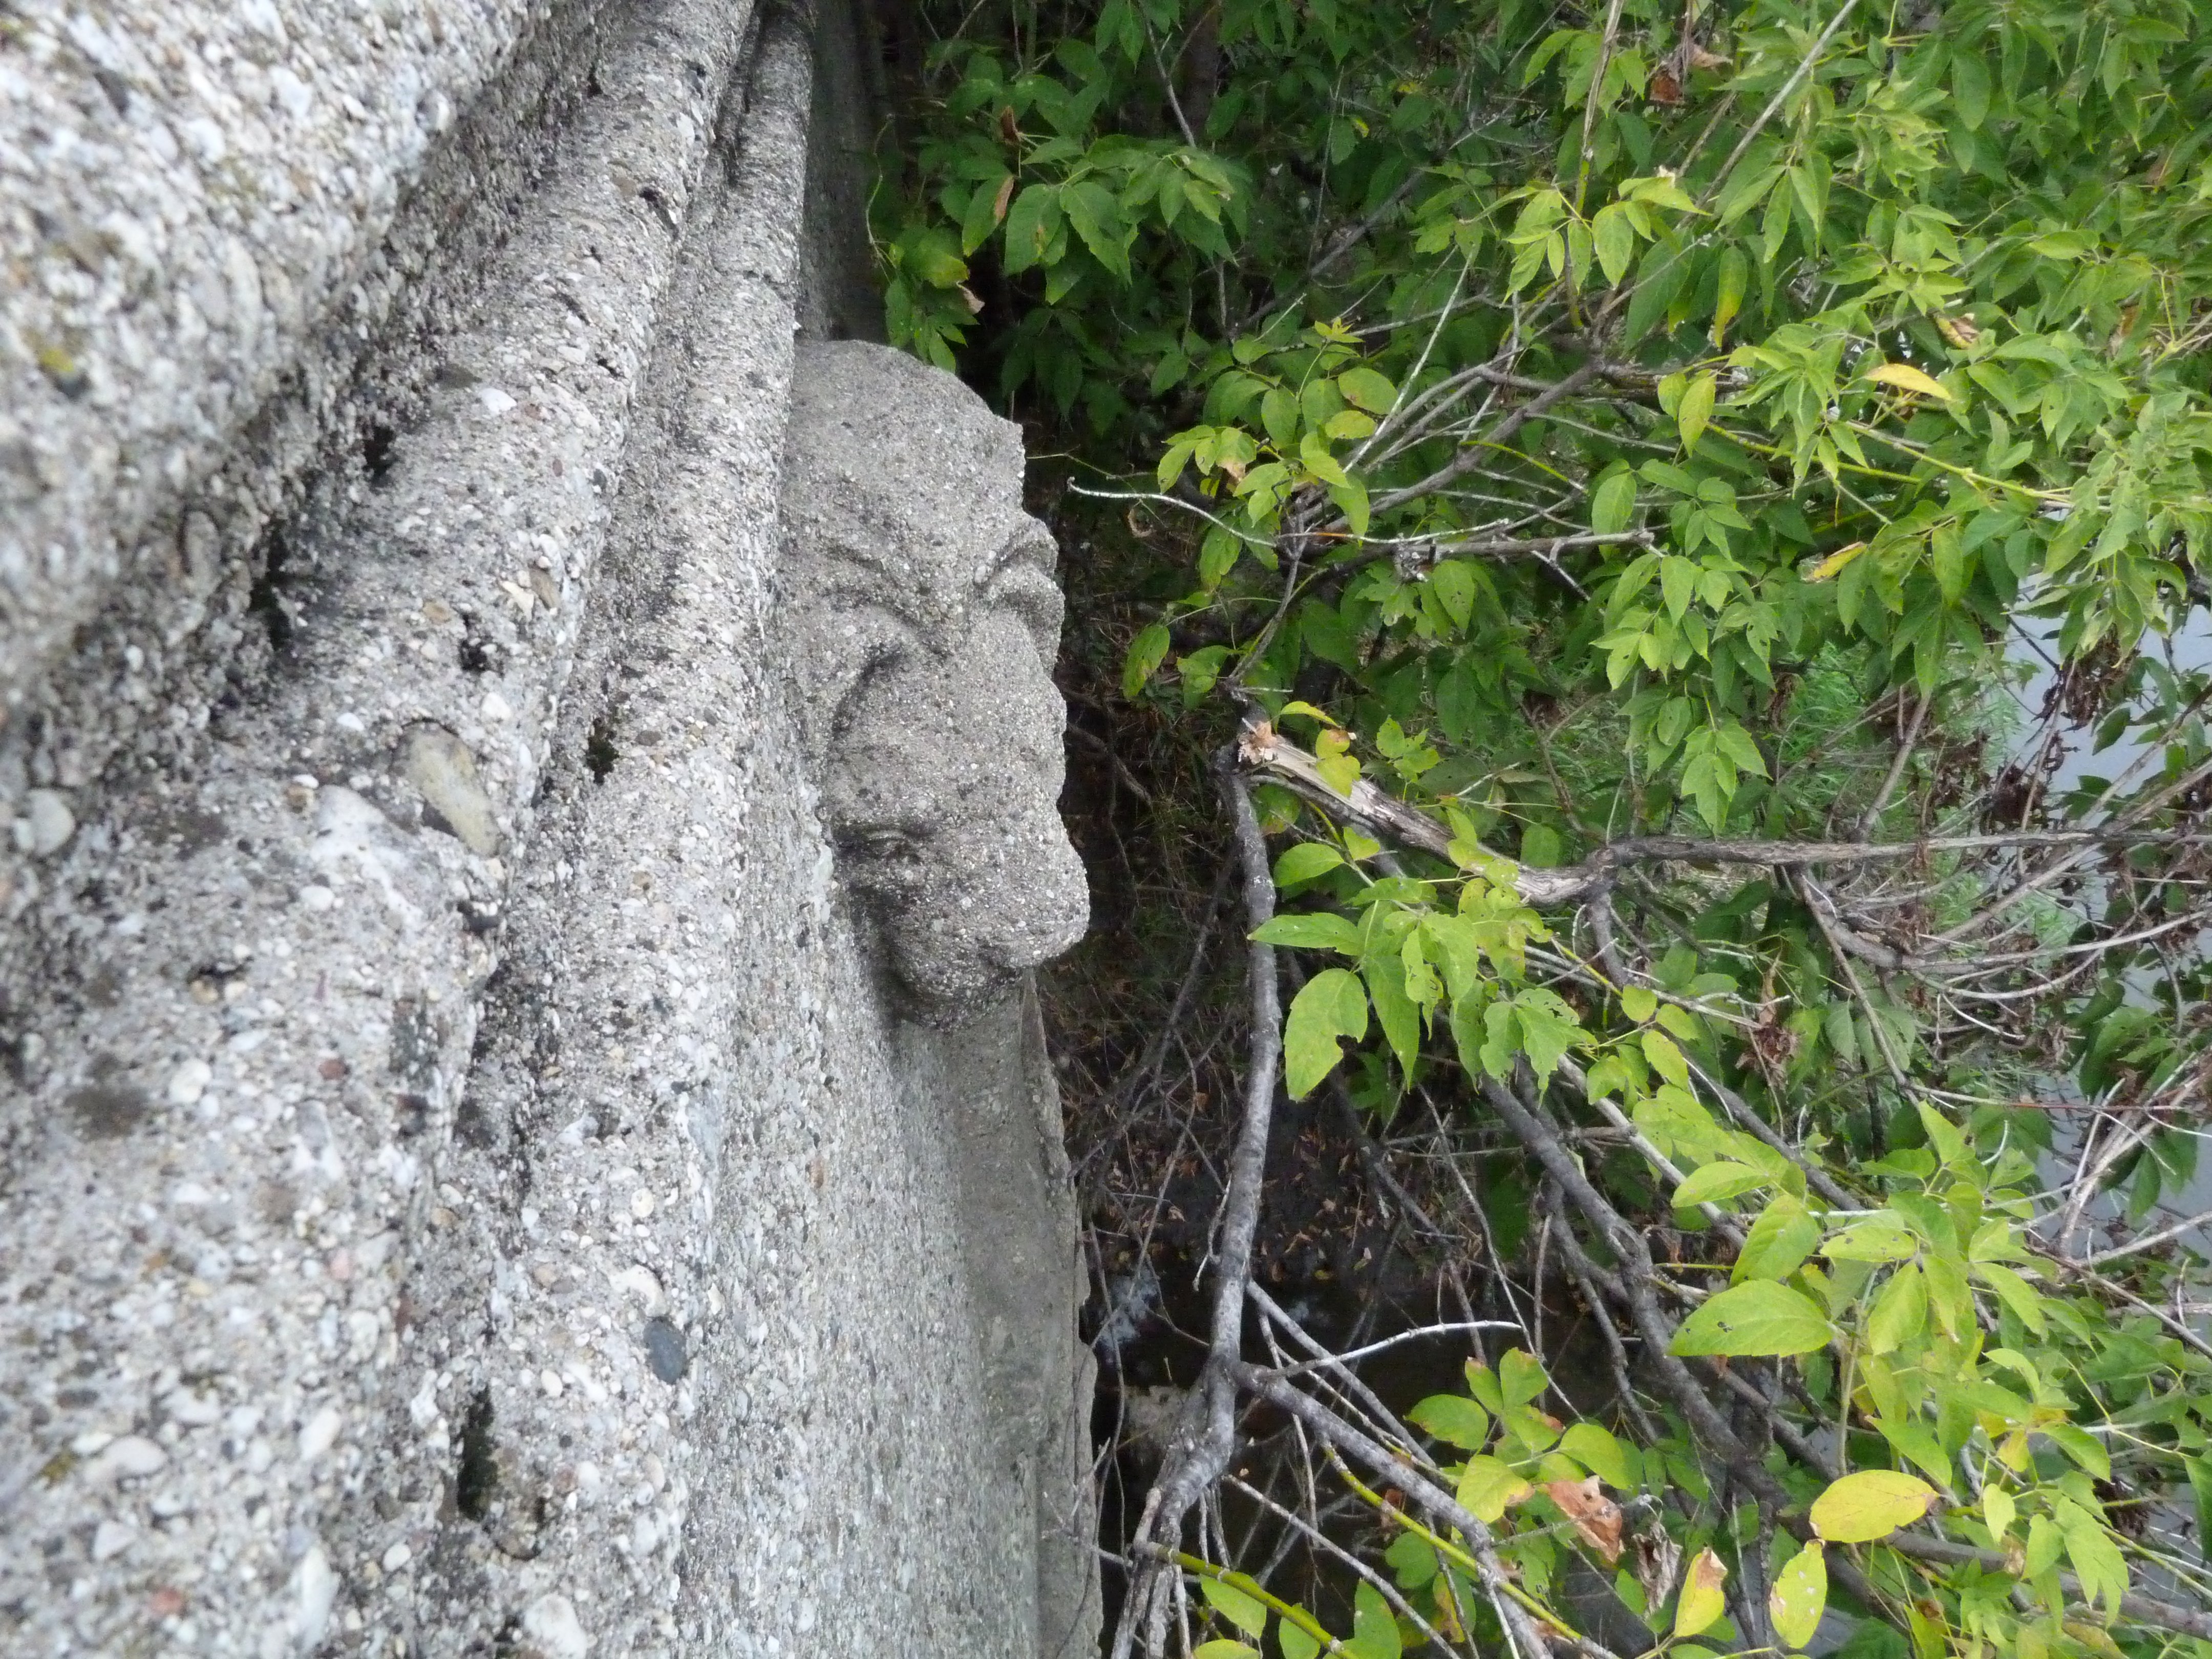

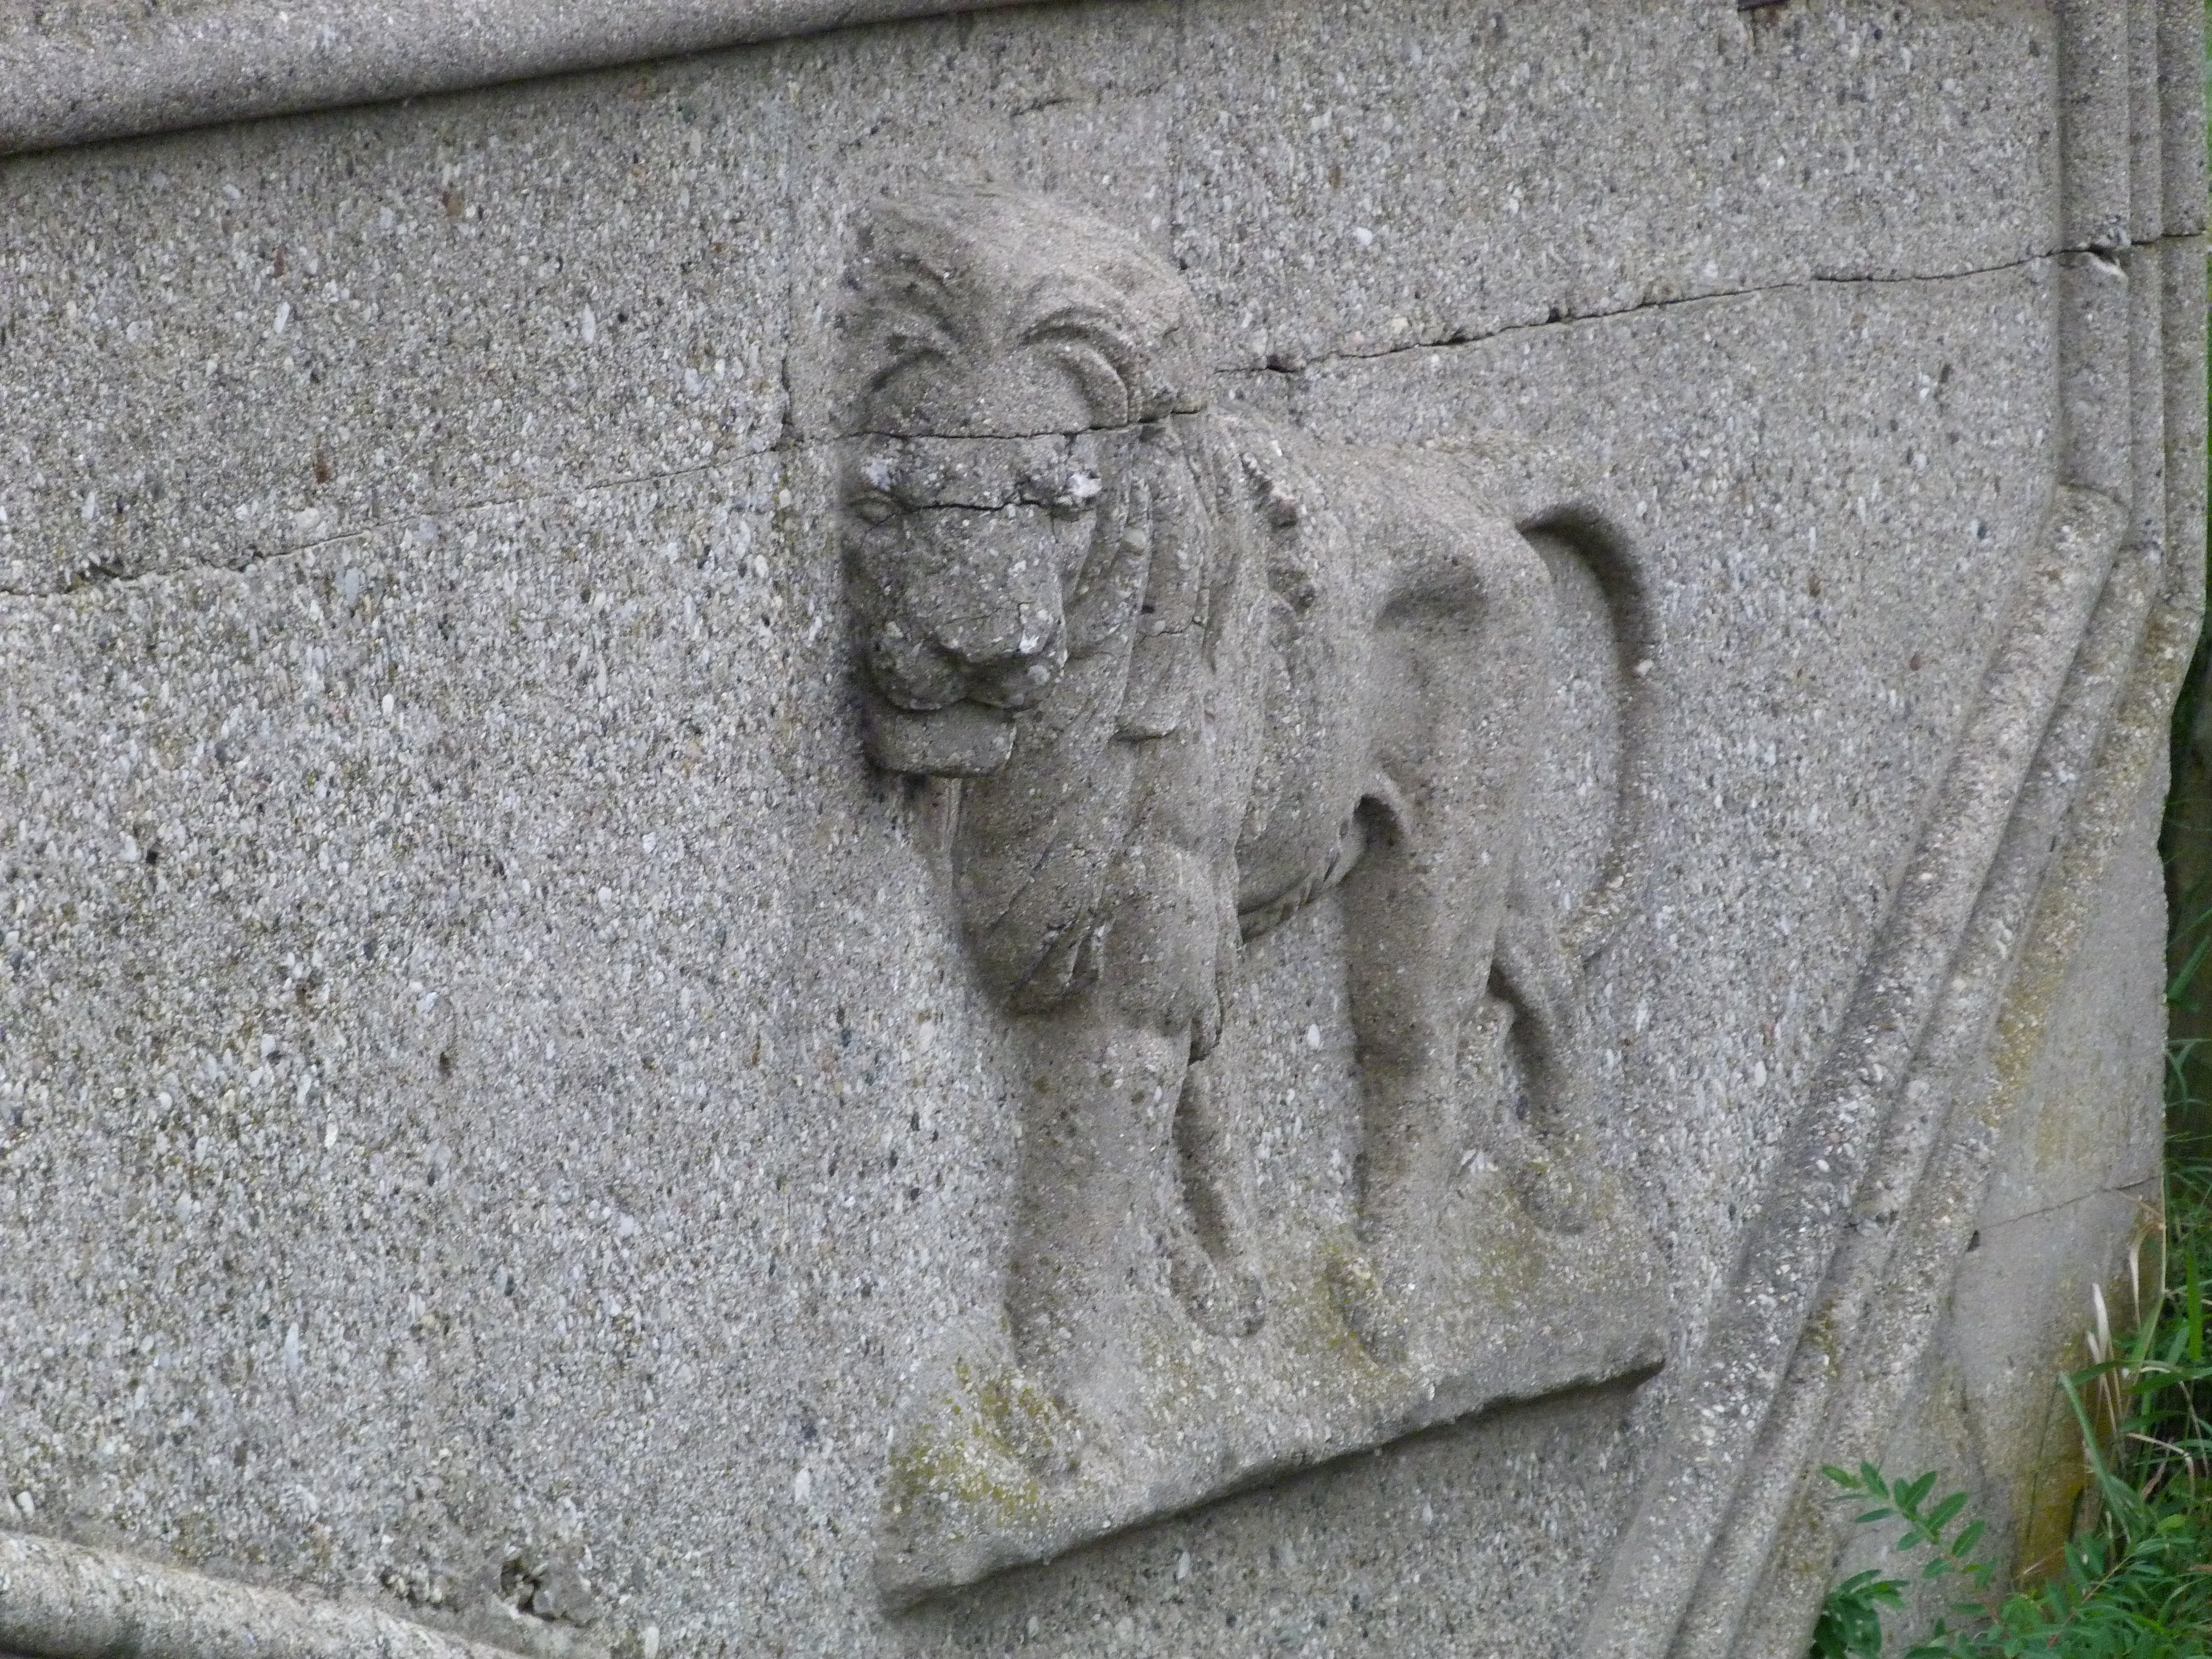
Head-on view of lion sculpture.
![]()

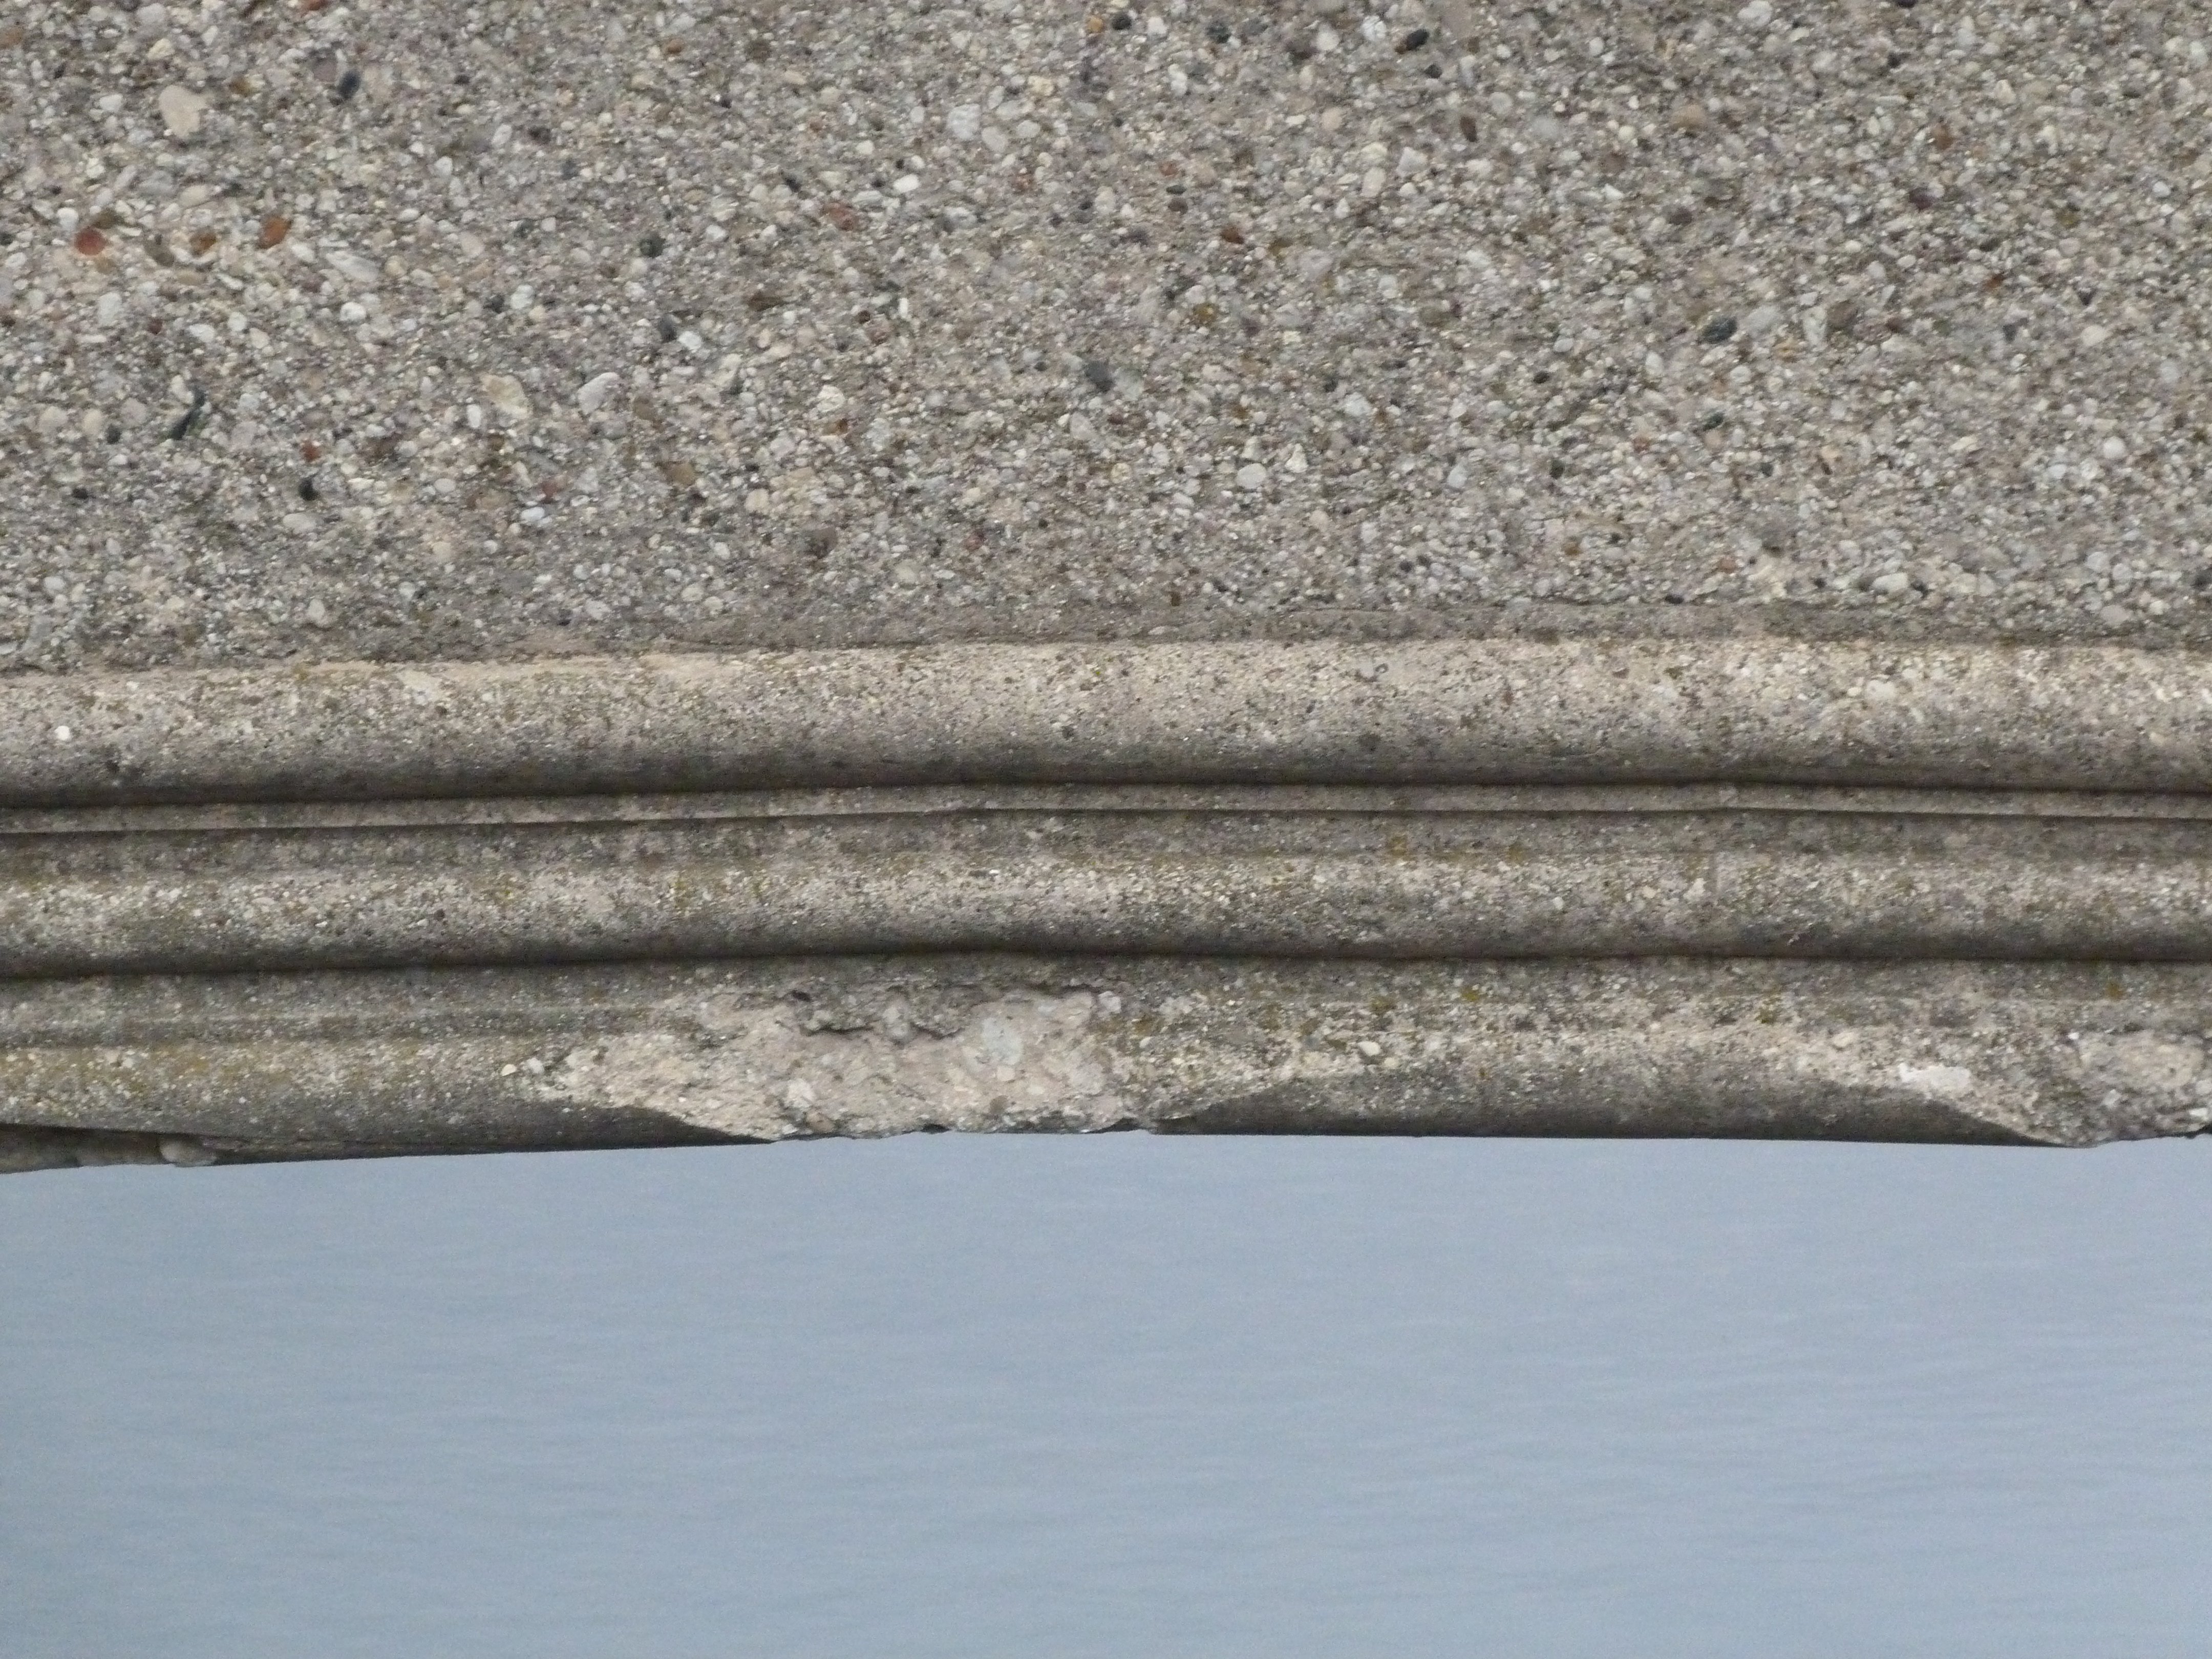

Decorative lines on spandrel wall.
![]()


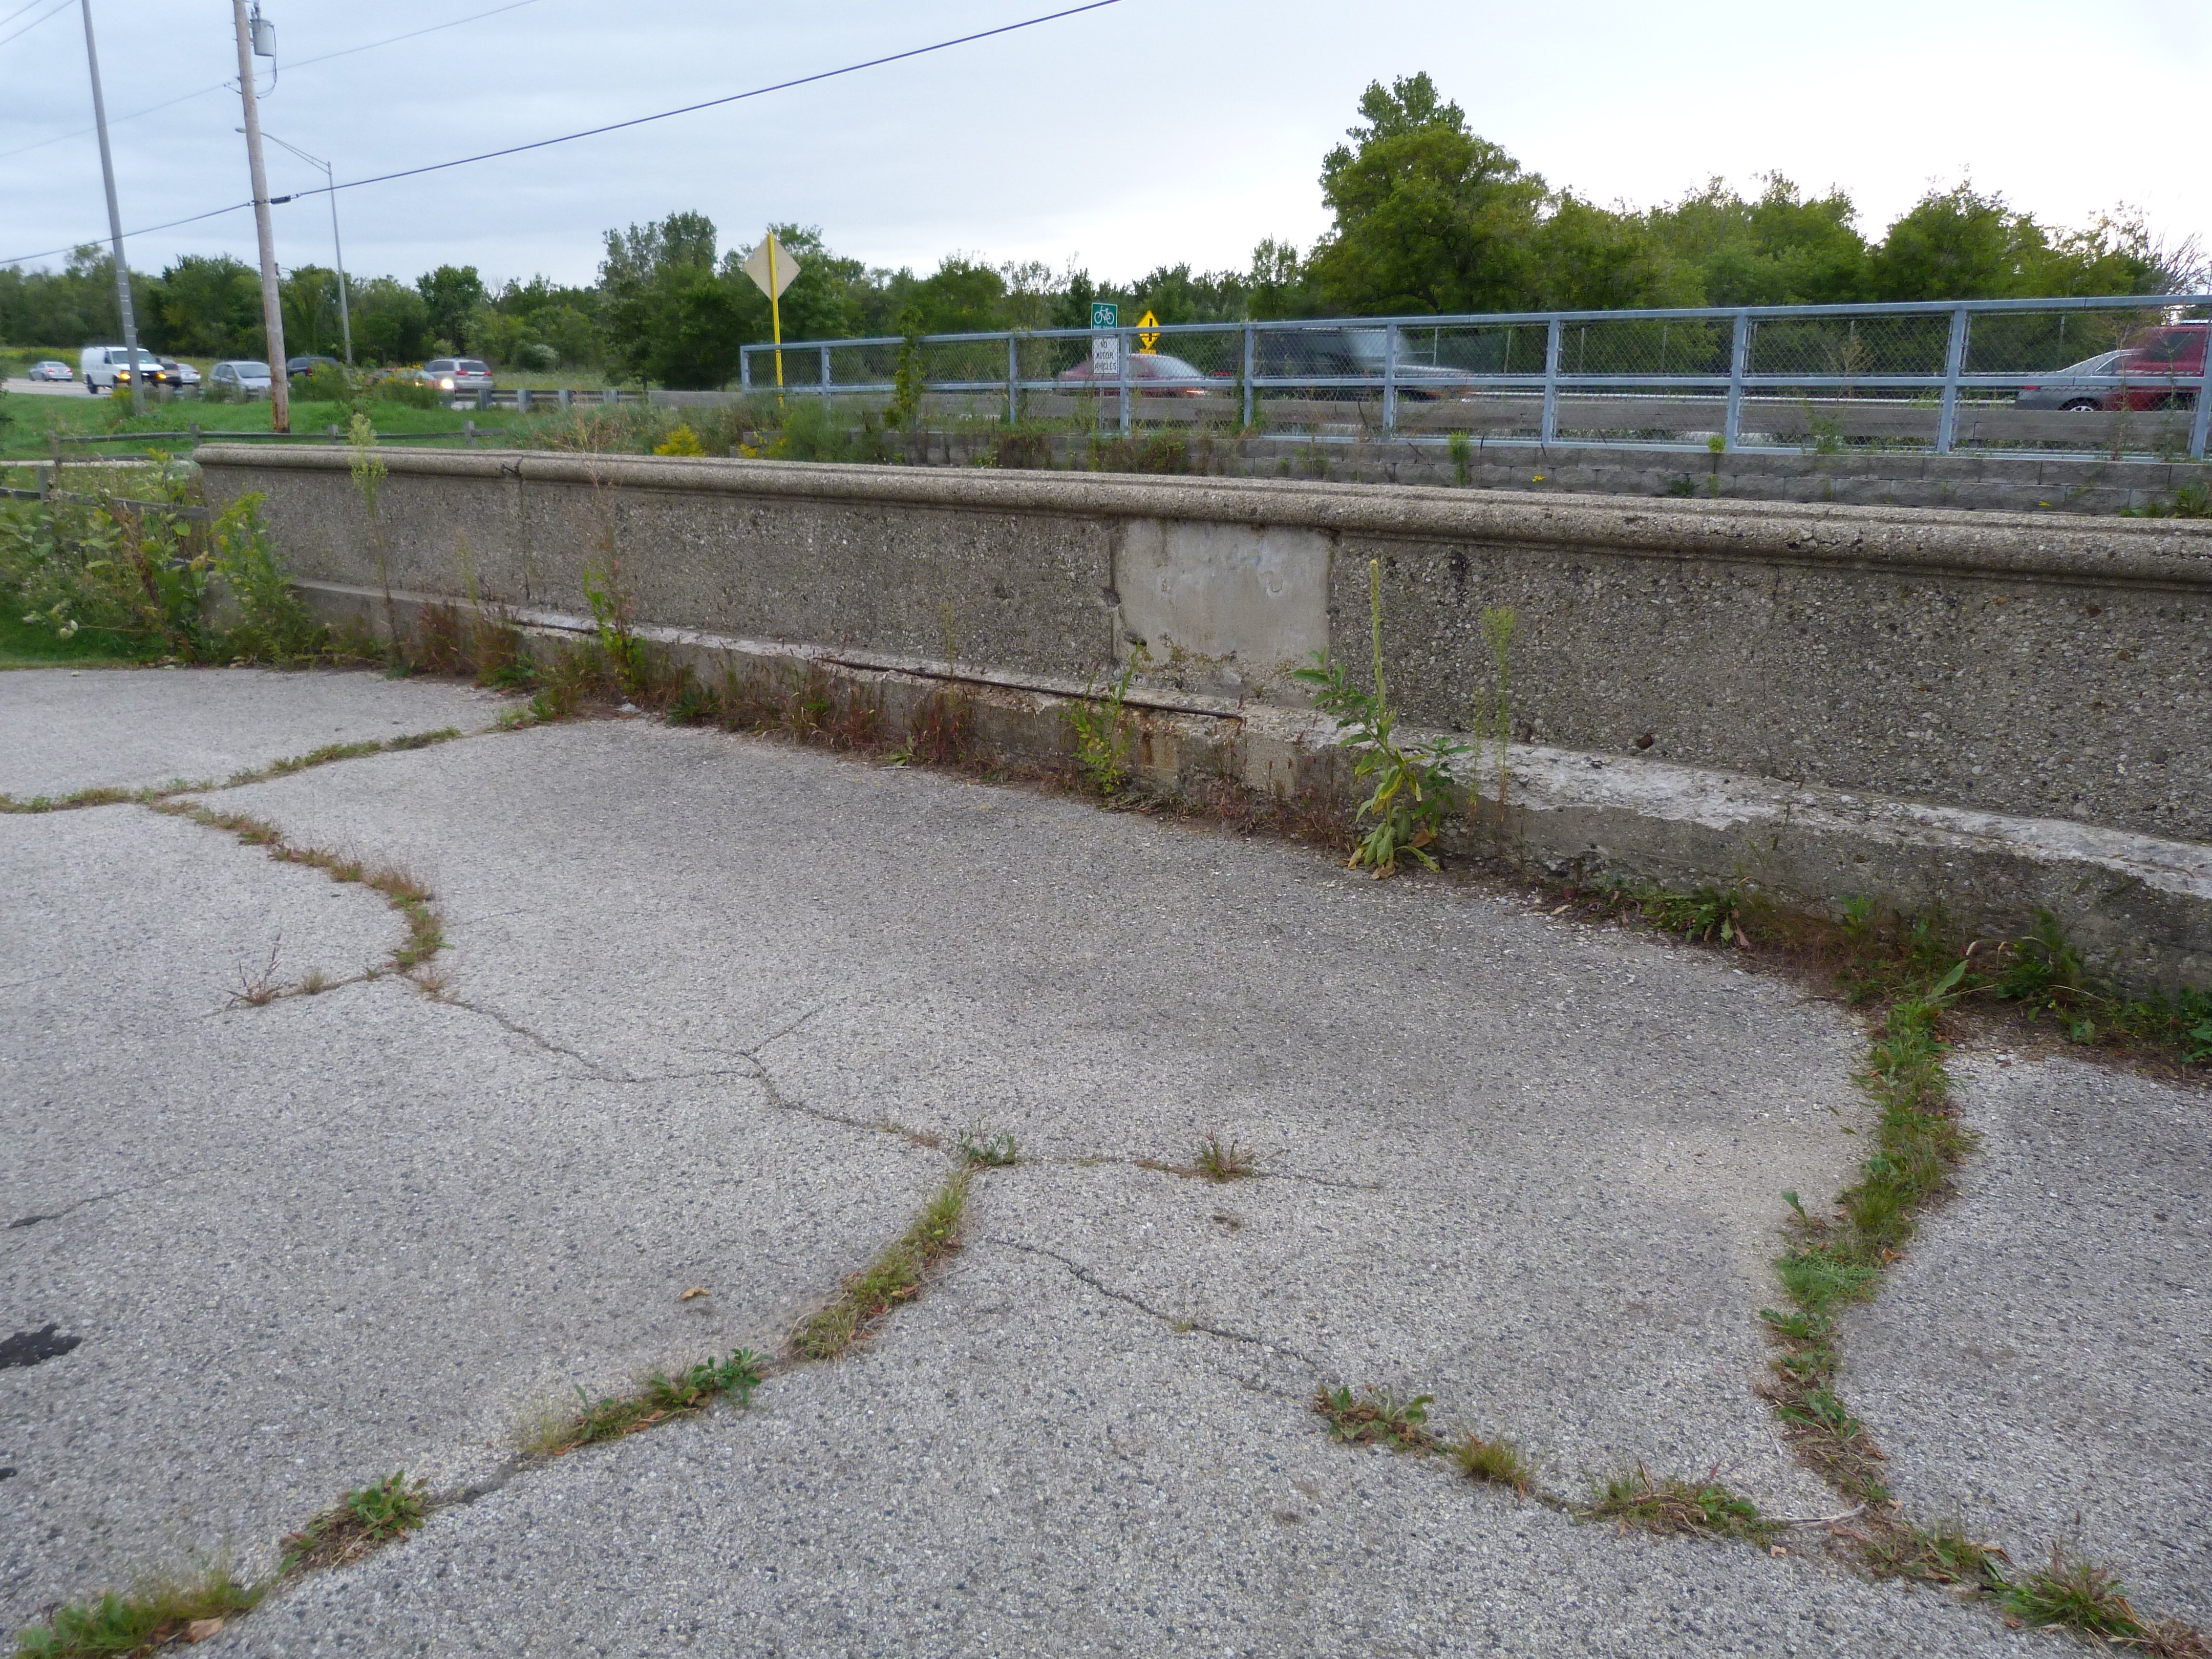


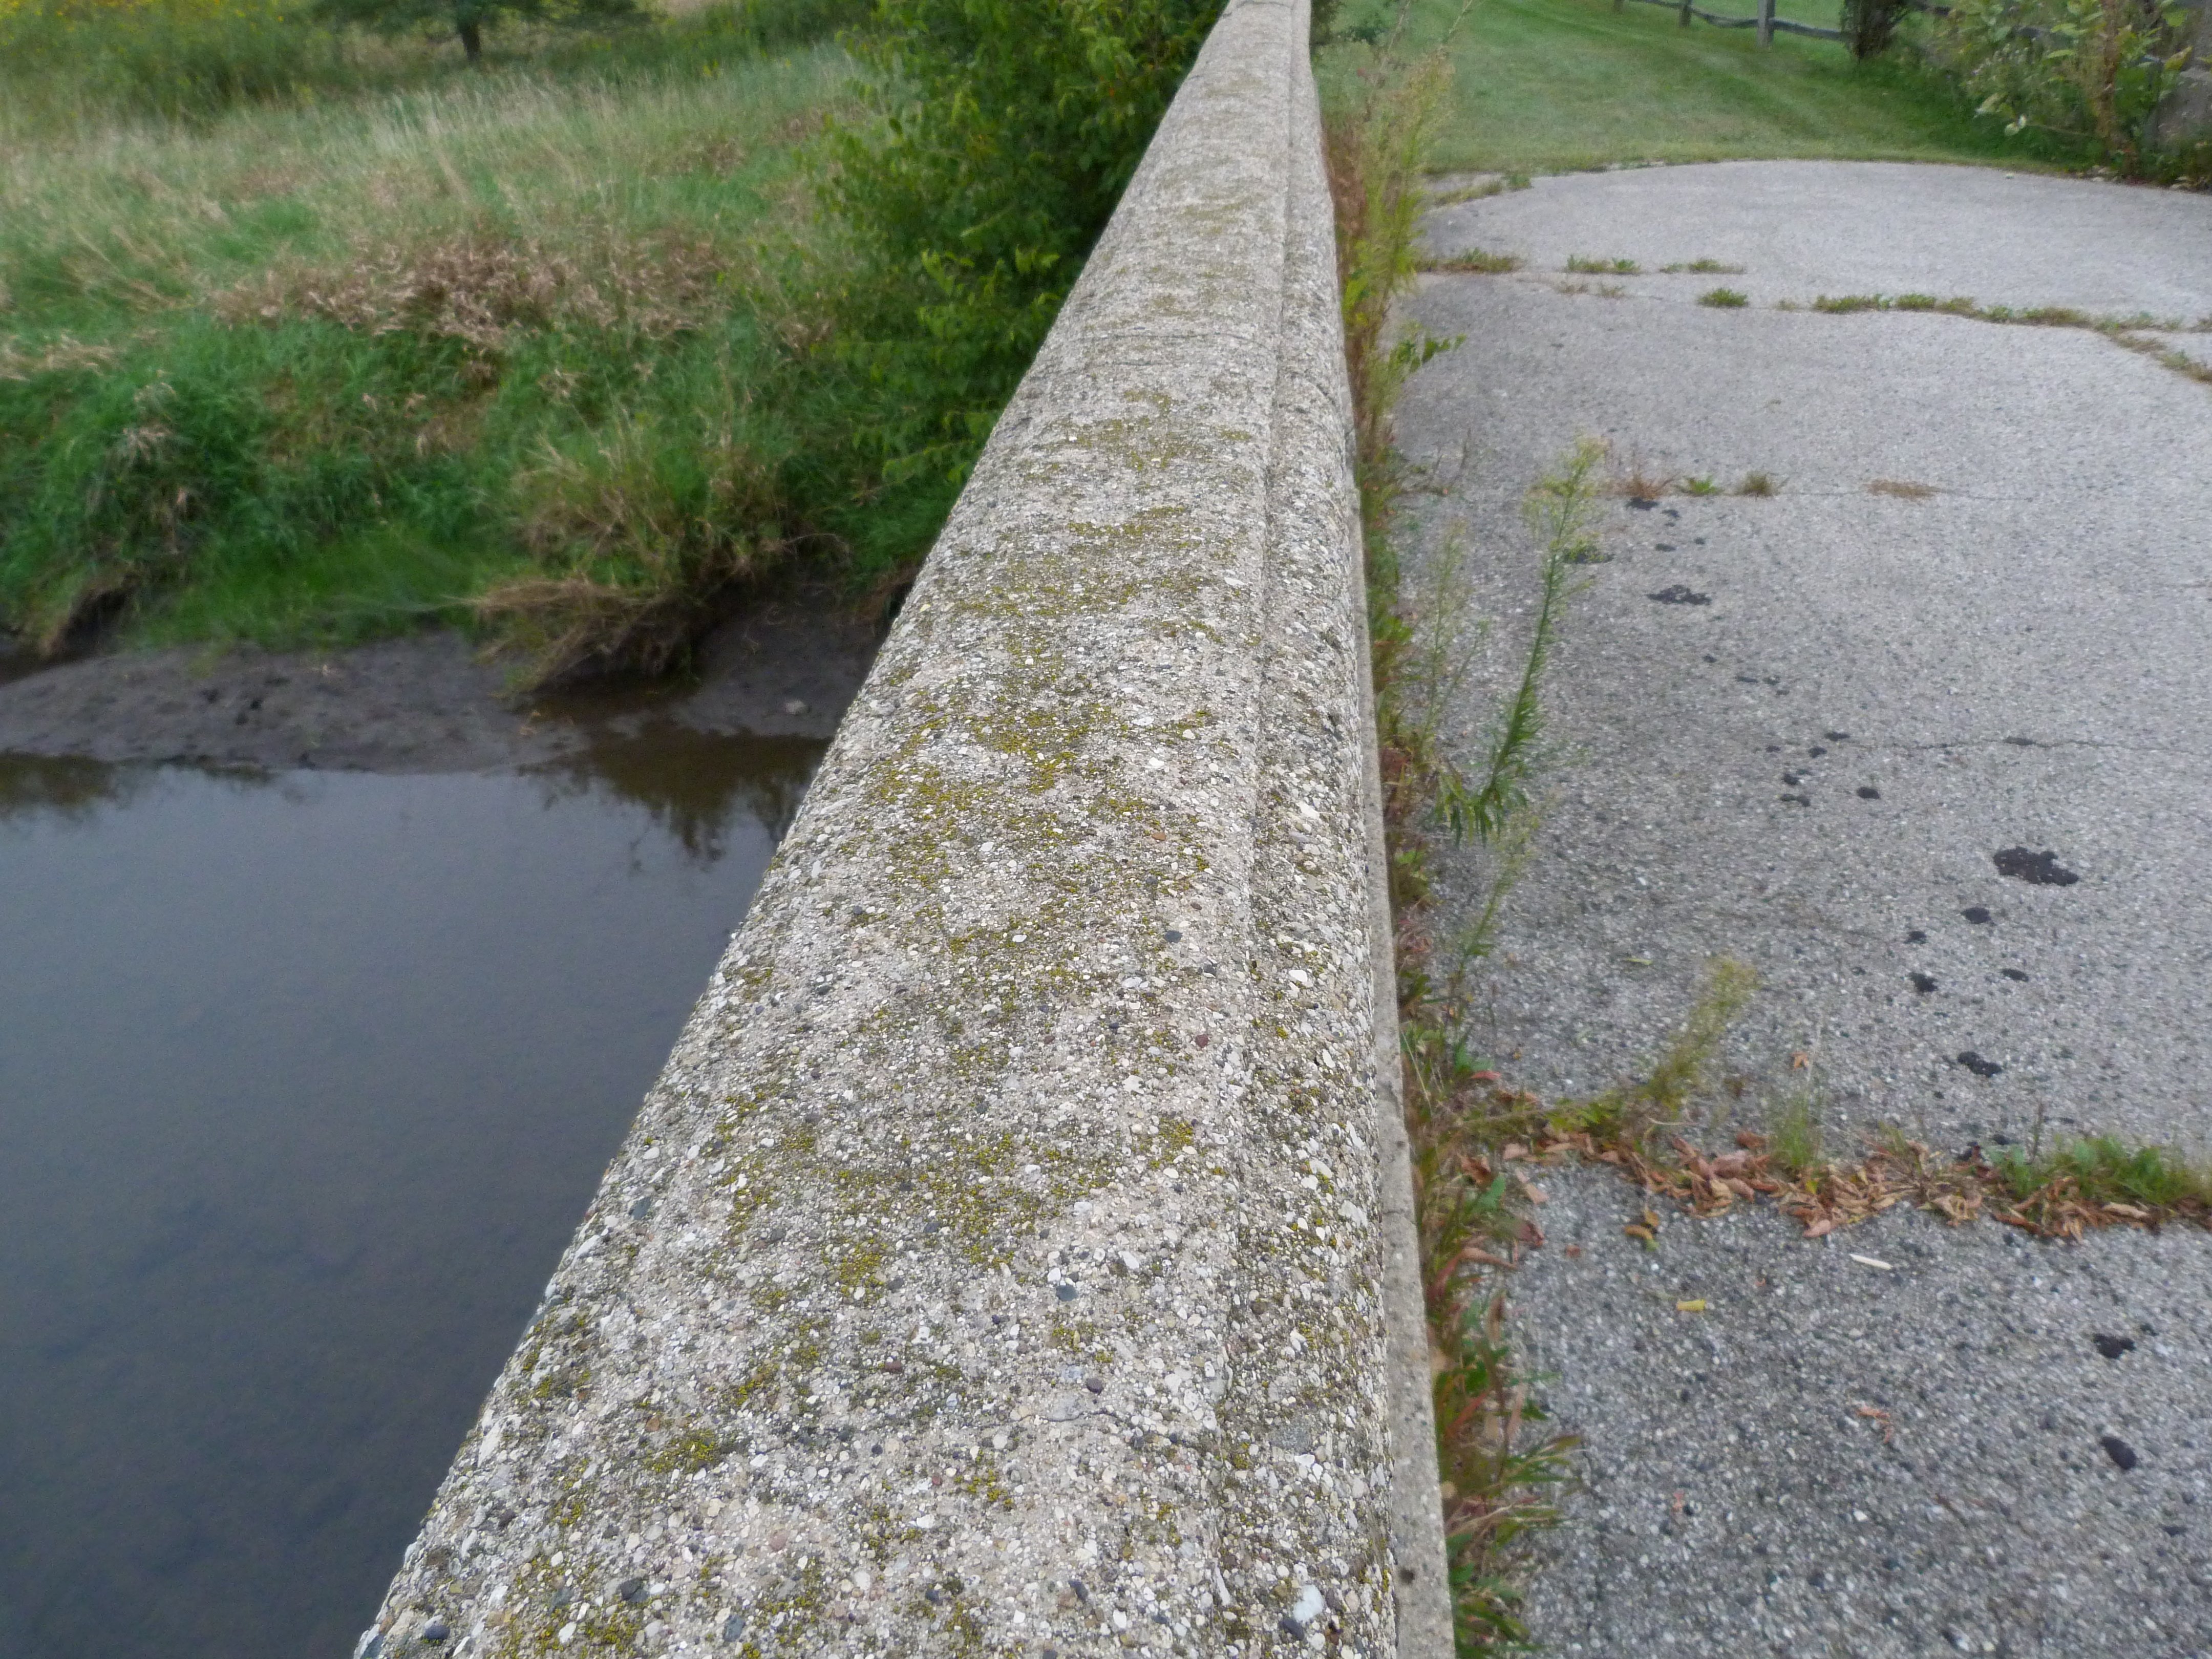
Railing overview.
![]()

Photo Credit: Steve Conro
Railing overview.
![]()


Railing details.
![]()


Photo Credit: Steve Conro
Railing details.
![]()
Curb.
![]()


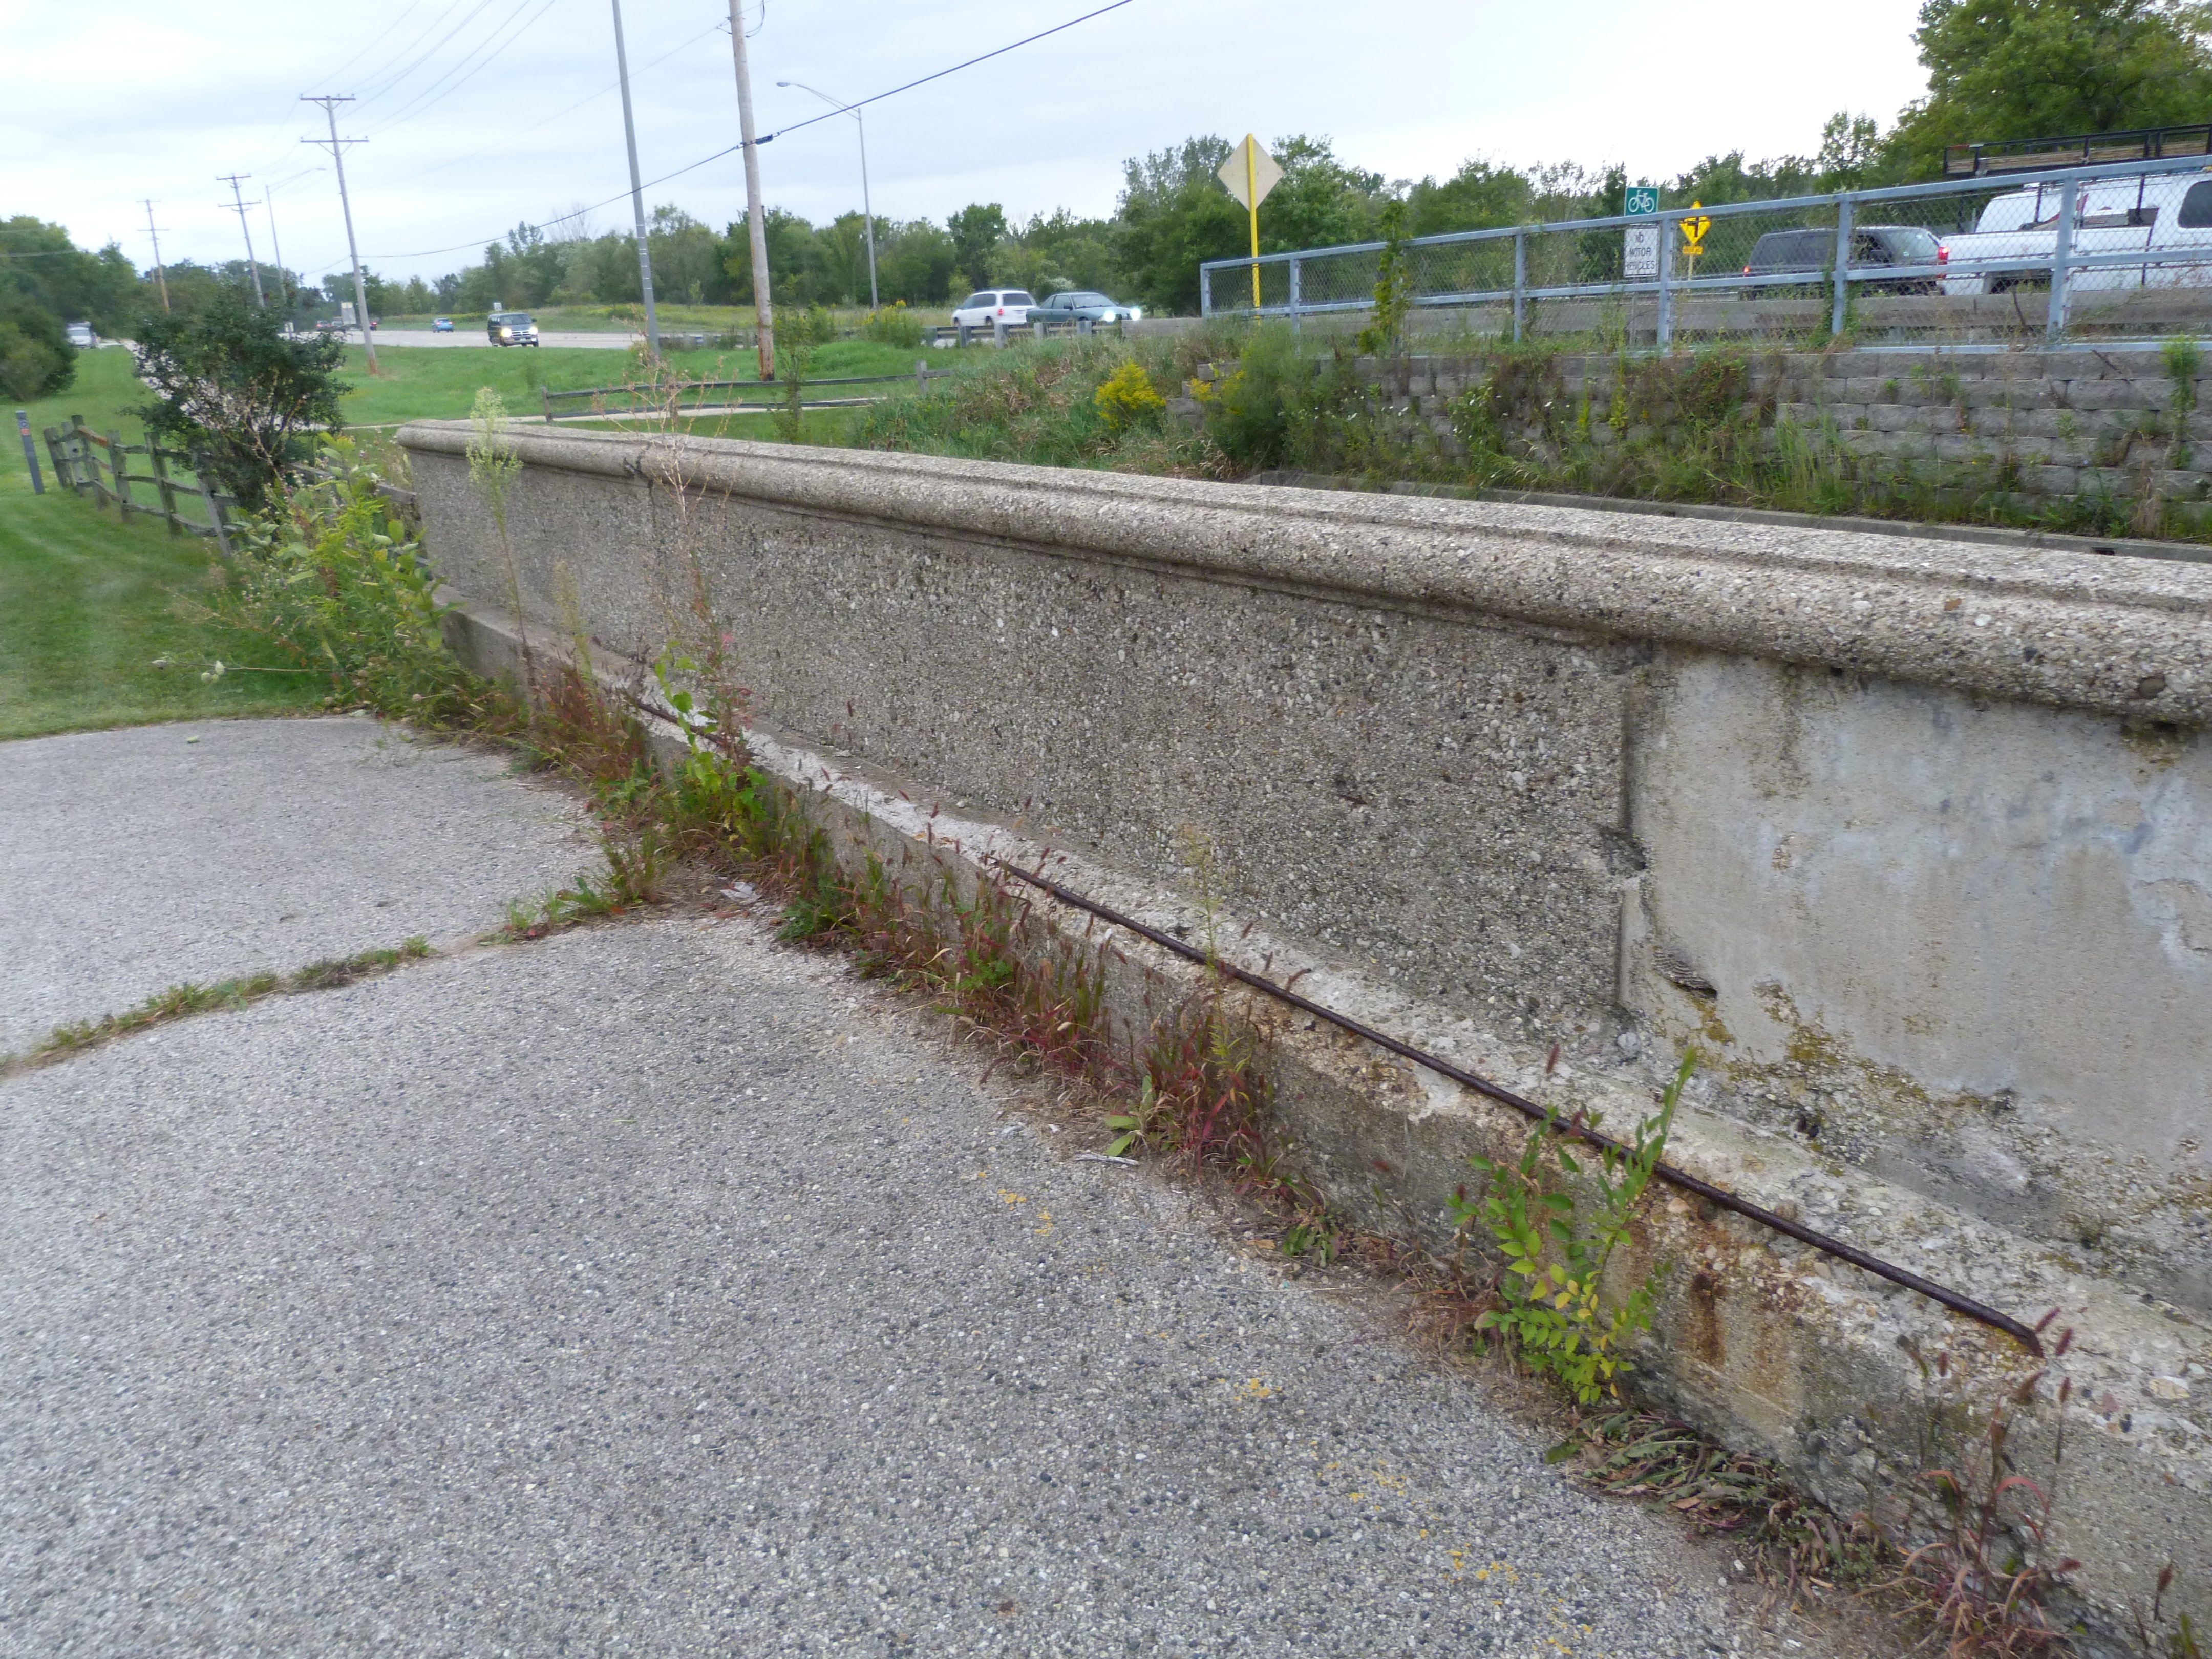
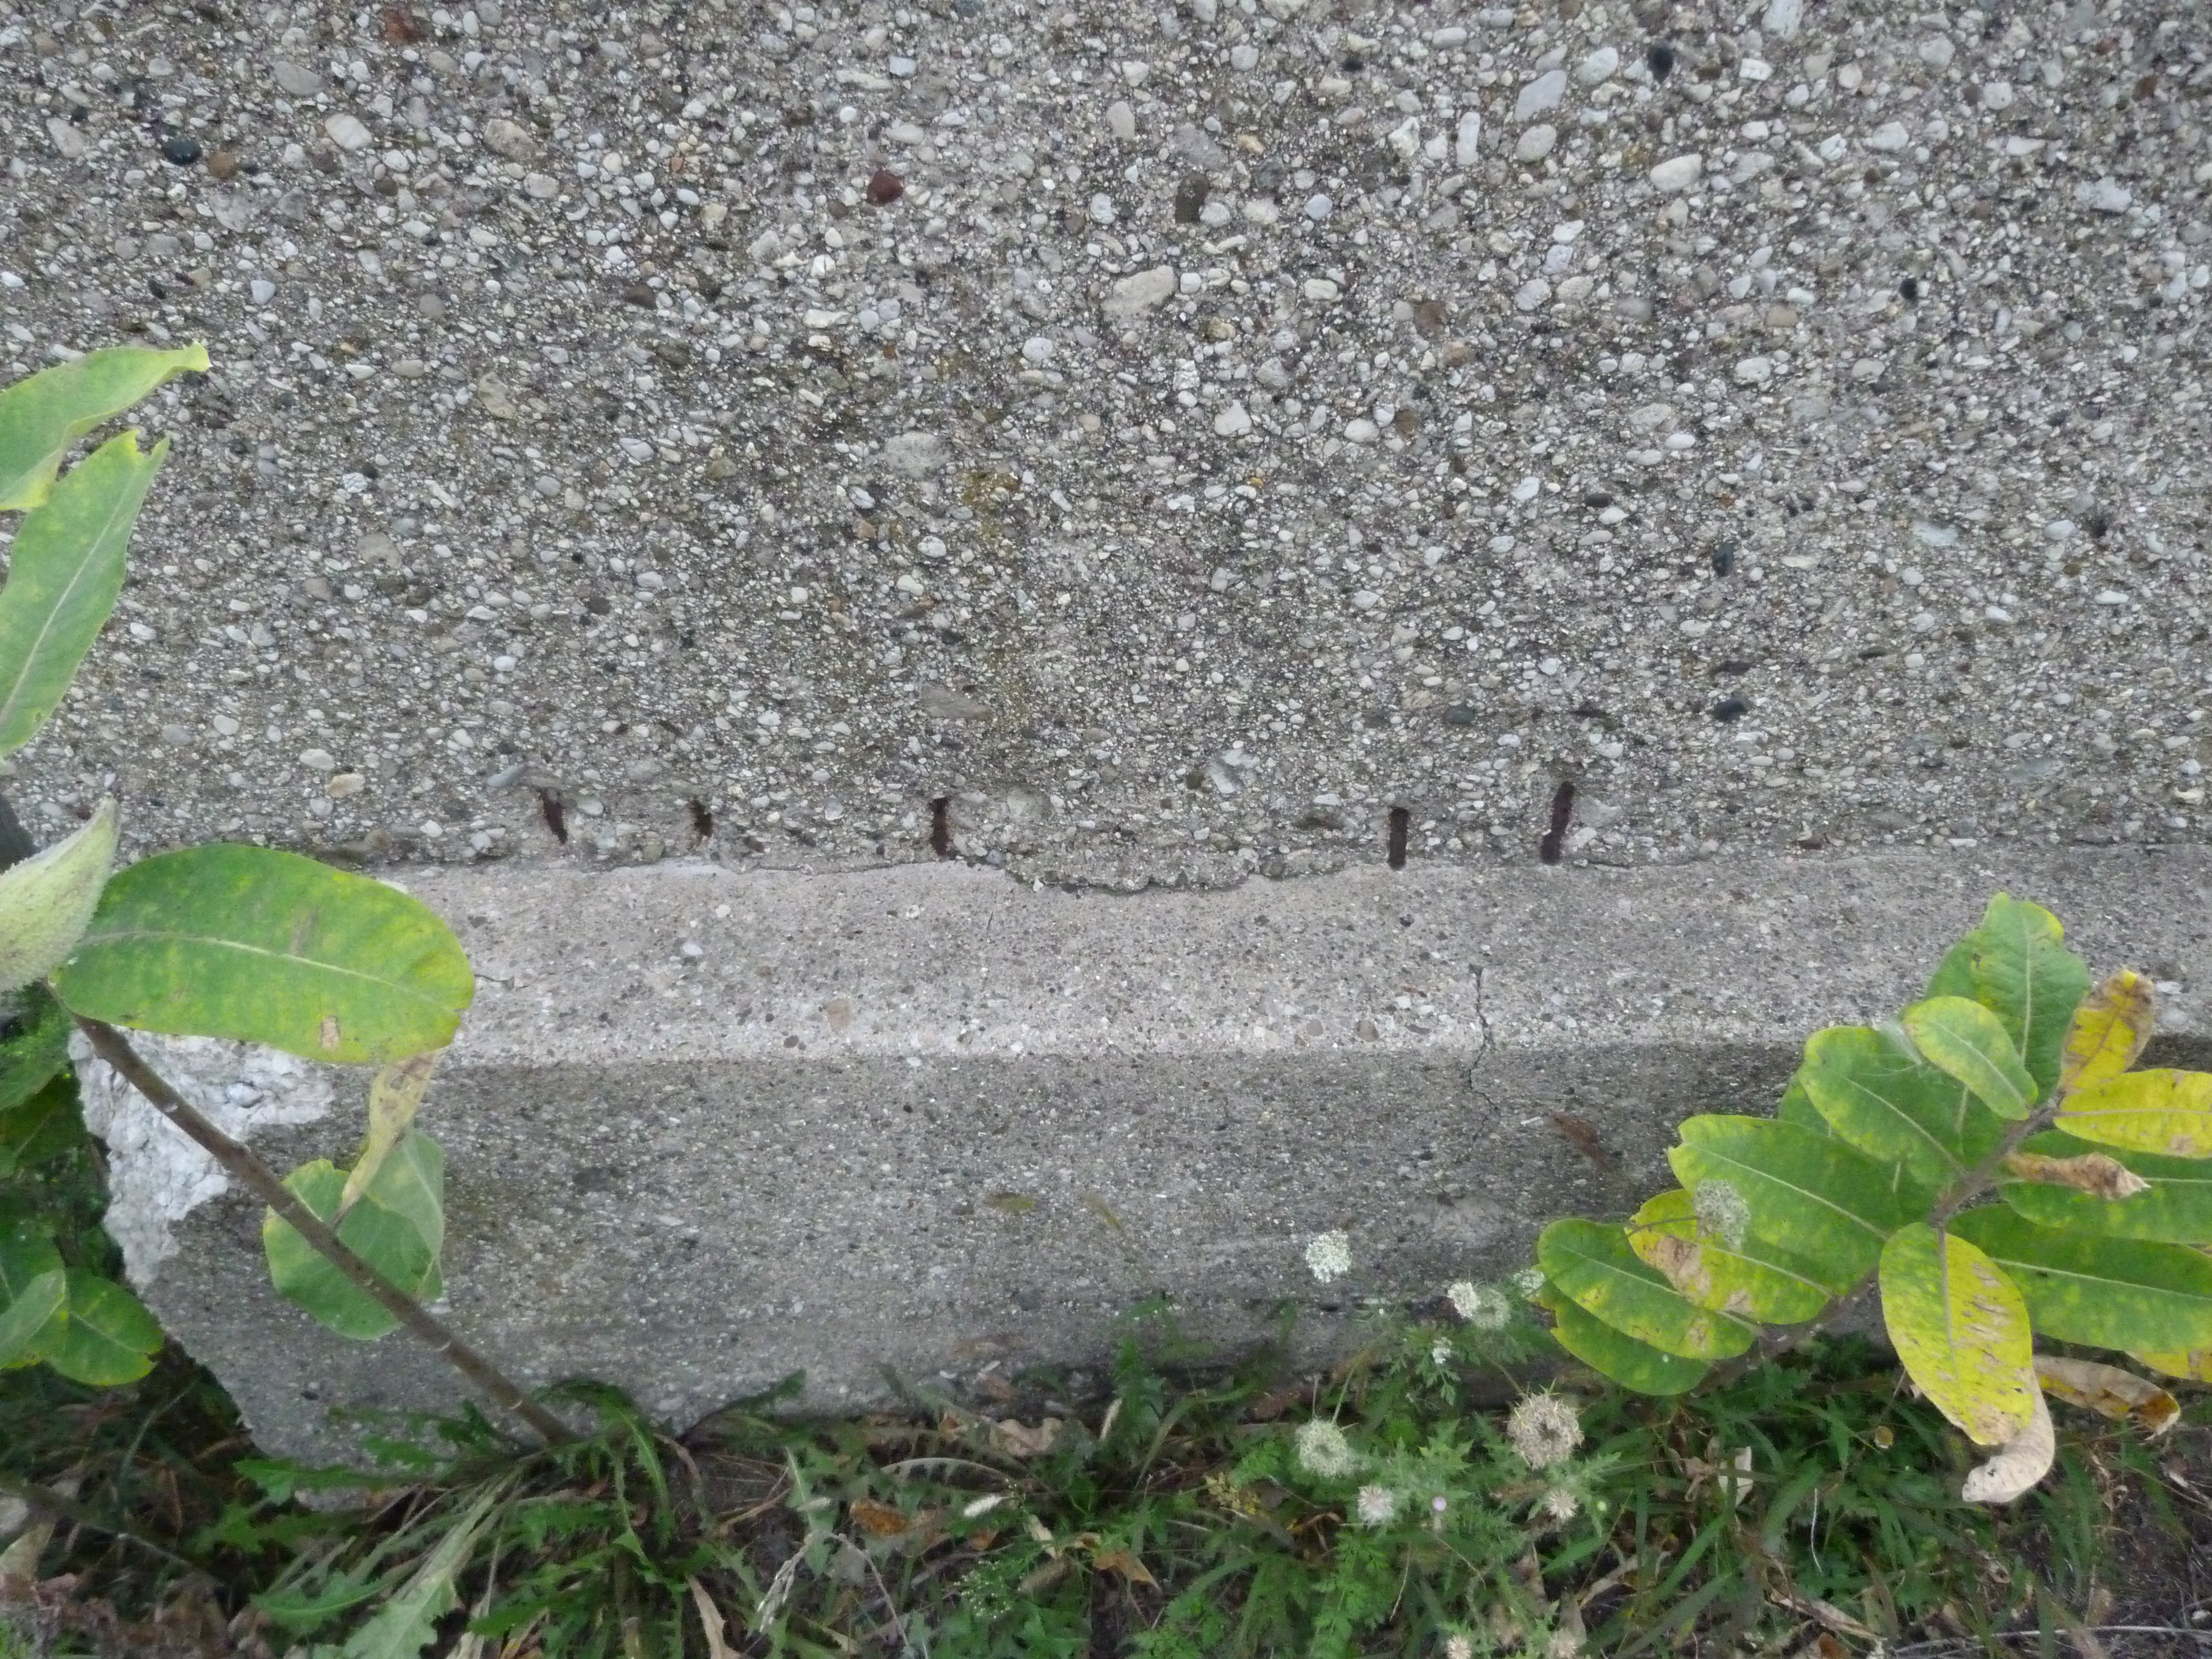
Areas of spalling revealing reinforcing rods.
![]()

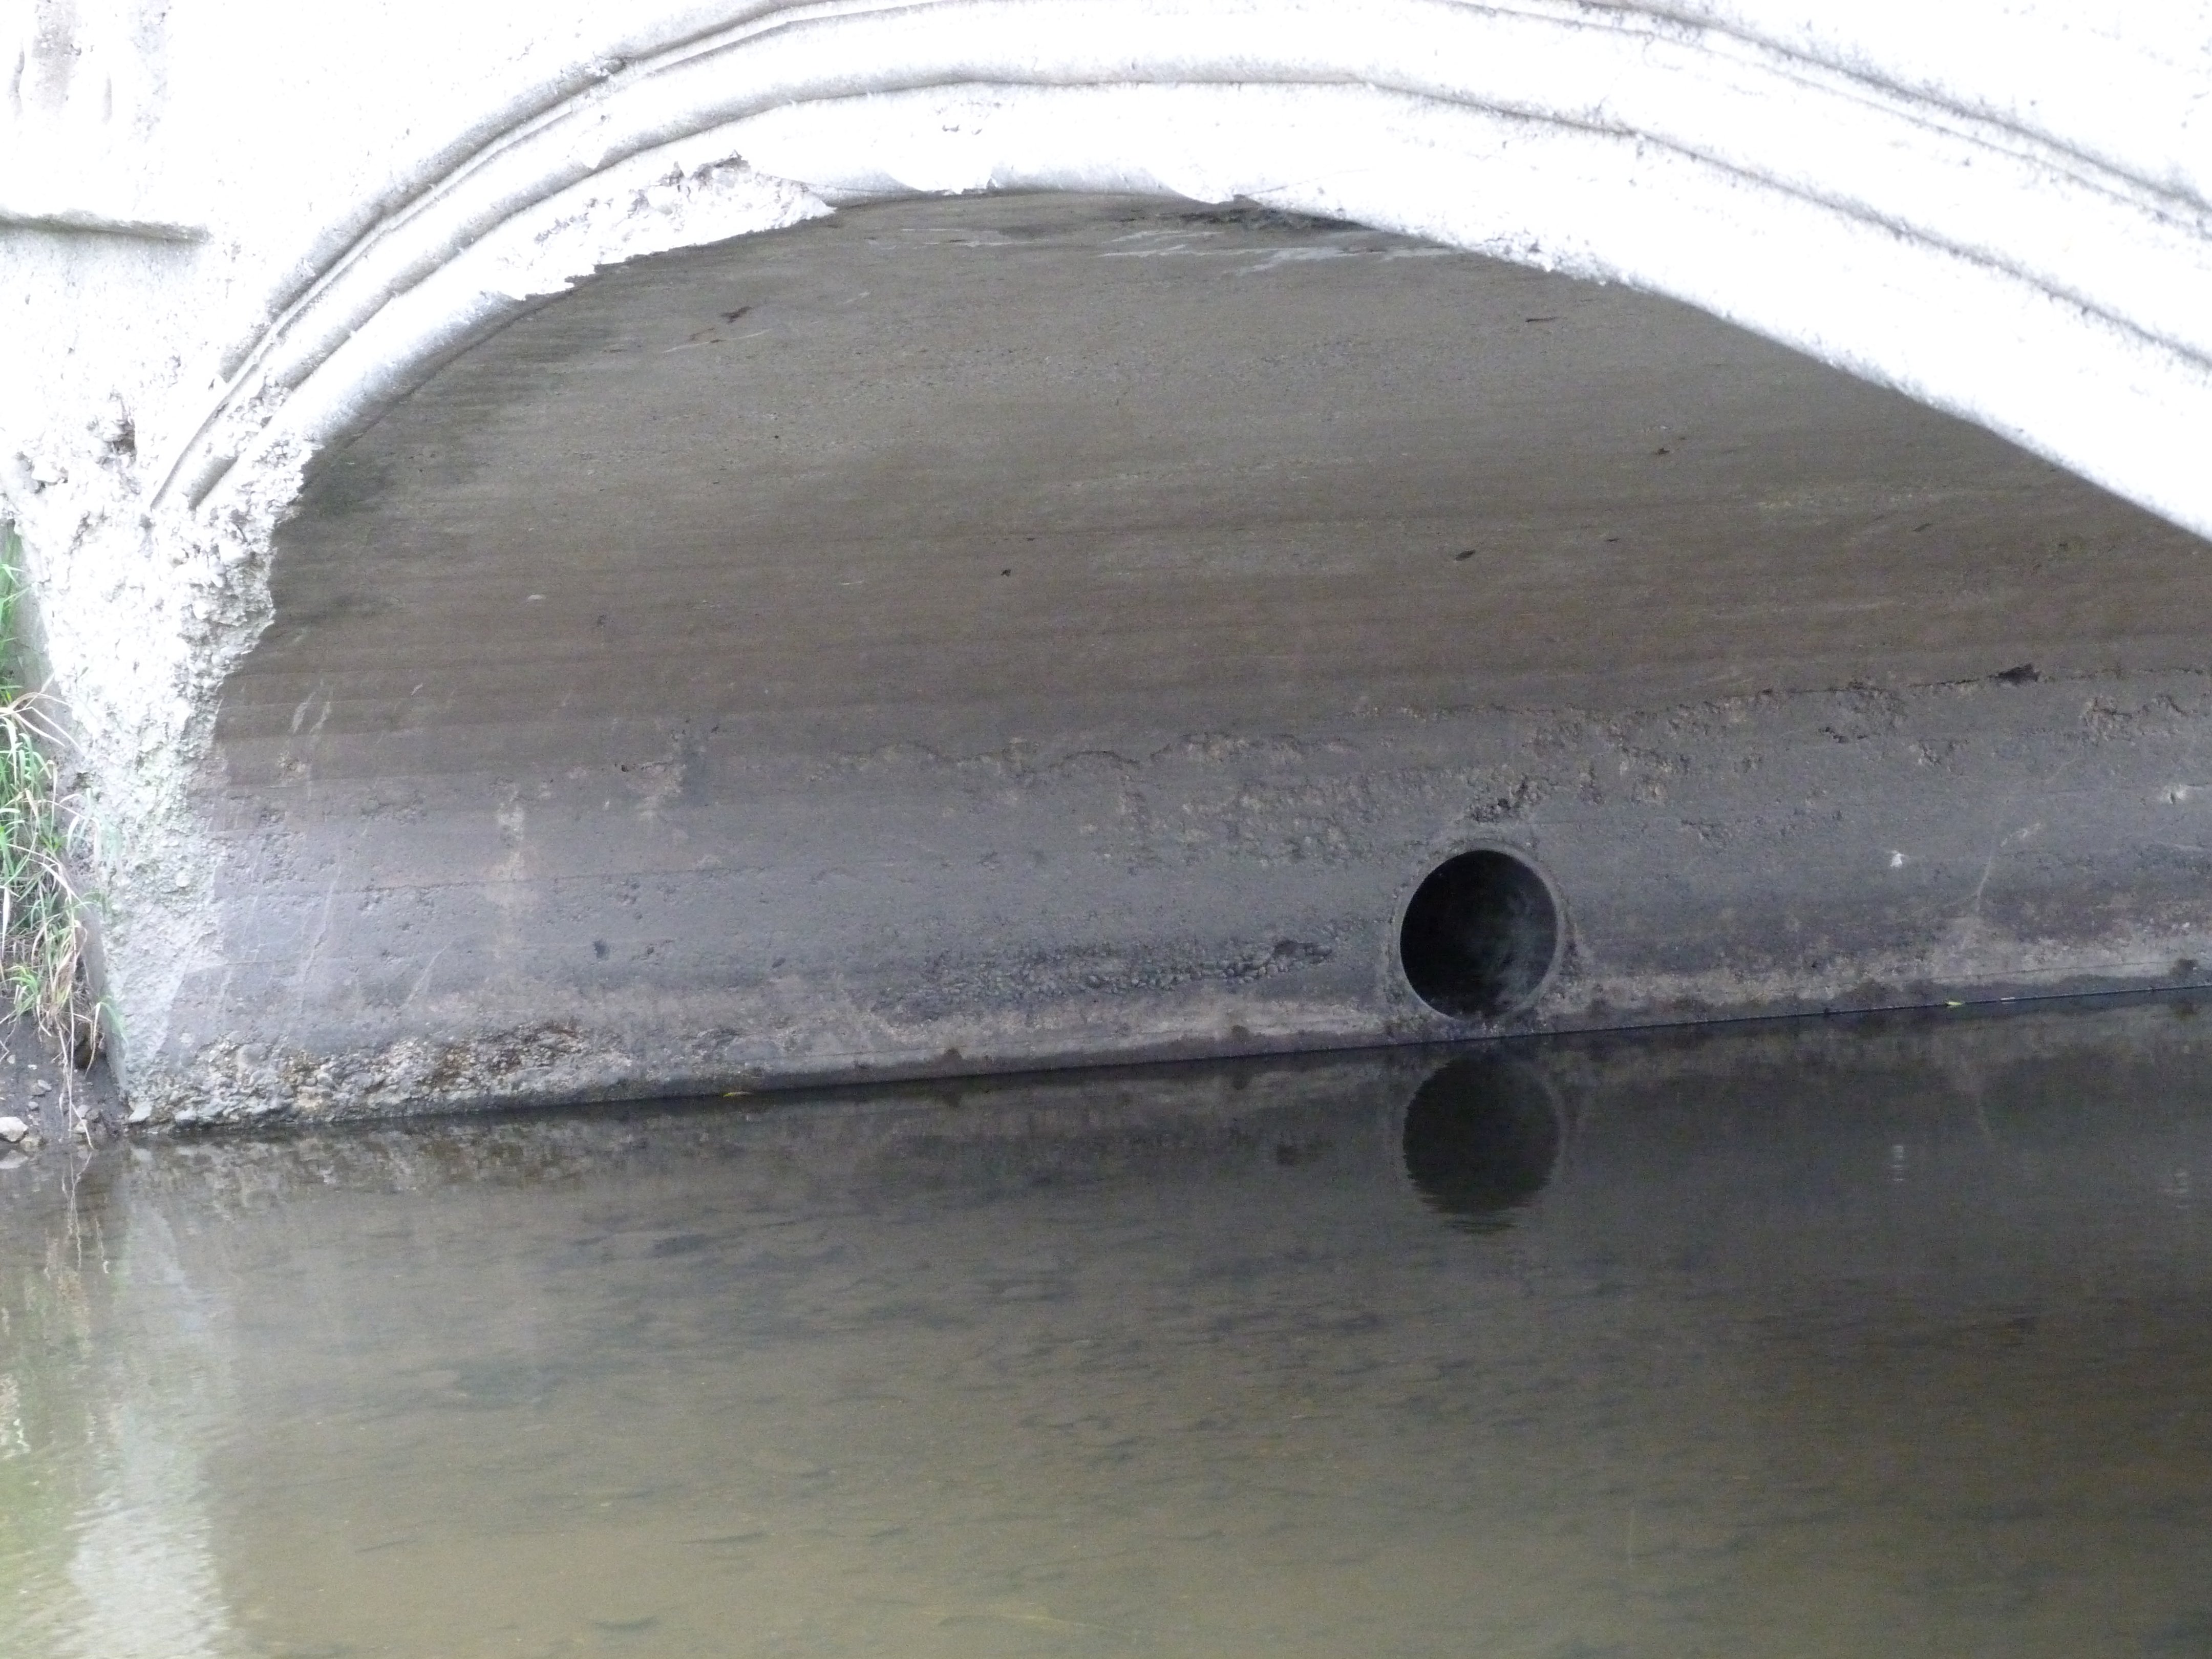
Views under bridge.
![]()
![]()
| Back |
| Home |
| Top |

![]()