
Uncredited photos on this page taken by: Nathan Holth. Unless stated in a caption, all photos are Copyright with All Rights Reserved. Learn about reuse of our photos.
![]()

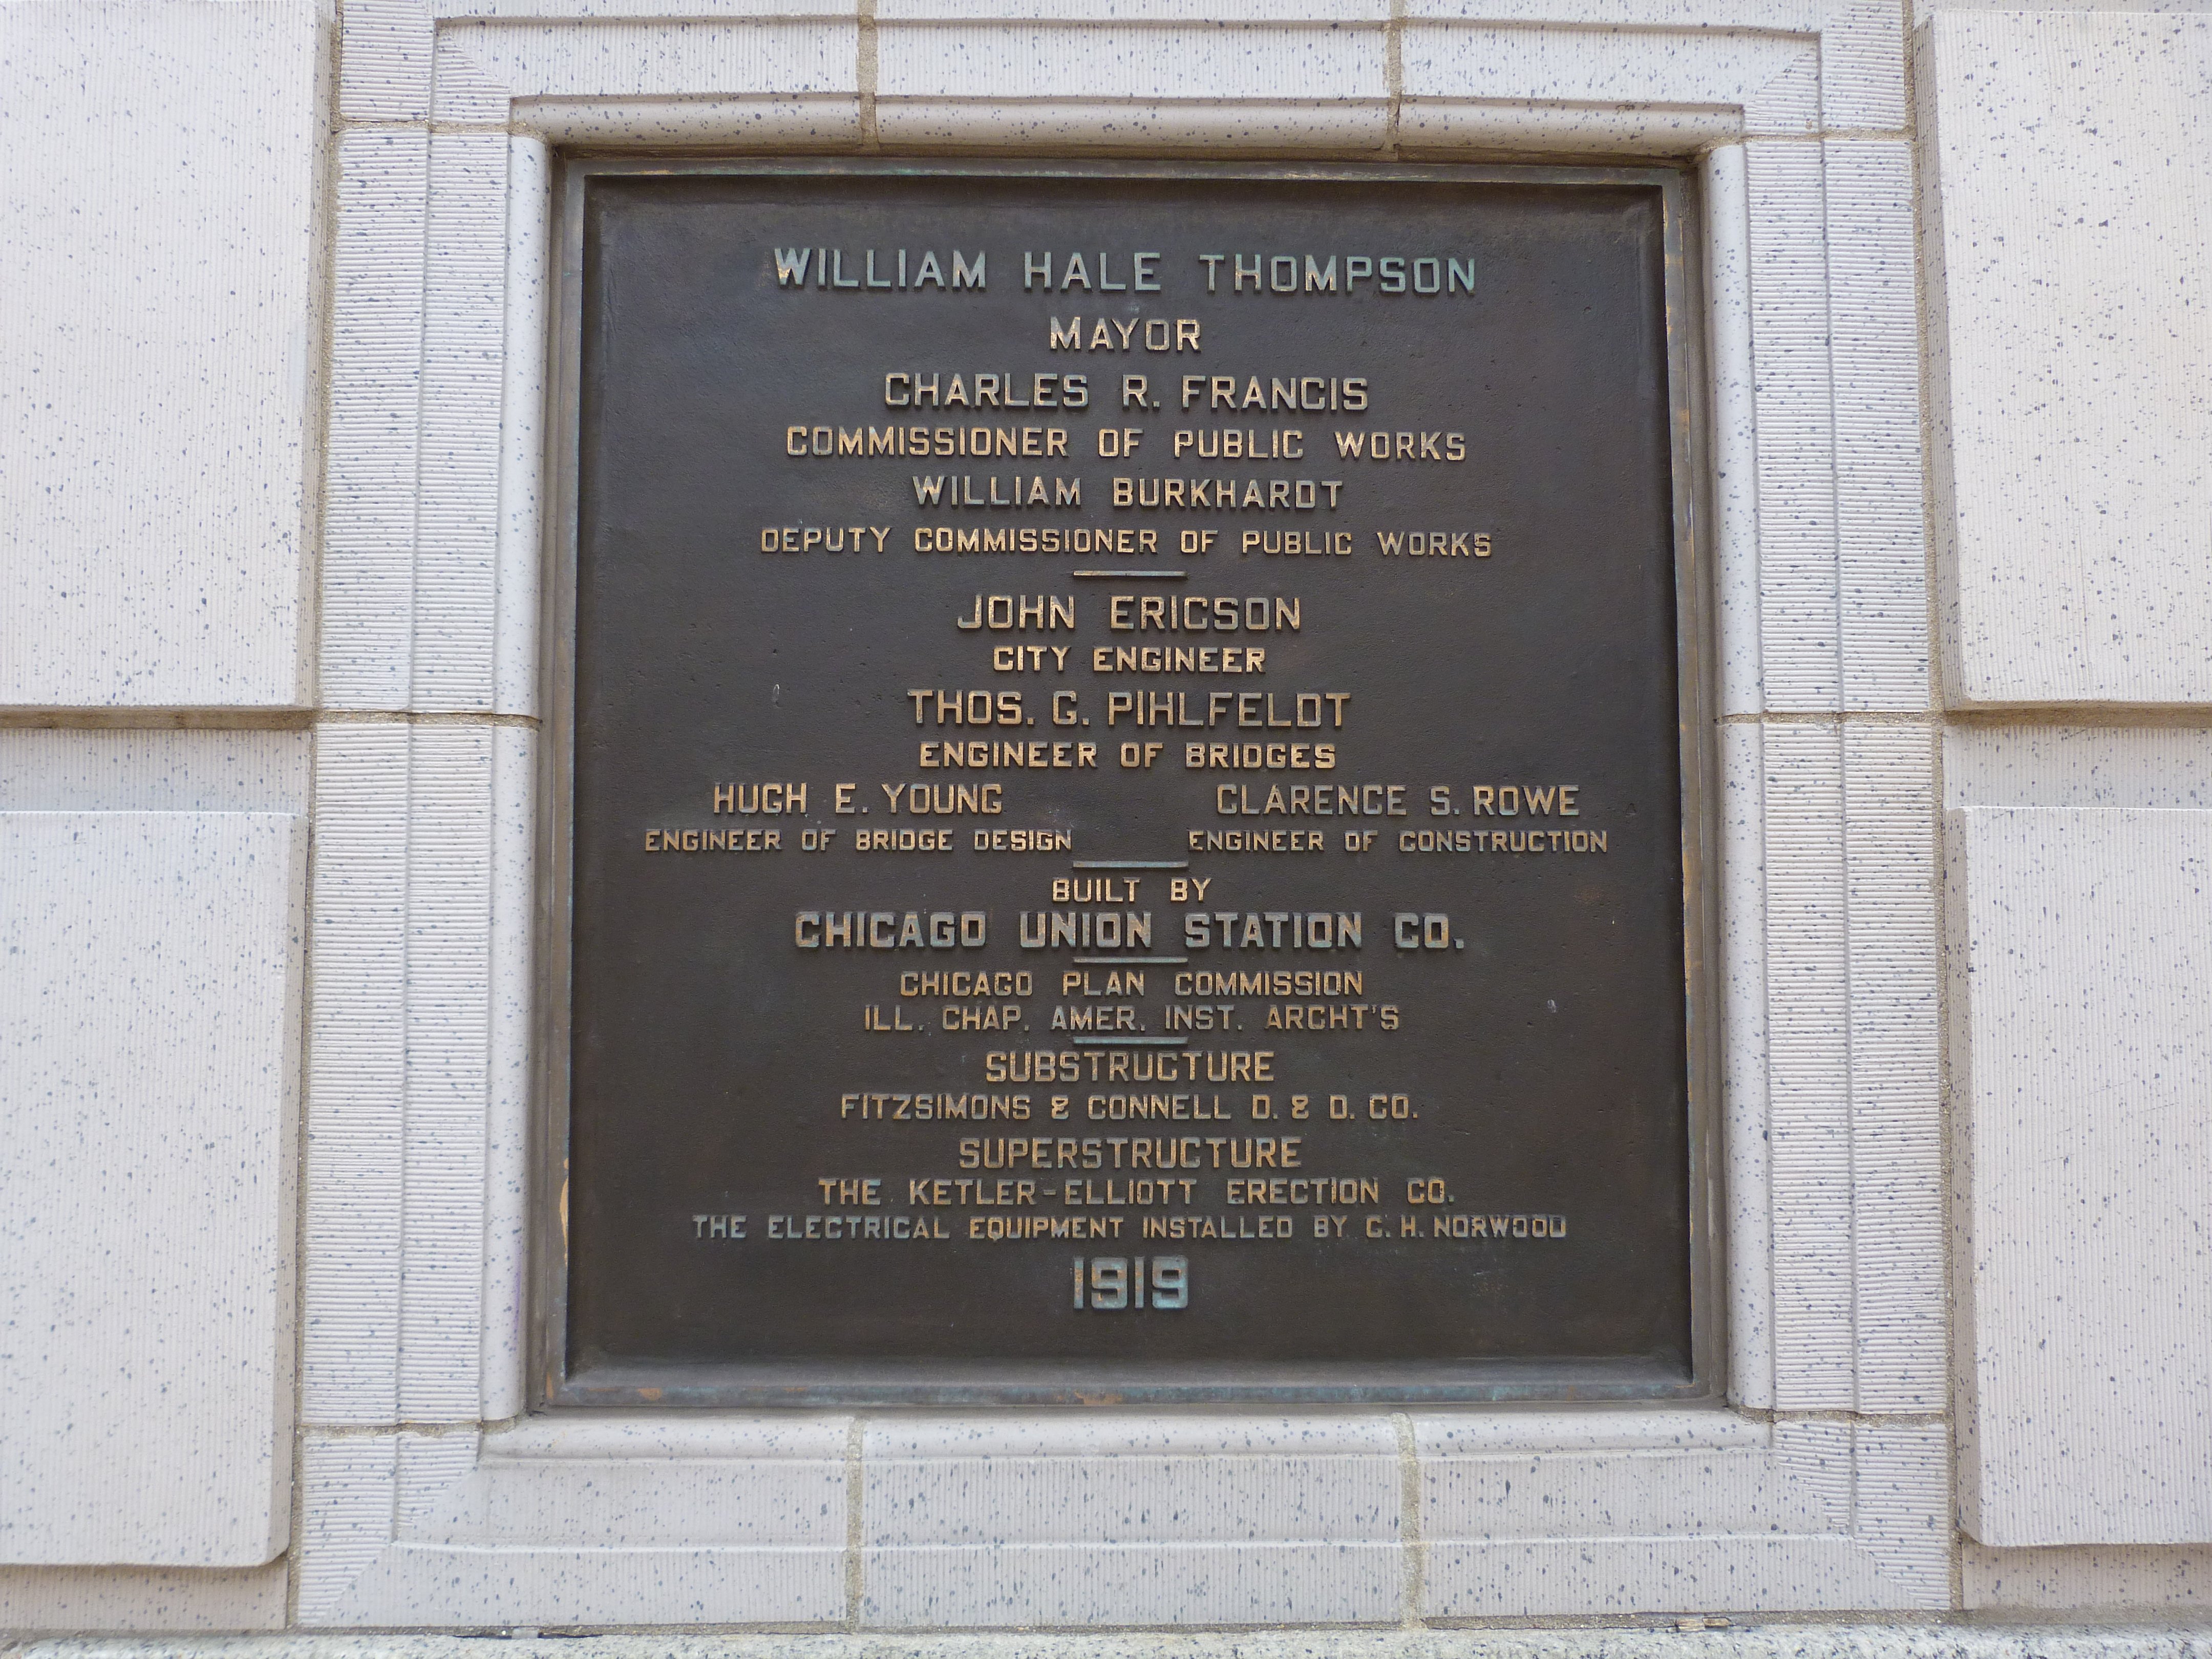
Plaque, before and after restoration.
![]()
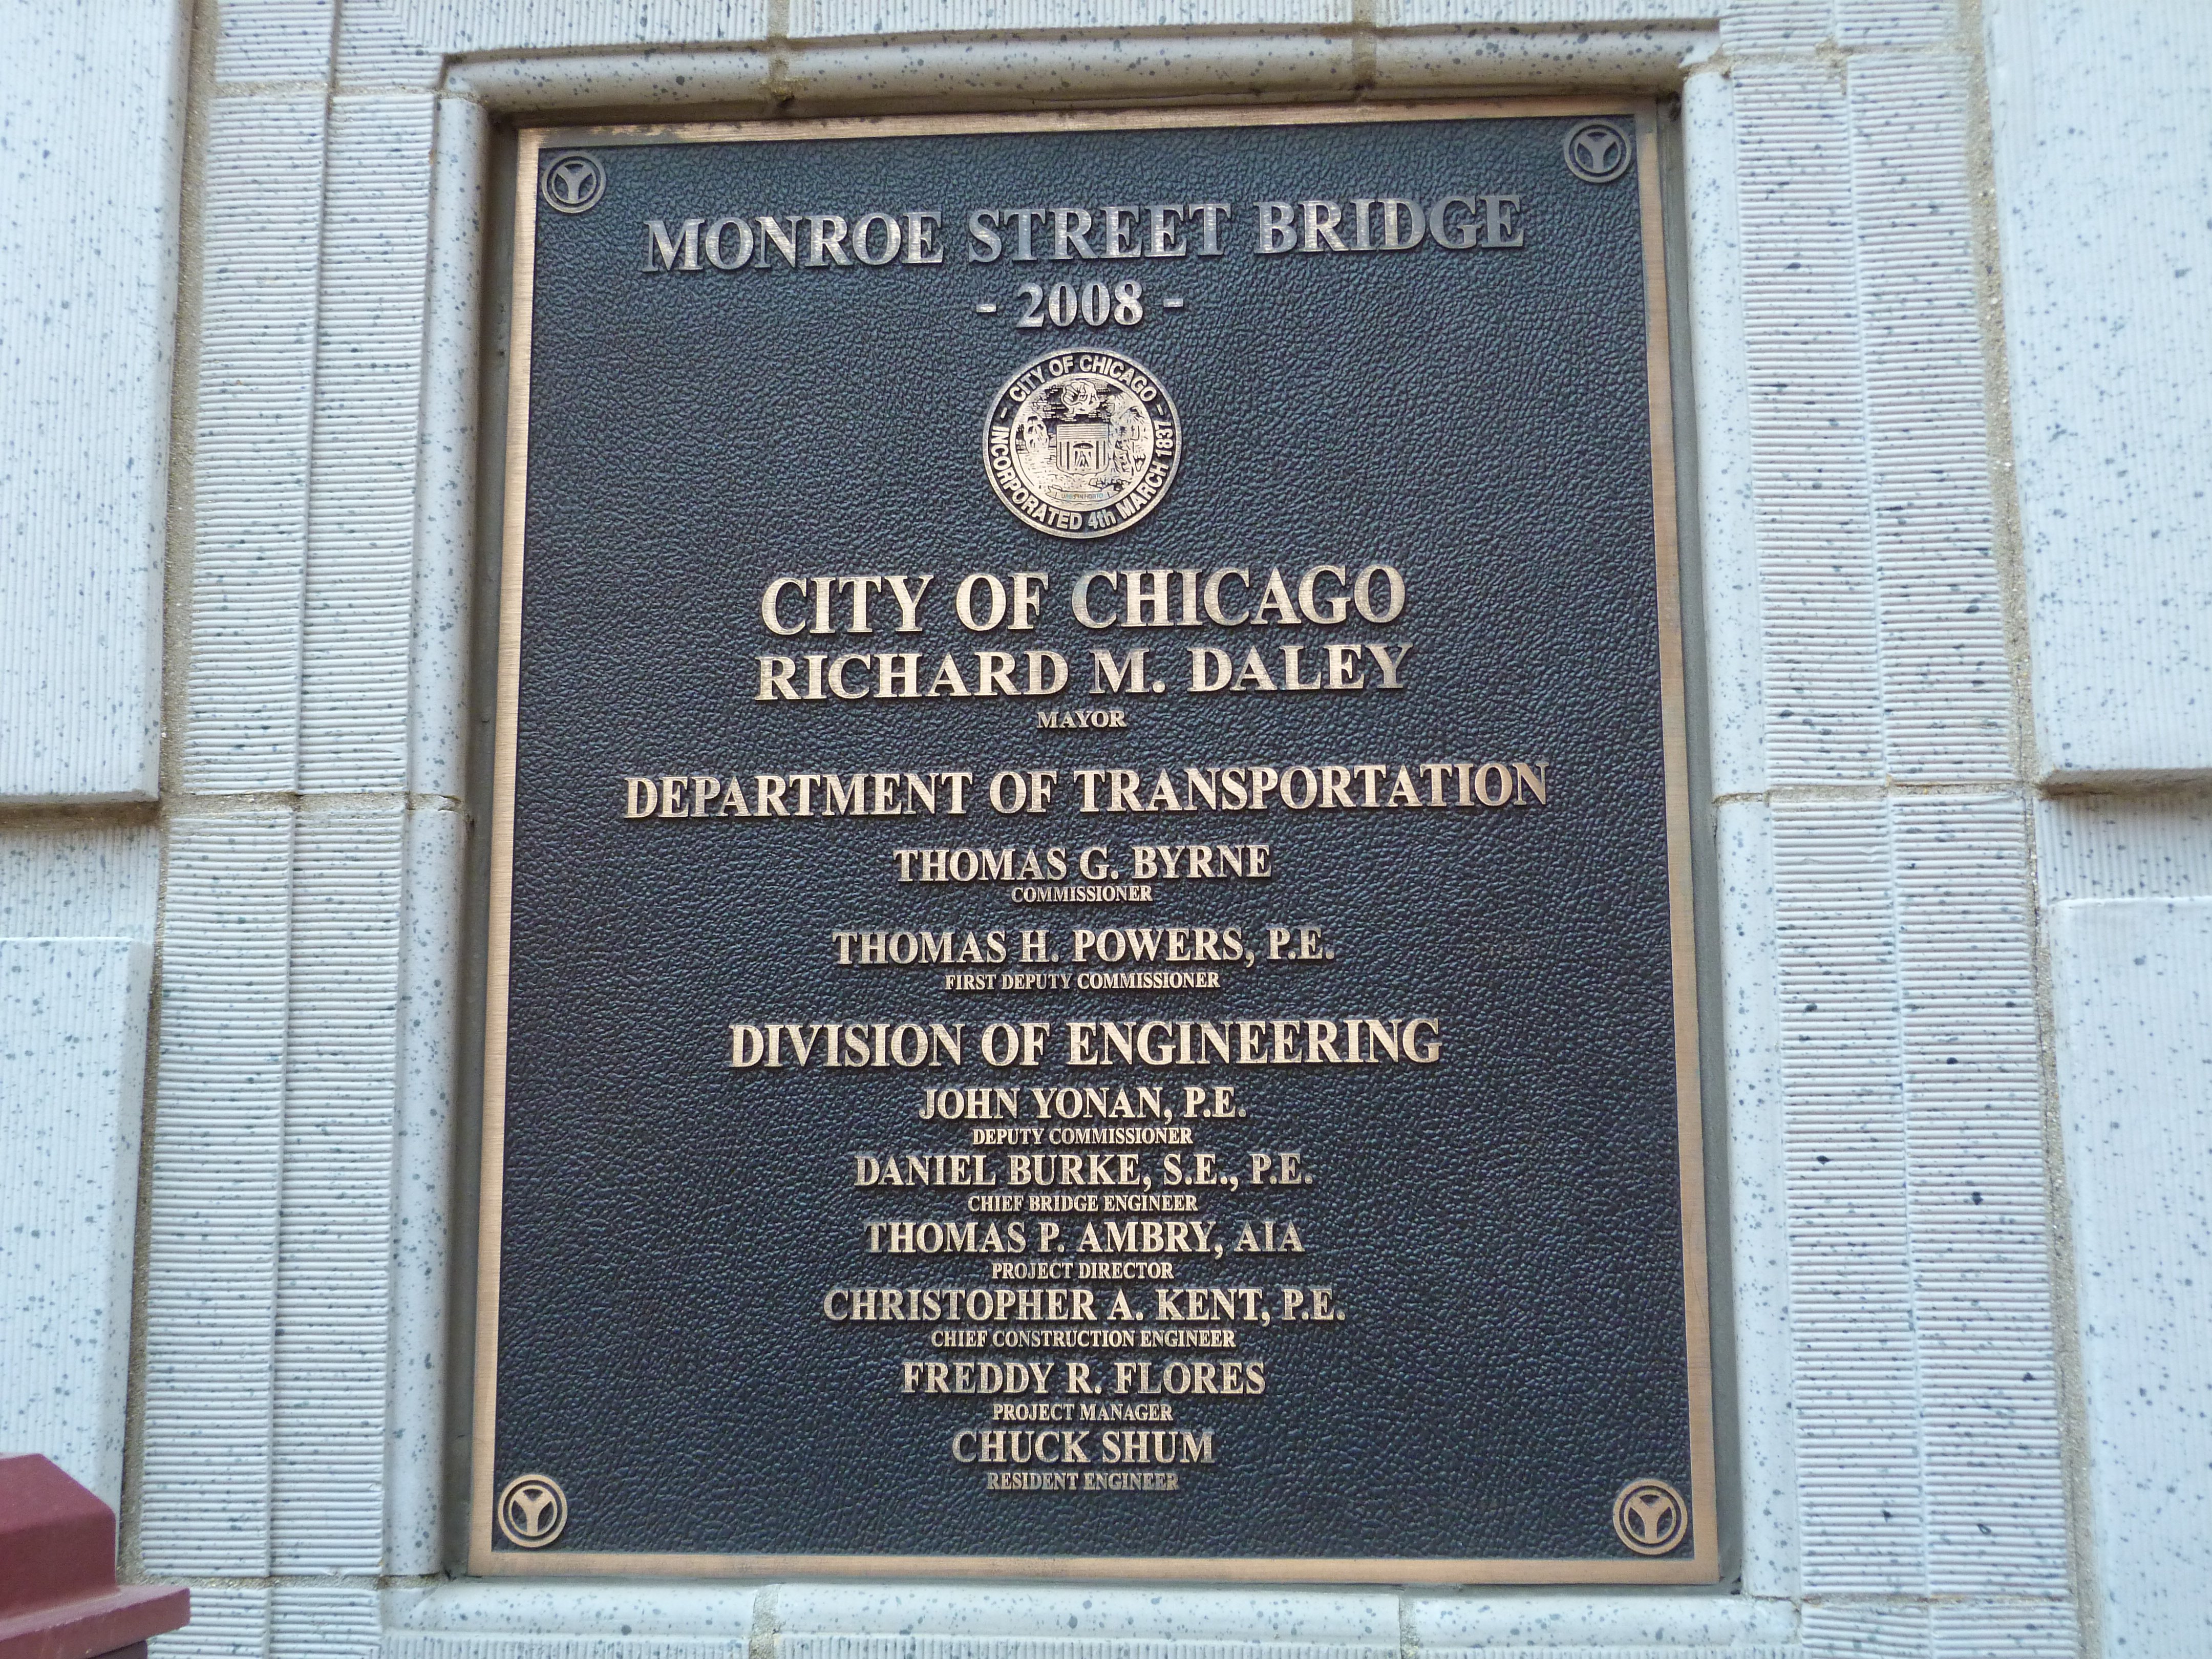

Rehabilitation plaque.
![]()


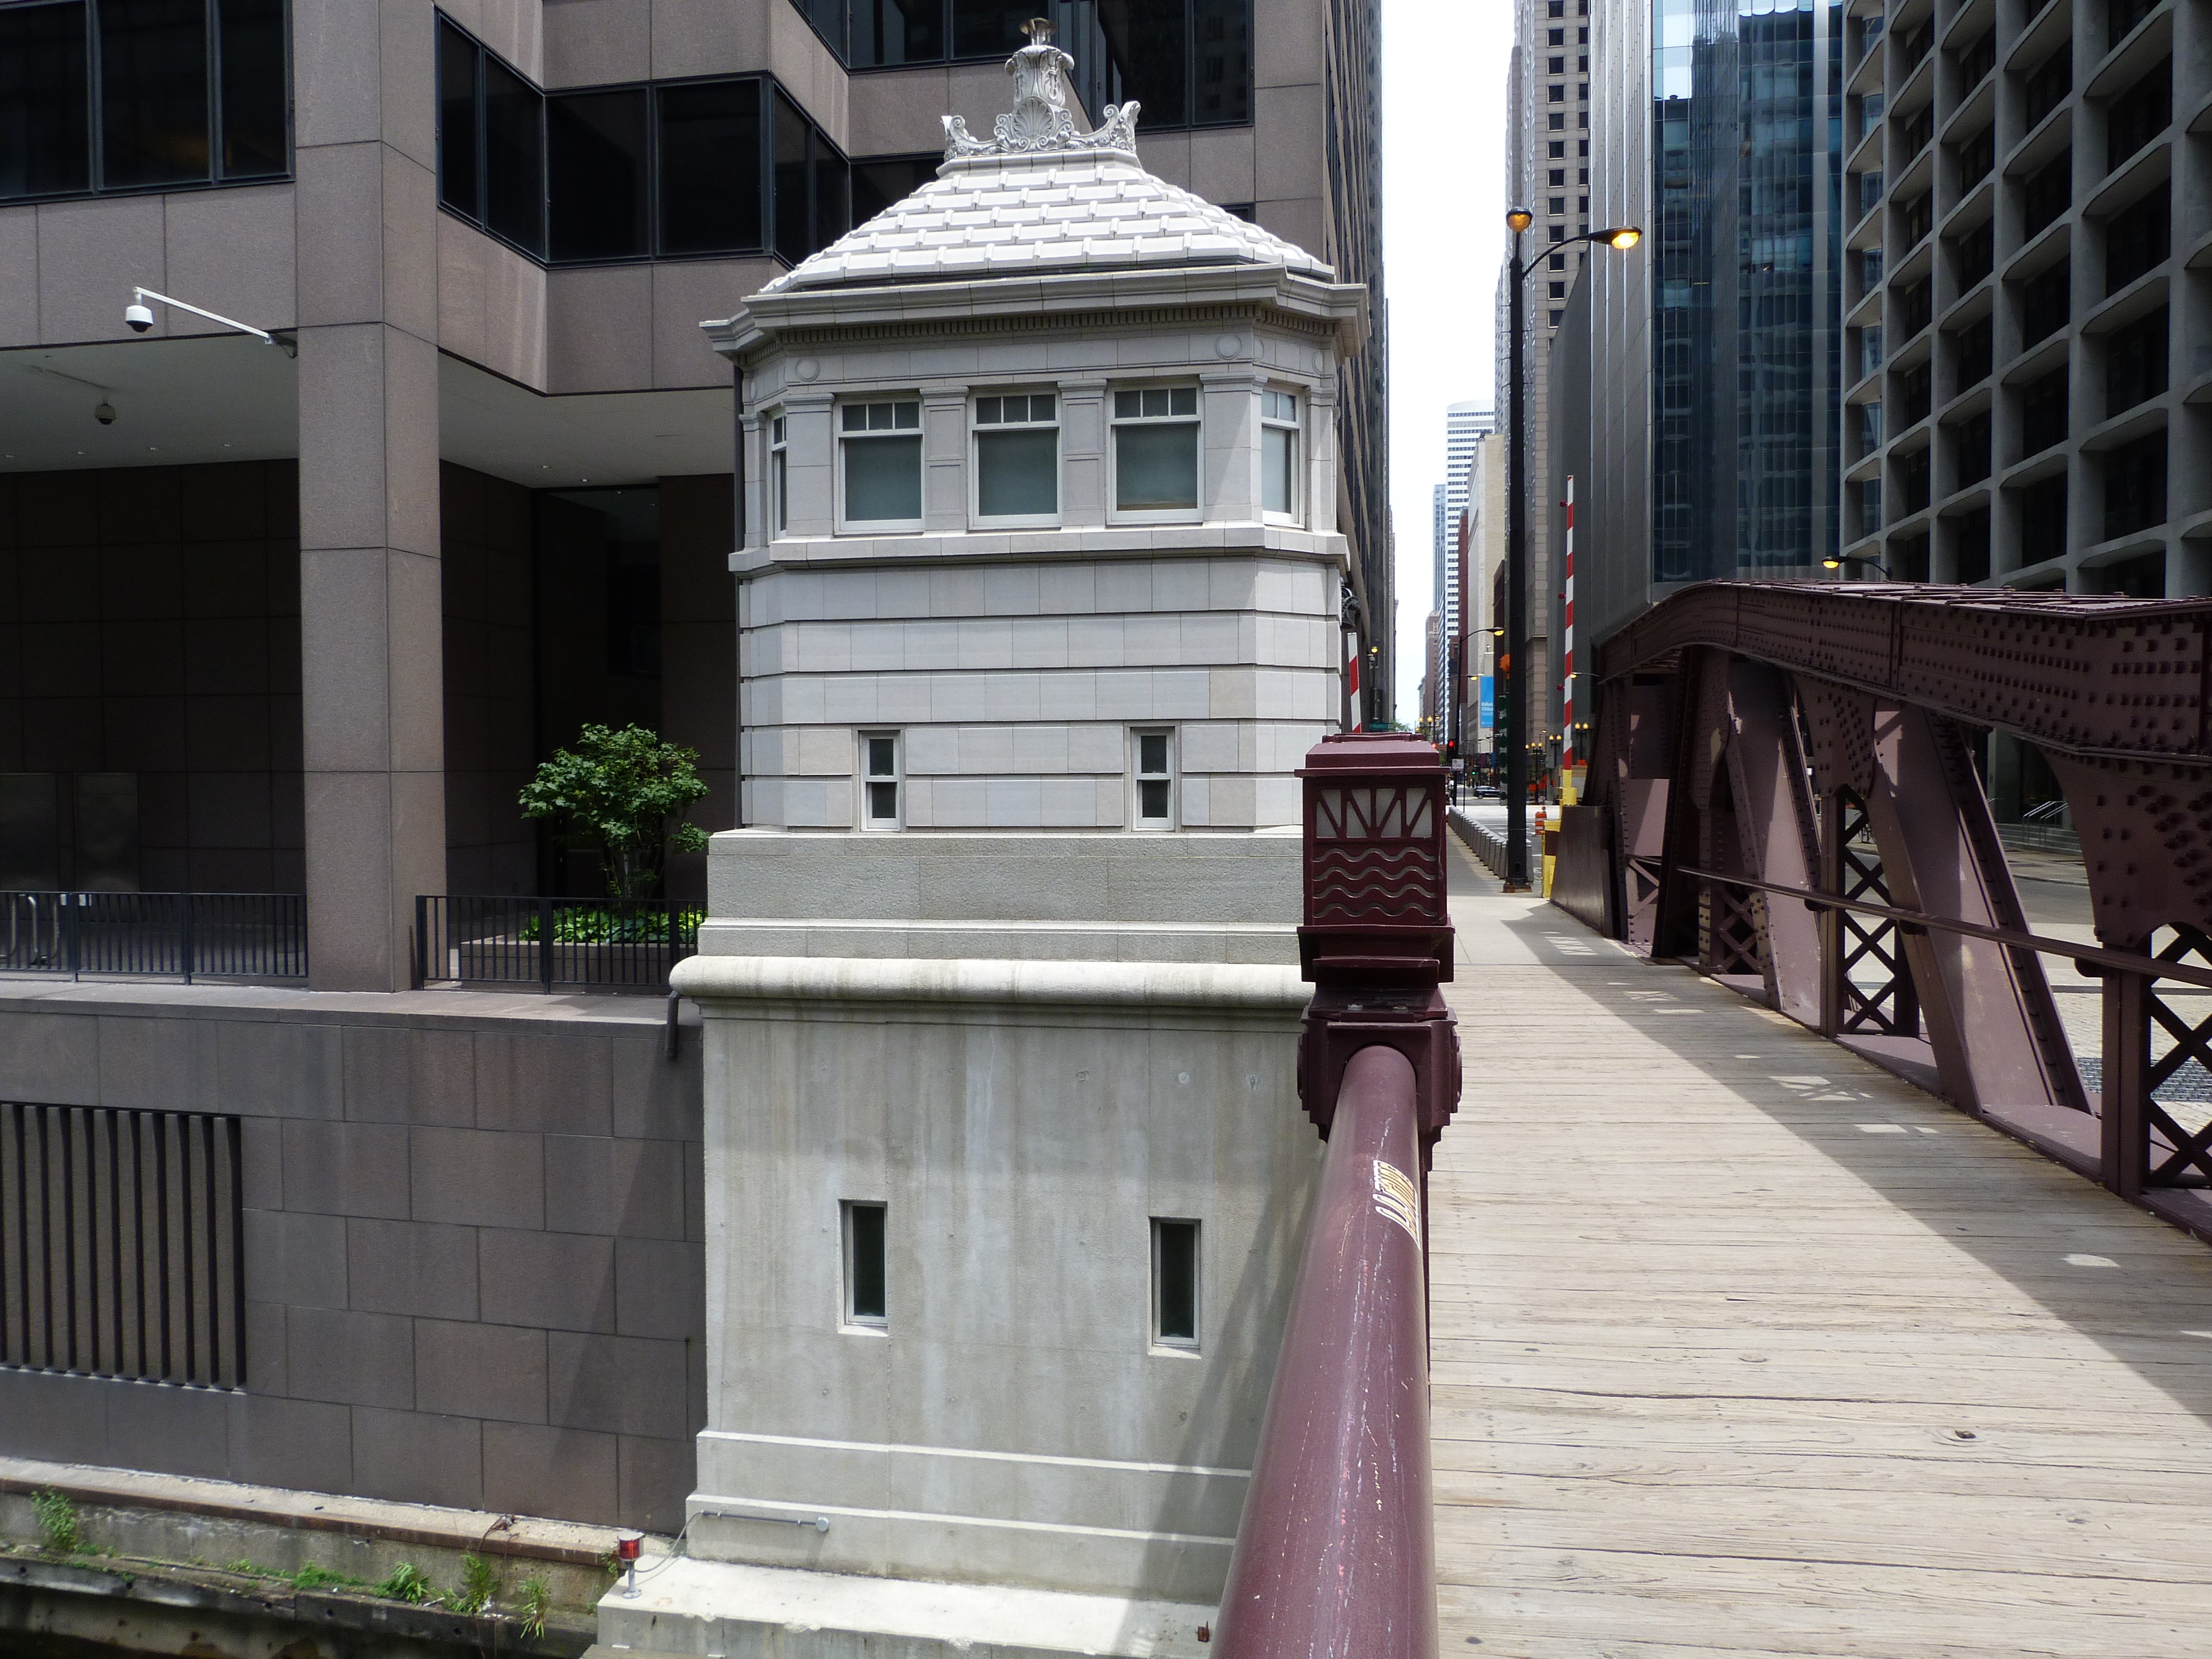
Southwest bridge tender house.
![]()


Southwest bridge tender house details.
![]()


Southwest bridge tender house windows.
![]()


Southwest bridge tender house roof ornamentation.
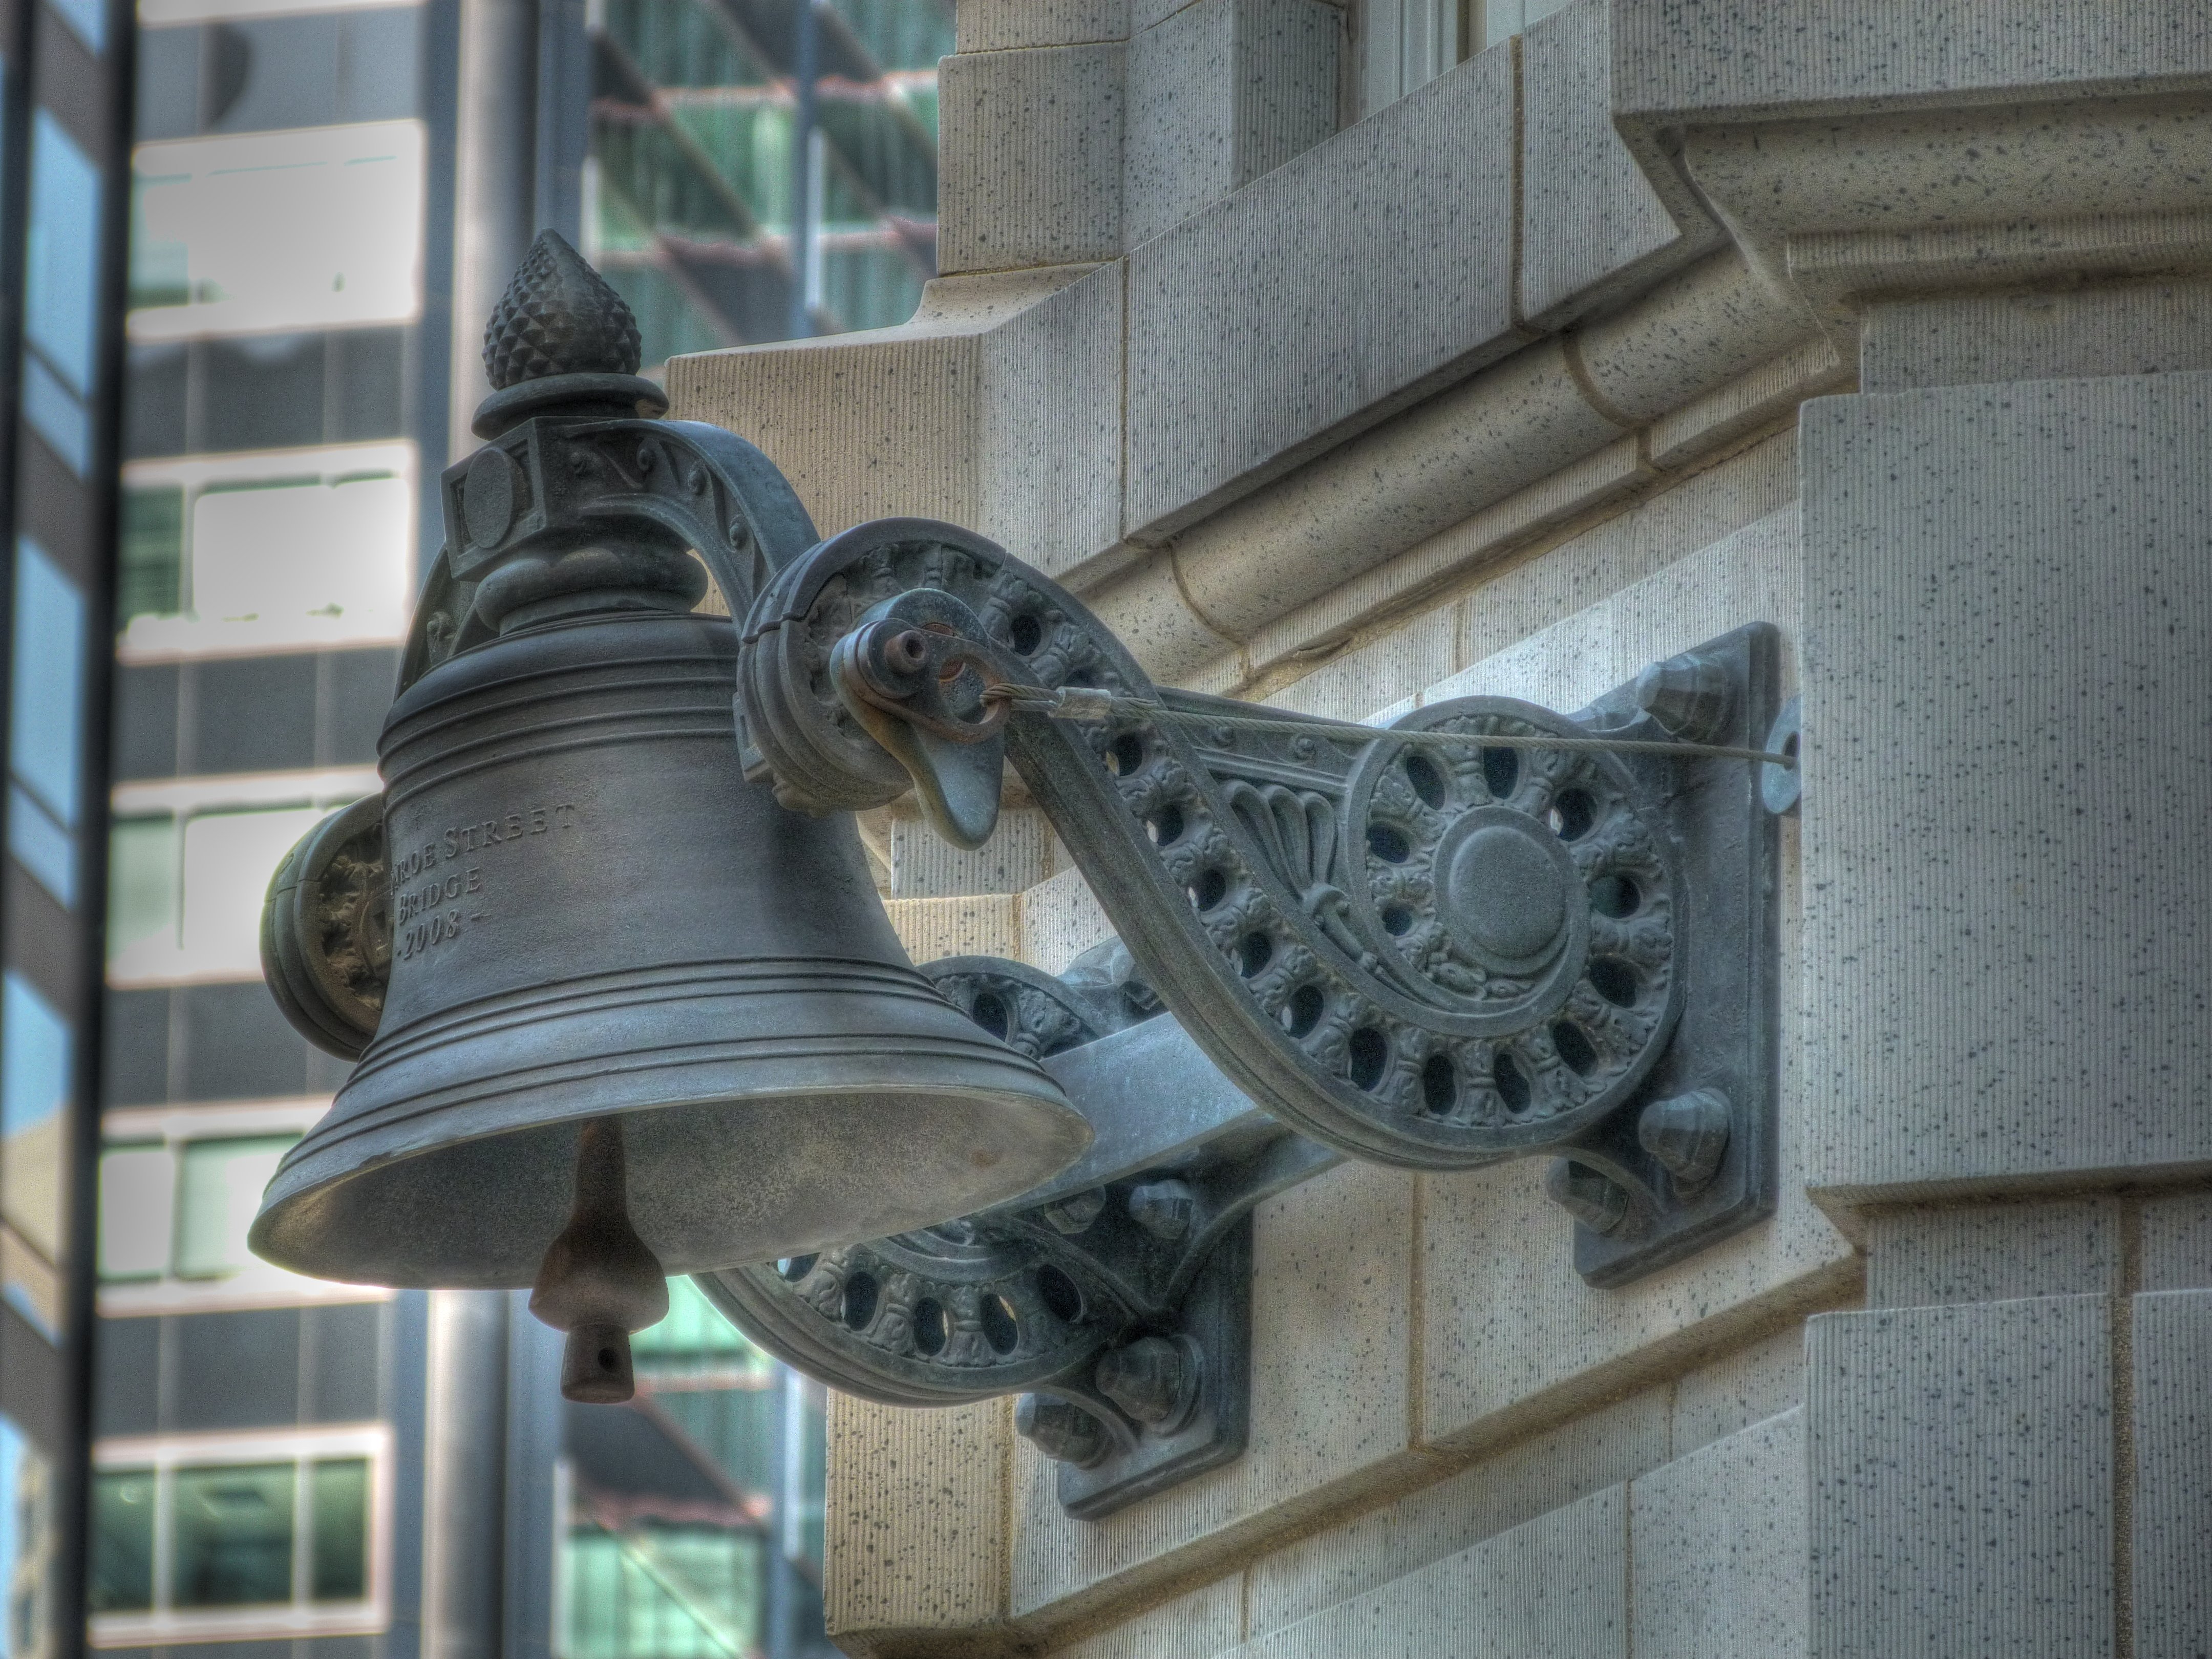
![]()


Southwest bridge tender house replica bell.
![]()


Replicated northeast bridge tender house.
![]()

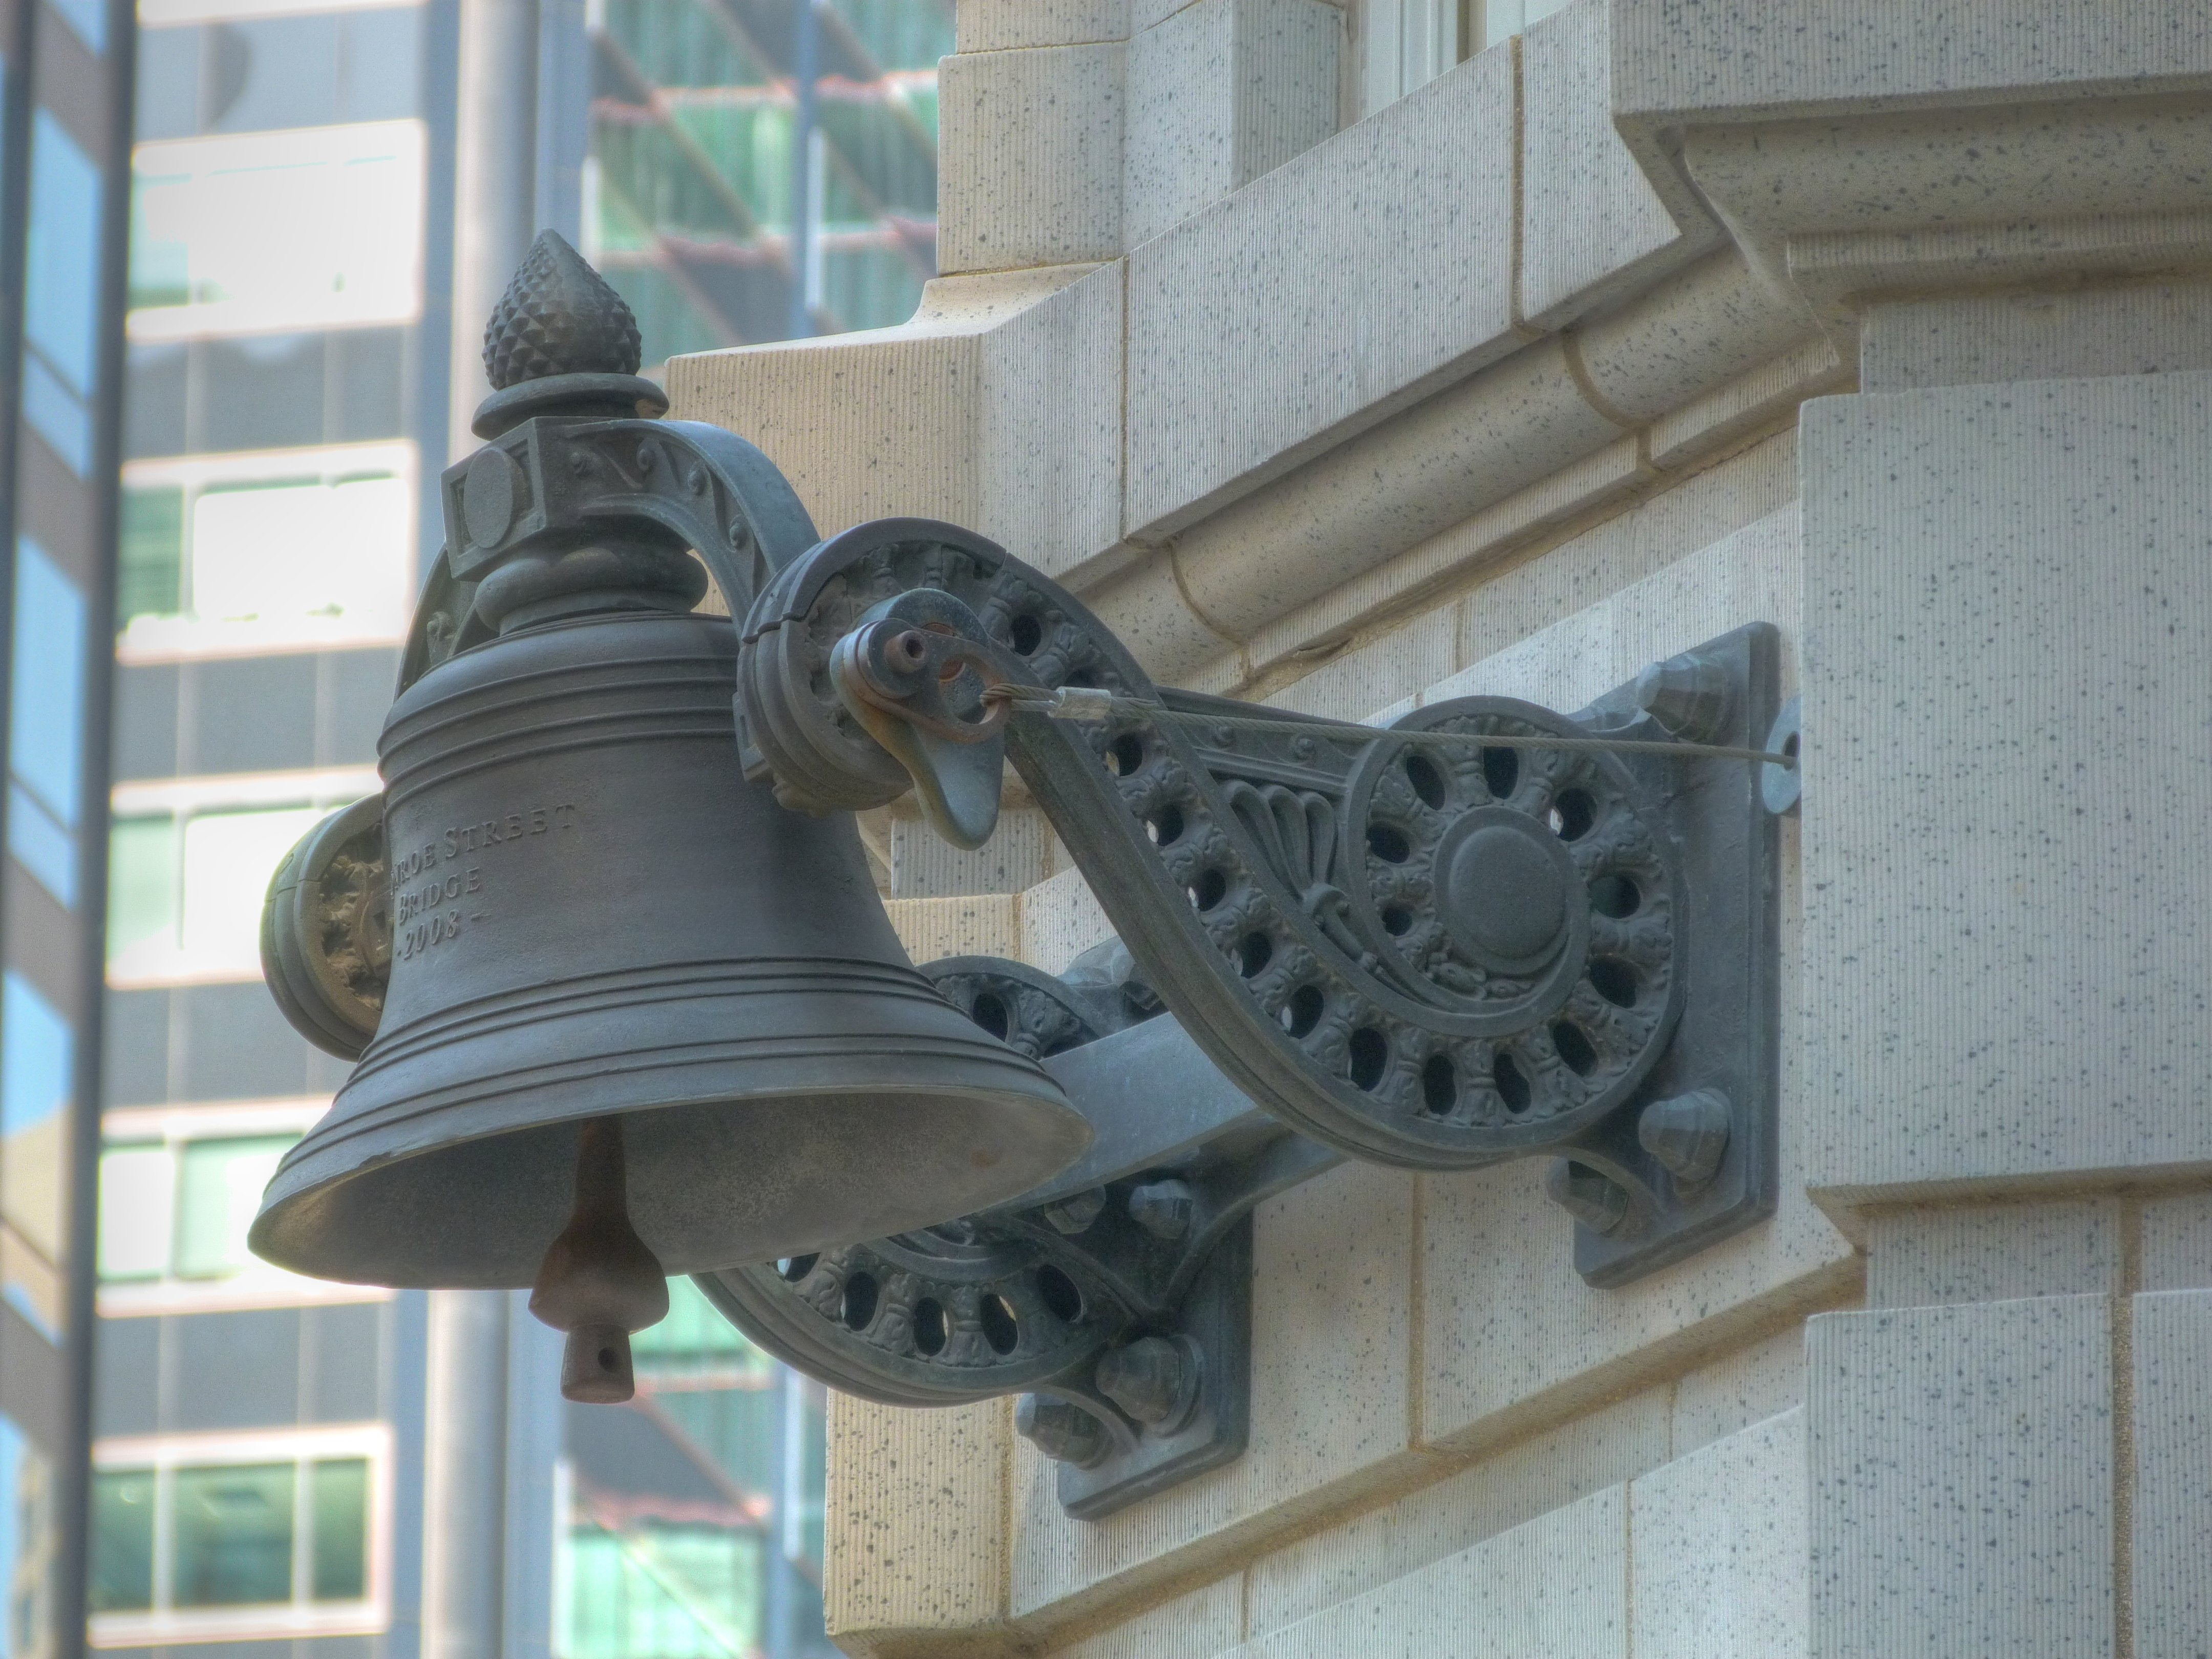


Replica bell on northeast bridge tender house.
![]()


Approach railing.
![]()


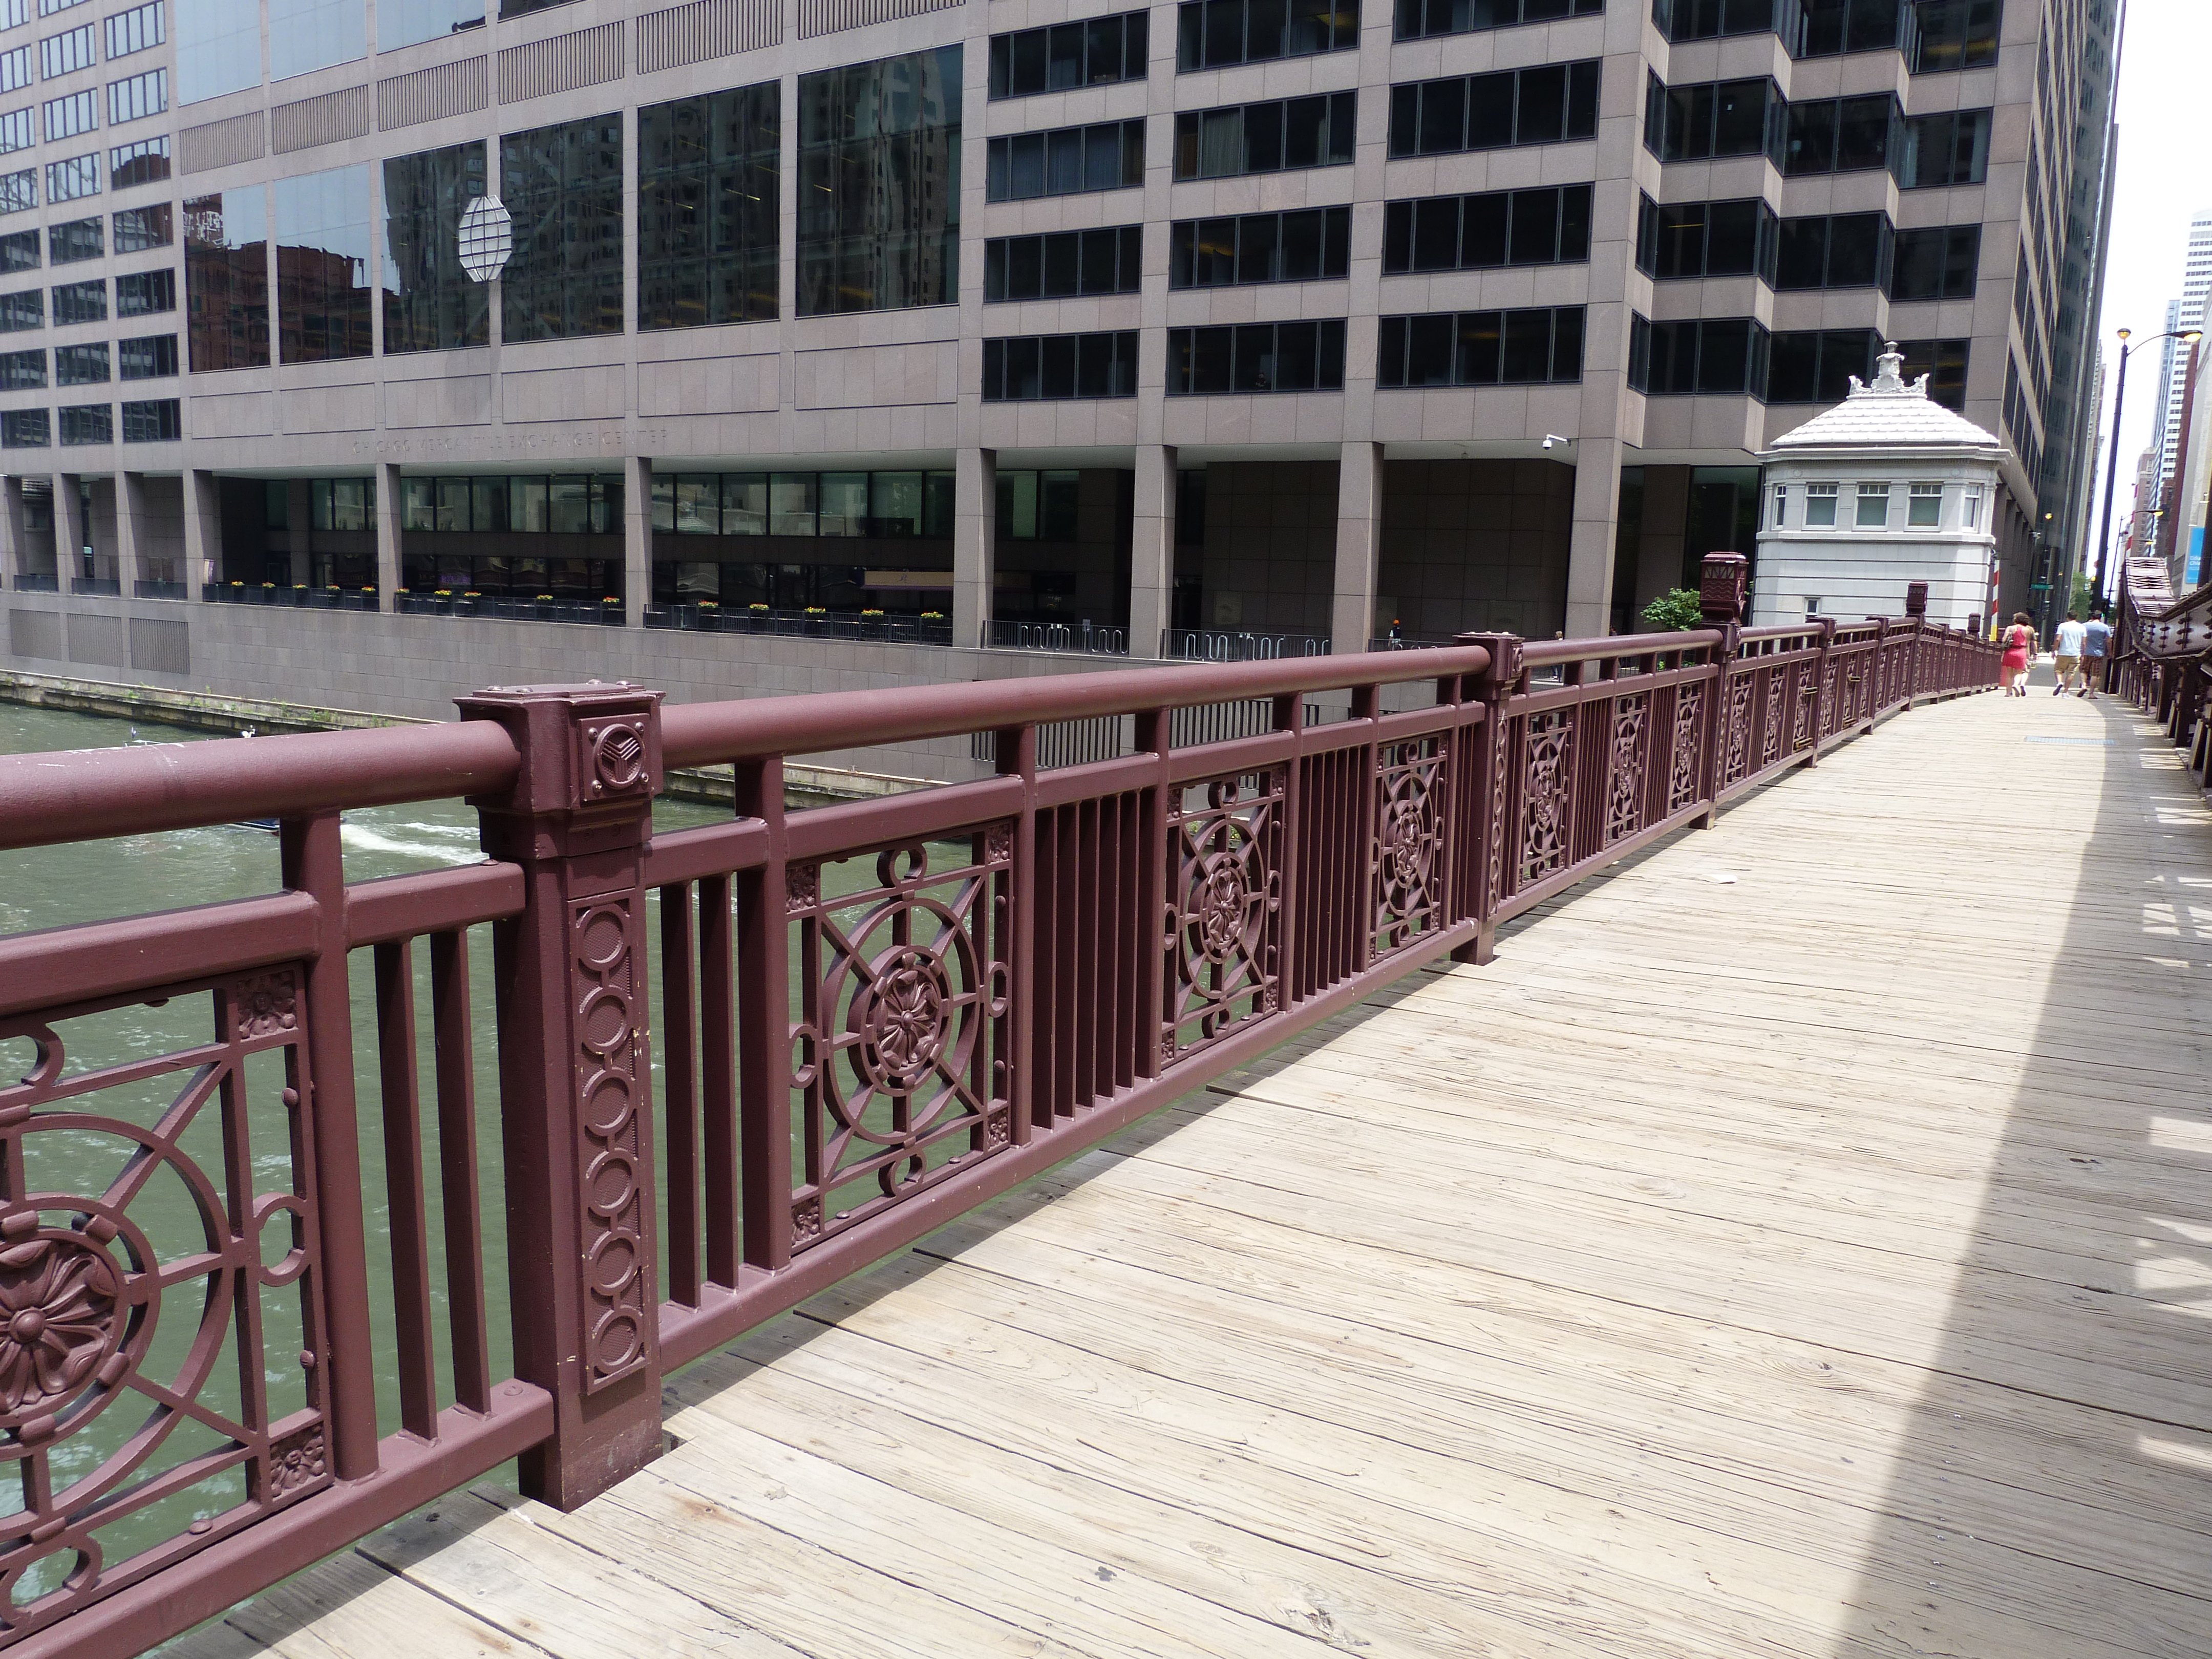

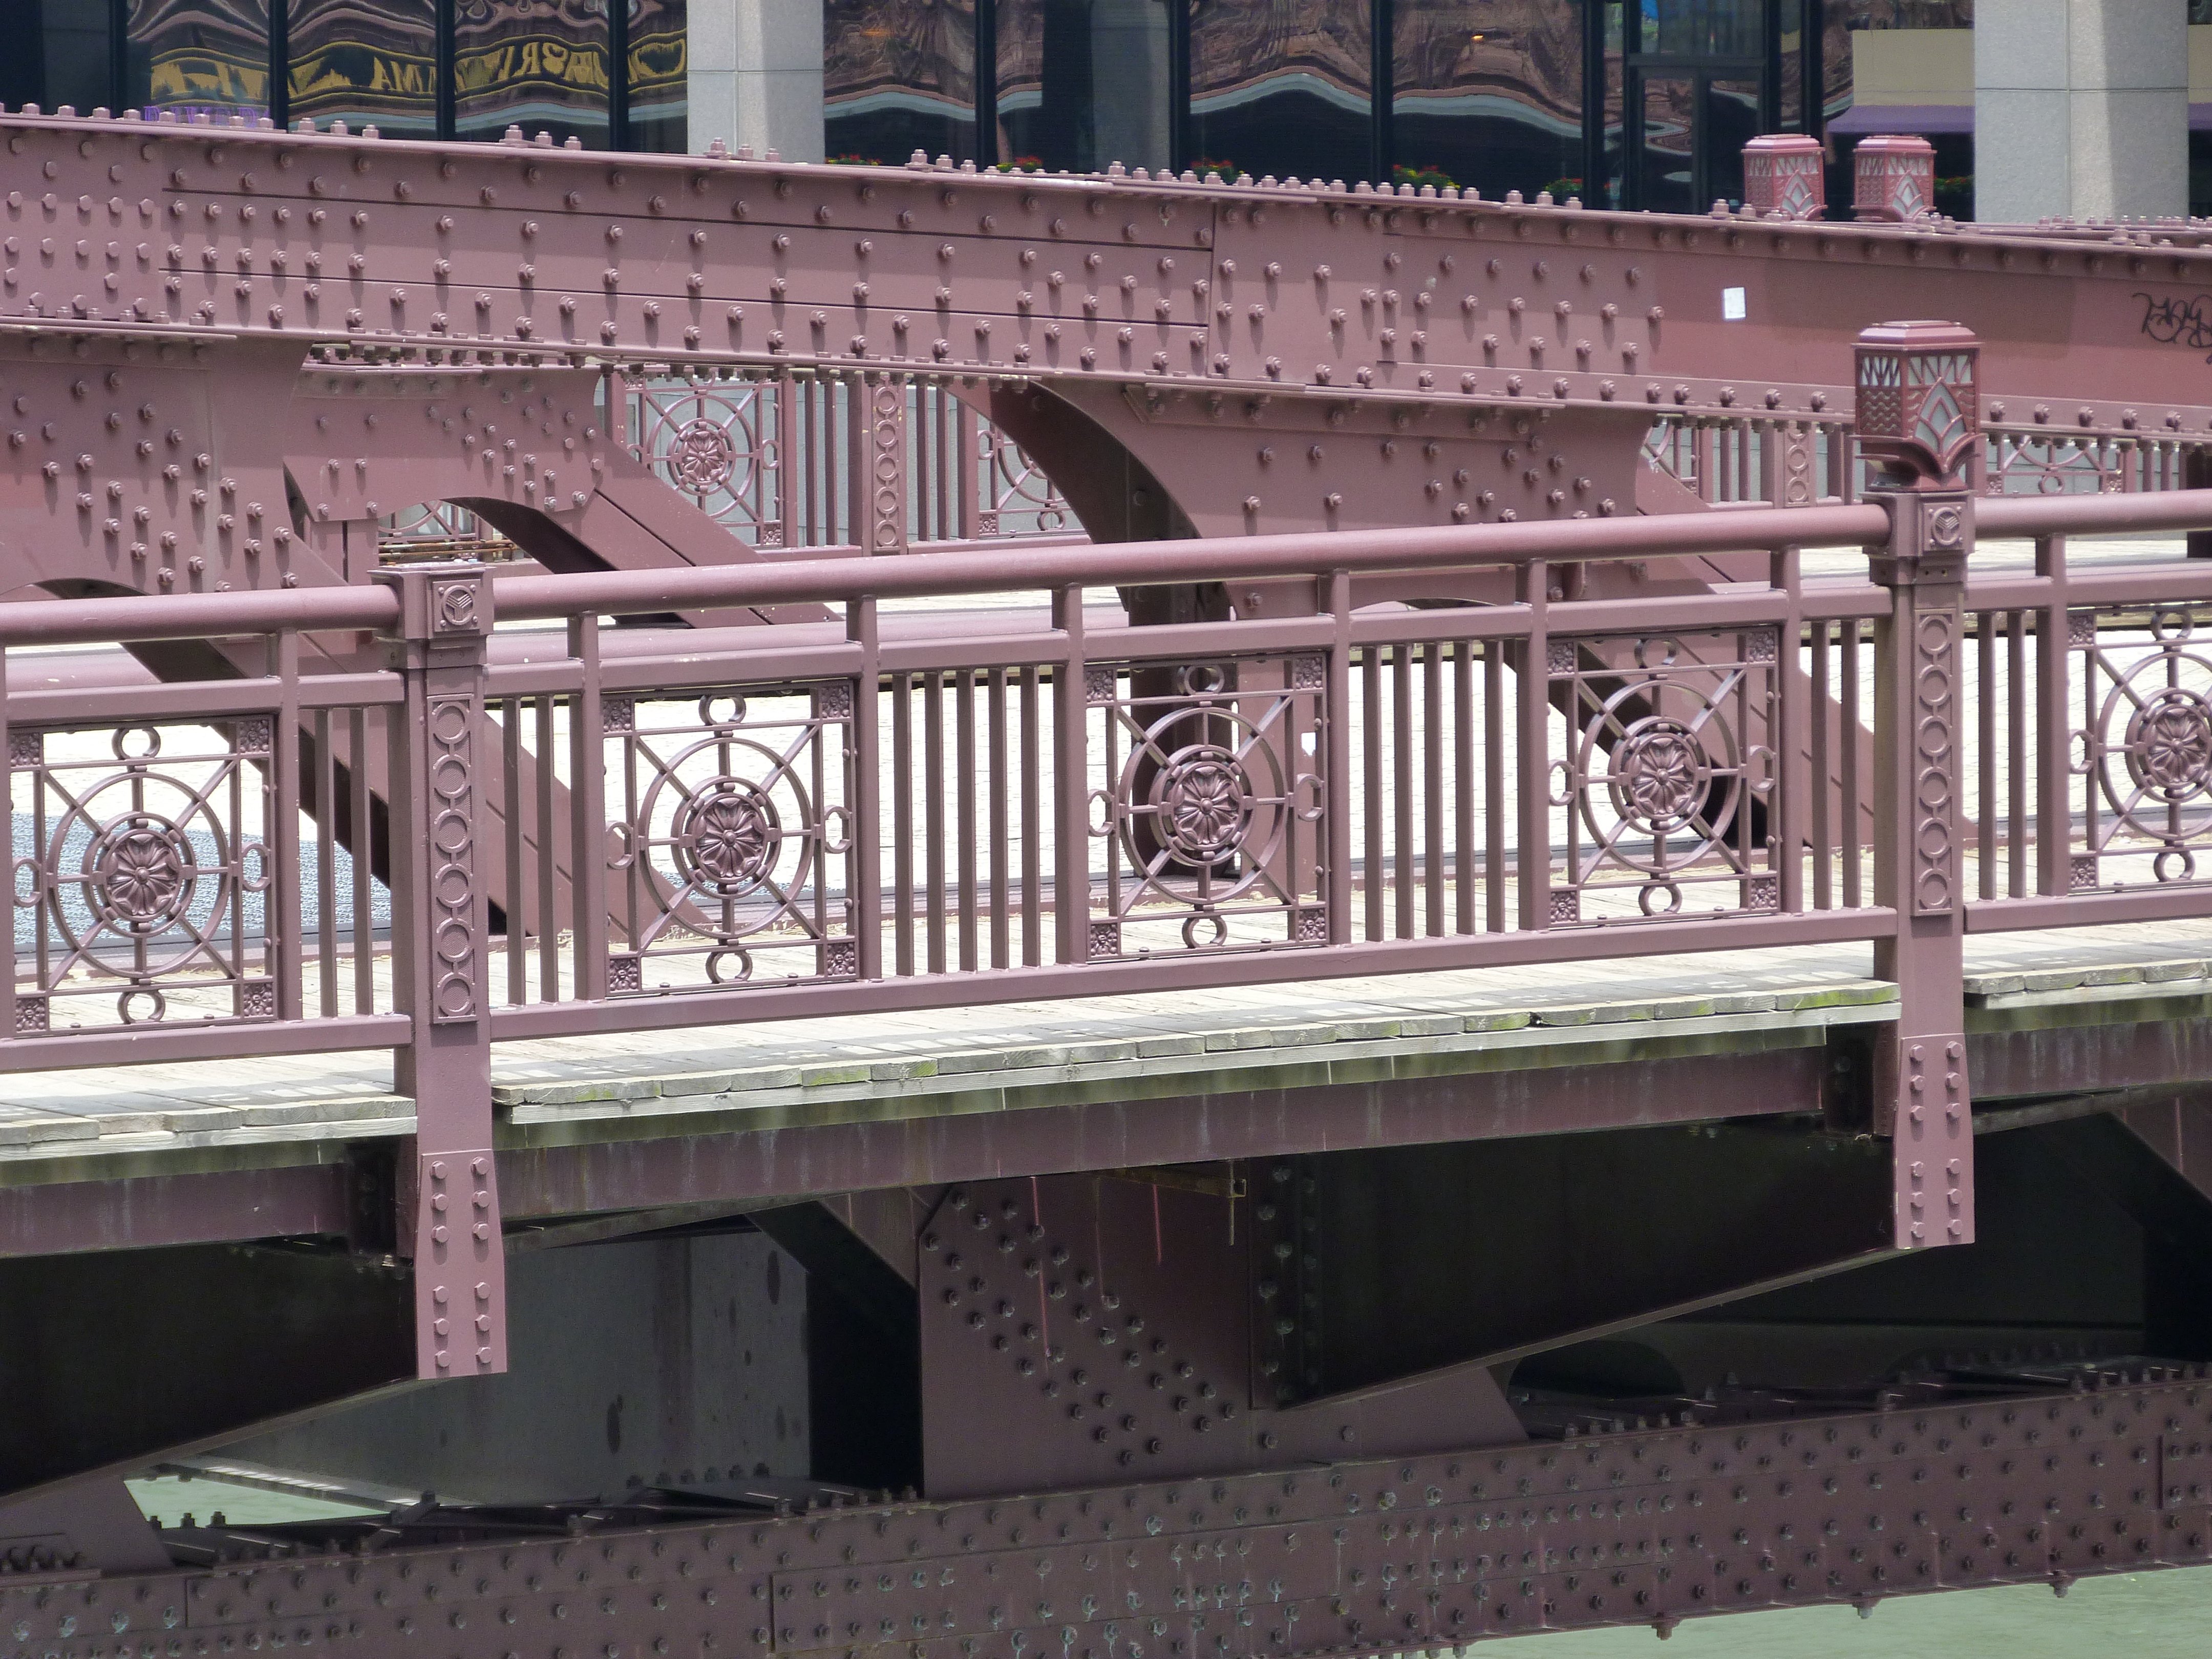
Bridge railing.
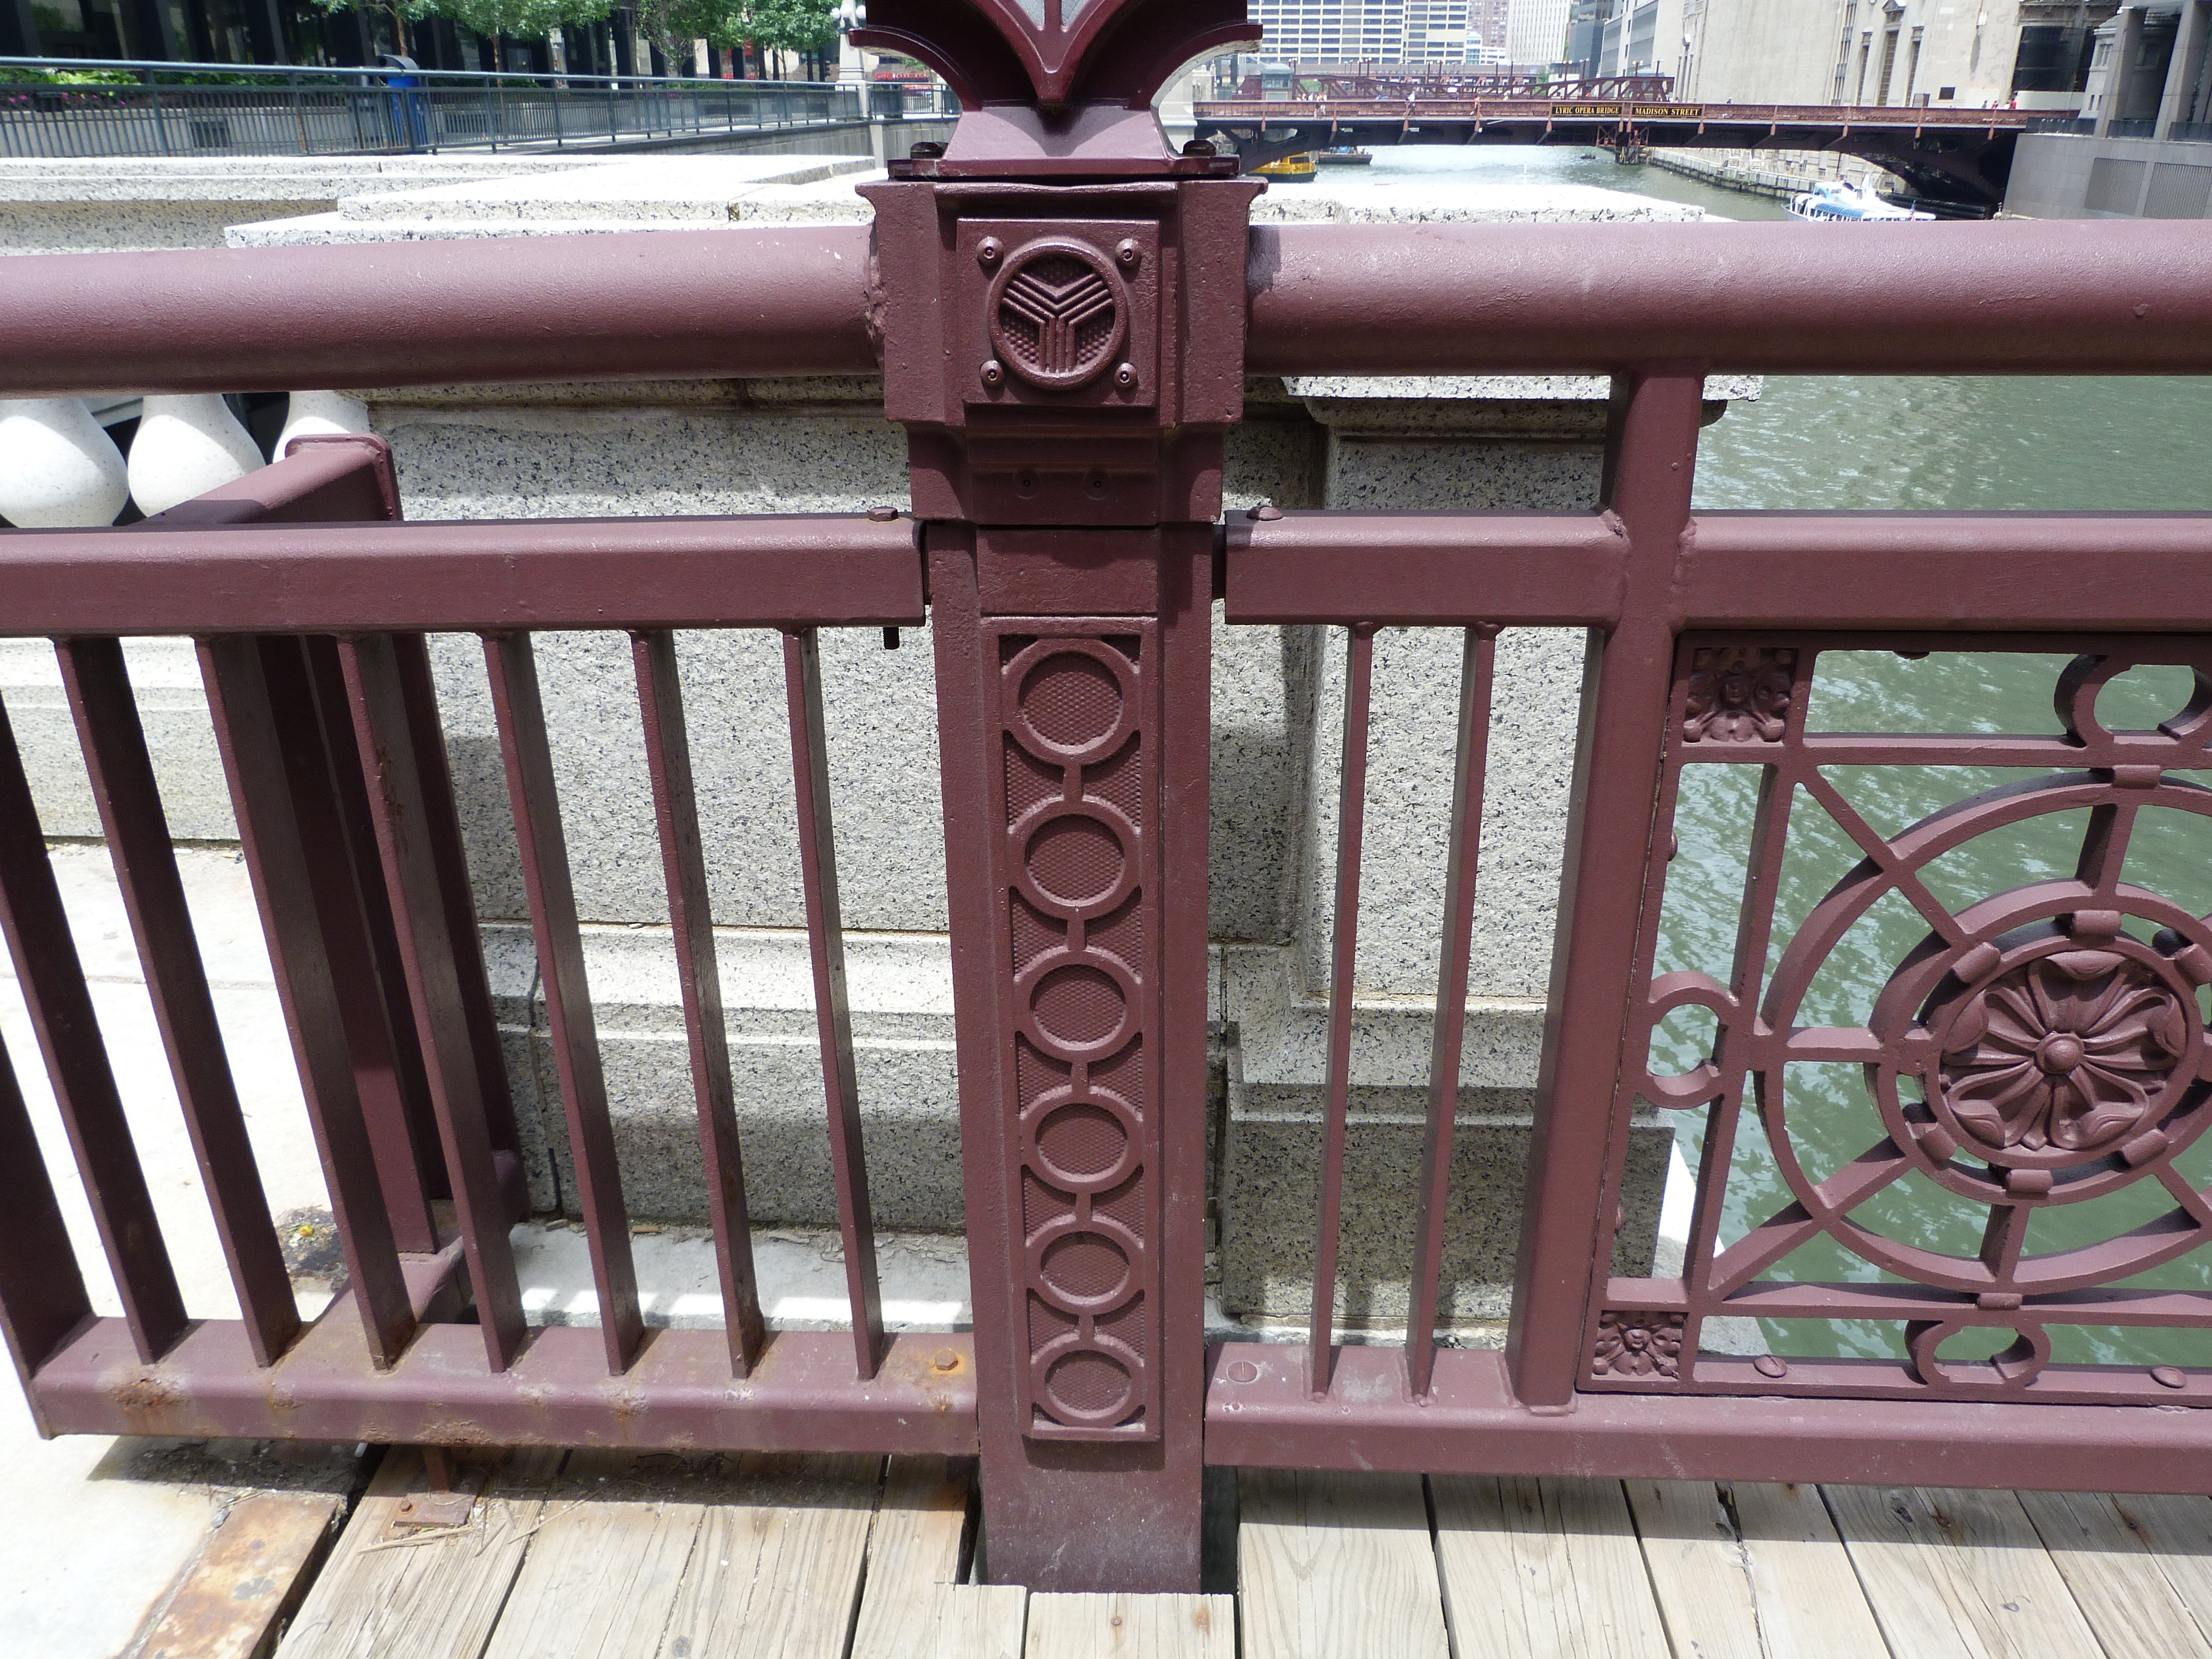
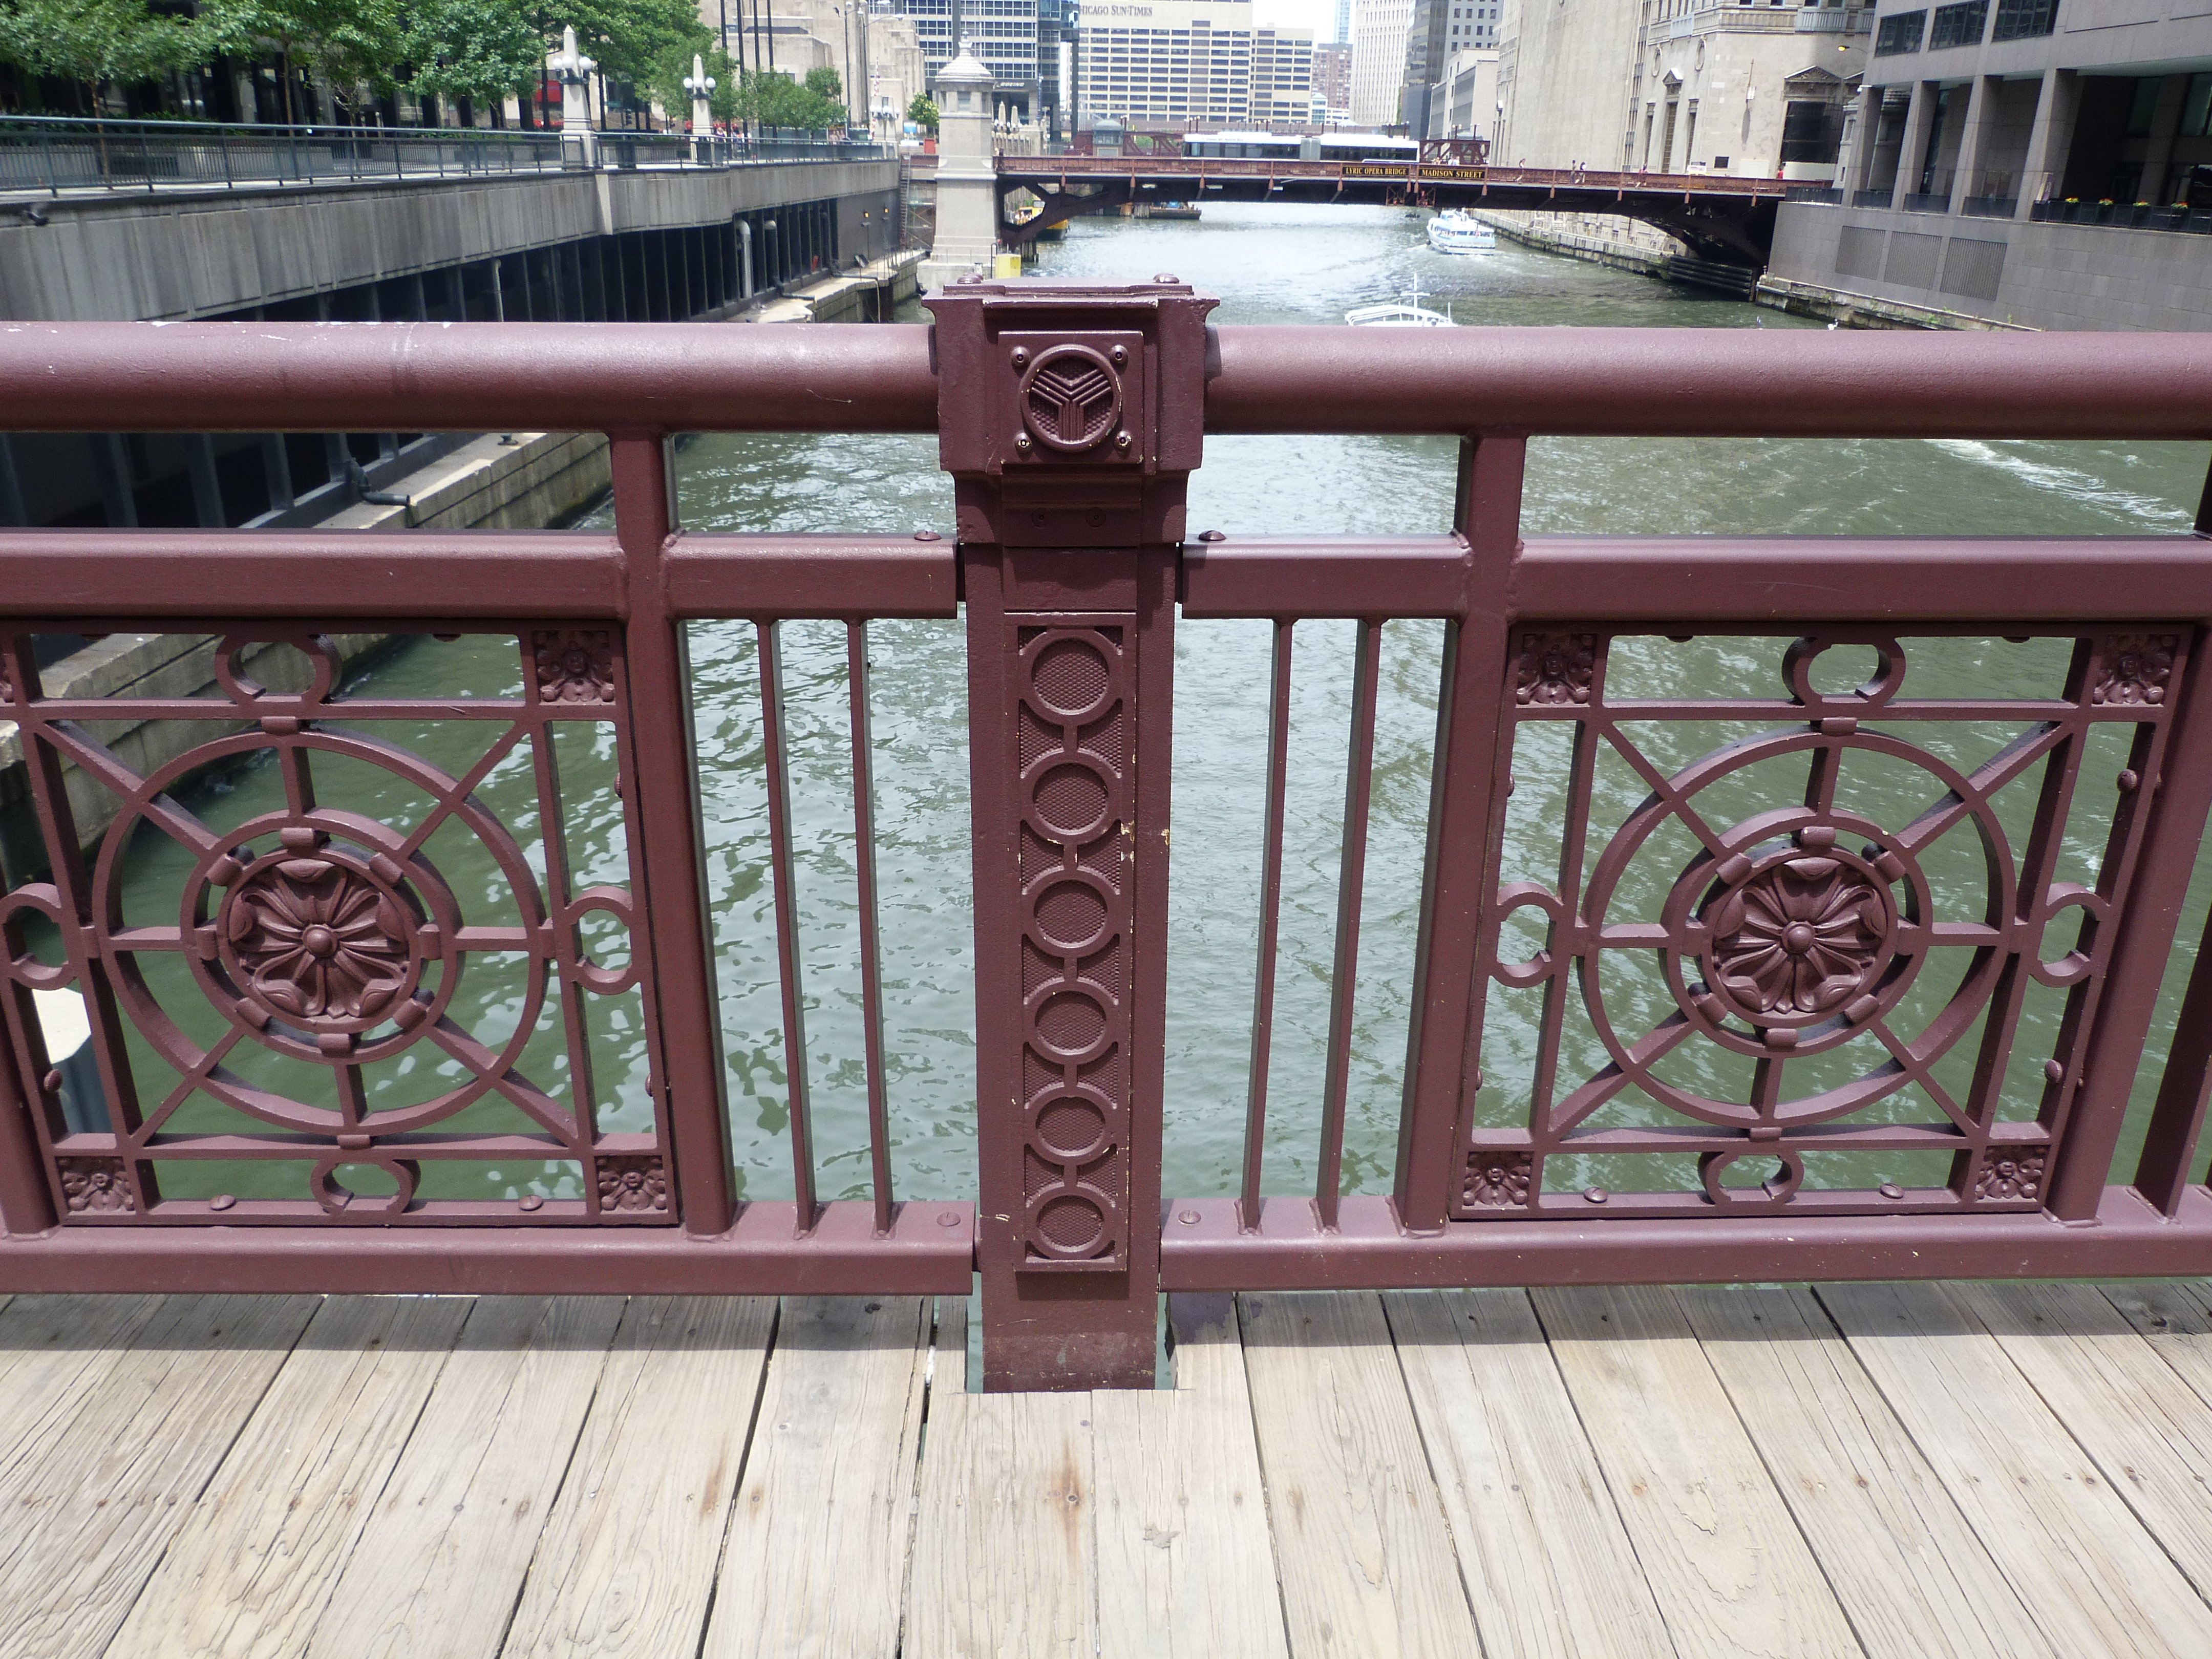
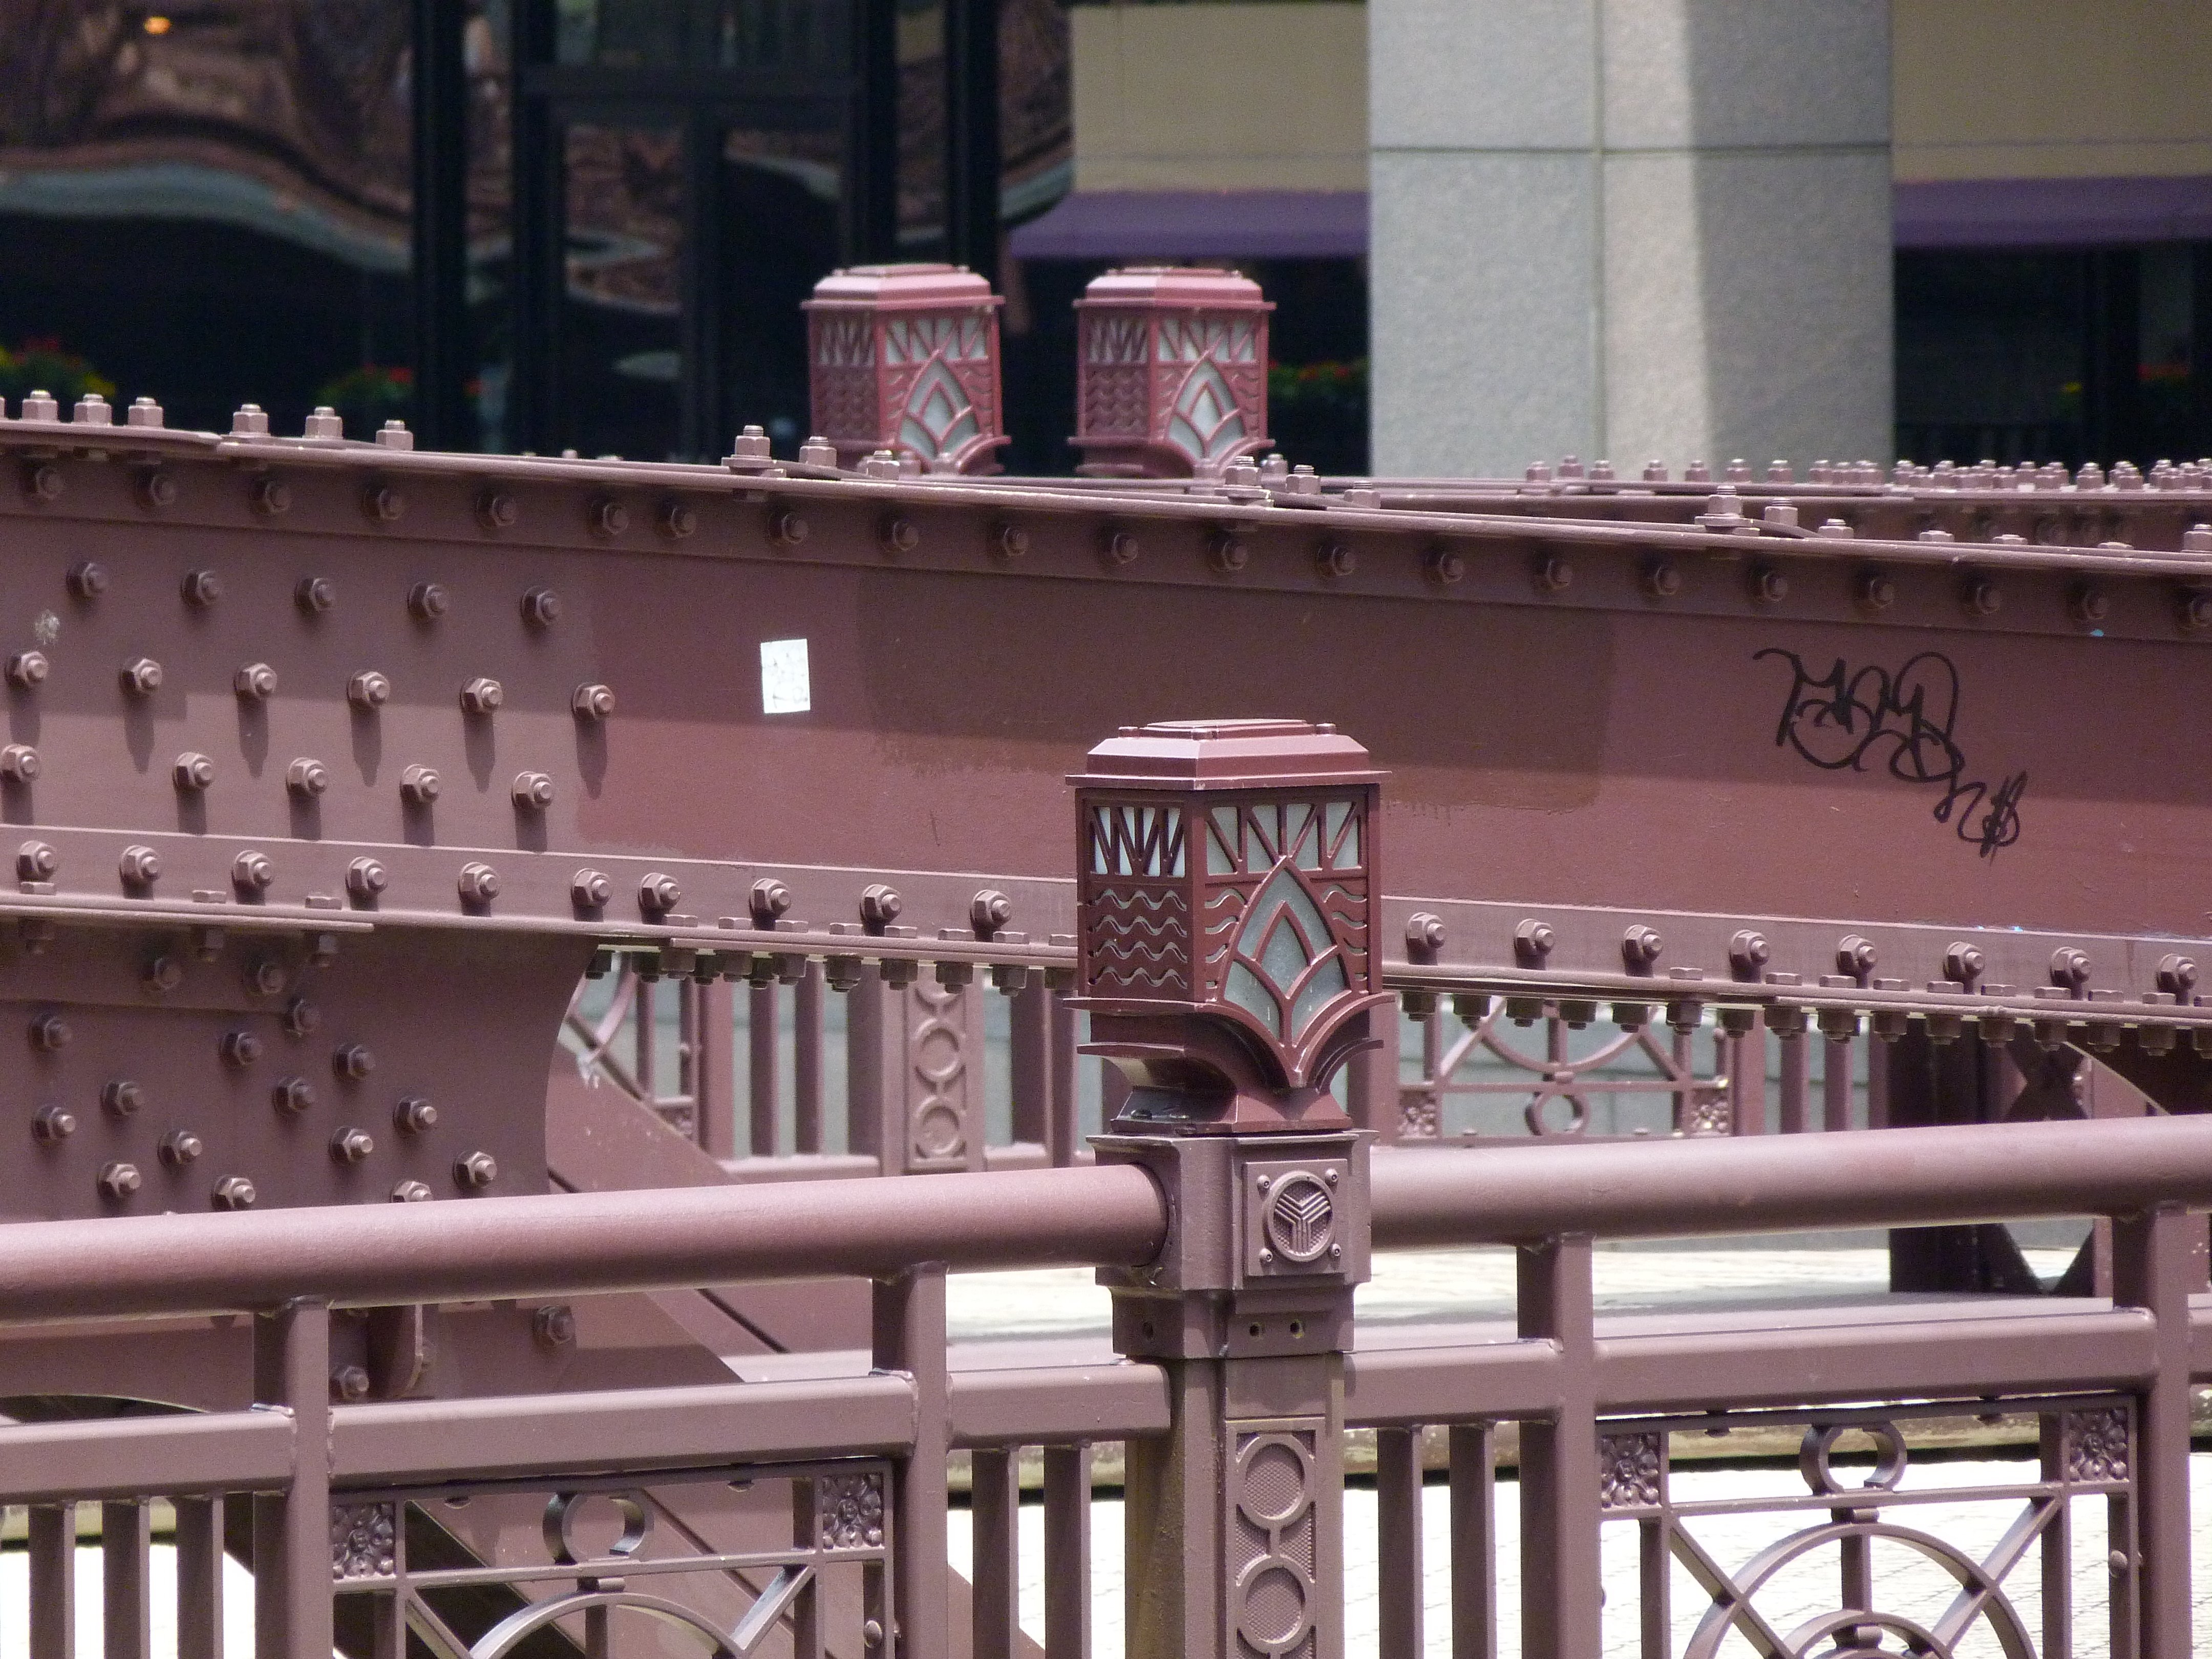
![]()


Bridge railing details.
![]()

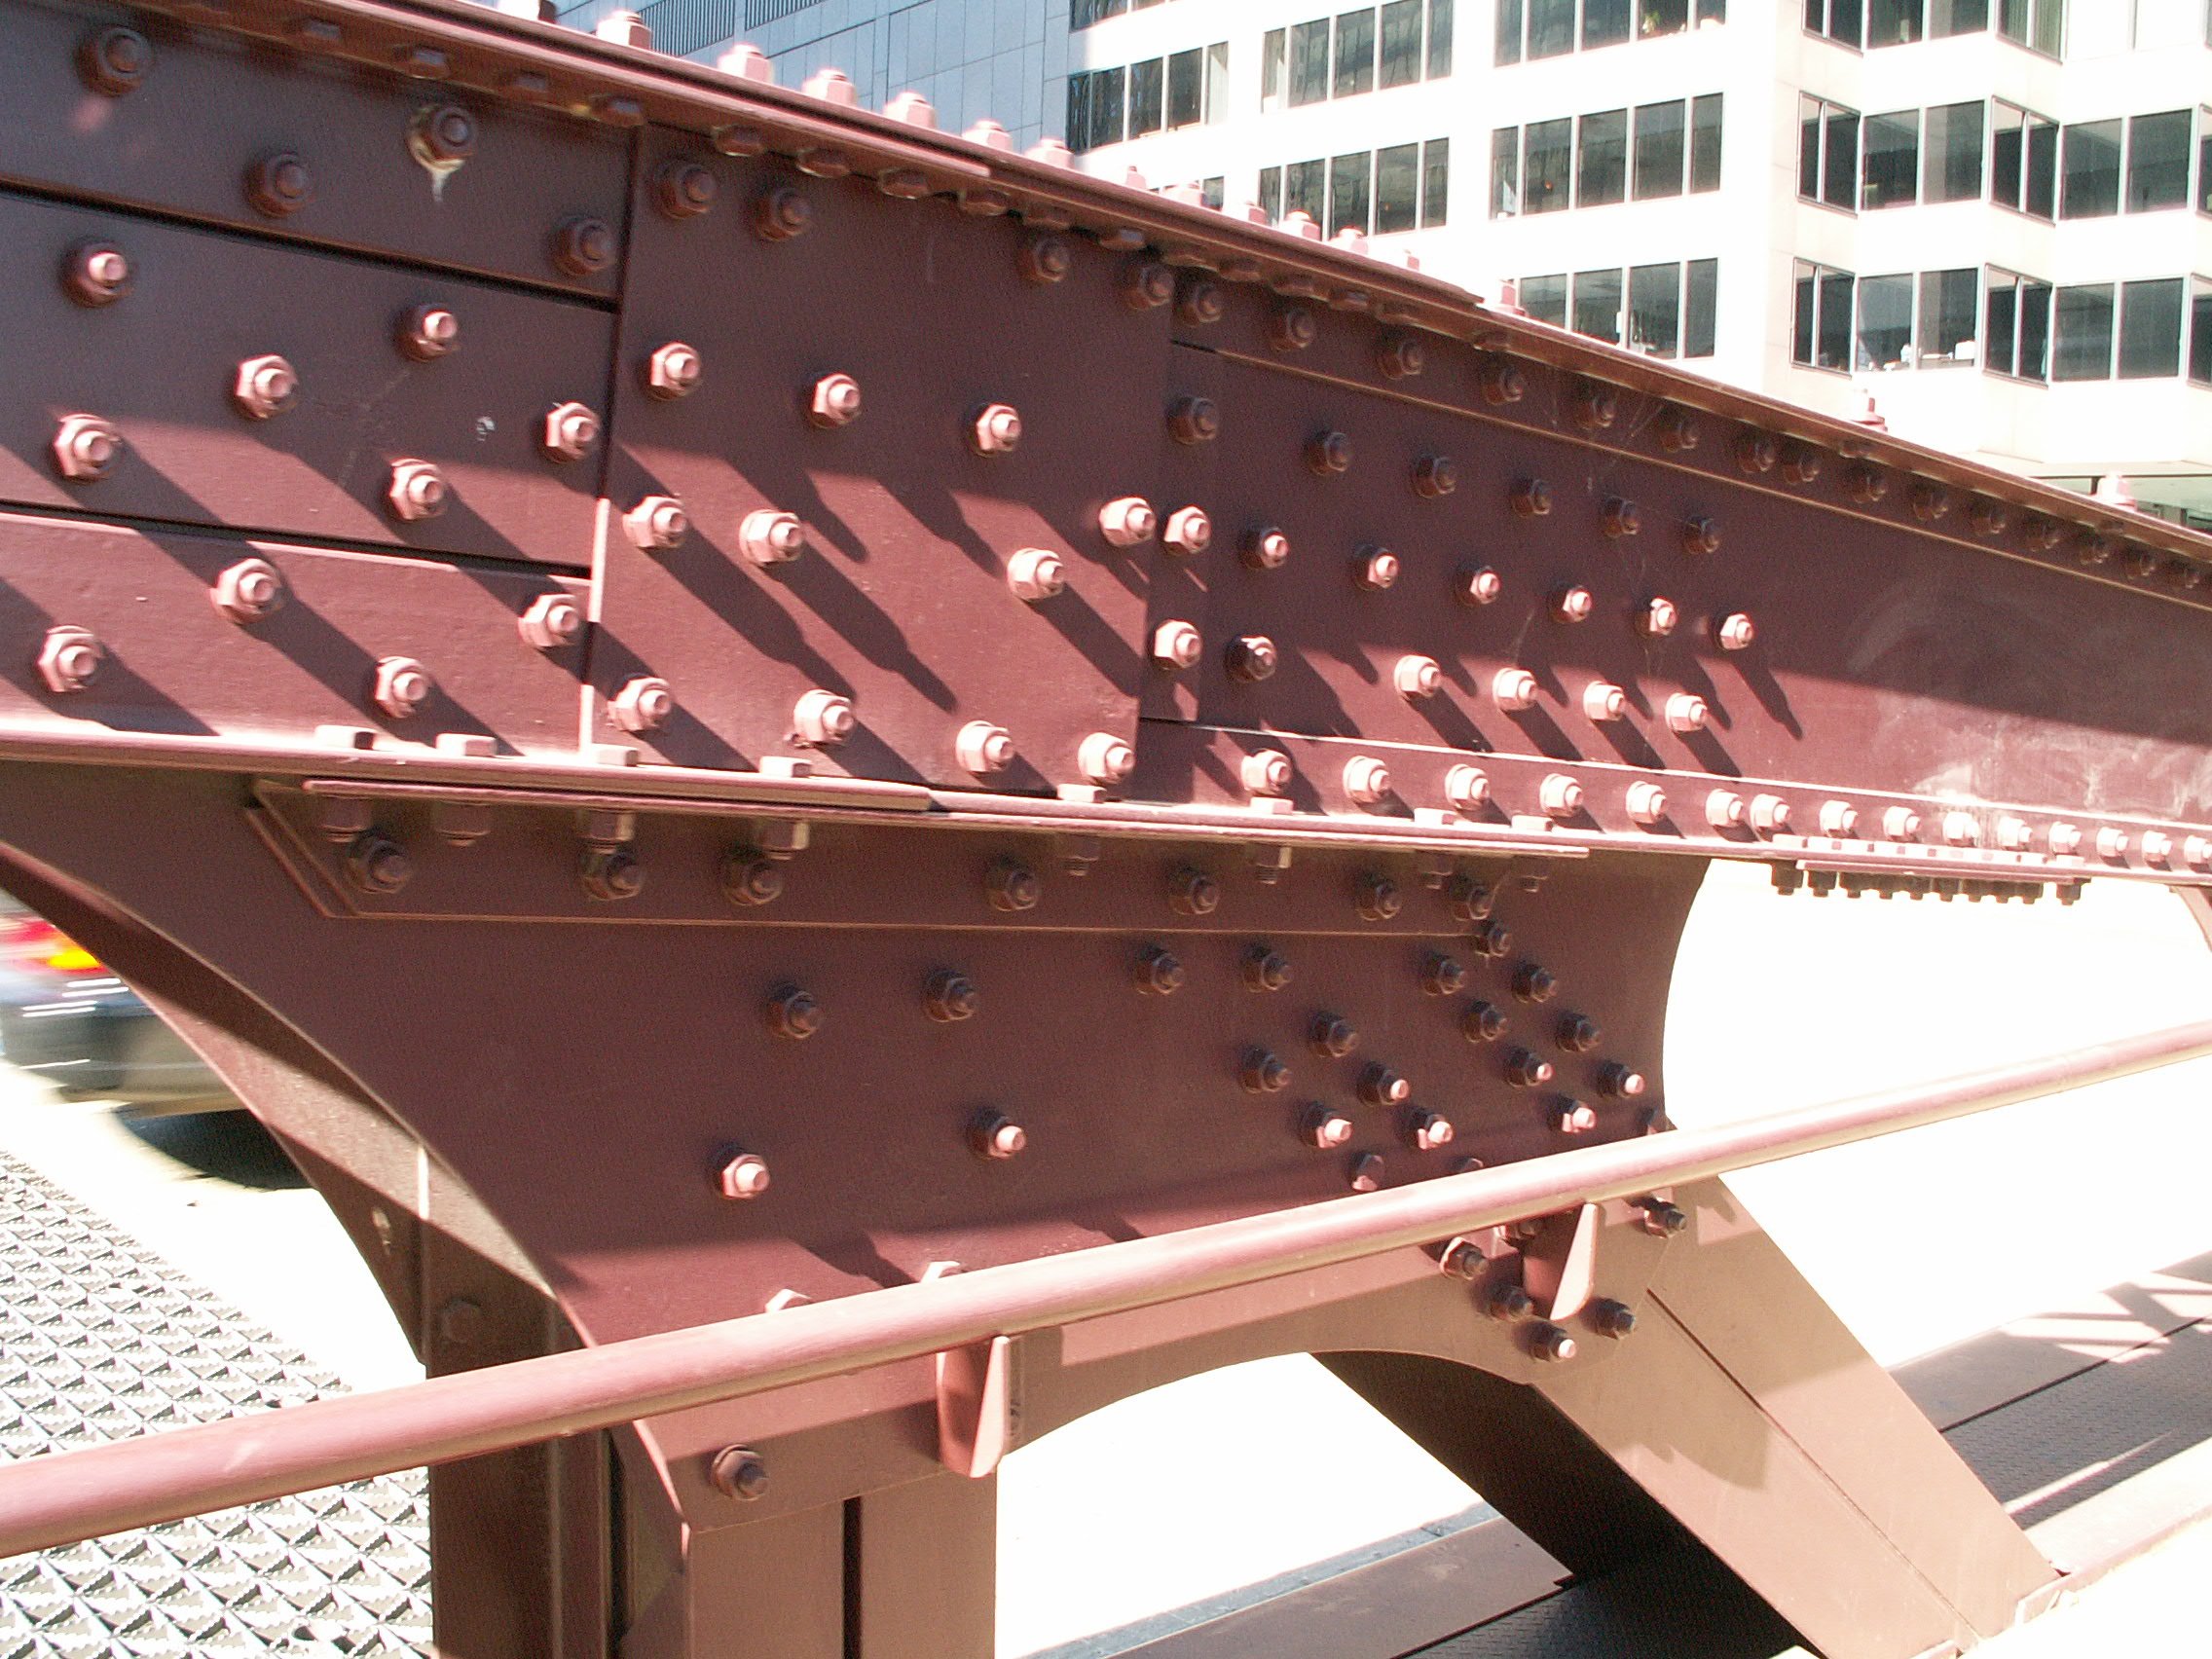


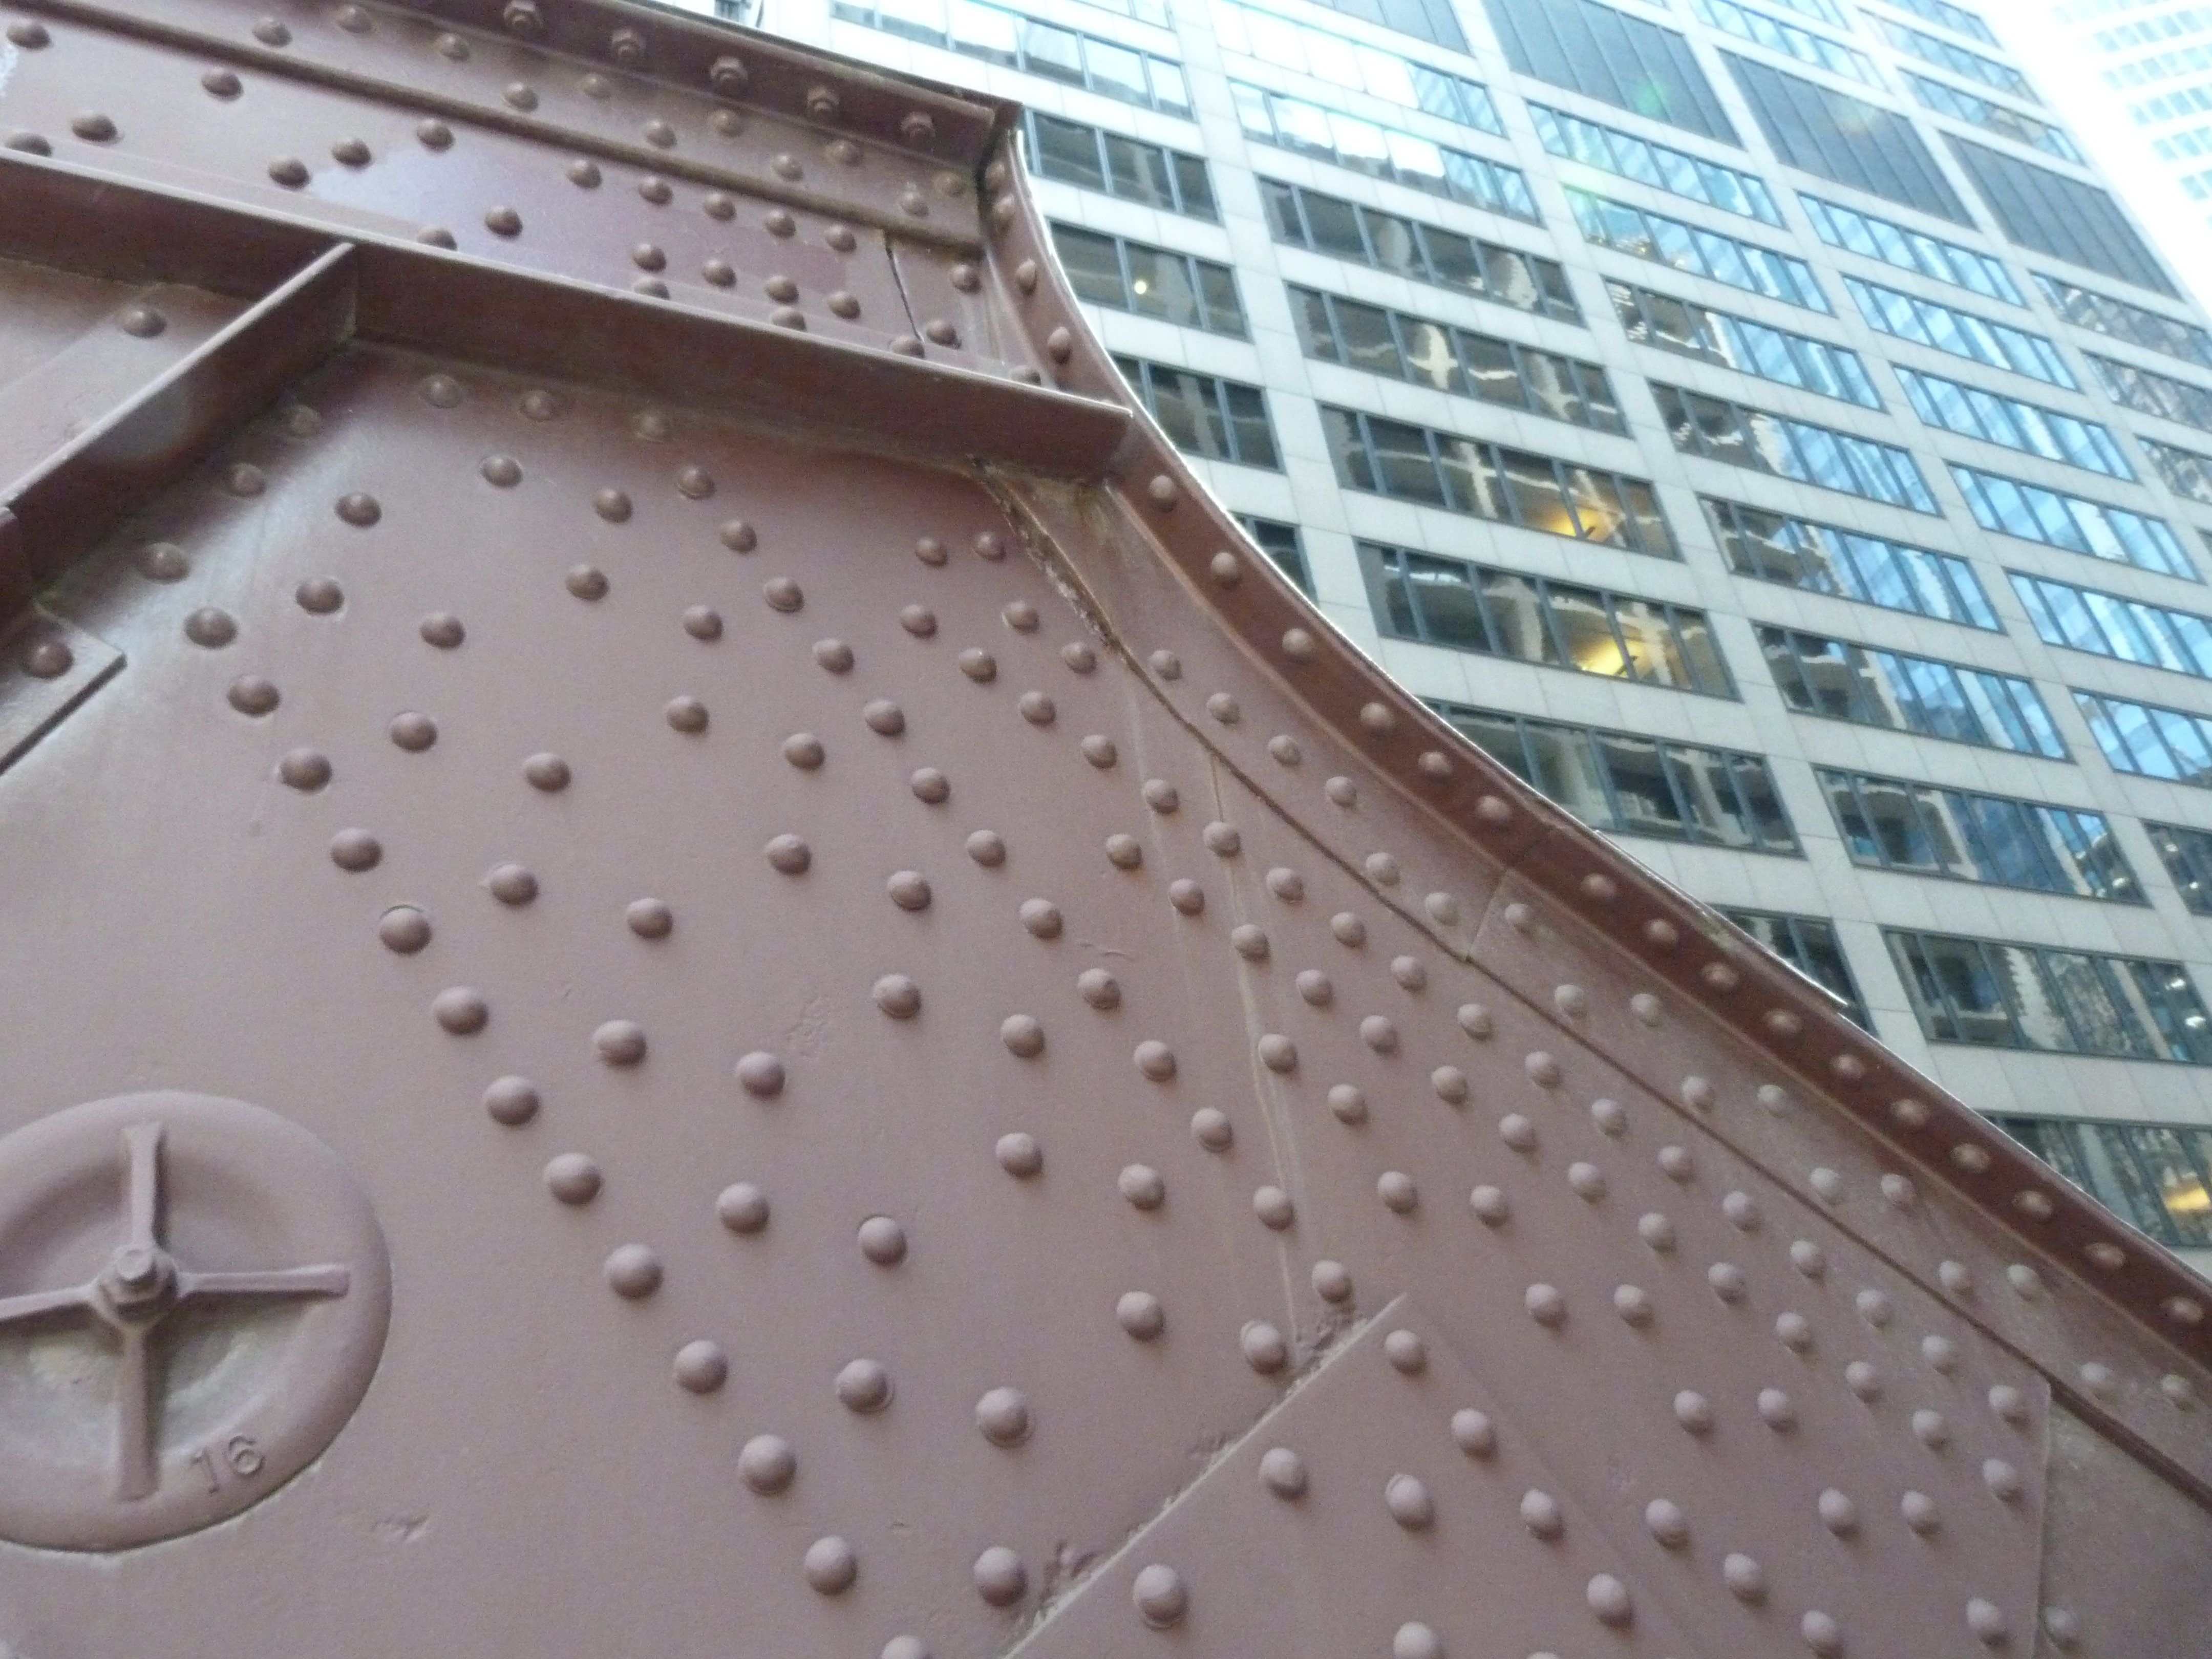


Top chord connections.
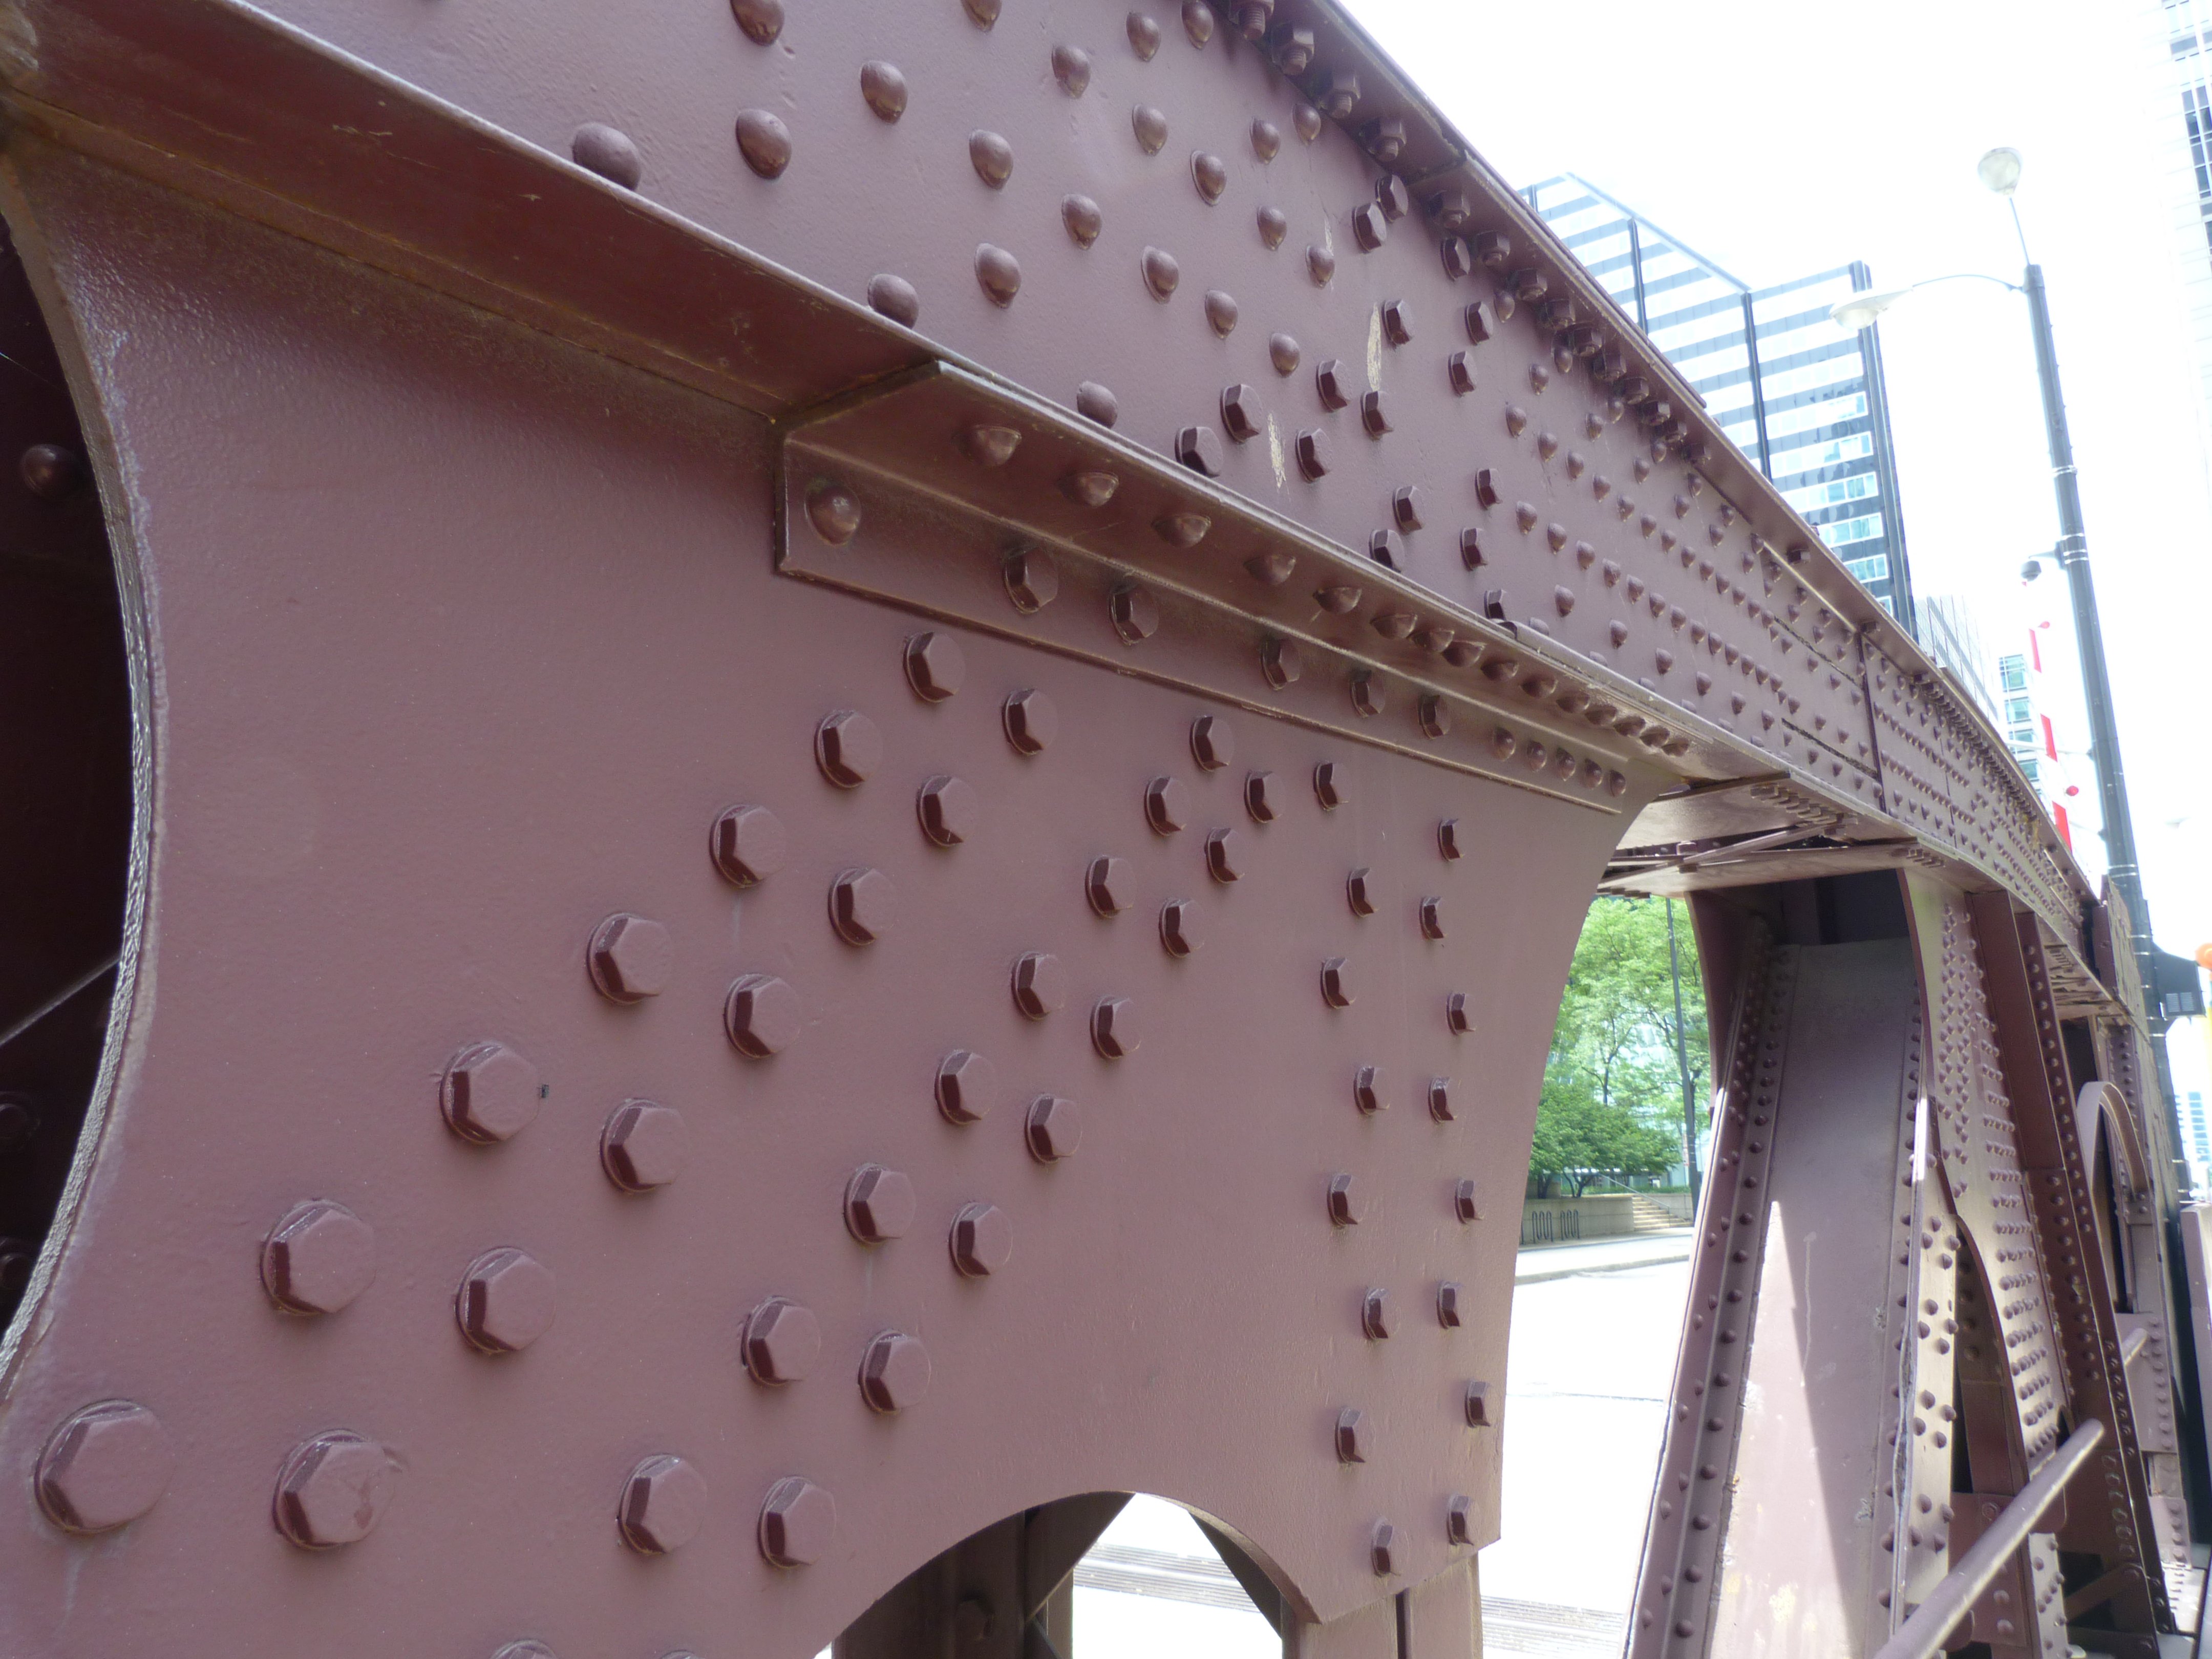
![]()


Bottom chord connections.
![]()
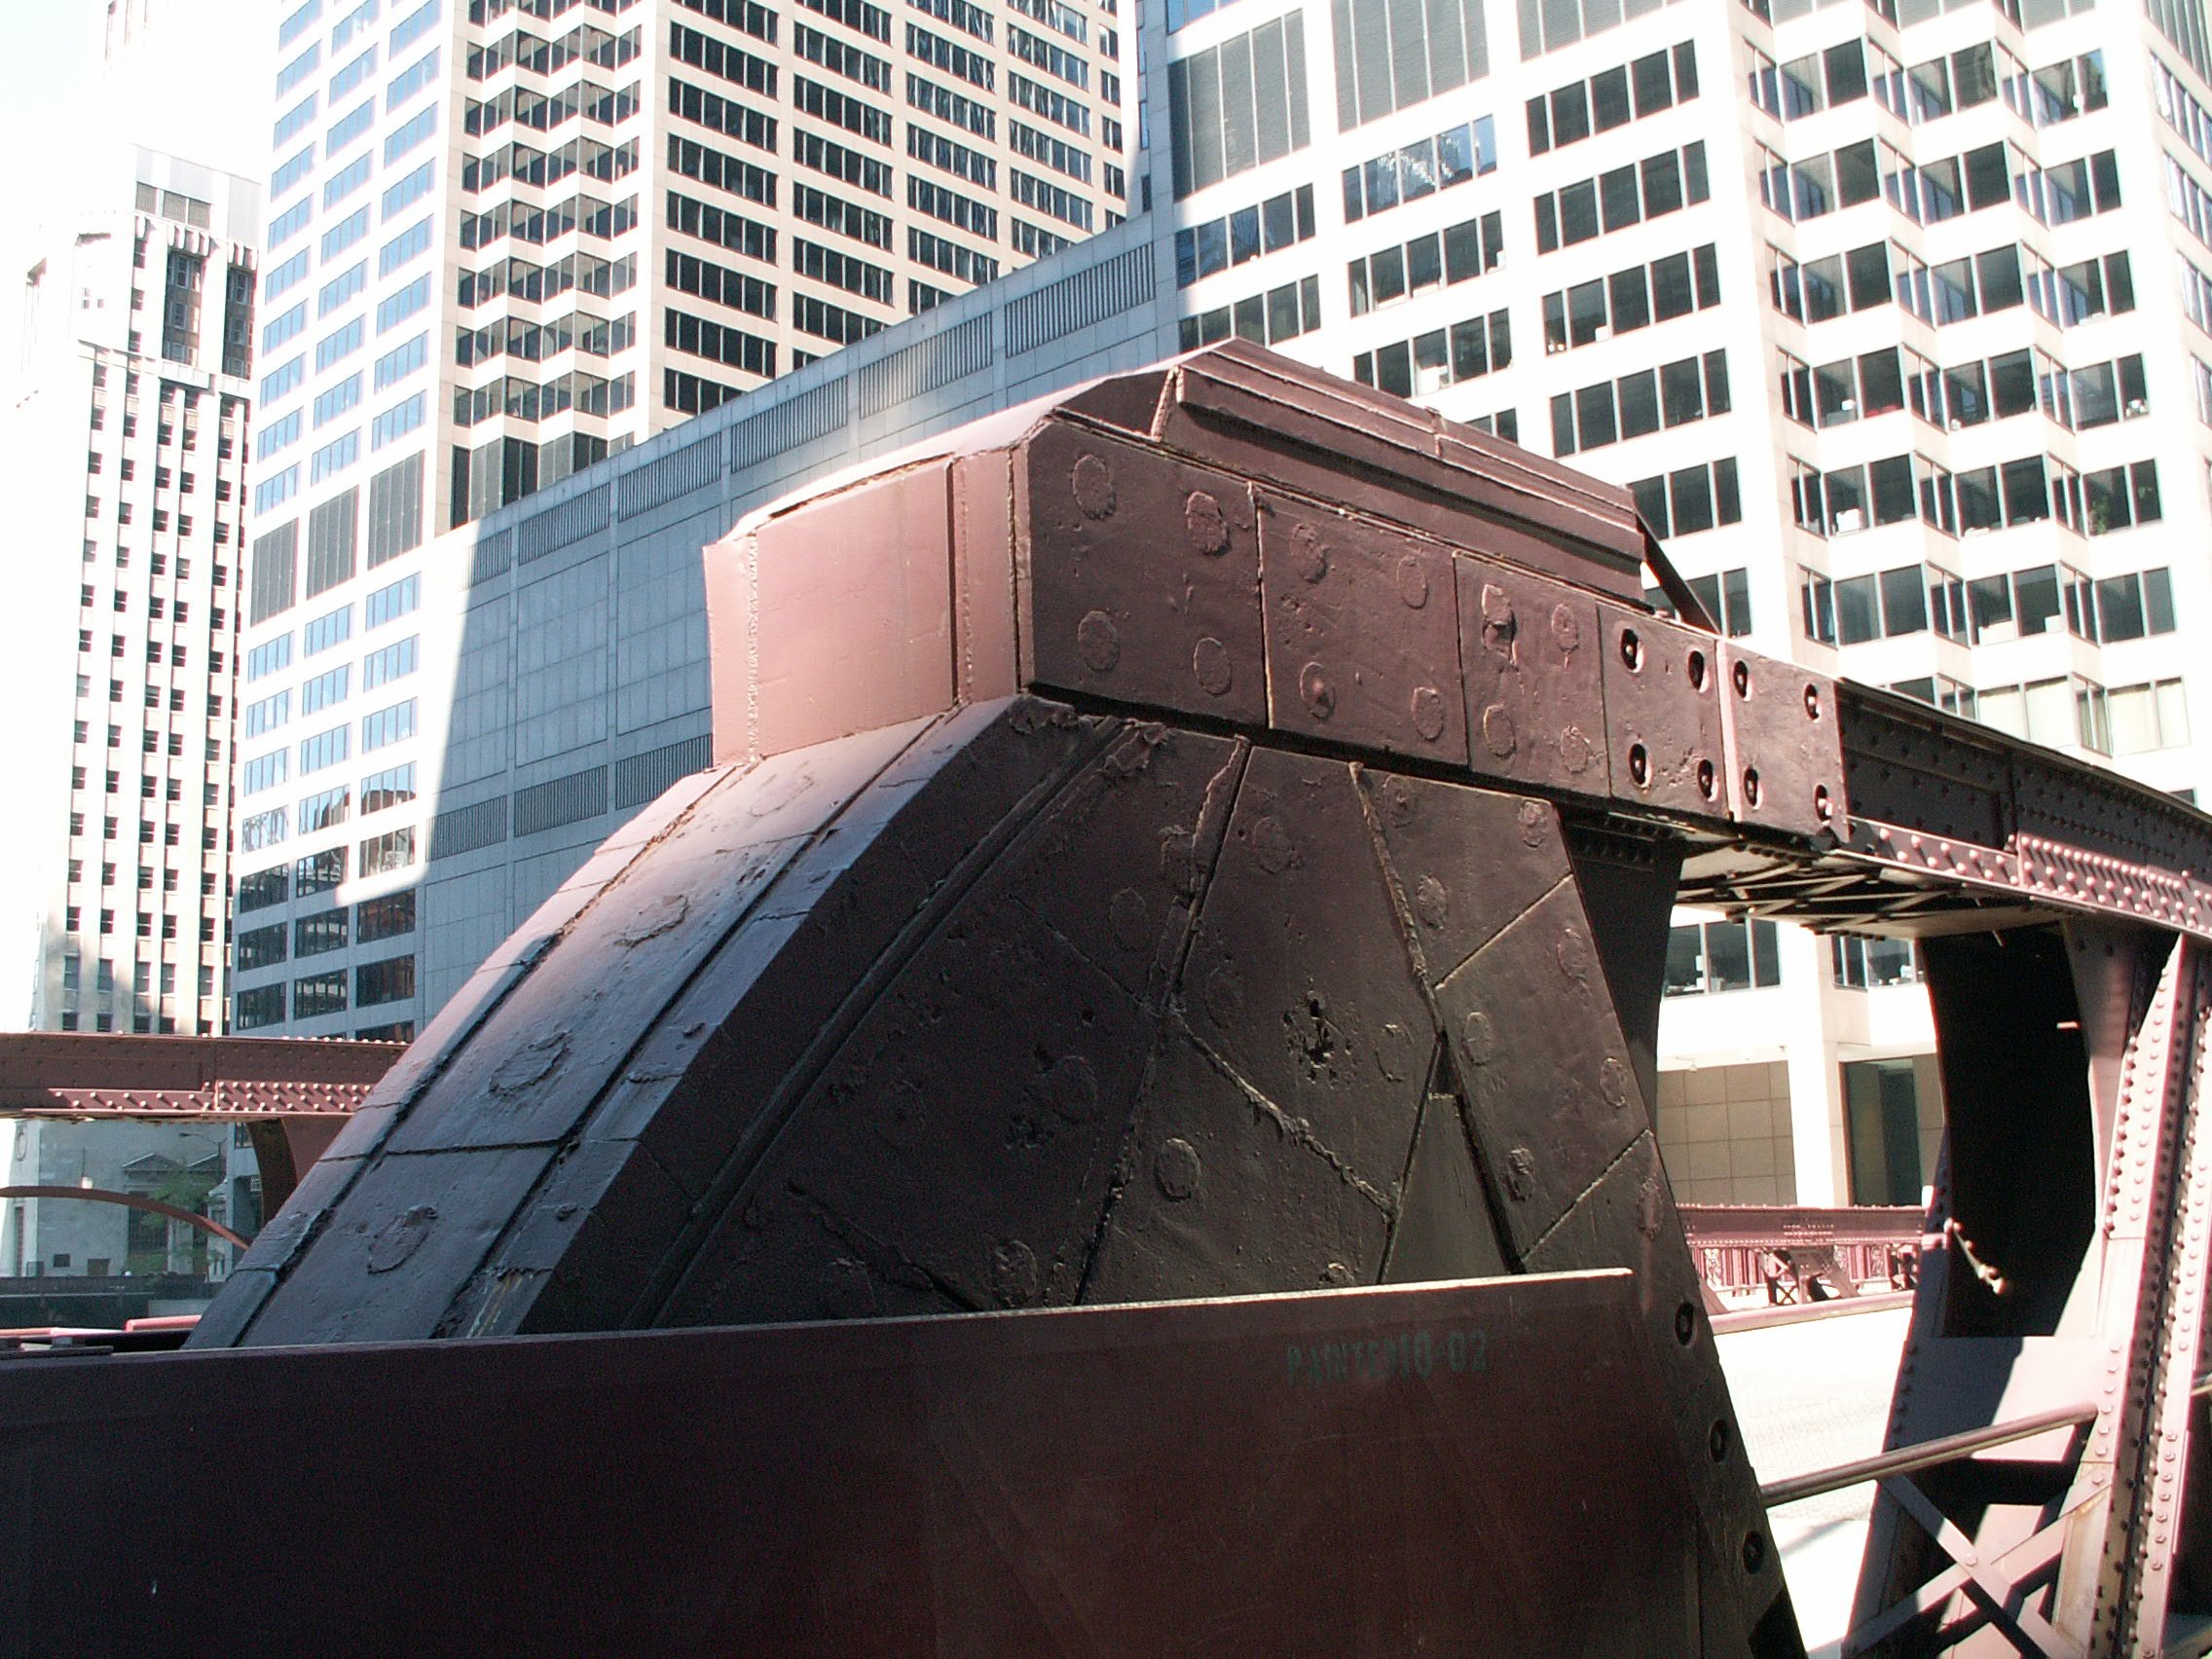


Details showing unusual addition of counterweight blocks into the trusses at the western end of the bridge.
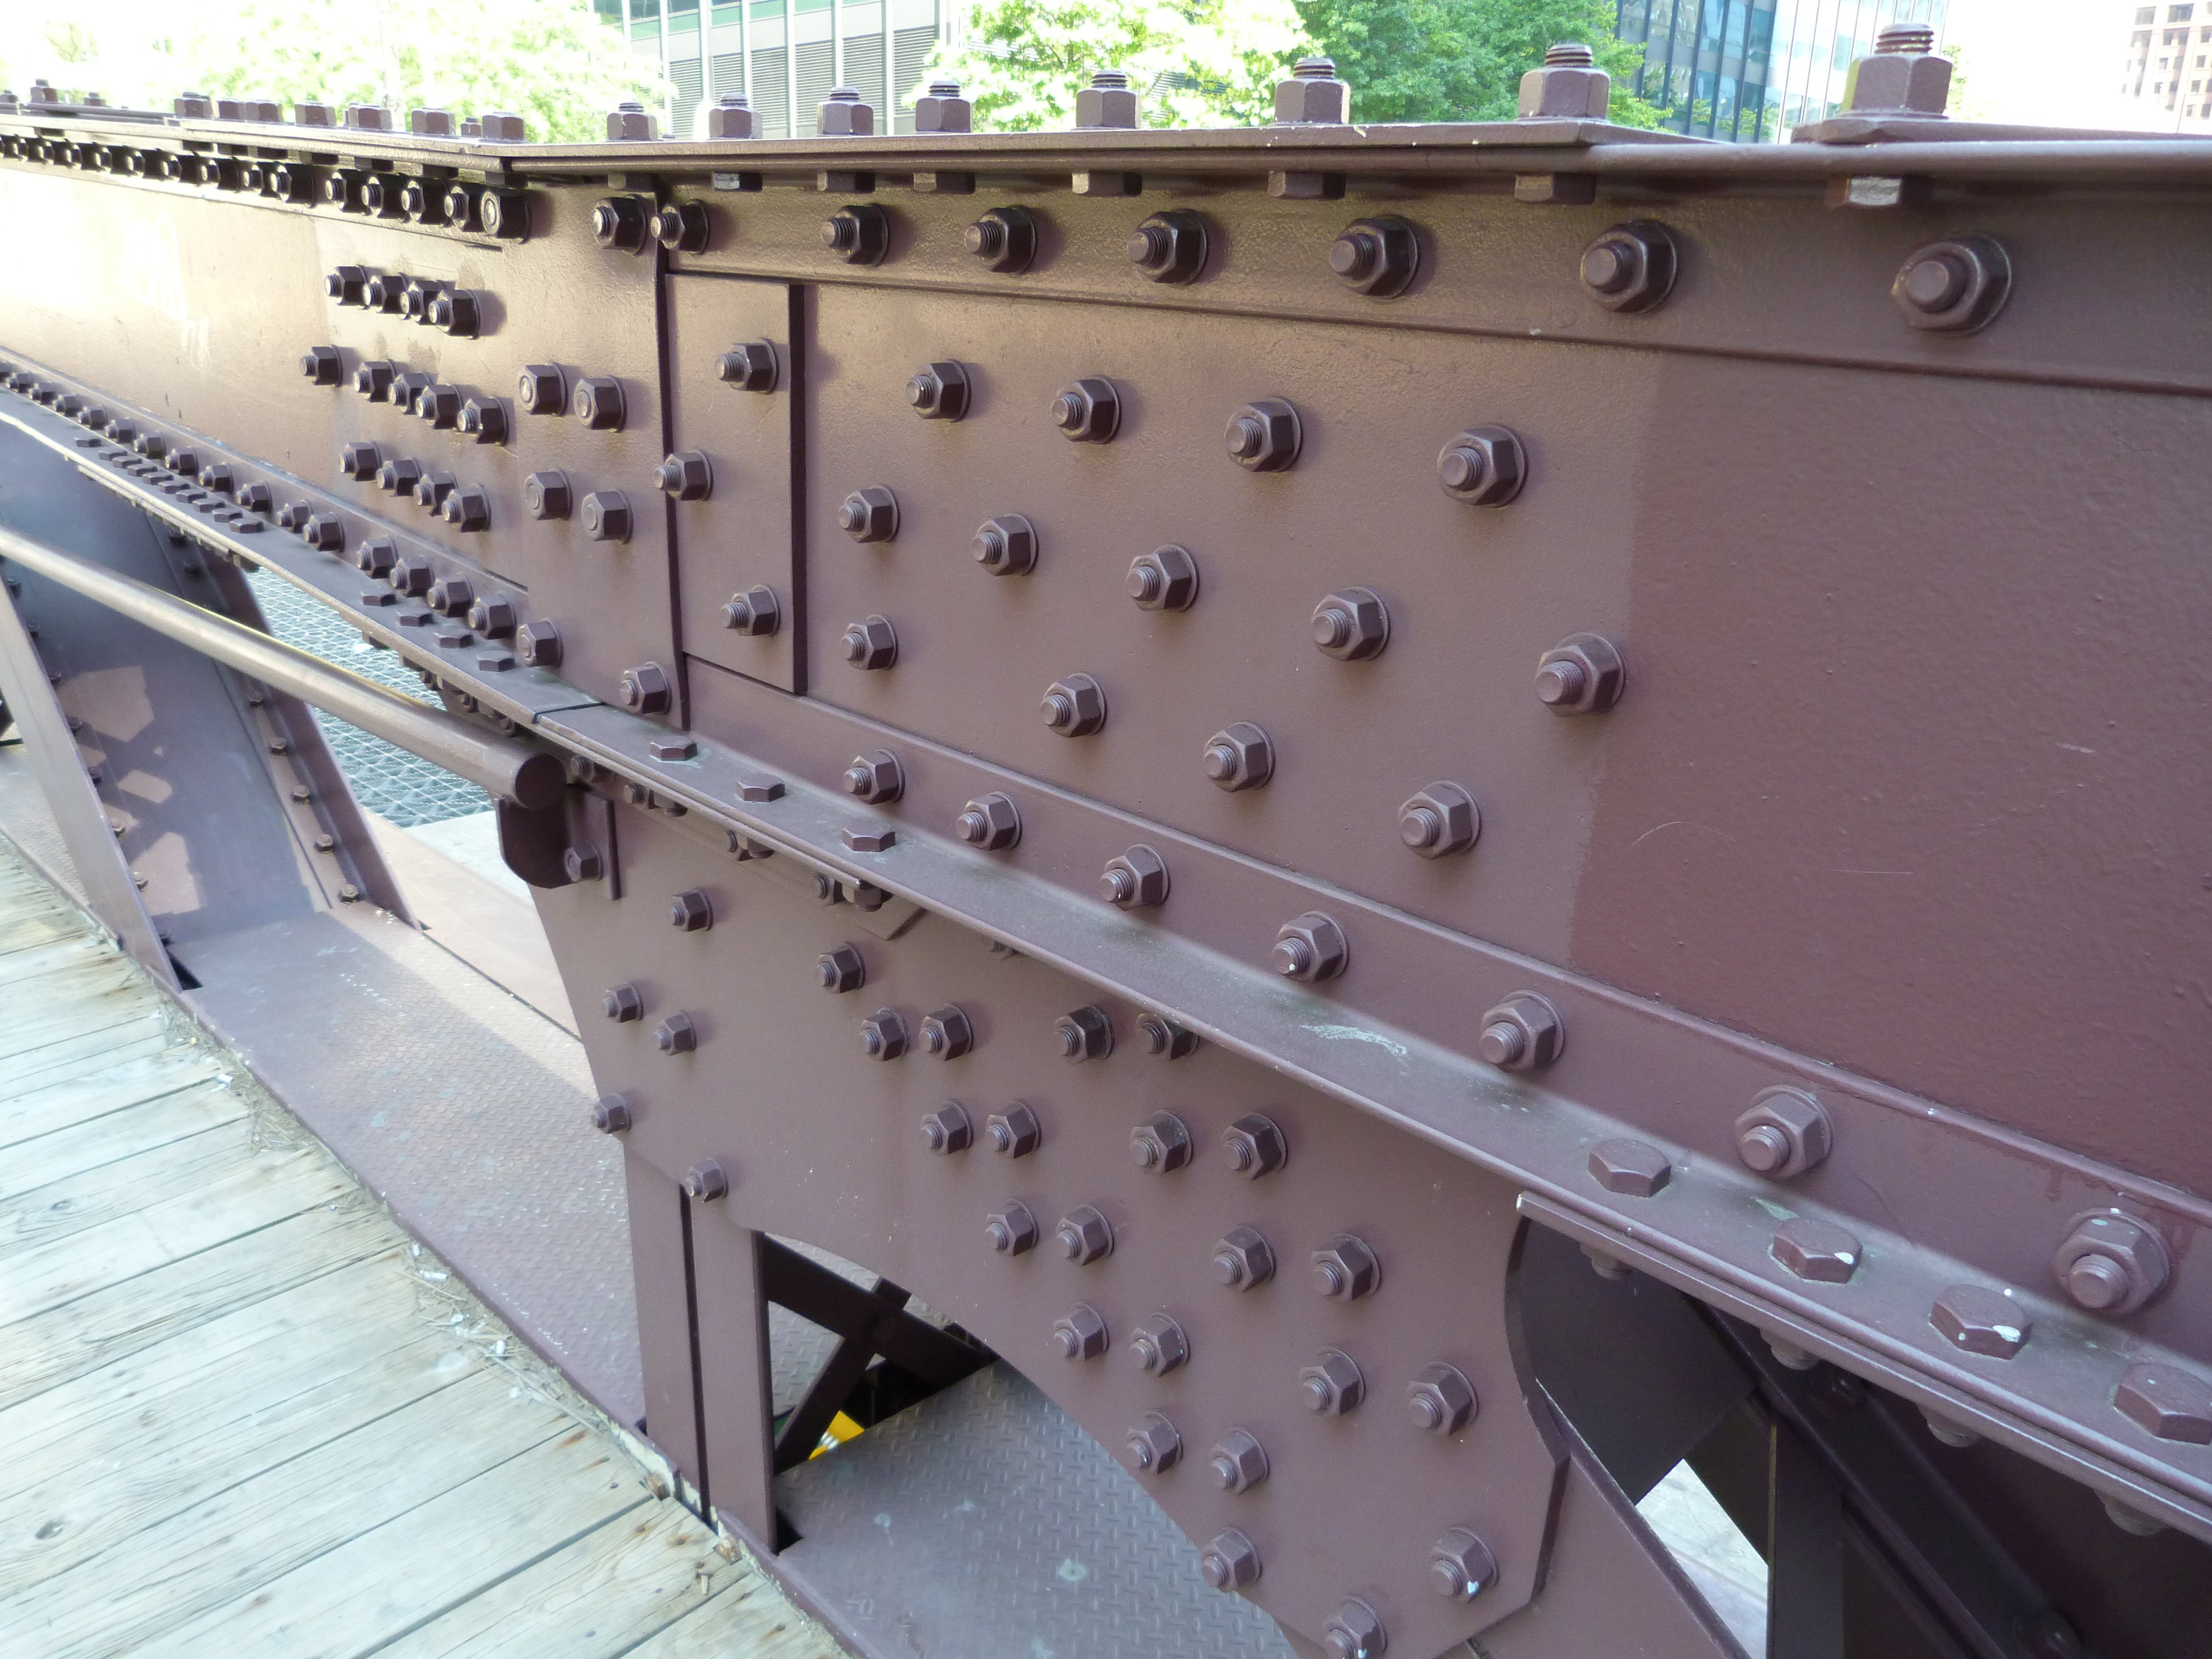
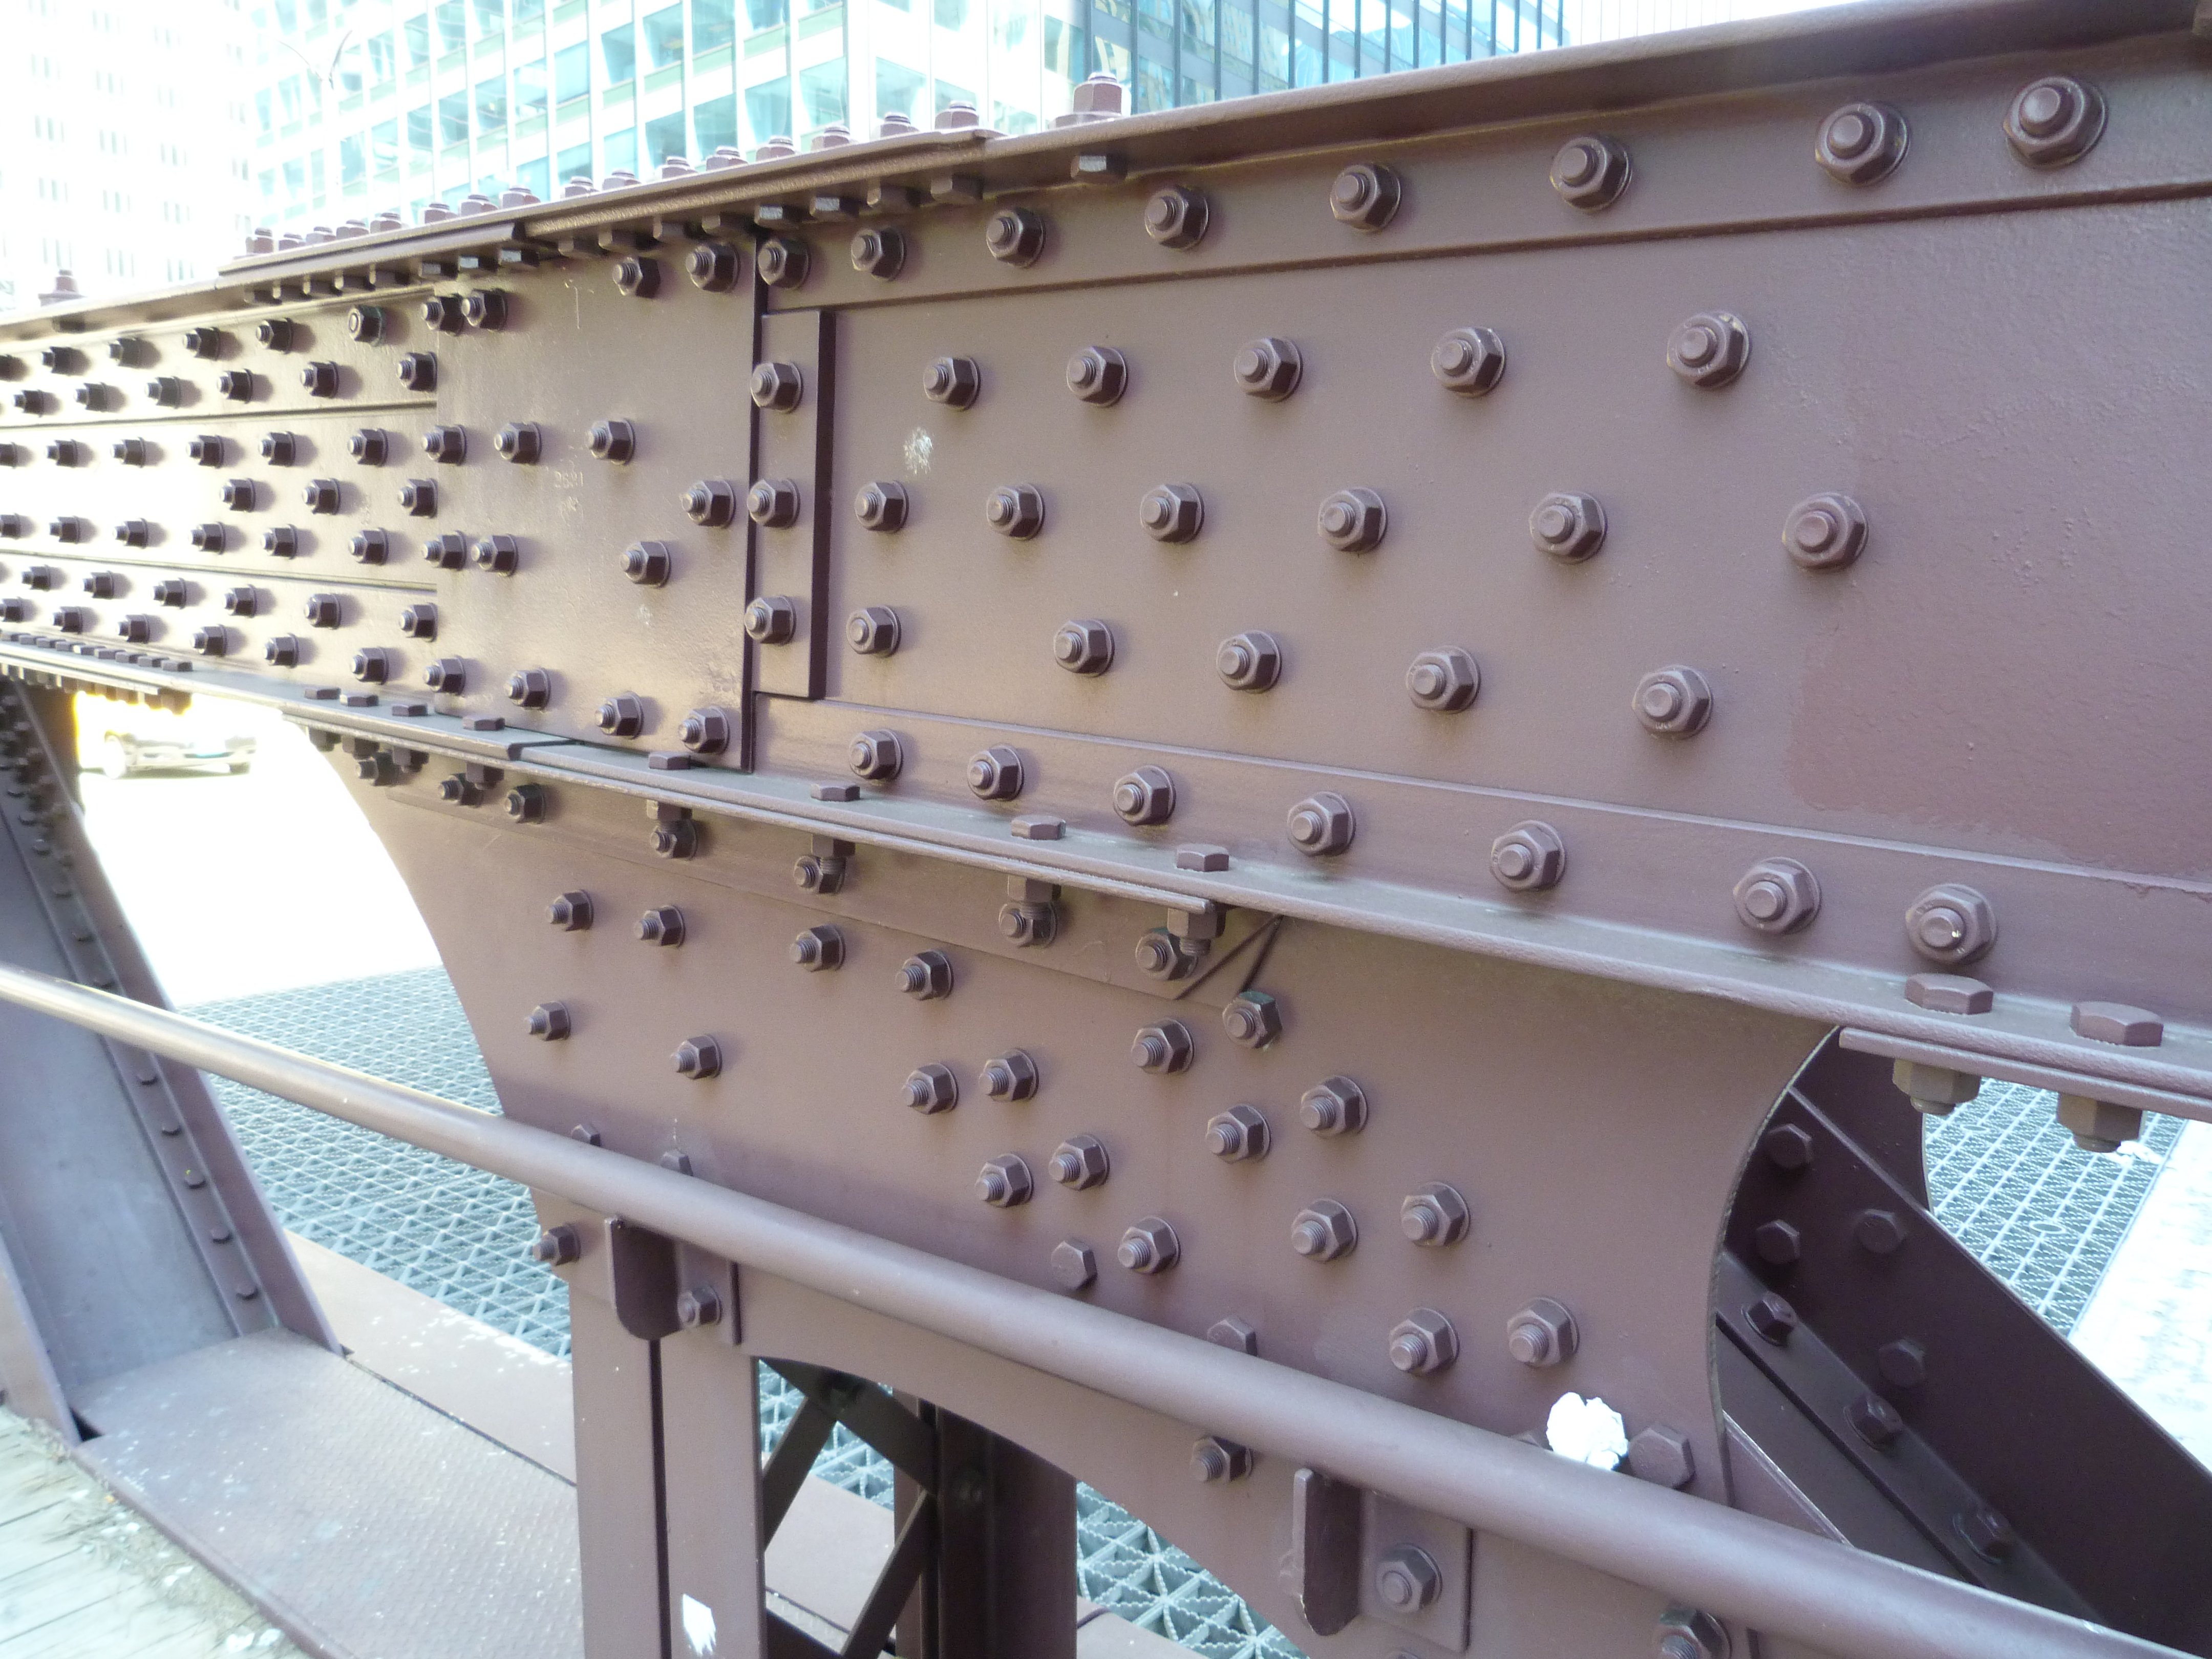
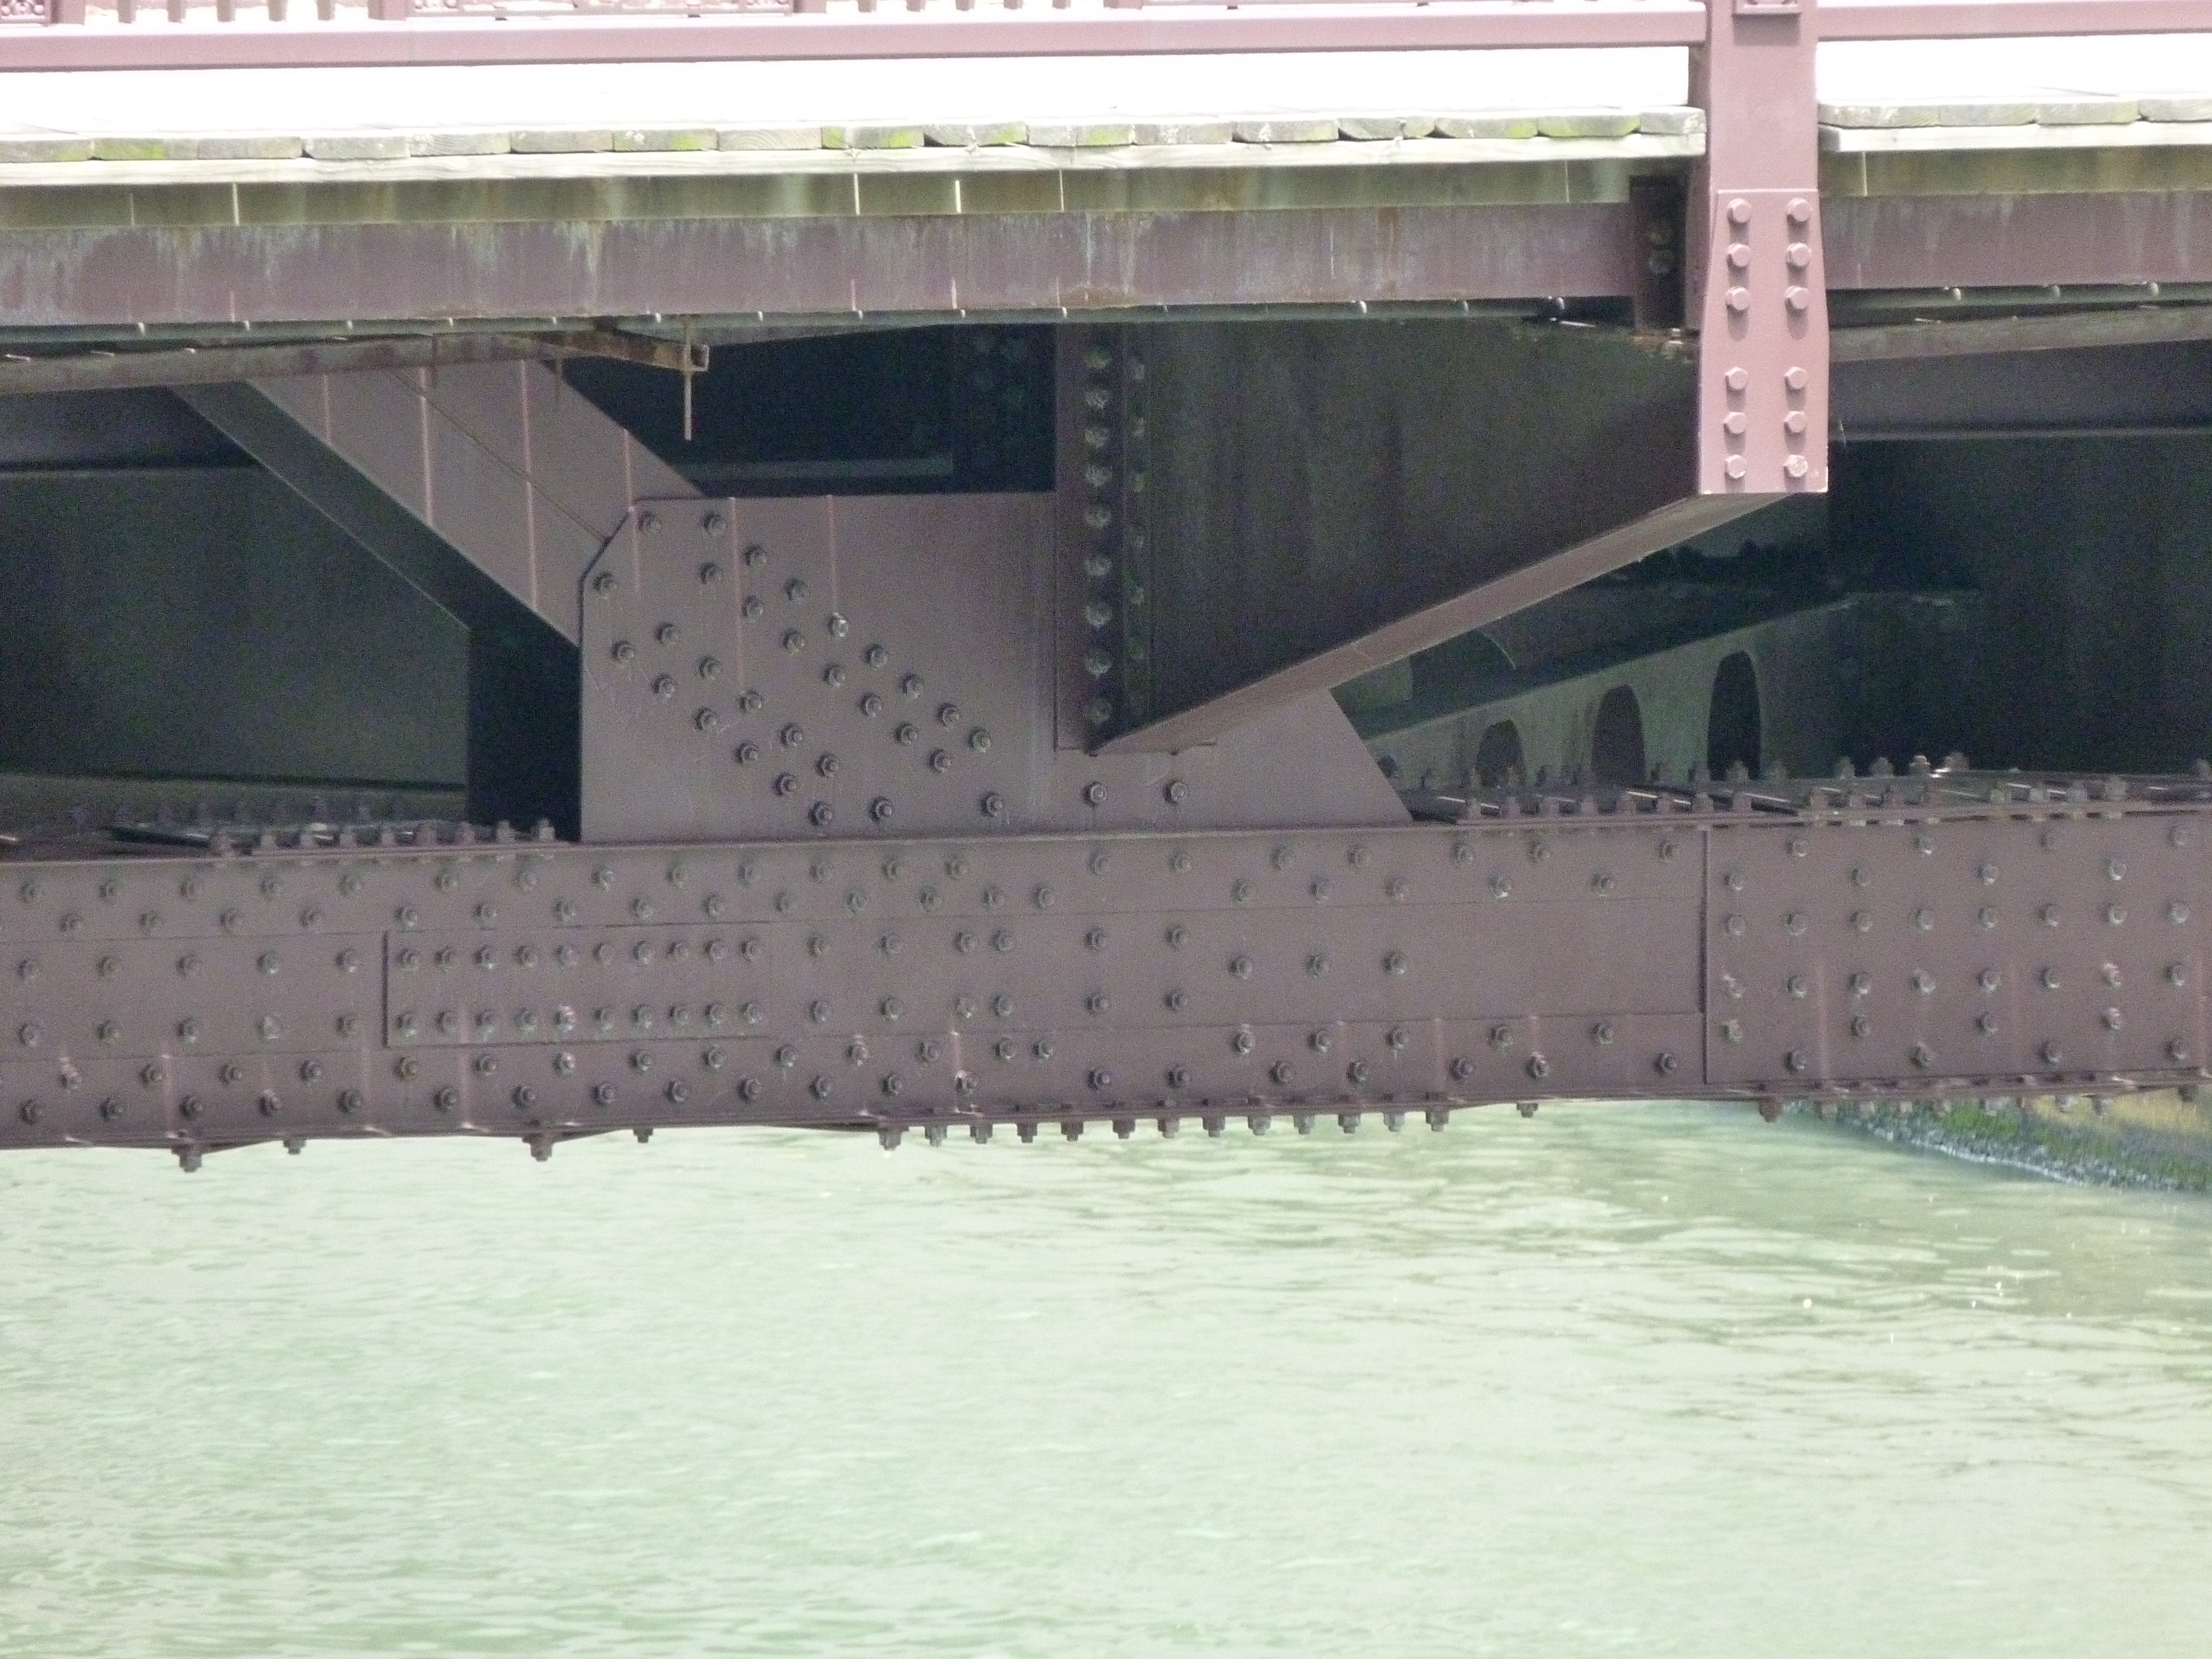
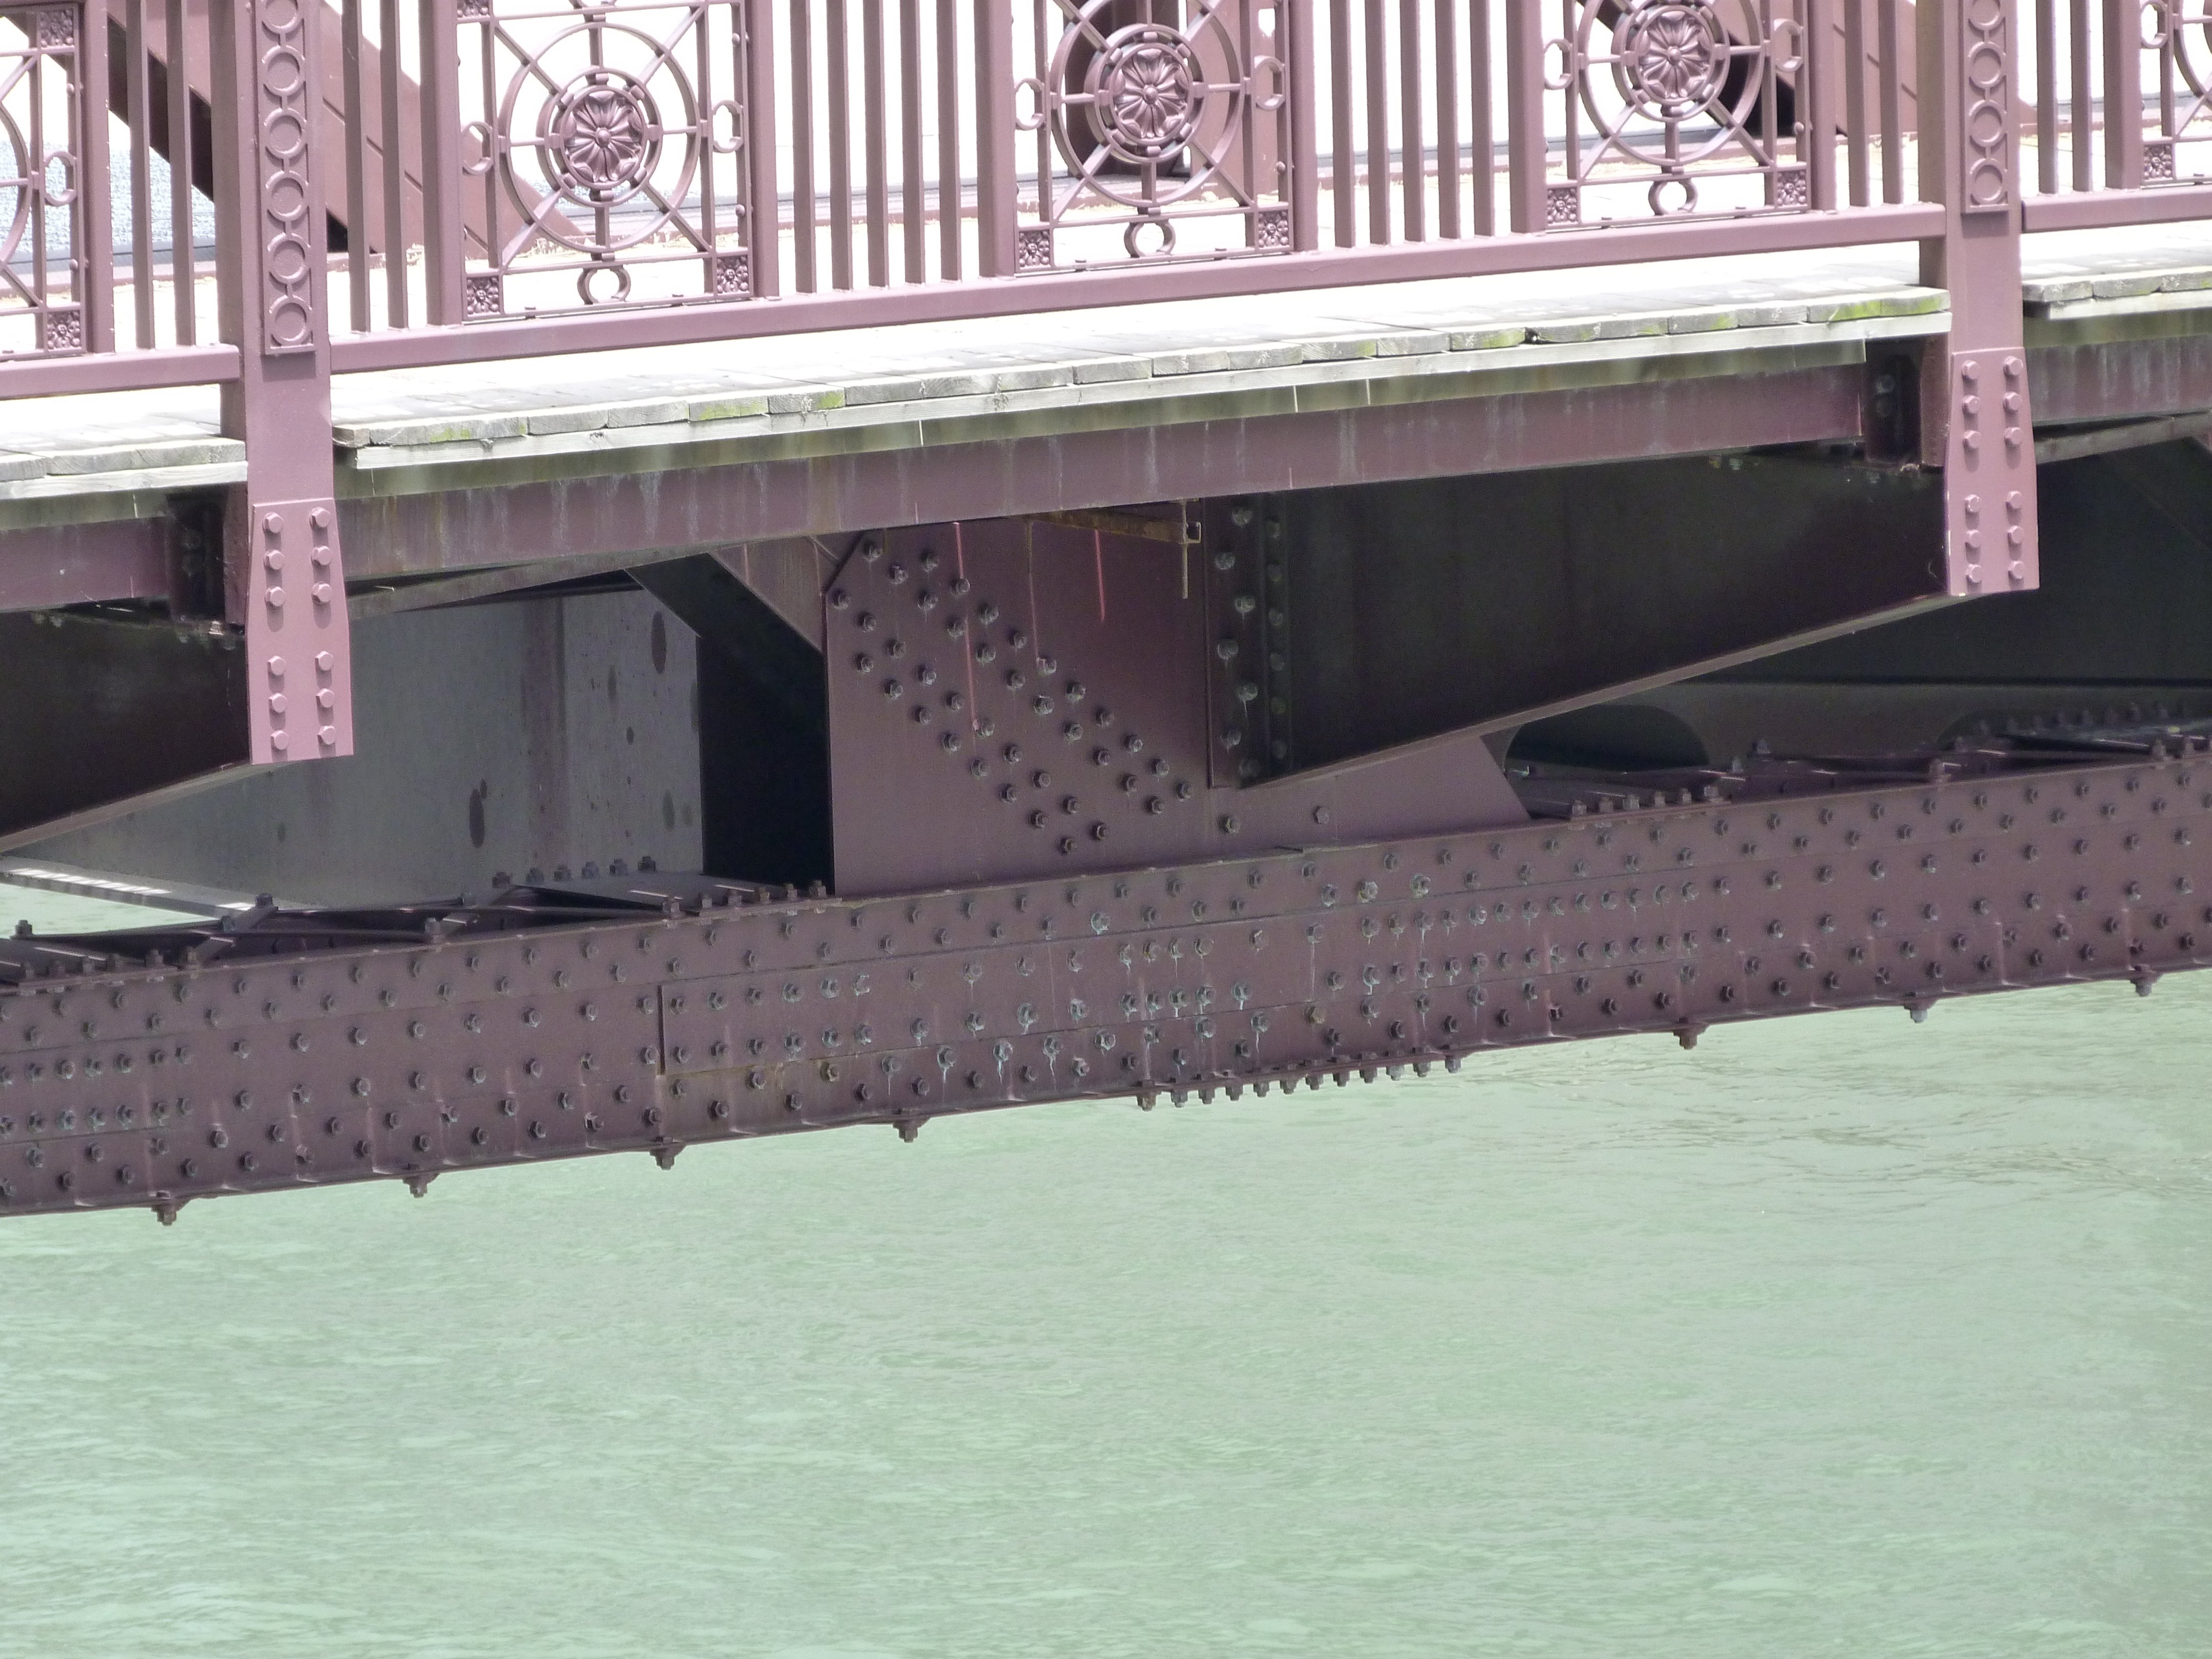
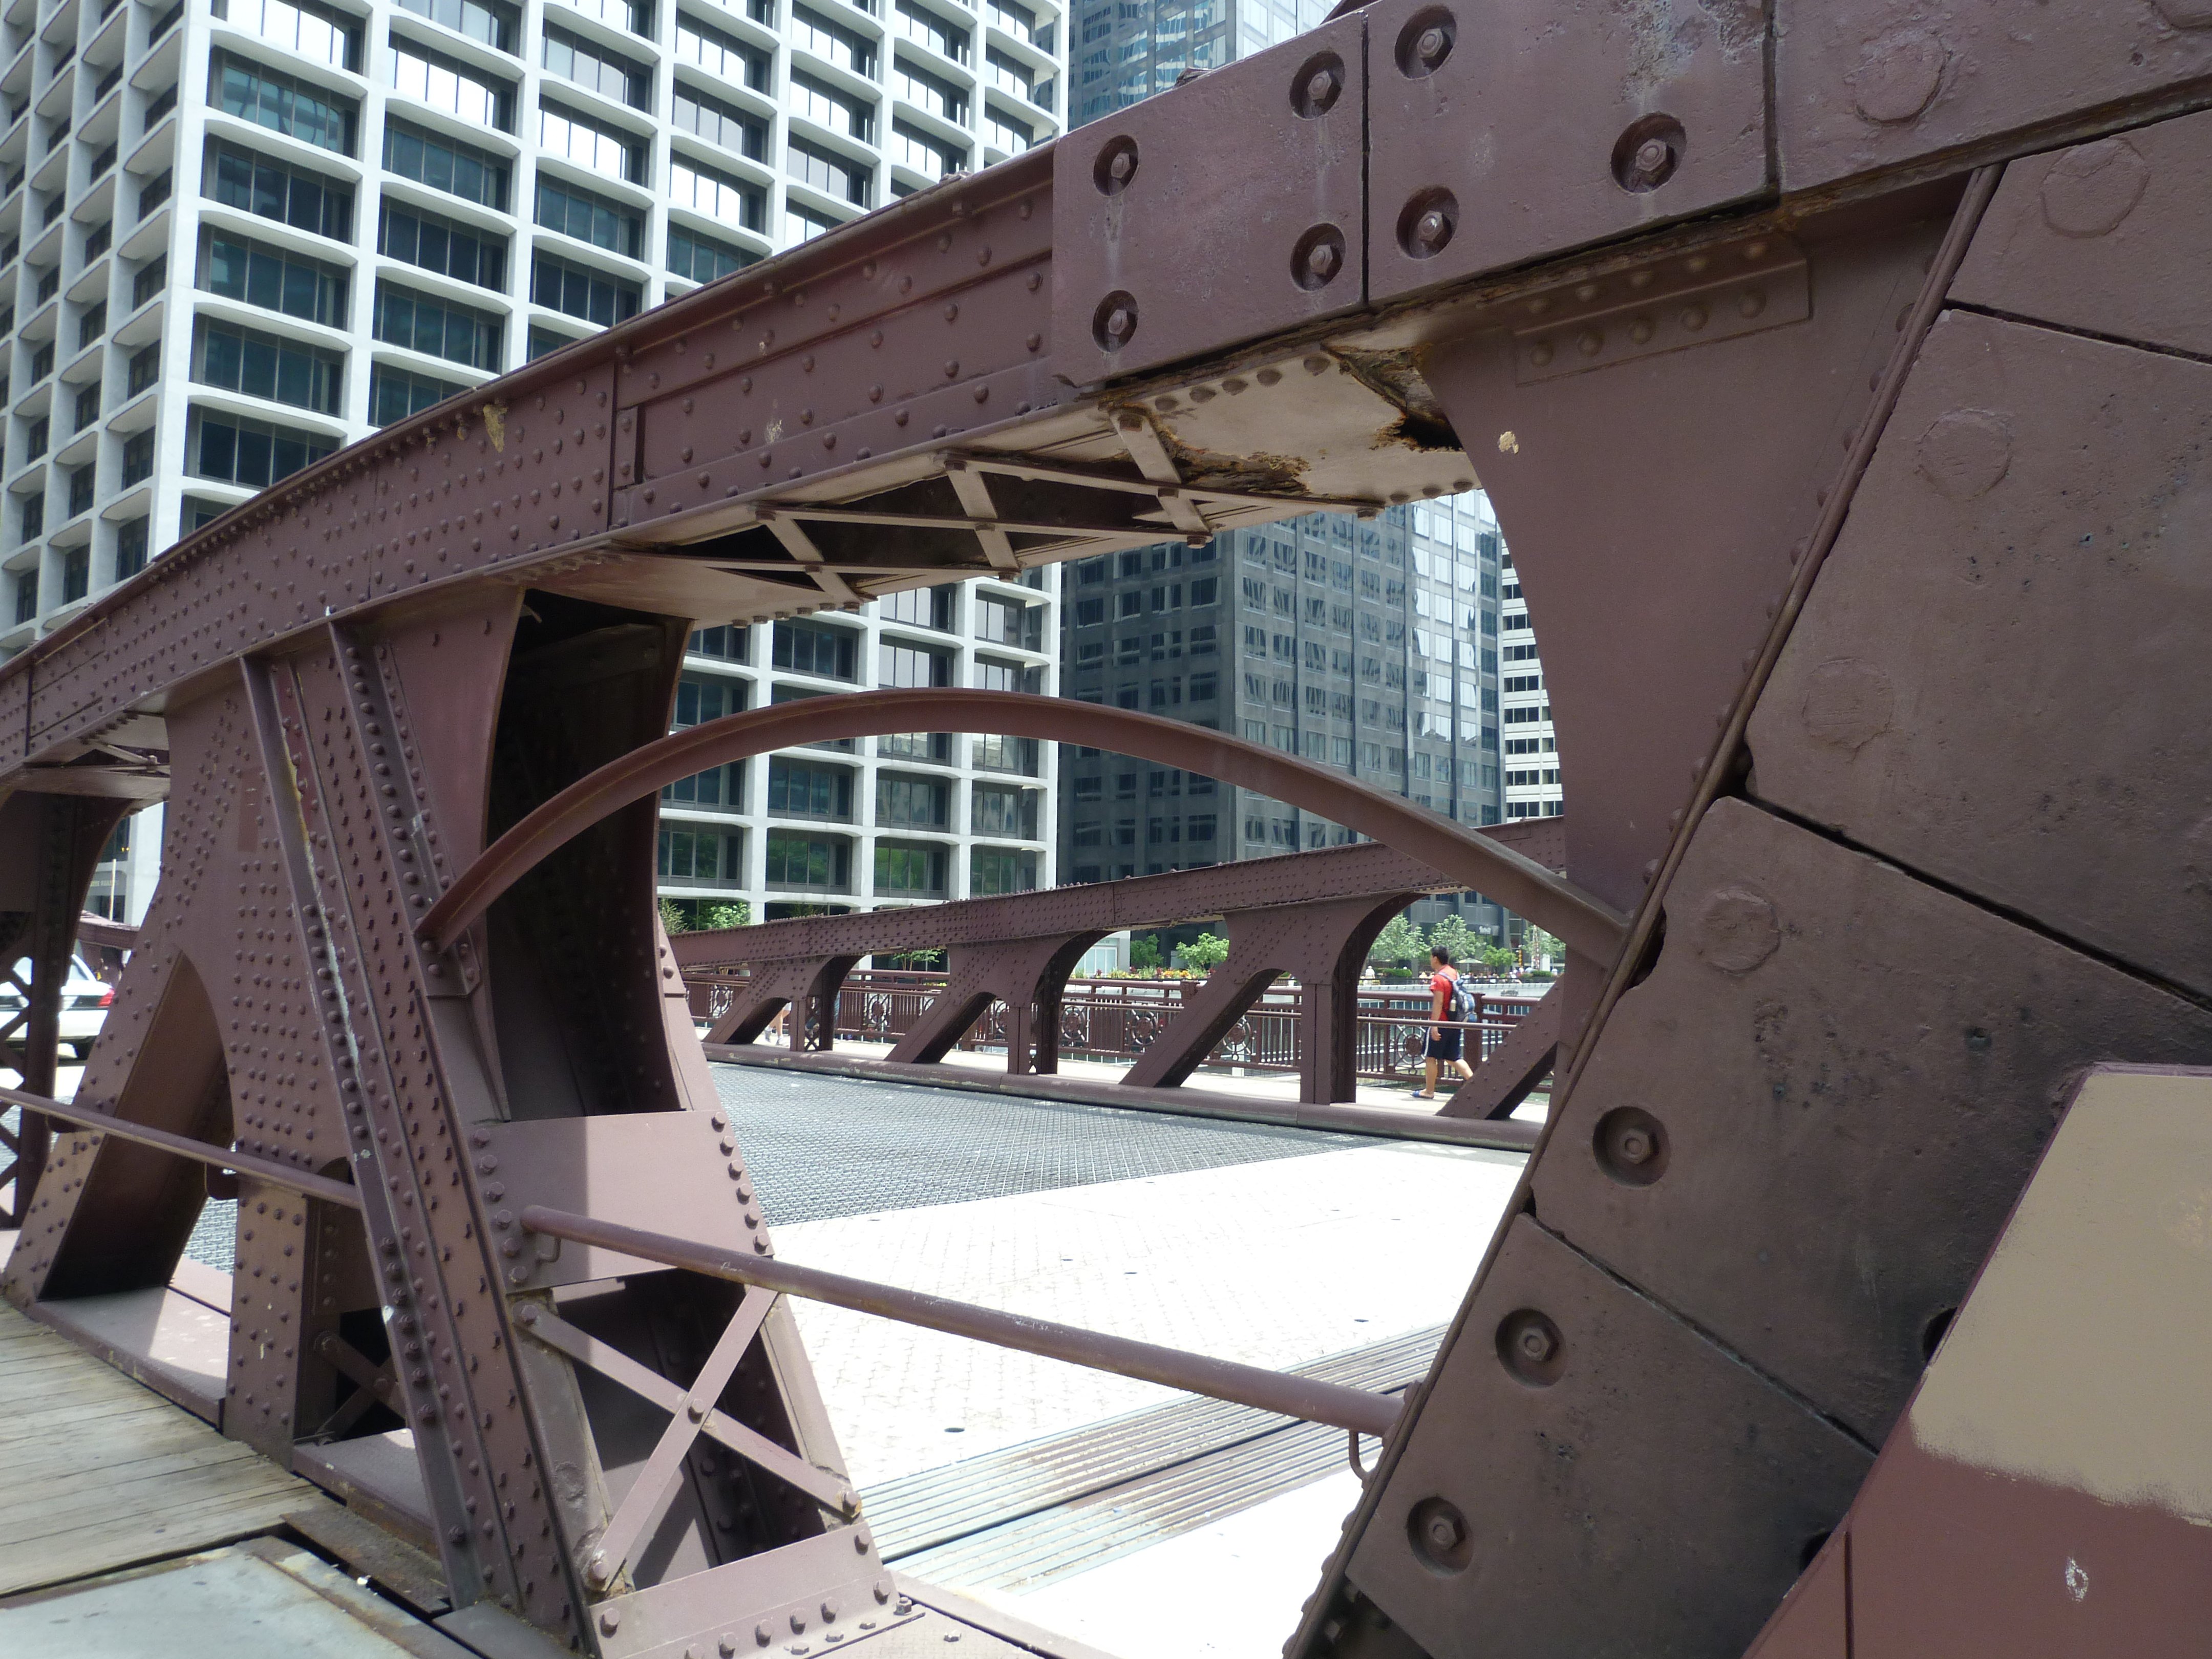
![]()


Views under bridge.
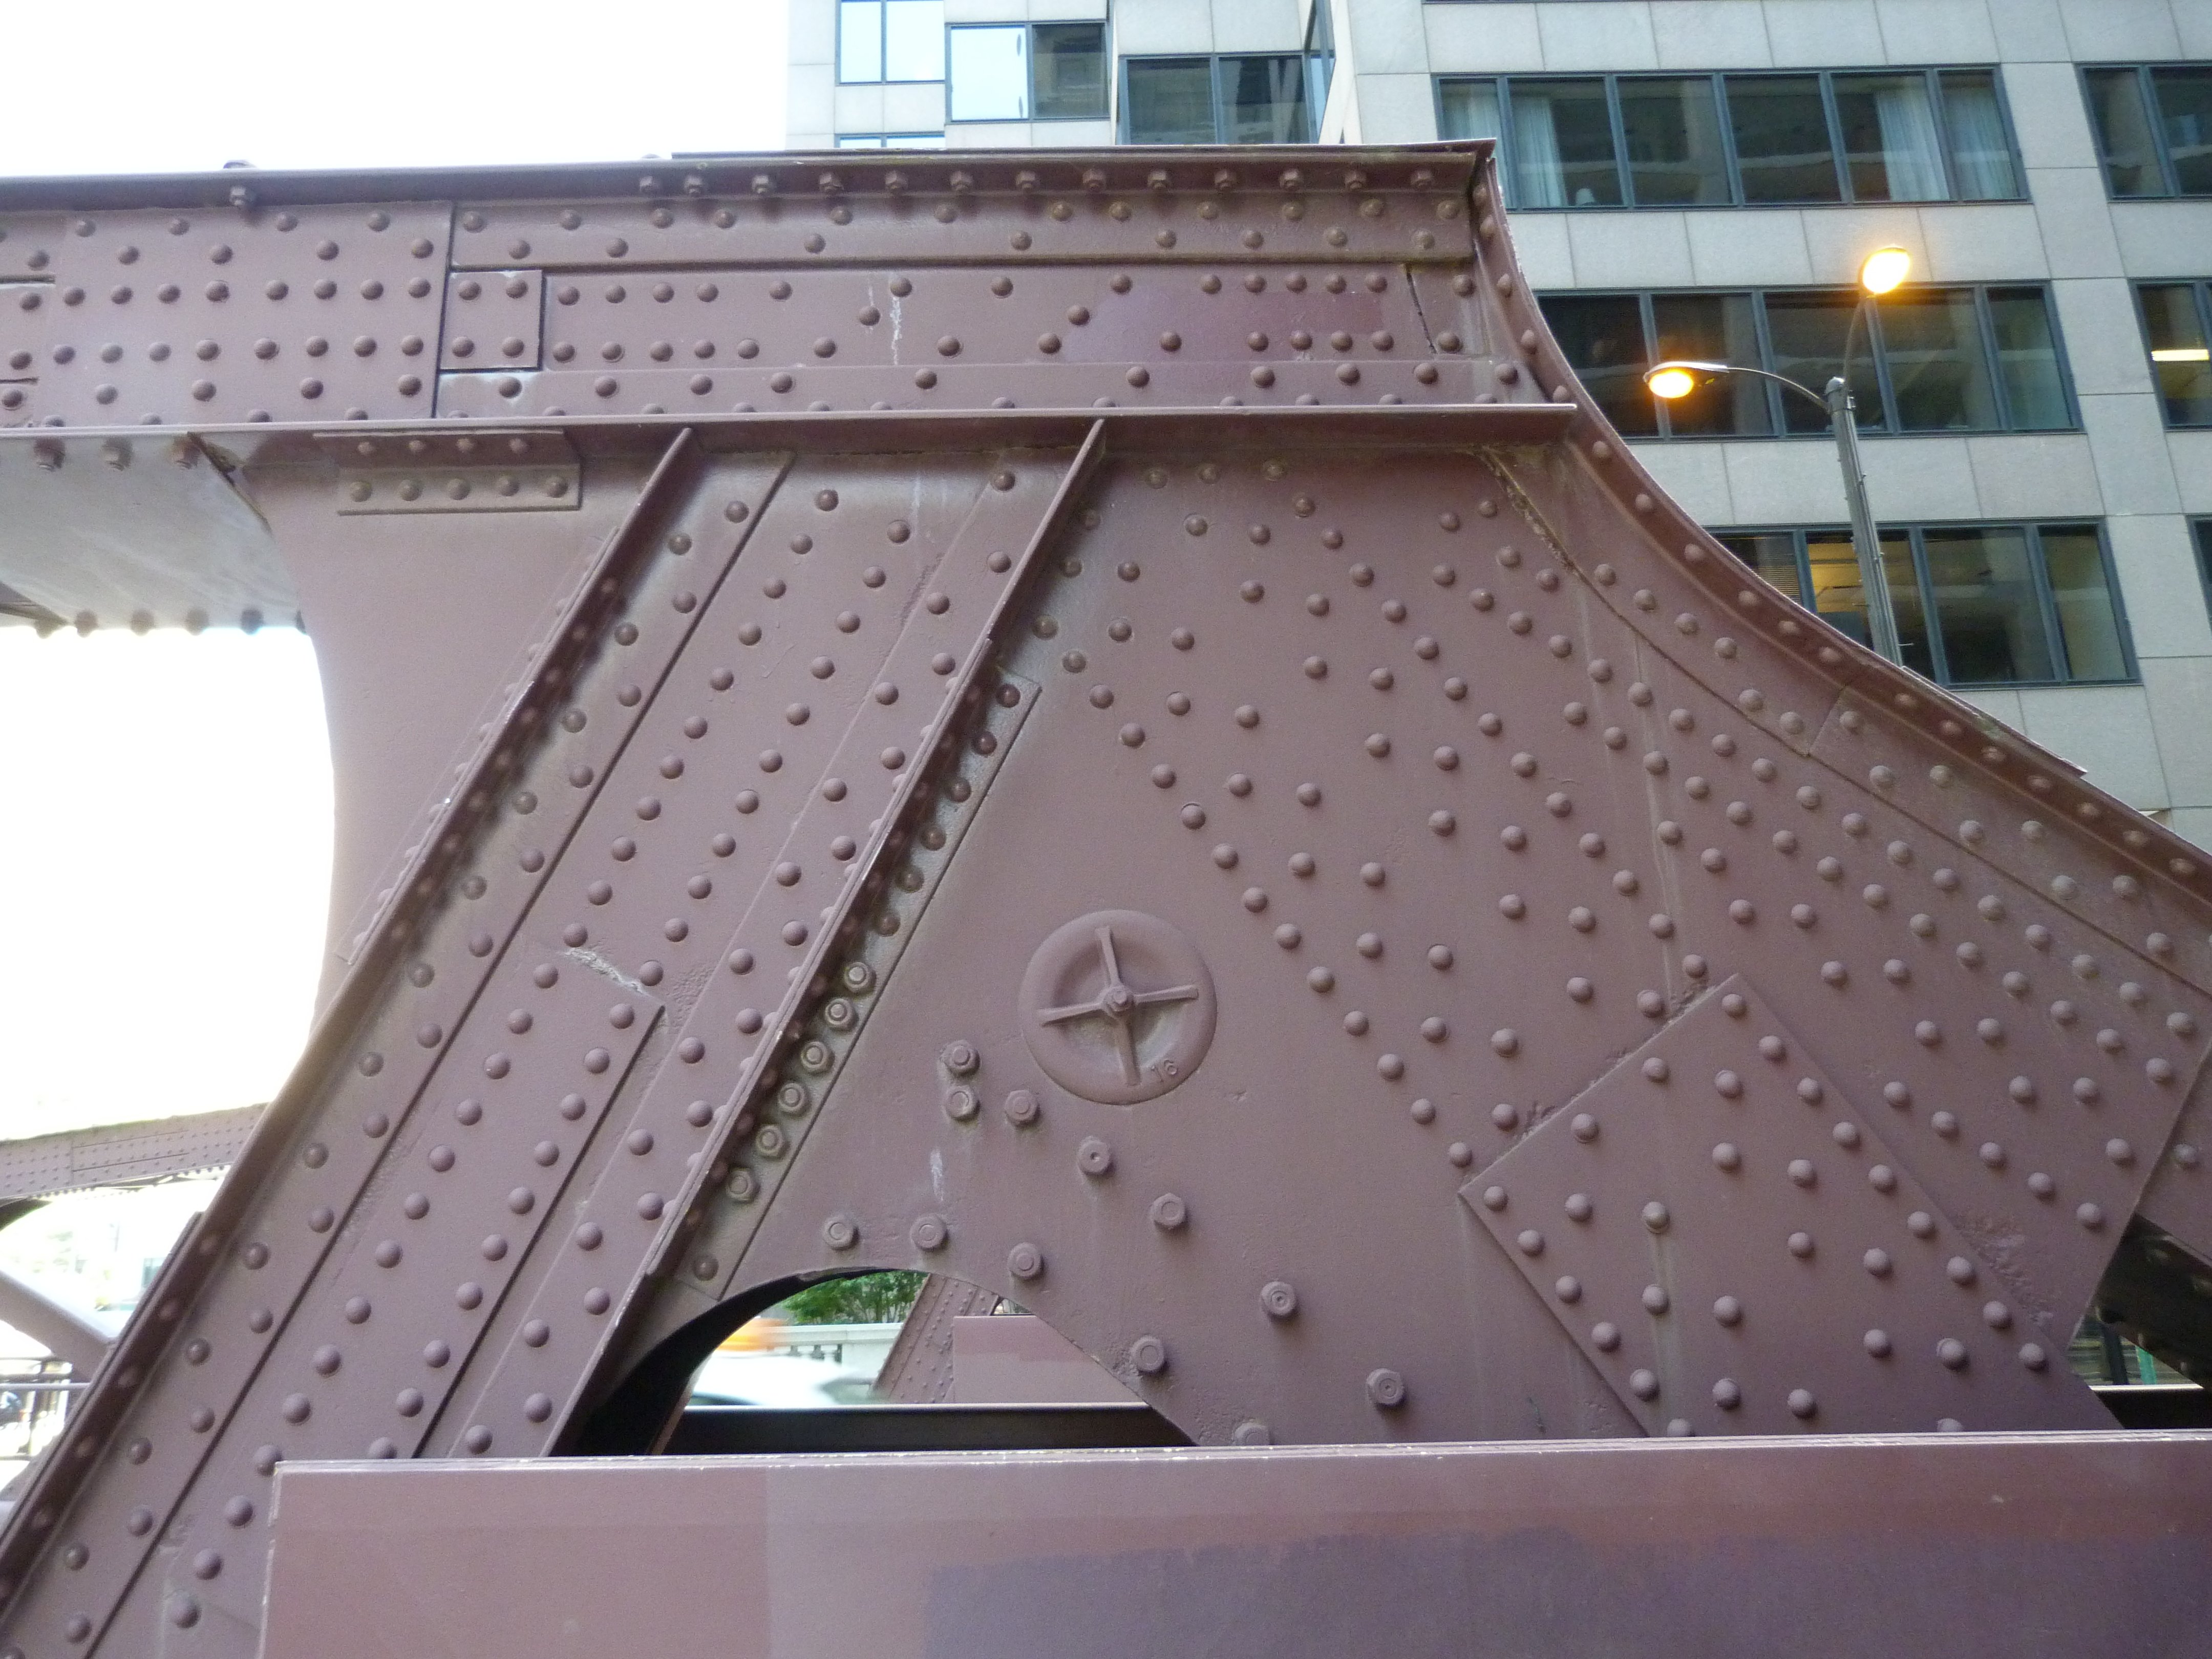
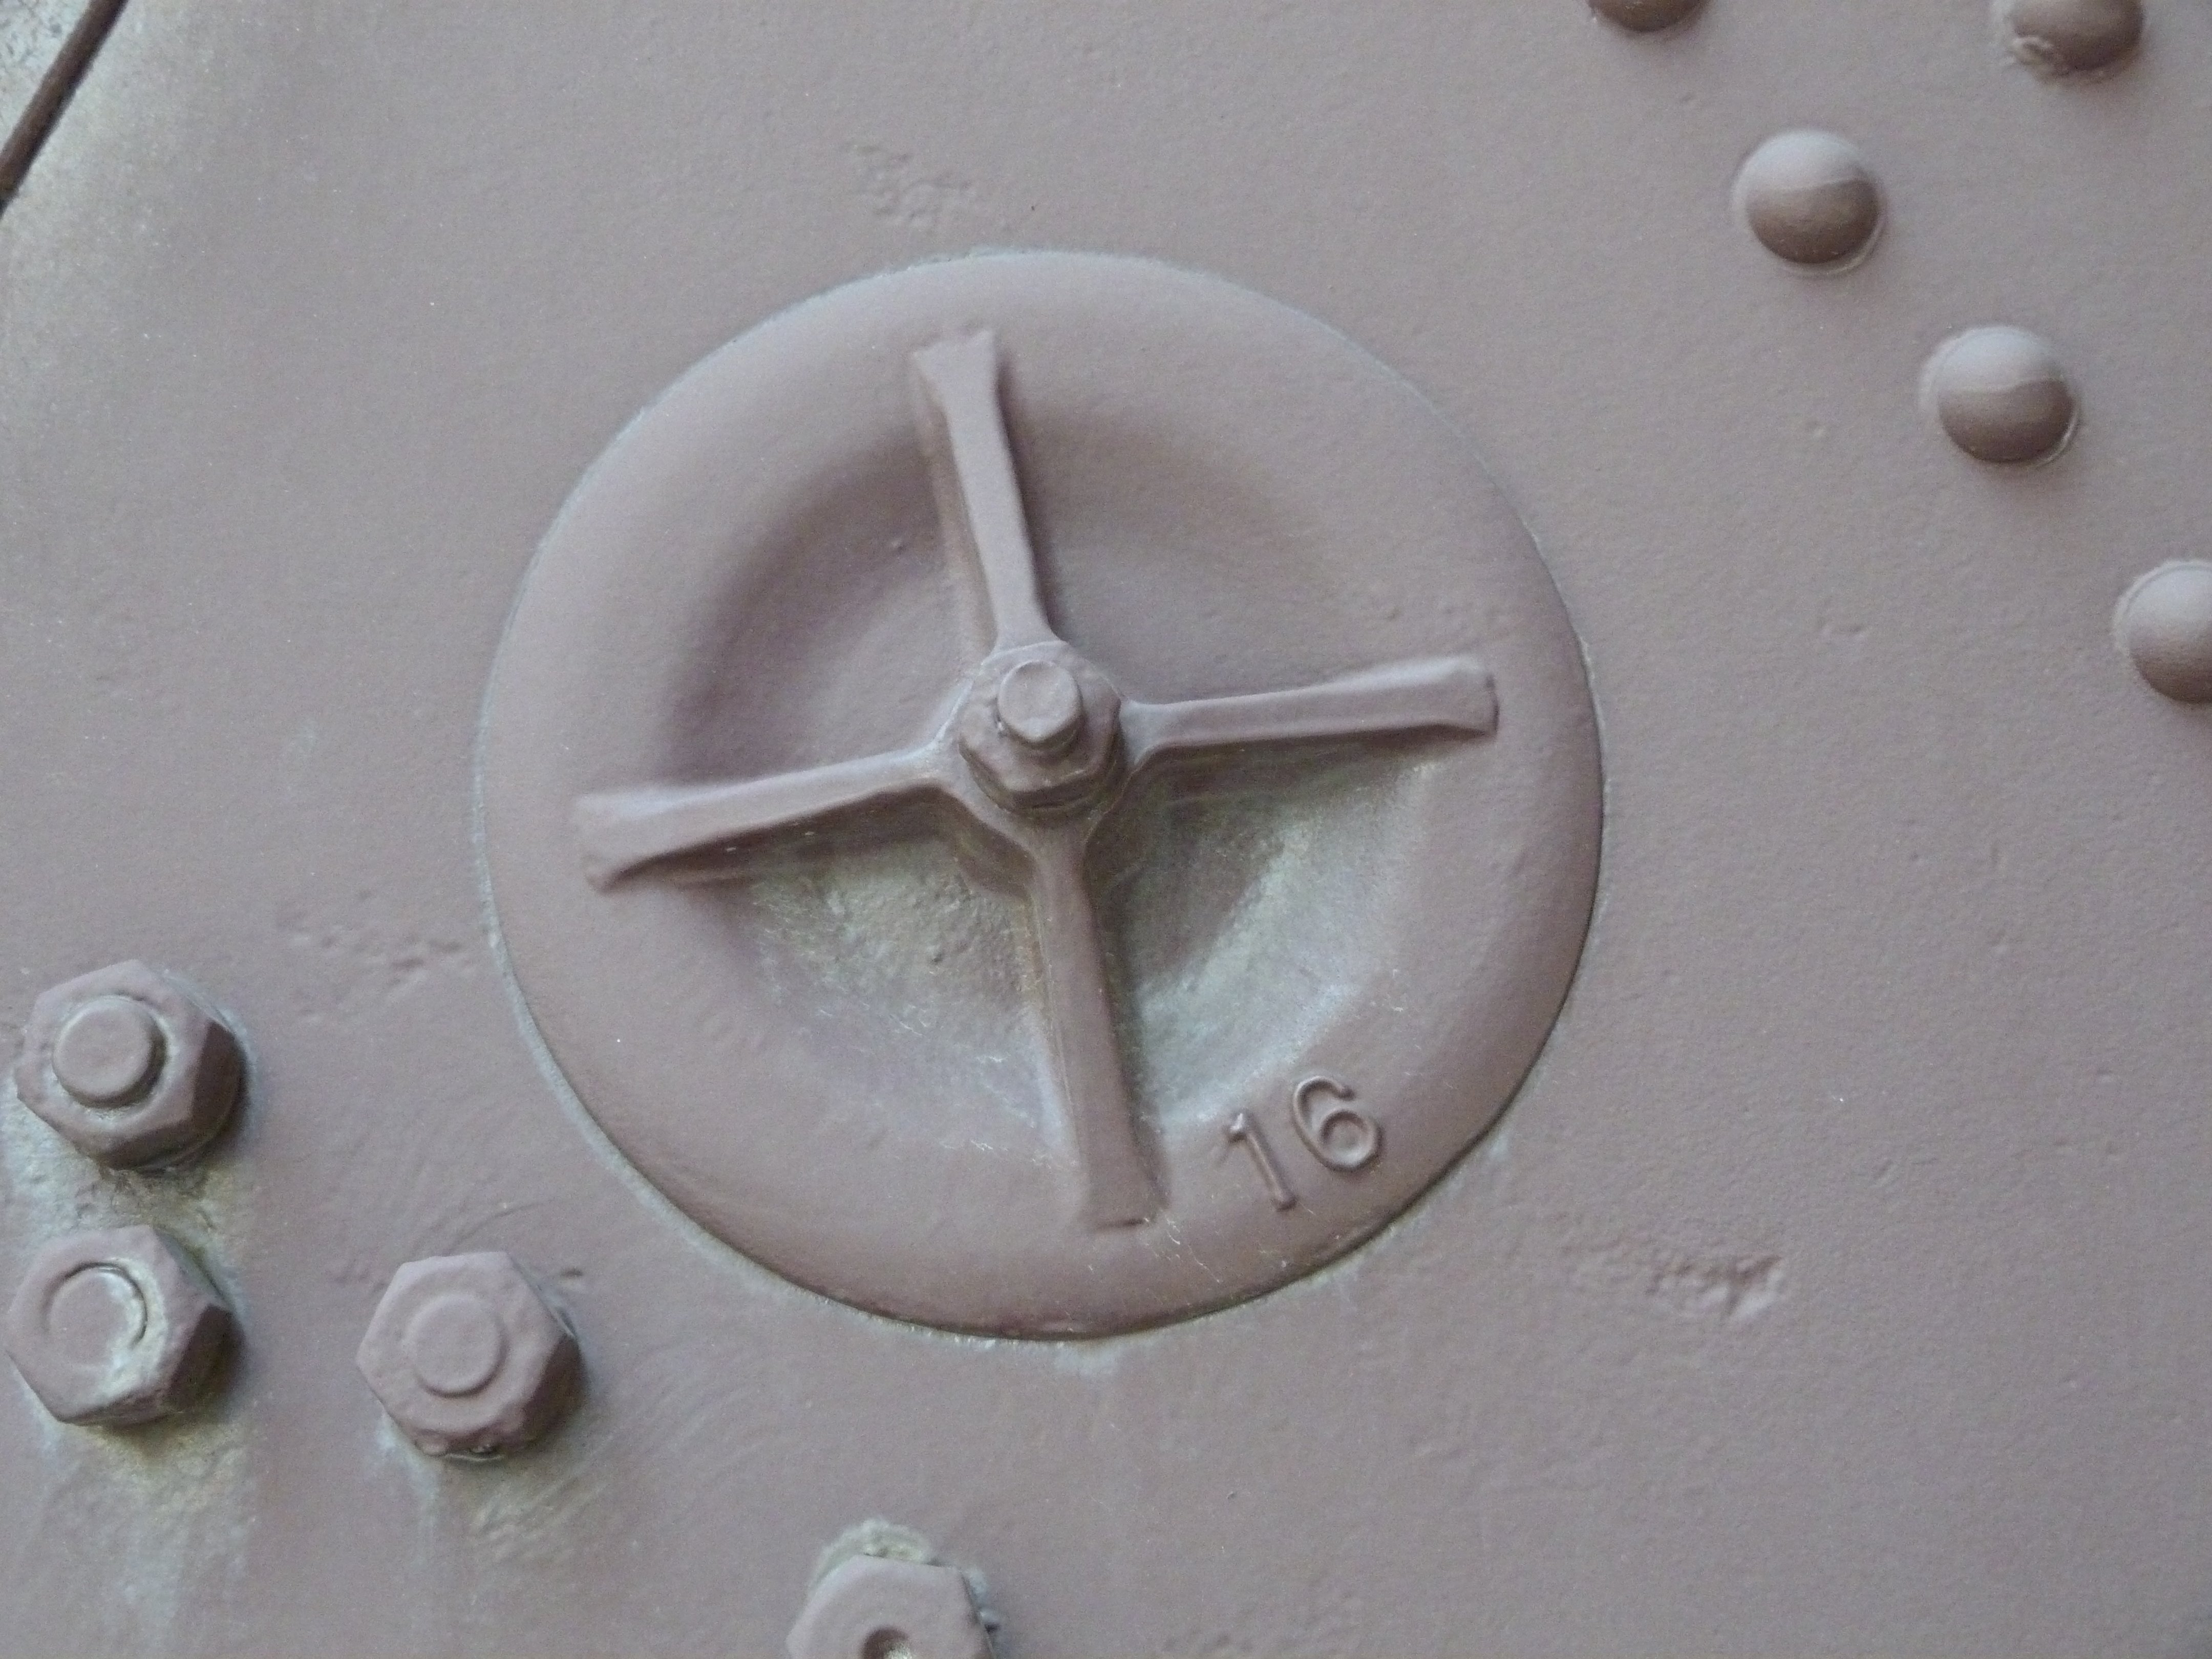
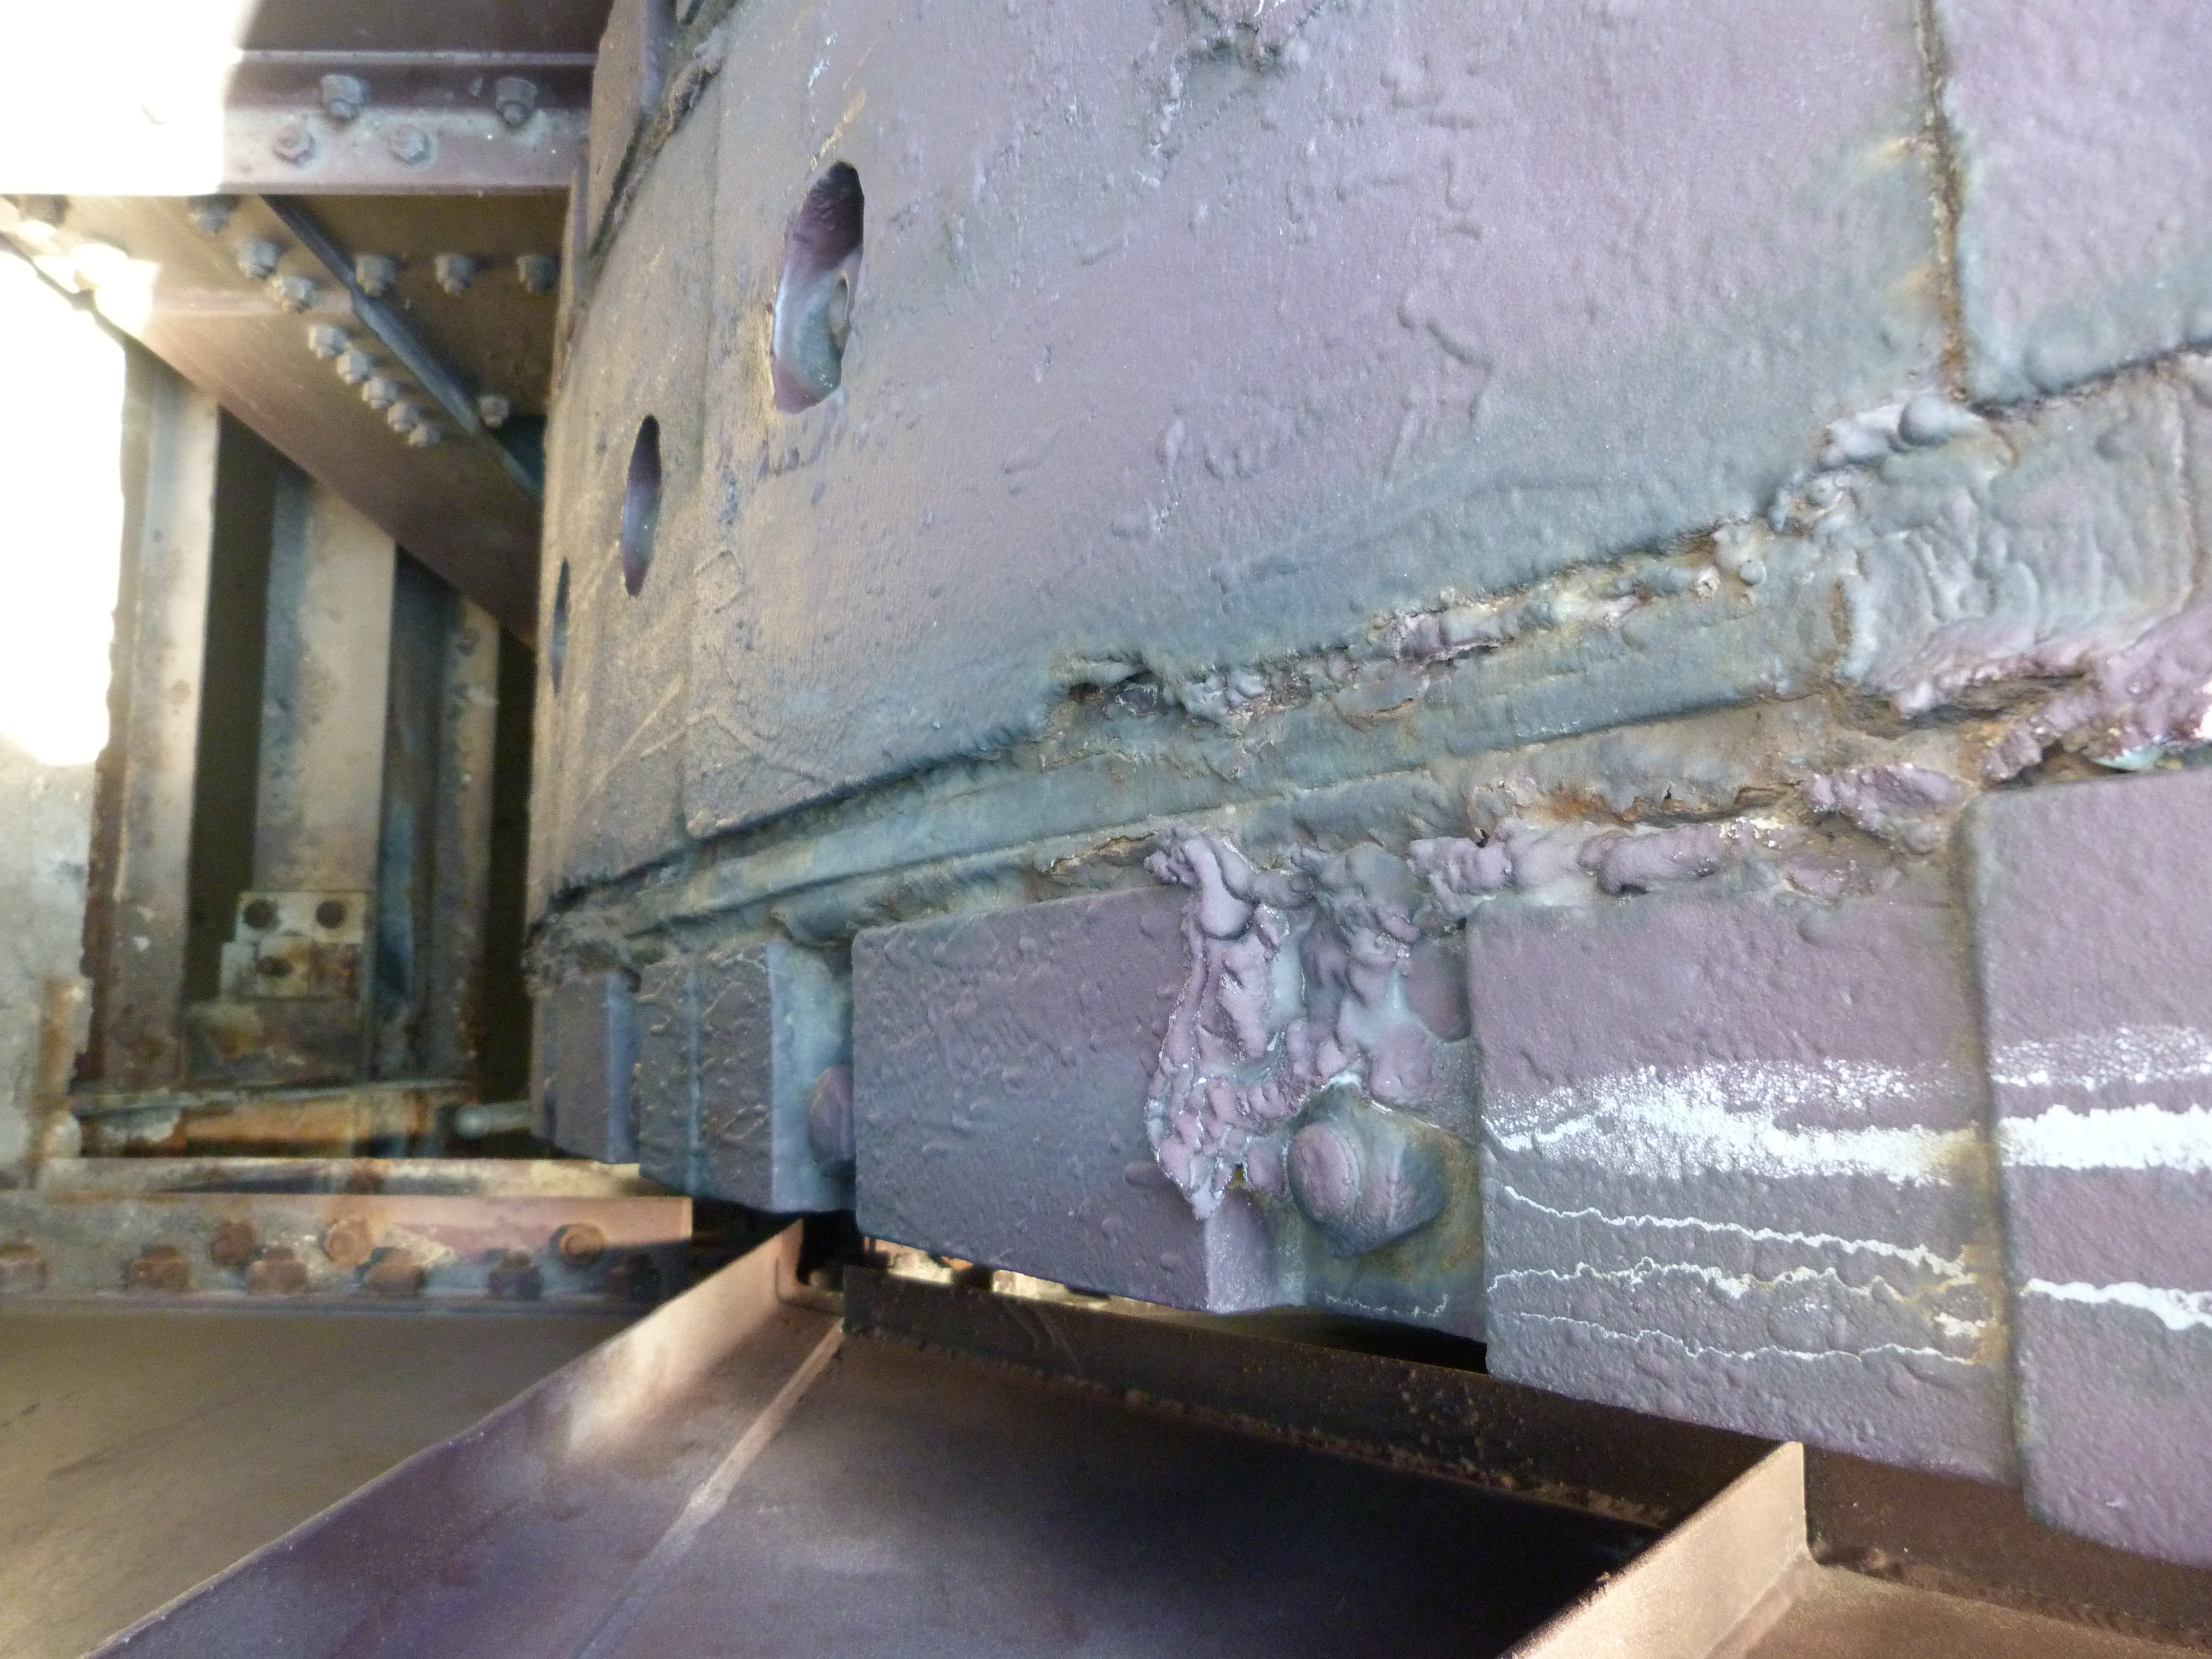
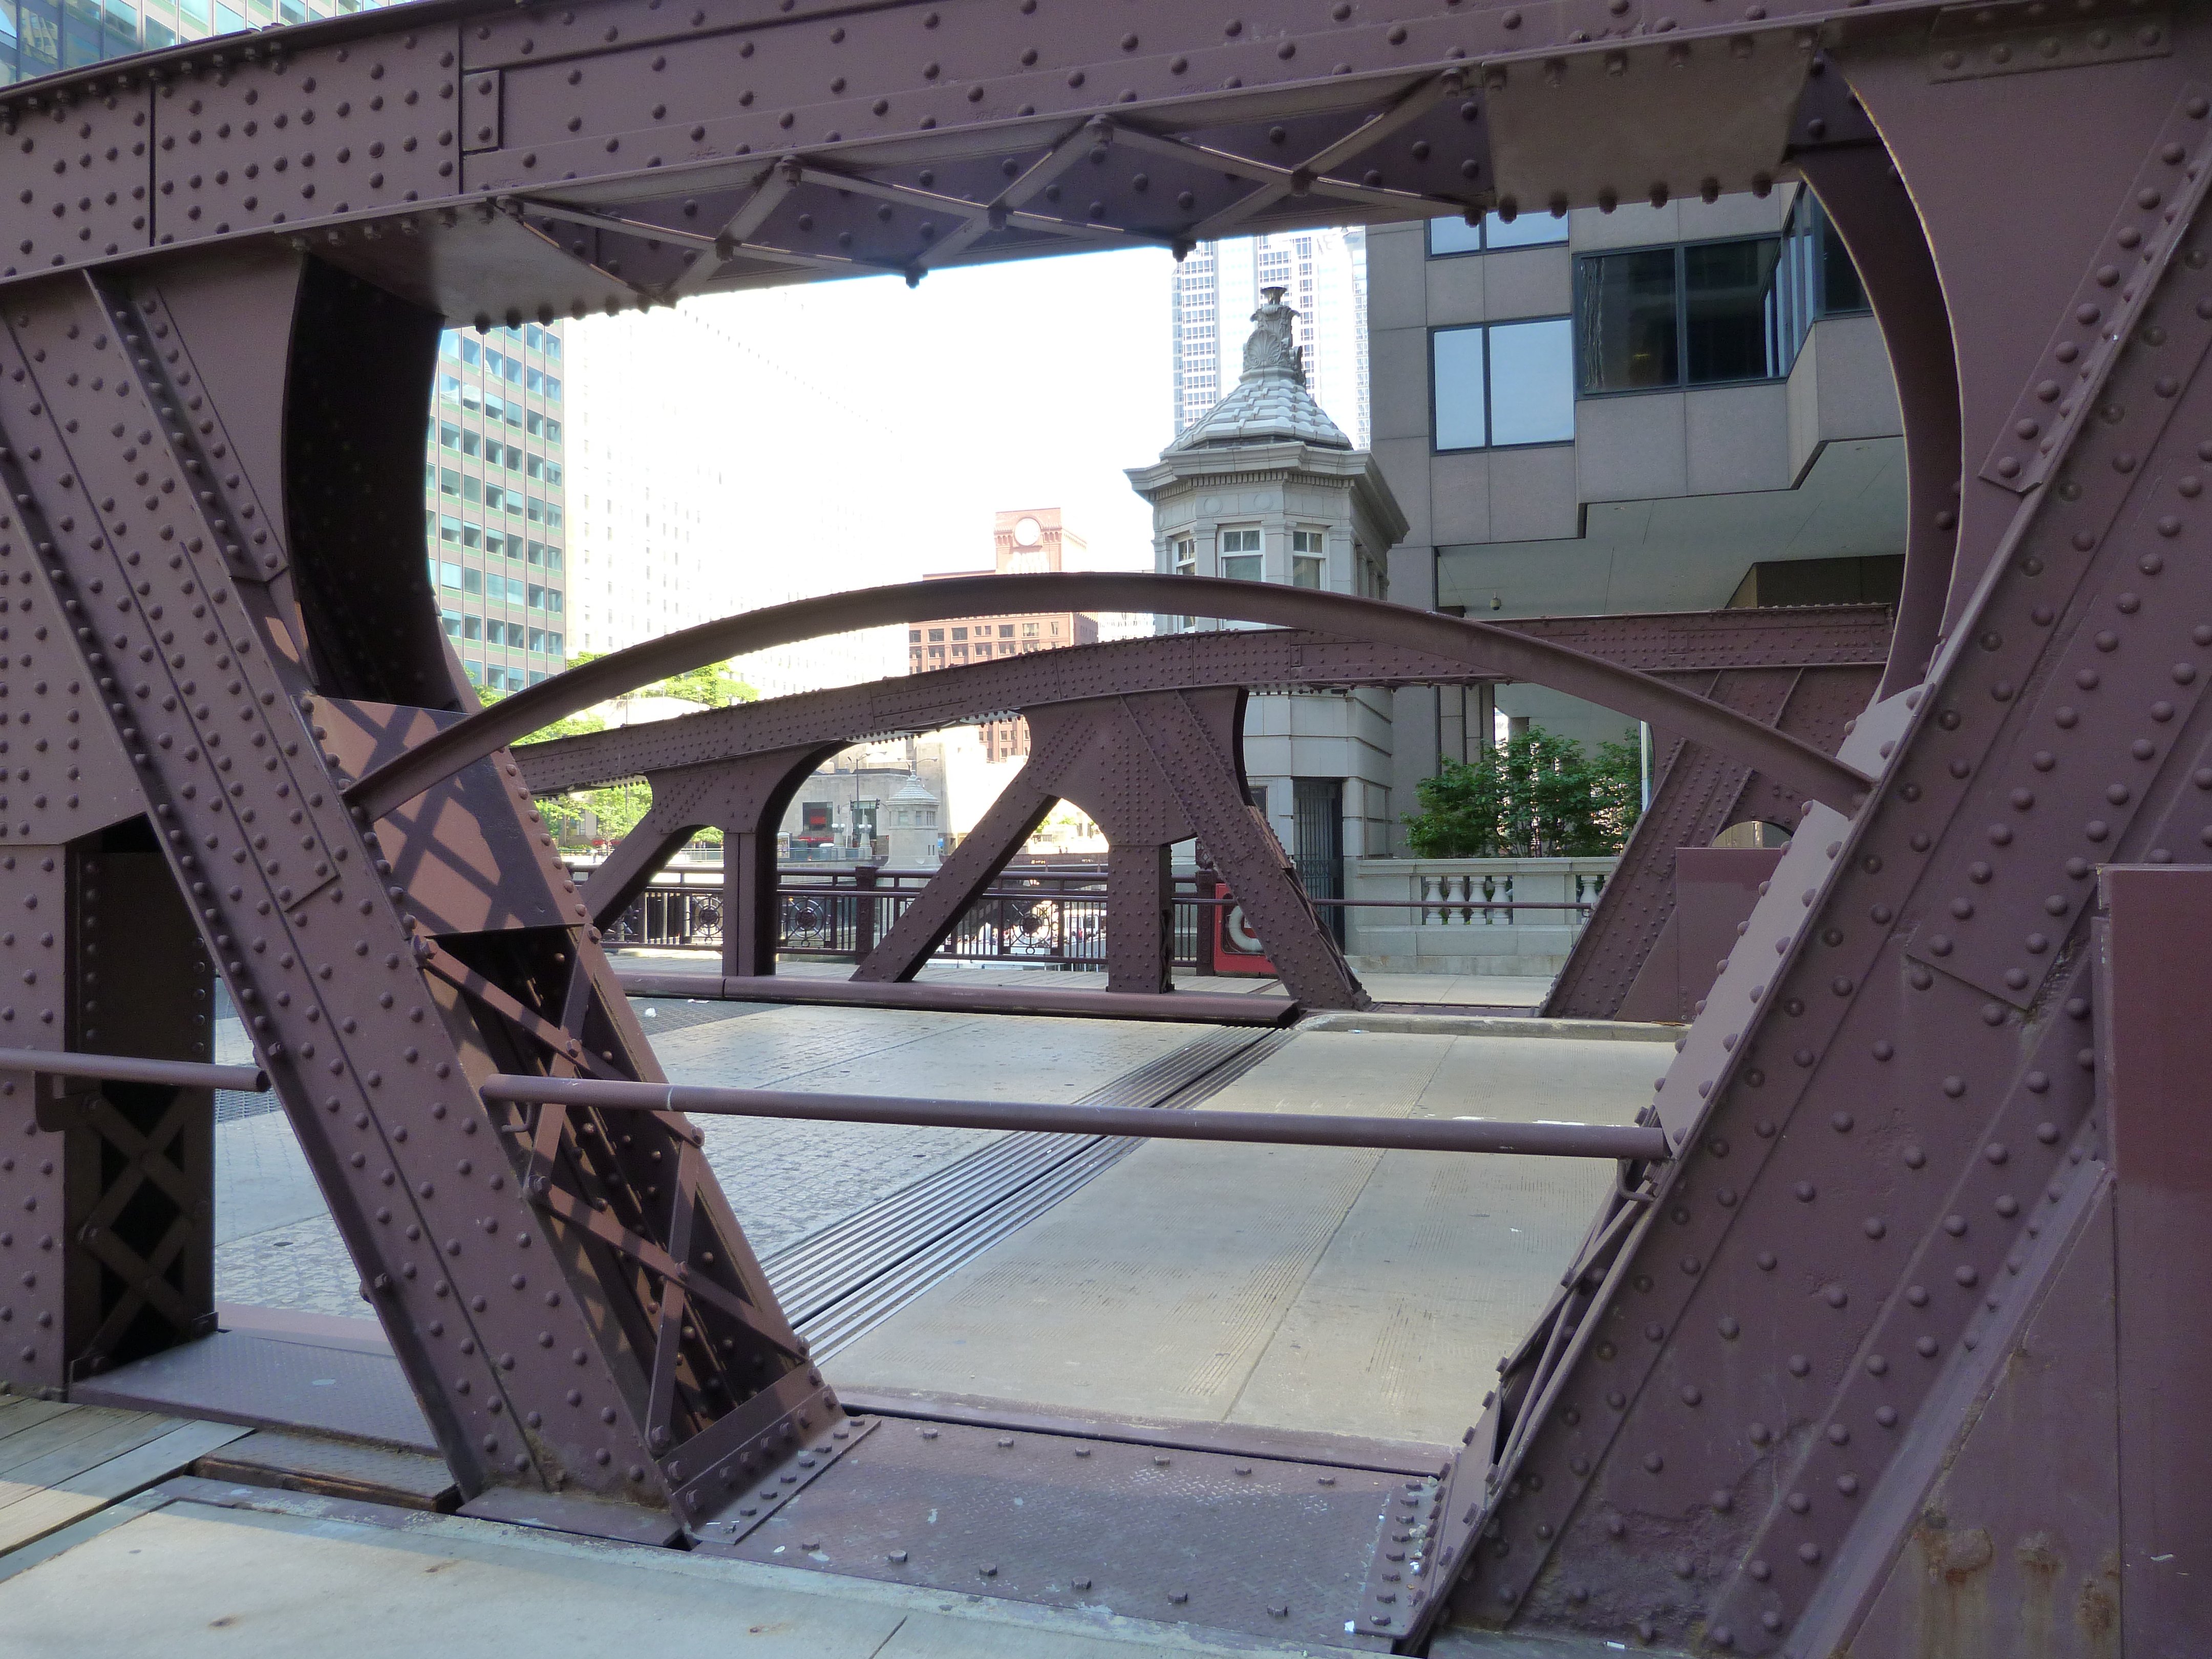
![]()

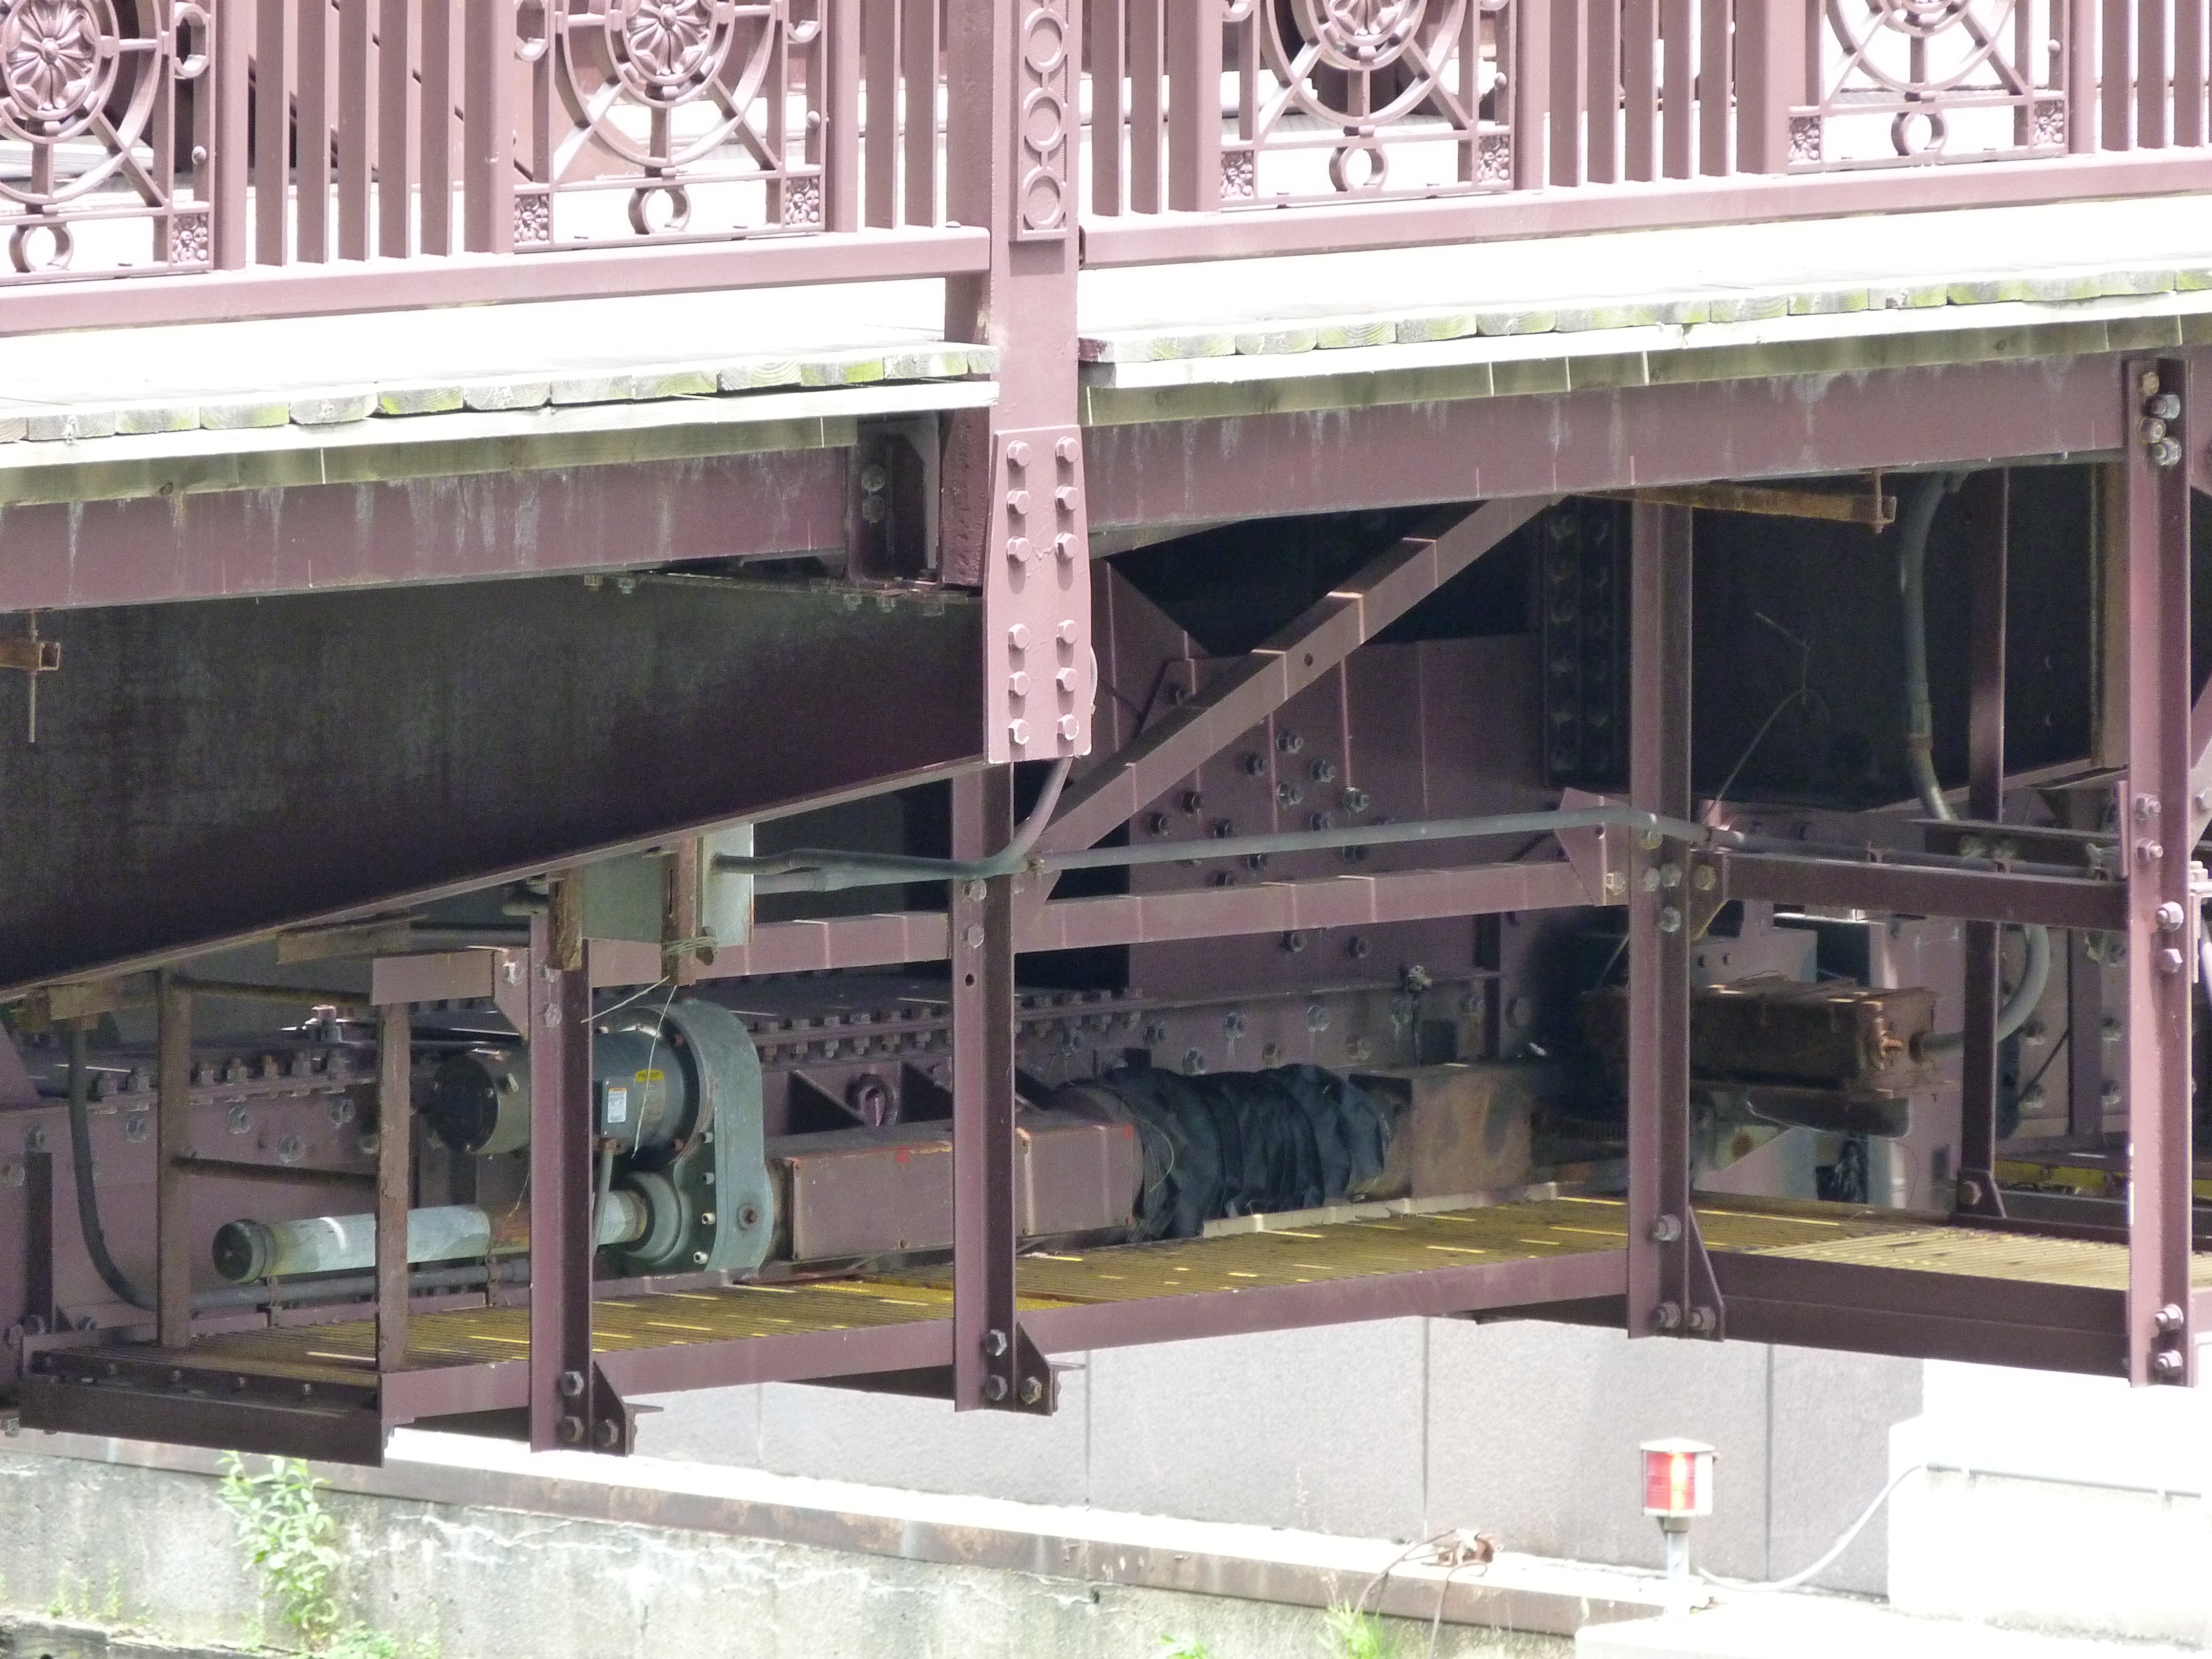
Details at center of bridge where bridge locking mechanism is located.
![]()

Top chord.
![]()

Dolphin.
![]()


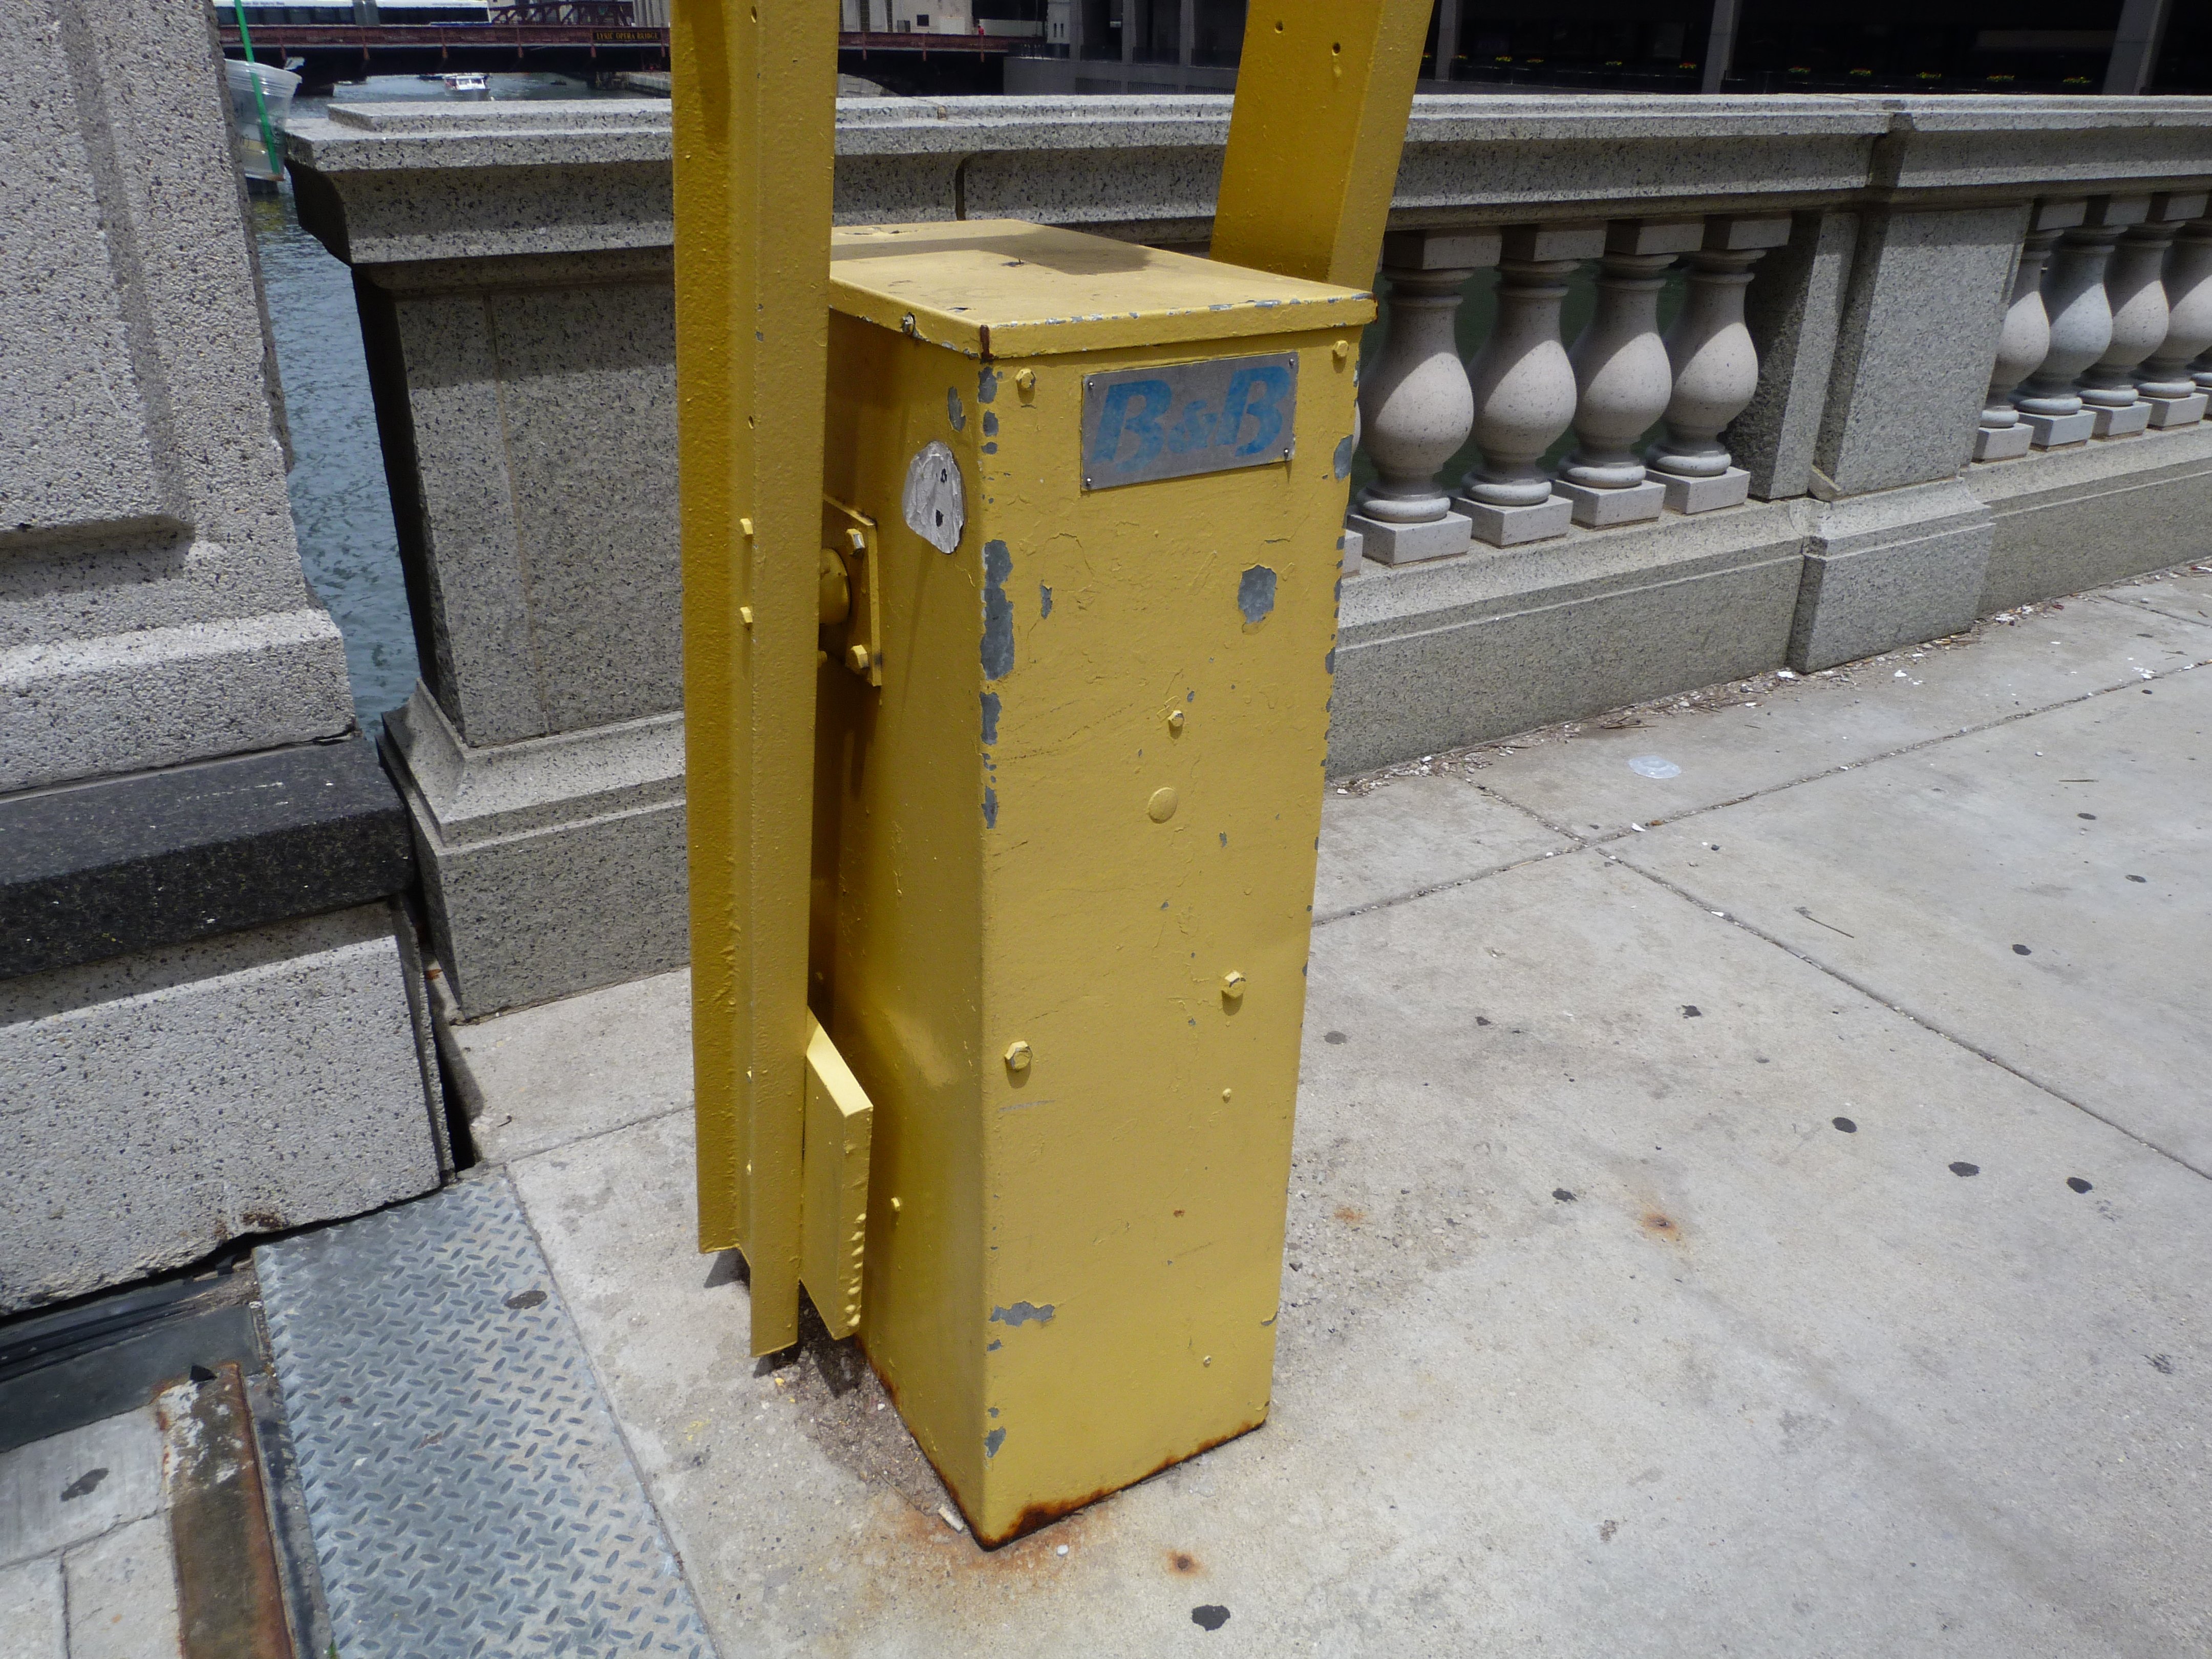
Barricade details.
![]()
Remains of bridge position indicator.
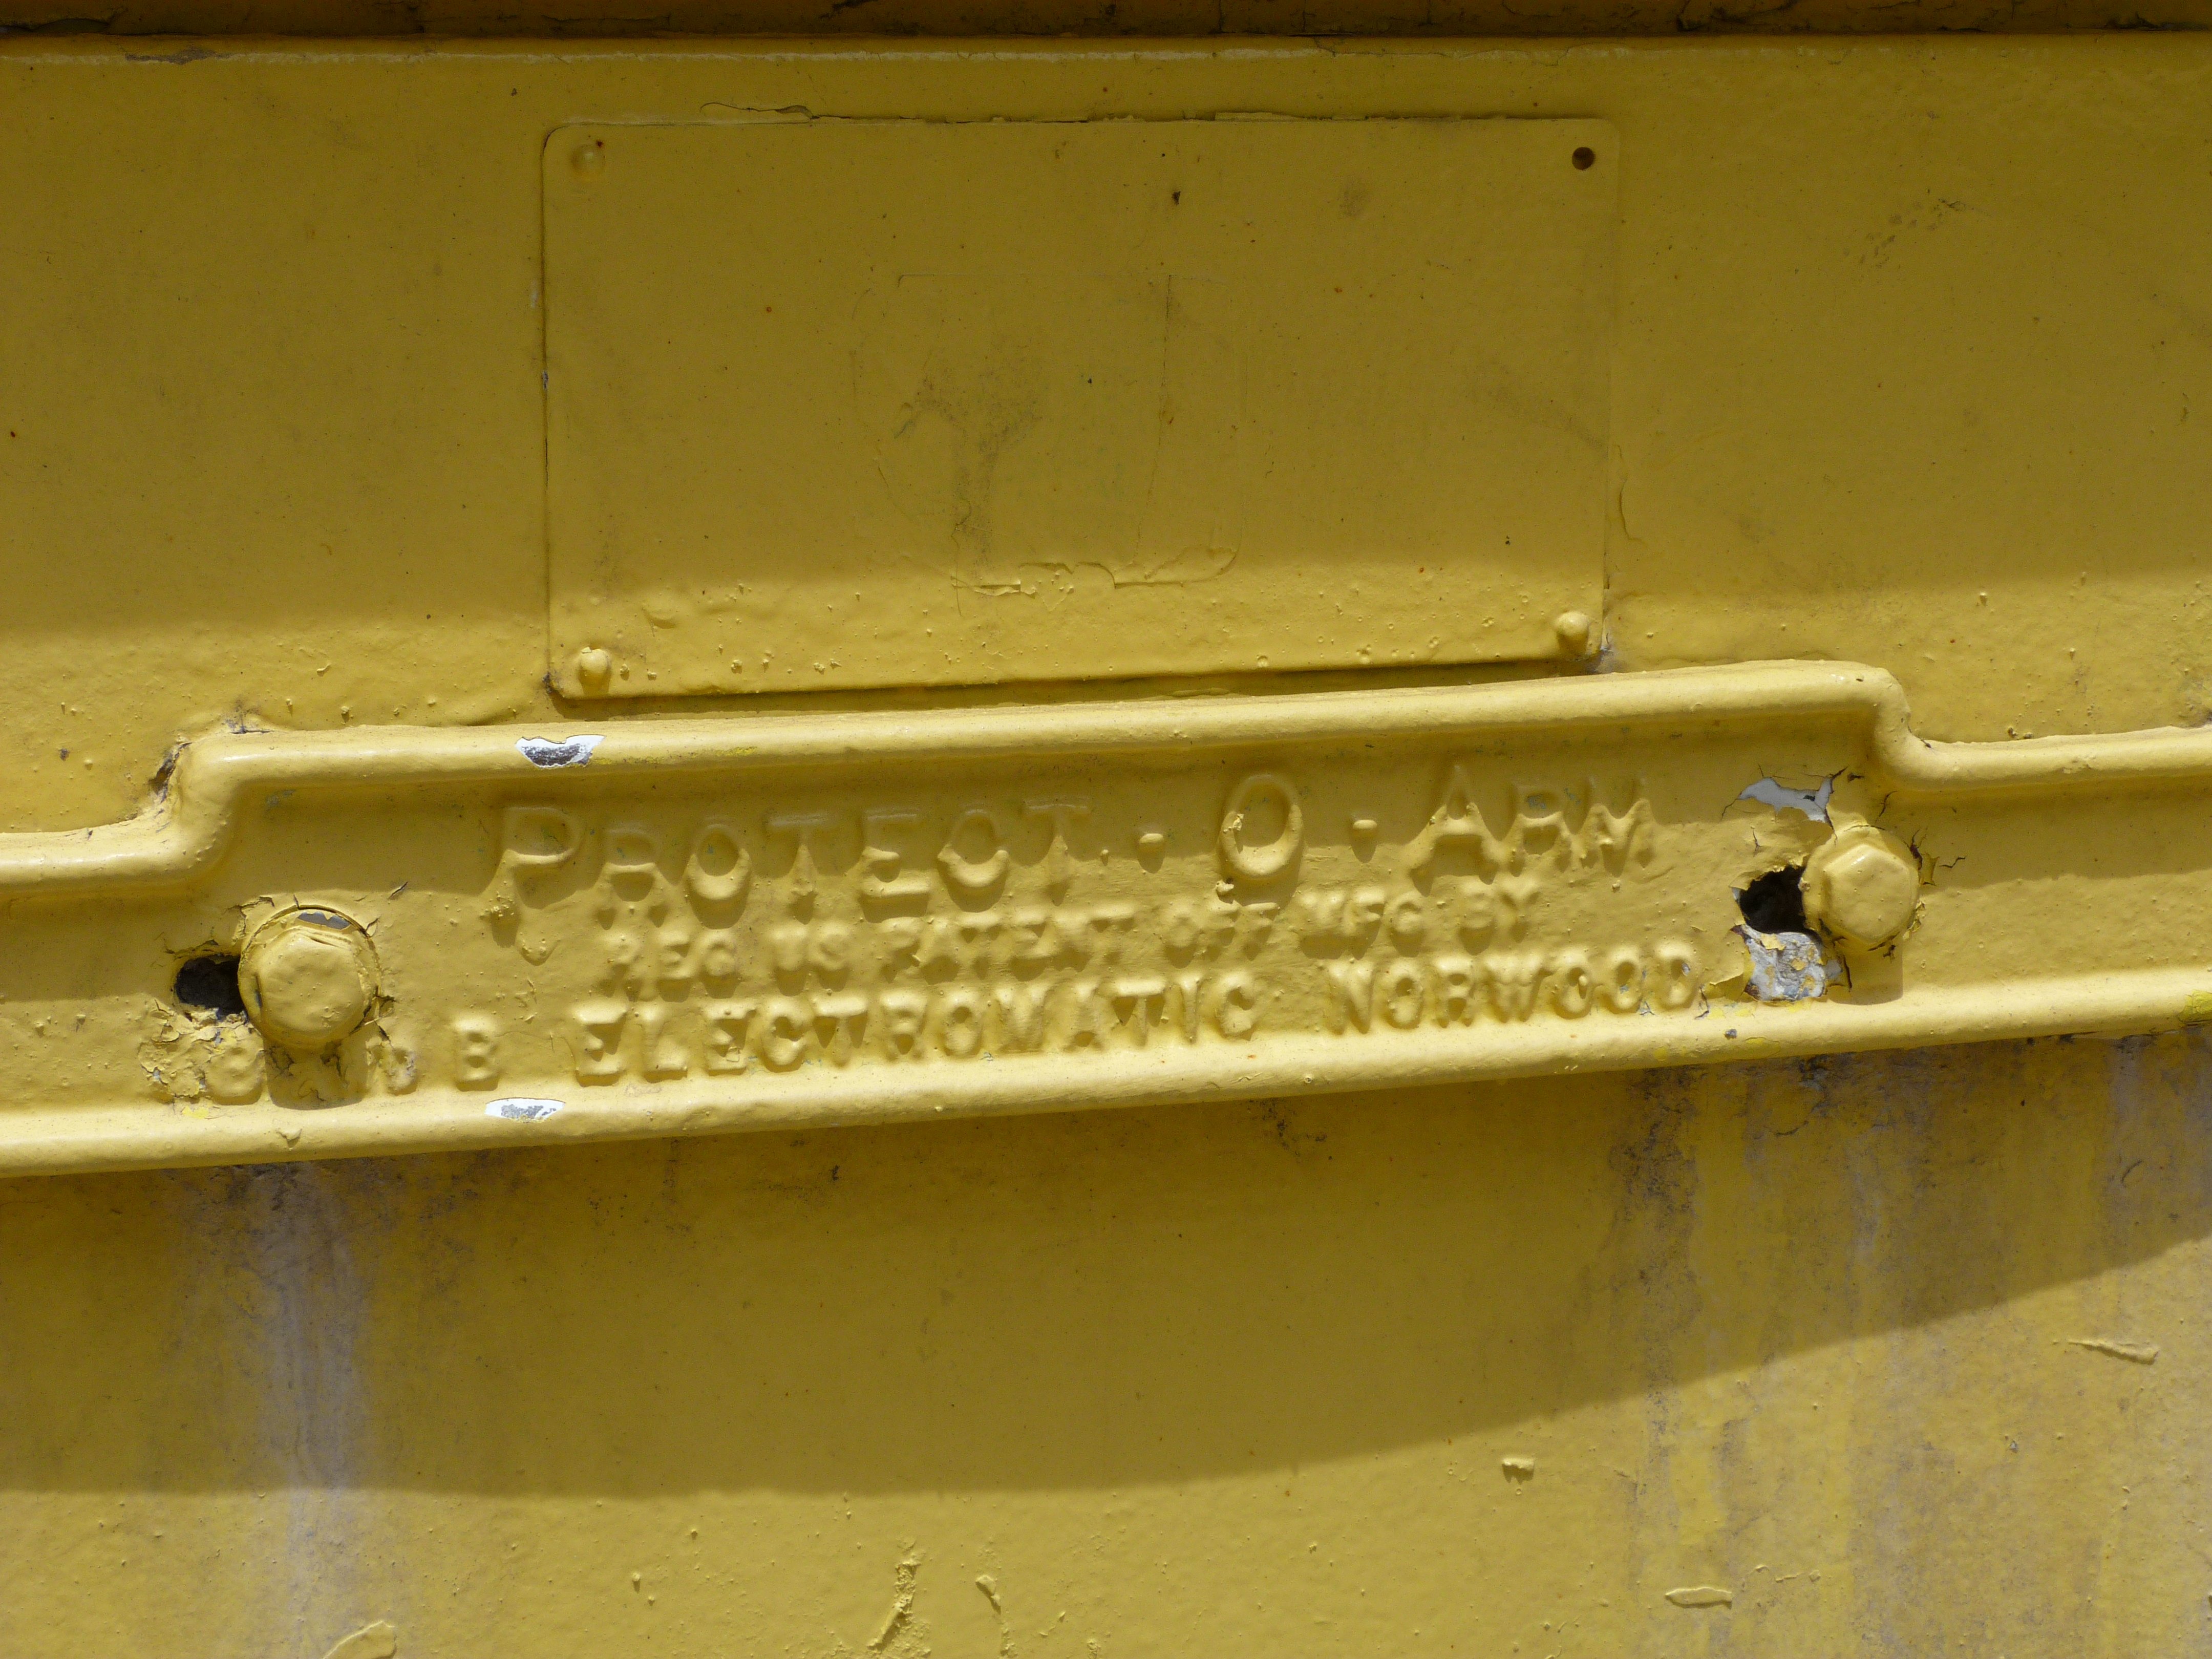
![]()

Rack and pinion.
![]()


Deck.
![]()

Photo Credit: Historic American Engineering Record
Bearing.
![]()
![]()
| Back |
| Home |
| Top |

![]()