
Uncredited photos on this page taken by: Nathan Holth. Unless stated in a caption, all photos are Copyright with All Rights Reserved. Learn about reuse of our photos.
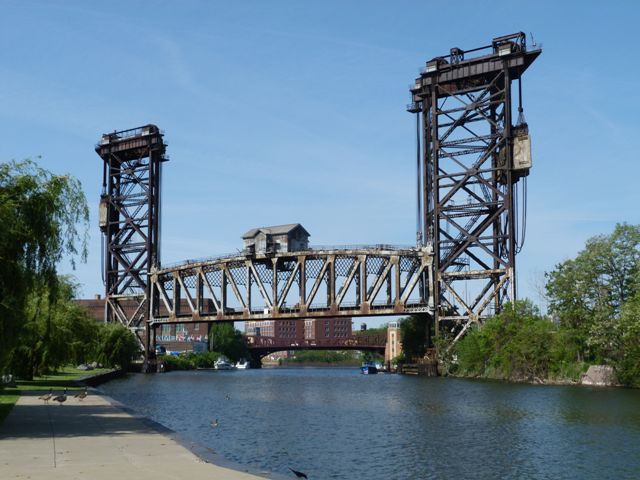
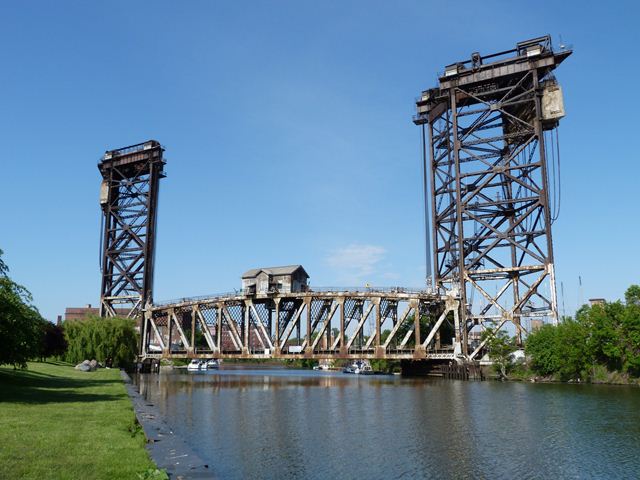
![]()

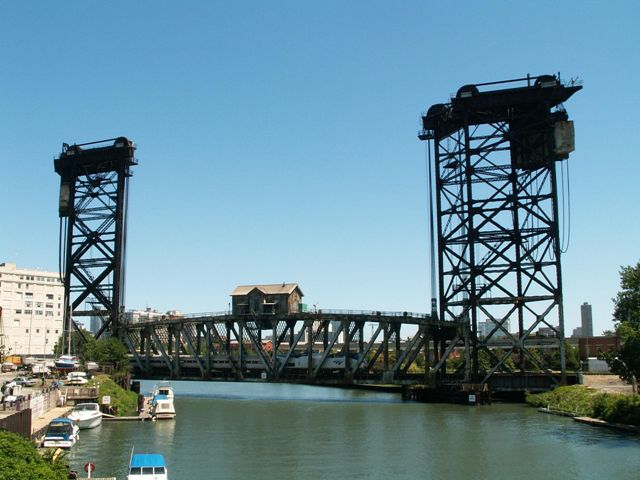


Elevation from Canal Street Bridge.
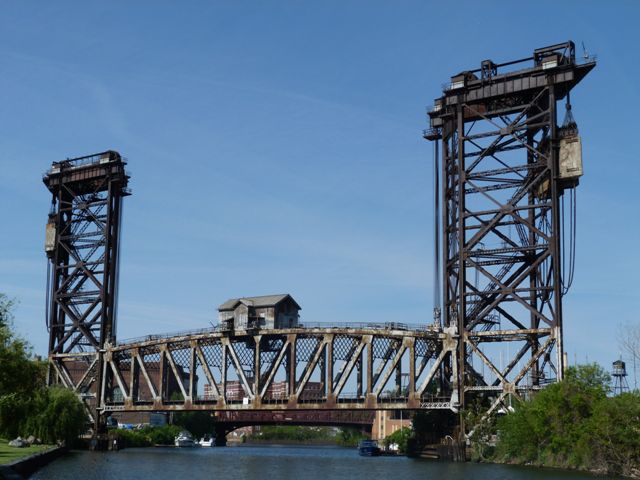
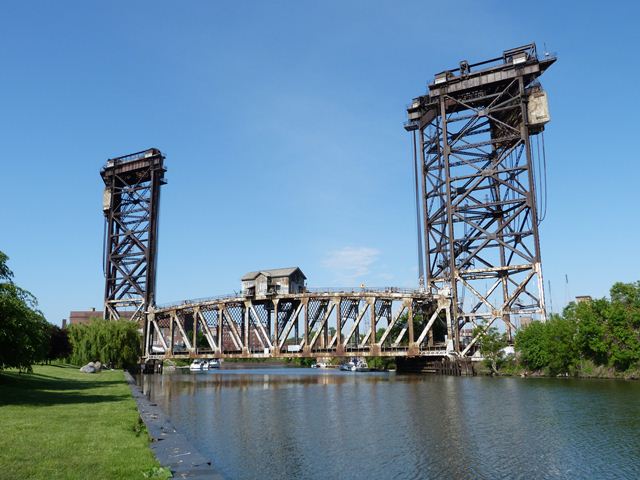
![]()
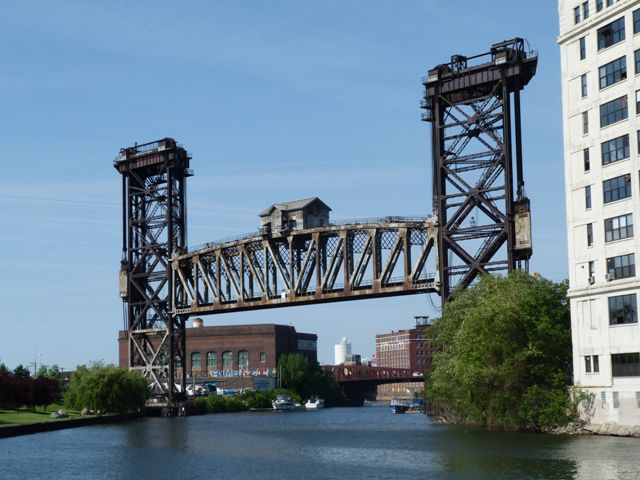
Elevation from Ping Tom Park.
![]()
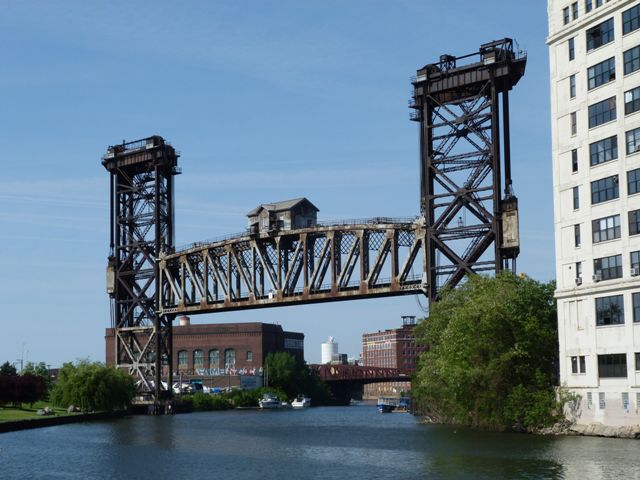
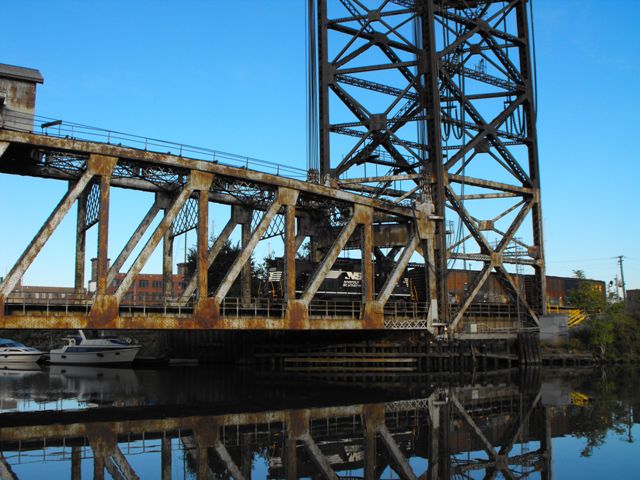
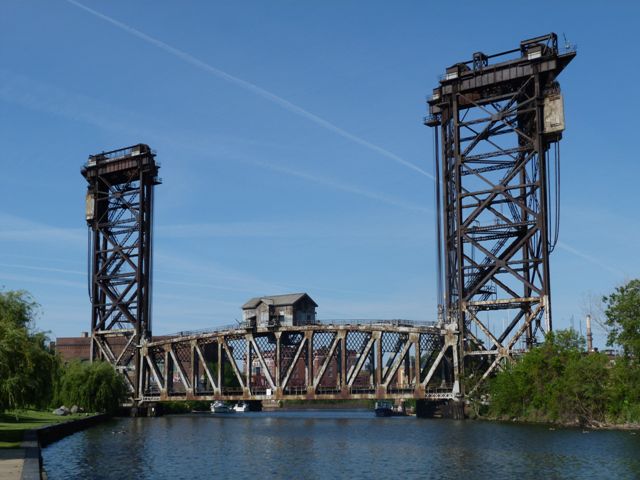
Elevation from Ping Tom Park with various trains on bridge.
![]()


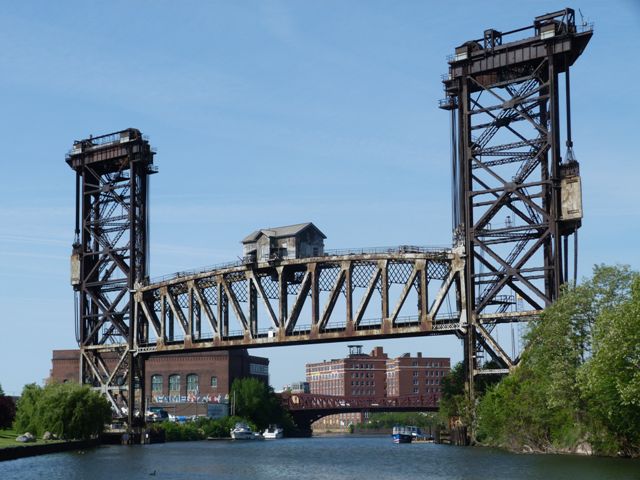

A sequence of photos from Ping Tom Park, showing bridge in half-raised position being lowered.
![]()


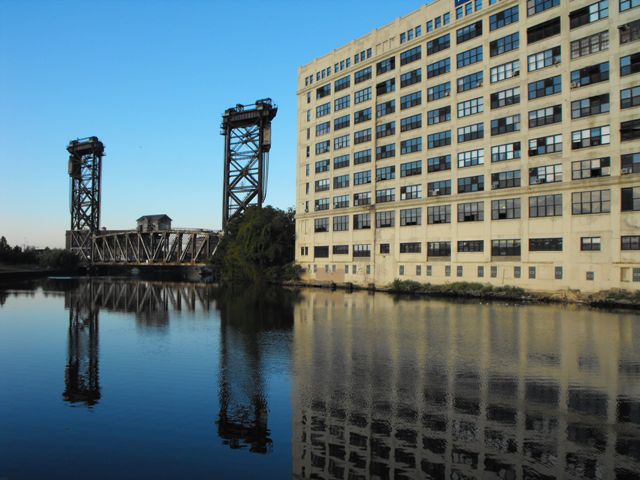

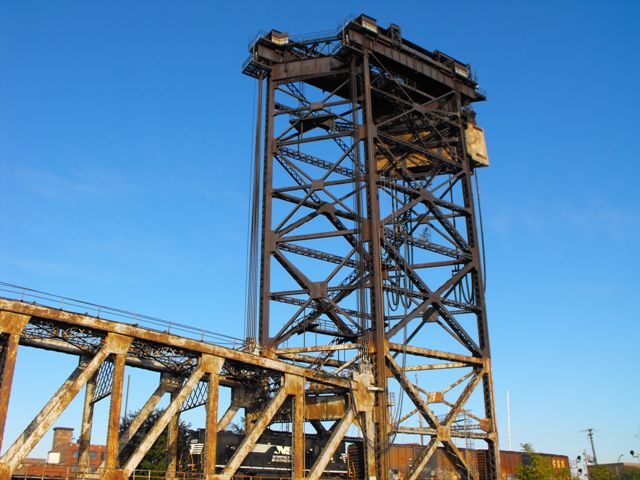
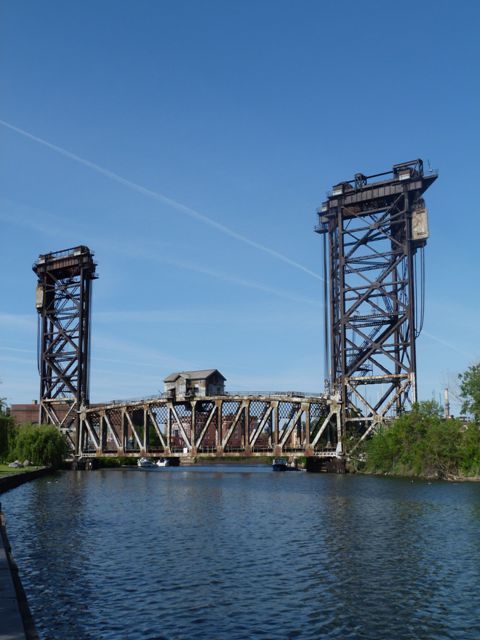
Distant elevation from Ping Tom Park.
![]()
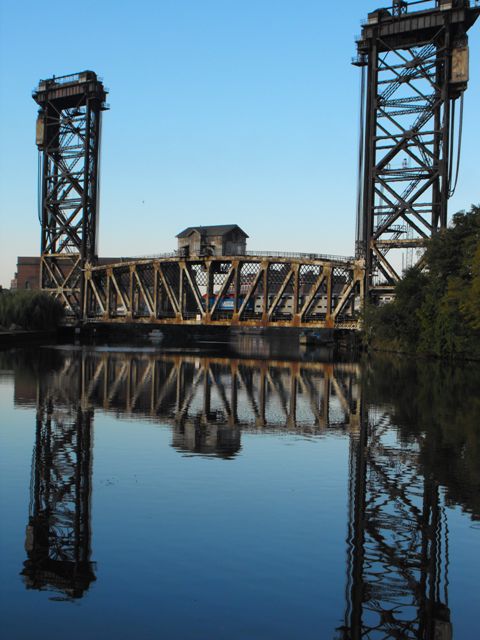

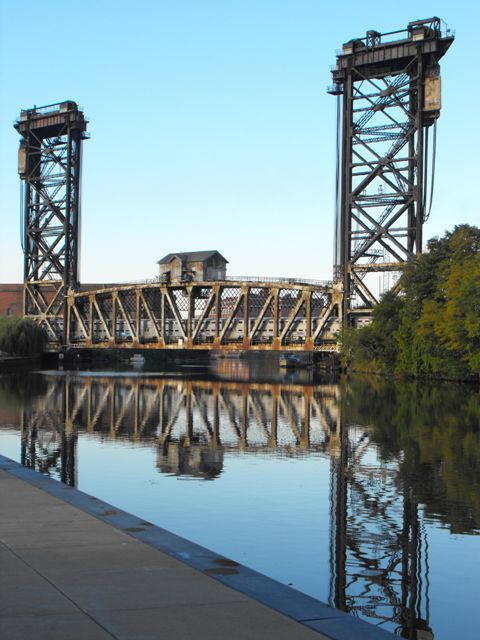
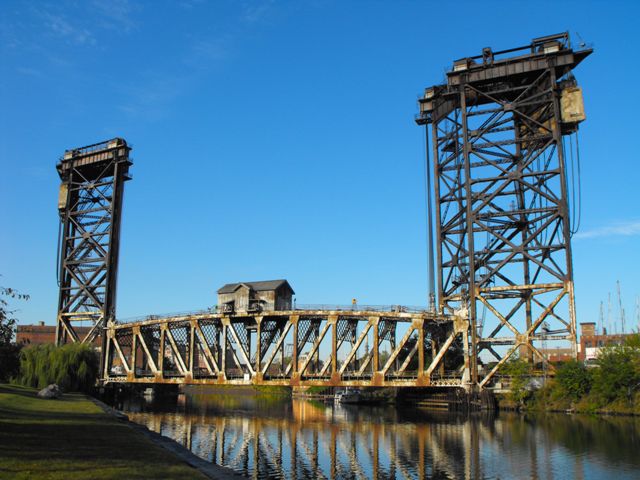
Elevation from Ping Tom Park with reflections.
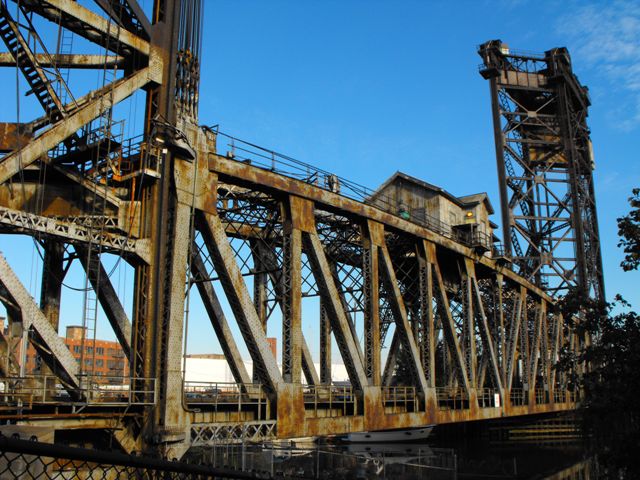
![]()


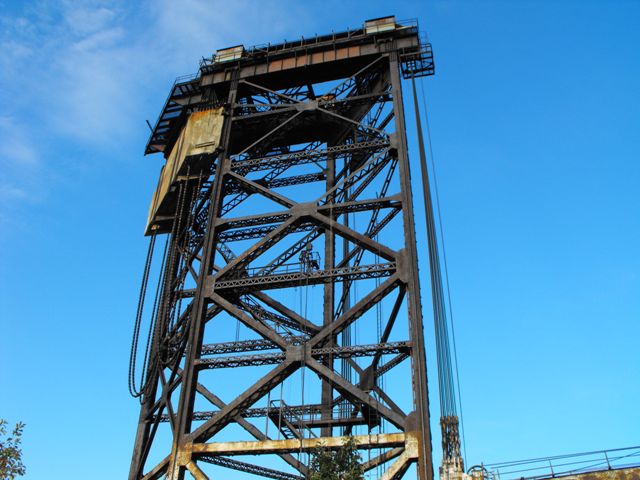
Truss elevation.
![]()
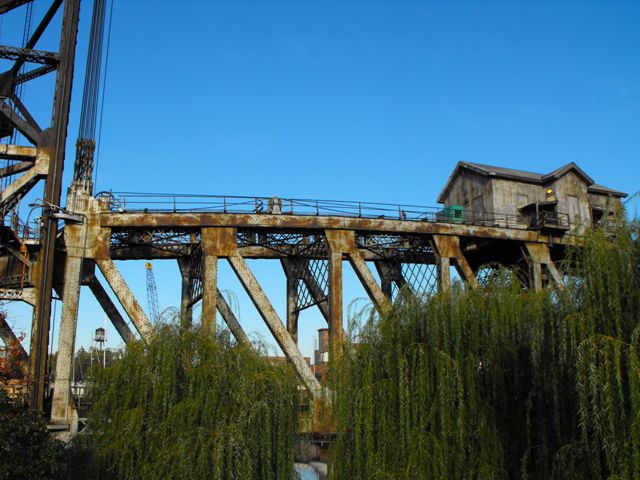
Views beside bridge from Ping Tom Park.
![]()

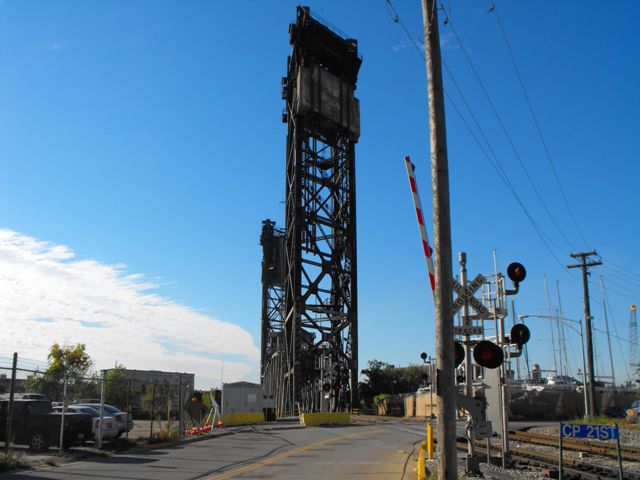


Portal views.
![]()


Oblique views.
![]()

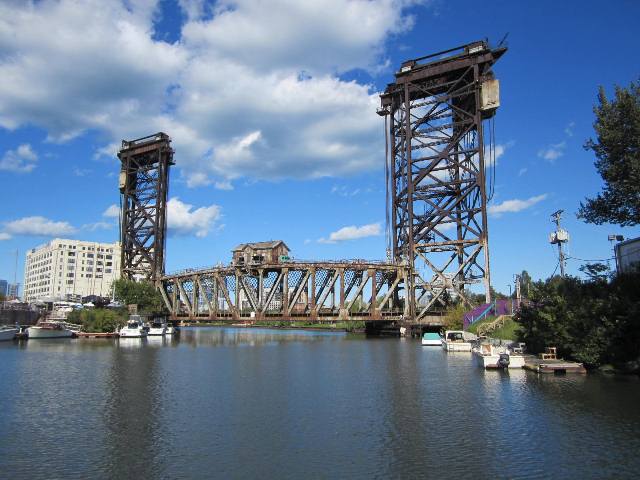


Photo Credit: Steve Conro
West elevation.
![]()

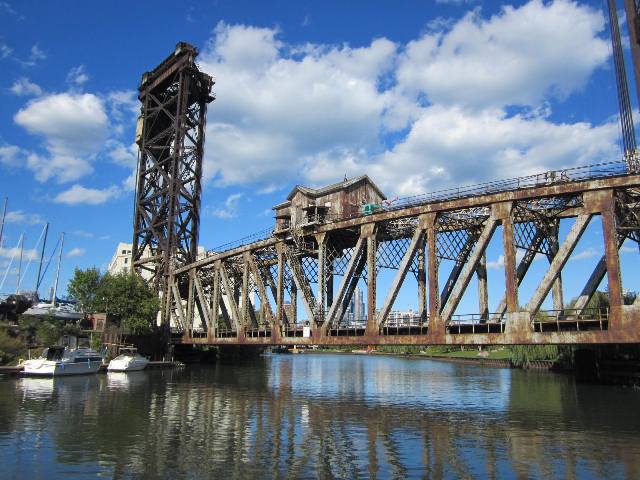
Photo Credit: Steve Conro
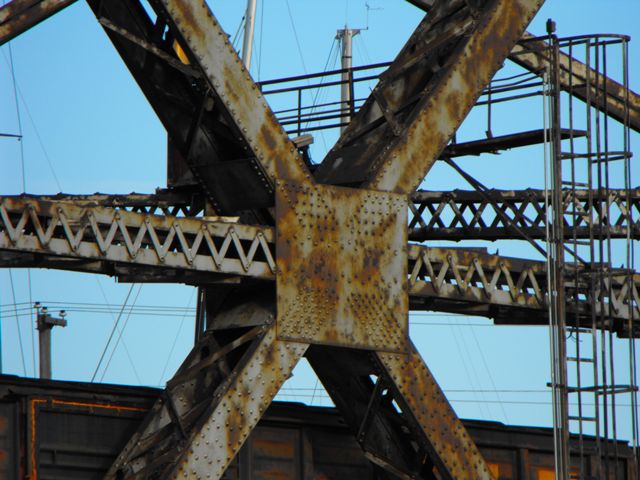
Views of truss.
![]()
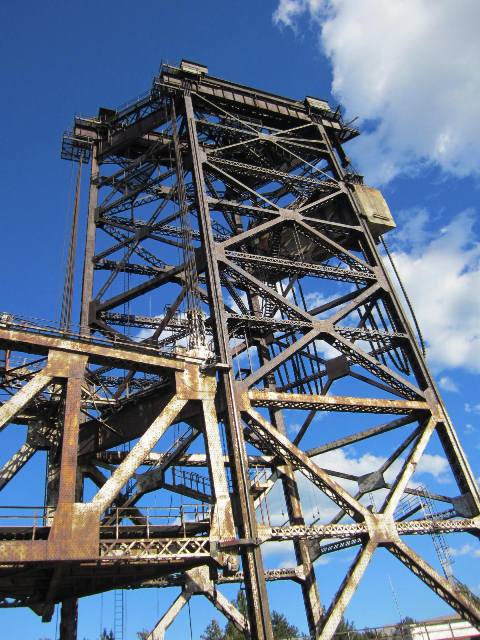


Photo Credit: Steve Conro
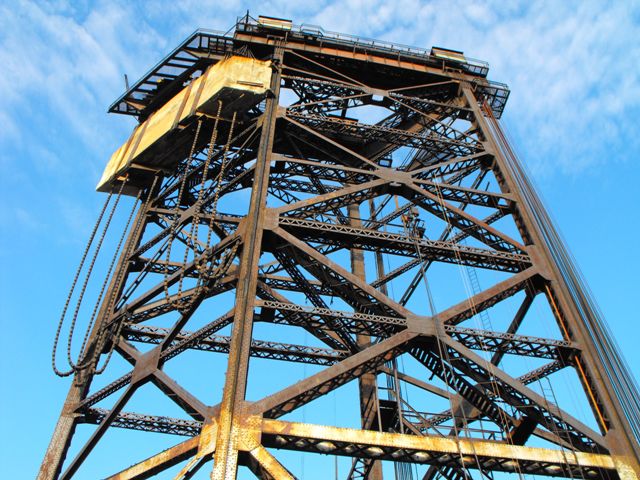
Towers.
![]()
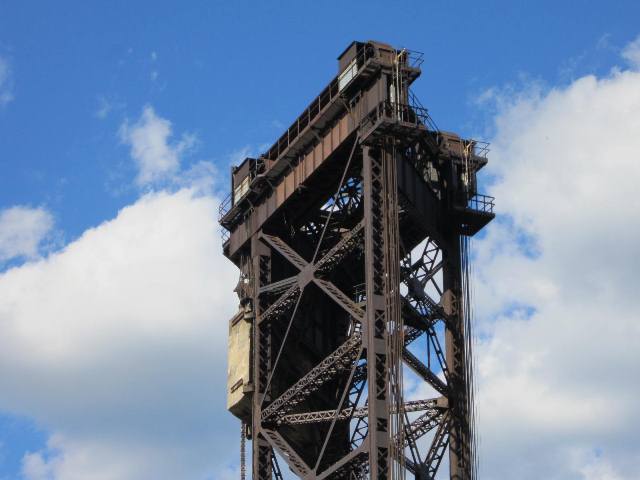

Photo Credit: Steve Conro
Views of top of tower.
![]()


Photo Credit: Steve Conro
Views of base of tower.
![]()

Photo Credit: Steve Conro
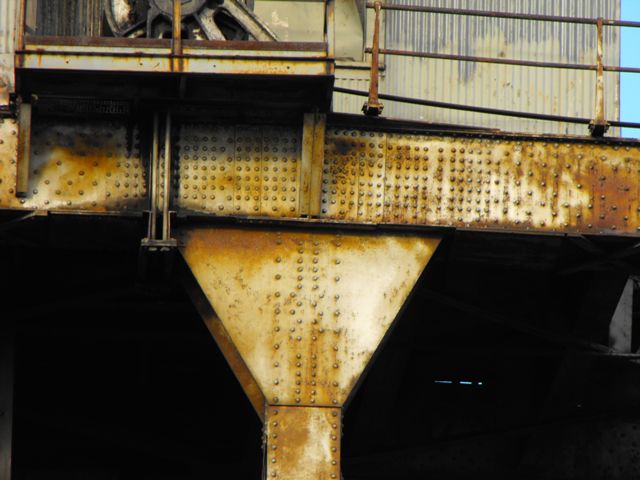
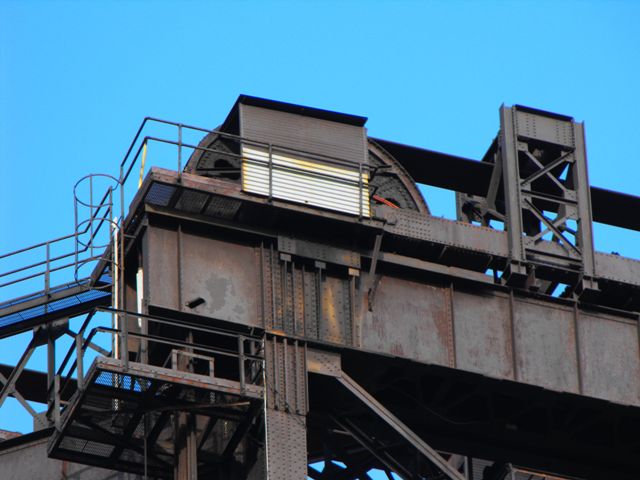
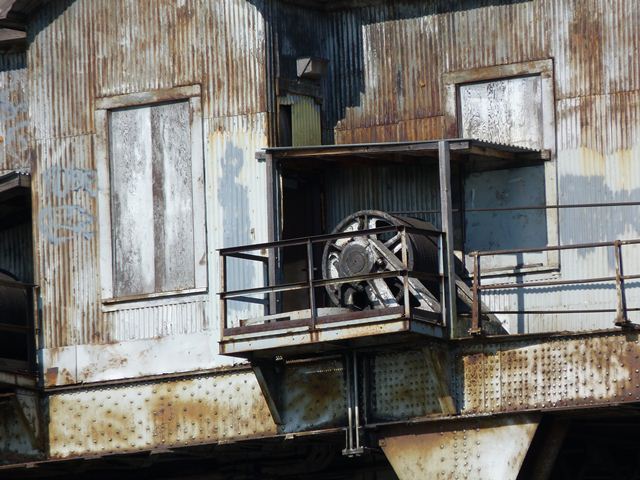
Mechanical building.
![]()

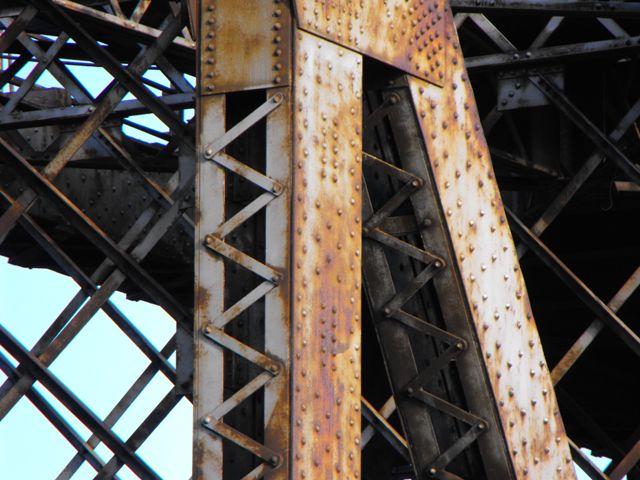
Views of the towers.
![]()
Views of sections of the truss.
![]()


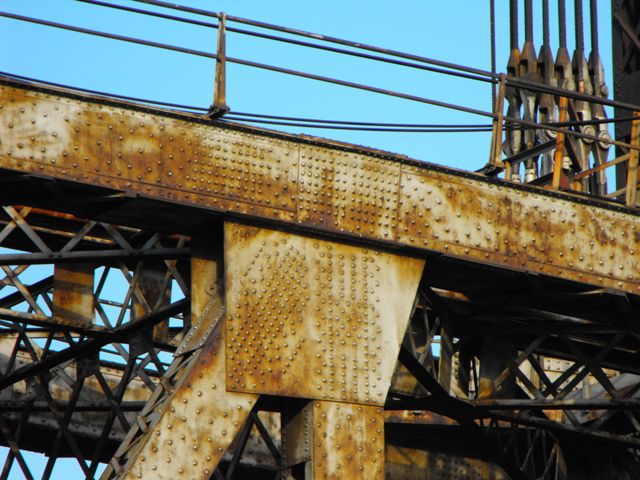


Top chord connections.
![]()


Bottom chord connections.
![]()

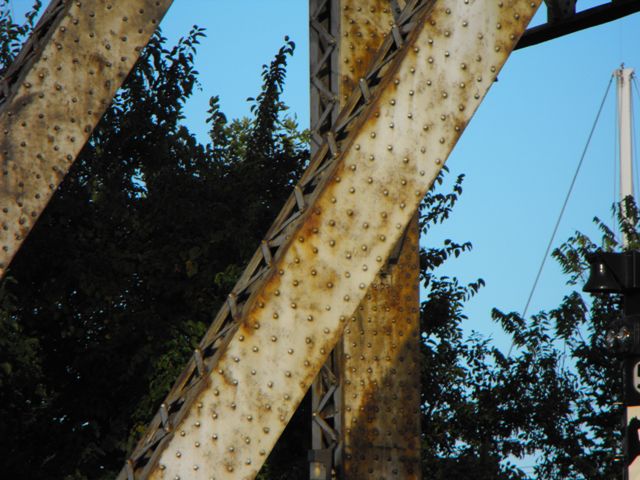
Vertical member.
![]()
Diagonal member.
![]()
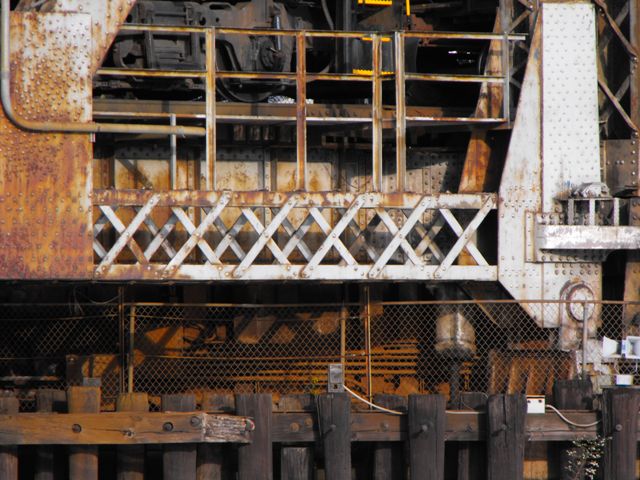

Bottom chord.
![]()

Top chord.
![]()


Bridgetender building.
![]()
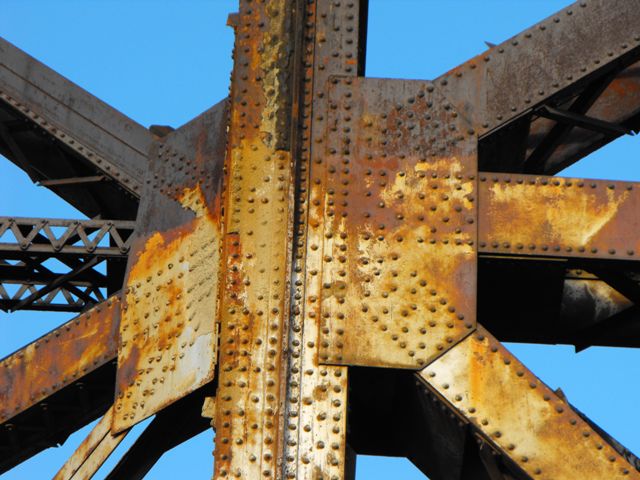


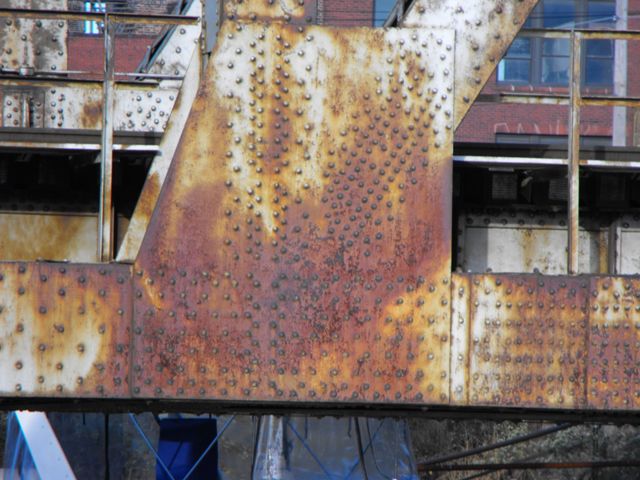
Tower connections.
![]()


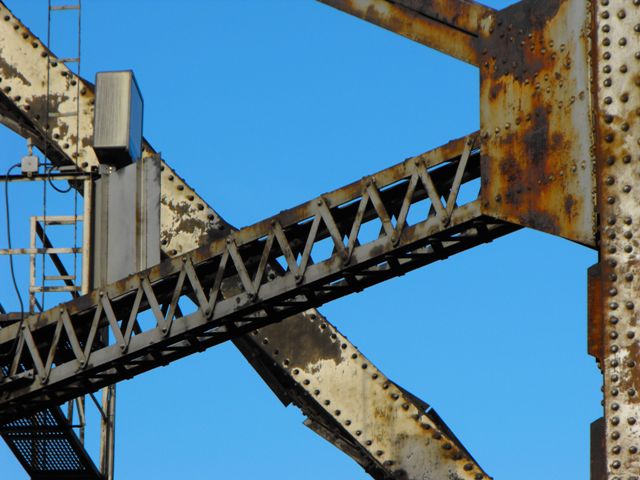
Mechanical details at top of tower.
![]()


Cable and pulley system details on bridge, running from bridgetender building to end of truss.
![]()

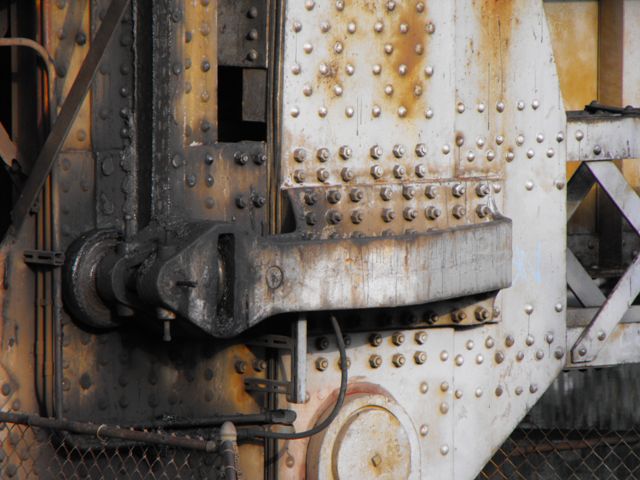
Bearing.
![]()

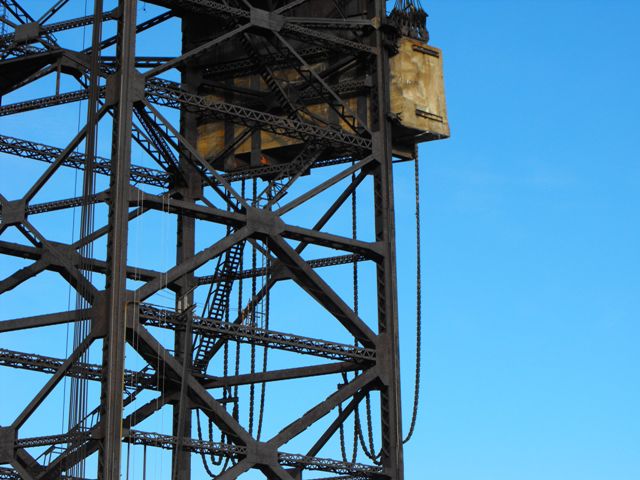

Counterweight.
![]()
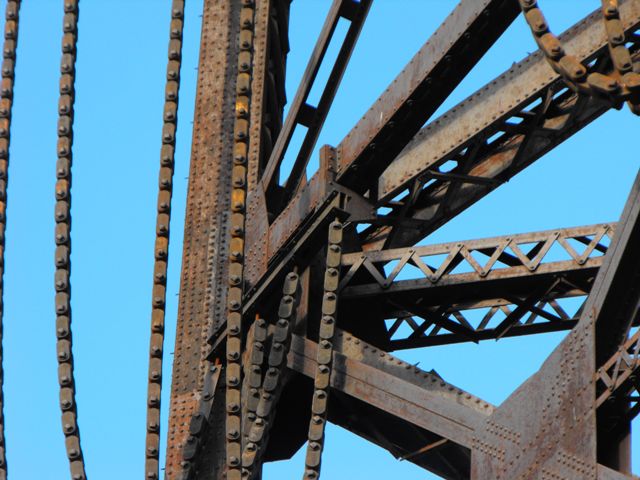

Chains for the counterweight.
![]()

Cable attachment to counterweight.
![]()

Built-up beams on tower.
![]()
Roller system for truss on tower.
![]()


Detail at top of tower, with a pin connection visible.
![]()
![]()
| Back |
| Home |
| Top |

![]()


