
Uncredited photos on this page taken by: Nathan Holth. Unless stated in a caption, all photos are Copyright with All Rights Reserved. Learn about reuse of our photos.
![]()

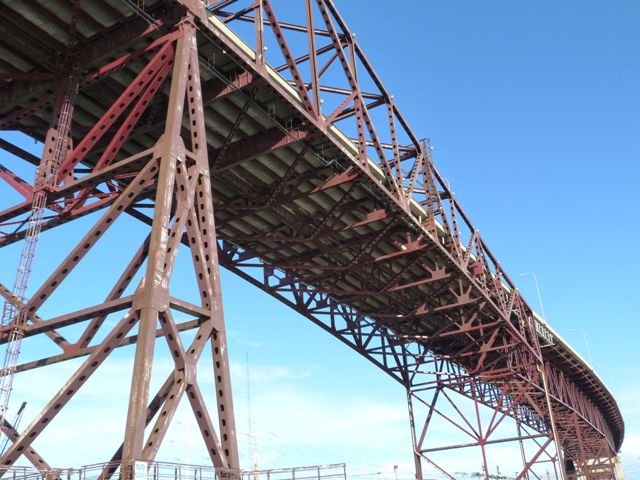
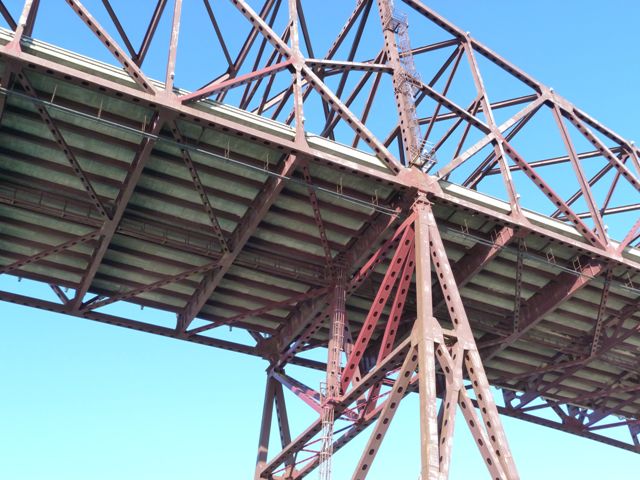
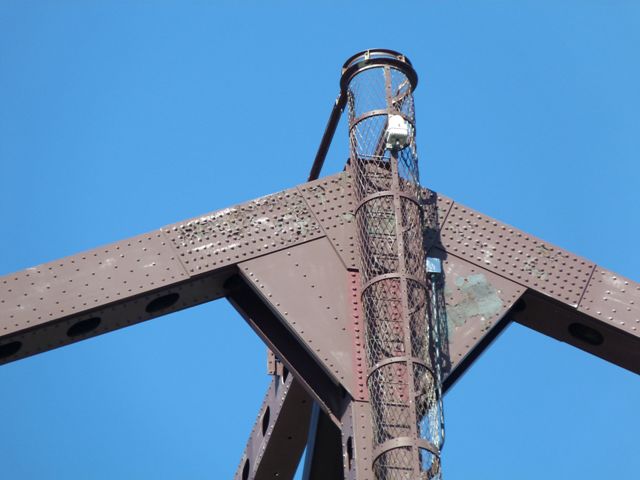
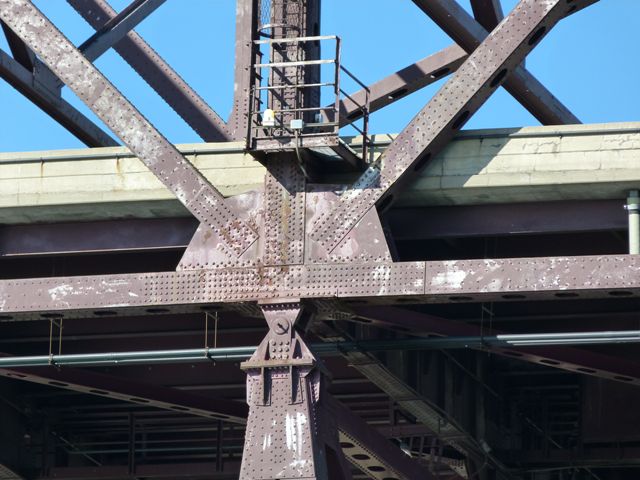
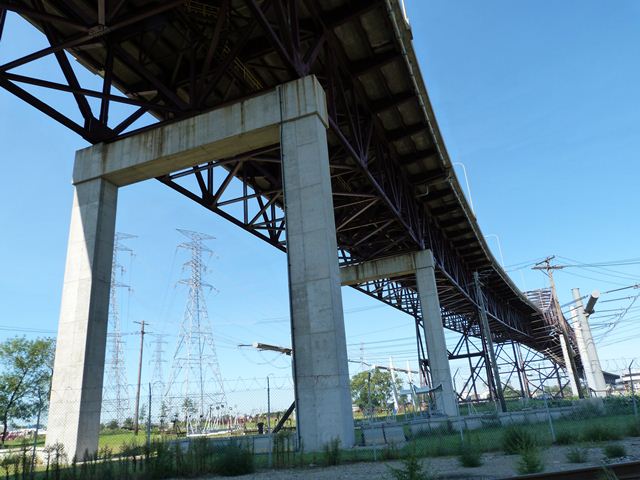
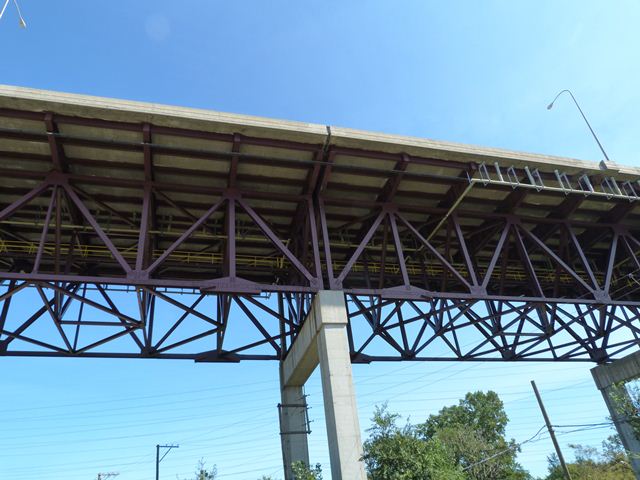
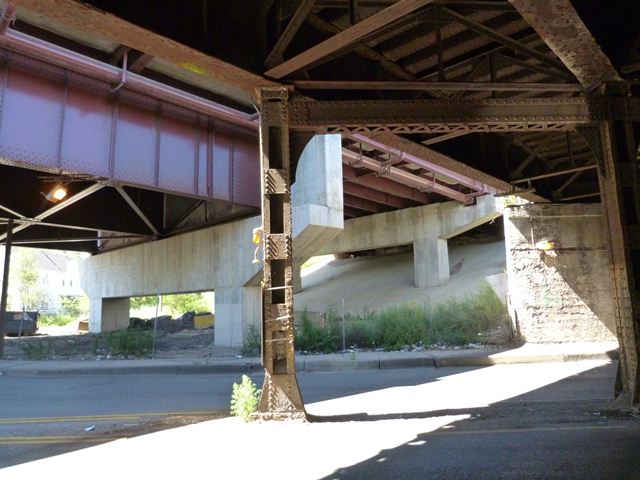
View under main cantilever tower bent.
![]()
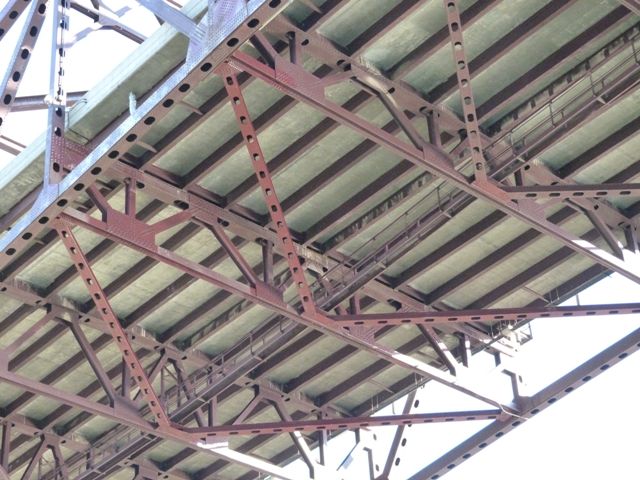


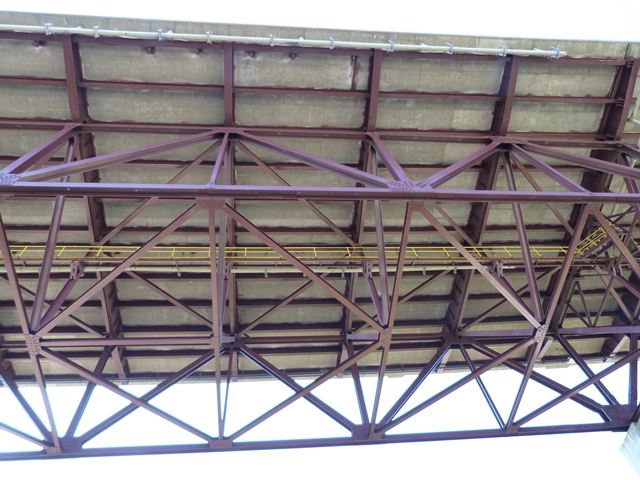
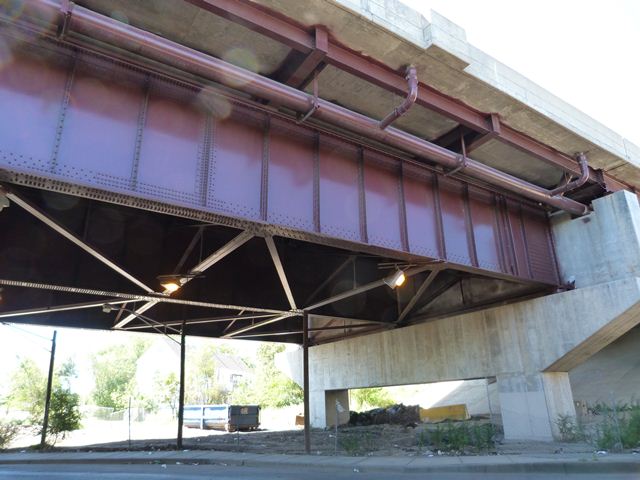
Views under anchor arm.
![]()


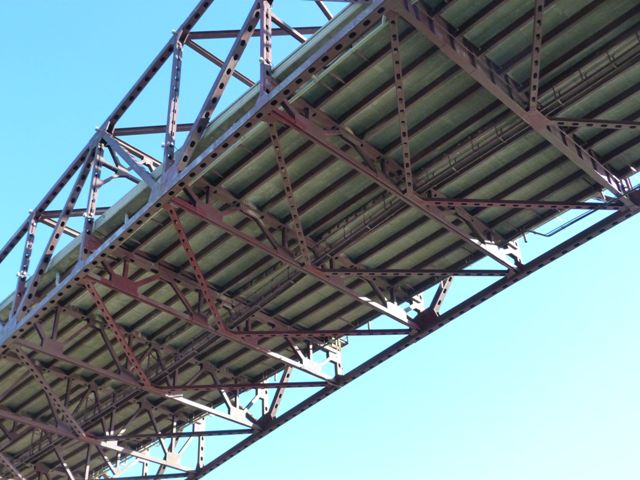
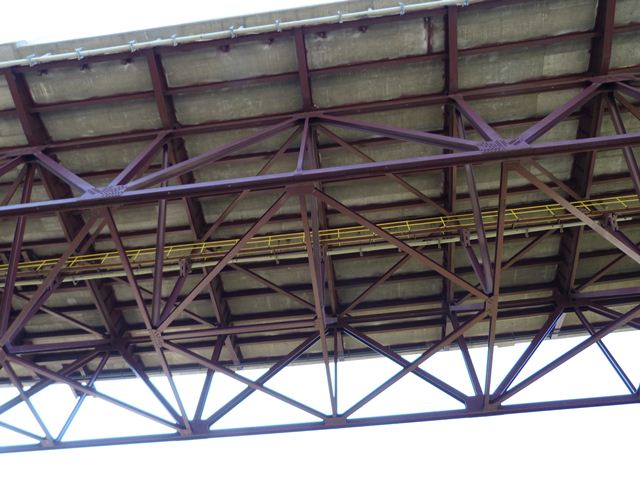
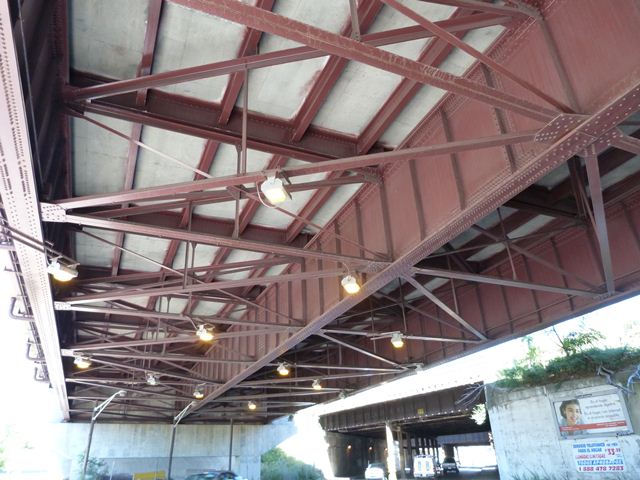
Views under main span.
![]()


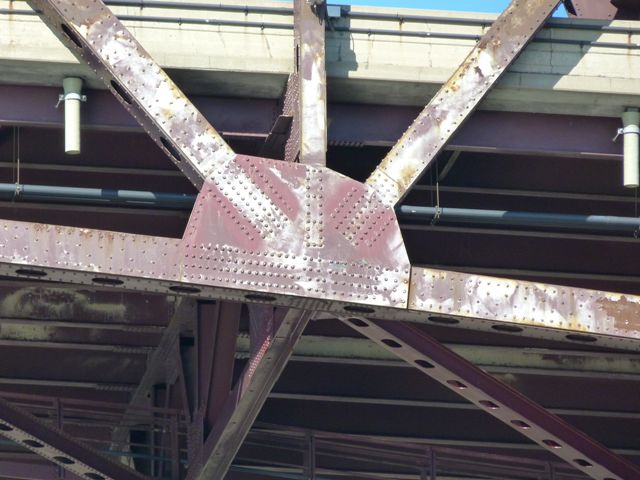
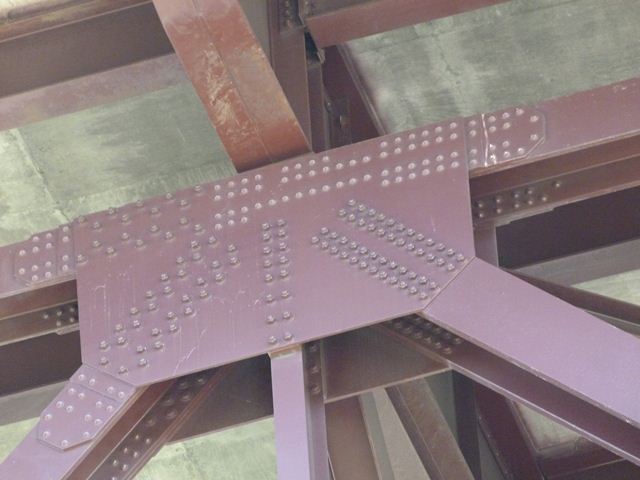
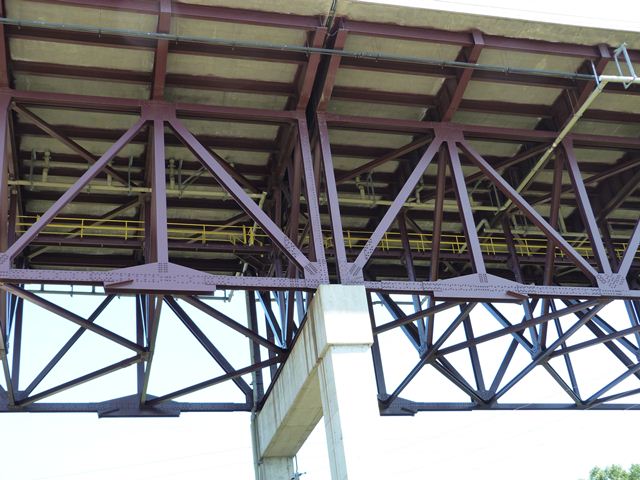
Top chord connections on cantilever.
![]()


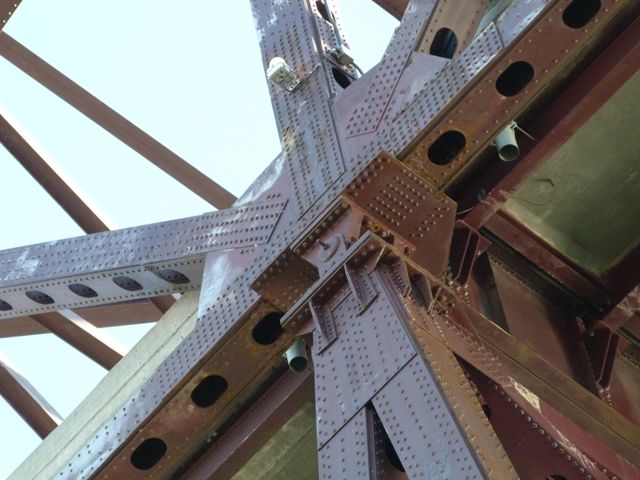
Bottom chord connections on cantilever.
![]()


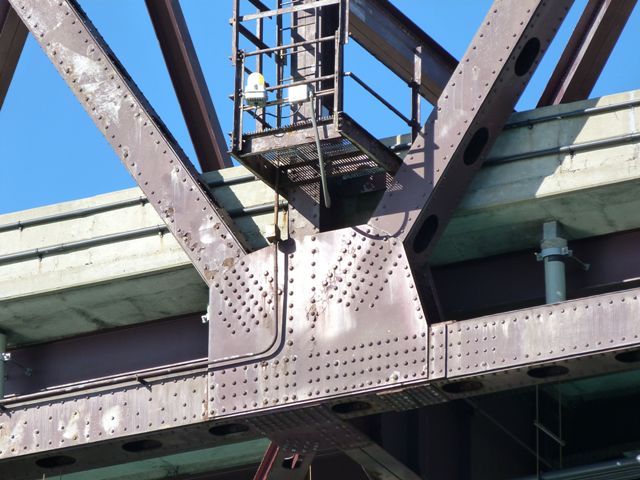
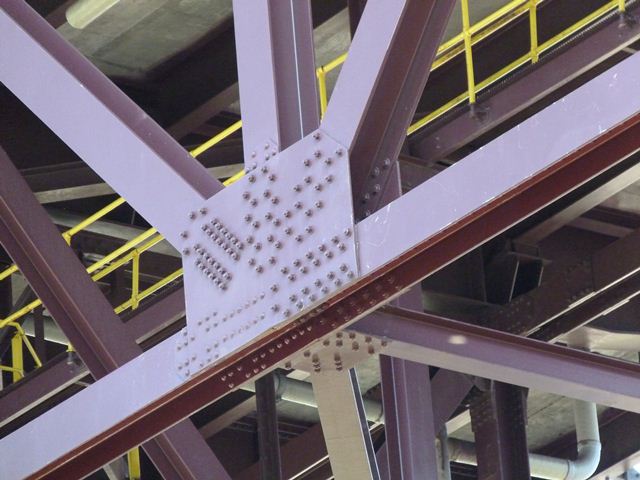
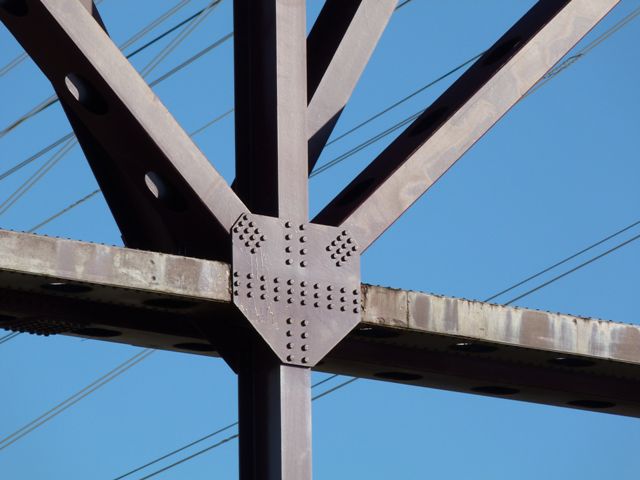
Deck truss top chord connections.
![]()
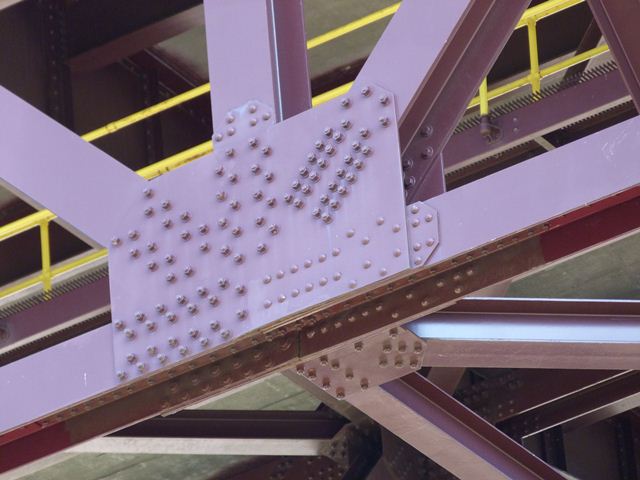


Deck truss bottom chord connections.
![]()

Special gusset place that was added to support temporary pier during original pier replacement.
![]()

Bearing for deck truss.
![]()
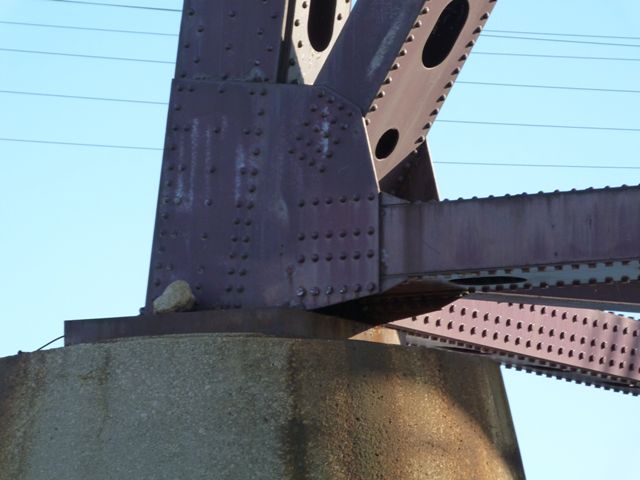
Bearing at main cantilever tower bents.
![]()

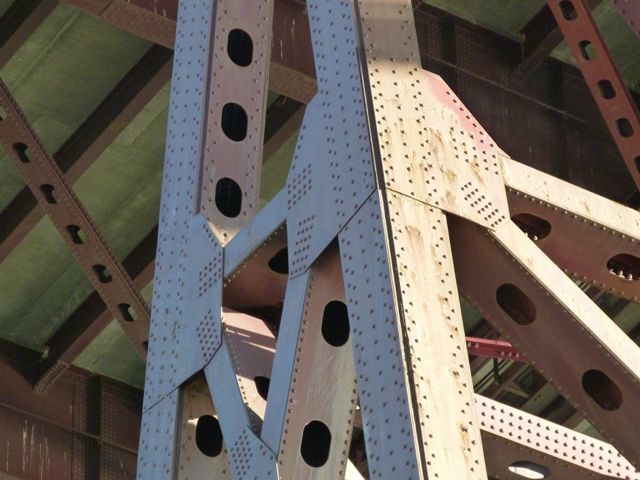
Connections on bents.
![]()

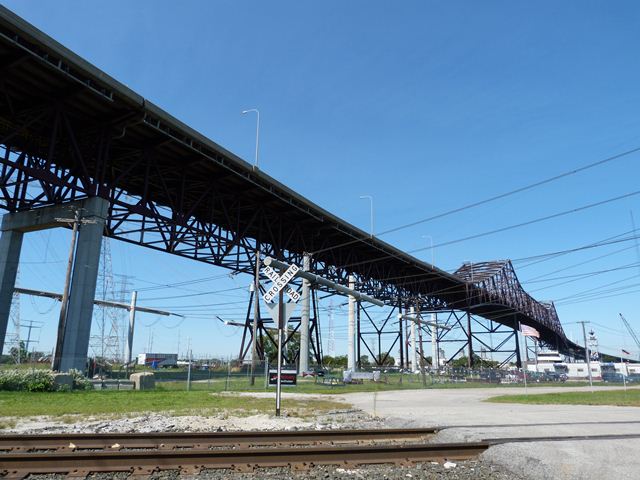
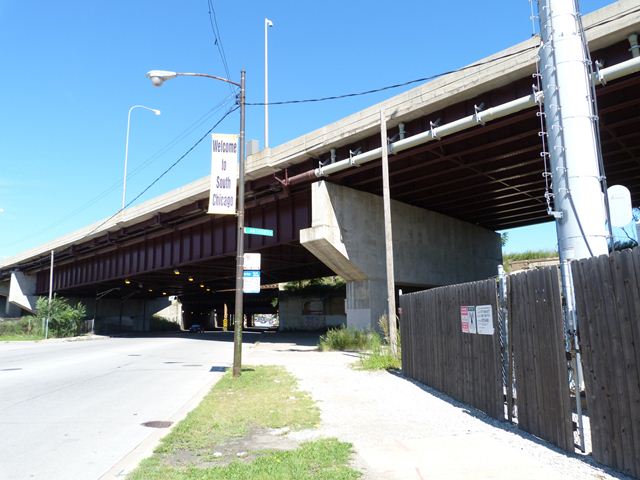
View under approach spans.
![]()

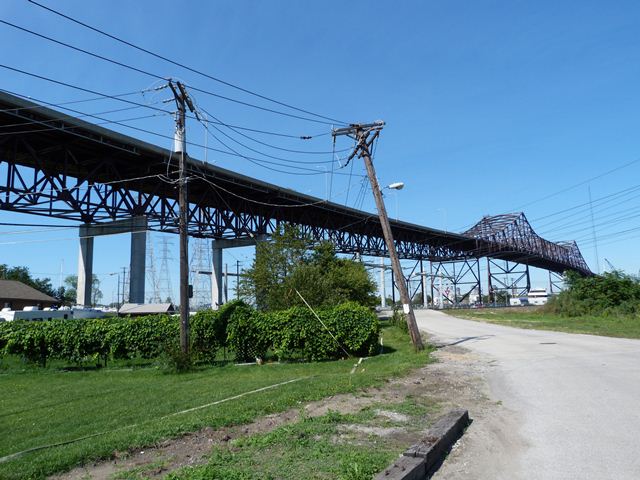

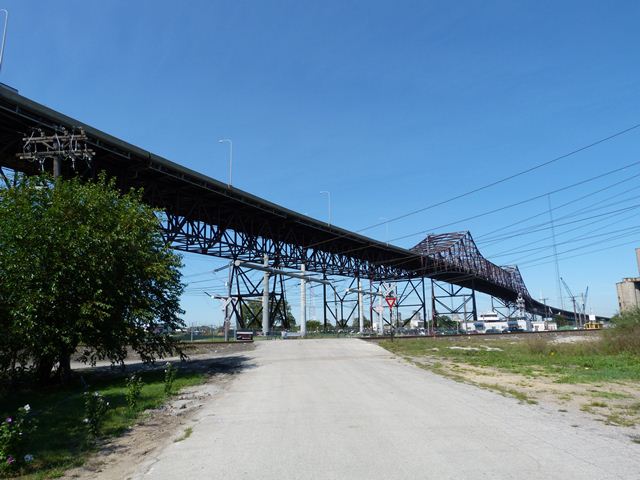


View beside bridge from east quadrant.
![]()
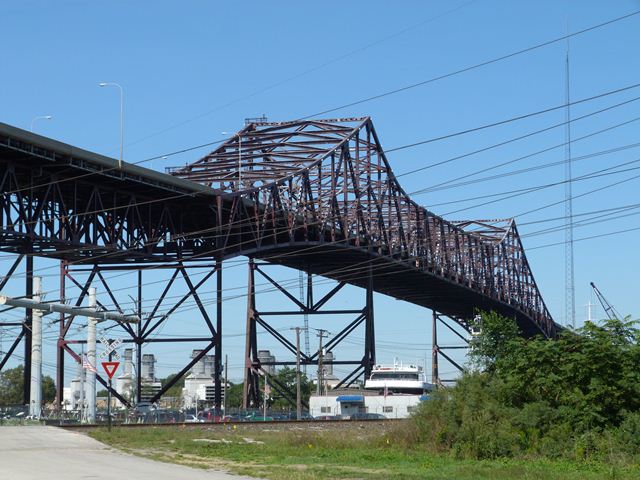

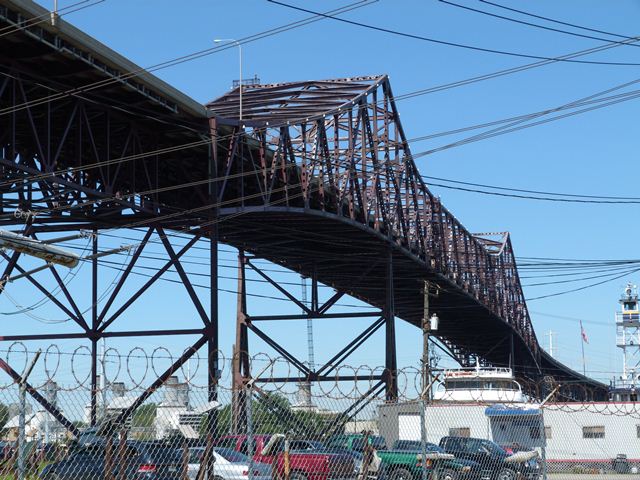

View beside bridge showing main spans from east quadrant.
![]()

Eastern approach.
![]()

North elevation of eastern approach.
![]()

South elevation of eastern approach.
![]()


South elevation of far western approach spans.
![]()


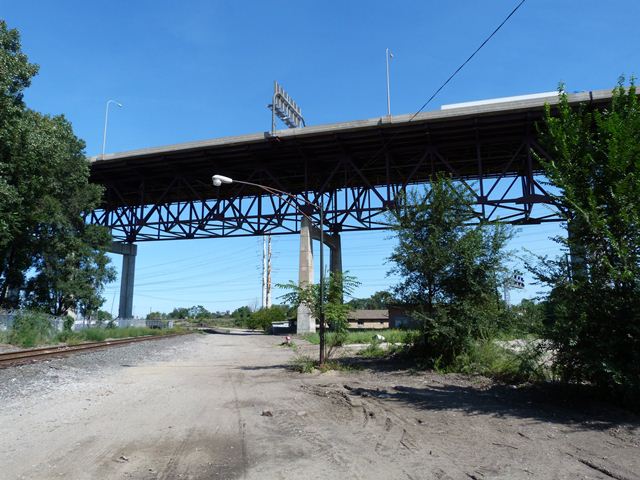
Deck truss spans.
![]()


Original concrete pier.
![]()

Original concrete pier detail.
![]()


Replaced concrete piers.
![]()


Floor beam cantilevers.
![]()

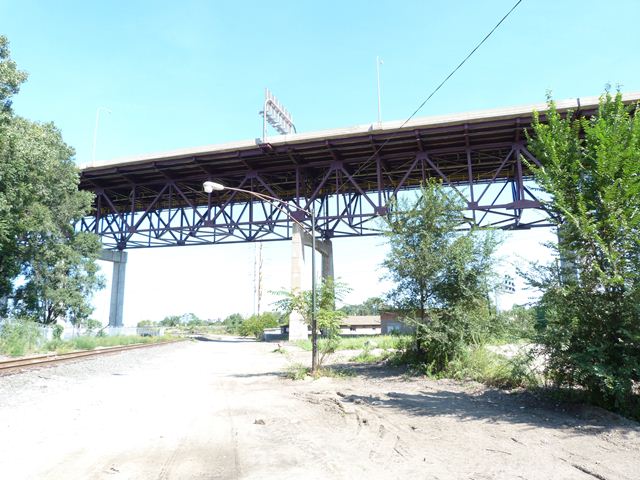
Views under deck truss spans.
![]()

Views toward west abutment.
![]()

Views under Commercial Avenue span.
![]()
![]()
![]()
| Back |
| Home |
| Top |

![]()