Uncredited photos on this page taken by: Nathan Holth. Unless stated in a caption, all photos are Copyright with All Rights Reserved. Learn about reuse of our photos.
![]()


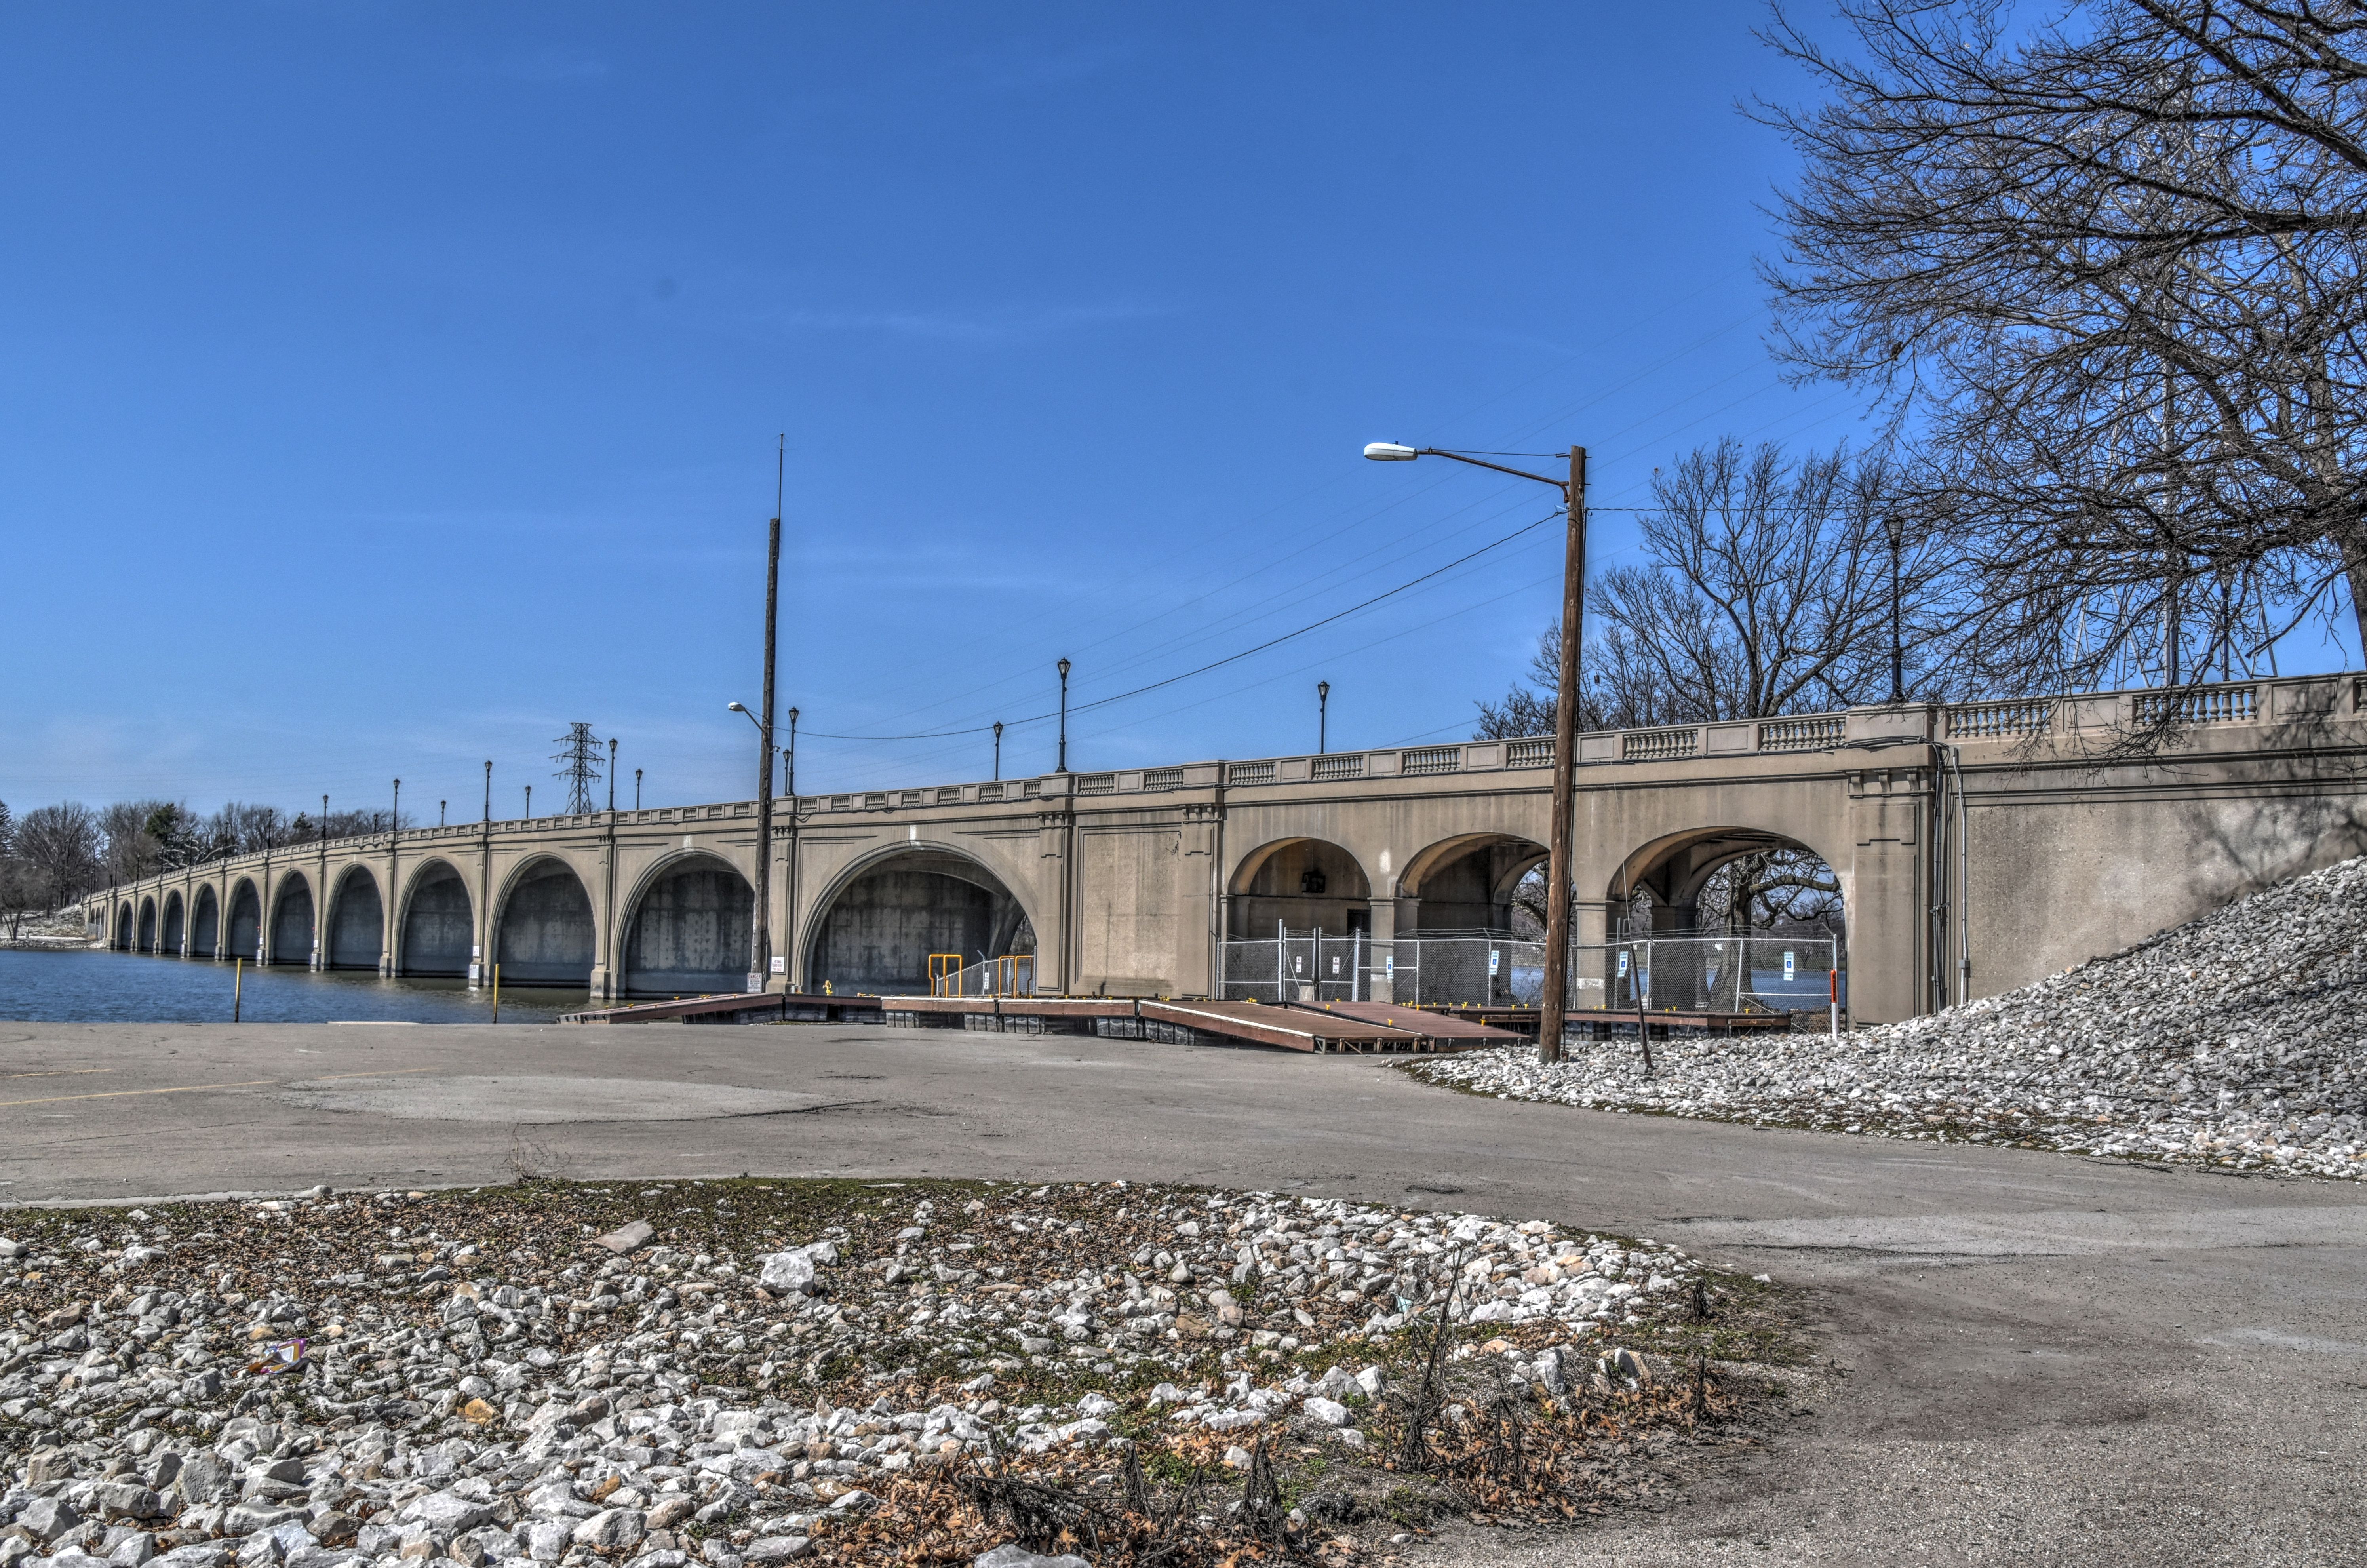
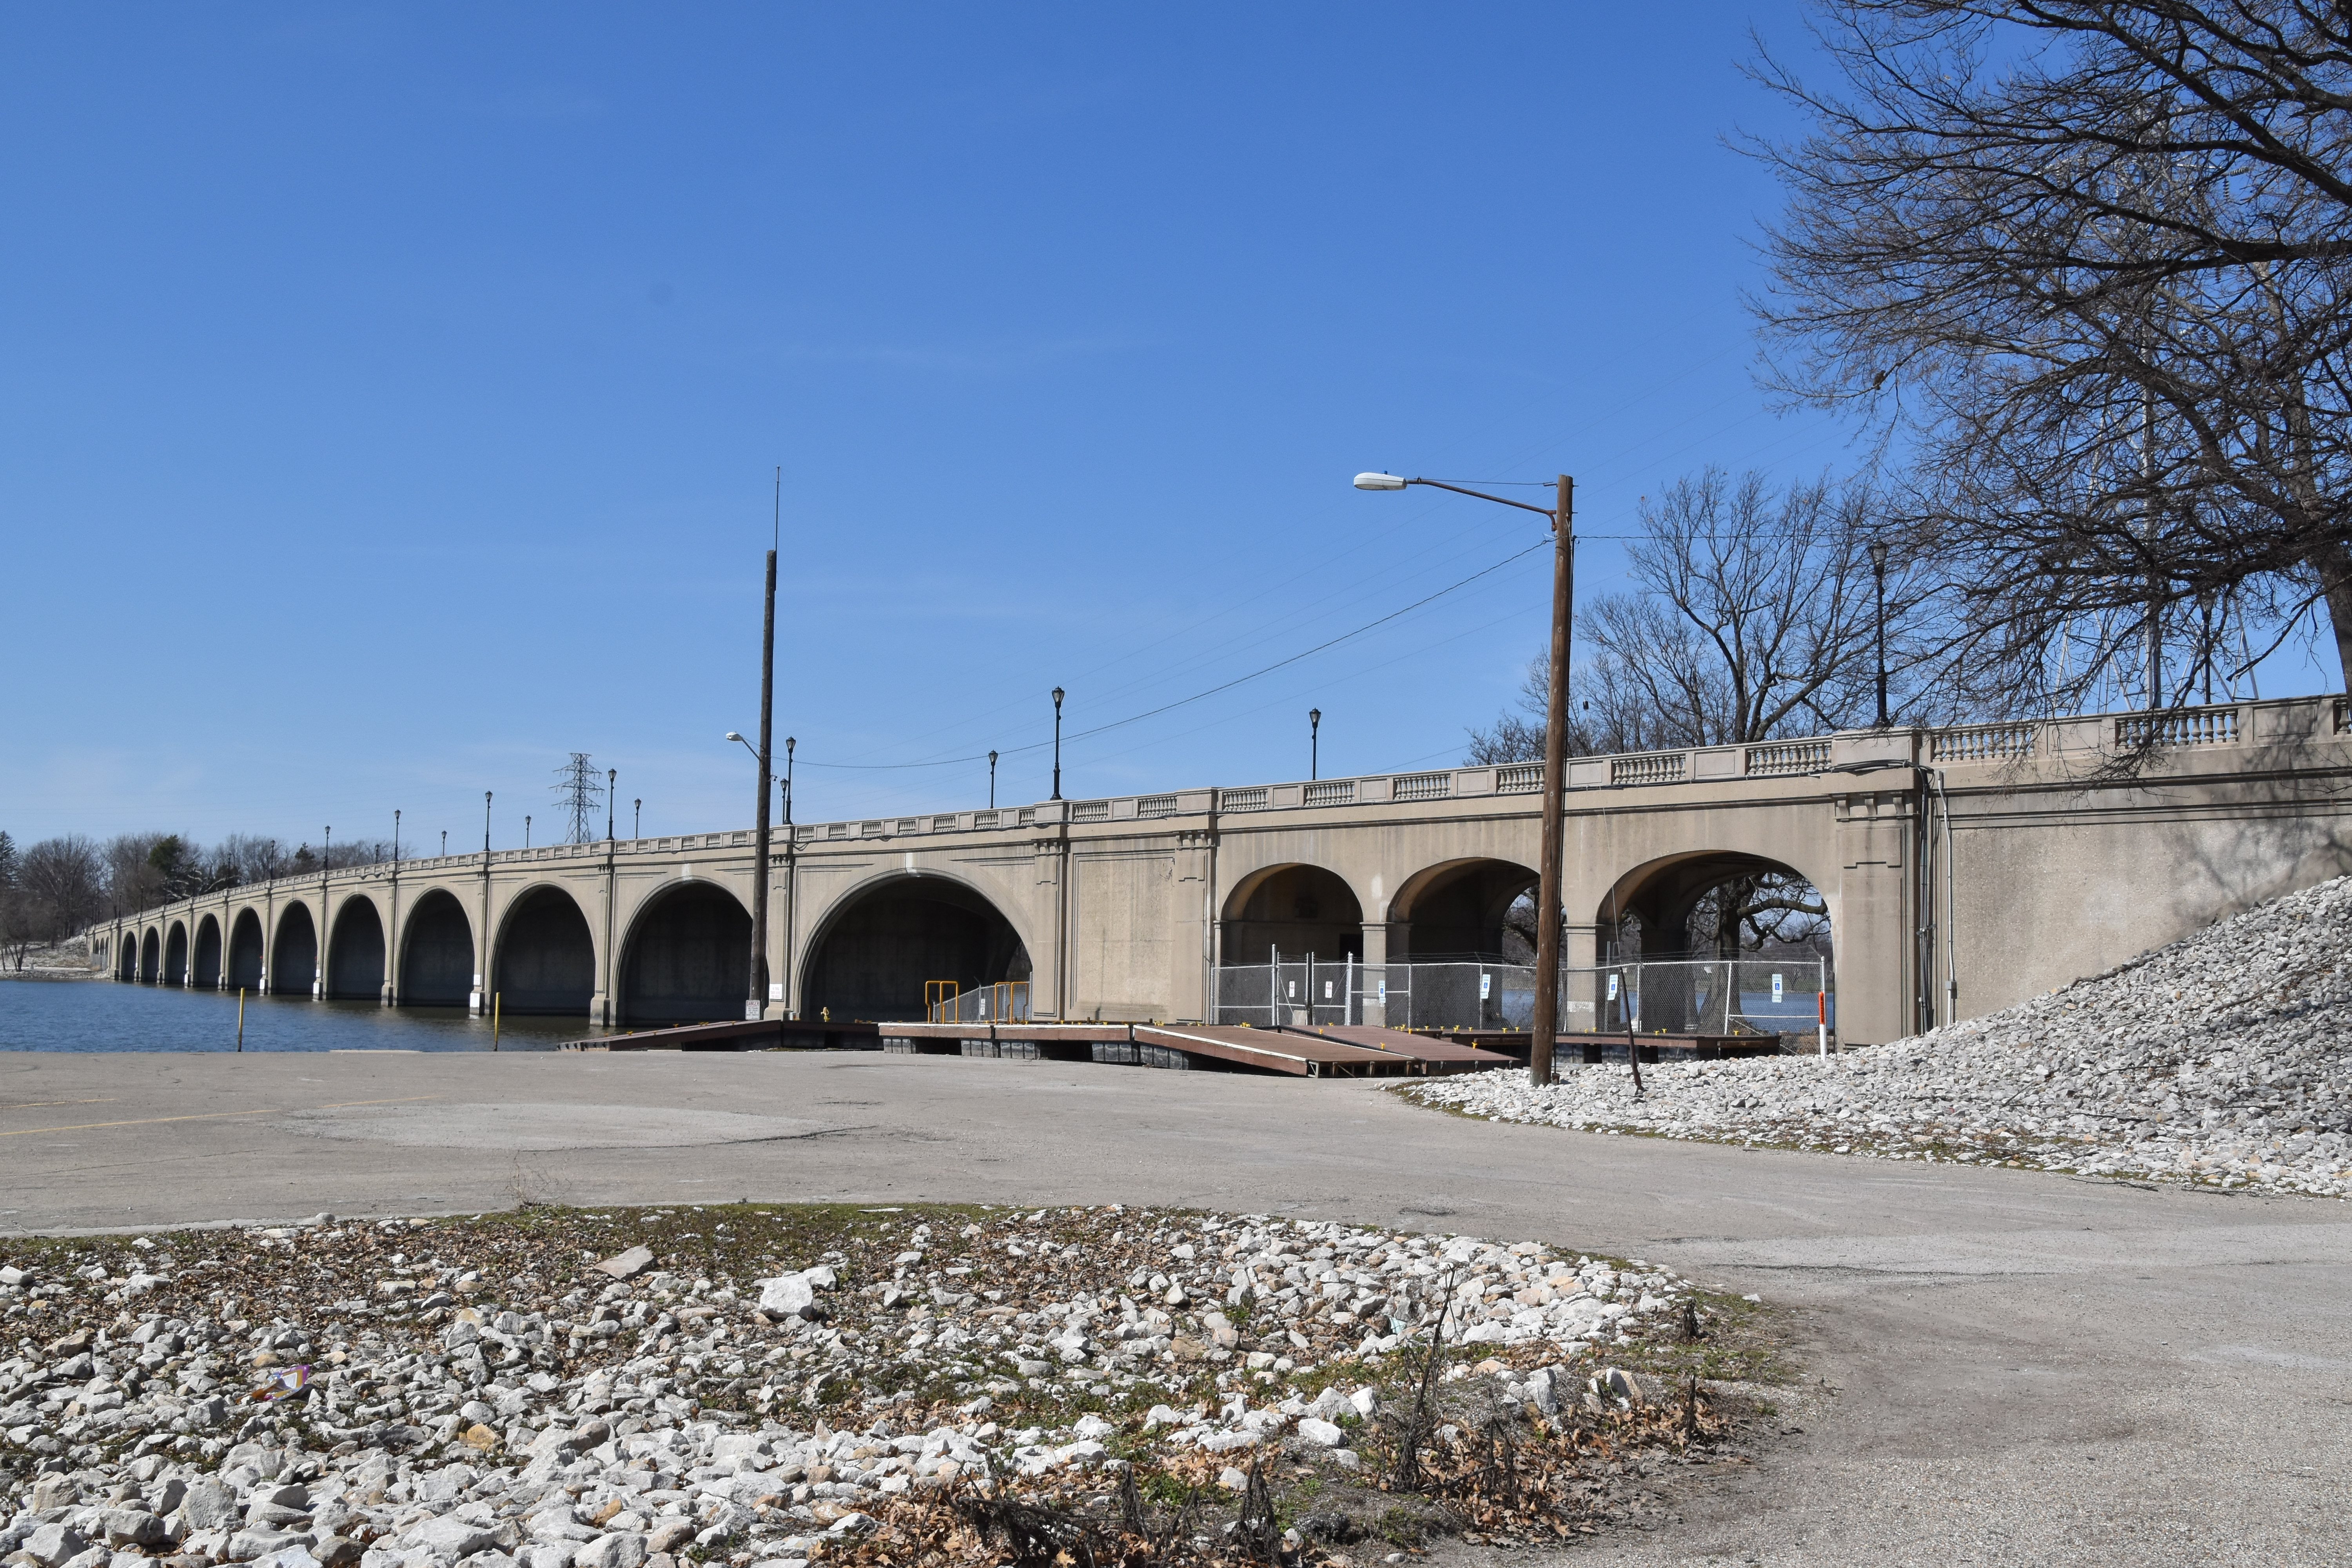


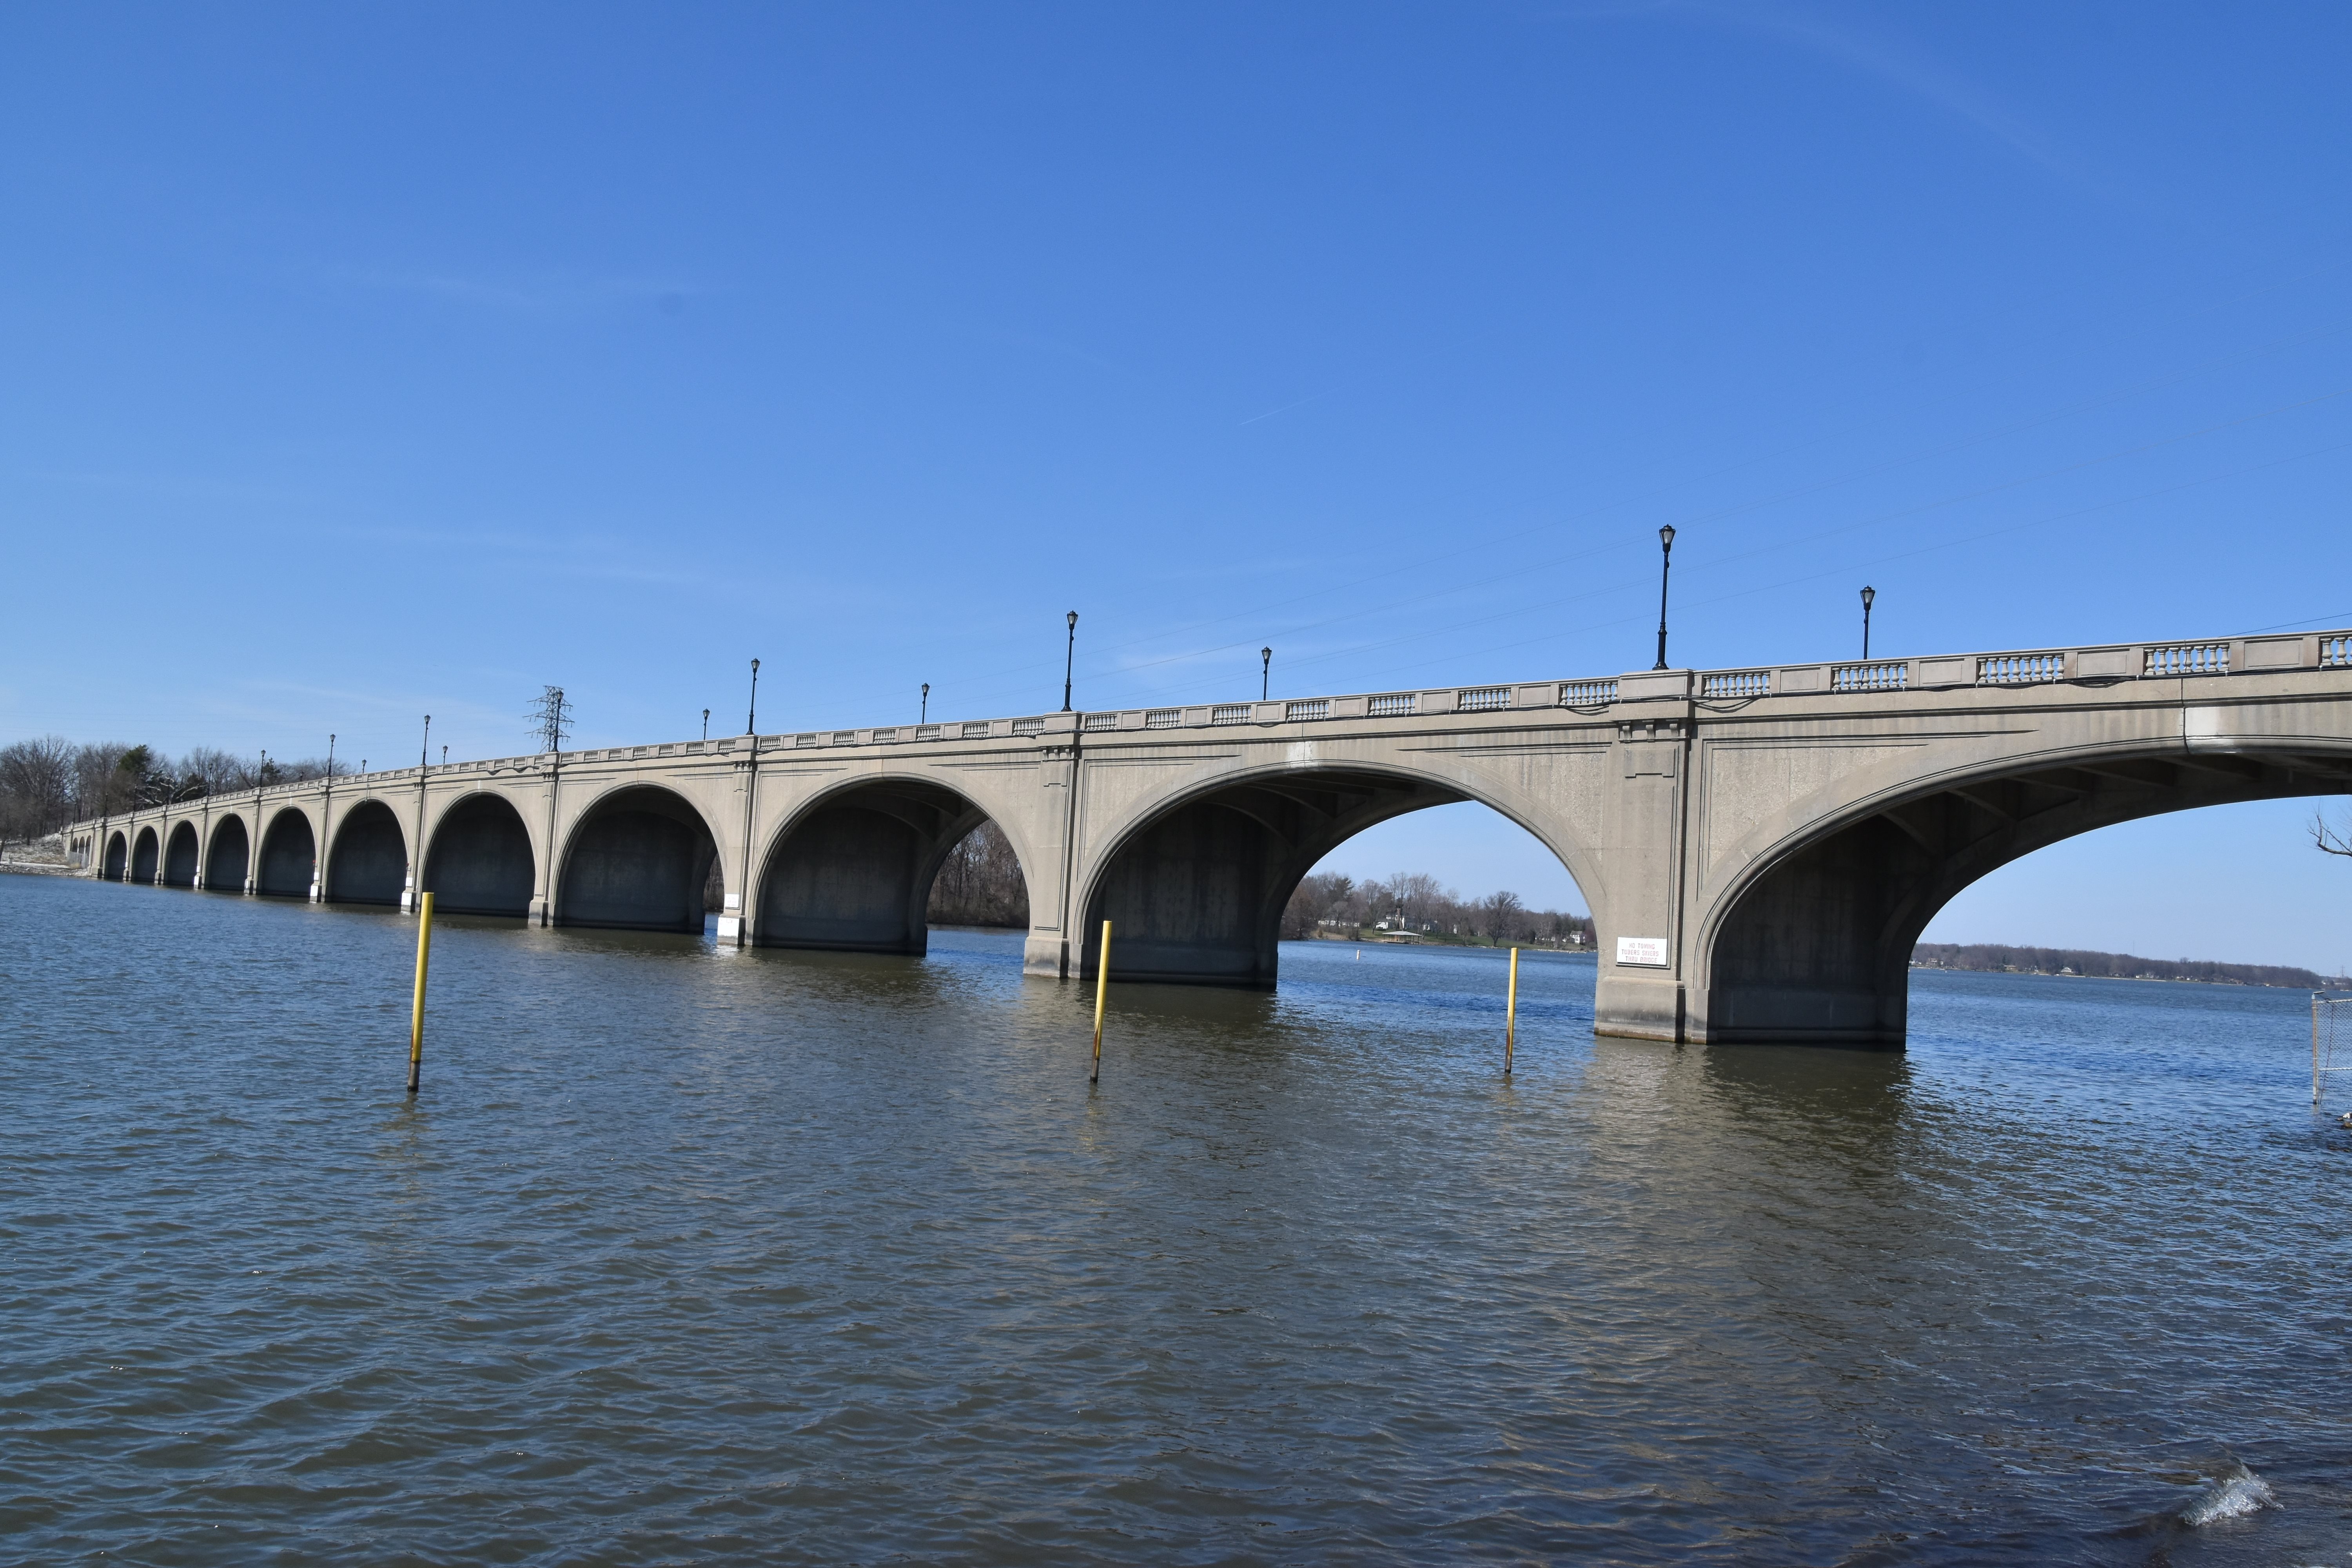
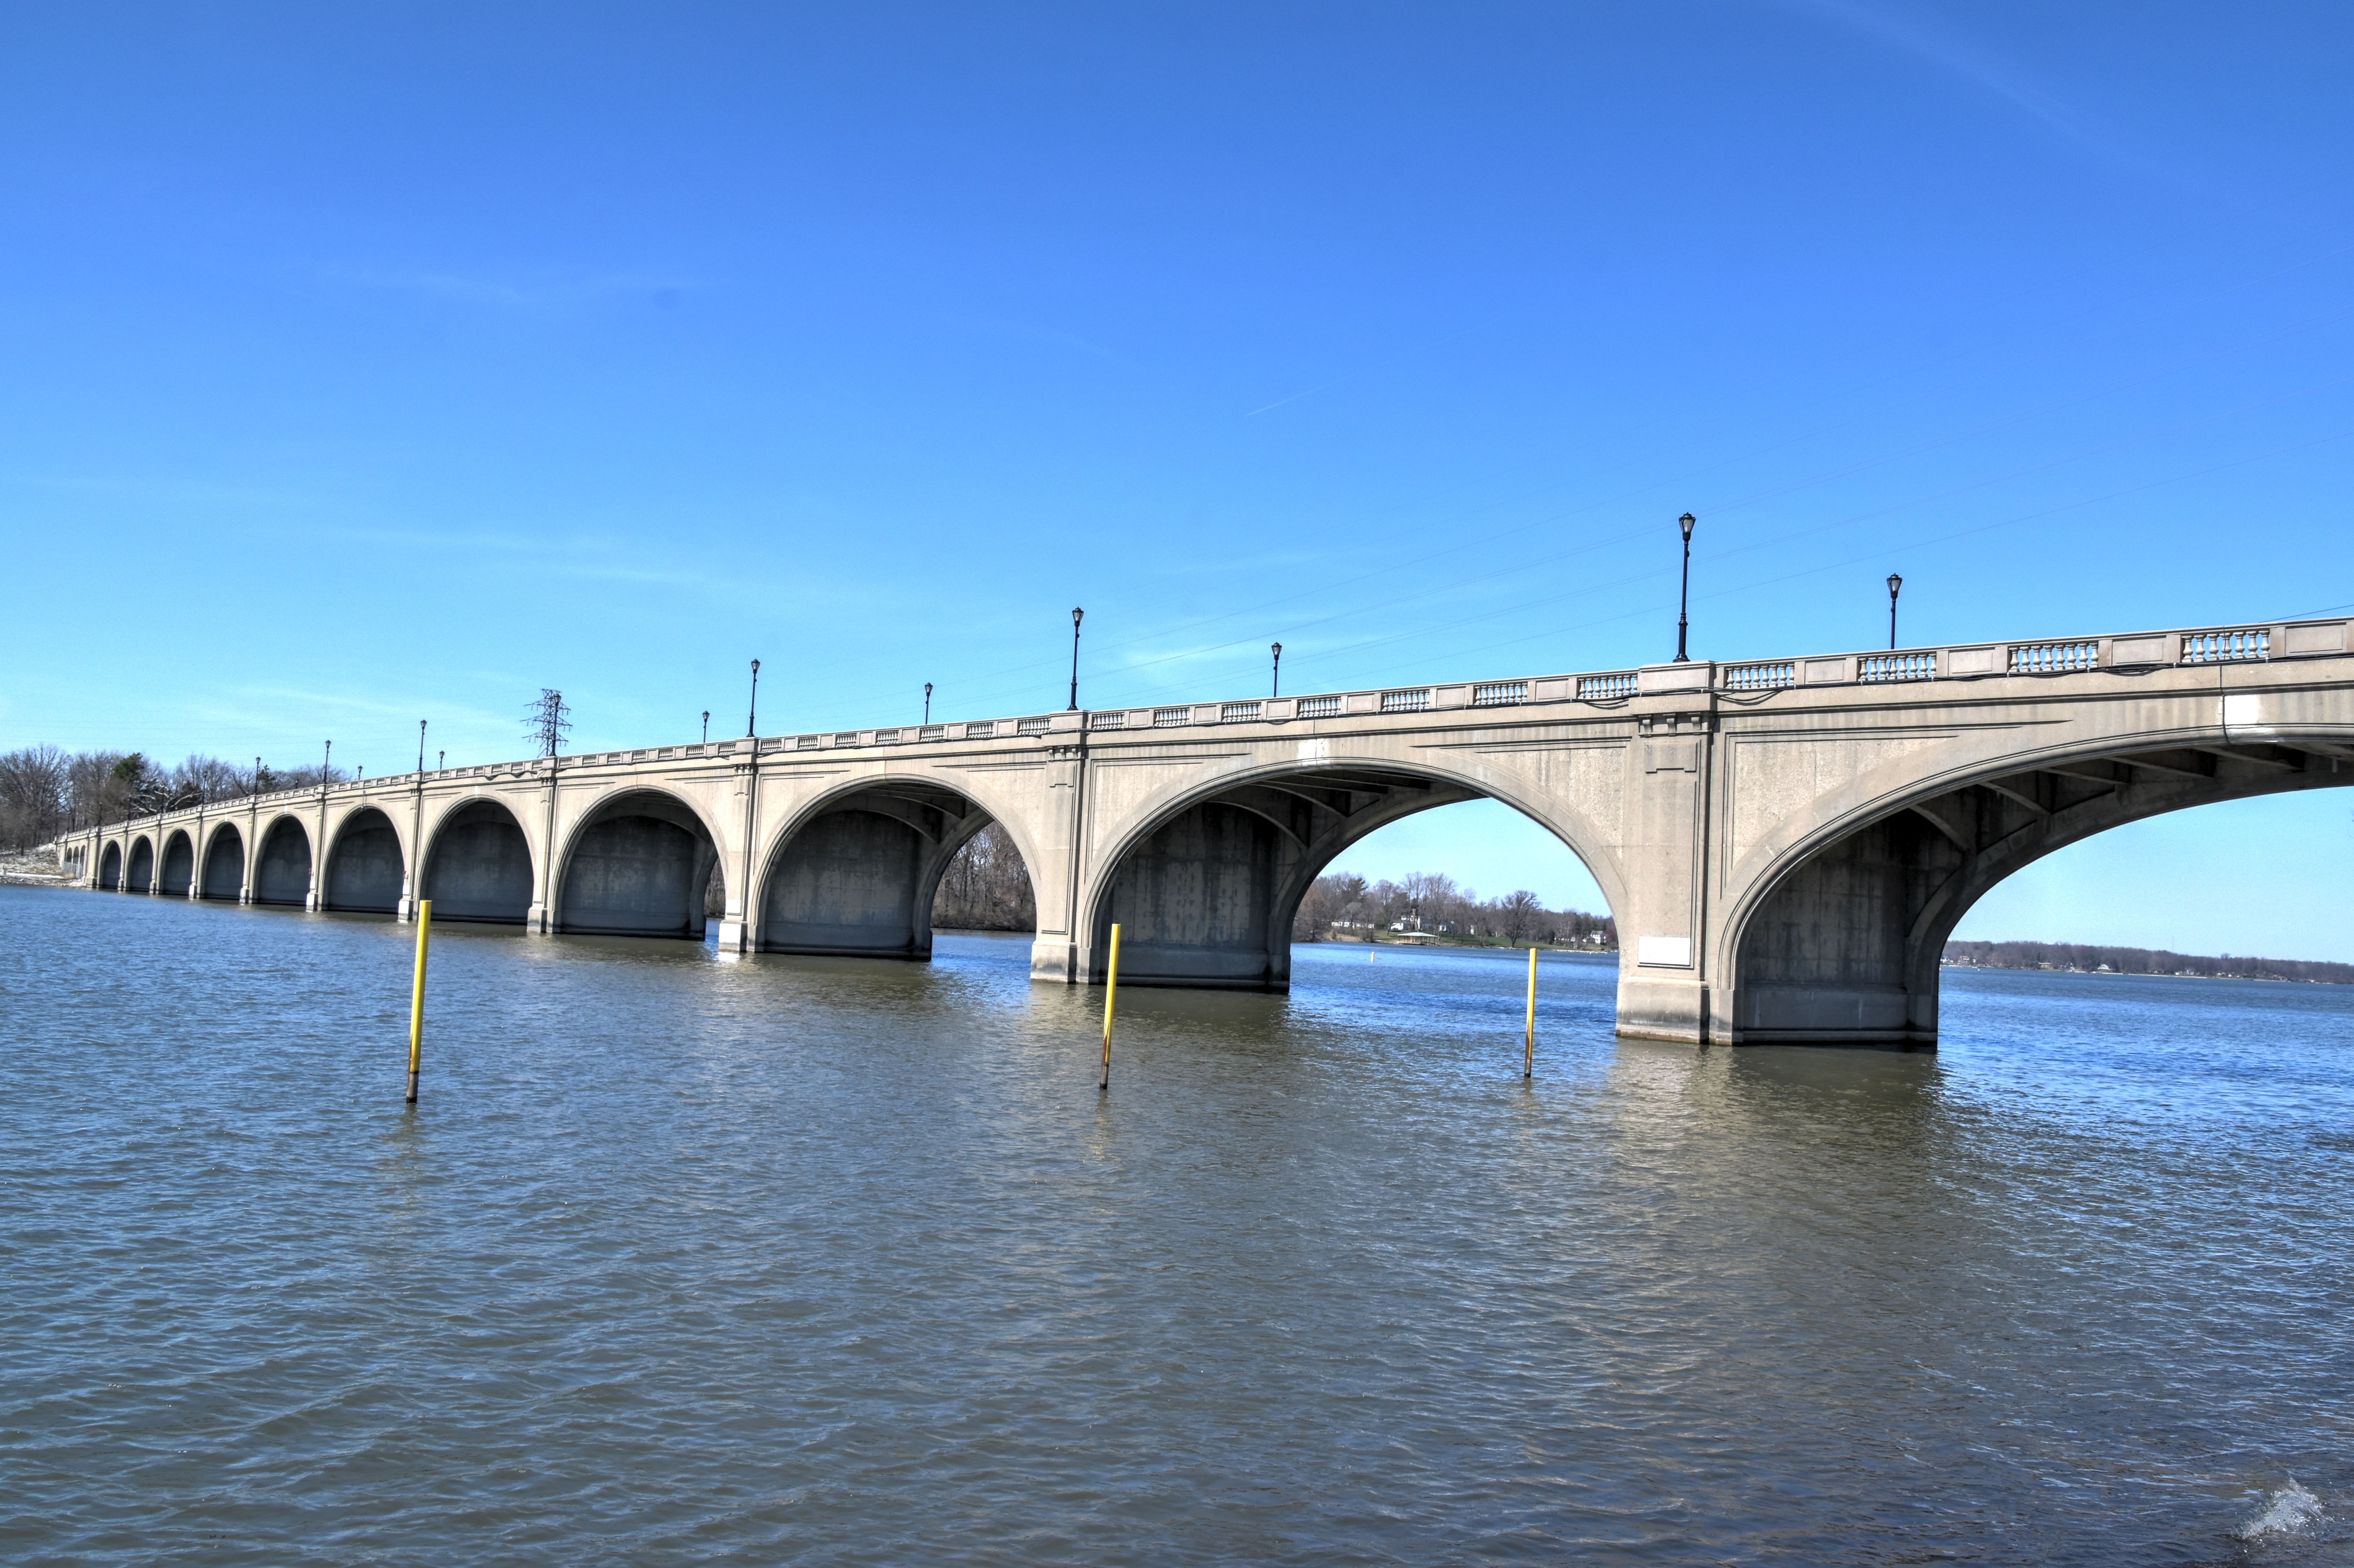
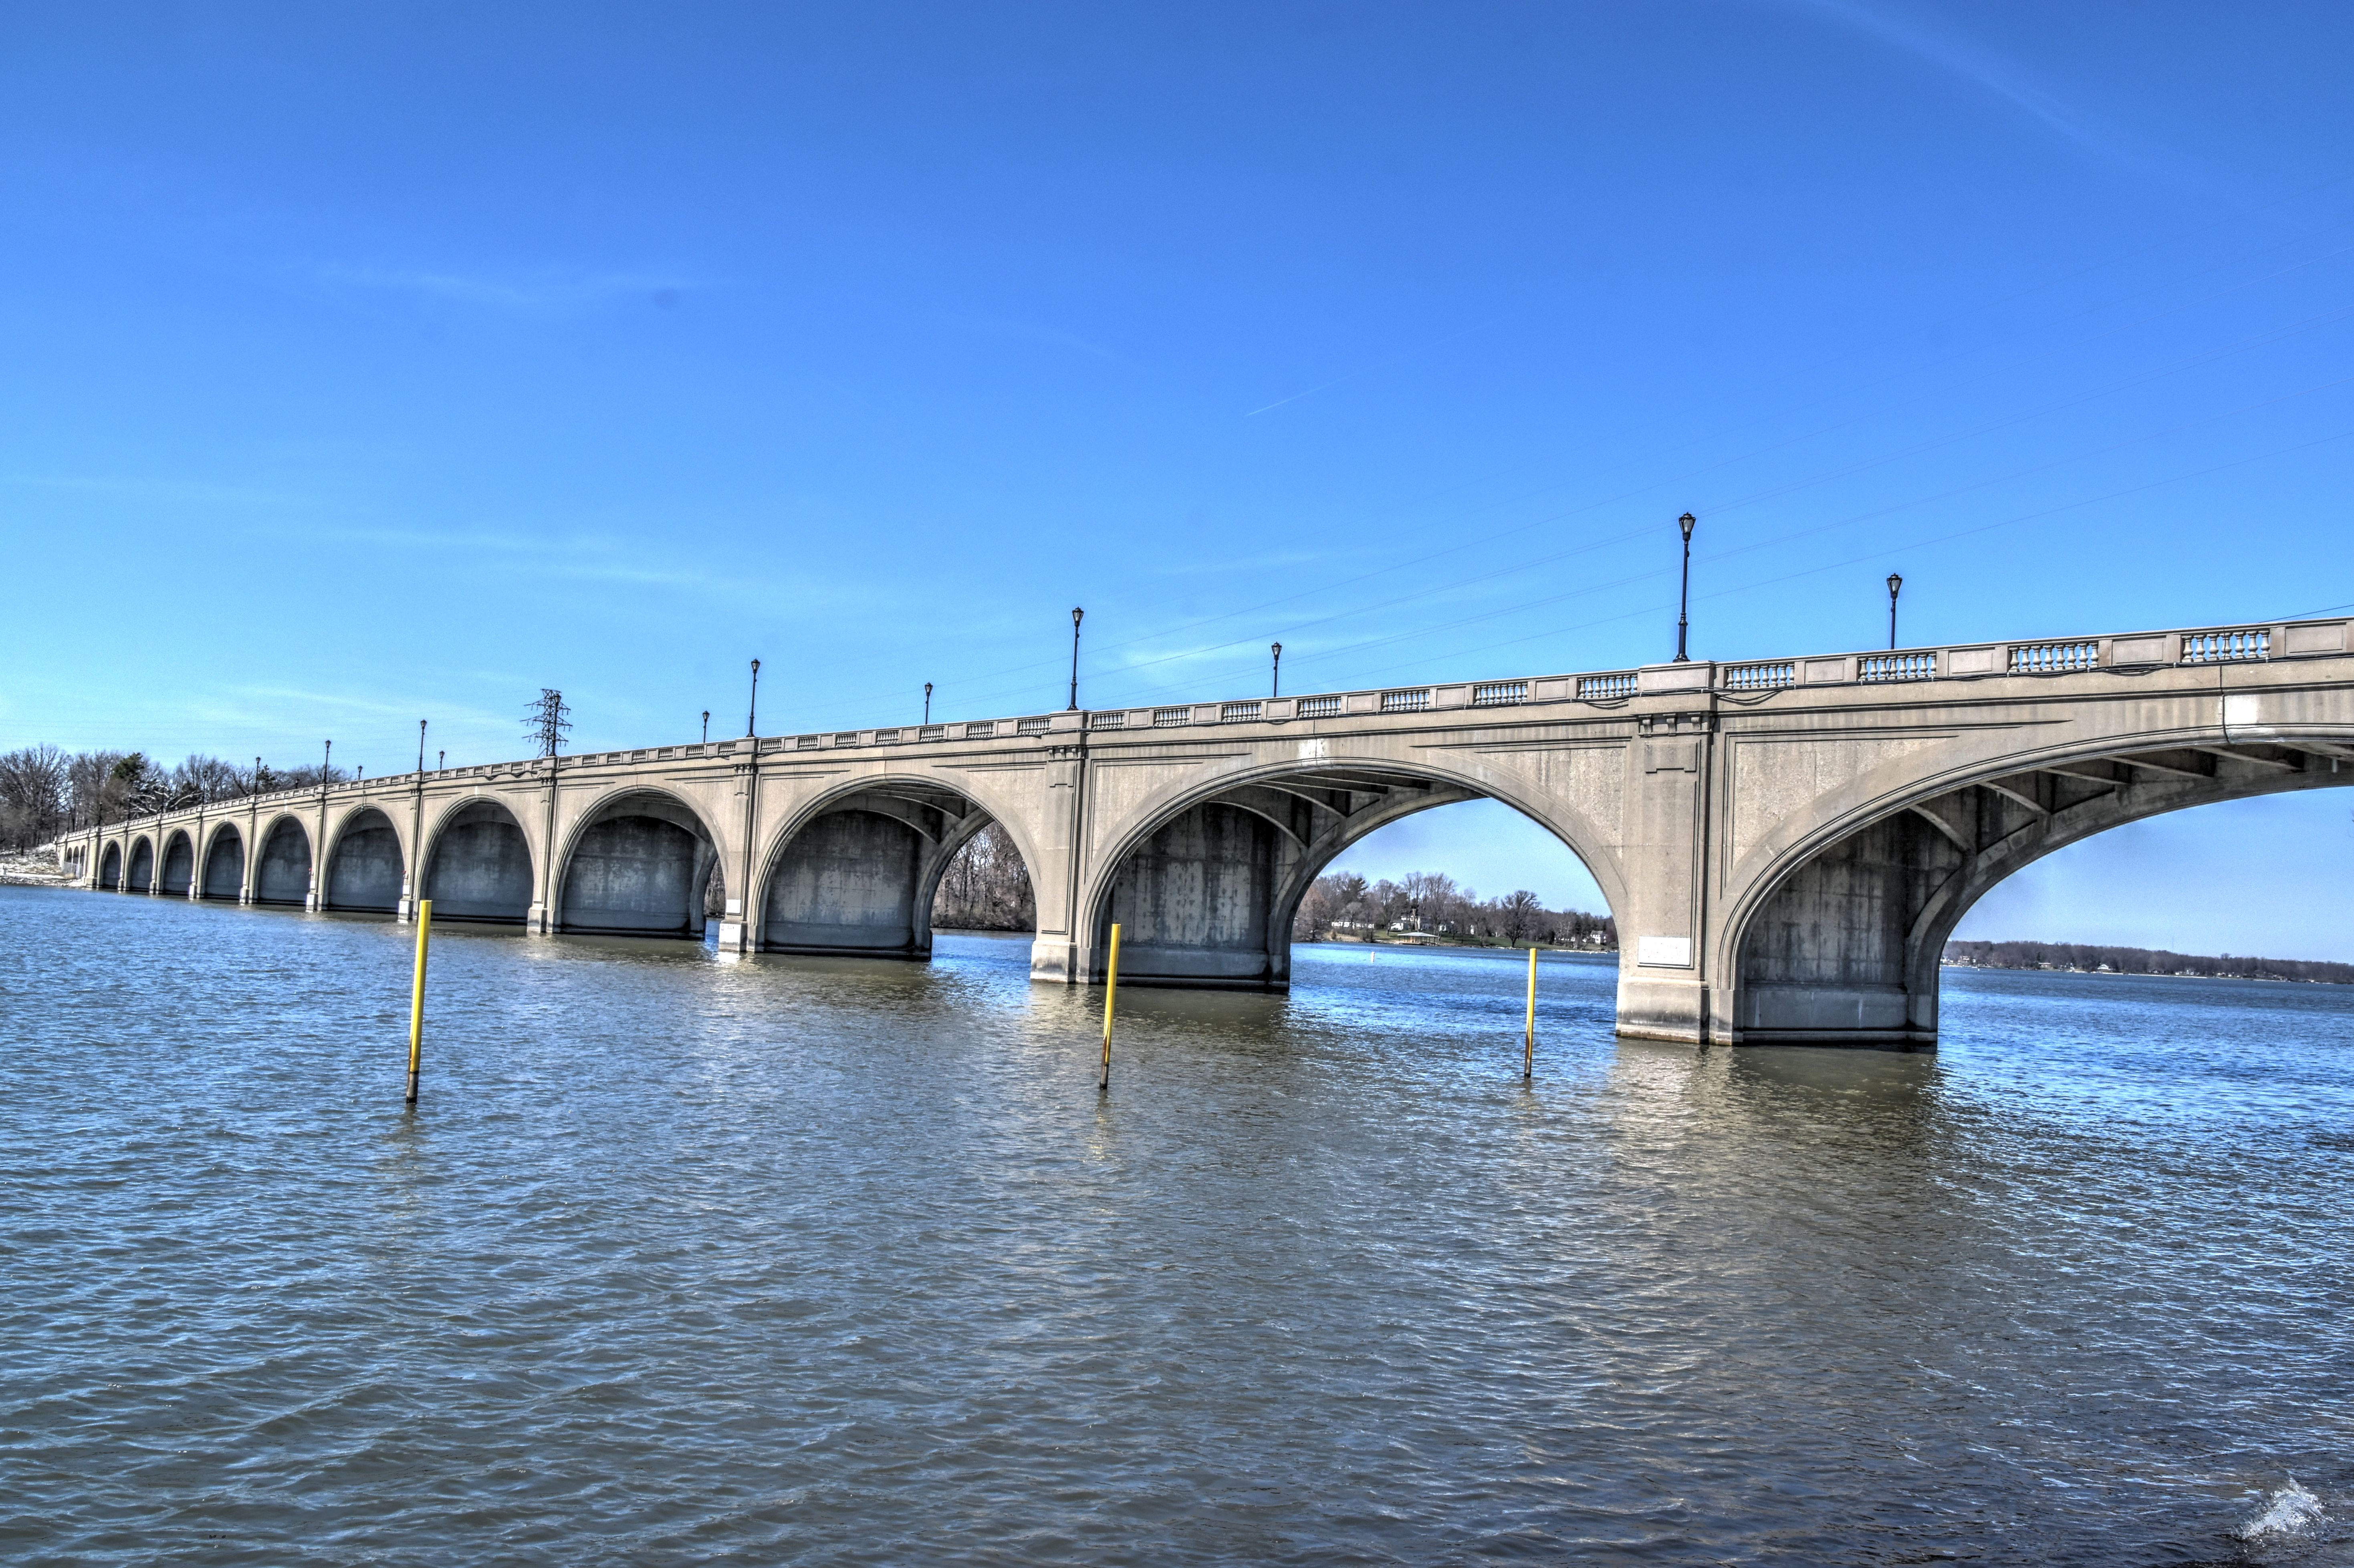
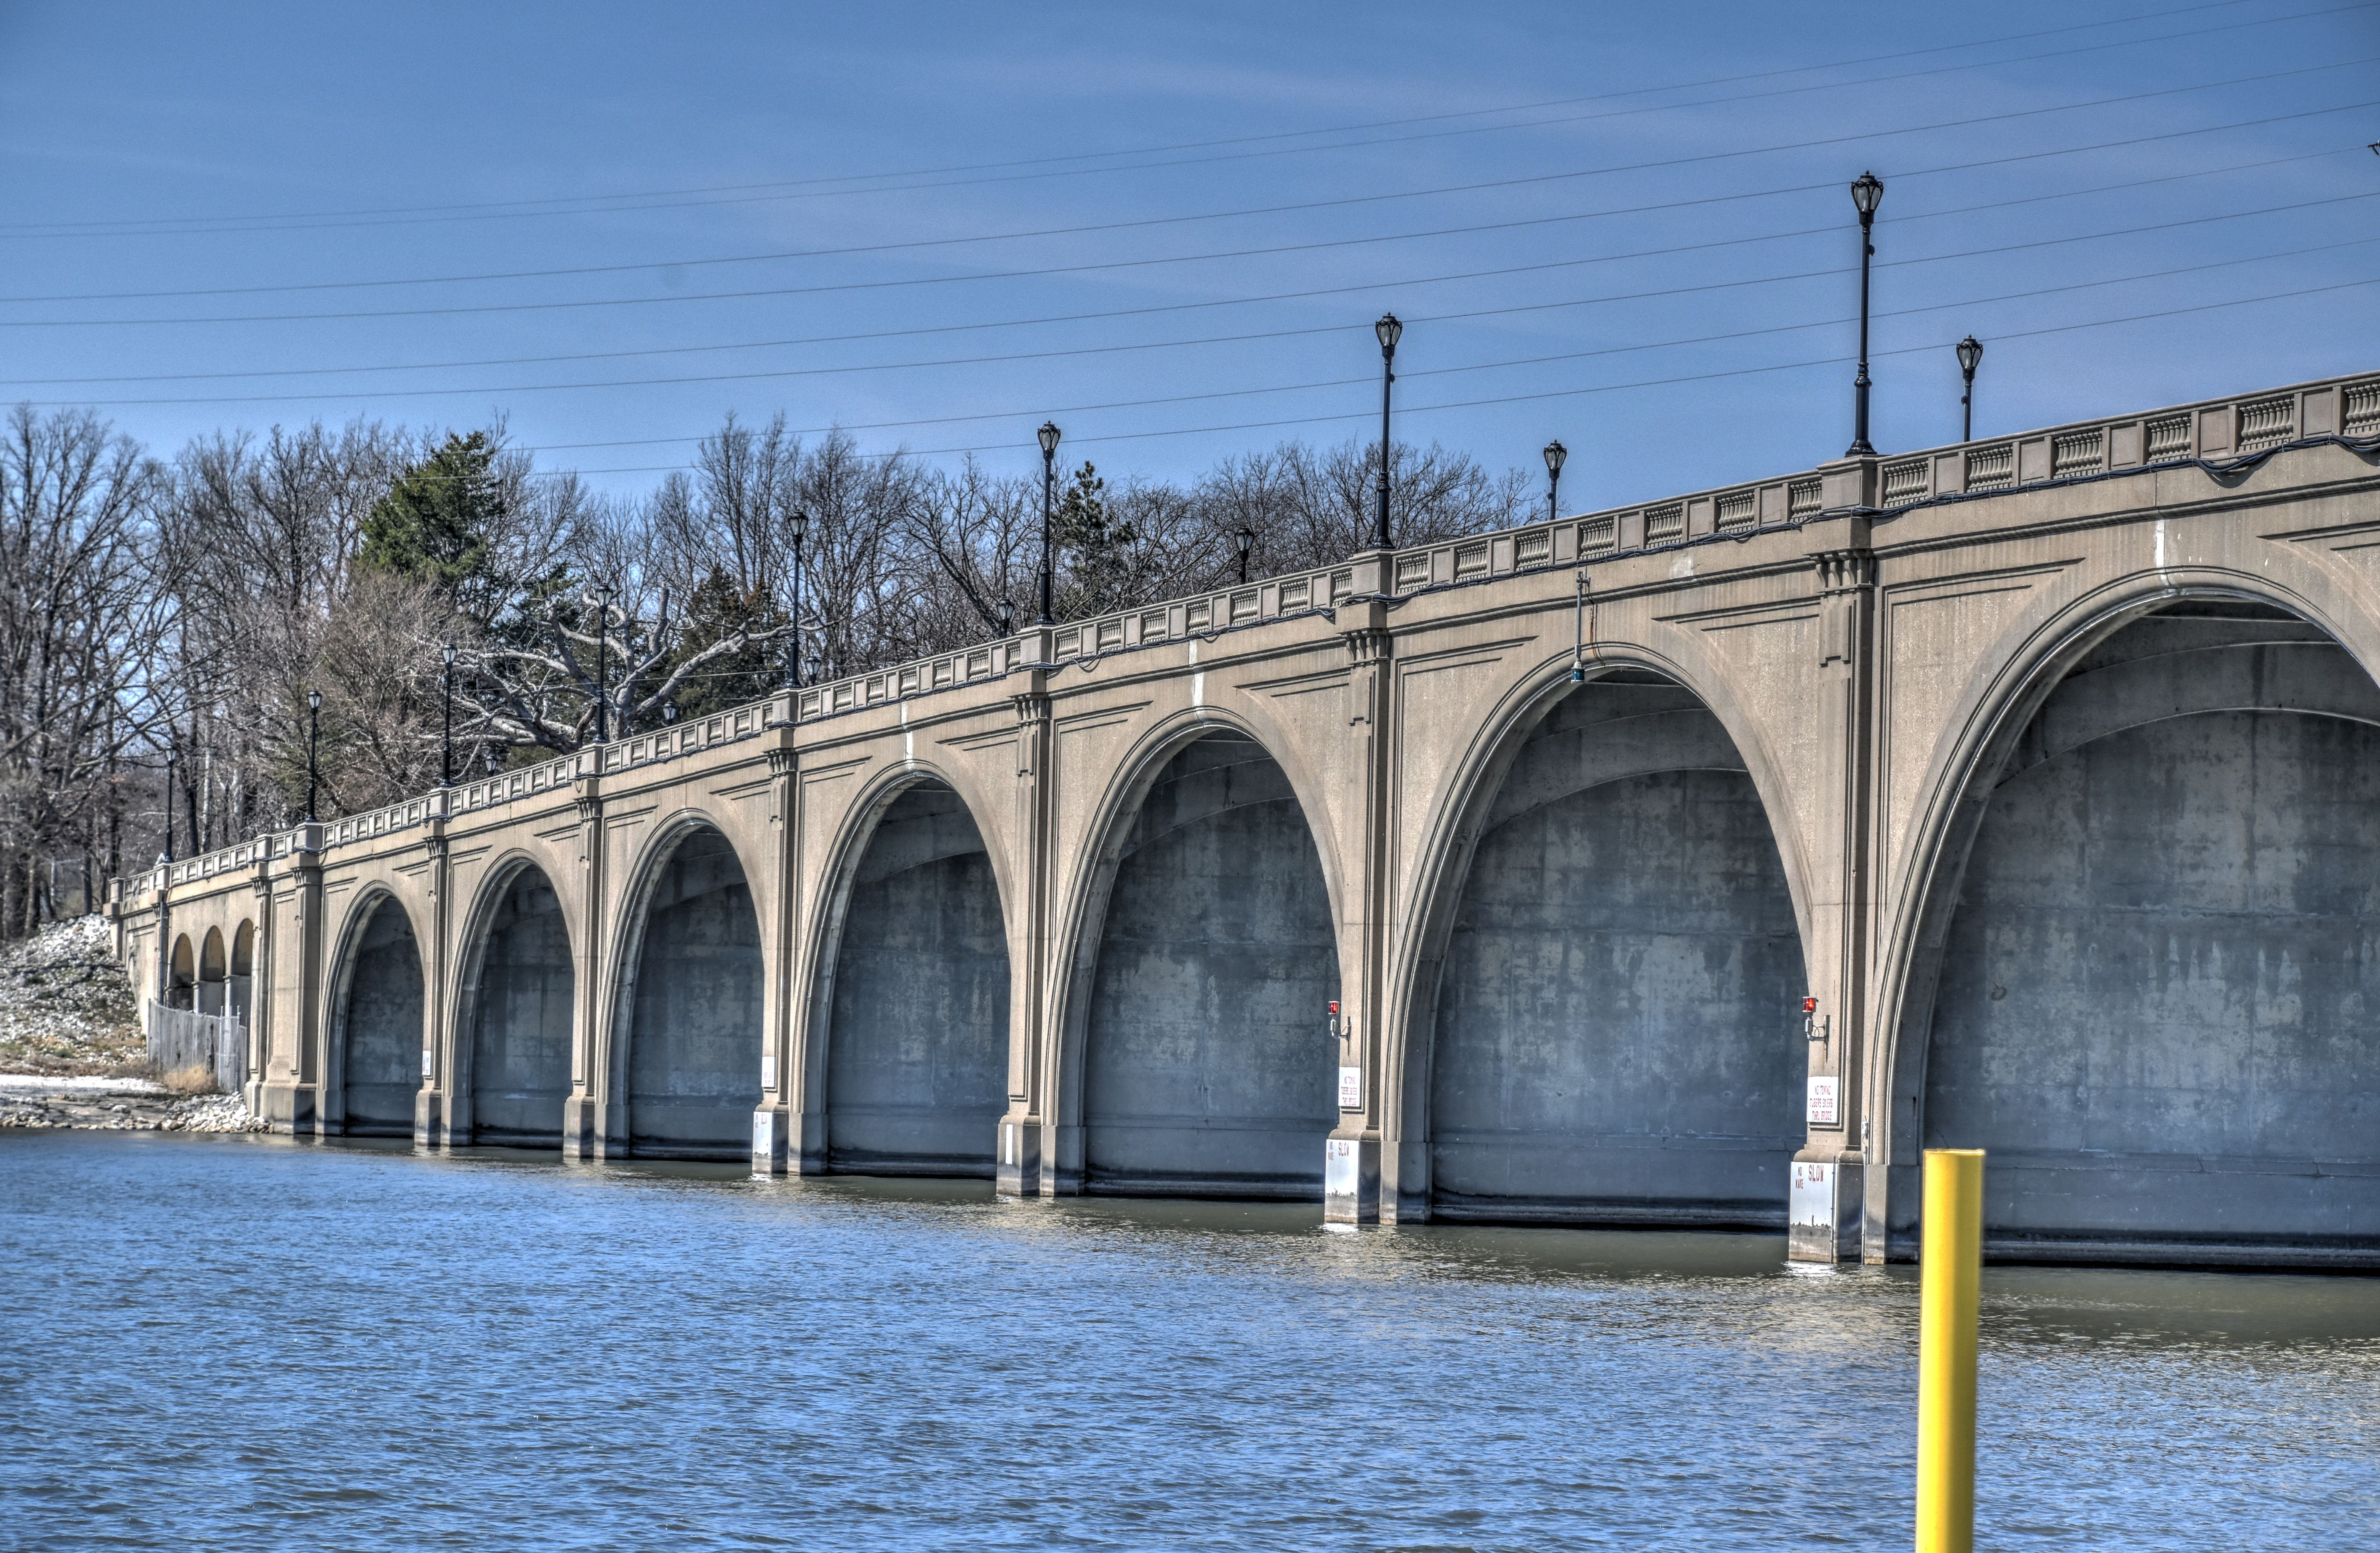
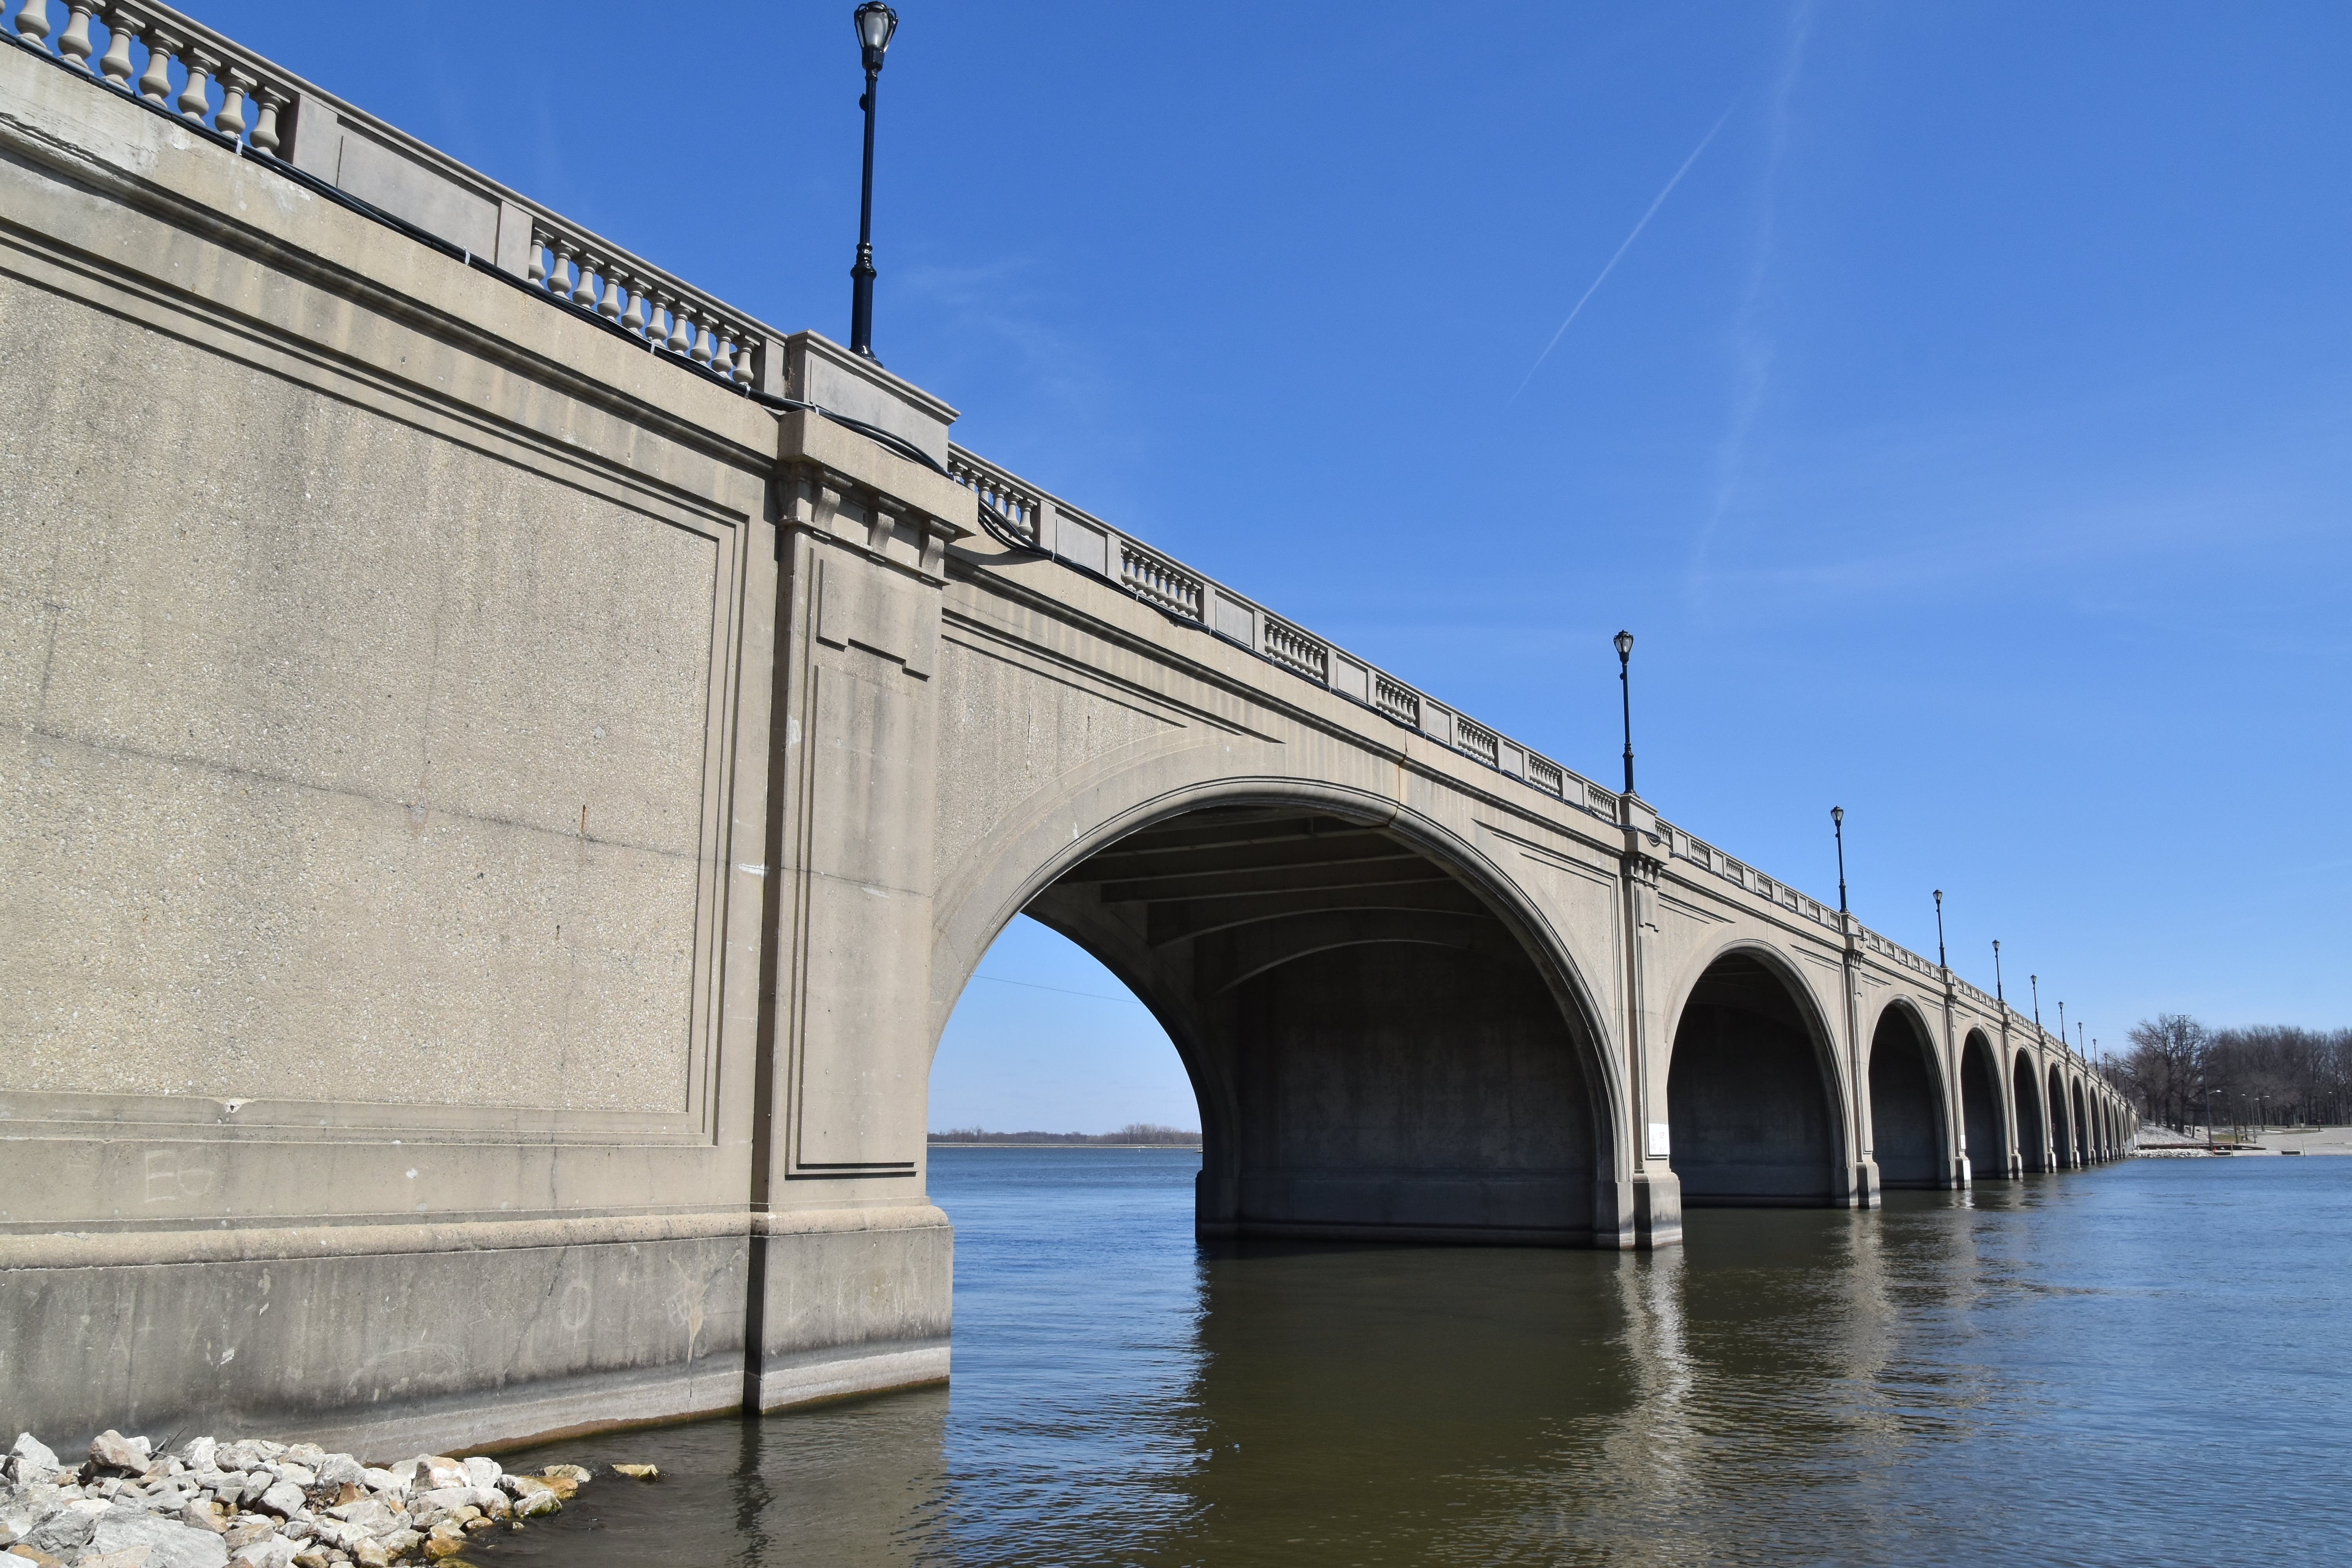
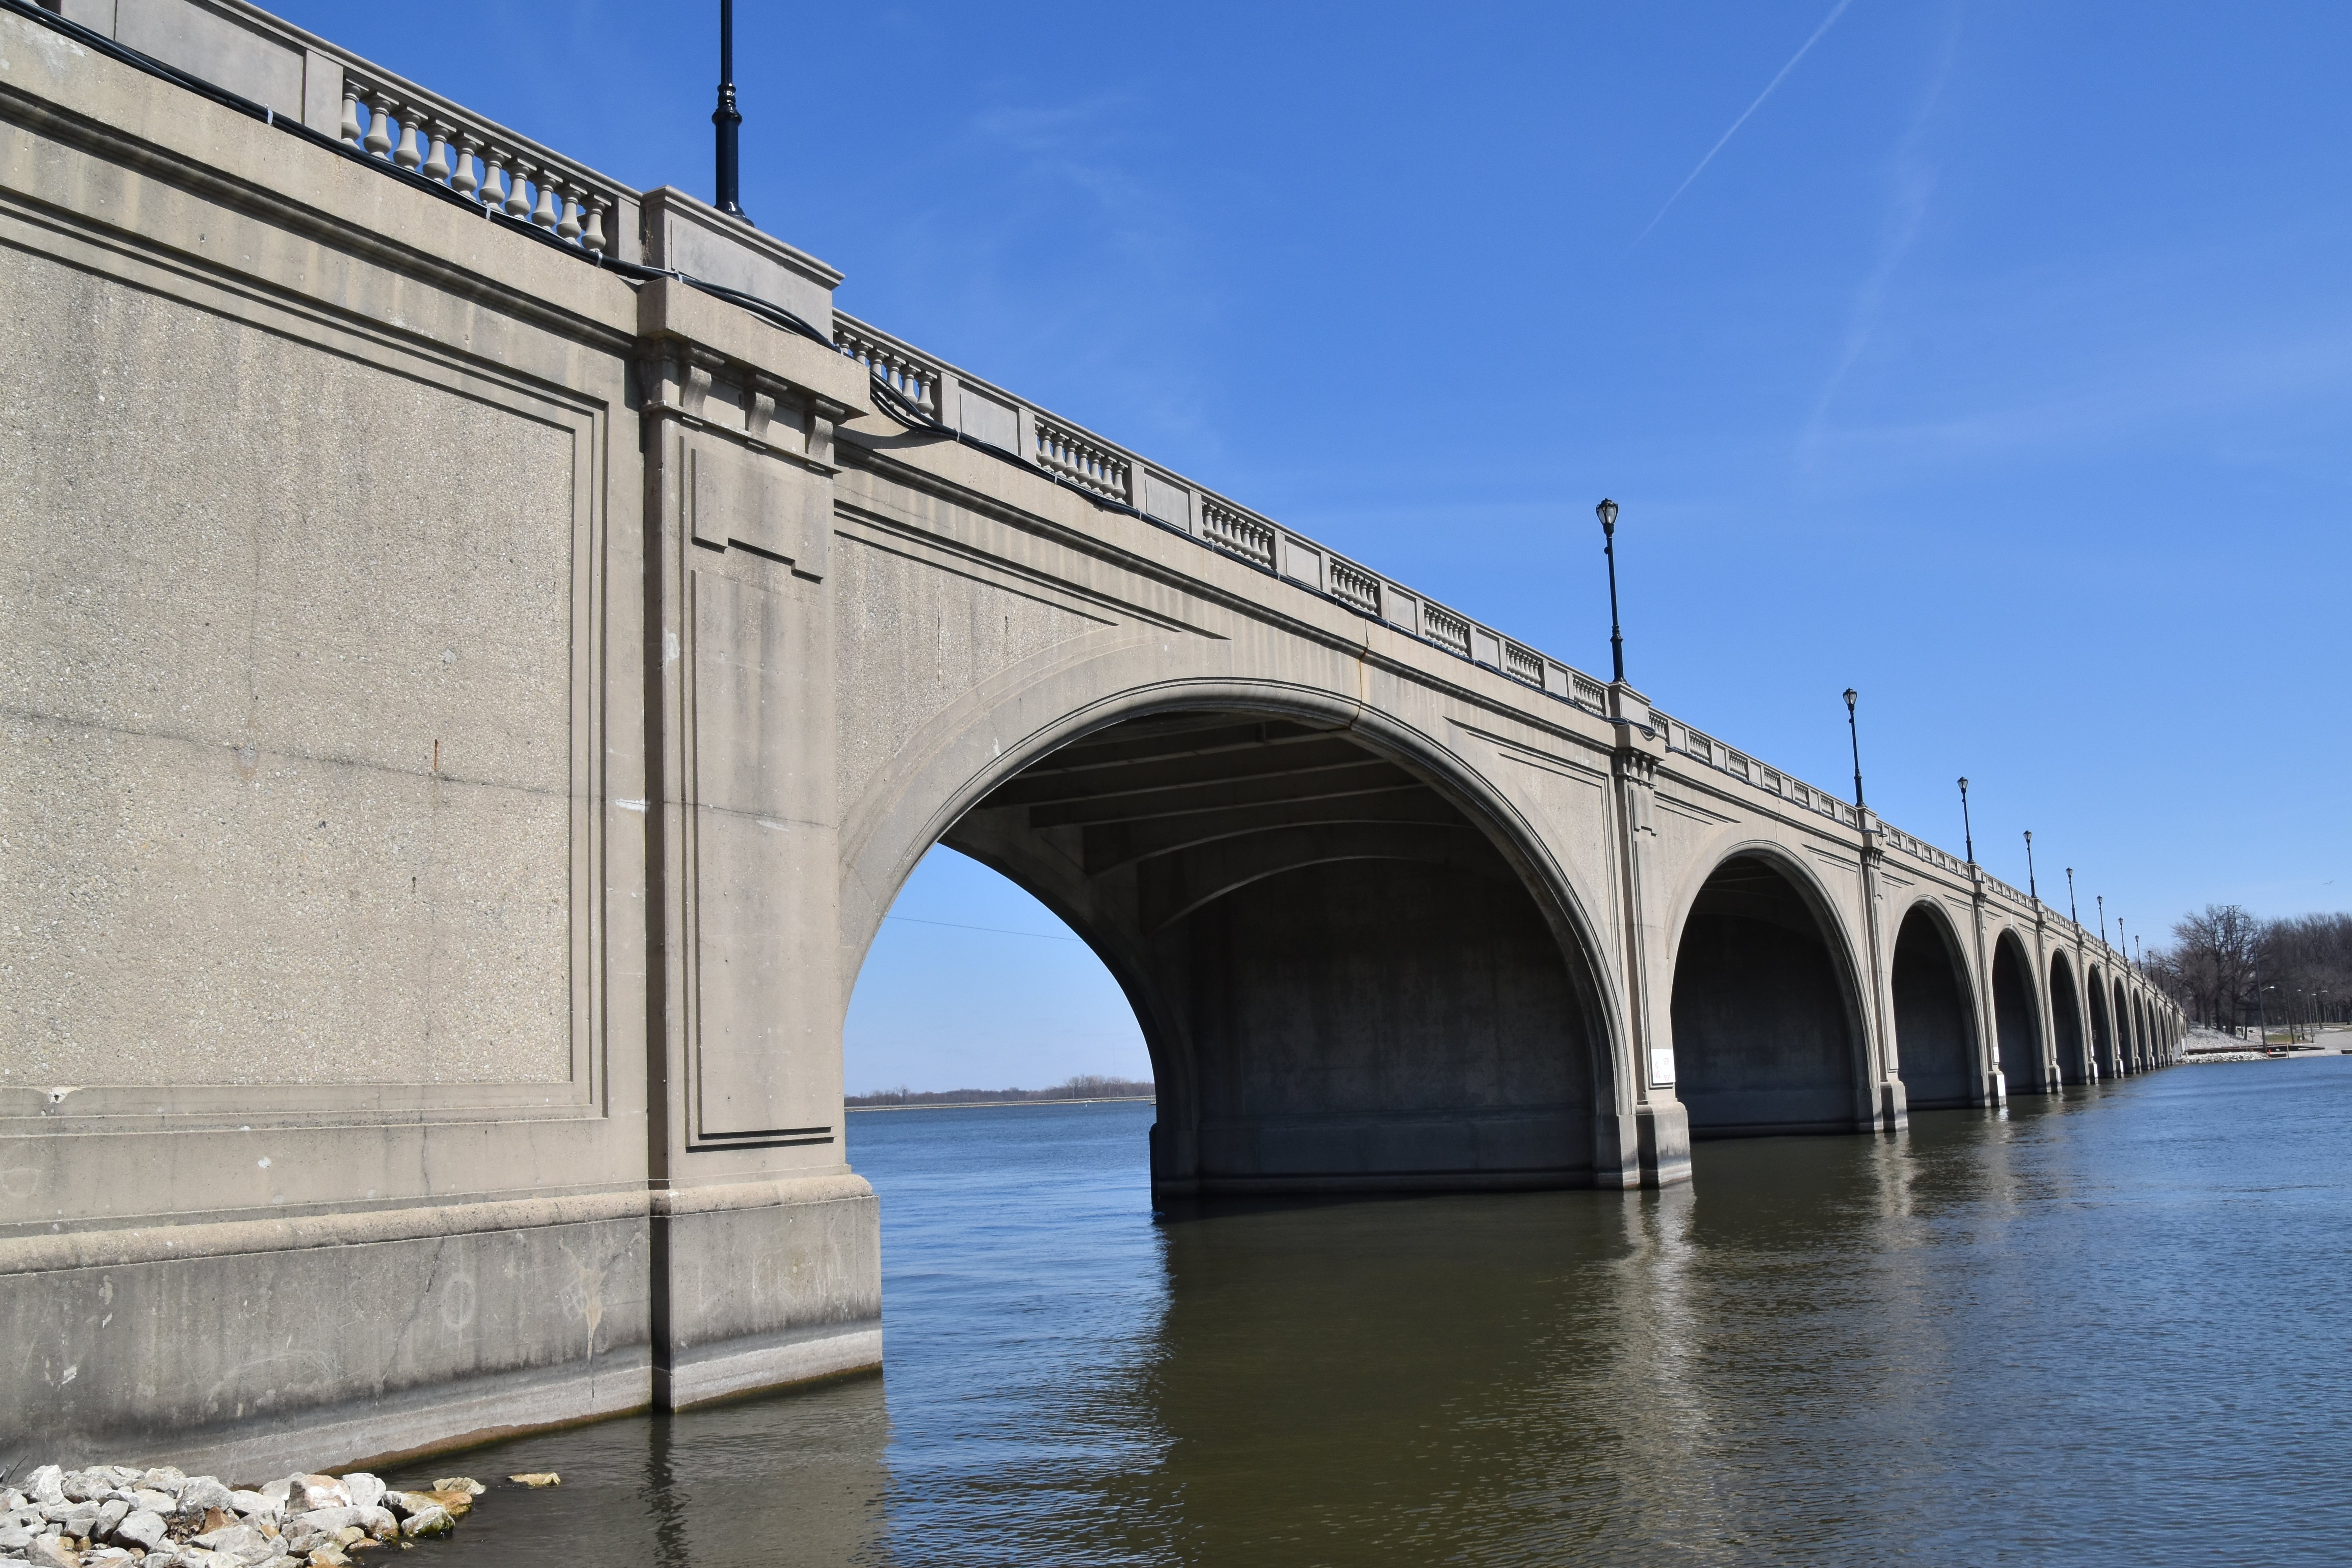
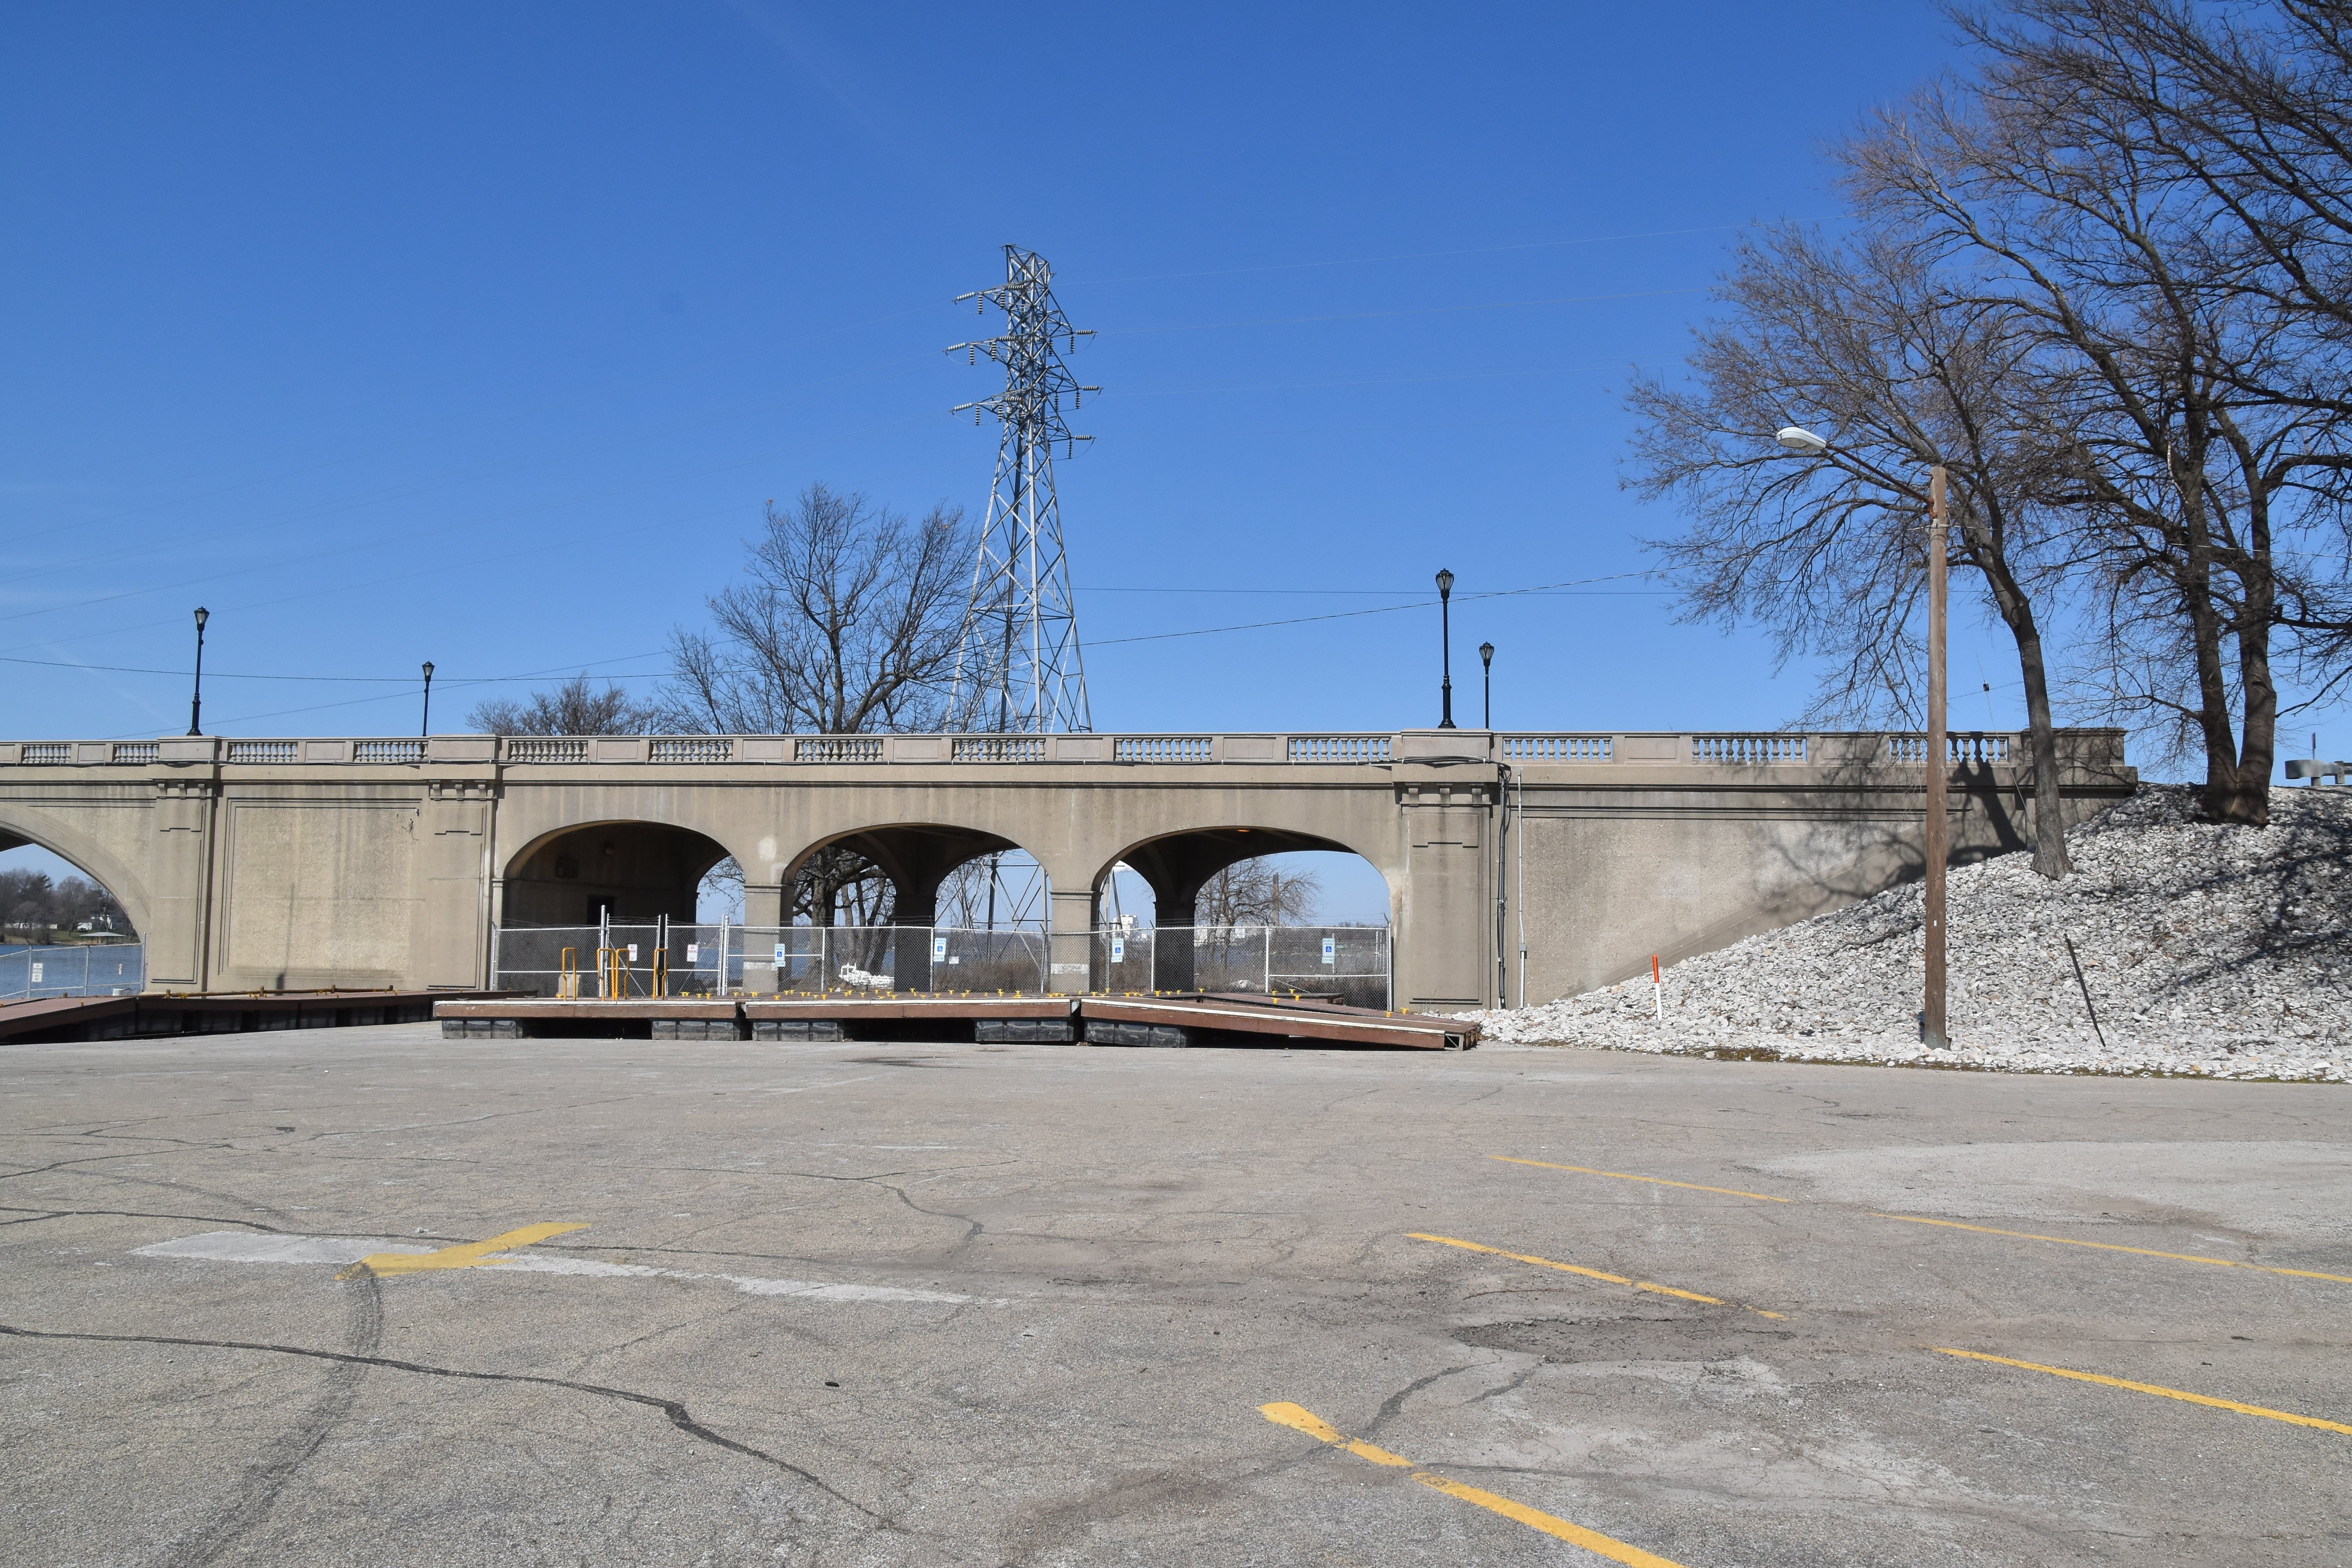
Elevation from southeast quadrant.
![]()
![]()
![]()
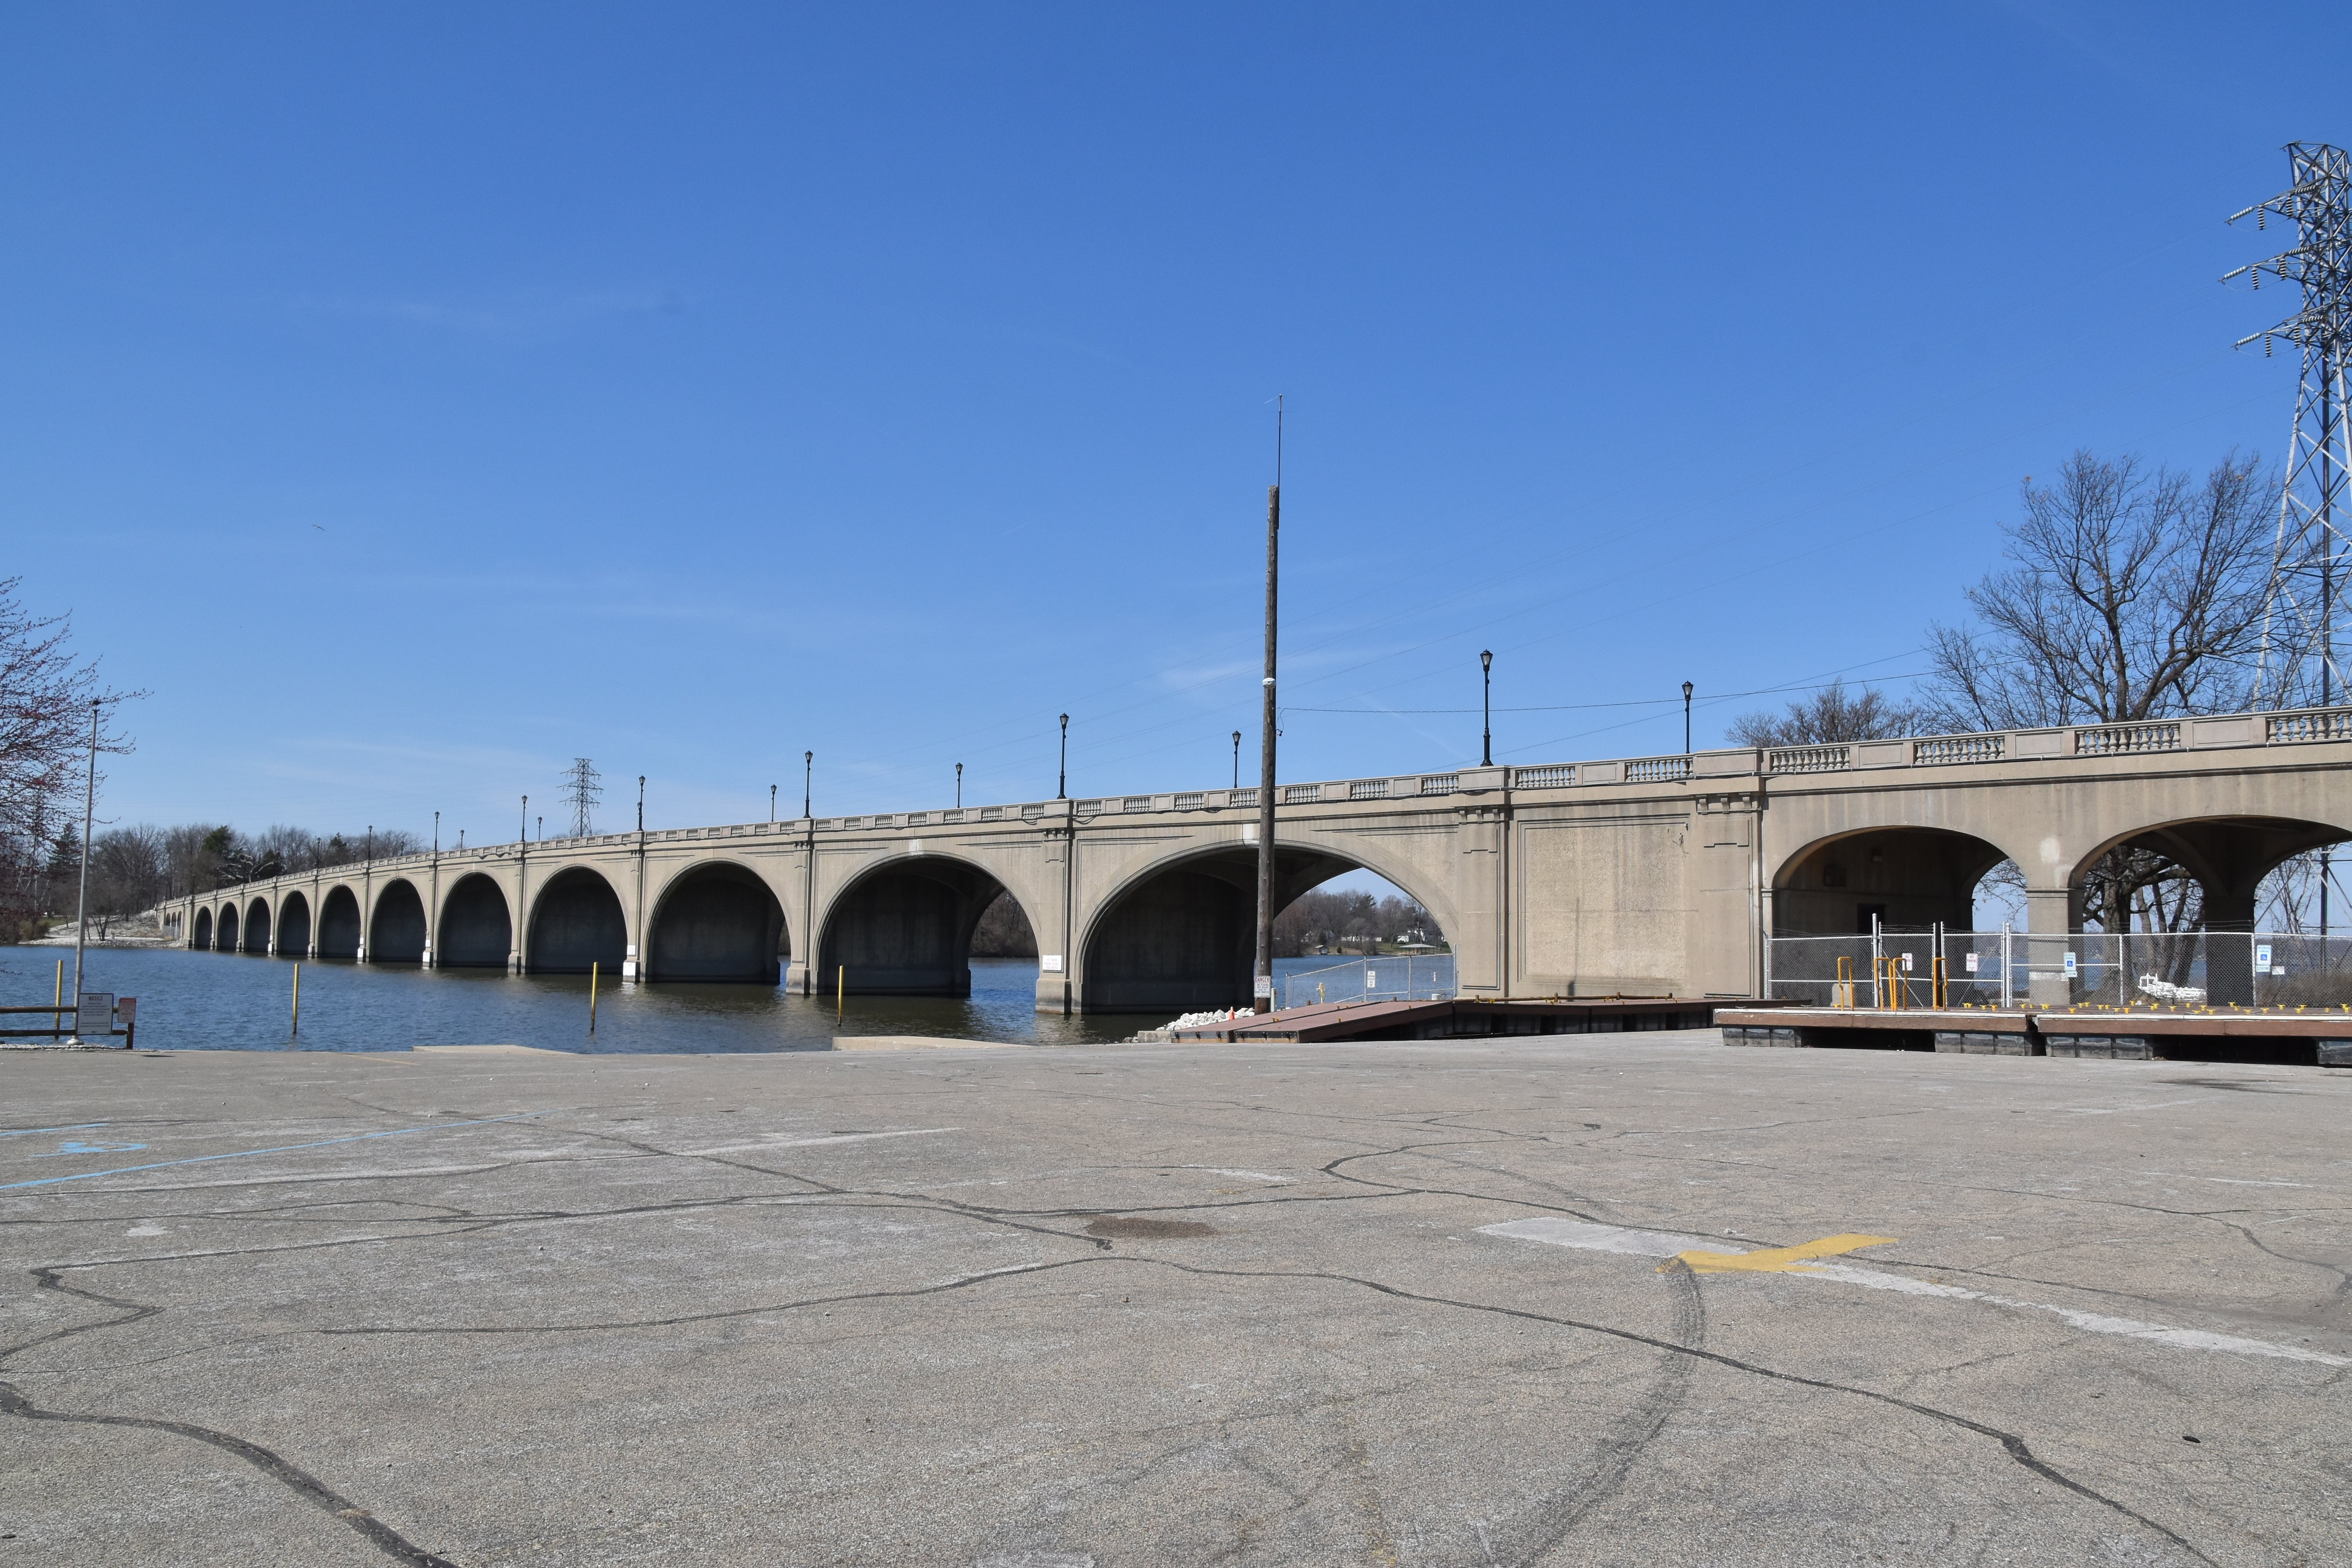
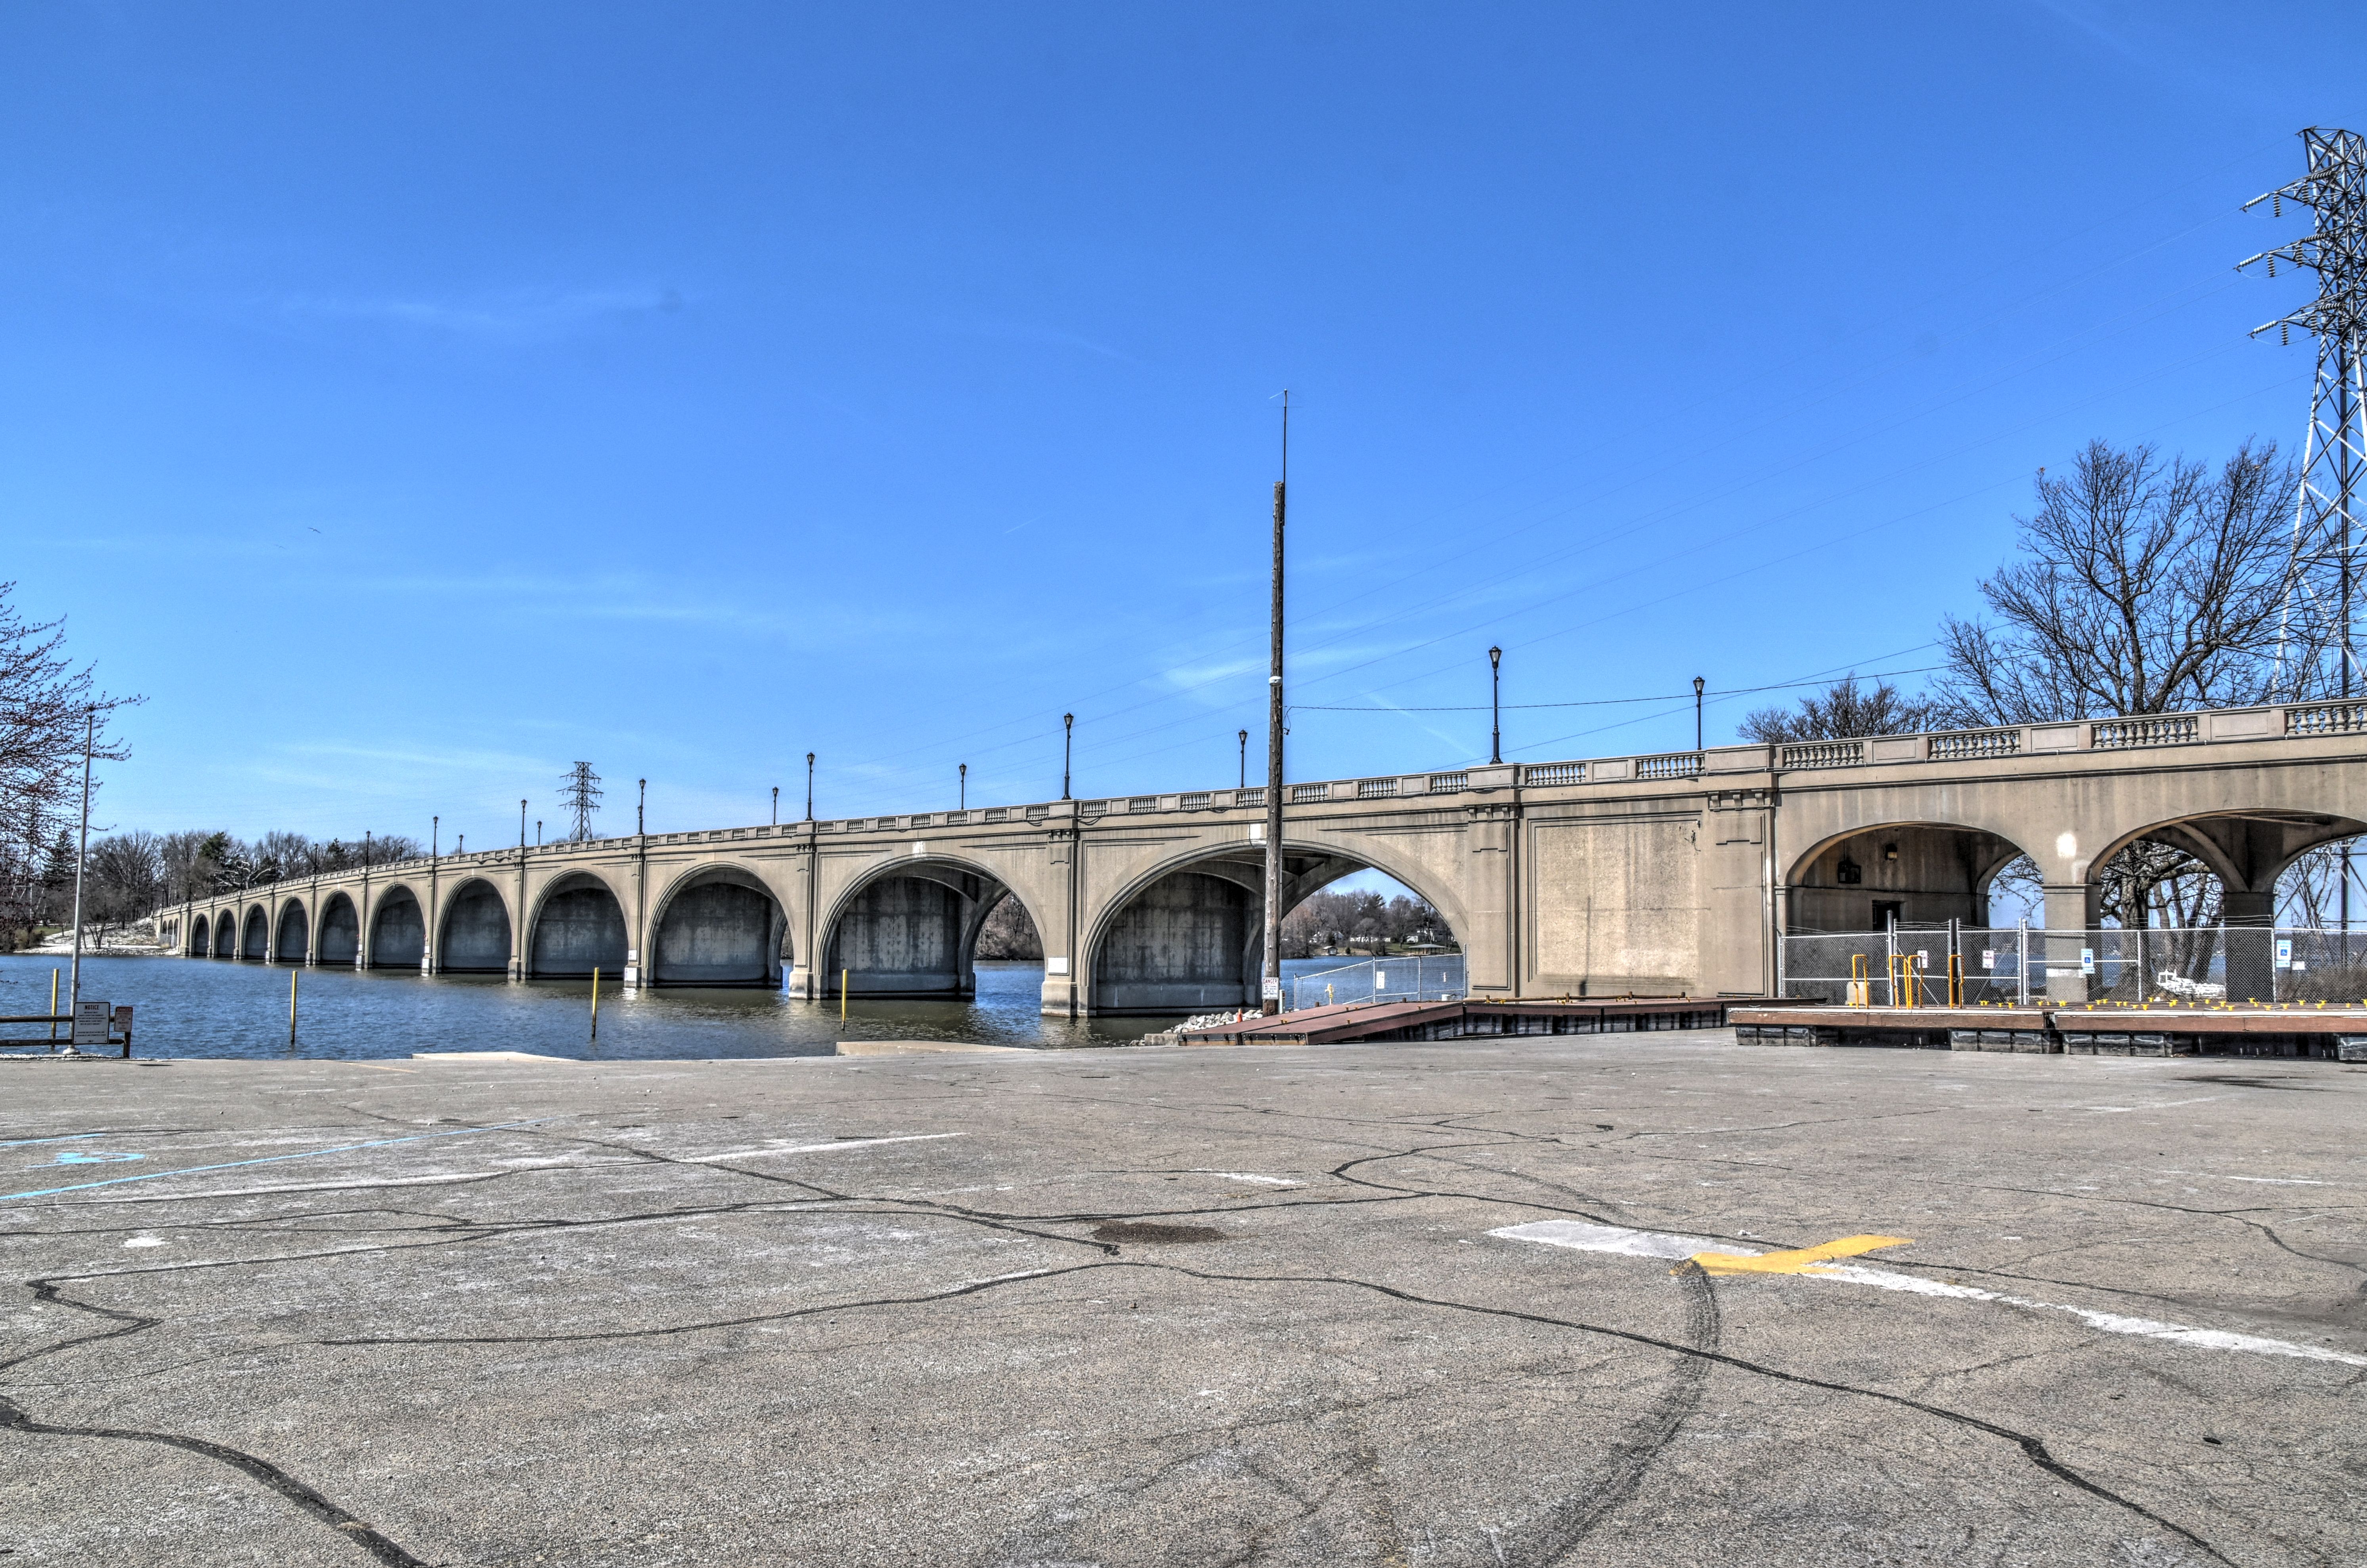
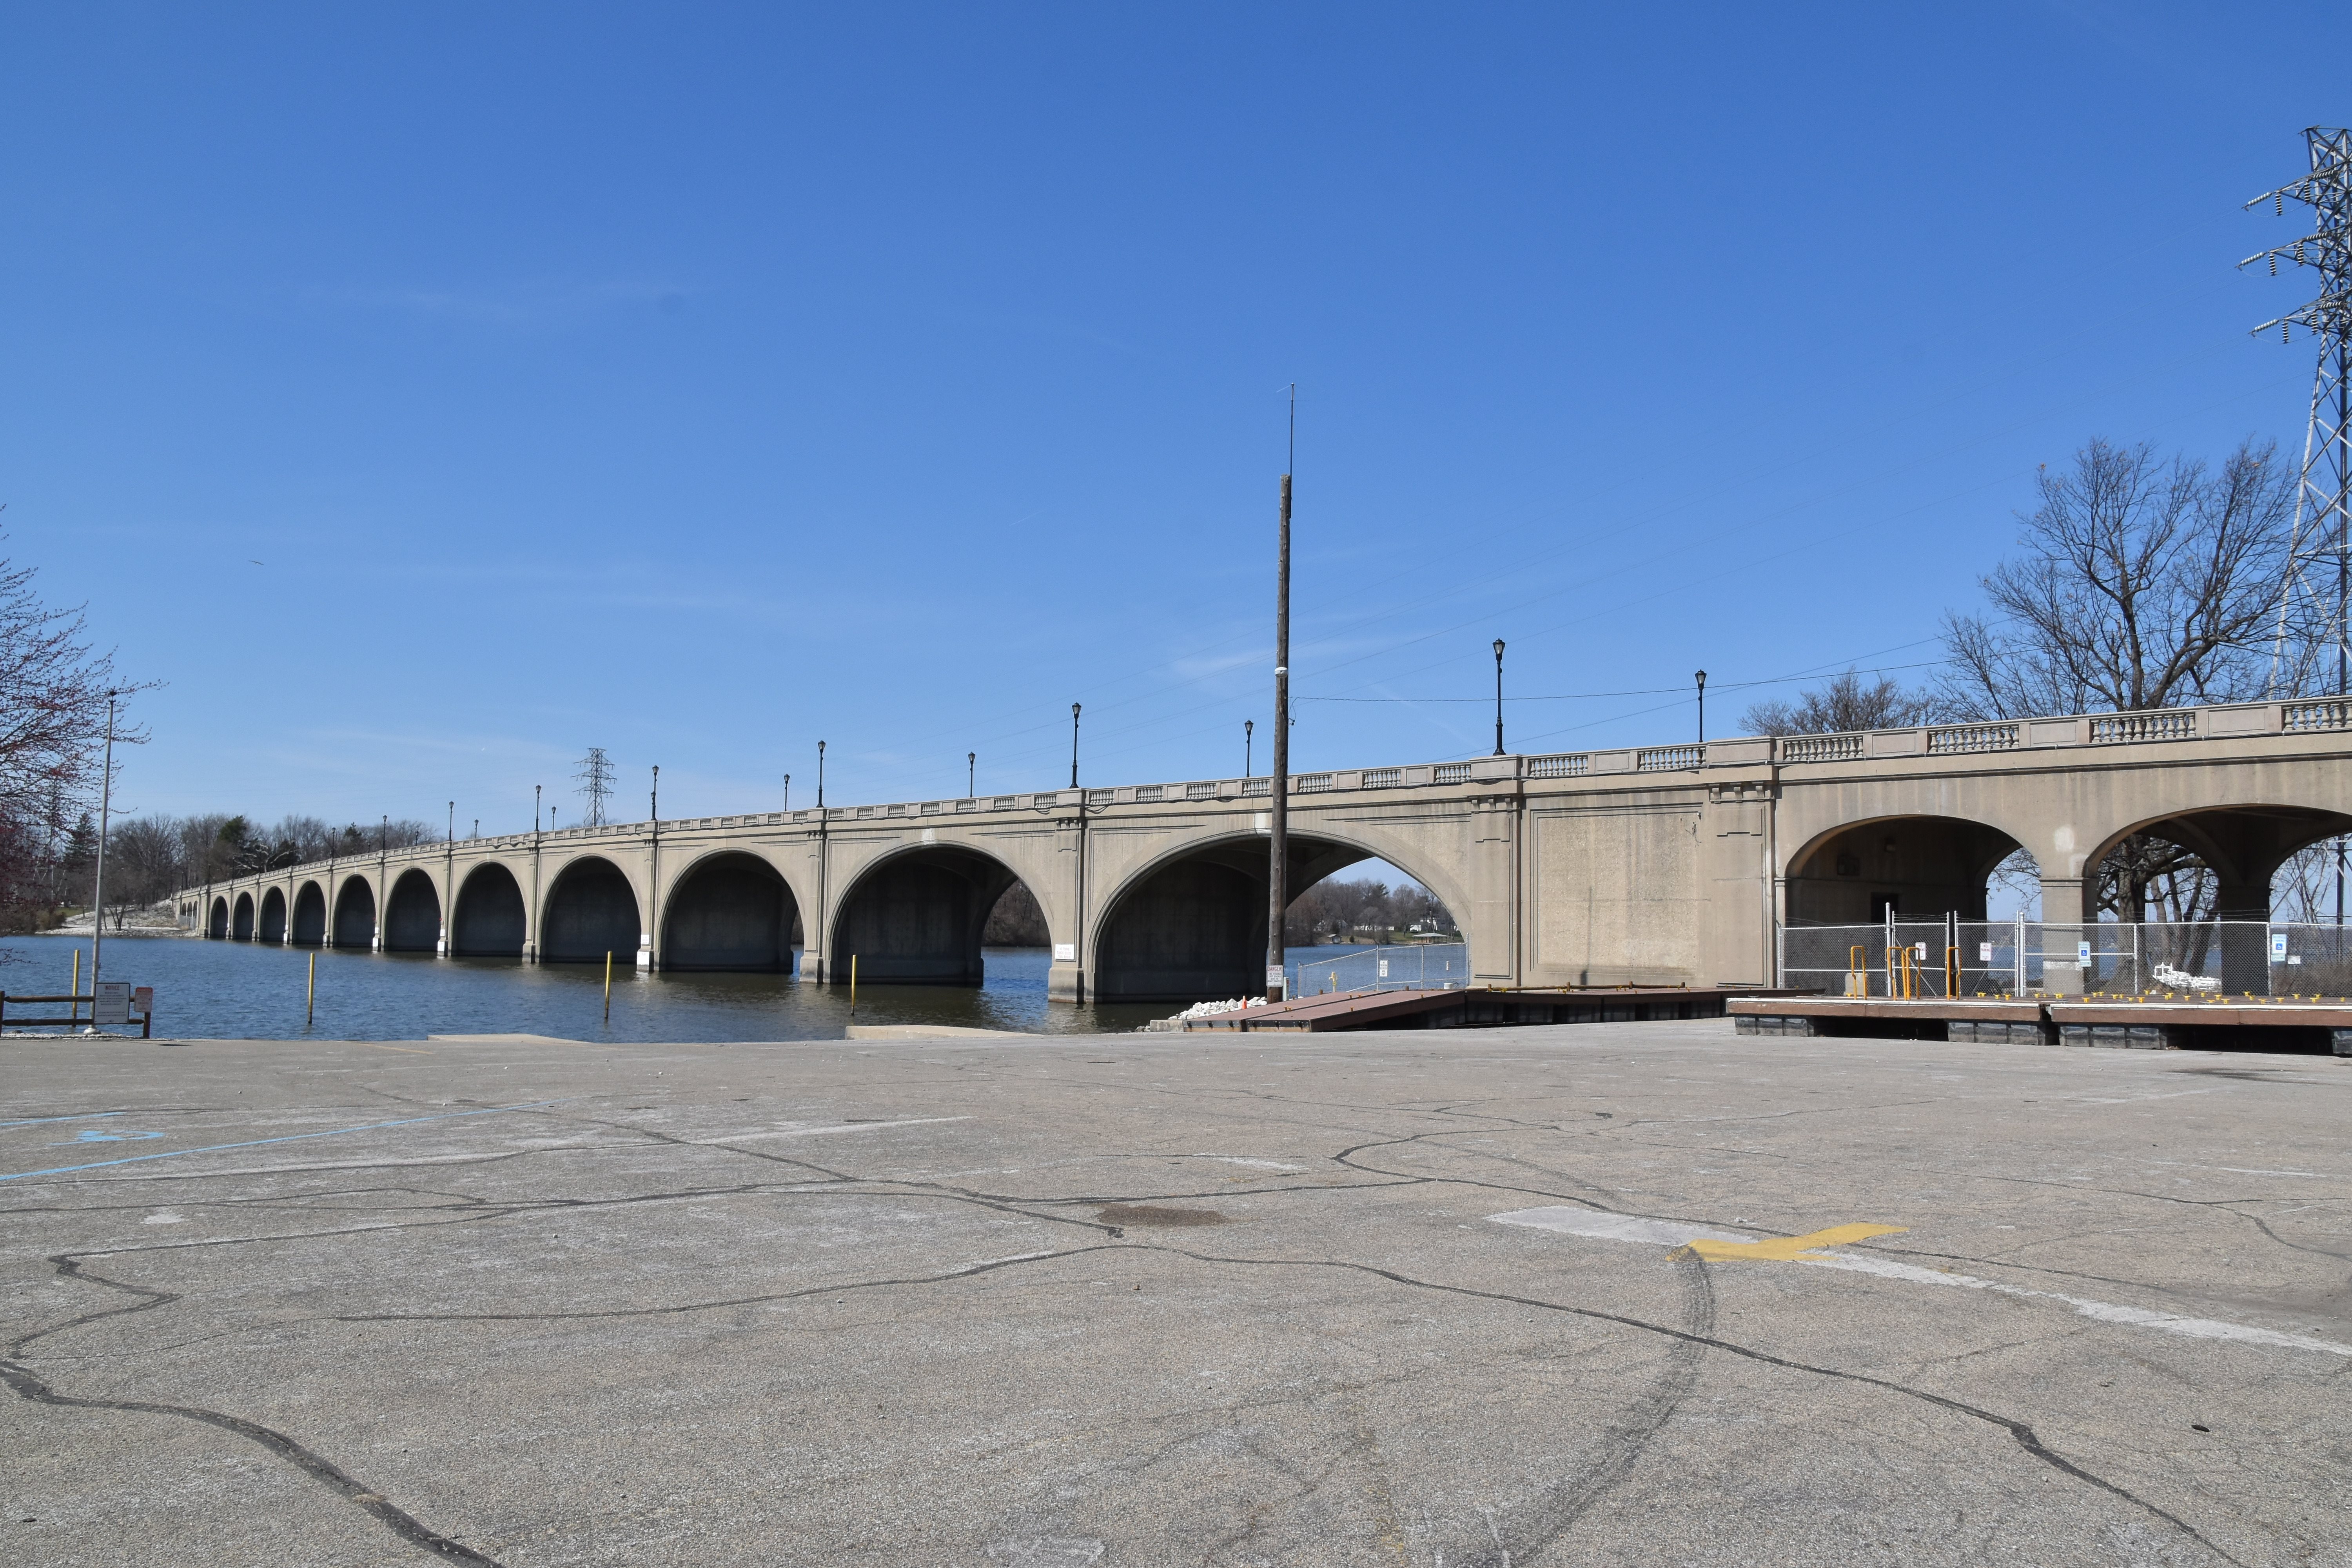
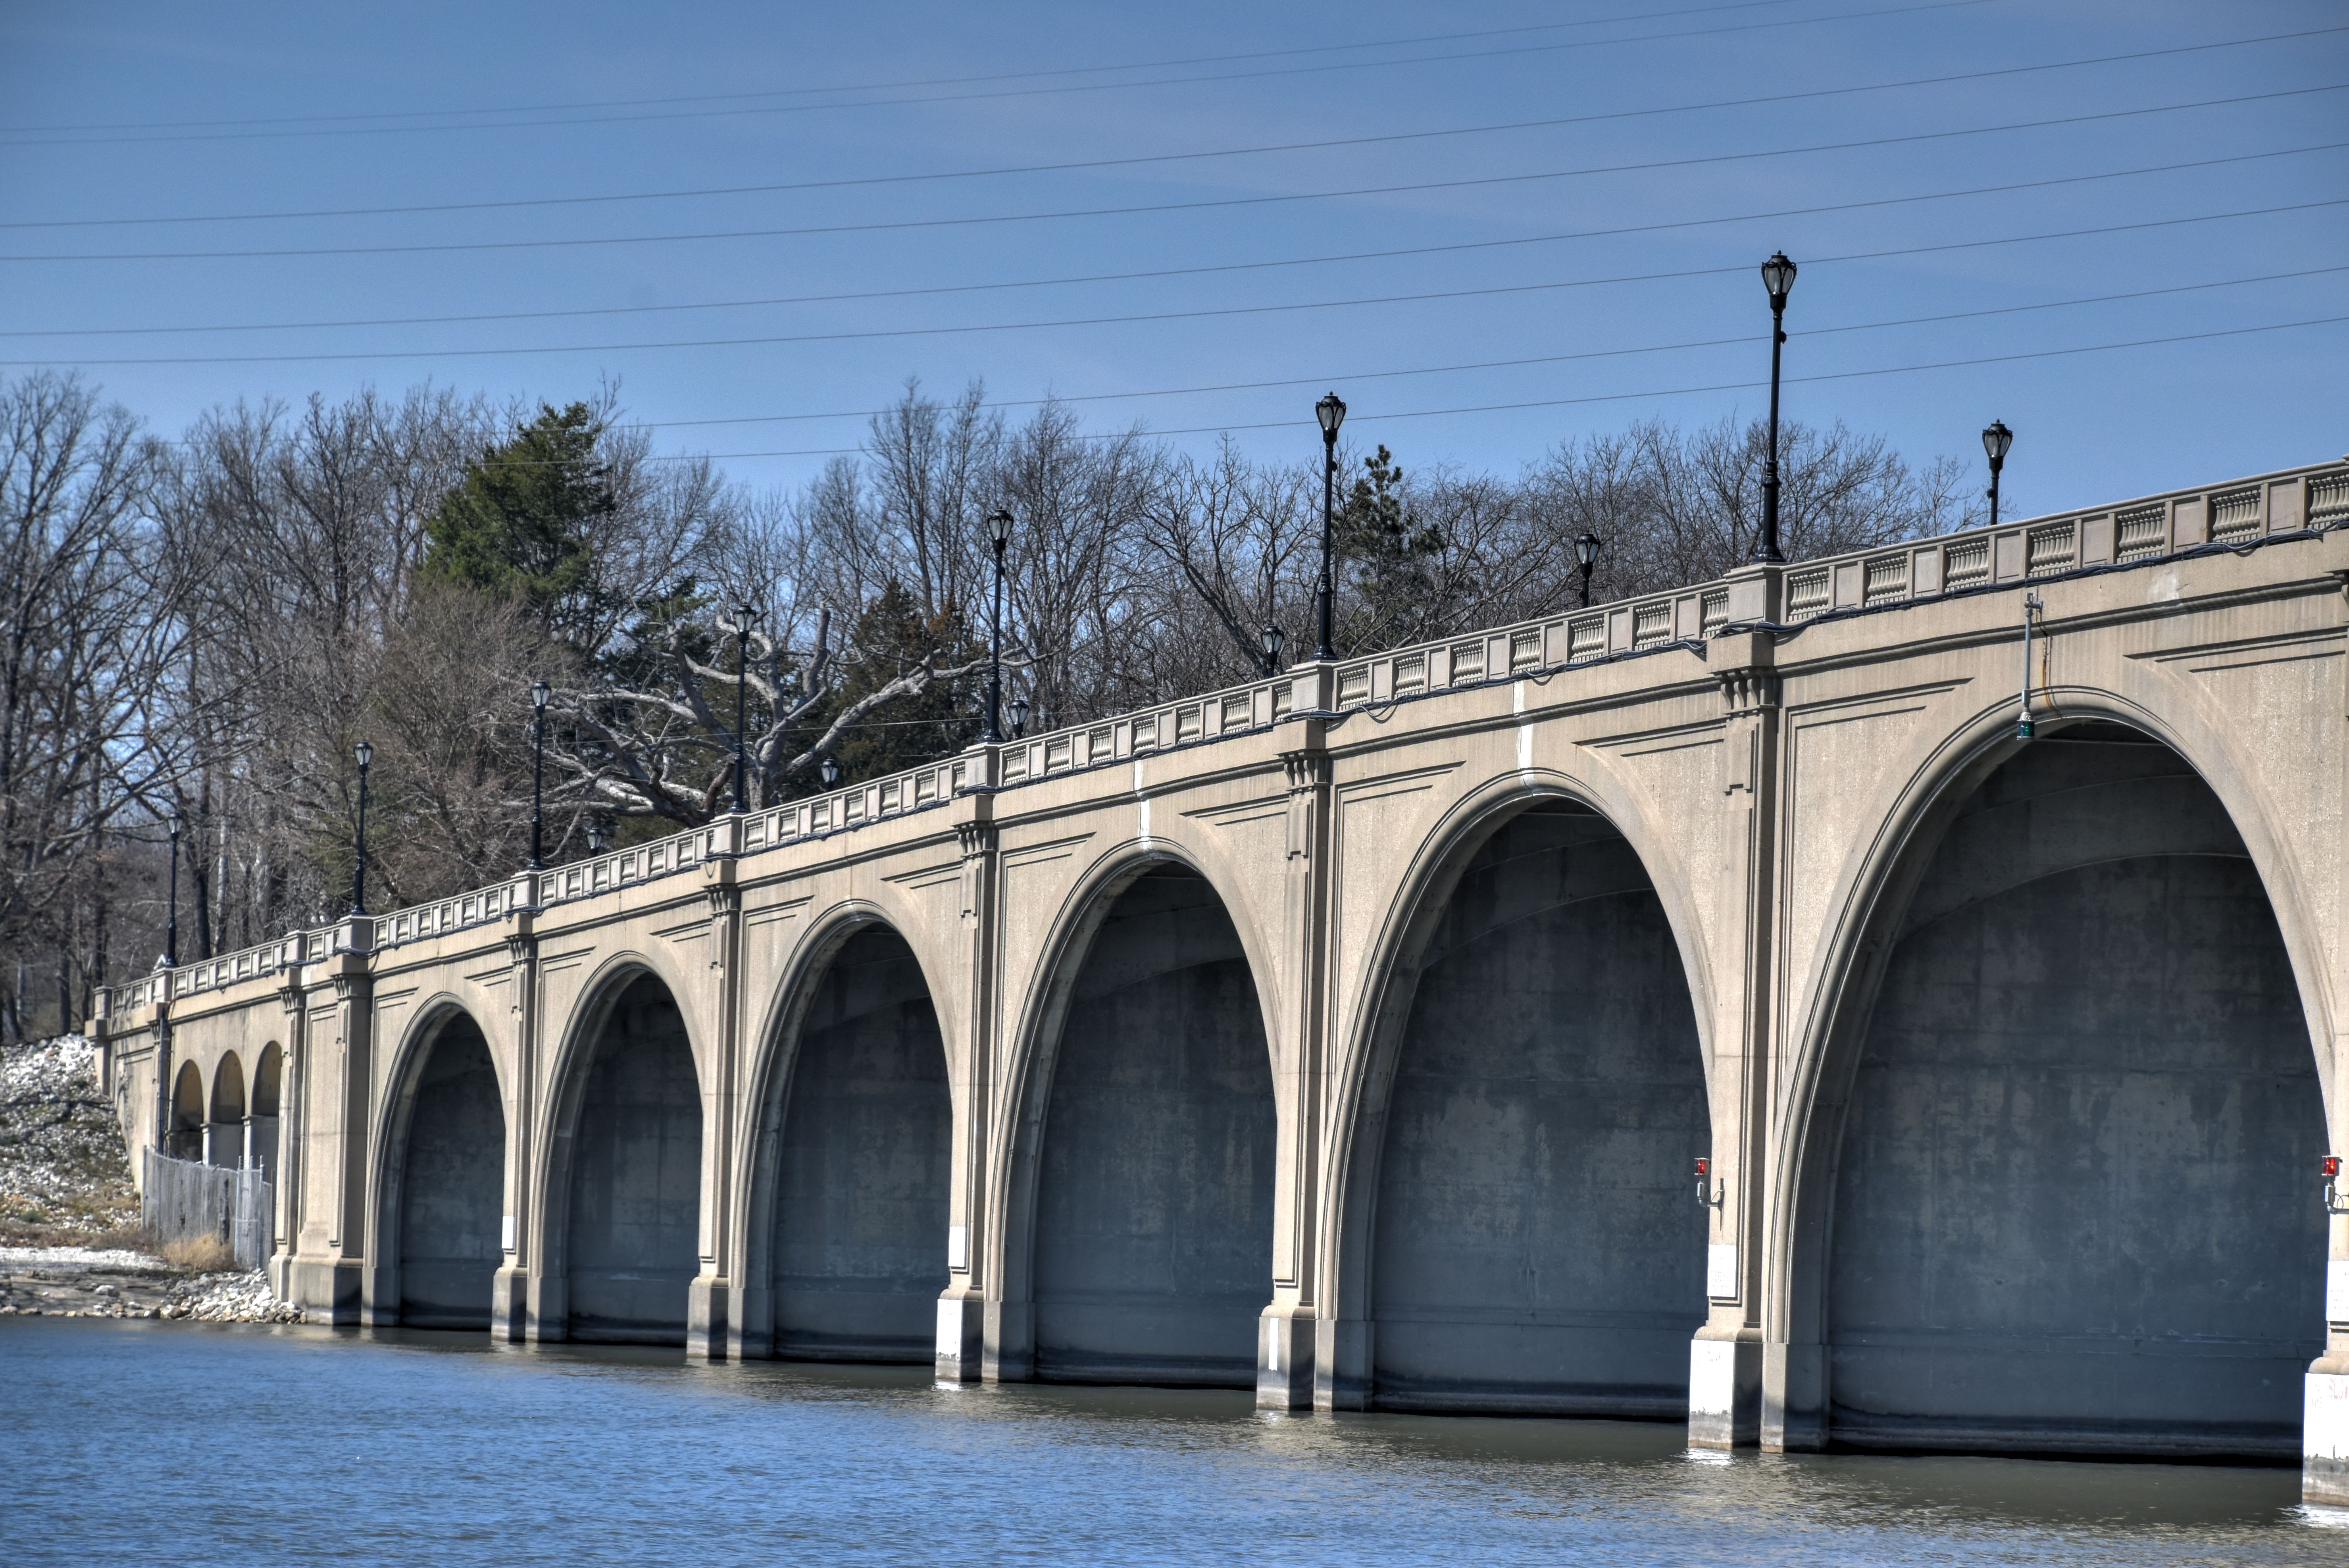
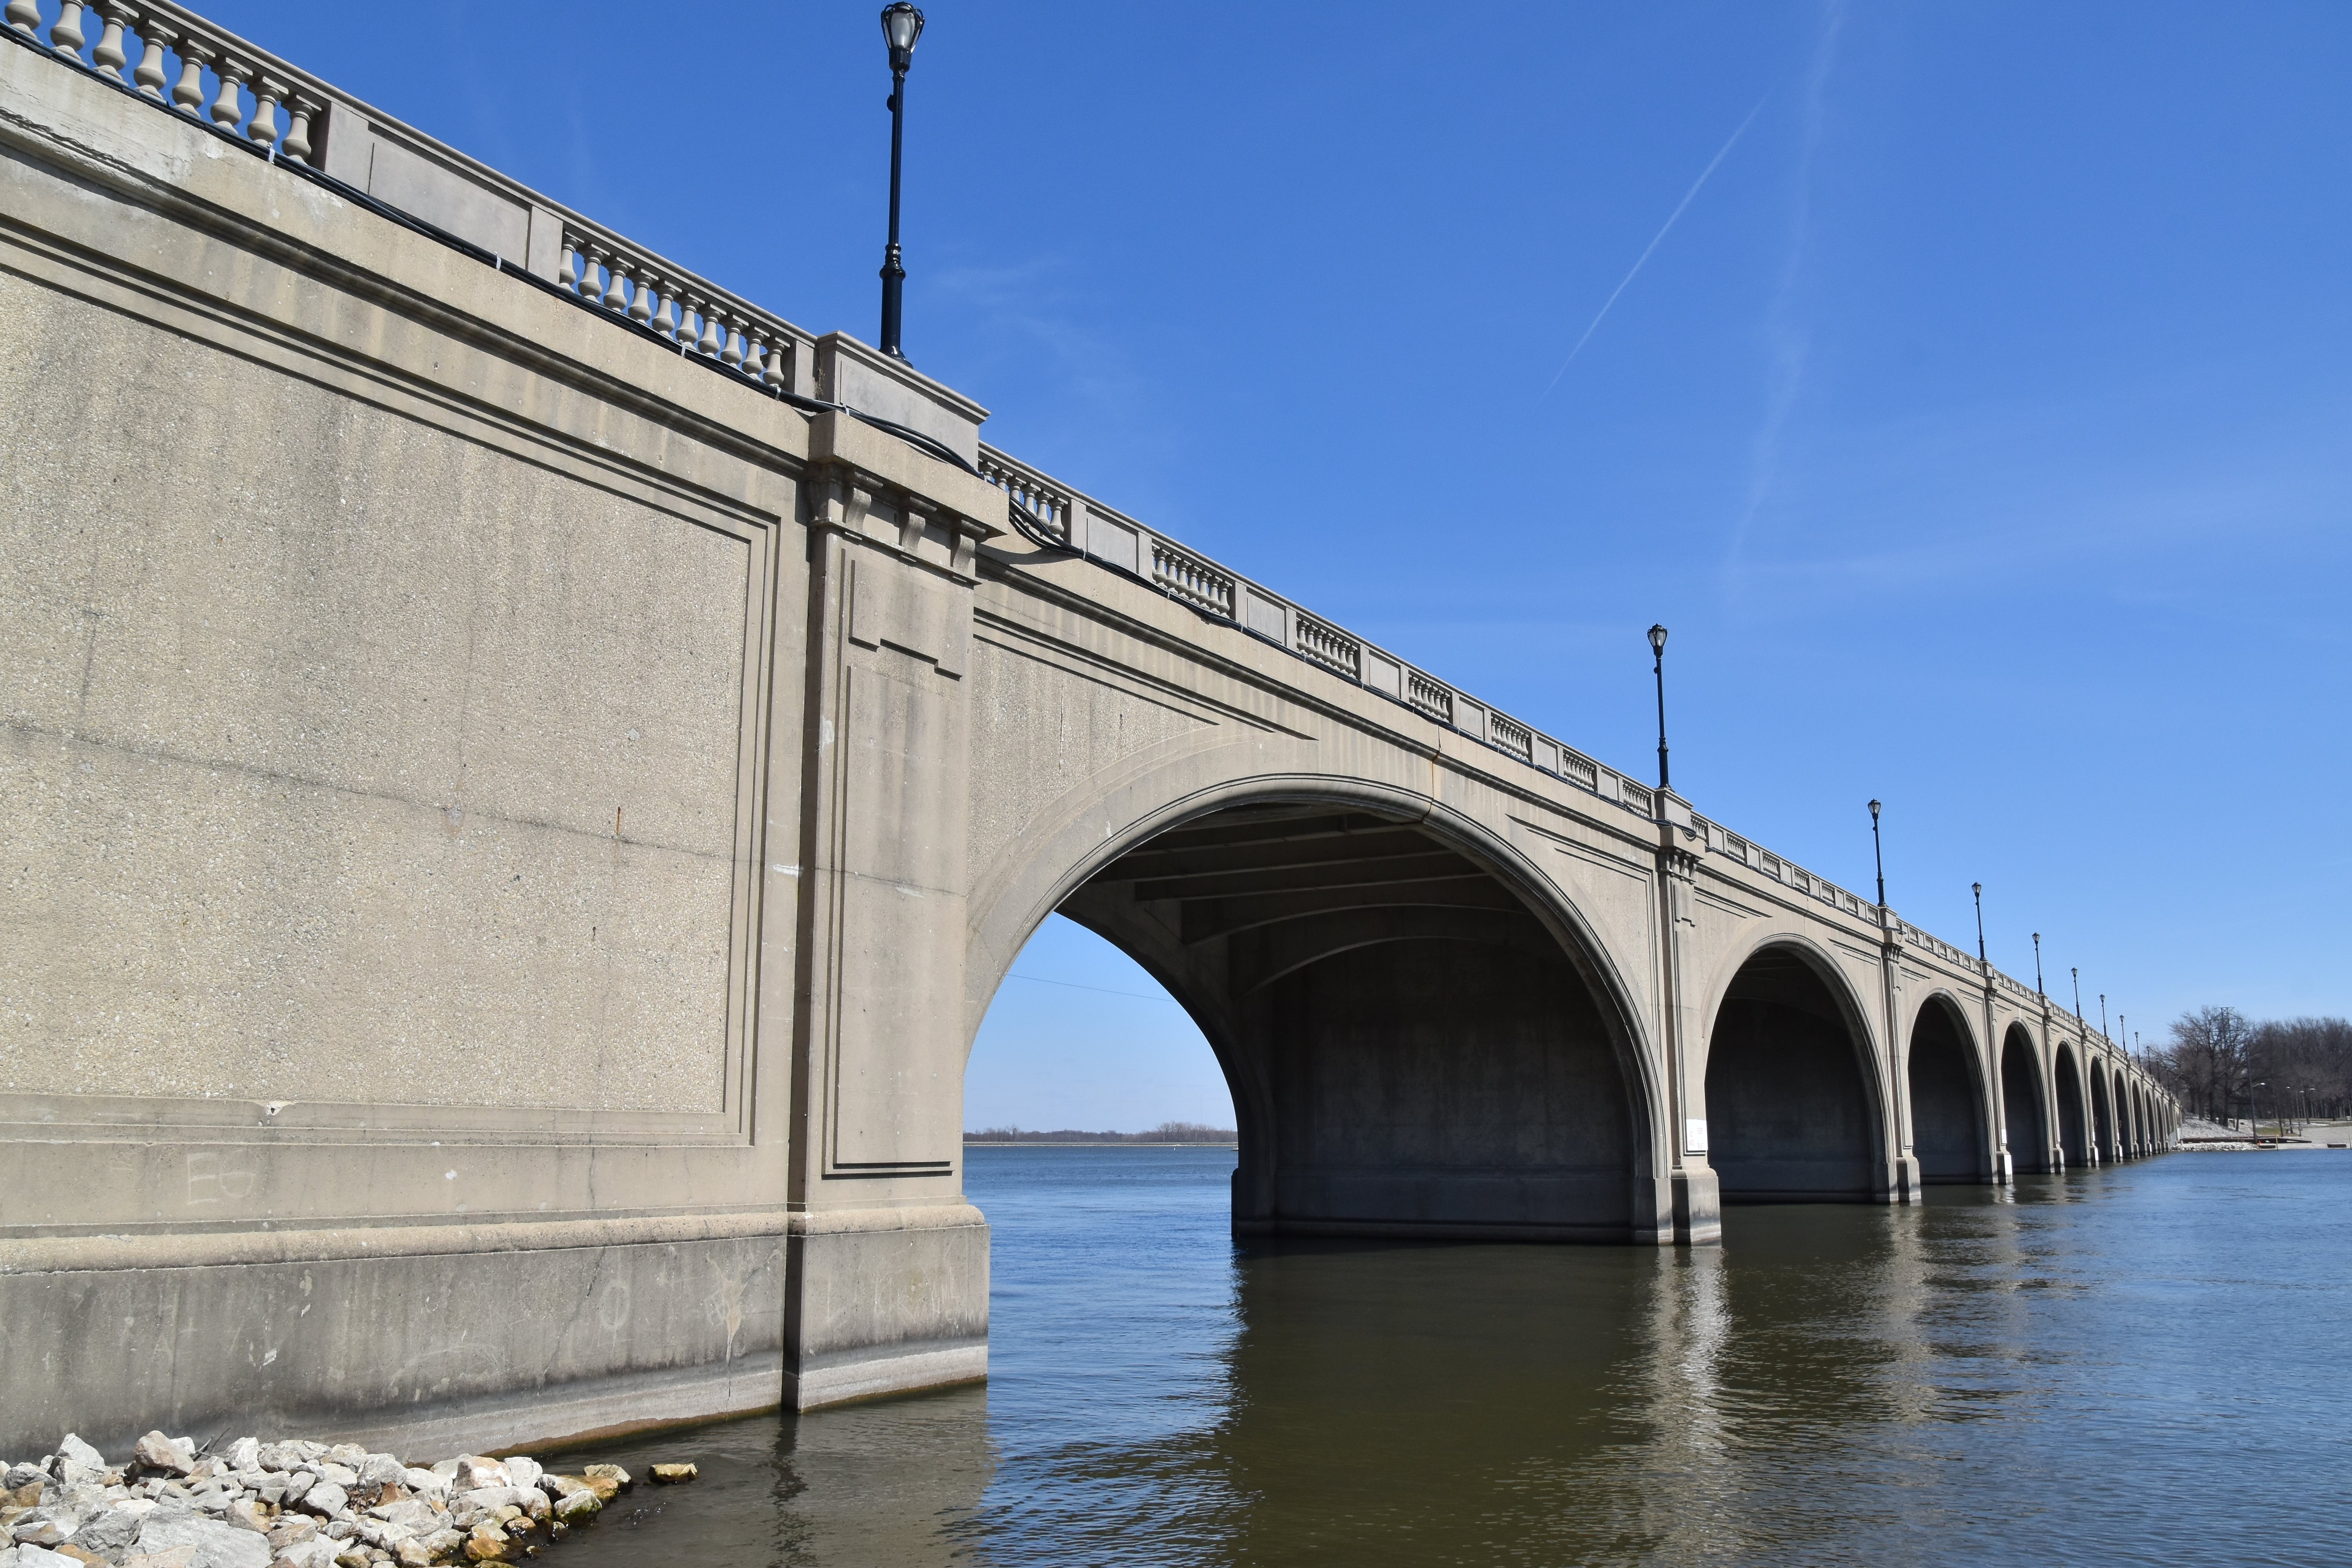
Panoramic elevation from southeast quadrant.
![]()

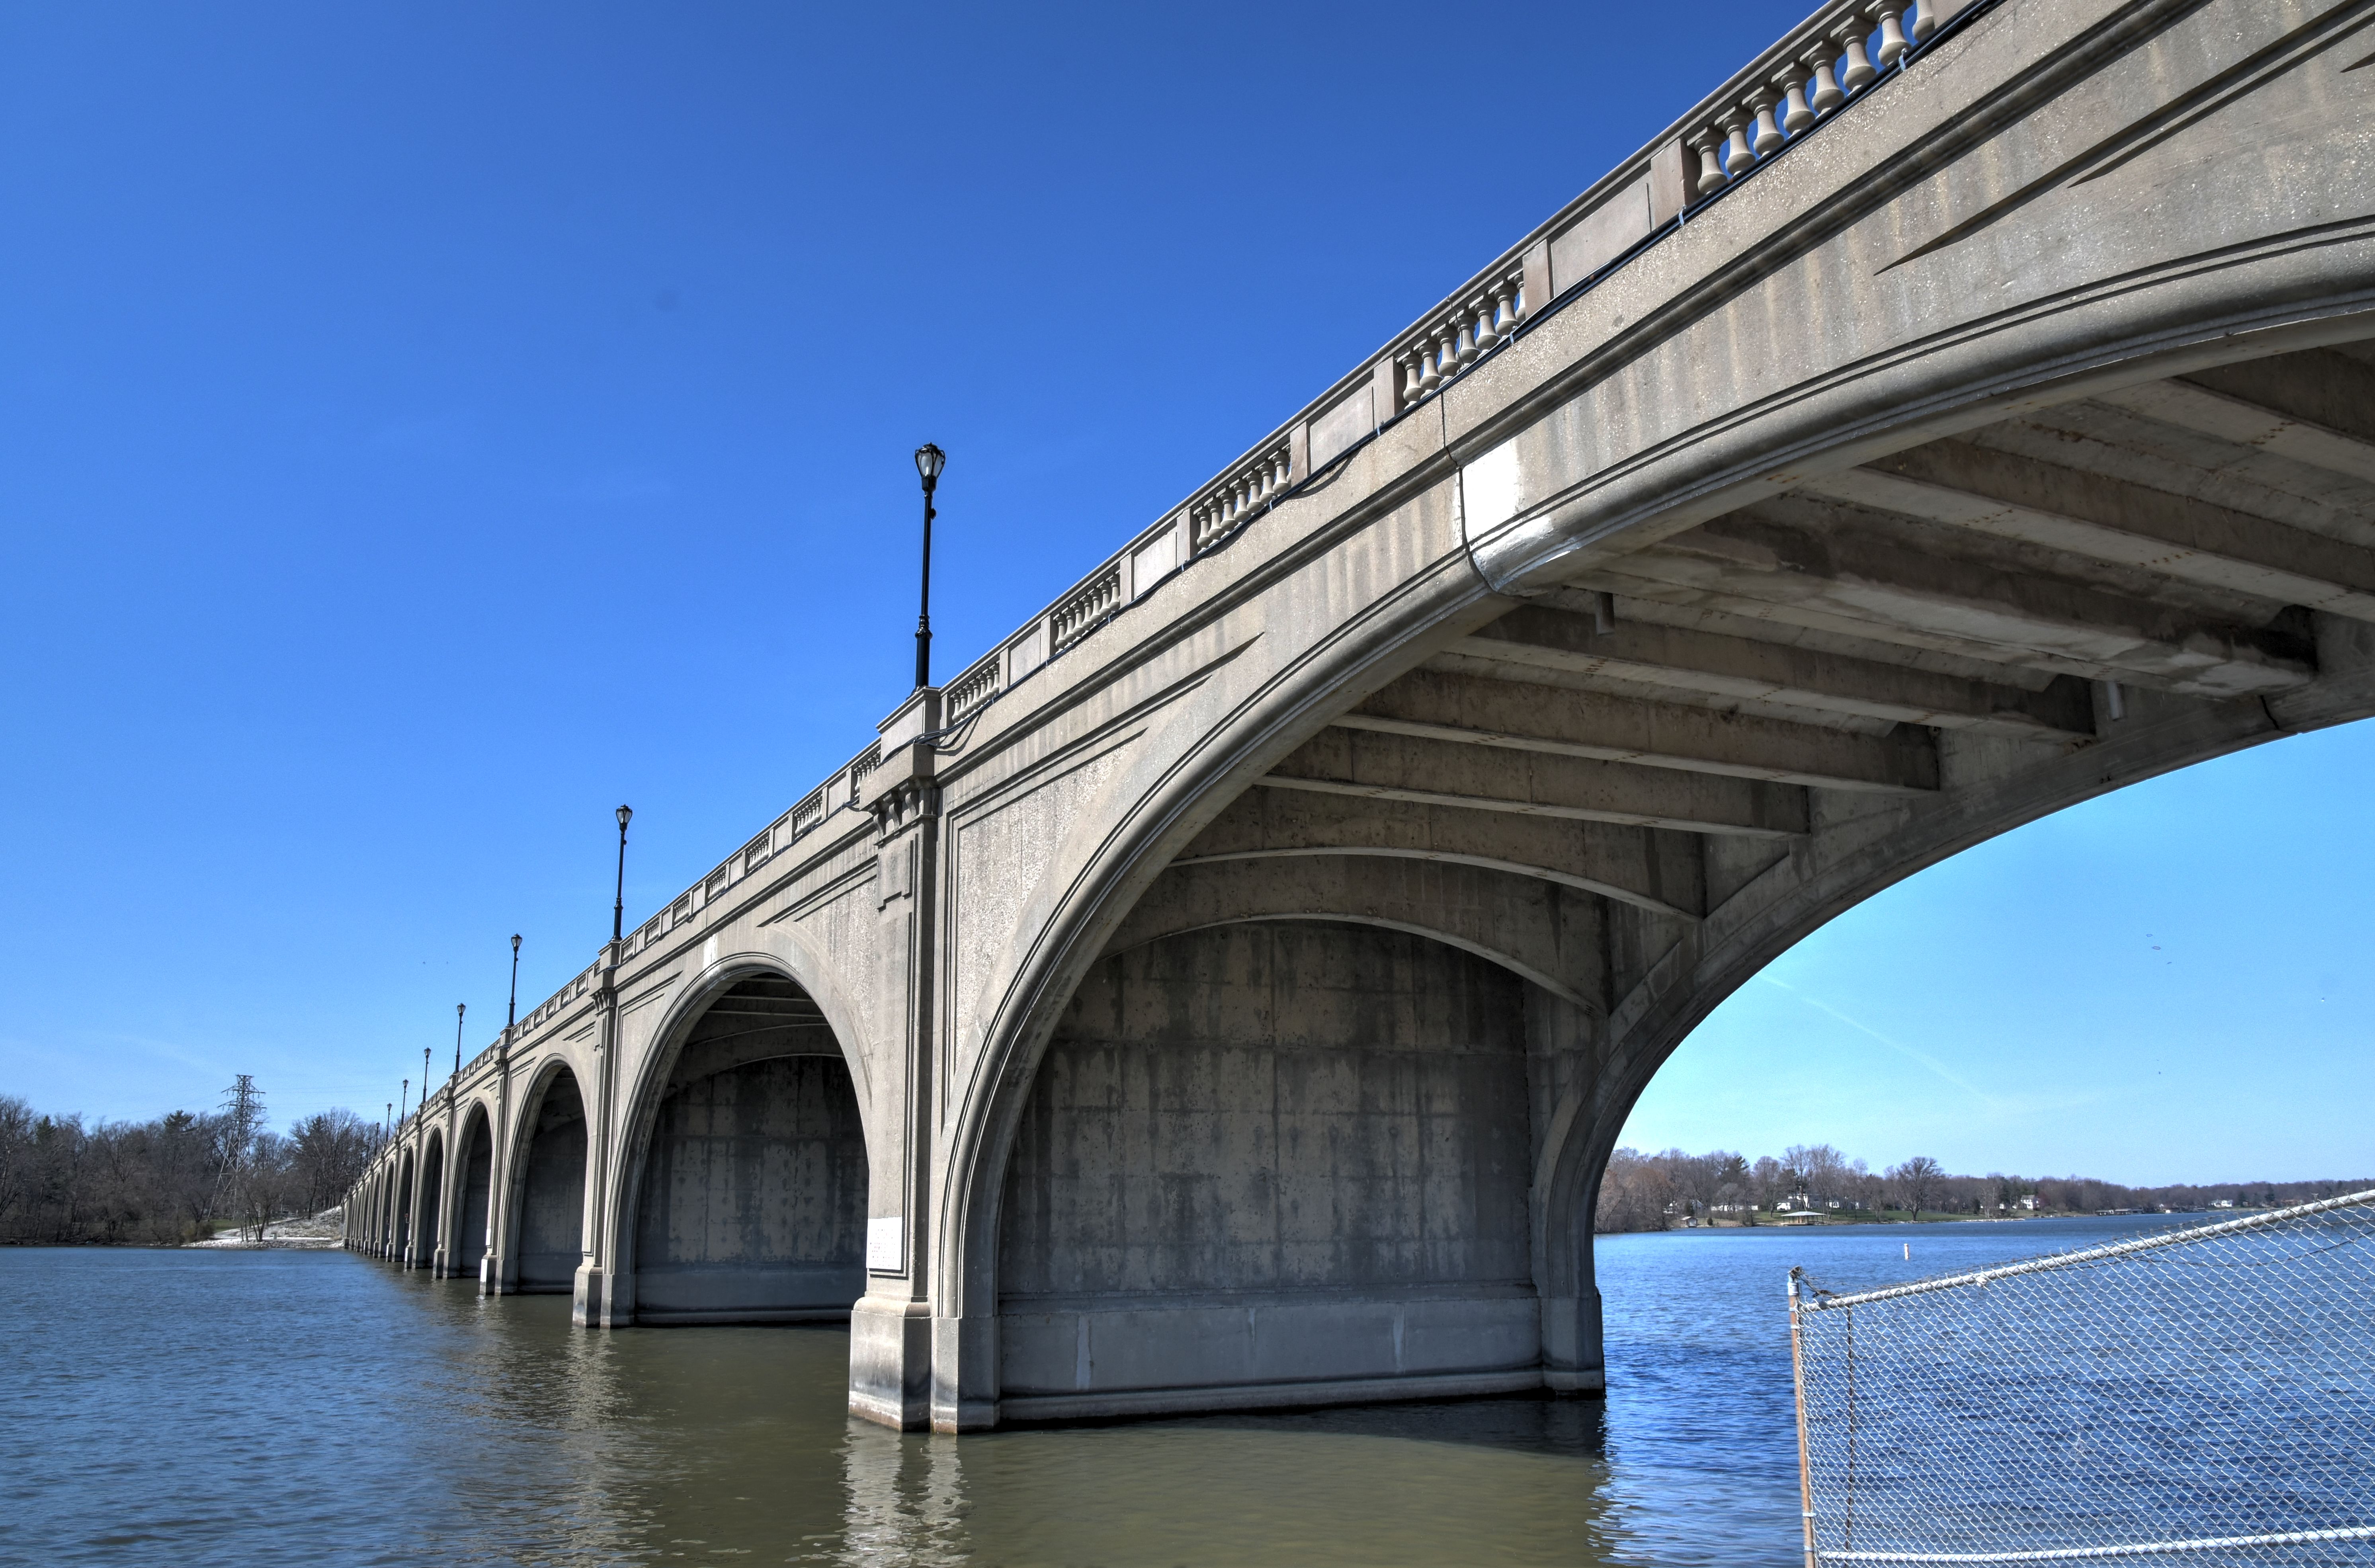


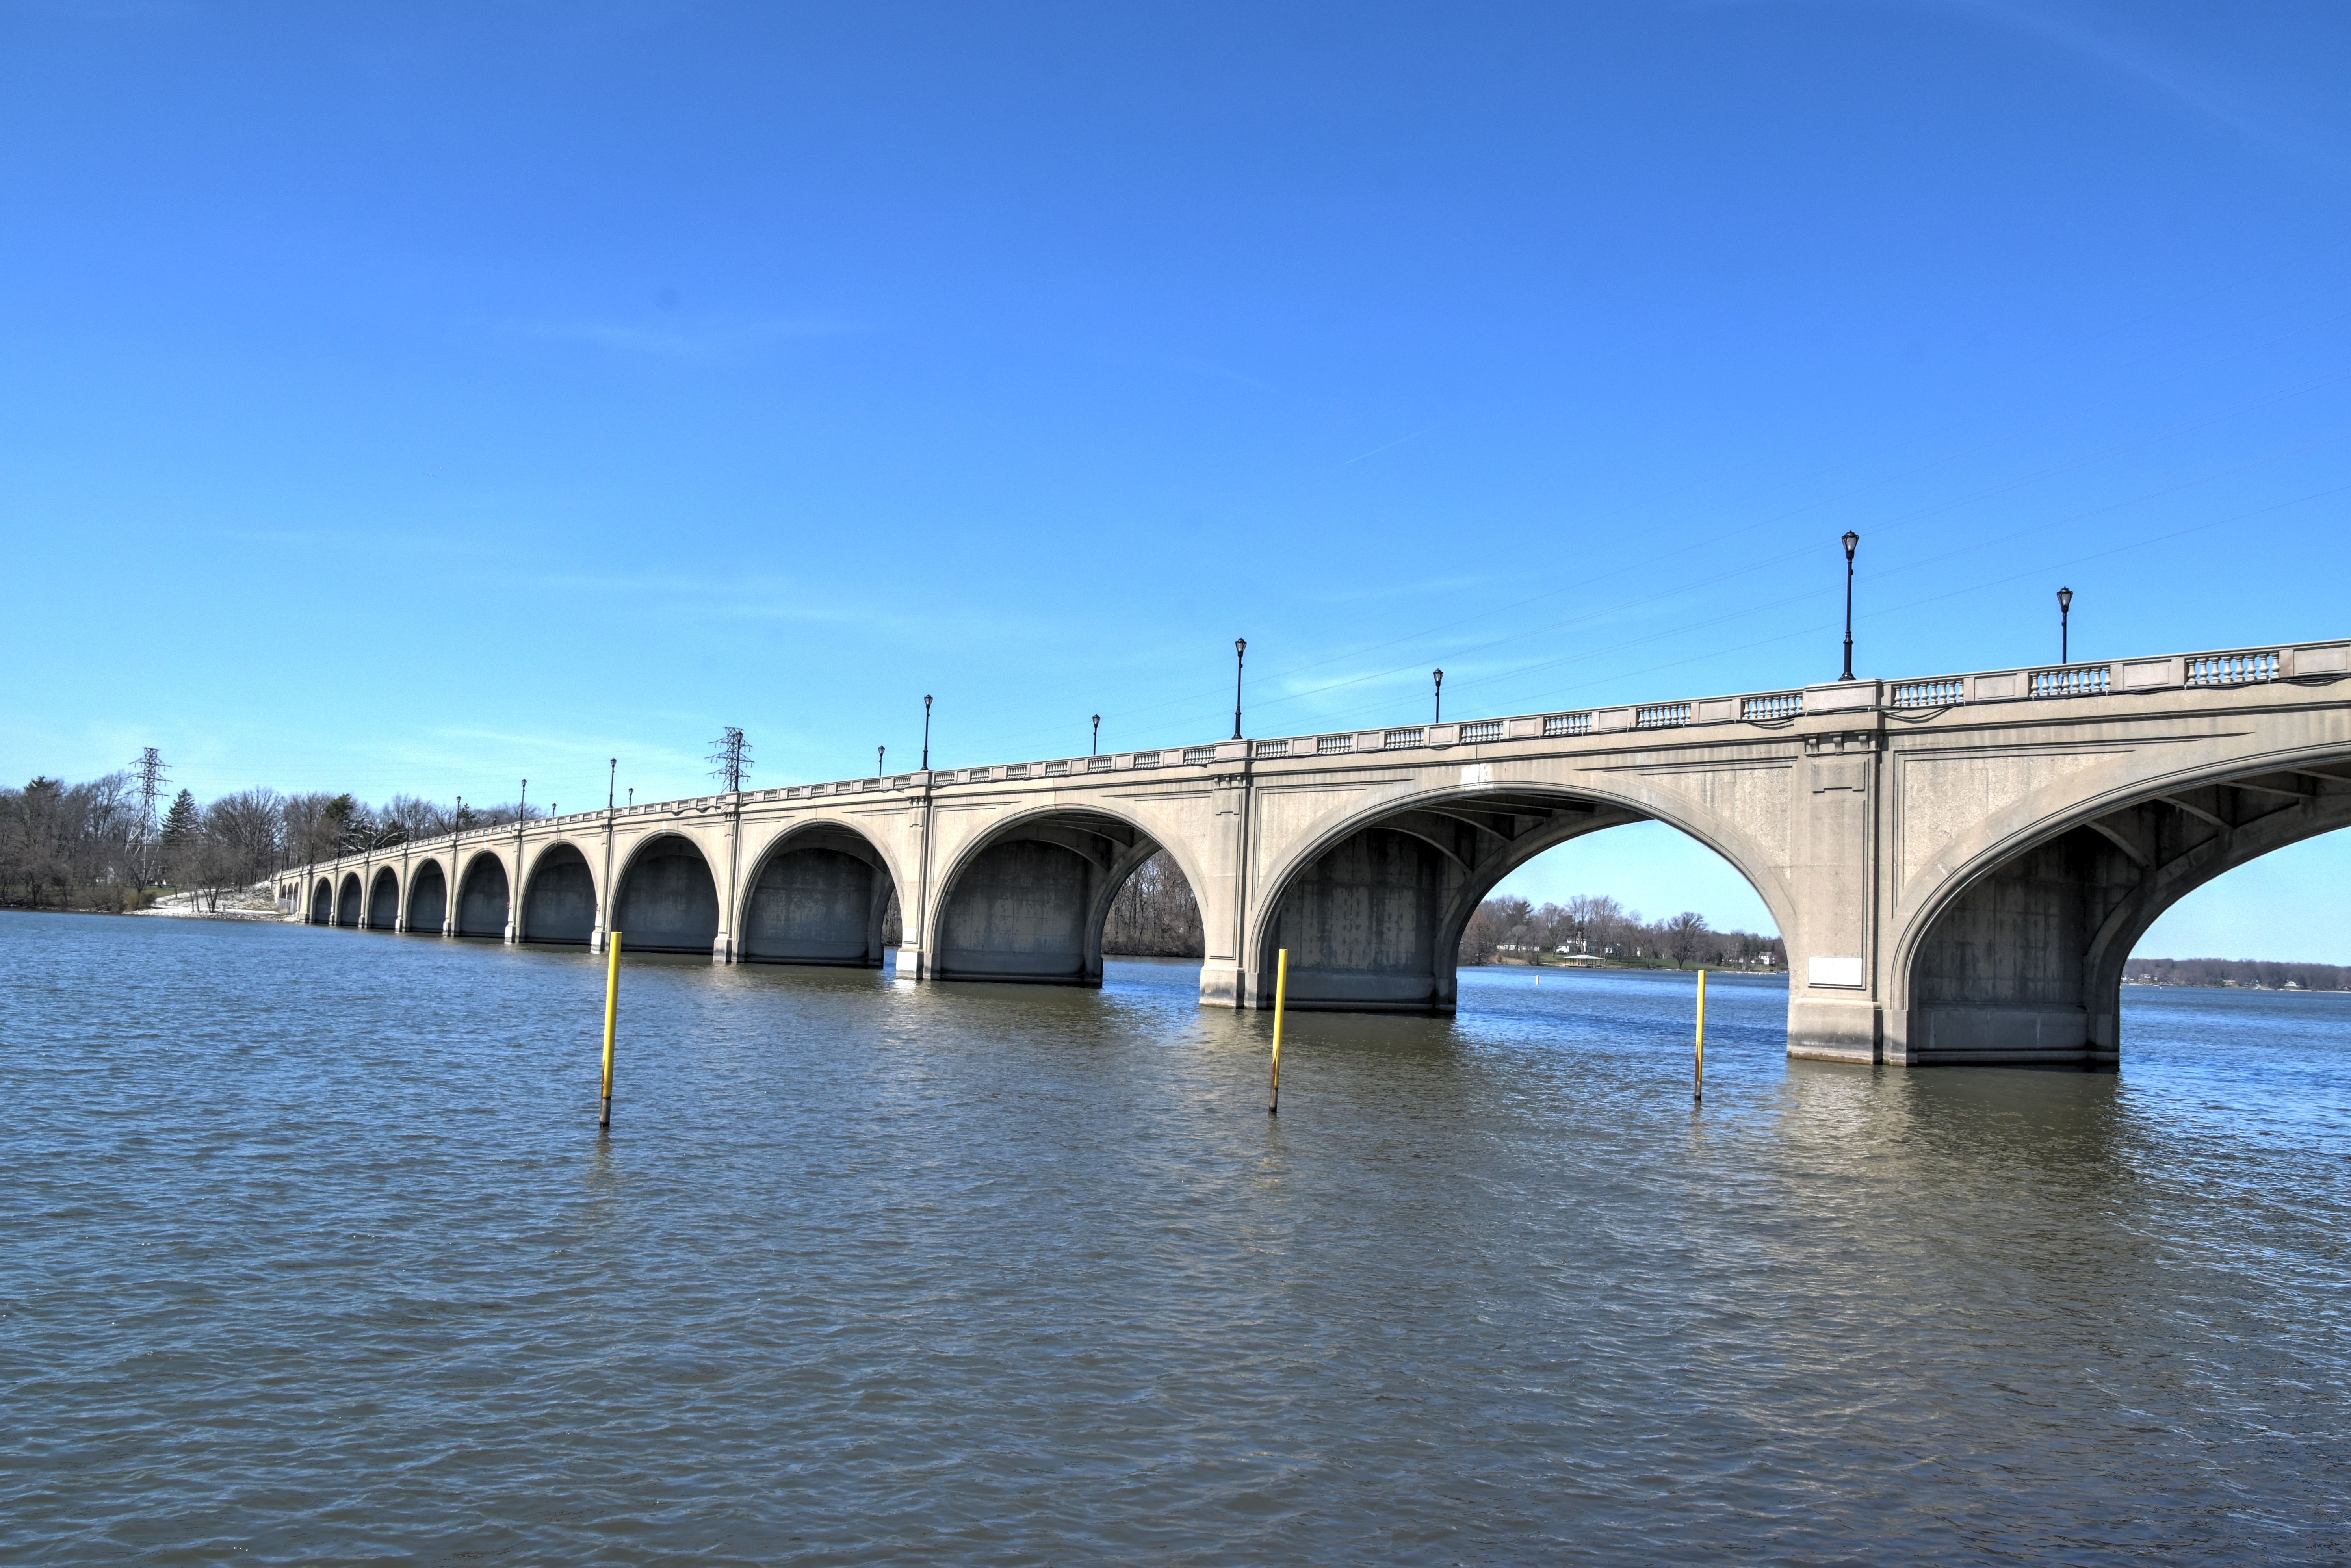
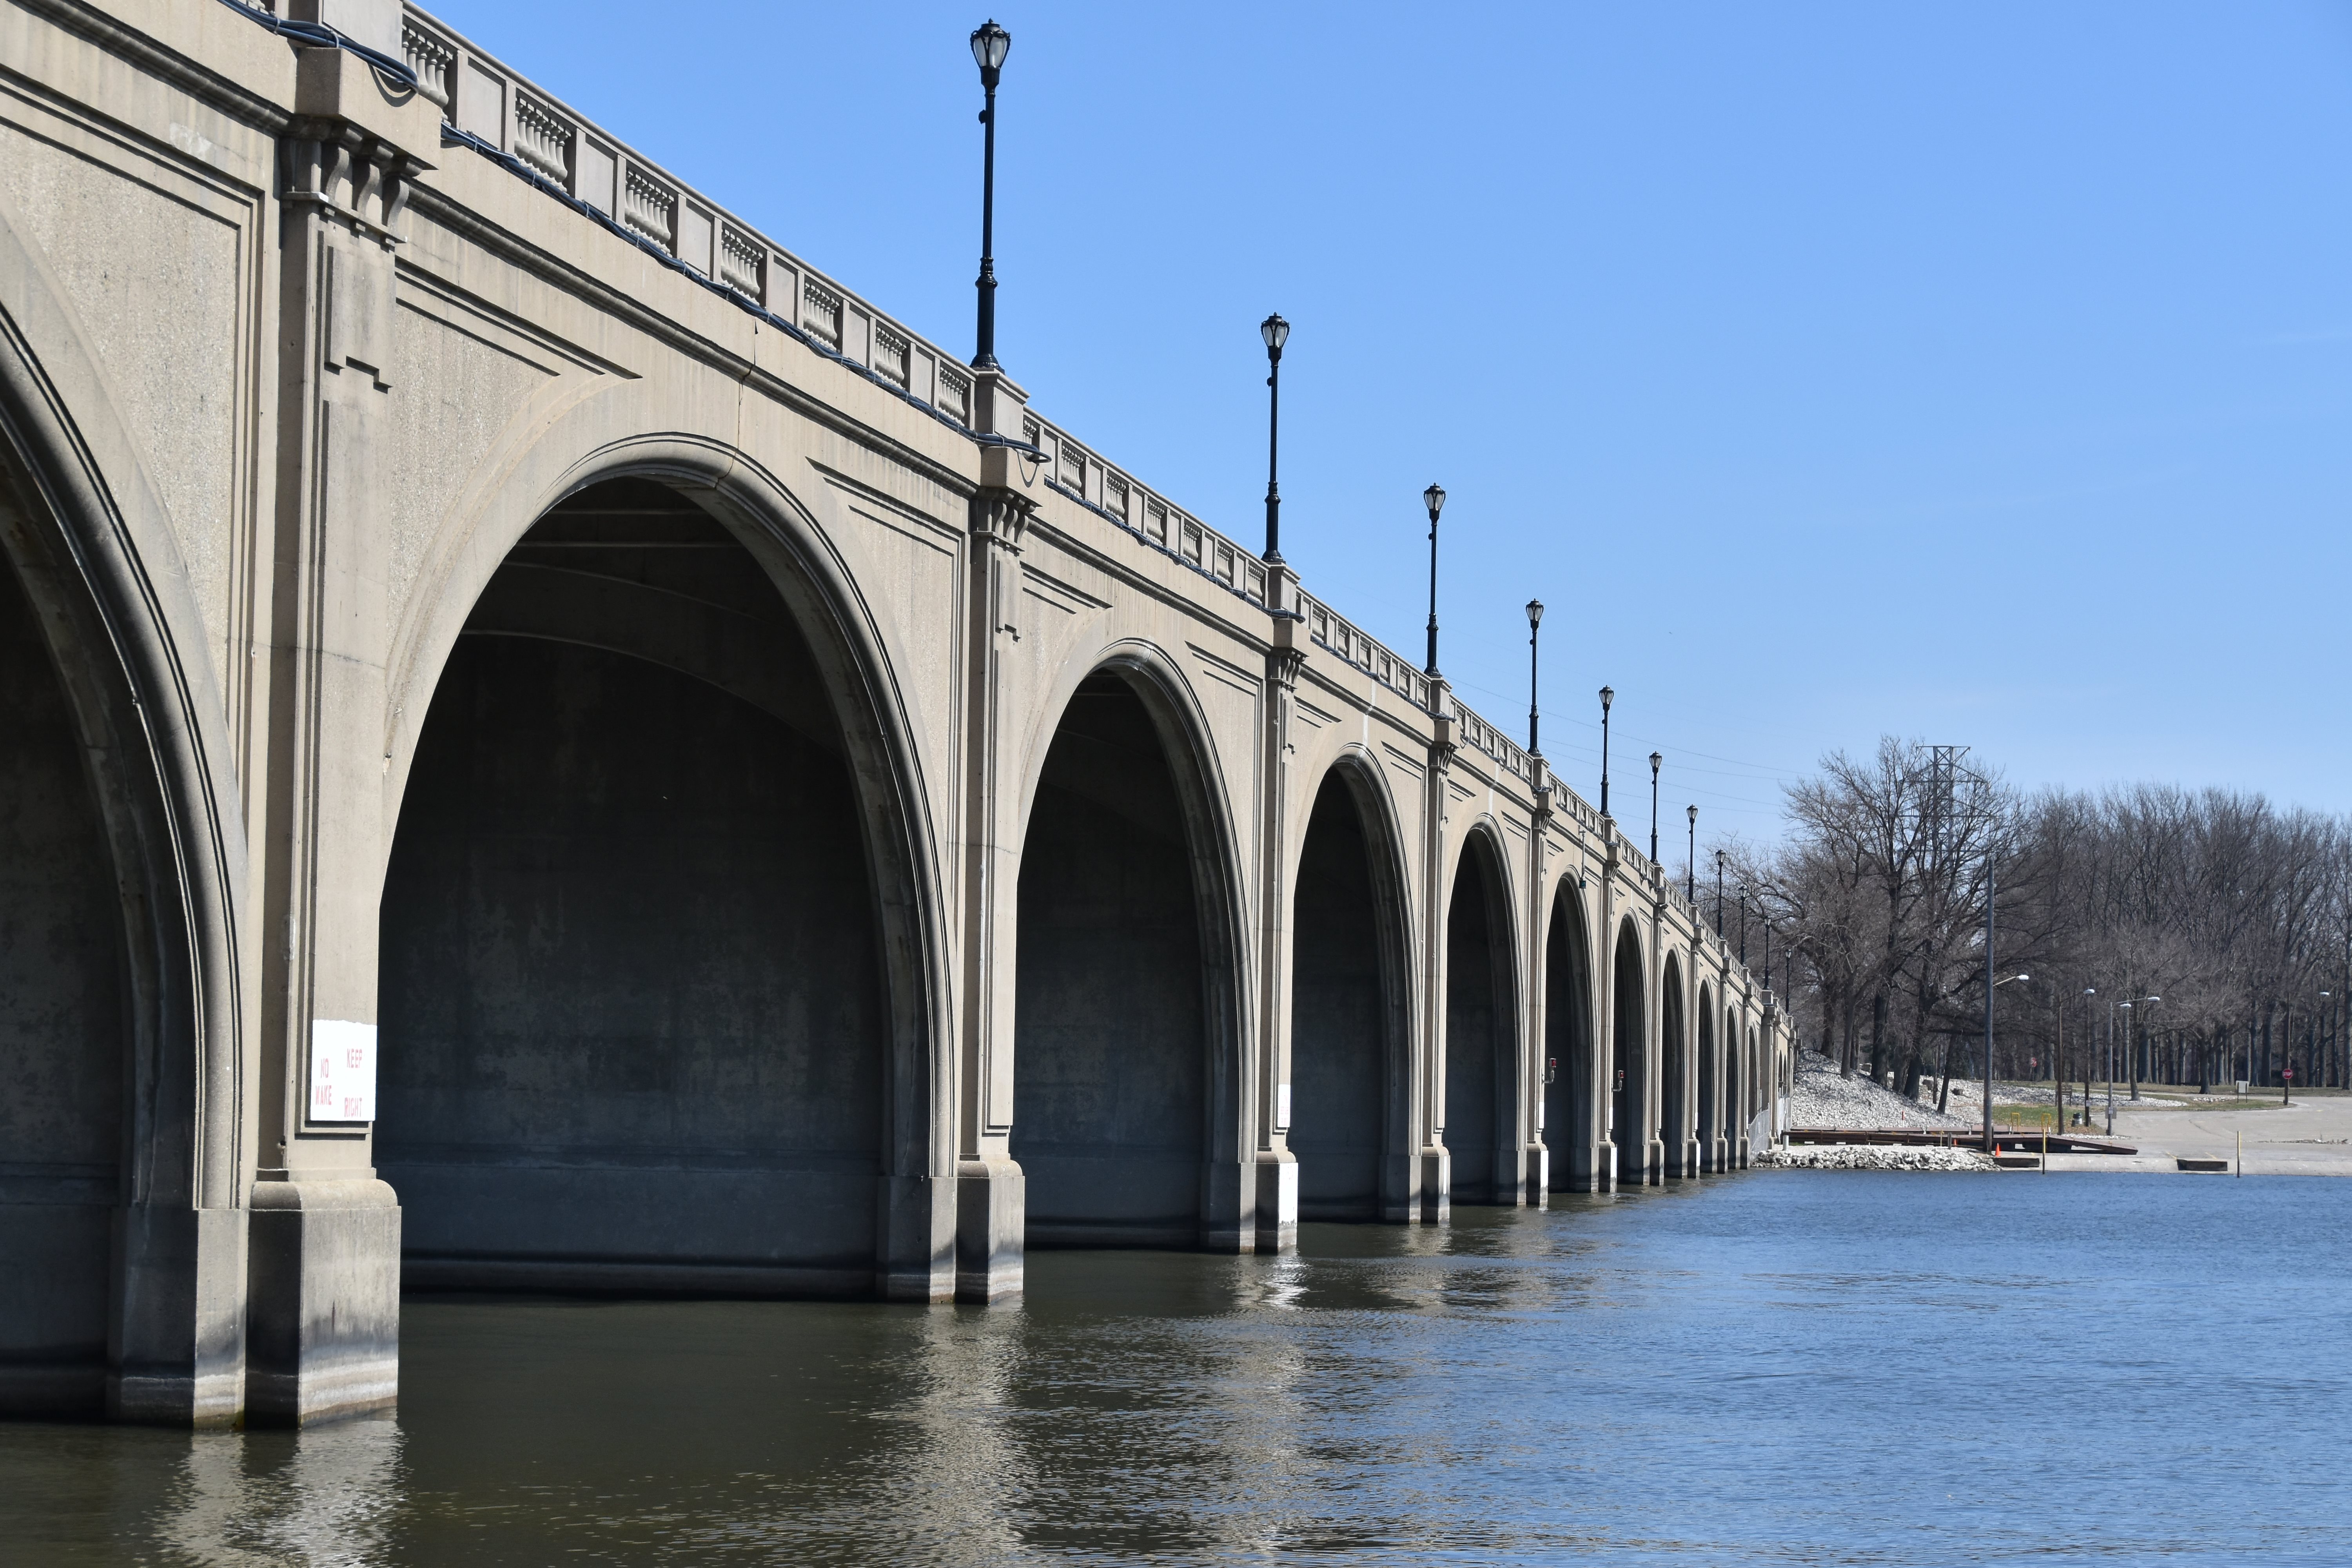
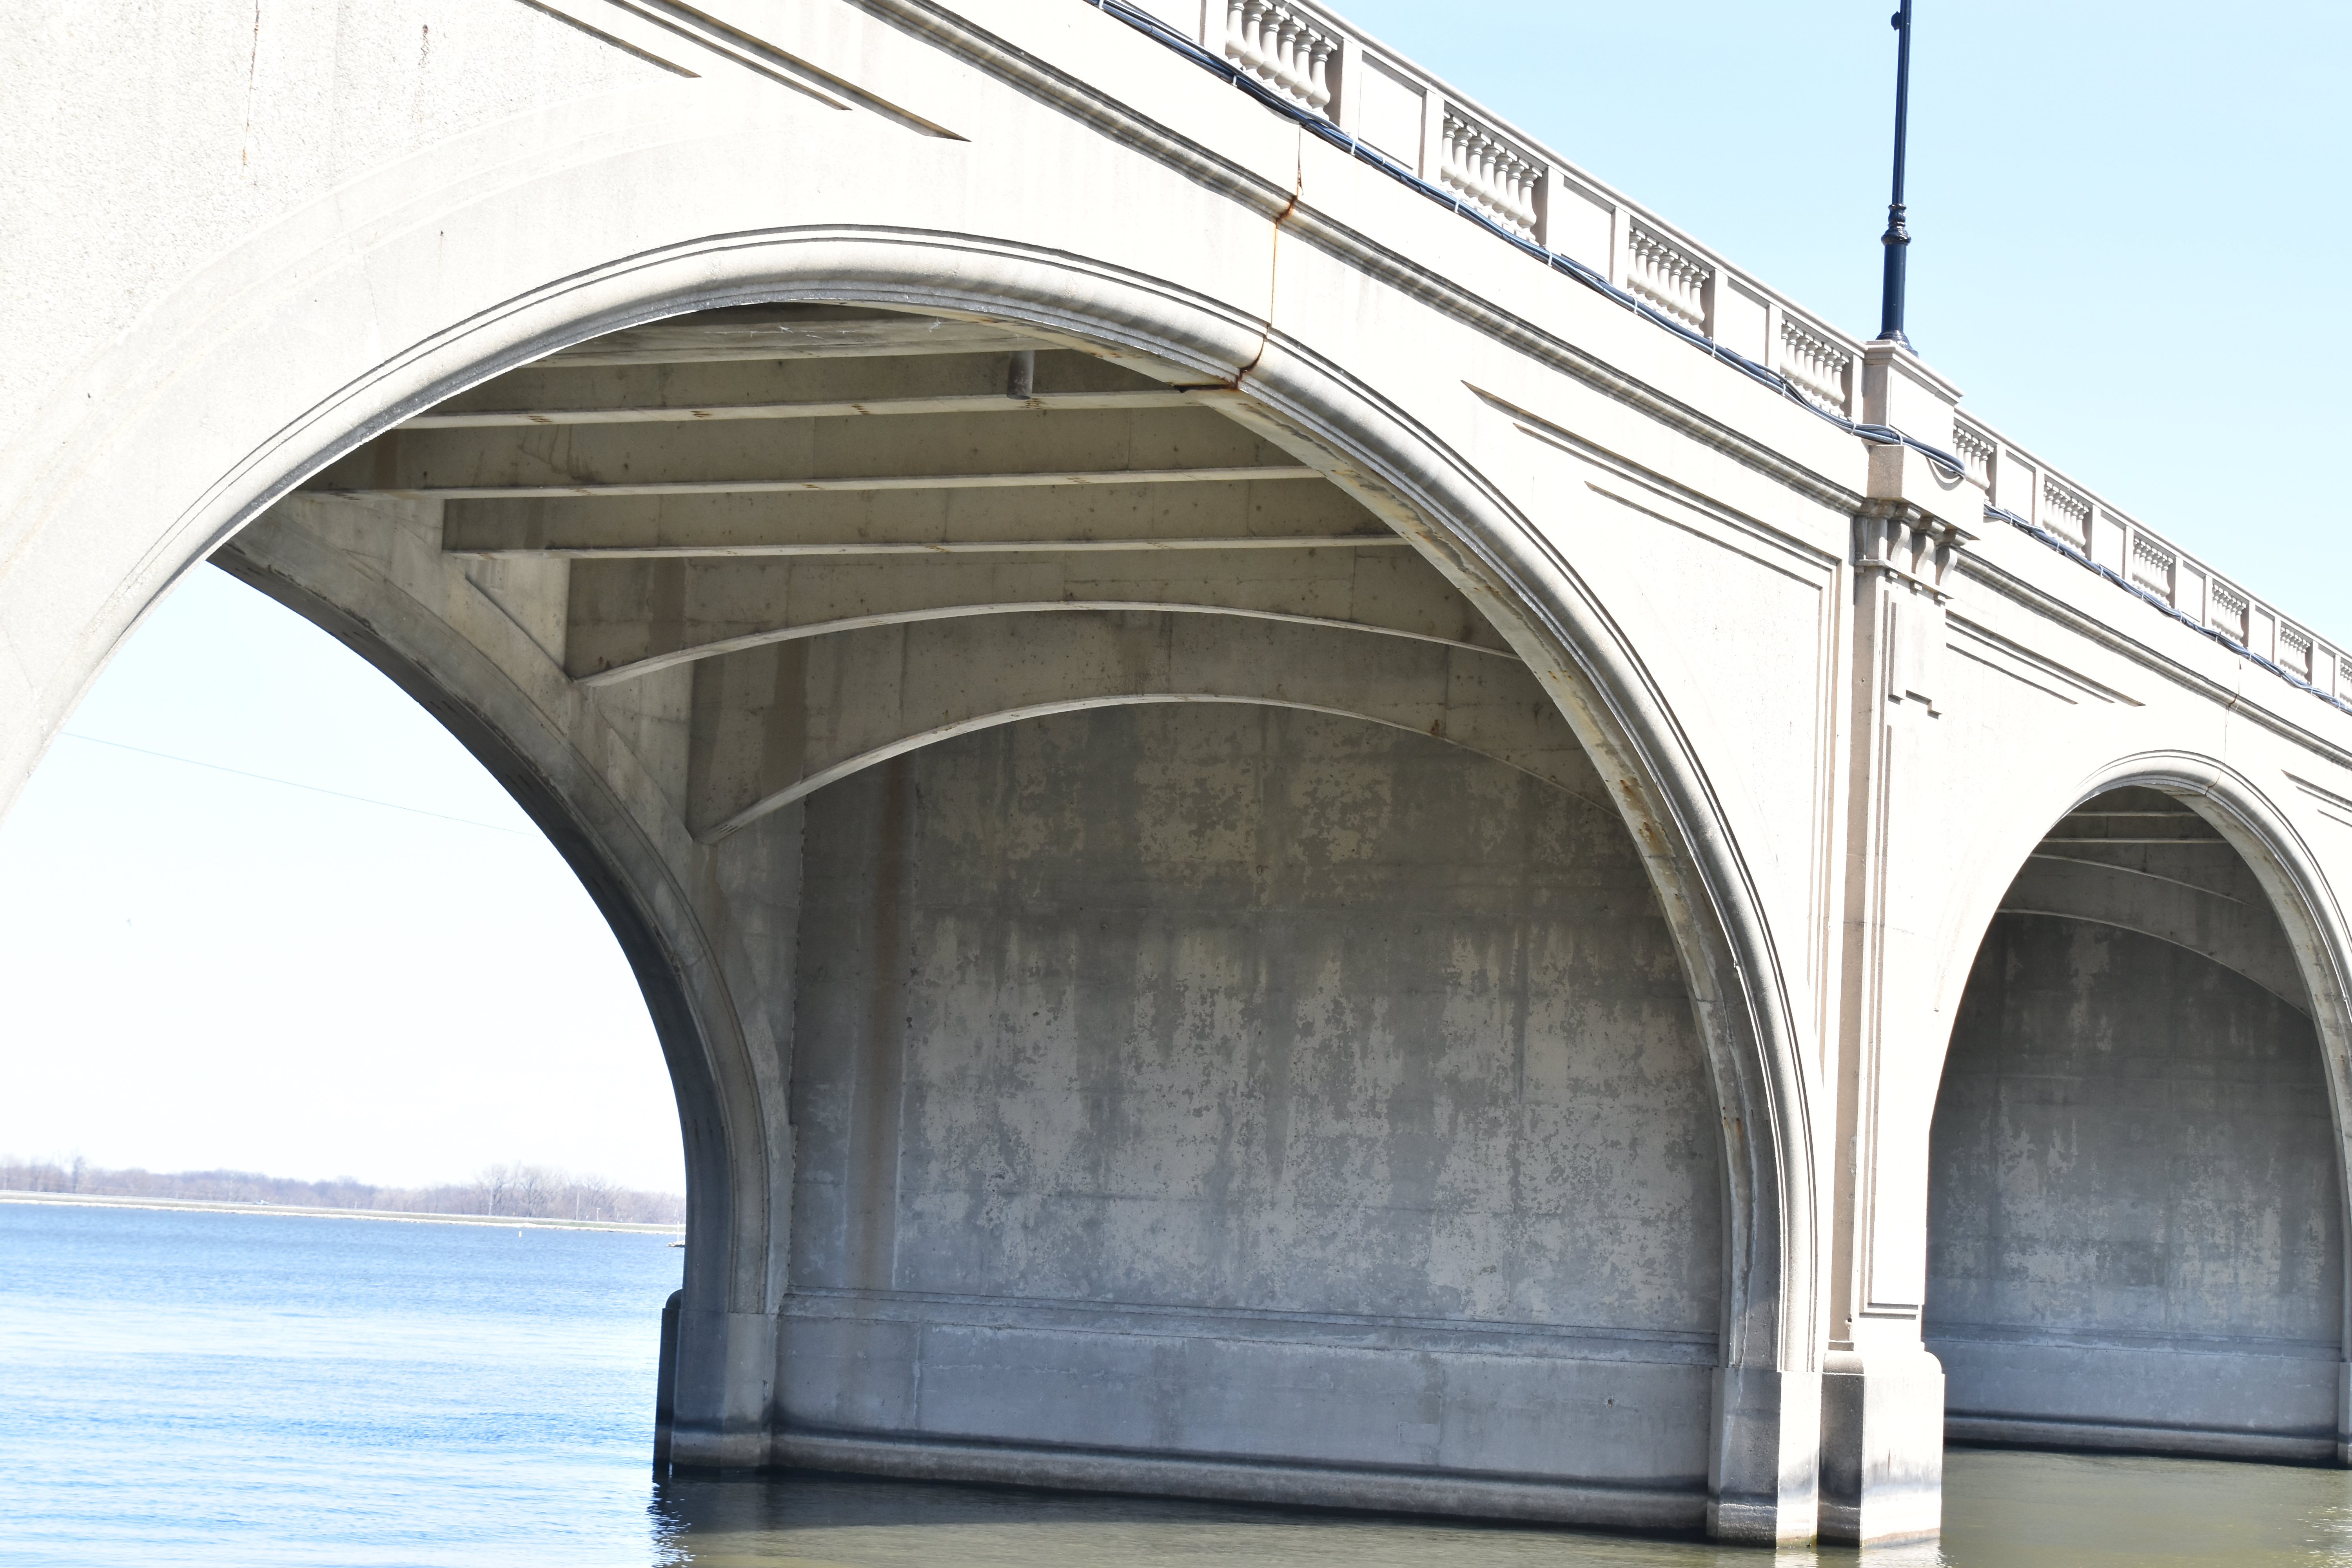
Views from below bridge from southeast quadrant.
![]()


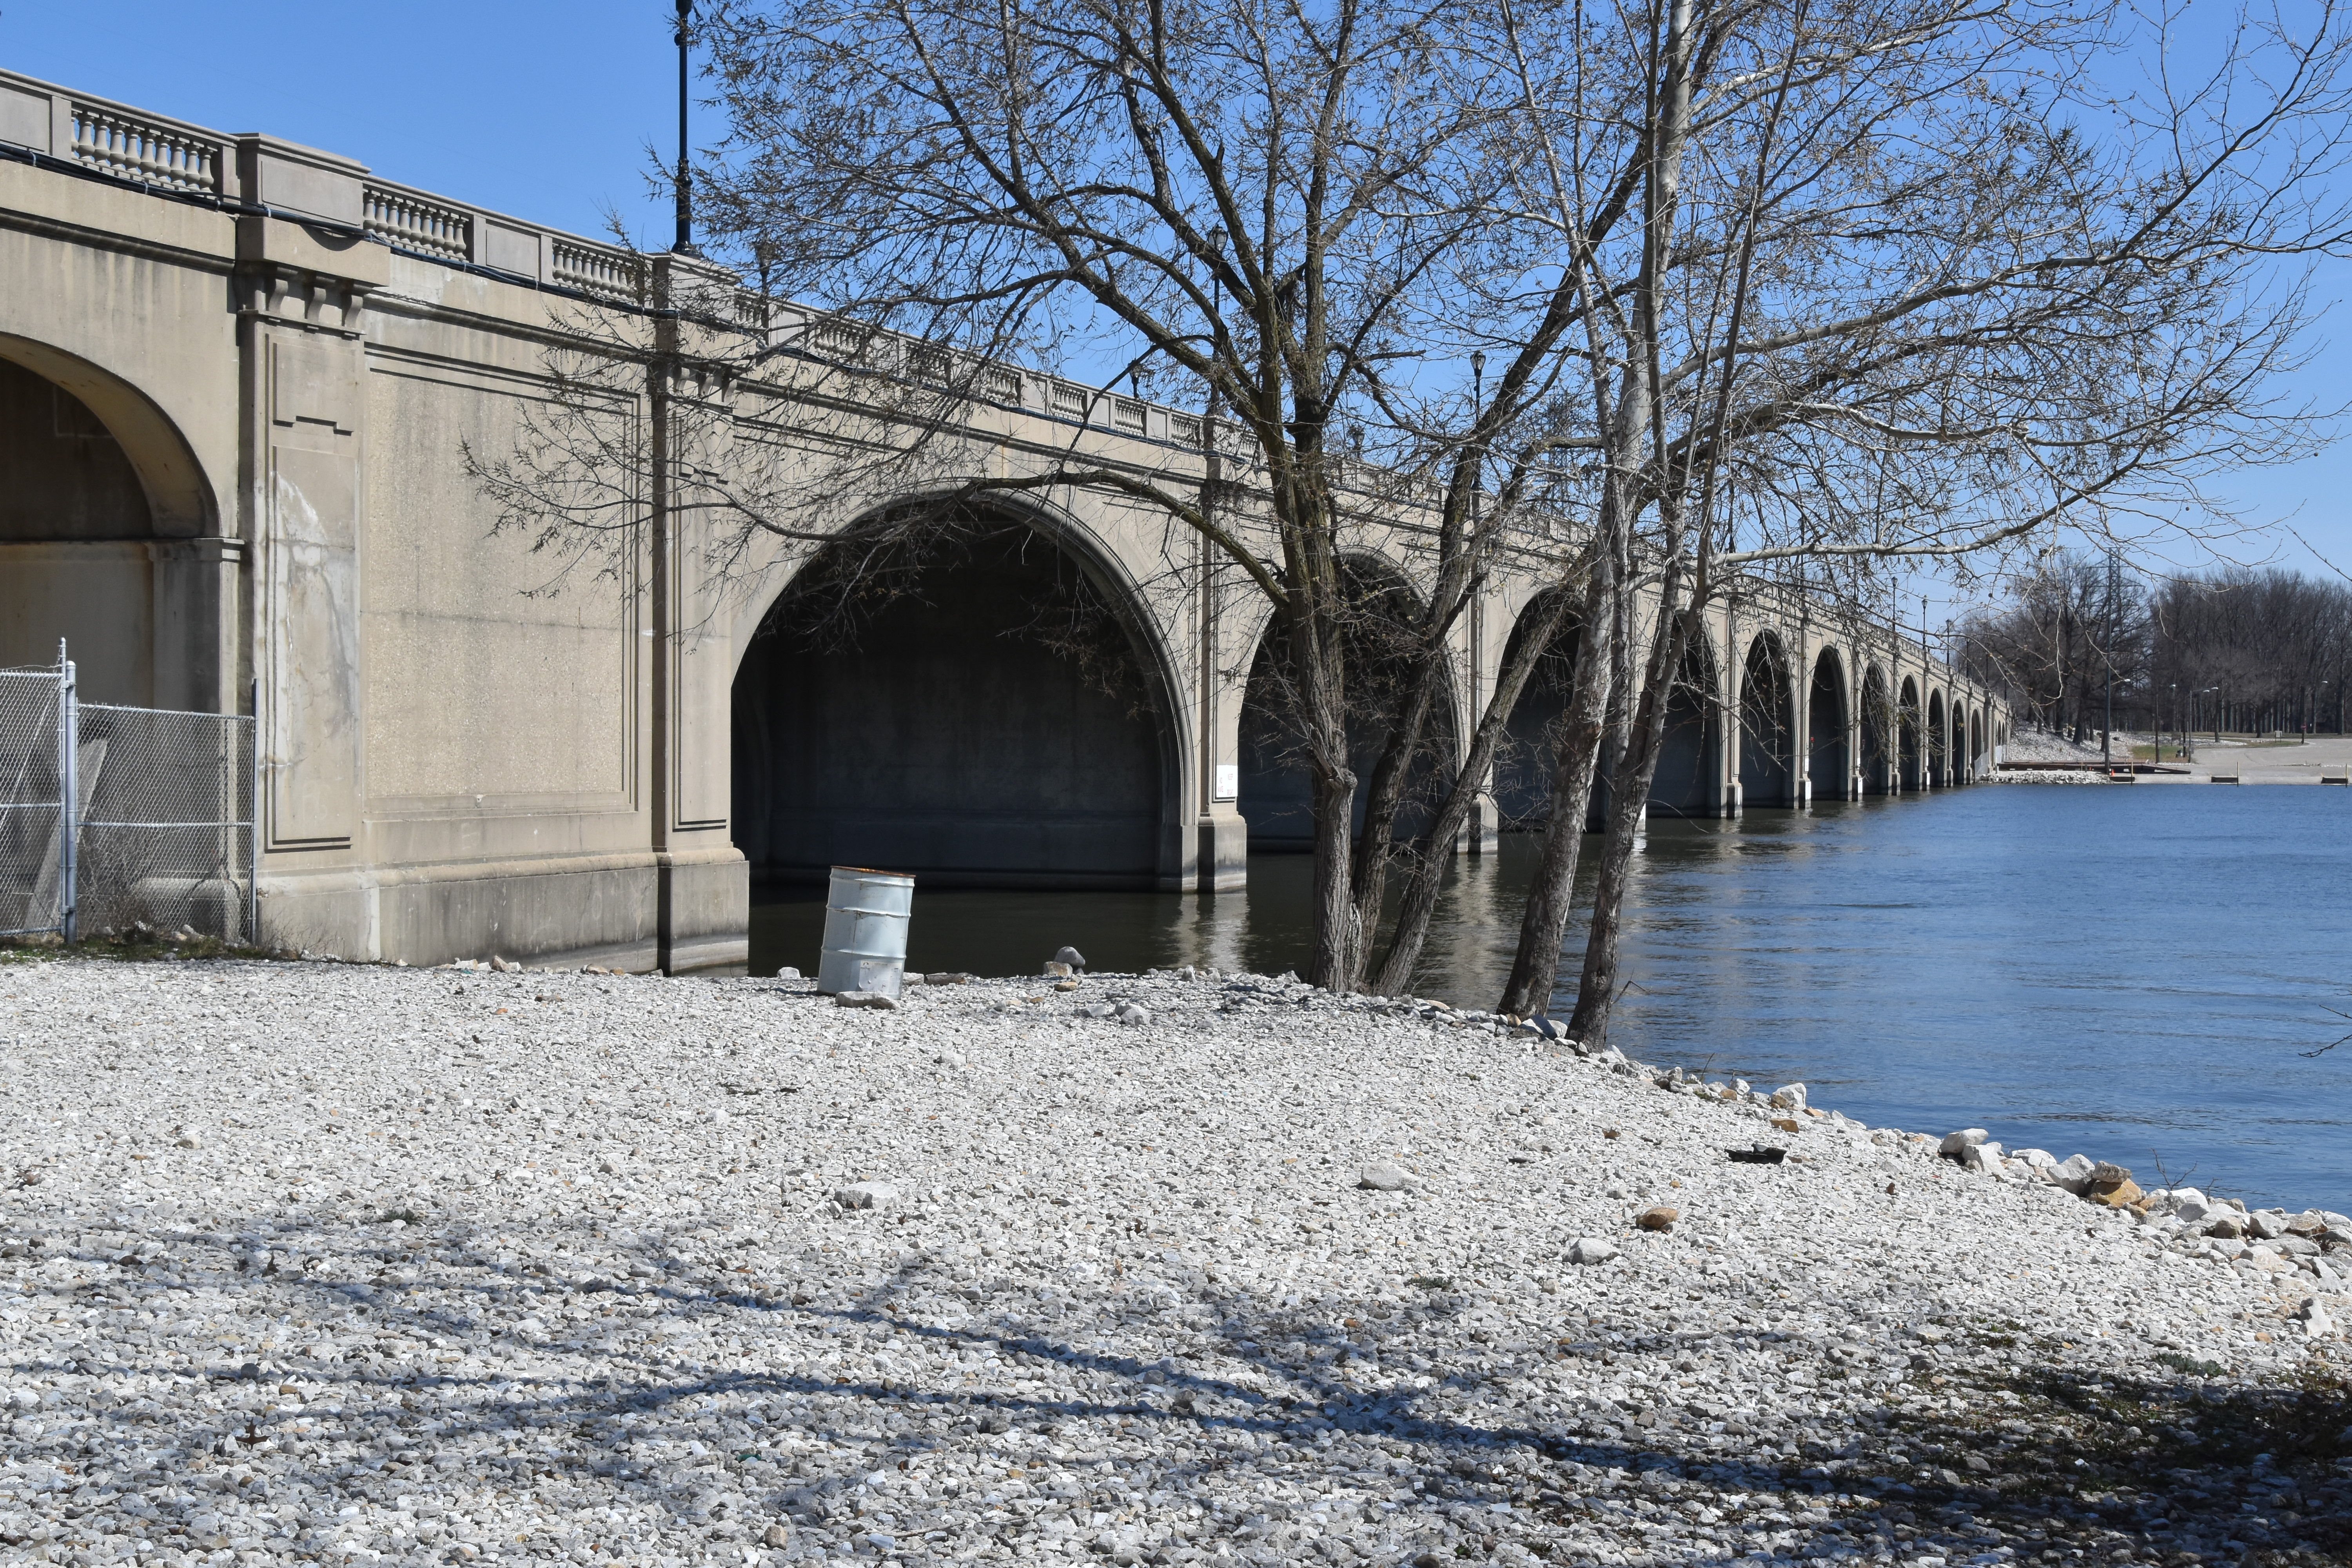
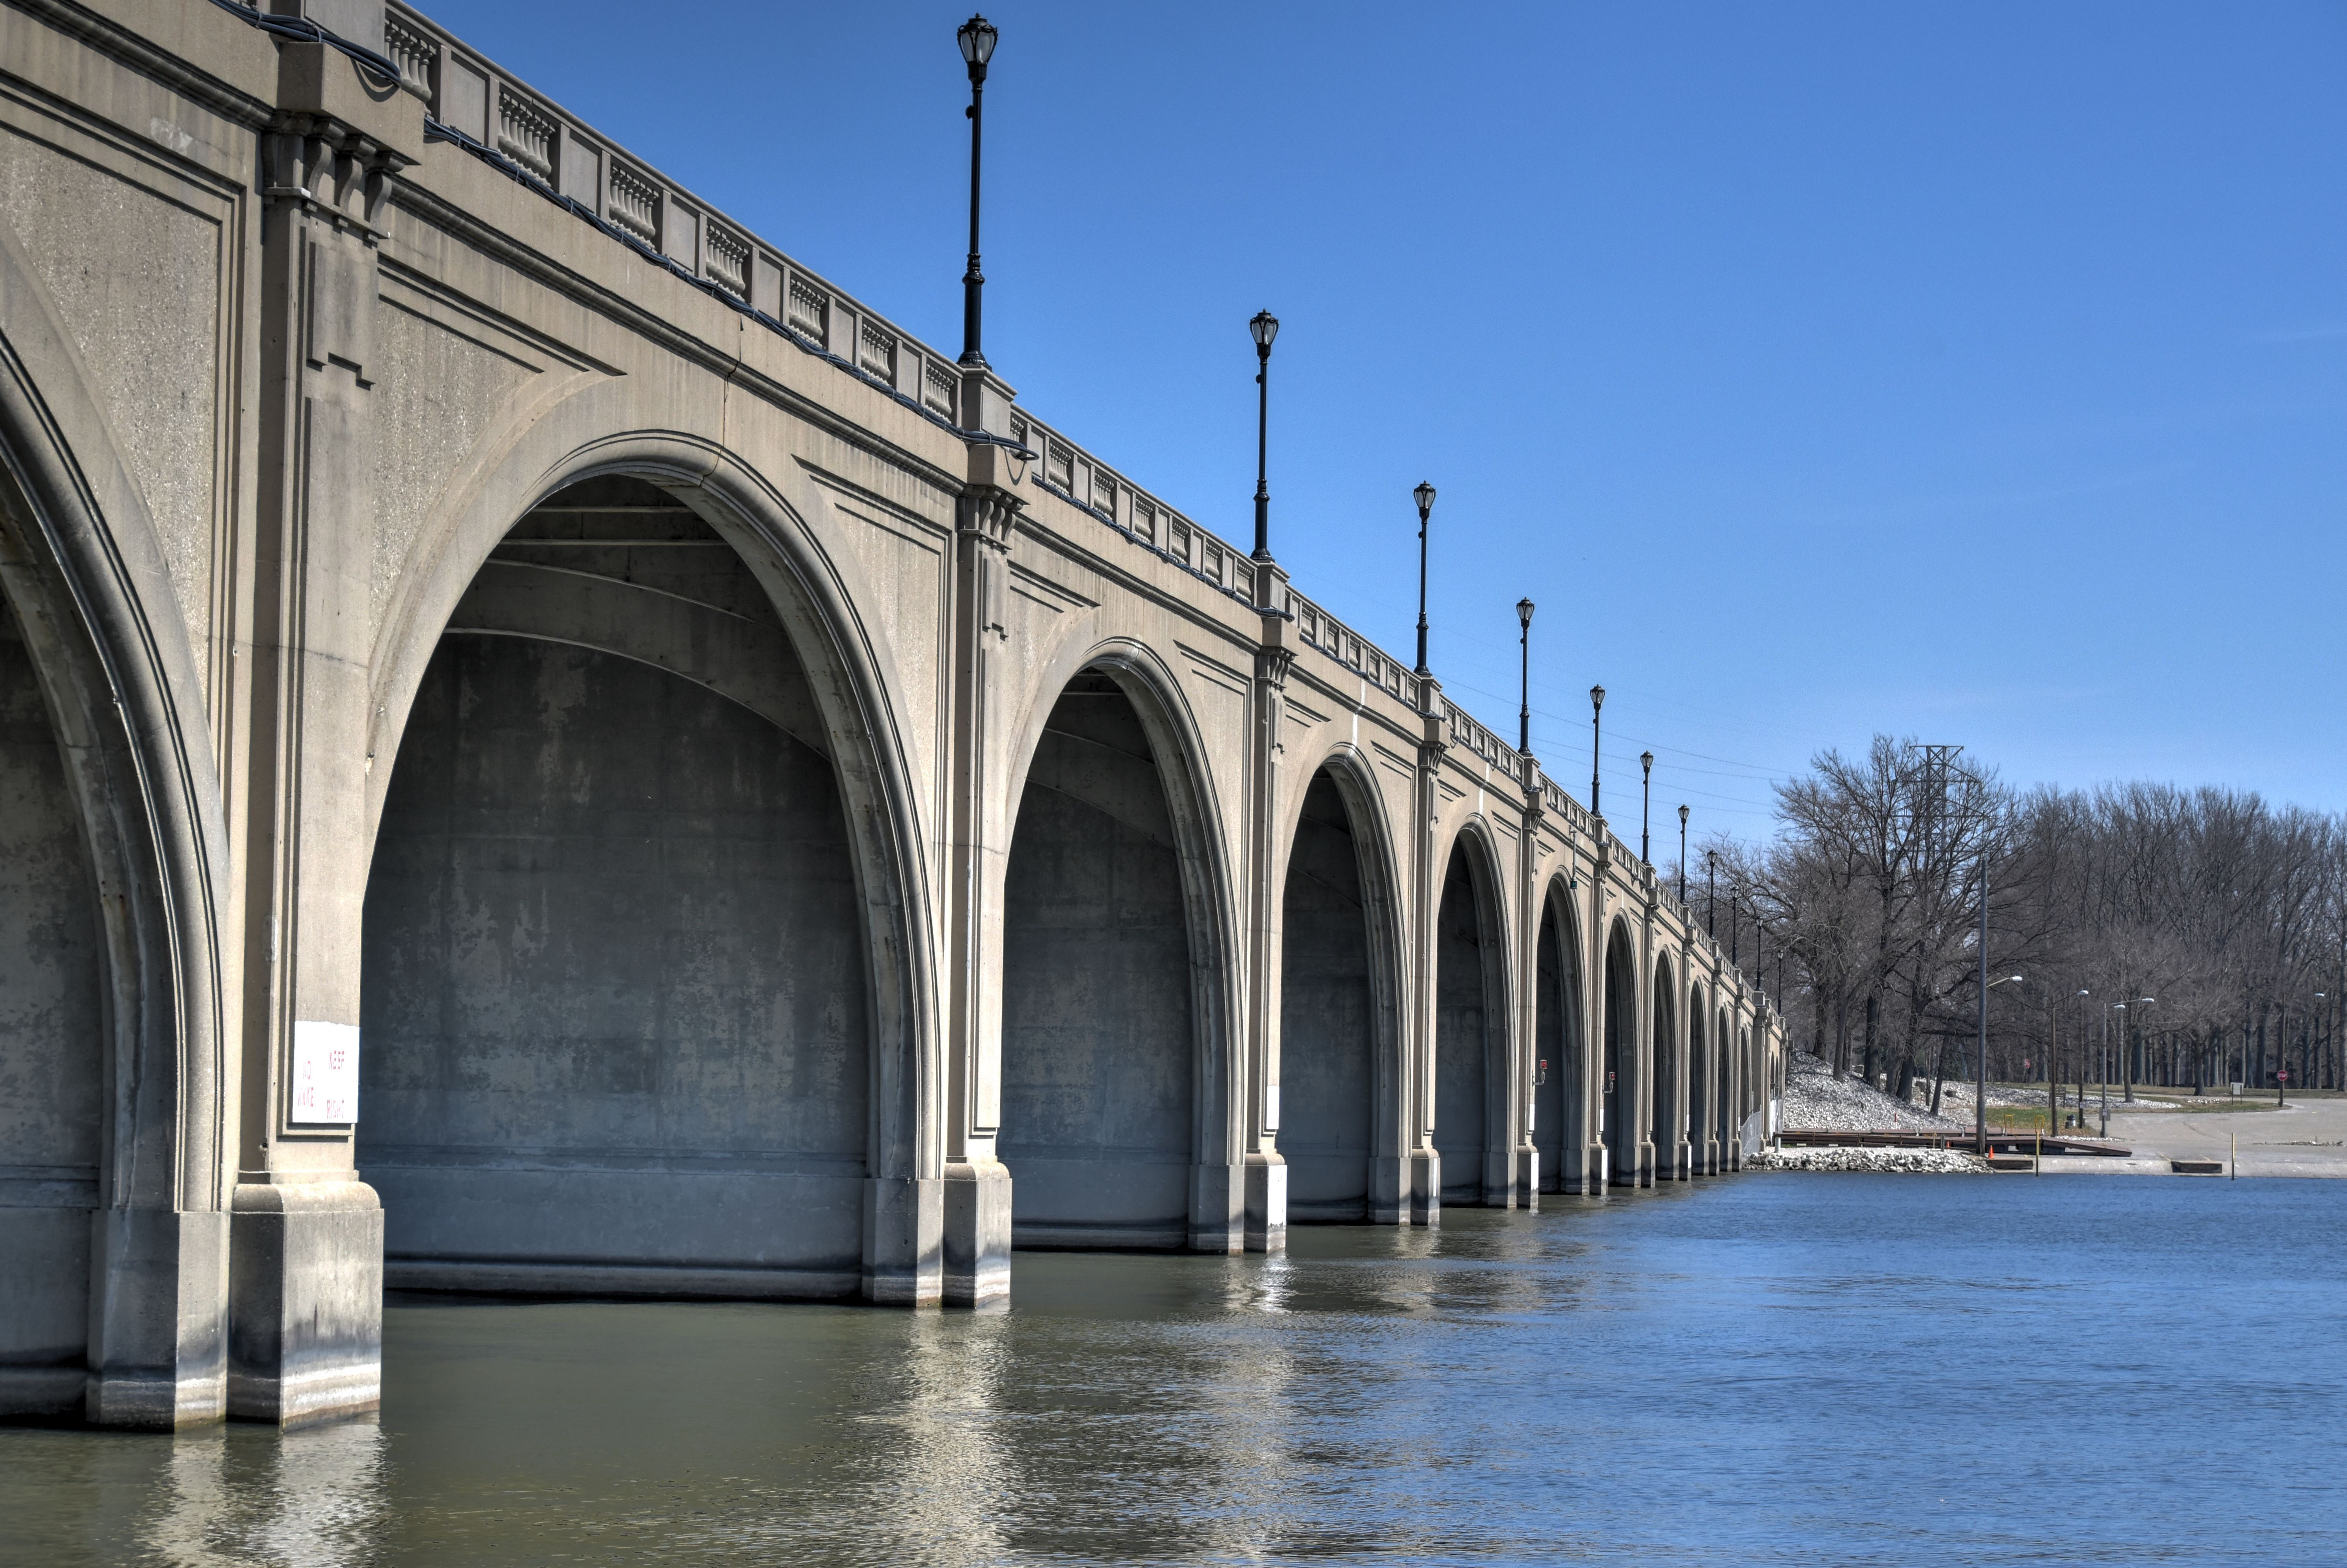
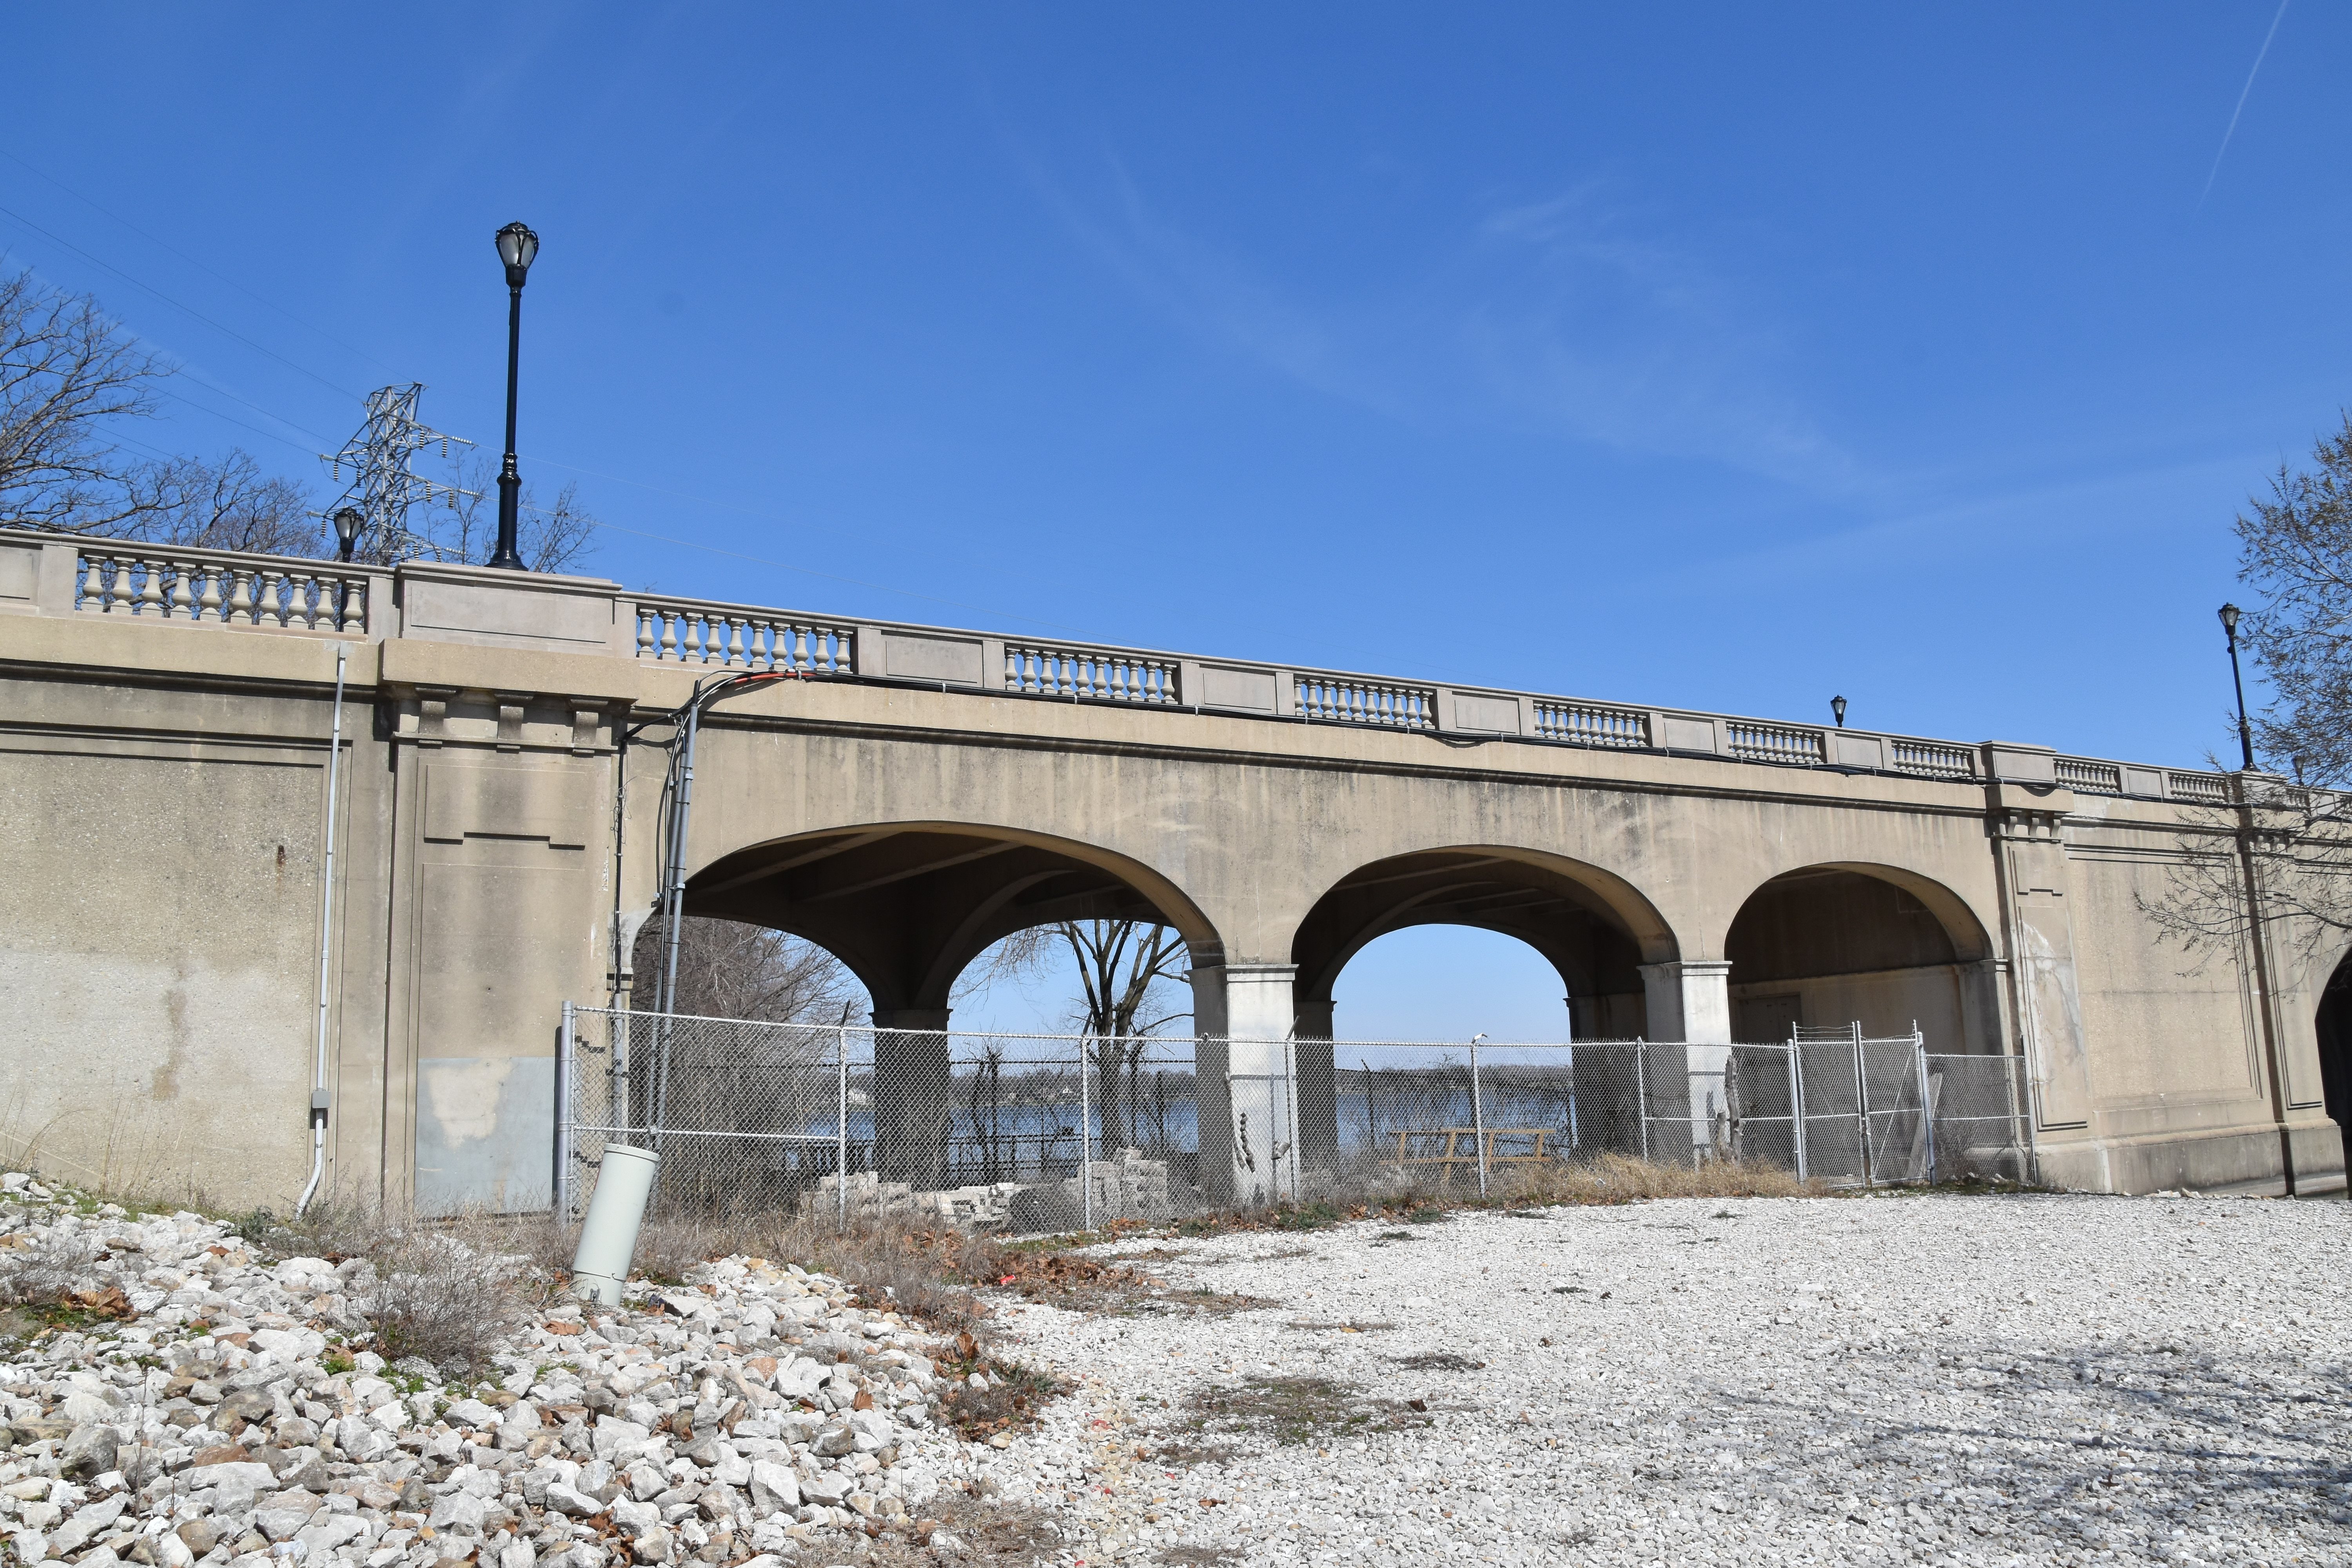
Views beside bridge from southeast quadrant.
![]()


Oblique views from southwest quadrant.
![]()


Views beside bridge from southwest quadrant.
![]()

Portal view on bridge facing east.
![]()


Views on sidewalk.
![]()


Views of individual spans.
![]()
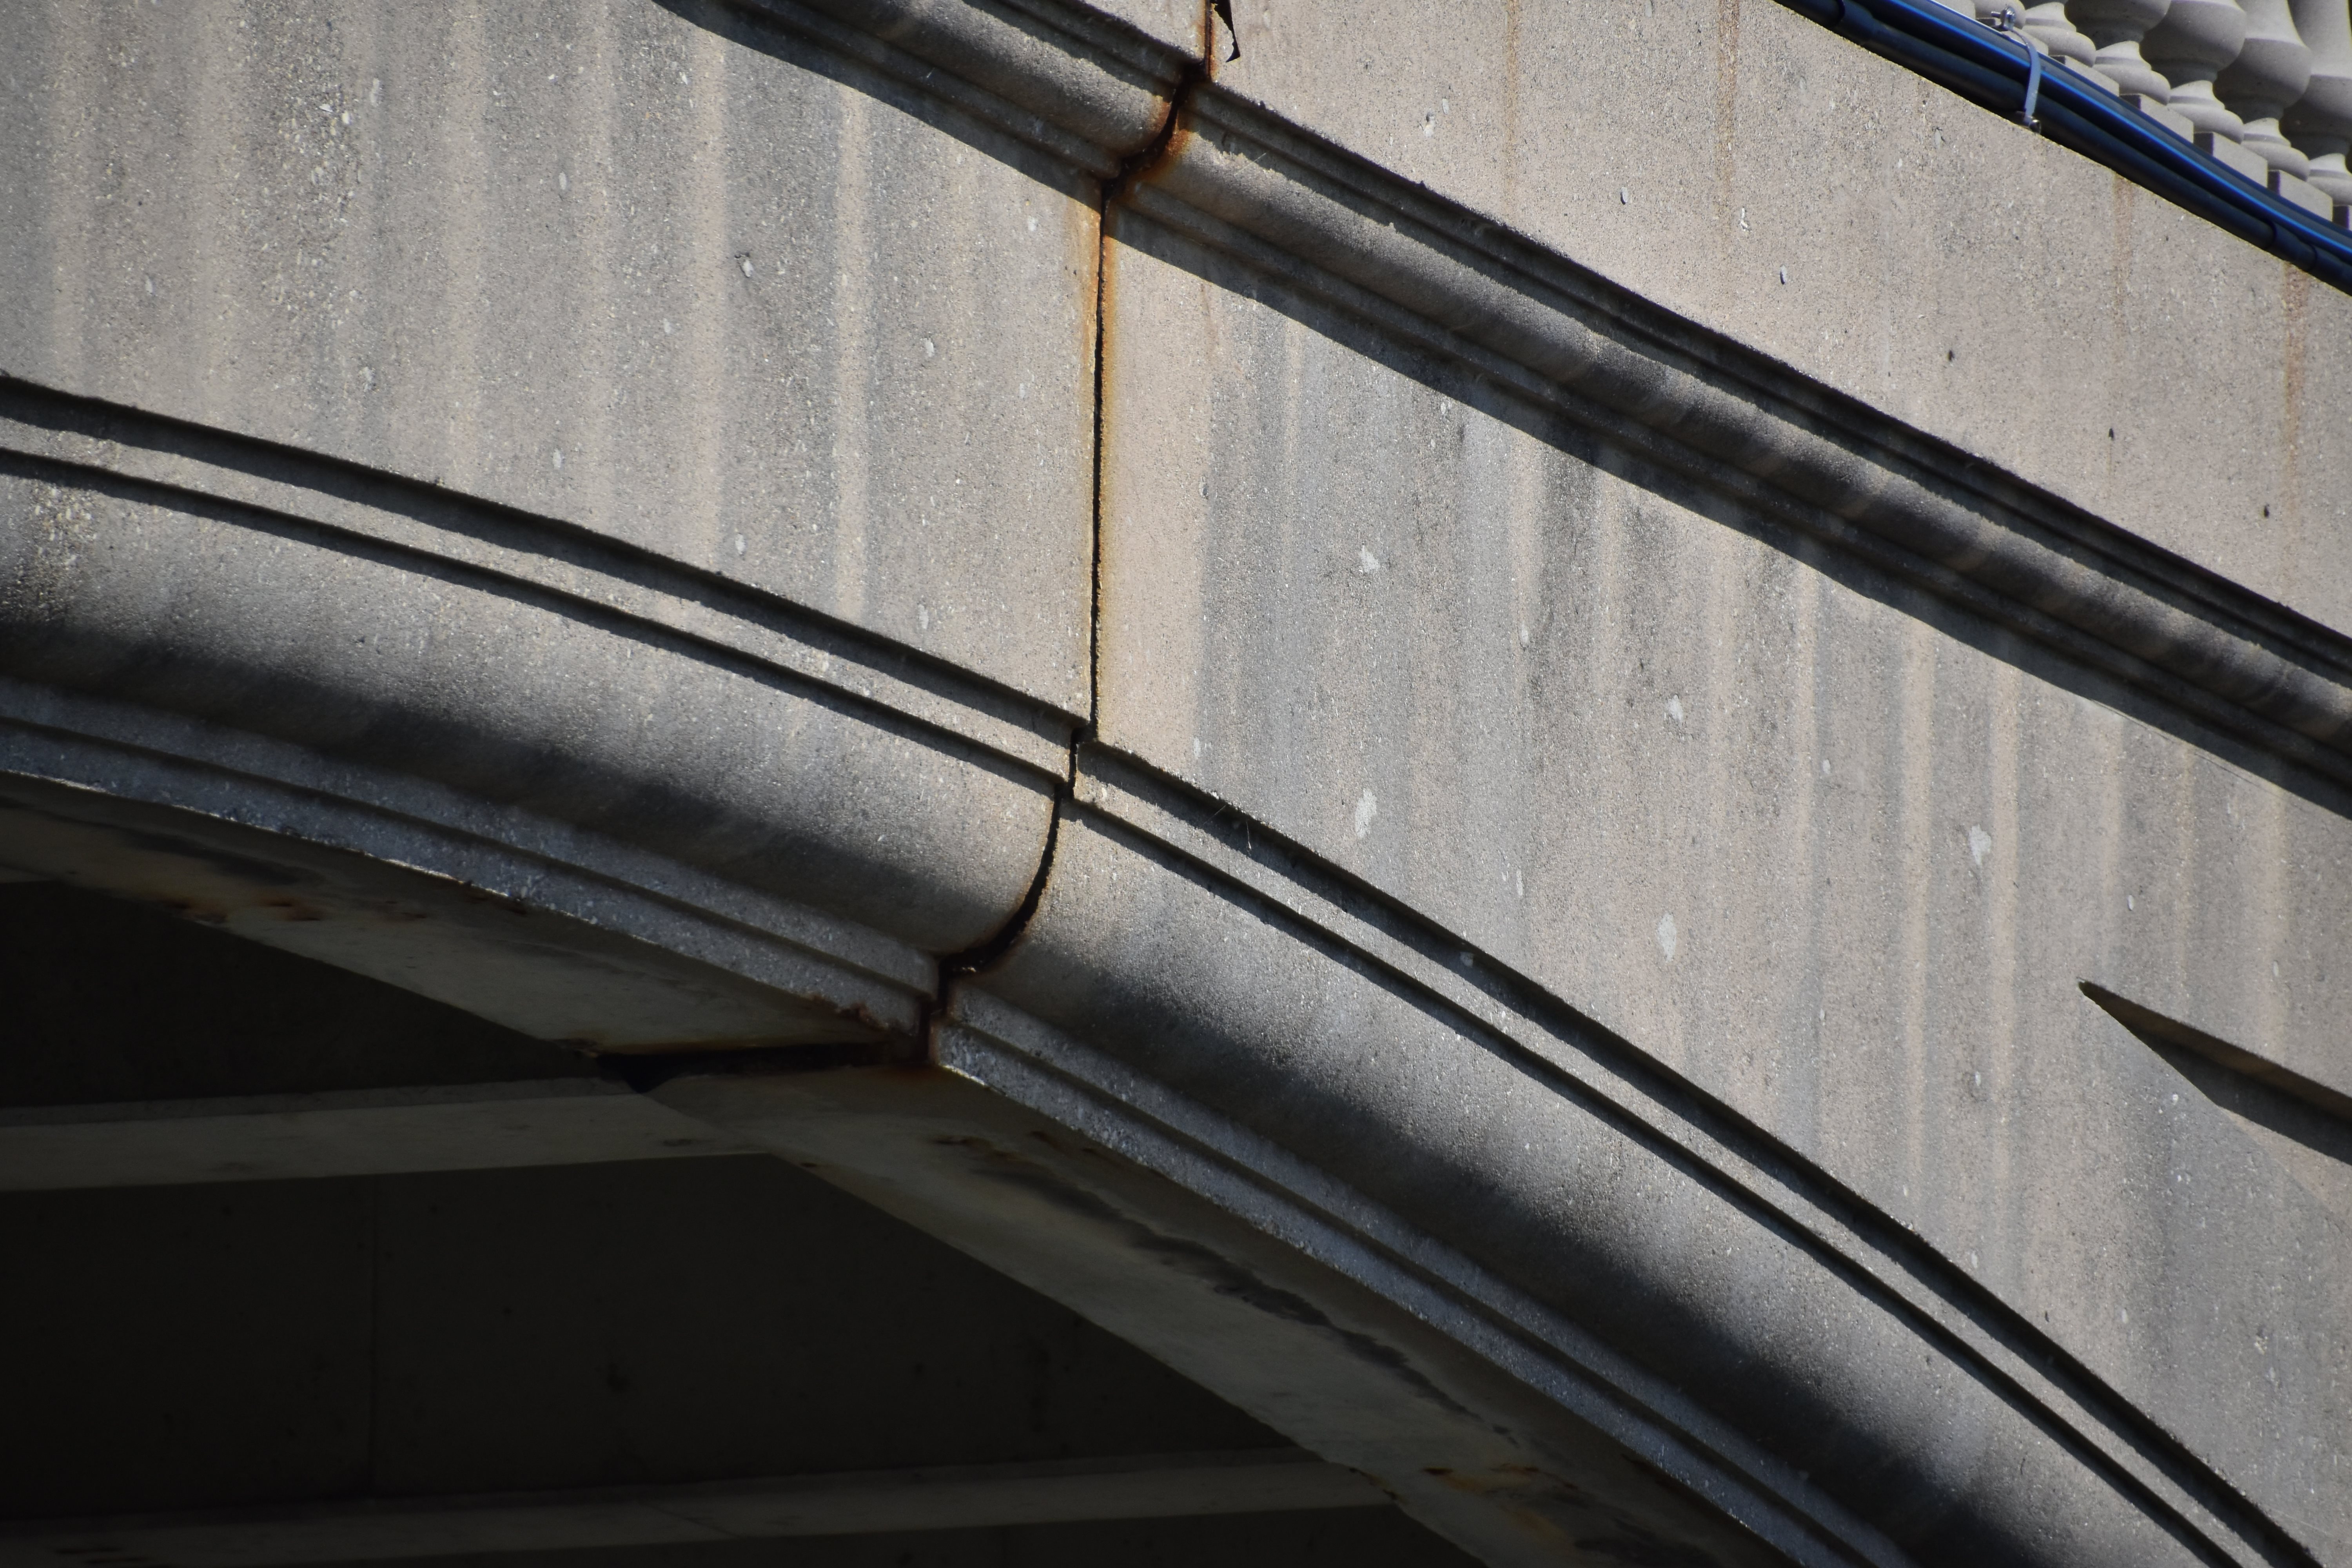
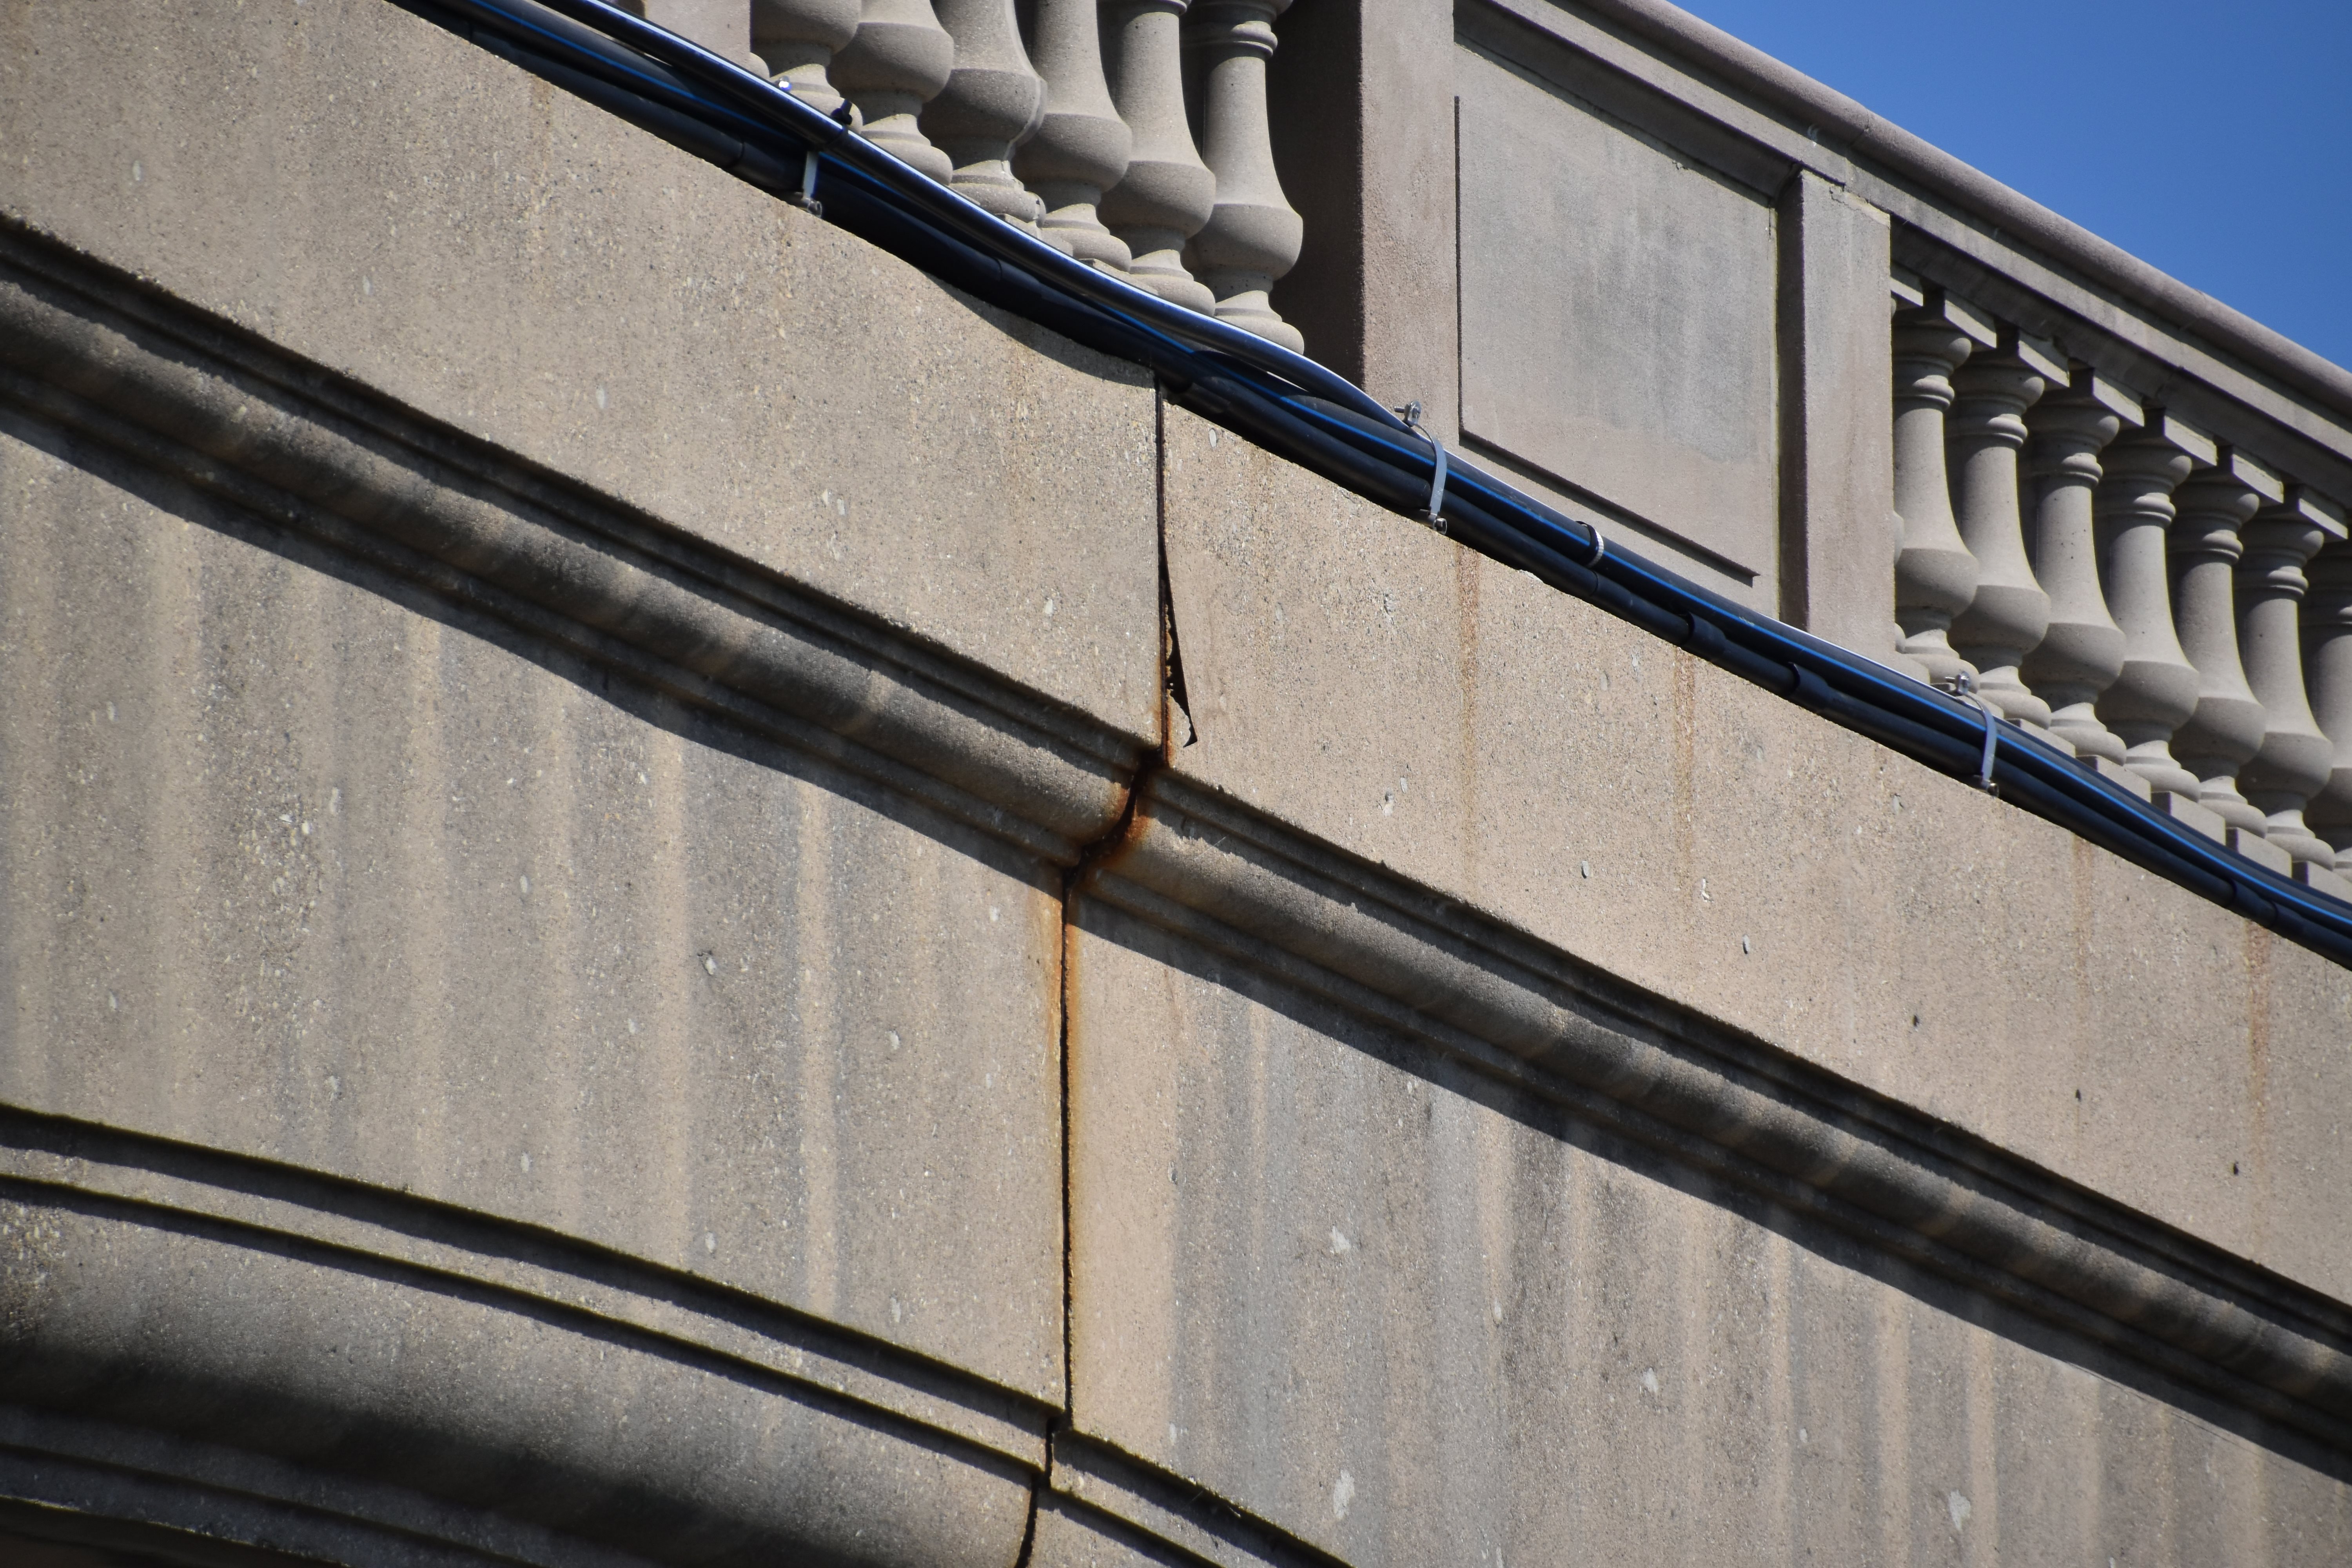
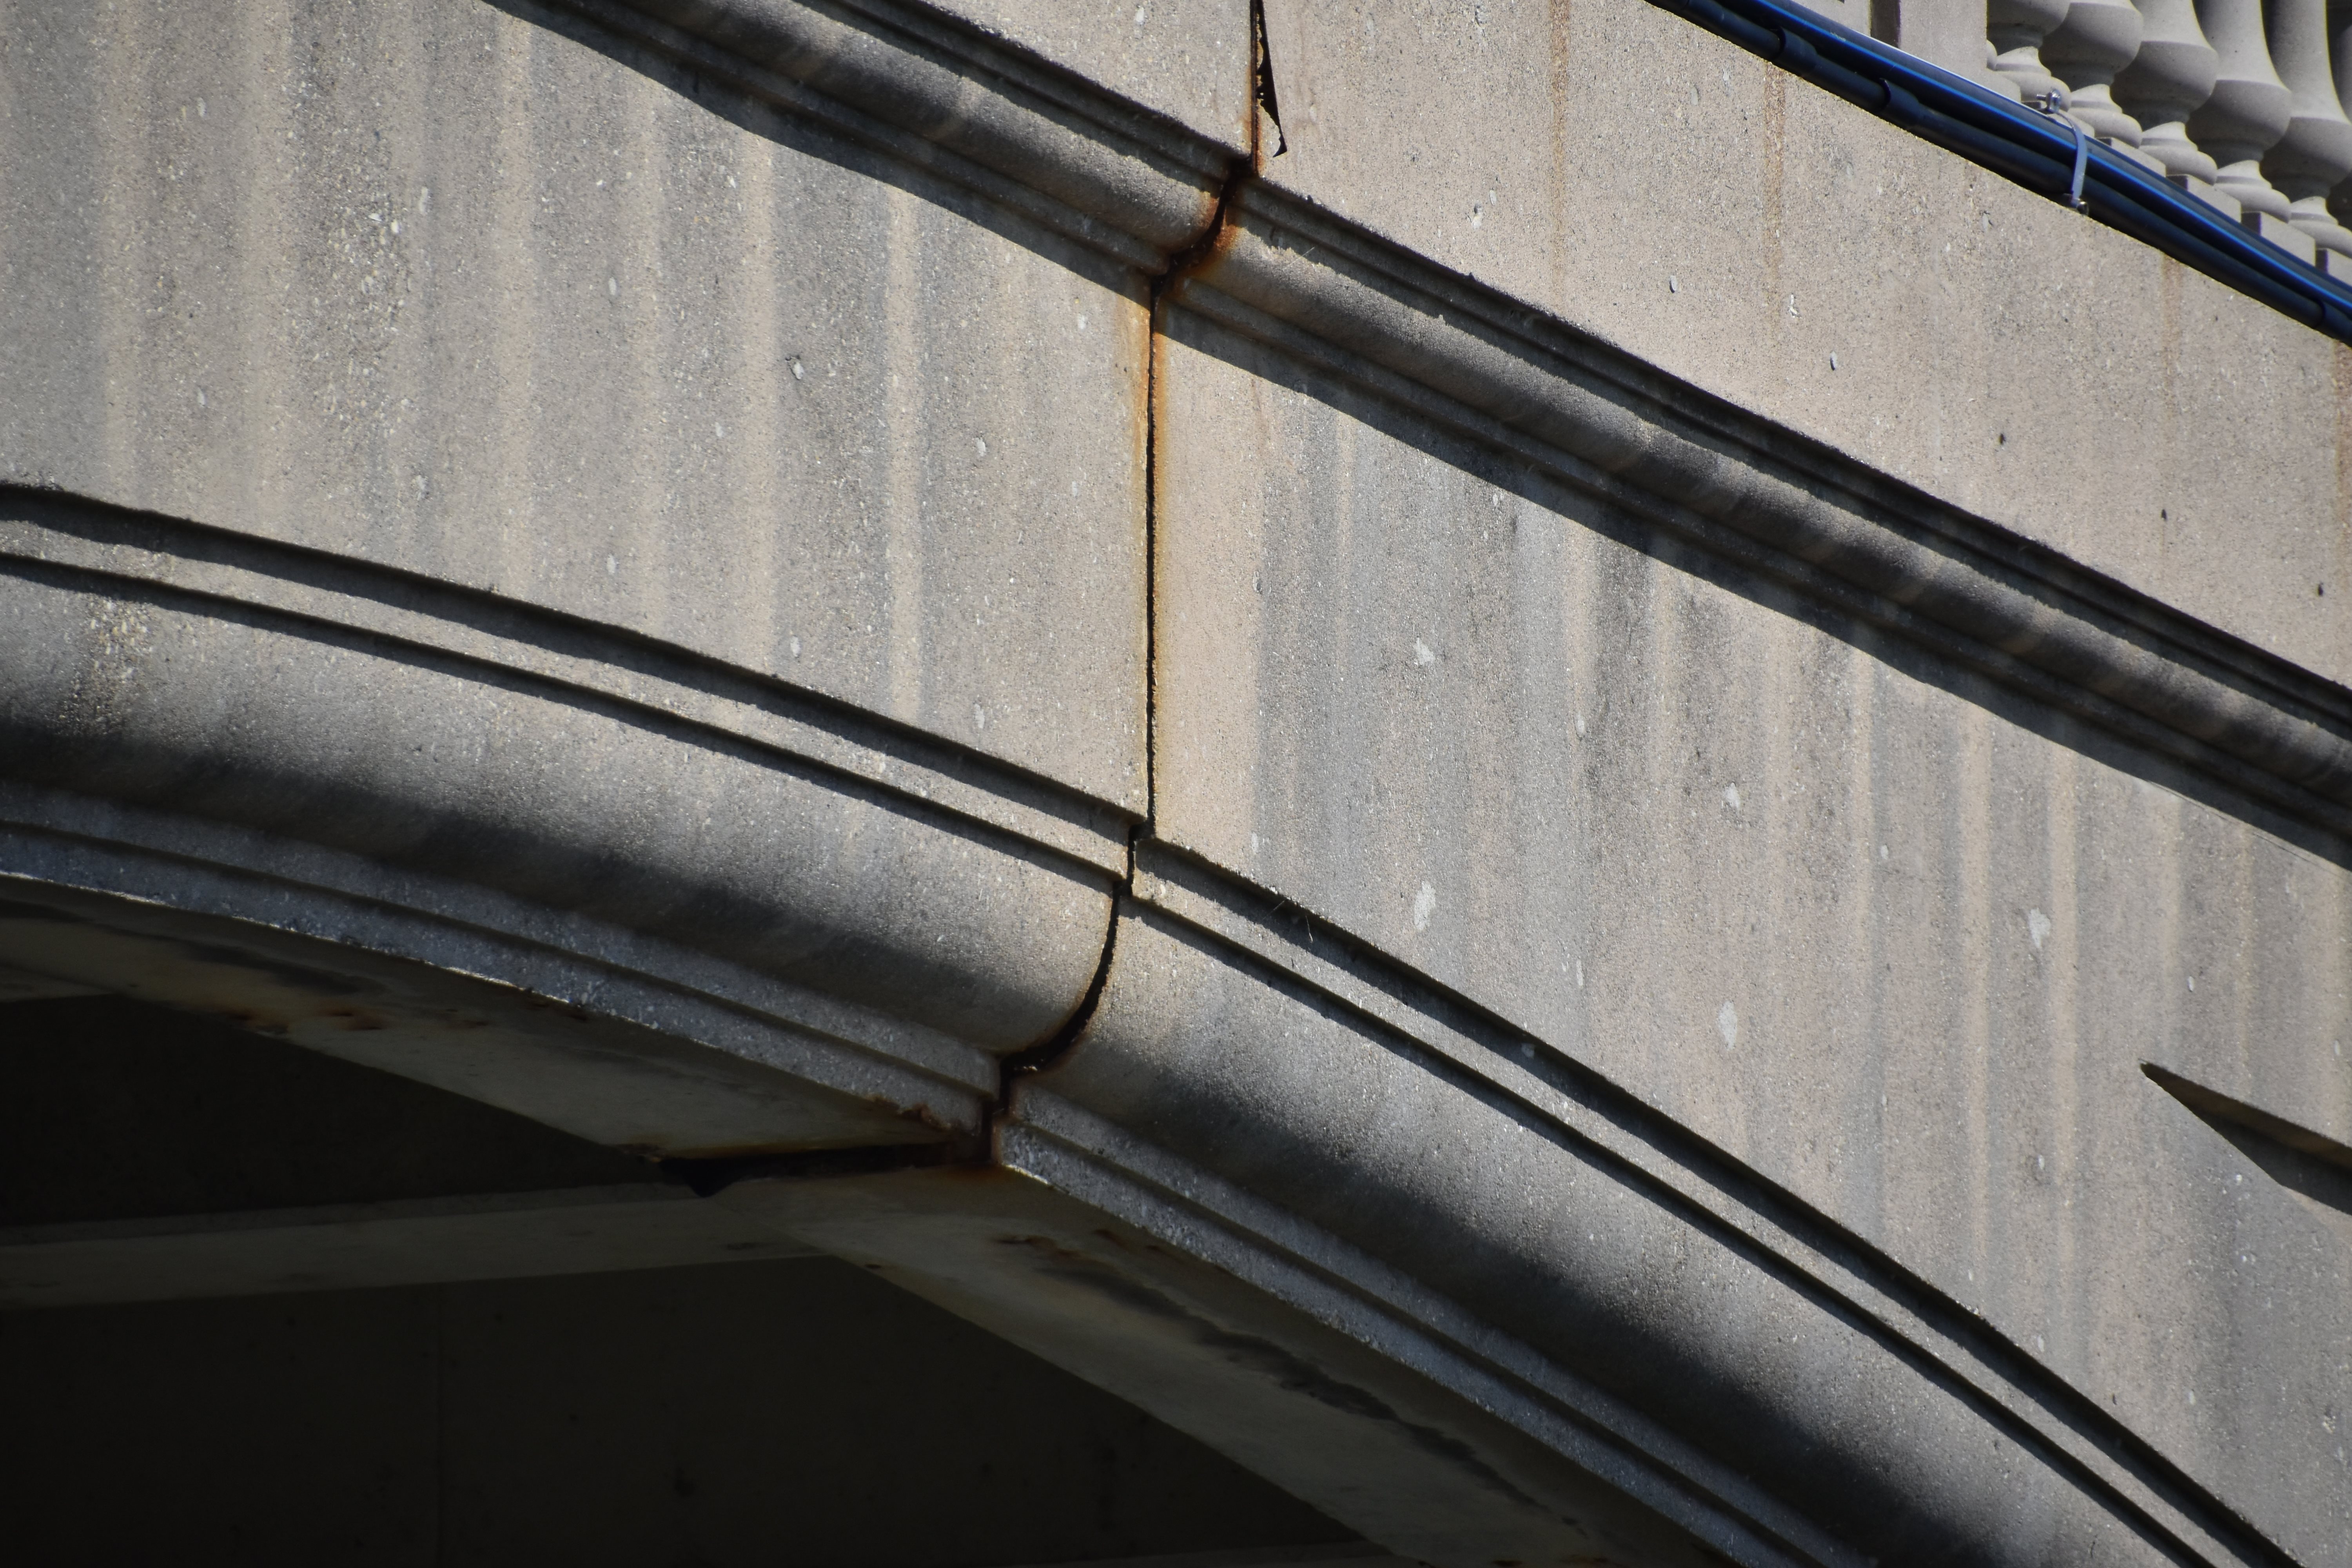
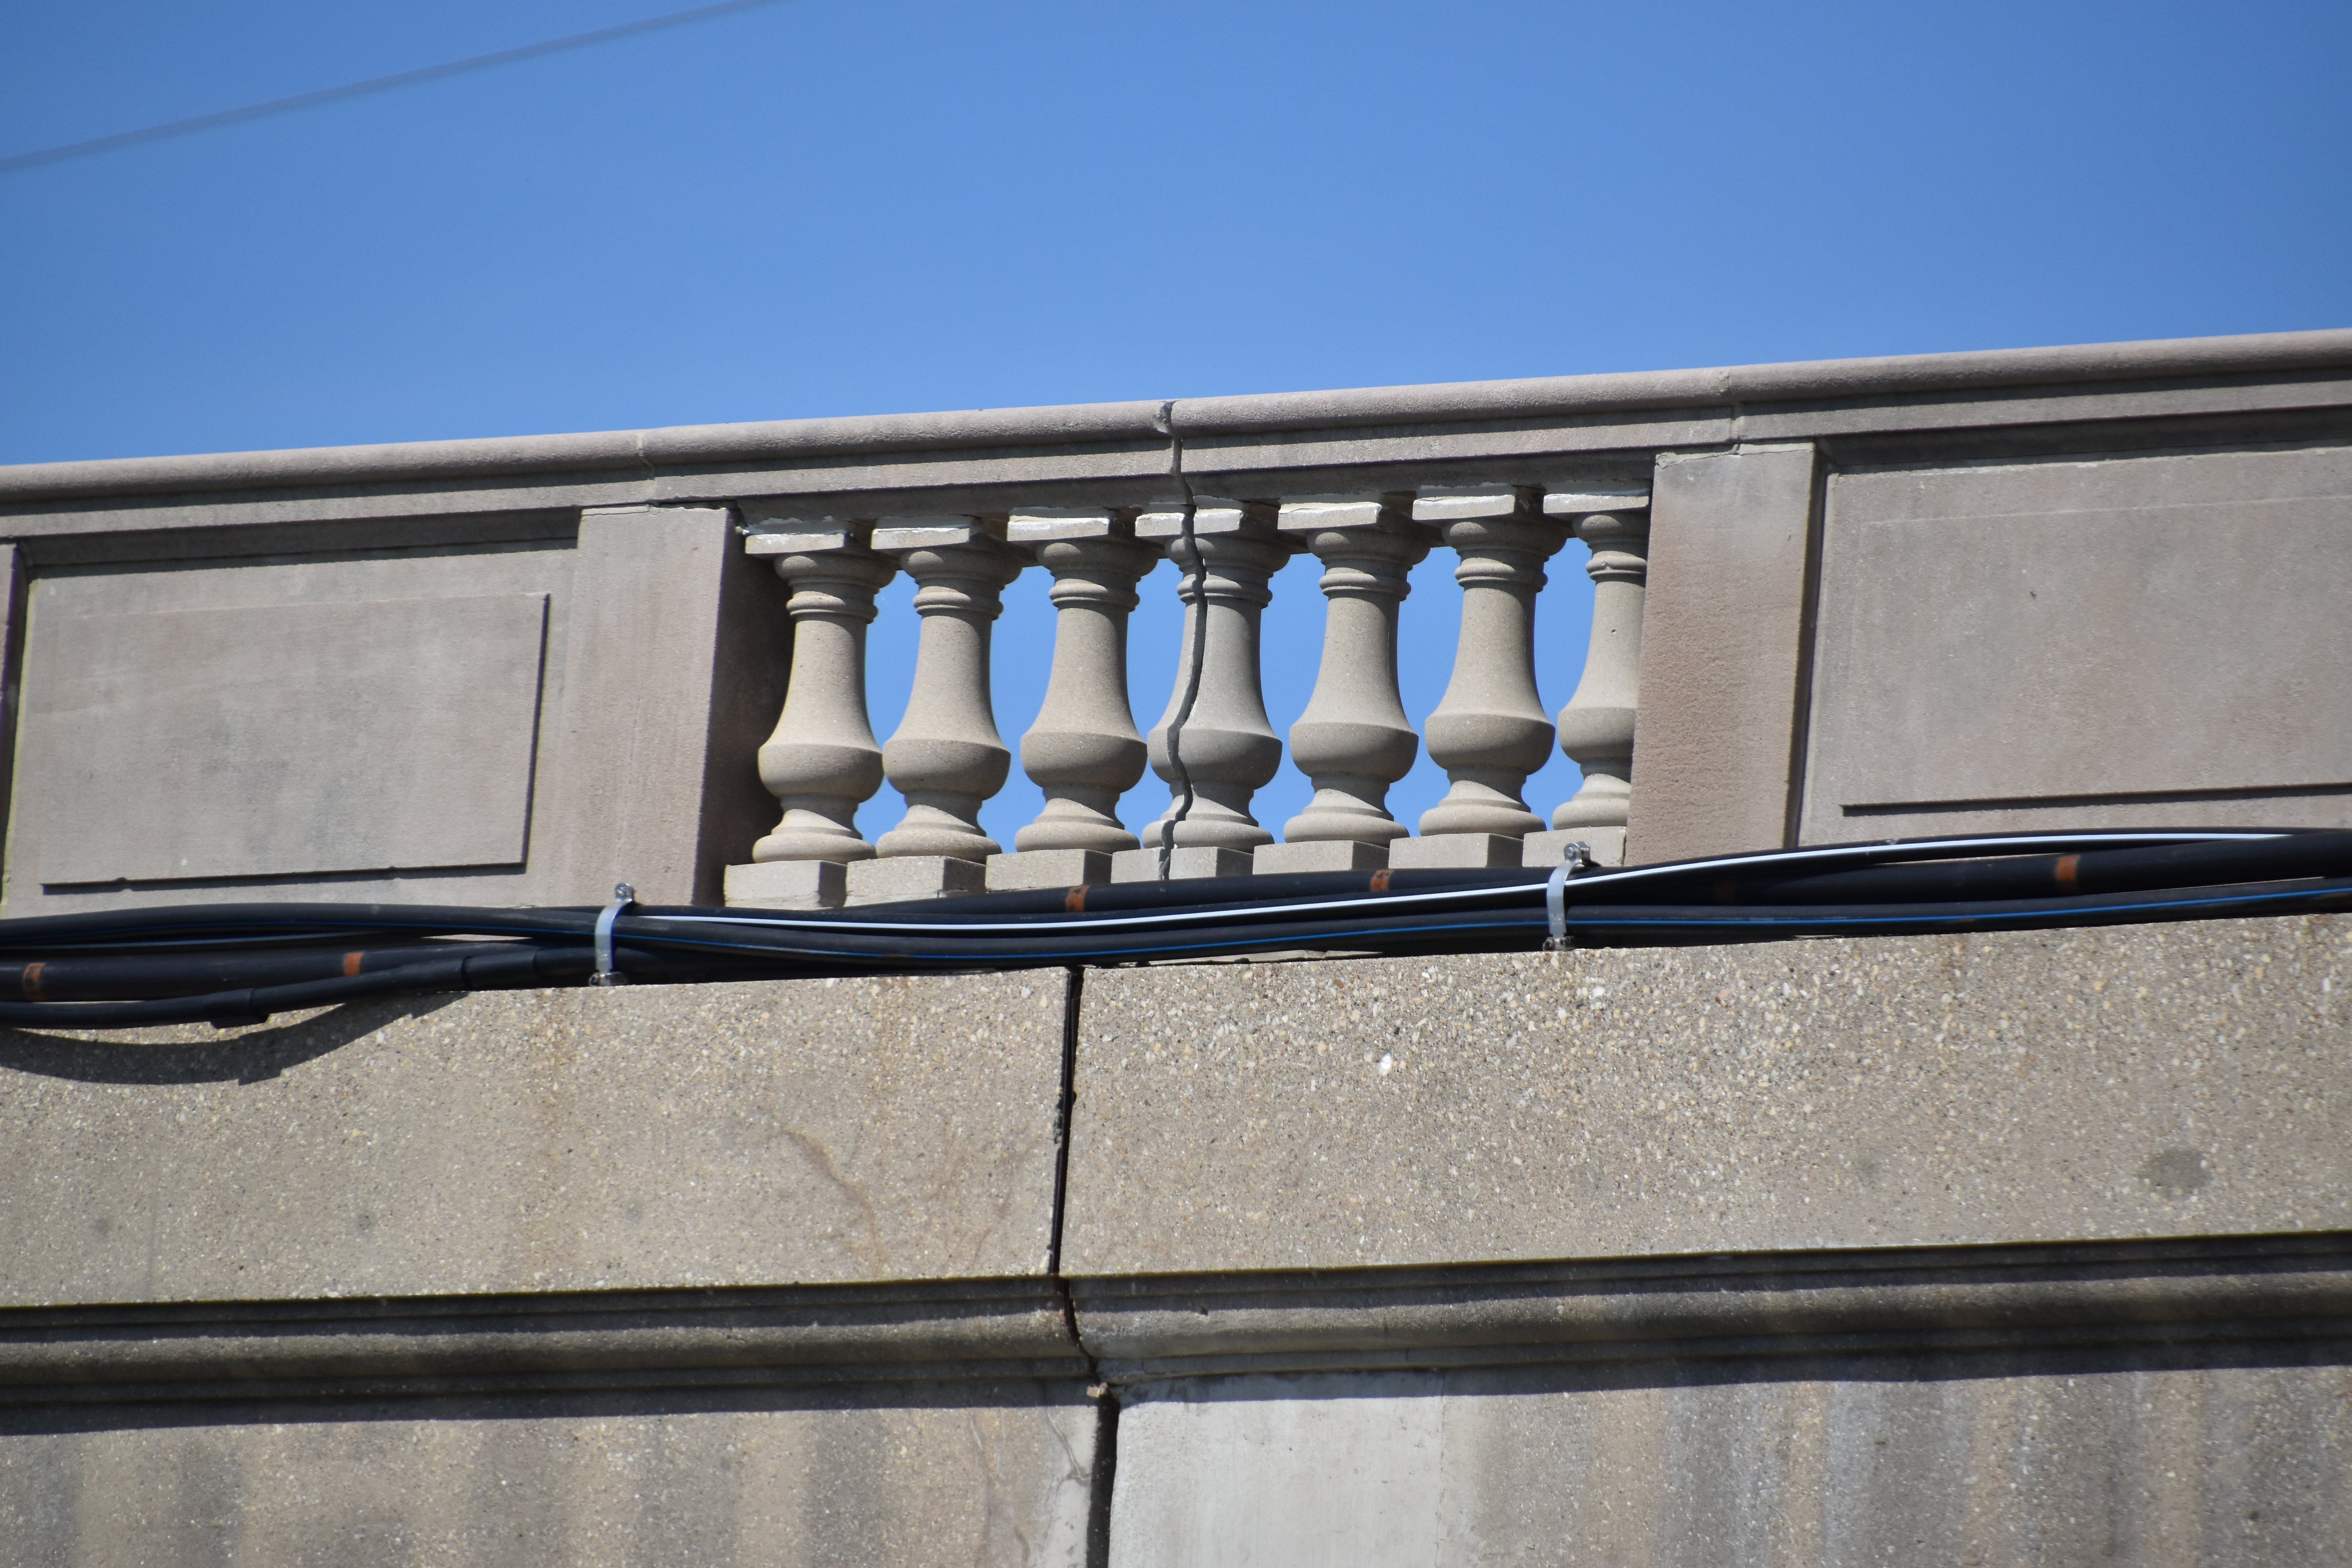
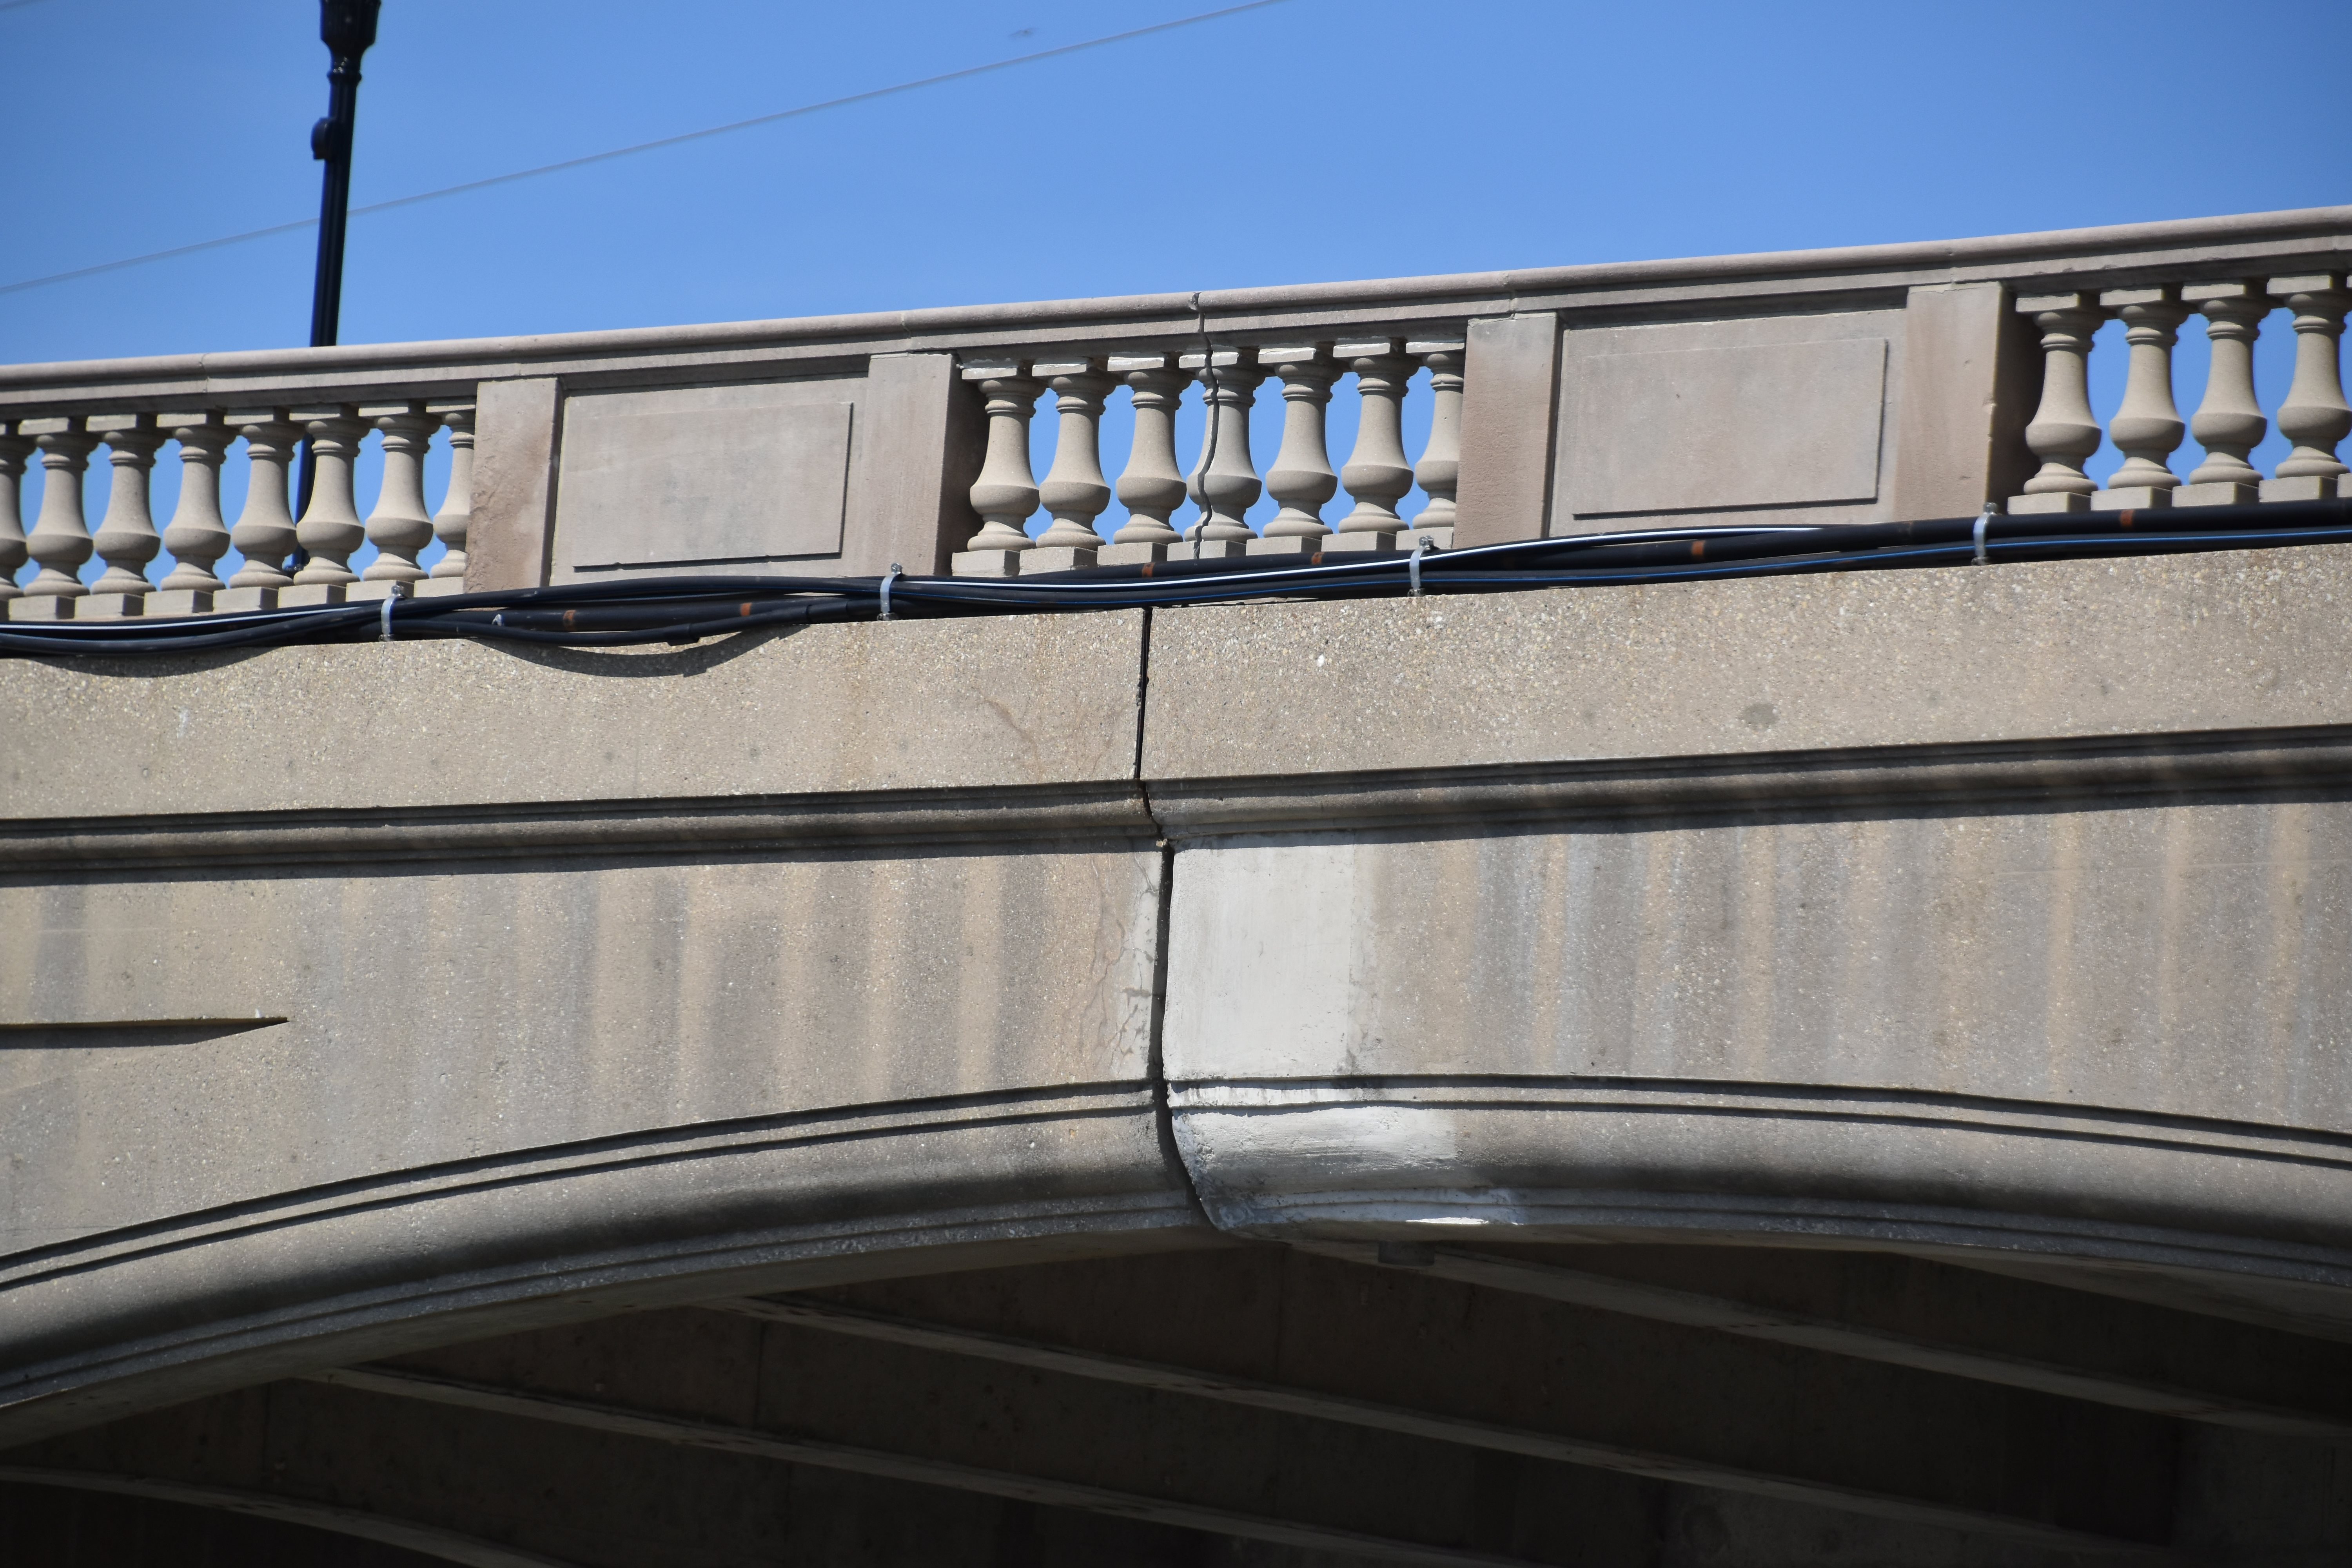
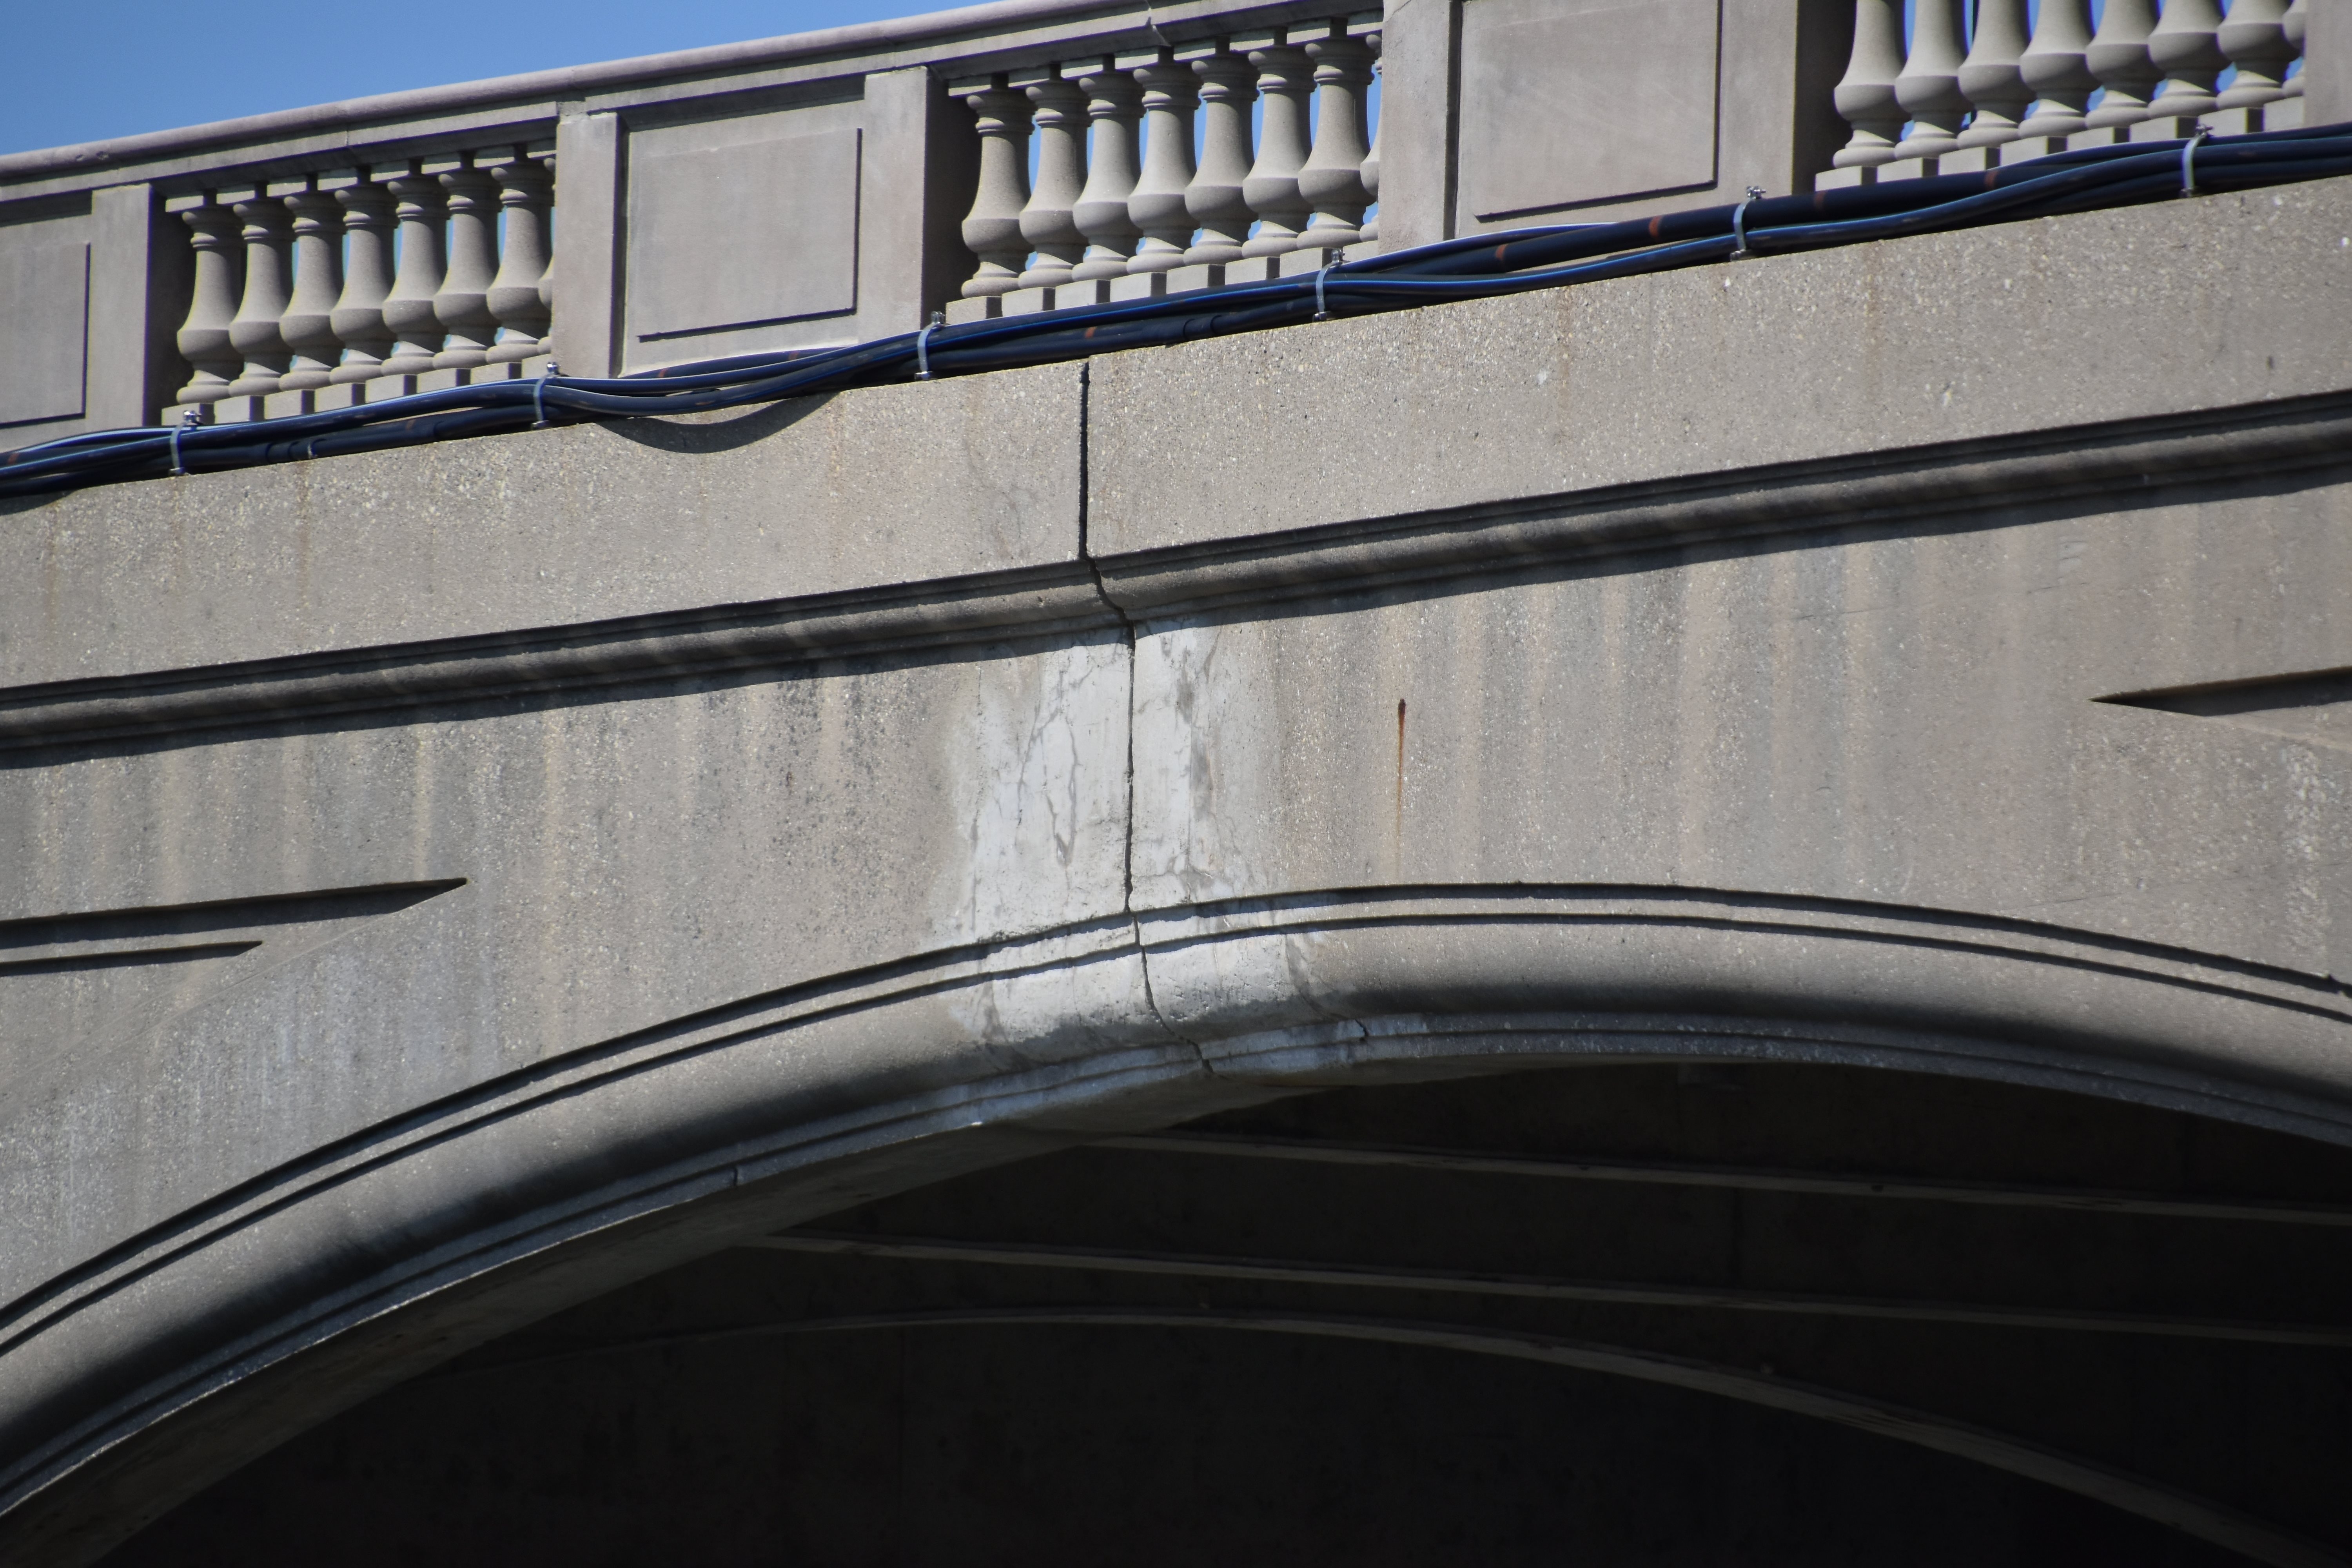
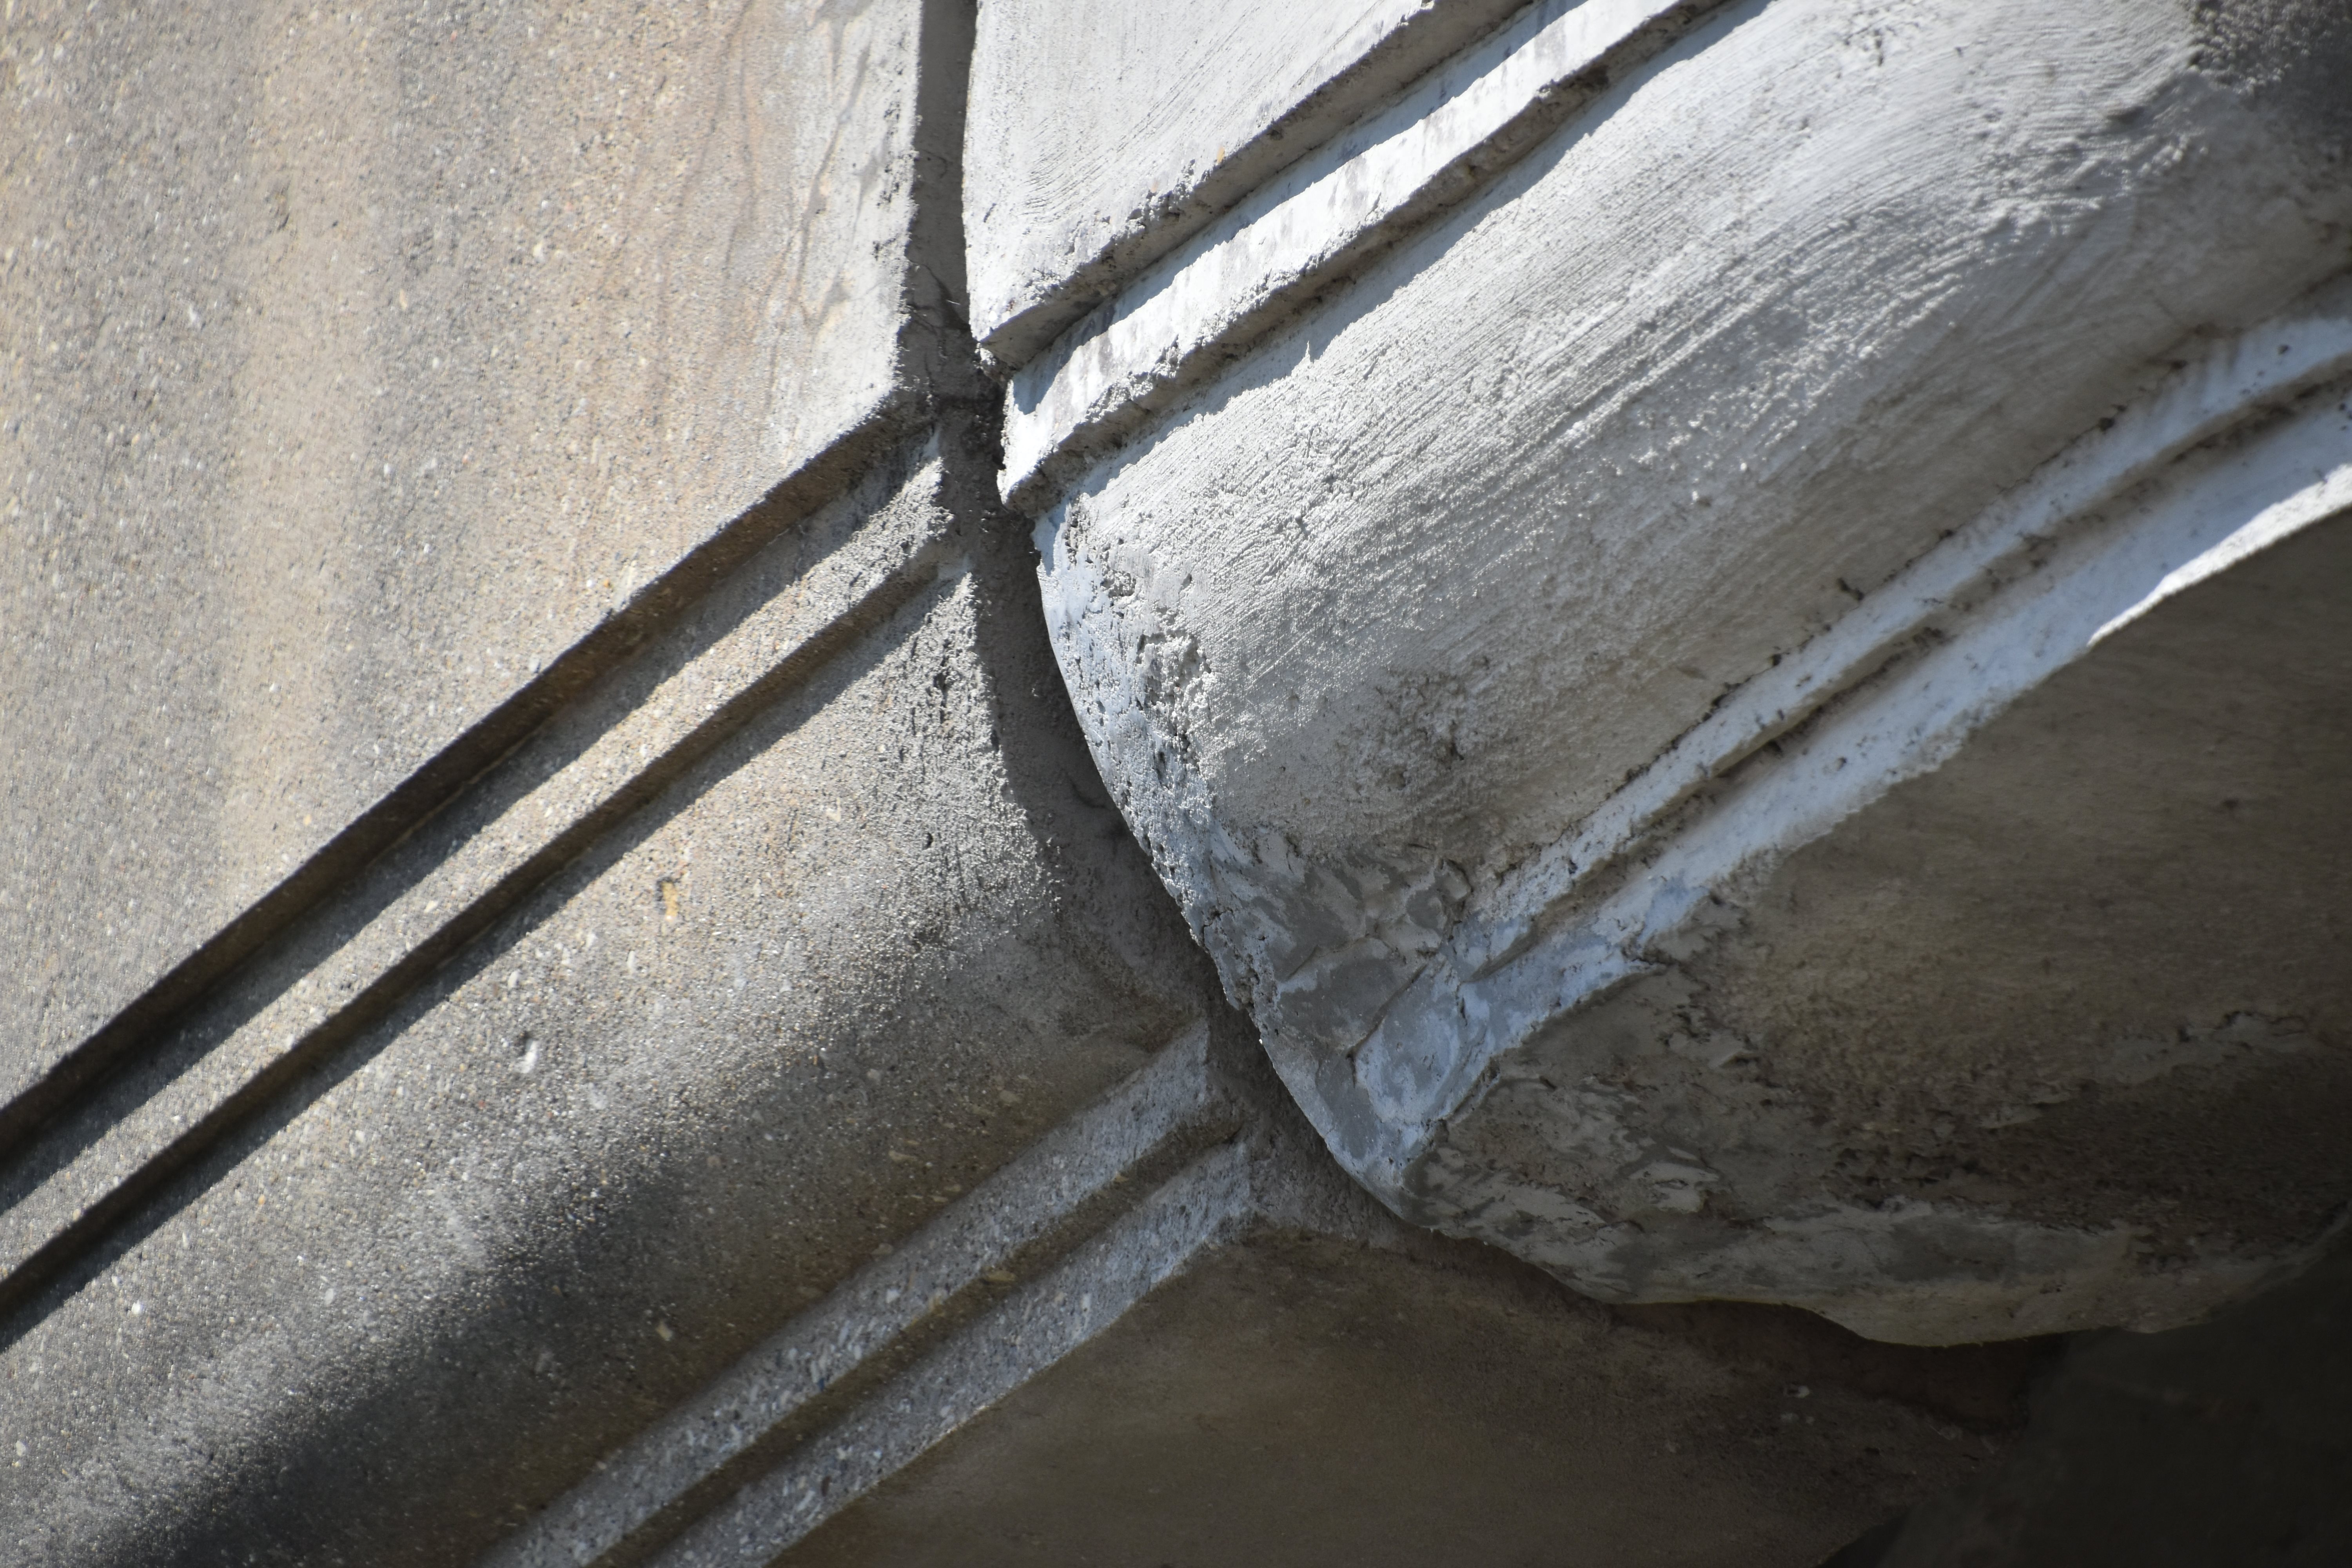
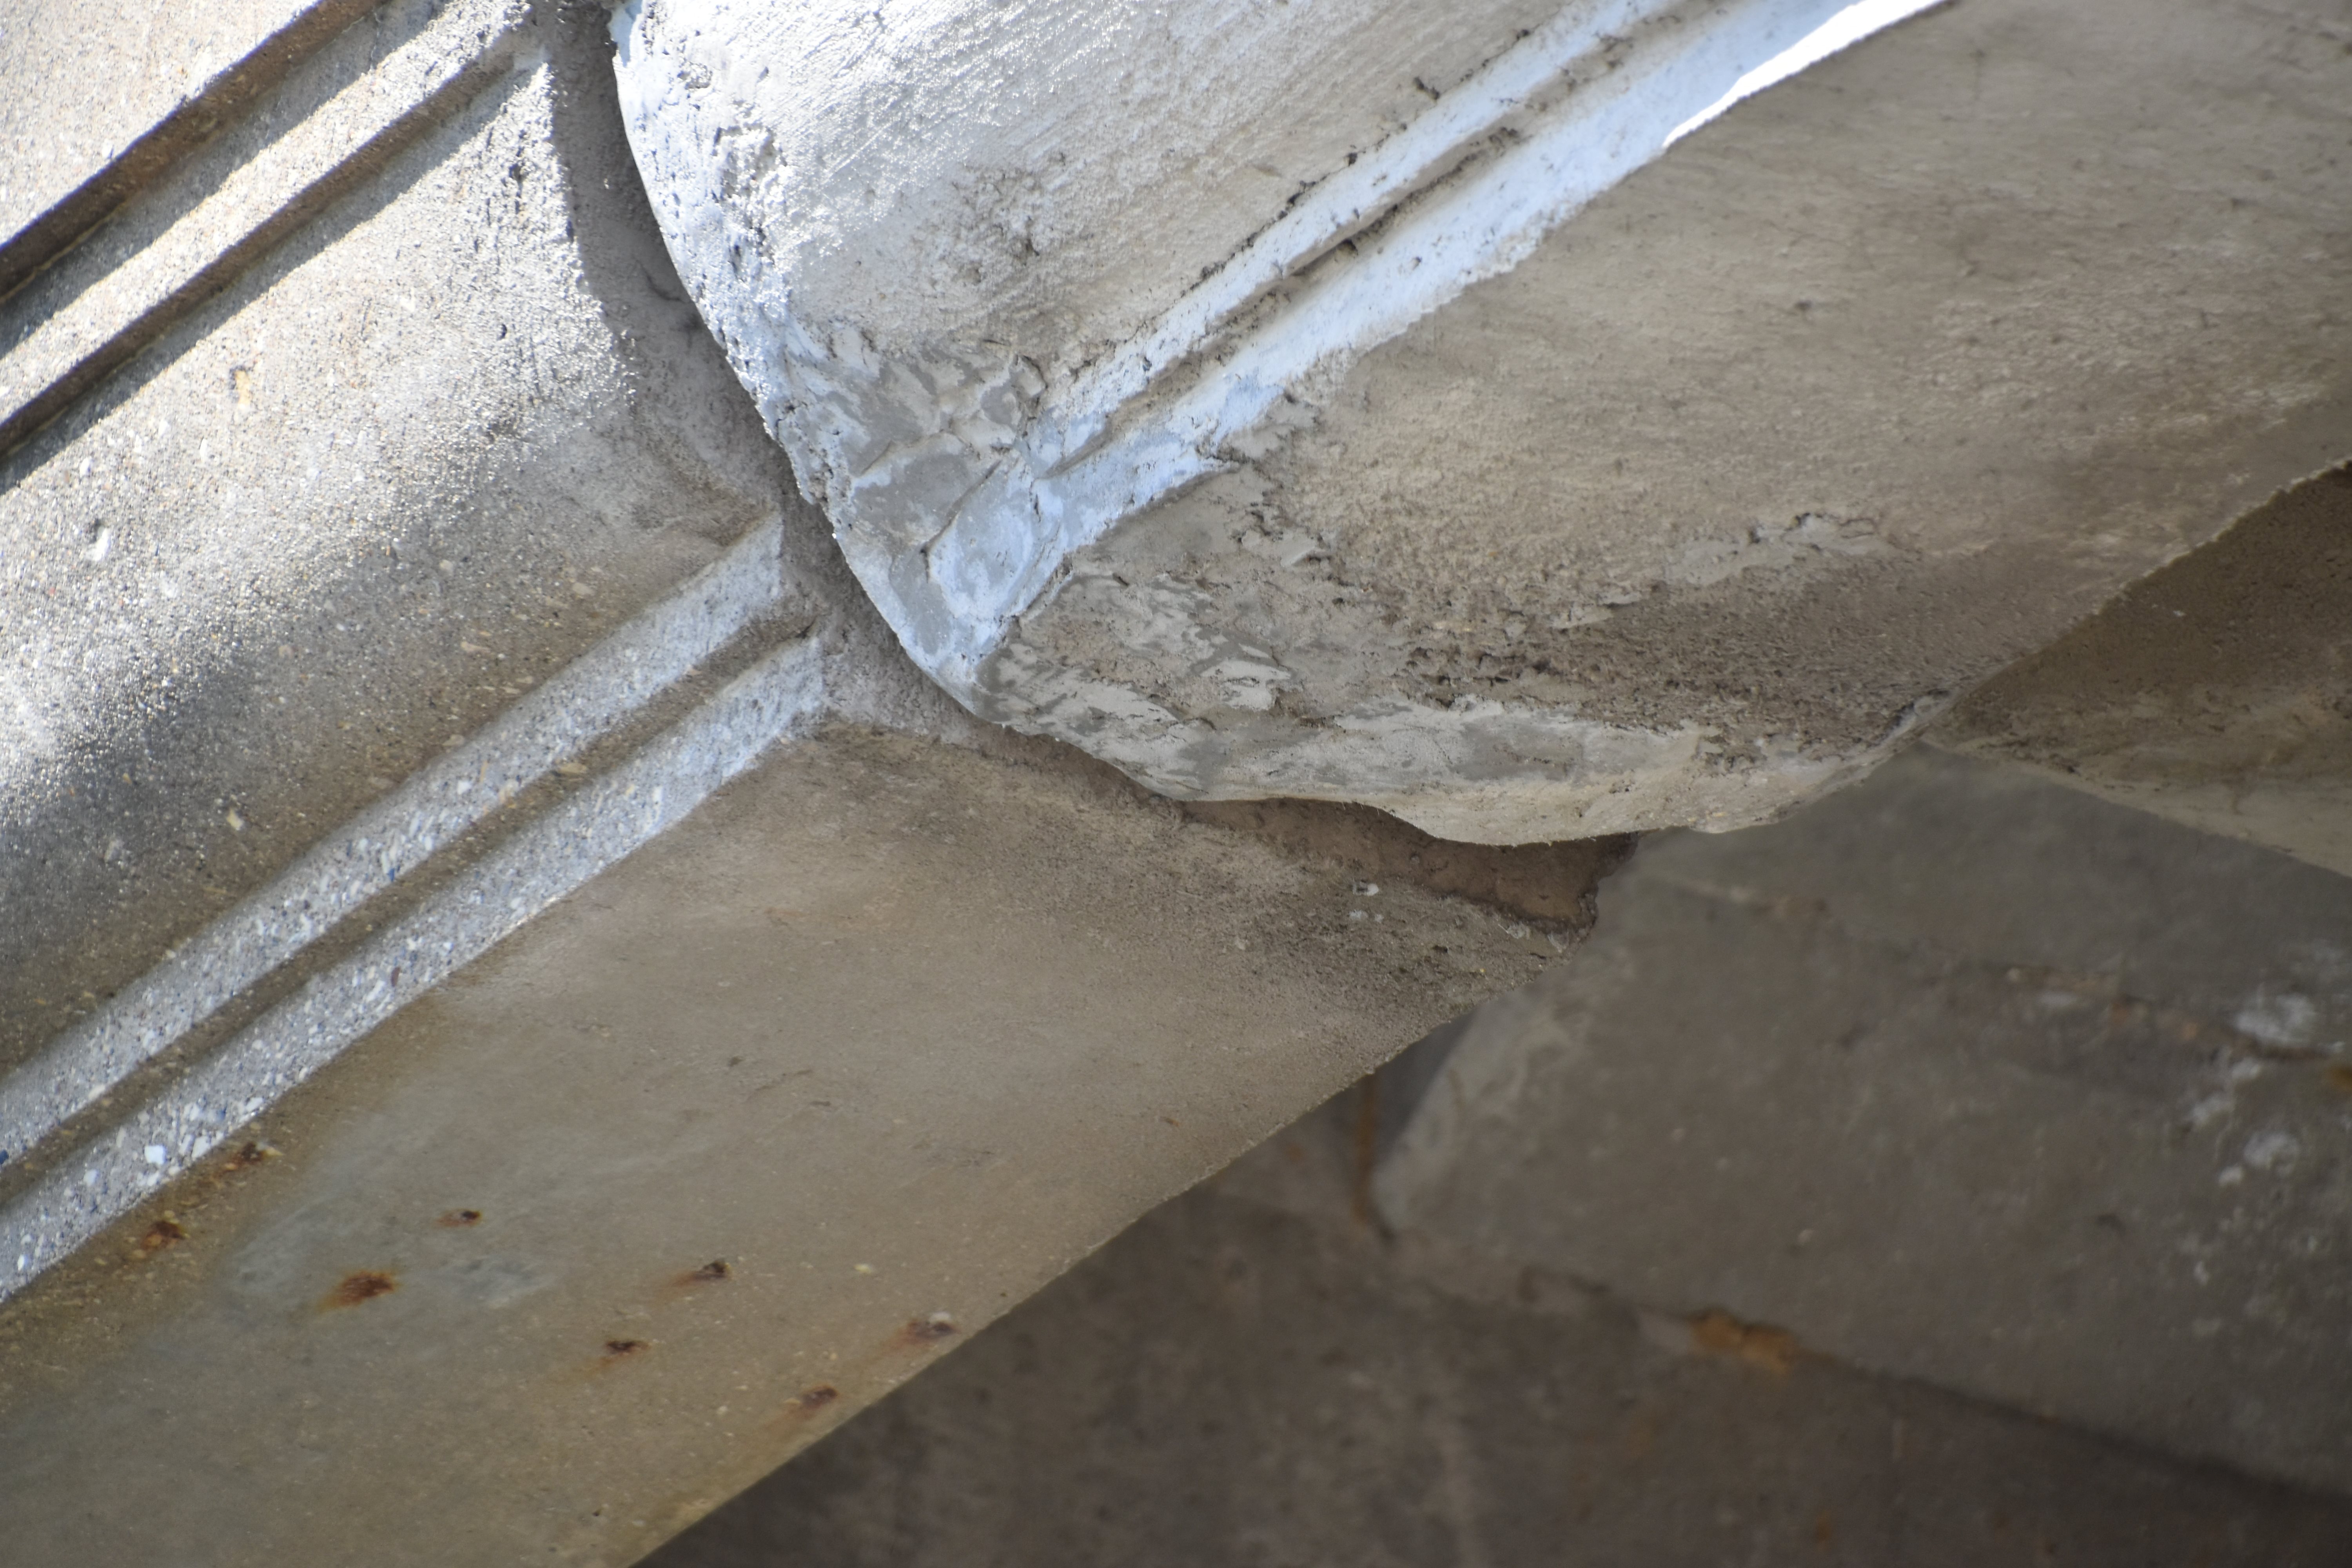
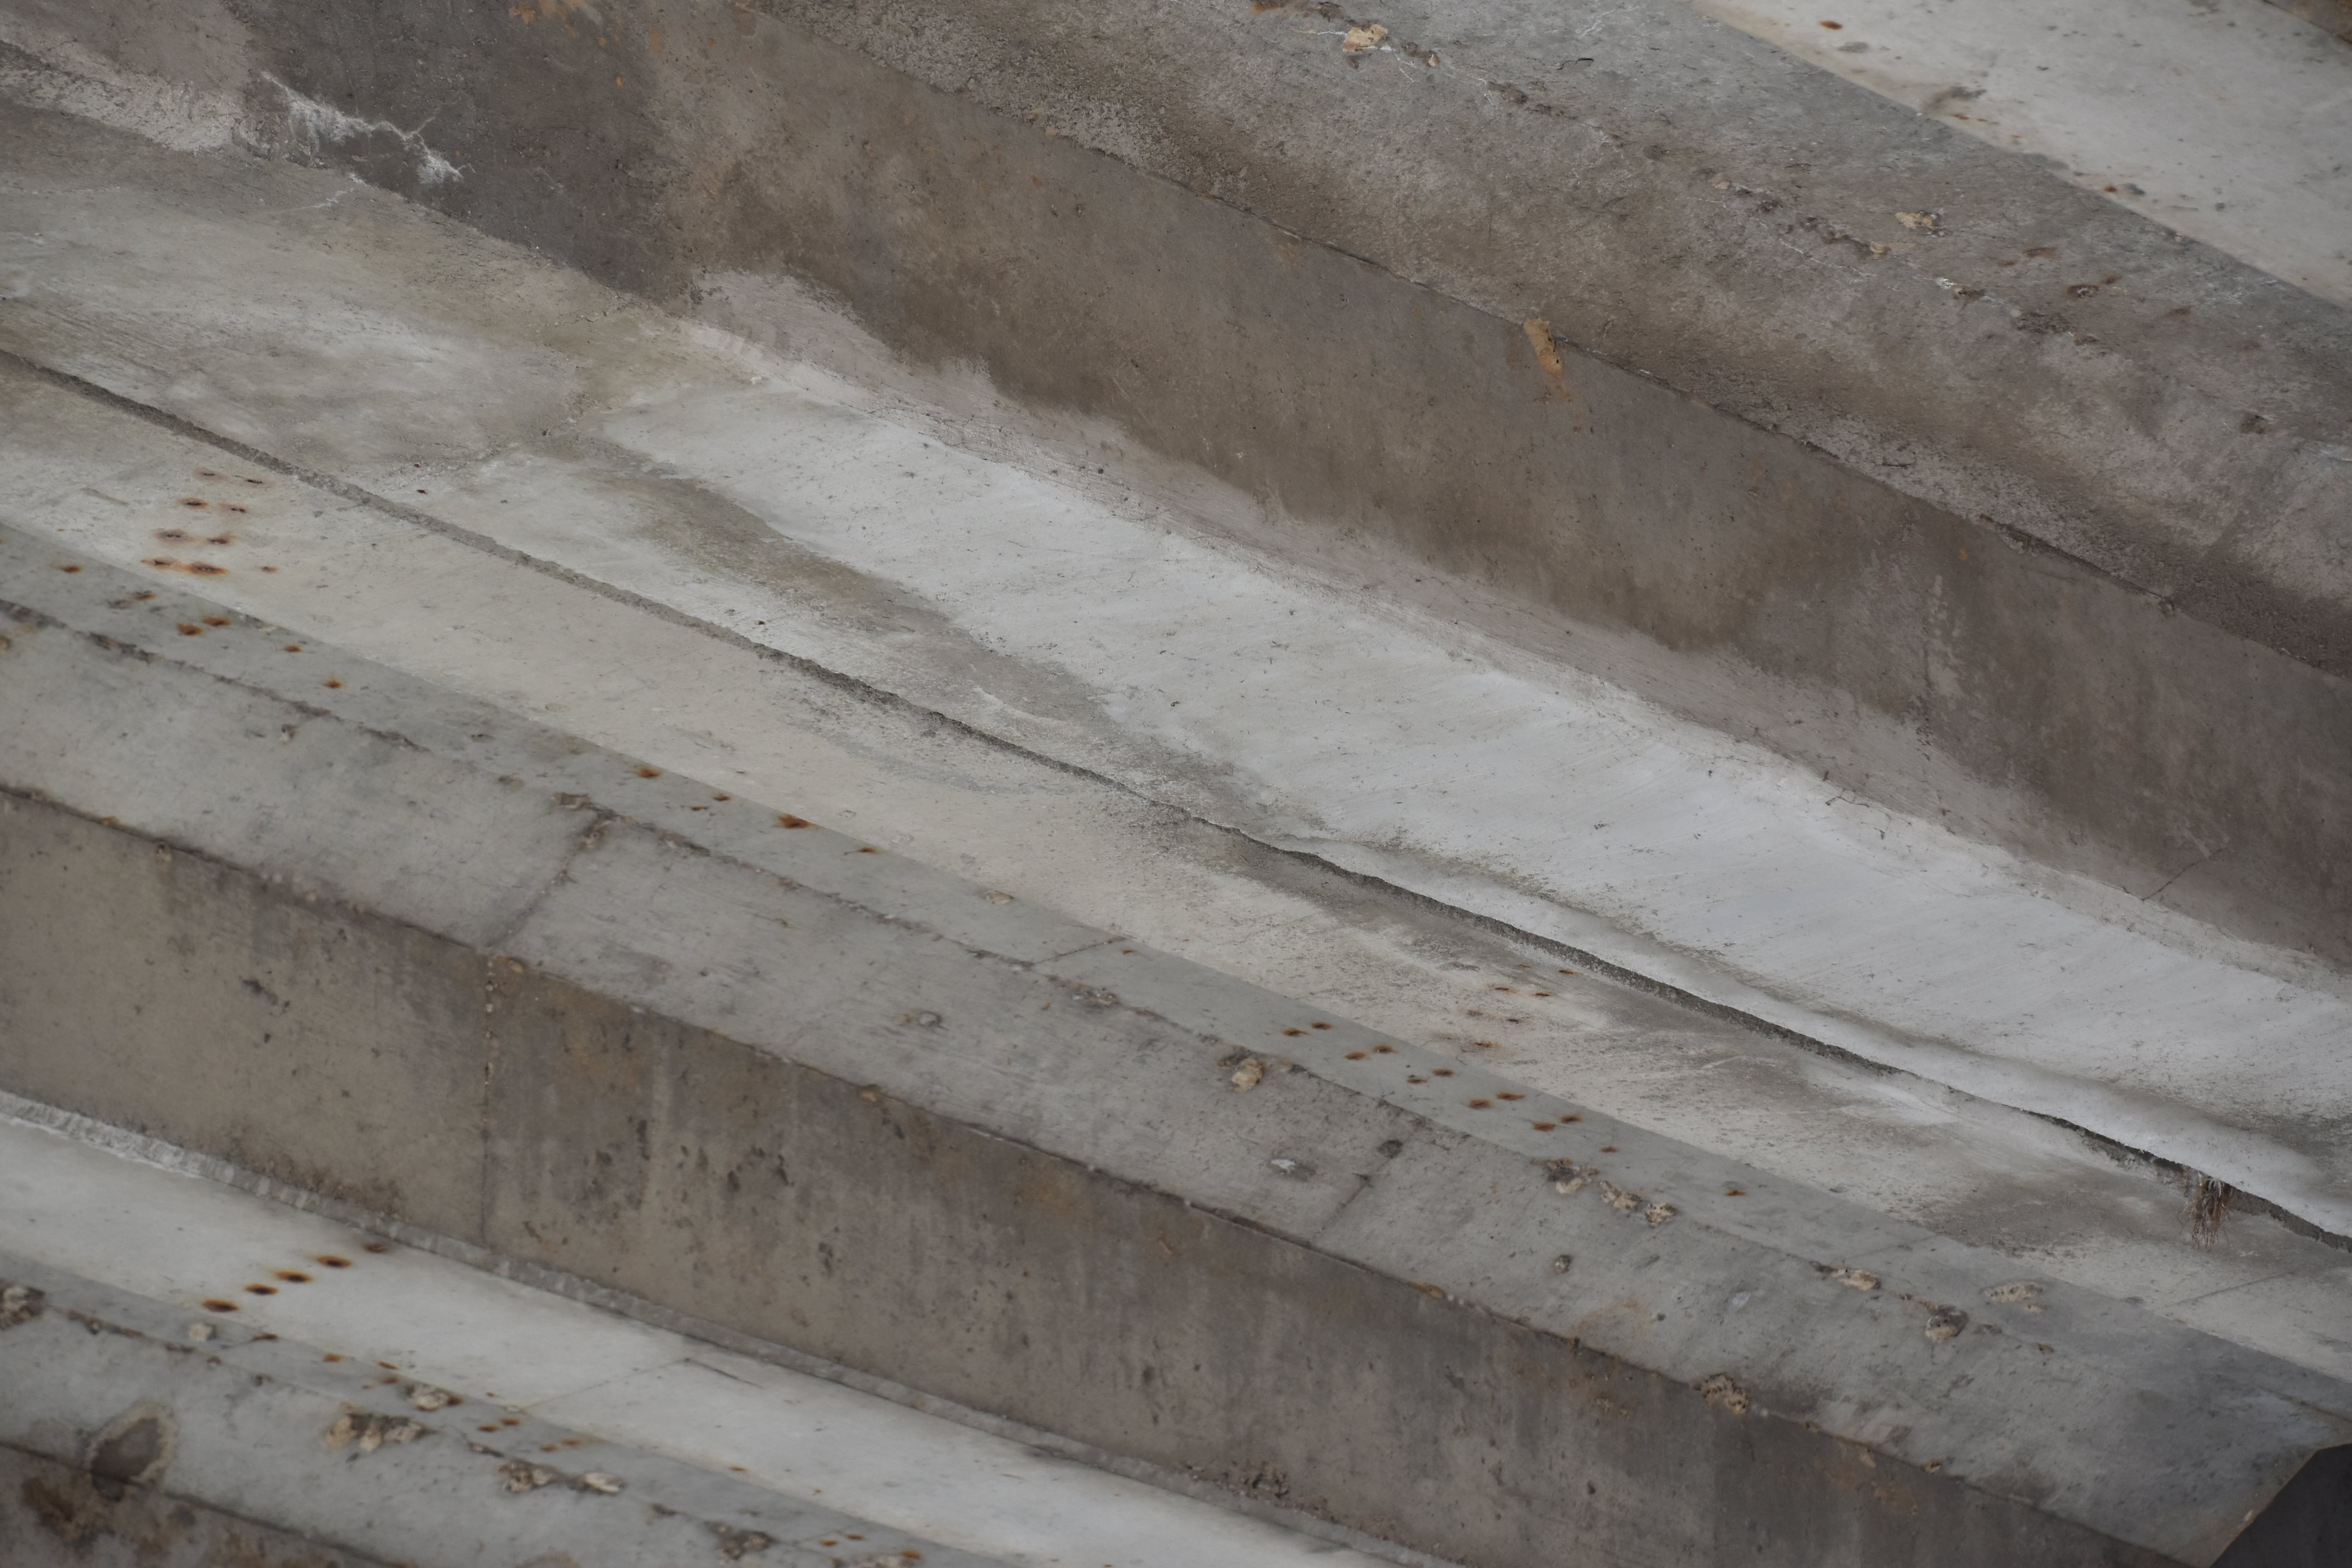
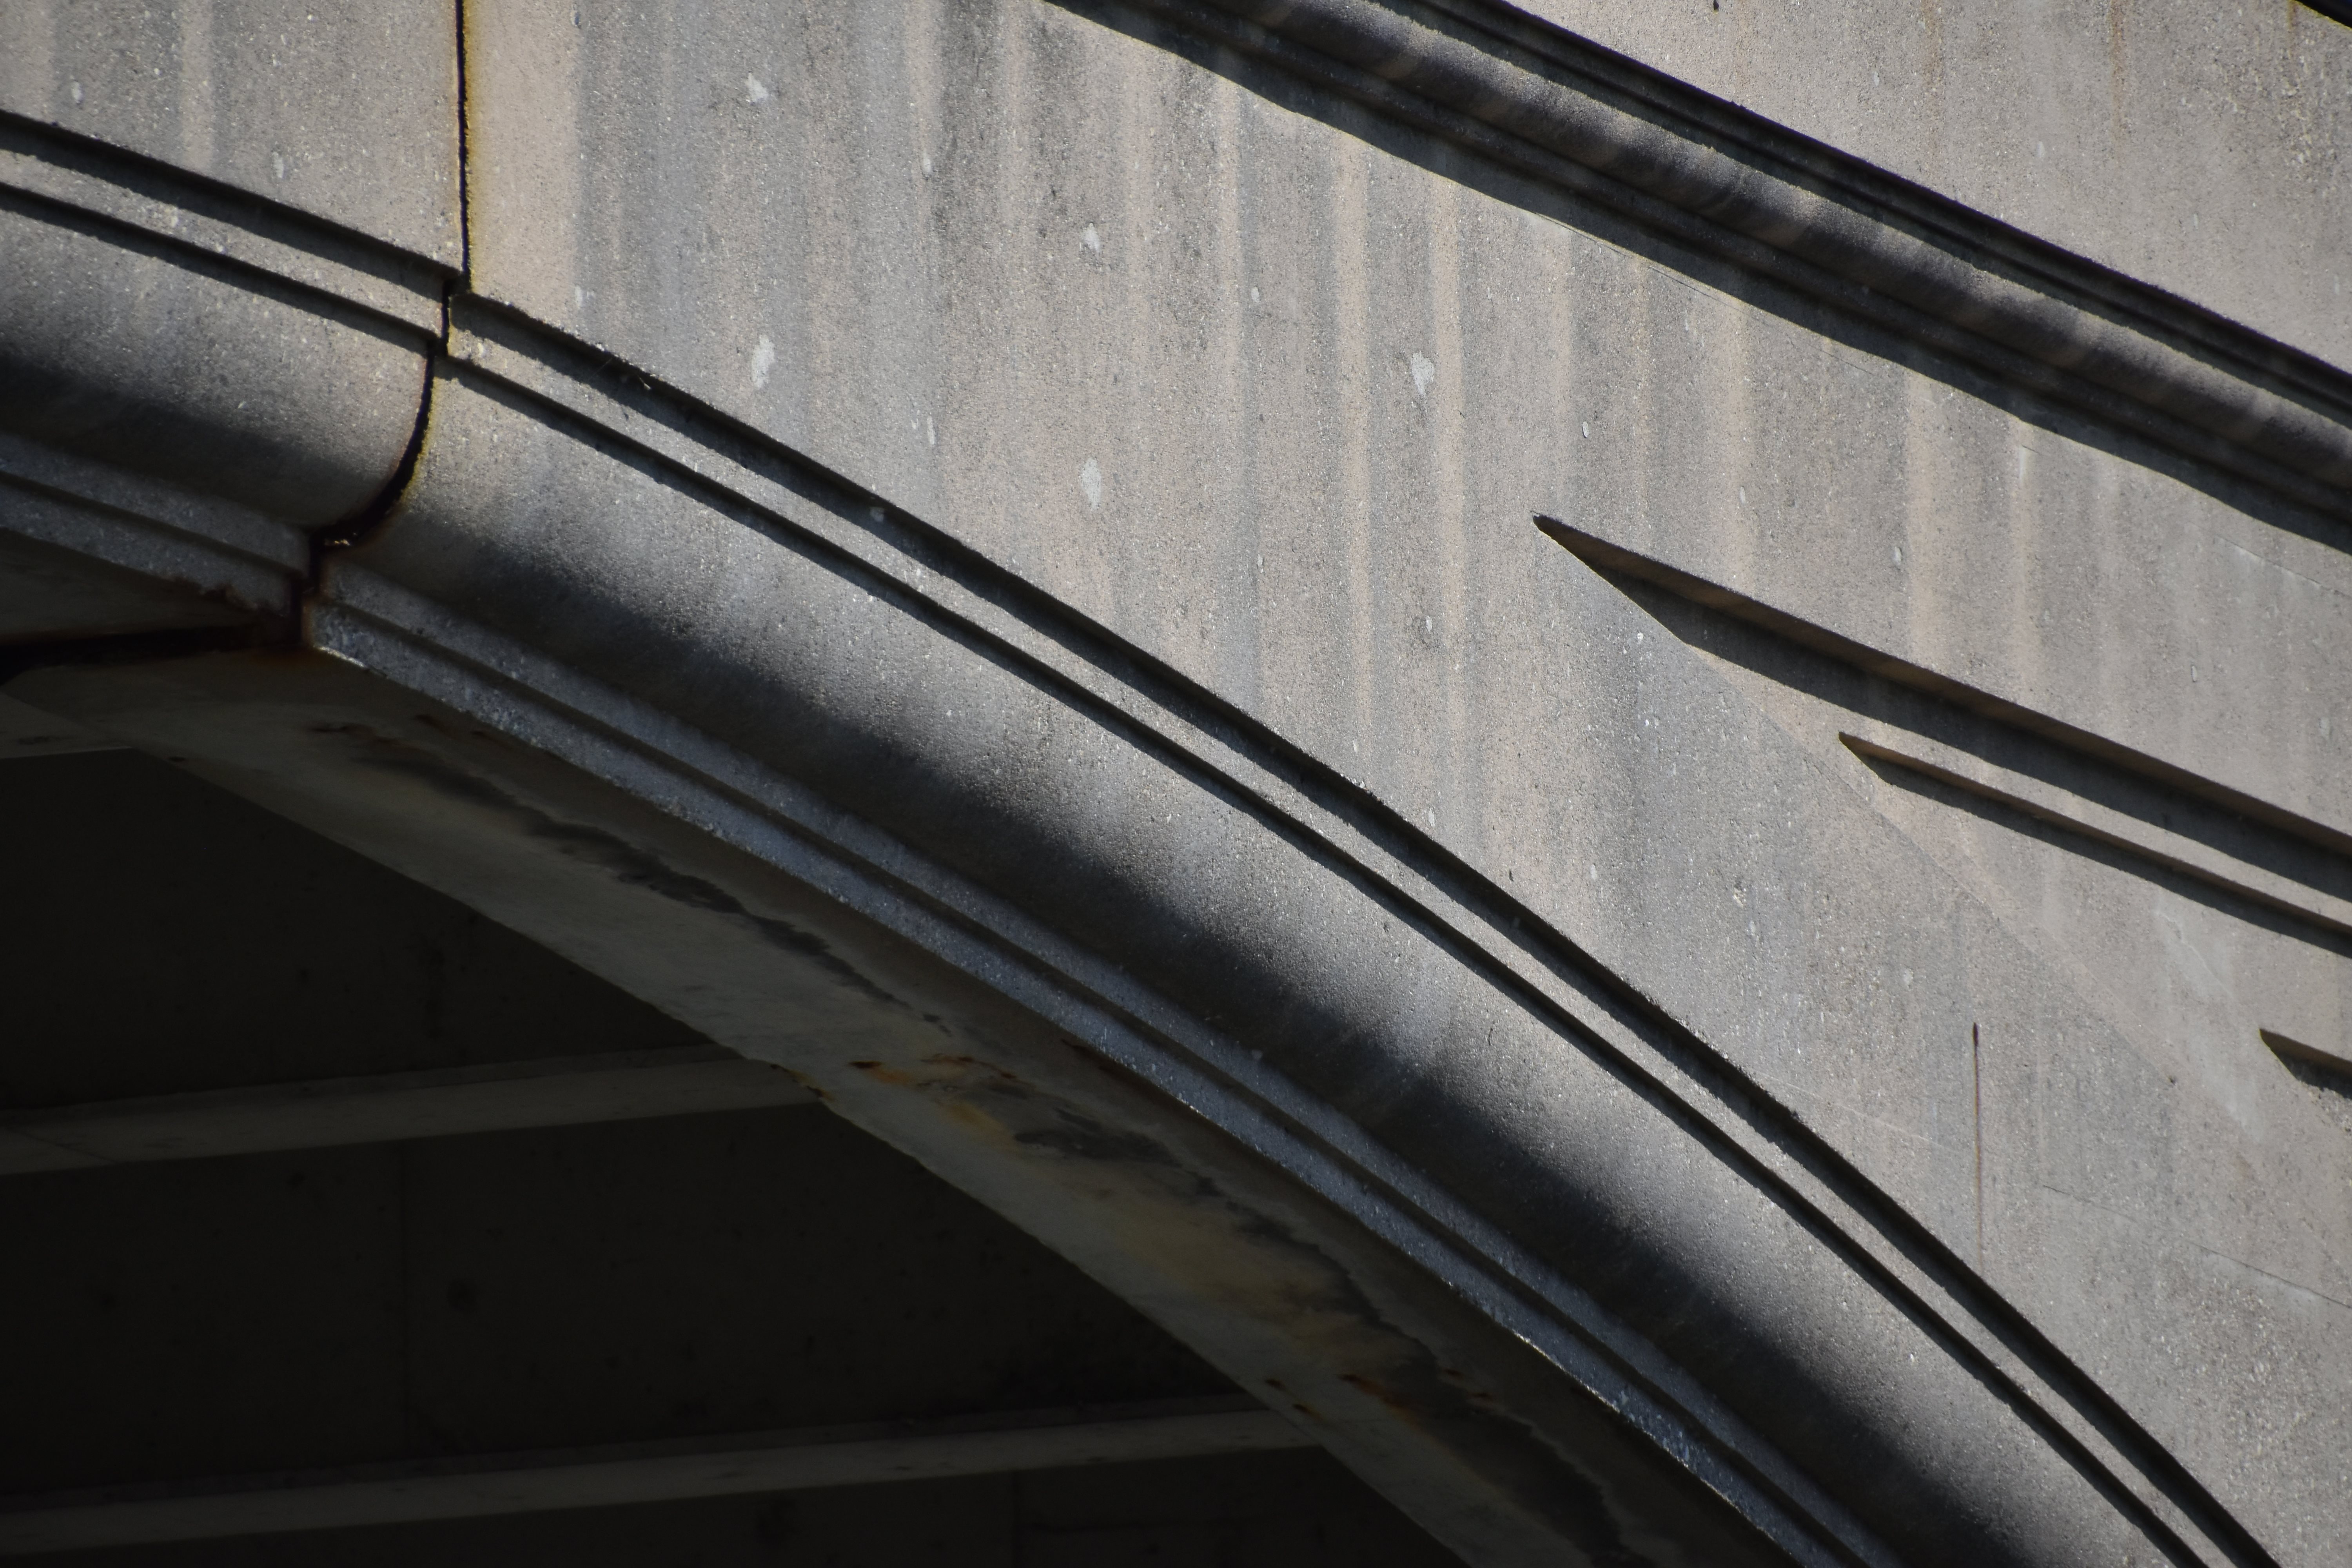
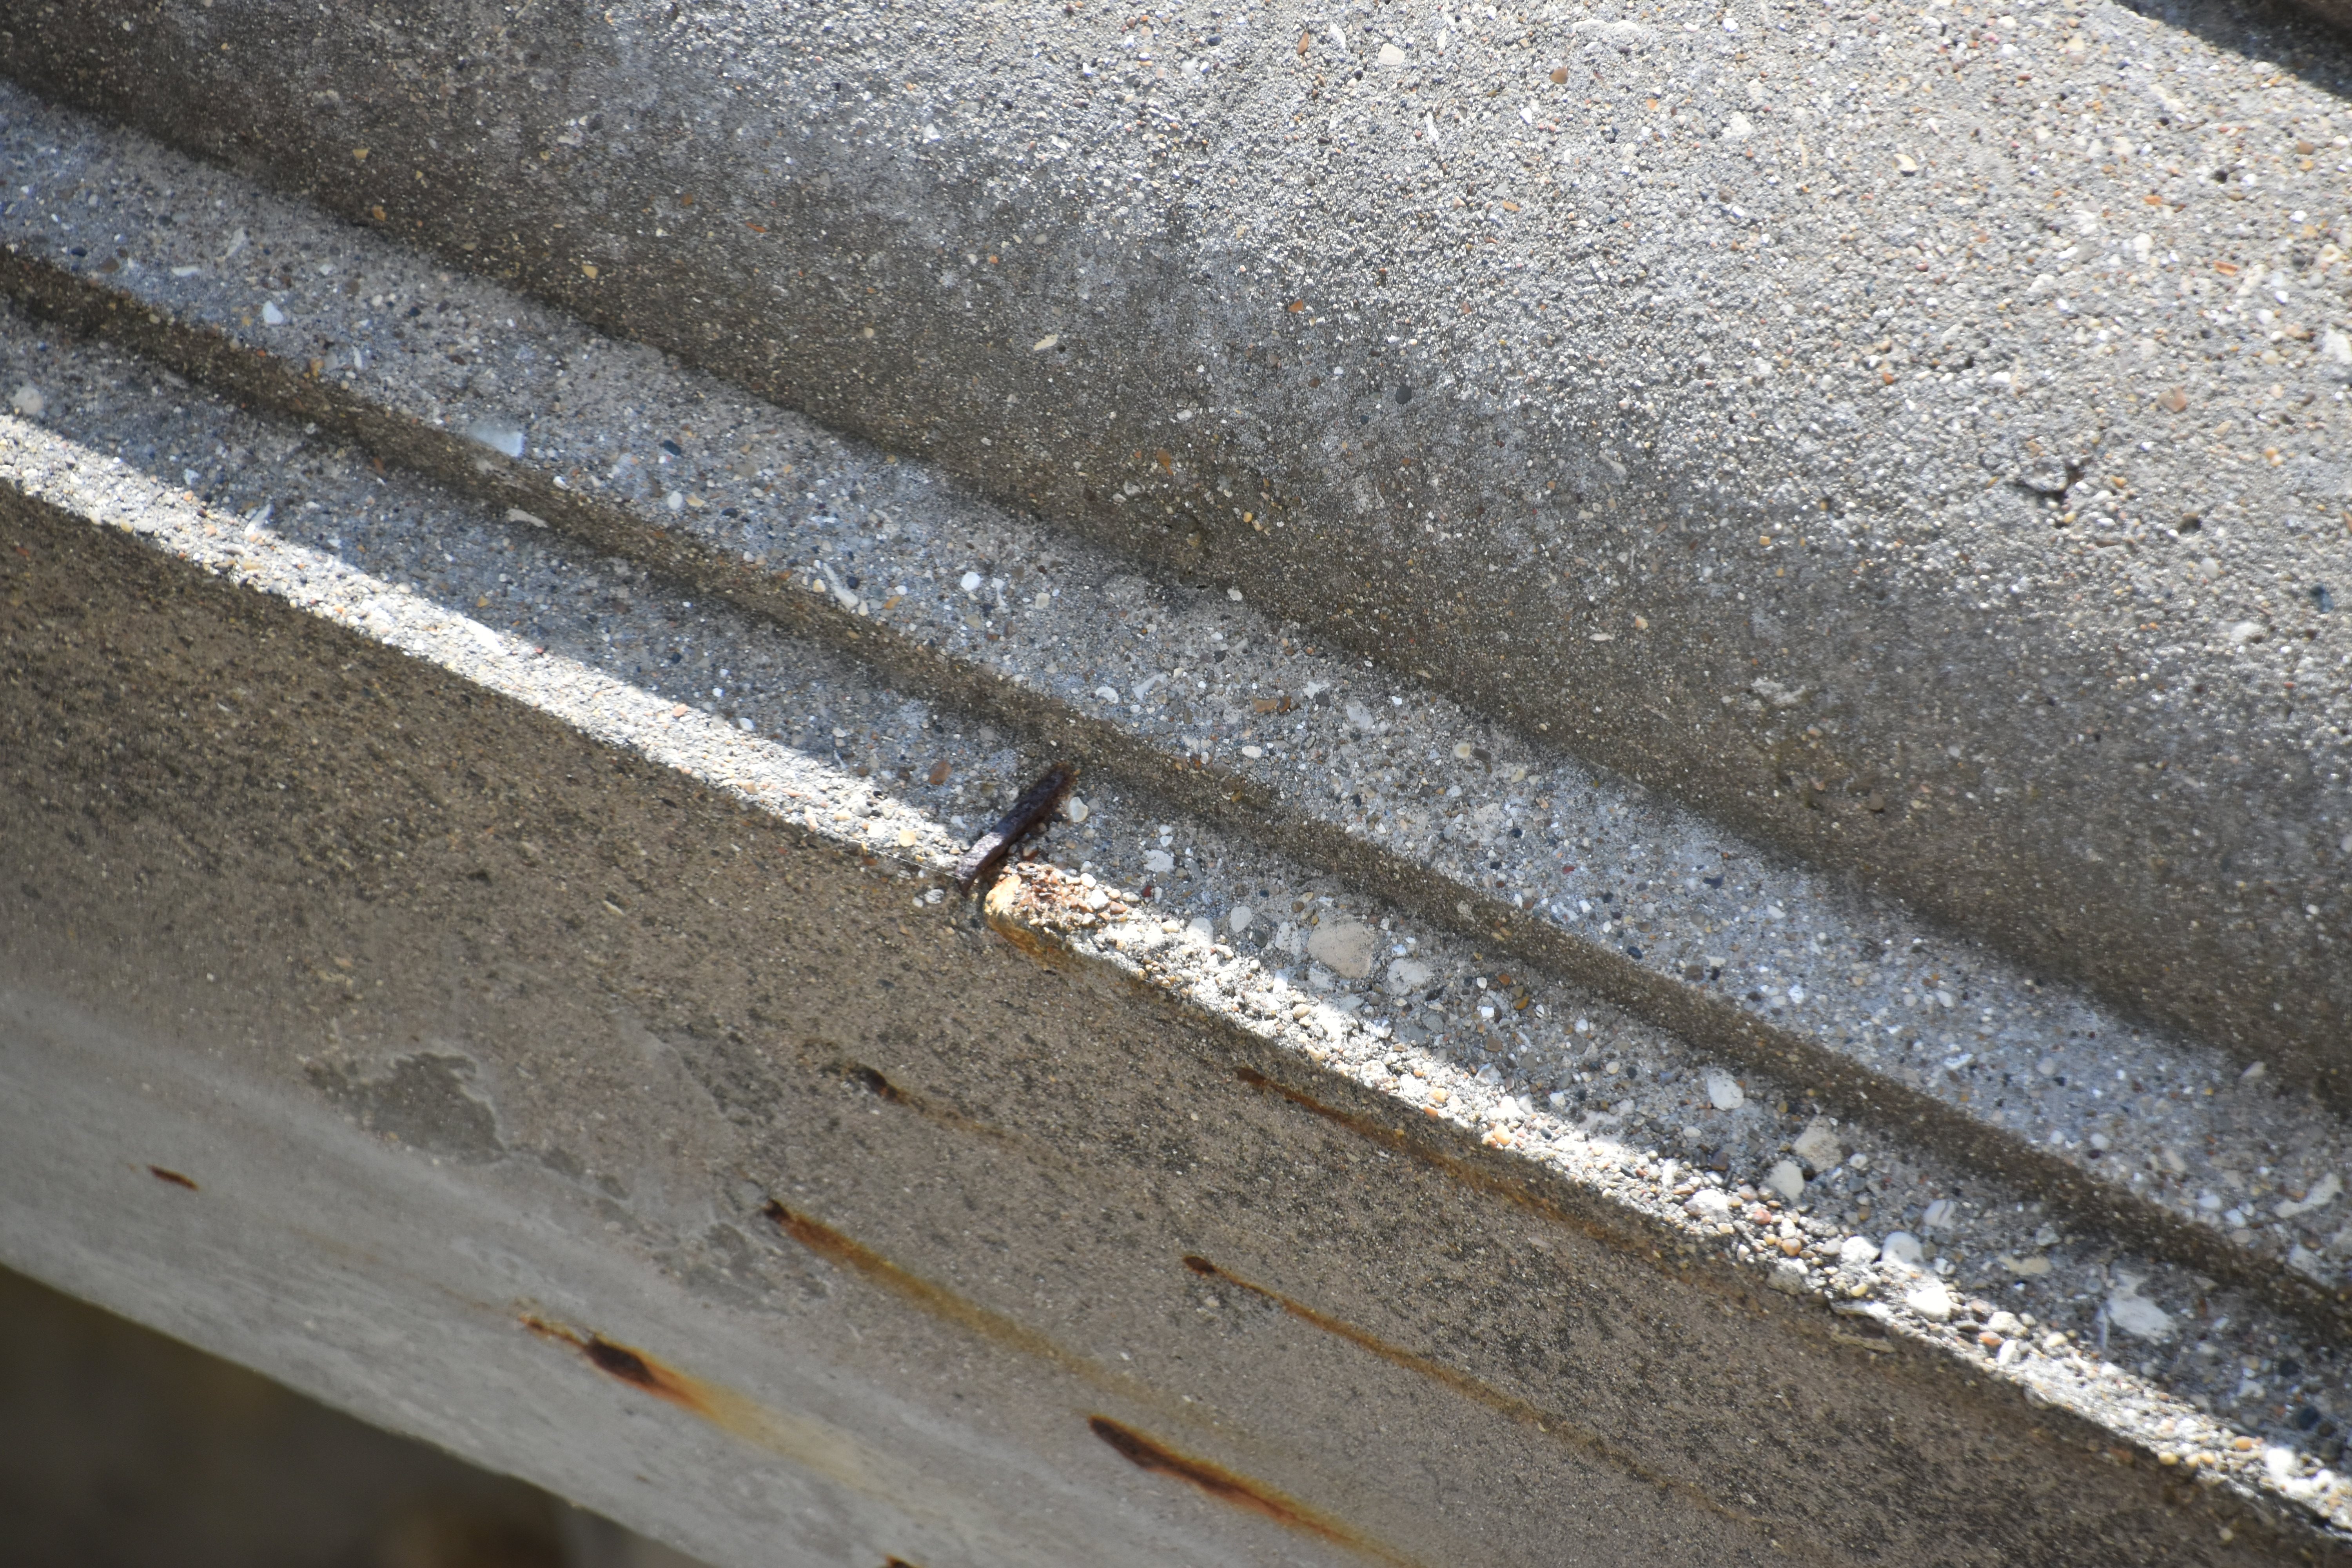
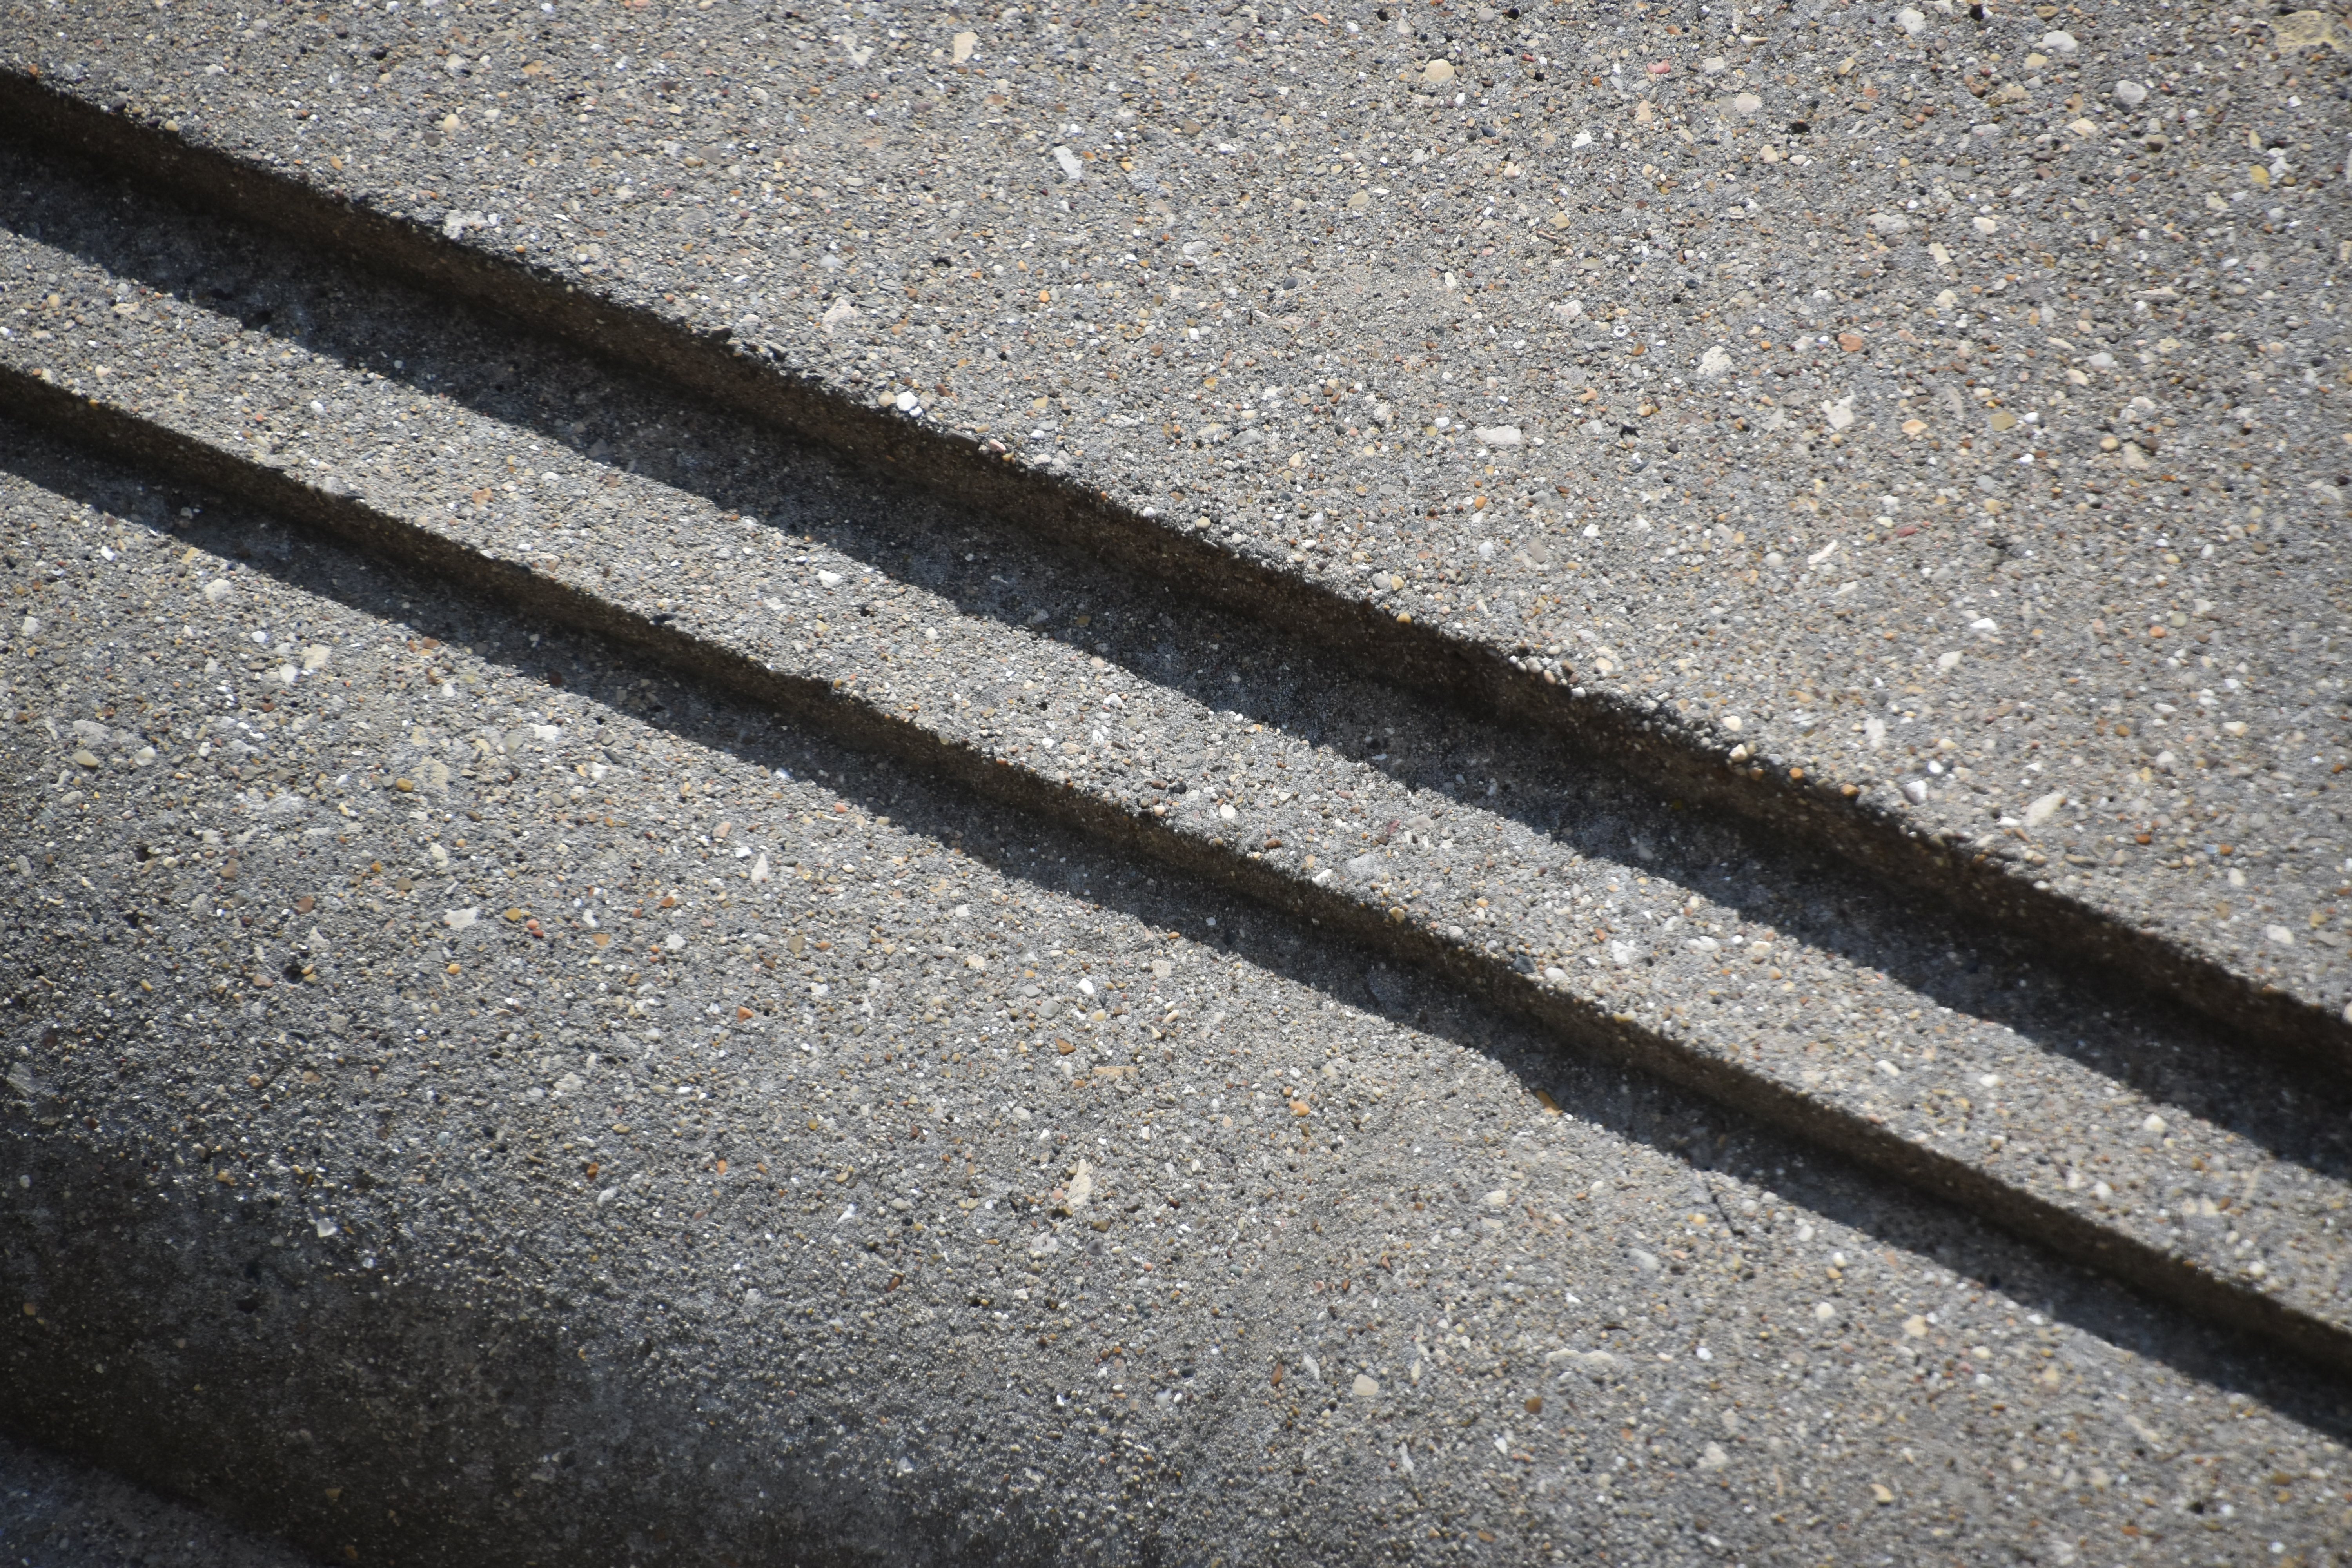
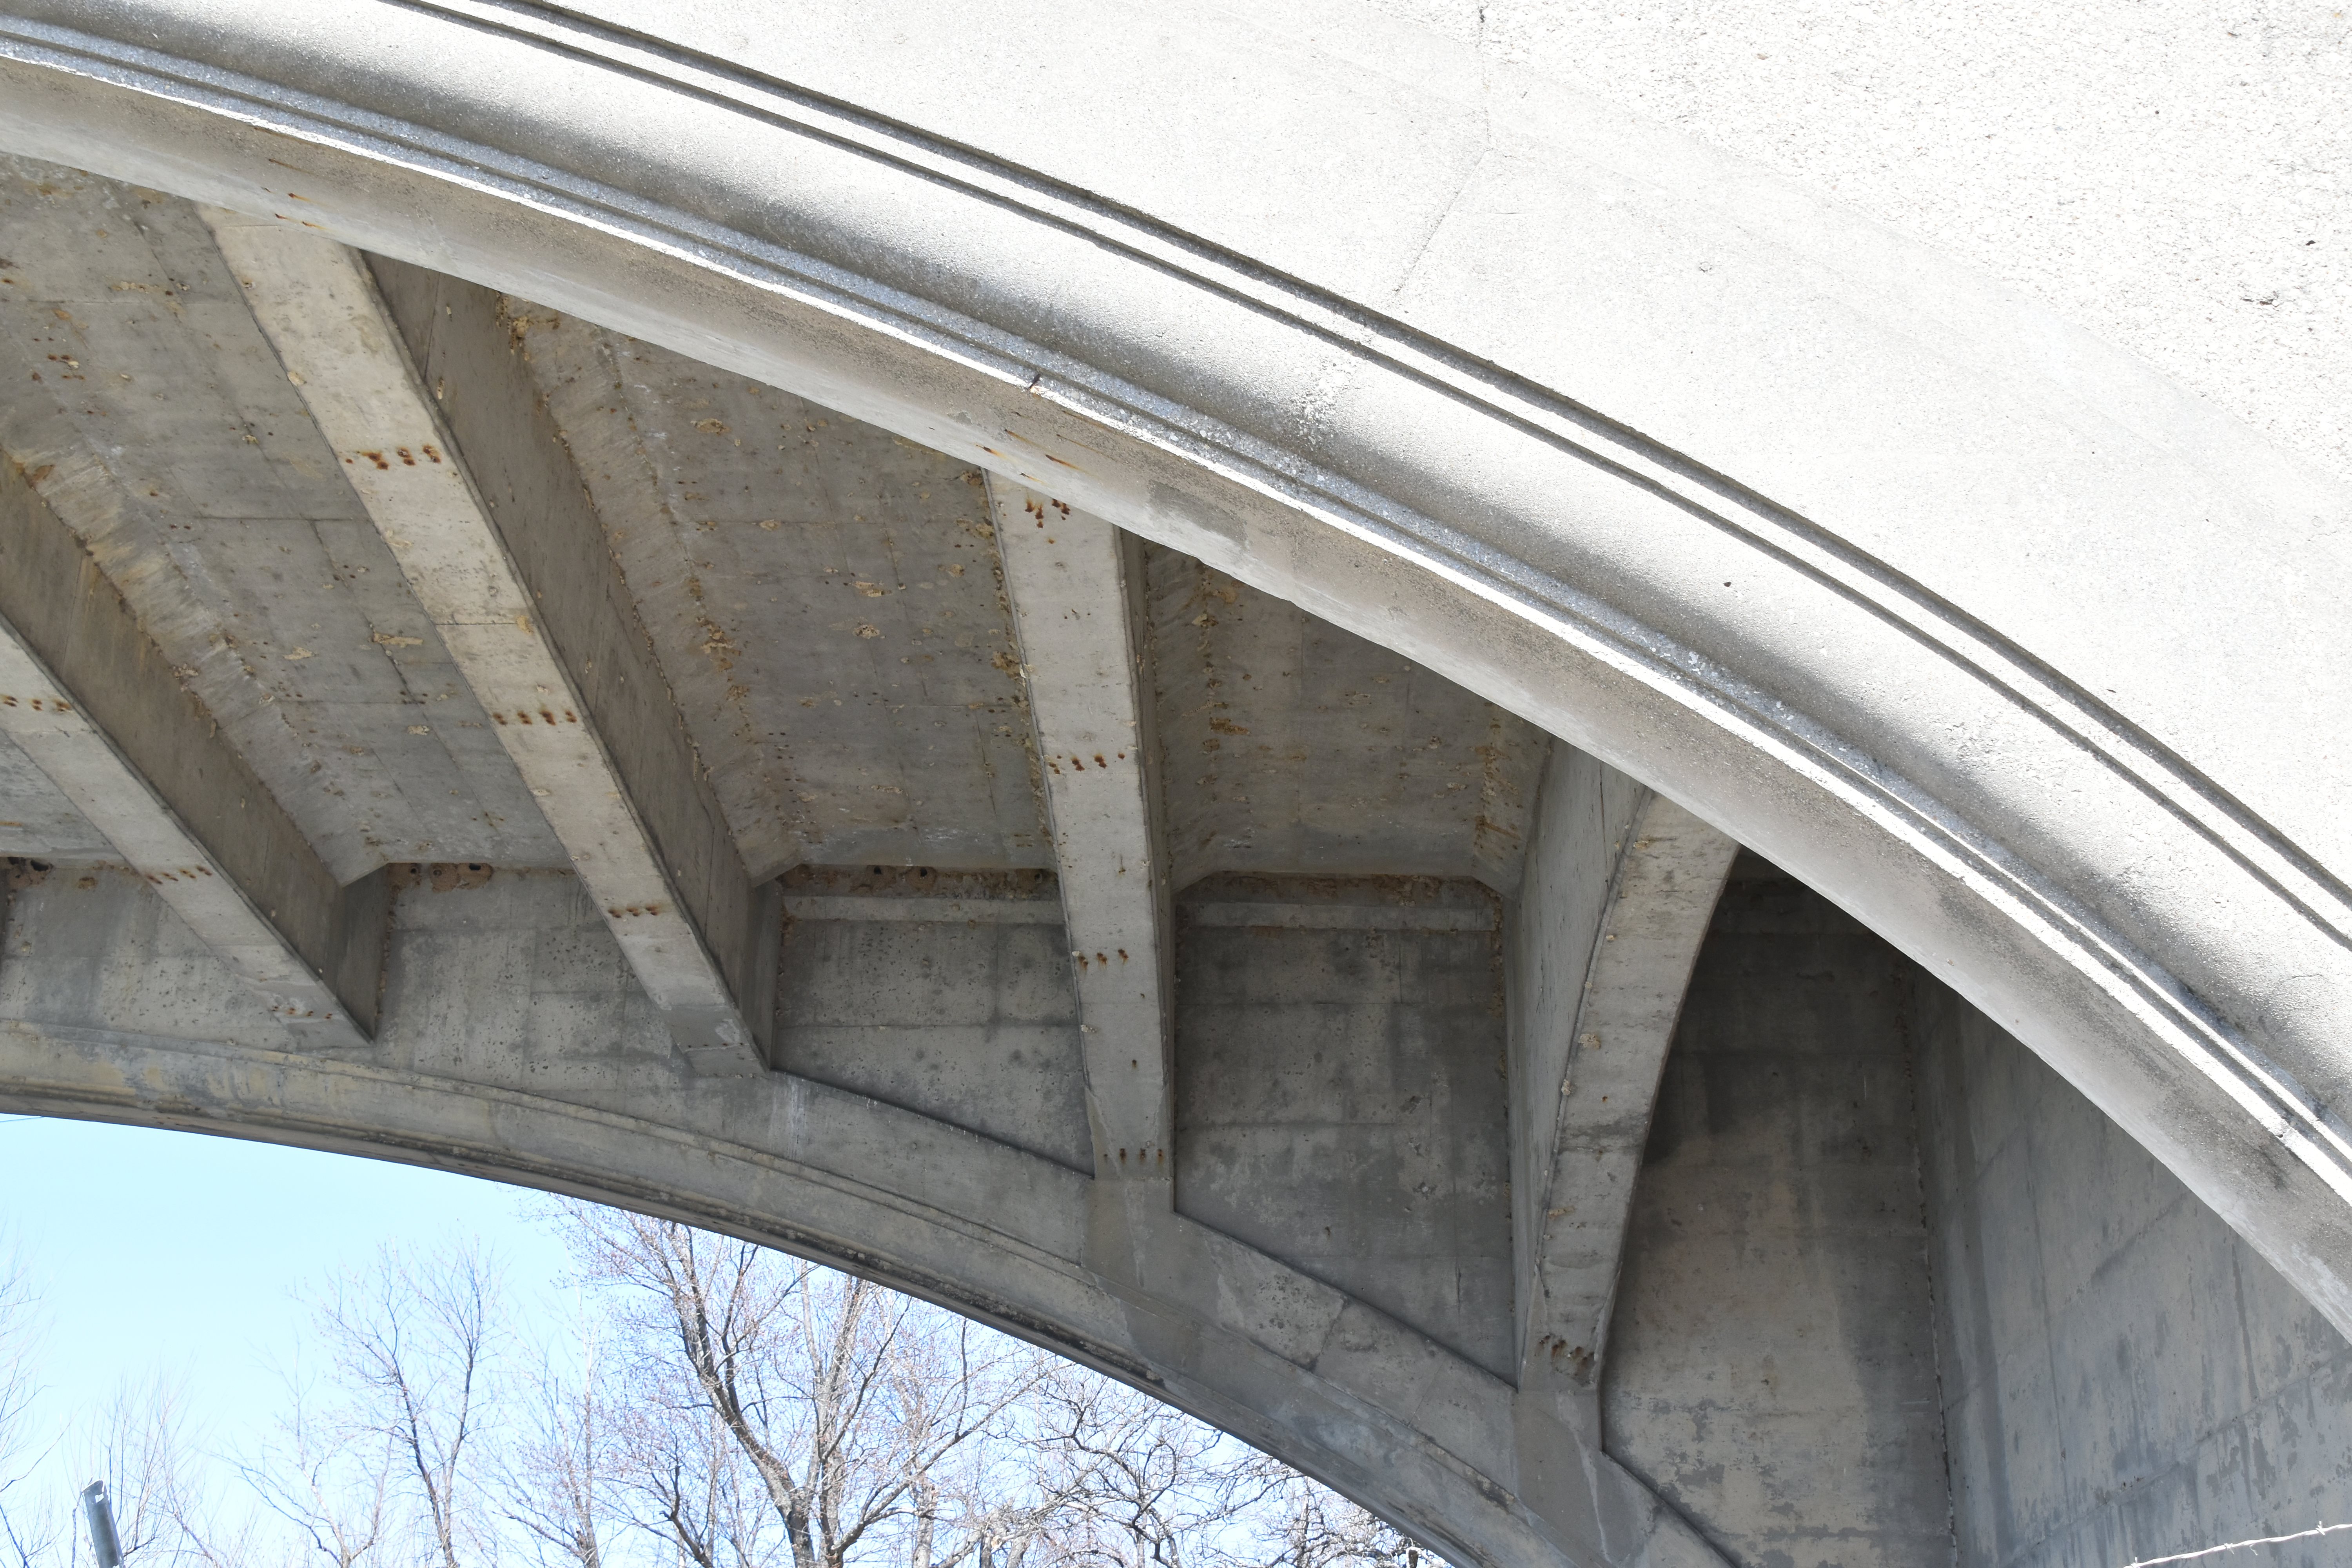
Views showing the gap at the center of each arch span, showing that each half of the arch is structurally independent; a cantilever, not a true arch.
![]()
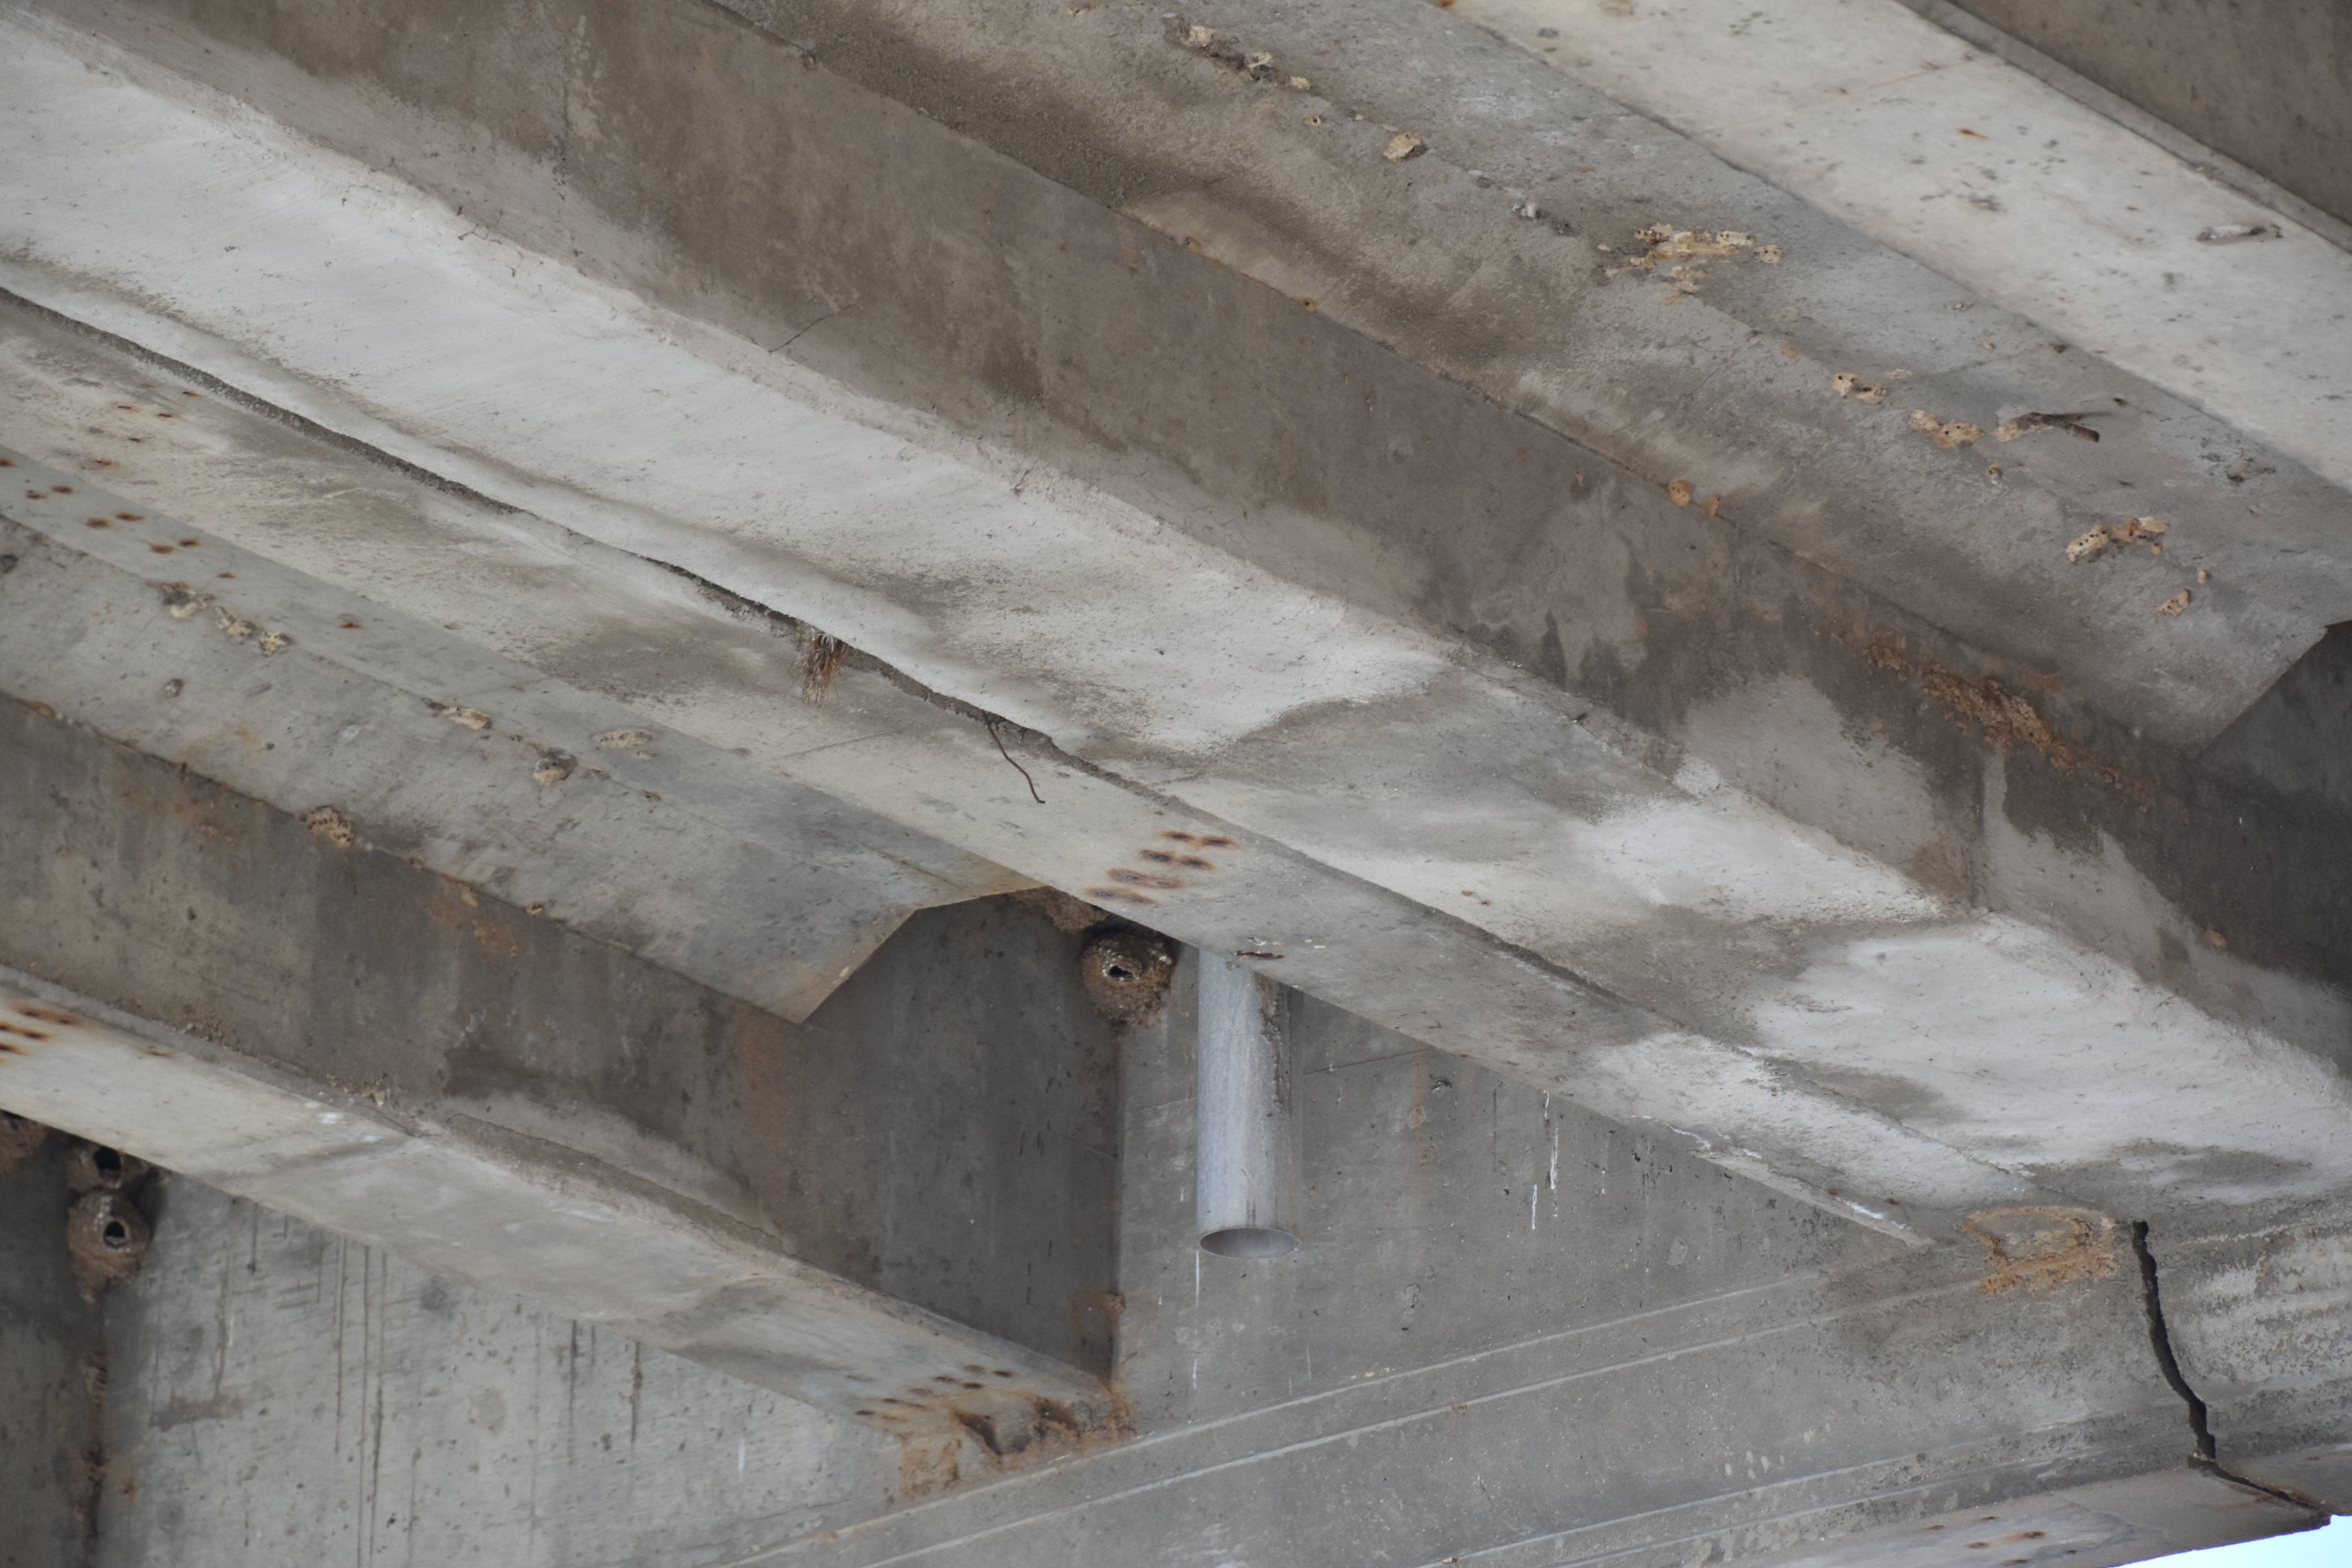
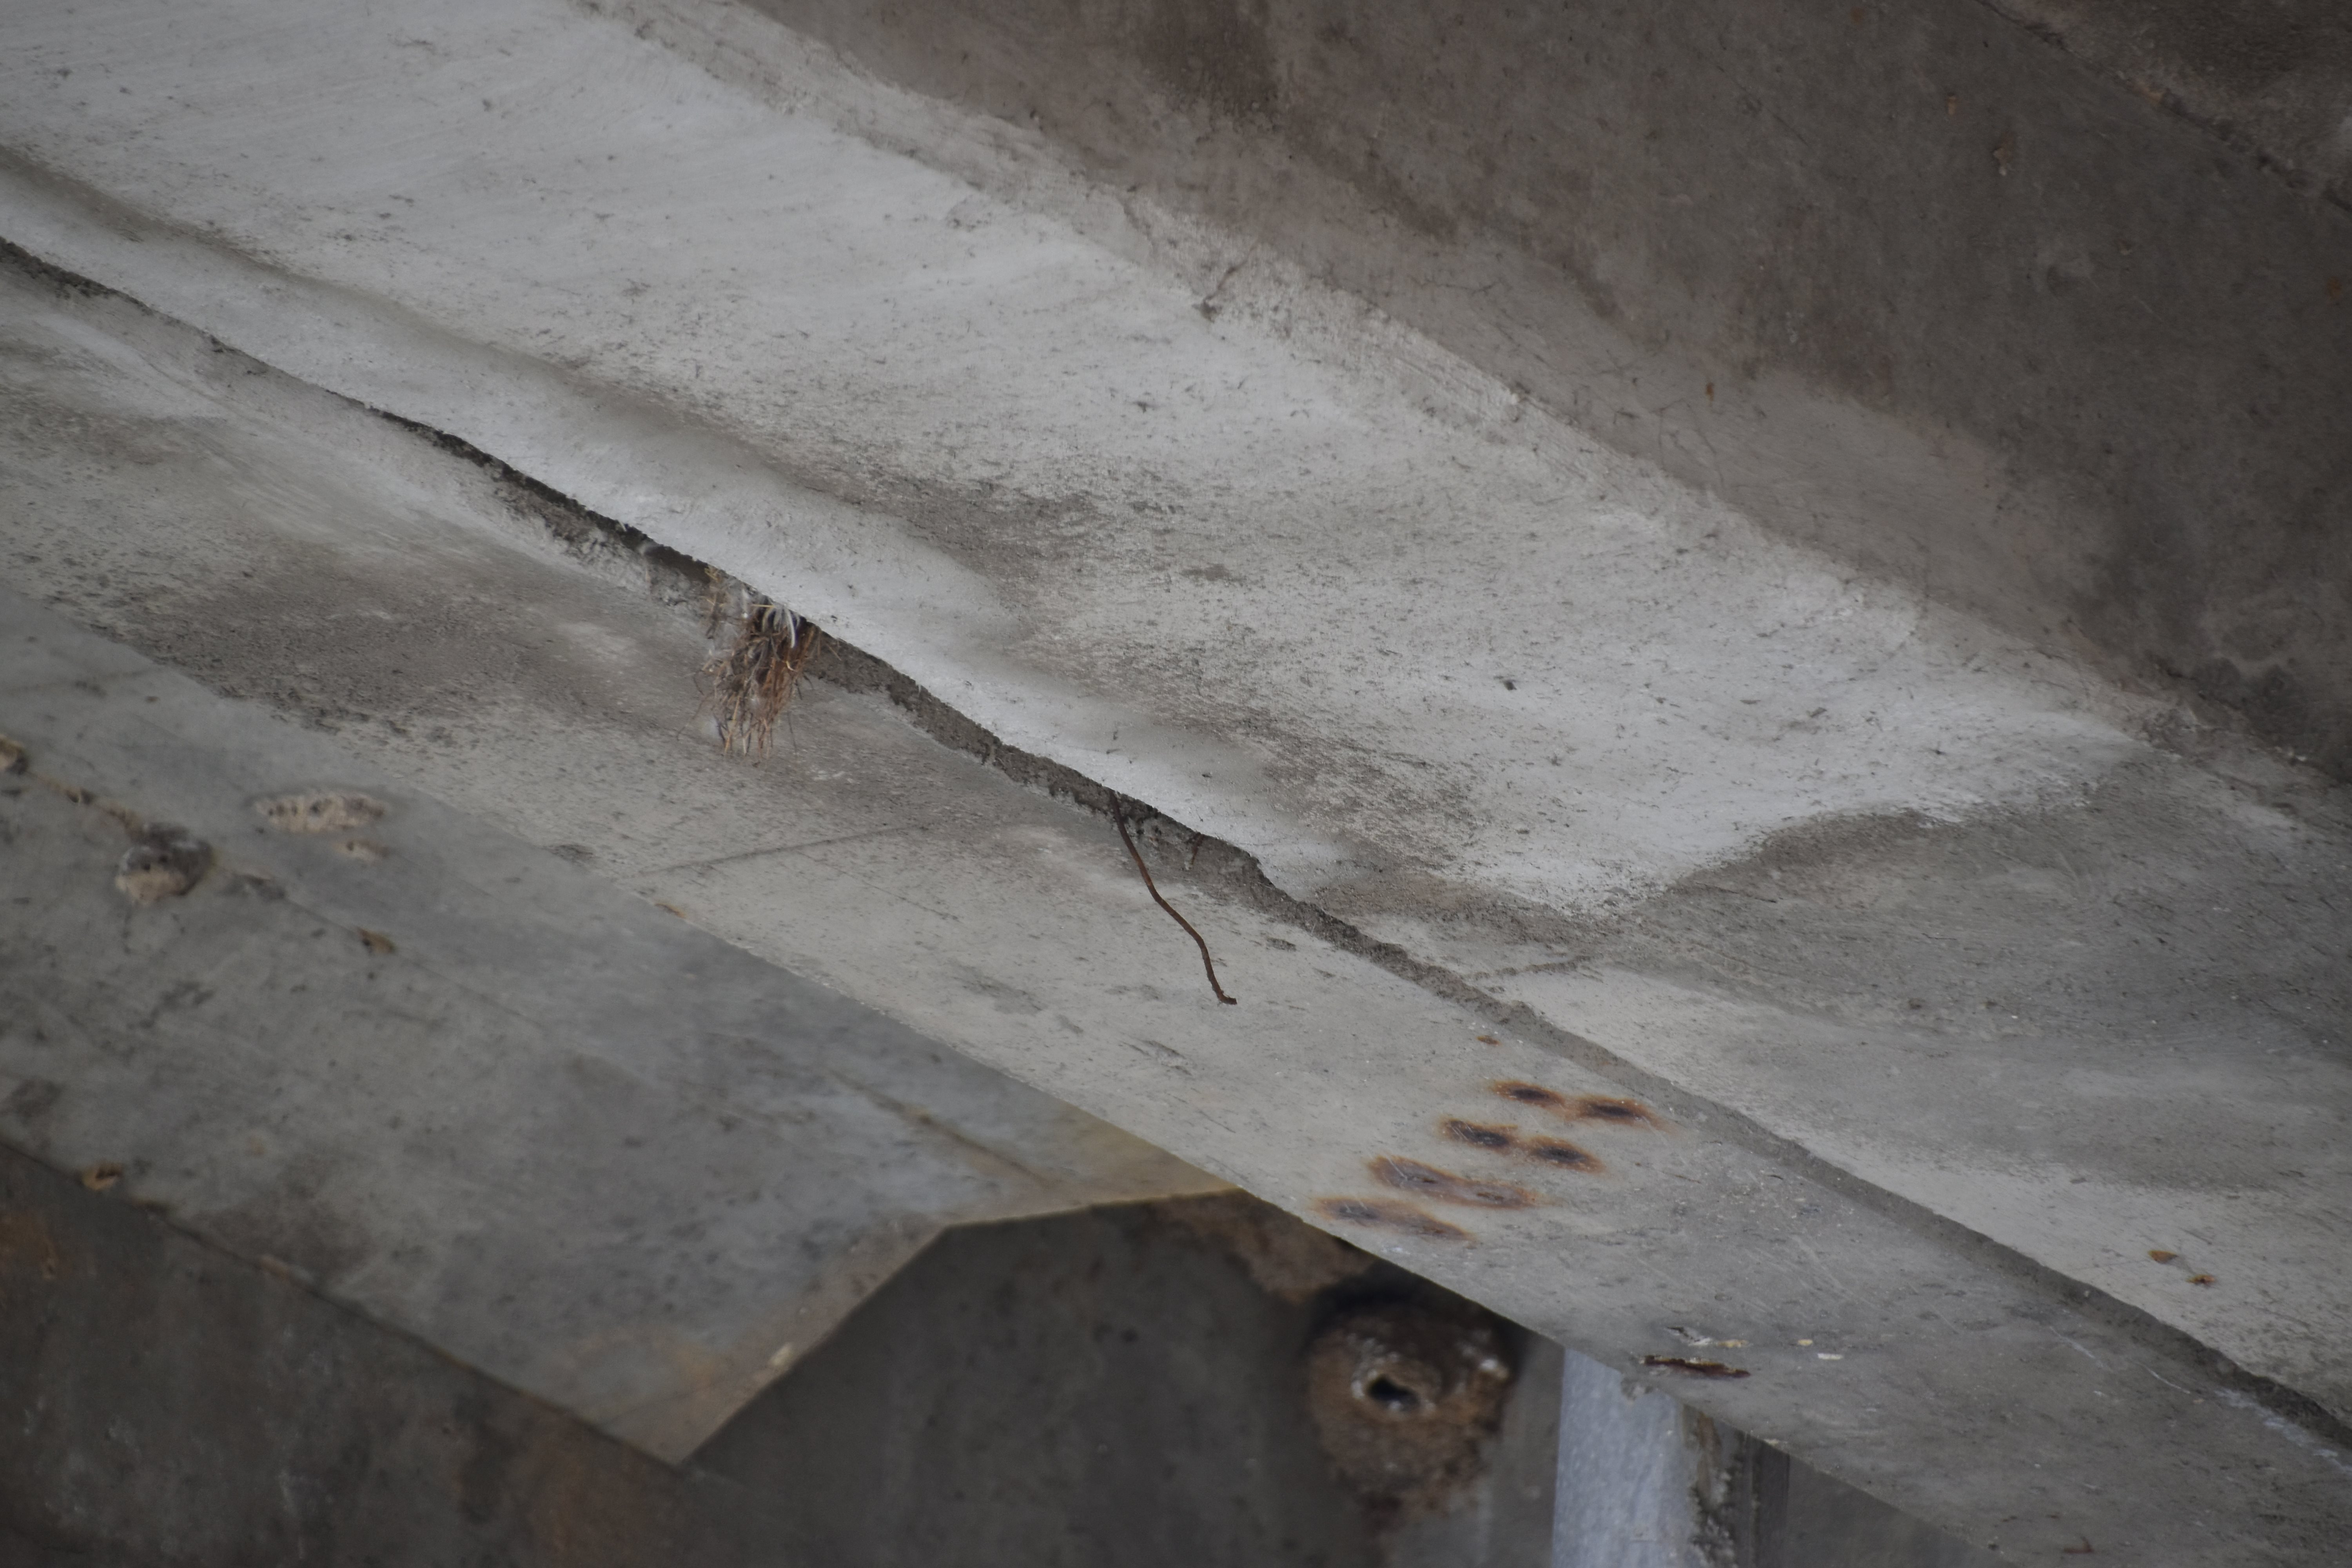
Mid-span floorbeam. Look carefully to see that the gap showing that this is actually two floorbeams, one for each cantilever.
![]()
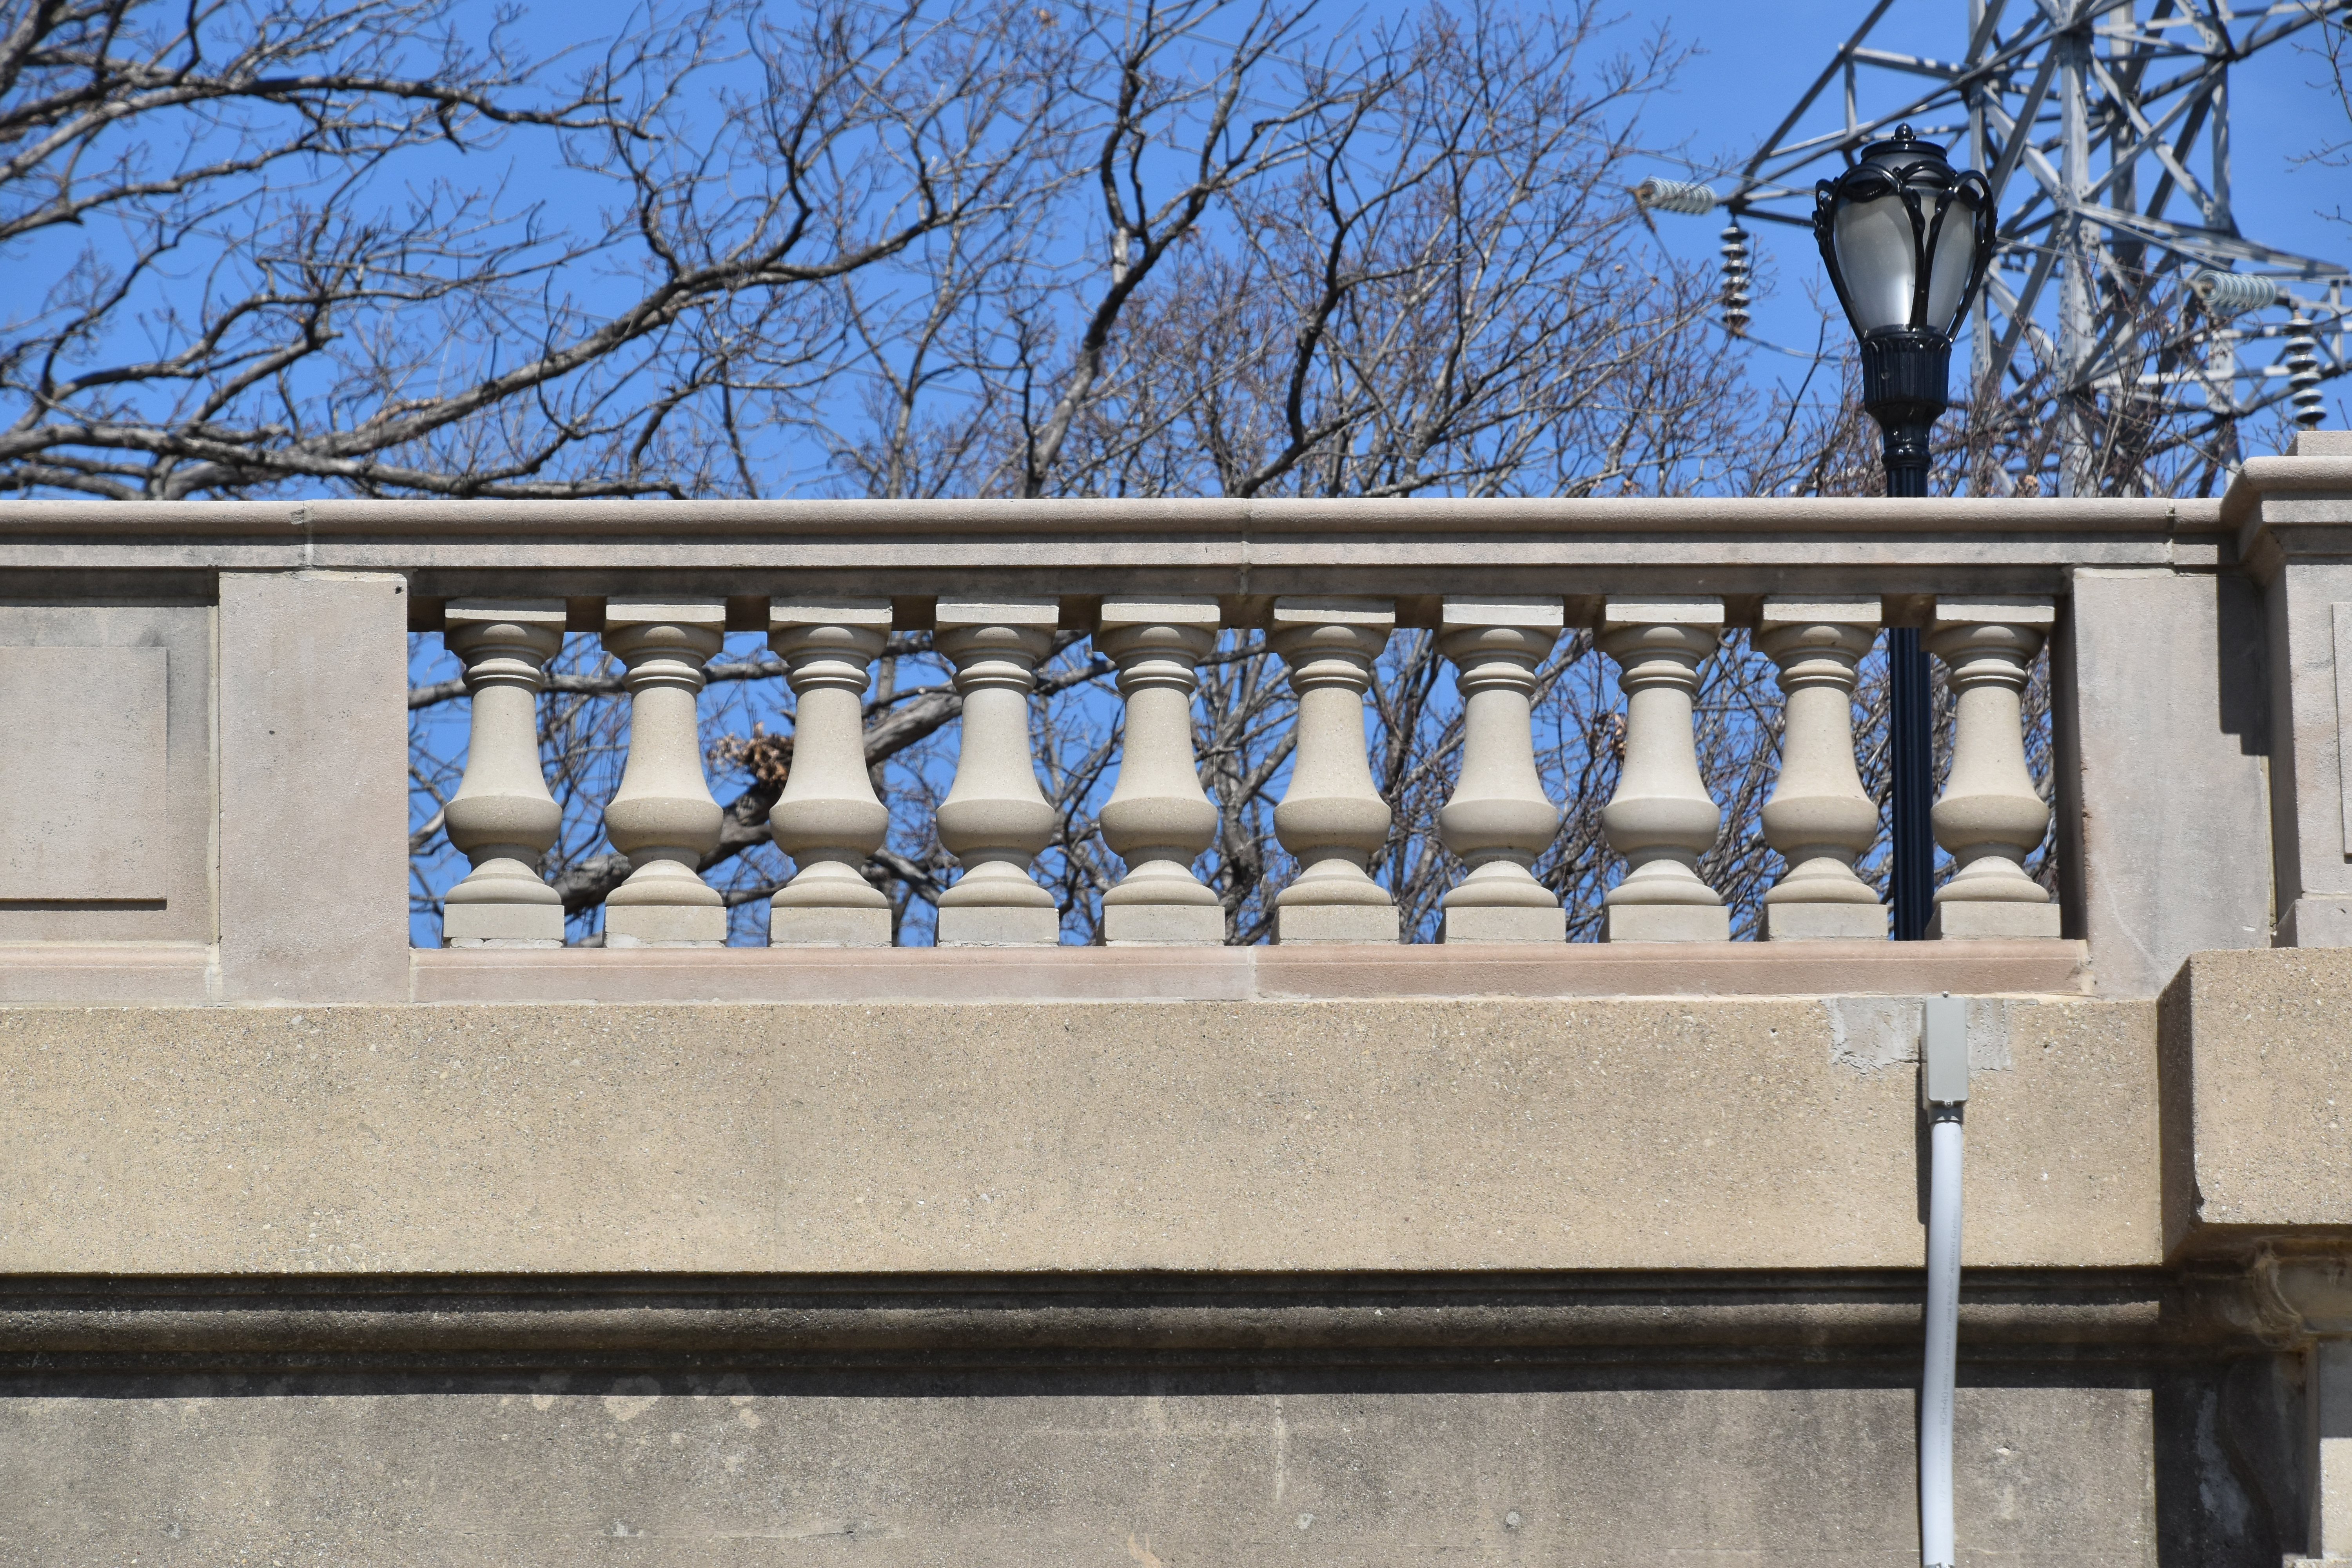


Railing.
![]()


Views under bridge showing floorbeams.
![]()


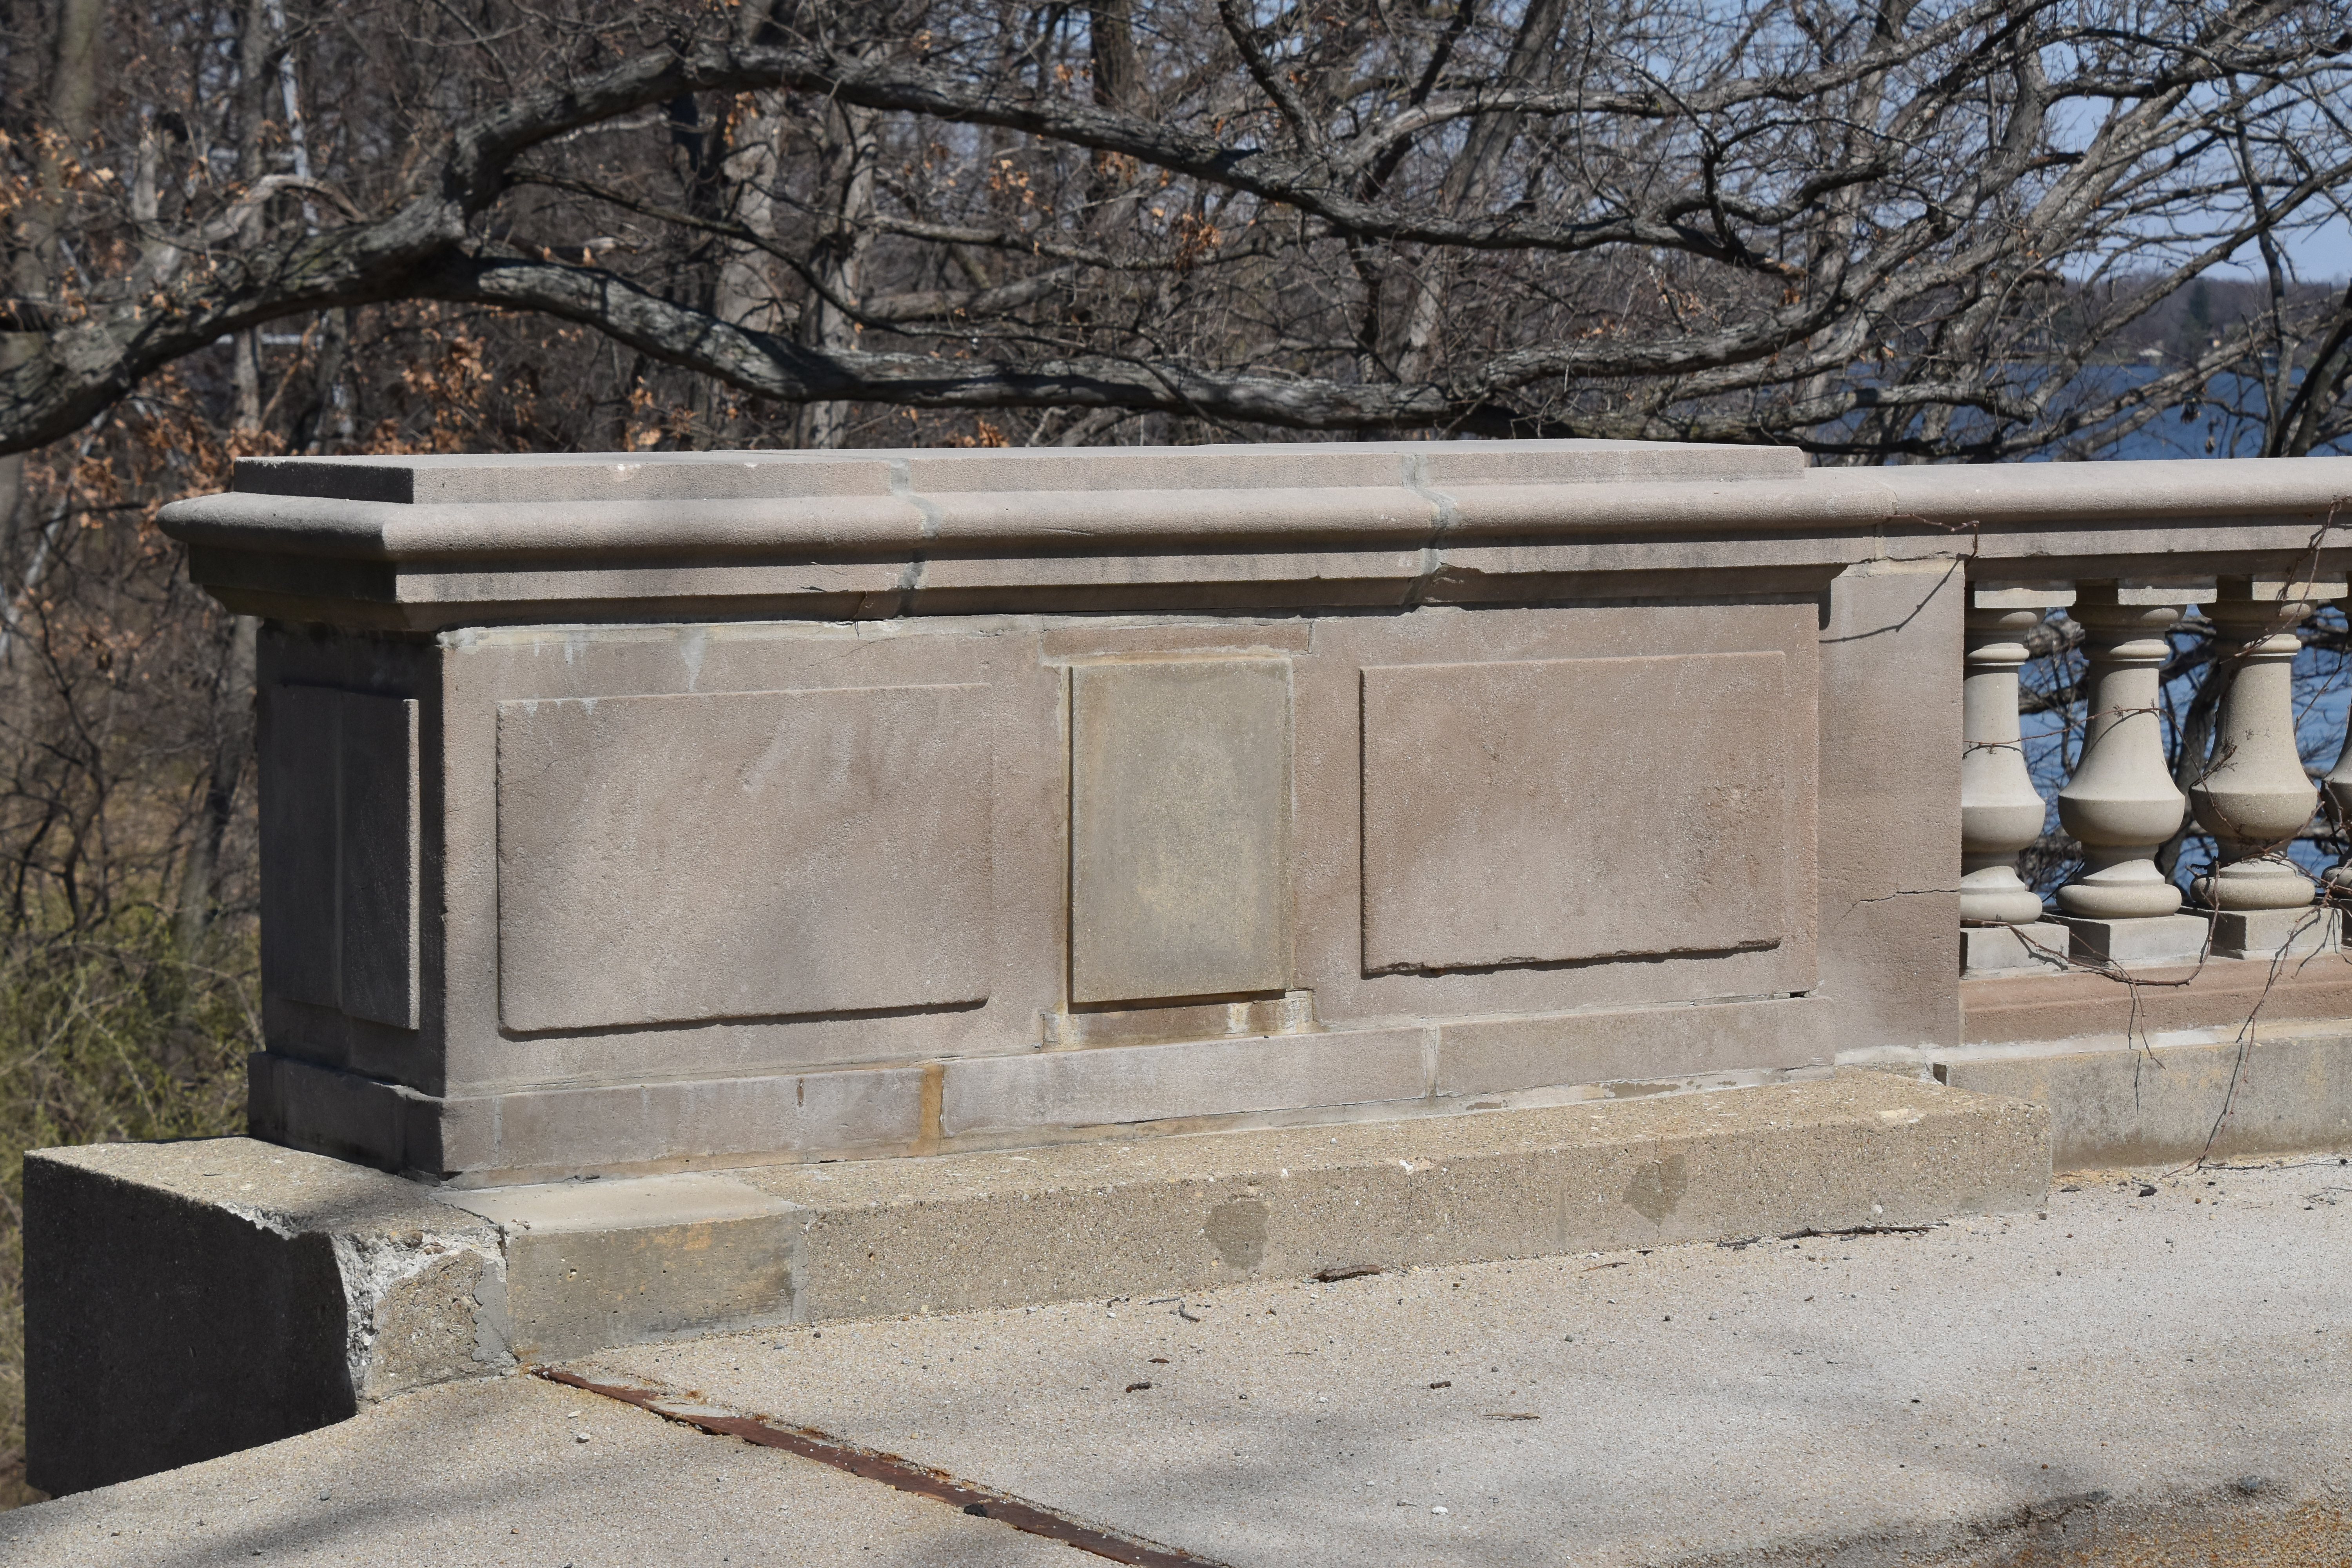
Spandrel wall.
![]()
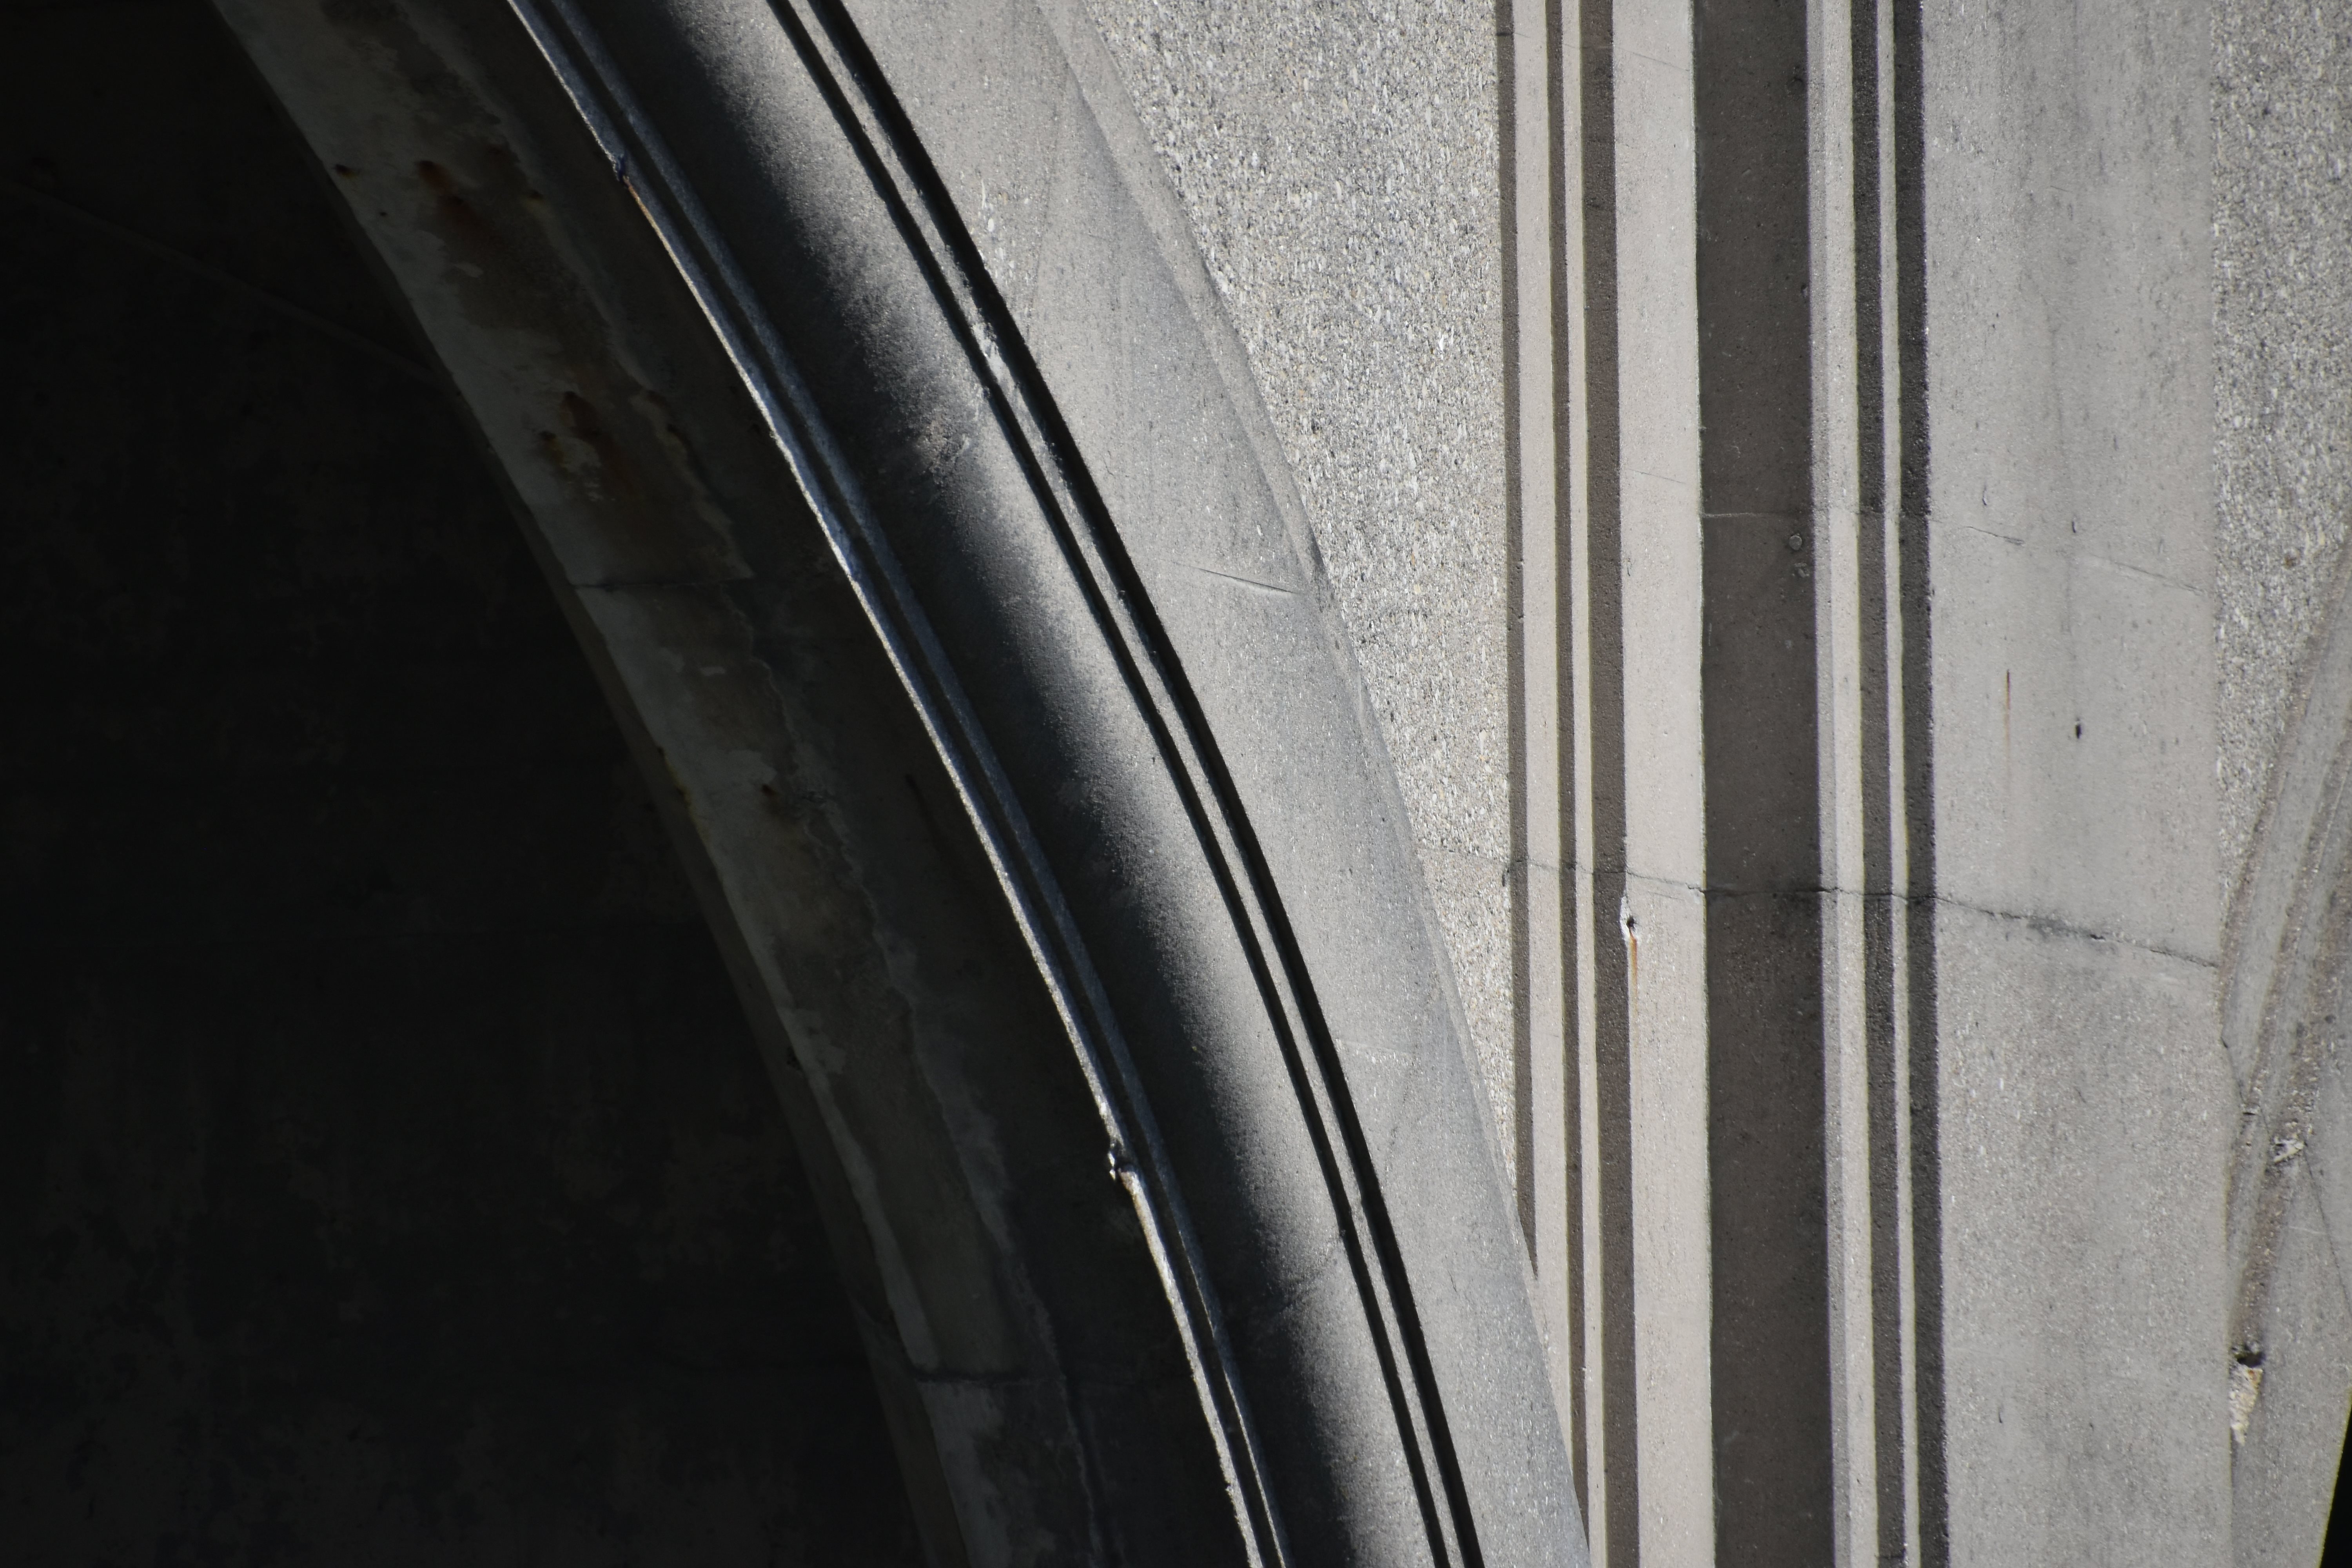
Arch rib.
![]()

Arch pier details.
![]()


Architectural details on bridge.
![]()


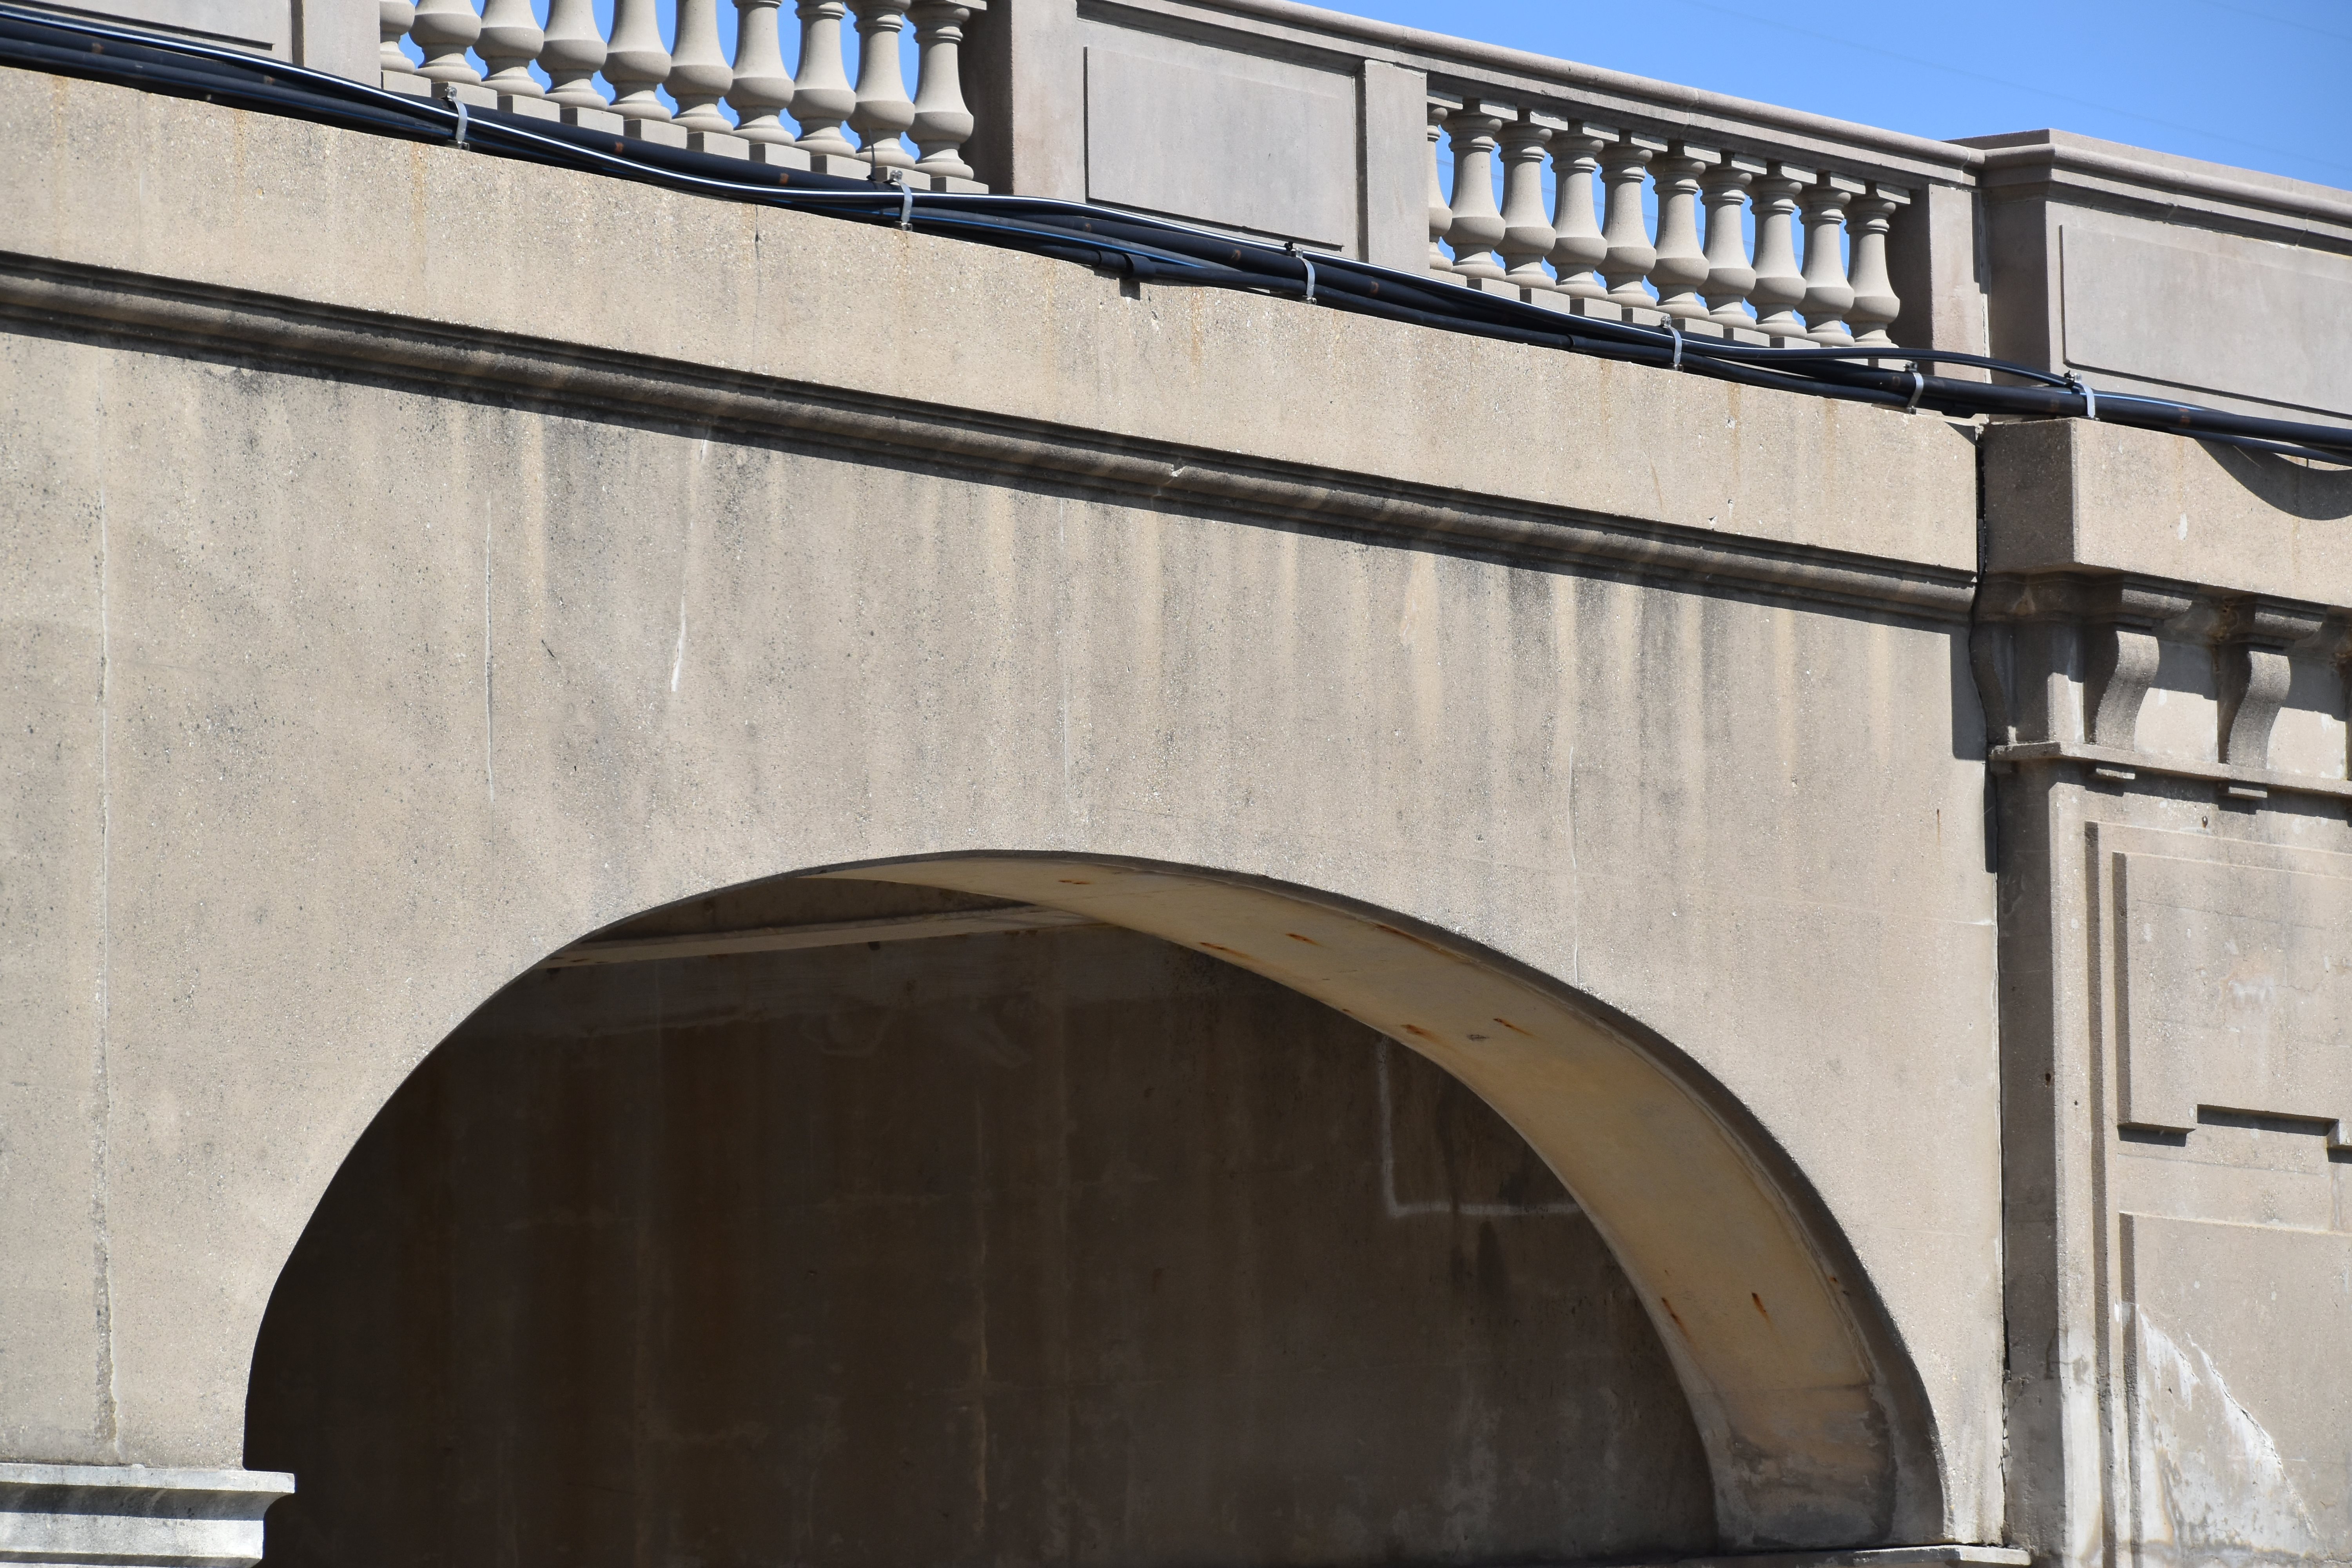
Approach arch details.
![]()

Approach pier detail.
![]()


East approach.
![]()

East abutment.
![]()

West approach.
![]()

West abutment.
![]()
![]()
| Back |
| Home |
| Top |

![]()