
Uncredited photos on this page taken by: Nathan Holth. Unless stated in a caption, all photos are Copyright with All Rights Reserved. Learn about reuse of our photos.
![]()
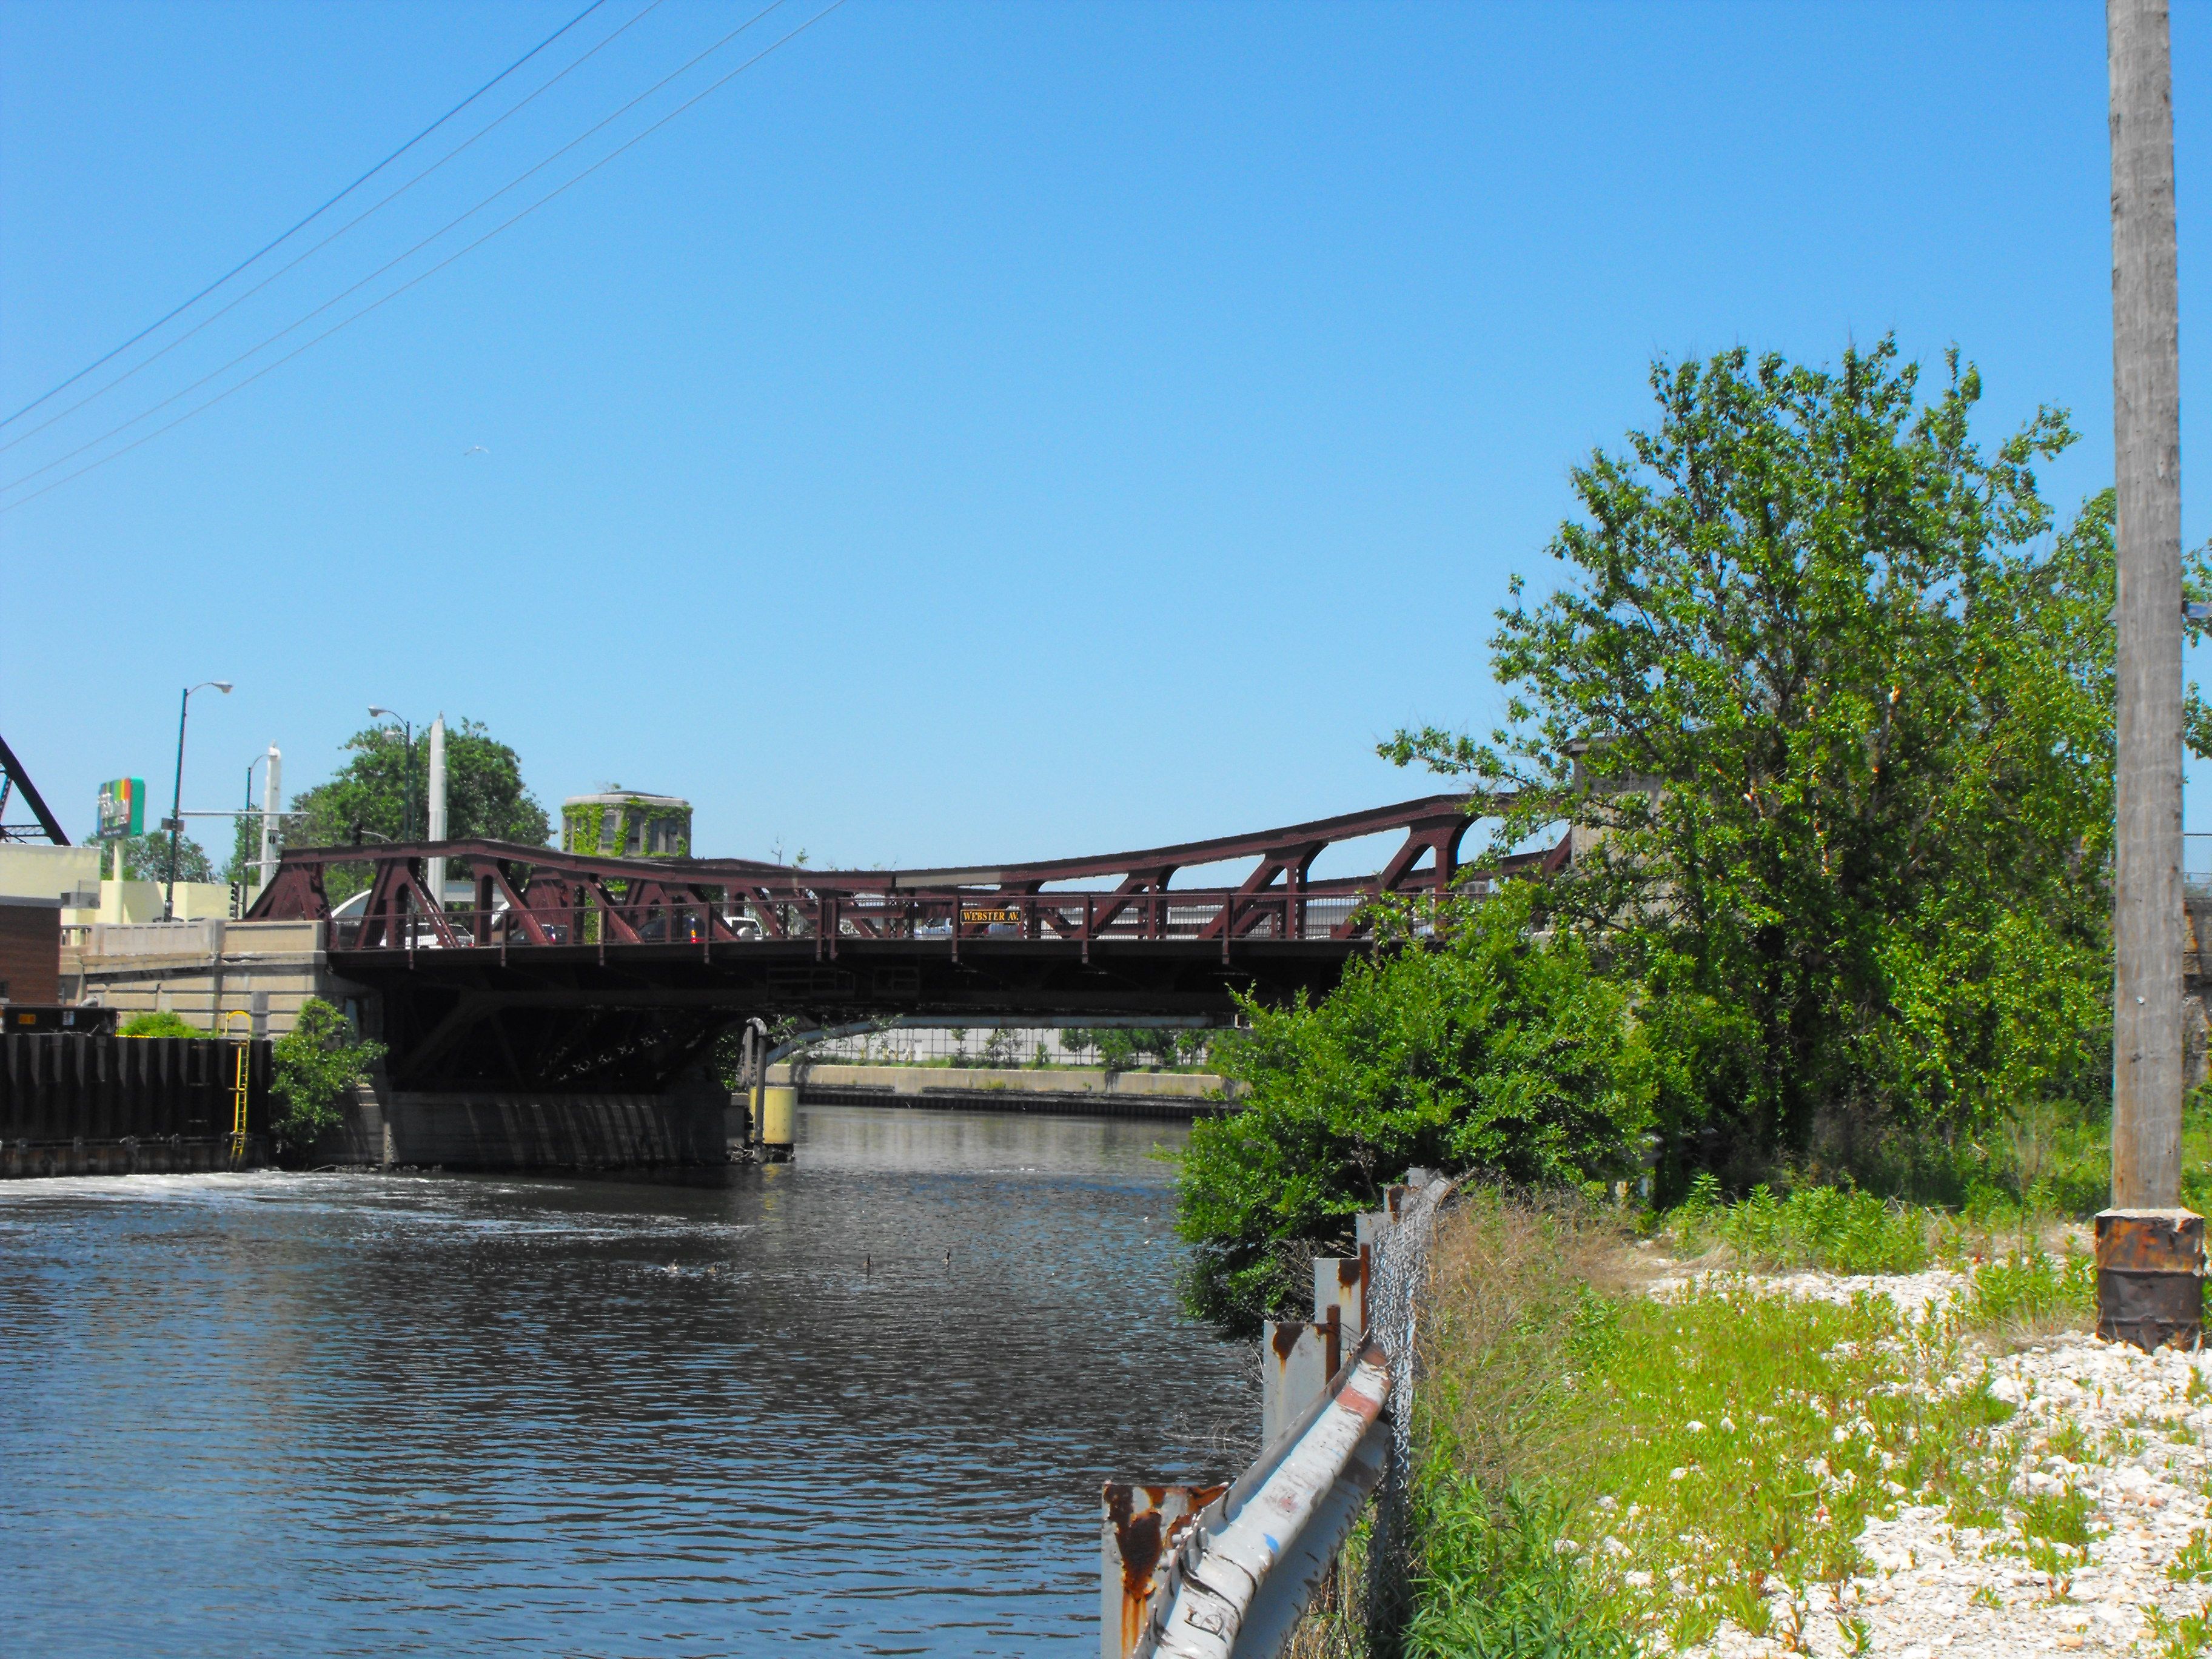
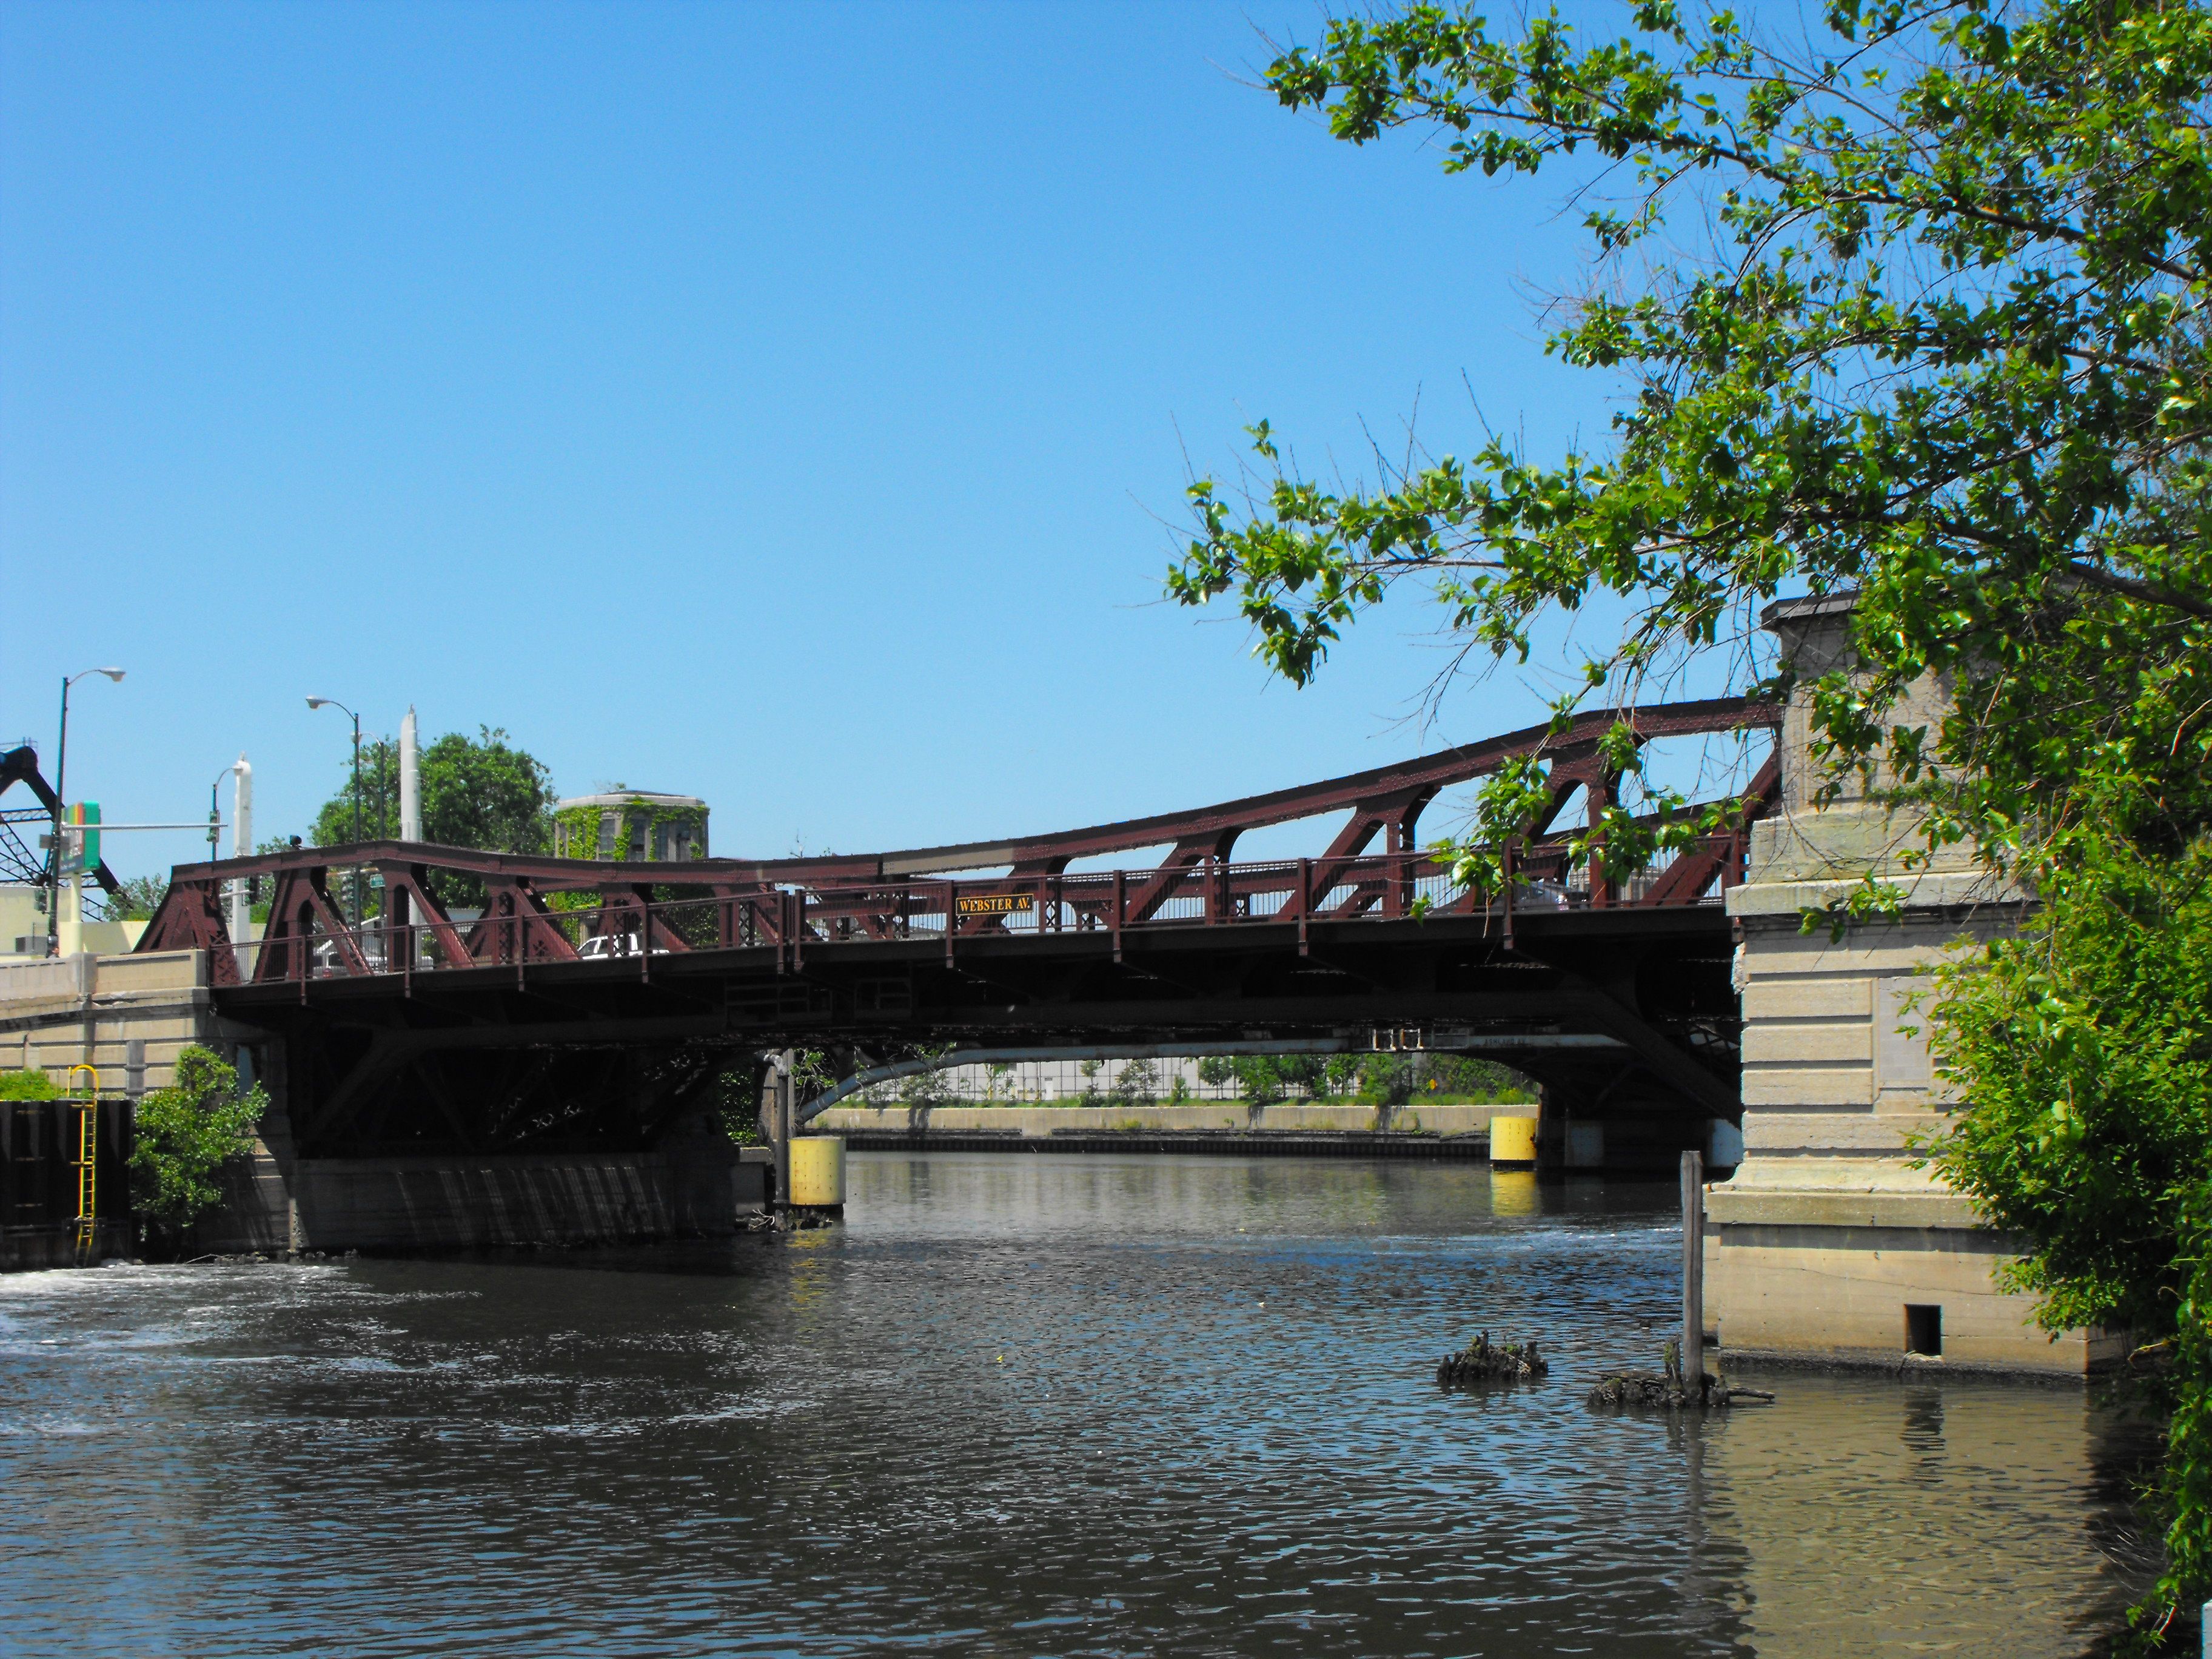
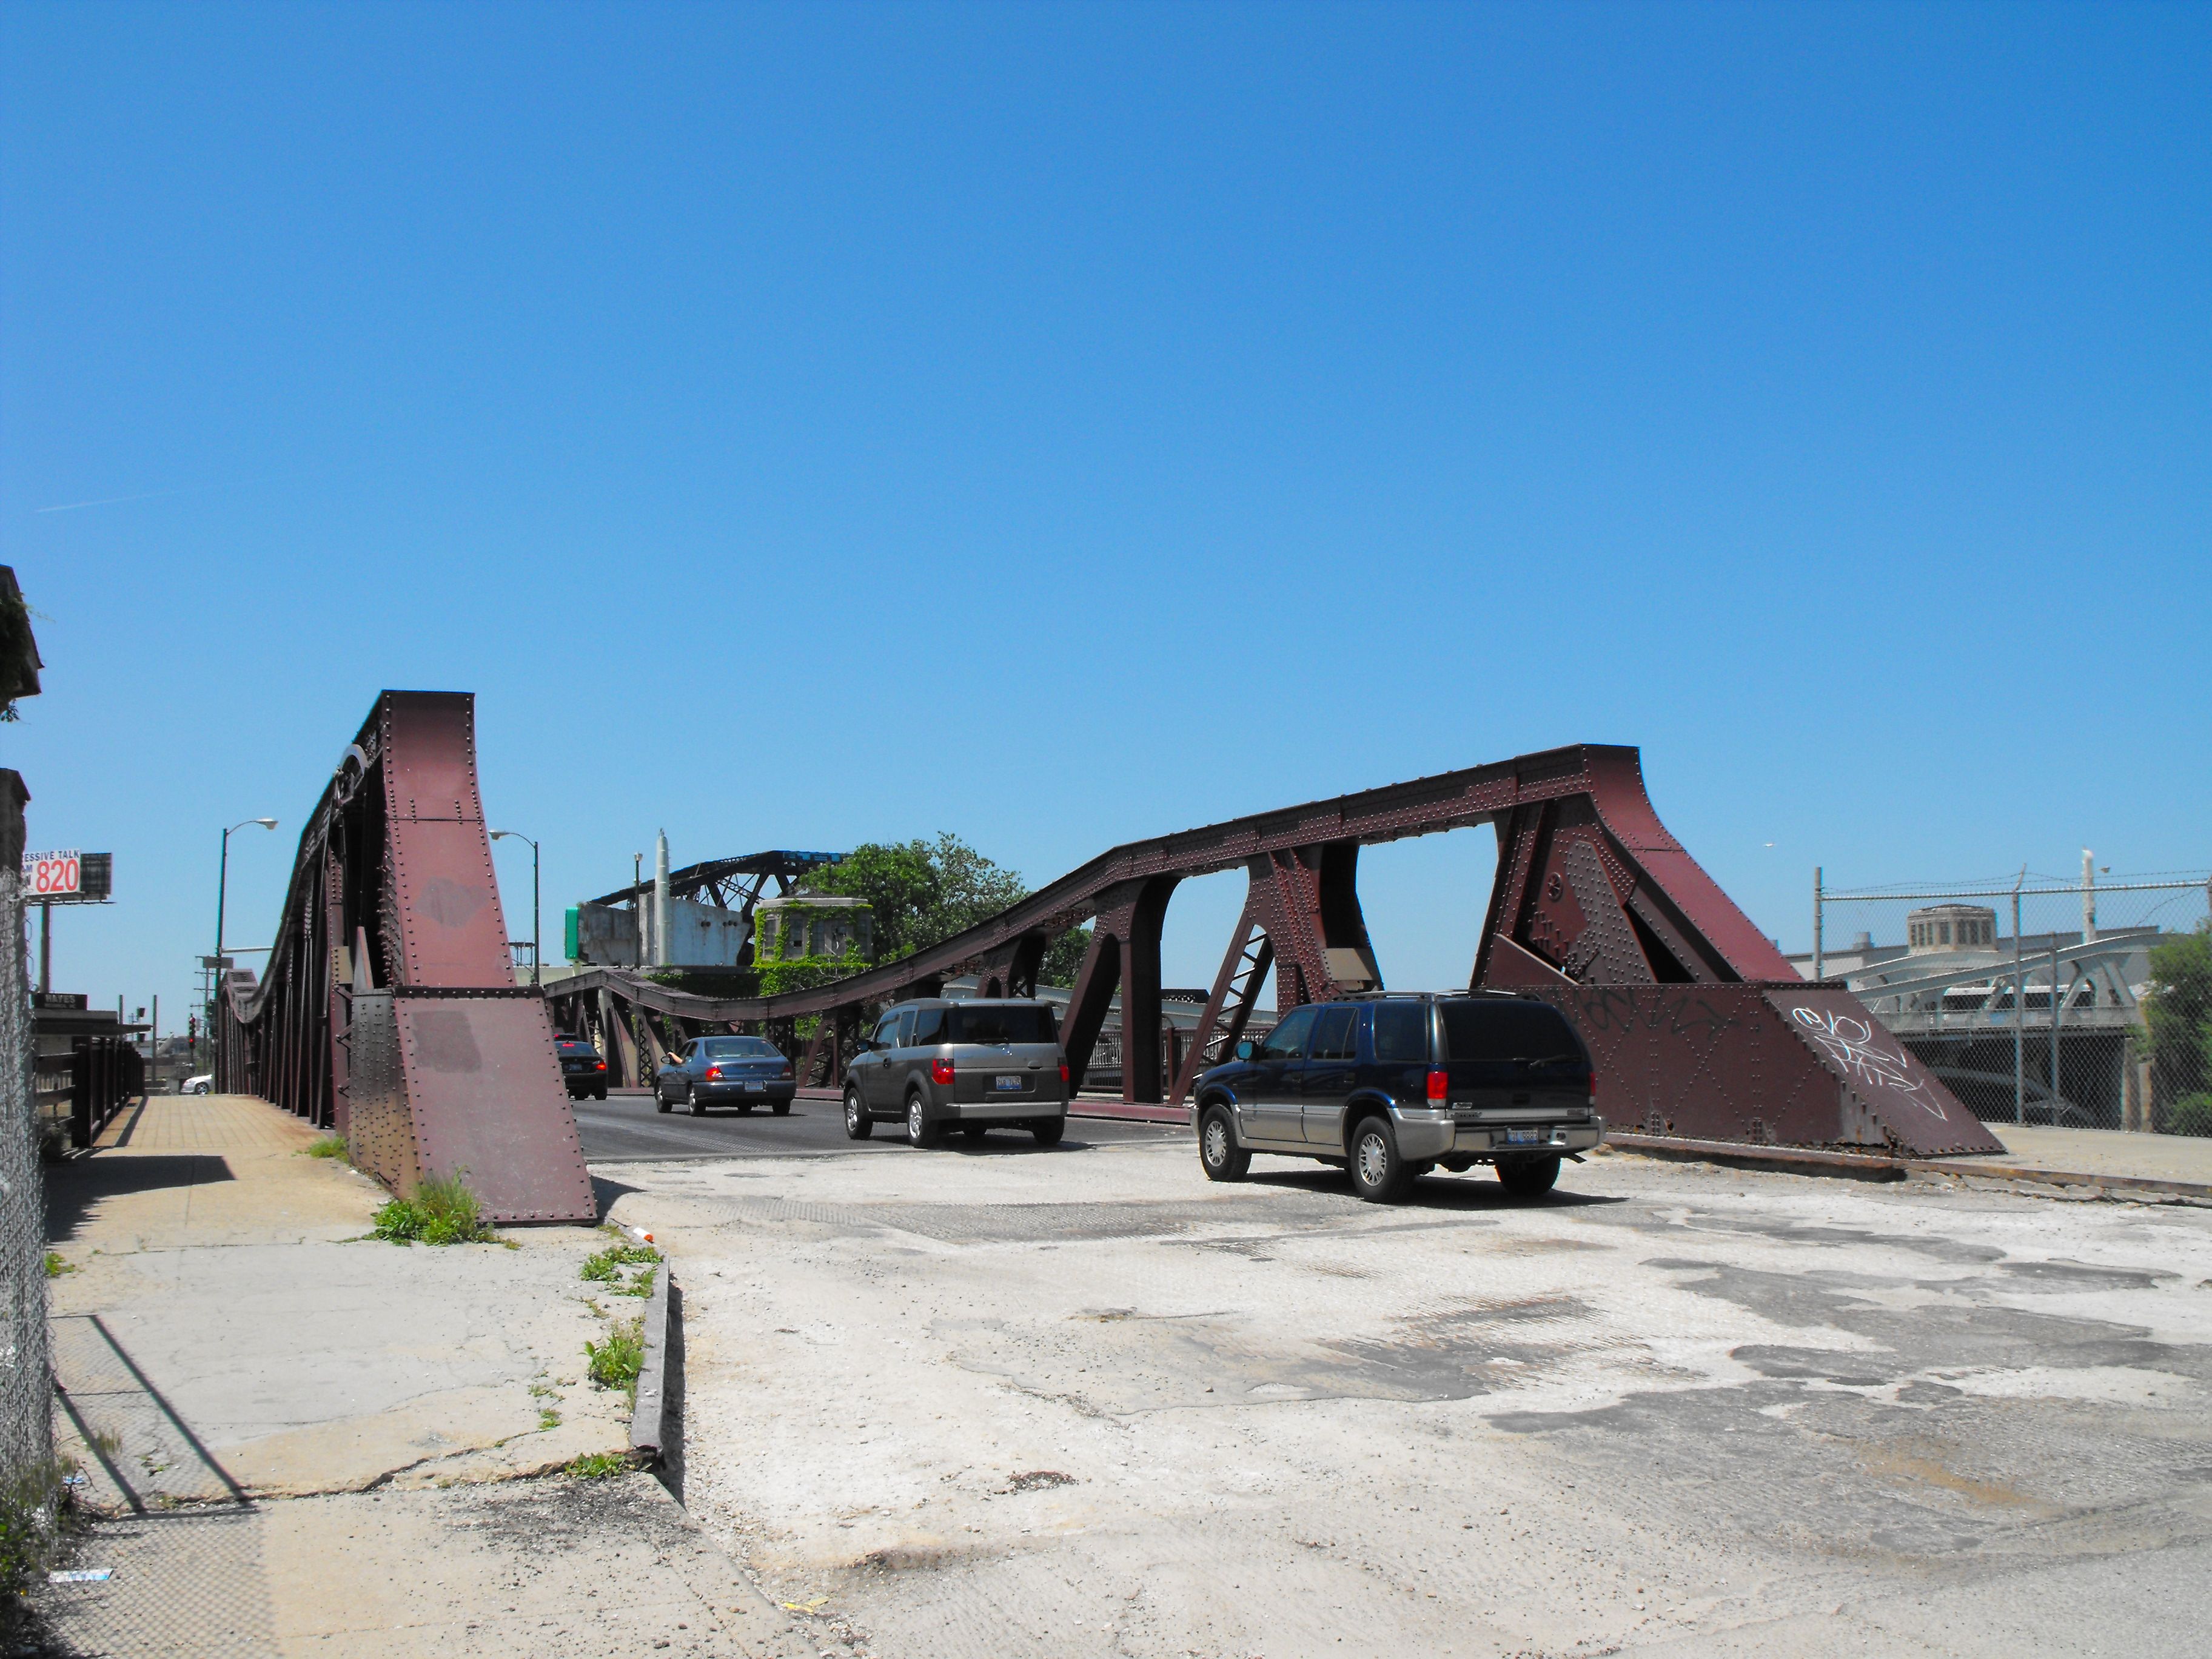
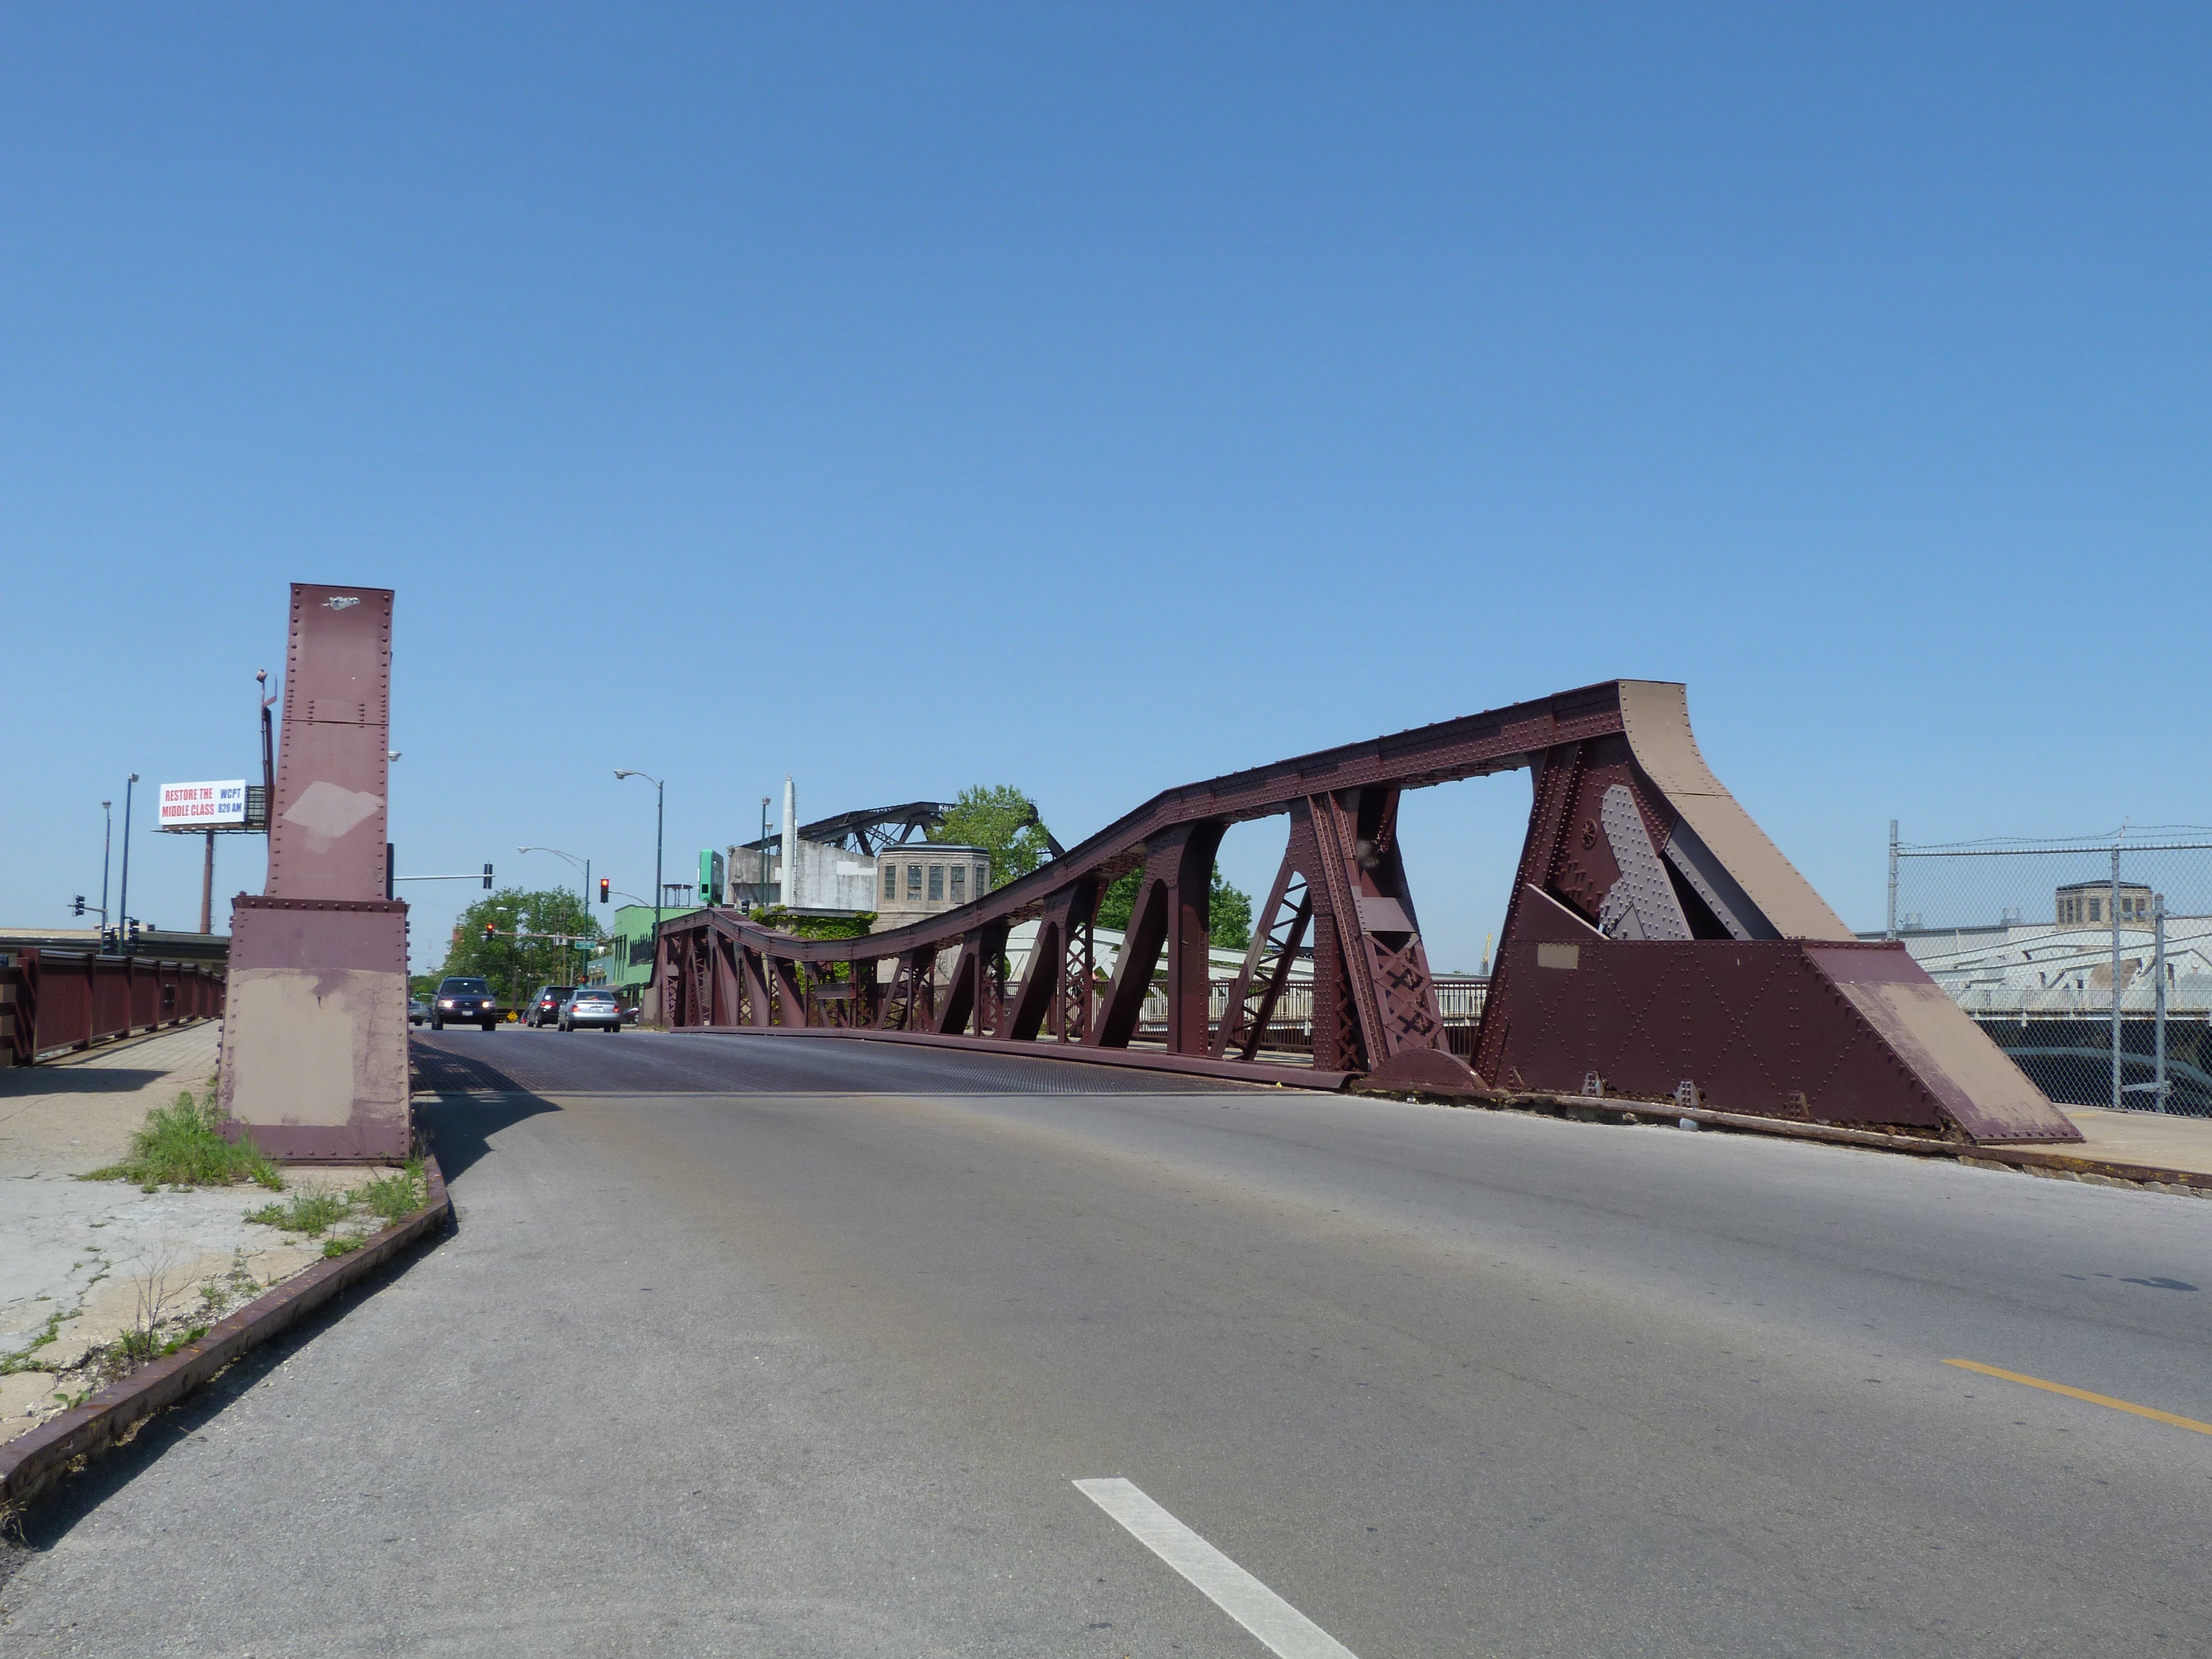
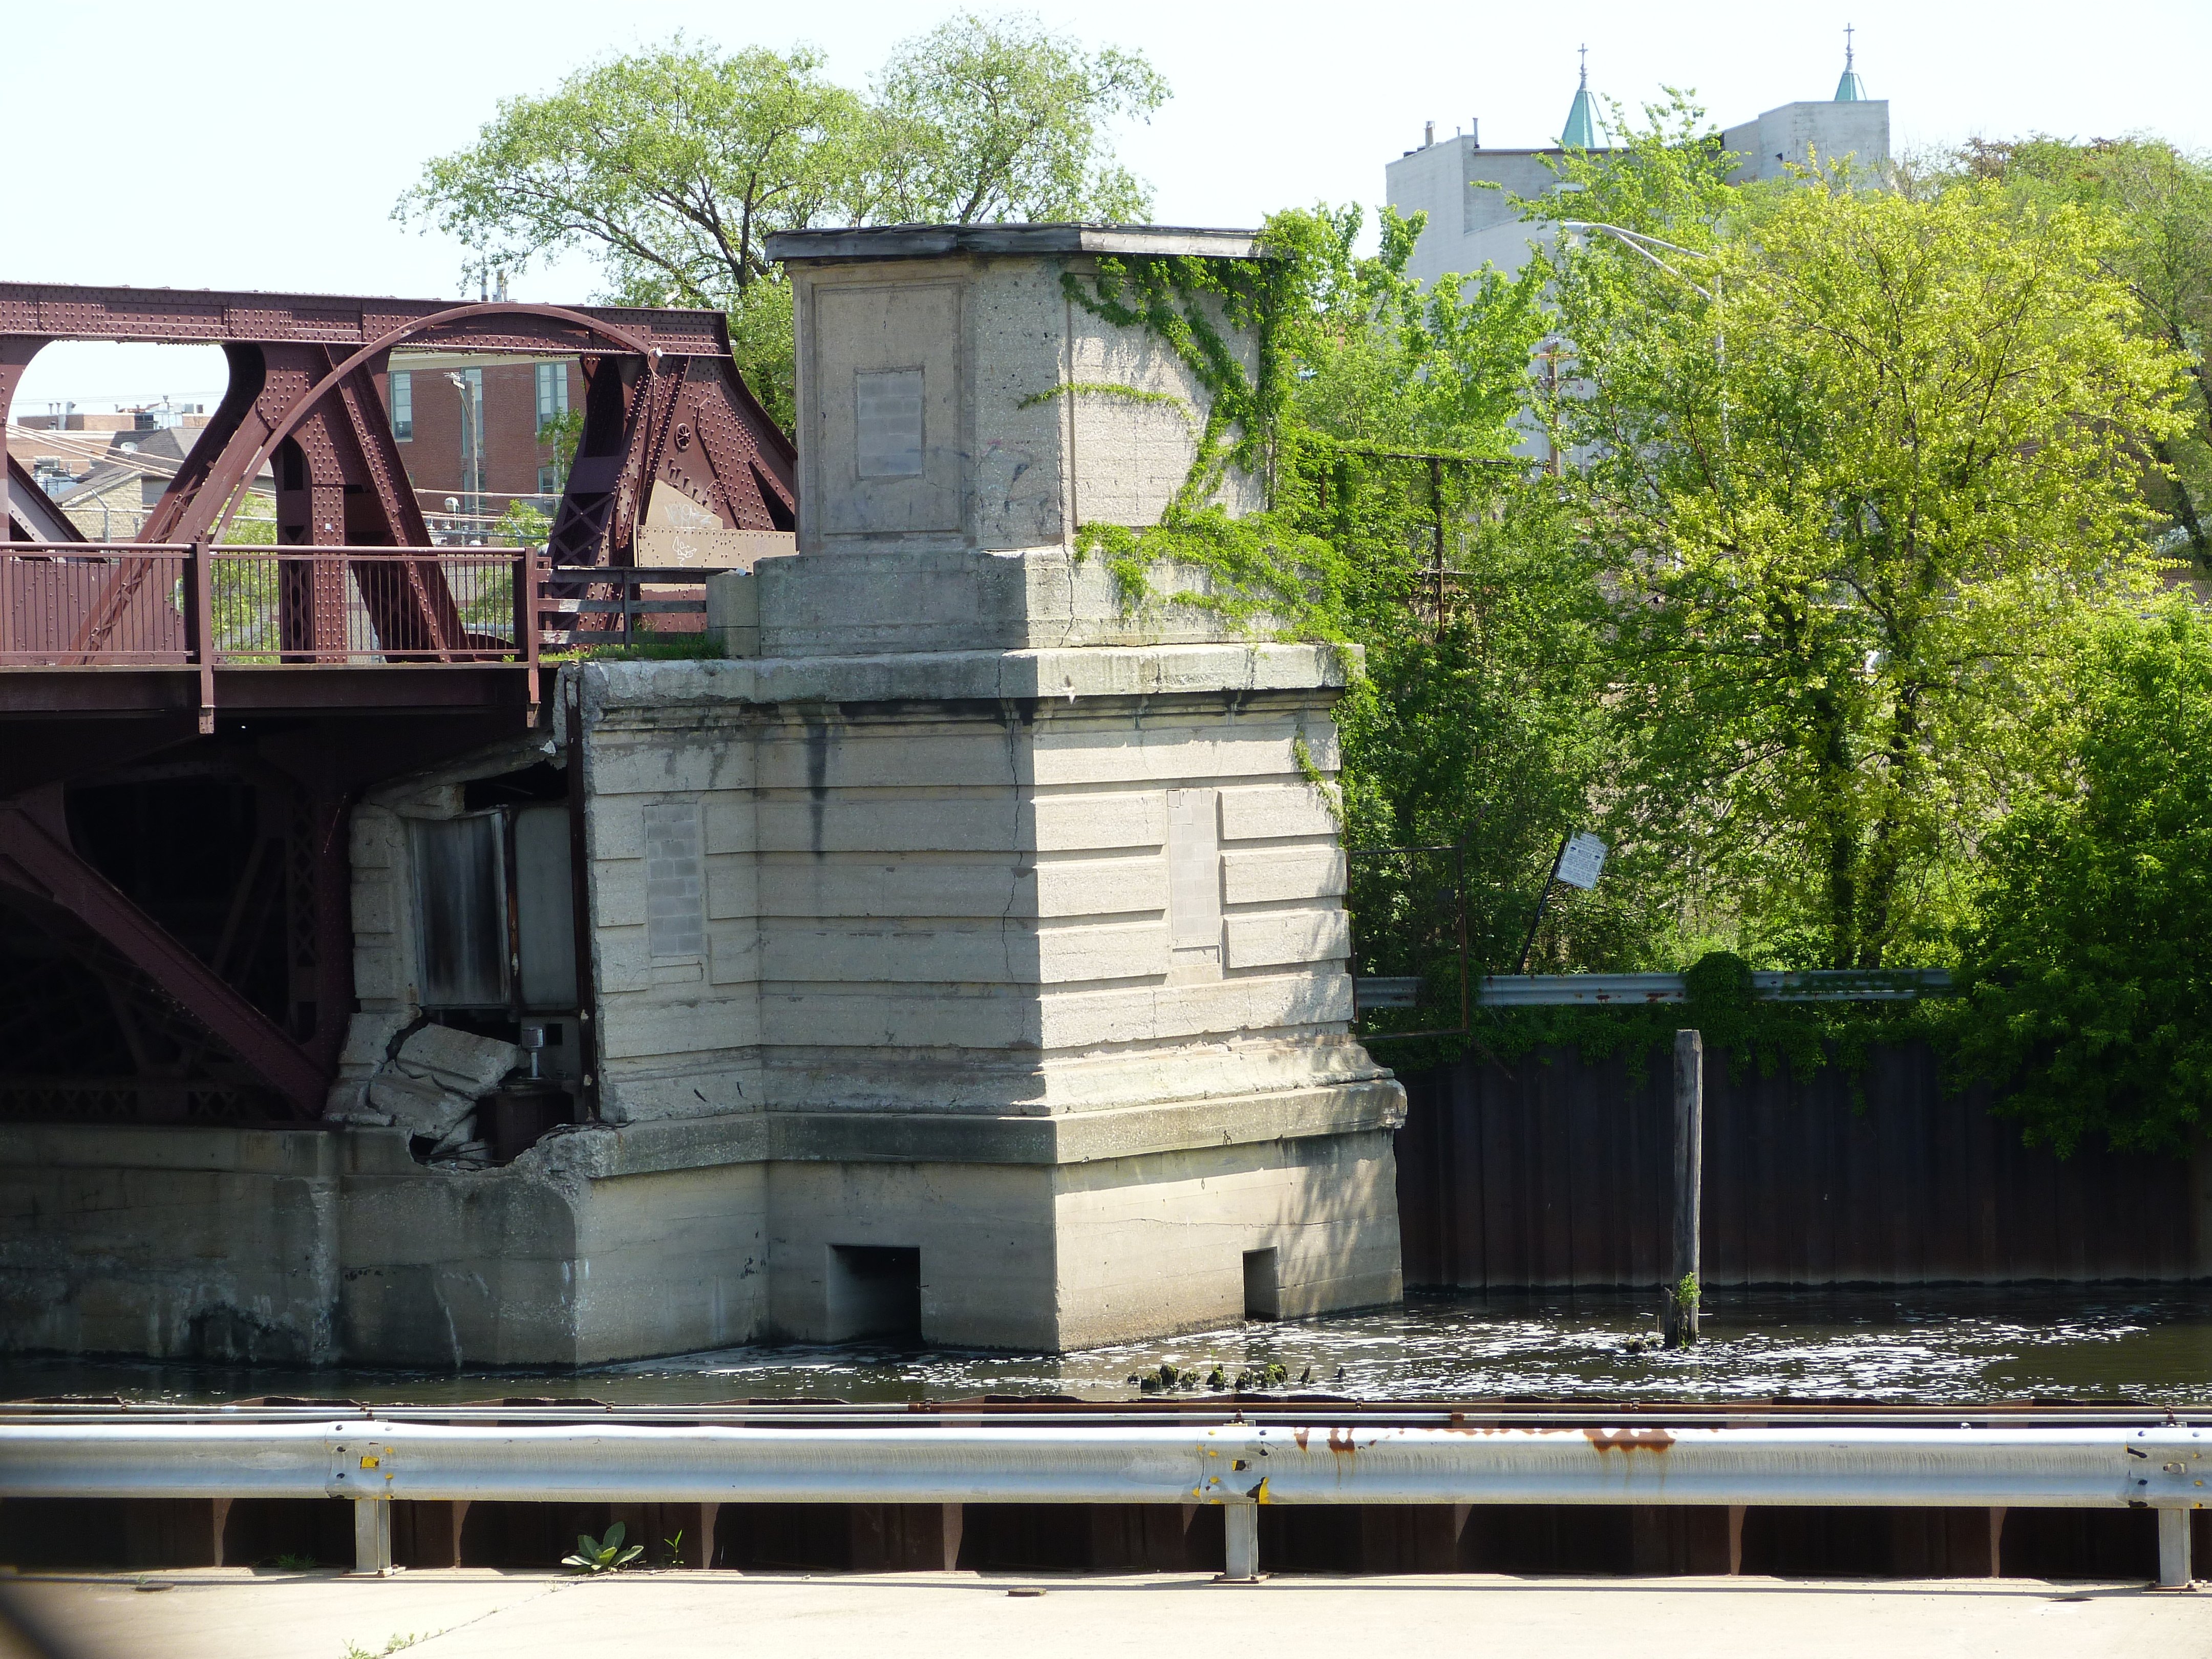
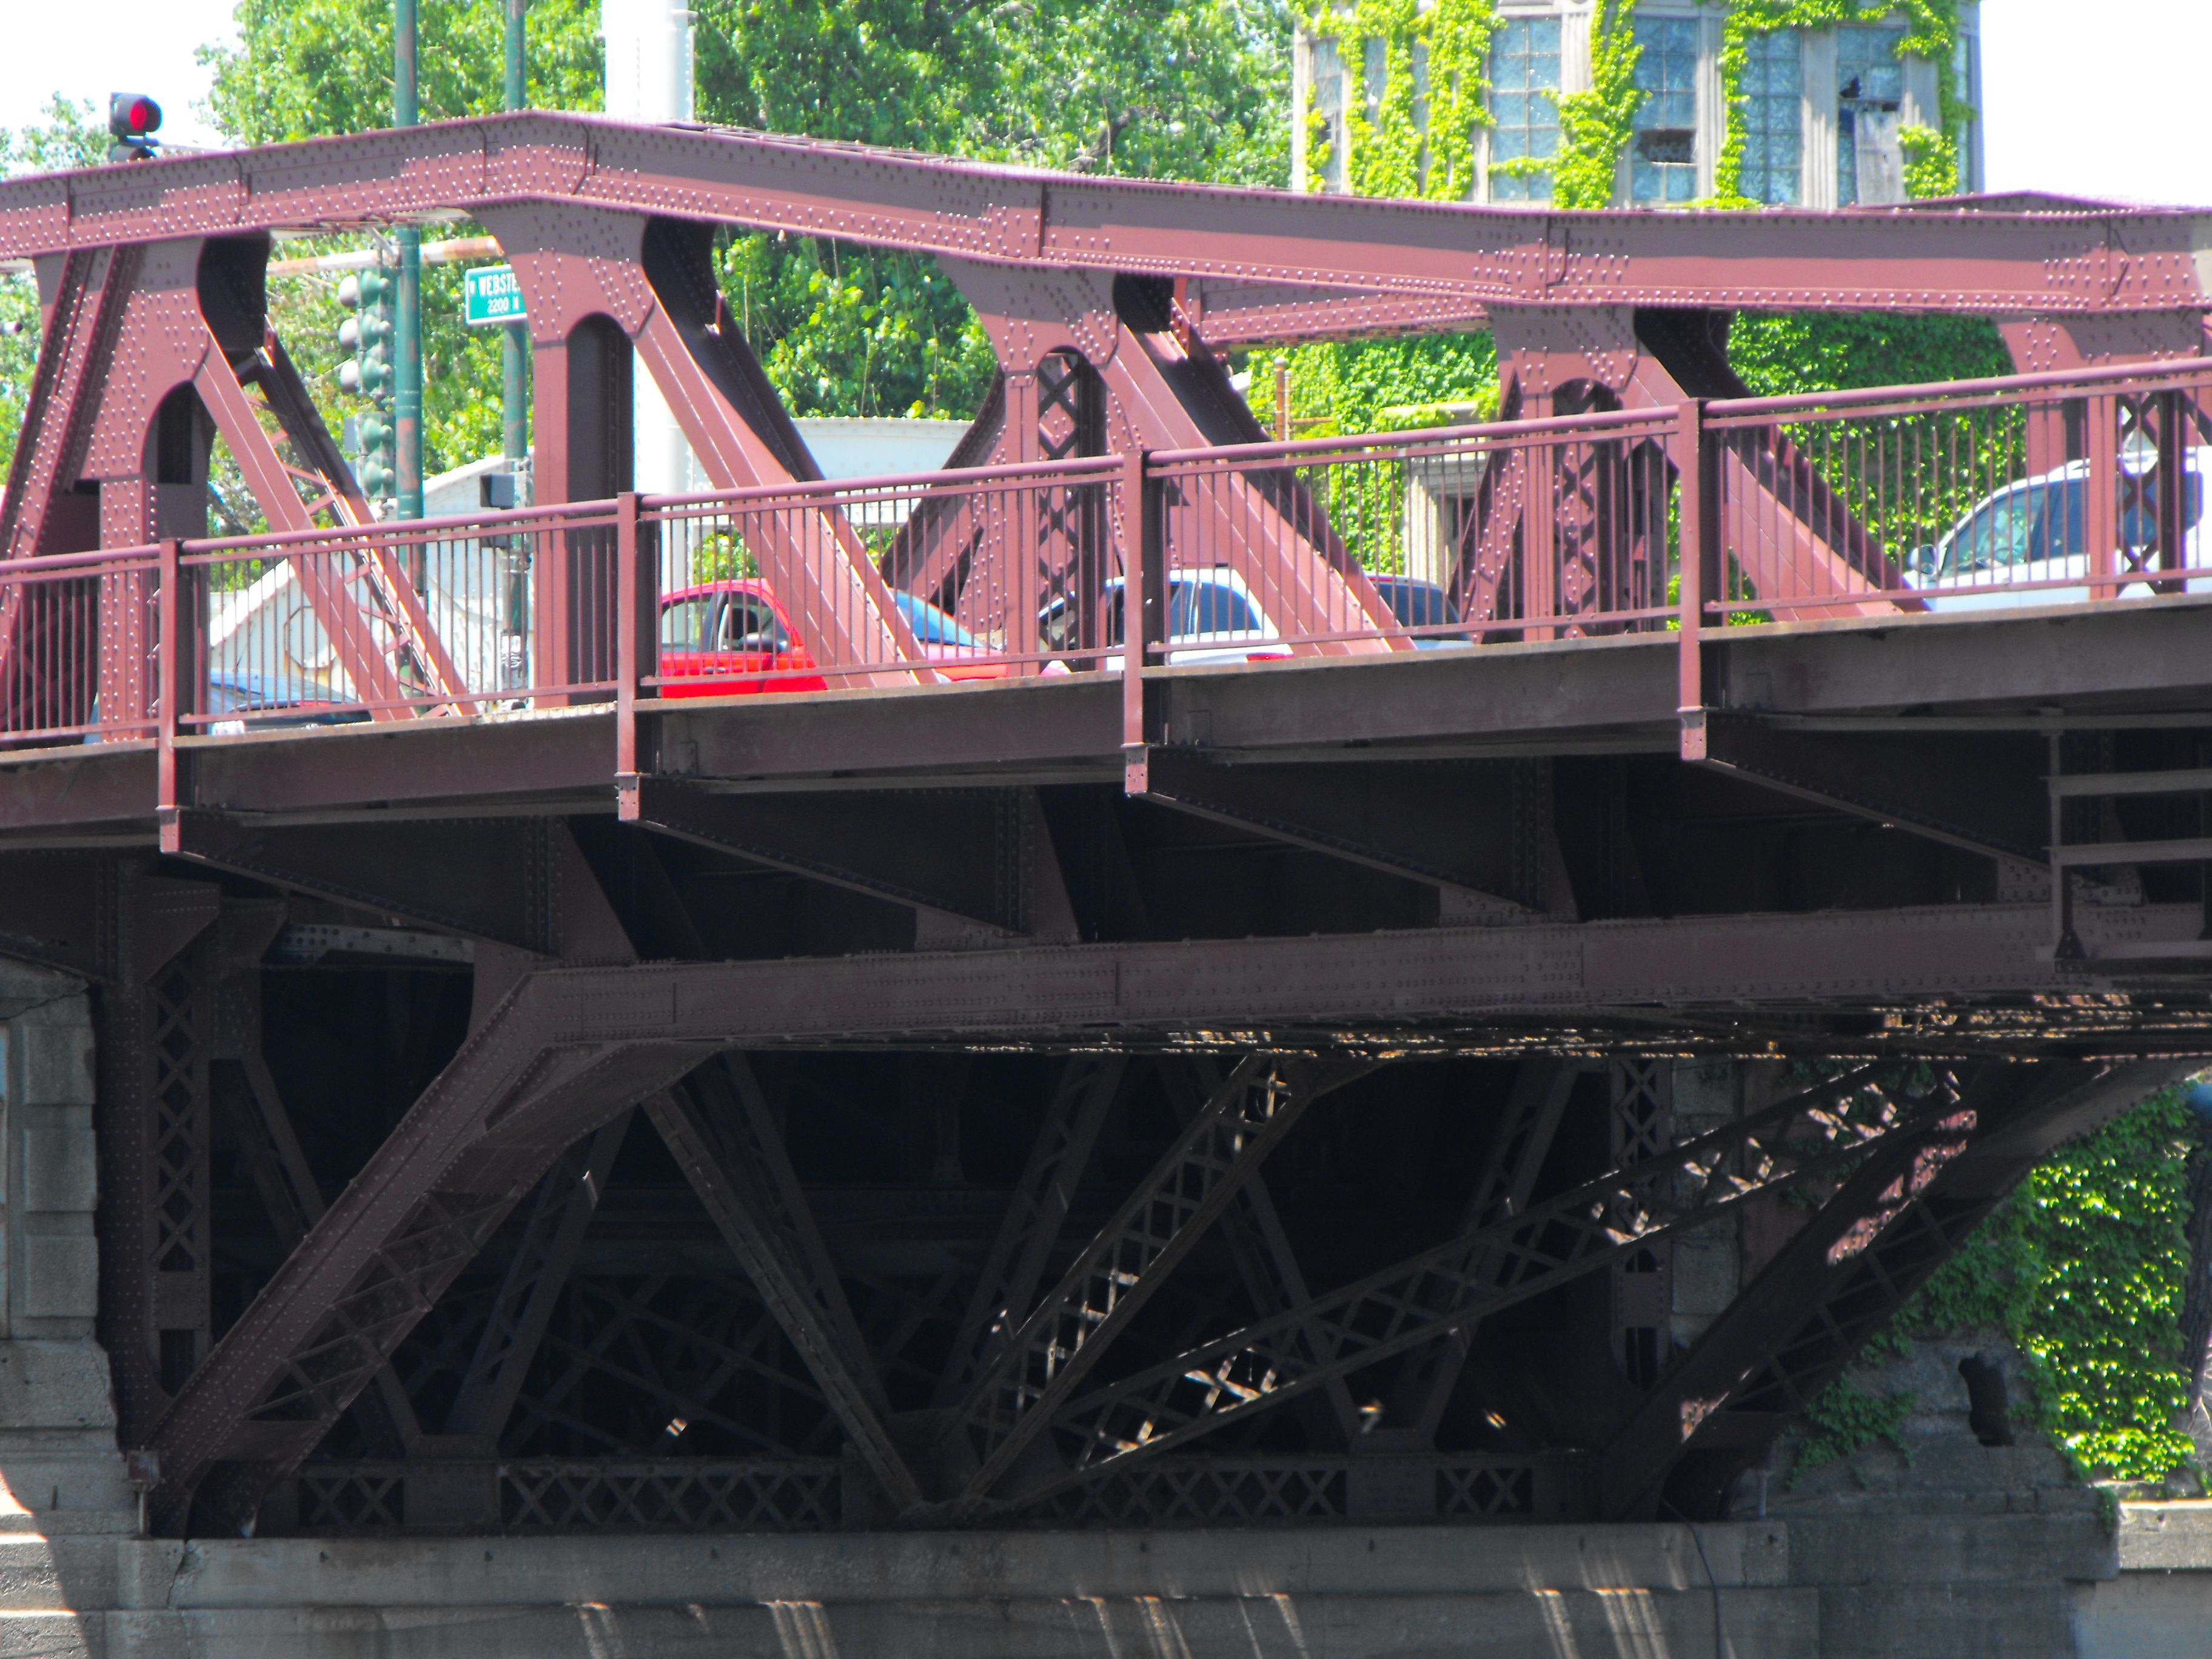
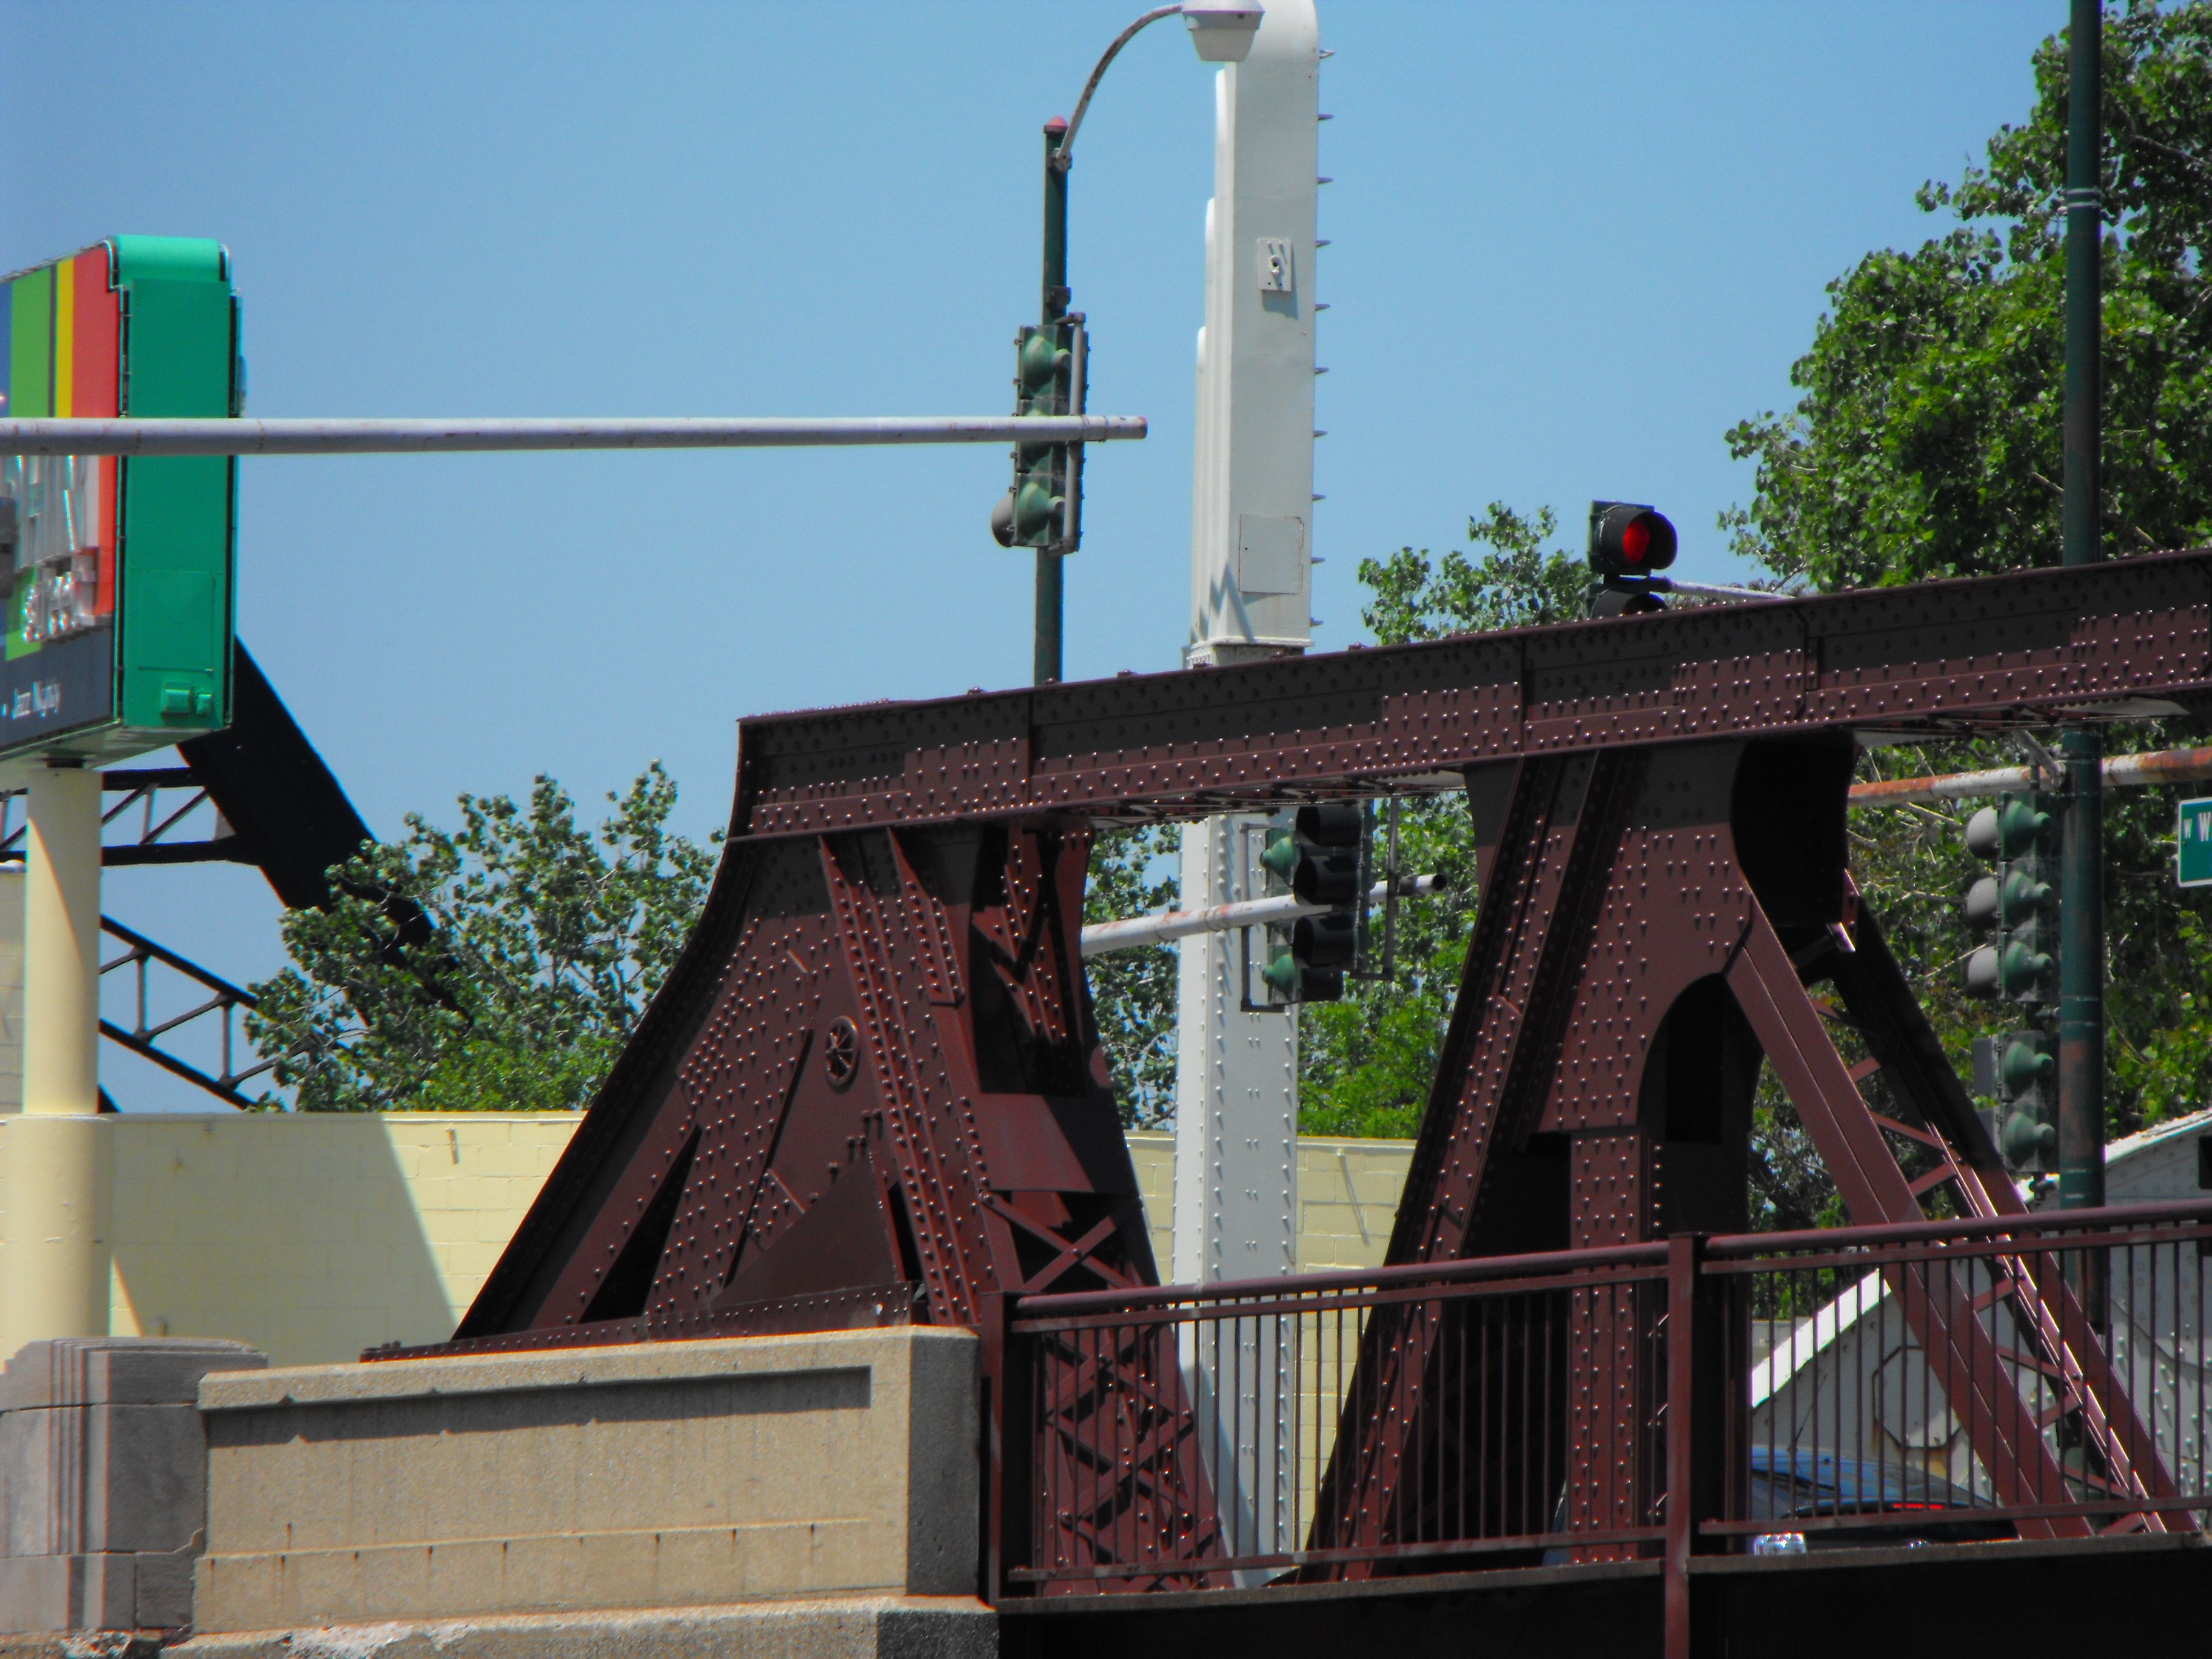
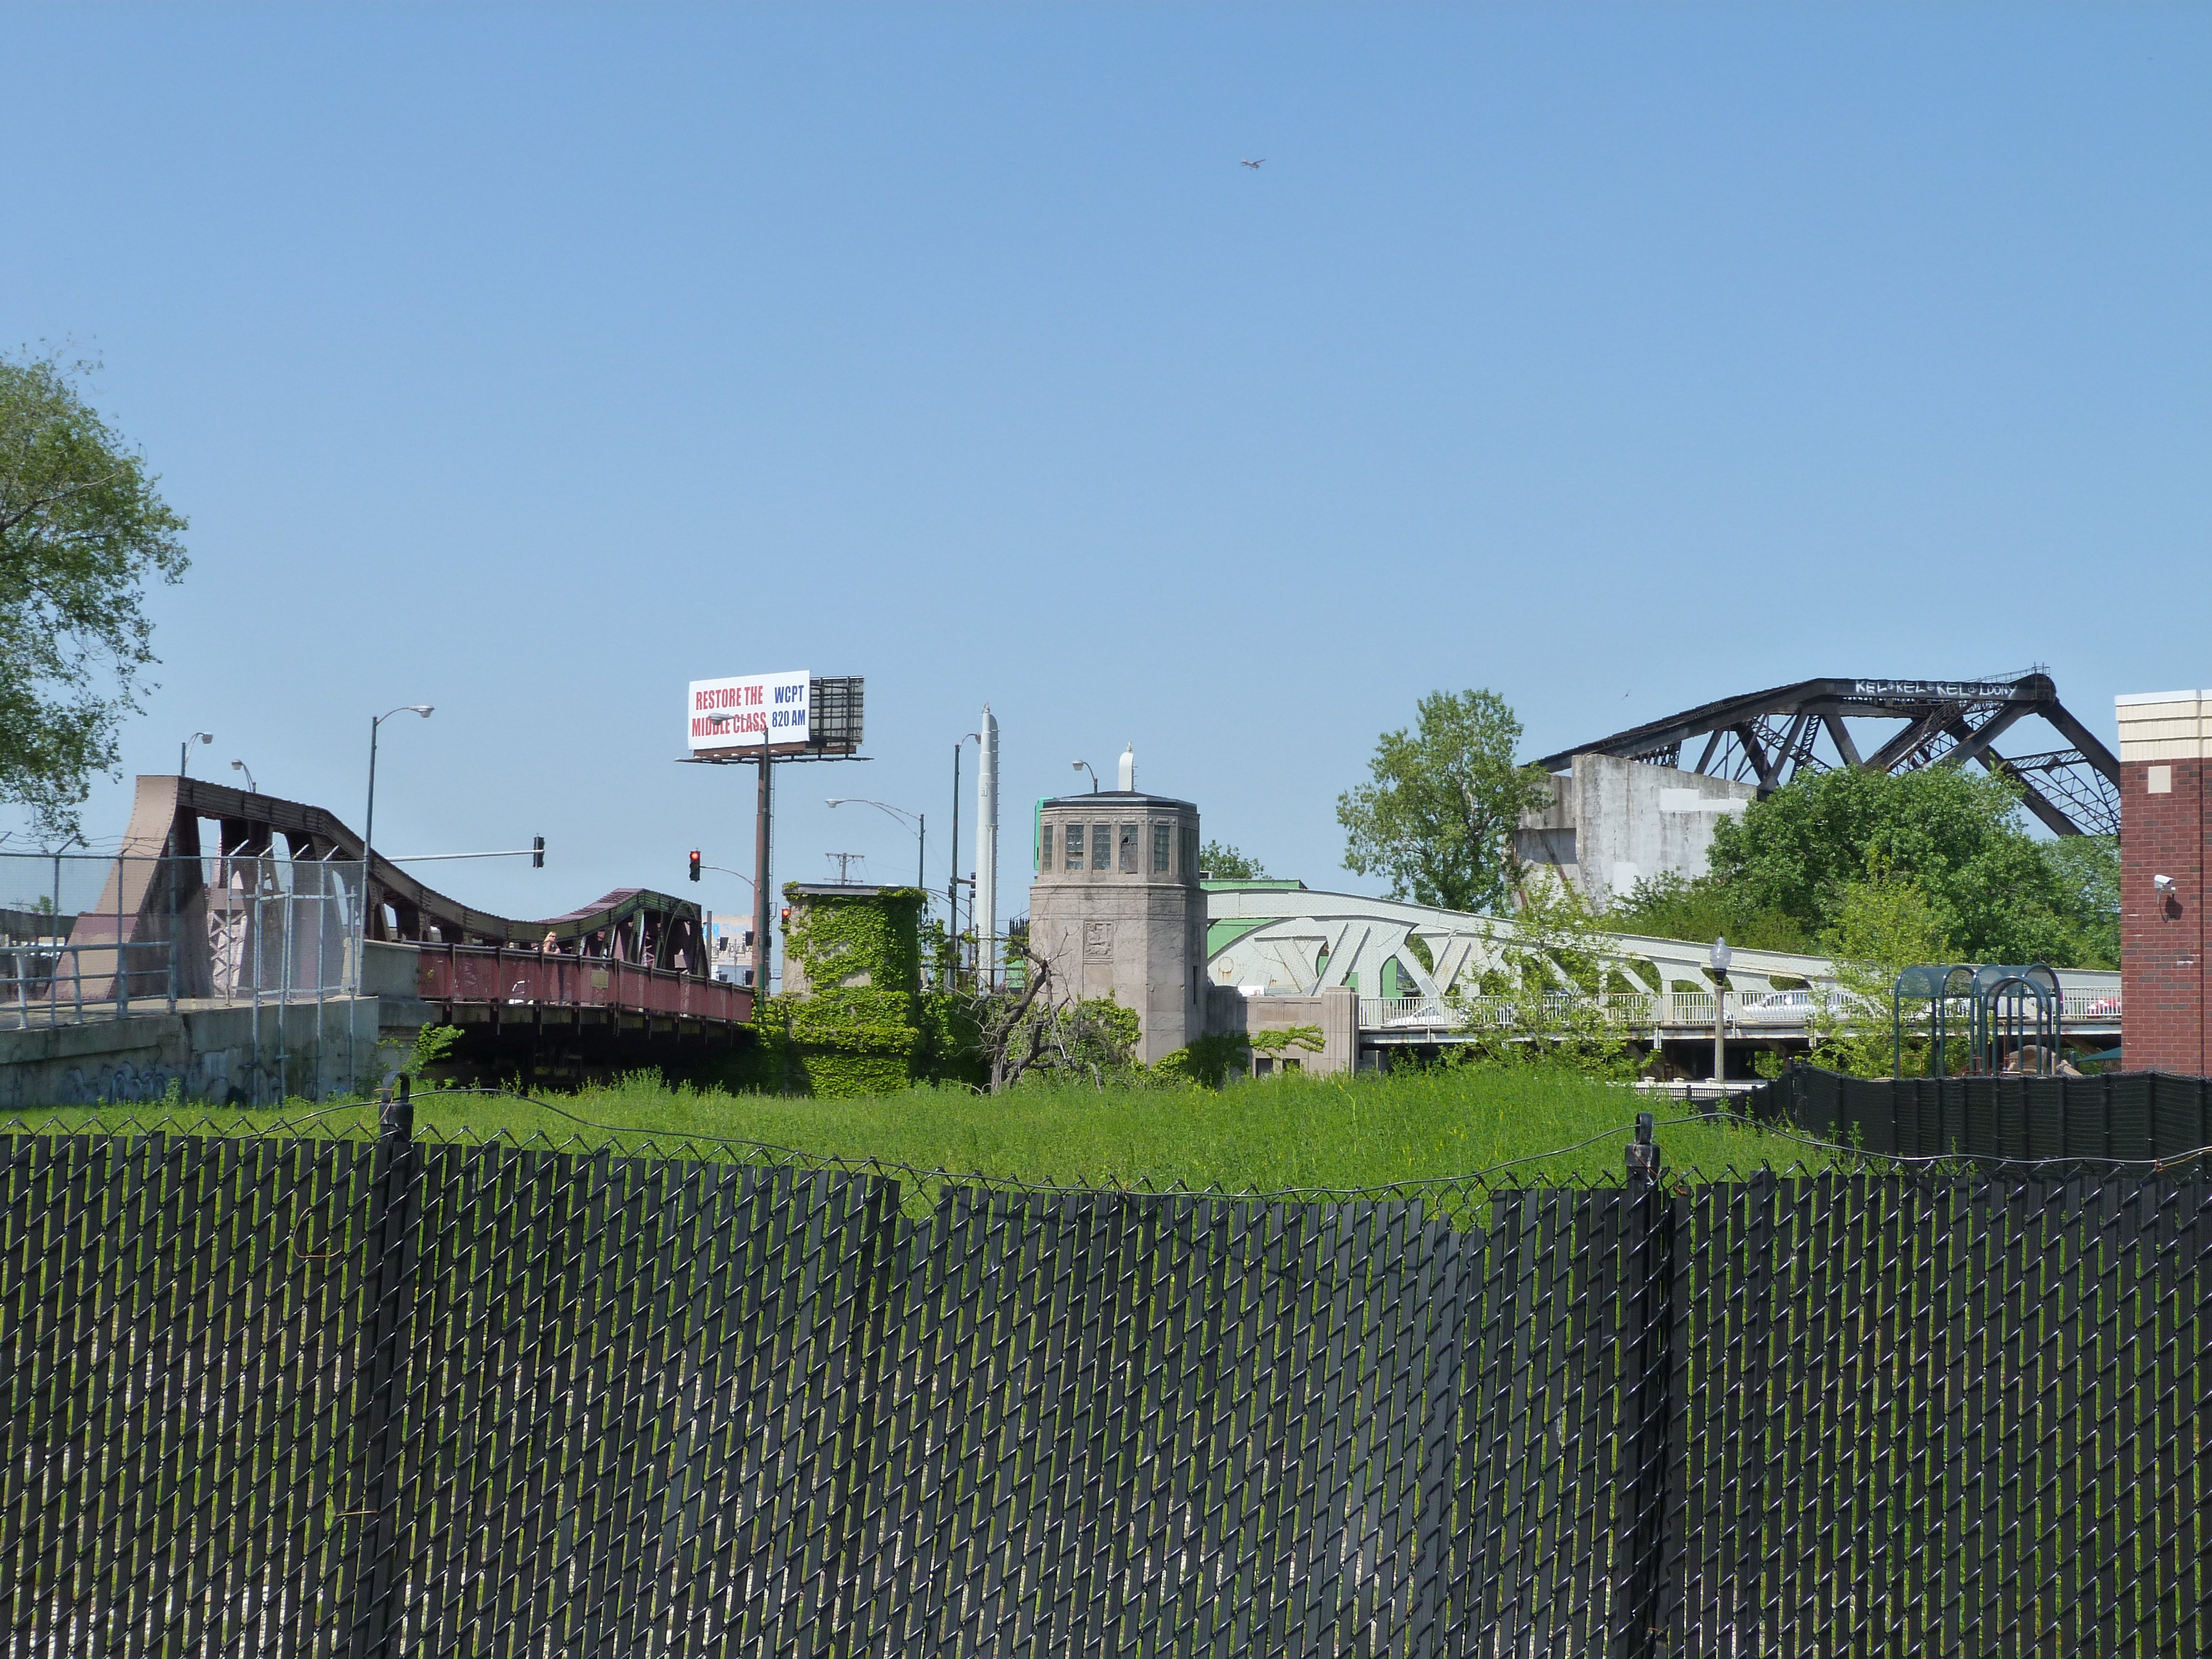
Elevation from southeast quadrant.
![]()
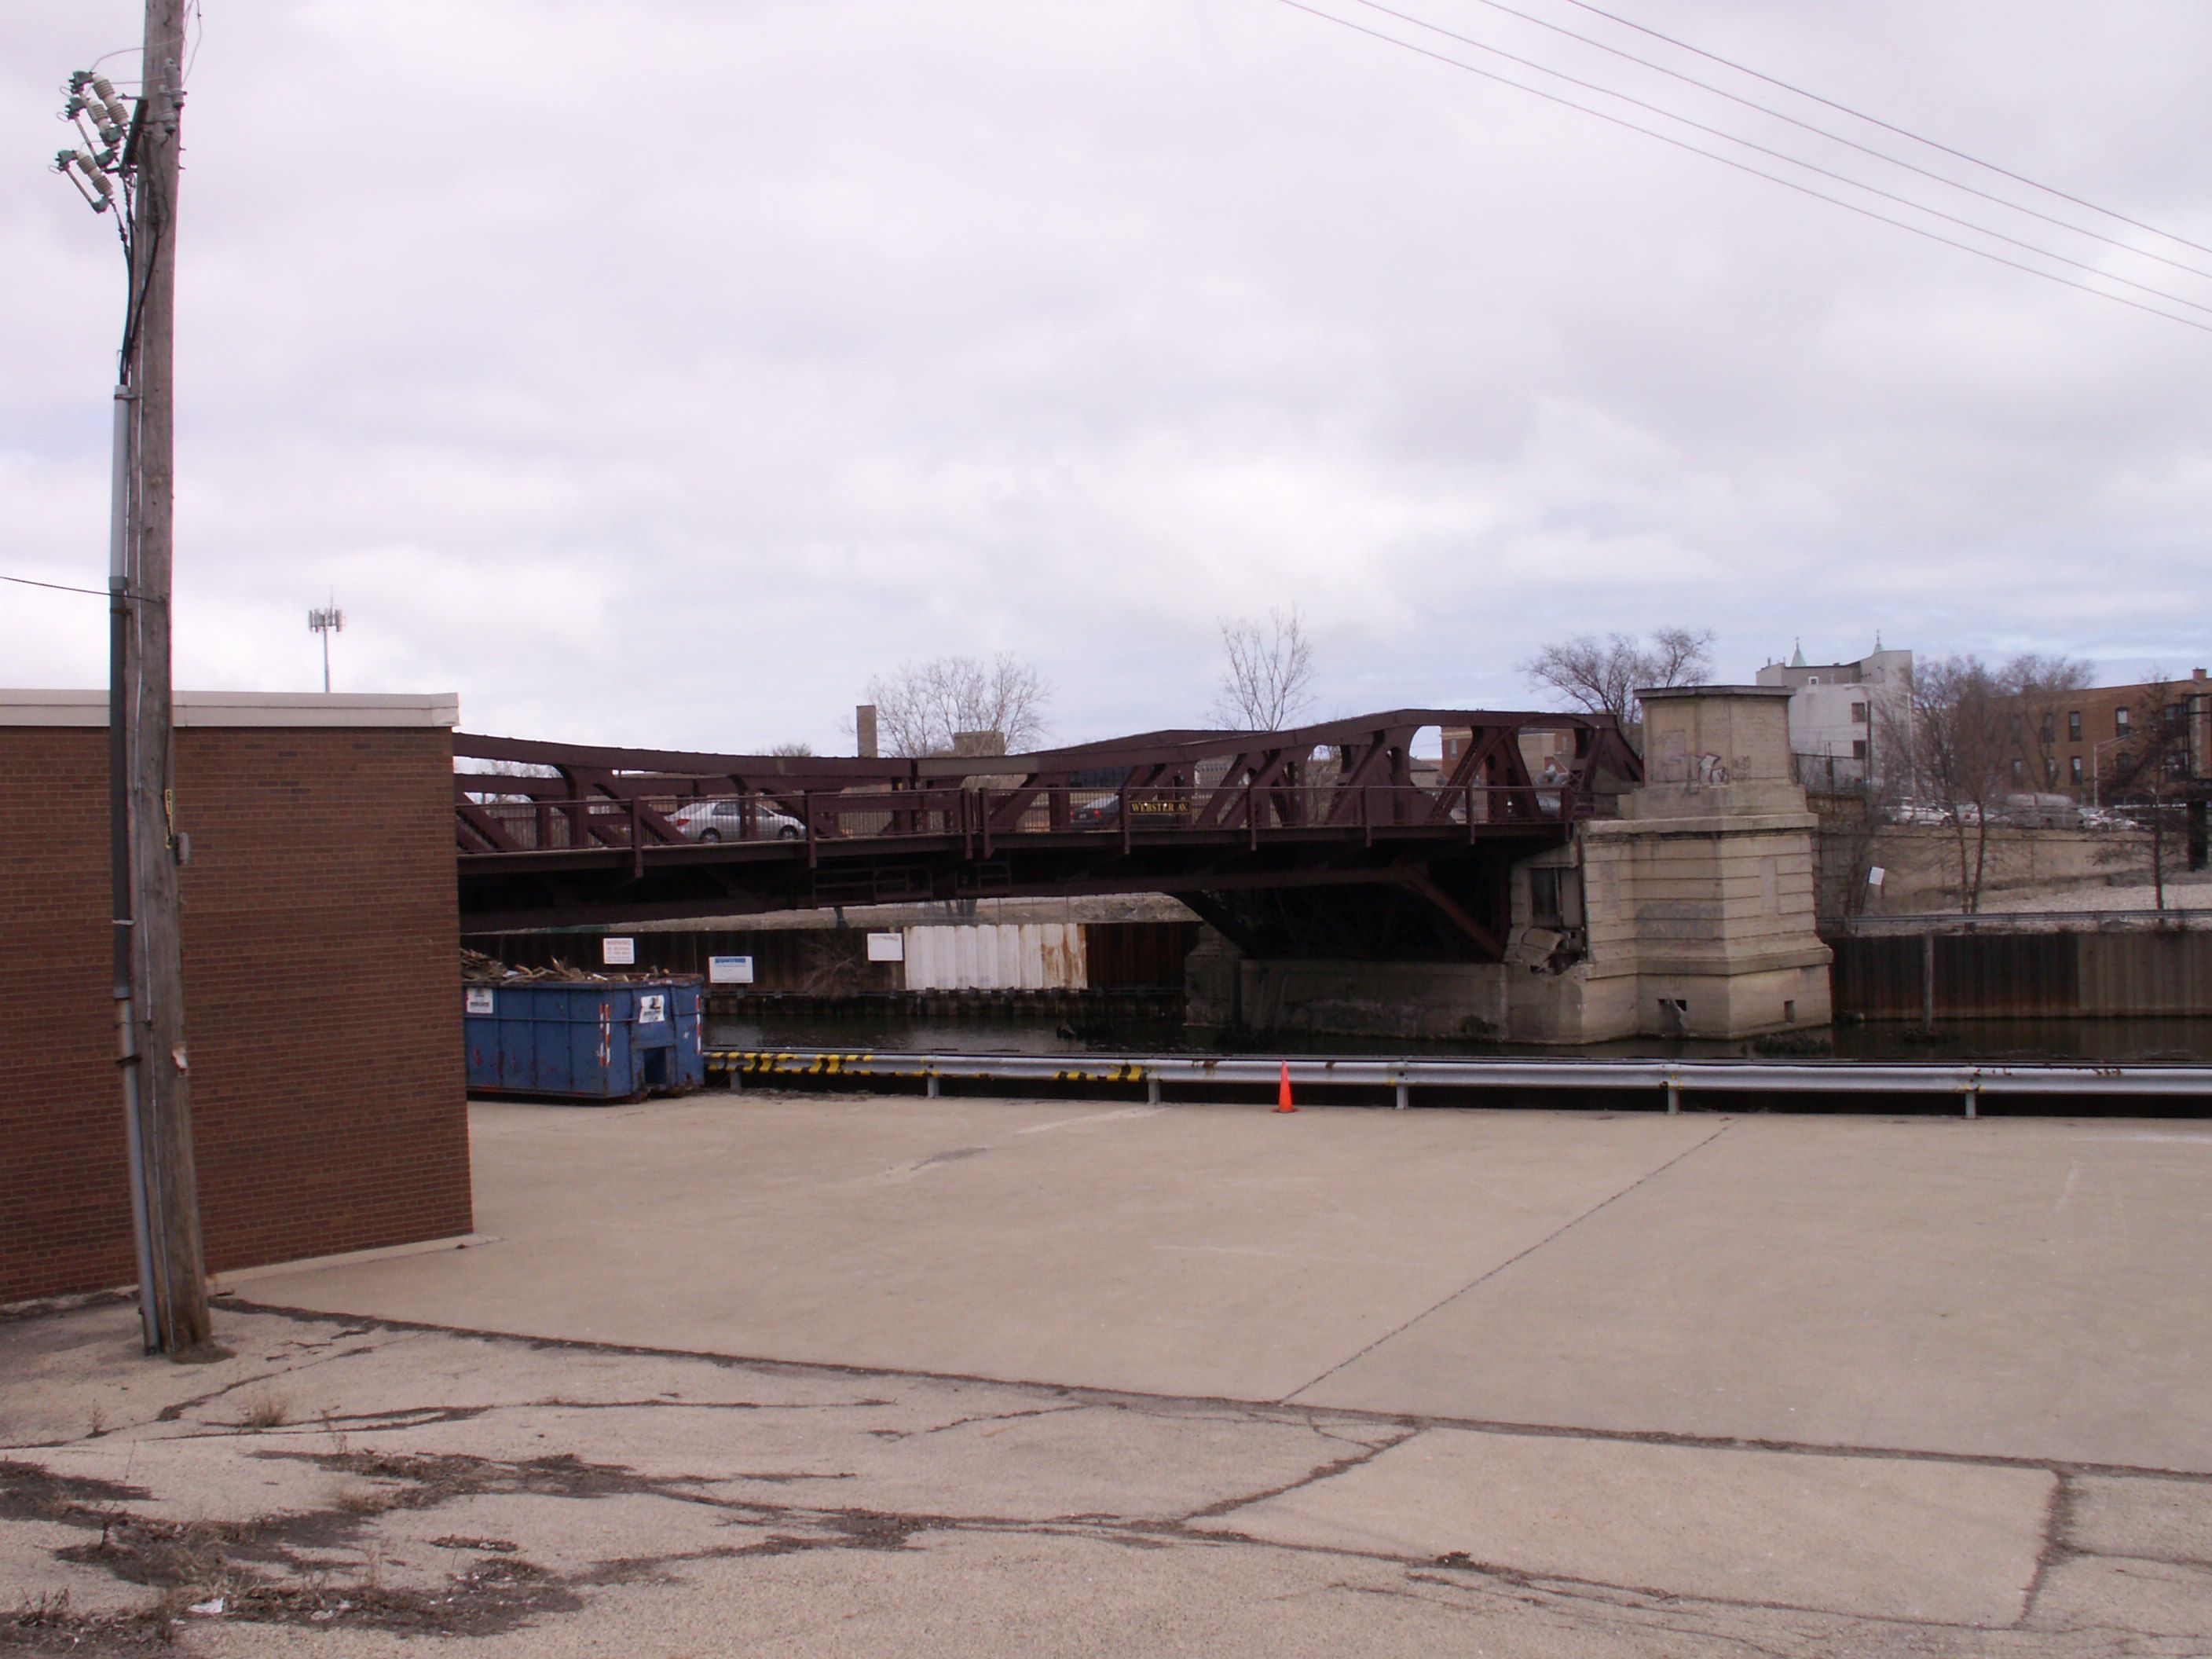
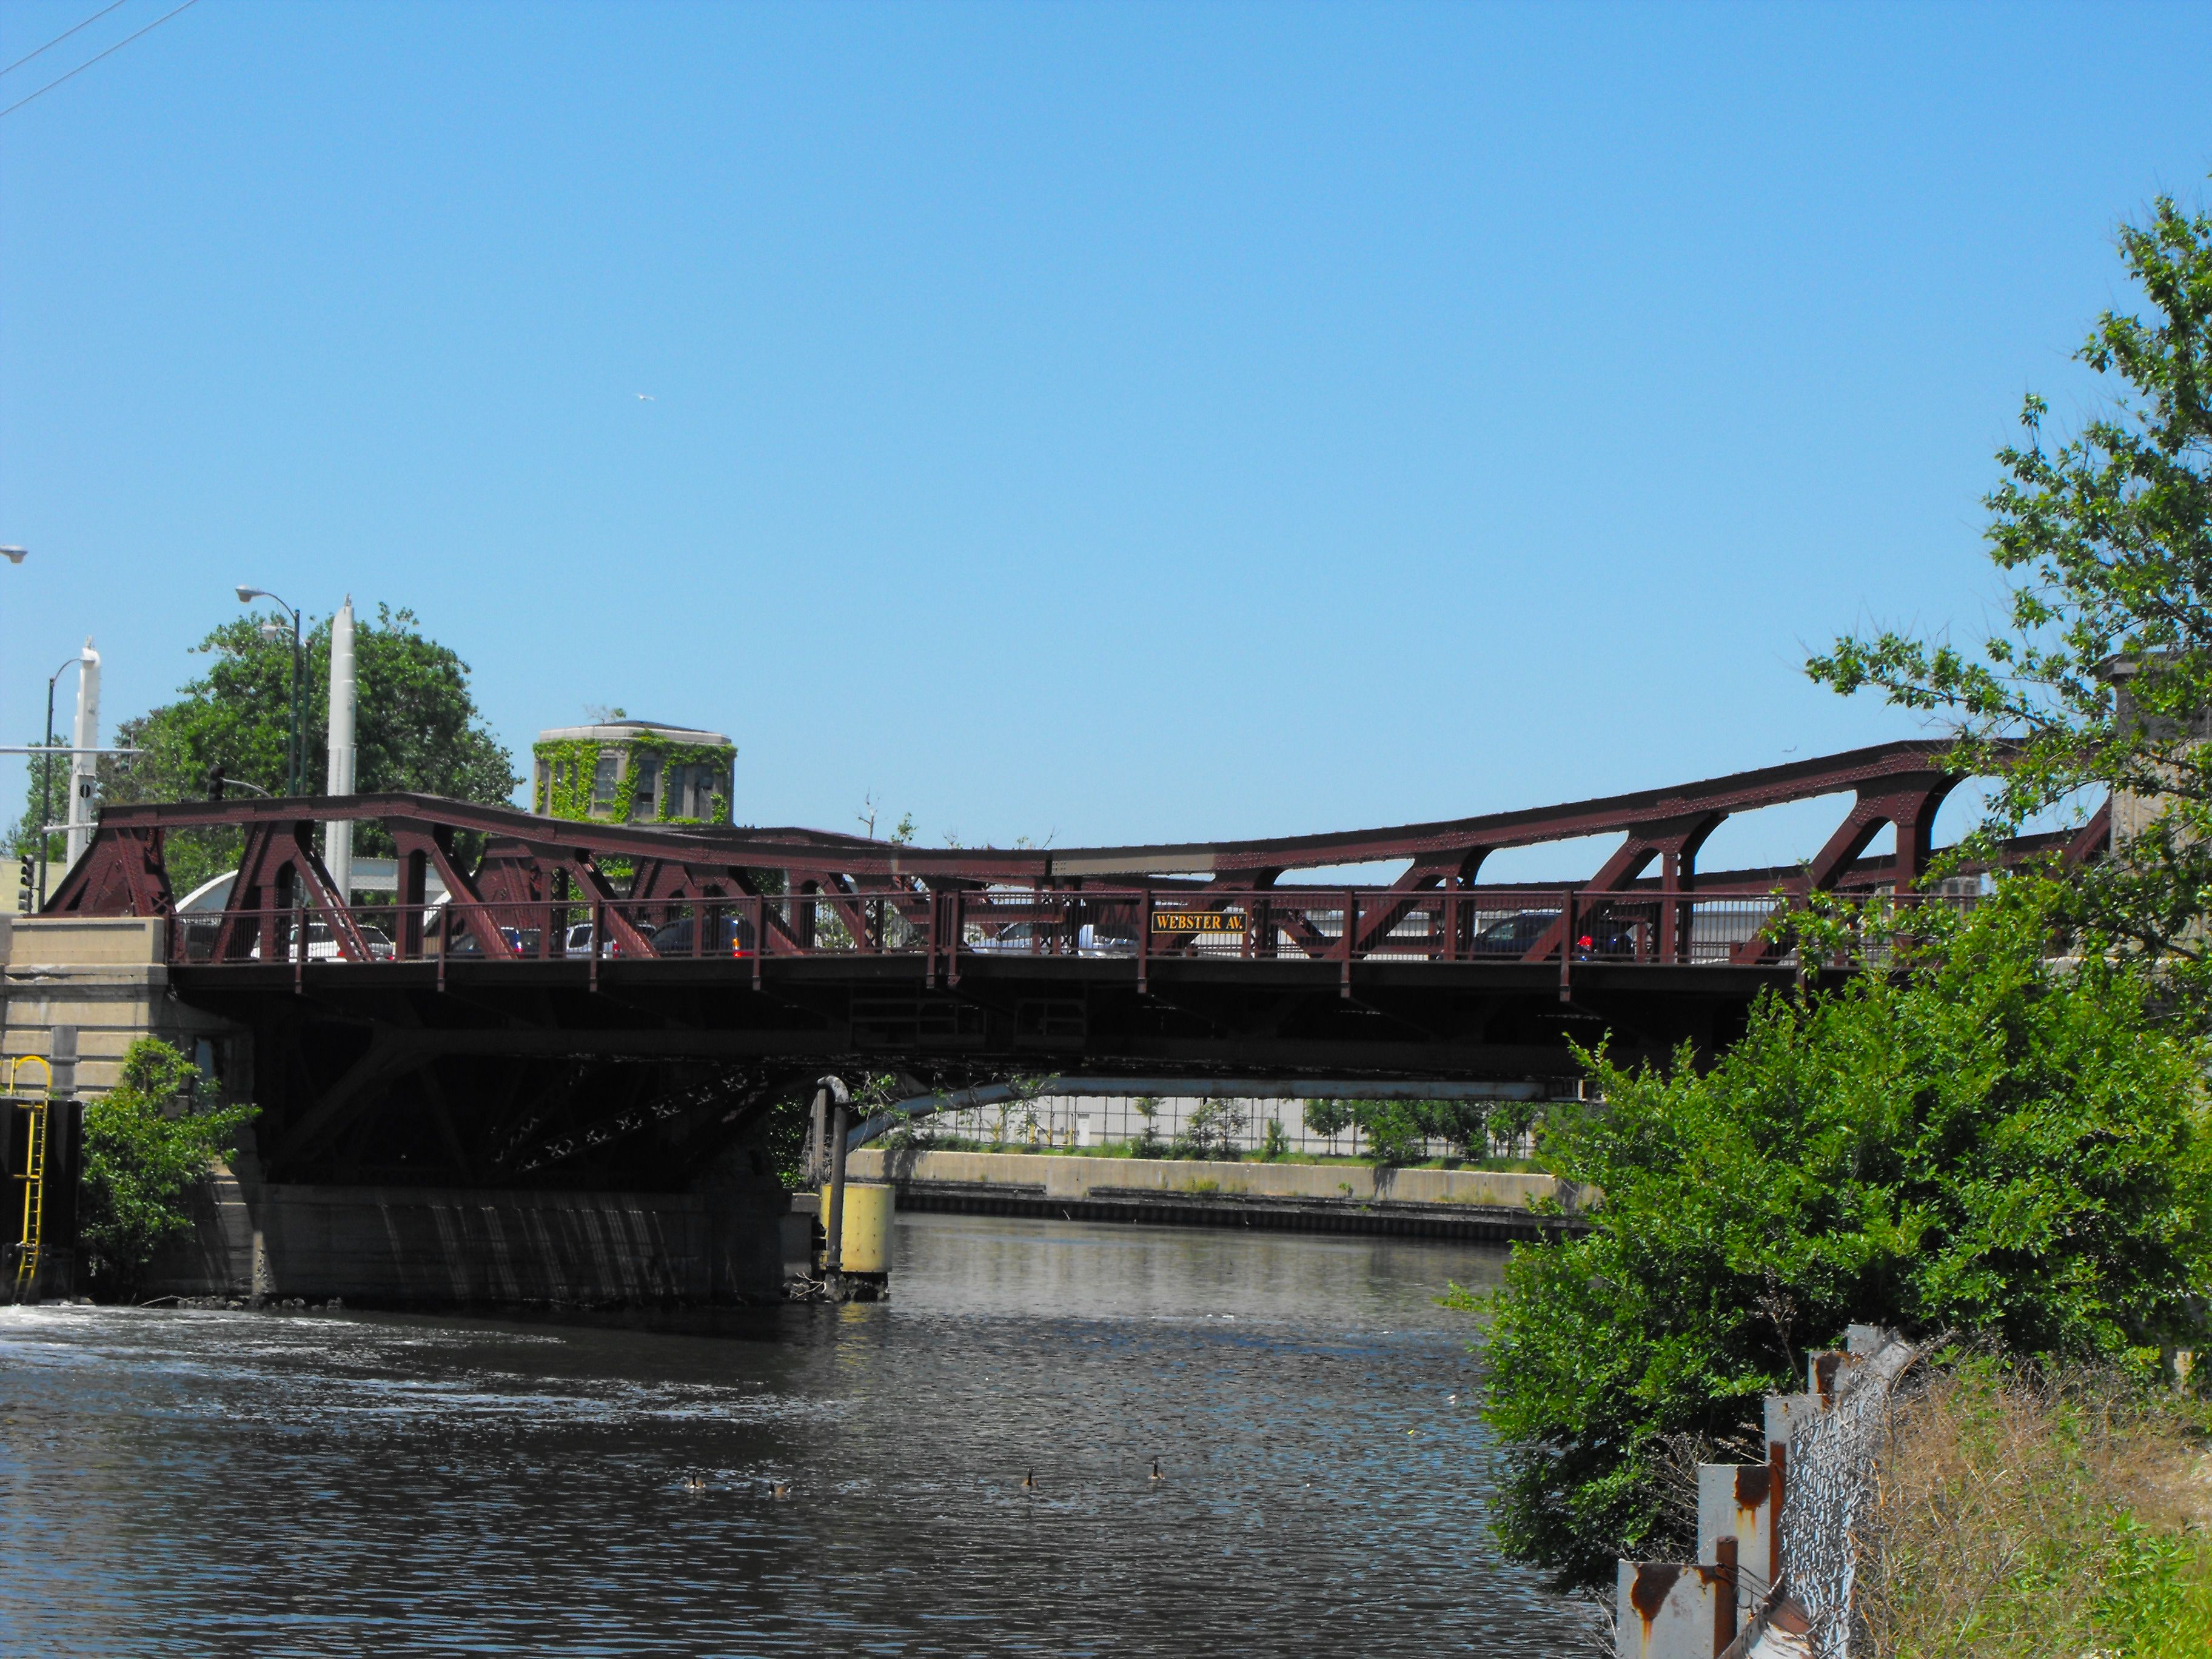
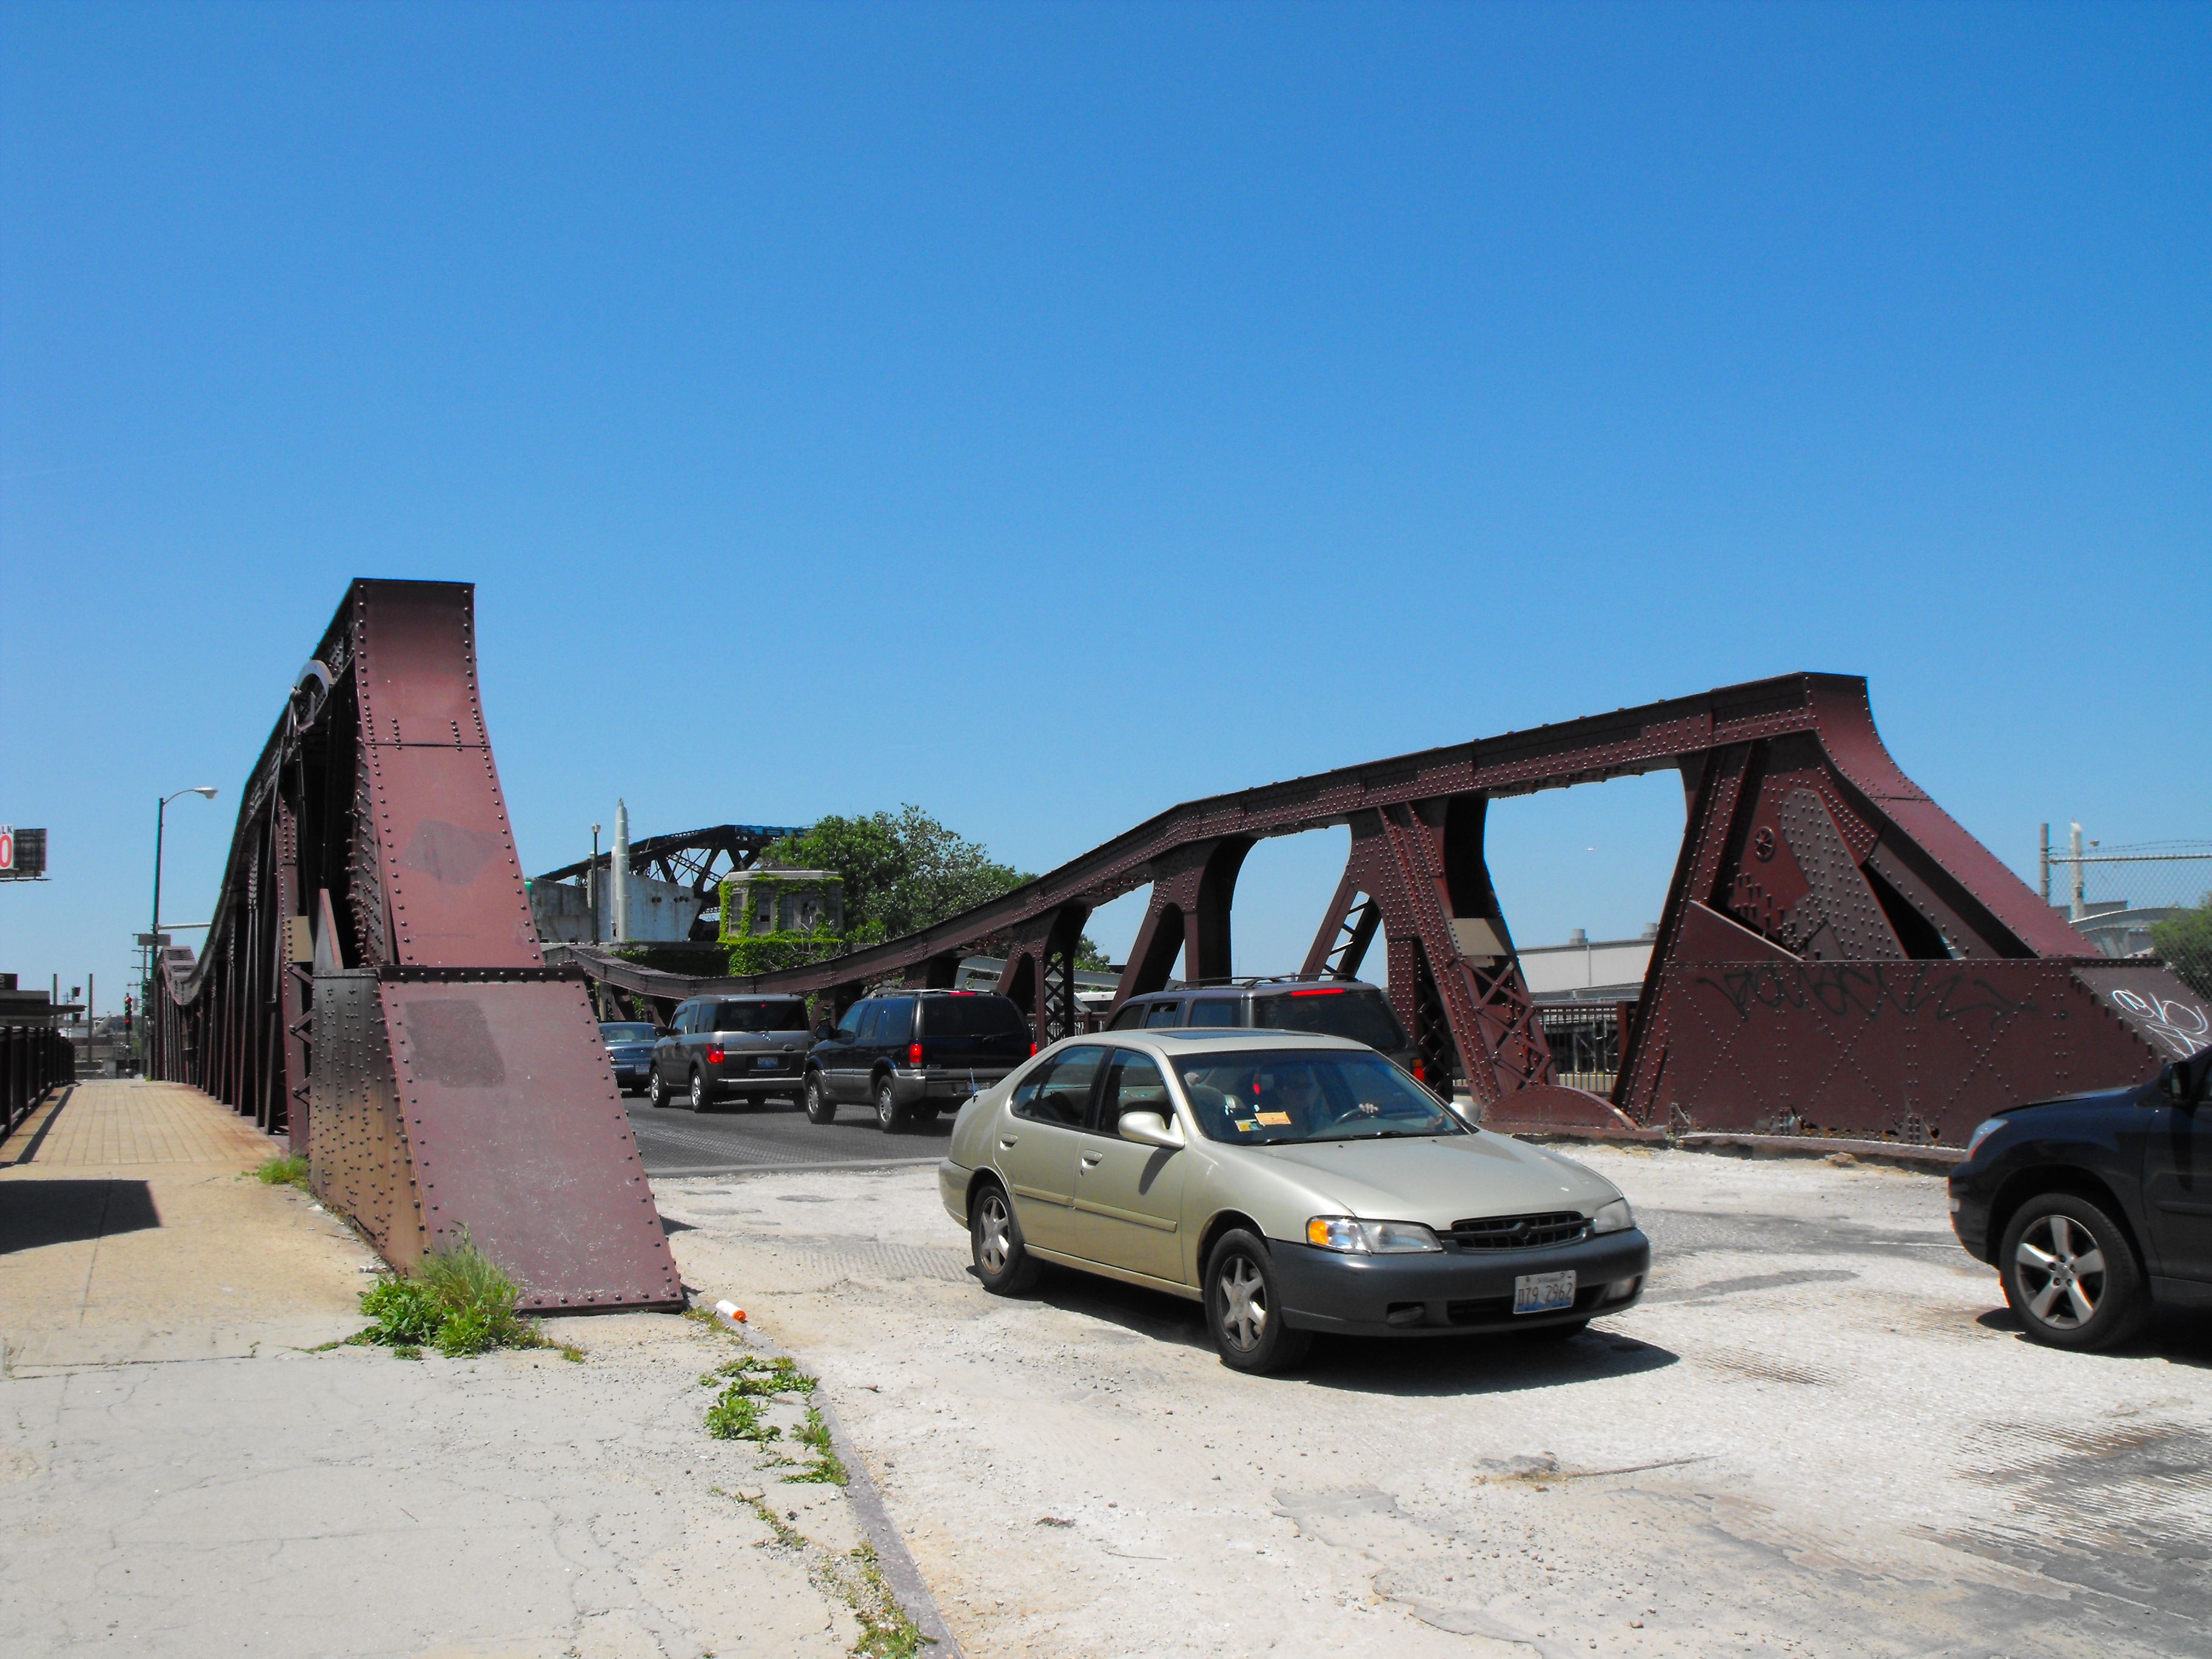
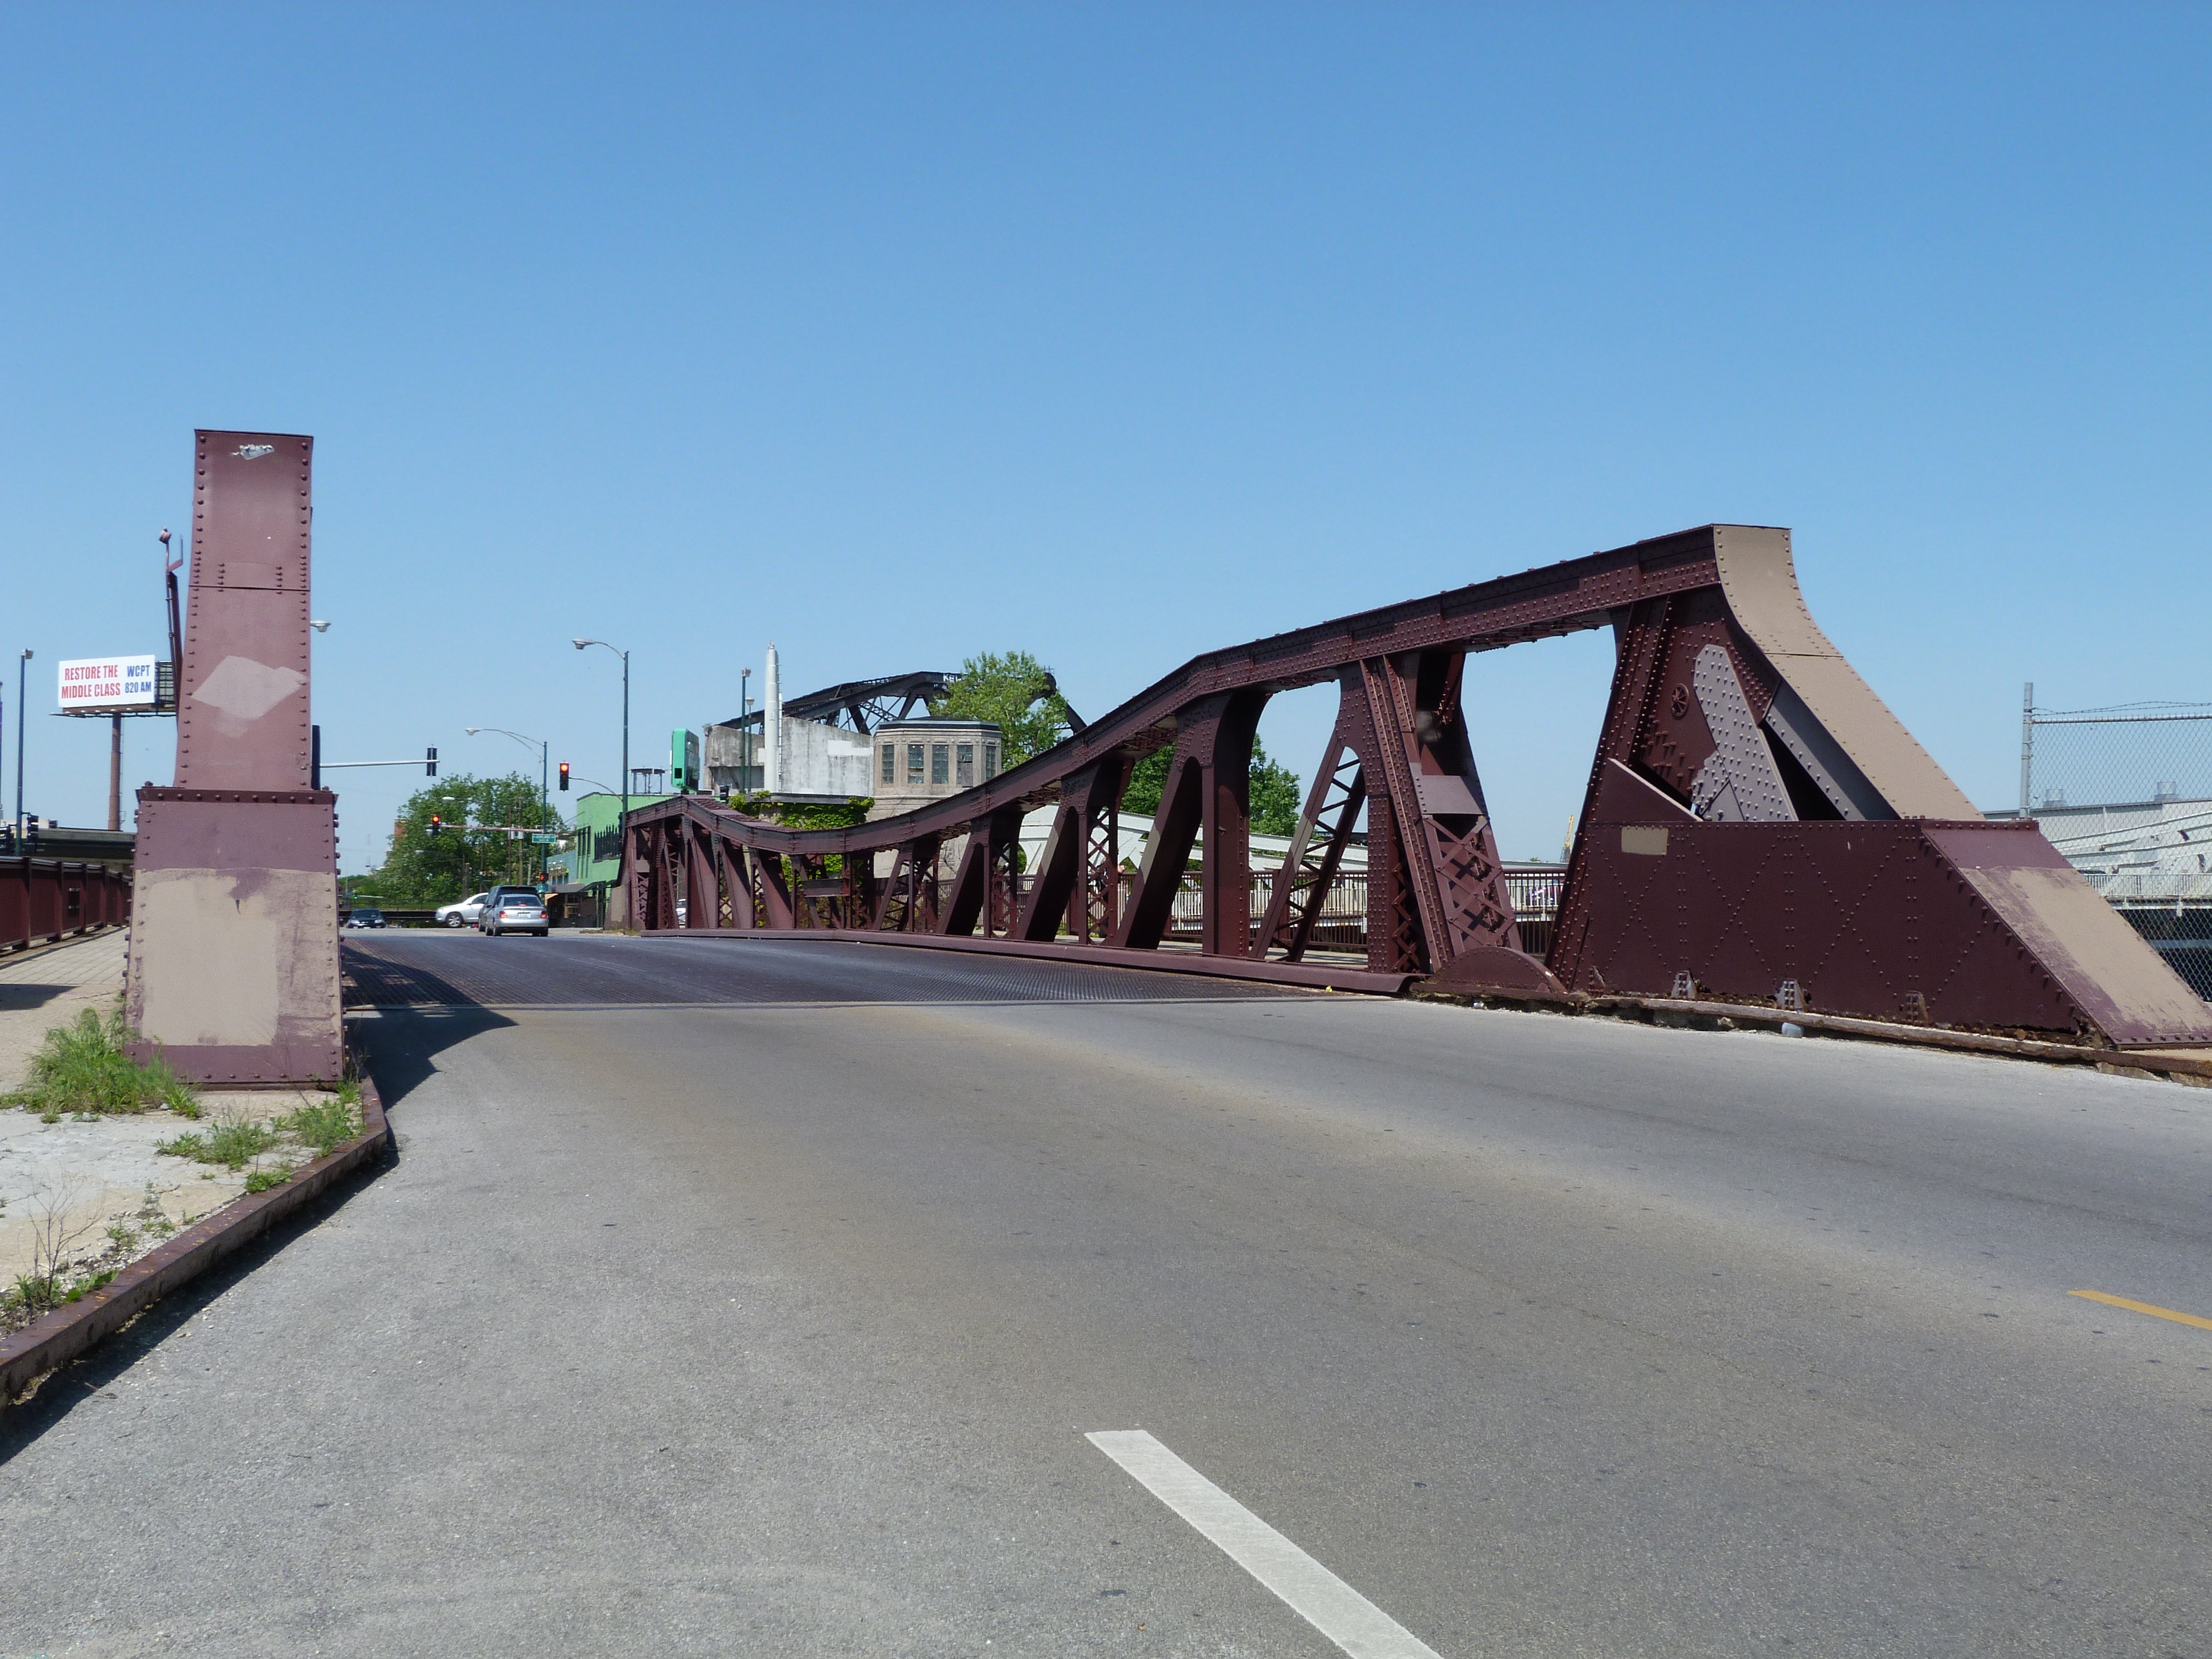
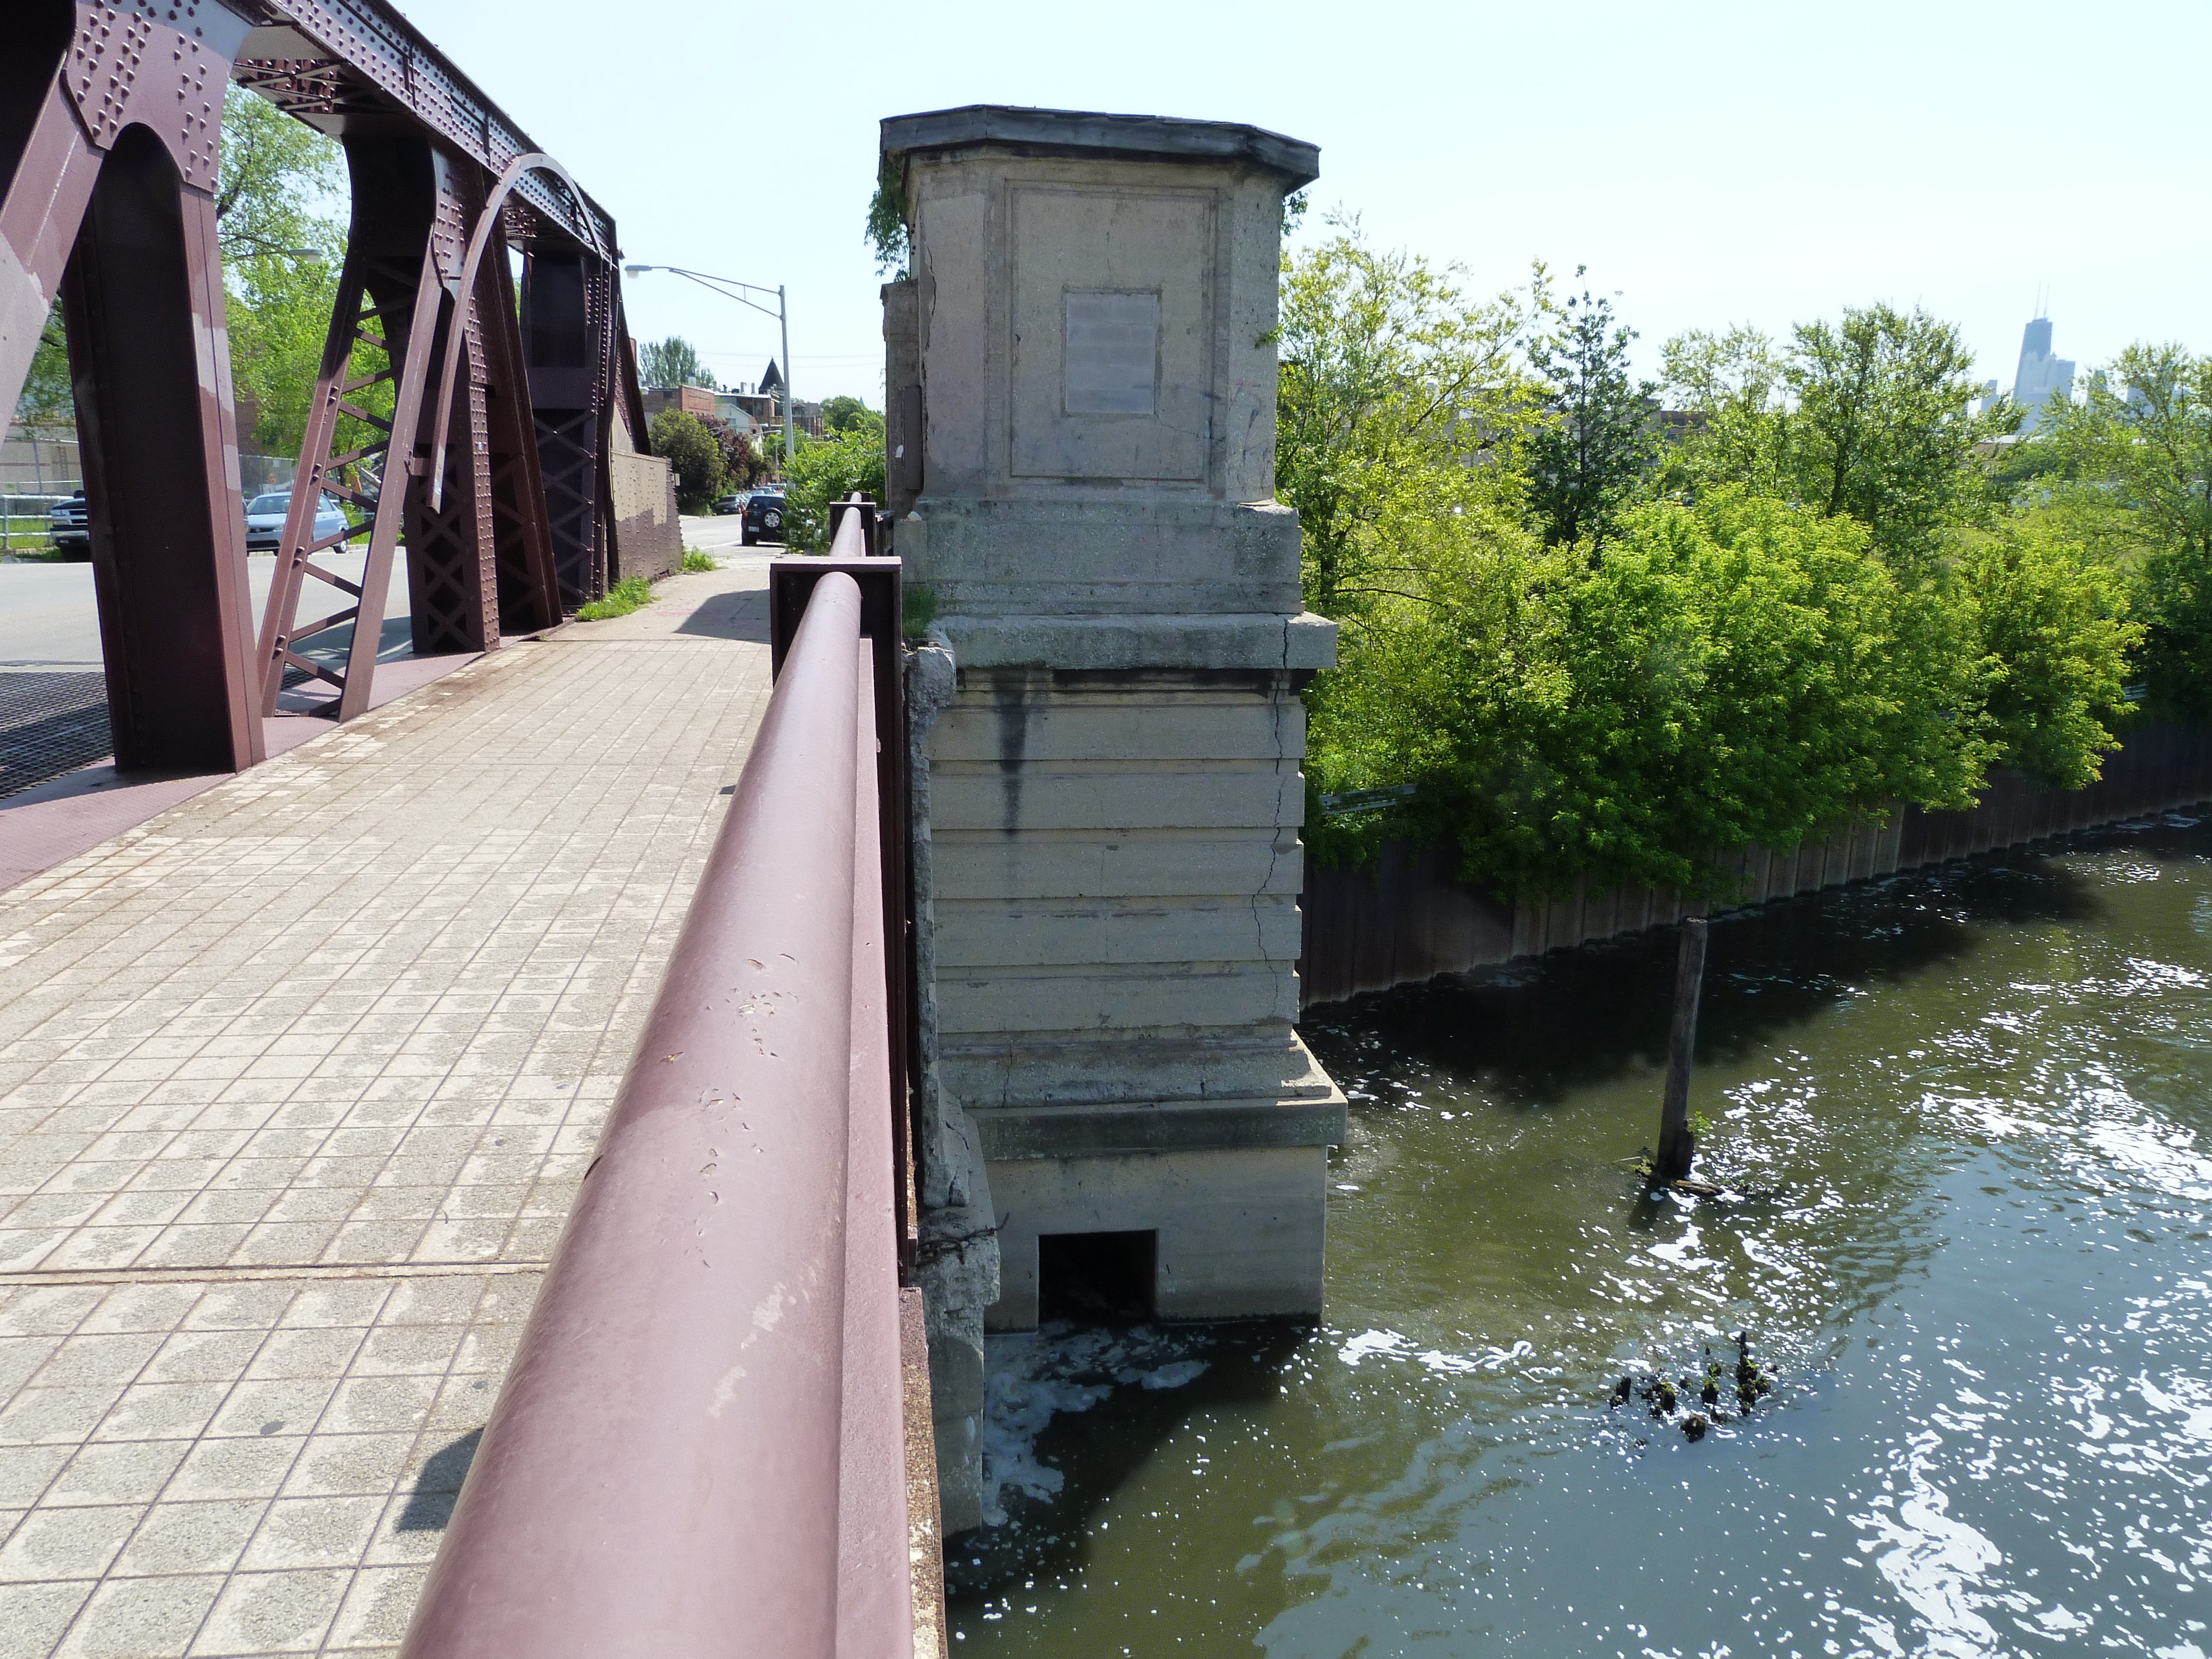
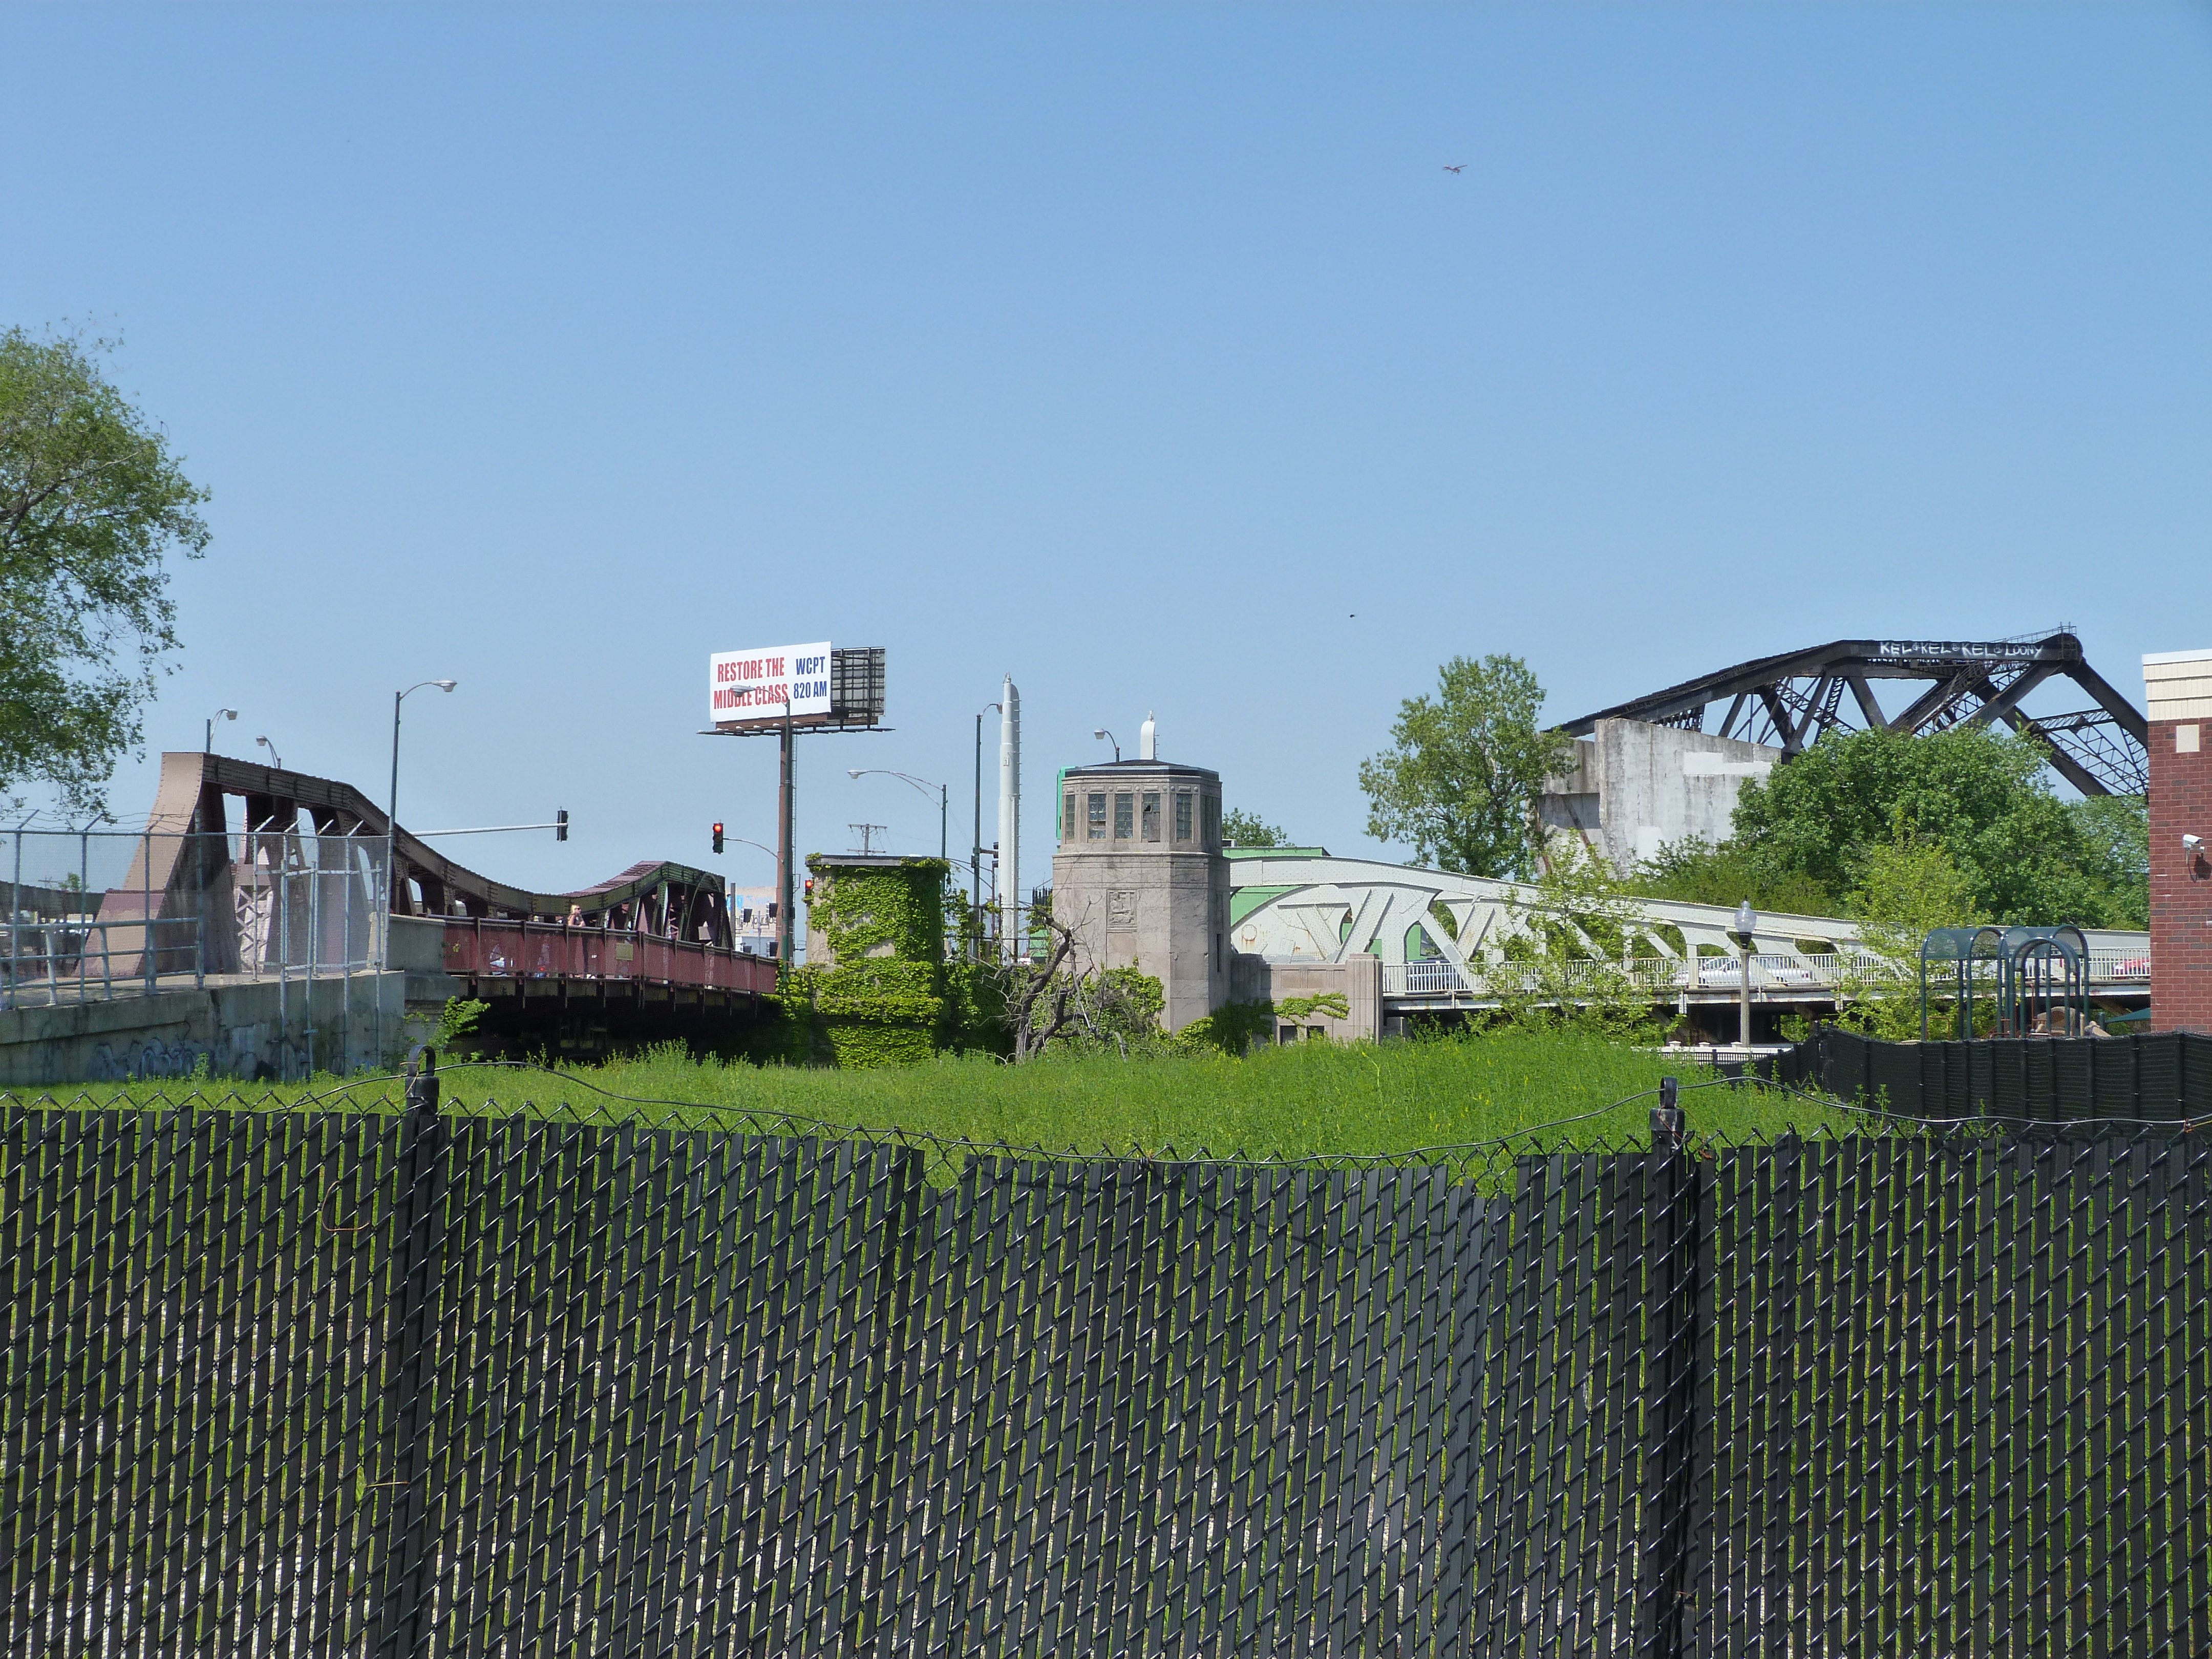
Elevation from southwest quadrant.
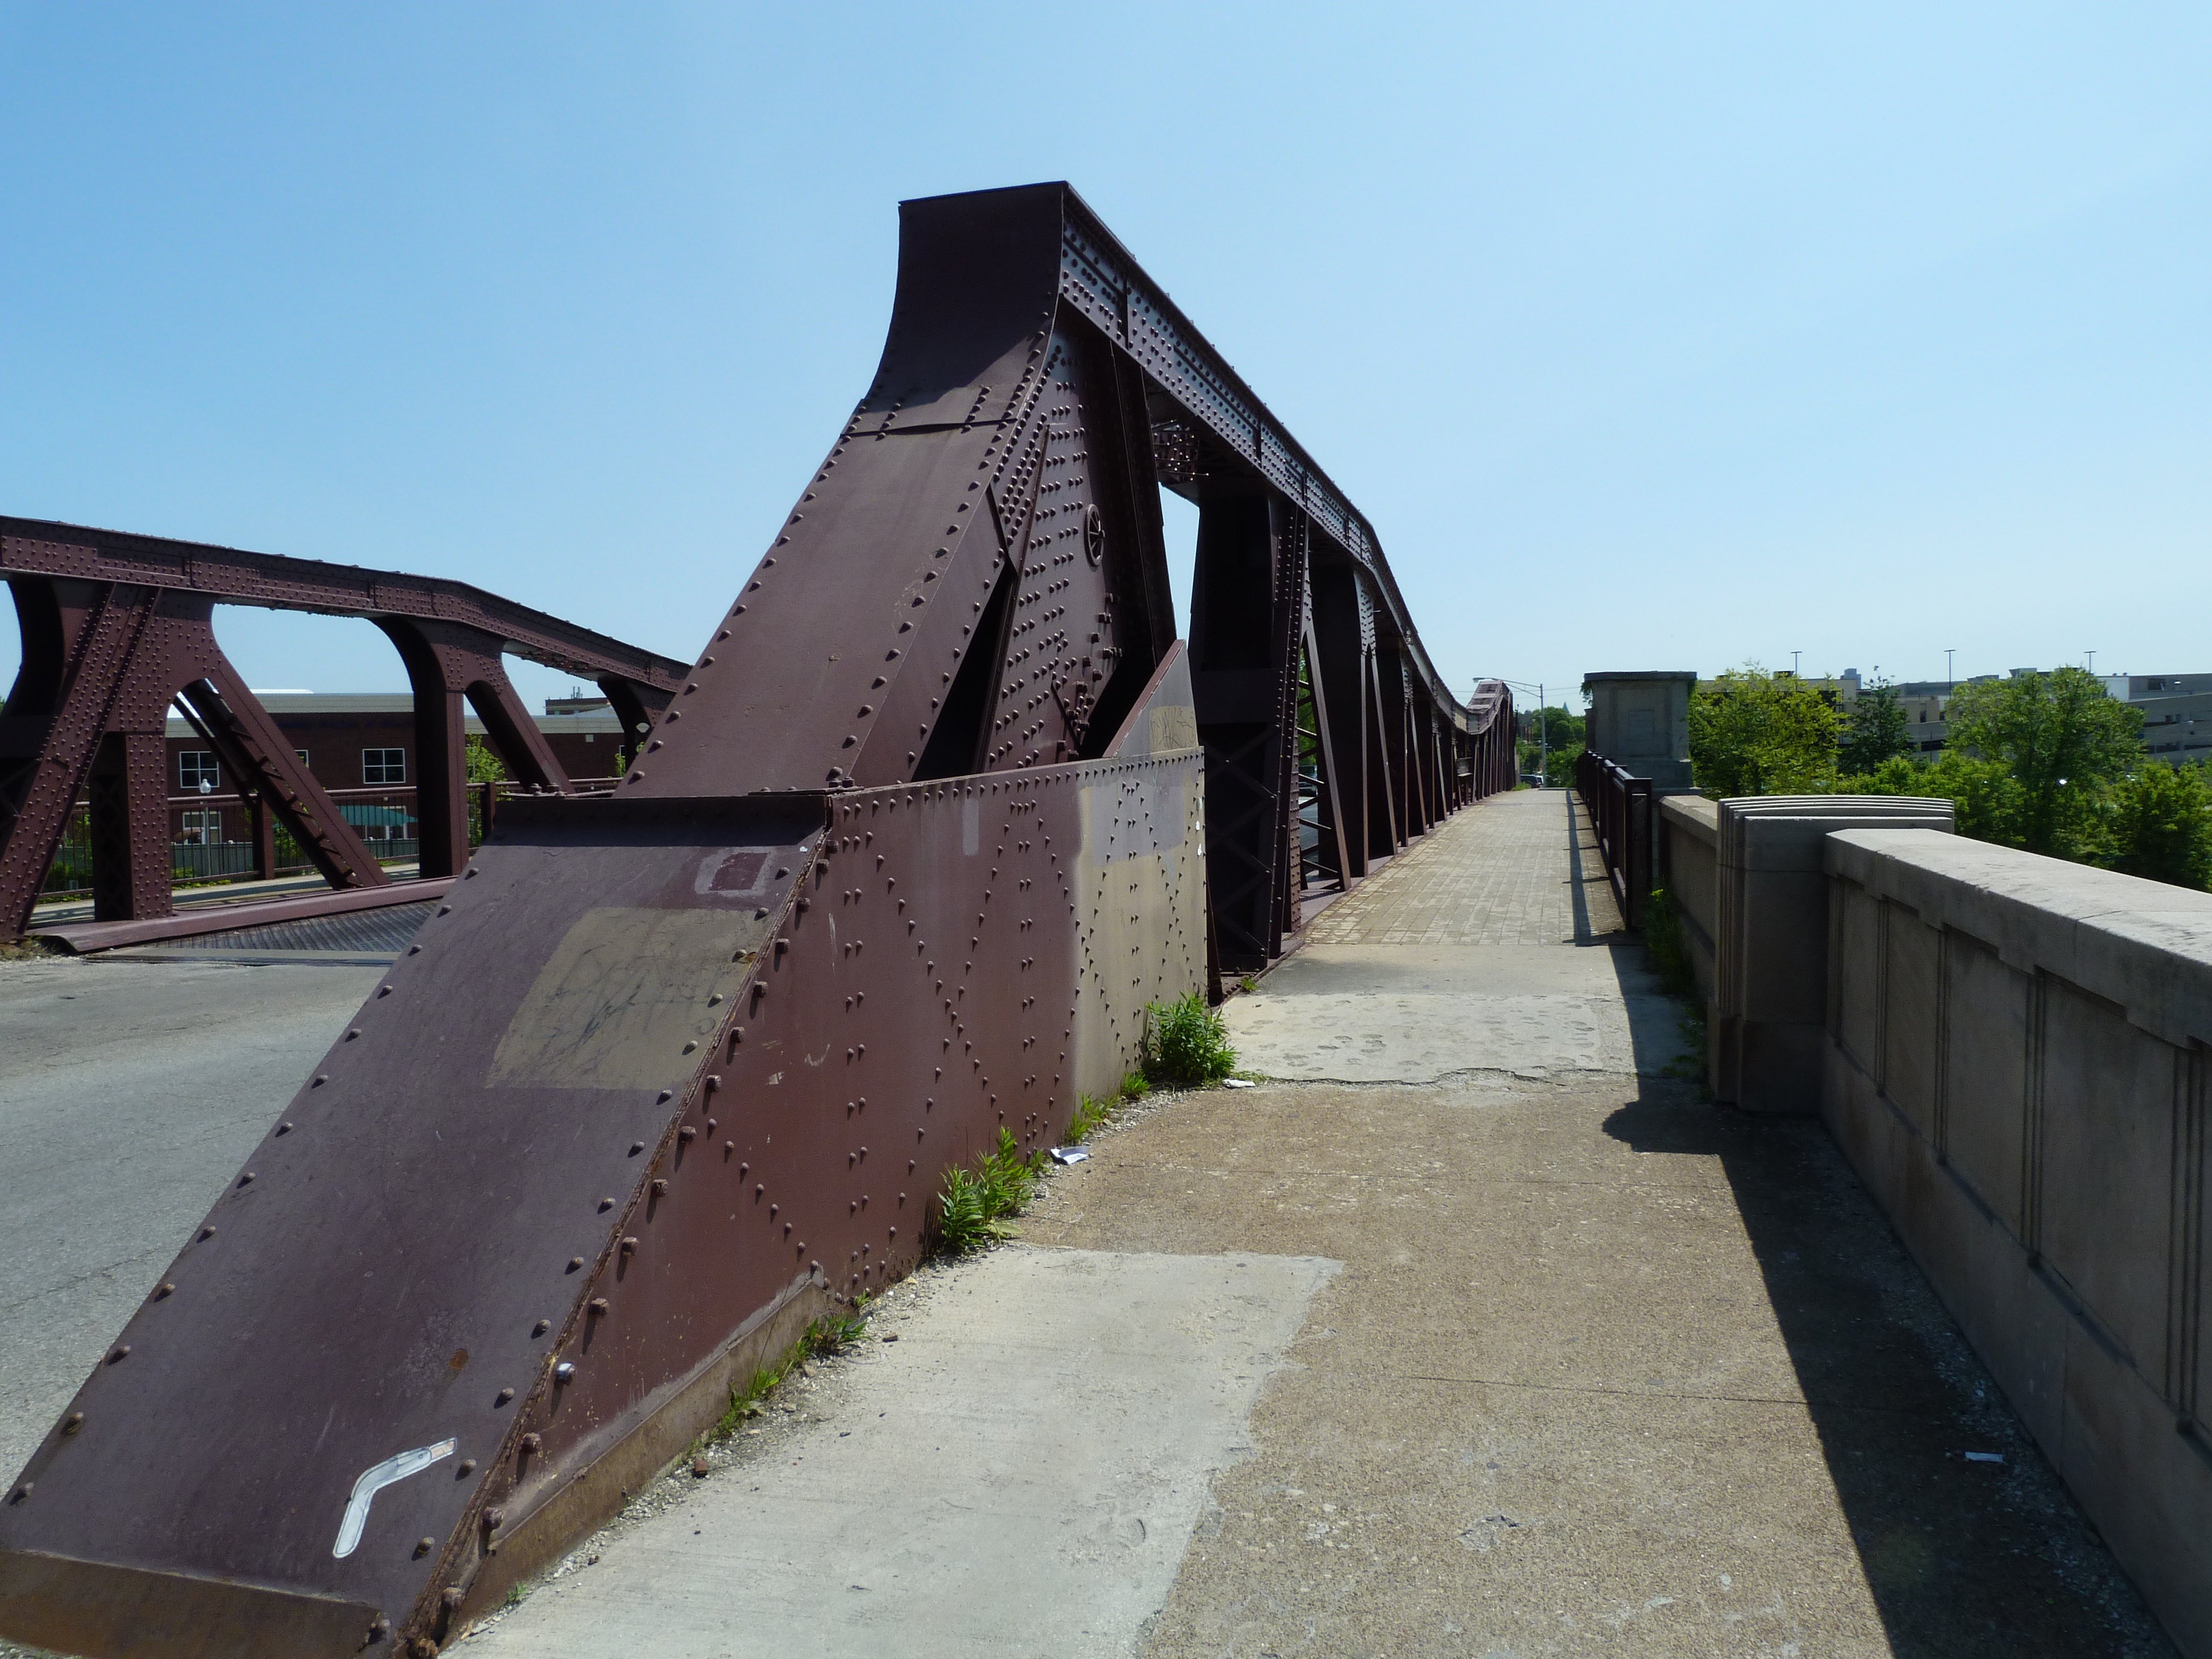
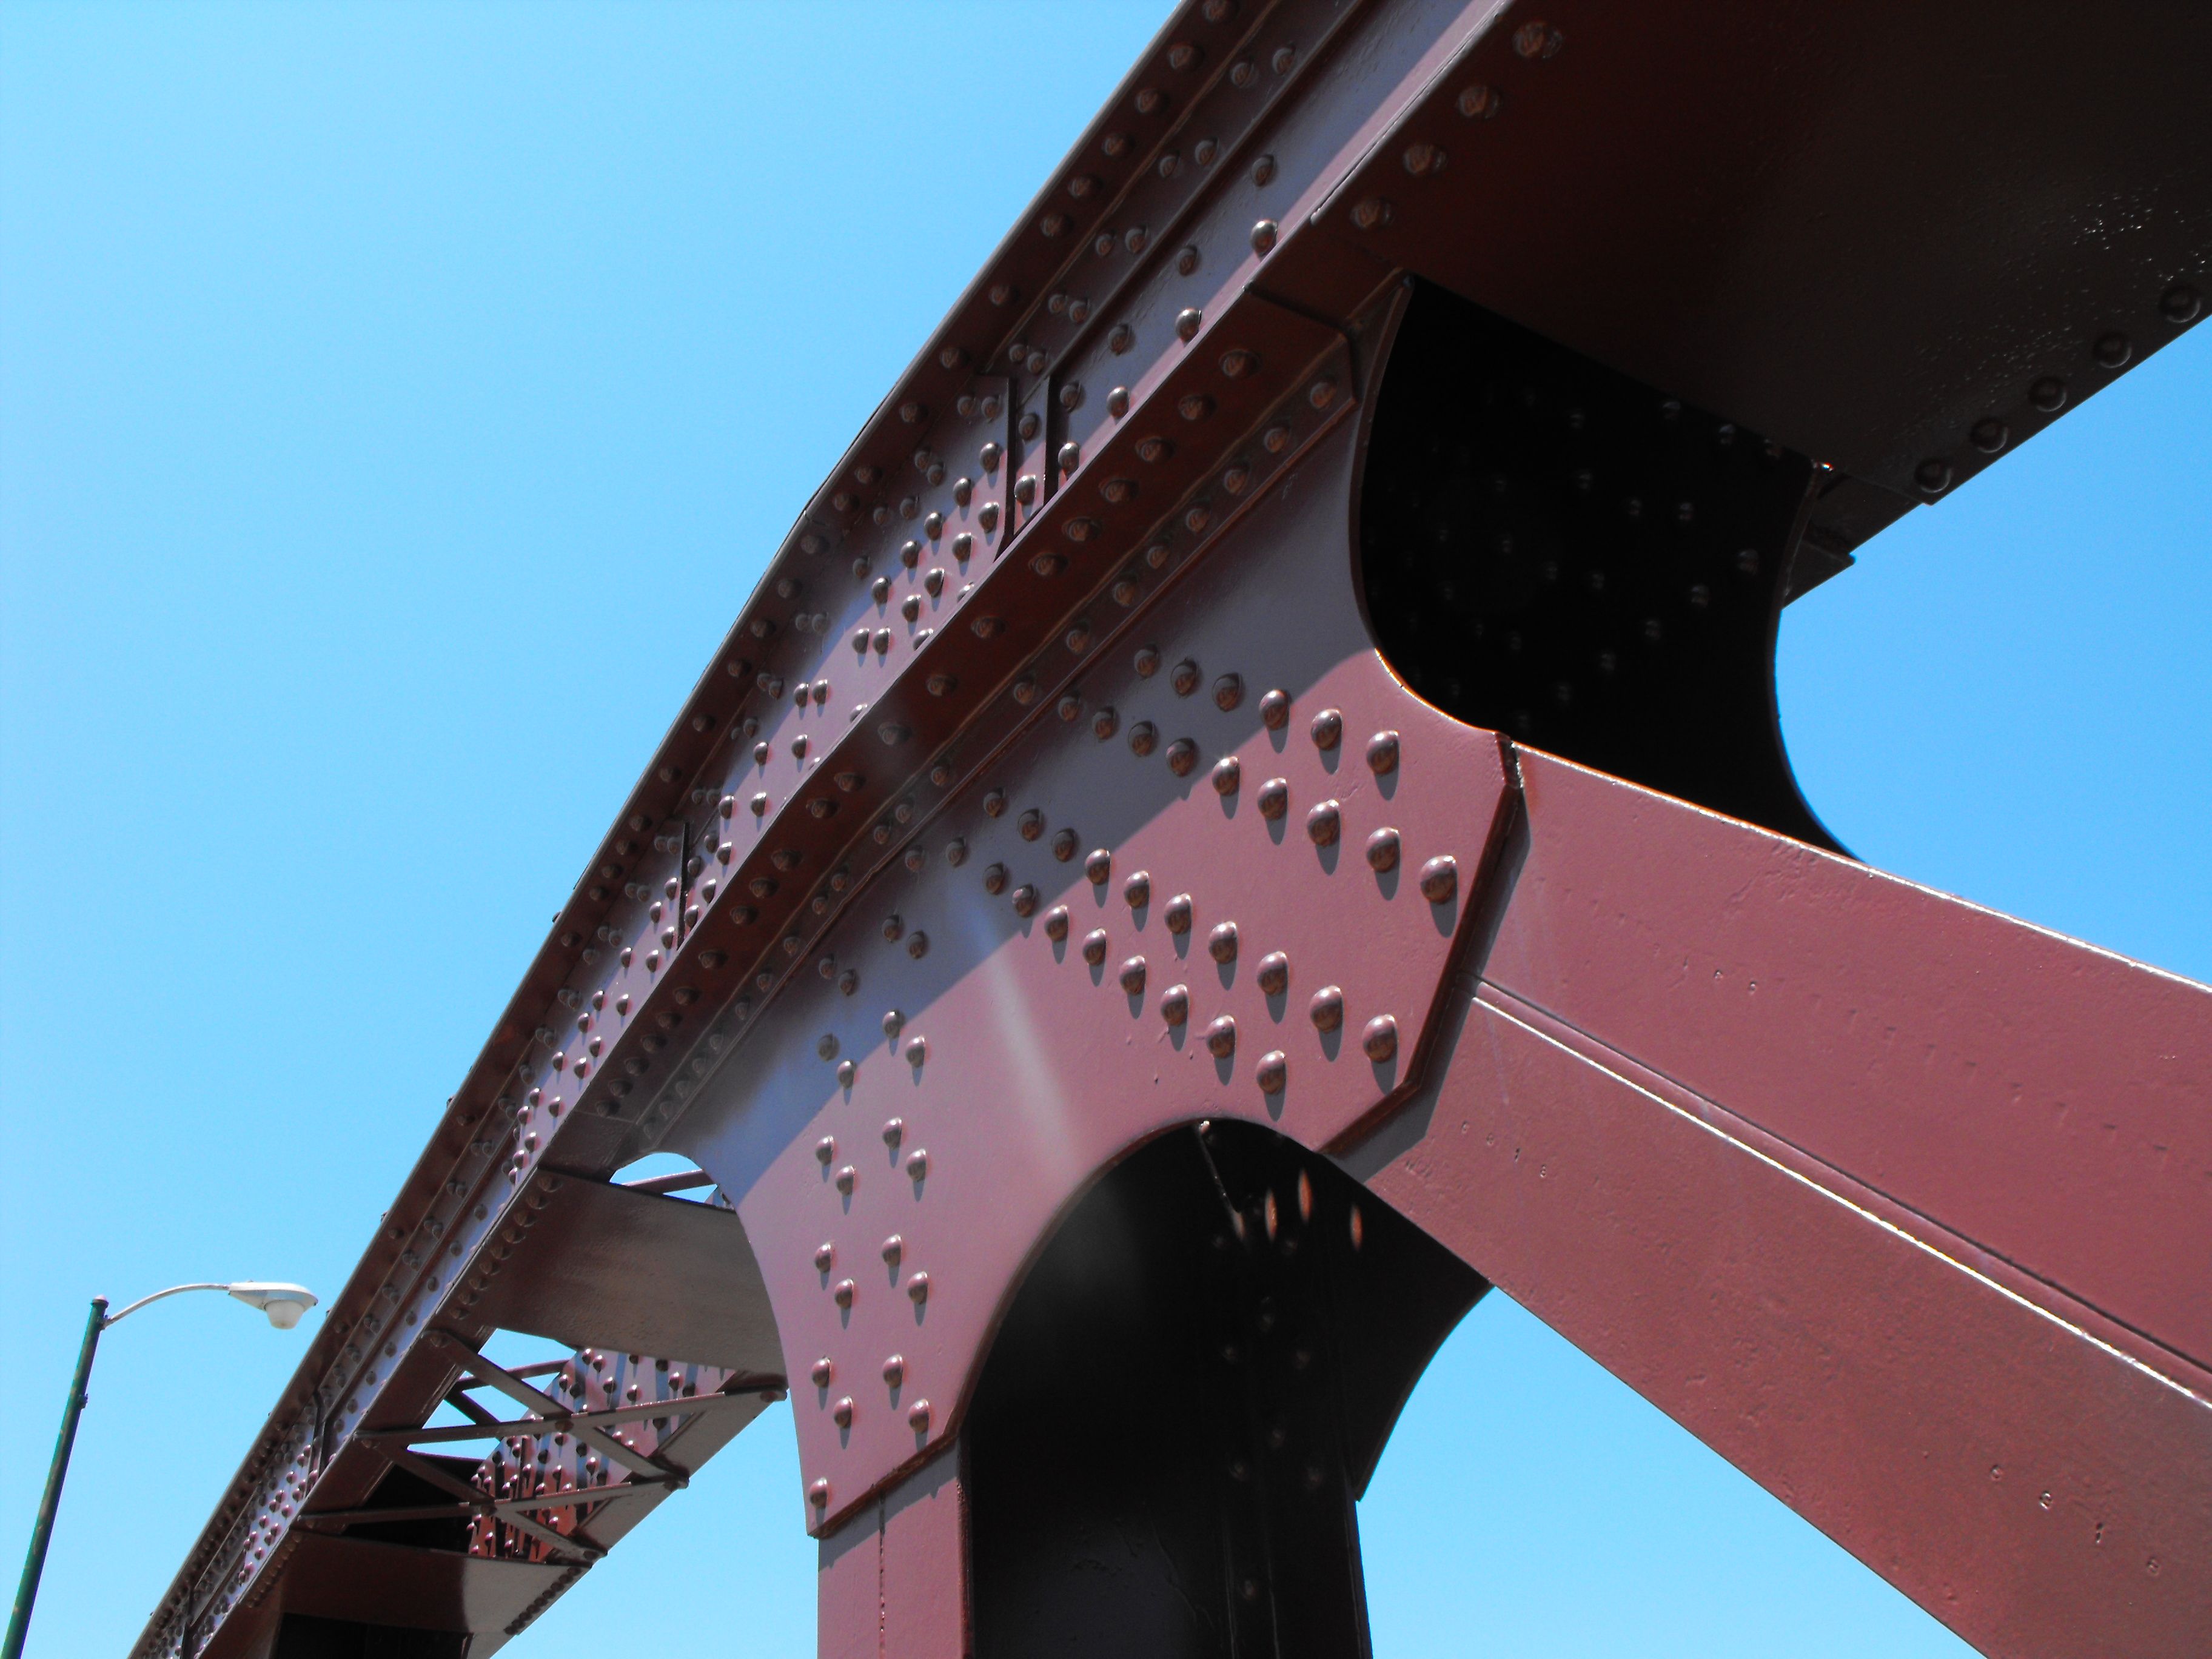
![]()
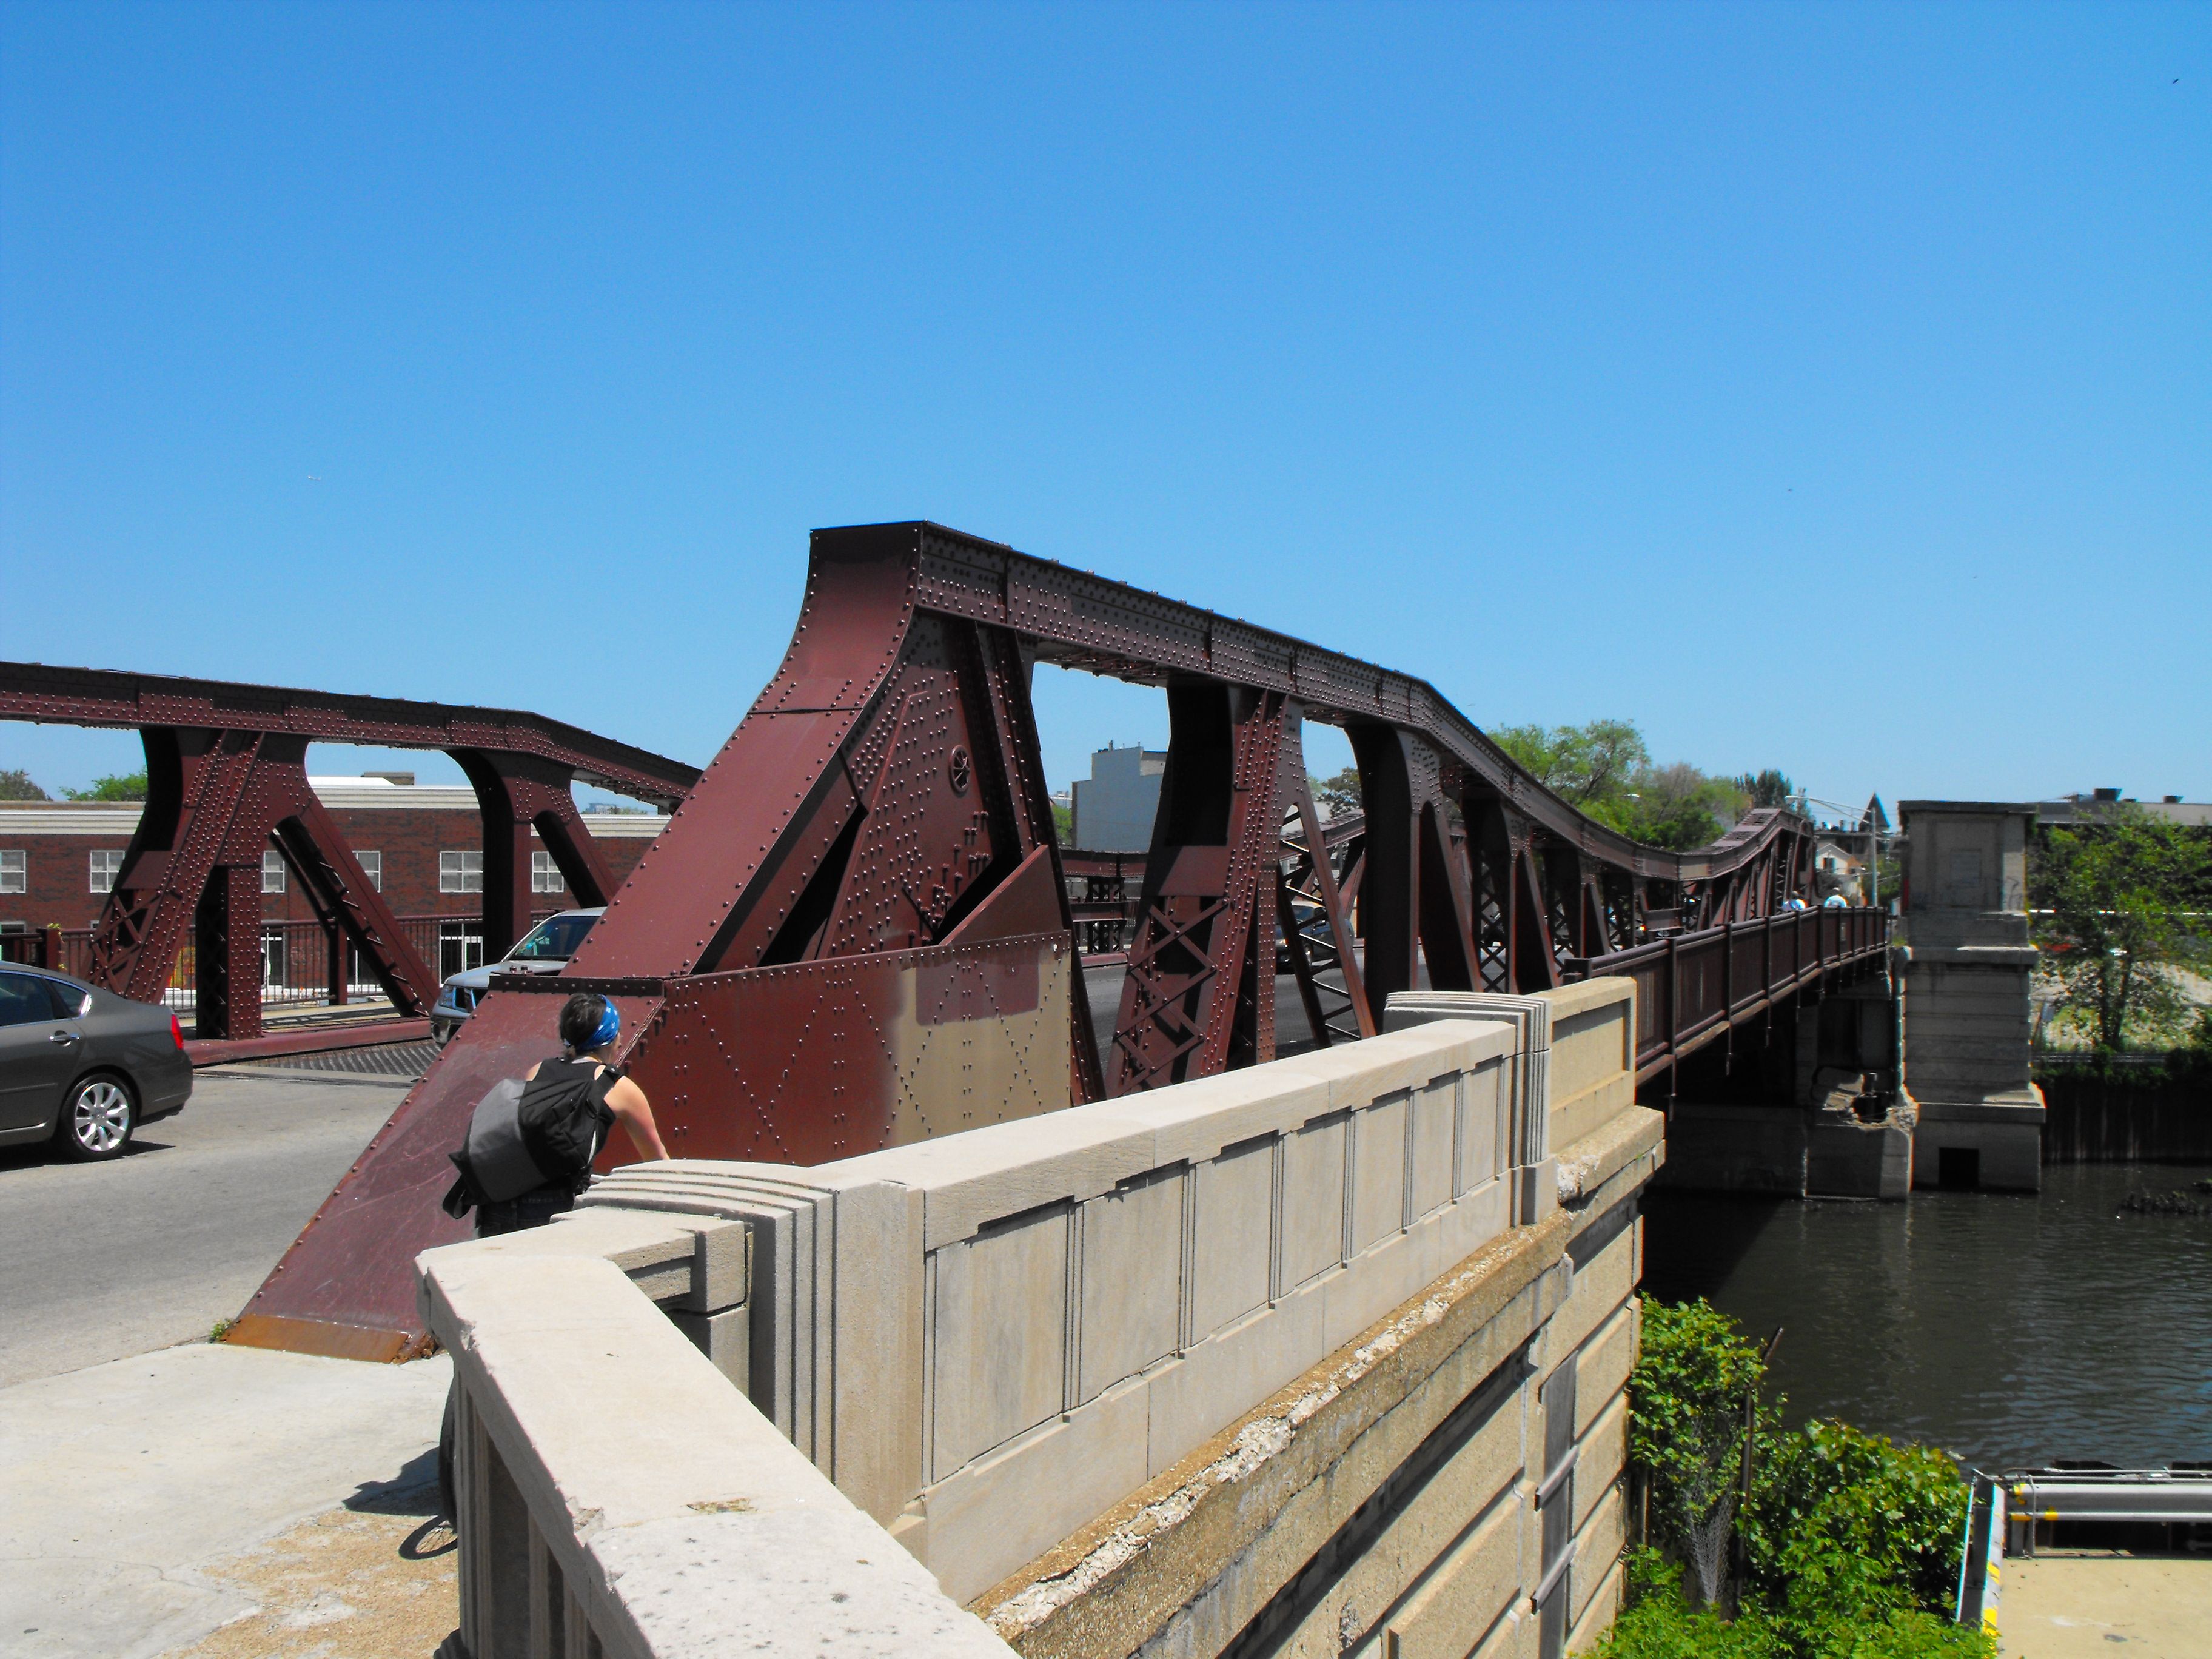
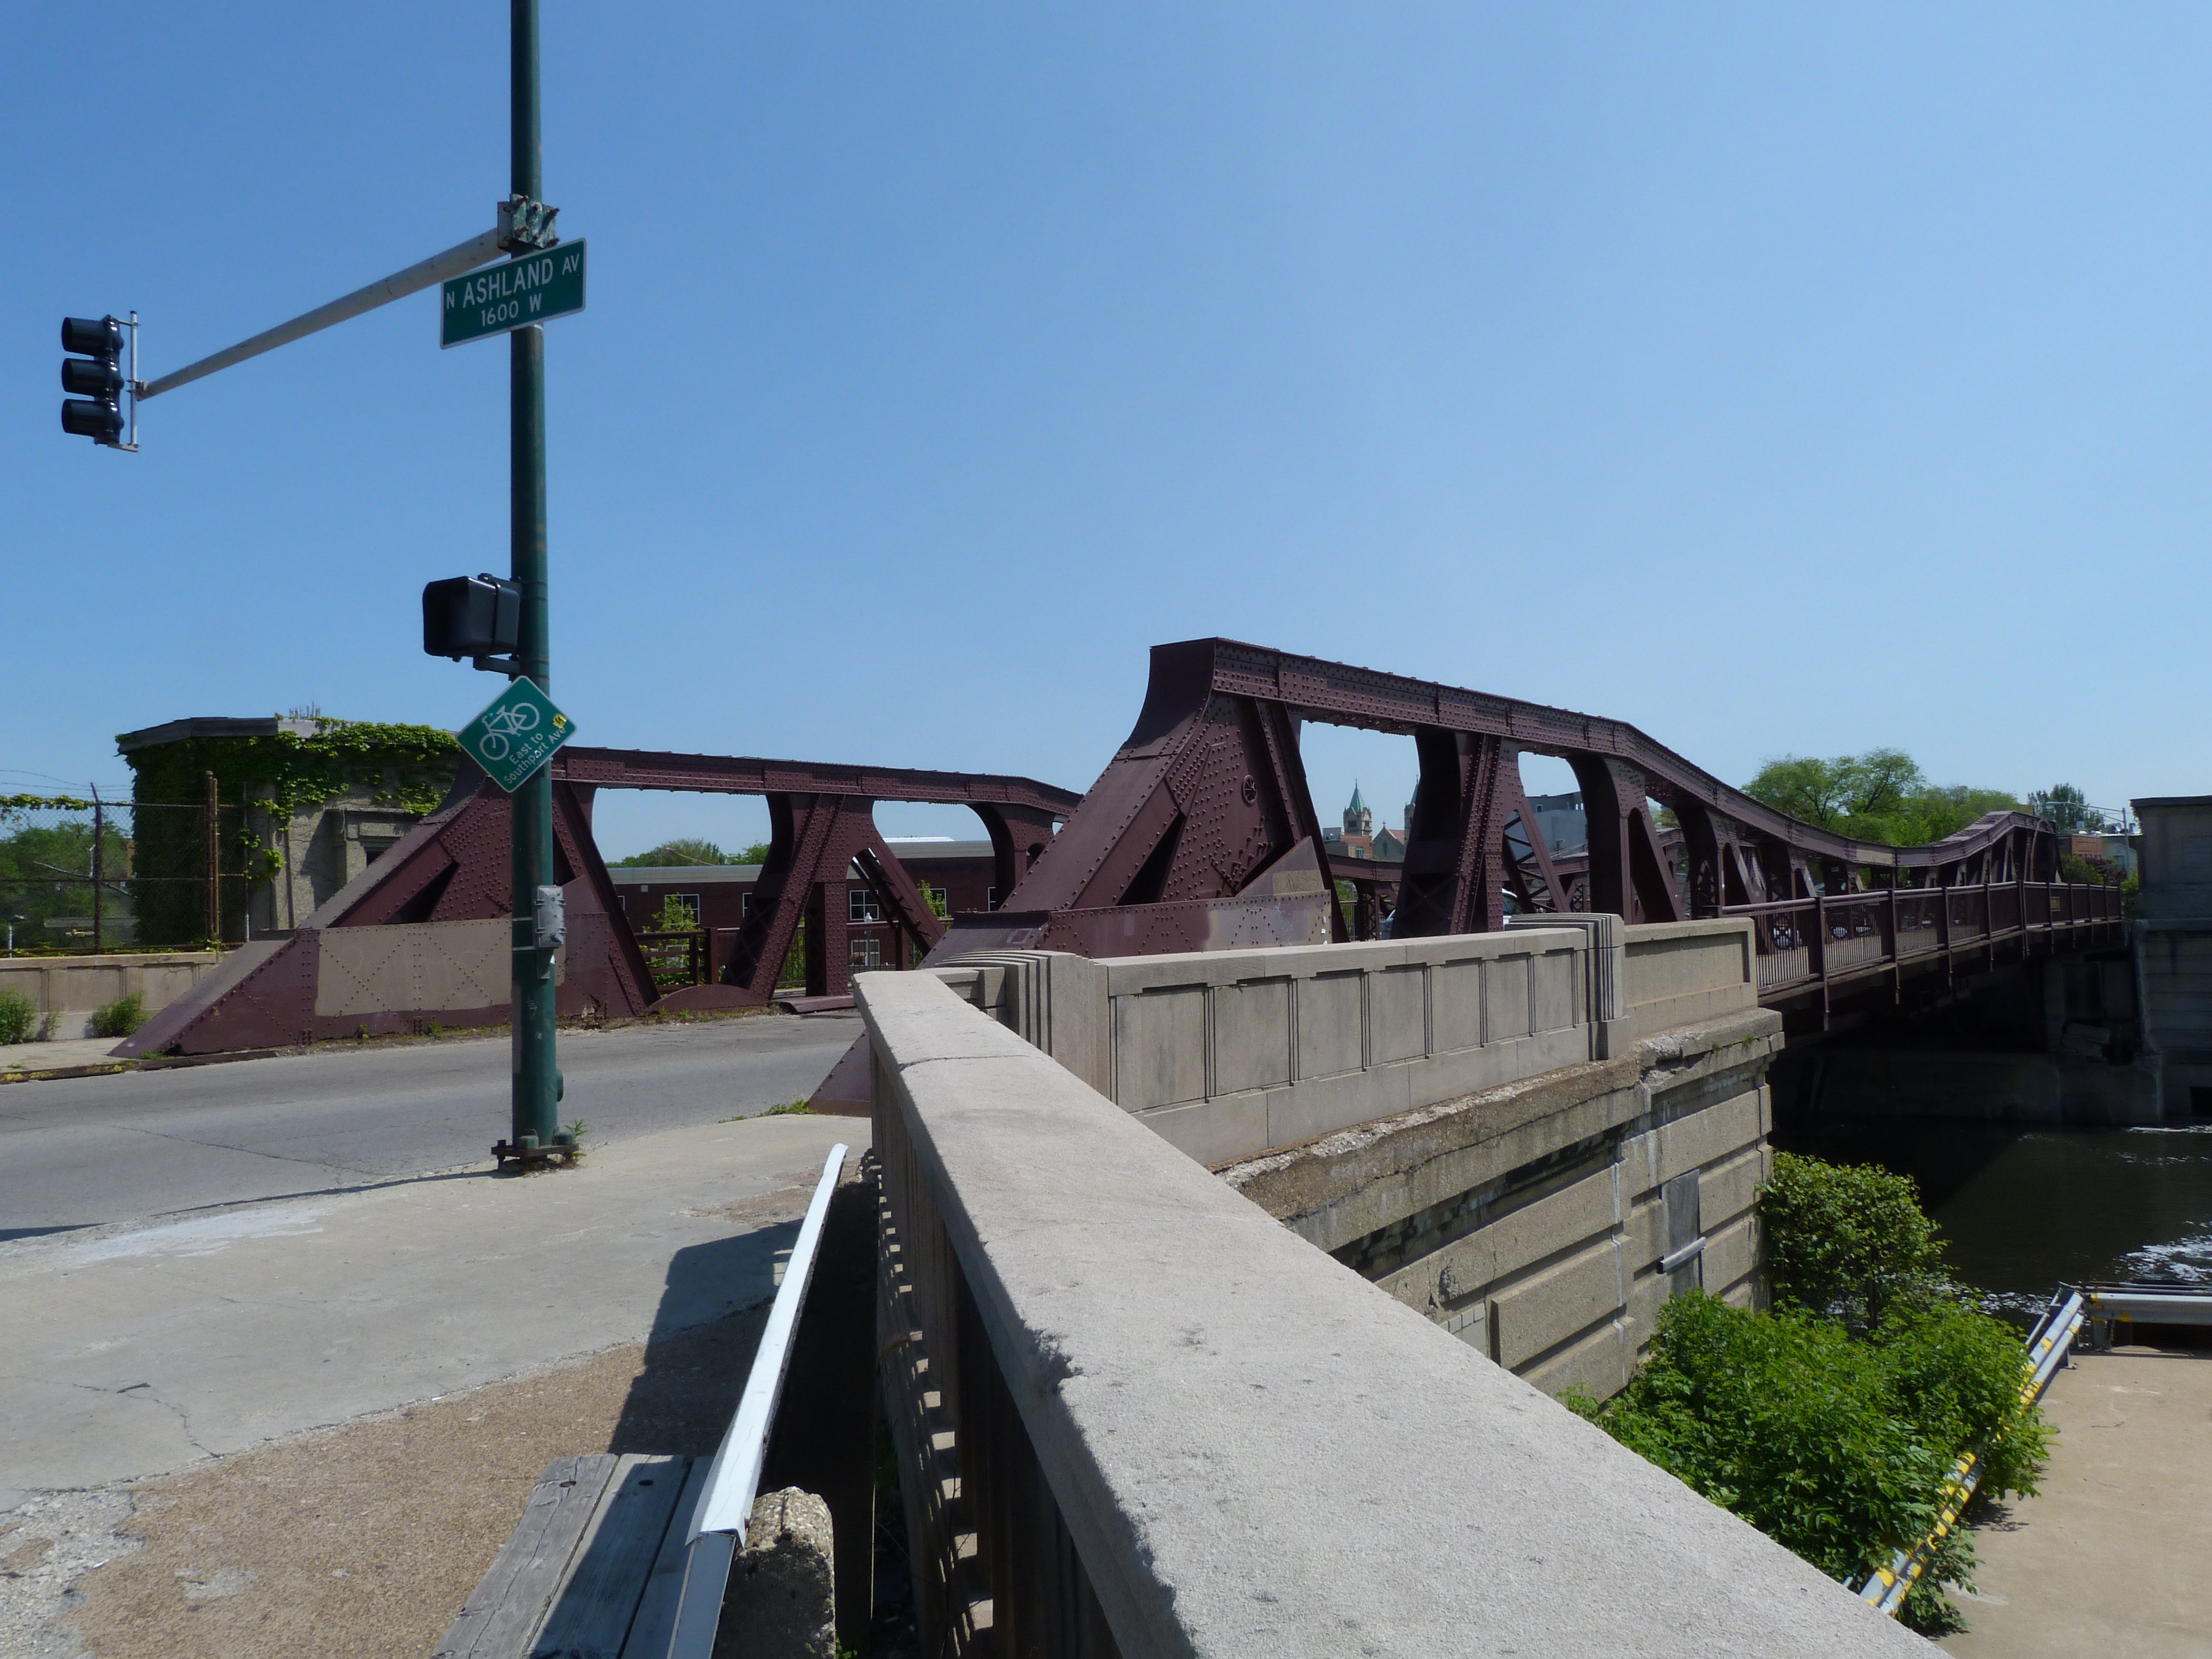
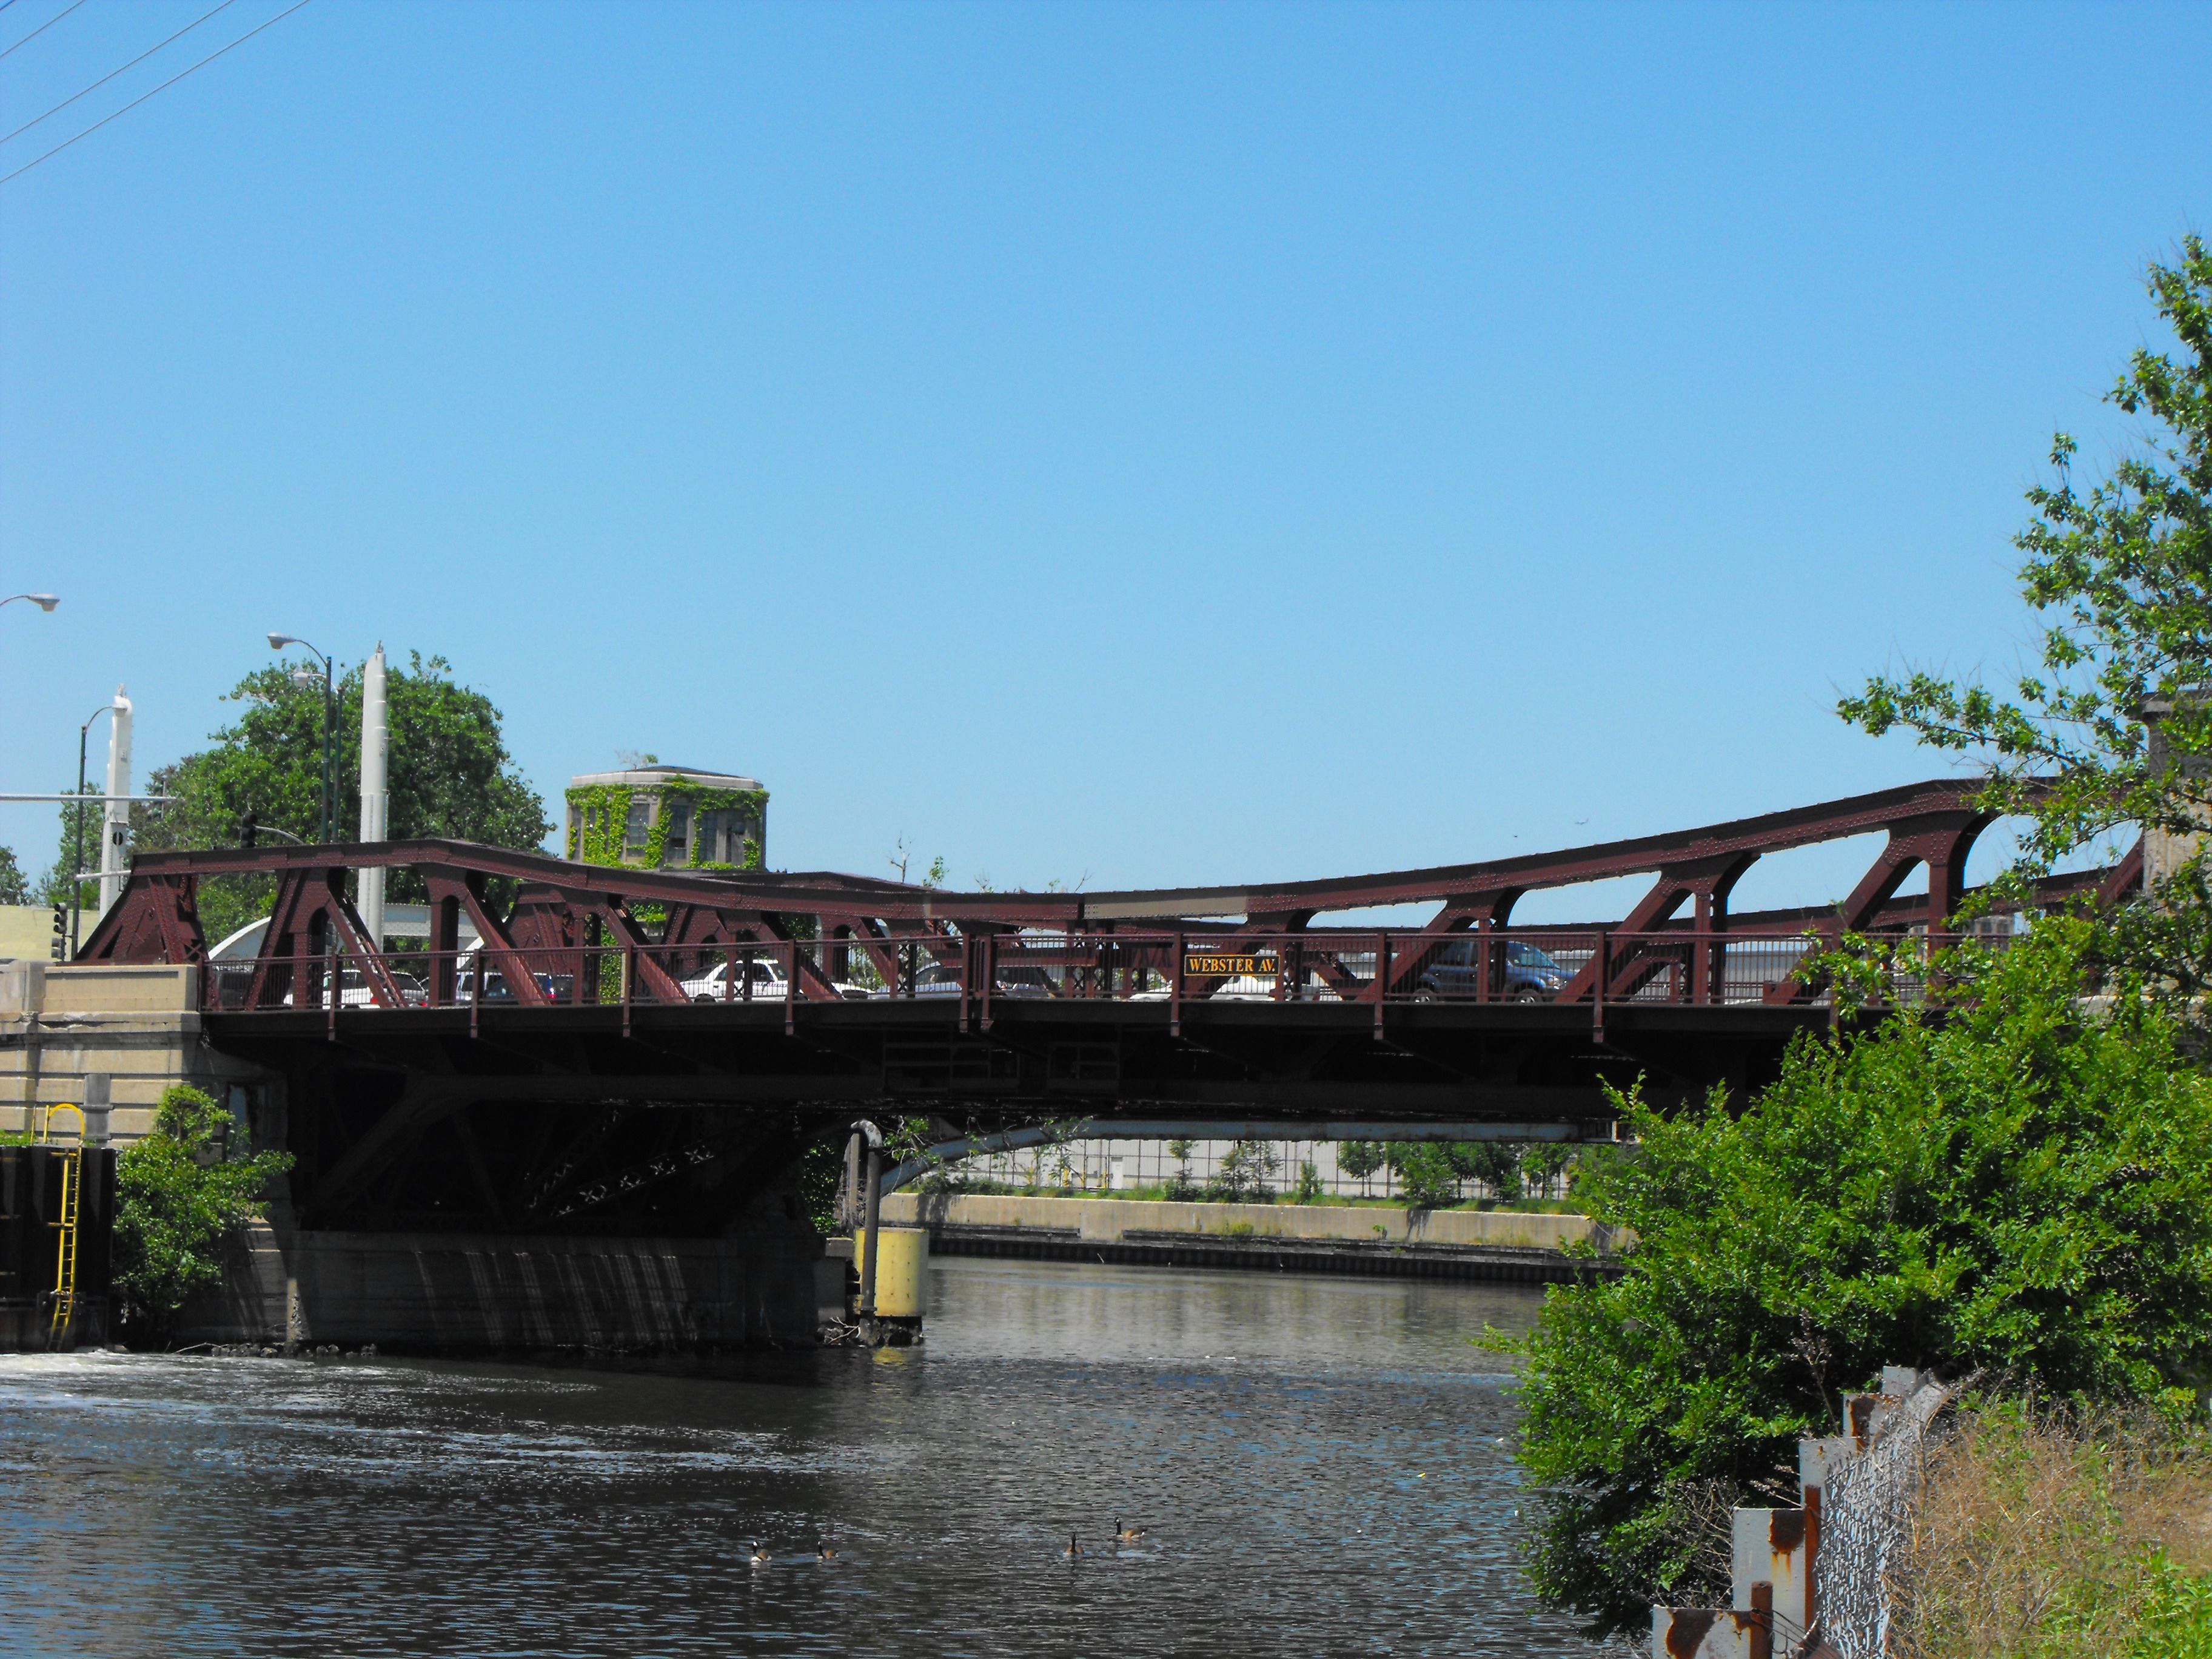
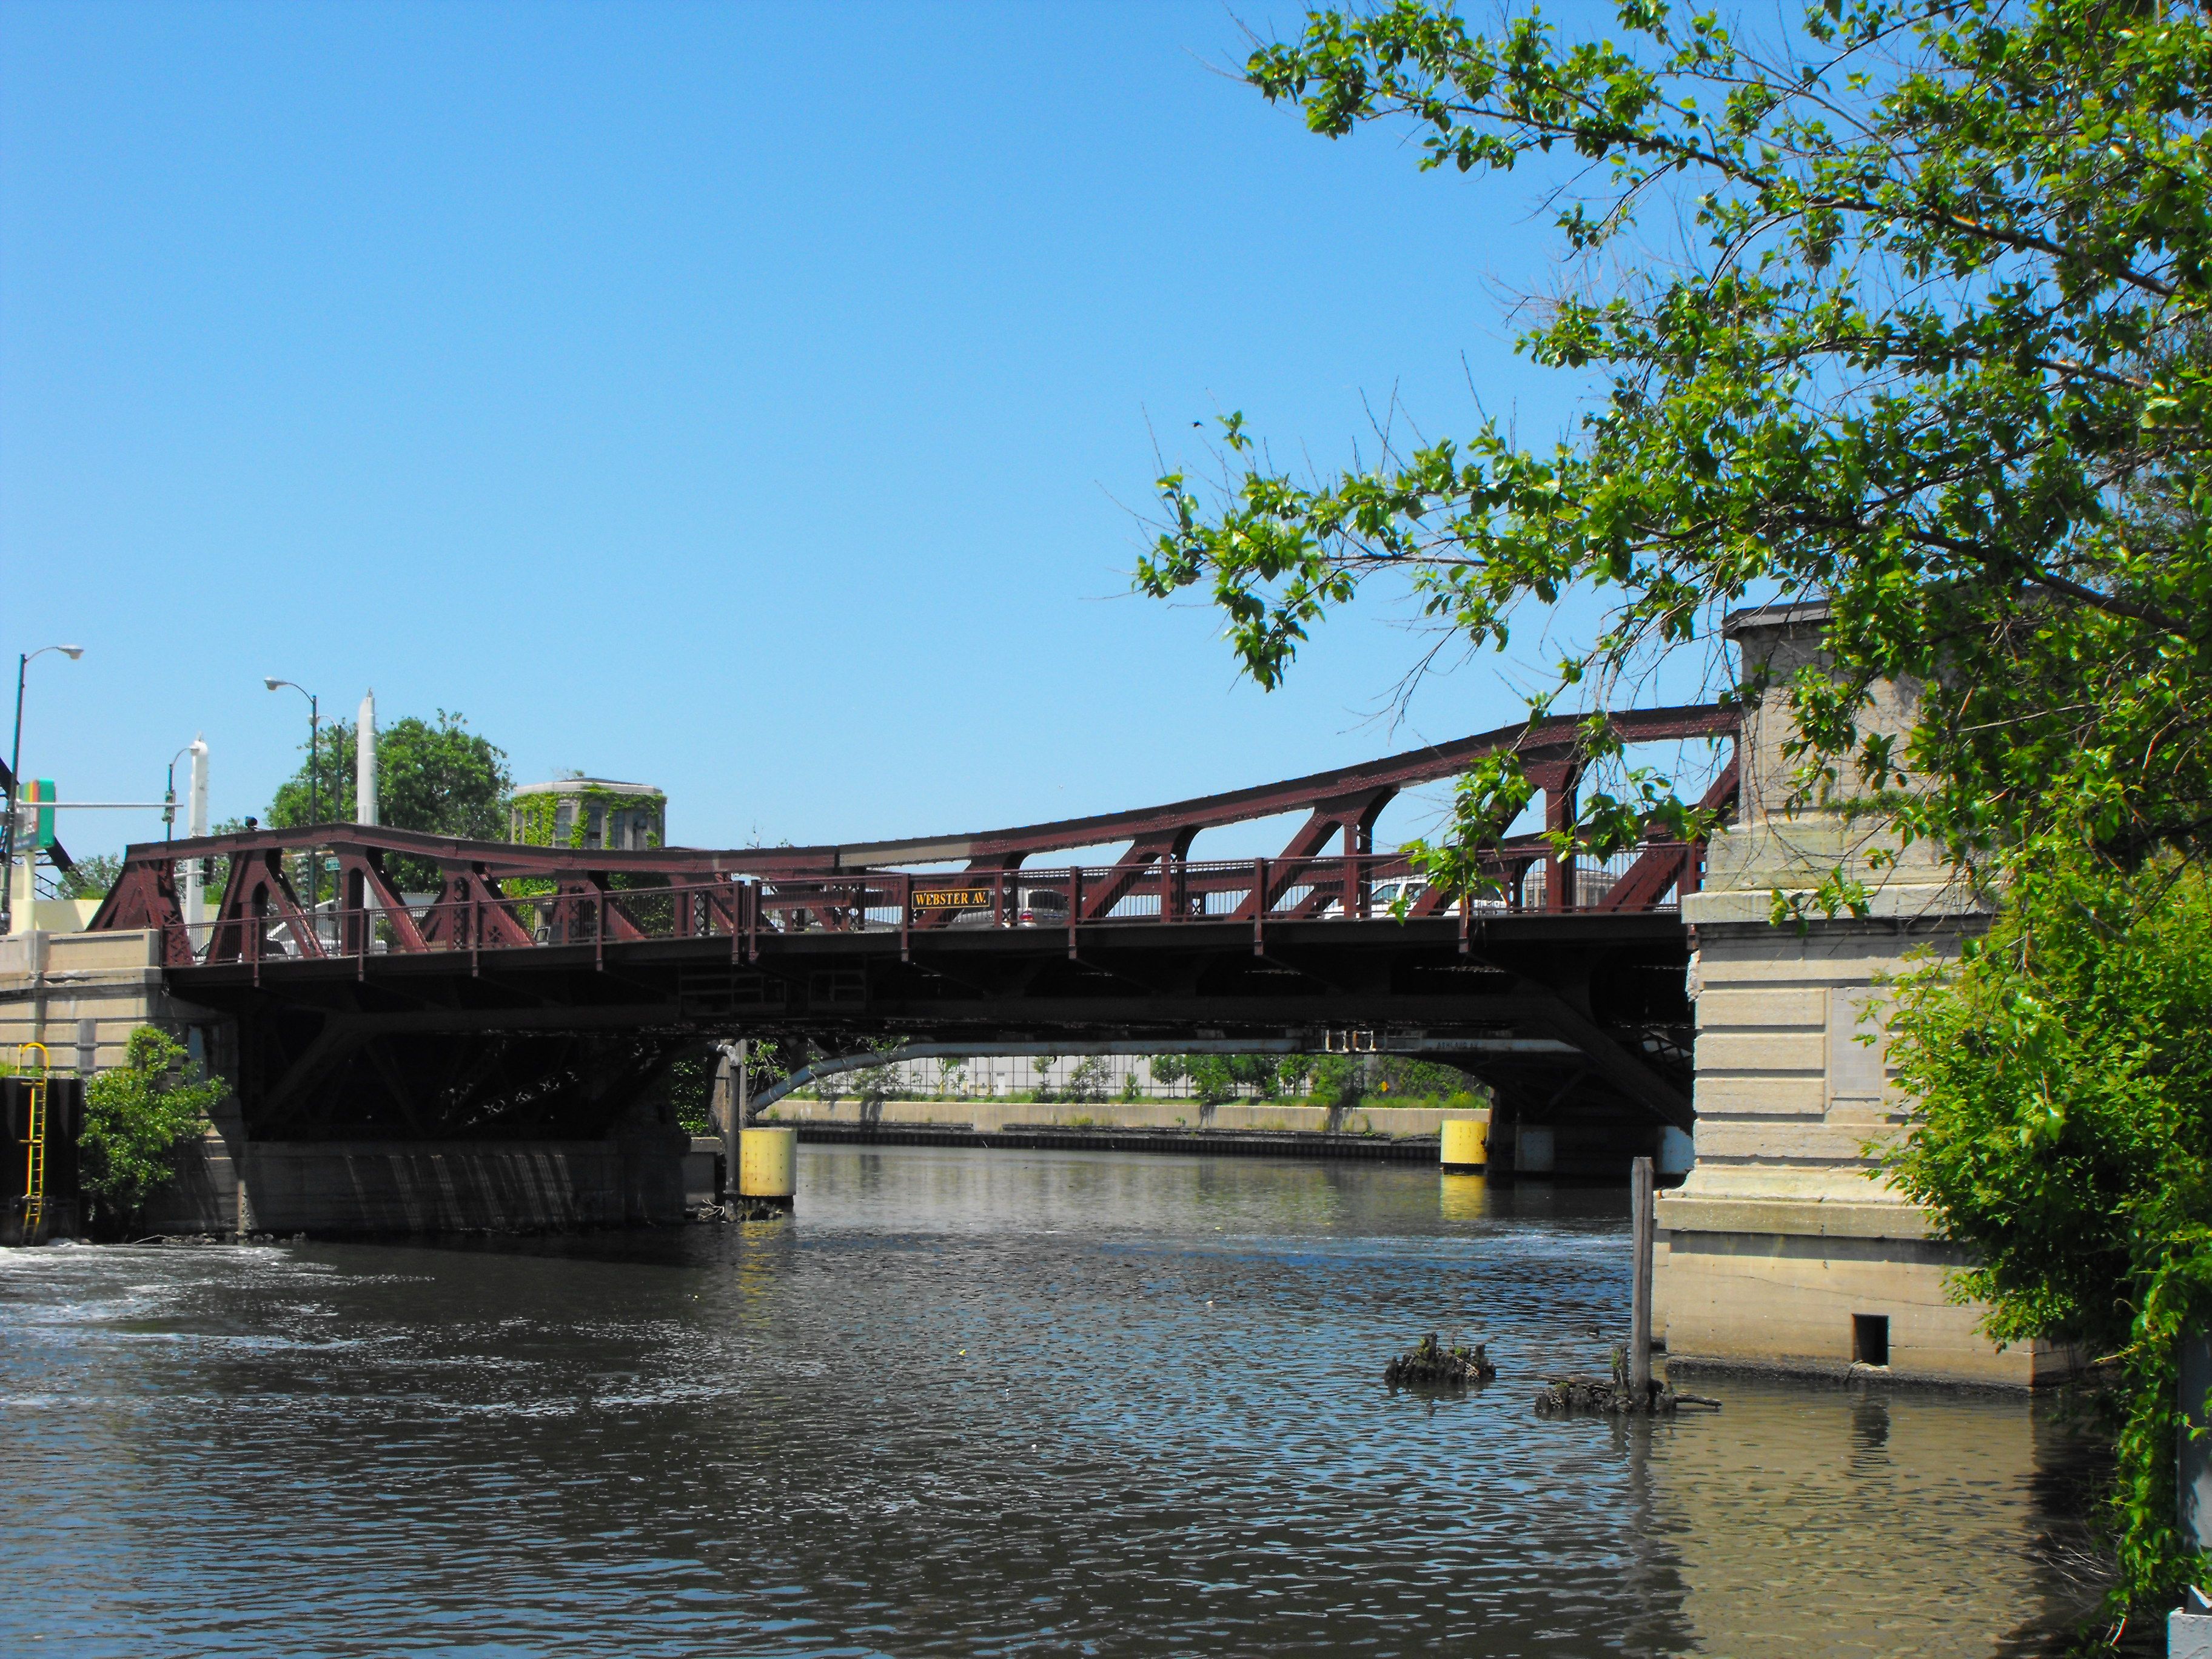
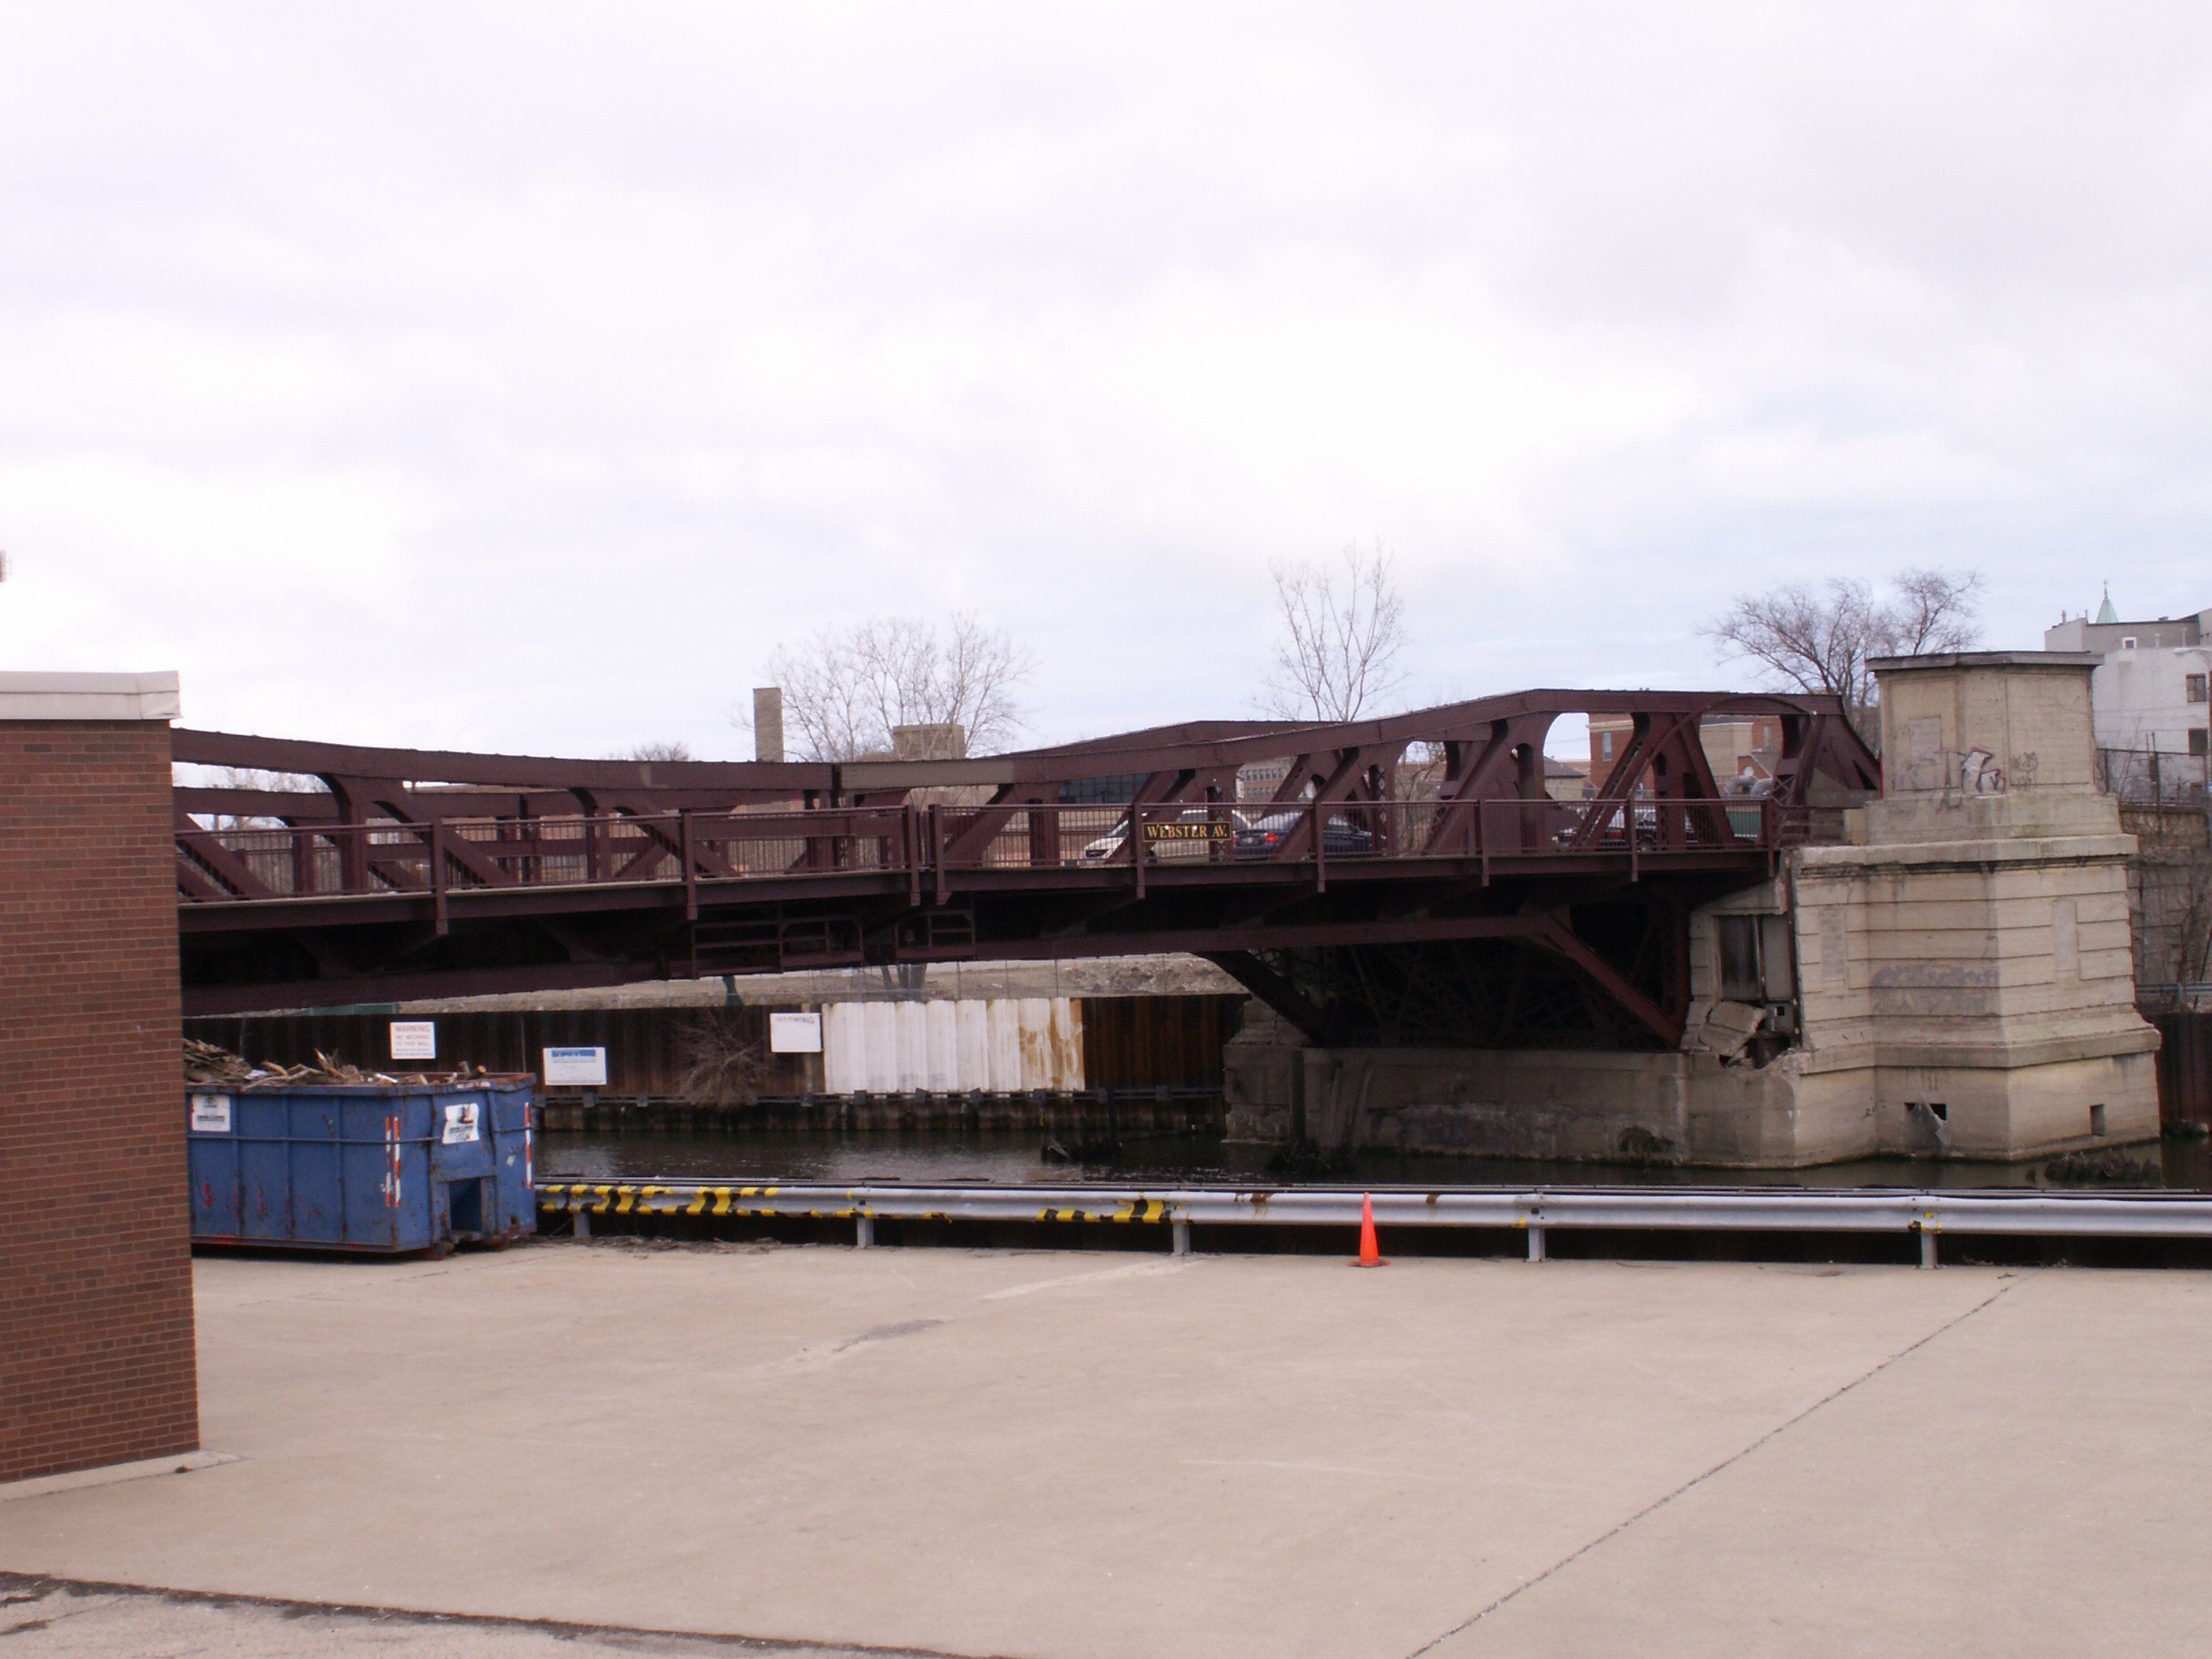
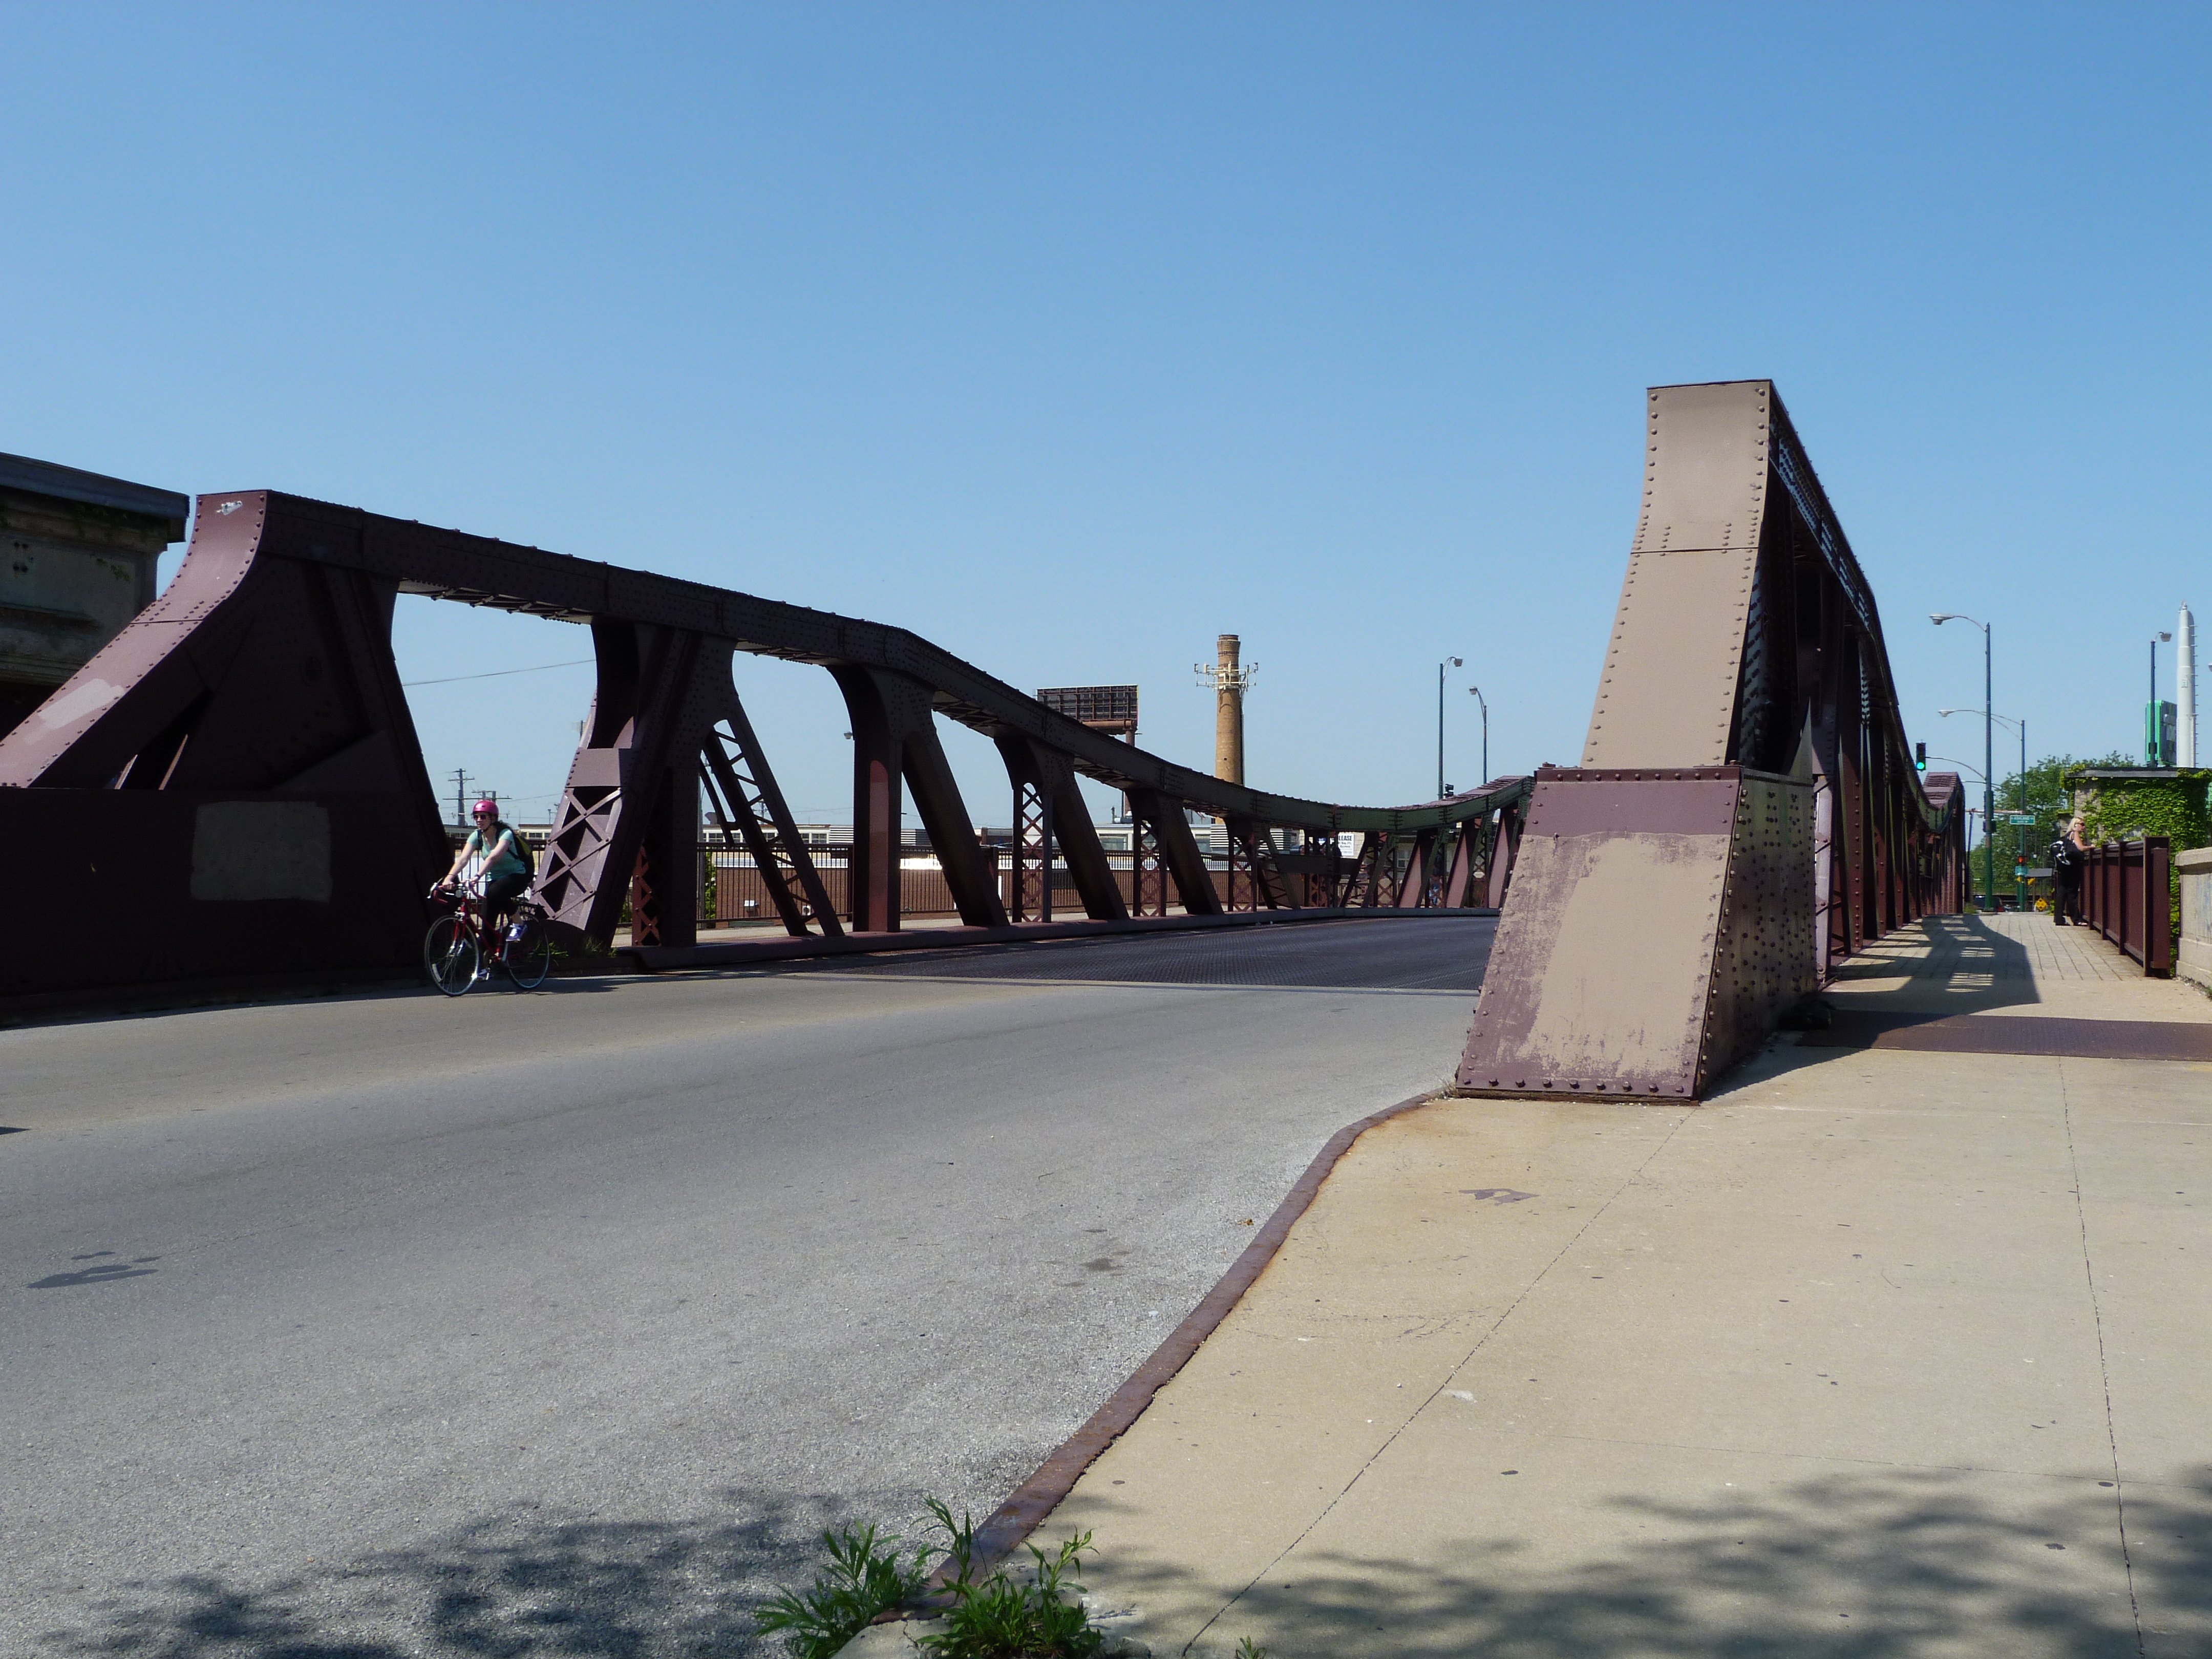
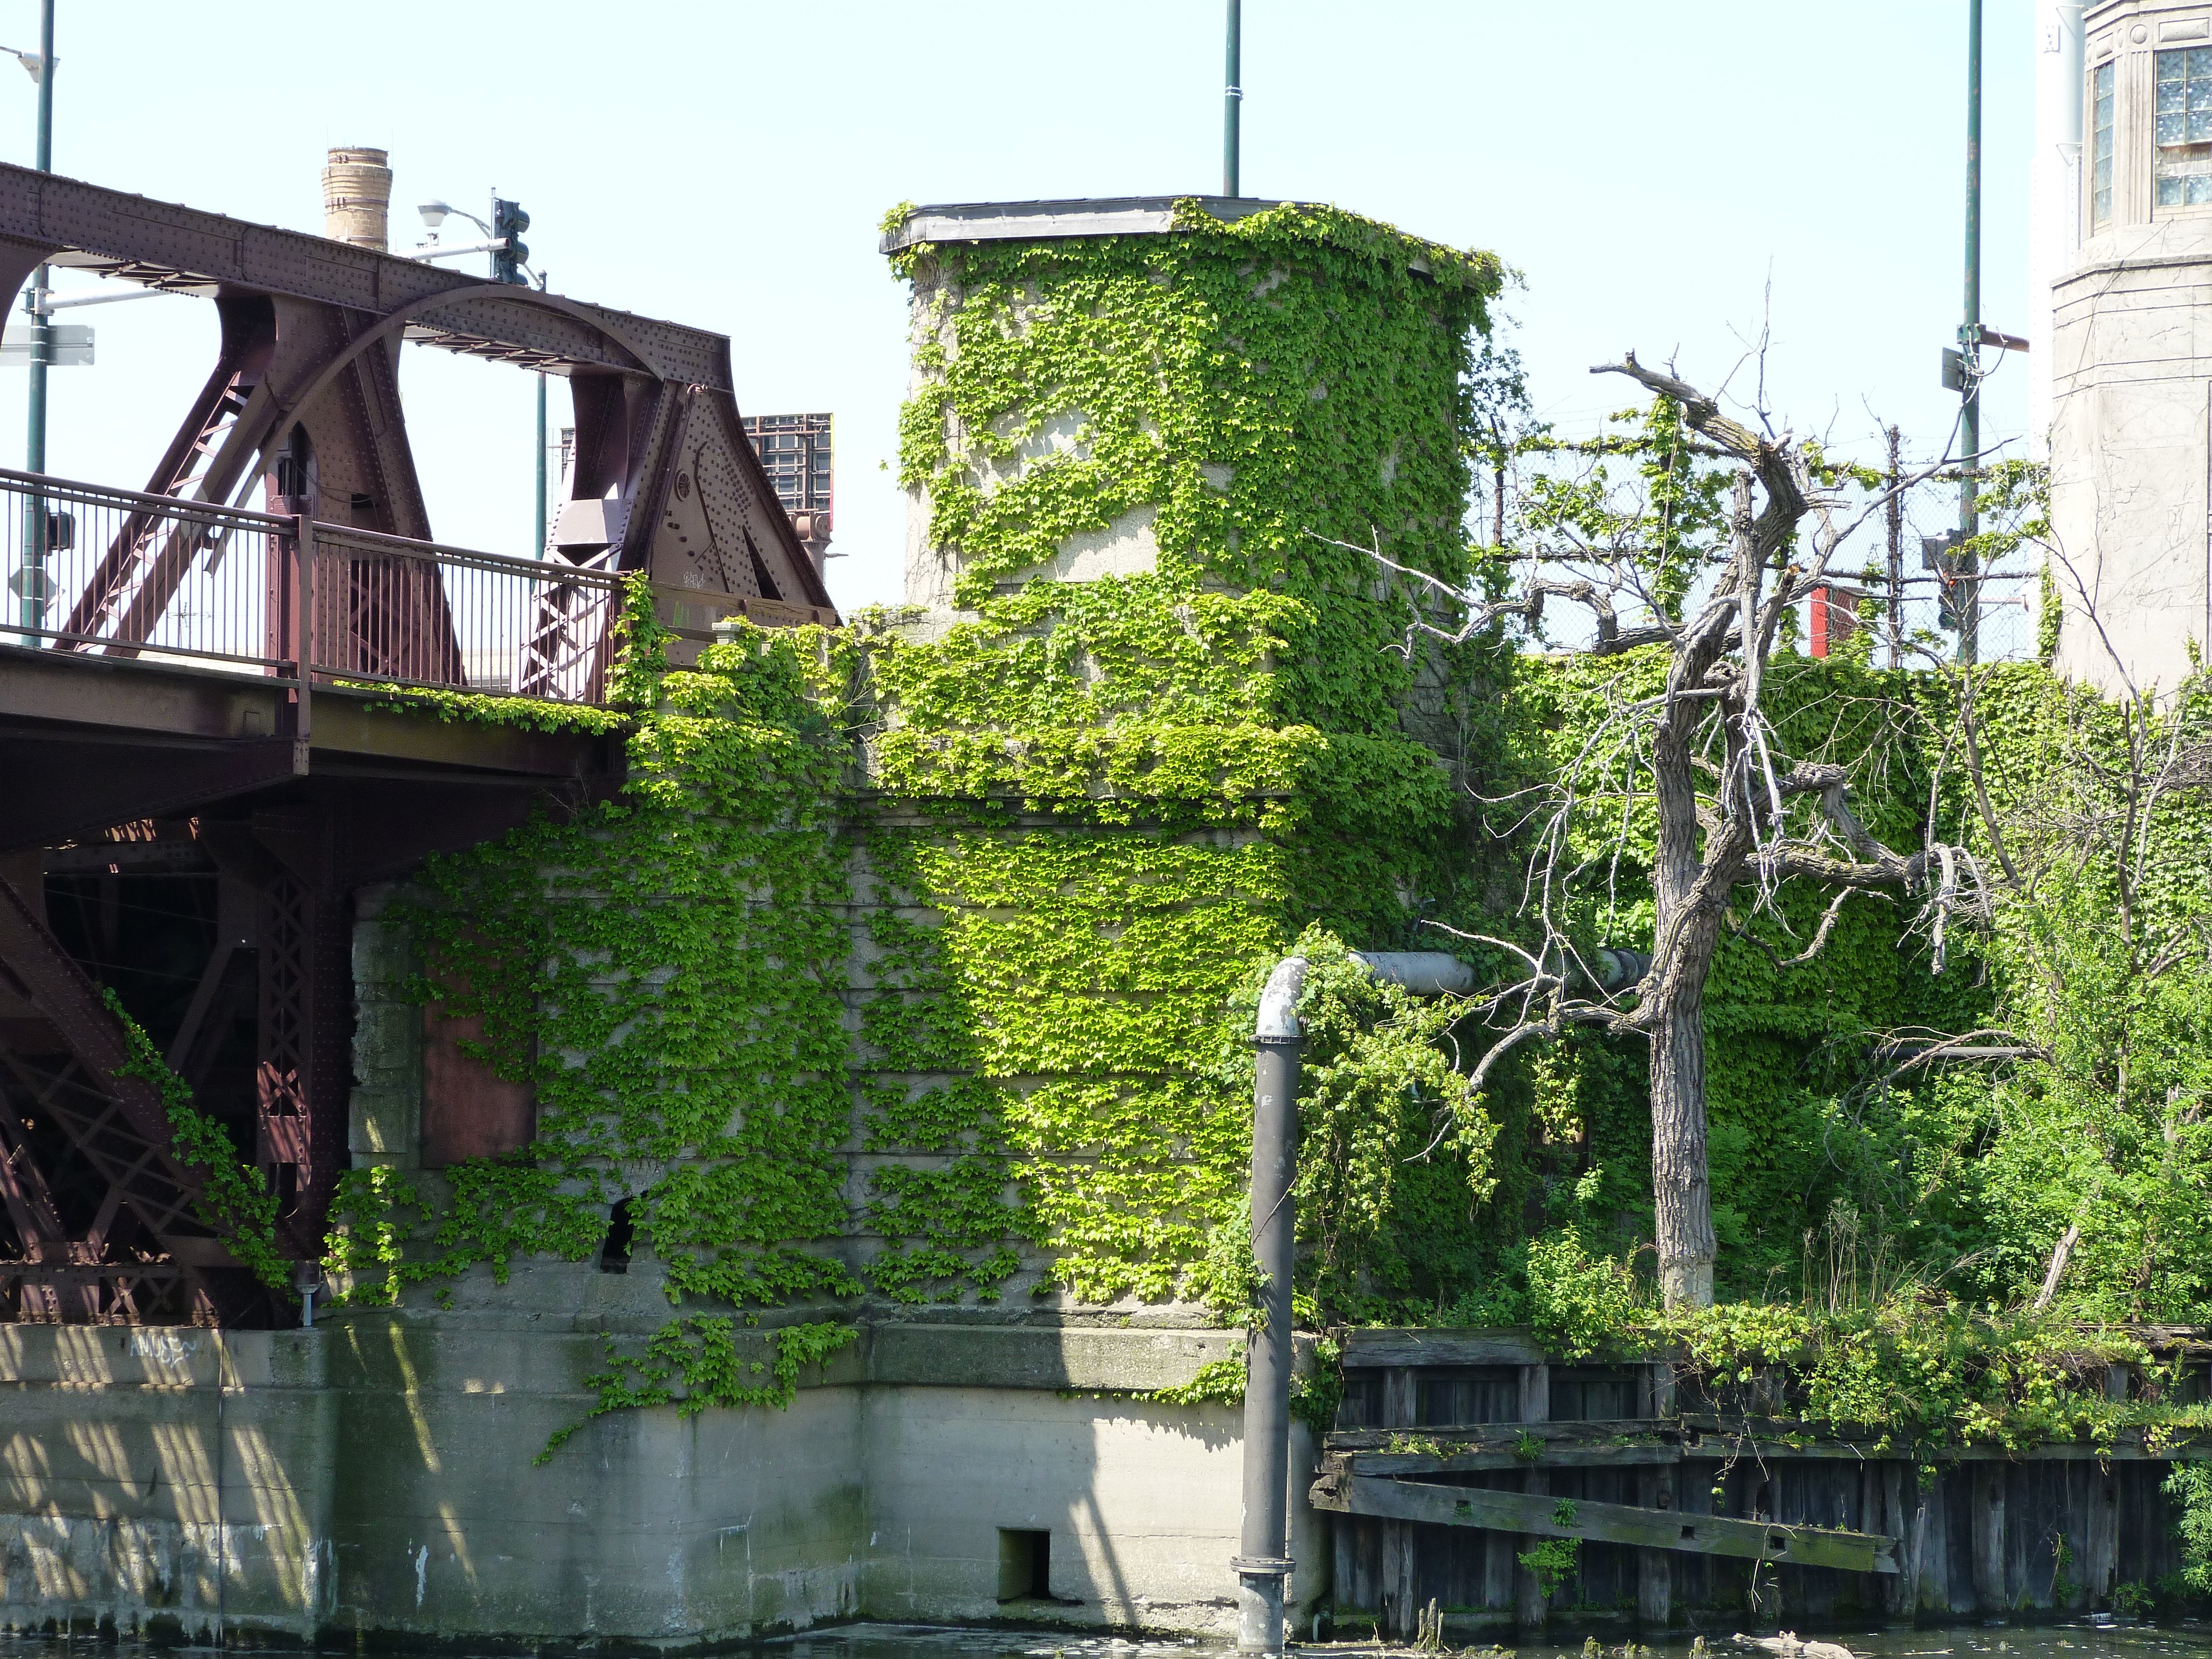
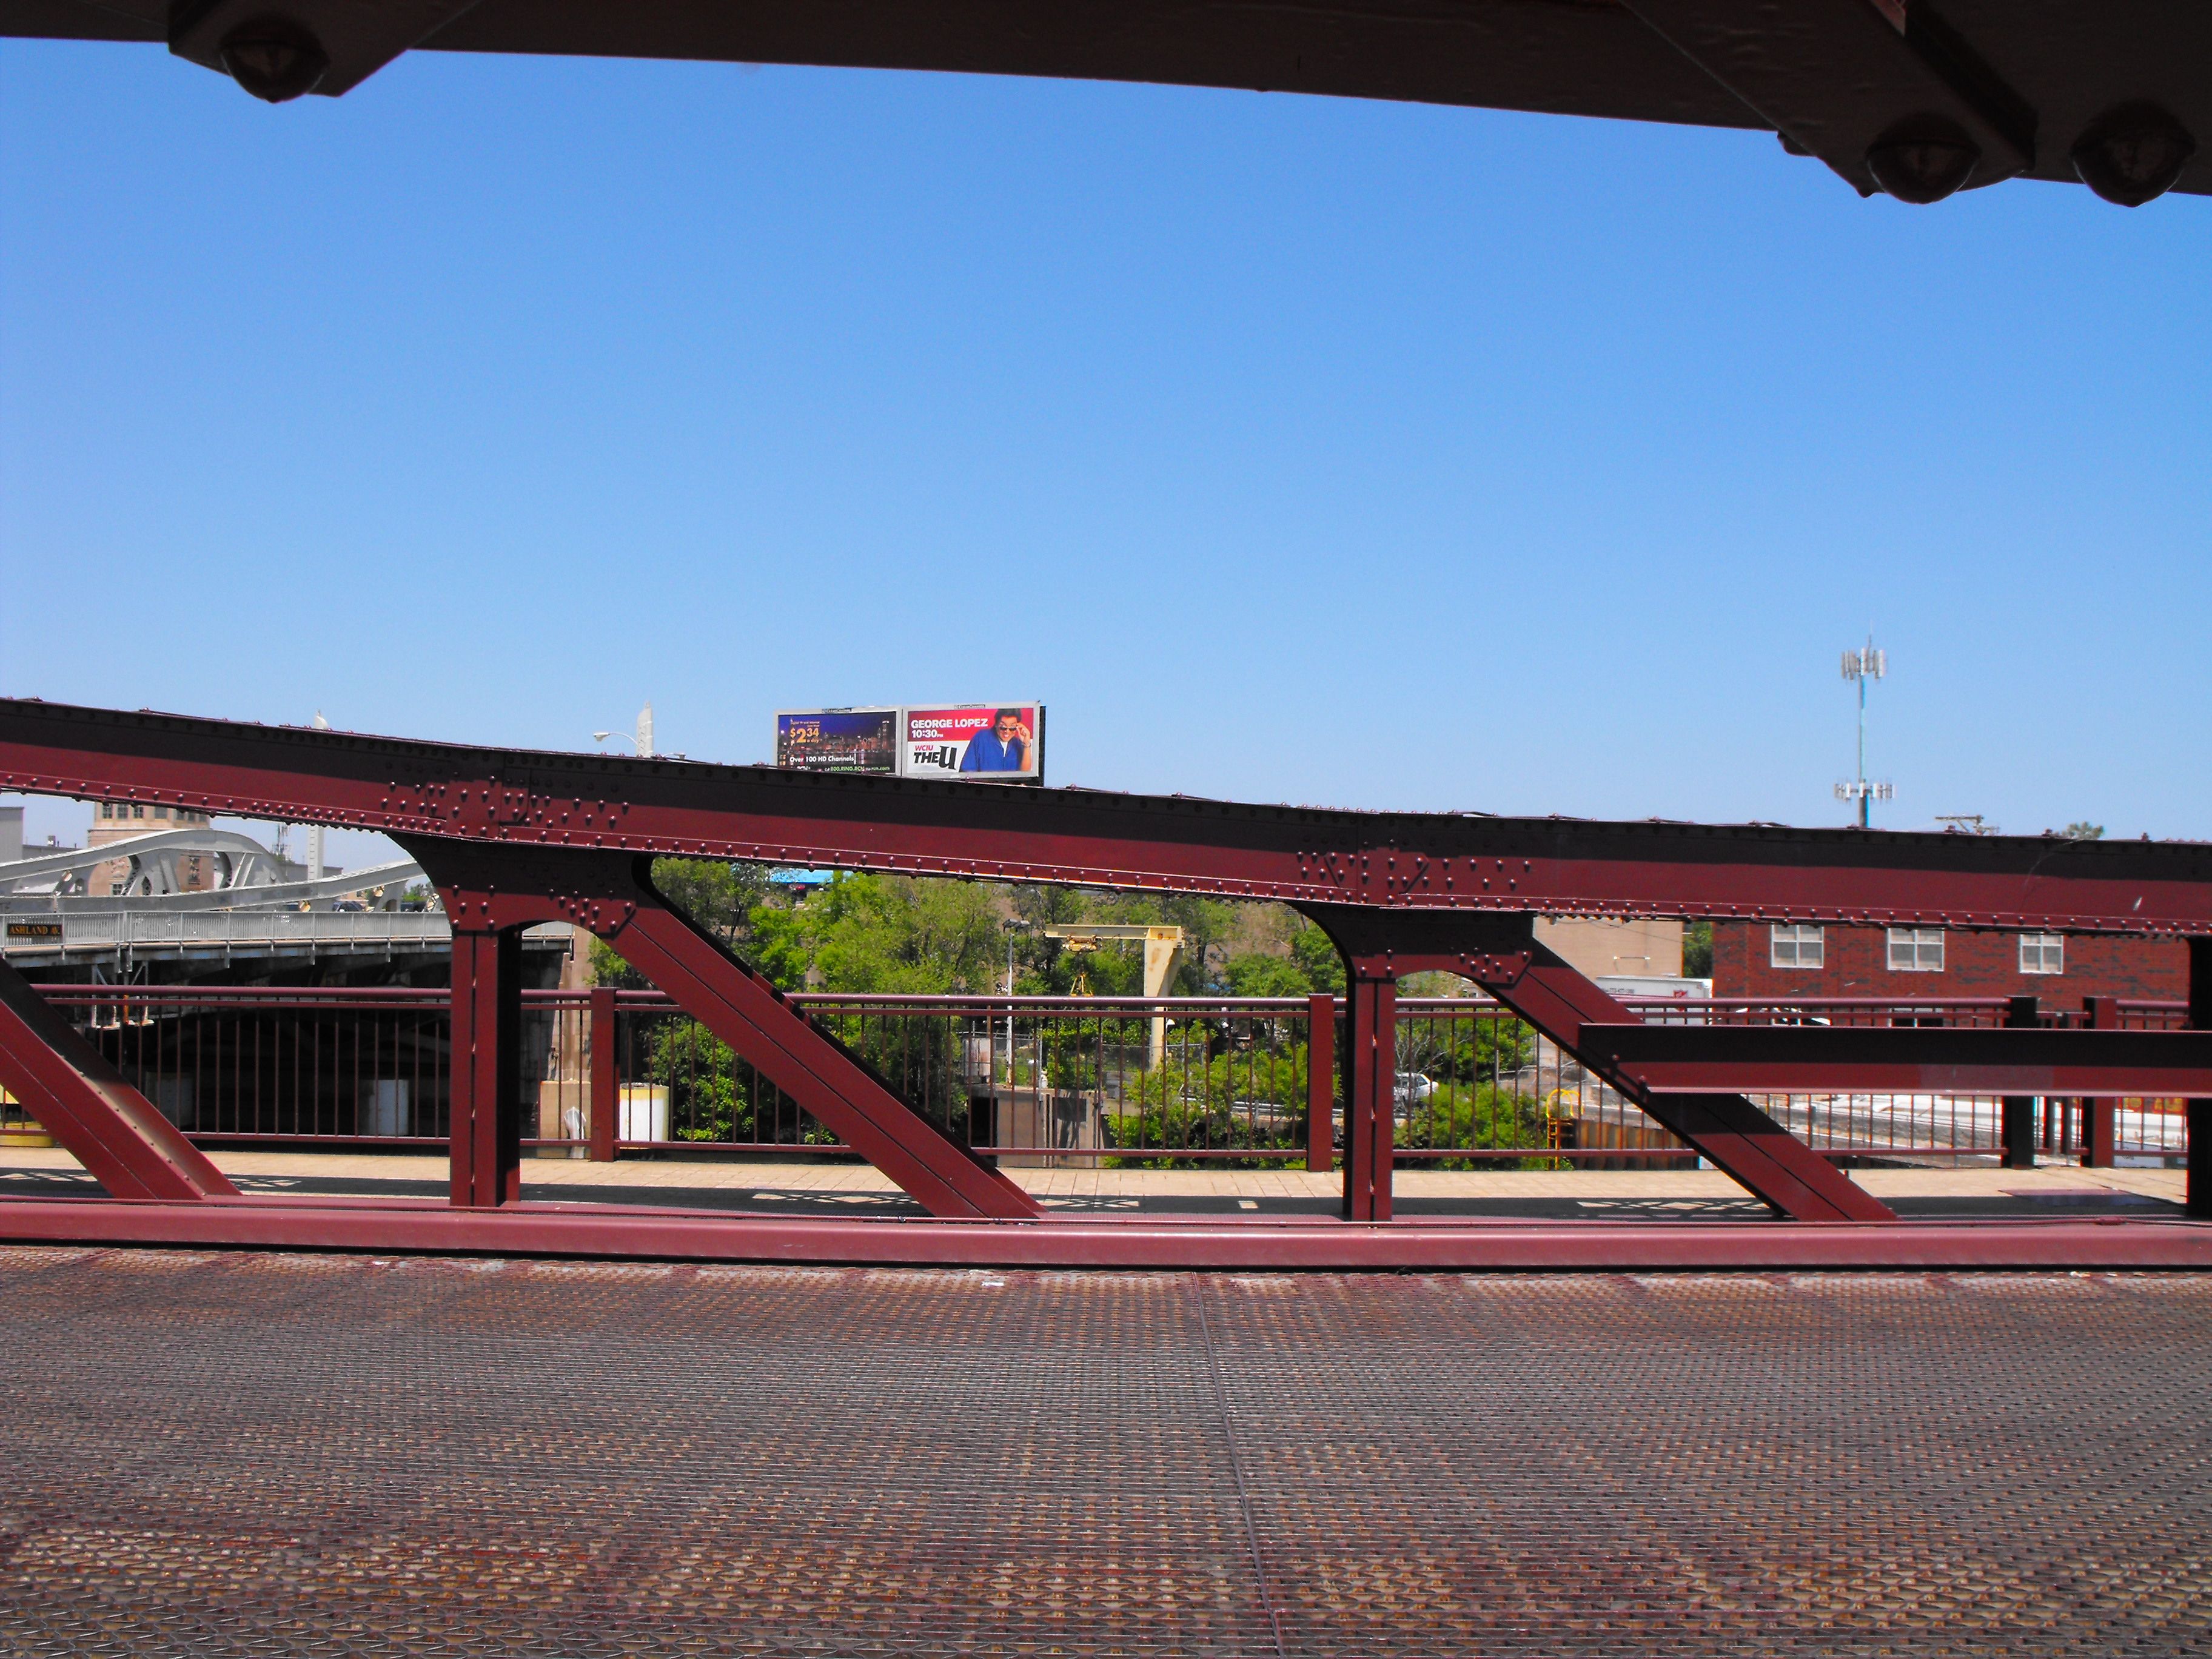
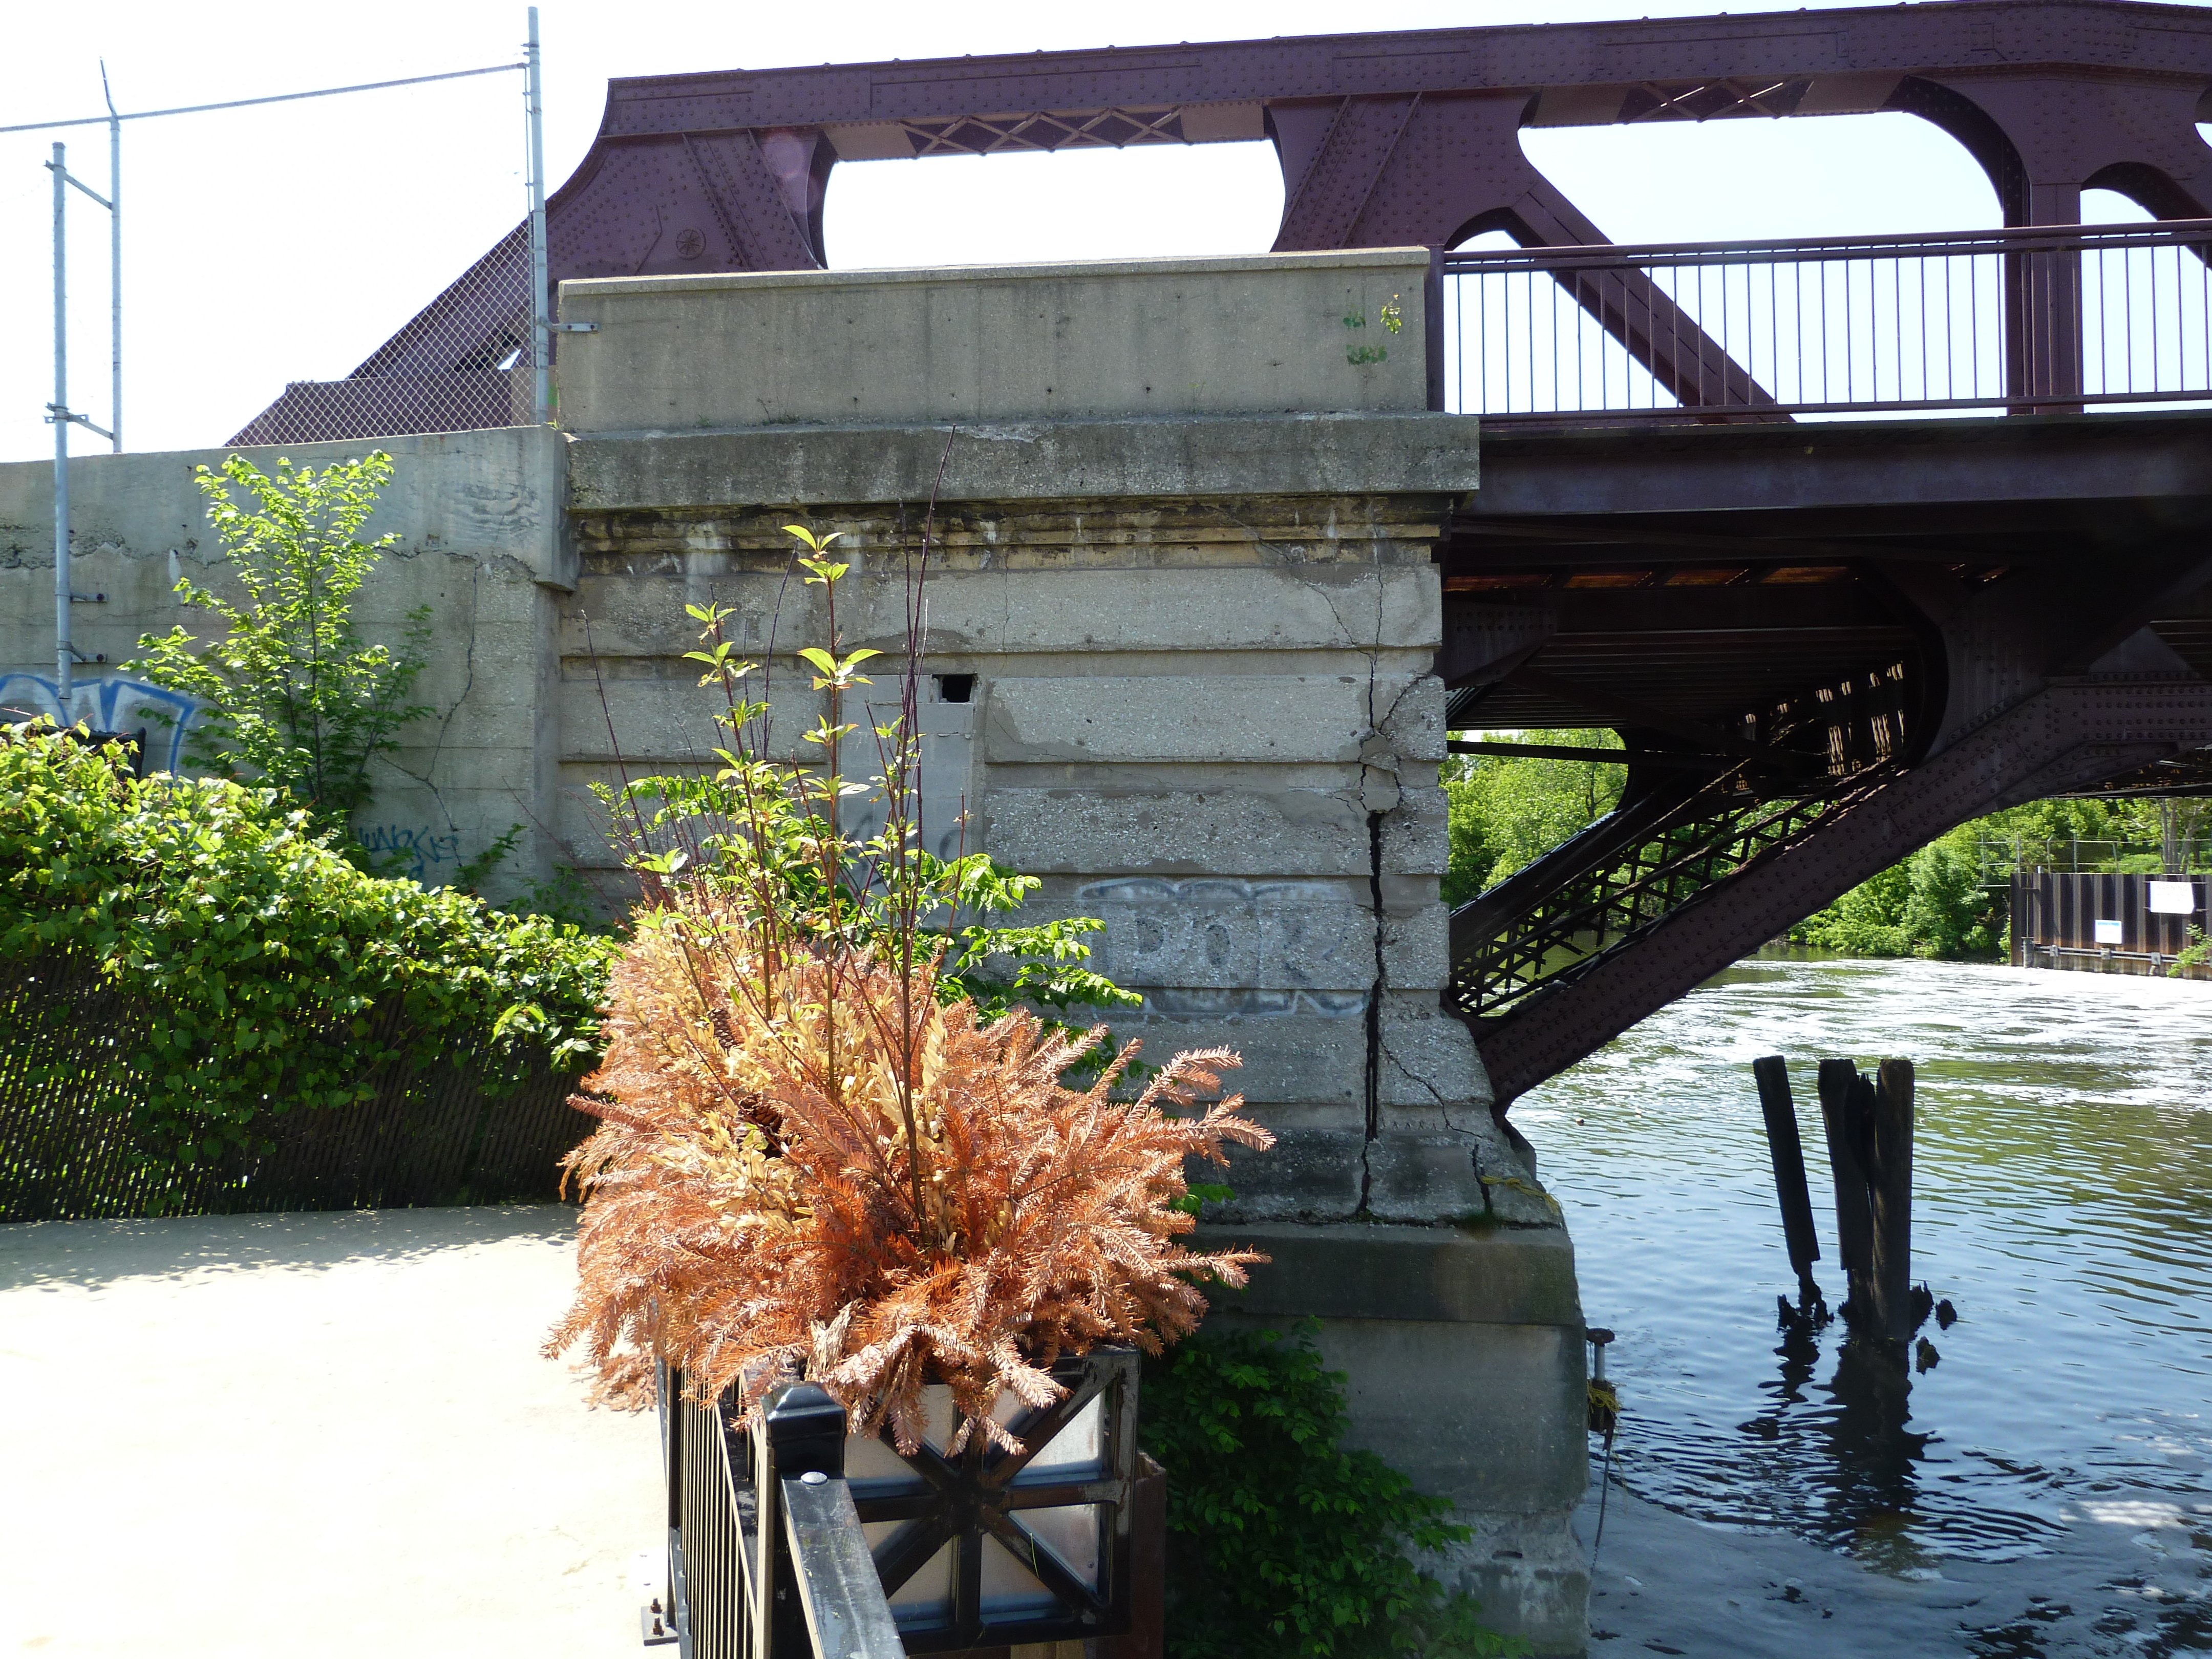
Views beside bridge from southwest quadrant.
![]()
Views beside roadway.
![]()
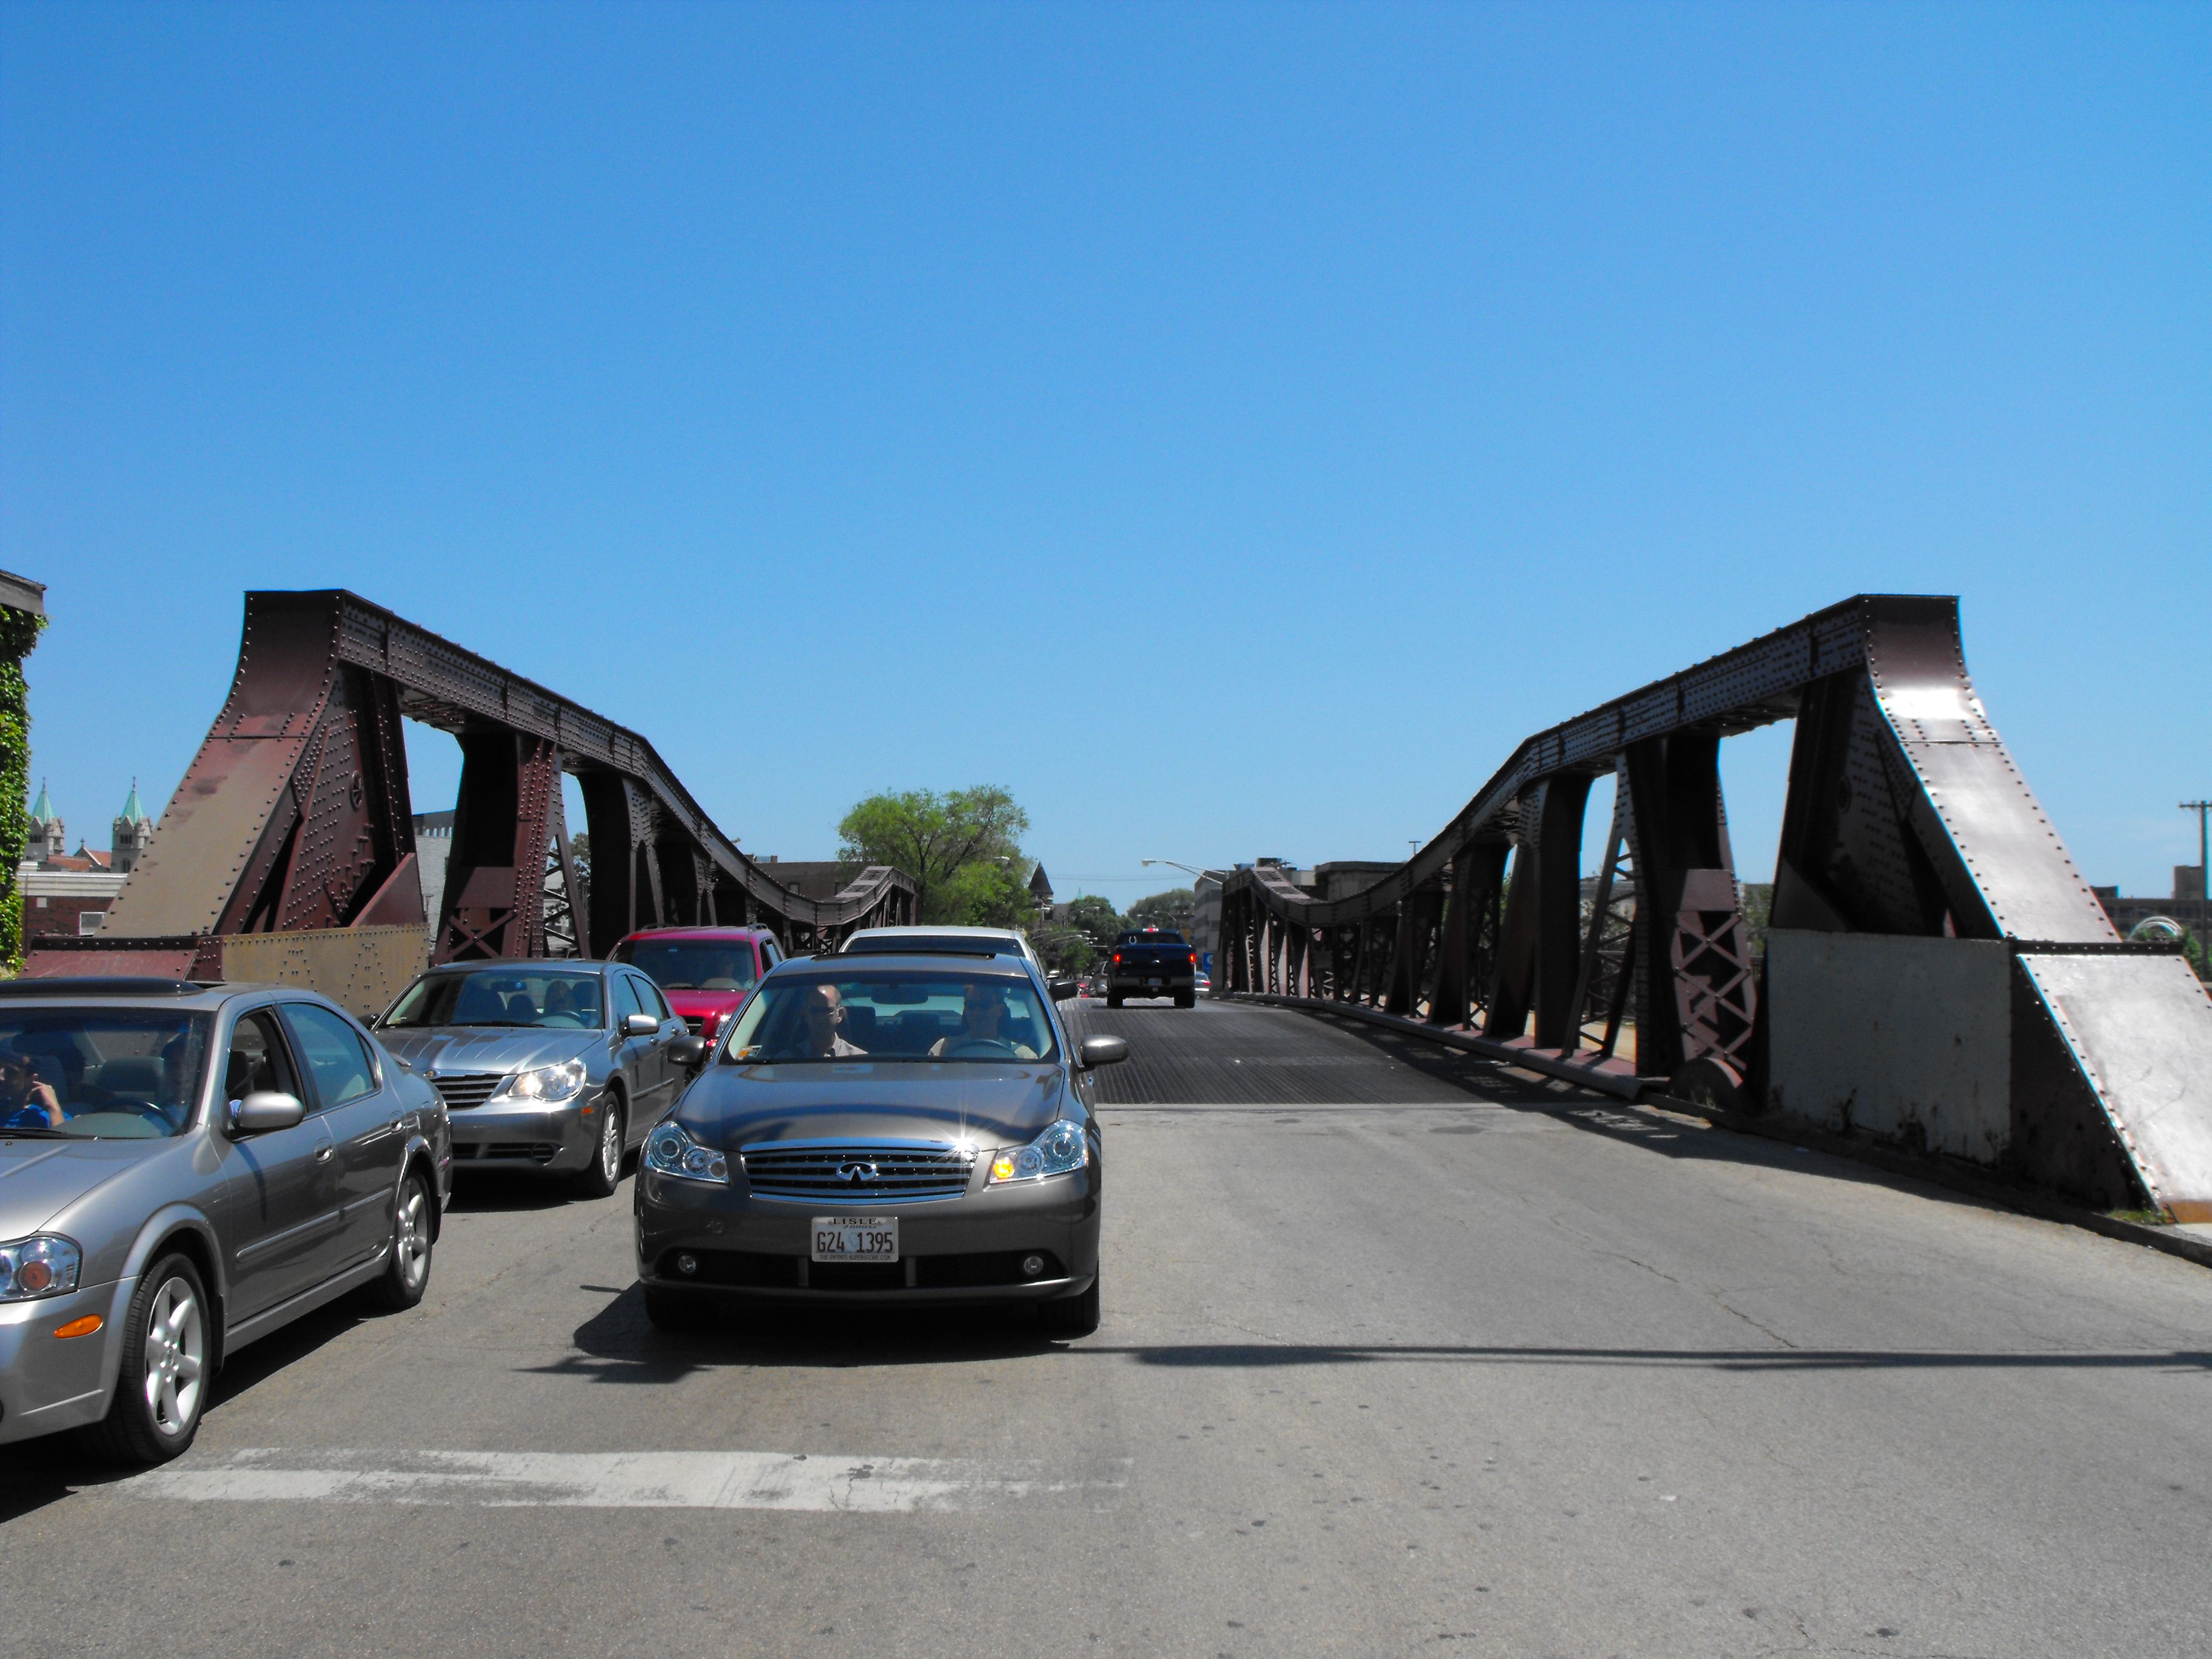
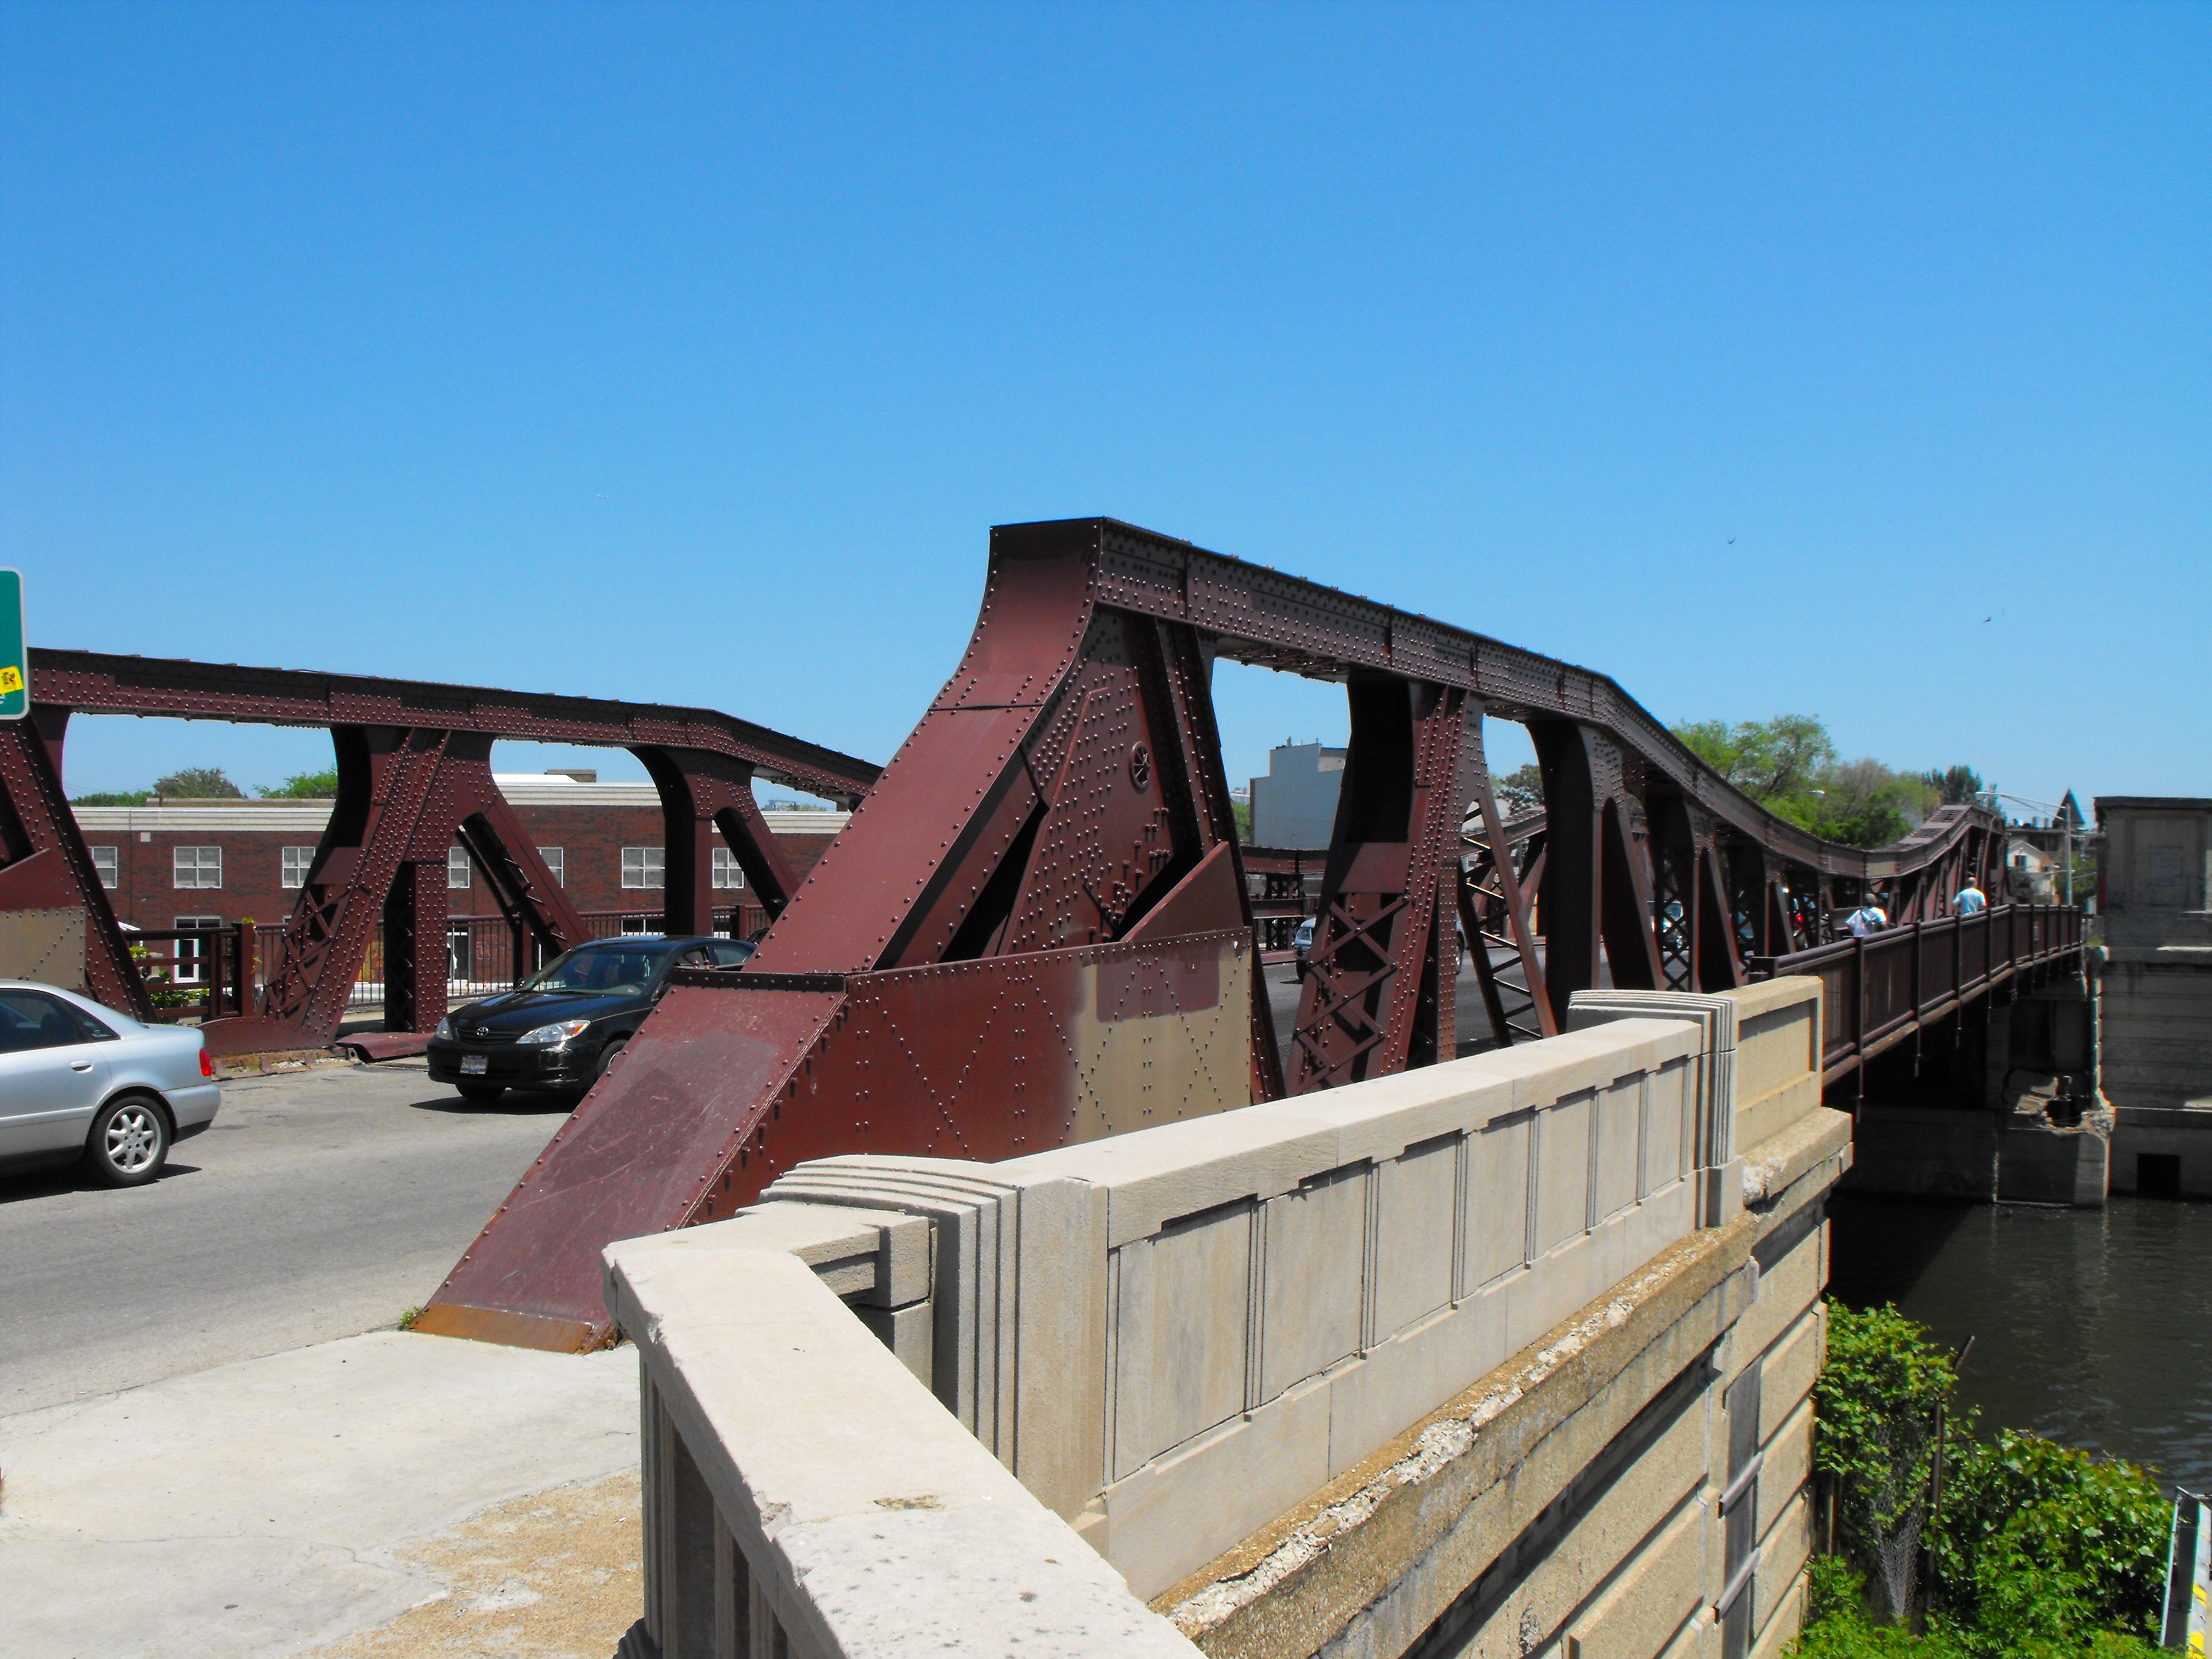
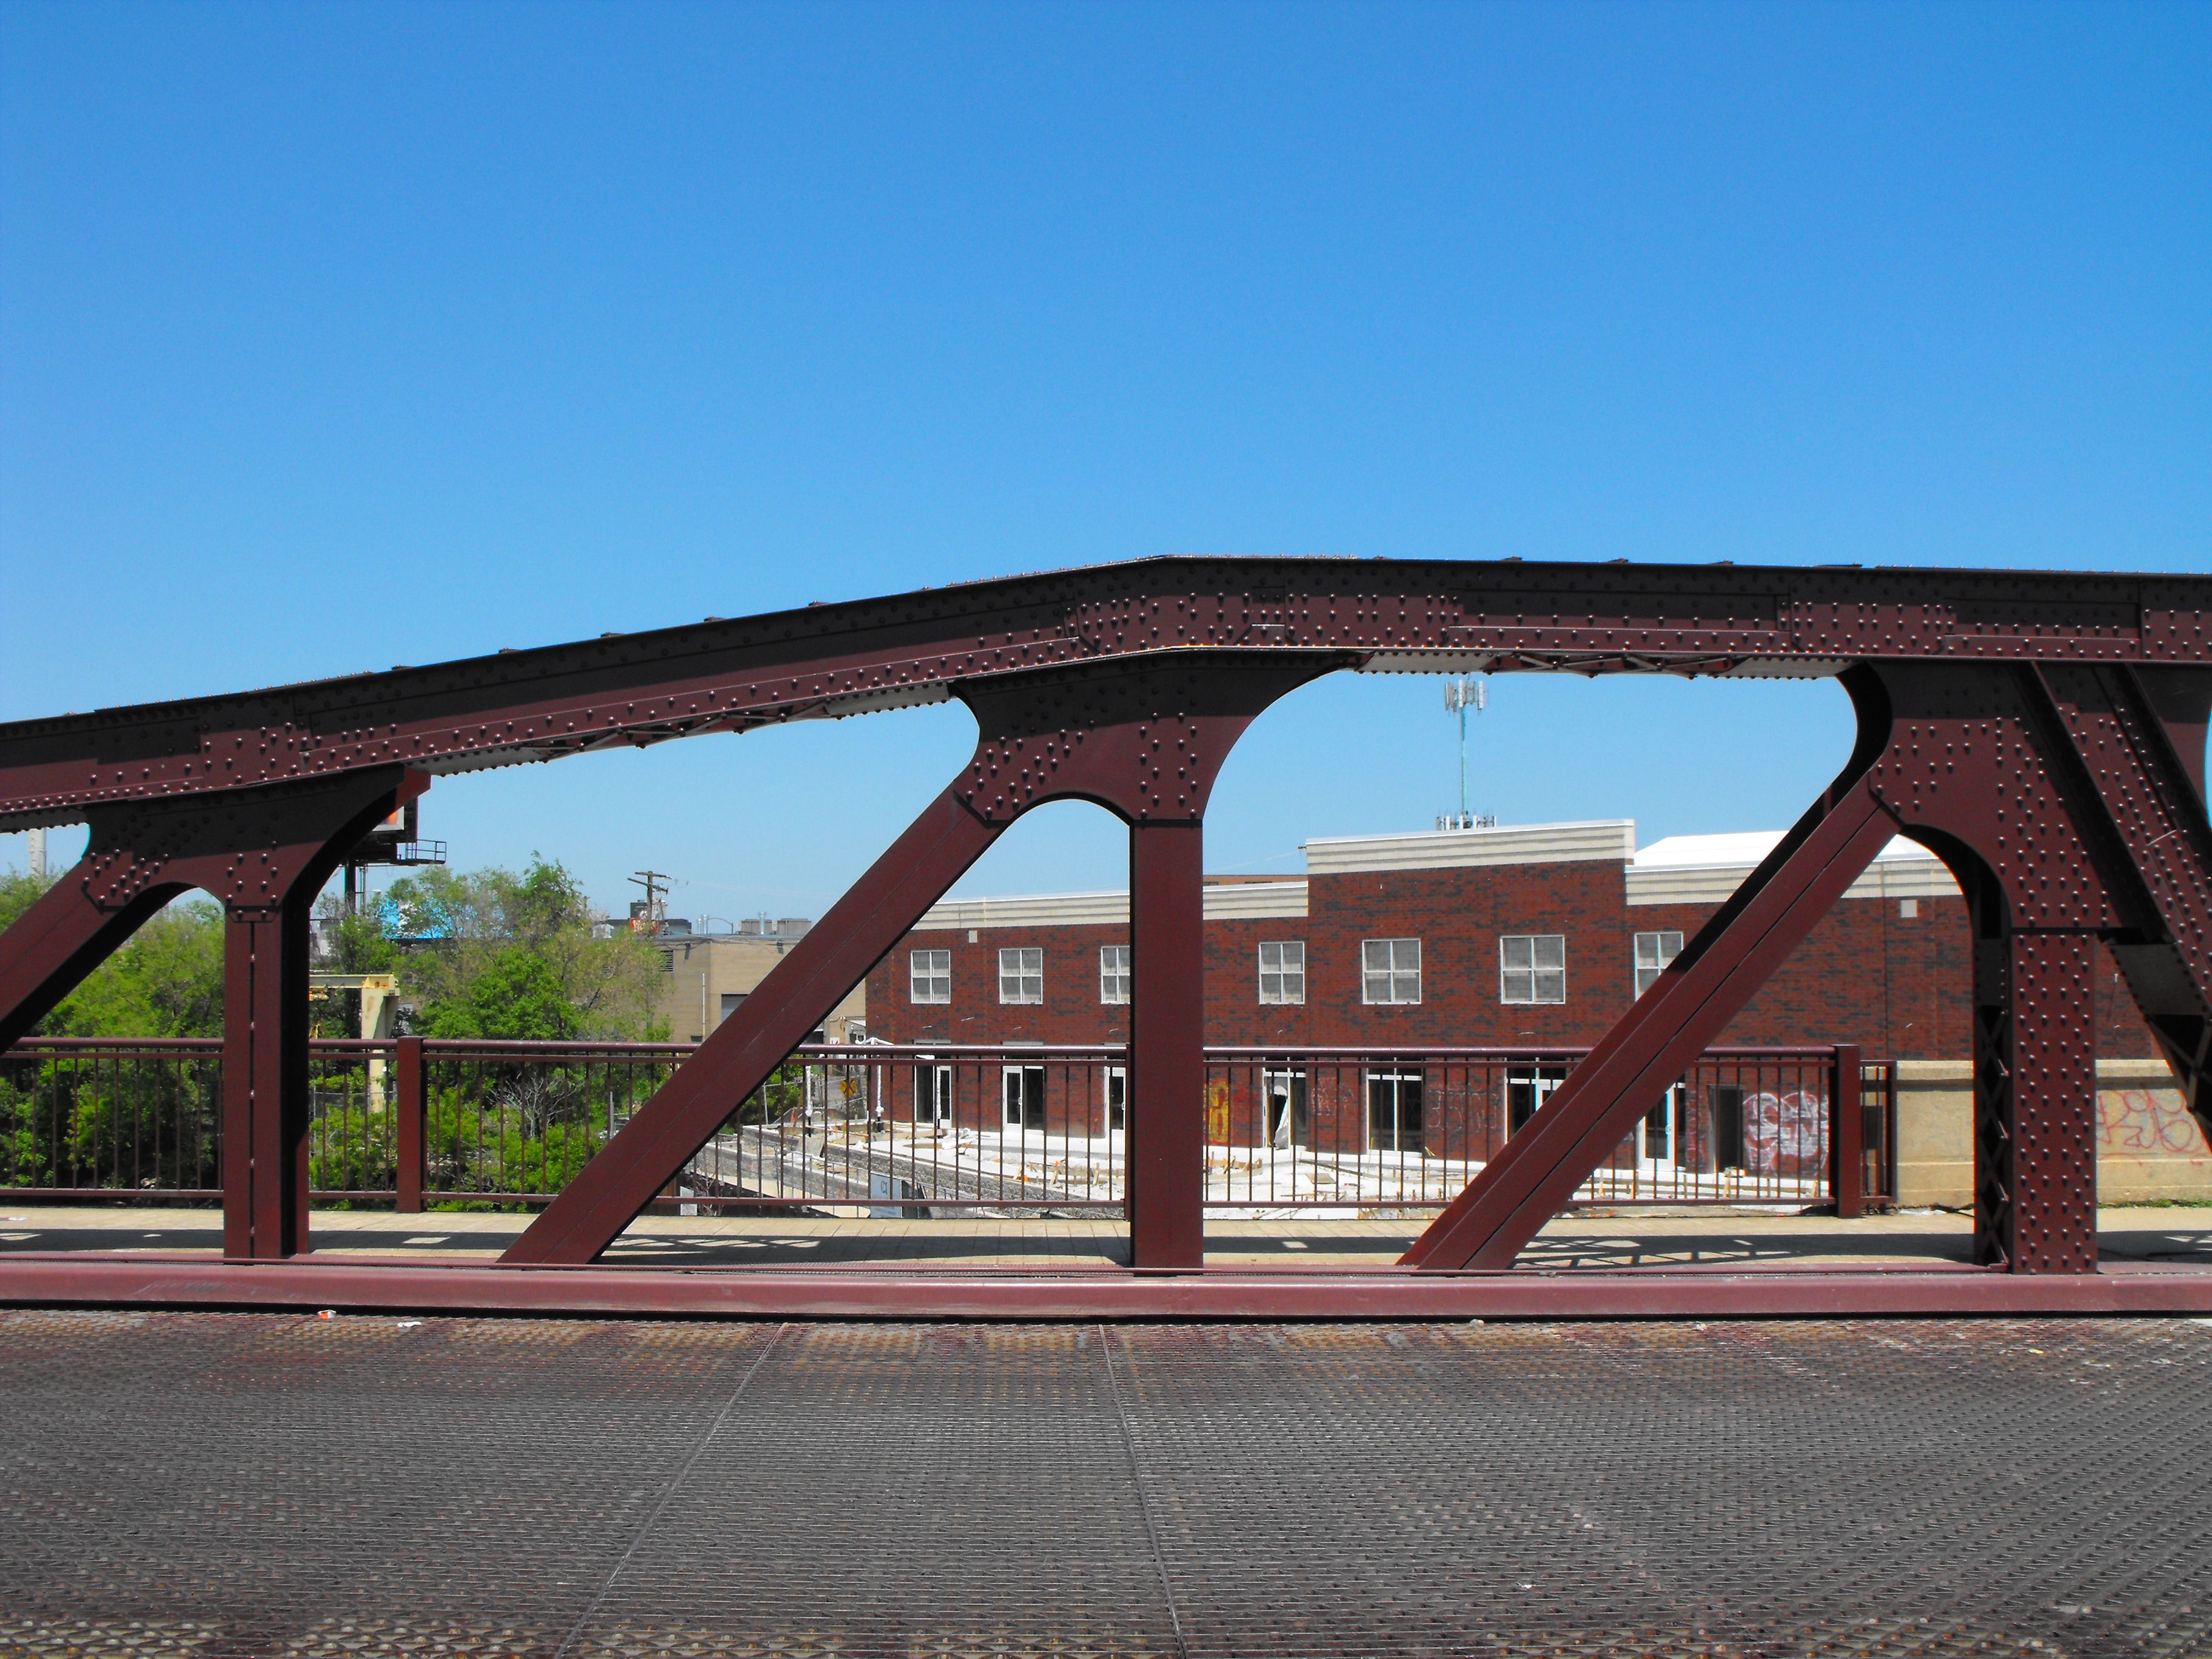
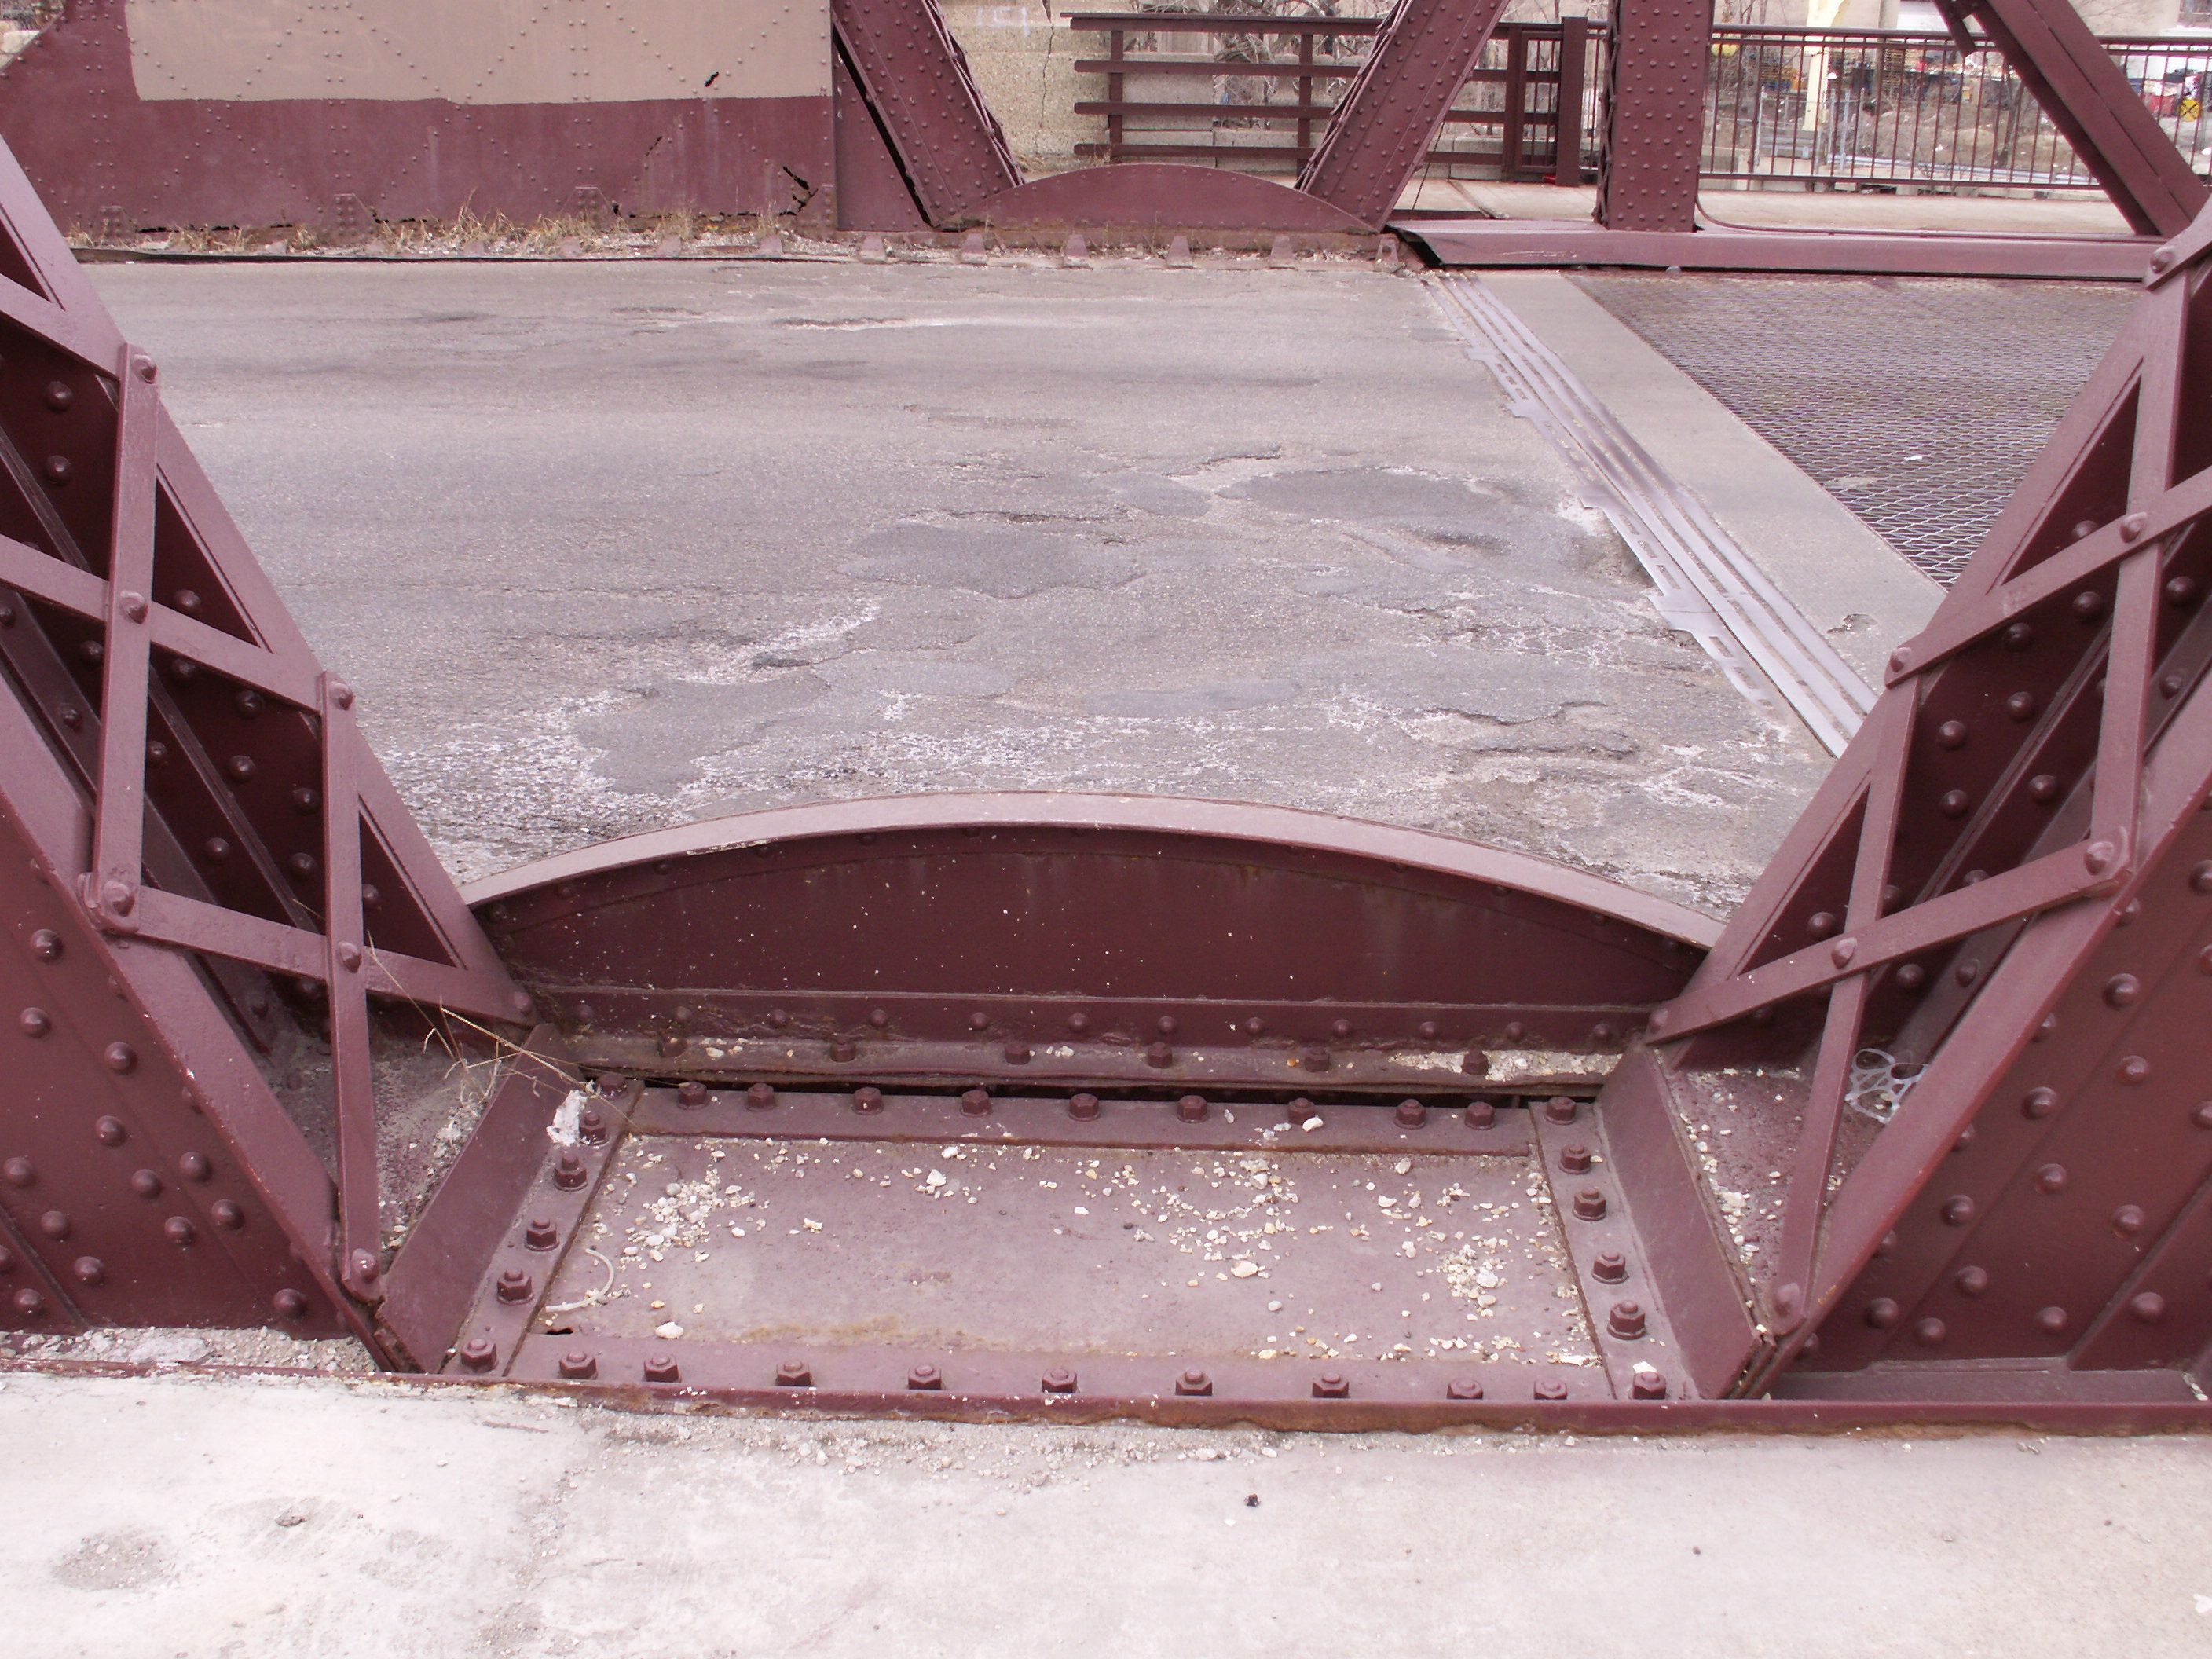
Portal view facing east.
![]()
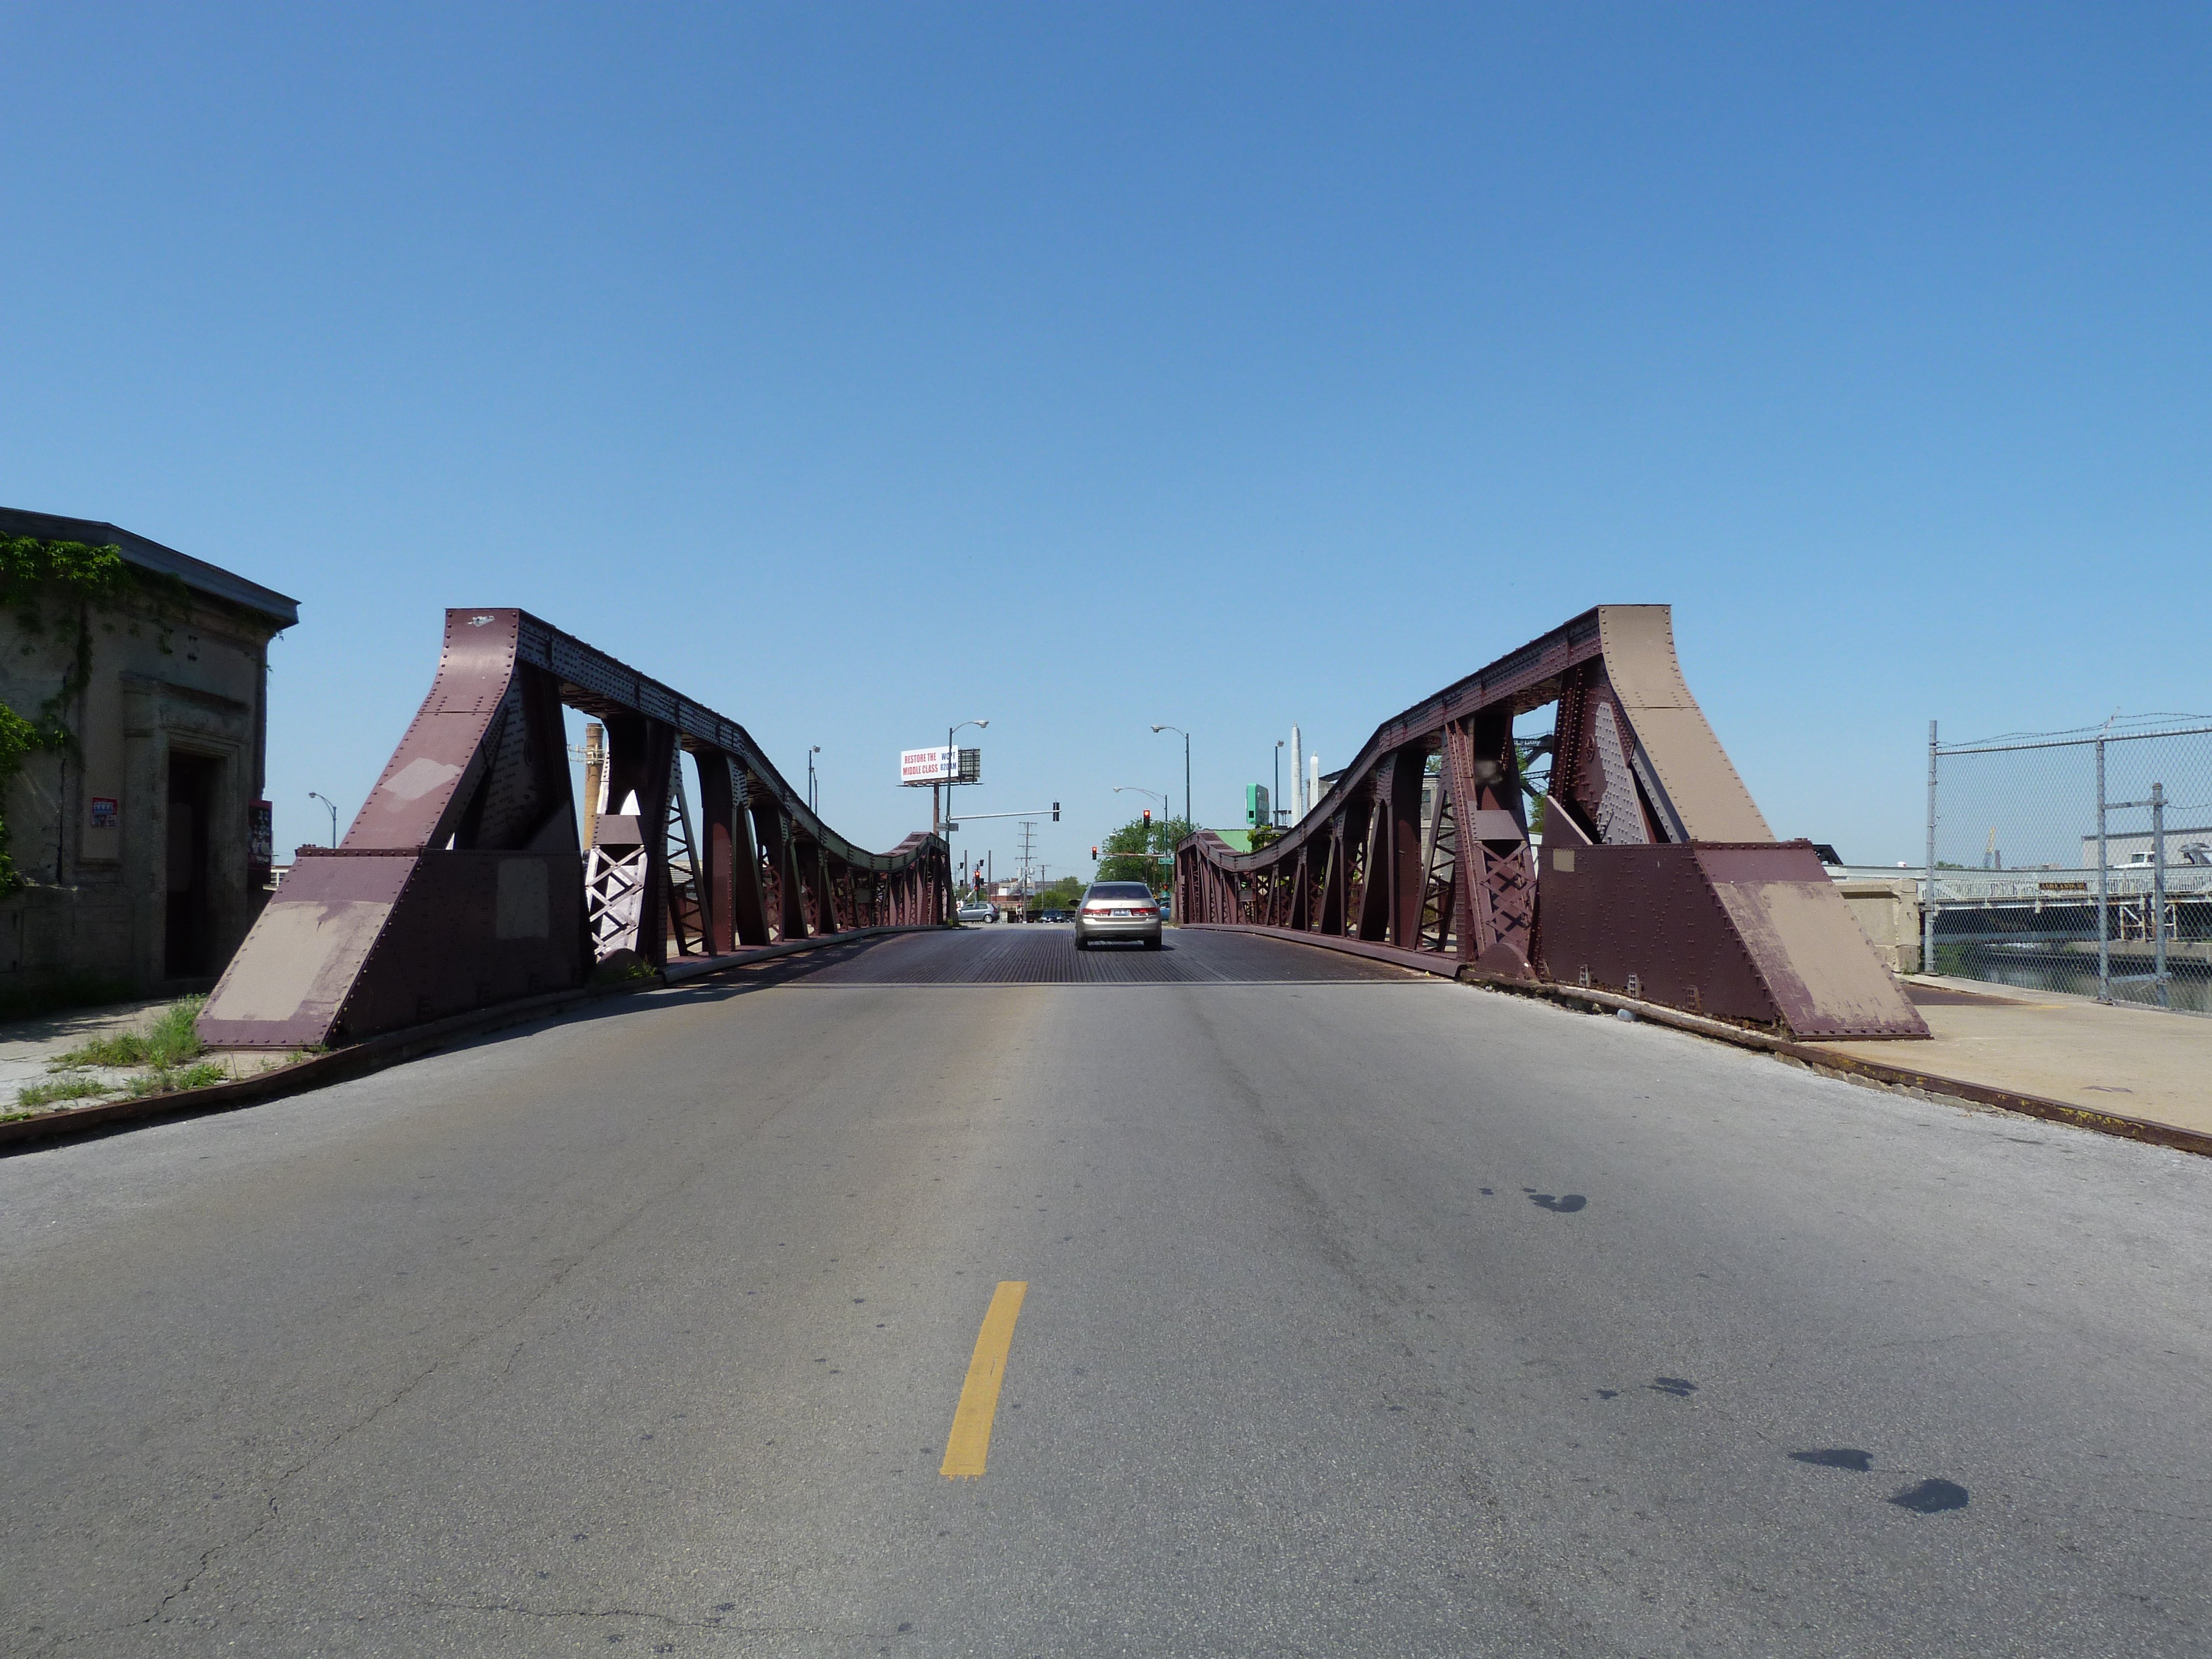
Portal view facing west.
![]()
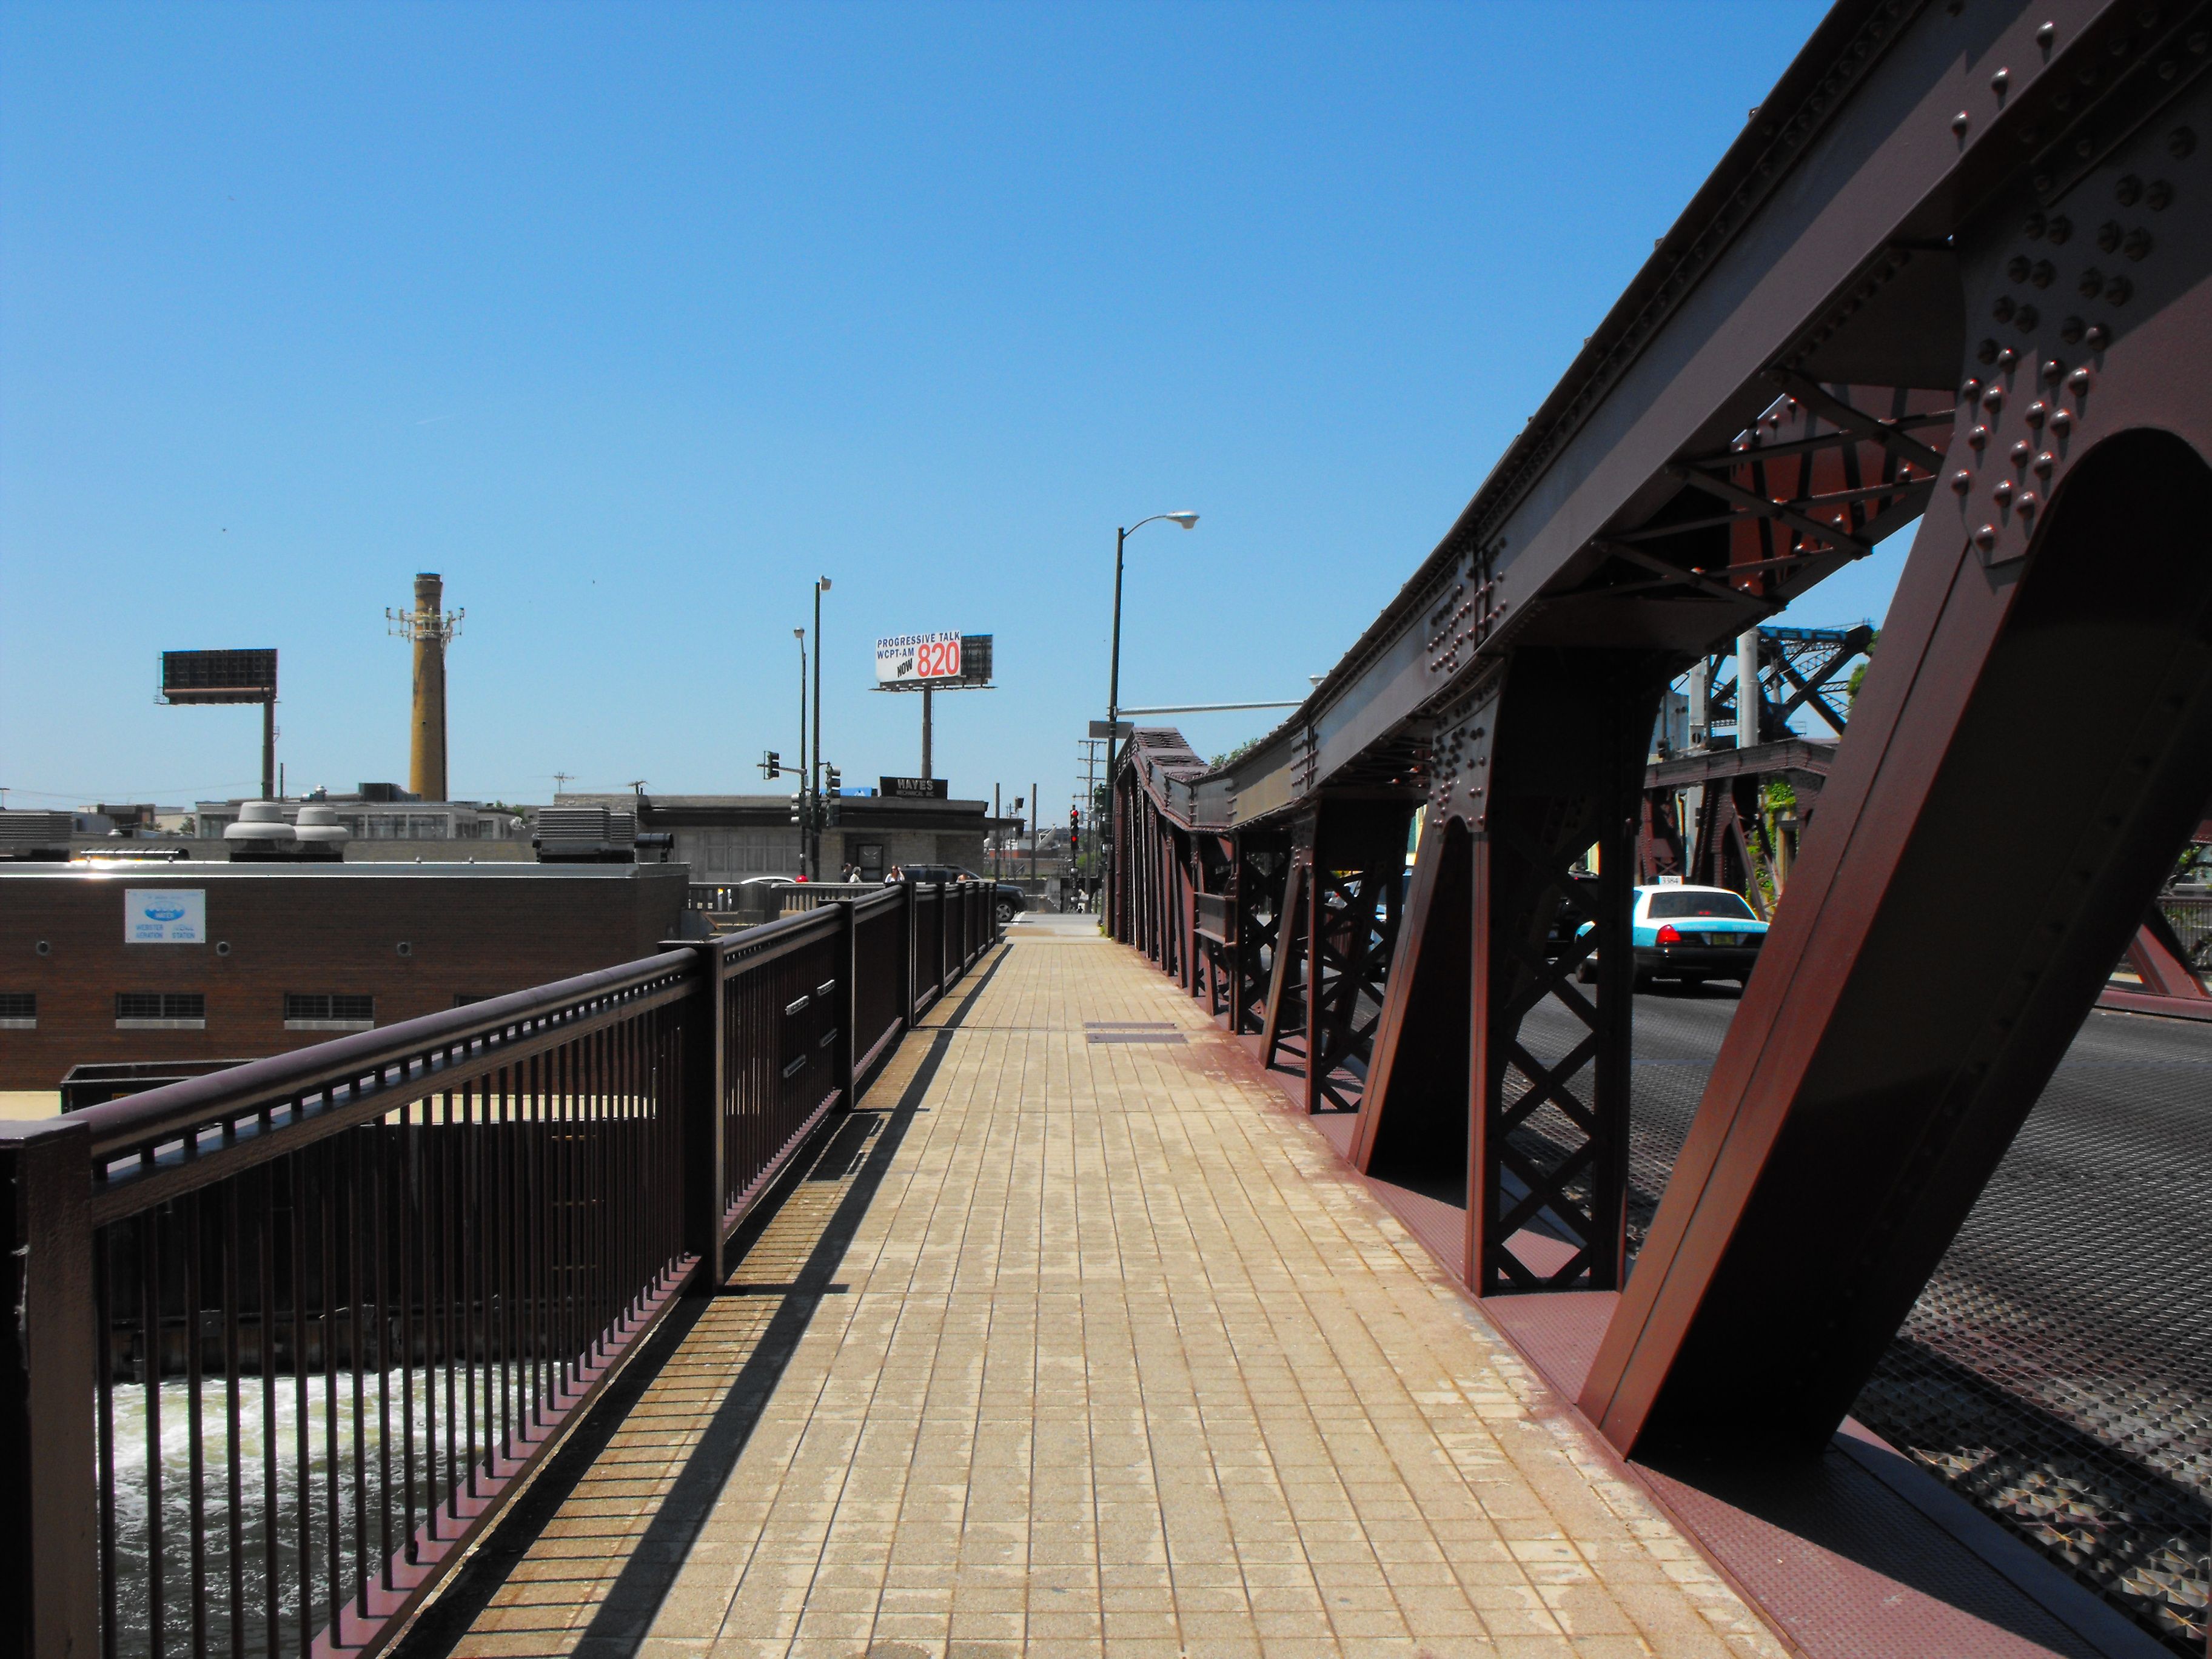
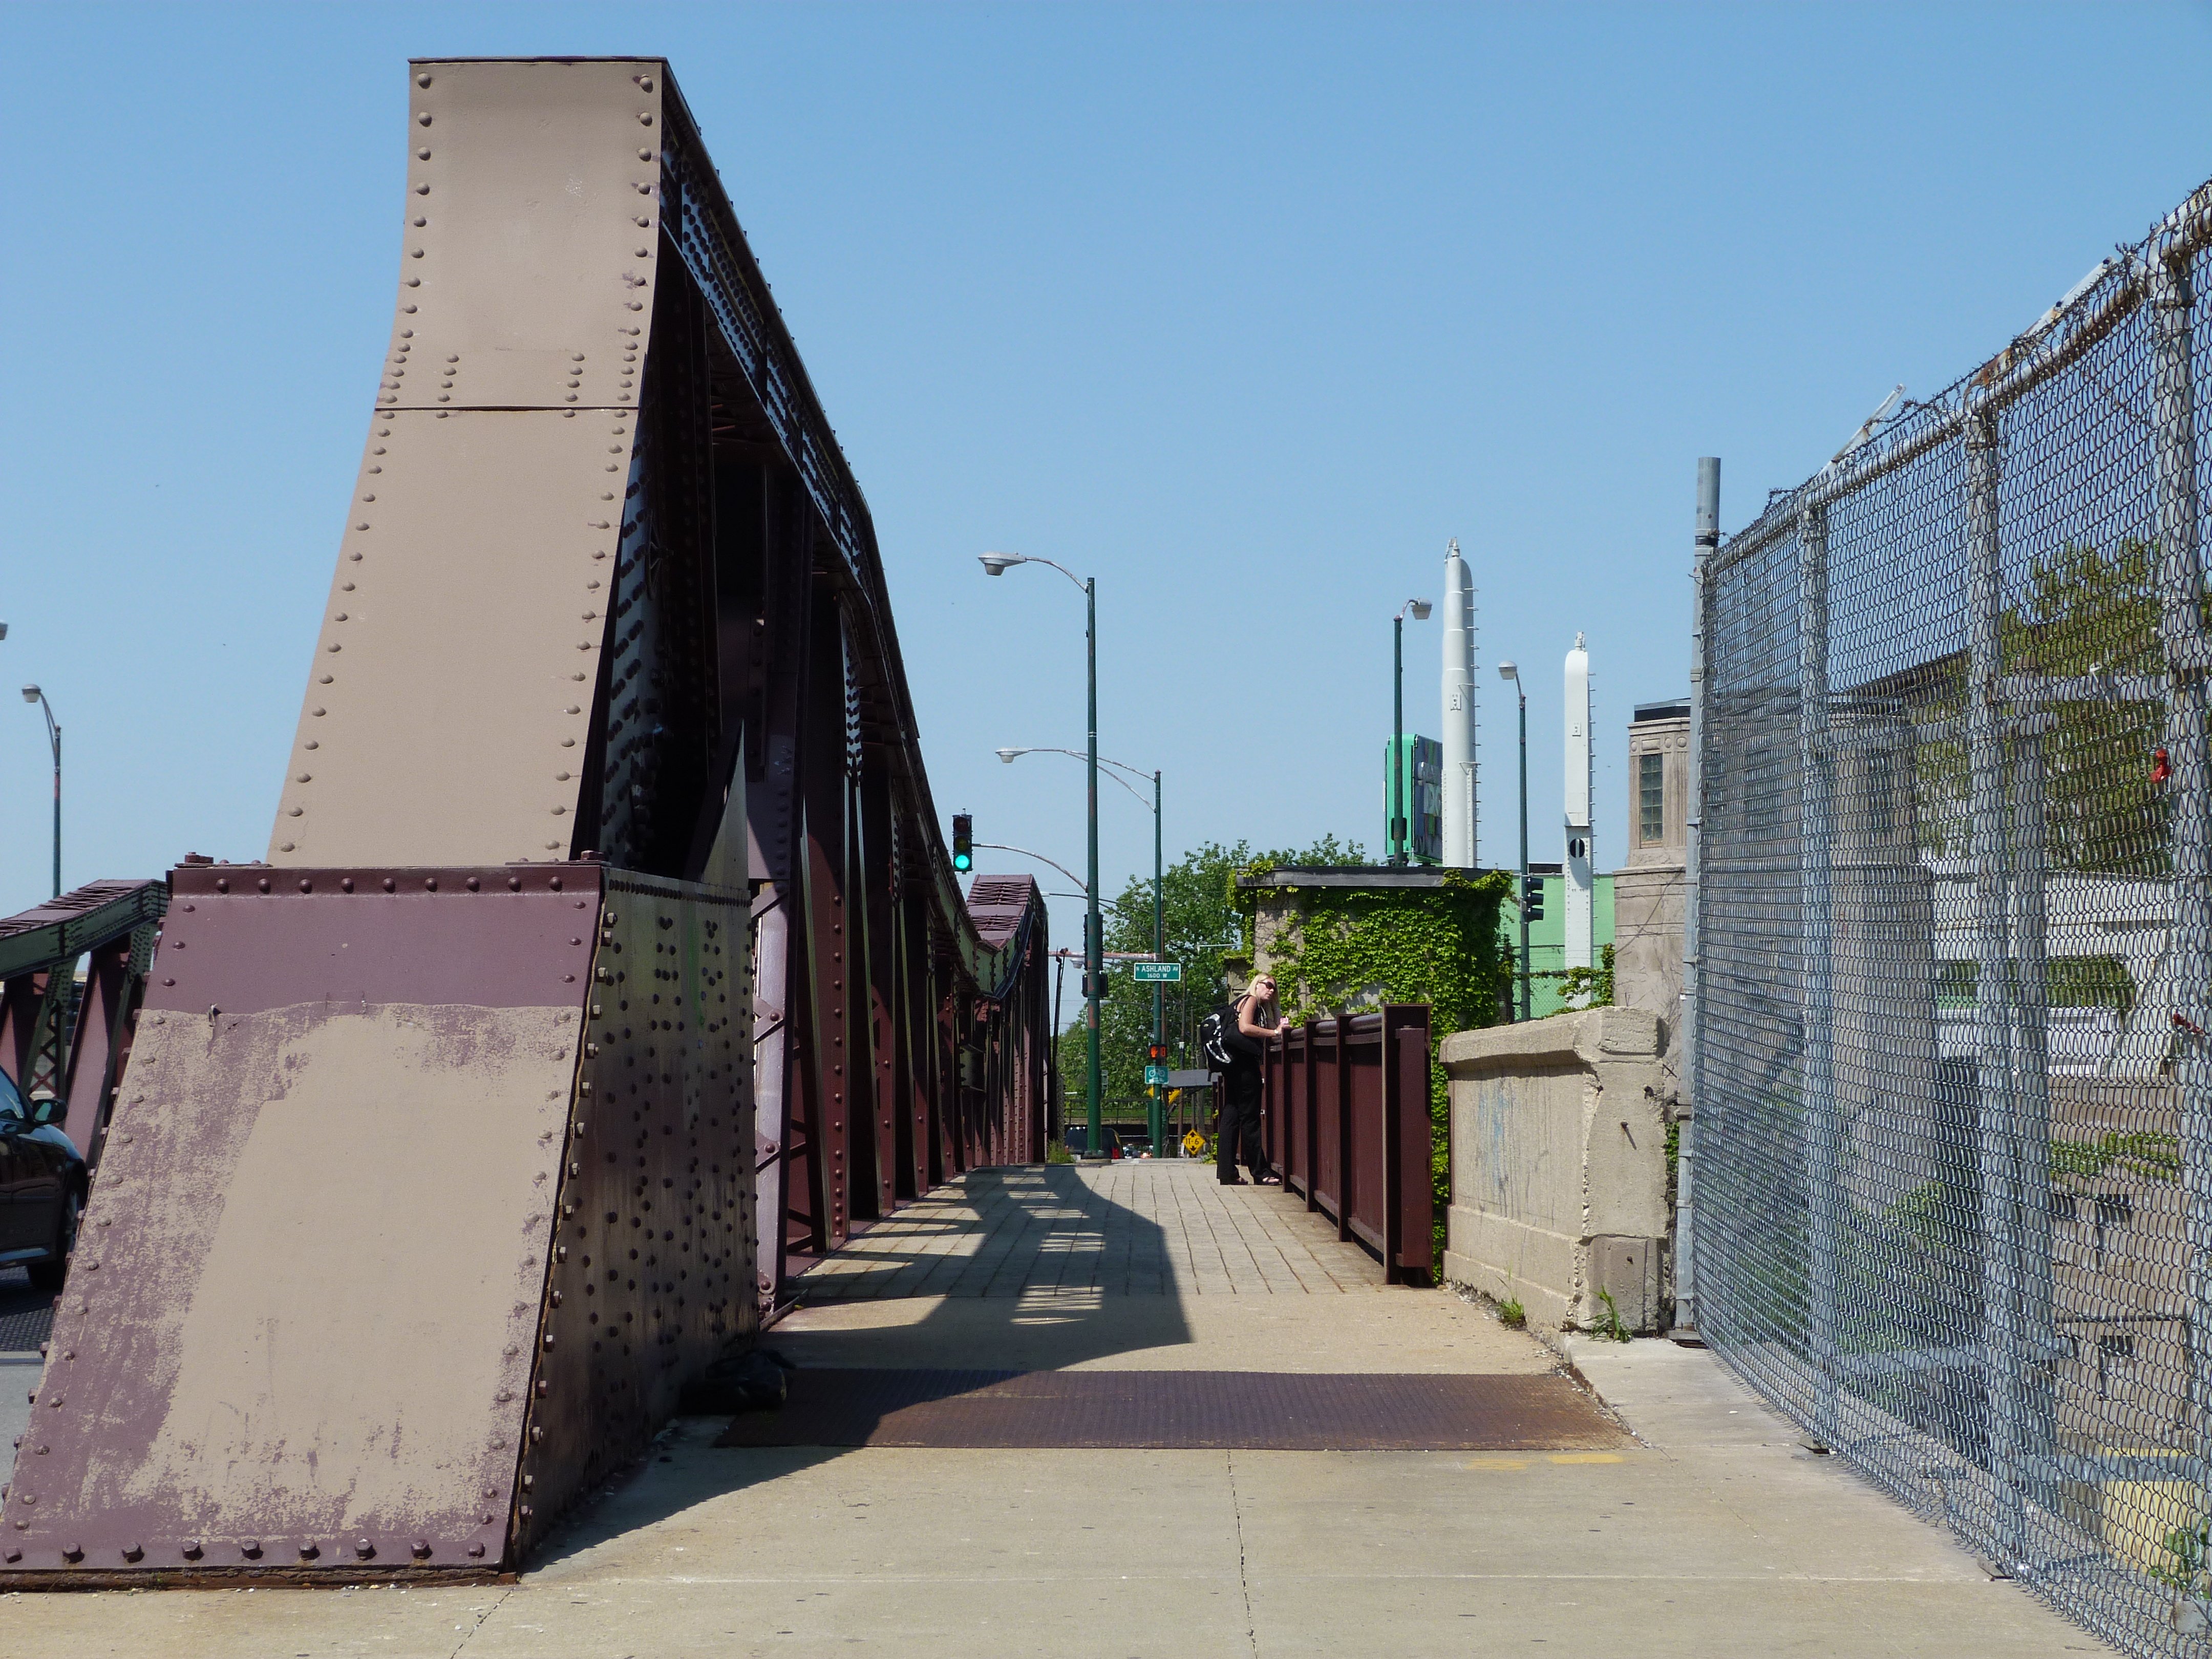
Views on sidewalk.
![]()
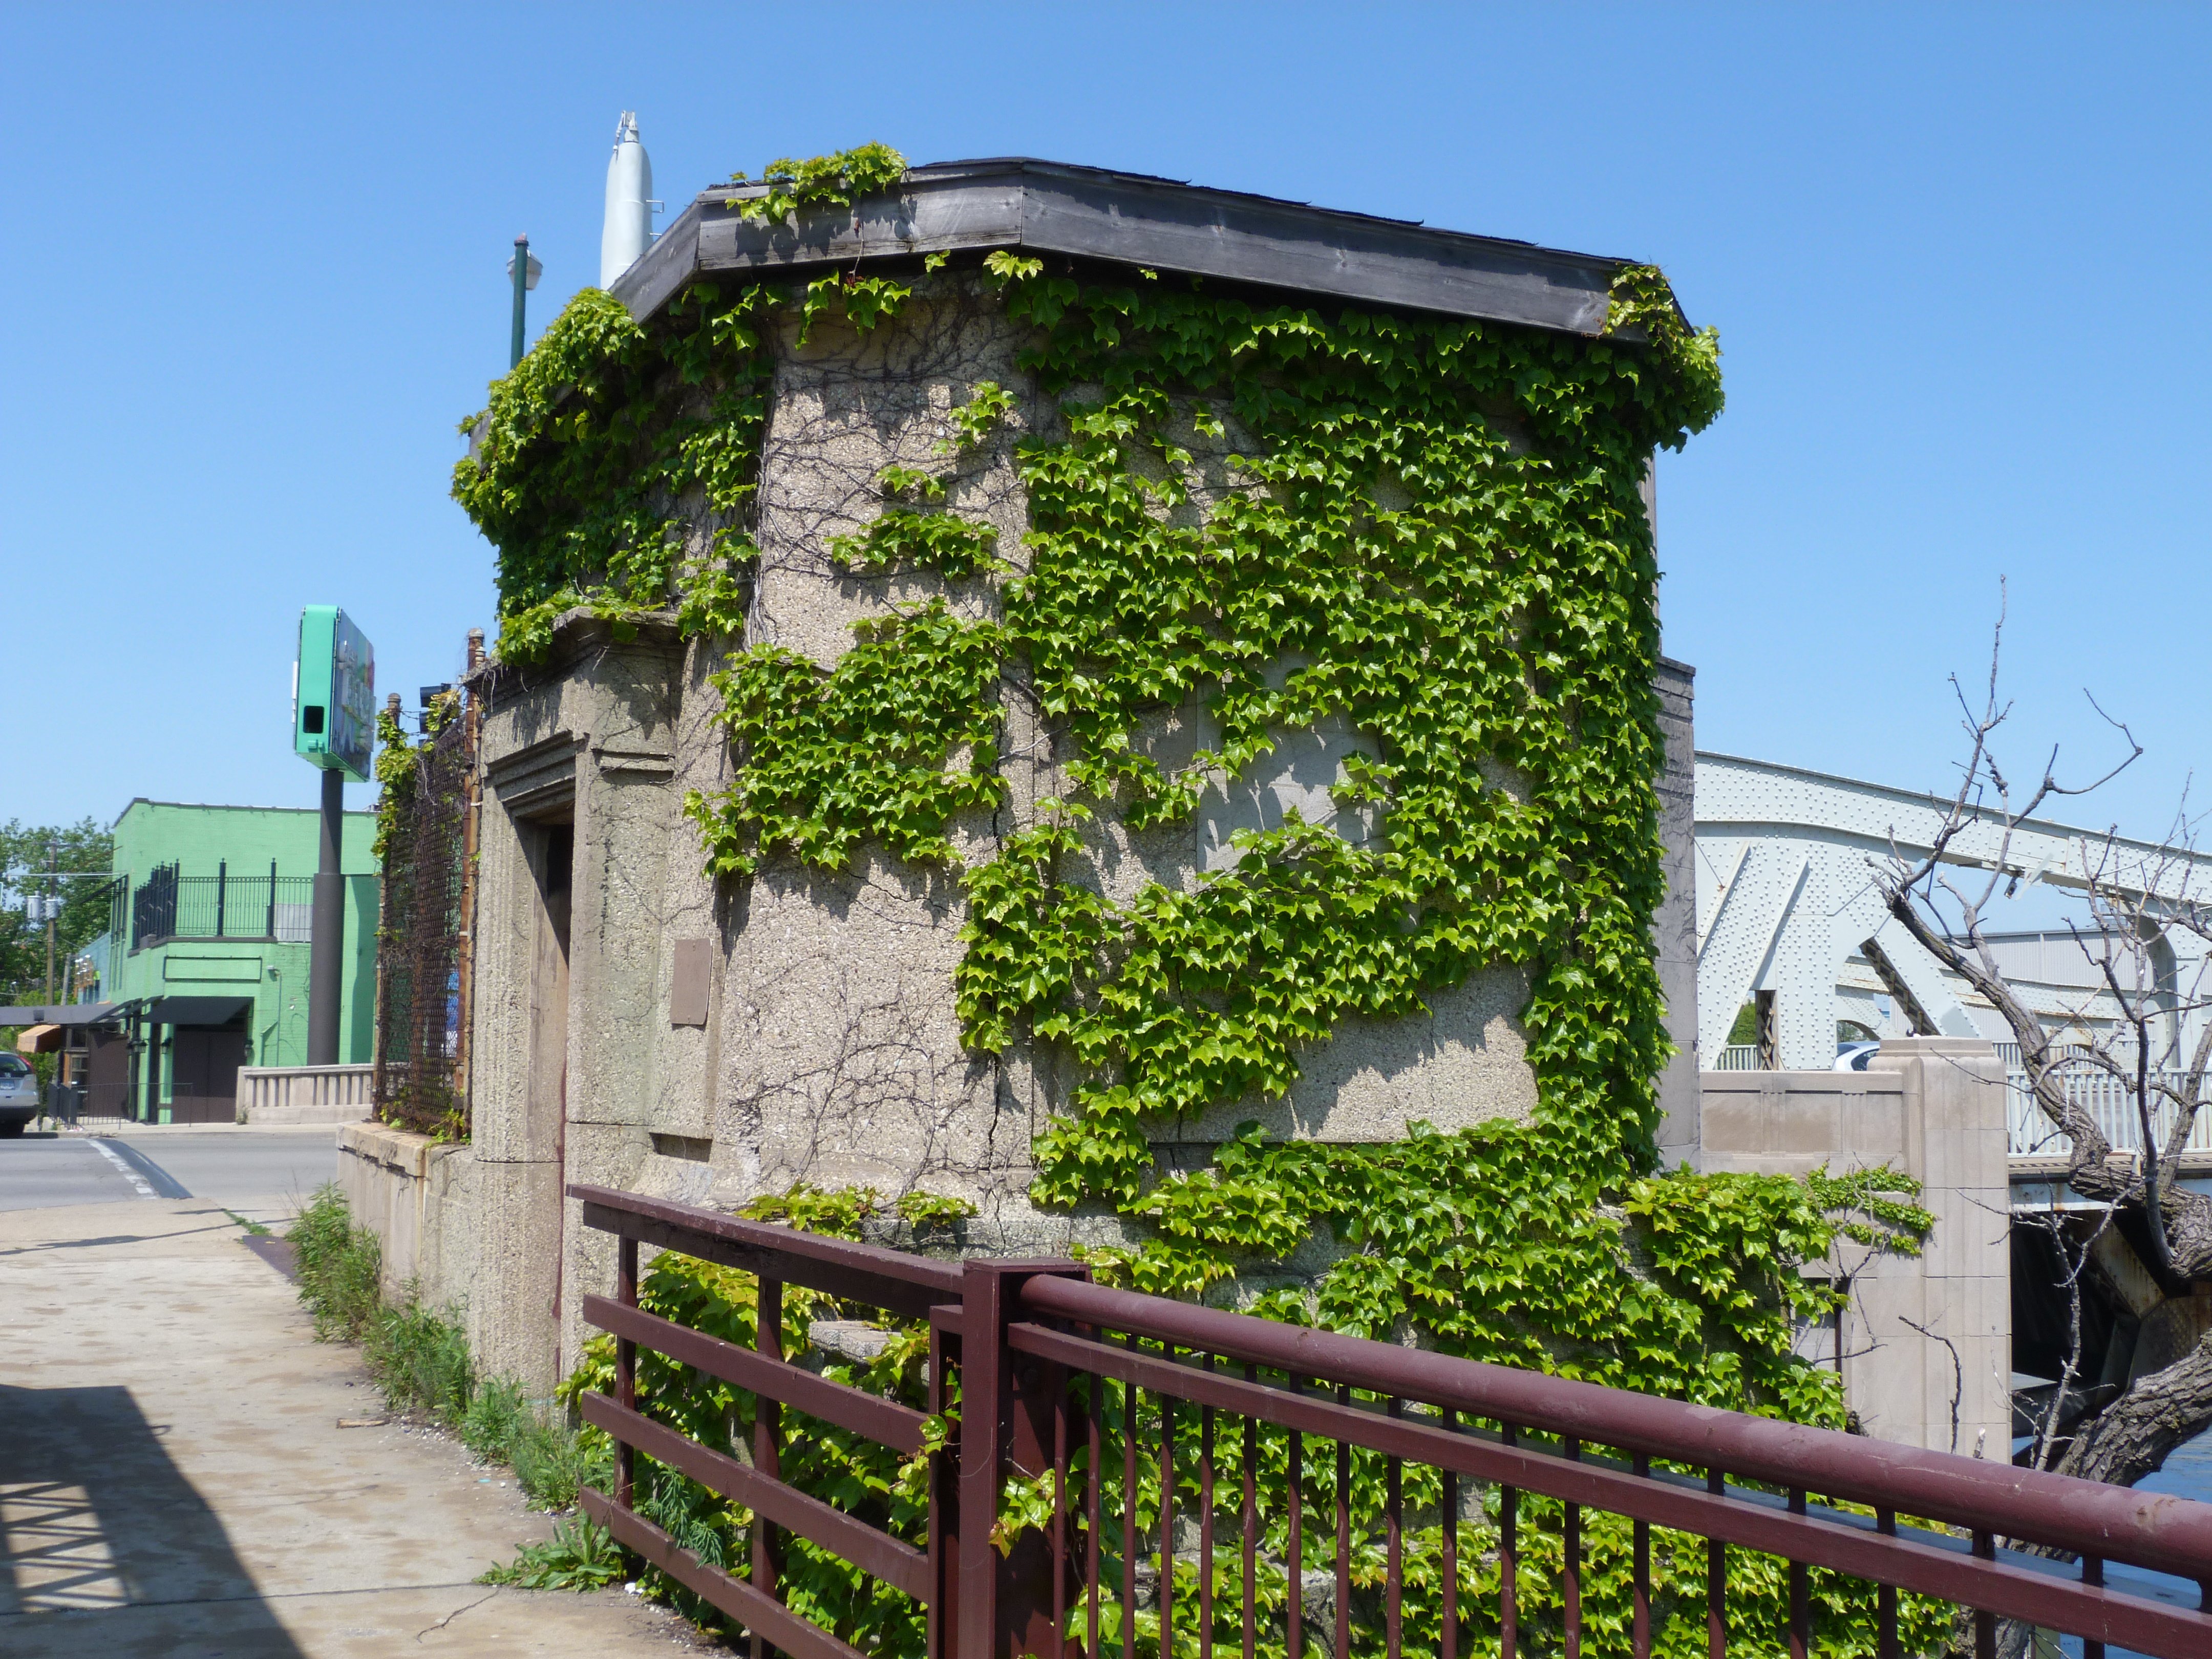
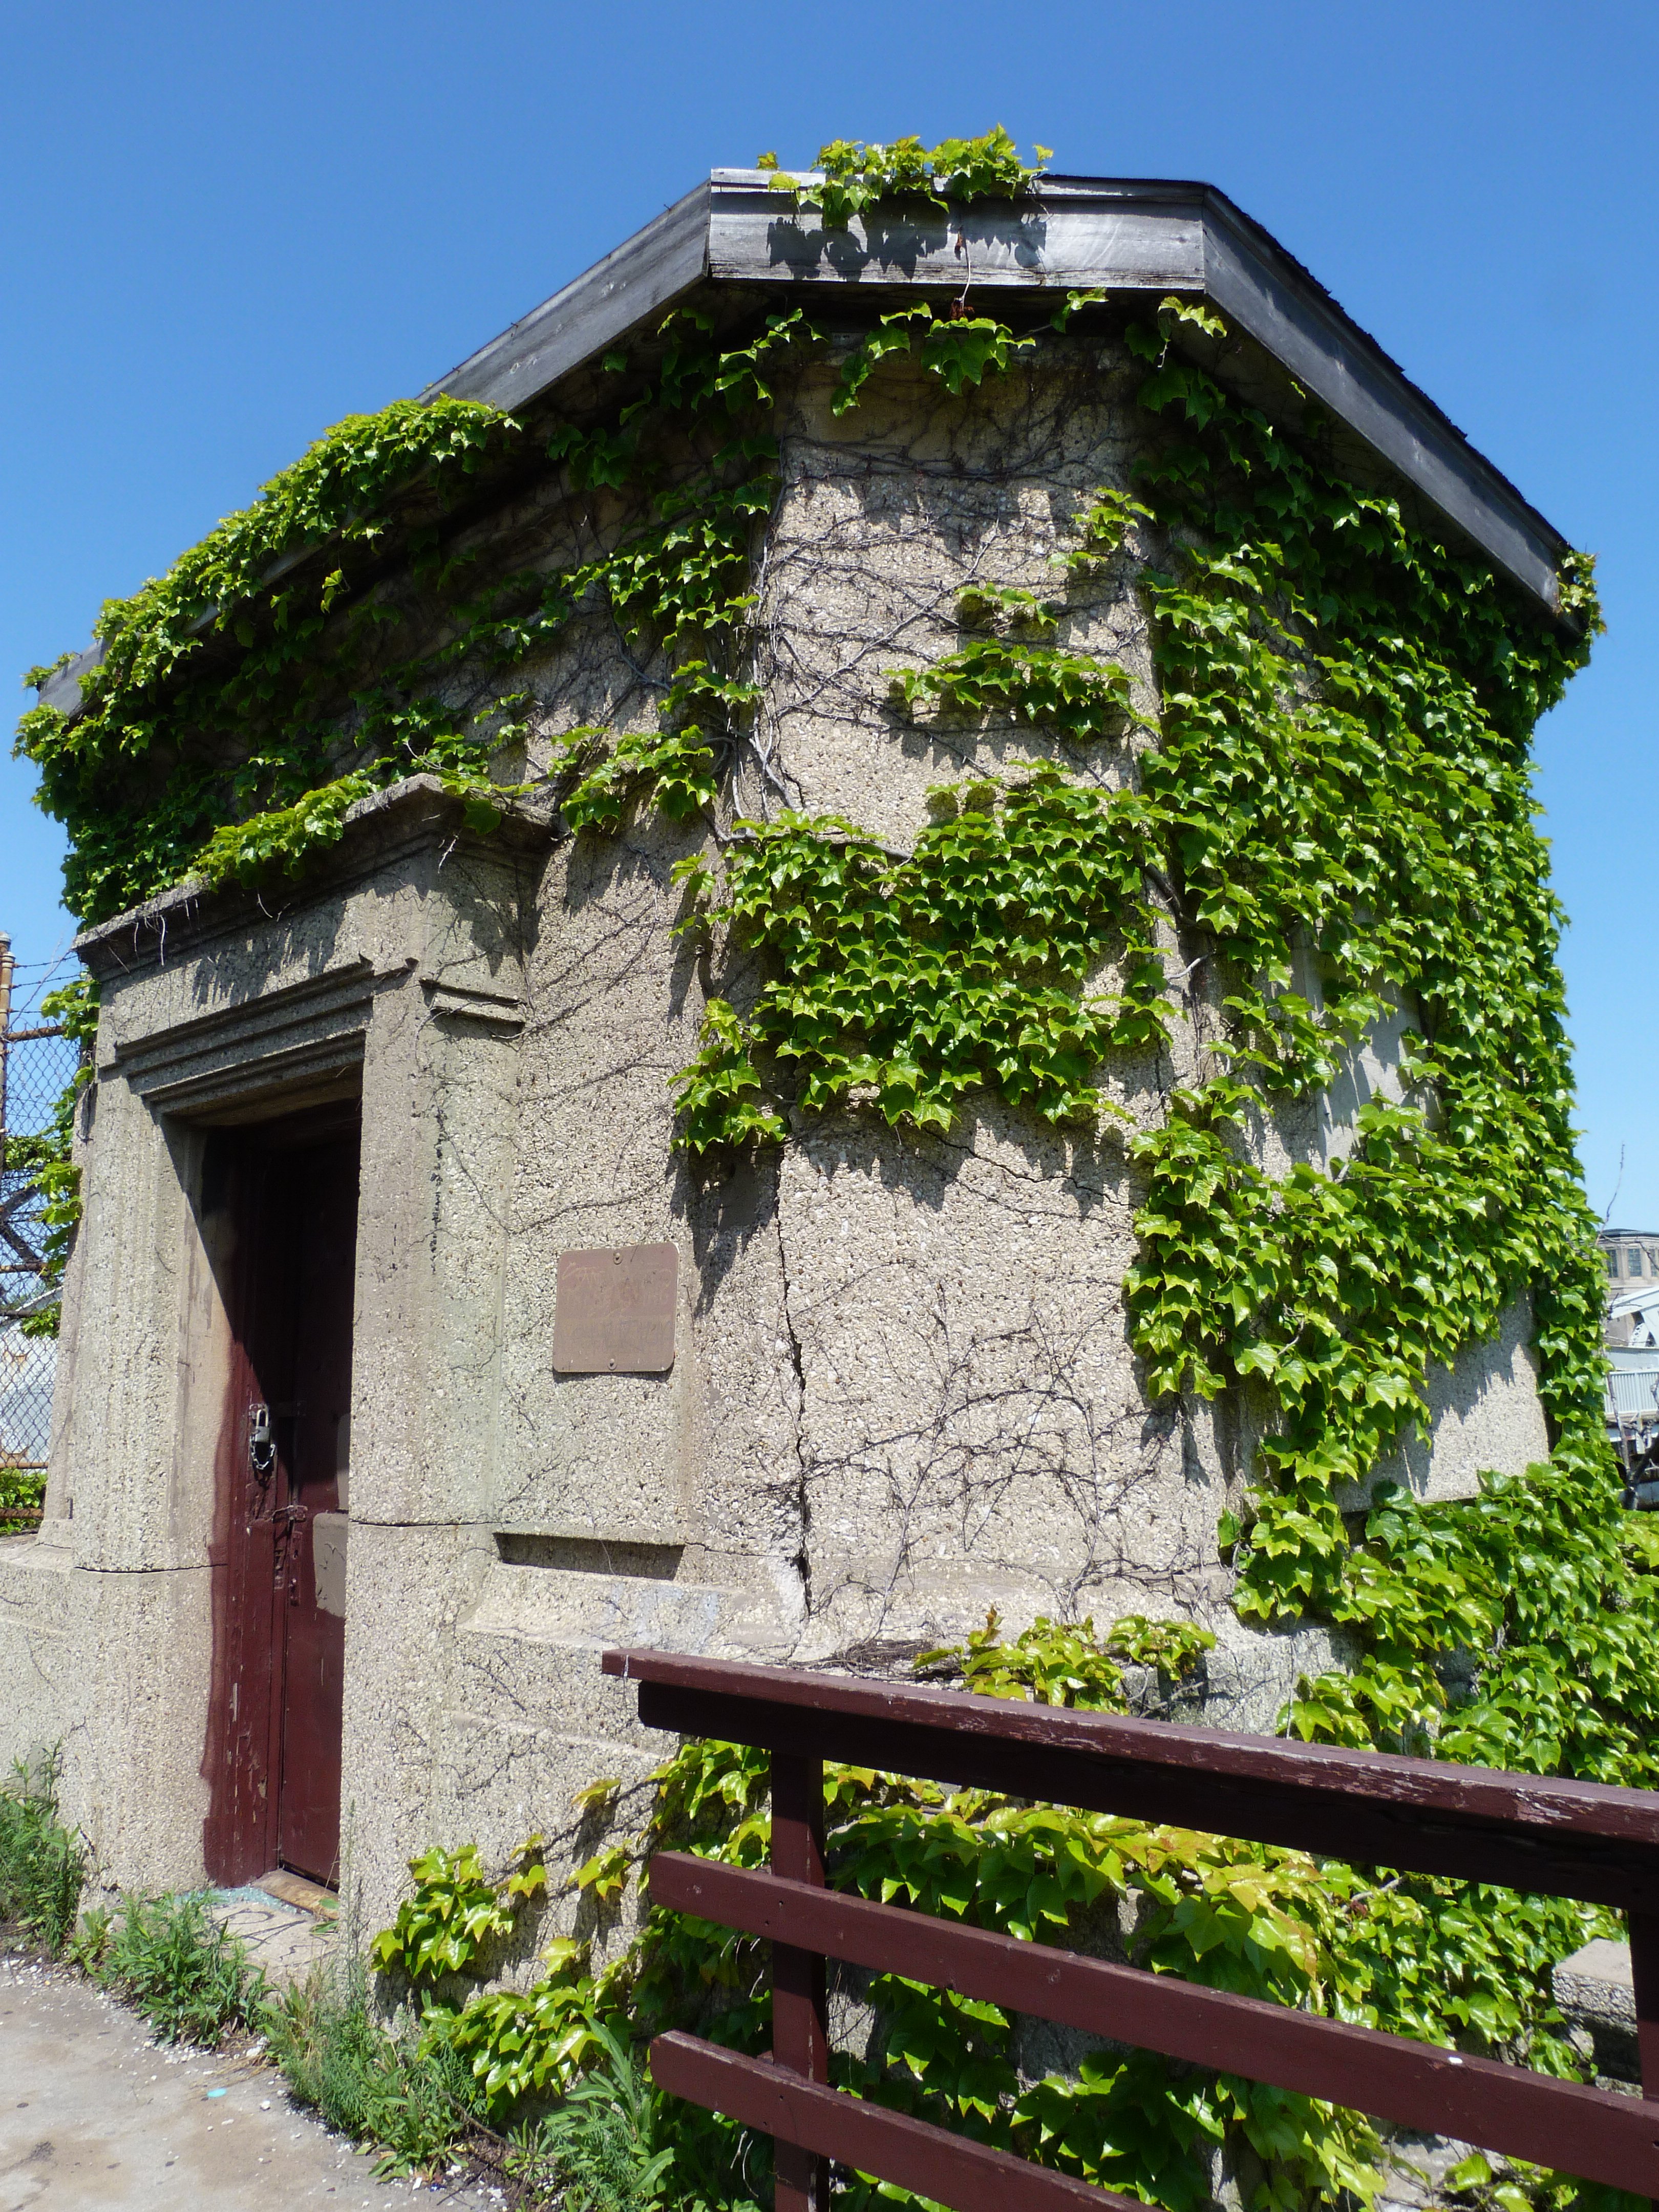

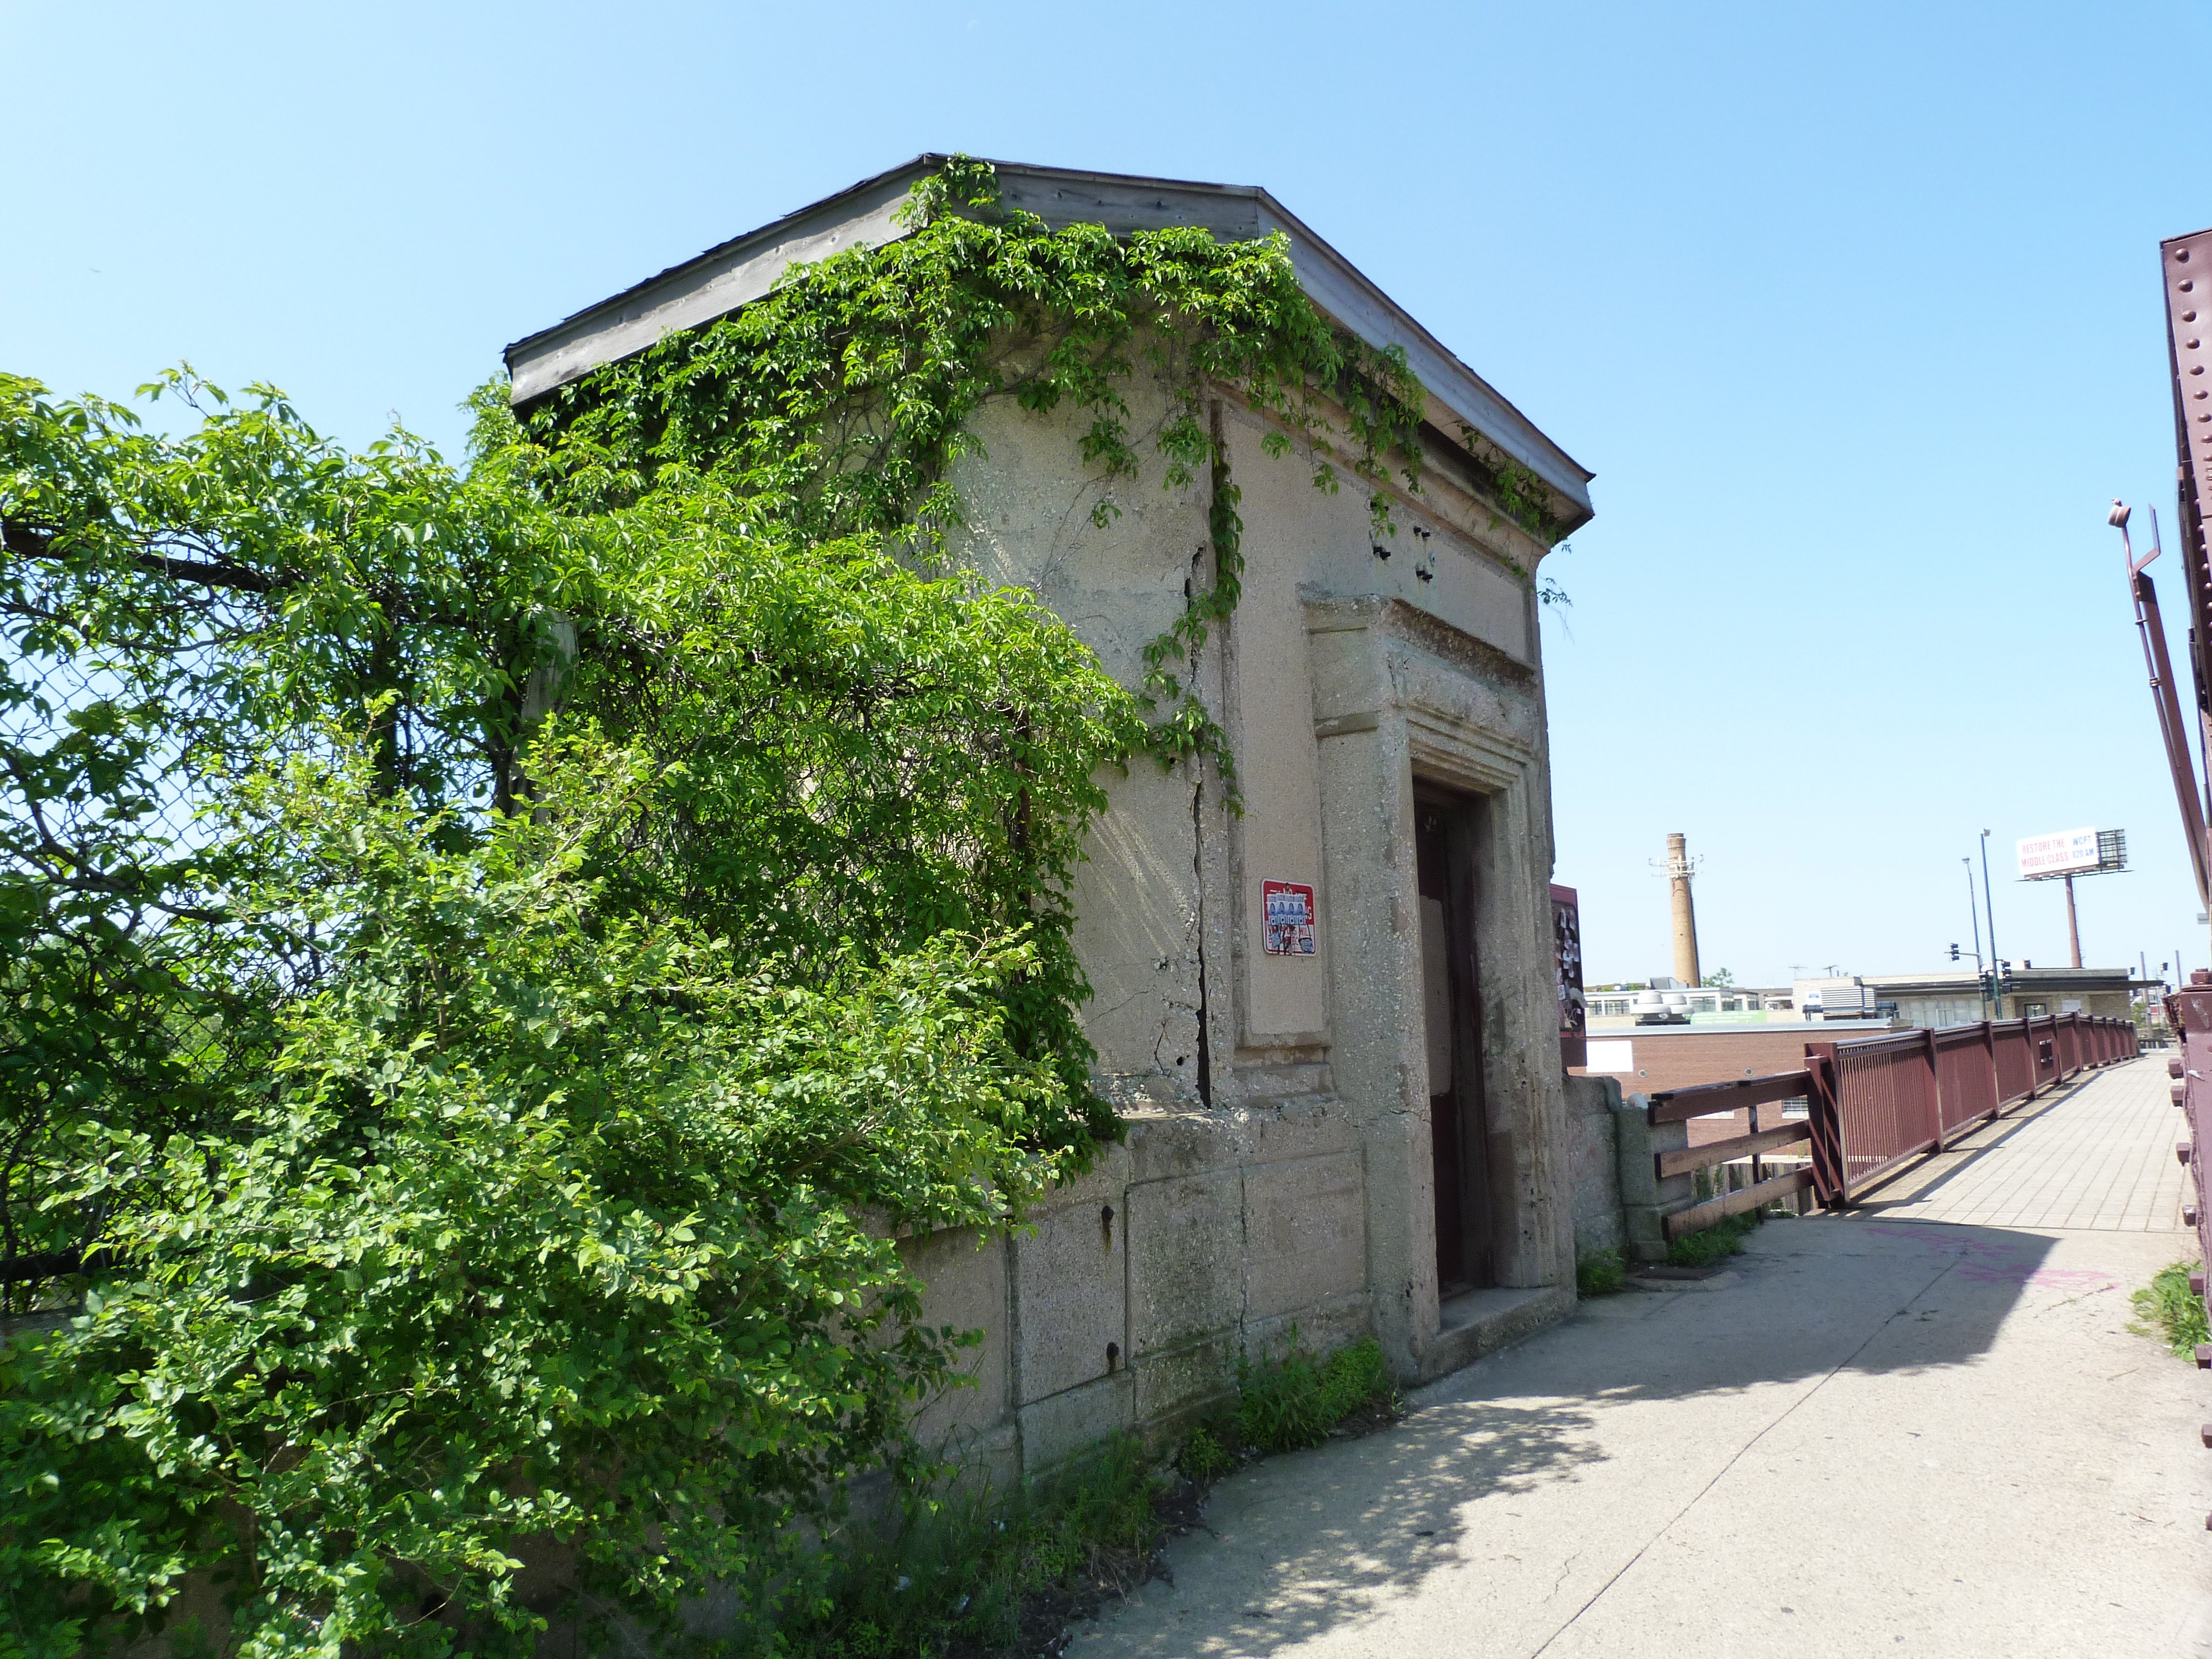
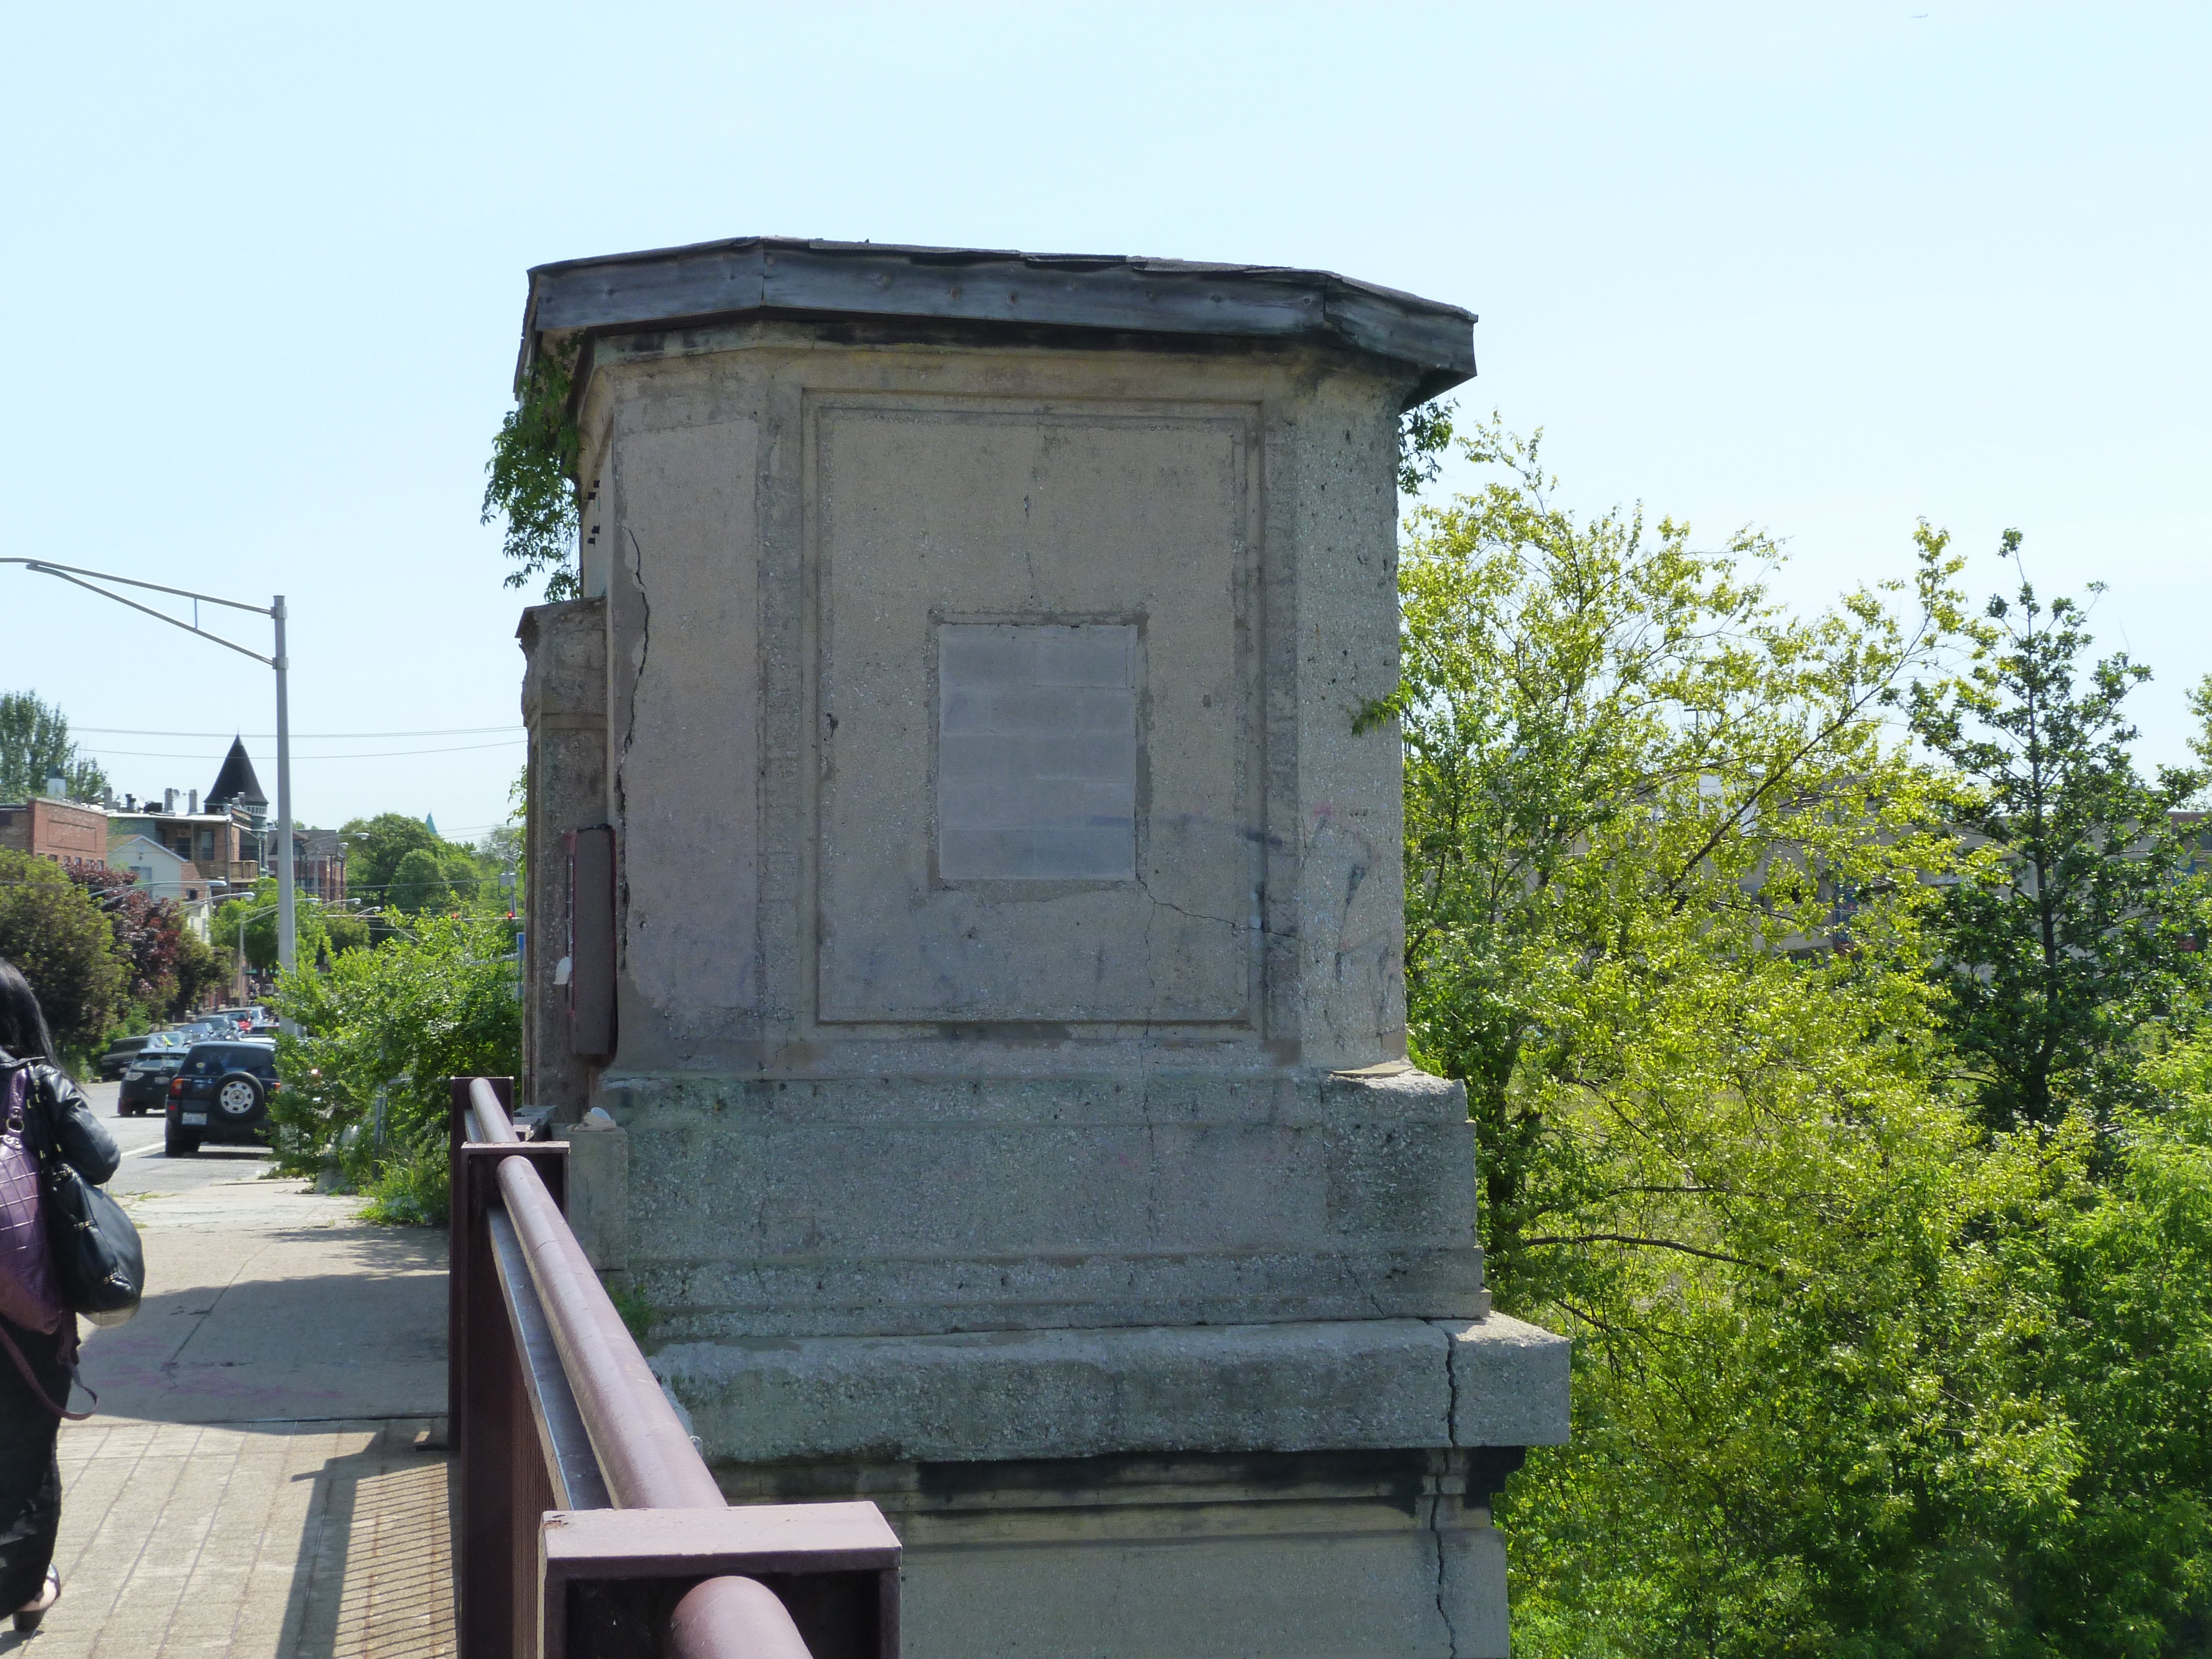
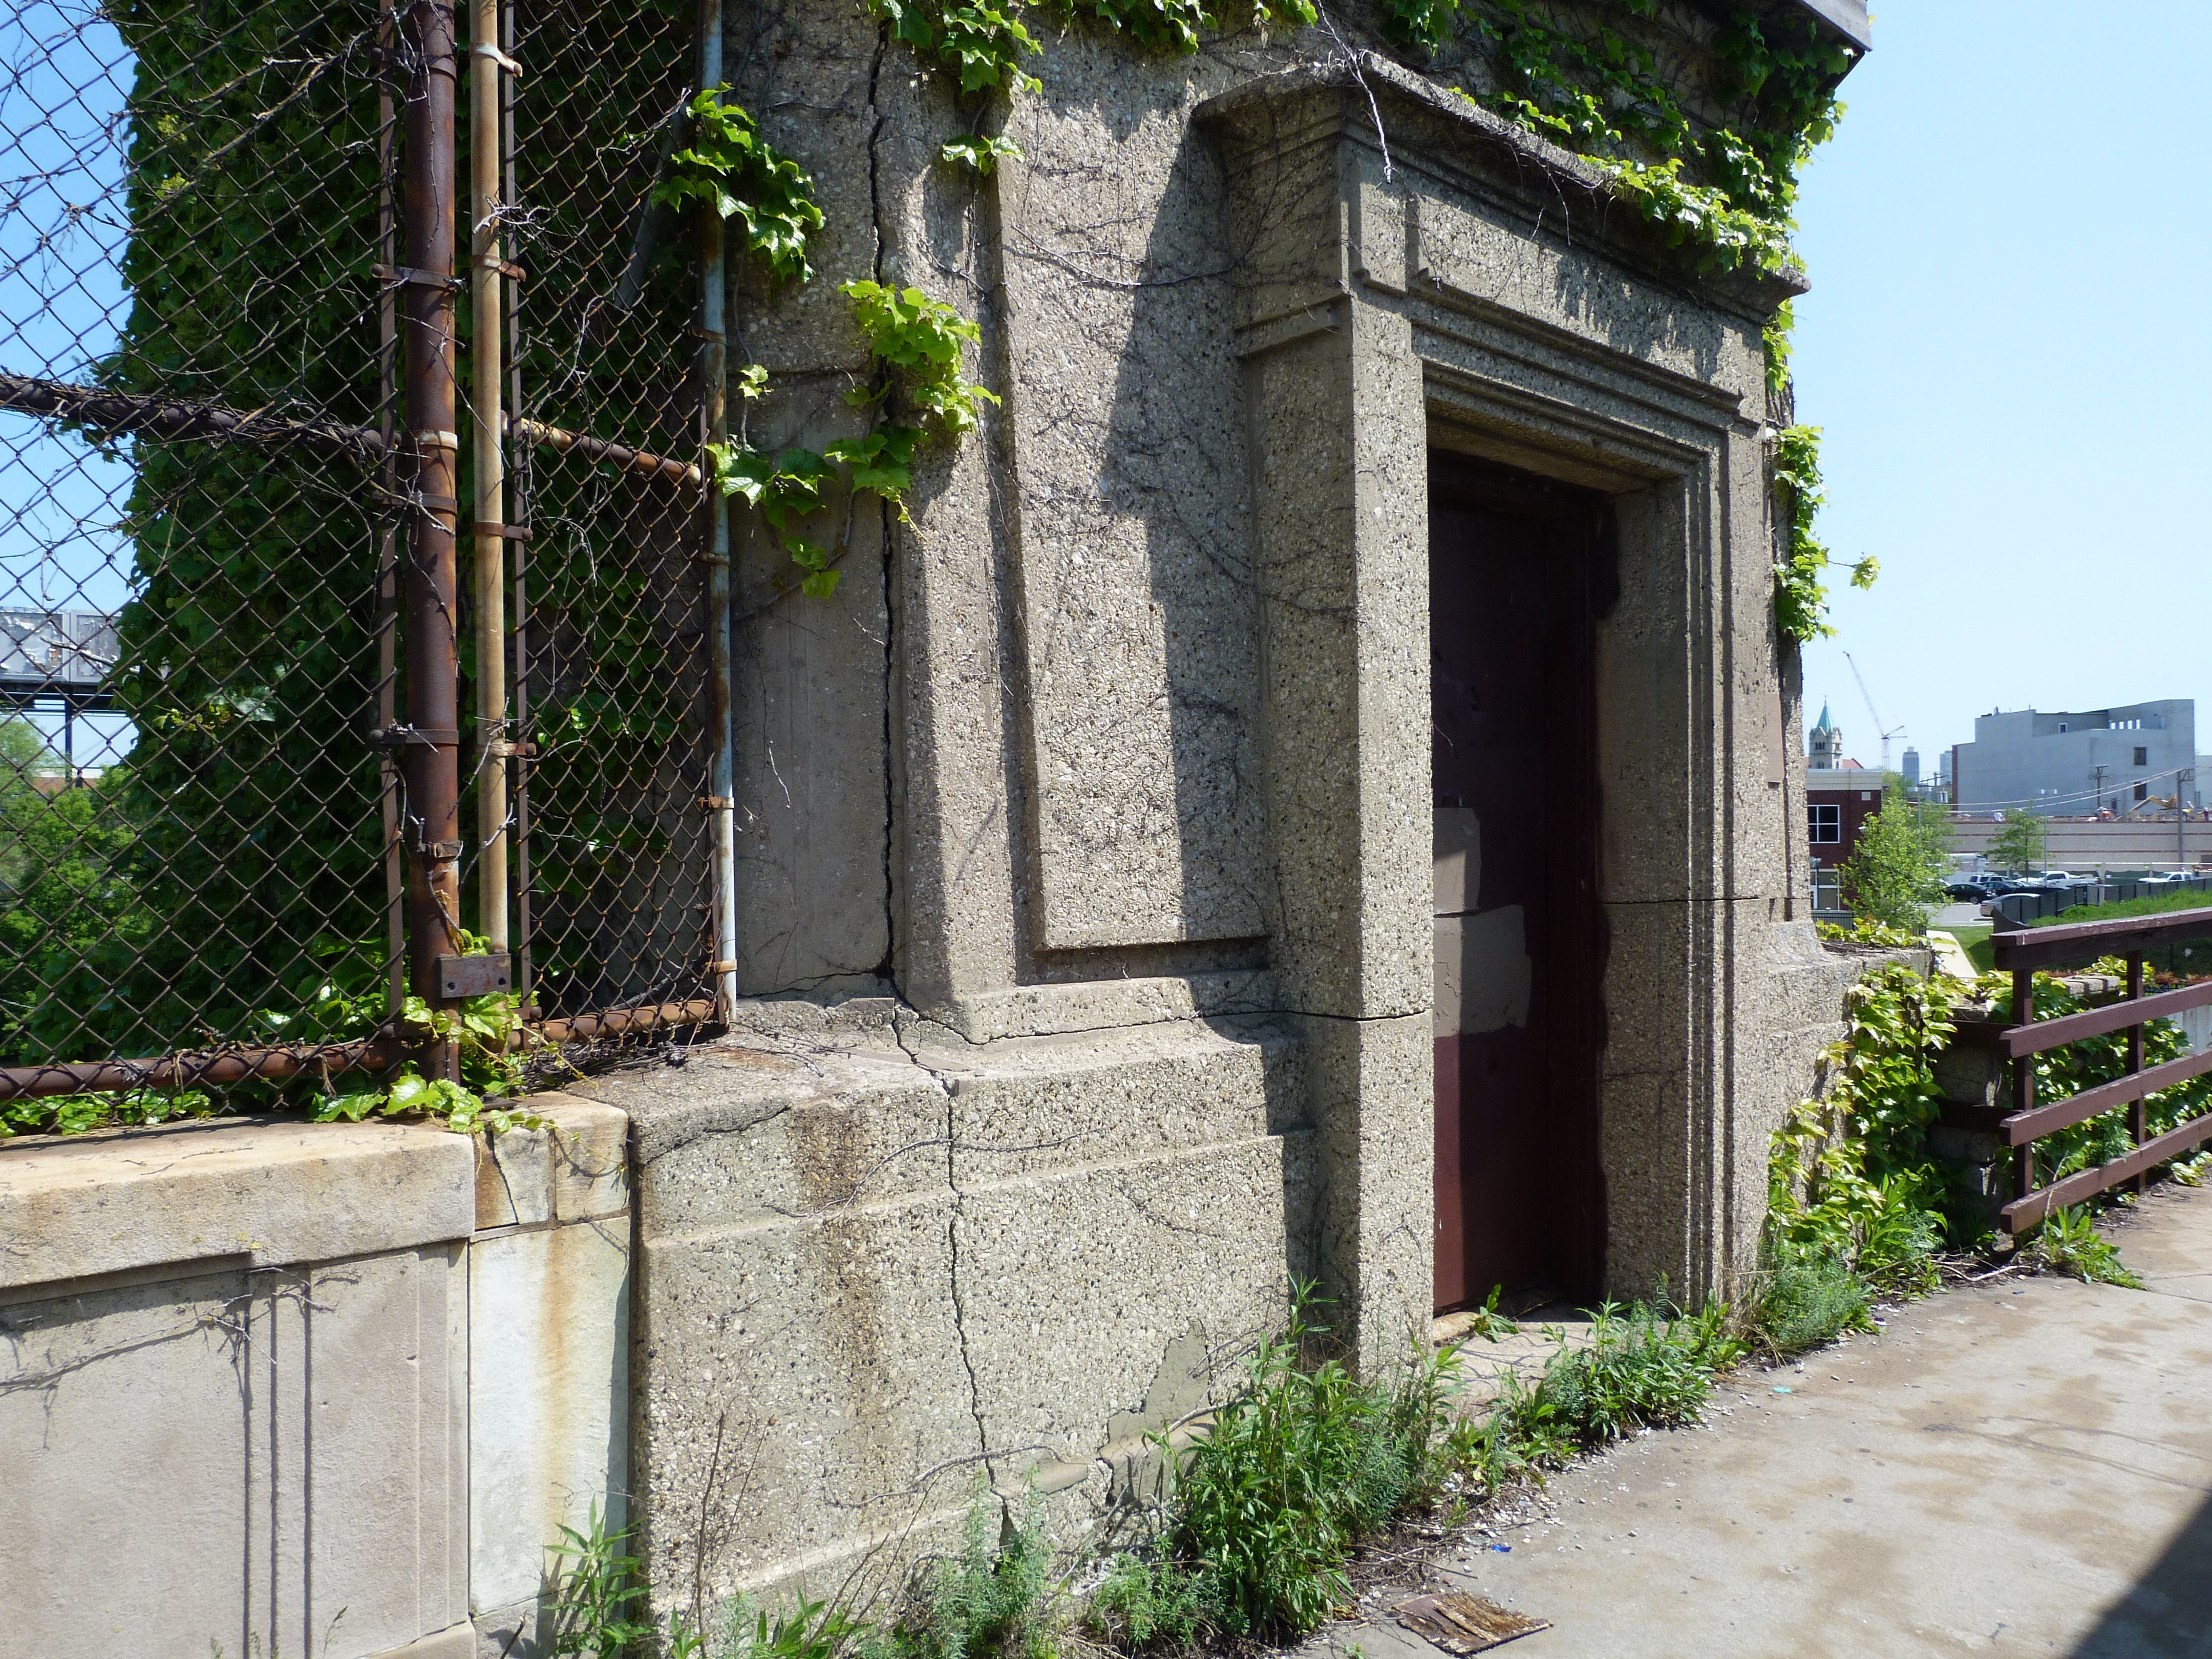
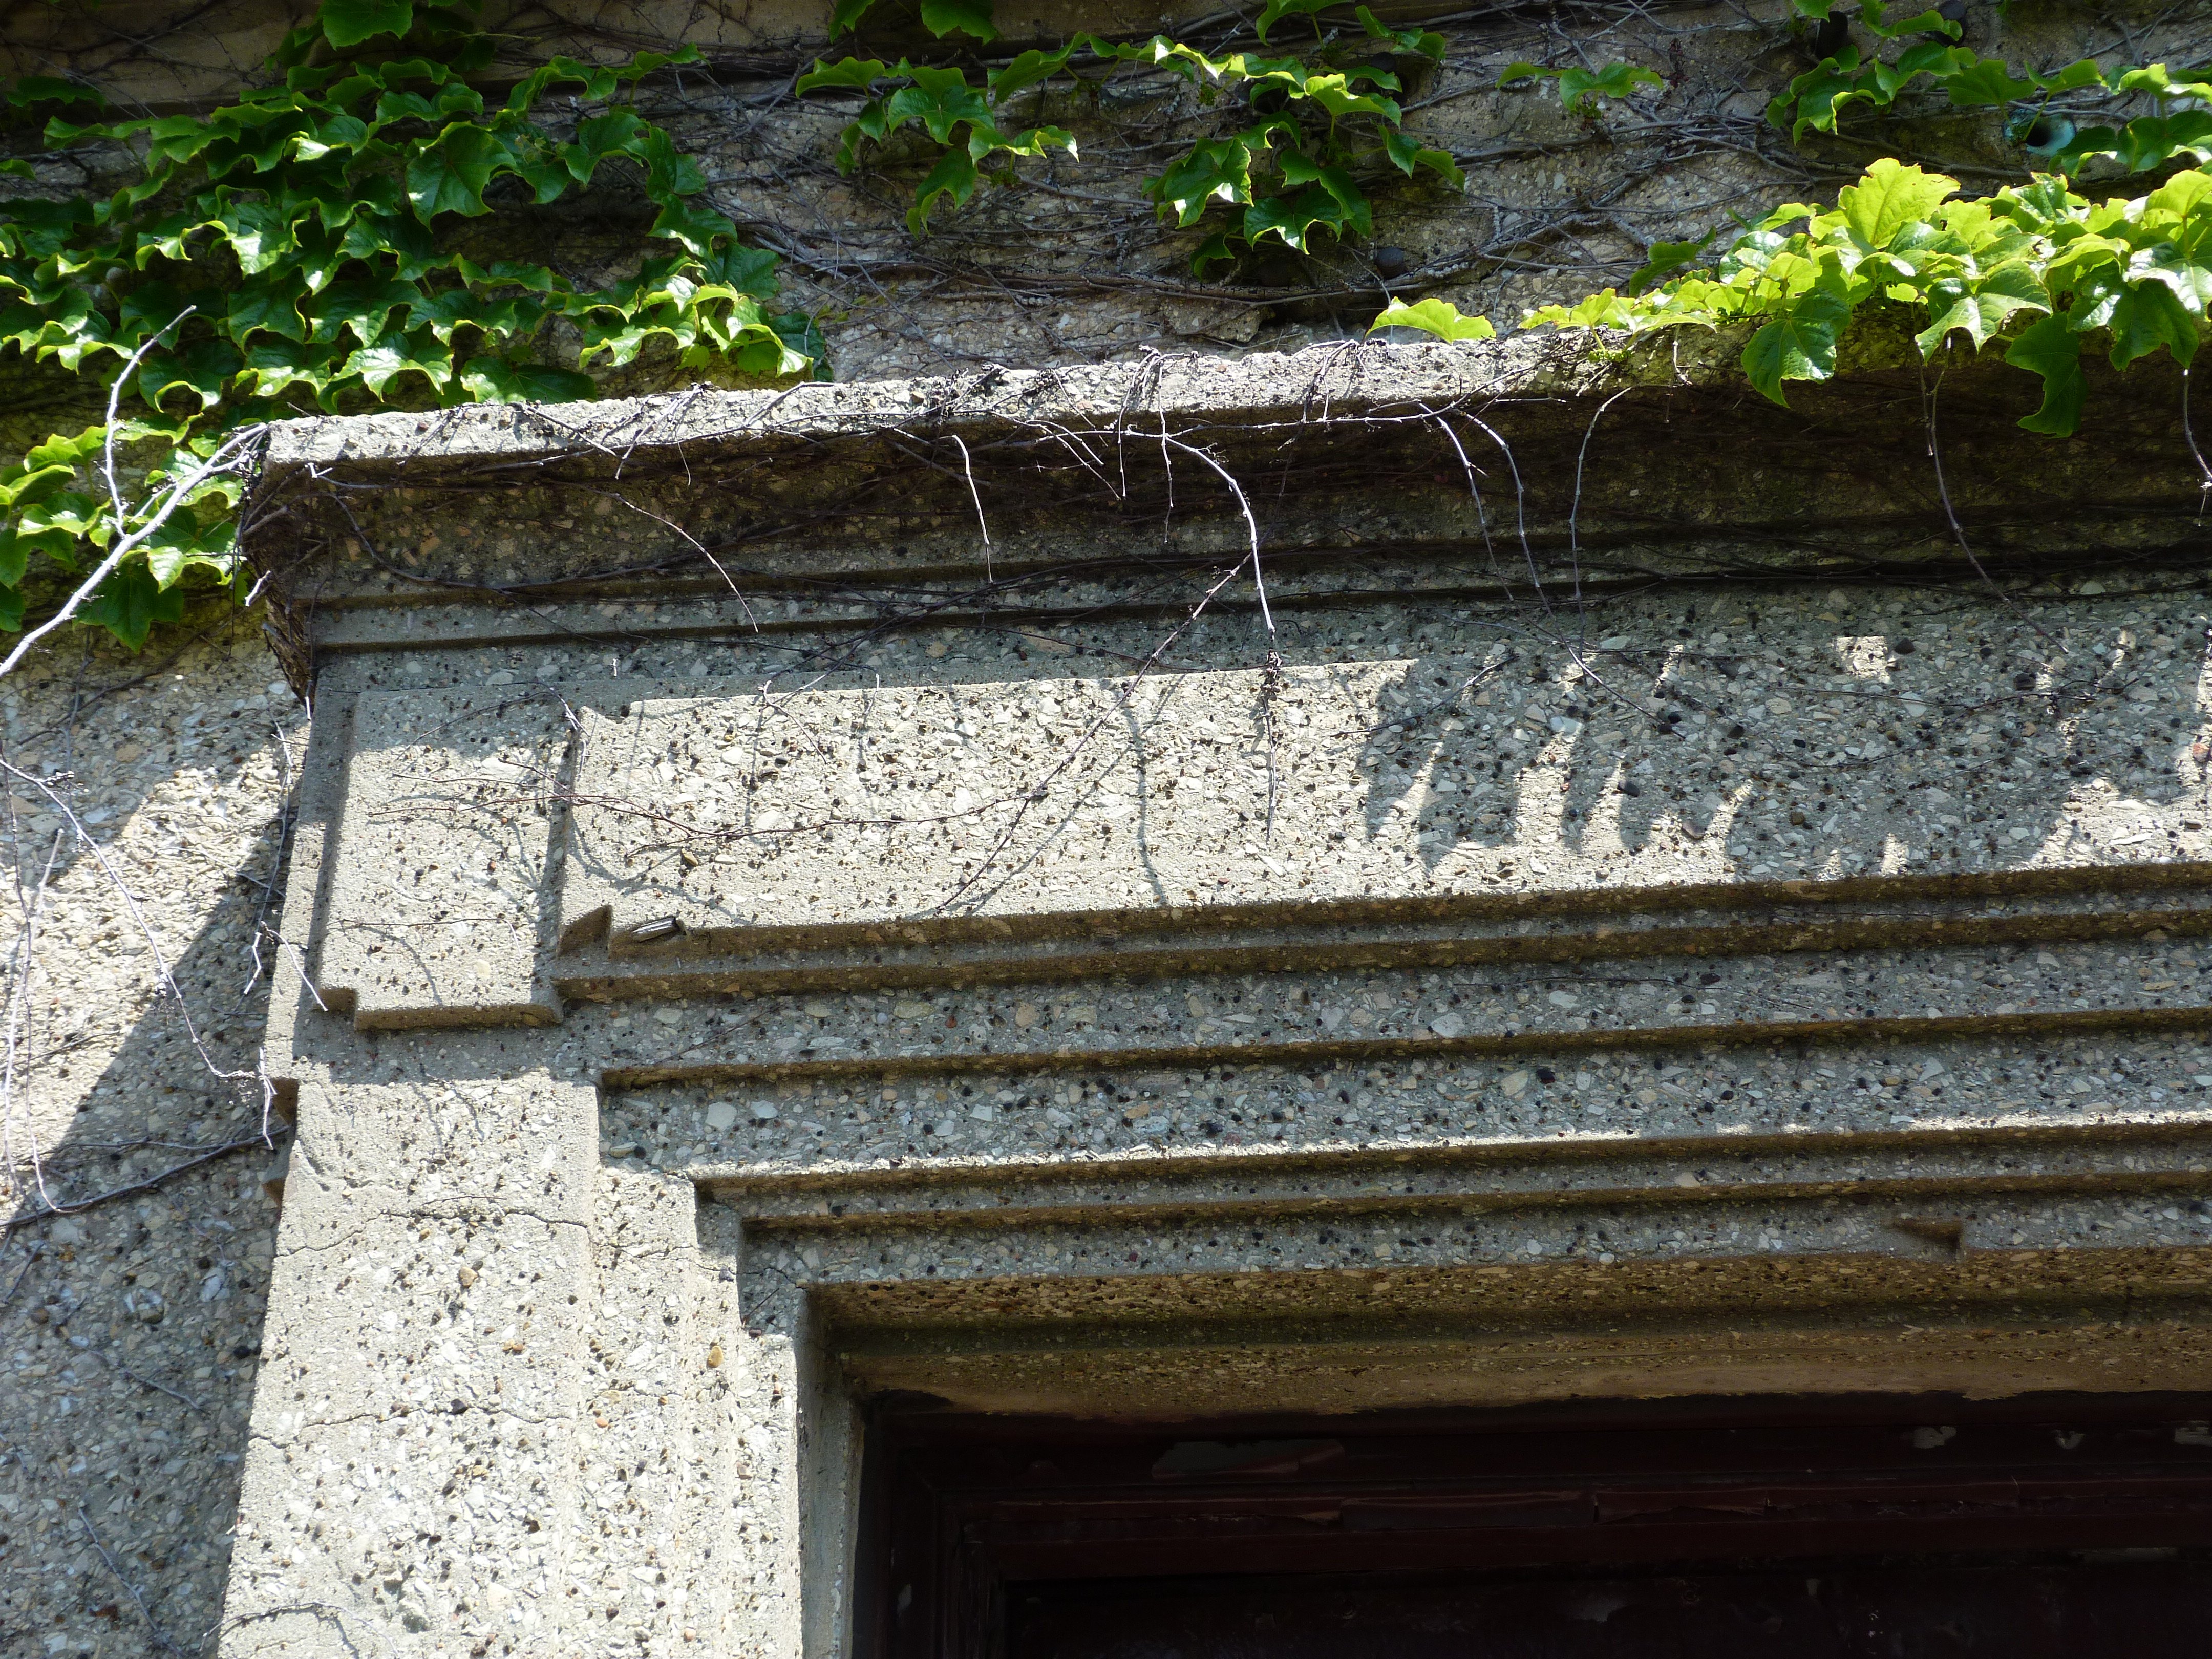
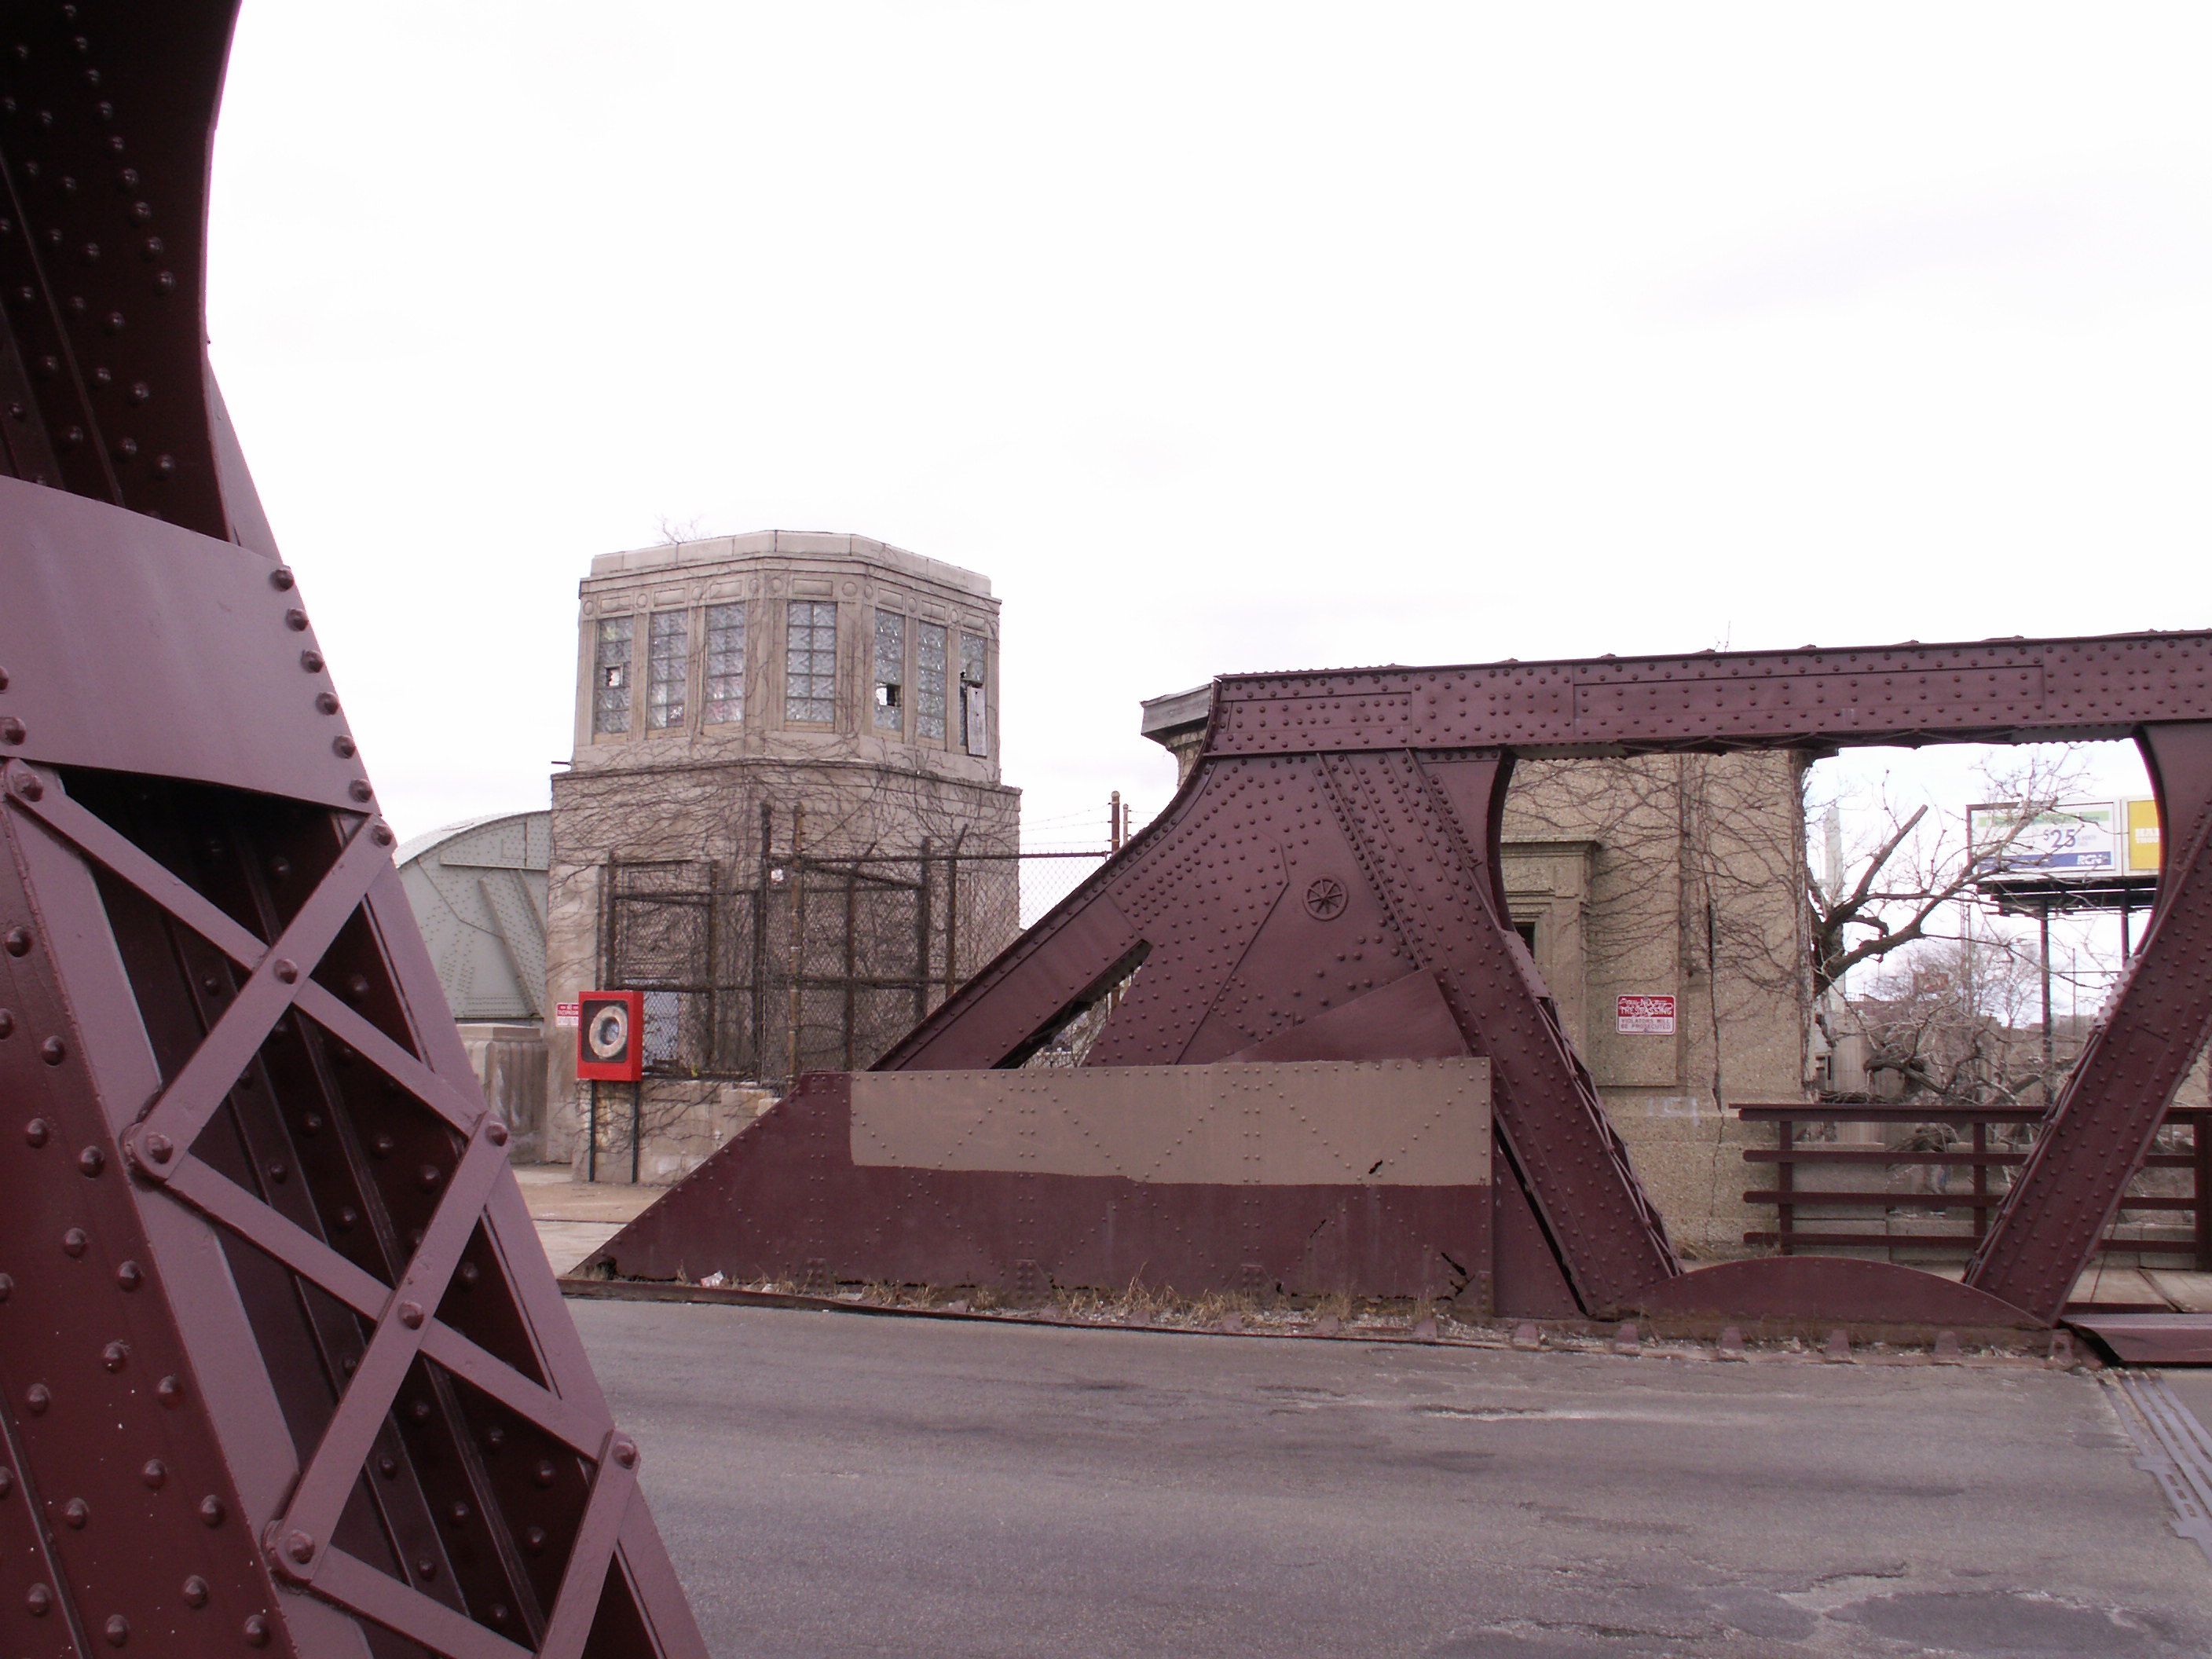
Bridge tender house.
![]()
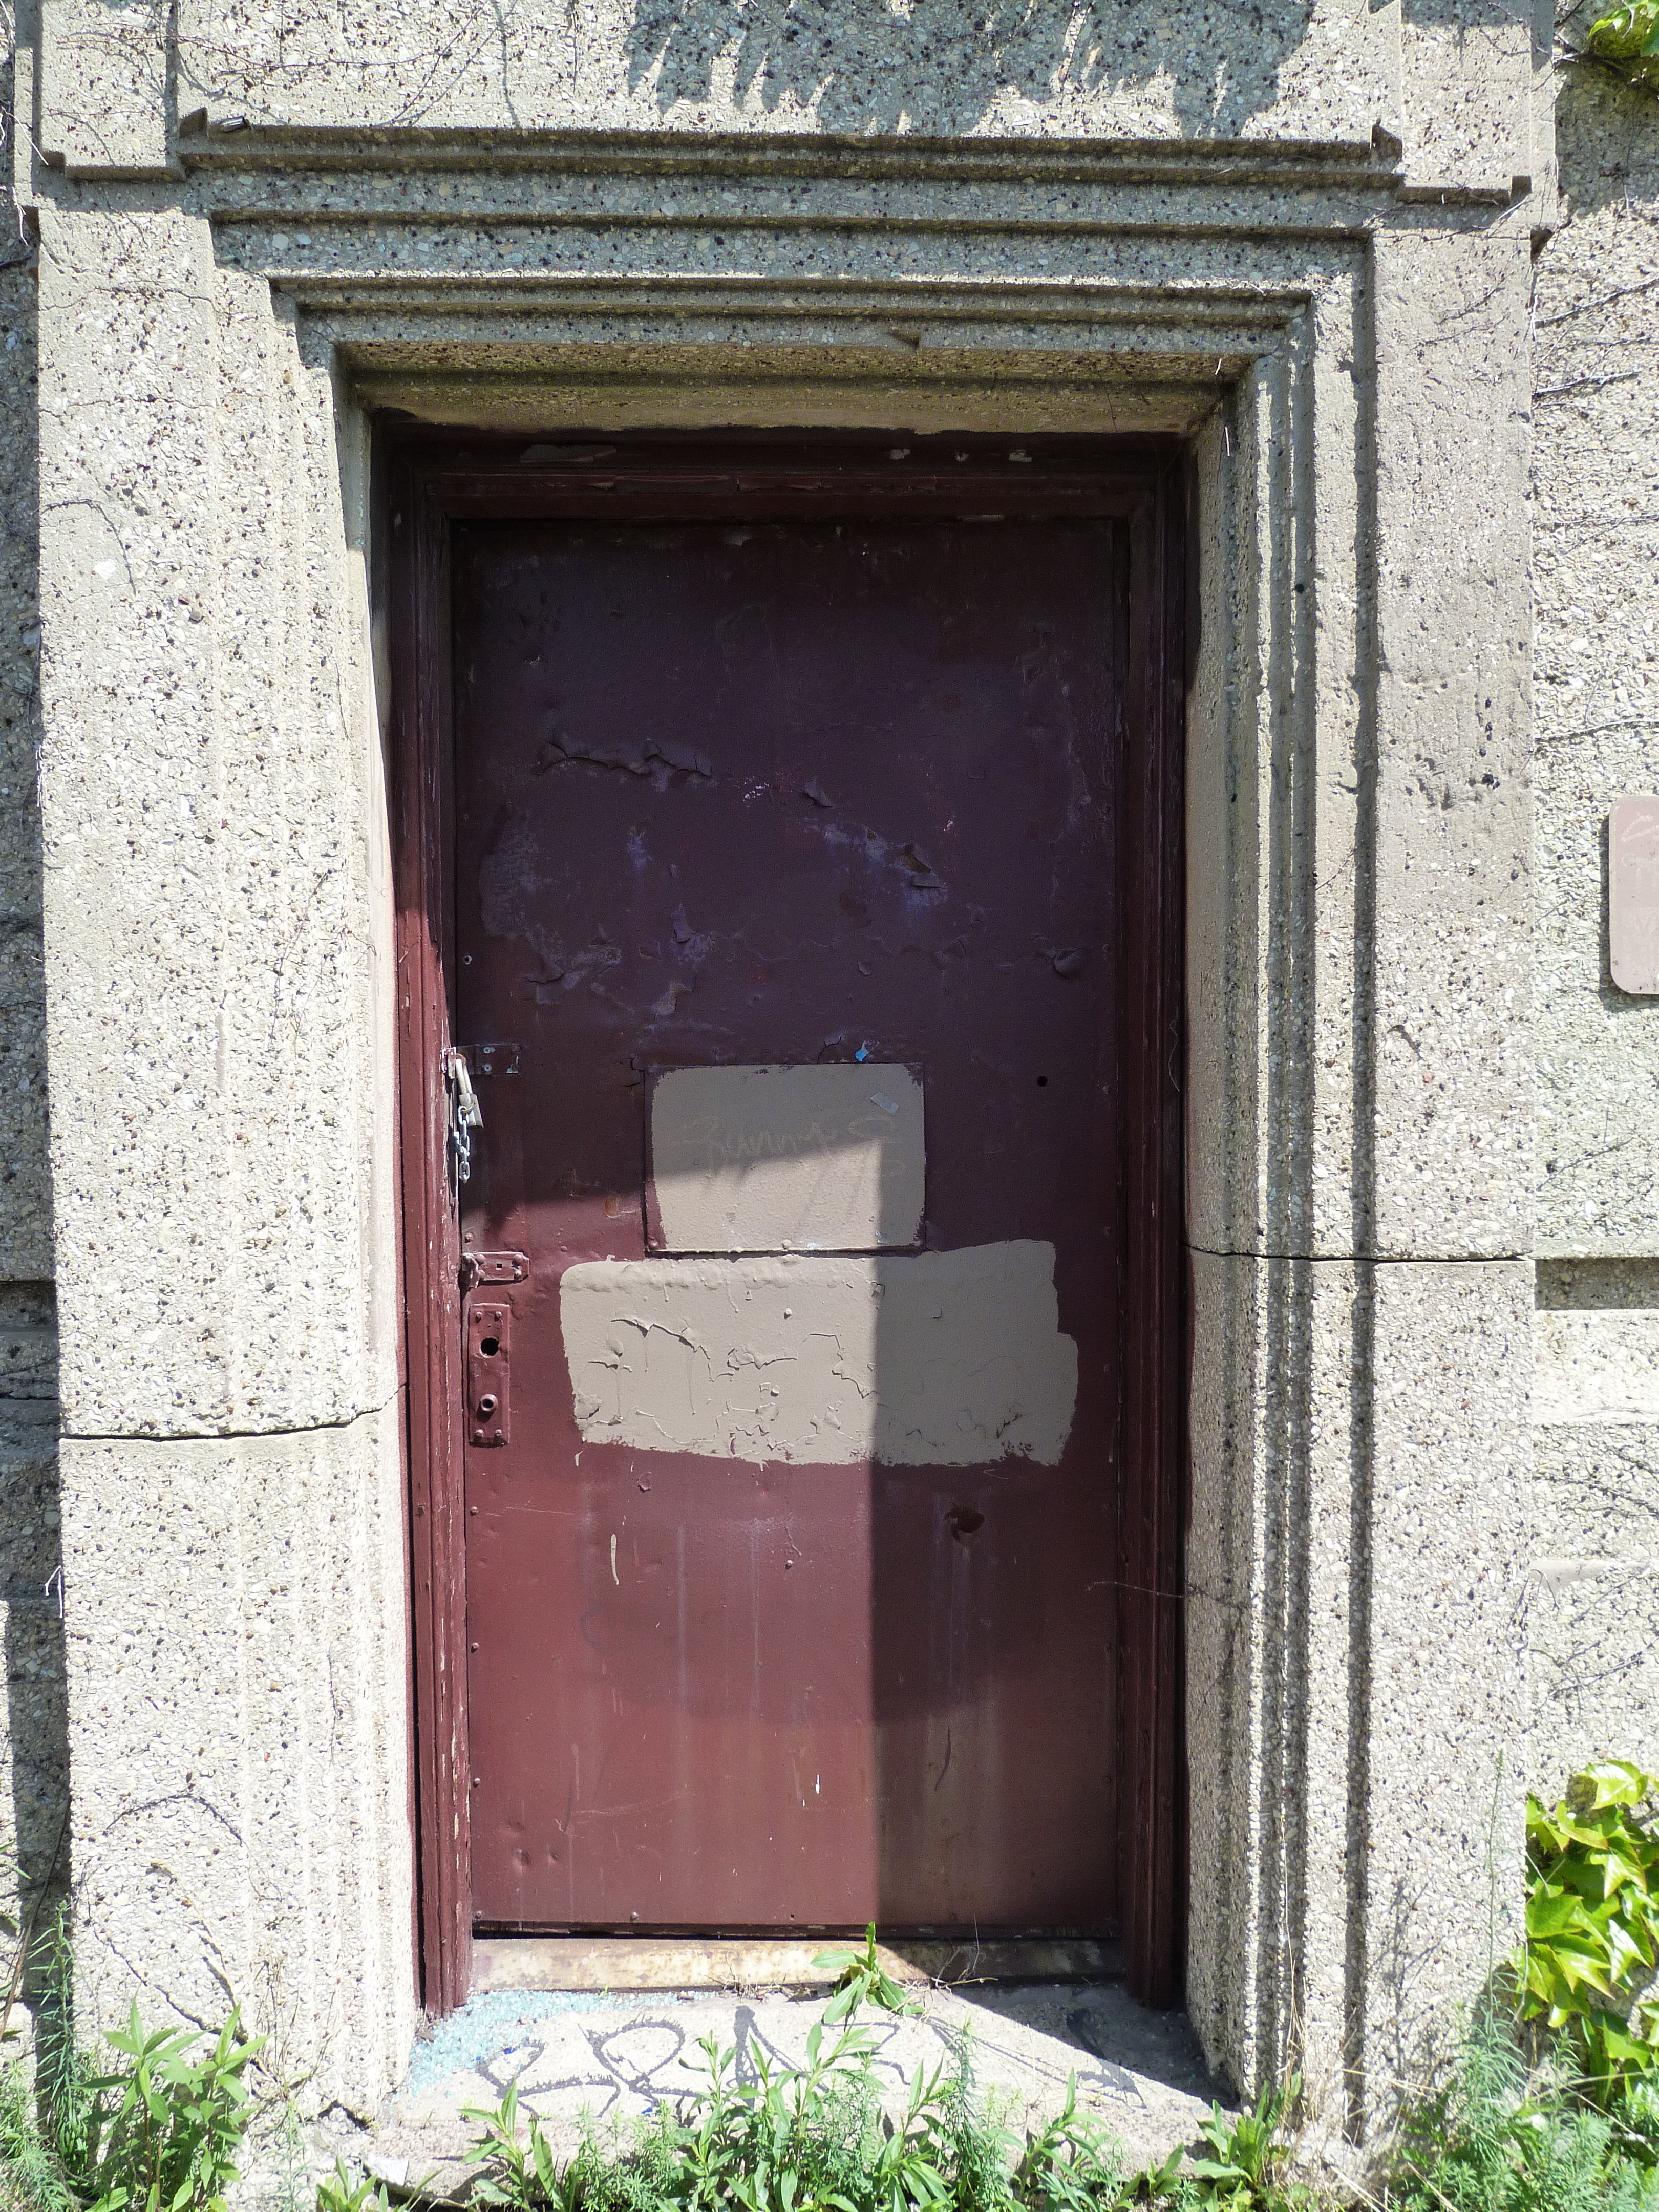
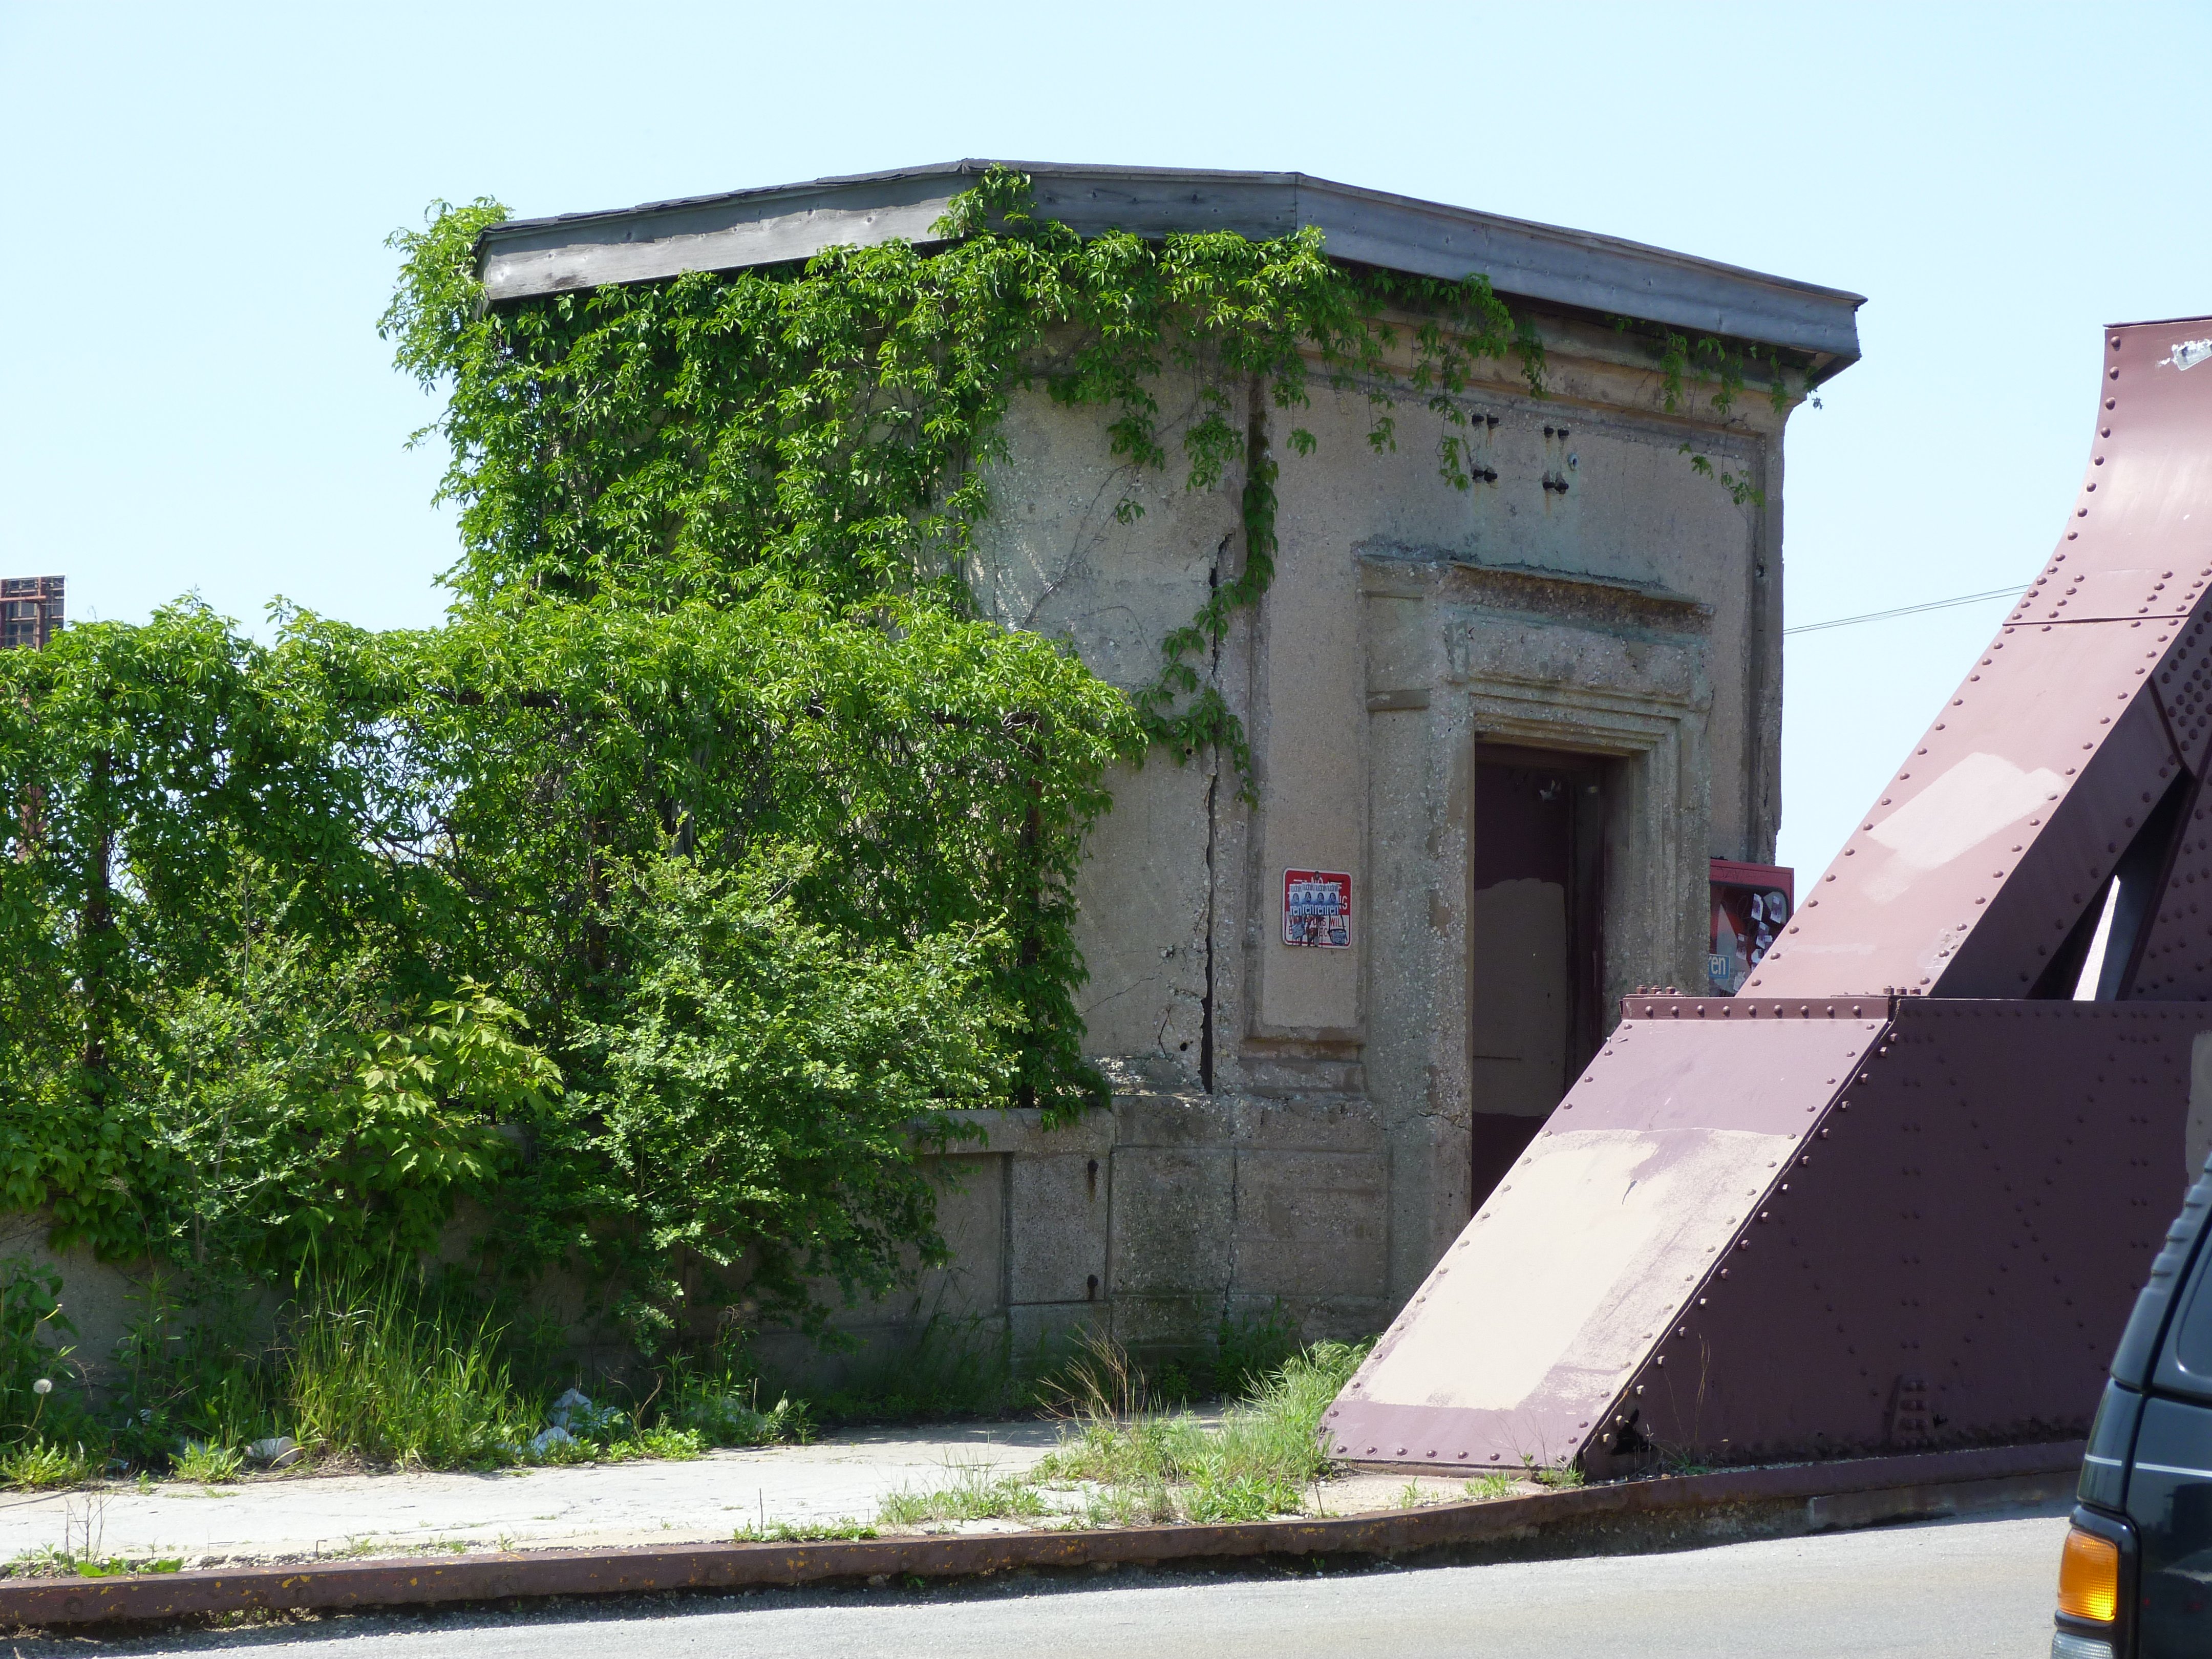
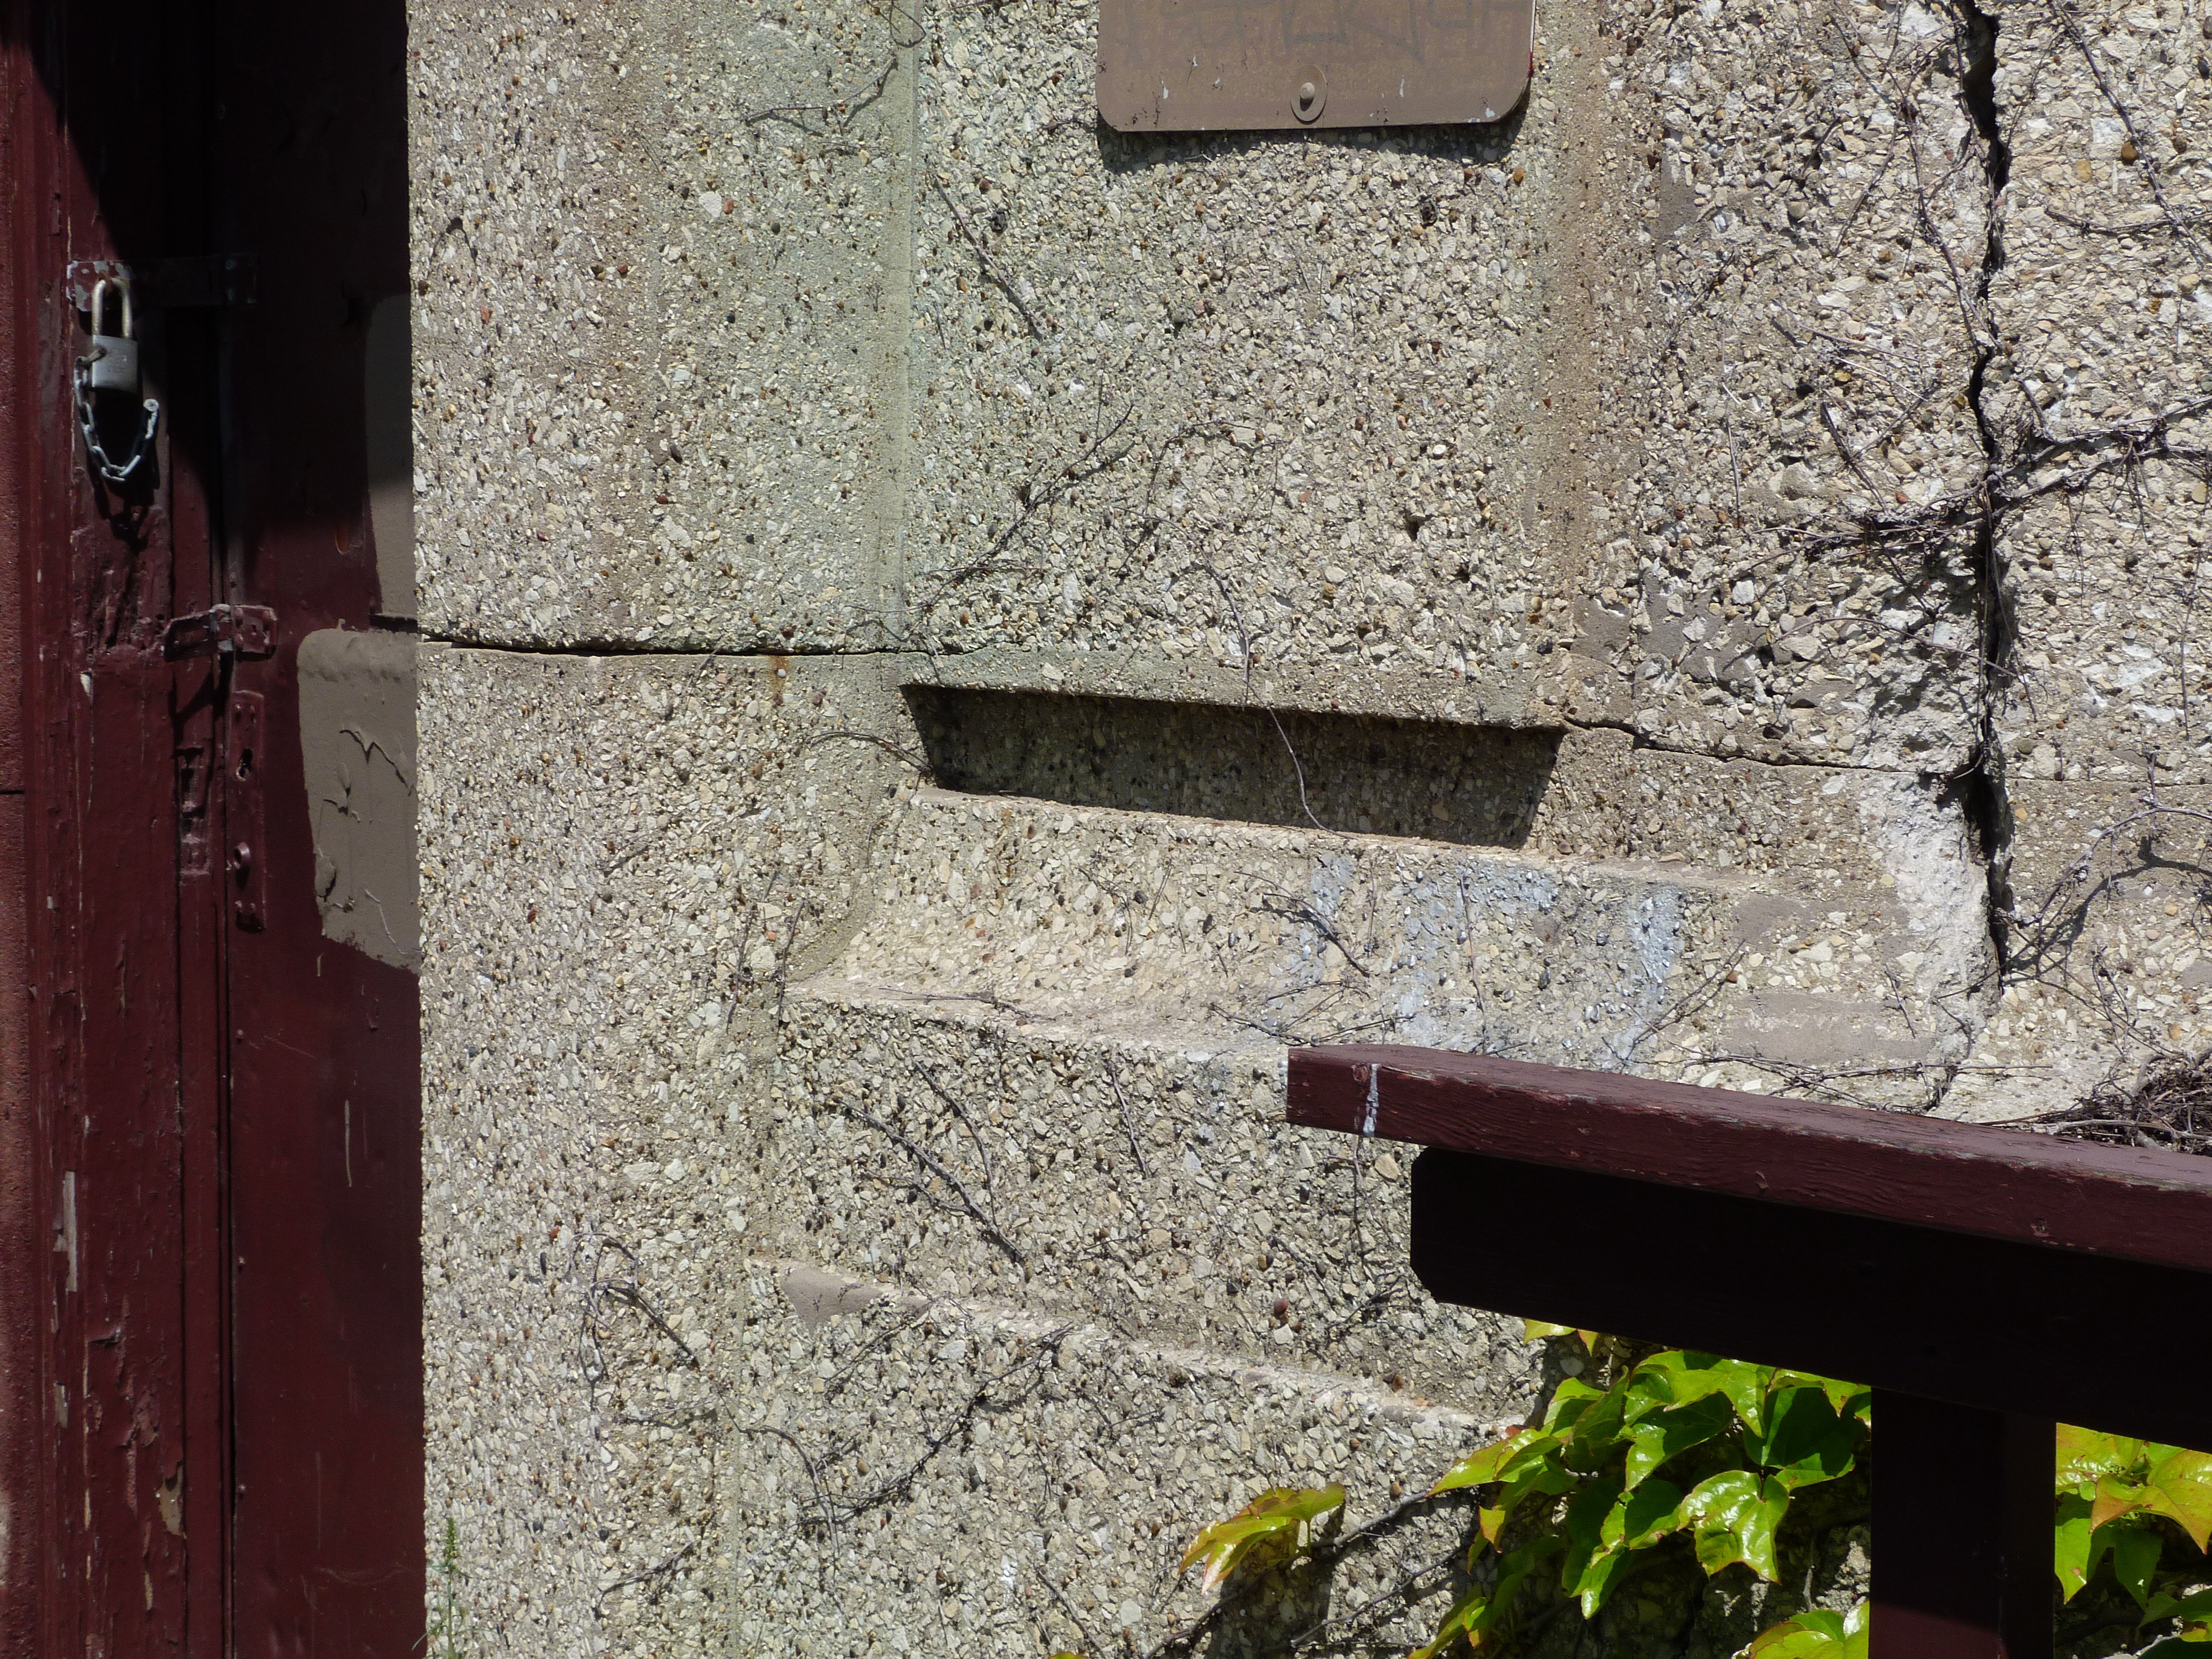
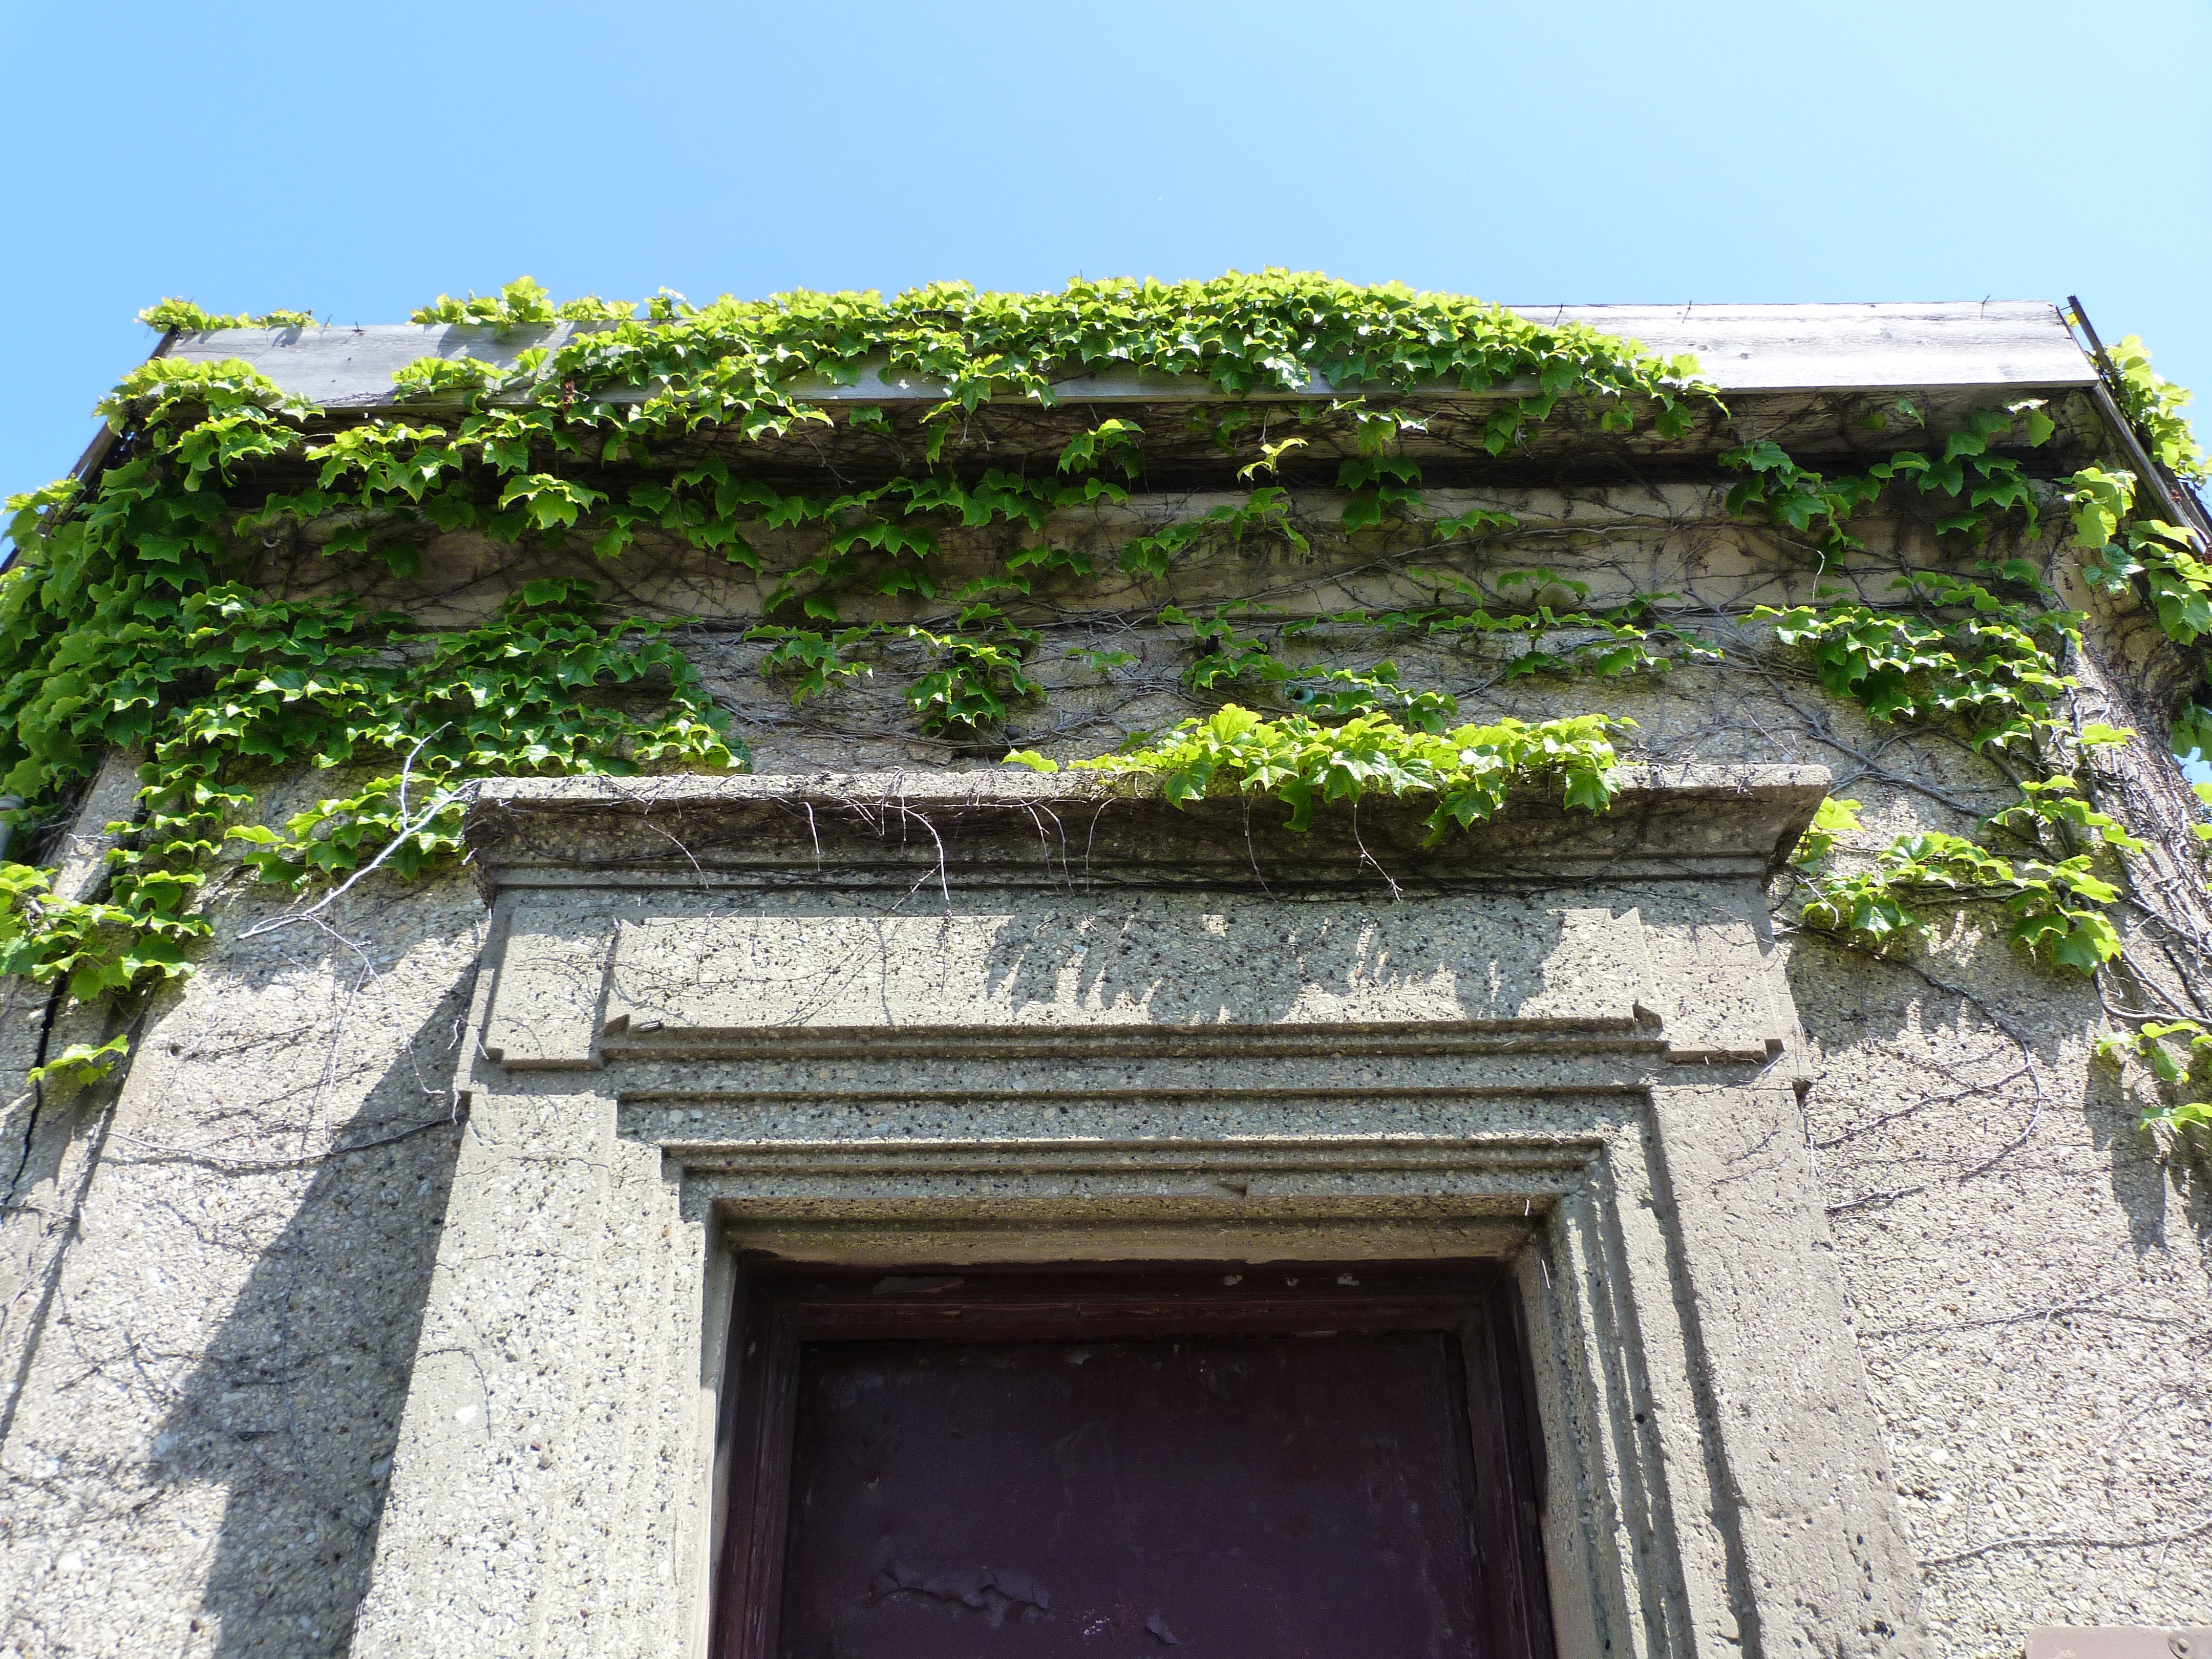
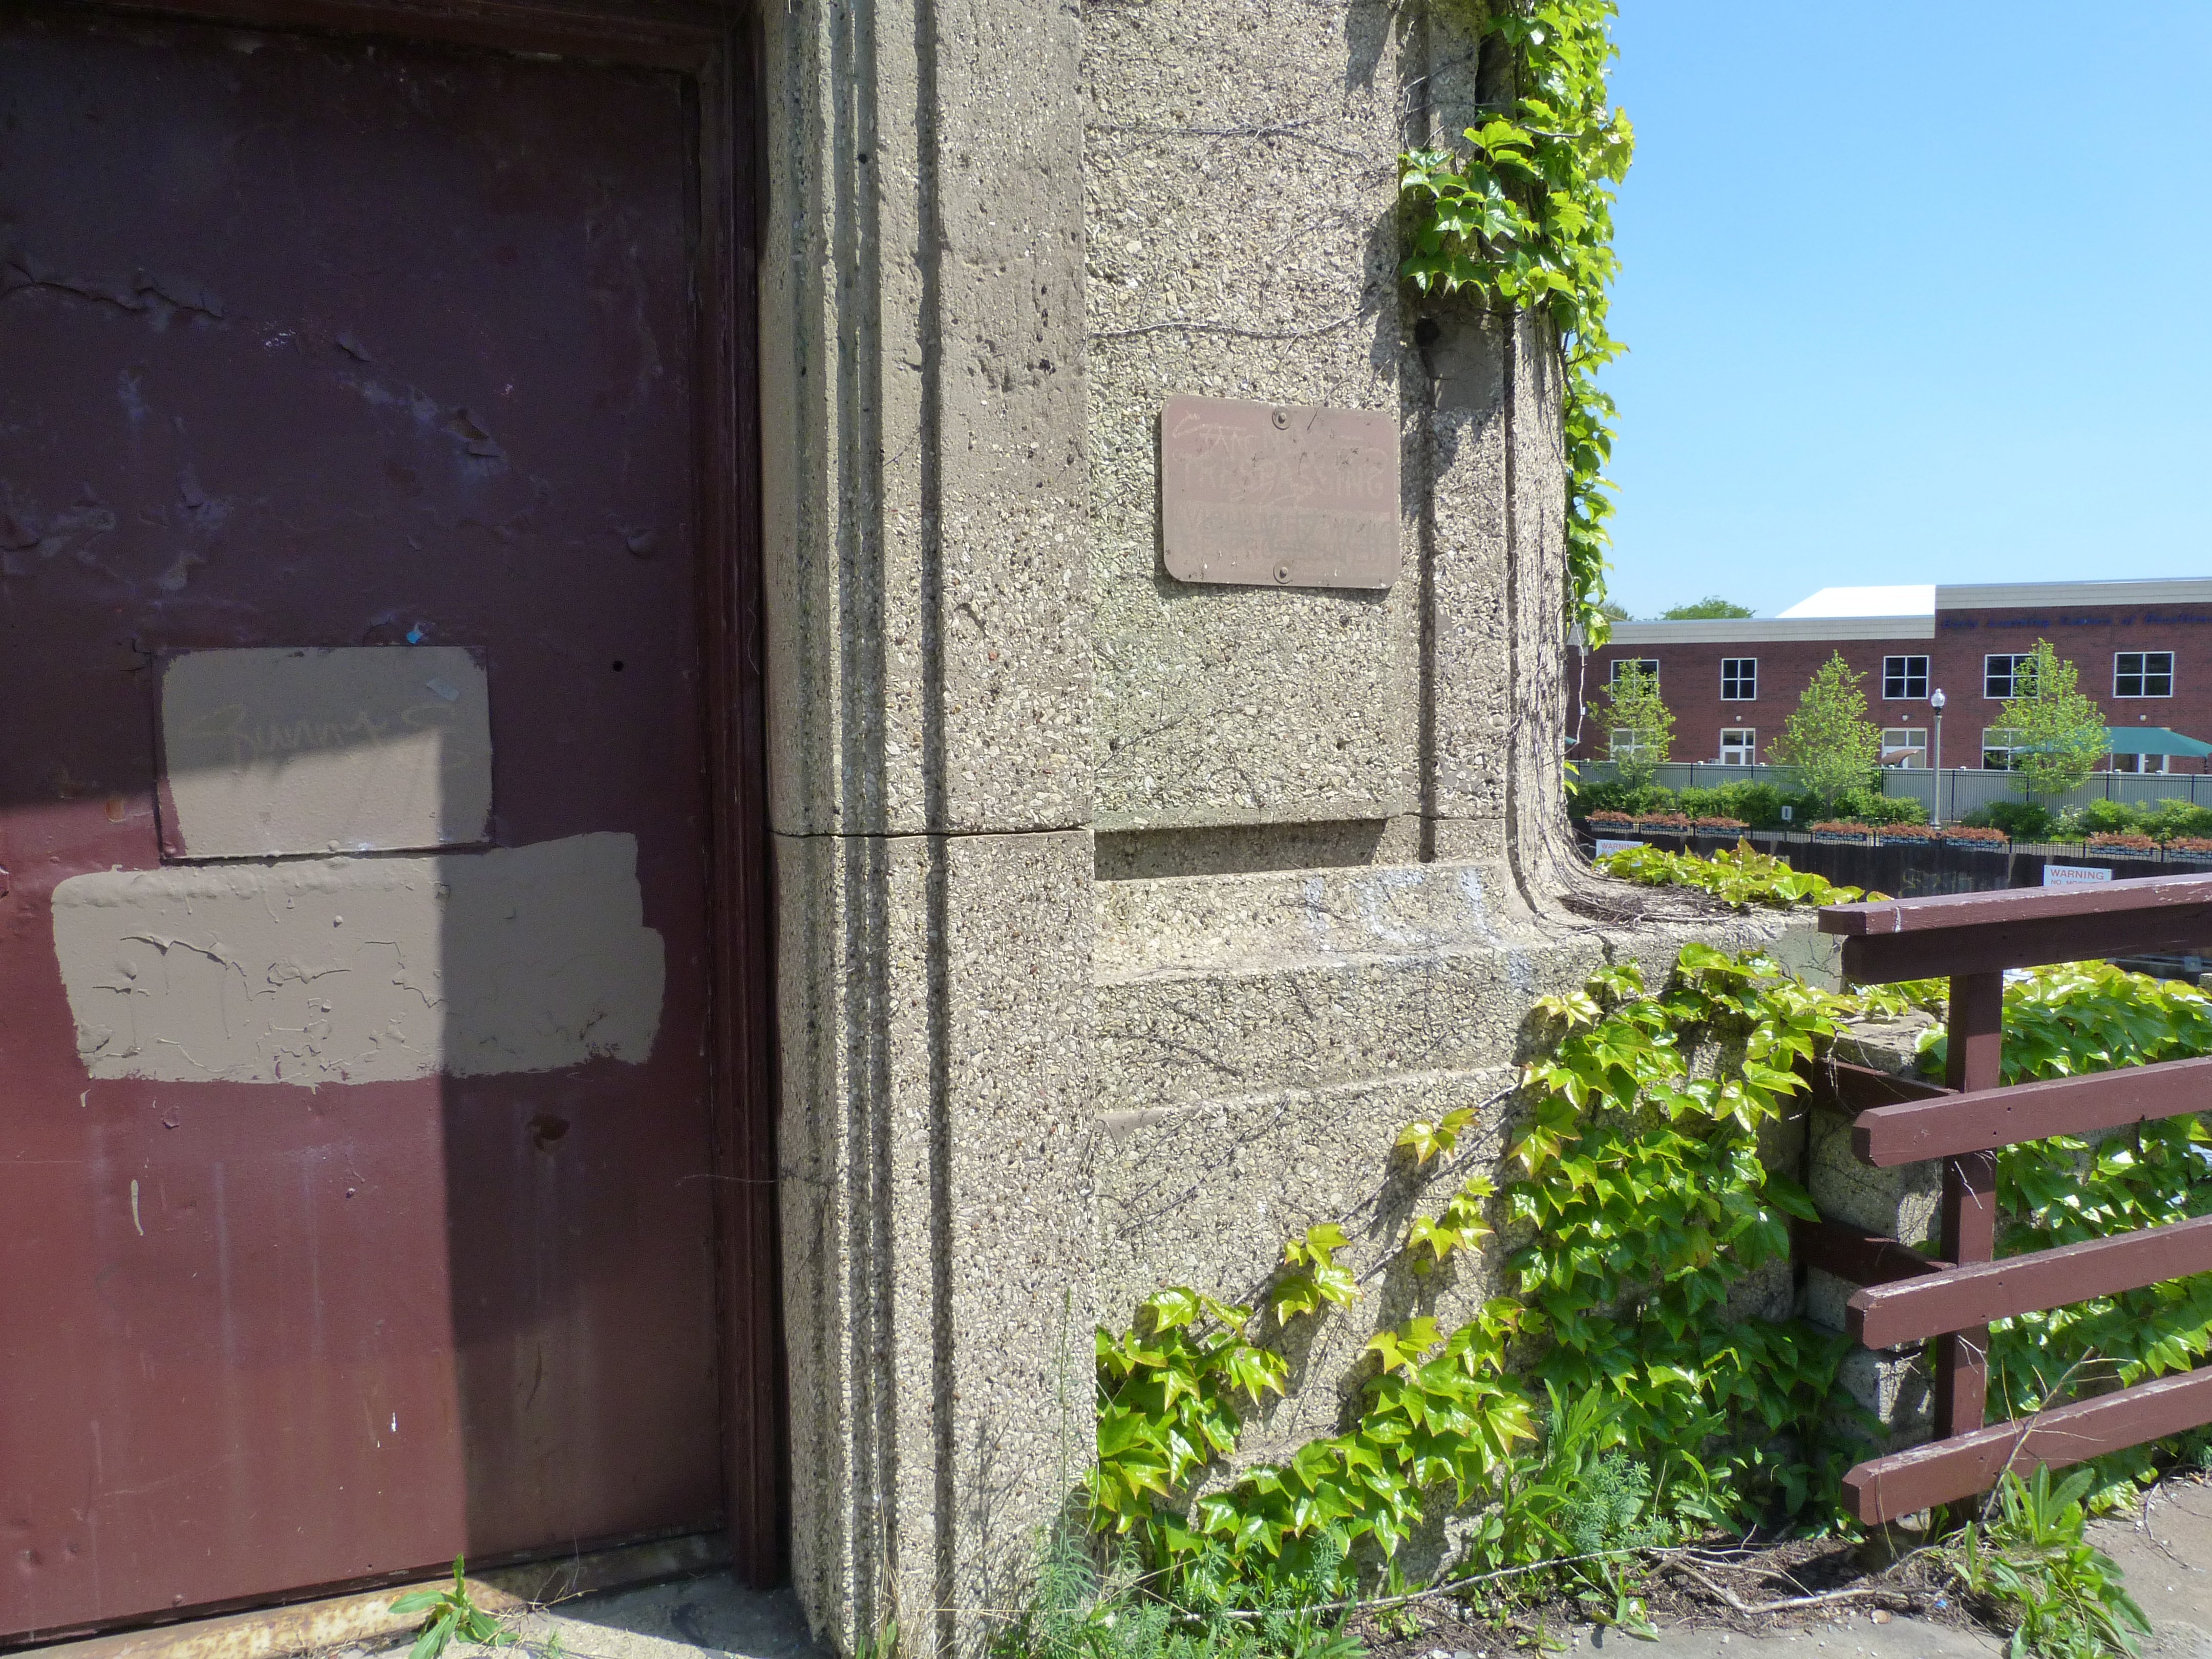
Bridge tender house doorway.
![]()

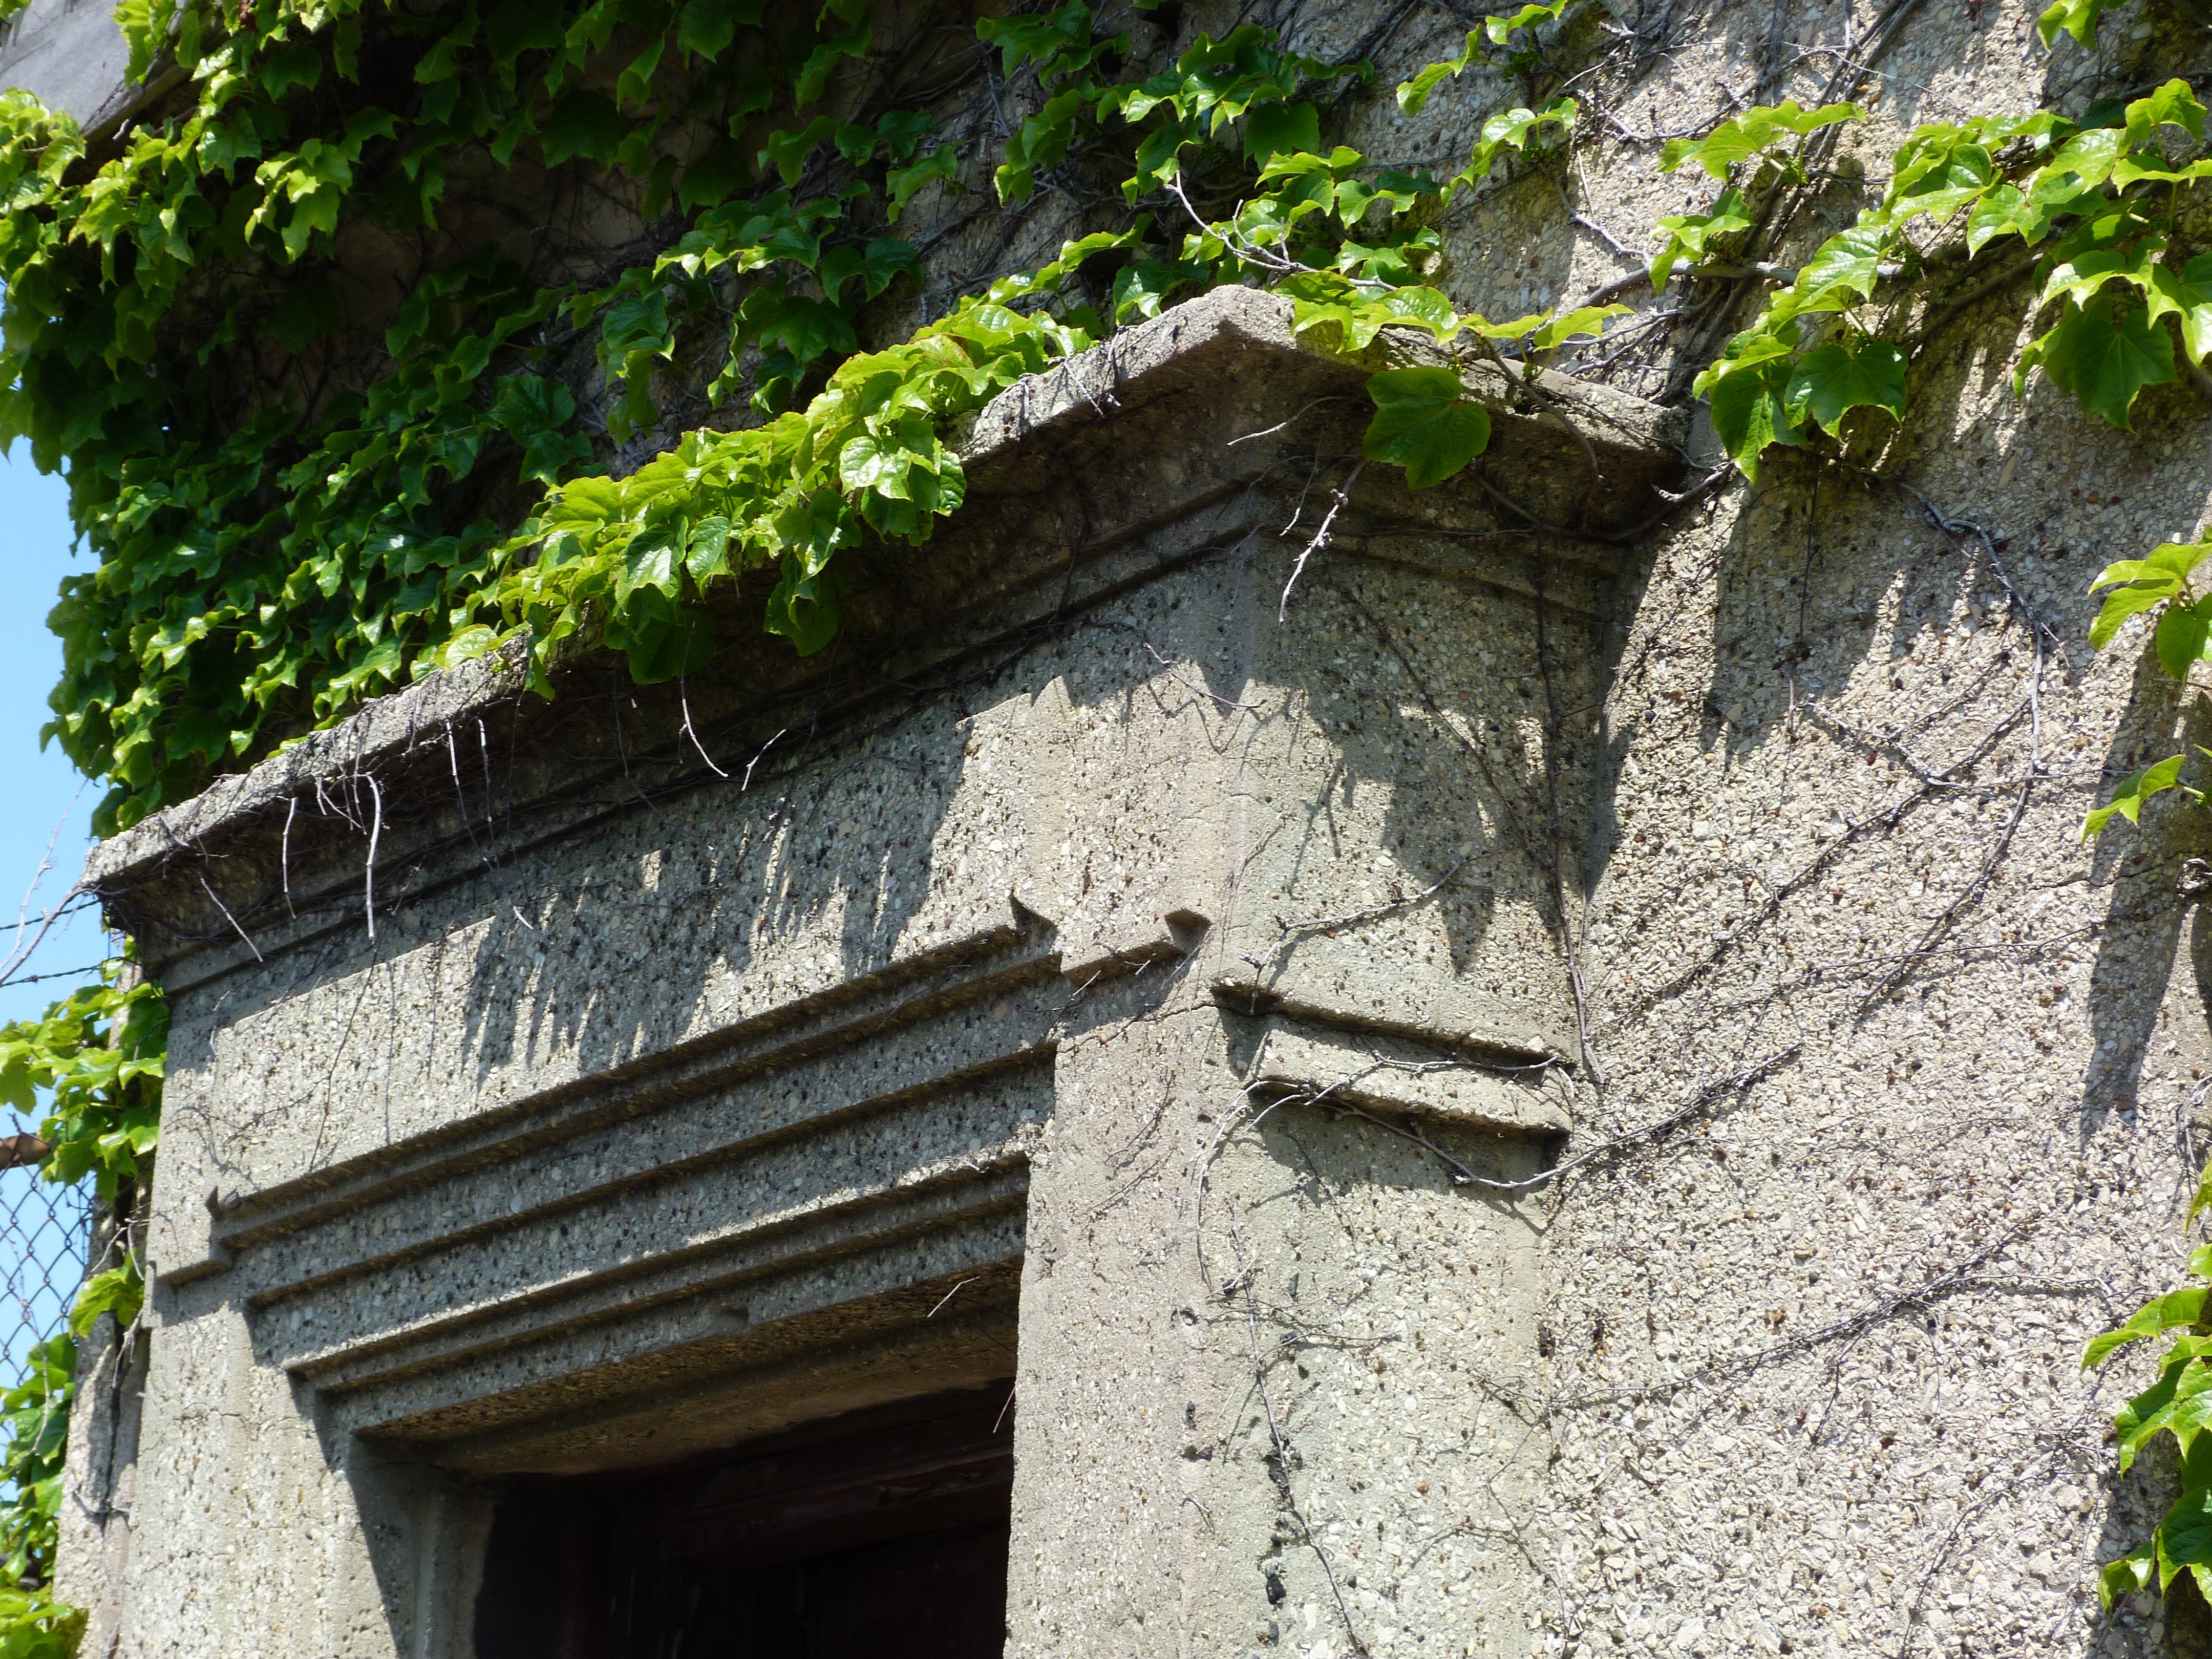
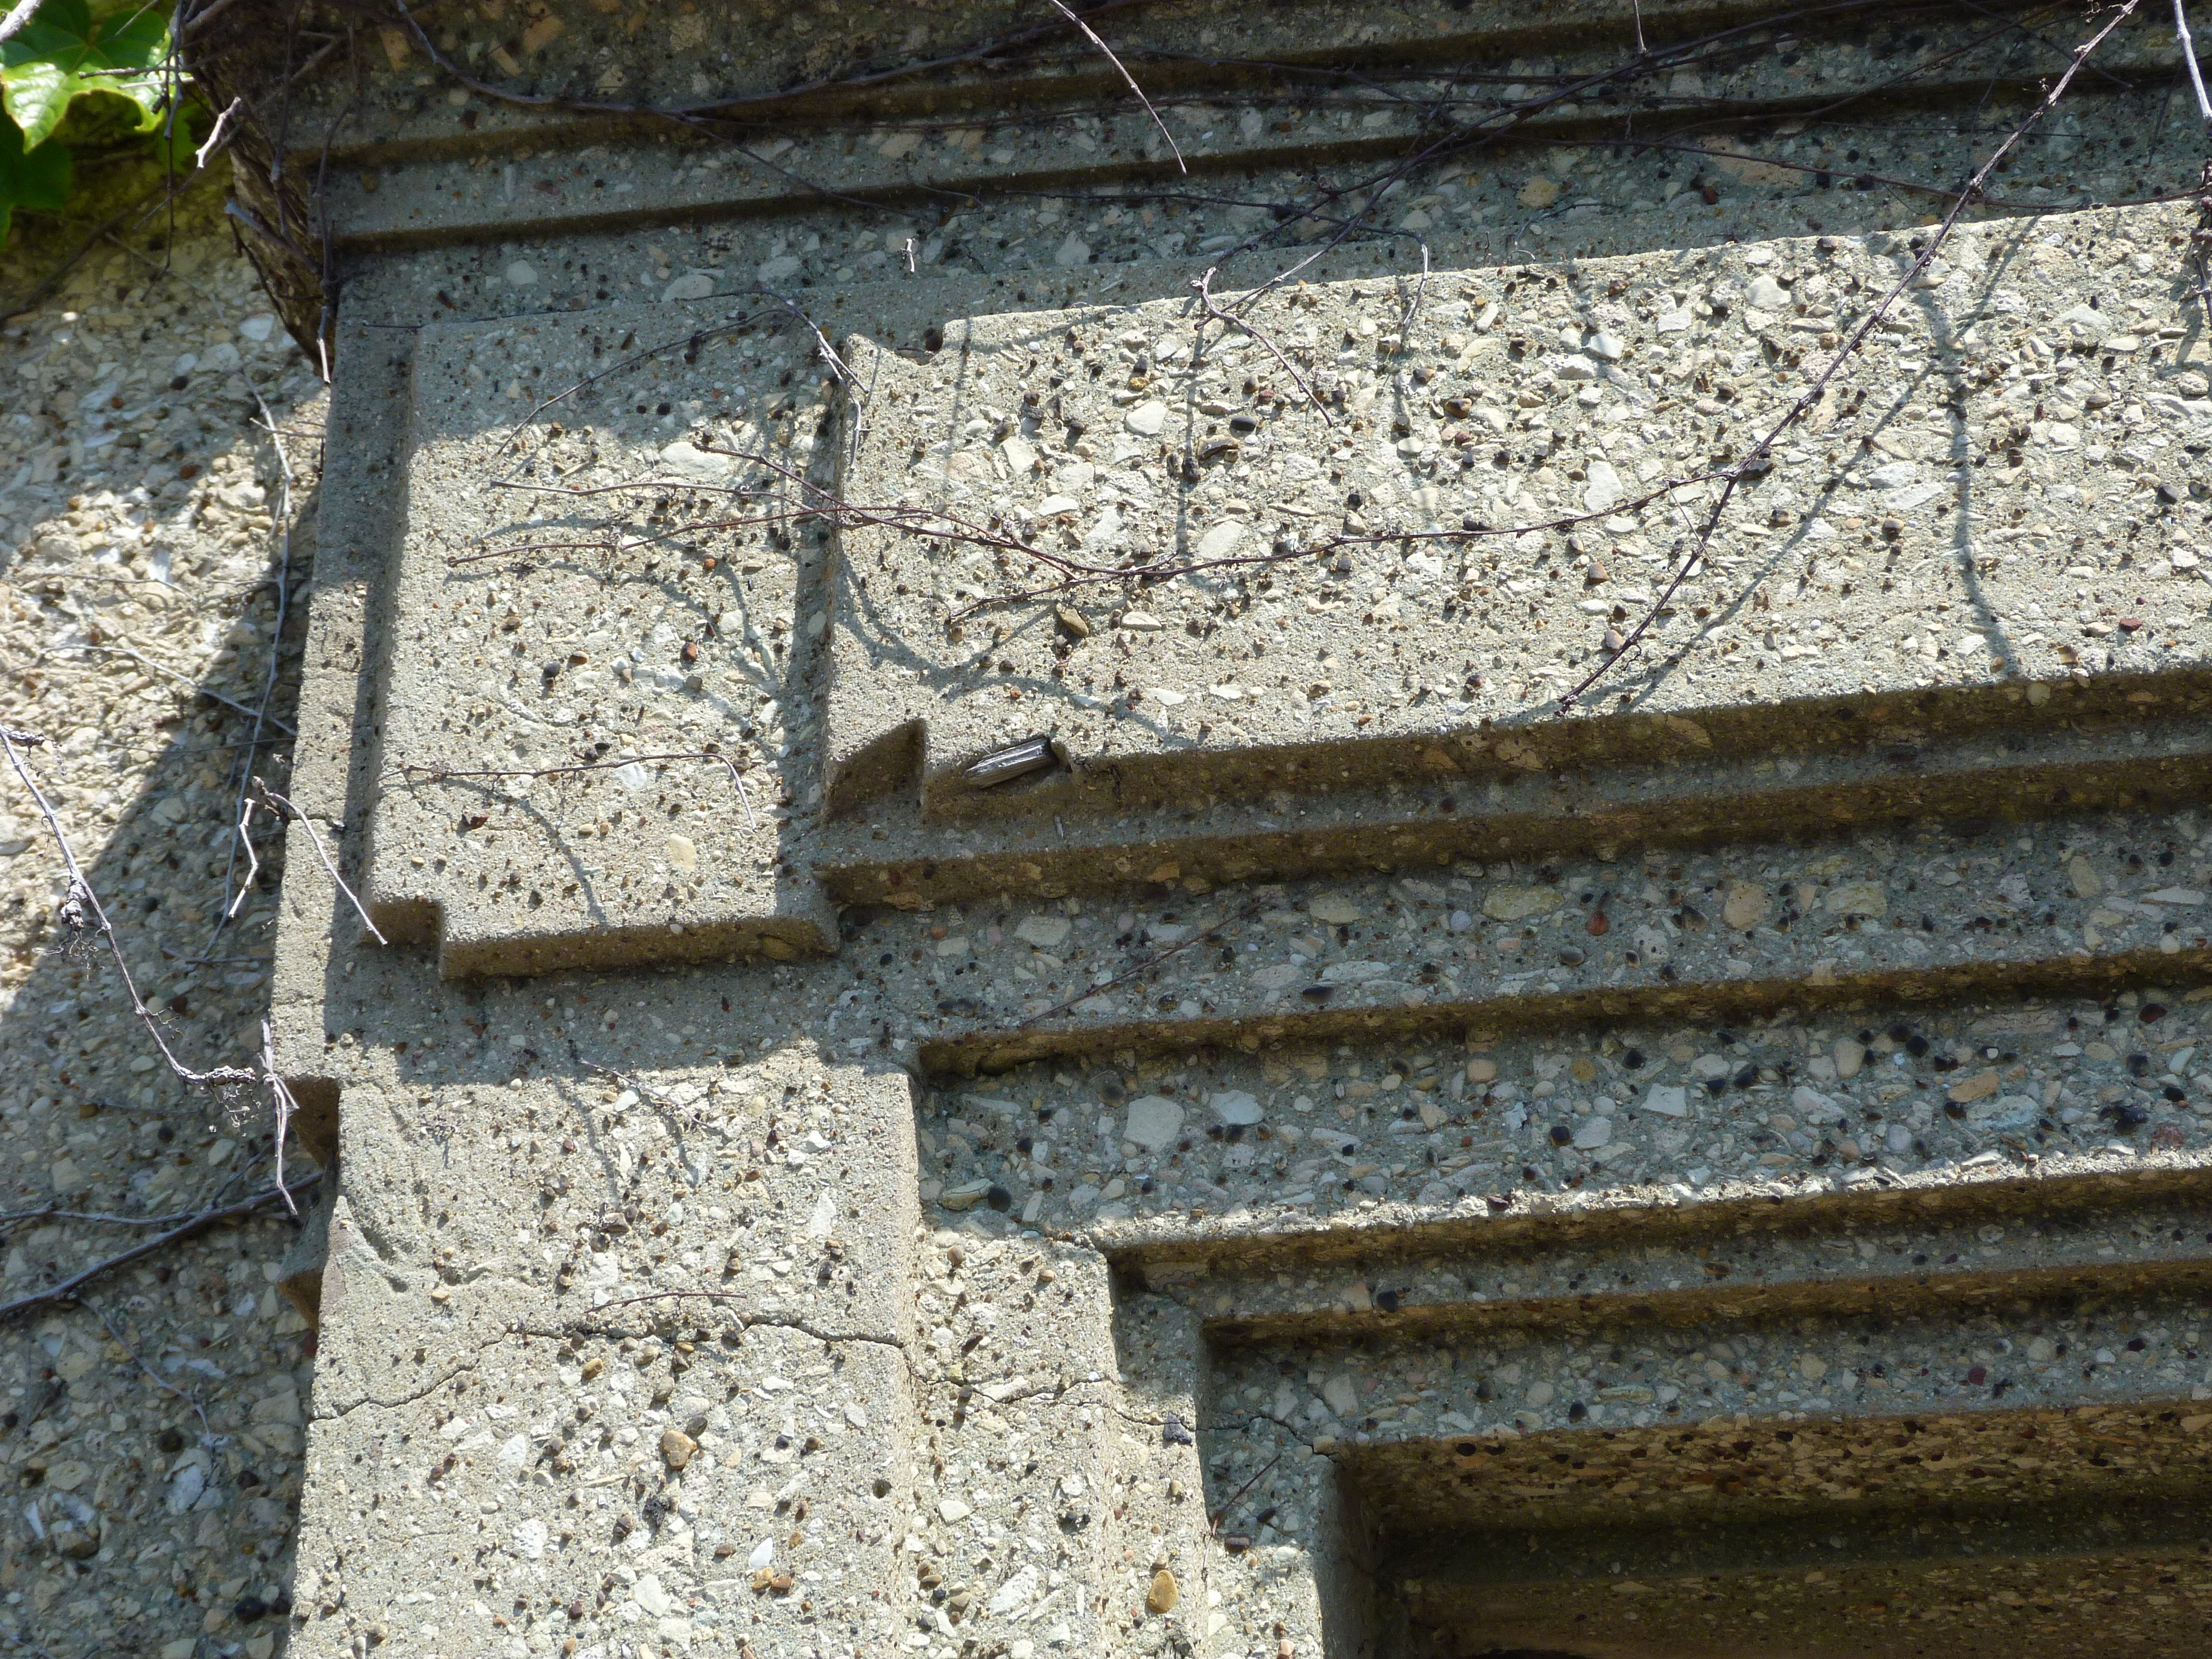
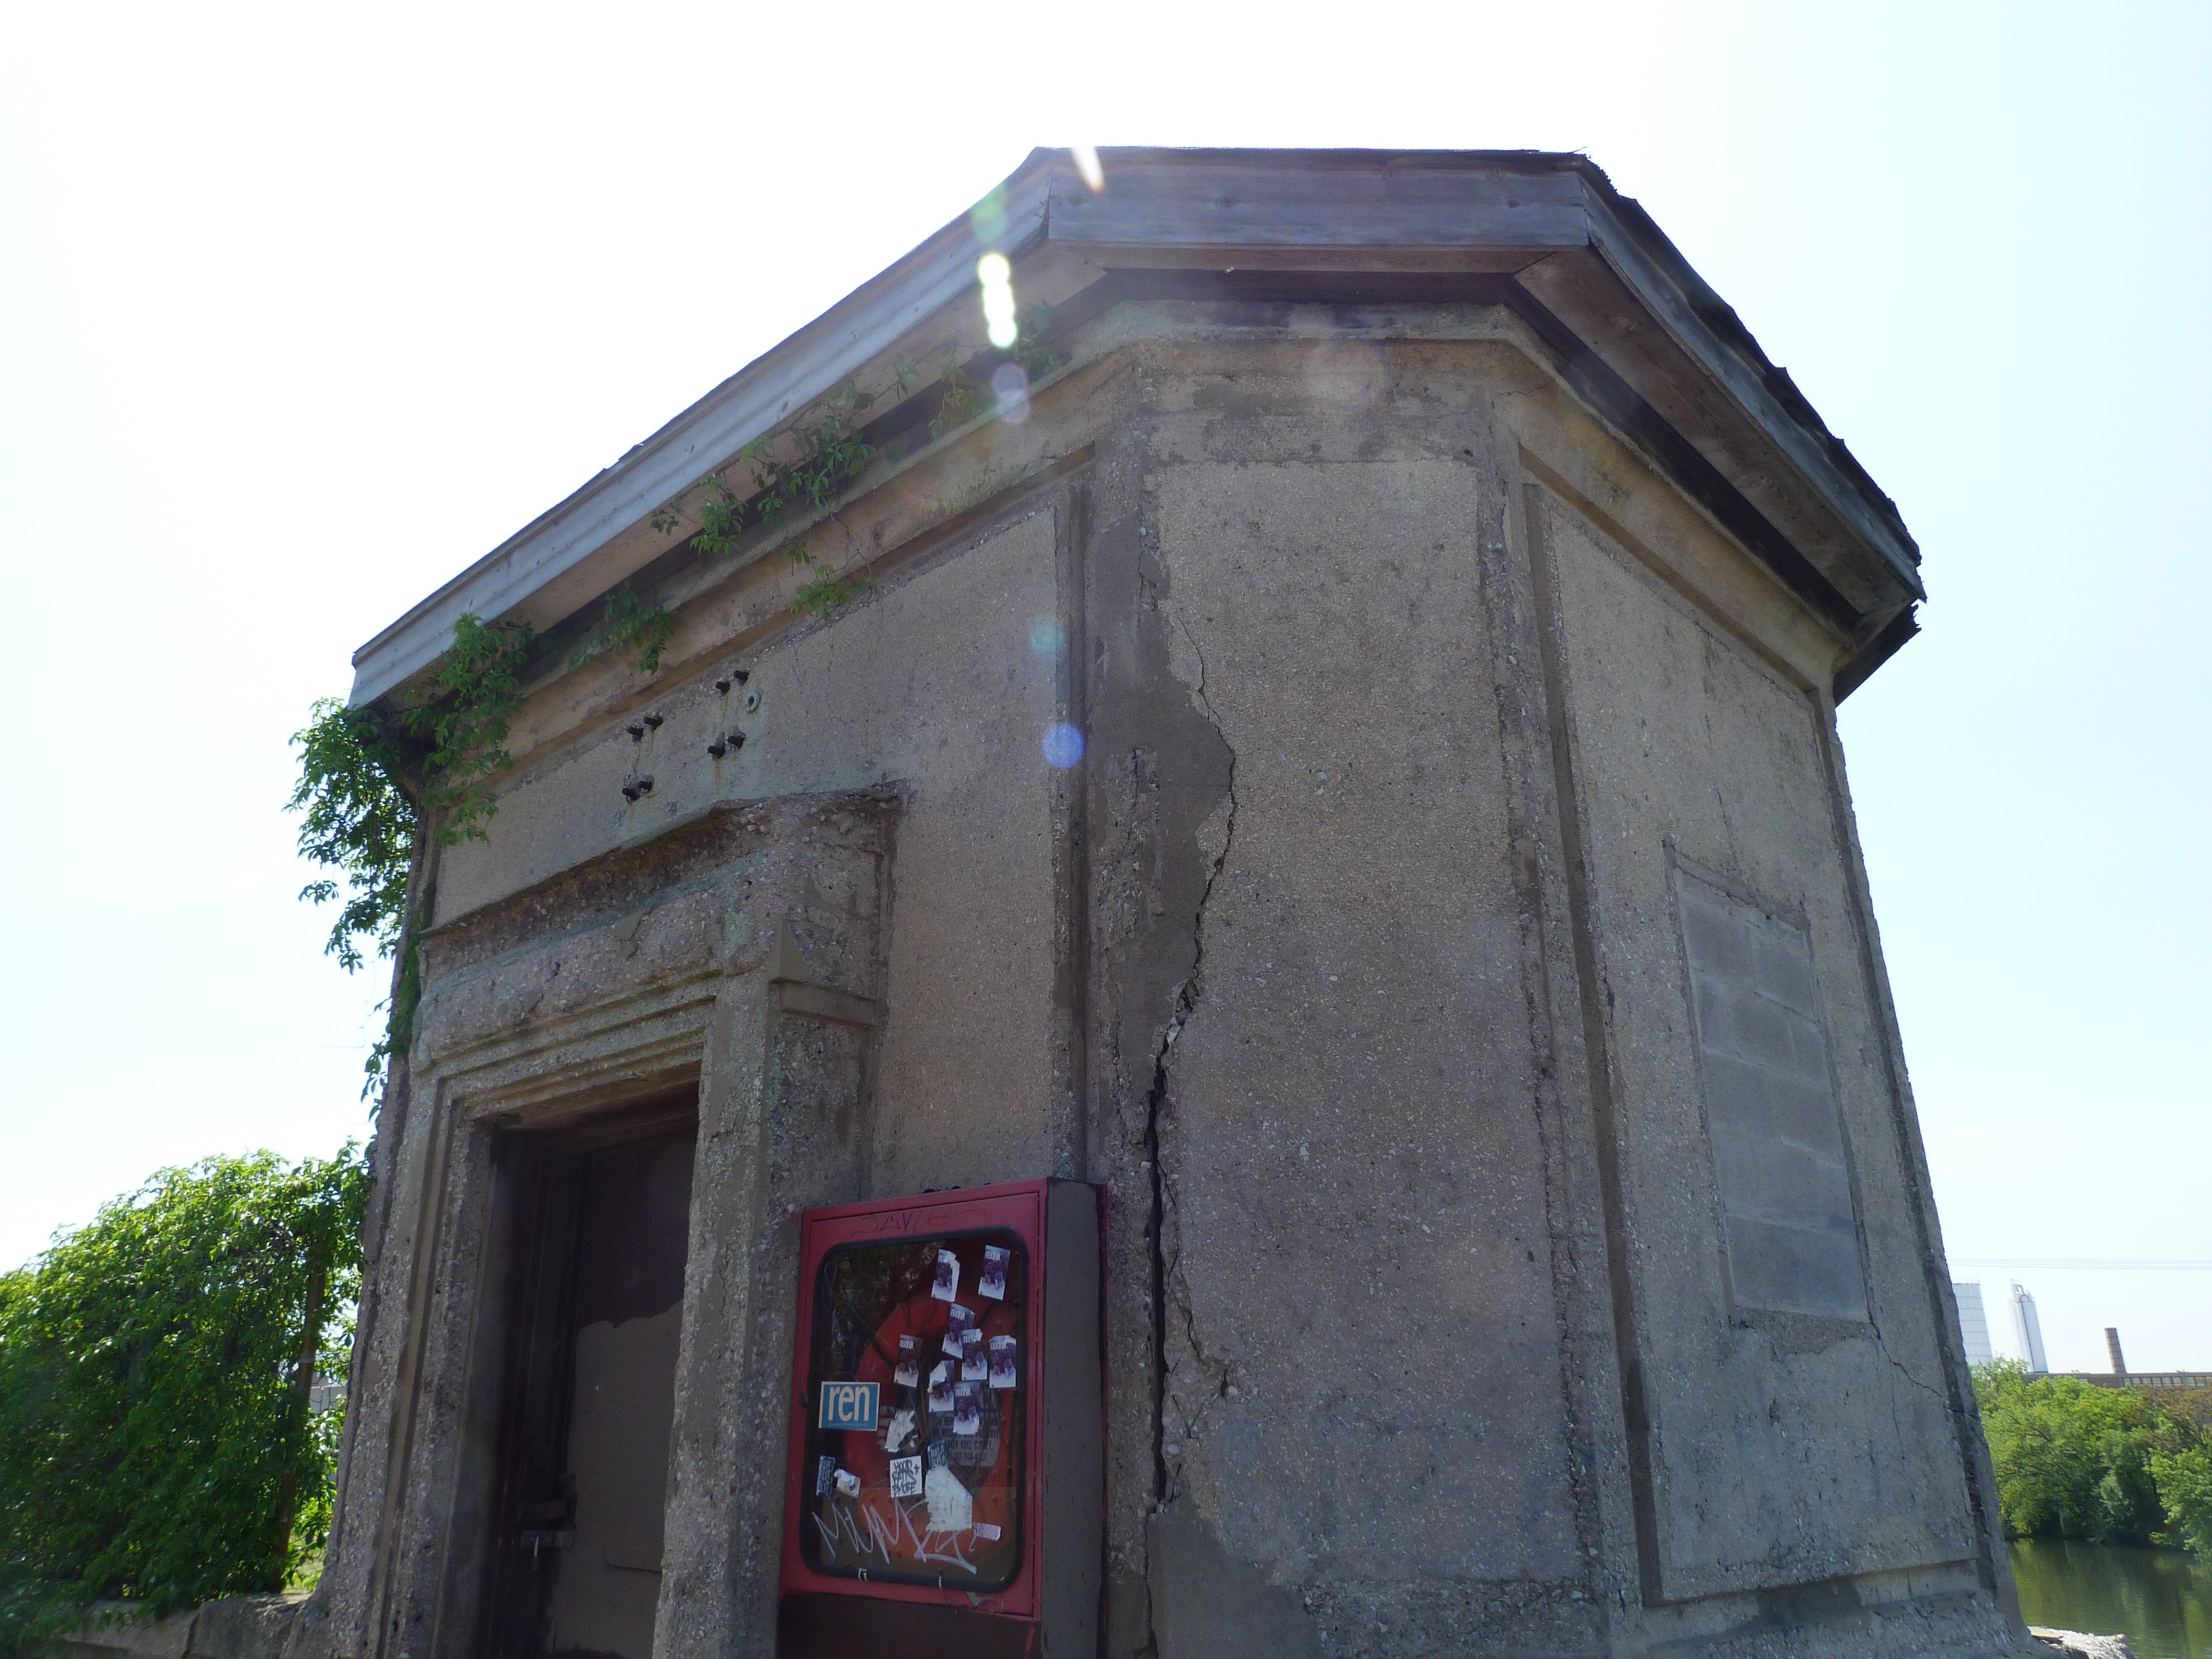
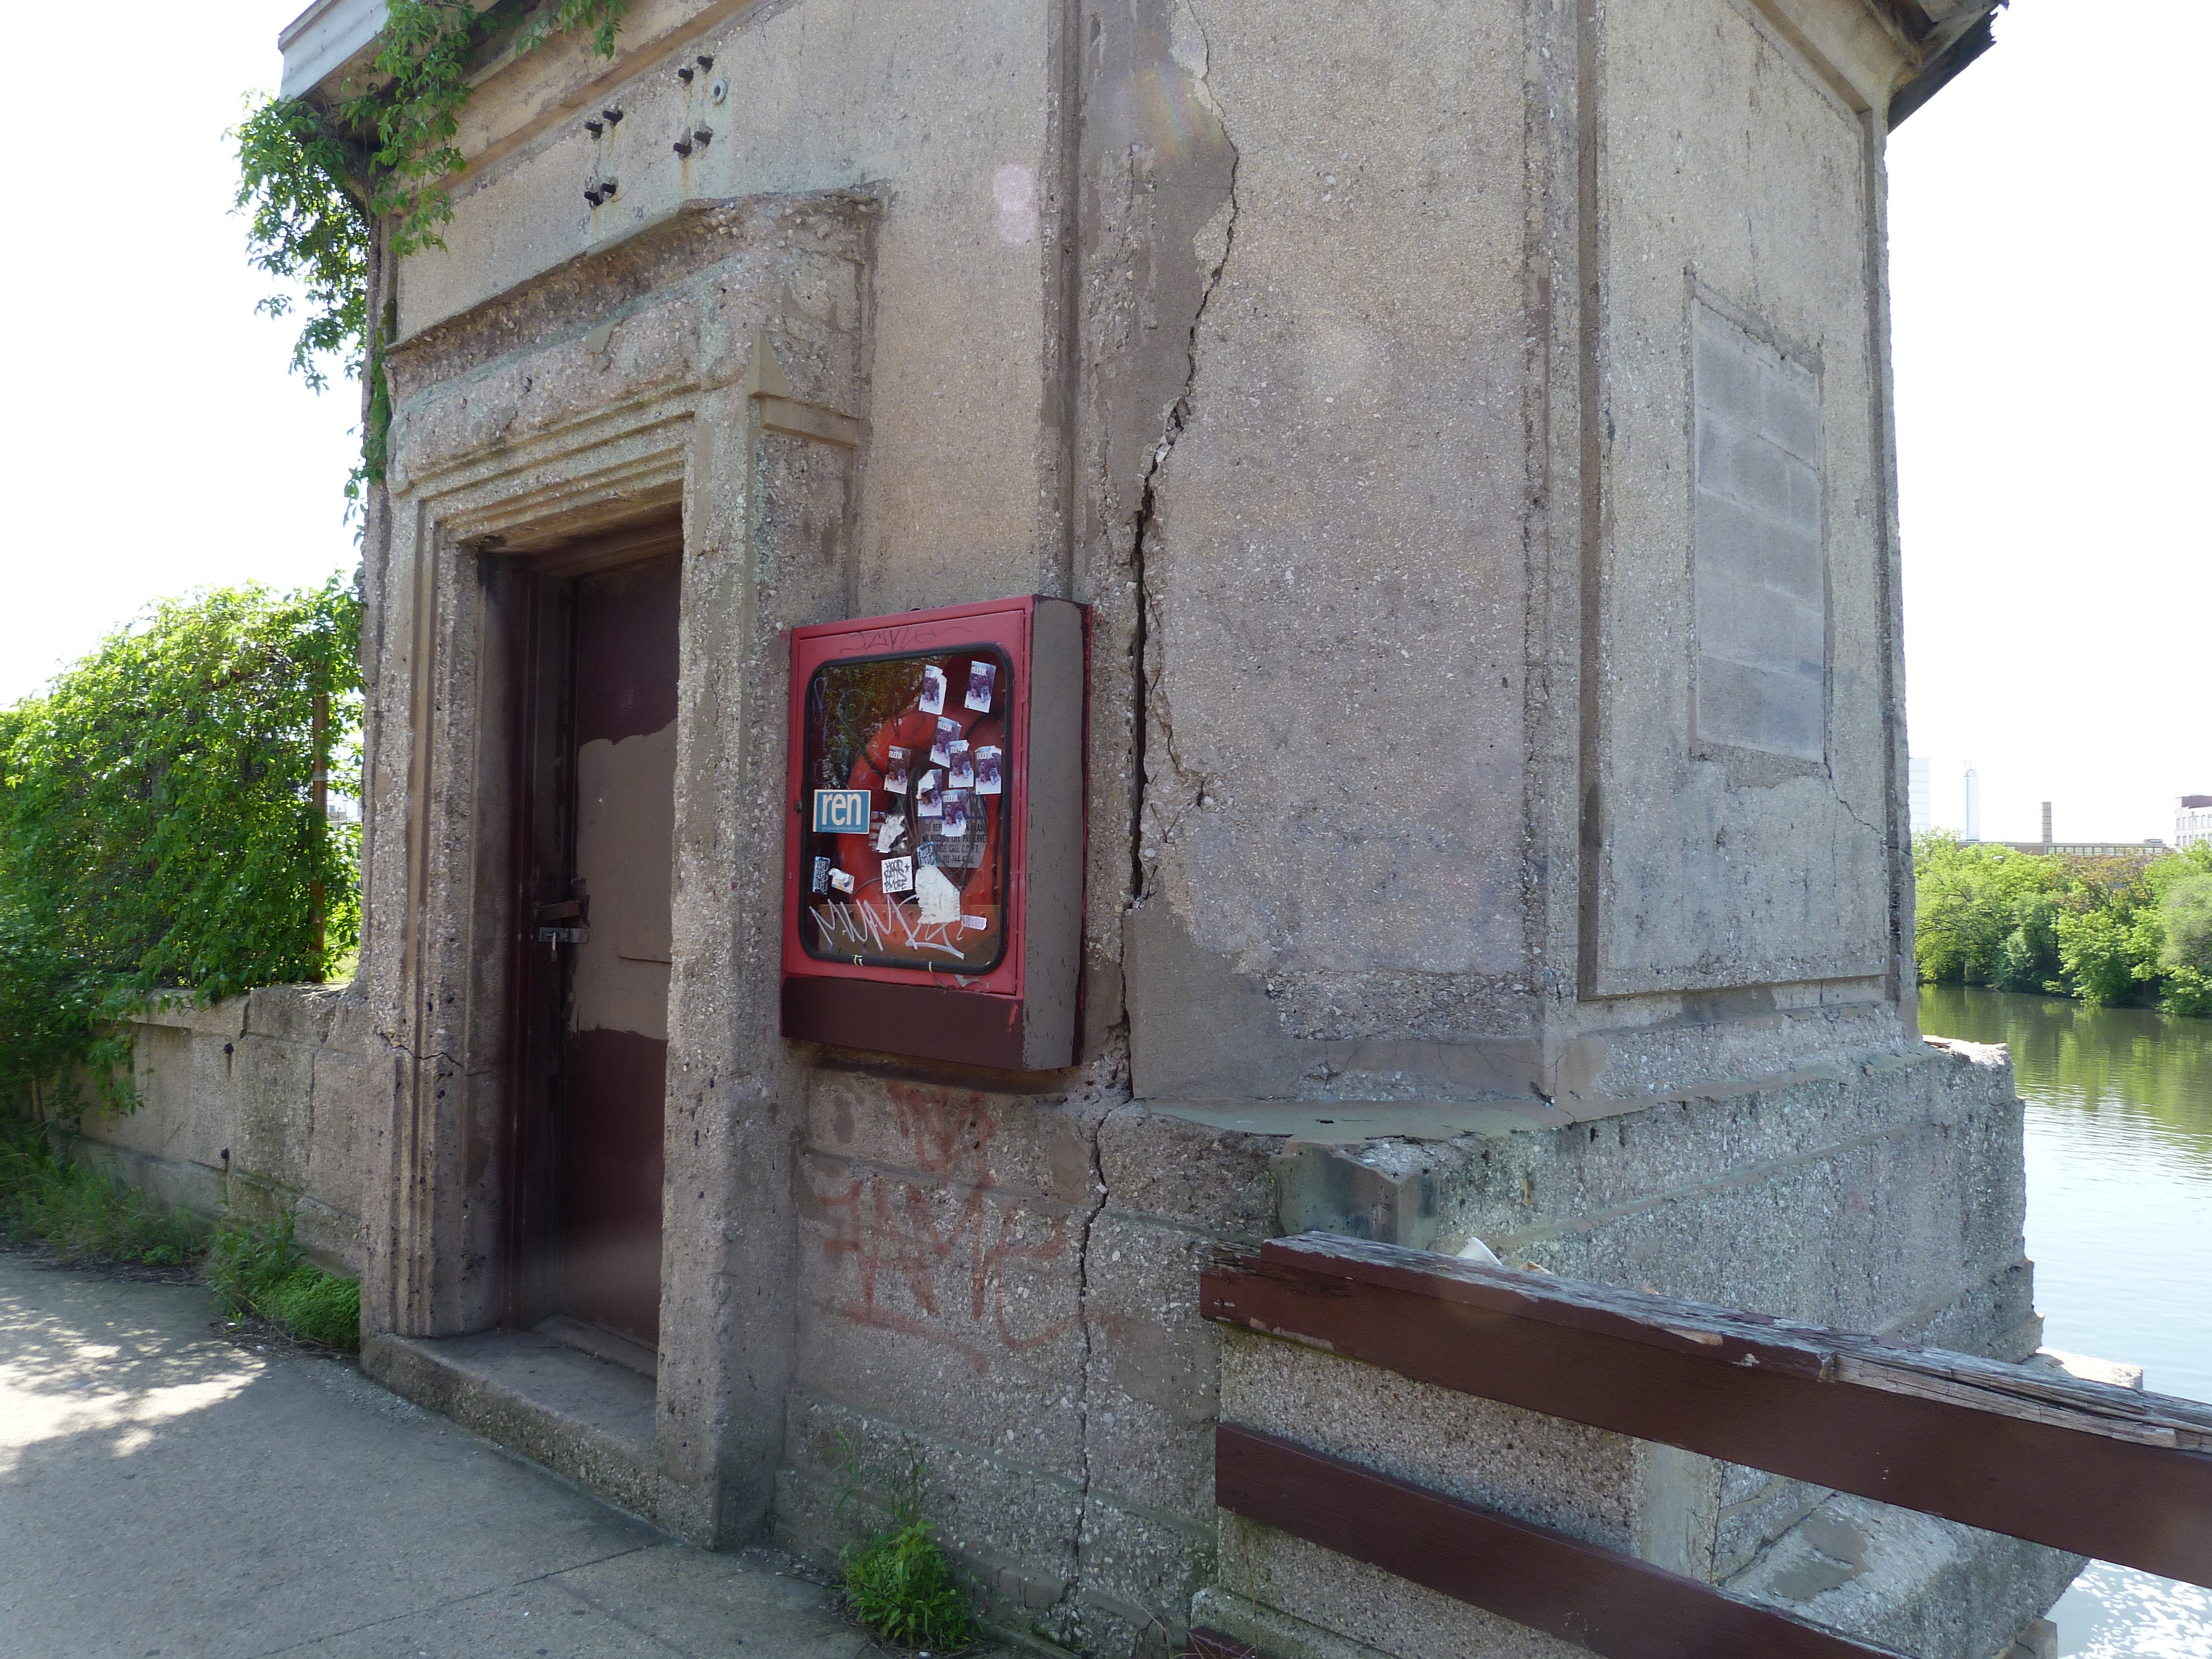
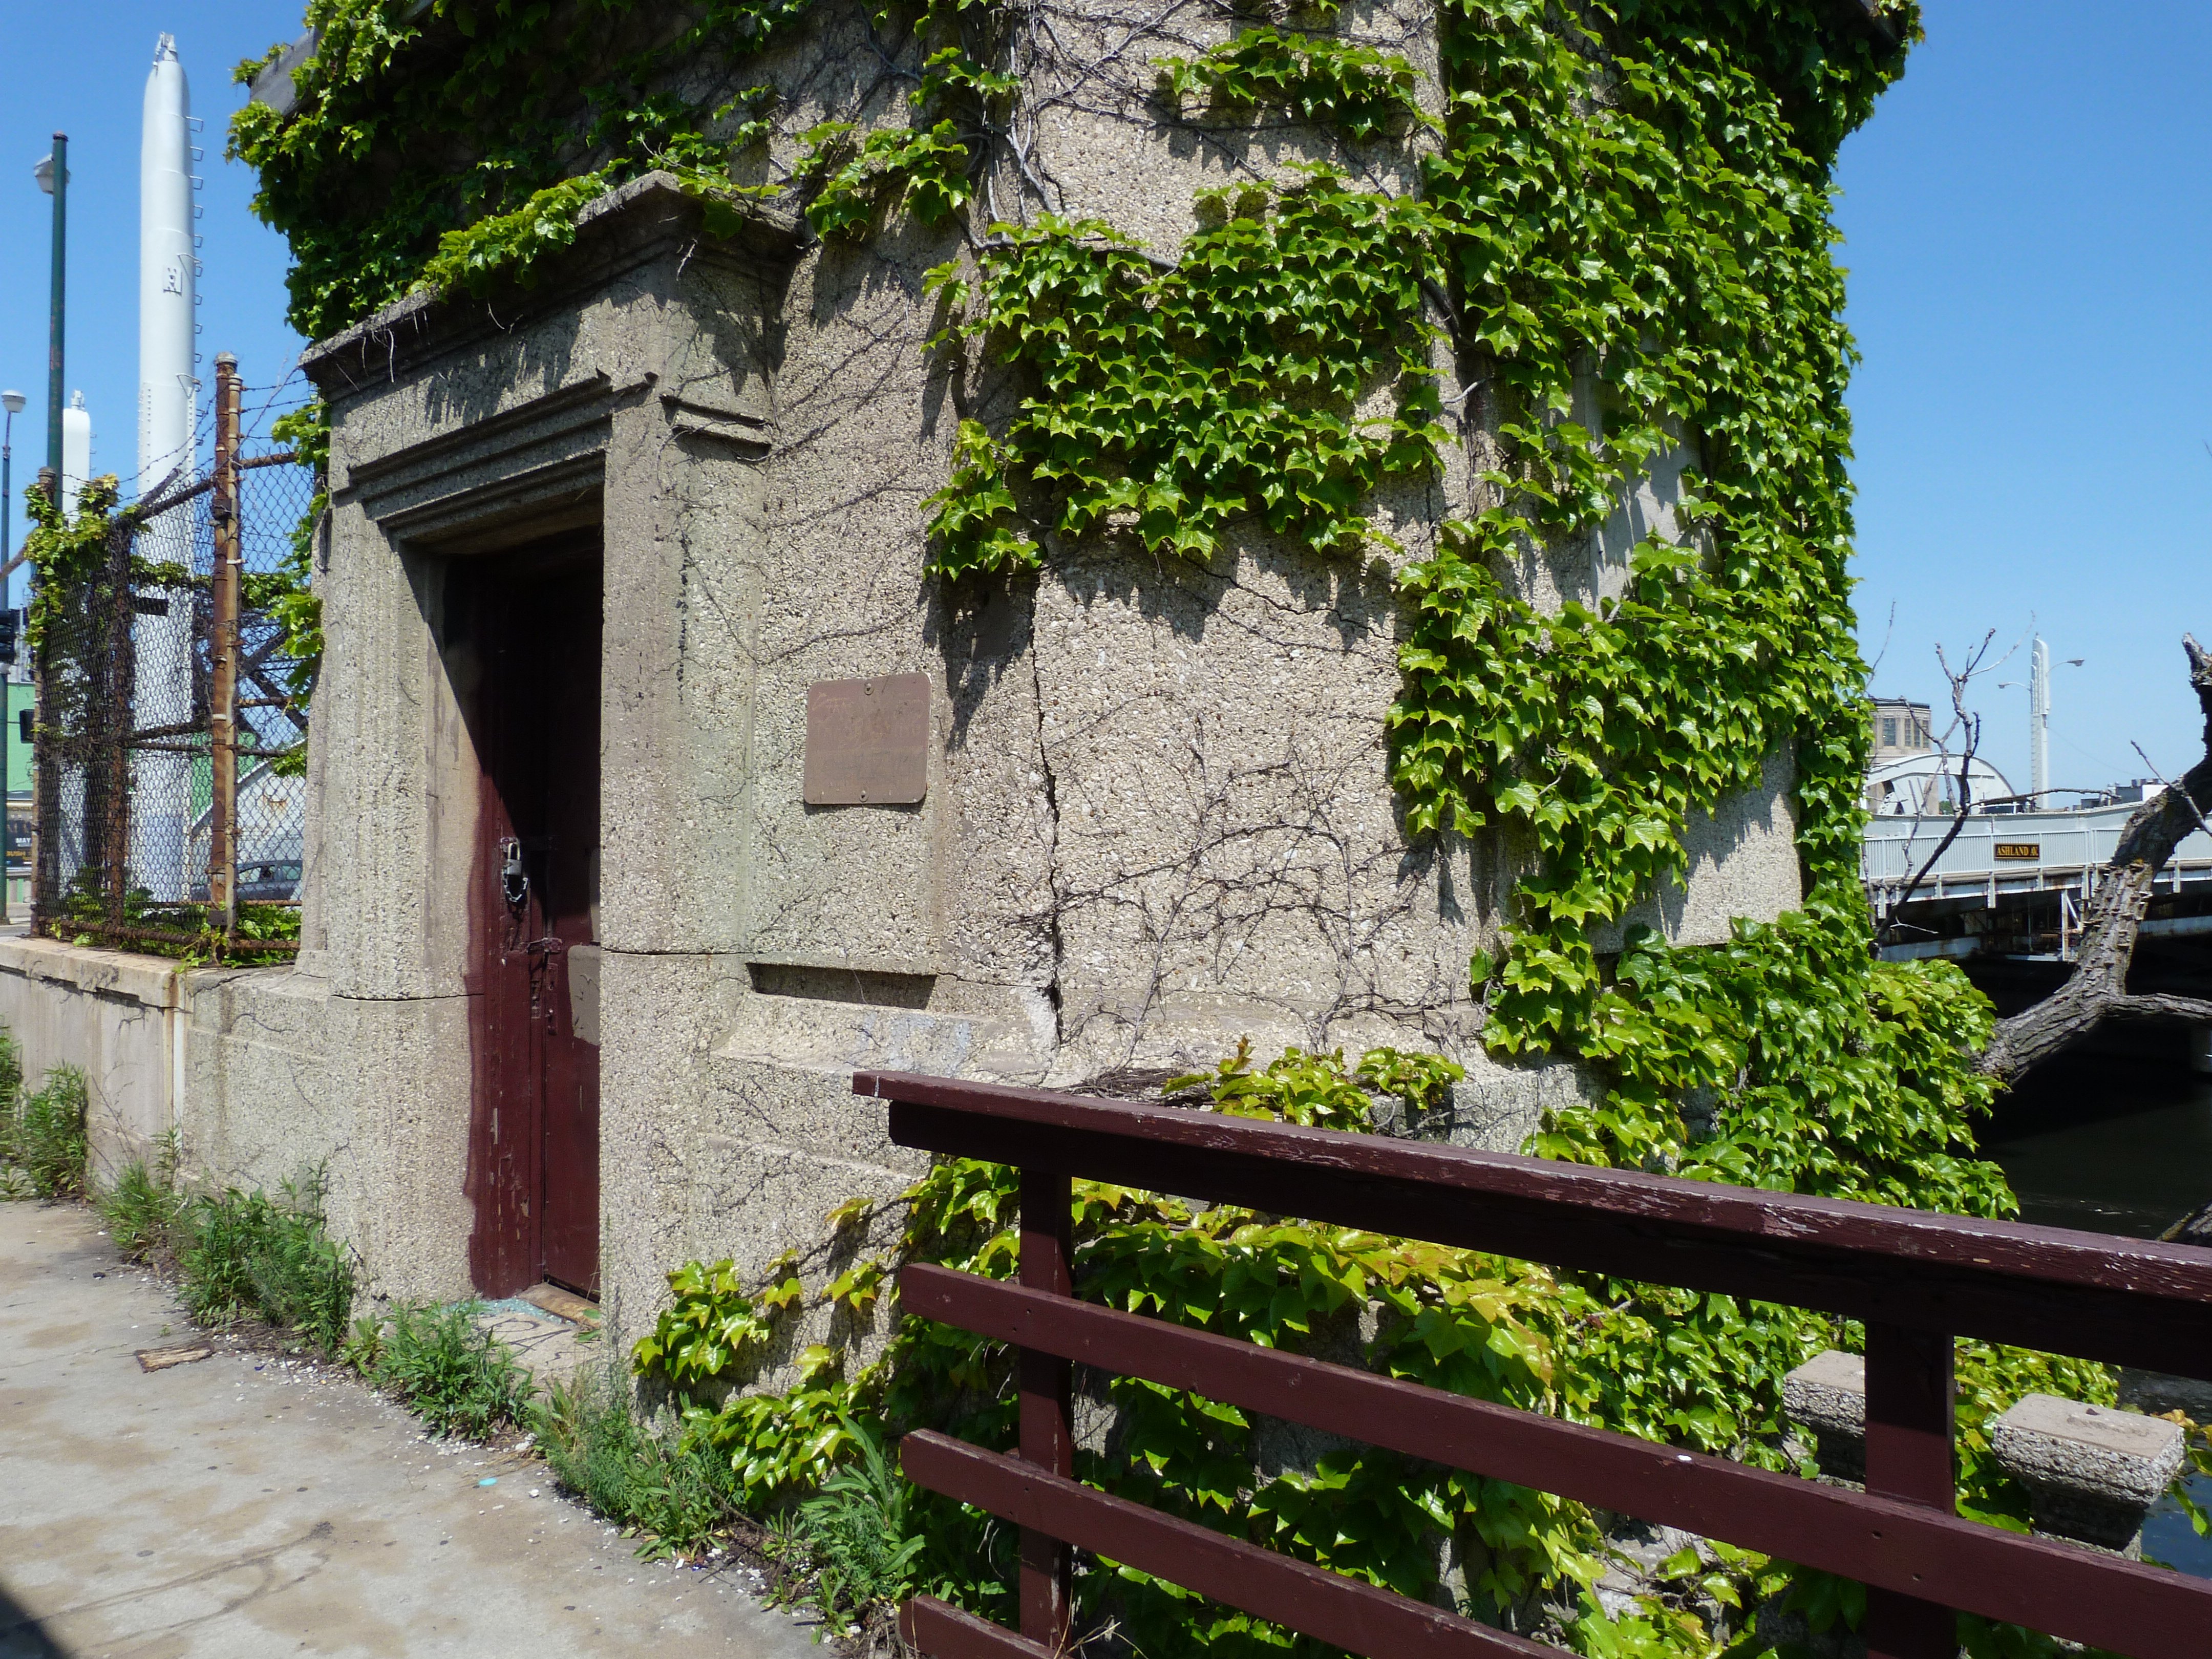
Bridge tender house details.
![]()
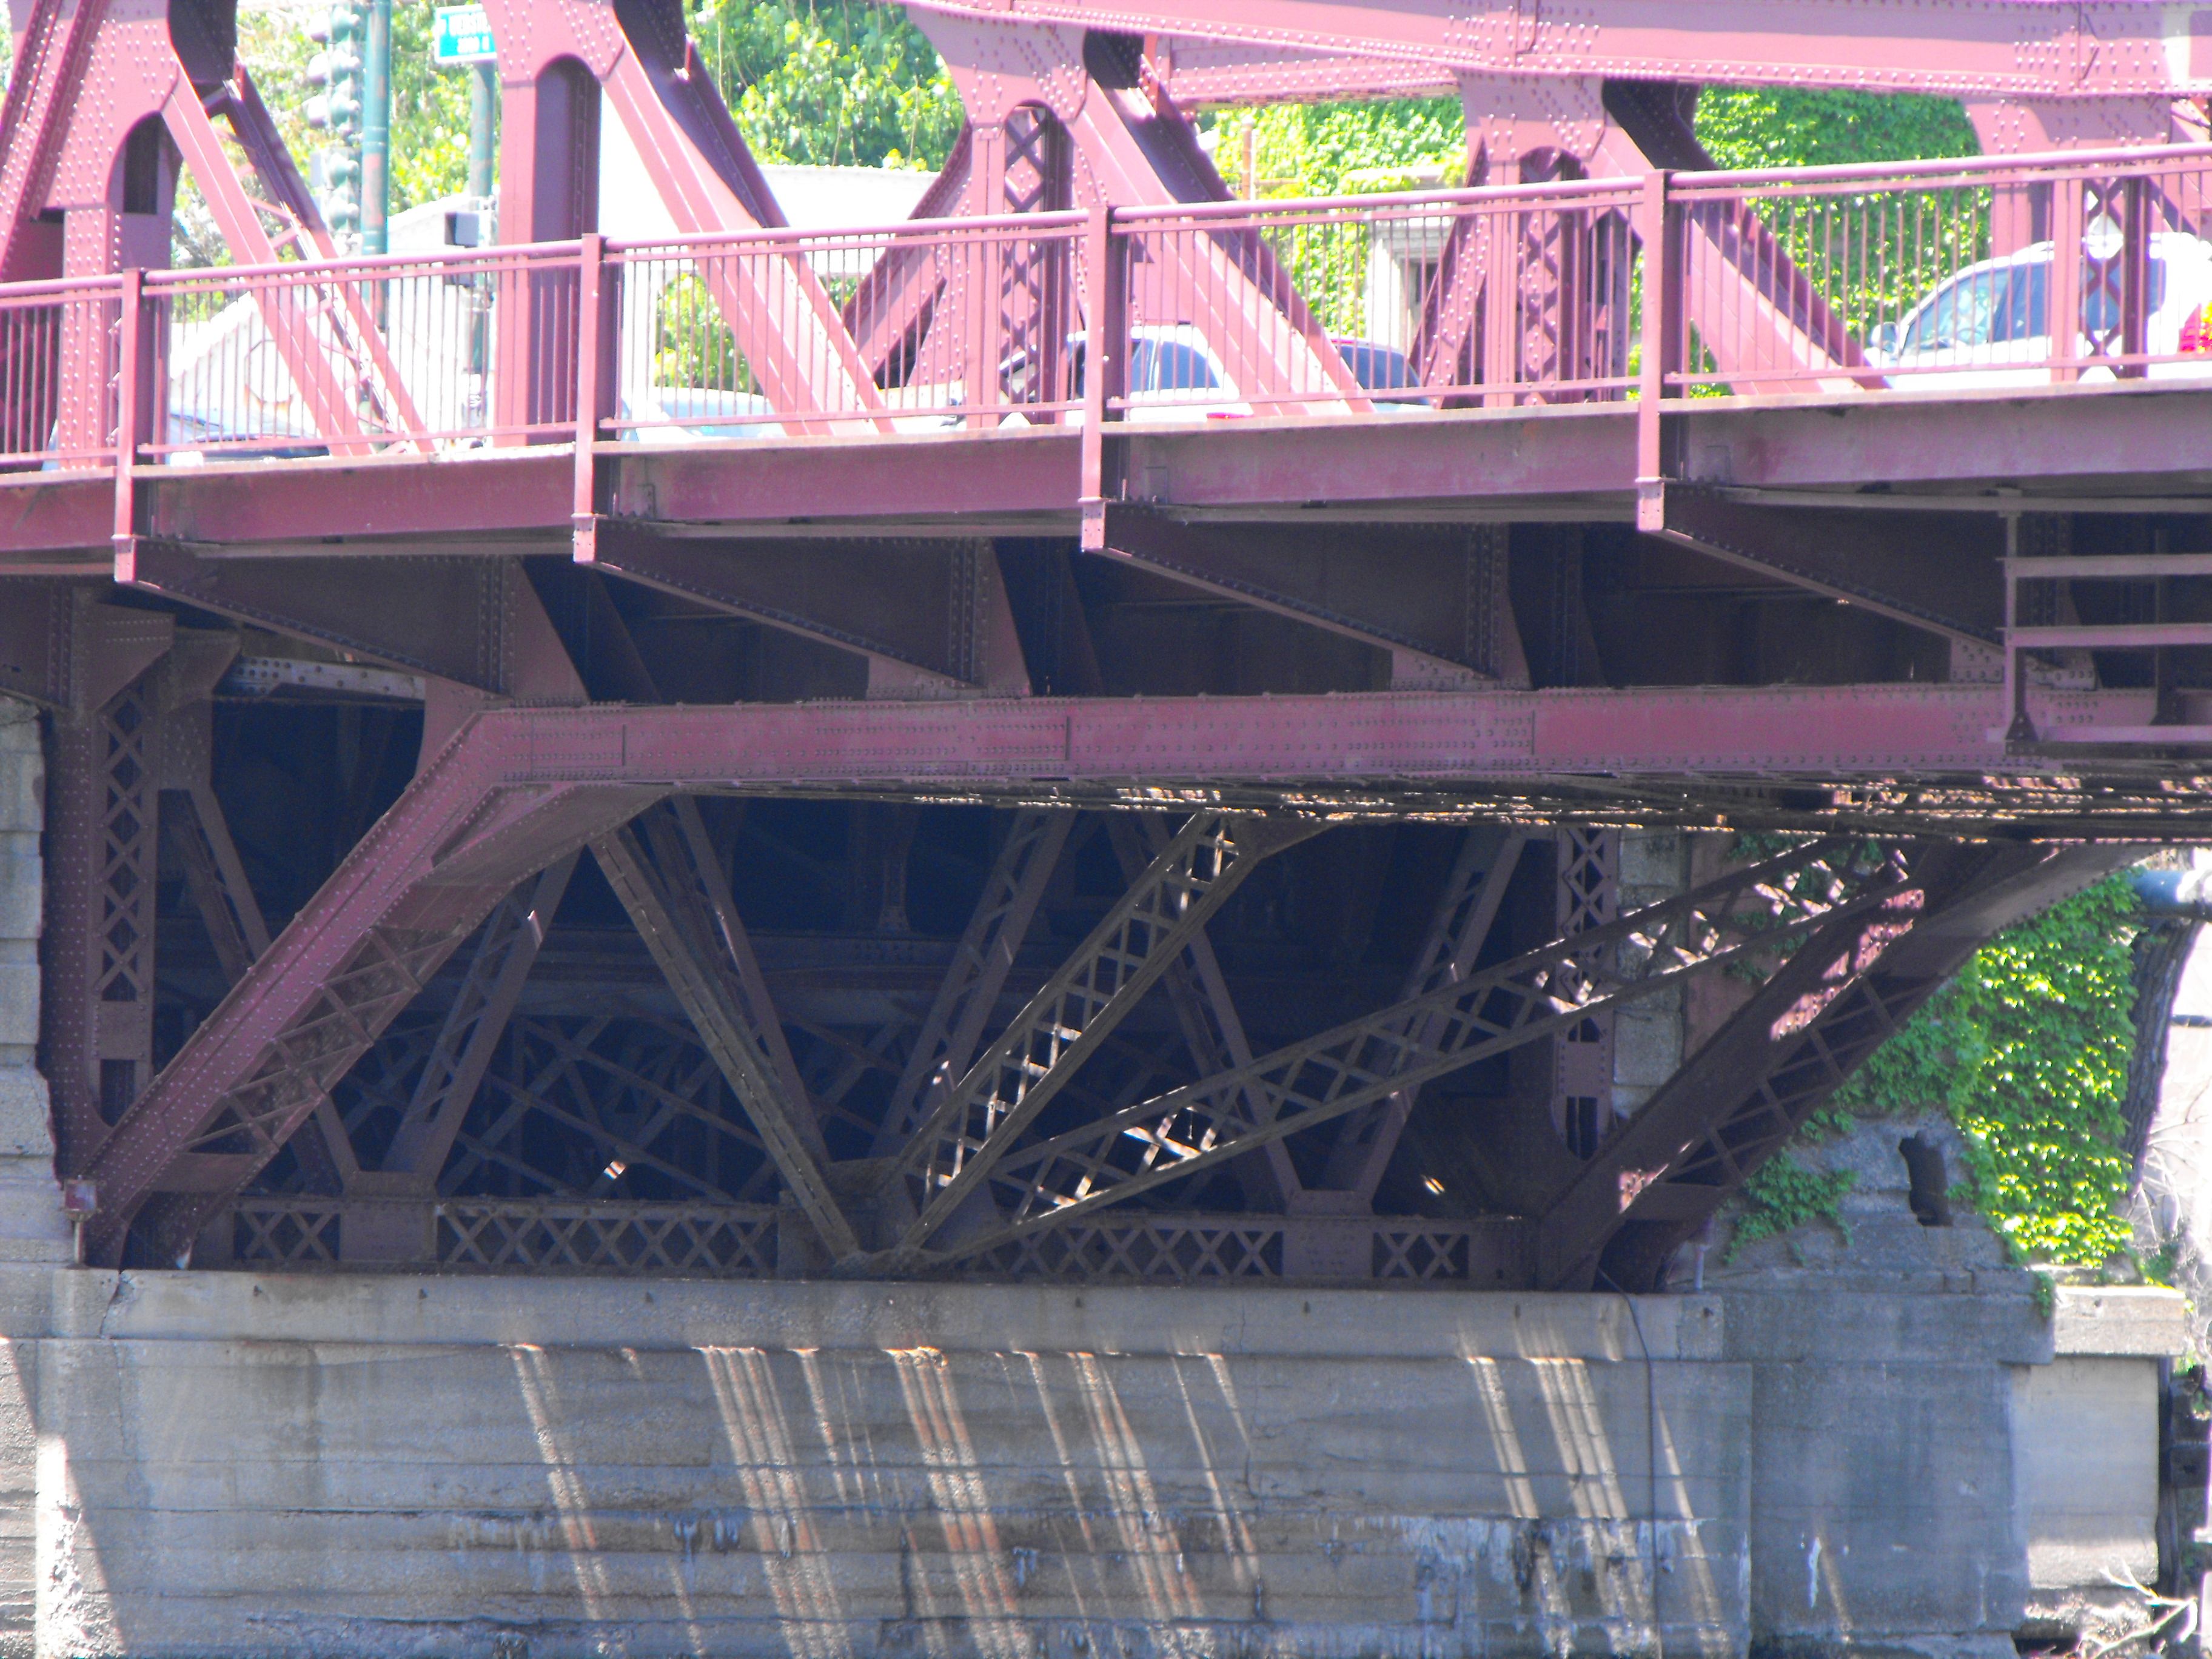
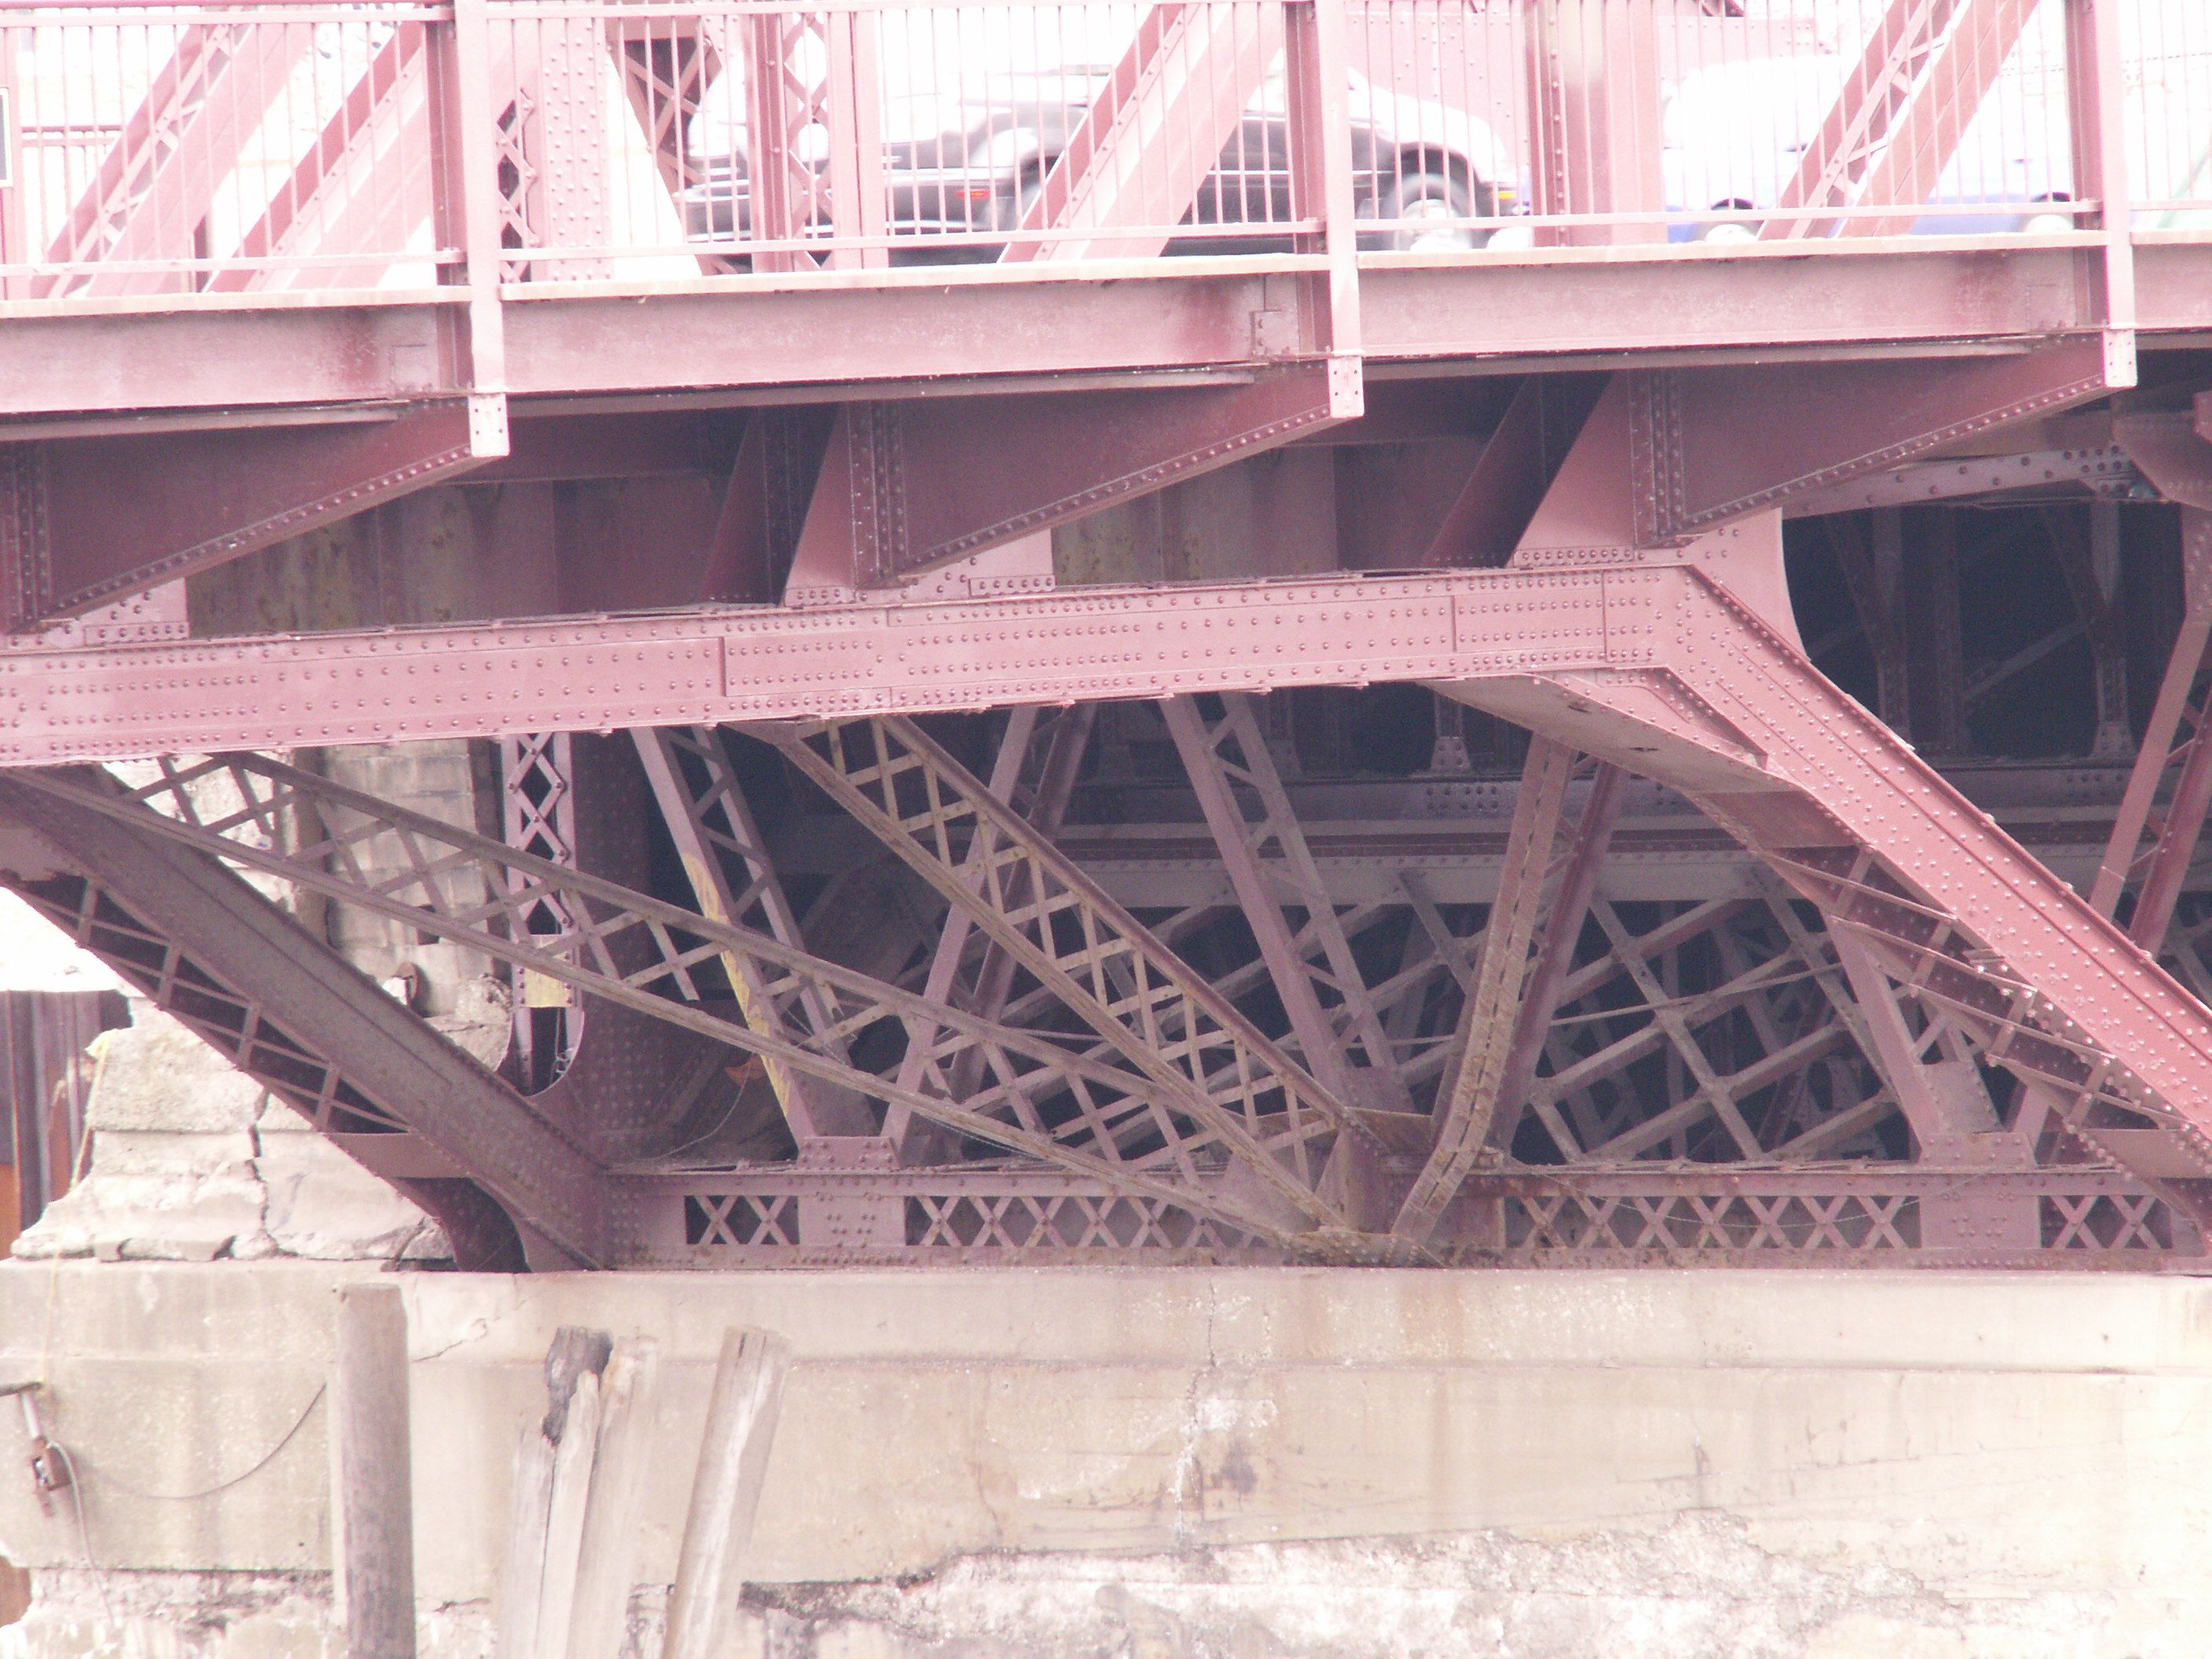
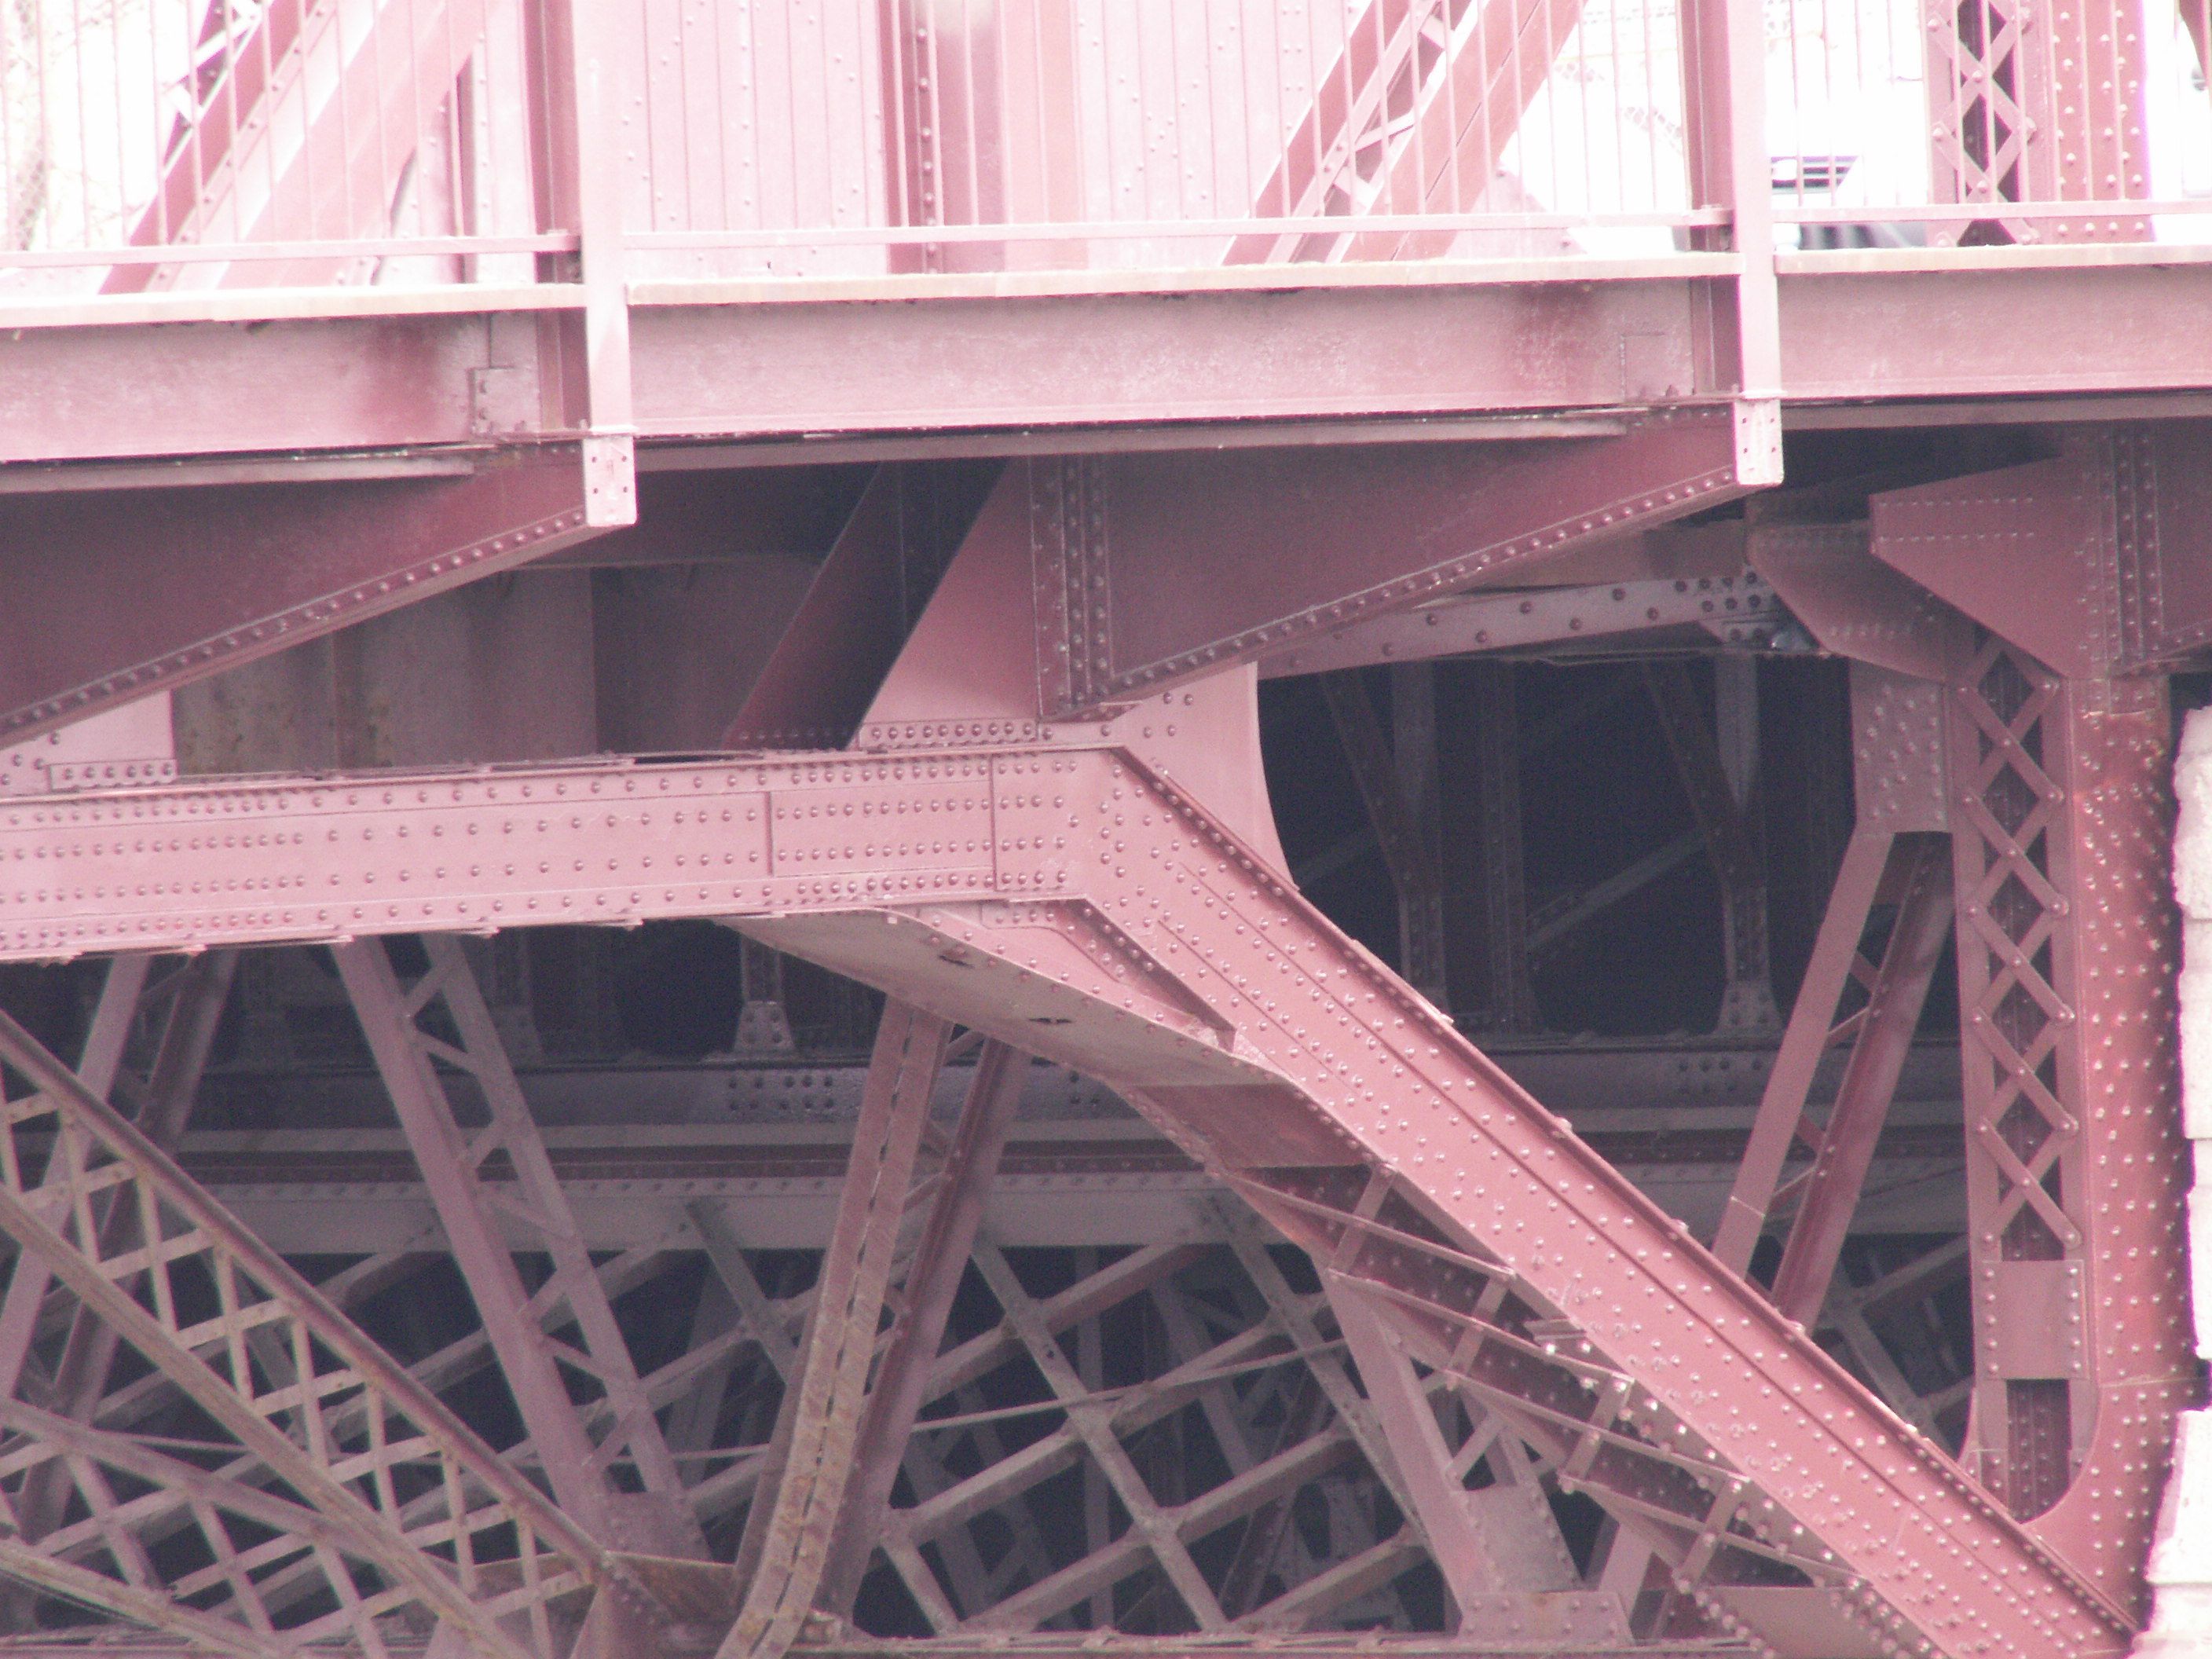
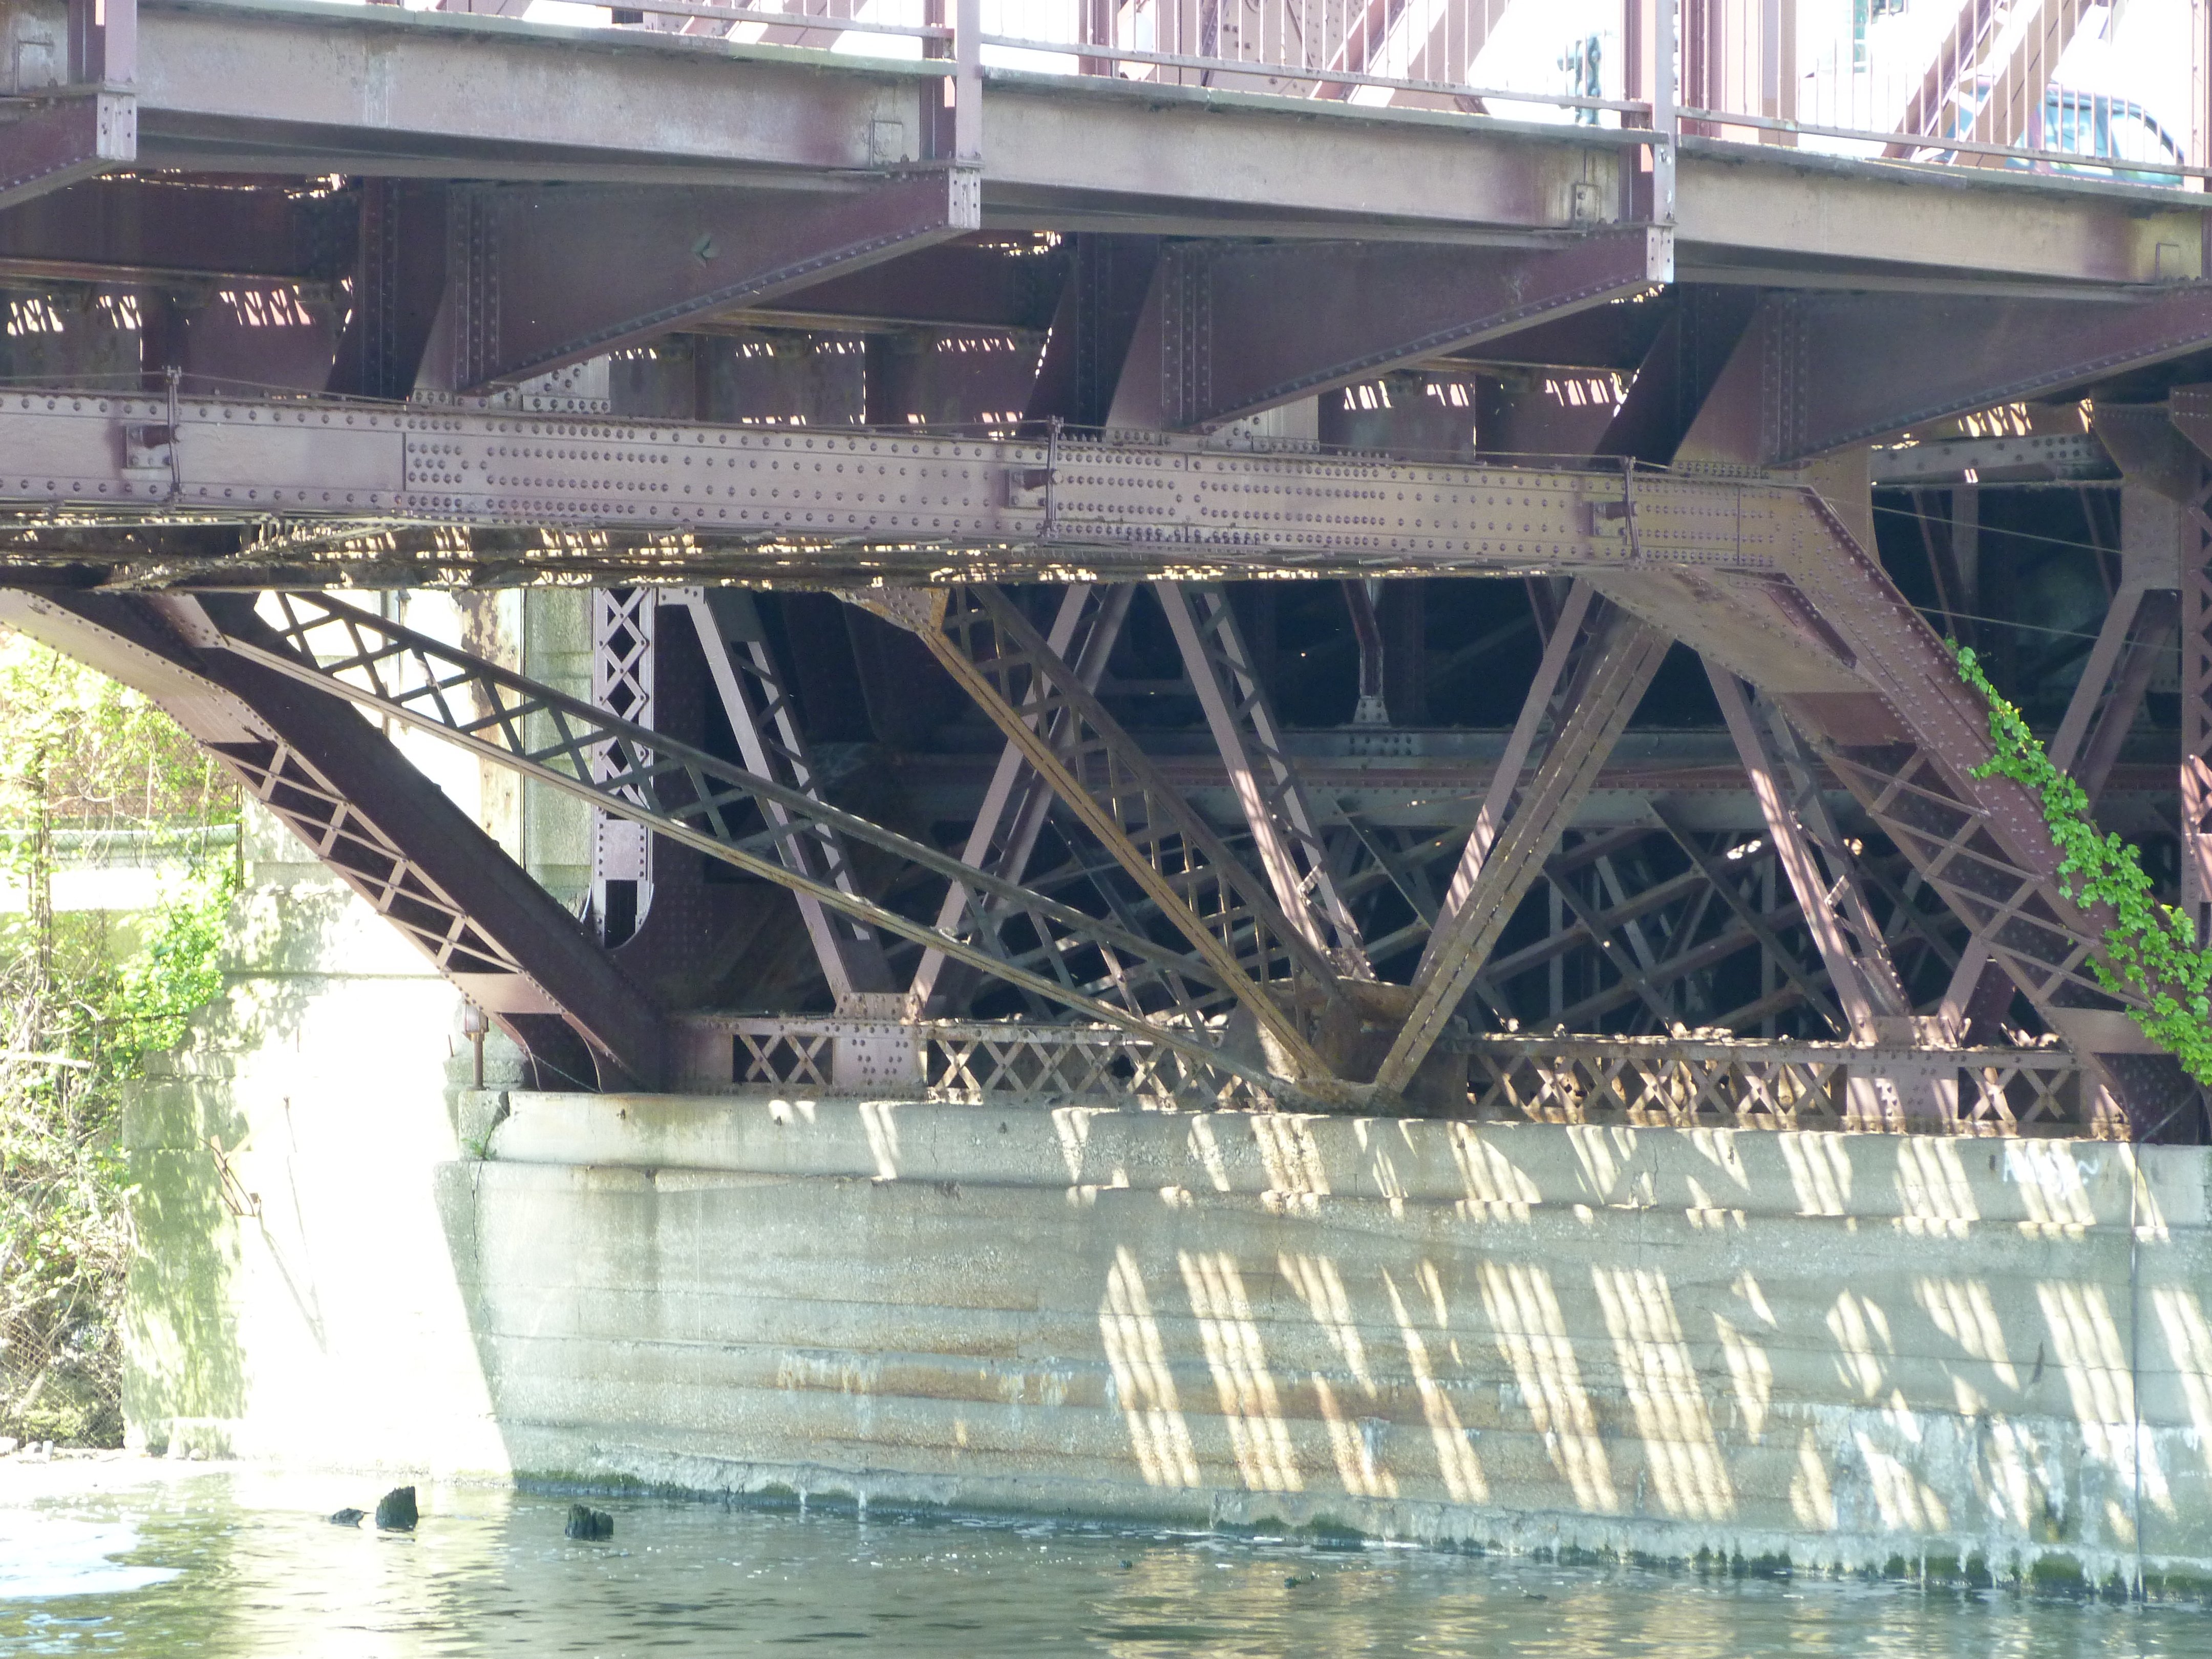
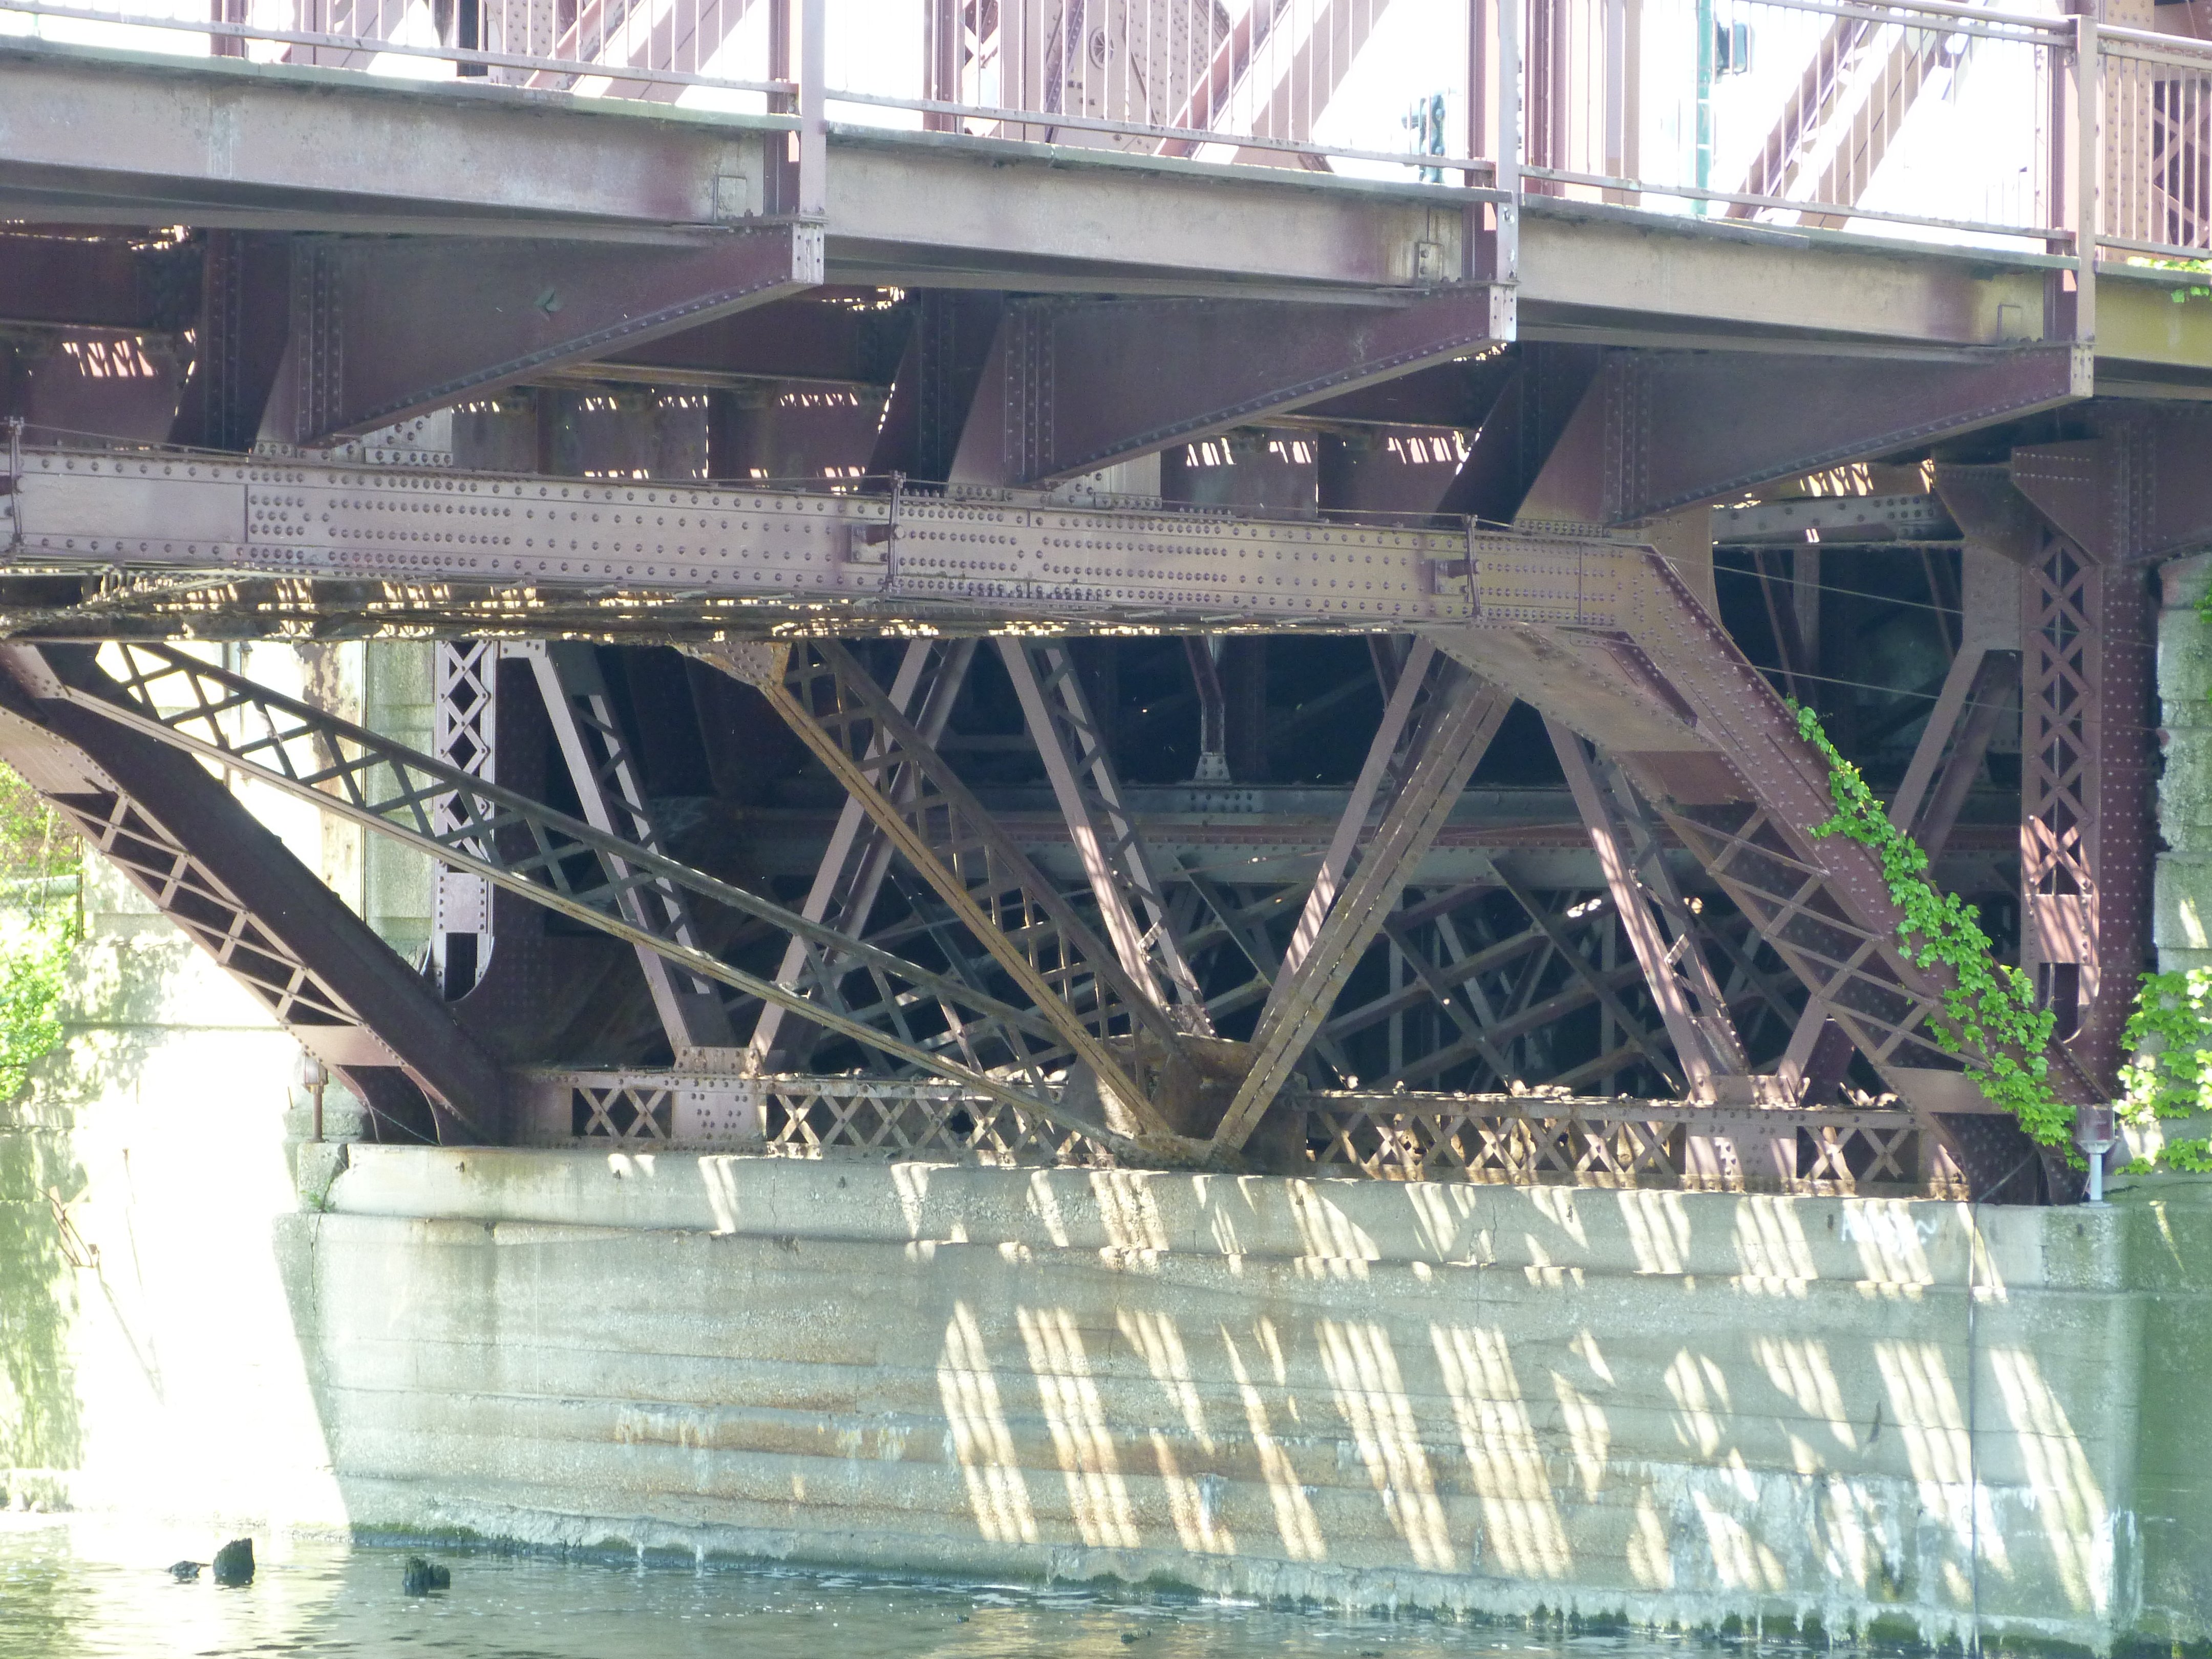
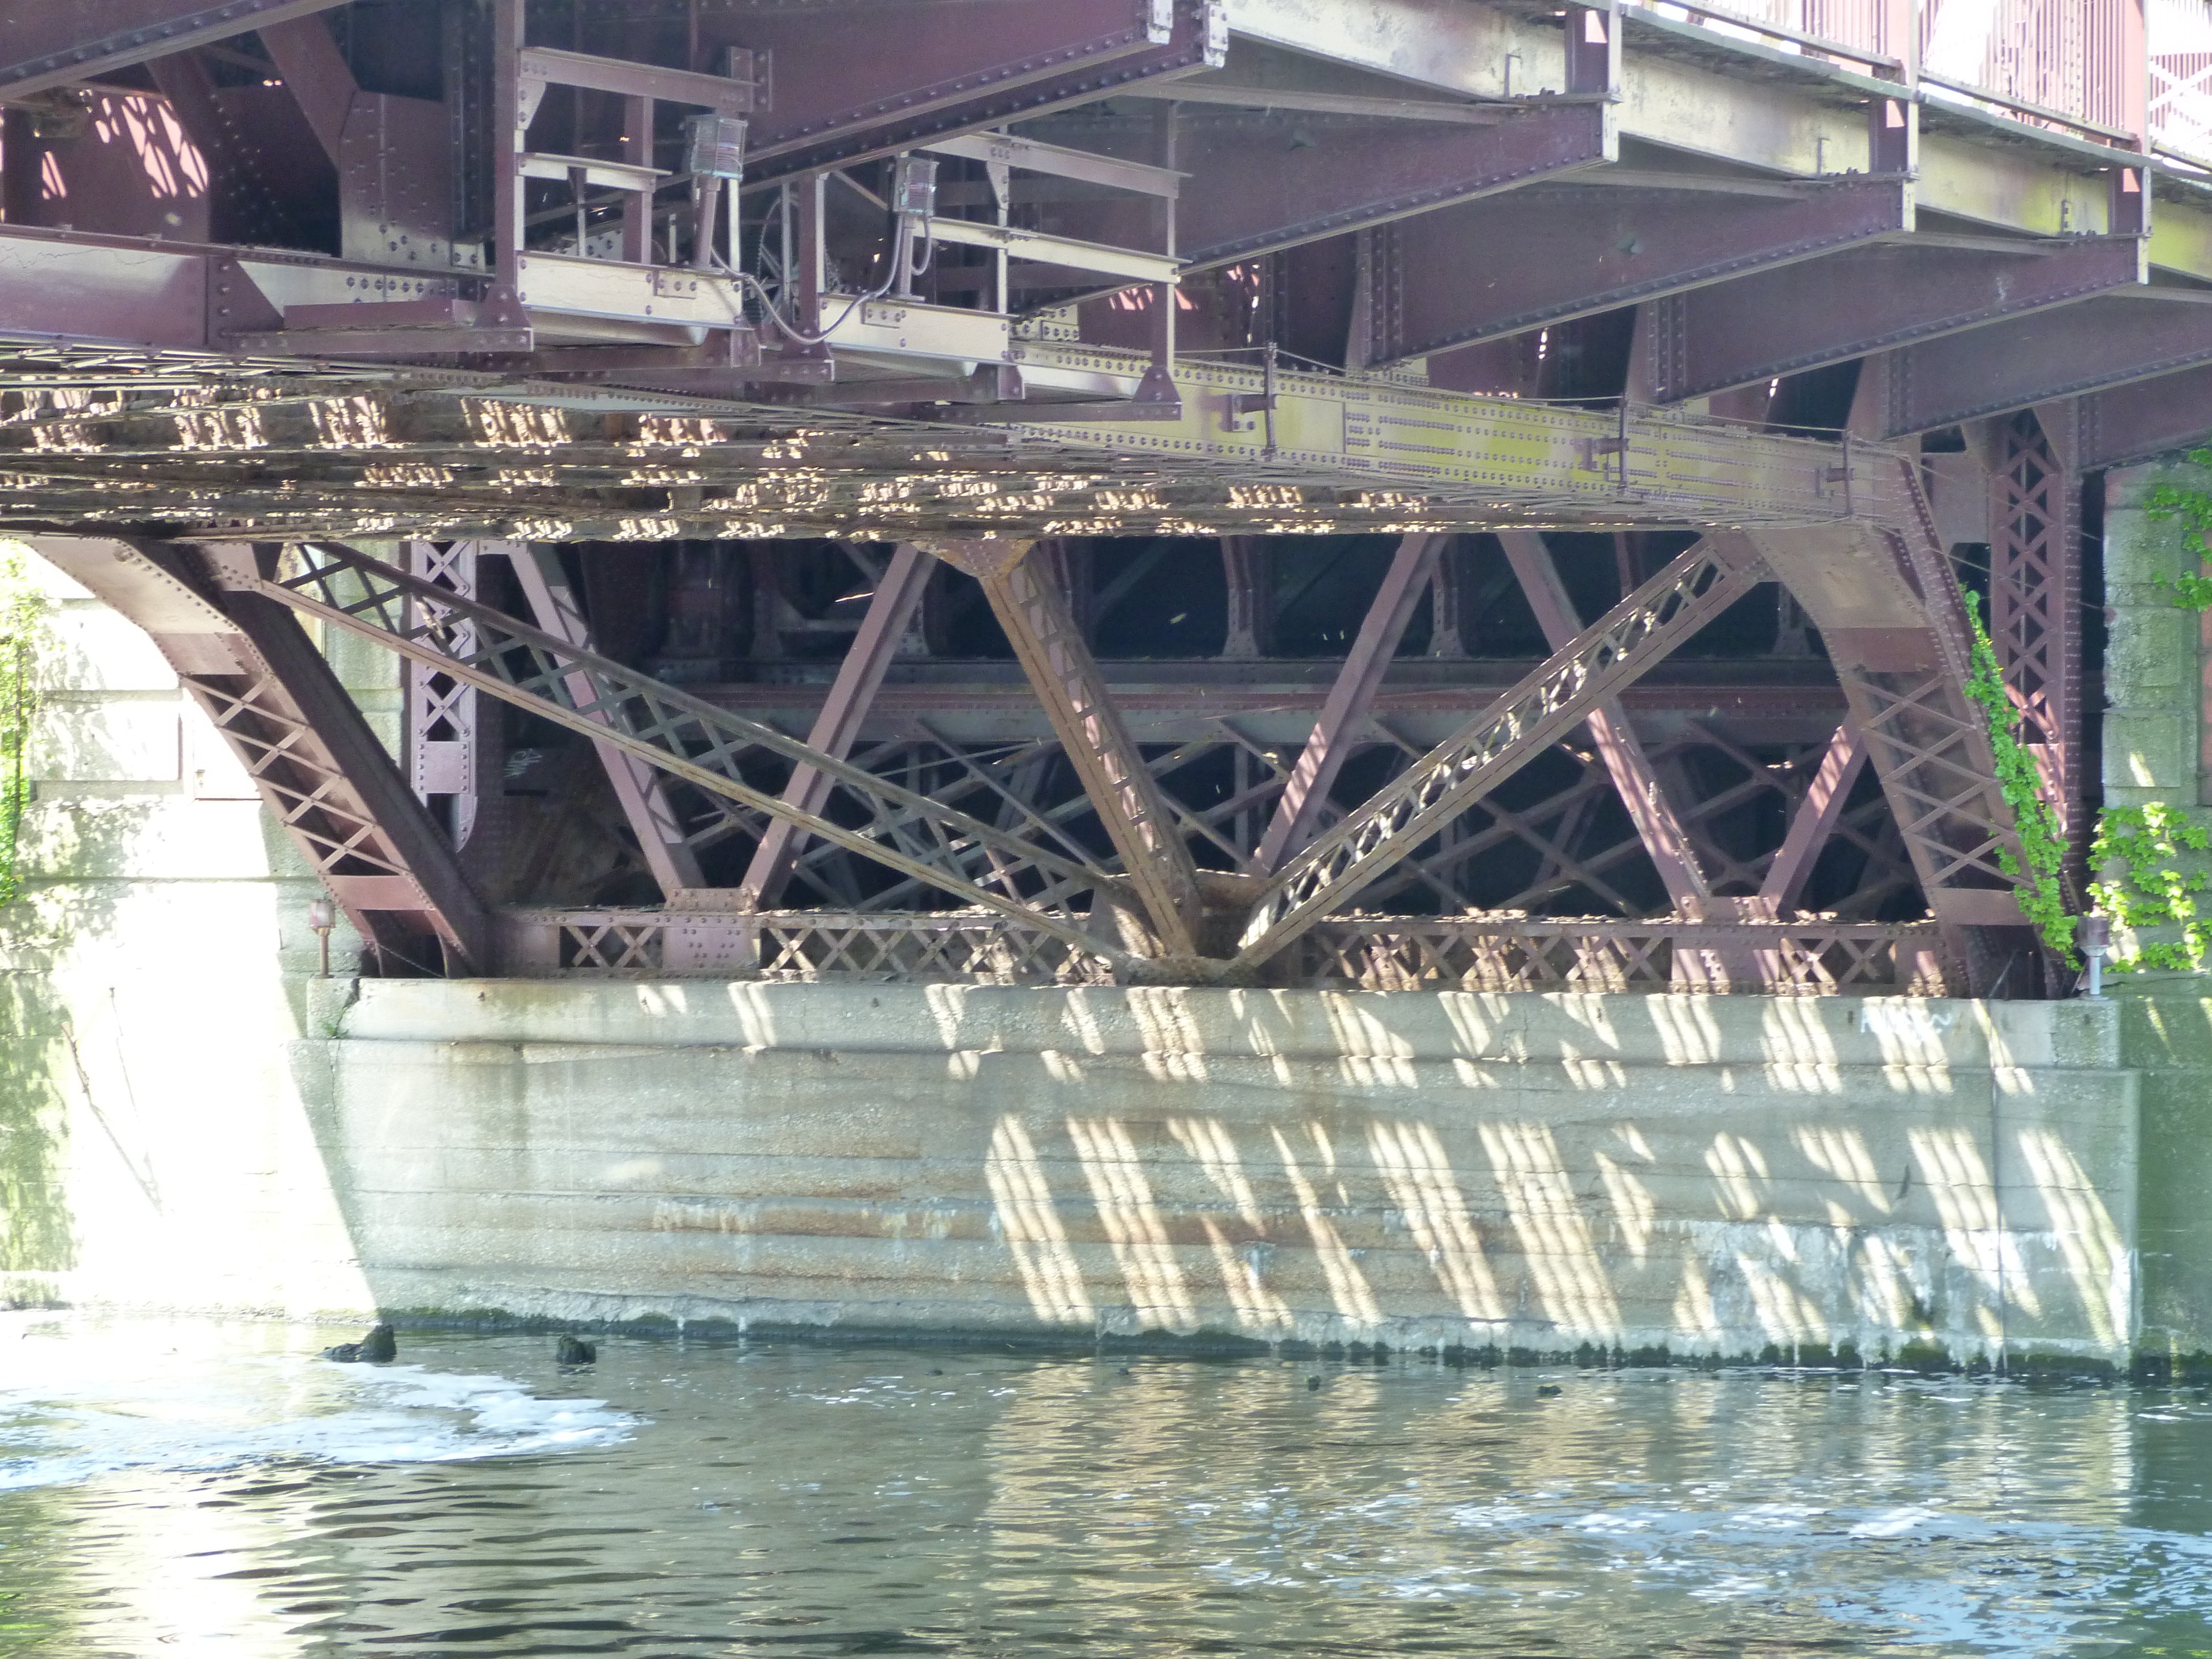
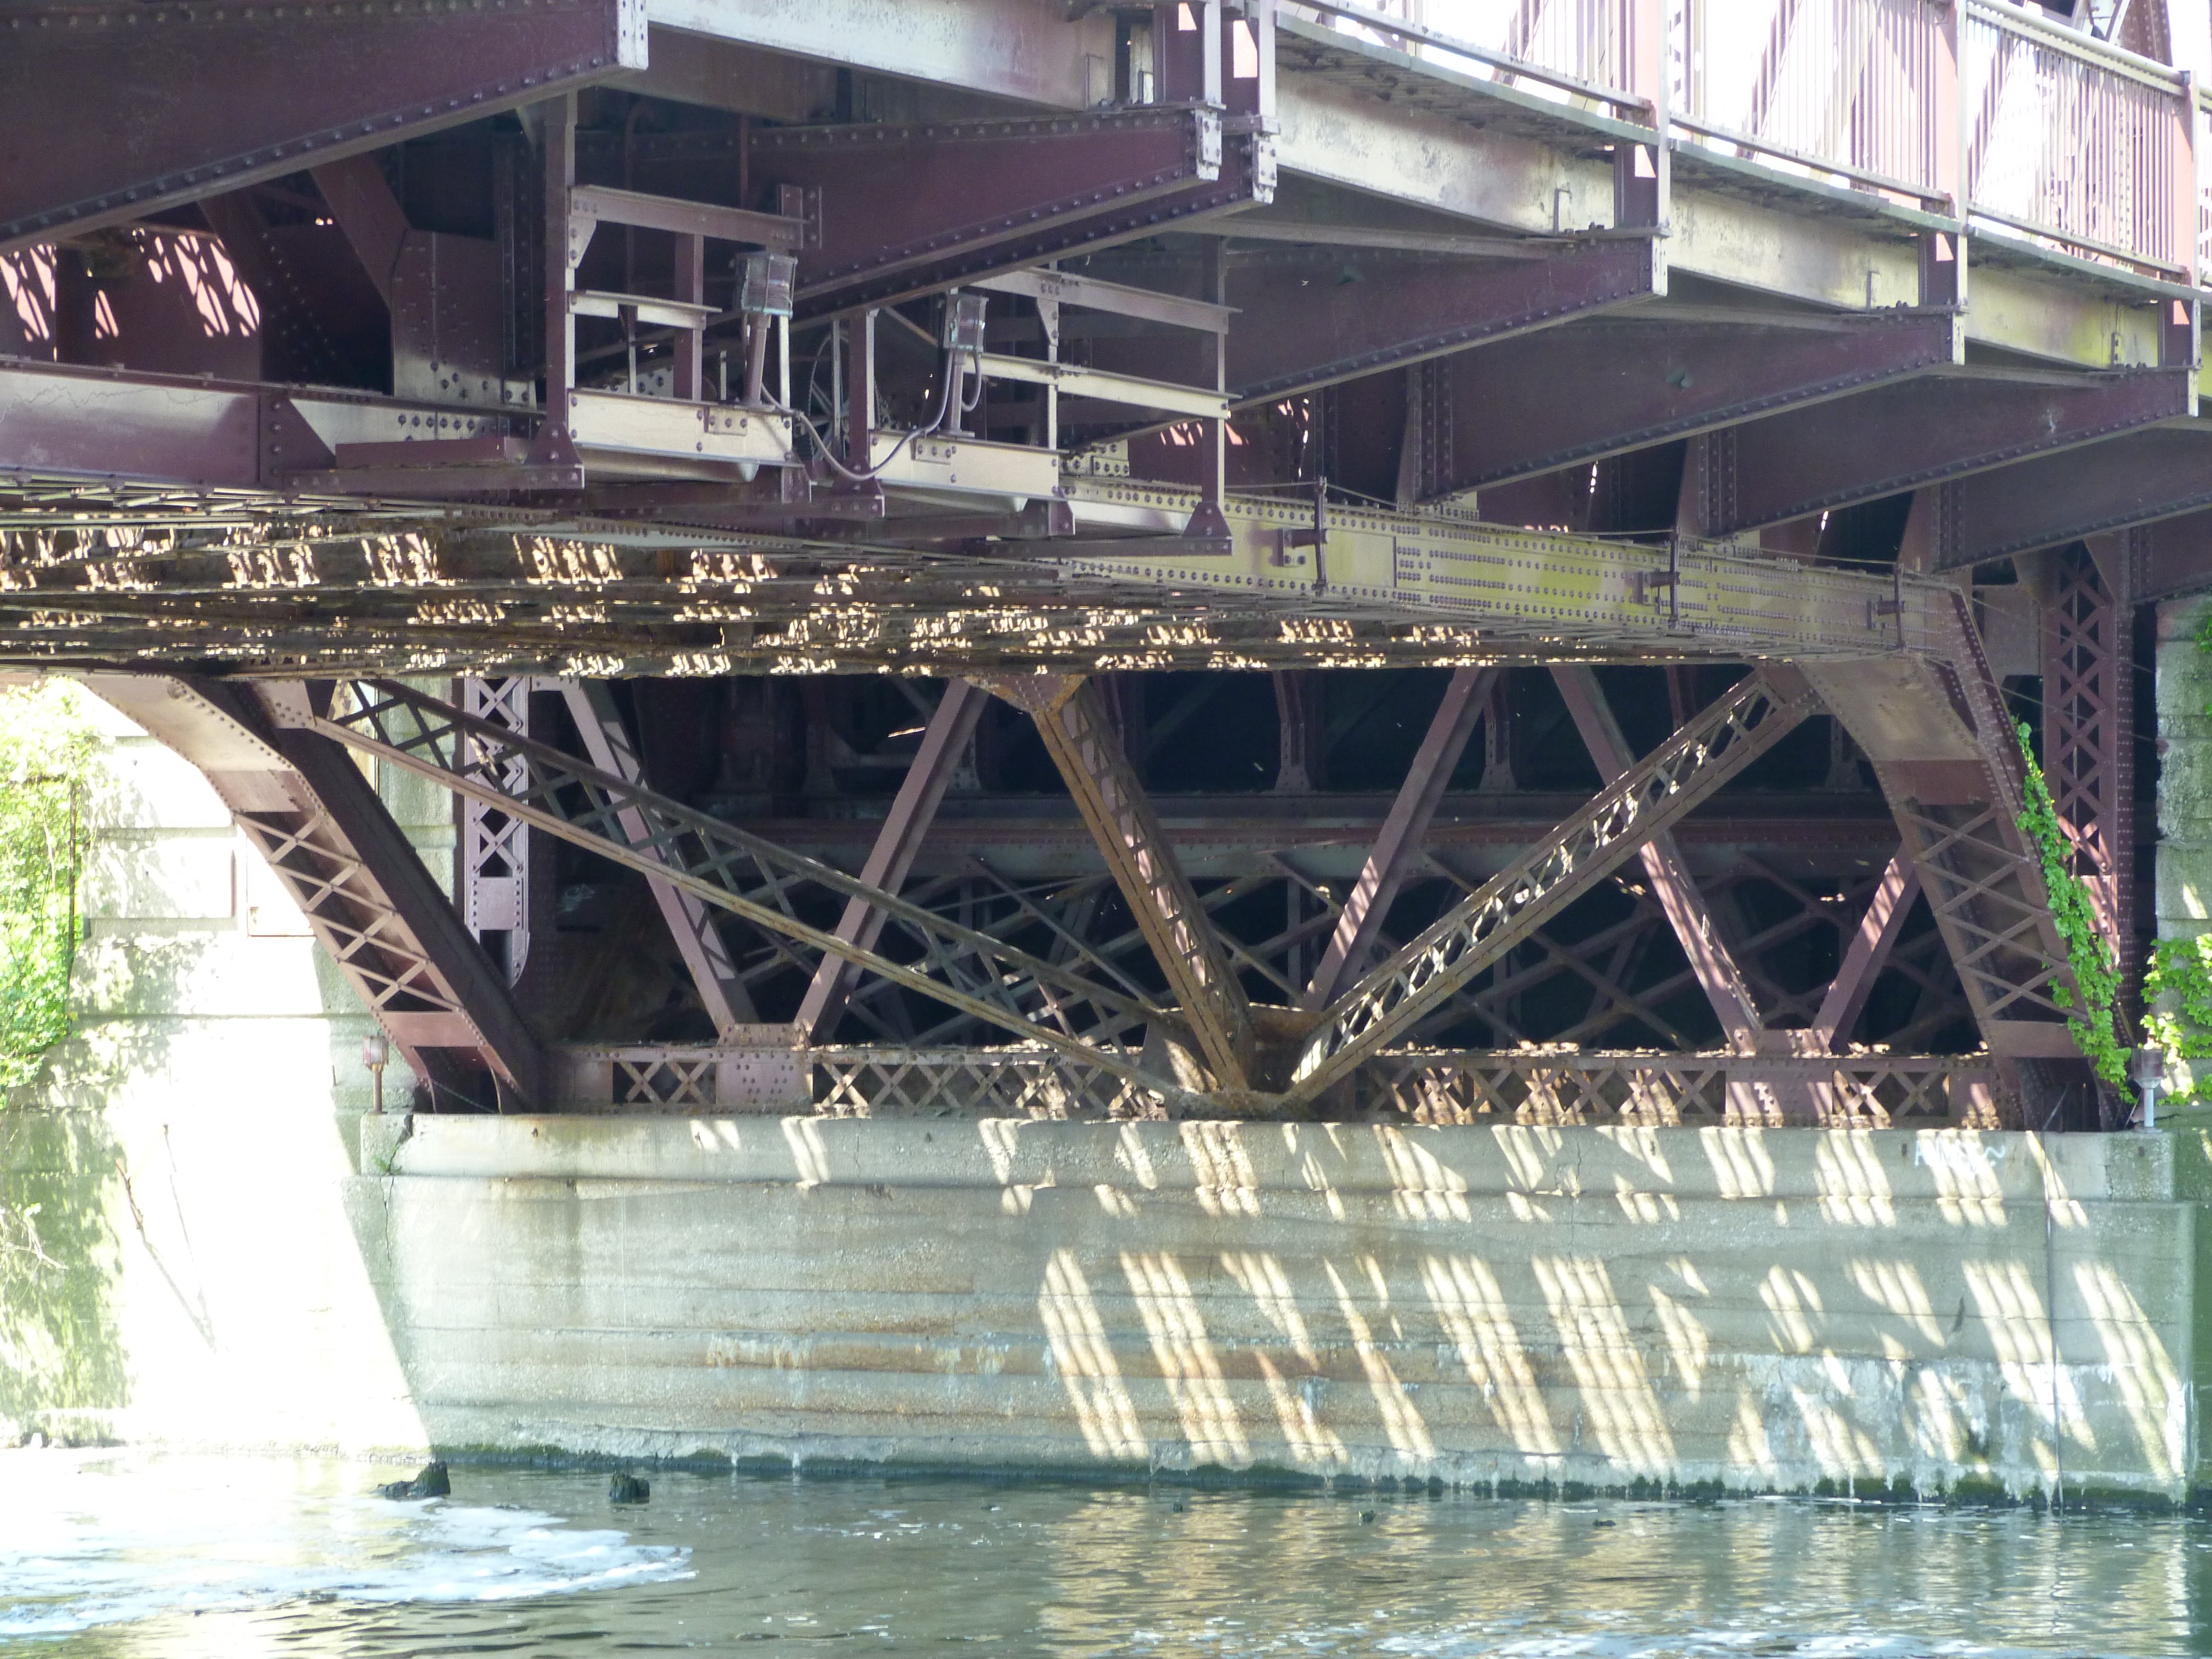
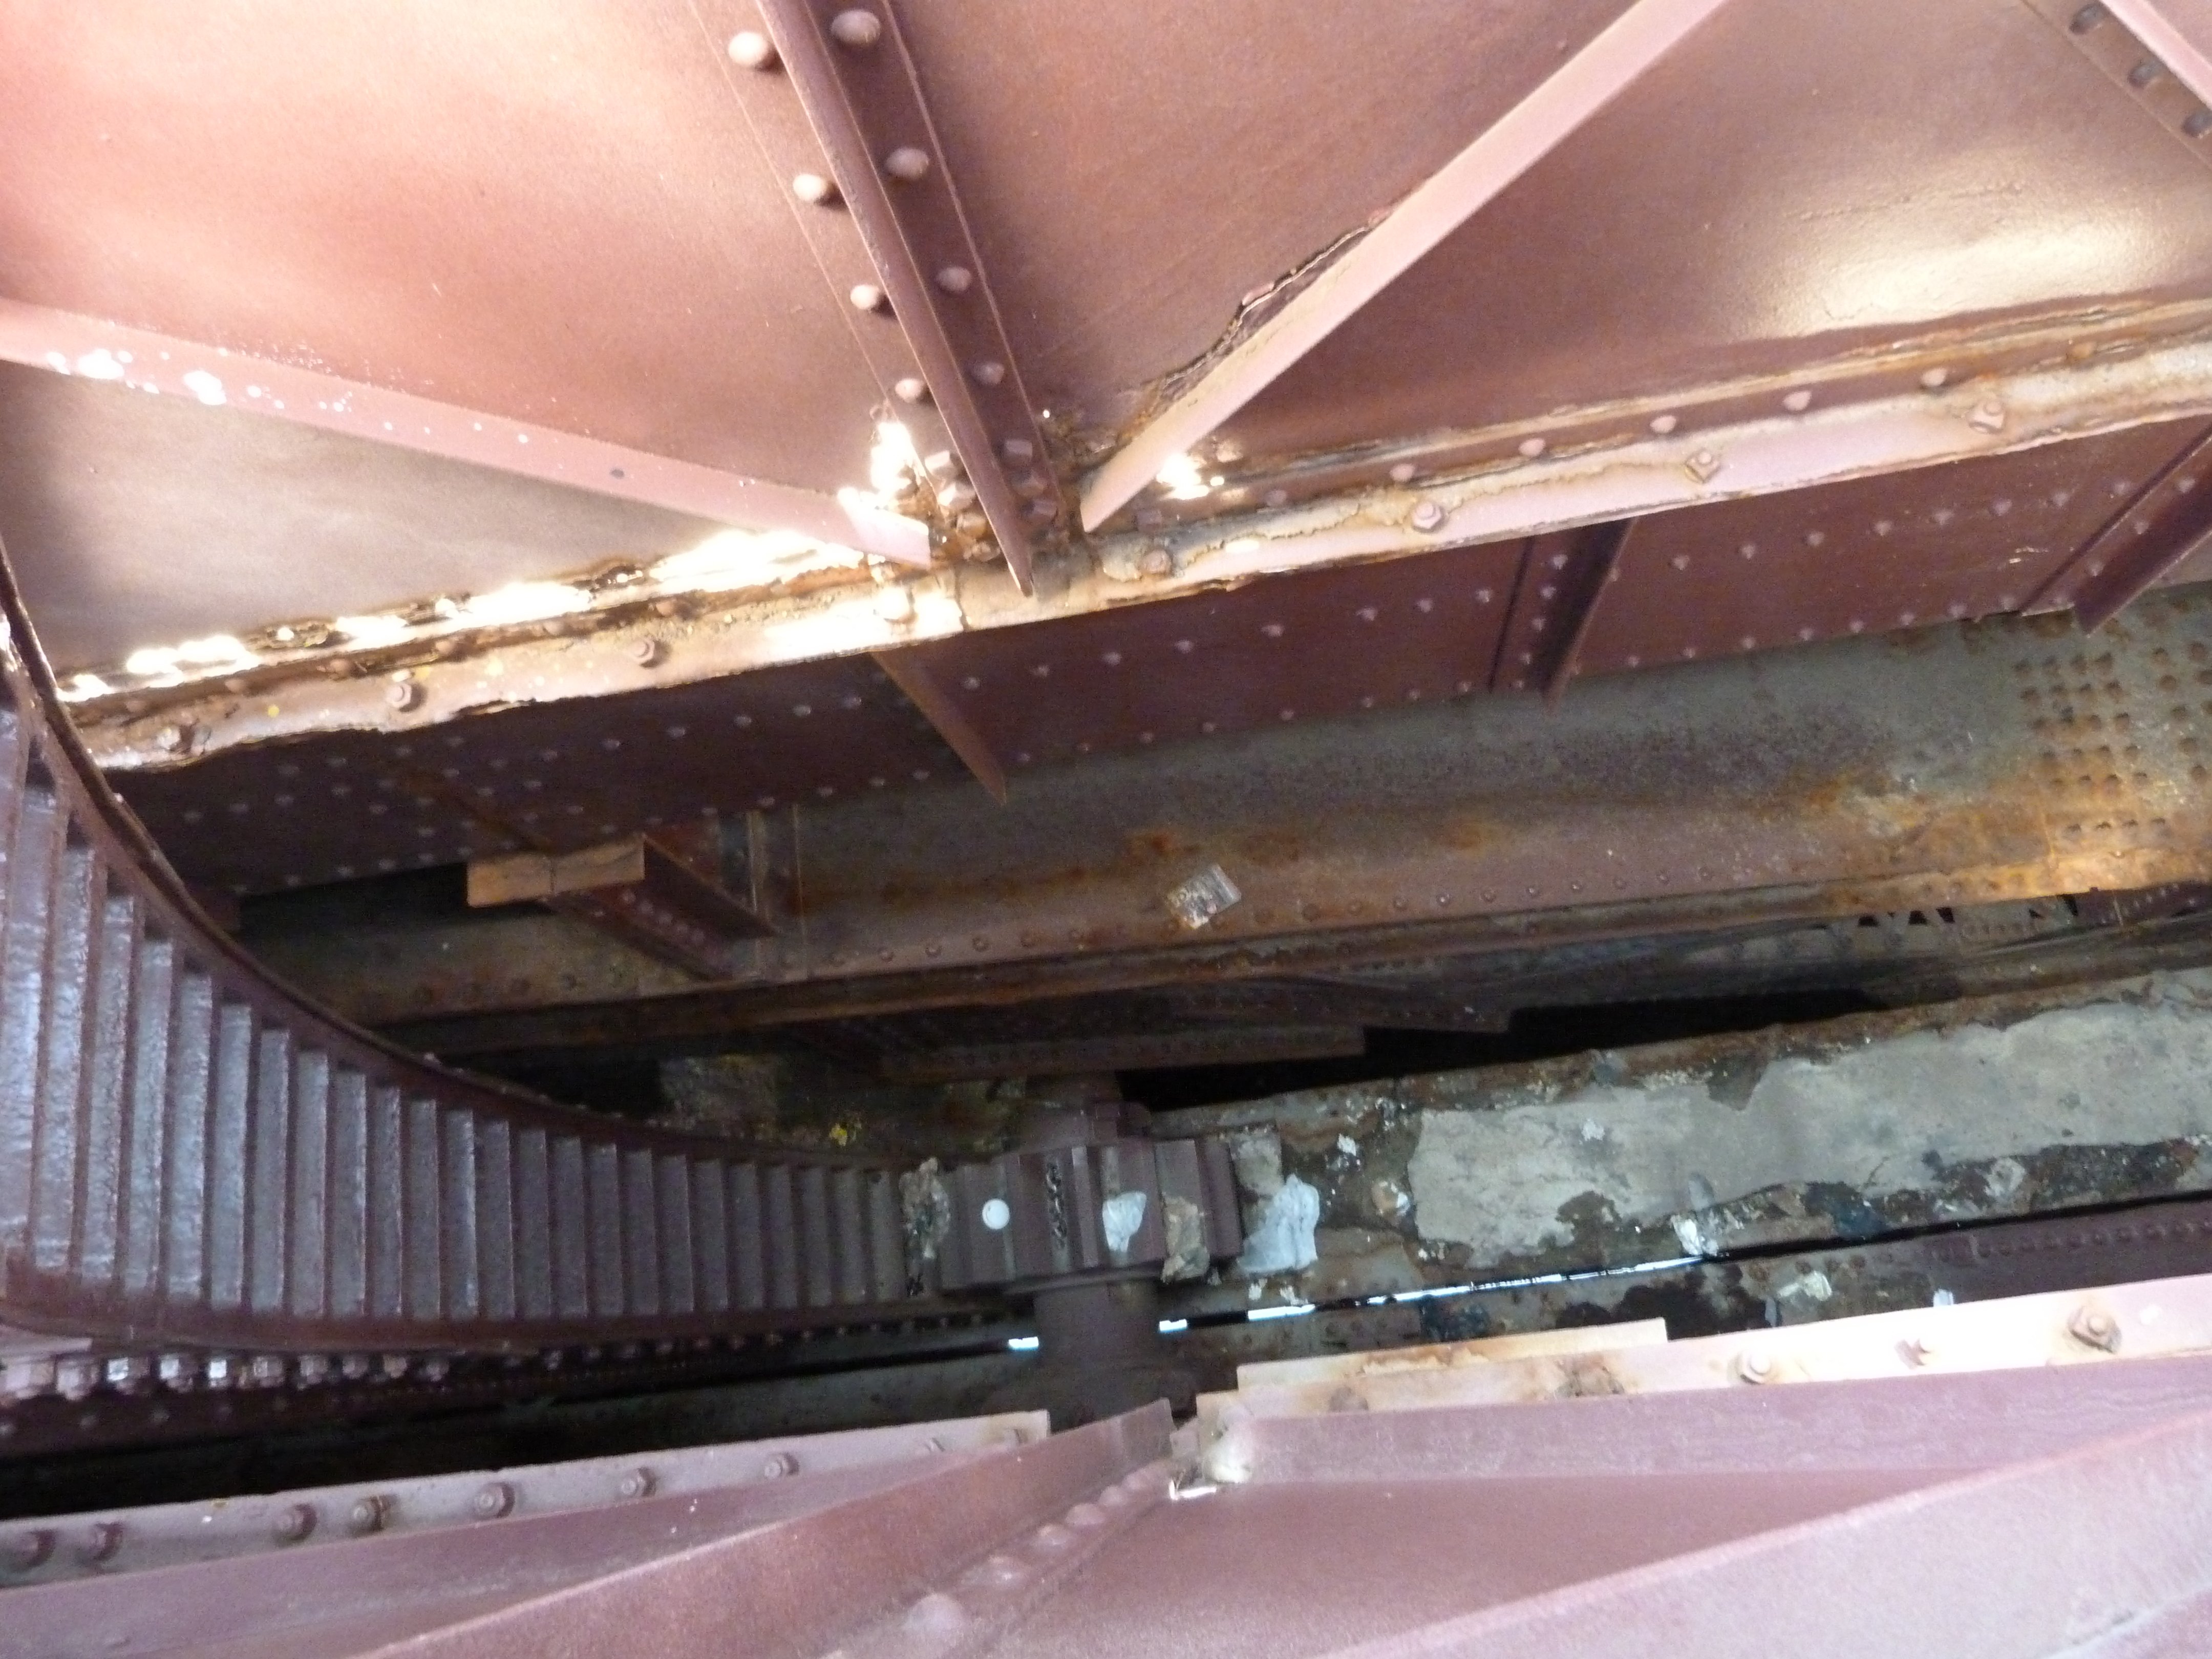
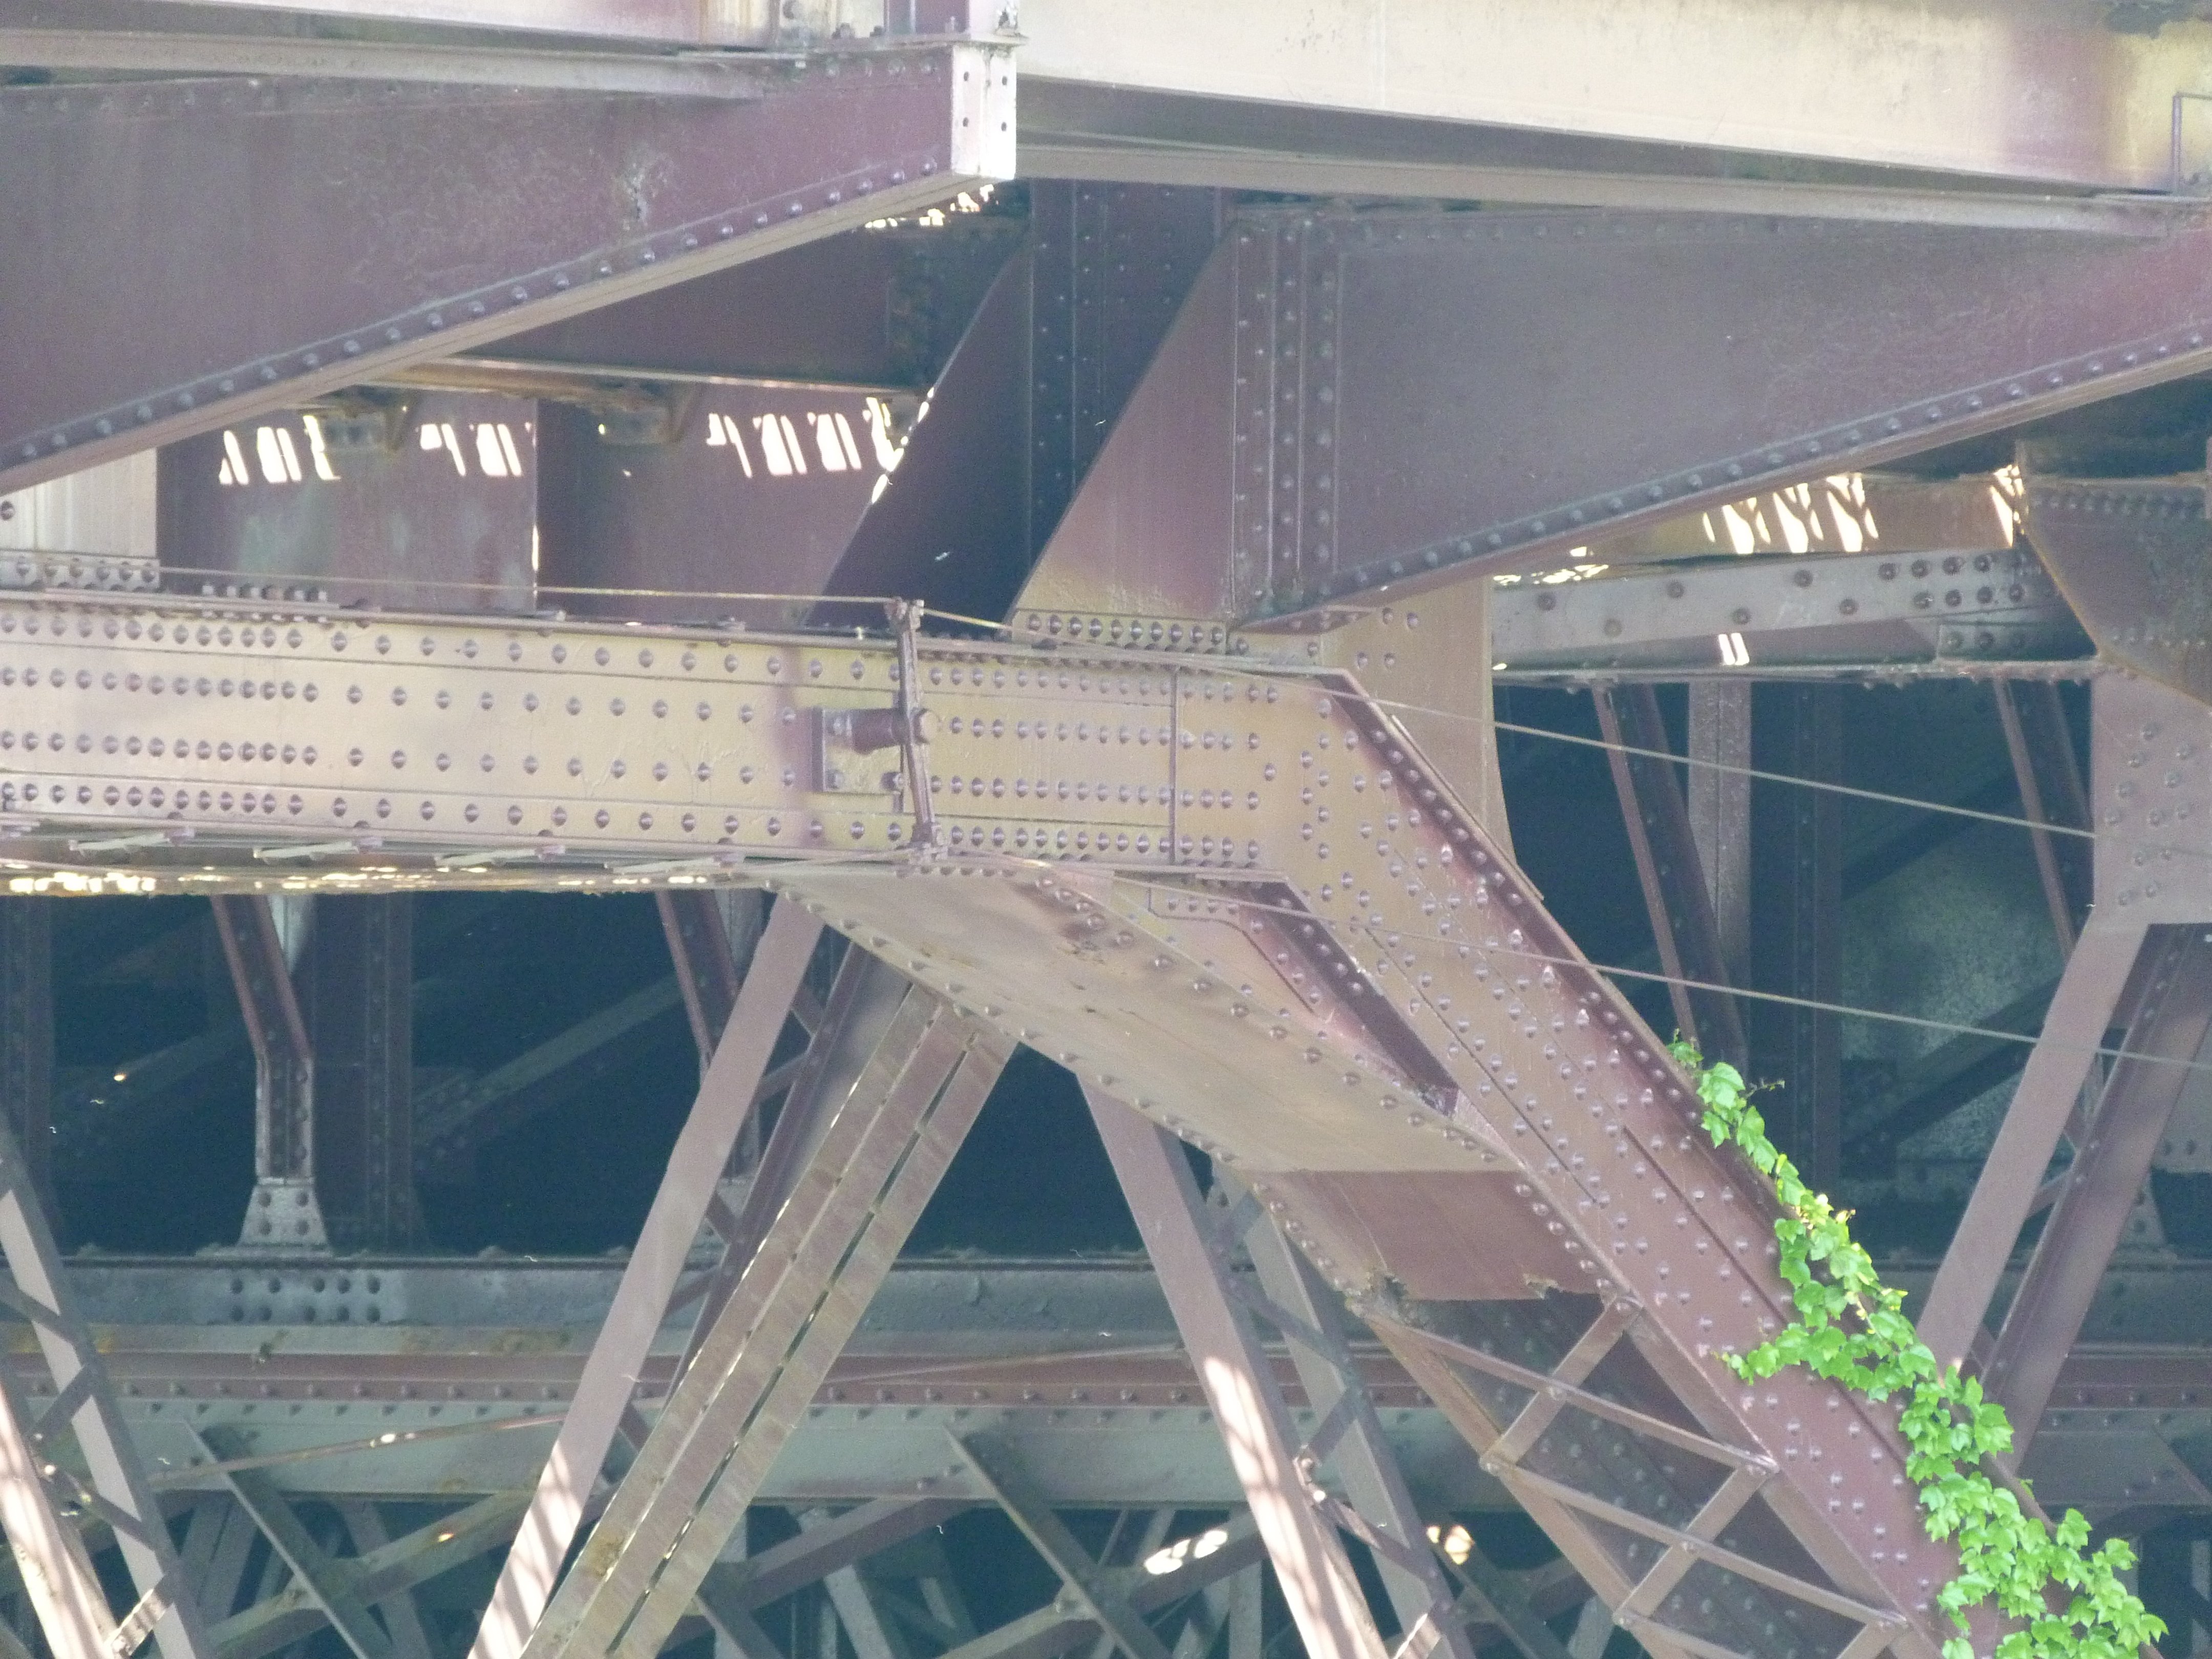
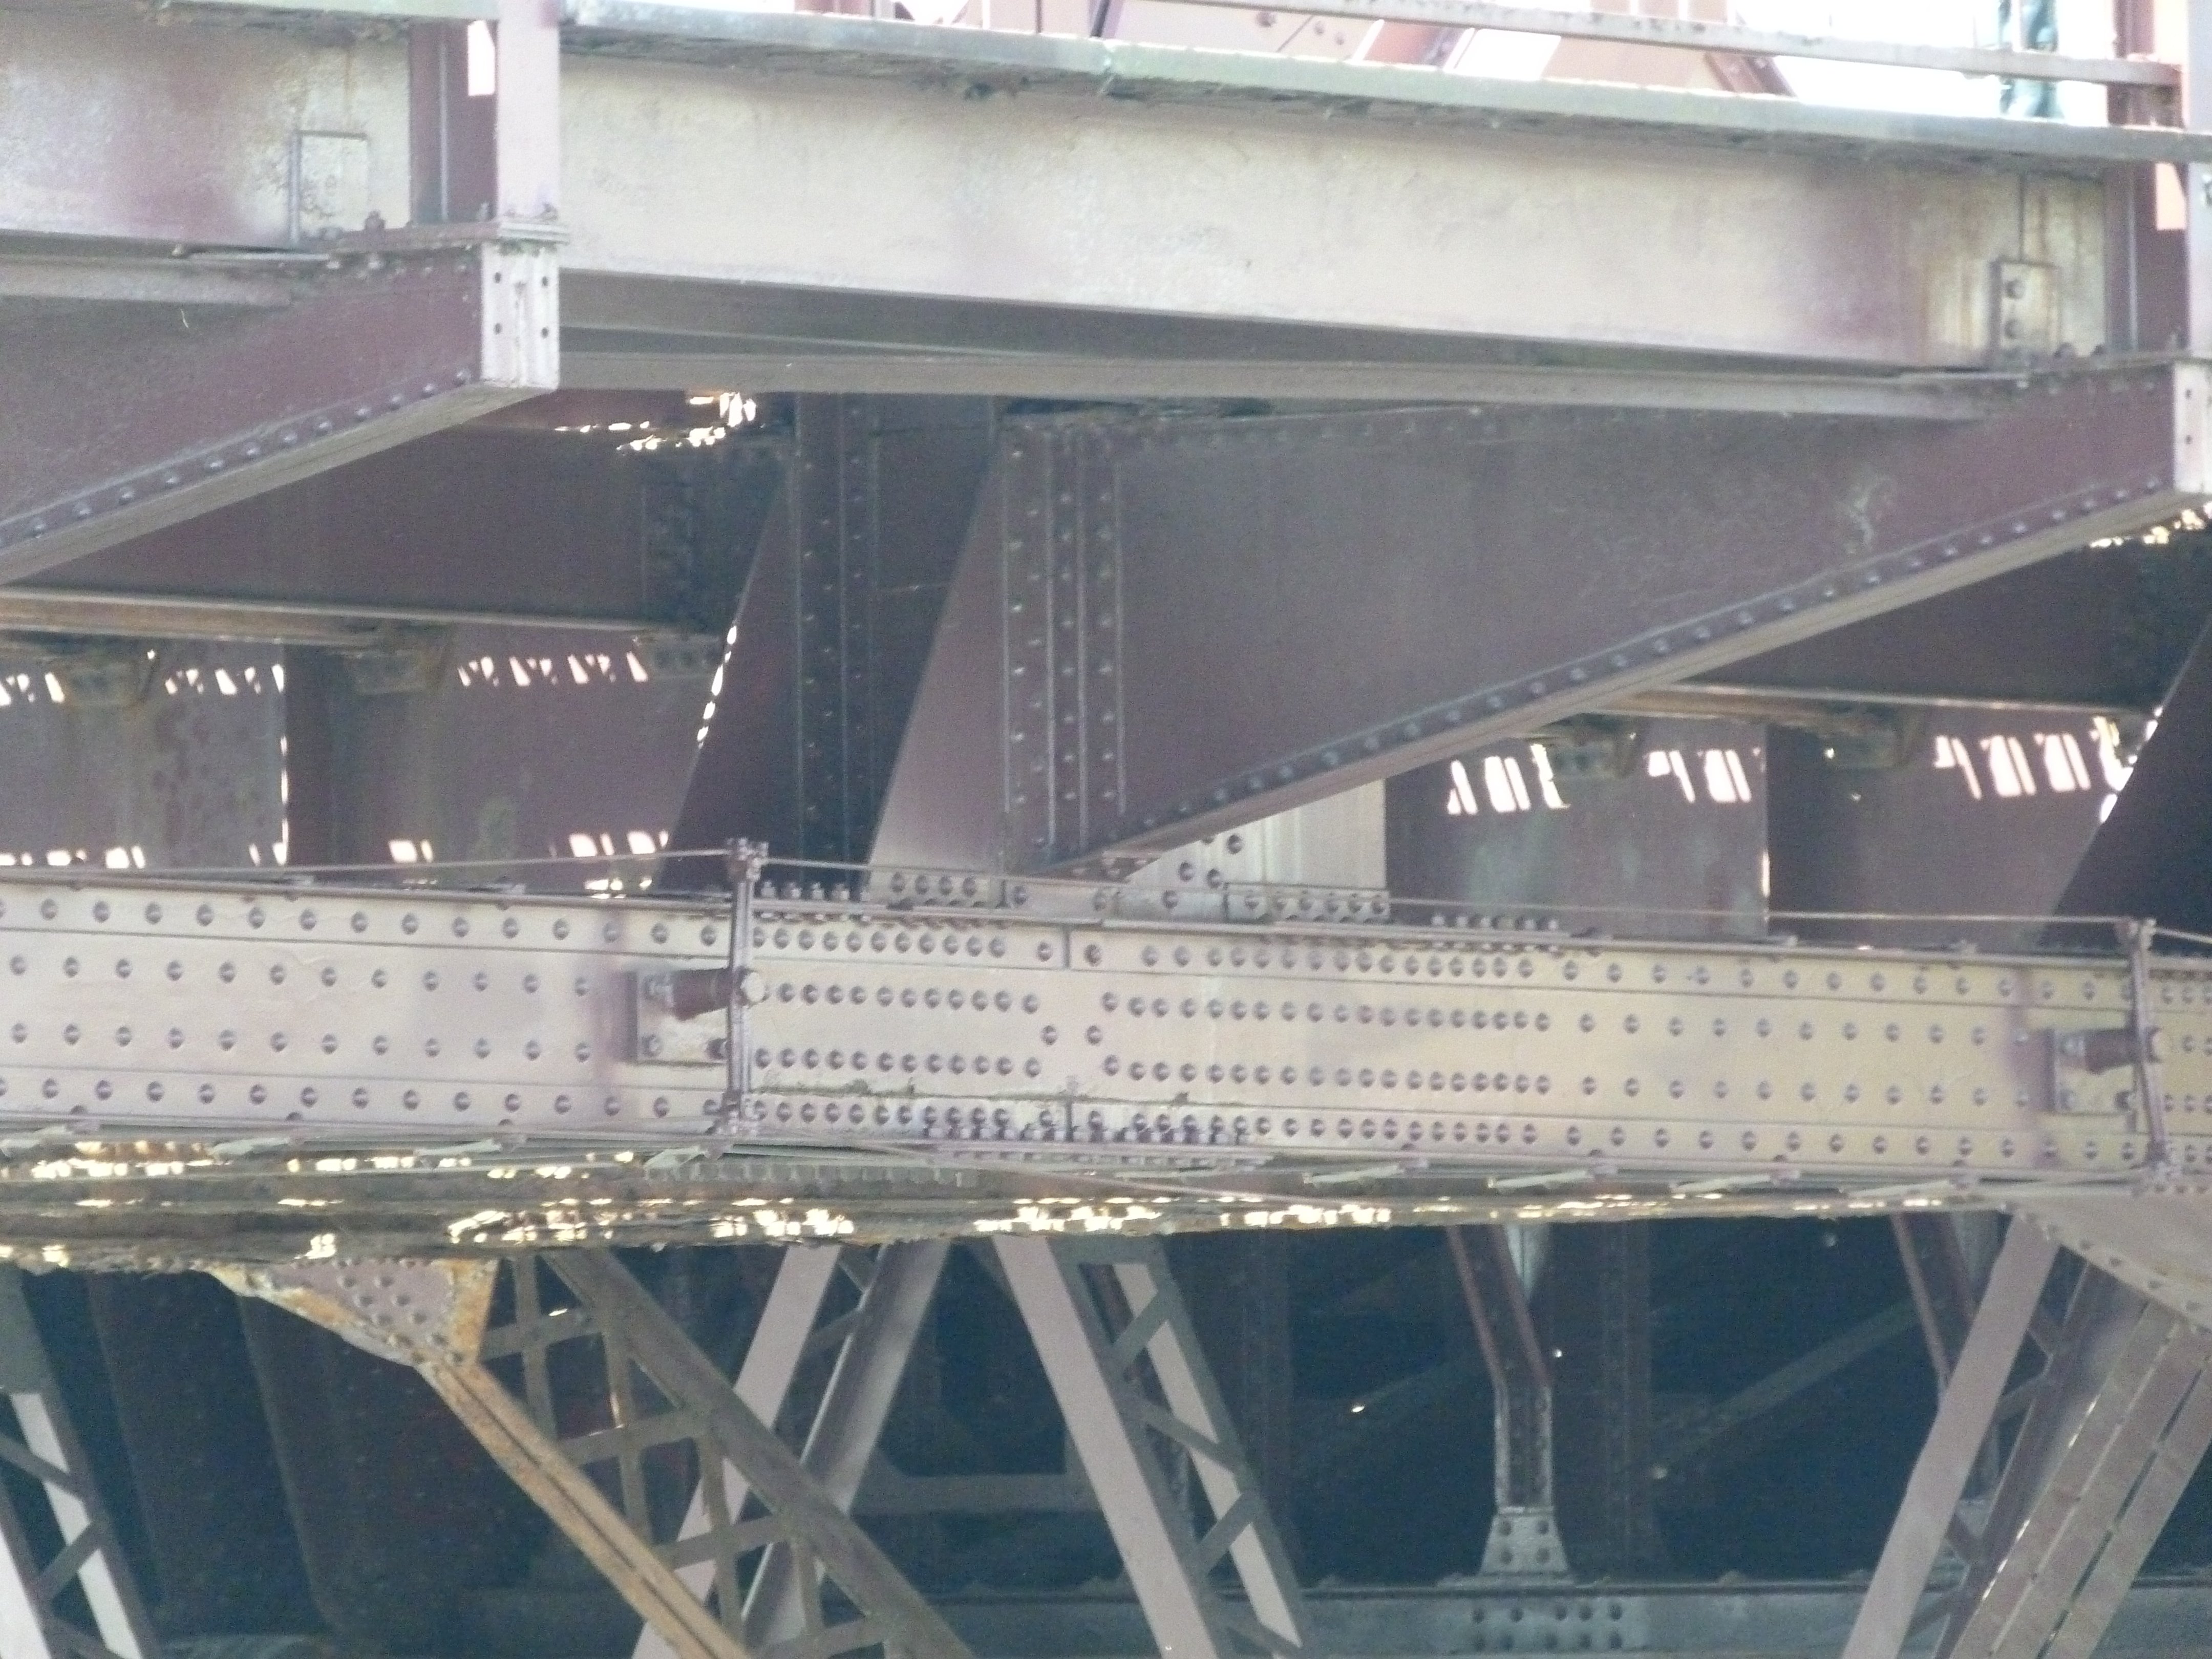
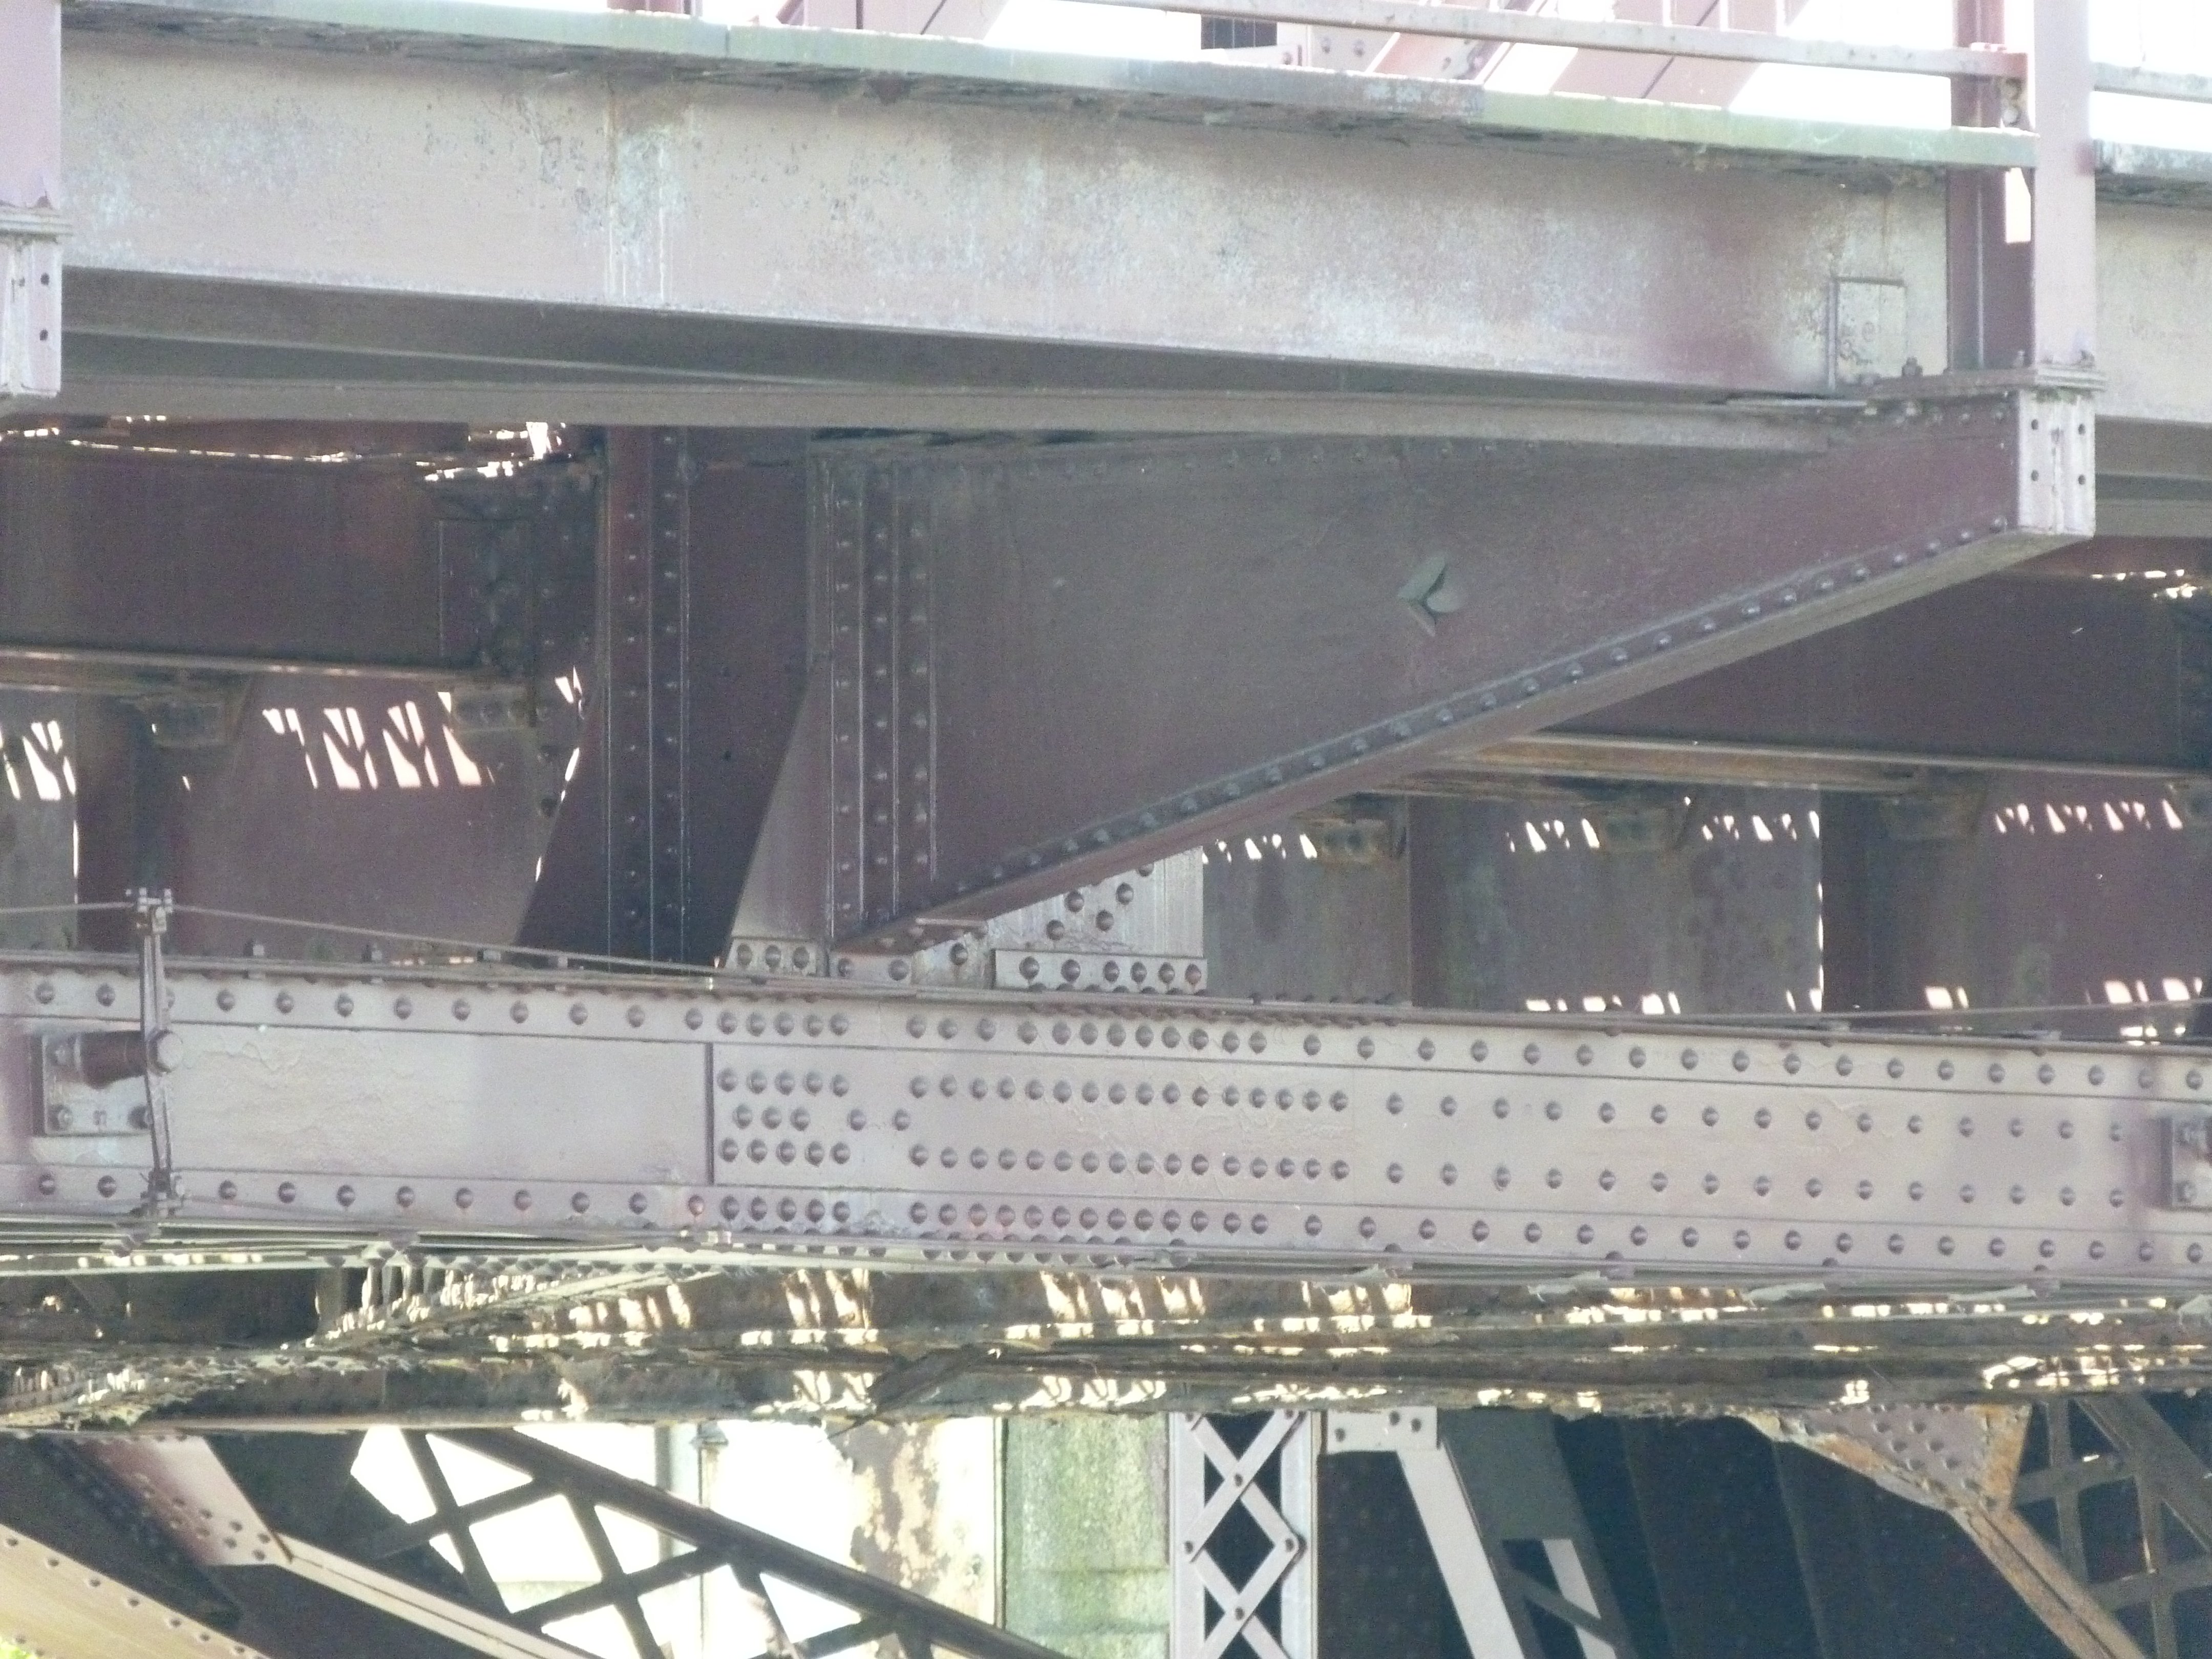
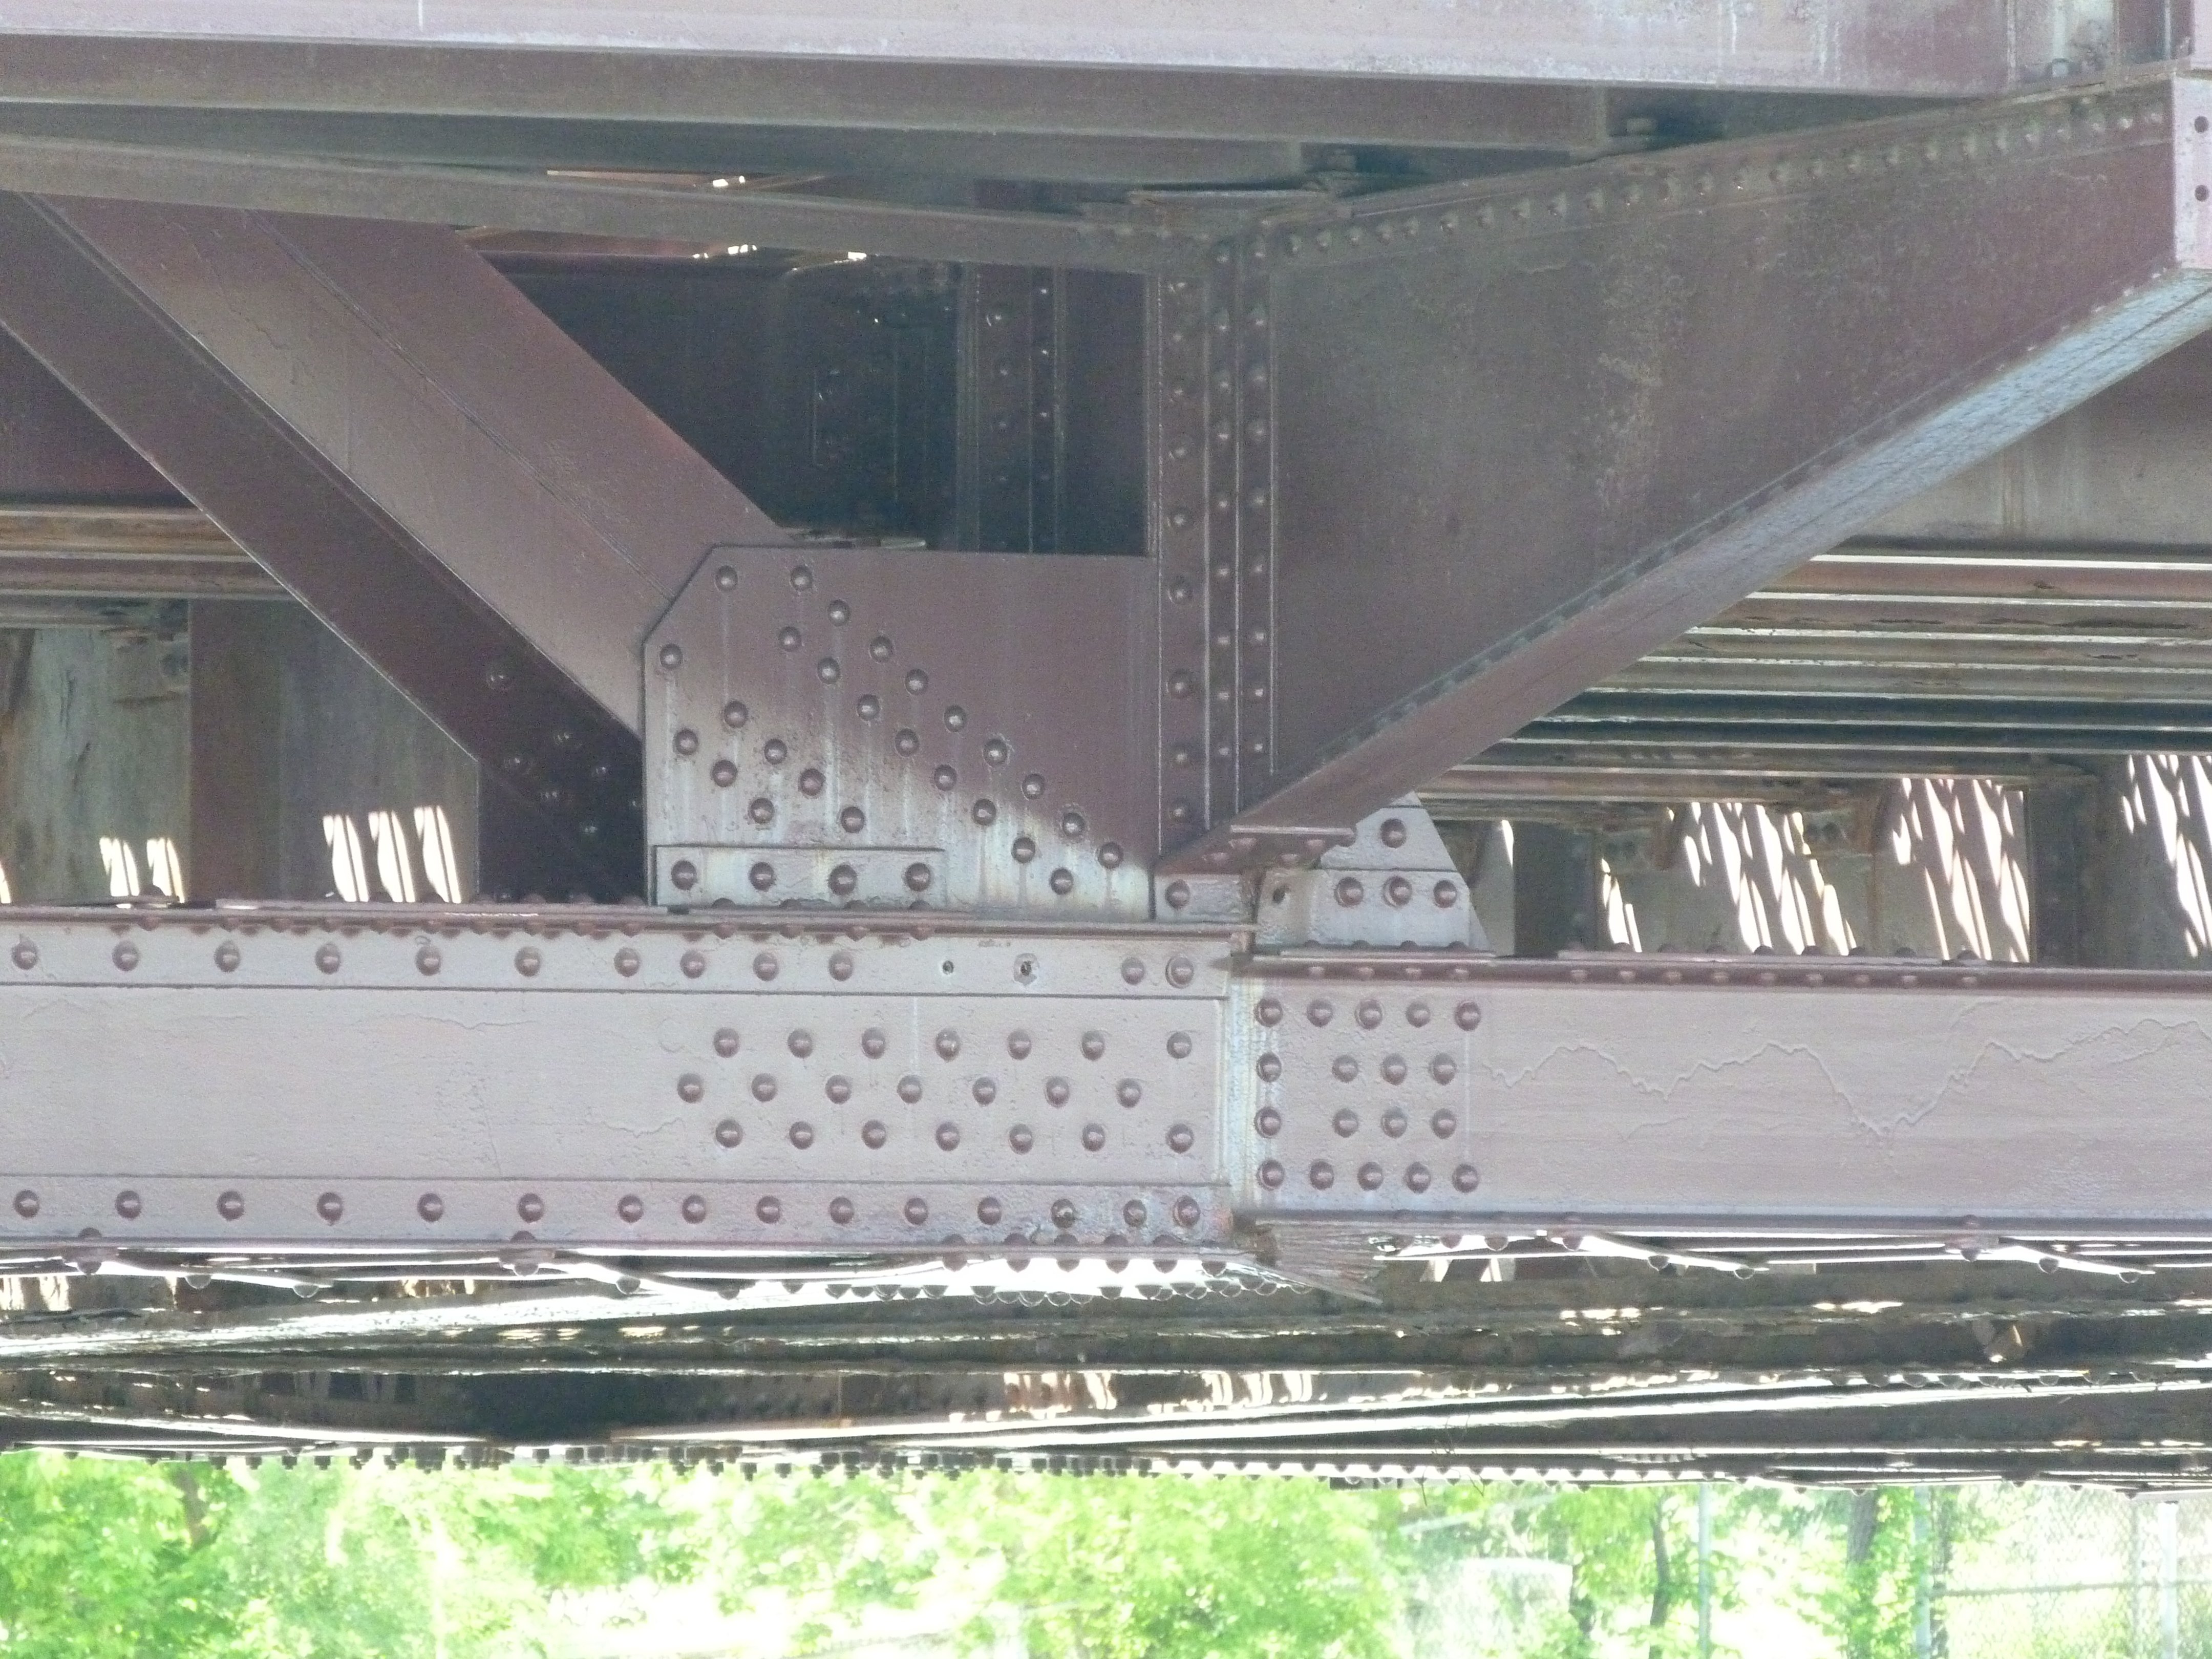
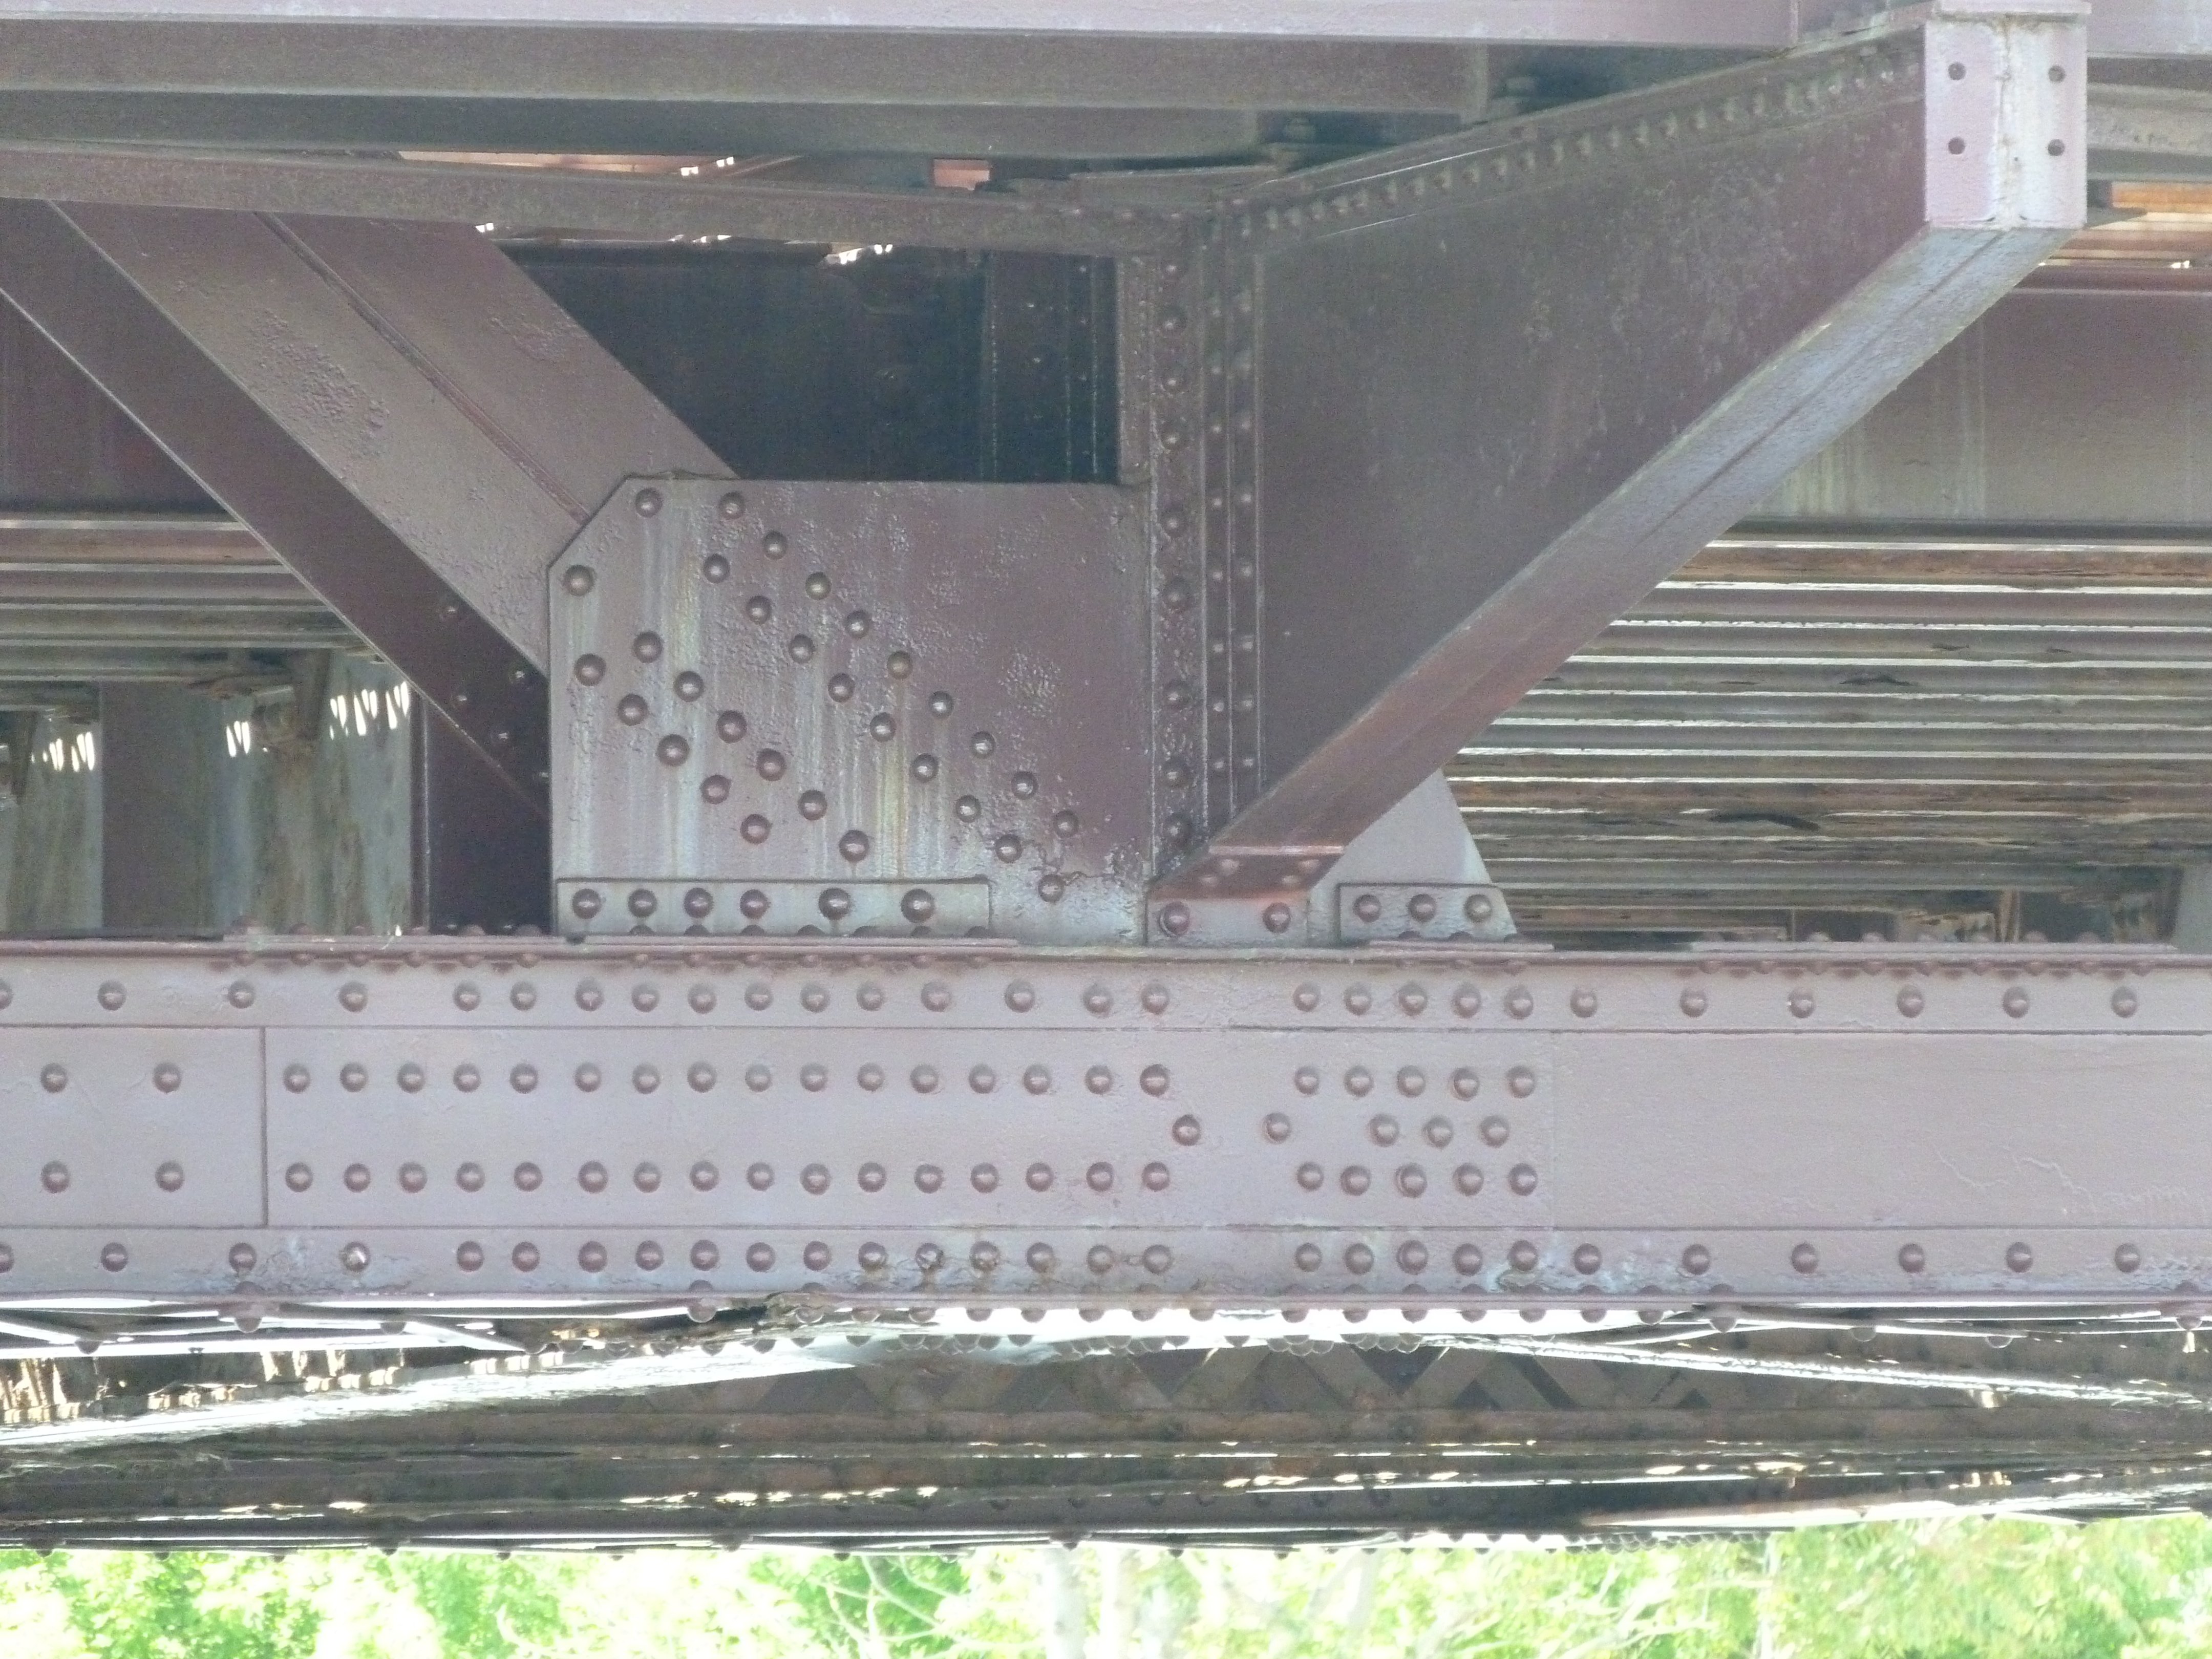
Views under bridge.
![]()
Truss web.
![]()
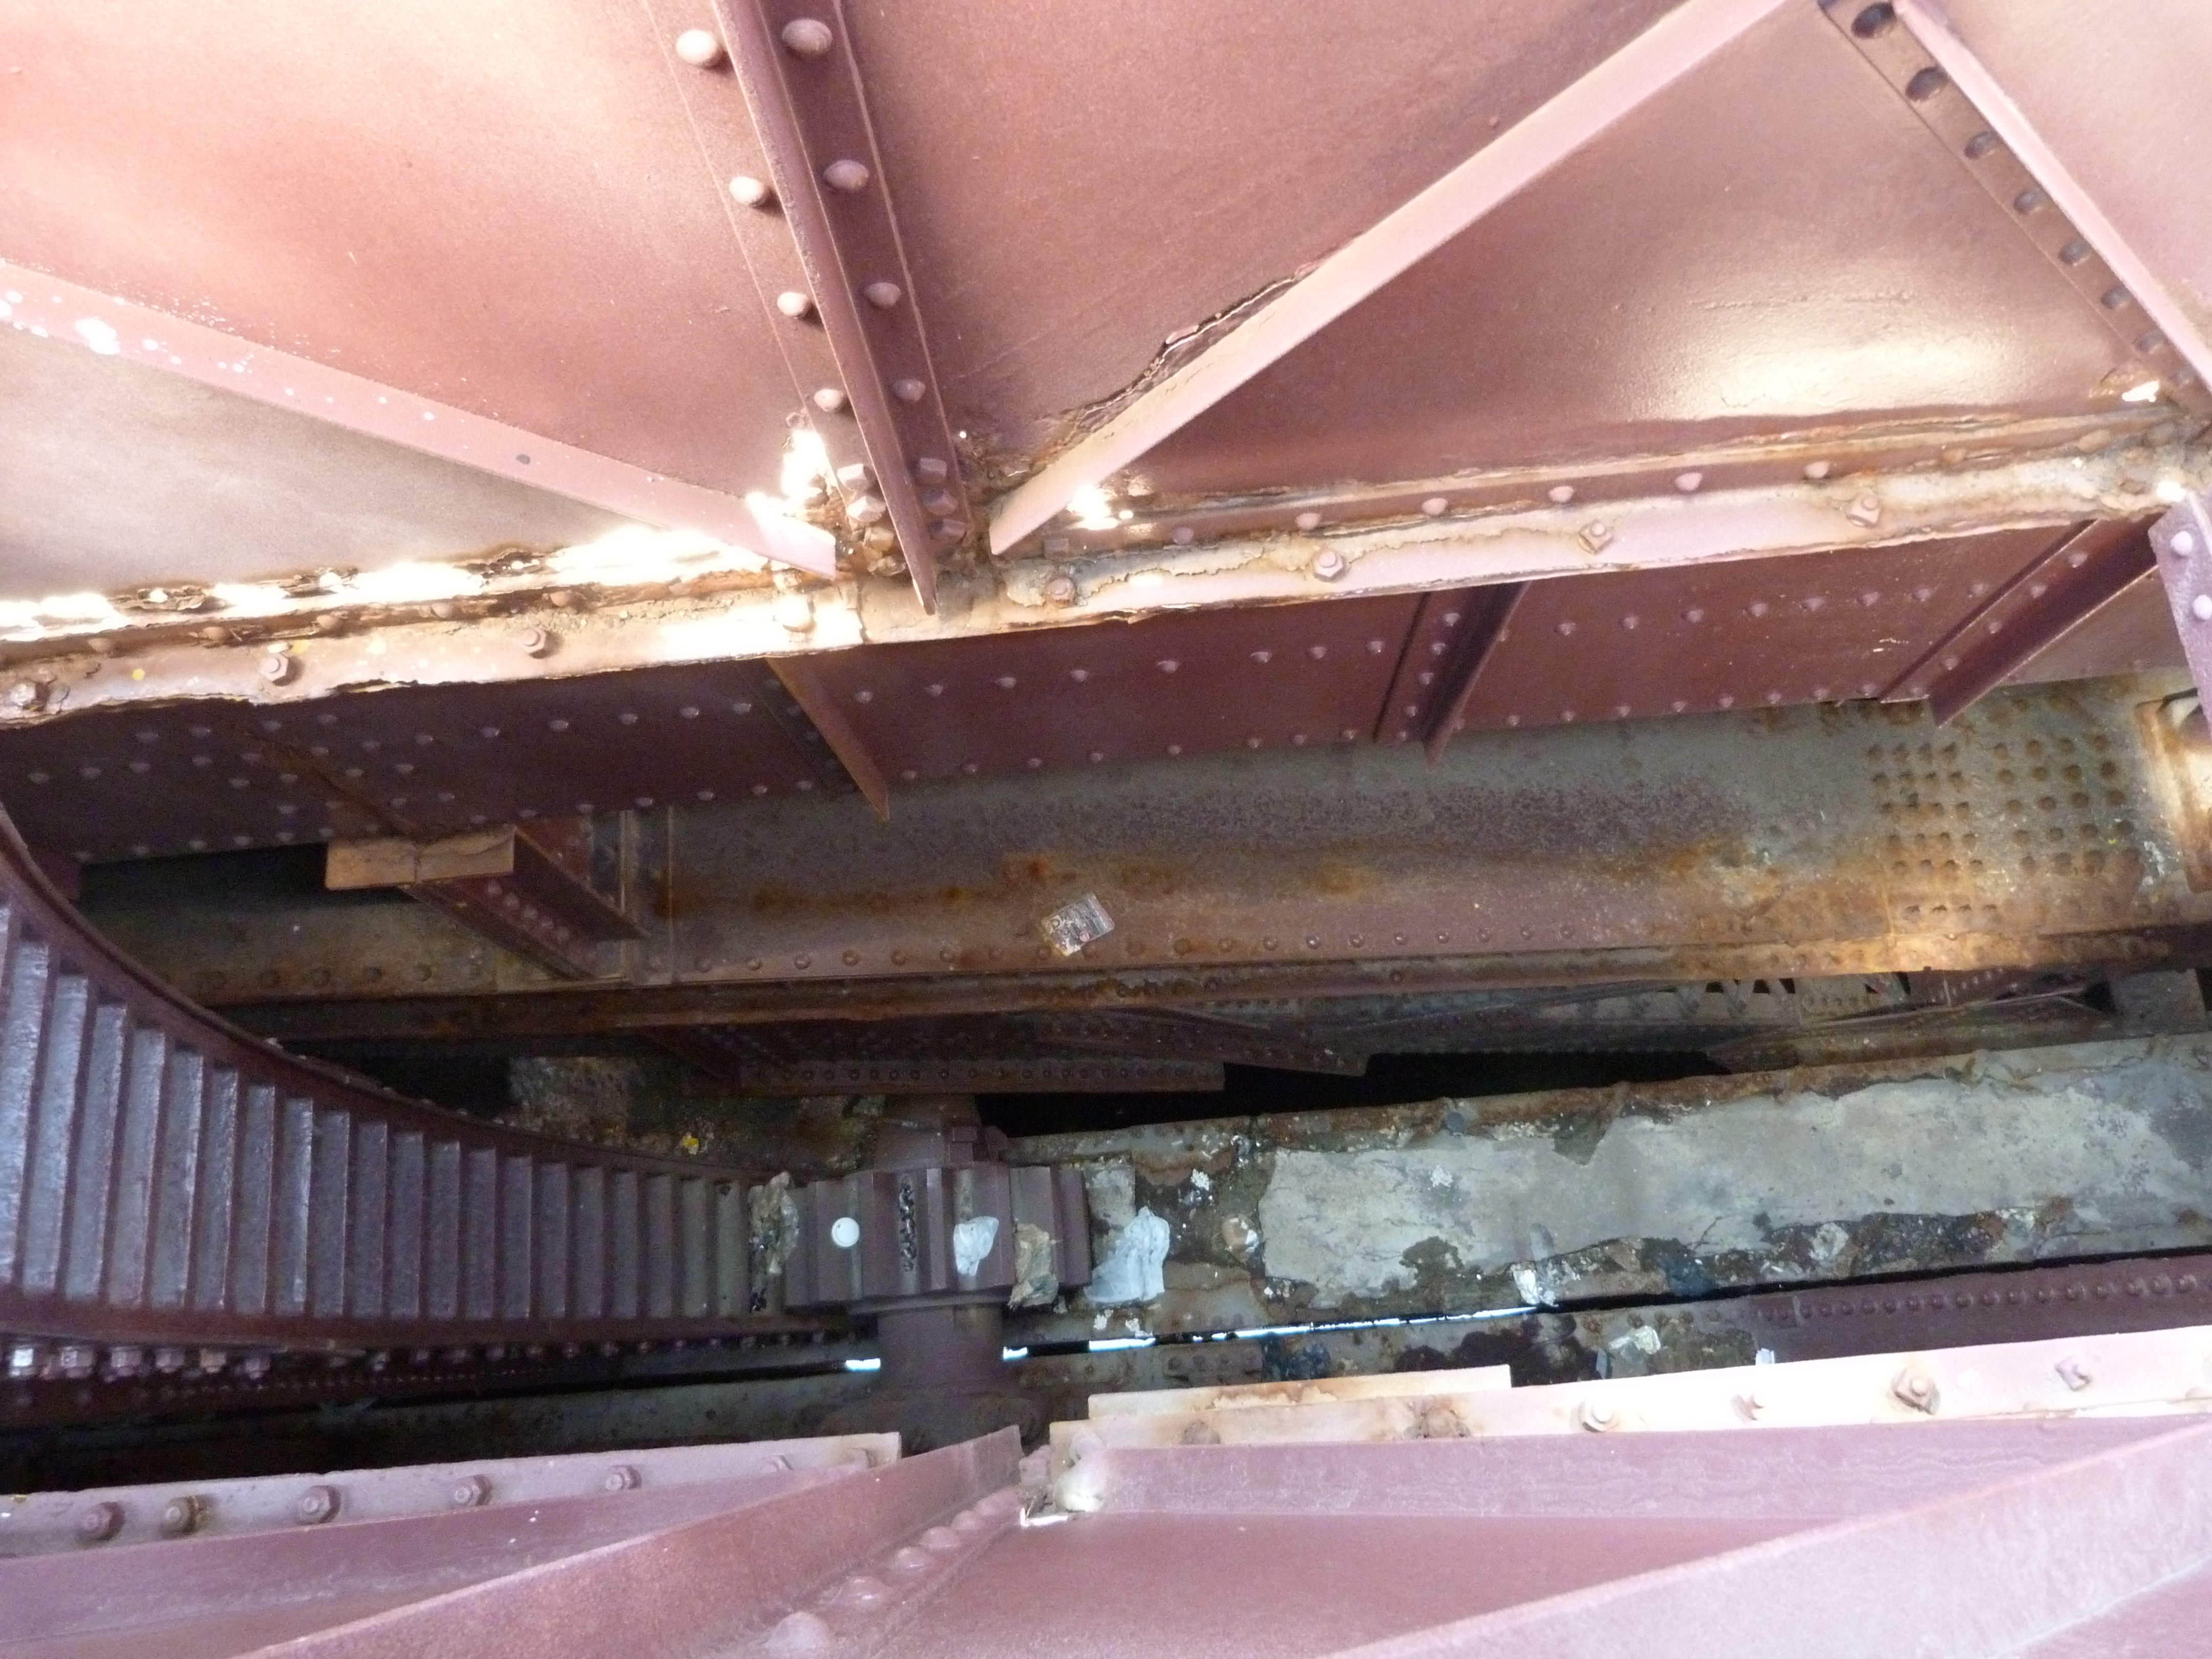
Rack and pinion.
![]()
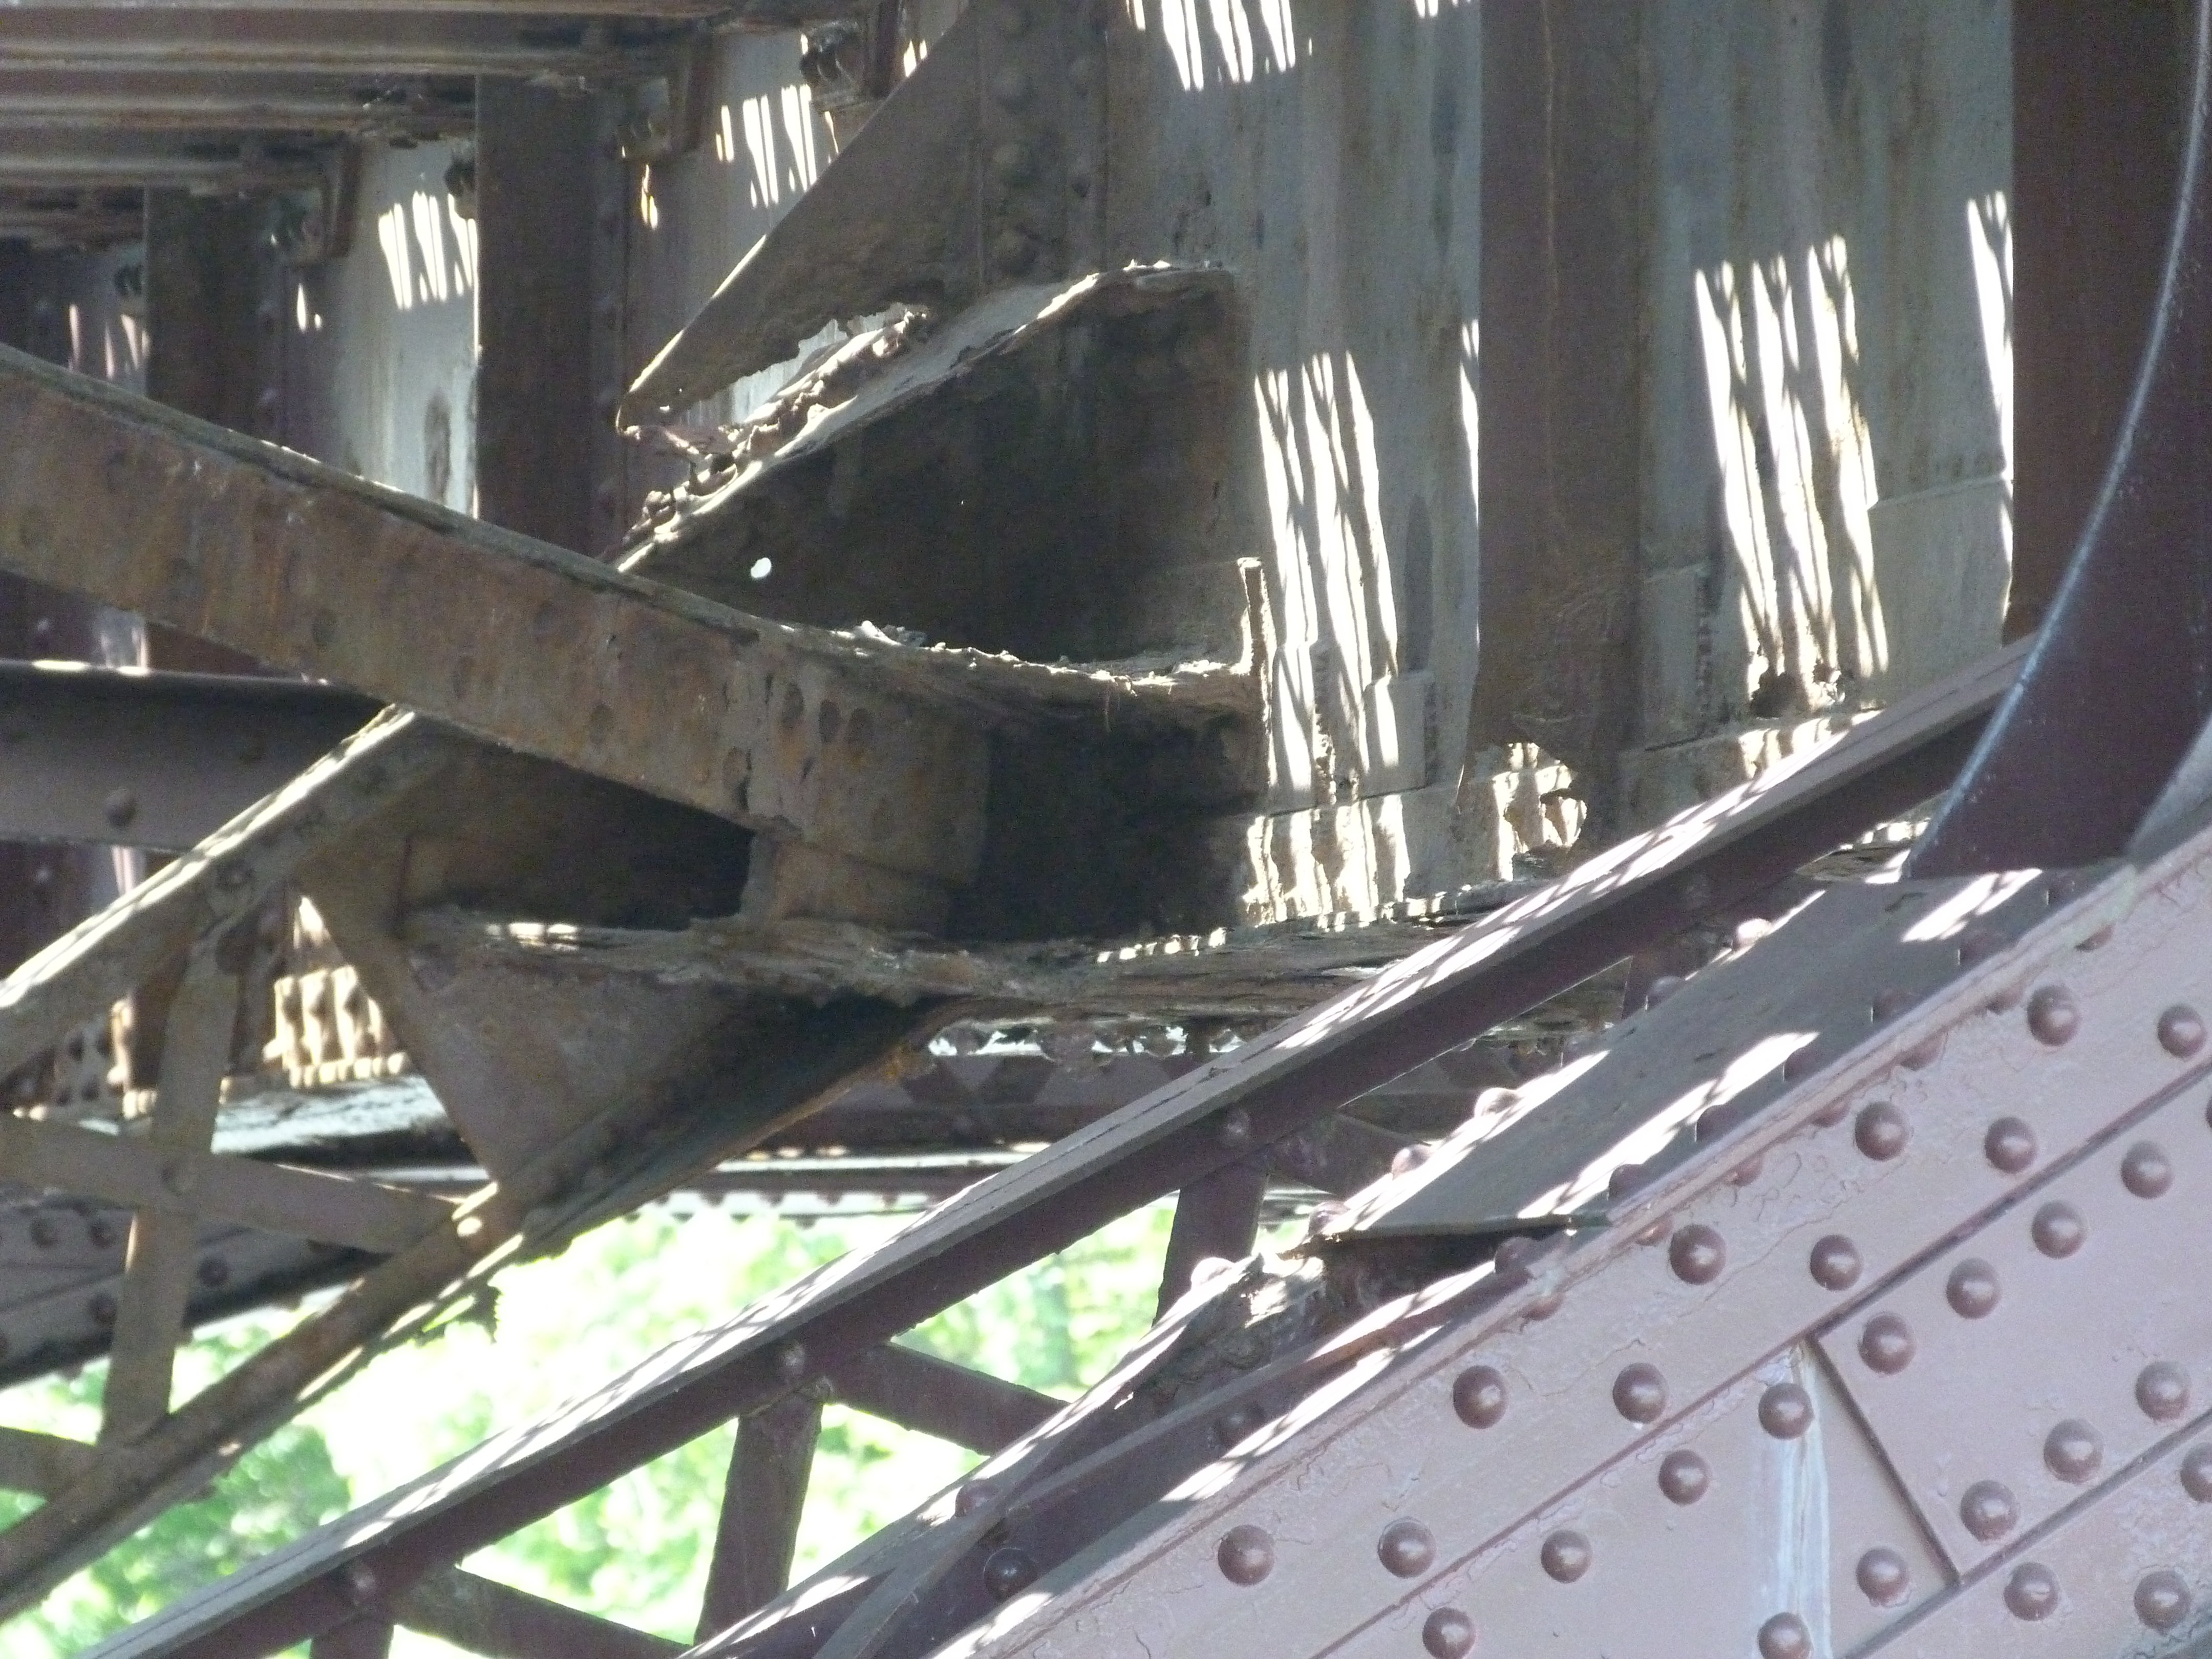
Top chord connections at ends of bridge.
![]()
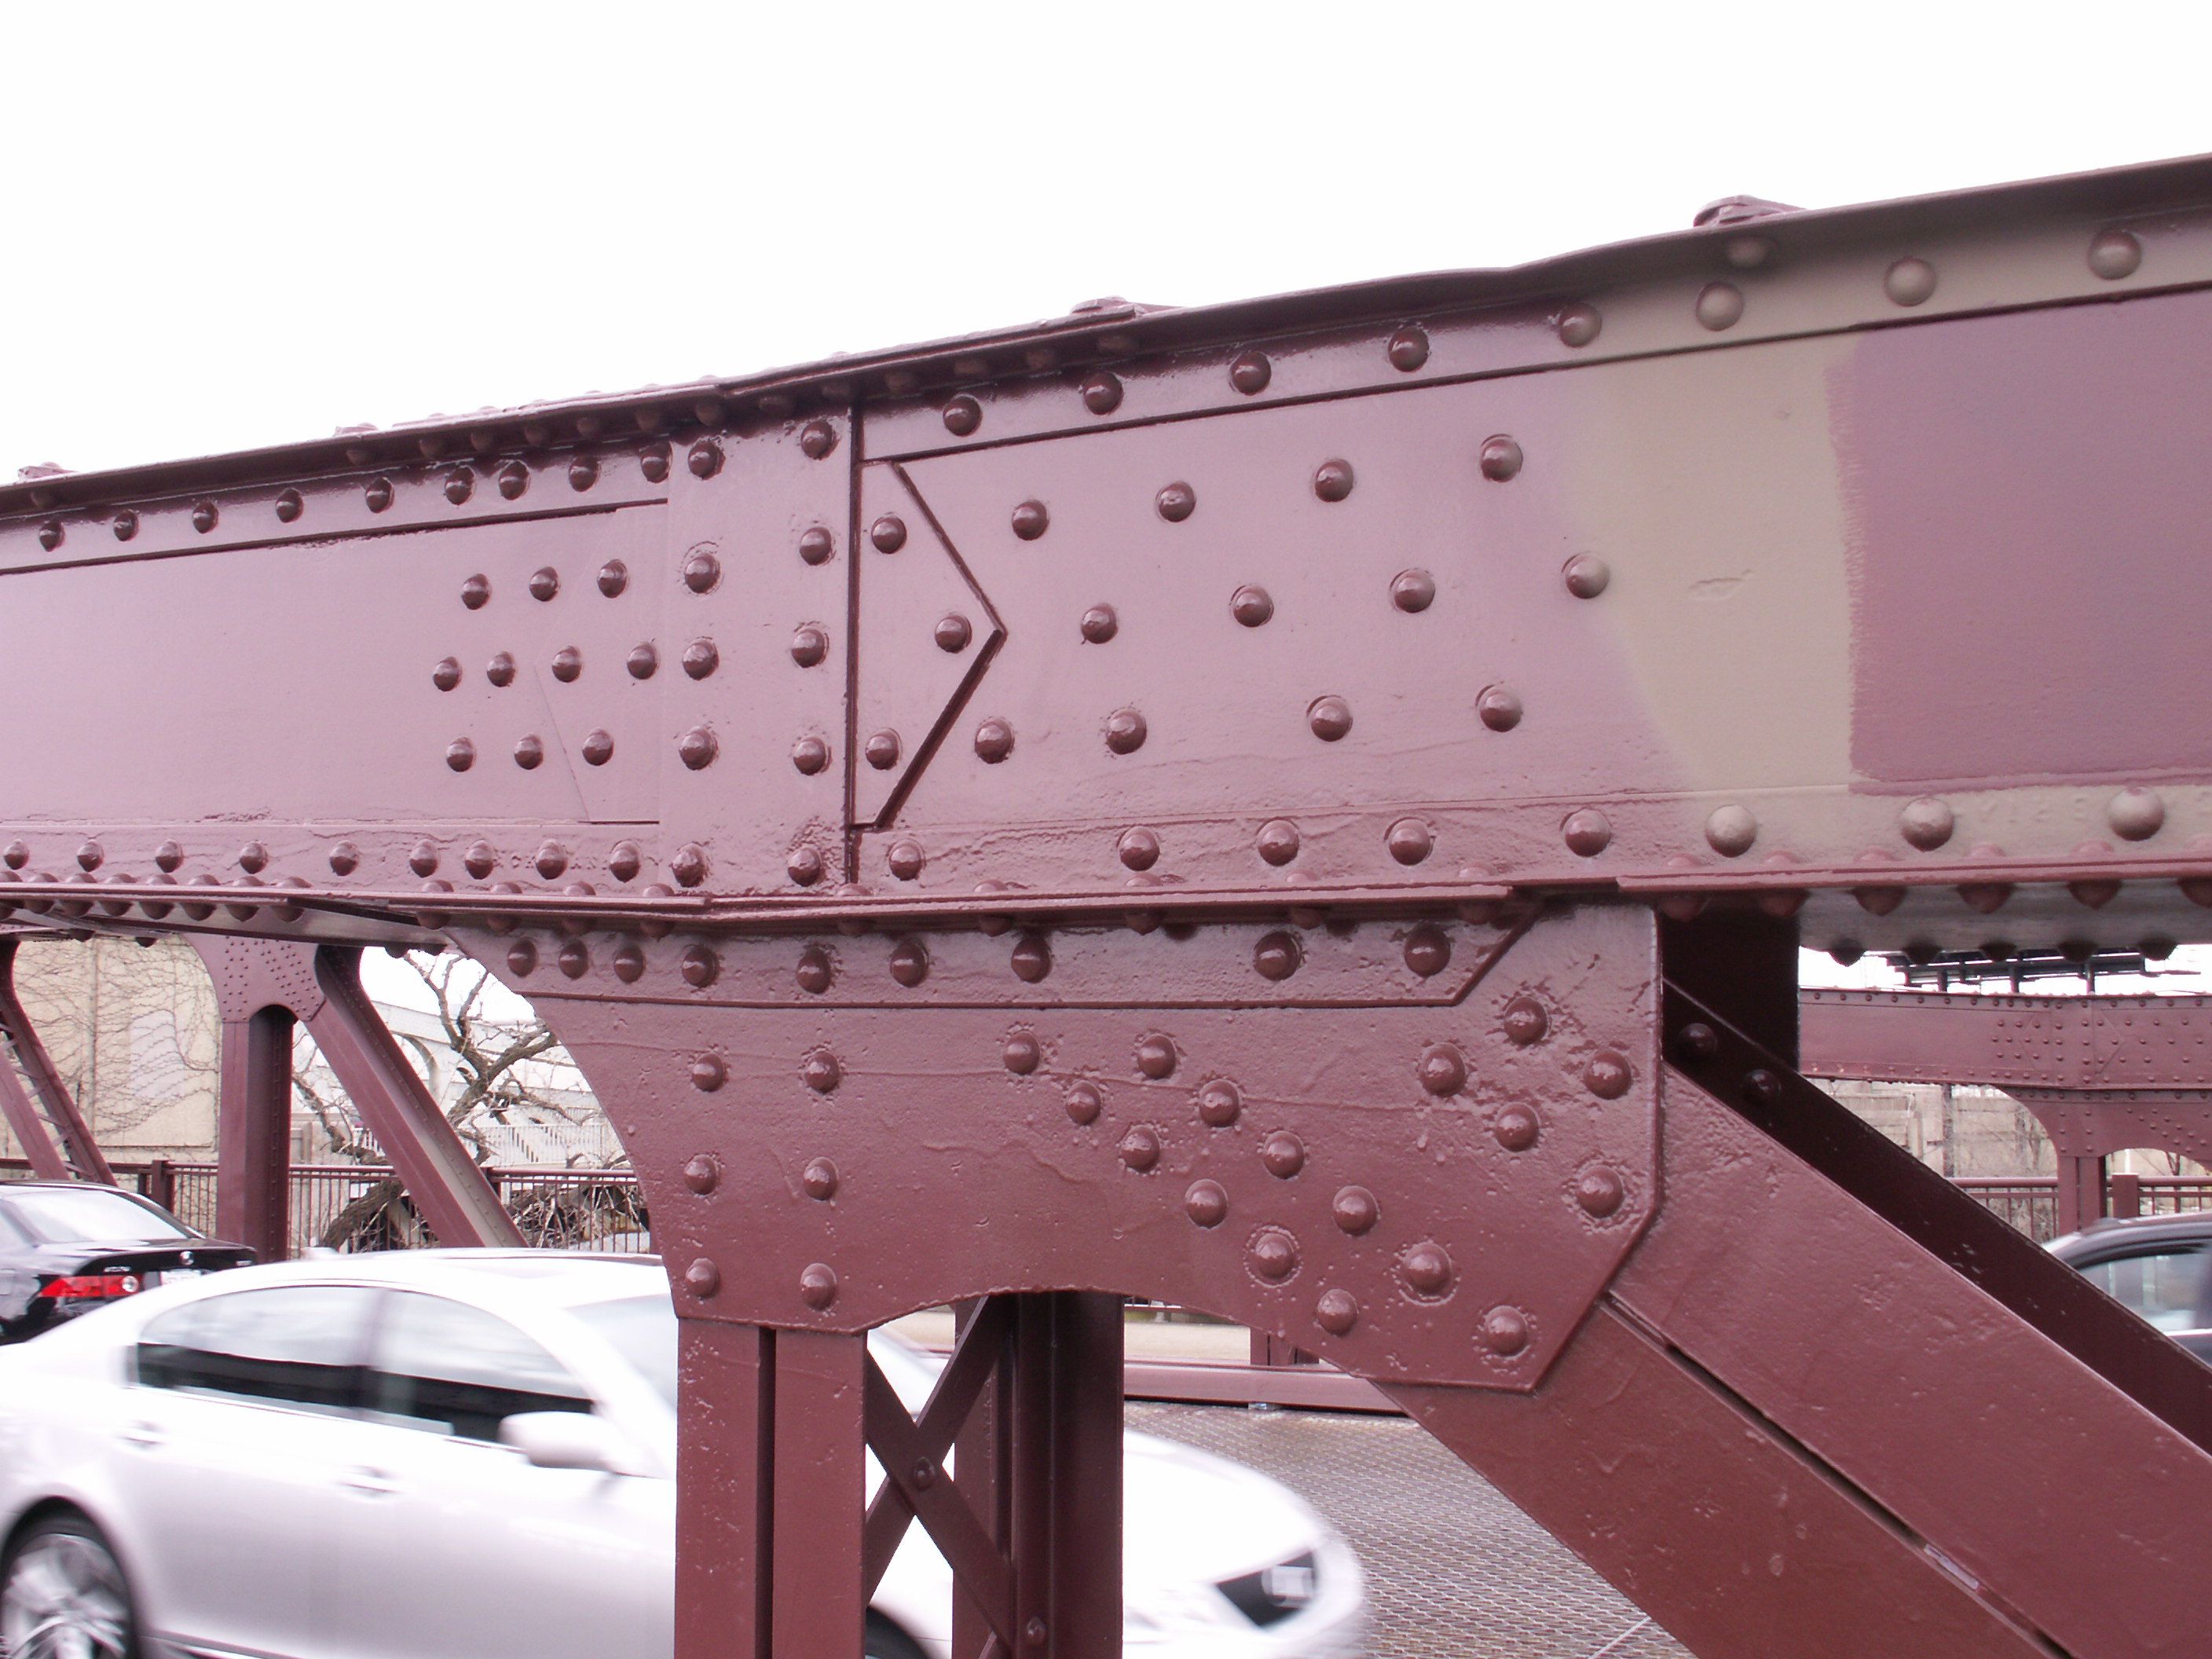
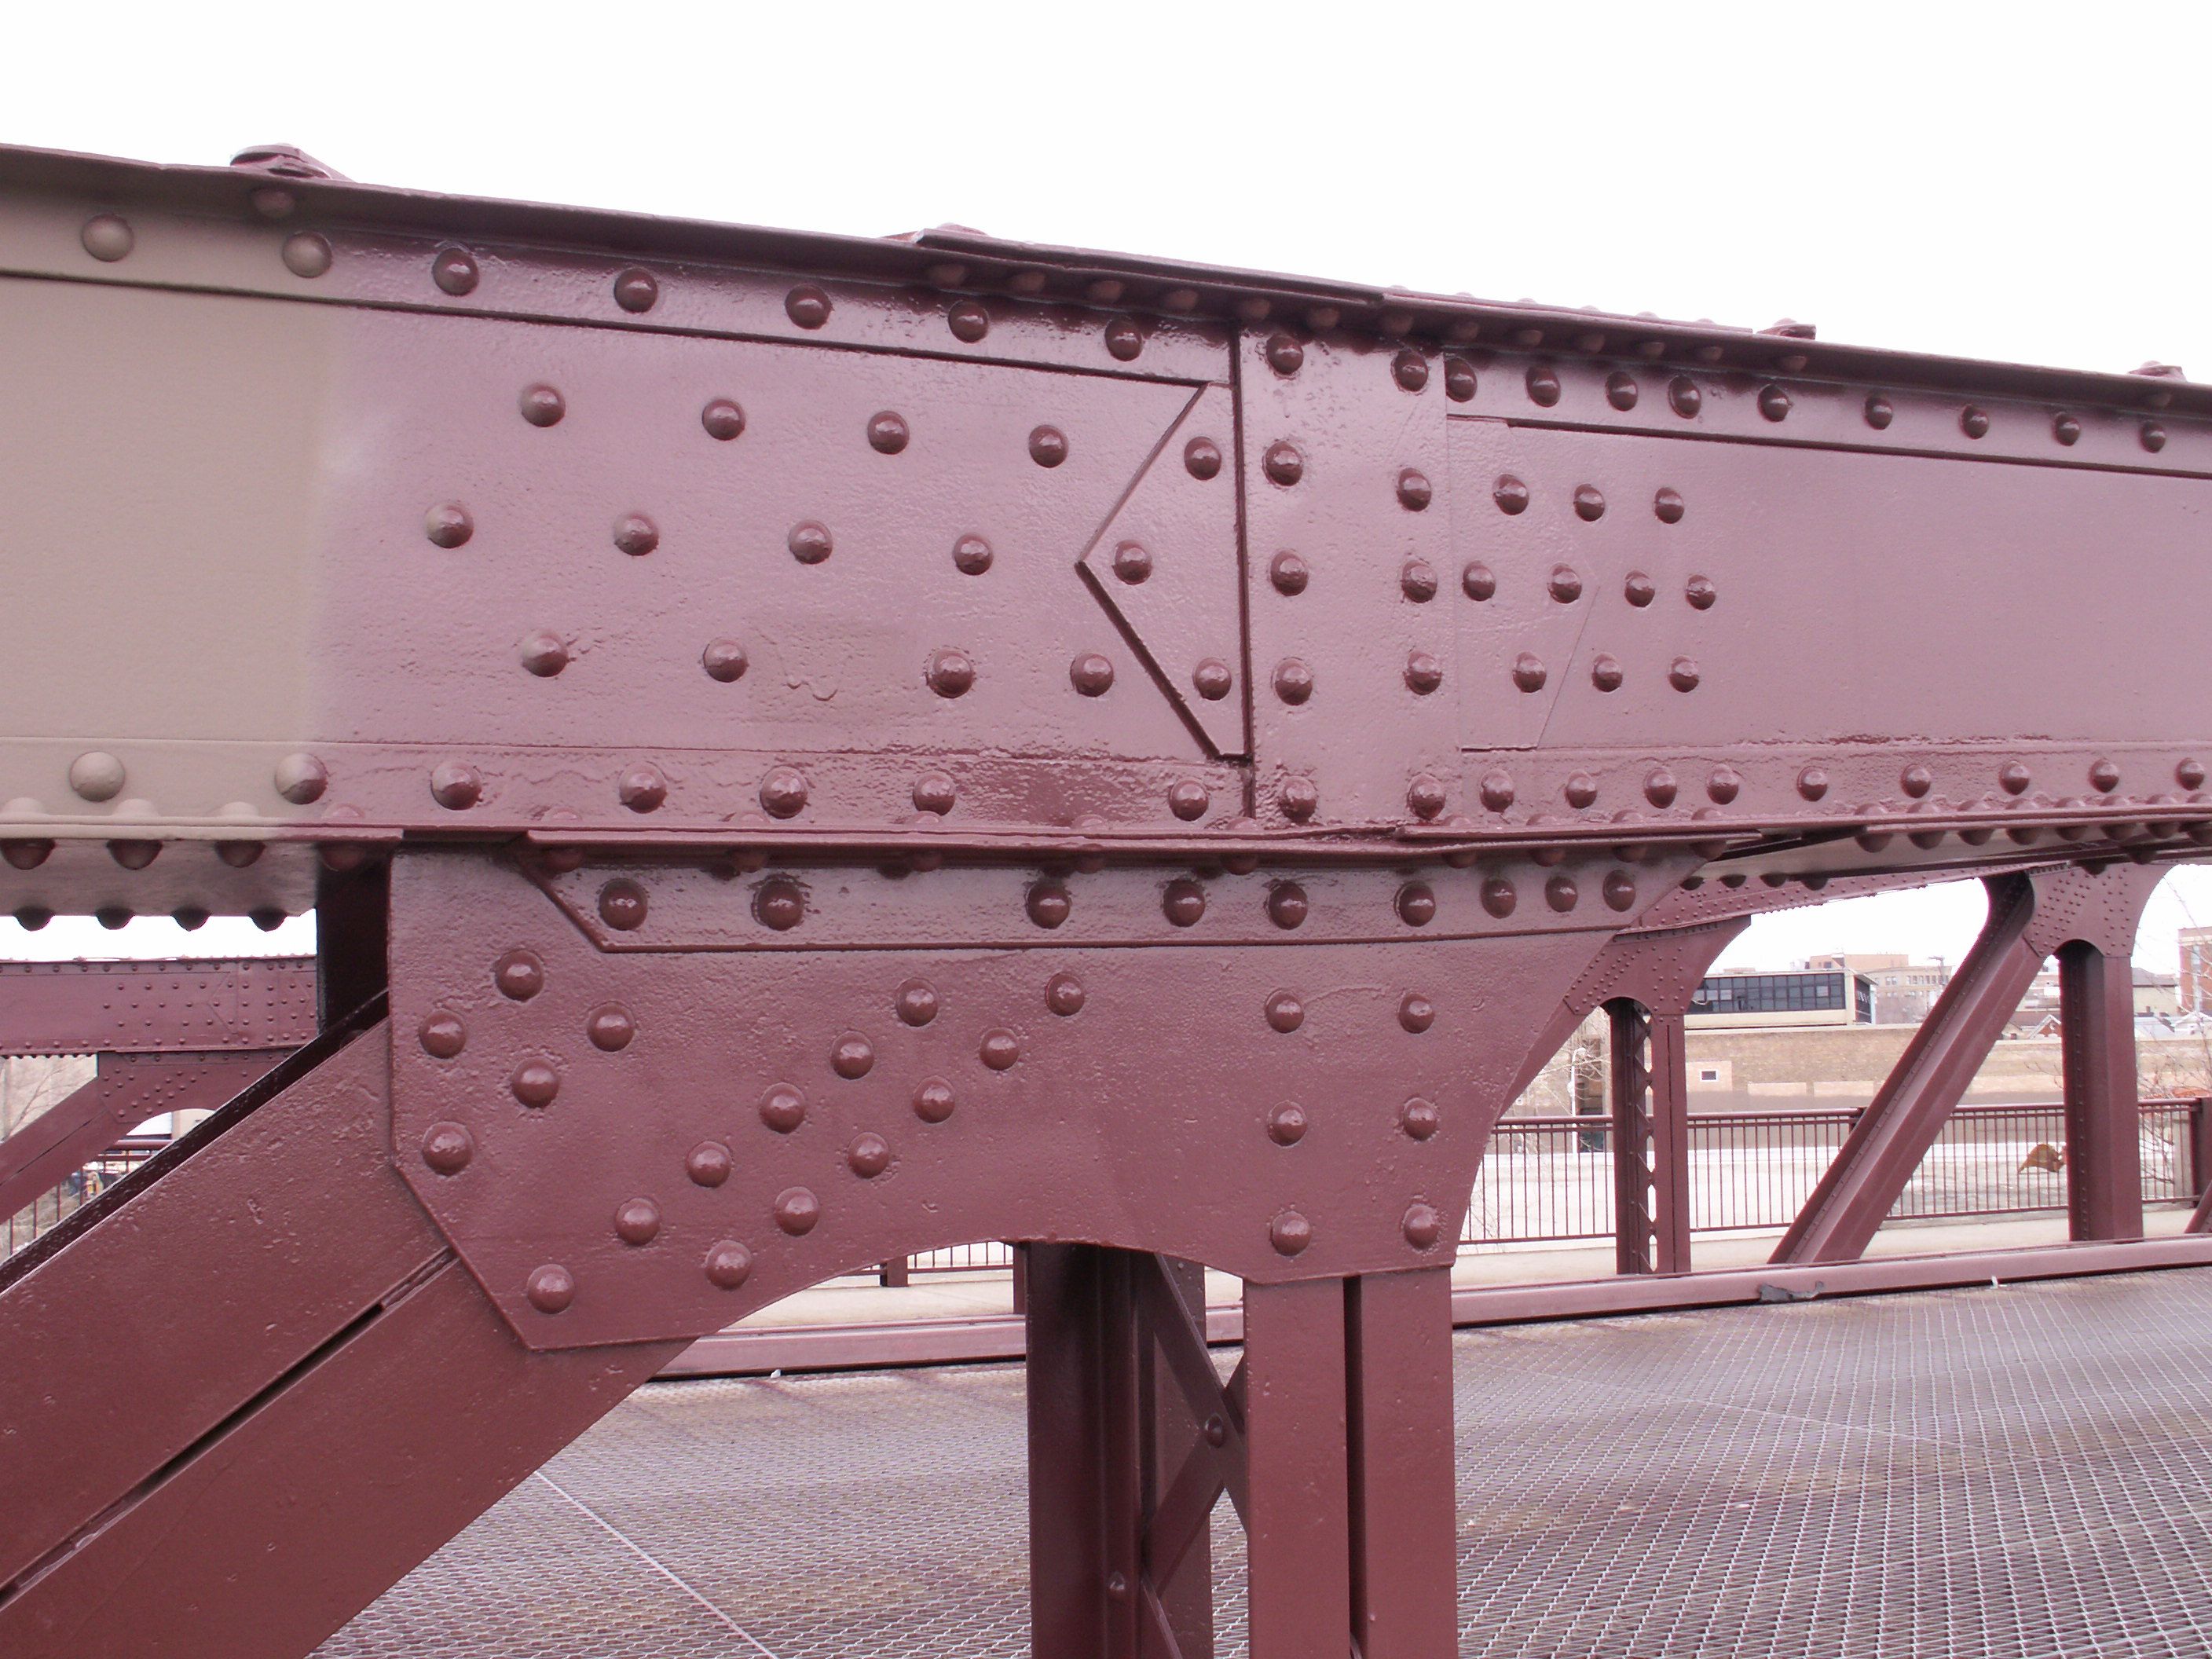

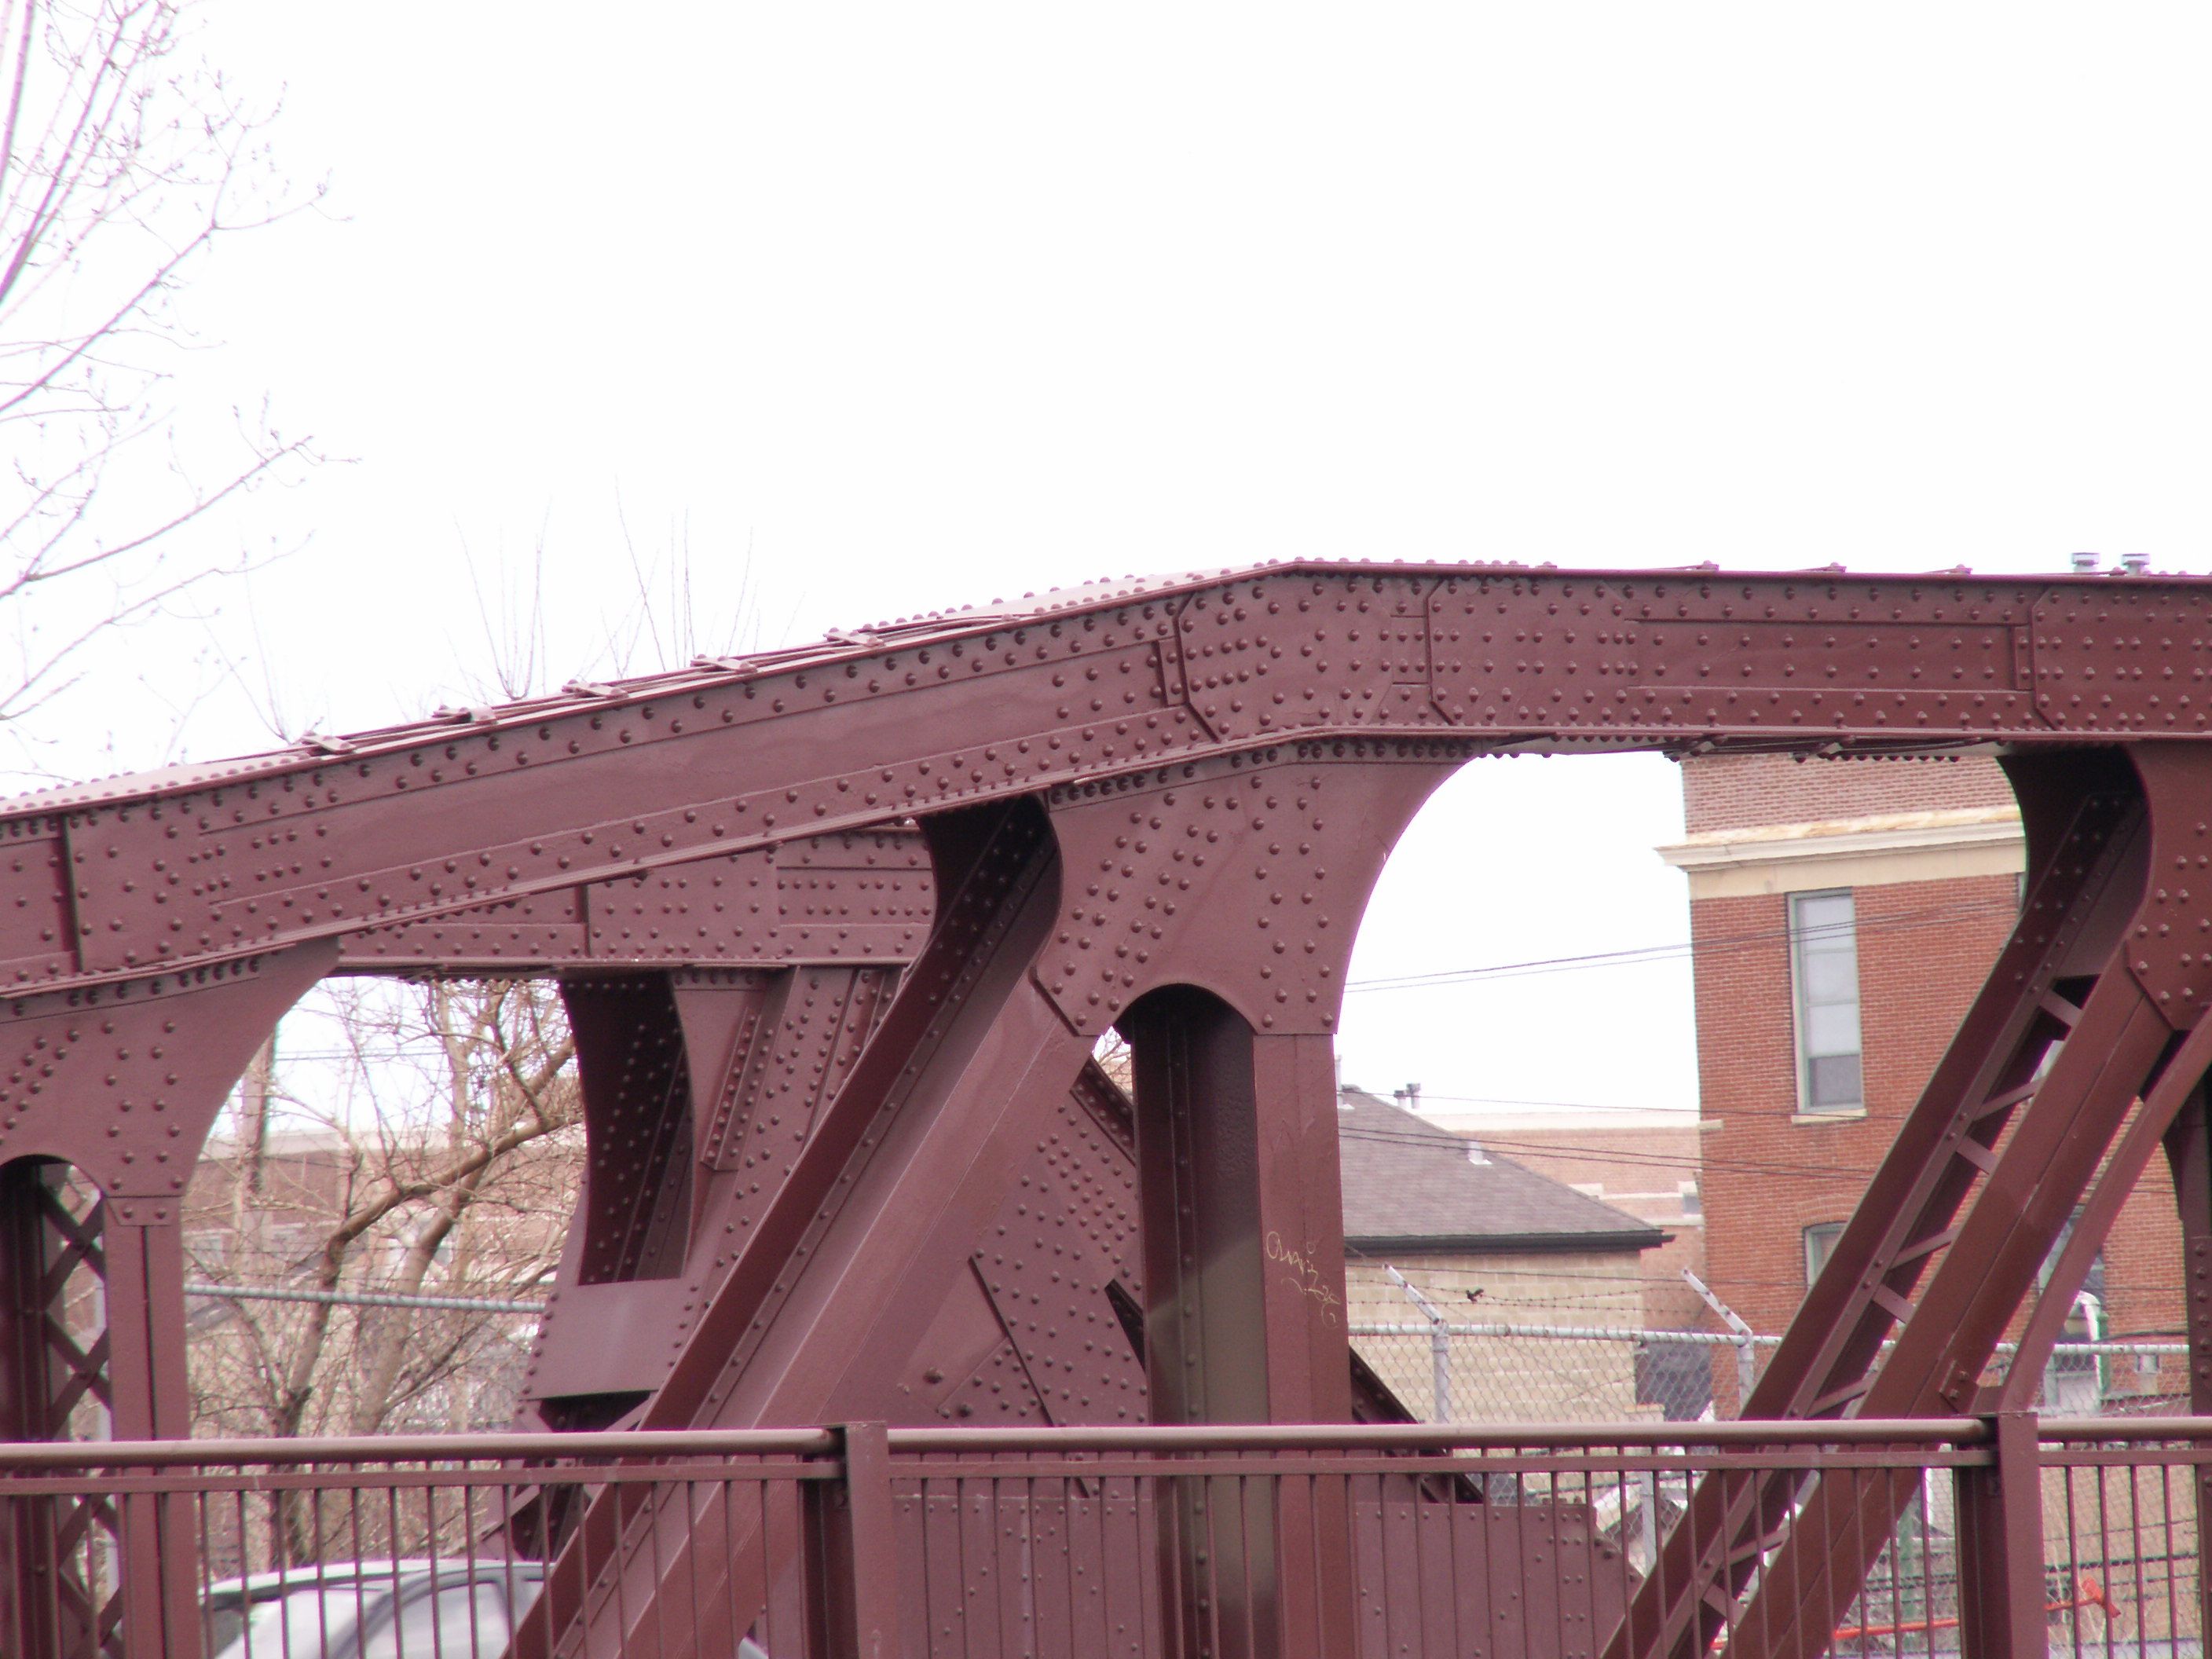
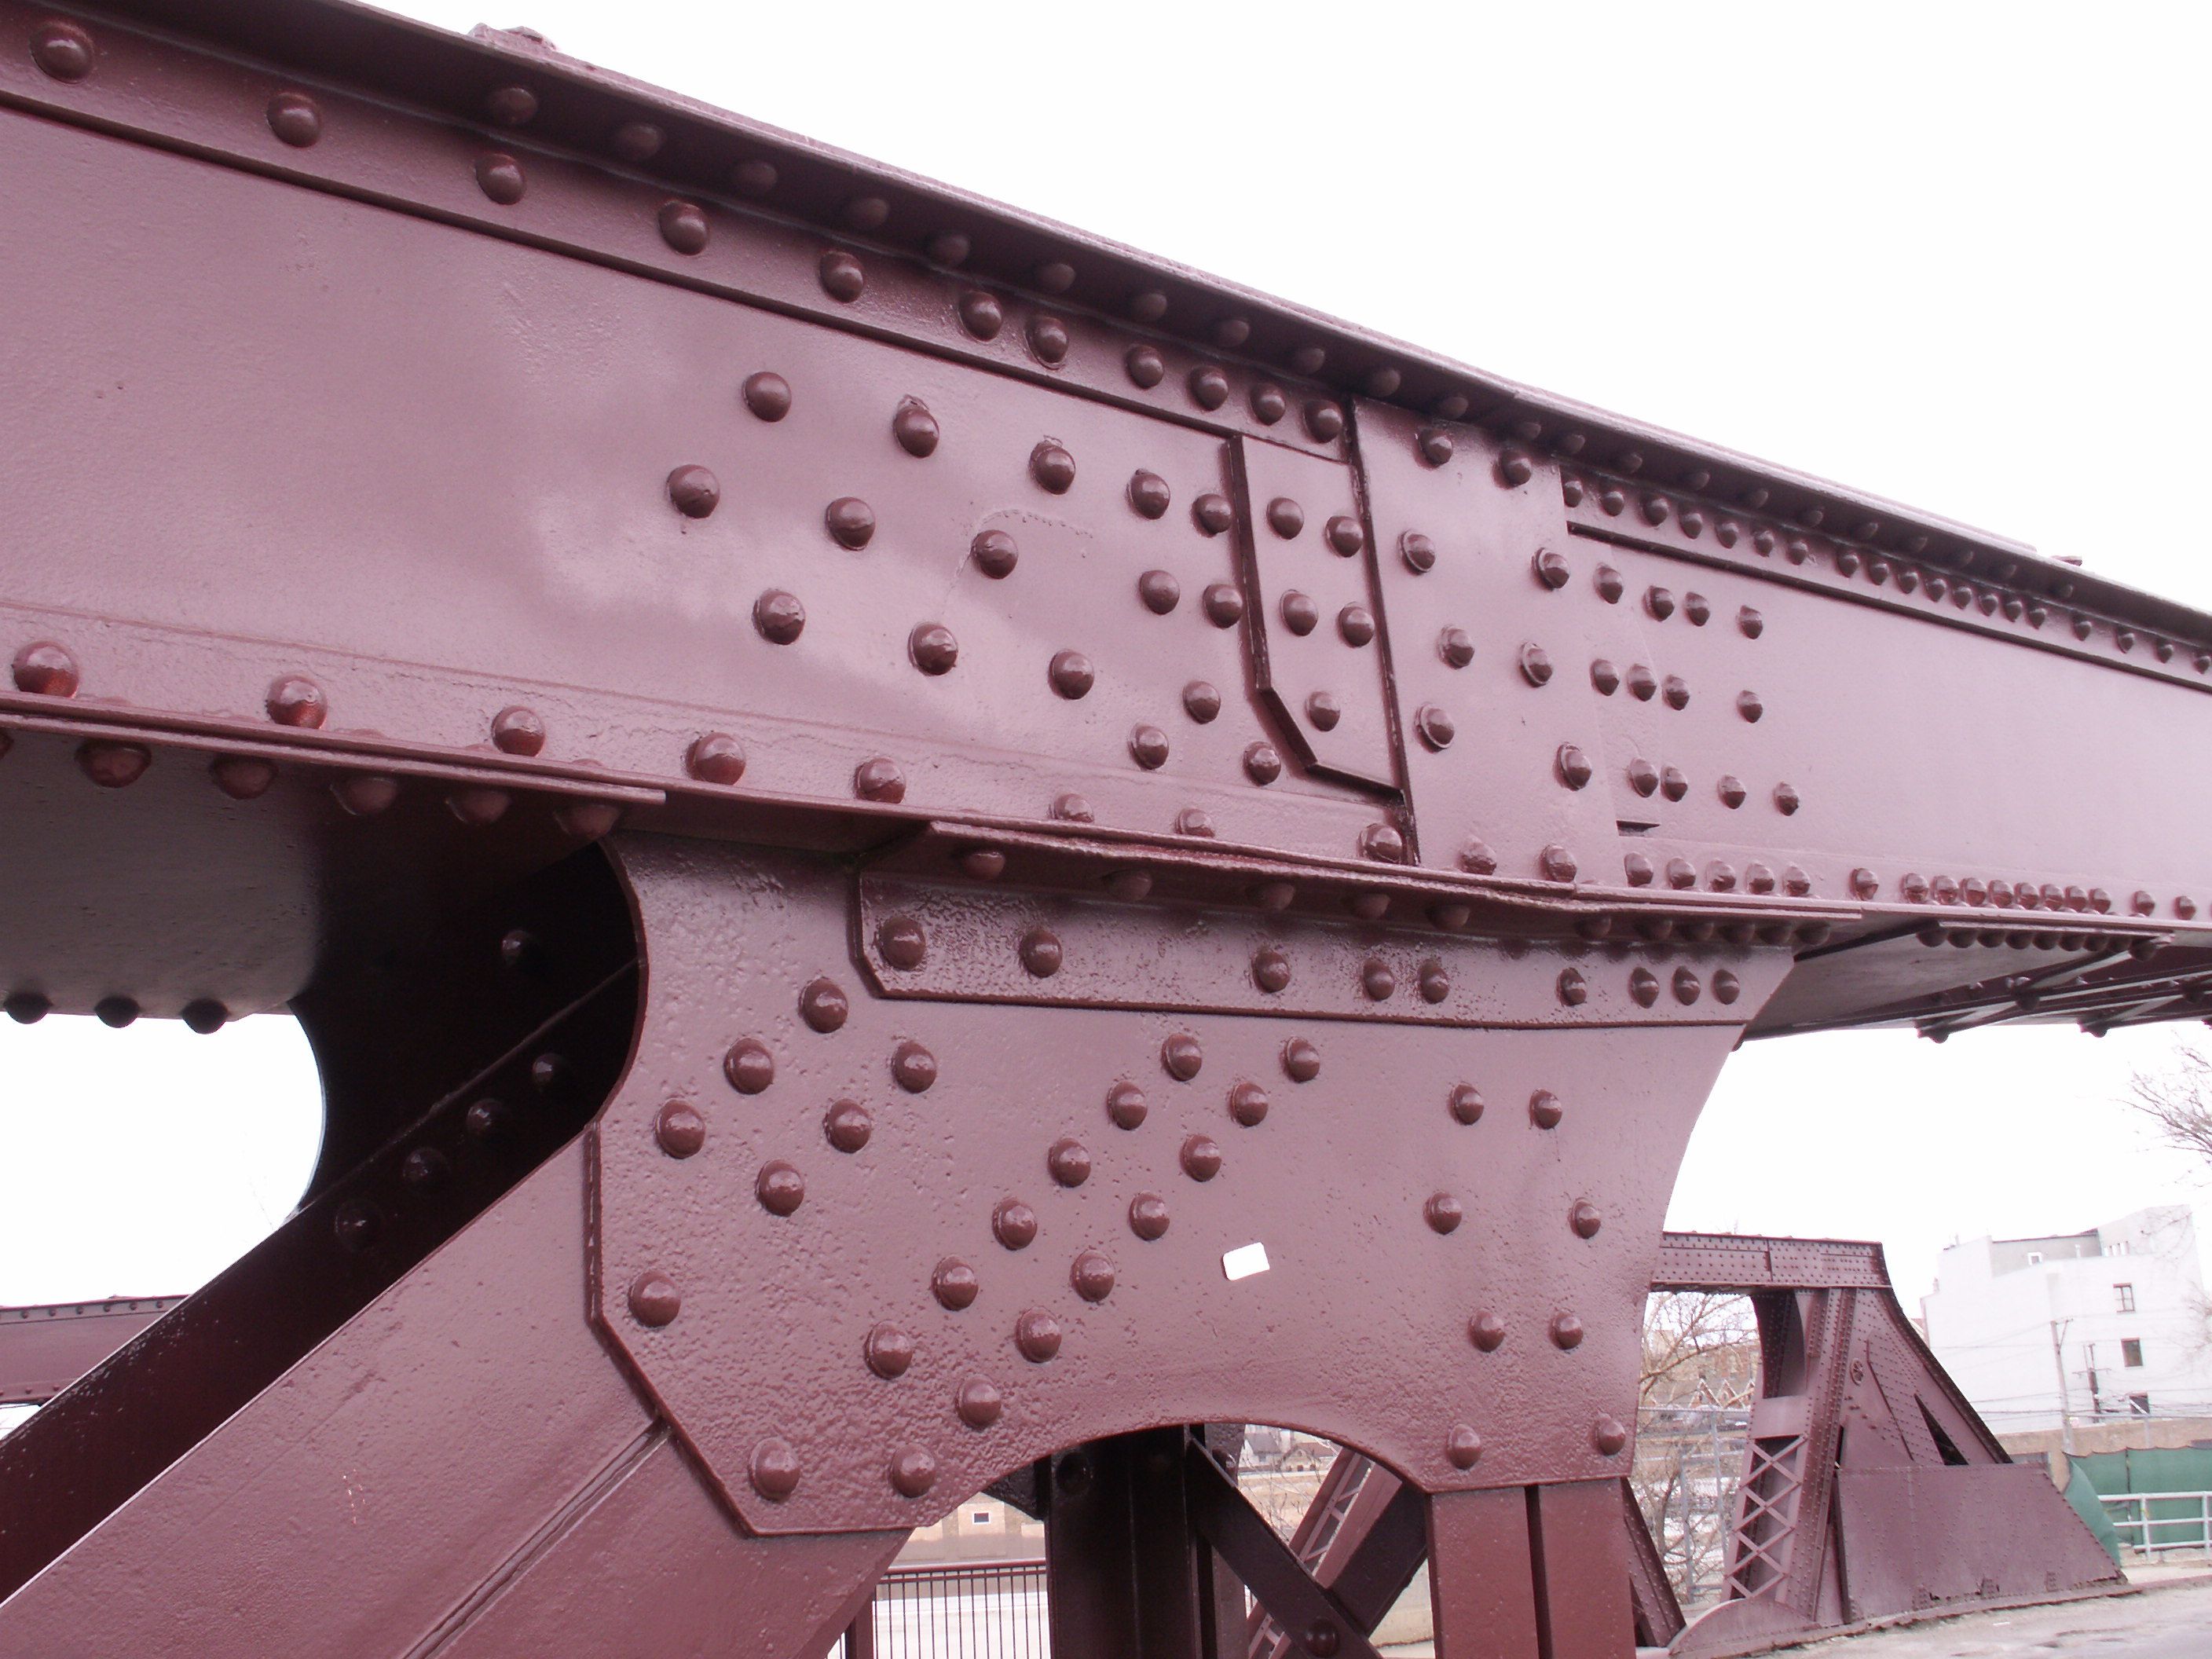
Top chord connections.
![]()

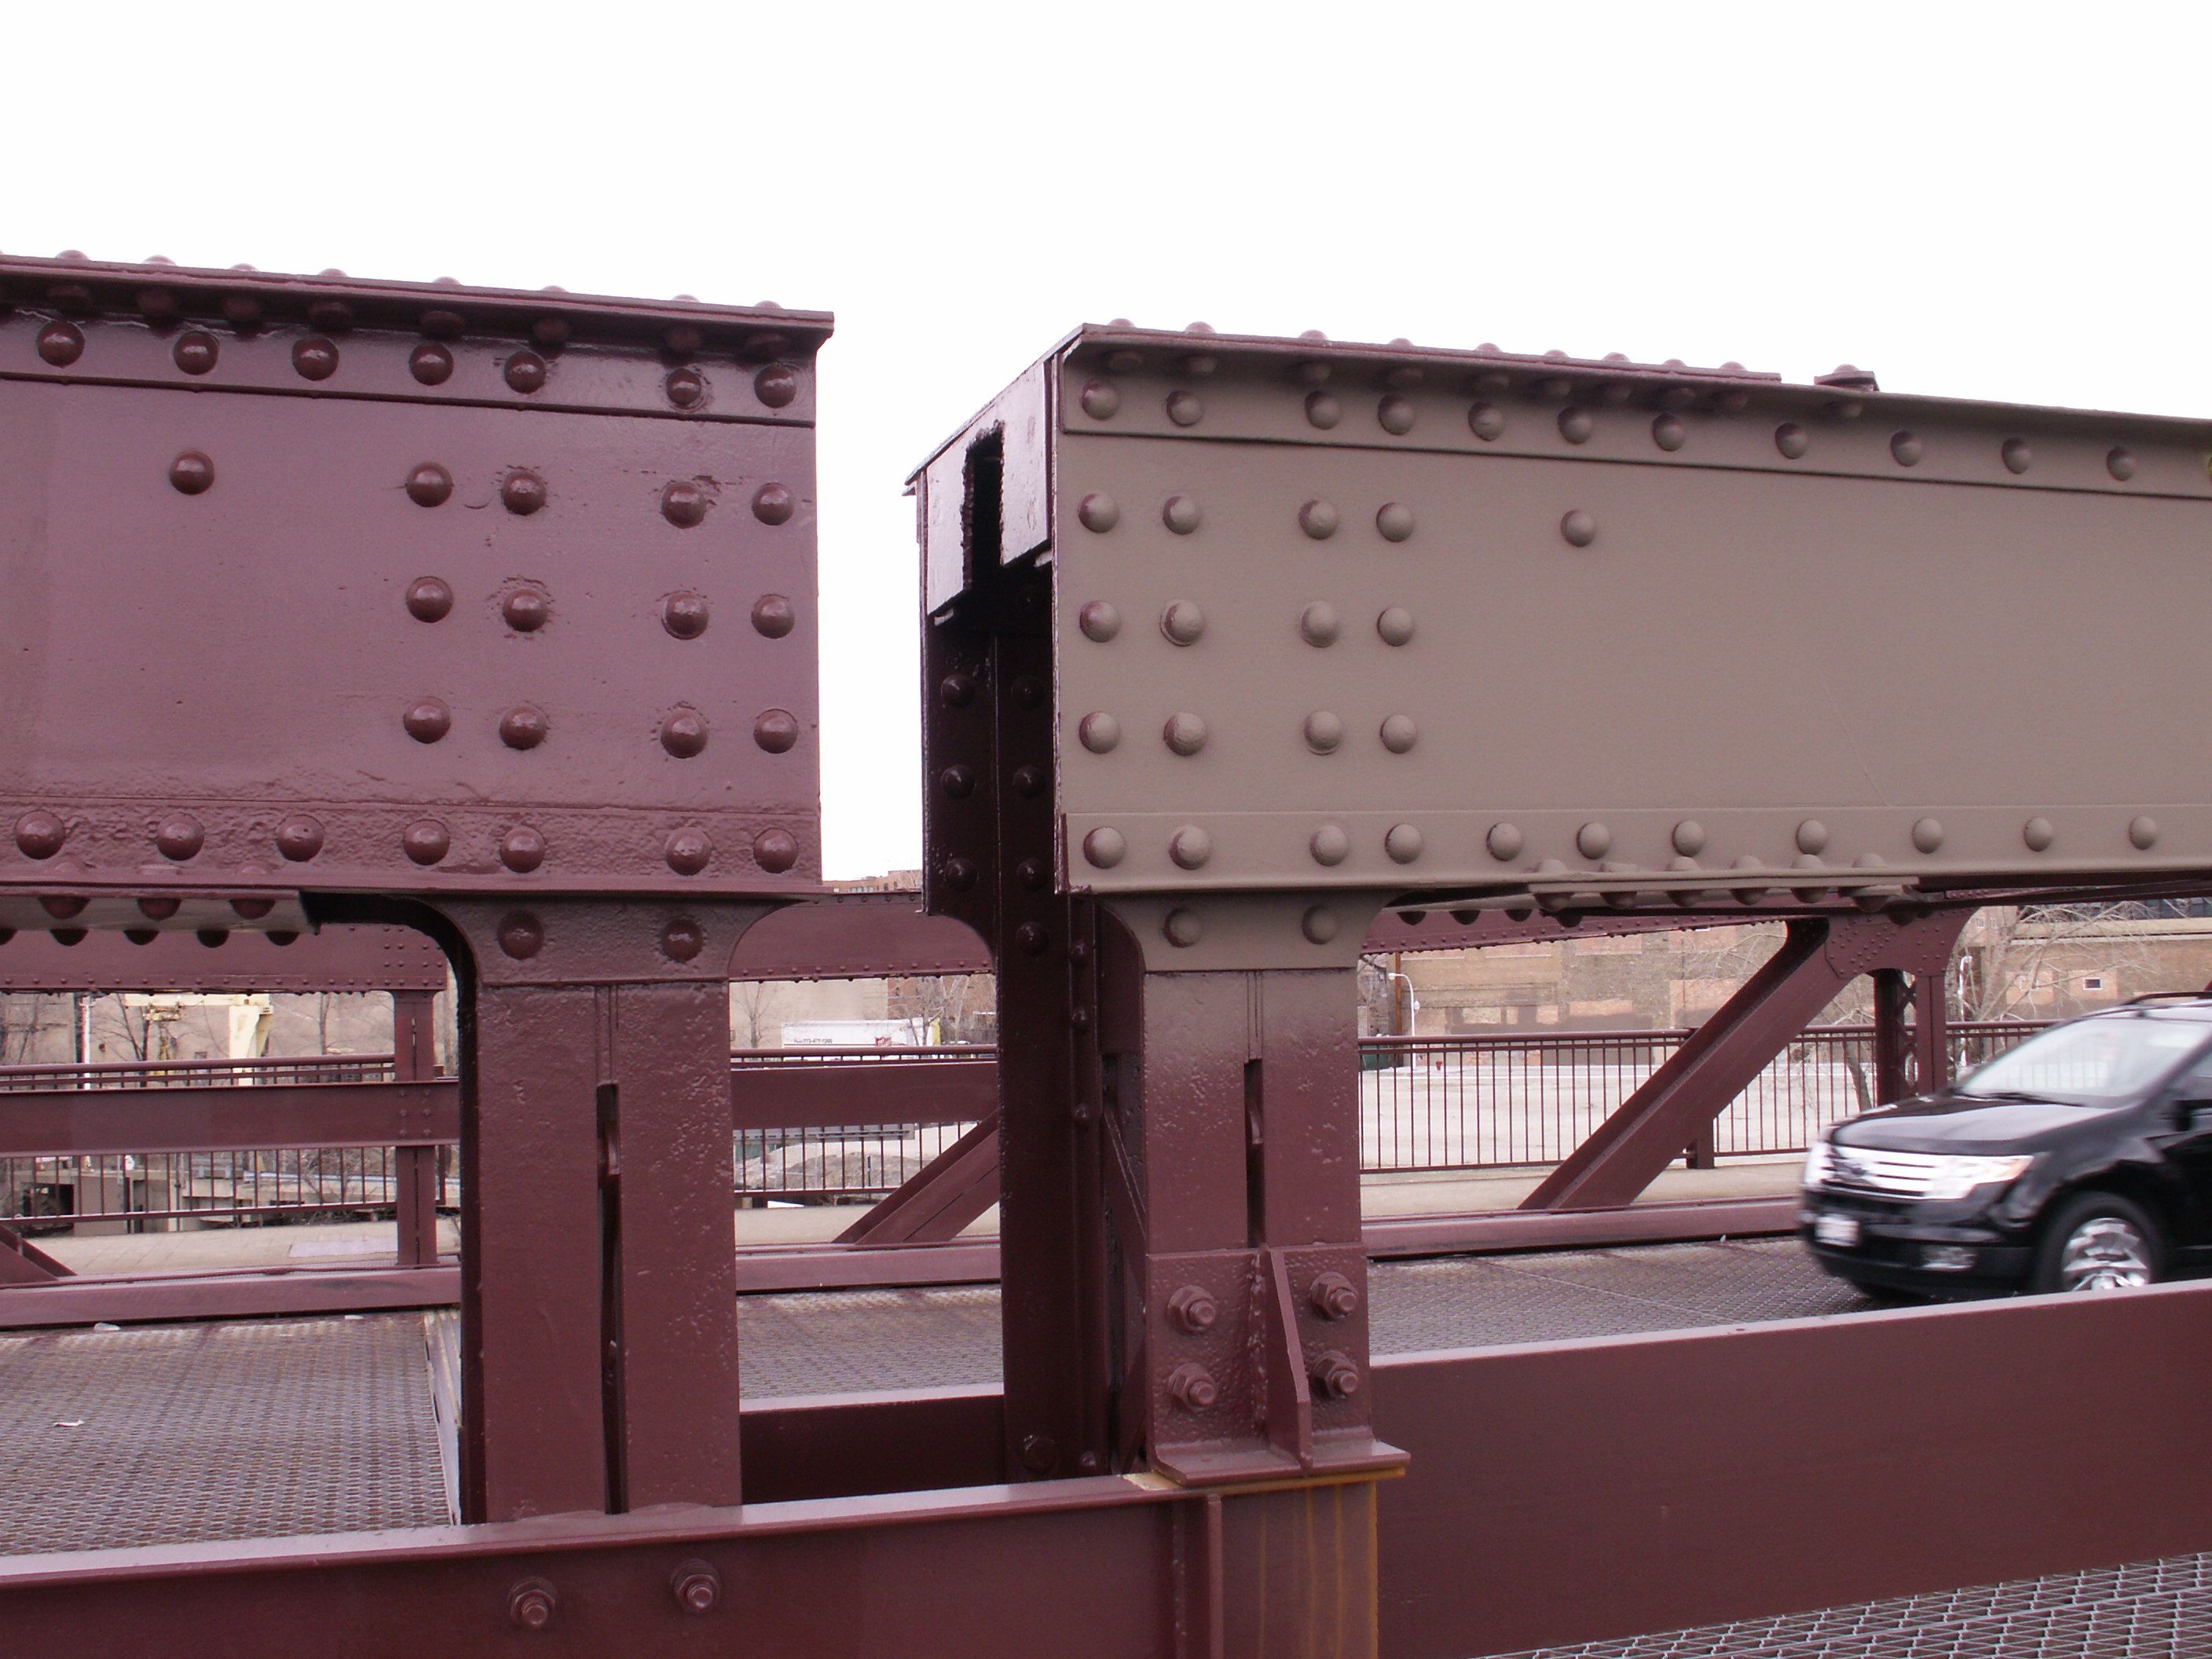
Top chord connections at center of bridge.
![]()

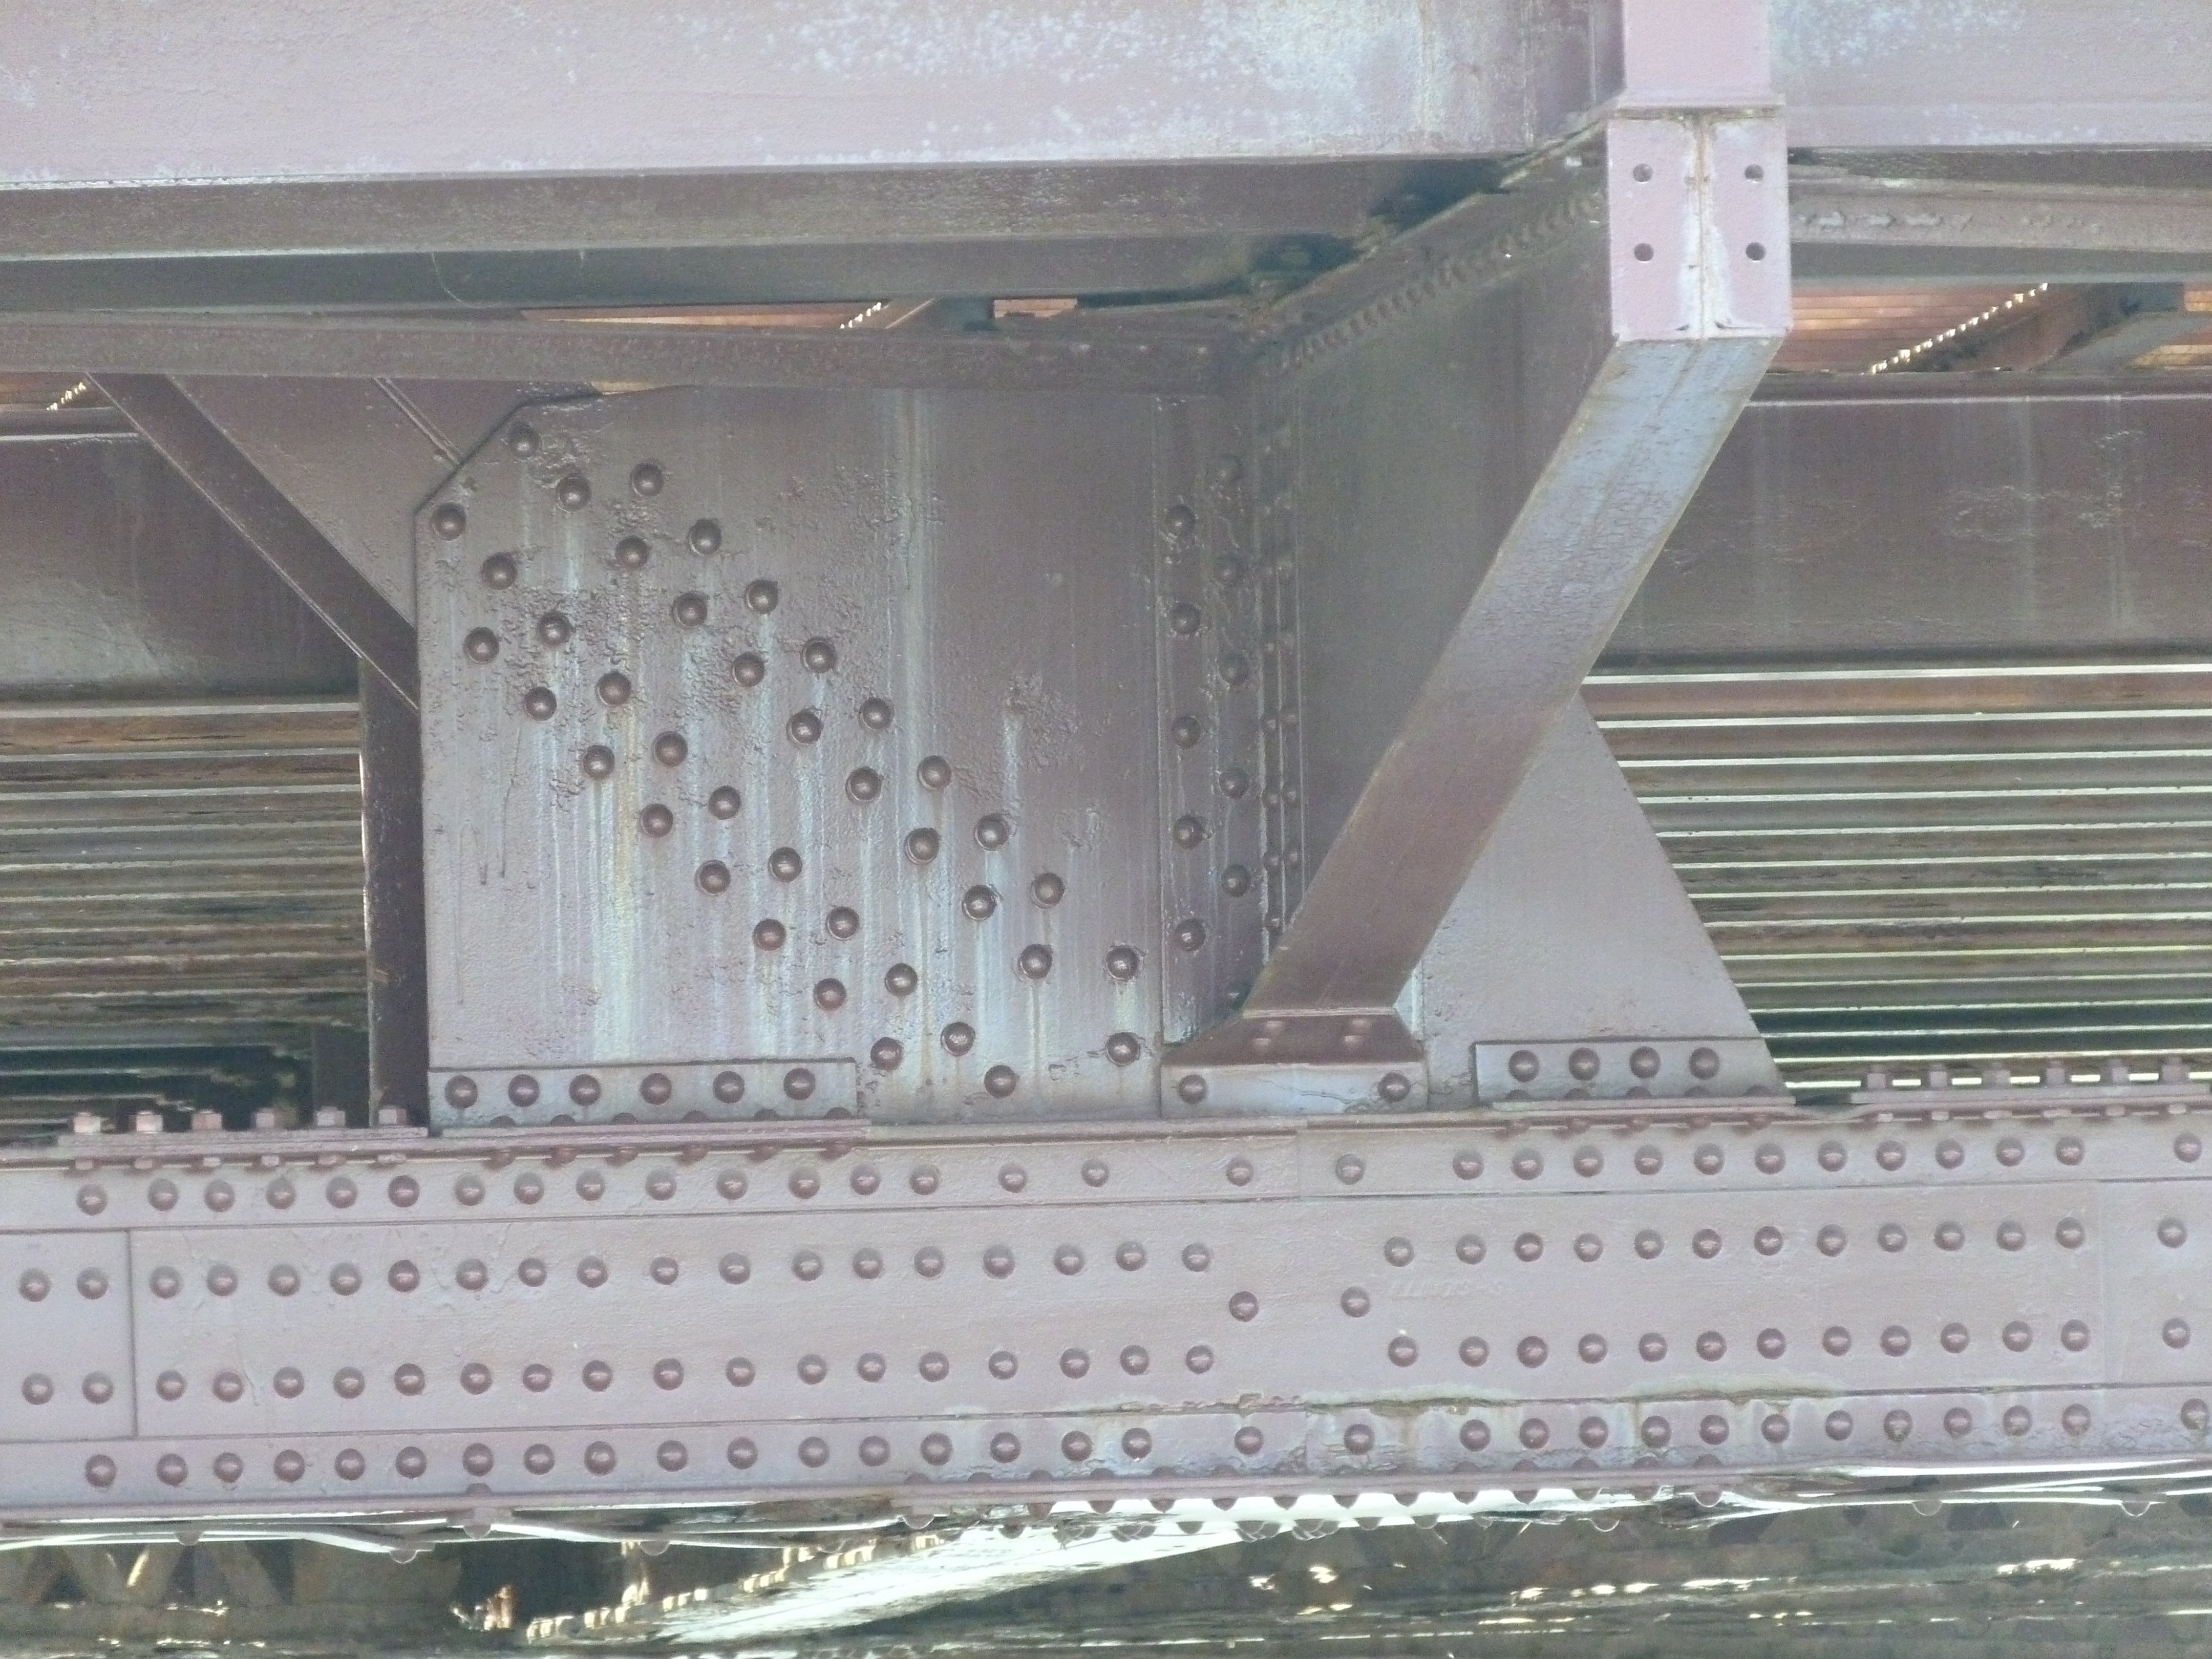
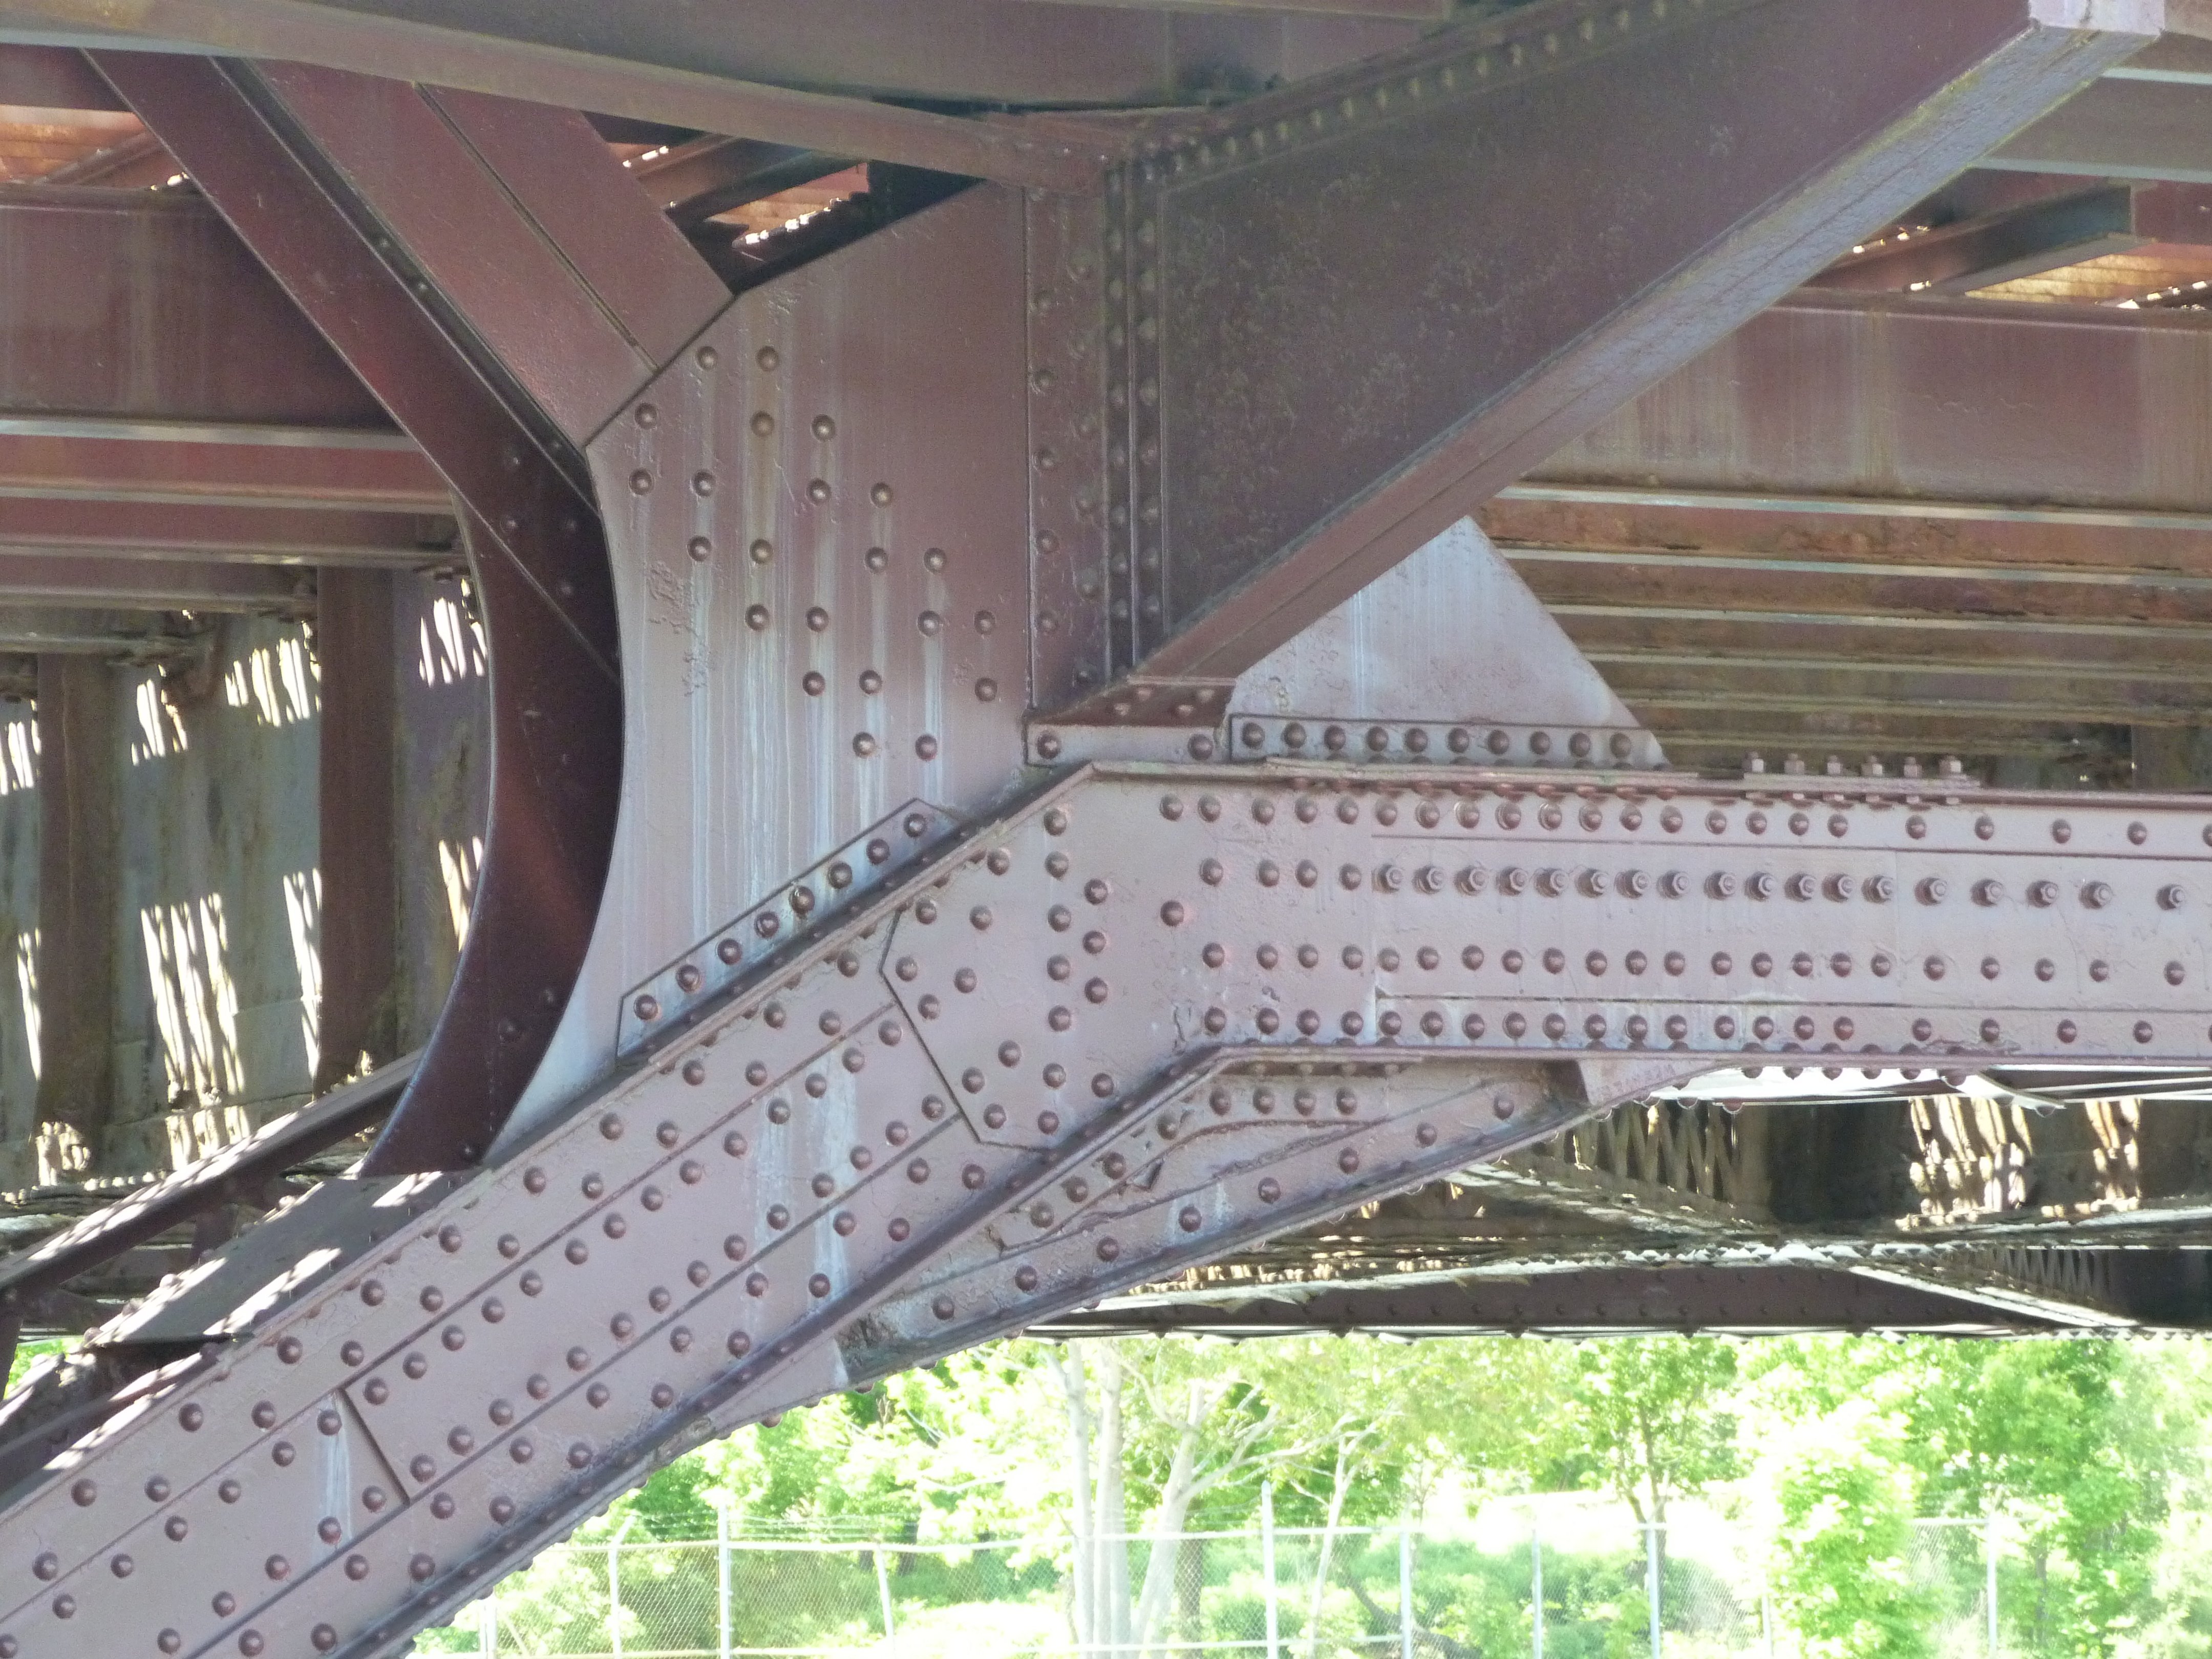
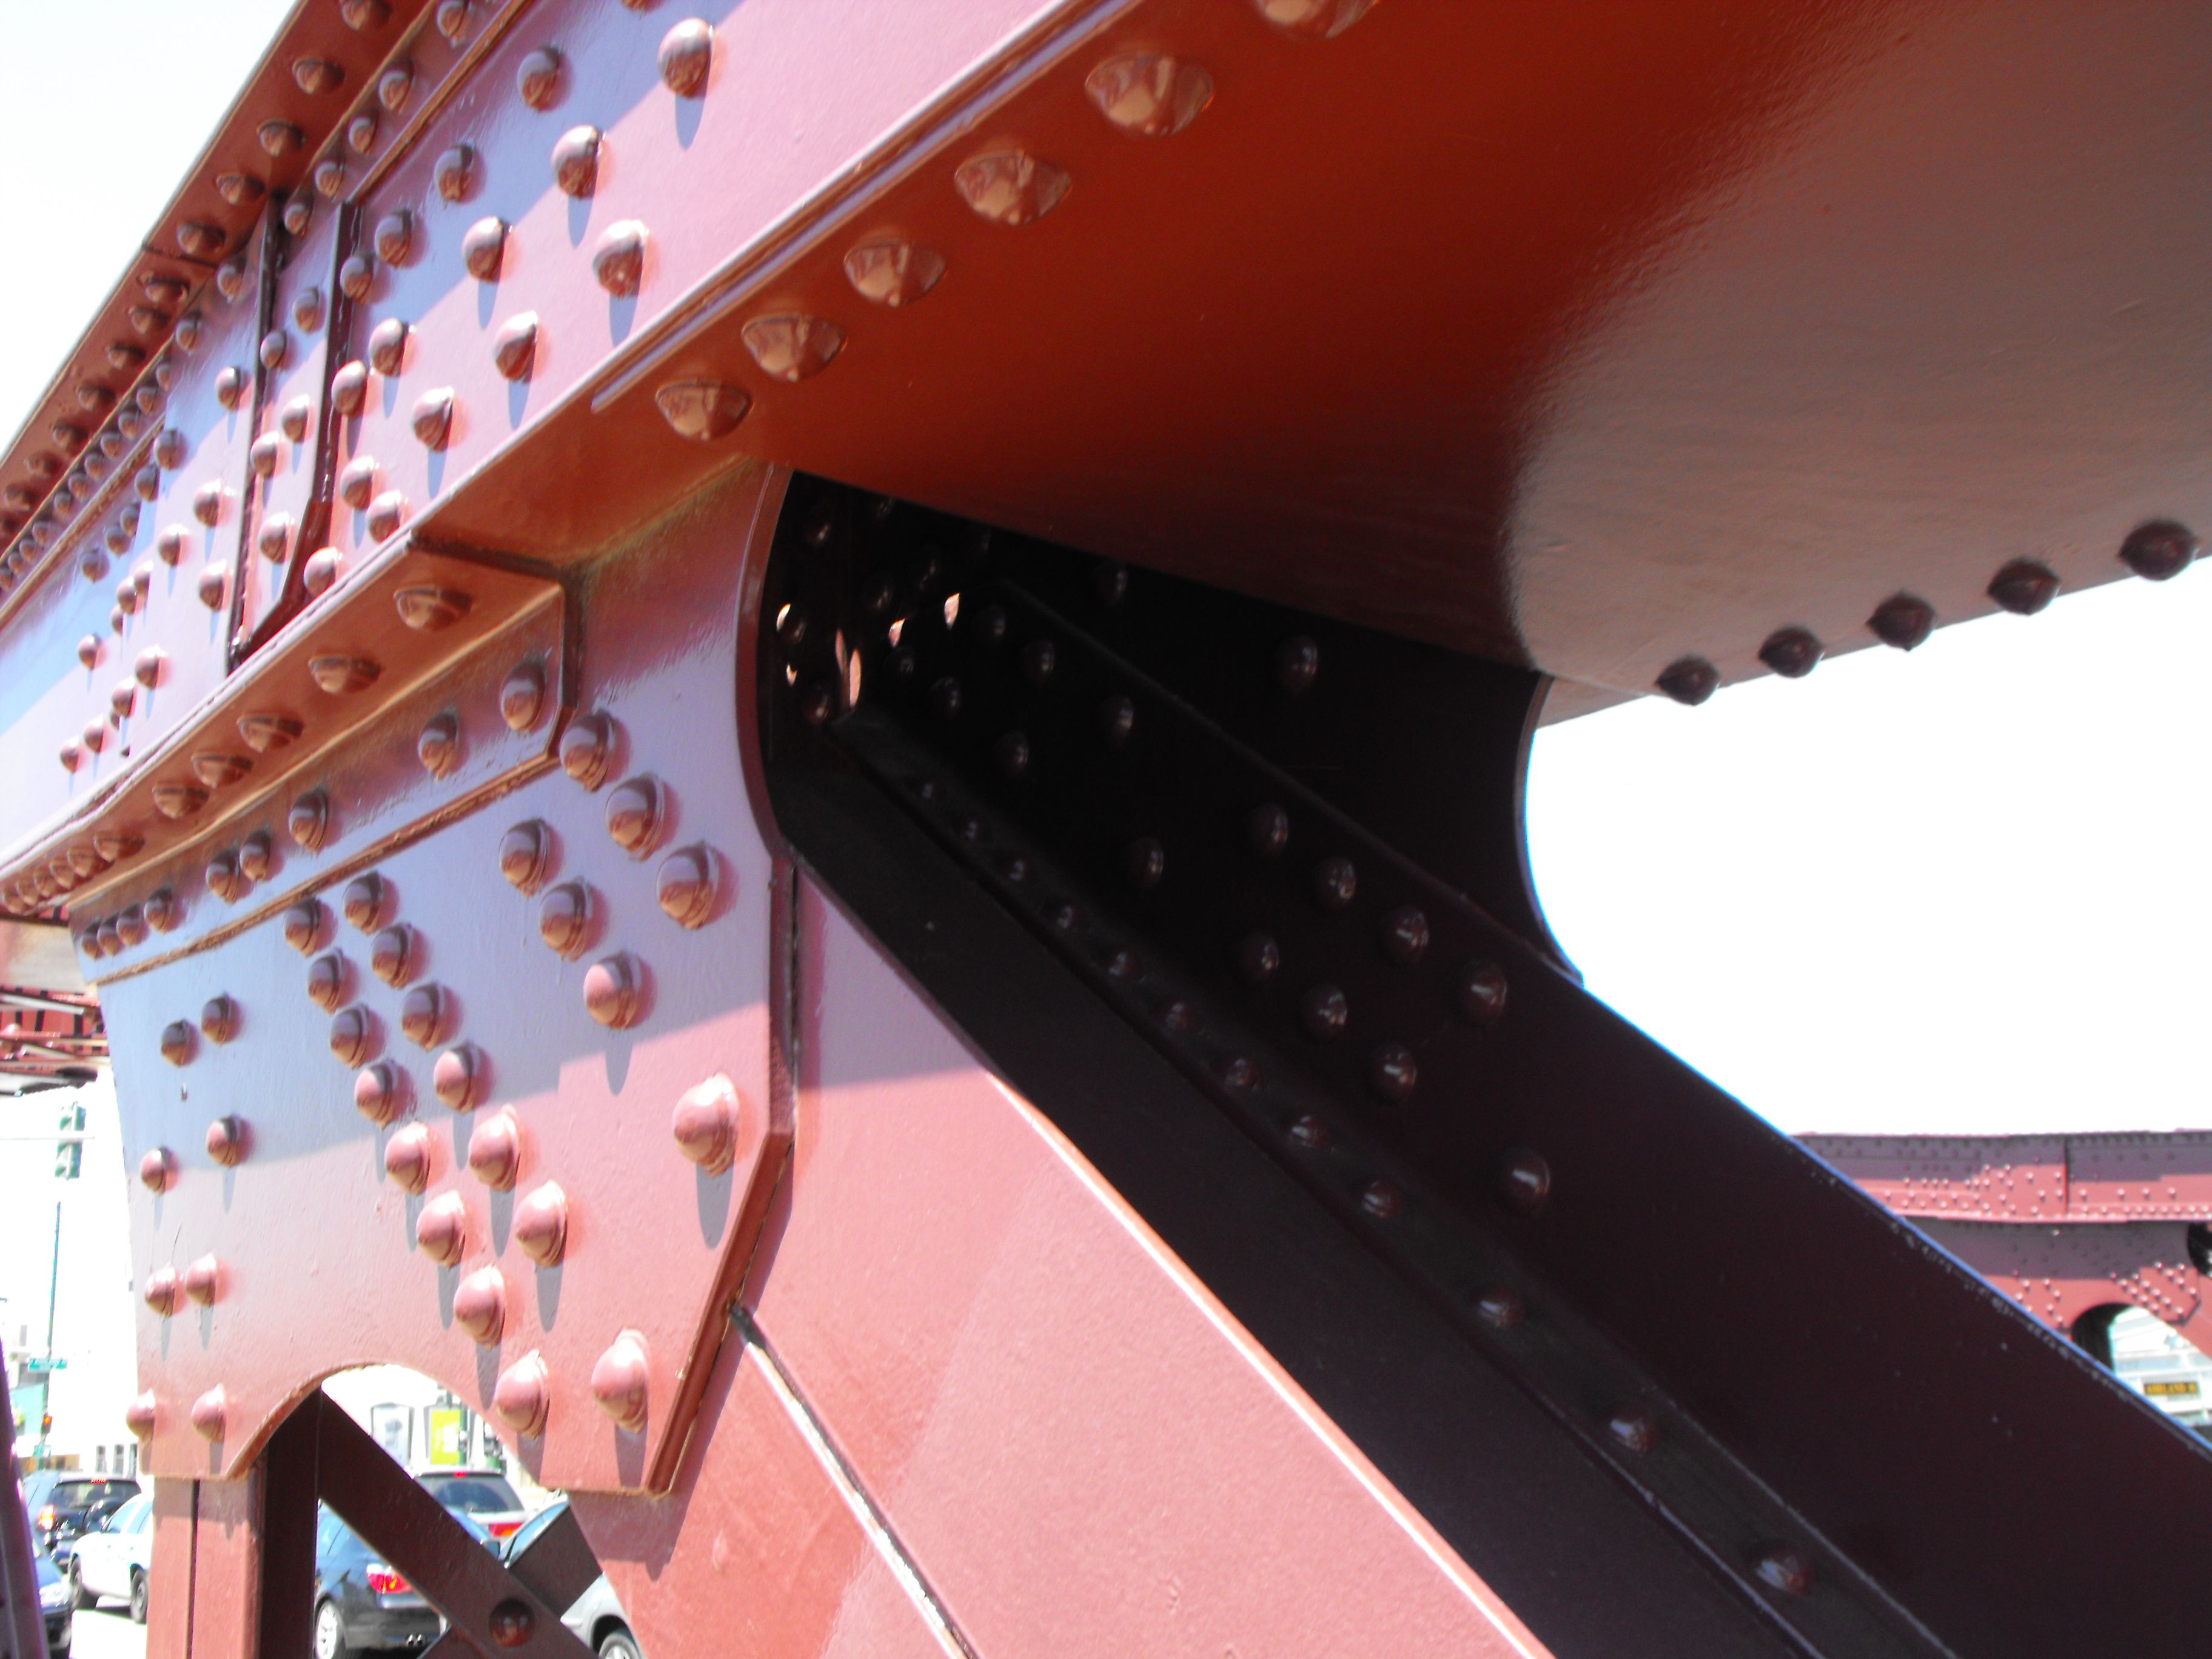
Bottom chord connections as viewed from beside bridge.
![]()
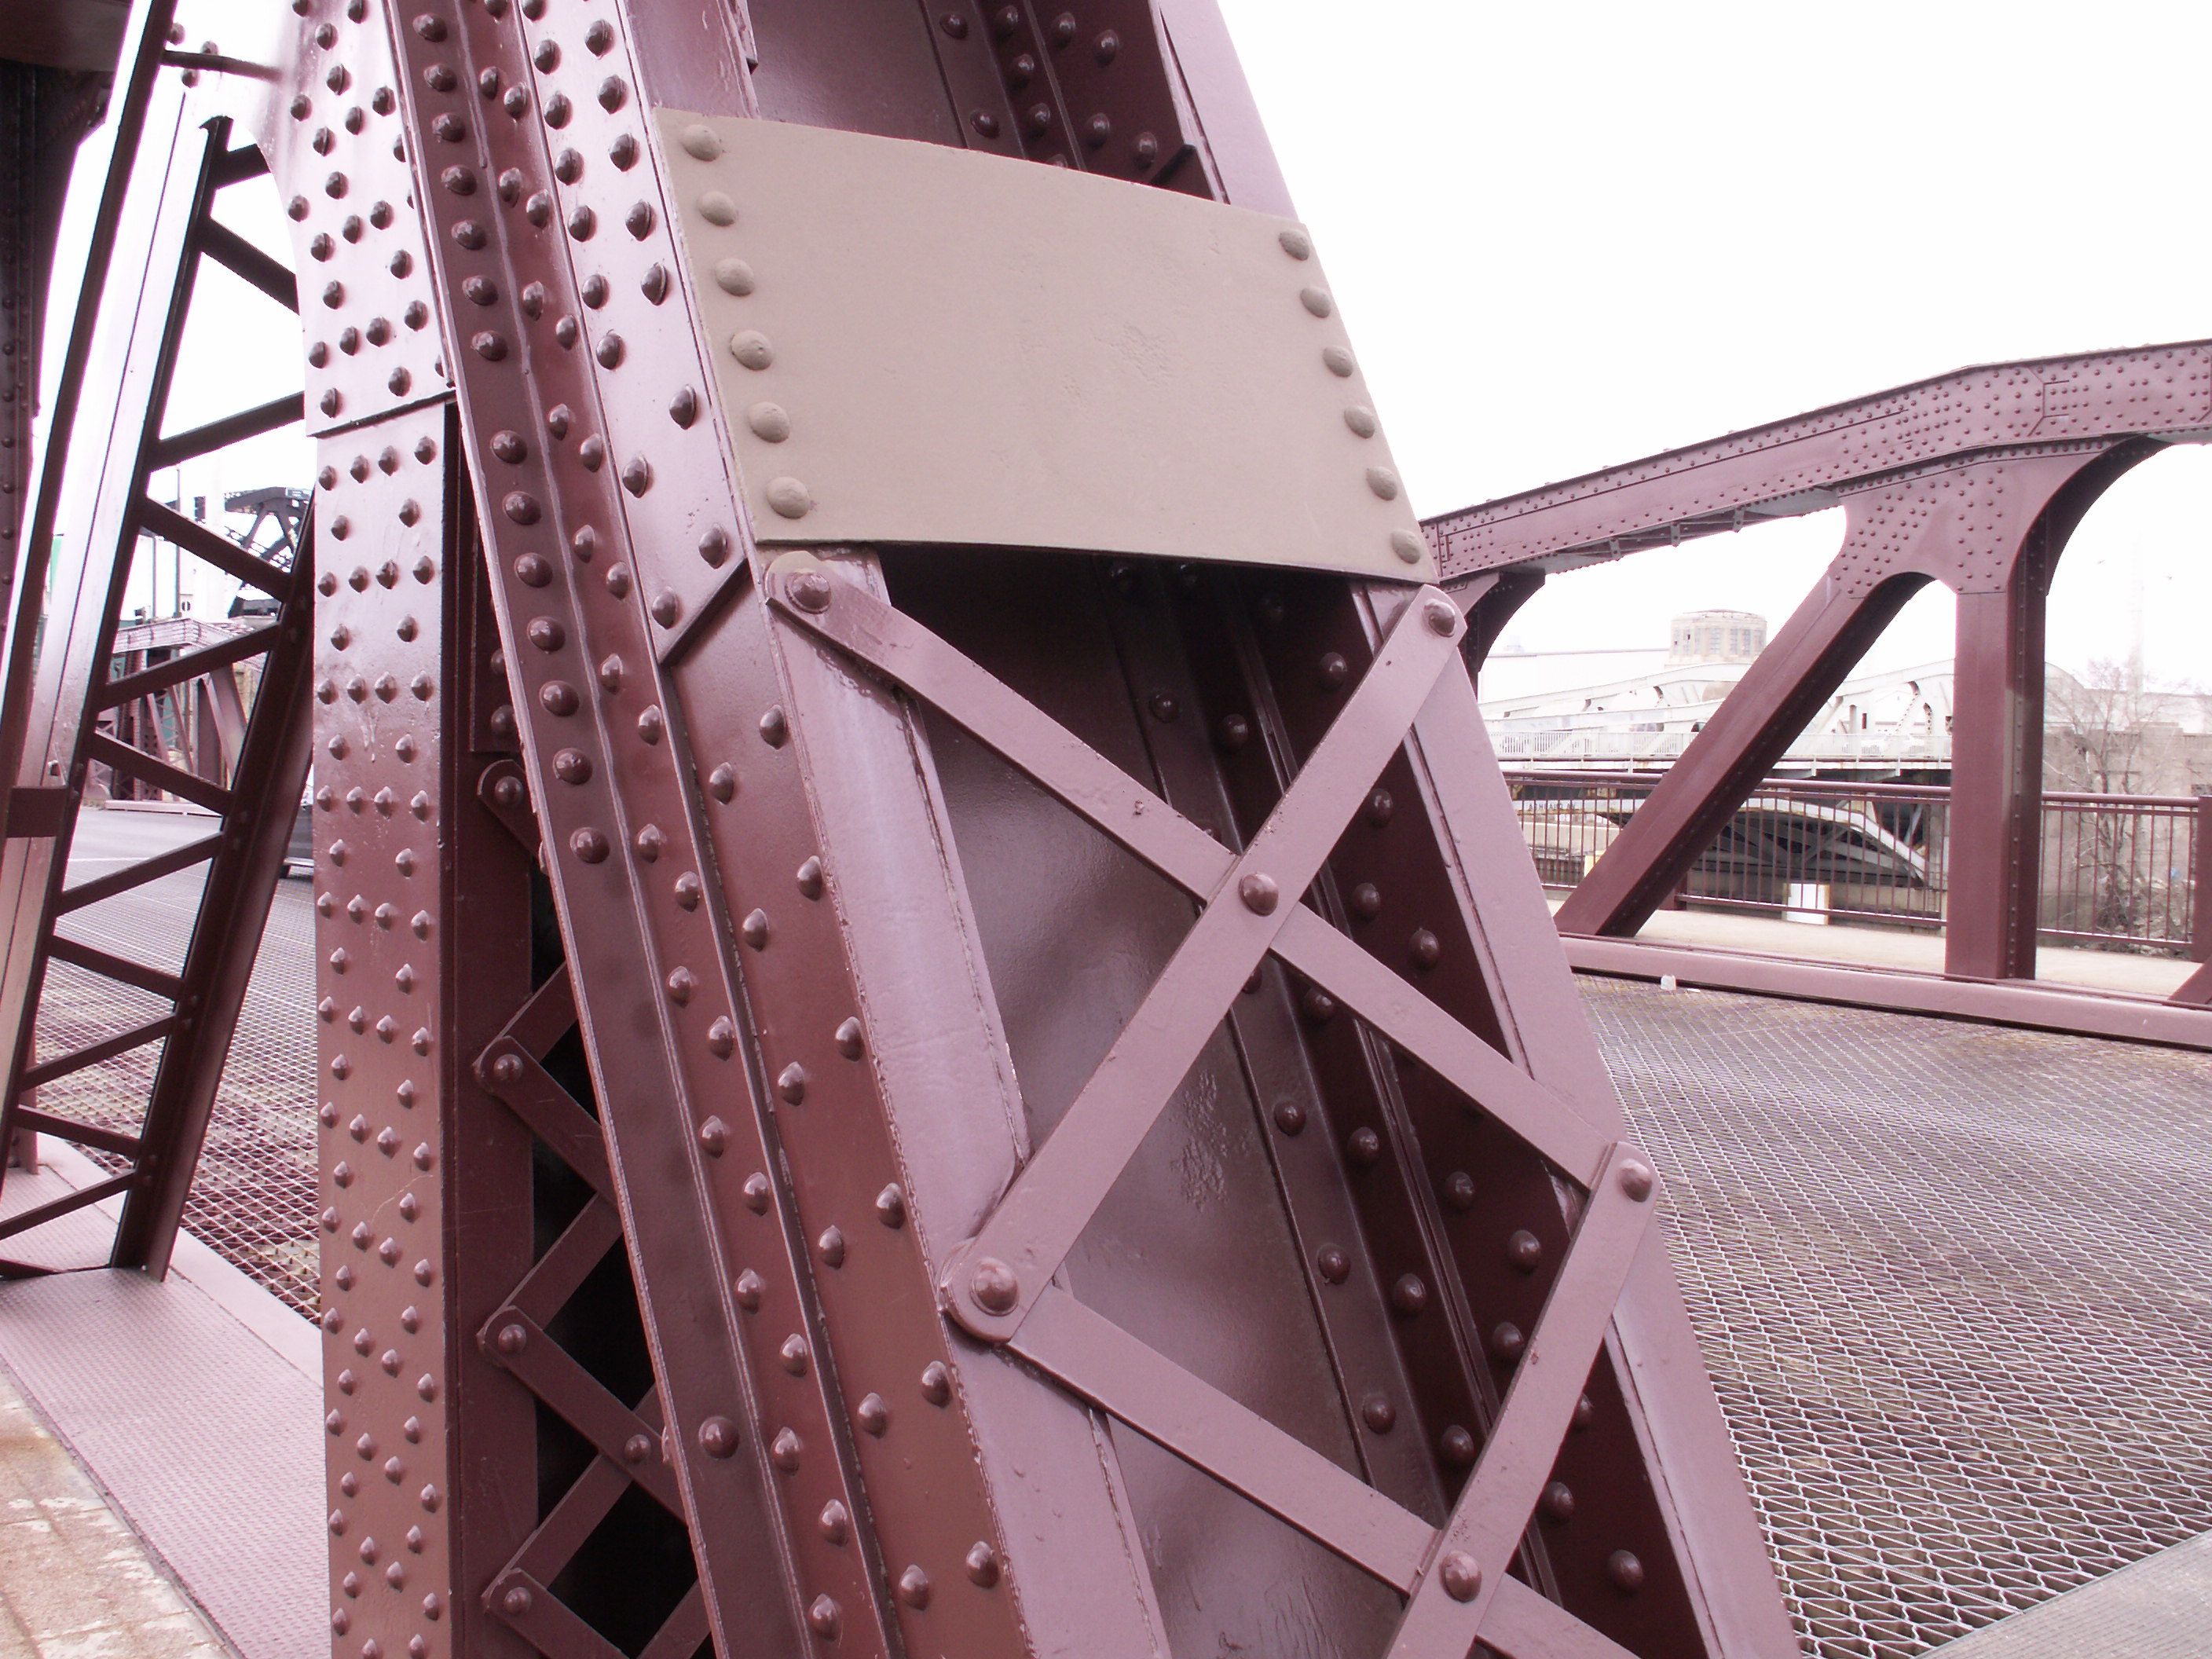
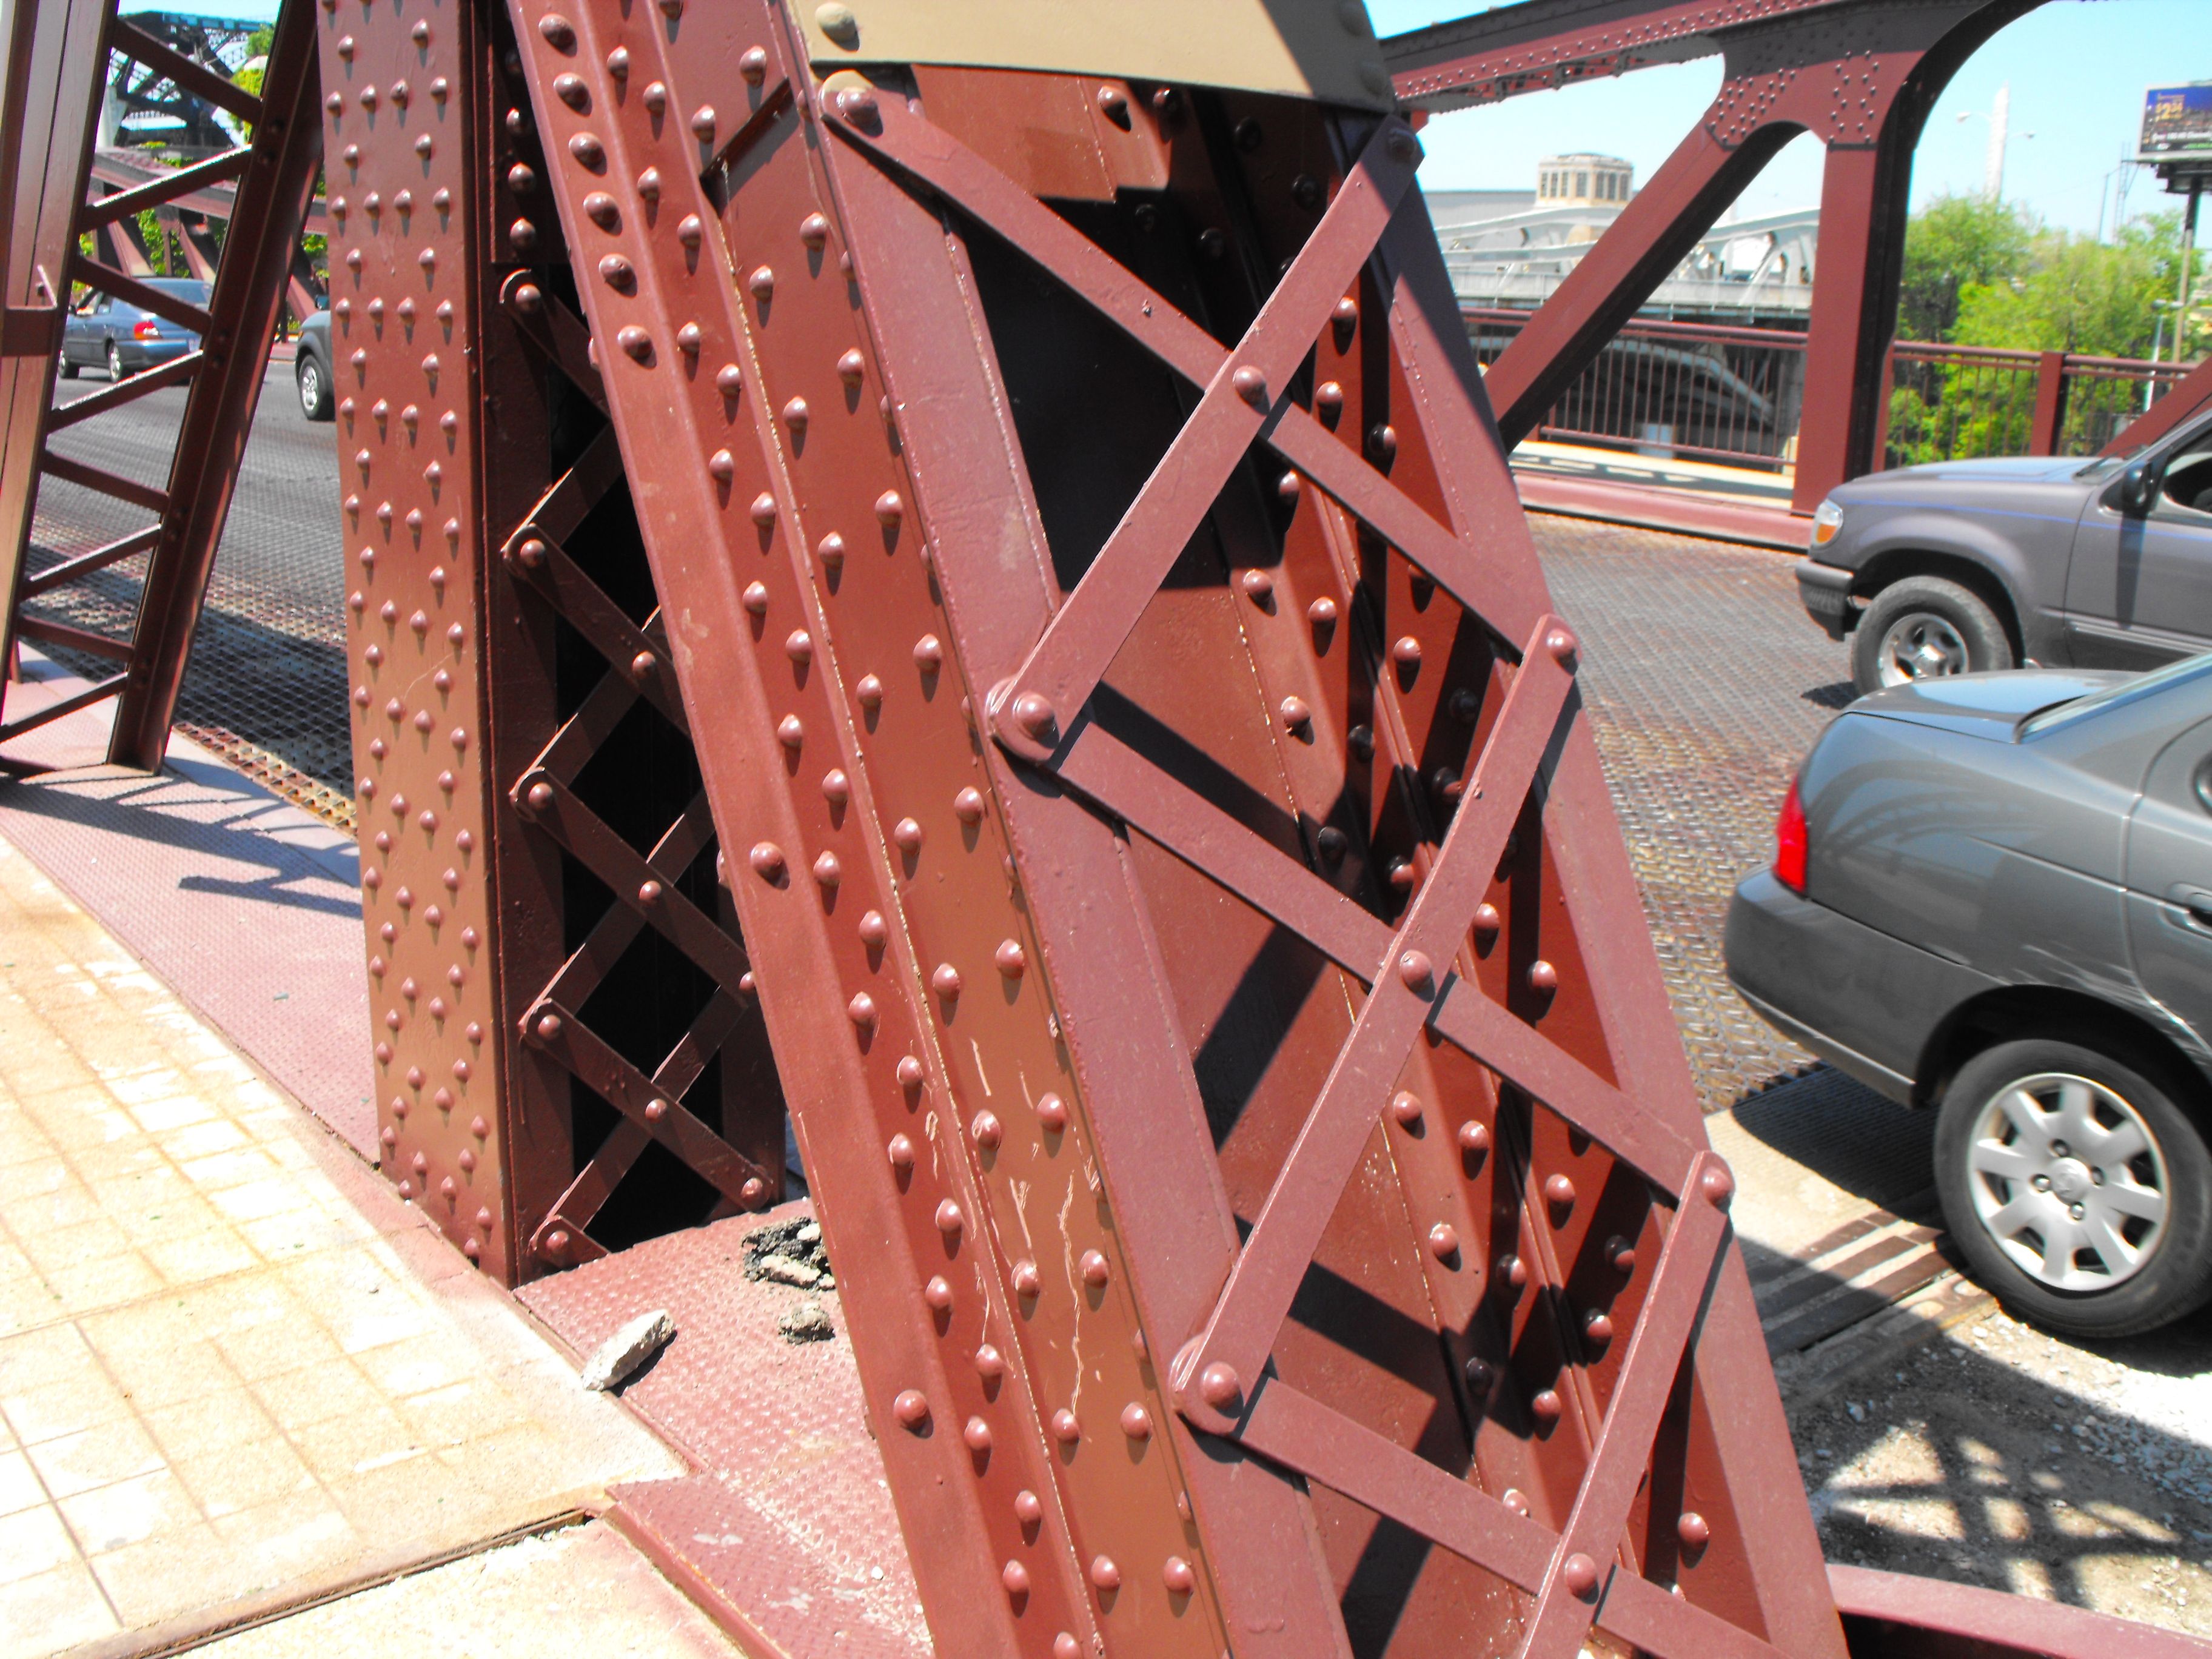
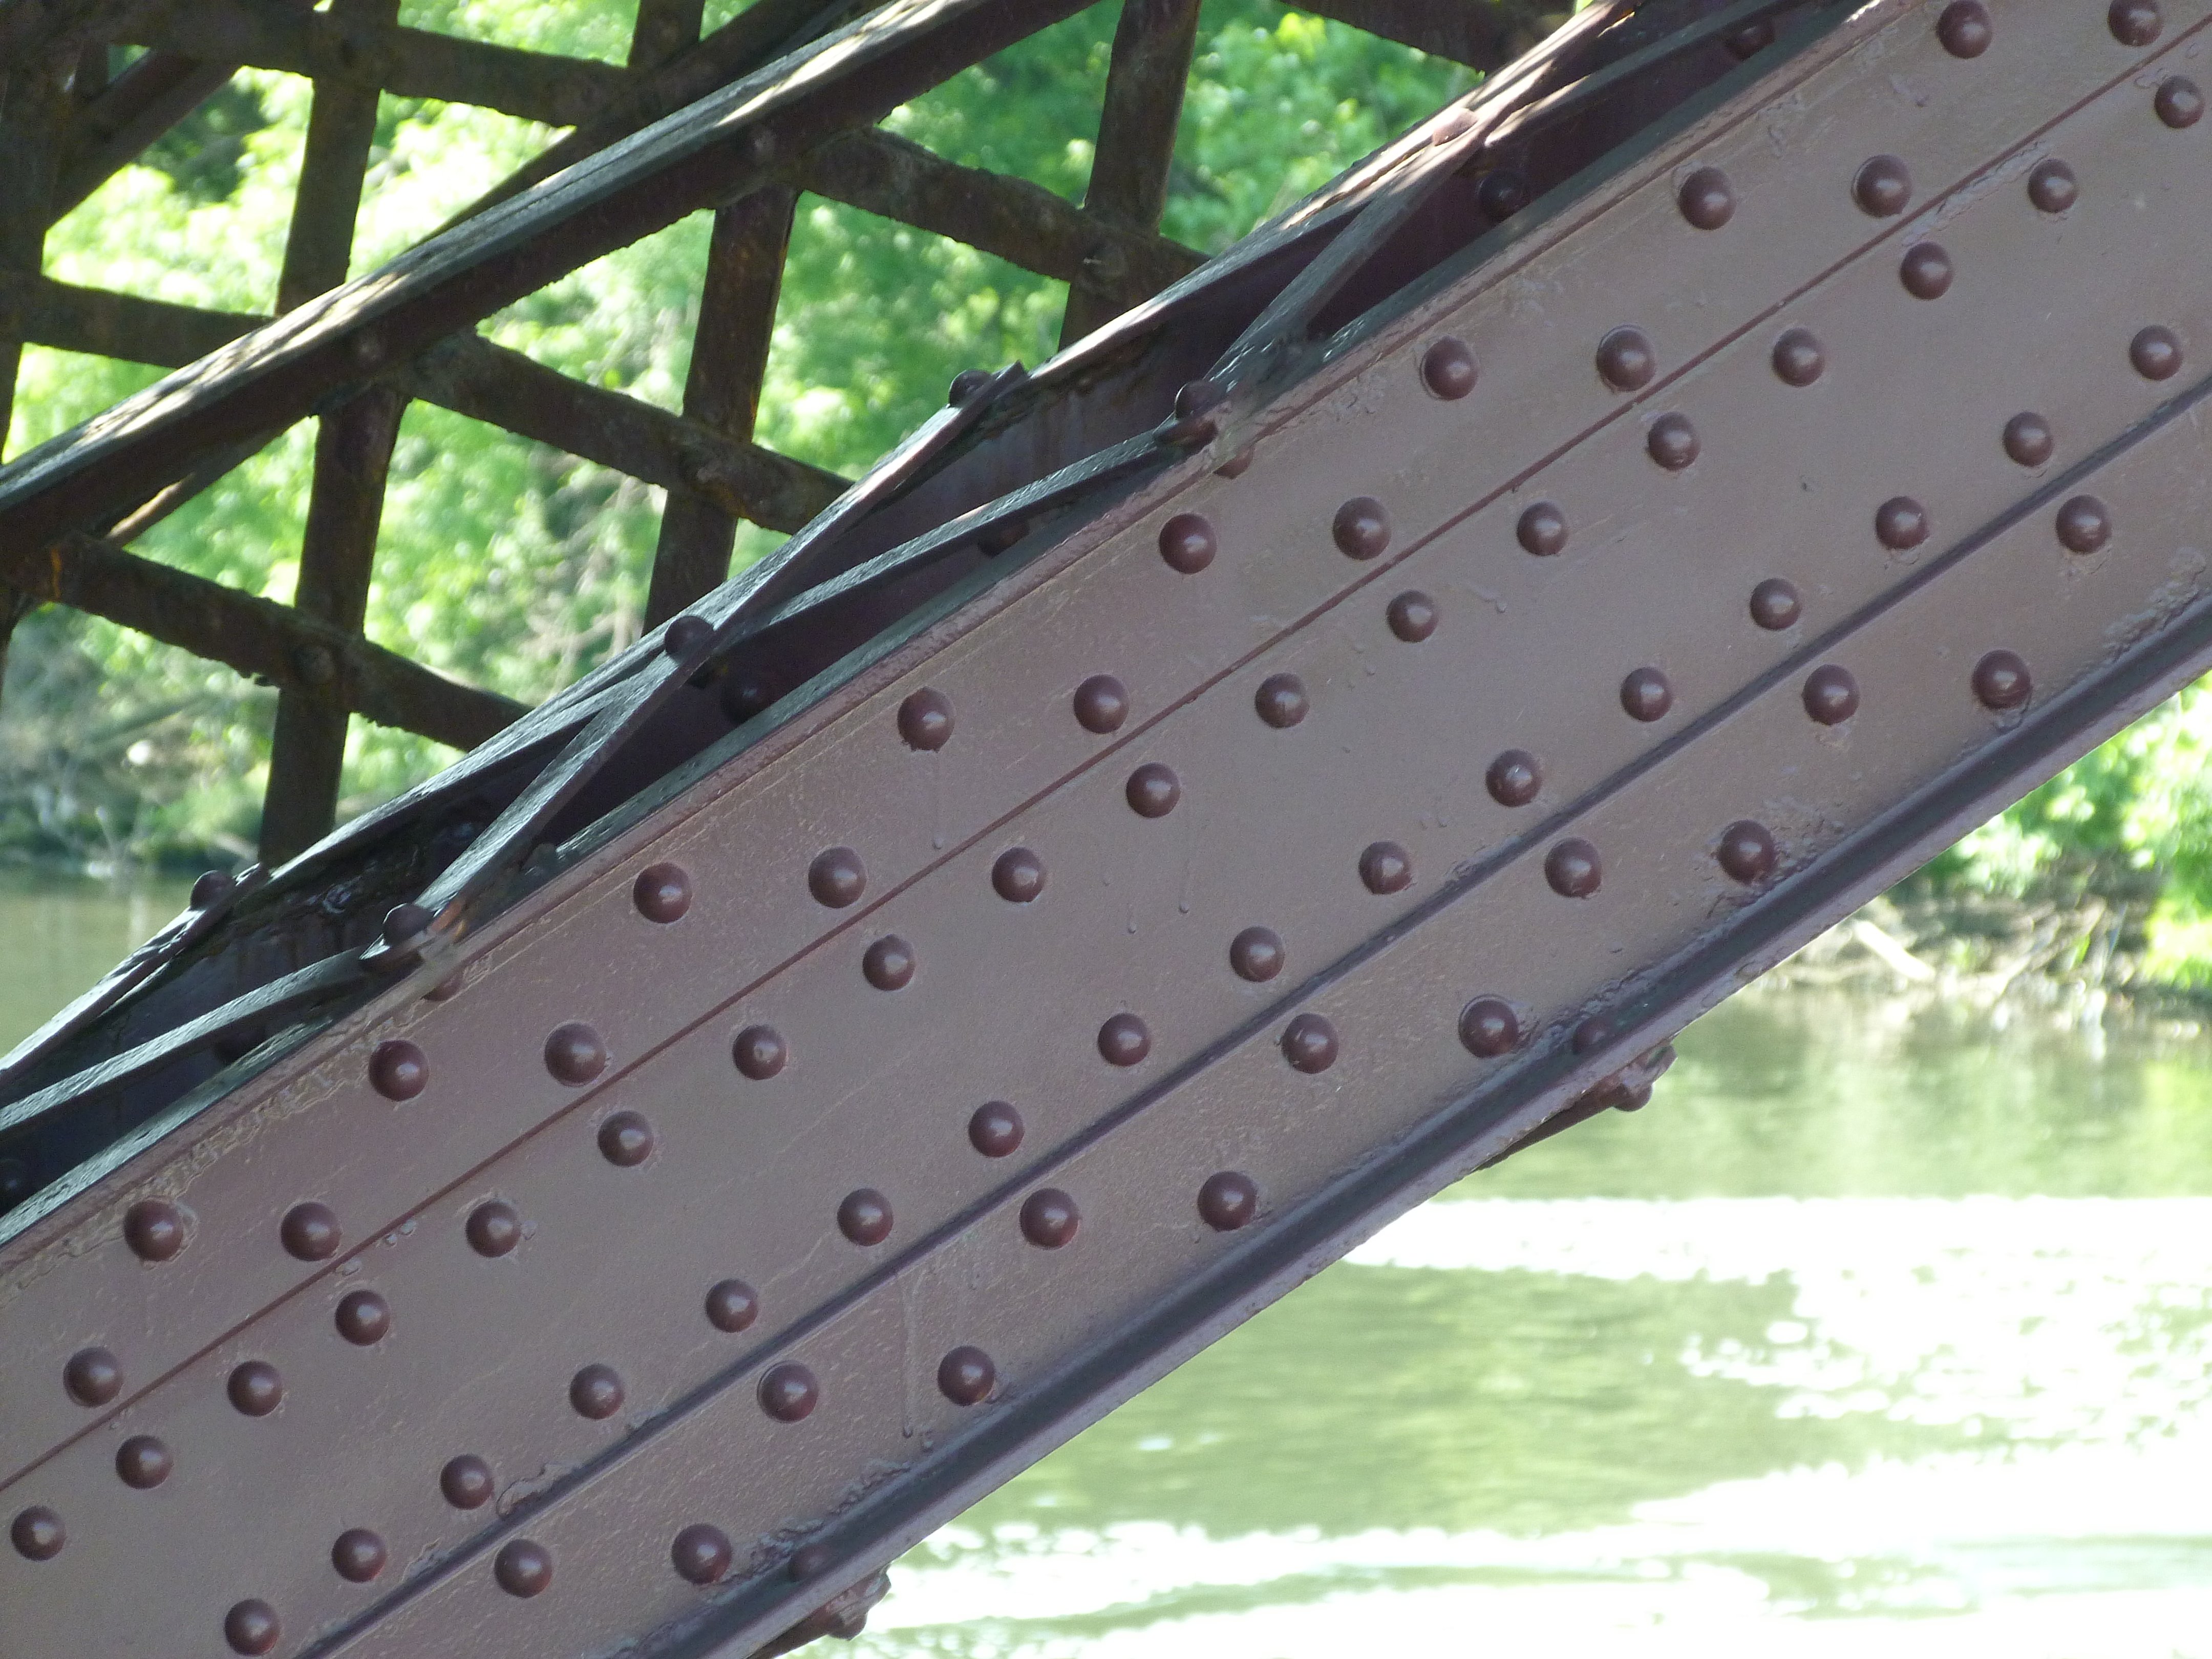
Diagonal members.
![]()
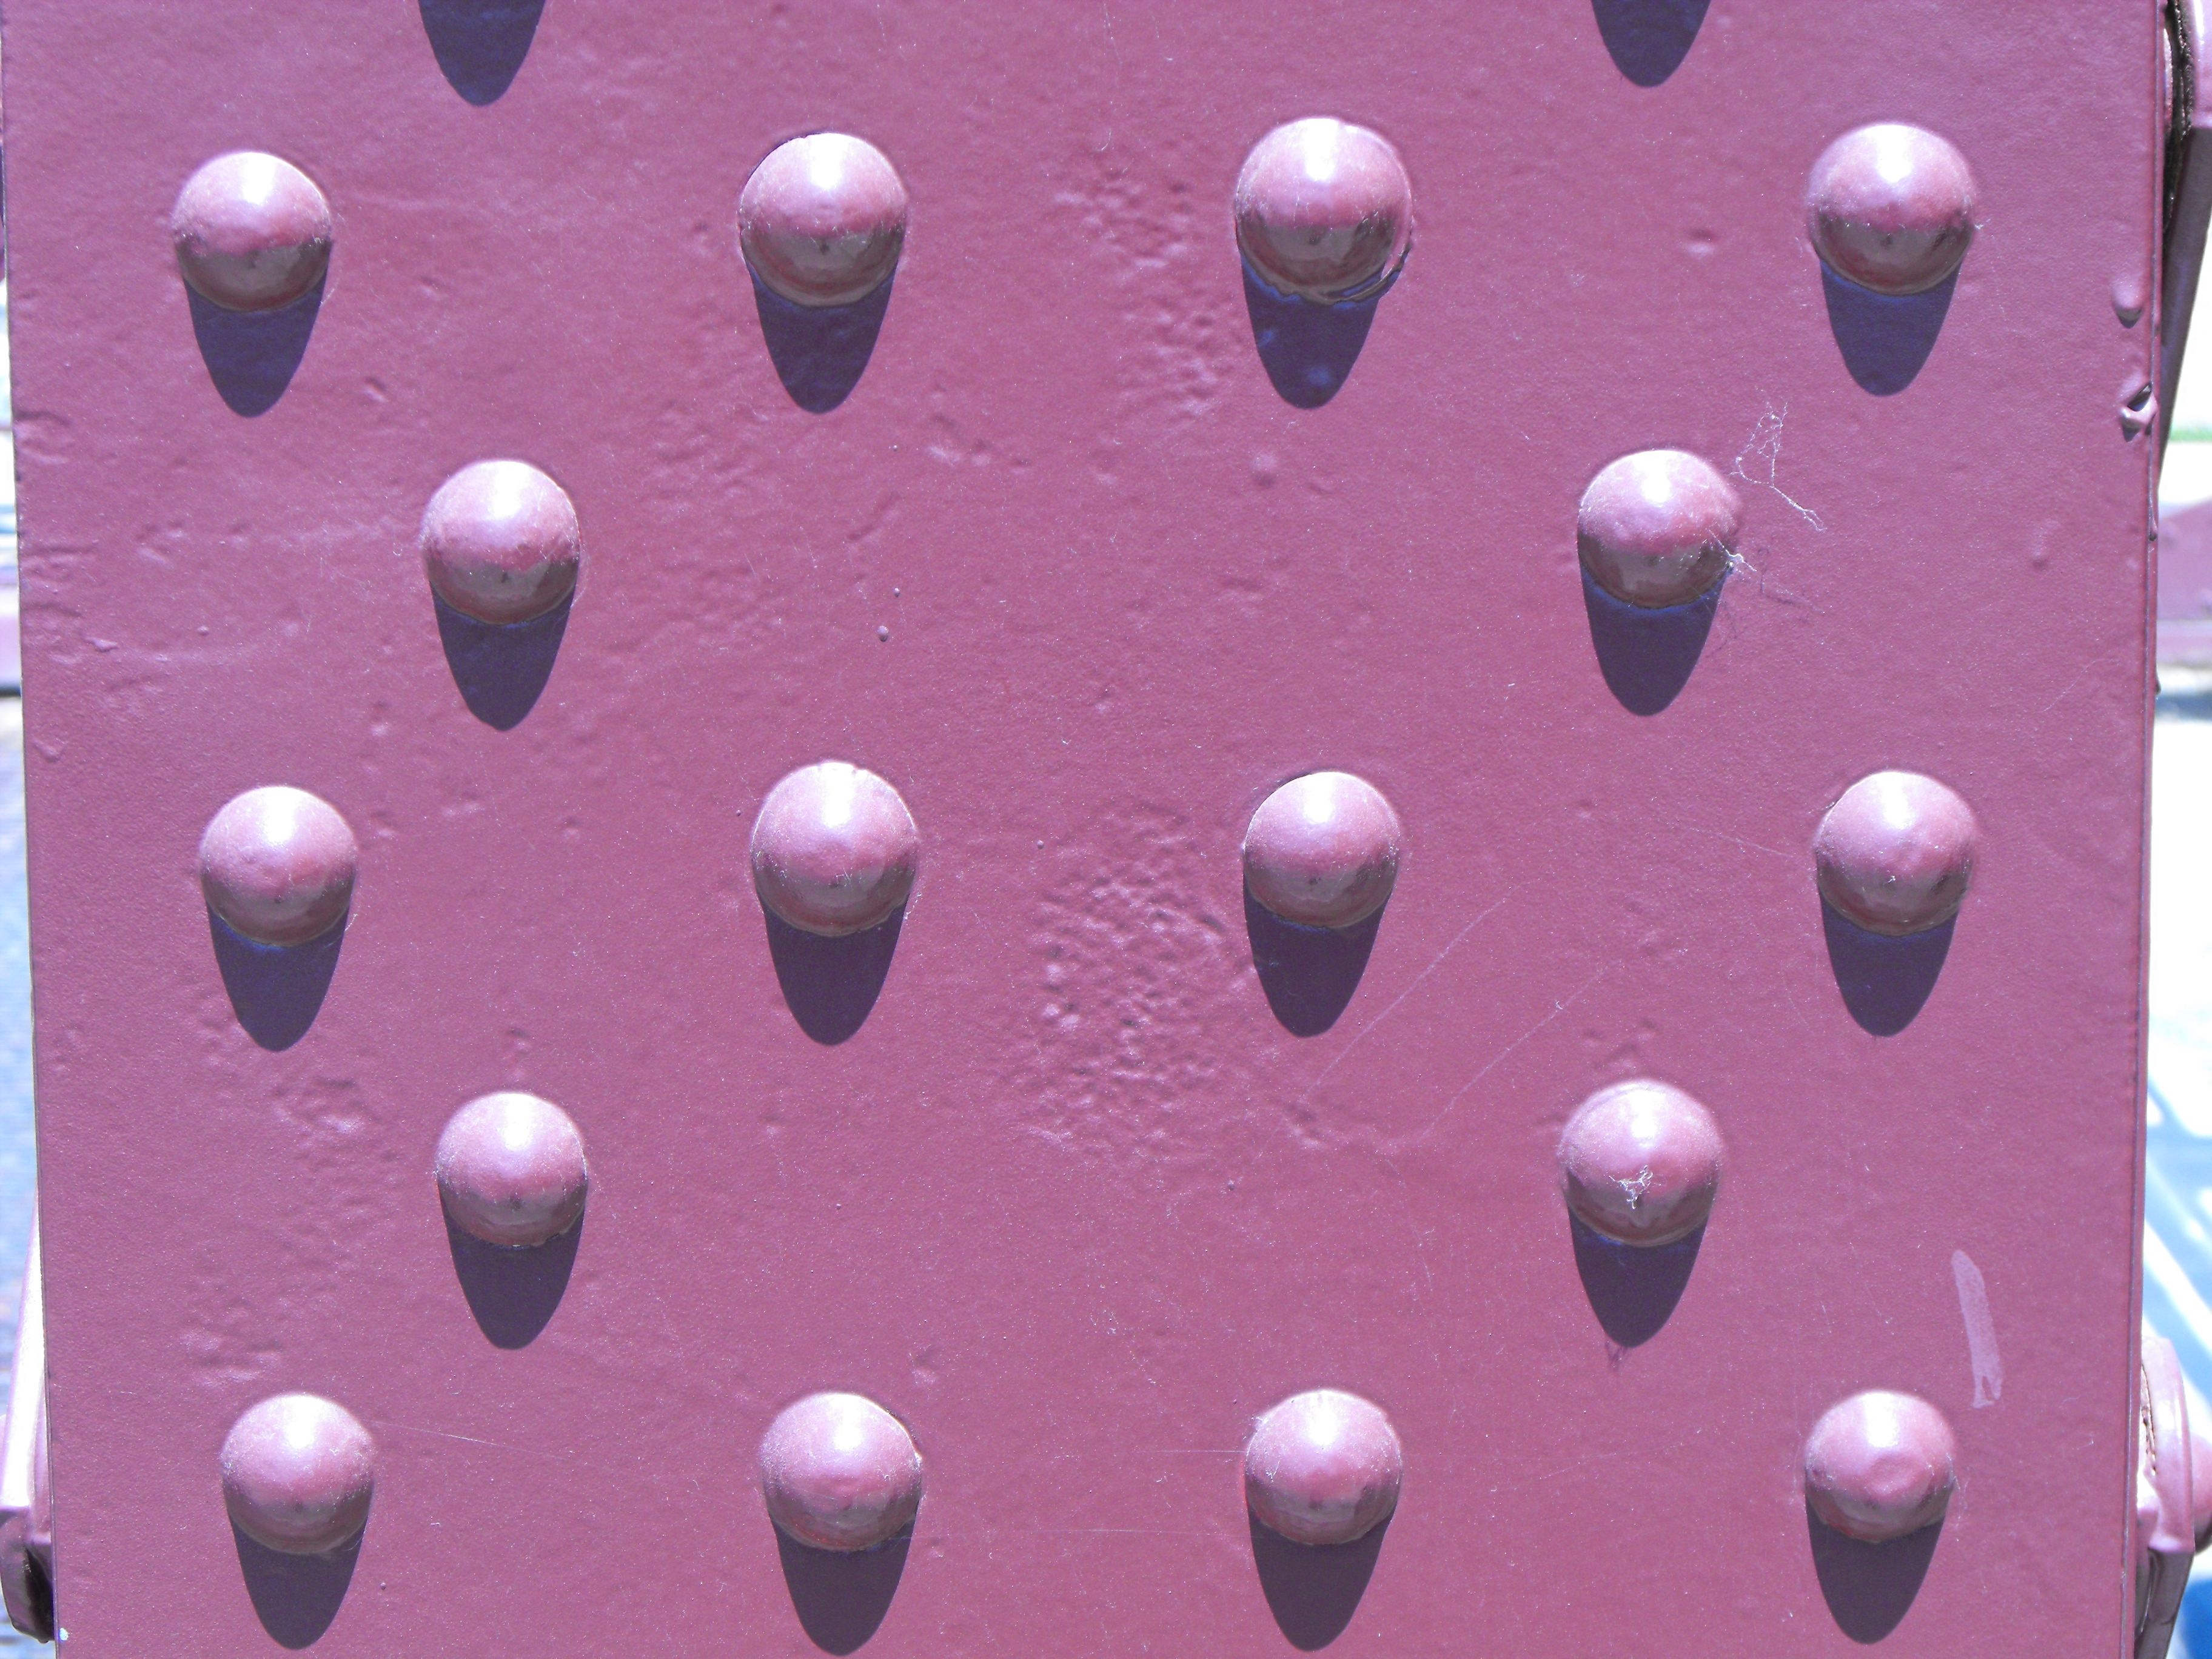
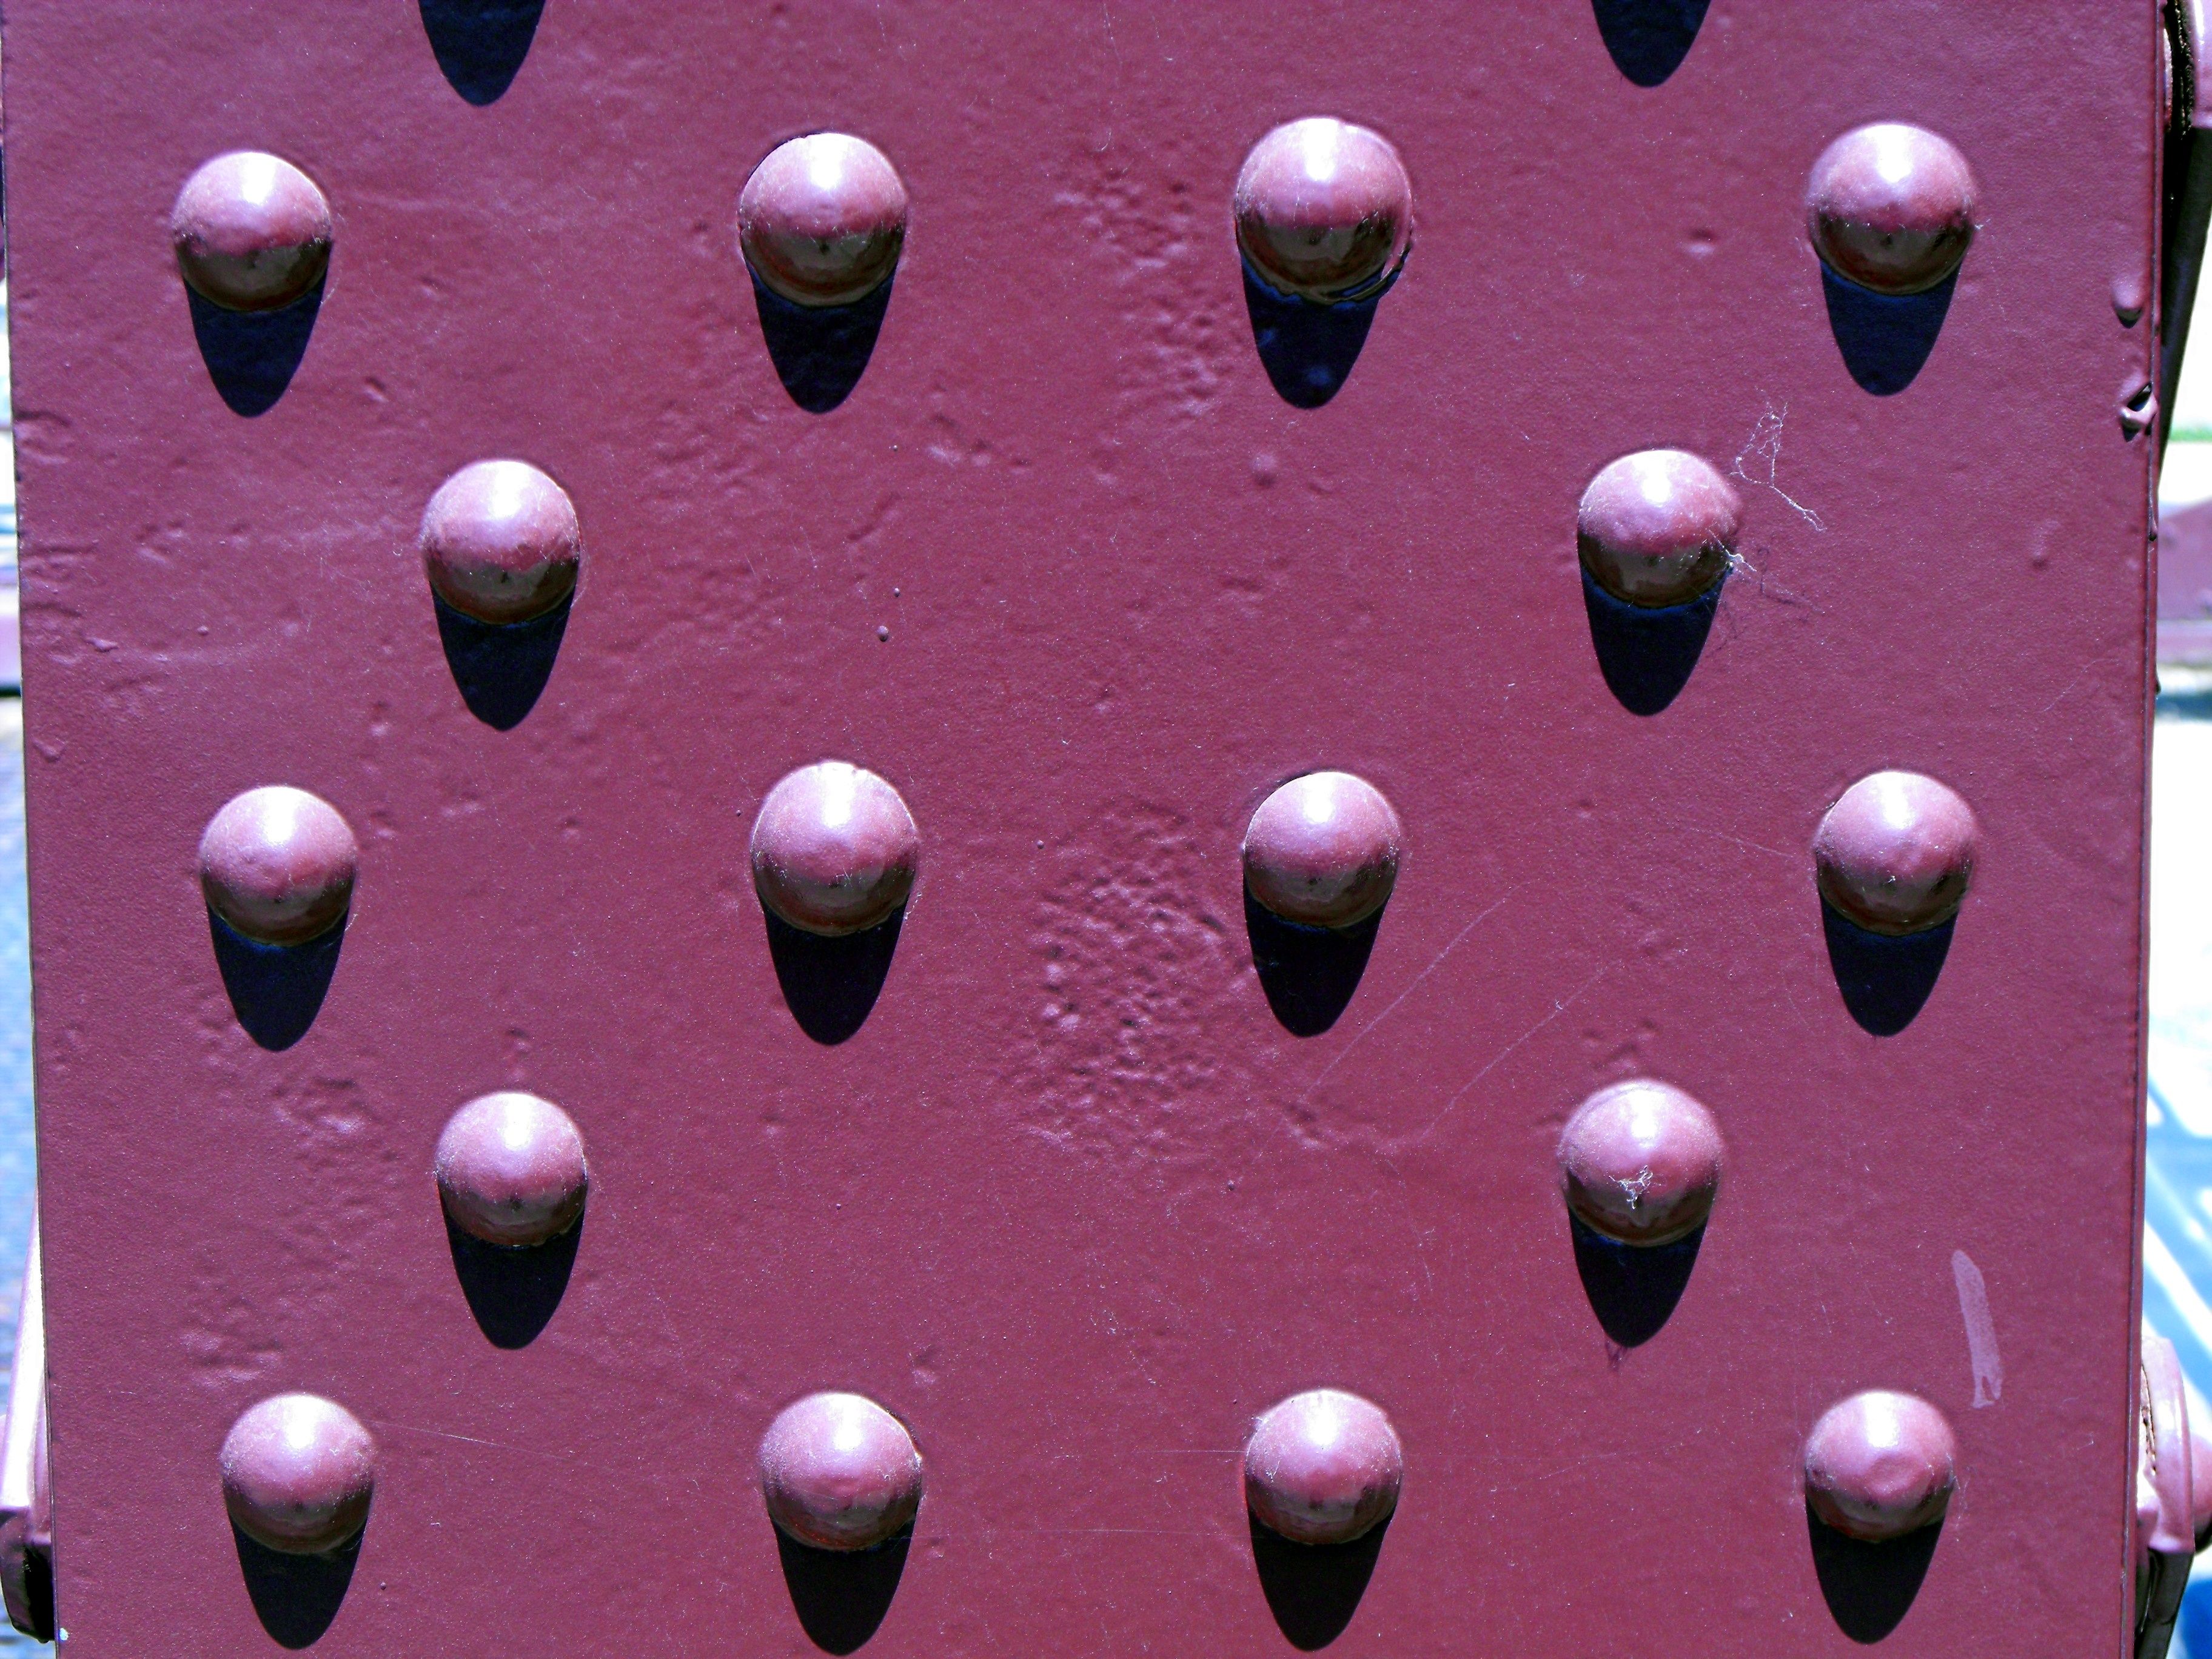
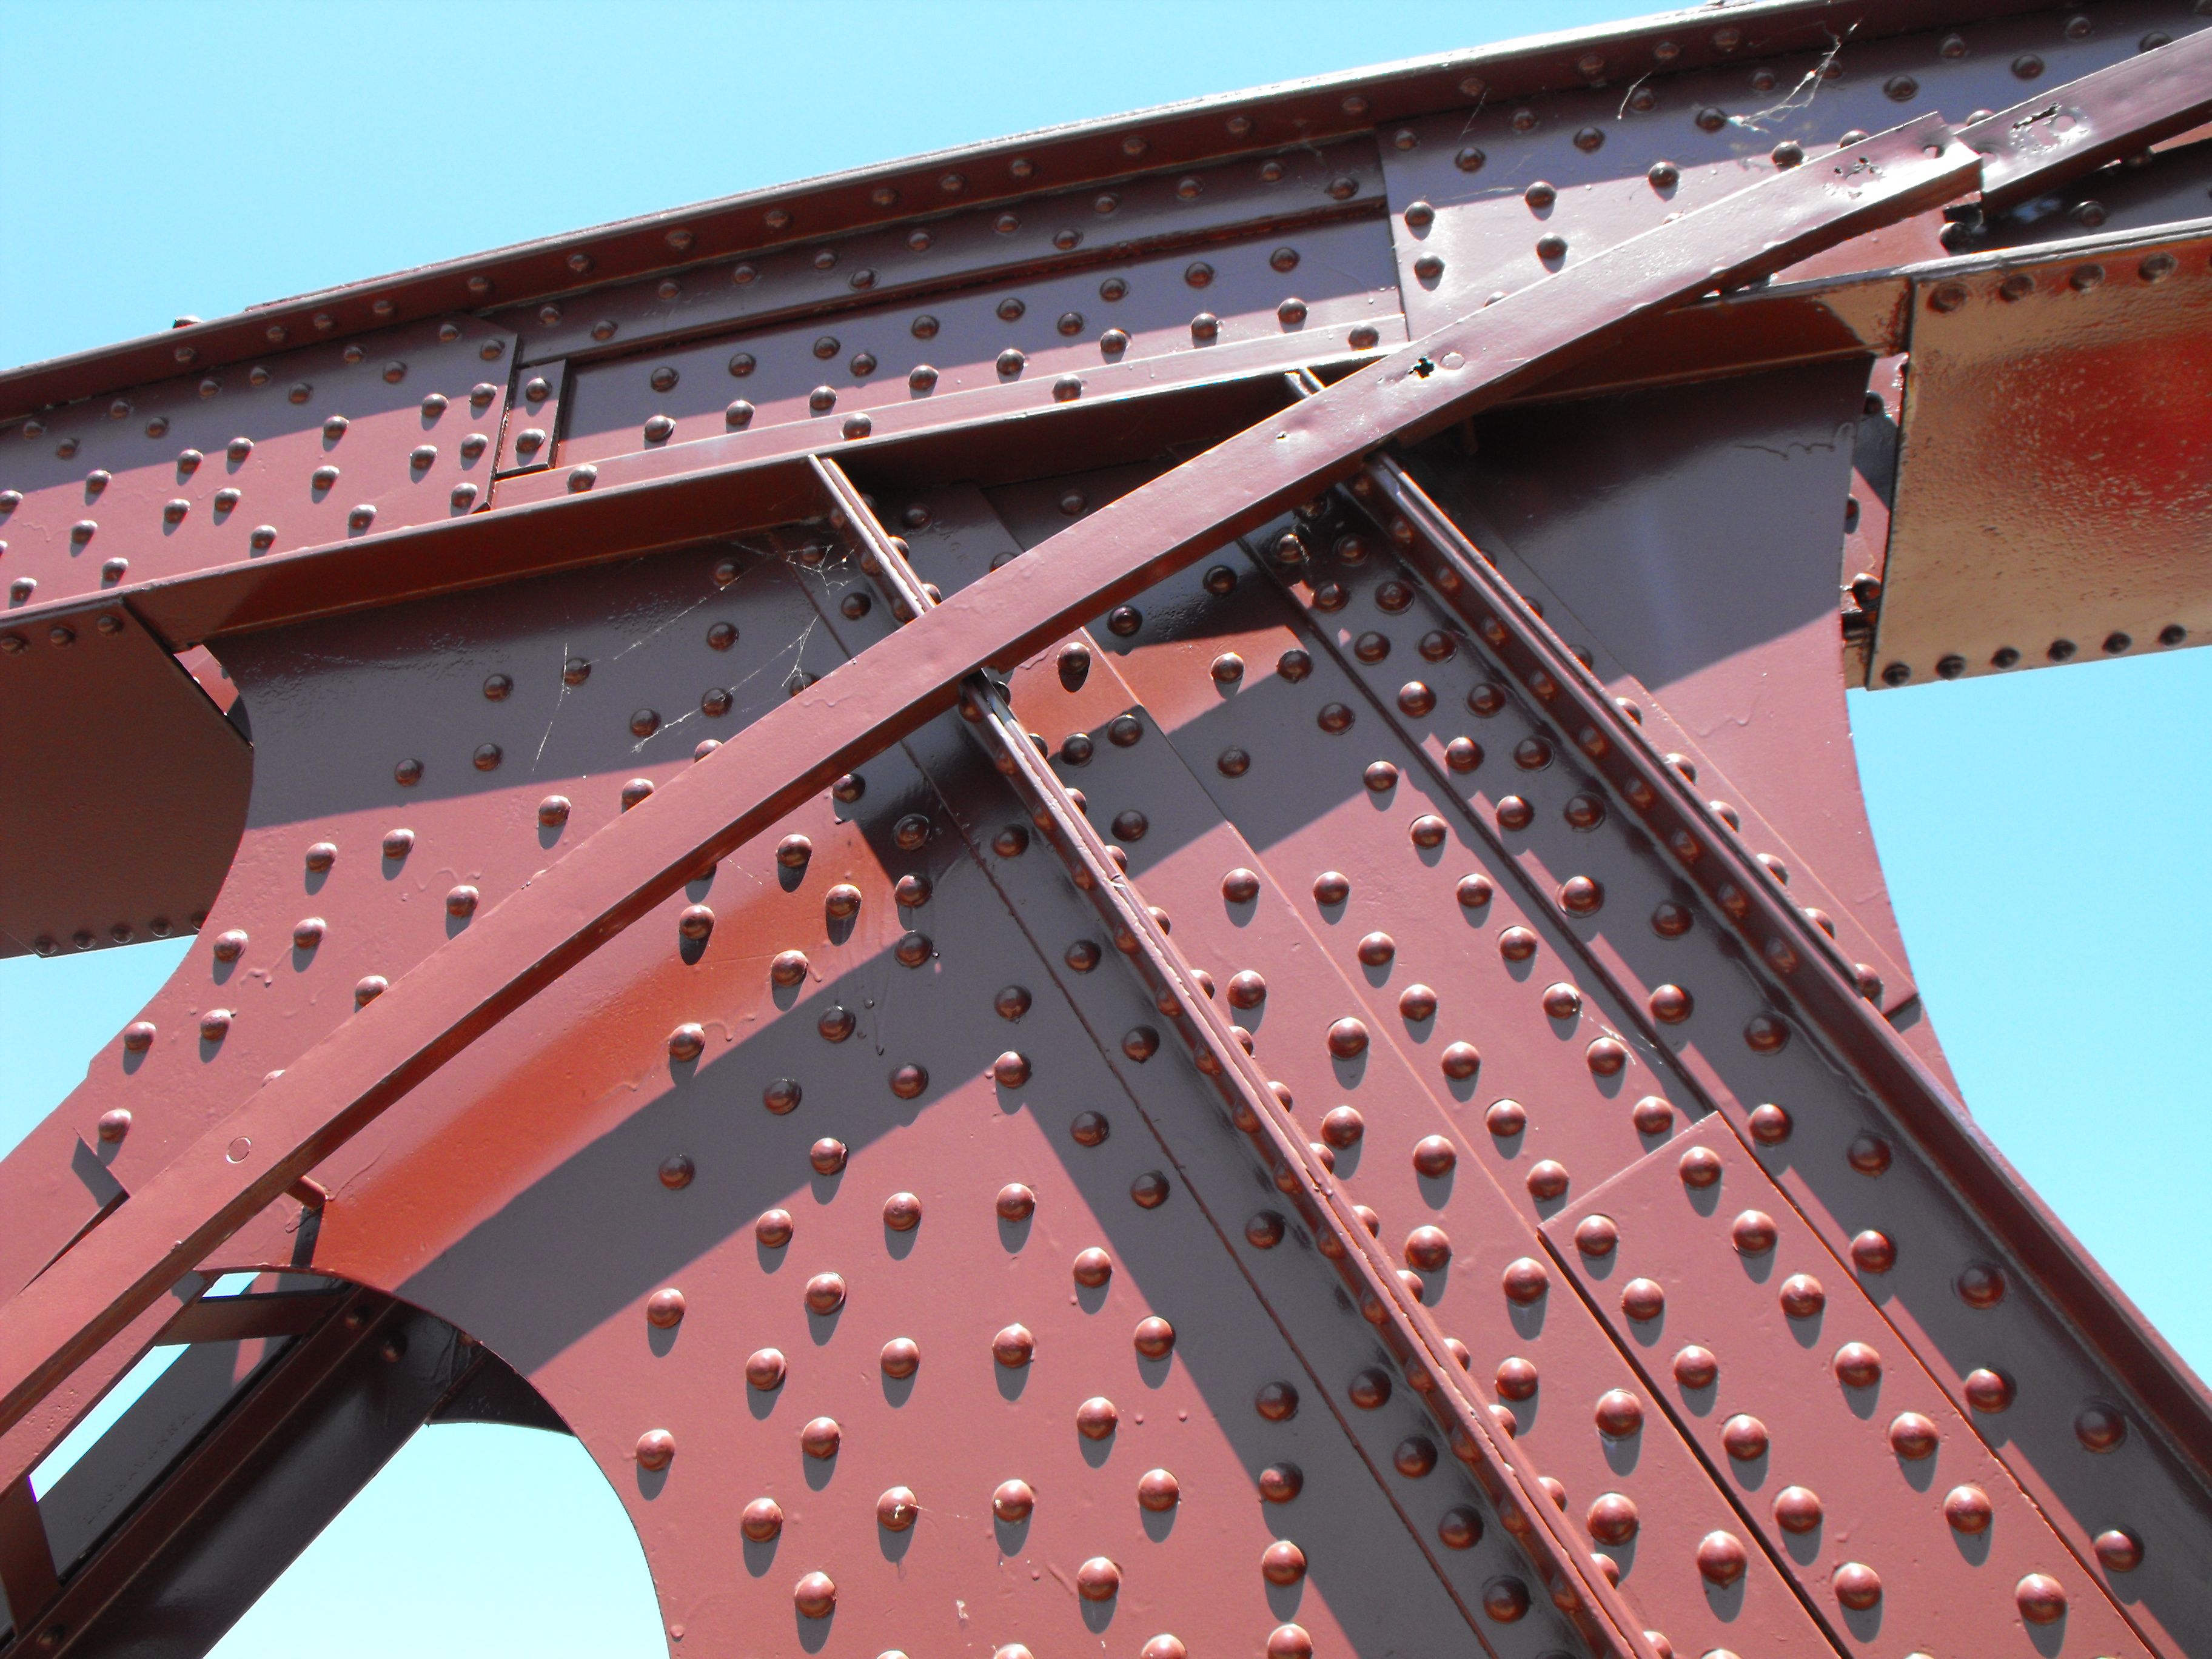
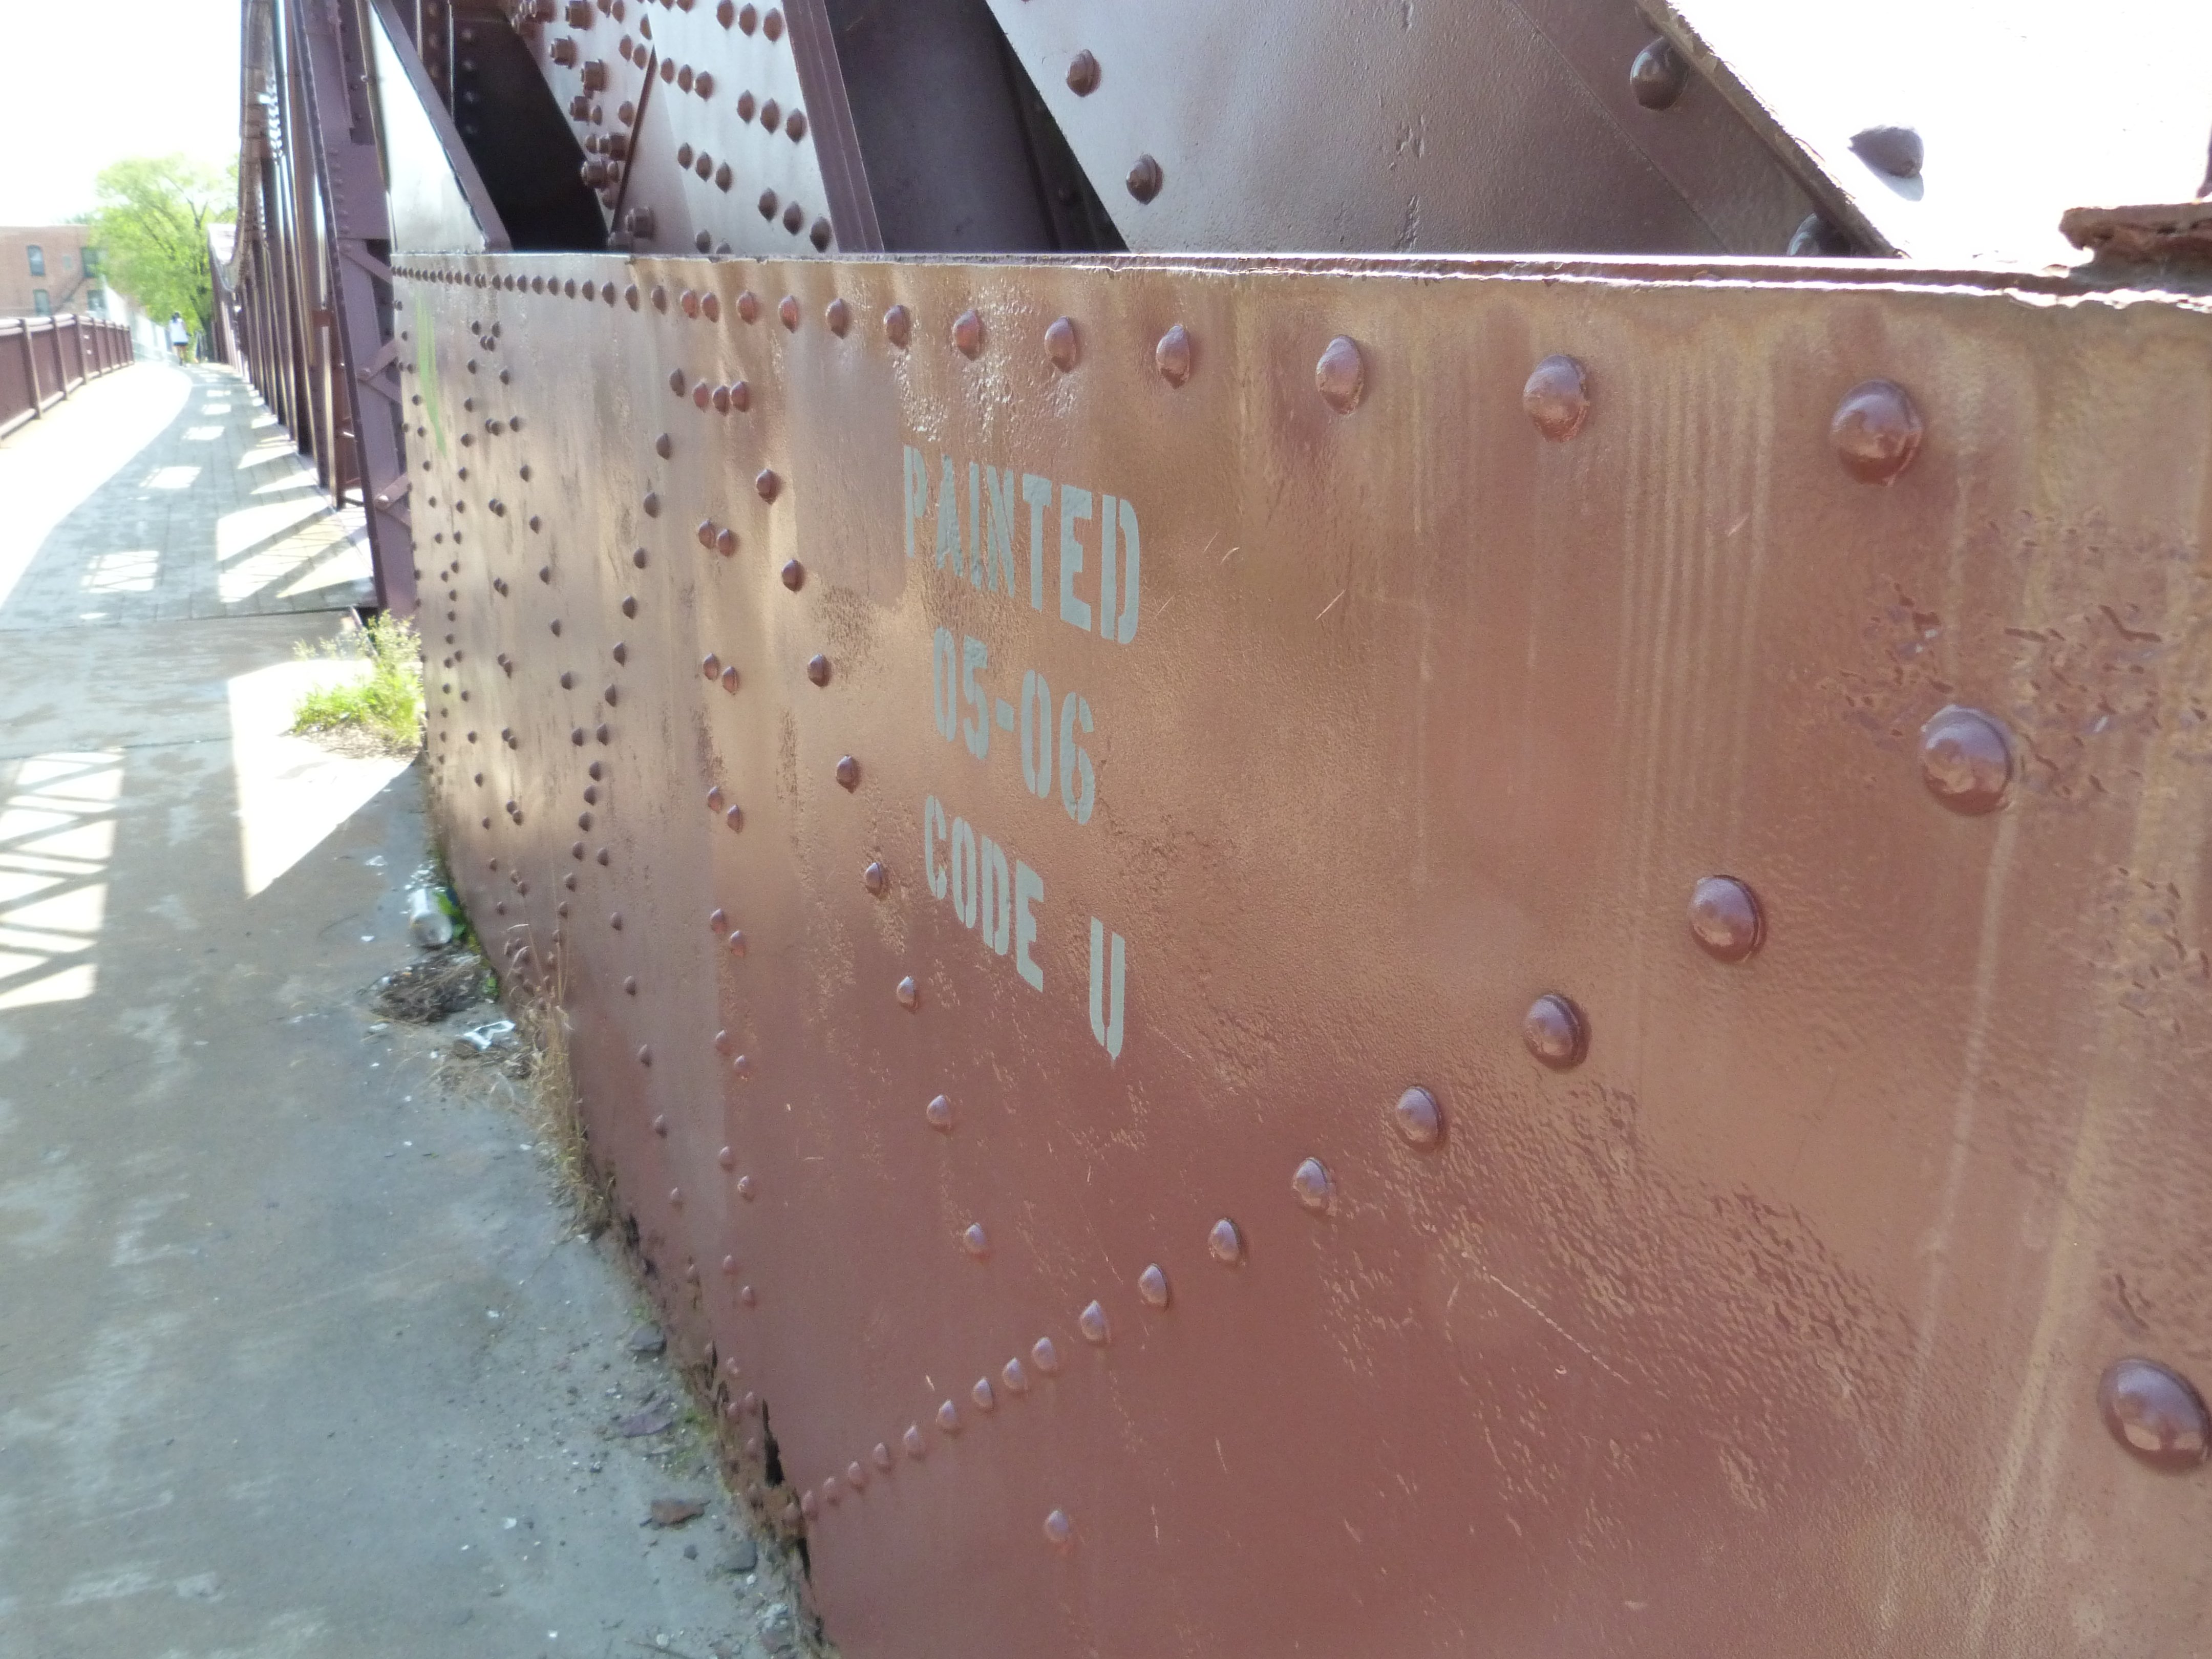
Rivets. Photo on right is digitally enhanced.
![]()

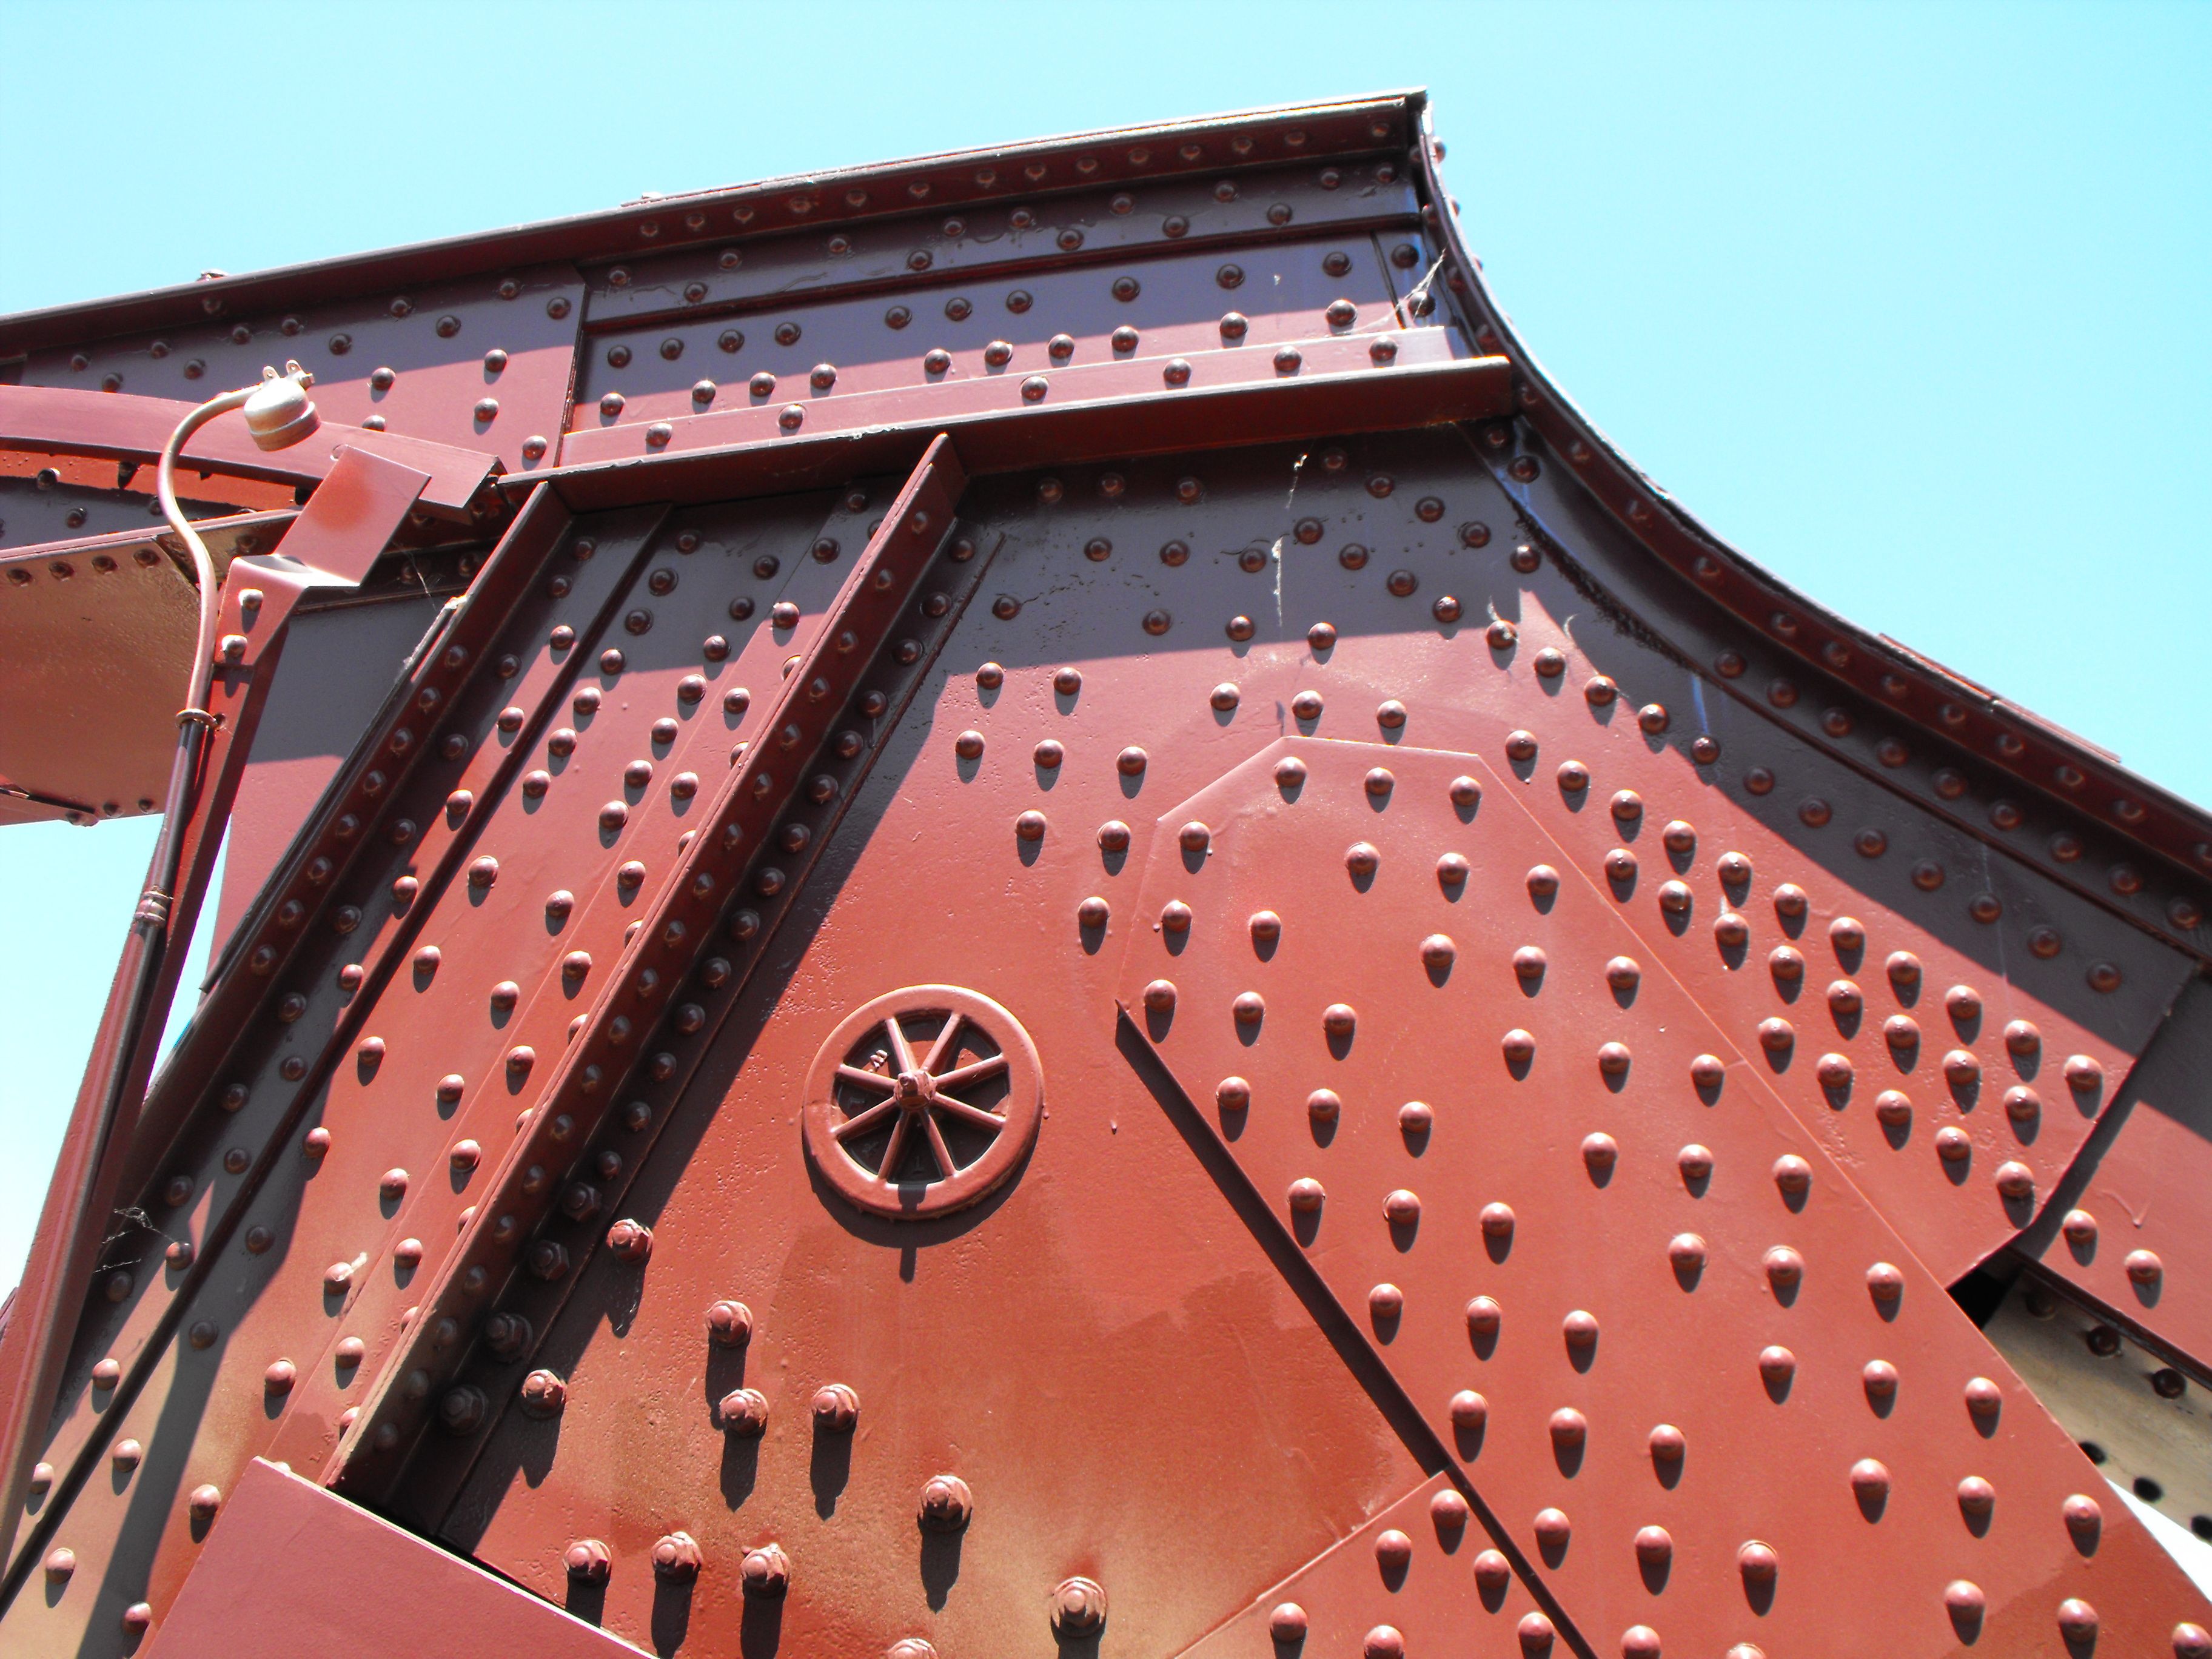
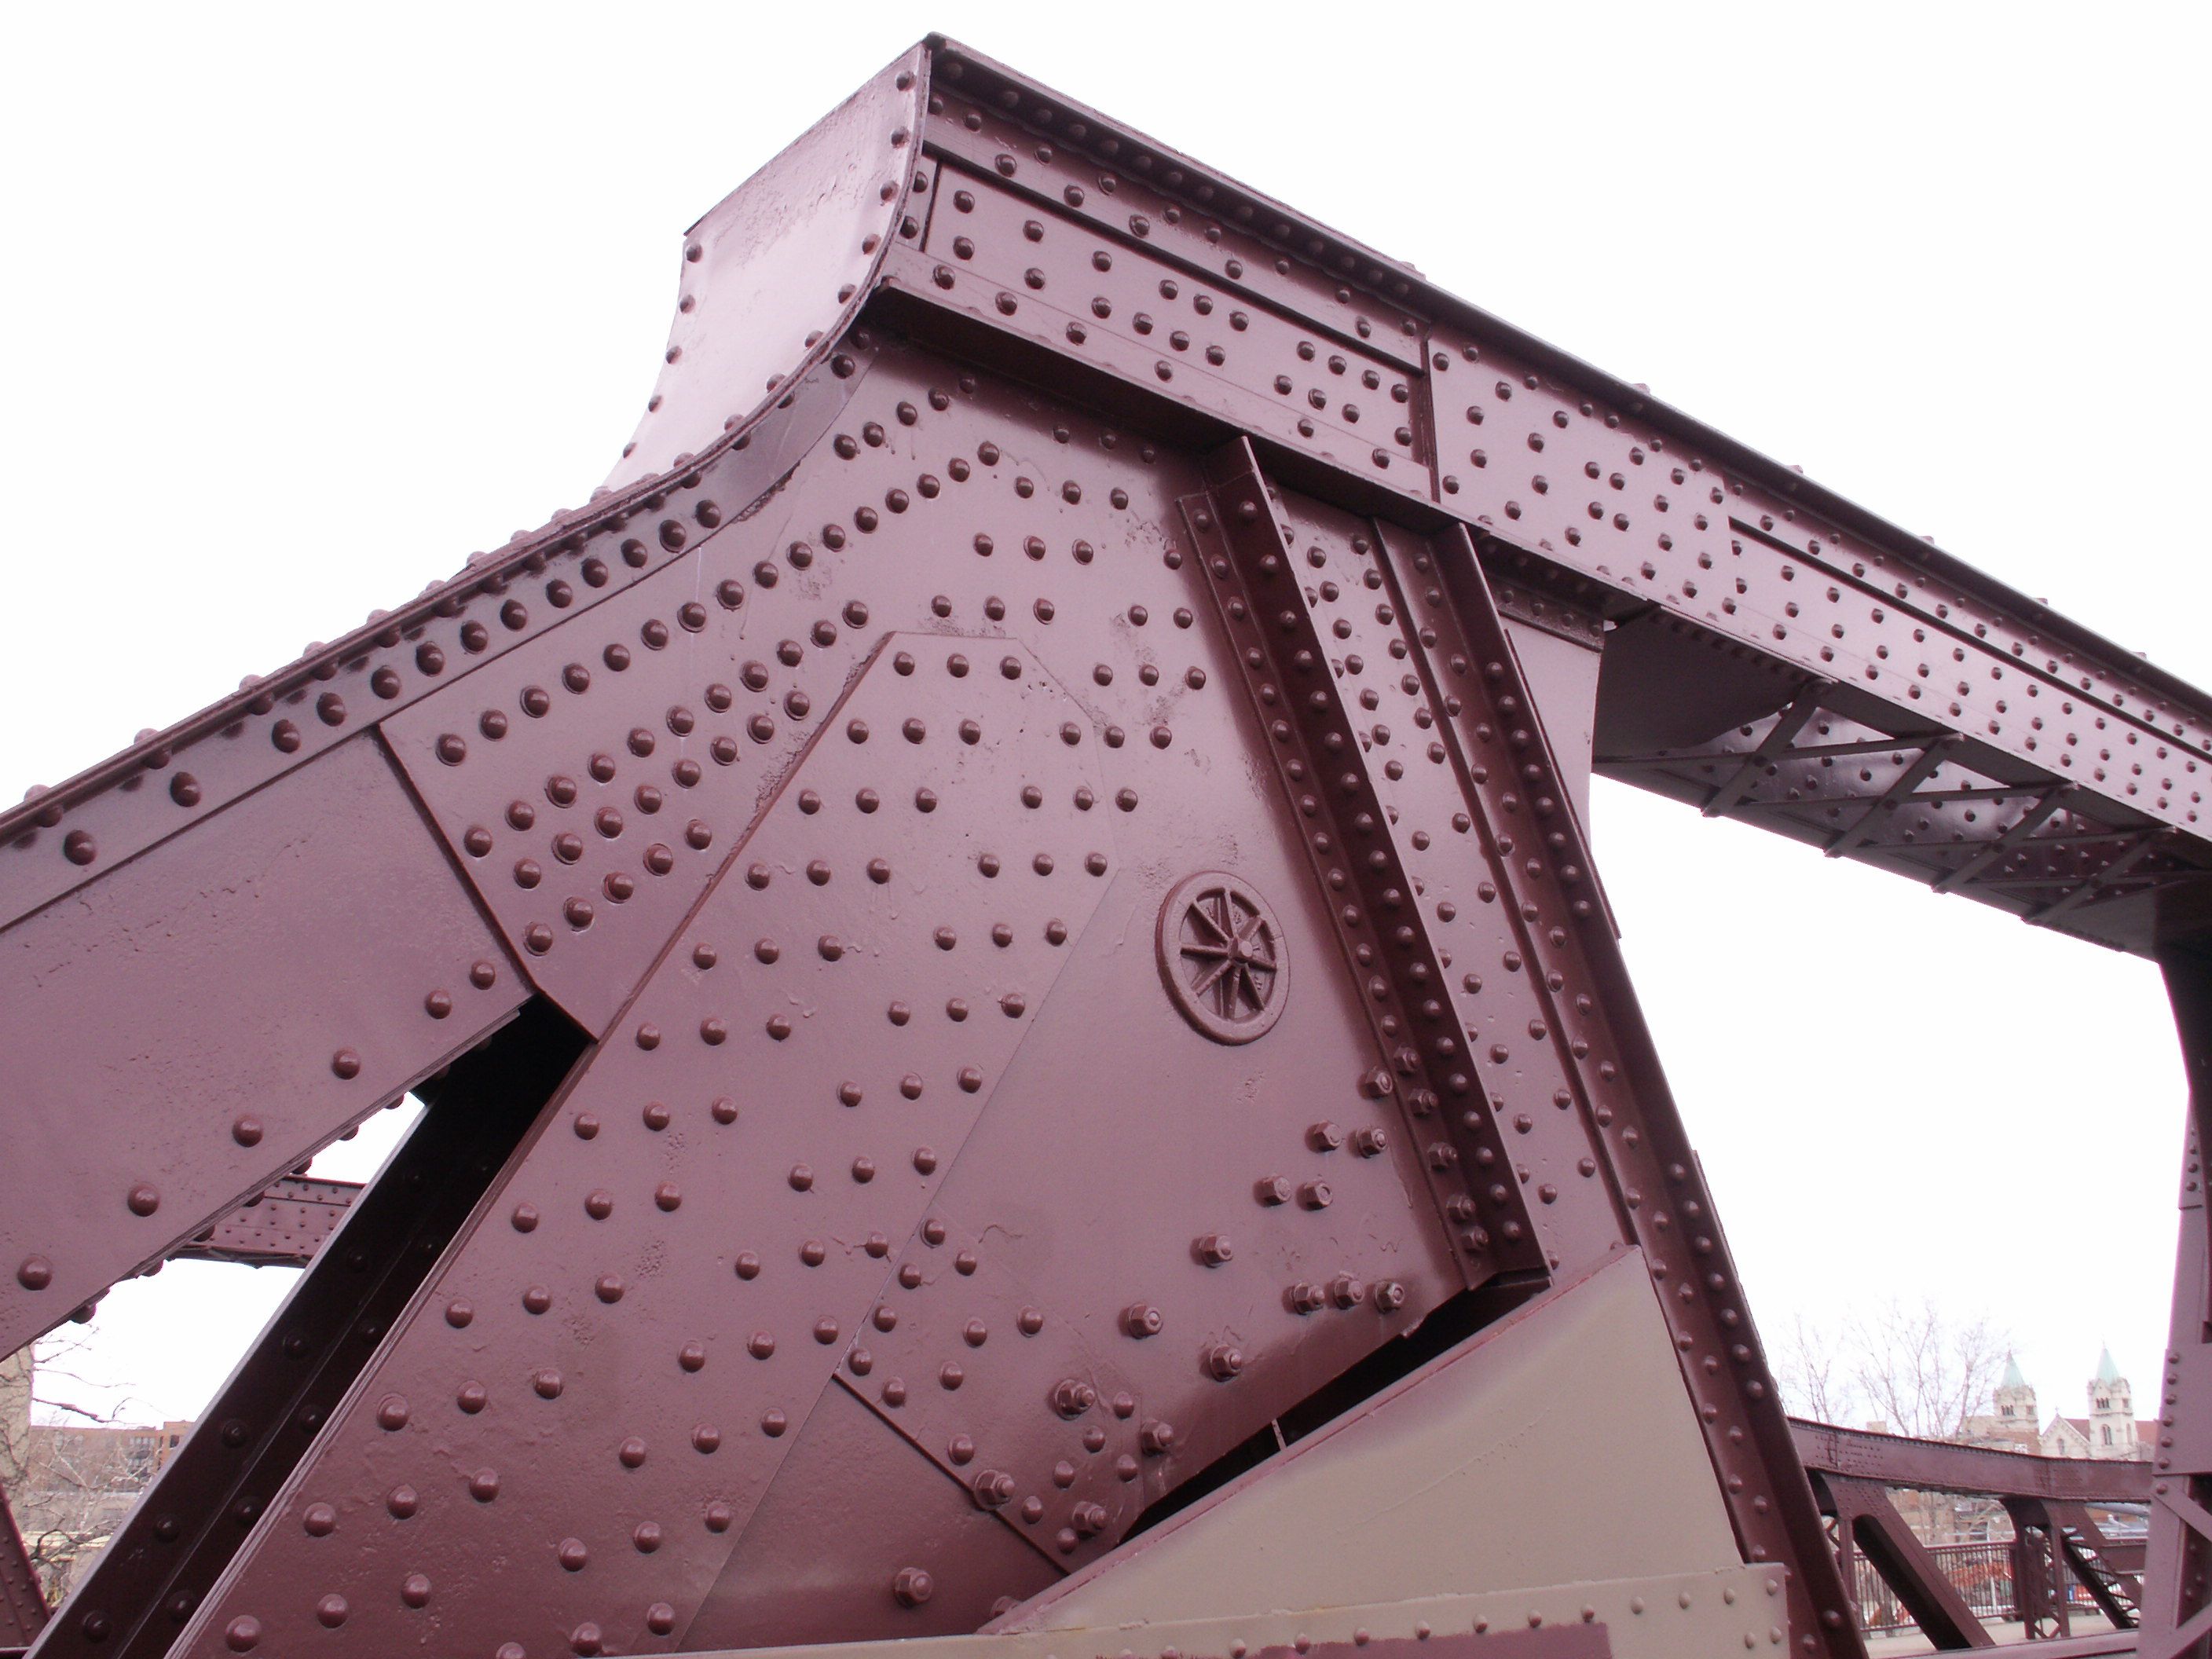
Cast iron hand hole cover at end of truss.
![]()
Details at ends of bridge truss.
![]()
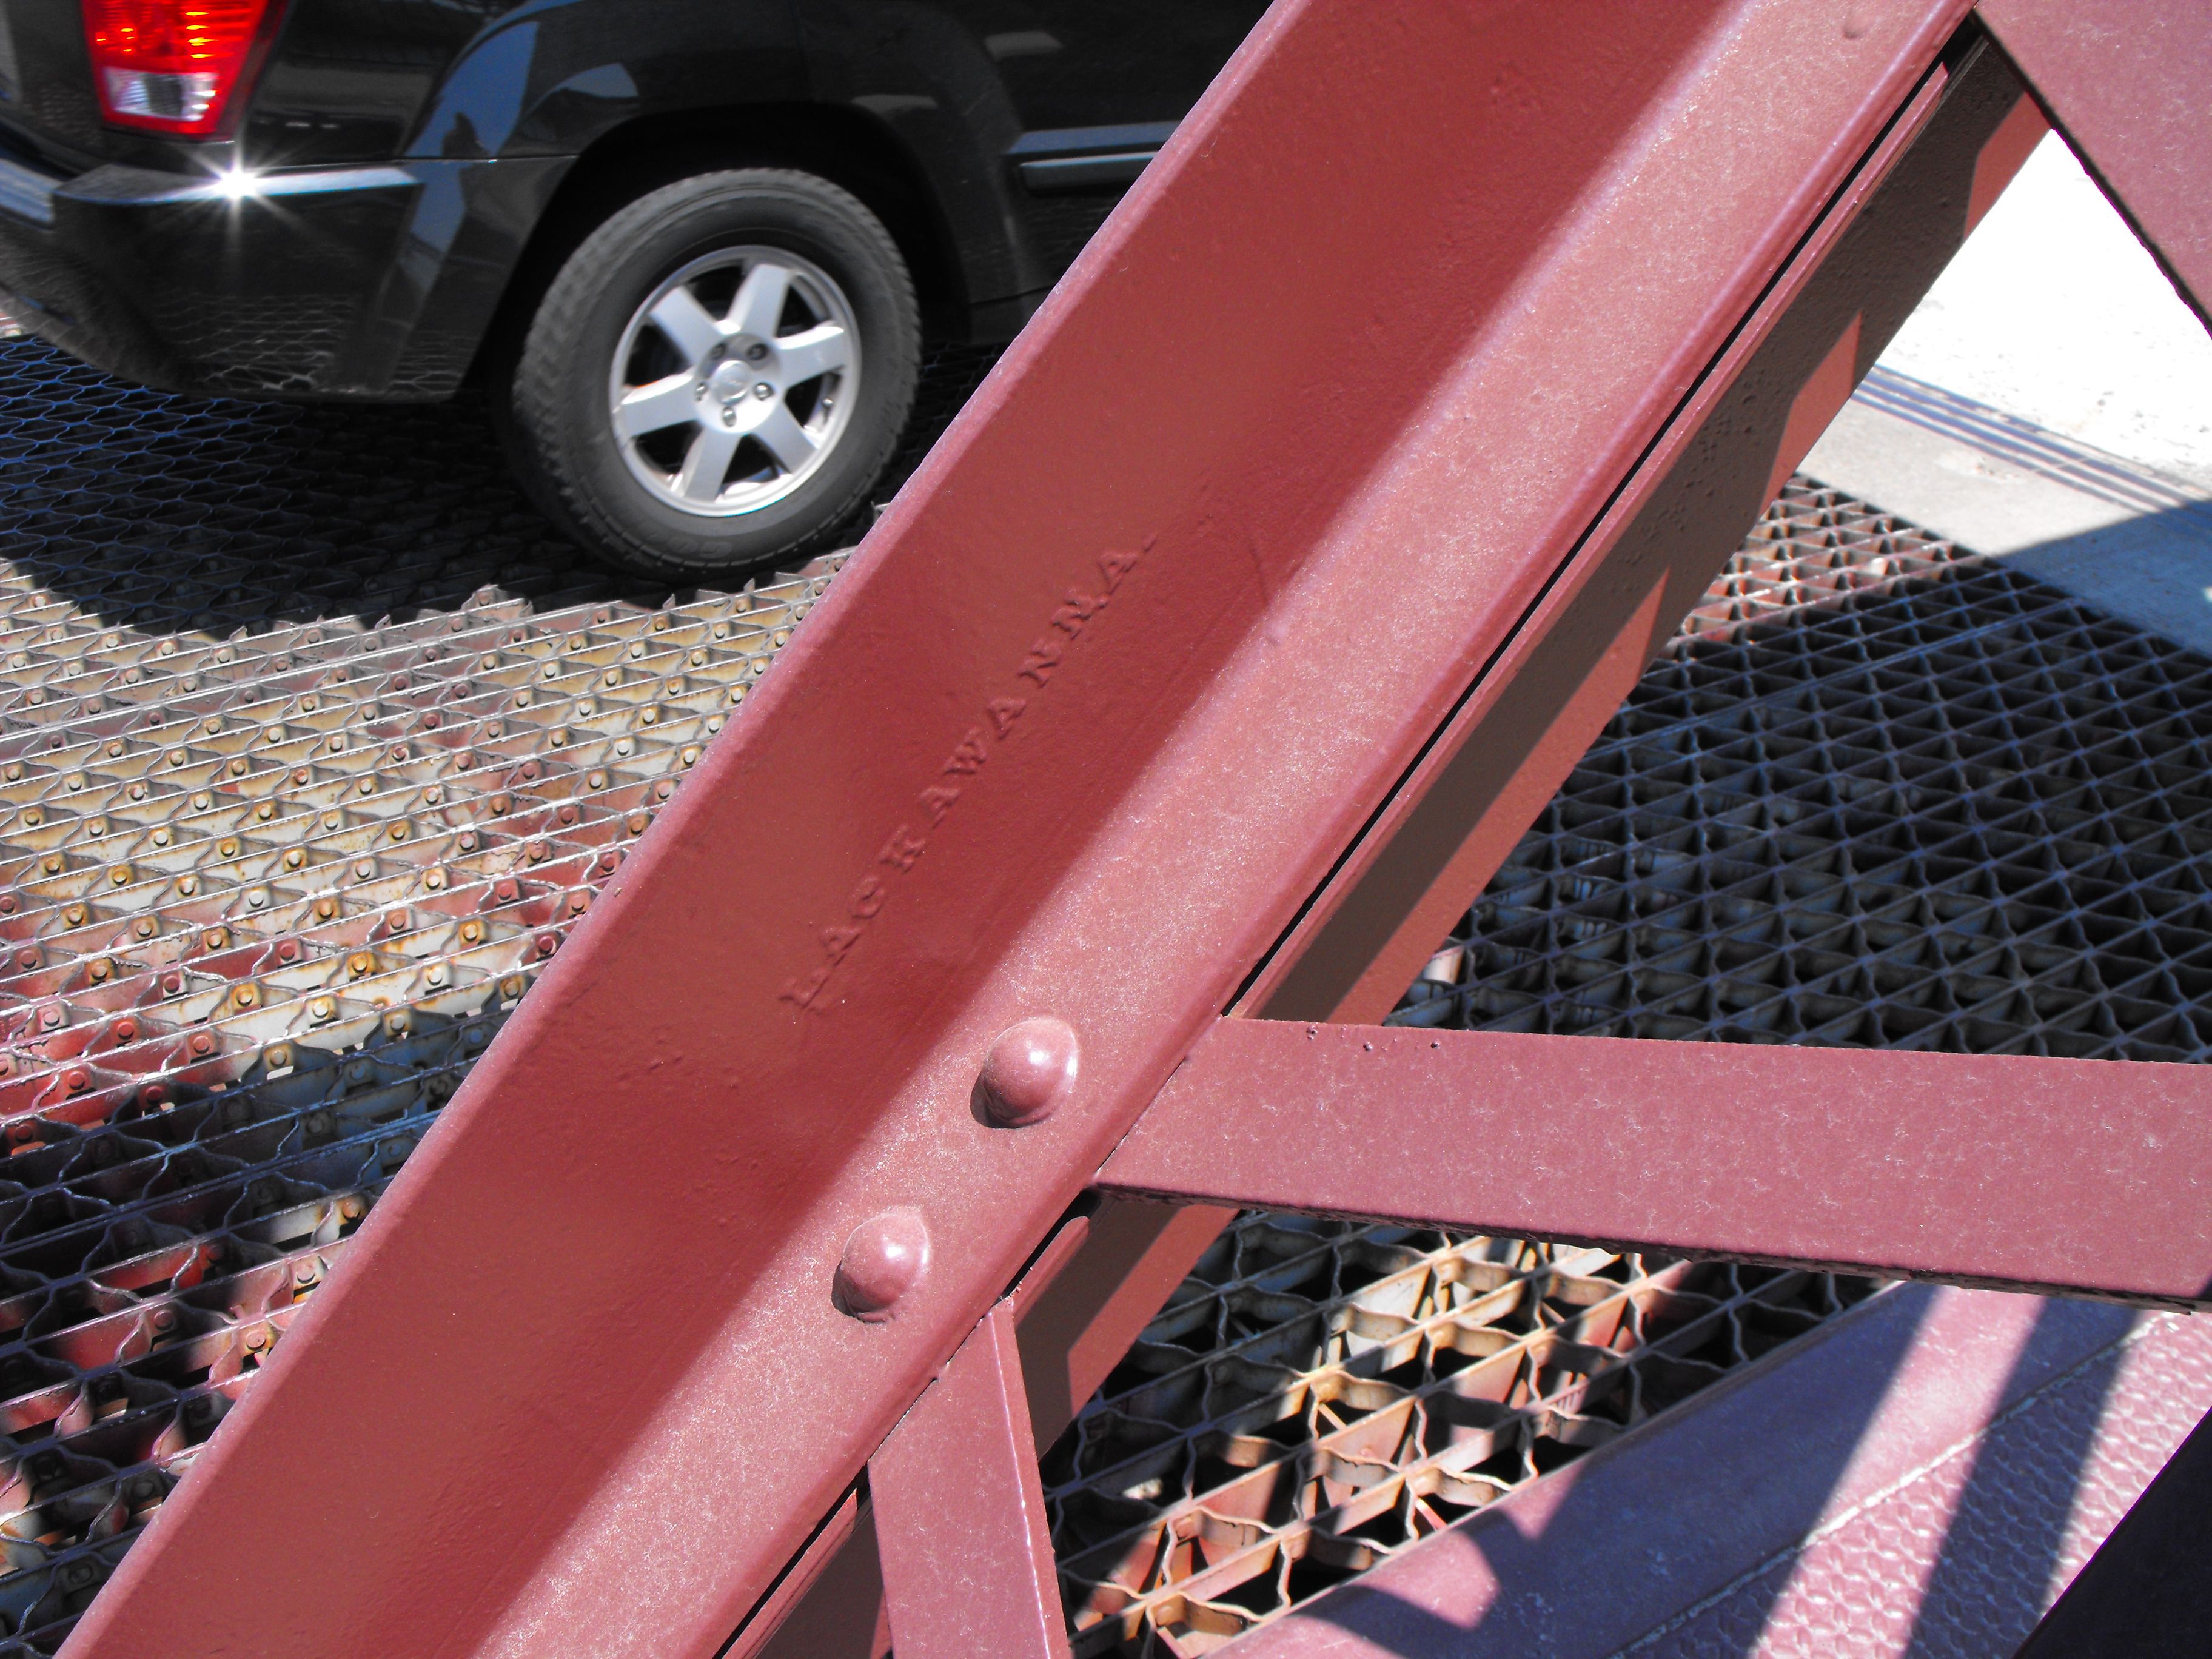
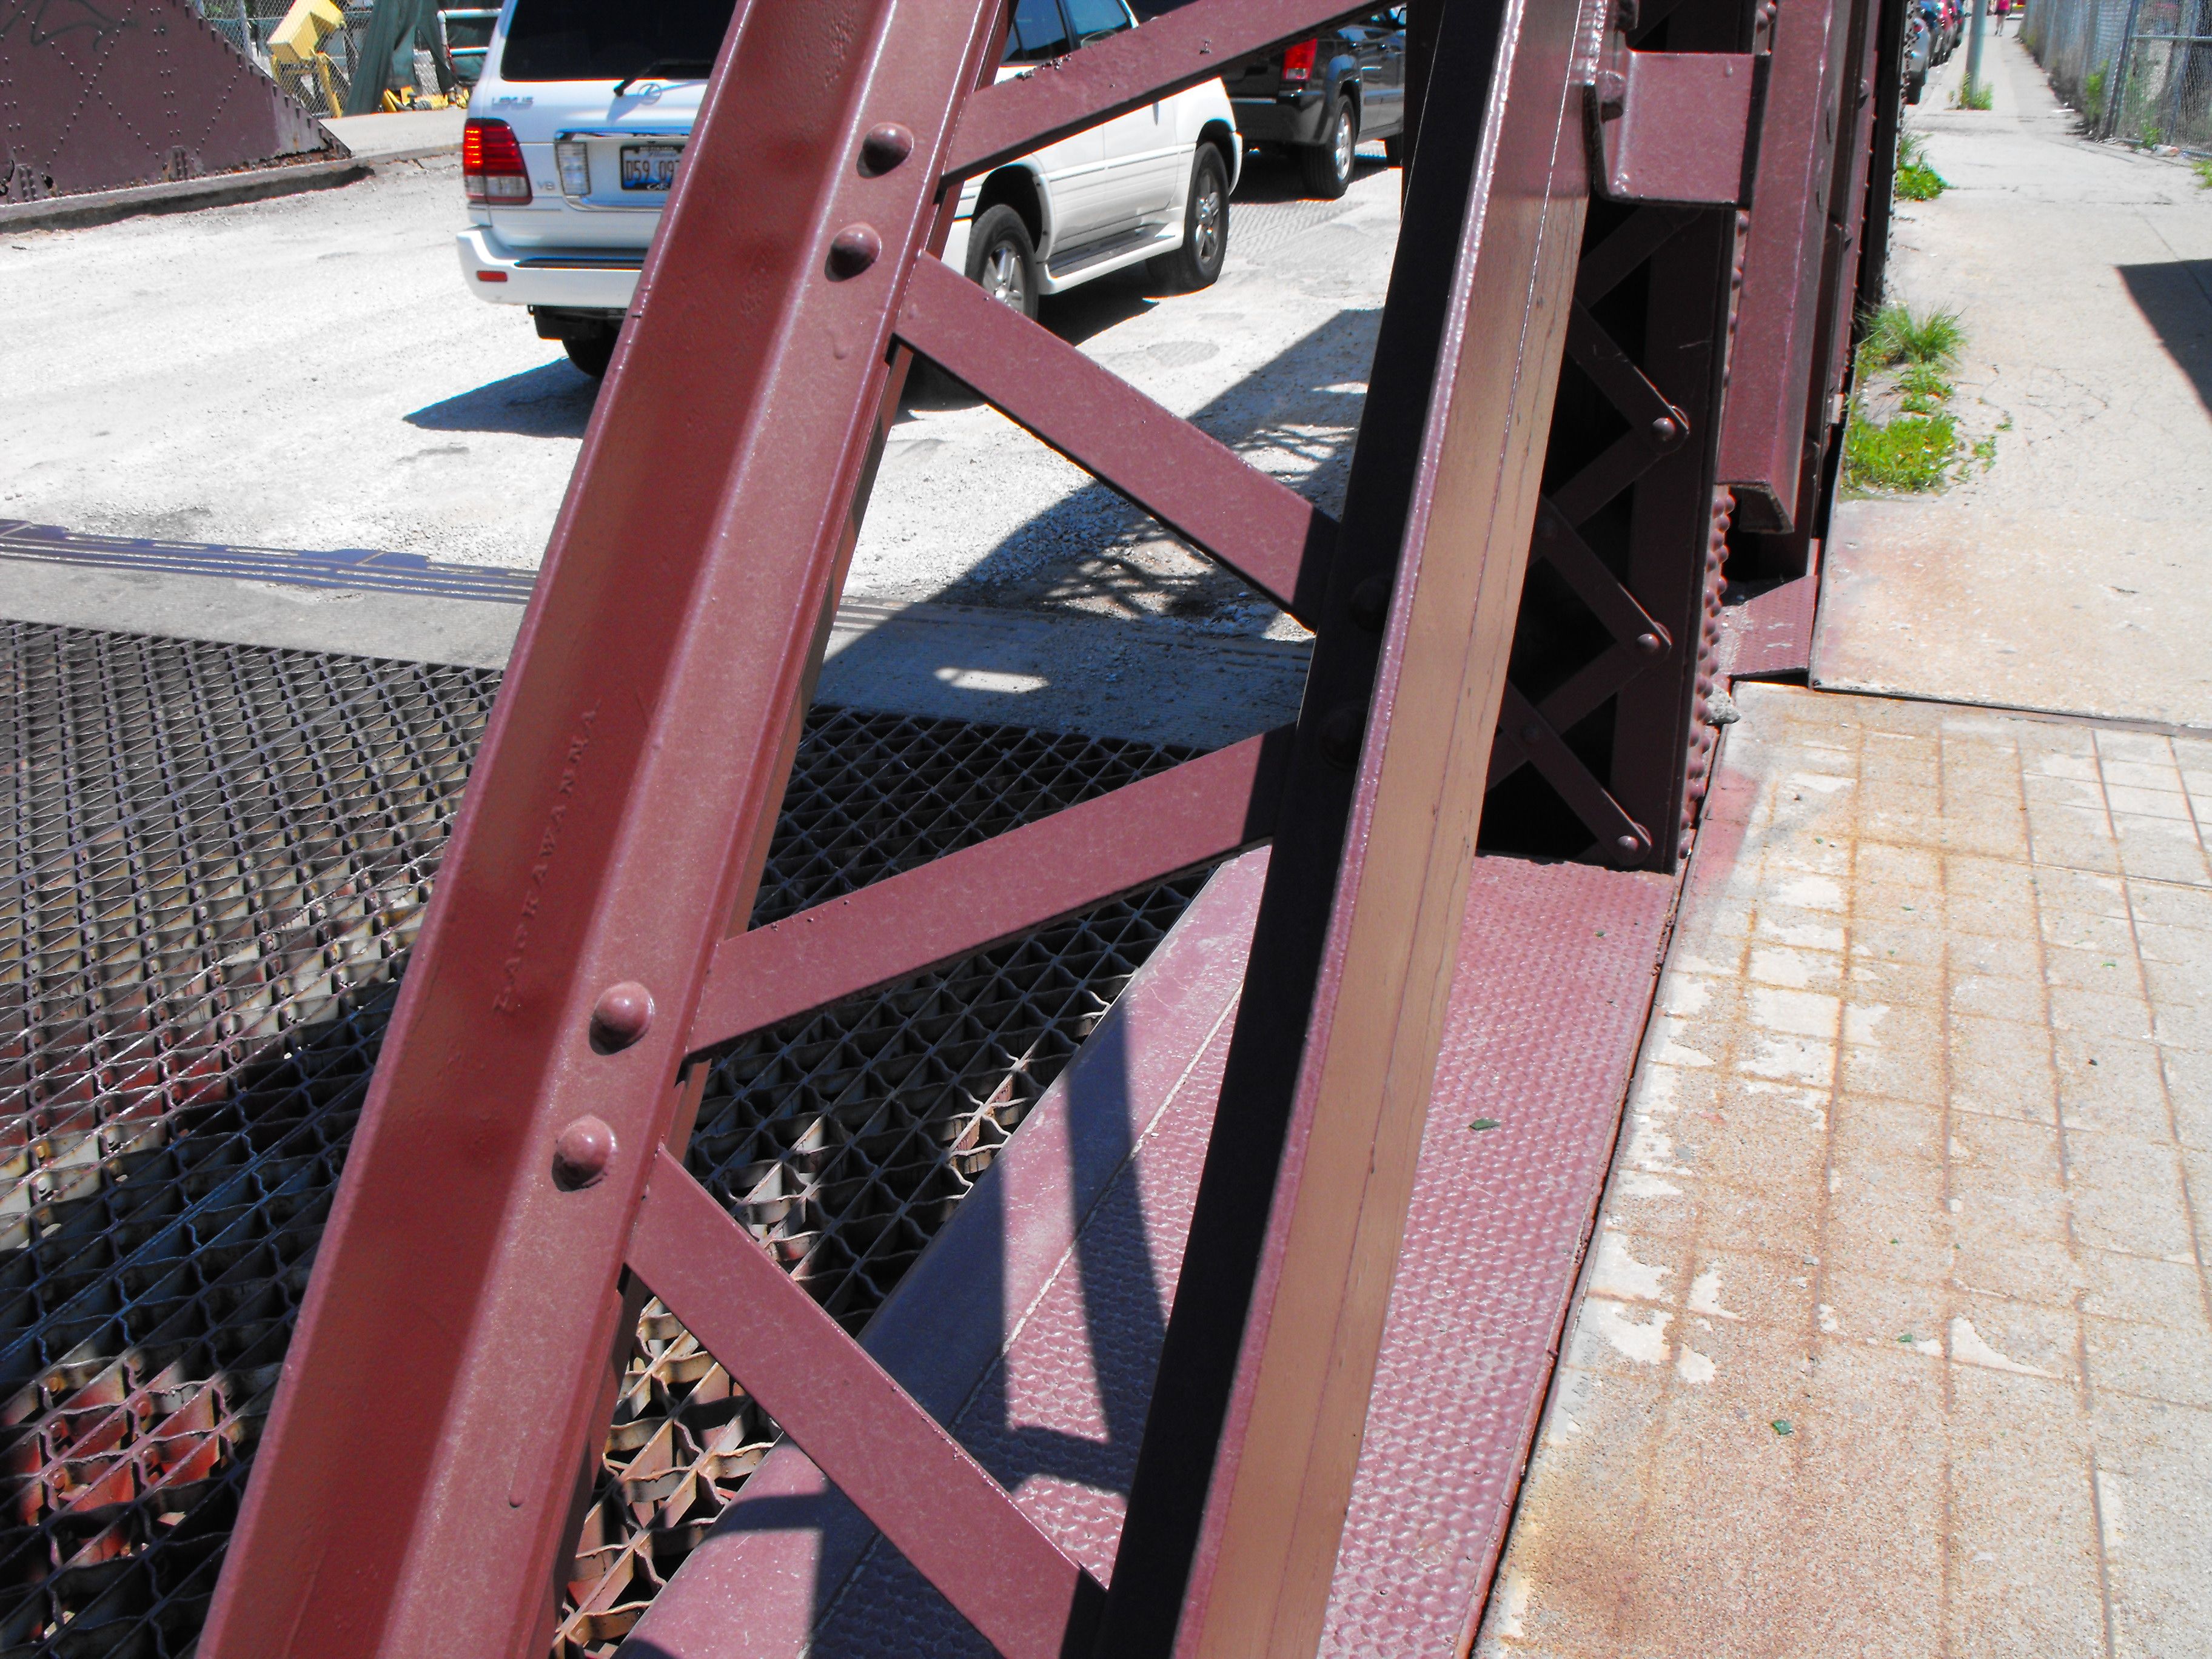
Lackawanna.
![]()
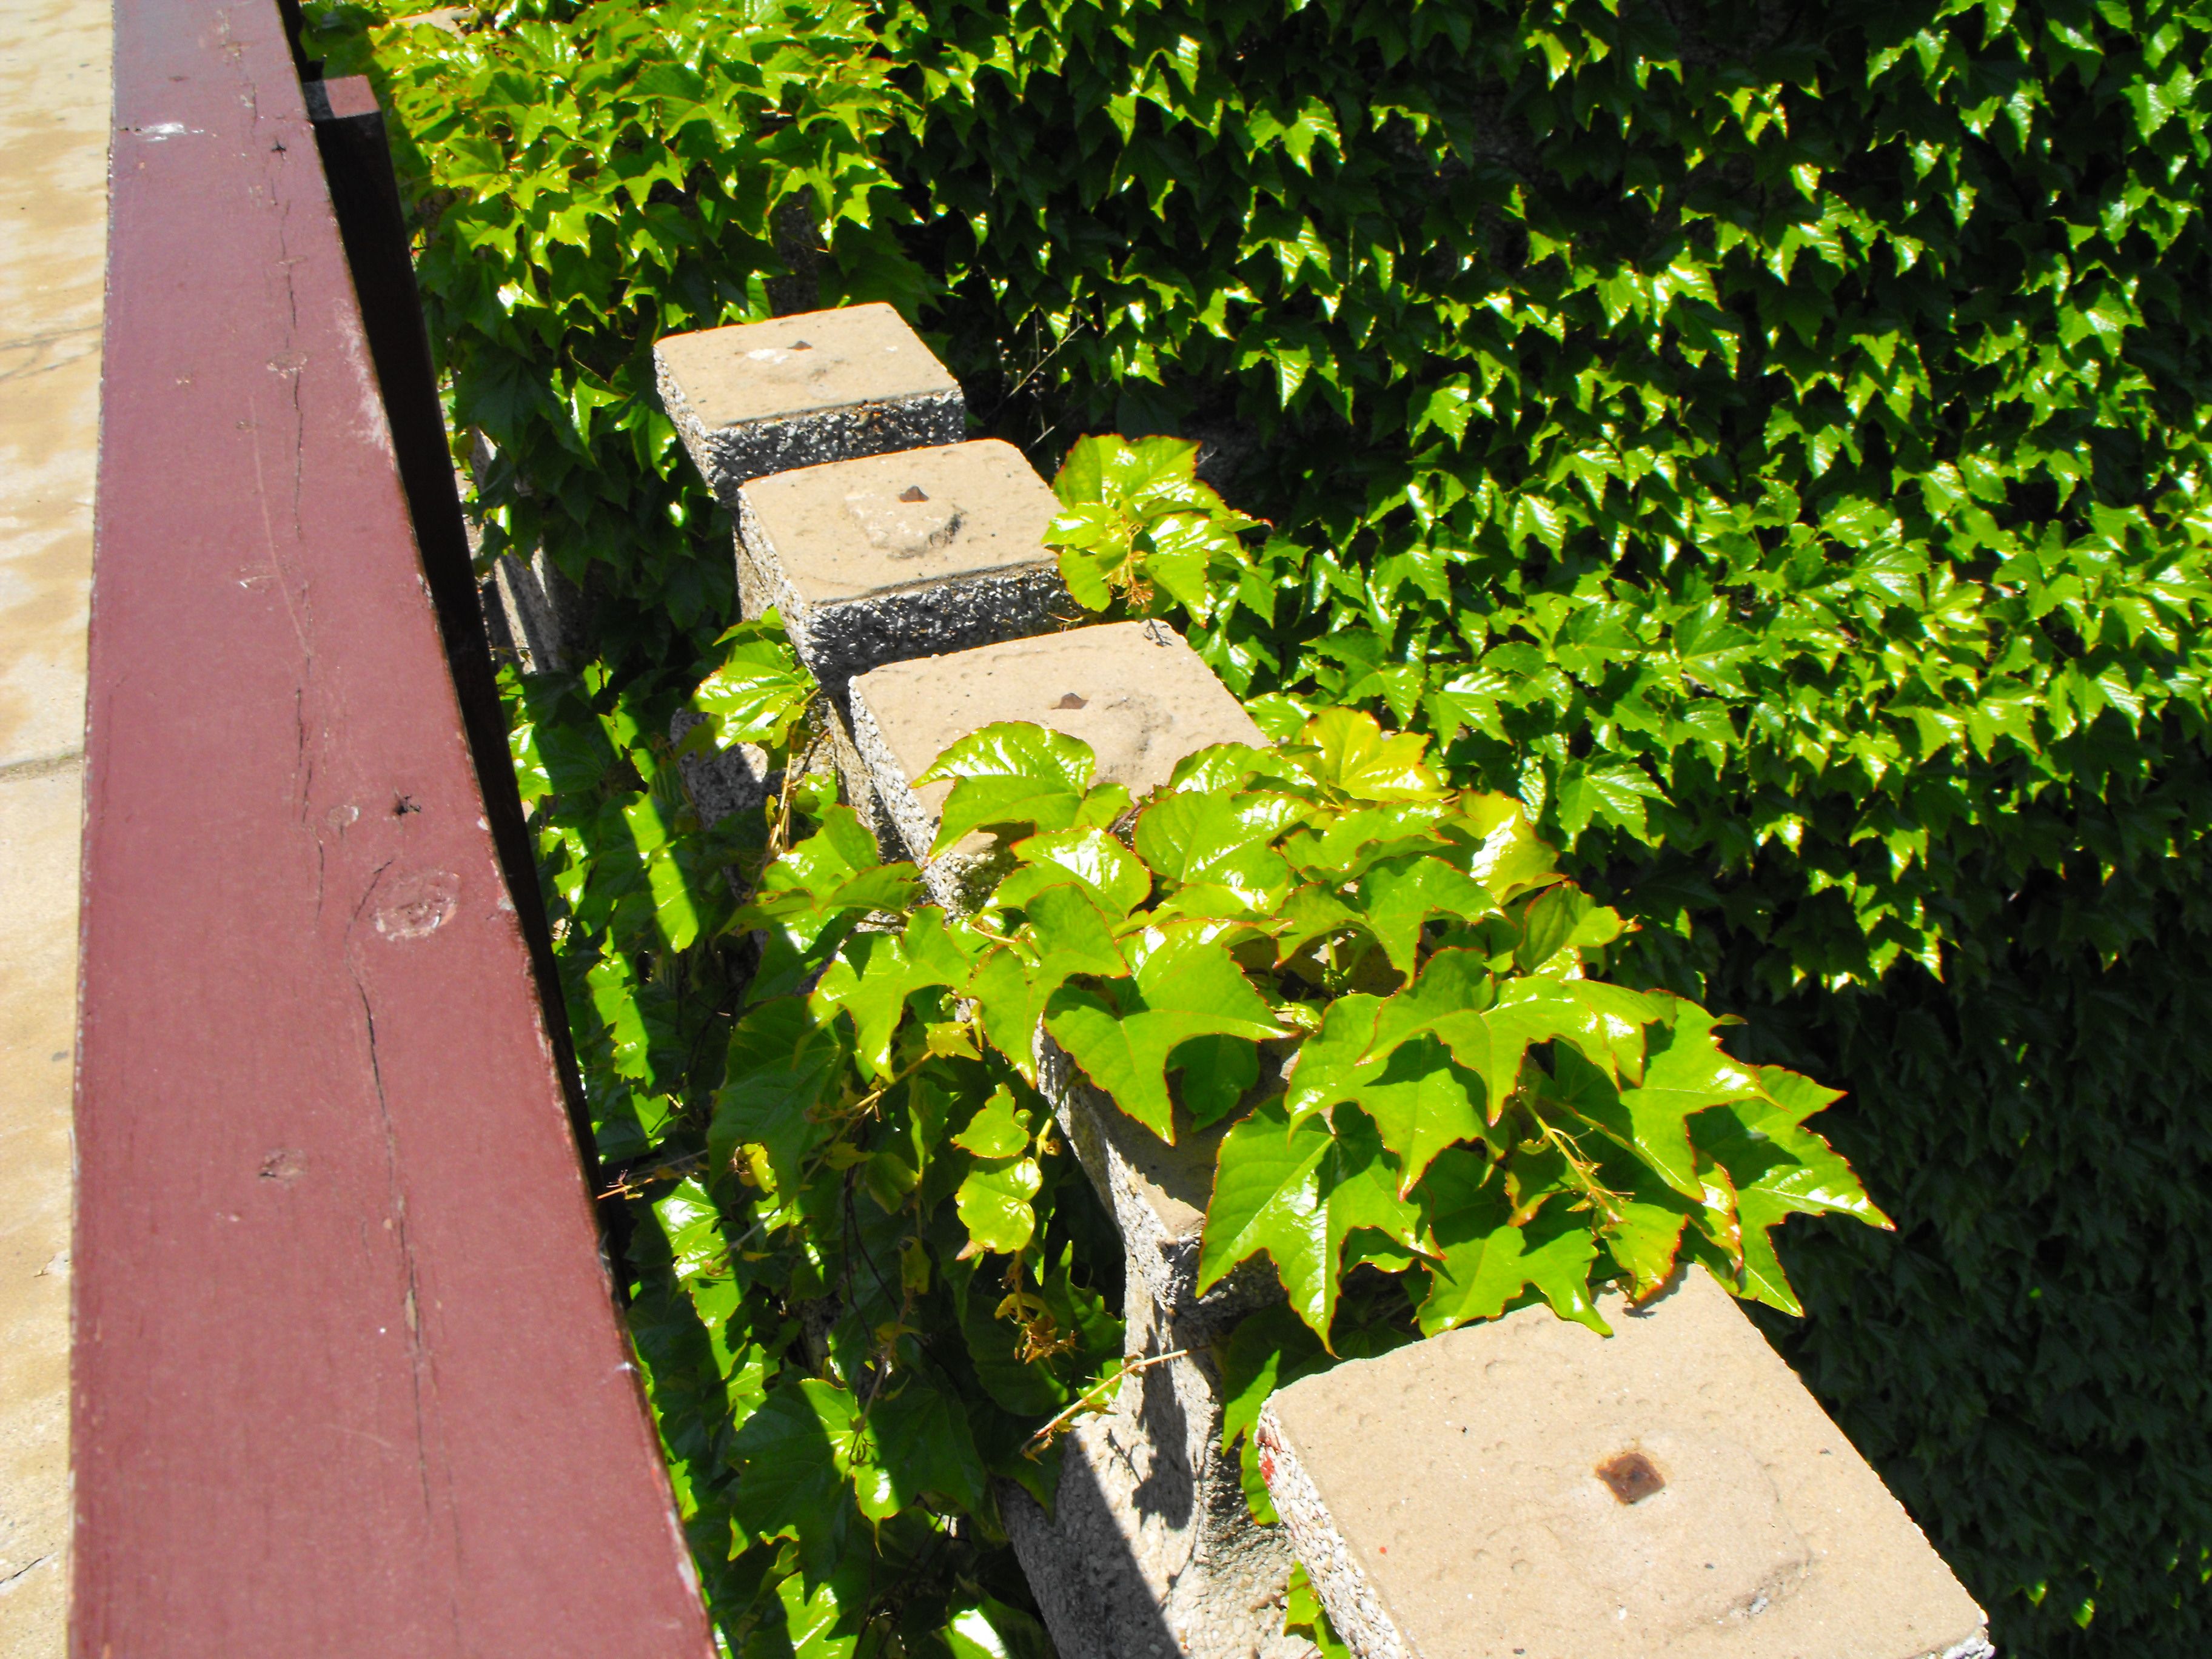
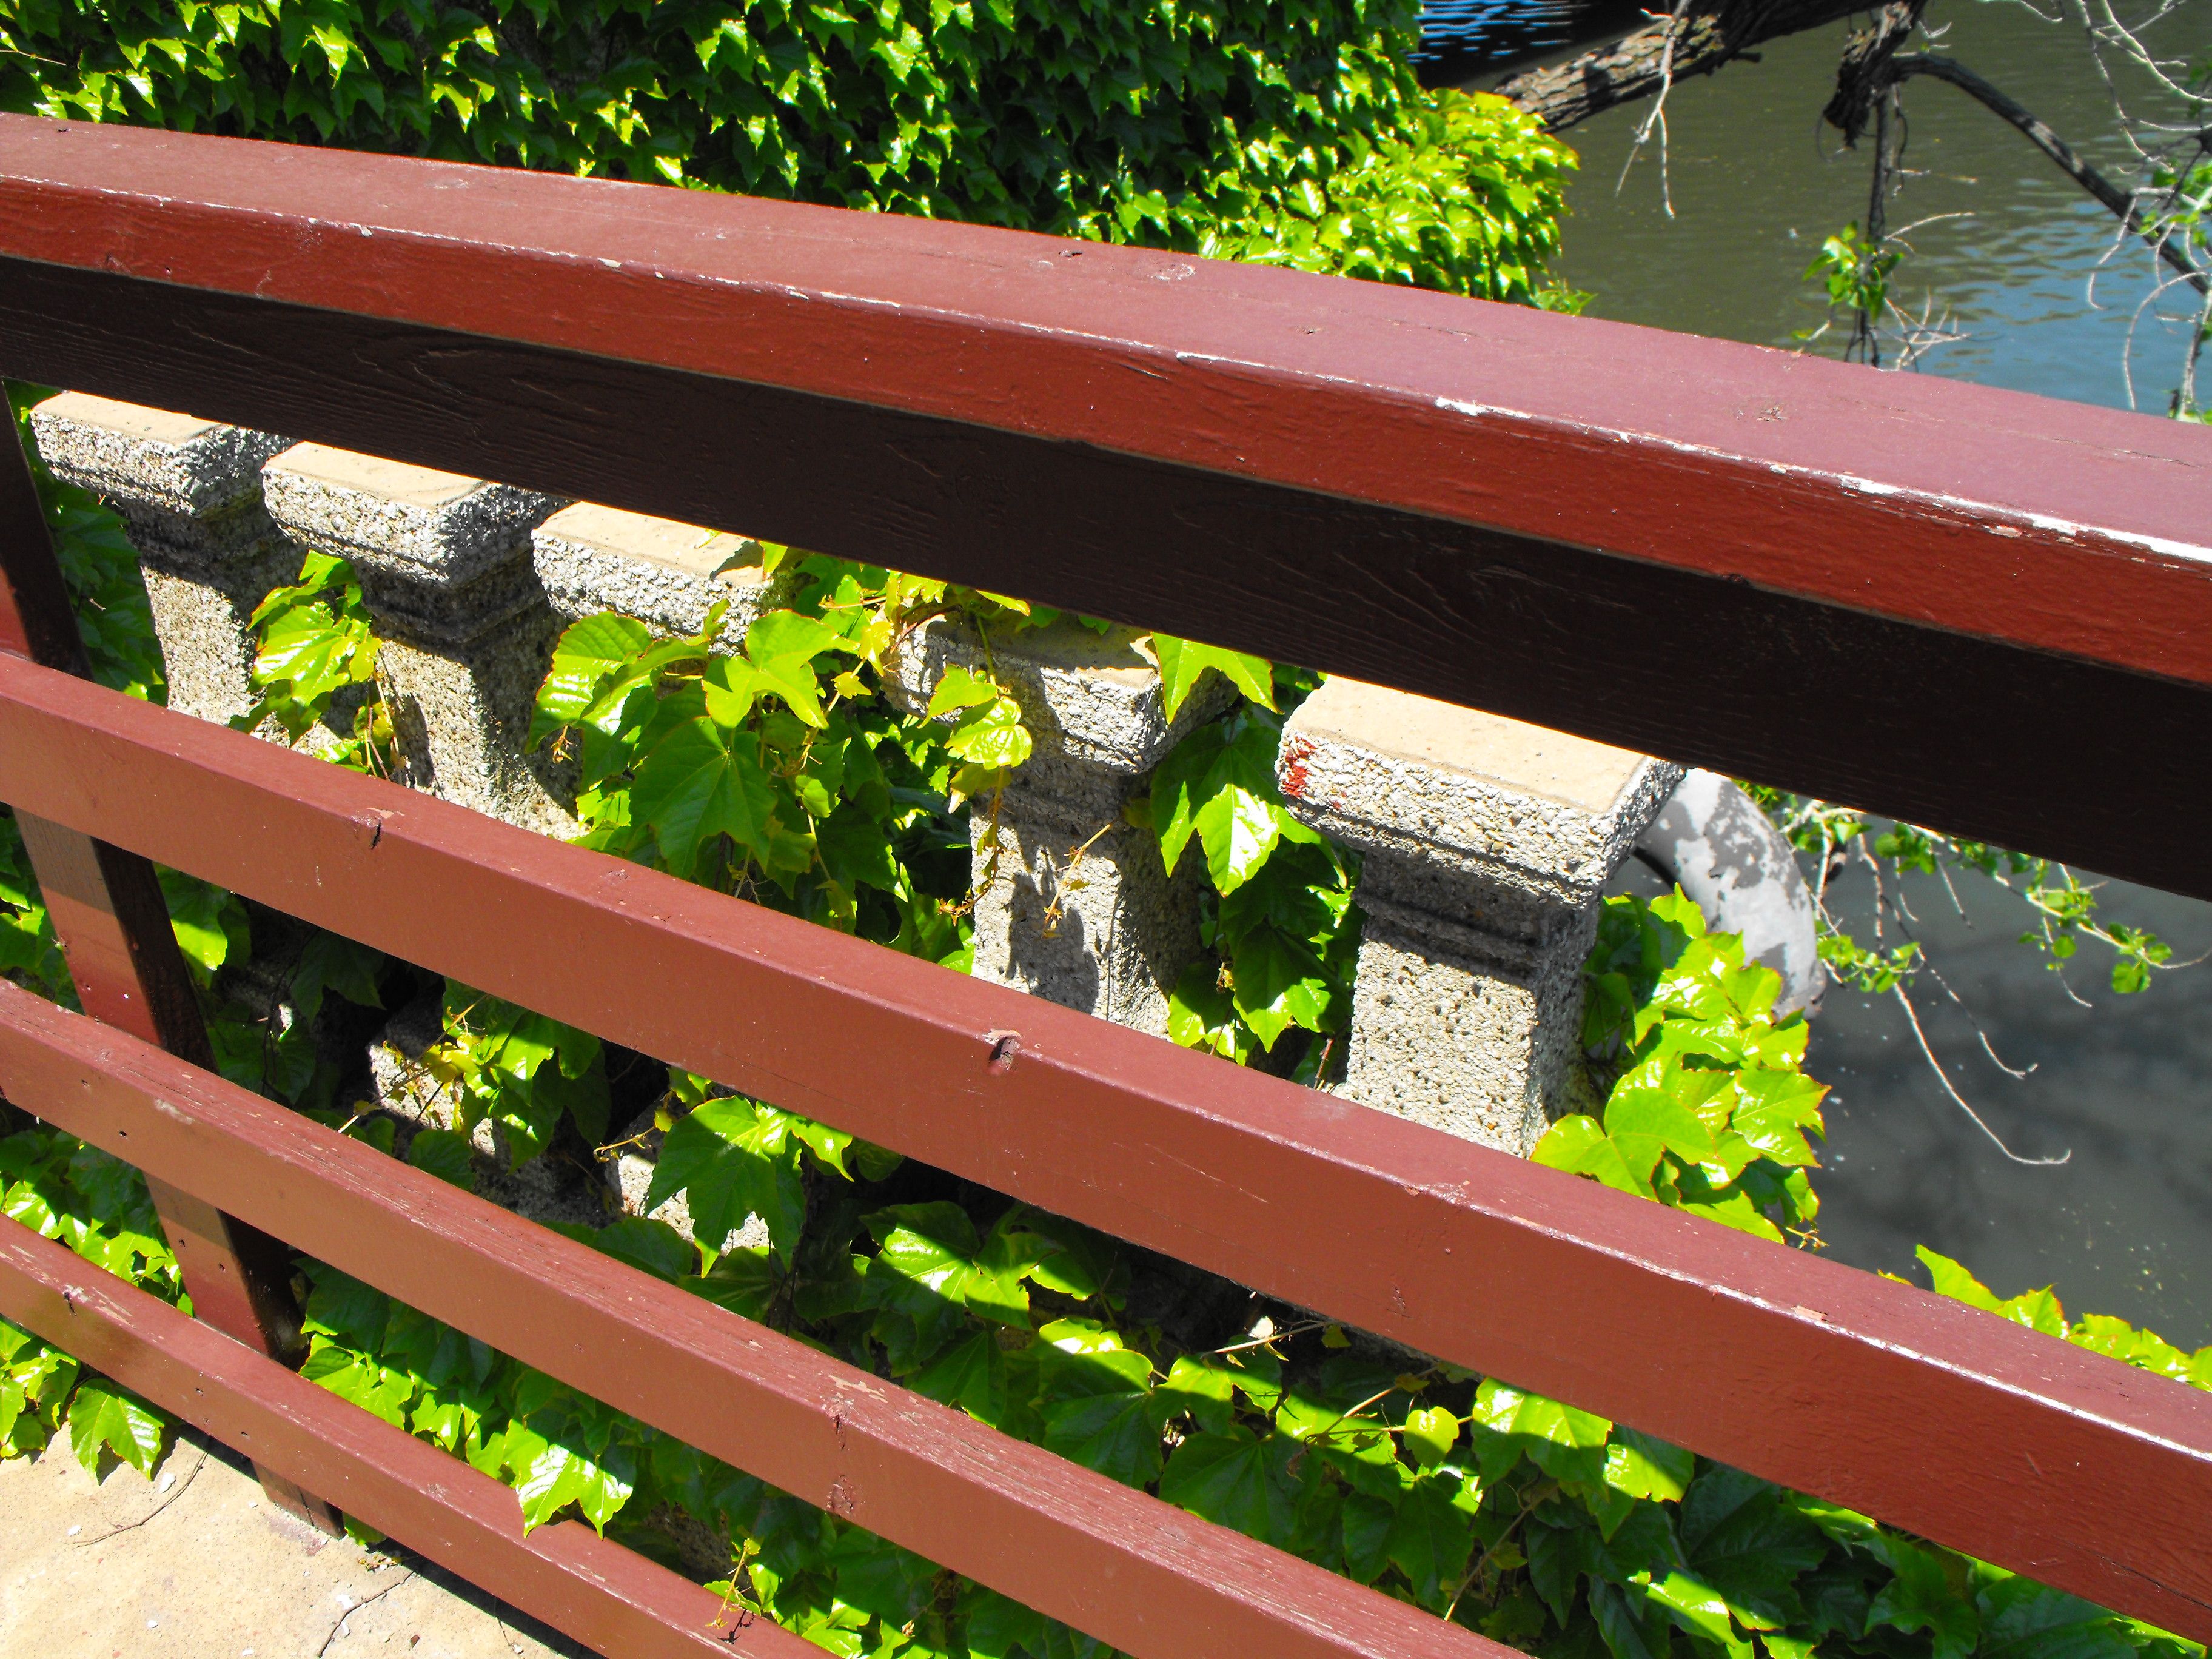
Remains of original concrete railing behind modern railing.
![]()

Barrier panel details.
![]()
Bottom chord.
![]()
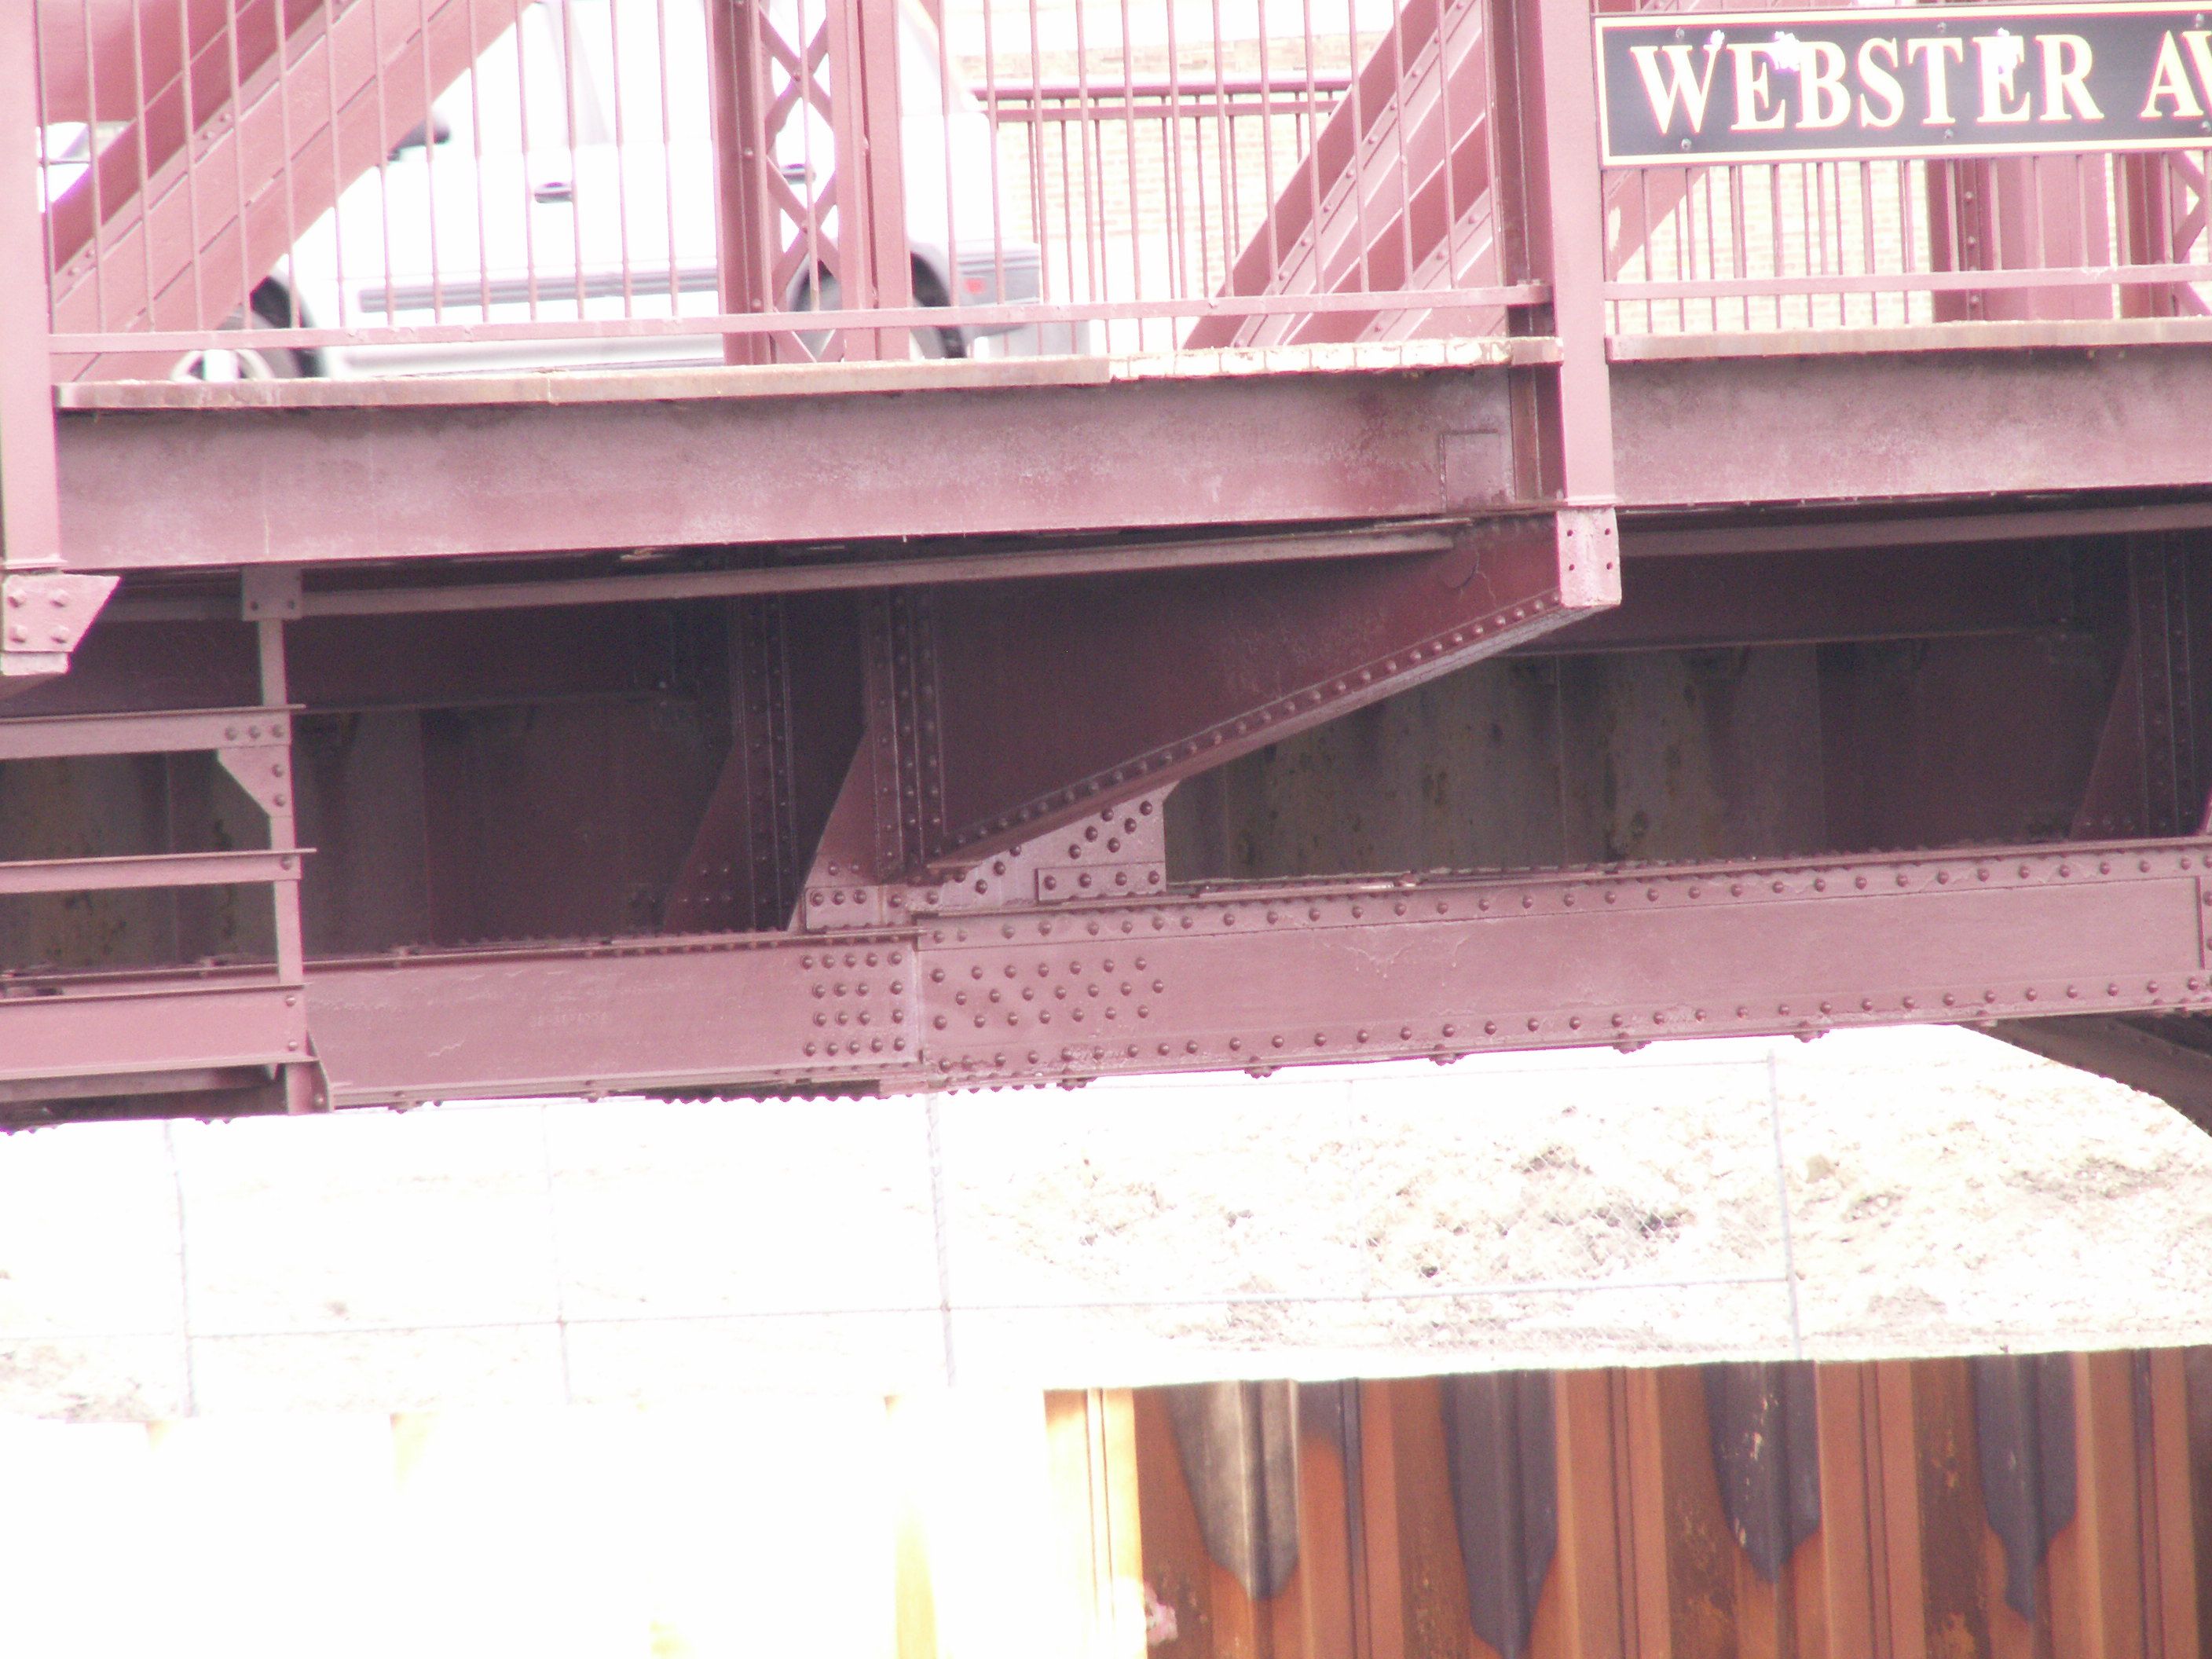
Floor beam.
![]()
Abutment.
![]()
Overview beside bridge from northeast quadrant showing Ashland Avenue Bridge and Deering Bridge.
![]()
![]()
| Back |
| Home |
| Top |

![]()